


Blipvertus multigame Dwarf army


Recommendations: 662
About the Project
It started out simple. I wanted a Viking army for Saga but I wanted it to be different because everyone does Vikings. So instead I did seven other armies. I finally hit upon the idea of using Dwarves as my Viking stand in. Dwarves are also a part of Norse mythology and they’re ill tempered and armed with axes. Seems like a natural fit! When Oathmark came out with a plastic Dwarf infantry box I found everything I’d need for a Saga army. You can make dwarves armed with bows, something that is pretty rare for most Dwarf models, as well as spear and axe armed dwarves. You can also equip figures with a weapon in each hand making them a great substitute for Berserkers. One of the nice things about this box is all the figures are wearing chainmail and to me, that’s quintessentially dwarfish. Originally I was going to make the spear armed dwarves my warriors and my axe and sword armed dwarves as my hearthguard. But Oathmark came out with a box of Heavy Infantry Dwarves so I may use them as hearthguard. These also feature chainmail but also have segmented armor and some platemail. They also feature a lot of steel face masks integrated into their helmets. This is something I love because Tolkien mentions something similar in The Silmarillion about the dwarves in Middlearth. With my Viking army all planned out and a couple of boxes of minis, I was set. Huzzah! Then Age of Magic arrived. And Warlords of Erewhon. The unit options in both games increased the variety of units a Dwarf army could take. So I set about trying to find suitable minis that would look good together. I found a nice set of crossbow armed dwarves from Conqueror. Conquer also had dwarves armed with two-handed axes. Both units are also in chainmail thus making it easier for them to blend in. I then found some chainmail wearing handgunners from Mirliton. Because I’m getting minis from several different ranges I worried about how to make them look like a cohesive army. I asked our local guru, Sean Twiddy. He’s one of the smart guys that teaches art at one of the local universities and uses miniature painting in some of his lessons. Sean is also an avid Saga player. He suggested using the same color pallet for the whole army in order to tie it all together. So I tried it and painted up a test color scheme and I think it’ll work. The header/thumbnail photo is of the test minis. I’m going to try to document how I got to those finished images. I’m going to try to show and explain every step as well as show the sources of the materials used.
Related Game: SAGA
Related Company: Studio Tomahawk
Related Genre: Fantasy
This Project is Active
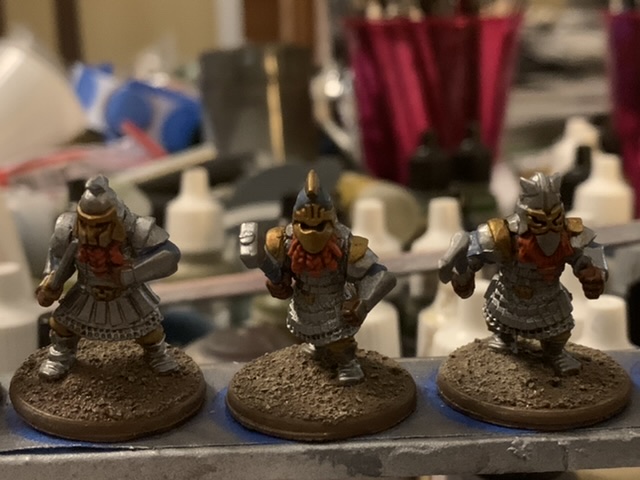
Heavy Infantry mostly done.
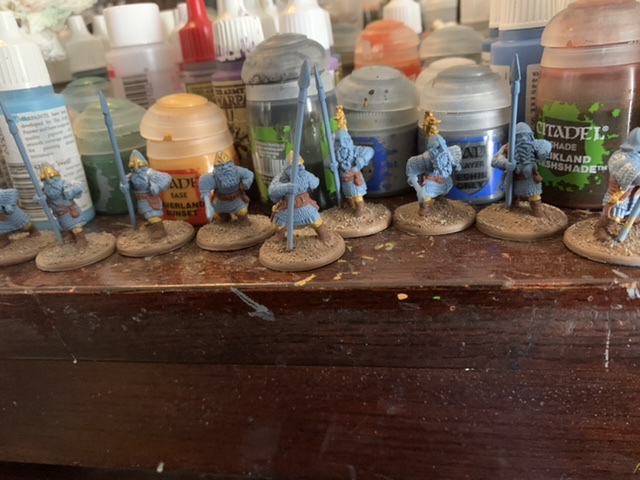
Washes finished, maybe some touch ups then on to shields and basing.
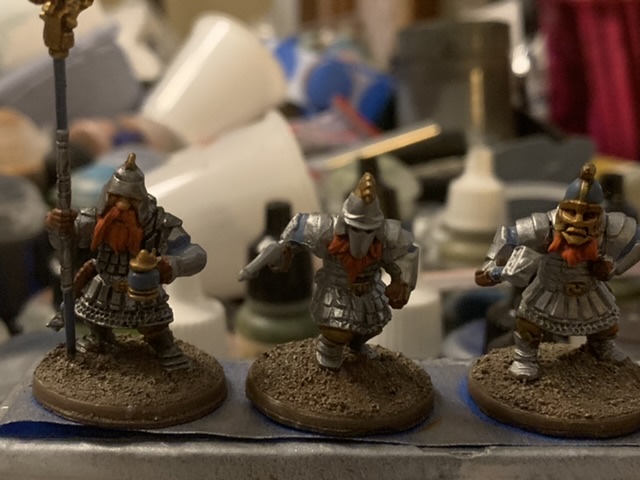
 Possibly my favorite figures in the army.
  There’s quite a variety of heads to choose from.
 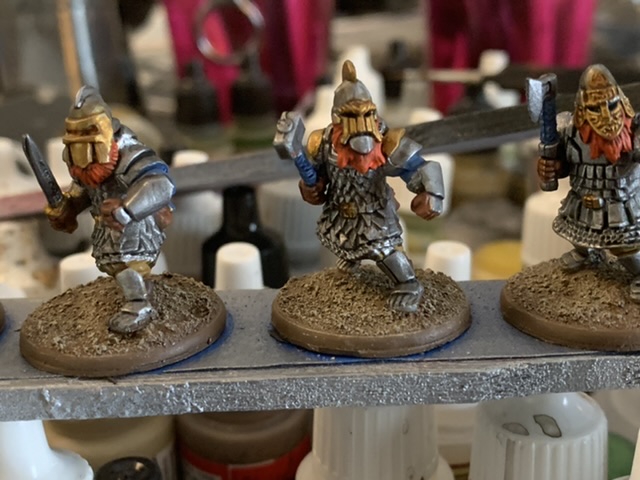 Each sprue comes with 5 bodies and 23 heads.
 Heavy Infantry Update
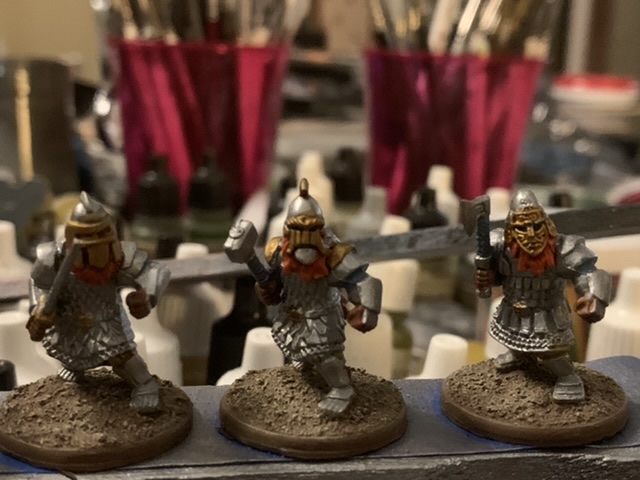
Even tough the masks cover the faces, they still have a lot of character. A few more washes and I can move on to basing.
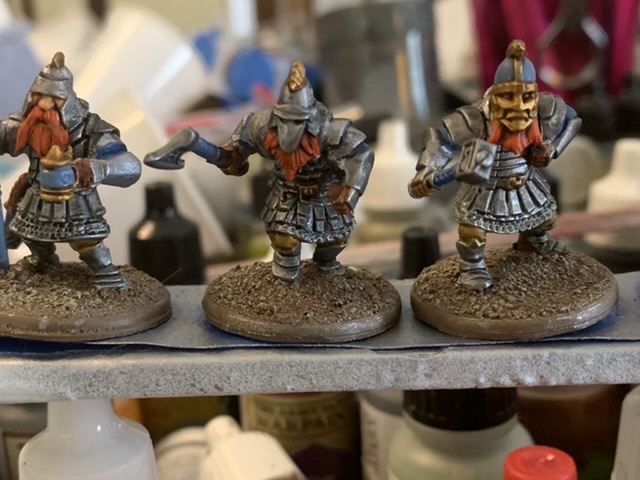
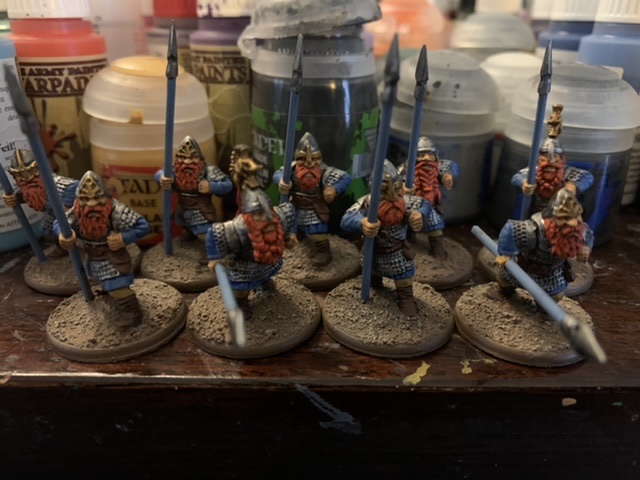
Heavy Infantry
Based around the Oathmark Dwarf Heavy Infantry box, these figures can serve as hearthguard, veterans, or unit leaders.
I’ll build the first batch armed with one handed weapons then a second batch with two handed weapons.
 The sprues have more head options than bodies and in this case I opted to make the banner bearer with an open faced helmet and everyone else with an iron mask. After assembling the minis I filled in the base with Warlods basing compound. Once dry I applied PVA glue and sand as per usual.
 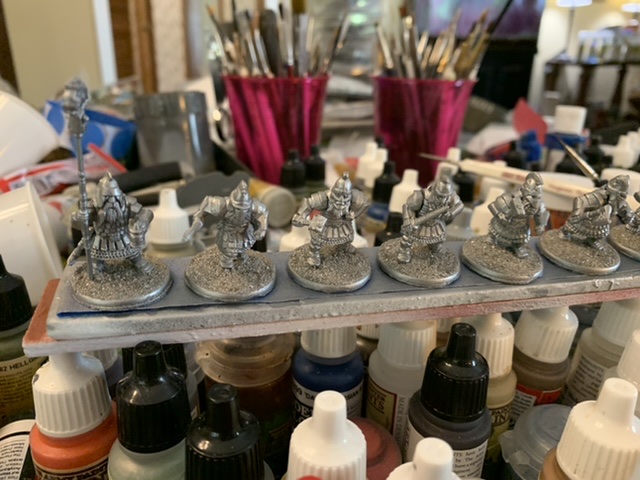 Because there’s so much armor on these figures, and virtually no cloth, I elected to use Army Painter Plate Mail Metal ad the primer.
 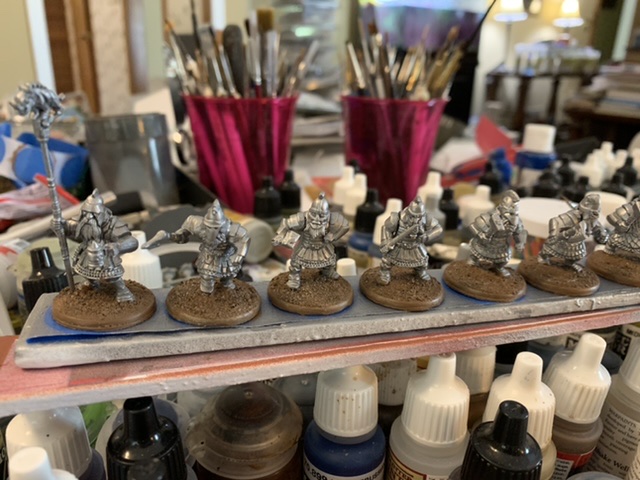 Here I’ve painted the base with Army Painter Leather Brown.
 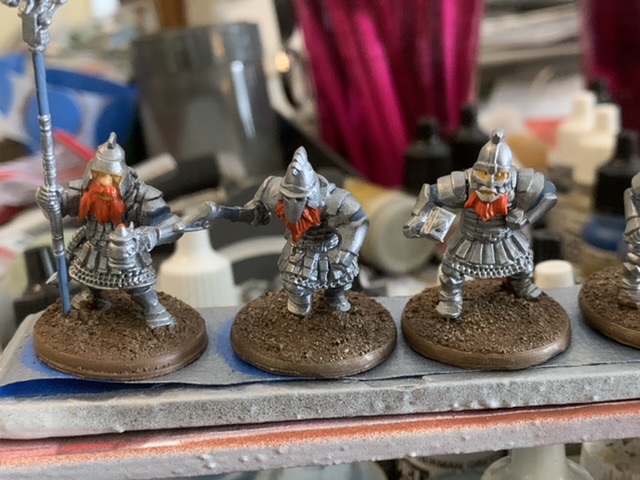 Beards painted Army Painter Lava Orange and flesh painted Vallejo Dark Flesh
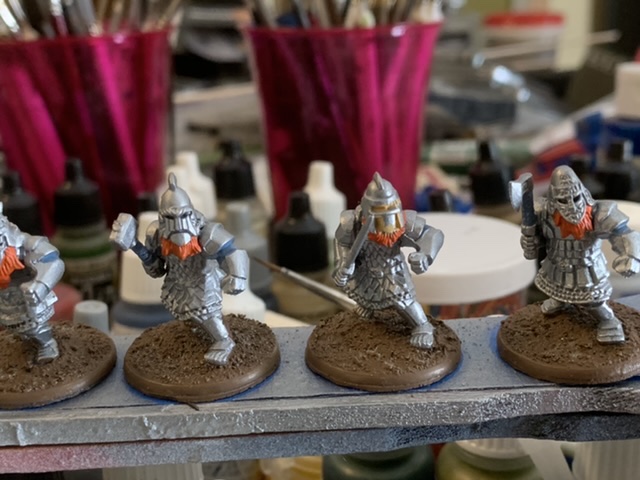 Gloves painted Army Painter Fur Brown, shirt painted Army Painter Wolf Grey, pants painted Army Painter Desert Yellow and boots painted Vallejo Flat Brown..
 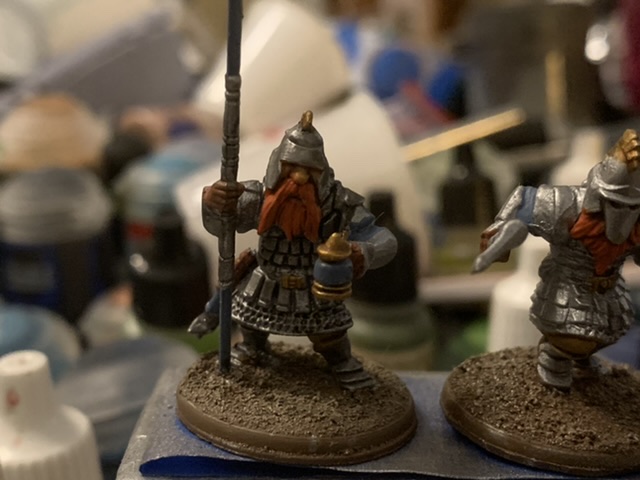 I washed the armor with Nuln Oil, the face wth Reikland Flesh, the pants, boots, brass and gloves with Seraphim Sepia.
 Berserkers!
A Saga Viking army can take a single four man Berserker unit. I built mine using the Oathmark minis. The Dwarf infantry box comes with only one left handed weapon and that’s a hammer. Since the Berserkers have twice as many attacks and less armor than equivalent units, I opted to scrap the shields and give everyone two weapons.
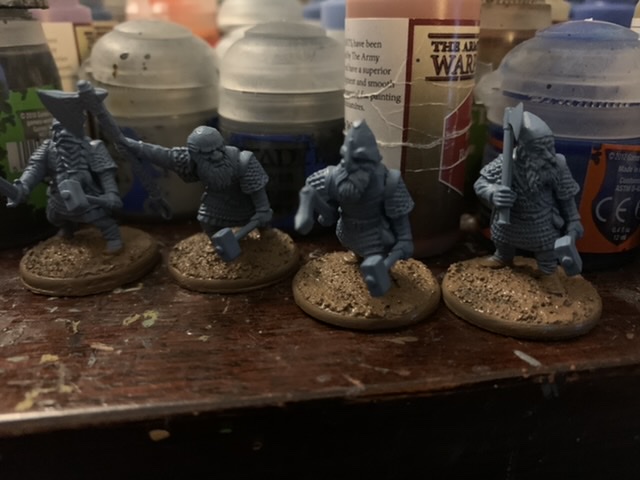 Primed and base the base painted Army Painter Leather Brown.
 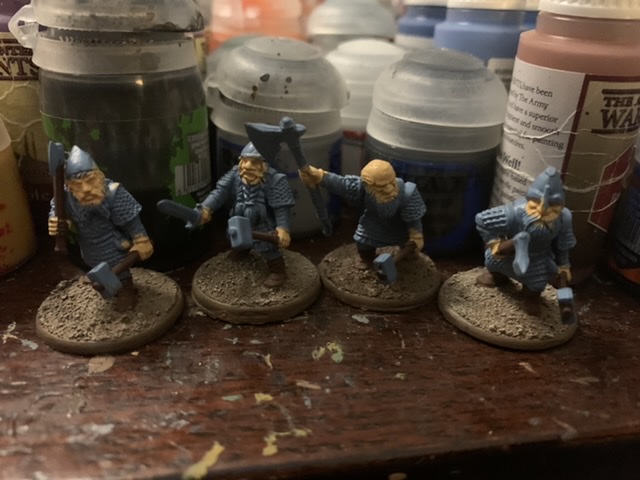 The hands and faces were painted Vallejo Dark Flesh.
 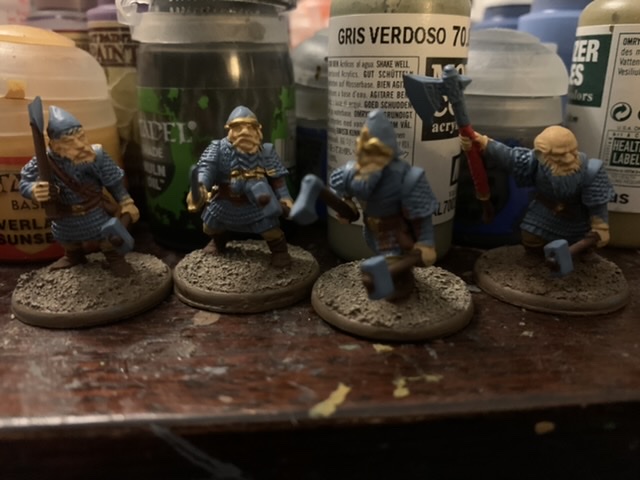 I used Vallejo Brass on the decorative pieces, knickers handles, belt buckles and shoulder guards.
 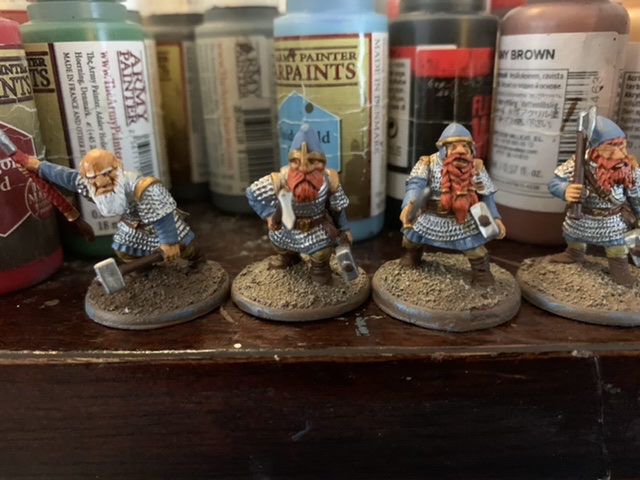 I used Apothecary White on the white beard and hair and Seraphim Sepia on the other beards. The chainmail was painted with Army Painter Plate Mail Metal. I left the helmets Wolf Grey just to differentiate the unit a little more. The beards are painted Army Painter Lava Orange. The bald dwarf’s beard was painted Army Painter Matt White.
 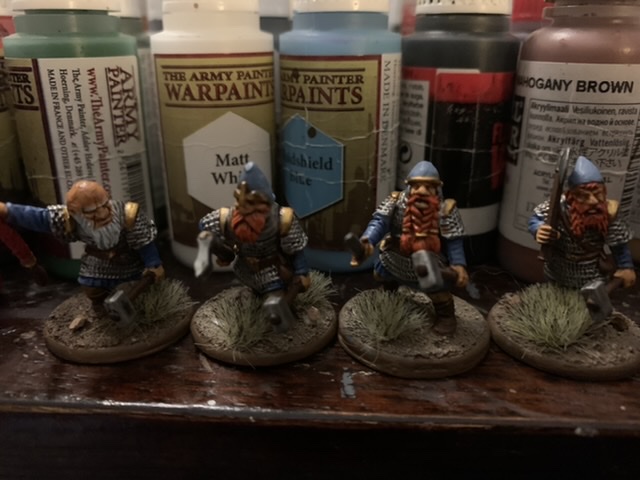 I used the same washes as previously with one exception. I used Reikland Flesh Shade on the brass parts. I then brought the color back up by reapplying the brass.
 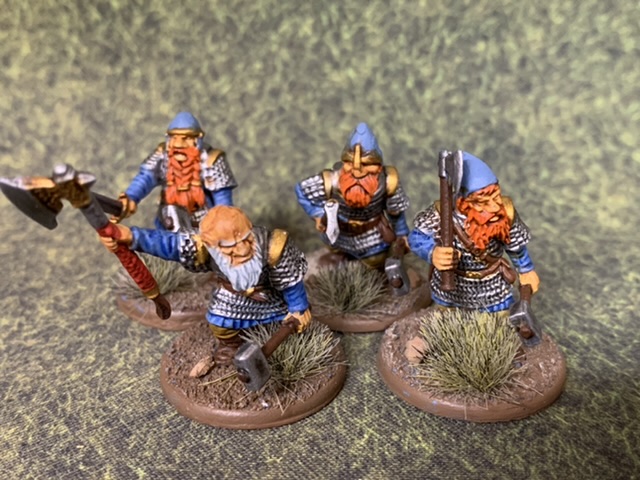 Glamour shot of the finished unit.
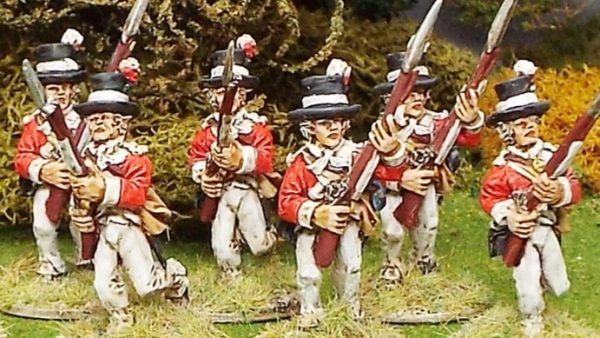
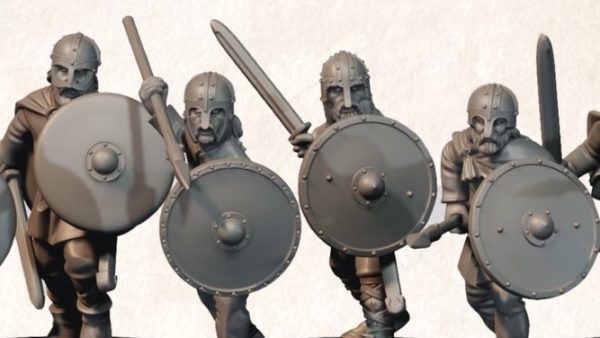
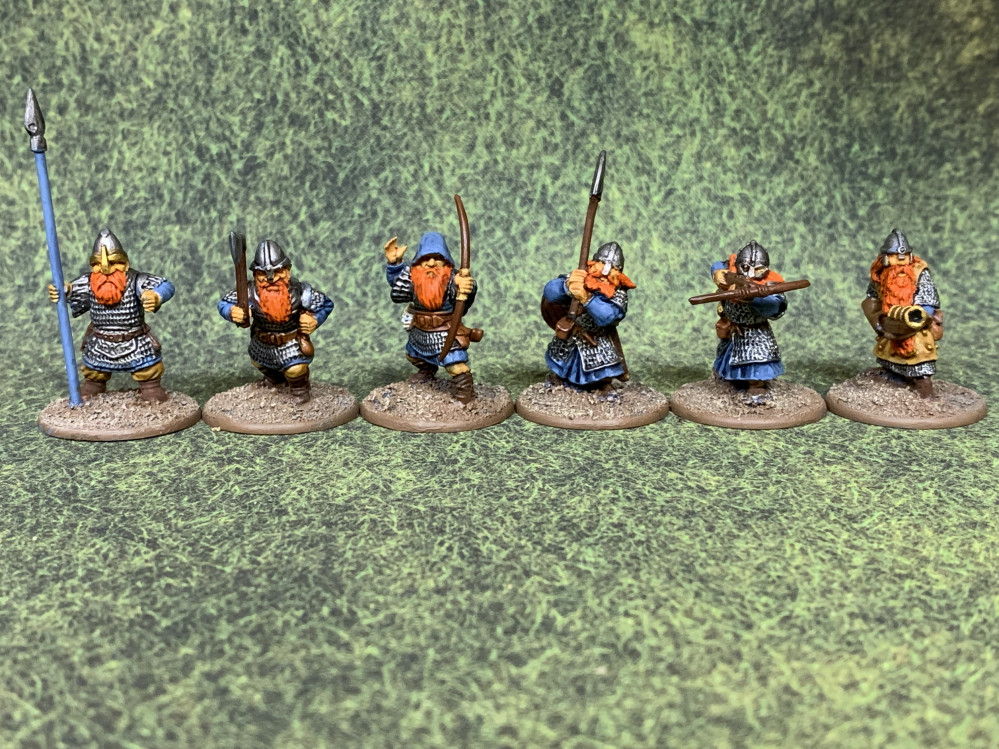
 Final group of Spearmen done
Here’s a few glamour shots of the last group of spearmen followed by some group shots of all the spearmen.
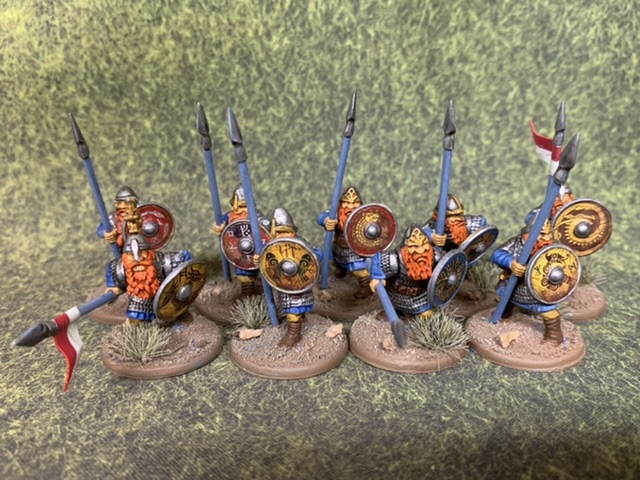


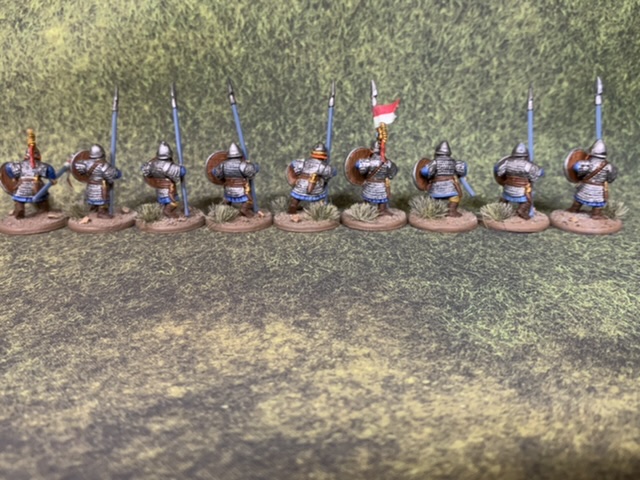
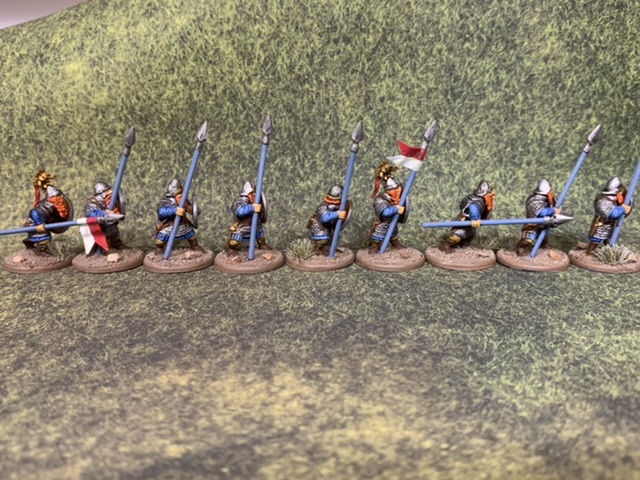
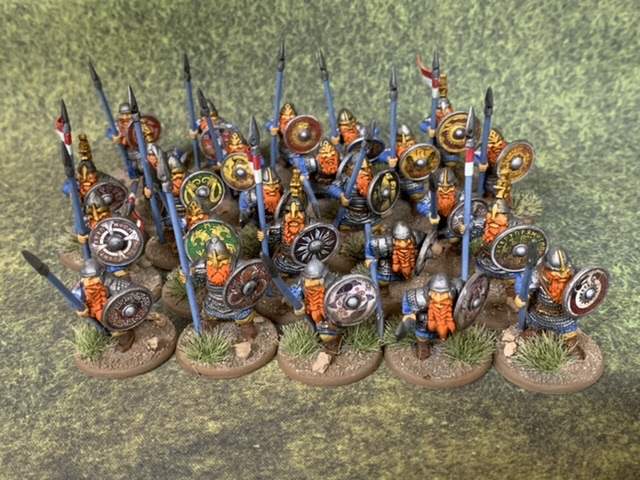 Here’s all the Spearmen together.
 Finishing up the Spearmen
 With the base colors laid in, washes were next.
 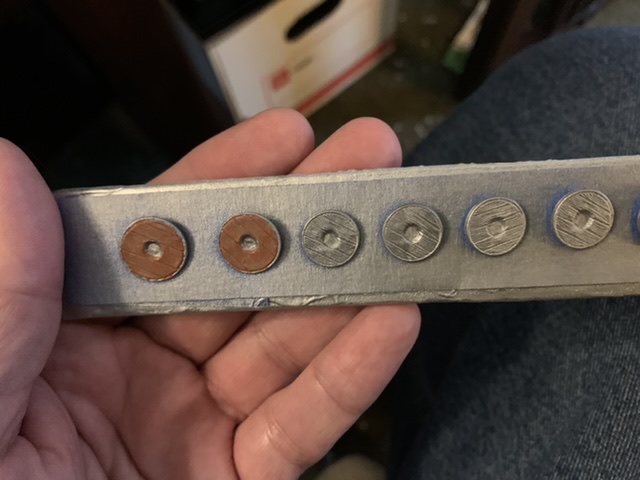 I sprayed the shields Army Painter Plate Mail and once dry painted the back with Army Painter Fur Brown.
 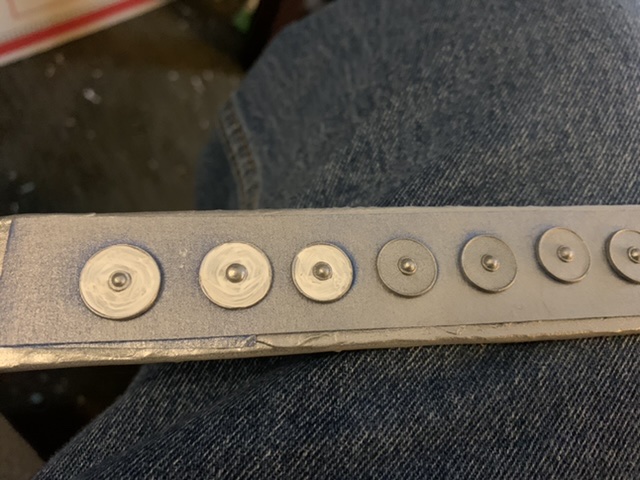 I then painted the front of the shields white. The white is for the transfers. You can use other colors but it will change the appearance as the transfers are very thin.
 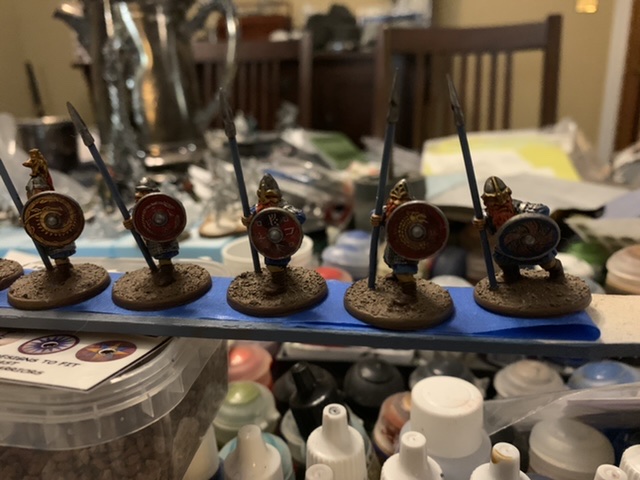 Once the shields were painted I applied the transfers are previously then glued the shields onto the minis. I then based the minis as previously adding the cork rocks and the tufts.
 Update
No new colors or techniques, just a couple of updates and in progress shots.
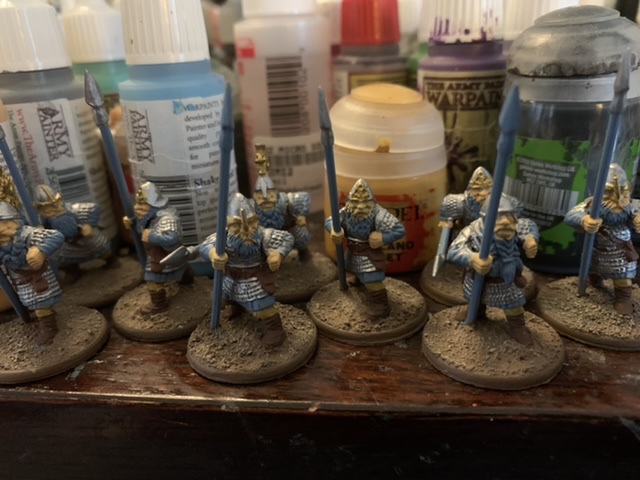 Most base colors laid in.
 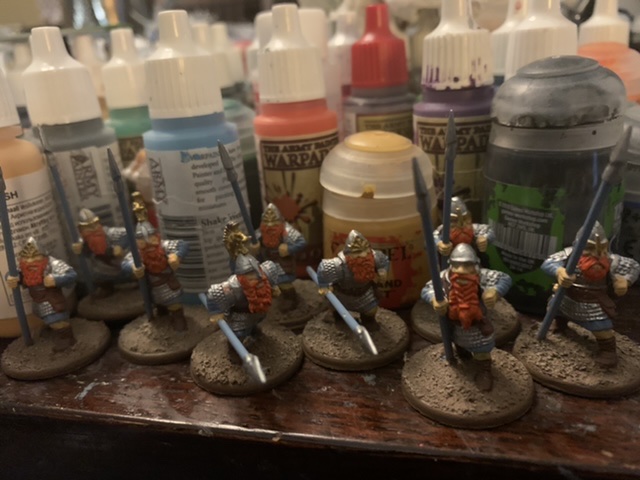 Th beards were the next to last base color laid in. The last color will be the Wolf Gray and that should just be a few touch ups on the spear and some of the cloth.
  Here all the washes have been completed. Next up is basing and shields.
 3rd Unit of Spearmen
 Started laying in the basic colors for the last nine spearmen.