![Make Your Own Star Wars: Legion Heroes! Rebel Agent & Officer Set Review [7 Days Early Access]](https://images.beastsofwar.com/2025/12/unboxing-atomic-mass-games-star-wars-legion-rebel-alliance-agent-_-officer-coverimage-225-127.jpg)


A Project too Far? – British Paras for Bolt Action


Recommendations: 405
About the Project
Hi there. Welcome to my project! The short term aim is to paint up roughly 1000 points of British Airborne, Denisons and all. Aiming to theme them around A Company, 2nd Battalion which fought at Arnhem. I will try and update as regularly as I can, sharing the progress of the army and some painting guides for any who are interested. So uncap those Maroon acrylics...here come the Red Devils. Waho Mohammed, and stay 'Frosty'...
Related Game: Bolt Action
Related Company: Warlord Games
Related Genre: Historical
This Project is Active
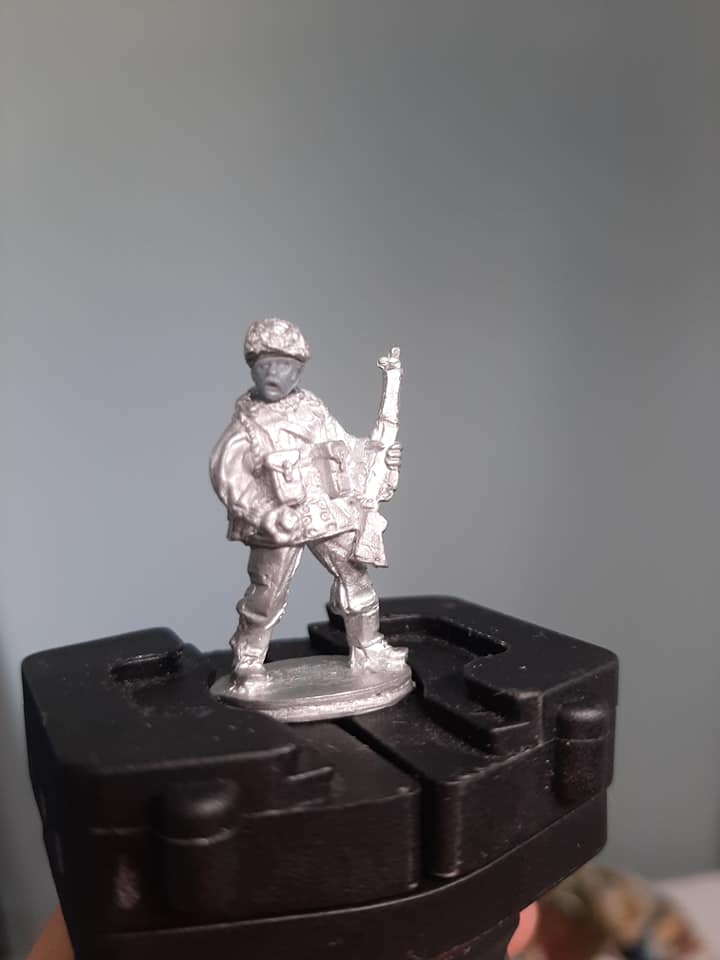
Tiny Details...
 The 'Green' Beret's...
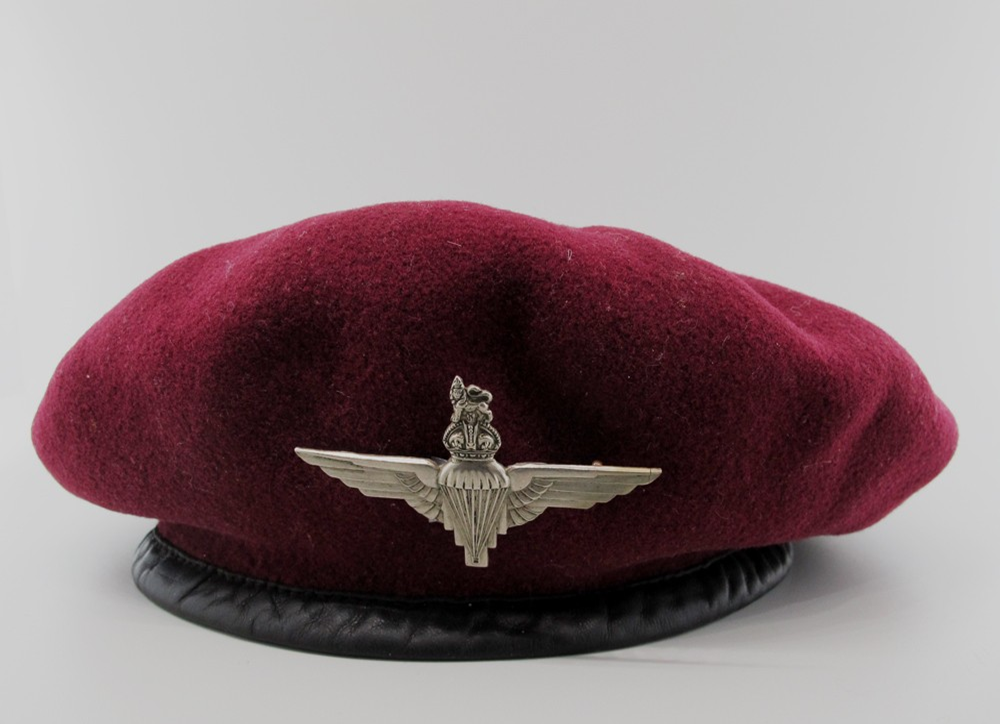 The Genuine Article for Reference
As I was getting set to prime ‘Three Section’ ready for painting, I noticed a small yet distinctive detail was missing from my ‘green’ berets. Their metal comrades don the distinctive Paratrooper badge on their headgear, so I tried my hand at some fine detail sculpting.
For those who are interested, I started by sculpting a green triangle of the correct size where I wanted the badge to sit. I then carefully shaped it into a similar shape to those on the Warlord sculpts. This is all a bit of trial and error as I rarely use green stuff, but they match up nicely and i’m happy with the result.
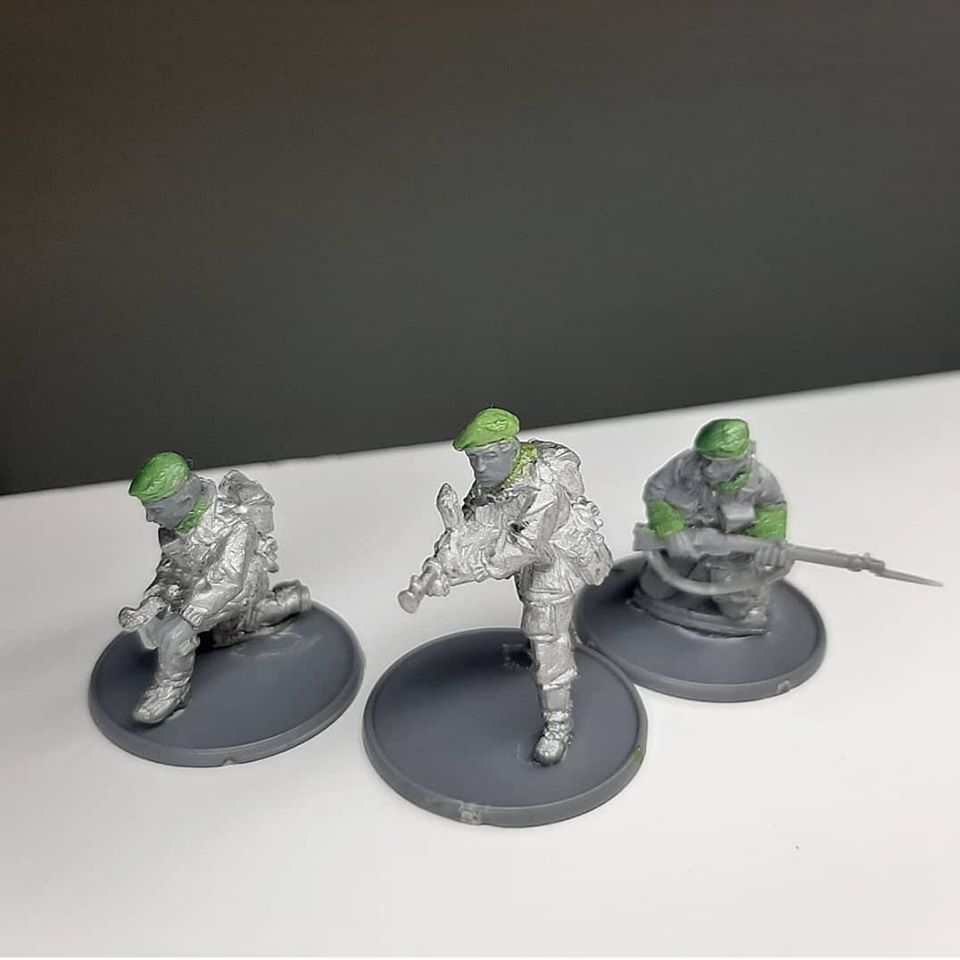
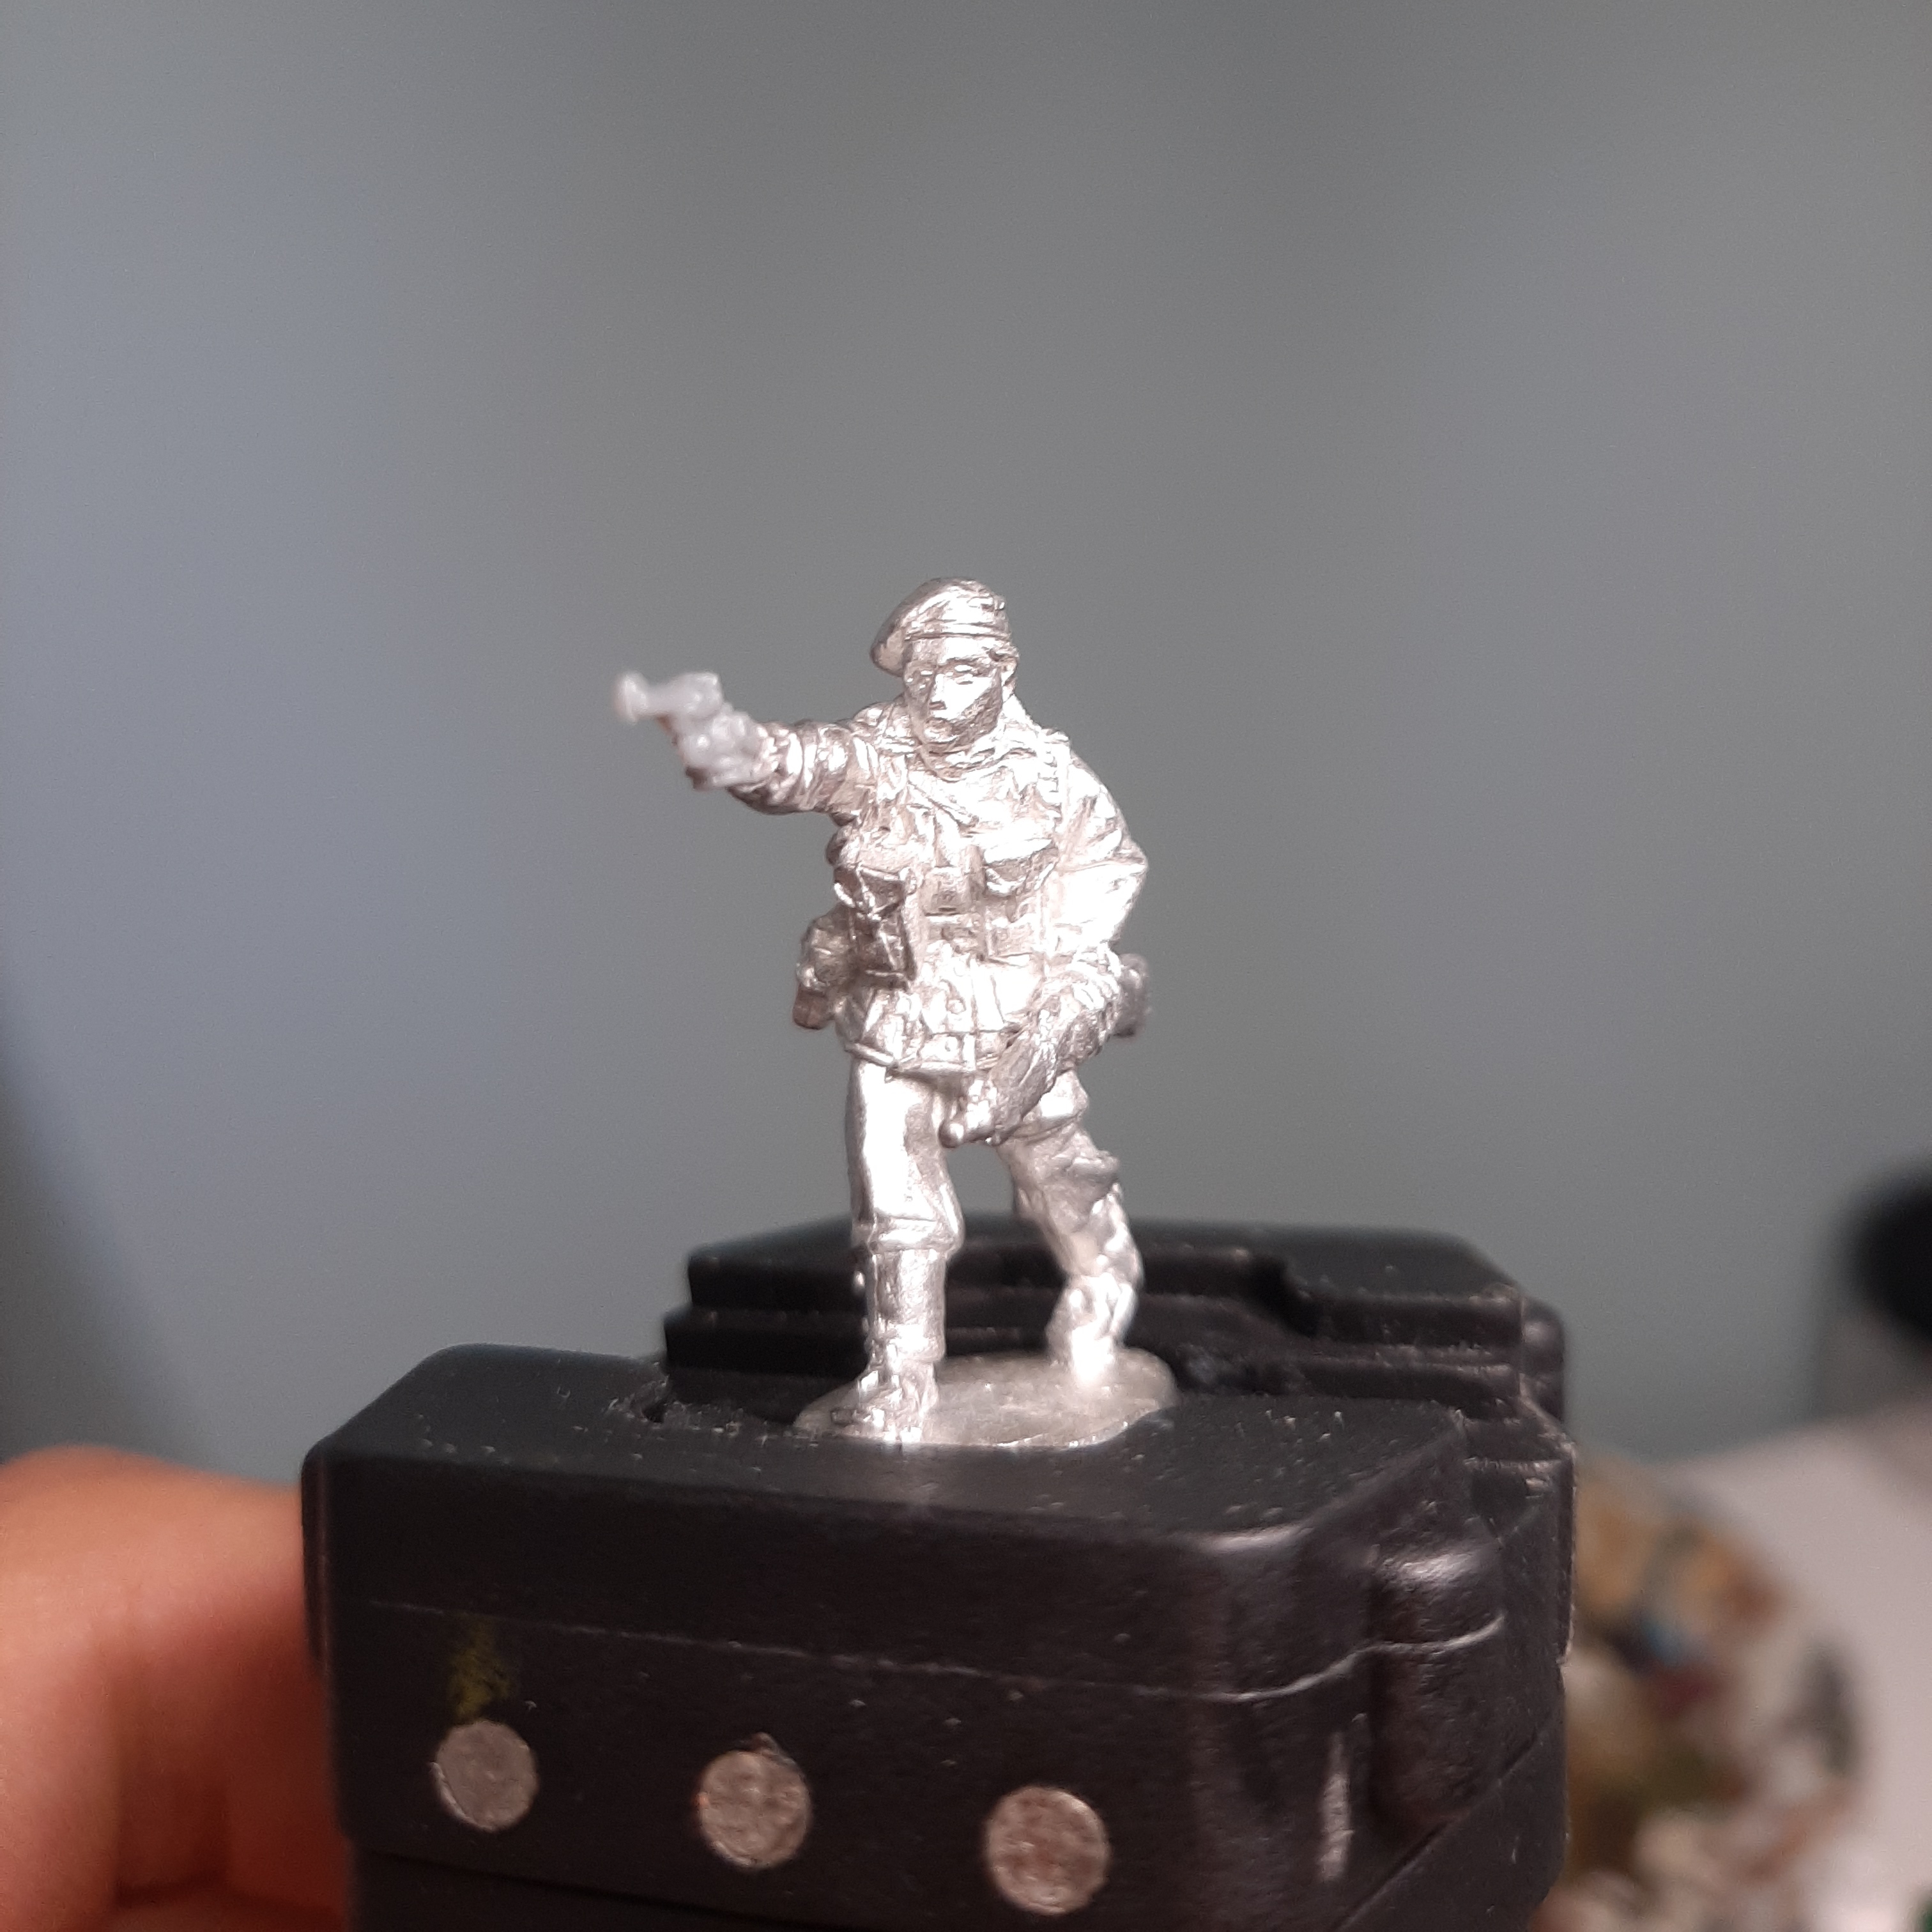
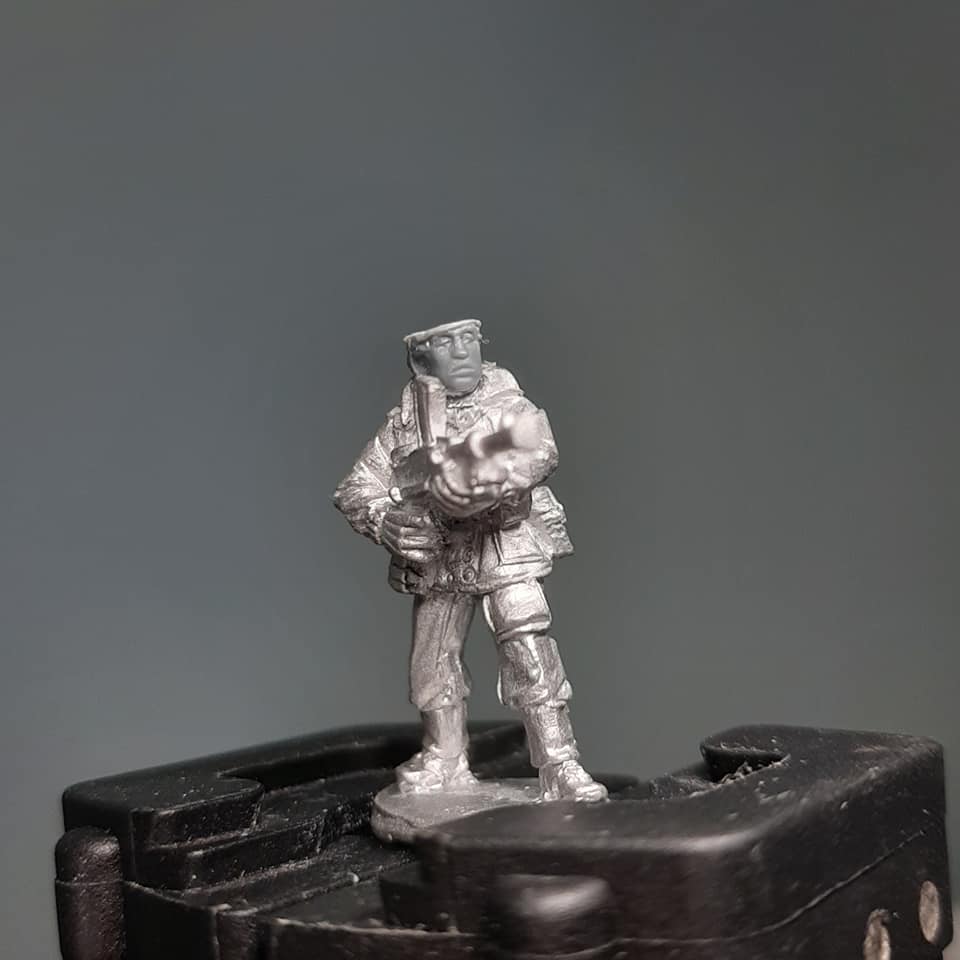
'Three Section' Take Shape!
 A wounded Para...still armed and dangerous!
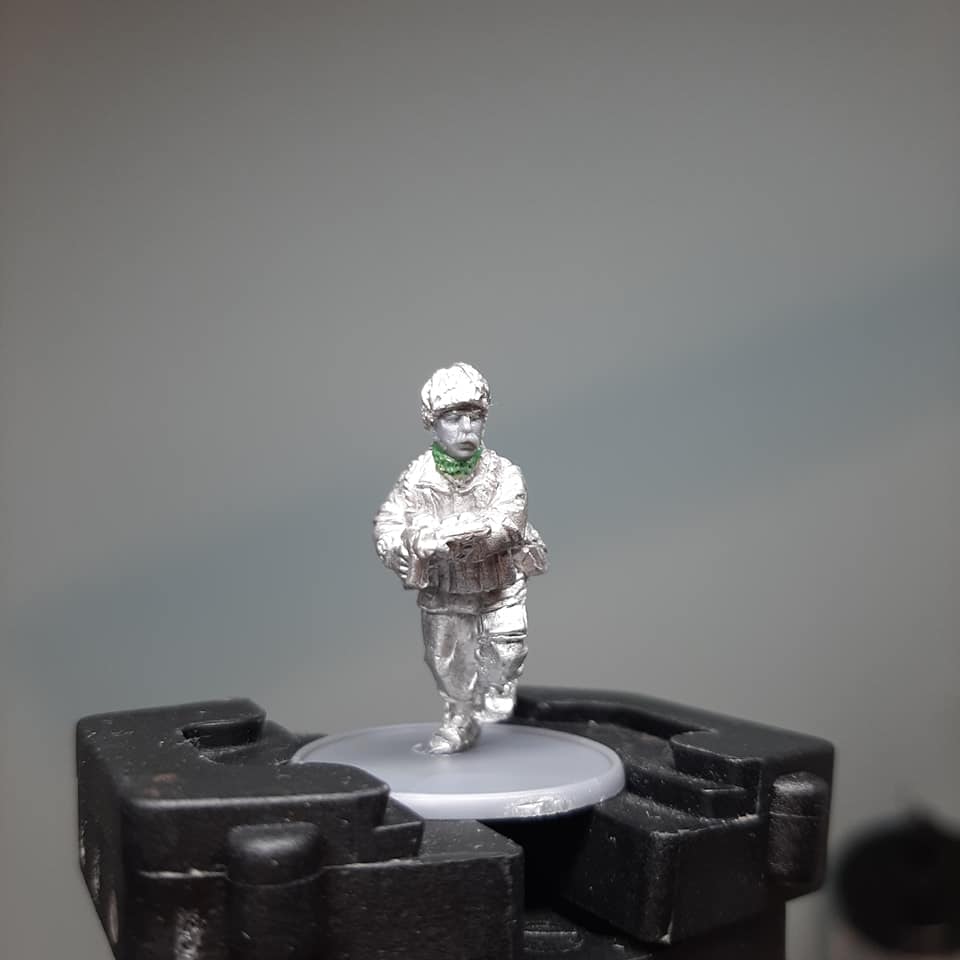

Today’s progress…’Three Section’, my third 10 man section, is now assembled. I’m happy with these chaps, lots more character to set them apart from the other sections.
The chap reloading his sten is possibly my favourite, you can’t see from the photo but the clip in his sten is removed (carefully with a hobby knife). They’ll be primed tonight ready for painting tomorrow! In other news…reinforcements in the shape of a 17pdr may be on the way…
What do you all think of the conversions?
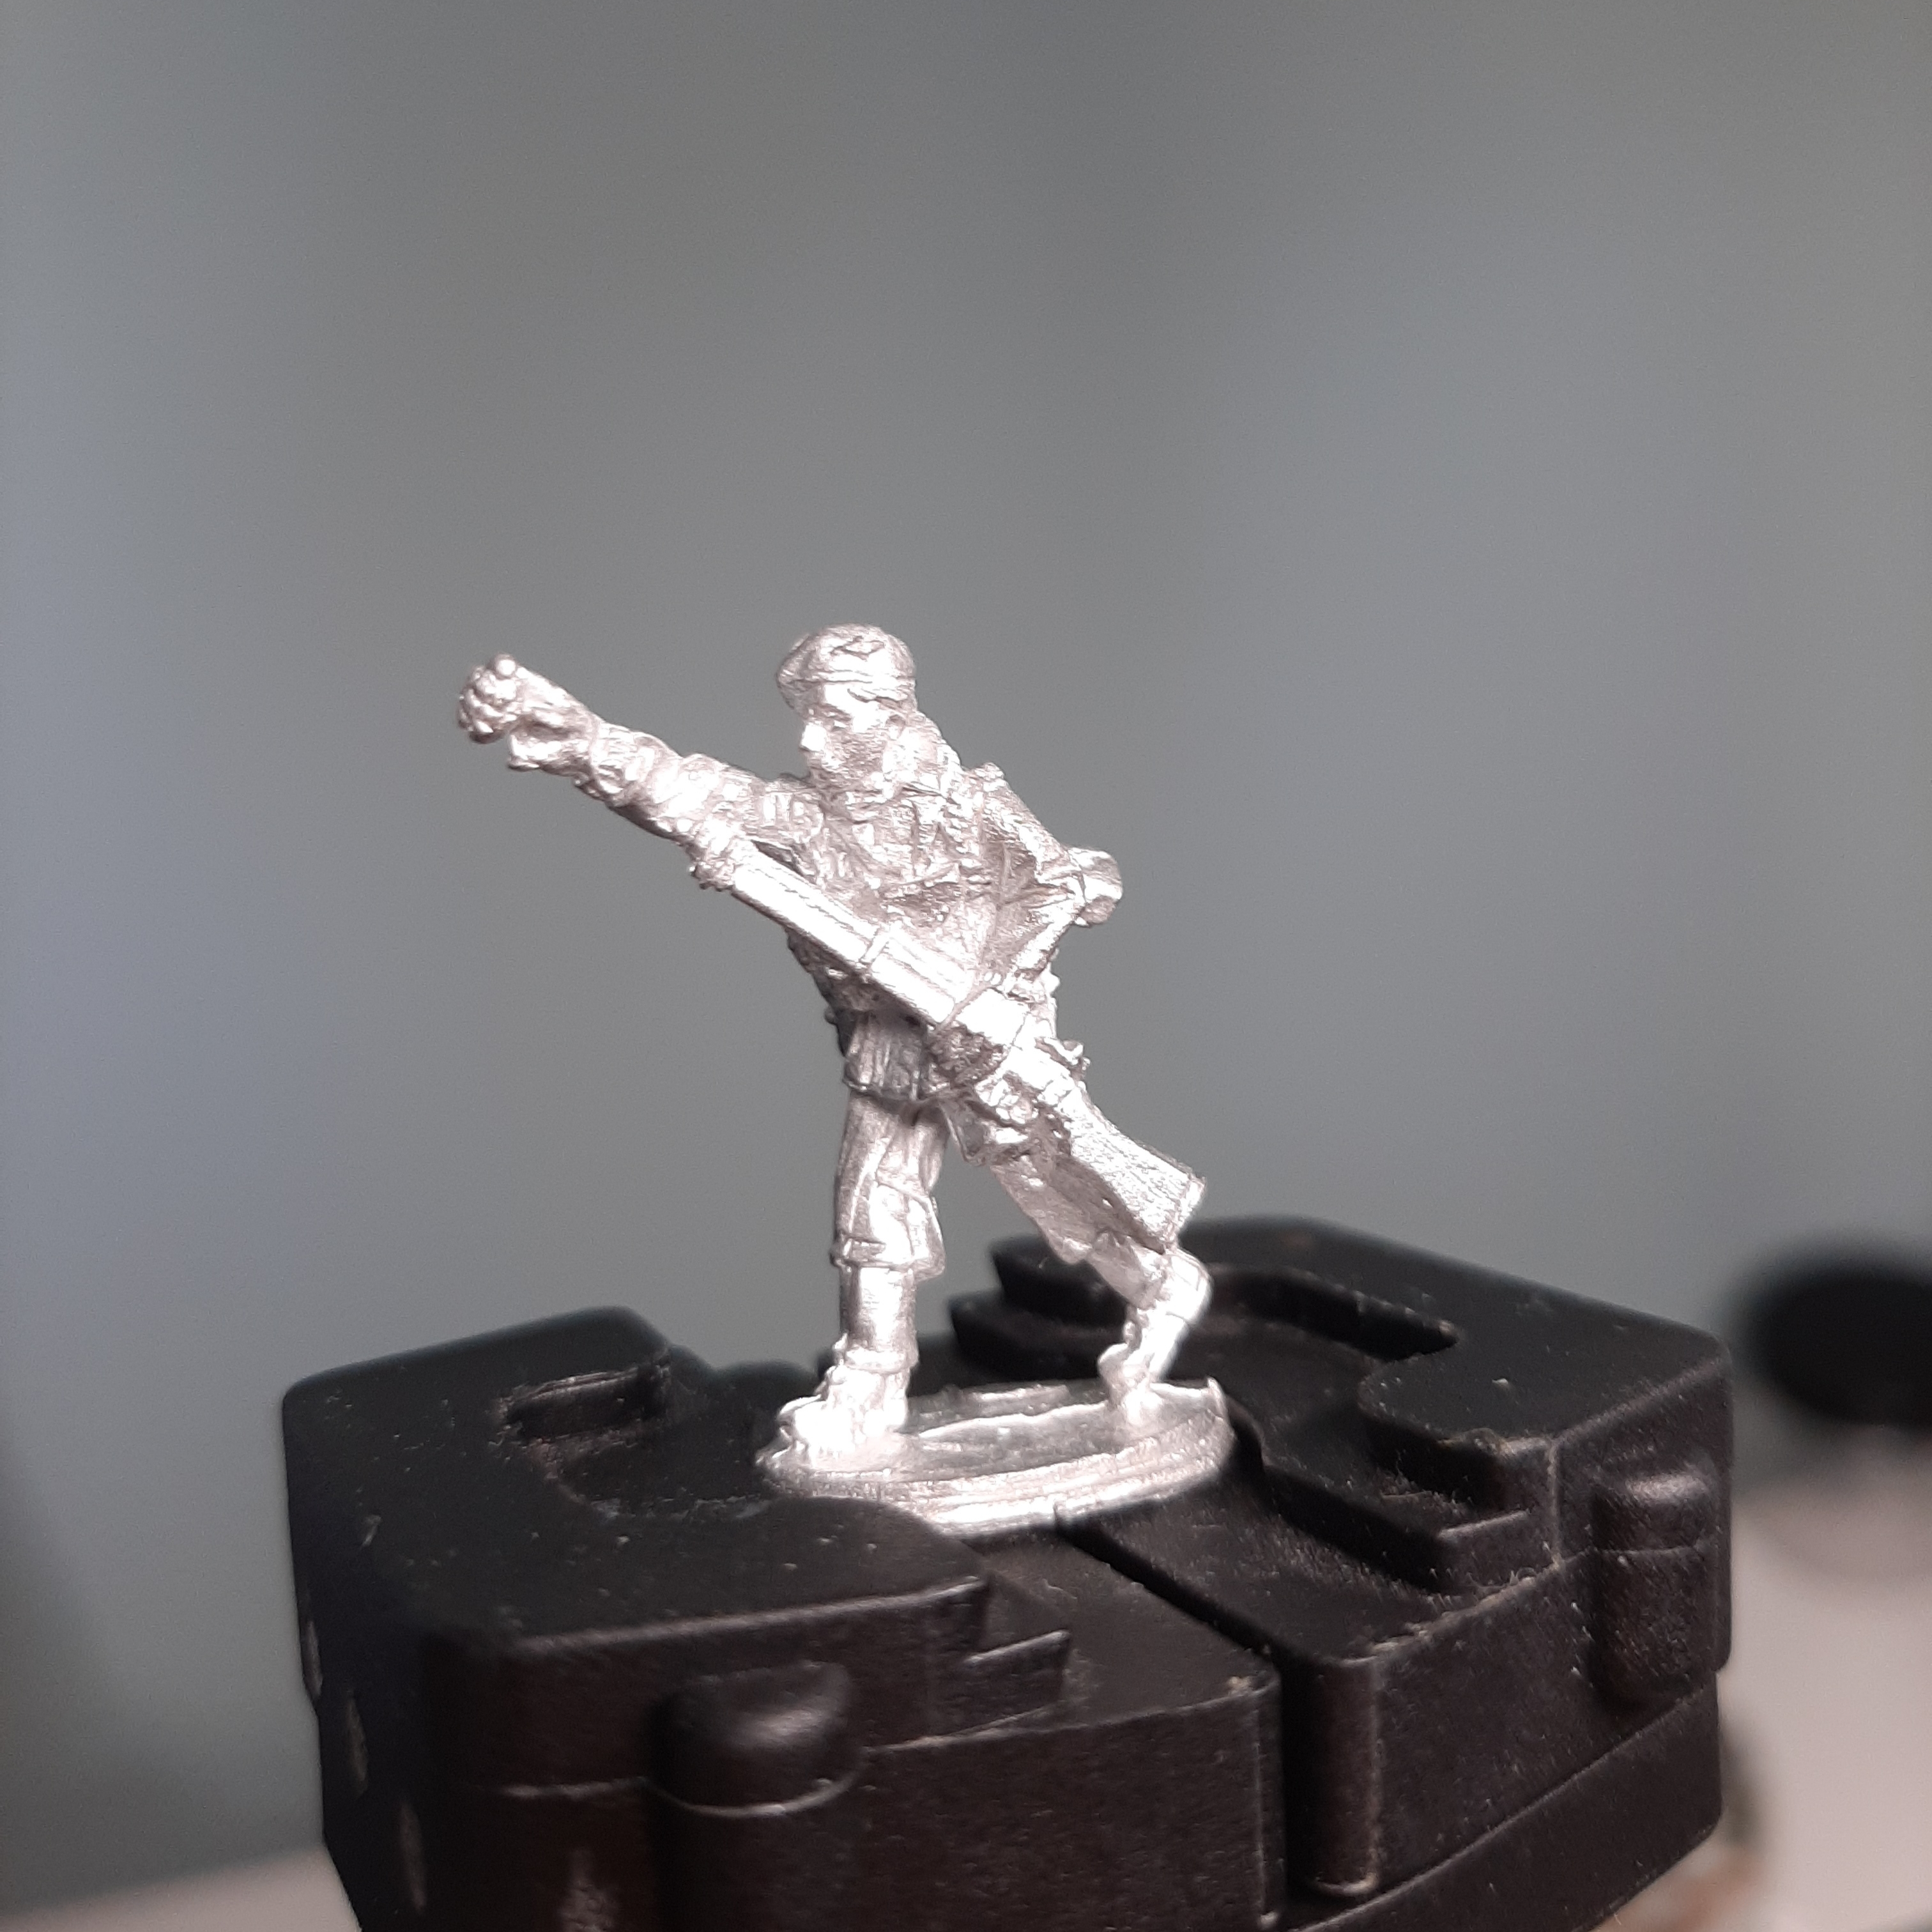
Some New Recruits...
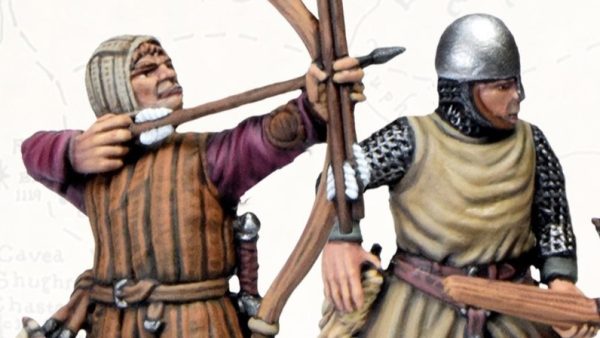
 A variety of unique poses
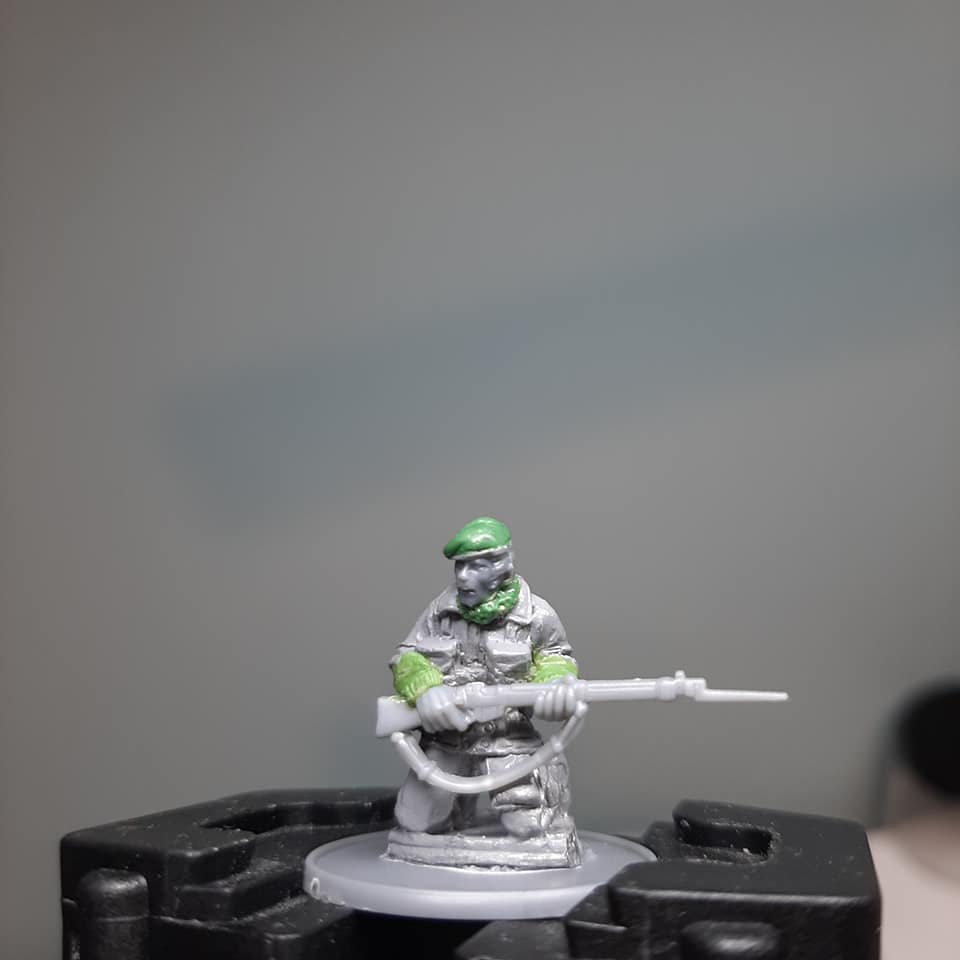
After a furious day of hobby, I’ve managed to create a few unique Paras to make up ‘Three Section’ in the platoon. I found the Perry’s Napoleonic British heads were perfect for the swaps, and I have a few Zulu War British heads lined up for converting more! Green stuff came in handy for sculpting the all important Maroon berets.
Another achievement was a slightly more arduous conversion of an AT gun loader. The kneeling chap in the front right usually holds a sodding great shell, but with some careful cutting and a bit of green stuff I’ve switched it for a rifle. Yet another unique pose!
Posing Paras
Another quick update. I’ve been experimenting with the pose of some of the Paras, trying to make them even more unique. Here’s one i’ve done by simply bending the right arm gradually into a new position, and changing the direction of the head.
I’ve also been switching out some of the weapons, using an old weapon sprue from the British infantry kit. Chuffed with the pose on this one.
Adding Variety - Head Conversions
Metal to Plastic

I’m attempting to add a bit of variety to the army, as fair few of the Para Sculpts are the same pose. I’ve chosen to switch out some of the heads, and mix up the helmets and berets. In theory its a simple switch, cut out the existing head and file down the neck and headgear. Of course, I need a head to fill the gap, so after some rummaging I’ve gone for some great, characterful French Napoleonic heads from Perry.
These heads are a great match in terms of scale, and come with some rather spiffing tashes suitable for any Brit. Plastic is a lot easier to work with than metal, so its even easier to trim down these heads to get them to fit in well. See the above pics for the end result, and a few on the go. Now they just need a bit of green stuff to blend it all back in.
Para paint schemes - Denisons and all!
The Uniform
Miniatures sorted, the next step is perhaps the most daunting…the painting! I recommend spending some time before hand researching your chosen Division’s uniform and looking at a few photos and illustrations. Anything by Osprey is a great starting point.
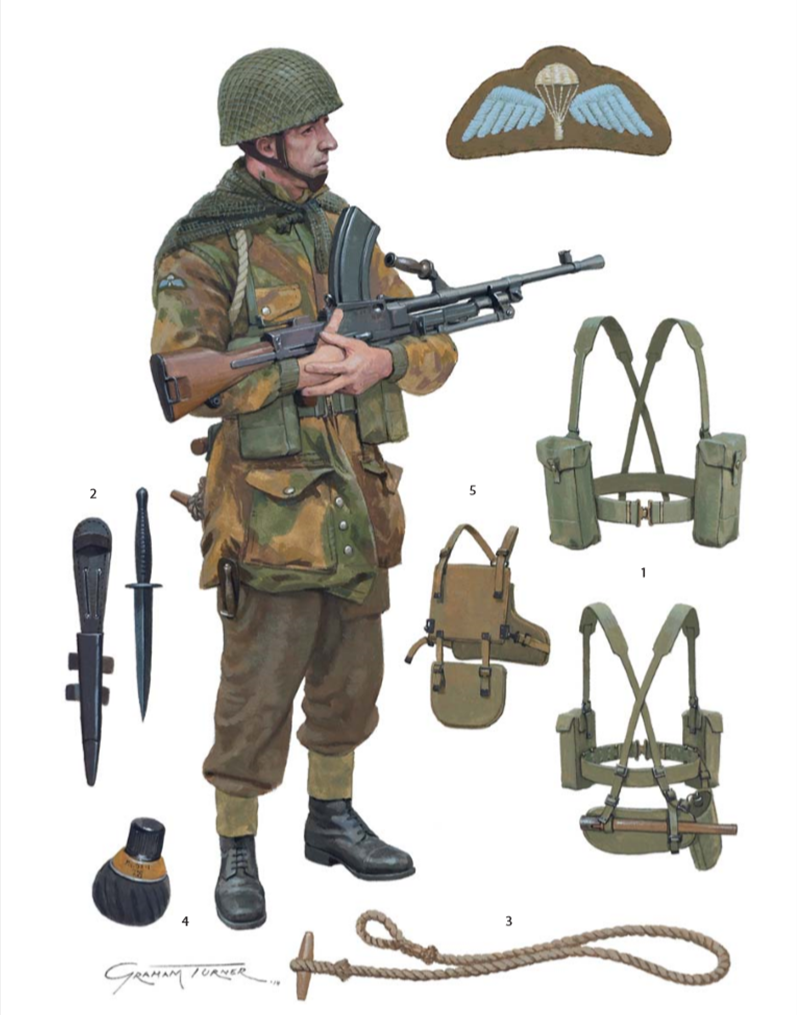 A great illustration of the uniform by Graham Turner - handy reference material!
Some parts of the models, especially the equipment, are so fine in detail that it’s hard to tell what everything is. Luckily the above illustration, found in Osprey’s British Paratrooper 1940-45 , helped to identify some of the more obscure items. This is obviously essential, as we need to know what we are painting!
Here’s the accompanying paragraph of text breaking down each piece of equipment…
When the Para jumped he carried as much equipment with him as possible, as resupply or coming across equipment containers could not be guaranteed. On his person he carried some equipment and weapons that were the same as those for the rest of the British Army, such as the ’37 pattern webbing (1). Other items, such as the Fairbairn-Sykes dagger (2), were carried by more specialized units such as the Commandos and SAS. The Para carried the dagger in a special pocket in the parachutist’s battledress trousers, designed to allow him access to cut himself free if he became caught on items such as trees when landing. The toggle rope was also issued to these specialized units (3); these could be used to pull items and be linked together to help climb over obstacles. The No. 82 Grenade, more commonly known as the Gammon Bomb (4), was not only used by members of The Parachute Regiment, but was invented by one of its officers, Capt. Jock Gammon of the 1st Parachute Battalion. Some Paras were issued Medical Research Council (MRC) body armour (5) during Operation Overlord, which was worn under the Denison smock. Made from manganese steel, MRC body armour consisted of three plates: chest, lower belly or ‘goolie’, and a rear plate that partially covered the lower back and kidneys. The body armour proved unpopular at the time as it caused chaffing and the wearer to sweat, and it was quickly discarded or swapped by the men.
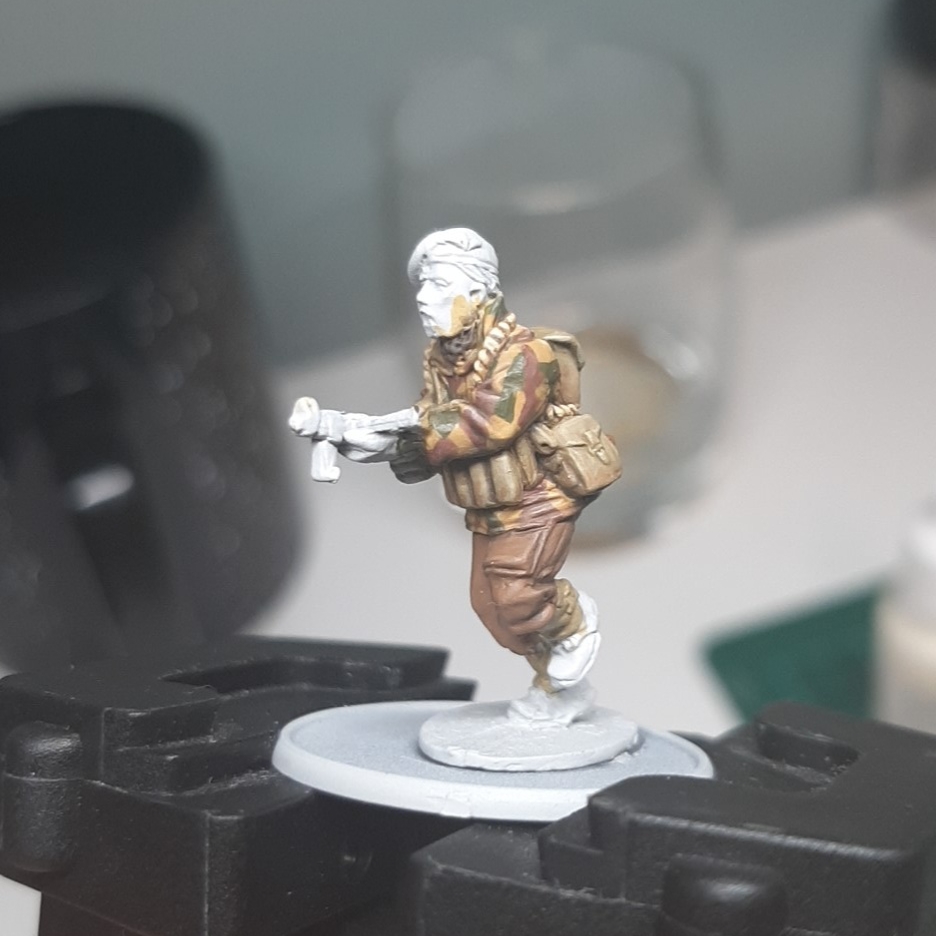
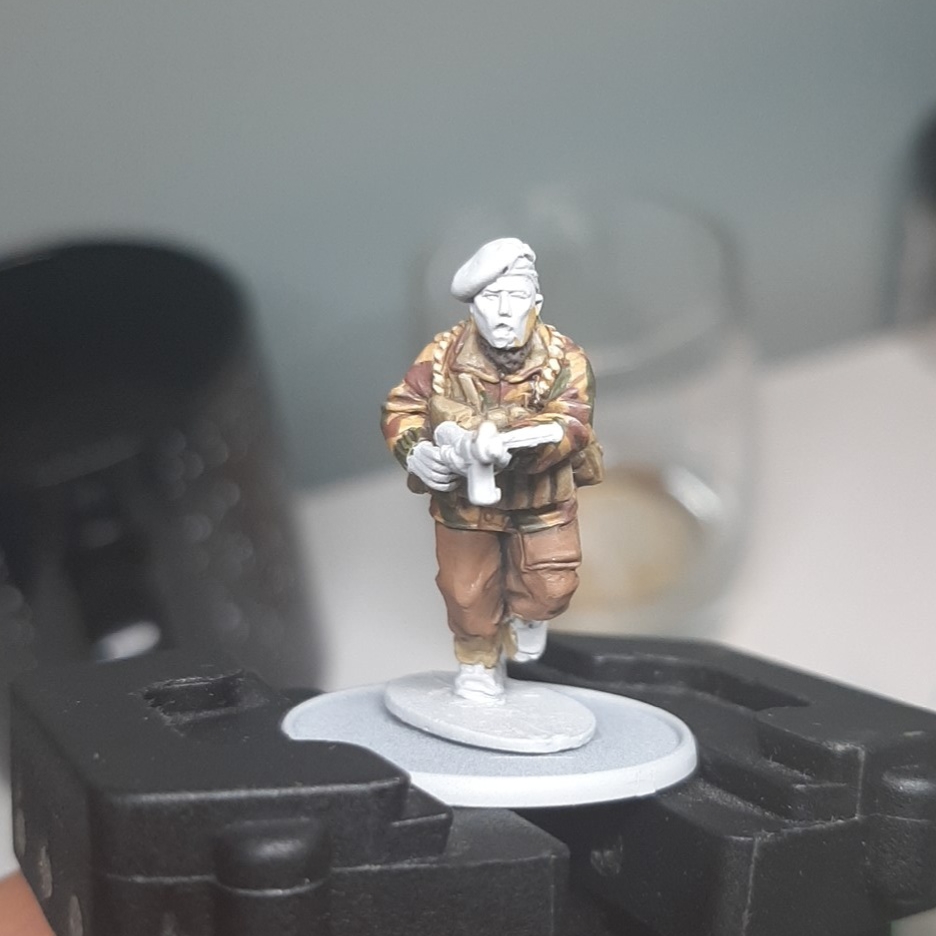
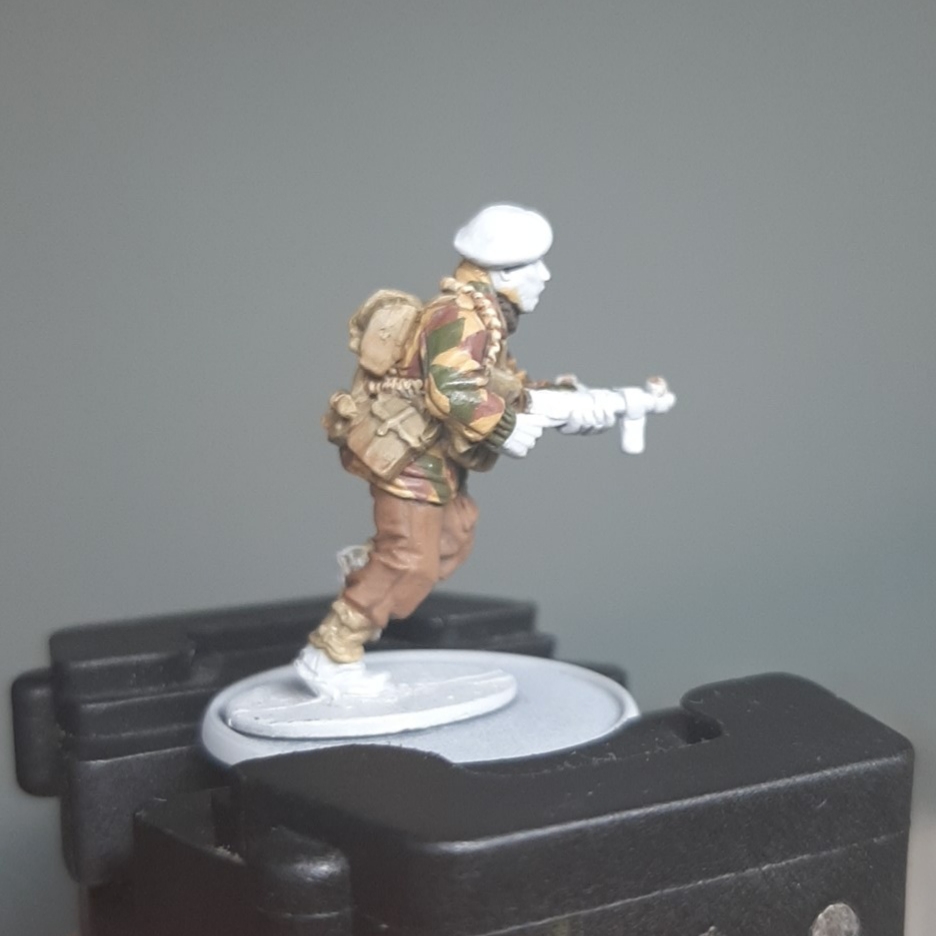
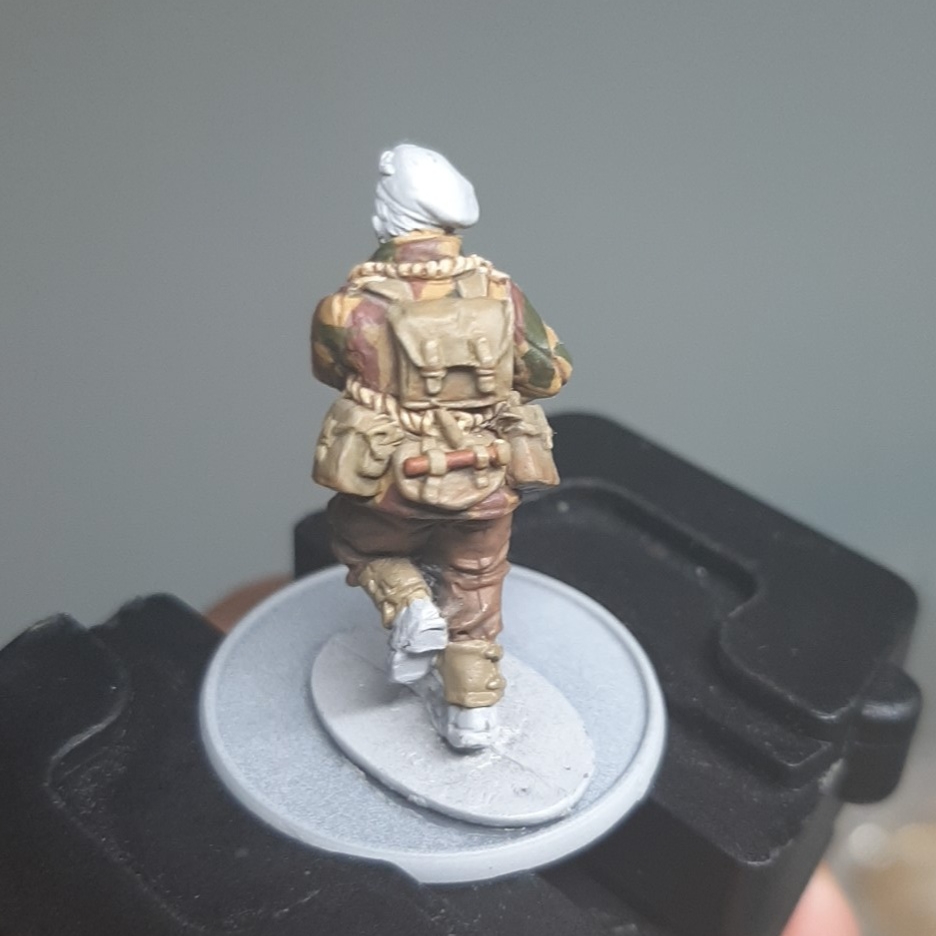
The 'Test' Model
Admittedly i’m few days into this already, so i’ve made a lot of progress on my first ‘test’ model. So far i’ve worked out a scheme I am happy with, and have completed the Denison smock, webbing, equipment and trousers. Let me know what you think!
Colour Recipe
I find it invaluable to keep a record of what paint recipes I used for each project, so I can easily jump back in should other hobby temptations catch my eye. There’s nothing worse than forgetting how you painted an army when it’s only half done!
I’ve included the recipes for each part of the uniform for those interested for their own armies.
Denison Smock
Base: Green Ochre/Refractive Green/Saddle Brown
Shade: Chocolate Brown/Lhamian Medium
Deep Shade: Rhinox Hide
Highlight: Dark Sand/Lhamian medium Glaze
Webbing/Equipment
Base: Vallejo Khaki
Shade 1: Vallejo Khaki/Refractive green (1/1)
Shade 2: Vallejo Khaki/Refractive Green (1/2)
Shade 3: Chocolate Brown/Refractive Green (2/1)
Highlight 1: Vallejo Khaki
Edge Highlight: Vallejo Khaki/Ivory (1/2)
Mud Effect: Watered Down Beige Brown Applied to lower areas of packs
Toggle Rope
Base: Dark Sand
Shade: Agrax Earthshade
Highlight: Dark Sand
Trousers
Base: Beige Brown
Shade 1: Beige Brown/Olive Brown (1:1)
Shade 2: Olive Brown
Highlight: Beige Brown
Edge Highlight: Beige Brown/Khaki (2:1)
I use a ‘glazing’ technique. The basecoat paint is applied using multiple layers of thin paint, before shading the recesses with a mix of paint and GW’s Lahmian Medium (with a bit of water added to make sure the mix is thin). I work the shadows out gradually, applying more shade to deeper recesses. This helps avoid shading every recess to the same degree, which would look unnatural. The highlights are then applied over the raised areas, and some key parts get an edge highlight after that.
Well that’s all for now, I’ll get back to finishing this first chap off. Let me know what you think!
Cheers all.
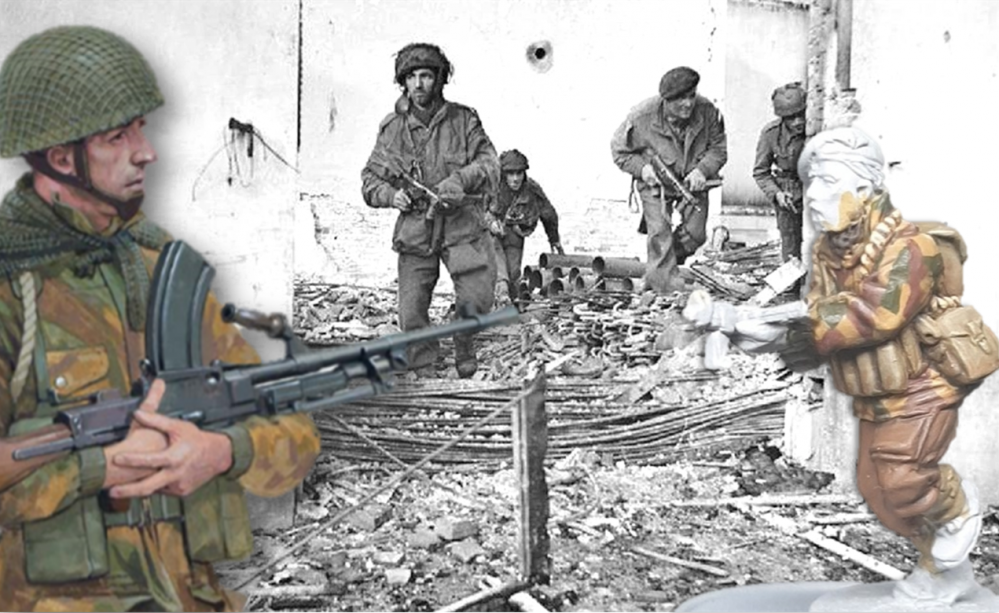
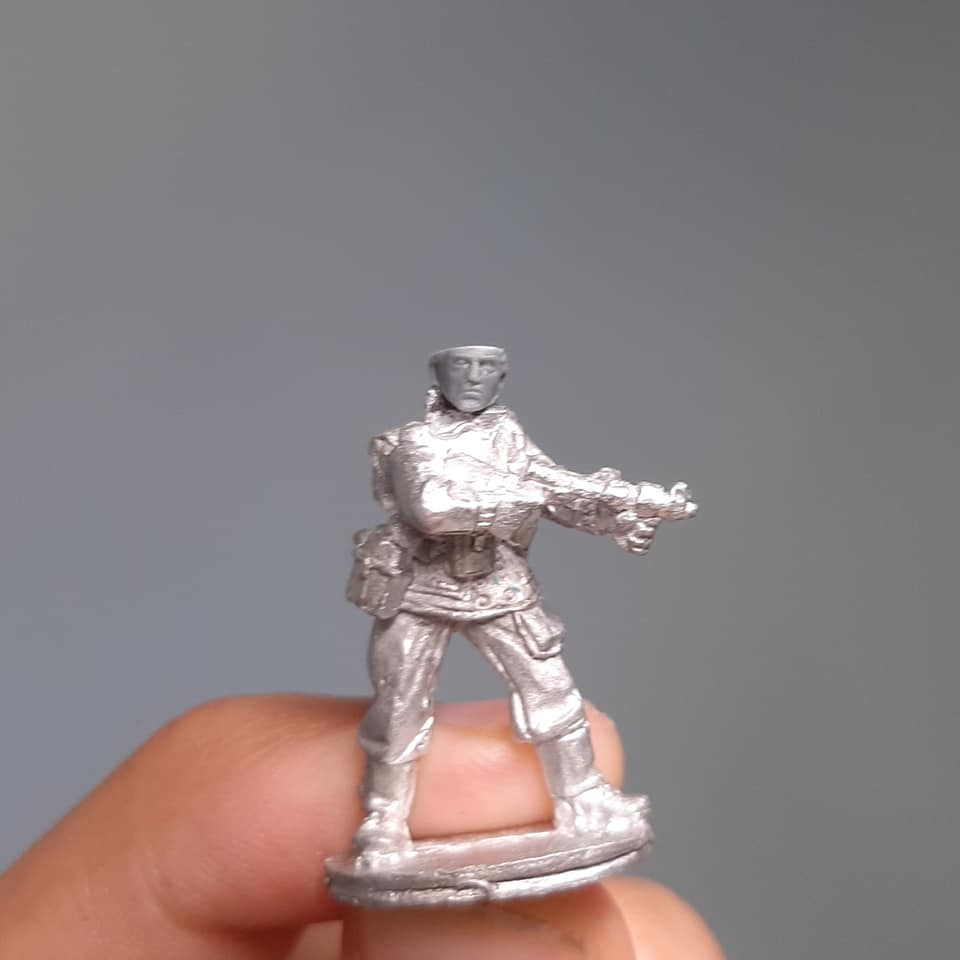
The Miniatures: Classics from Warlord
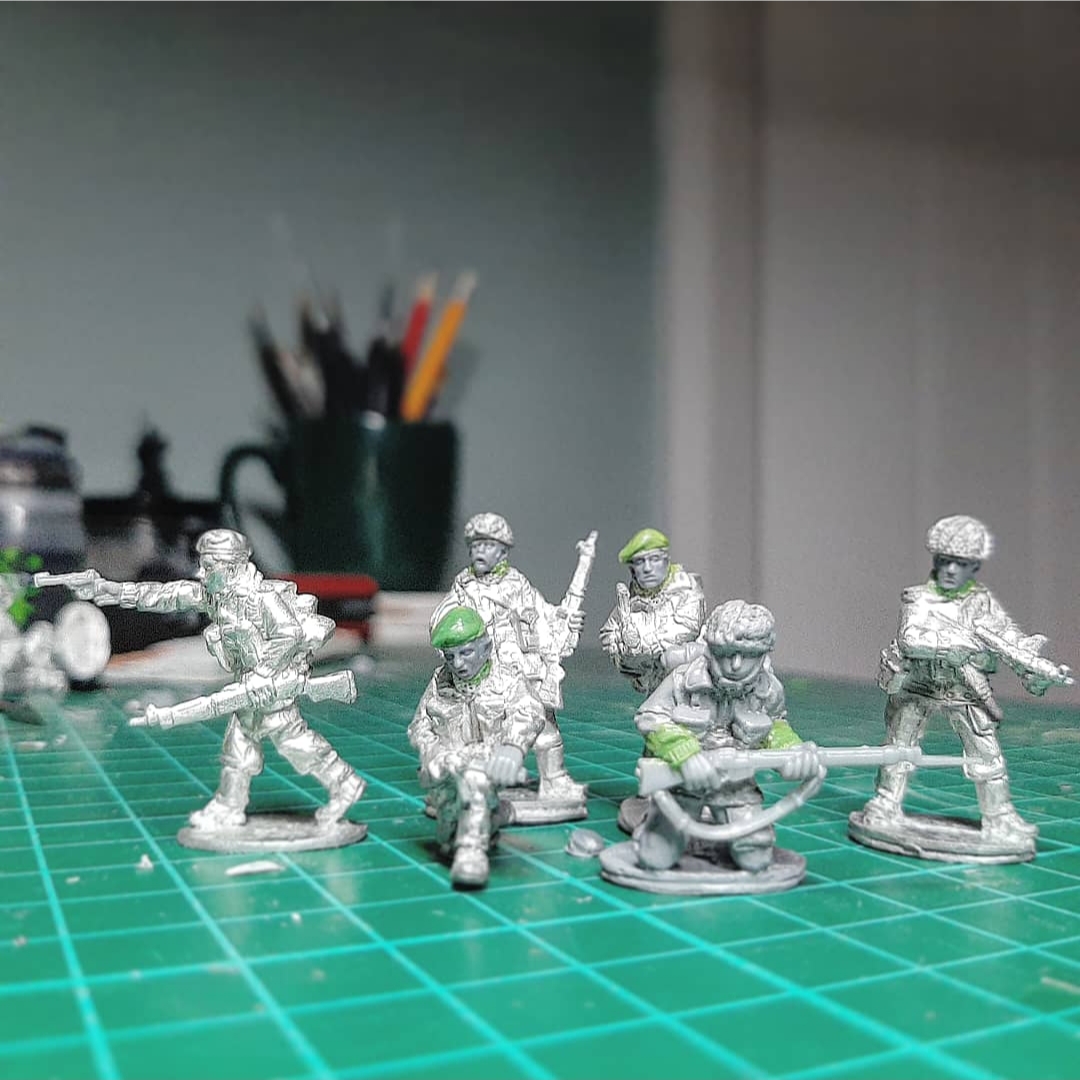
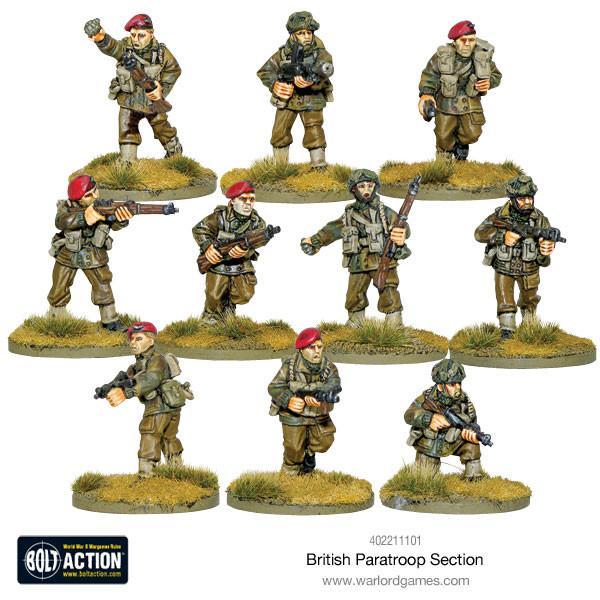 A ten man section - A fair few of these chaps are dropping on the painting table!
So i’ll come clean from the start. This project has been in the works for a while, roughly a year, but the momentum has dwindled. Alas uni , life and *cough* other miniatures *cough* got in the way…a reality of the hobby i’m sure we all experience.
But with all this spare time on our hands, it seems like the perfect time to rekindle the flame, and get a hefty pile of lead shifted, suited and looking presentable. The lead in question? Metal paras from Warlord – a charming and characterful collection of veteran brits.
Although a perfectly good plastic kit is available from warlord, I found that scale-wise the plastics and metal models didn’t fit together. The proportions are just a bit too different for my taste…so I would bare this in mind if you also are thinking about combining metal and plastic. This meant an all metal force was on the cards…and I was only too happy to go all in…the miniatures really are class.
Although sadly much of the old metal range is now out of production, you can still purchase a full section from the Warlord Website. Also some have been re-branded as the polish airborne, so i’d recommend scanning over the poles page on the website. Luckily I was able to pick up most of the ‘rare’ sculpts just as they were being phased out.
So, miniatures secured…time to get painting. Also, if anyone uses British Paras in their games, and has suggestions for army lists they have had success with, stick them in the comments.
Cheers chaps.