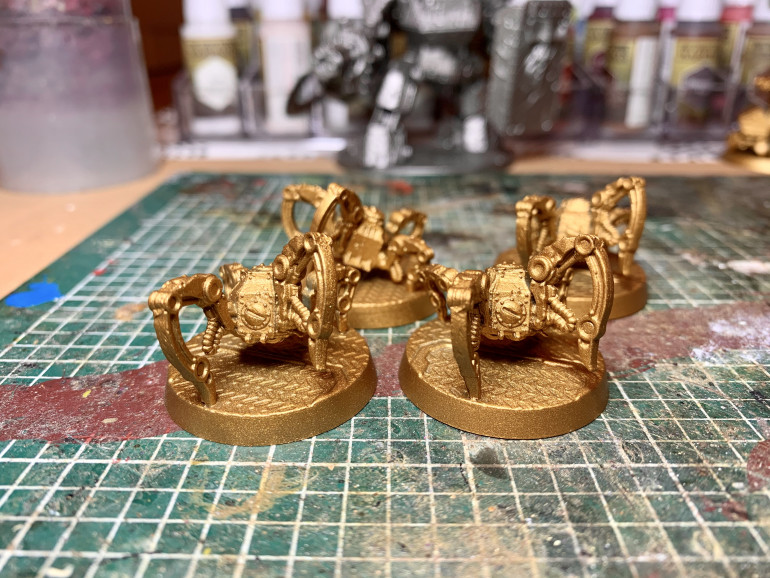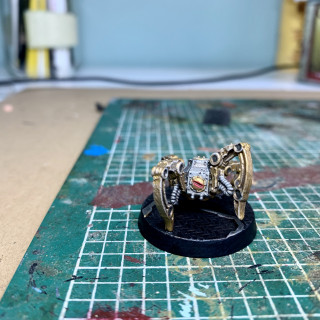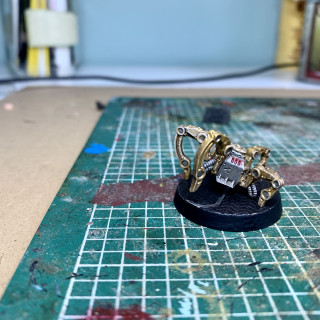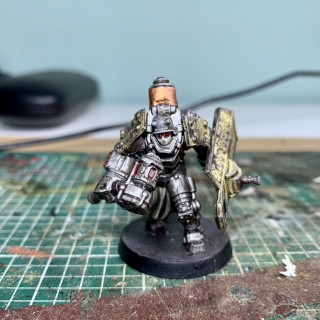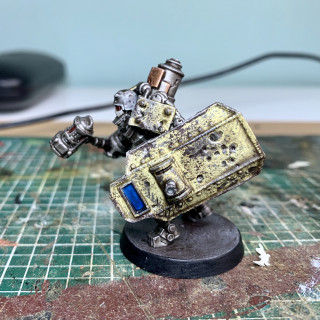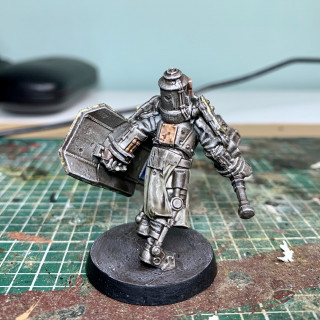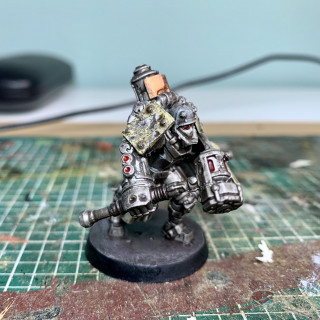
So, You need a Reich busted pt.2
Recommendations: 143
About the Project
So with the bulk of the heroes and basic enemies done its time to move on to some of the more esoteric enemy units. Lets get gribbly! Pt.1 is here if you want to check it out https://www.beastsofwar.com/project/1529891/
Related Game: Reichbusters: Projekt Vril
Related Company: Mythic Games
Related Genre: Pulp
This Project is Active
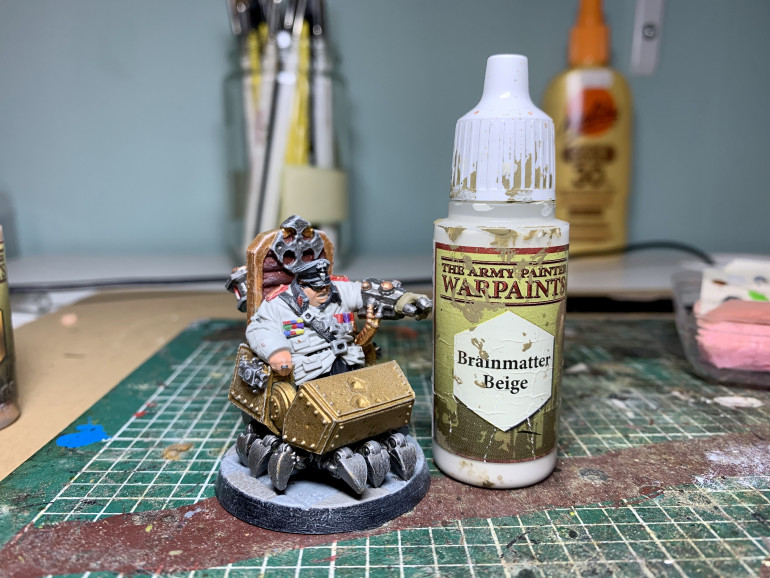
General Wolff
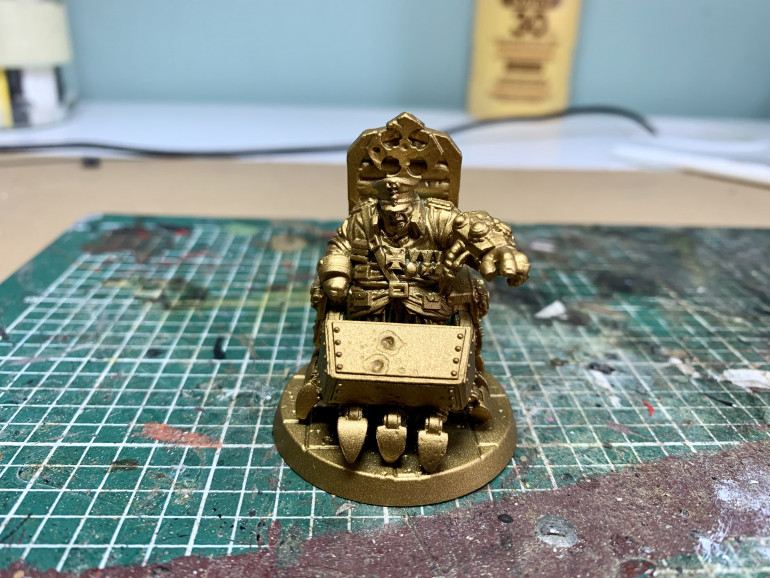 In what I think is a first in 30 odd years of hobby I’ve actually painted an entire board game (core set and heroes)! So with that I give you General Wolff!
And with that the big regal bastard is done! Now just need to play some games now lockdown is easing!!!
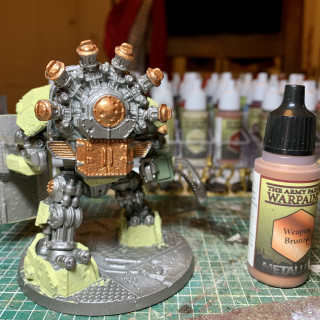
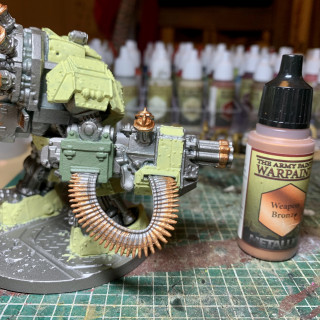
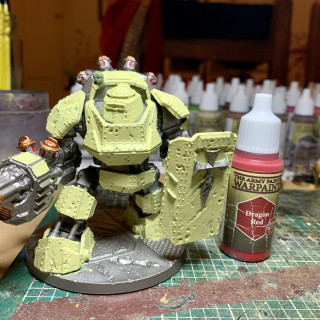
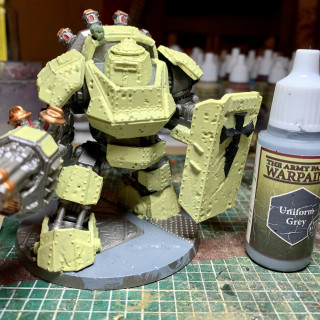
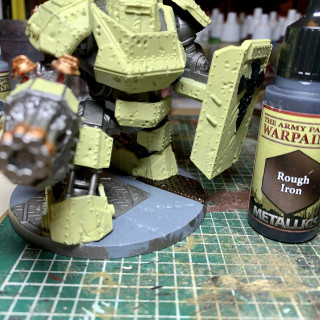
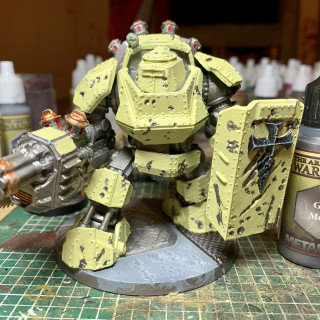
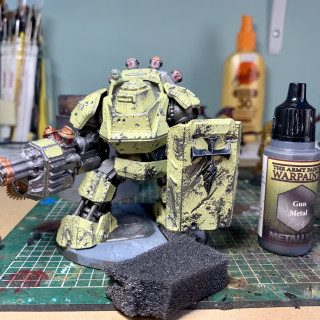
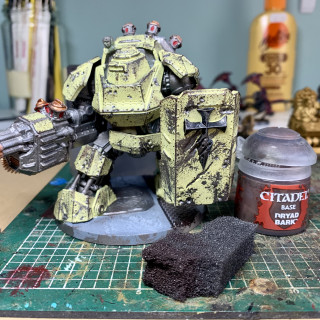
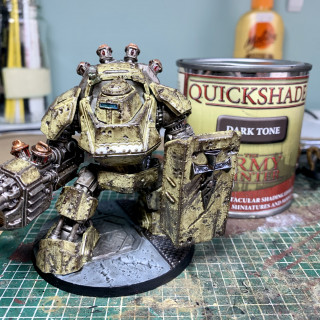
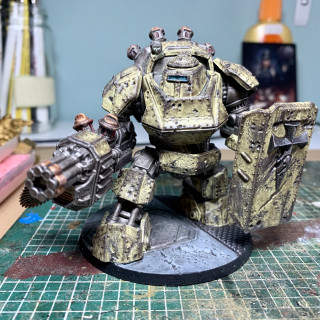
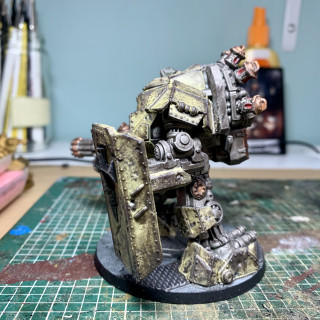
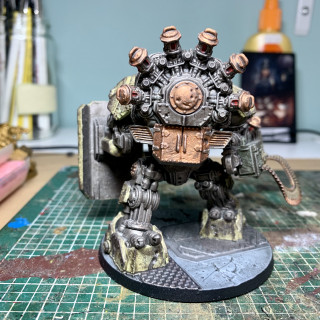
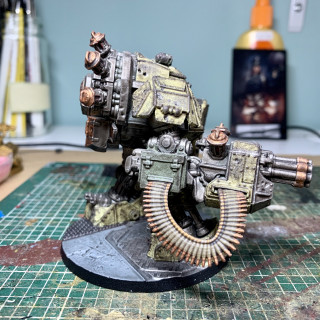
Vrilpanzer
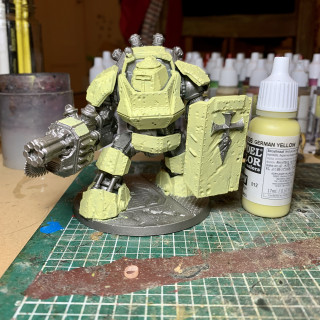
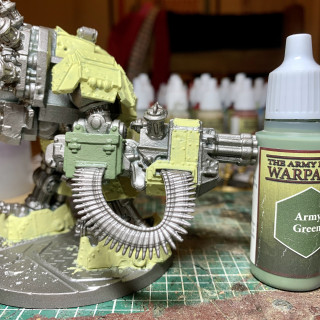
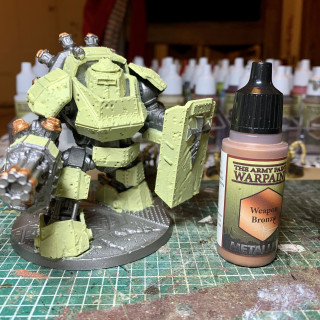
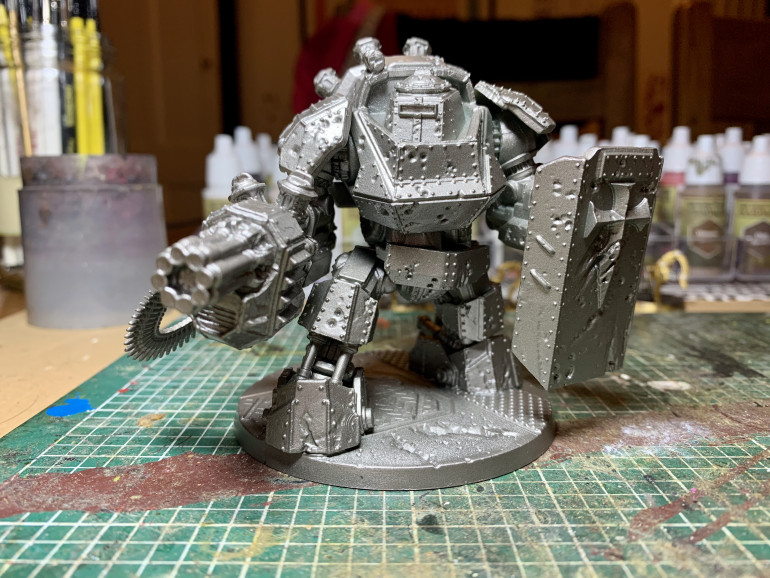 Now for the big one, it’s the mighty Vrilpanzer! Looking to replicate the paint job from the Sturm Angriffs I did earlier, just much, much bigger!
Bit of sponge, bit of weathering!
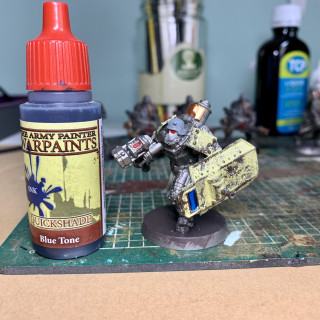
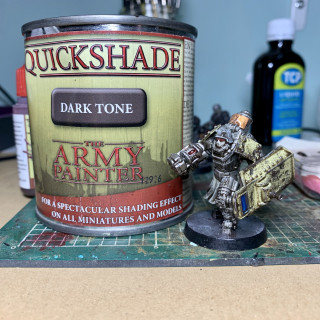
Next I go in with an Army Oainter dark tone dip all over, brushed on. Then leave overnight and Matt coat
And the big lad is ready to stomp!
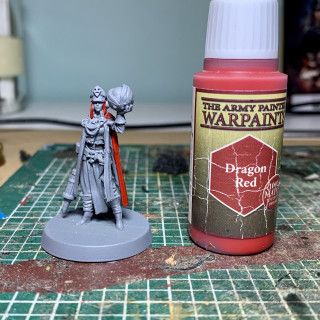
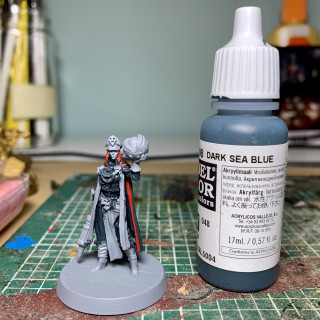
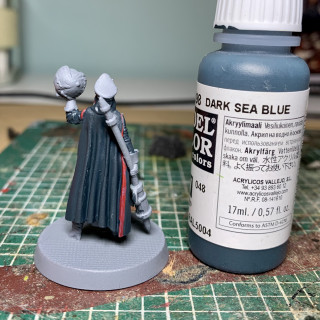
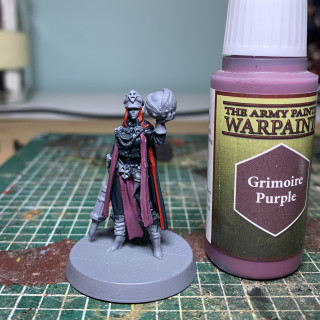
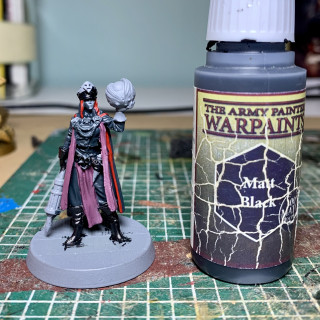
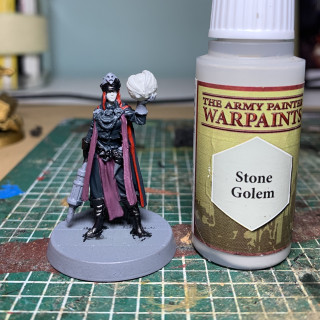
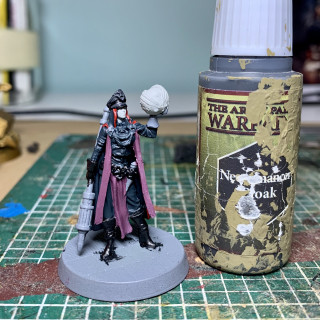
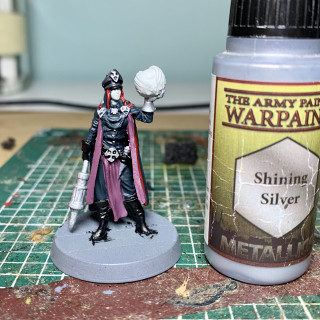
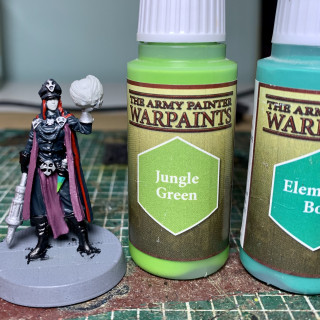
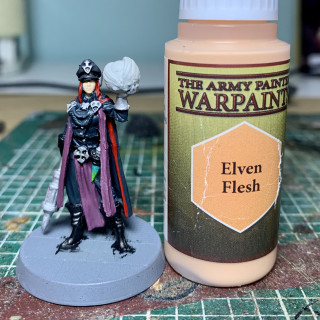
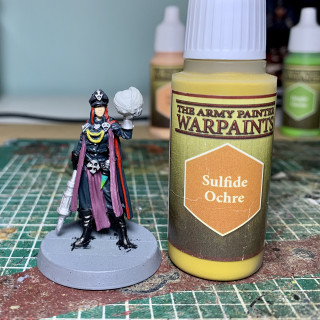
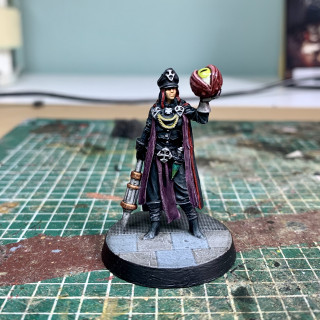
Gisela Gruber
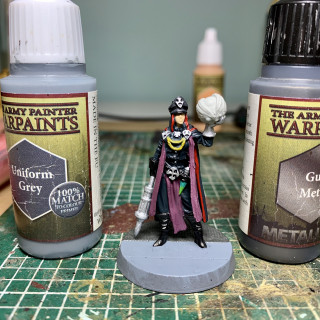
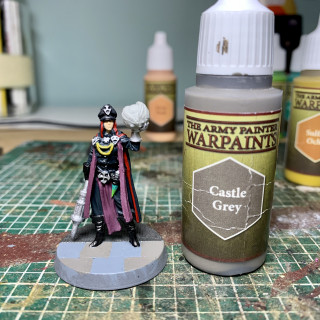
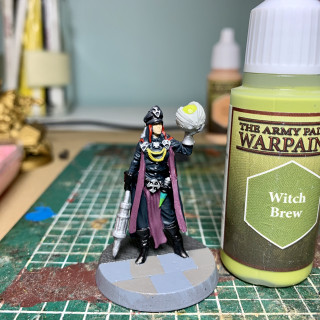
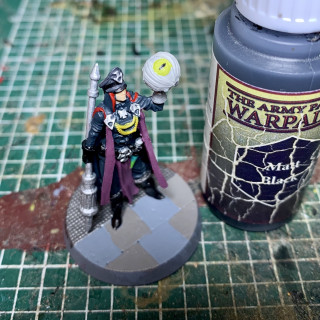
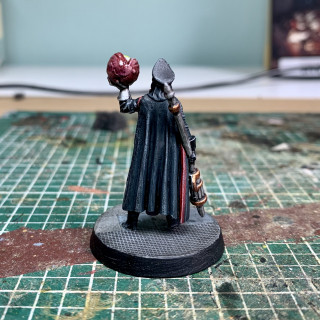
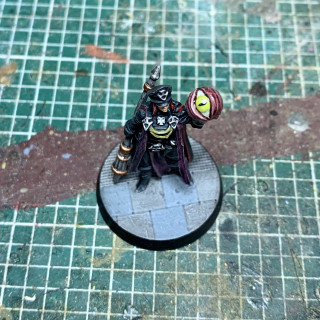
So close to the end! First of the Vrilmeisters is the creepy Gisela
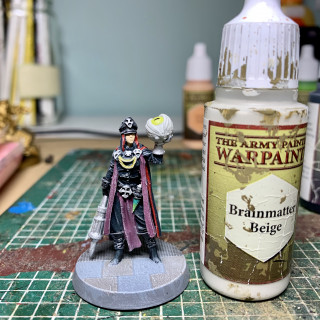
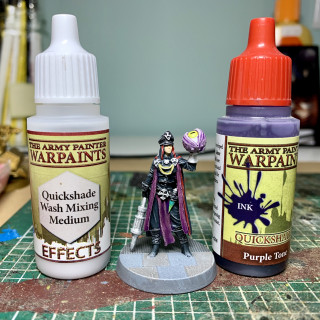
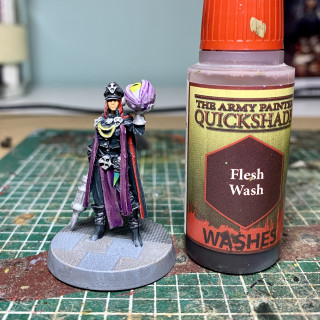
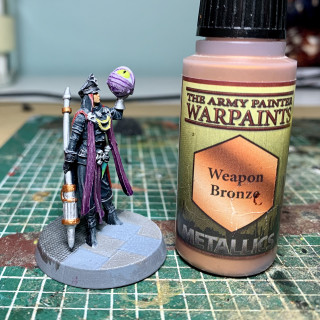
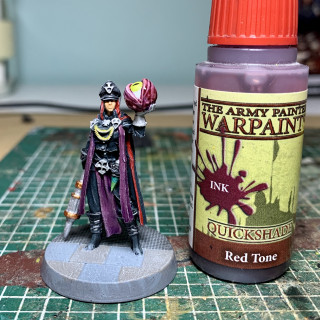
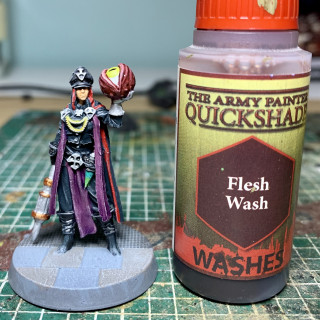
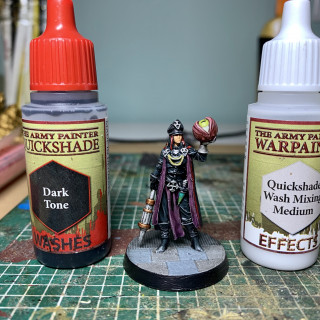
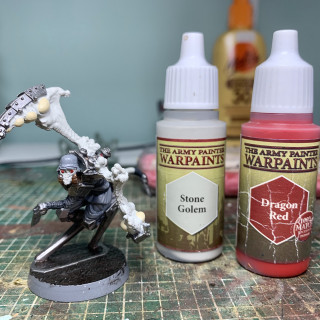
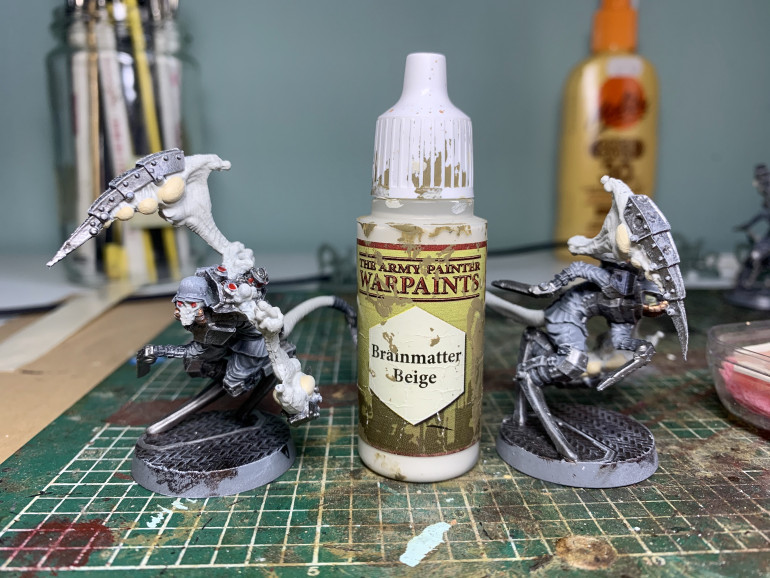
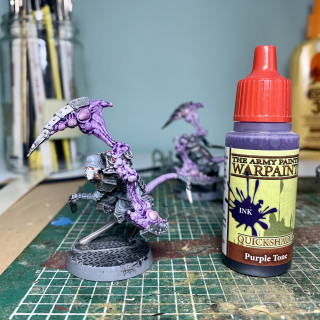
Thats all the basic colours done, I’ll hit it with a brain matter Beige drybrush and then recreate the fleshy effect using Army Painter tones like I did on the Experiment 601’s. I flesh toned the face and added some bronze to the staff whilst the purple tone was drying on the eye if you are wondering why the pics seem a little out of sync!
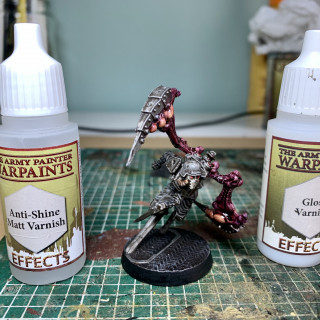
Just finished up with a base tidy, Matt coat and a gloss varnish on the eye and she’s ready!
Experiment 601
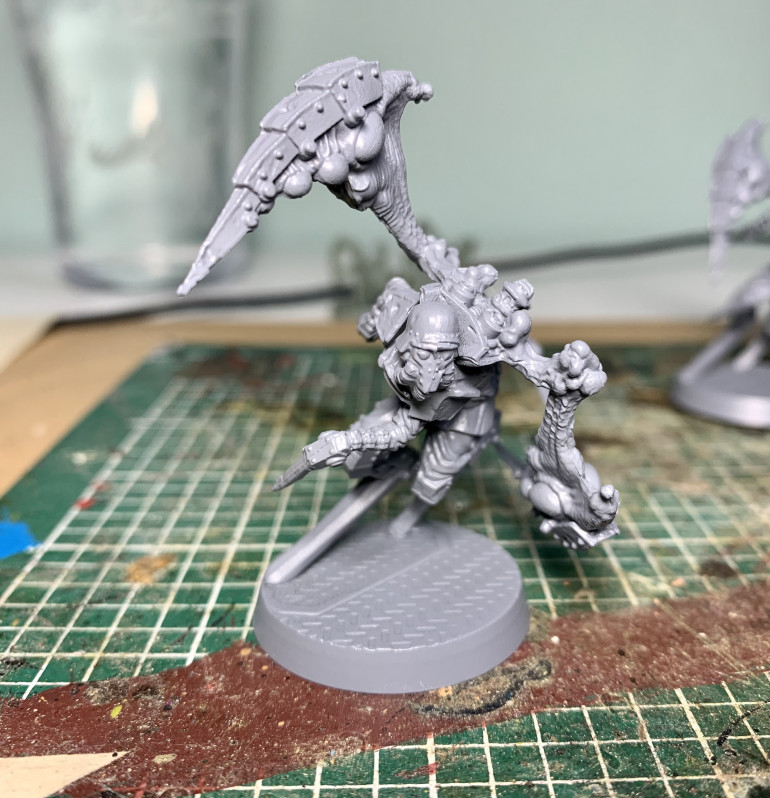
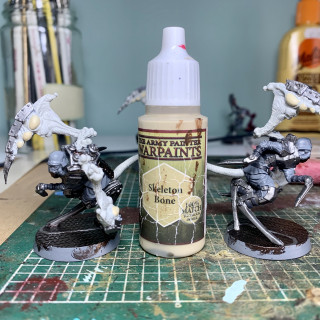
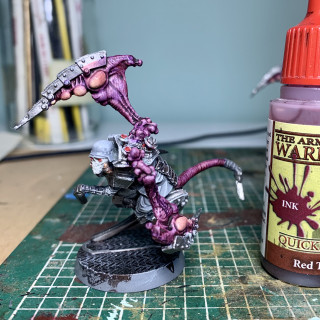
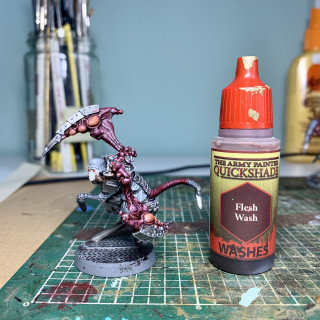
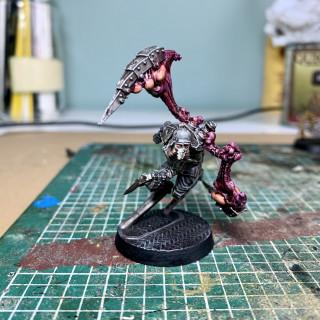
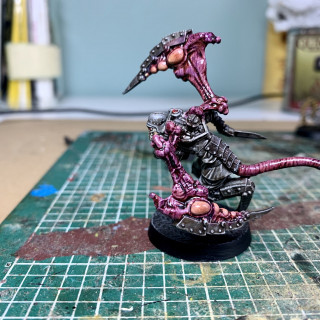
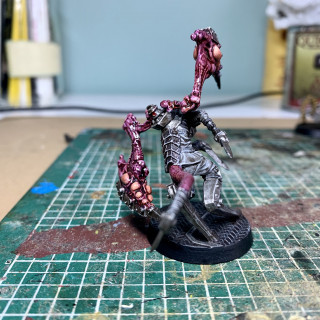
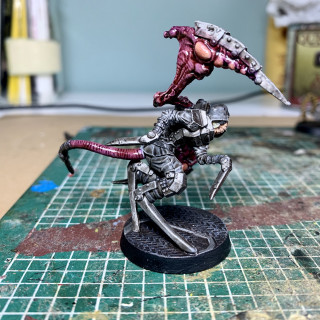
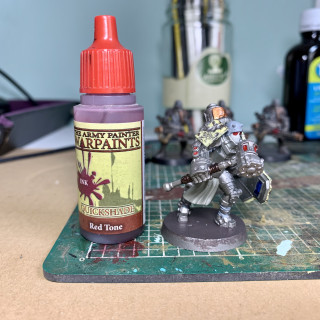
I’ve been mulling over the organic parts of this model for a while and have decided as I have no real idea how to paint them I’m going to go at them with a series of undiluted army painter tones to see if I can build up an organic look. Lets see what happens!
Actually quite pleased with this. I think with a gloss finish this could work well!
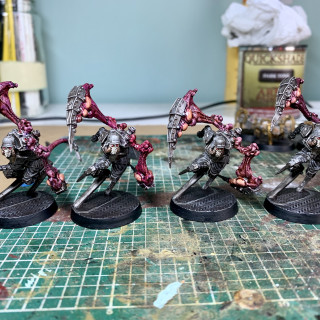
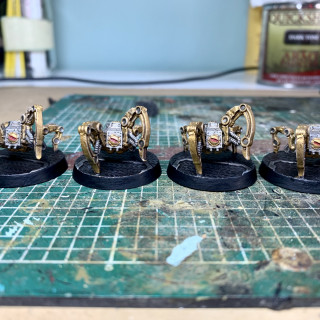
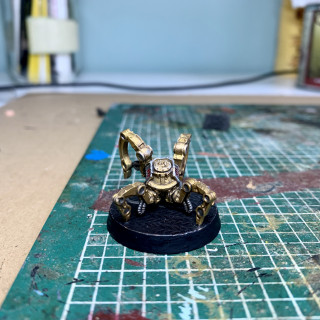
And here they are. Nasty things!!
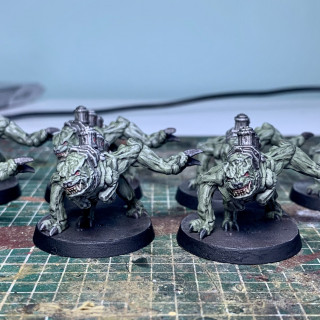
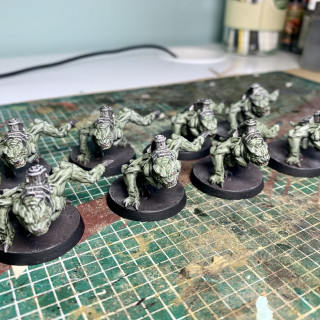
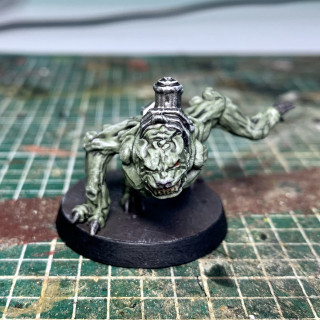
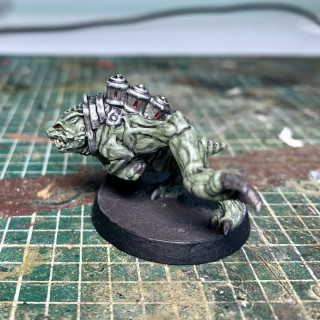
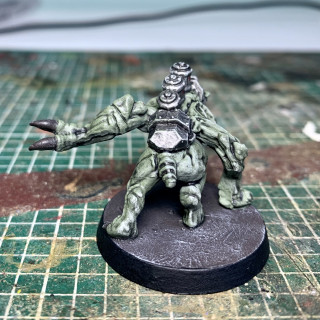
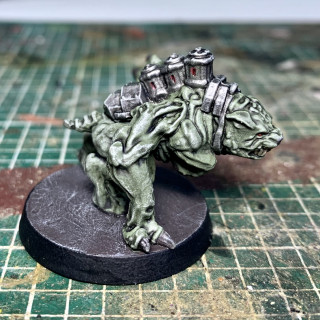
Project 6xx
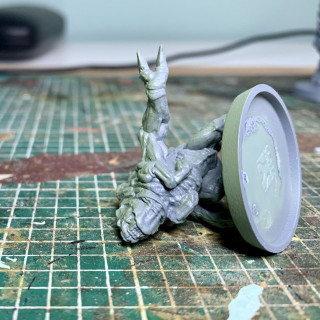
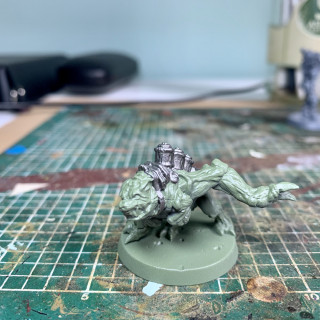
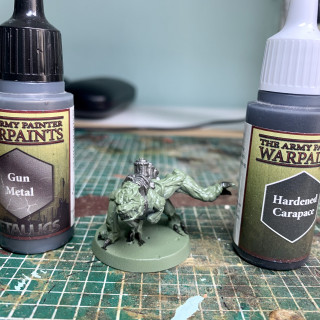
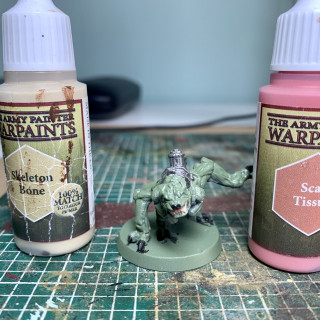
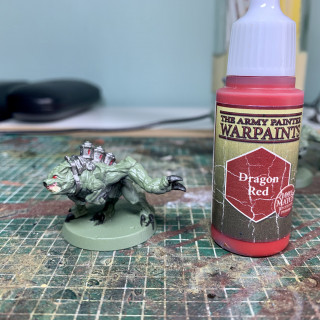
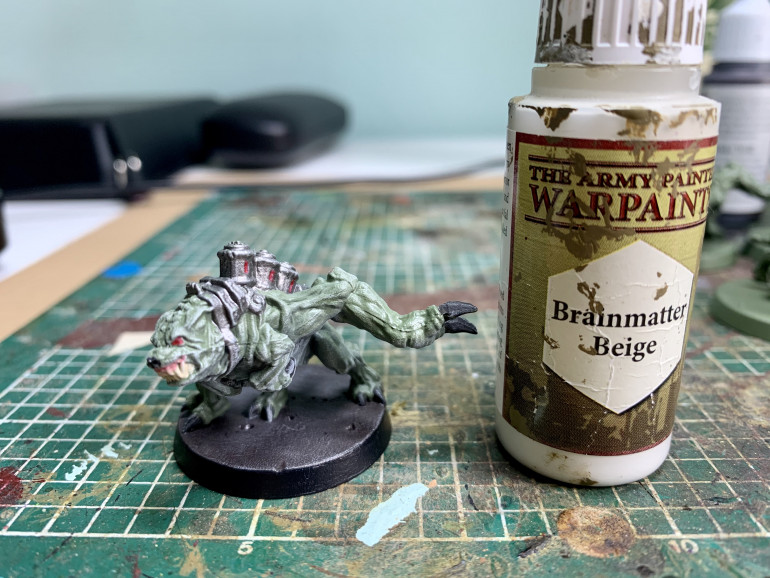
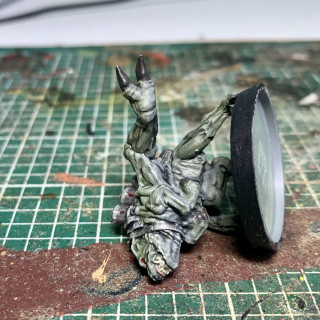
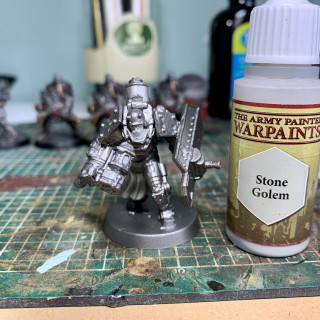
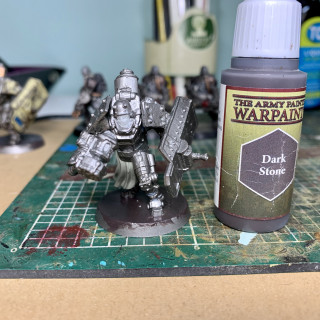
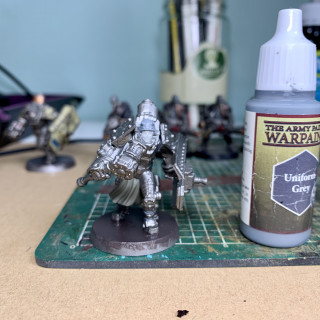
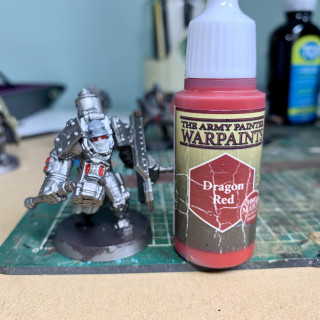
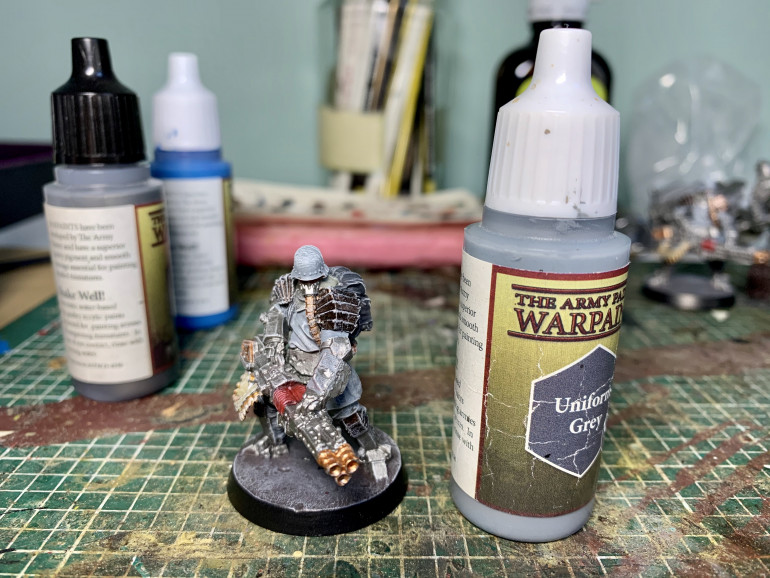
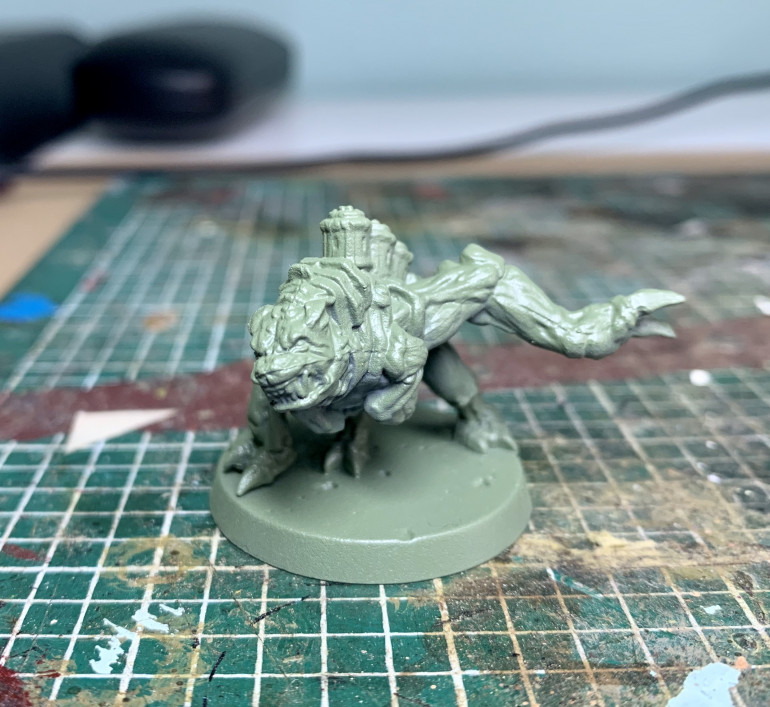 This time it’s dogs, gribbly dogs! Again looking at the primer to do the work here so after an initial Uniform Grey it got an overcoat of Army Green to give a transition to the underside.
Once all drybrushed day gave them all a base tidy up and a 50/50 dark tone mix. Then finished up with a Matt coat. Very pleased with these, simple, quick and effective!
Hammertime!
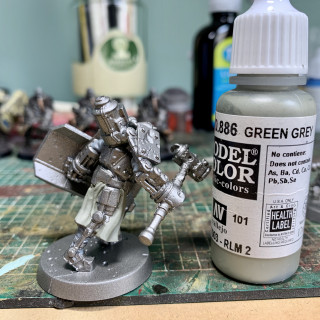
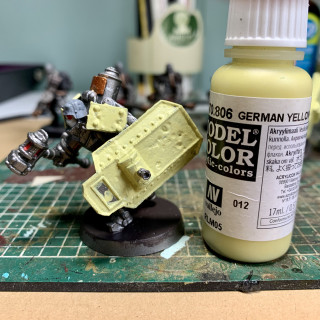
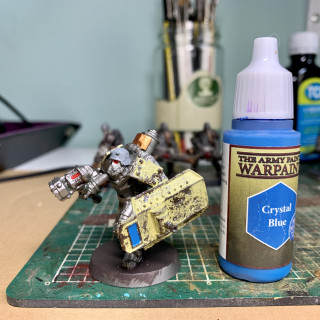
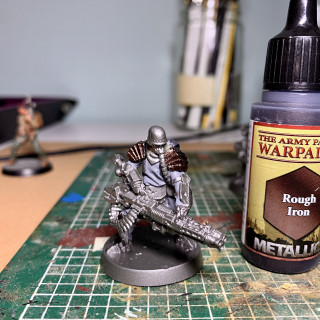
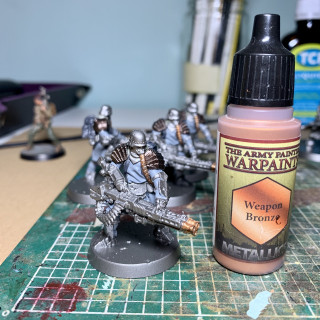
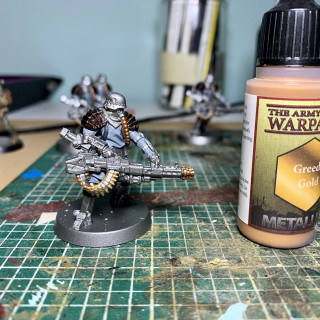
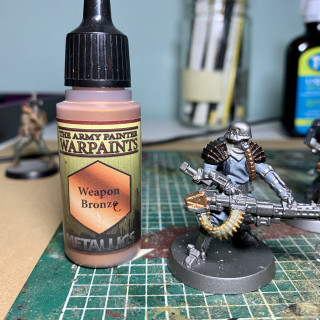
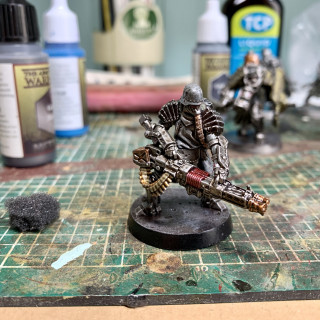
With the Kanoniers out the way its back in with the Angriffs. The initial steps are in the the first part!
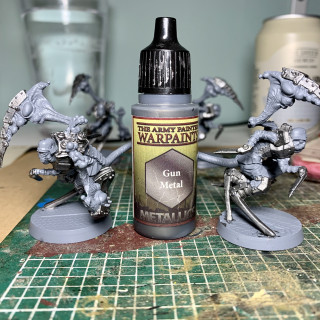
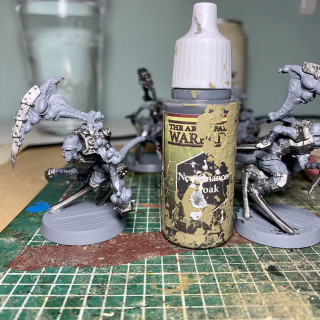
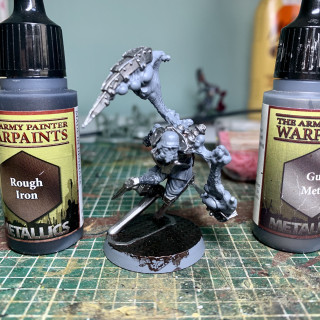
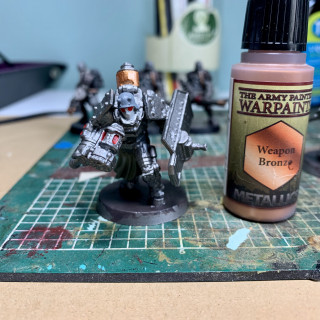
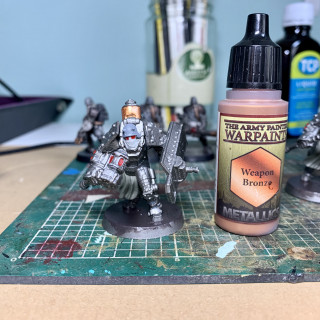
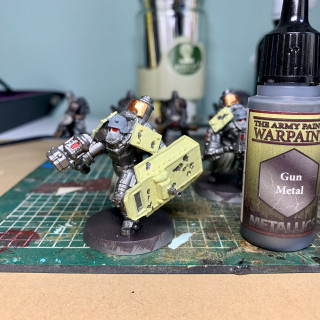
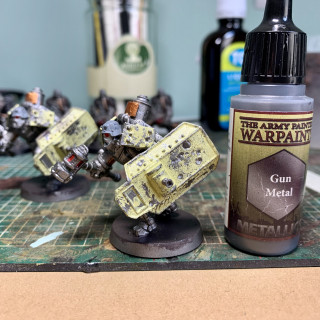
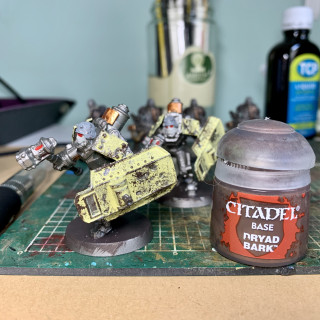
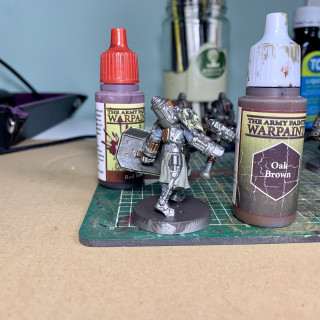
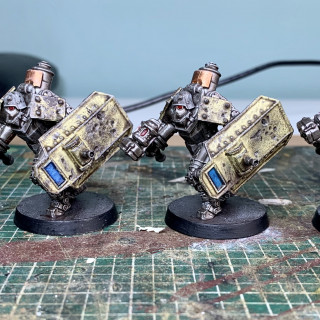
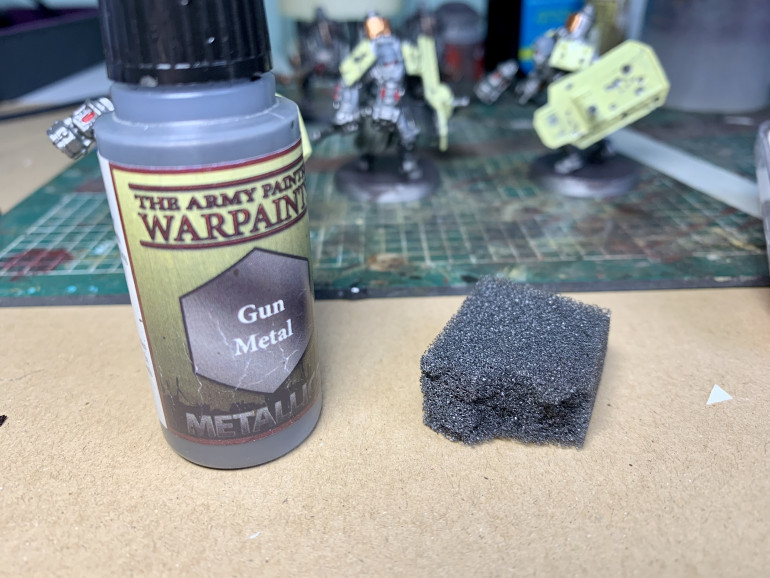 Now to add some weathering to the shields and shoulder plates. Simply use a bit of sponge and add a small amount of Gun Metal and lightly dab on the areas you want chipped. Then do the same again with a brown to get a simple yet effective effect
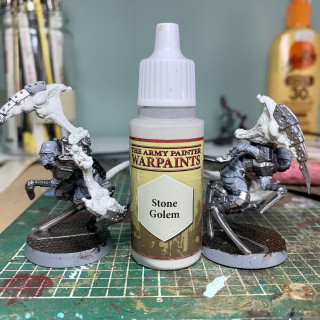
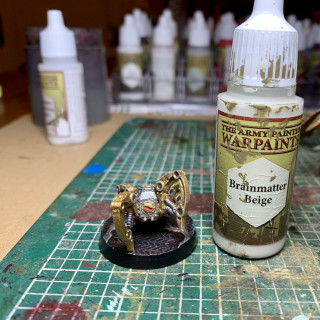
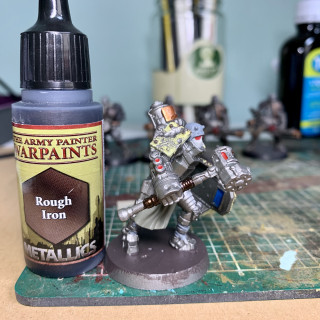
Once again no drybrush step but again it was Brainmatter beige! Then onto tones, dip and a forgotten leather strap!
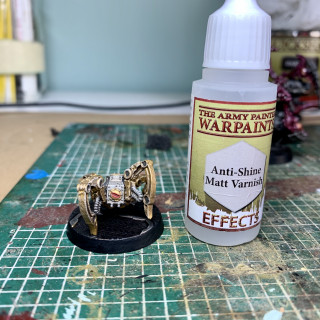
Quick tidy up and a mattcoat and we are done!
Bring out the big guns!
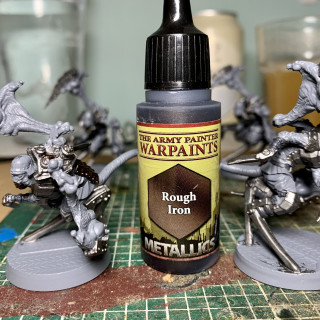
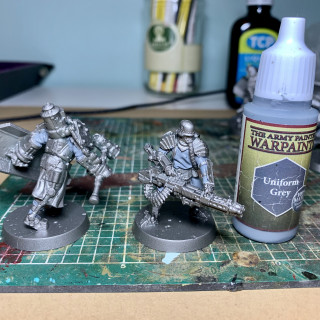
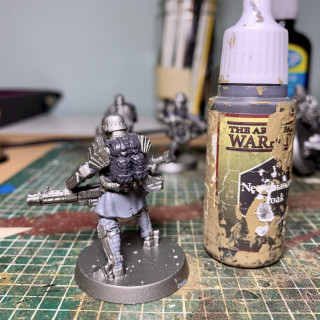
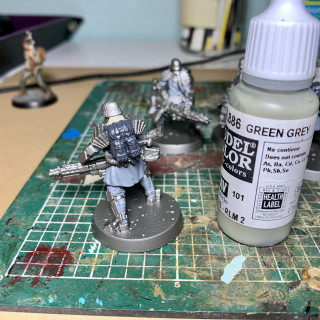
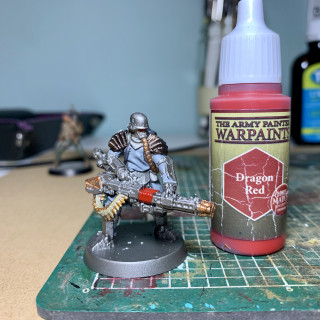
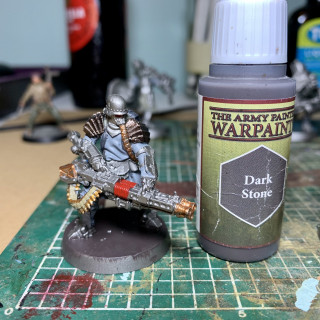
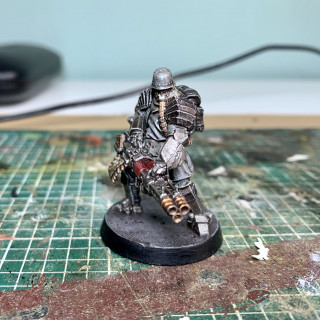
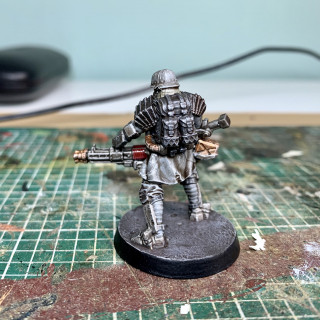
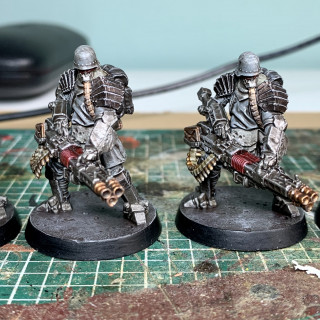
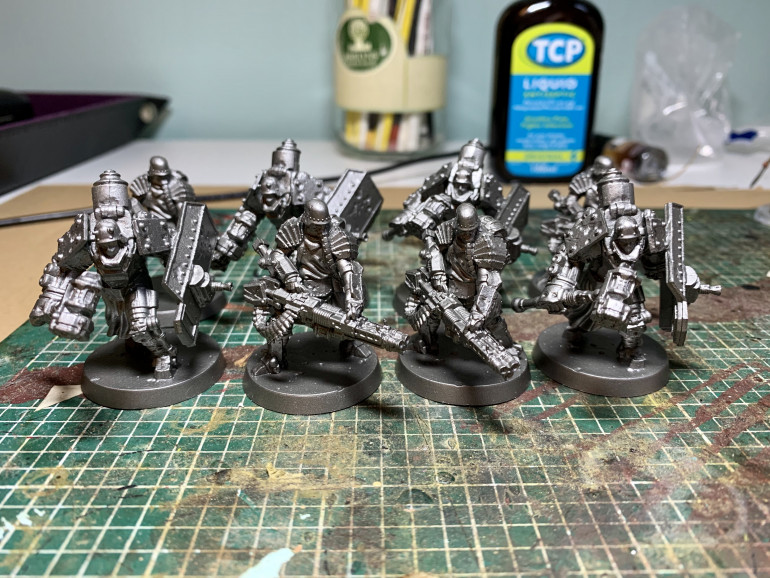 First its some of the heavier hitters with the Sturm Kanonier and the Sturm Angriff. Again looking to speed paint these as quick as possible. As they are mostly metal im looking for the primer to most of the work. Break out the Leadbelcher!
In a shocking twist i forgot to take a shot of the drybrush step. no prizes for guessing its Brainmatter Biege! Also thought the helmet looked to stark in plain metal so wnt back in and added some Uniform grey. Then they were given a coat of Army Painter Dark Tone Dip, brushed on. Then left to dry overnight and then matt coated snd they sre done!


![How To Paint Moonstone’s Nanny | Goblin King Games [7 Days Early Access]](https://images.beastsofwar.com/2024/12/3CU-Gobin-King-Games-Moonstone-Shades-Nanny-coverimage-225-127.jpg)


