![Make Your Own Star Wars: Legion Heroes! Rebel Agent & Officer Set Review [7 Days Early Access]](https://images.beastsofwar.com/2025/12/unboxing-atomic-mass-games-star-wars-legion-rebel-alliance-agent-_-officer-coverimage-225-127.jpg)


Living Underground Metro2033 Zona Alfa etc


Recommendations: 192
About the Project
I want to build a 'dungeon crawler' board based on metro 2033
Related Game: Zona Alfa
Related Genre: Post-Apocalyptic
This Project is Active
The Other Tunnel
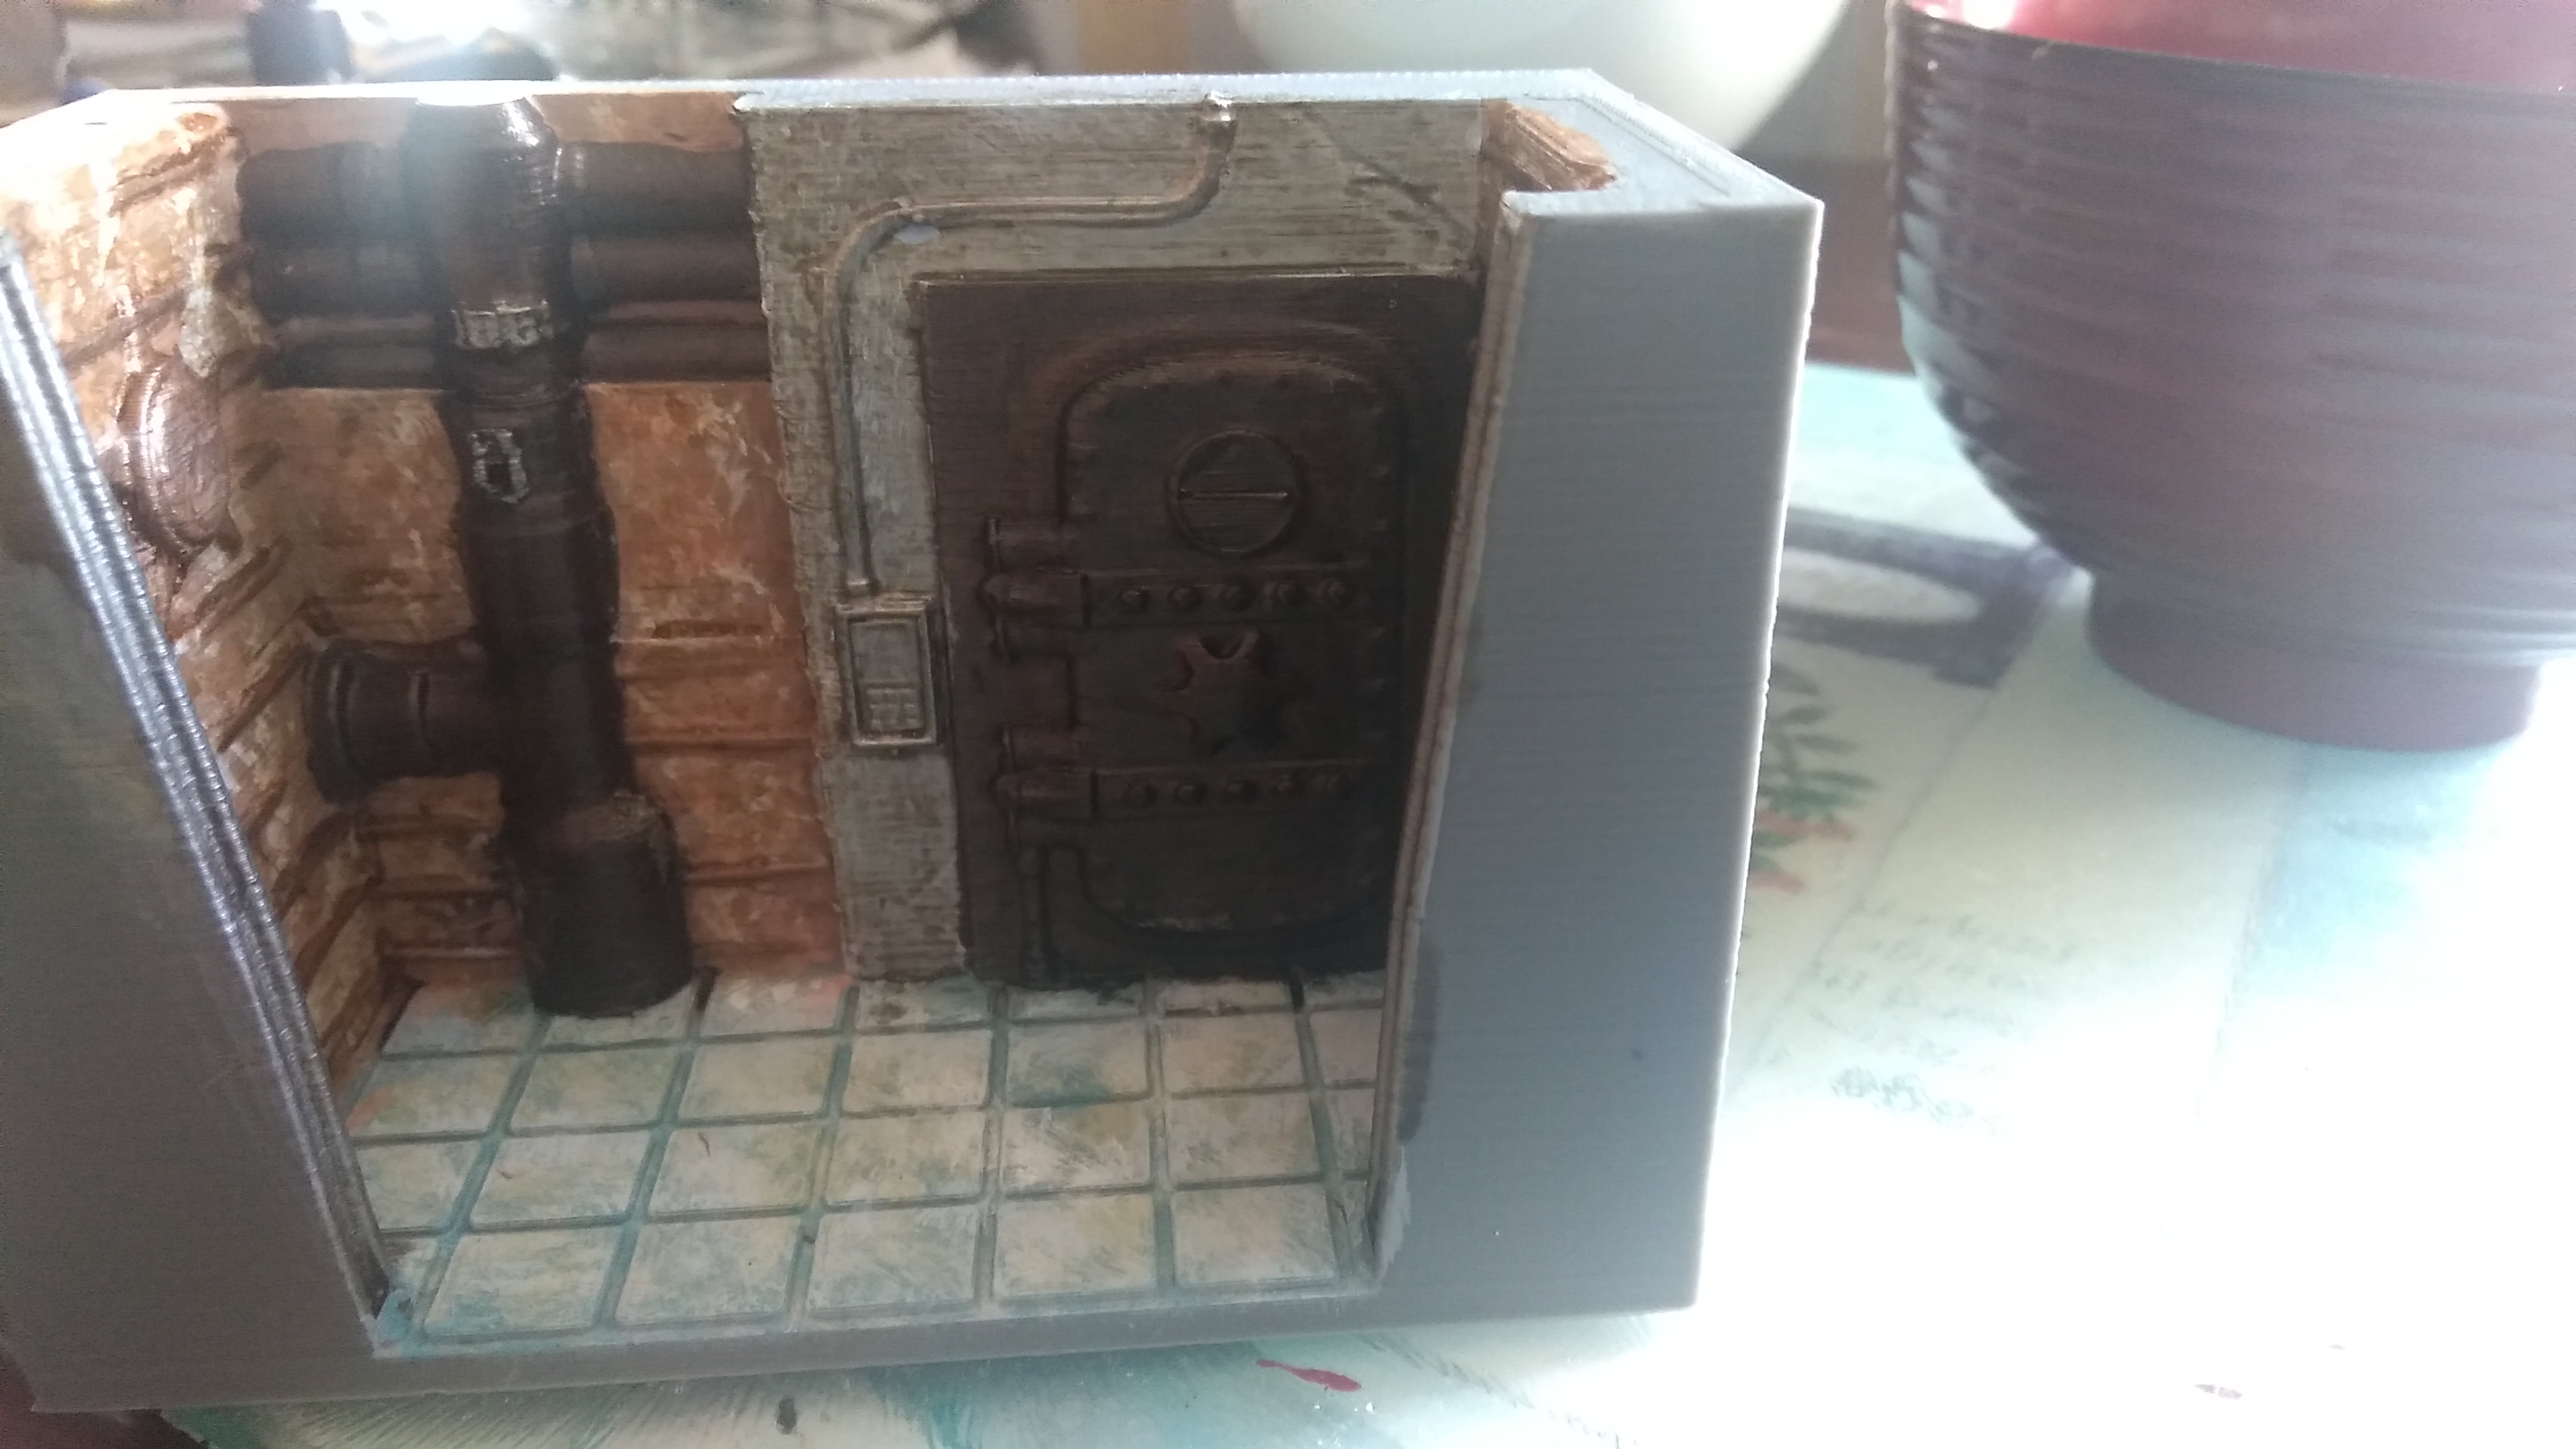
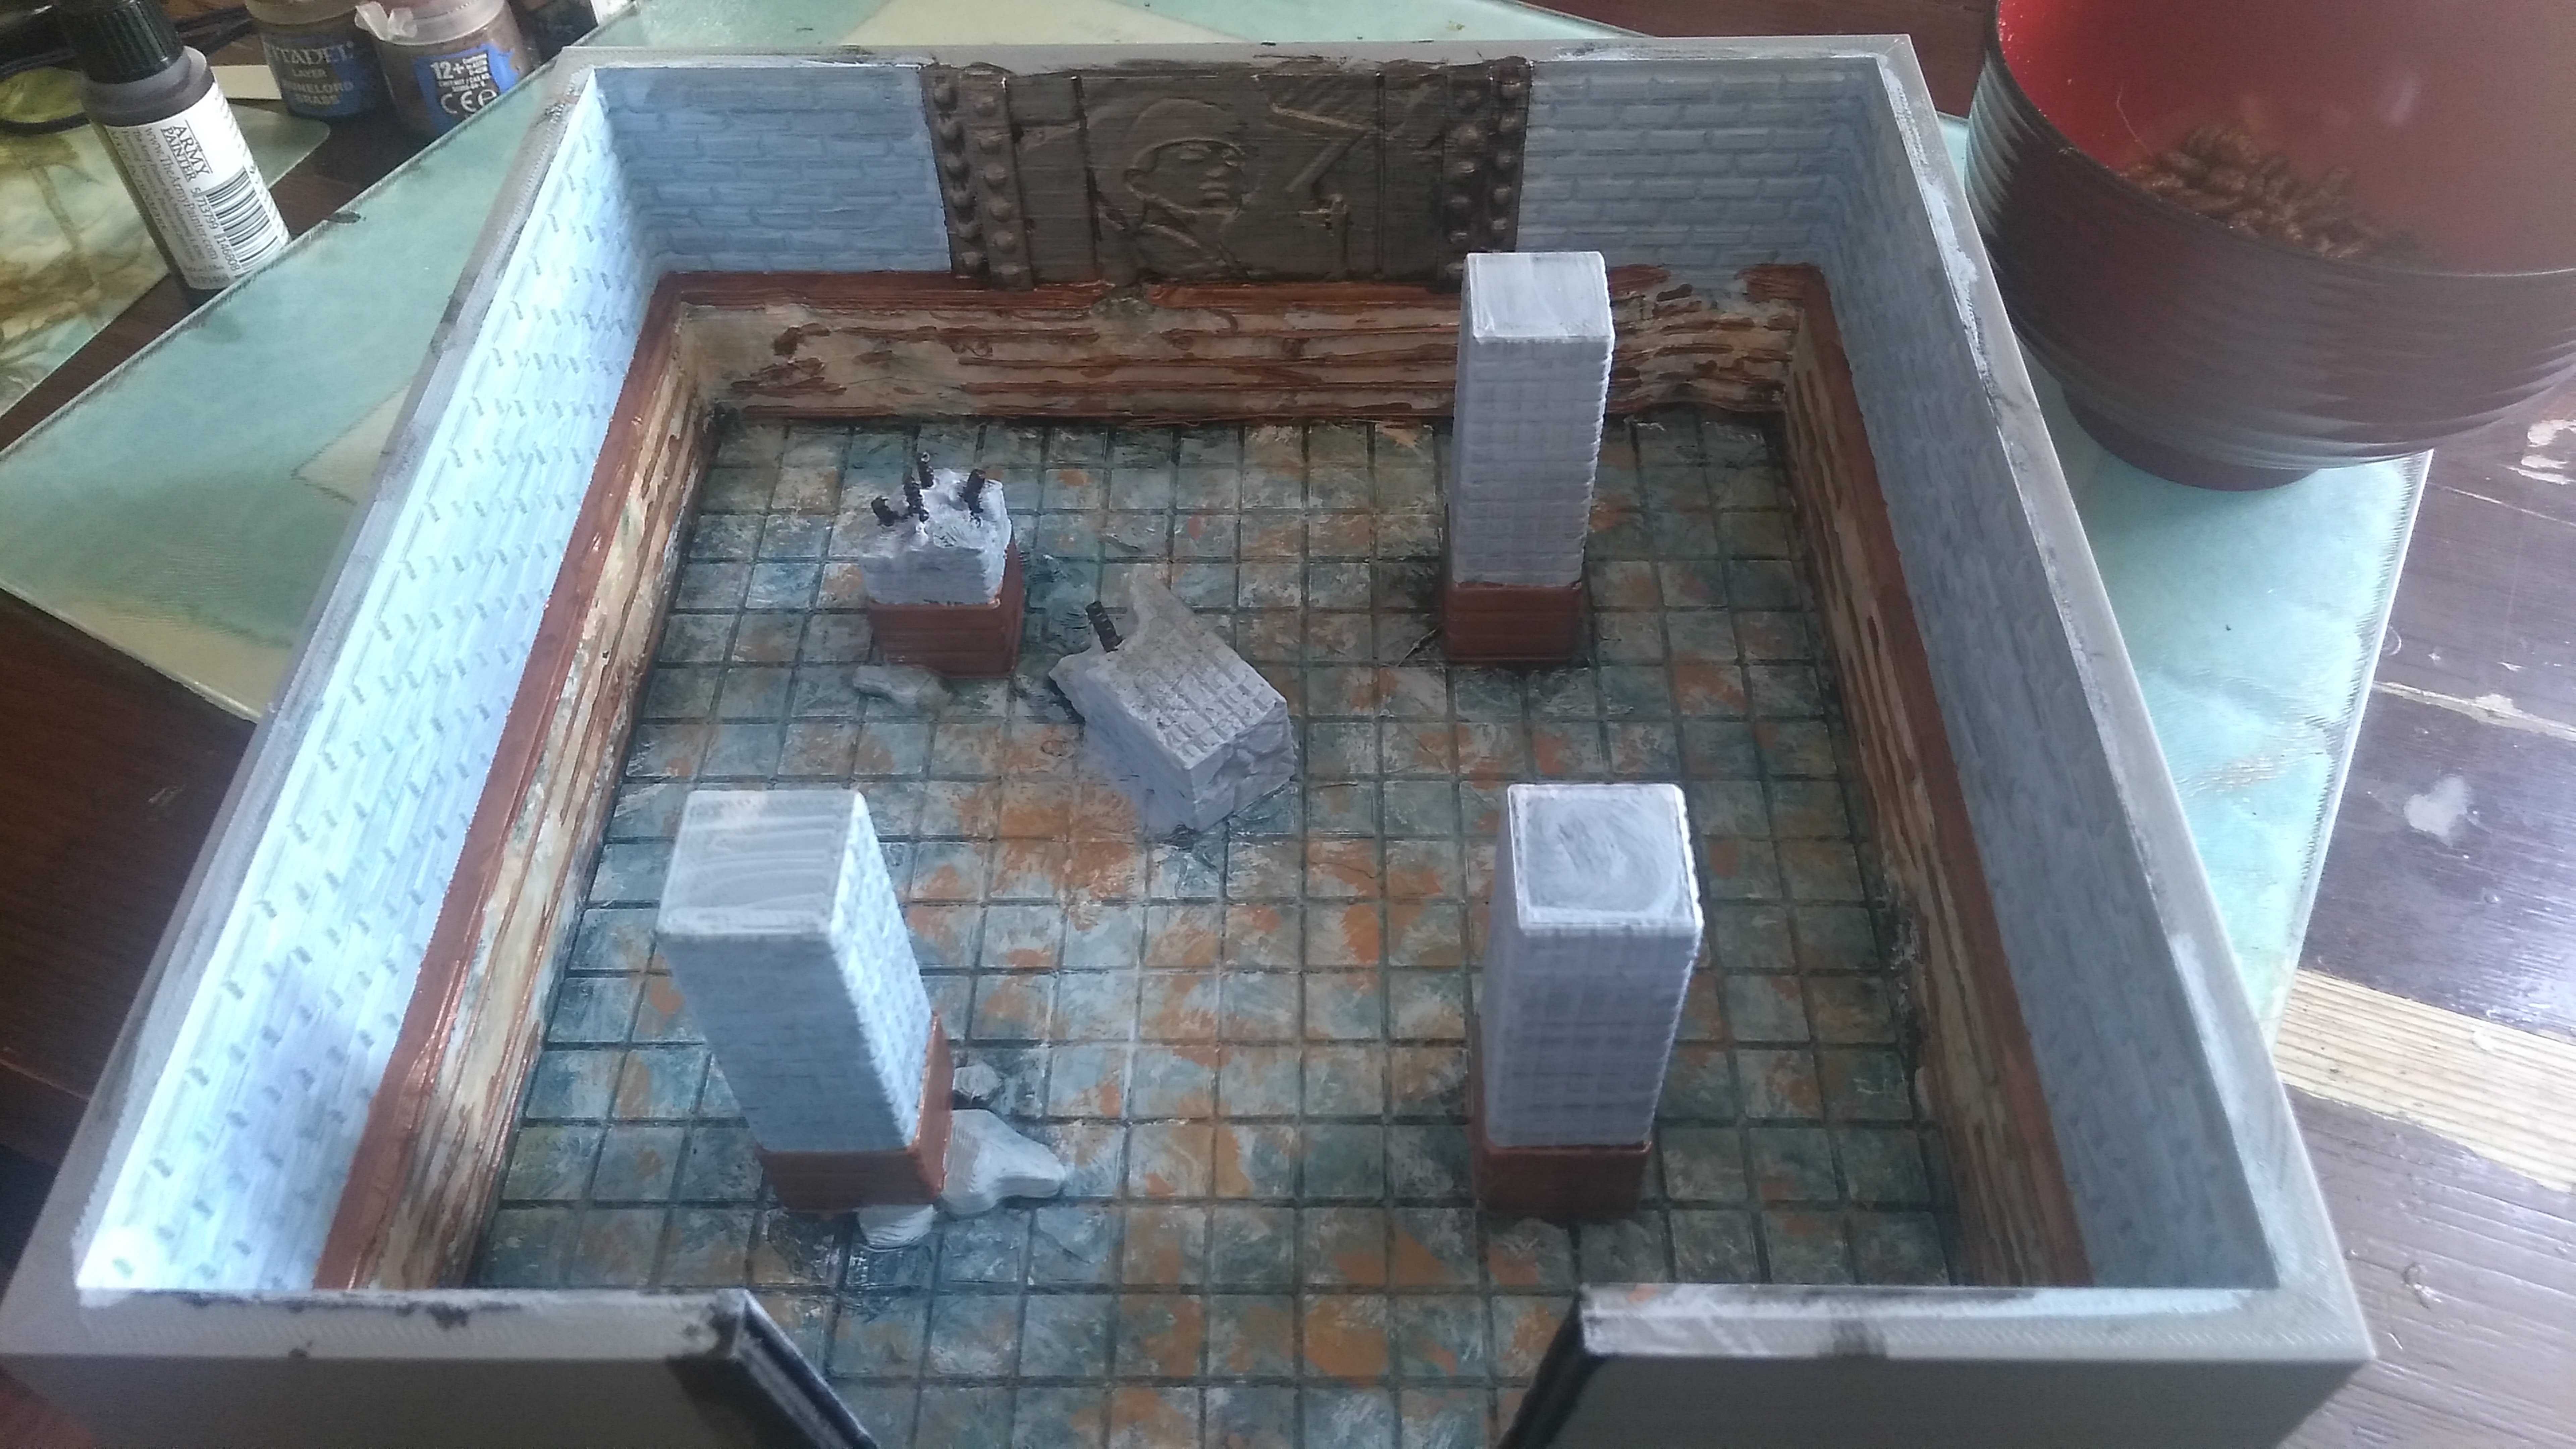
I have been working on the other piece of polystyrene, similar to the other one I have glued over some holes, added a base and also cut bits away, this is due to that this one has a lower profile.
I then put all over it filler and sanded a bit so it looks more like concrete, painted it in black undercoat, a darkish gray dry brush, then a white dry brush and then the last of my army painter gloss which seems to be mostly the darkening gunk these days.
 1
1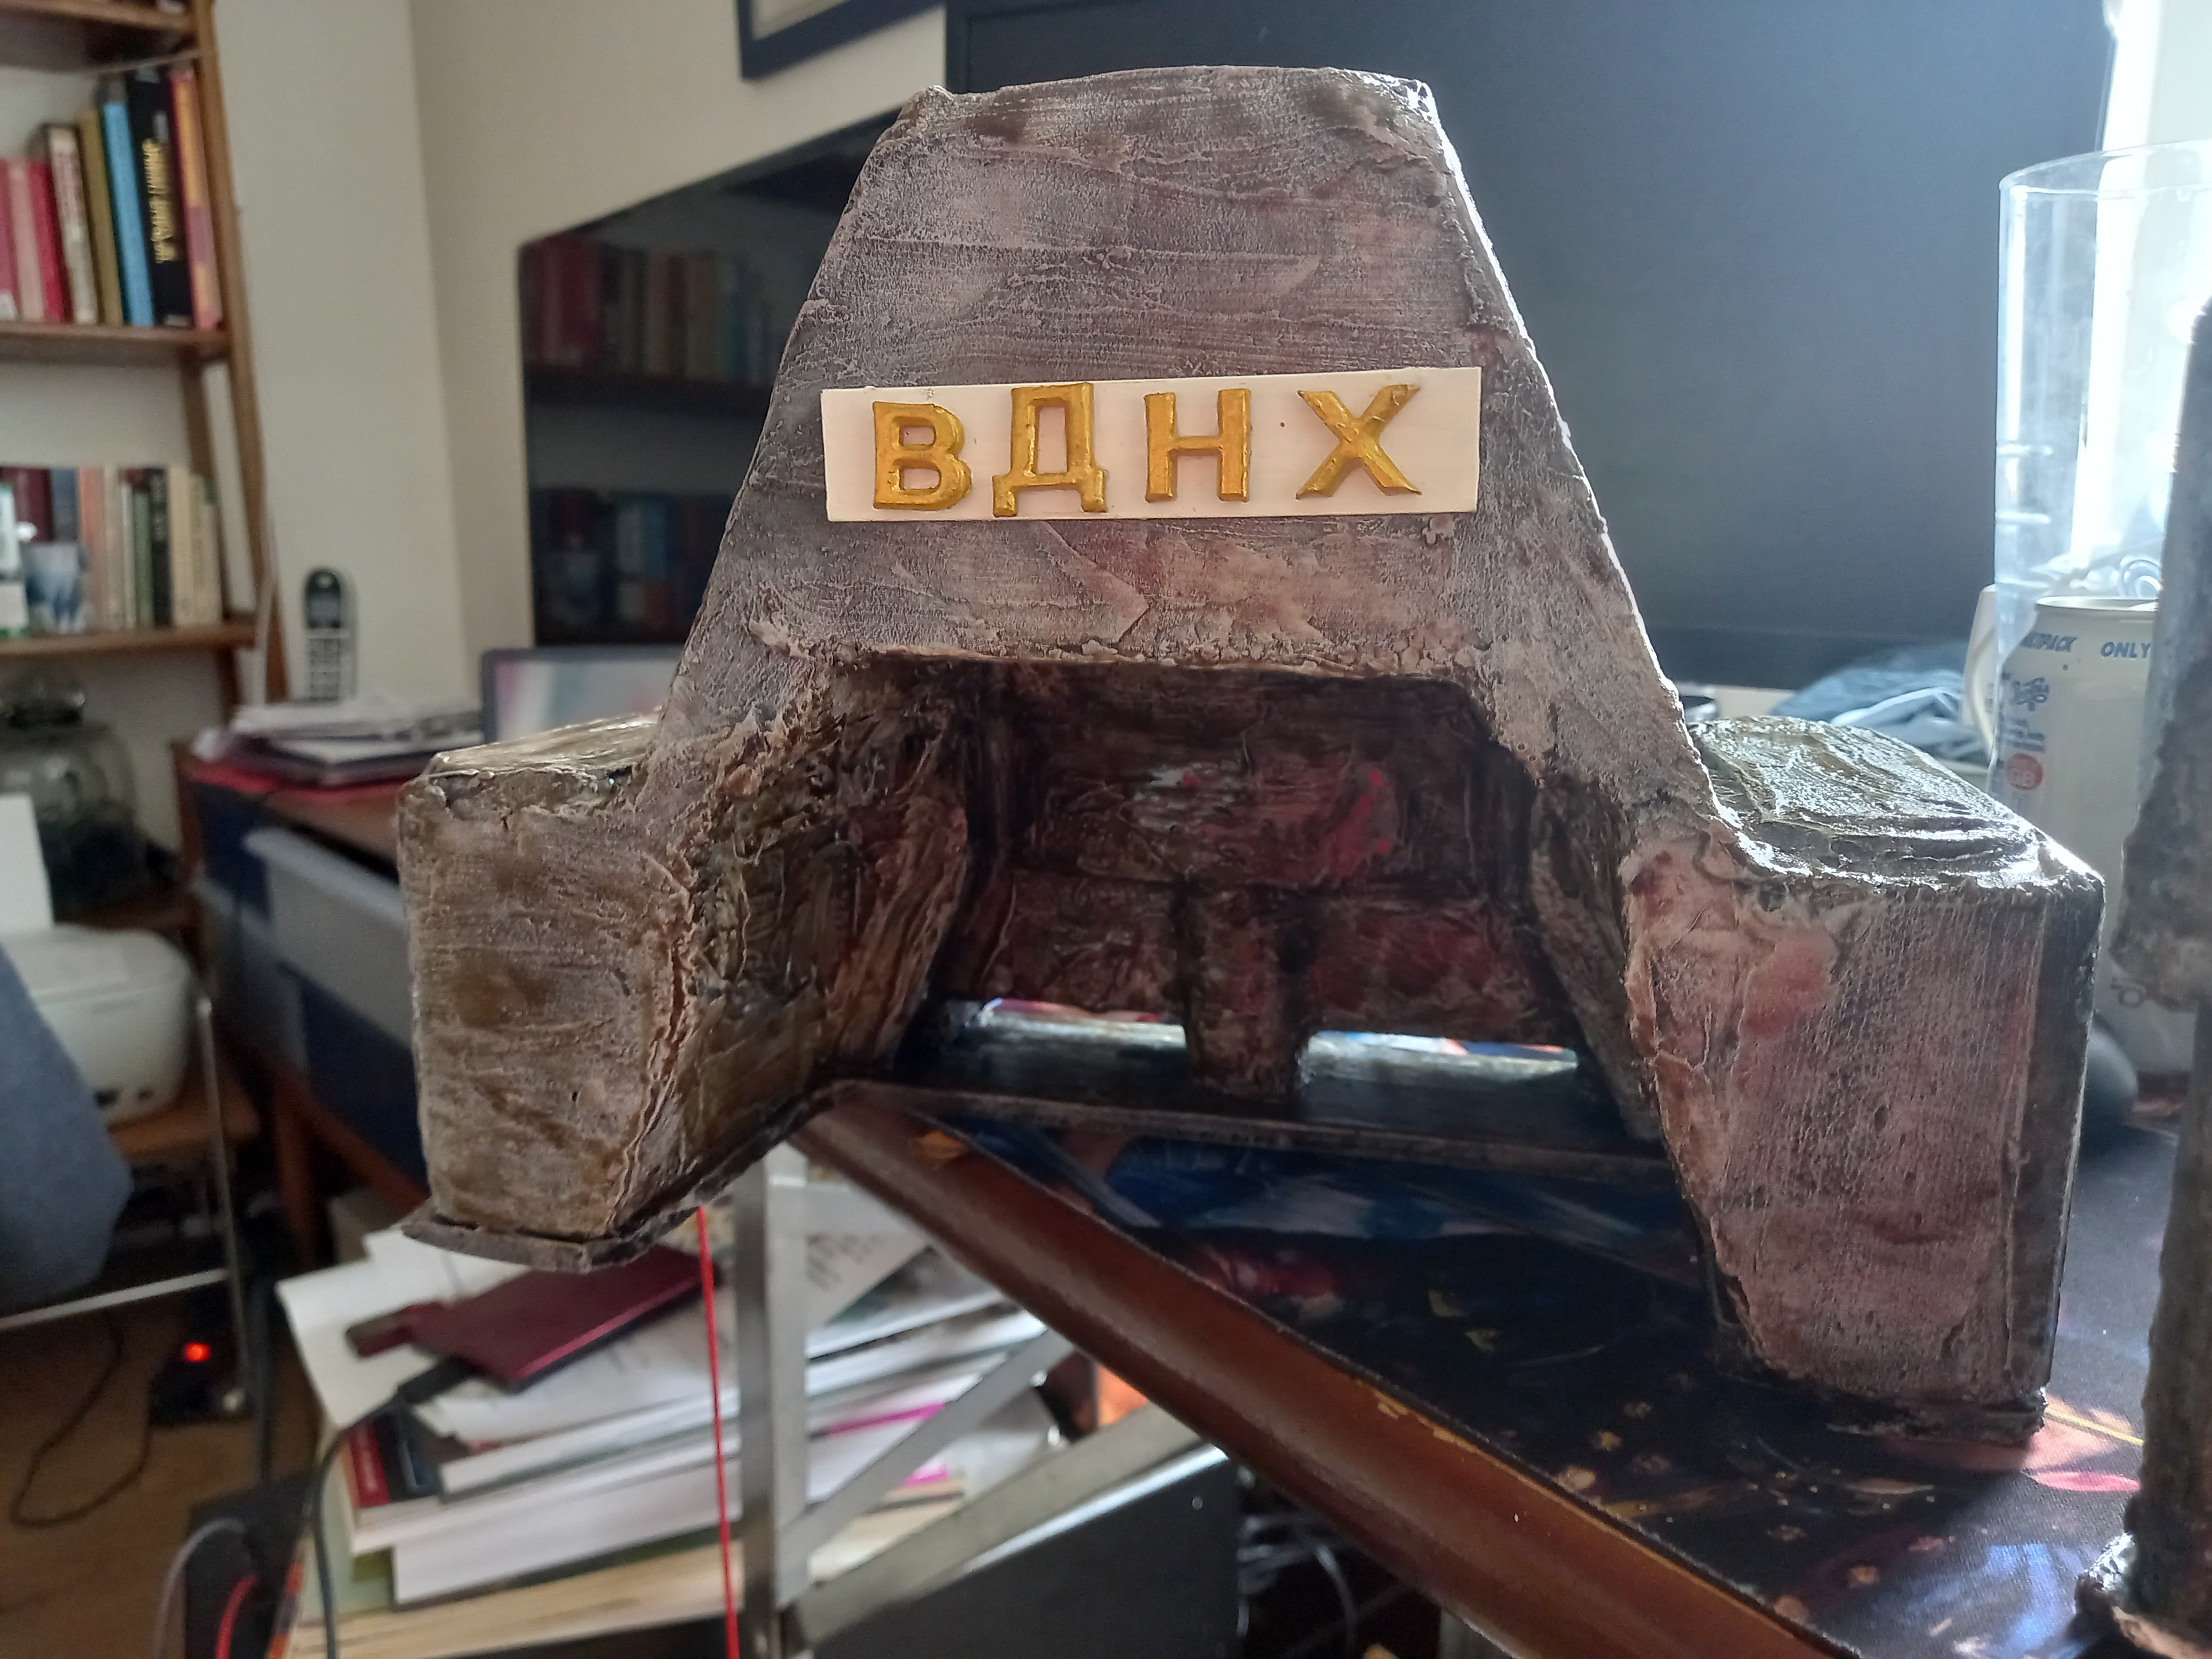 2
2the bit at the back I might paint bronze and then rust up so it looks like a large metal door has half closed allowing people to sneak underneath
However I think the platform looks a little too condensed:
 1
1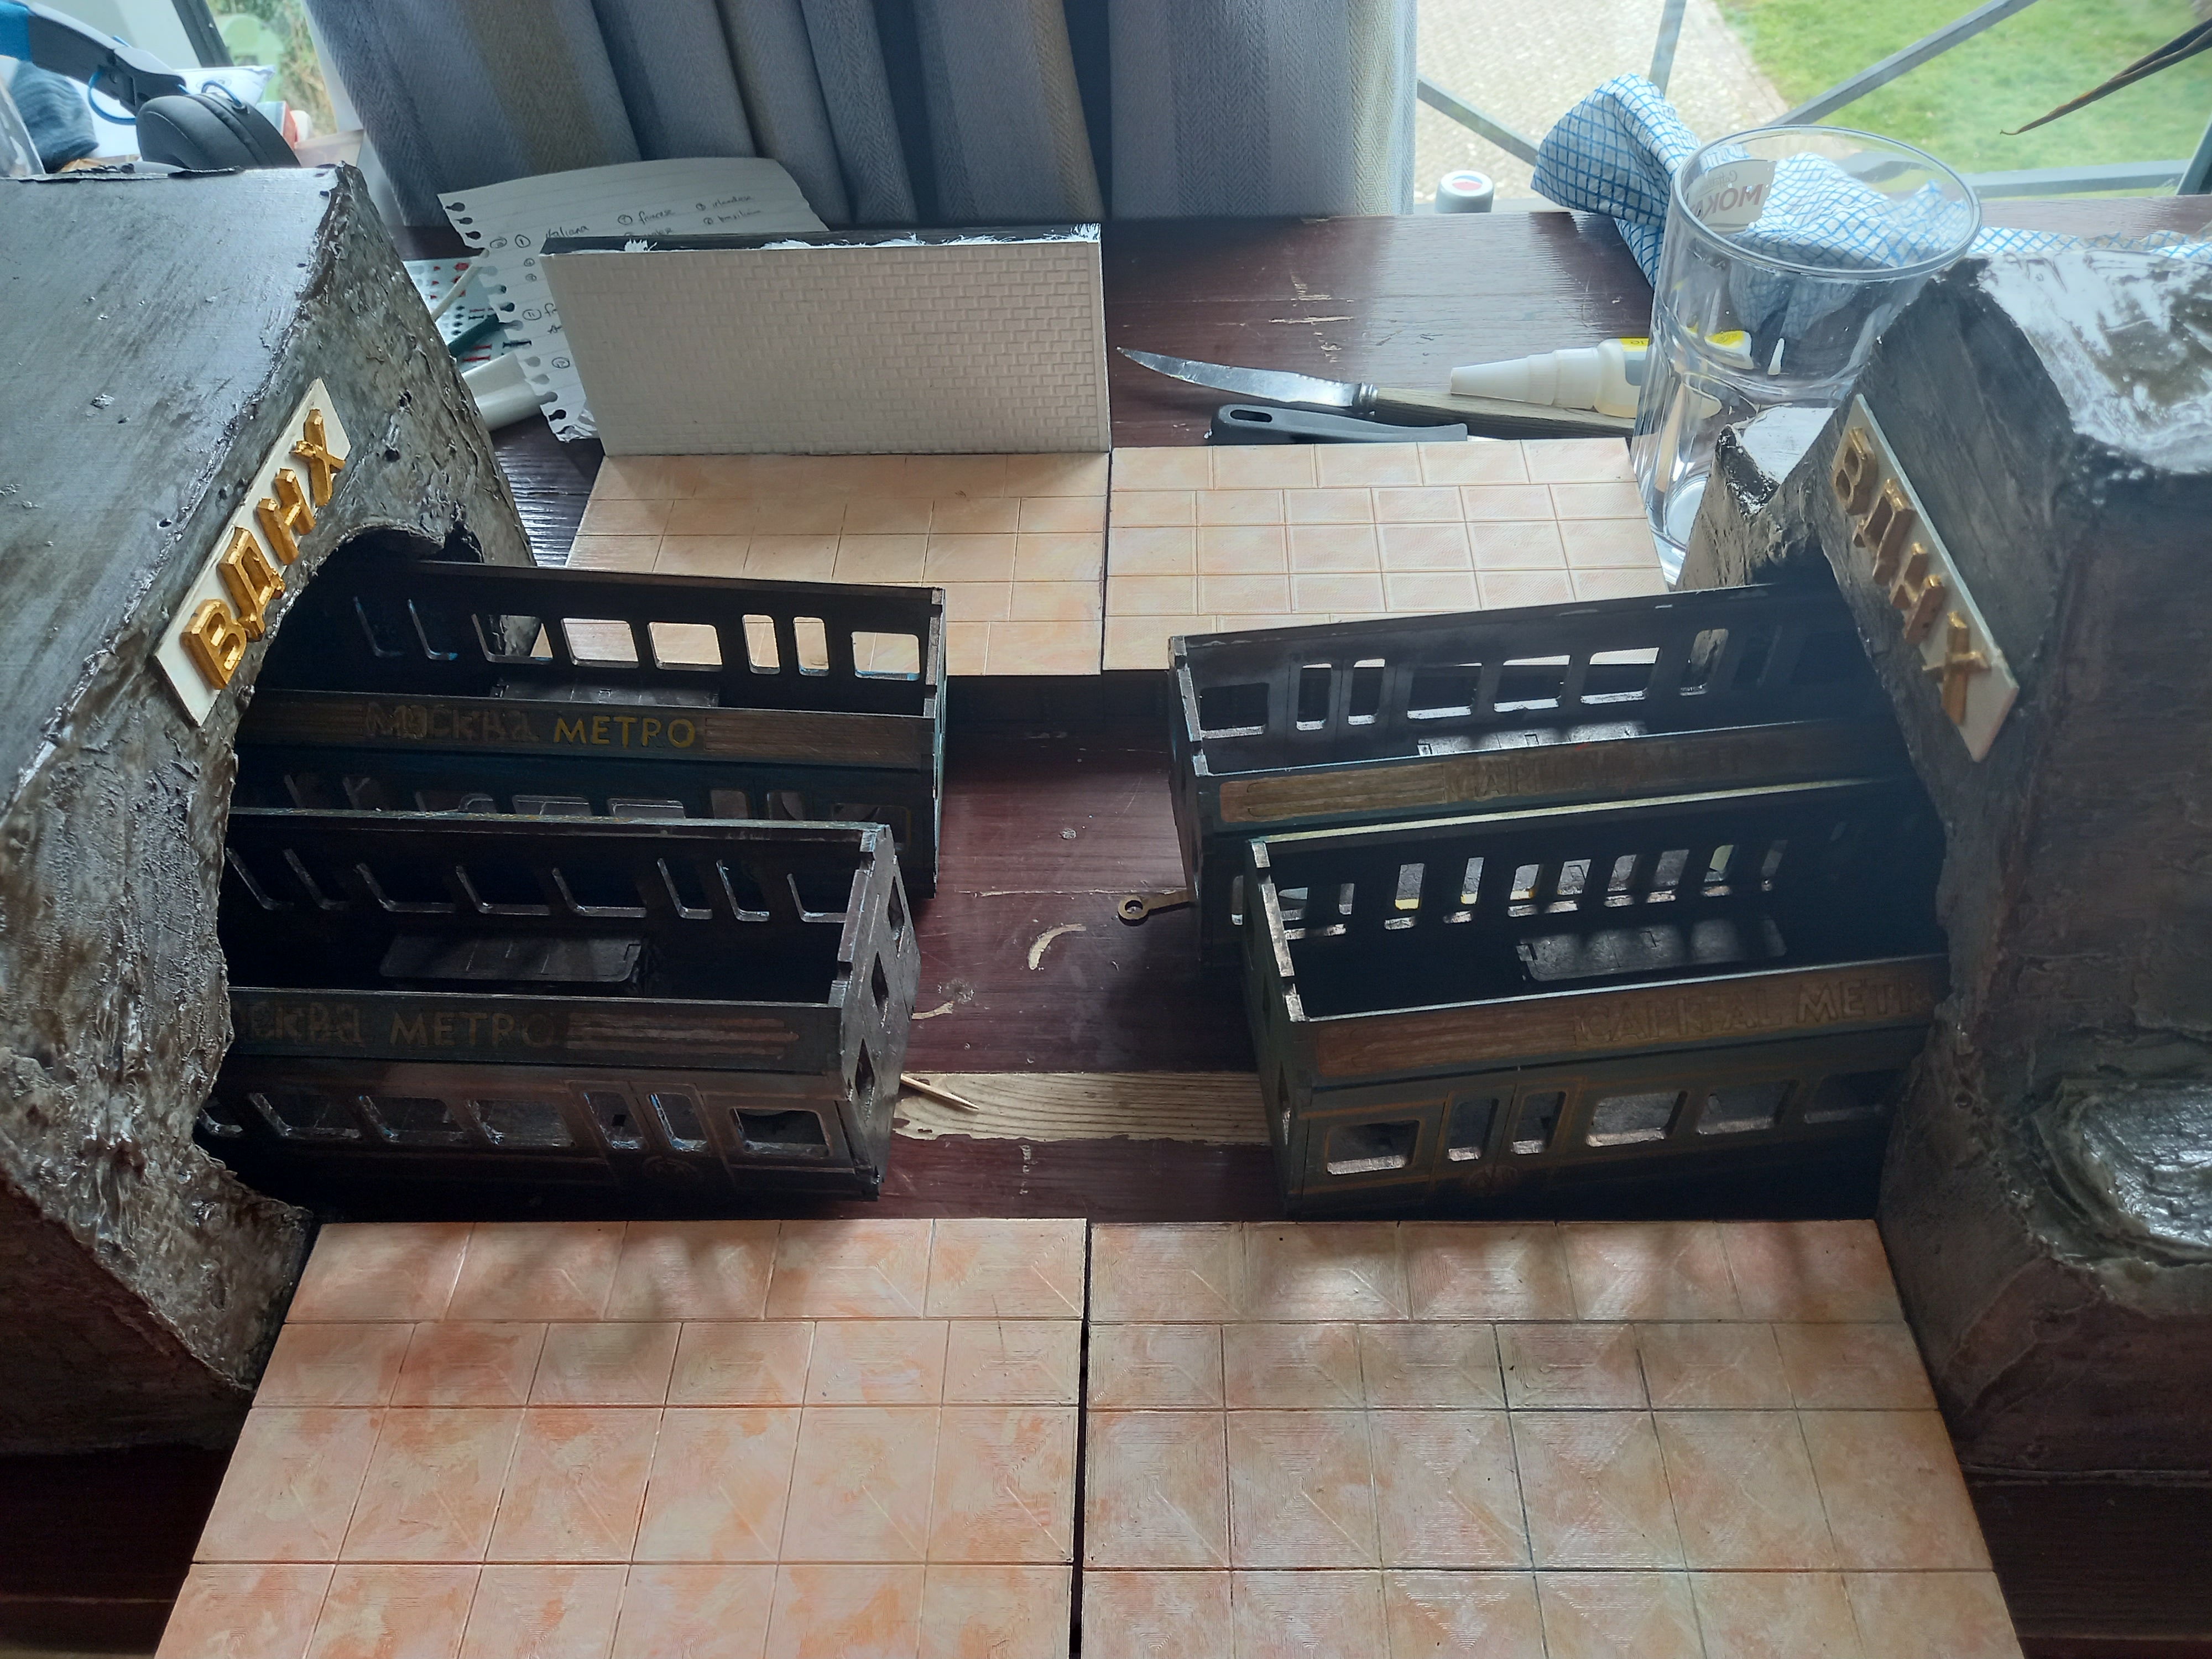 2
2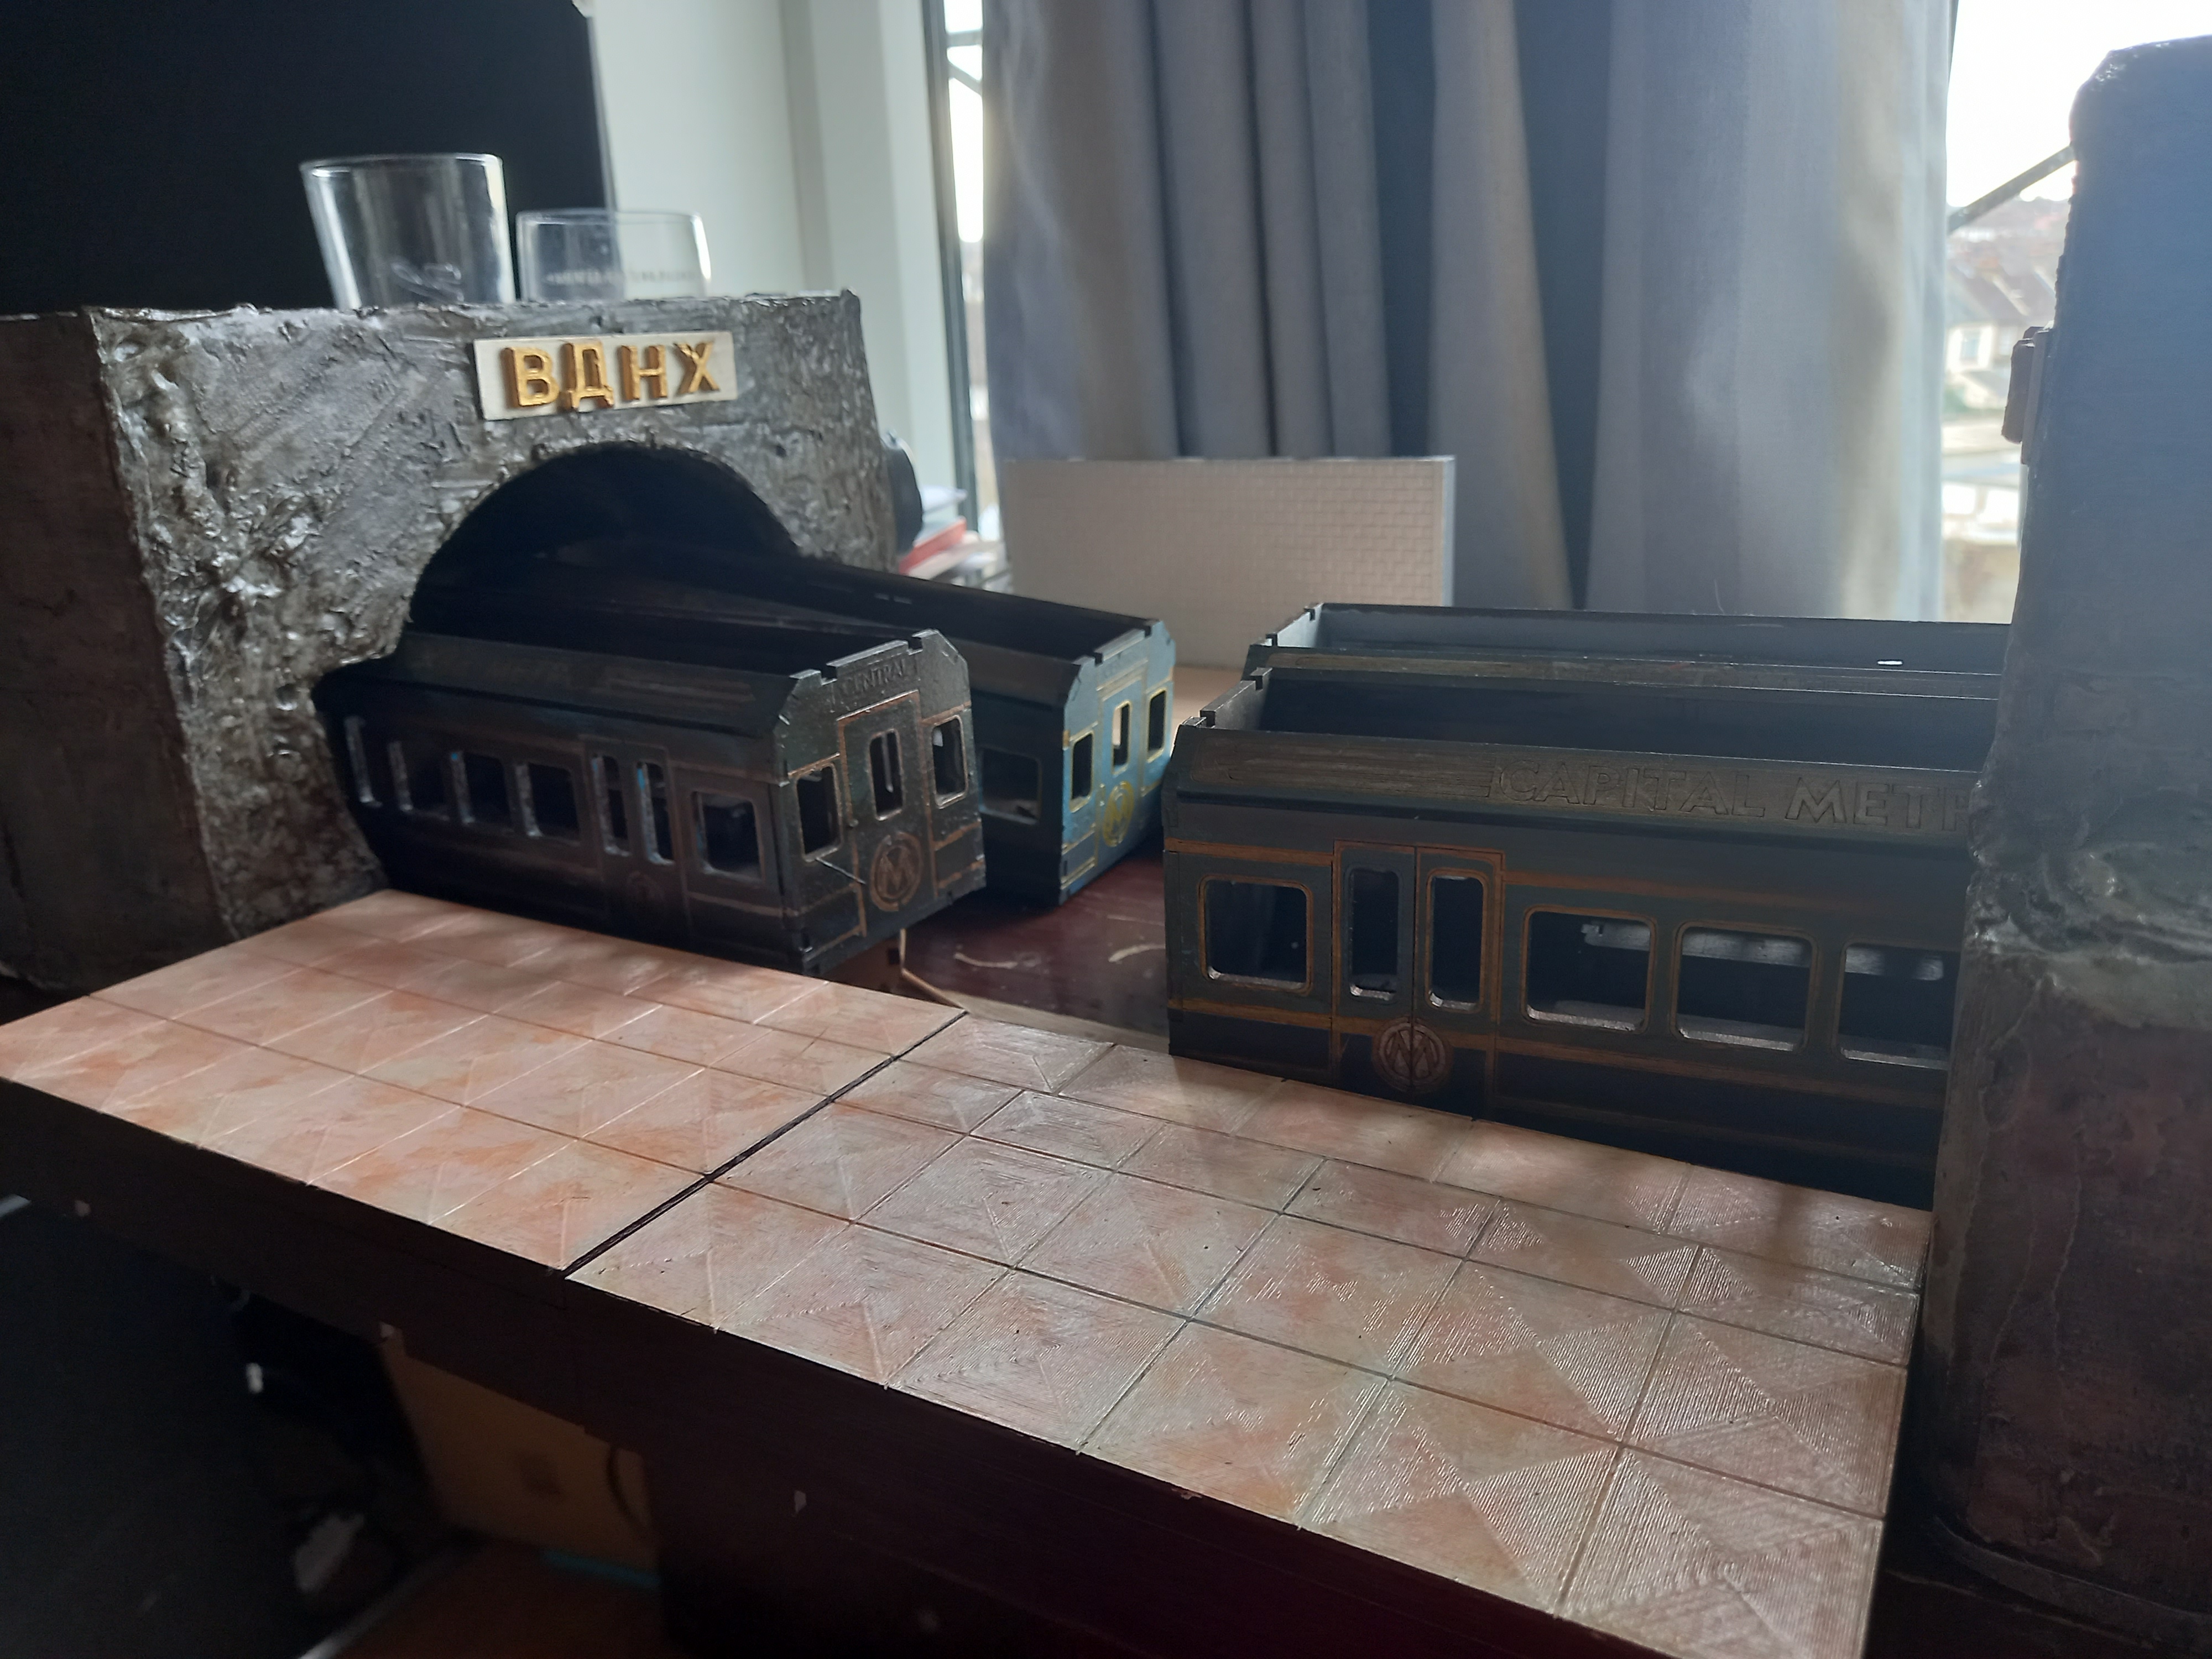 3
3Things to do now these are done:
1) go to tt combat and buy some of their cheaper bits, namely venice street stairs these will look great for the steps upto the platform:
Plaza Street Stairs
also they have some wonderful walls from their other ranges (and some post apocalyptic looking shacks and a japanese shop I might buy to make the station look live in.
I will probably buy at least two more to lengthen the platform one each side. Then I’ll work on the walls.
2) graffiti up the walls around the tunnel and the trains
3: ive realised I need some more walls so I might get them printed…
4) https://www.myminifactory.com/object/3d-print-relief-29342
also I found some soviet reliefs to use so will get these printed at the right scale.
Railway Signs, Trains and Marbled Platforms
So carrying on from my last update.I completed the tunnel entrance in two ways…
– I used my old strong tone quick shade varnish a brush all over the tunnel entrance. Mainly to give strength and protection to the foam. Plus it grimed up the stone/concrete a bit.
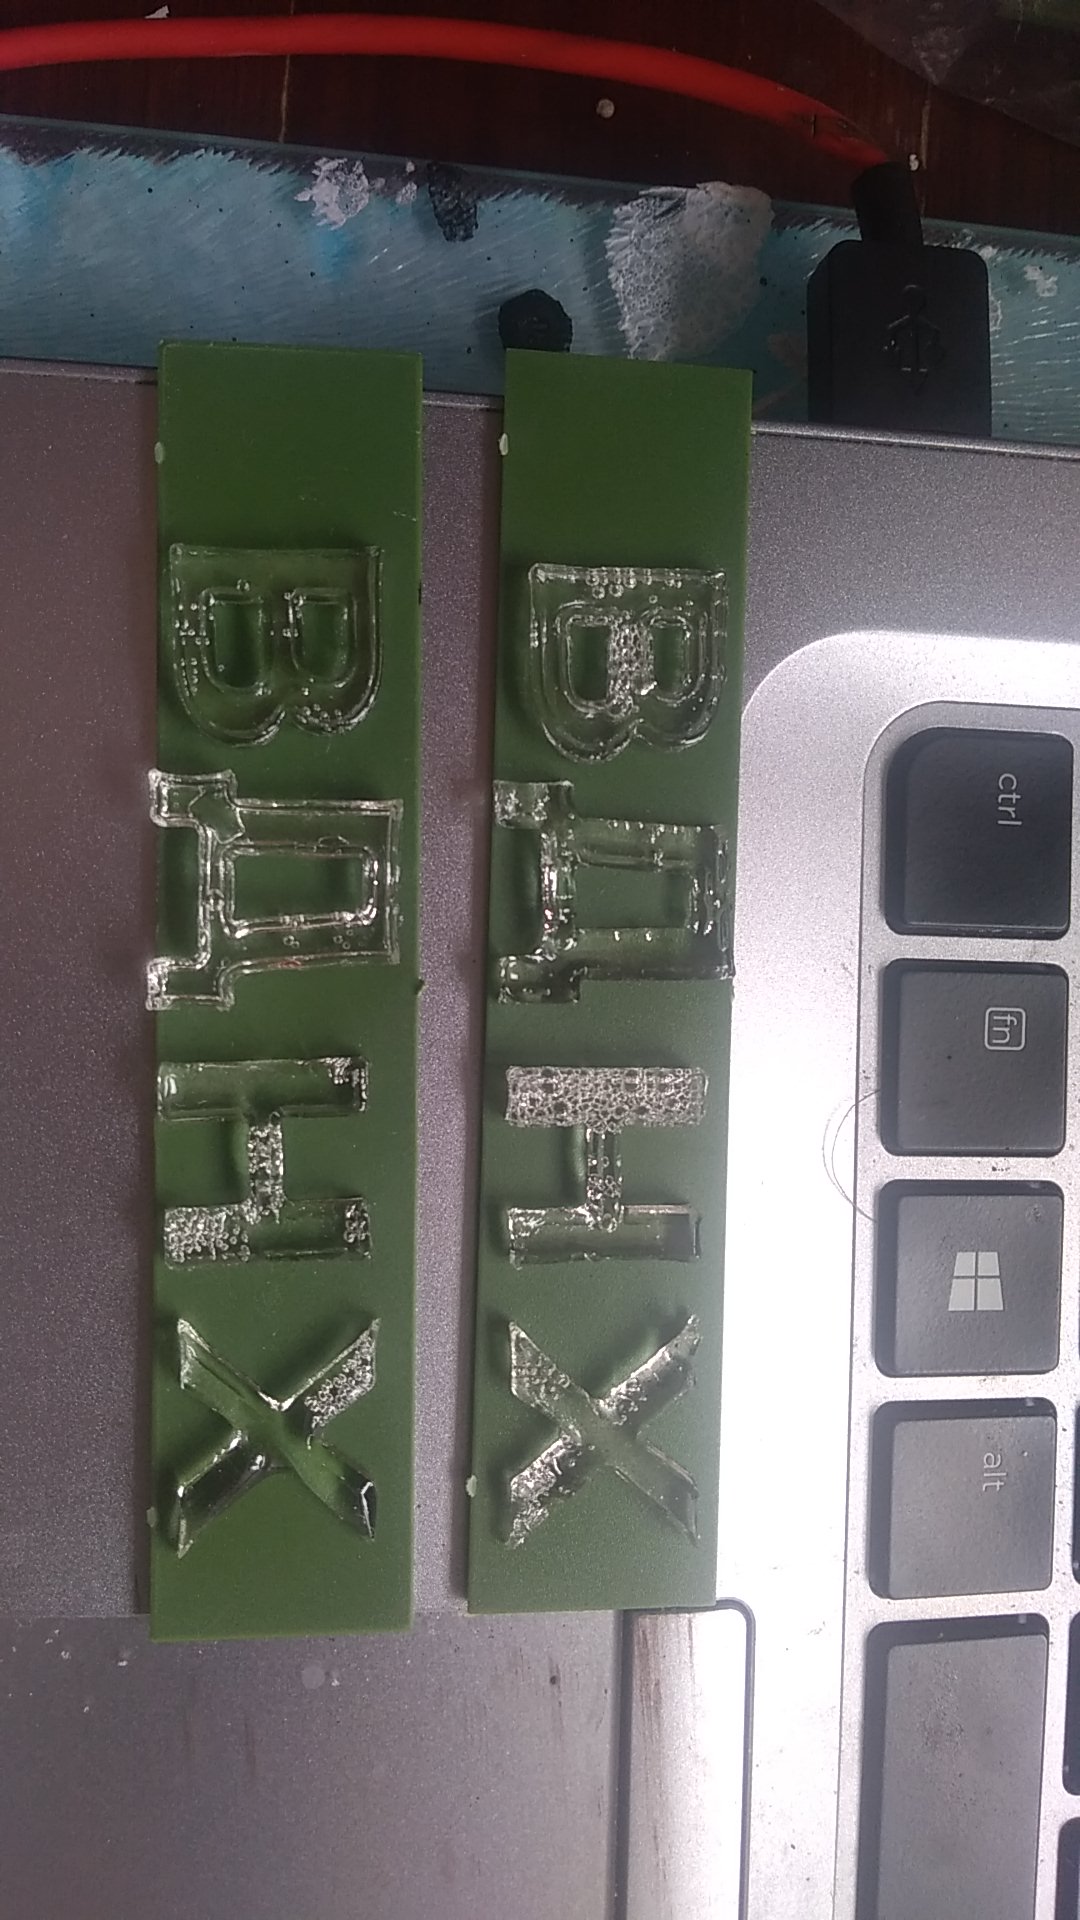
– Second I used my Russian Cyrillic Mold (originally for Icing), I tried first to use plaster but soon realised the mold was lacking depth for the plaster to have any decent structure, so I went back to the drawing board.
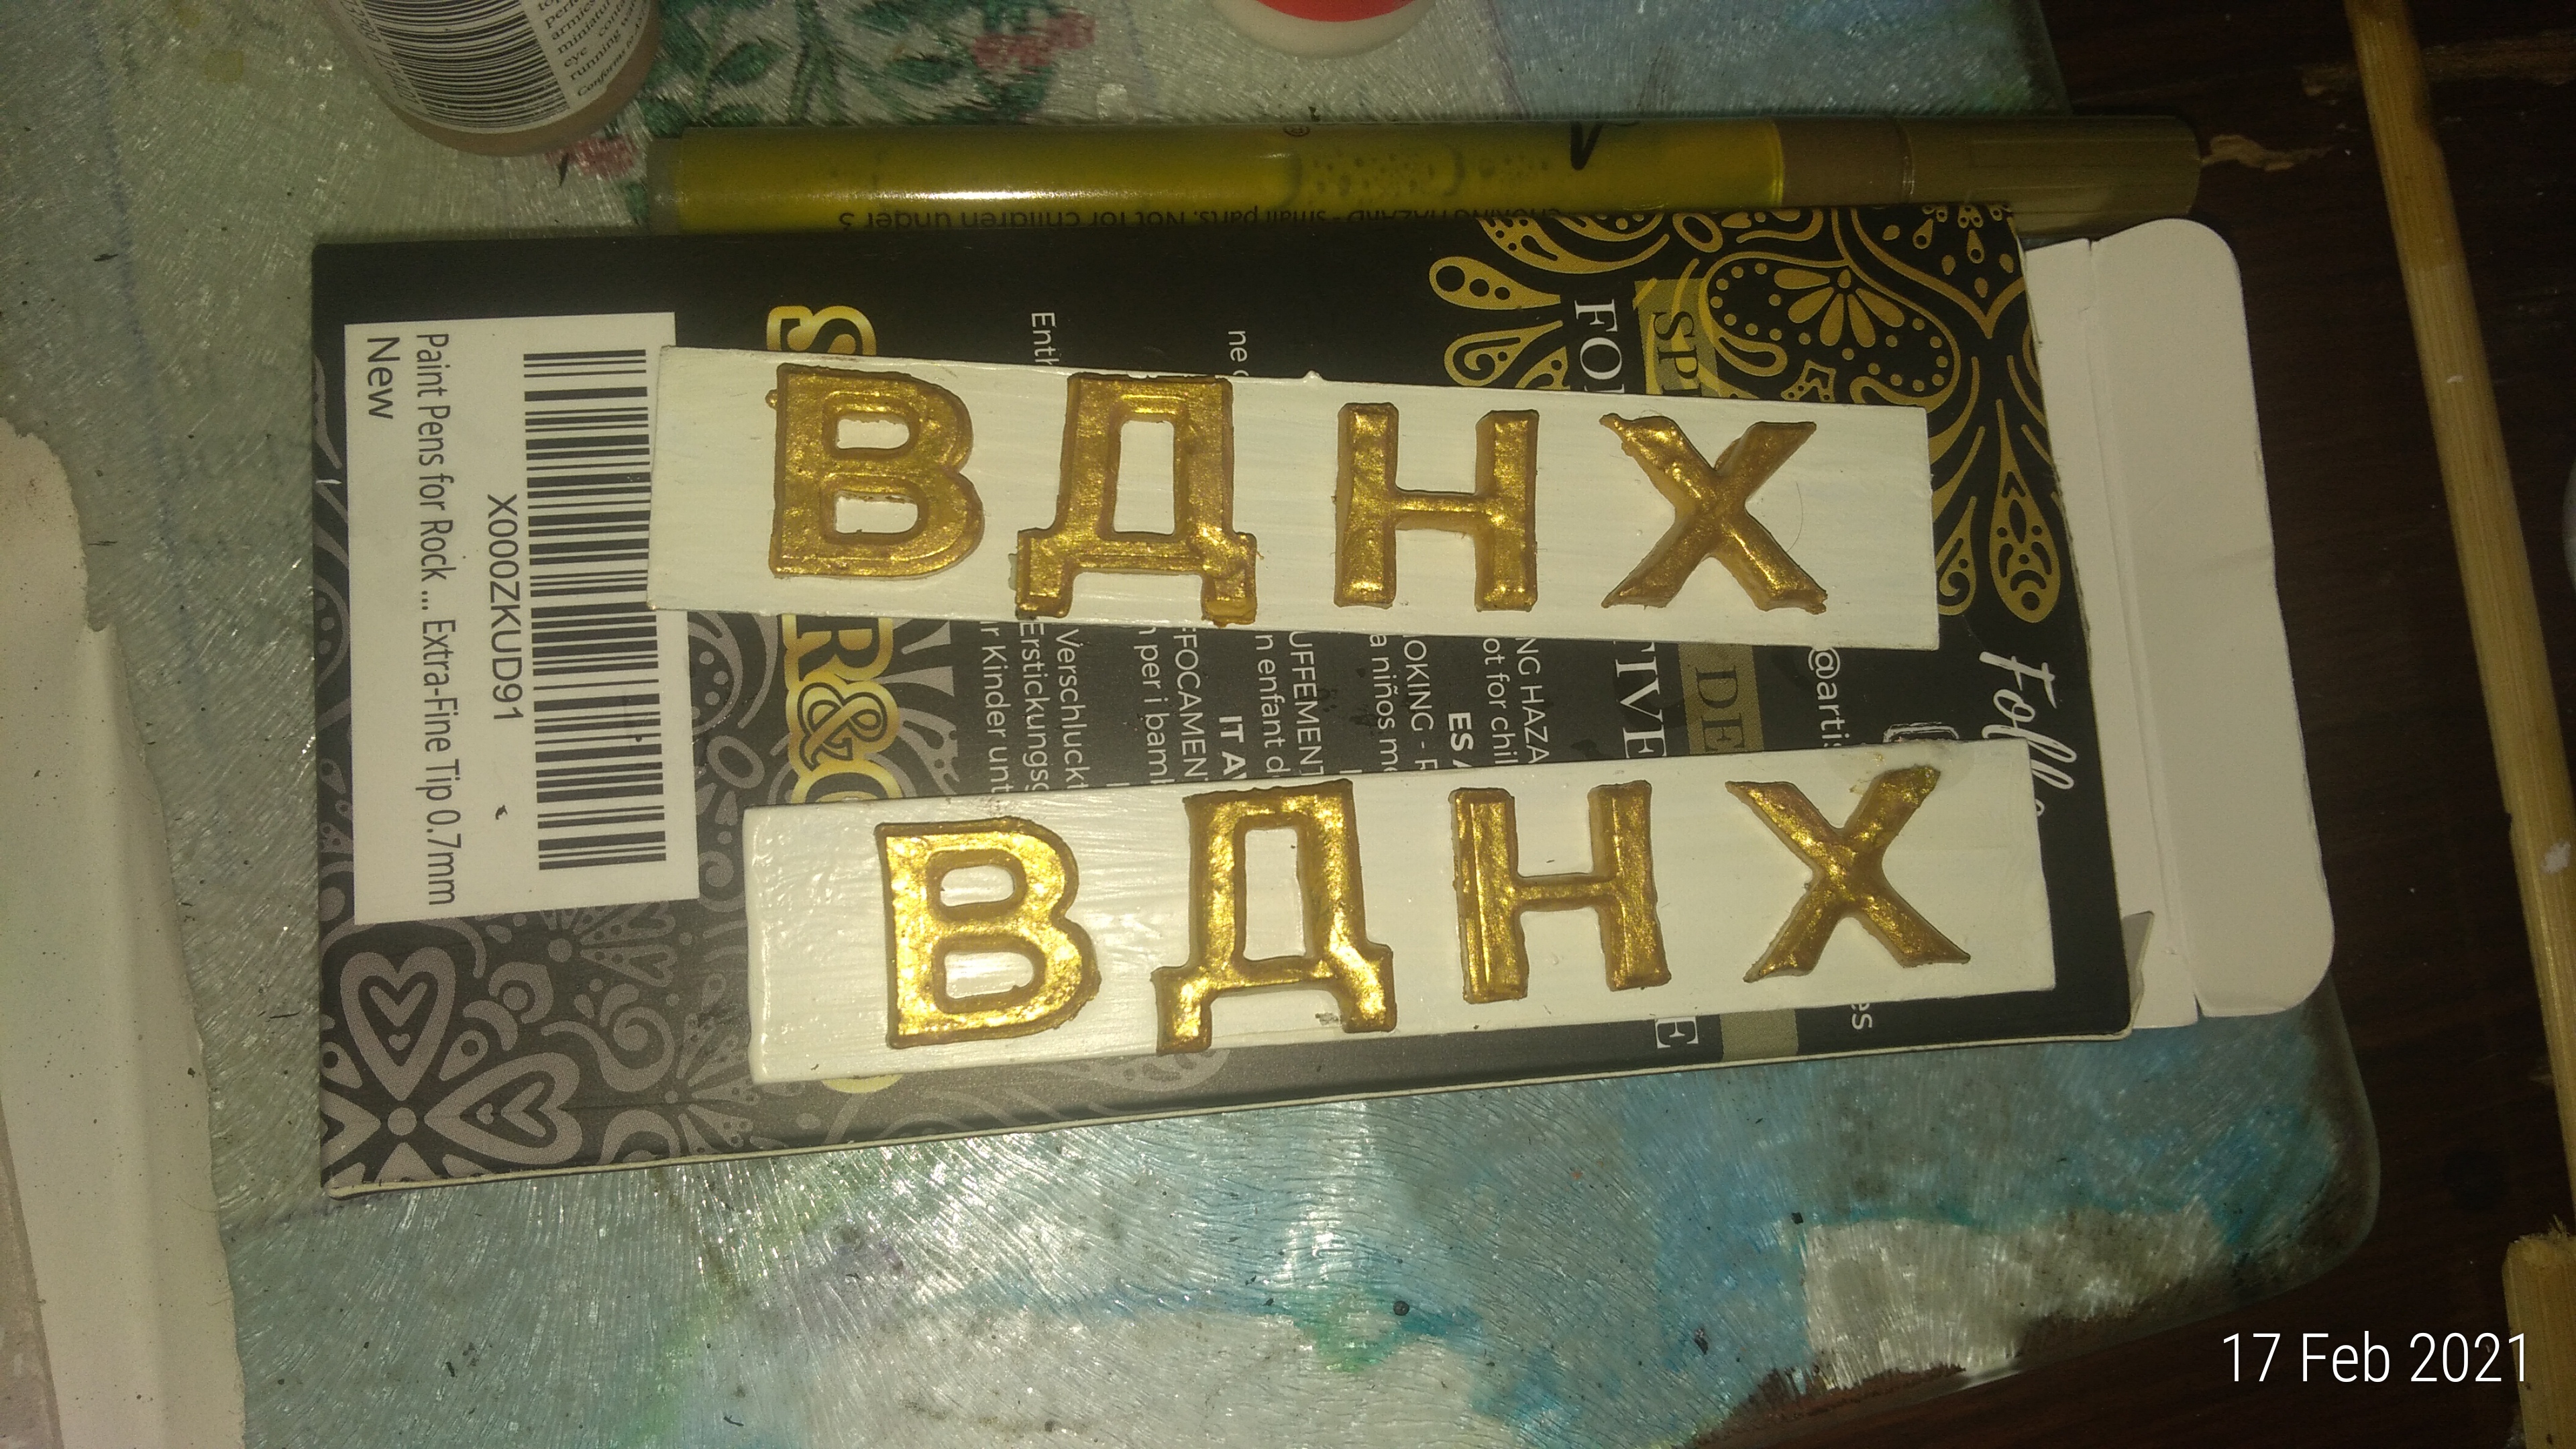
– I ended up using some of the UV Curing resin I bought from the OTT Store and it worked Great! I glued them to a green base from a front line base from historical anglo saxons painted it off white and painted the resin letter yellow and then bright gold
The station signs state the starting station in Metro 2033:
“Exhibition of Achievements of National Economy (Russian: Выставка достижений народного хозяйства, Vystavka dostizheniy narodnogo khozyaystva, abbreviated as VDNKh or VDNH, Russian: ВДНХ”
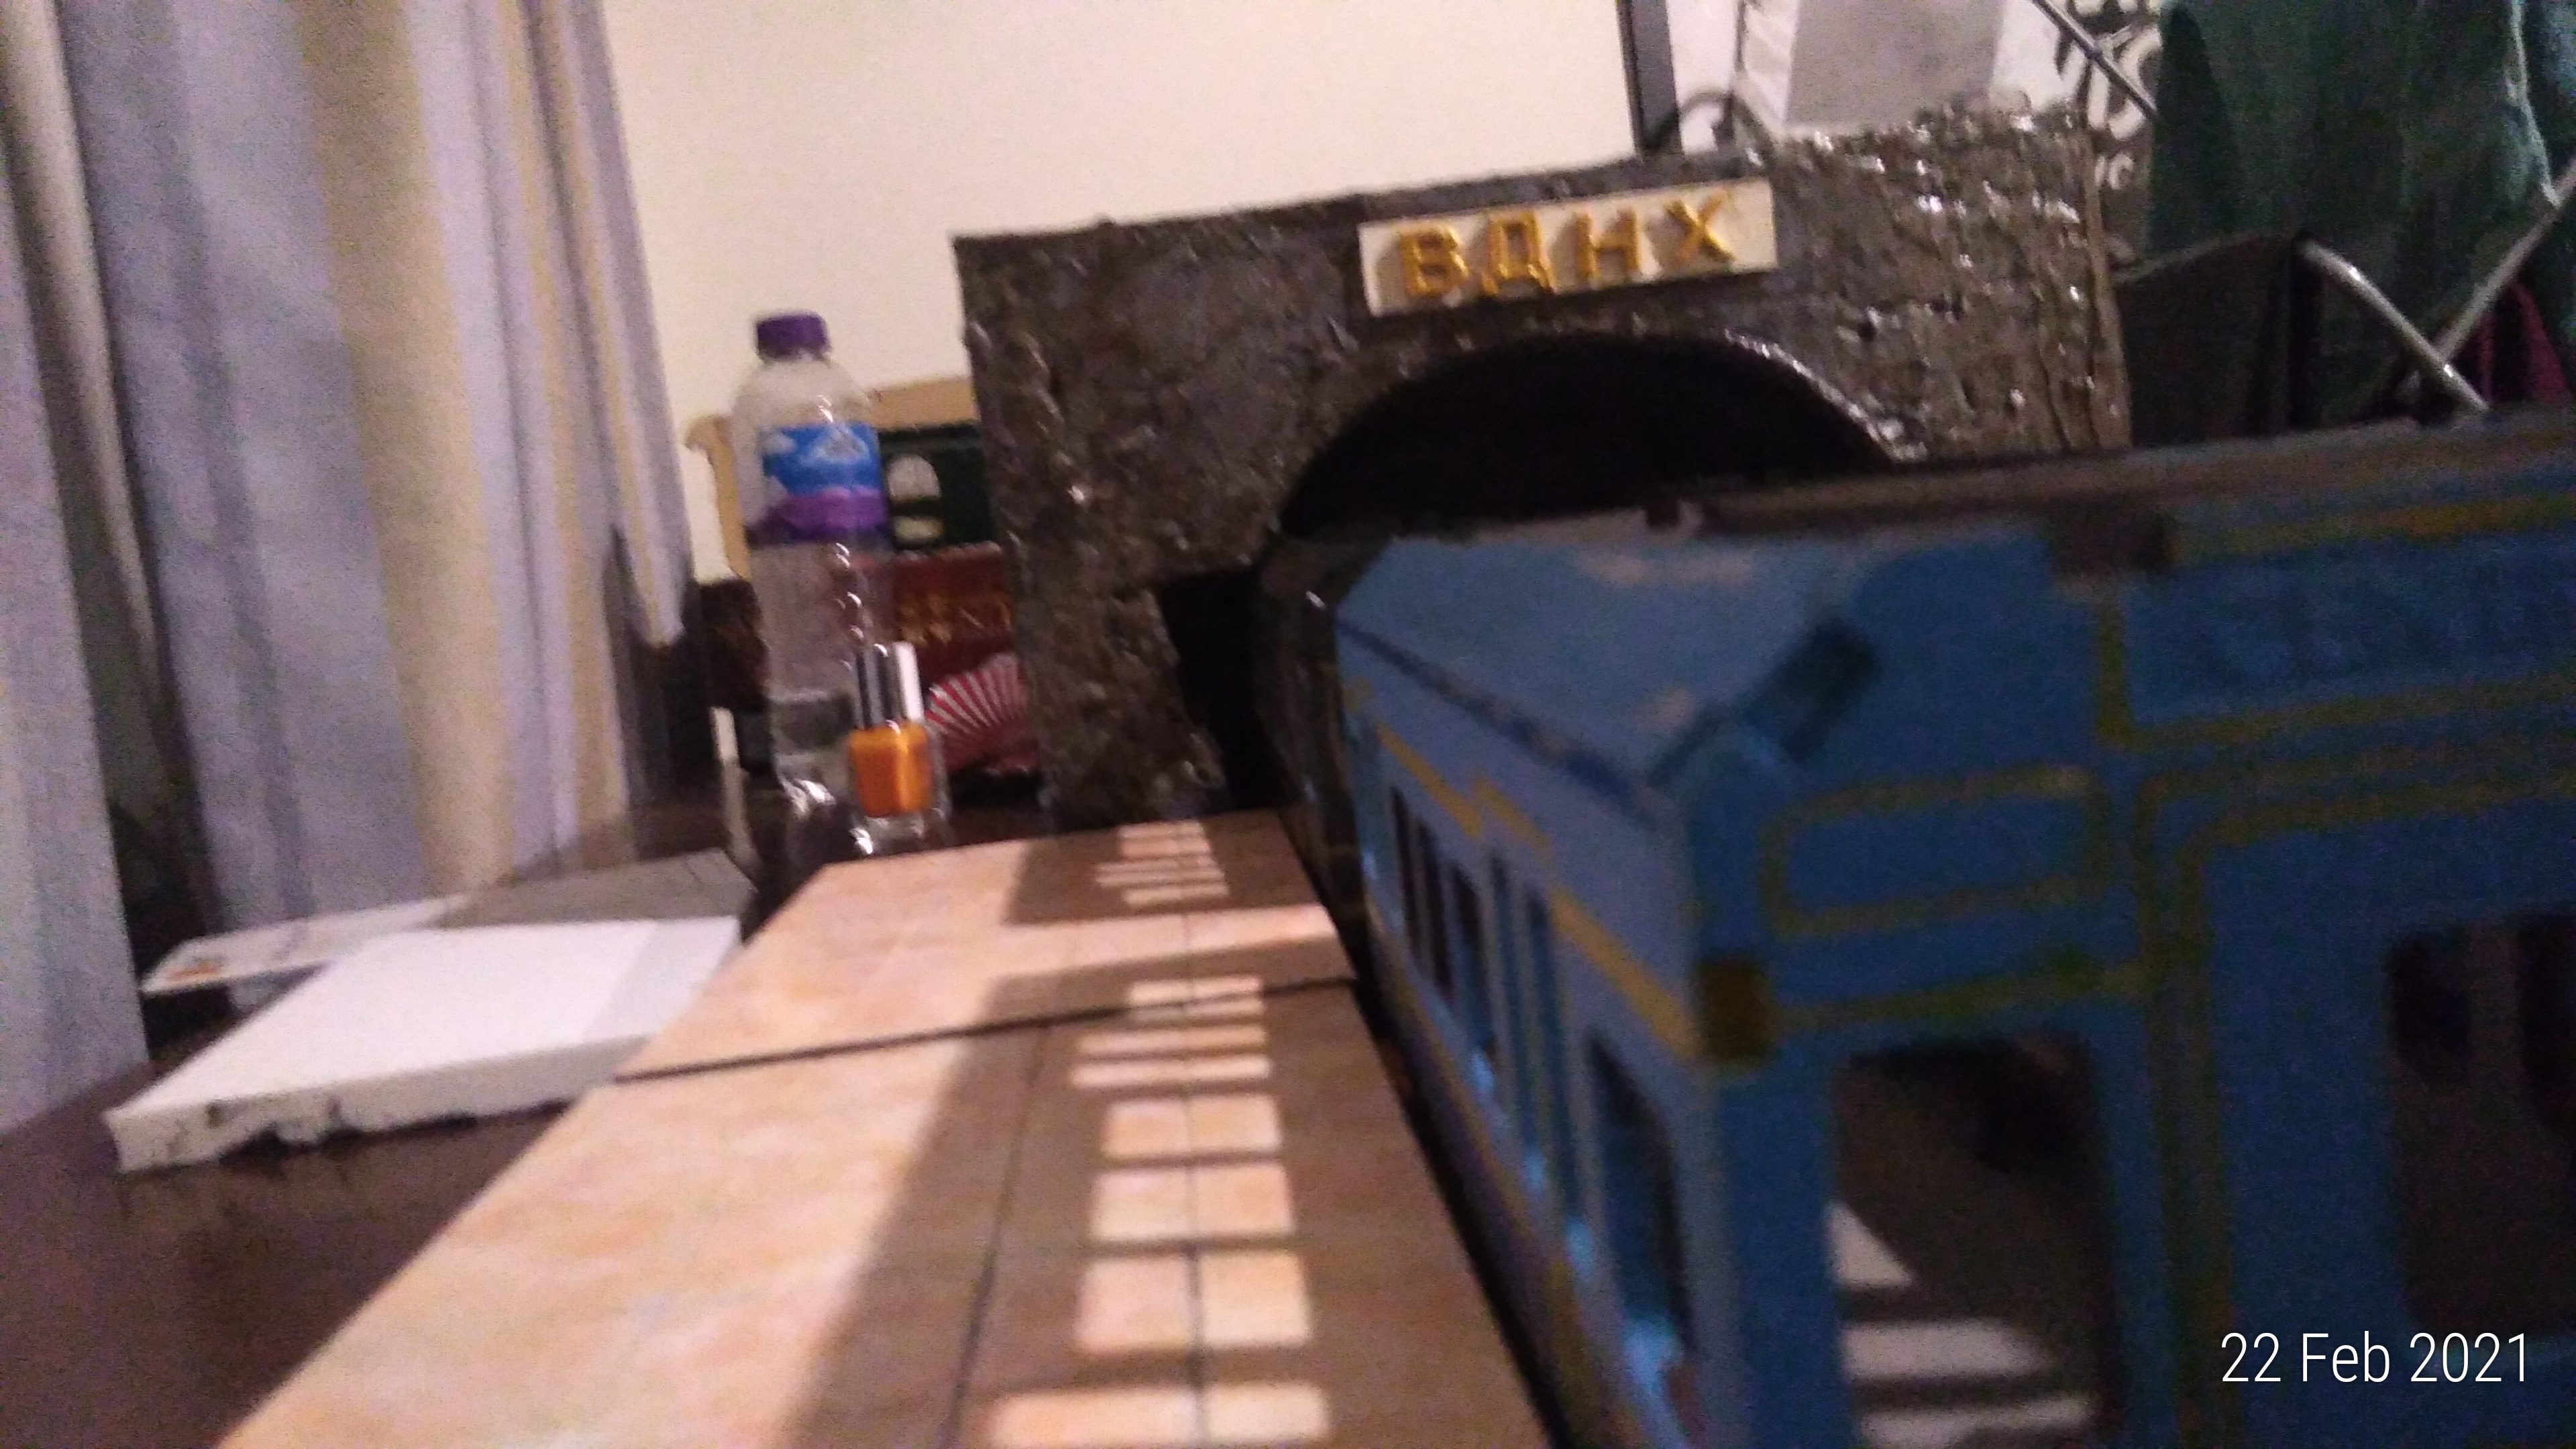
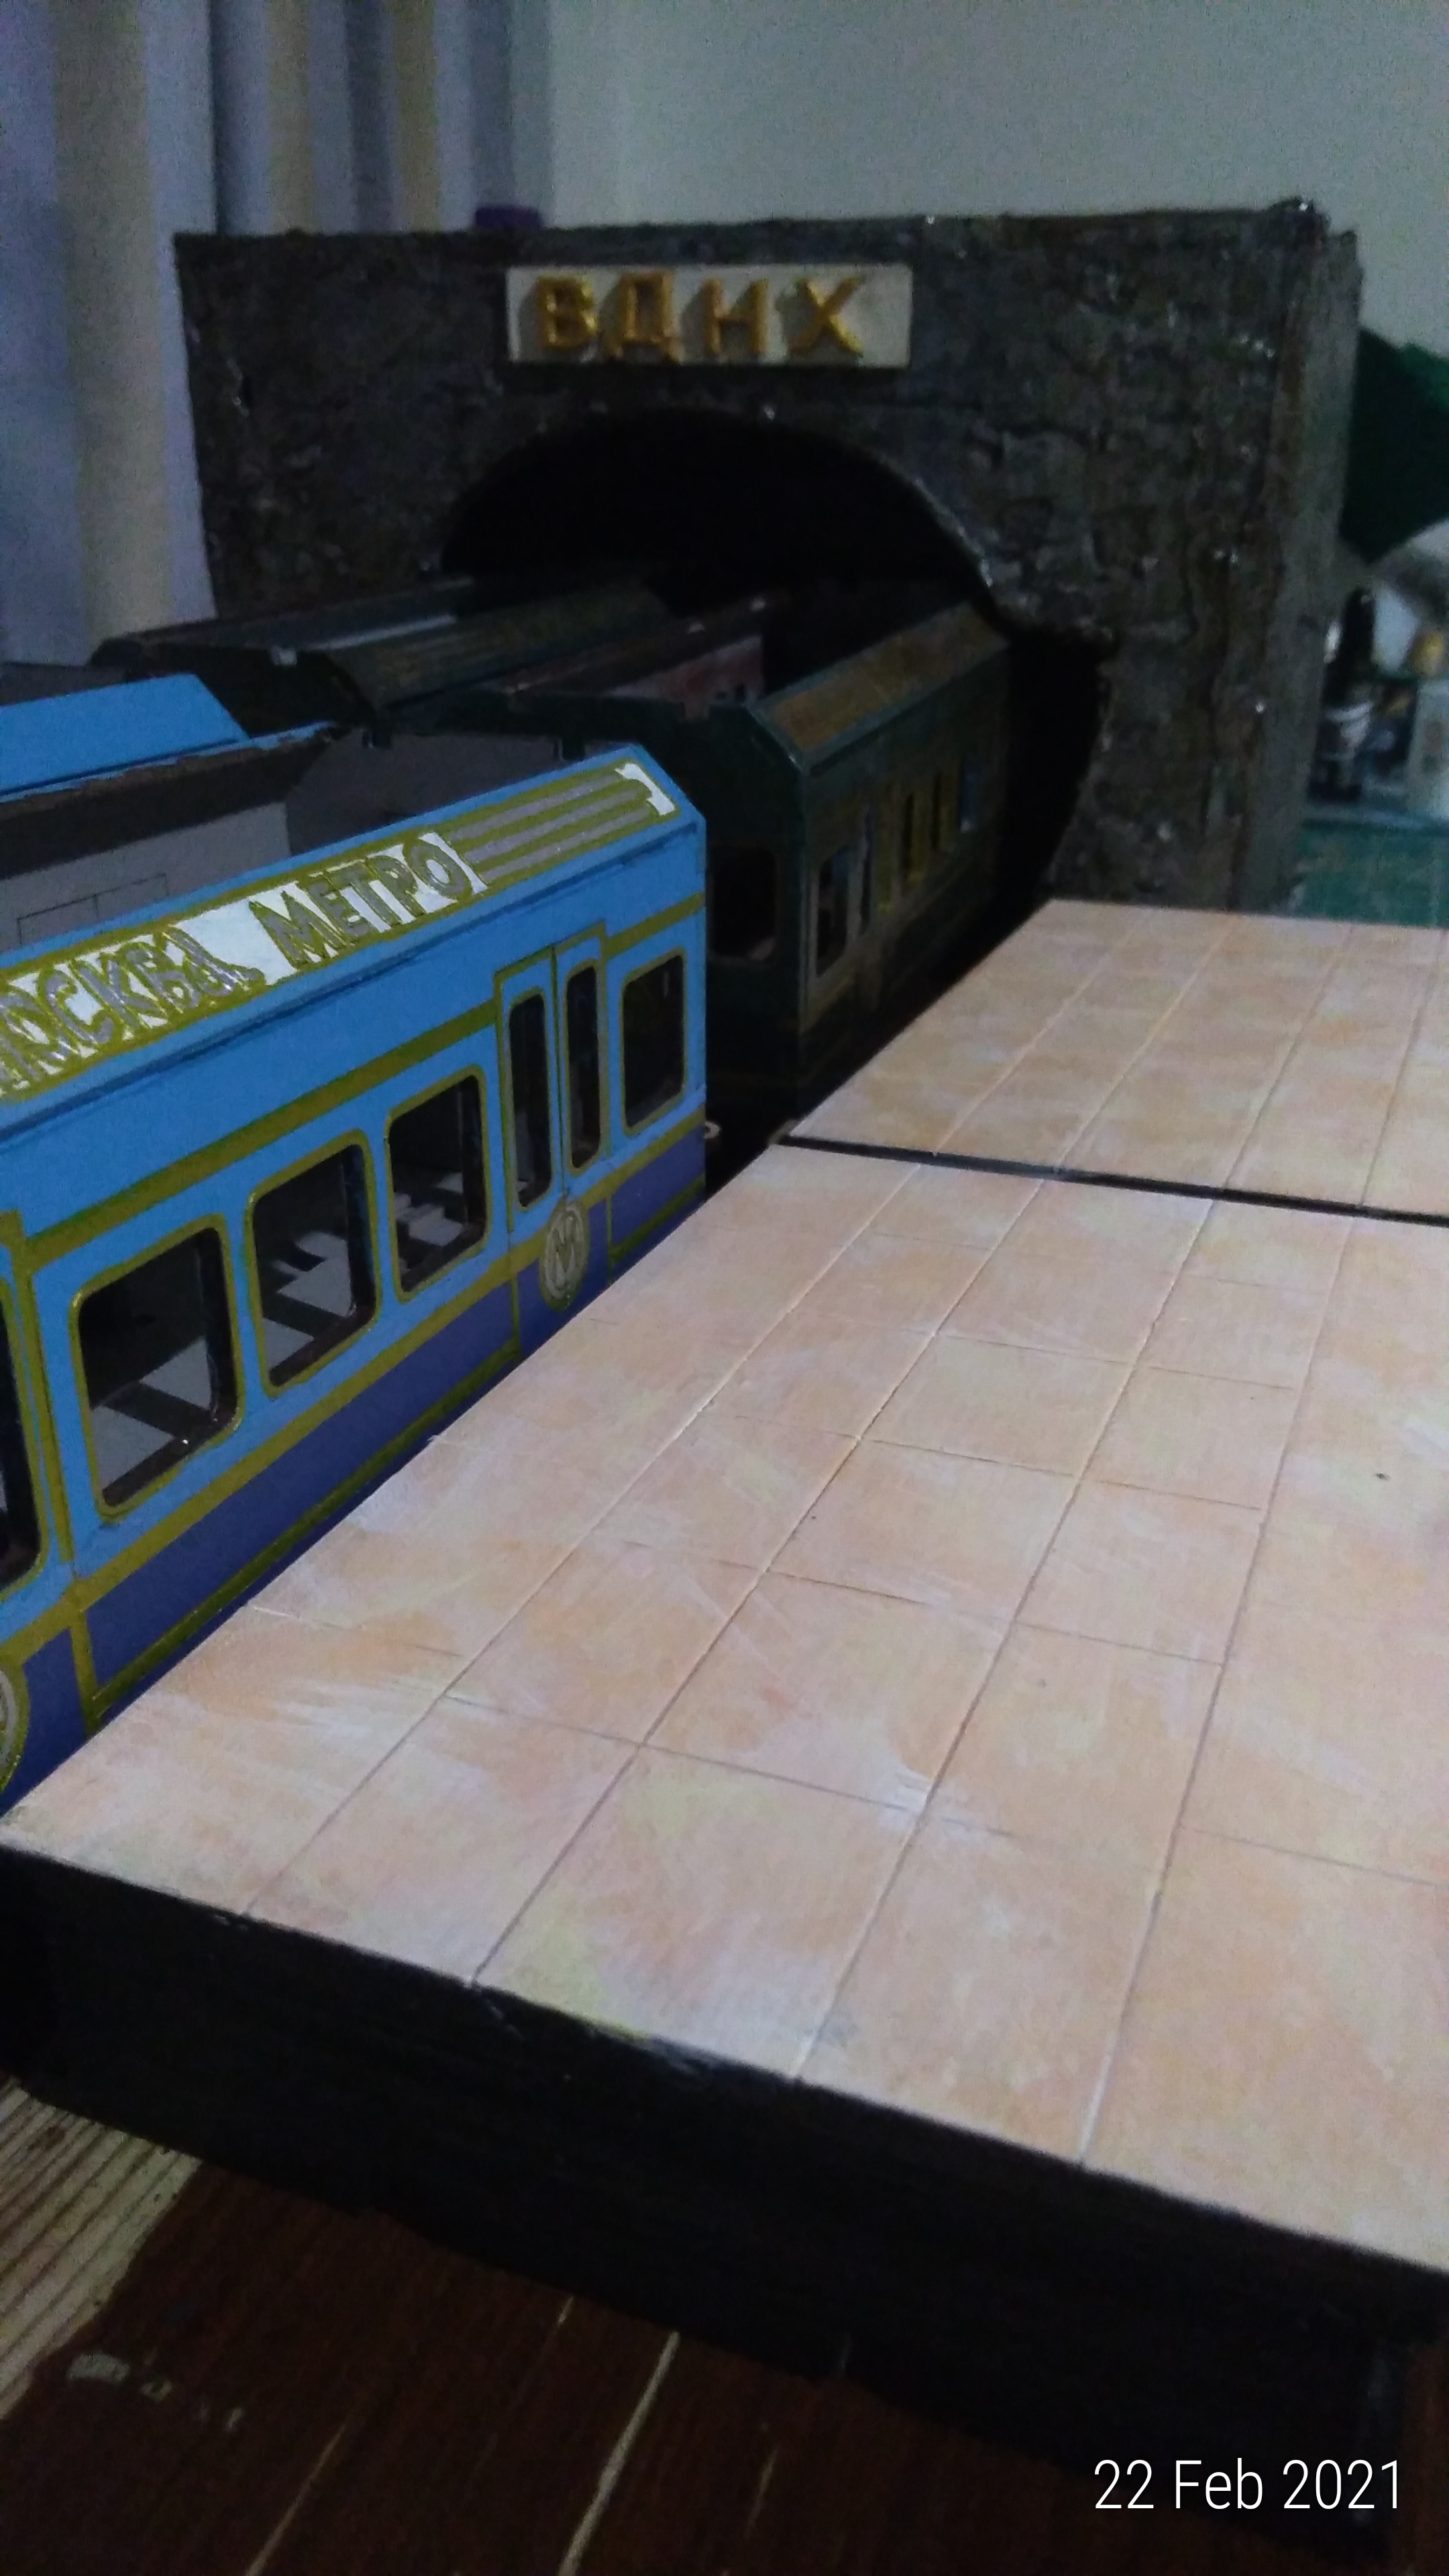
then I glued the sign to the top of the tunnel. Next I had painted some monorail carriages ages ago in the light blue / dark blue which seemed prevalent for trains in the USSR (and still seem to be in some countries now!)
I bought some paint pens in gold and silver to go over the details (mainly doors windows and lines on the side, I also highlighted the top sign which said “CENTRAL METRO” I painted in METRO to read METPO (russian metro) and then crudely painted “MOCKBA” over the first bit. It looked terrible but my next plan was to use:
– game effects dry rust and AMMO Shader – starship filth (these NEW AMMO shaders are brilliant, but a tad expensive for 10ml)
I painted over the lovely bright carriages to grime them up which you can see below (at a later date i used rough iron by the army warpaints with the two shaders for the inside):
 before
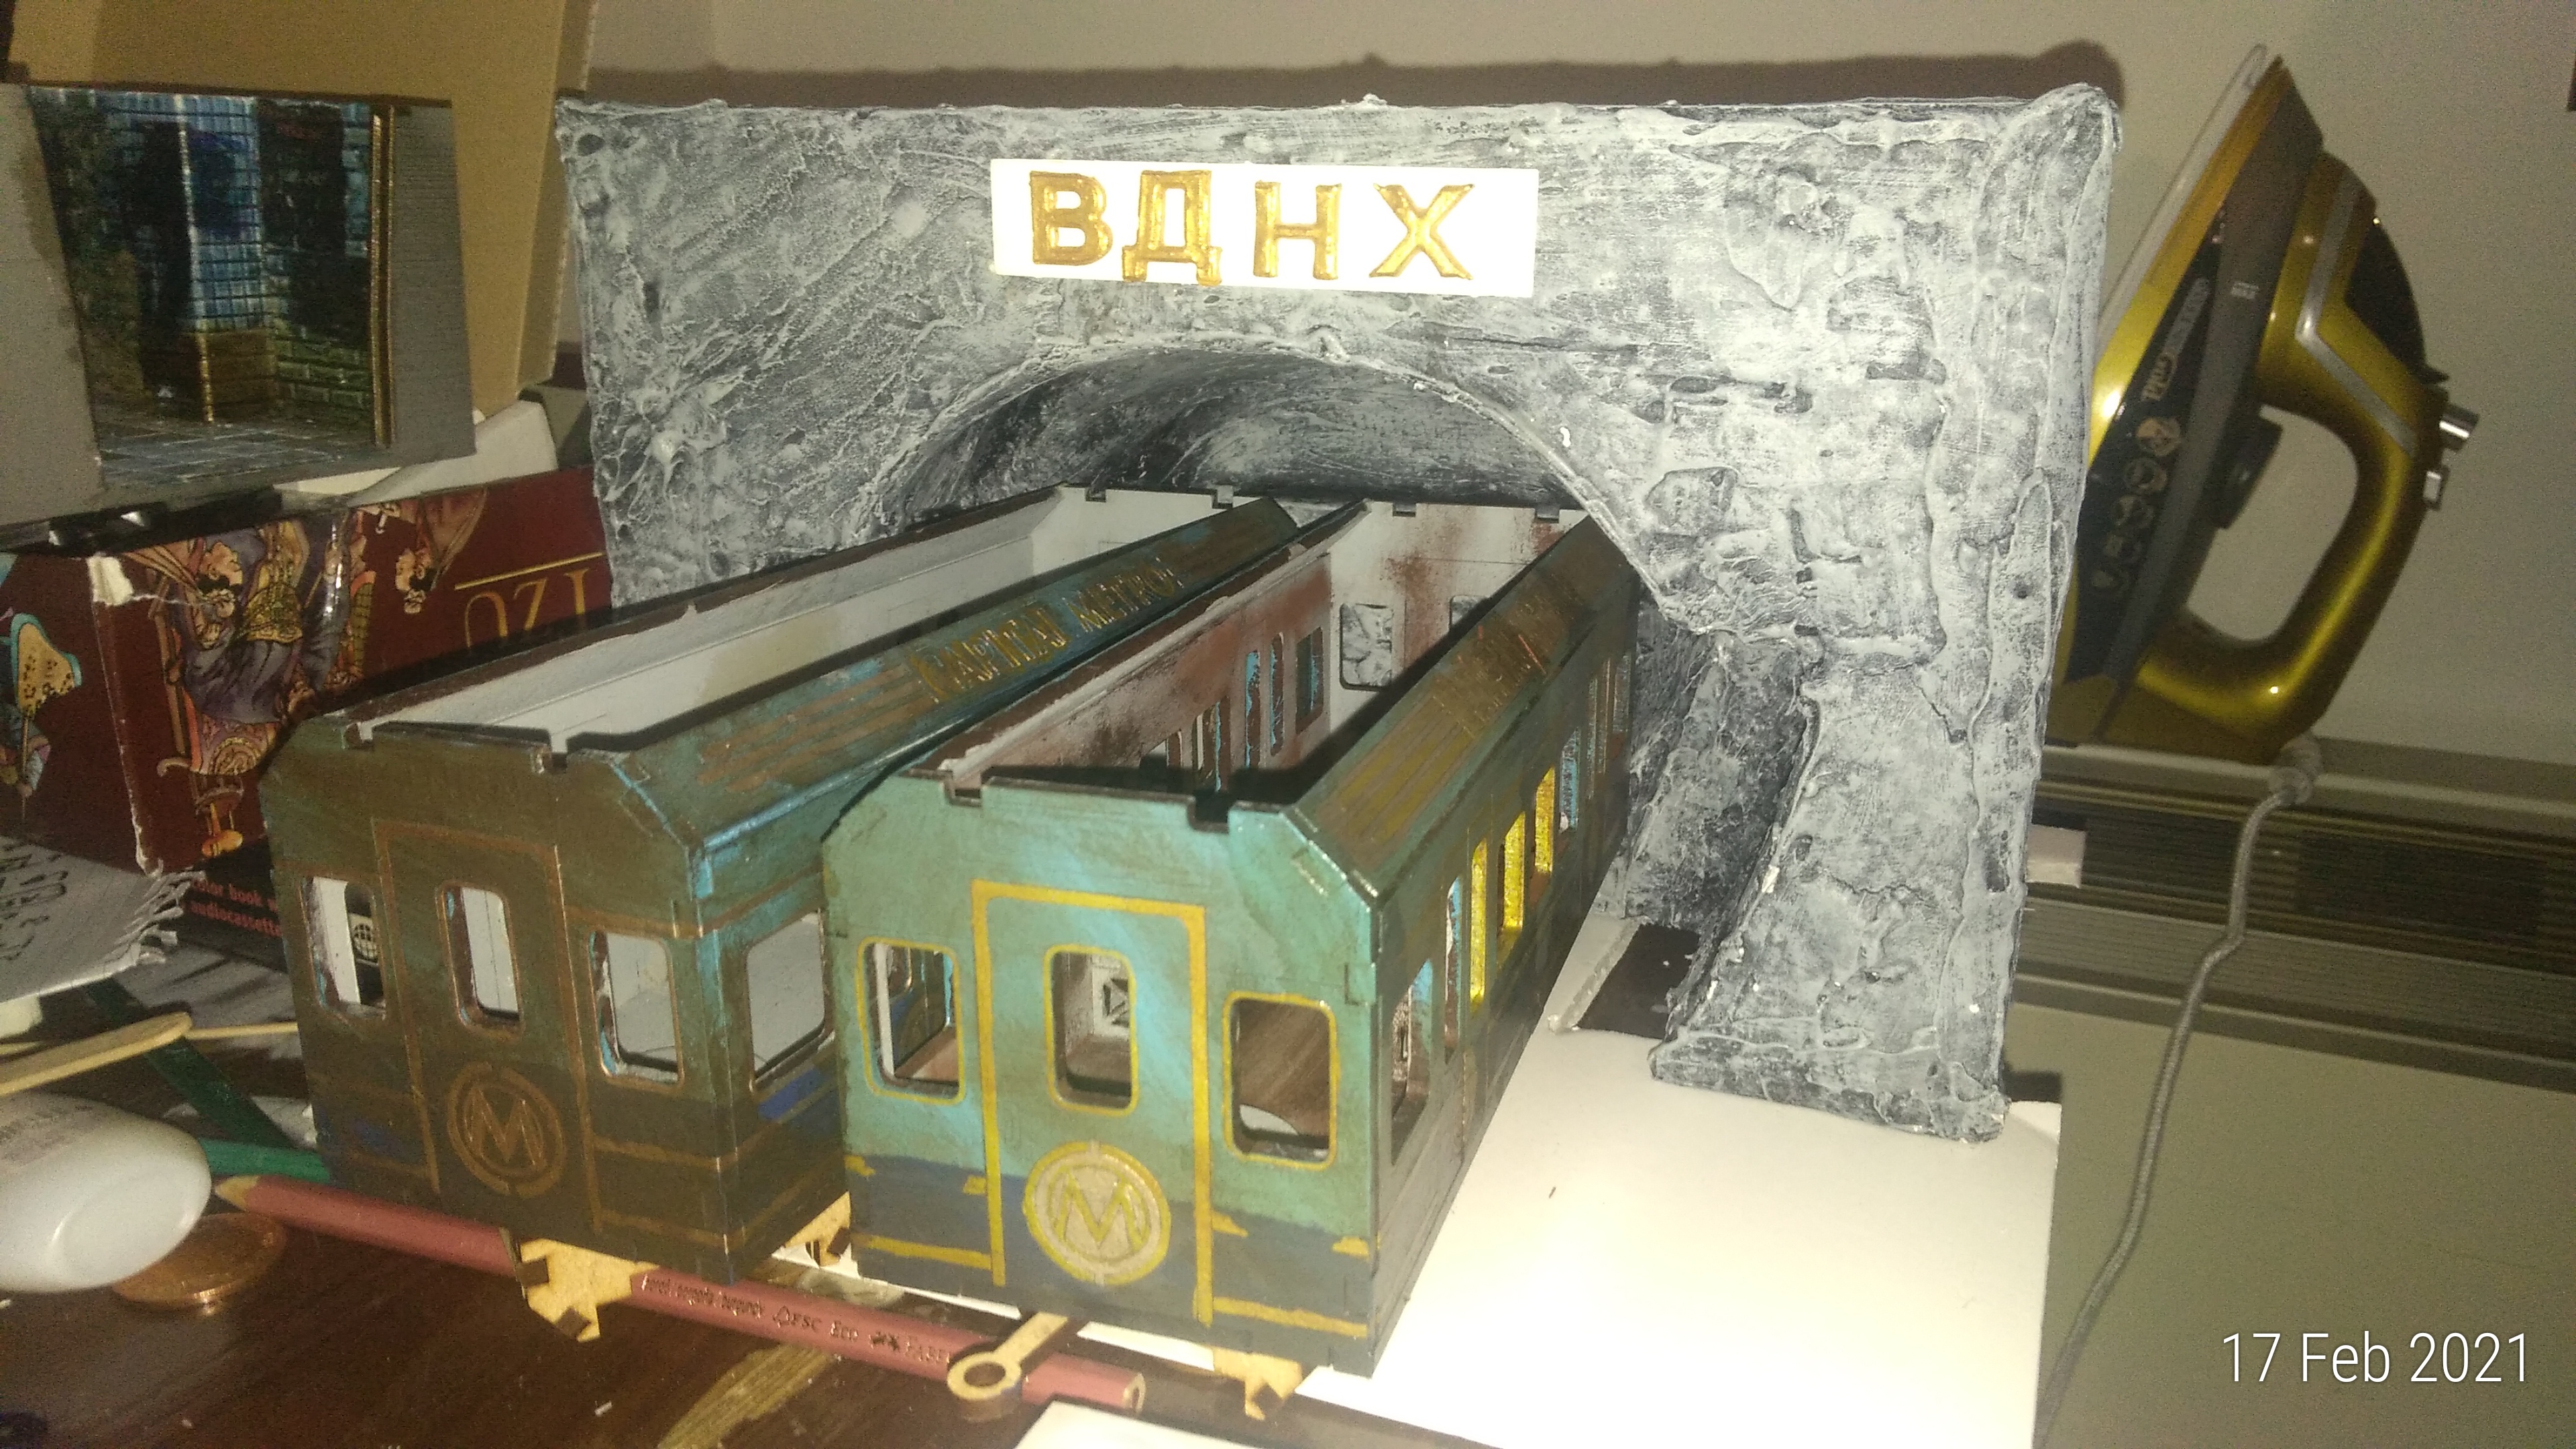 after
after

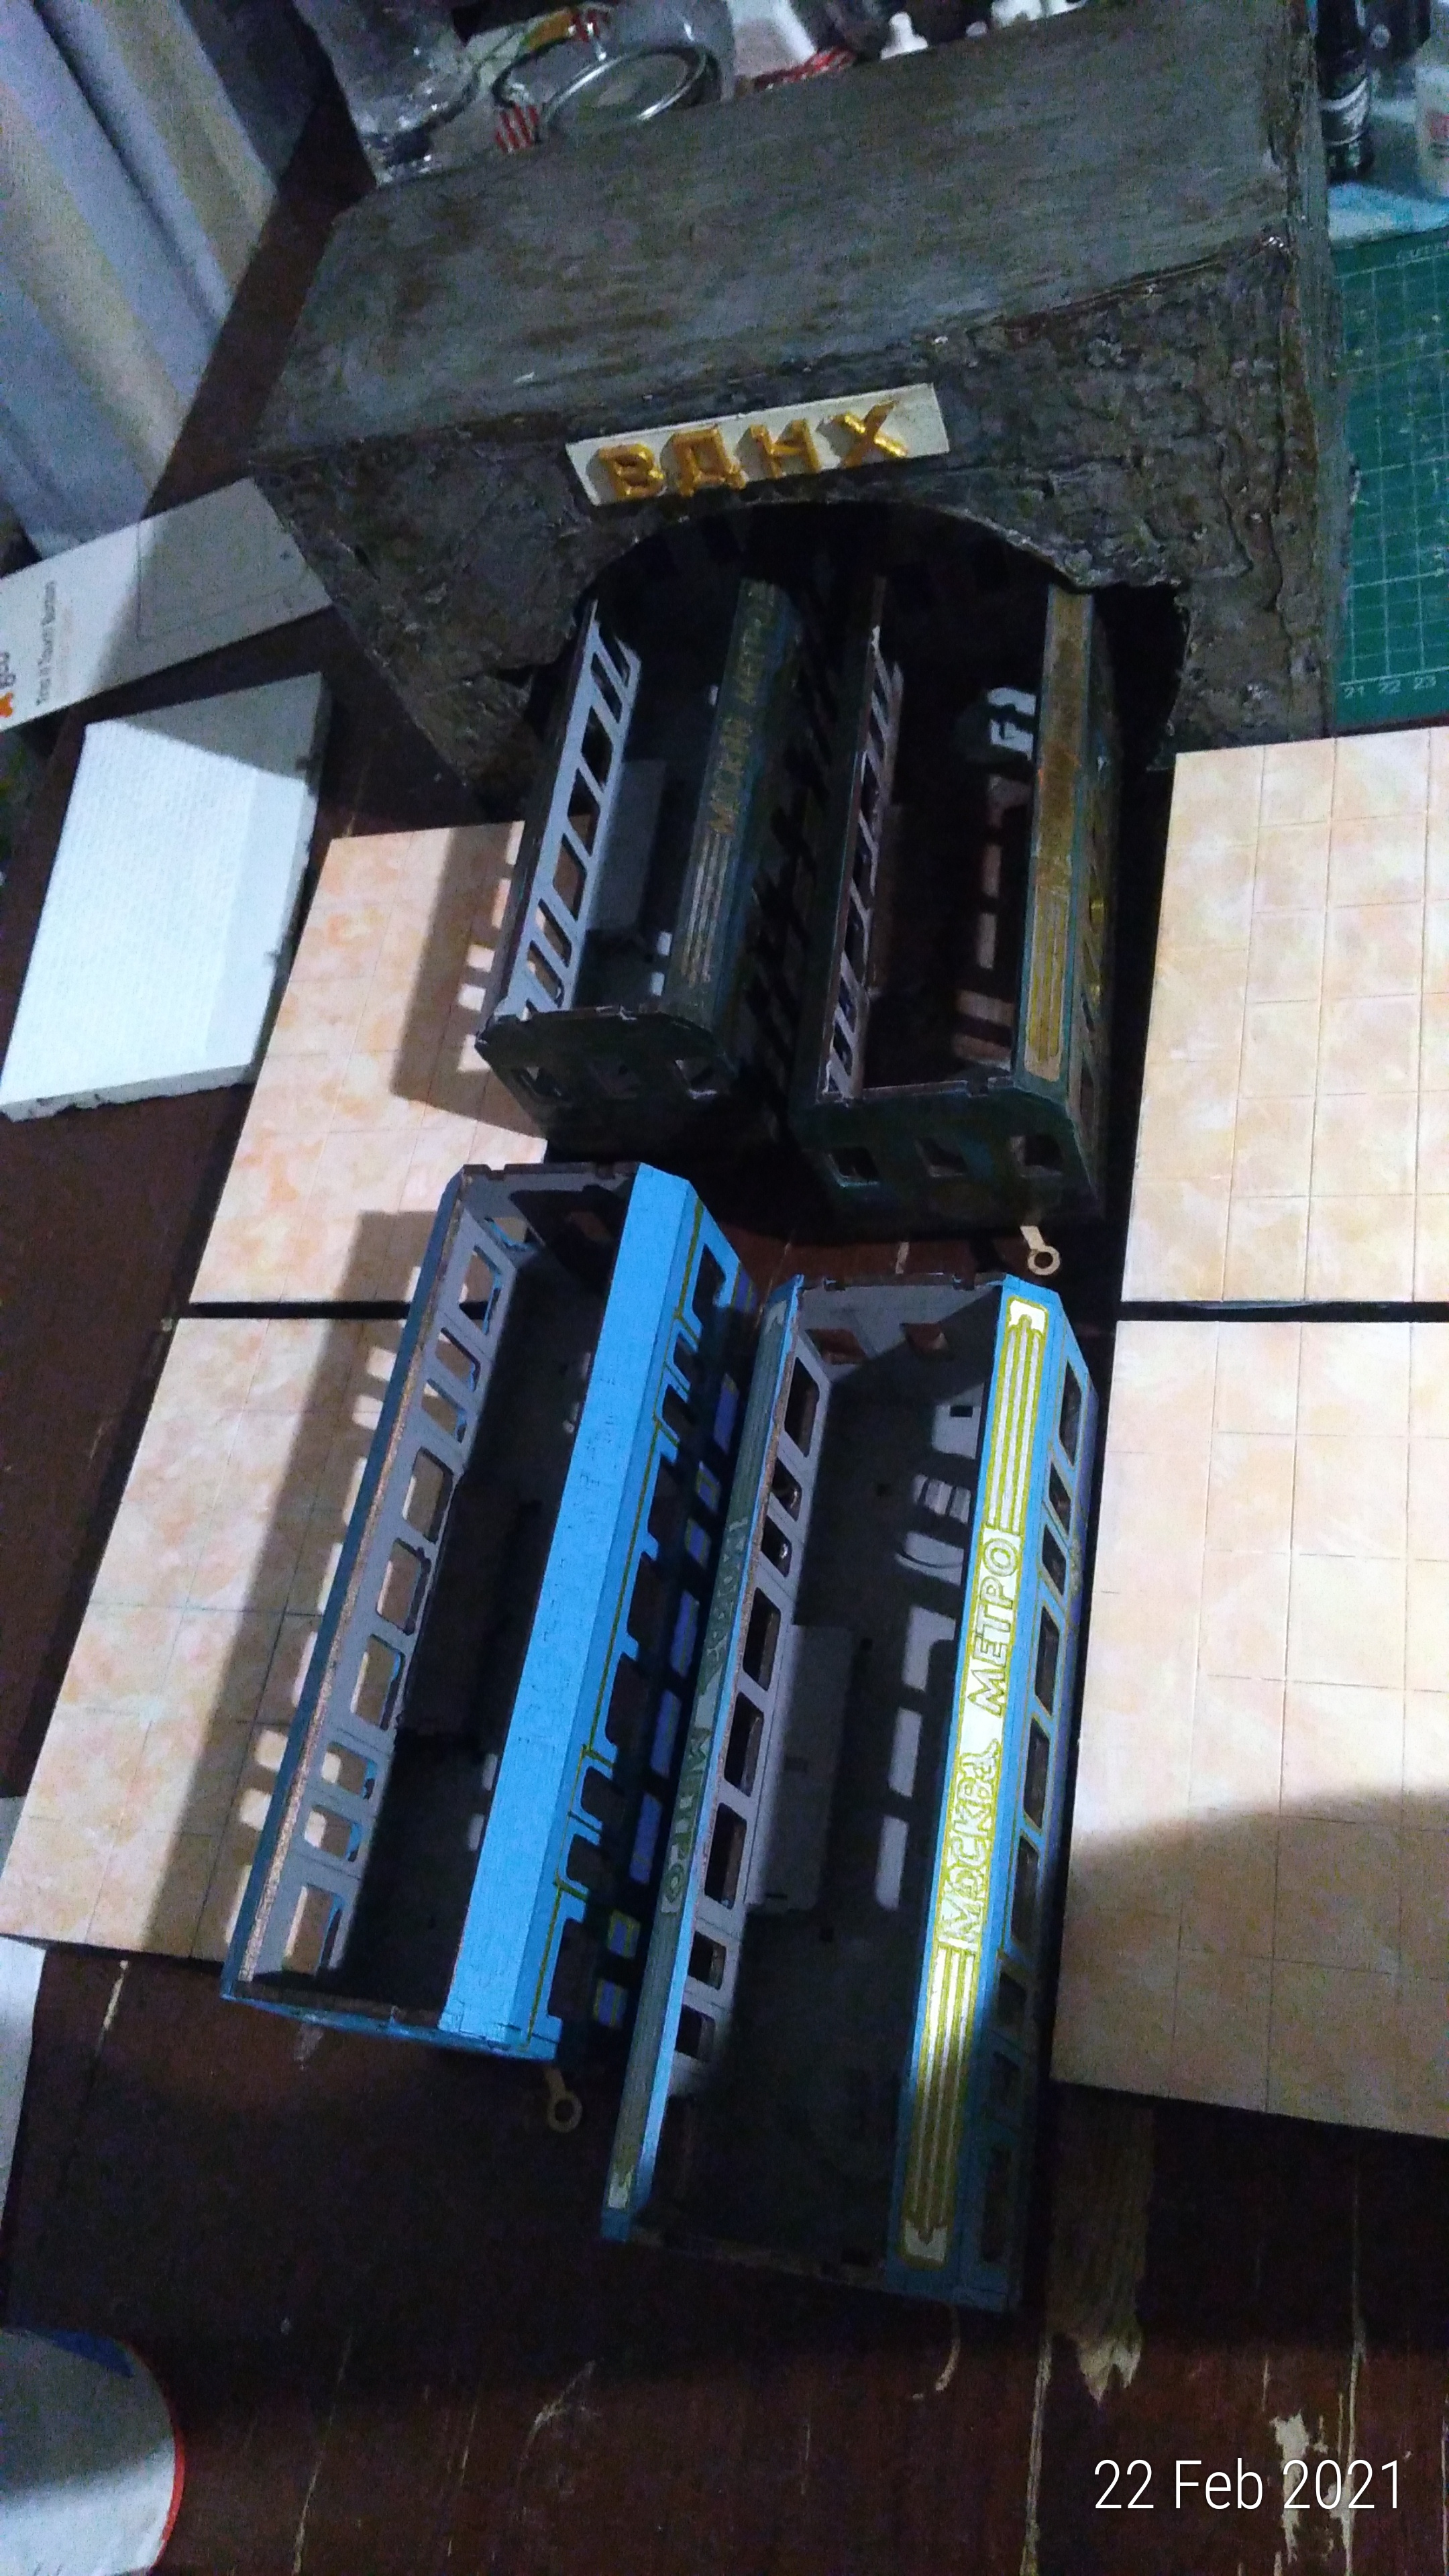
the above shows the change of grimeyness for the trains and also the grimeyness of the tunnel from adding the quickshade varnish..
You may also spot platforms, these are from that station set I talked about last time. And used my knowledge of painting marble floors from the bunker I have done to create my best Marble yet. I basically used makeup brushes to add from darkest to lightest and then a touch up at the end (I finally took a picture of what I used which you can see below paint wise)
 1
1 2
2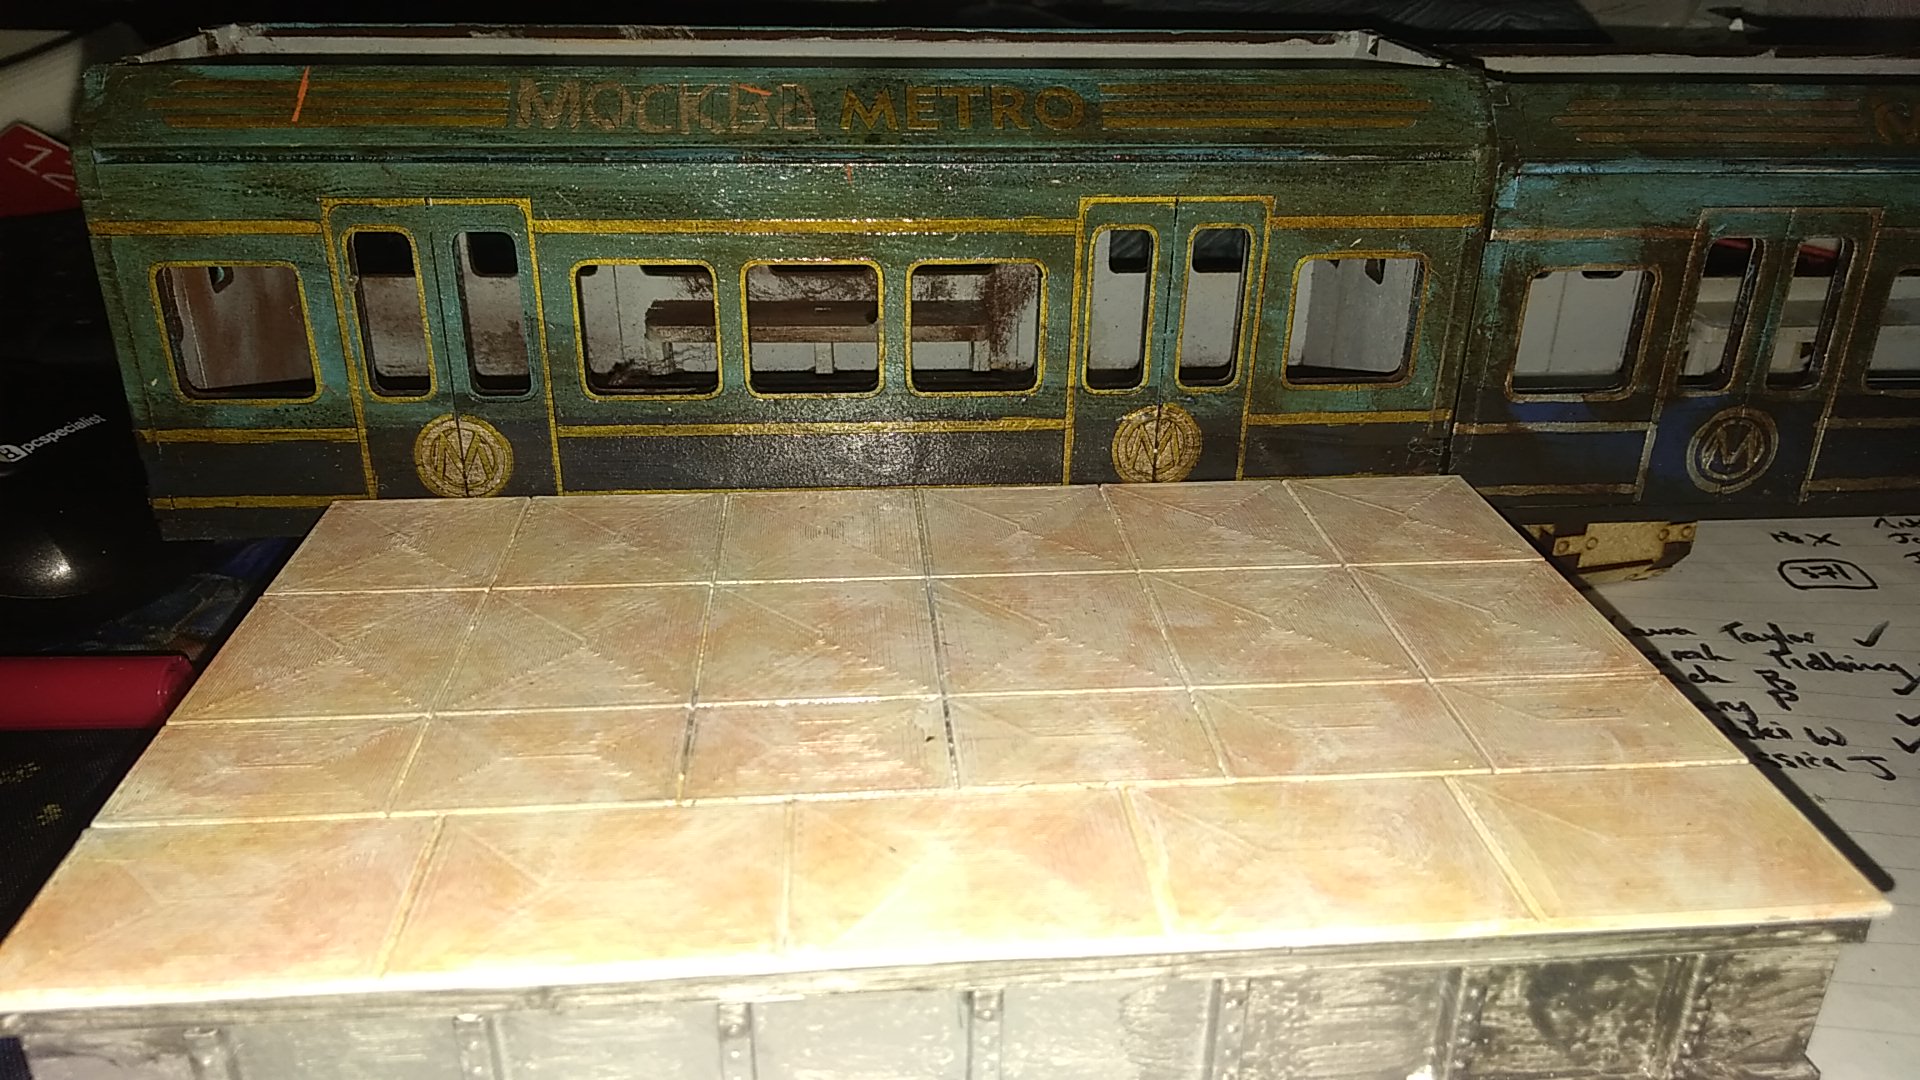 3
3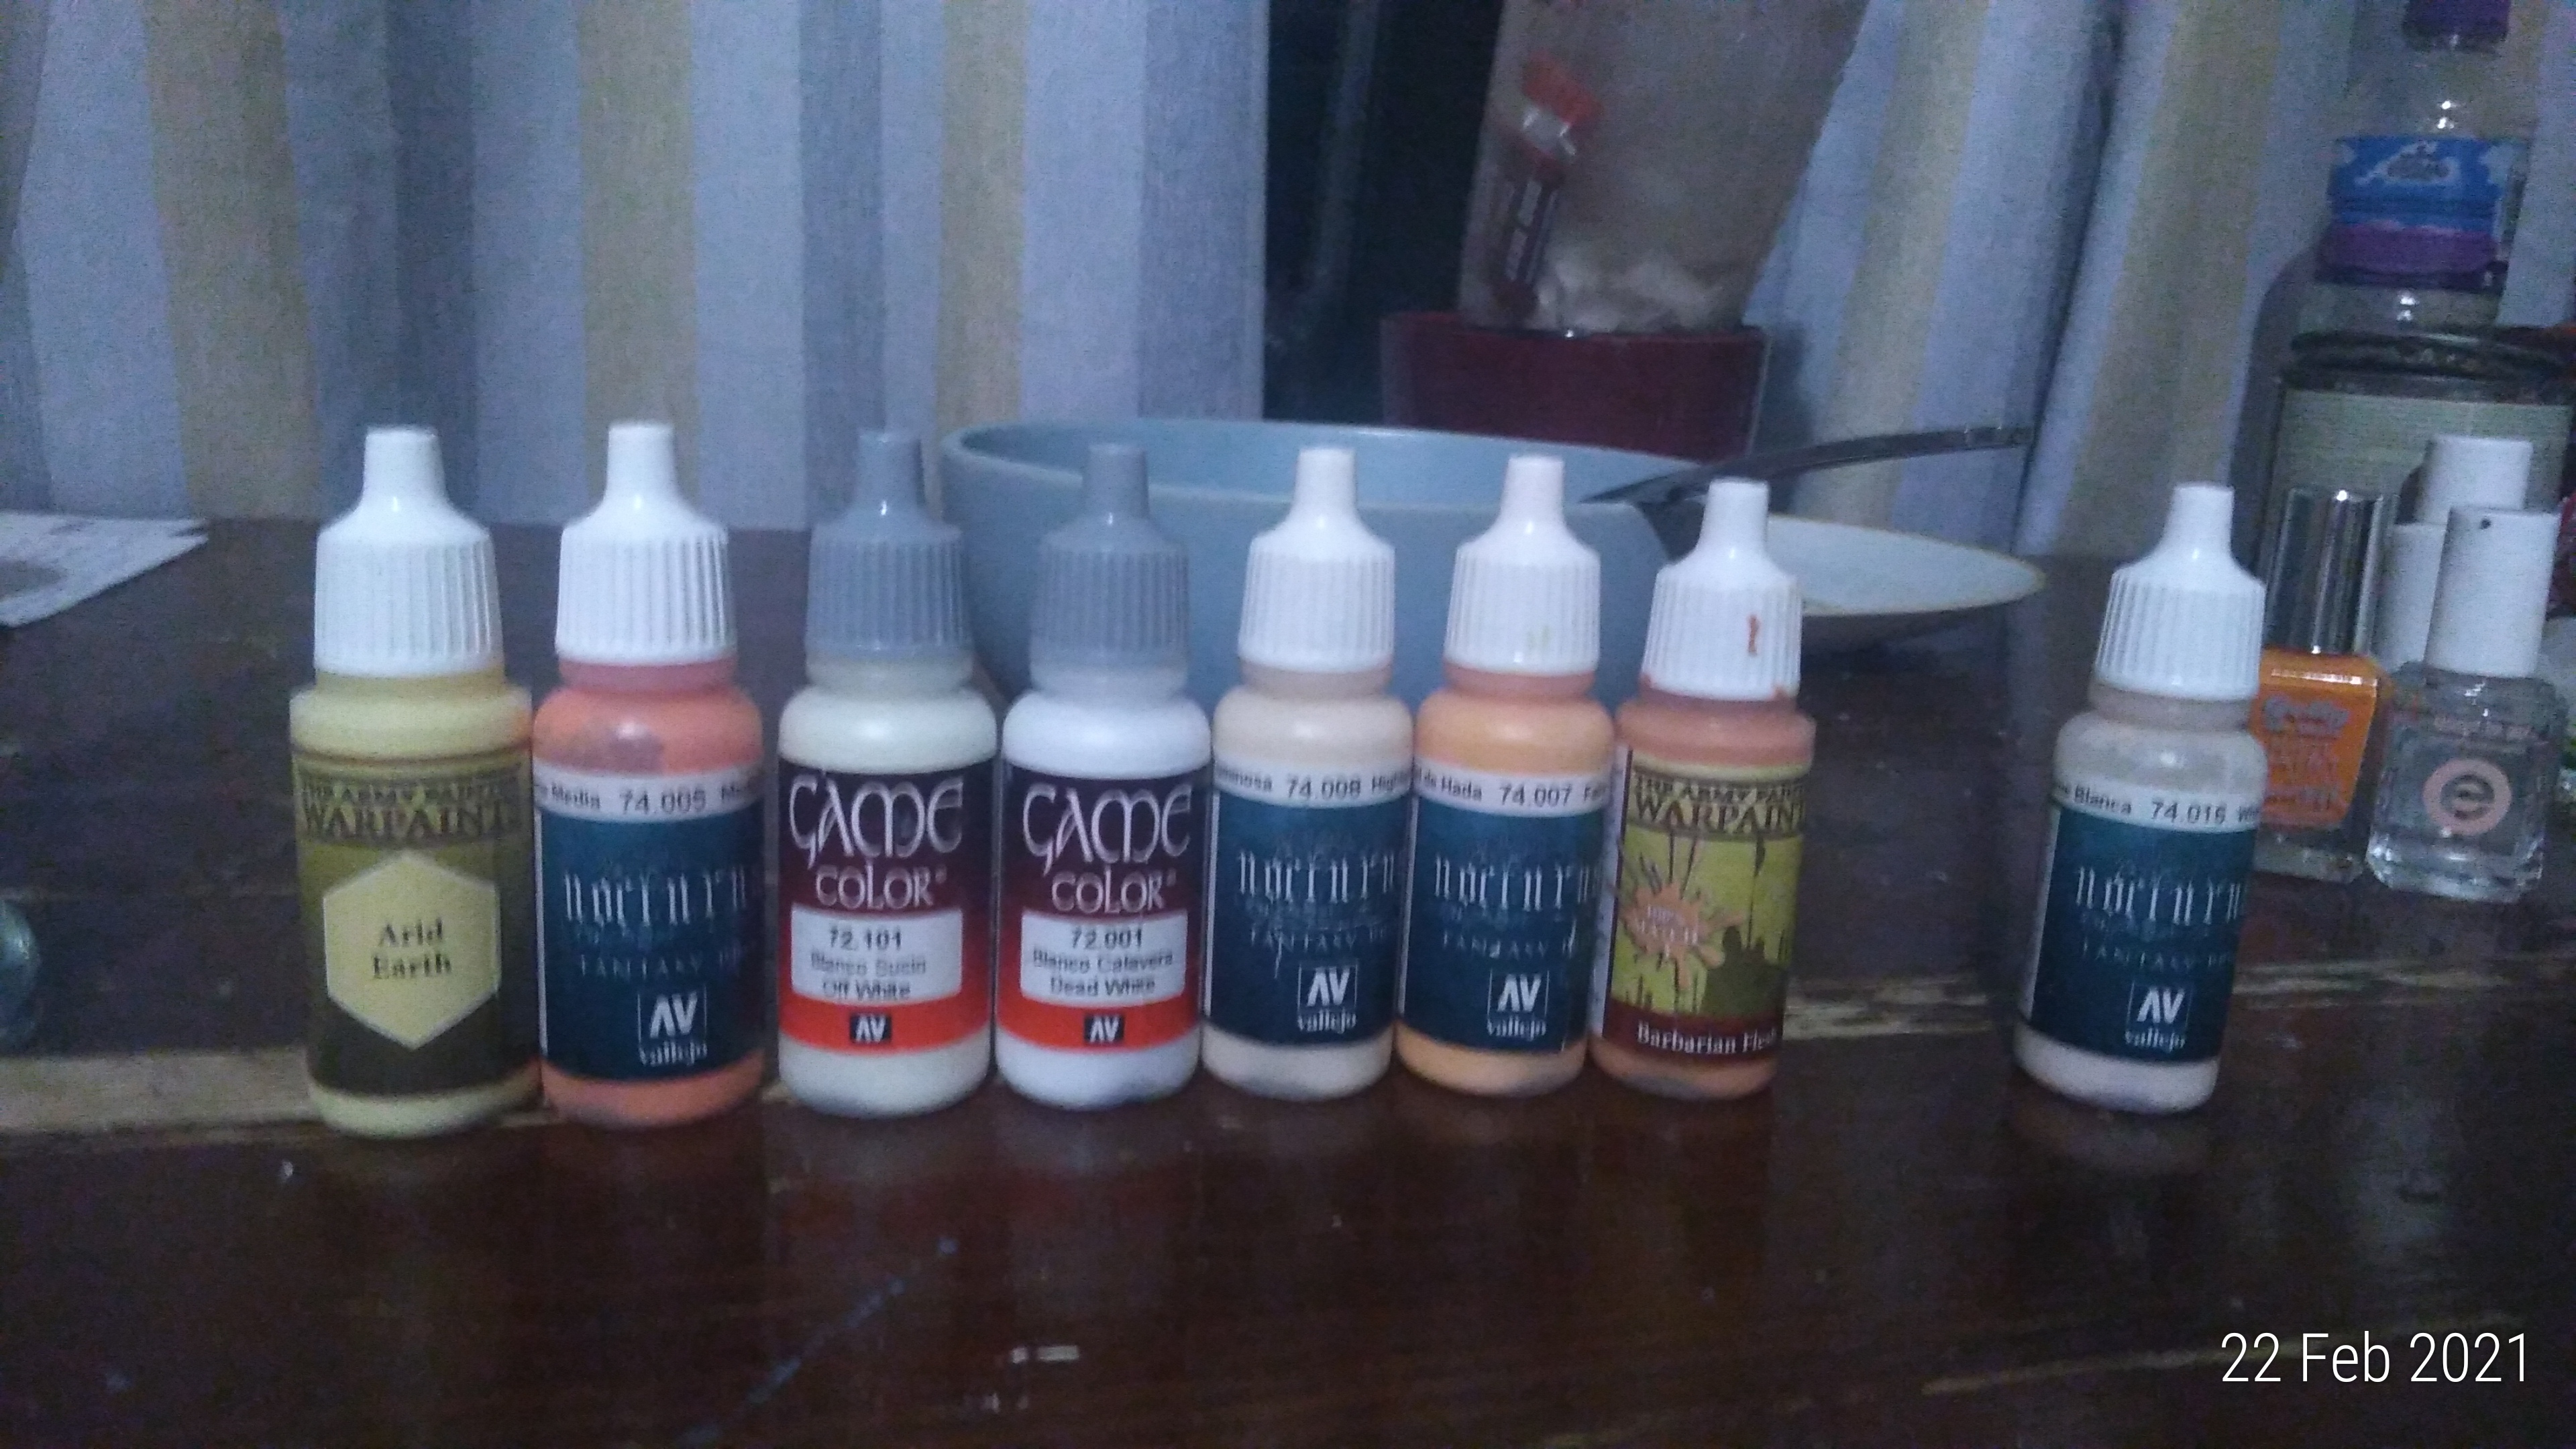 paints used for marble
having not the space to use a air spray, and also when i did try not getting great results, I am glad I have found a great method with using brushes…
Long awaited update
So I have been away for a while…
In this time I landed my hands on this 3d kit:
Urban Sherman Avenue Subway Metro Station Digital STL 3D printable
the person who printed off the below bunker for me printed it for a -con which got cancelled (to show off what his business can offer for the miniatures gamer without a 3d printer) so I got it at a very reasonable price…
However I got stuck as how to make the bunker and the station blend together…I tried with plast molds, which I am not 100% happy with. I then got distracted with making and painting more miniatures for this as well as painting all my zombiecide zombies to use with this as well (cheapest way to get a hoarde like group of figures)
However over xmas we got a new iron, which gave me much needed inspiration, below are the plaster tiles i’ll go on in a different post
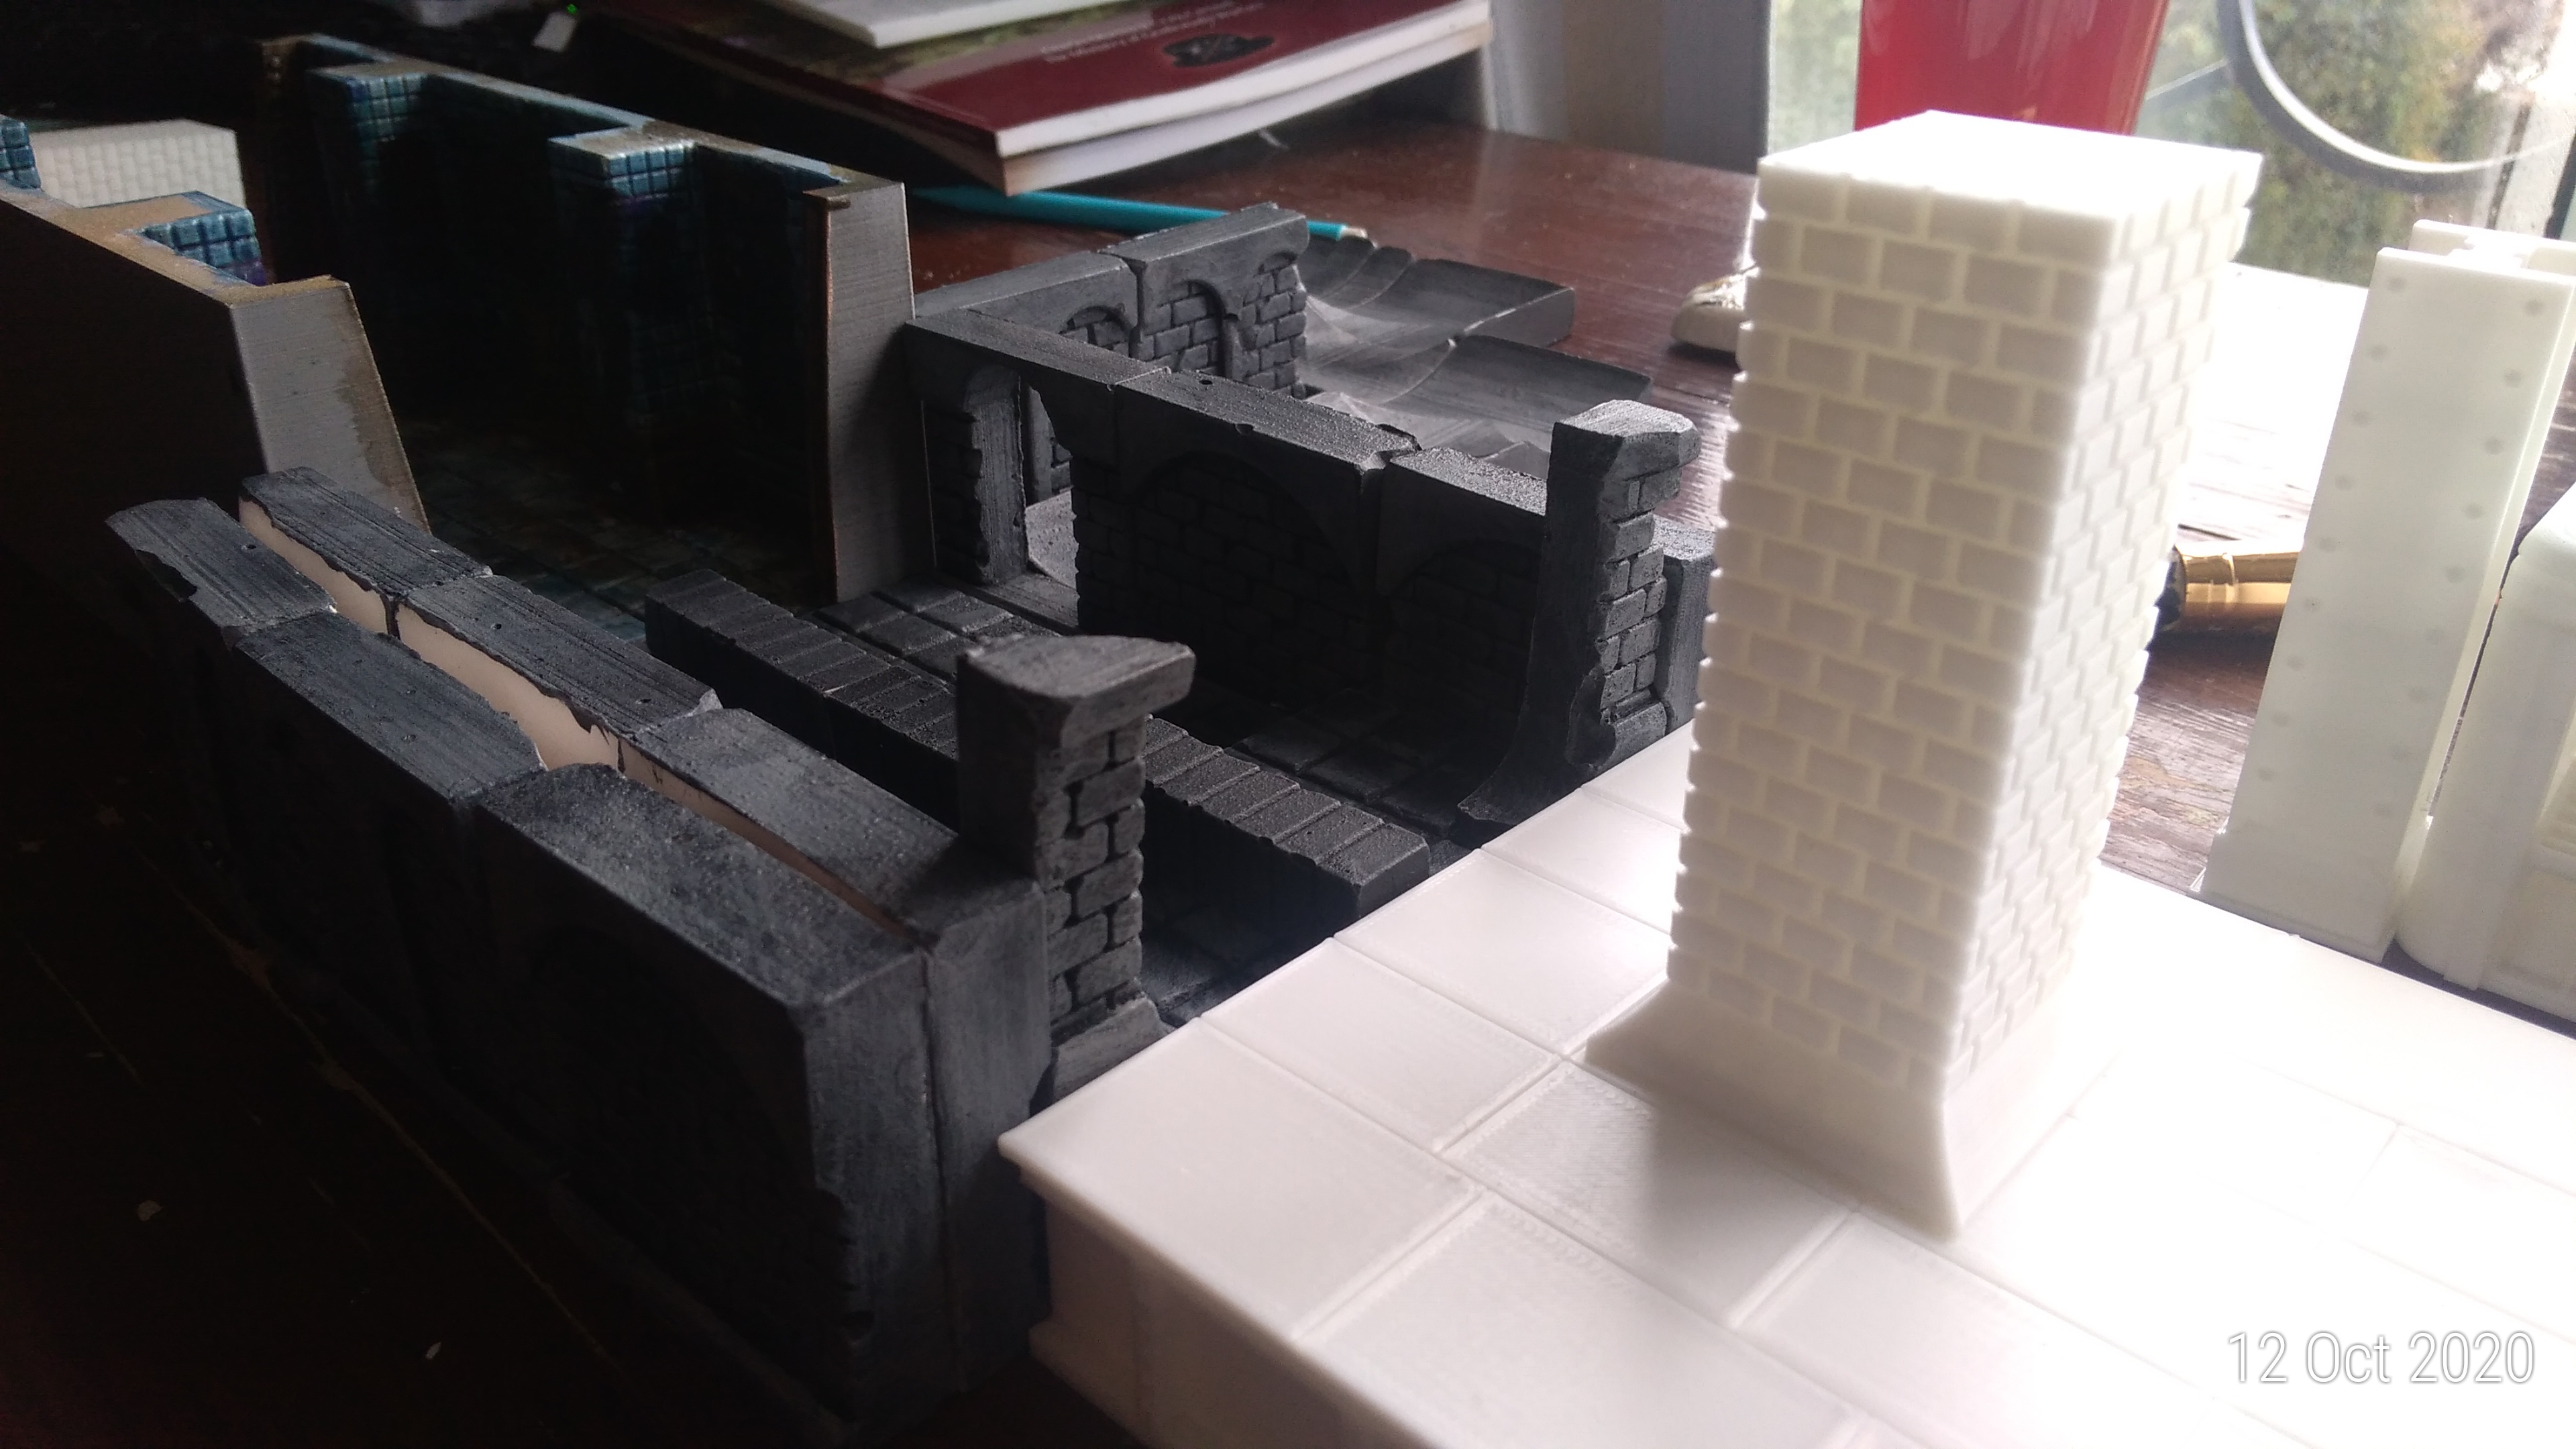
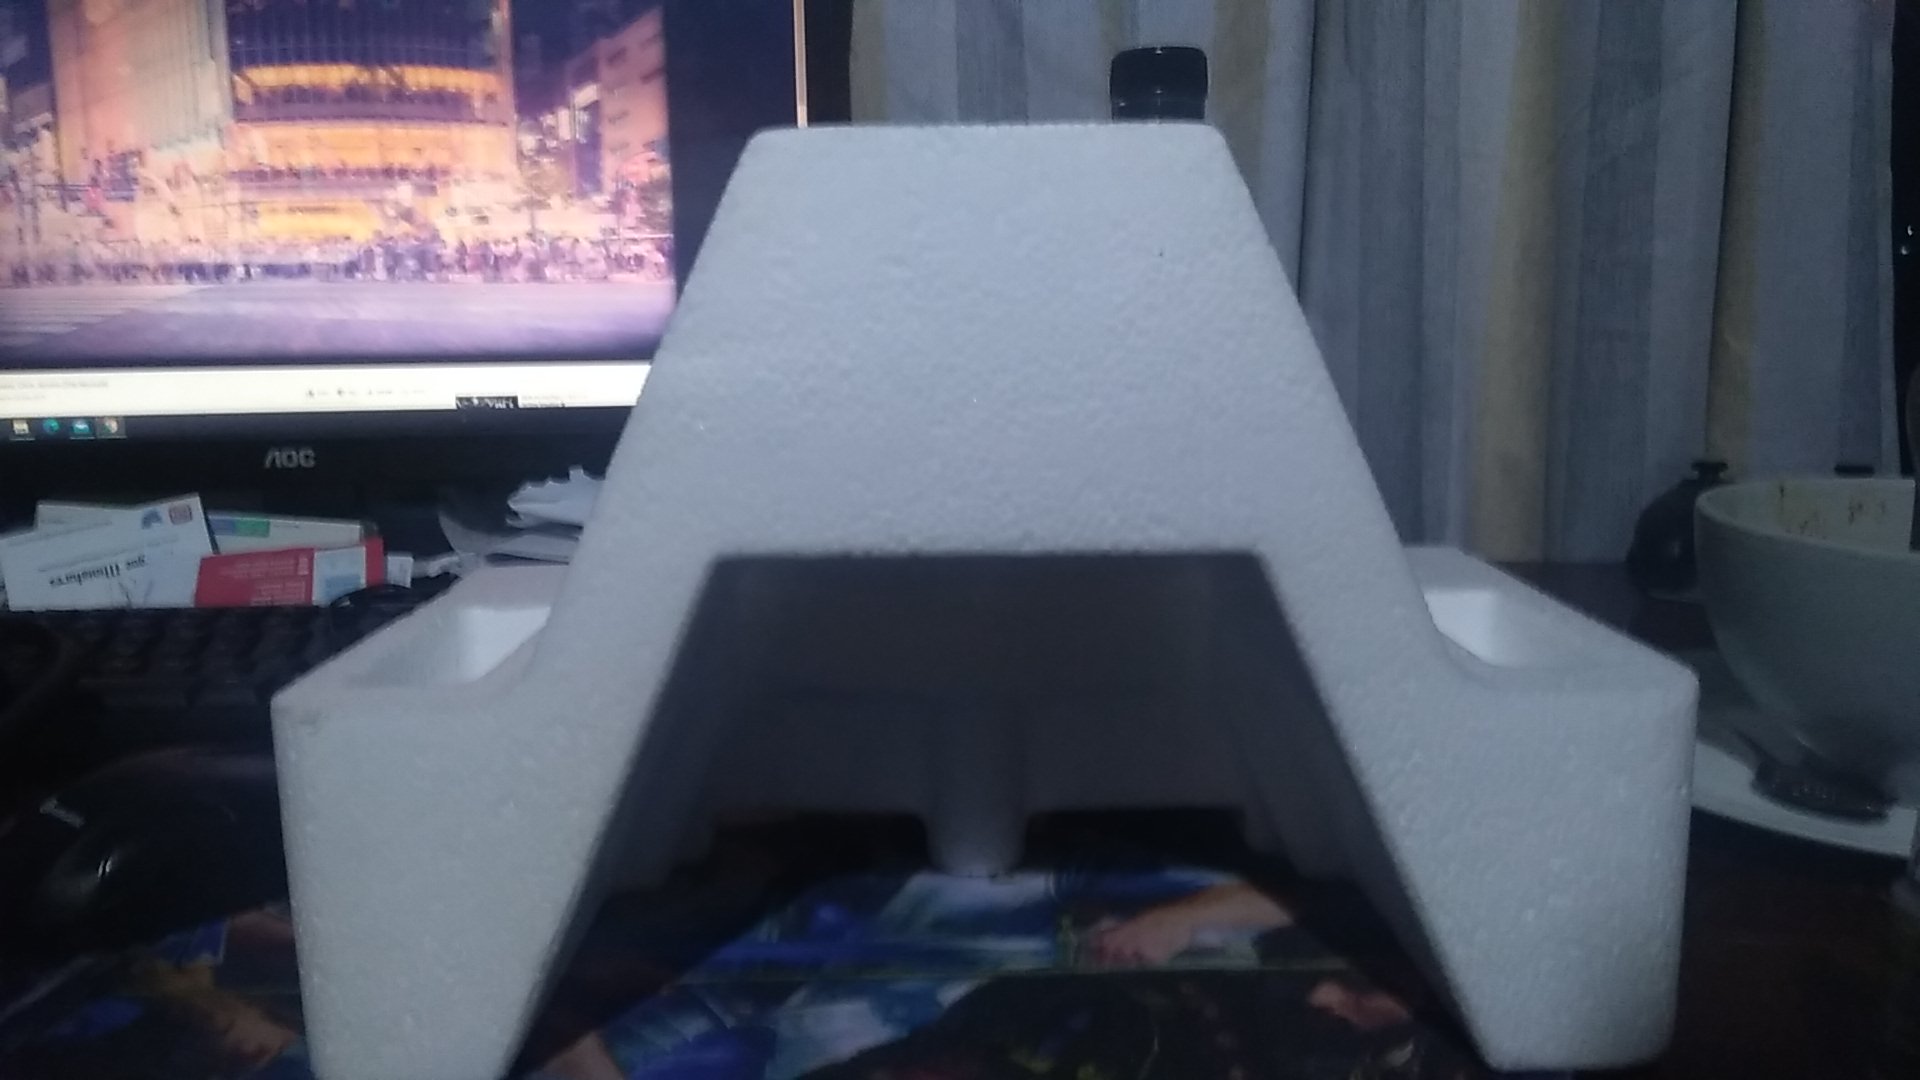
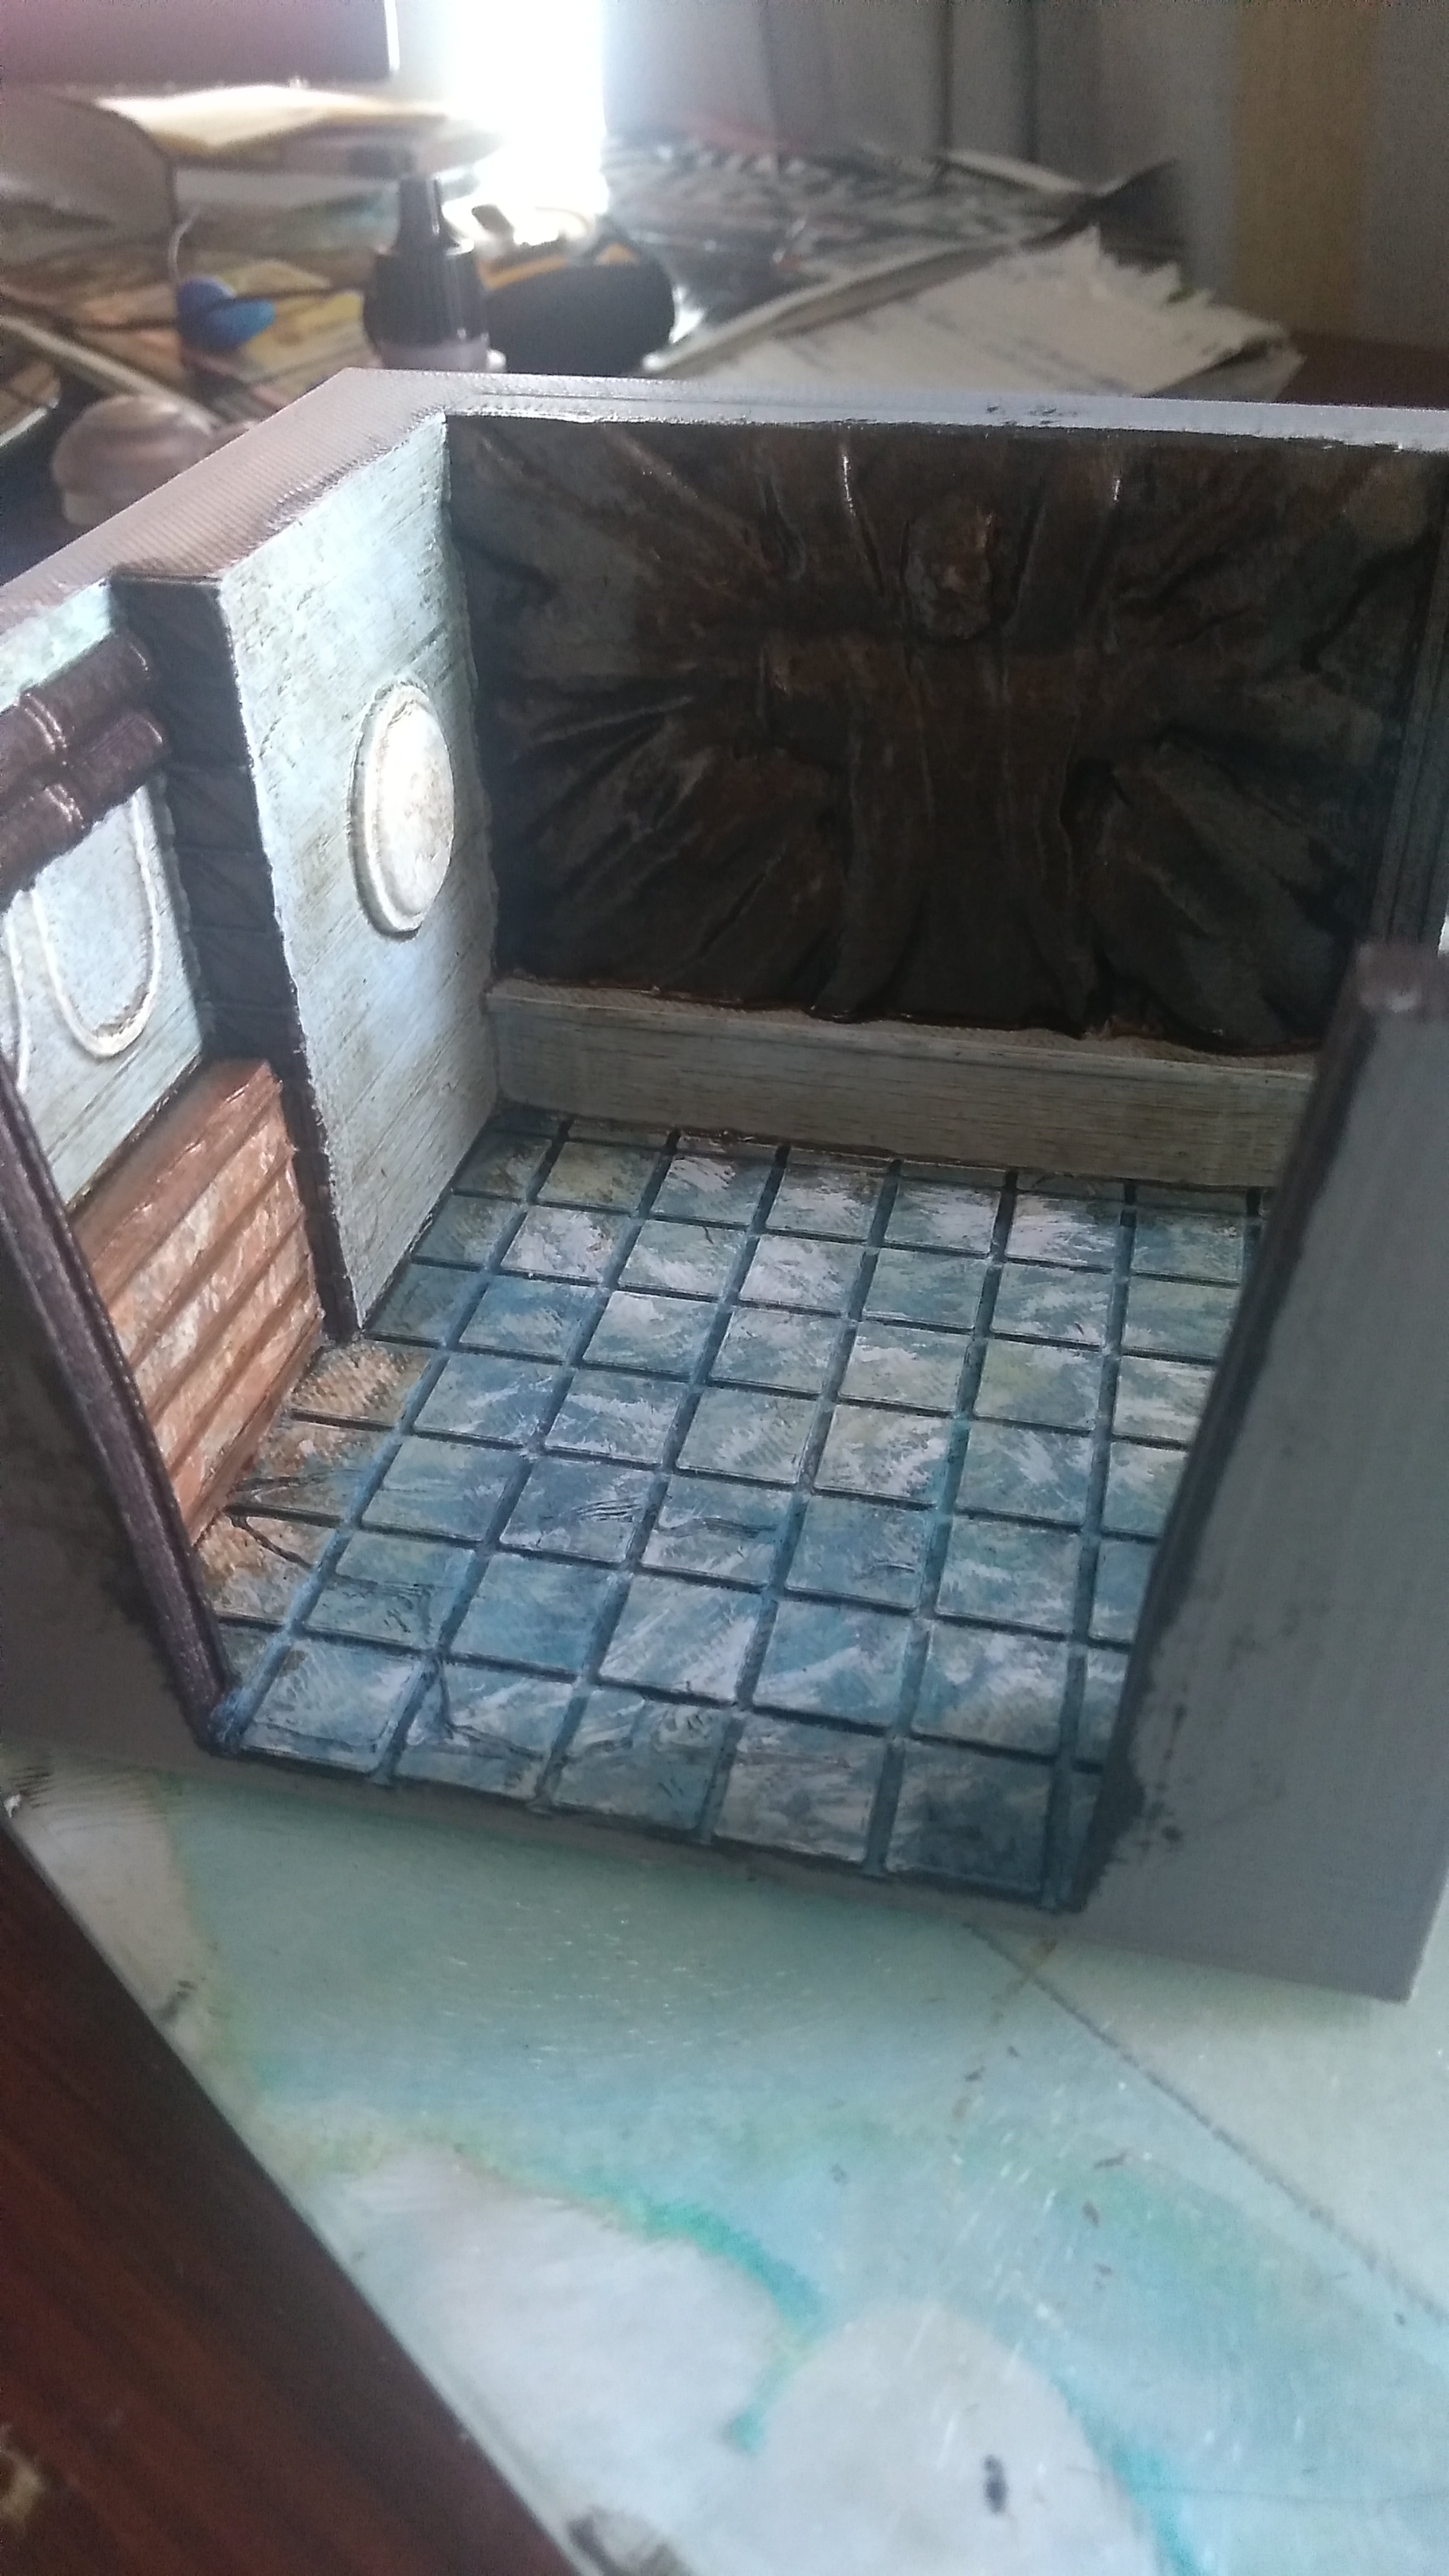
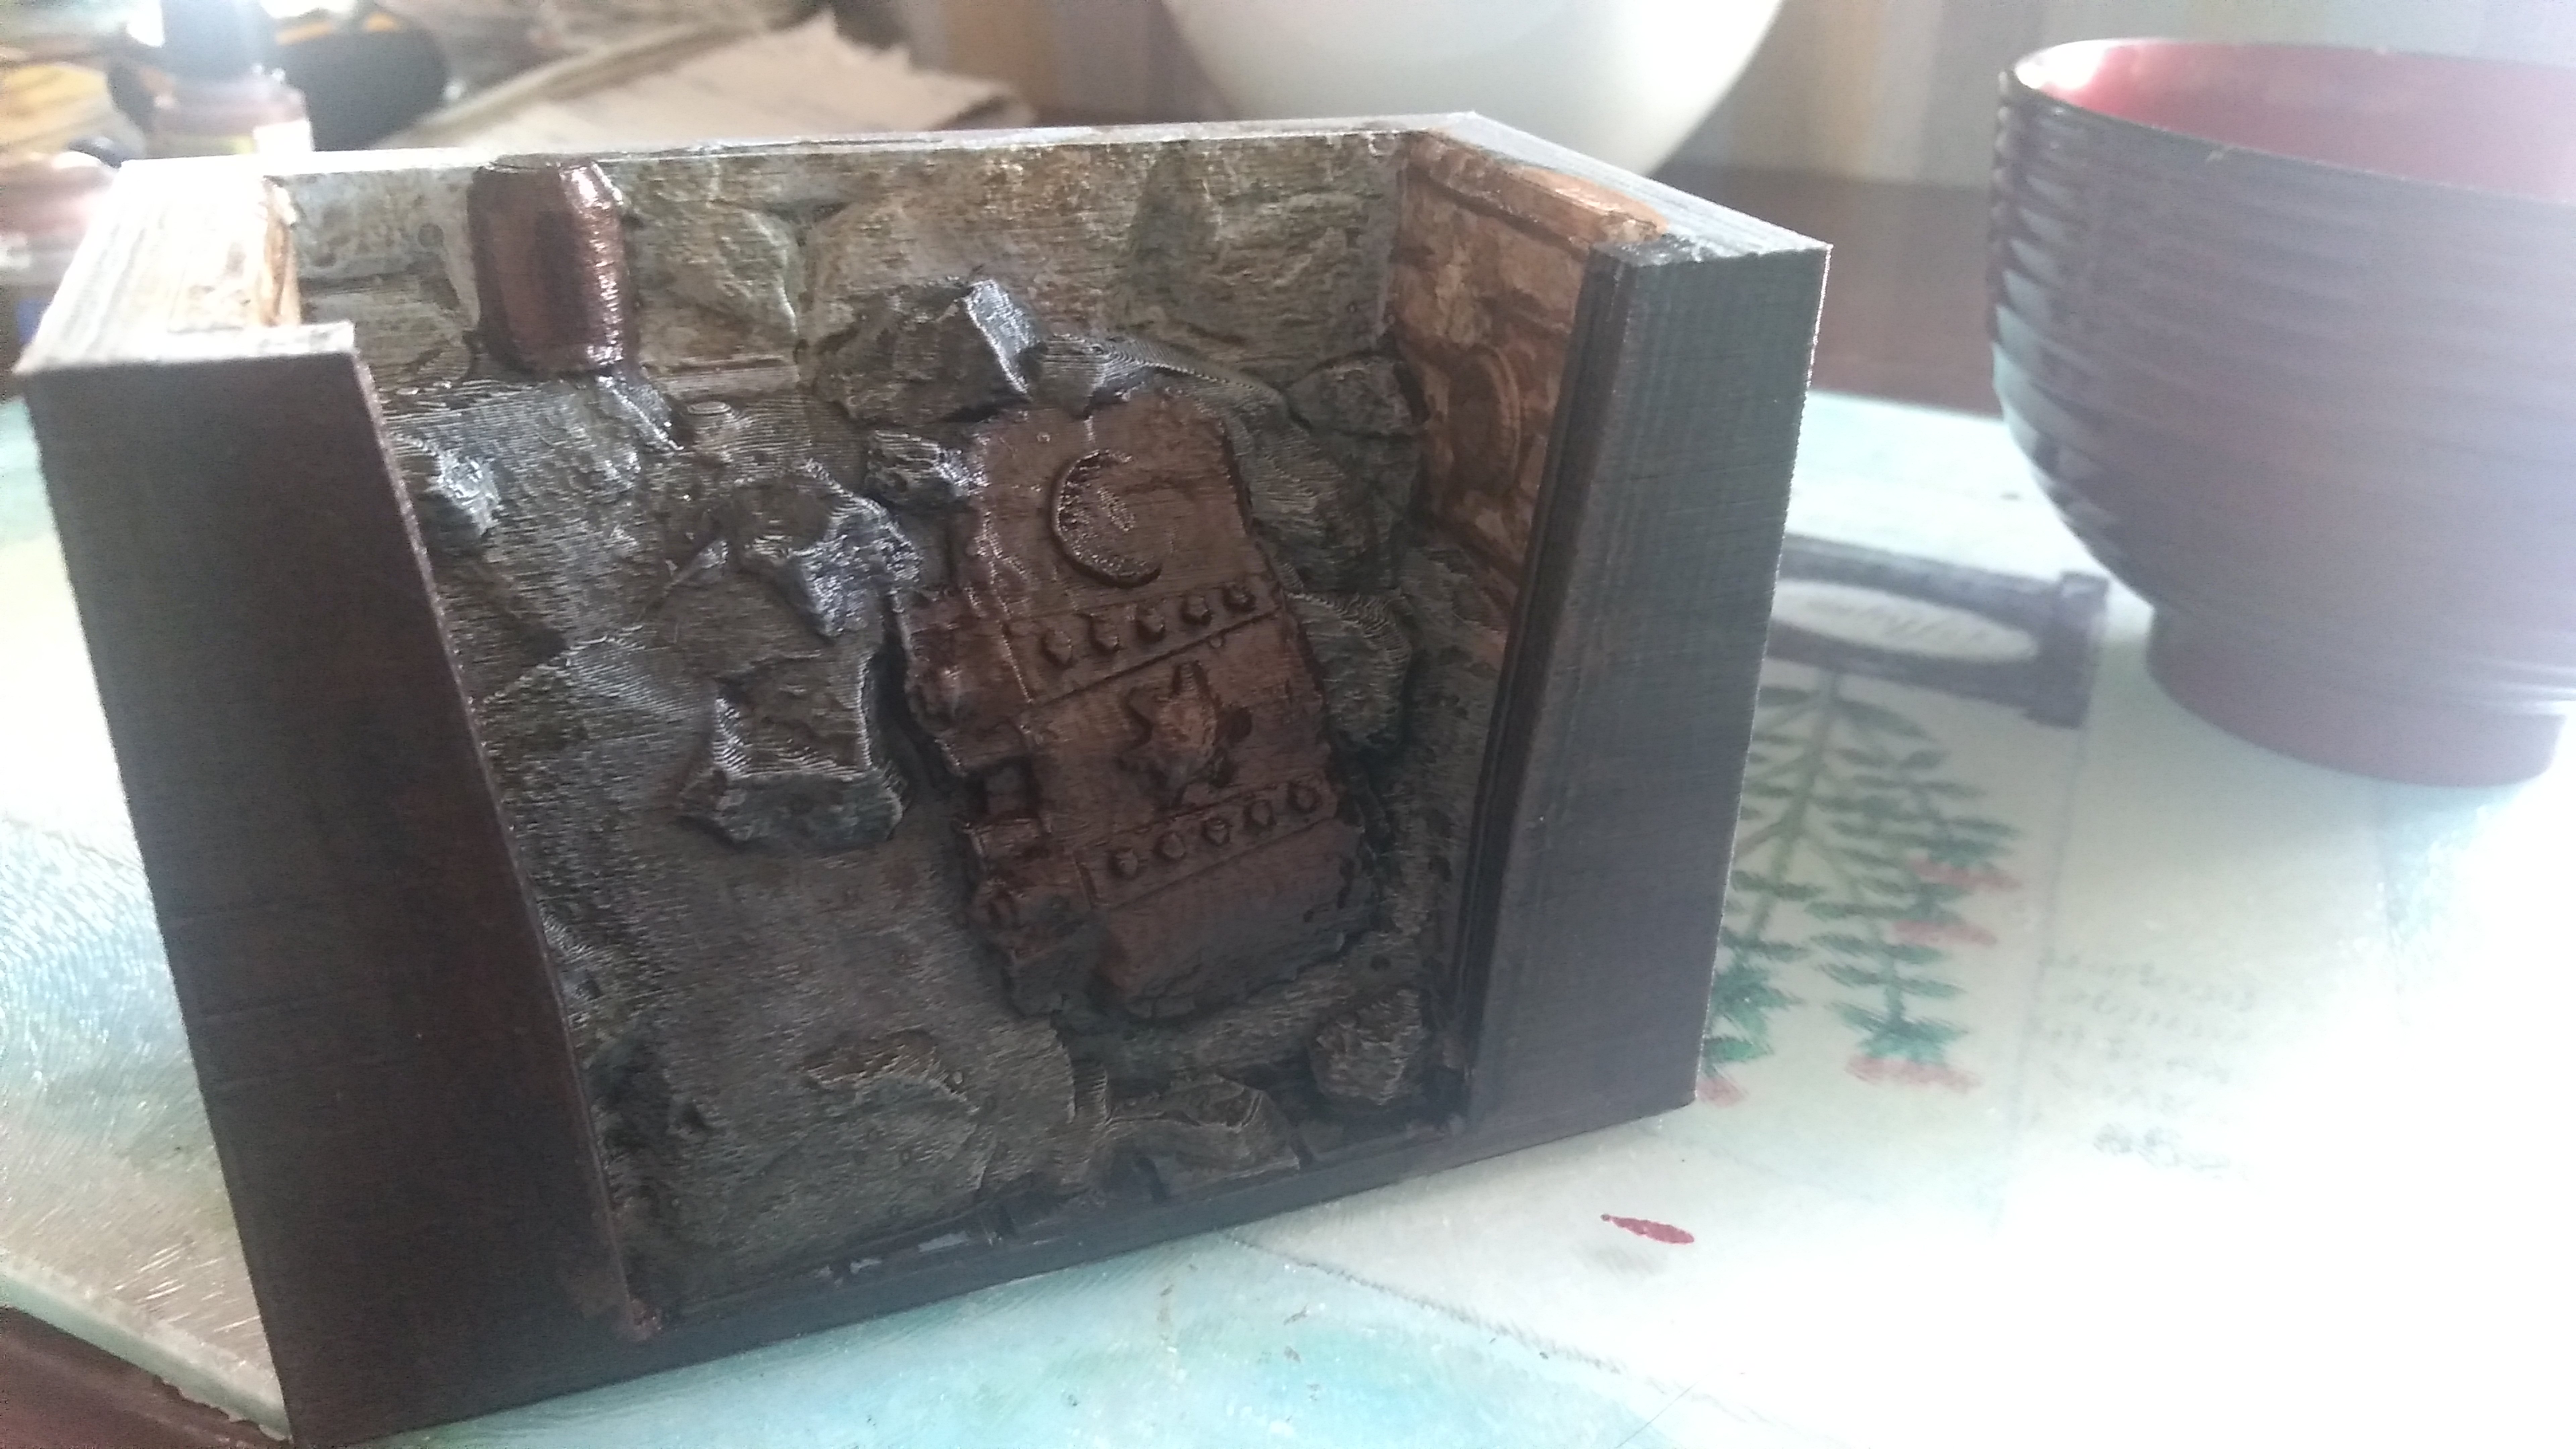
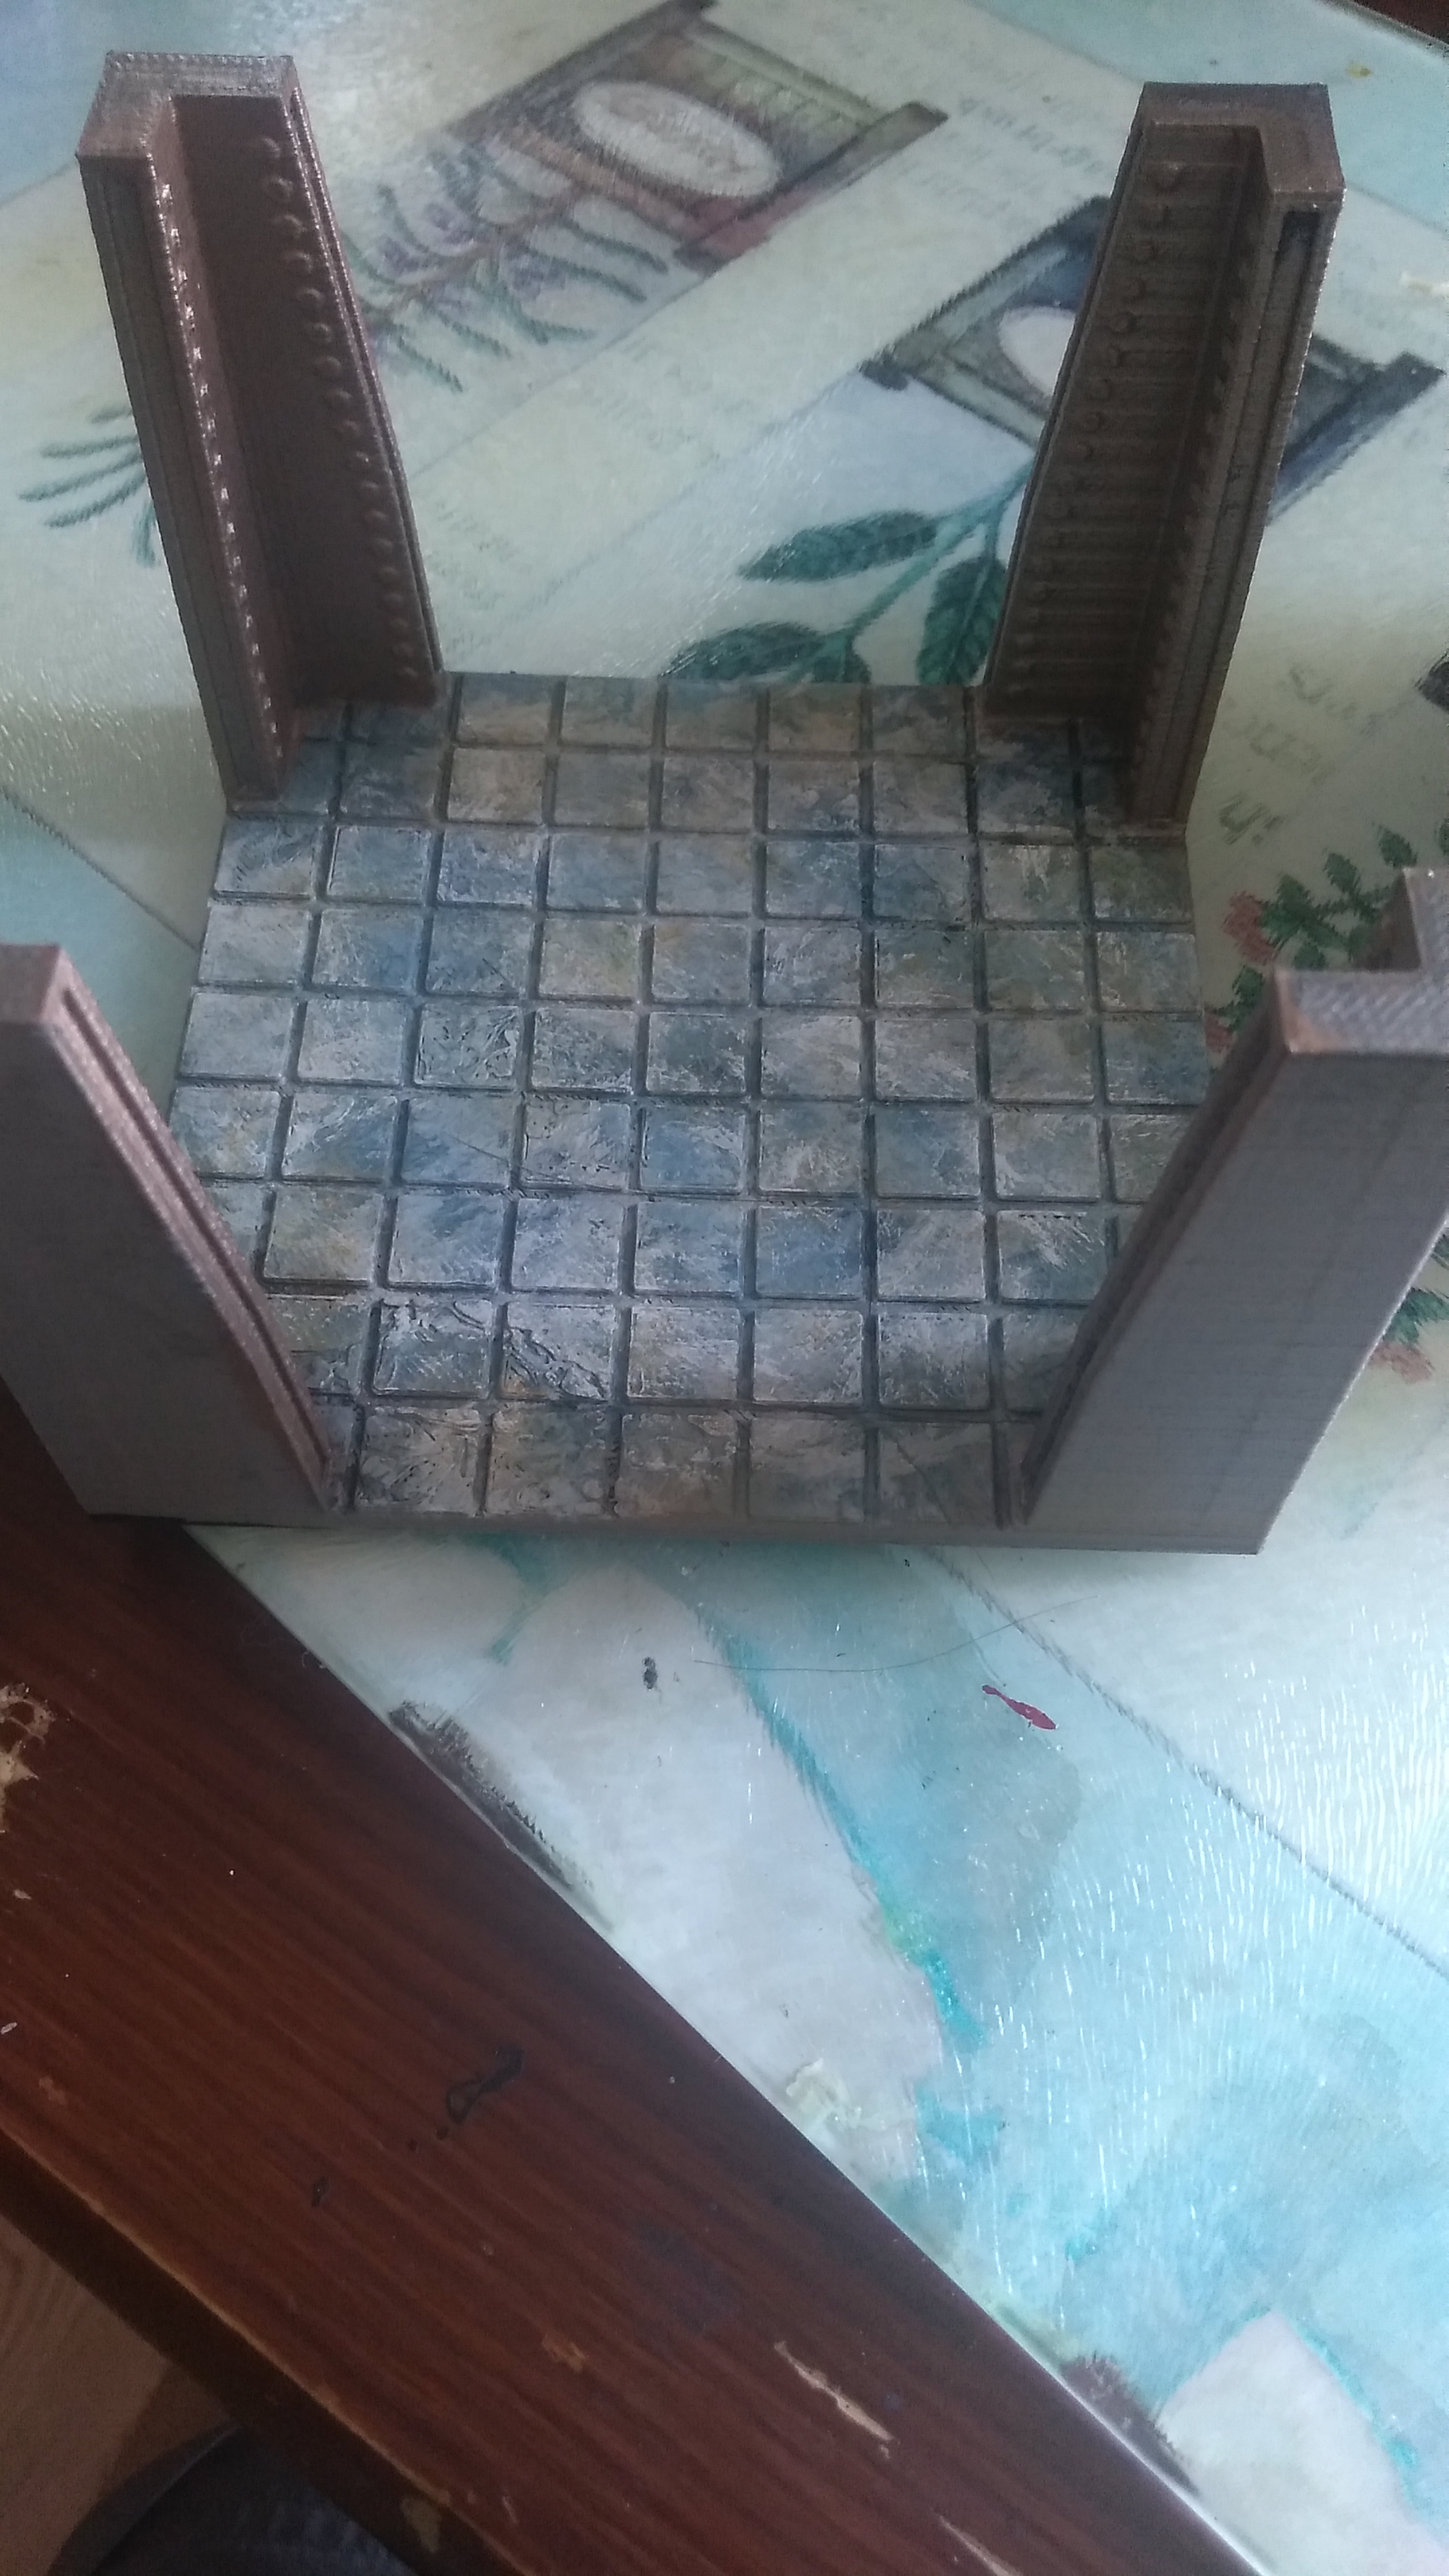
Now here is the process of my iron foam… I cut it in half, there was a curved section and a sharper section. I thought these would be great for tunnel entrances to give and end to the station (the station looked odd with just the trail ending…
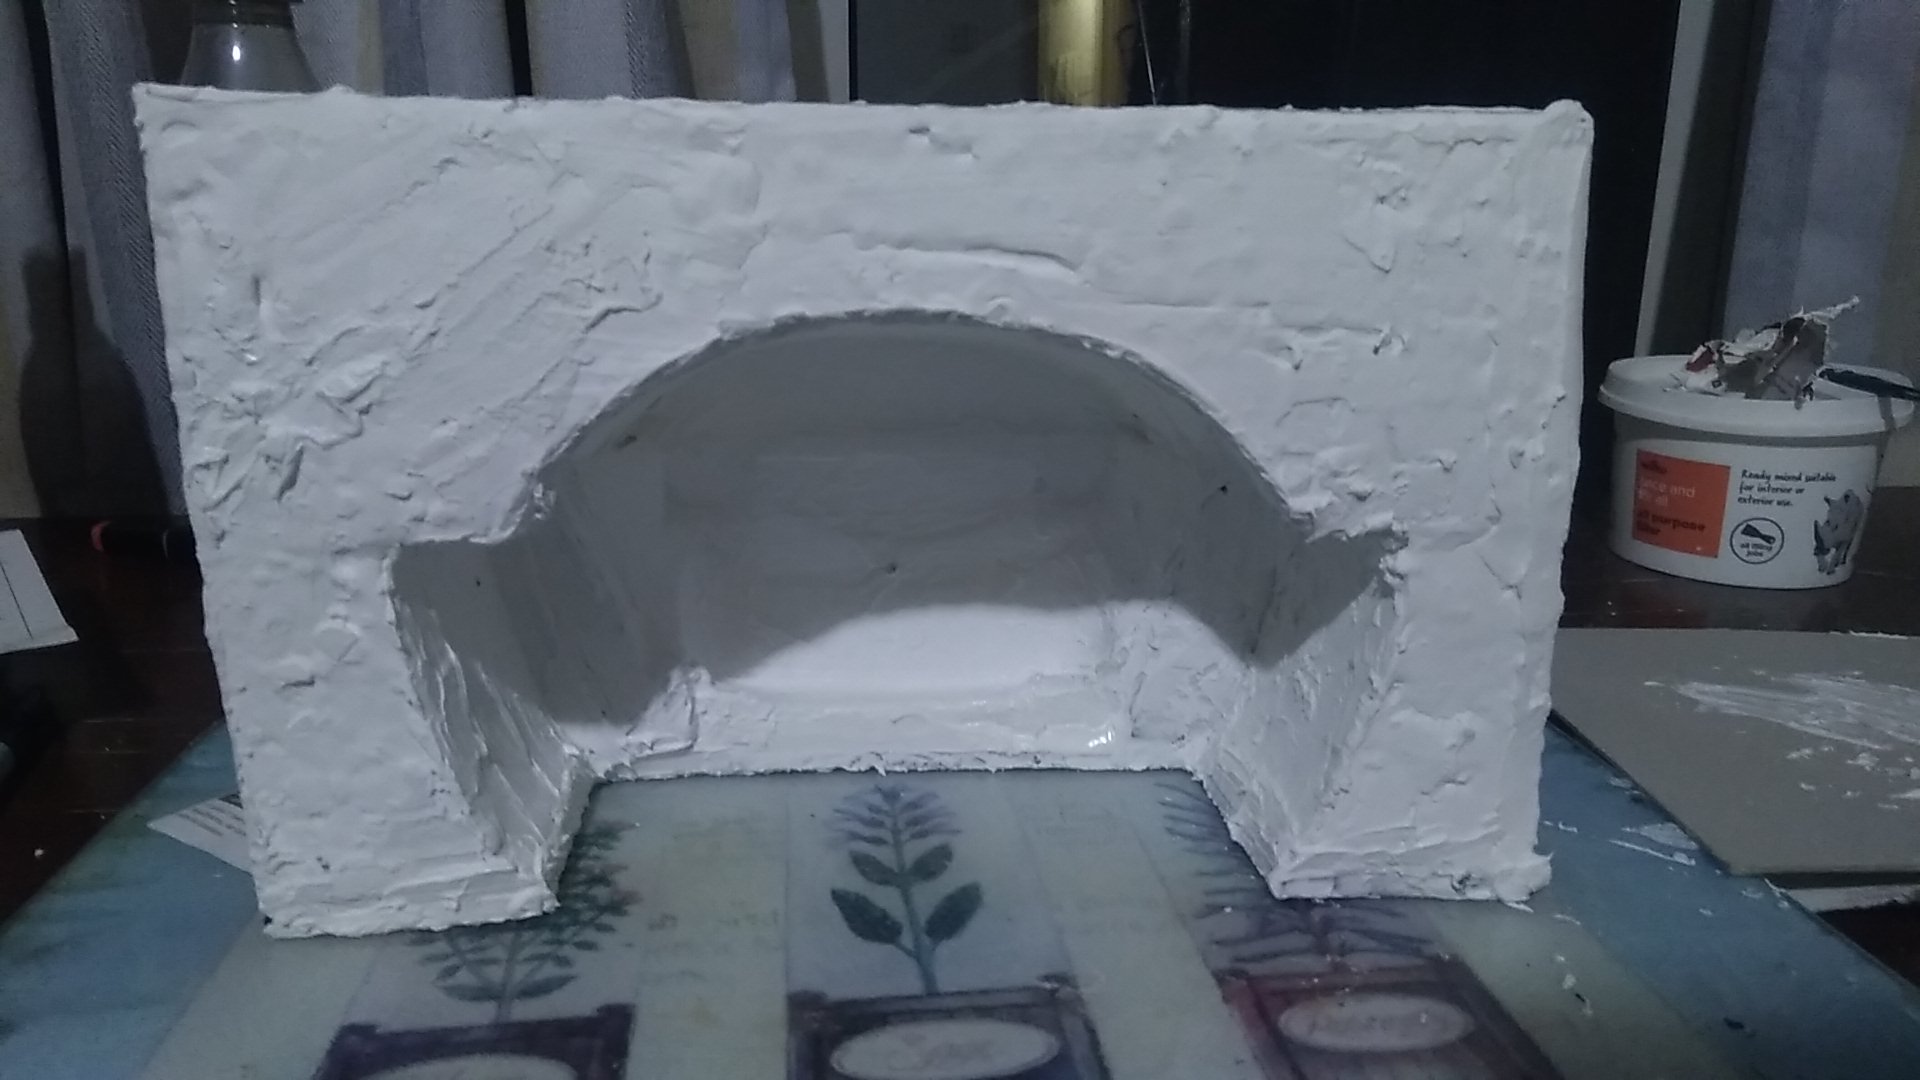
 tunnel end 1 foam
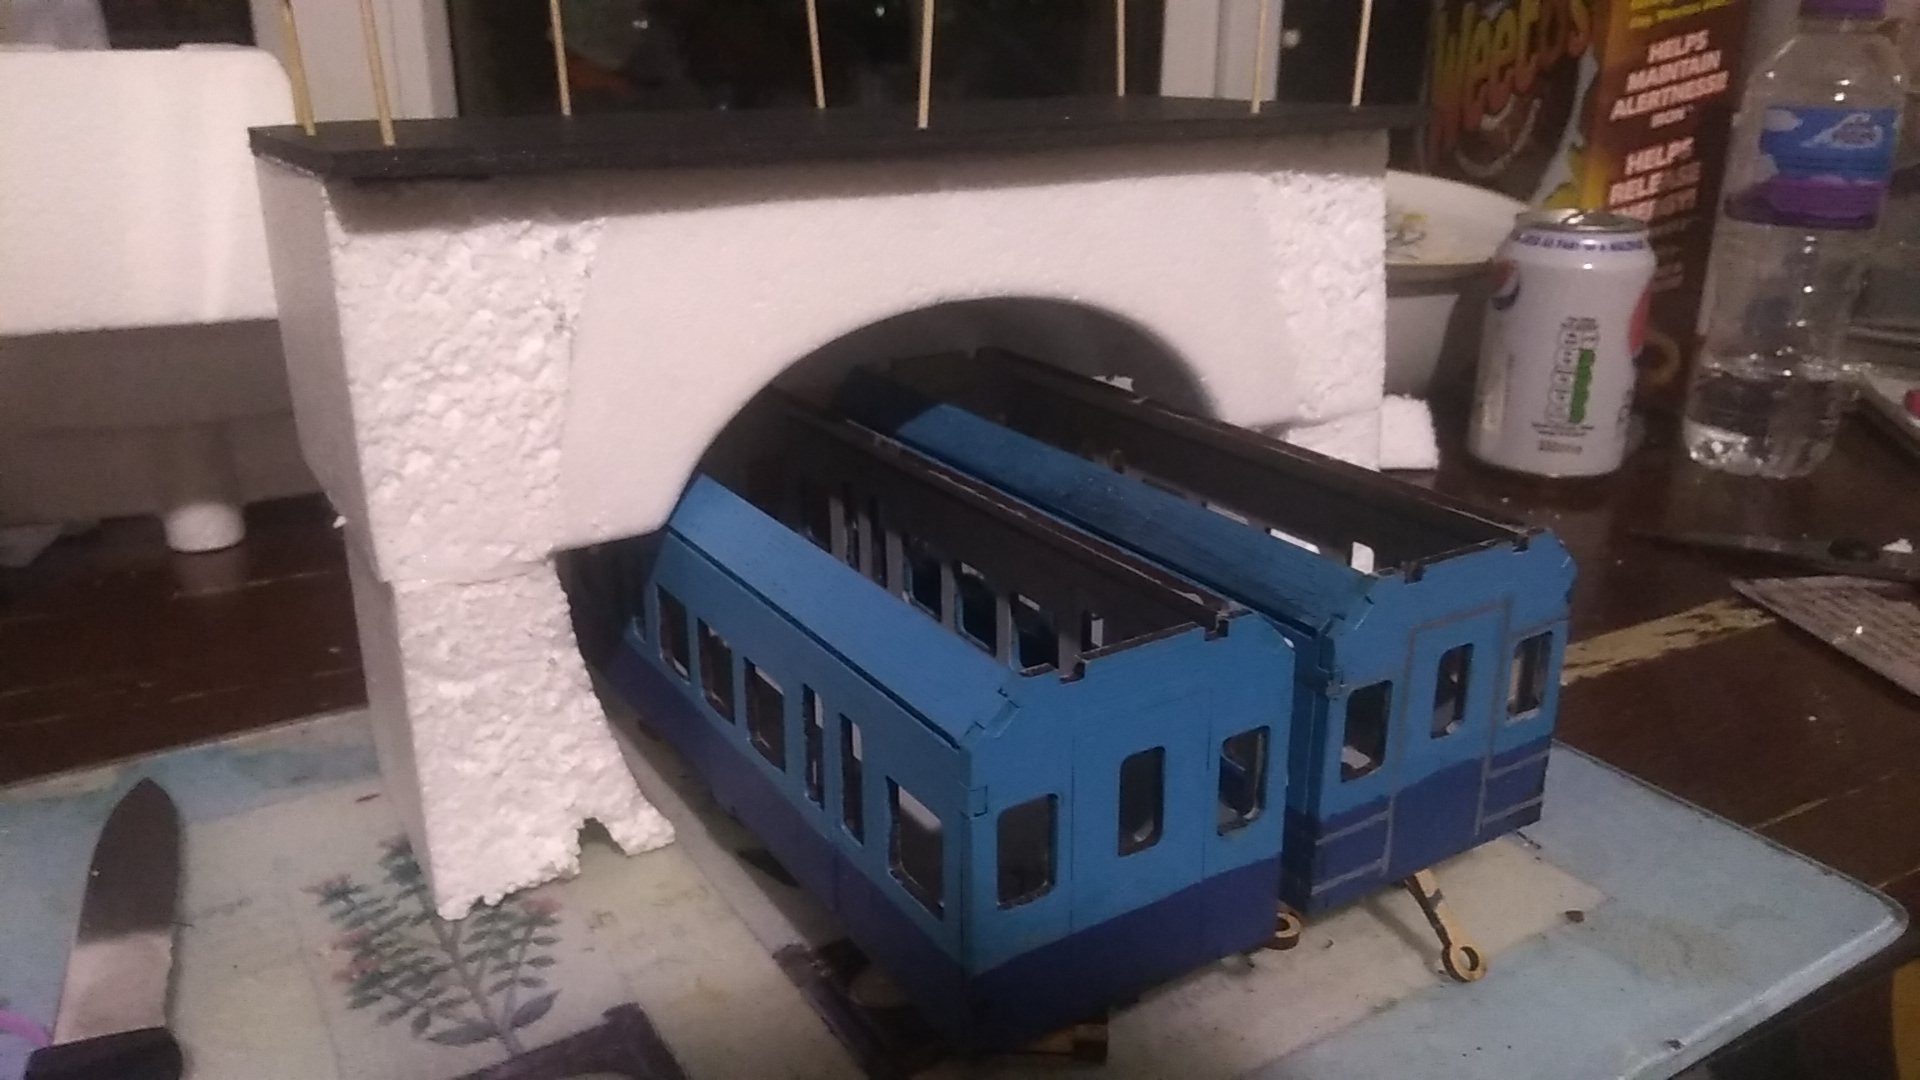 tunnel end 2 foam, which I have raised using other foam
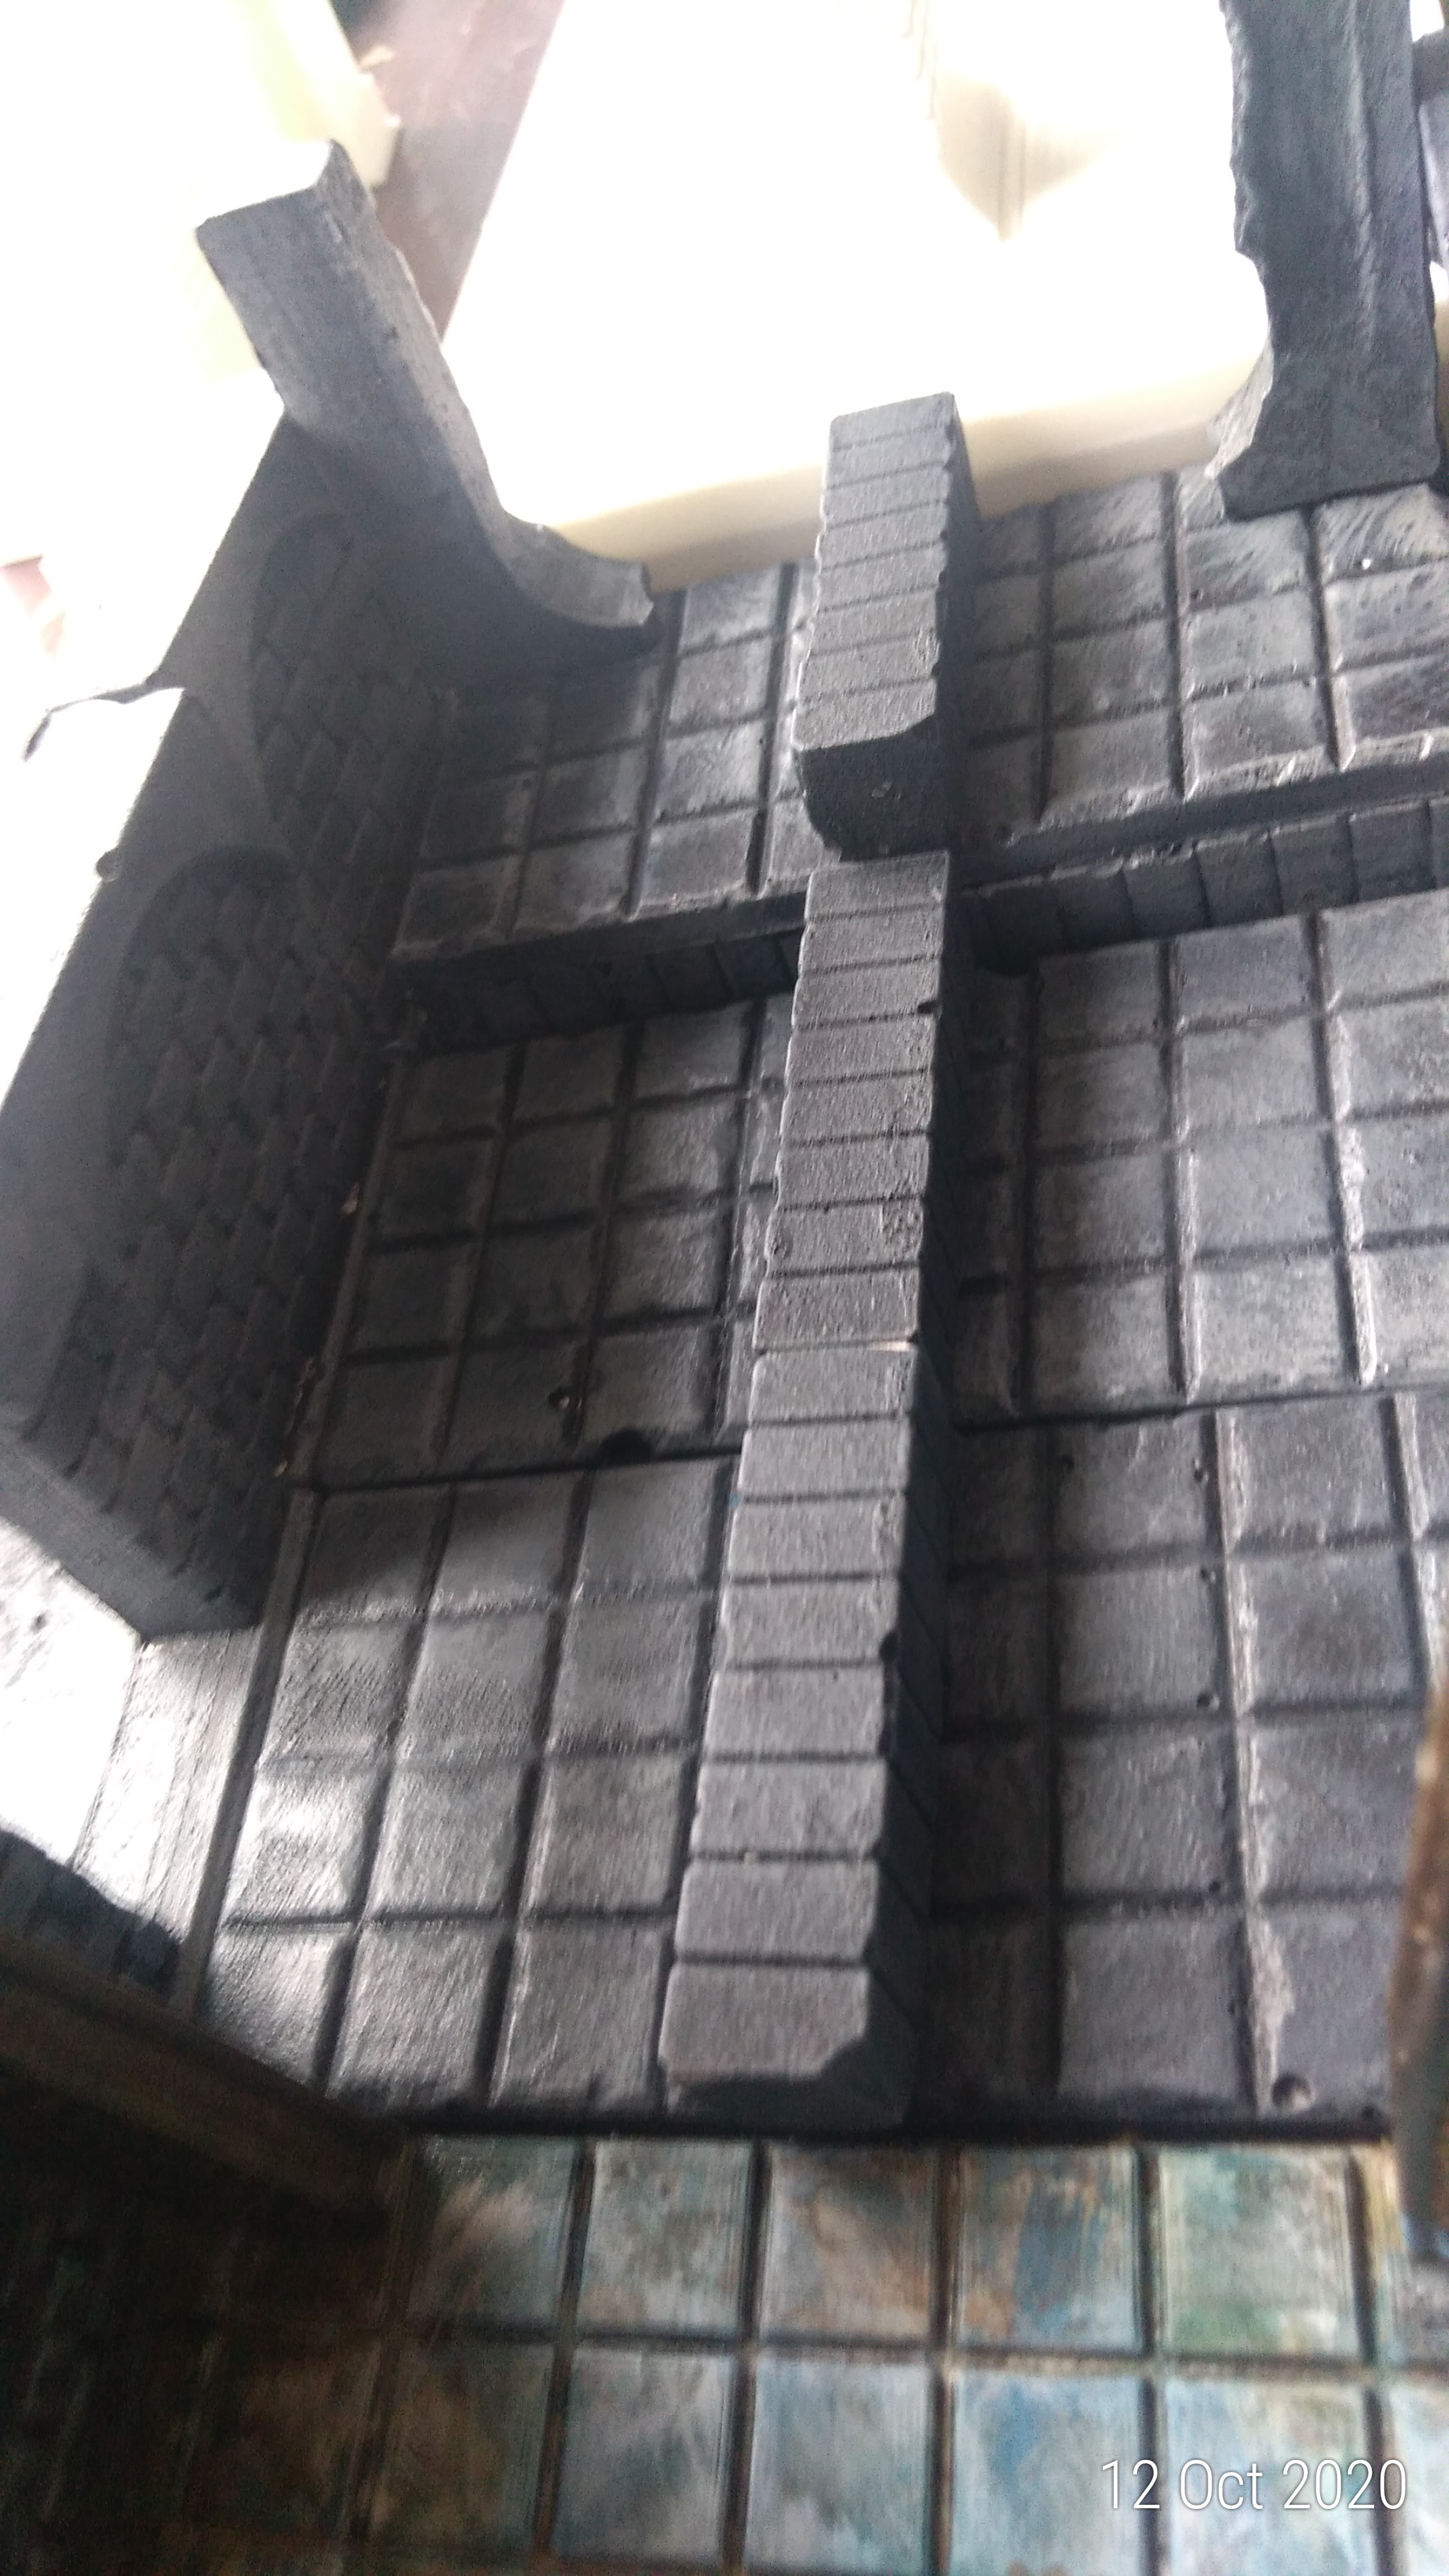
I started with tunnel end foam 2,
I cocktail stuck the bottom section, to the top and using crafting glue left them to stick overnight, these are basically have a foot print of half a hollow square, so I am planning to use them as “blocked” tunnel entrances, I put foam card on the top for a roof (and cover some foam cuts and hollow bits of the top foam piece. Then because my cutting was wonky i glued the bottom to another piece of foam card in a hollow half square shape so that the trains can still fit in when laid on the ground, but the sides wont rock because the back is higher than the sides.
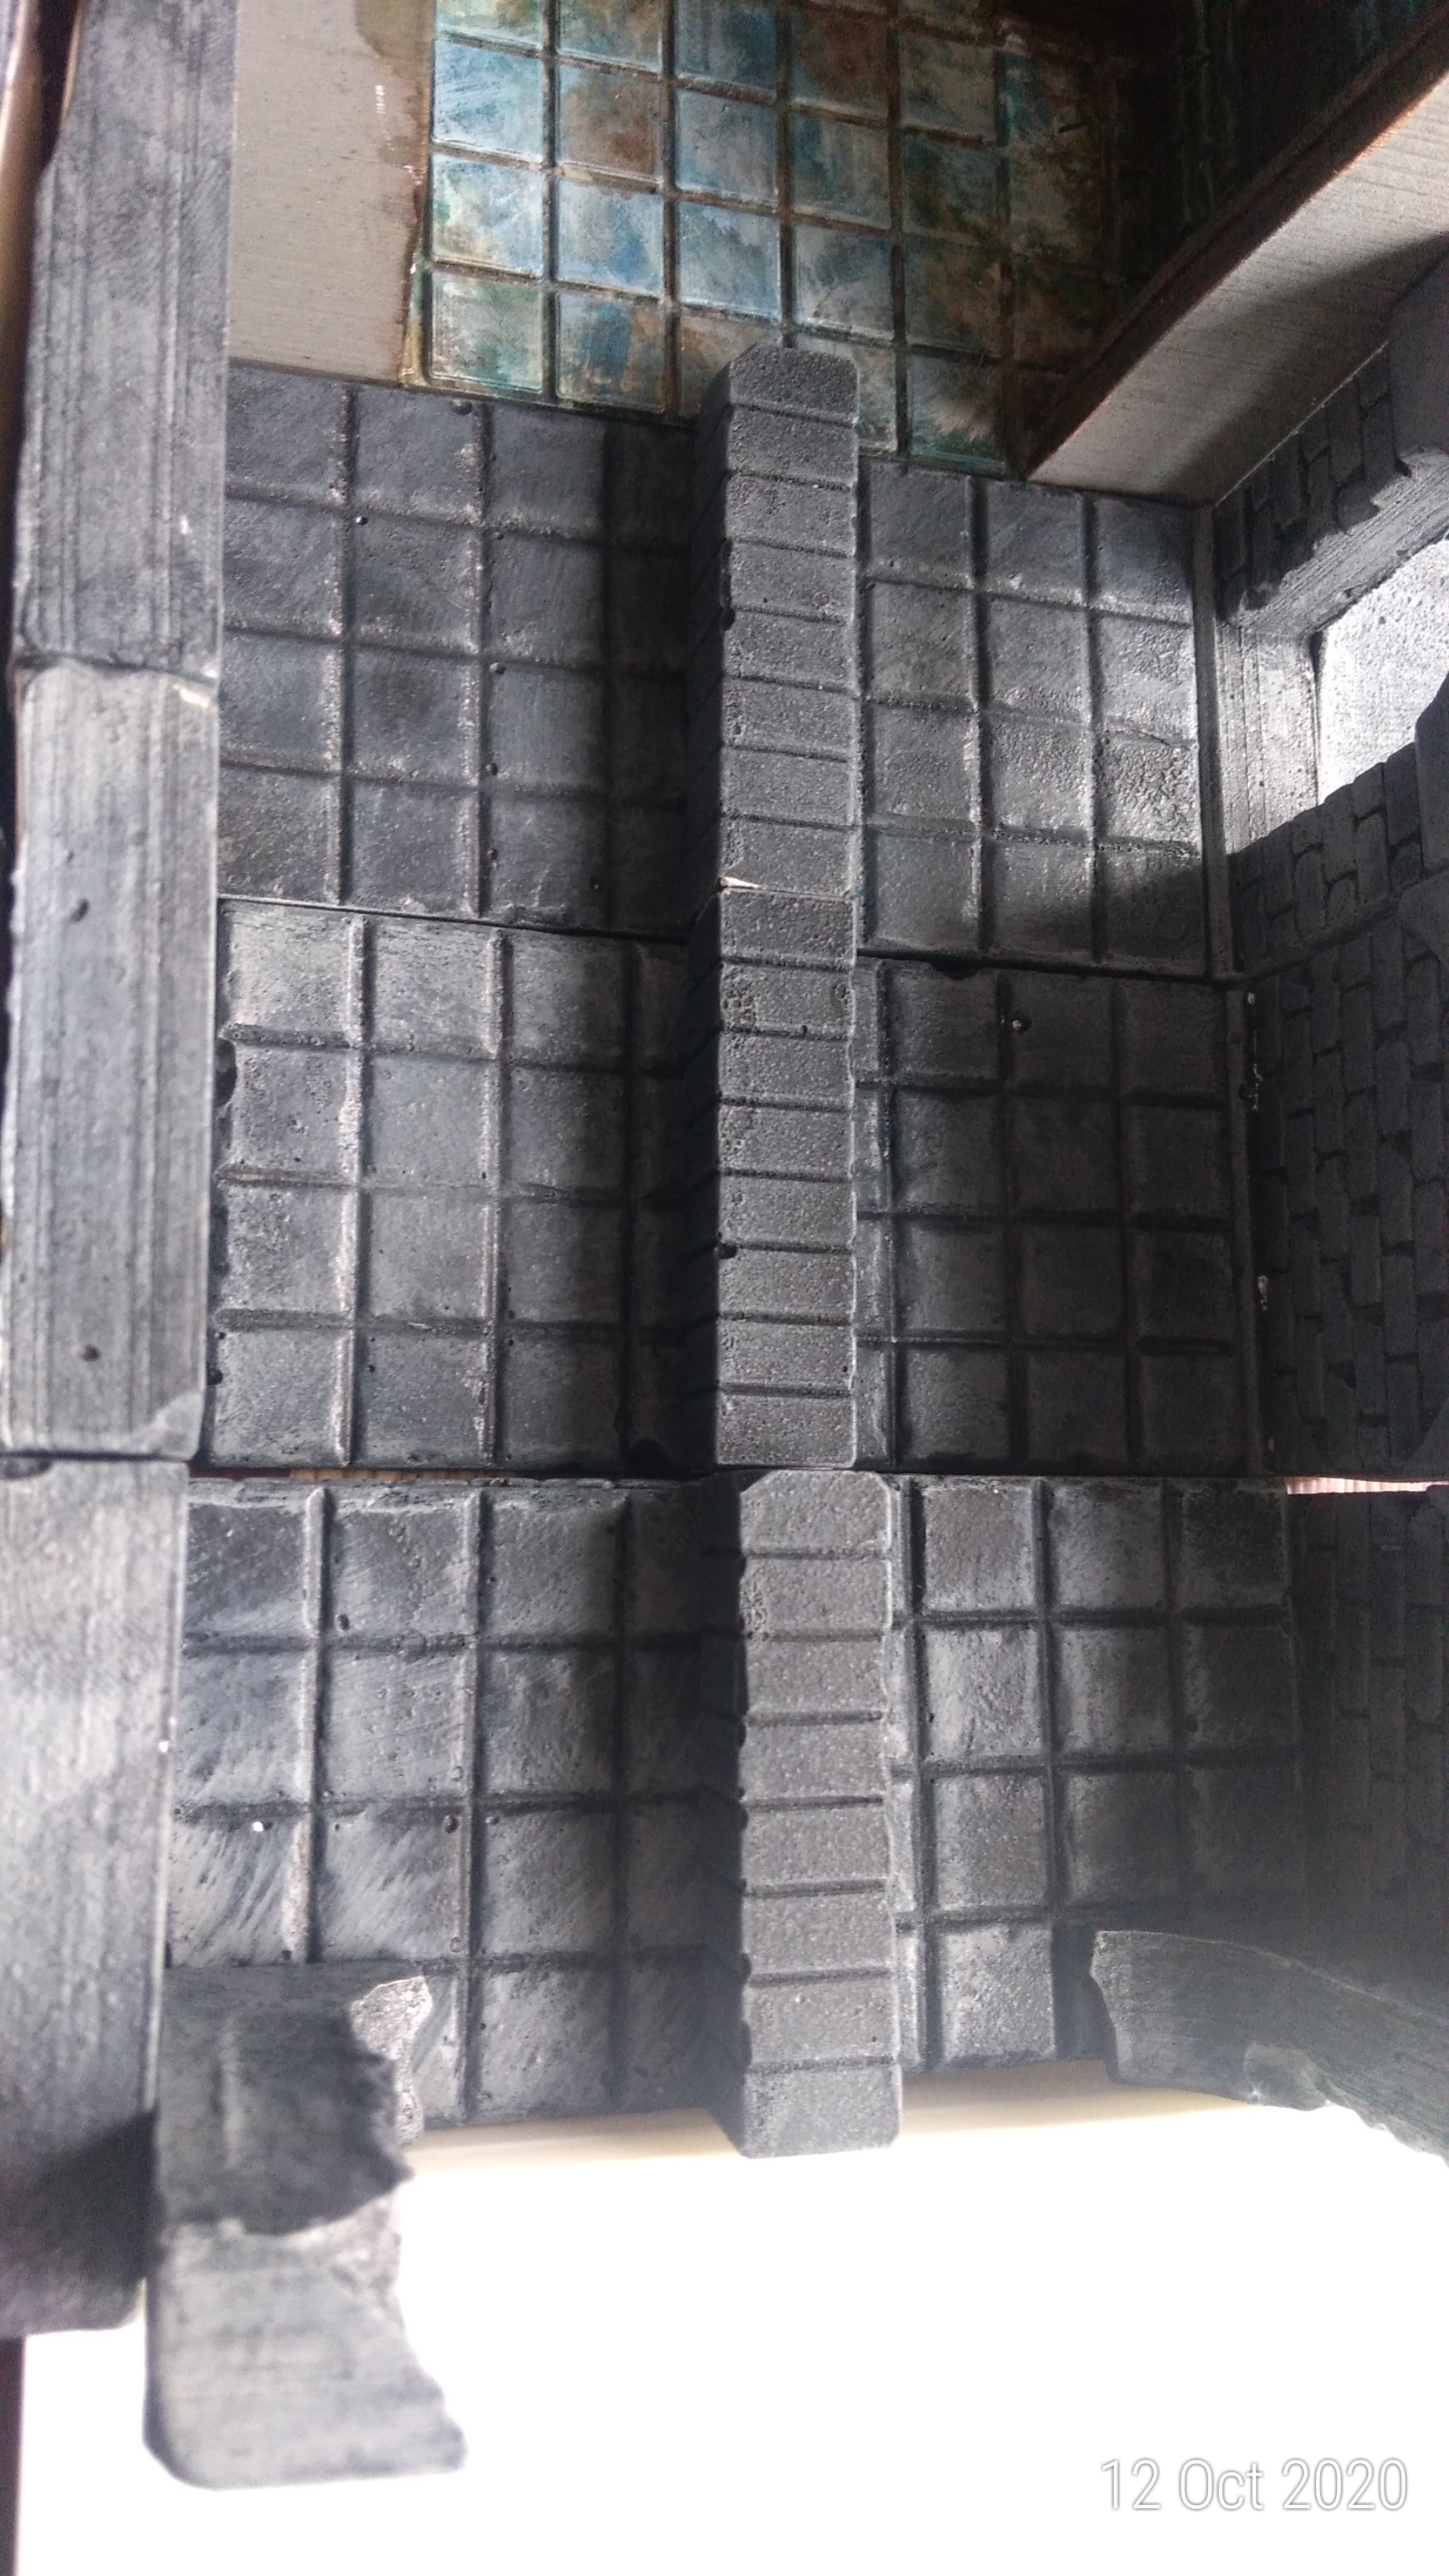
I then used alot of old filler to scrape across all the foam inside the tunnel and out, I then painted it all black and dry brushed it with a grey green, a uniform gray and a white, to give a concrete effect as shown below
my next is to work out how to raise tunnel end foam 1 in a similar fashion as it is currently a tad too low for the trains
 1
1 2
2I have ordered a cake icing mold of russian cryllic alphabet:
https://www.ebay.co.uk/itm/Russian-Alphabet-Cake-Mold-Silicone-Letters-3D-Mould-DIY-Pastry-Bakeware-Tool/143868585397?hash=item217f3c65b5:g:IOEAAOSwYFpfxeS~
which i am planning to use with plaster or greenstuff so I can put ‘Vnkh’ (vnkh is the station arytom lives at, at the start of metro 2033) above both tunnels, I think this would bring them into the world more. Also I noticed online vnkh tunnel in real life has dark green accompanyments so I’ll add these in.
Also I might have a look at the below stls:
https://z1design-shop.co.uk/Subway-Station-Precinct-187
too see if there’s anything I can add (aiming for walls for the underground station and maybe tunnels
Further Graffito
I added some more graffiti but used some new sheets I had made. This has given me an Idea to use transfers to create wall paintings and floors on my roman scenery which I may try as well… I also created something for my sopranos project which I think turned out well too using transfers.
I have technically completed the main bunker however there are some other bits I am planning
 Overview of bunker


First Time Kit Bashing Historicals
So as probably most people here I have bought in the past some plastic germans for WW2 and also some plastic americans.
Added to this I am sure we all have sprues you get free from wargame magazines. therefore I also had some Napoleonics, Boer War, Desert Rats.
Add this to some sprues of zombies from:
https://www.studiominiatures.com/shop/zombies.html
which i used some of the bodies for:
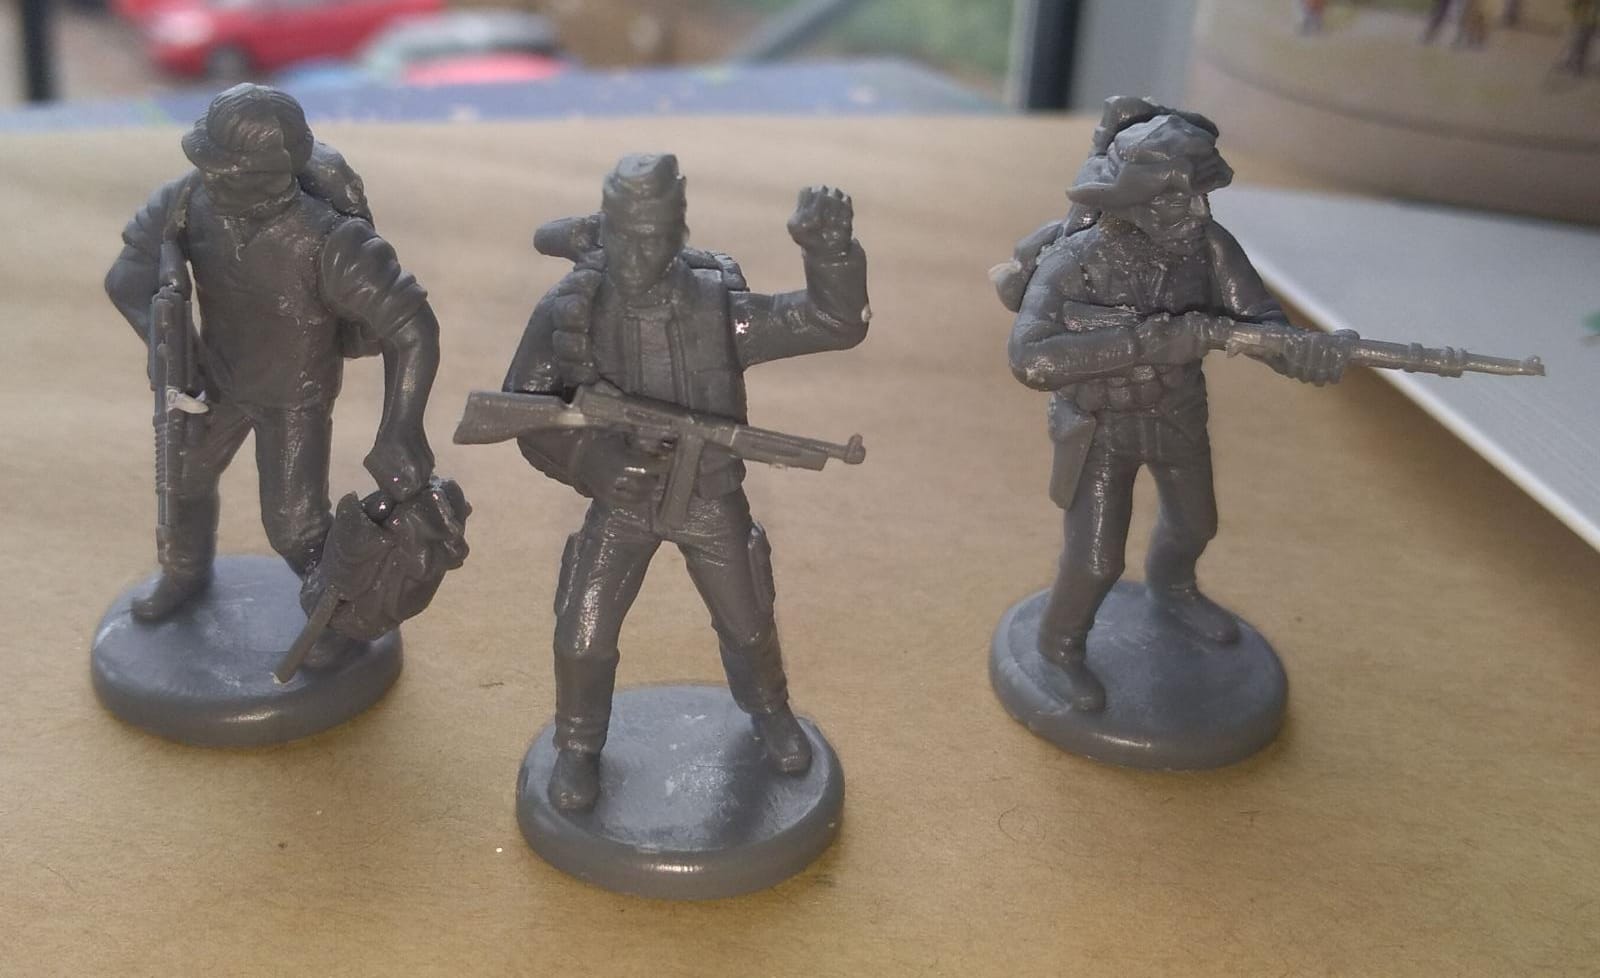 1
1The above are using the zombie bodies, but on the left using american head and arms (i stuck two backpacks together so it looks like he’s carrying extra stuff)
the middle is a german head and arms, with an american weapon
on the right is a zombie body, with german arms and a desert rat head. the ‘backpack’ are misc packing you get on the american sprue – long holdals.
Here is a group I had made:
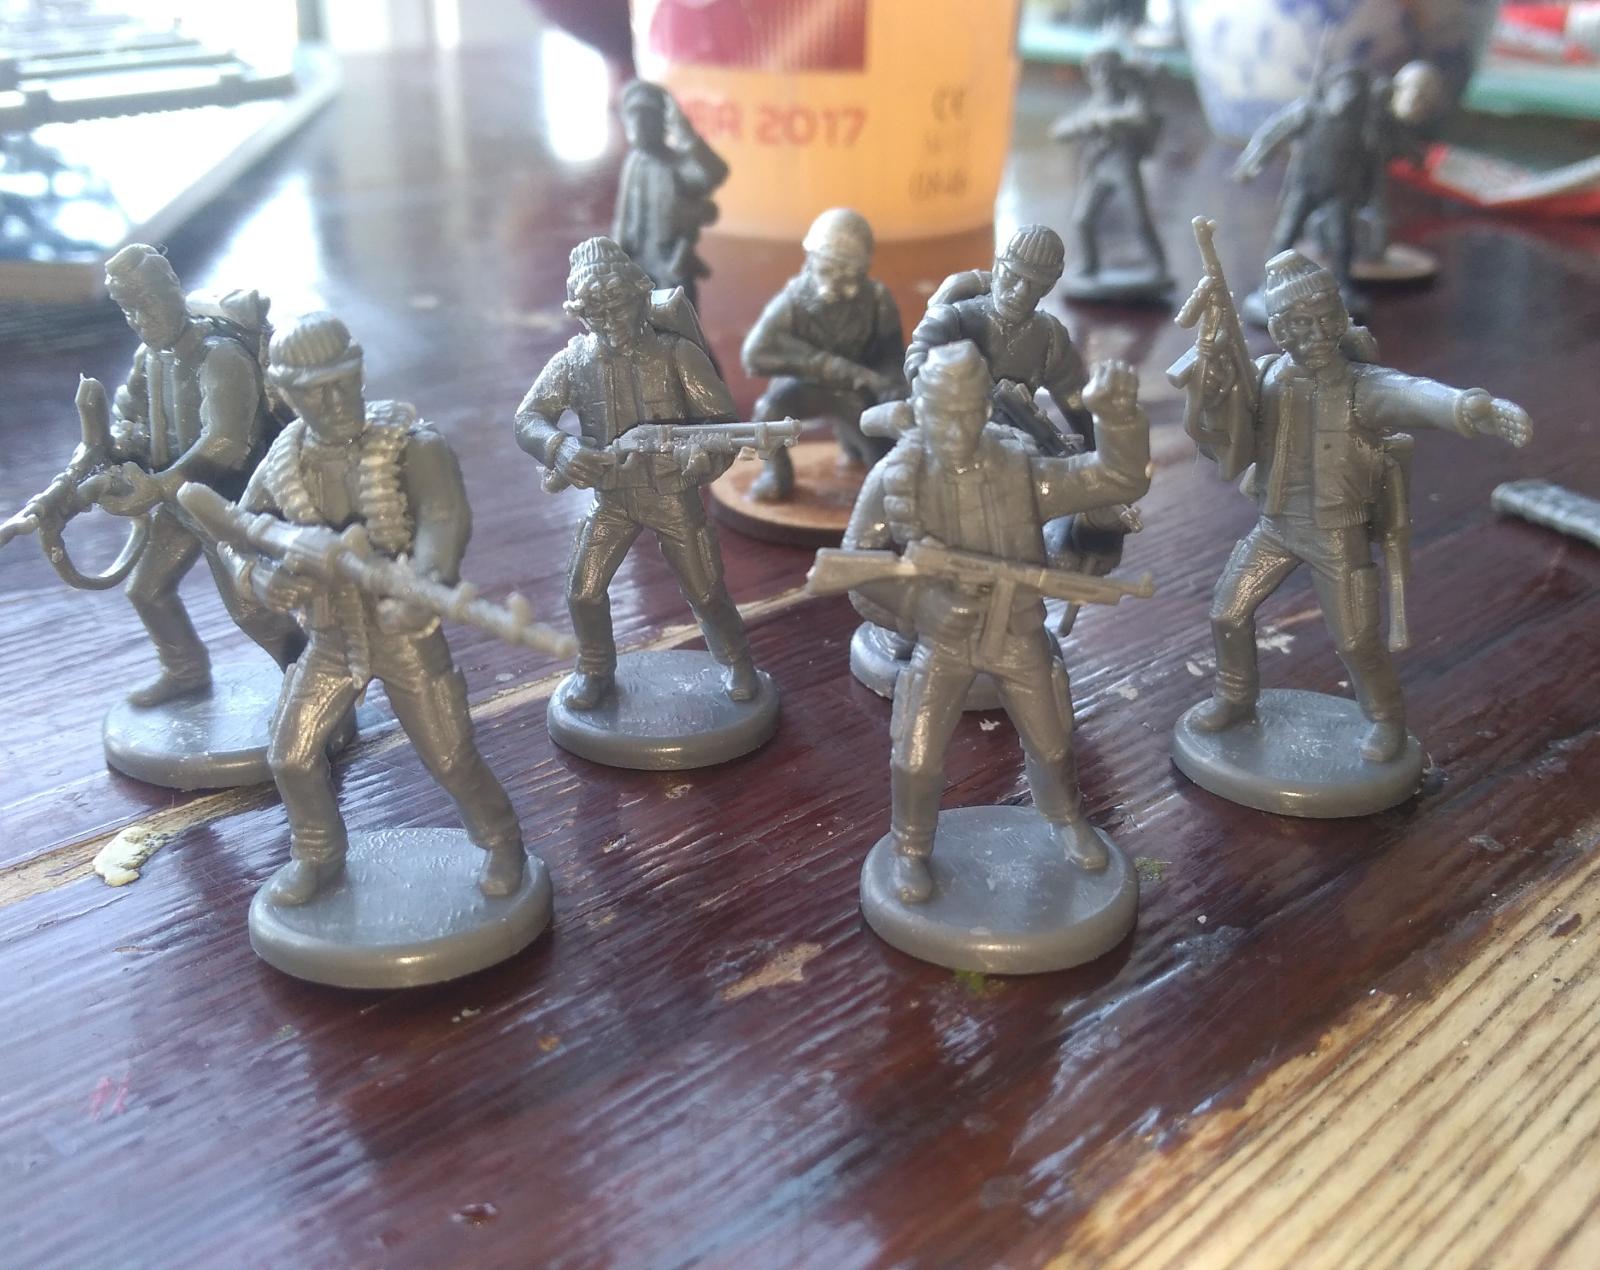 2
2 I love how these turned out
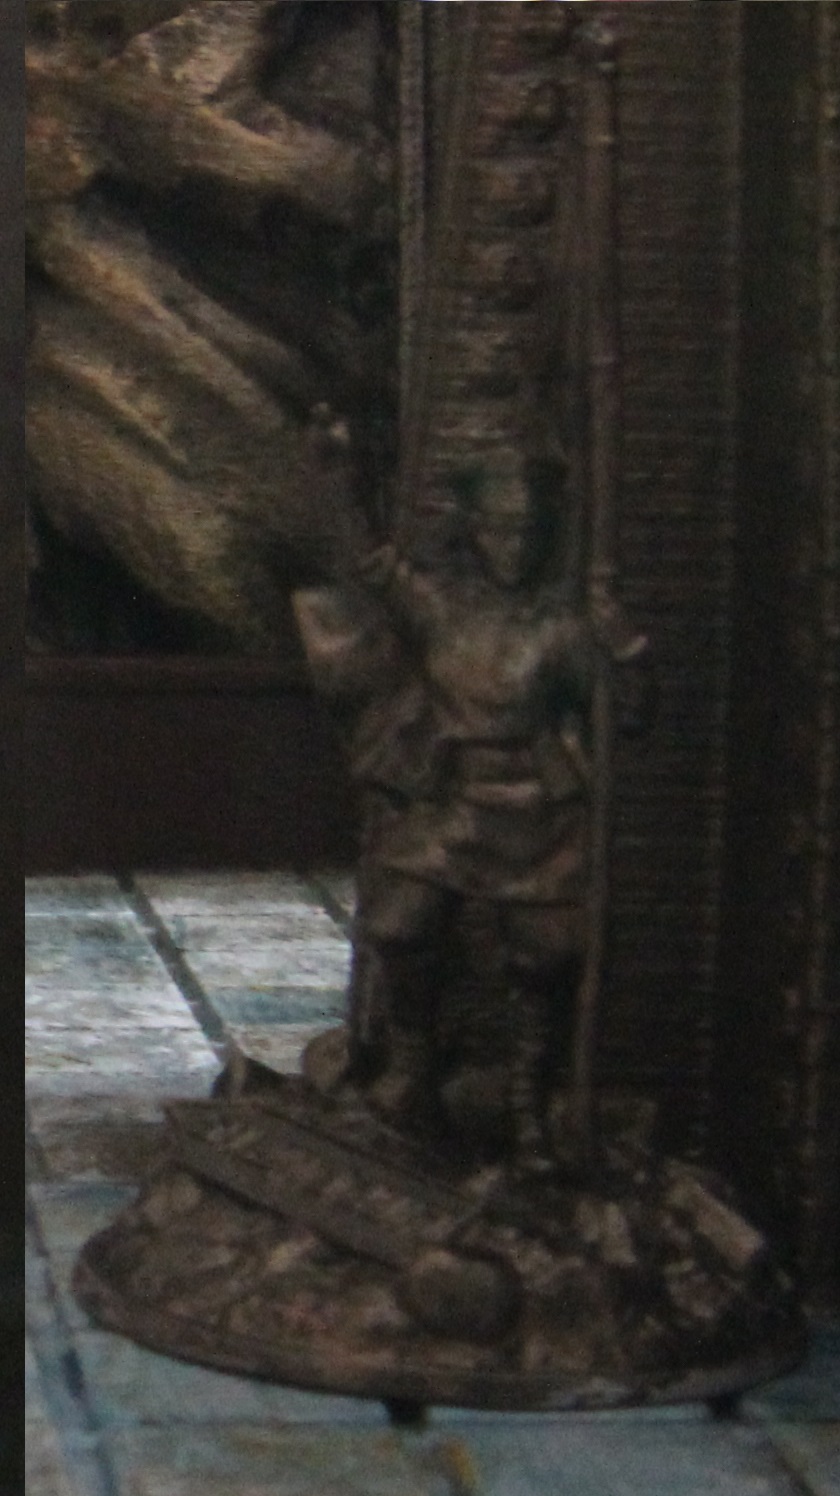
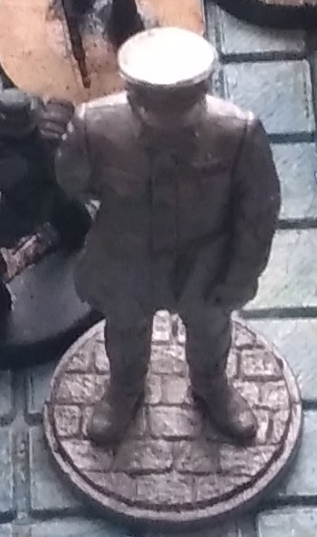
Statues
I will come clean, I stole this from someone on the zona alfa facebook group…
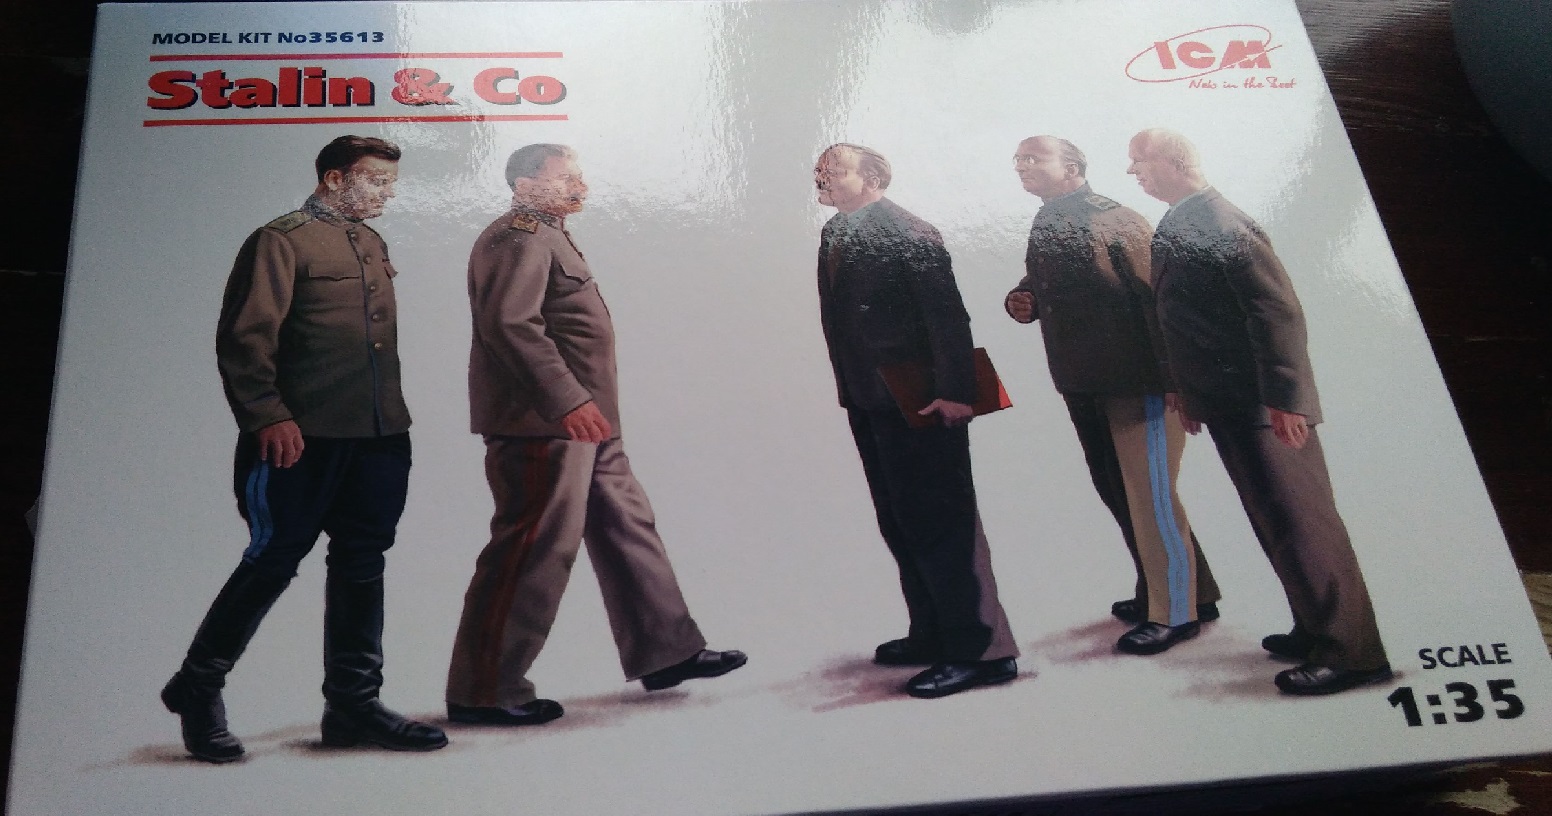 Stalin Bros
yes that is right…”Stalin & Co” like its some 1990s american sitcom. in 1:35 scale.
I put this plastic kit together, it was pretty simple and had some variants of heads which I may paint up later as broken statues. I ended up sticking them to squares I had excess from an mdf building and painted them black and dry brushed them with bronze
 unpainted
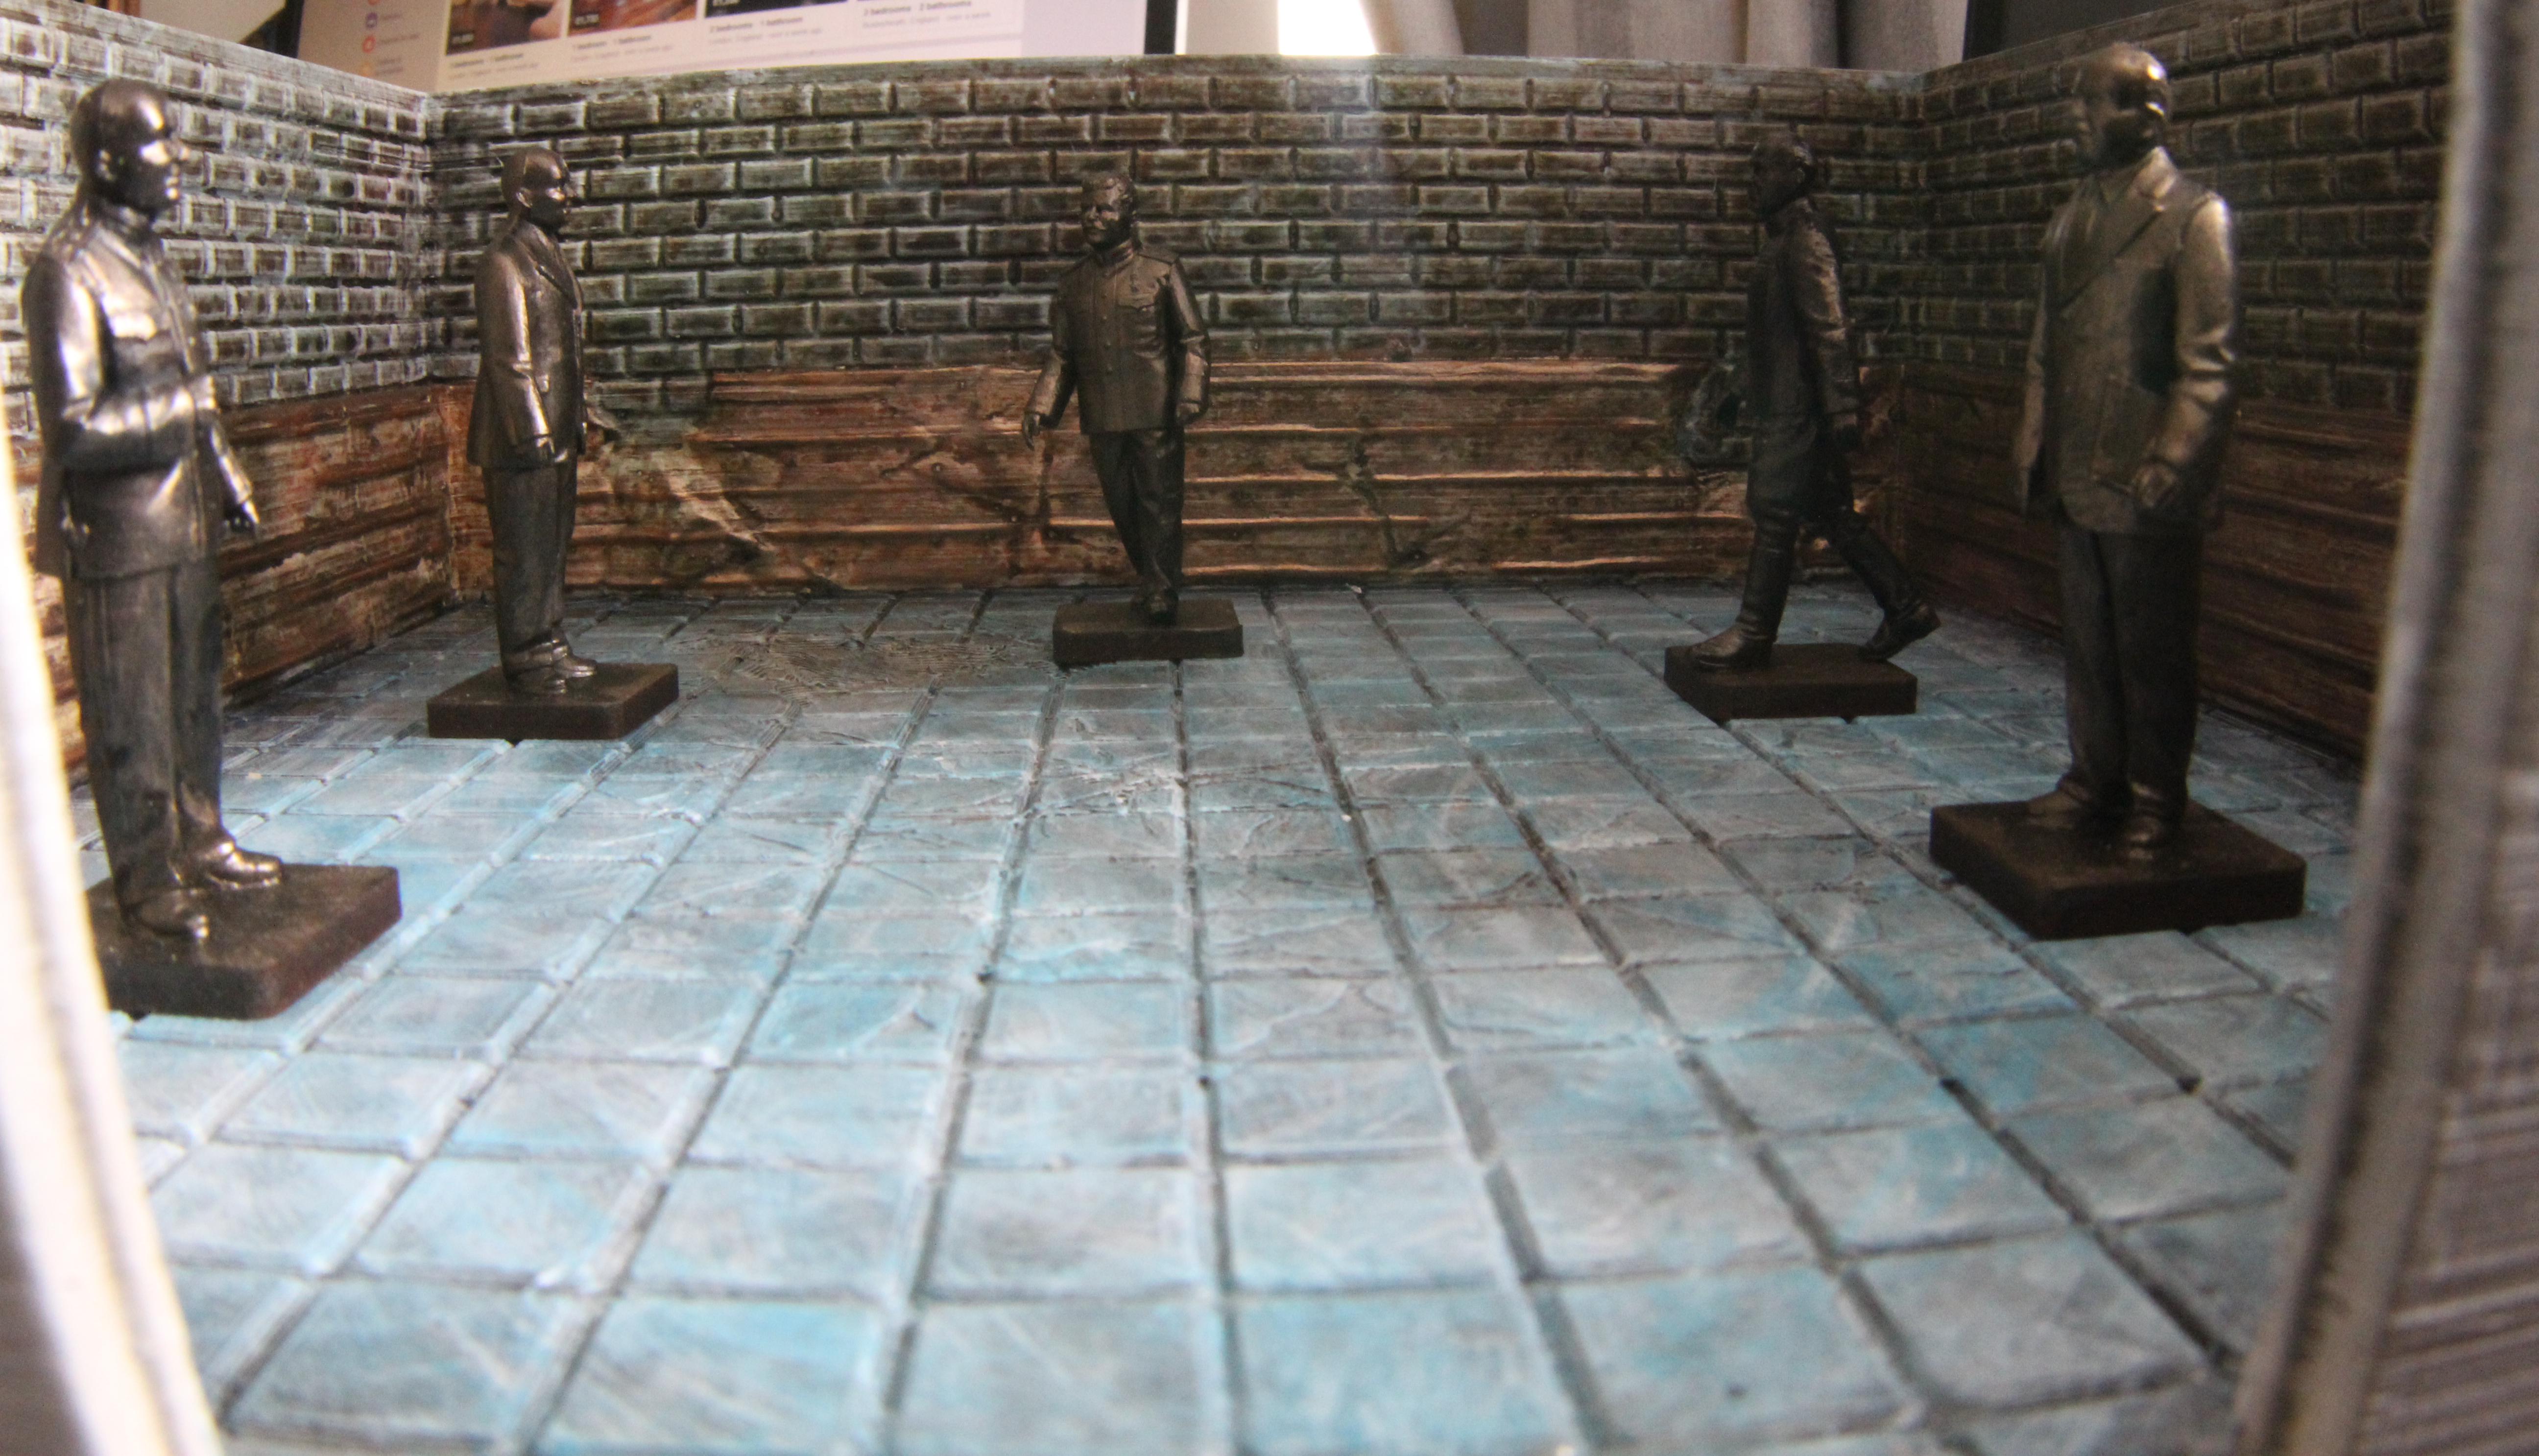 painted
I also used the Salute Russian flag model from 2019 and also got on ebay another large statue of a Russian Officer
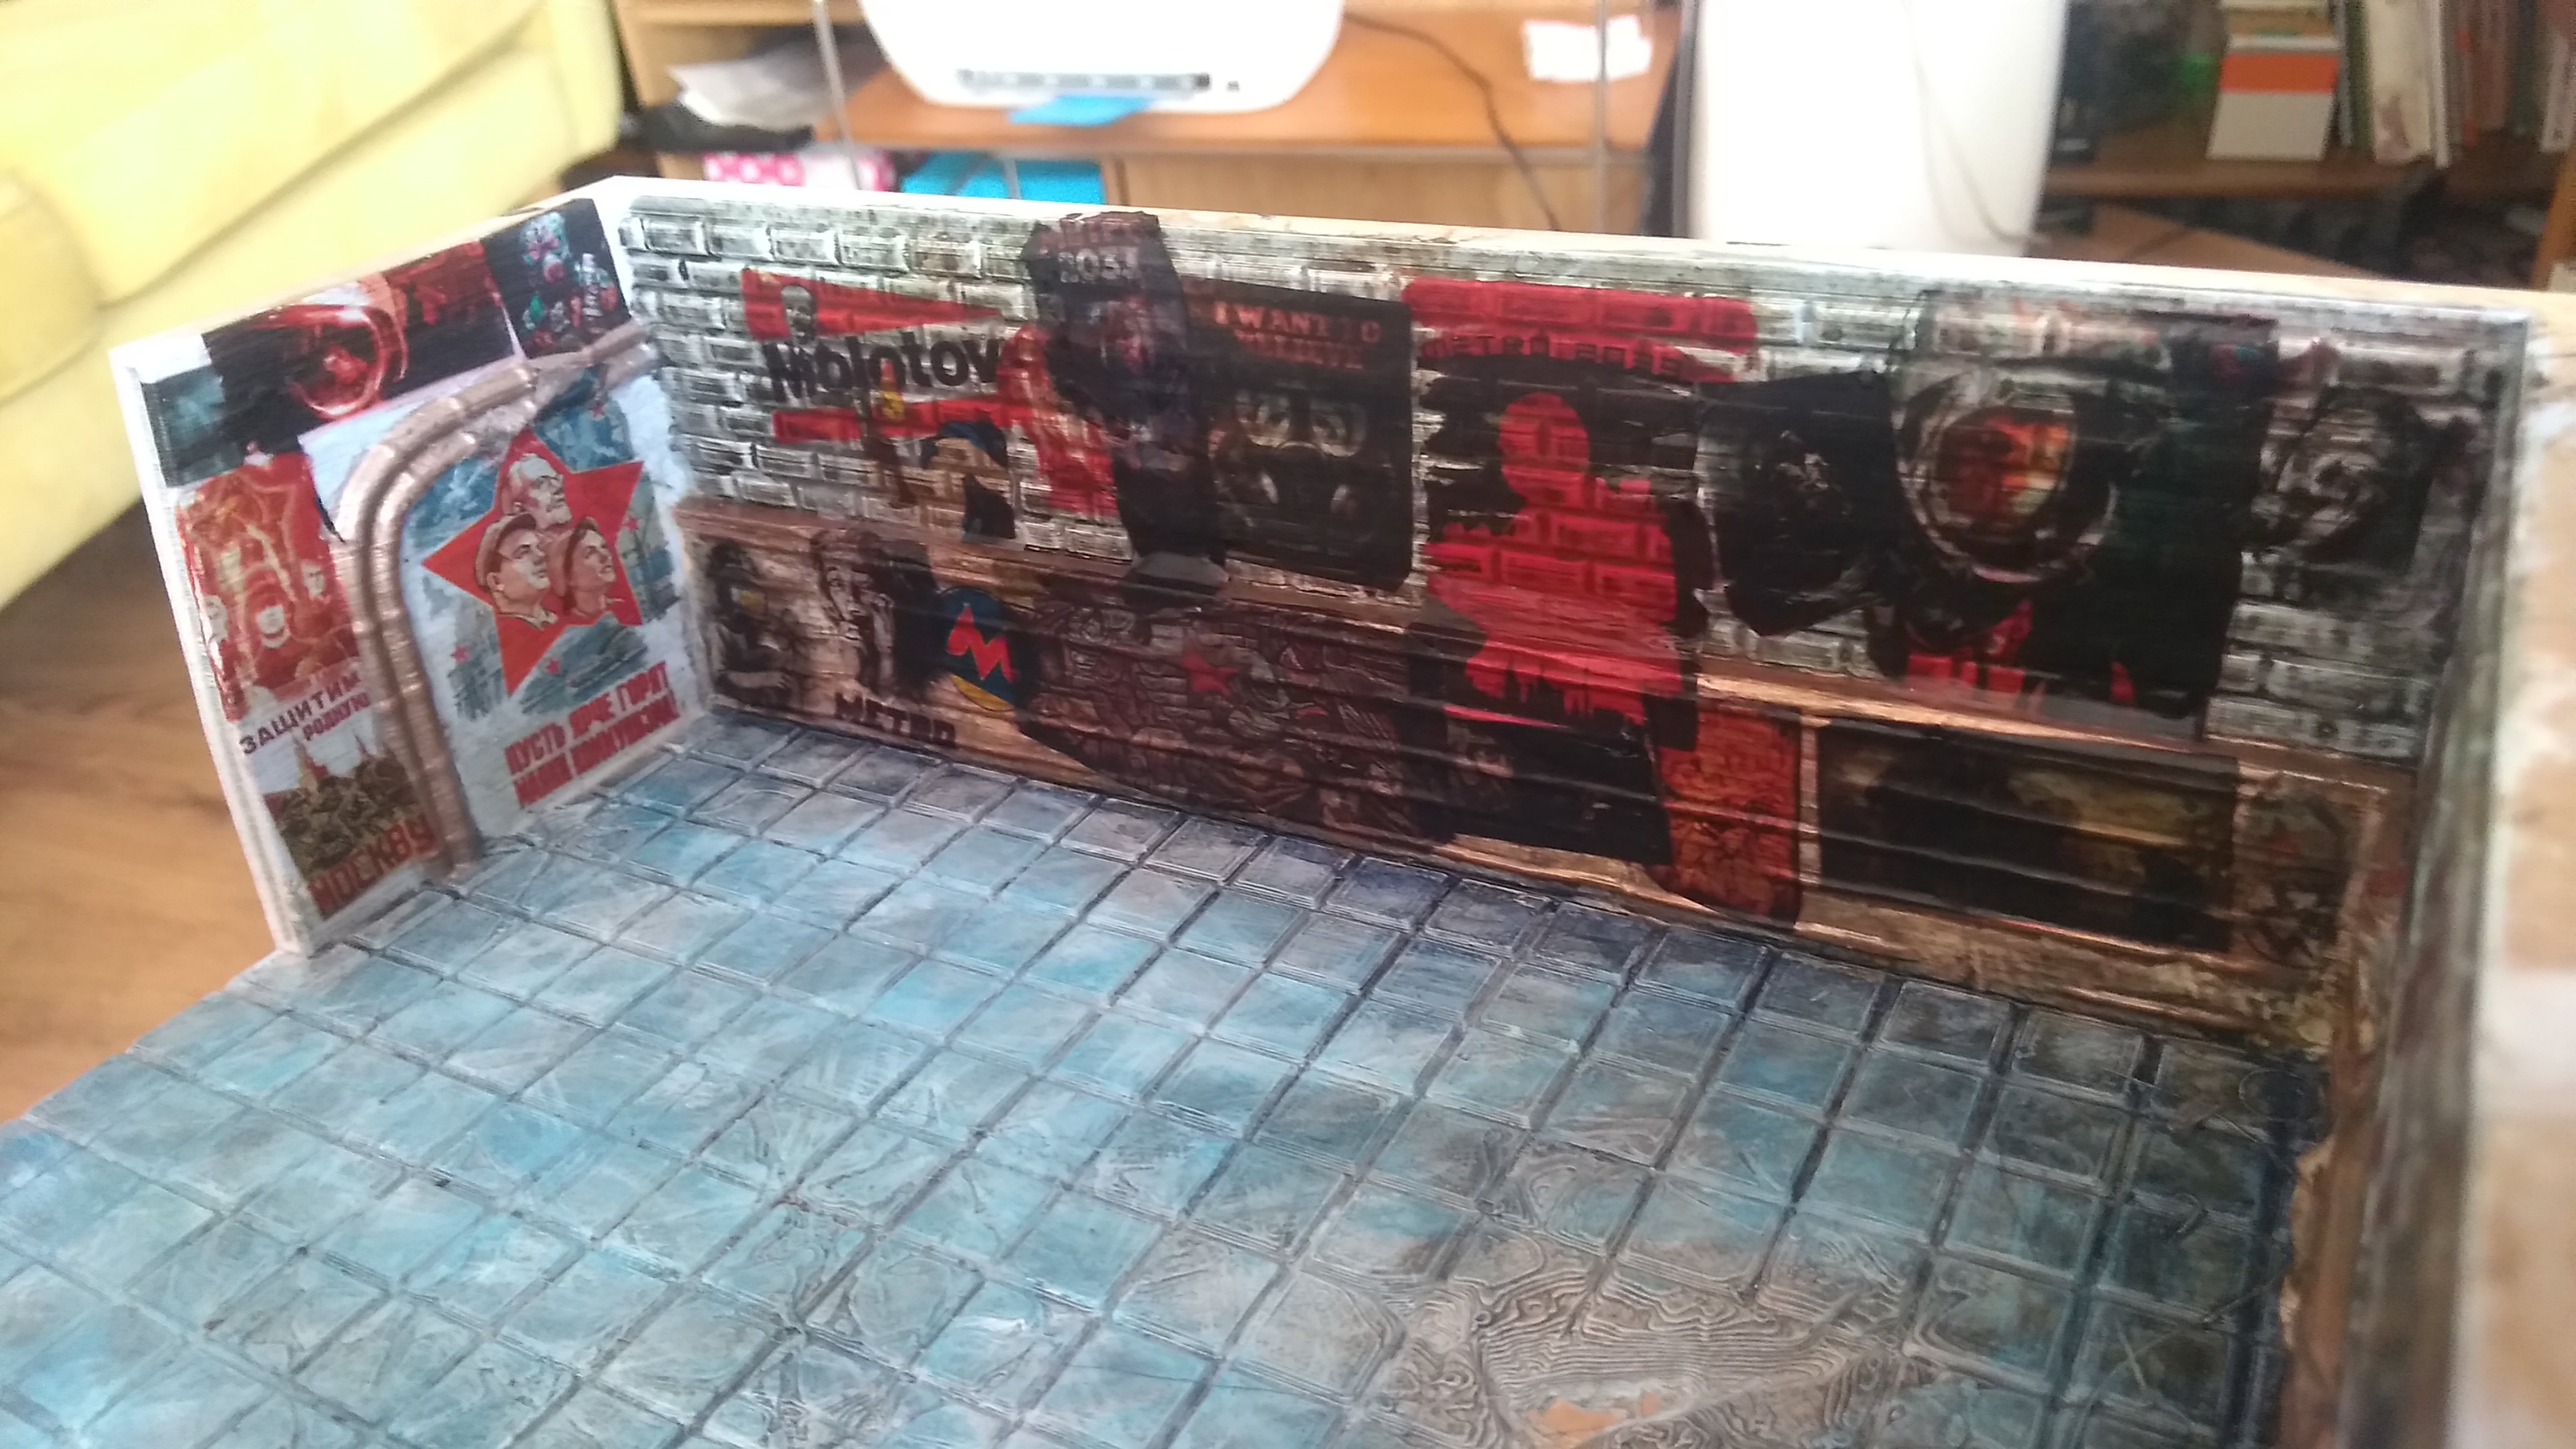
Graffiti Pt 2 & general Overlay of the bunker
 img 1
img 1This is just to show the graffiti parts I couldn’t fit in the other project part.


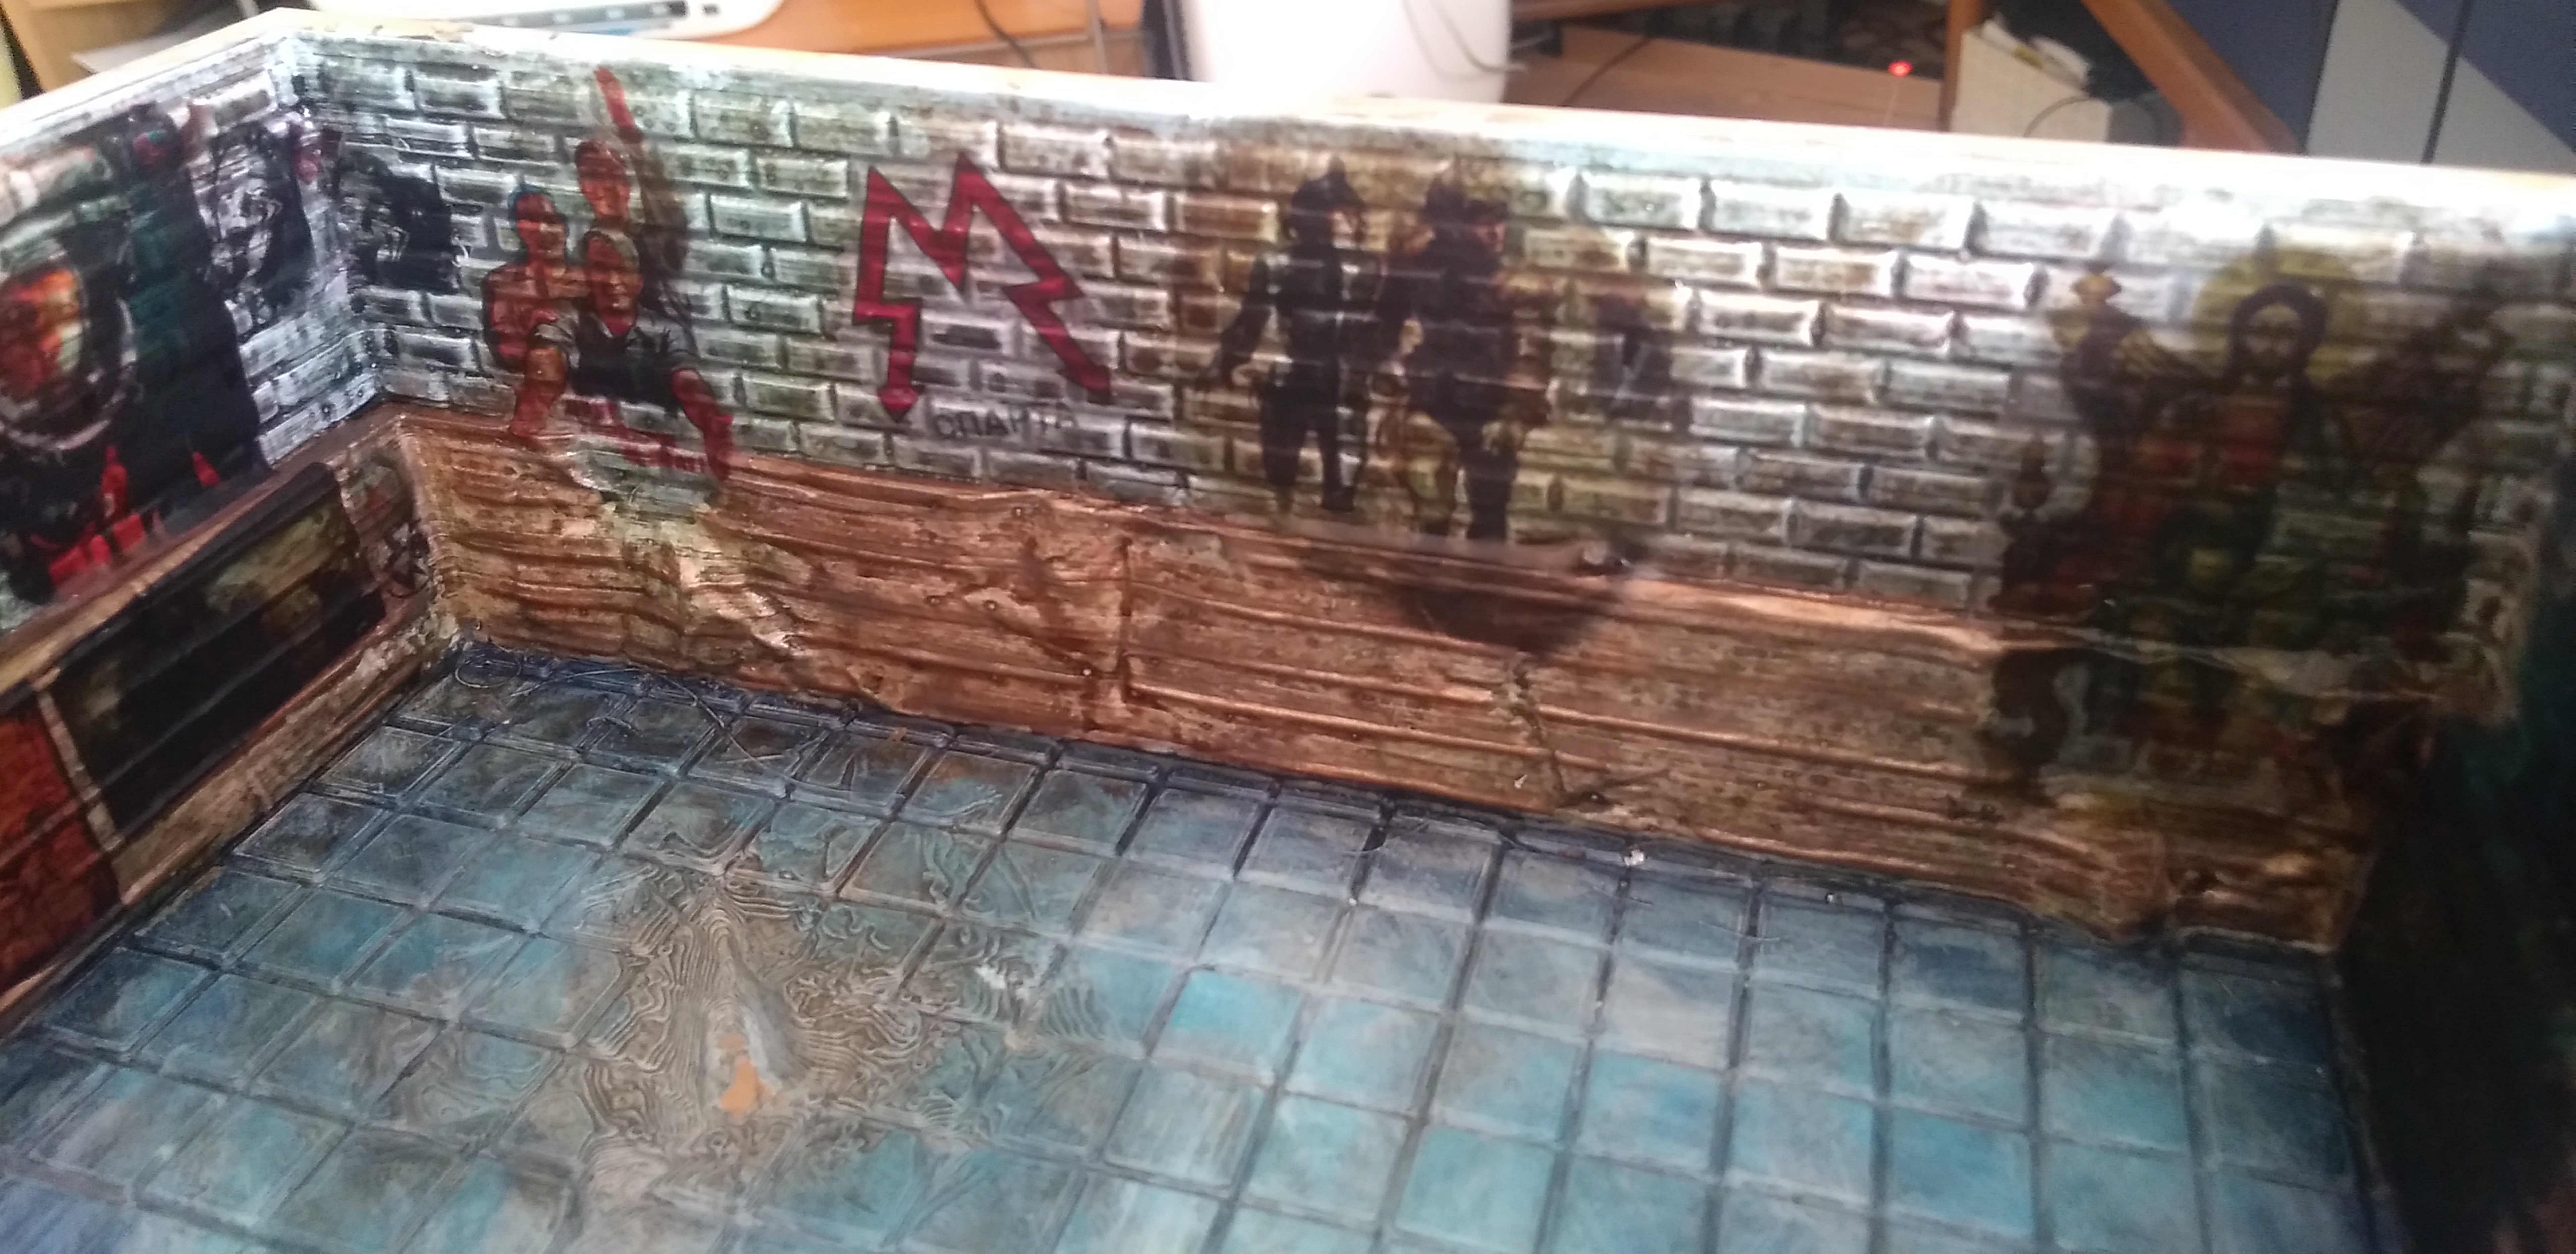
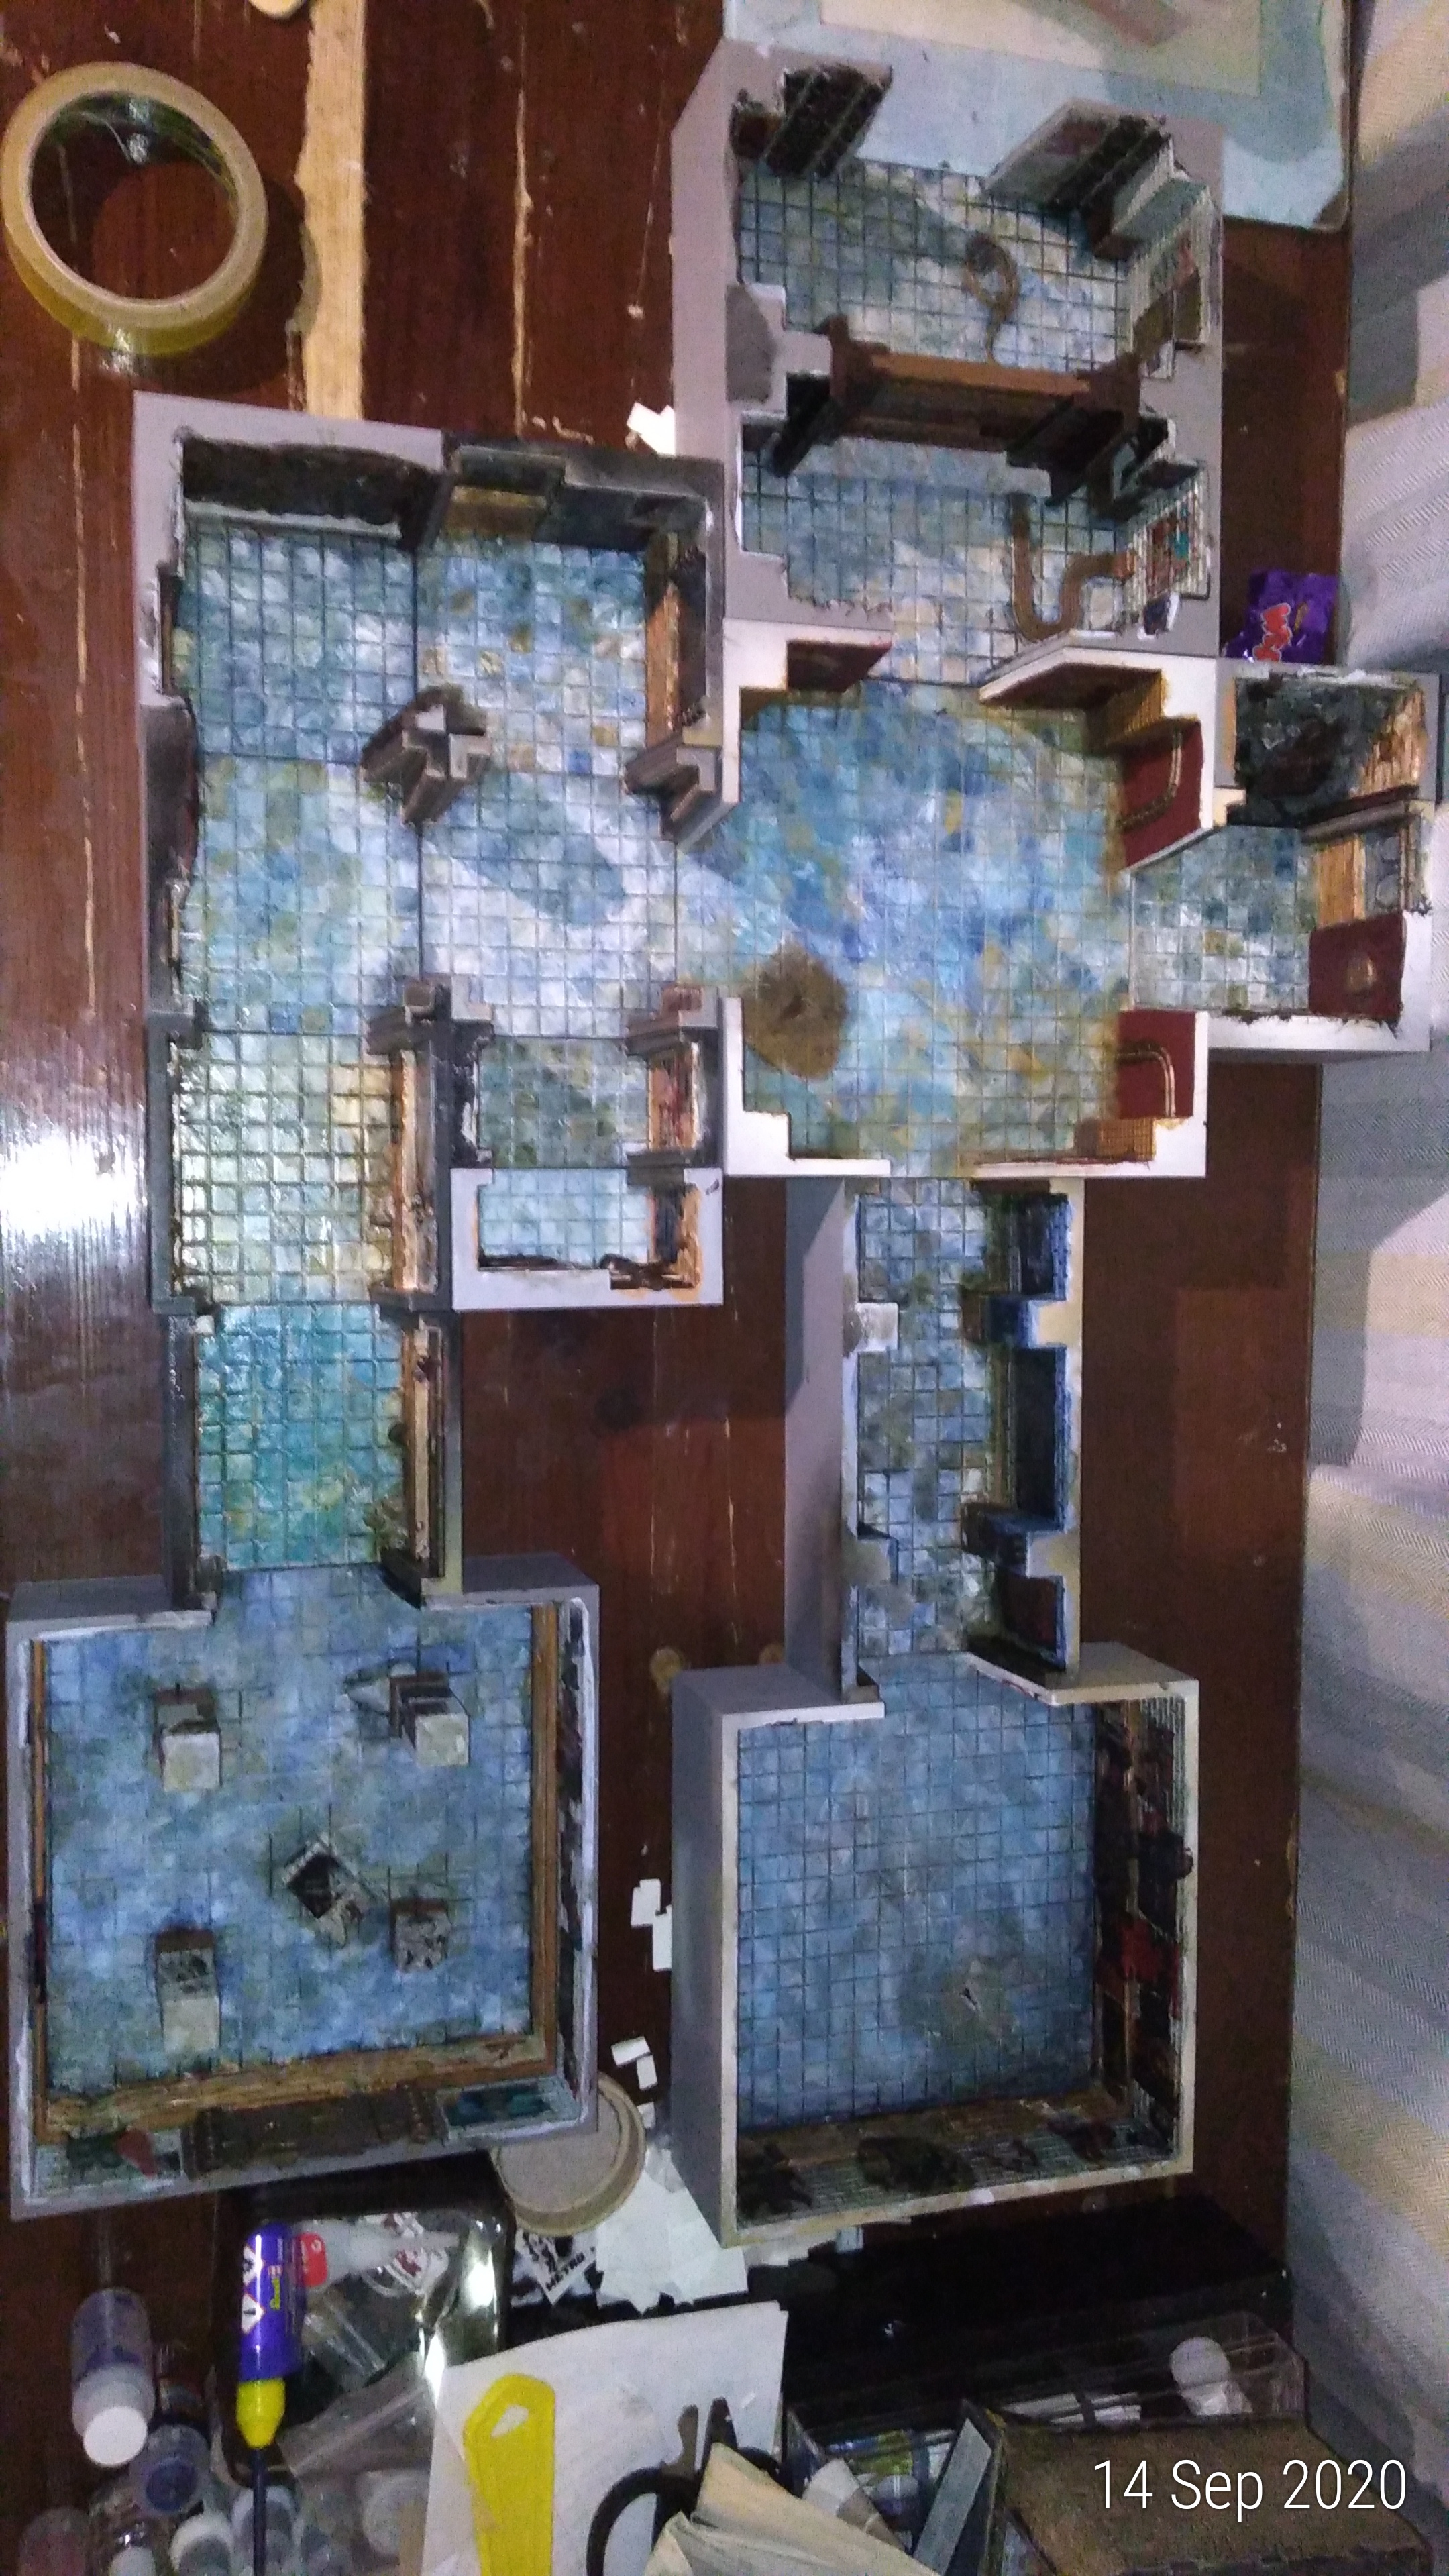
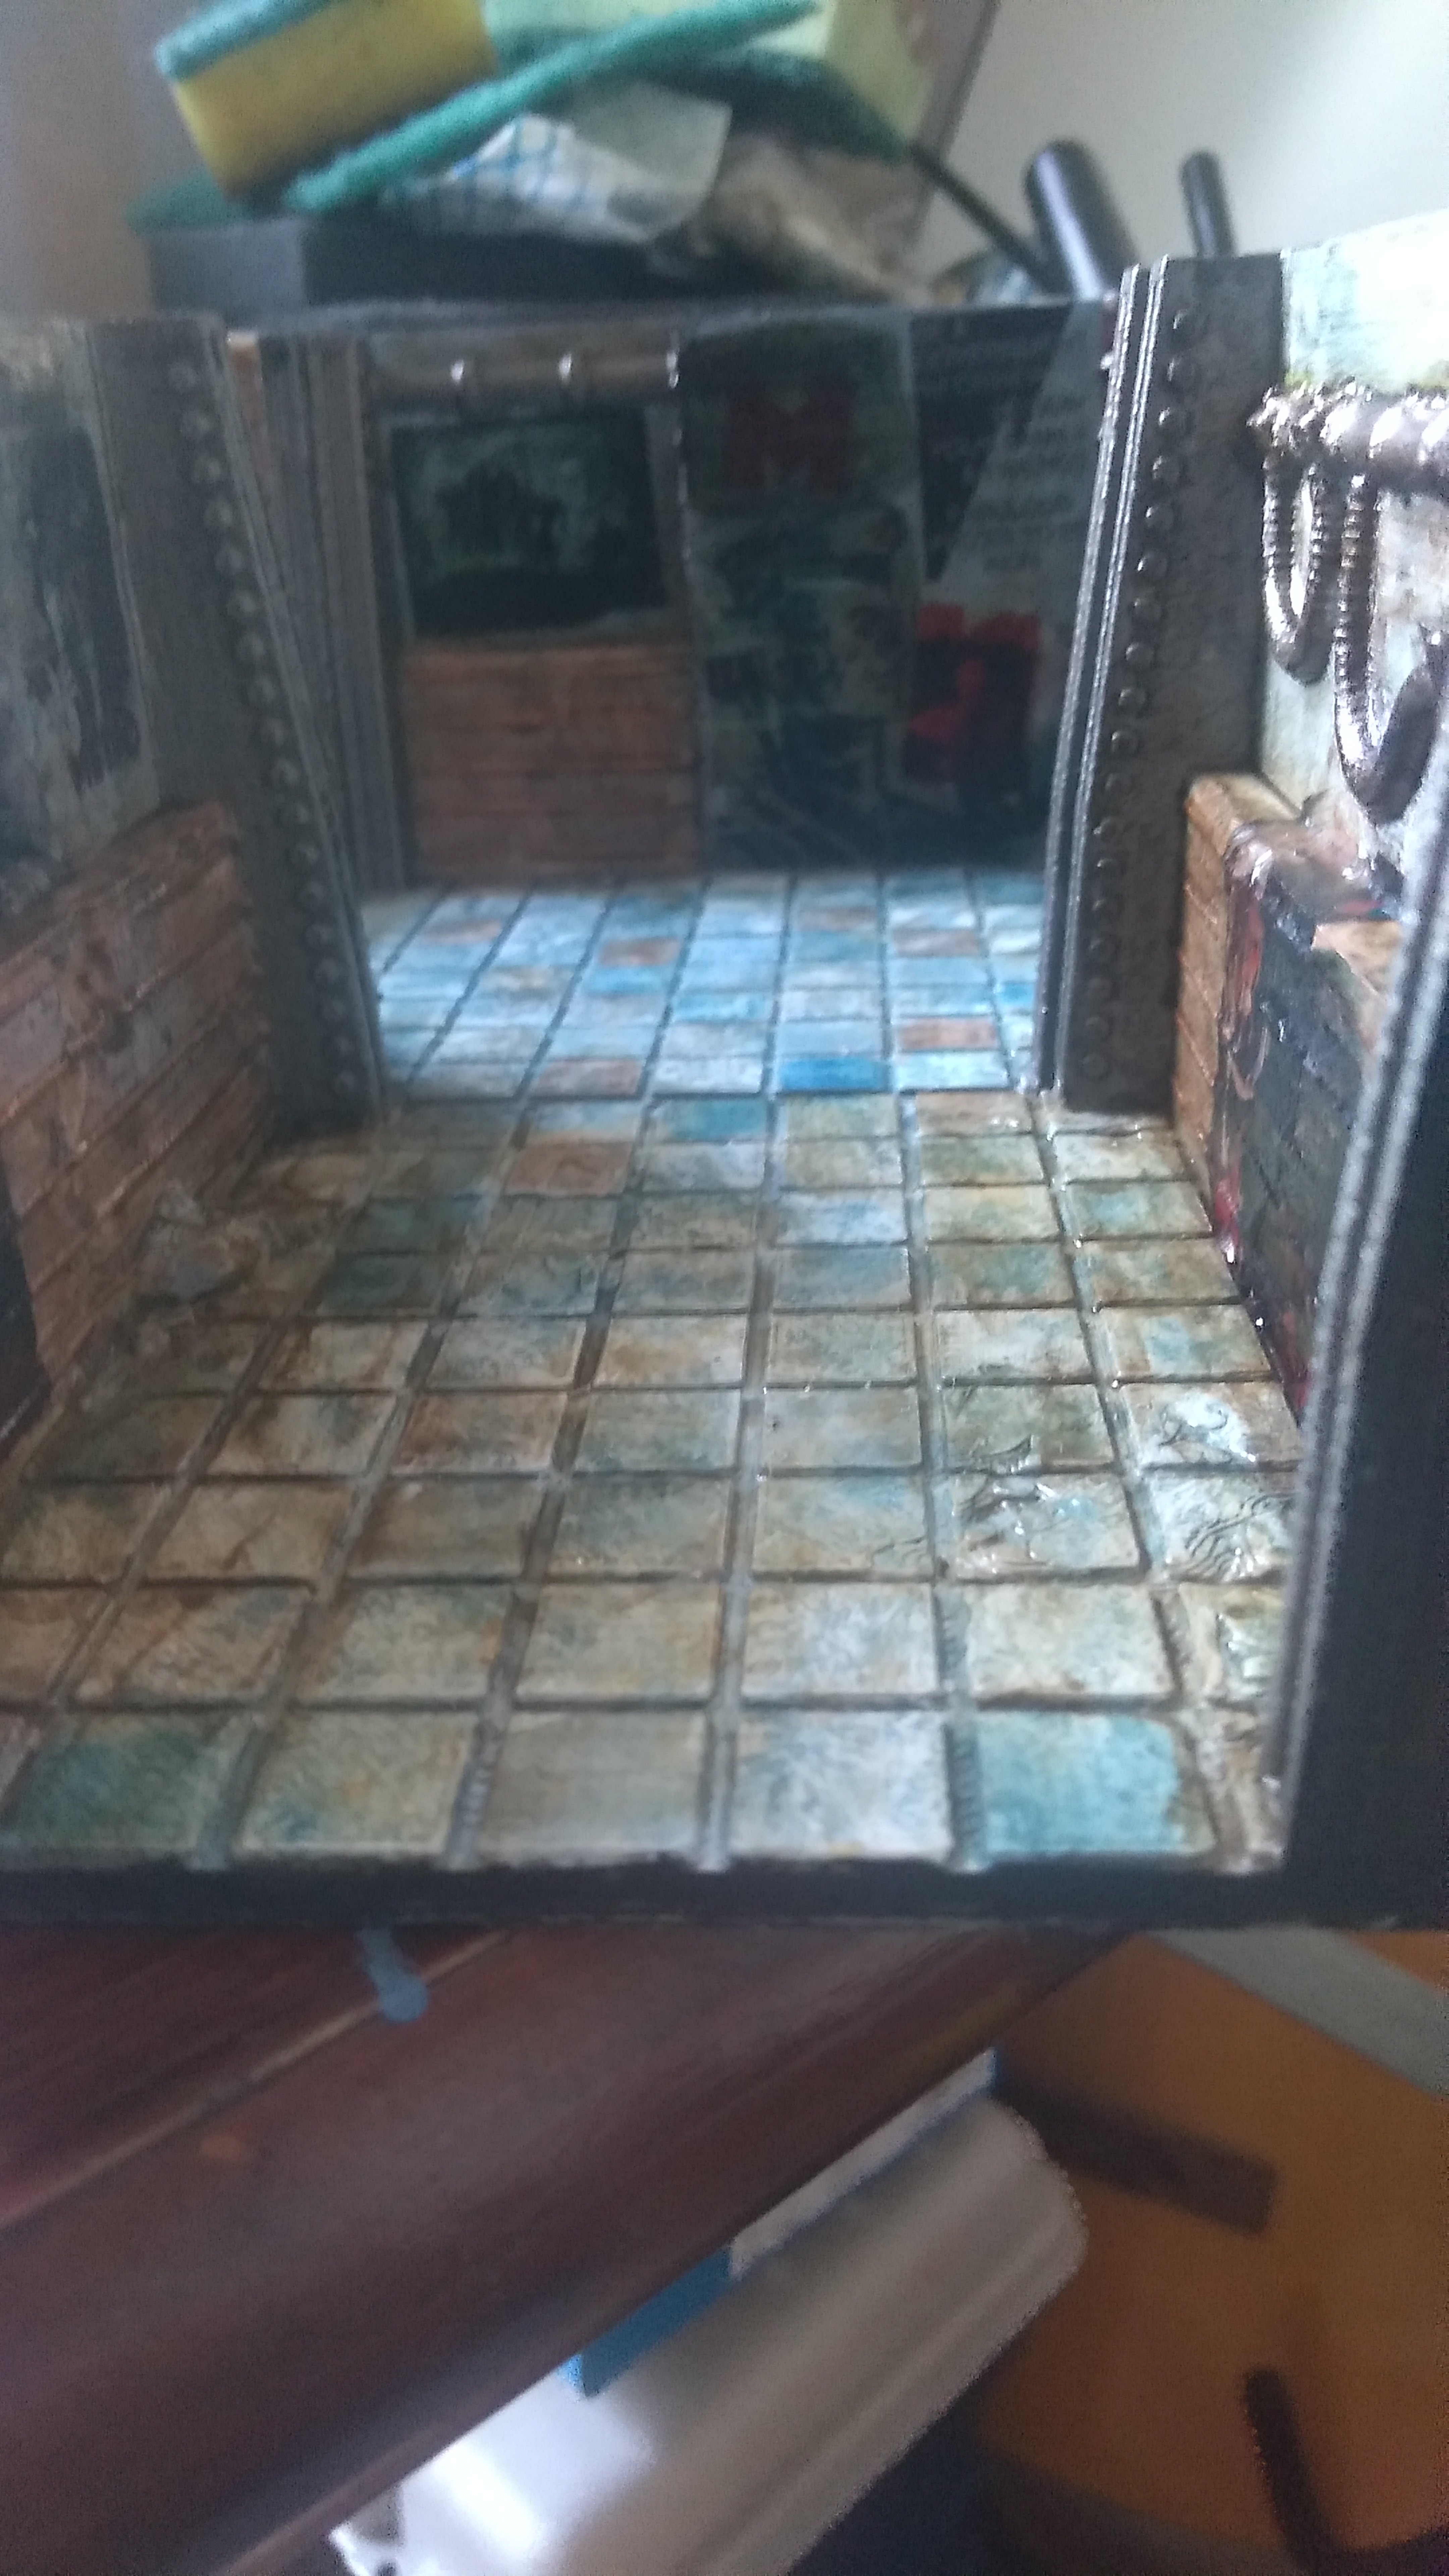
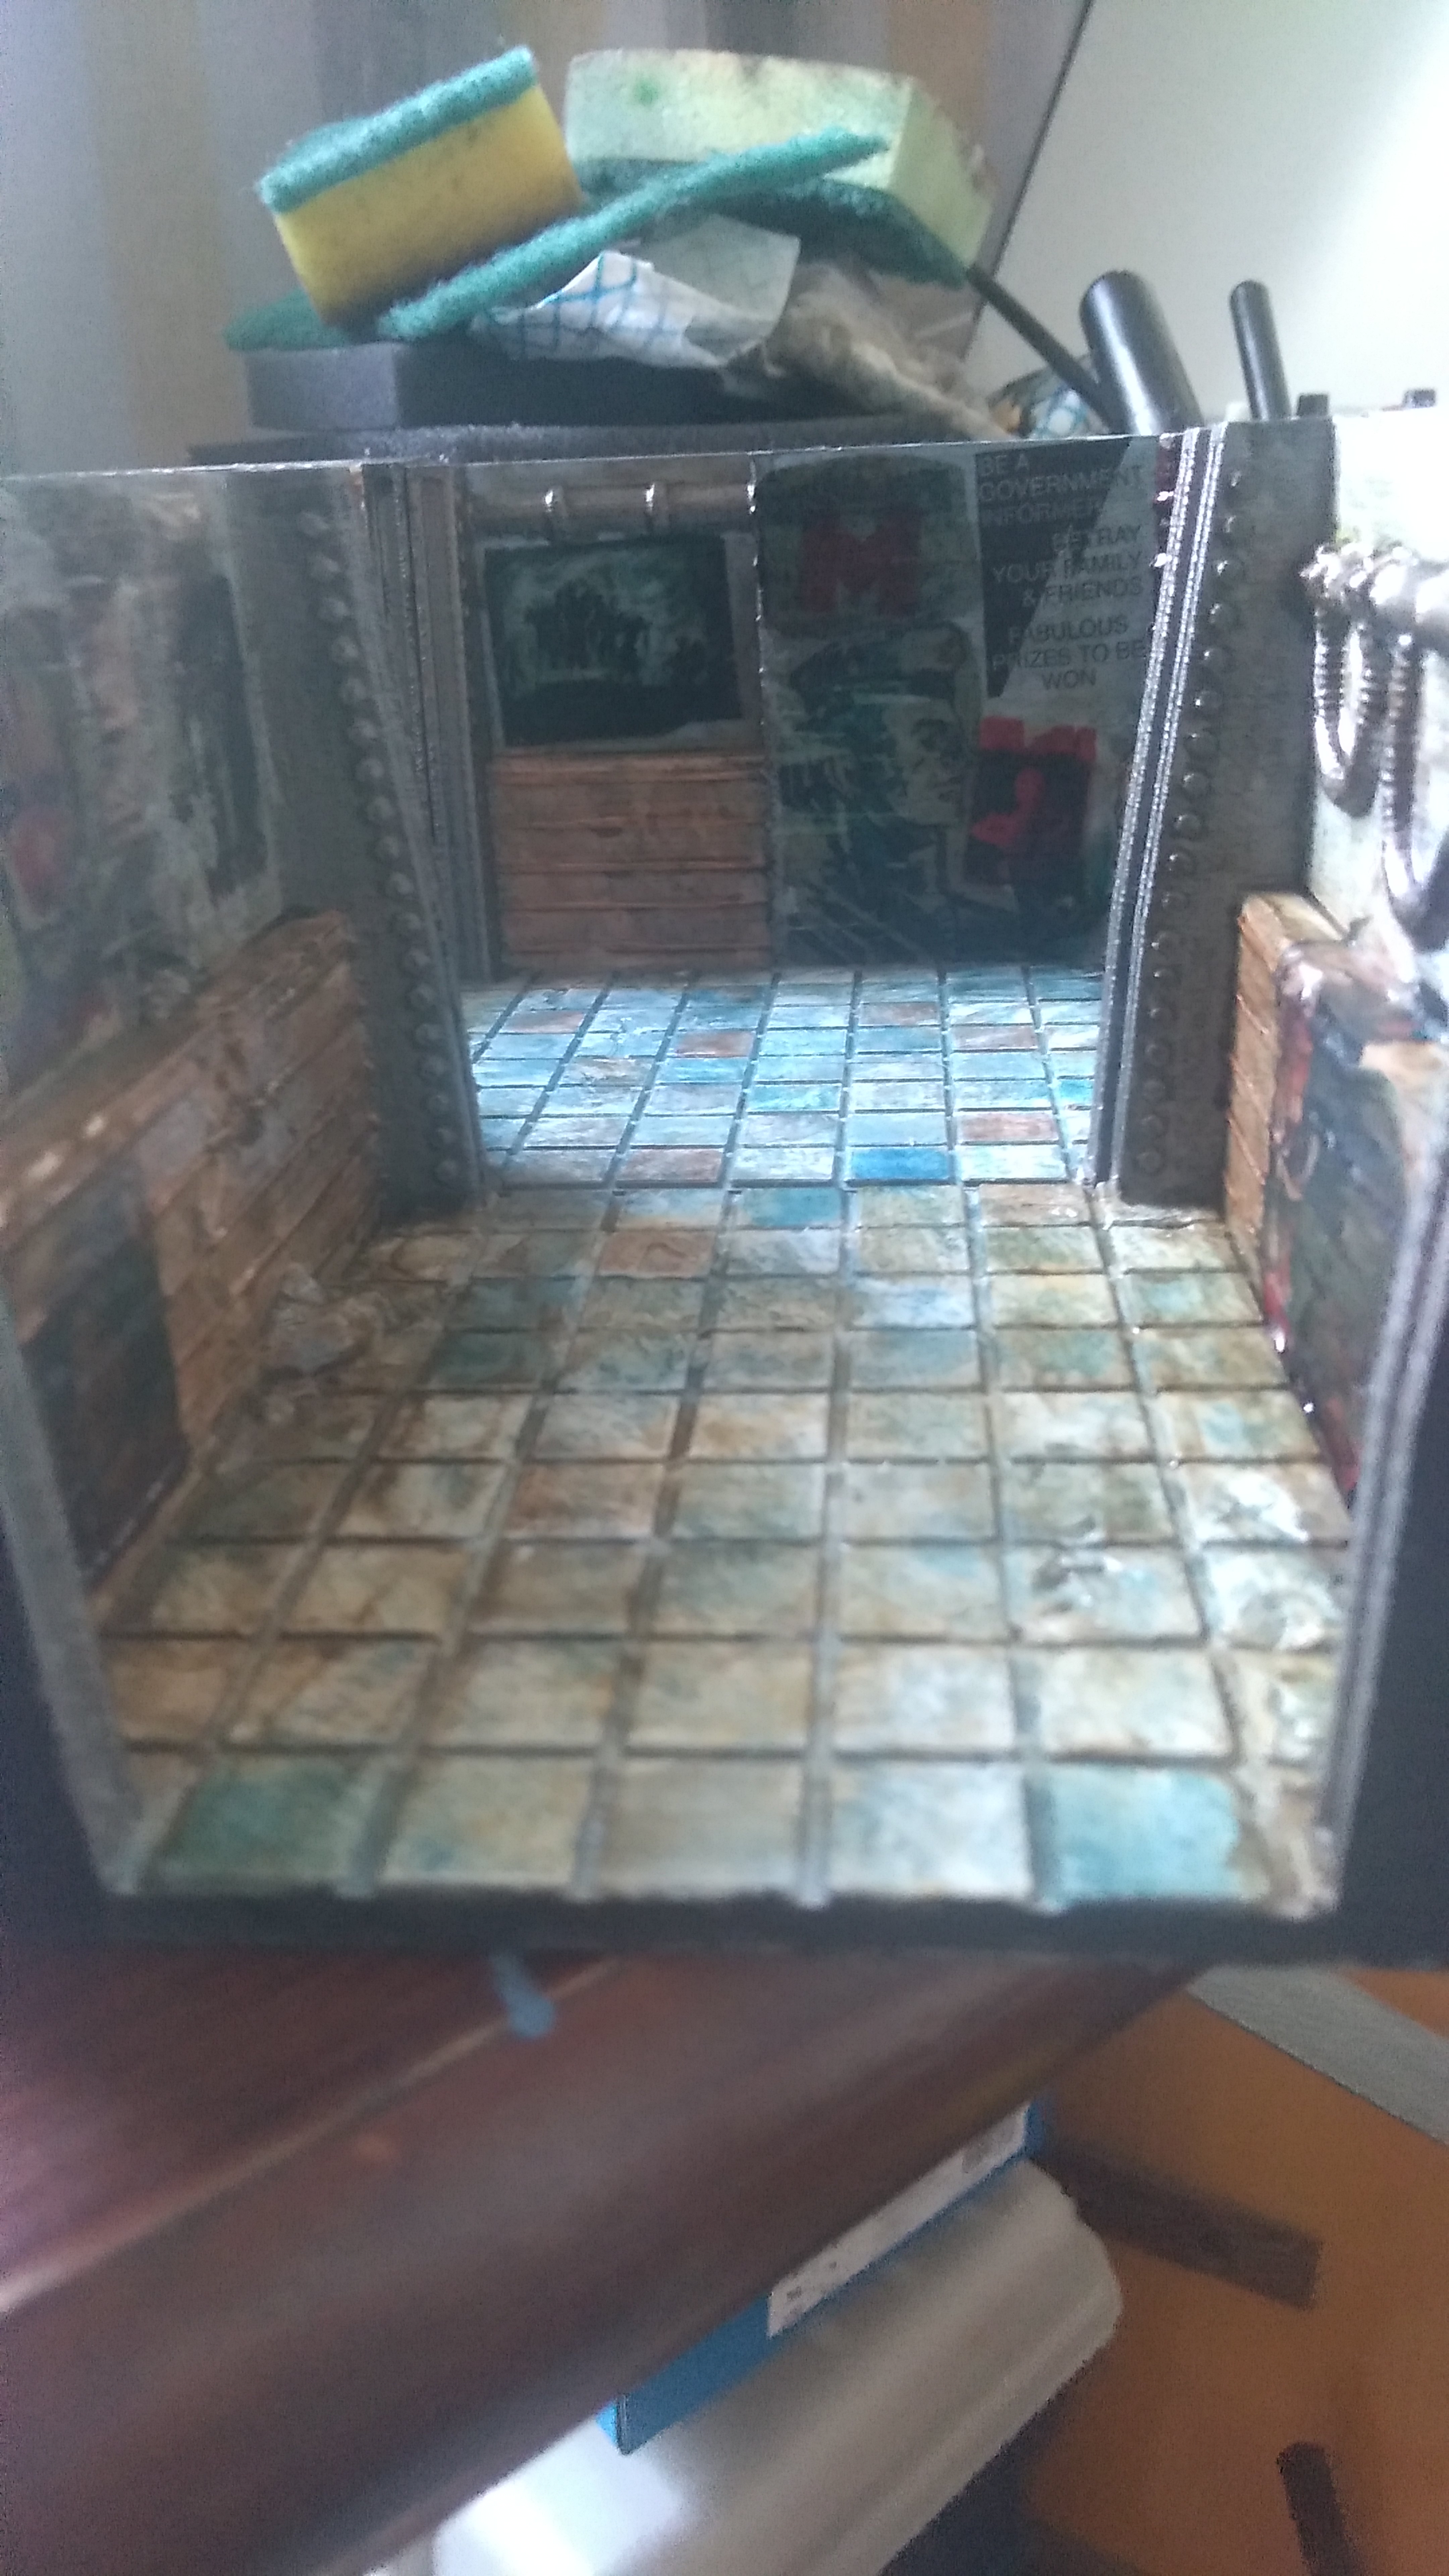
Below is the bunker tunnels I have done showing general outlay
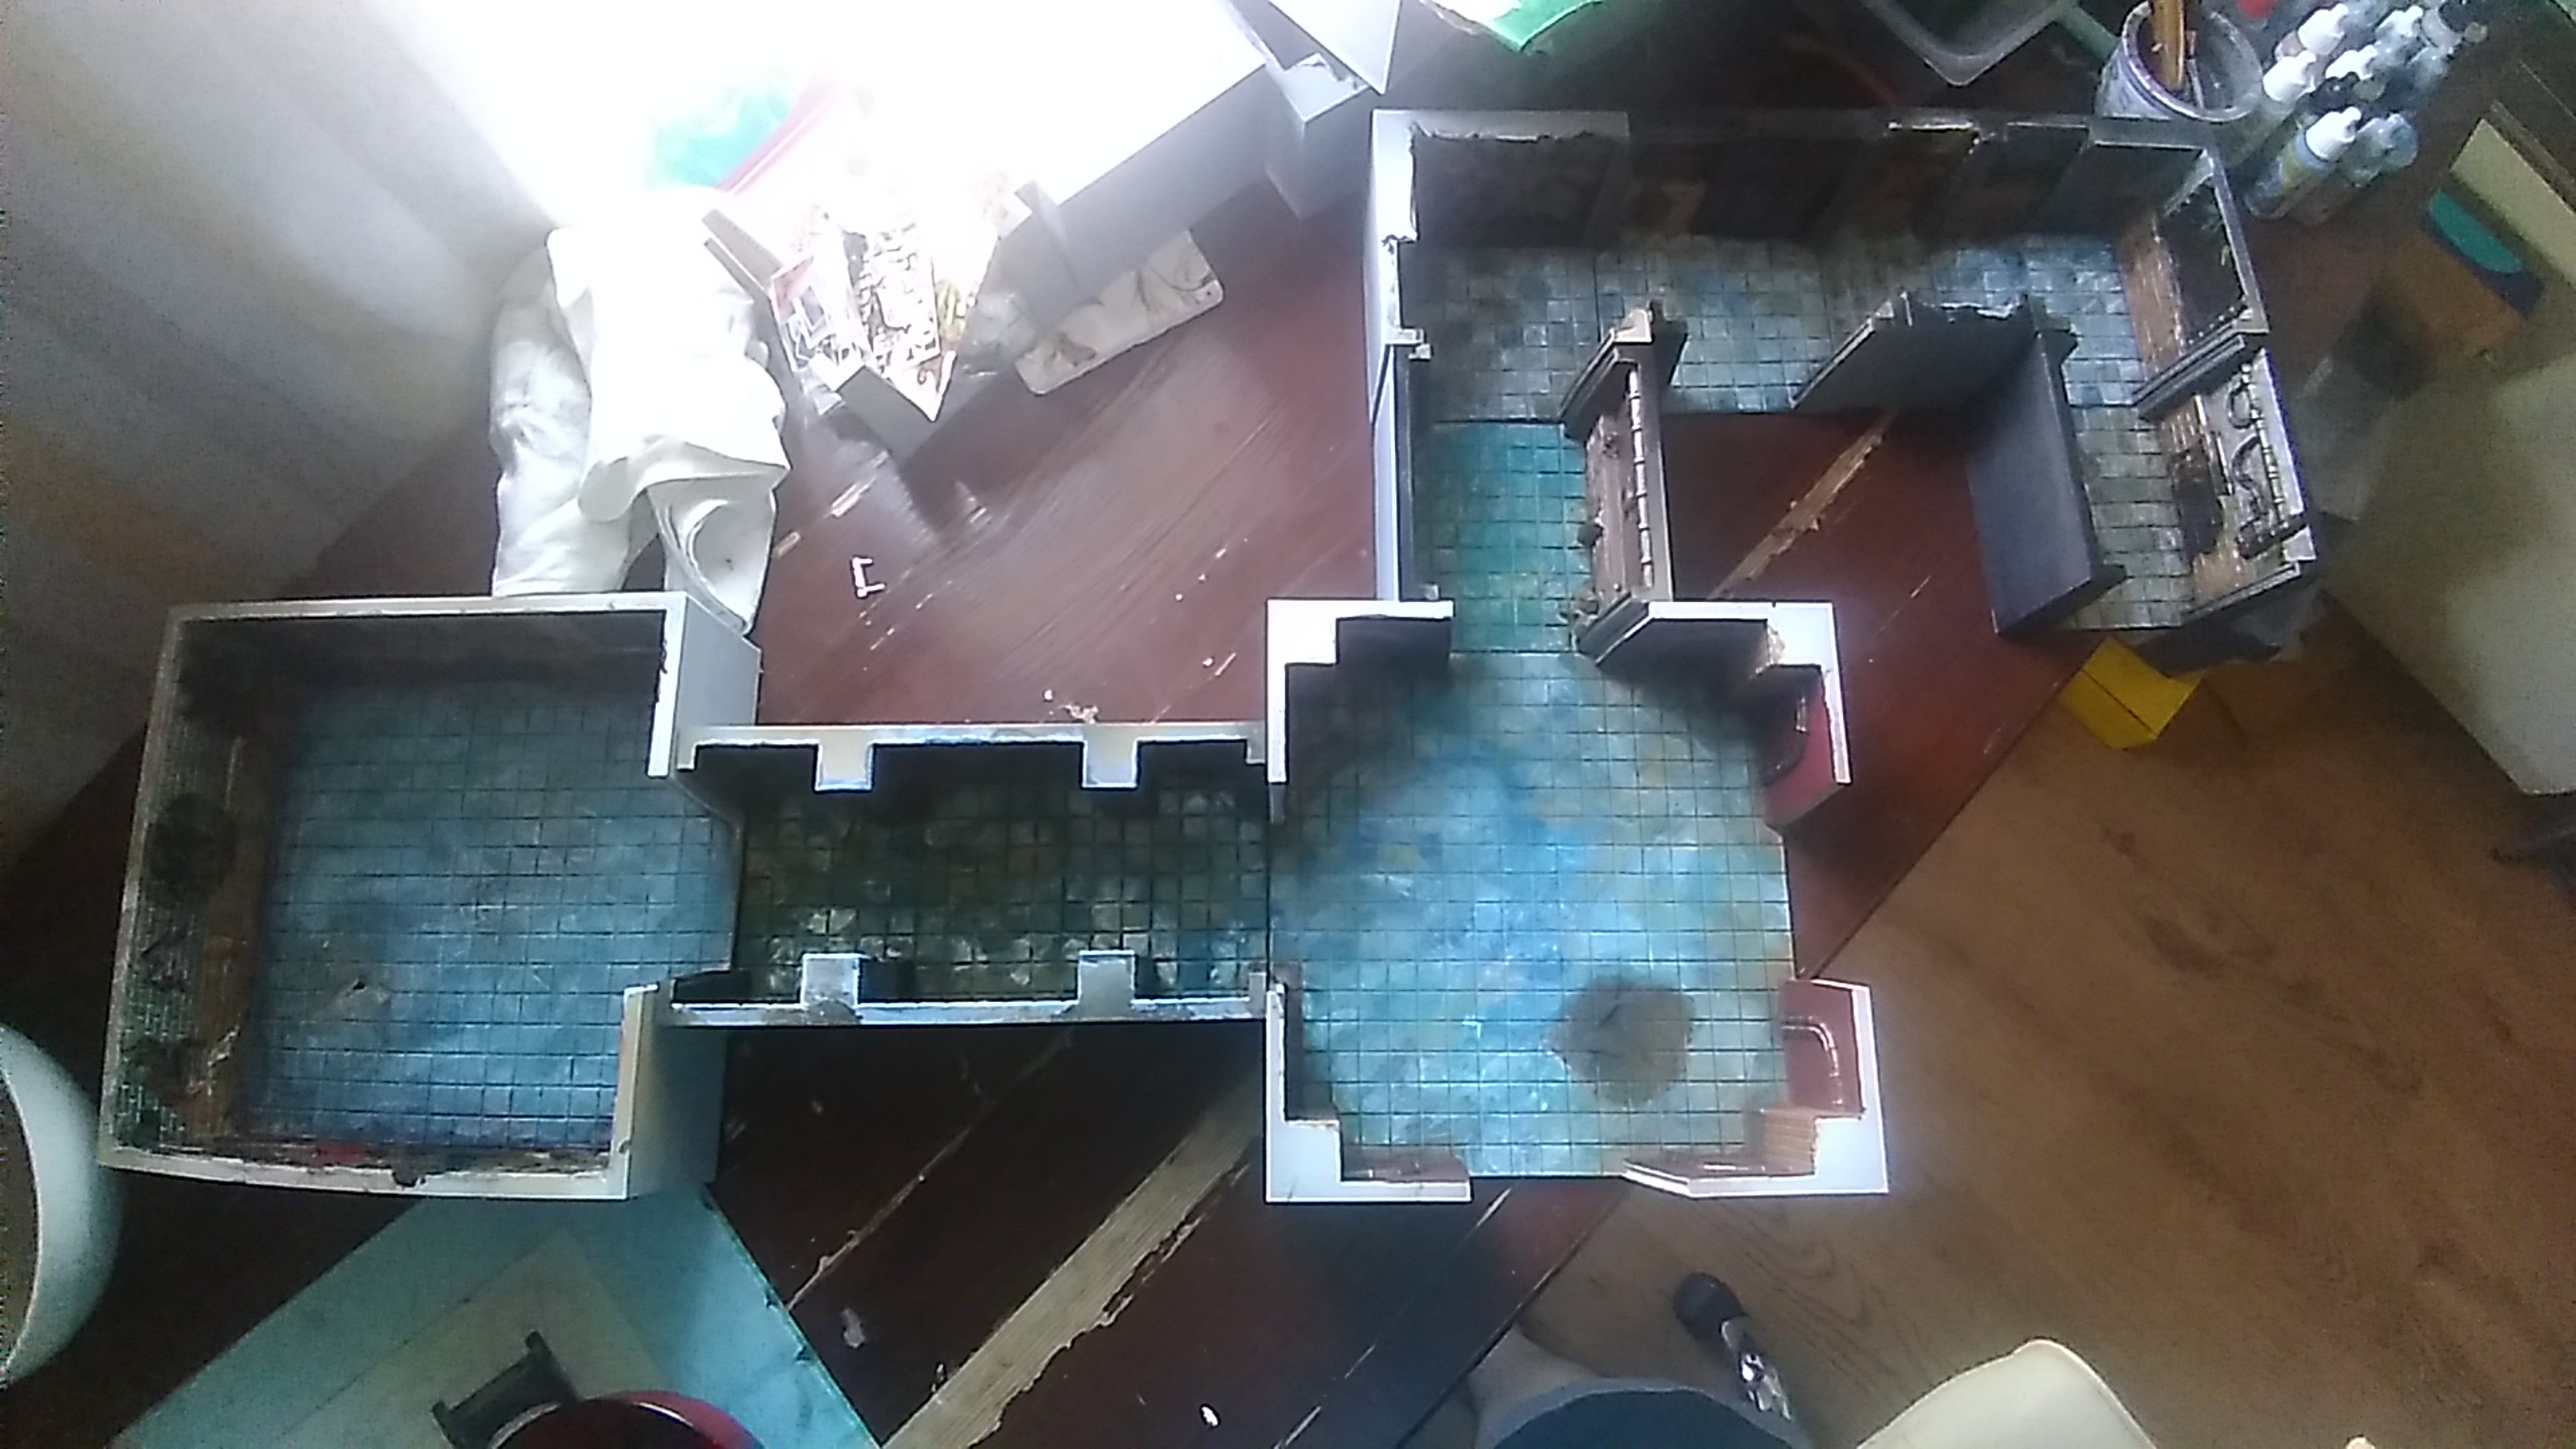 Overview of the tunnels done
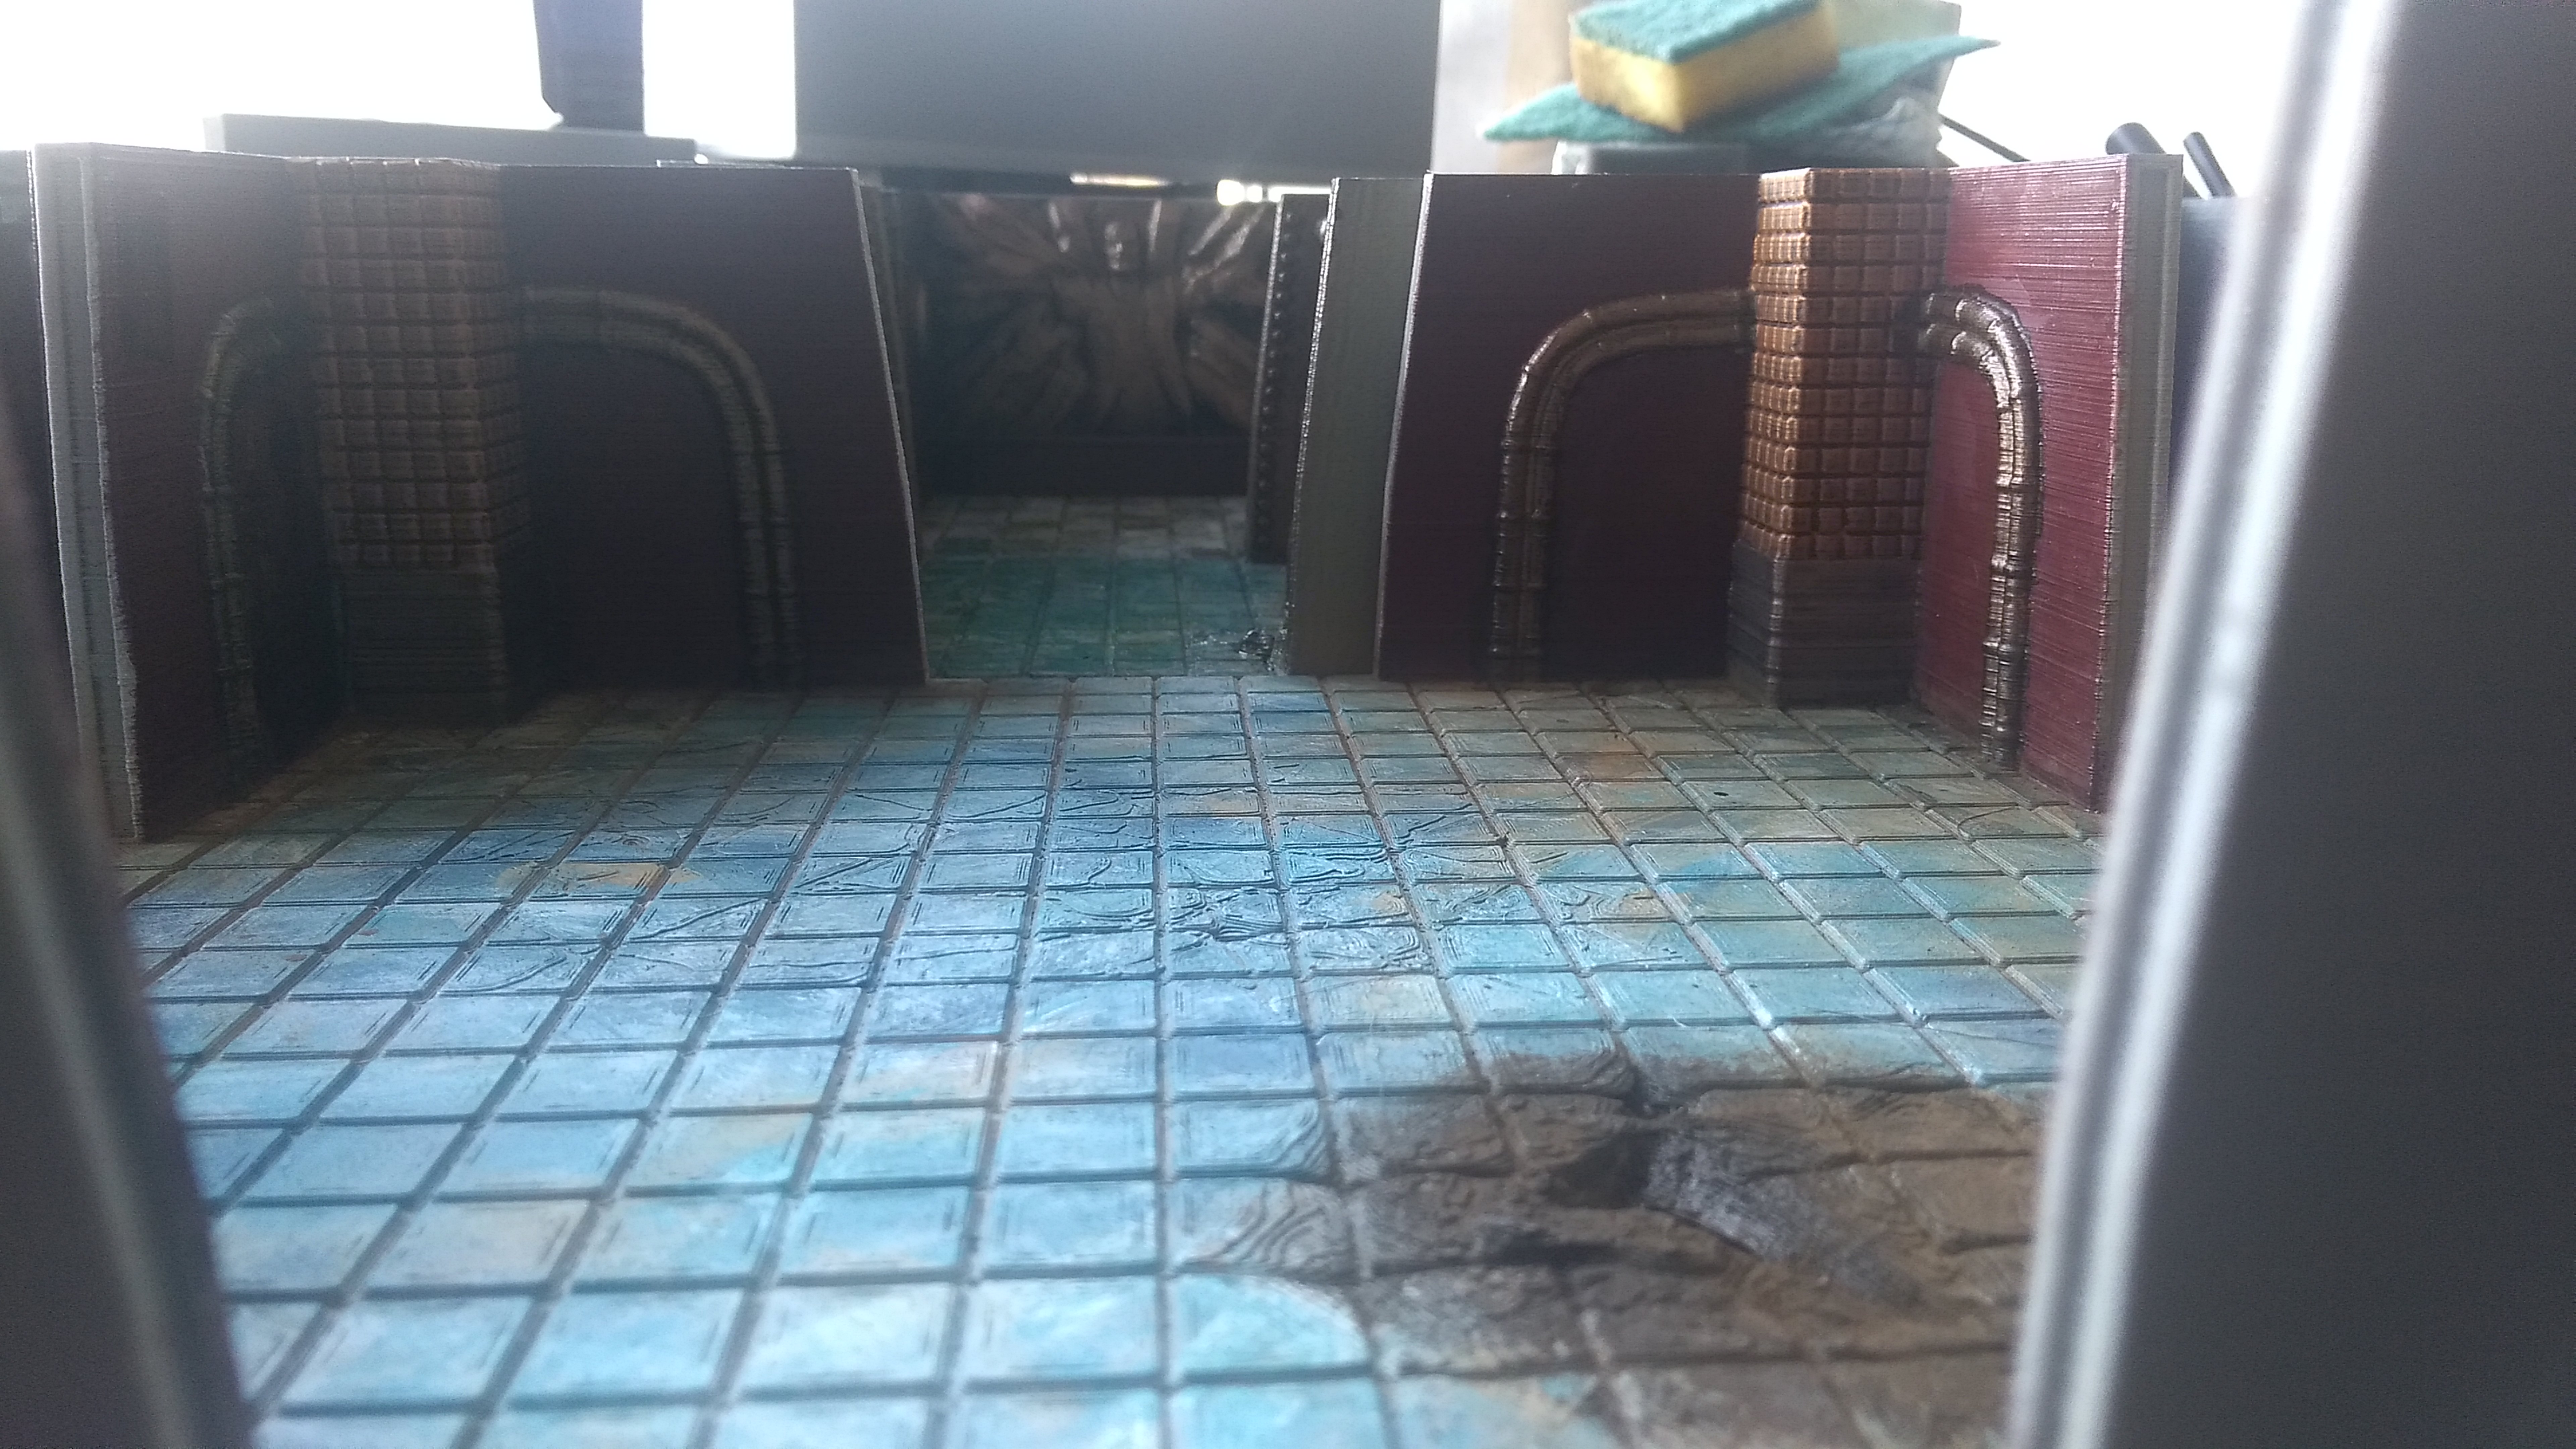
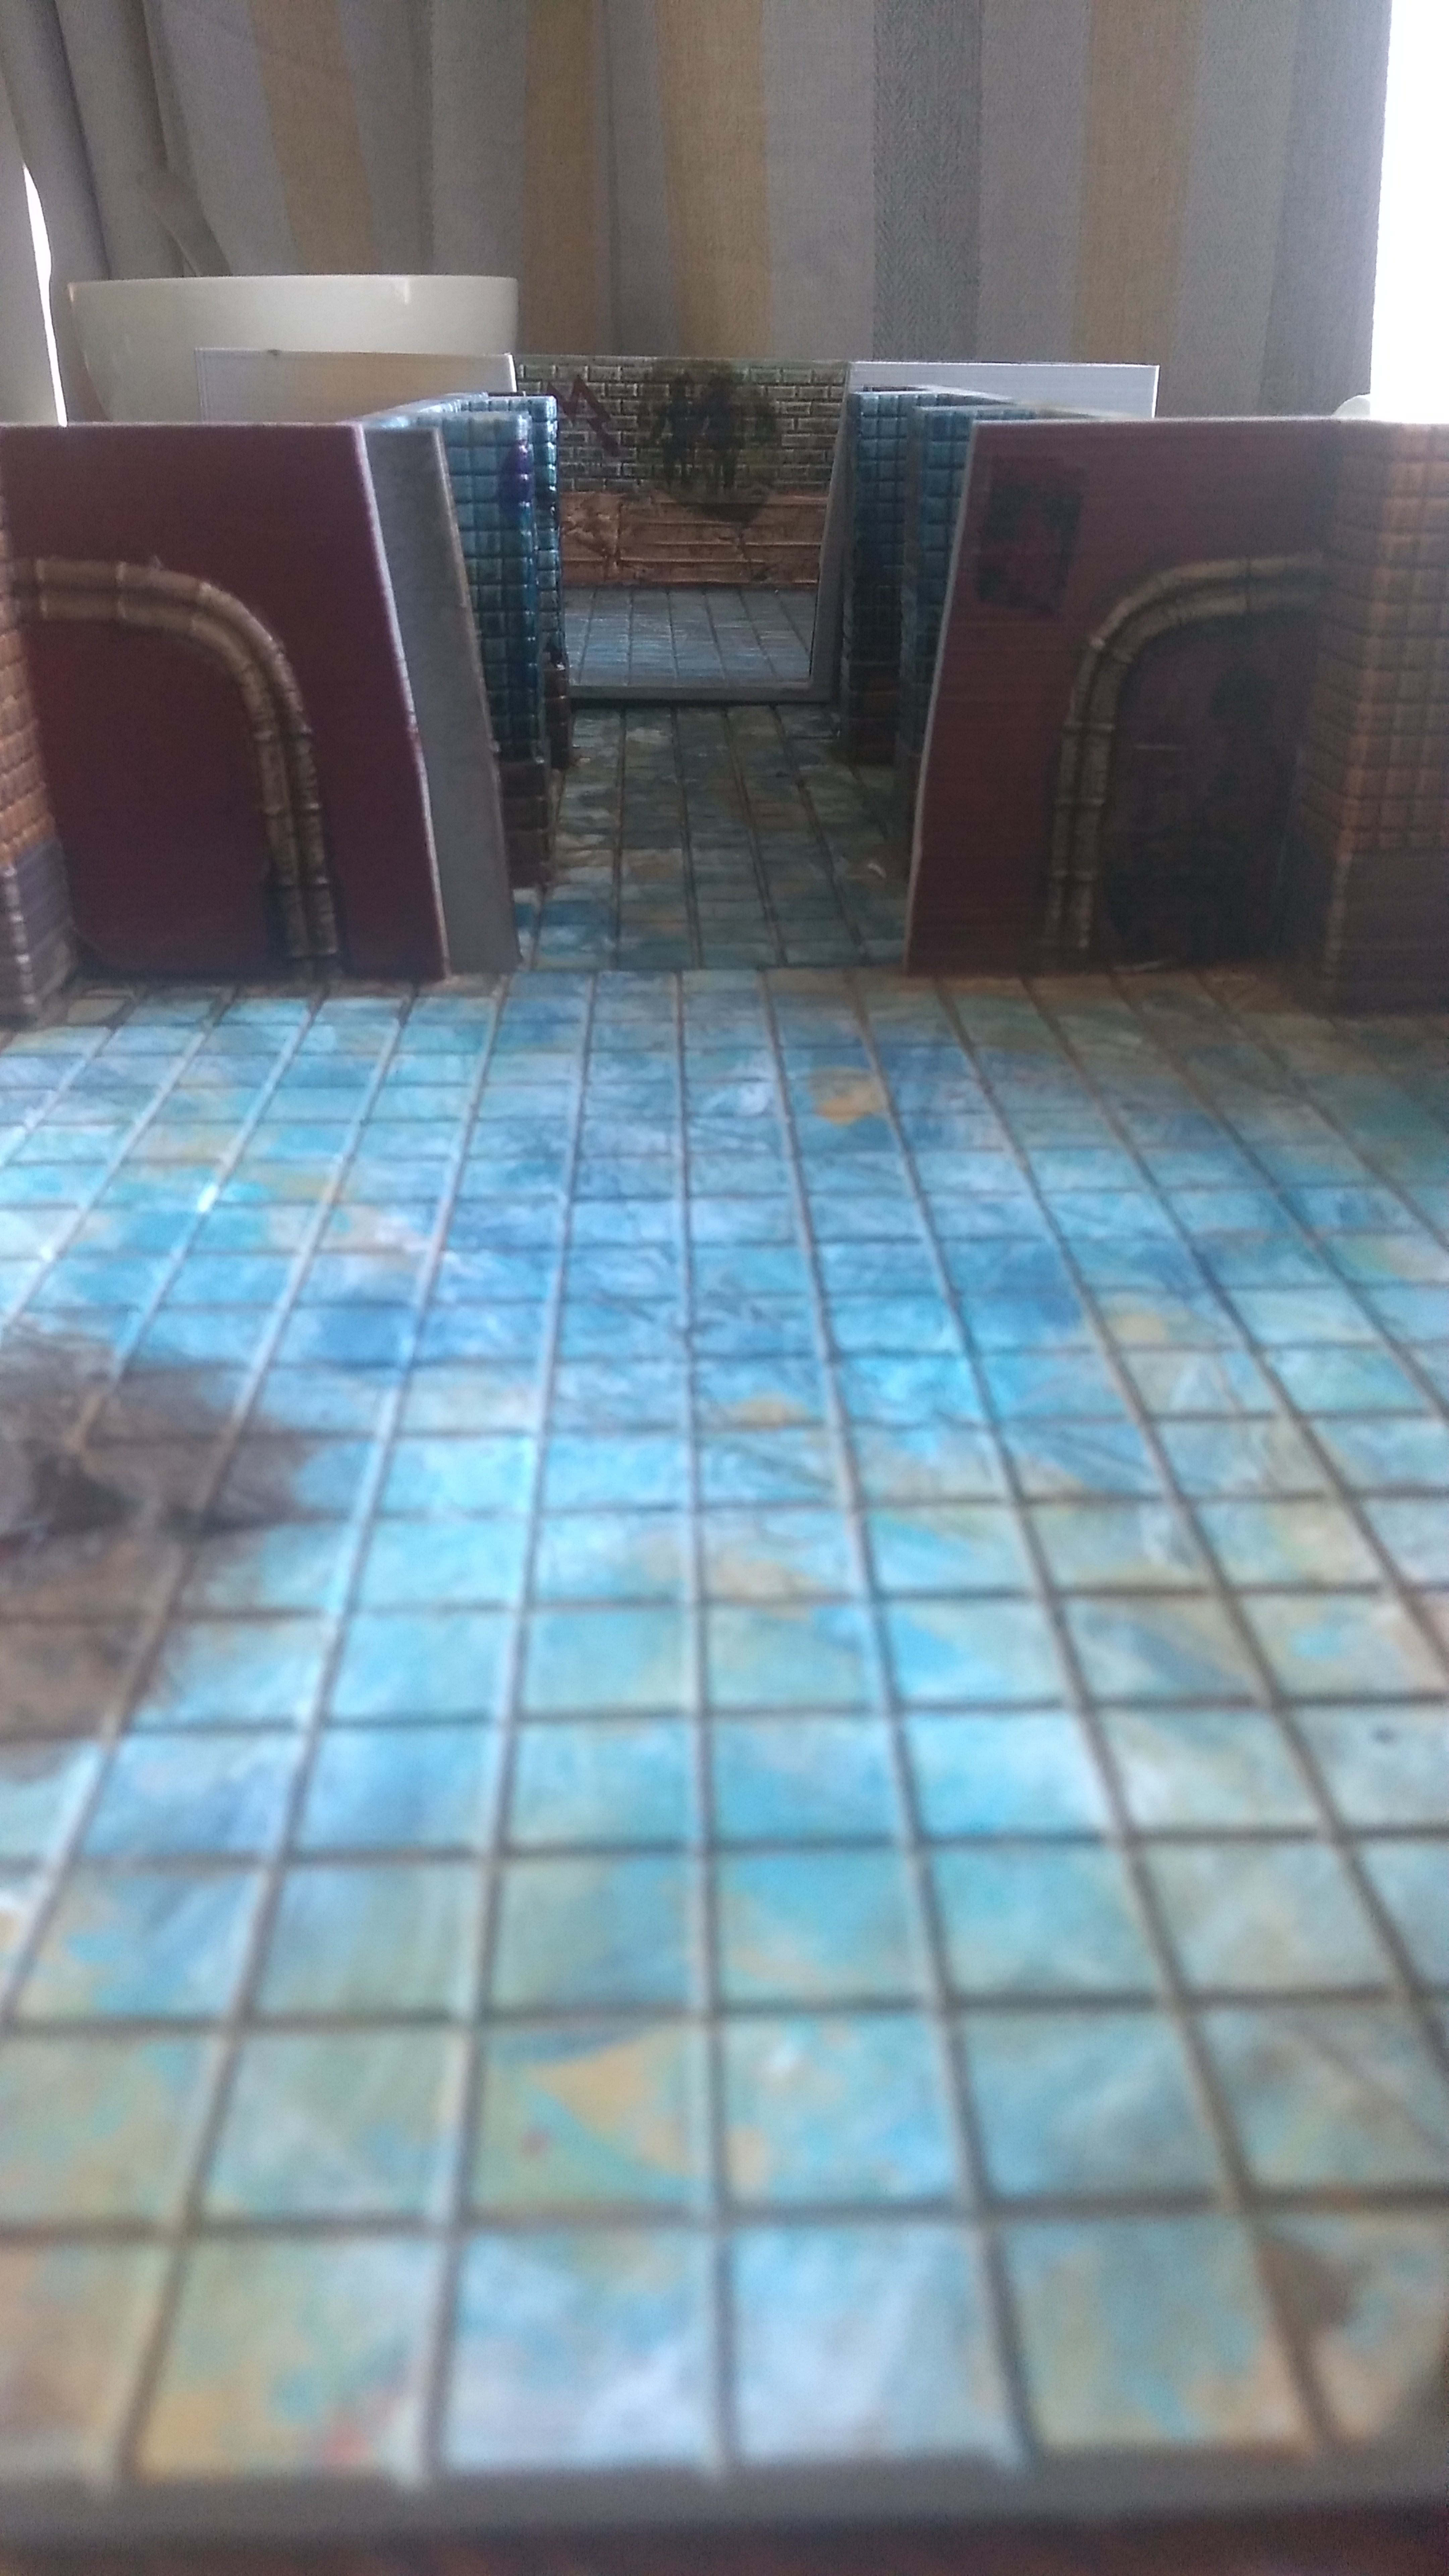
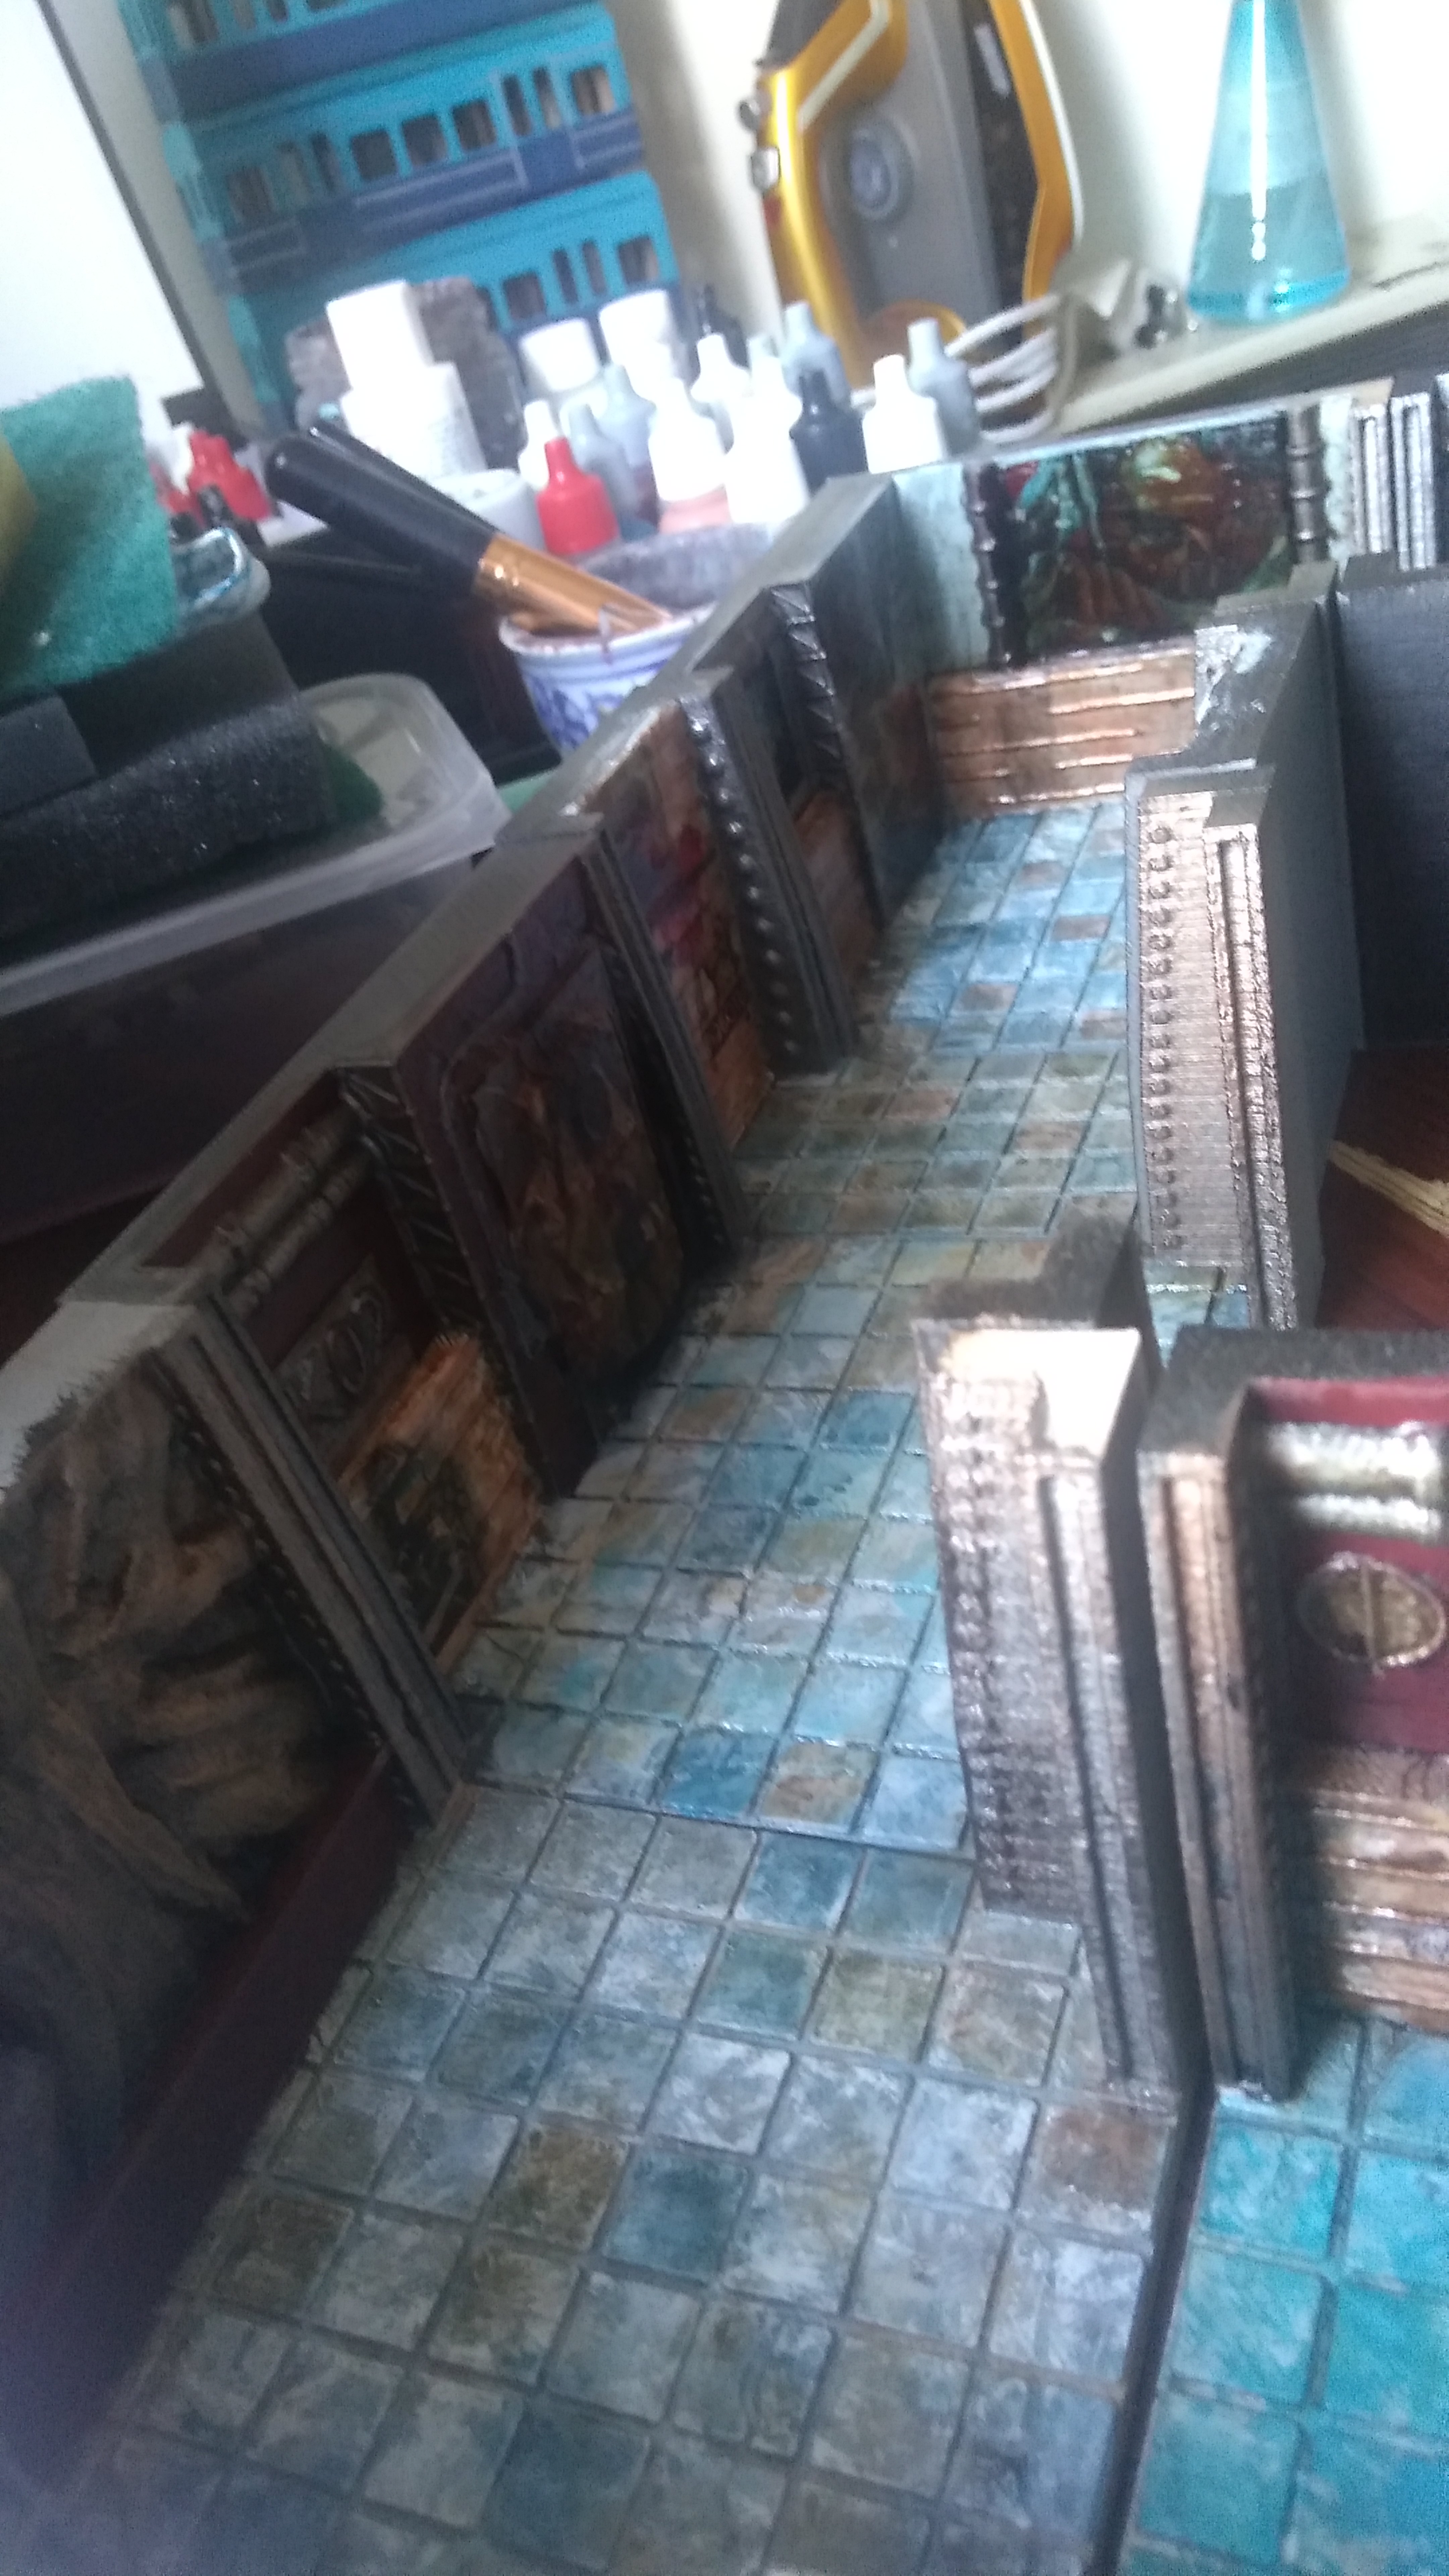
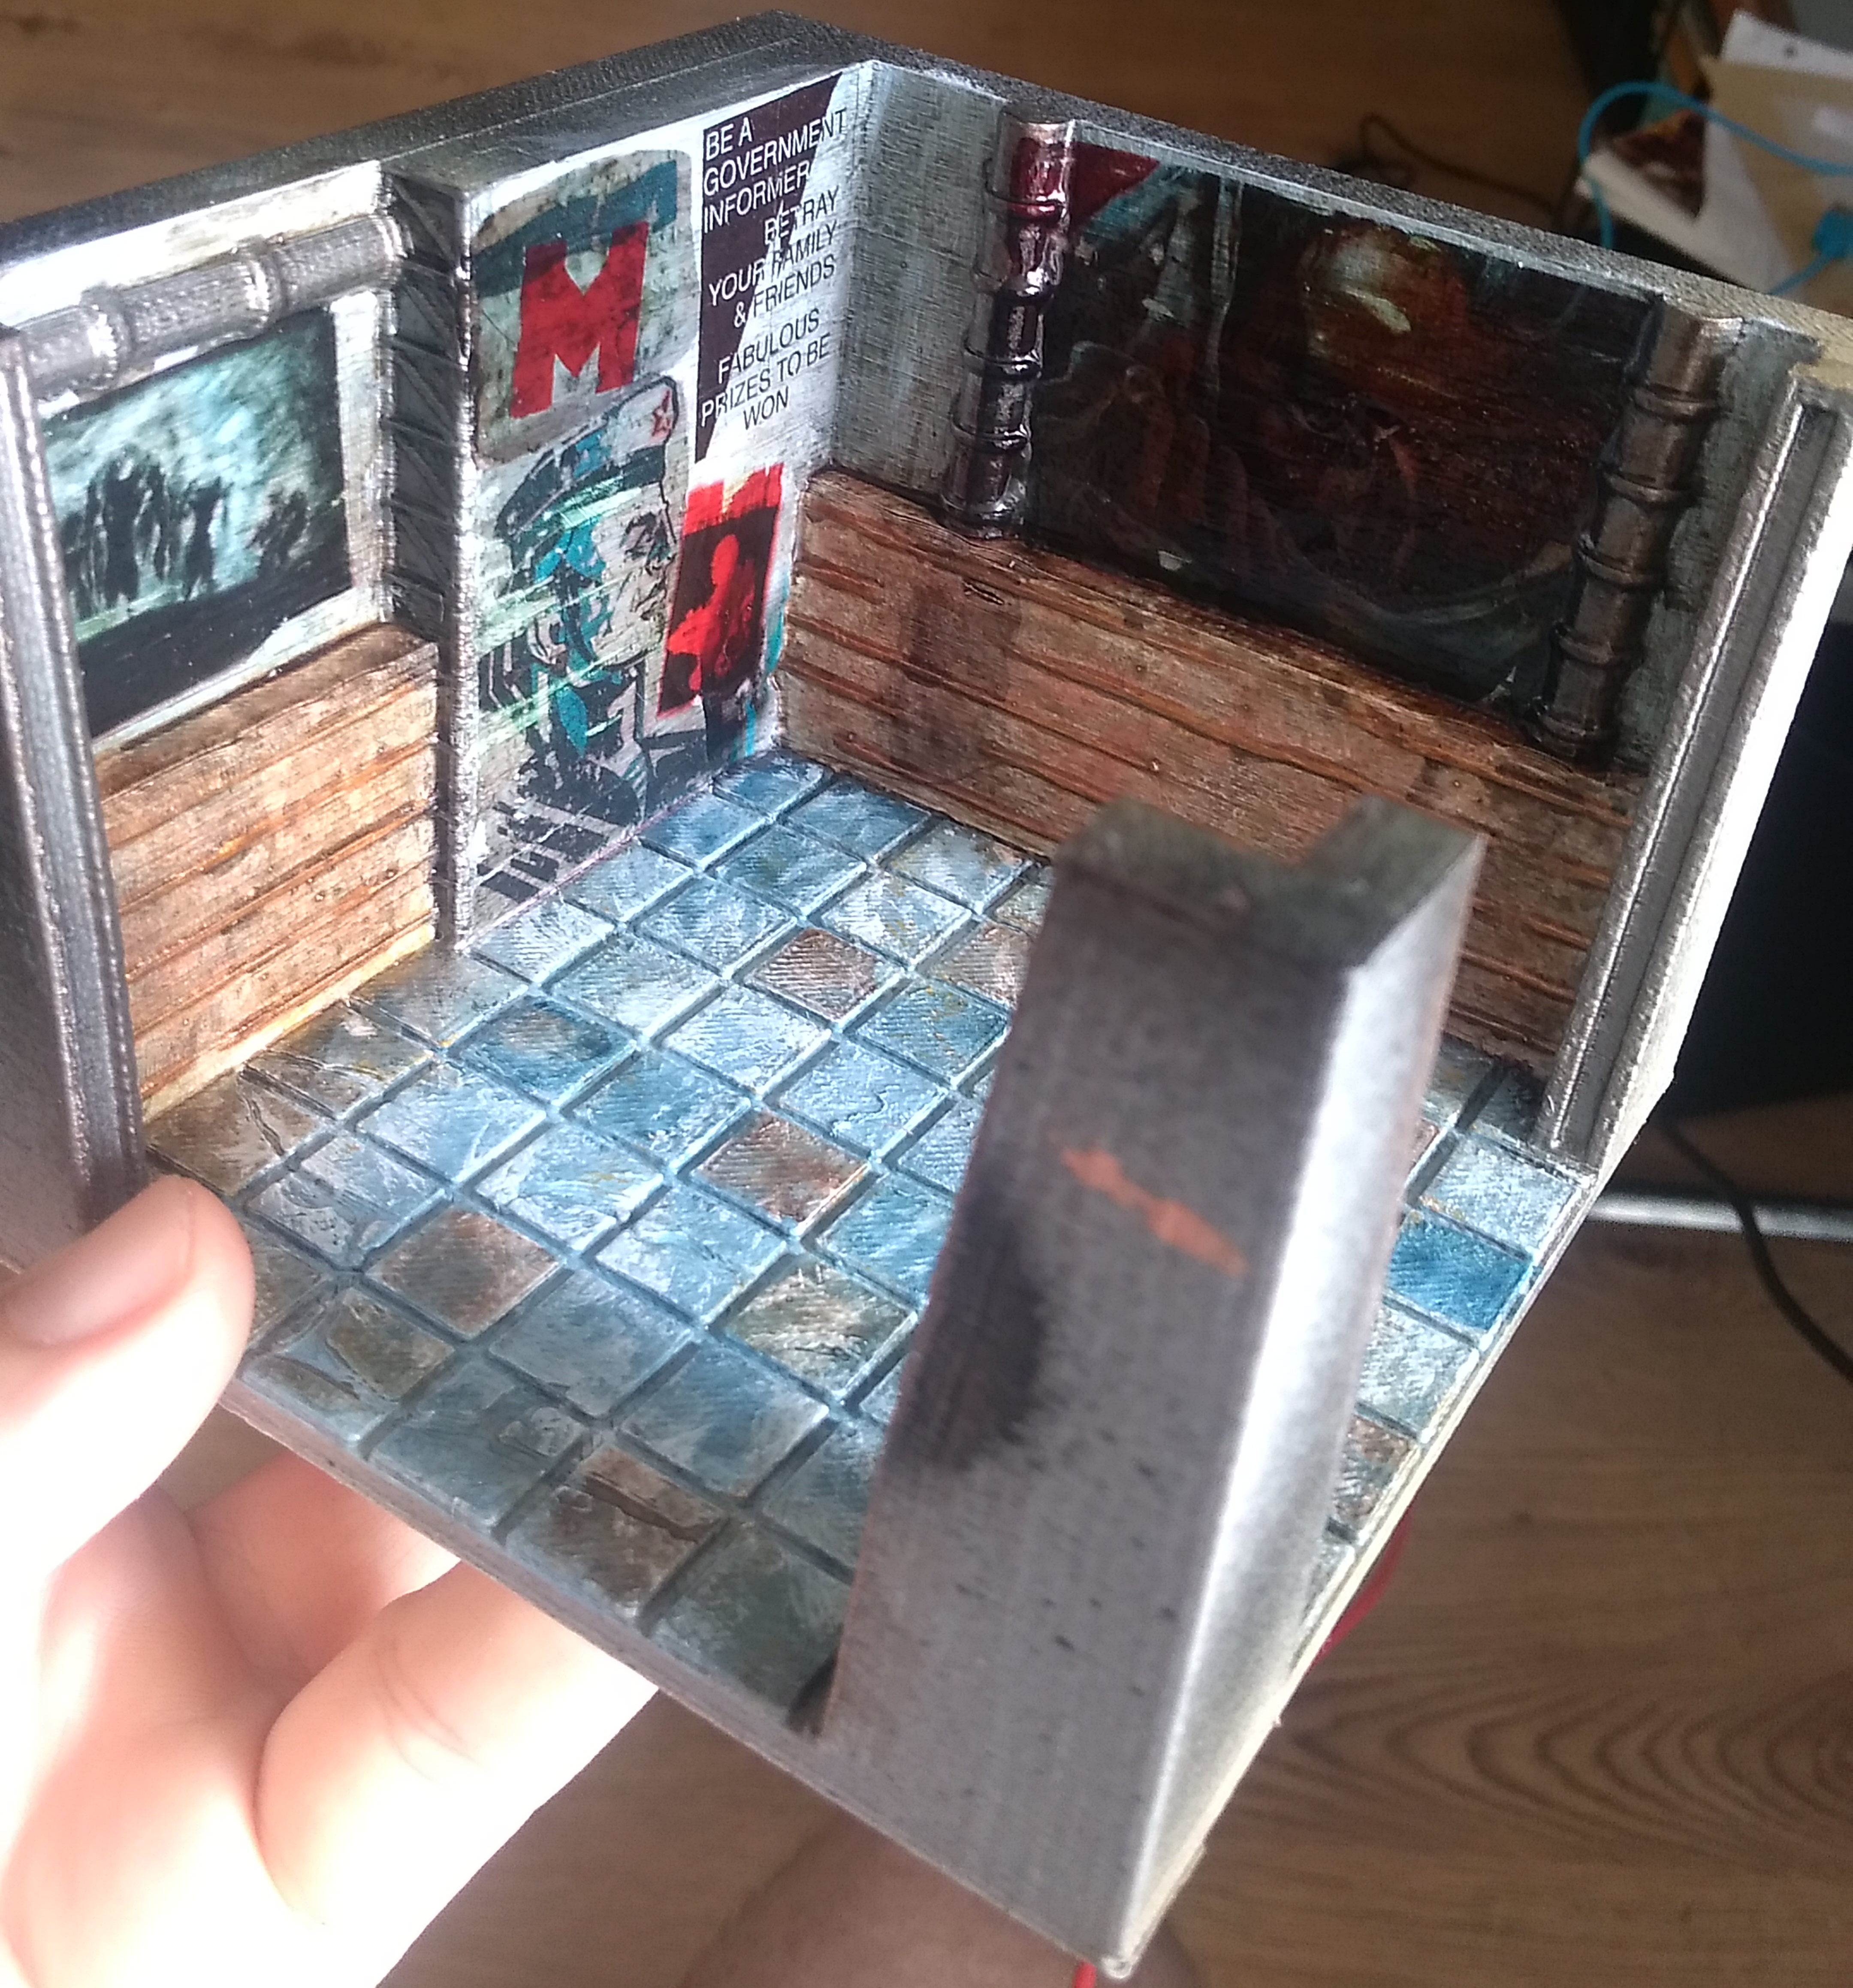
The Tunnel Systems I have left to complete
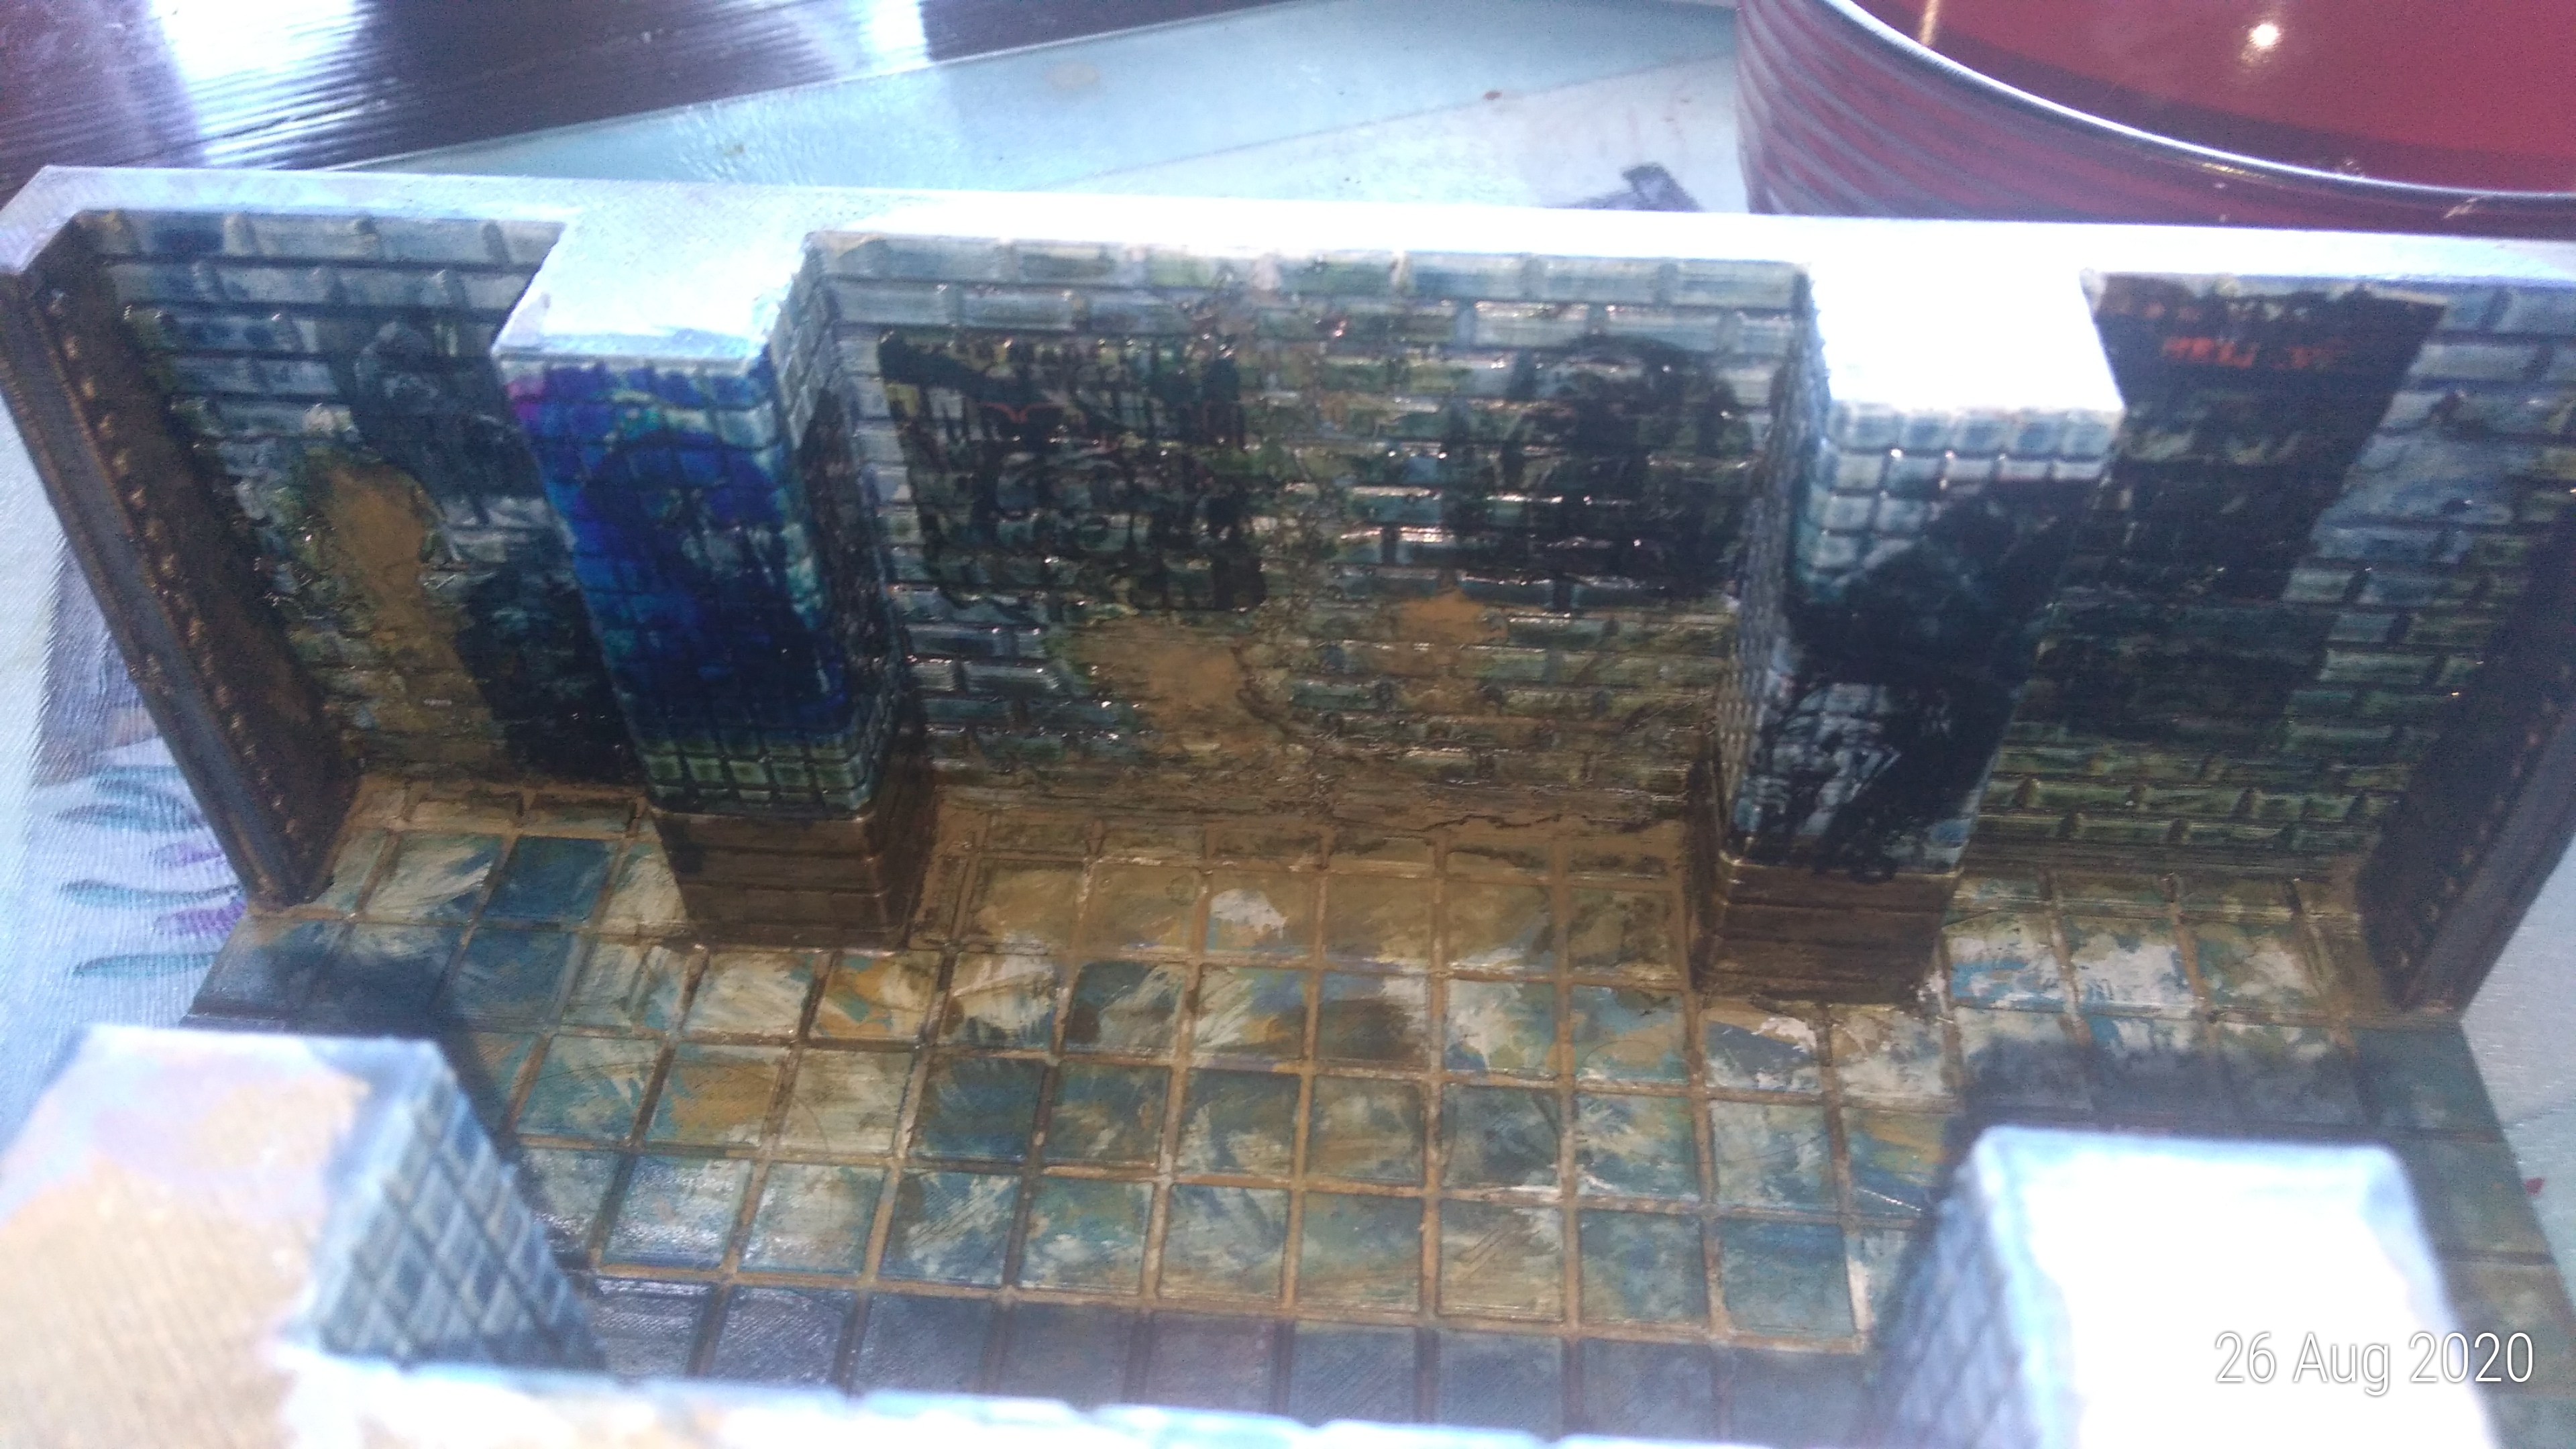
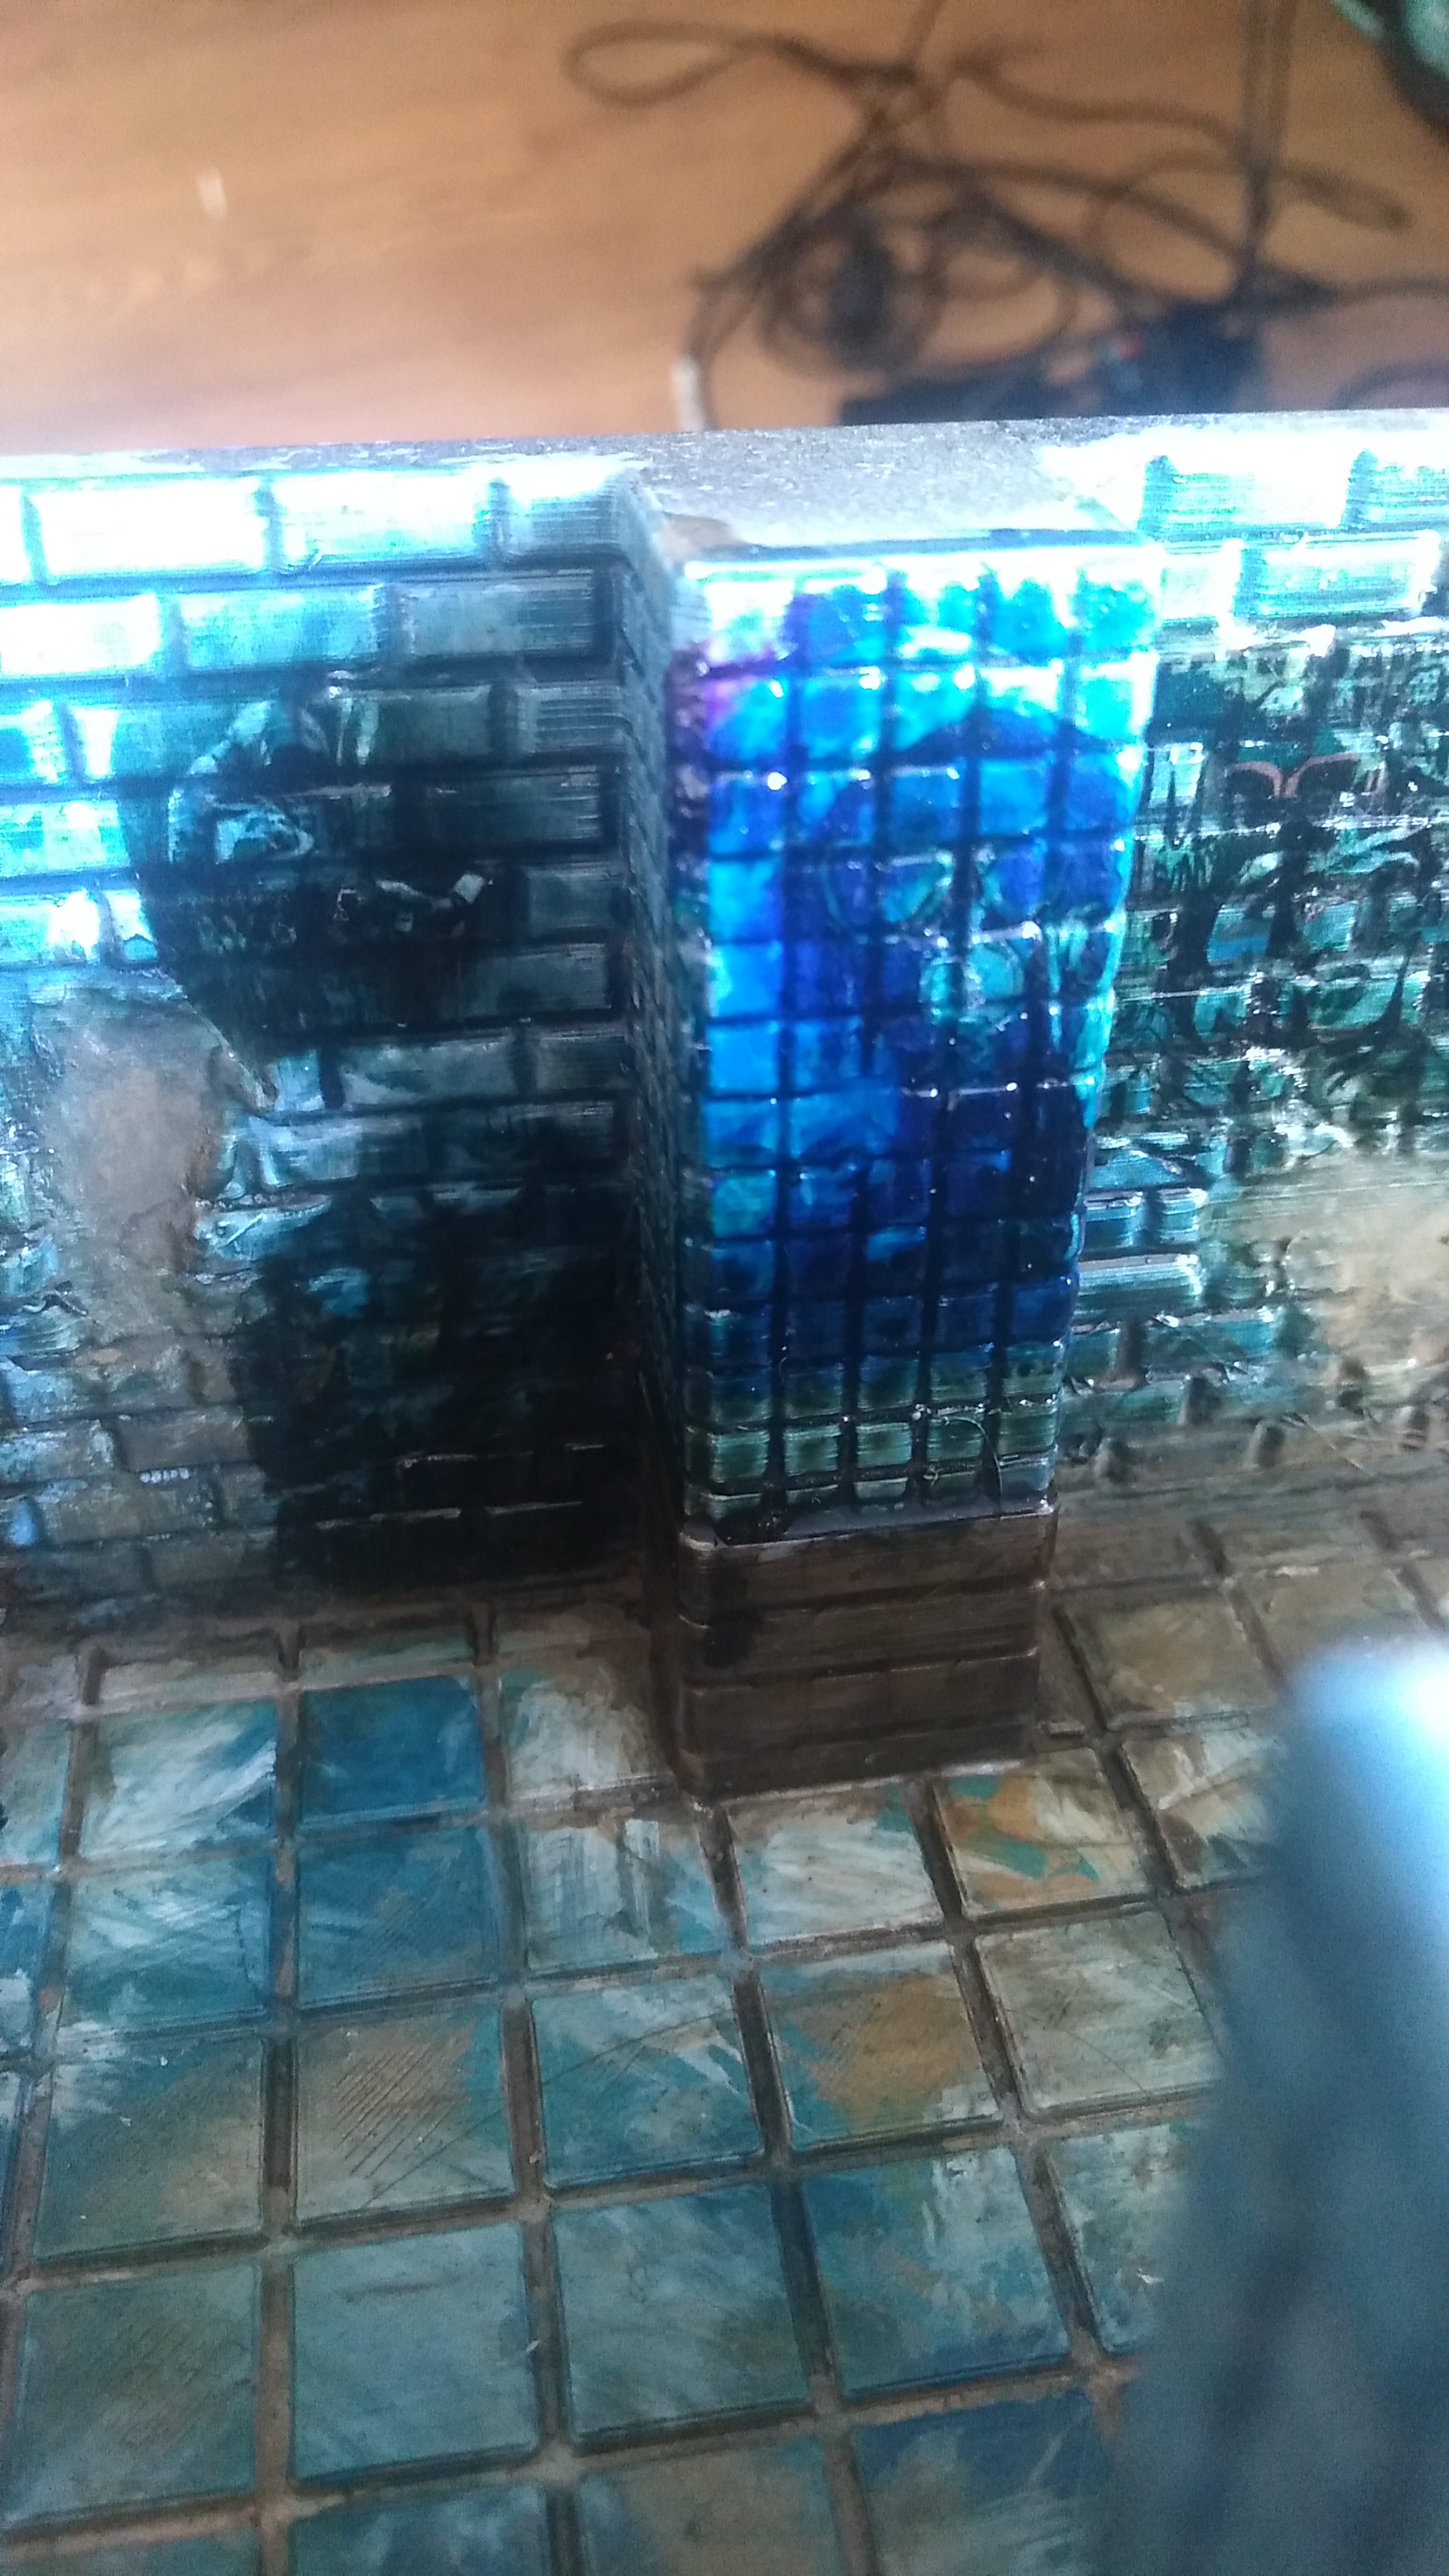
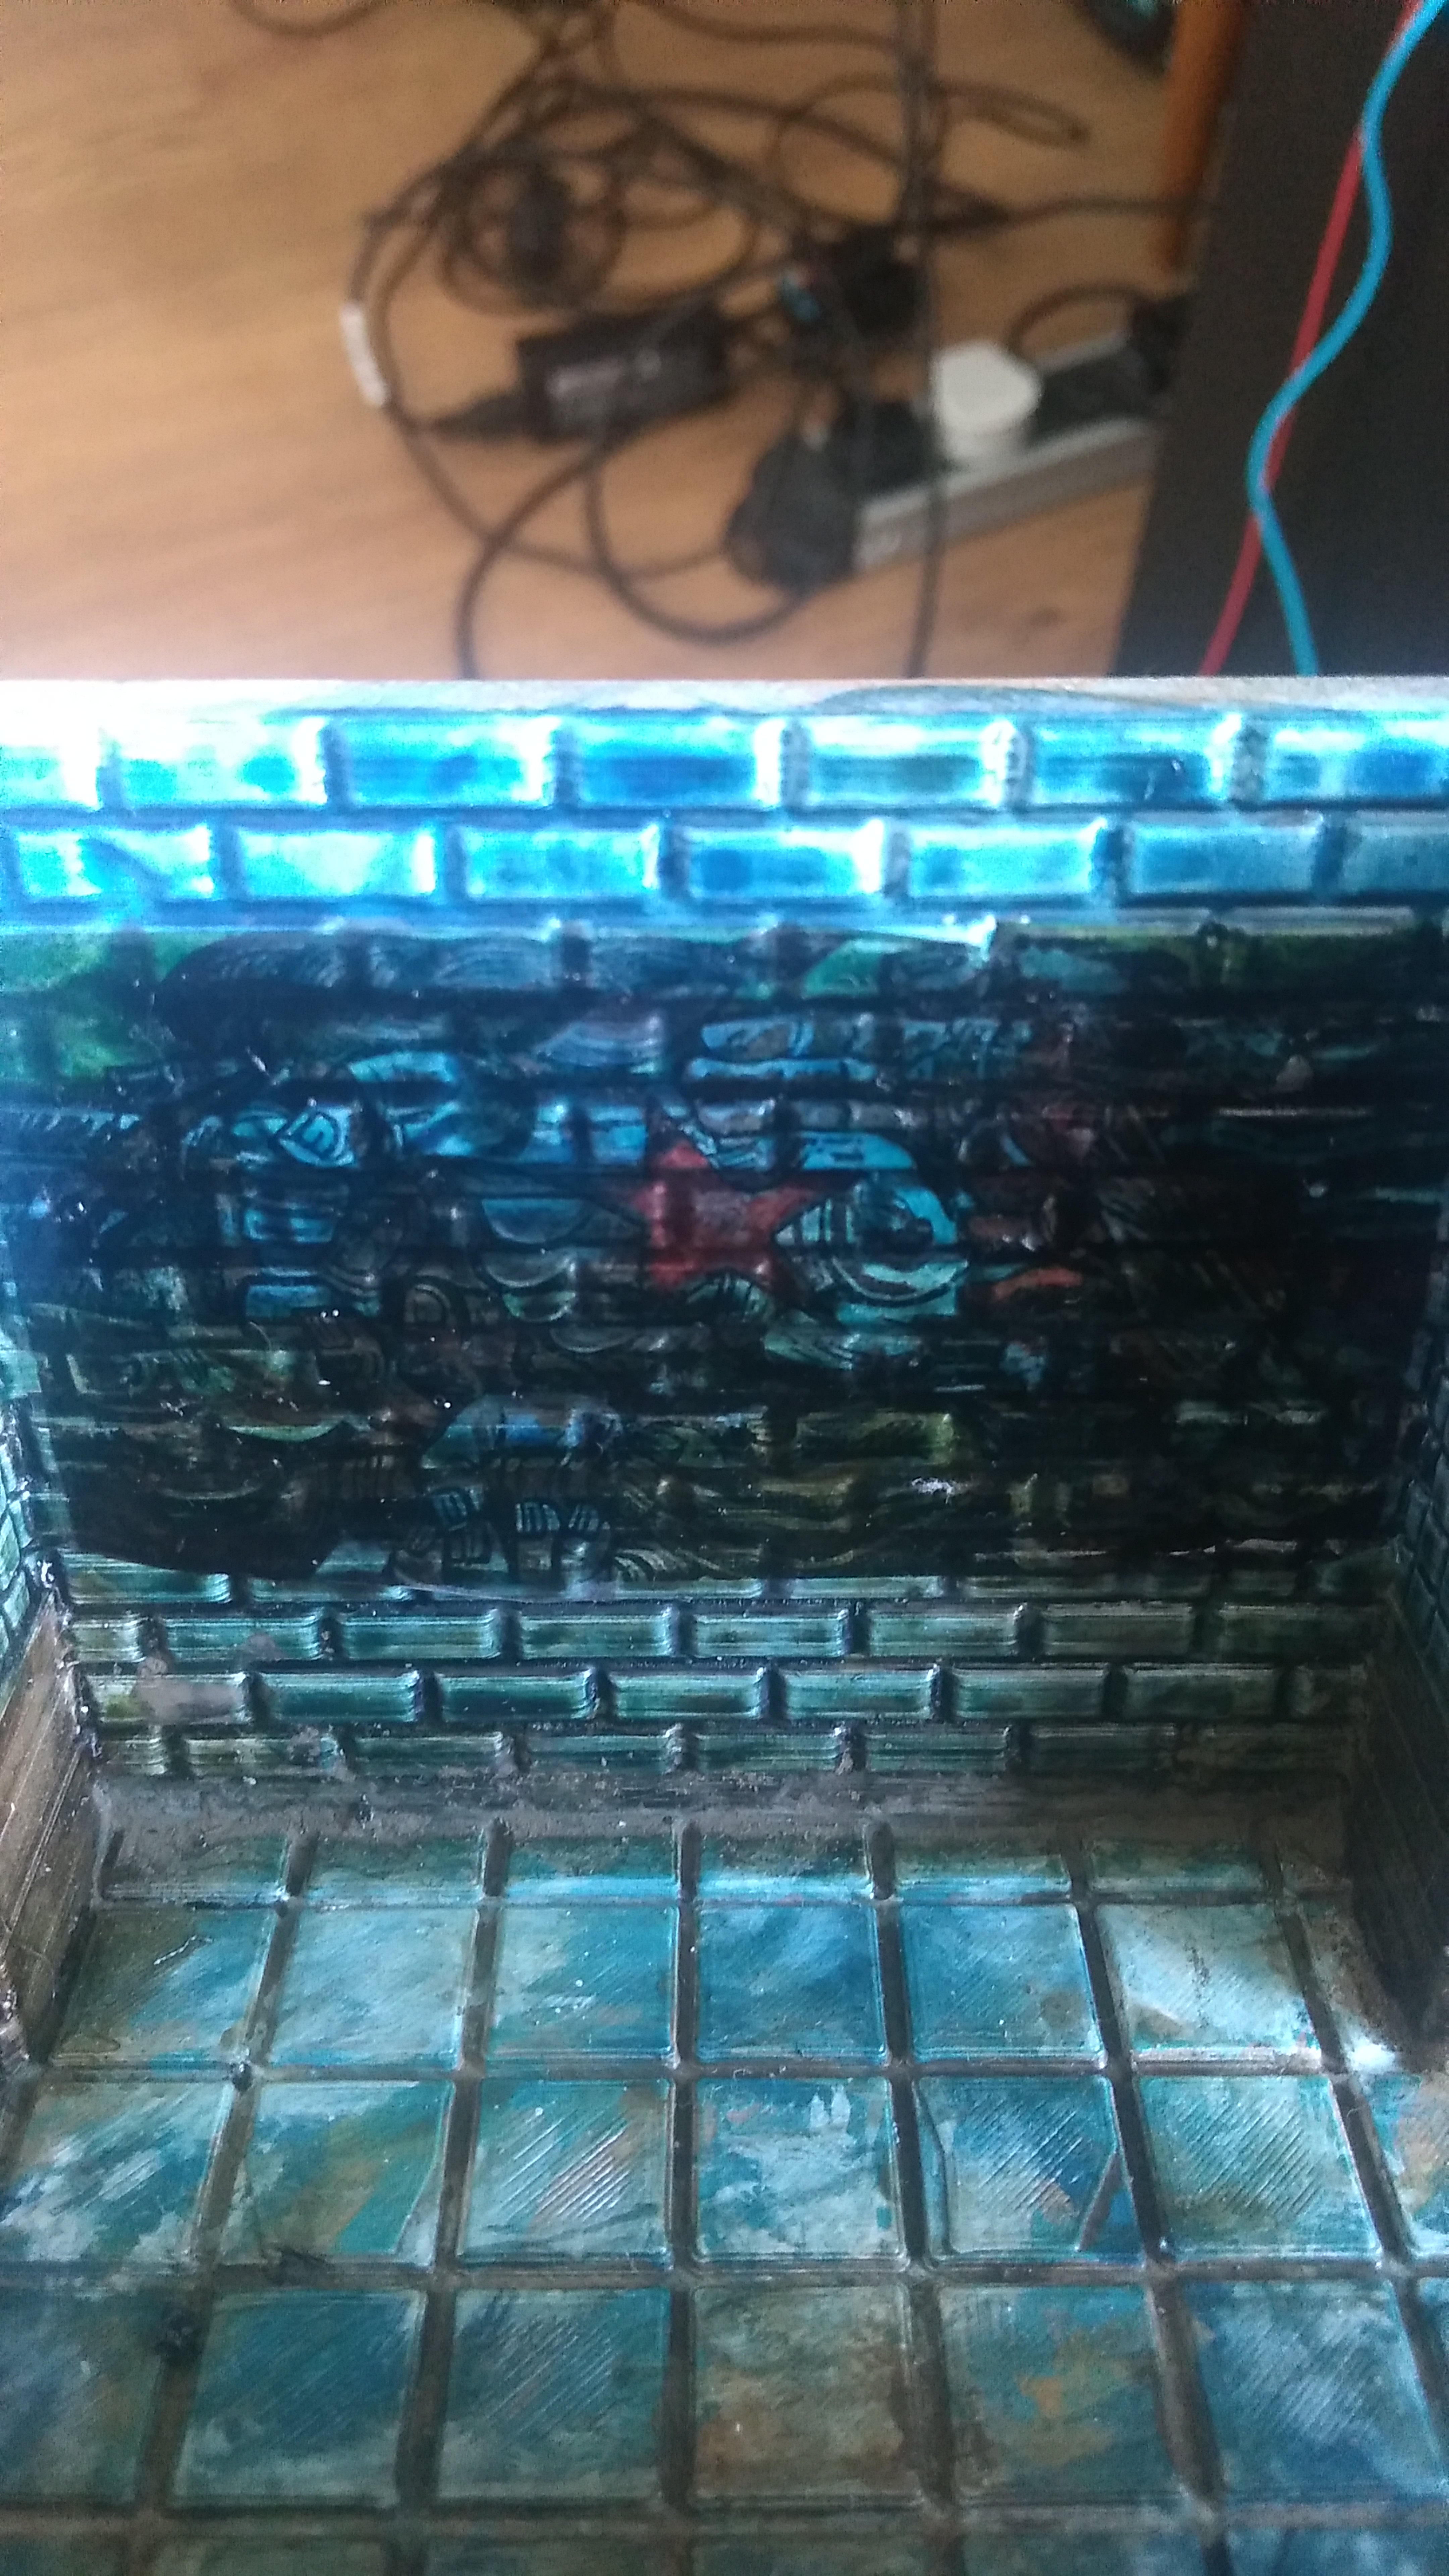
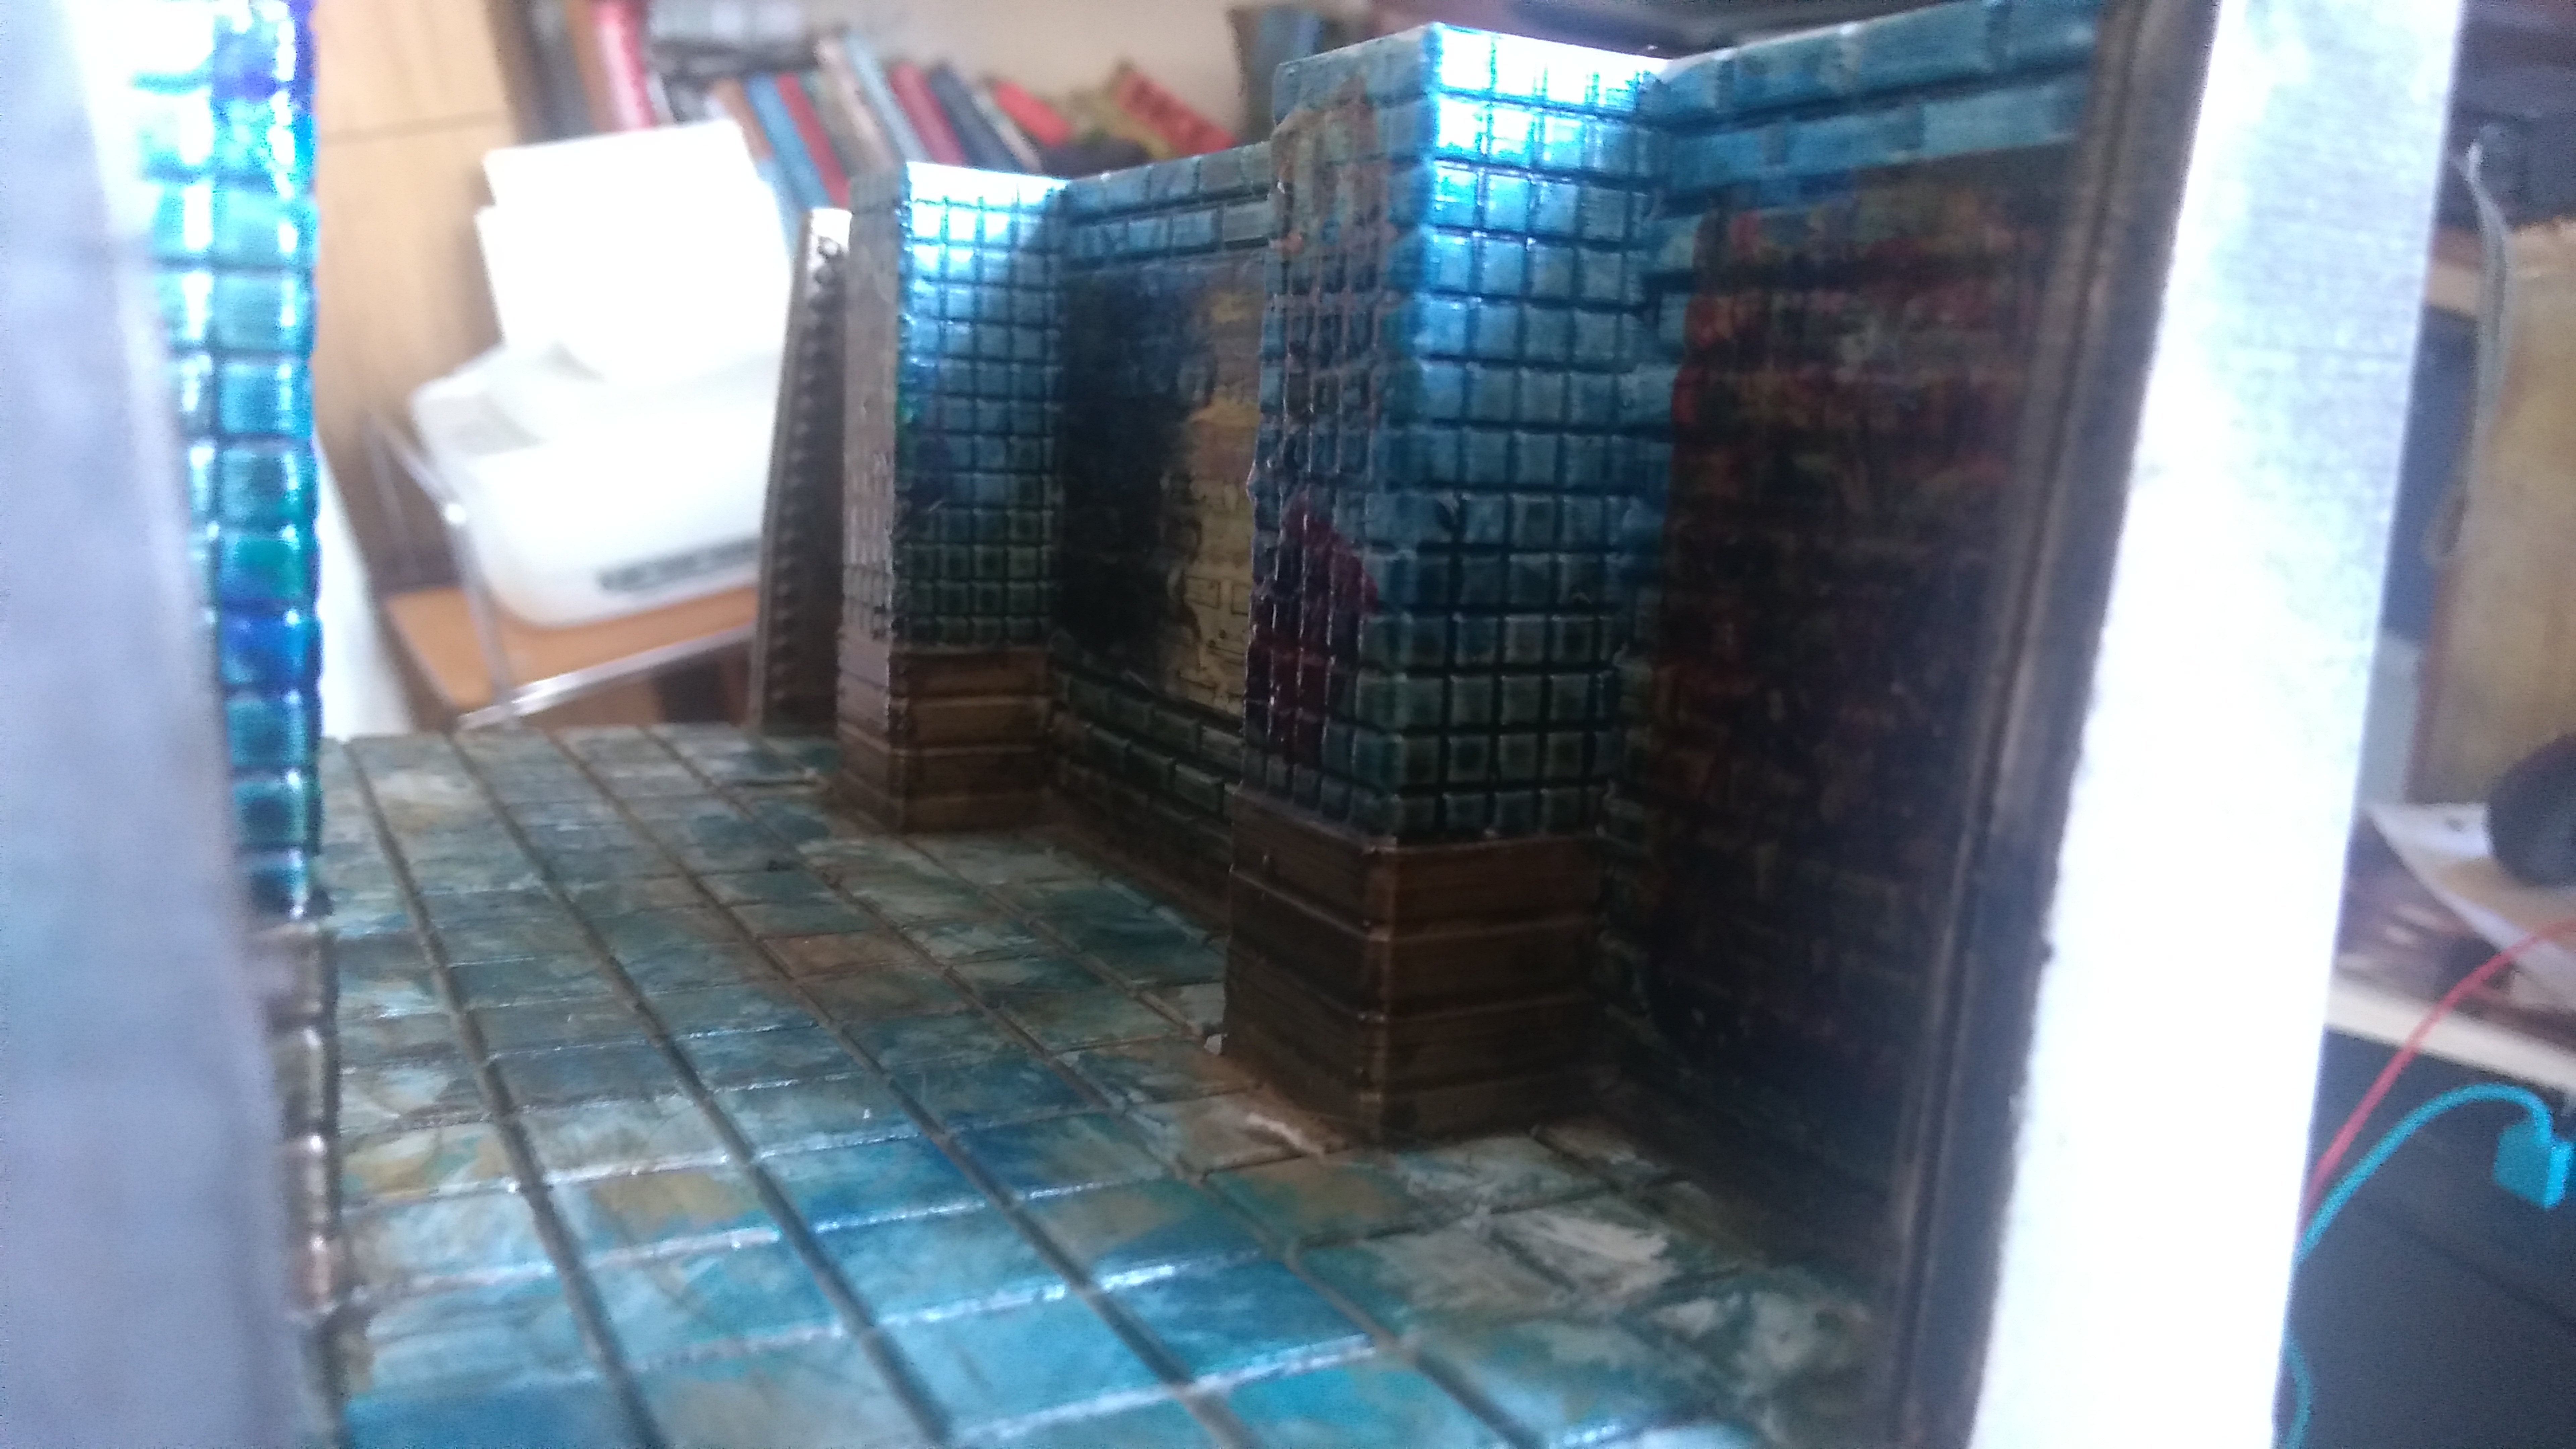
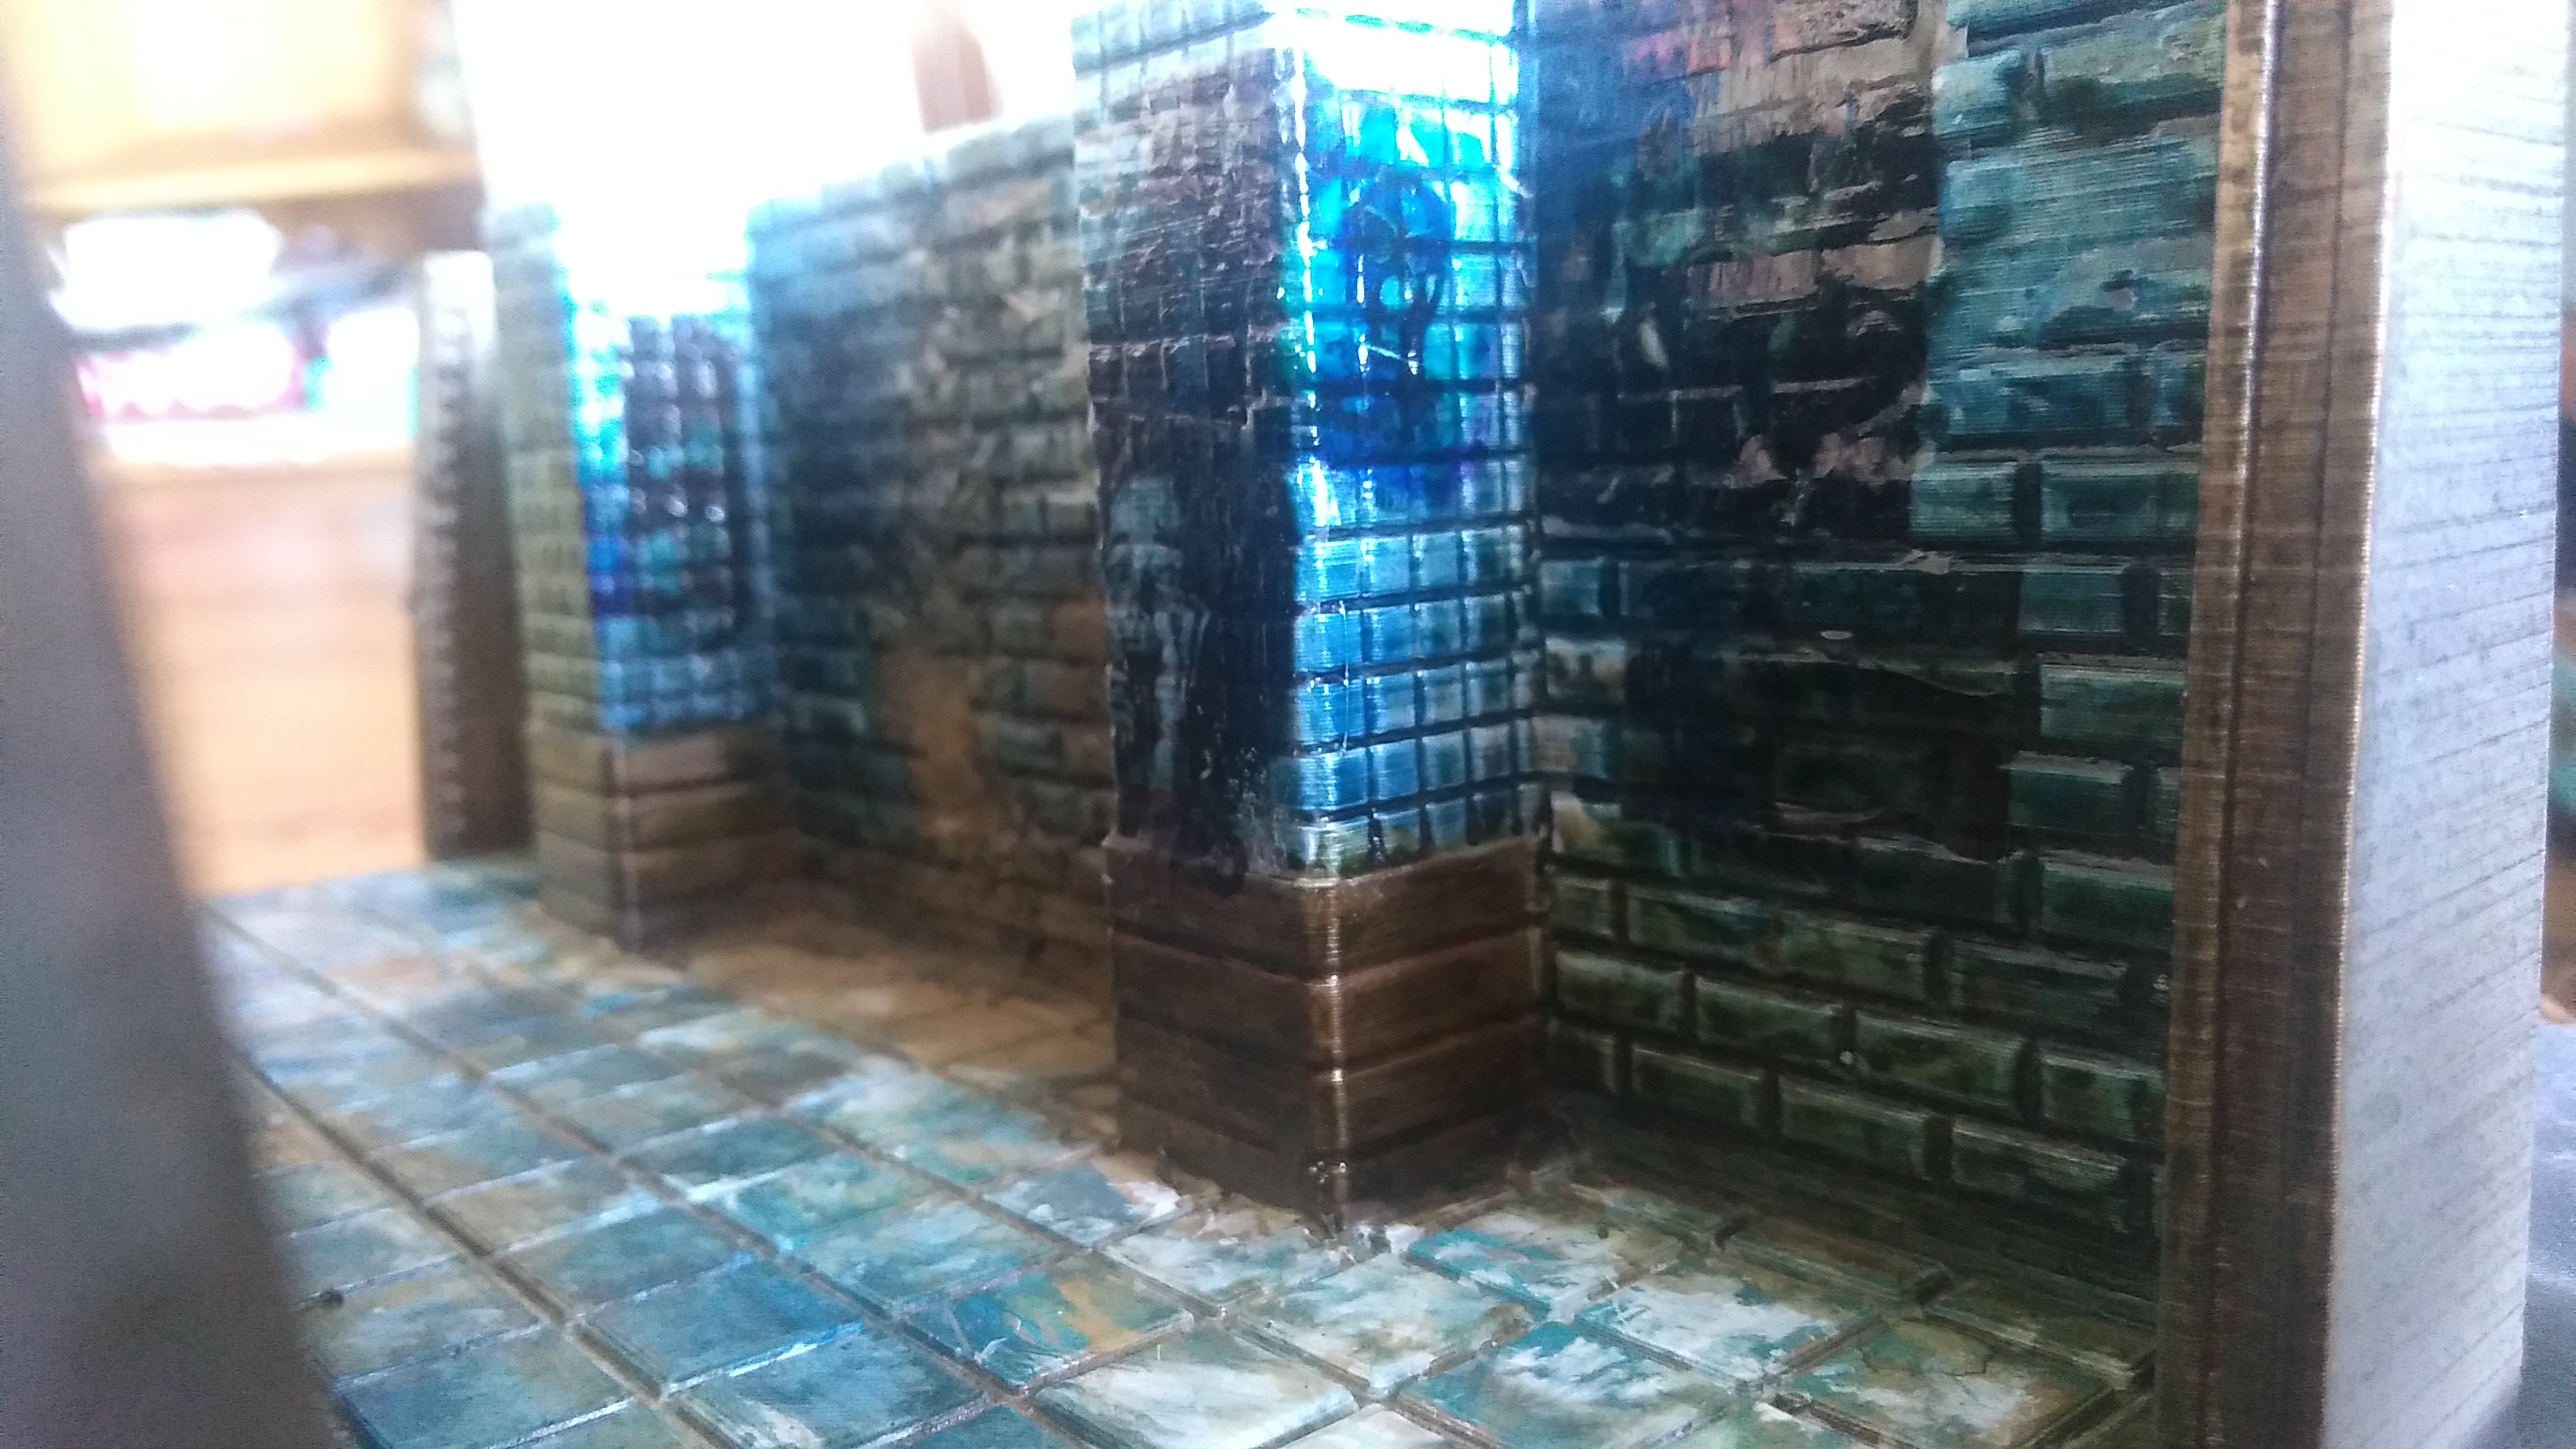
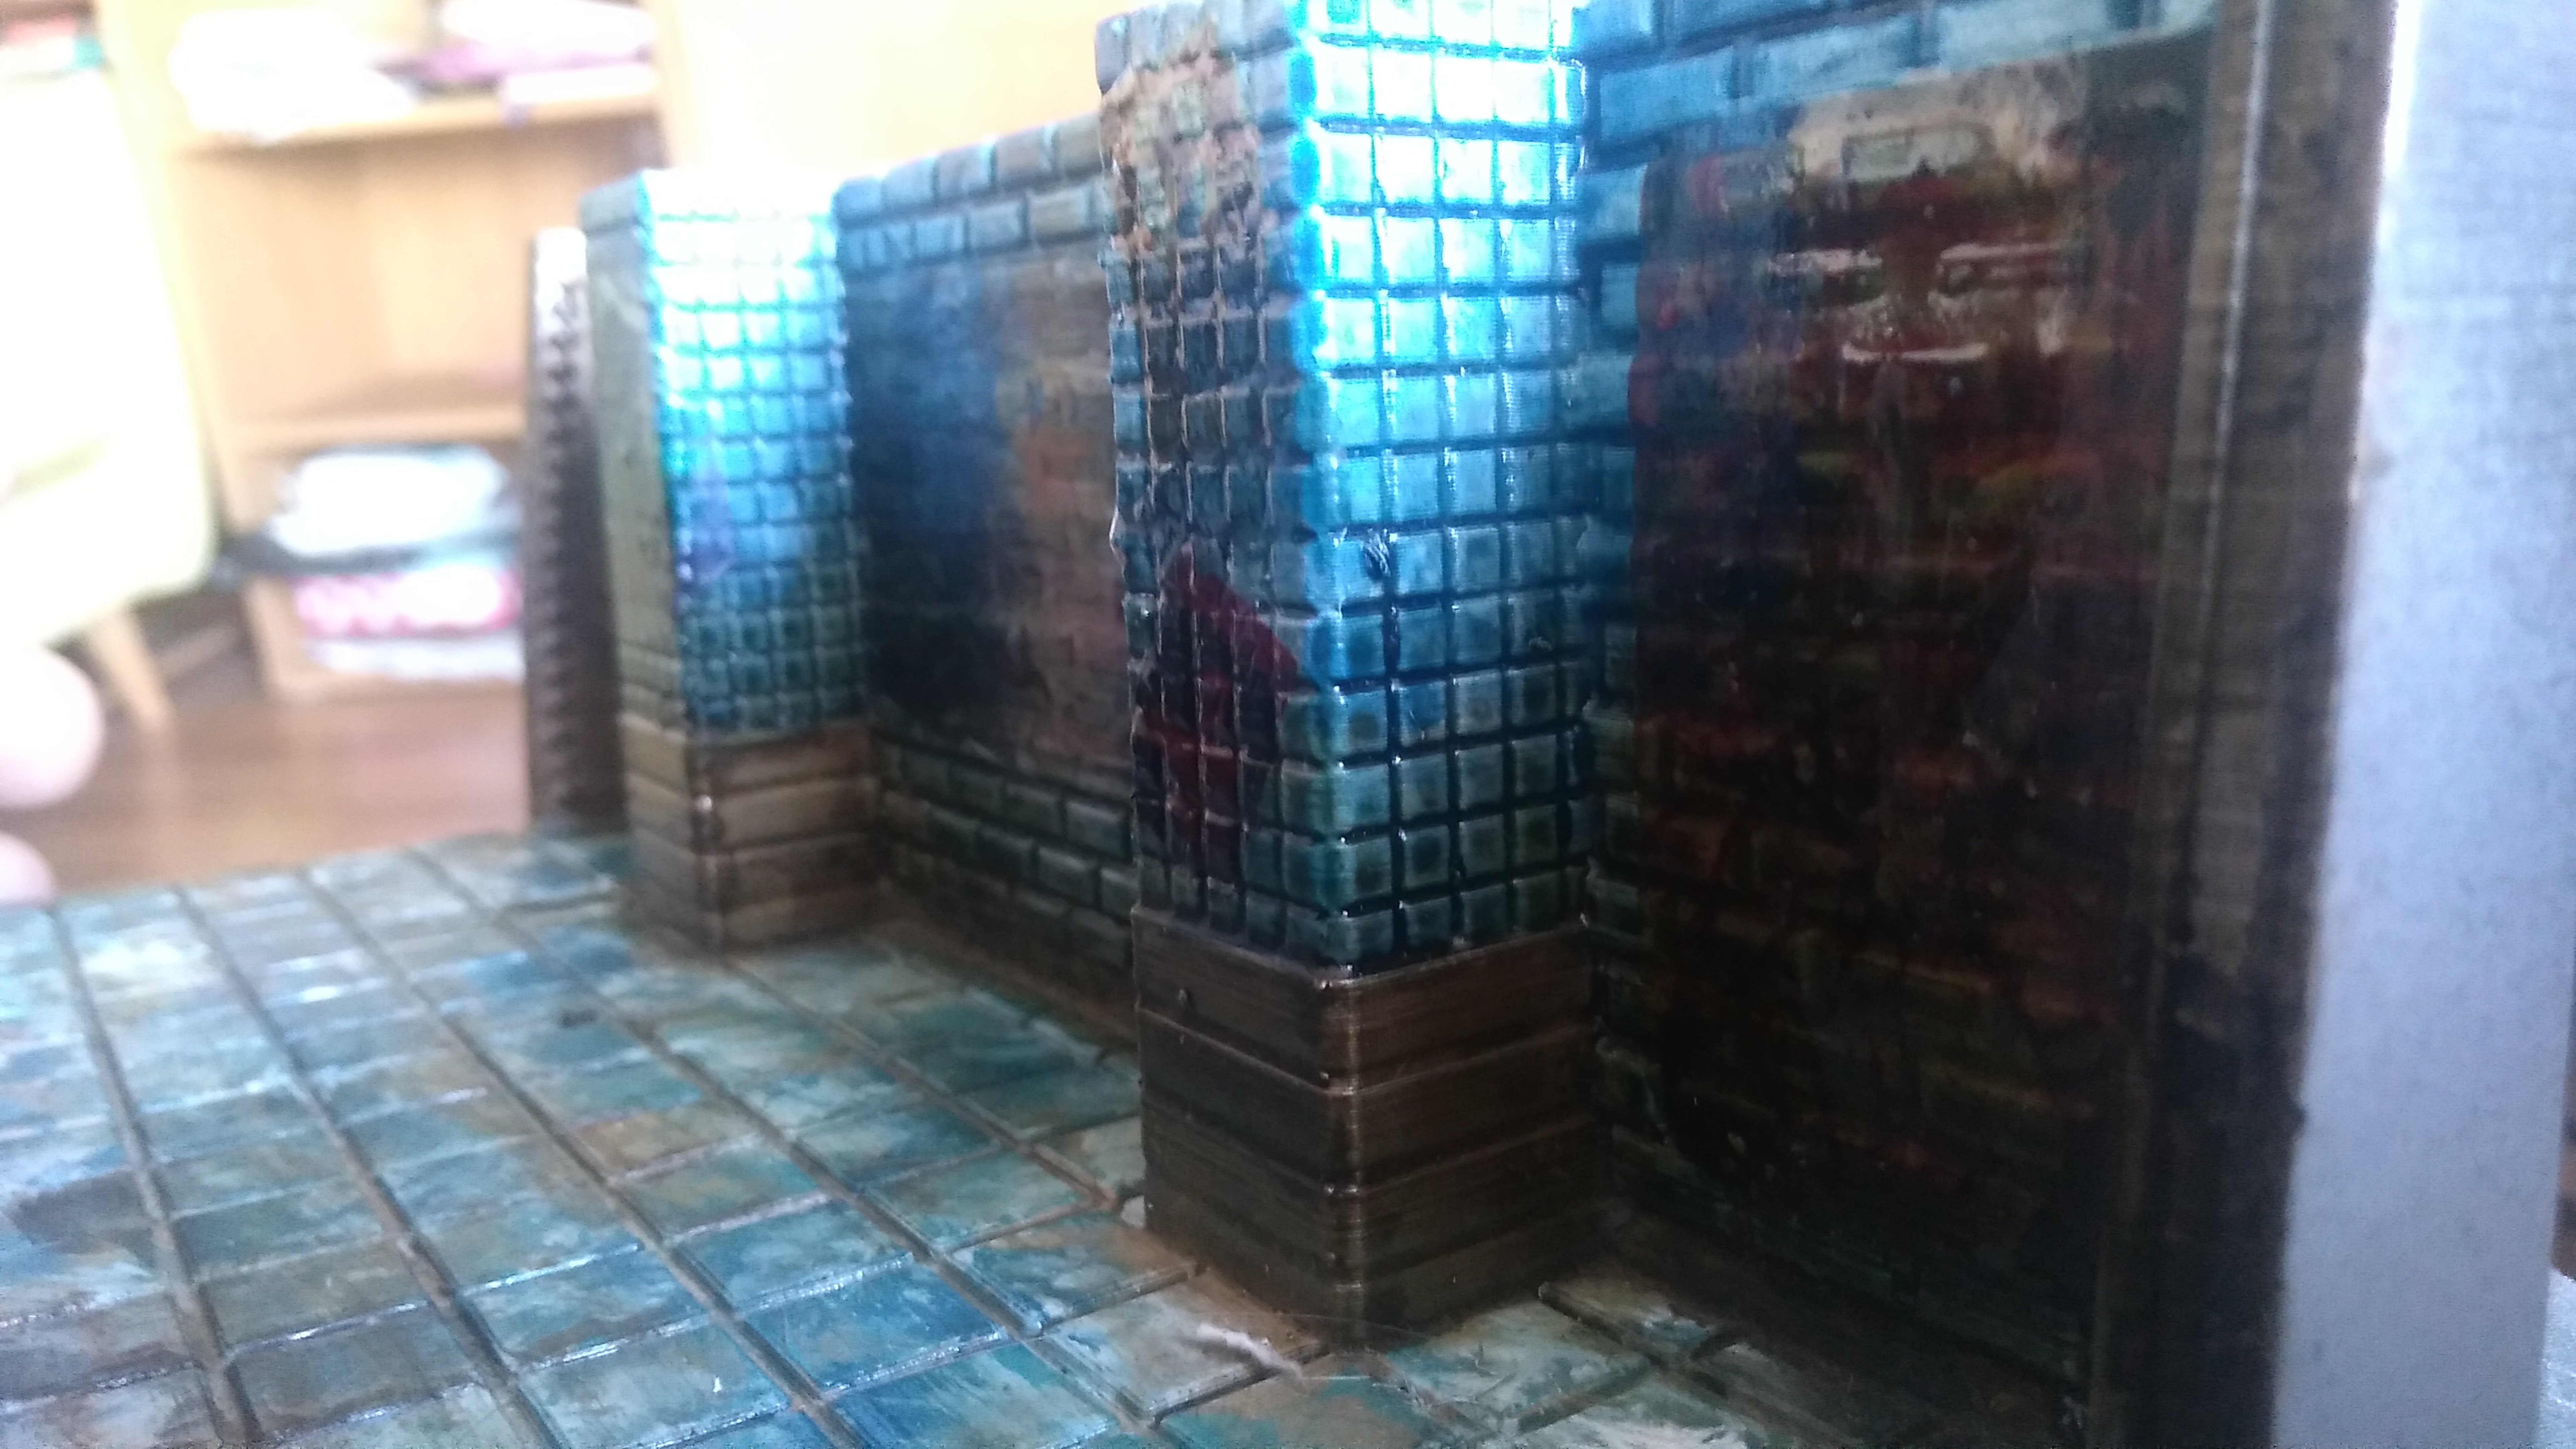
Below are the last bit of the tunnel complex I am looking to complete. So far i have painted the floors and walls as explained in an earlier post.
I need to do some more weathering and then varnish the surfaces before adding more graffiti decals to these


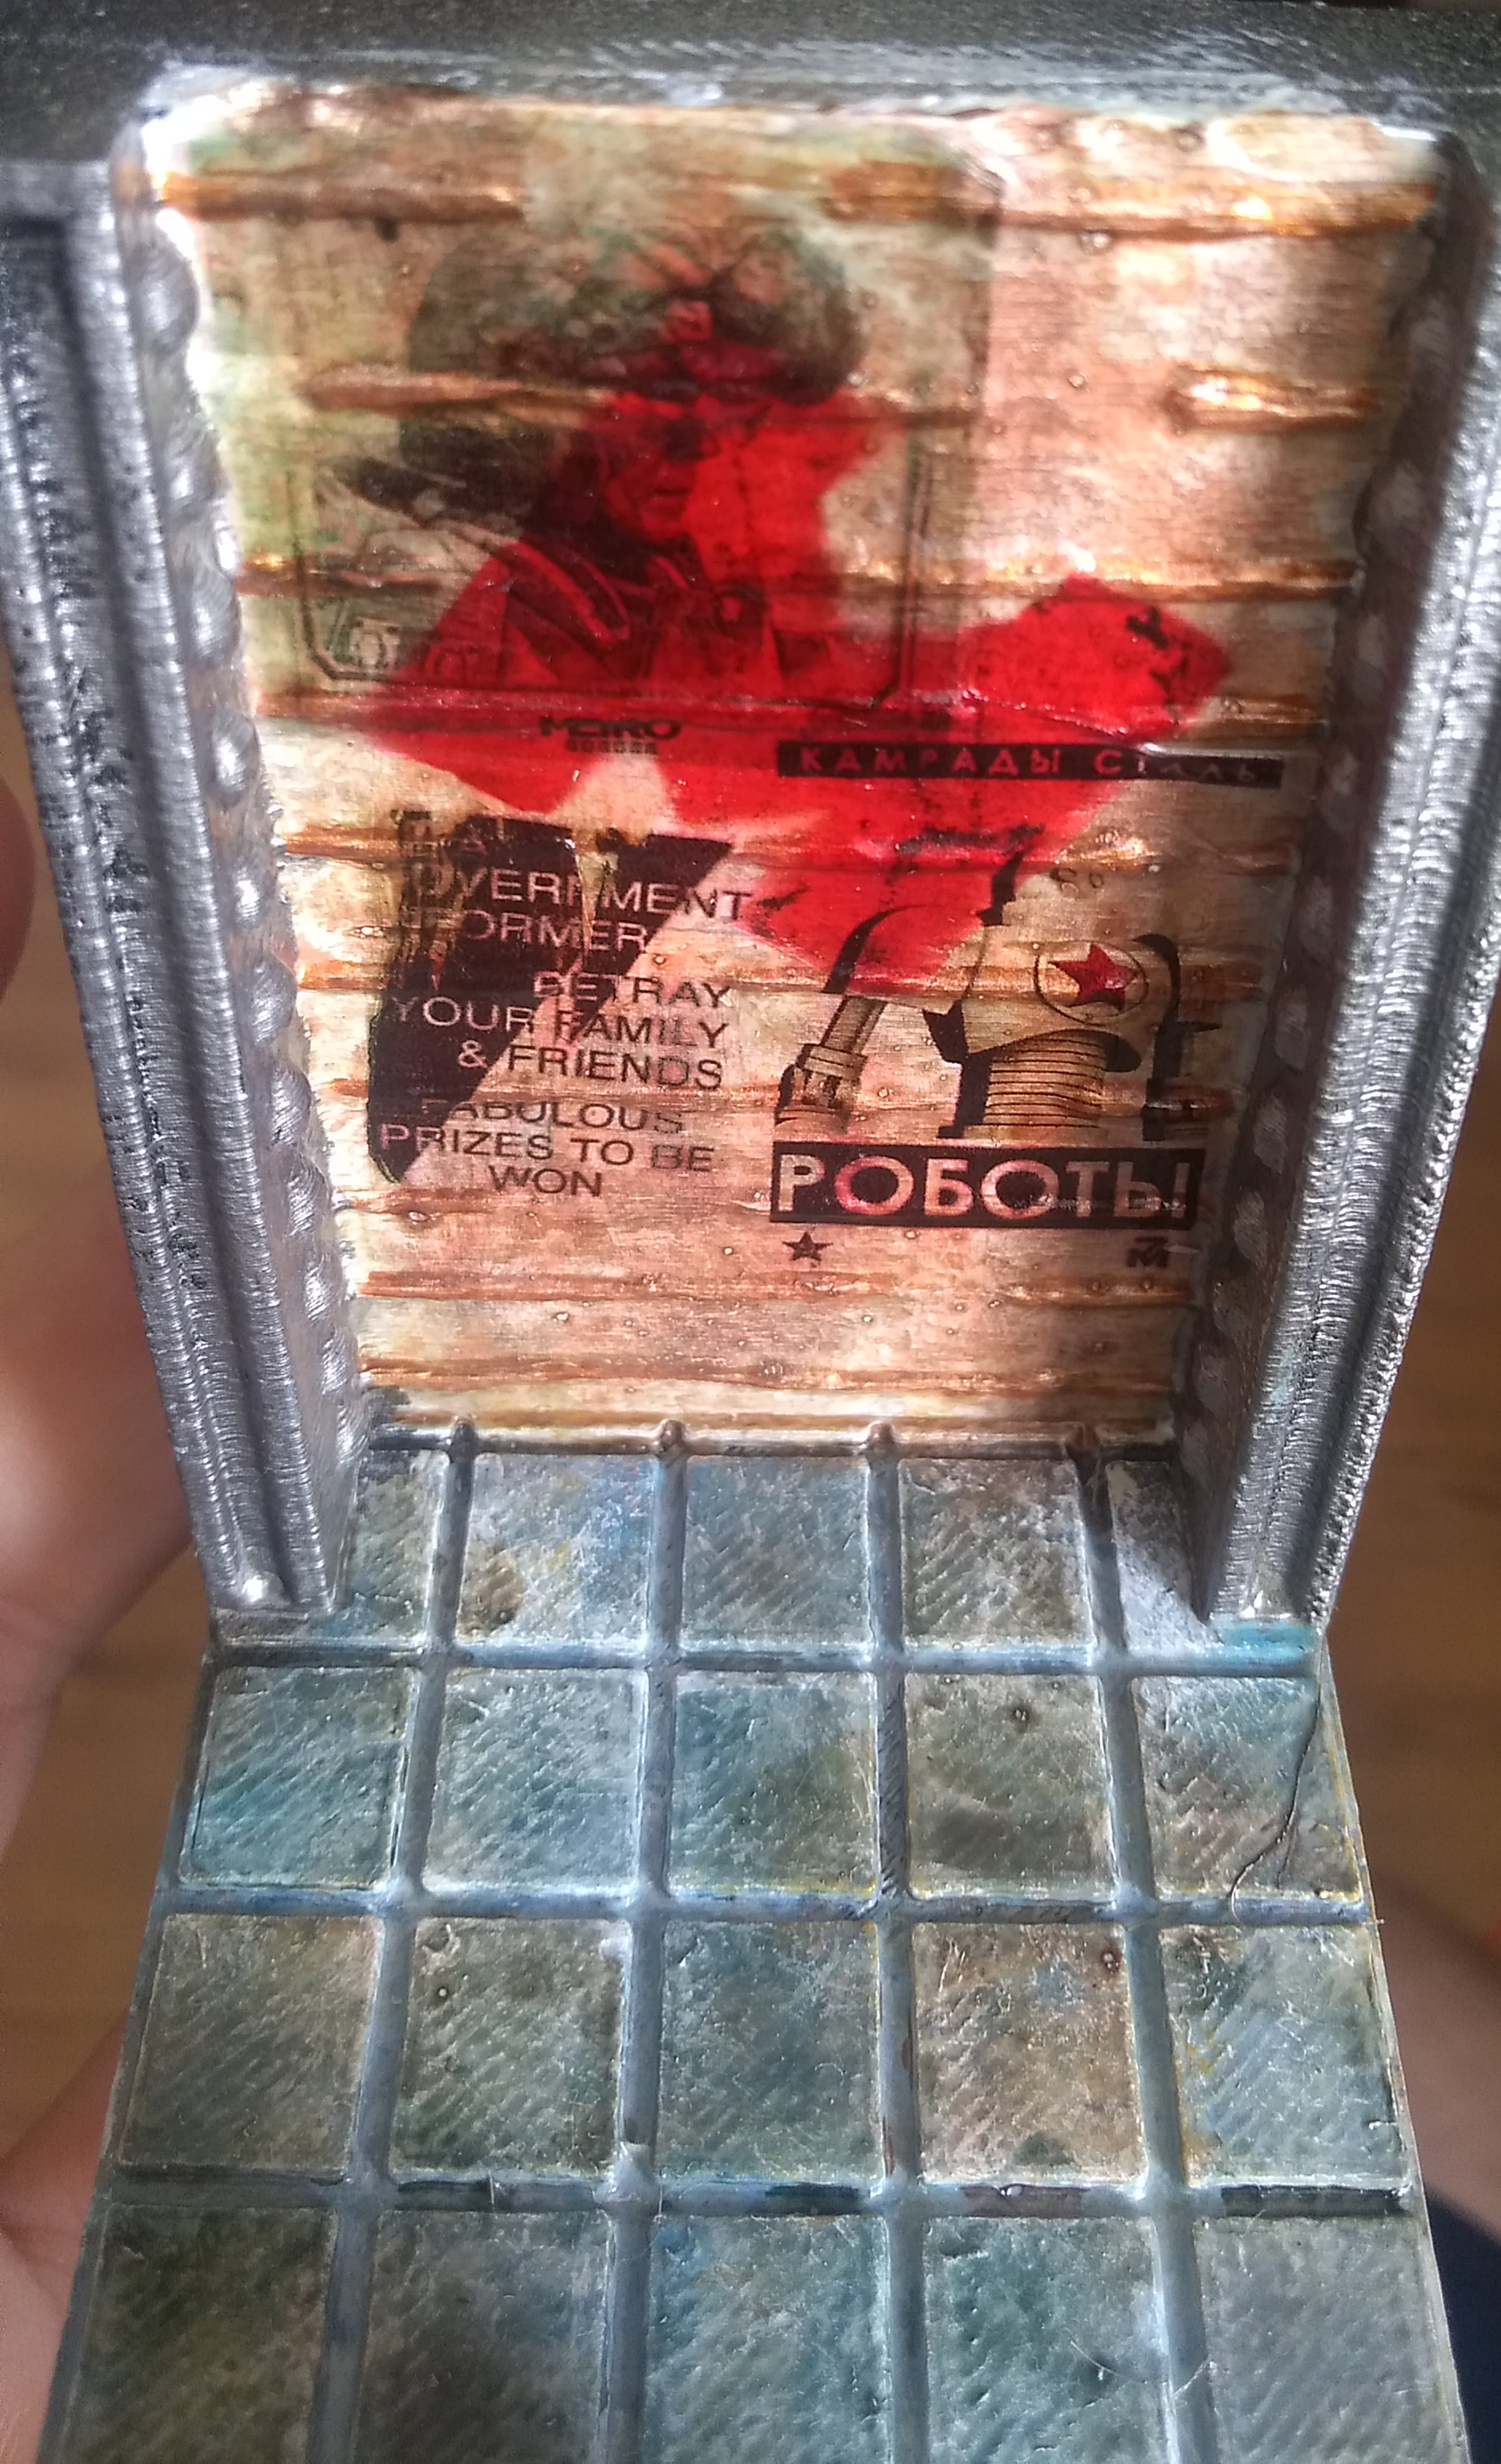
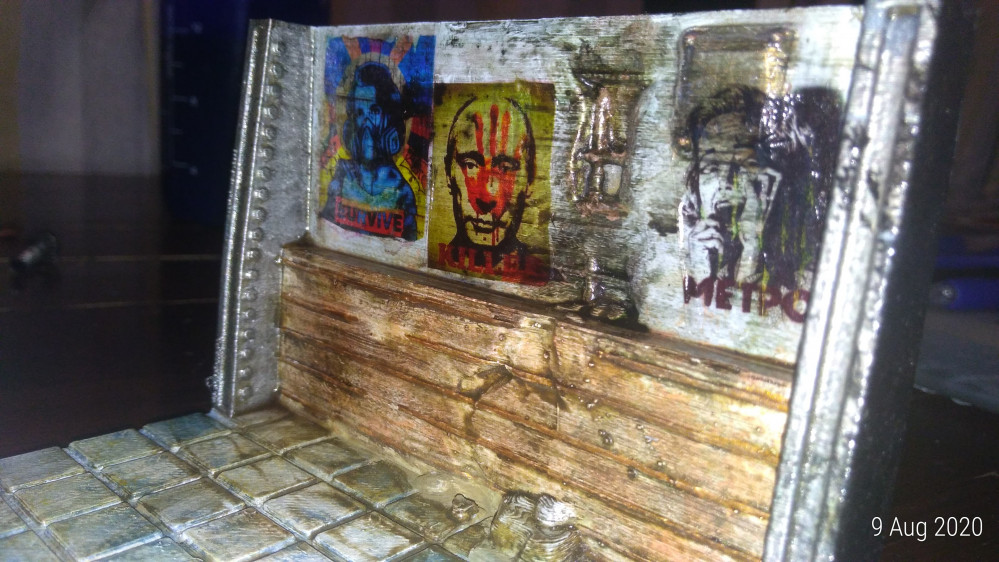
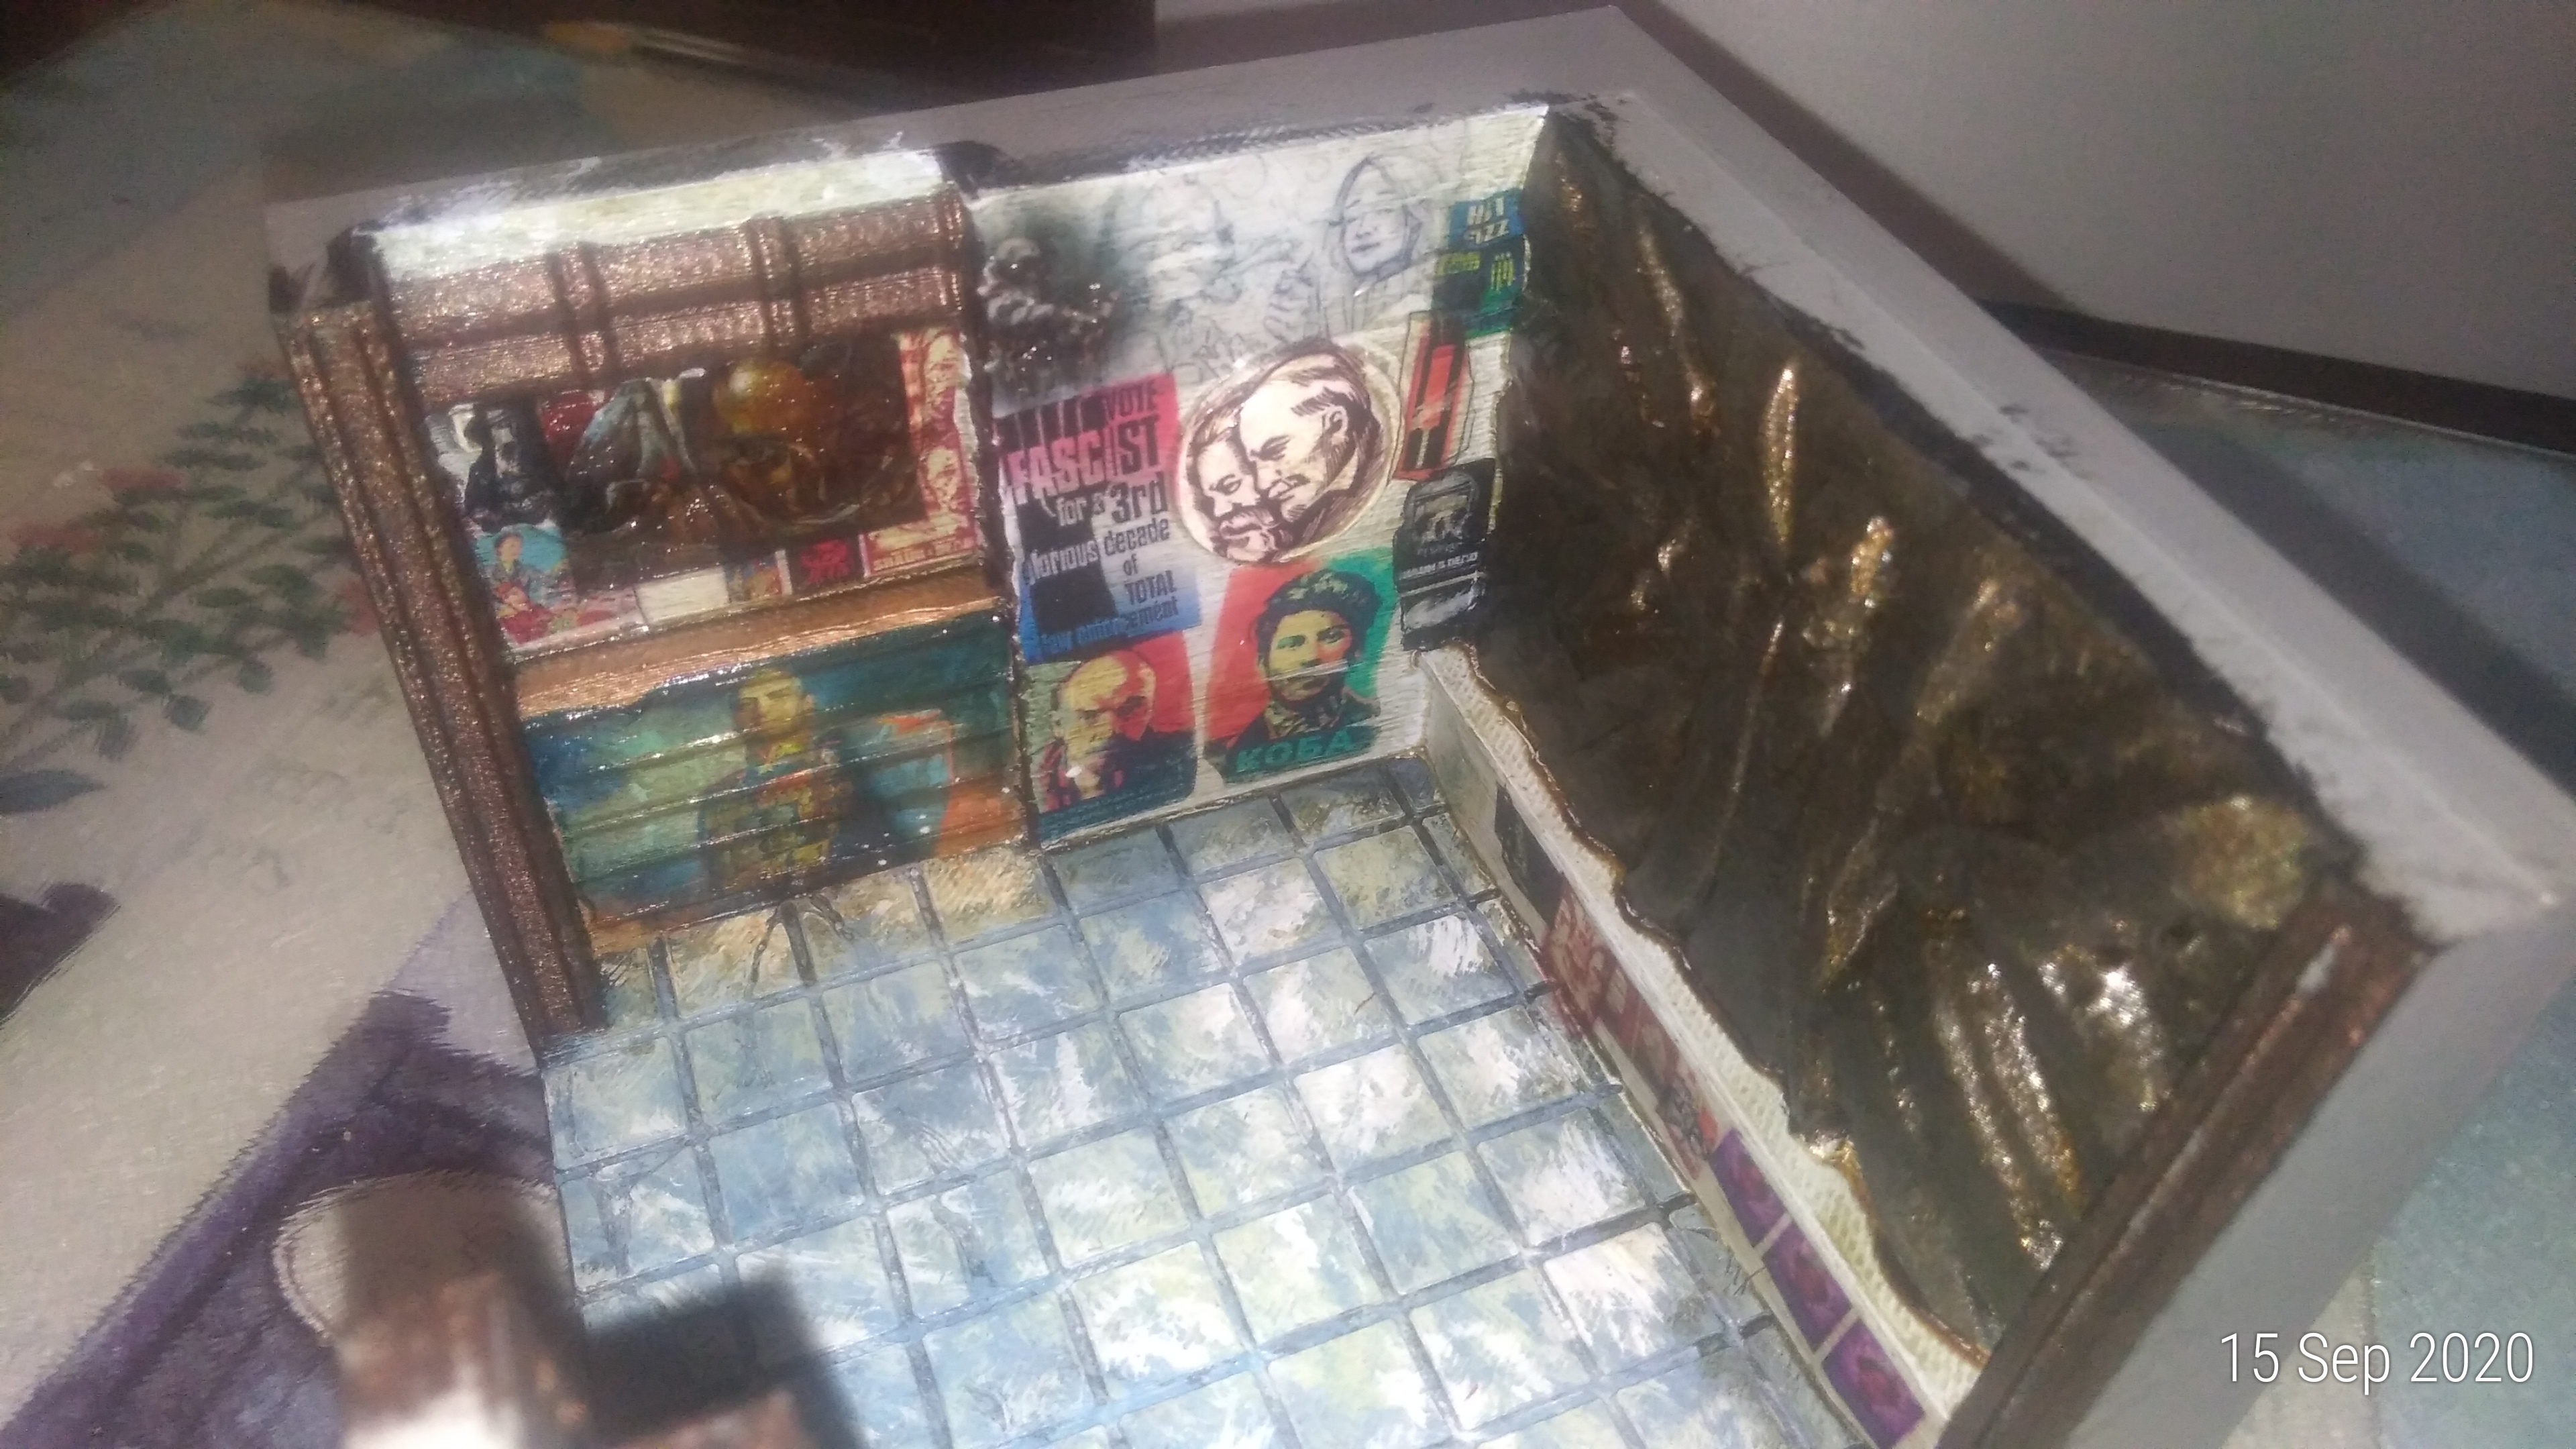
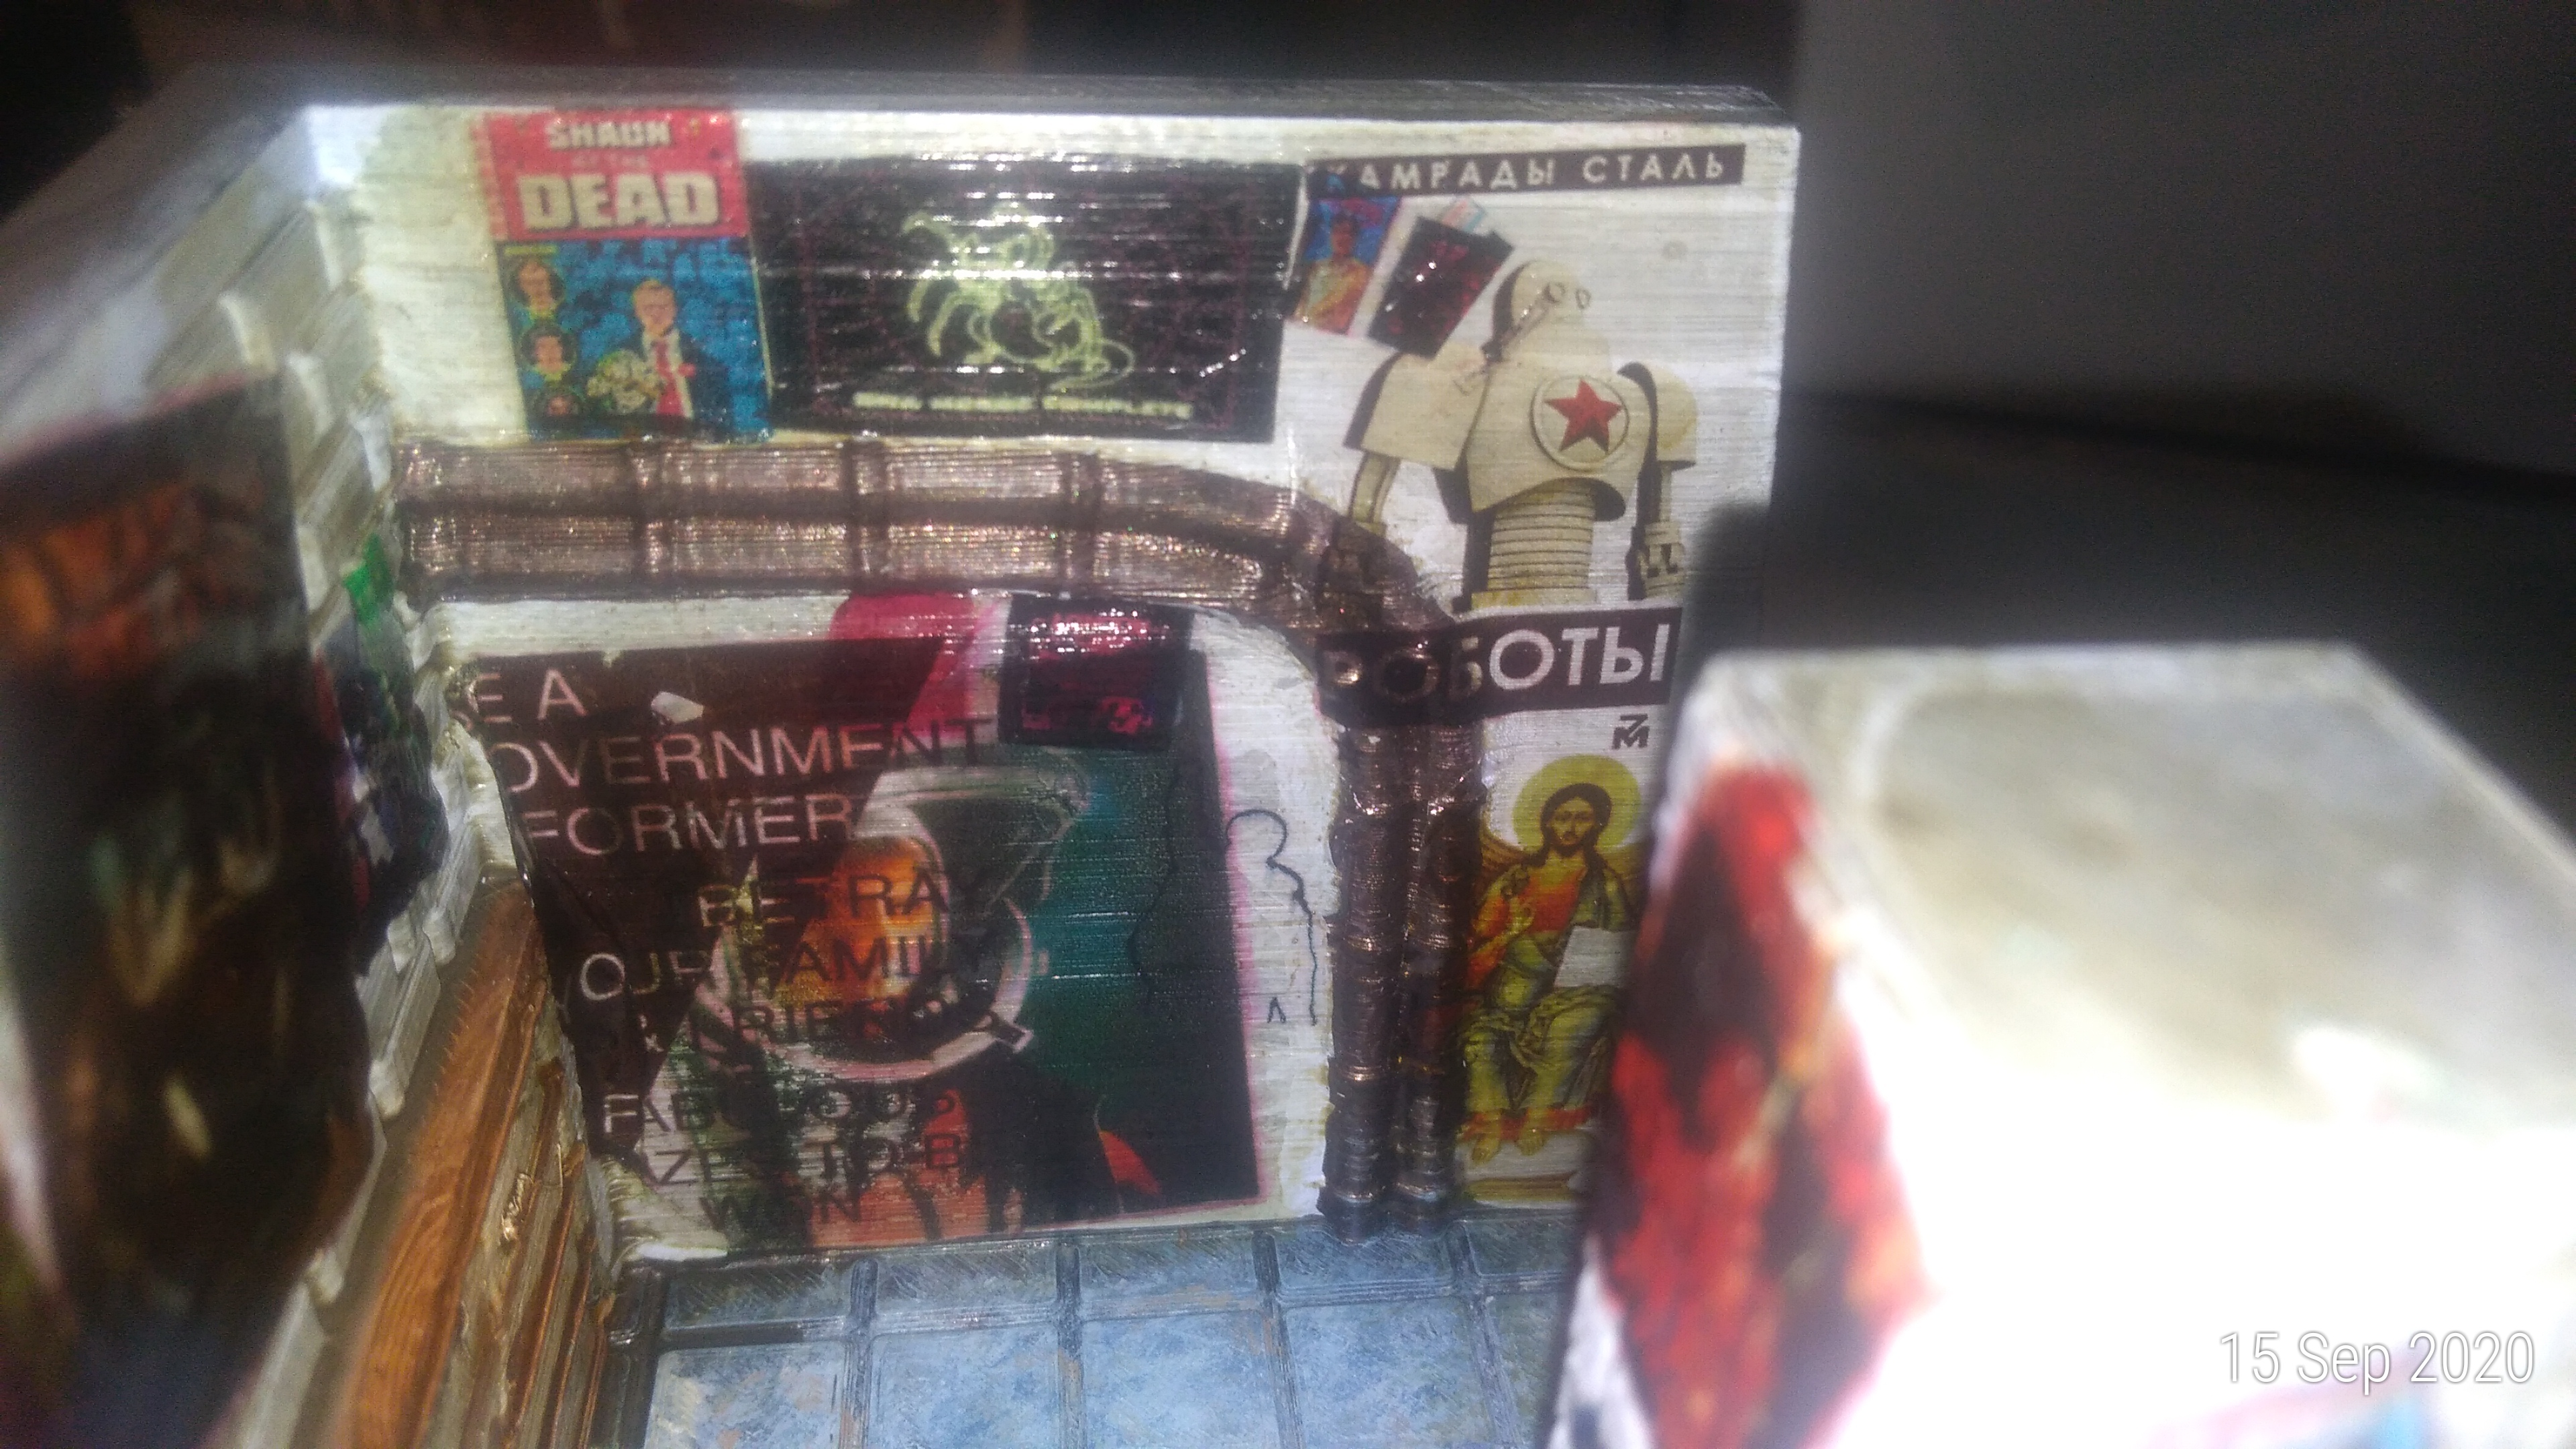
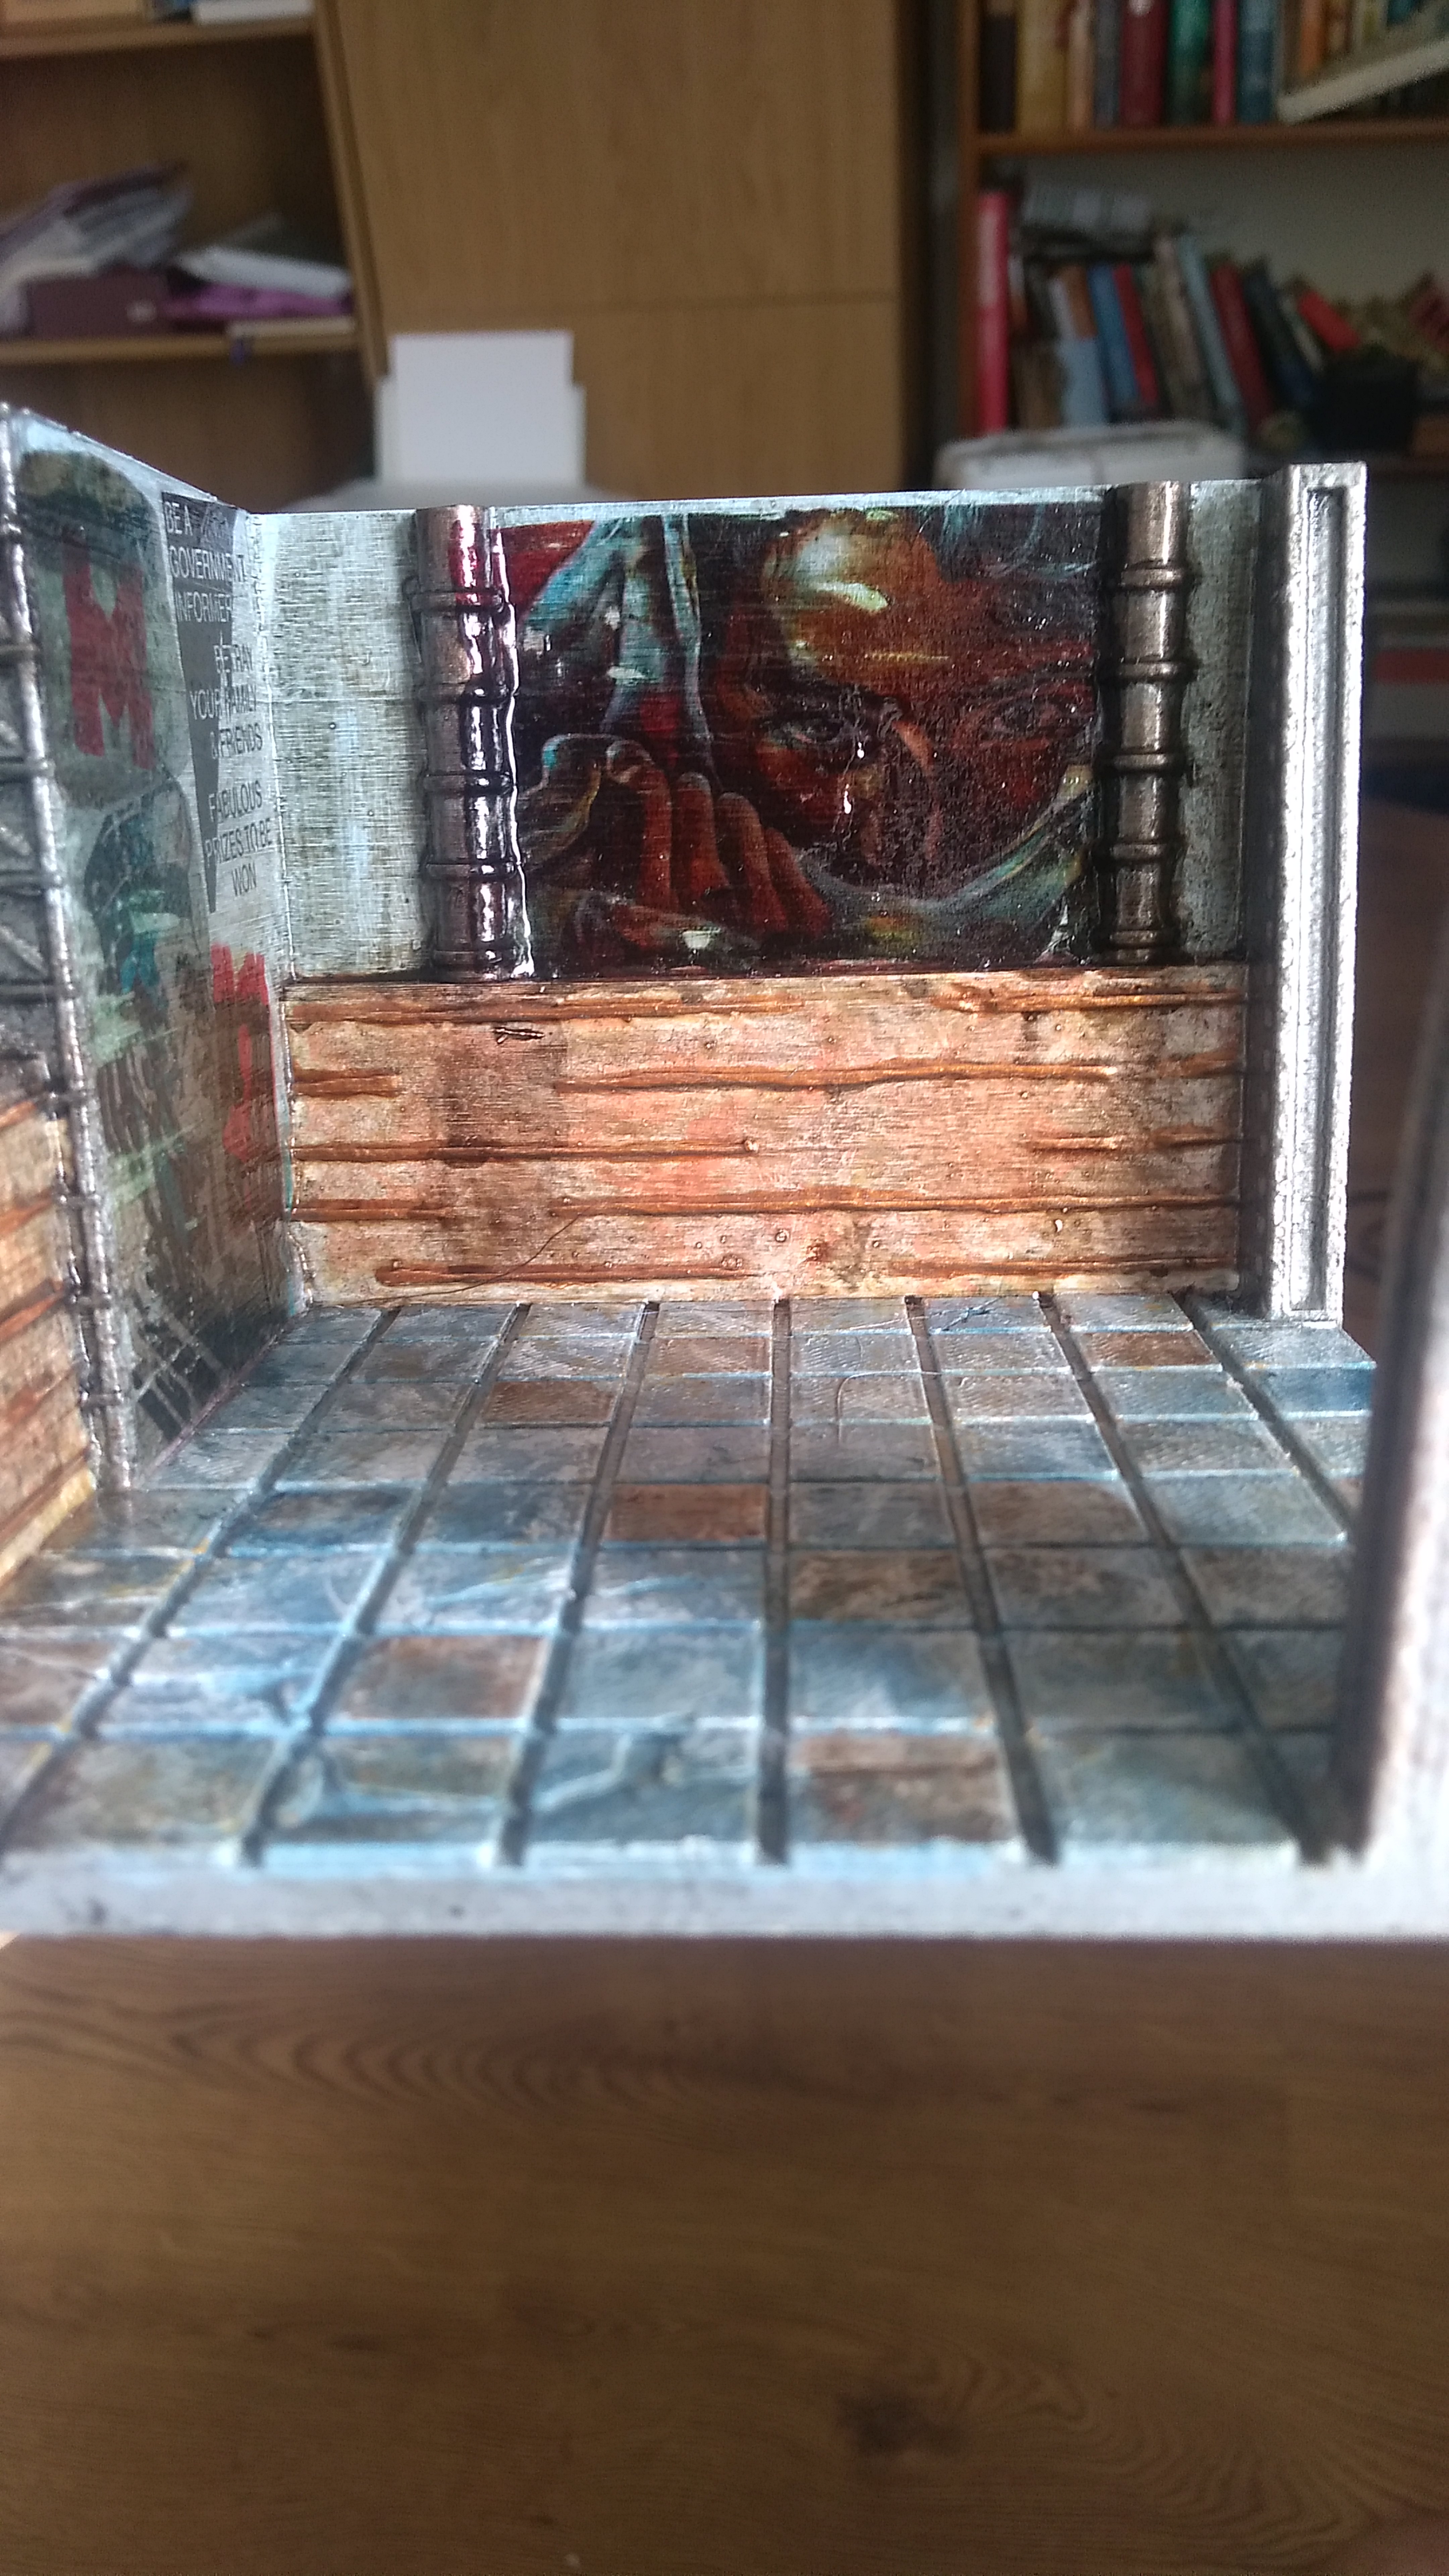
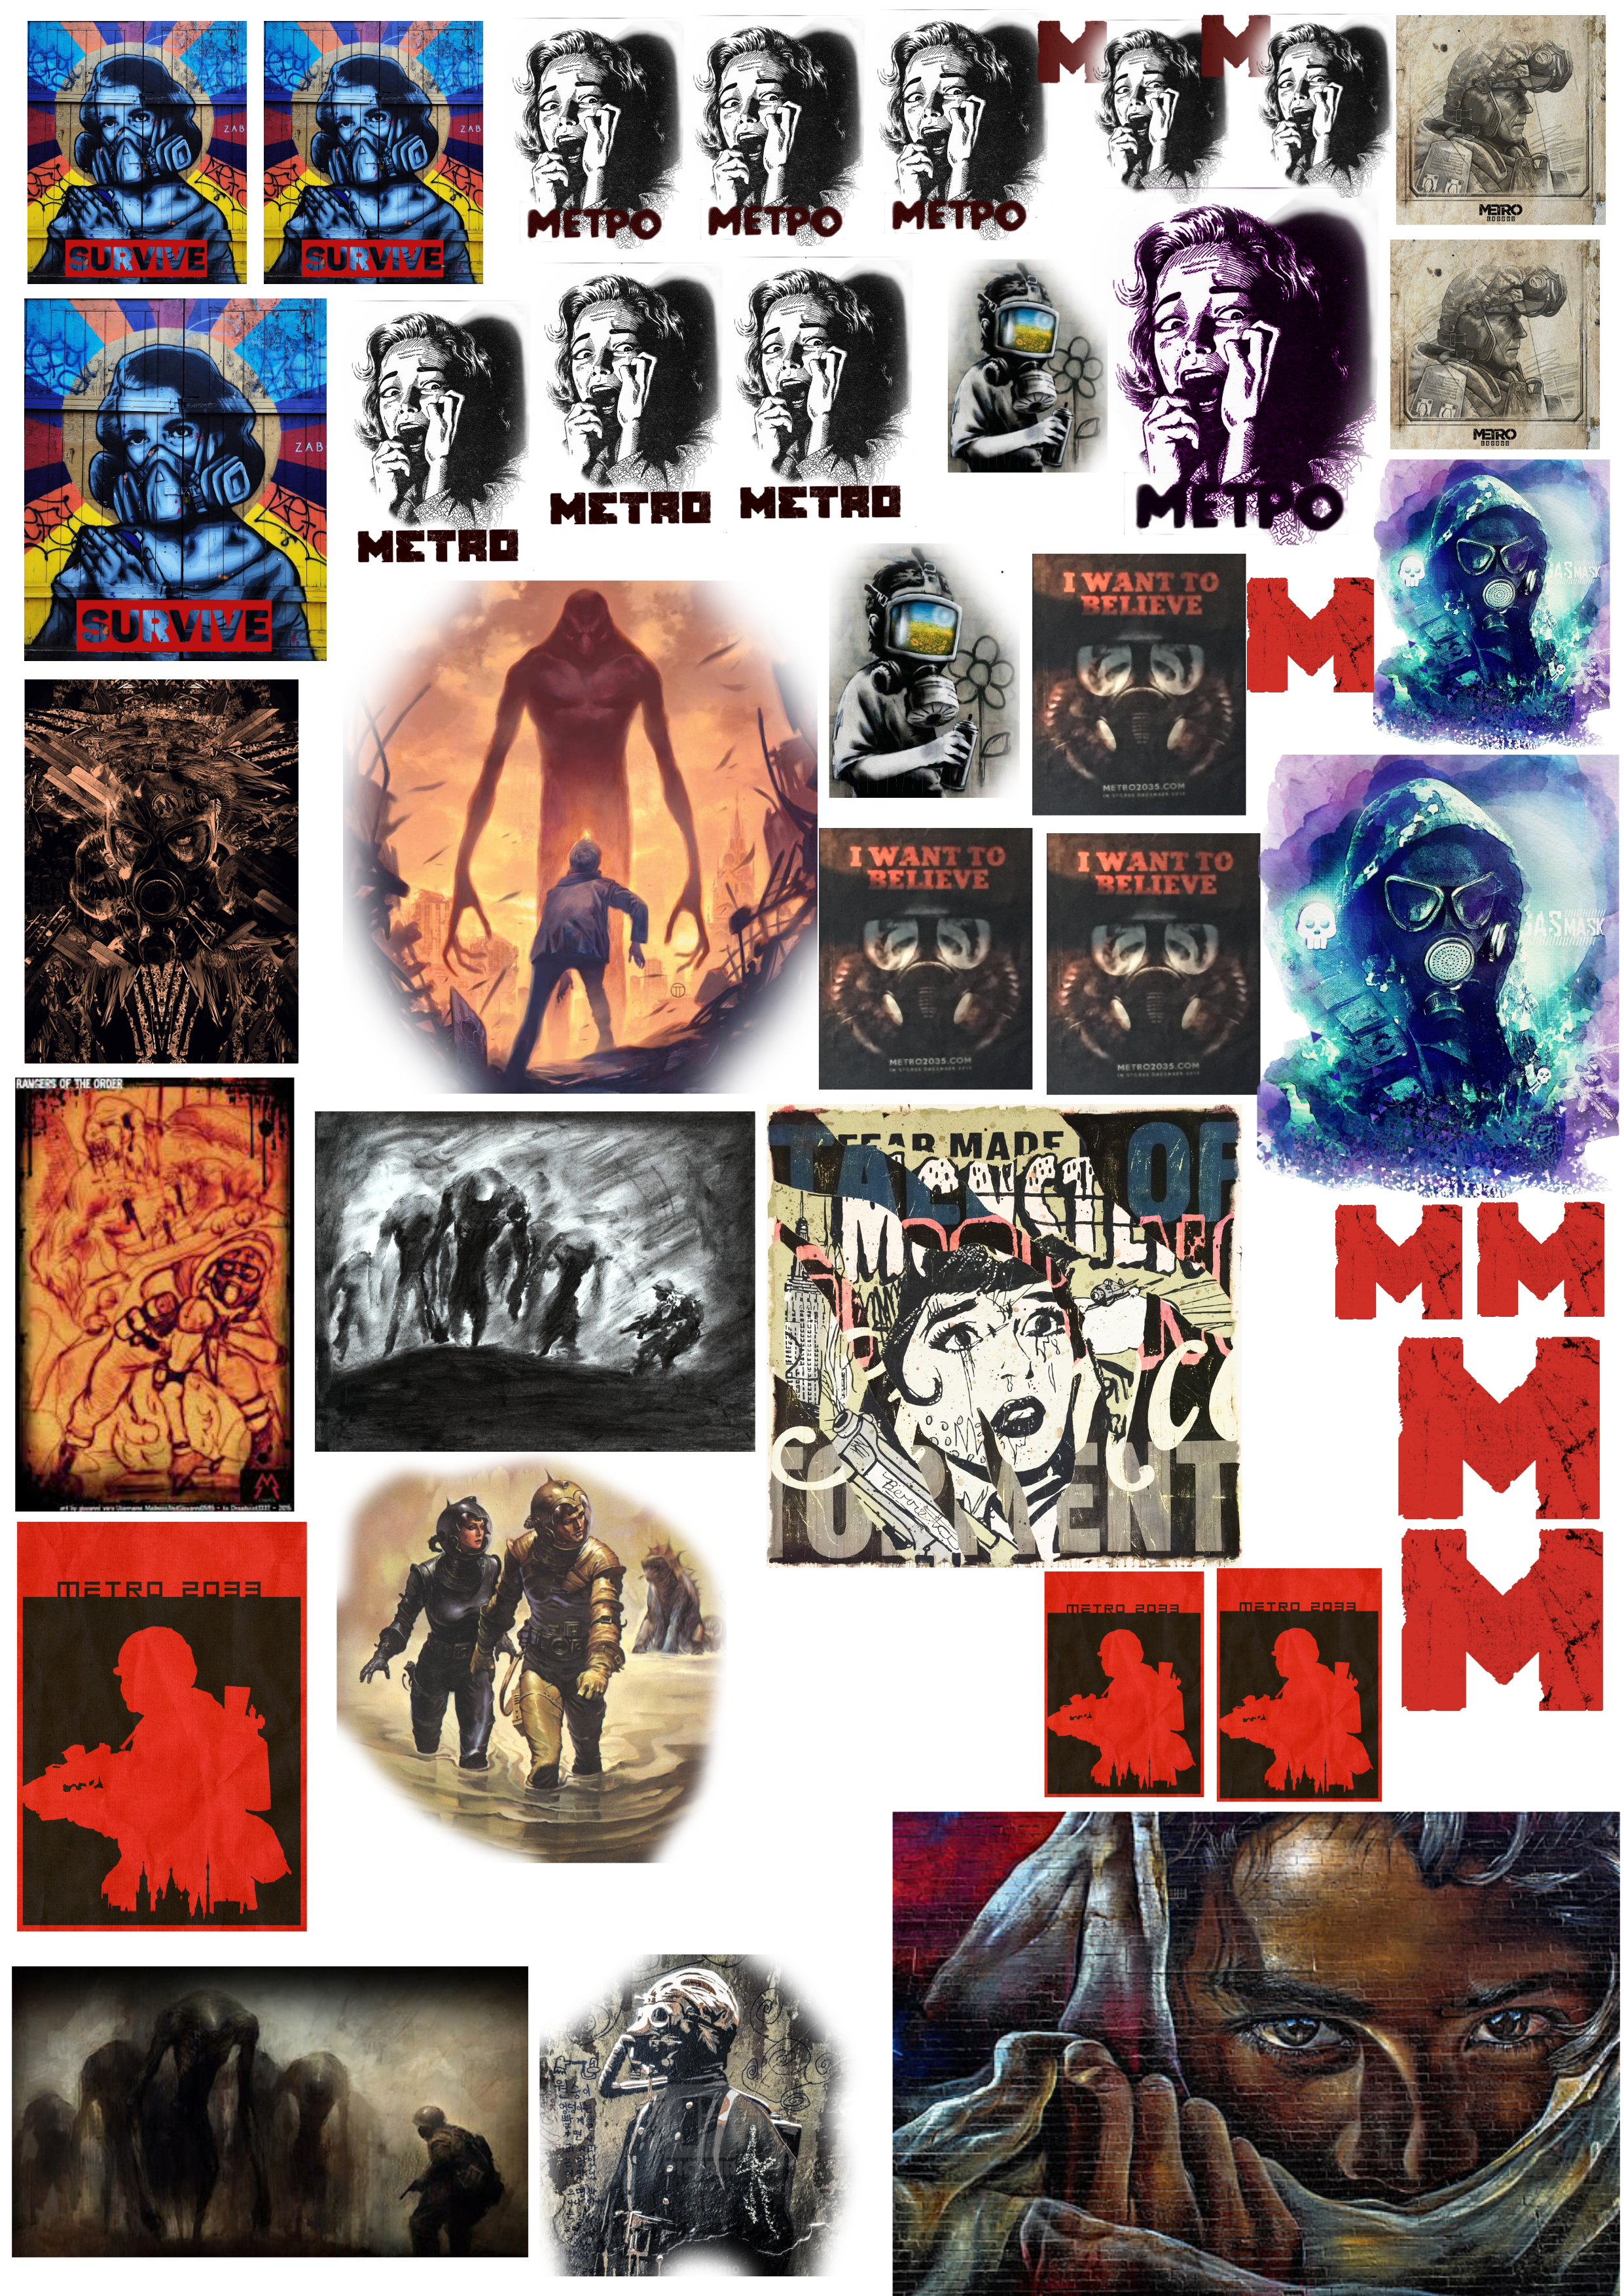
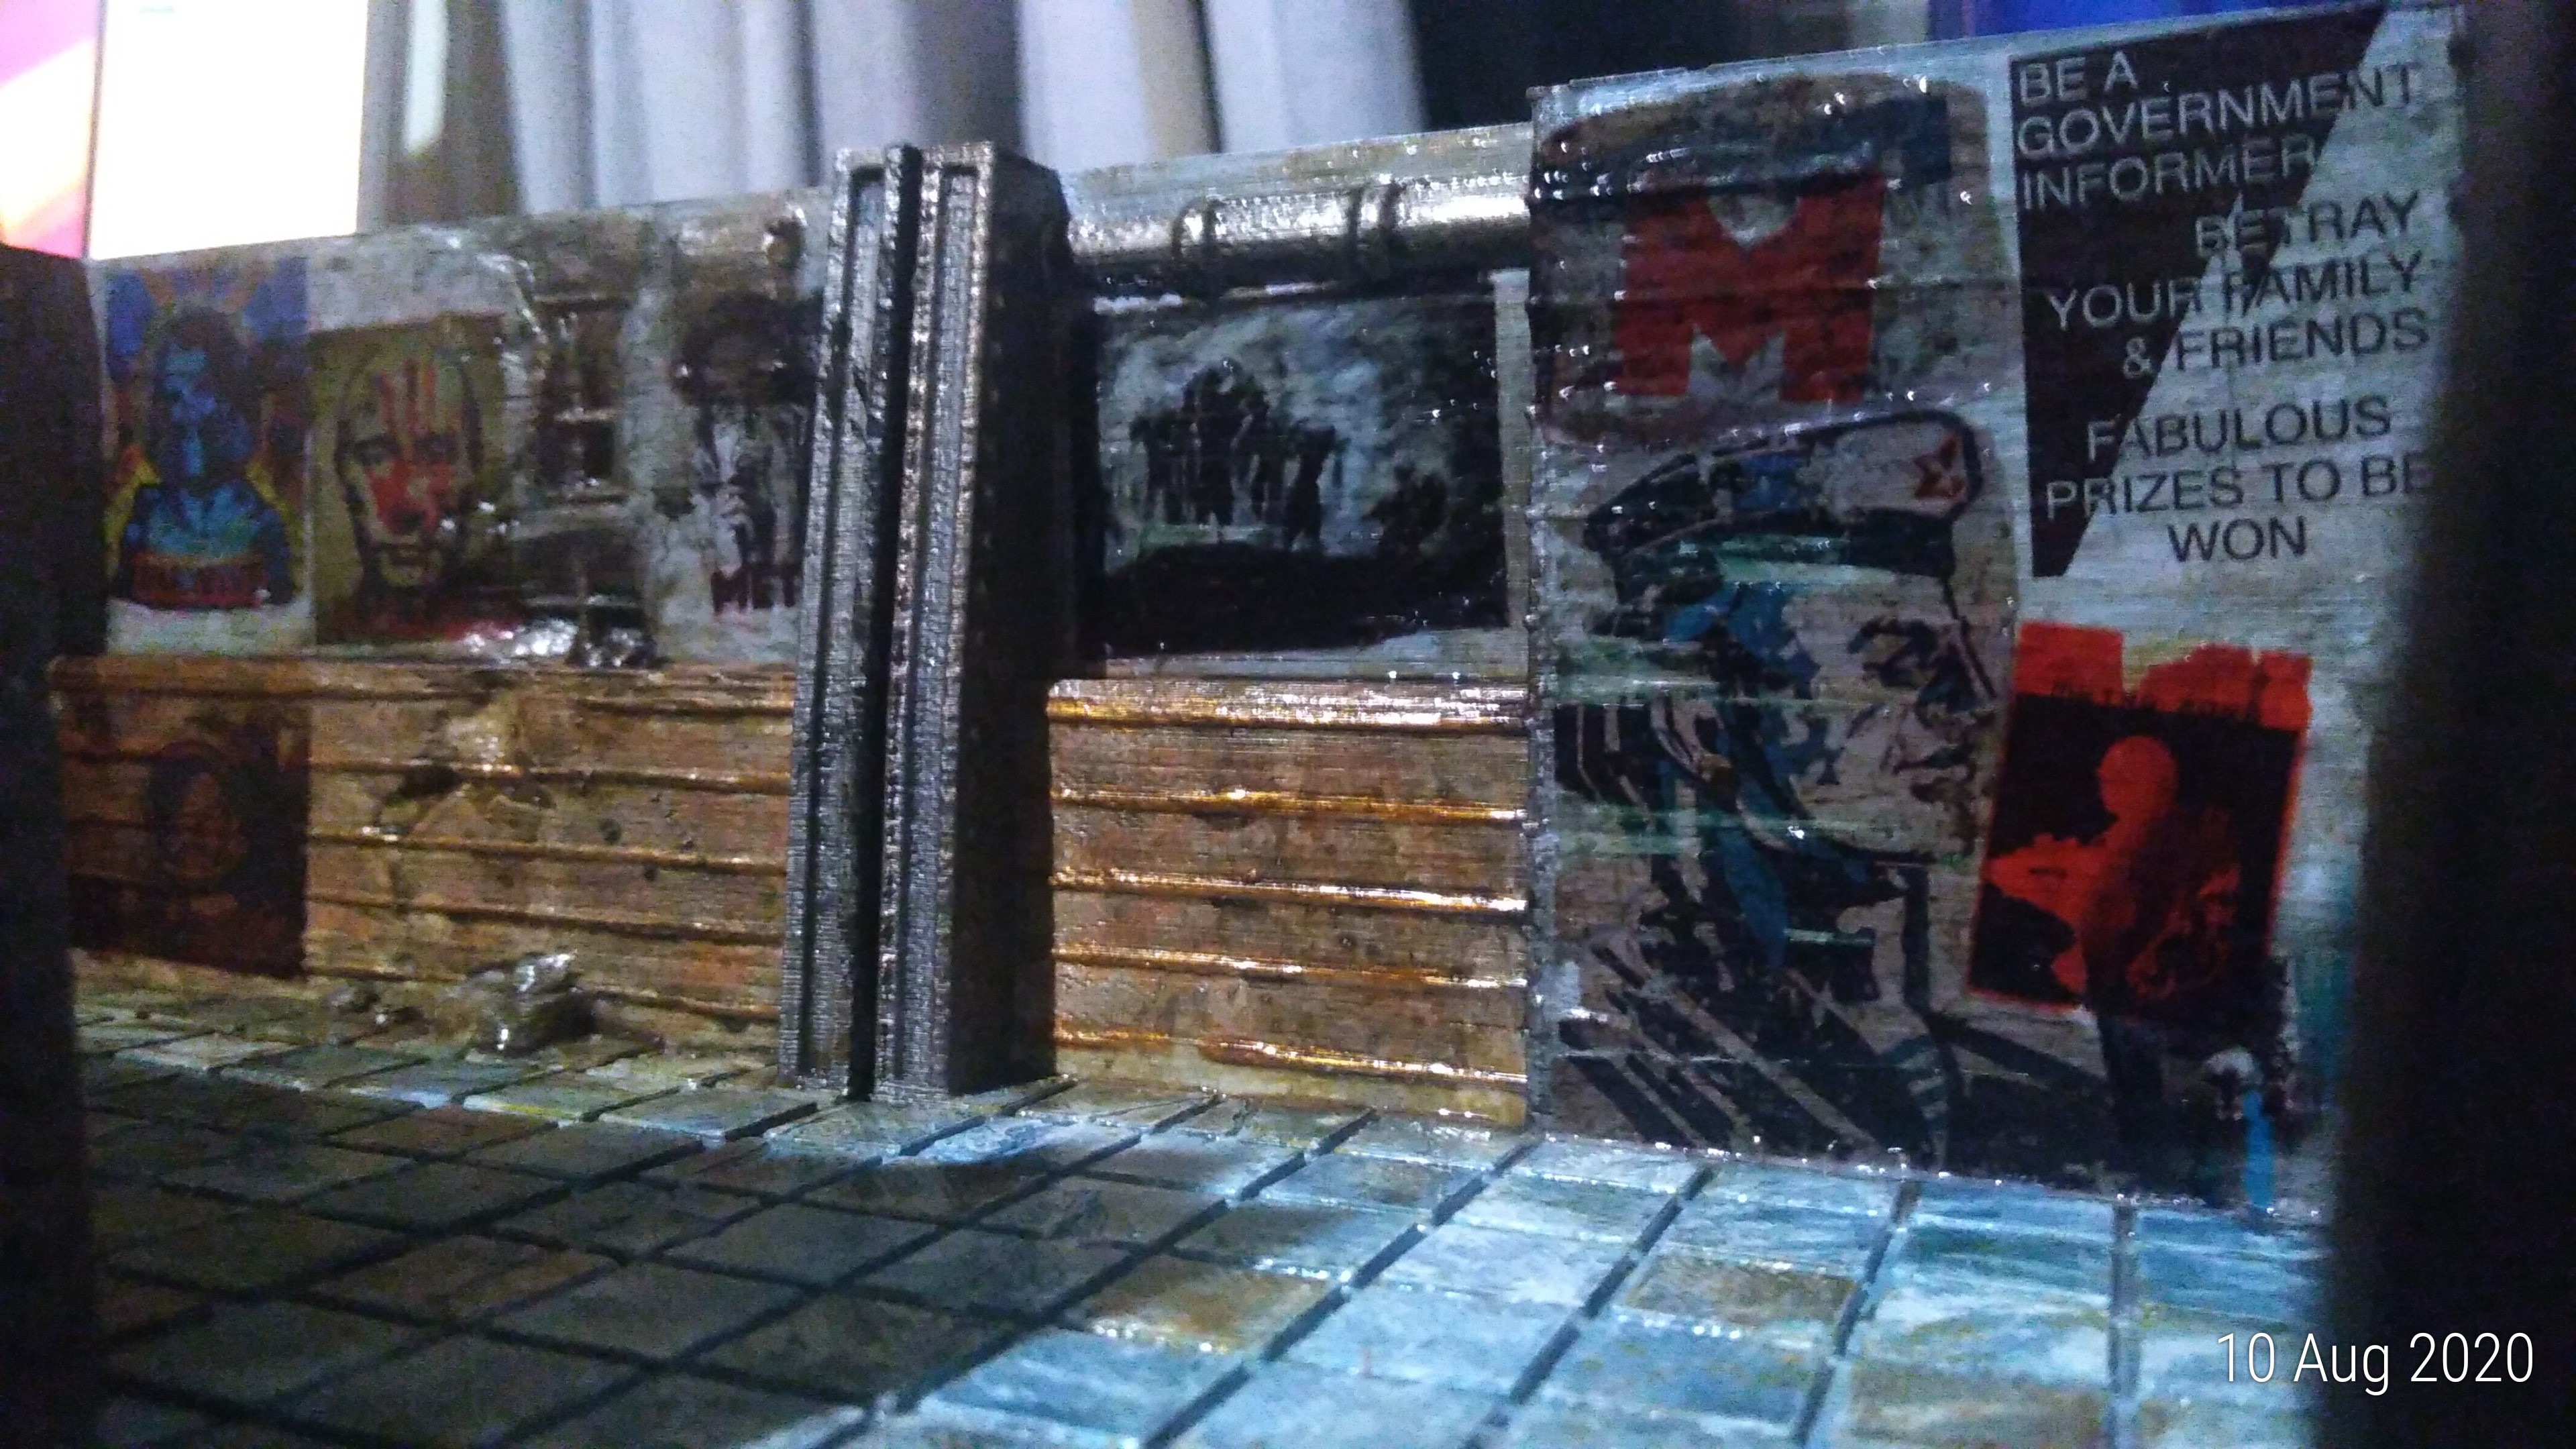
Graffiti
If I am honest this was my favourite bit.
I have been playing around with affinity for ages (a photoshop competitor) and I HAD heard rumours of people making their own decals…
So I bought some Microset and Micro Sol and also some waterslide decal paper both white and transparent.
I then searched the internet for things I liked. I found decals were really only tank based for ww2 for soviet graffiti. With this in mind I looked for pictures I wanted to include (red dwarf/simon pegg inspired) and mixed that with Metro 2033 references, actual soviet propaganda and real life soviet graffiti.
I amended the pictures slightly in affinity and made the sheets attached below.
If i am honest, I printed them out, painted ‘ard coat or some other satin/gloss varnish (so the ink doesnt run) dunked them in water (sometimes with a bit of micro sol and then painted the surface with micro set and then attached the wall.
Please feel free to use the pictures.
—–below this line is some things people asked me on facebook so may be help here also ———————————————————————
Yes I used white and clear, the white didn’t seem to do too much different however only a very small number of these are the white version (I now wonder if there wasn’t alot of difference due to my files being PNG).
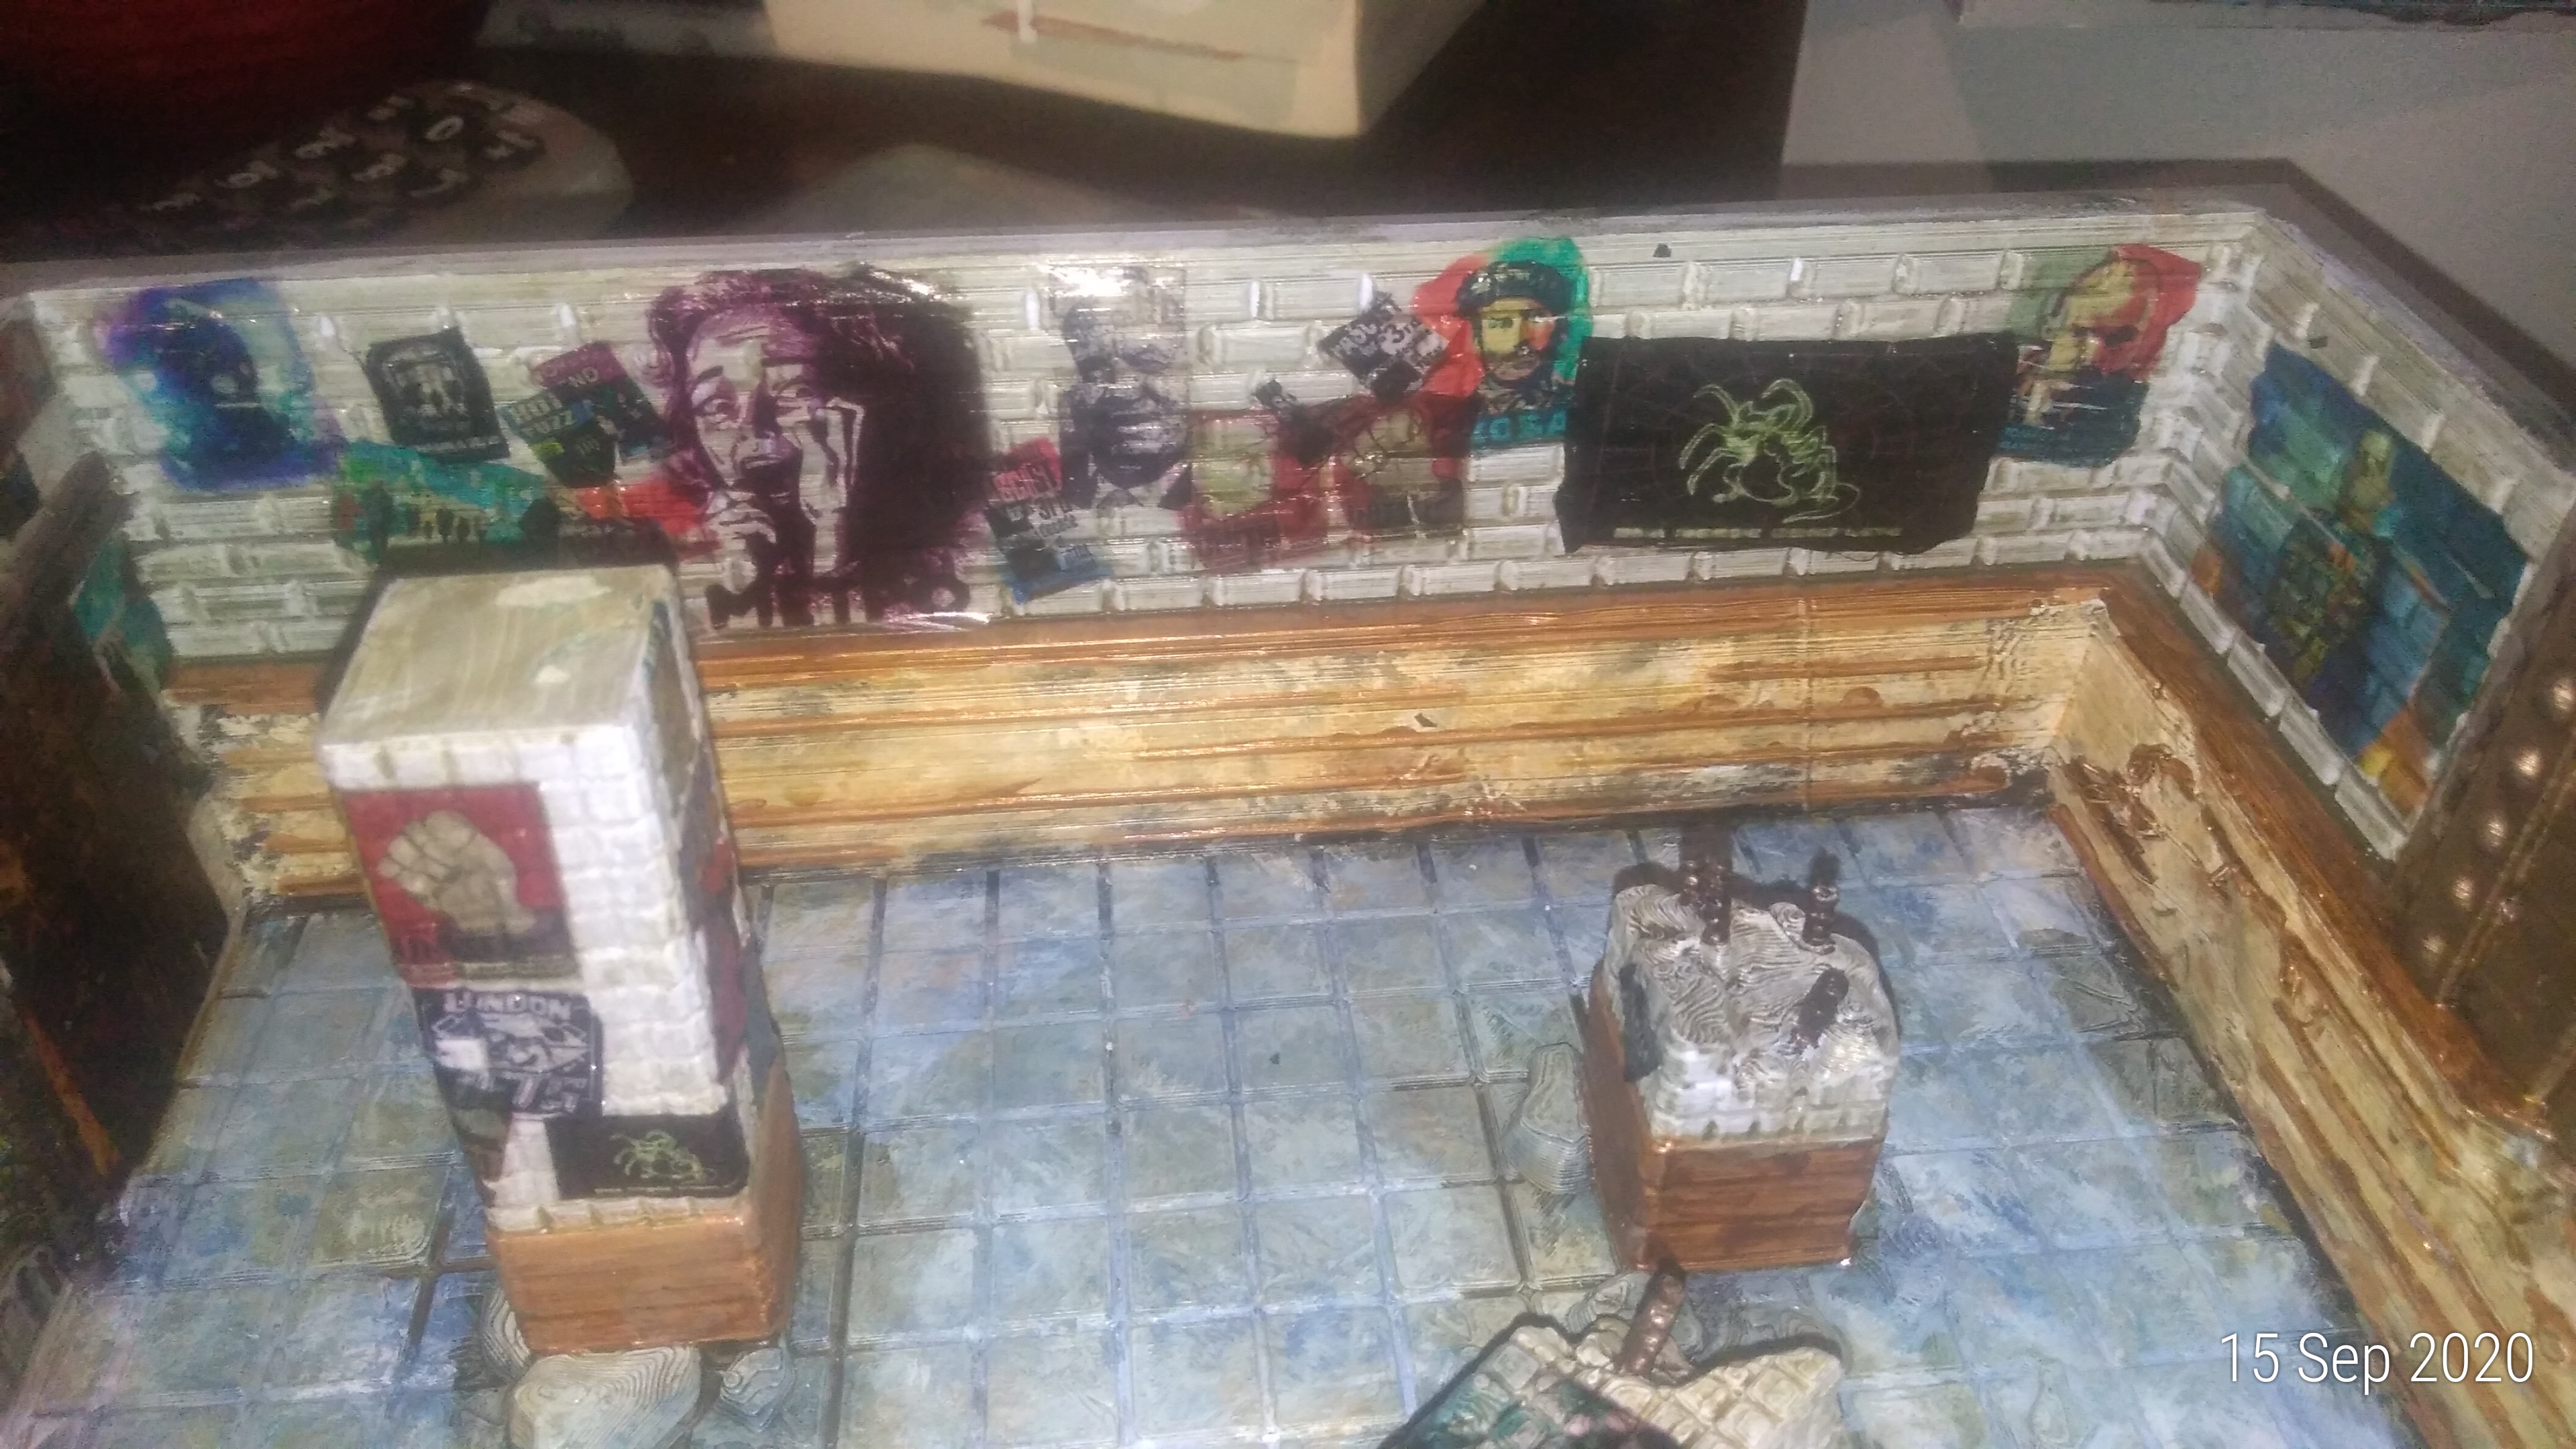
Most are clear. It is good to note that the colour of the wall helps immensely – I have a few red walls where it just doesn’t work as well.
– Images were from the internet the high res the better, some were posters, others are actual pictures of graffiti (I was annoyed that there were no russian/soviet decals not meant for tanks/ww2) so I created my own using Affinity (a photoshop like software), I did change the pictures sometimes if the photo was at an odd angle.
-There are PNG websites out there which were also really handy (this is where i got the soviet posters from).
– I did buy micoset/sol. I didnt realise I have been using them incorrectly until very recently – Most of the above were actually just painted with games workshop ‘ard coat (or another varnish) and then dropped in water. (The varnish is to stop it running).
I only used the sol when it was tricky to remove still, however I did brush it on more so as time has gone on.
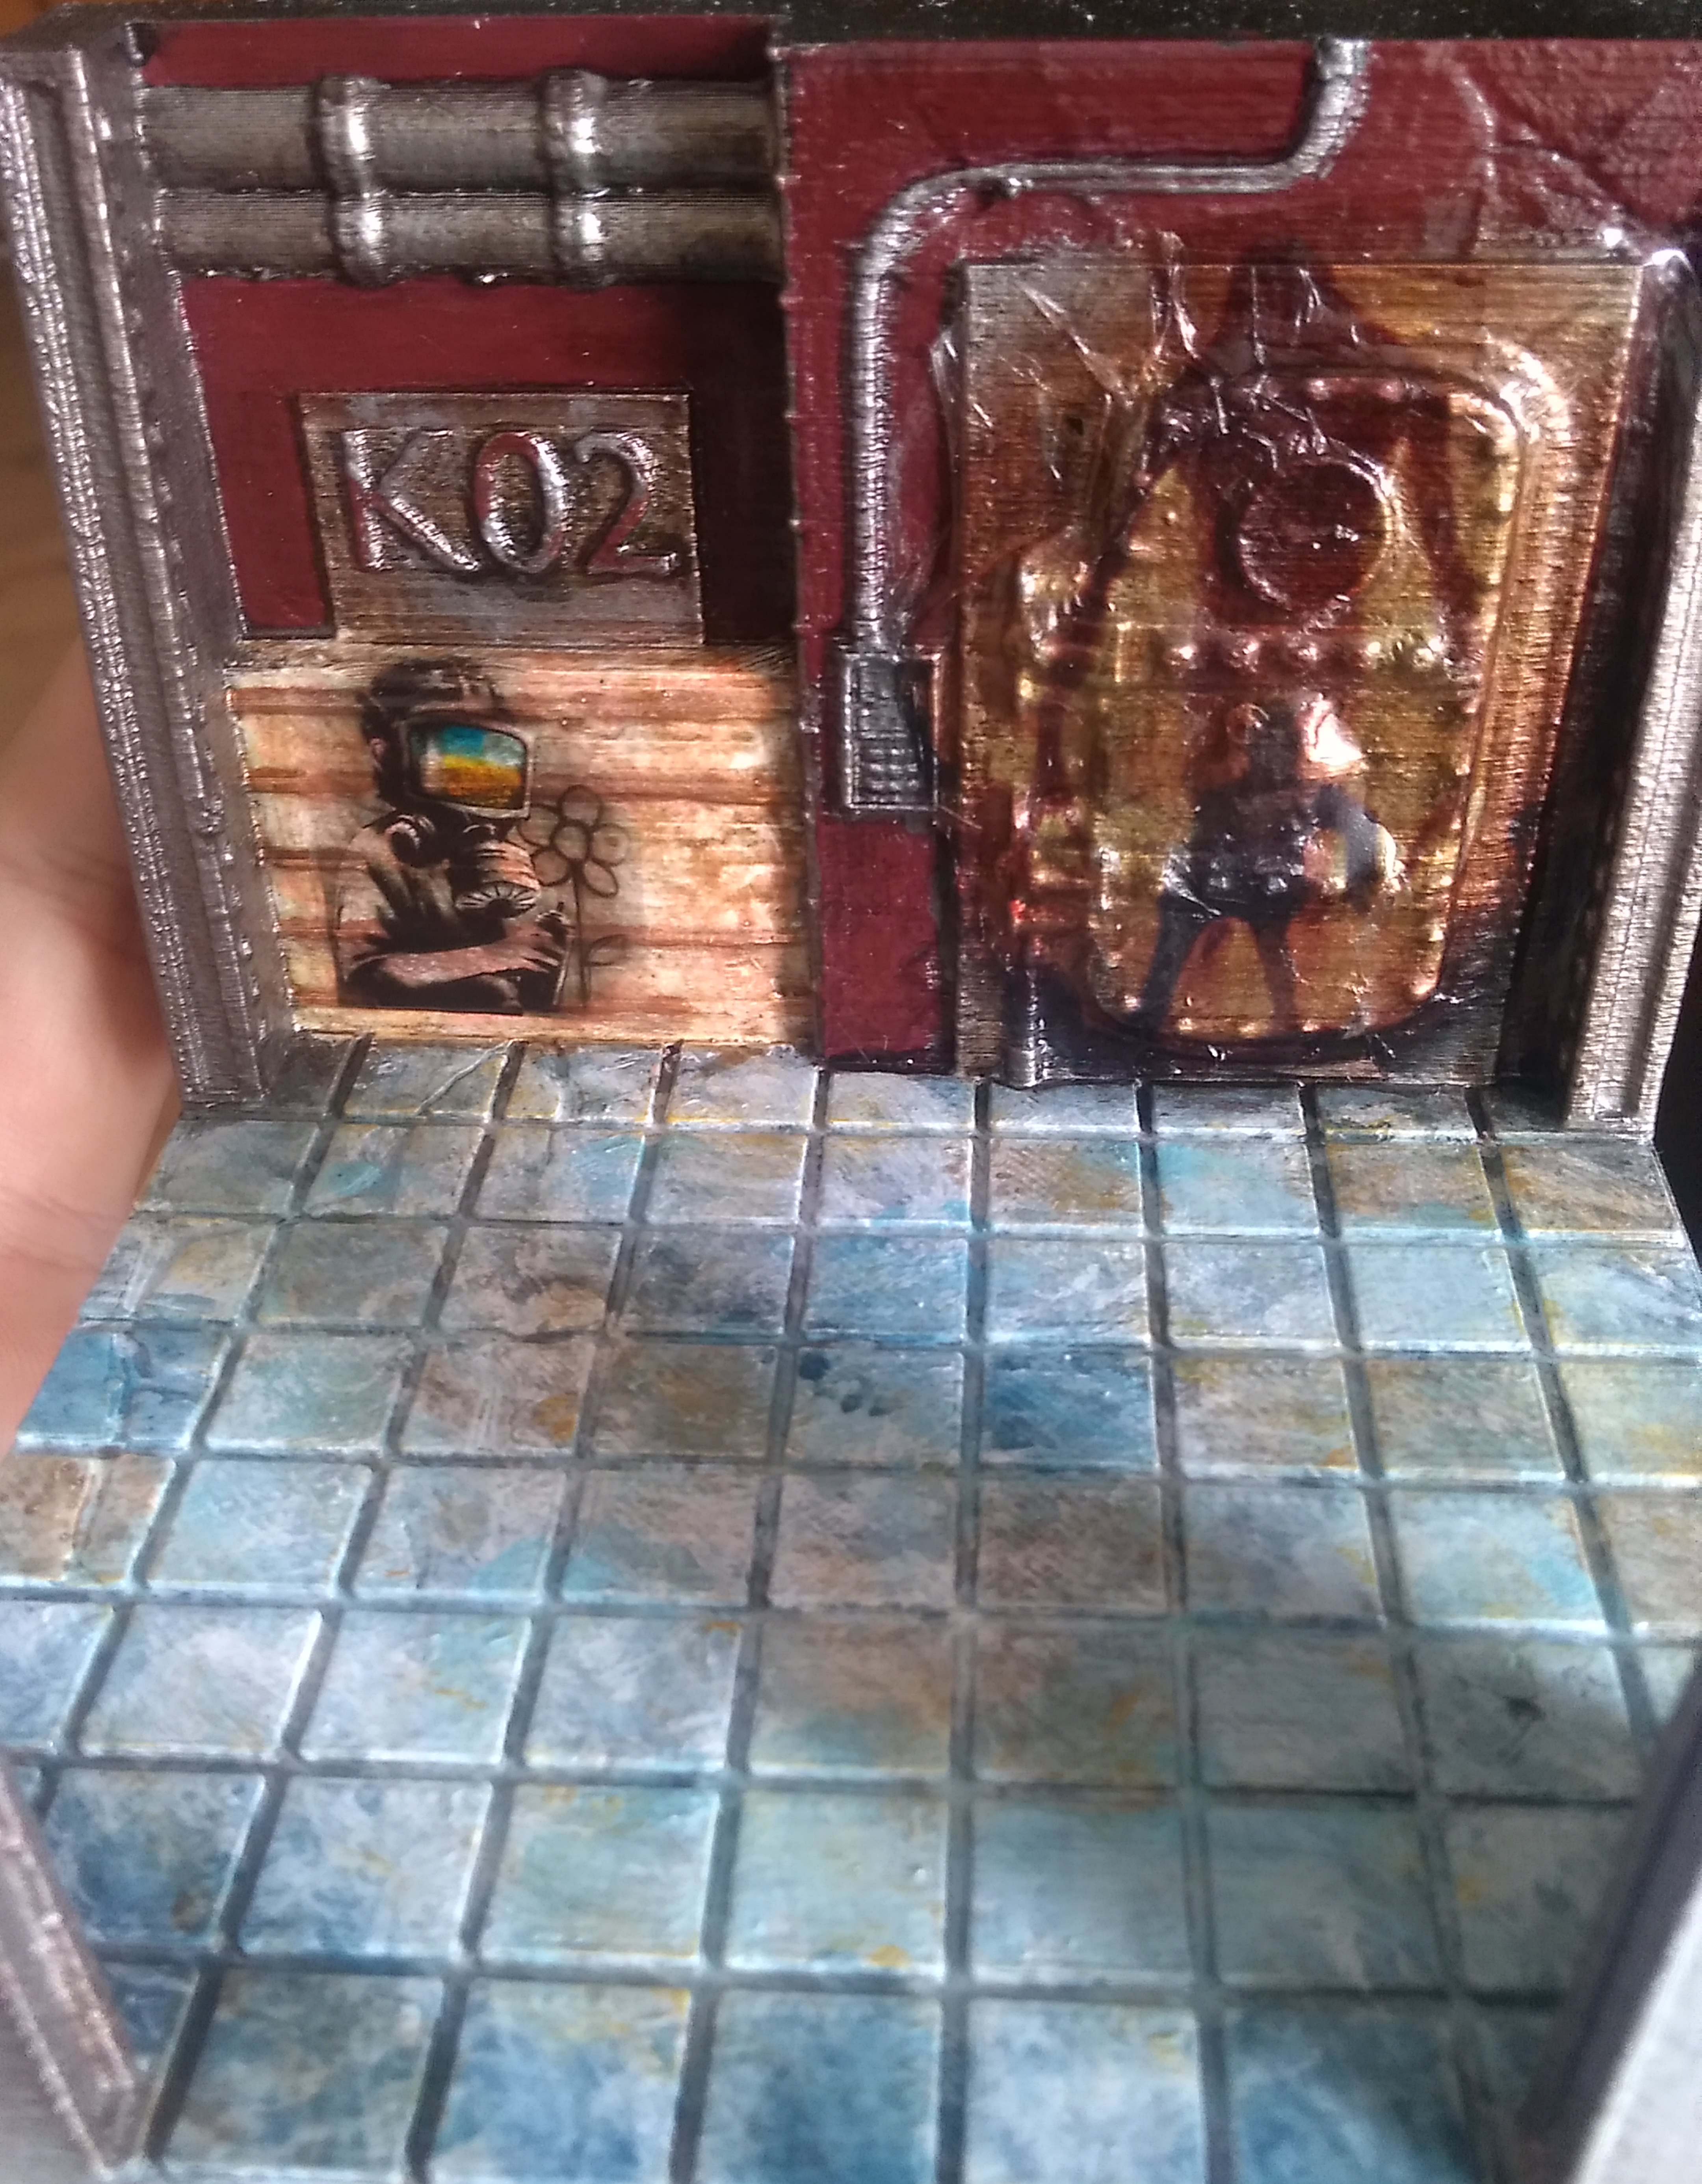
The micro set is really good as it helps it get into the crevices (the one i have is ‘painted on’ effect, some if you look closely are sitting on the surface (when i didnt use the microset). Whilst others are ’embedded’ where i did use it. Good thing is you can pretty easily rip them back off if dried


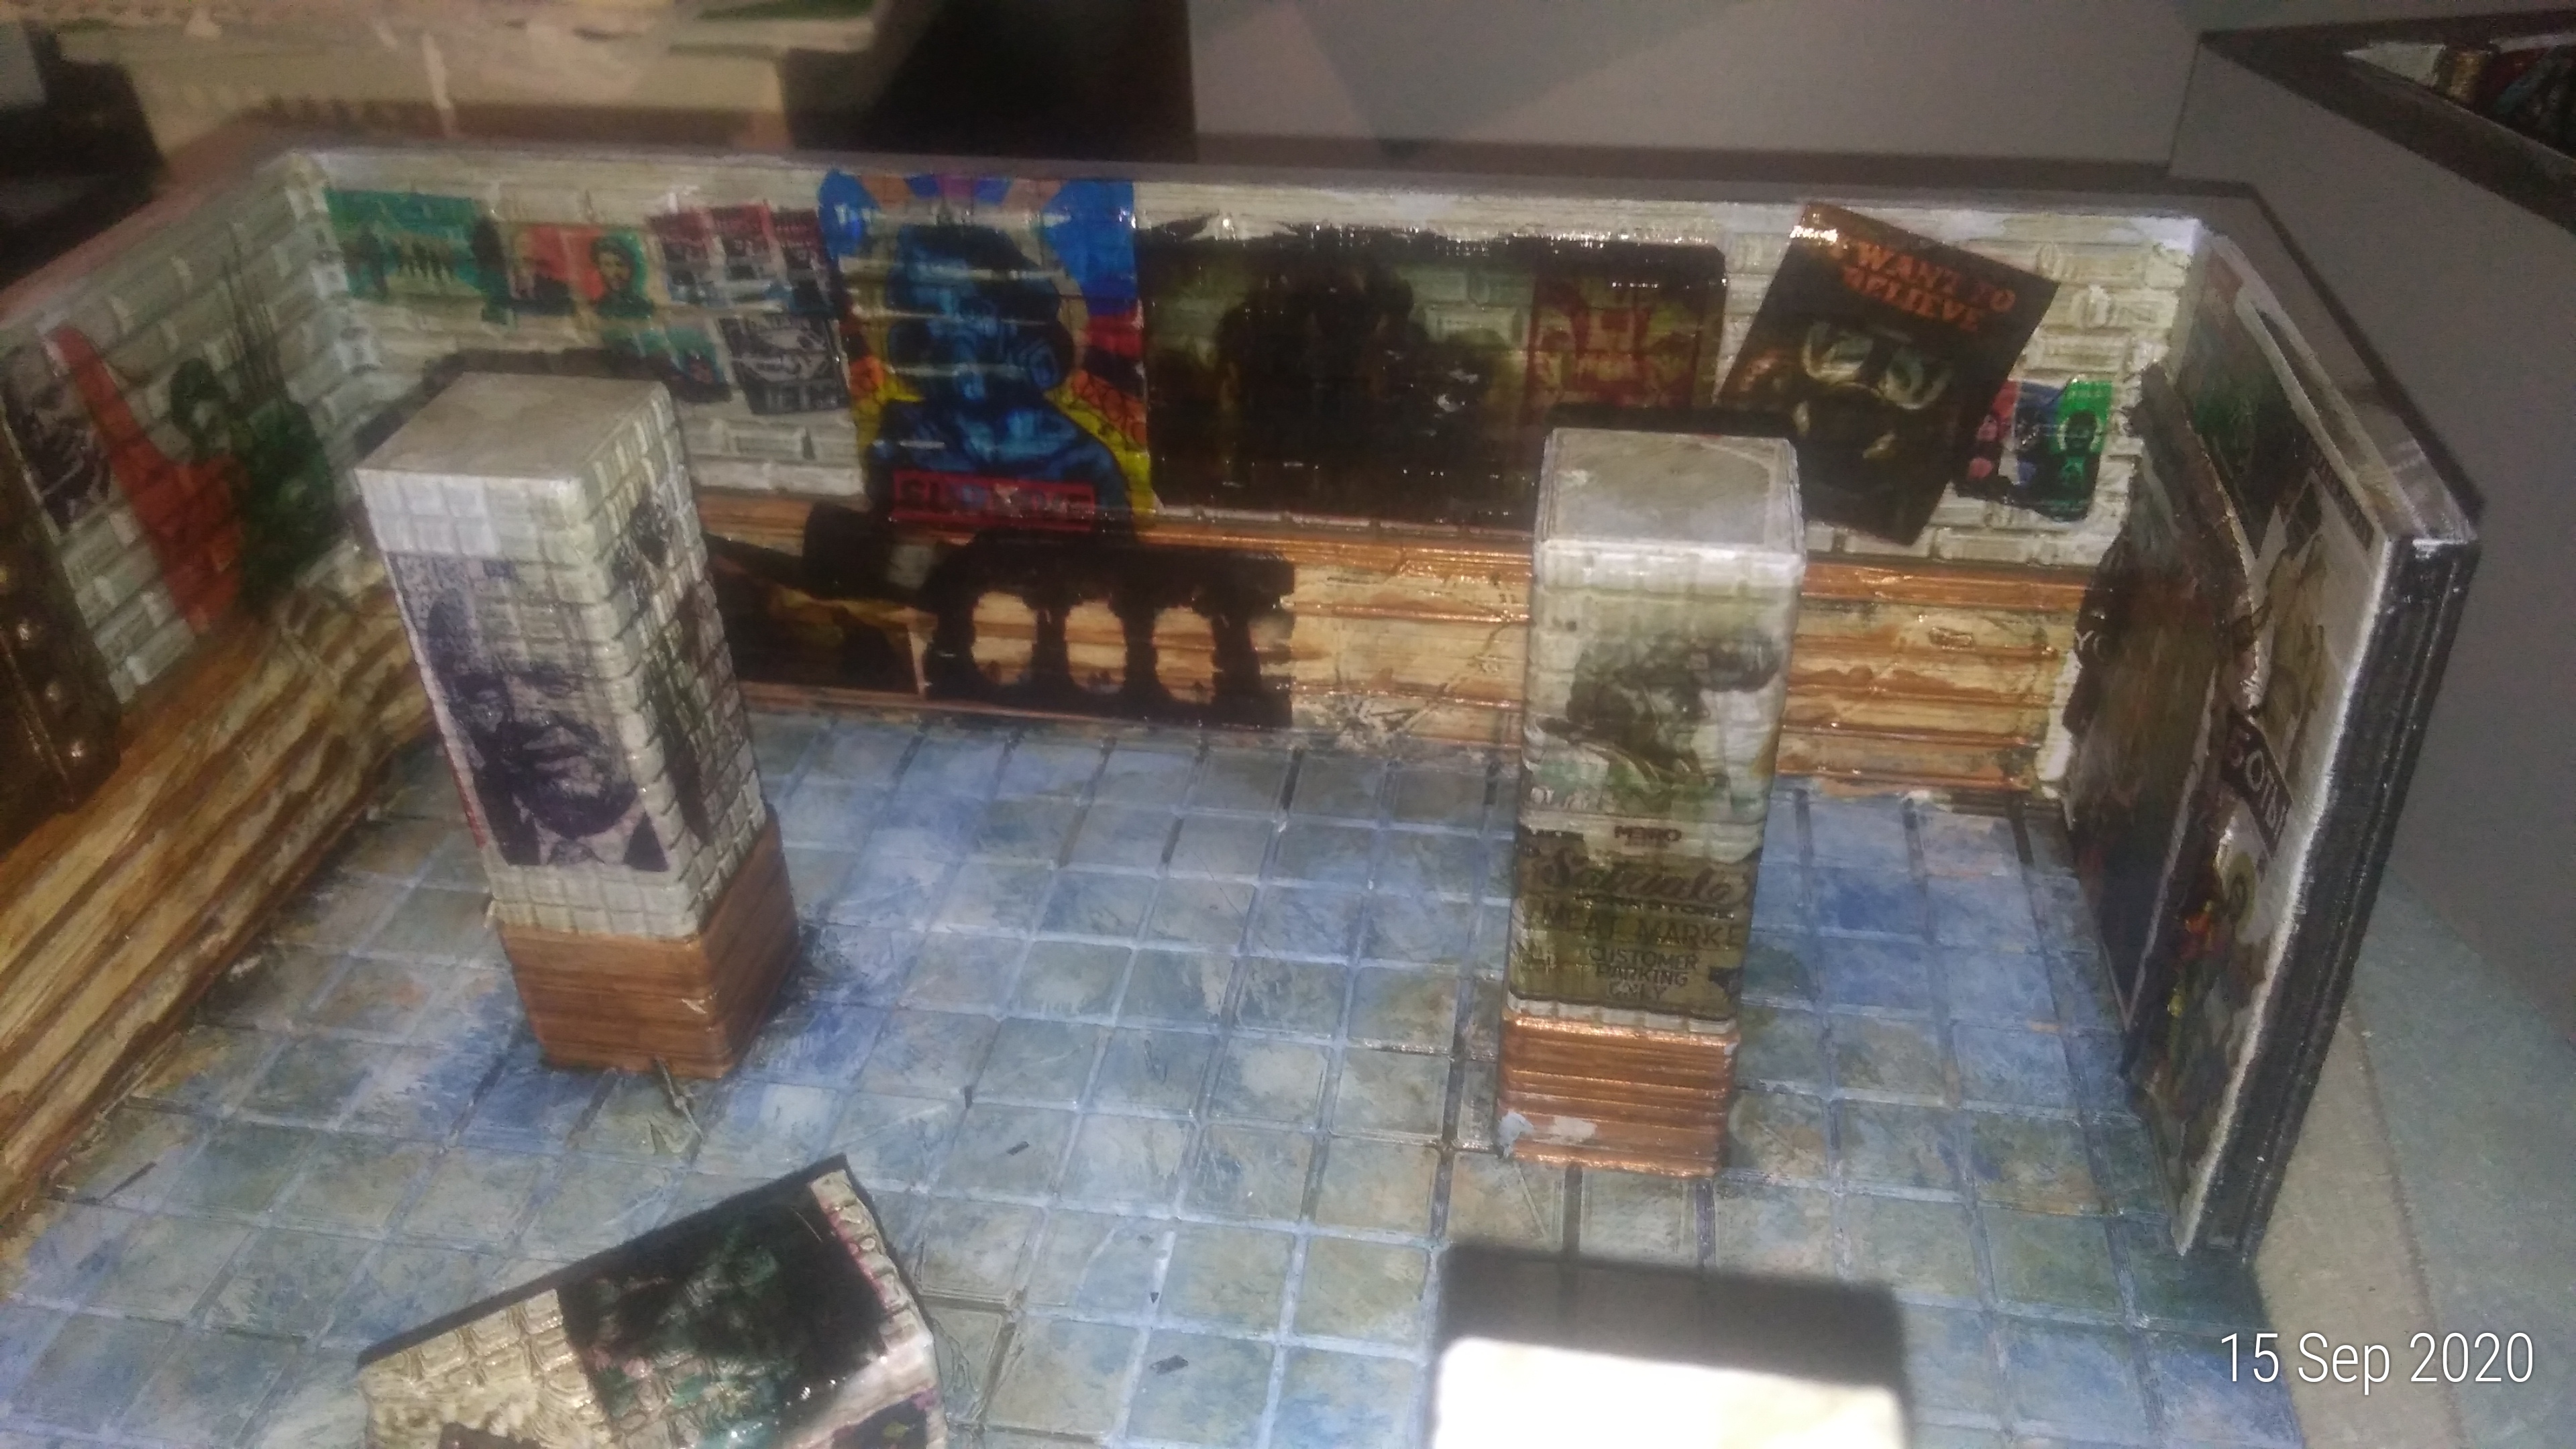
a good point to make is, printers dont print white, it is the paper that is the white. With decals anything white will be see through unless you buy white decal paper. However even this had trouble going up against very dark walls.
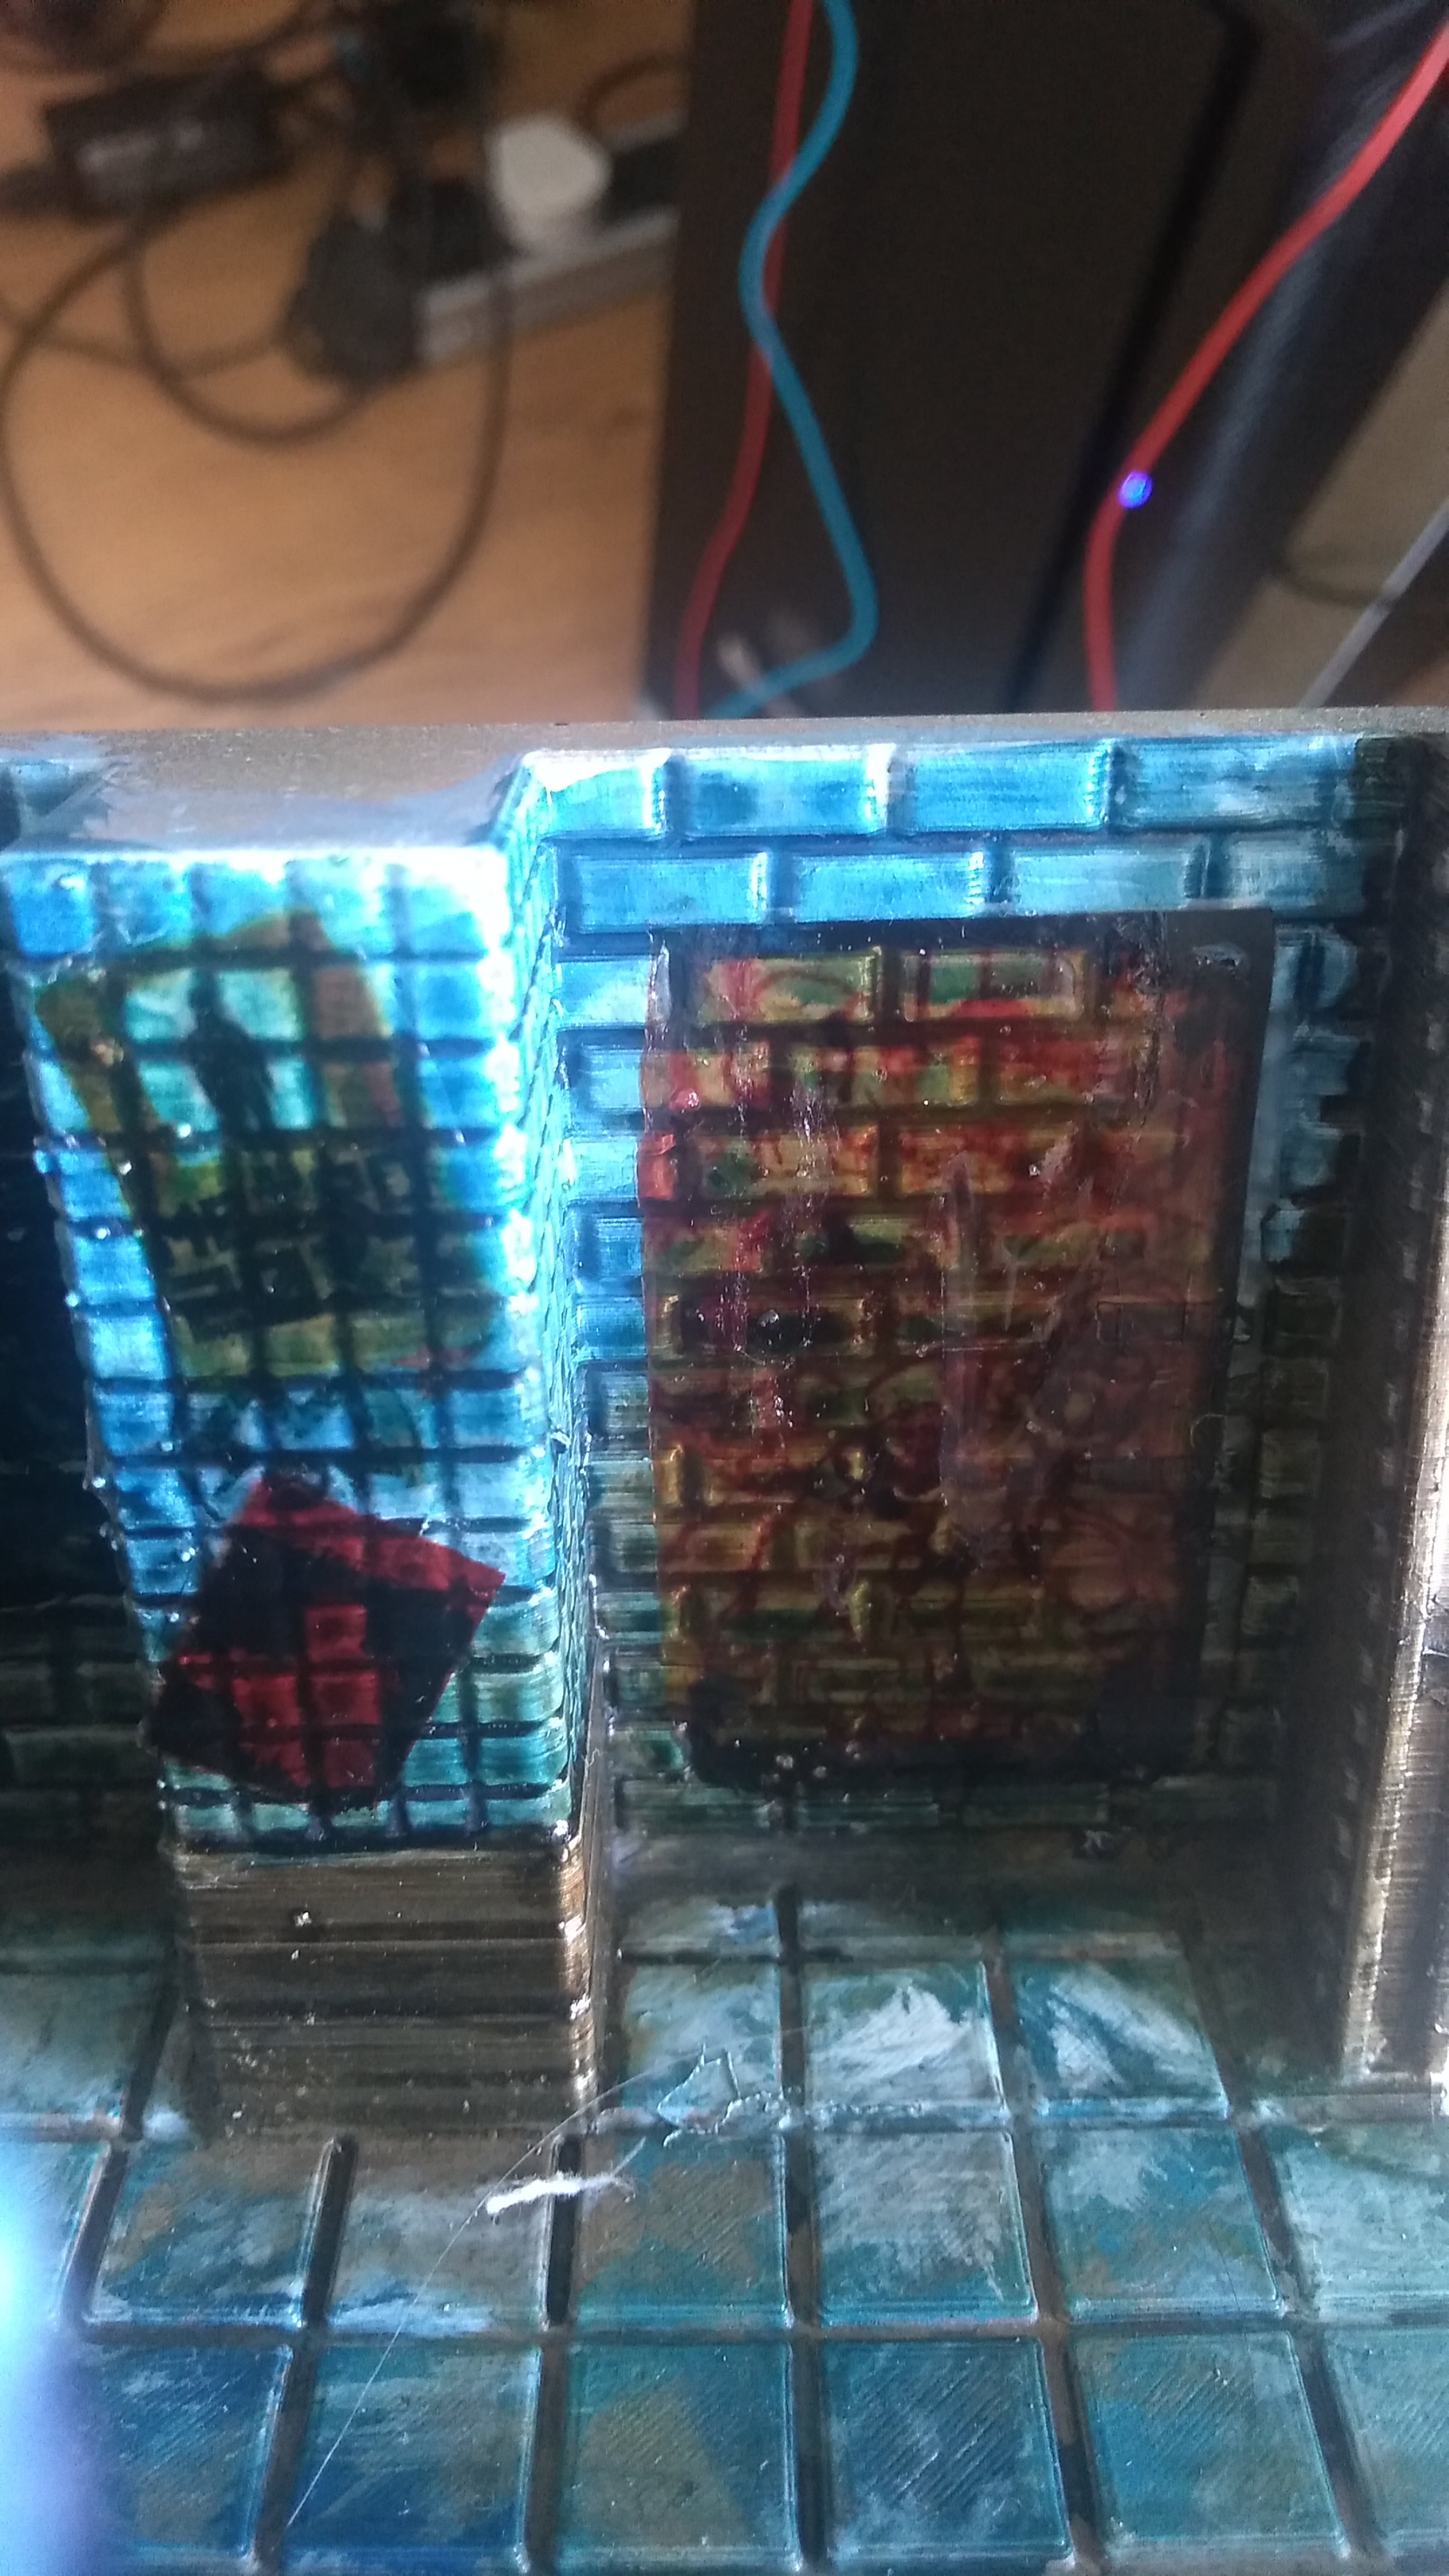
my blue soviet walls held up better to graffiti decals than the red, which is why halfway through the build i painted more blue walls as even after washes the graffiti decals still looked good.
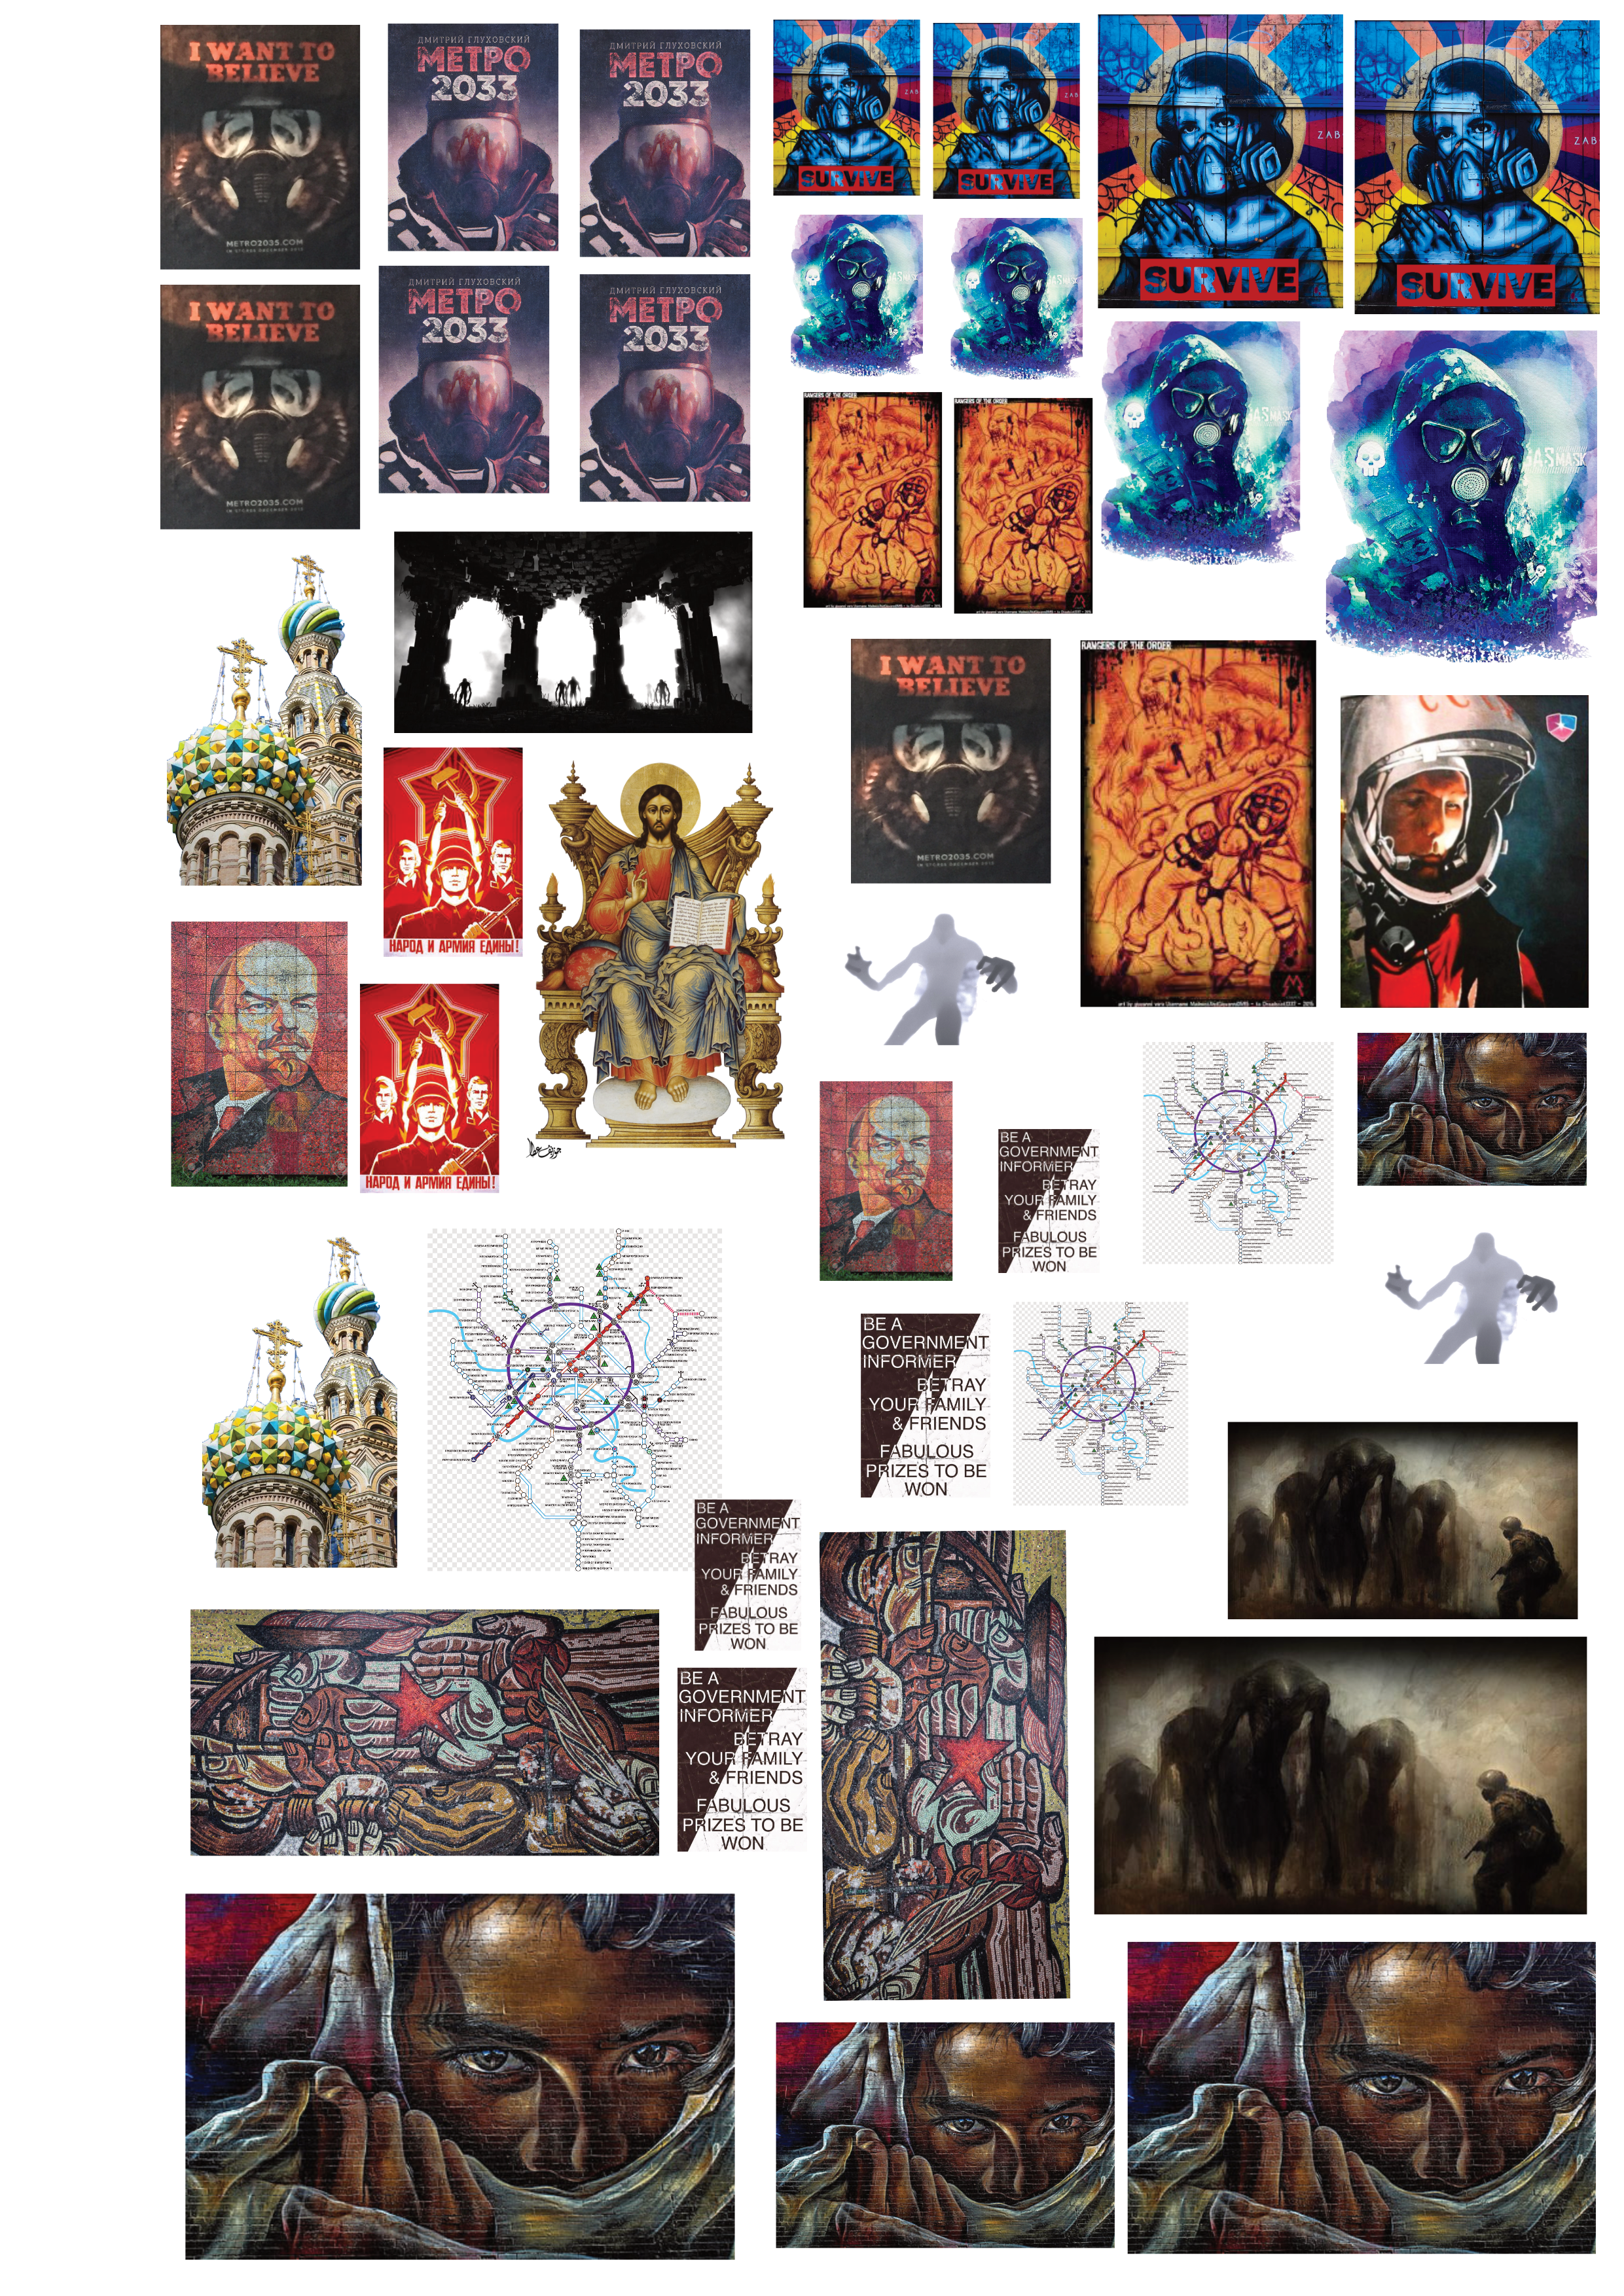
 decals 1