


How to be an Armoured Farmer, building Hobart’s Funnies in Glorious 15mm (and maybe 28mm if they arrive in time!)


Recommendations: 2233
About the Project
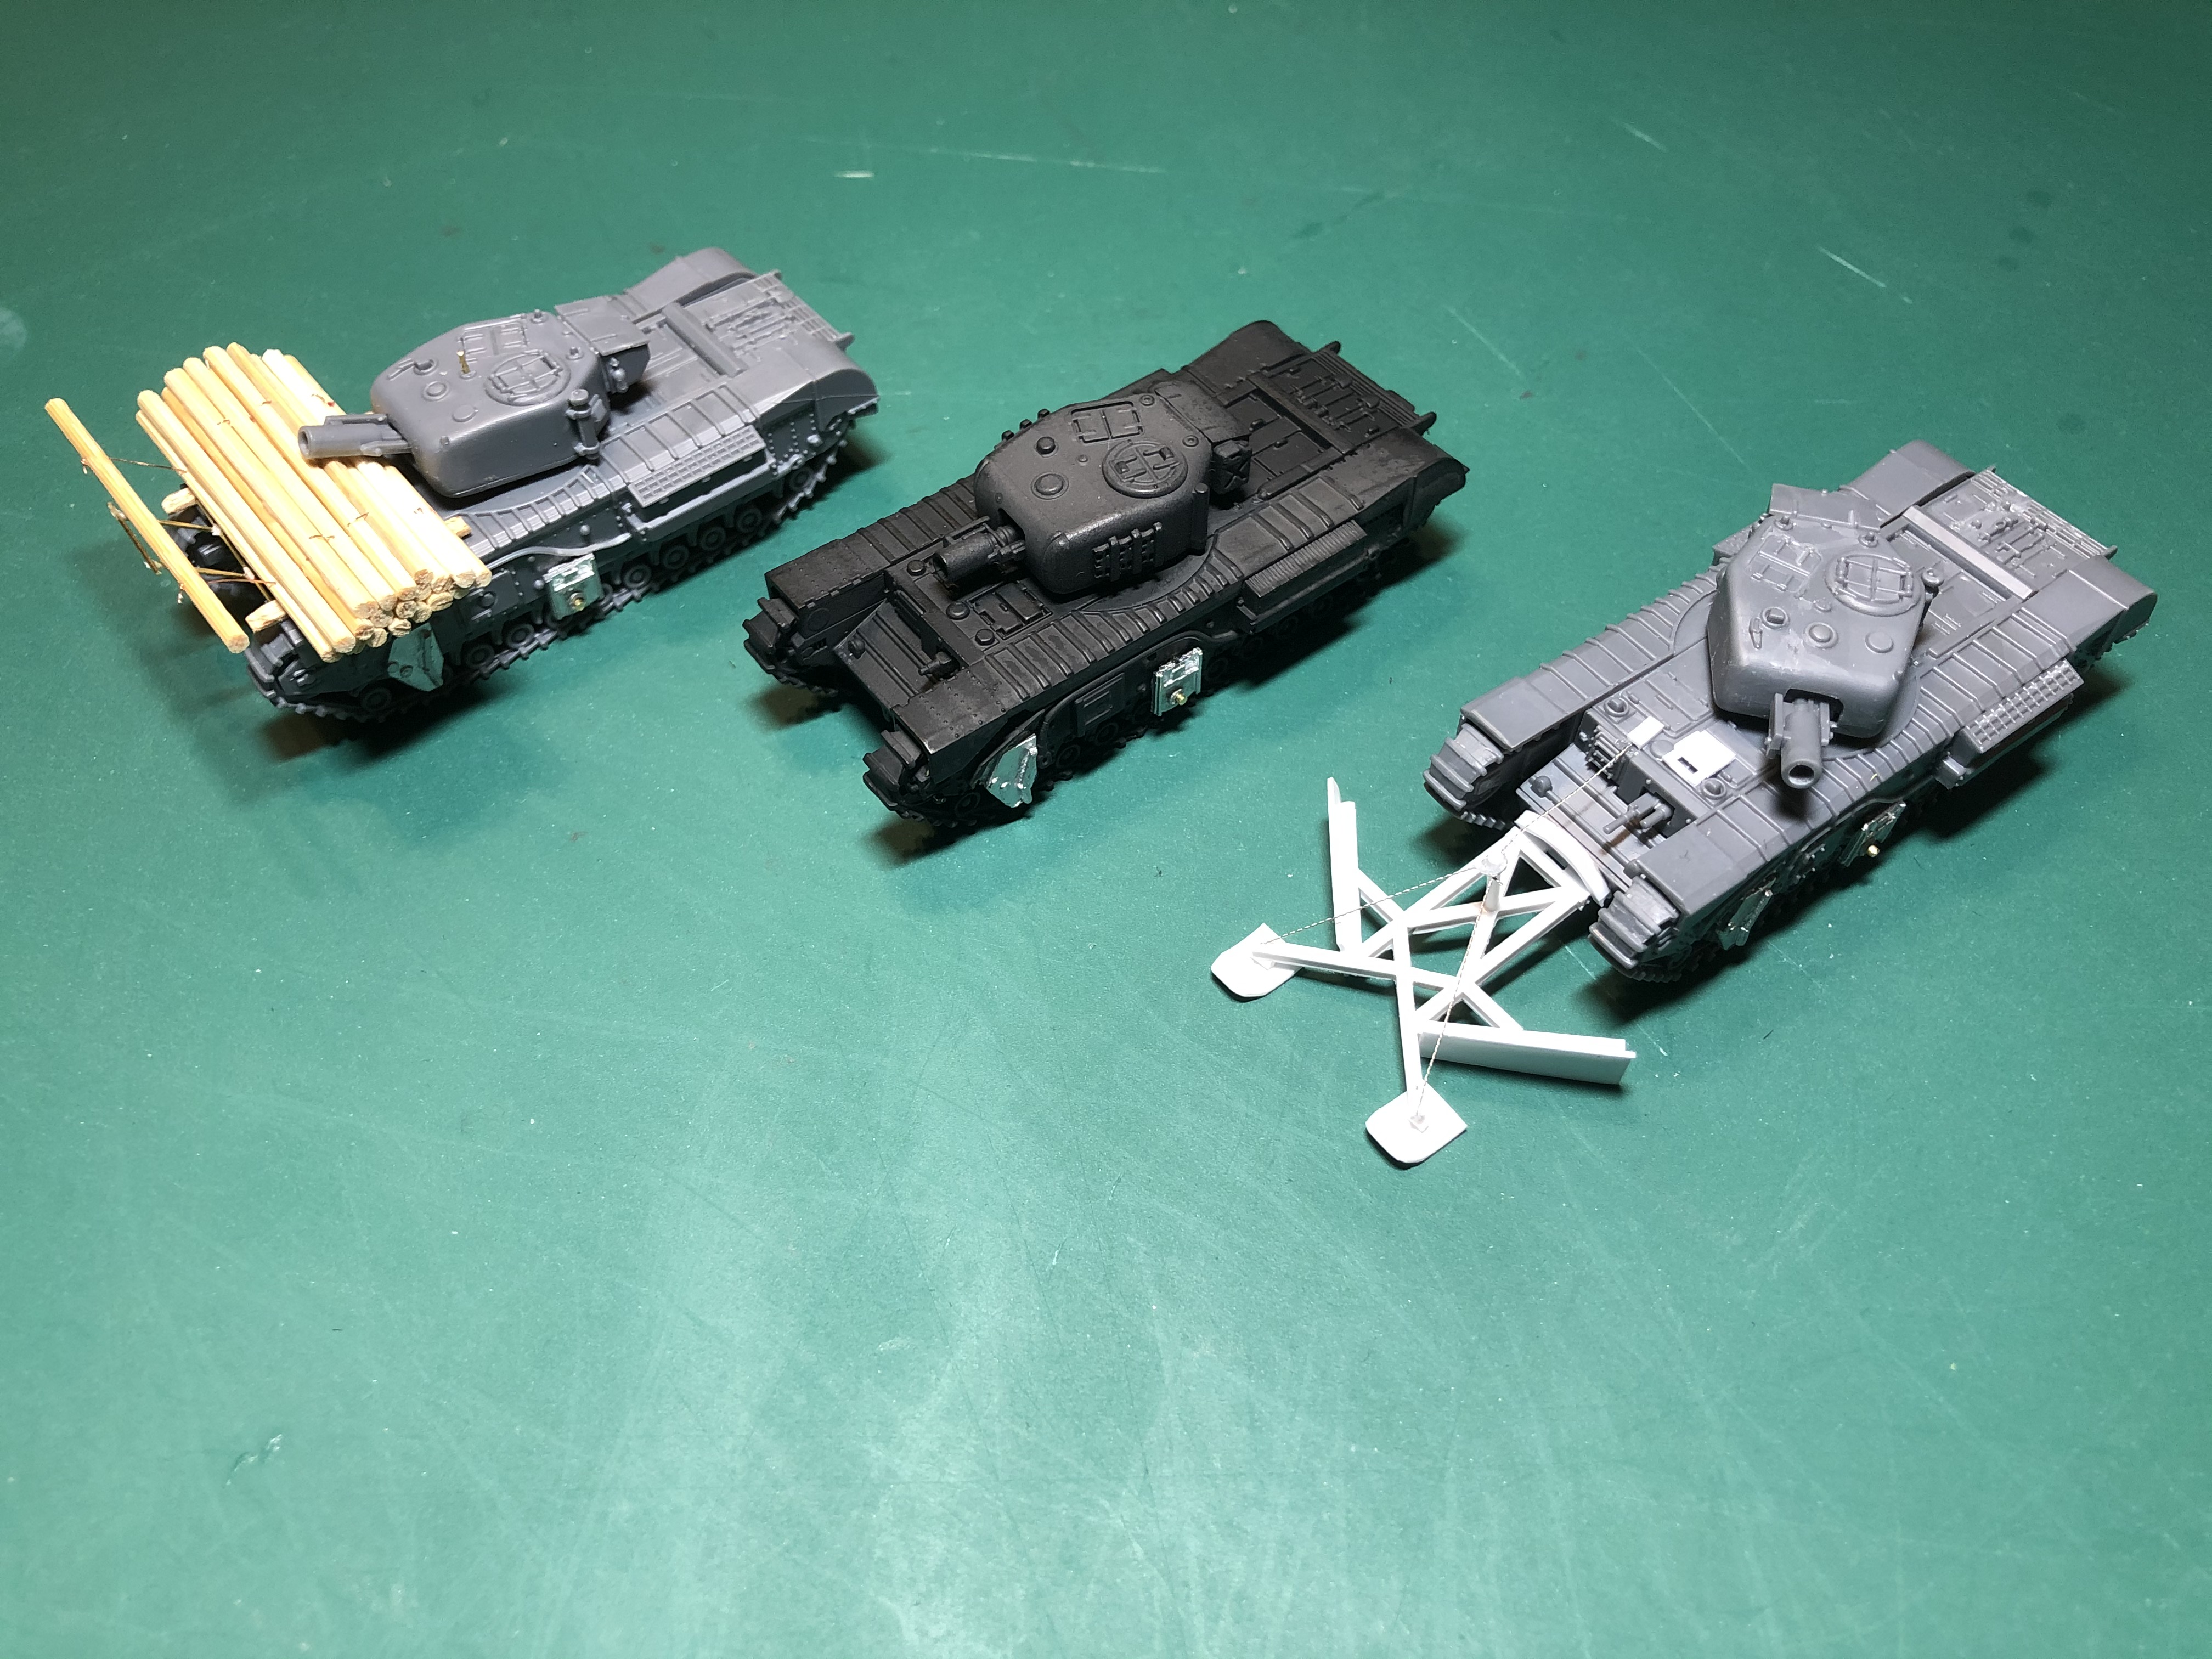
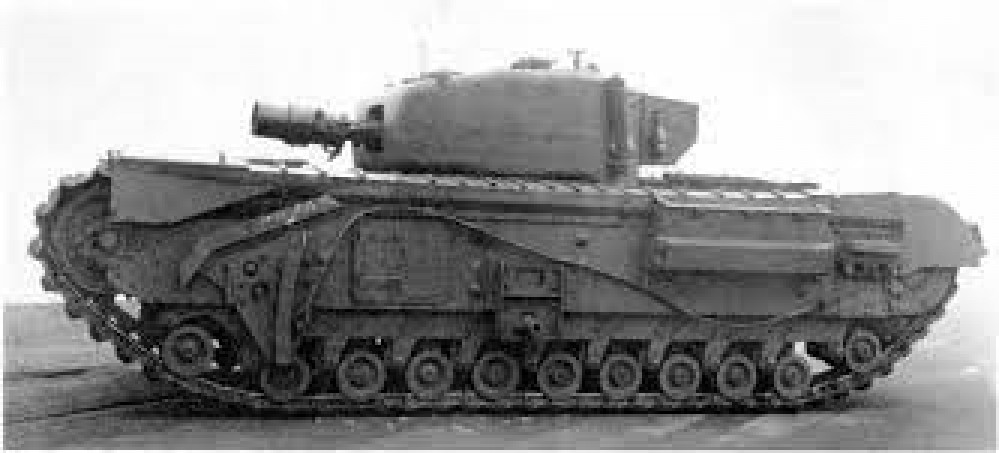
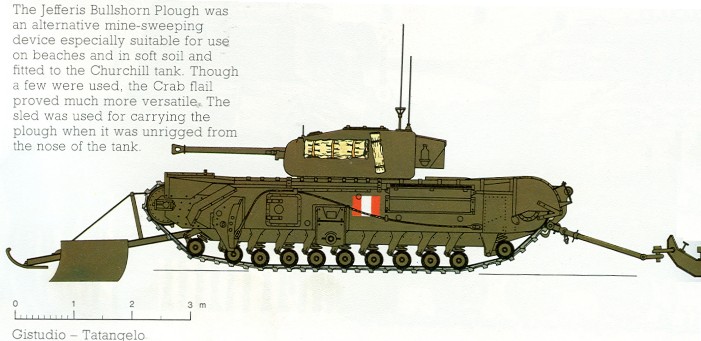
Right then, having avoided any sort of Spring cleaning challenge in the past, I have decided to use this year's one to get something done that I have been gathering bits for over the past few years and finally finish and assemble all of my Hobart's Funnies. To get technical these are Armoured Vehicle Royal Engineers (AVRE) tanks, using the Churchill chassis as a base. I will also throw in some Sherman Crabs (Flail tanks). I have gathered a few books for reference so that I can paint and mark them up for one of the Armoured Assault Squadrons Royal Engineer (either 77, or 79) that landed ashore at Sword Beach and were the very first to see action on that beach; Plus the Sherman Crabs of A Squadron 22nd Dragoons. Whilst I want to be able to use the finished tanks in games depicting the D Day Landings (in Flames of War and Chain of Command at 15mm) I also want then to be versatile enough to be able to be used in later engagements that the 79th Armoured Division took part in (which is pretty much everything!). I hope you will find this of interest if you ever want to branch out into what the modern day Royal Engineers affectionately call being an armoured farmer.
Related Game: Flames of War: The World War II Miniatures Game
Related Company: Battlefront Miniatures
Related Genre: Historical
Related Contest: Spring Clean Hobby Challenge (Old)
This Project is Active
And up next.... How to scratch build a Bobbin AVRE
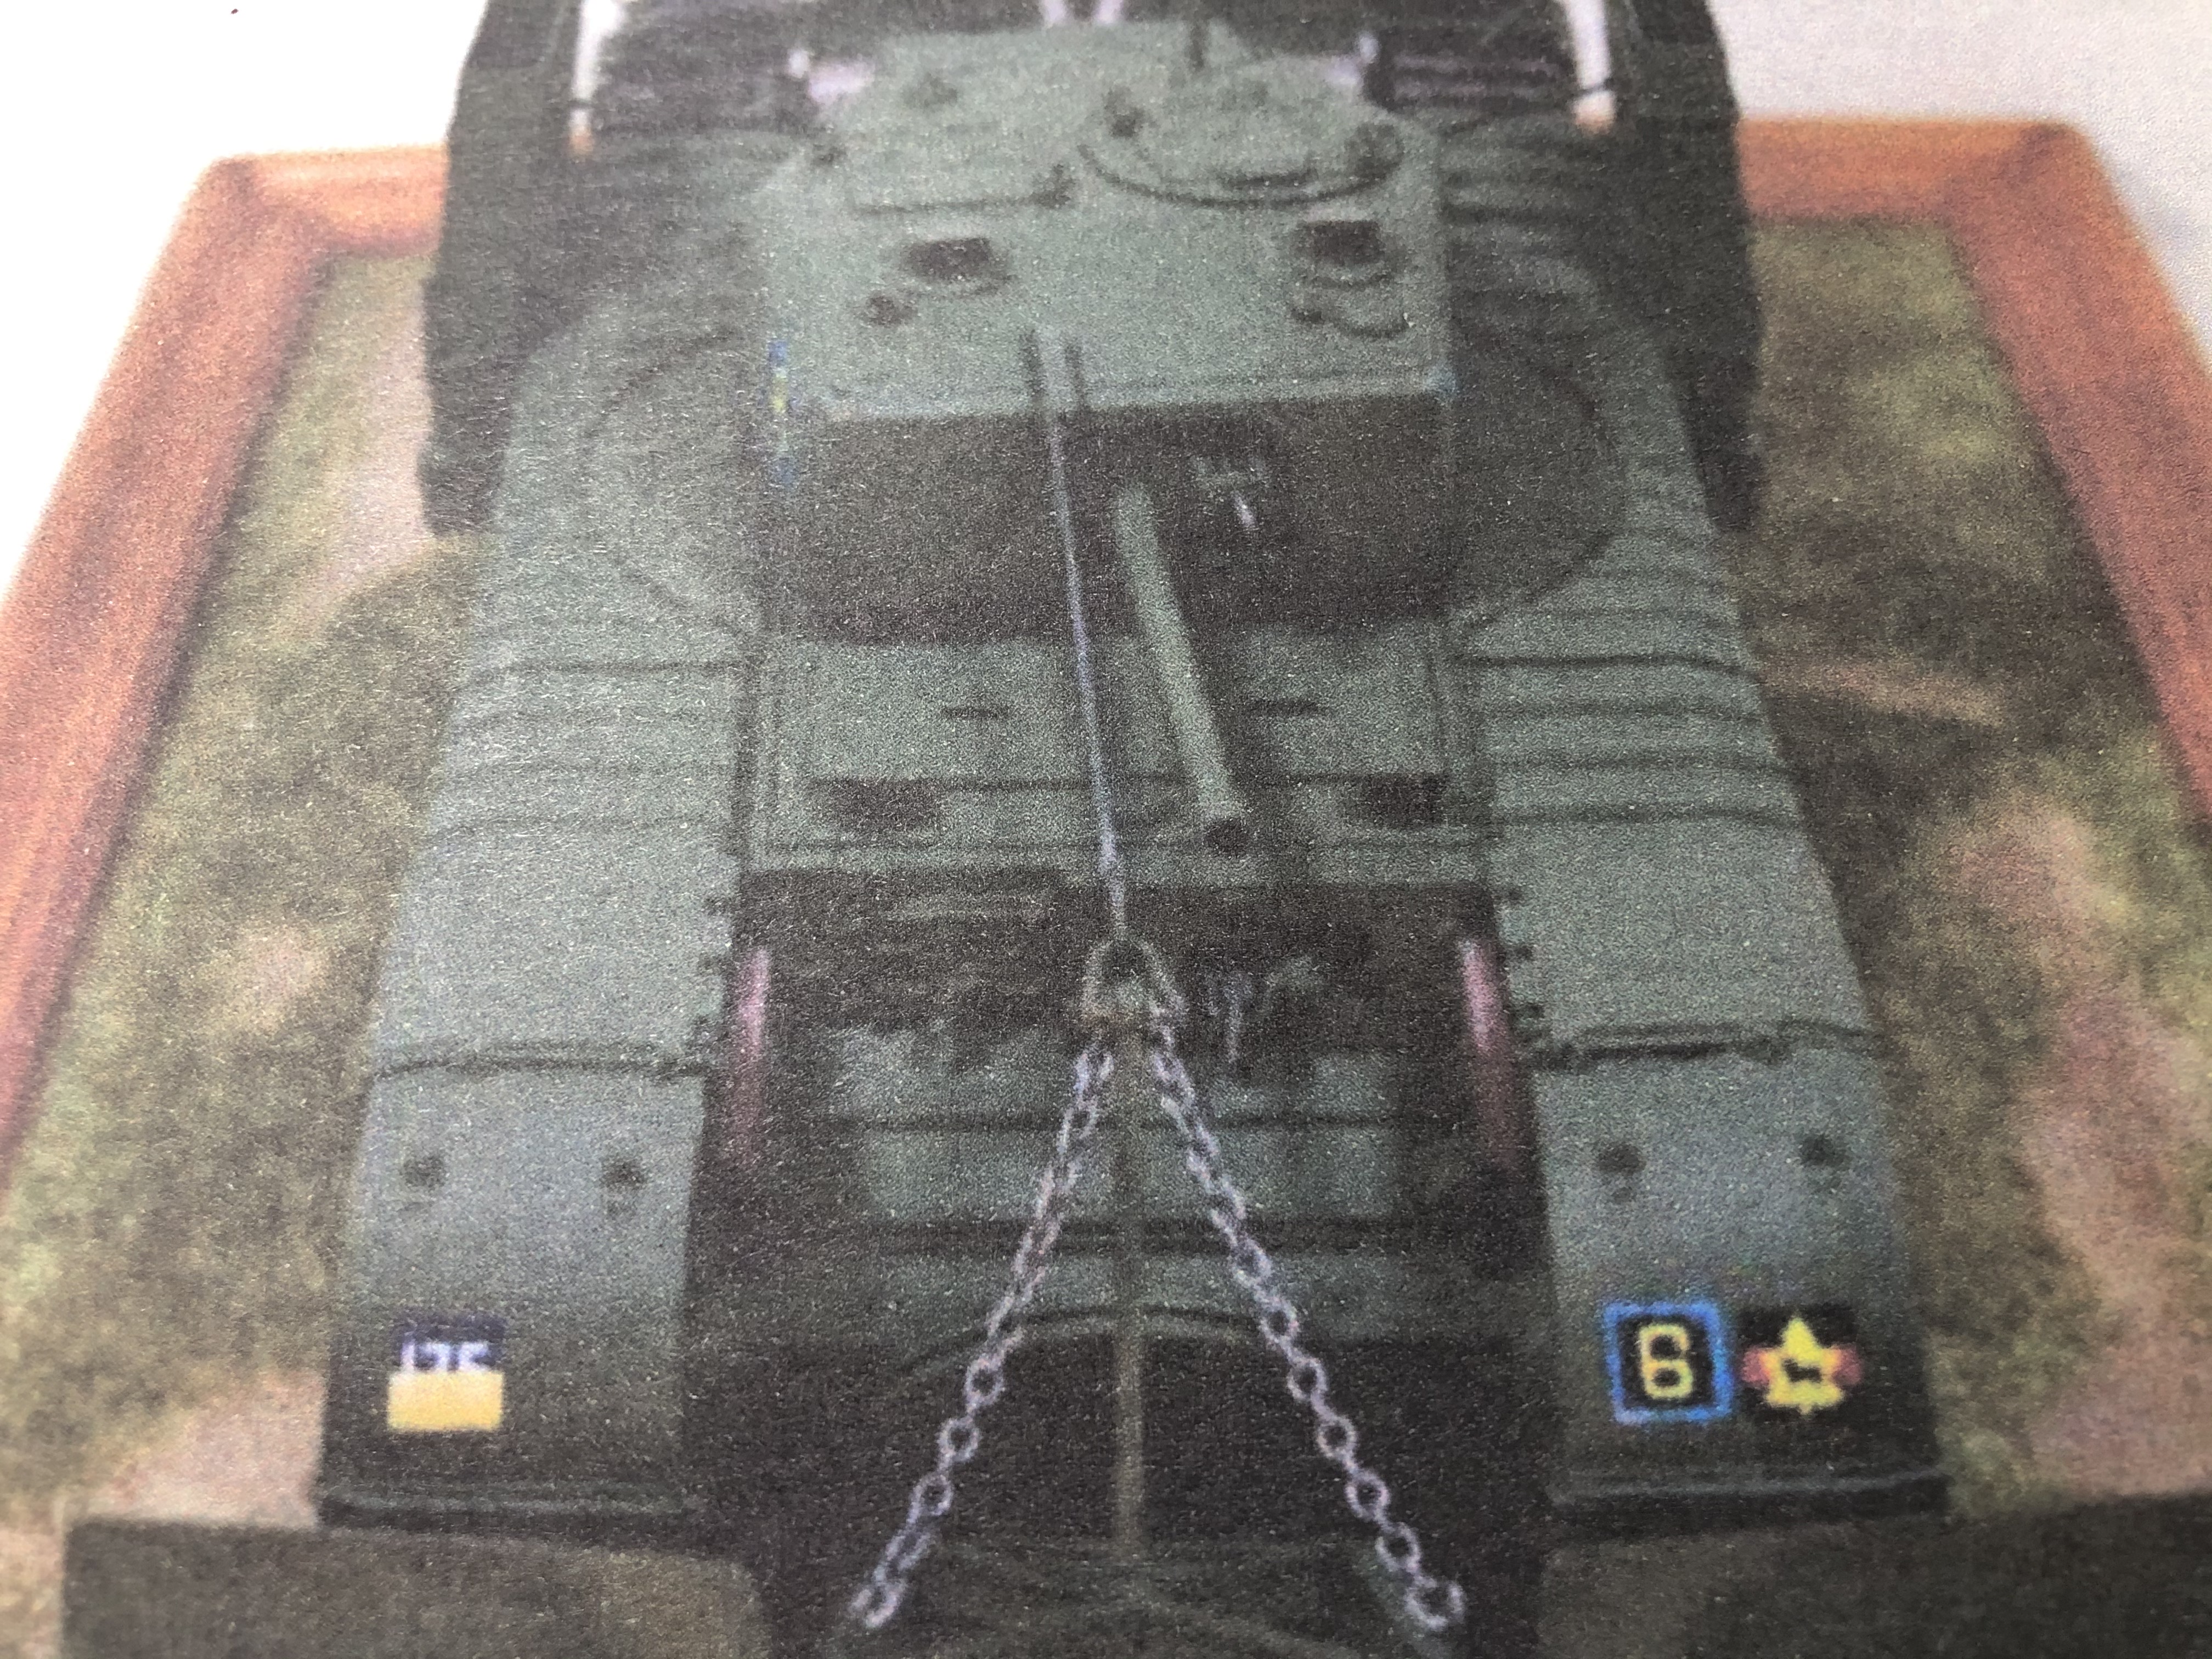
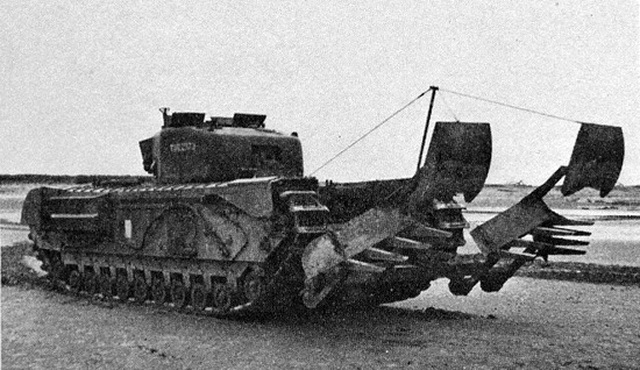
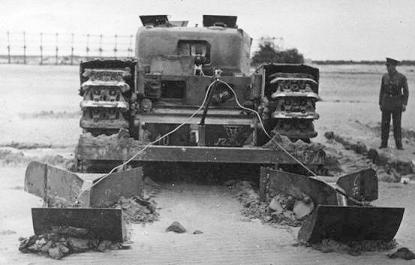
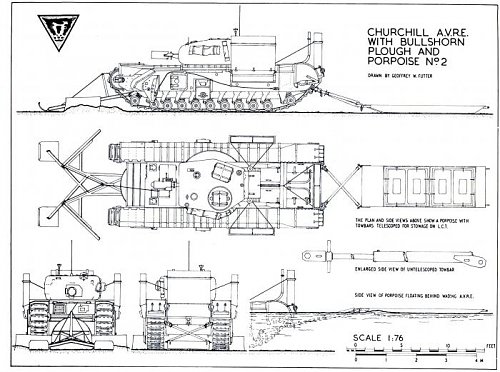
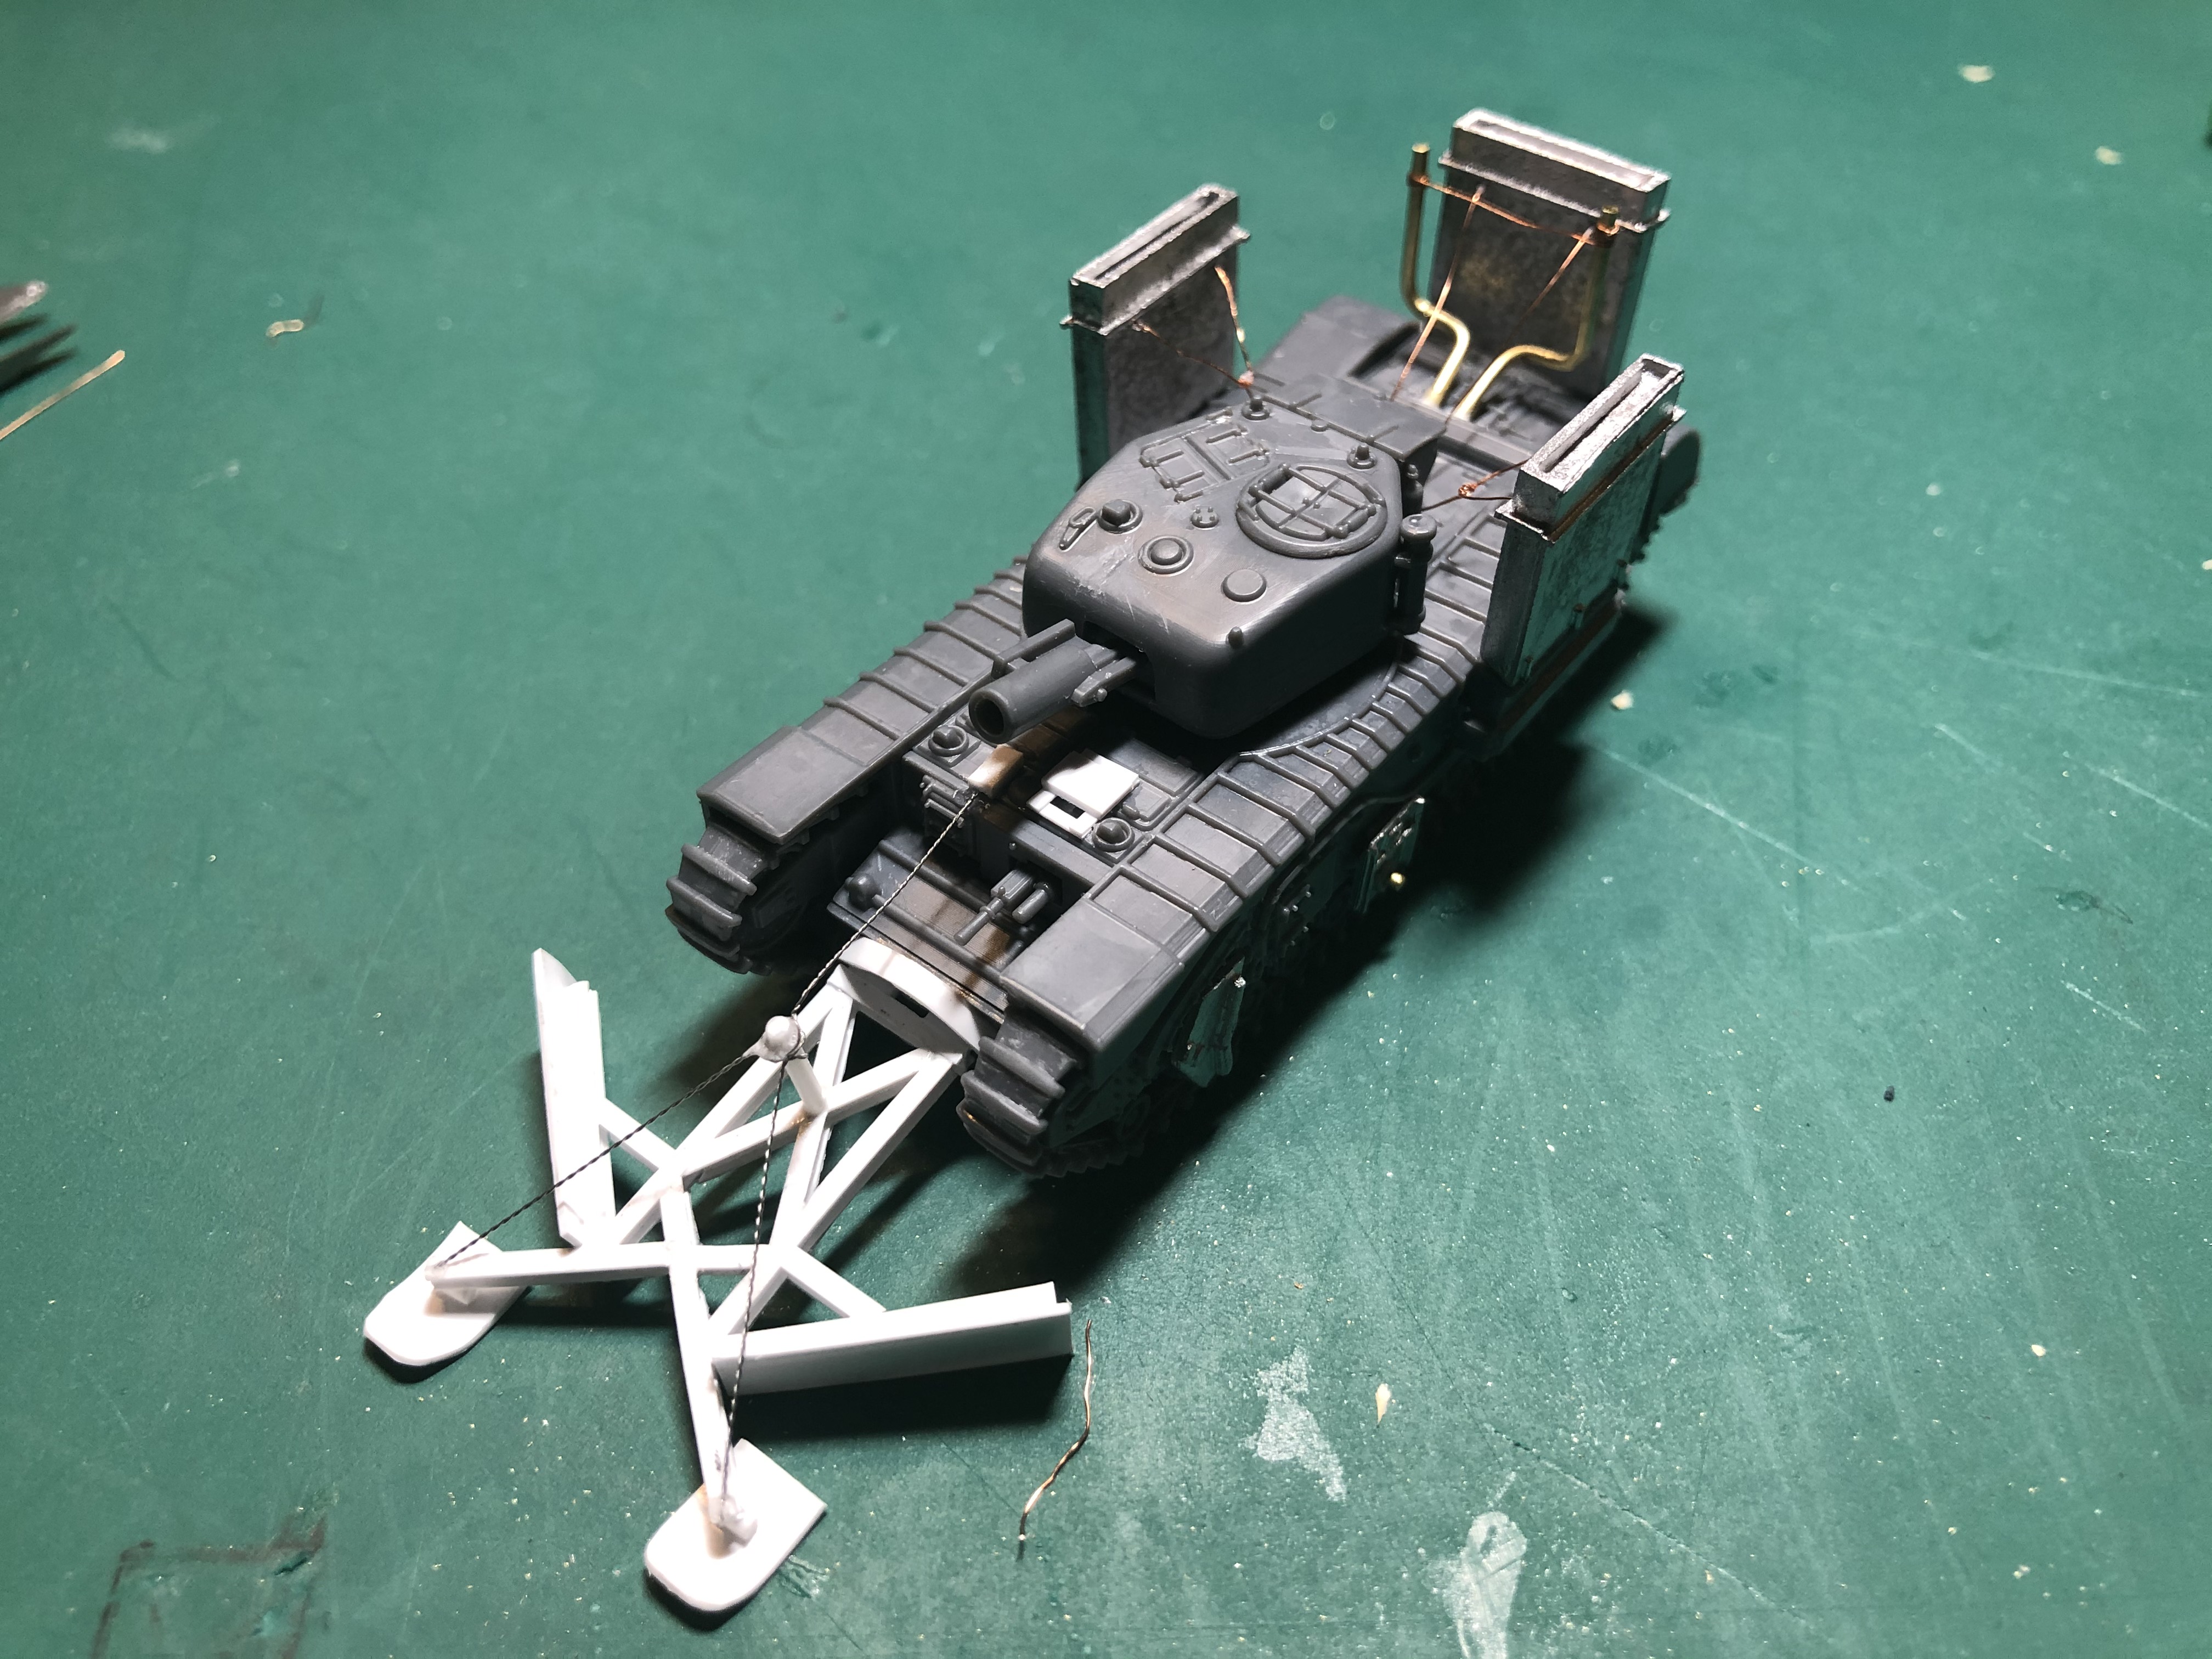
Before that here’s some of the reference photos I used during the latest conversions, so you don’t have to go digging yourselves.
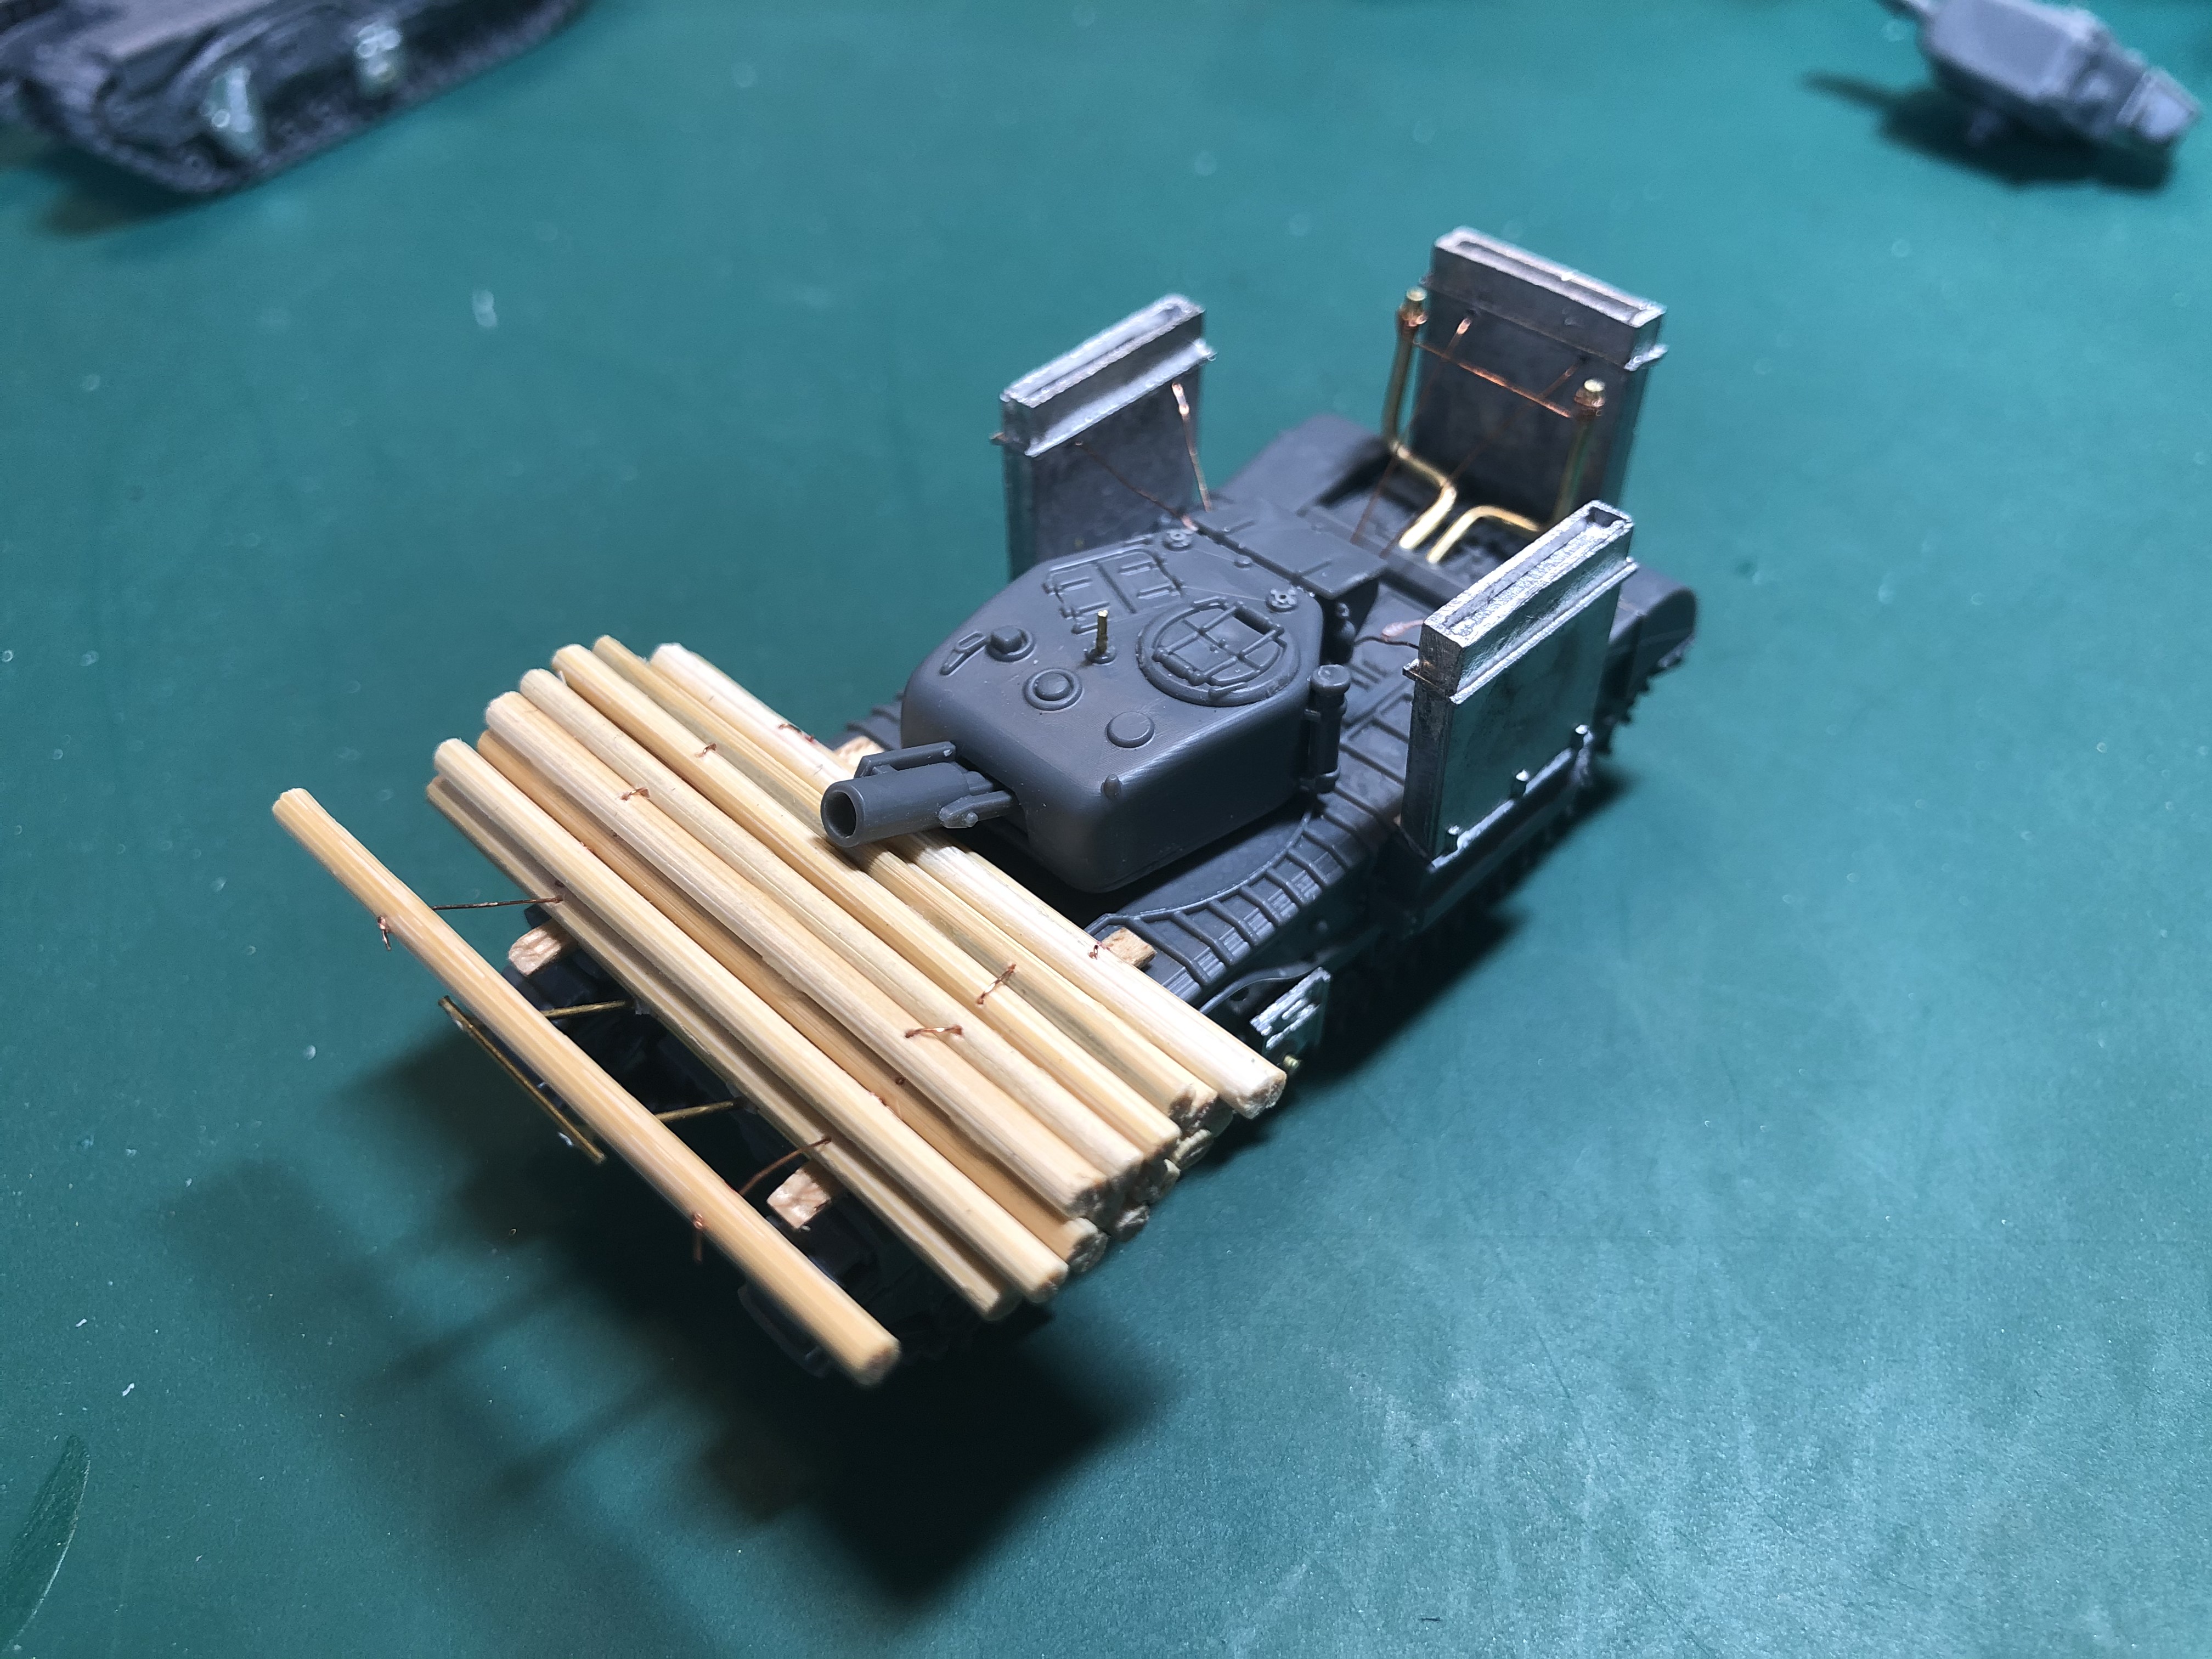
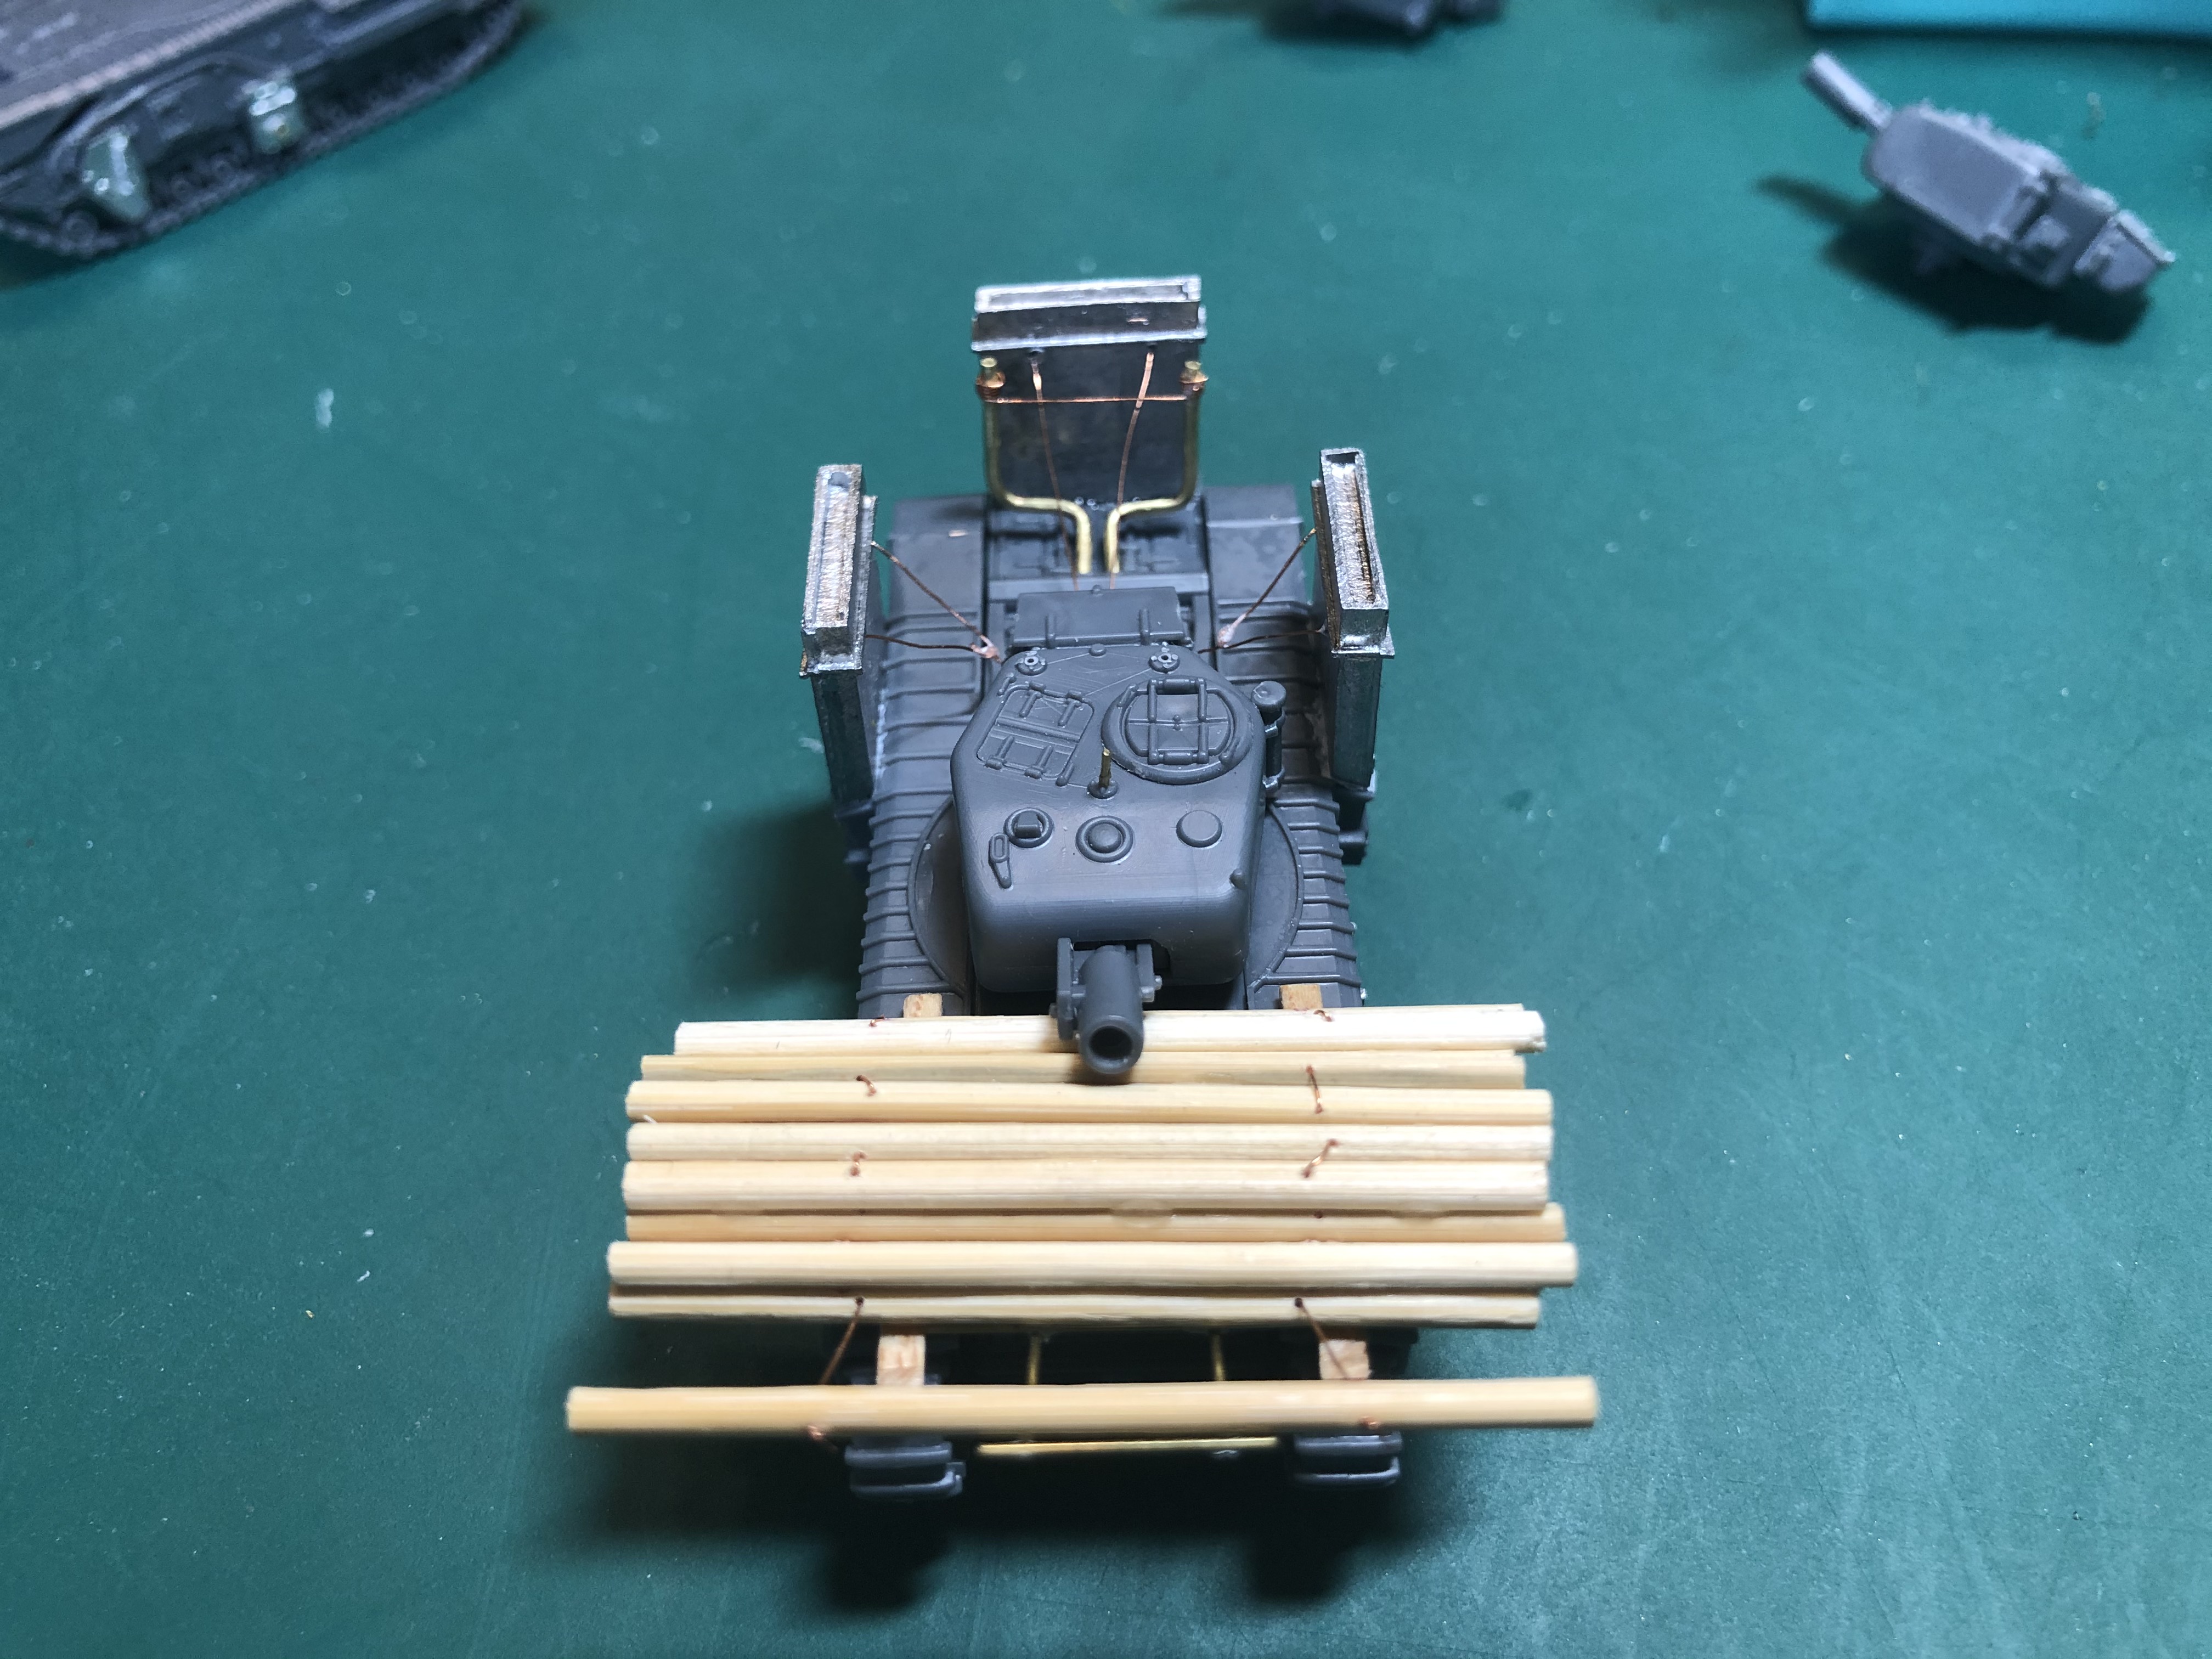
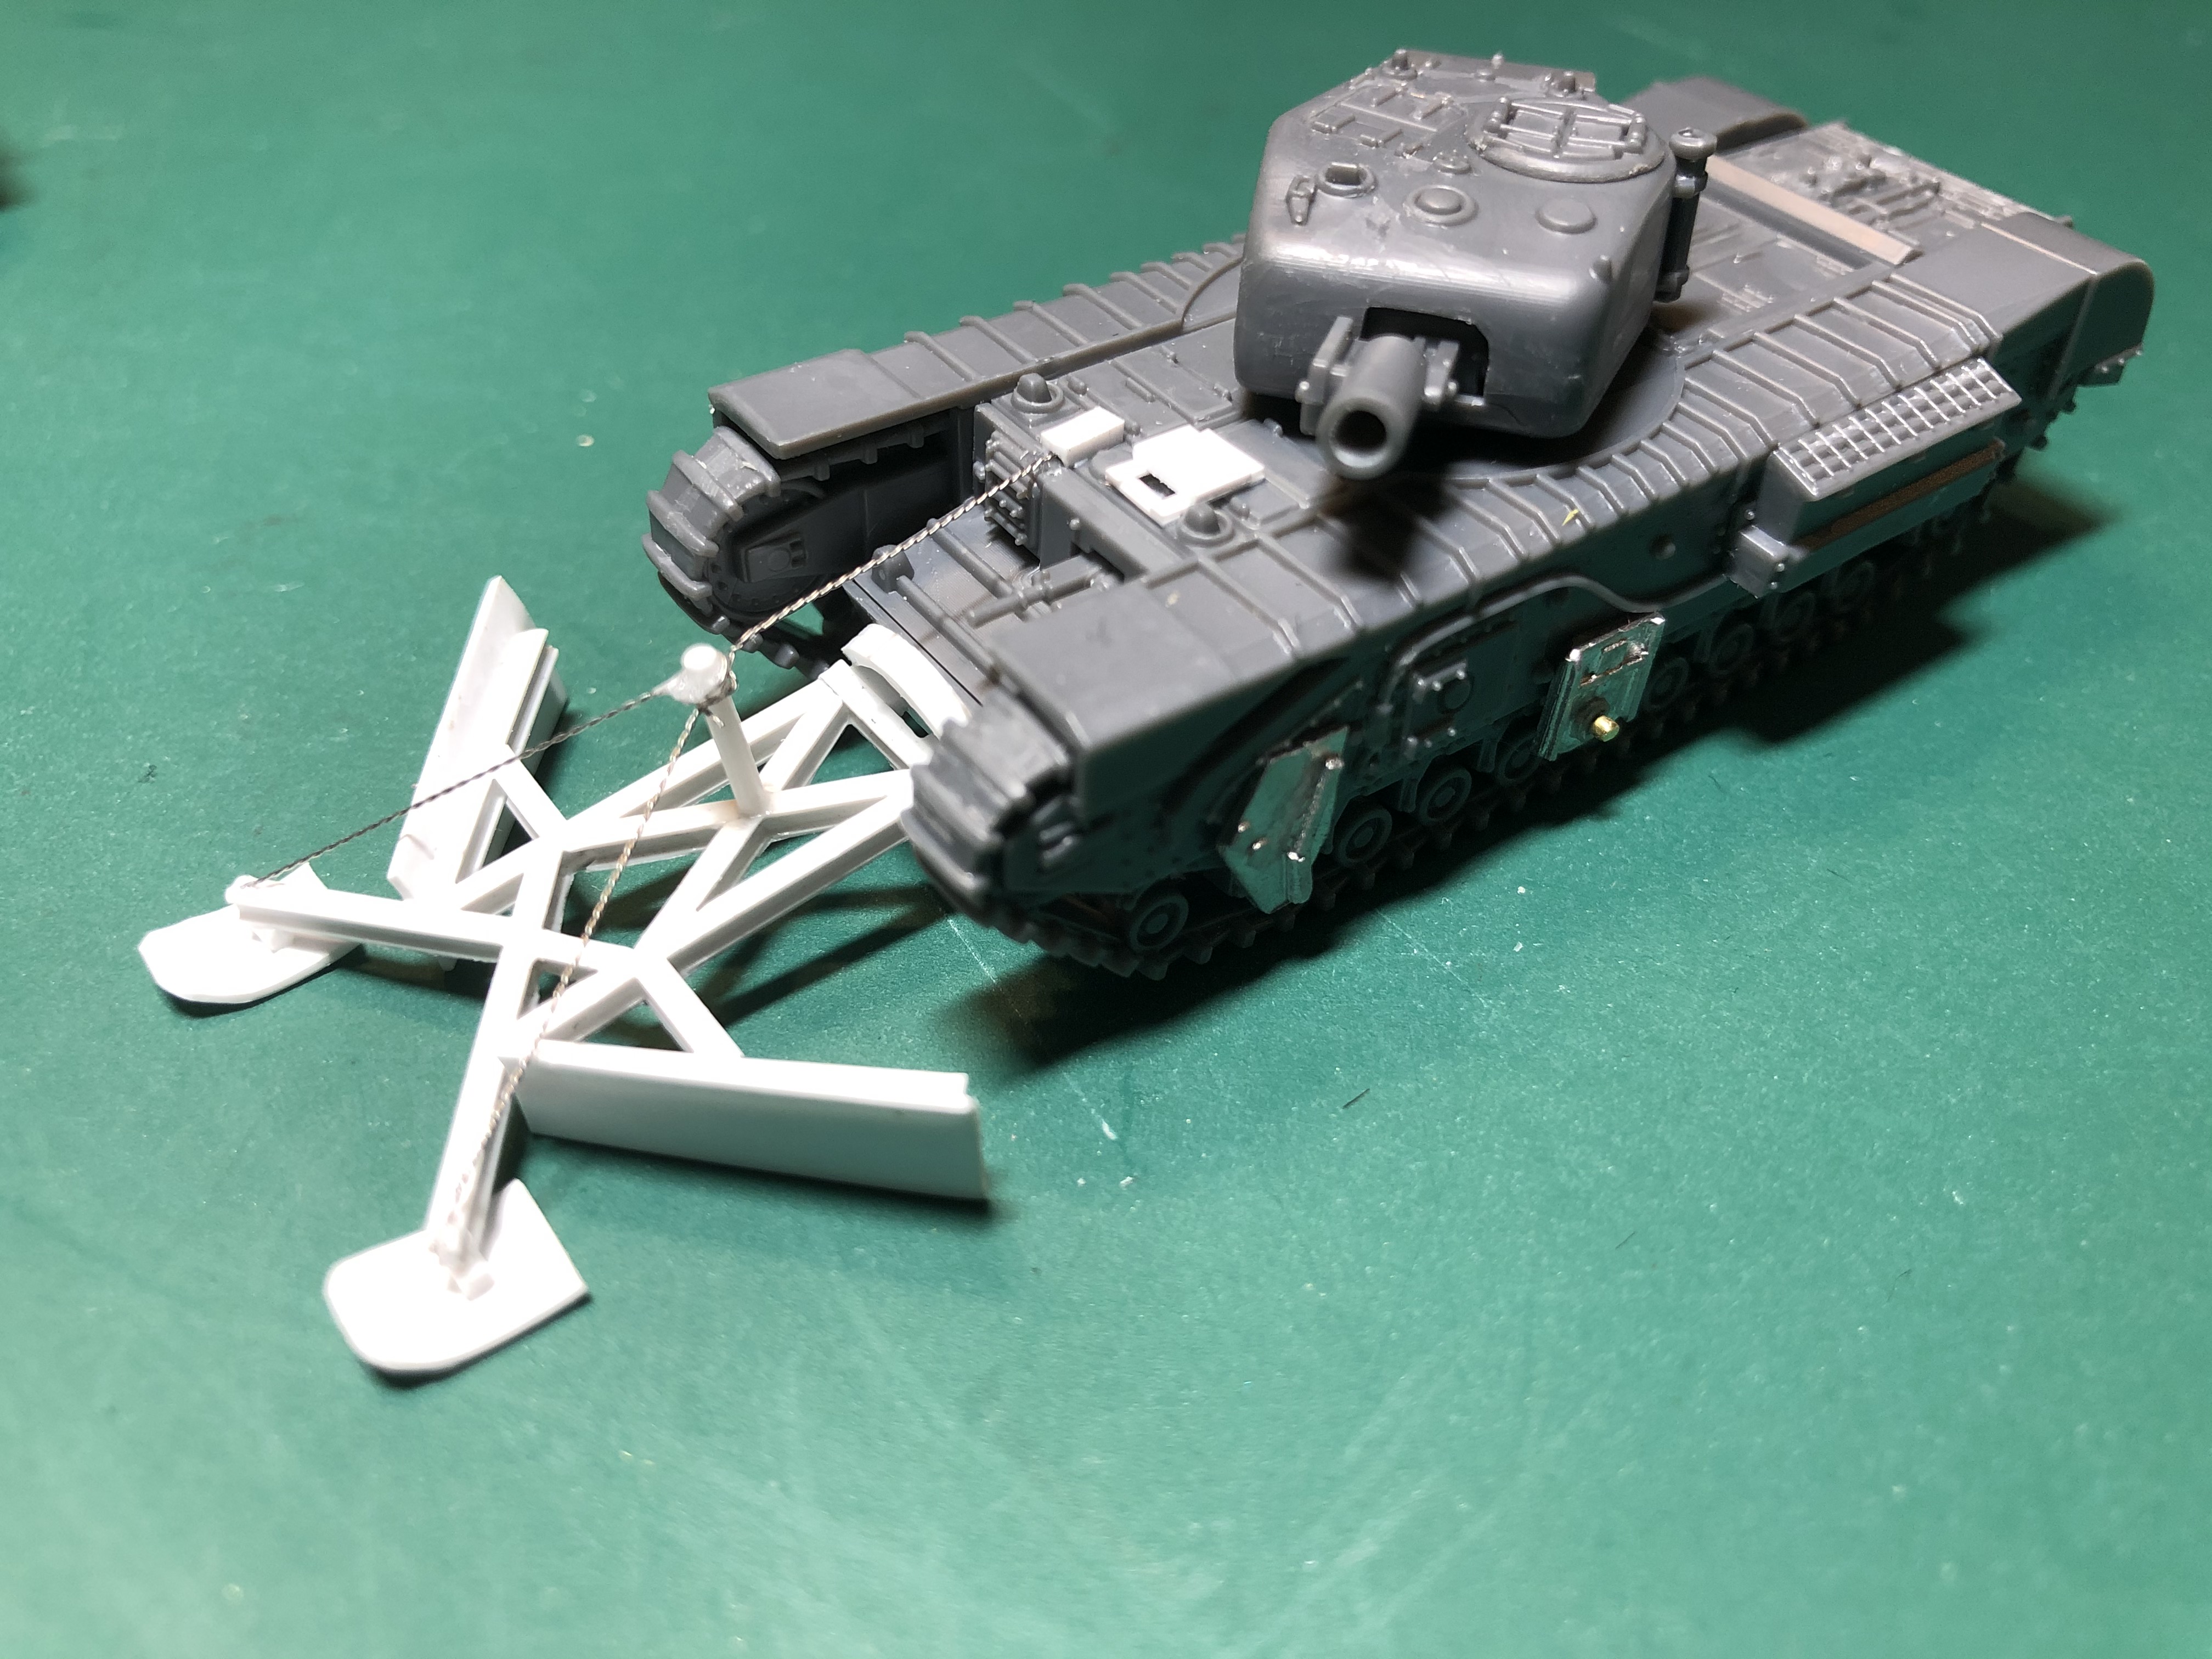
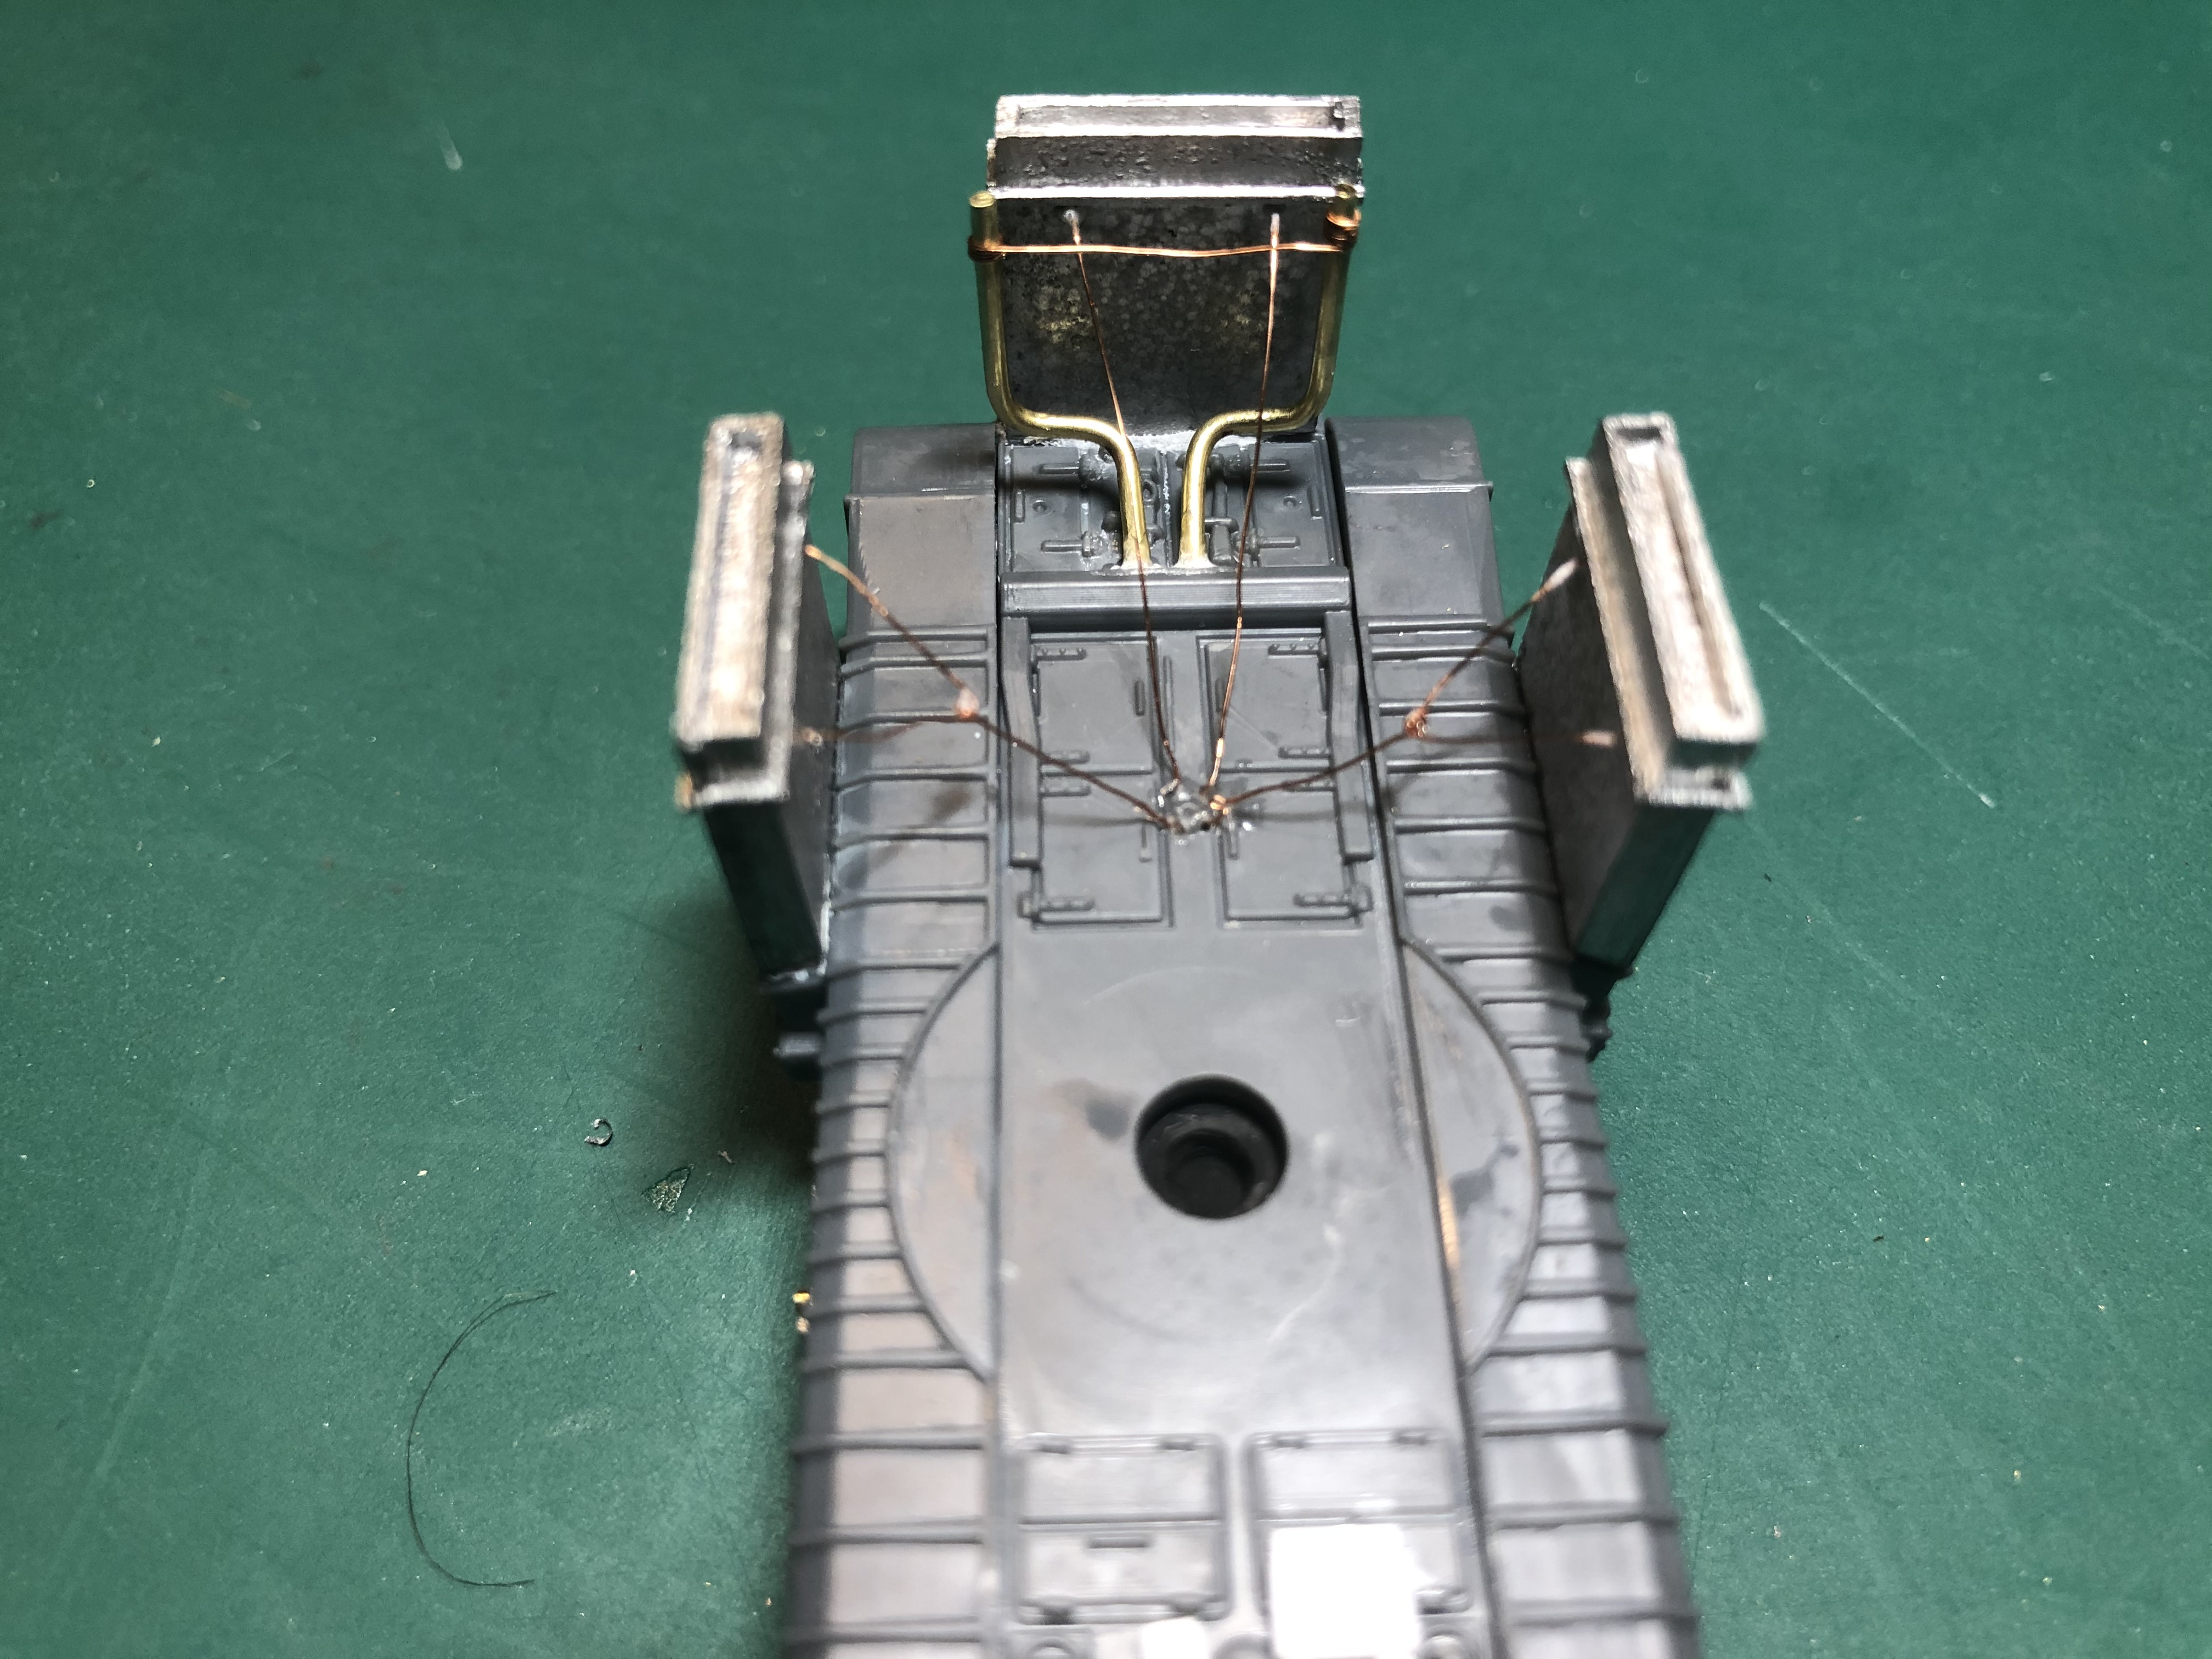
Wading Ducts complete
Here are the finished pictures of the mine plough with all of the ducts, exhaust extensions and retaining wires glued in place.
Not everything goes to plan
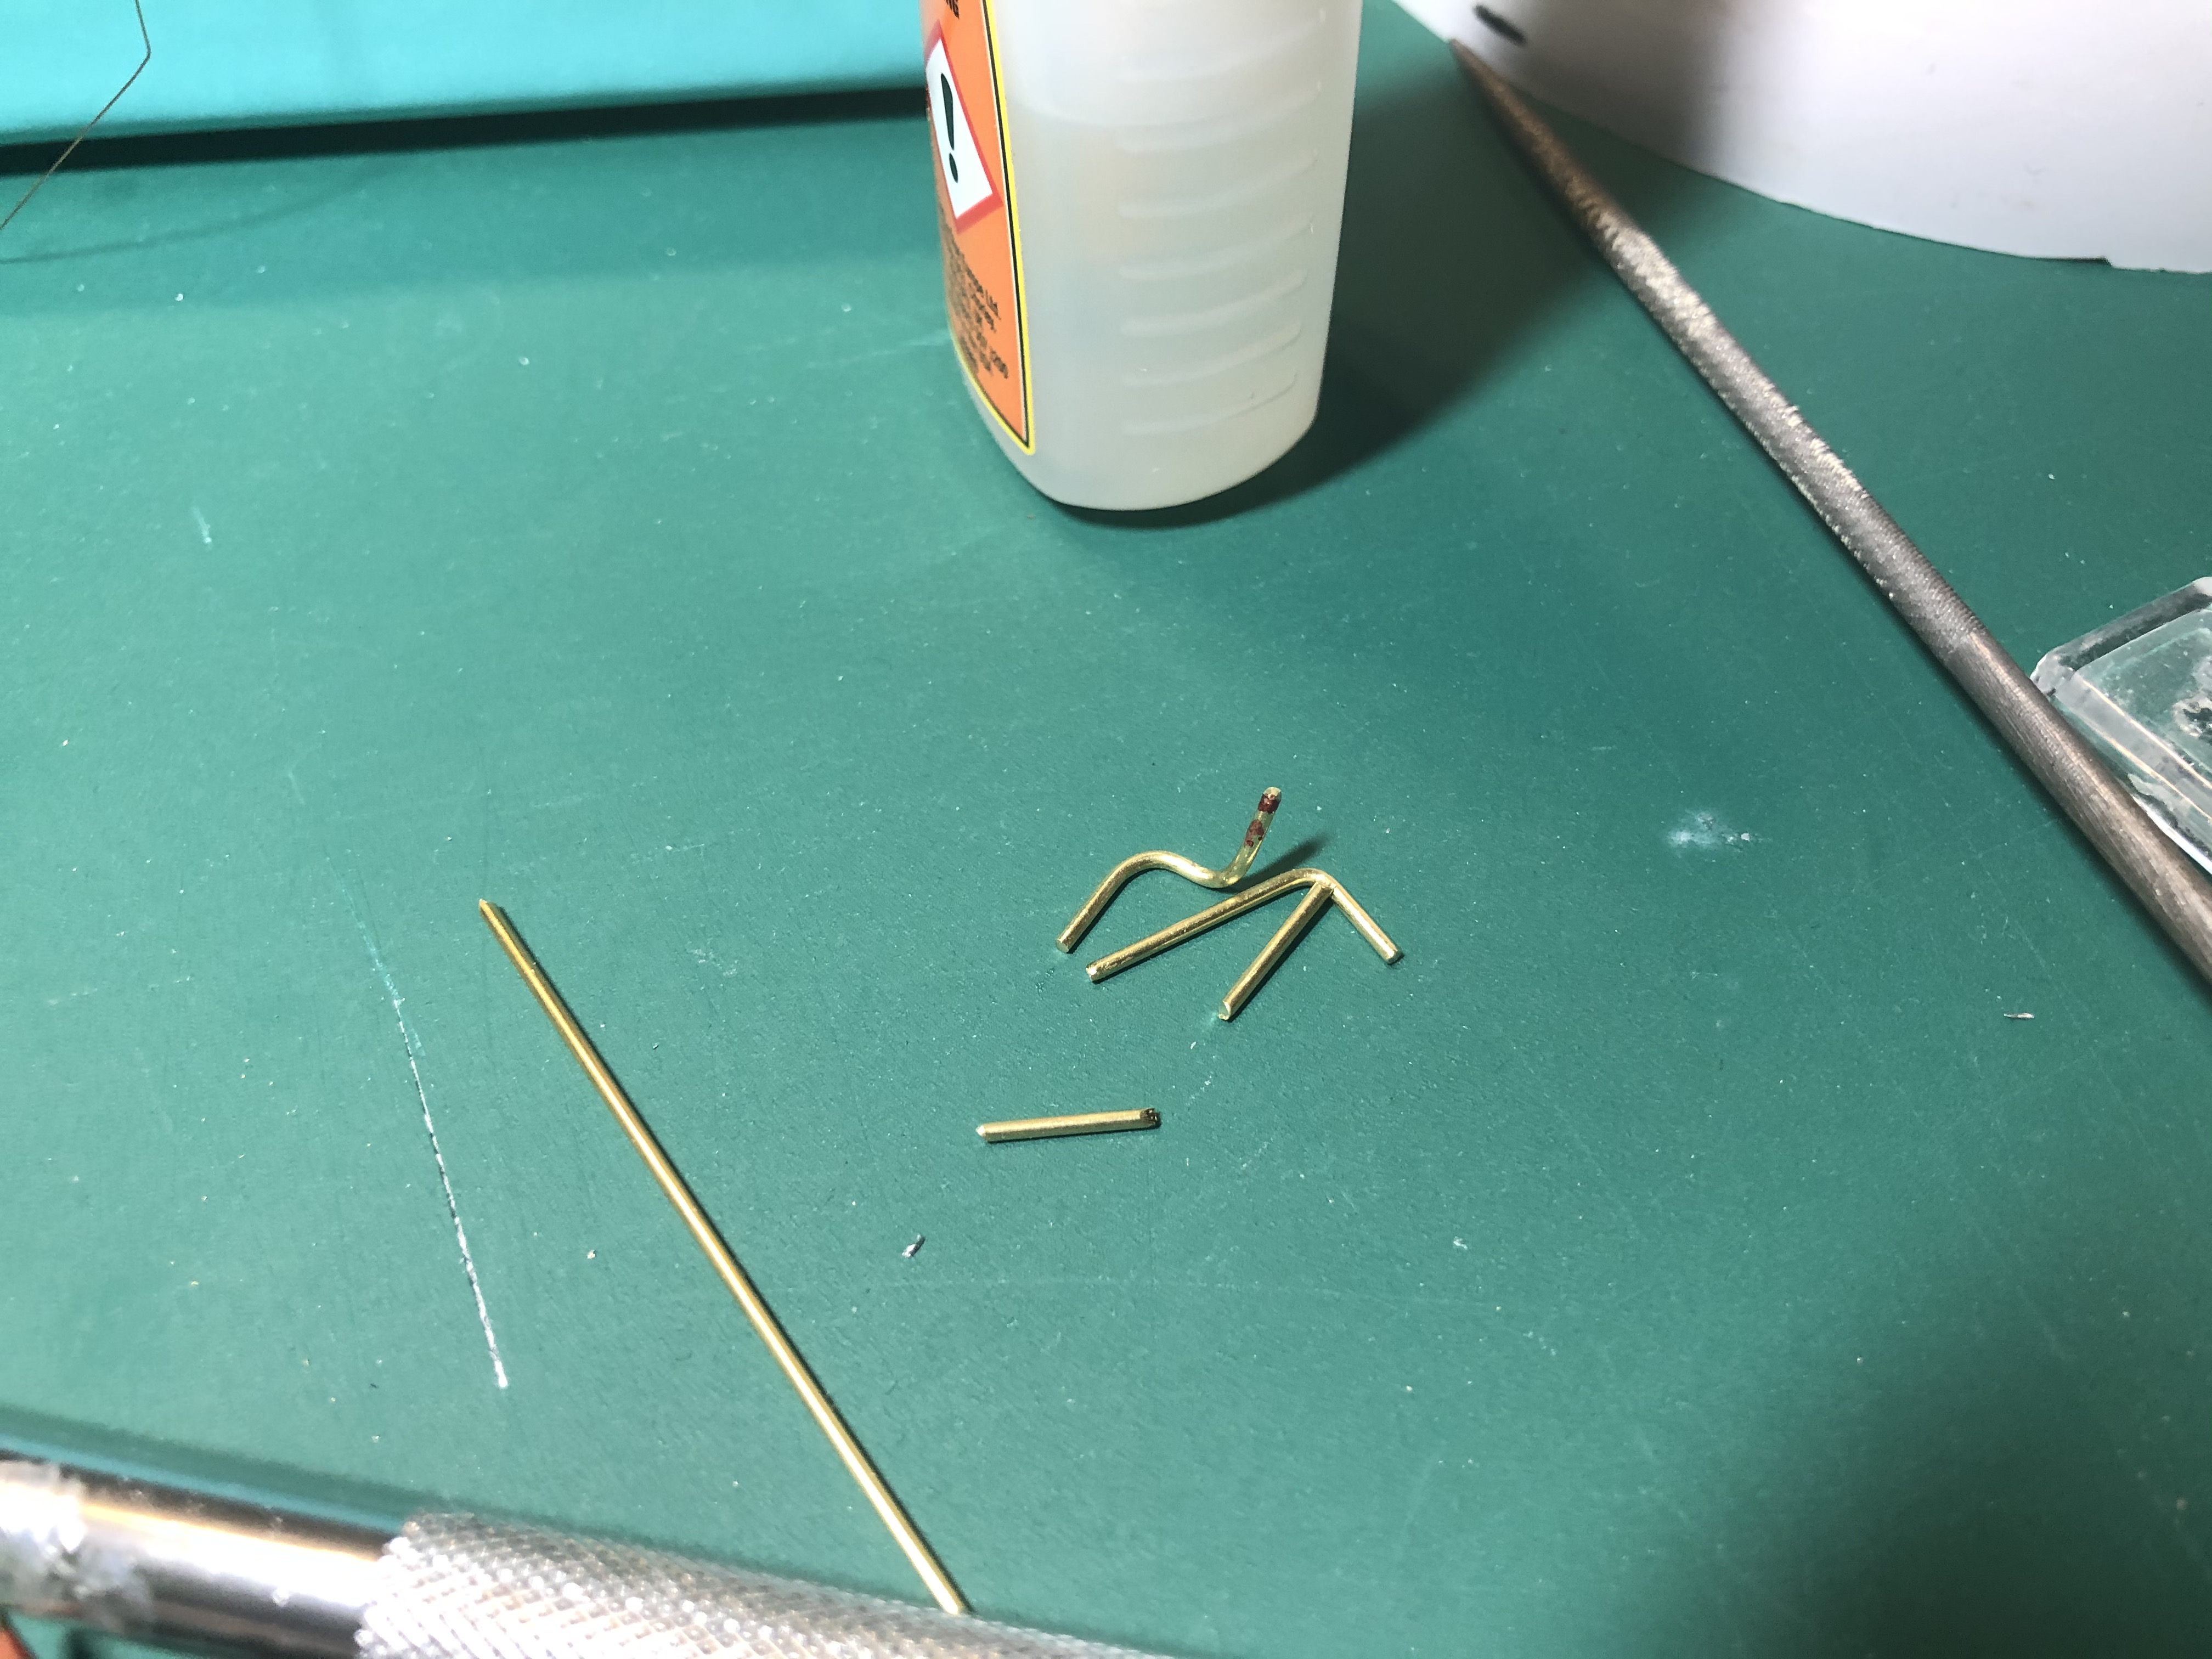 Here are a couple of early attempts to get the exhaust extensions to the right length and shape. To err is human :-)
Exhaust Extensions
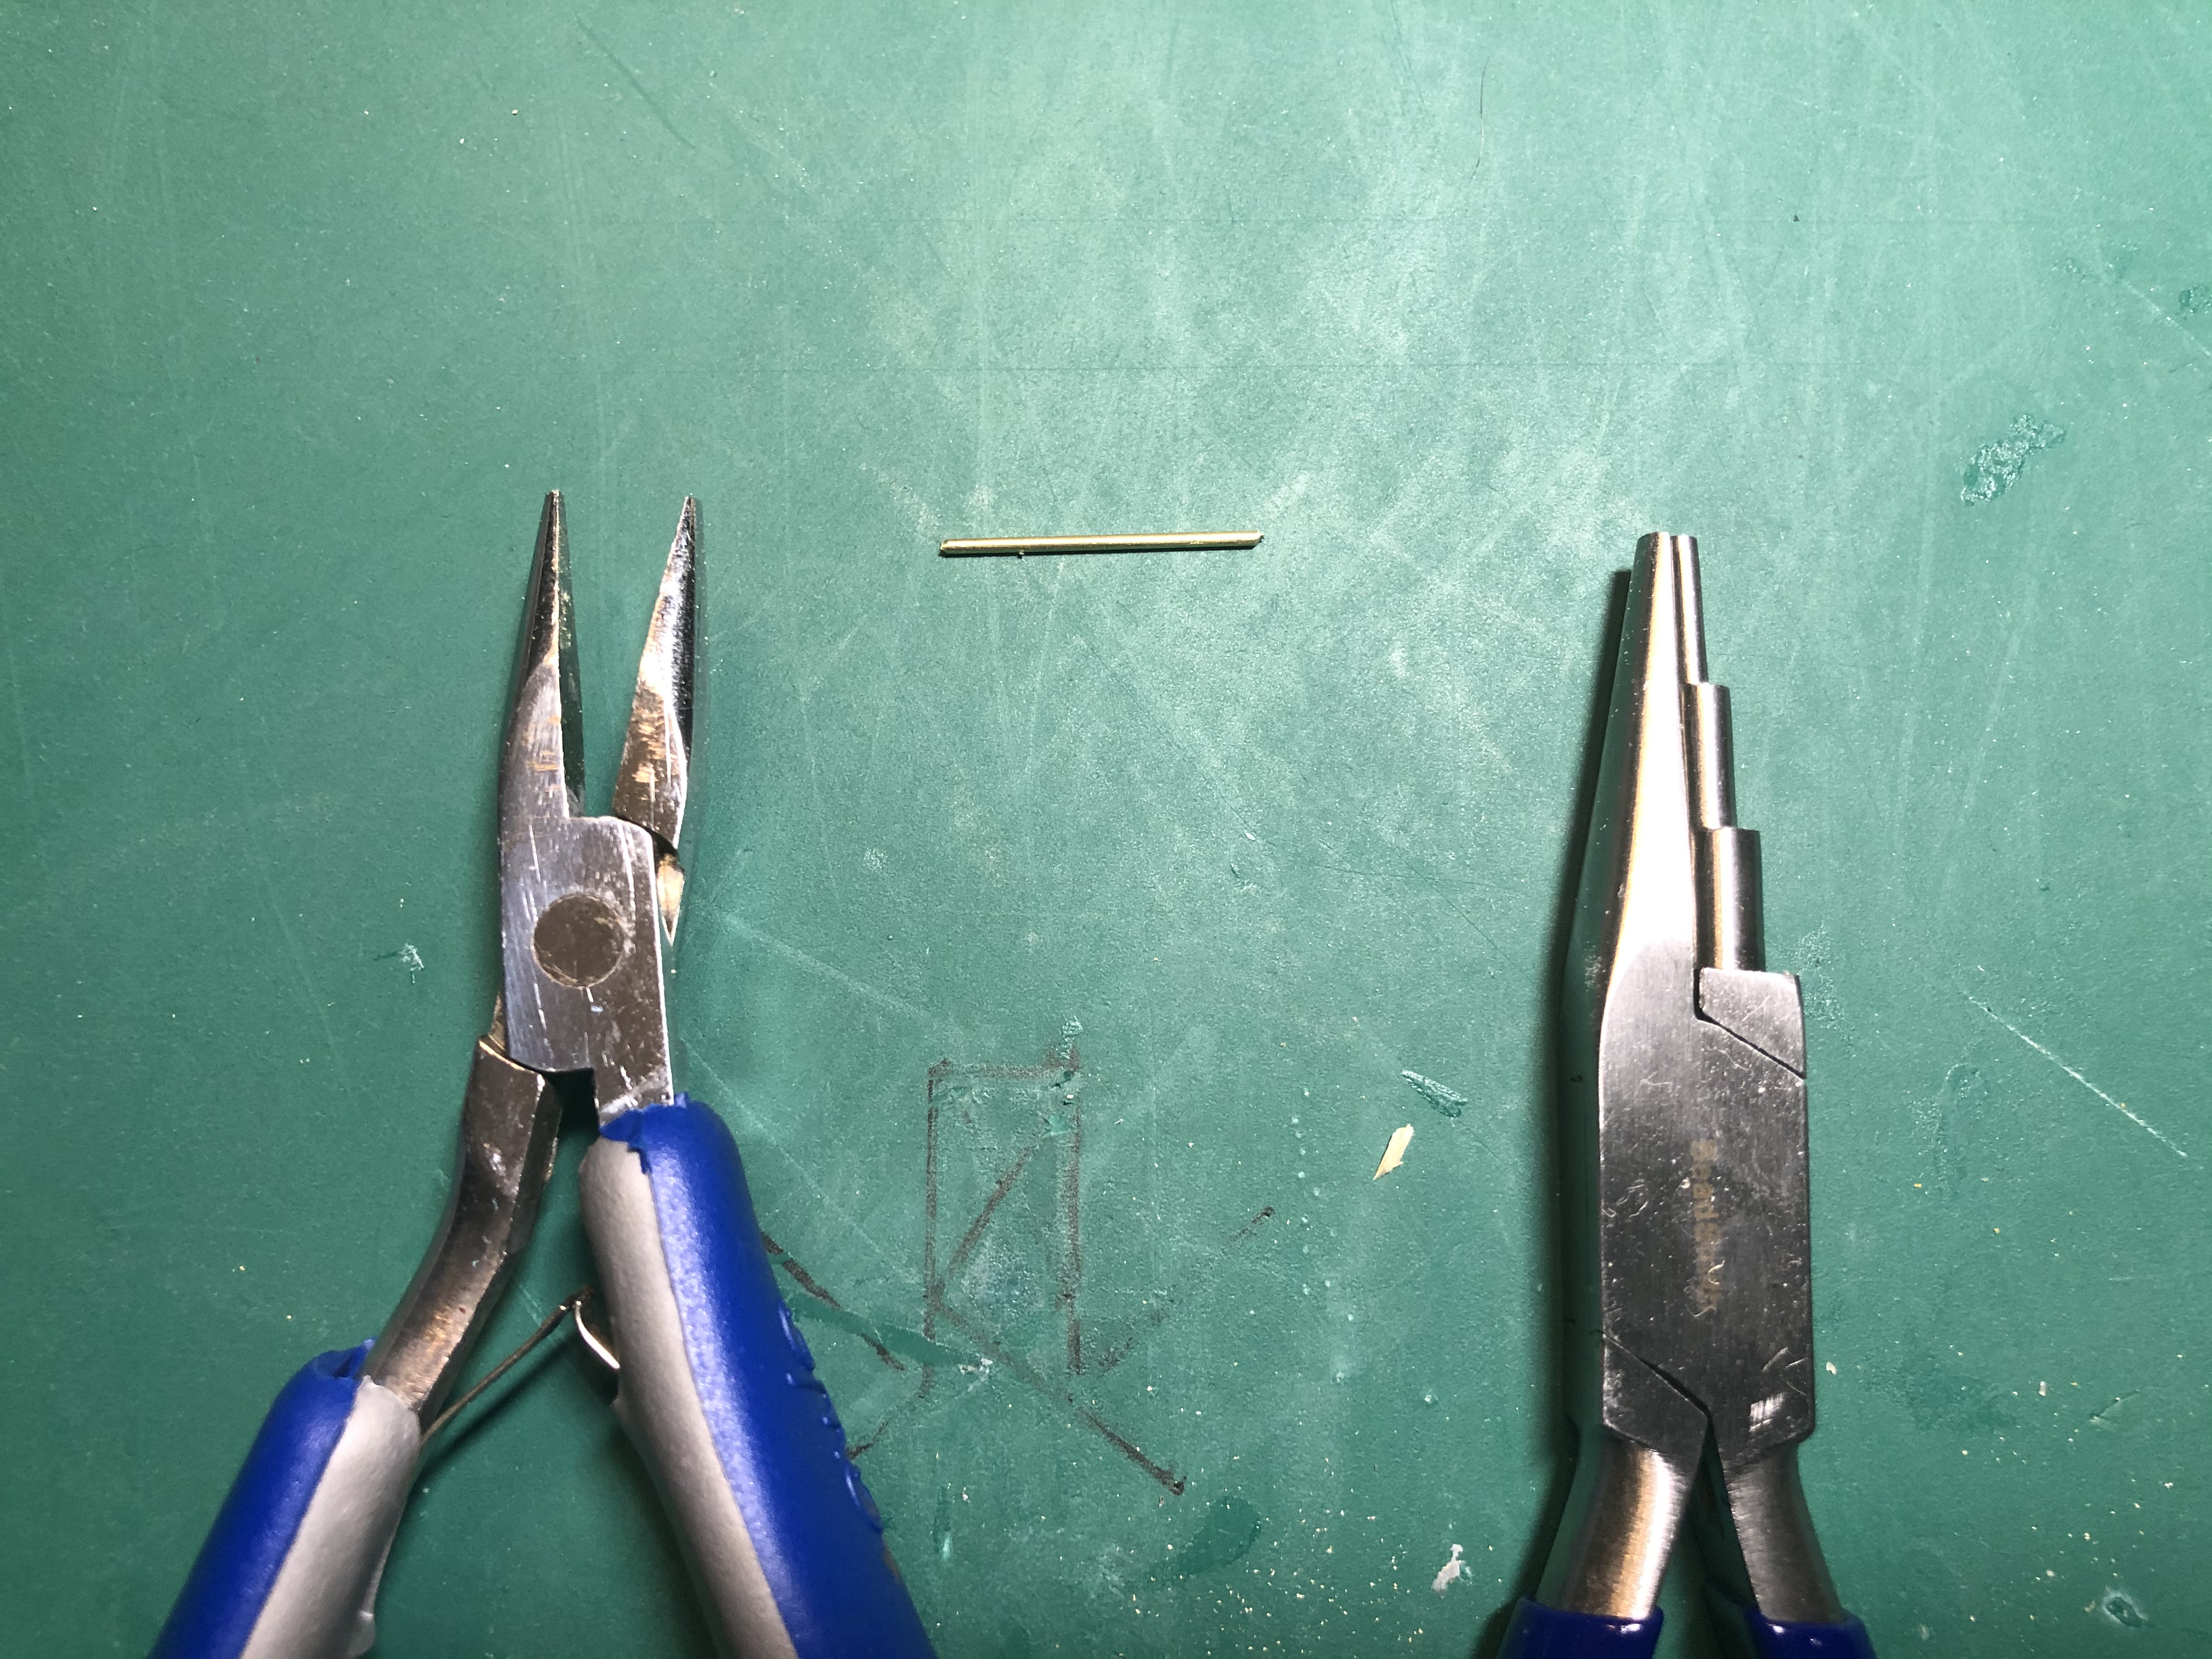 Using the wife's jewellery pliers to get the right curved bends
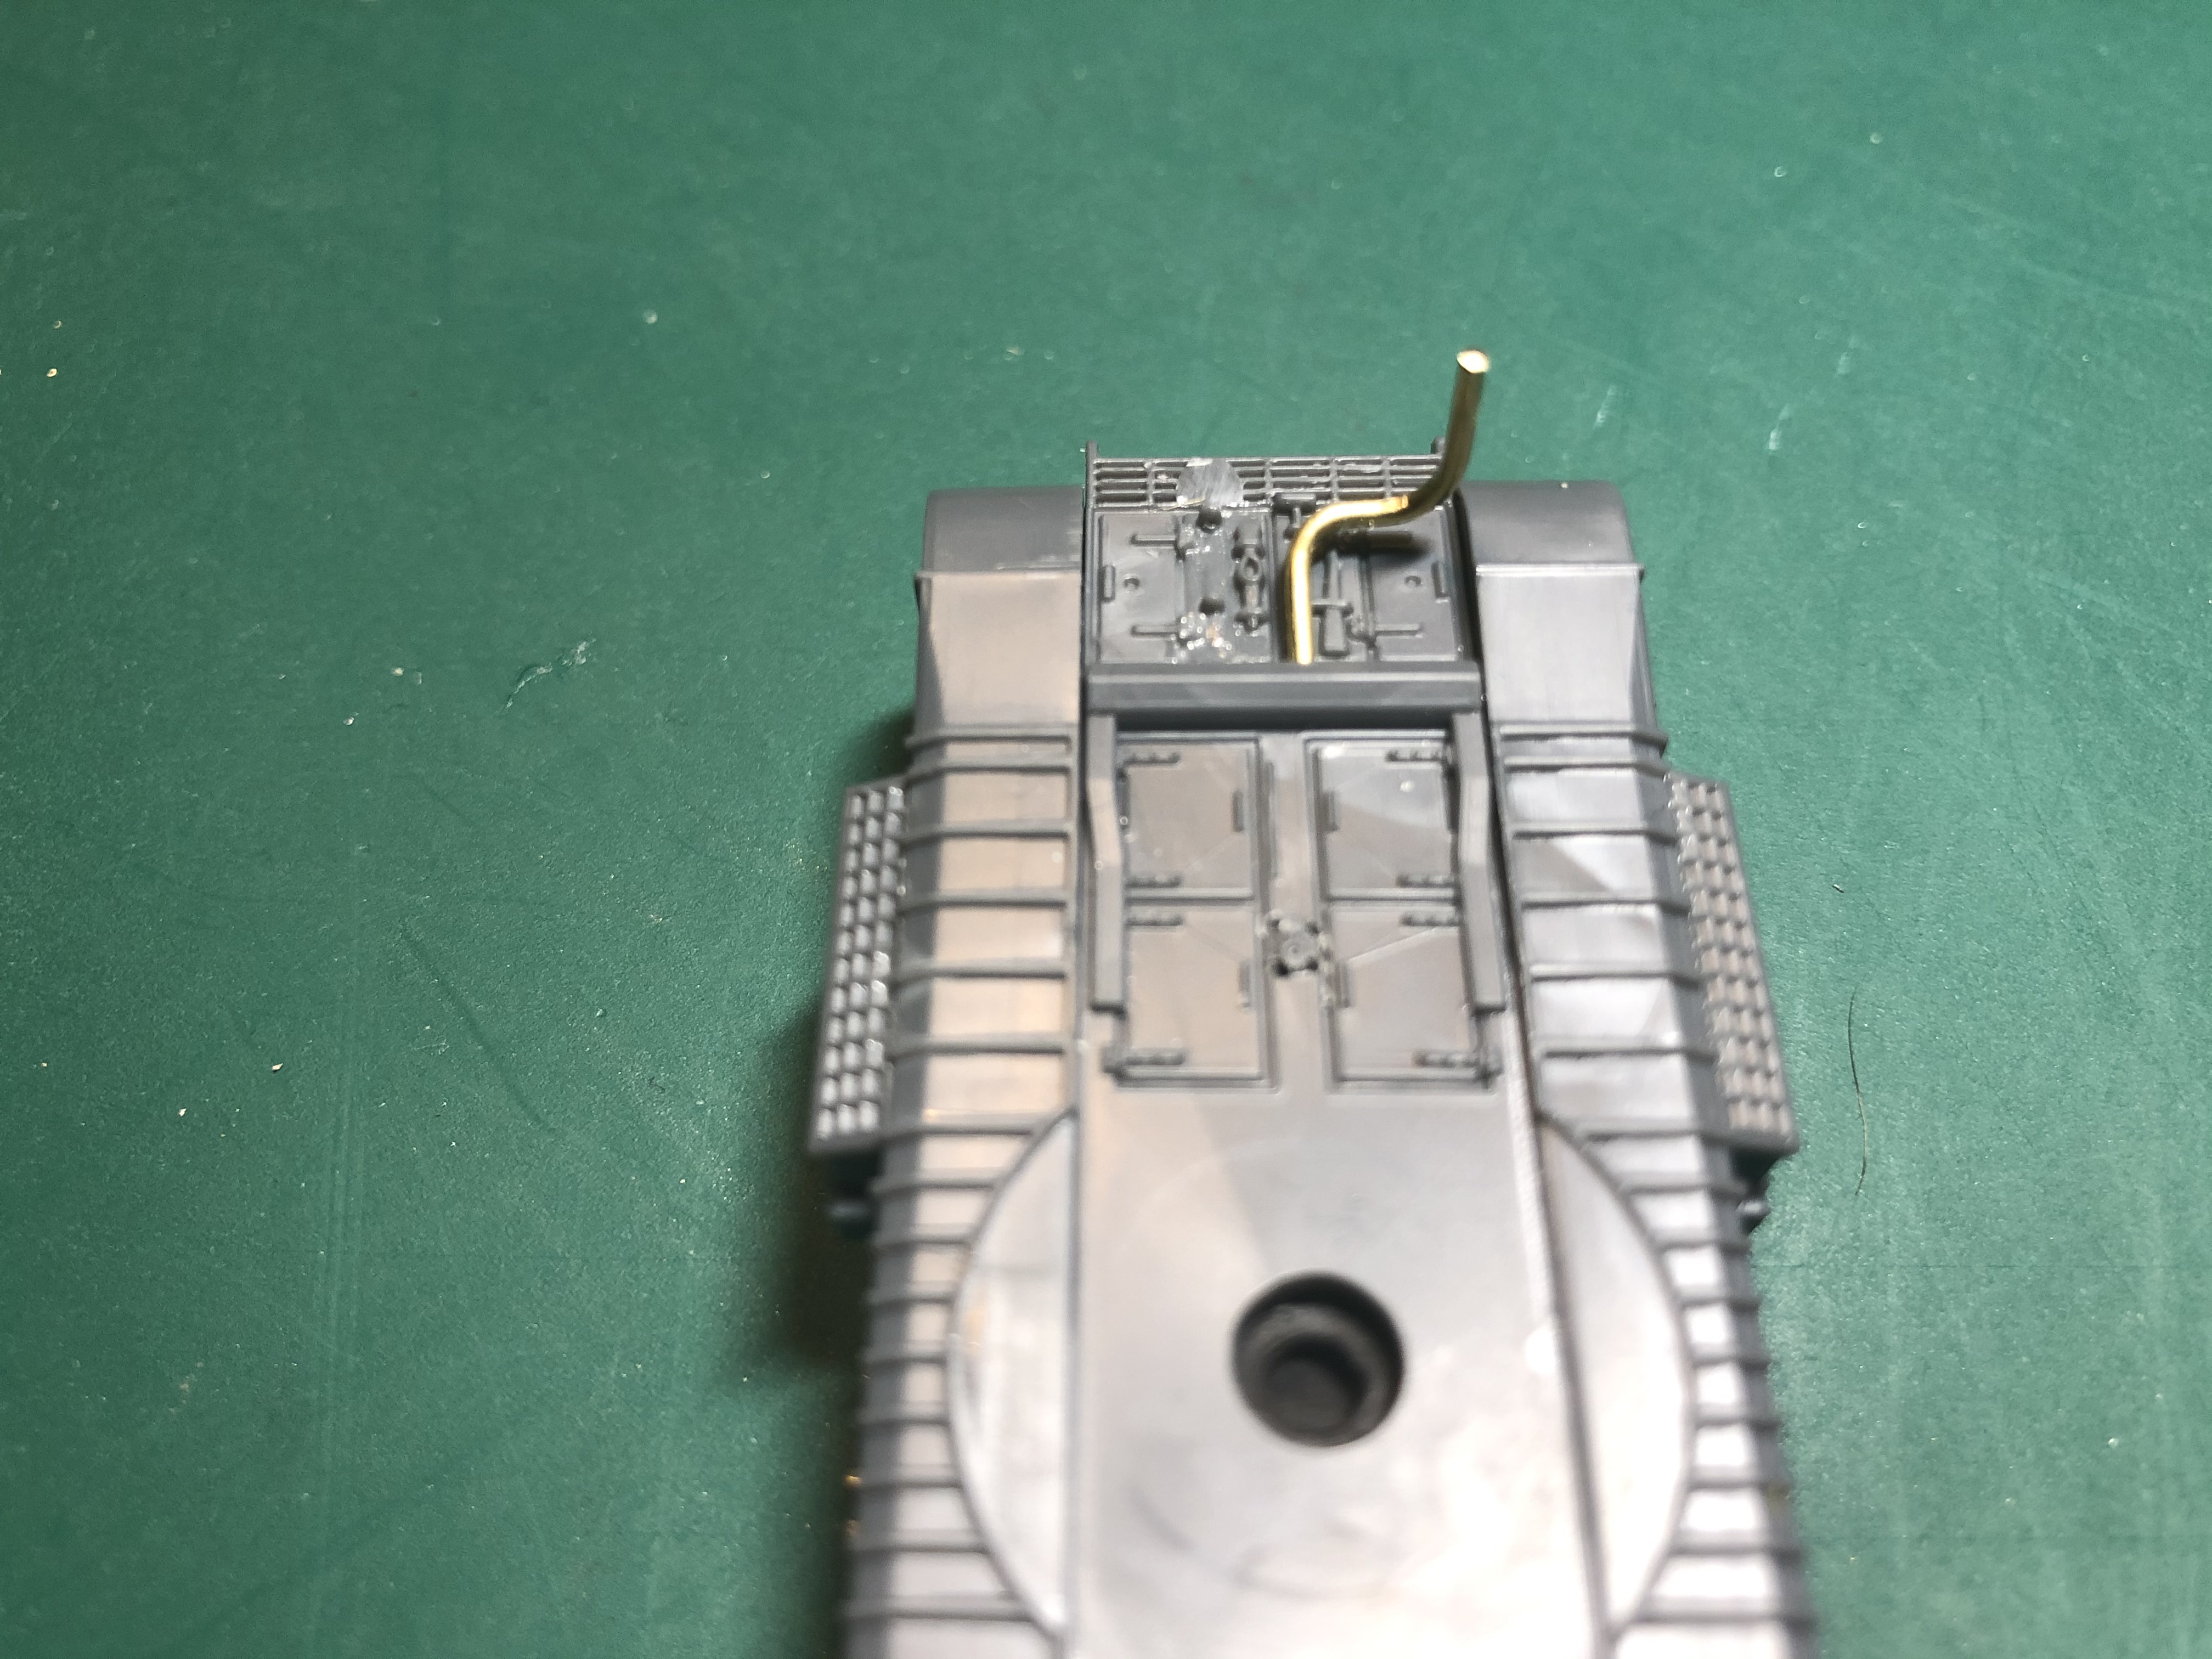 first off trial fitted
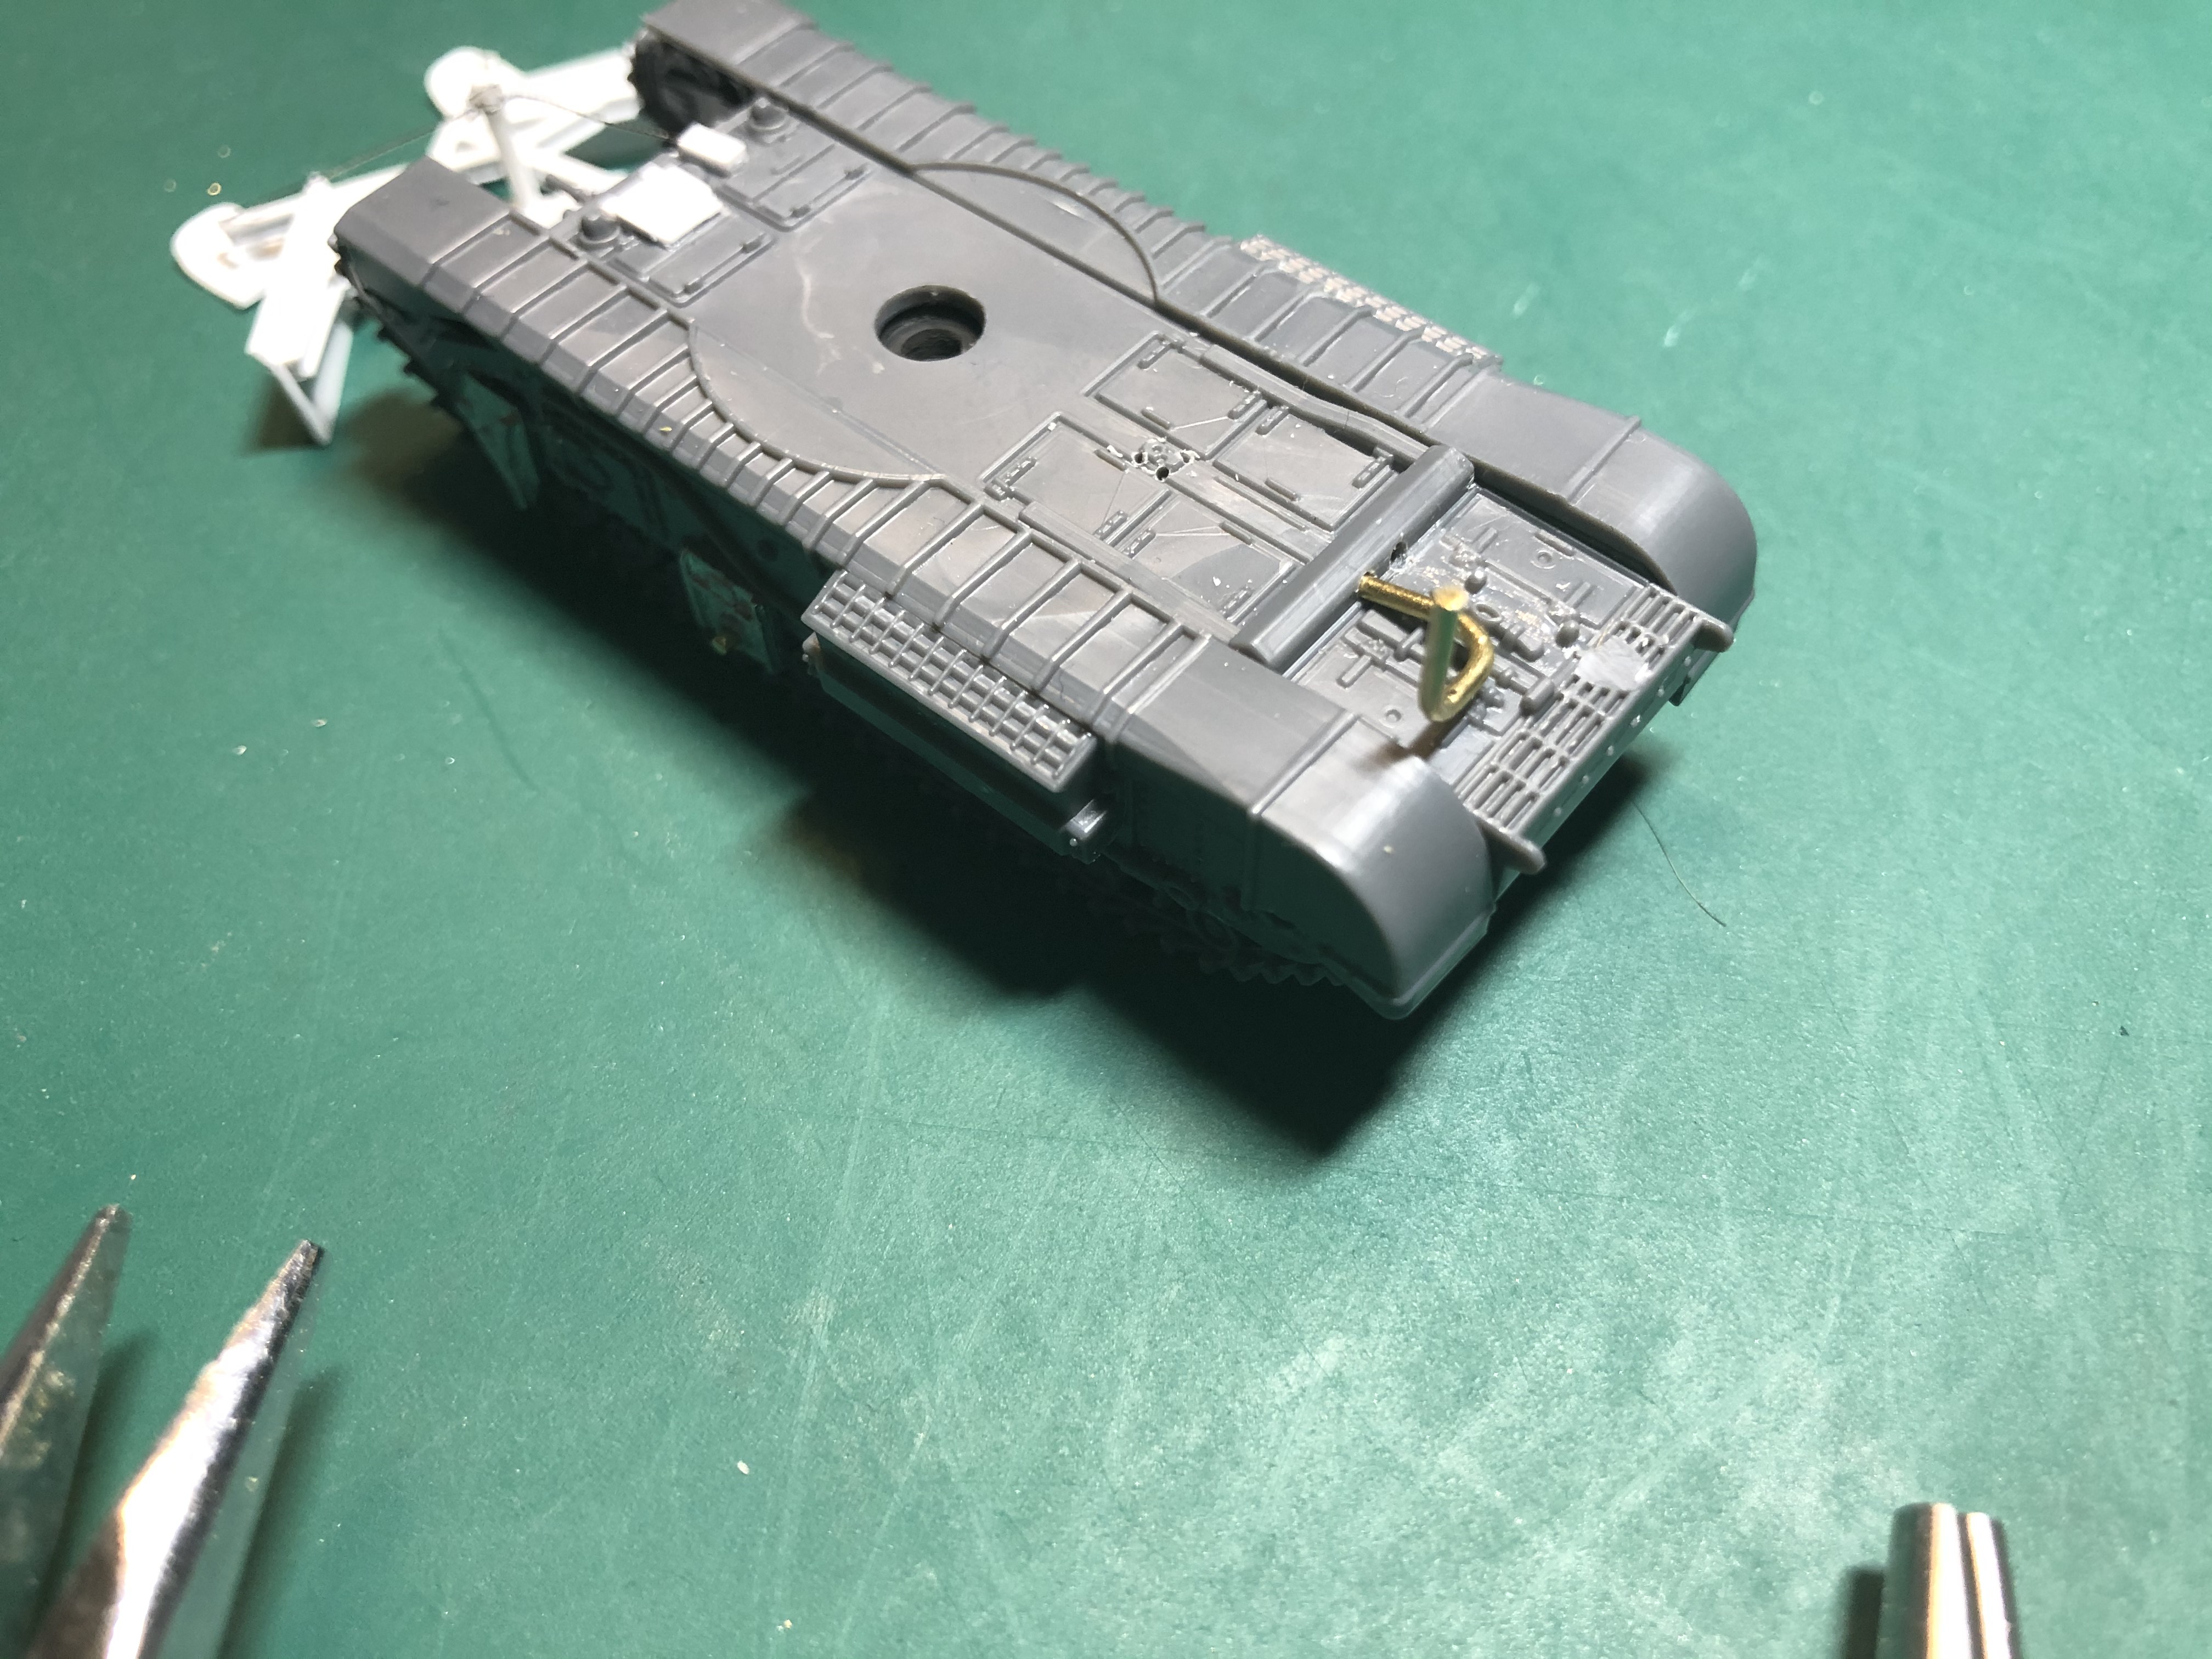 Oblique view
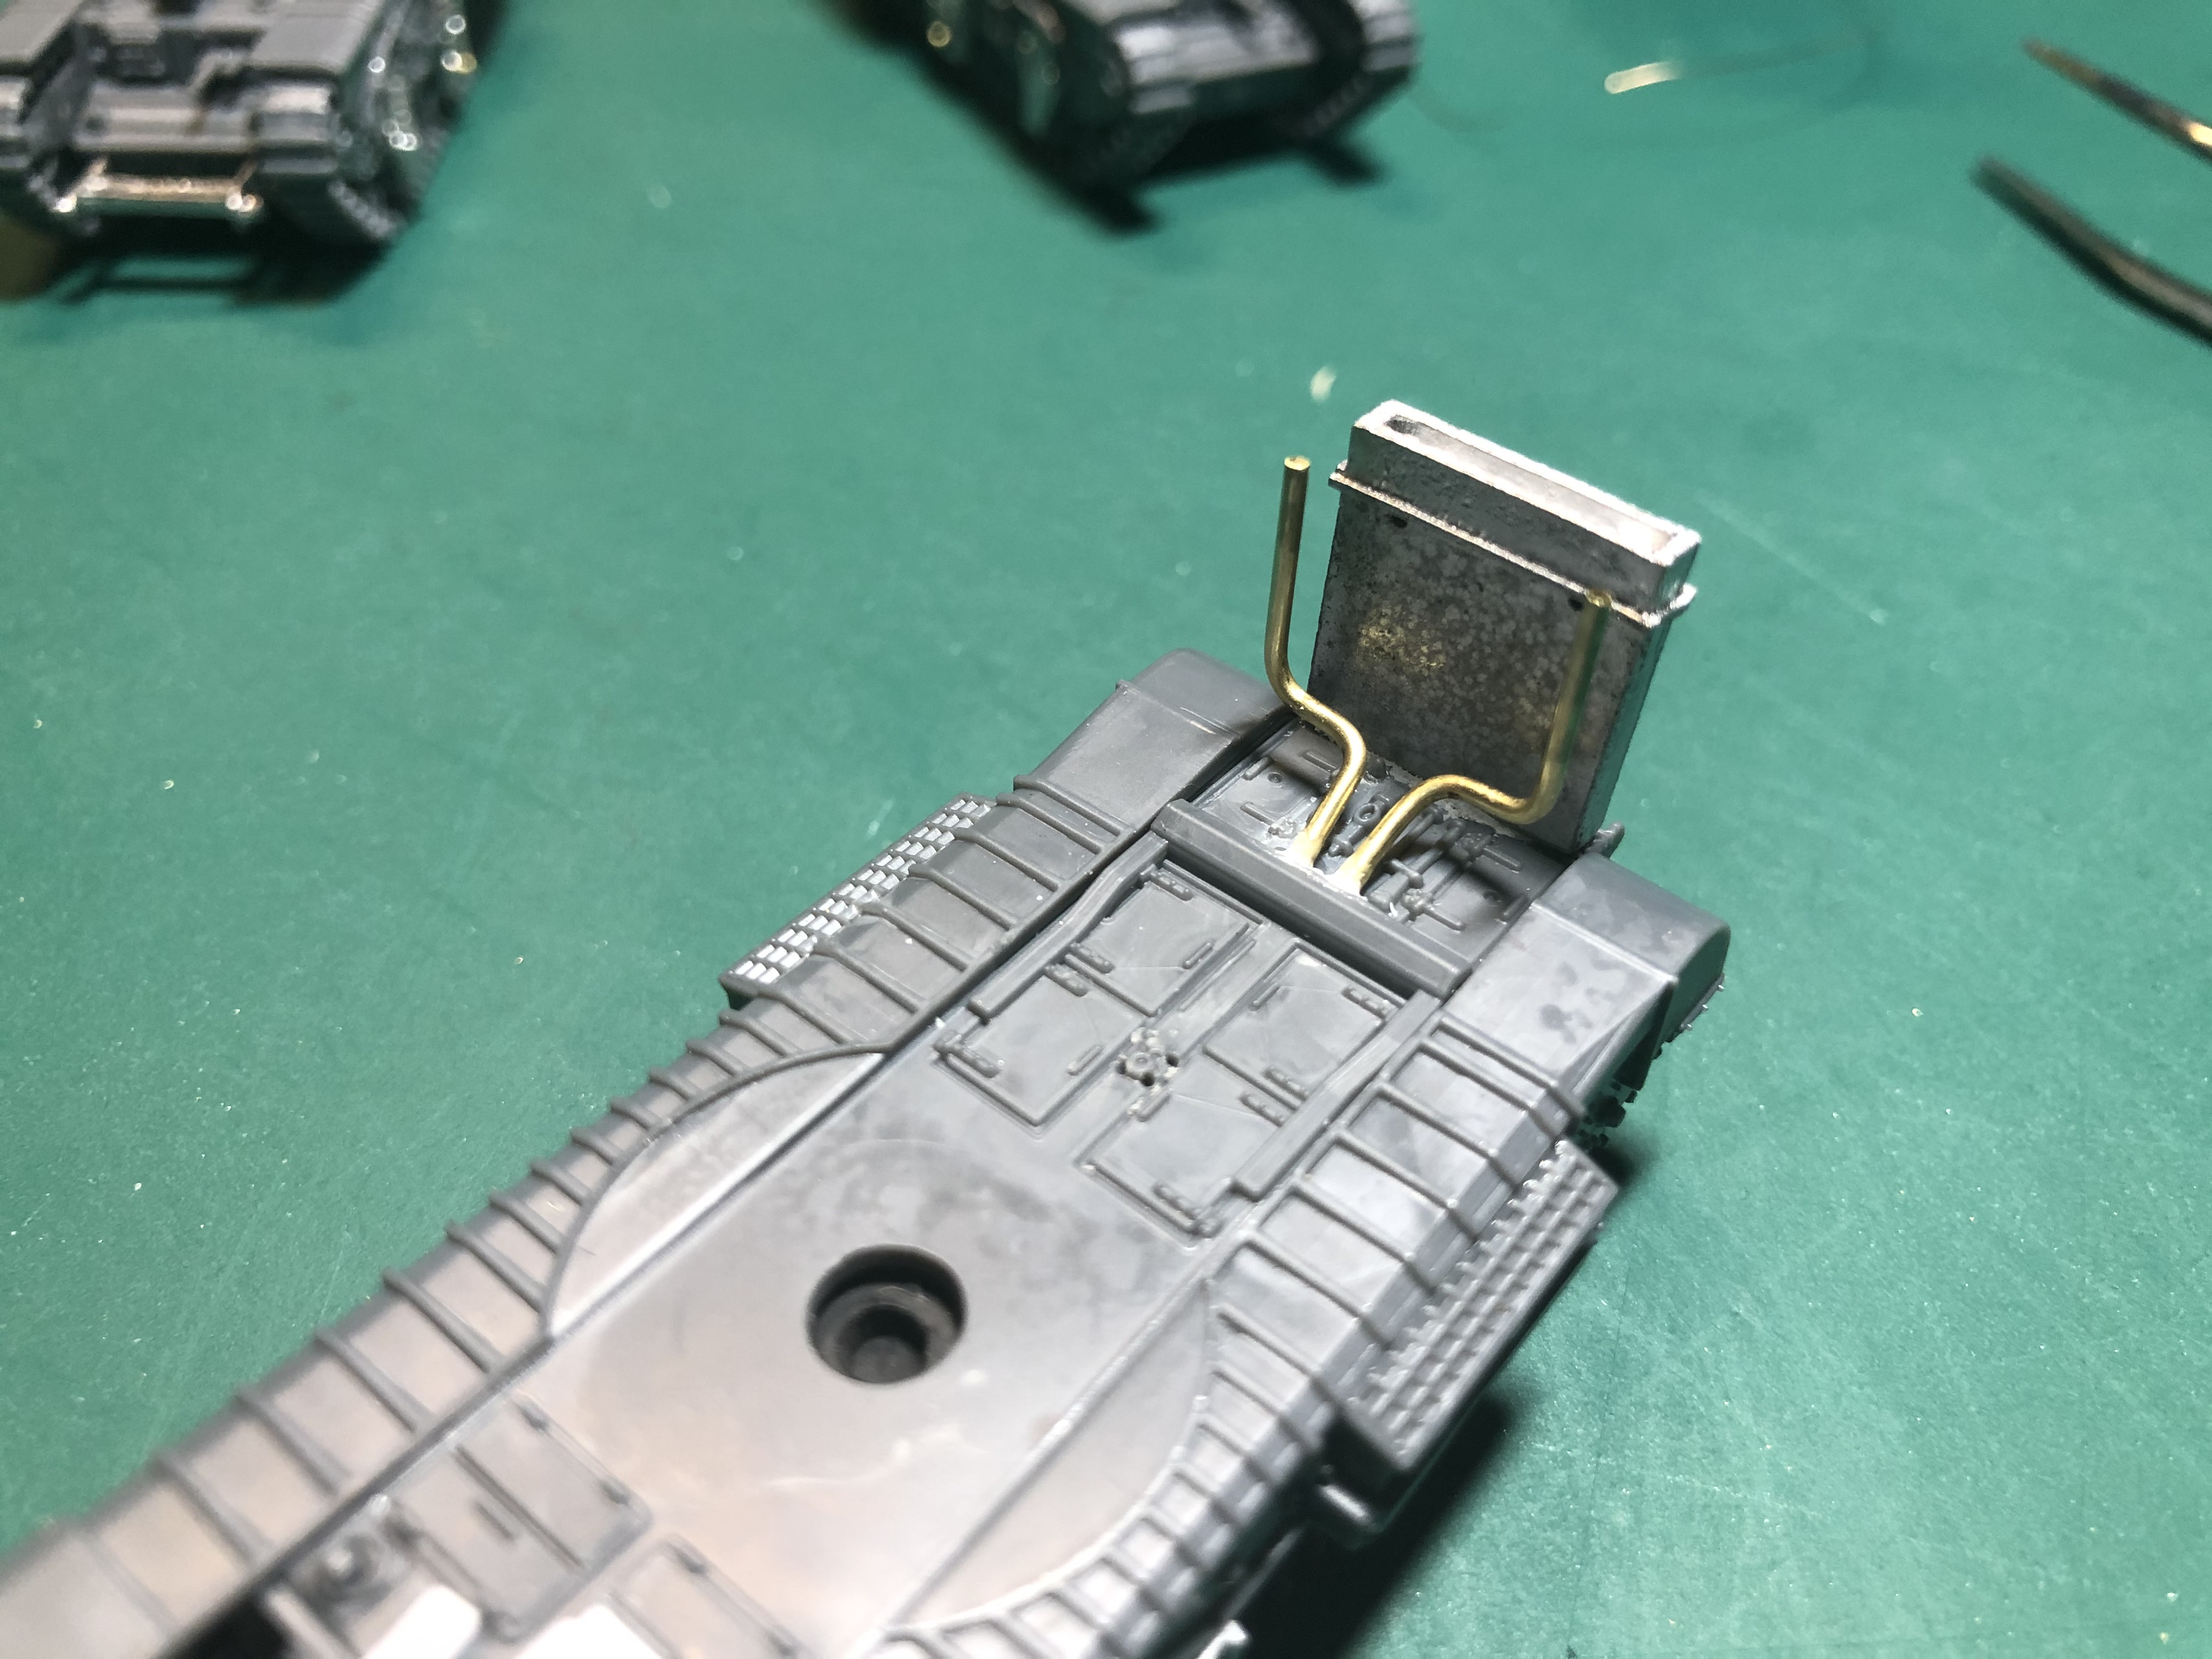 With both in place and the rear wading duct glued in place. Looking good, or so I think
Going to the N'th degree in fiddly fiddliest!!!
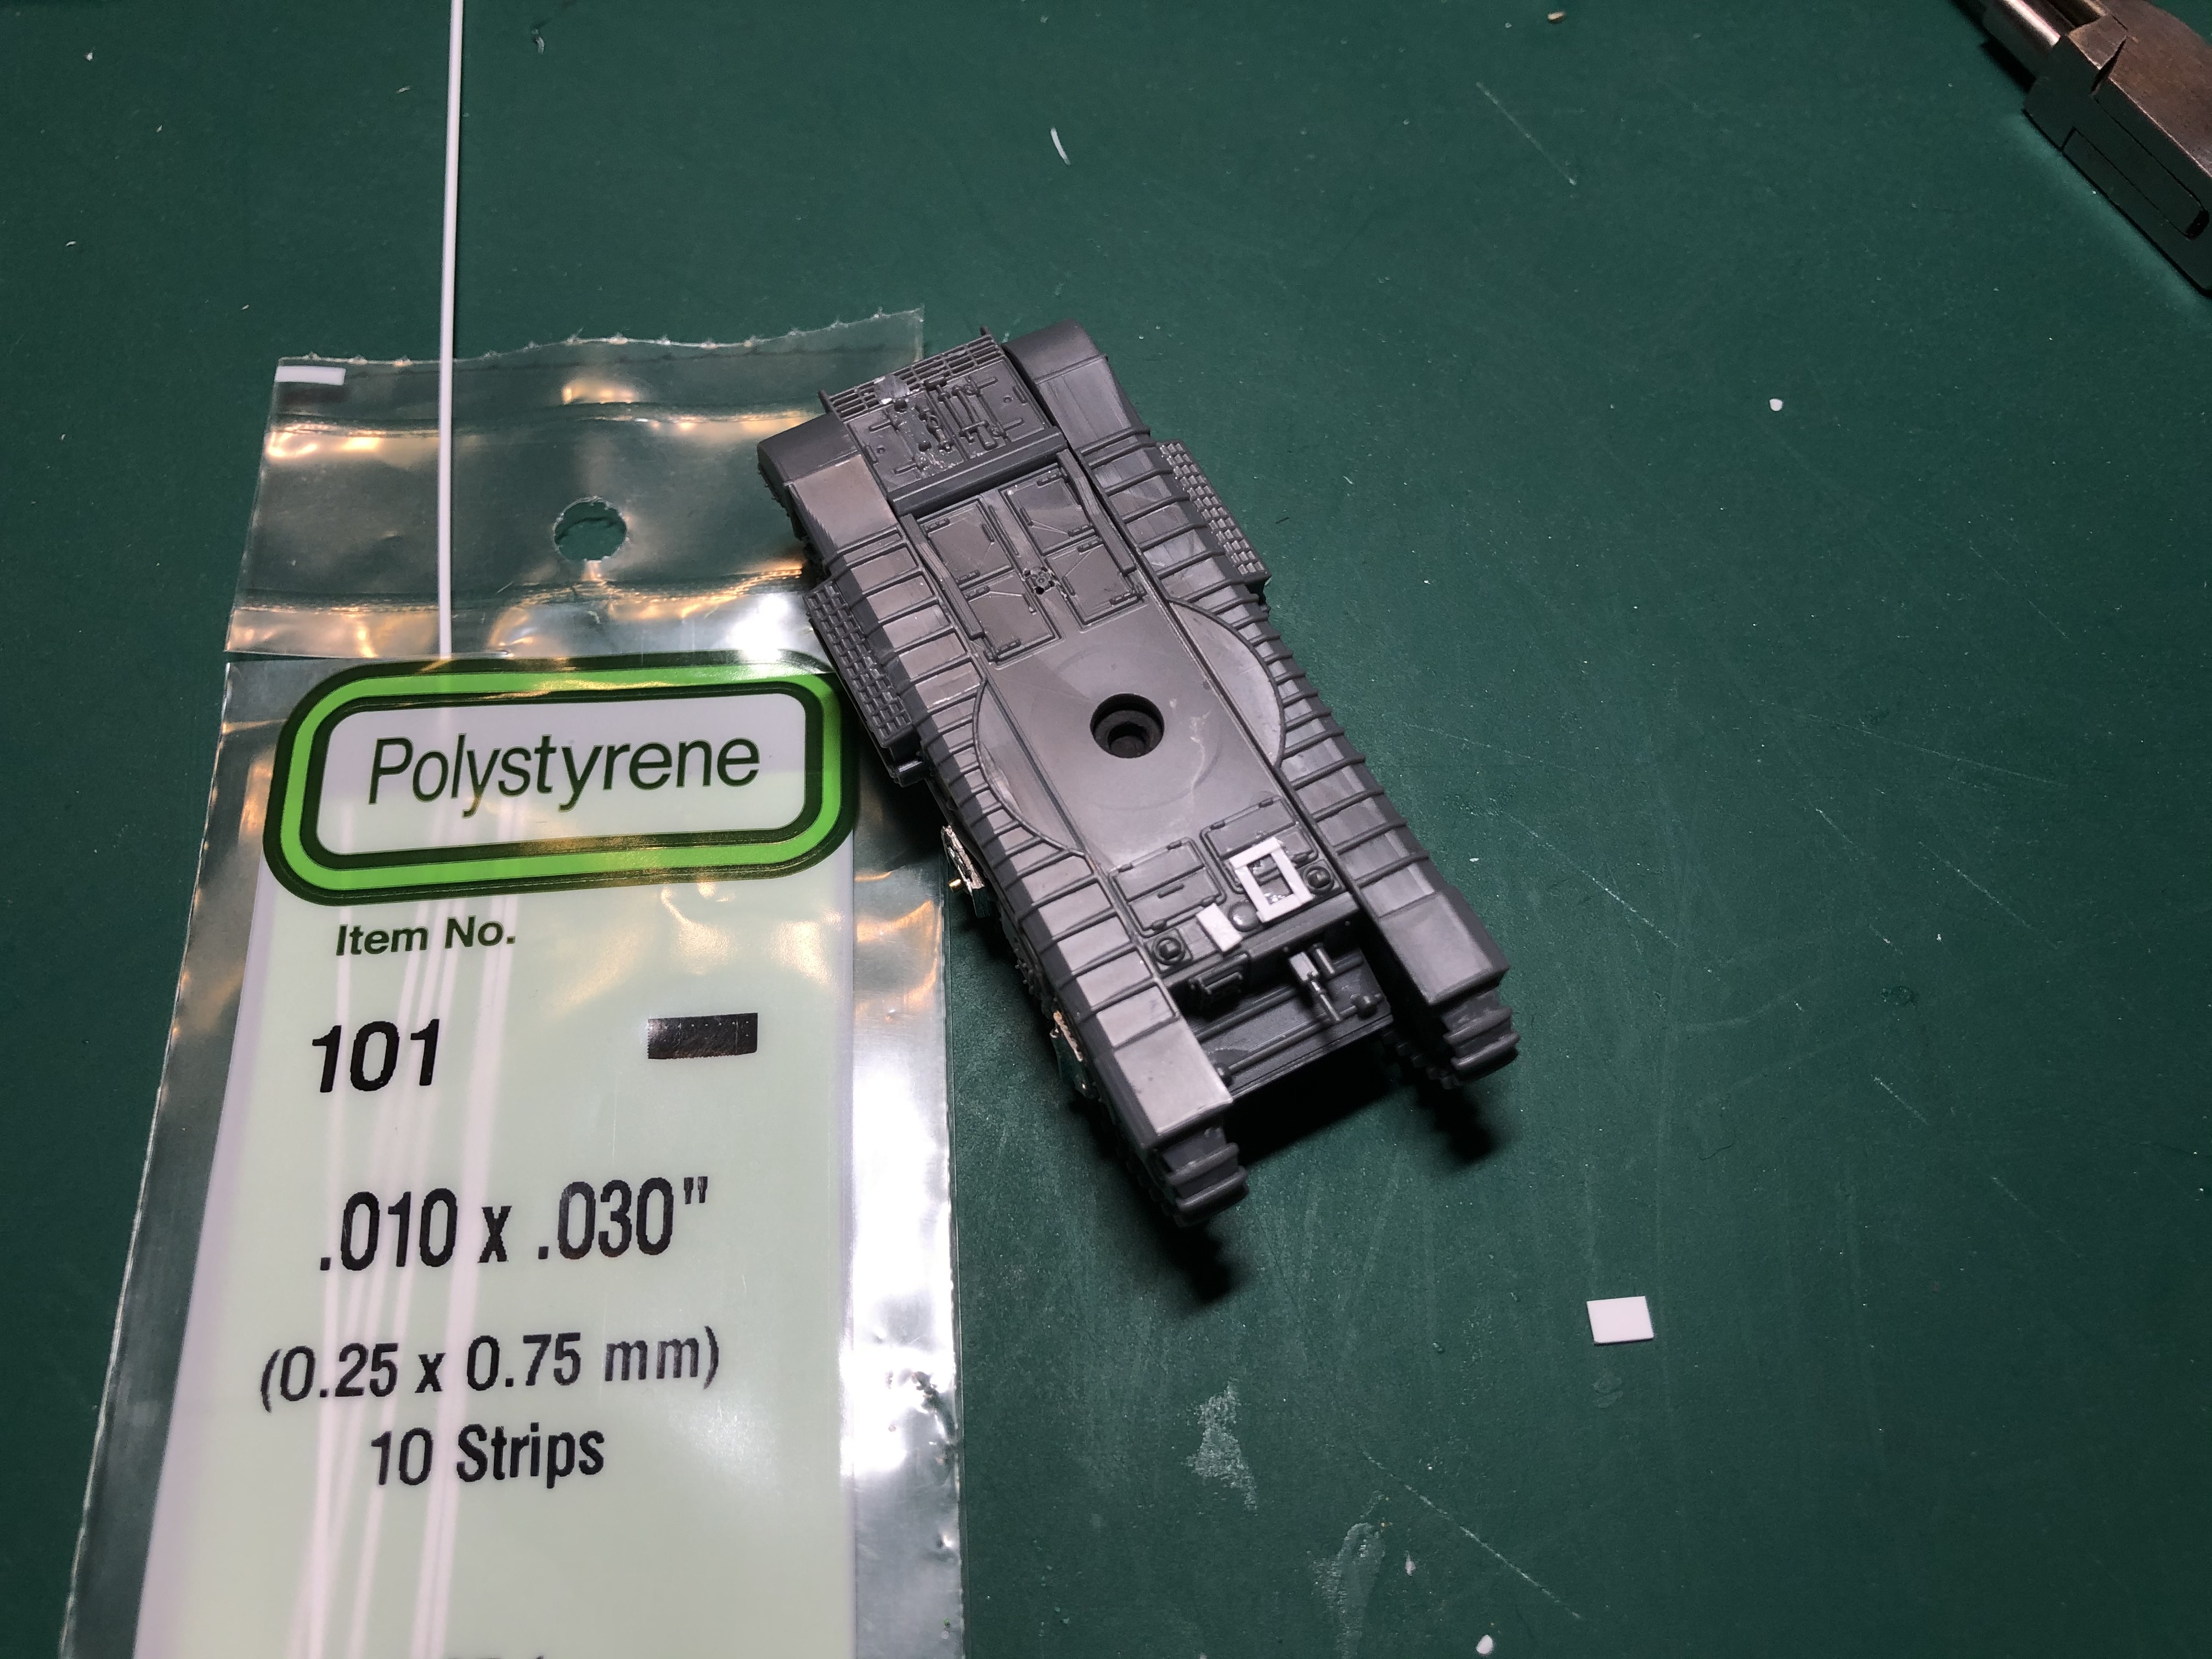
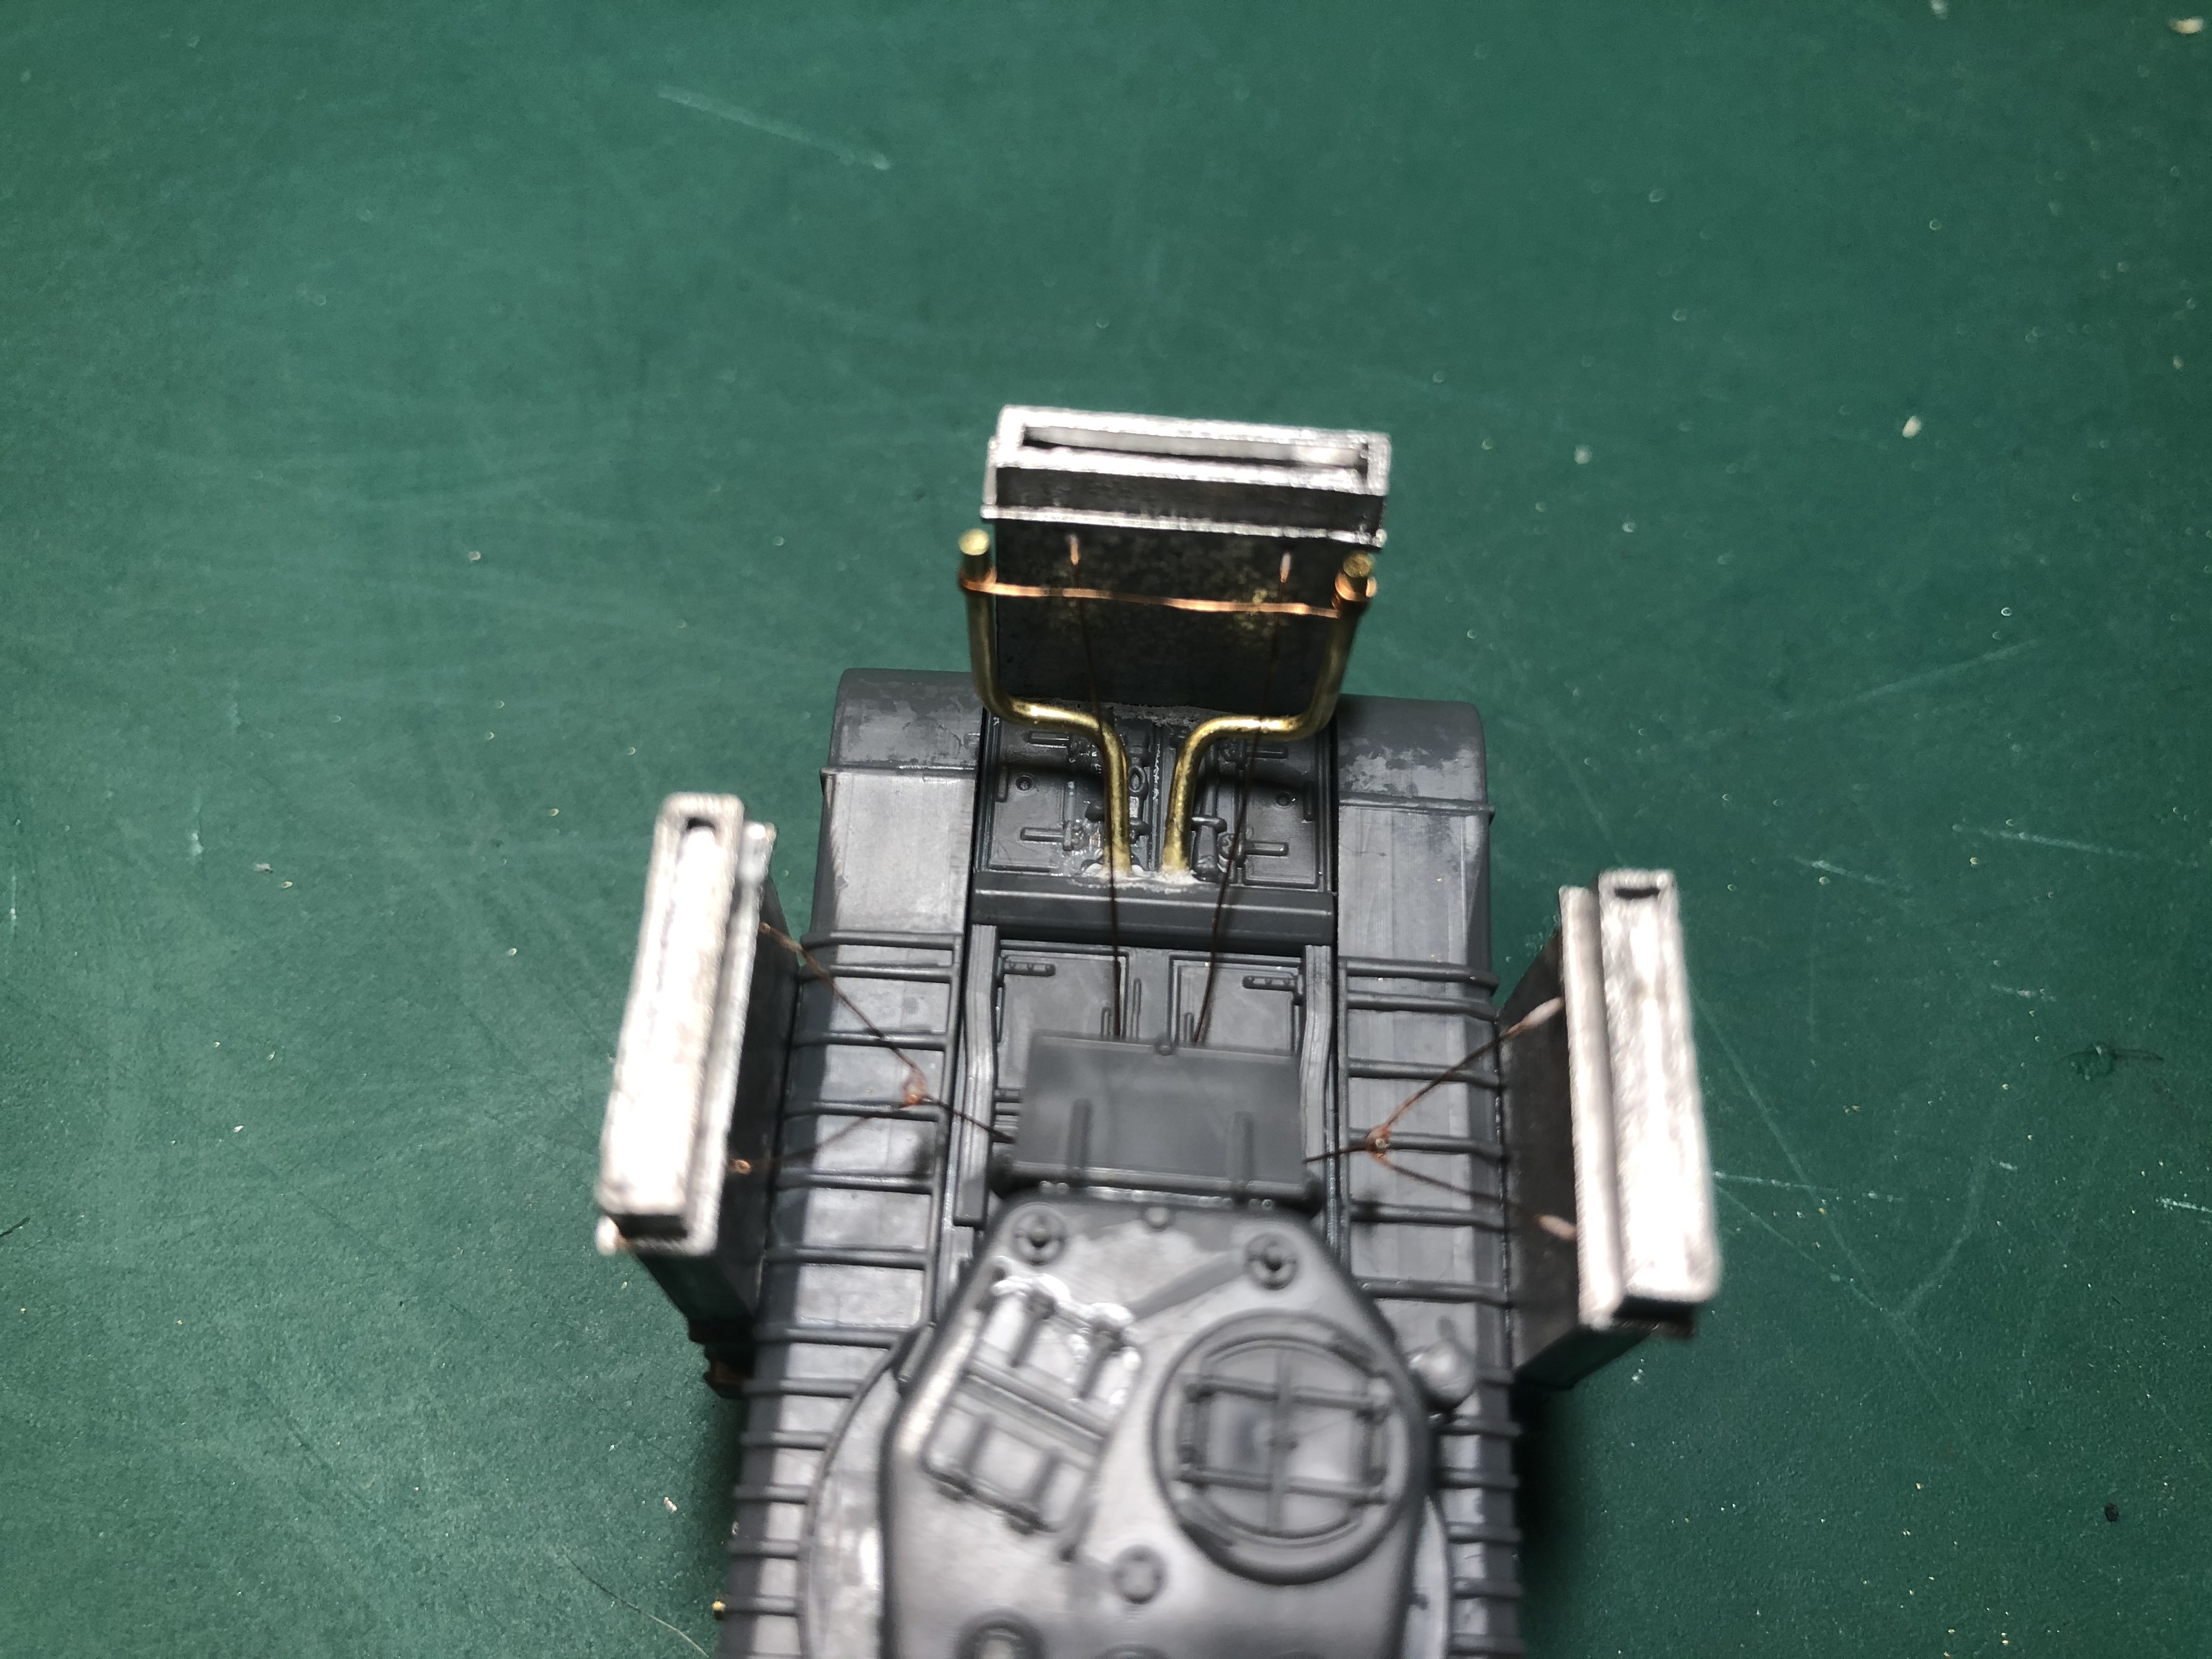
The wading ducts, the easiest way to do it is to just clean them up and stick them on top of the engine air intakes.
Or,
If you are a nutter, and a closet rivet counter then you can add the retention wires, exhaust extensions, and exhaust bracing!
After cleaning up and prepping the ducts I drilled each with a 0.4mm drill to be able to later glue the retention wires to them. I also drilled the tank to receive the other ends. On the side ducts I looped the wire so that it mimicked the original ones and then tied and glued one leader wire off that loop.
For the exhaust extensions, I bent a trial one into a shape that was as close as I could get to the reference photos and then used it as a template to make all of the others. For the PSC tanks I found that a piece of 1mm dia wire of 28mm in length worked well to produce a good representation.
 side ducts with wire loops
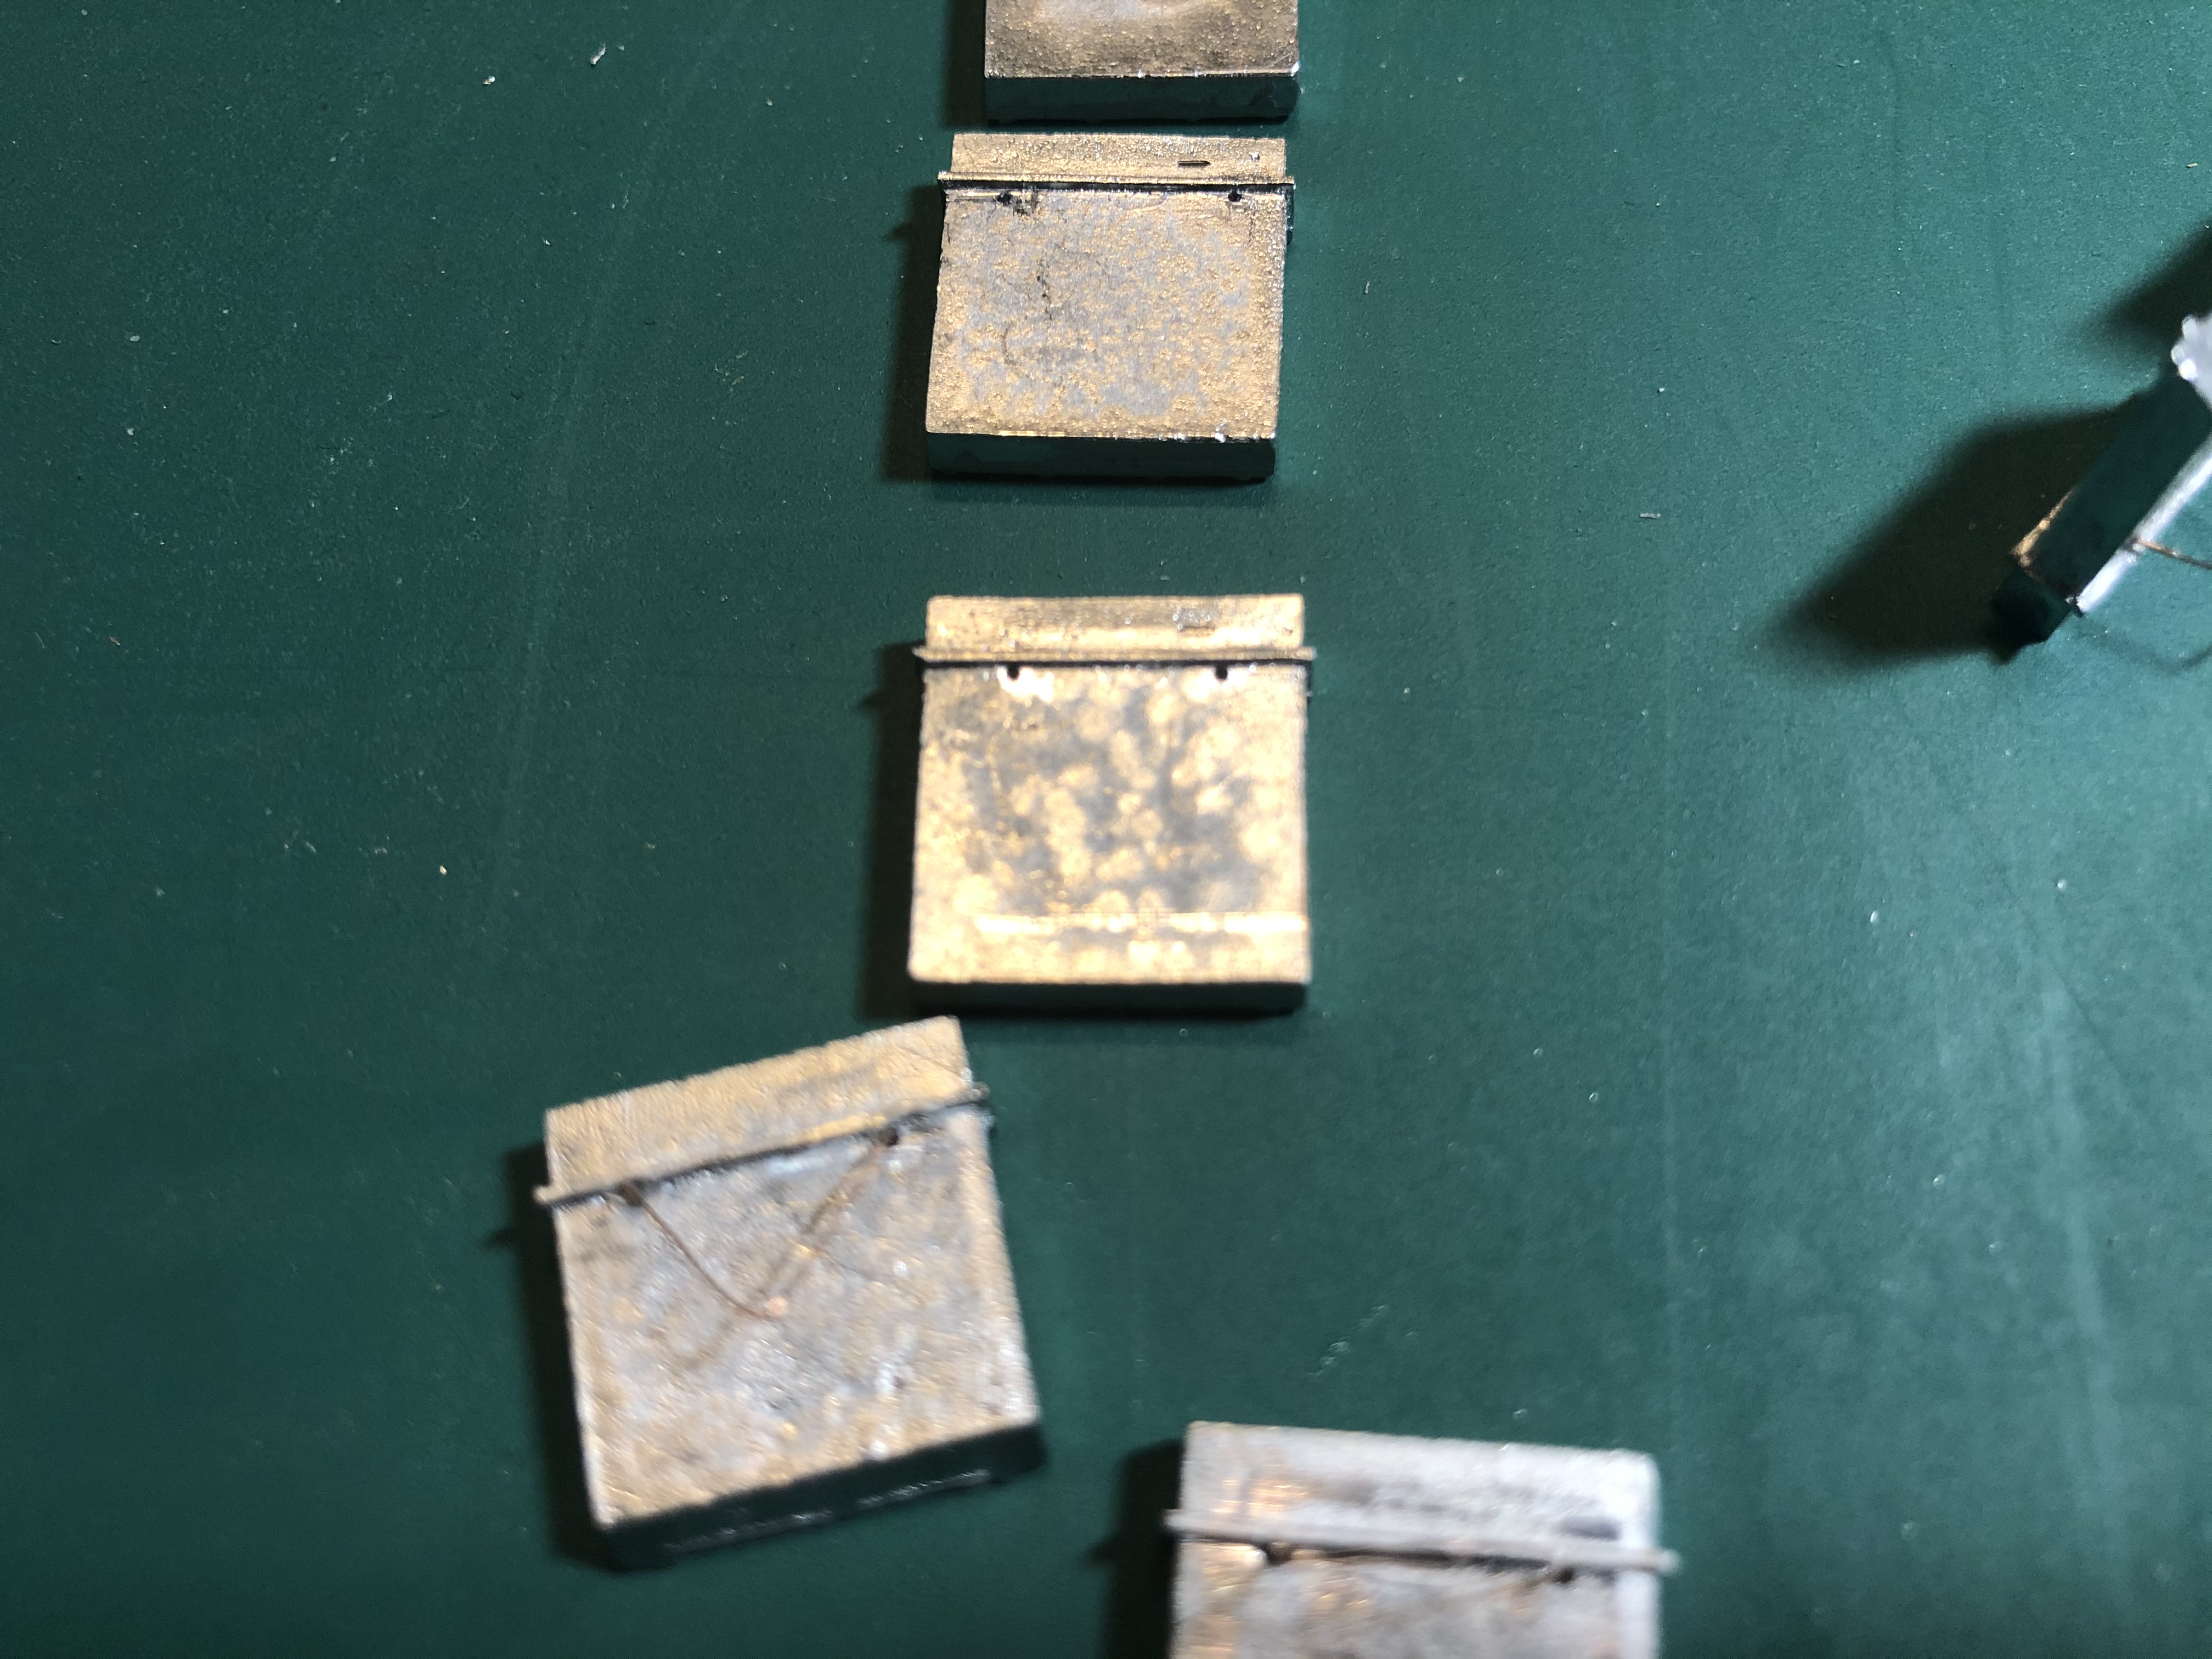 Rear duct with holes predrilled
Oops missed a couple of bits!
As part of the Bulls-horn plough I fixed a lifting post in the centre of the rig and then, using some twisted wire (also liberated from my wife’s beading kit!) I fixed it to the front of the plough and then back to a point where it could be operated by the crew. there are plenty of images showing the wire going into the loaders hatch and also onto the turret but one would mean the hatch would have to be left open, and the other means that the turret can’t be turned. I therefore worked on the premise that each crew would have adapted it to suit themselves and my crew decided that the driver will operate it once he has lined the vehicle up.
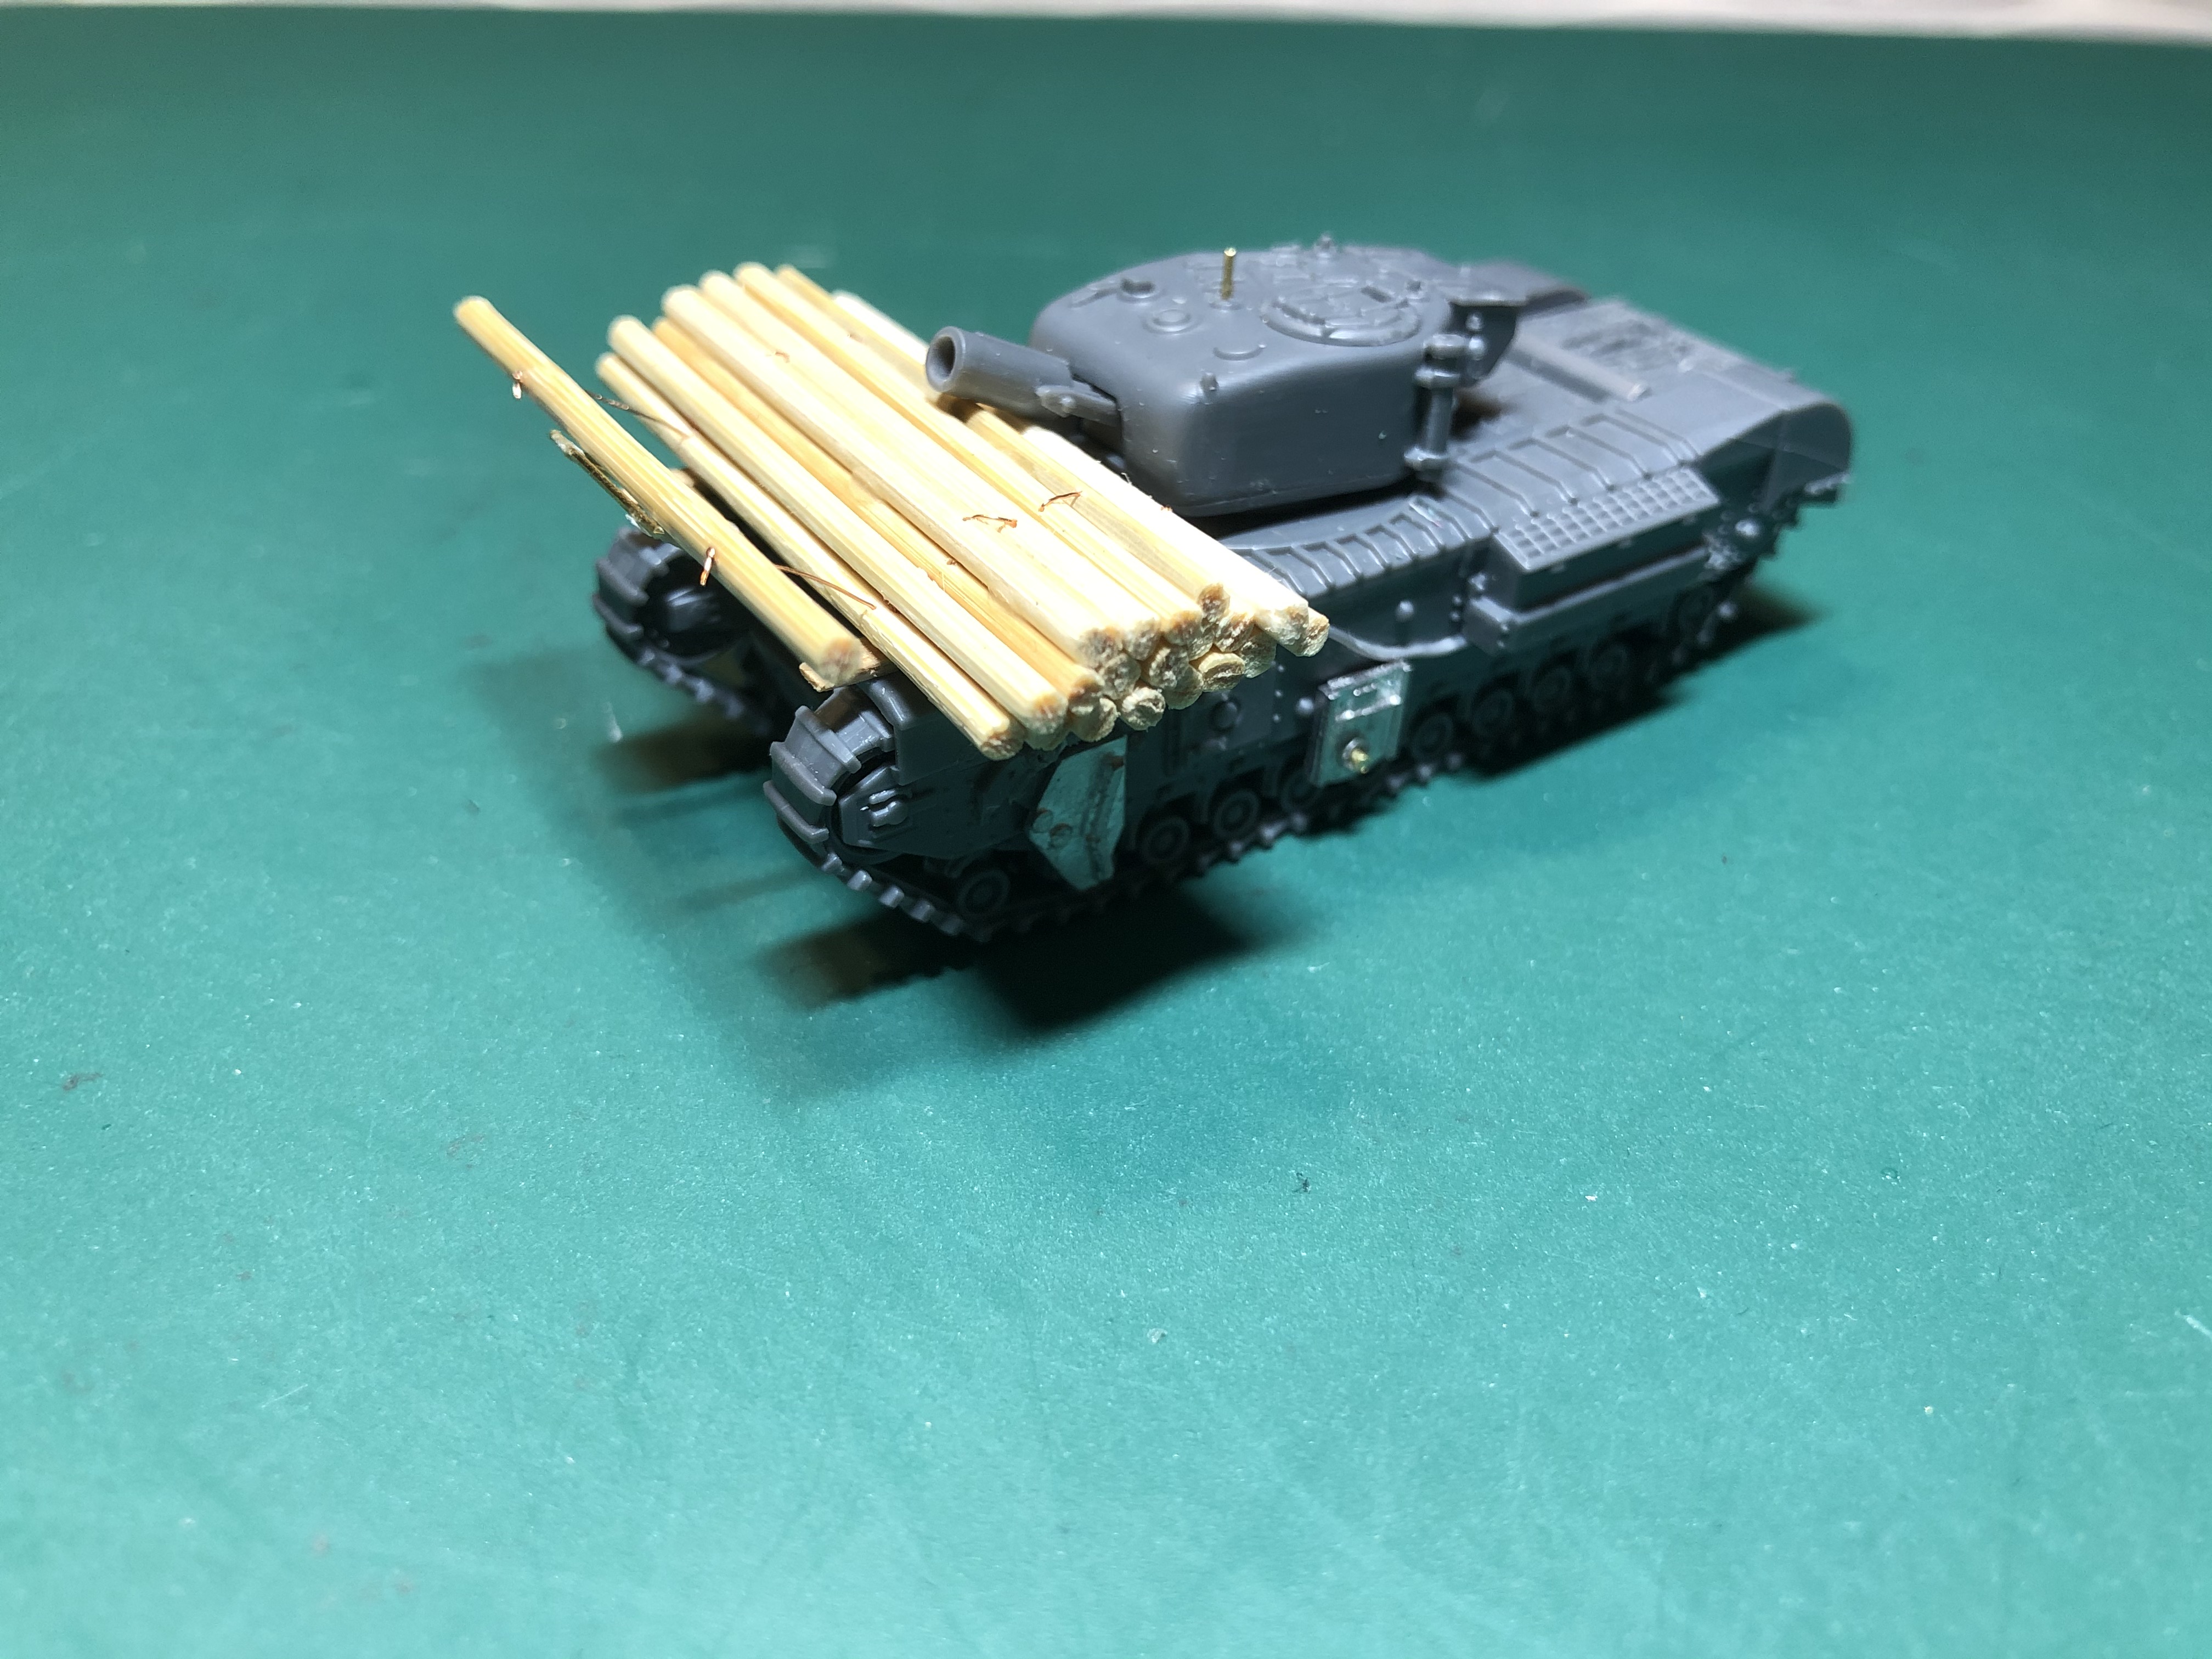
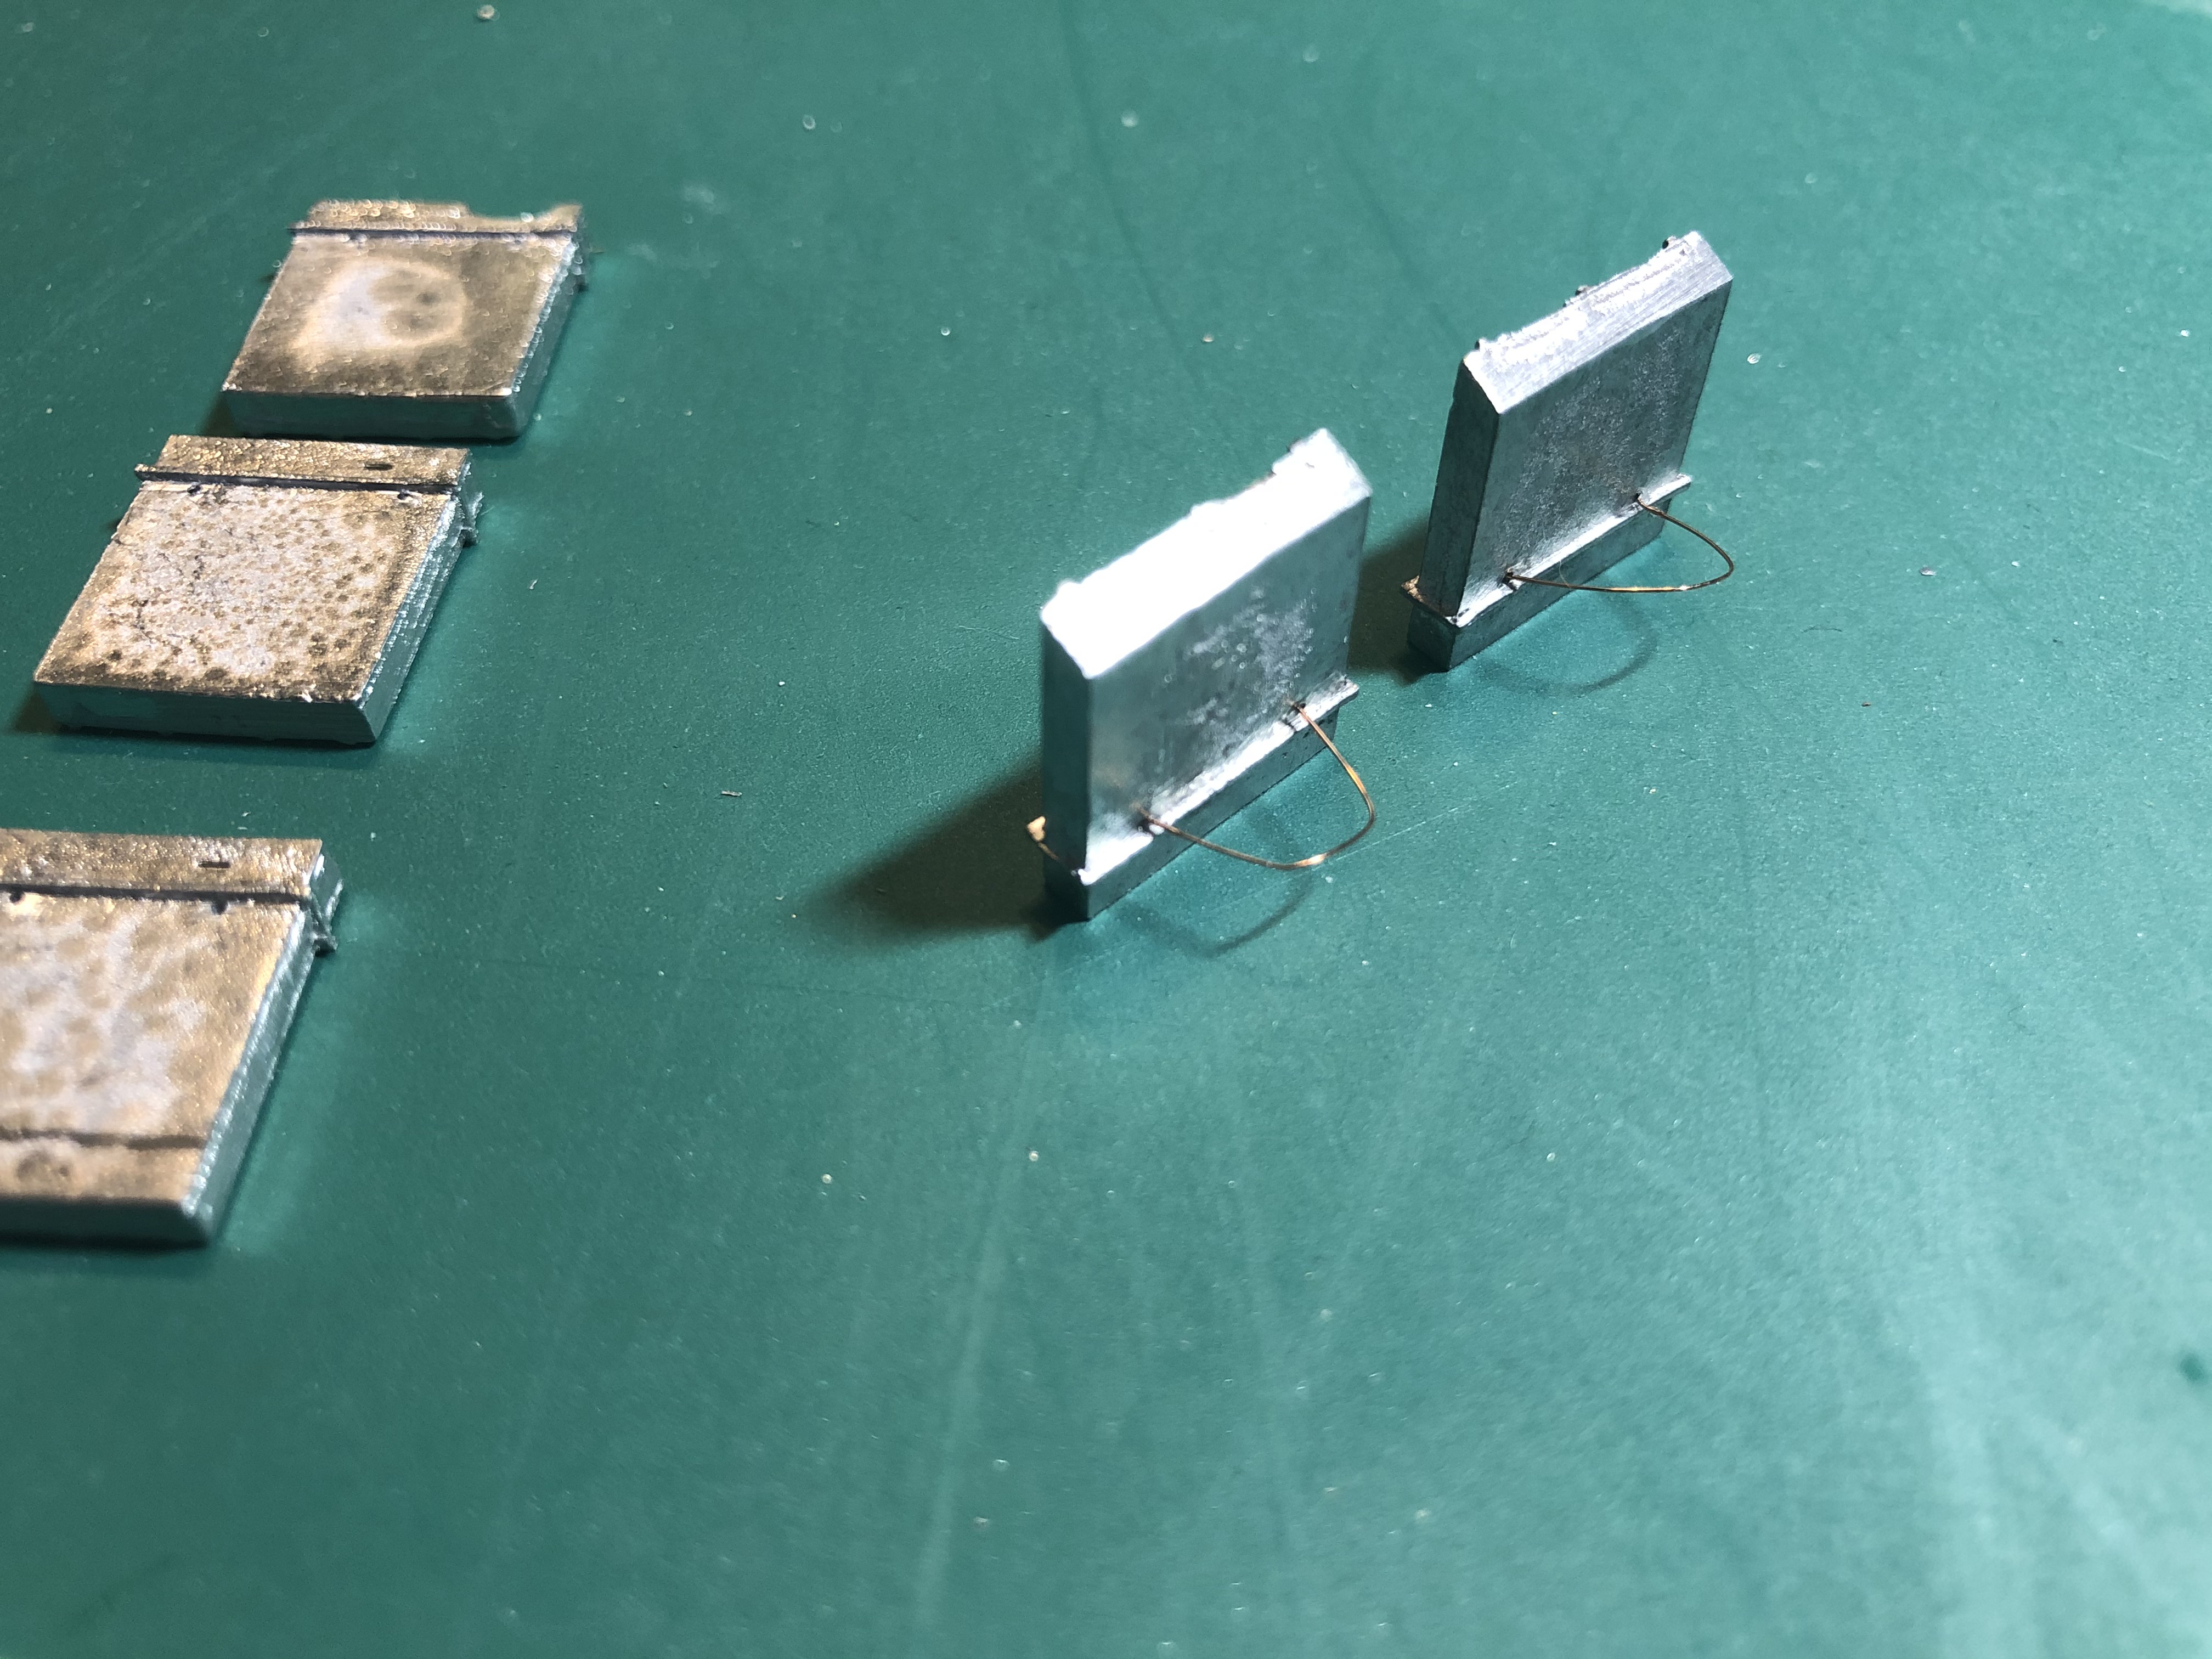
The other thing I forgot to mention is that I also modelled the Petard Mortar loaders hatch. This was adapted over the bow machine gunners access hatch and meant that the mortar could be loaded from relative safety.