


How to be an Armoured Farmer, building Hobart’s Funnies in Glorious 15mm (and maybe 28mm if they arrive in time!)


Recommendations: 2233
About the Project
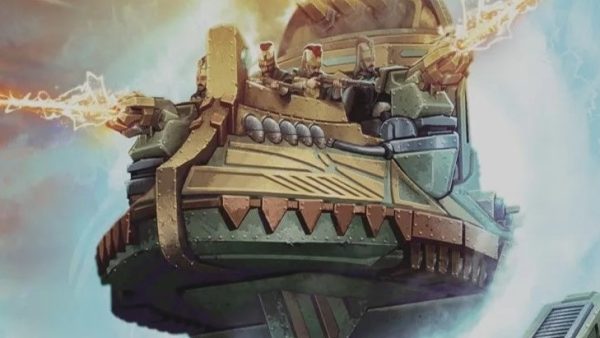
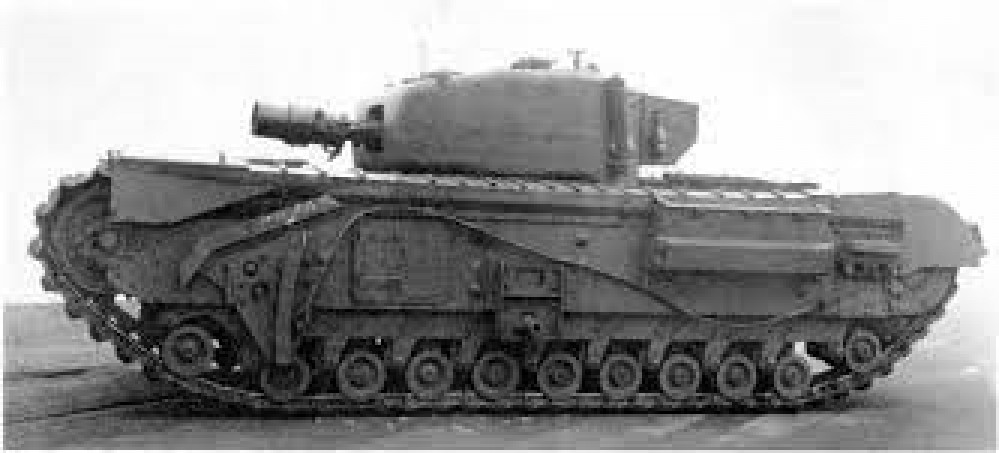
Right then, having avoided any sort of Spring cleaning challenge in the past, I have decided to use this year's one to get something done that I have been gathering bits for over the past few years and finally finish and assemble all of my Hobart's Funnies. To get technical these are Armoured Vehicle Royal Engineers (AVRE) tanks, using the Churchill chassis as a base. I will also throw in some Sherman Crabs (Flail tanks). I have gathered a few books for reference so that I can paint and mark them up for one of the Armoured Assault Squadrons Royal Engineer (either 77, or 79) that landed ashore at Sword Beach and were the very first to see action on that beach; Plus the Sherman Crabs of A Squadron 22nd Dragoons. Whilst I want to be able to use the finished tanks in games depicting the D Day Landings (in Flames of War and Chain of Command at 15mm) I also want then to be versatile enough to be able to be used in later engagements that the 79th Armoured Division took part in (which is pretty much everything!). I hope you will find this of interest if you ever want to branch out into what the modern day Royal Engineers affectionately call being an armoured farmer.
Related Game: Flames of War: The World War II Miniatures Game
Related Company: Battlefront Miniatures
Related Genre: Historical
Related Contest: Spring Clean Hobby Challenge (Old)
This Project is Active
AVRE Bulls-horn Mine Plough Build Cont'd
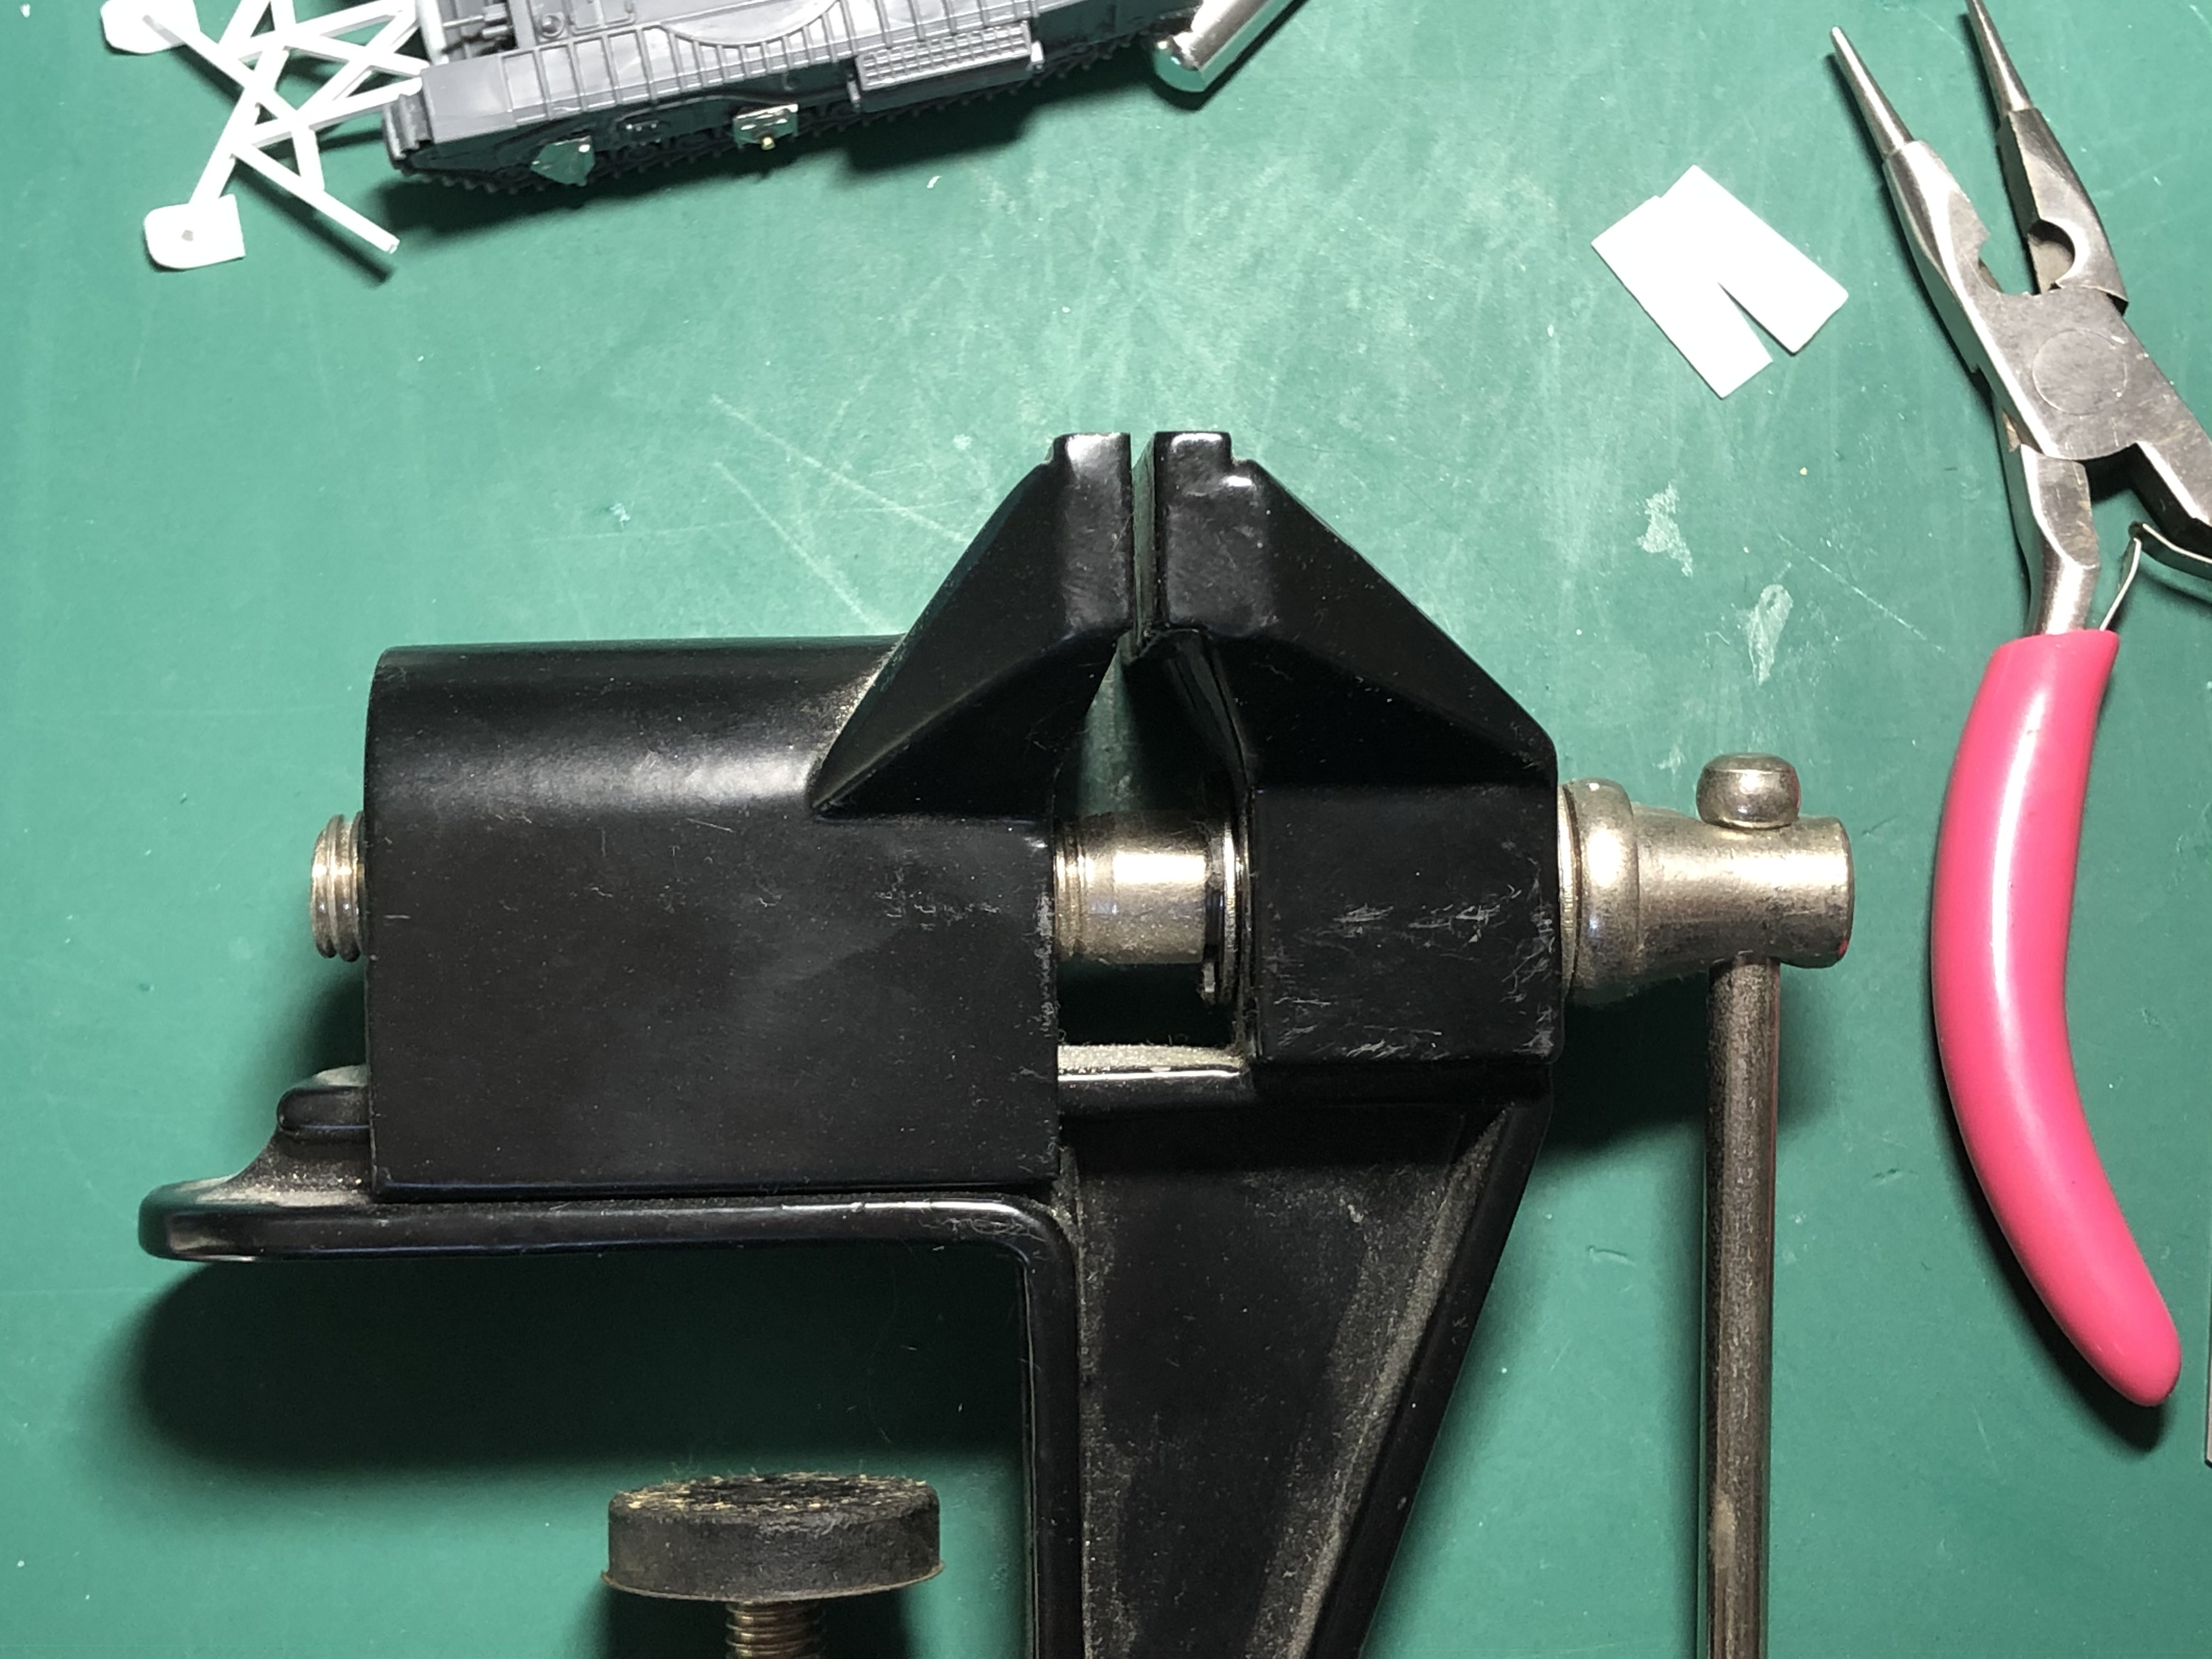
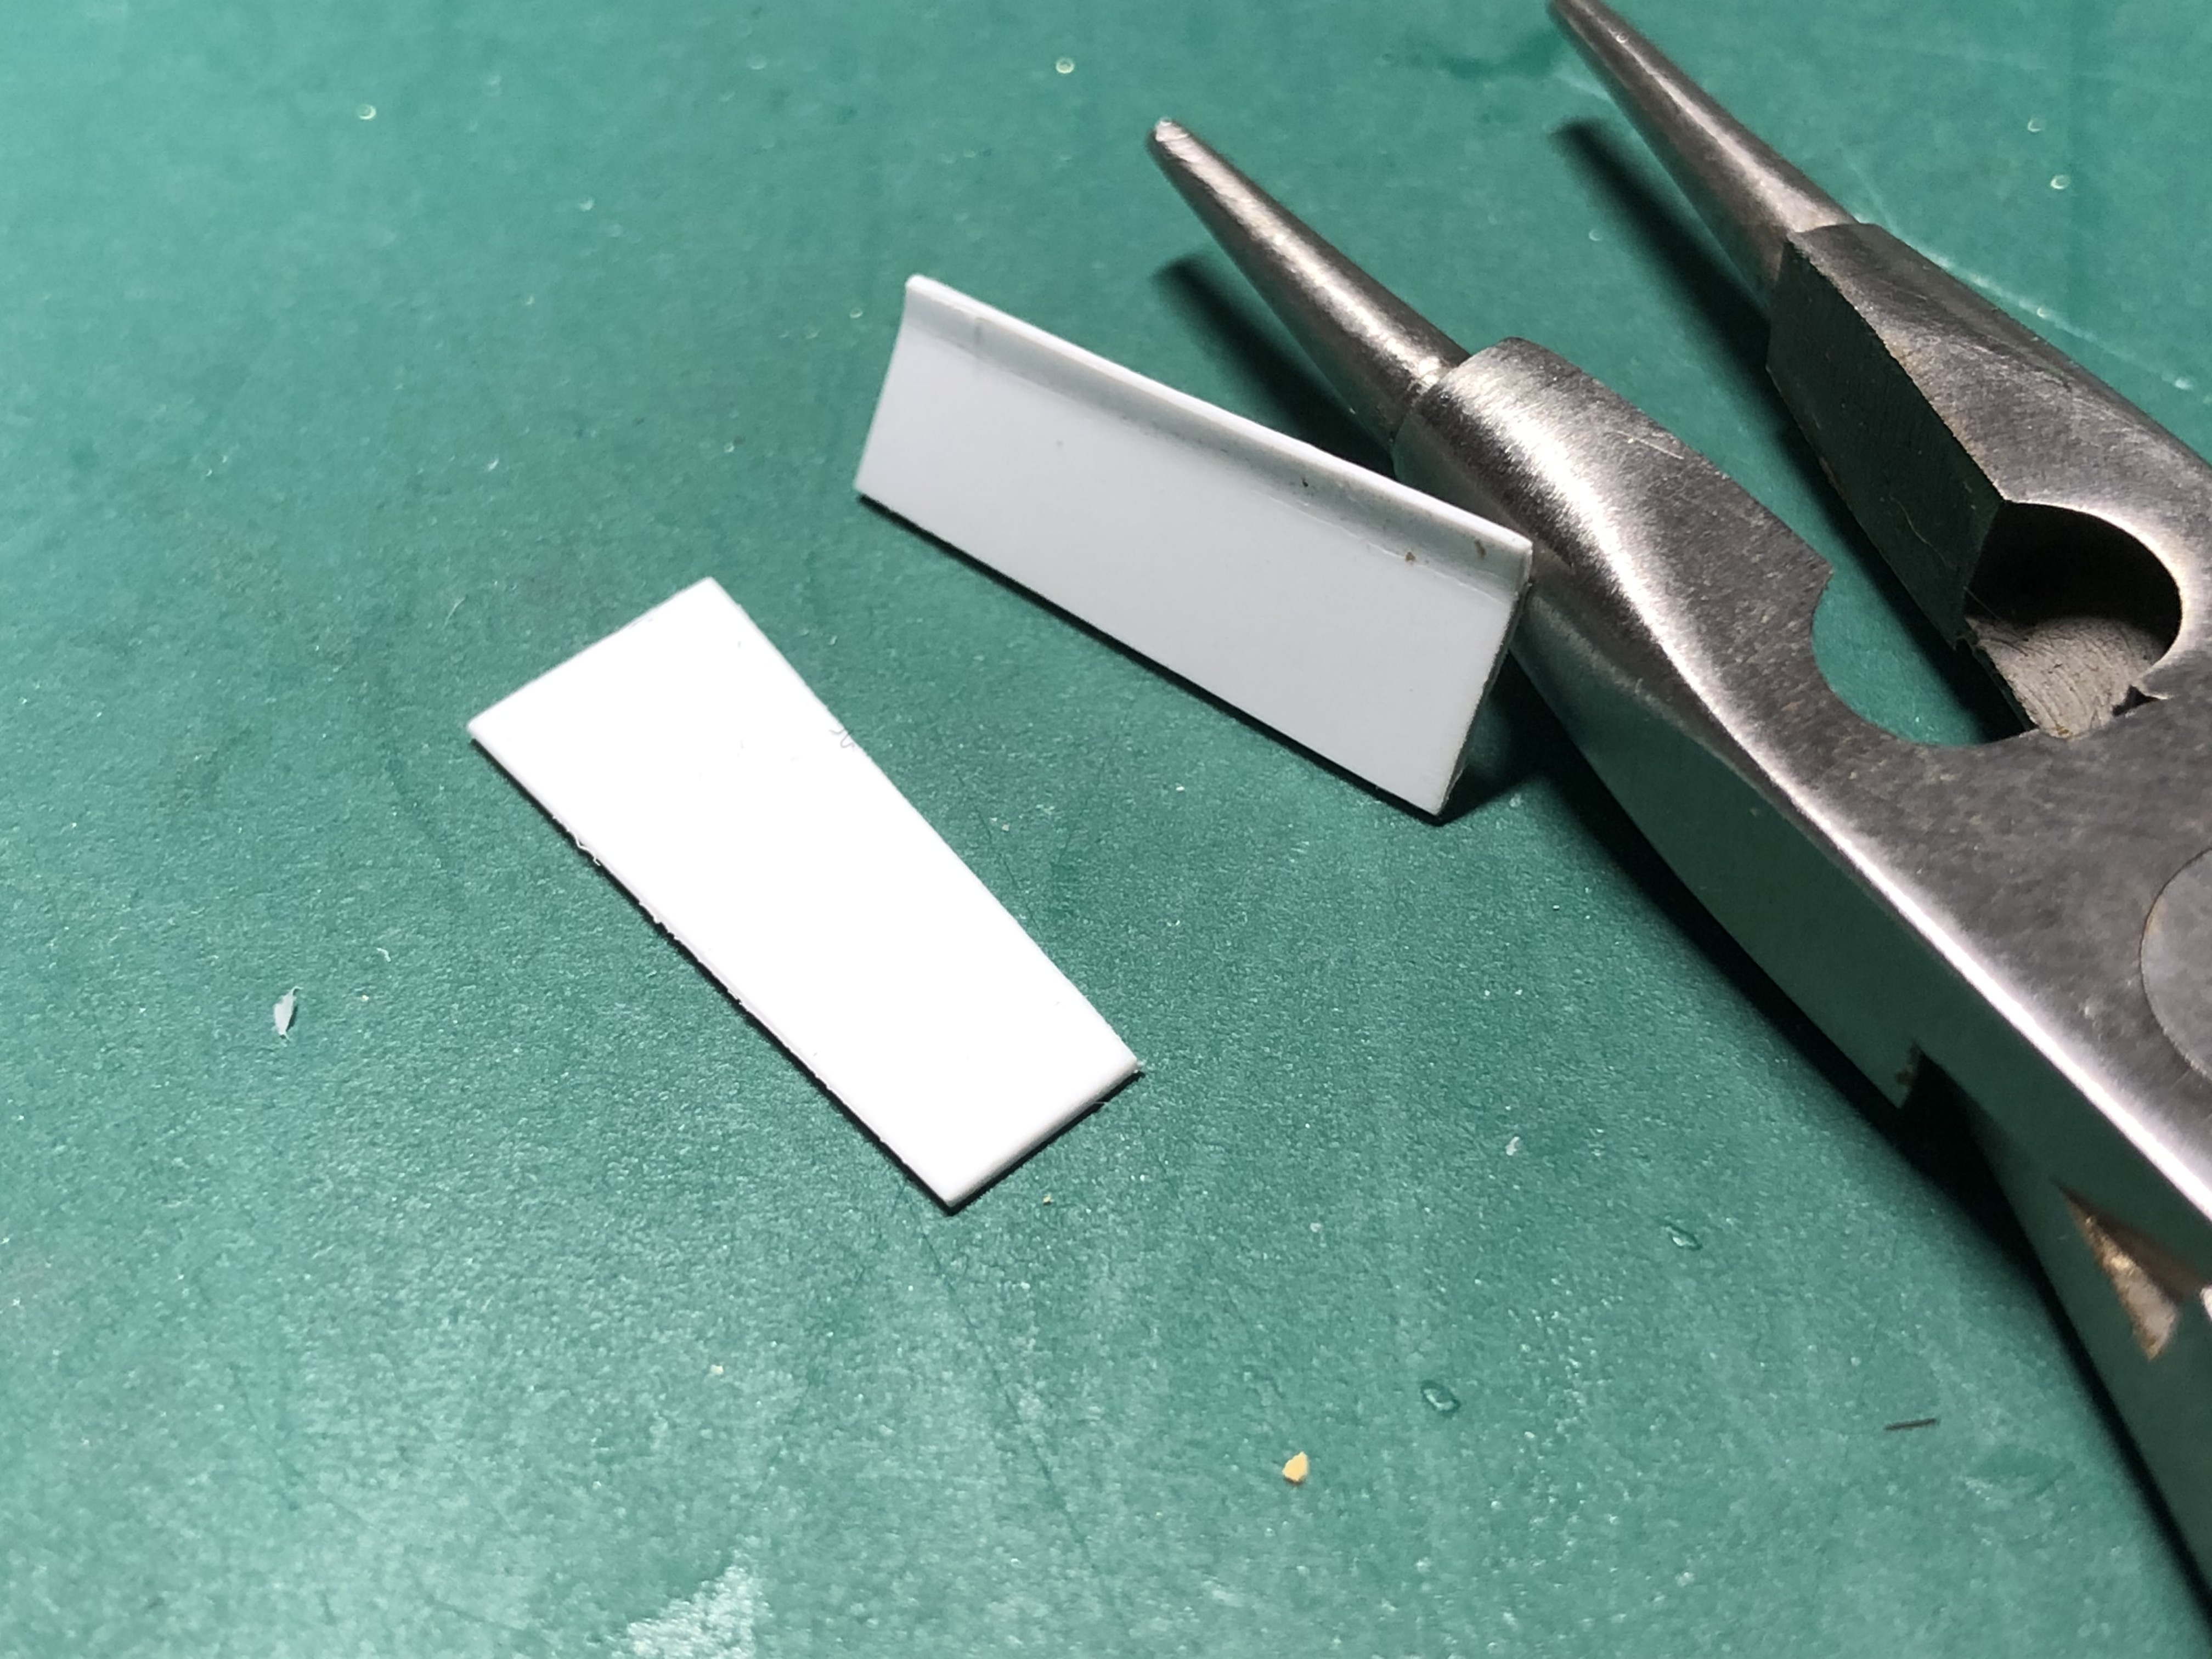
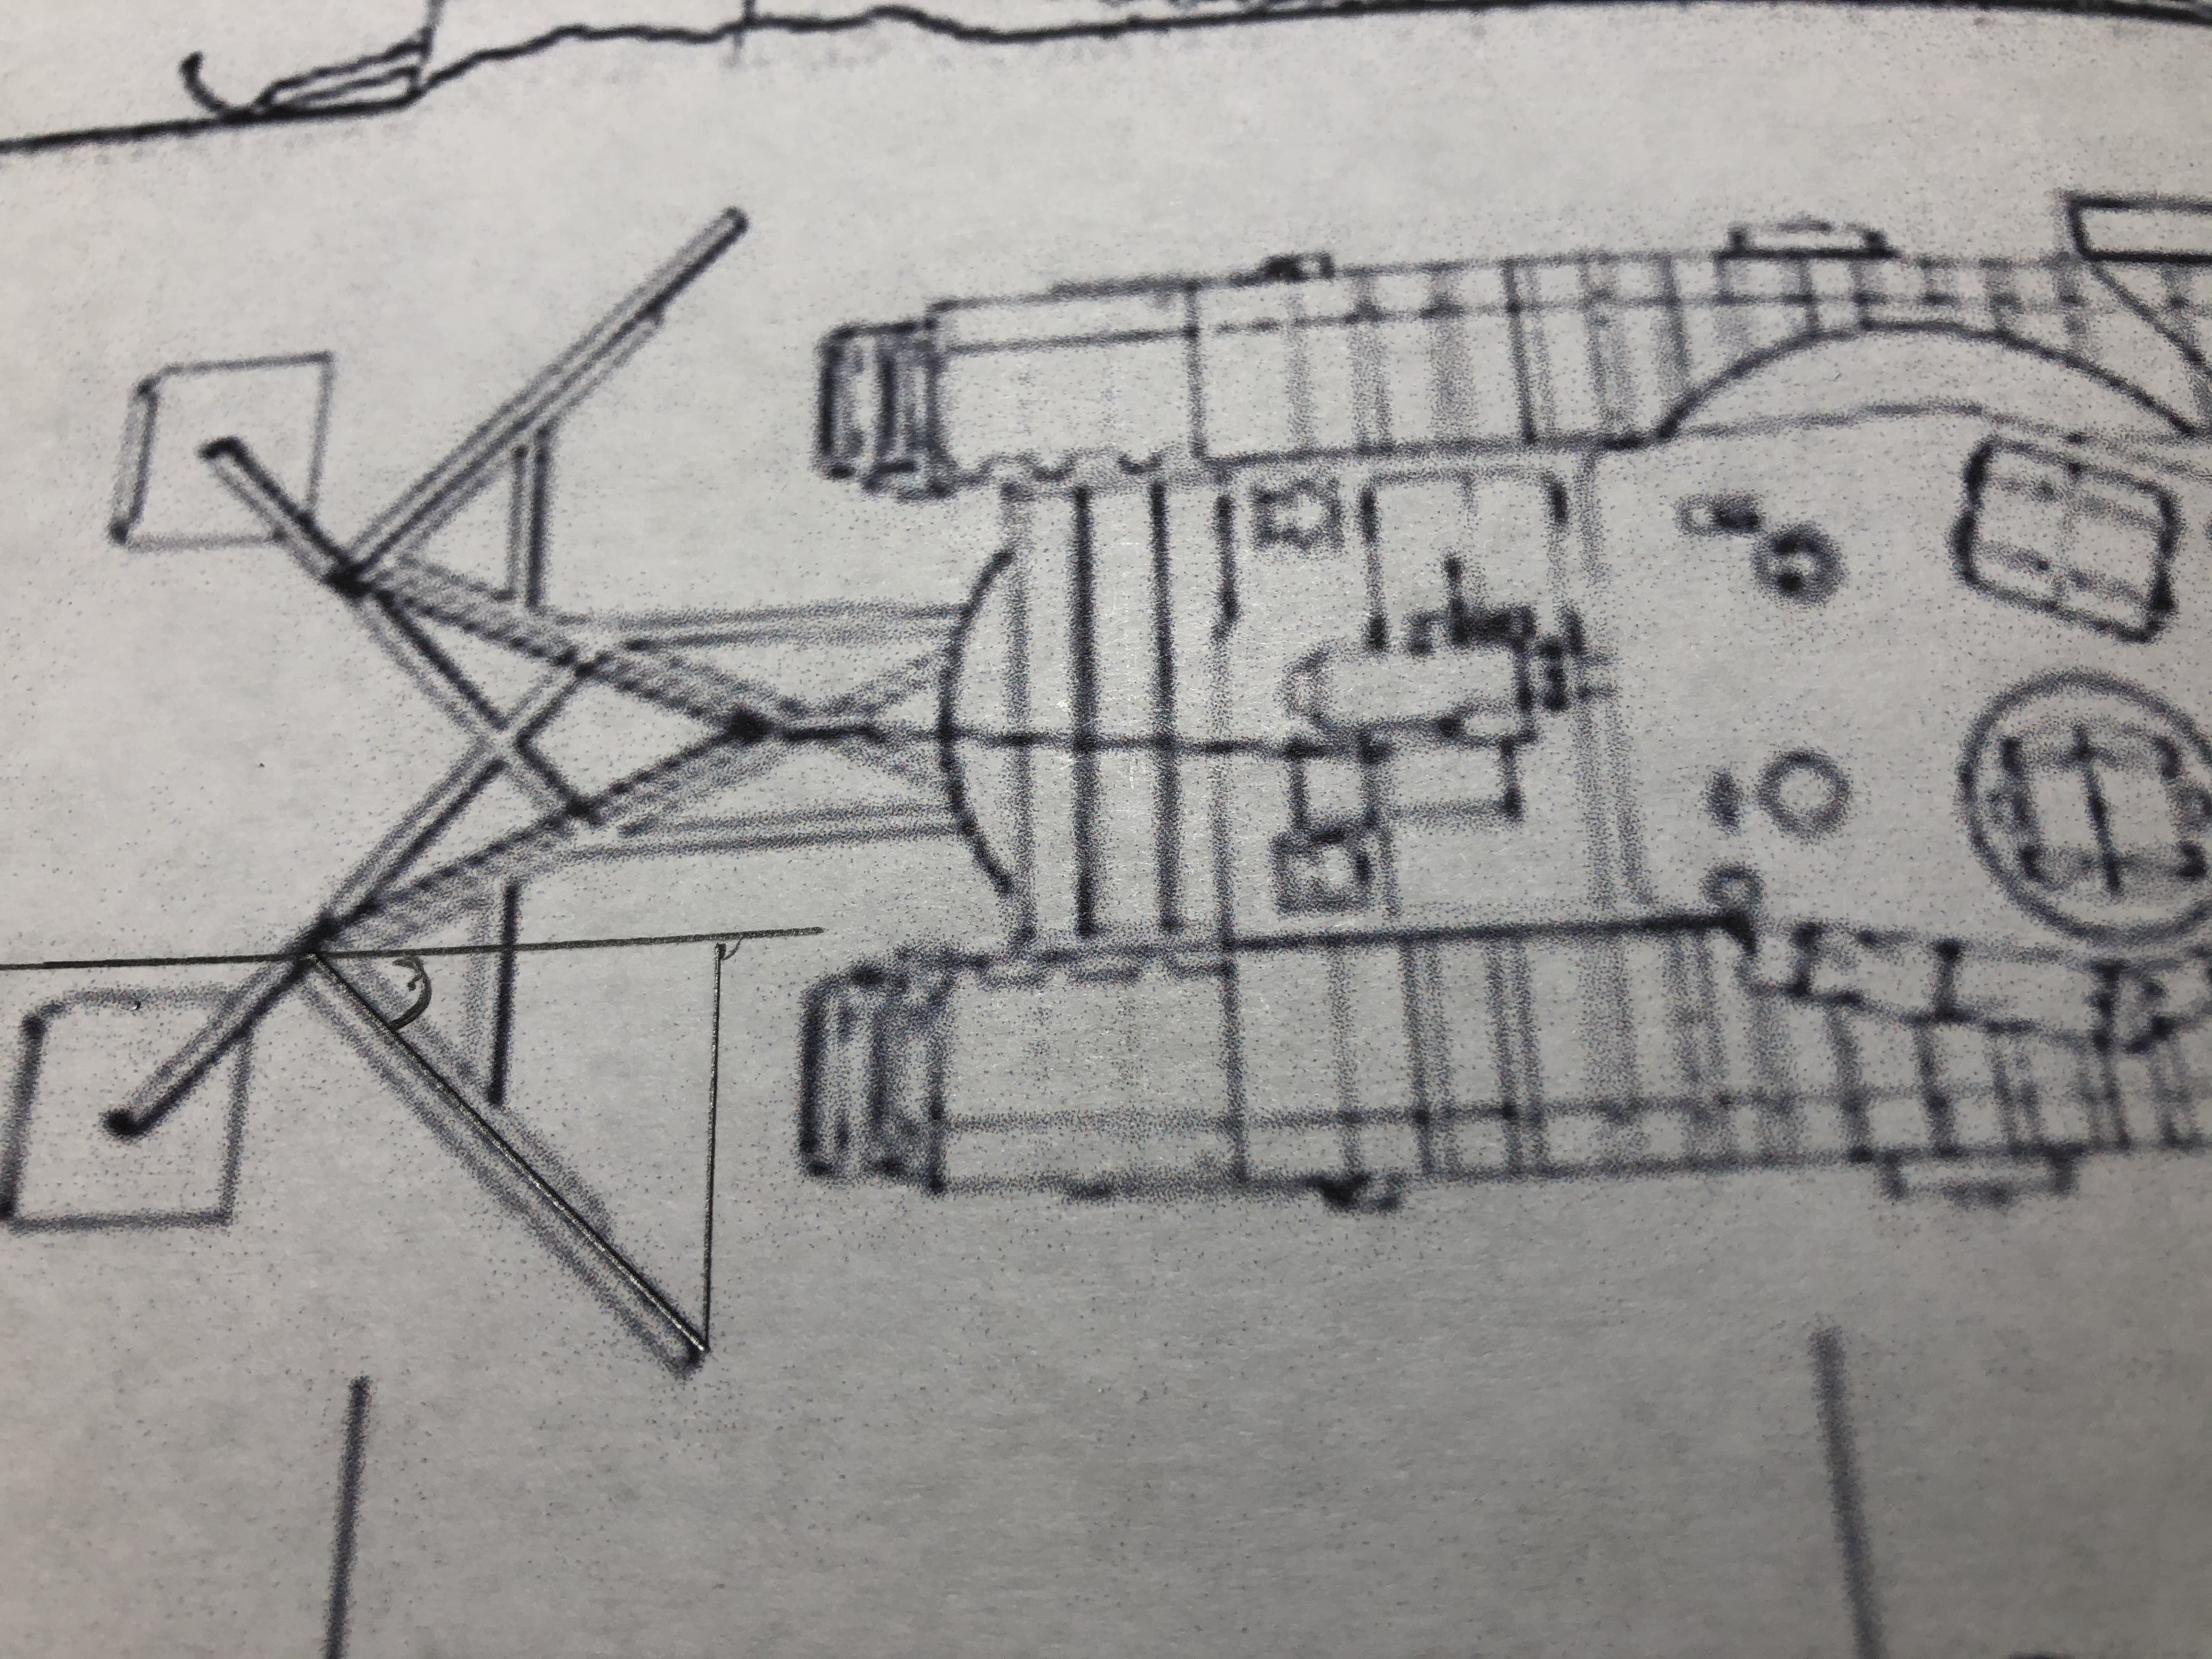
The connection to the tank is a bit strange, the photos show that there is a semi-circular shield covering the tank from the plough rig. To do this I measured out and scribed a circle and then cut an I-Beam to fit around it. Once cut out and filed round, I glued the I-Beam in place and then secured it in place in a modellers vice.

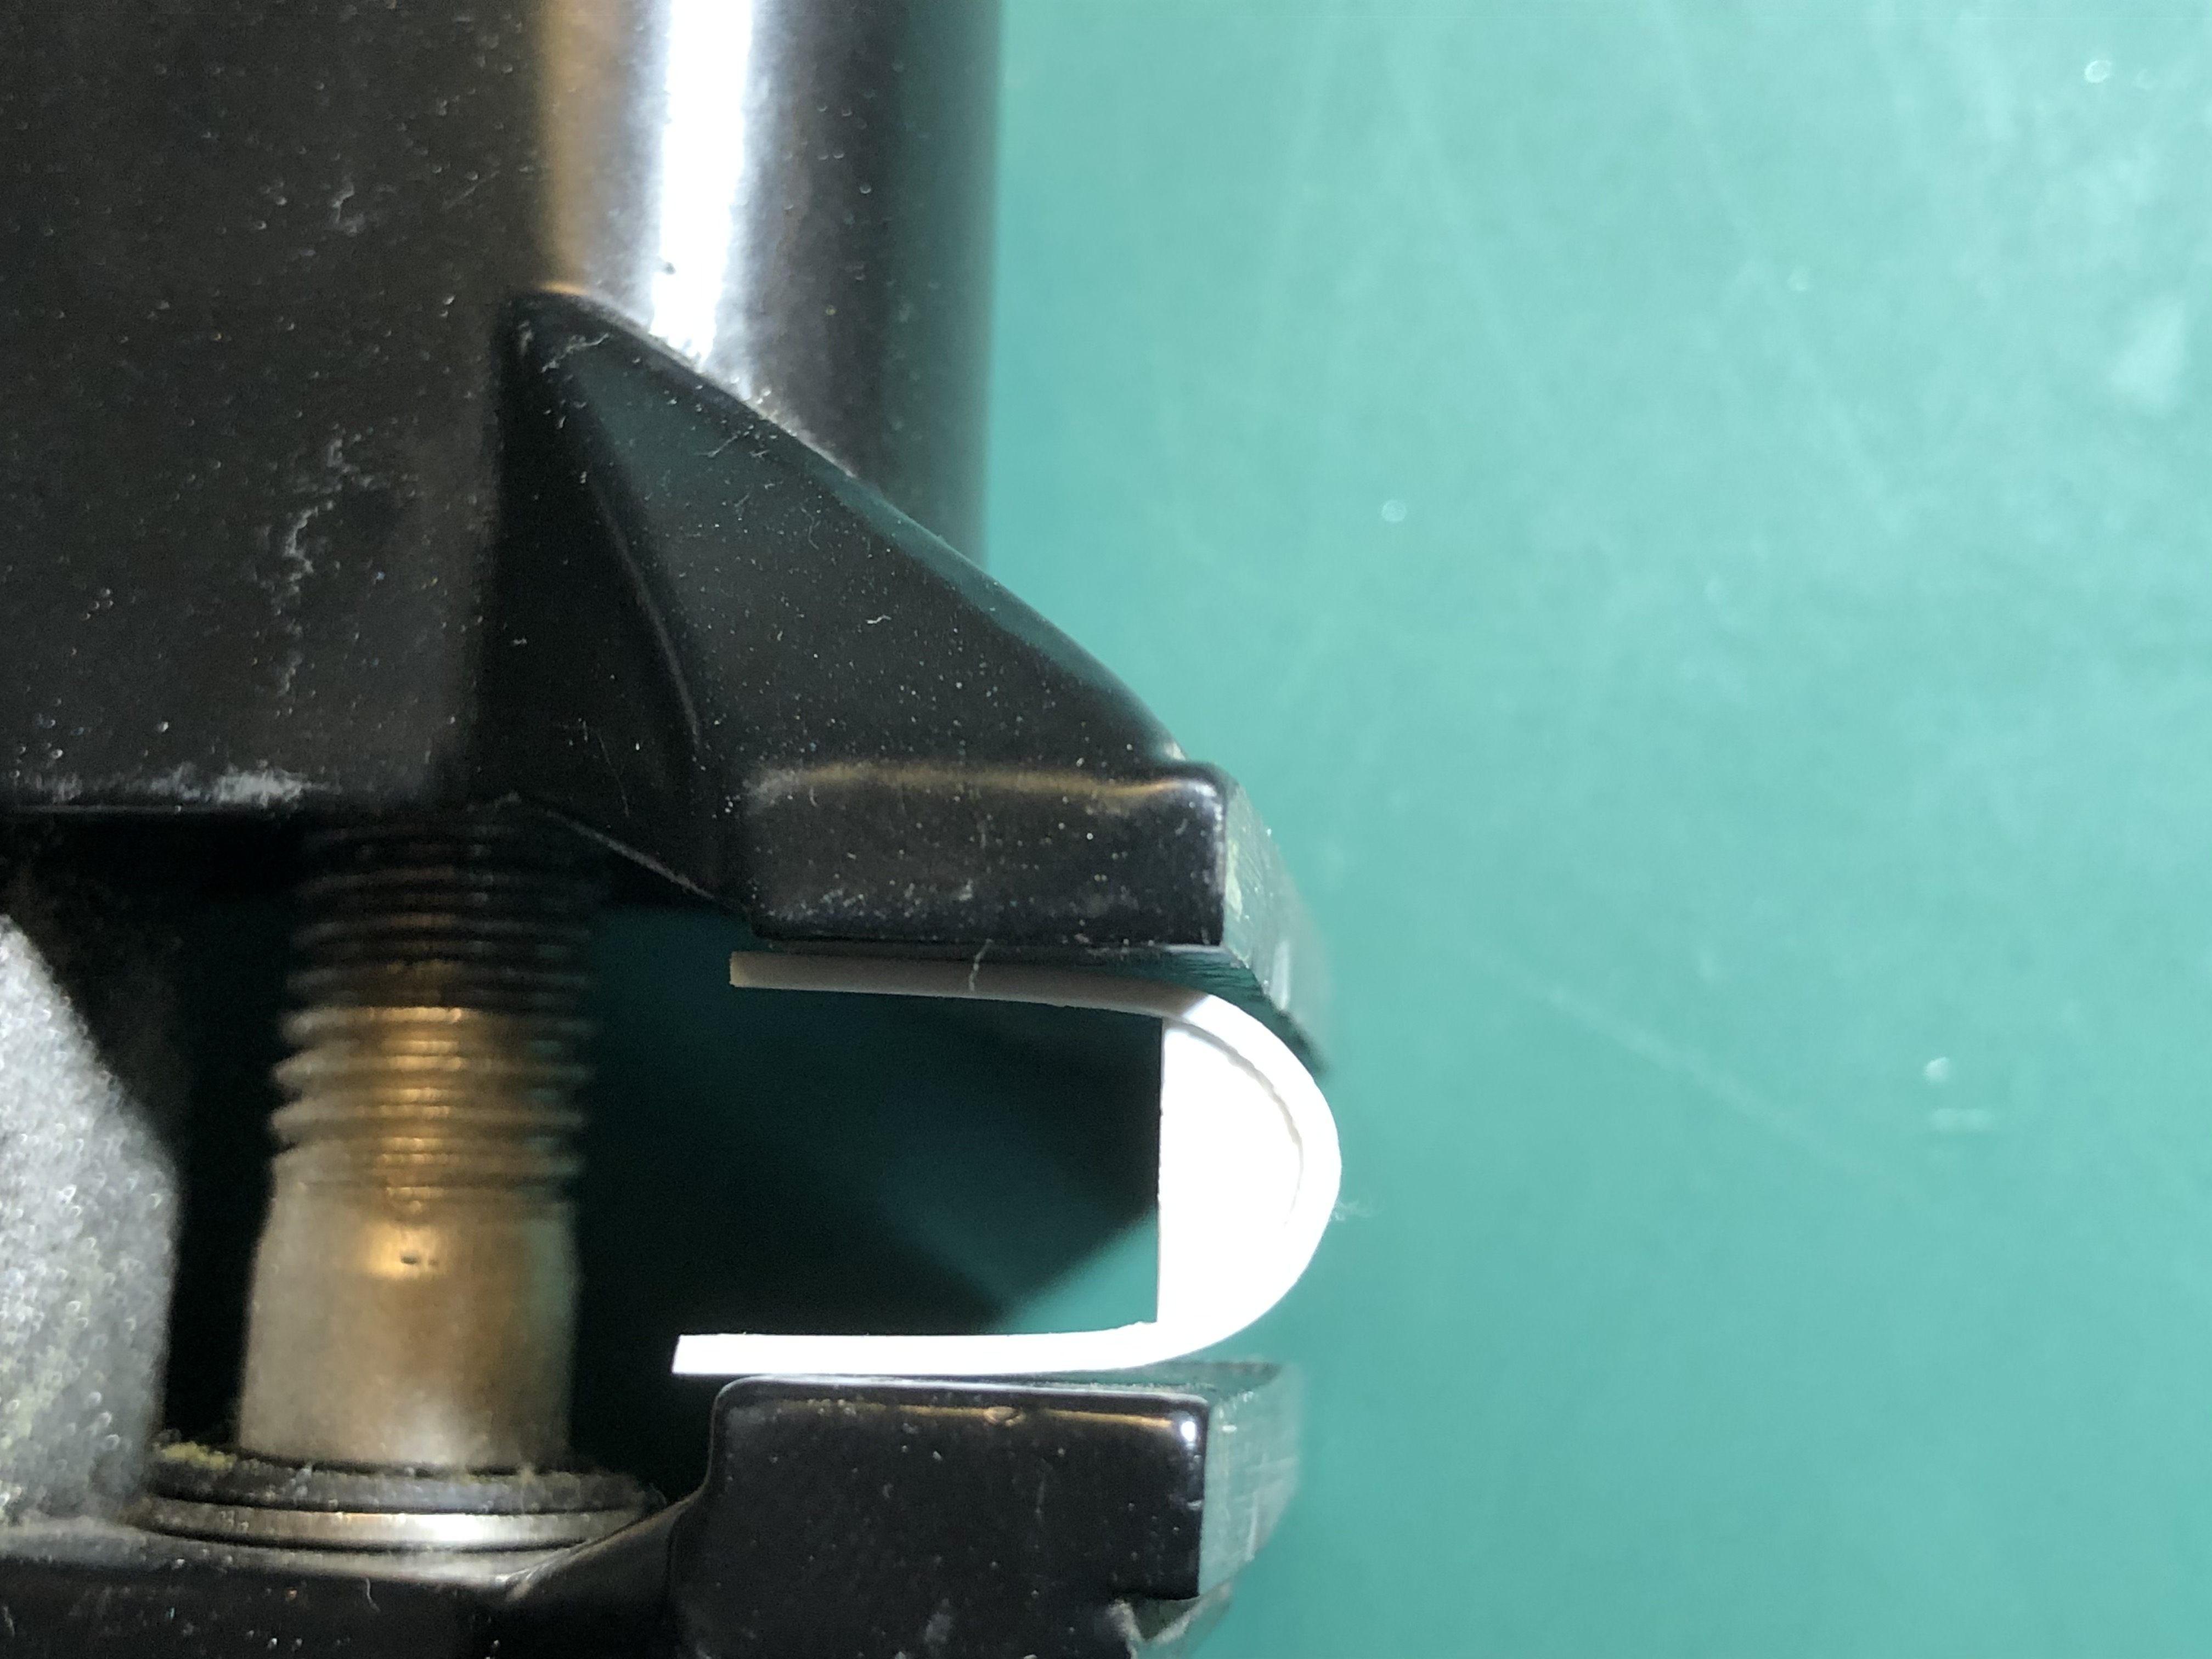
AVRE Bulls-horn Mine Plough Build Cont'd
To create the plough blades I had to first curve the top portion of the blade but then also angle the base so that it looks like it is partially submerged in the ground. I made a conscious decision to not model the horns as they should be fully underground, plus at this scale they would be a right pain to do!
AVRE Bulls-horn Mine Plough Build Cont'd
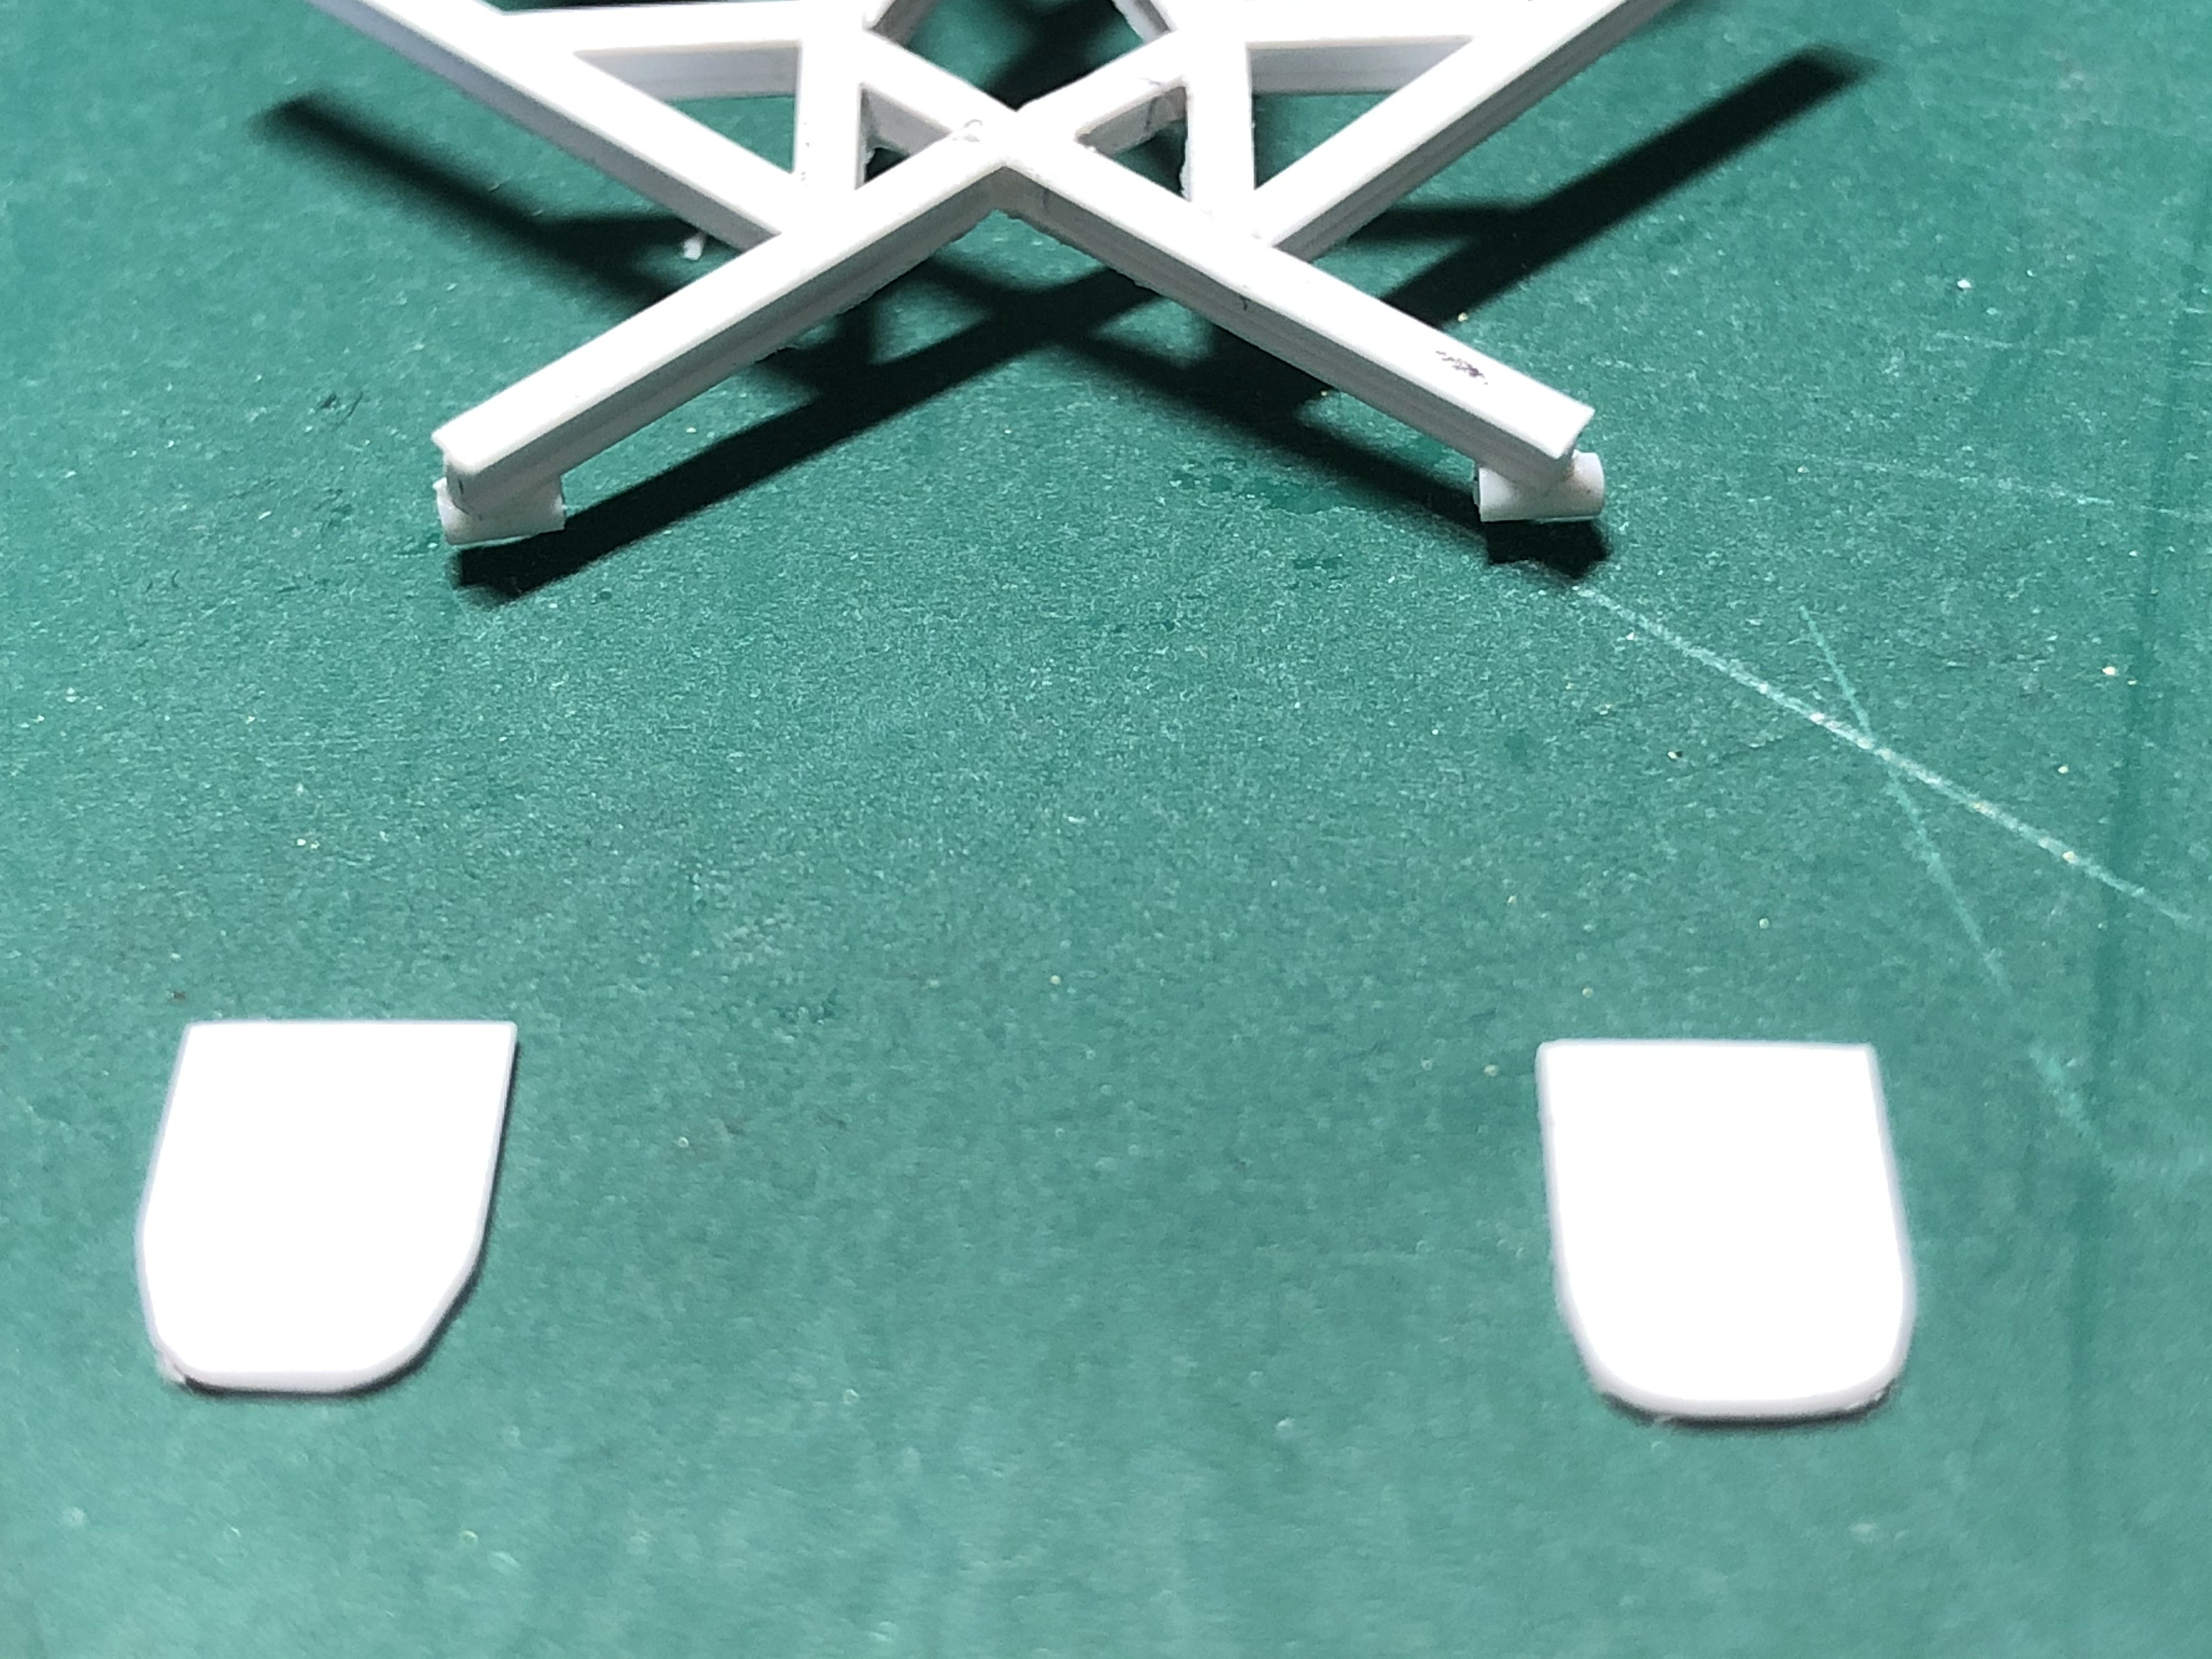
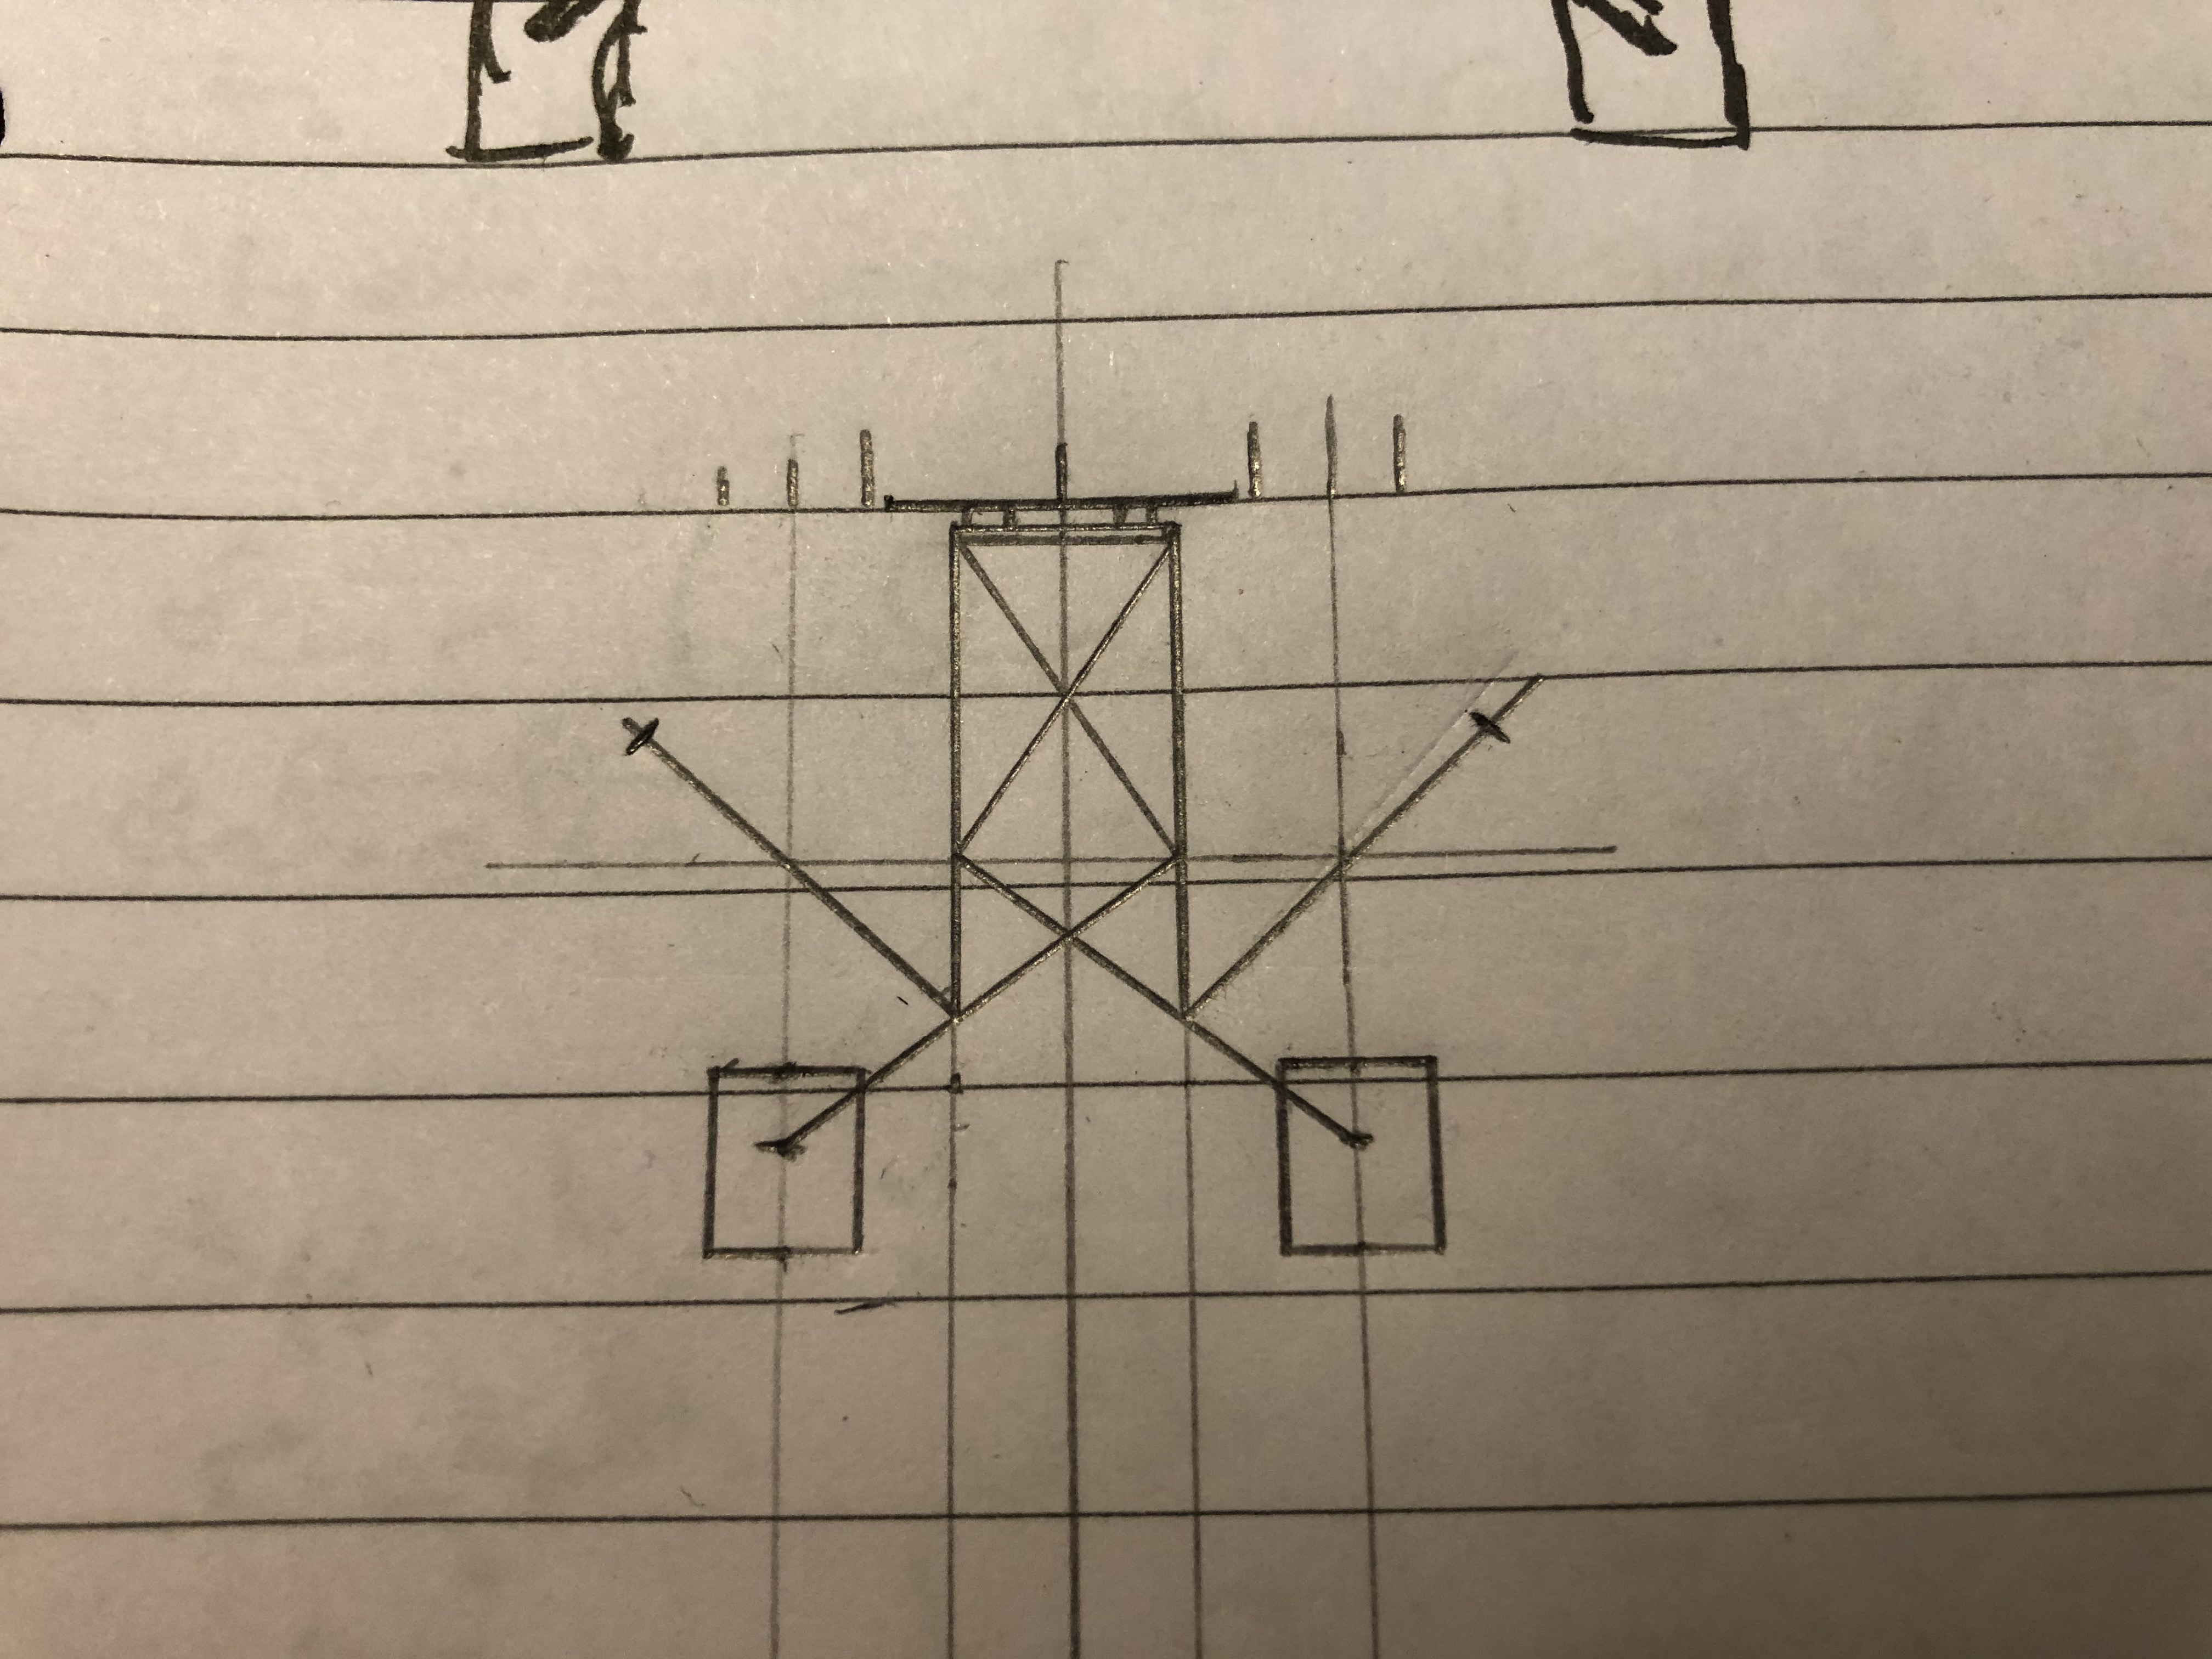
At the front of the mine plough are a pair of float guides, they are positioned ahead of the plough so that the plough will follow the contours of the ground at the right depth for the horns of the plough to get underneath any mines and lift them to the surface without either piercing, or detonating them. The plough is then angled so that they are pushed to the side of the vehicle and out of harms way.
To make these I used some of my wife’s jewellery pliers, these are especially mad for creating rings and links in bracelets and necklaces but are also bloody good at bending styrene sheet into curved shapes. It was then just a case of positioning them and gluing in place. it is critical that the rig is tacked to the right place on the tank to ensure the guides are glued at the right angle.

AVRE Bulls-horn Mine Plough Build Cont'd
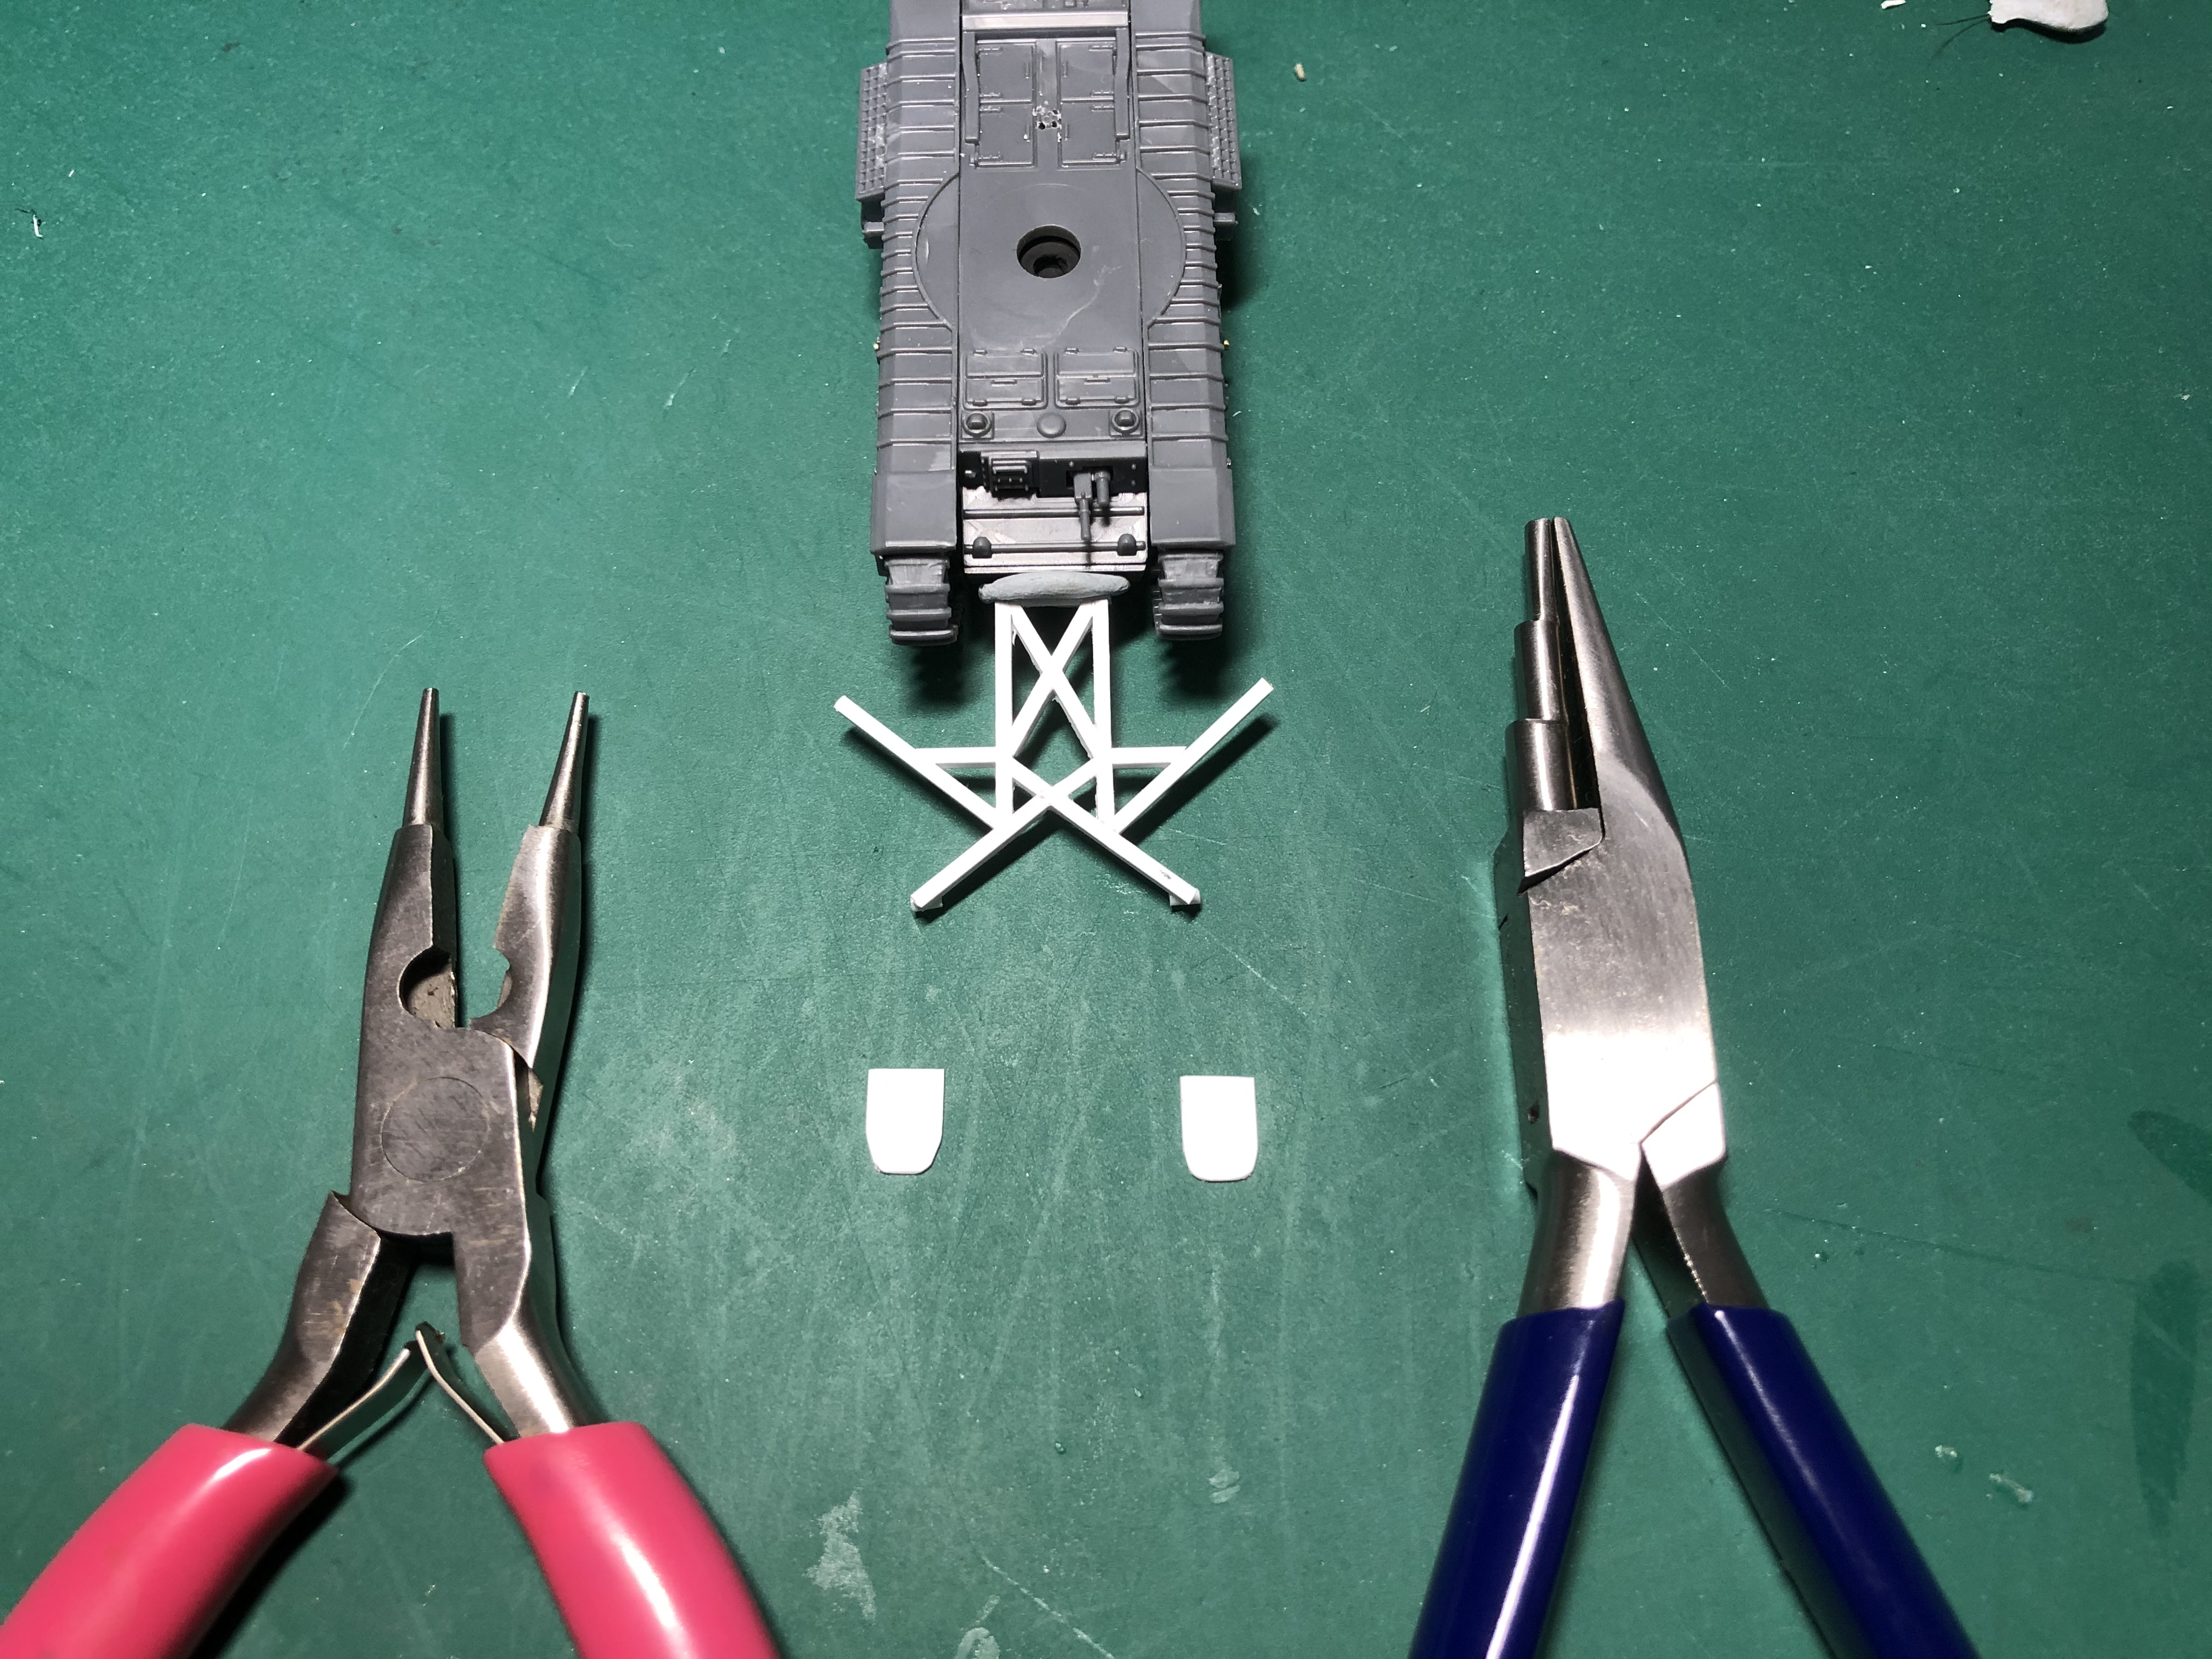
Once I was happy with the mock up I pinned it out onto the cutting mat and then drew it in with a fine marker pen. I then cut up sections of 1.5mm I-Beam styrene section and cut the ends to match the adjoining section. I didn’t worry about the web of the I-Beam at this size, as the glue would fill in any gaps.
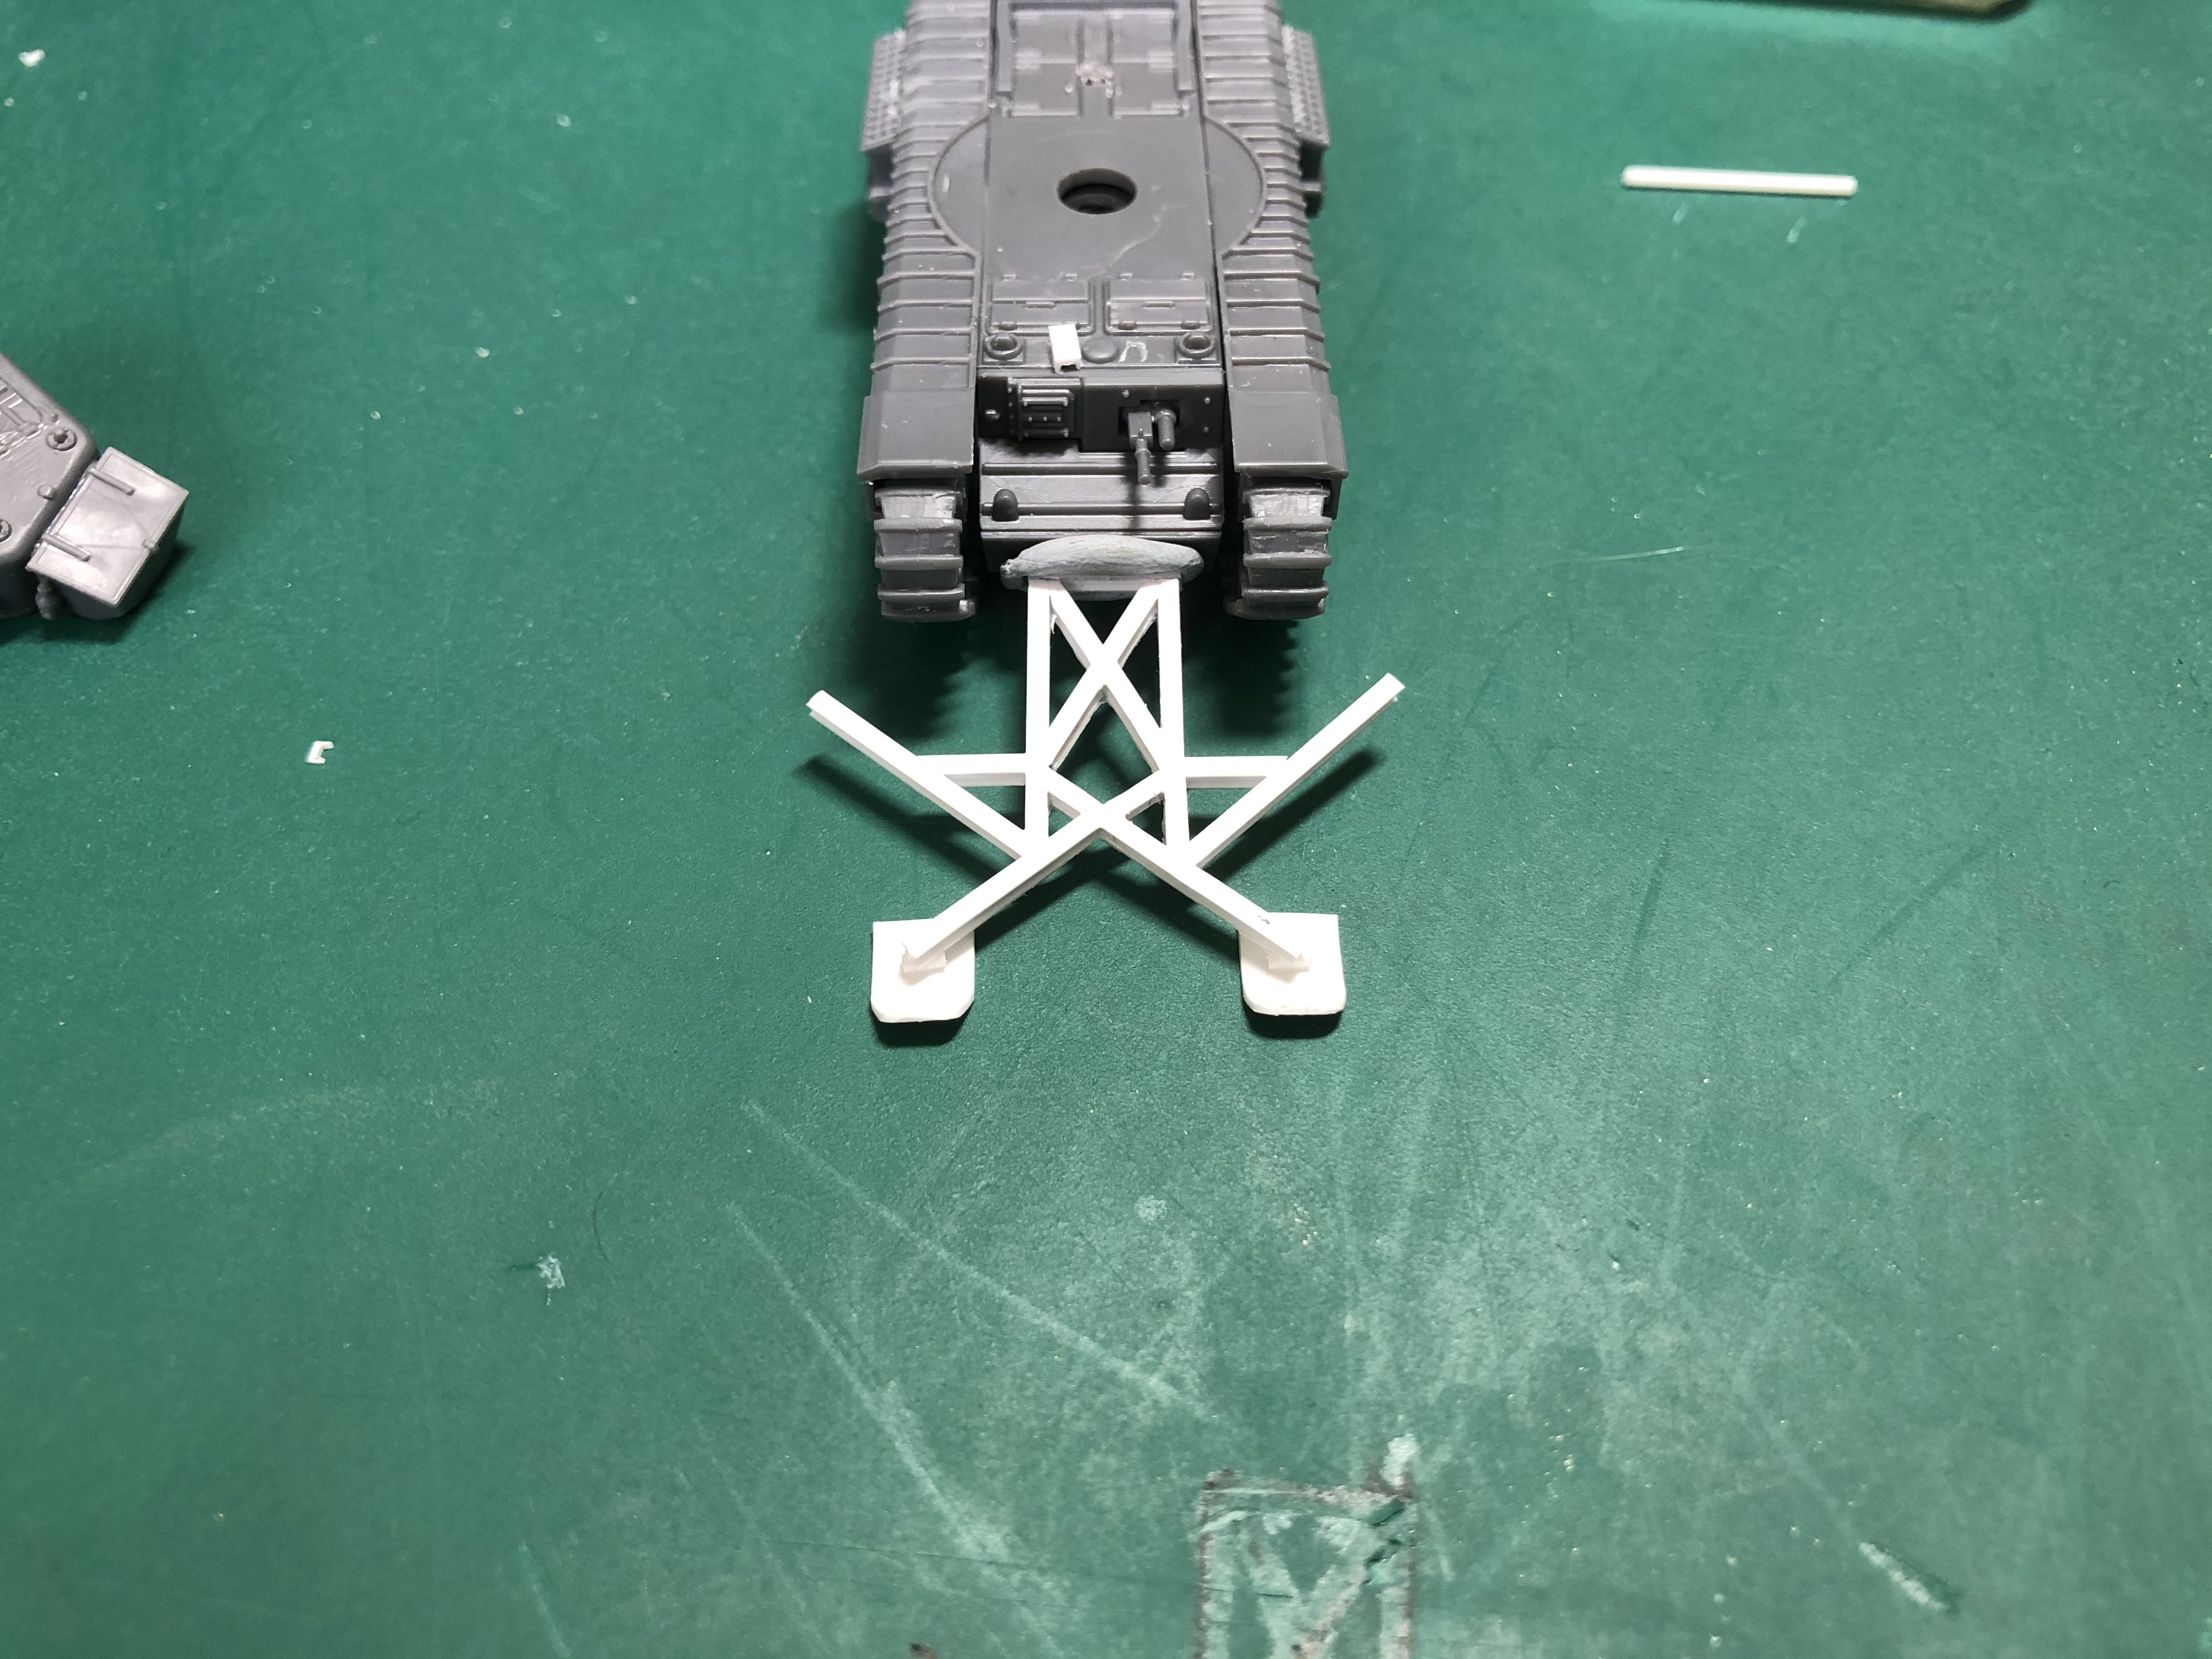
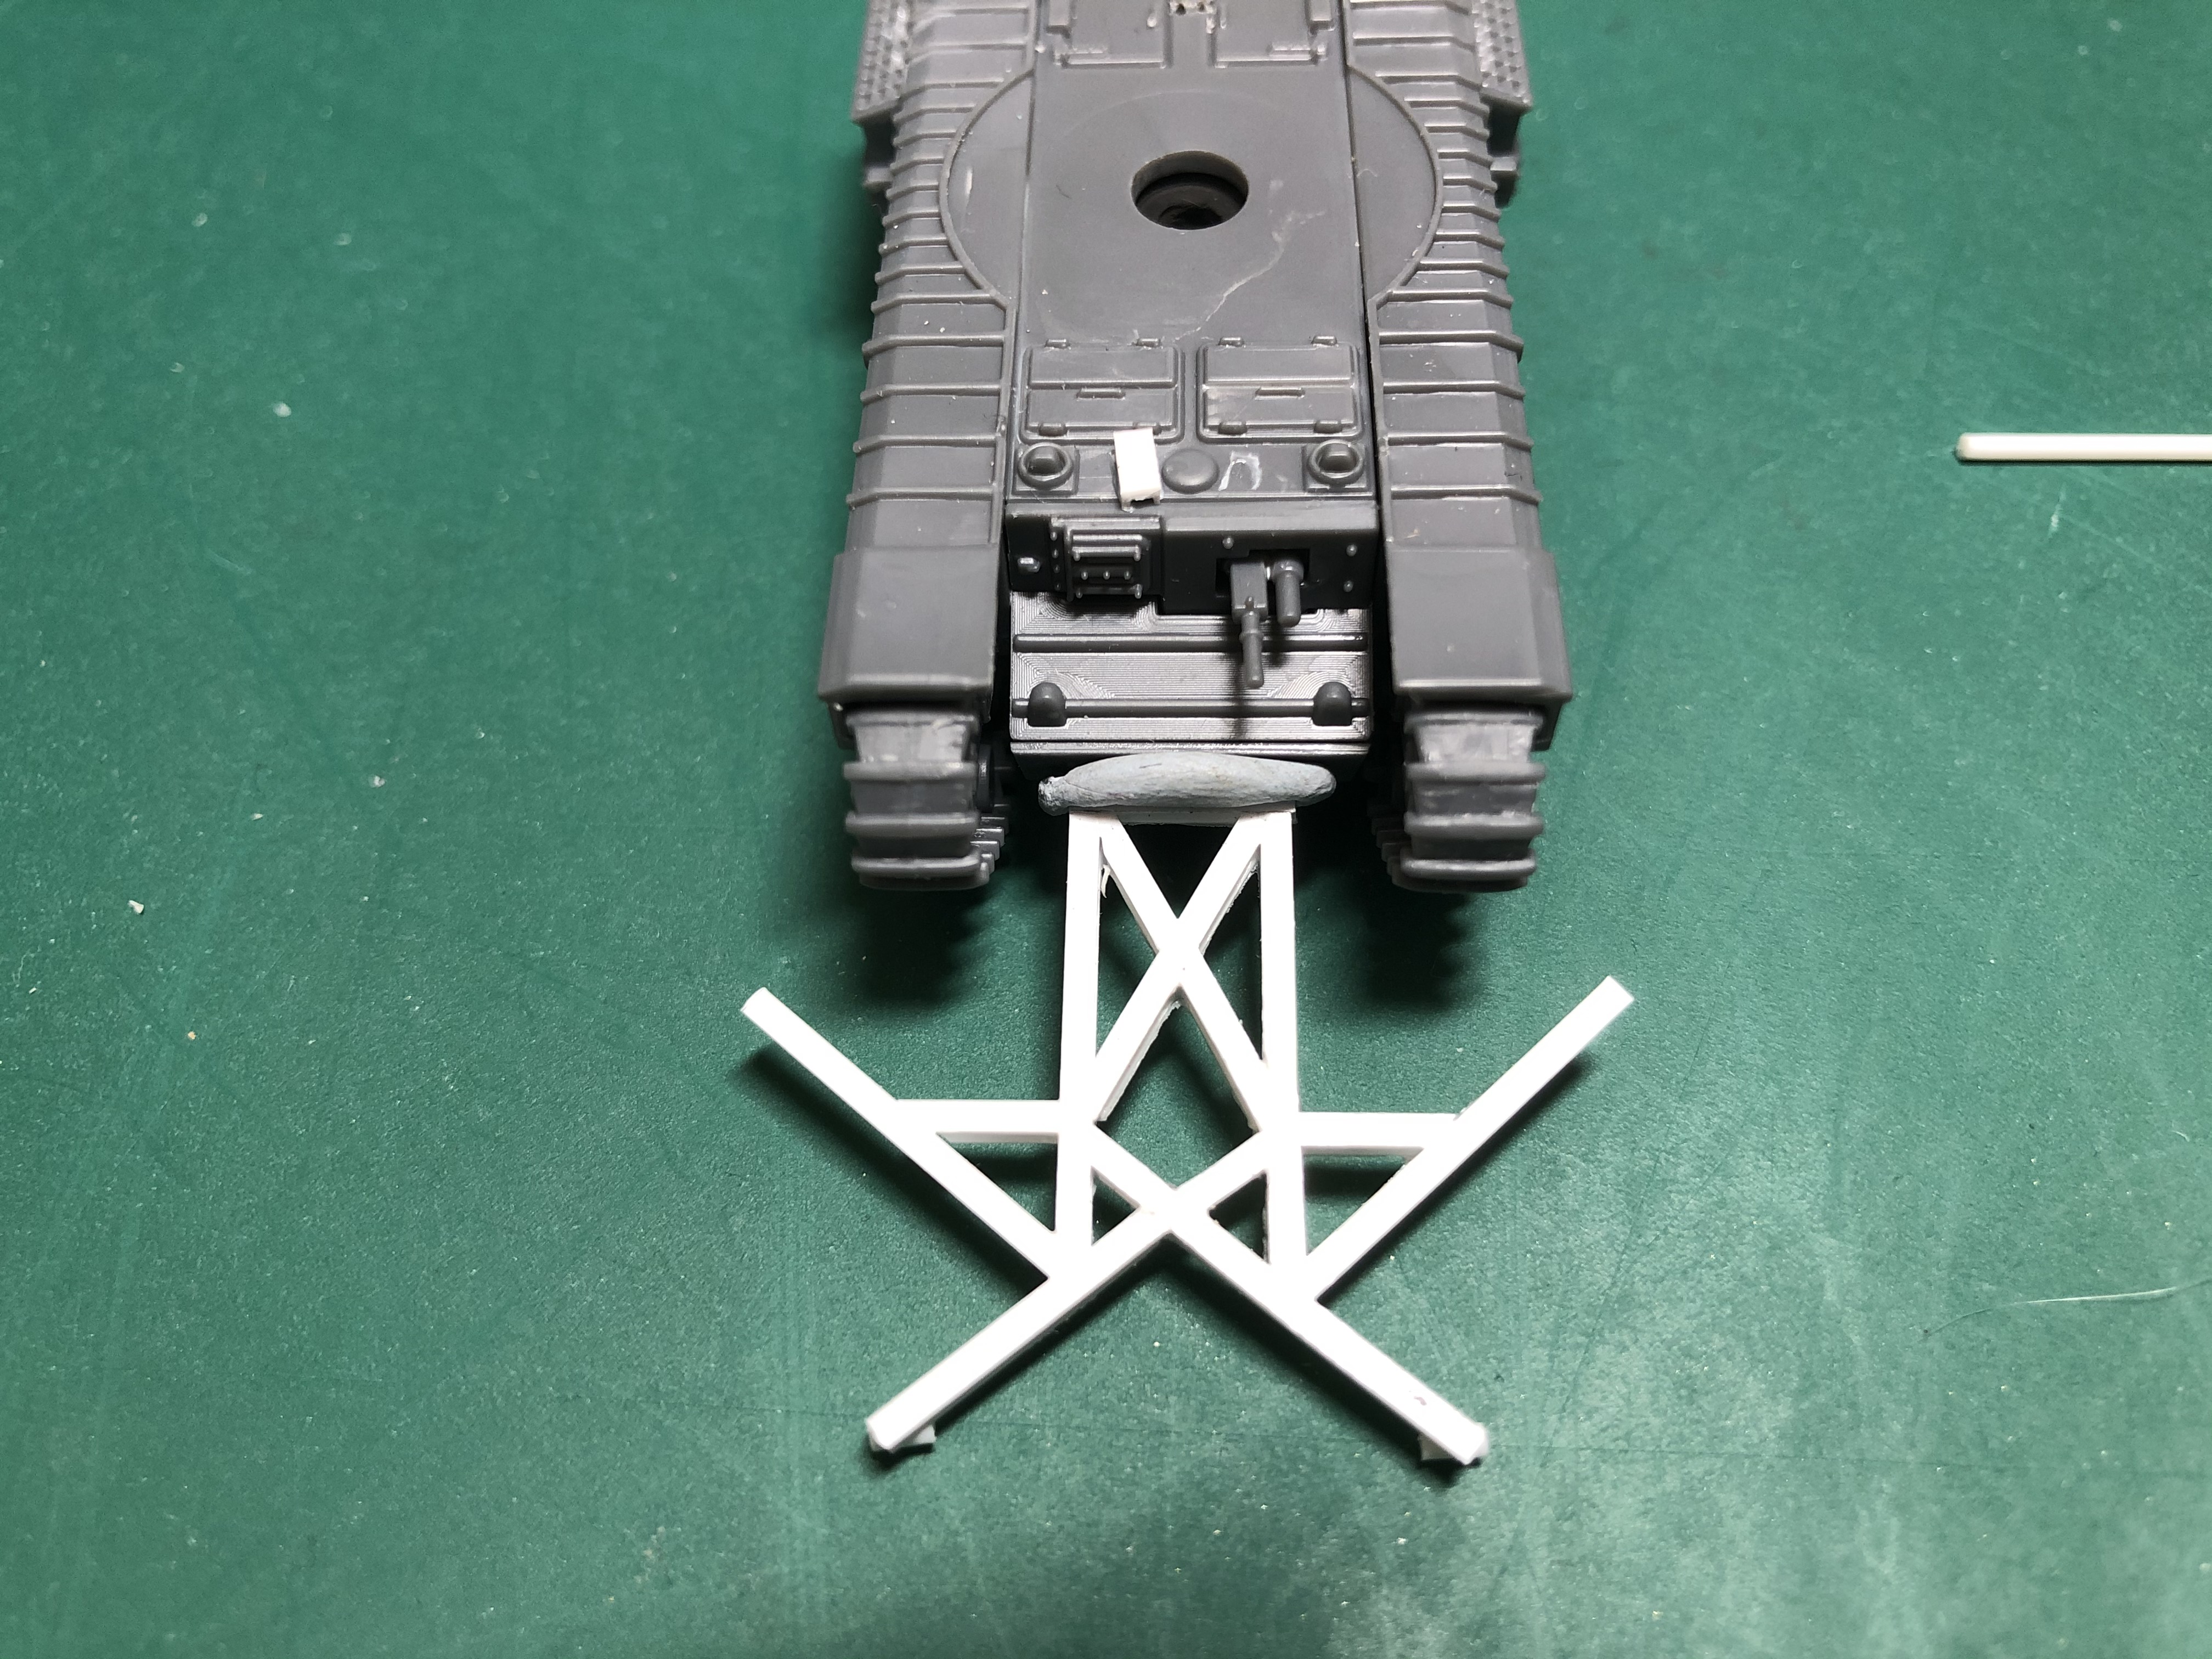
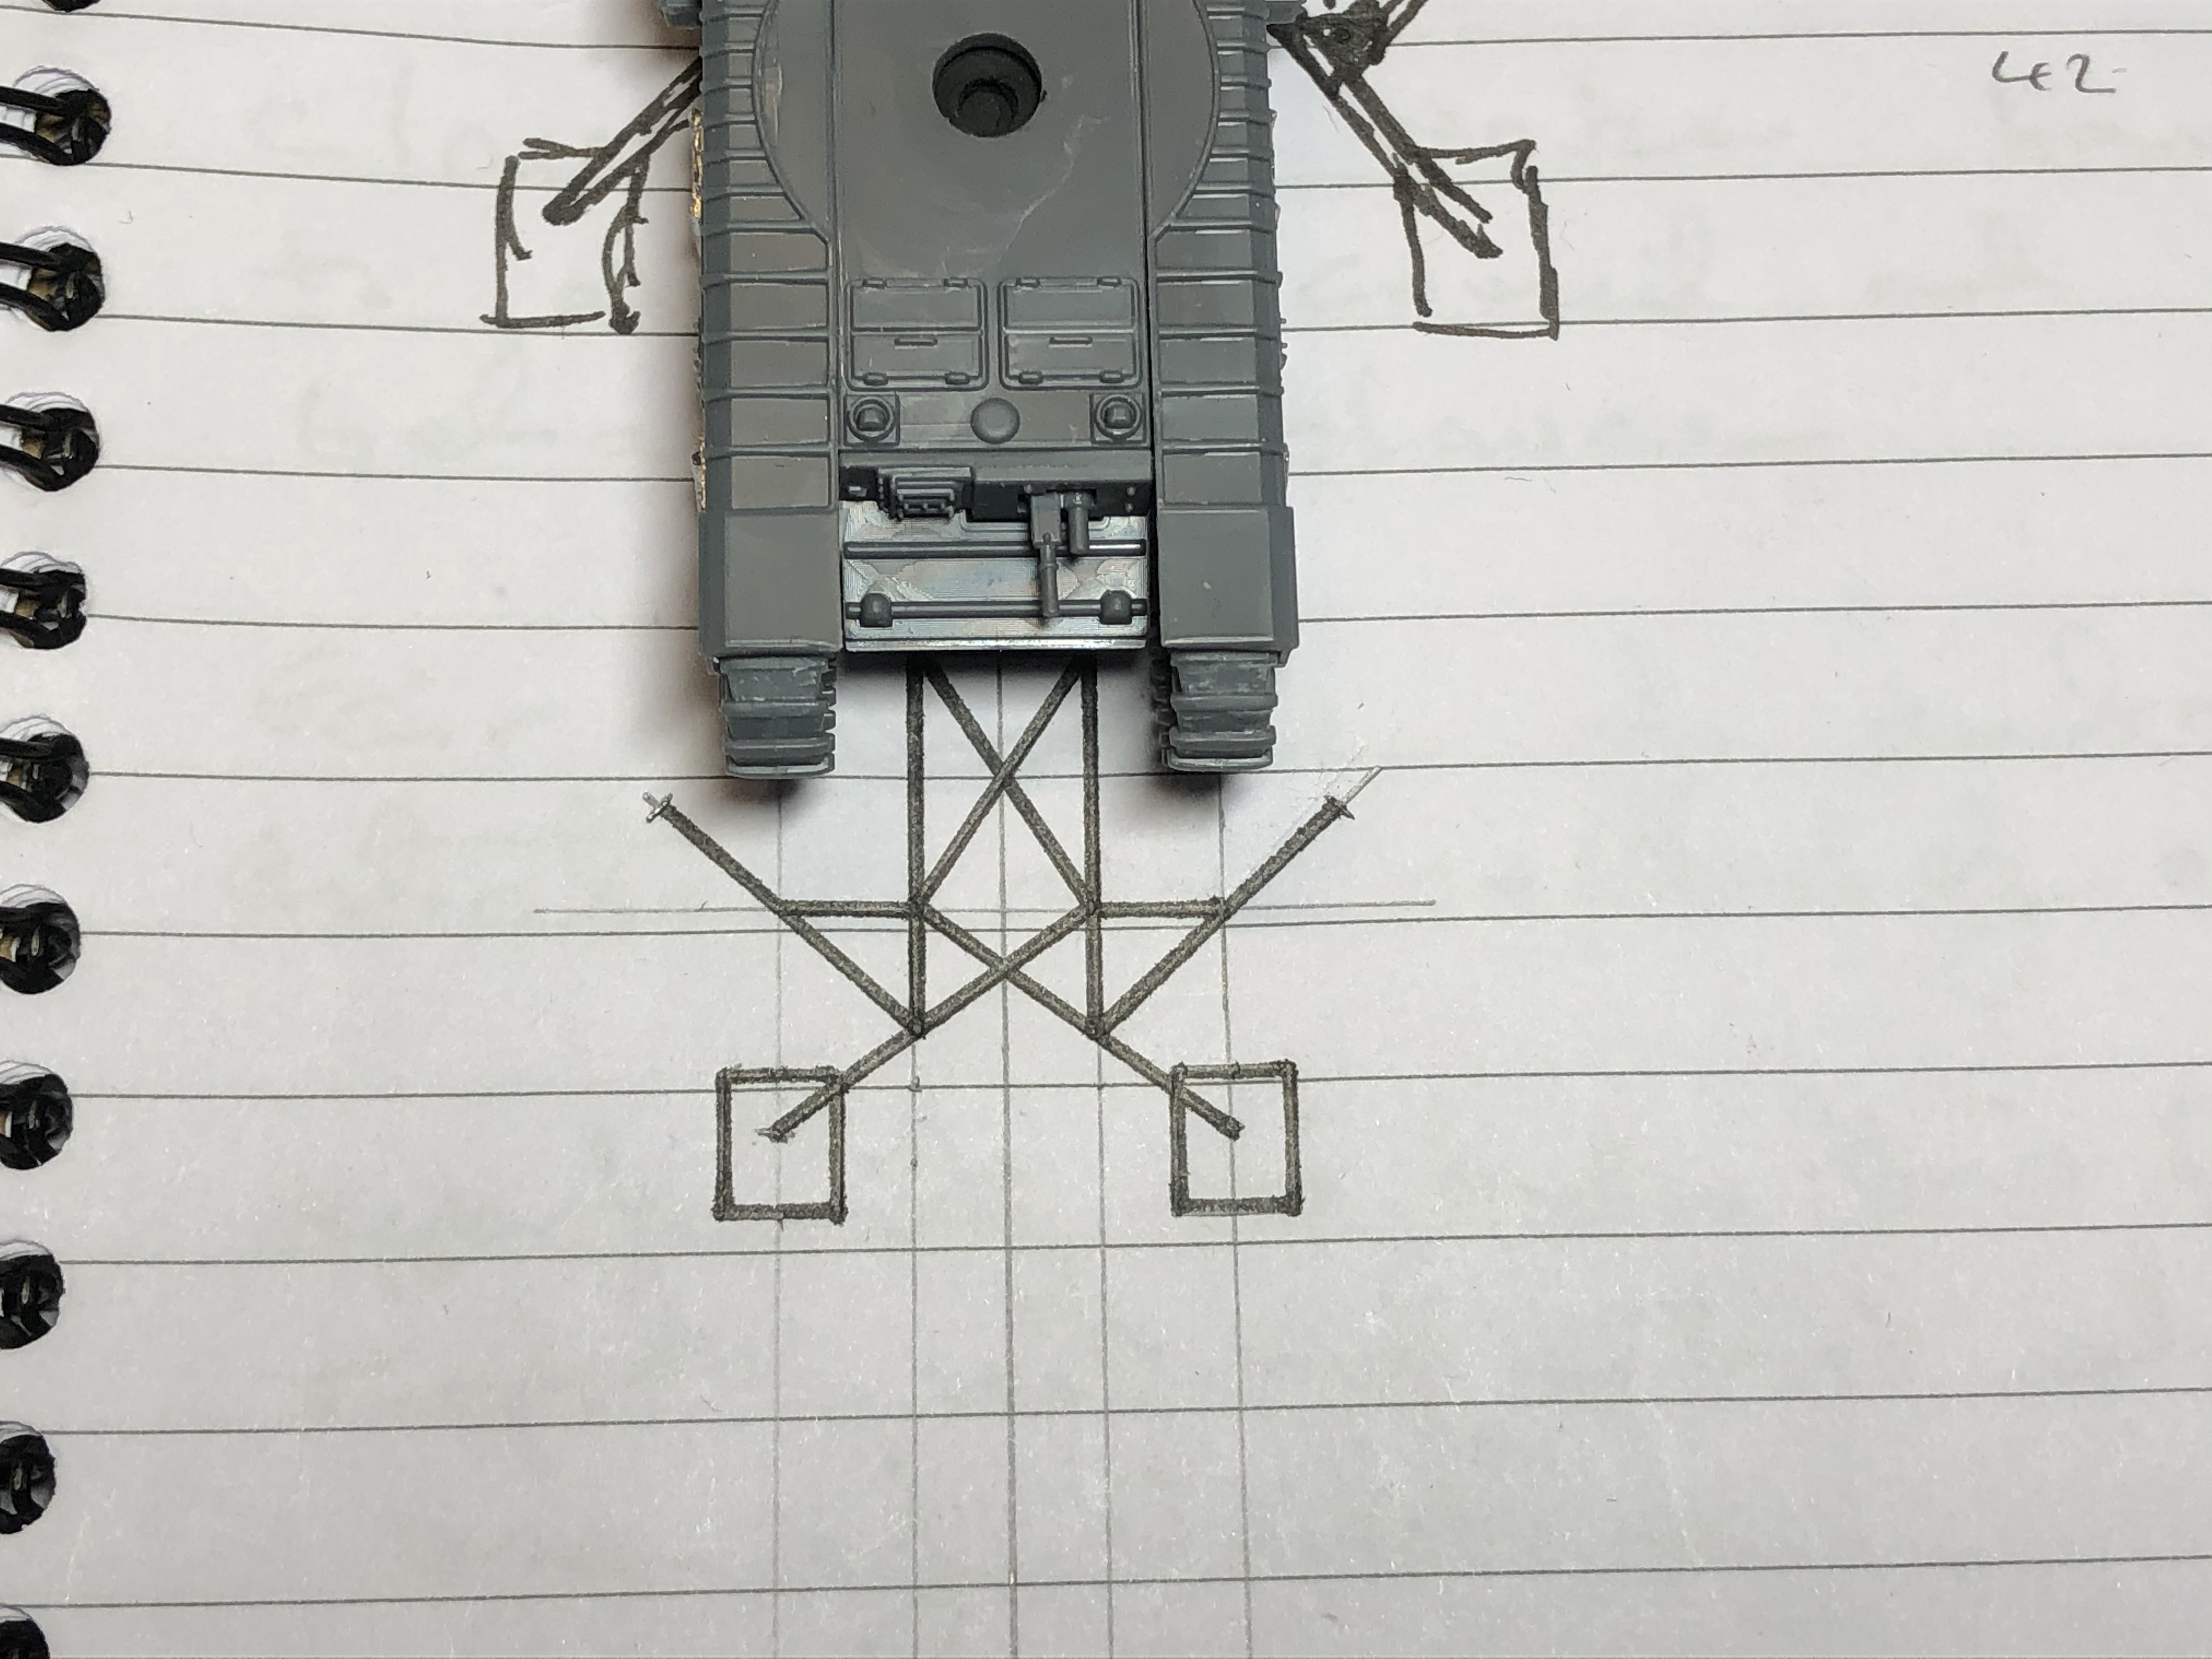
Once fully glued, I carefully took the finished rig off the cutting mat (it will stick a bit but nothing a careful sharp scalpel can’t deal with.. I then cut a couple of 2mm lengths of 1.2mm styrene rod and glued them to the points the guide plates would fix to. I finally blue tacked the finished rig to the AVRE to check the look and fit.
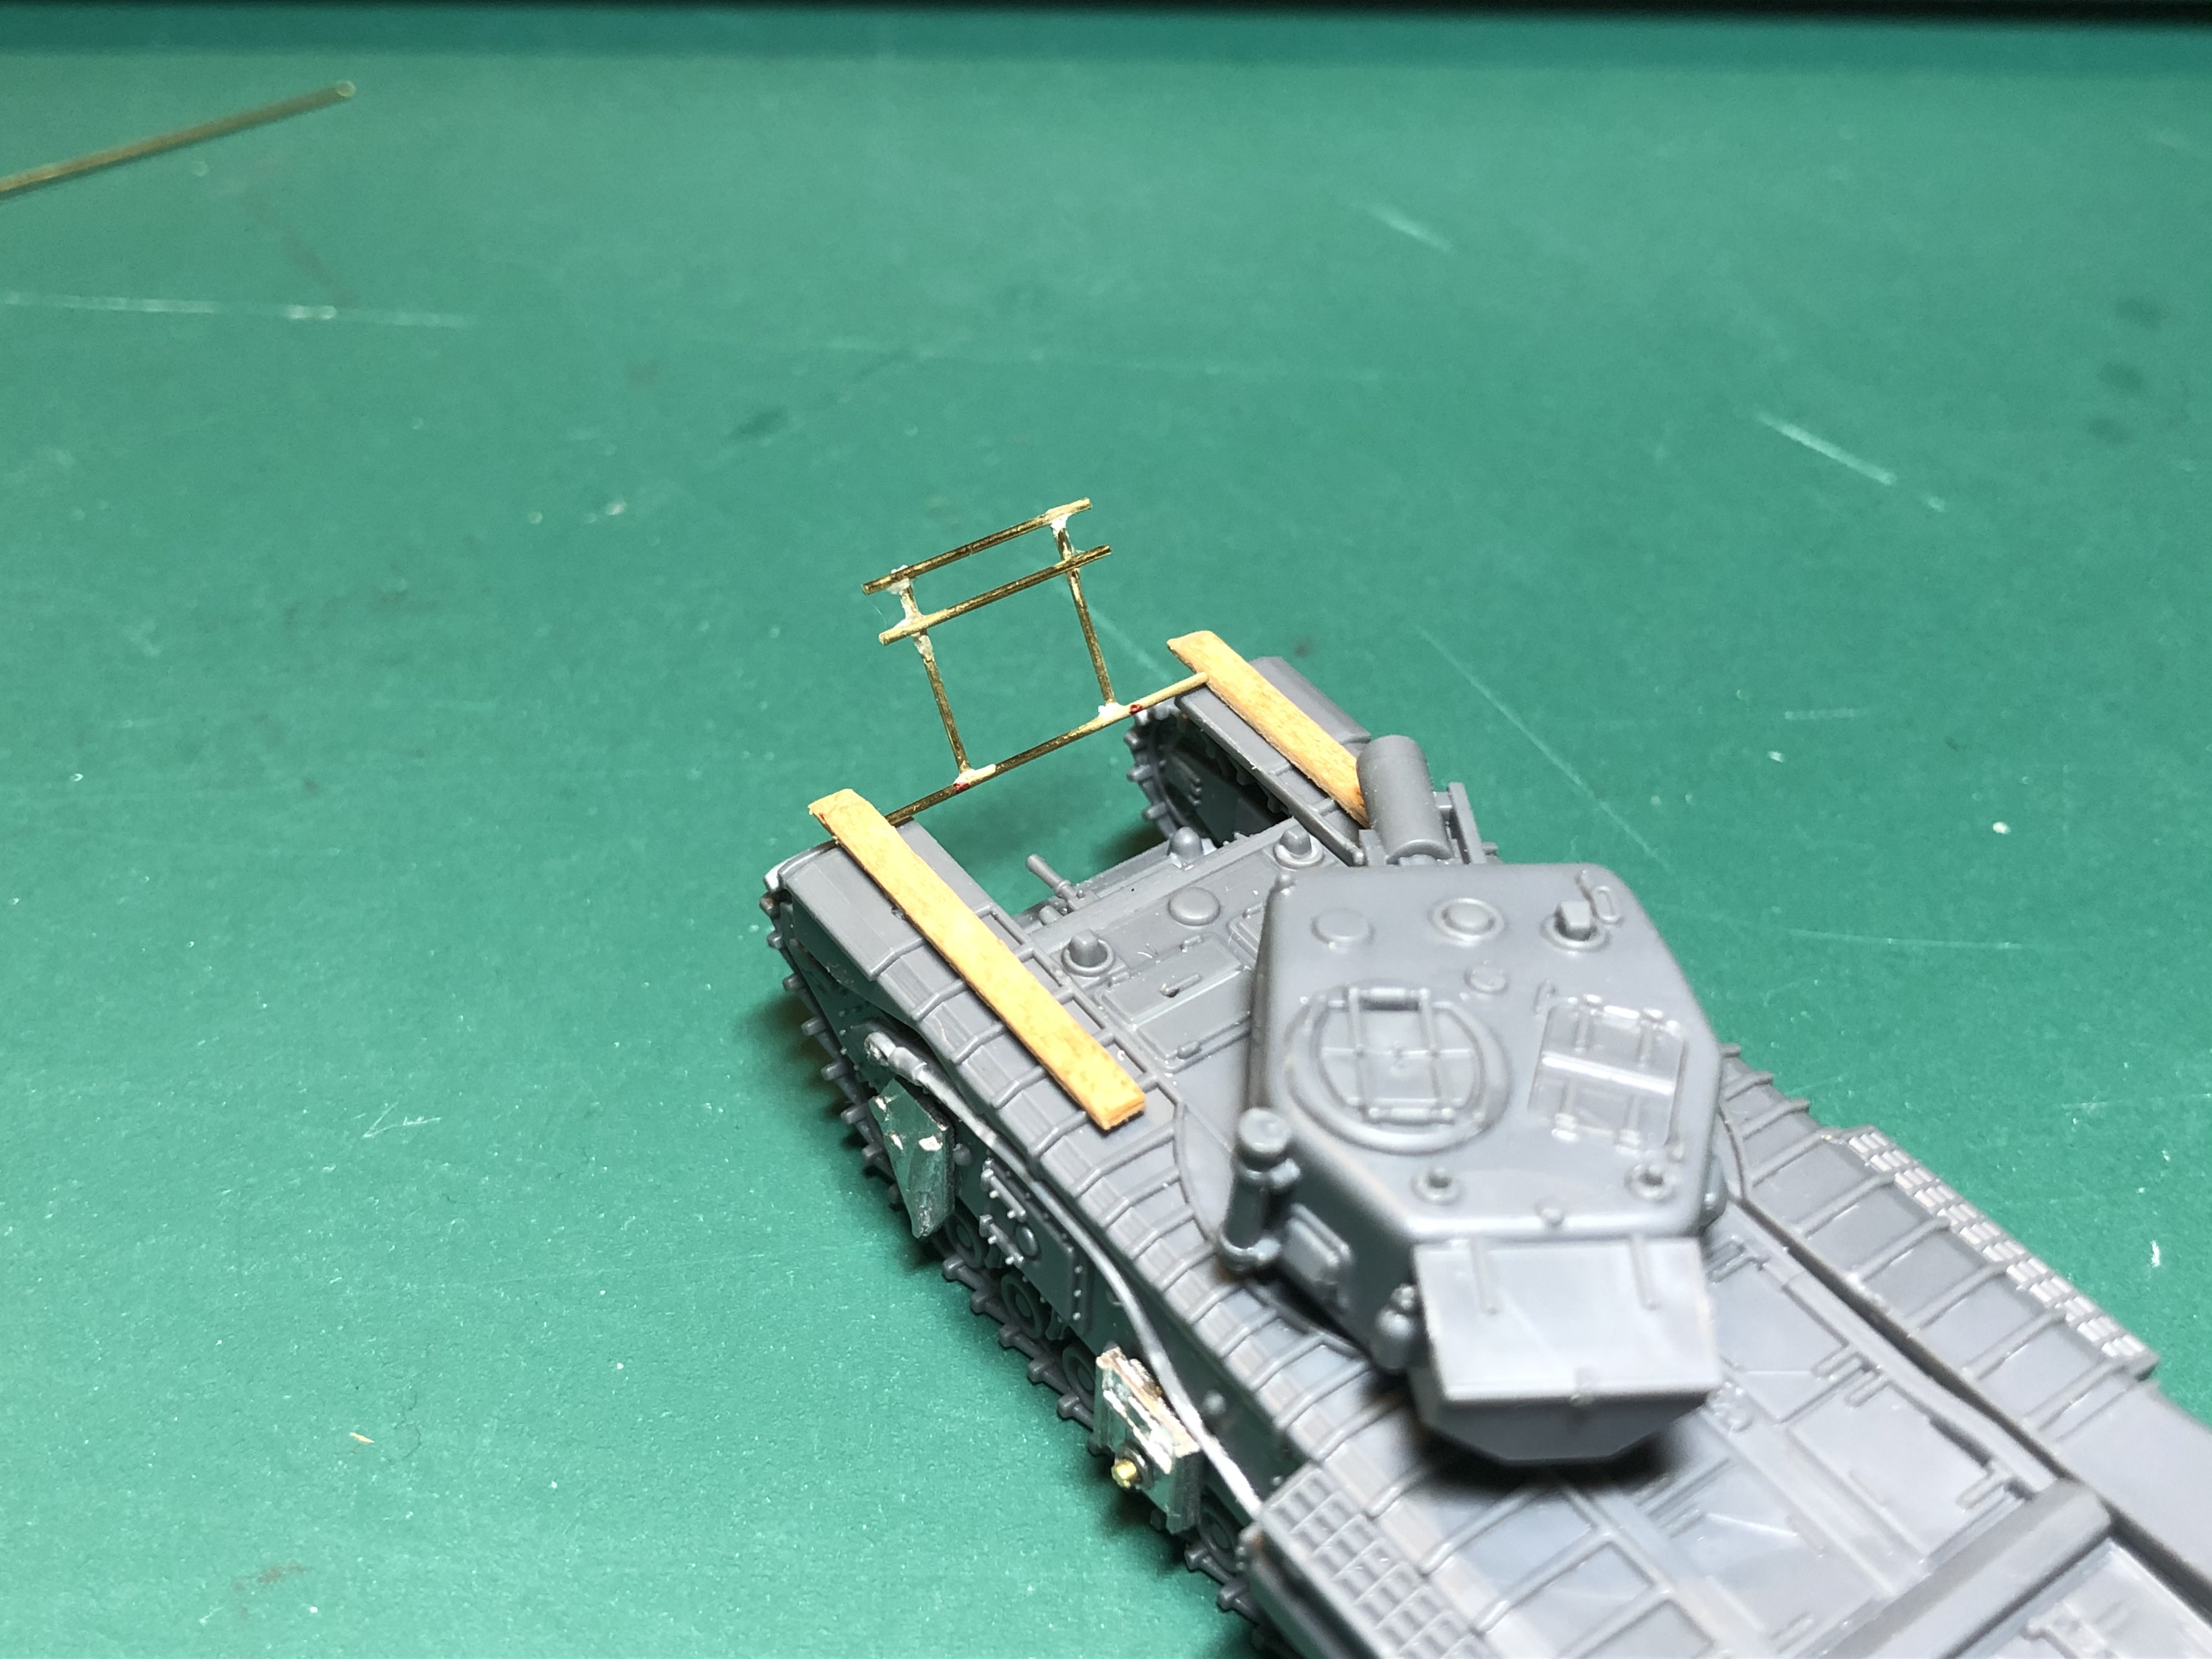
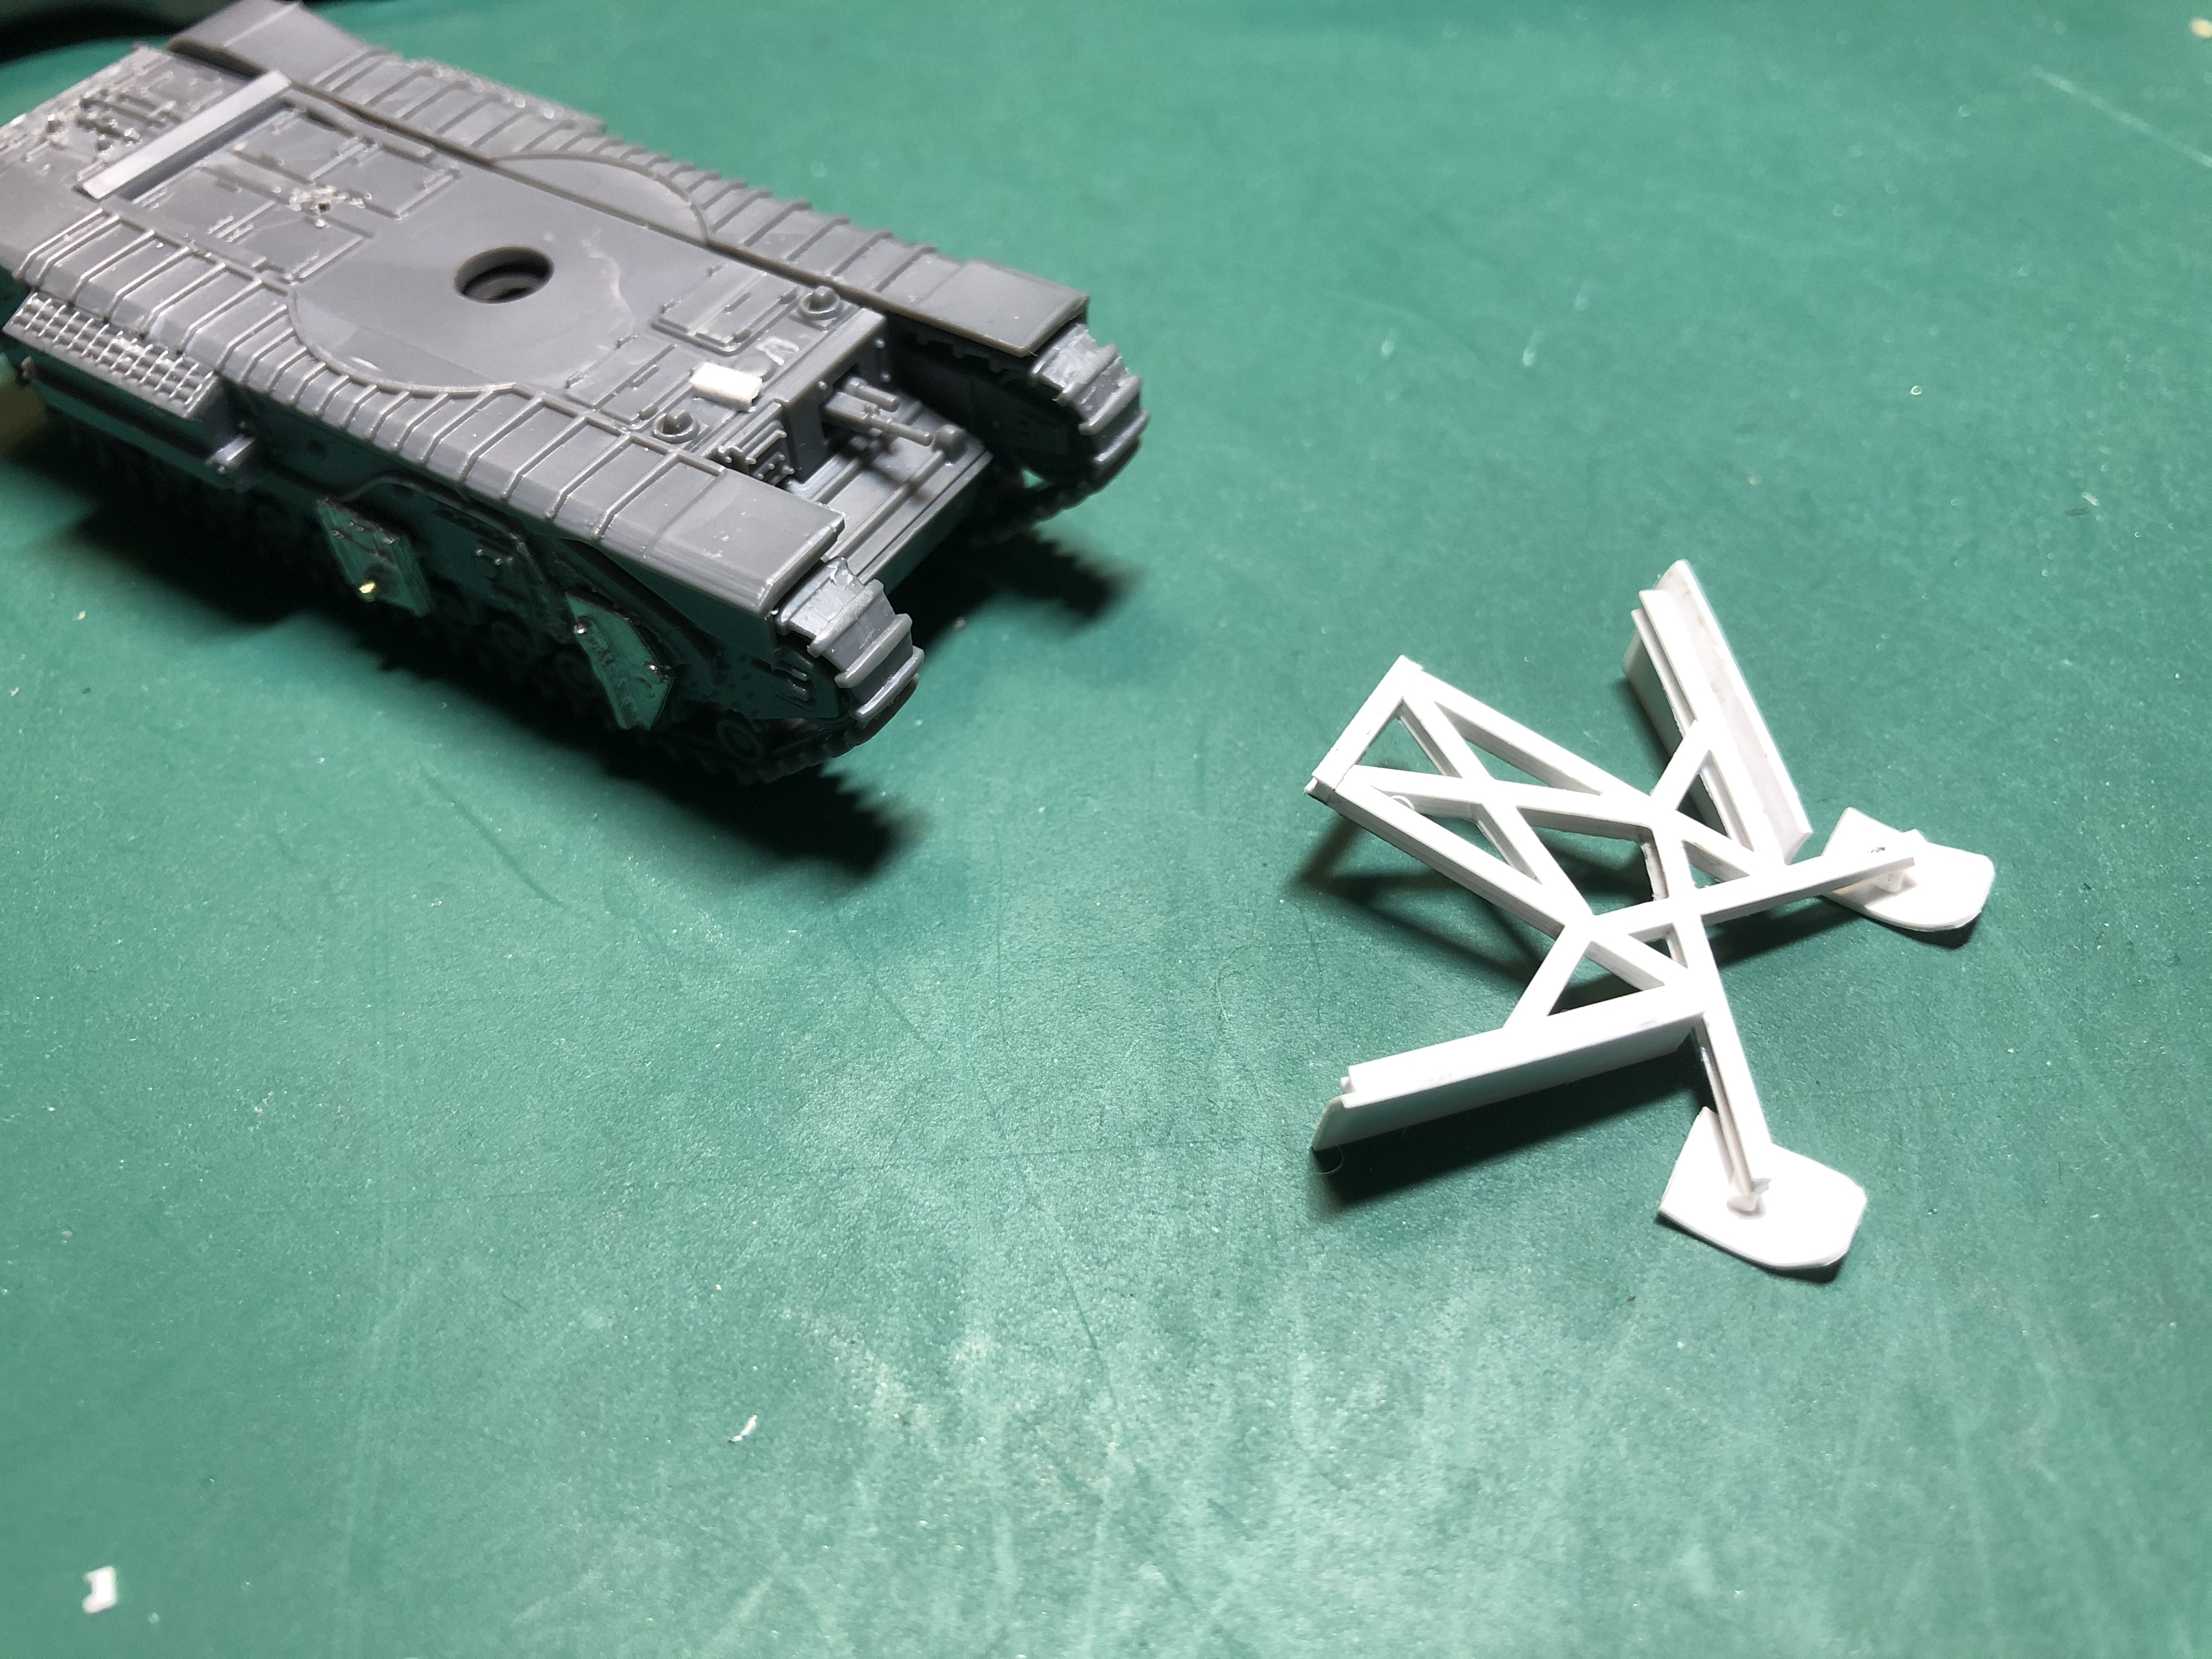
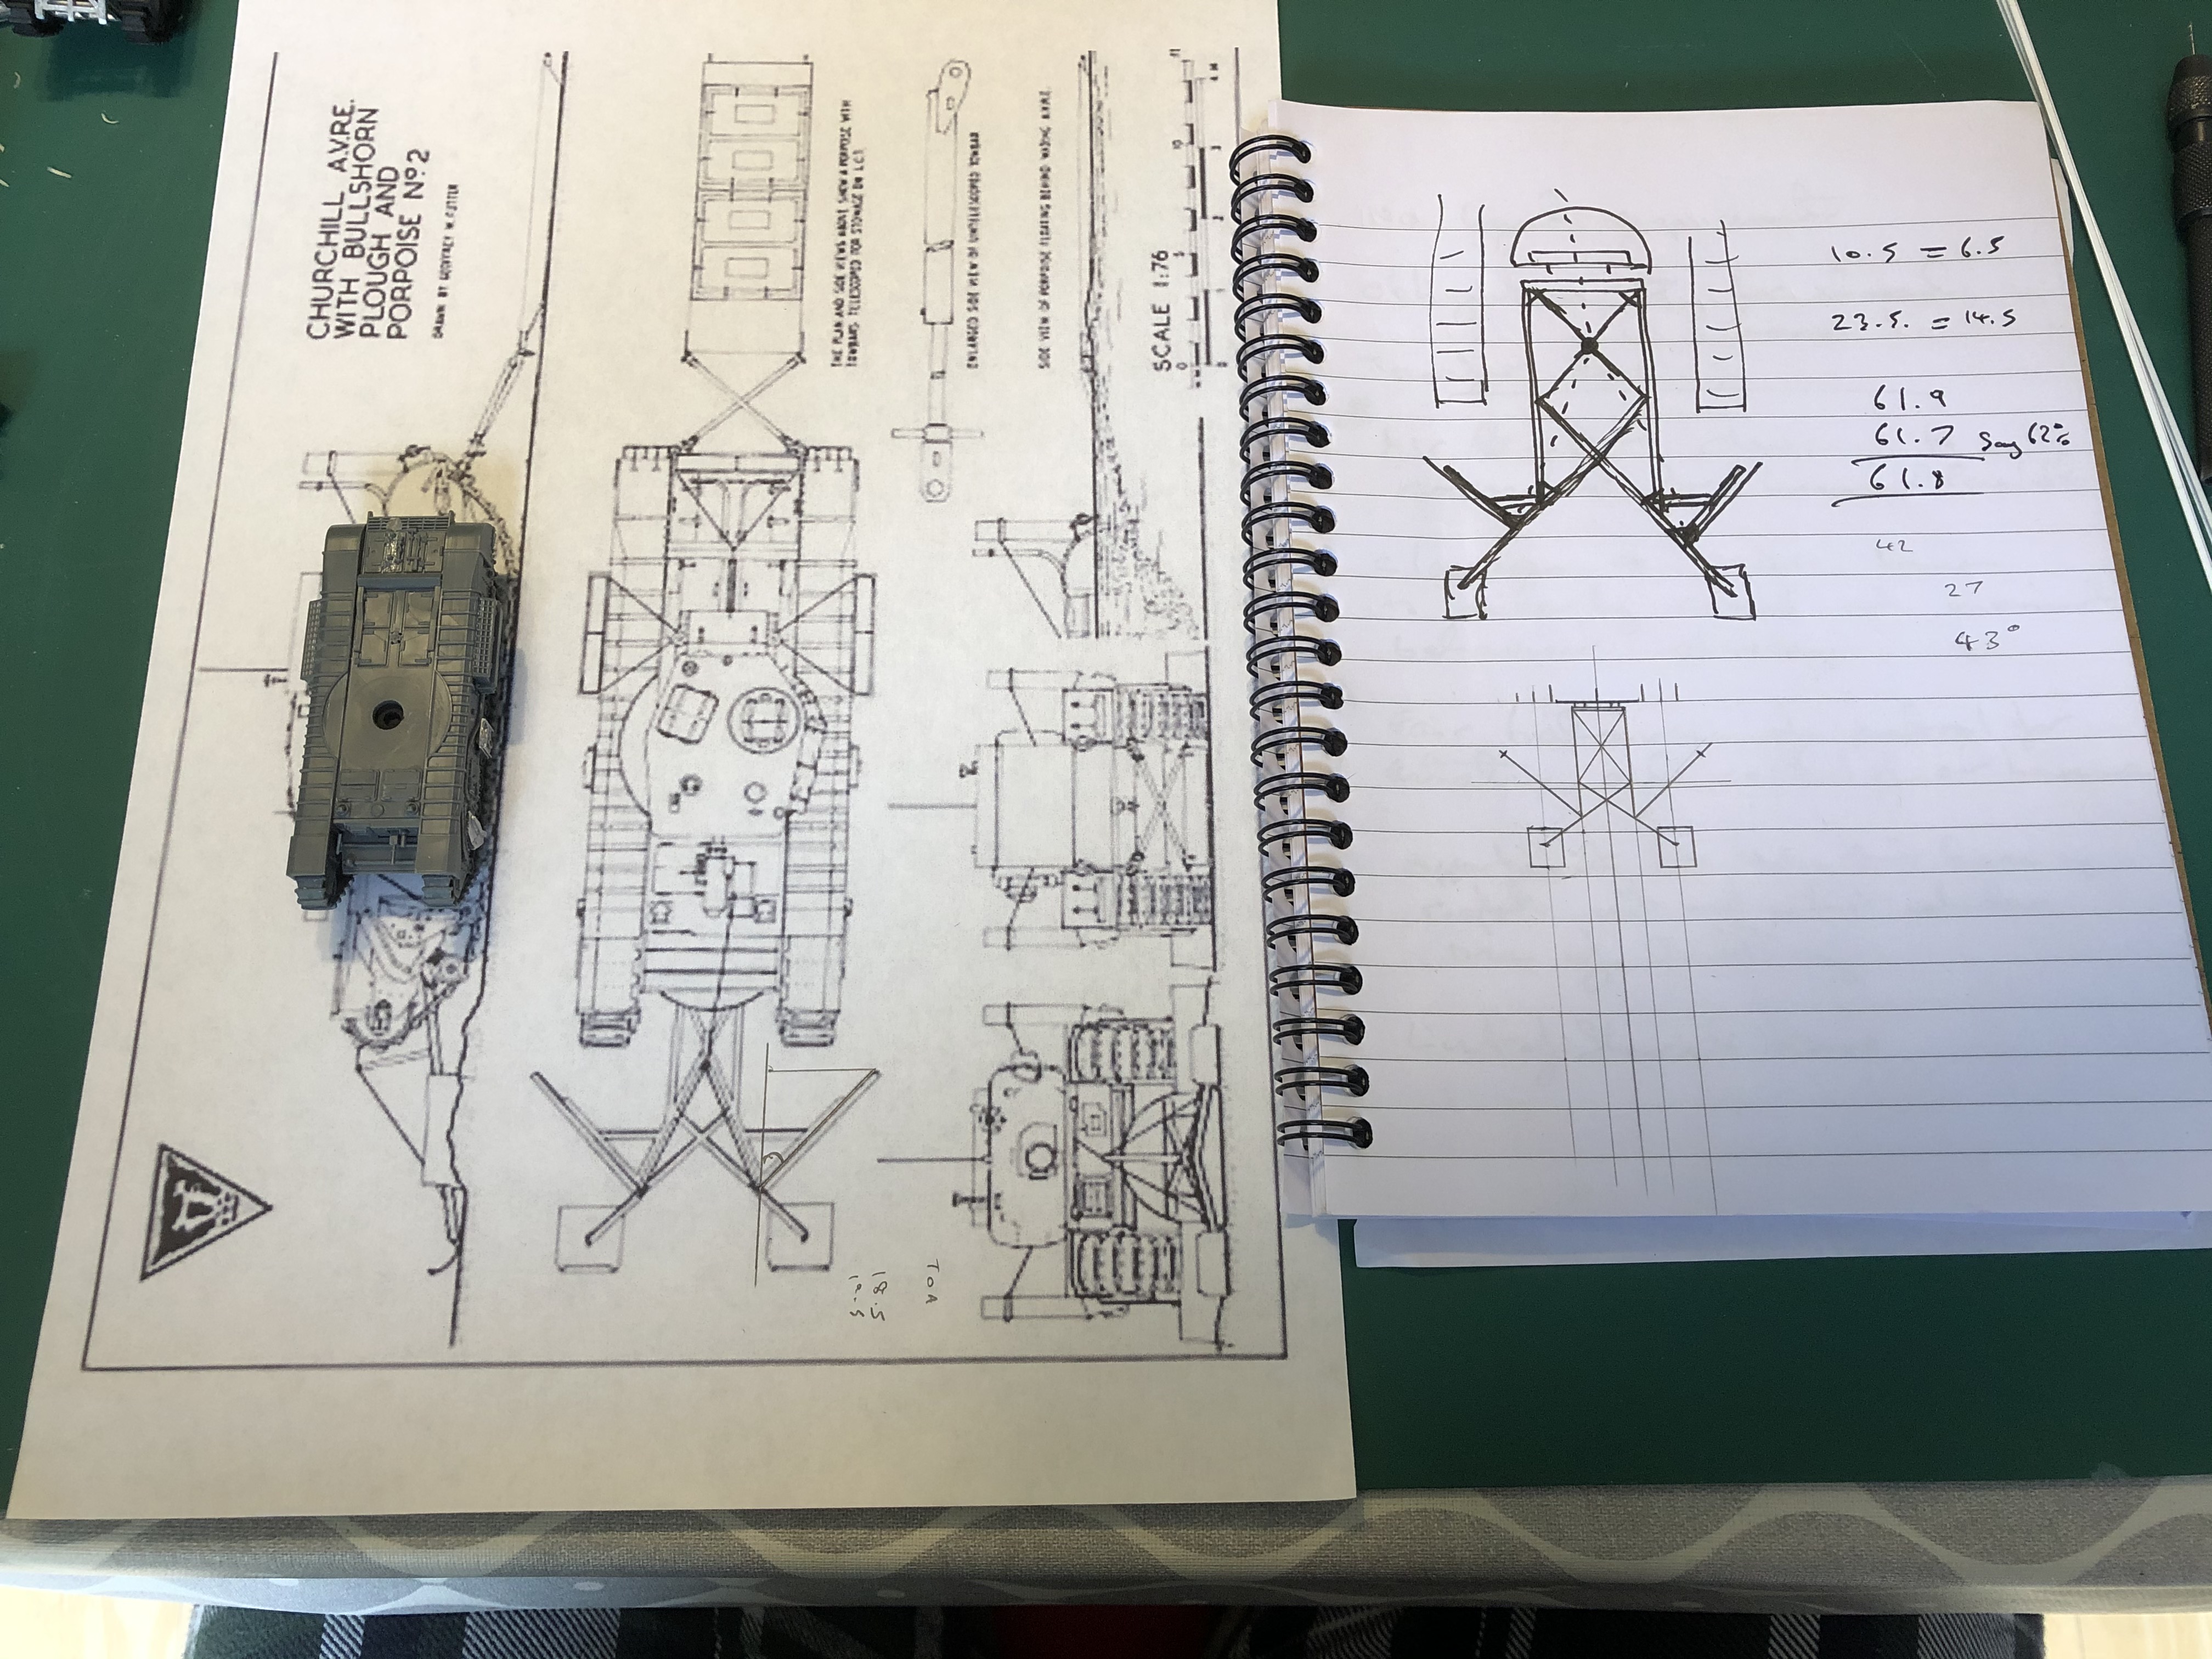
AVRE Bulls-horn Mine Plough Build
So, although not part of 77 Asslt Sqn RE that landed on D Day (there was one but it was on the ill fated LCT that got badly damaged) I wanted to challenge myself and see if I could scratch build a Jefferies Bulls-horn mine plough for one of my AVRE’s. The main problem with this is the lack of reference material on this piece of kit. I found a couple of photos, a plan that was drawn up by another modelling enthusiast and photos of a 1/35th model, and a Battlefront stafffer’s model. The weird thing is that the current AVRE’s (TITAN & TROJAN) have the capability of being fitted with a modern version of the same plough. It is now made by Pearson and is a full width version of the D Day one.
I noticed that there seamed to be two versions of the same plough and from what I could make out one of the modellers may have misinterpreted the photos. The plan version also had some peculiarities to the photos of D Day AVREs.
Therefore I decided that I would follow the overall dimensions but do my own interpretation. First off I drew up a sketch plan, worked out some of the dimensions and angles from the plan and then scaled it down to 15mm by taking the known measurement from one of the 15mm tanks and then compare that with the dimension on the plan so I could work out the ratio reduction. I then drew up a scaled mock up that I could then cut and fit the parts to prior to gluing together.
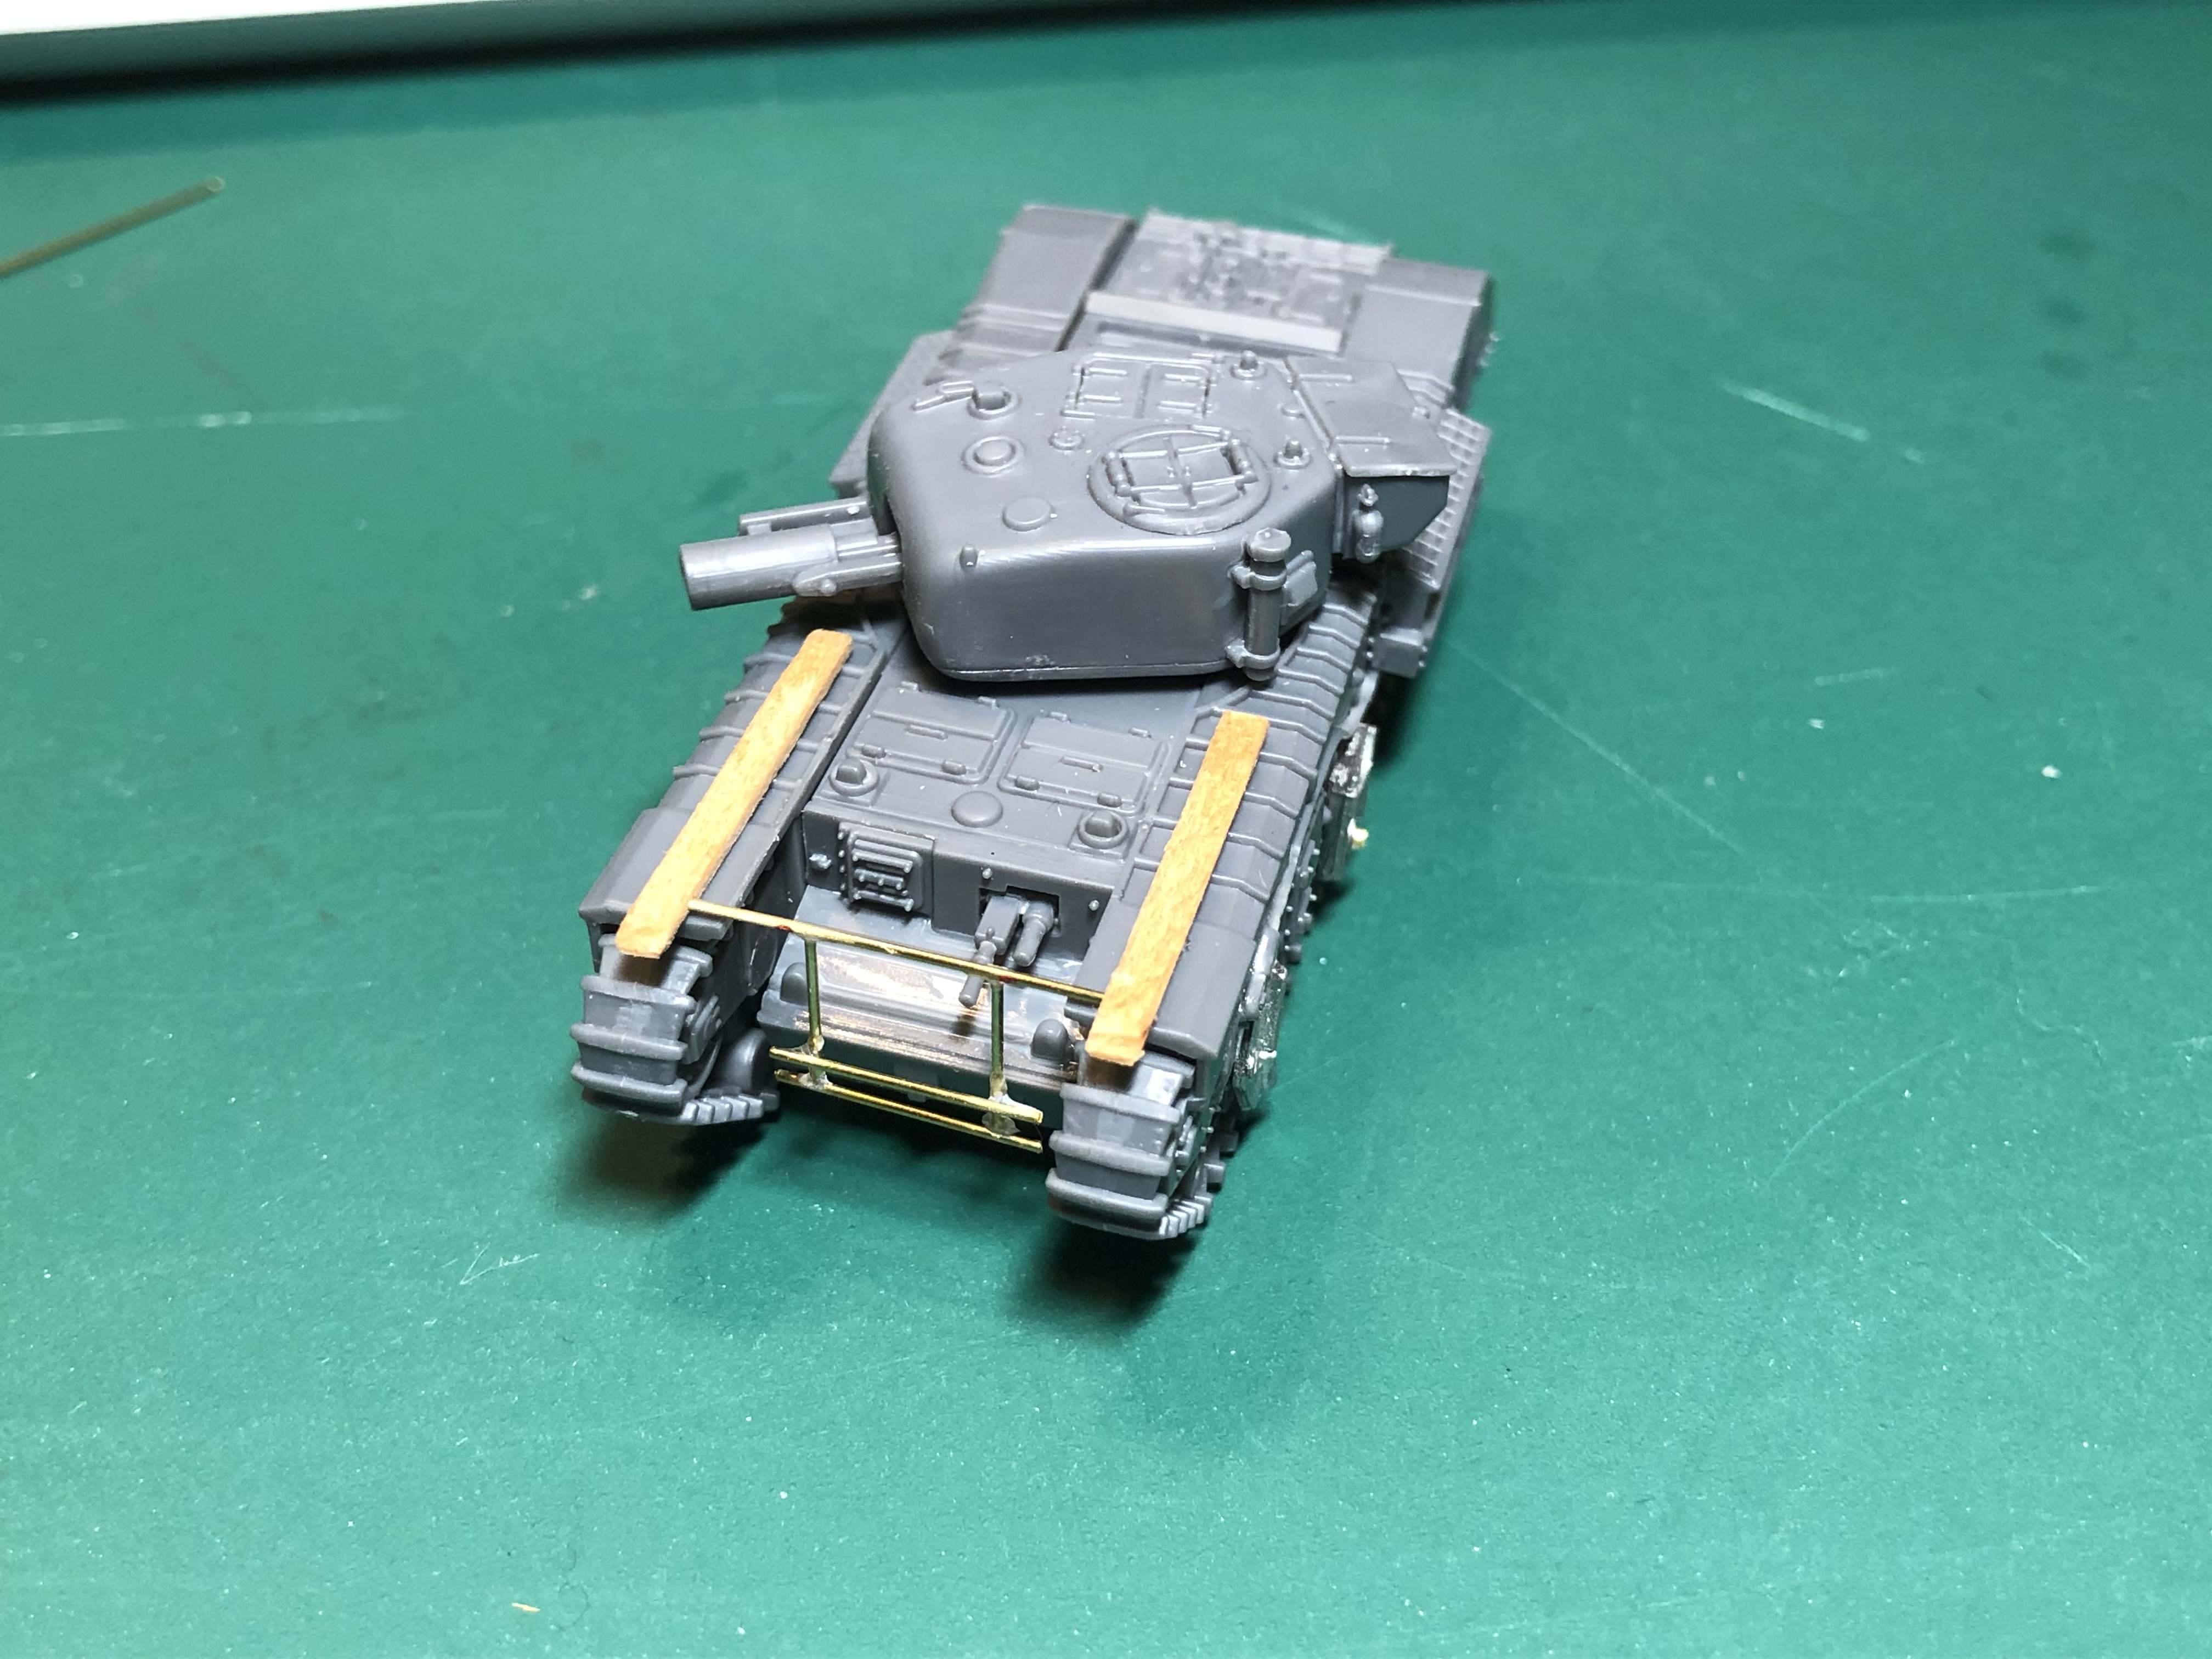
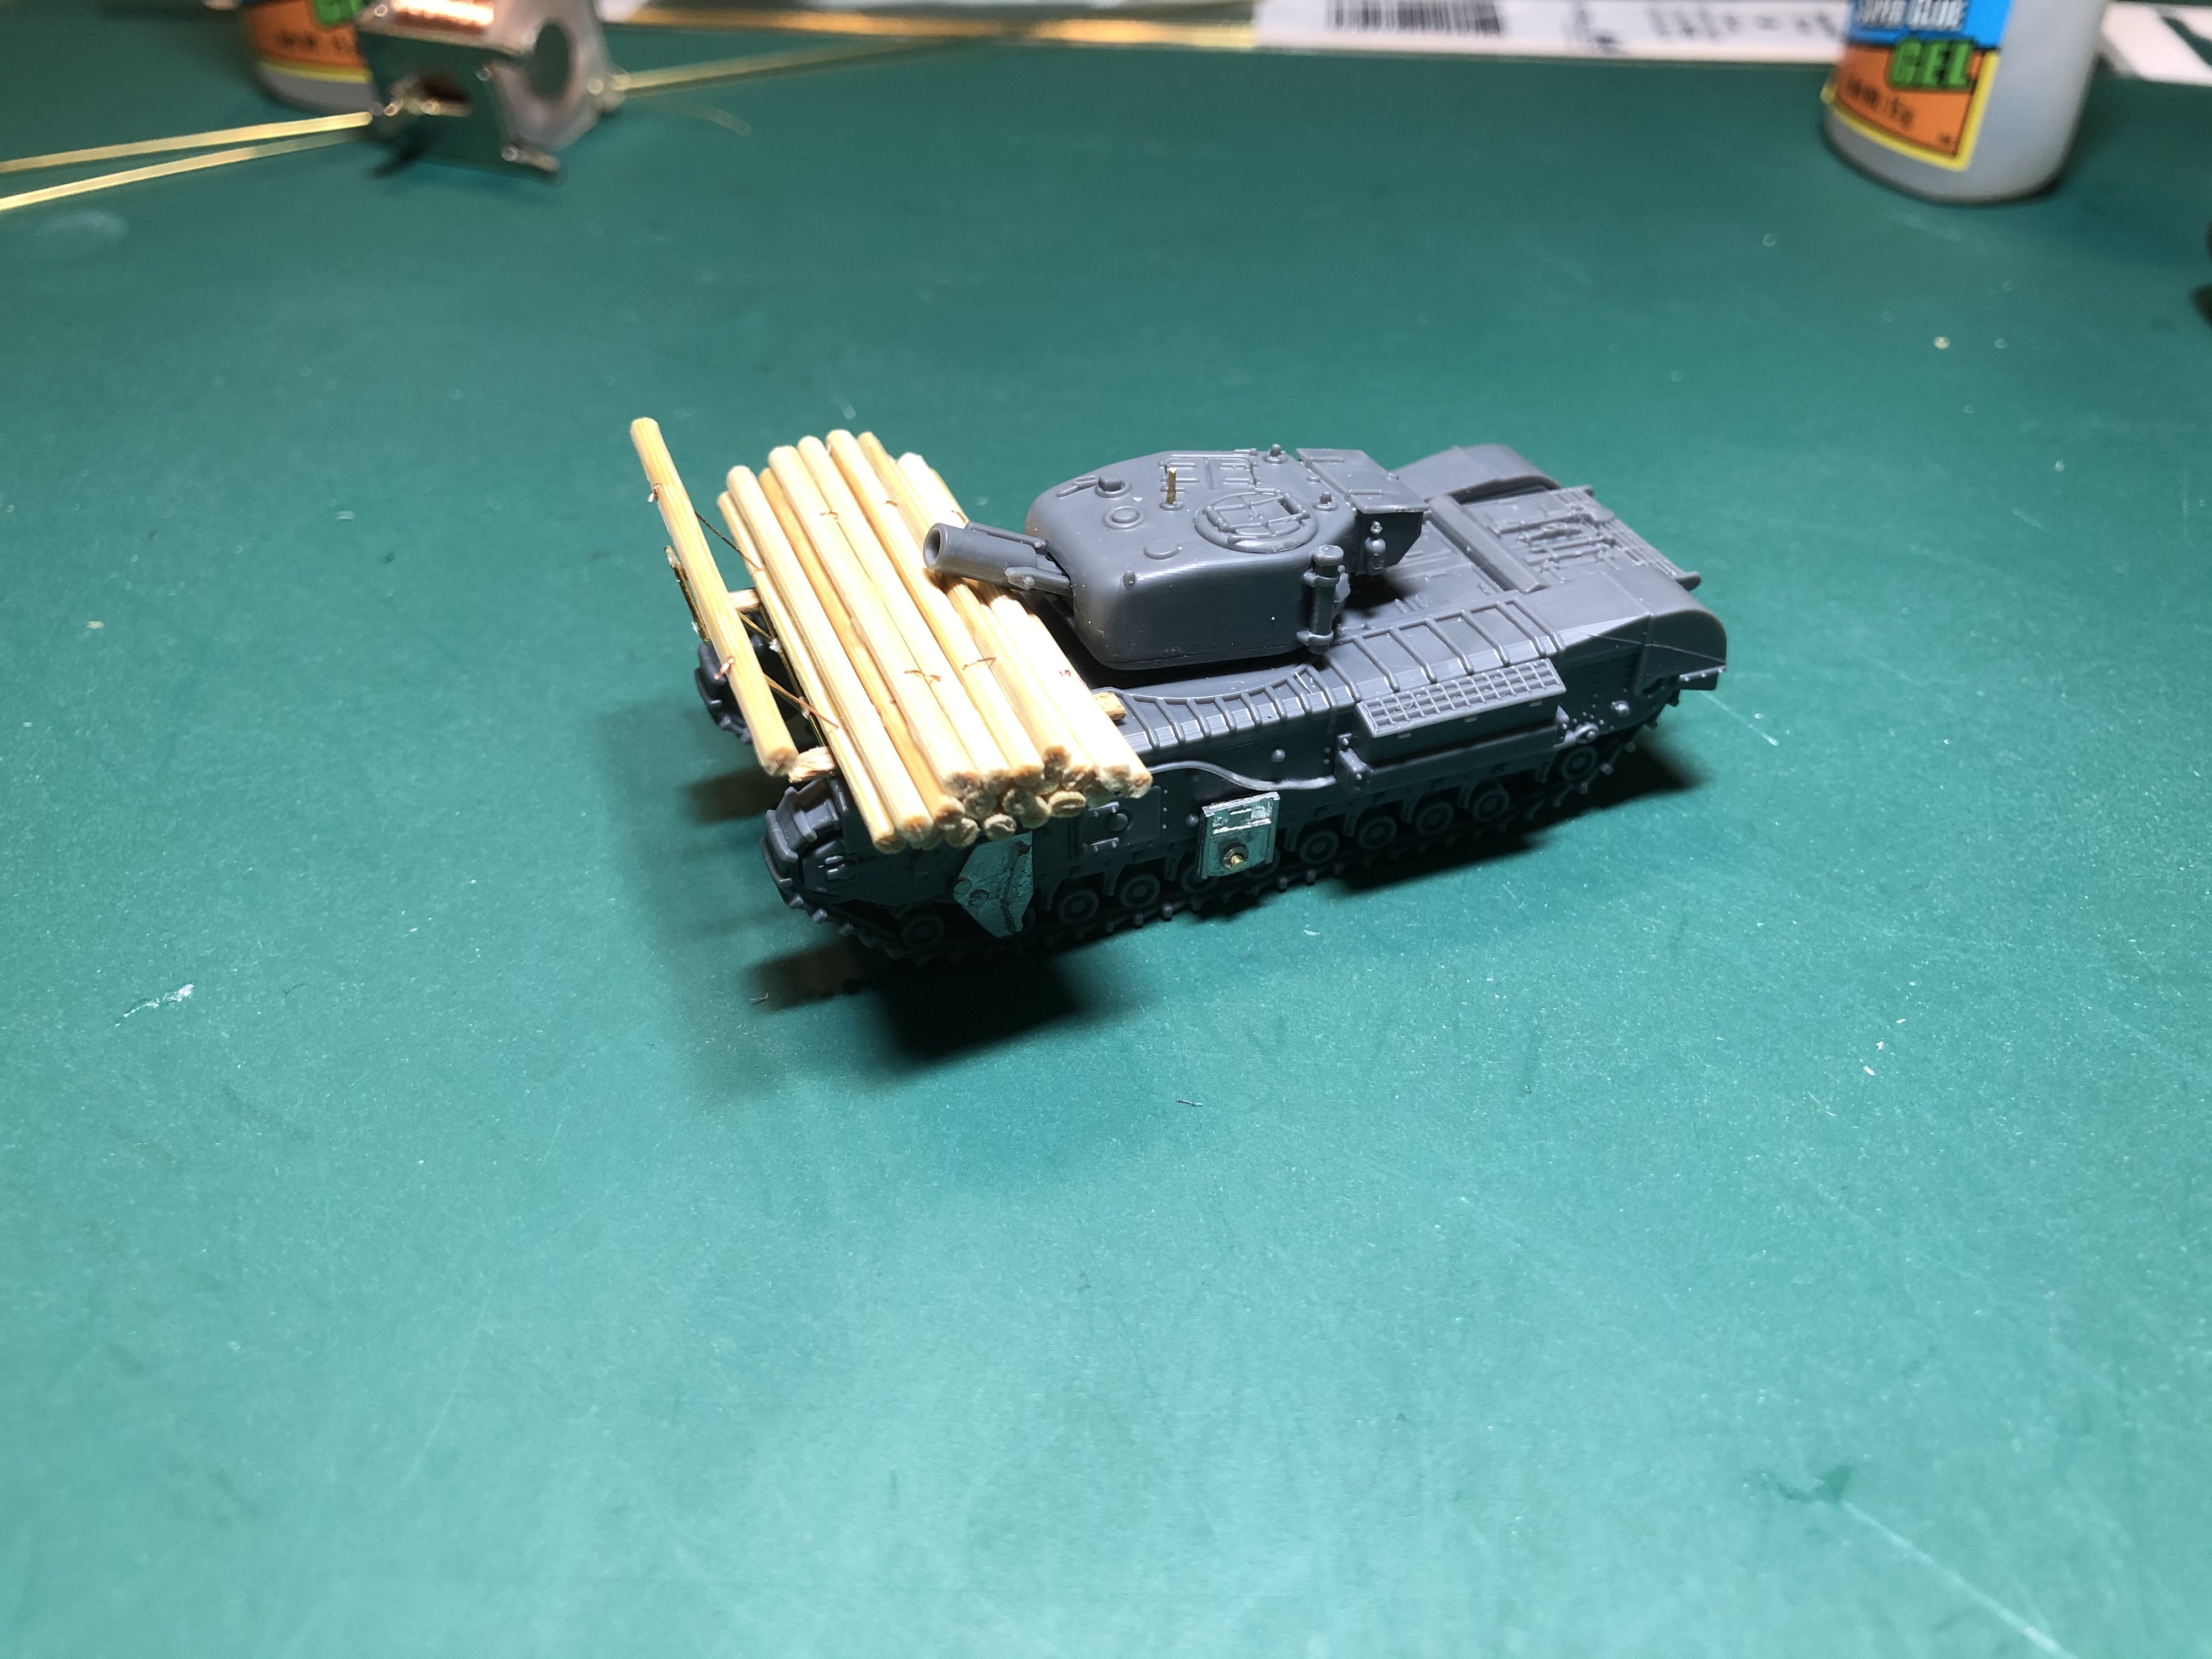
AVRE Log Carpet Layer build cont'd
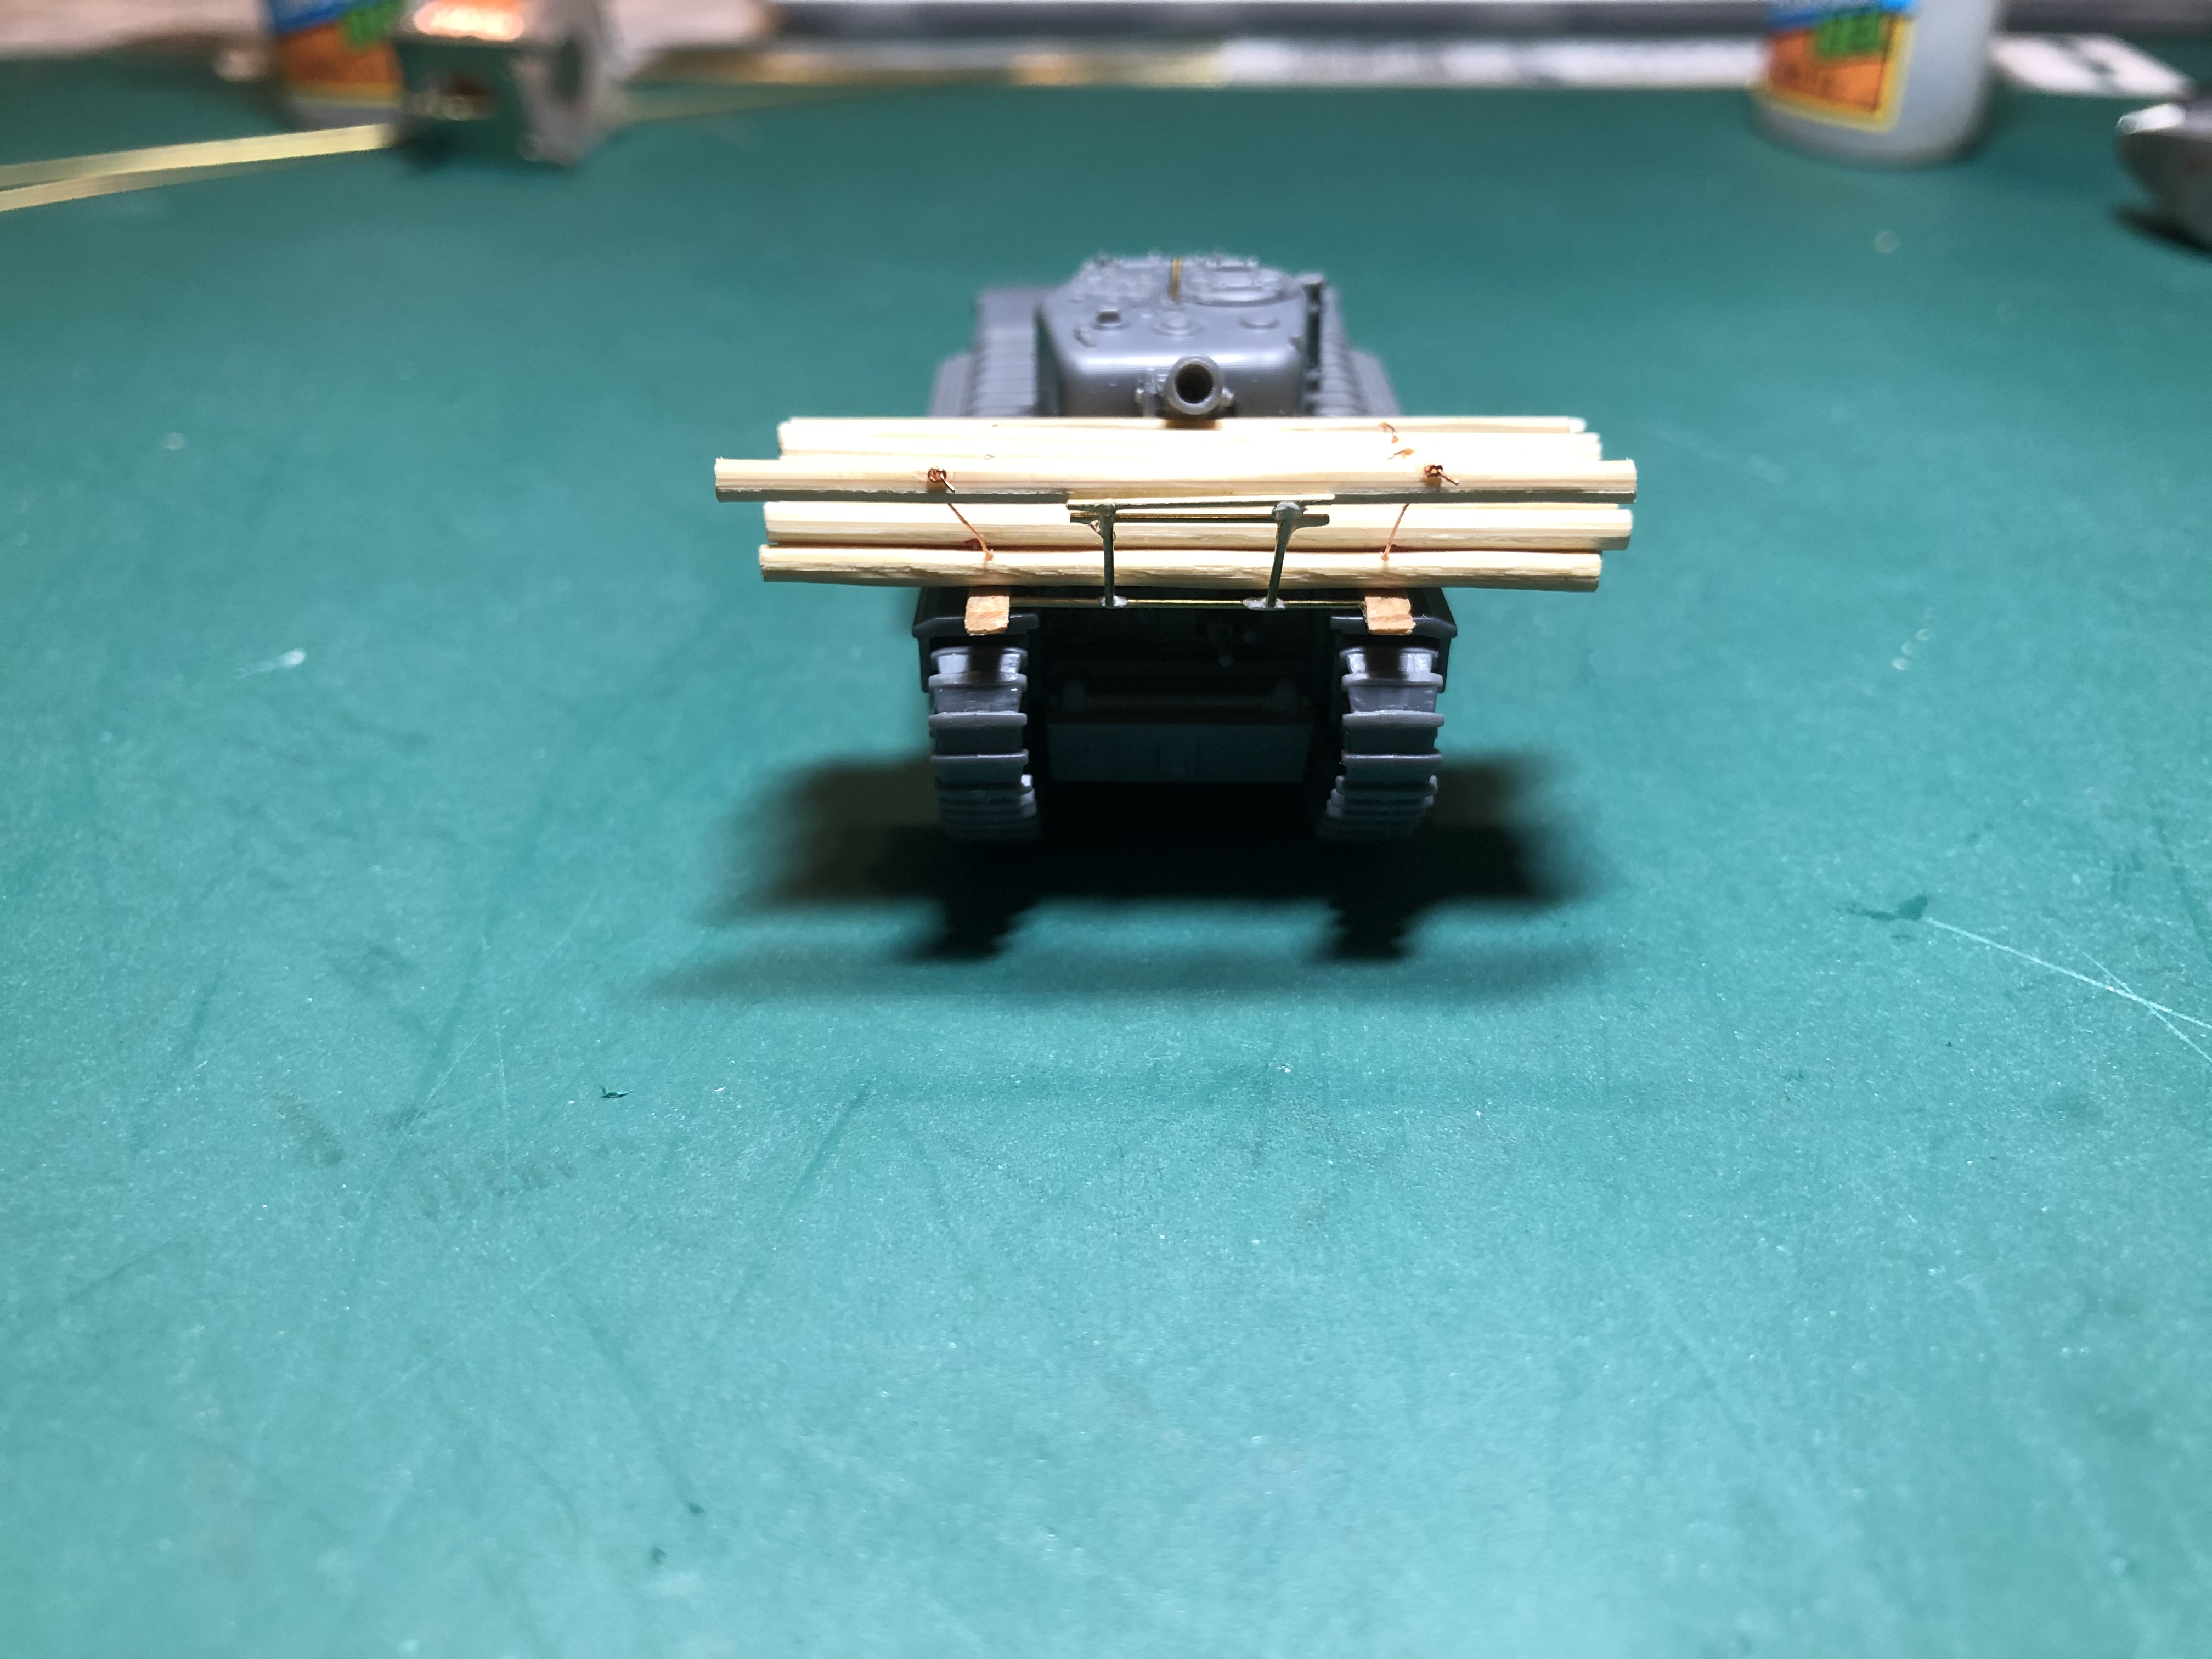
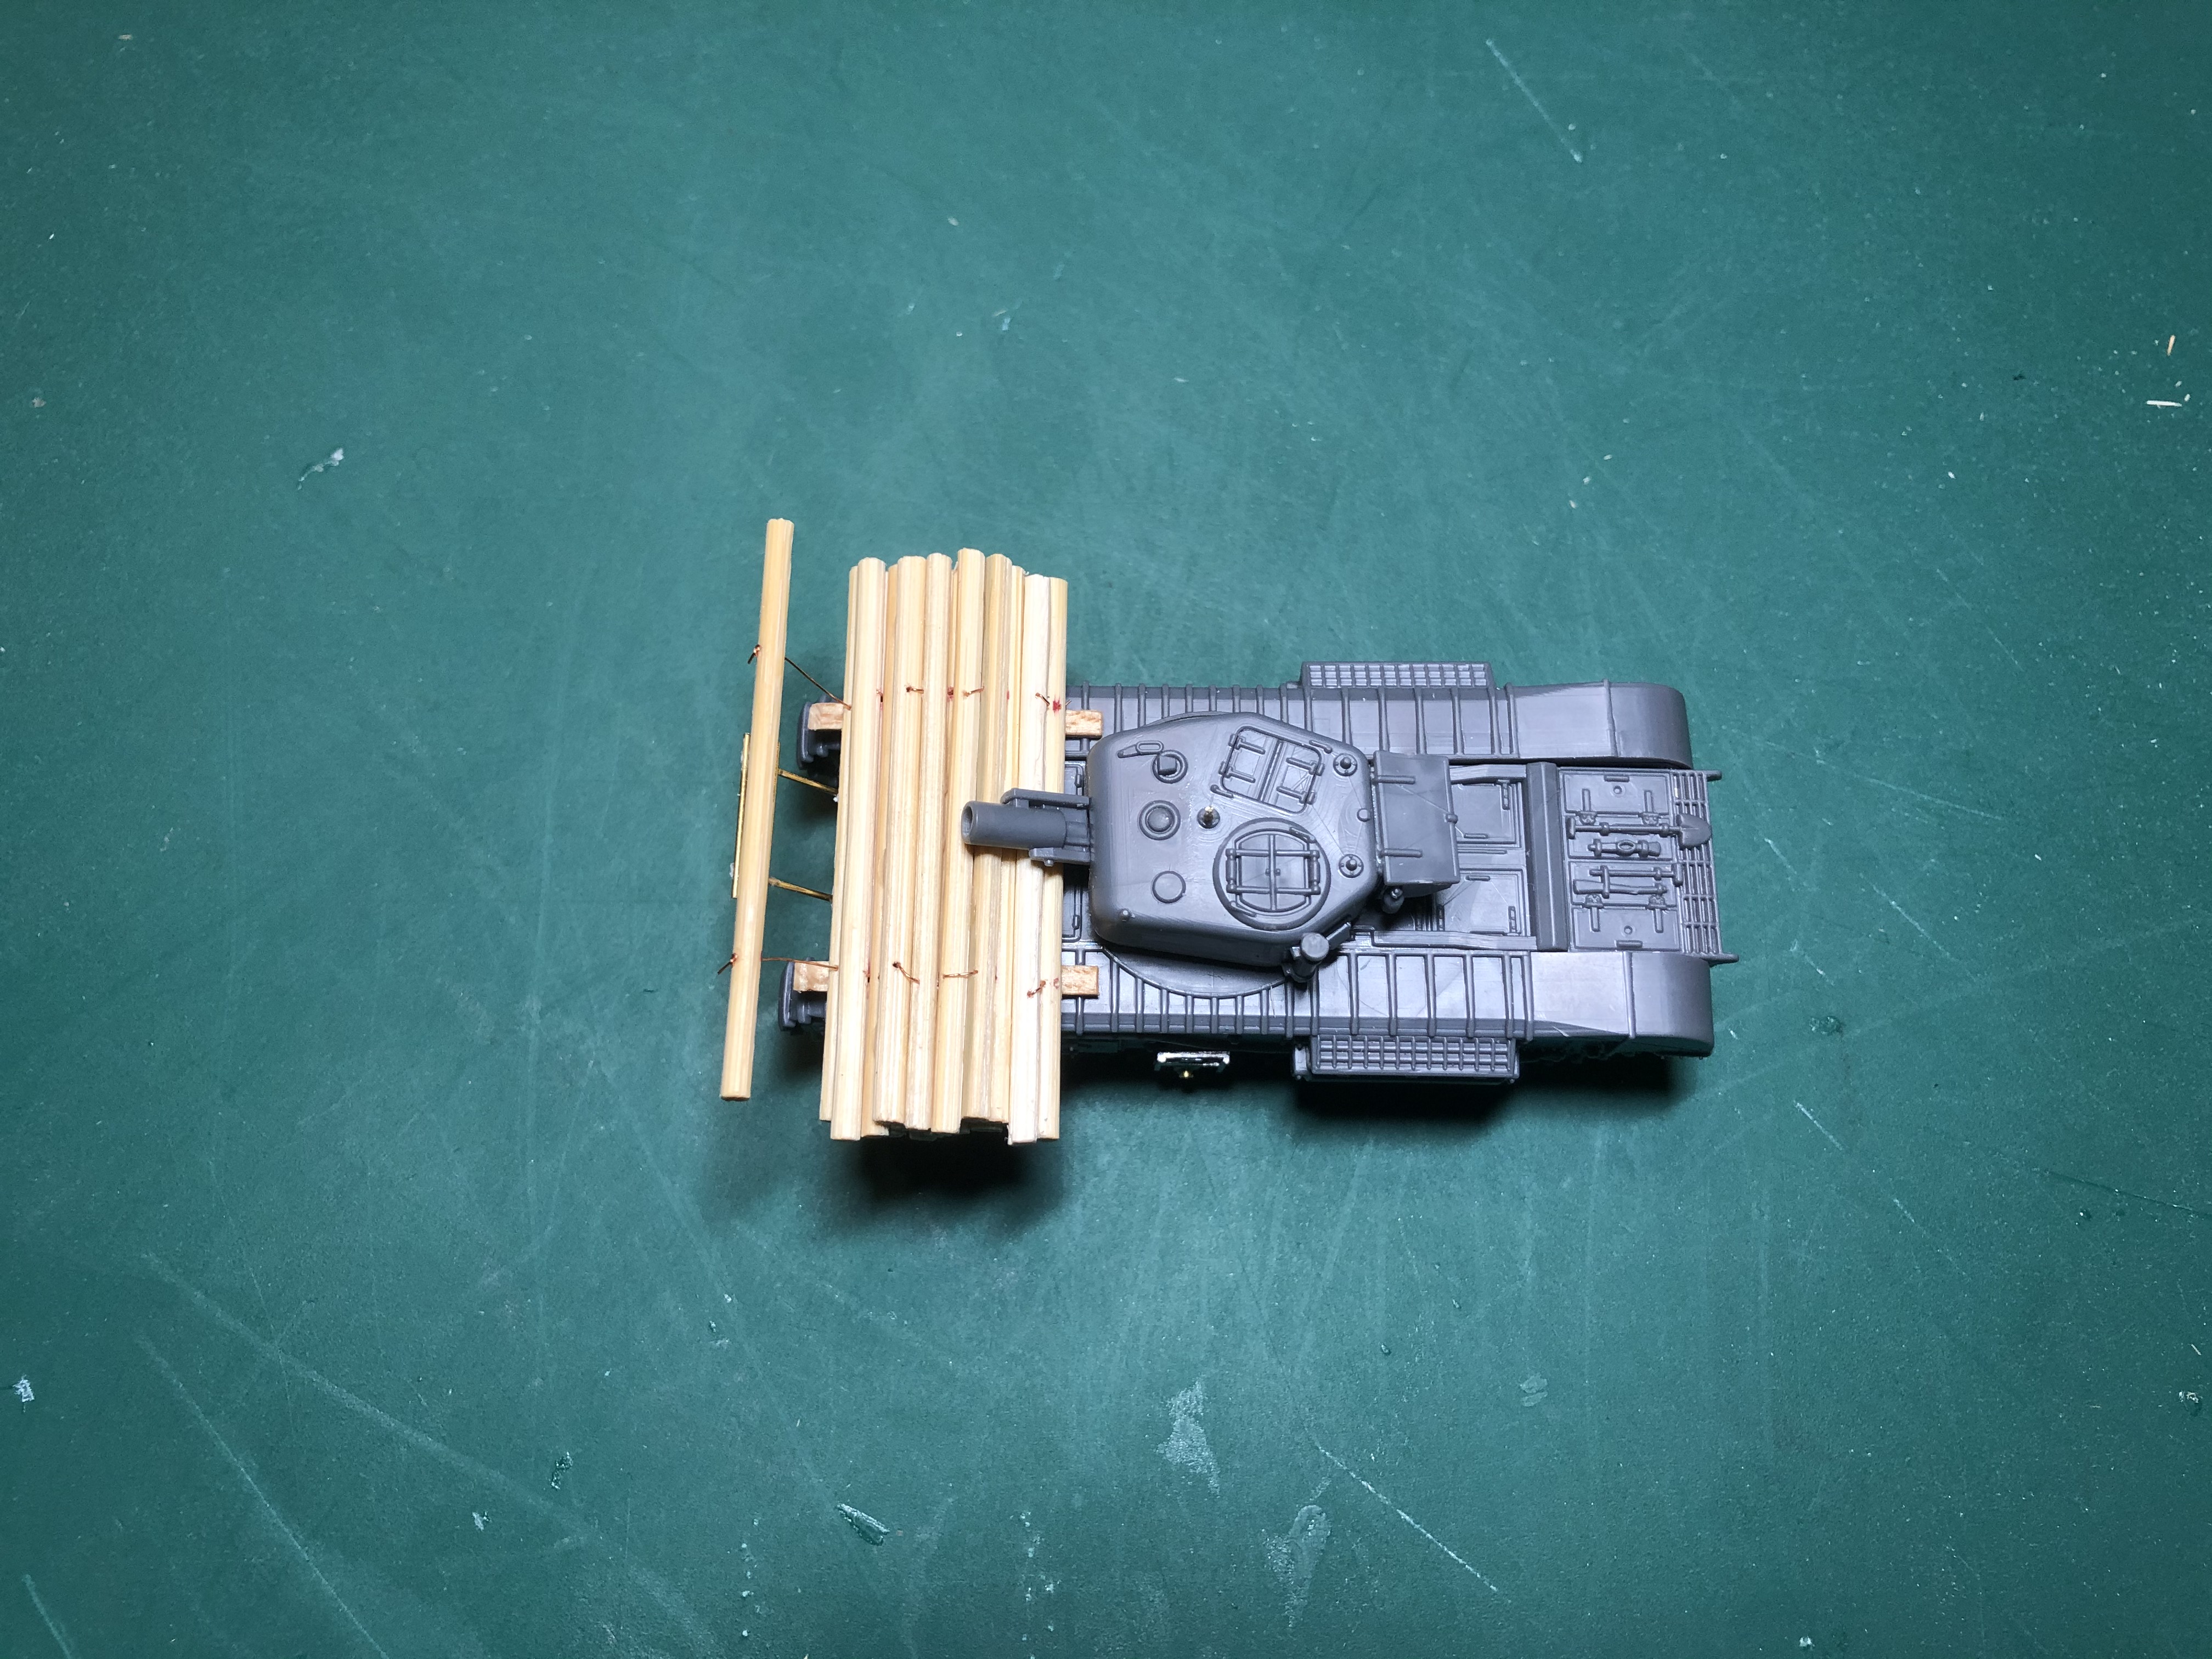
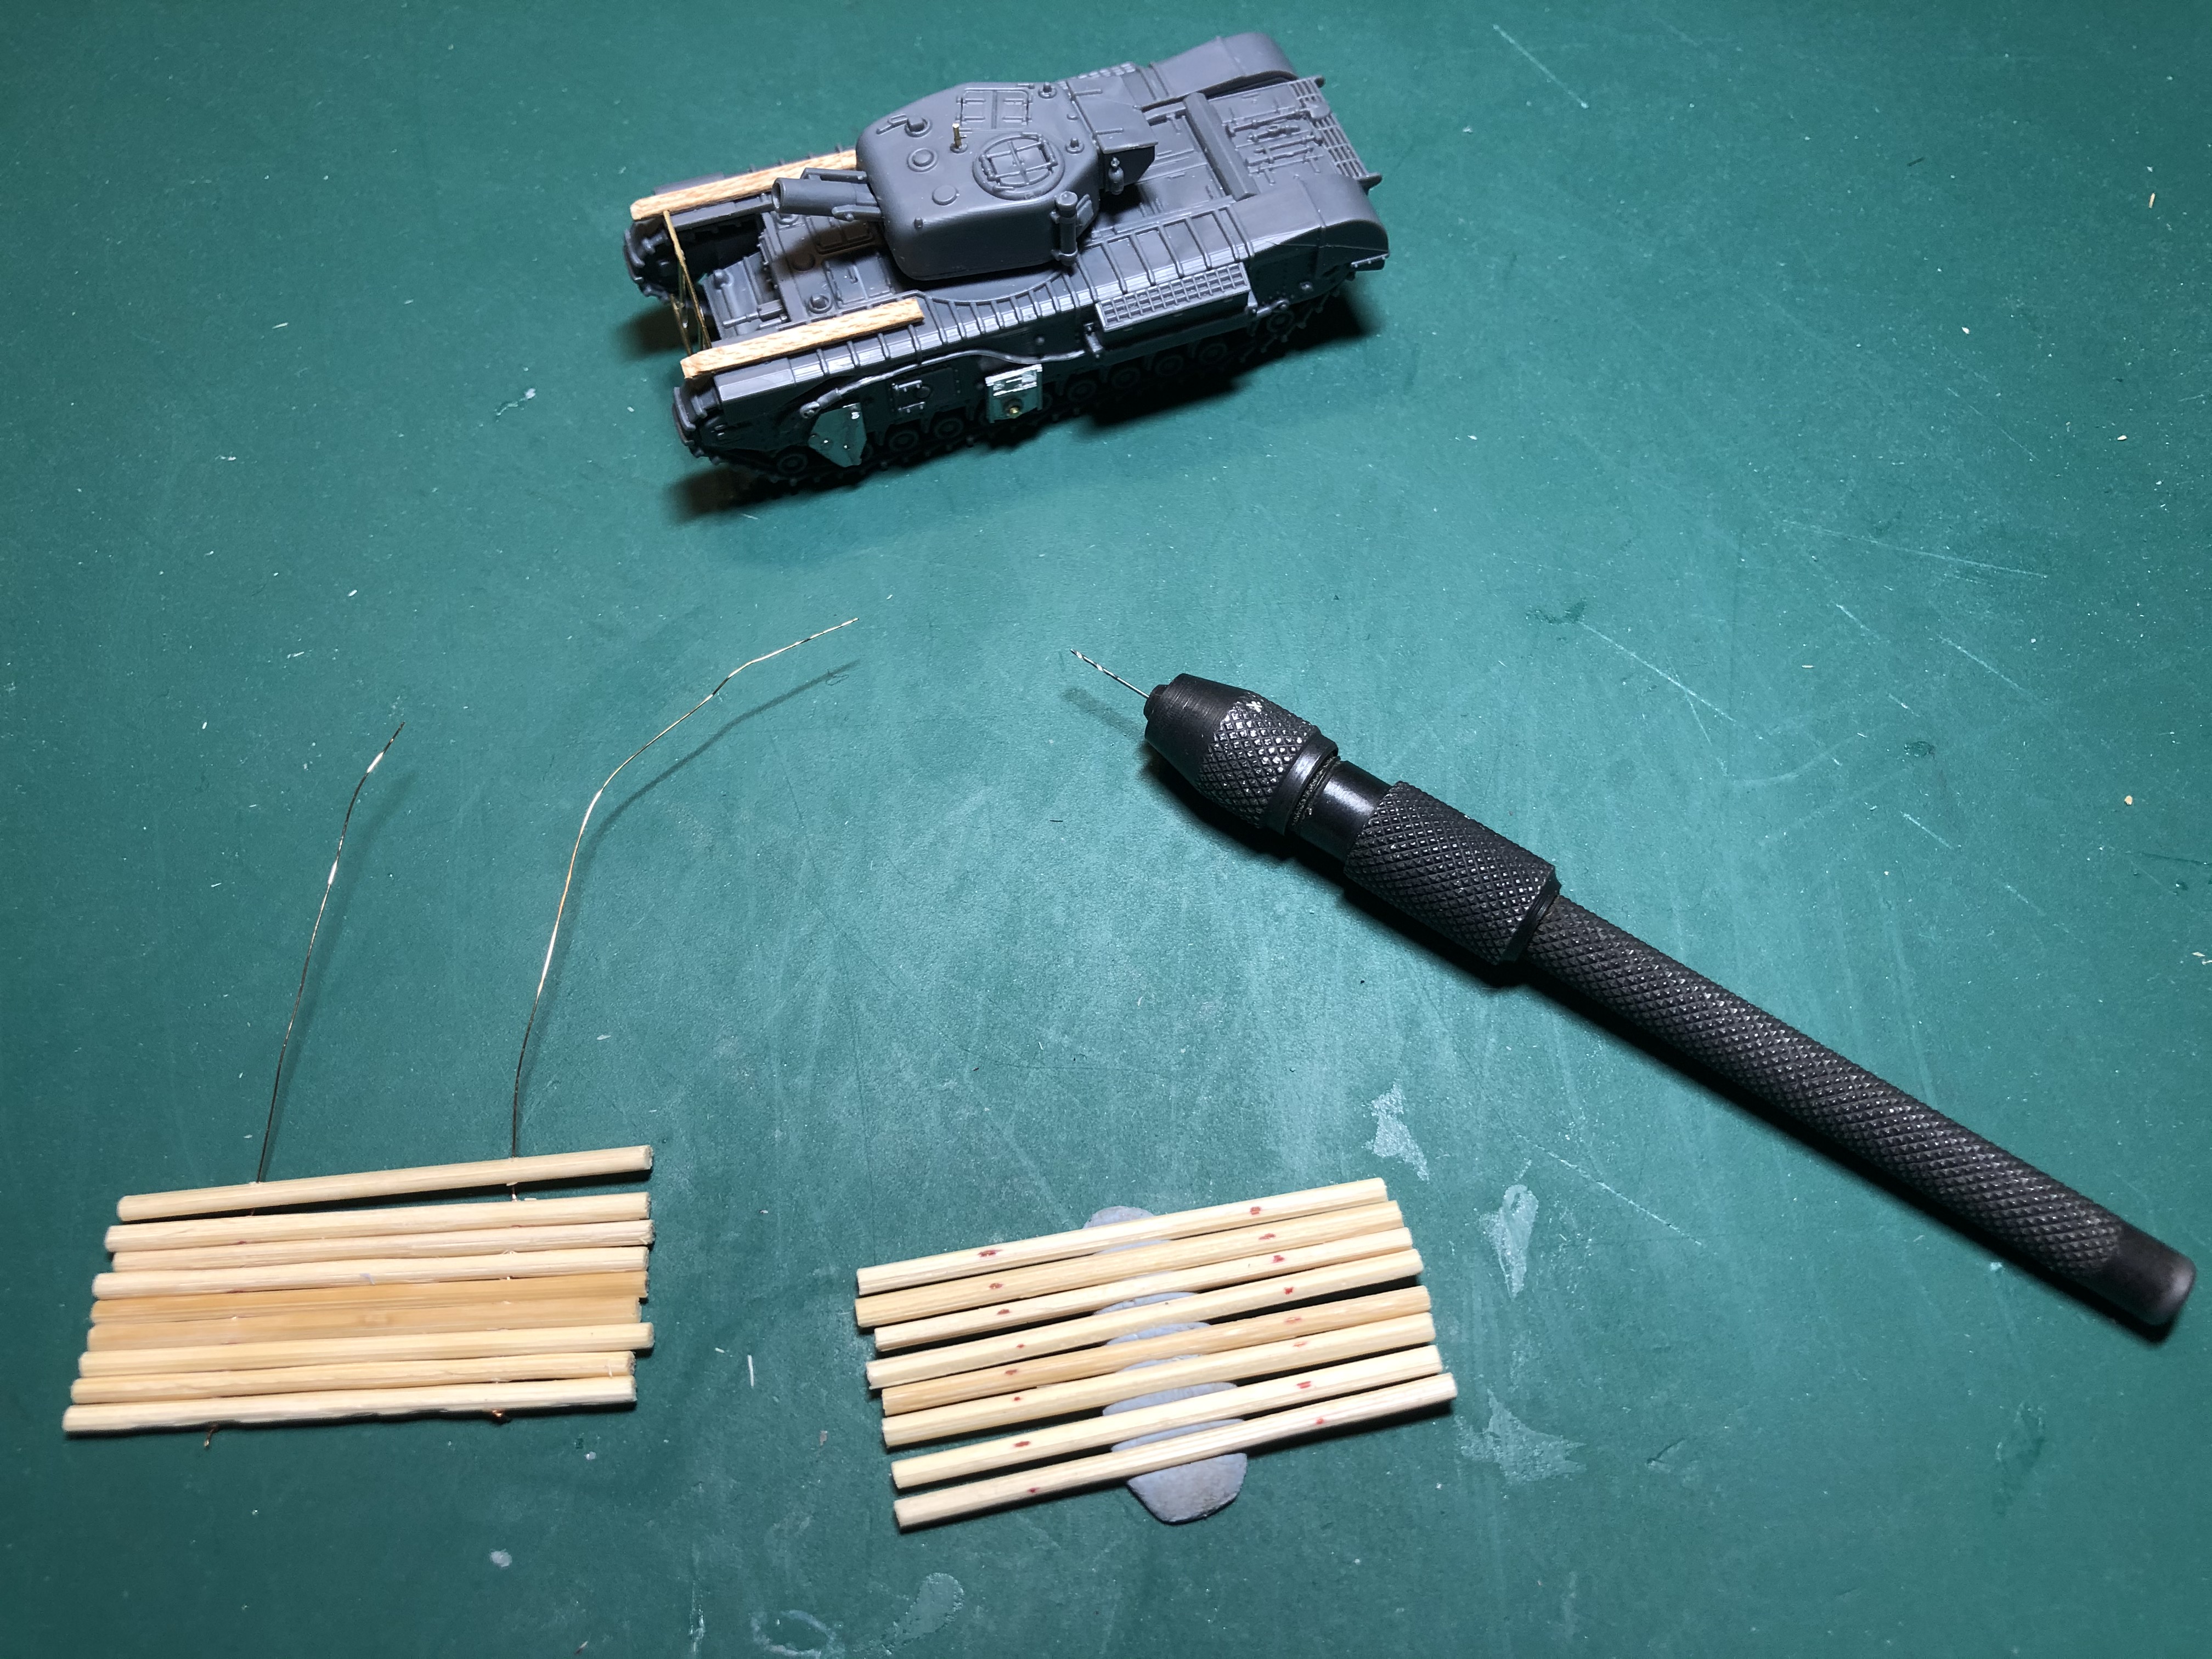
To make the log carpet I first cut down 20 cocktail sticks, to the equivalent of 14ft long and then drilled each one twice in line with the track width. To make it look the part I tied a knot in the end of the wires and superglued them in place. I then loosely threaded all the others on and then having left the correct length of wire so that the lead log would sit in the drop arm correctly, I then carefully glued each log in place so that they would lay on the bed and also in a way that the Petard mortar would sit on top of the finished stack. Finally I cut off the last of the wire, tied knots in two new bits; then fed these into the last holes and glued them in place so it looked like it was tied at both ends.
AVRE Log Carpet Layer build cont'd
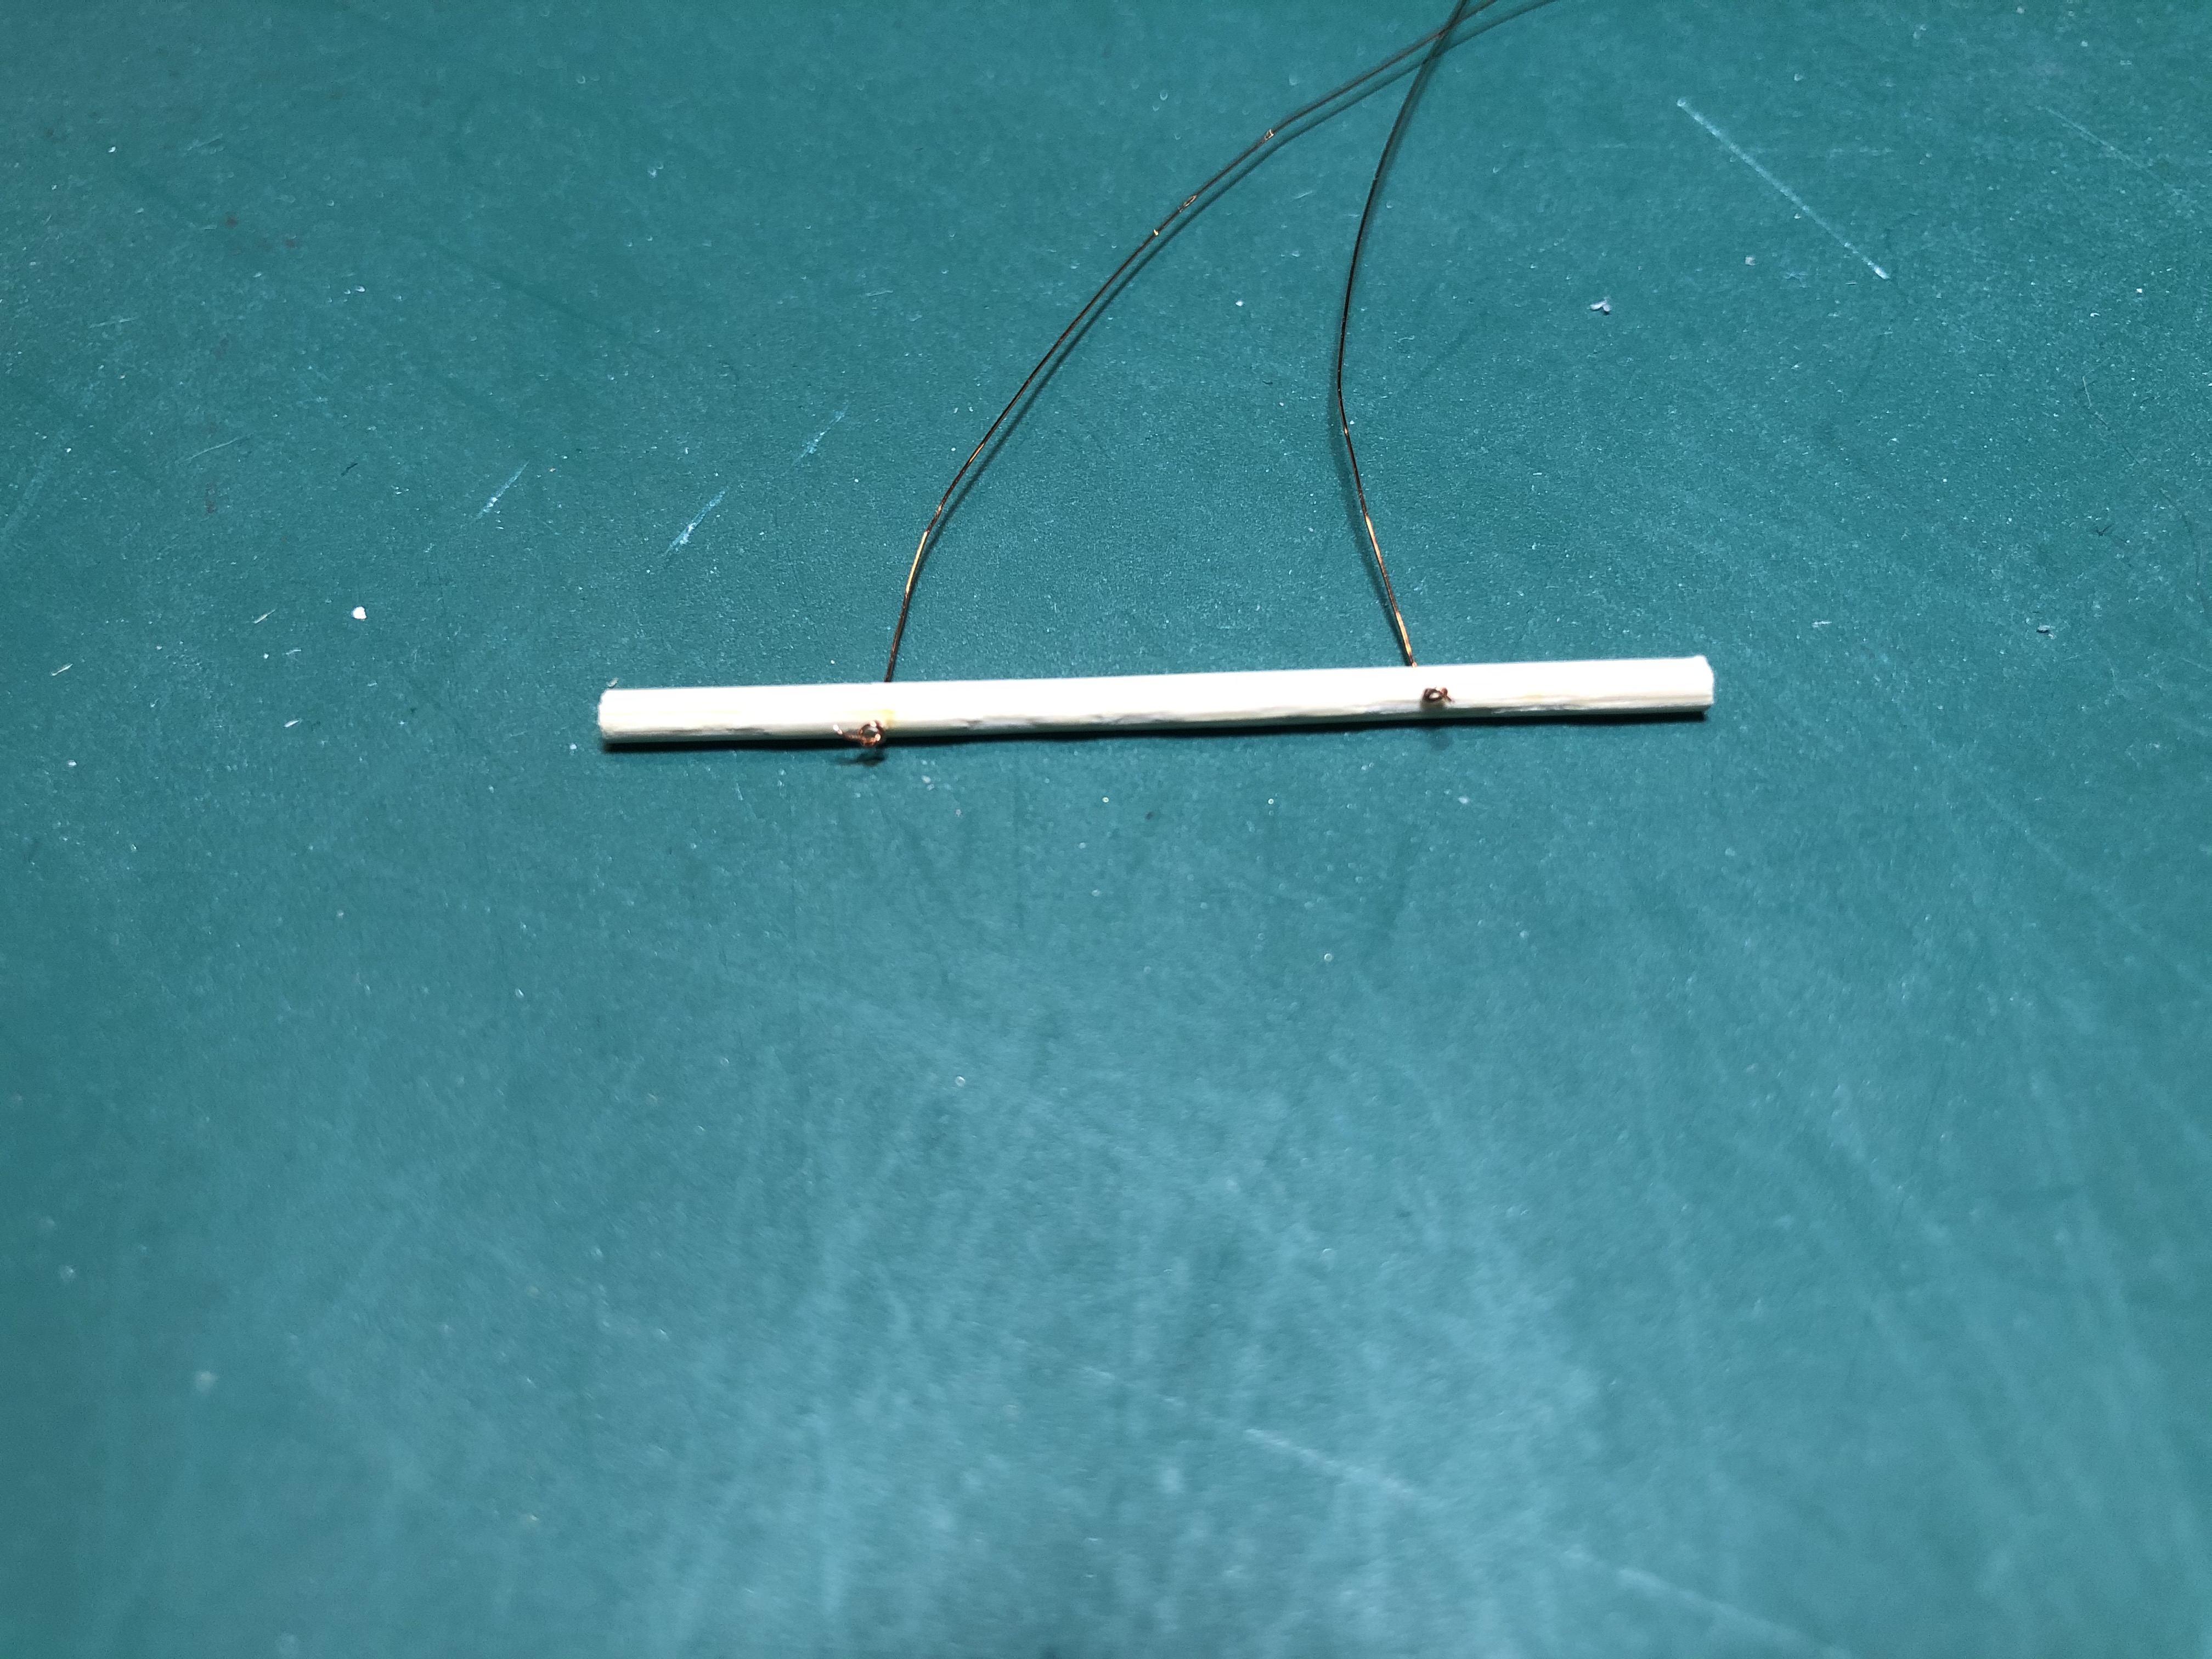
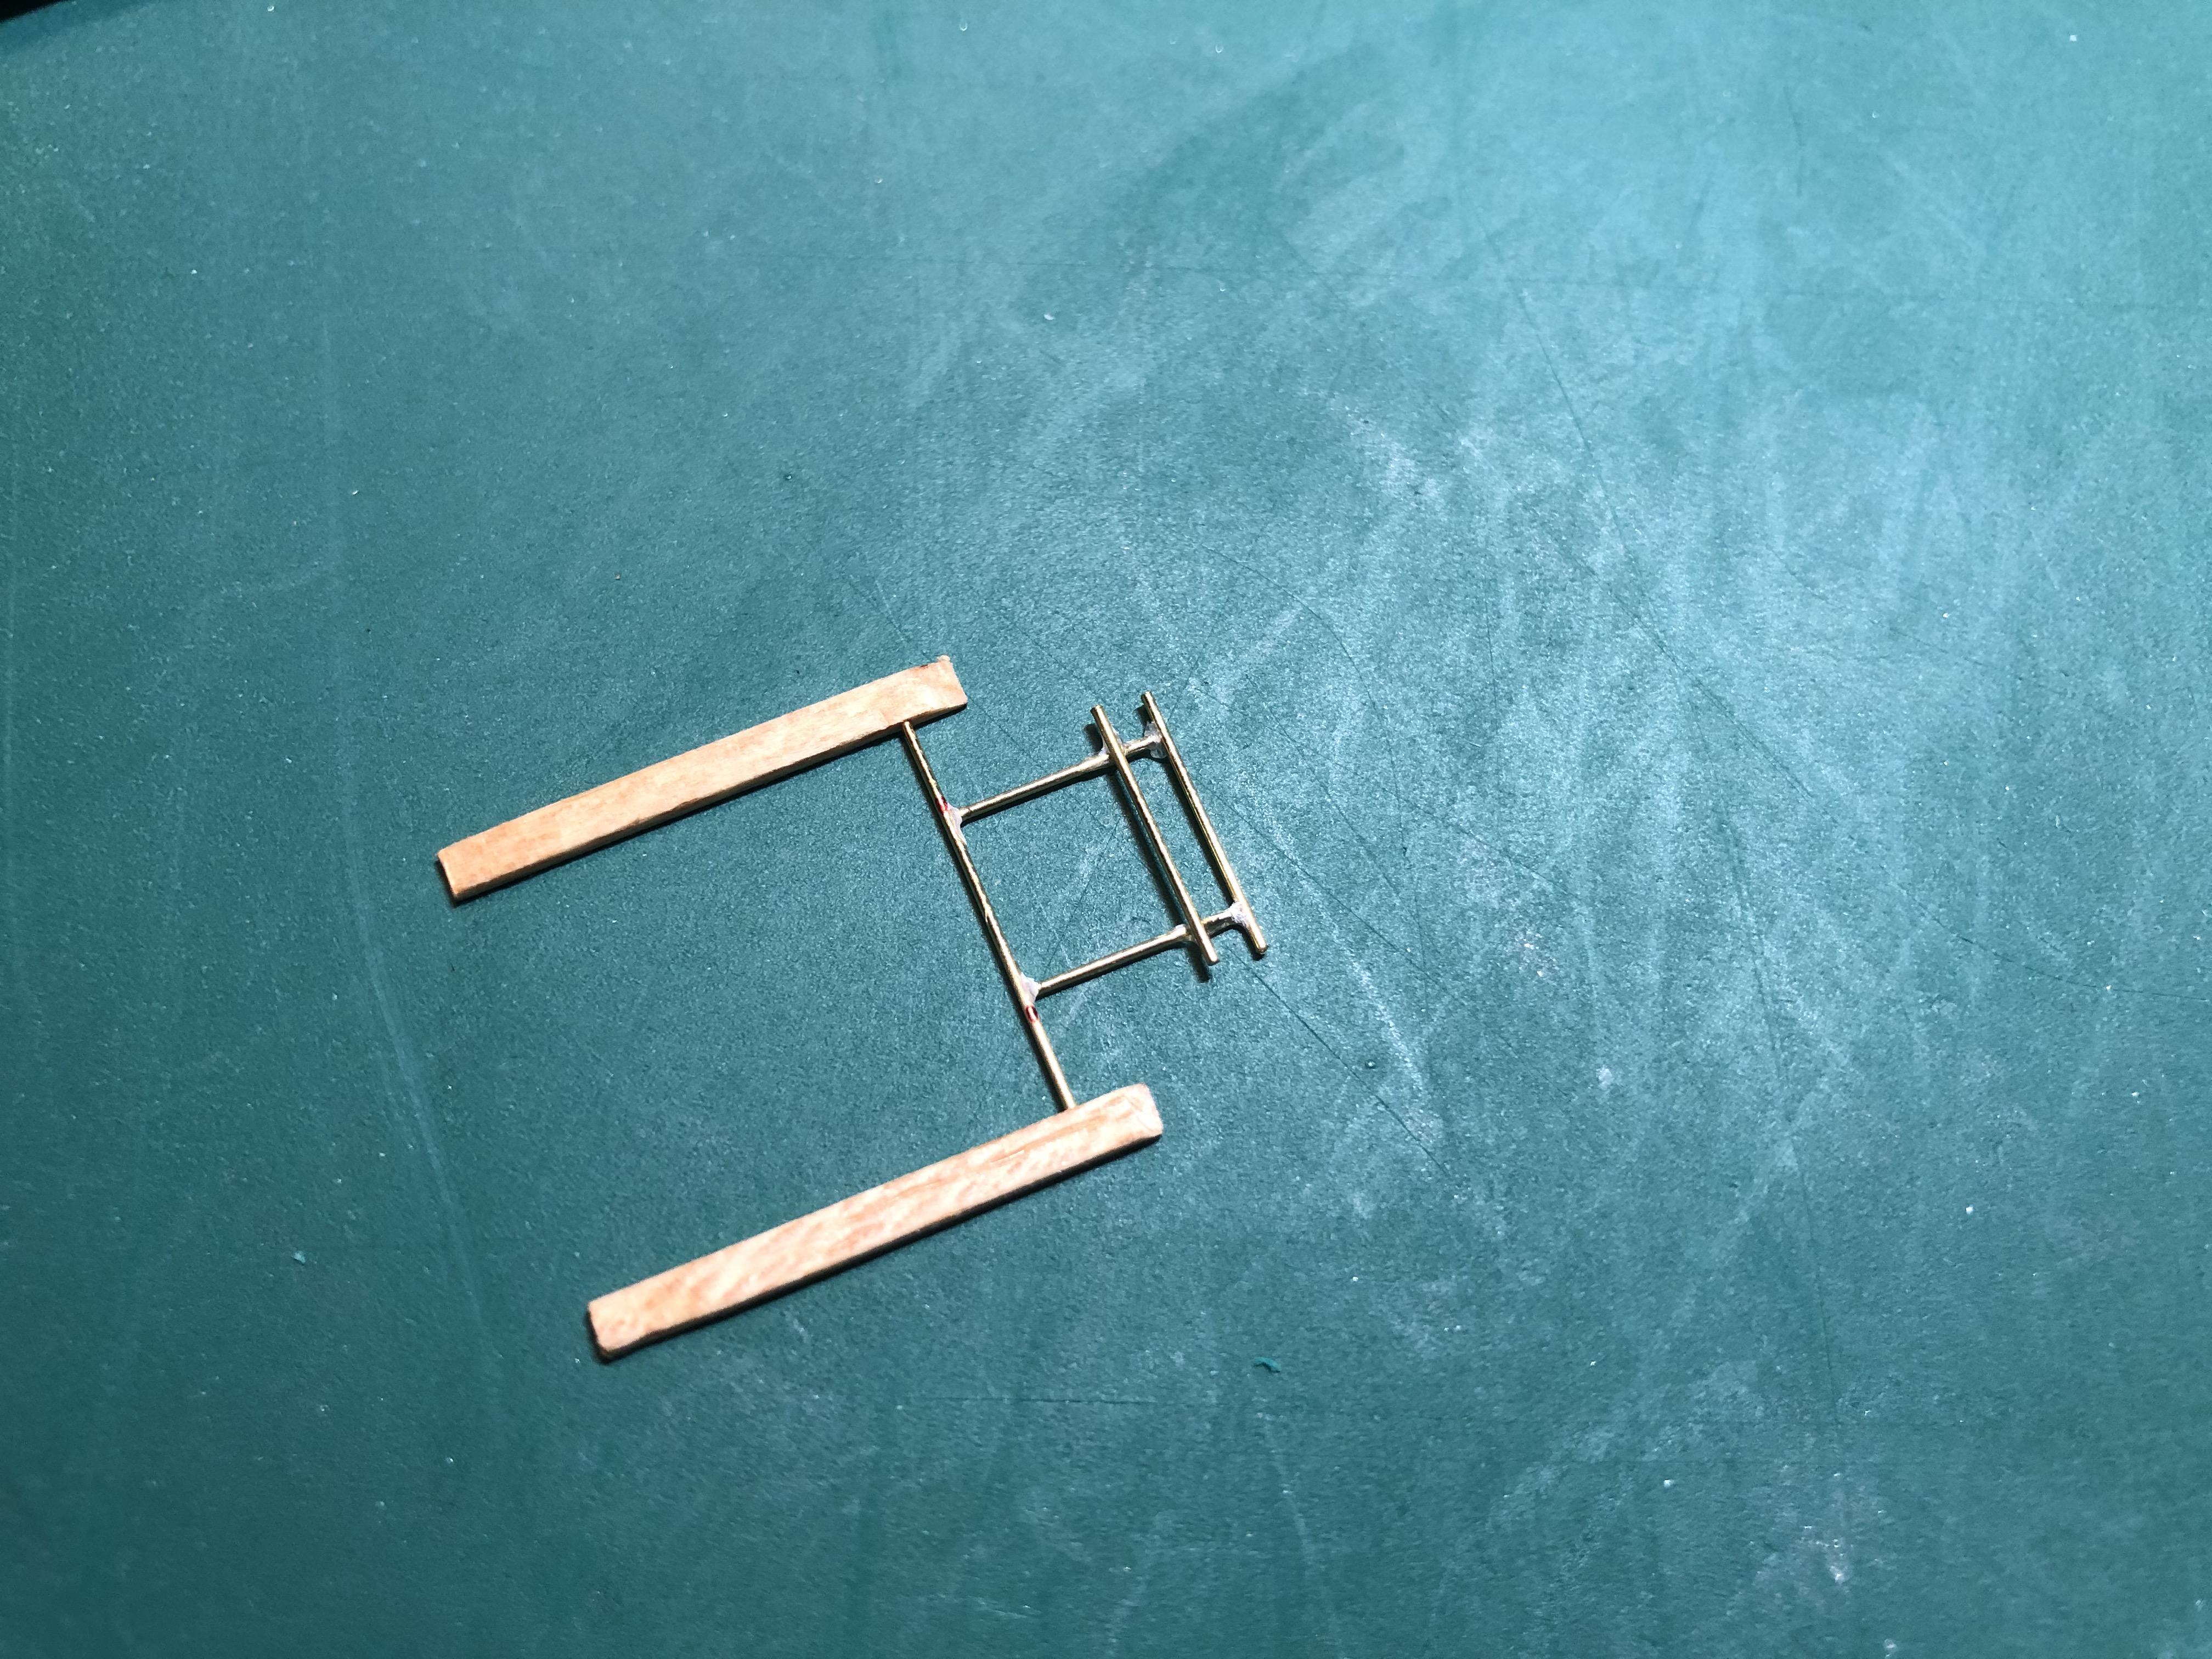 Once glued onto the cross bar I then glued the two mounting bars for the lead log. The first one on the ends of the rods and the second on top. Ordinarily I would solder brass, but as these are decorate and being glued to the log there are sufficient other contact points to keep everything in place!
With that done I could mount the bed and drop frame onto the tank.