


![O-12 Infinity Fast Response! Firebat Attack Wing Unboxing & Review [7 Days Early Access]](https://images.beastsofwar.com/2026/01/unboxing-corvus-belli-infinity-firebat-attack-wing-coverimage-225-127.jpg)


How to be an Armoured Farmer, building Hobart’s Funnies in Glorious 15mm (and maybe 28mm if they arrive in time!)


Recommendations: 2233
About the Project
Right then, having avoided any sort of Spring cleaning challenge in the past, I have decided to use this year's one to get something done that I have been gathering bits for over the past few years and finally finish and assemble all of my Hobart's Funnies. To get technical these are Armoured Vehicle Royal Engineers (AVRE) tanks, using the Churchill chassis as a base. I will also throw in some Sherman Crabs (Flail tanks). I have gathered a few books for reference so that I can paint and mark them up for one of the Armoured Assault Squadrons Royal Engineer (either 77, or 79) that landed ashore at Sword Beach and were the very first to see action on that beach; Plus the Sherman Crabs of A Squadron 22nd Dragoons. Whilst I want to be able to use the finished tanks in games depicting the D Day Landings (in Flames of War and Chain of Command at 15mm) I also want then to be versatile enough to be able to be used in later engagements that the 79th Armoured Division took part in (which is pretty much everything!). I hope you will find this of interest if you ever want to branch out into what the modern day Royal Engineers affectionately call being an armoured farmer.
Related Game: Flames of War: The World War II Miniatures Game
Related Company: Battlefront Miniatures
Related Genre: Historical
Related Contest: Spring Clean Hobby Challenge (Old)
This Project is Active
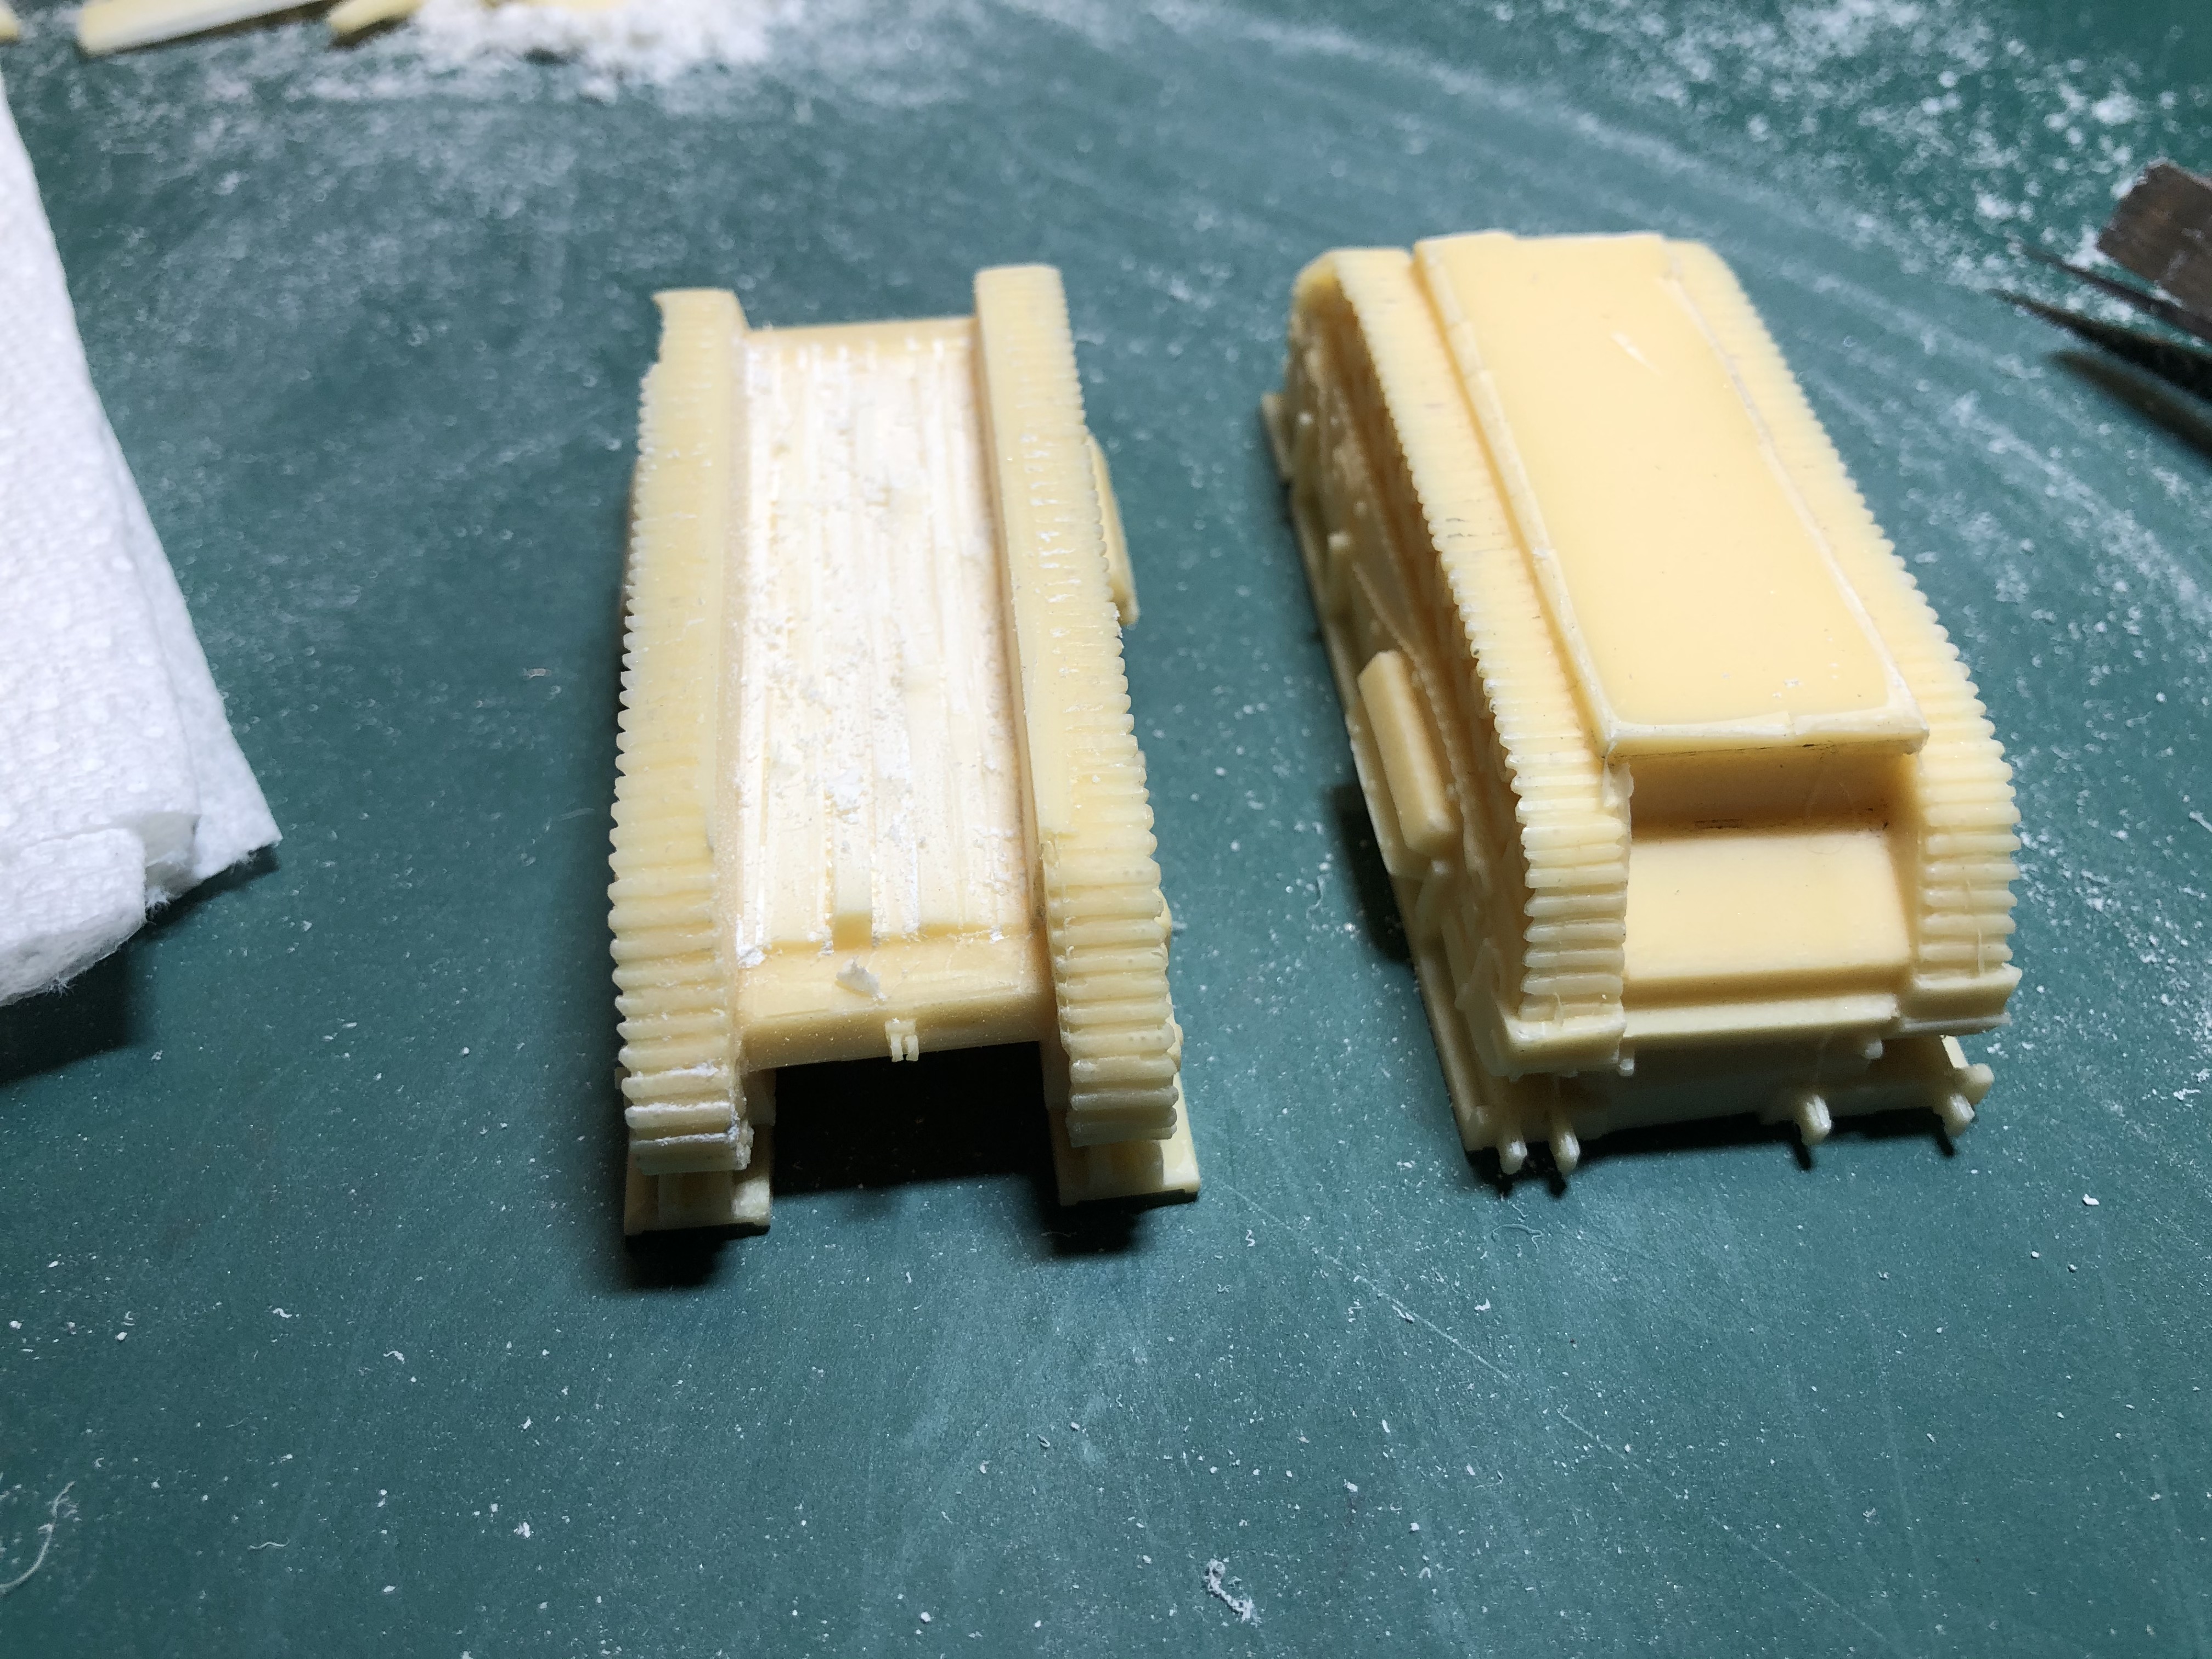
SkyTrex ARK Finished
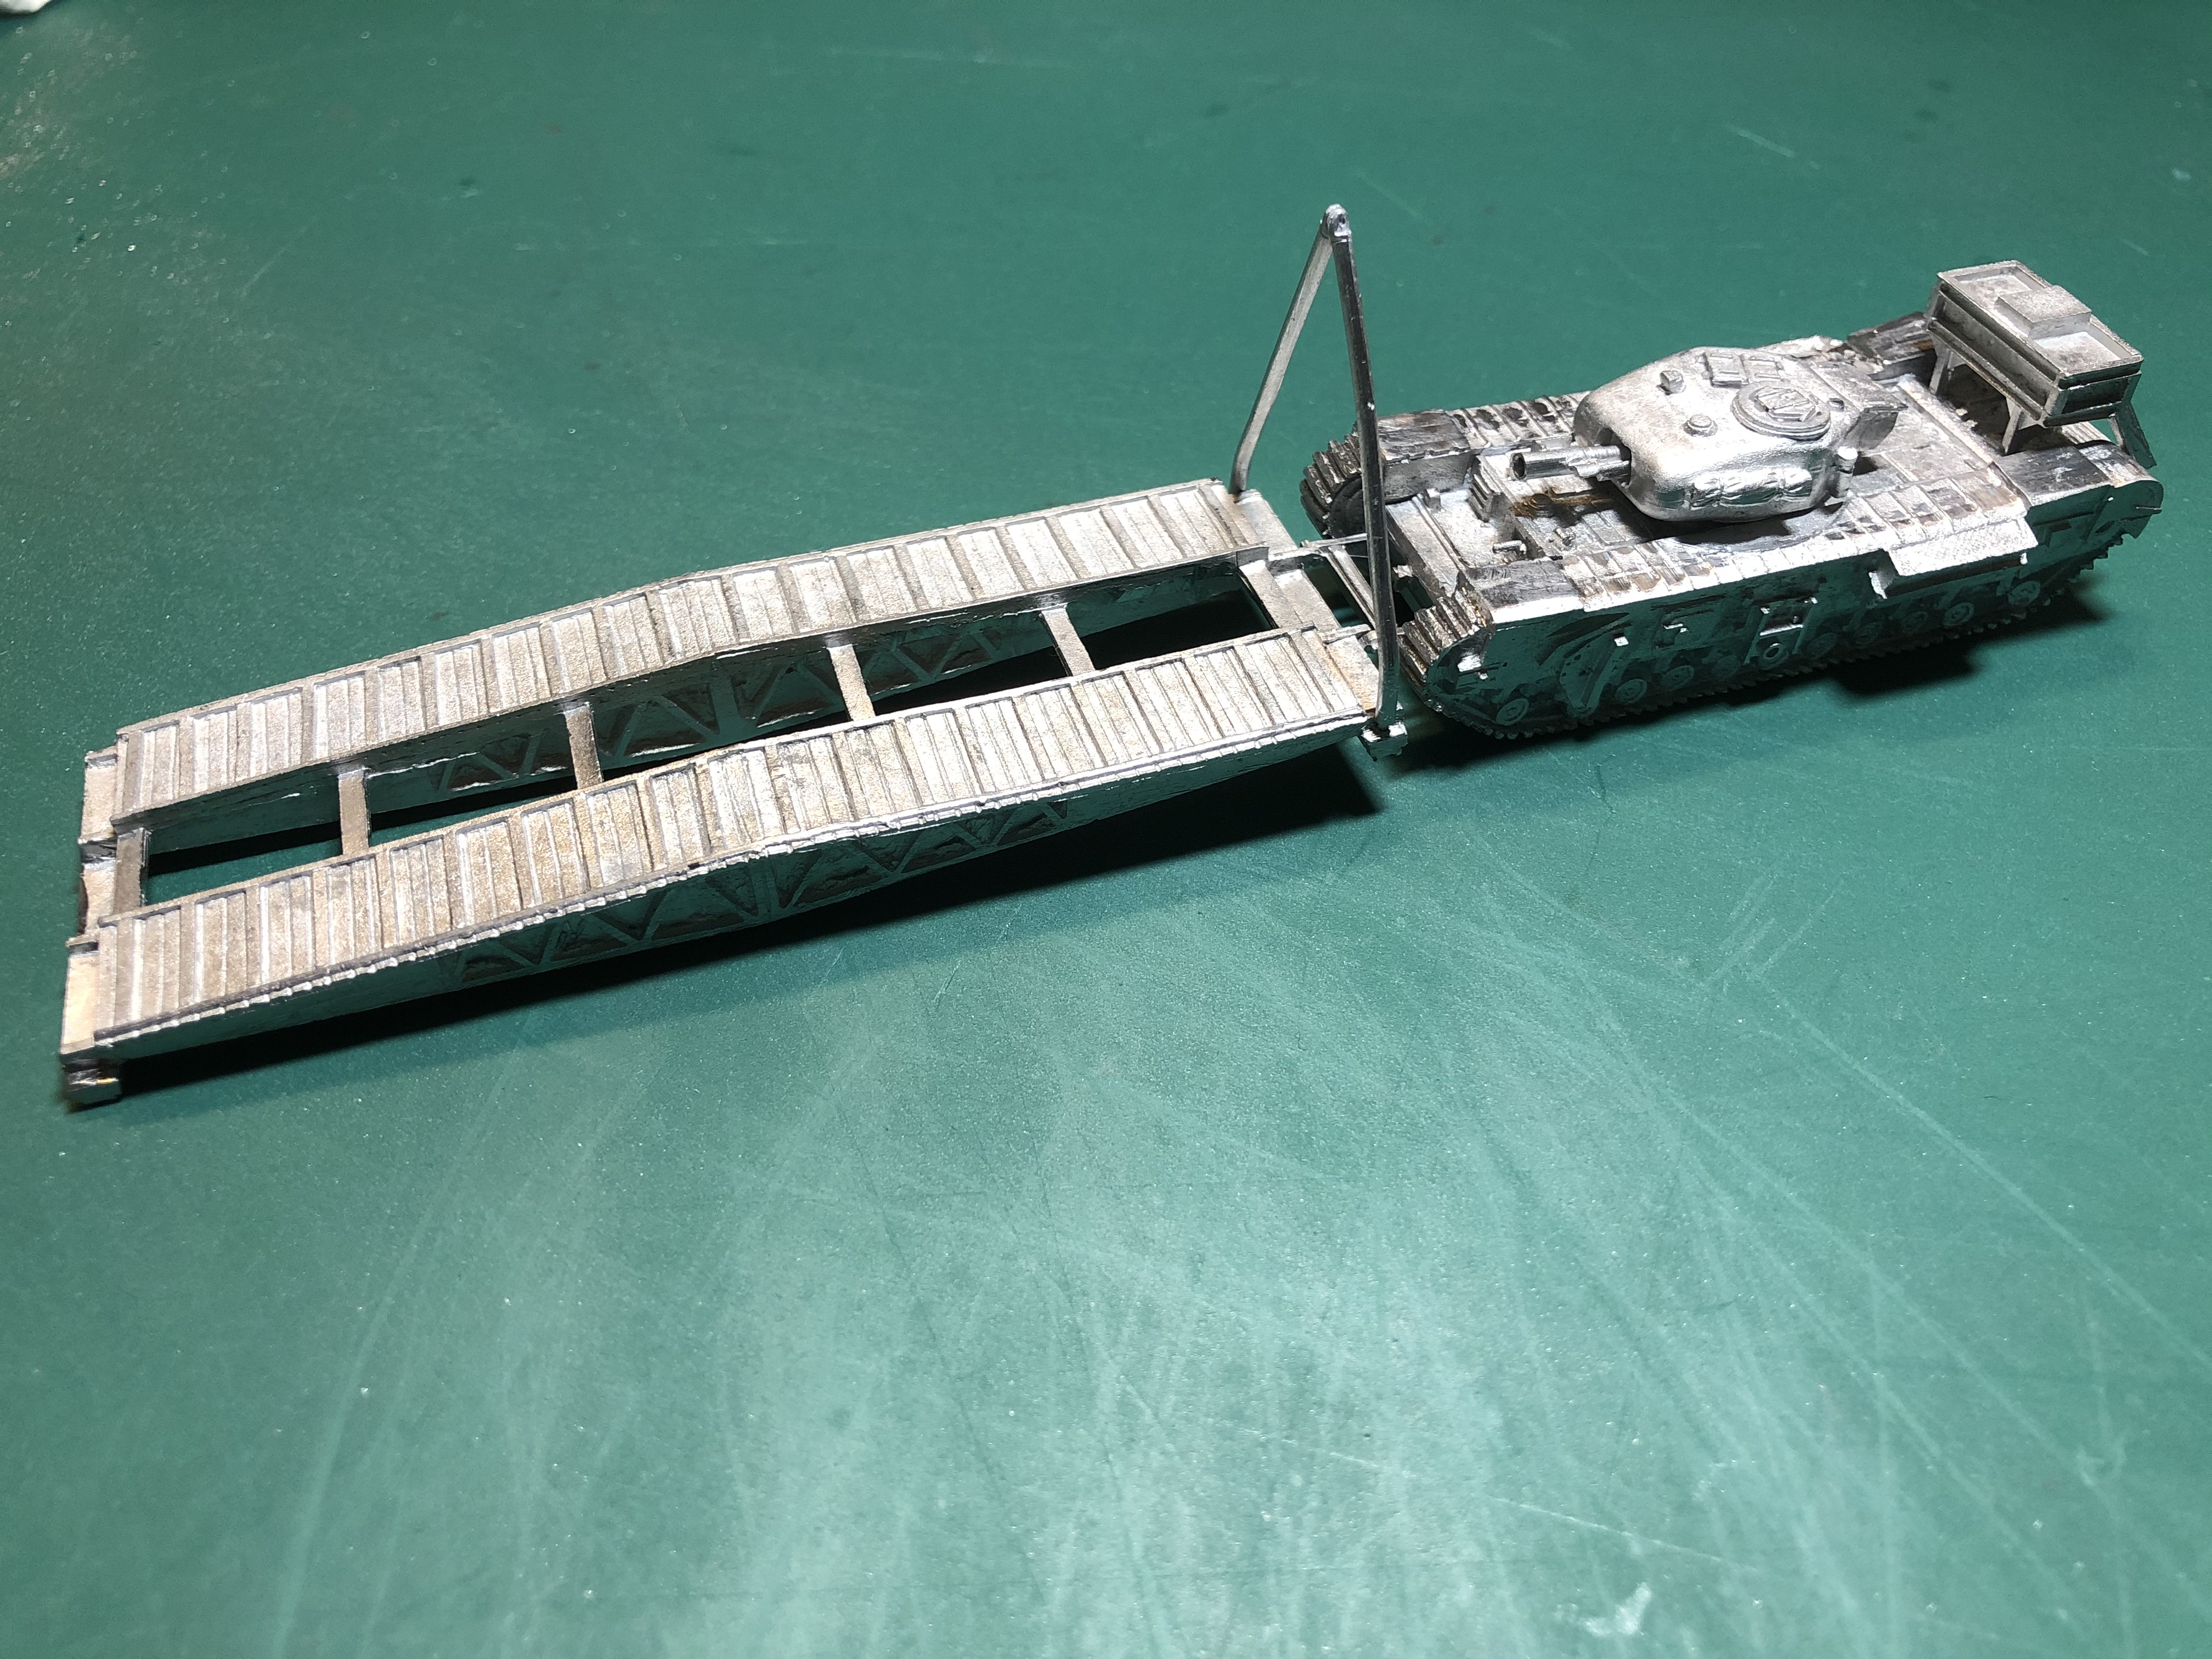
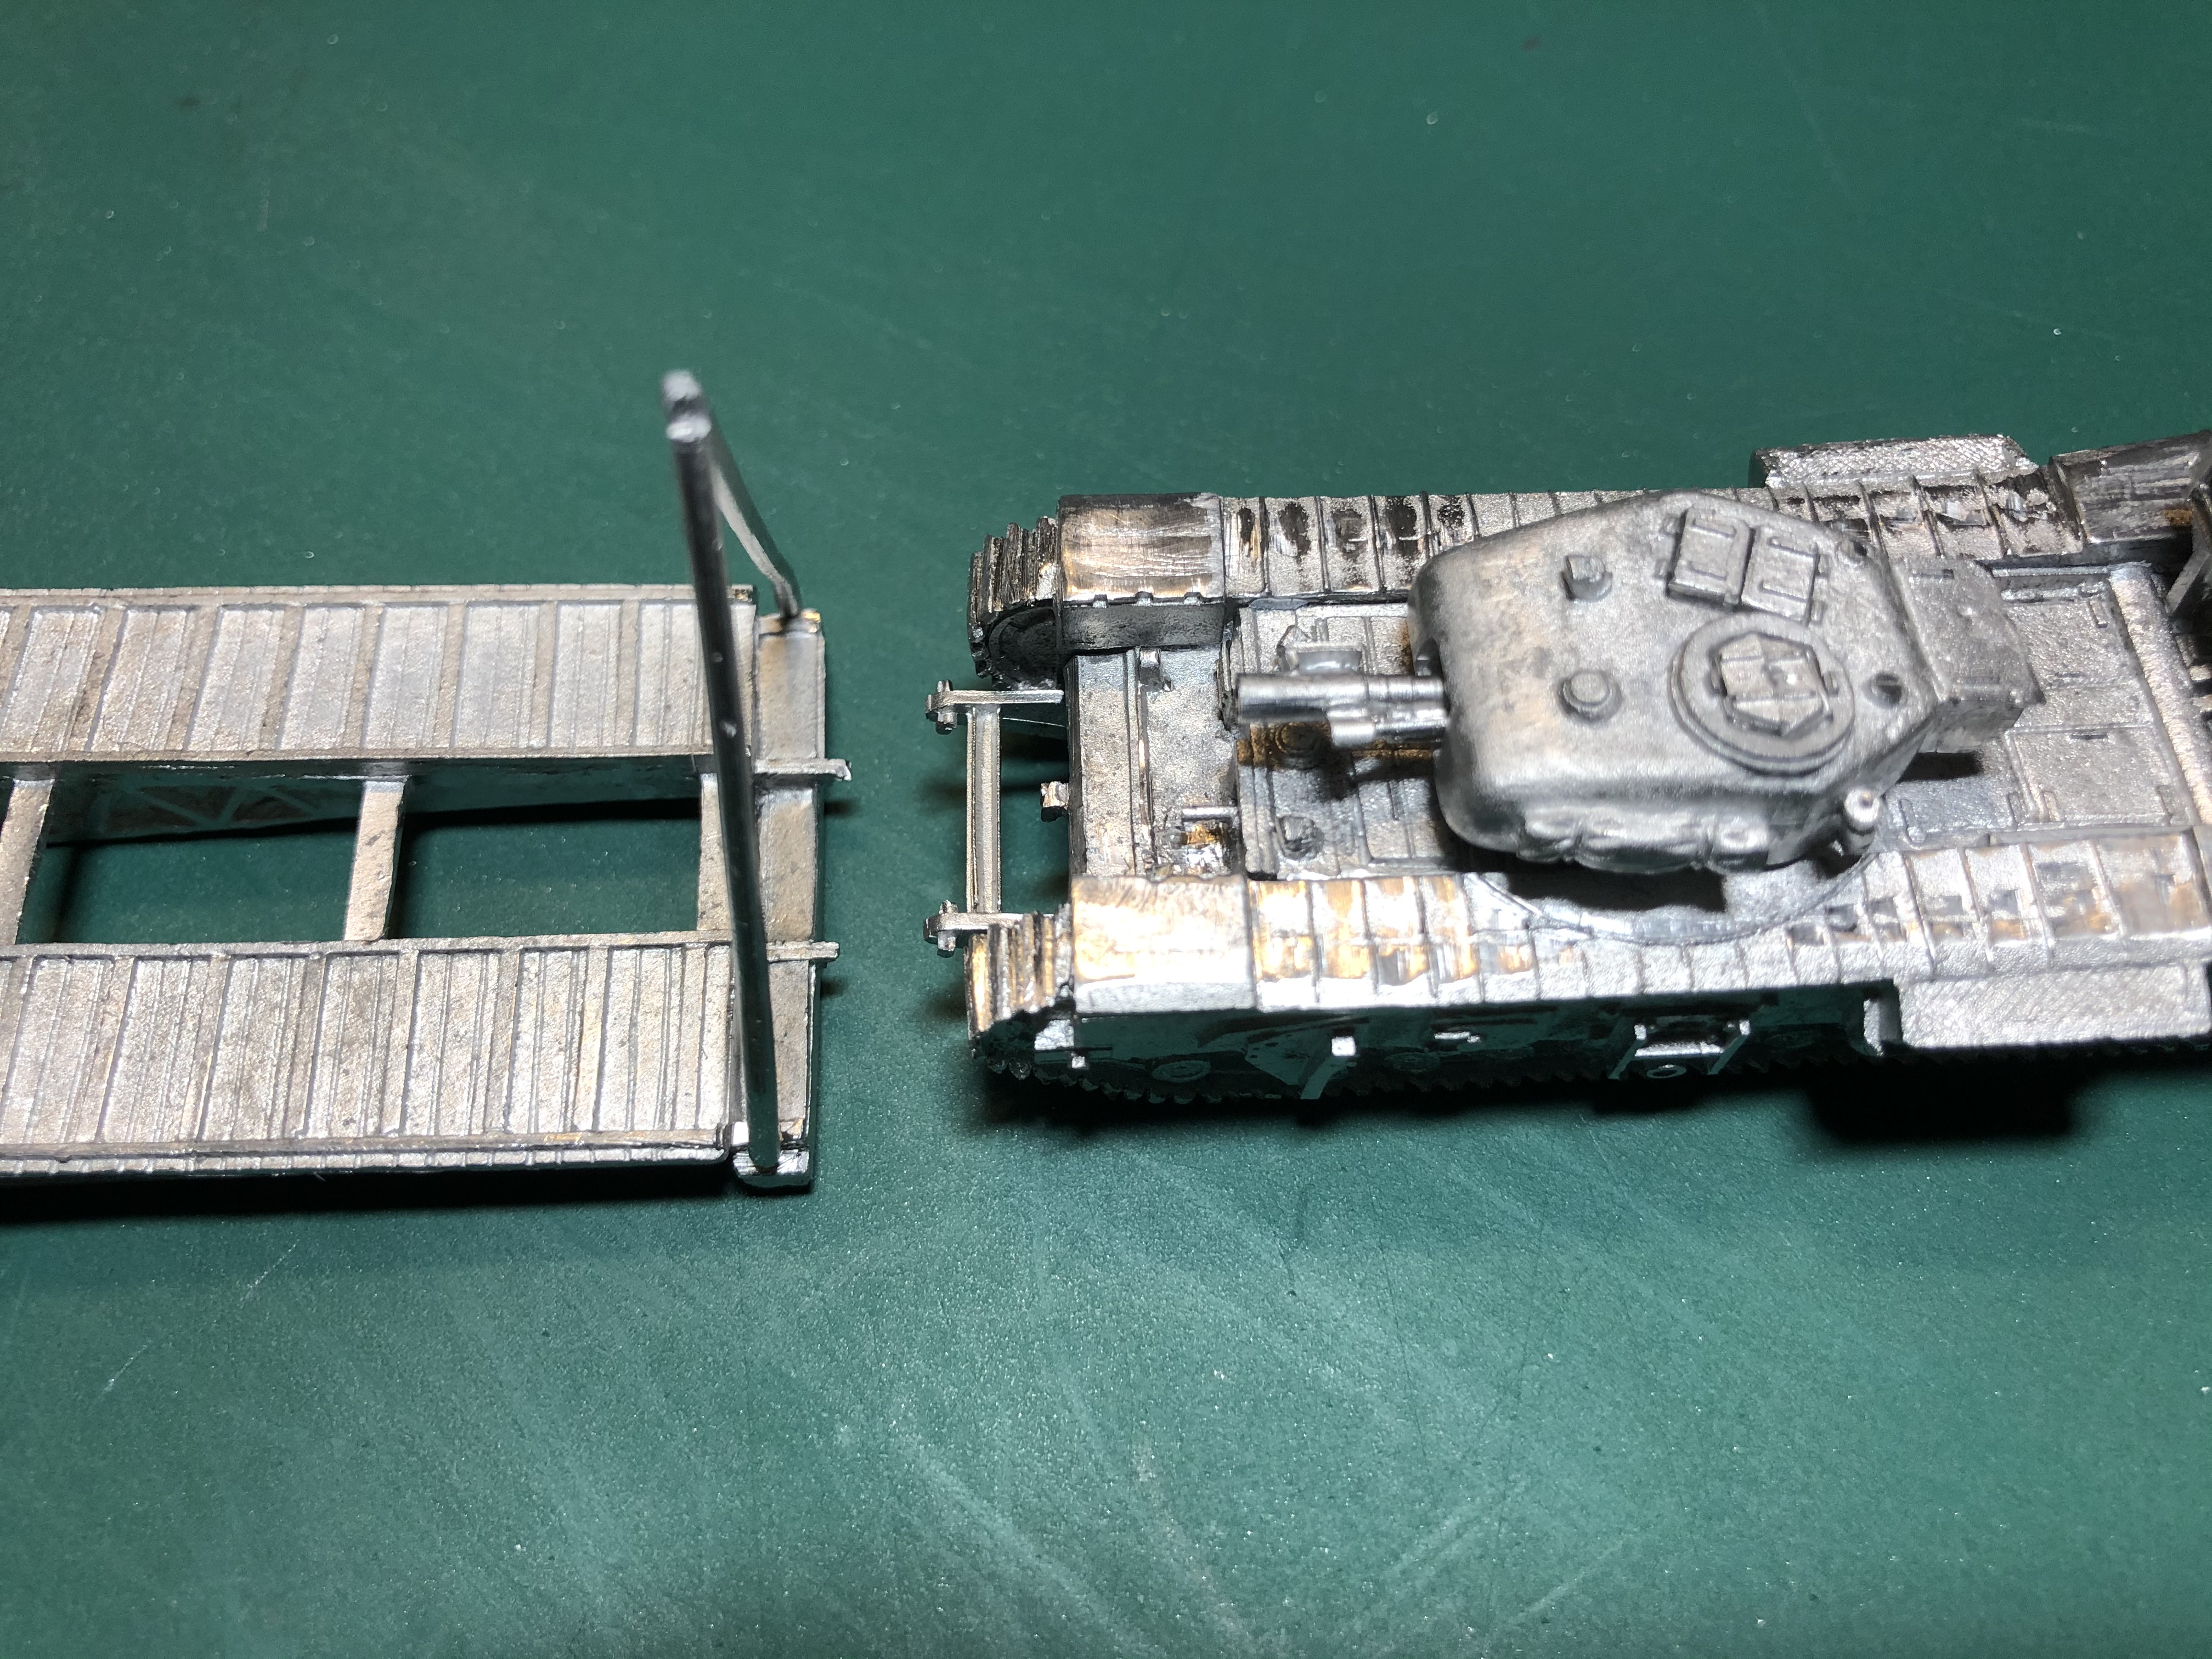
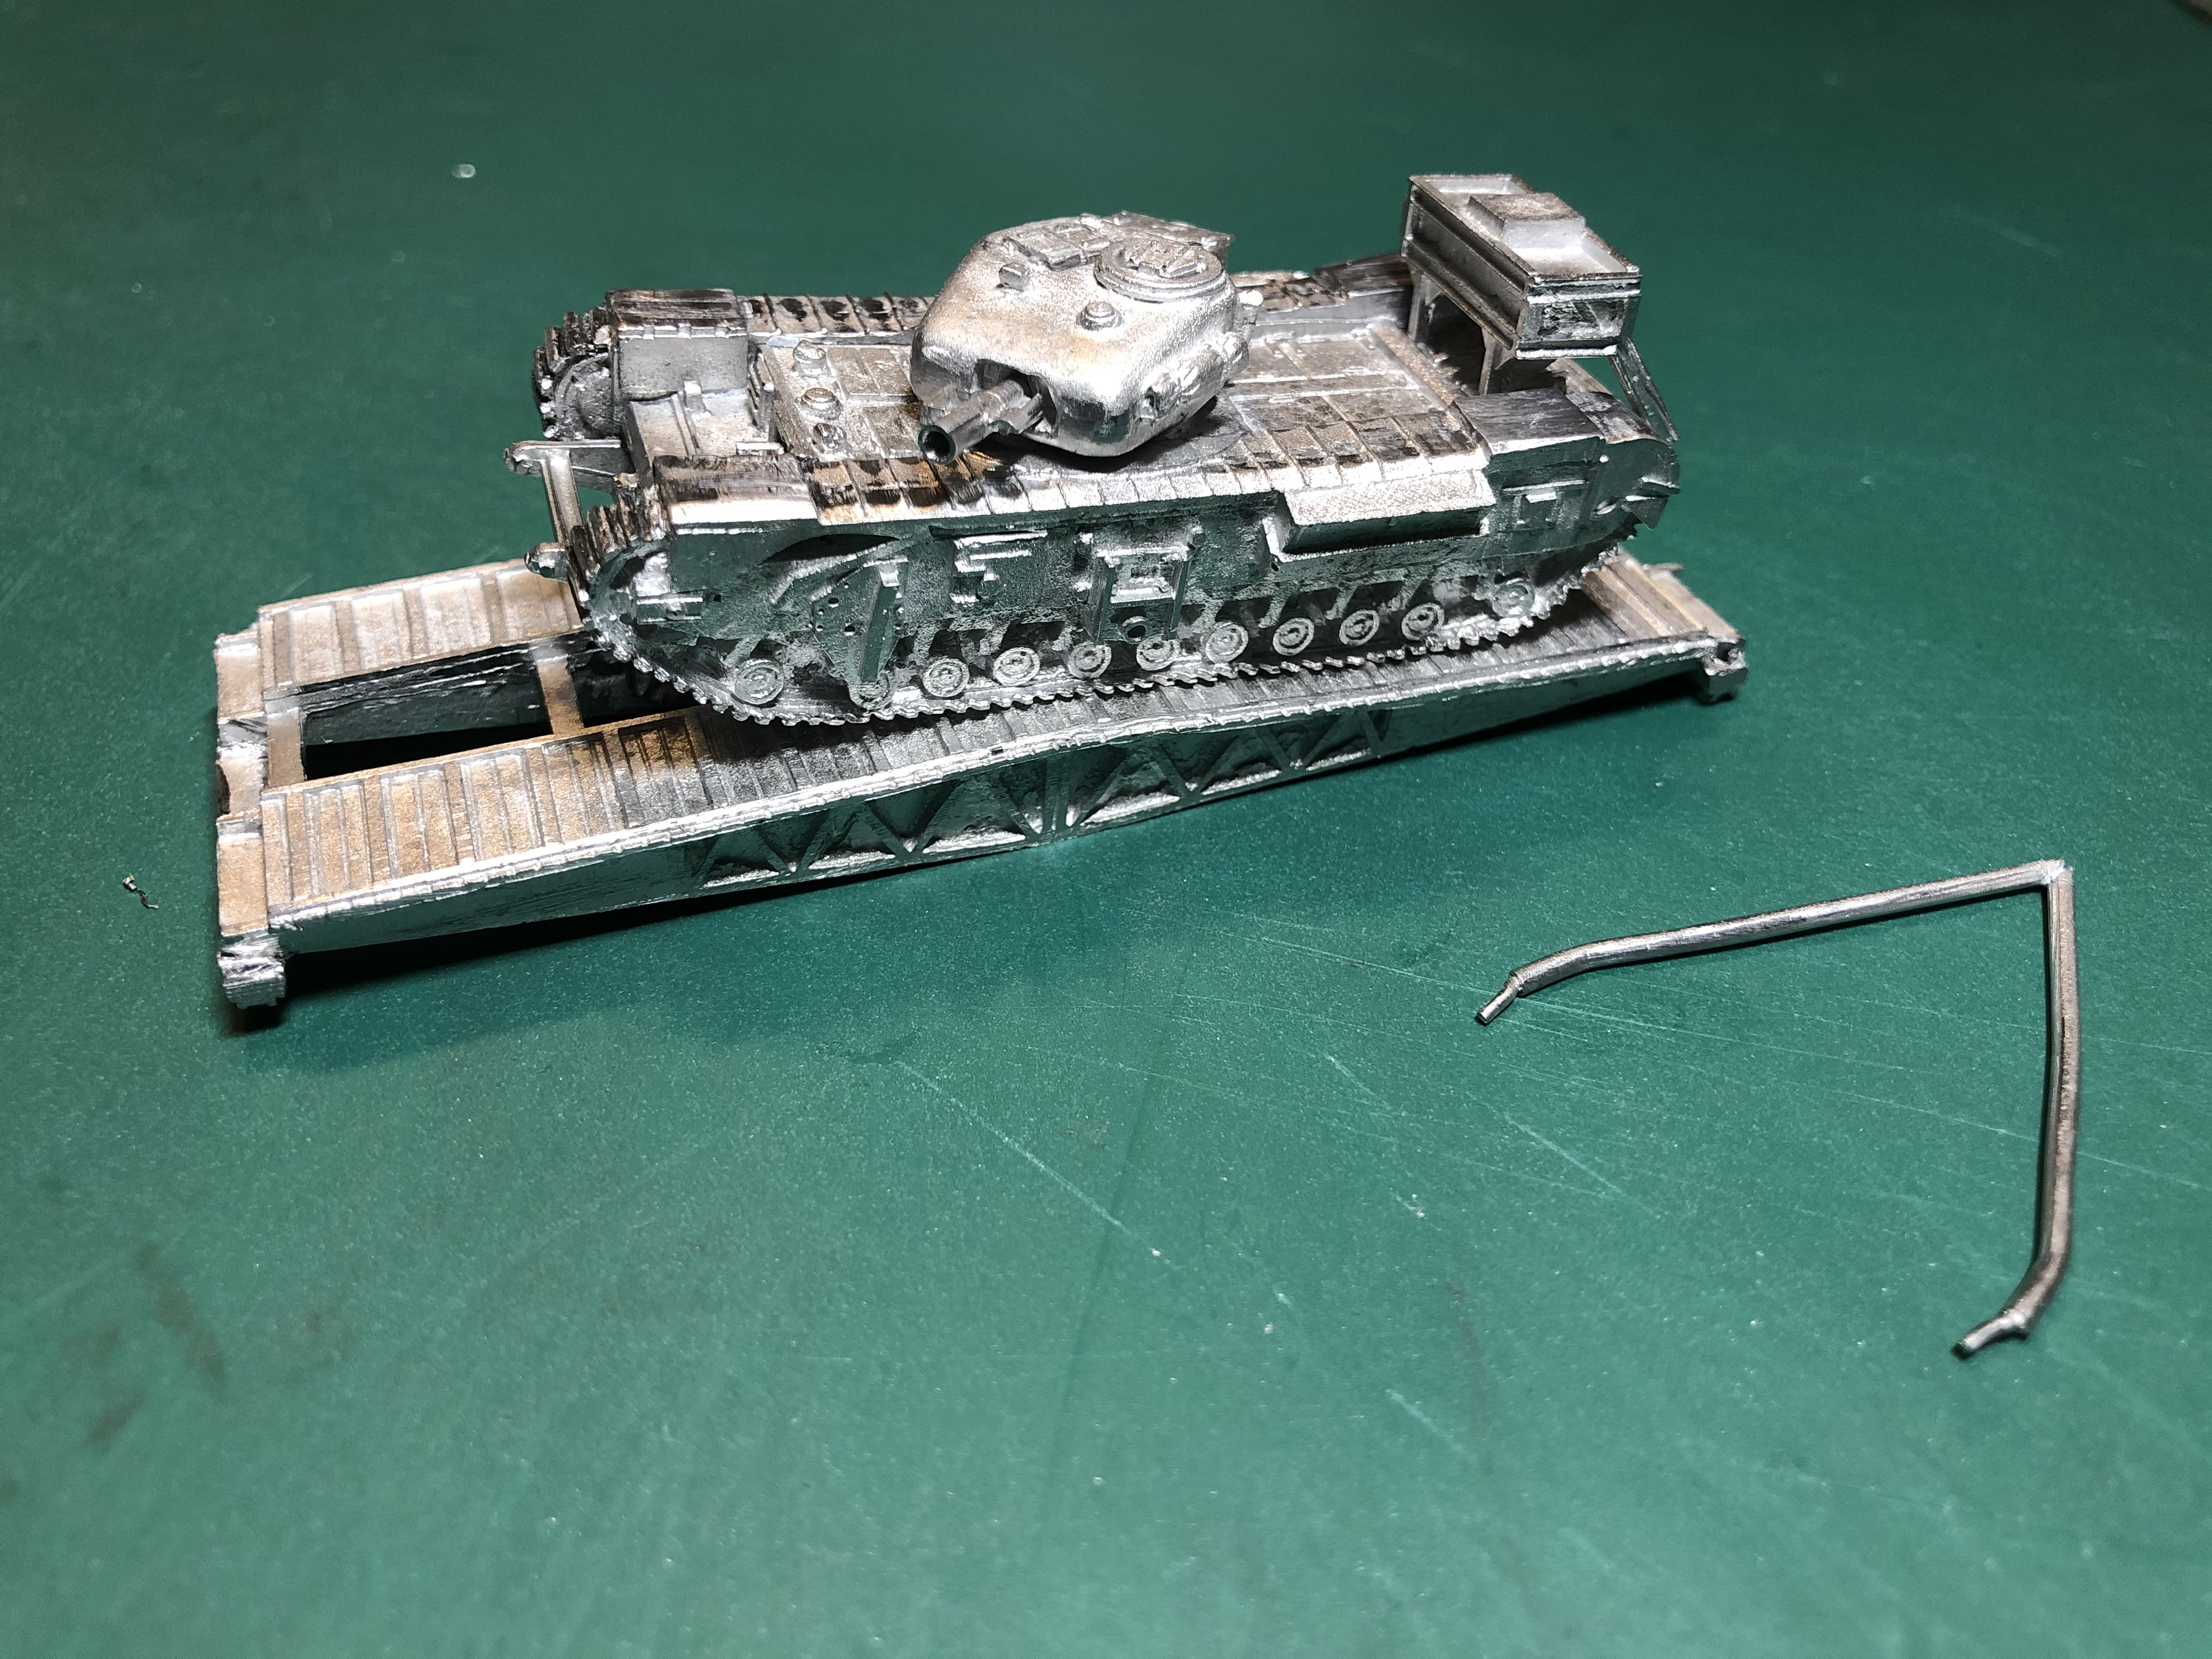
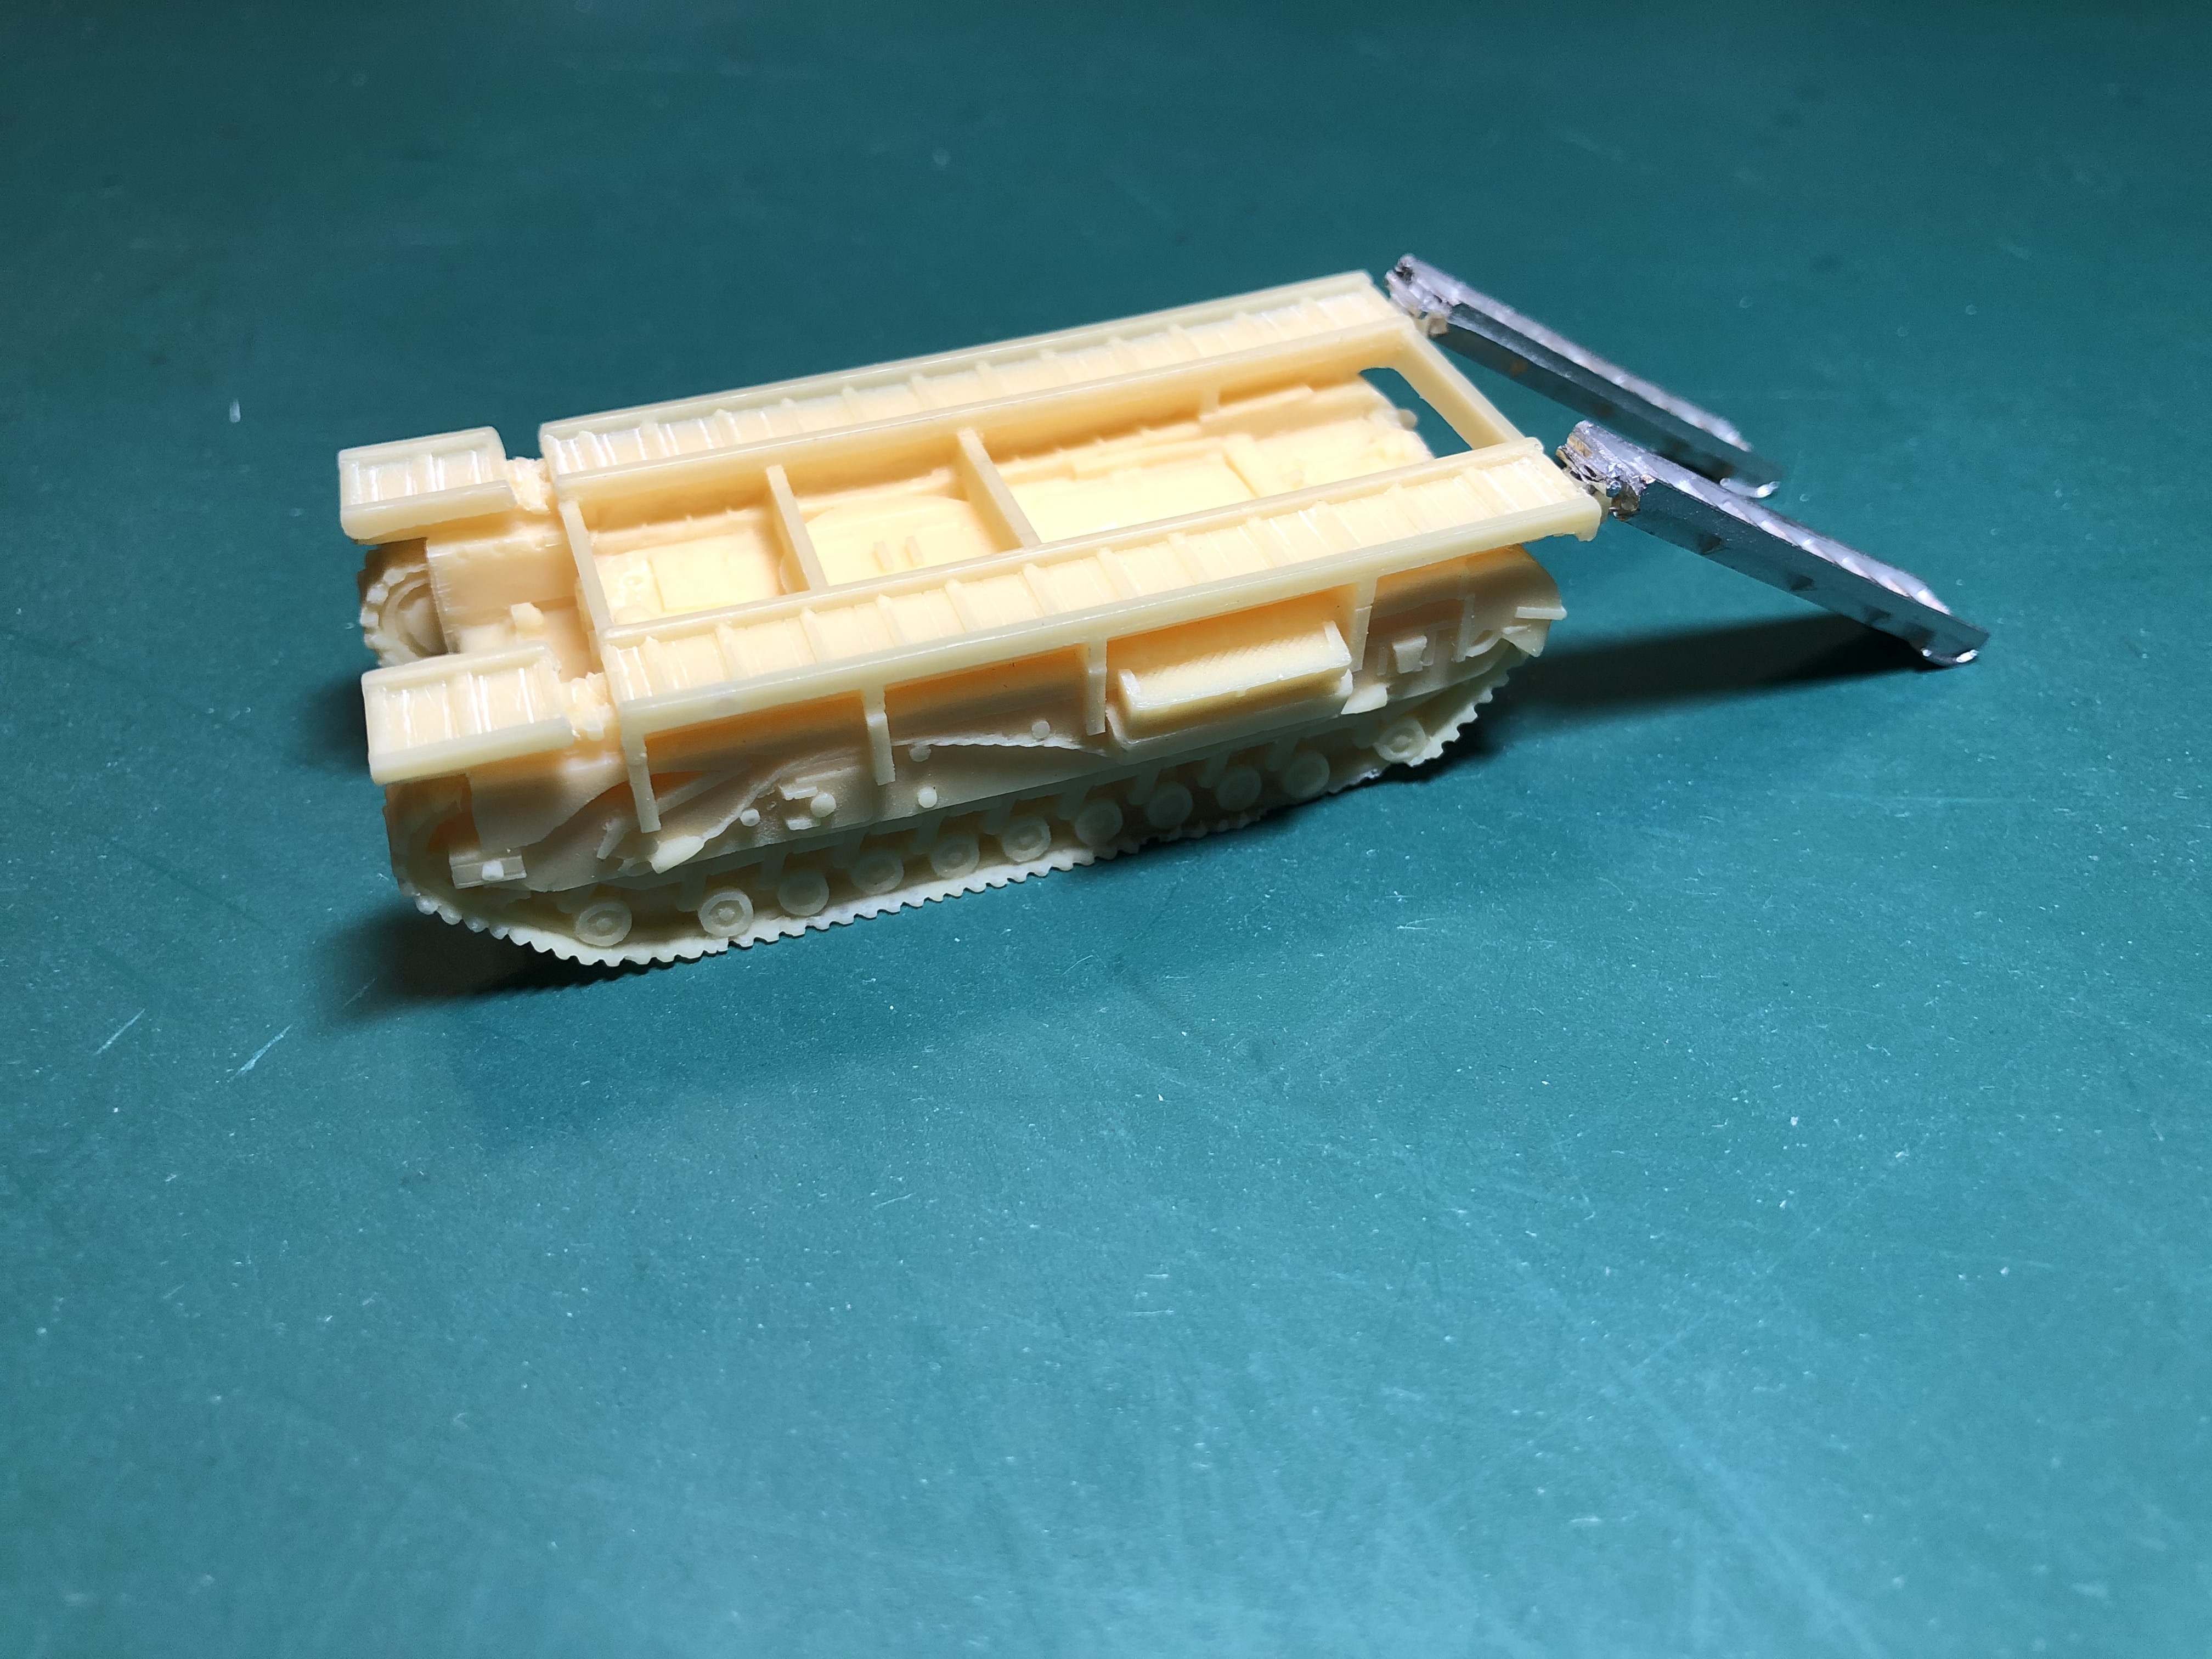 The finished ARK with ramps. The kit comes with two sets of ramps but for D Day this Mk1 ARK would have only had the rear set fitted so that it could be used for breaching sea walls. The Ramps only needed a bit of cleaning up and filing to get them to locate in the mounting points on the hull.
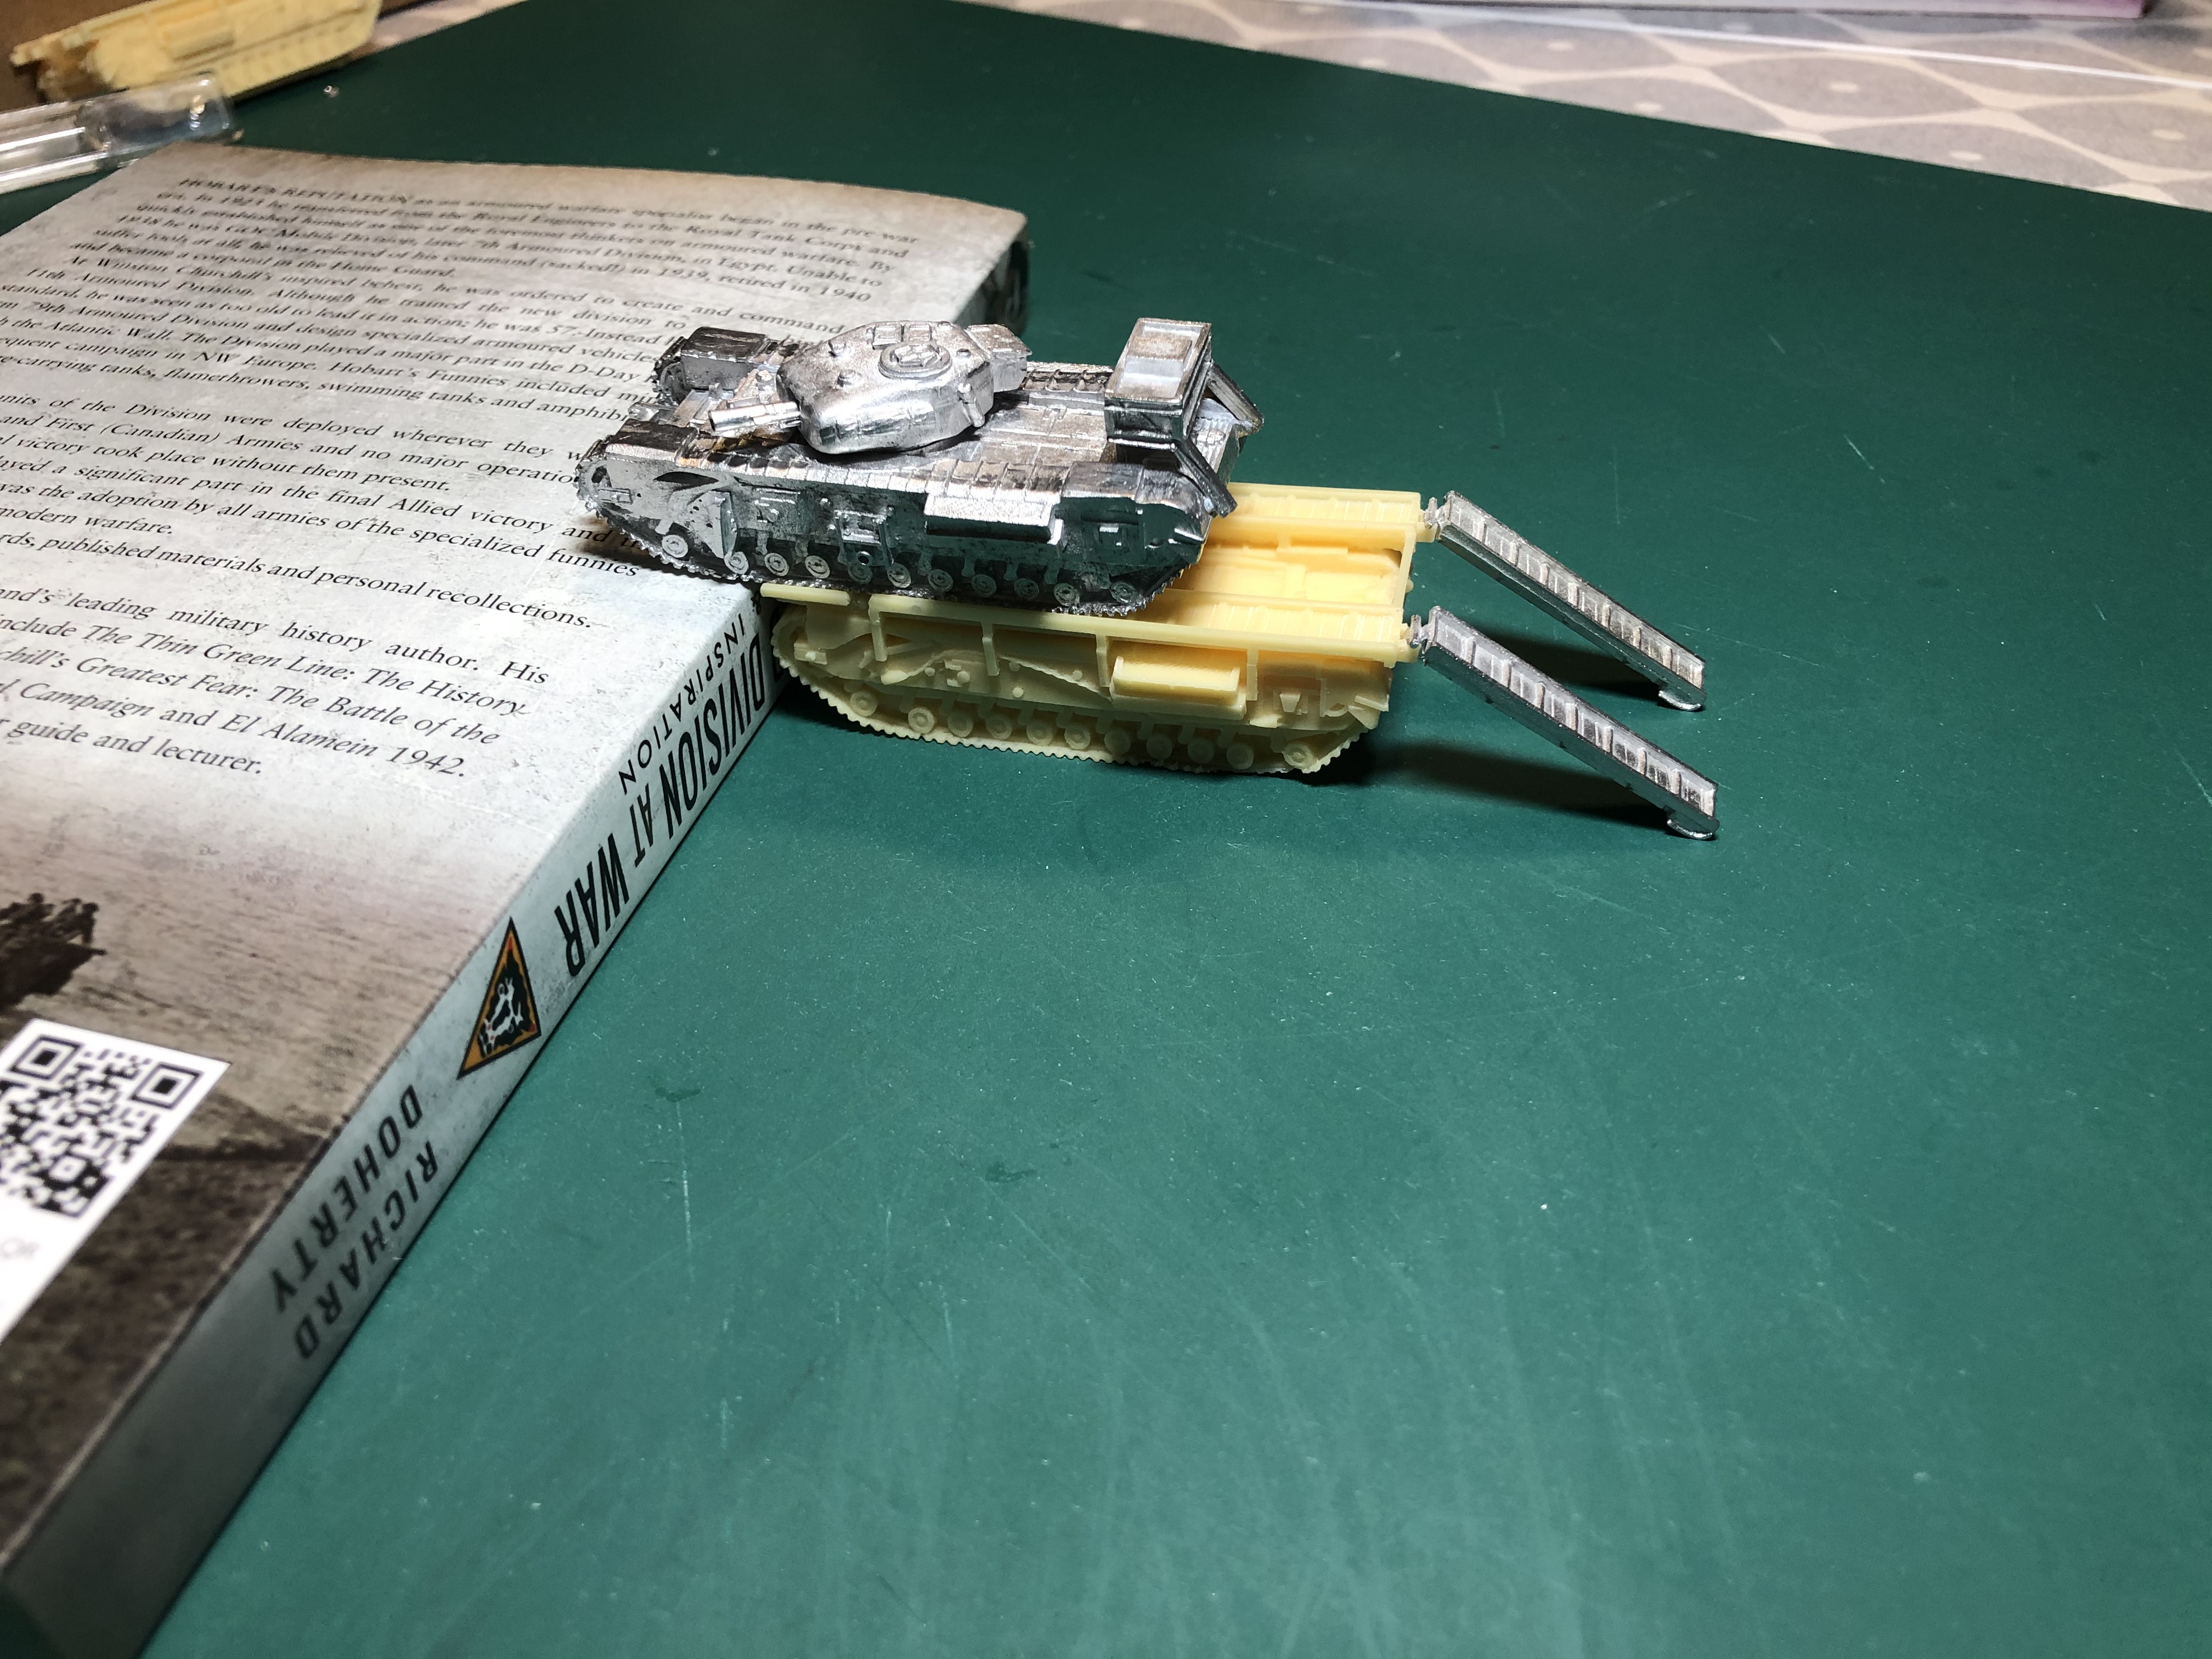 And just to illustrate how they would be used, here is an AVRE using a Mk1 ARK to breach a pesky book someone has left on my hobby space!
SkyTrex ARK Cont'd
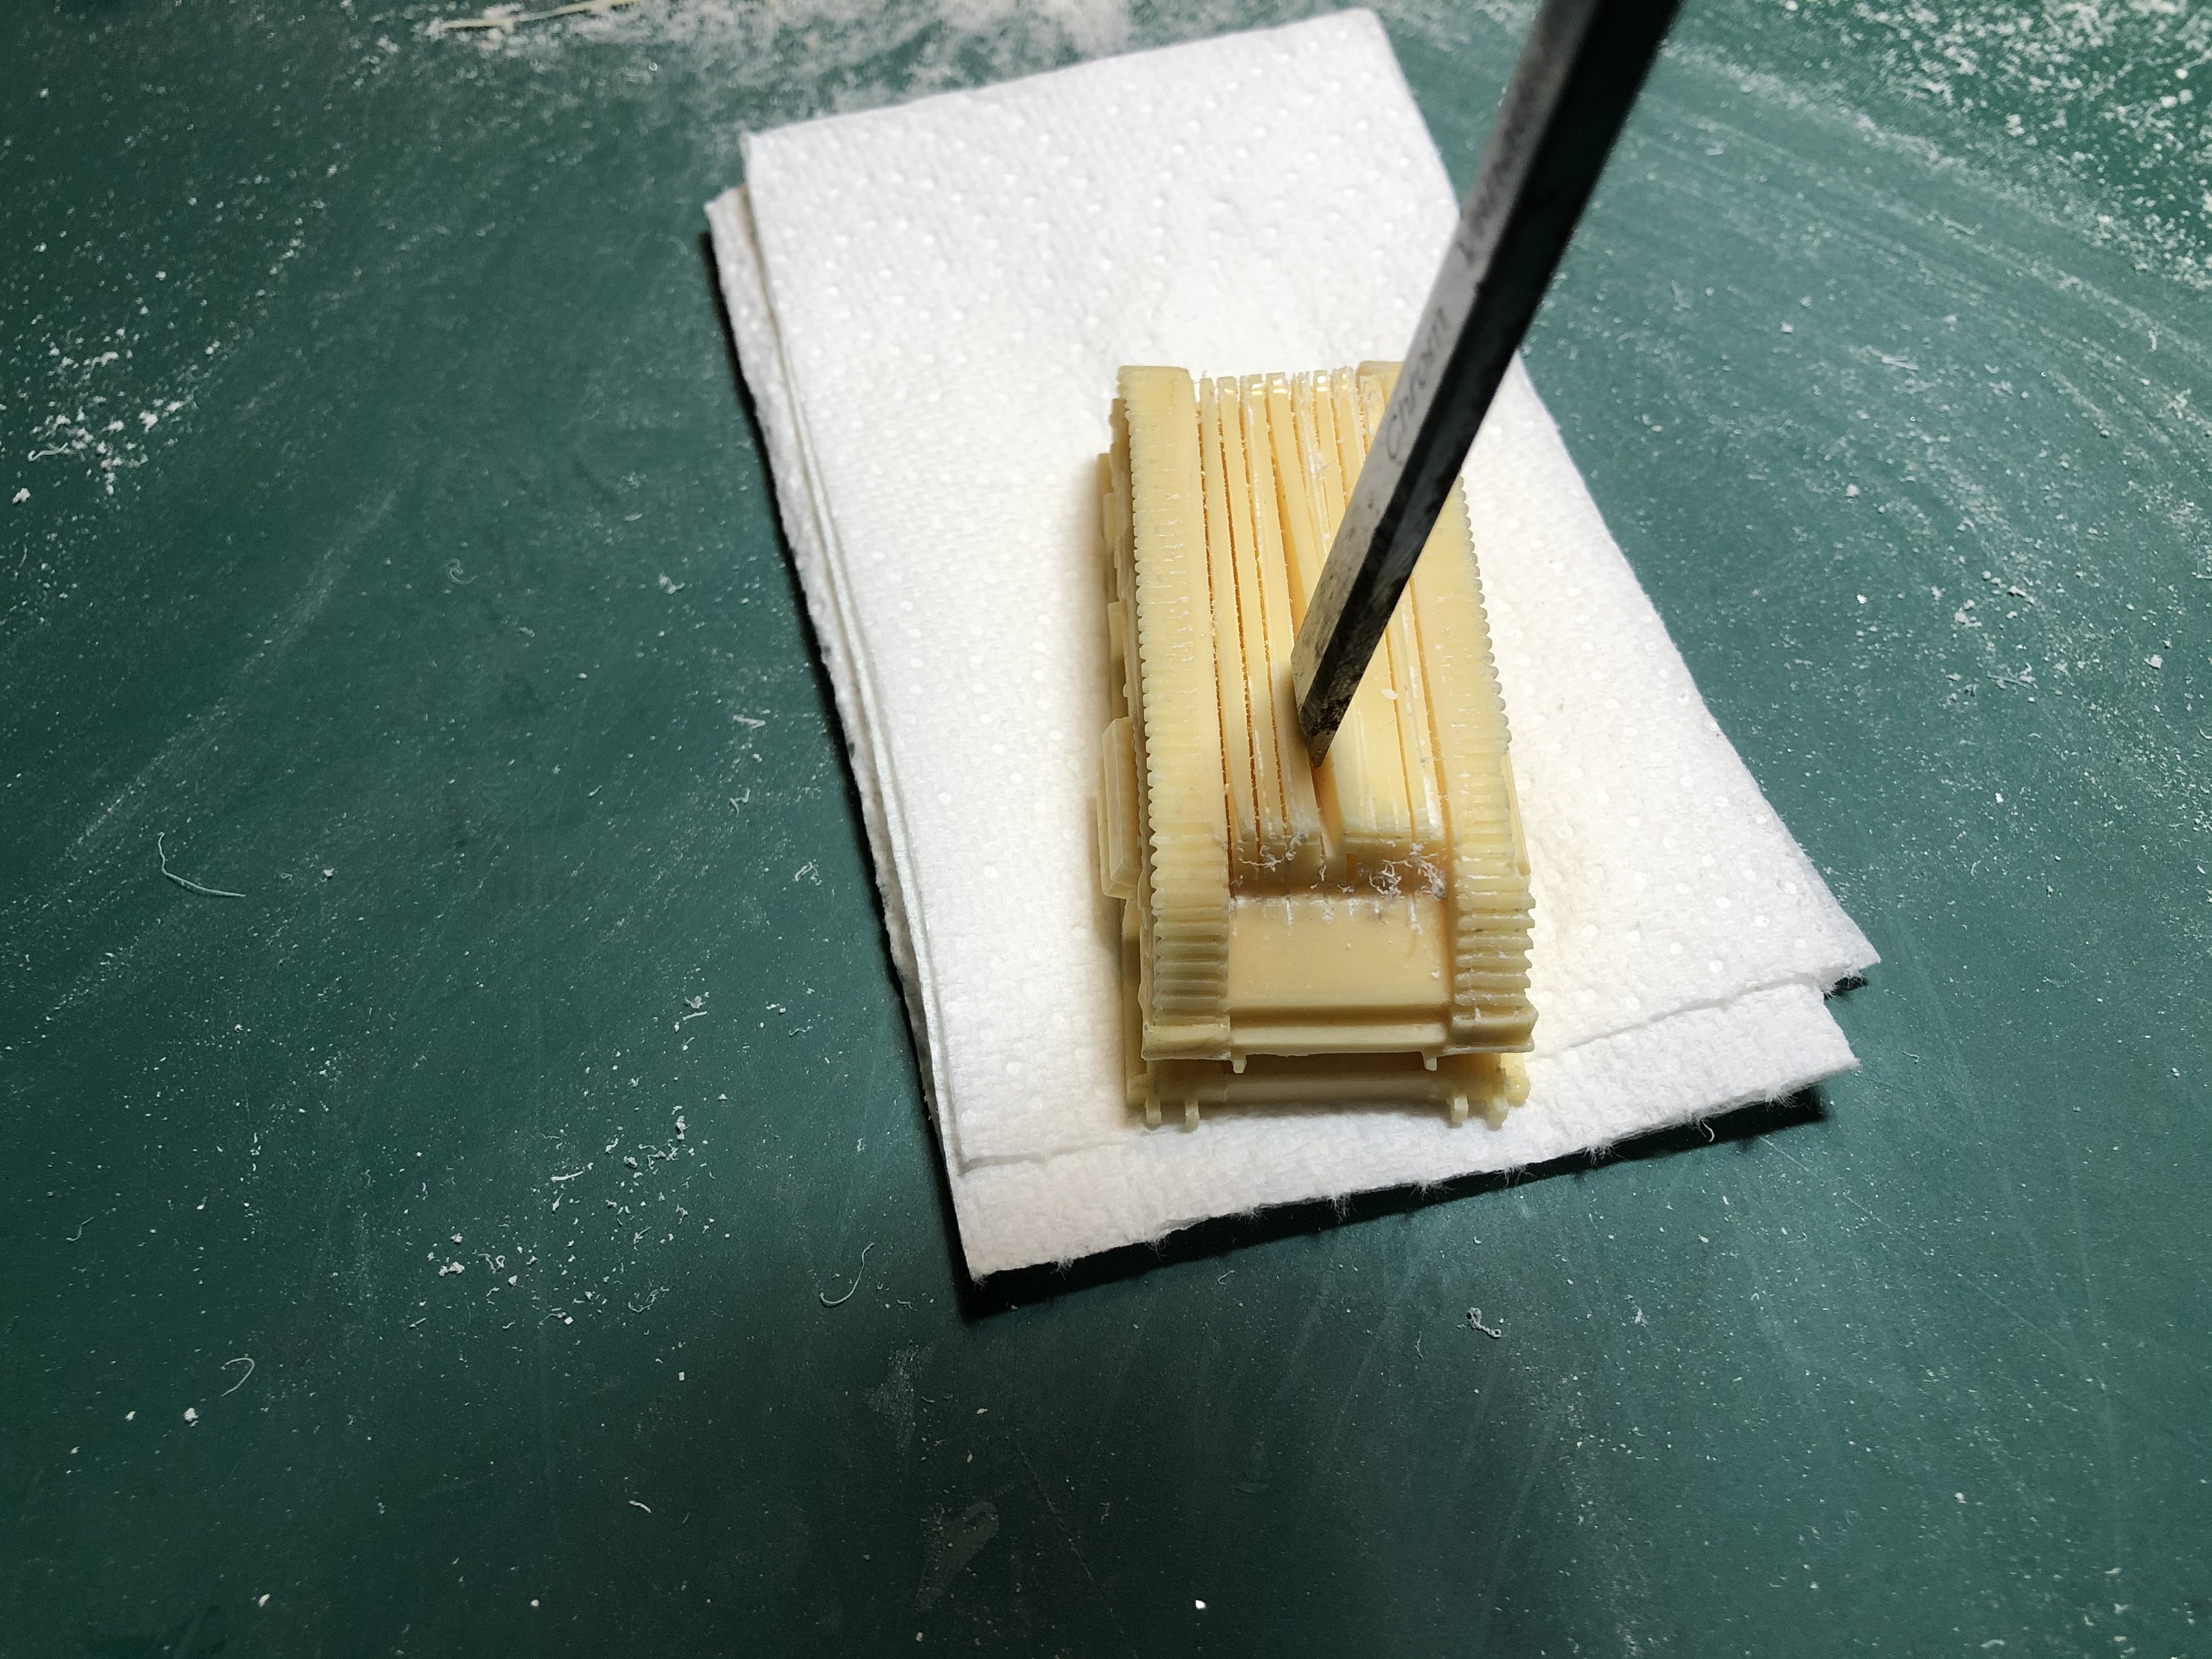
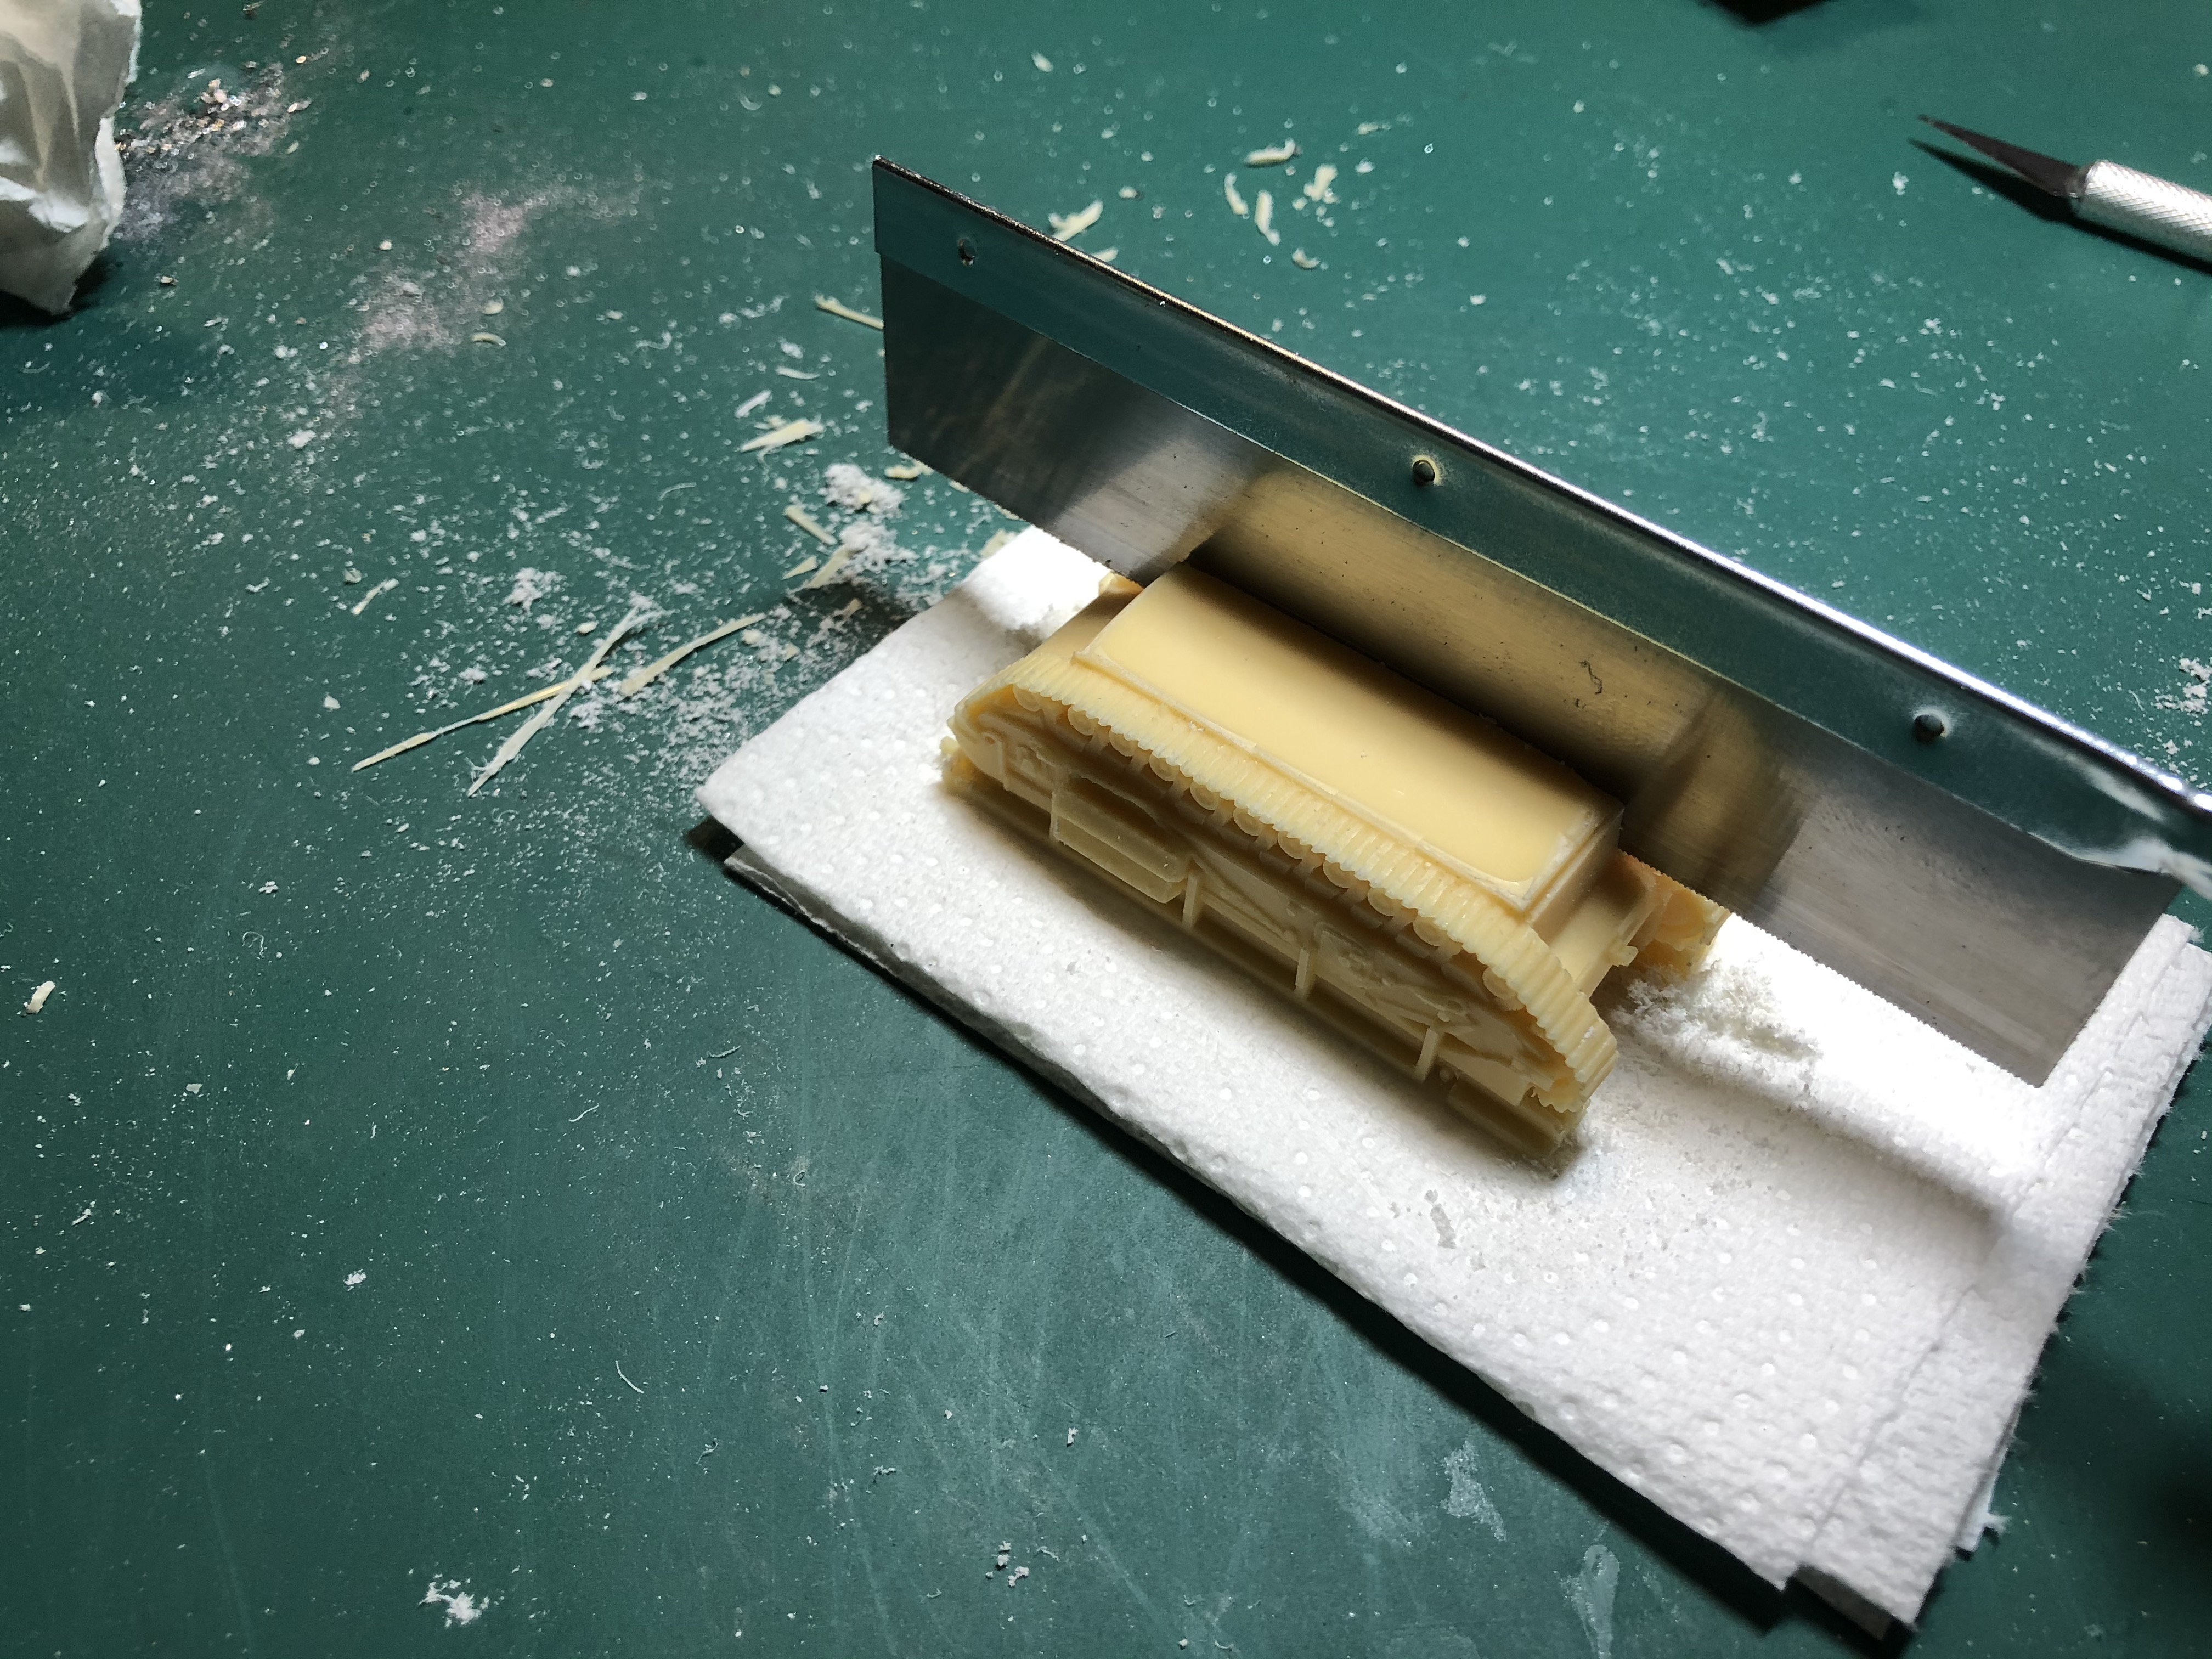
Brucey Top Tip
When using the chisel to remove the slithers always have the flat part of the chisel (the base) facing the nearest track section and press down vertically. this will ensure that the least amount of pressure is applied to the tracks and reduce the risk of this fracturing off.
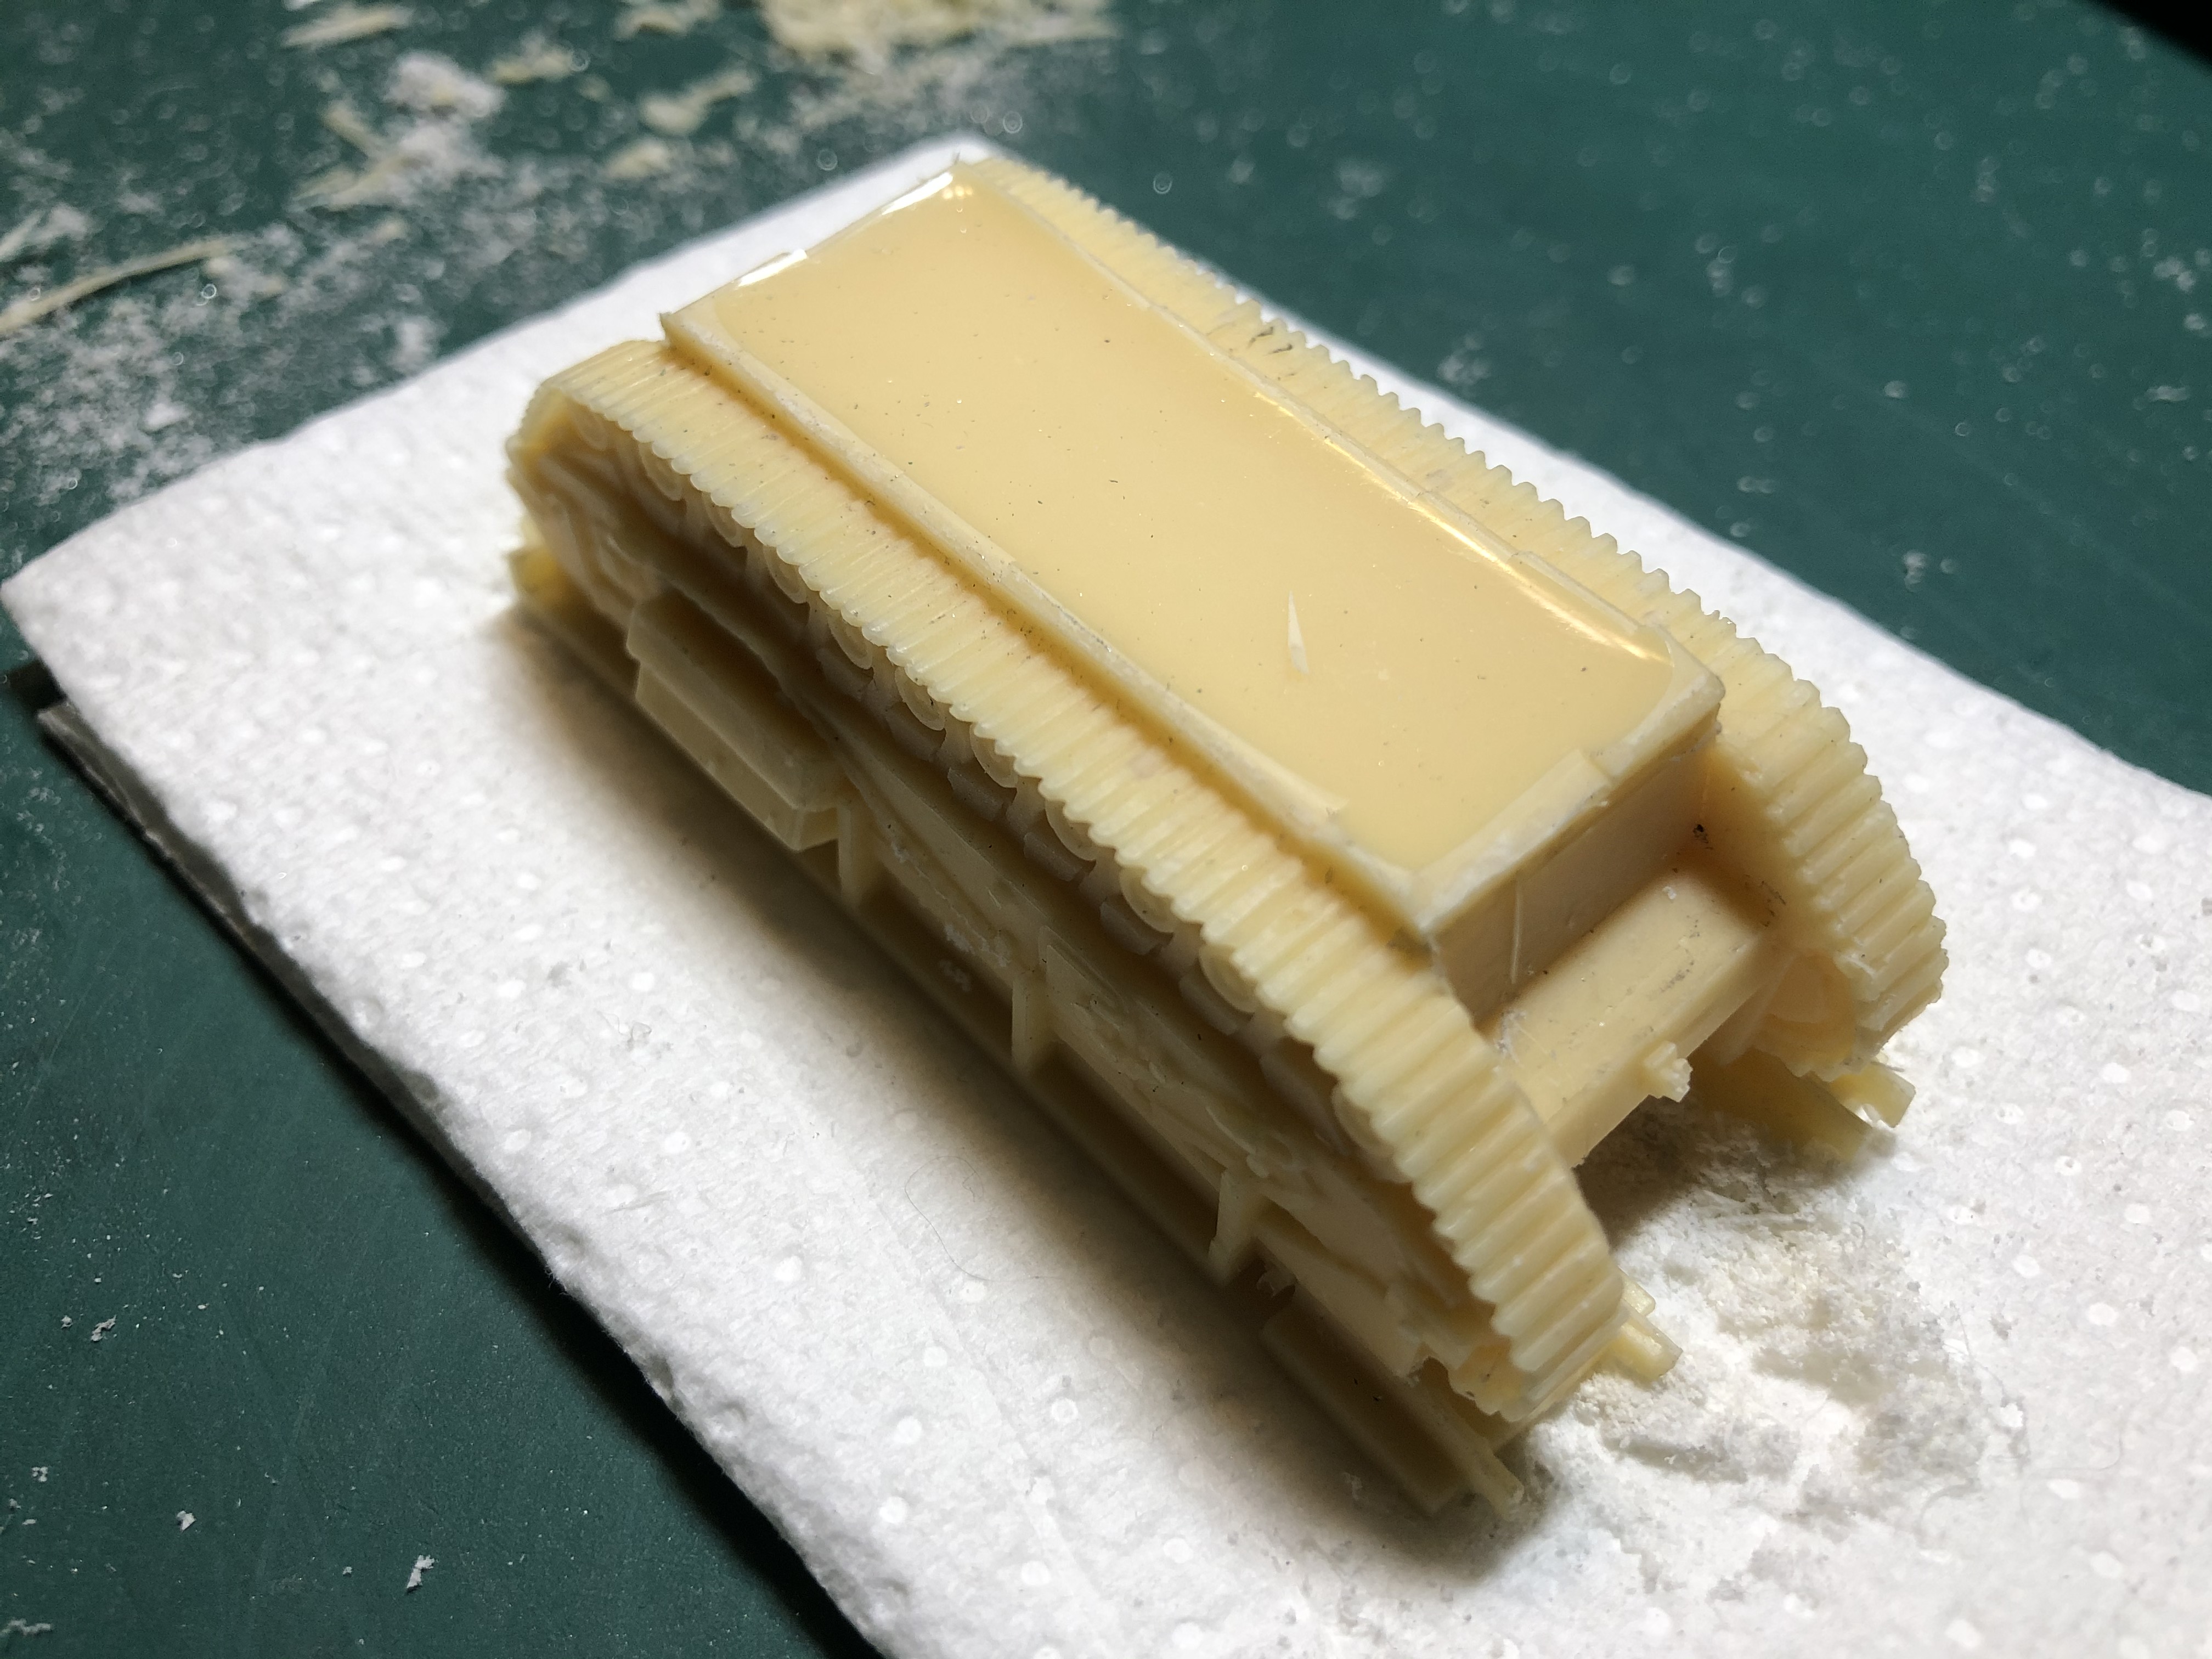
 The finished base compared with the resin plug that was originally there!
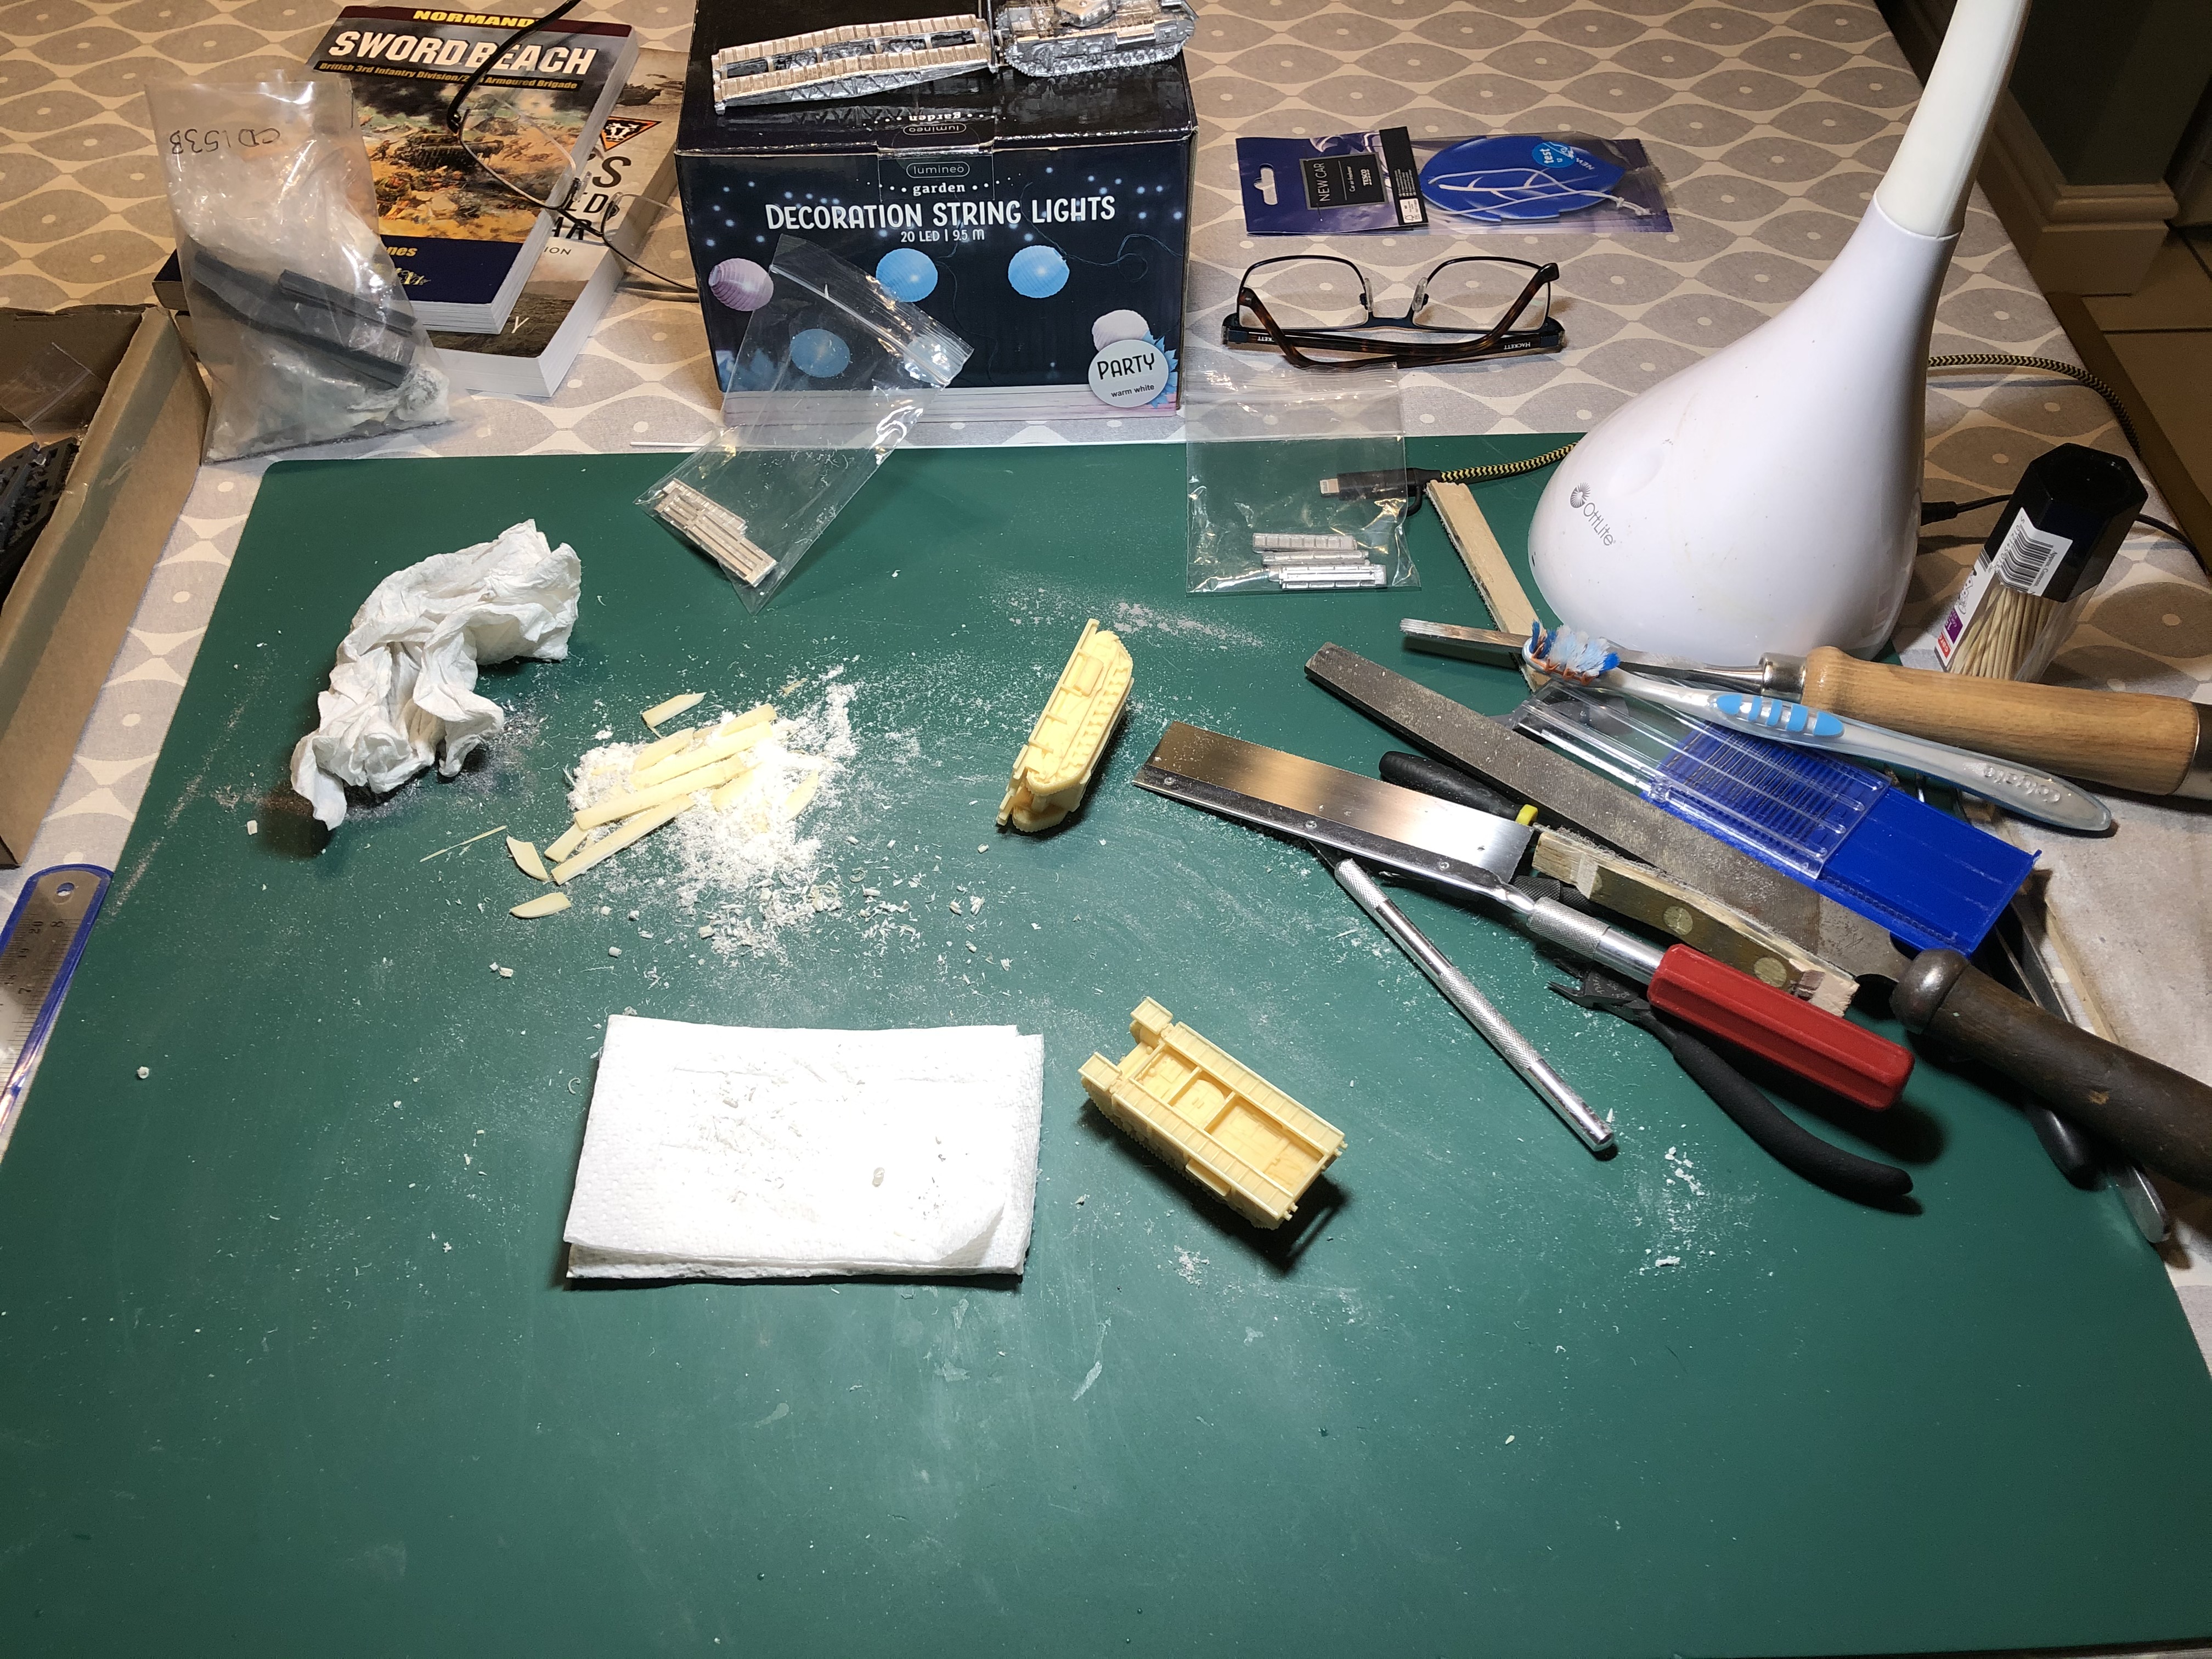 And the resultant mess. Make sure you wear your mask!
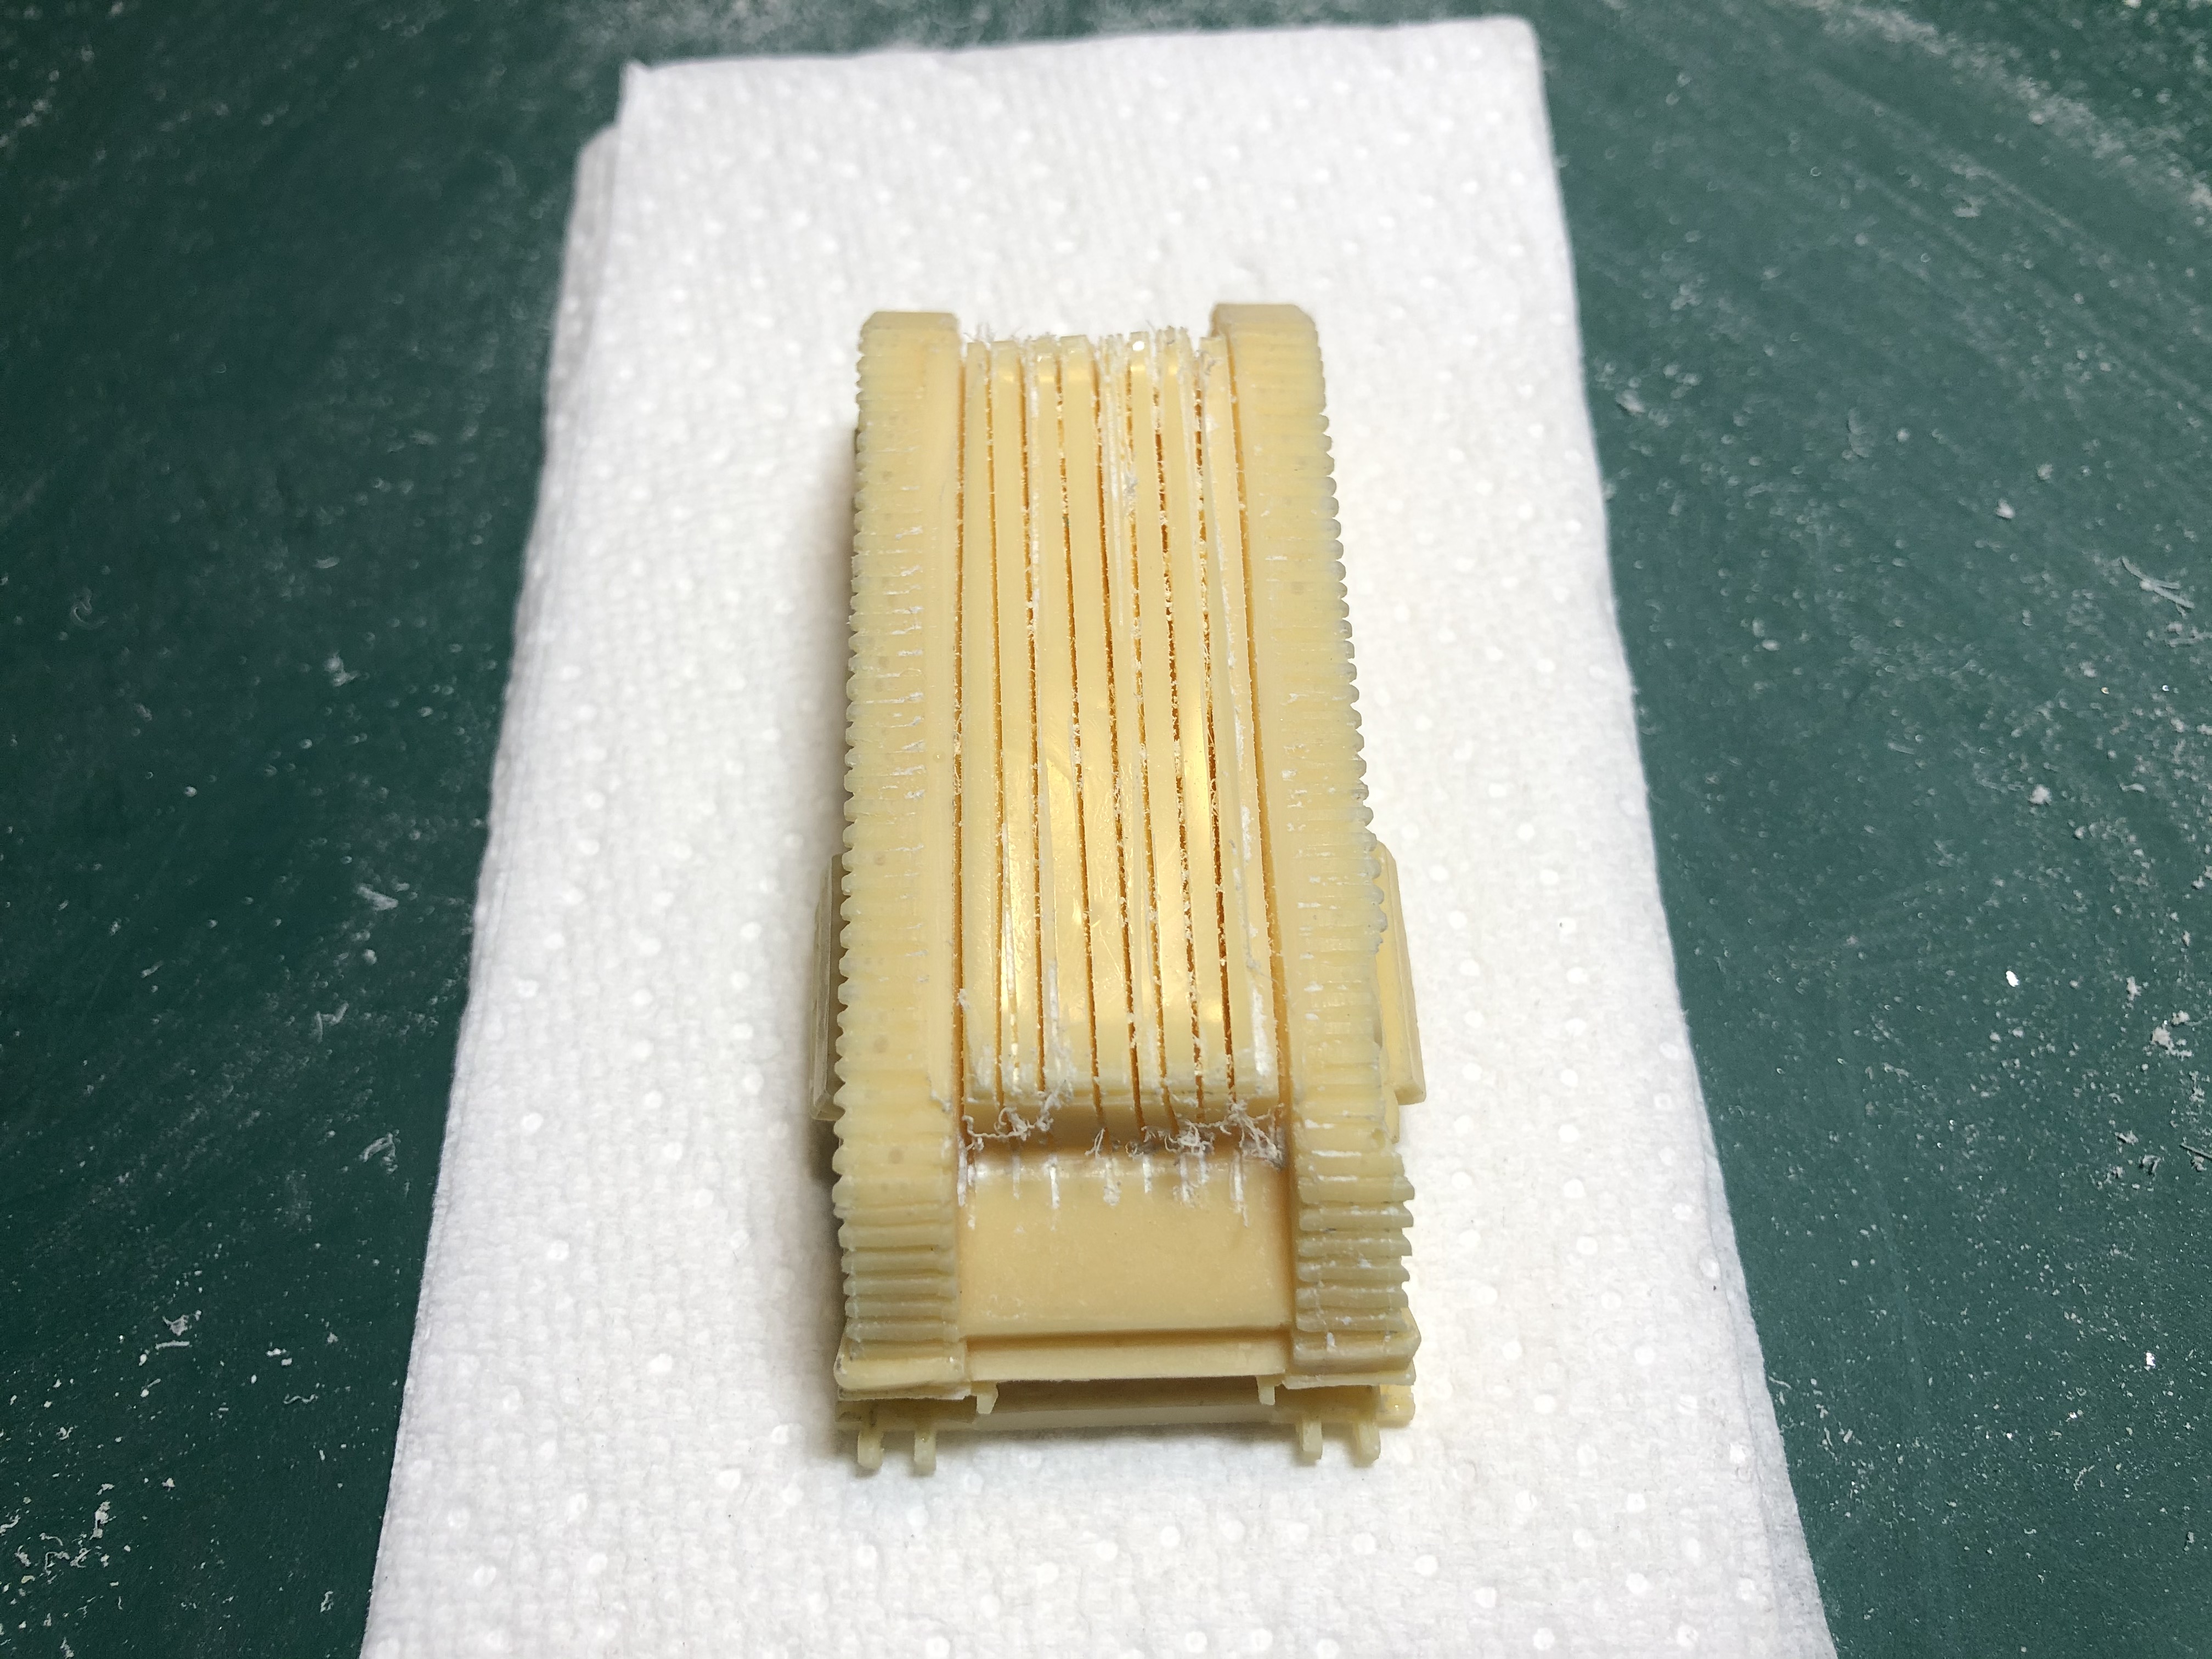
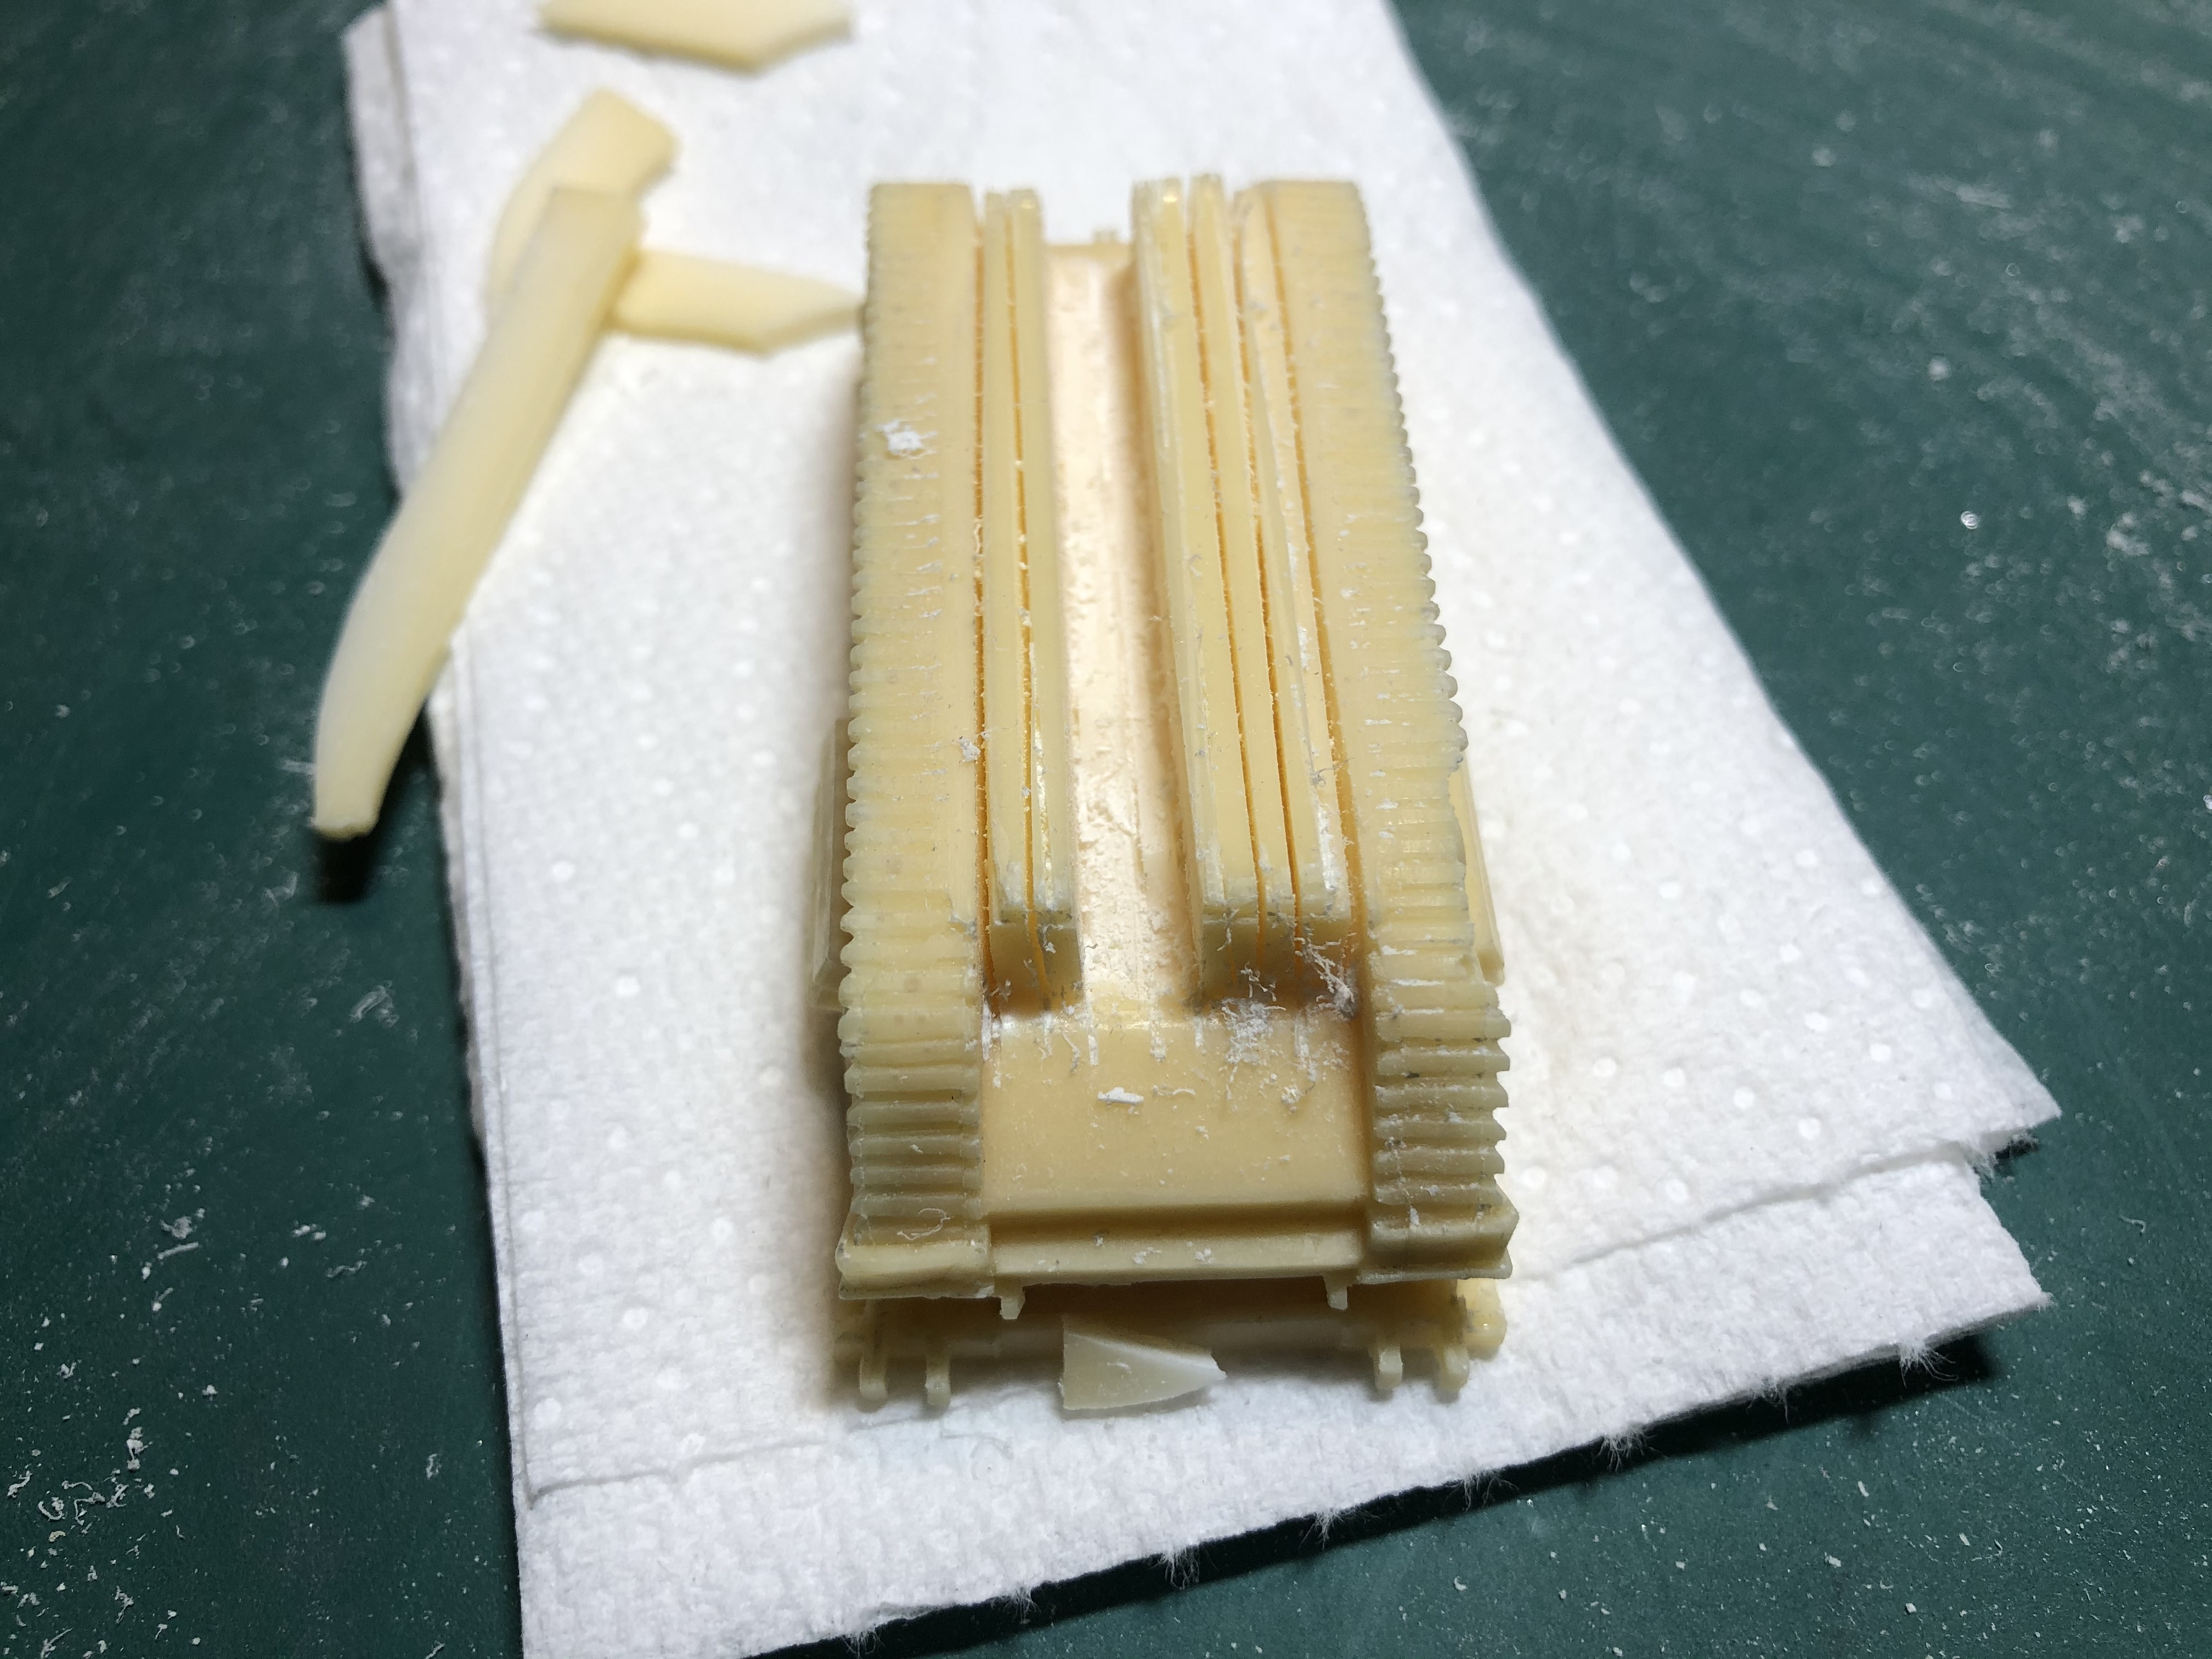
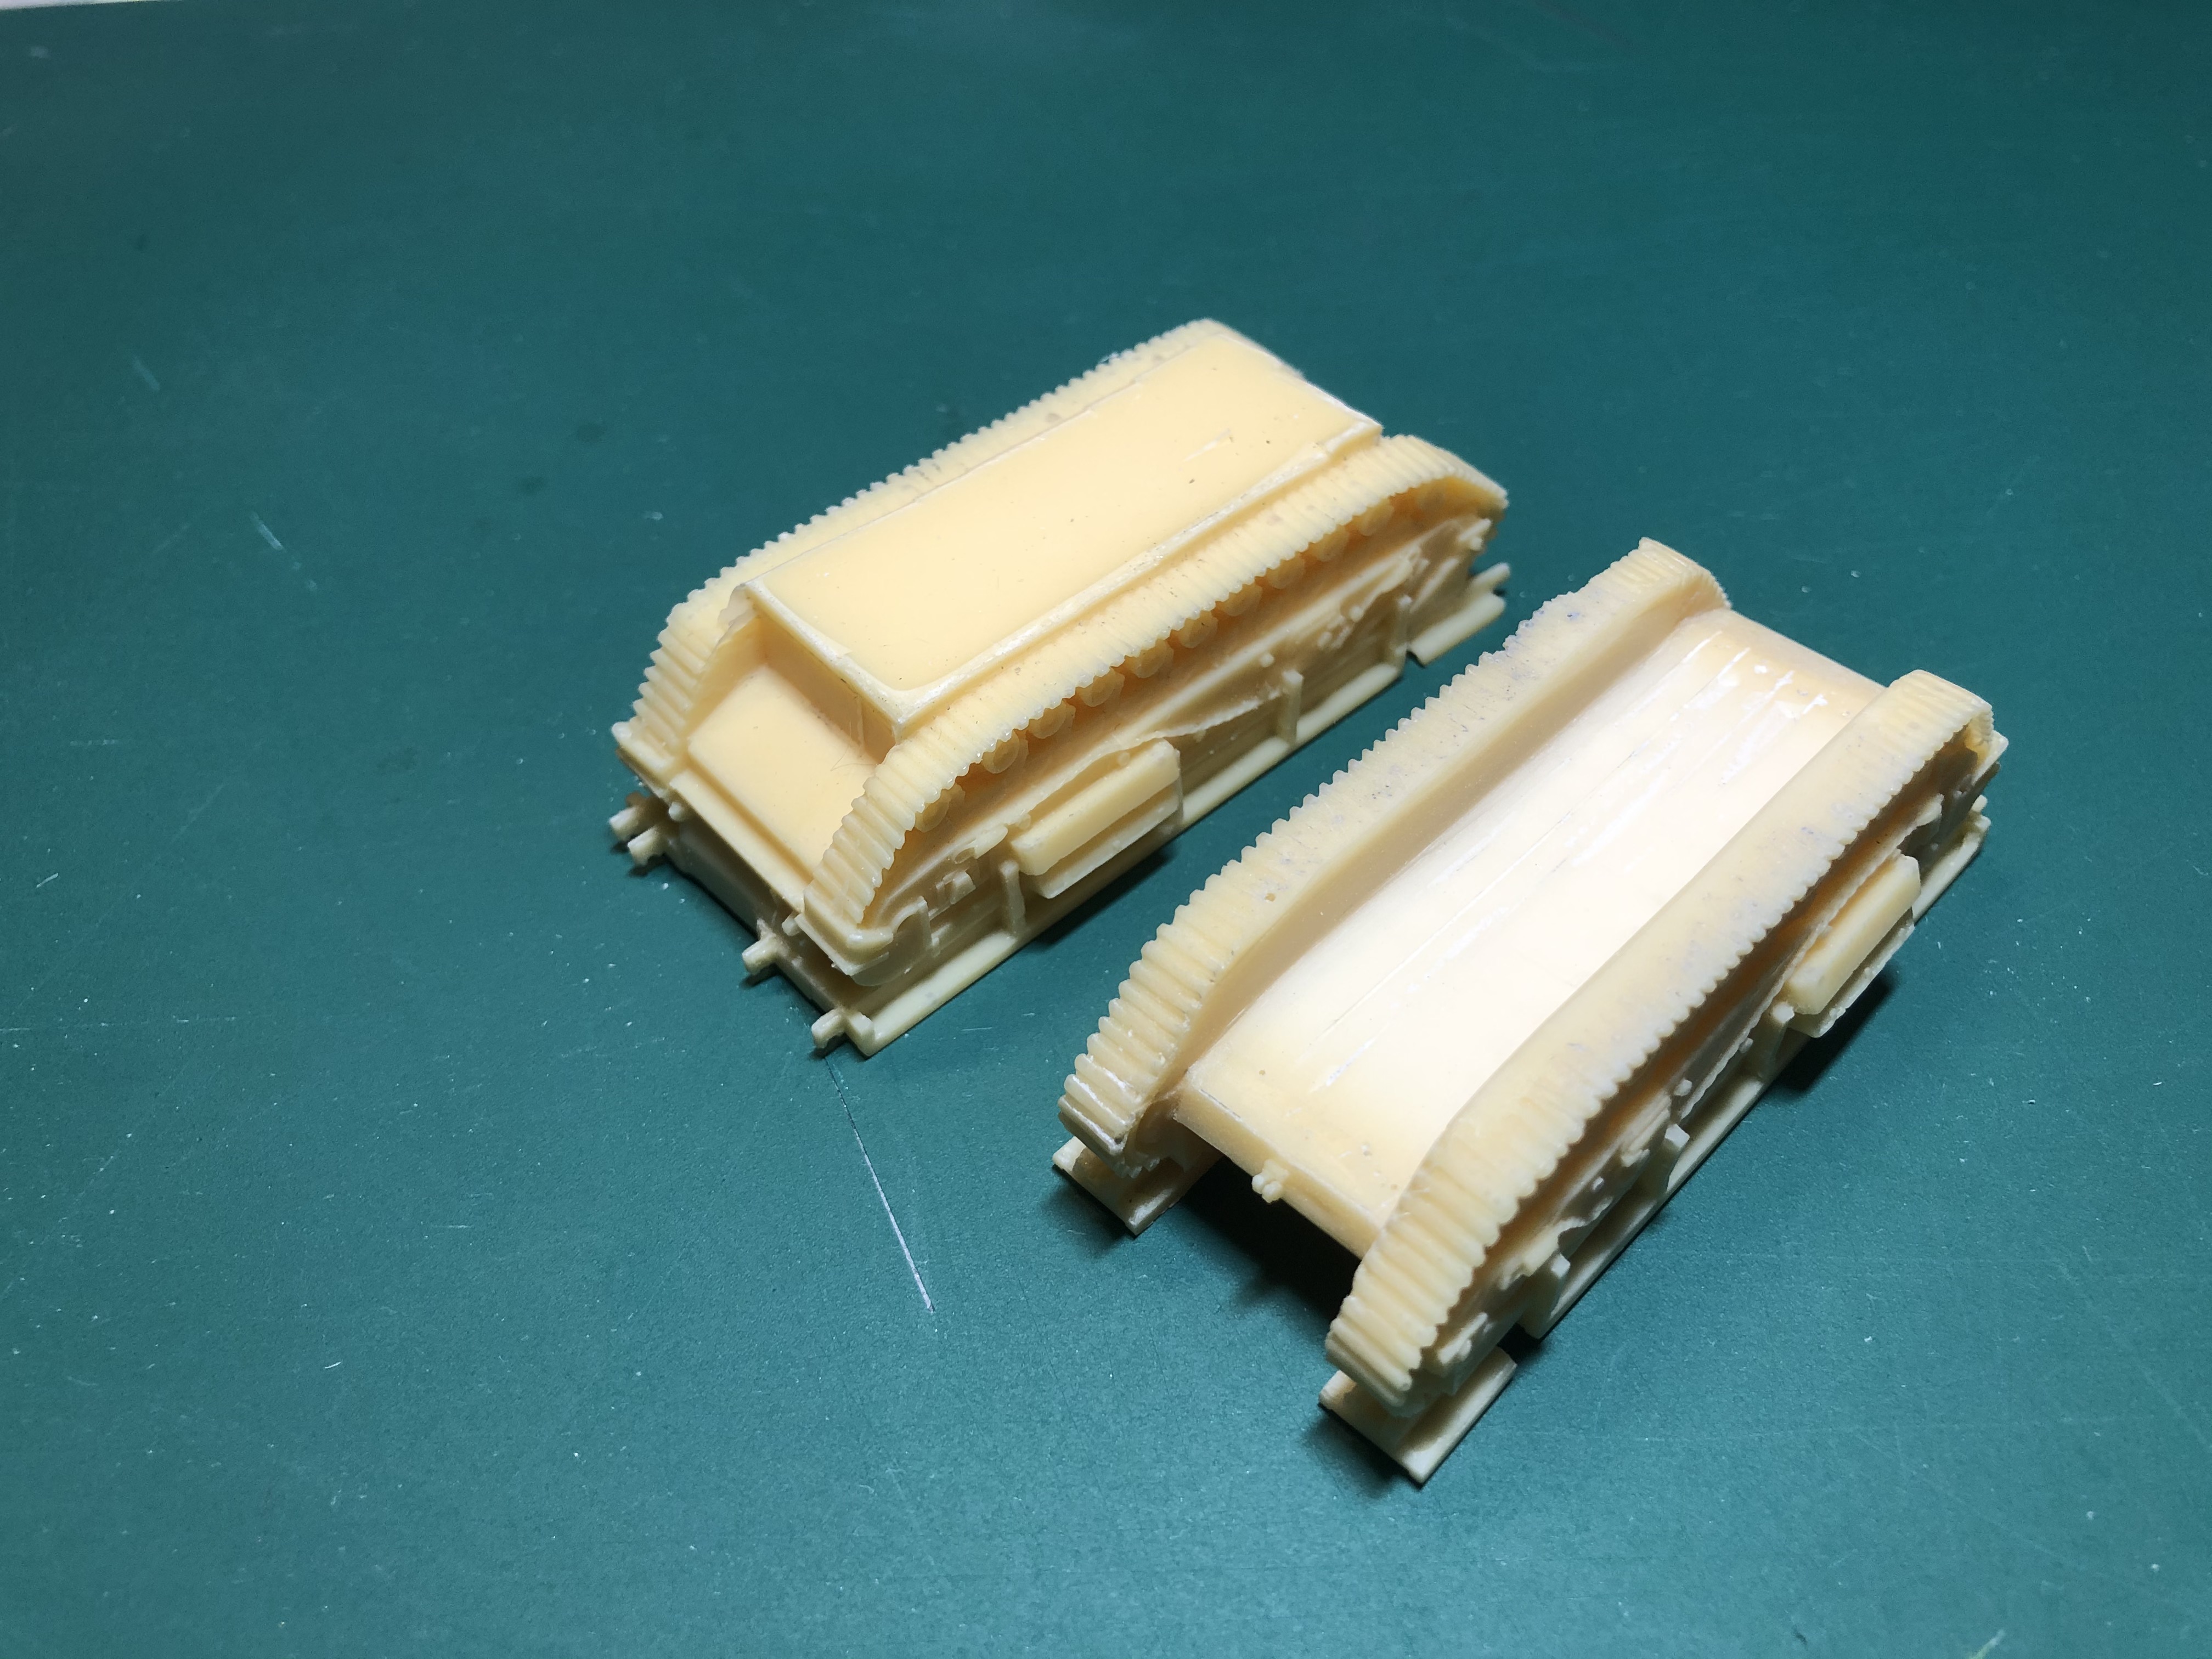
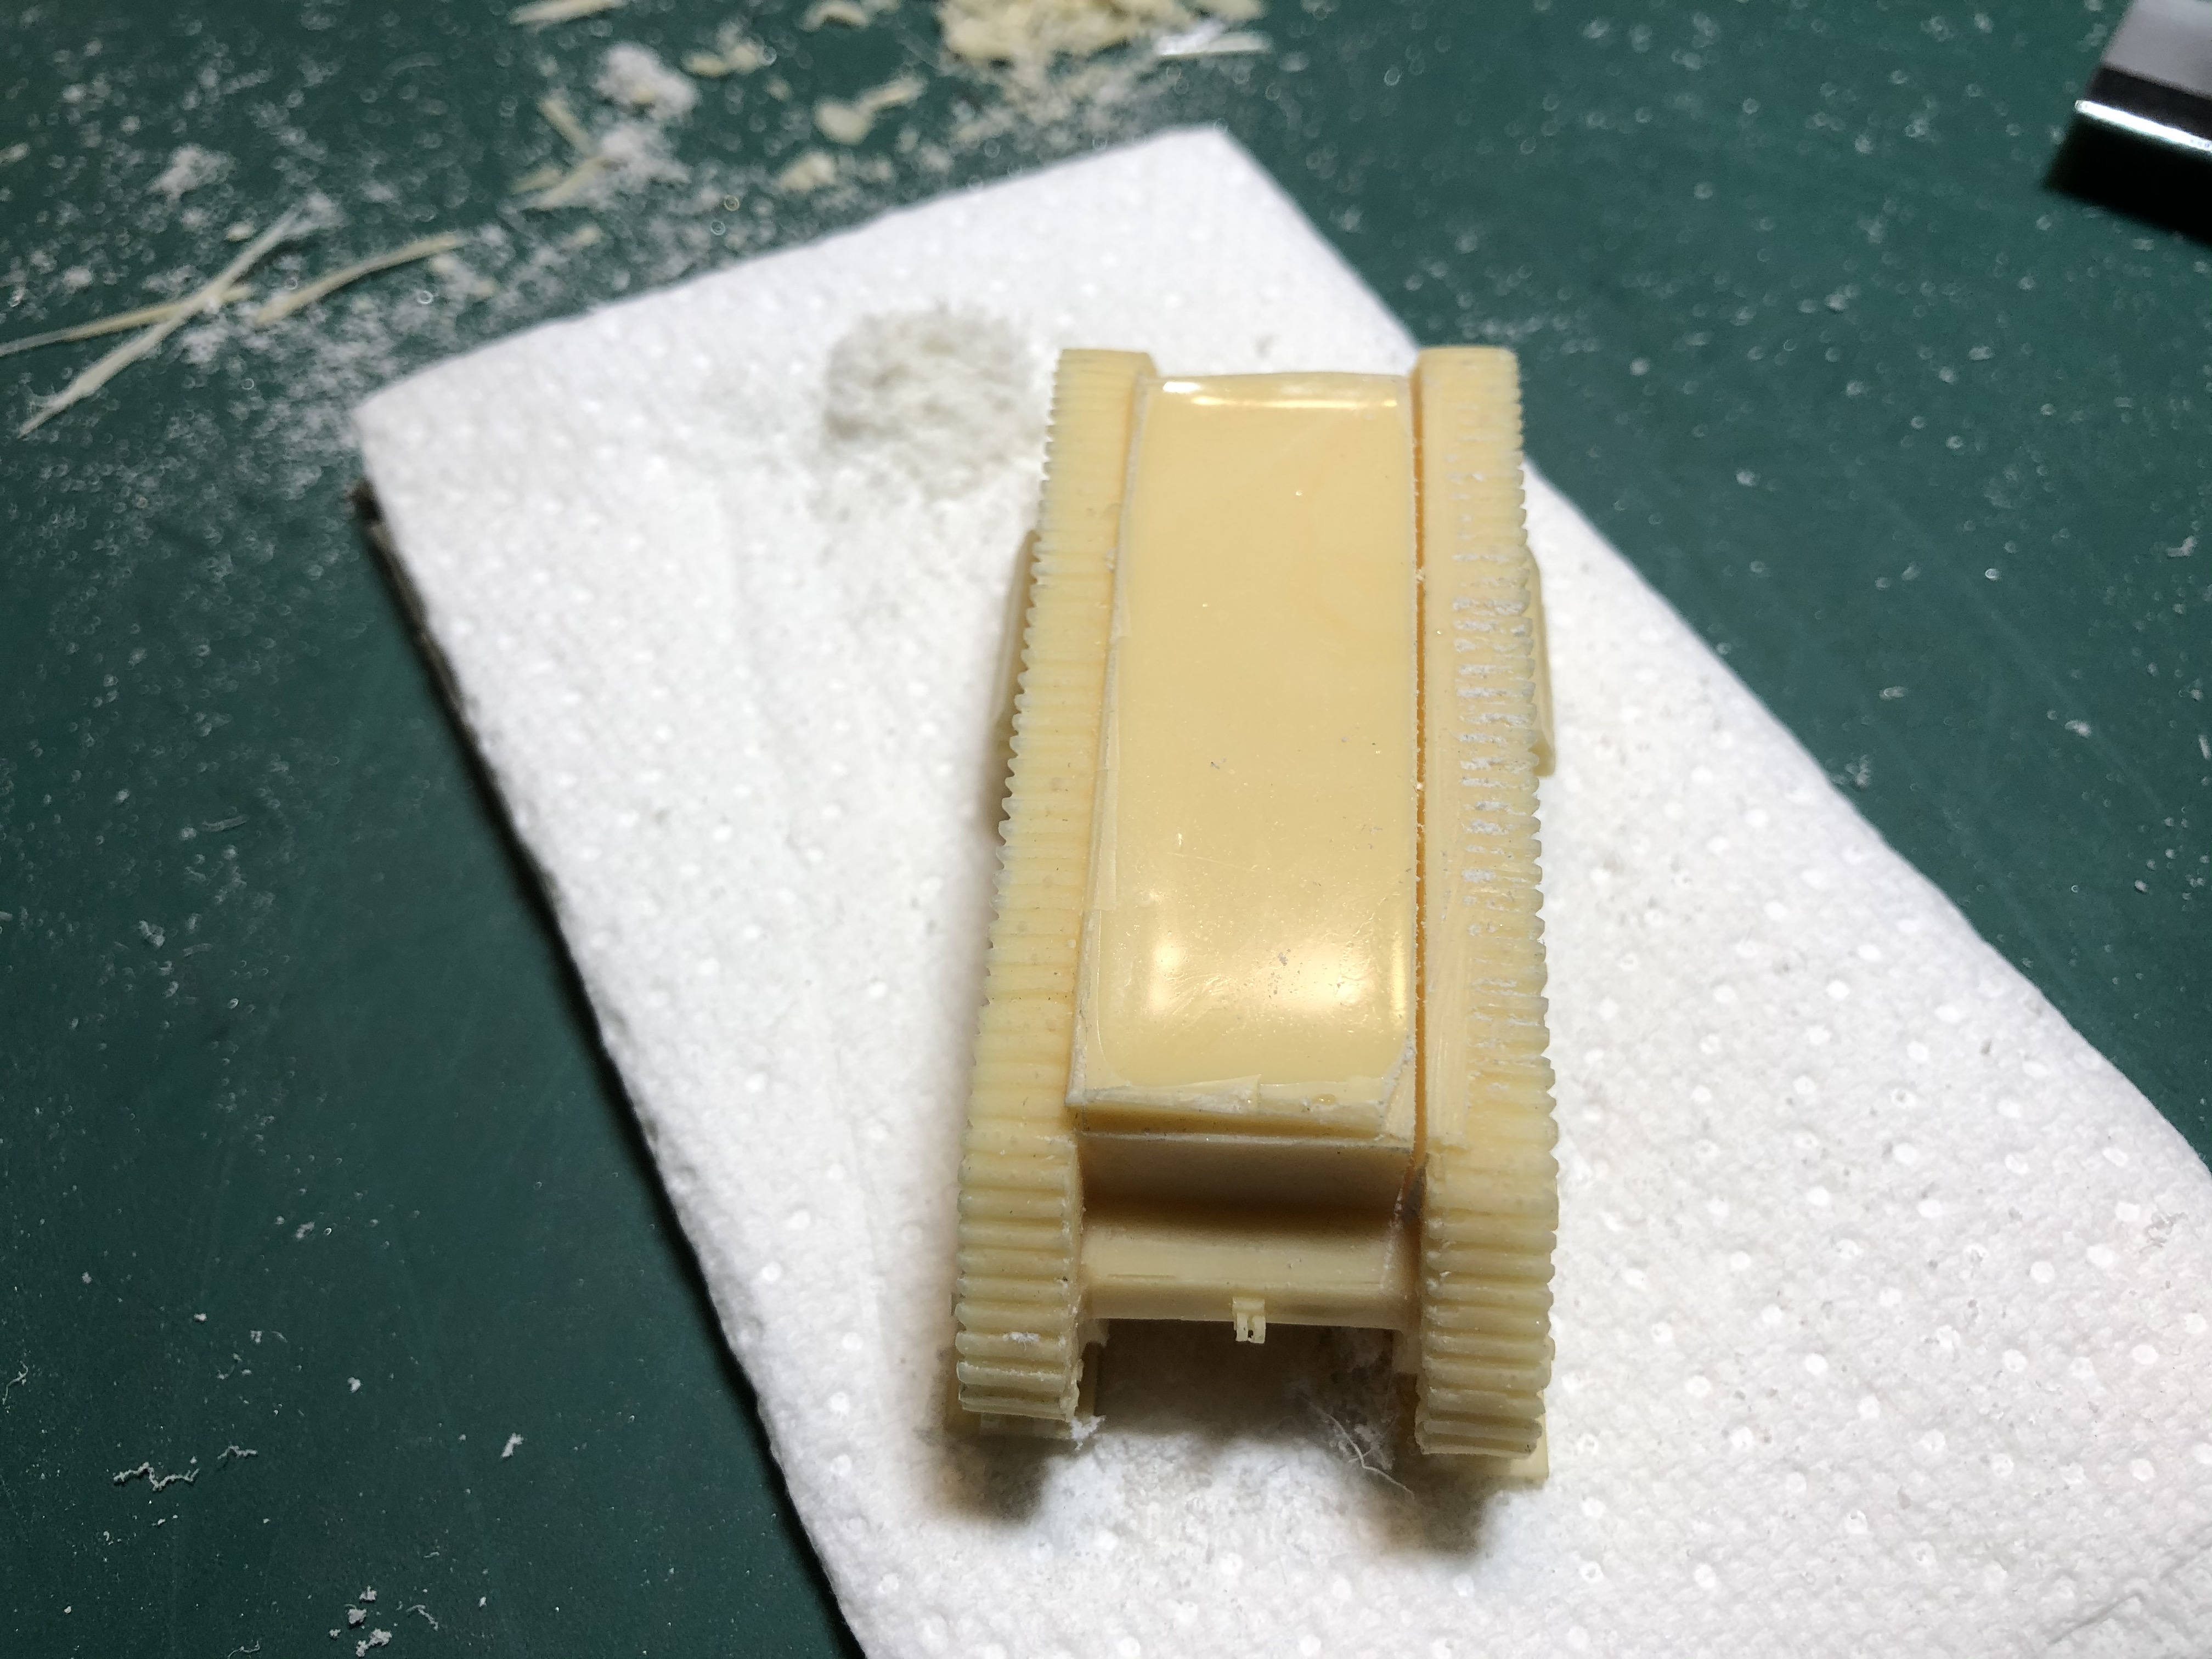
SkyTrex ARK
I purchased two variants of ARK, the resin hulls are very highly detailed but with a lot of flash. I had originally thought to remove the large resin plug on the base by cutting down the side of the tracks with a razor saw and then remove the rest with my Dremel but I decided against this due to the amount of dust/debris that would result.
I therefore decided to use an old joiners trick to remove wood for a joint. This involved making a series of cuts and then using a chisel to remove the slithers by fracturing them off. This minimises the dust and gives the cleanest cut of the base.
SkyTrex Sherman Crabs Completed
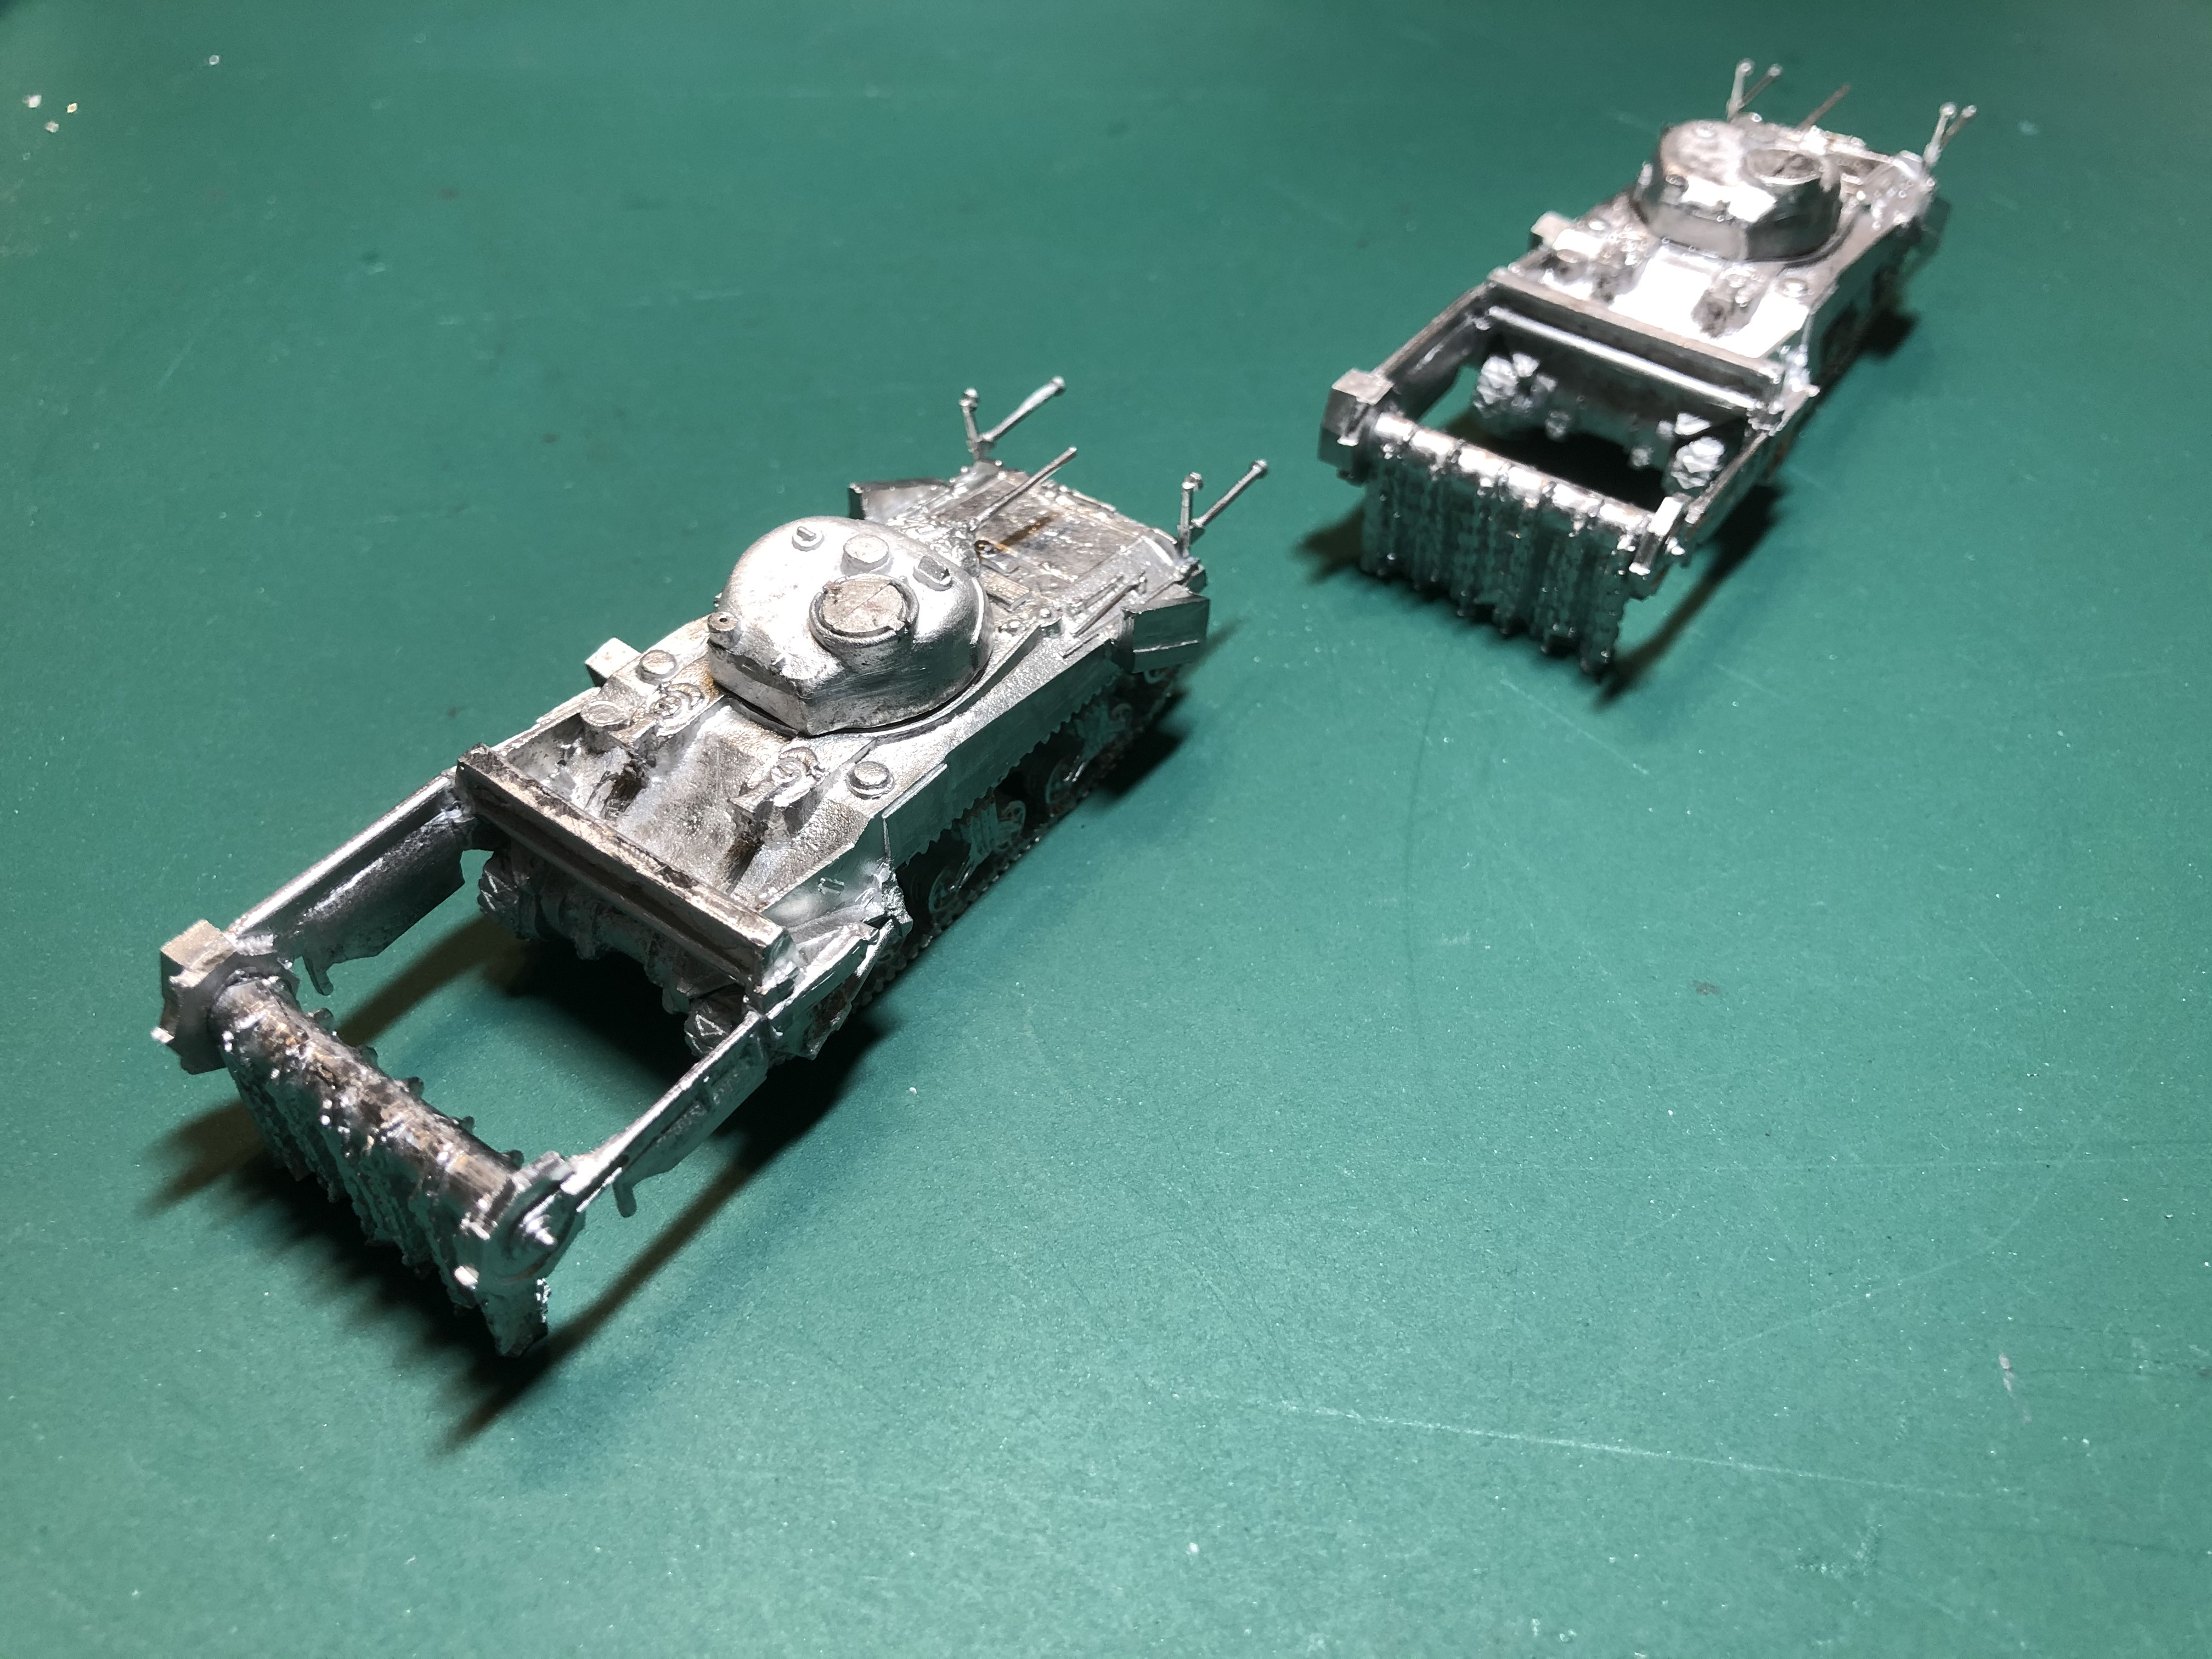 In echelon mine clearing mode, Two gapping team Sherman Crabs
 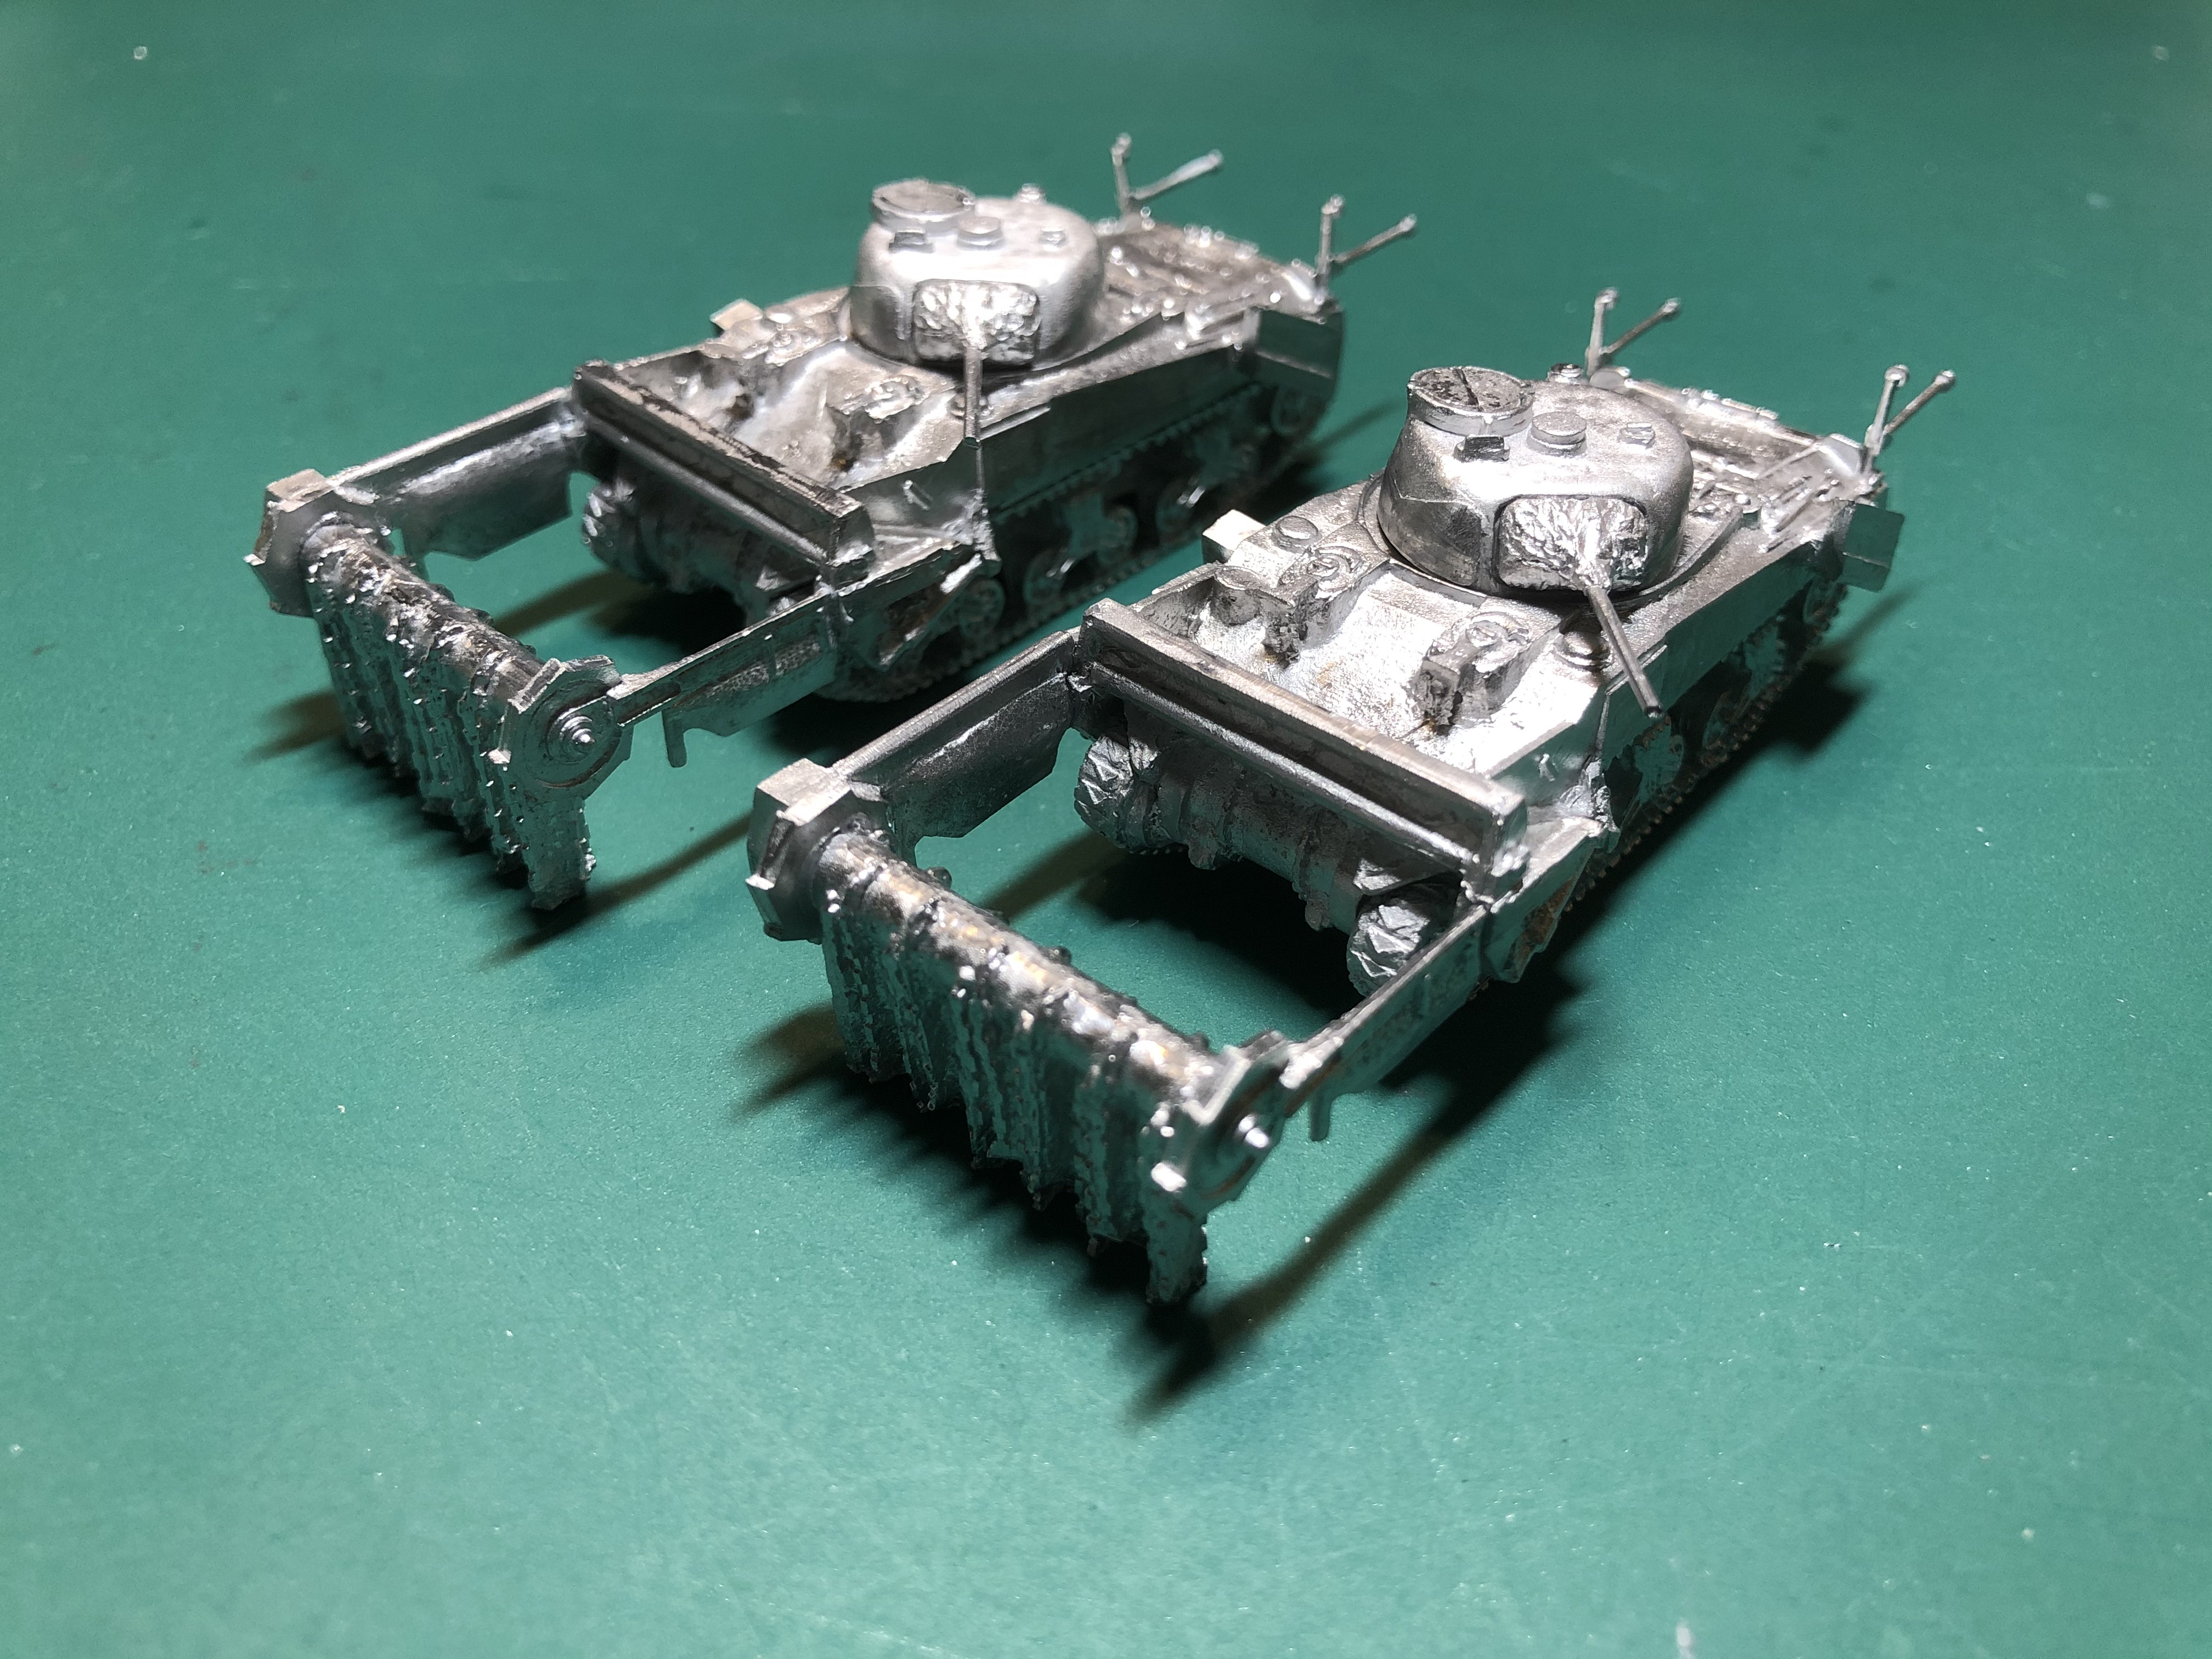 And nicely ranked up
SkyTrex Sherman Crab Cont'd
I trial fitted both arms first to make sure that they were a good fit. Then test fit the arms to the flail drum. I glued the arms to the drum first, whilst keeping the arms in the locating lugs to ensure they were at the correct angle. Once set i then pulled them out, applied glue and fixed the whole piece to the tank hull.
The turret construction was the same as for the AVRE ones, hatches first, test fit and glue in the barrel and then cut and predrill for the aerials.
The only fiddly bit was to drill out and glue in place the target/sighting boards at the rear of the tank. They bend very easily and one of them had been damaged in the post but i was able to glue it back together.

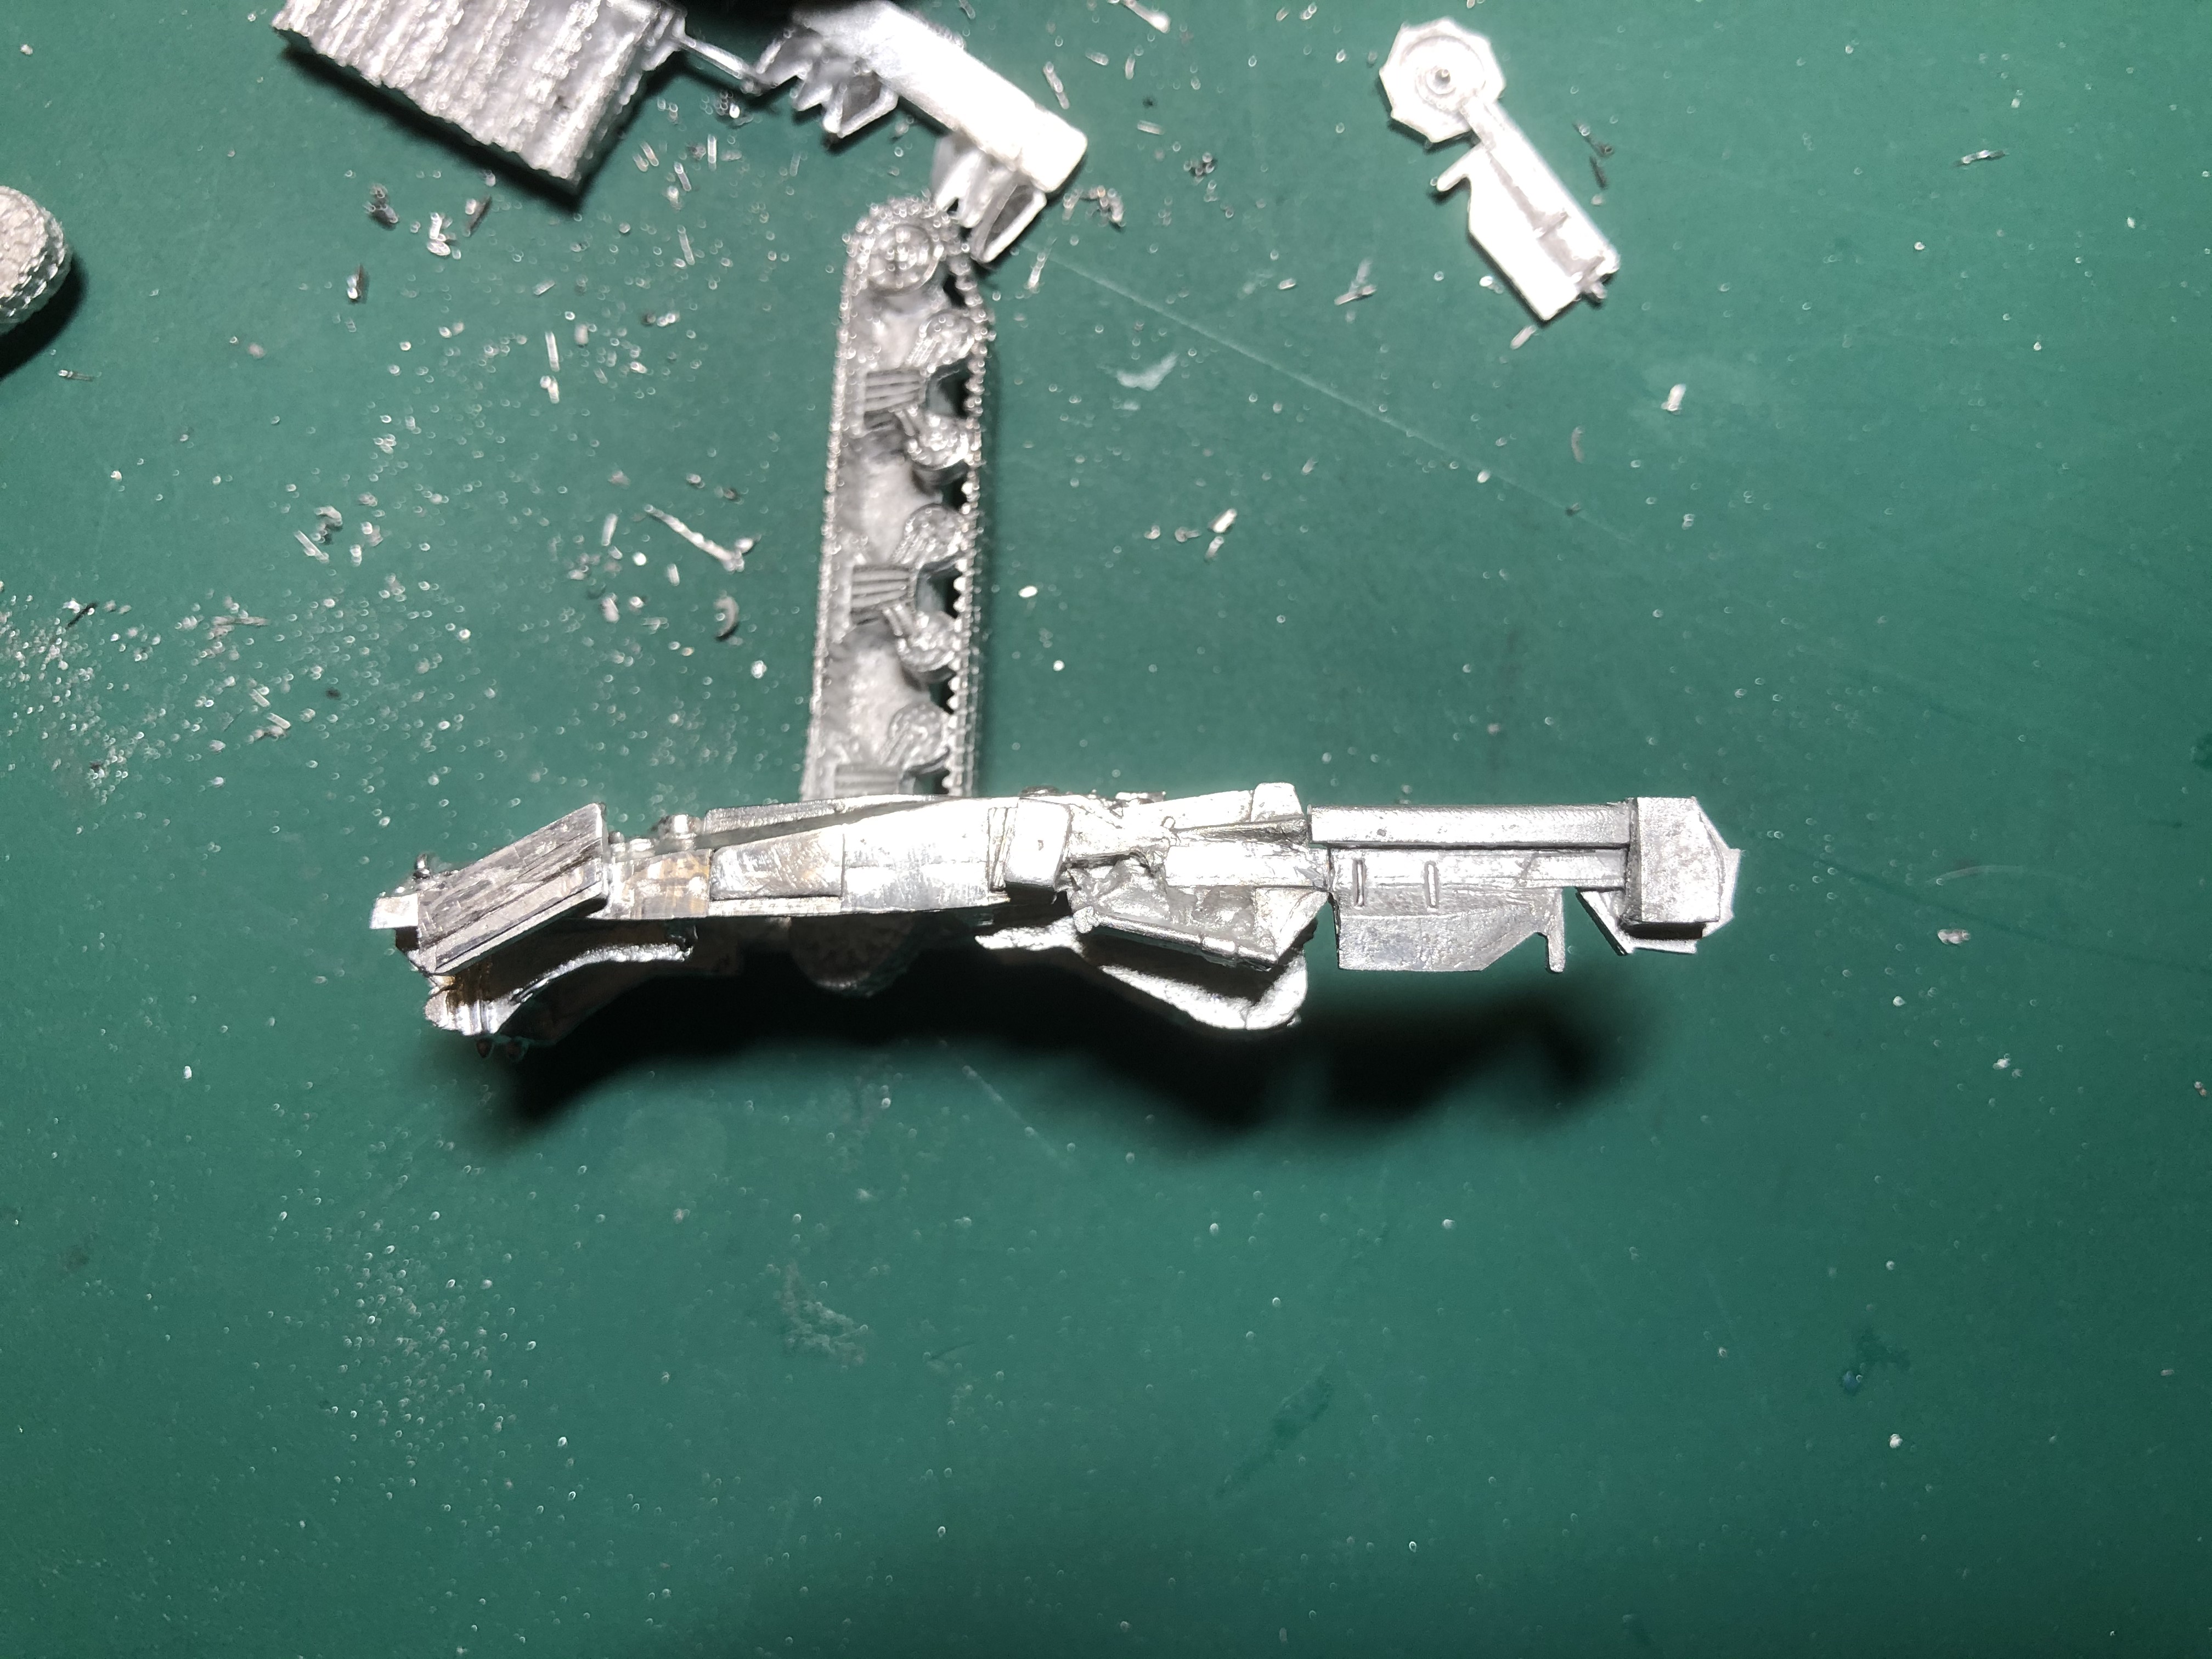
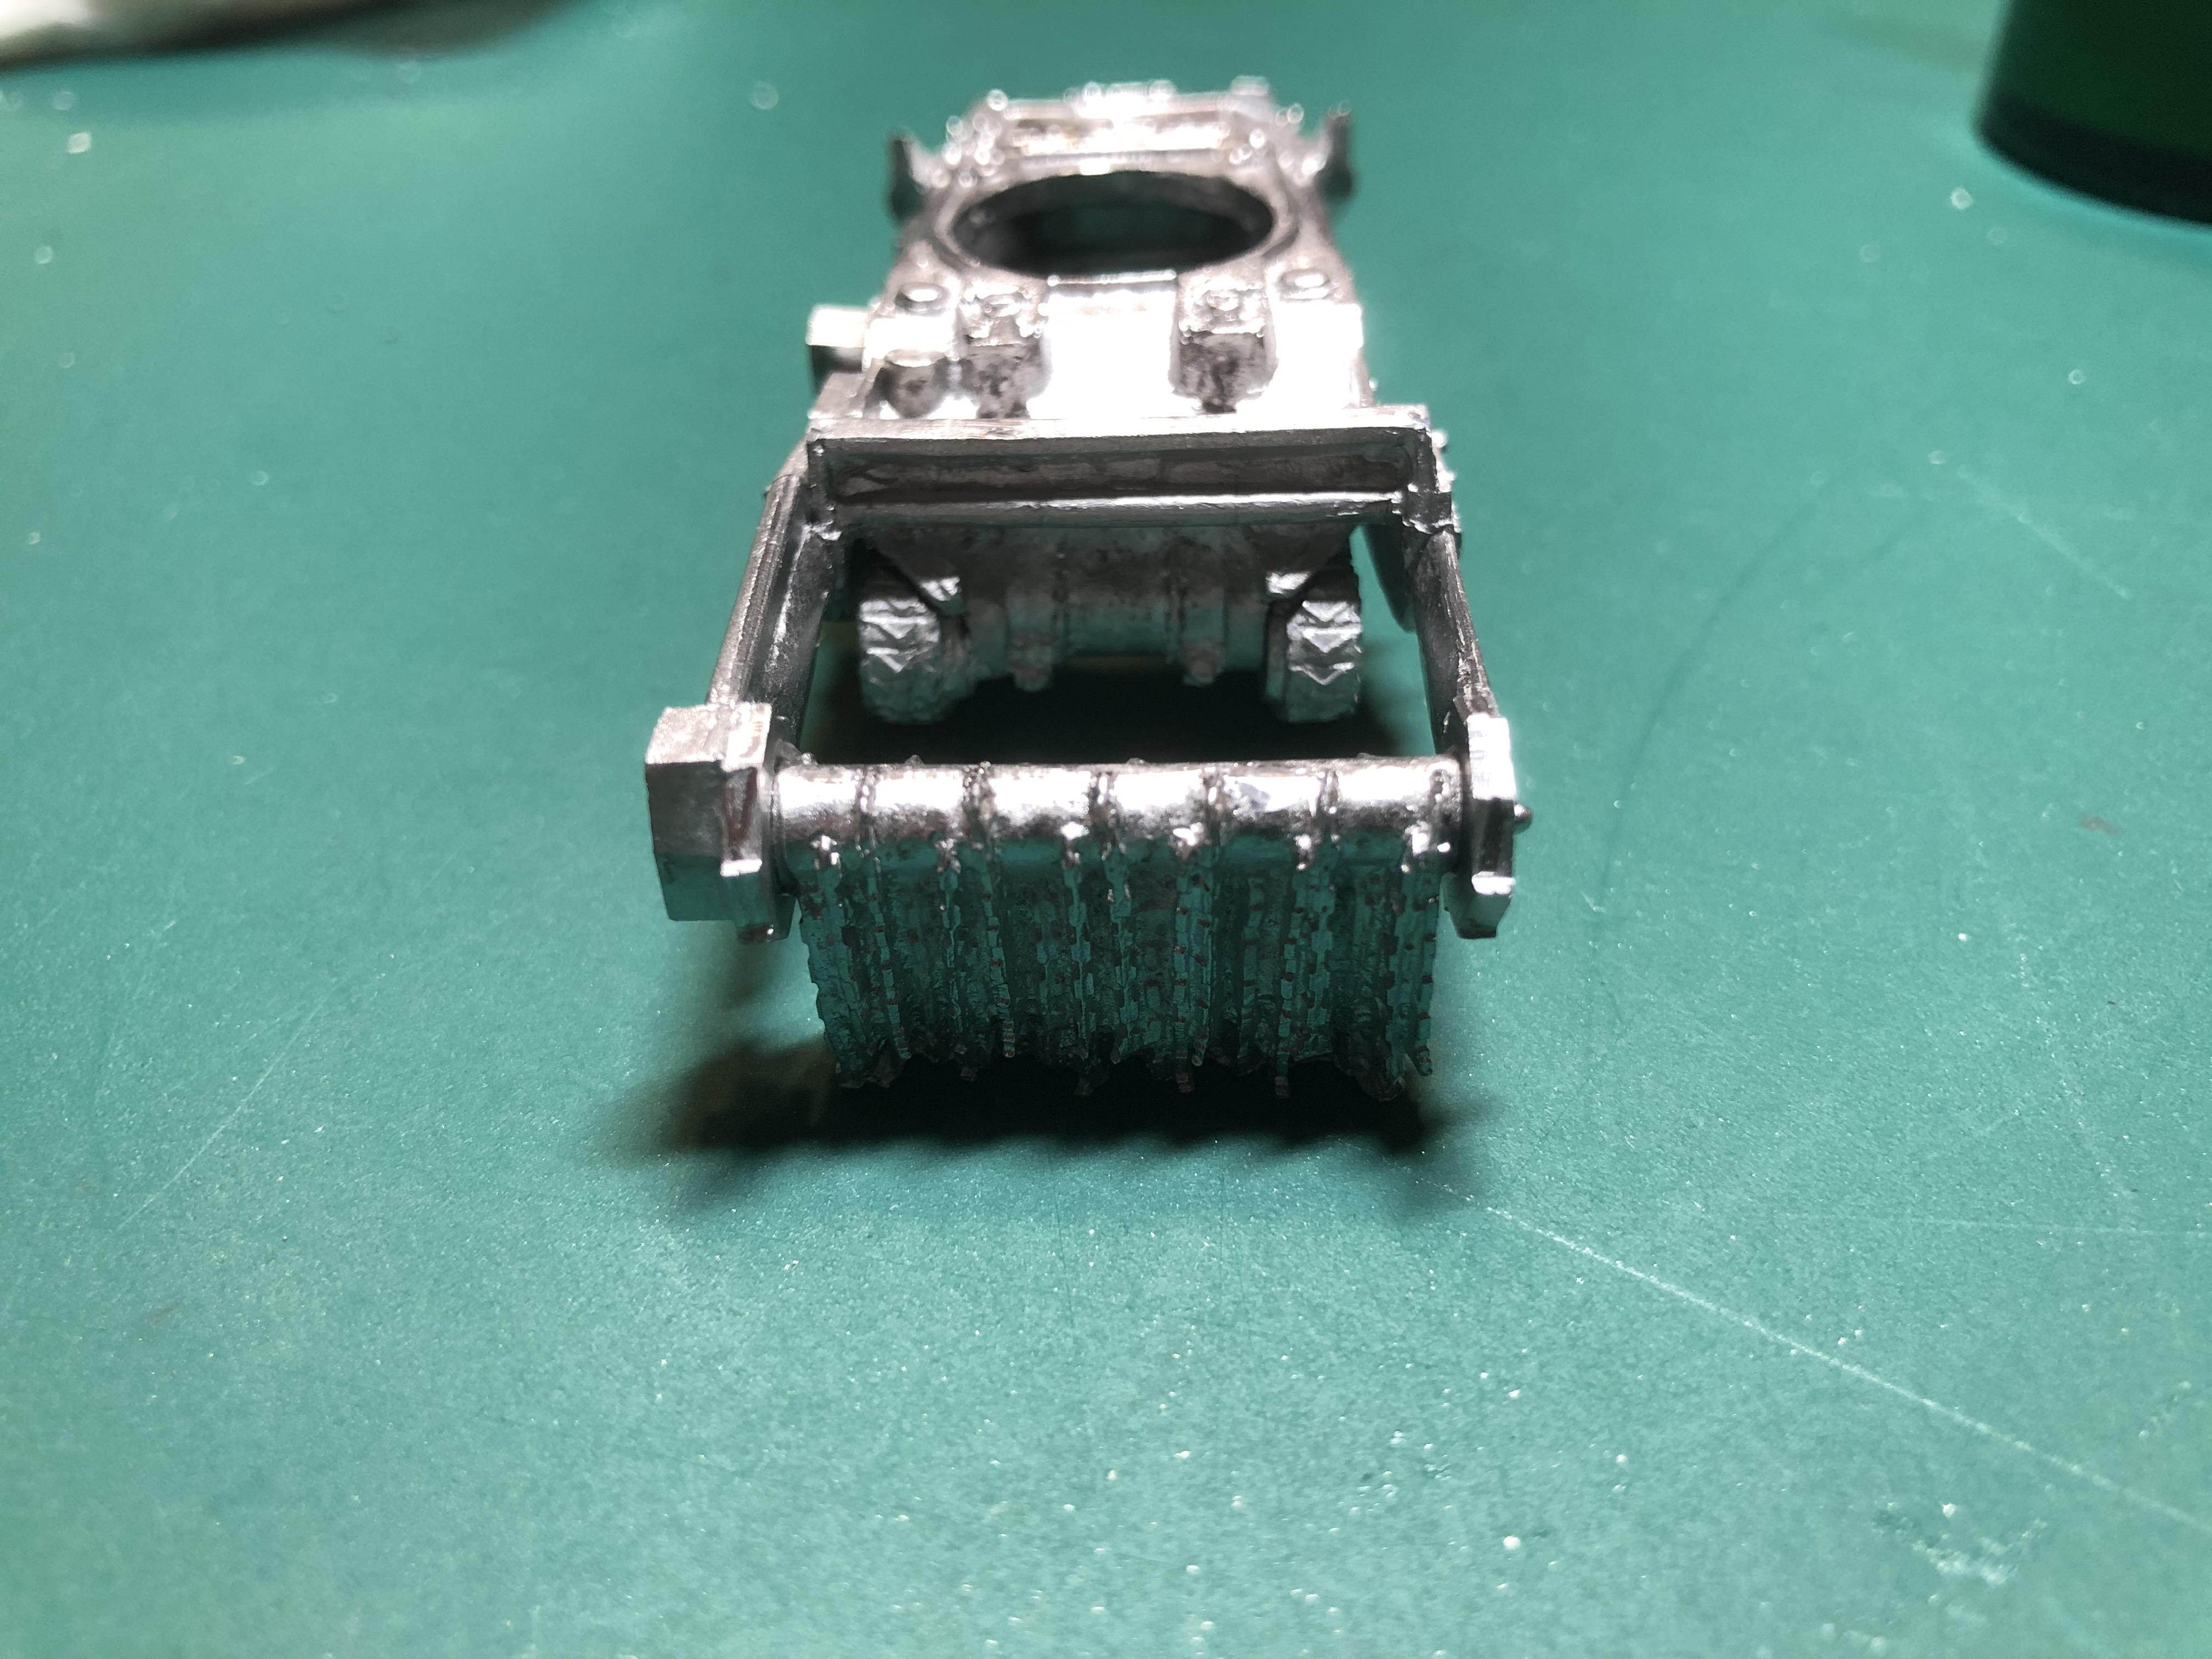
SkyTrex Sherman Crab
I bought two Sherman Crabs, so that I could do the echelon mine clearance technique that was practiced for D Day. The kits were quite straight forward but they did need a bit of adaptation to make them look correct (photos of this later). The only real issue I had with quality was with the clarity of the moulding, it had a lack of definition in a few areas but I am not too worried, as I will treat it as dirt/debris build up that accumulates when the flails are in operation.
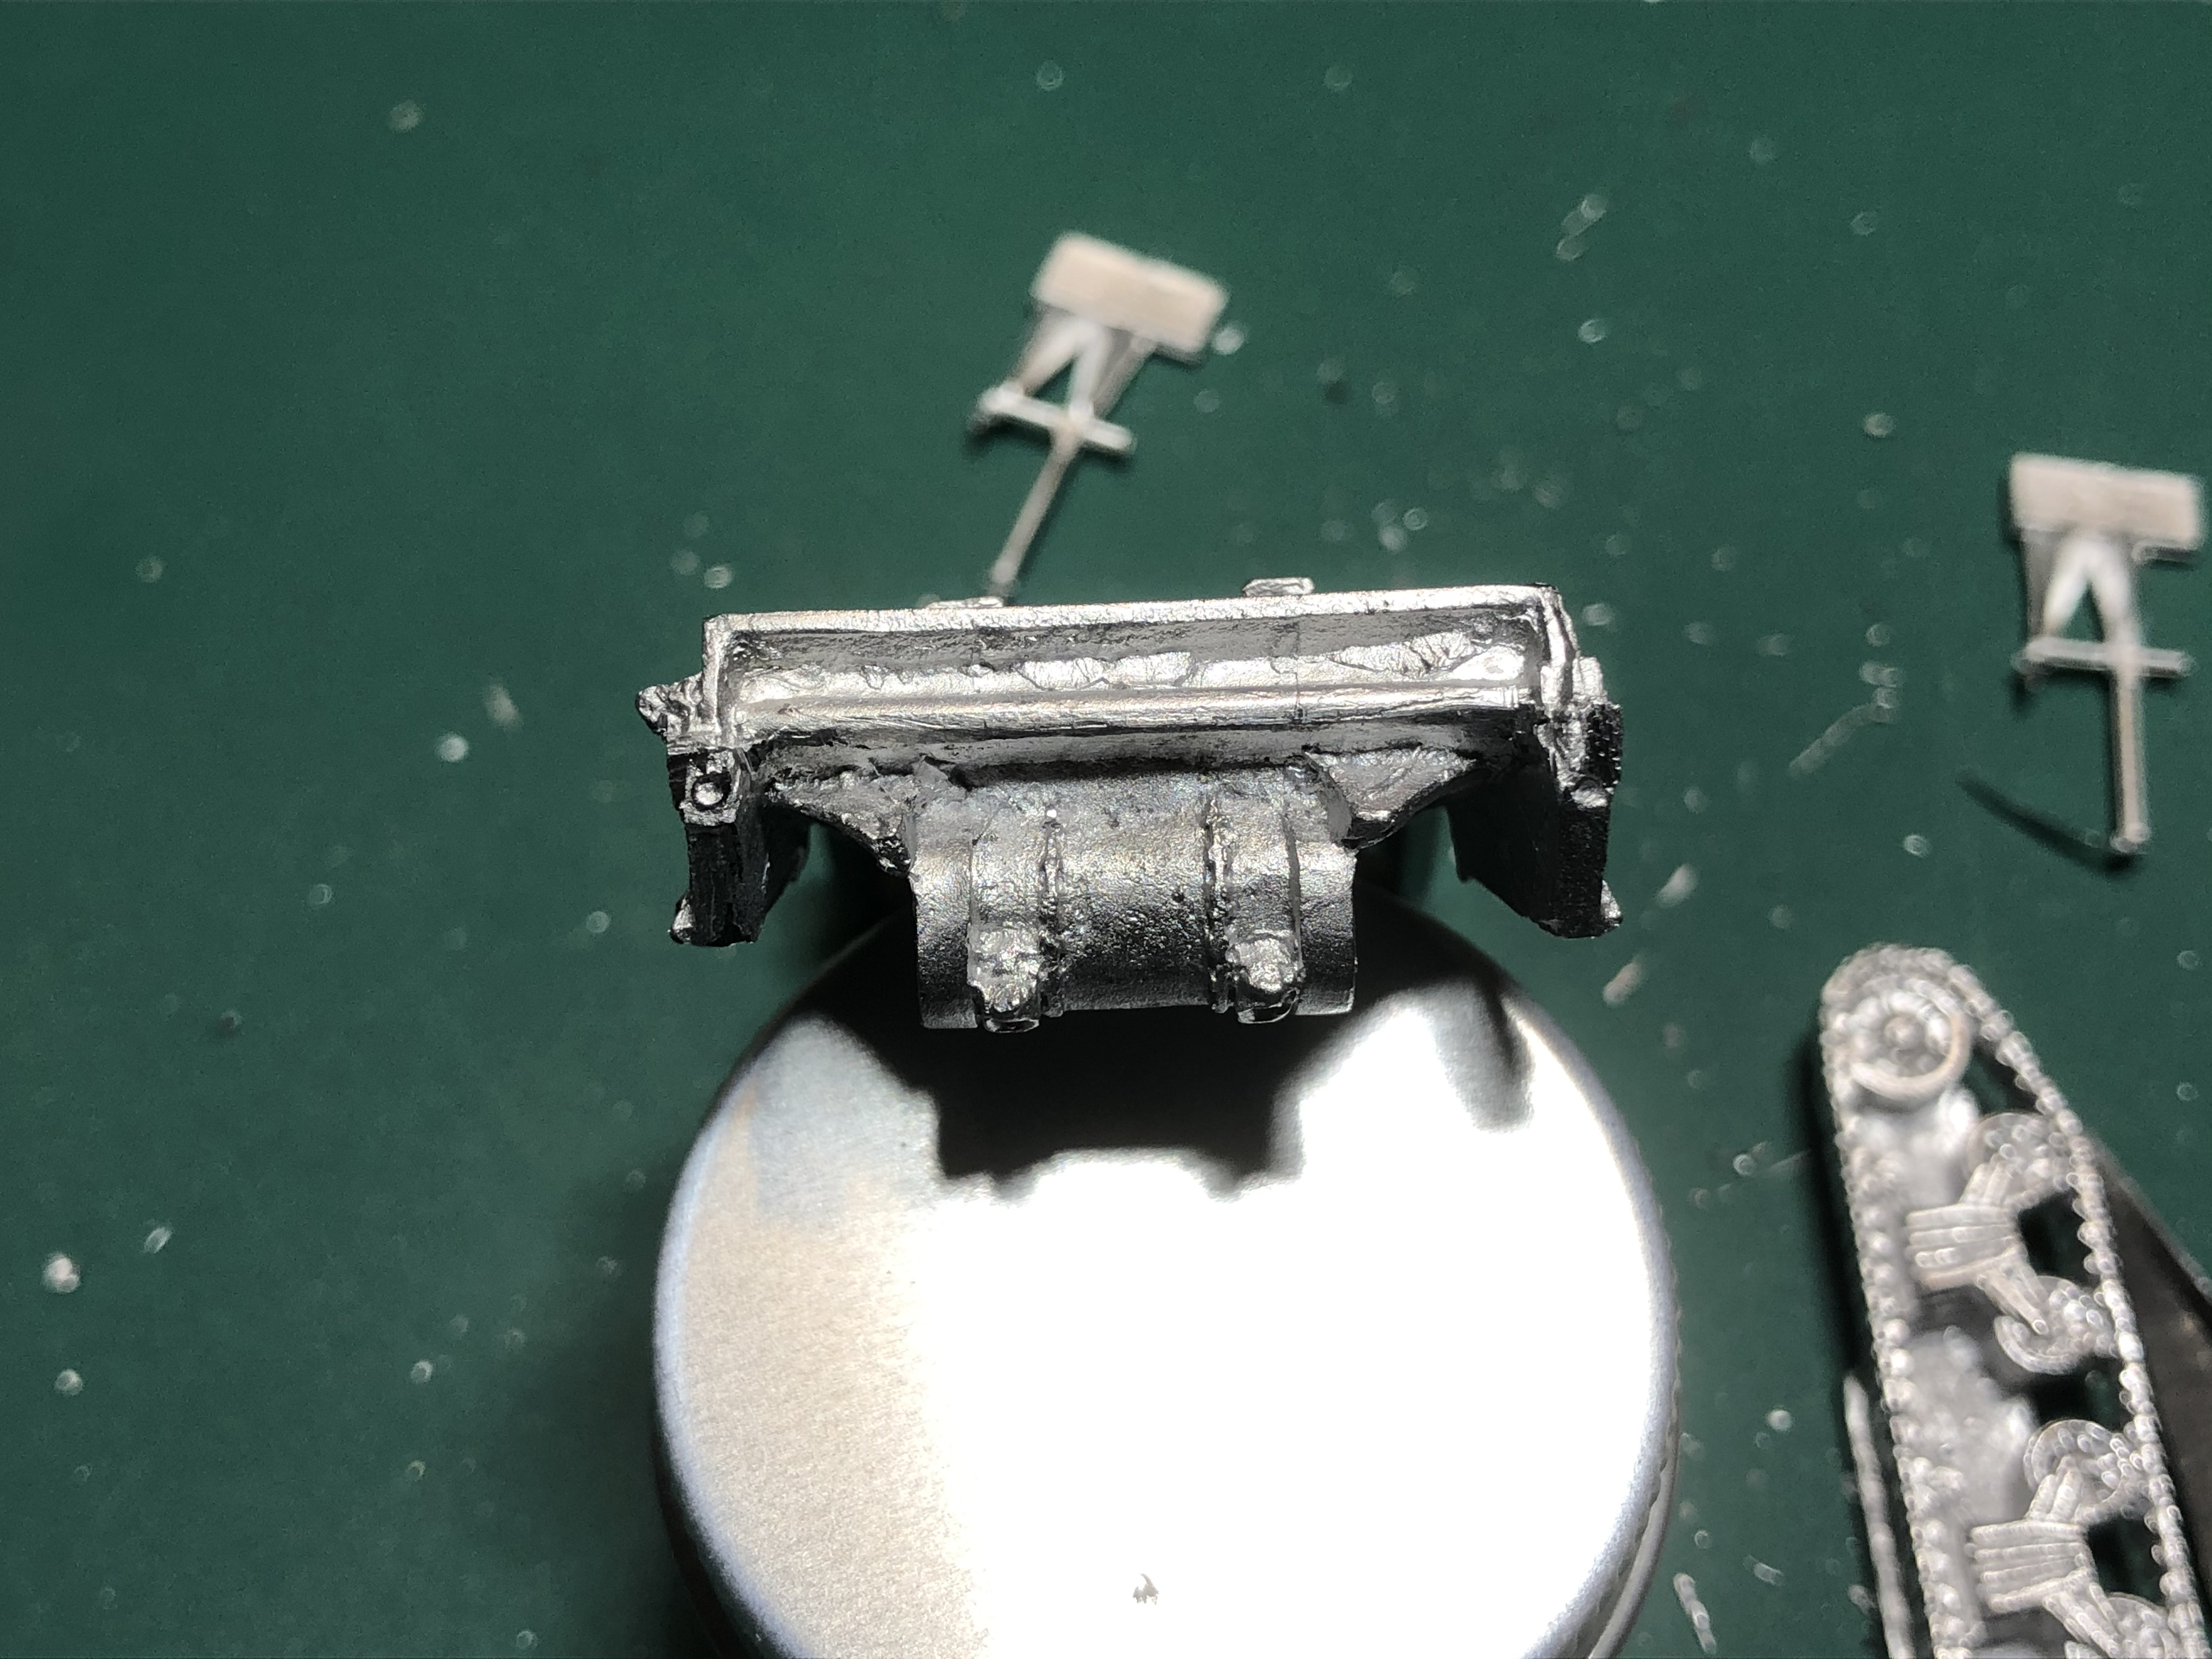
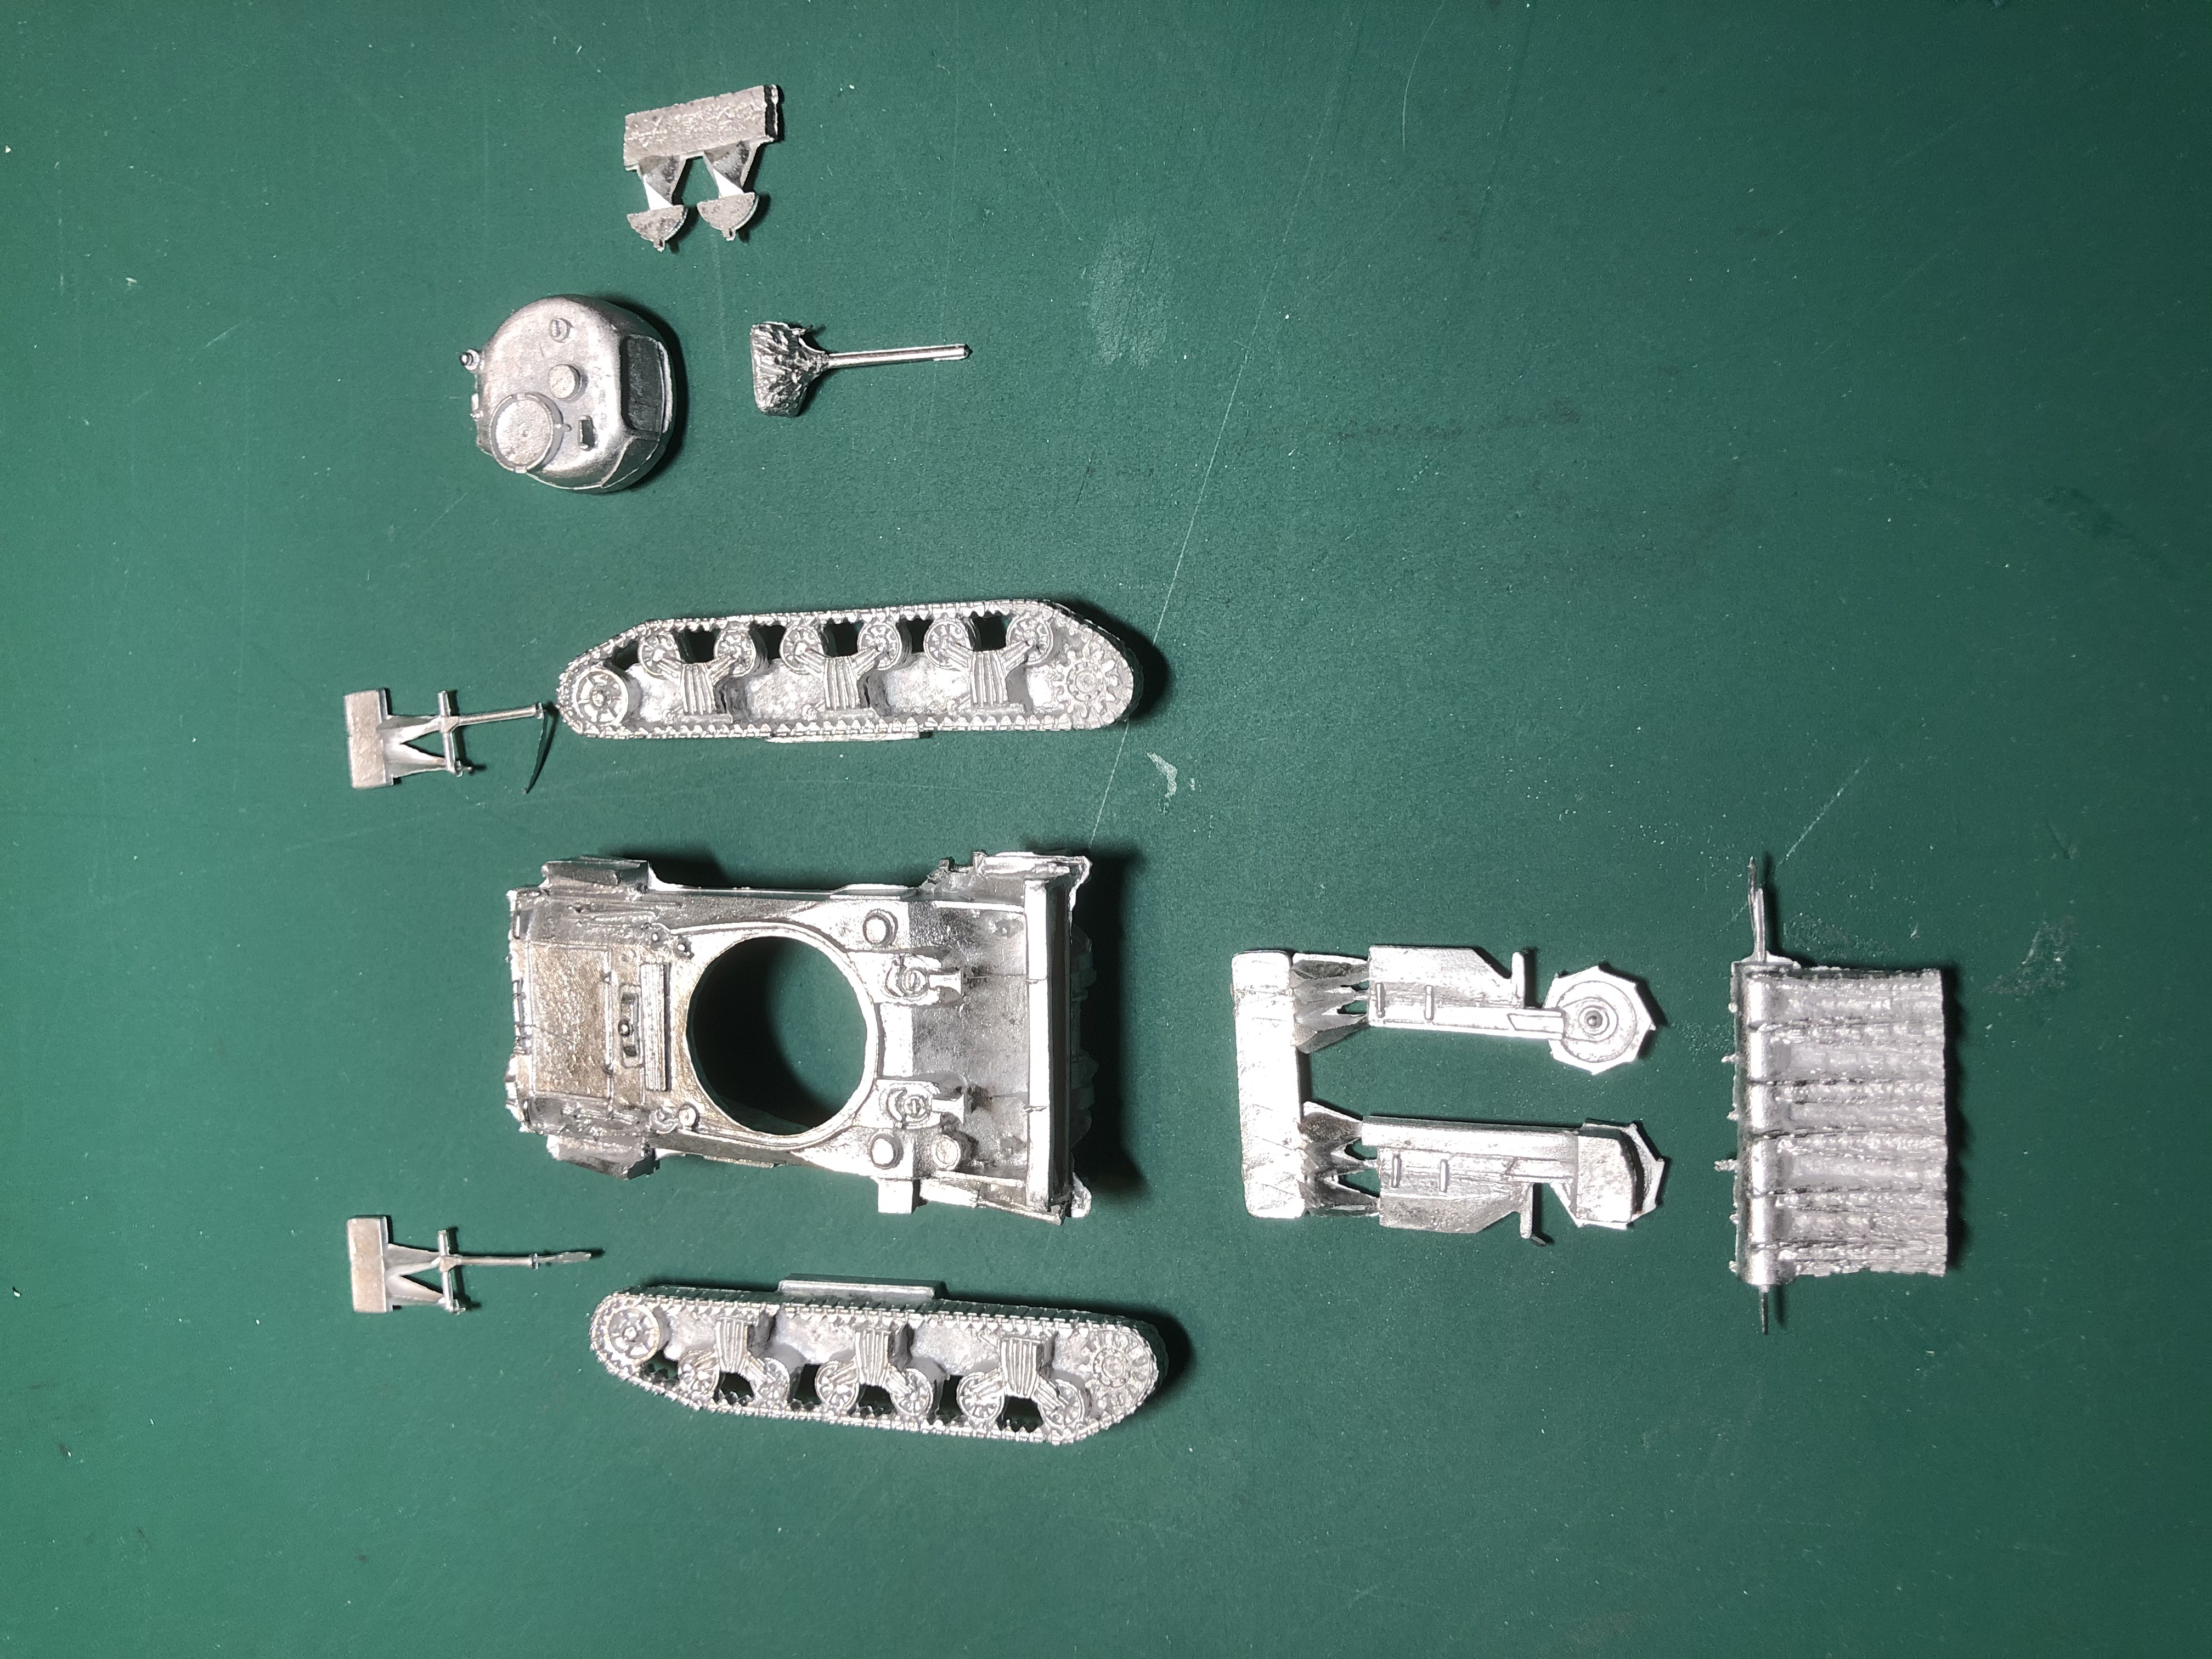 The parts of the flail
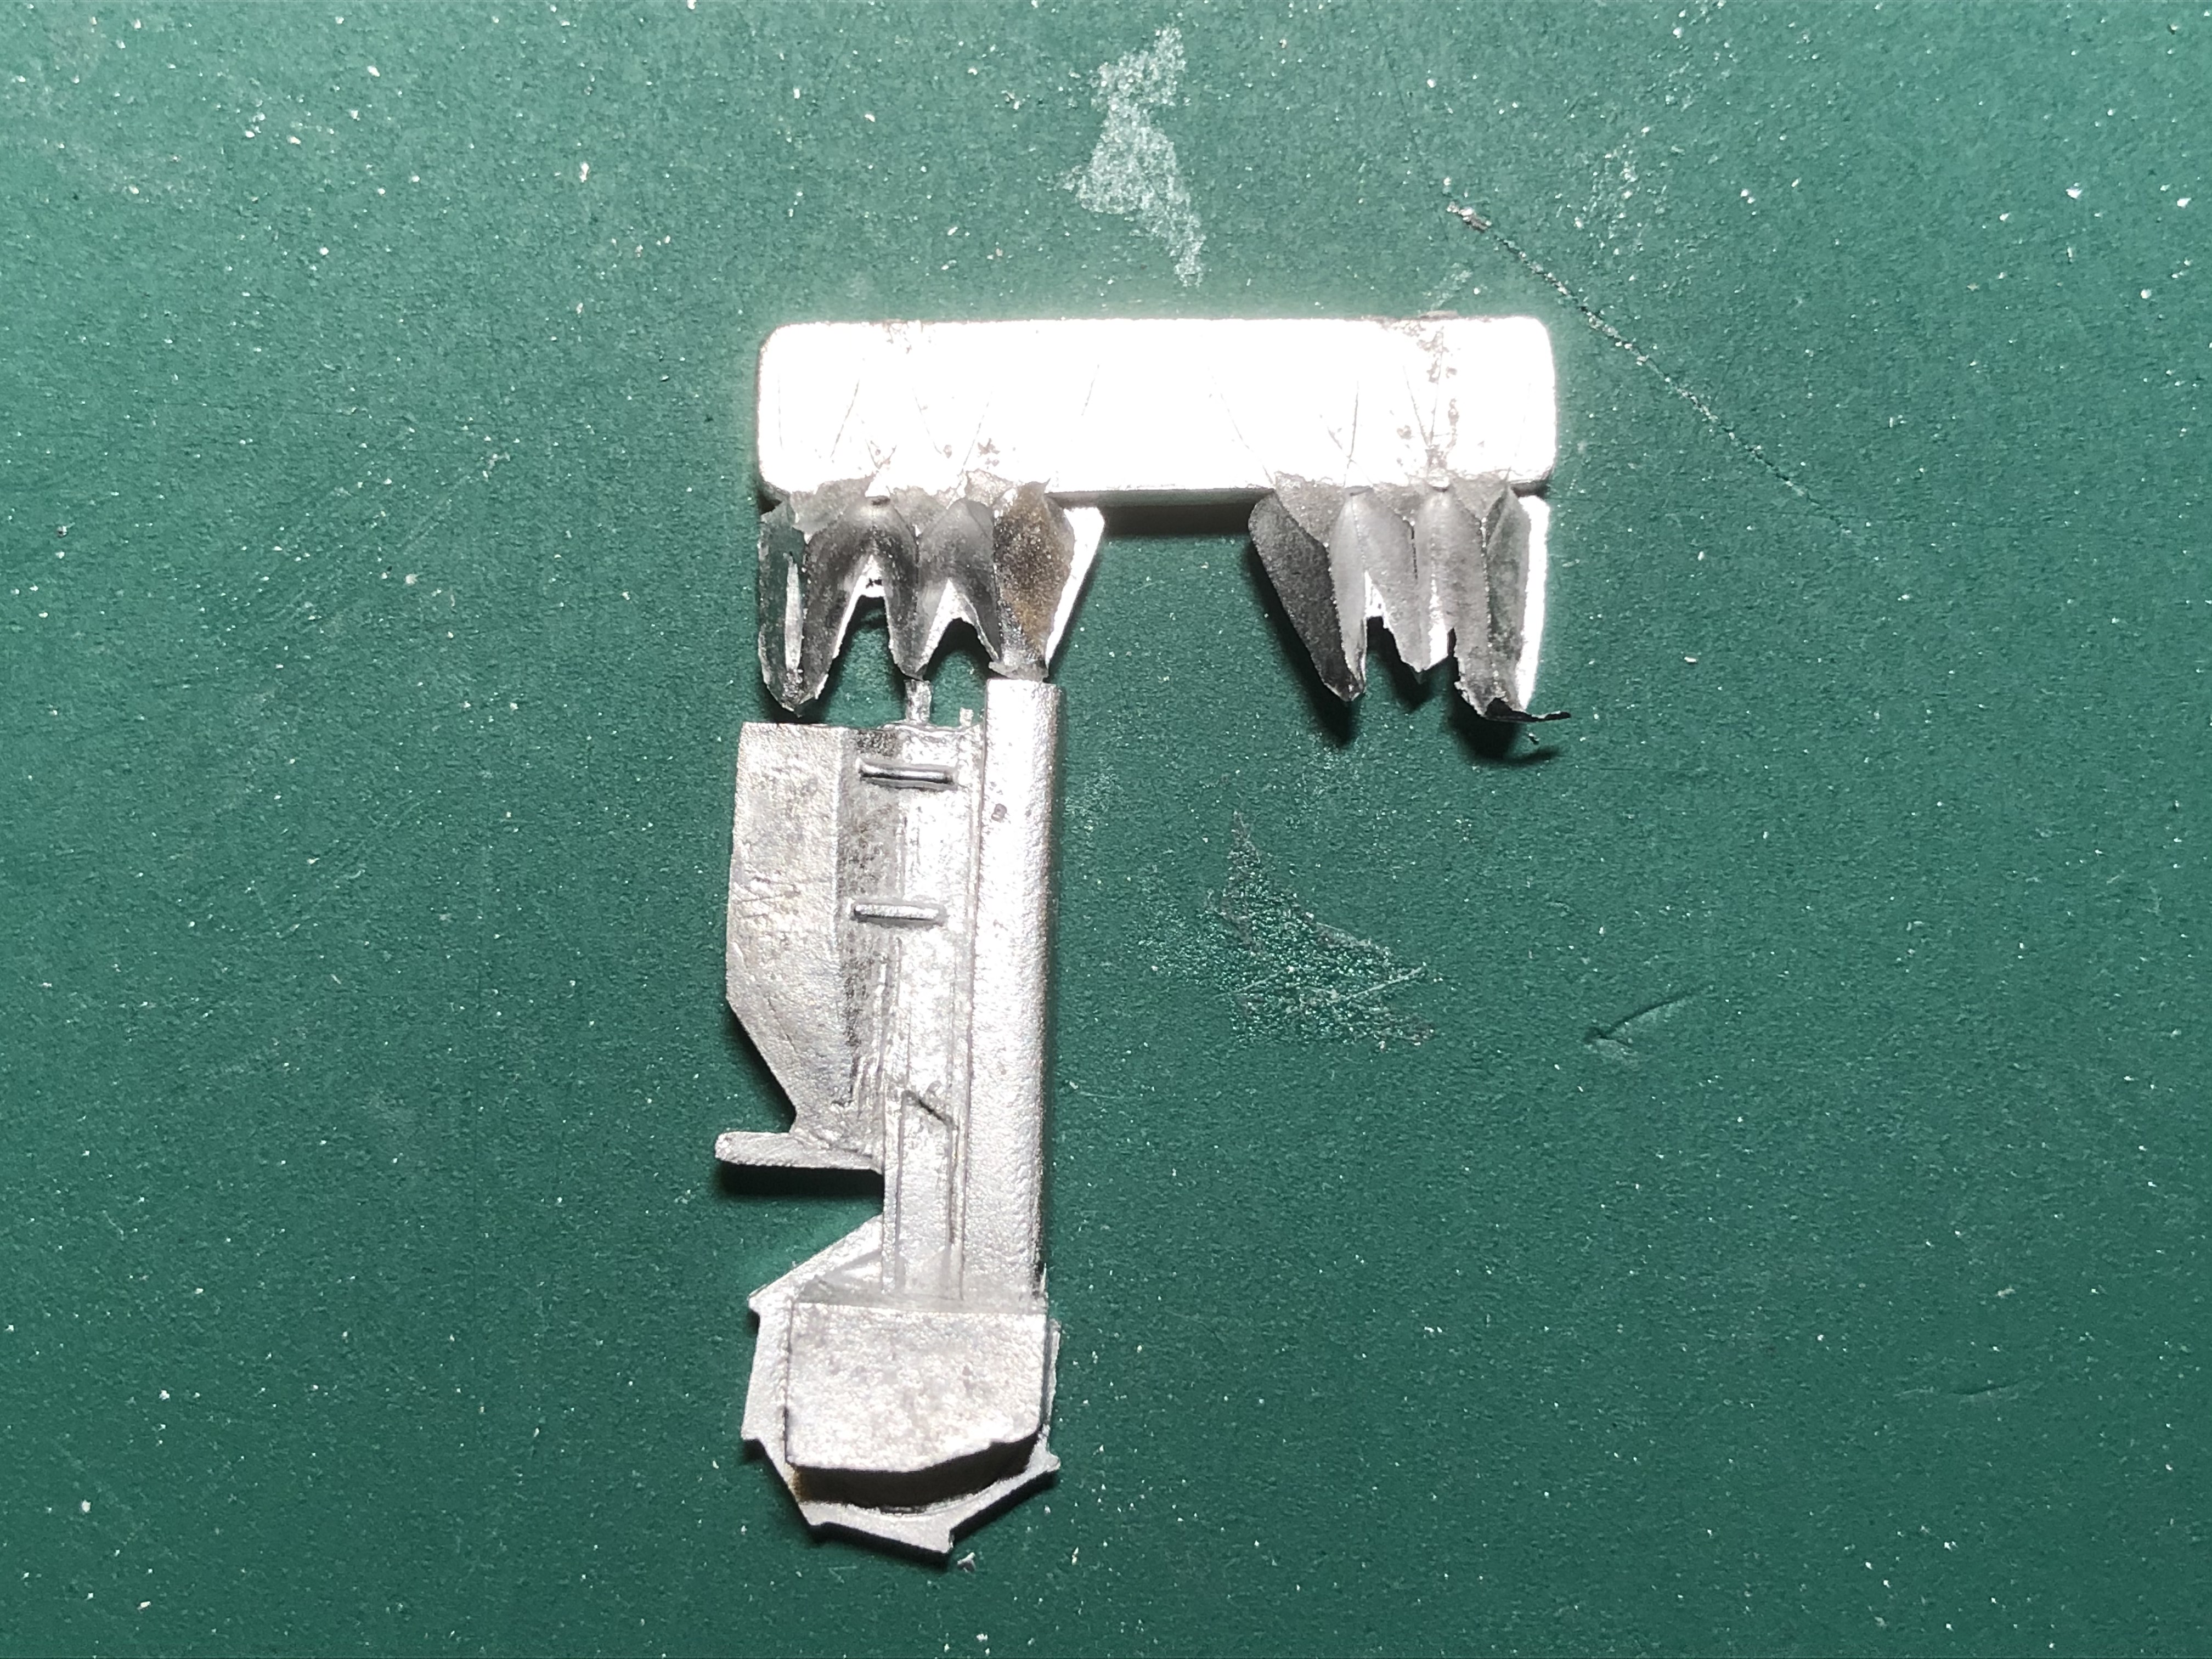
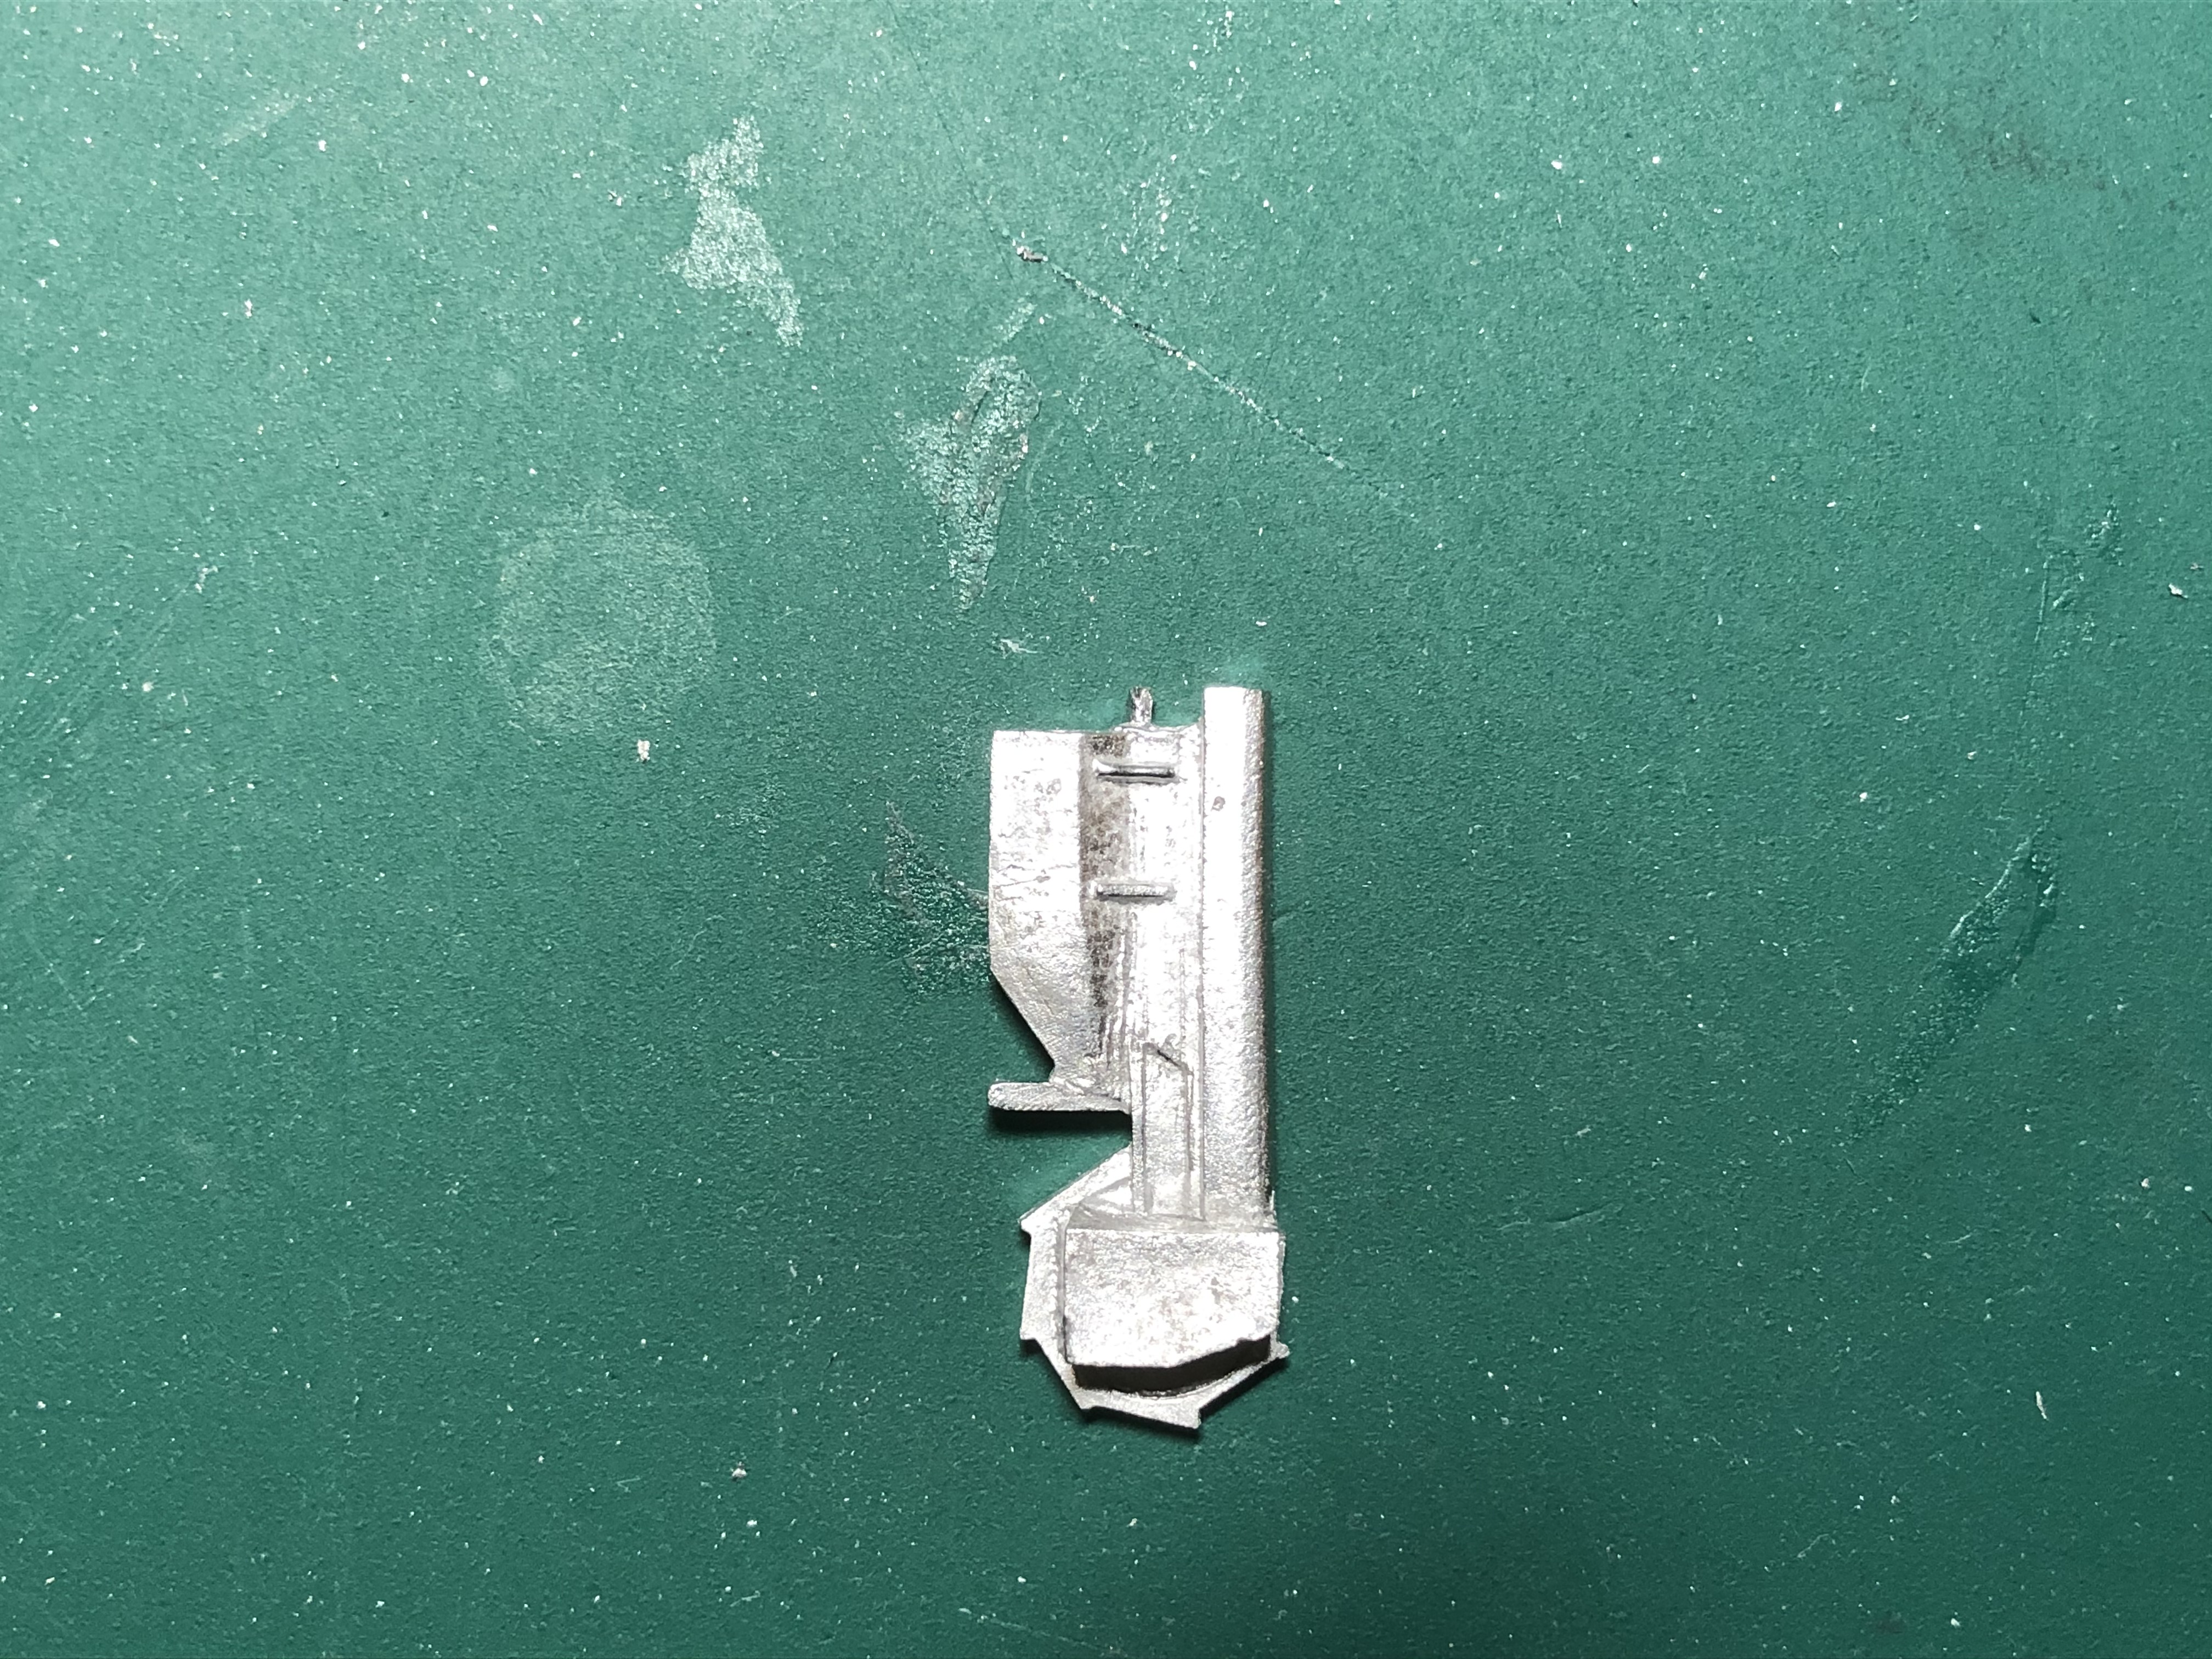
Be very careful when cutting off the metal sprue gates for the flail arms, so that you don’t accidentally cut off the locating lug.
 The holes for the locating lugs were indented but not of any depth. I checked the diameter of the lugs and then drilled out (0.9mm dia) so that I had a snug fit. I then had to file the surrounding metal carefully to match the profiles and get the best mated surfaces possible.
SkyTrex SBG Bridge layer
As with the others the assembly of the tank was quite simple once prepared. the winch for the rear engine decks came in one piece but needed a bit of cleaning up and bending to sit properly. The bridge itself came in one piece and just needed the flash removing. The only real challenge was the A frame, which came in two parts, needed straightening and then the bridge bank seat beam drilling at the right angle to take it.
Given the weight of the bridge I decided not to fix it to the tank, as when I tested the strength of the A frame to hold the bridge in place it literally started bending!