![Make Your Own Star Wars: Legion Heroes! Rebel Agent & Officer Set Review [7 Days Early Access]](https://images.beastsofwar.com/2025/12/unboxing-atomic-mass-games-star-wars-legion-rebel-alliance-agent-_-officer-coverimage-225-127.jpg)


How to be an Armoured Farmer, building Hobart’s Funnies in Glorious 15mm (and maybe 28mm if they arrive in time!)


Recommendations: 2233
About the Project
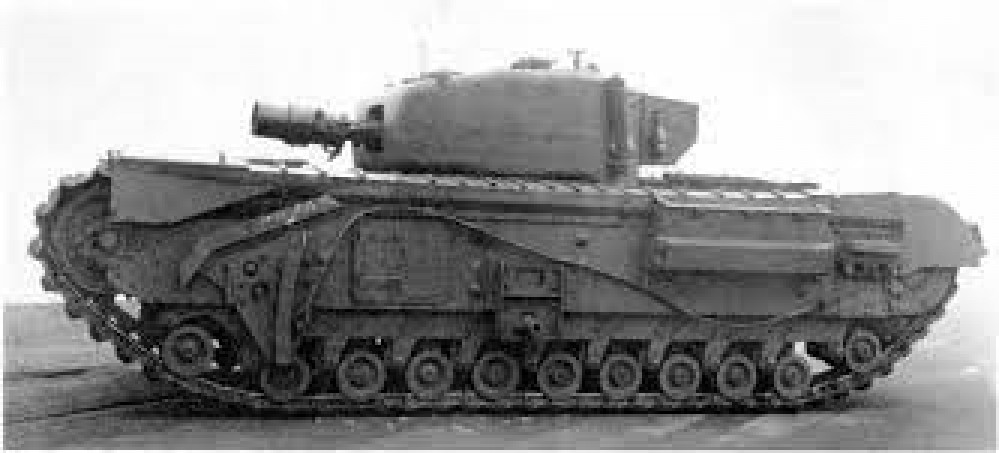
Right then, having avoided any sort of Spring cleaning challenge in the past, I have decided to use this year's one to get something done that I have been gathering bits for over the past few years and finally finish and assemble all of my Hobart's Funnies. To get technical these are Armoured Vehicle Royal Engineers (AVRE) tanks, using the Churchill chassis as a base. I will also throw in some Sherman Crabs (Flail tanks). I have gathered a few books for reference so that I can paint and mark them up for one of the Armoured Assault Squadrons Royal Engineer (either 77, or 79) that landed ashore at Sword Beach and were the very first to see action on that beach; Plus the Sherman Crabs of A Squadron 22nd Dragoons. Whilst I want to be able to use the finished tanks in games depicting the D Day Landings (in Flames of War and Chain of Command at 15mm) I also want then to be versatile enough to be able to be used in later engagements that the 79th Armoured Division took part in (which is pretty much everything!). I hope you will find this of interest if you ever want to branch out into what the modern day Royal Engineers affectionately call being an armoured farmer.
Related Game: Flames of War: The World War II Miniatures Game
Related Company: Battlefront Miniatures
Related Genre: Historical
Related Contest: Spring Clean Hobby Challenge (Old)
This Project is Active
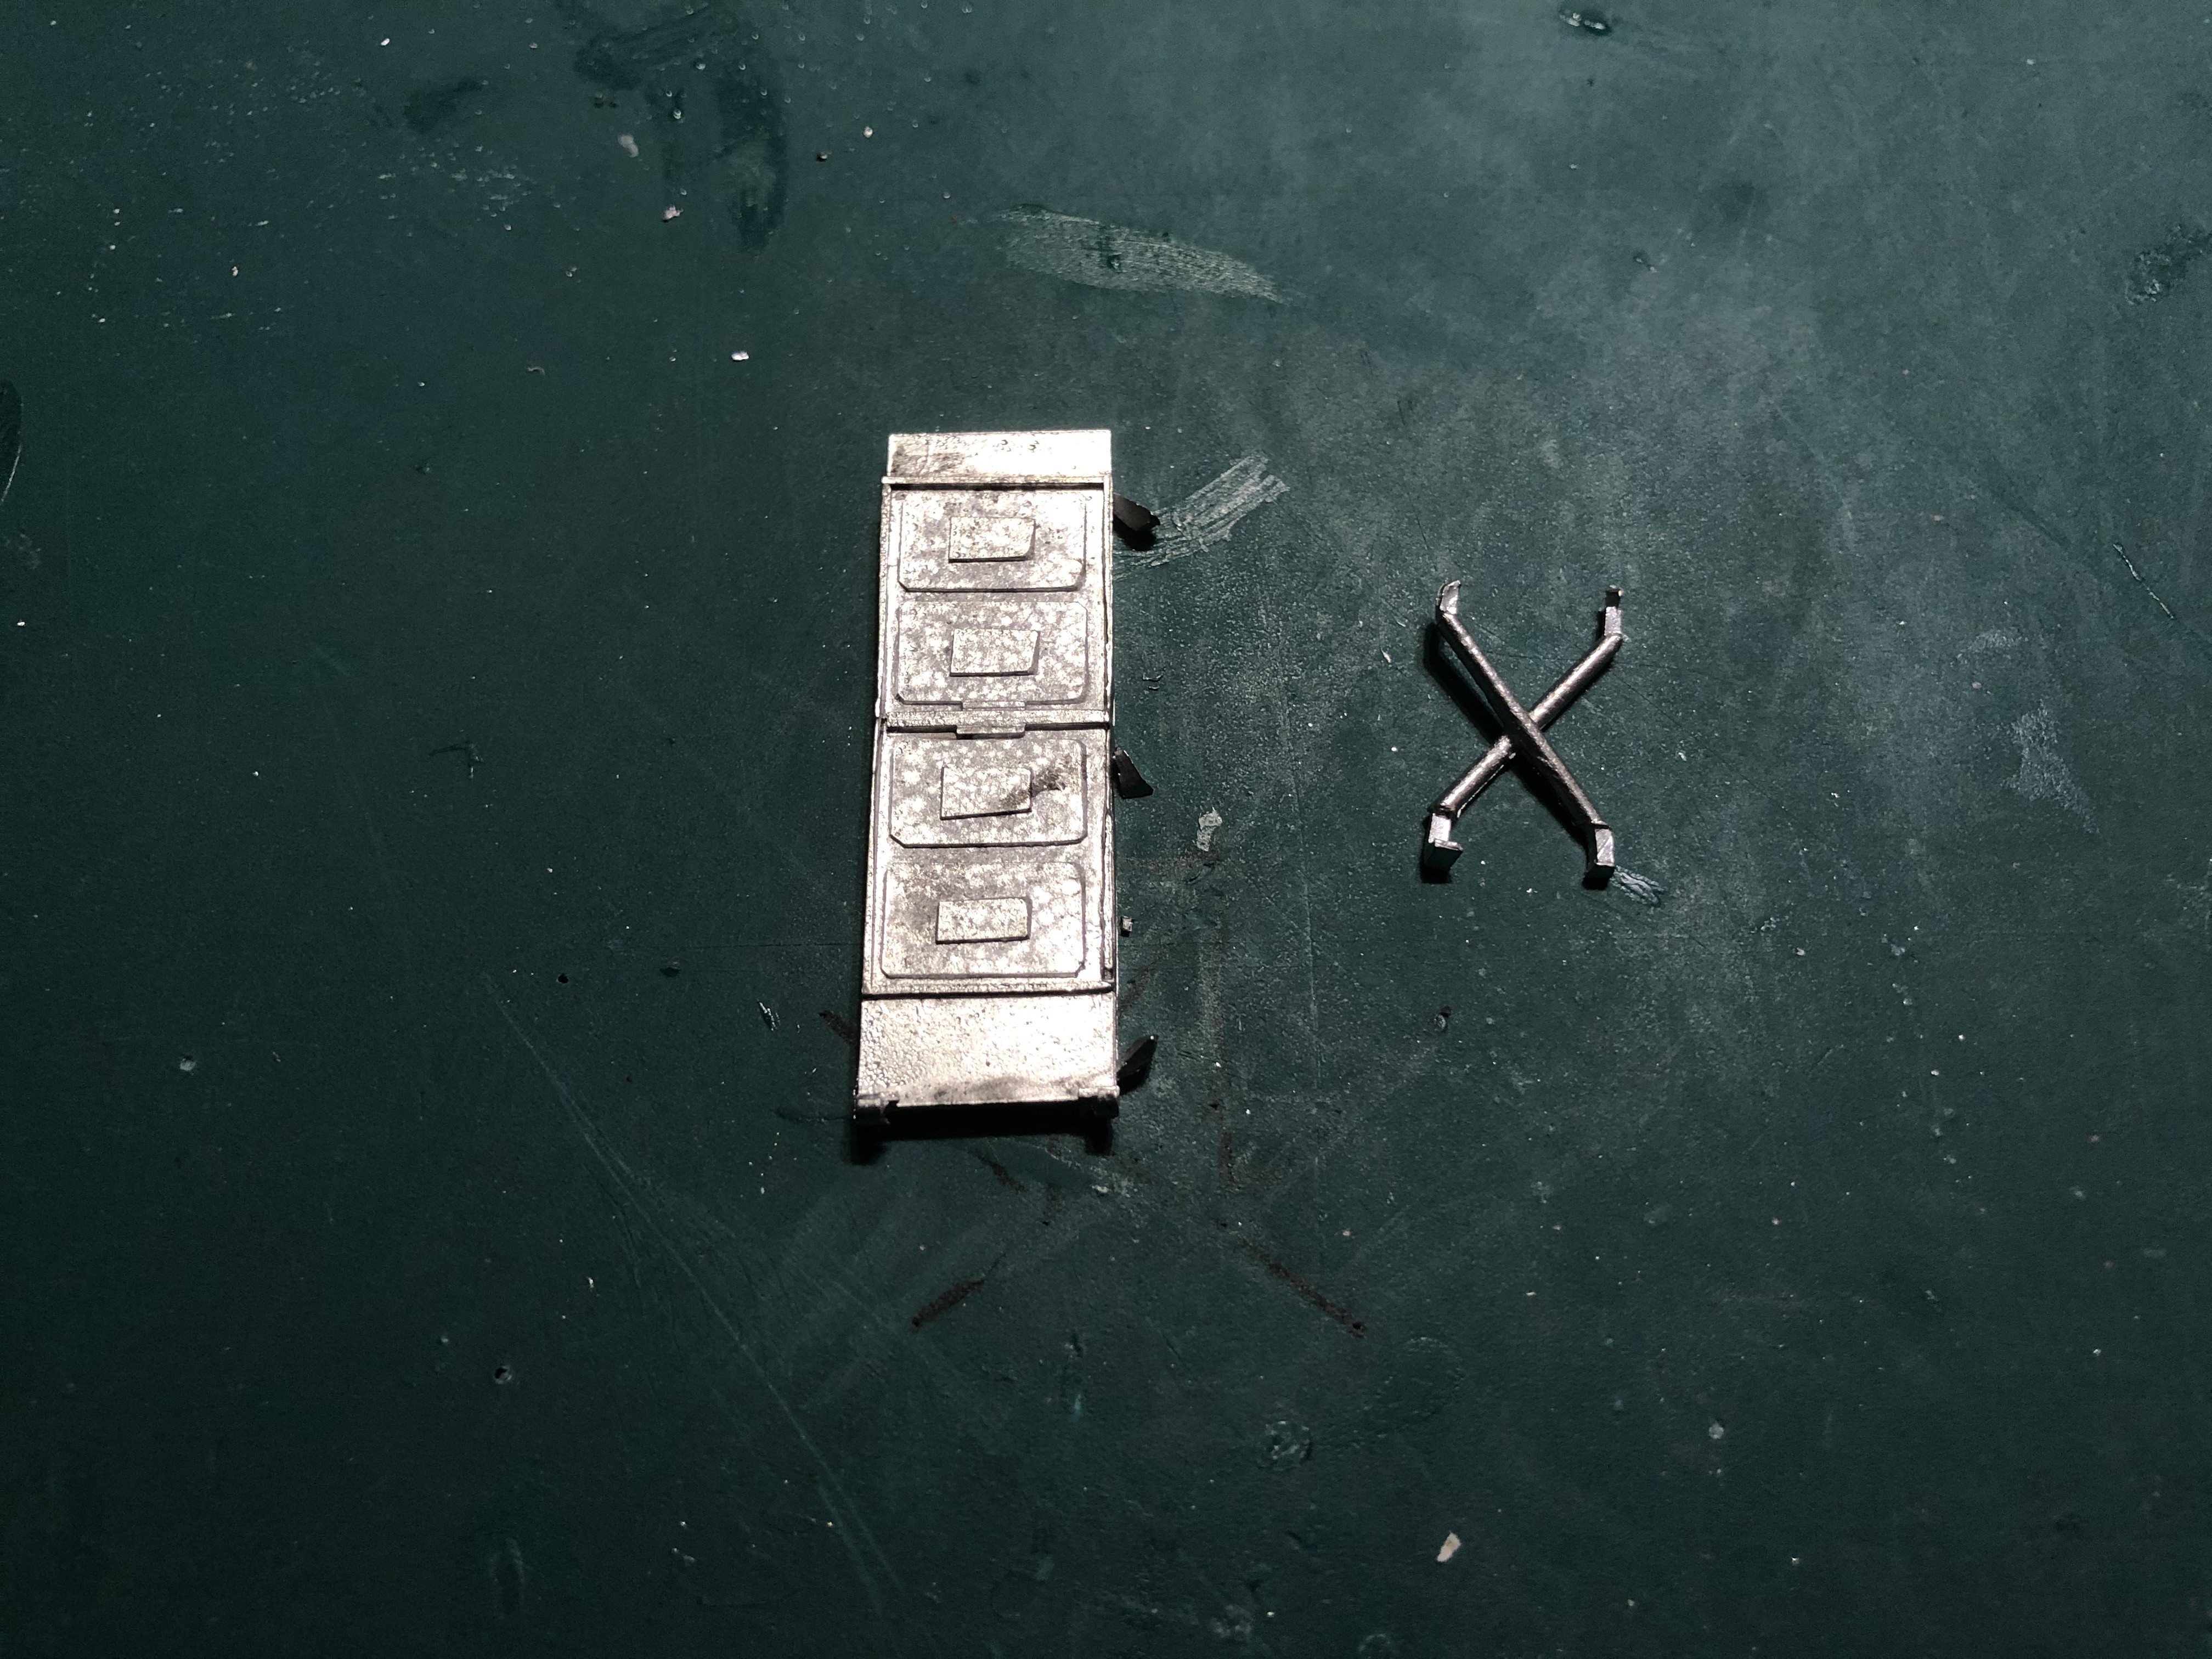
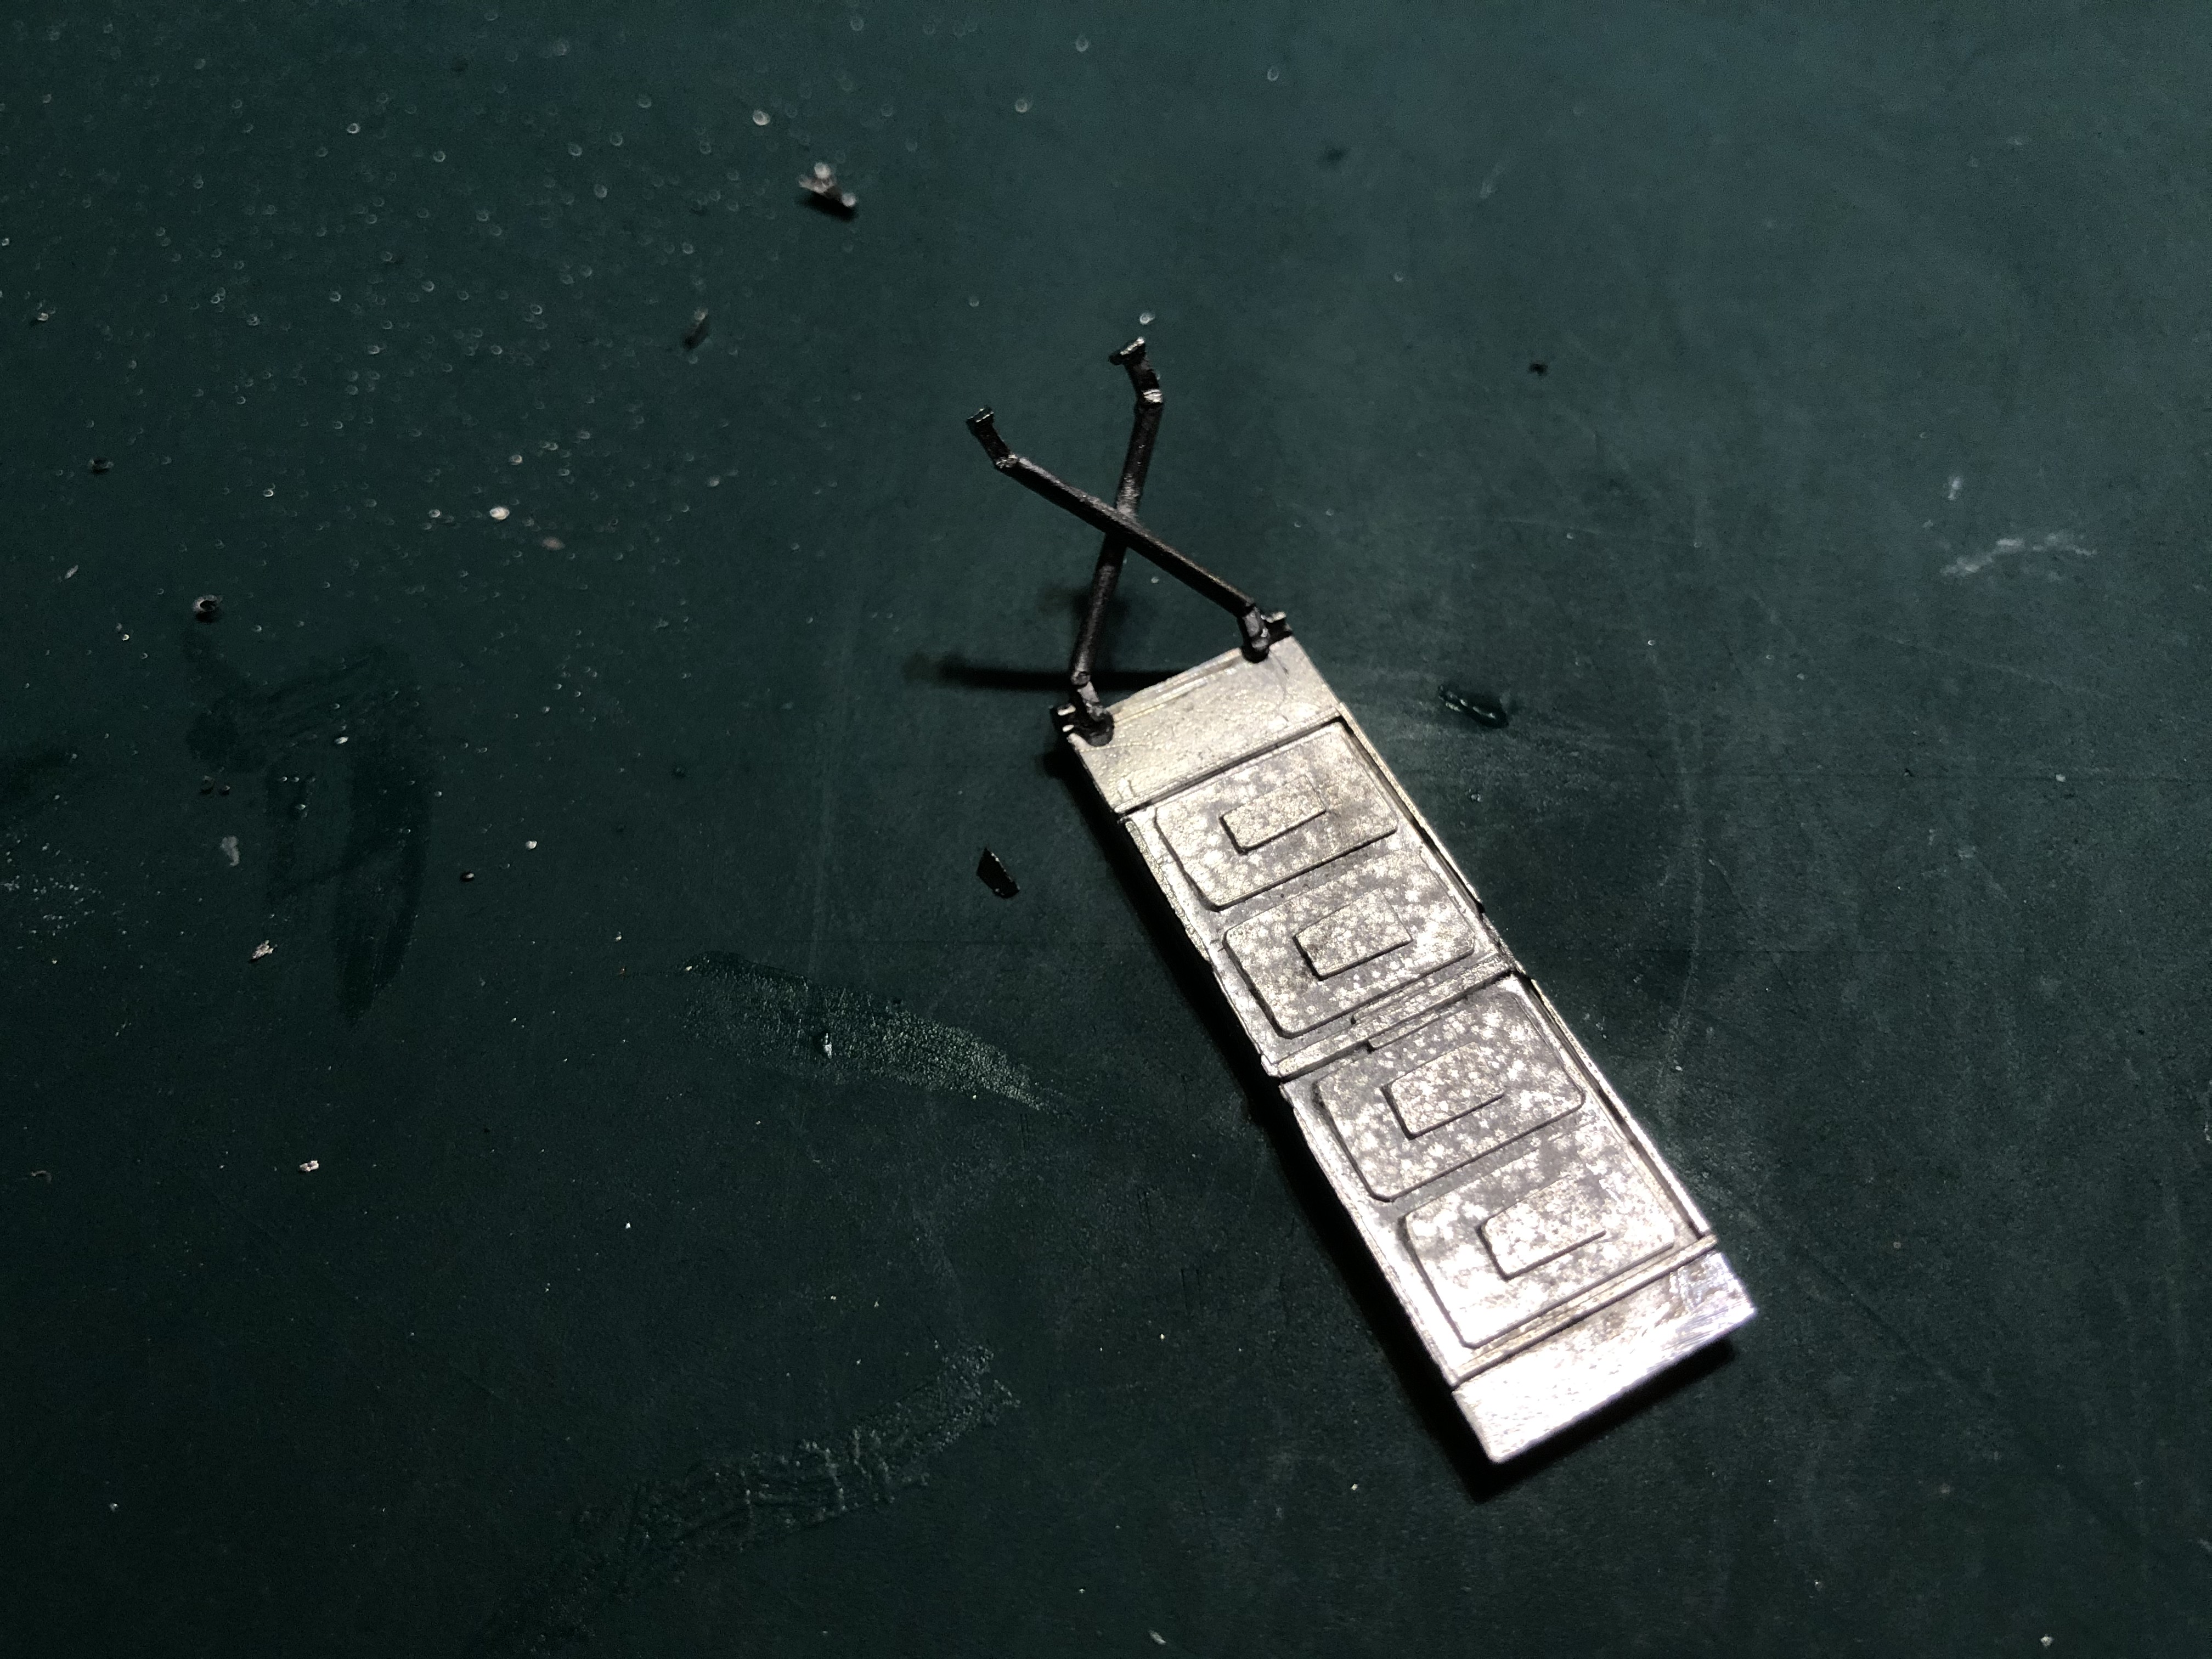
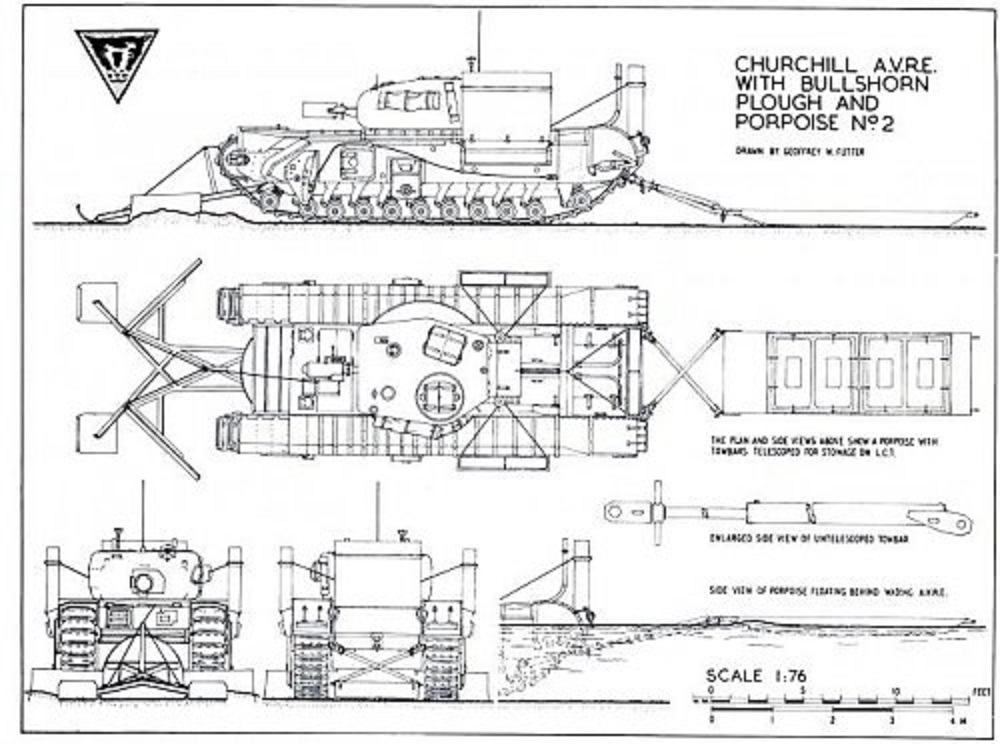
The Porpoise
A strange name for a bit of kit but I can see why it was called such. This was a sled that is towed behind a tank (normally general purpose AVREs) and was water tight so would float until it reached shore and then be dragged behind the tank until jettisoned. The porpoise had hatches on top to give access to munitions and explosives that would be needed by Royal Engineers and infantry on the landing beaches.
I purchased two kits from S&S models and after cleaning them up I glued the fittings in place.
Also attached are a couple of drawings showing the design and the porpoise behind an AVRE.
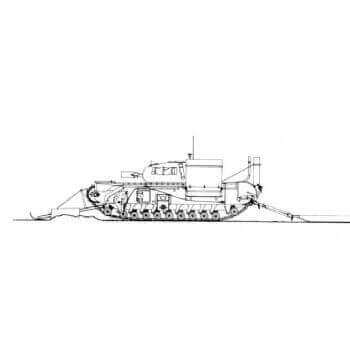
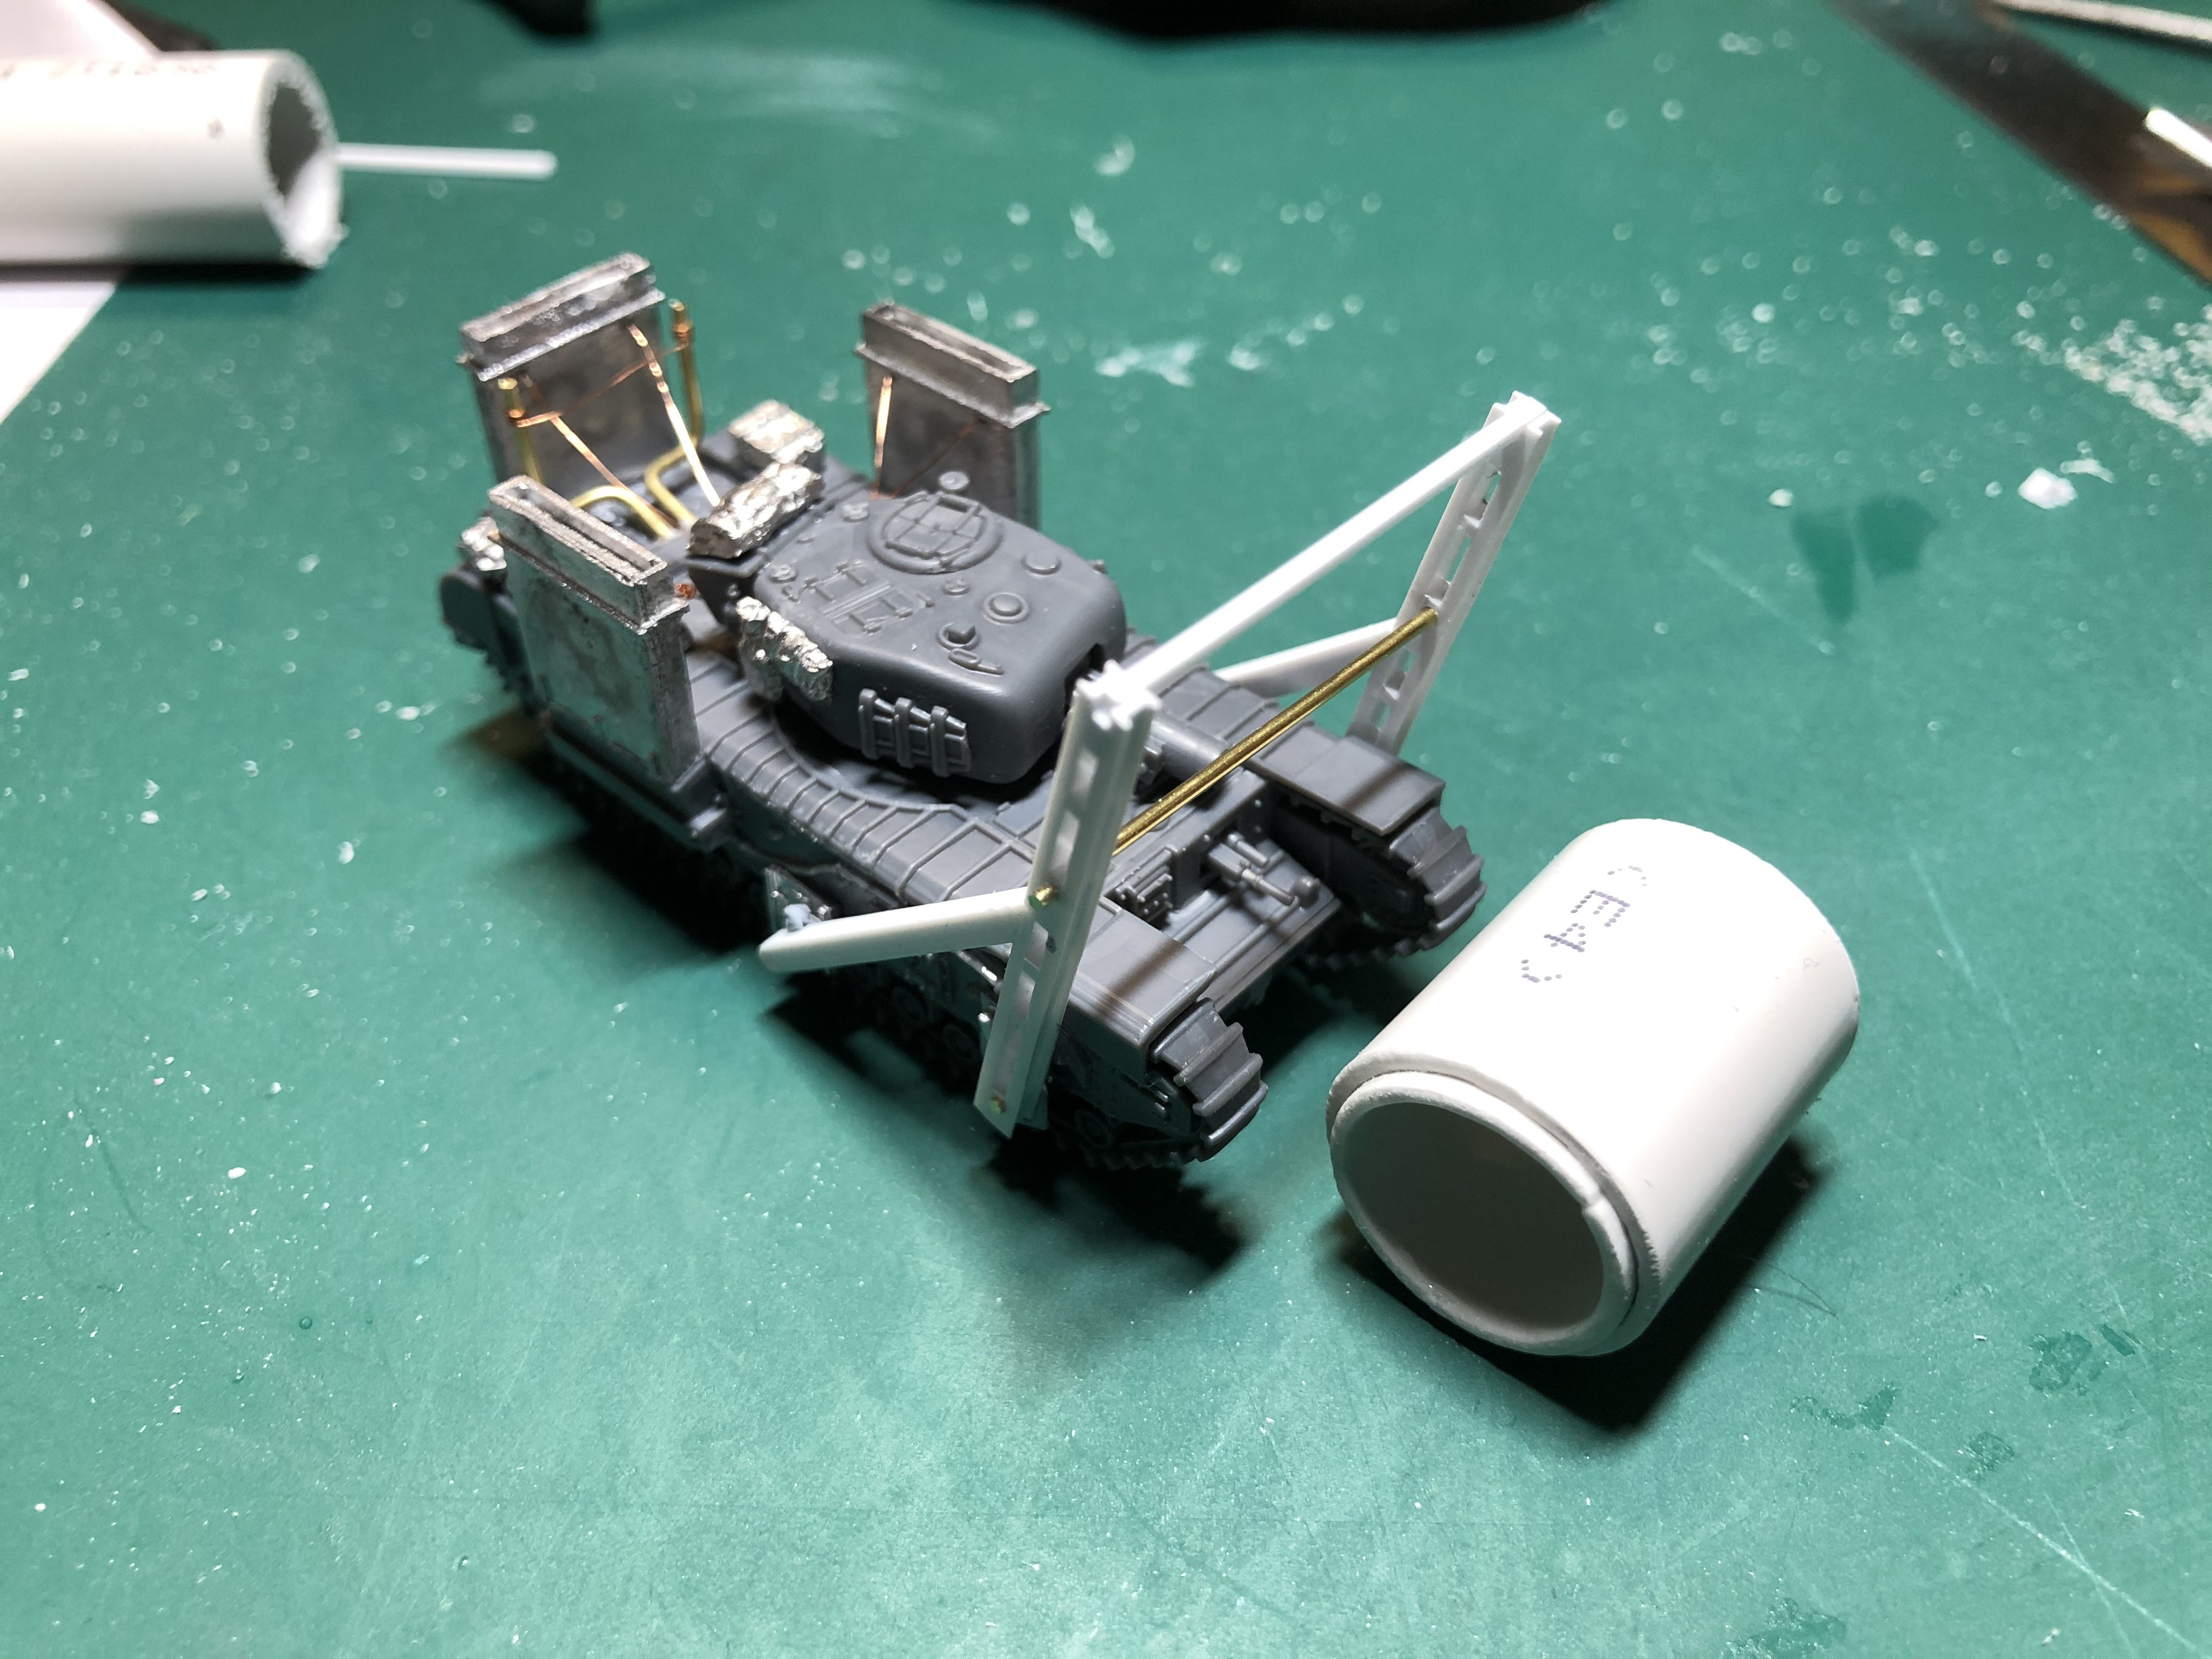
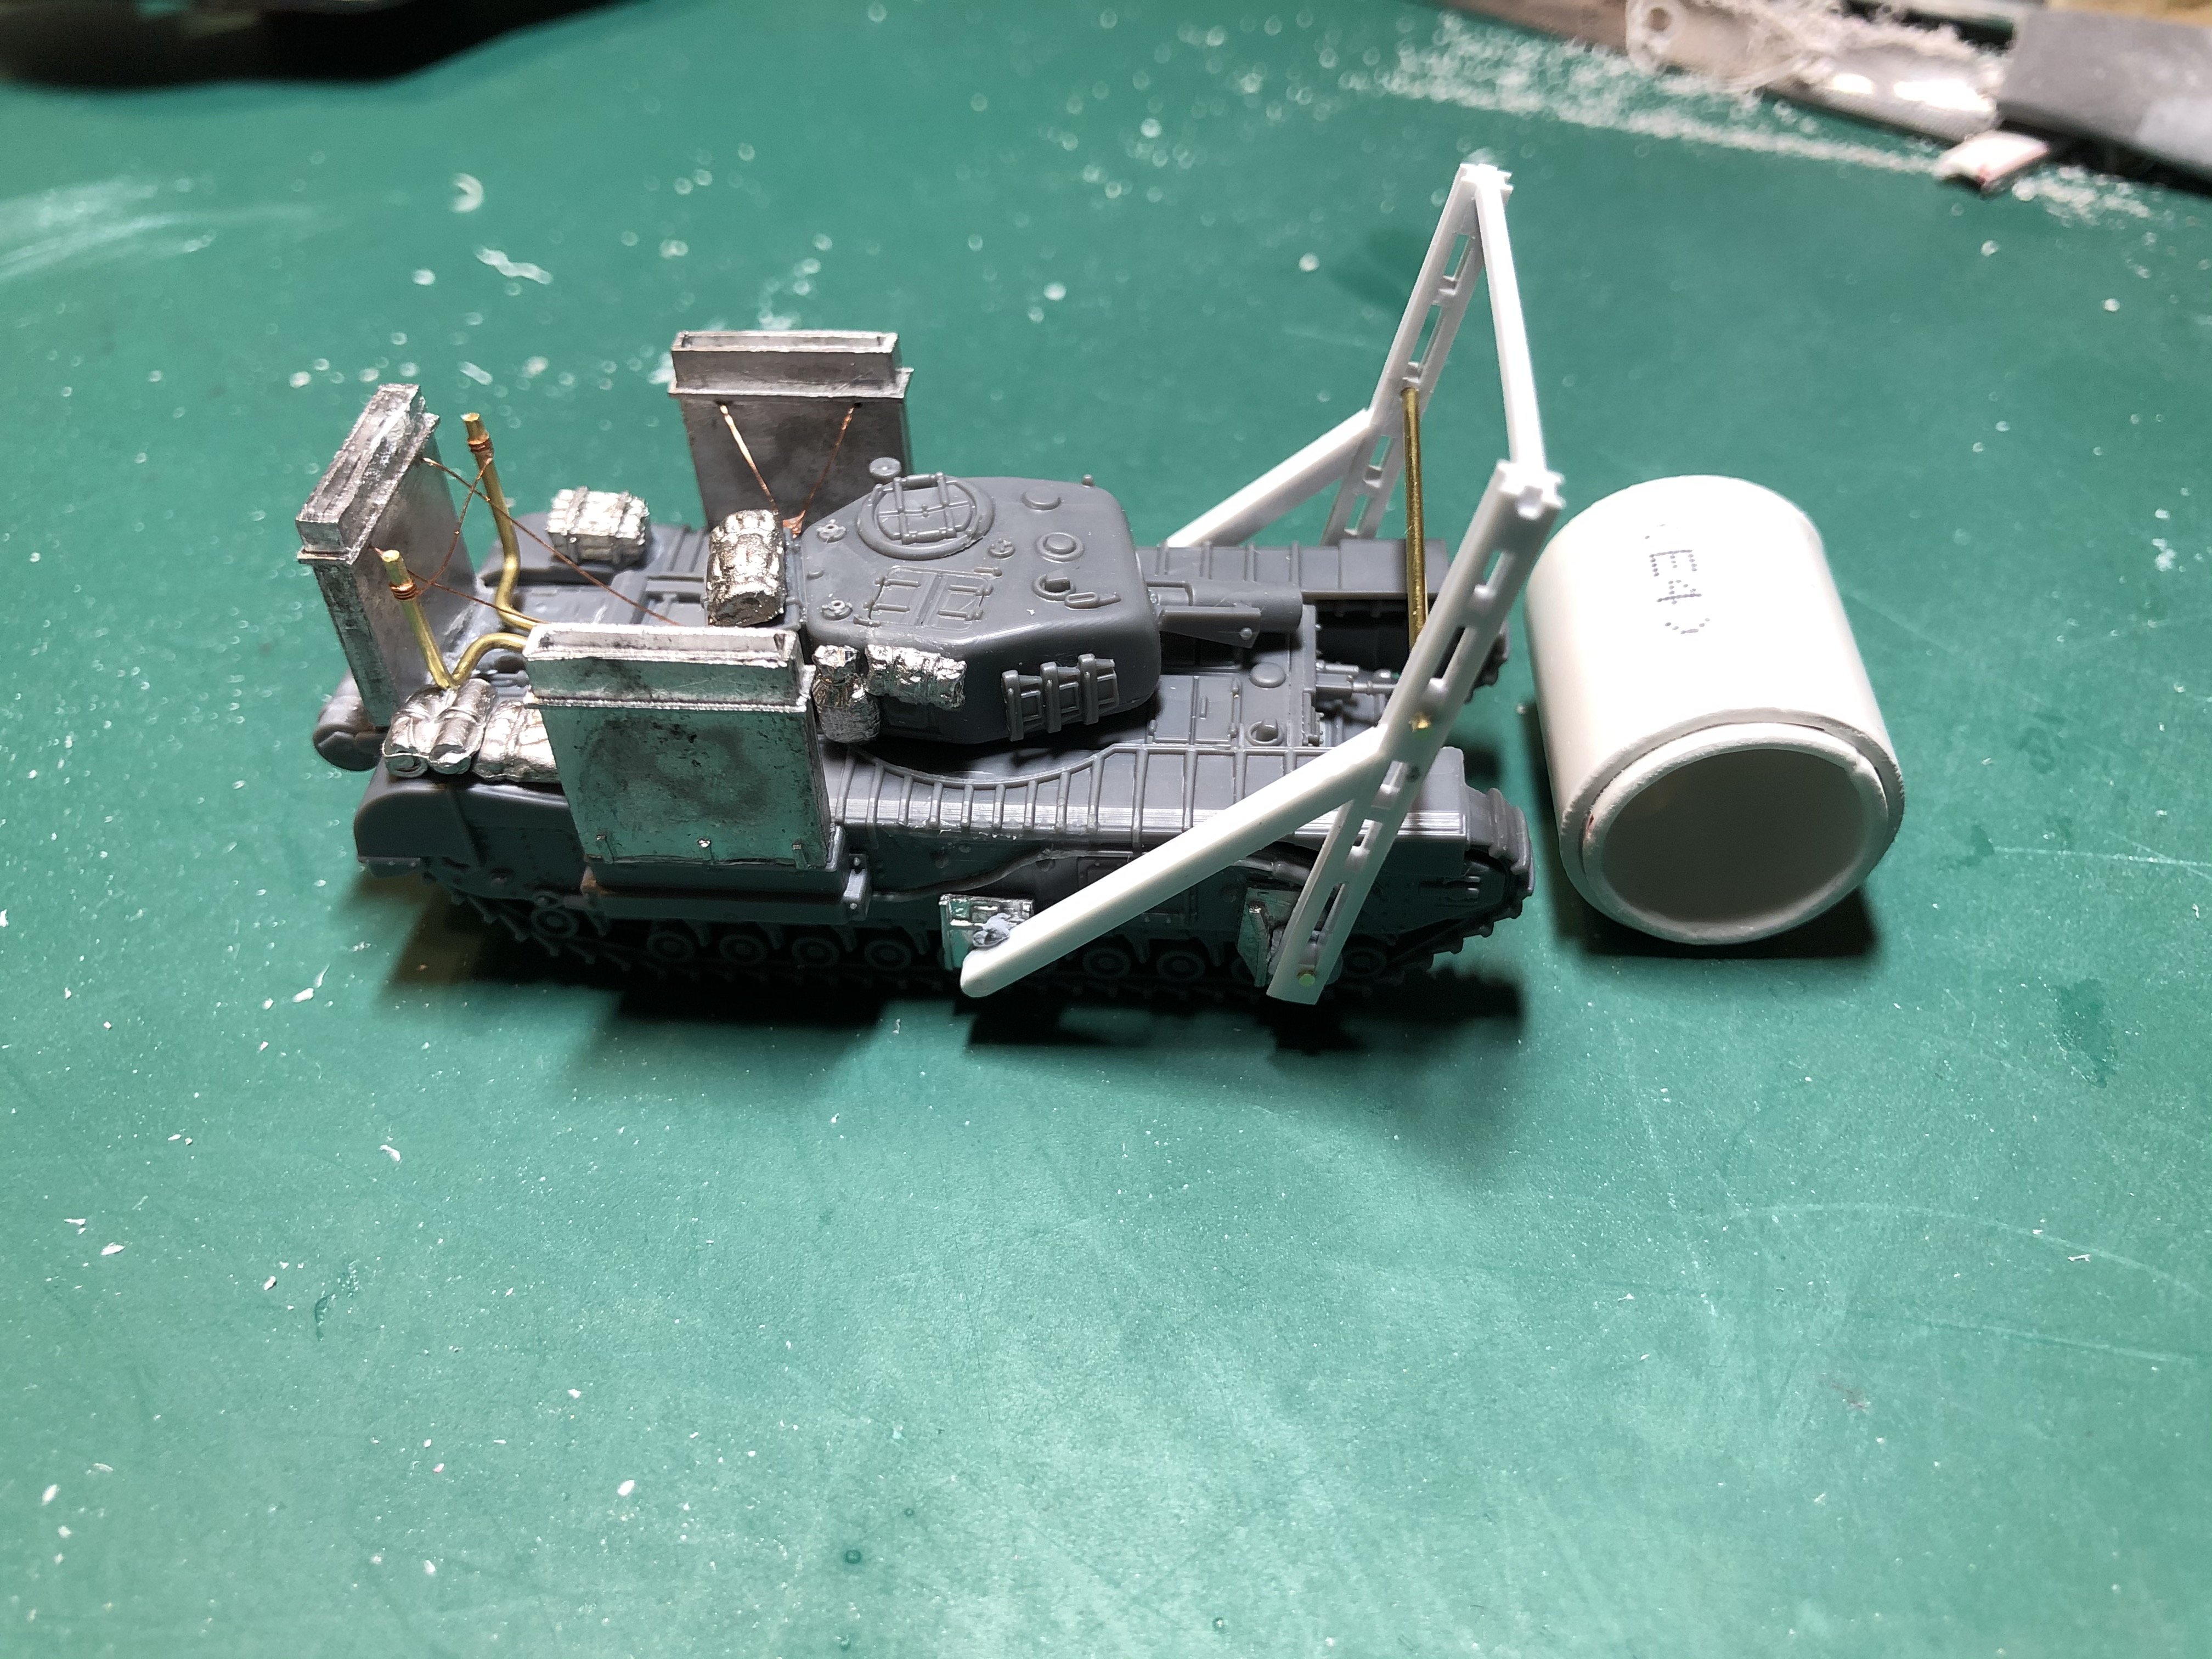
AVRE Bobbin Conversion Cont'd
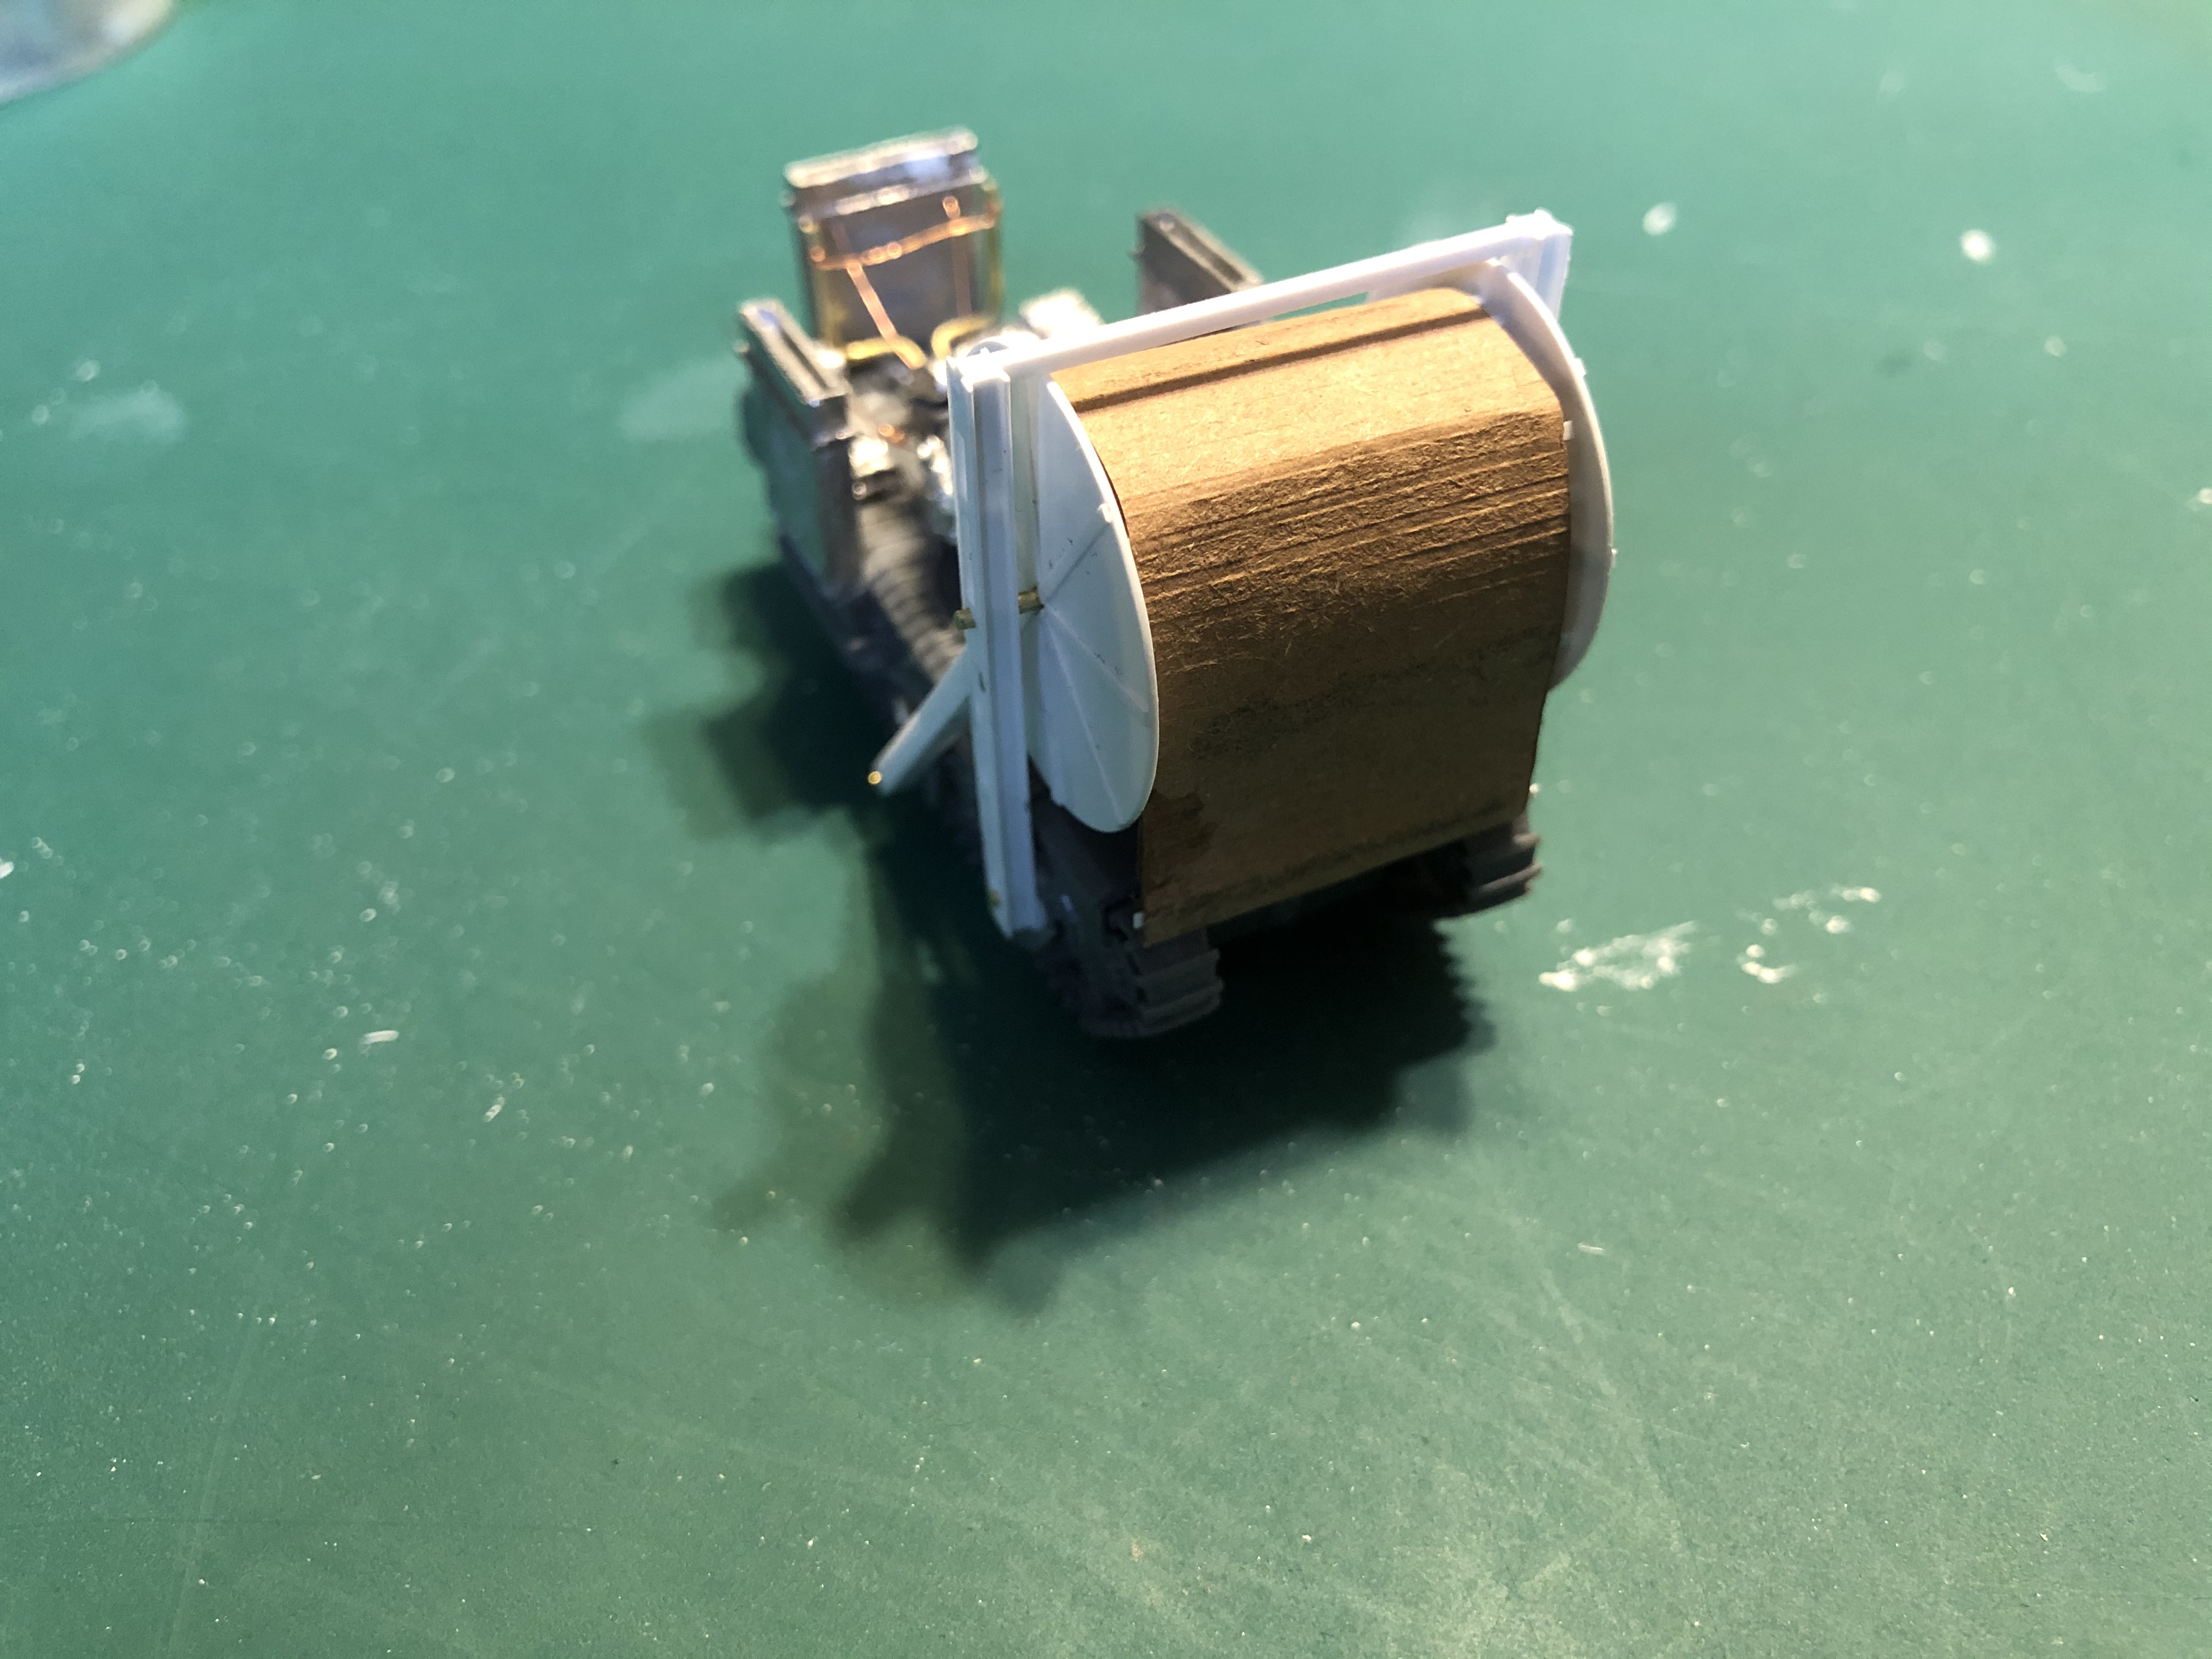
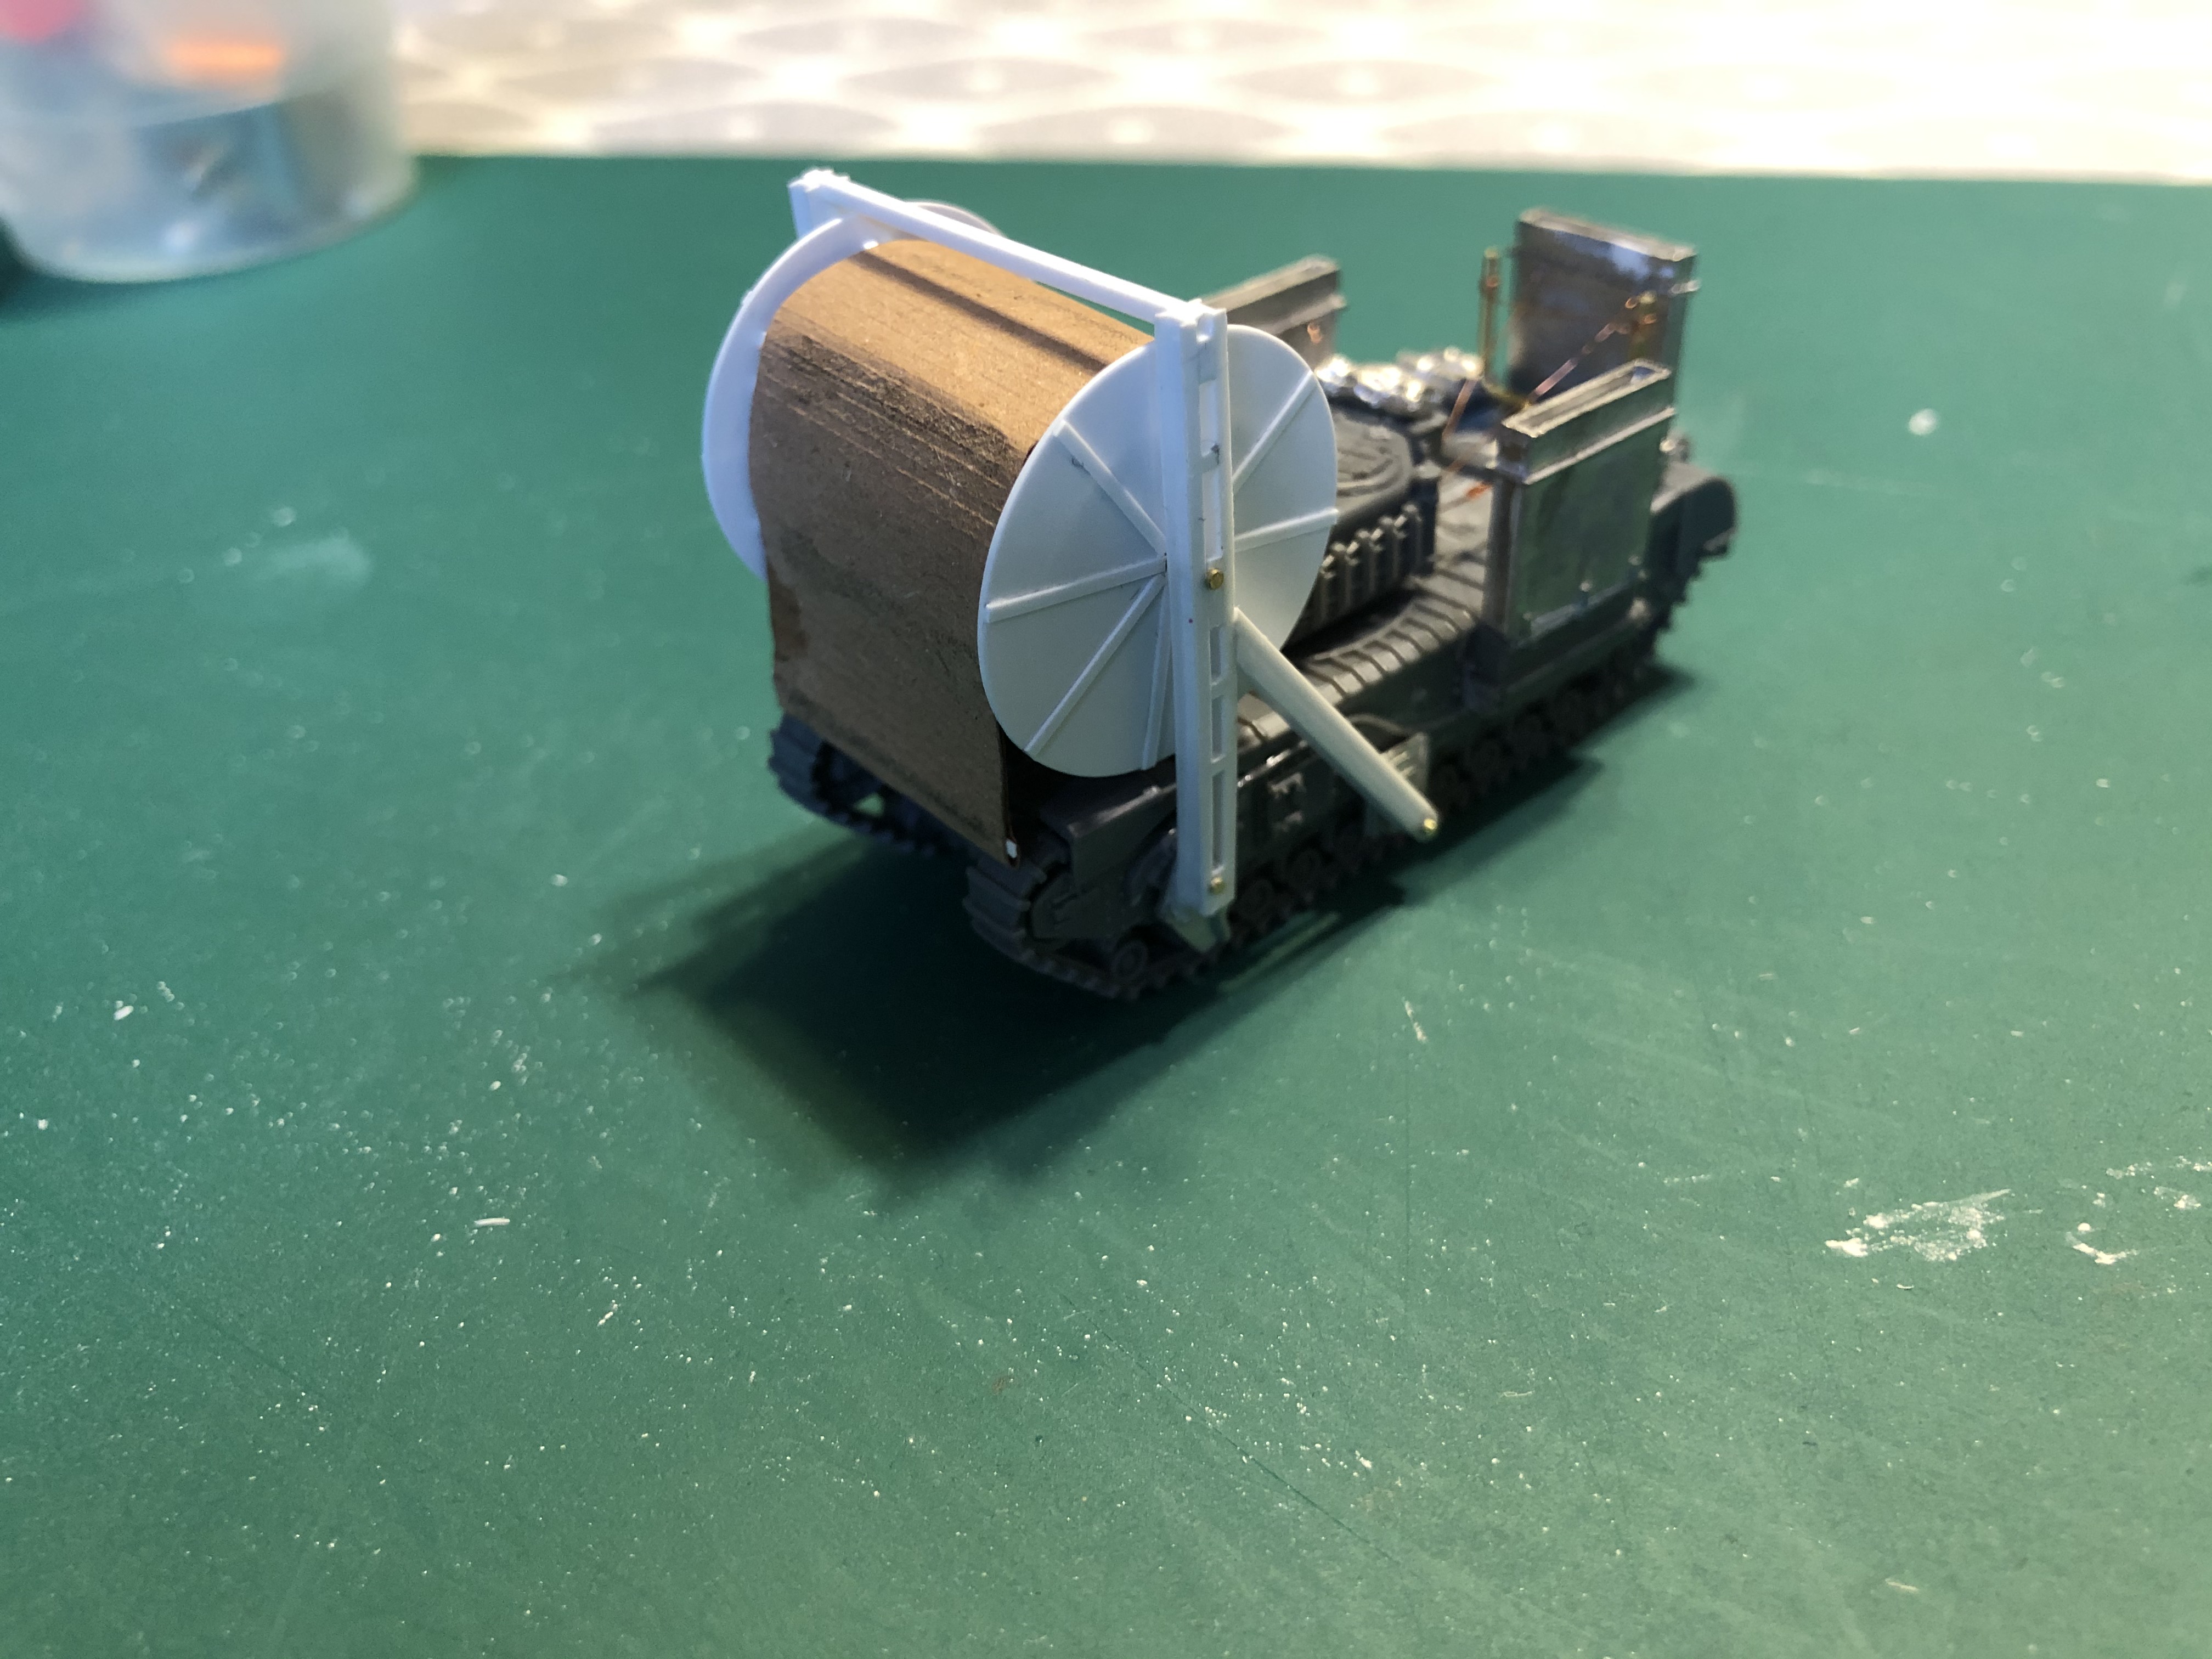
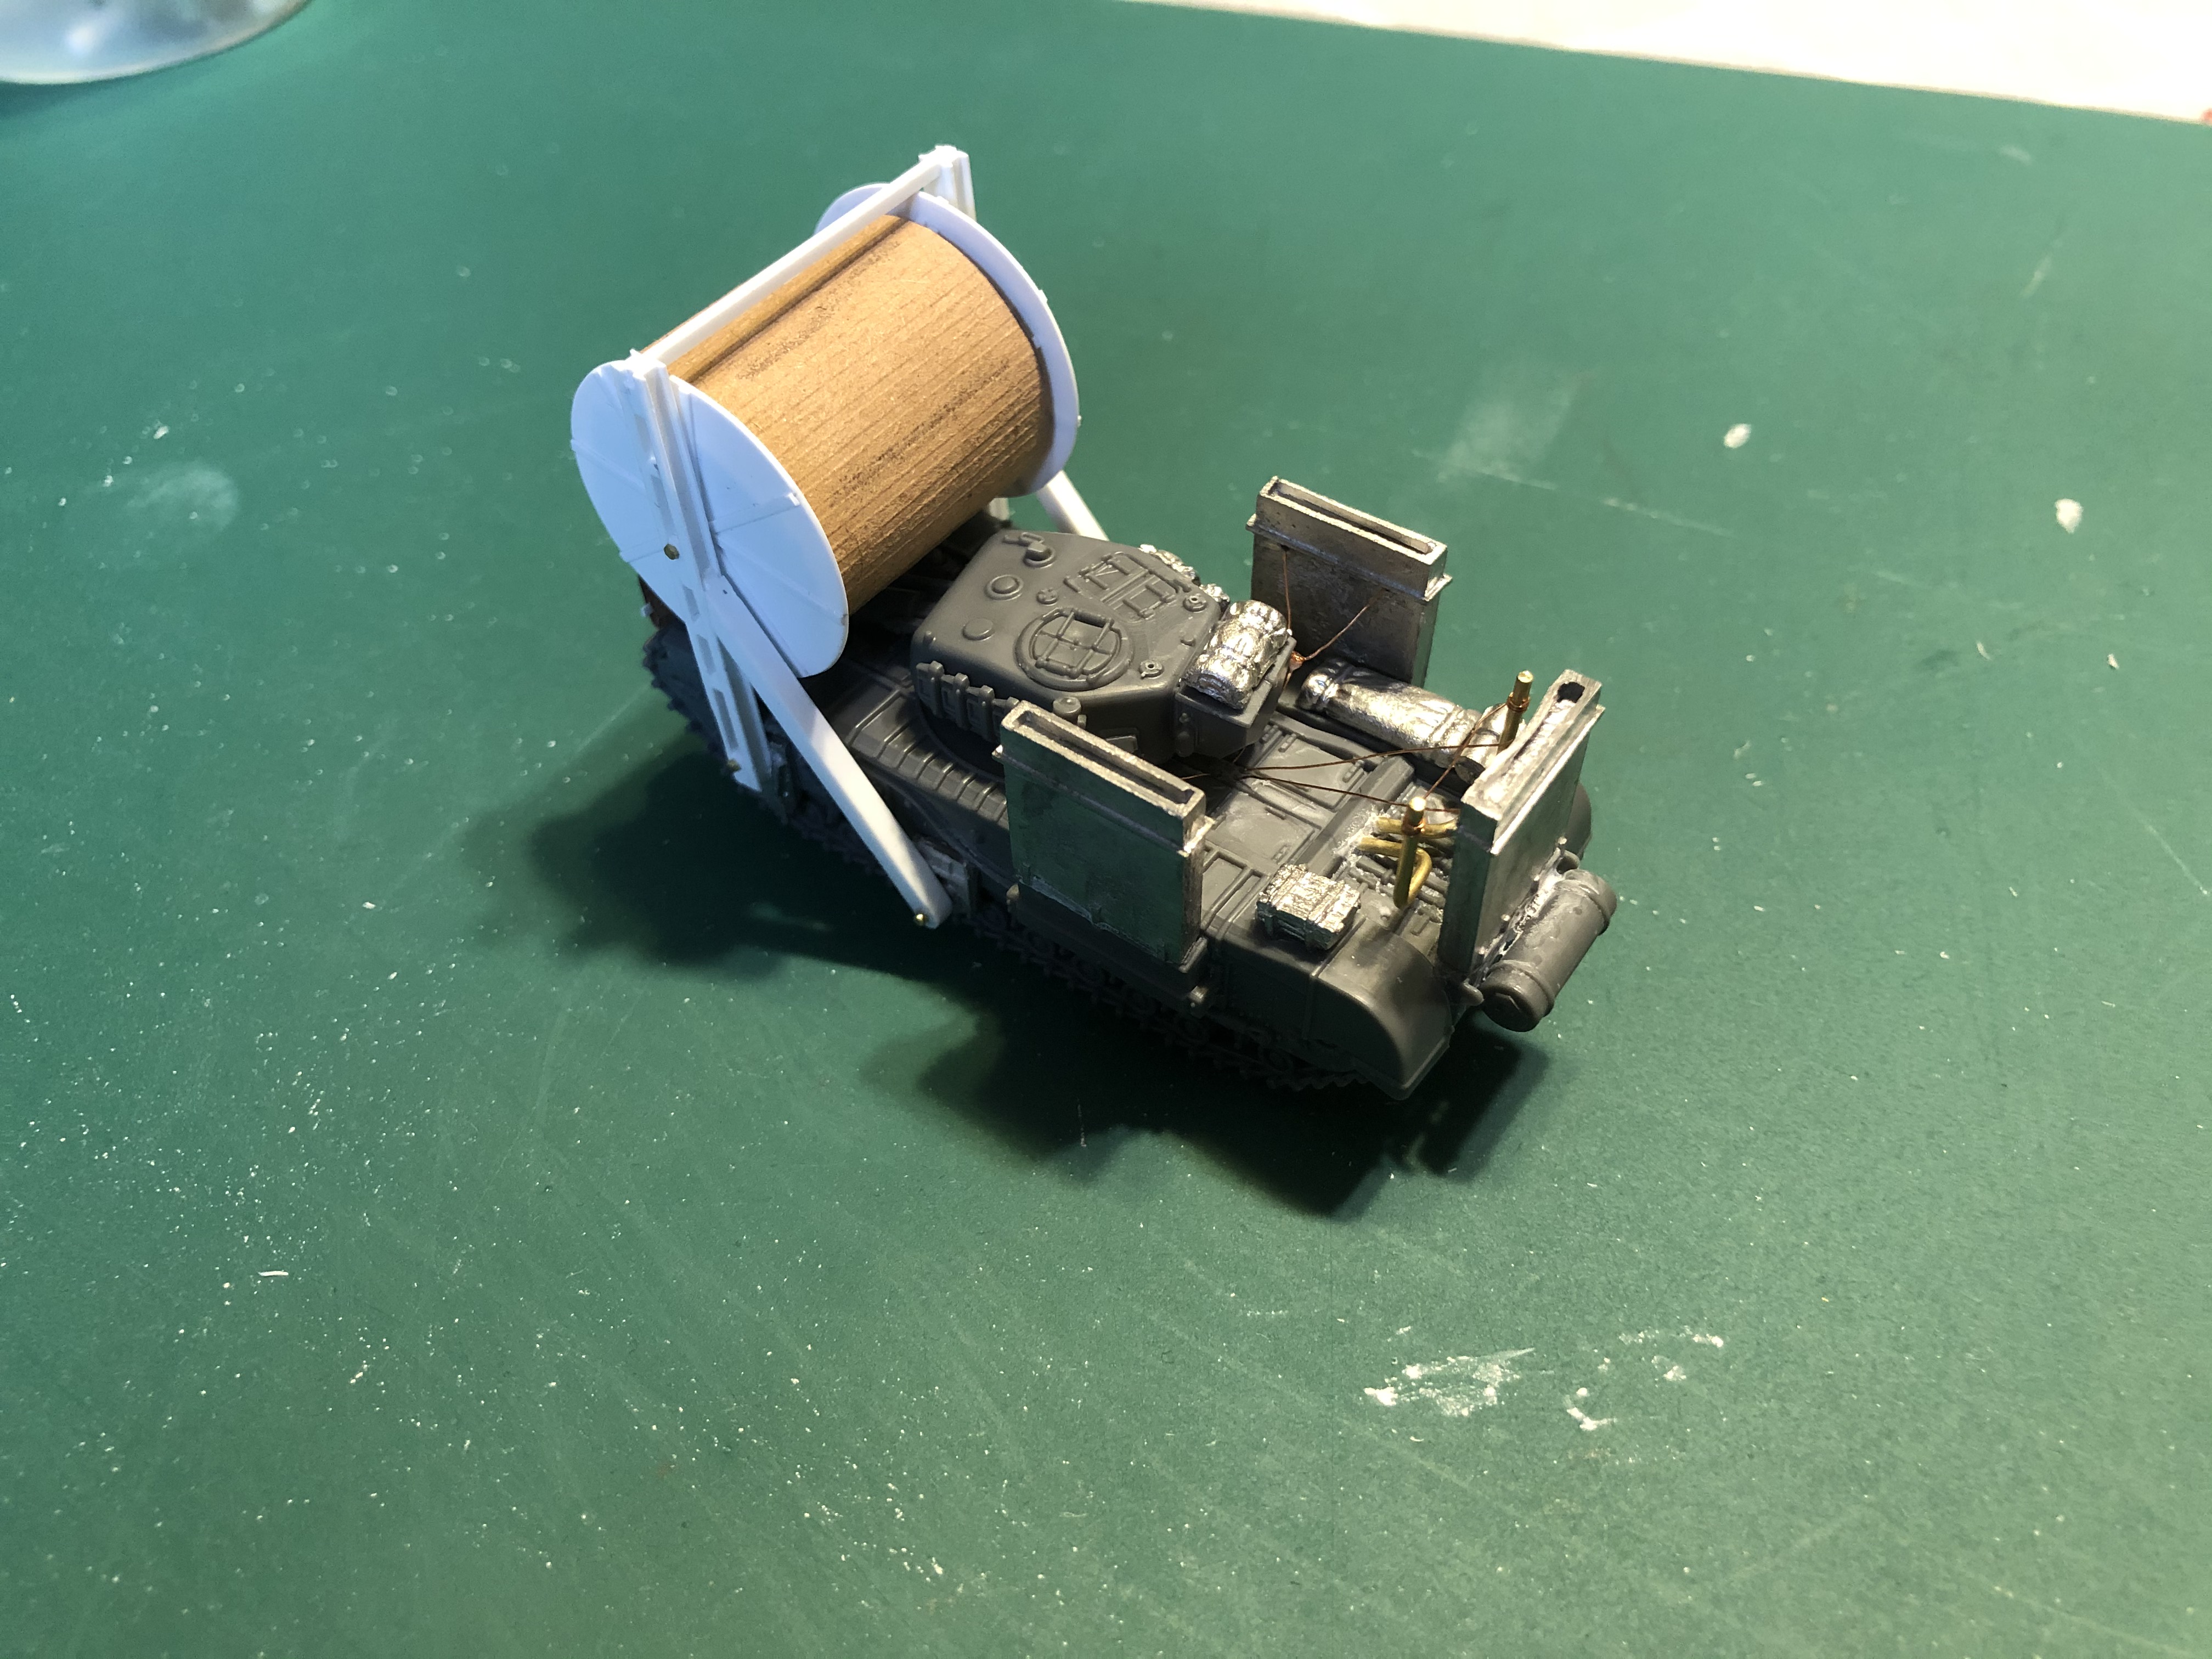
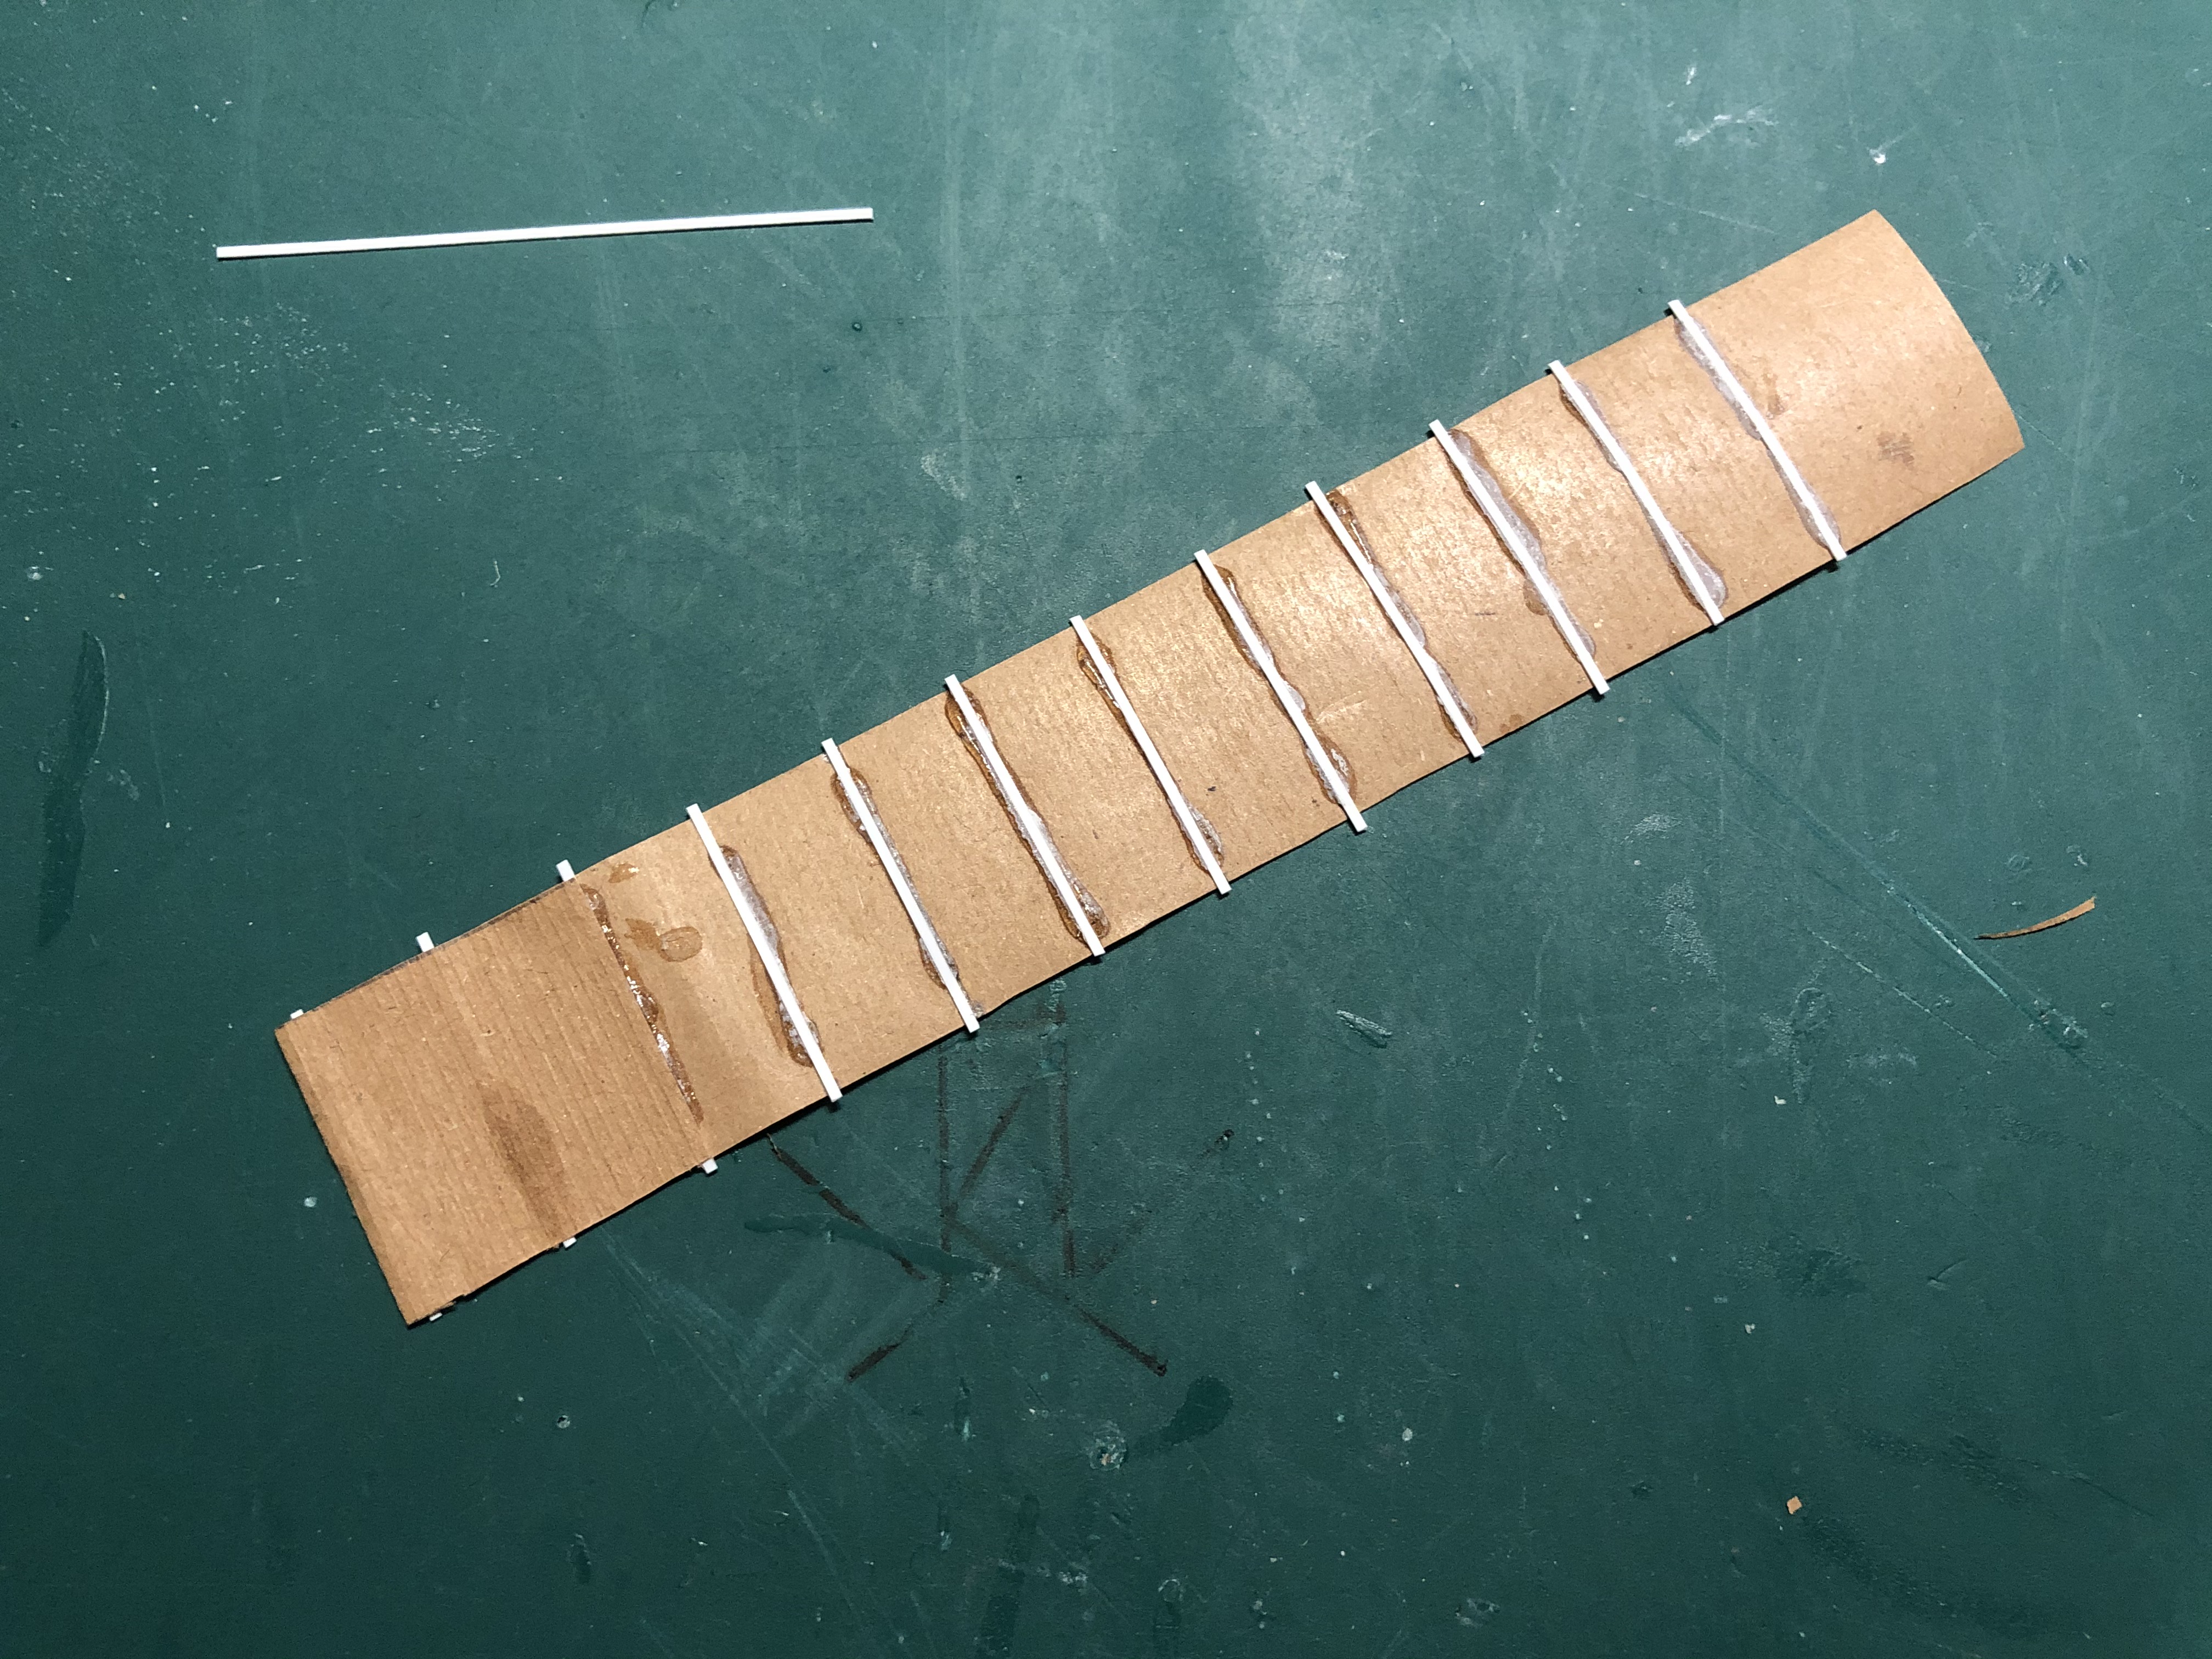
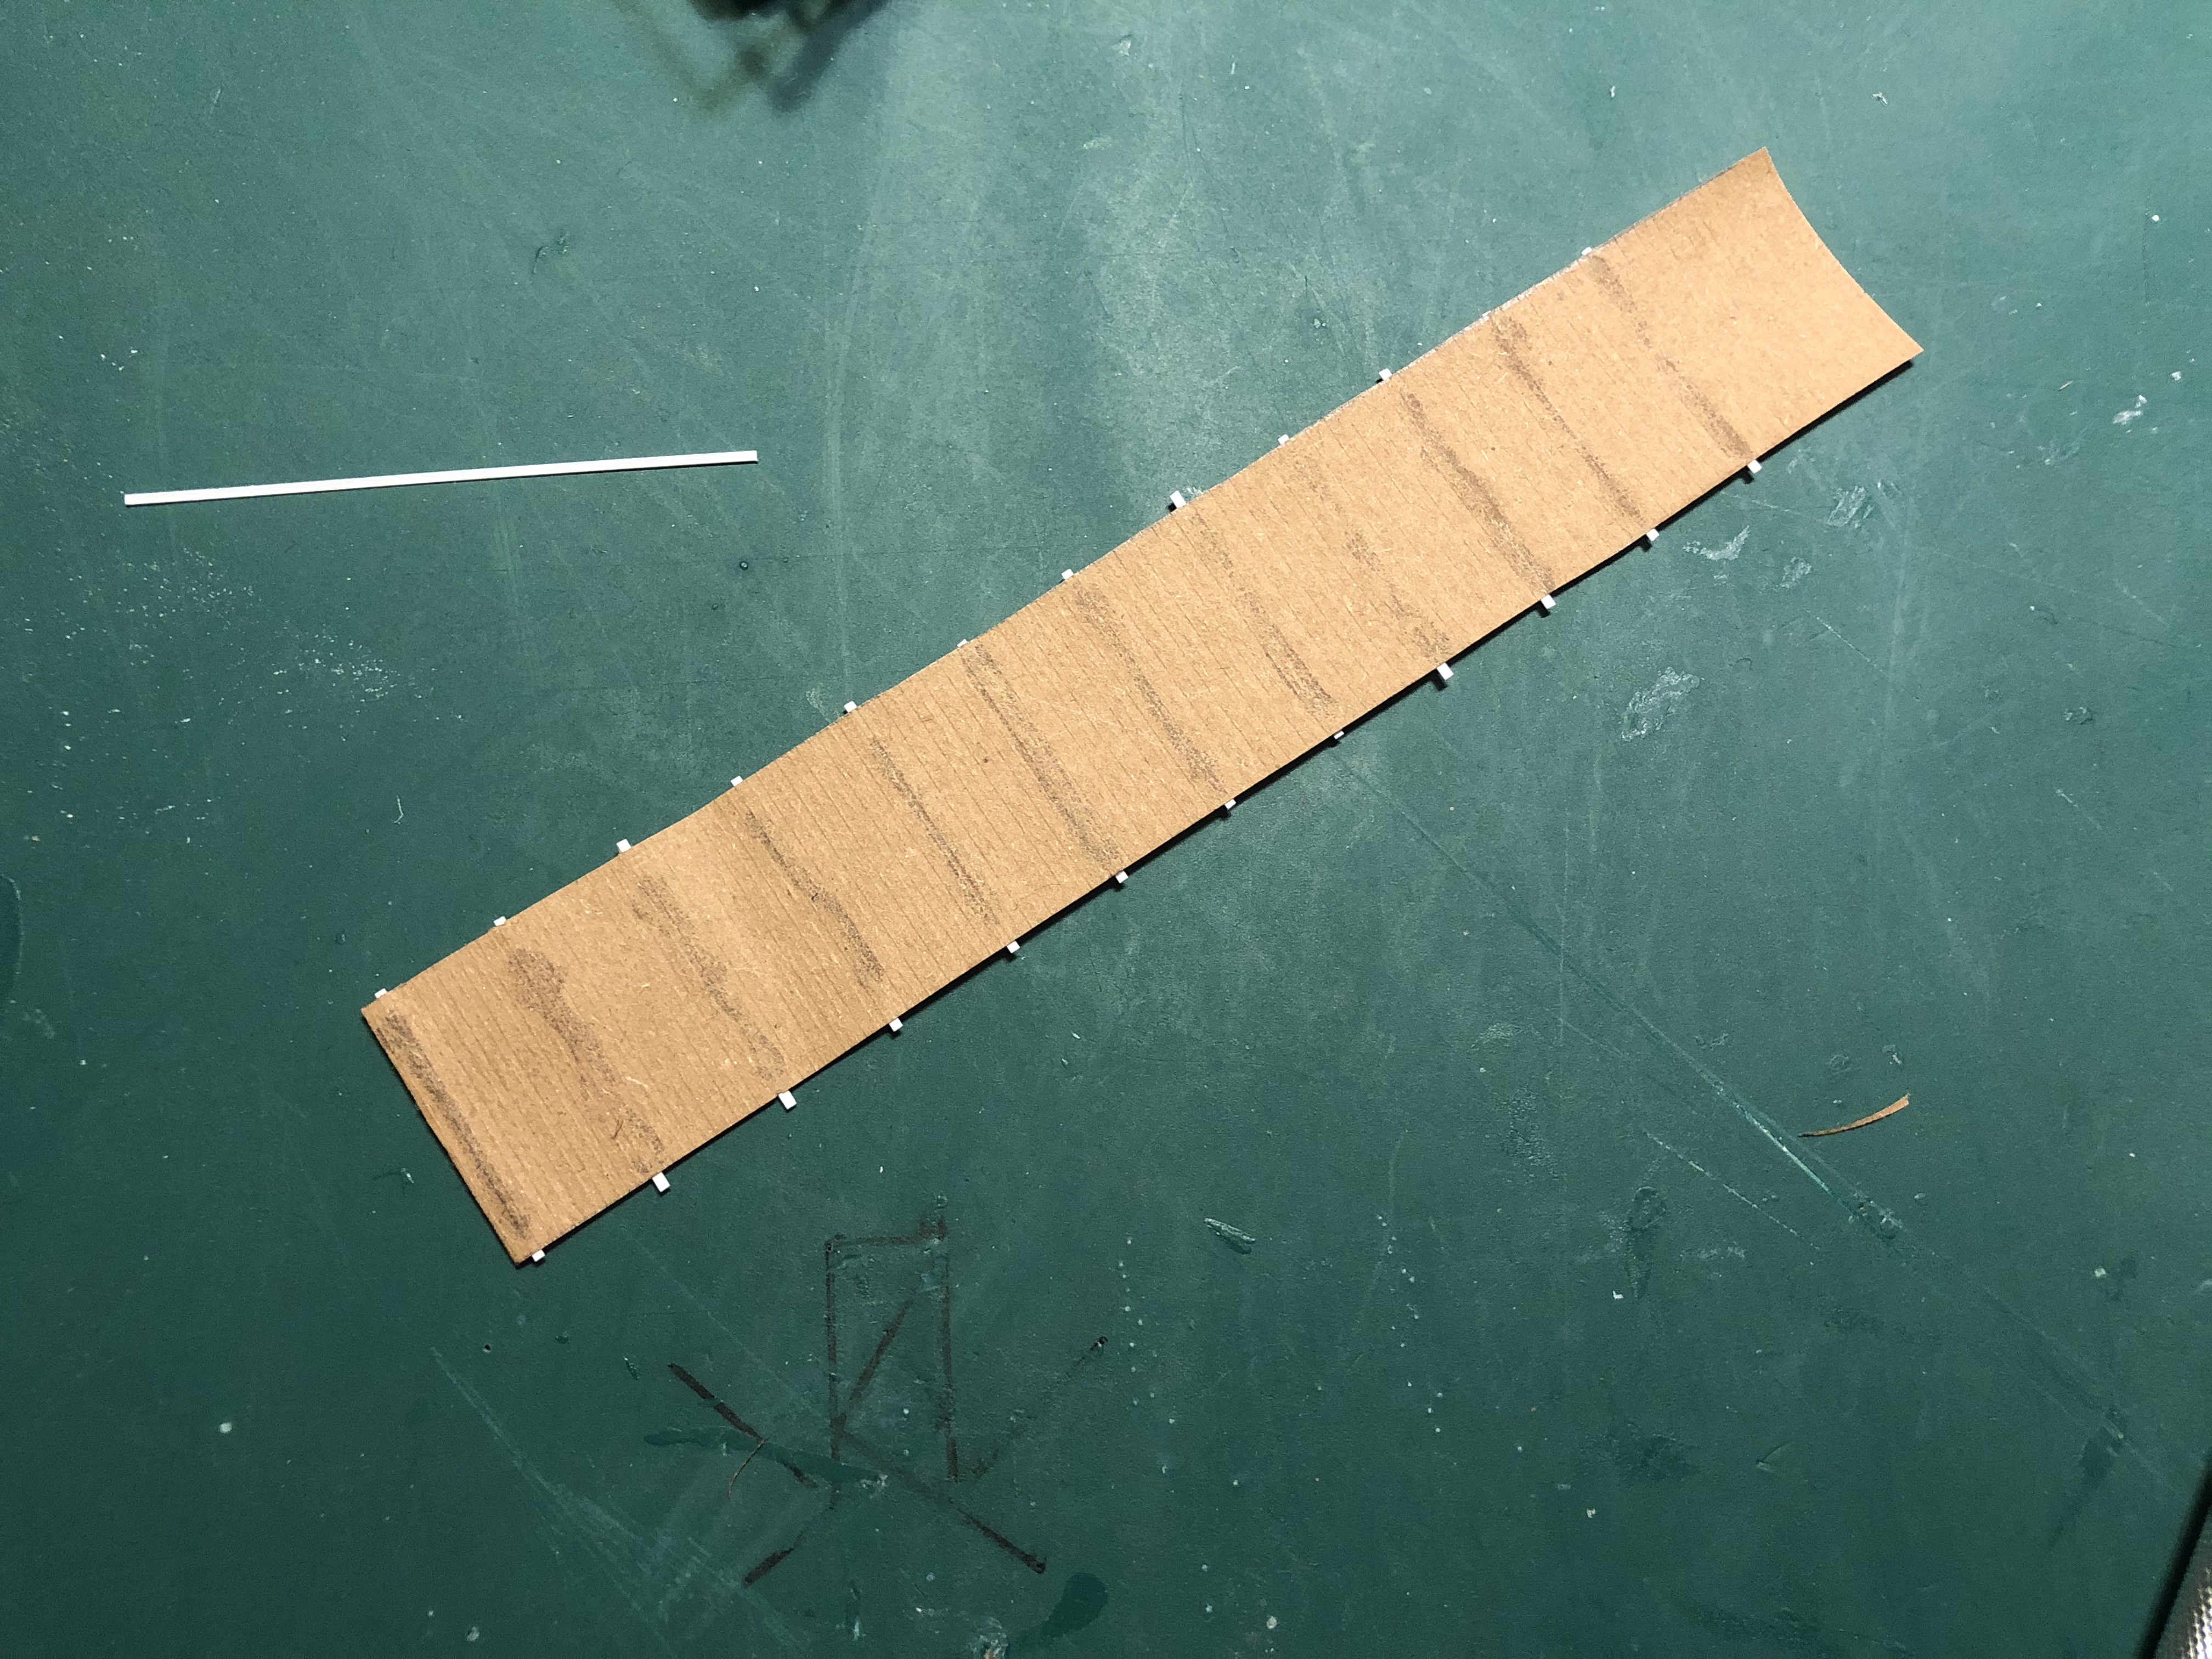
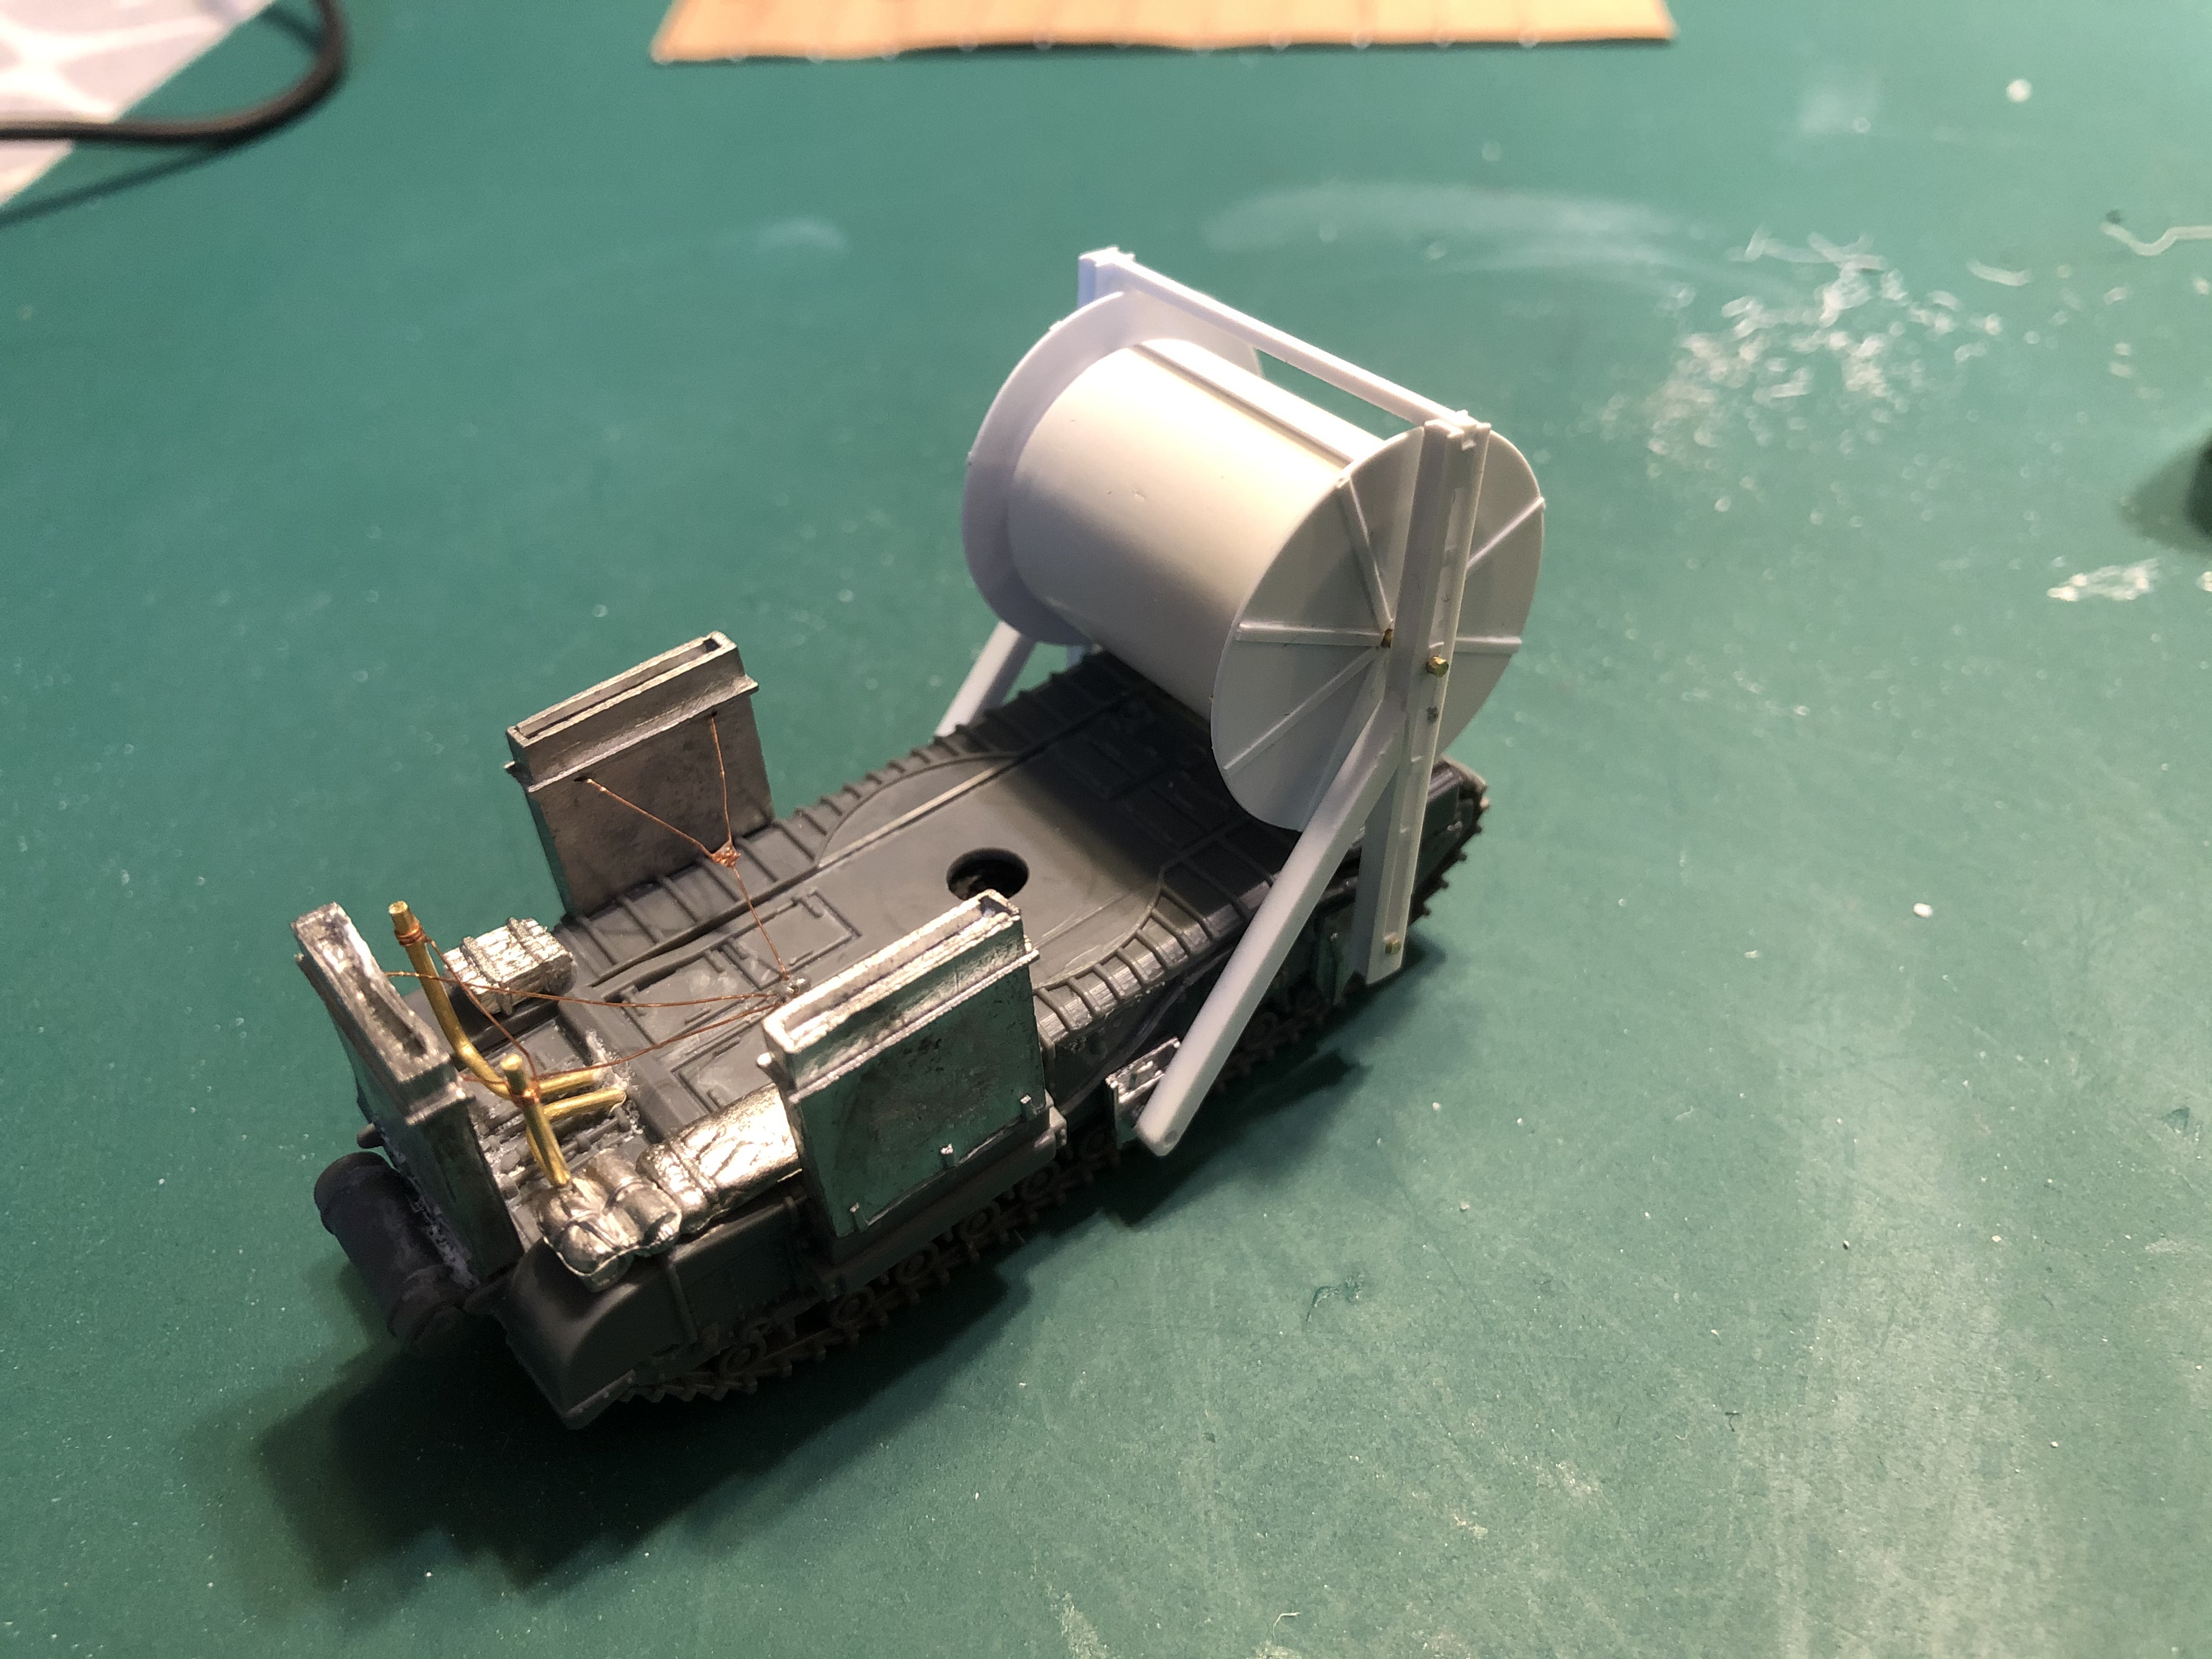
I then fed the completed carpet onto the Bobbin and left the front edge hanging down. I didn’t glue it in place yet, as I will paint the tank first, weather the carpet, before fixing it in place.

AVRE Bobbin Conversion Cont'd
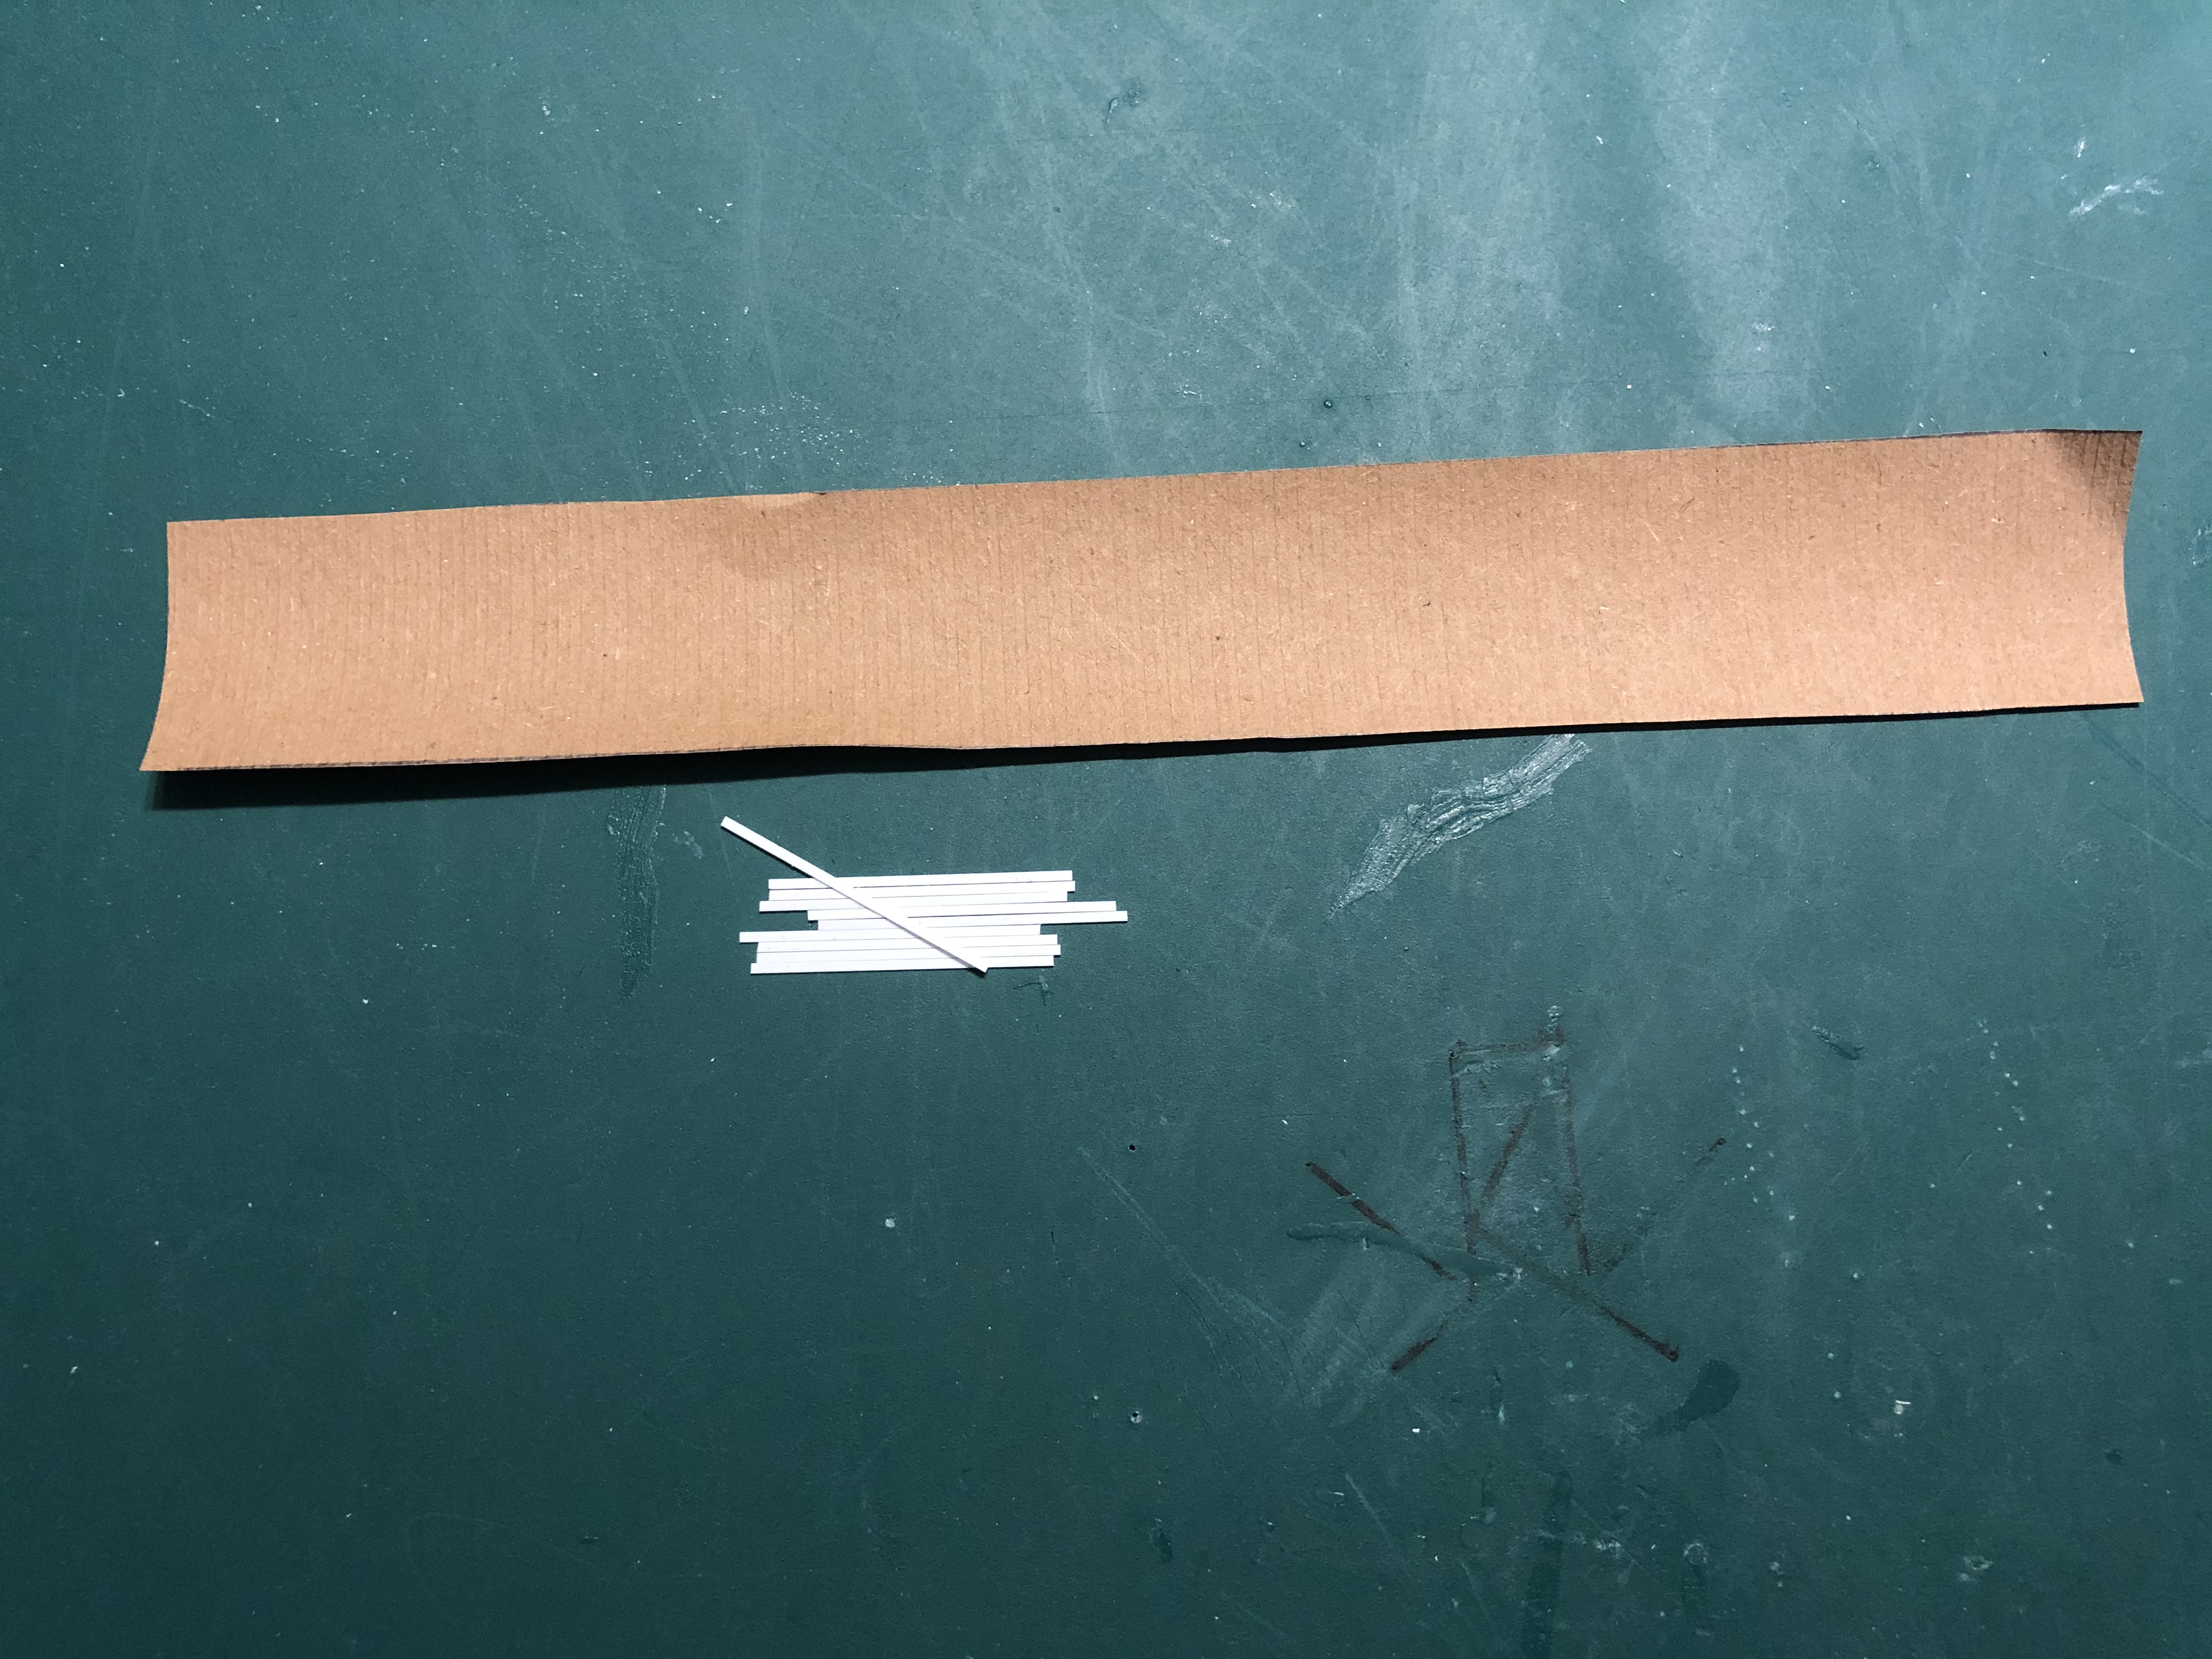
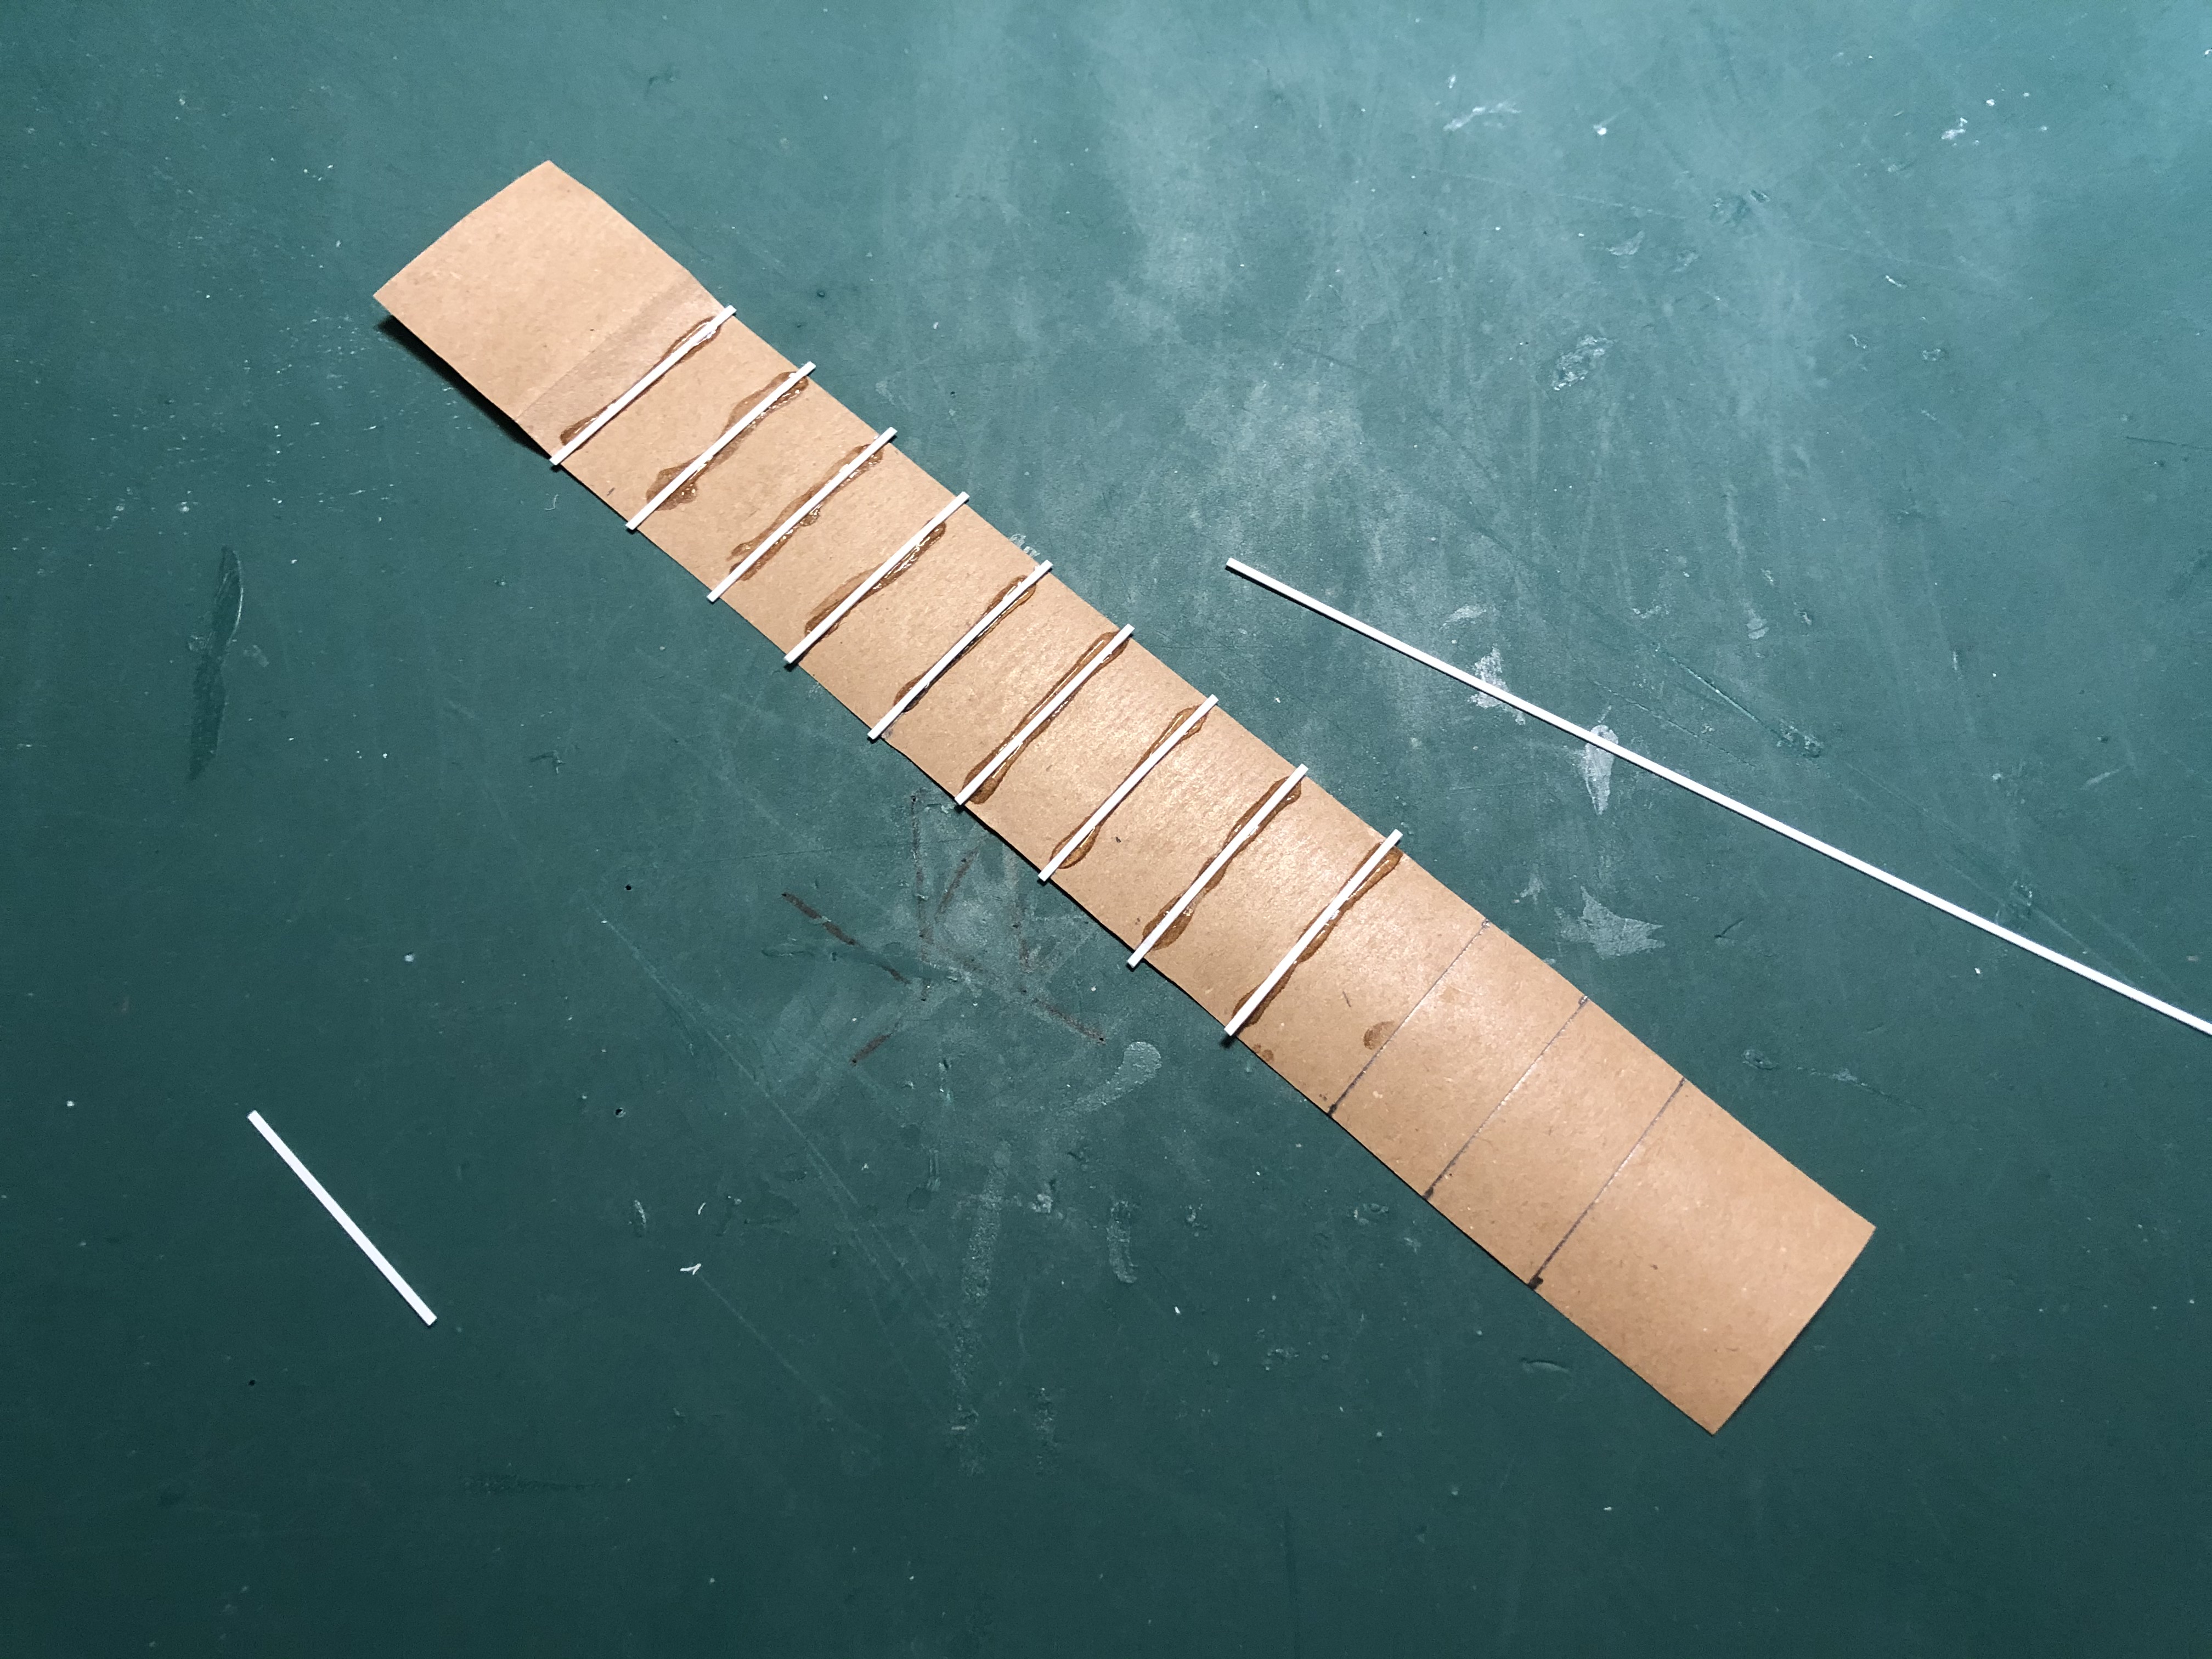
To make the carpet I used some 1mm x 0,25mm styrene bar and wrapping paper. I cut the paper to size and then marked it up at 10mm intervals (leaving the first 30mm clear). I then glued 12 bars in place. Once dry, I folded the 30mm section over on itself so that this would become the free end of the roll.
AVRE Bobbin Conversion Cont'd
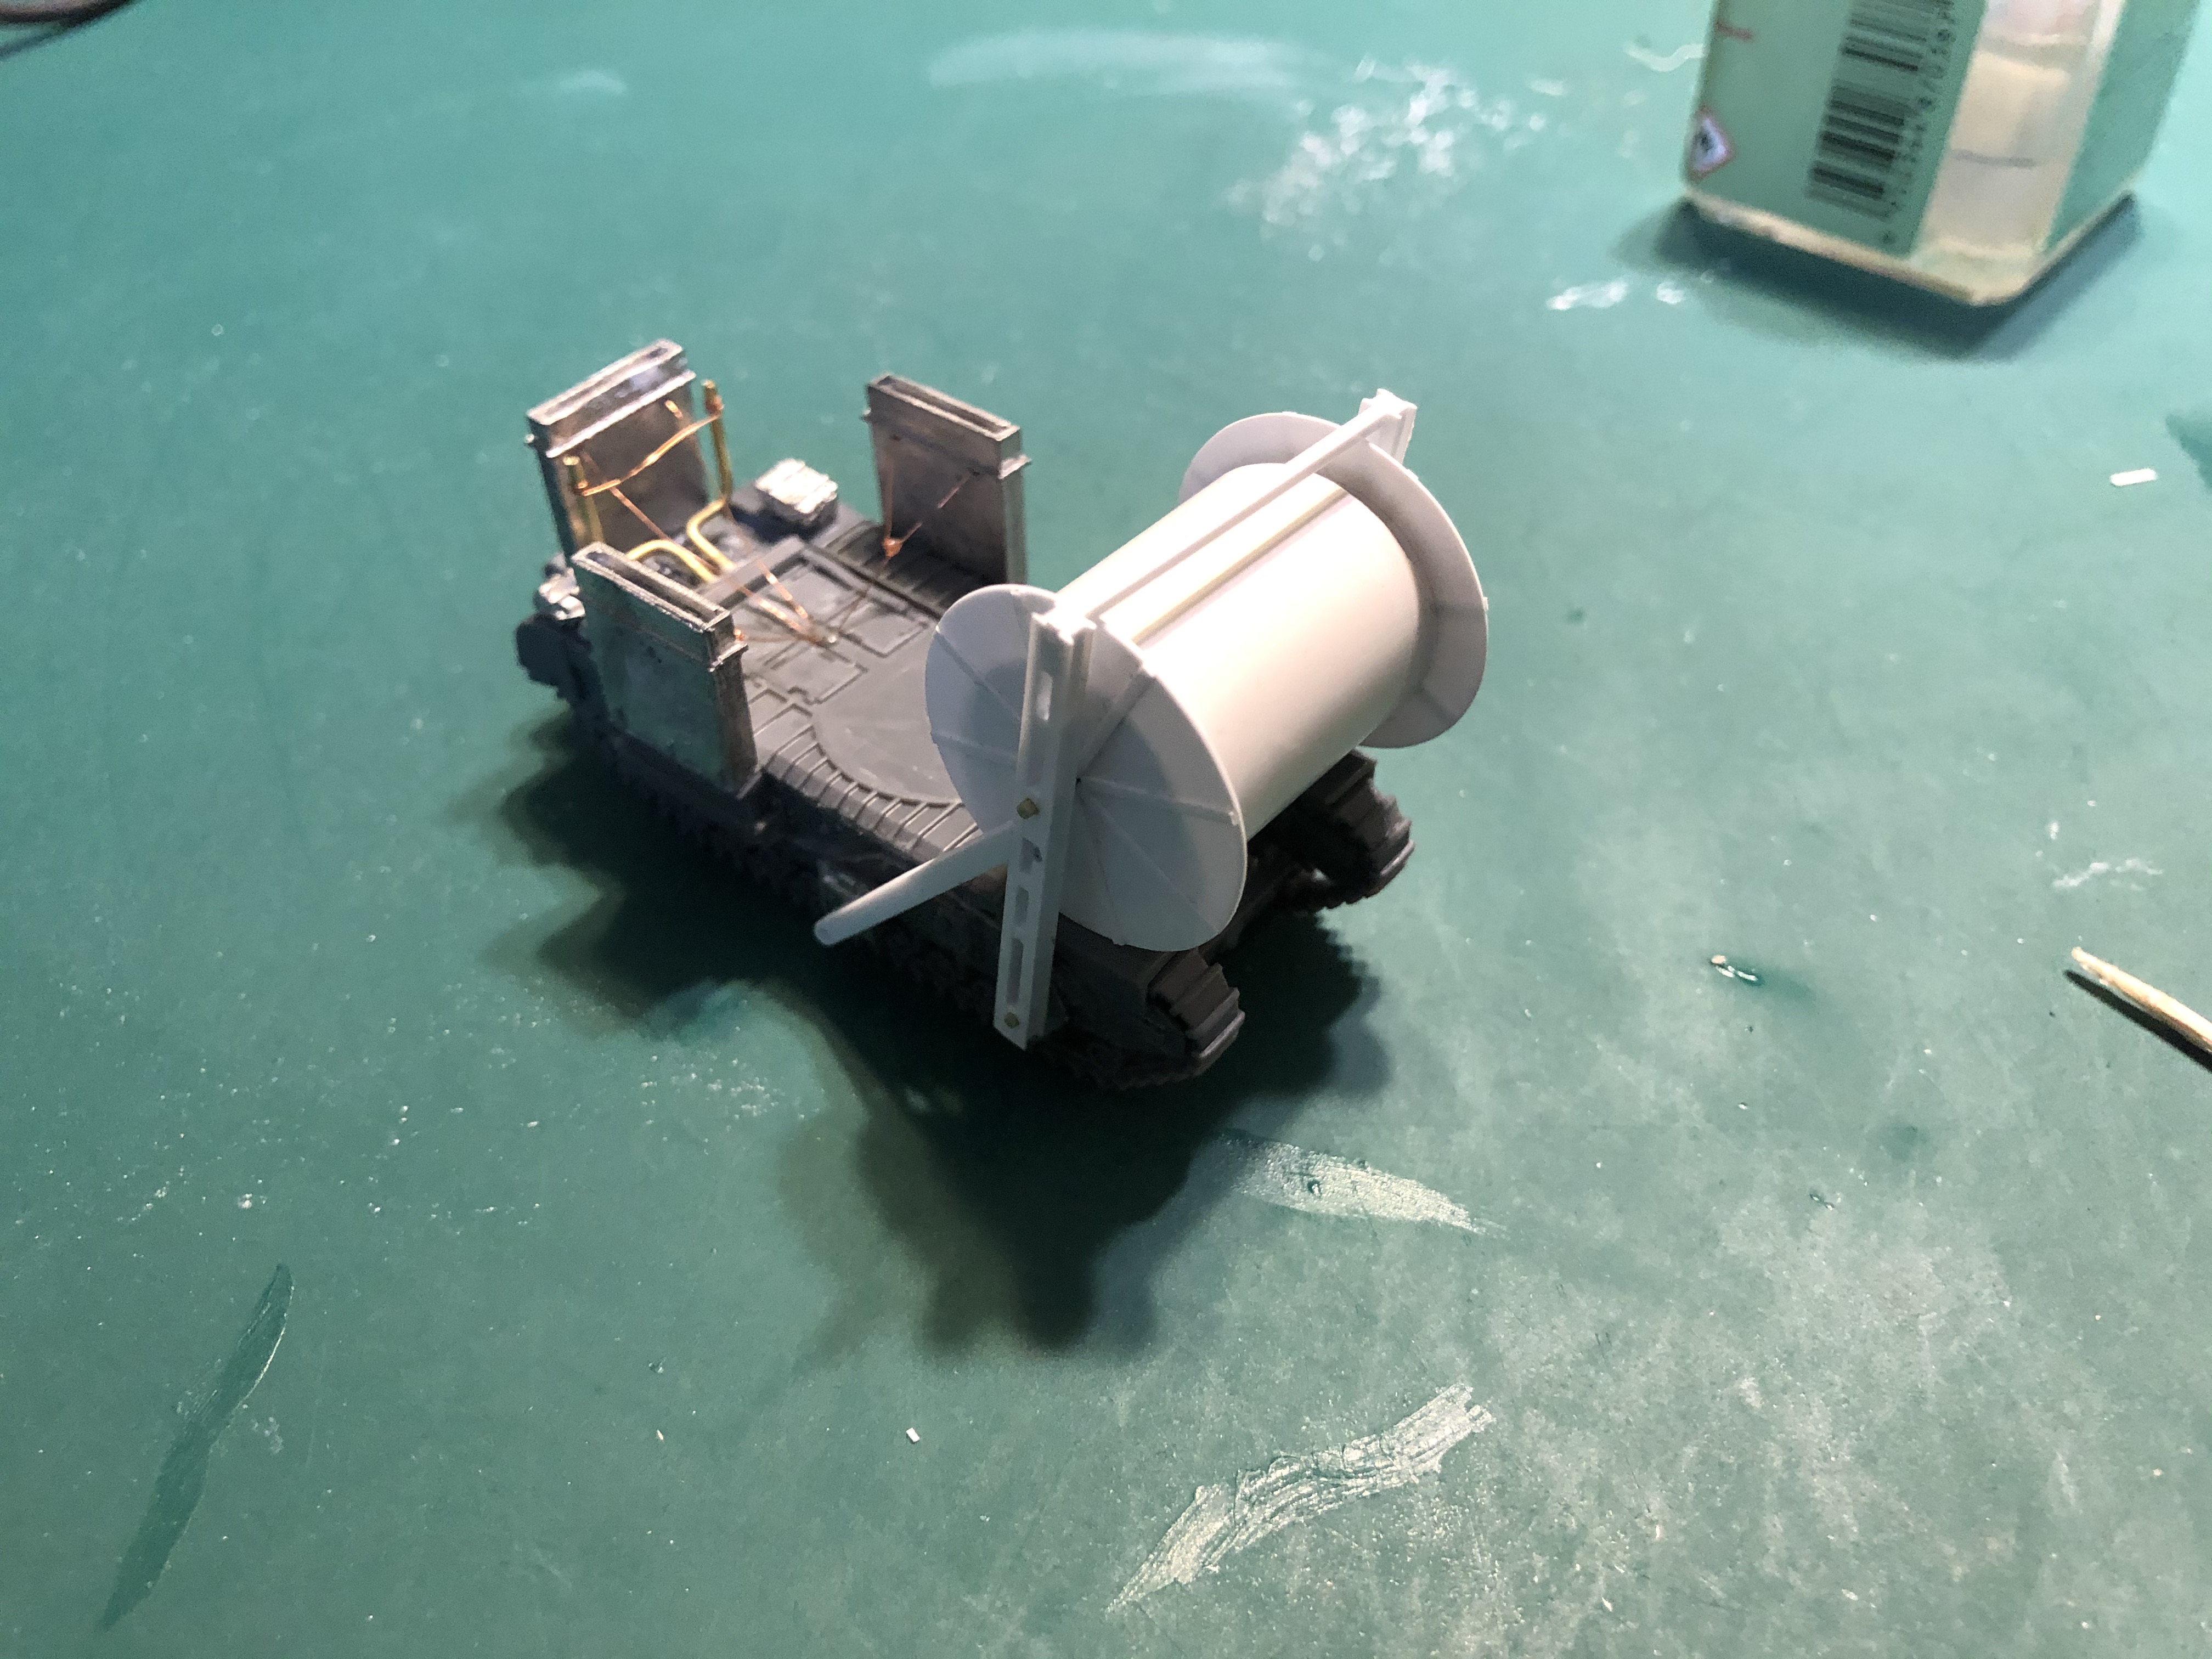
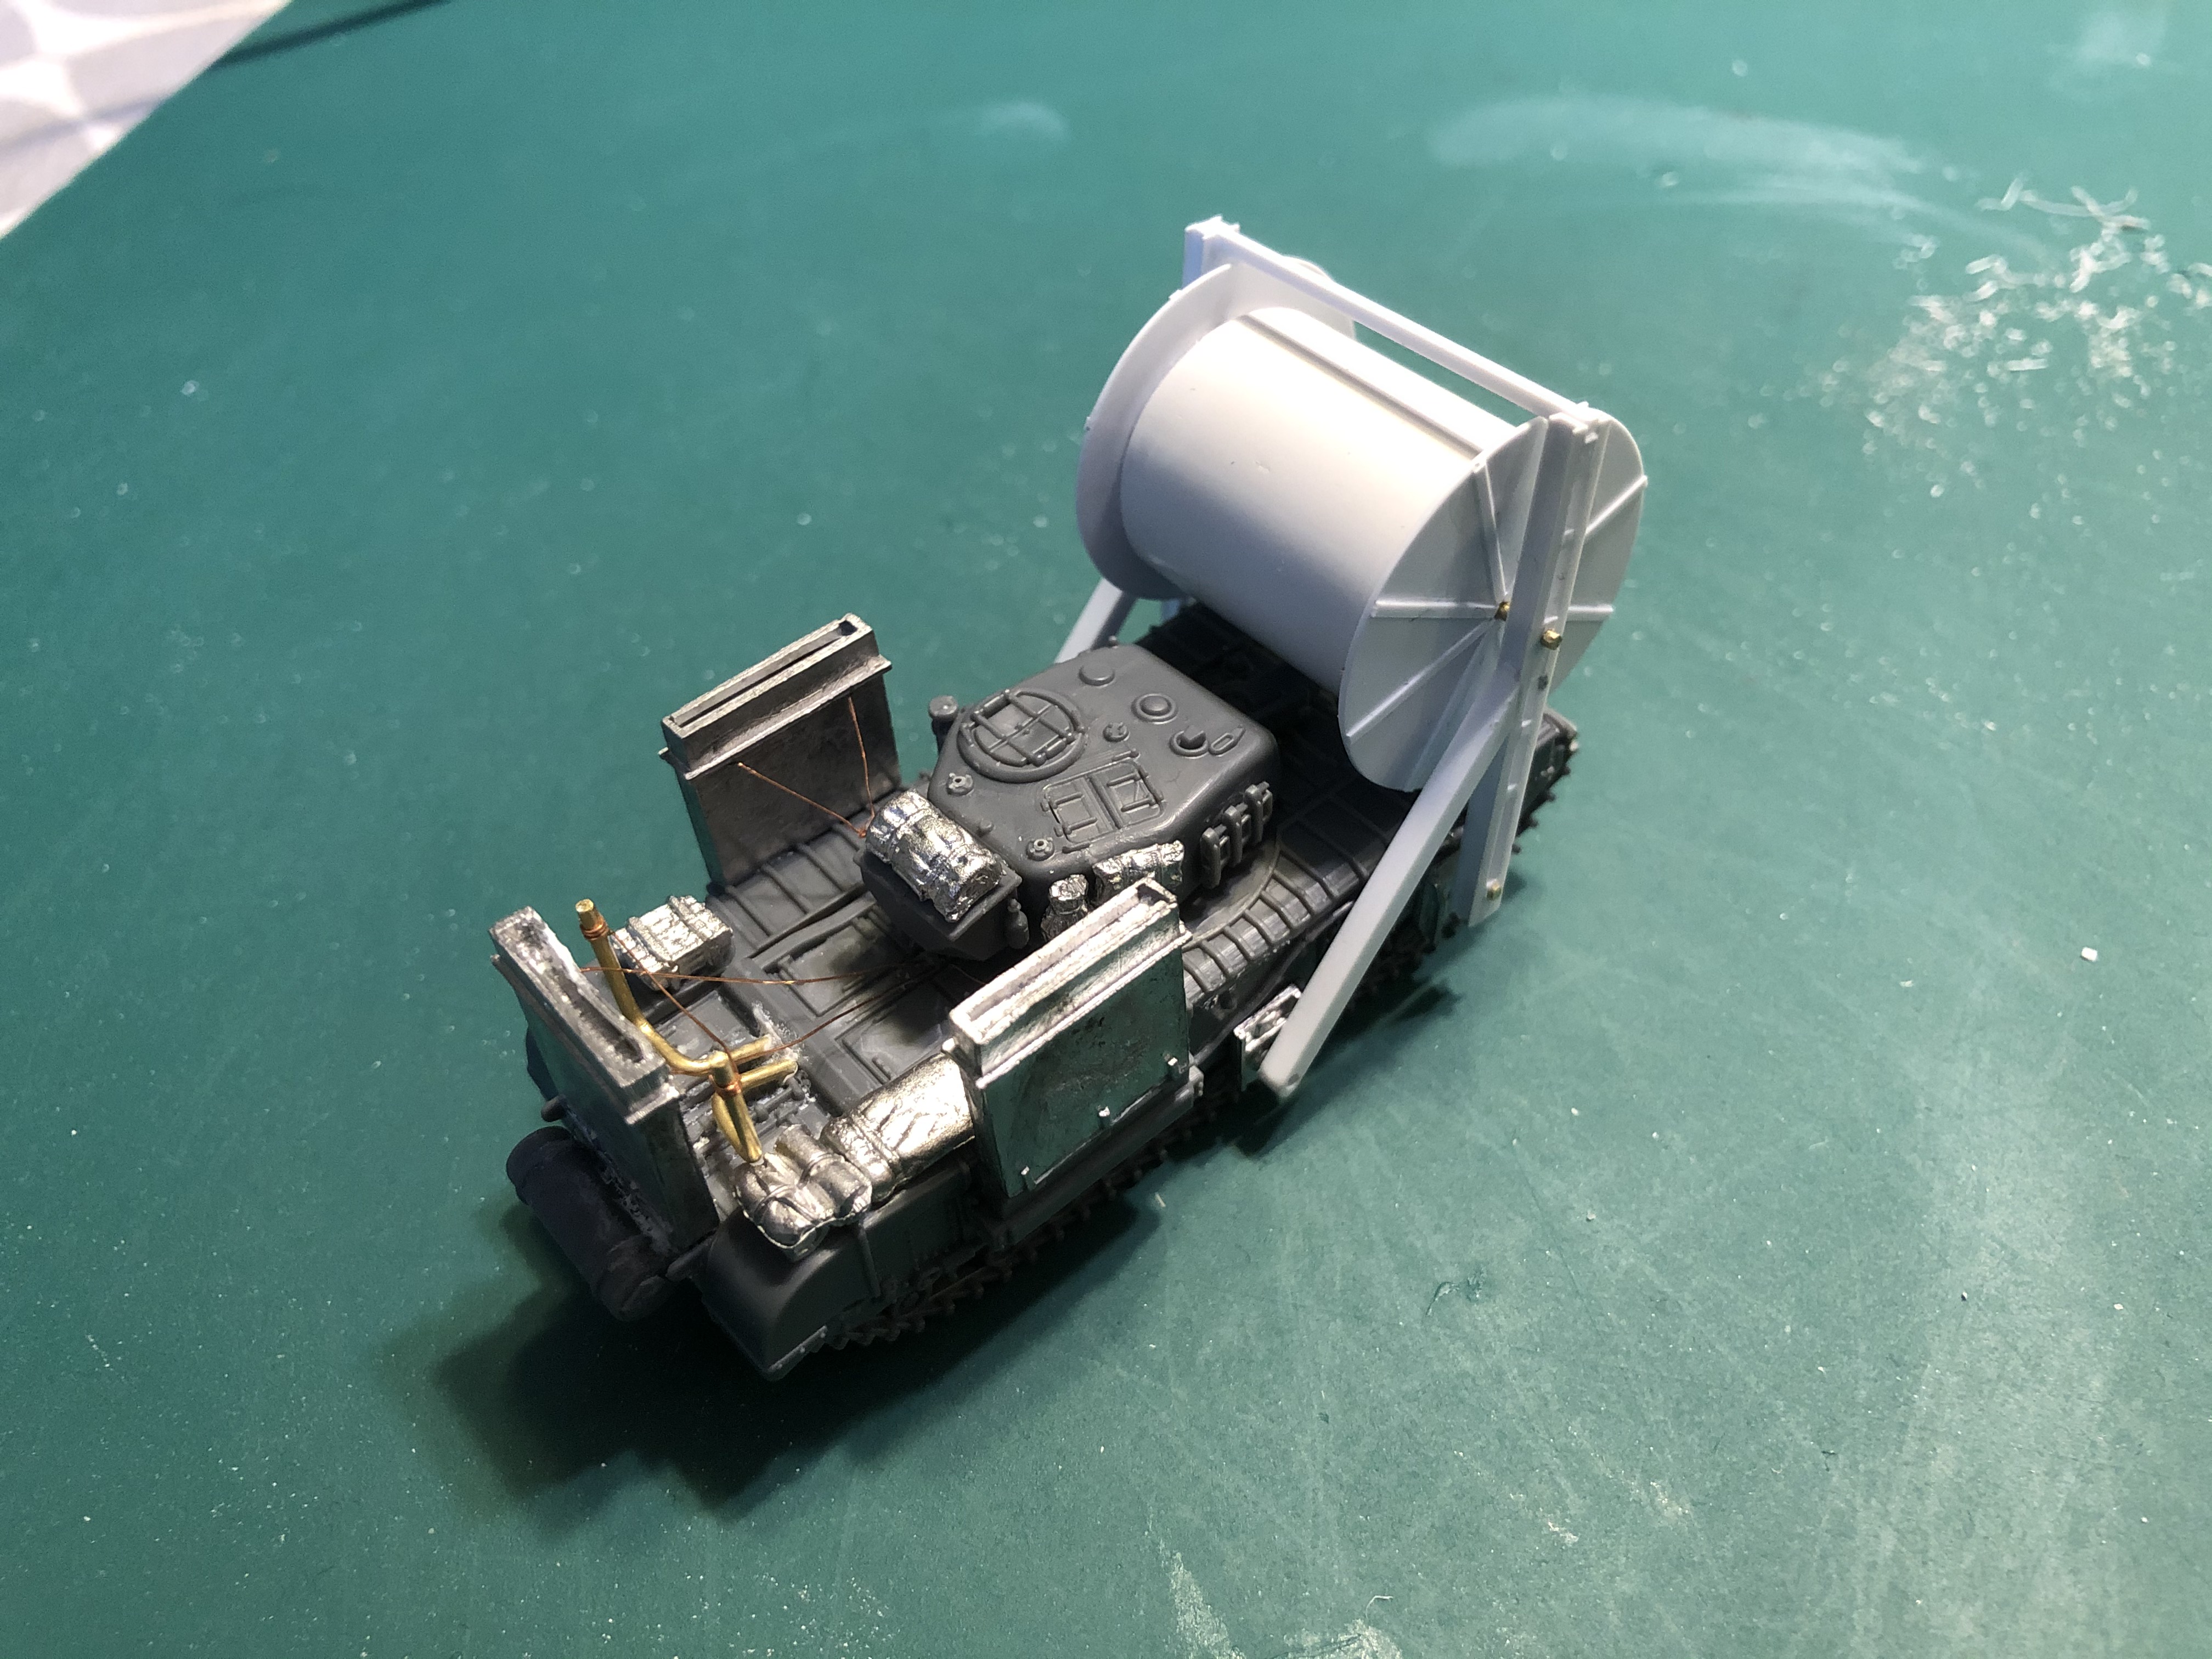
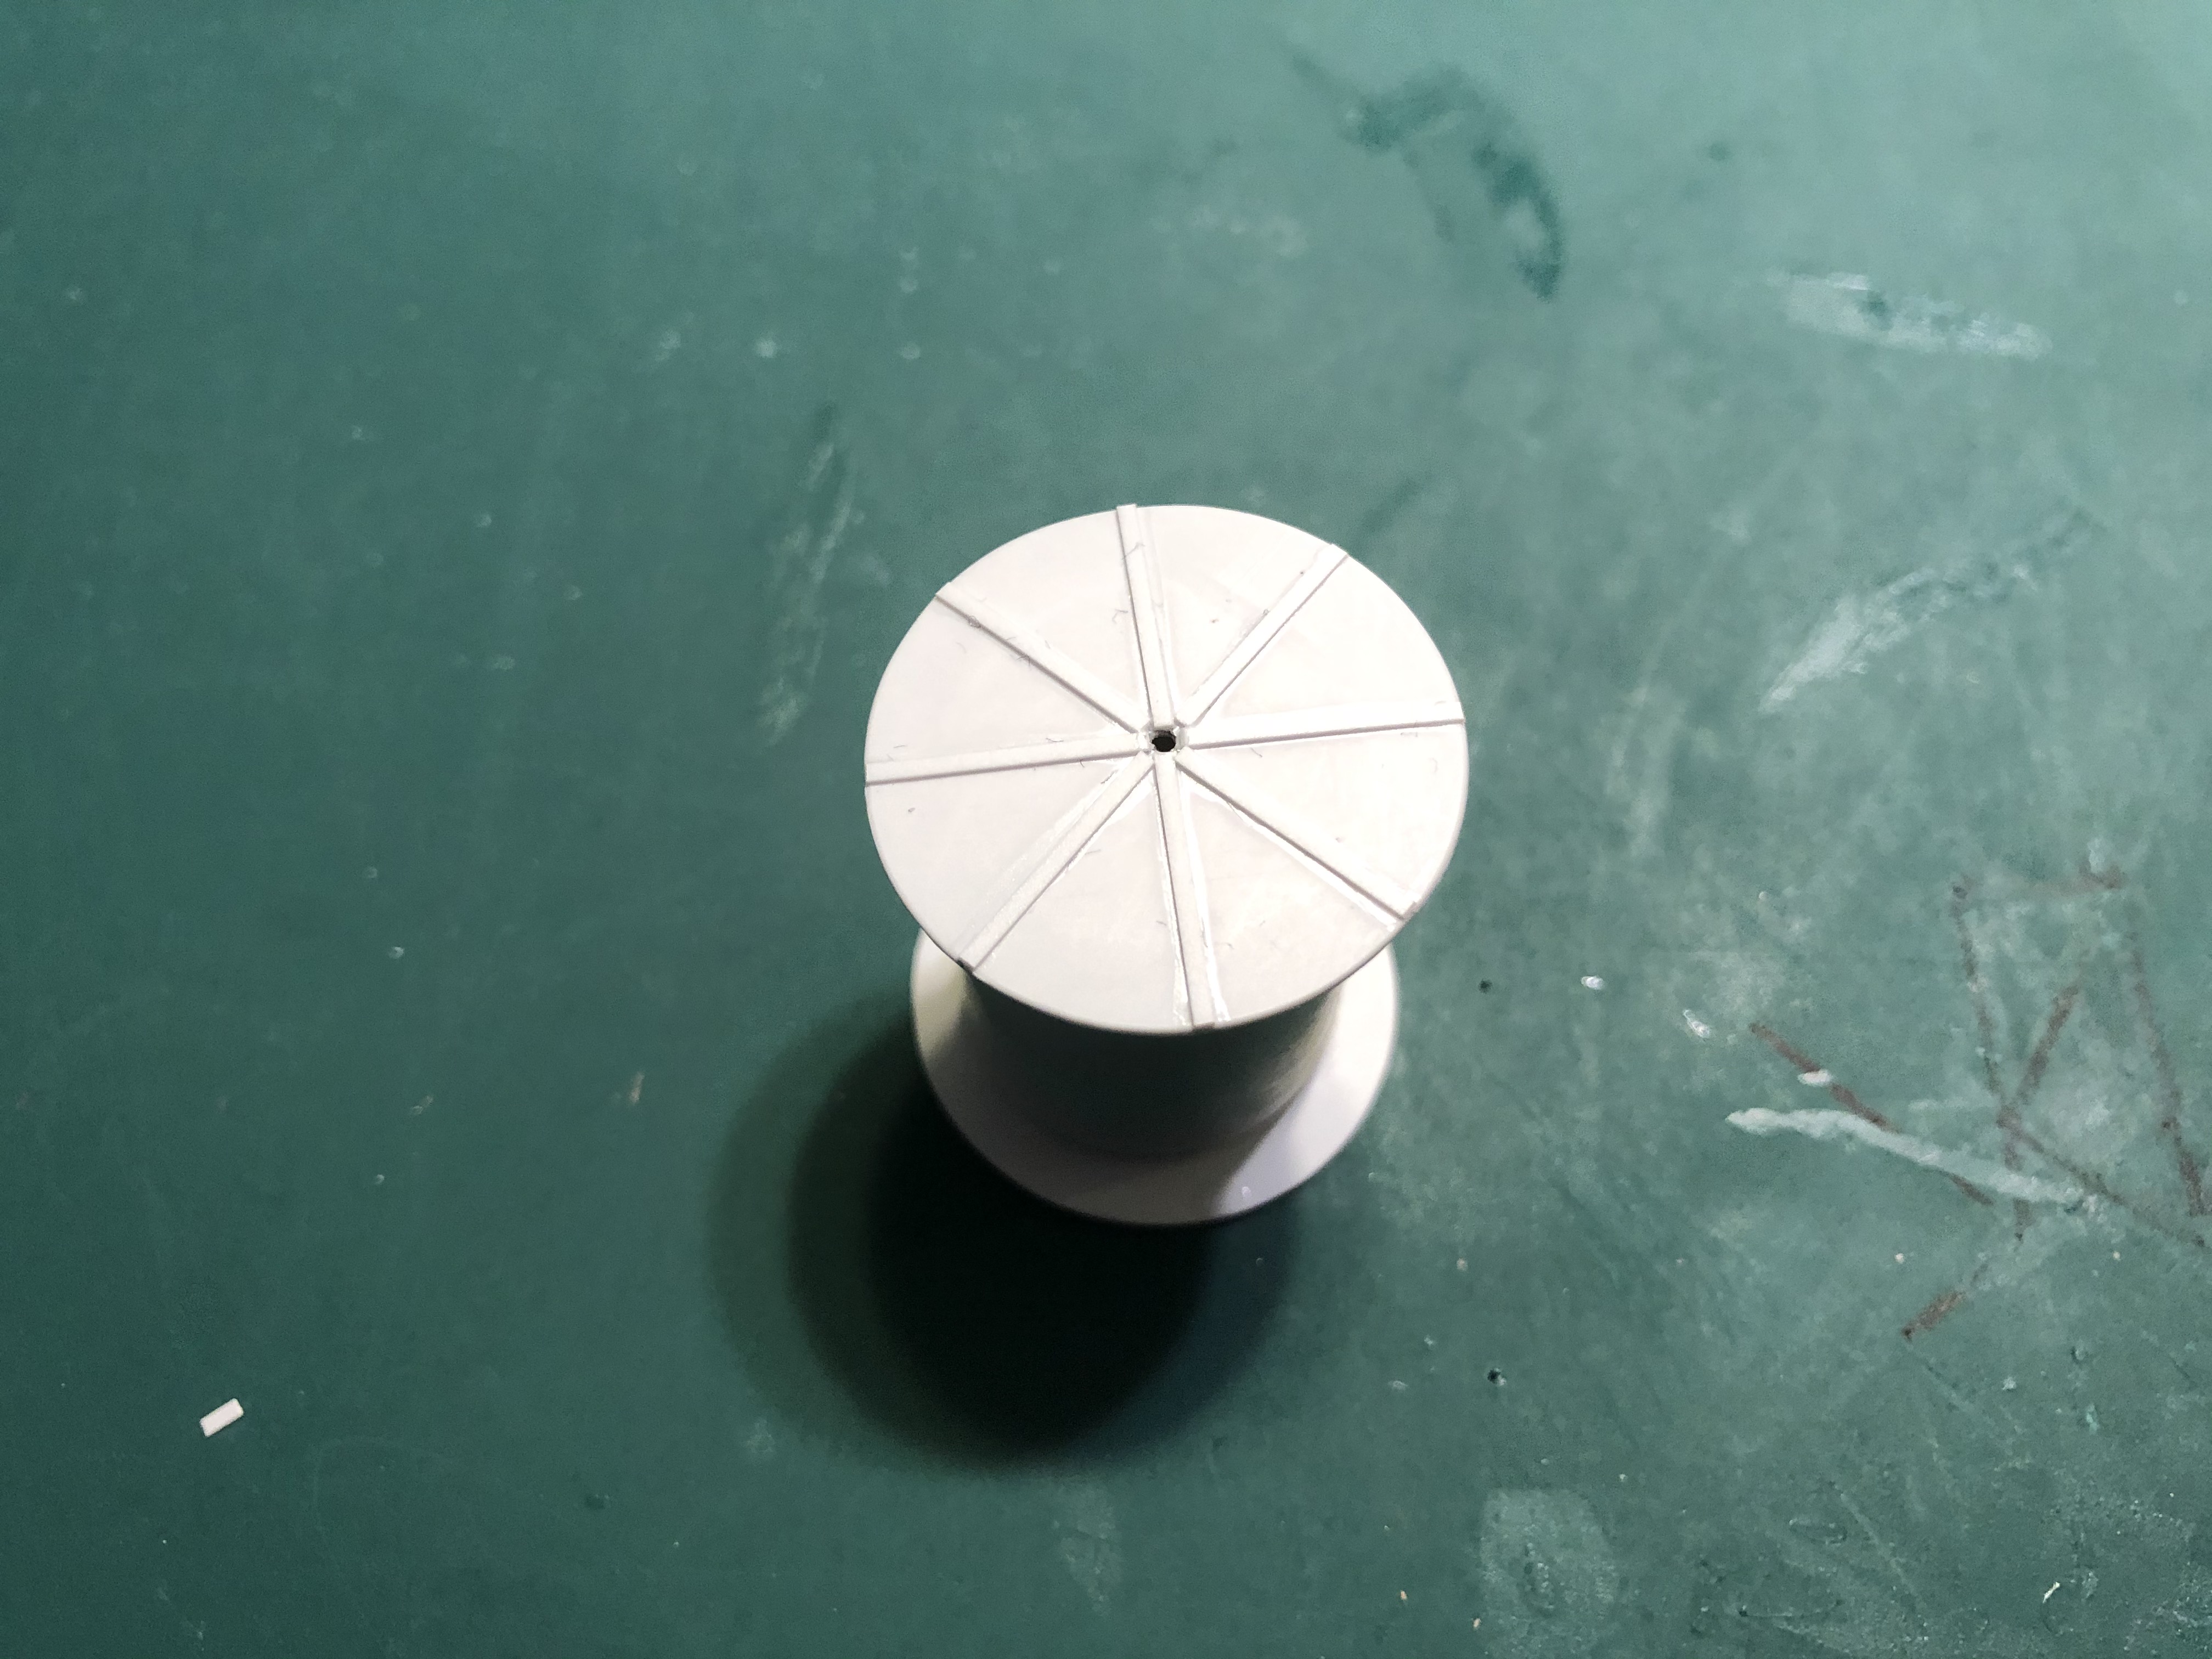
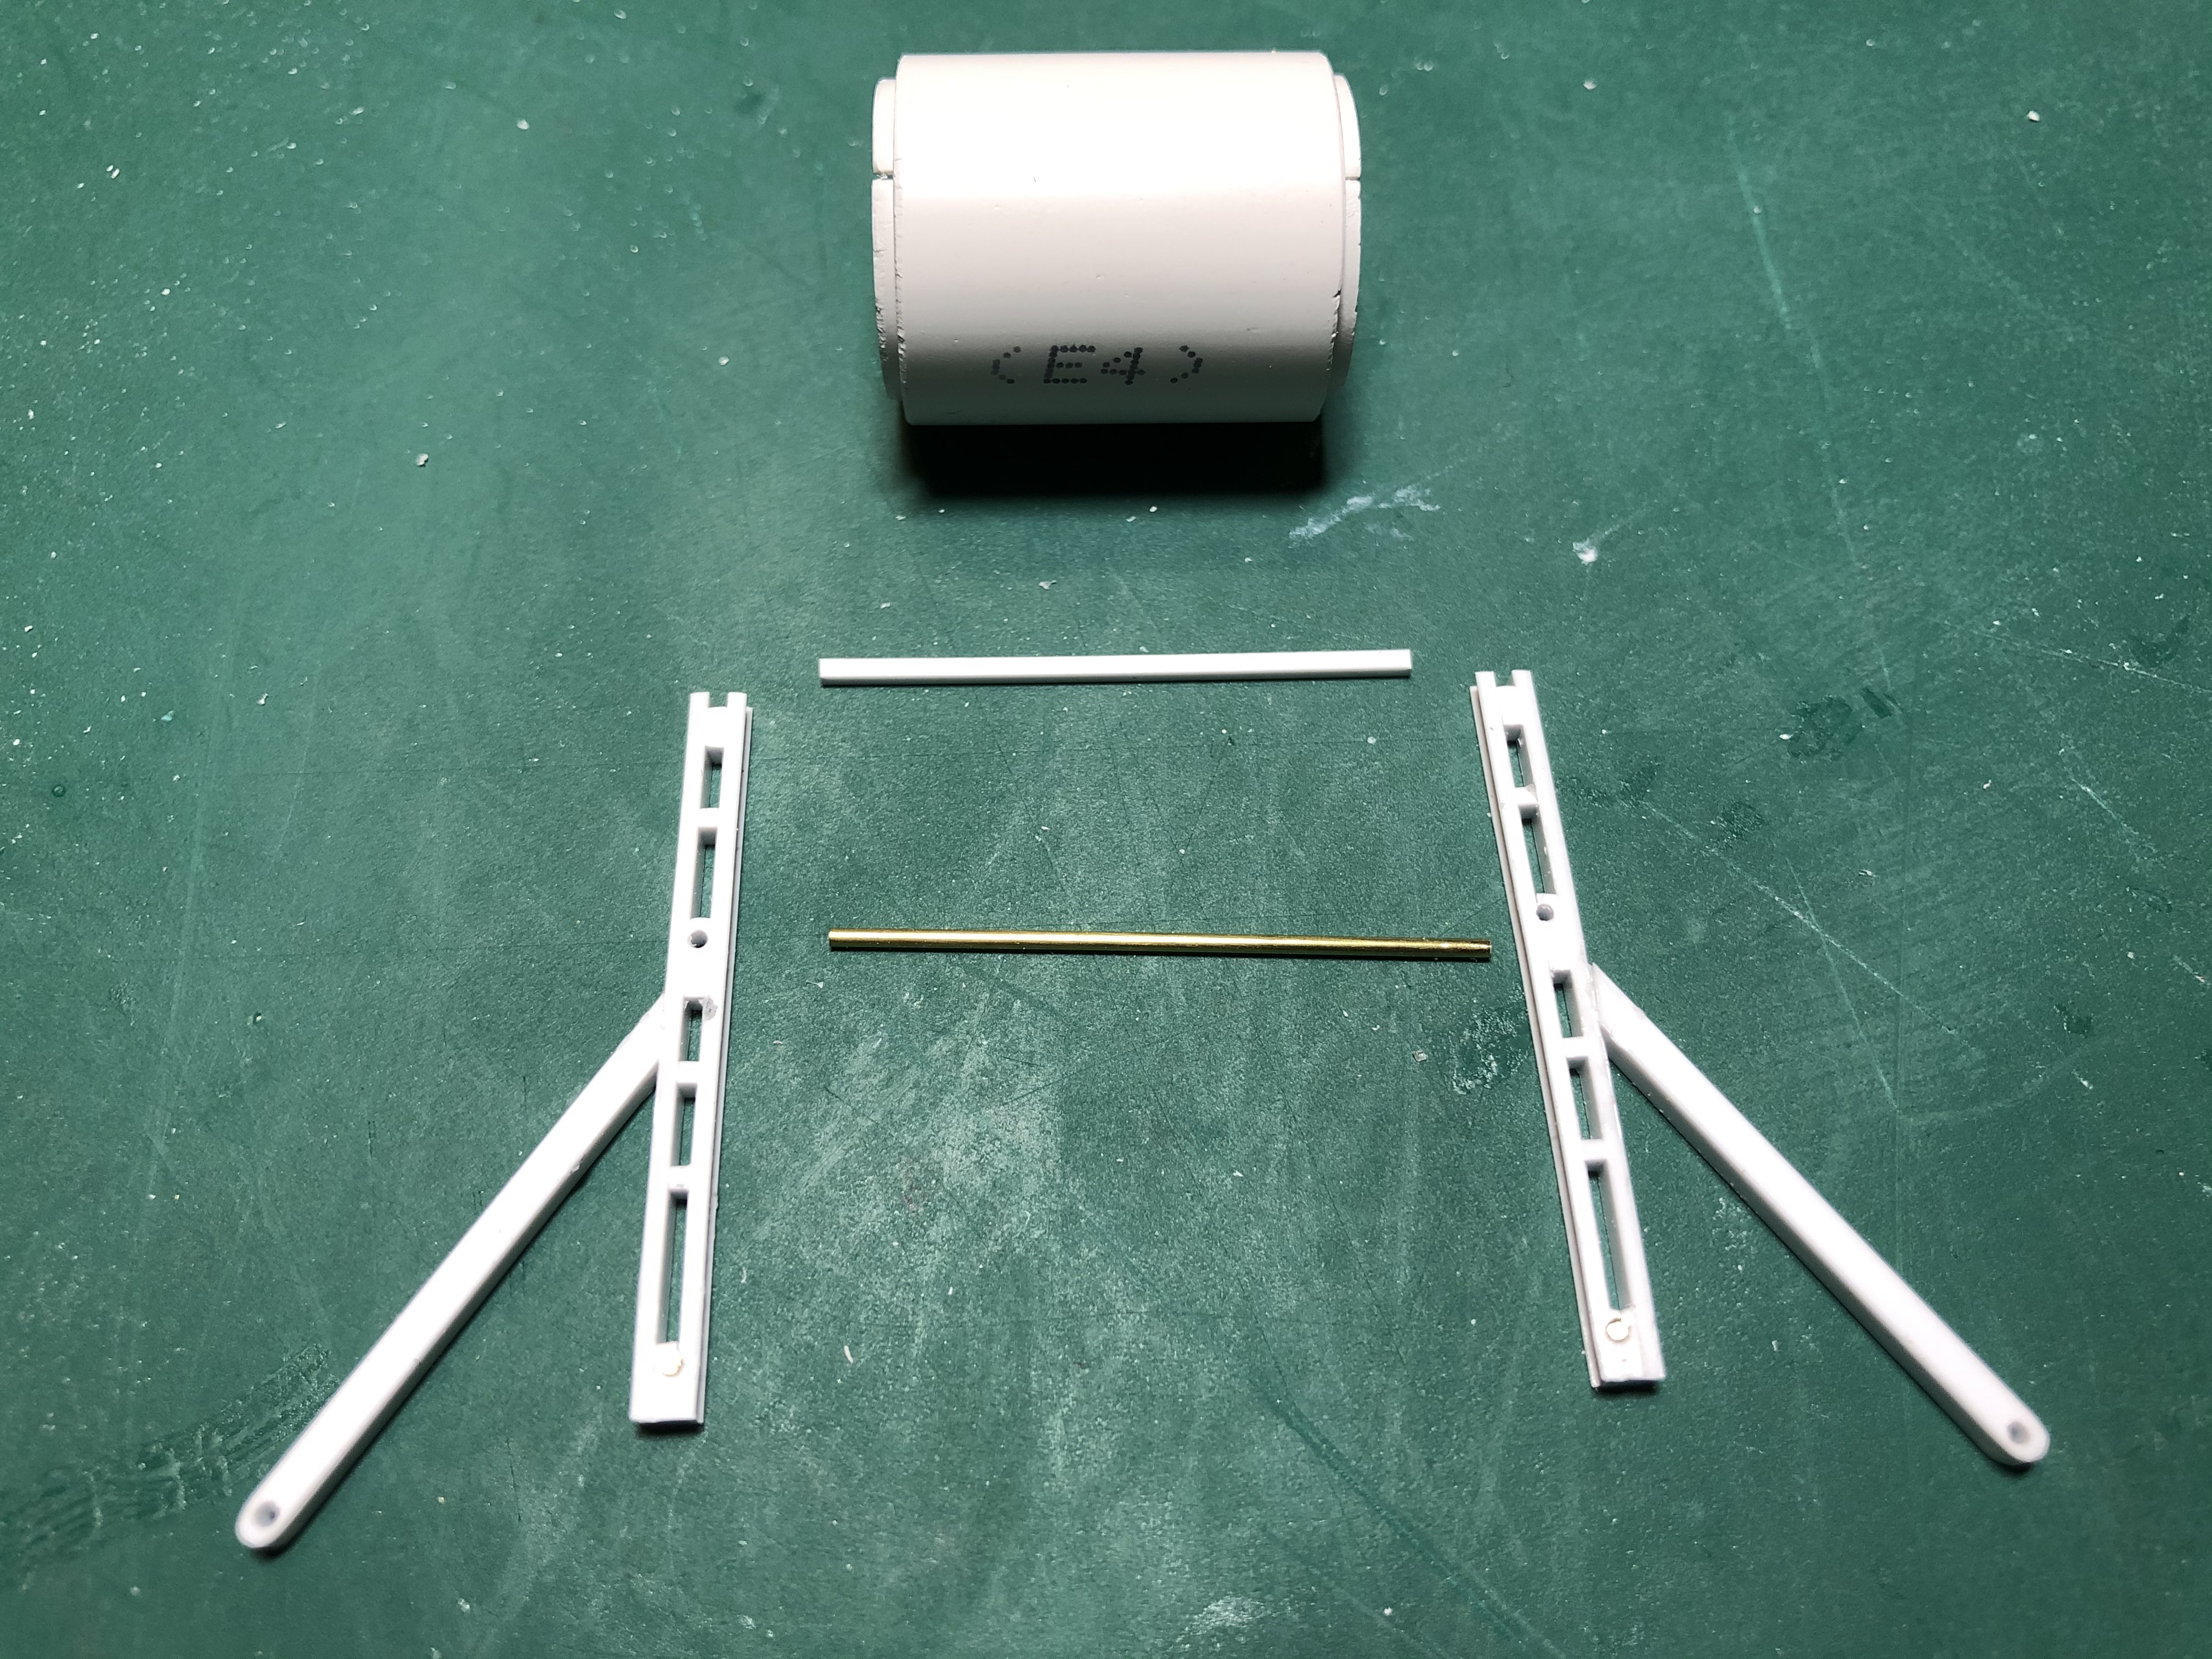
With all the parts created, I glued the brass axle in place, slid on the Bobbin, glued the support frame to the other end of the axle and then glued everything in place on the tank. The last bits were to glue the top beam in place and then add little pieces of brass rod to the bottom of the rear support arms so that they looked right.
AVRE Bobbin Conversion Cont'd
To add a bit of visual detail to the Bobbin roll, I marked up and glued supports to the circles. I used 1mm x .025mm rectangular bar for this.
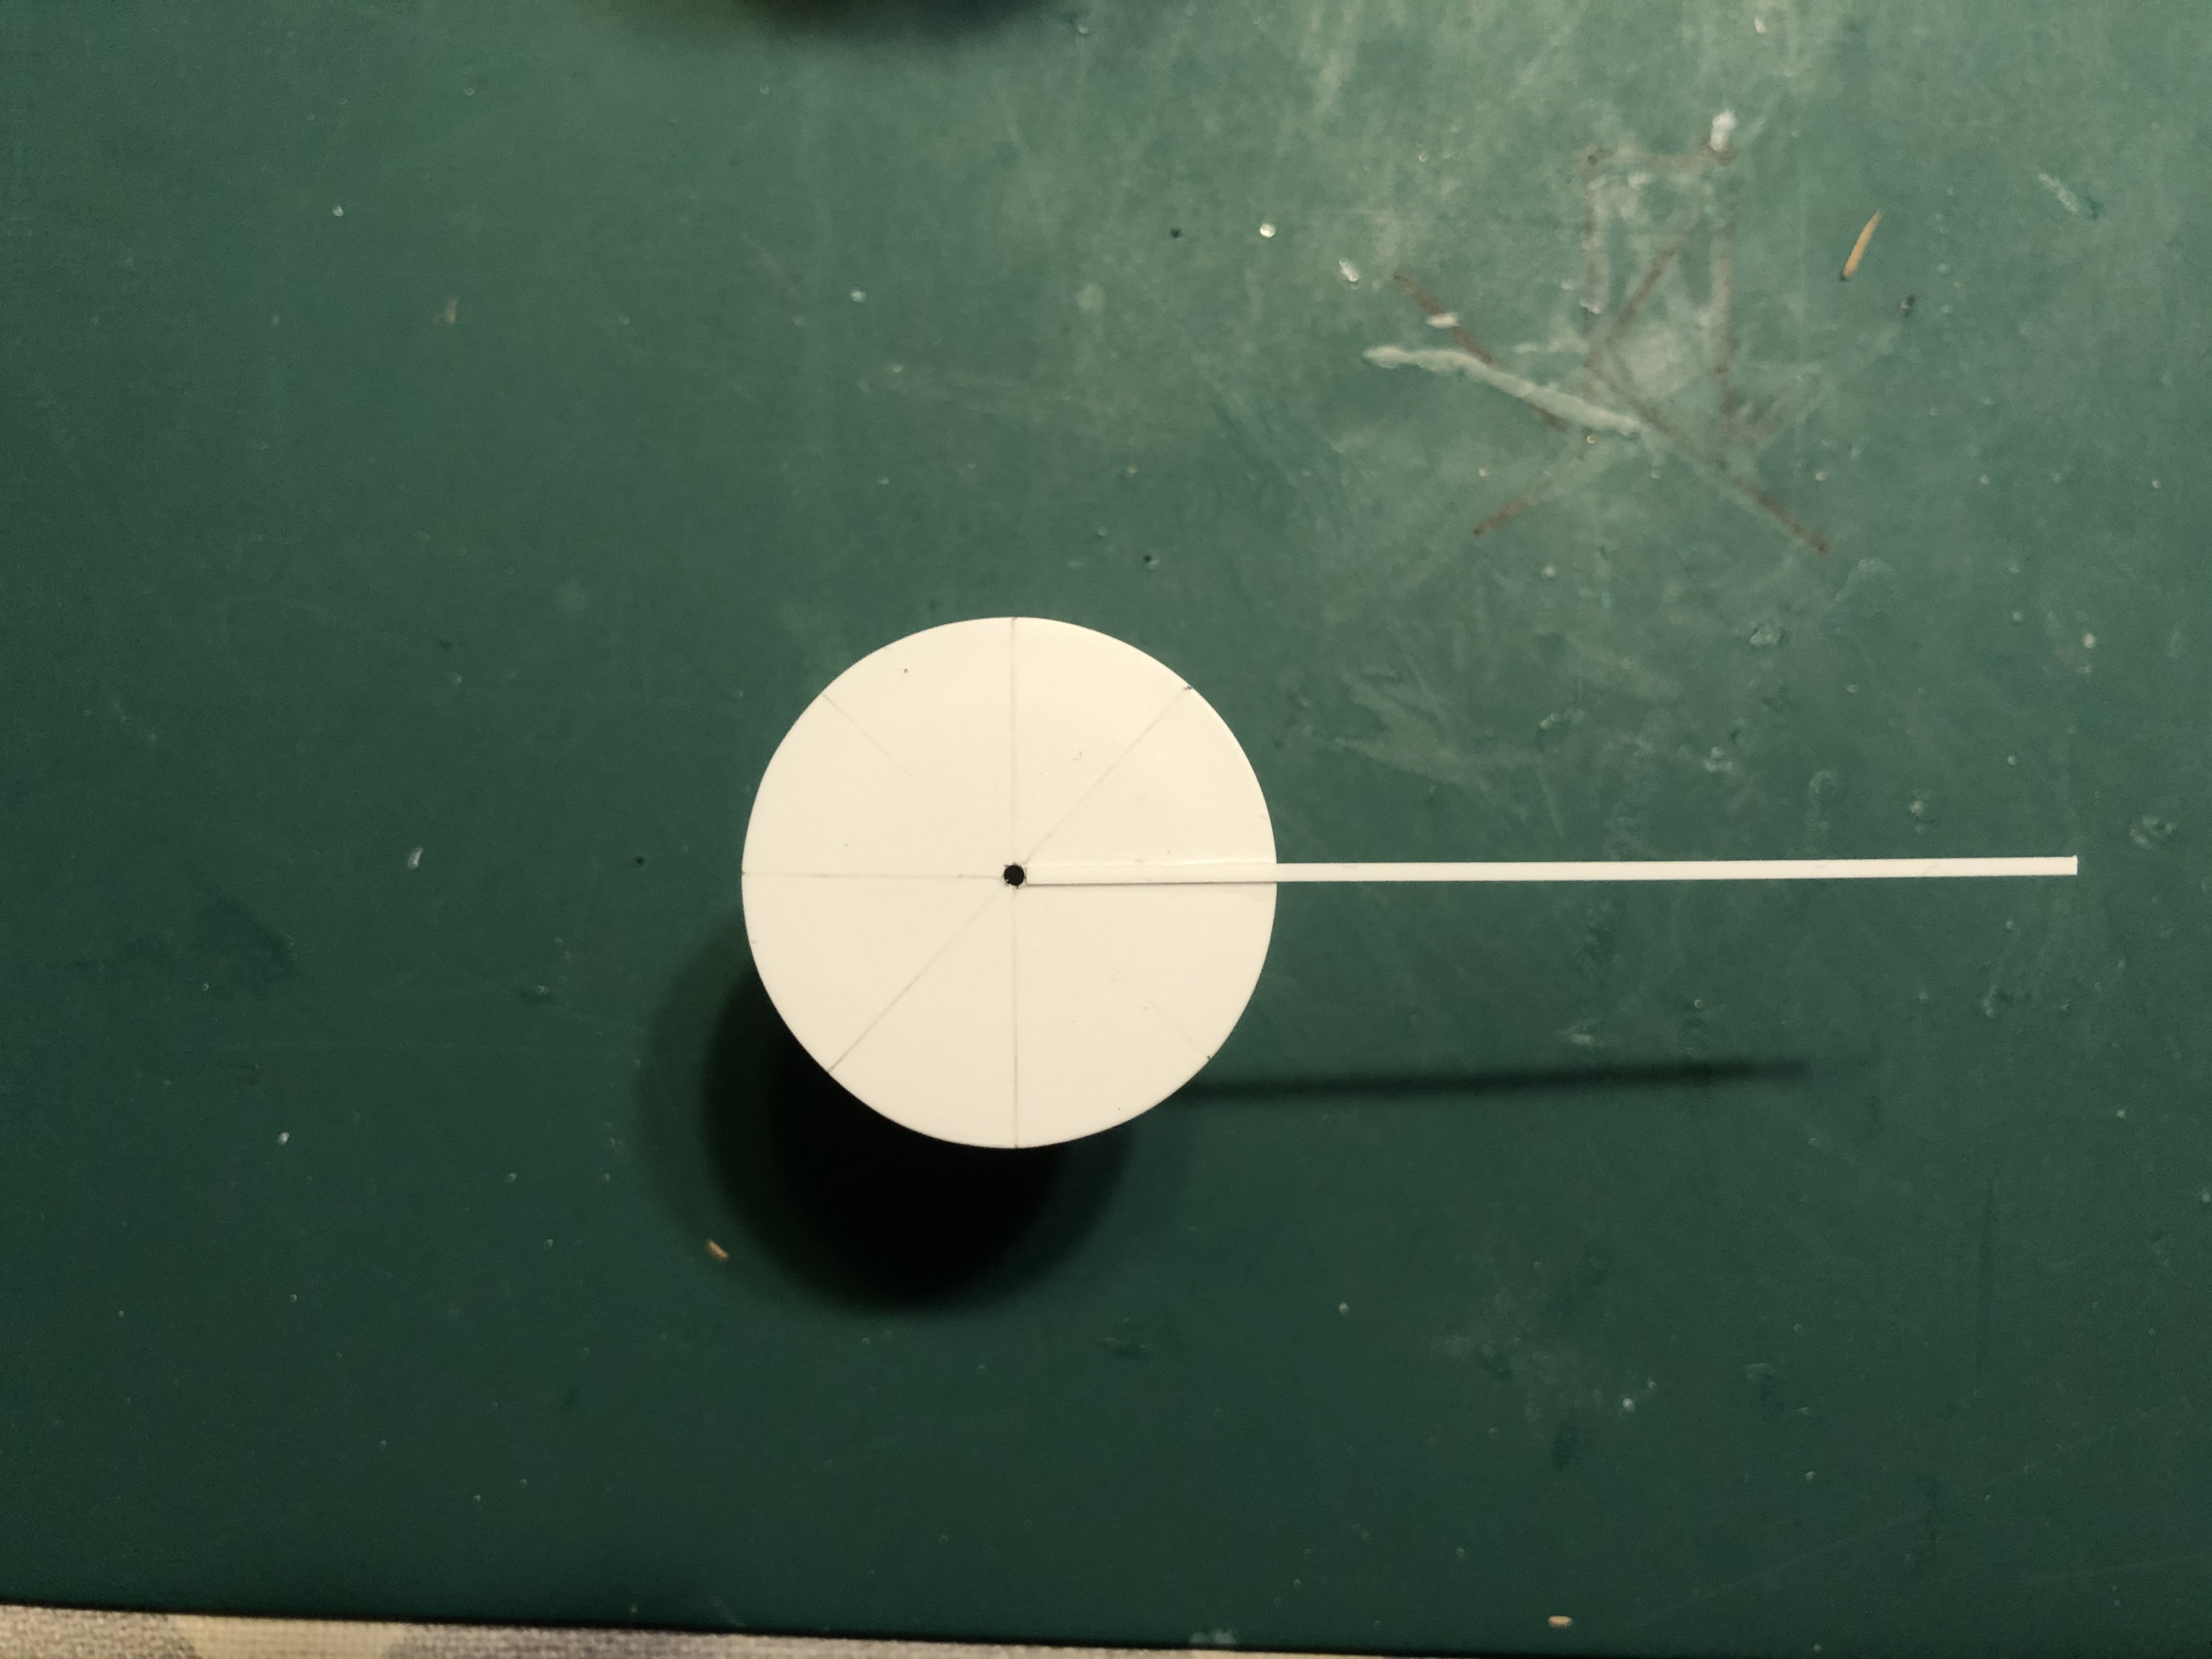
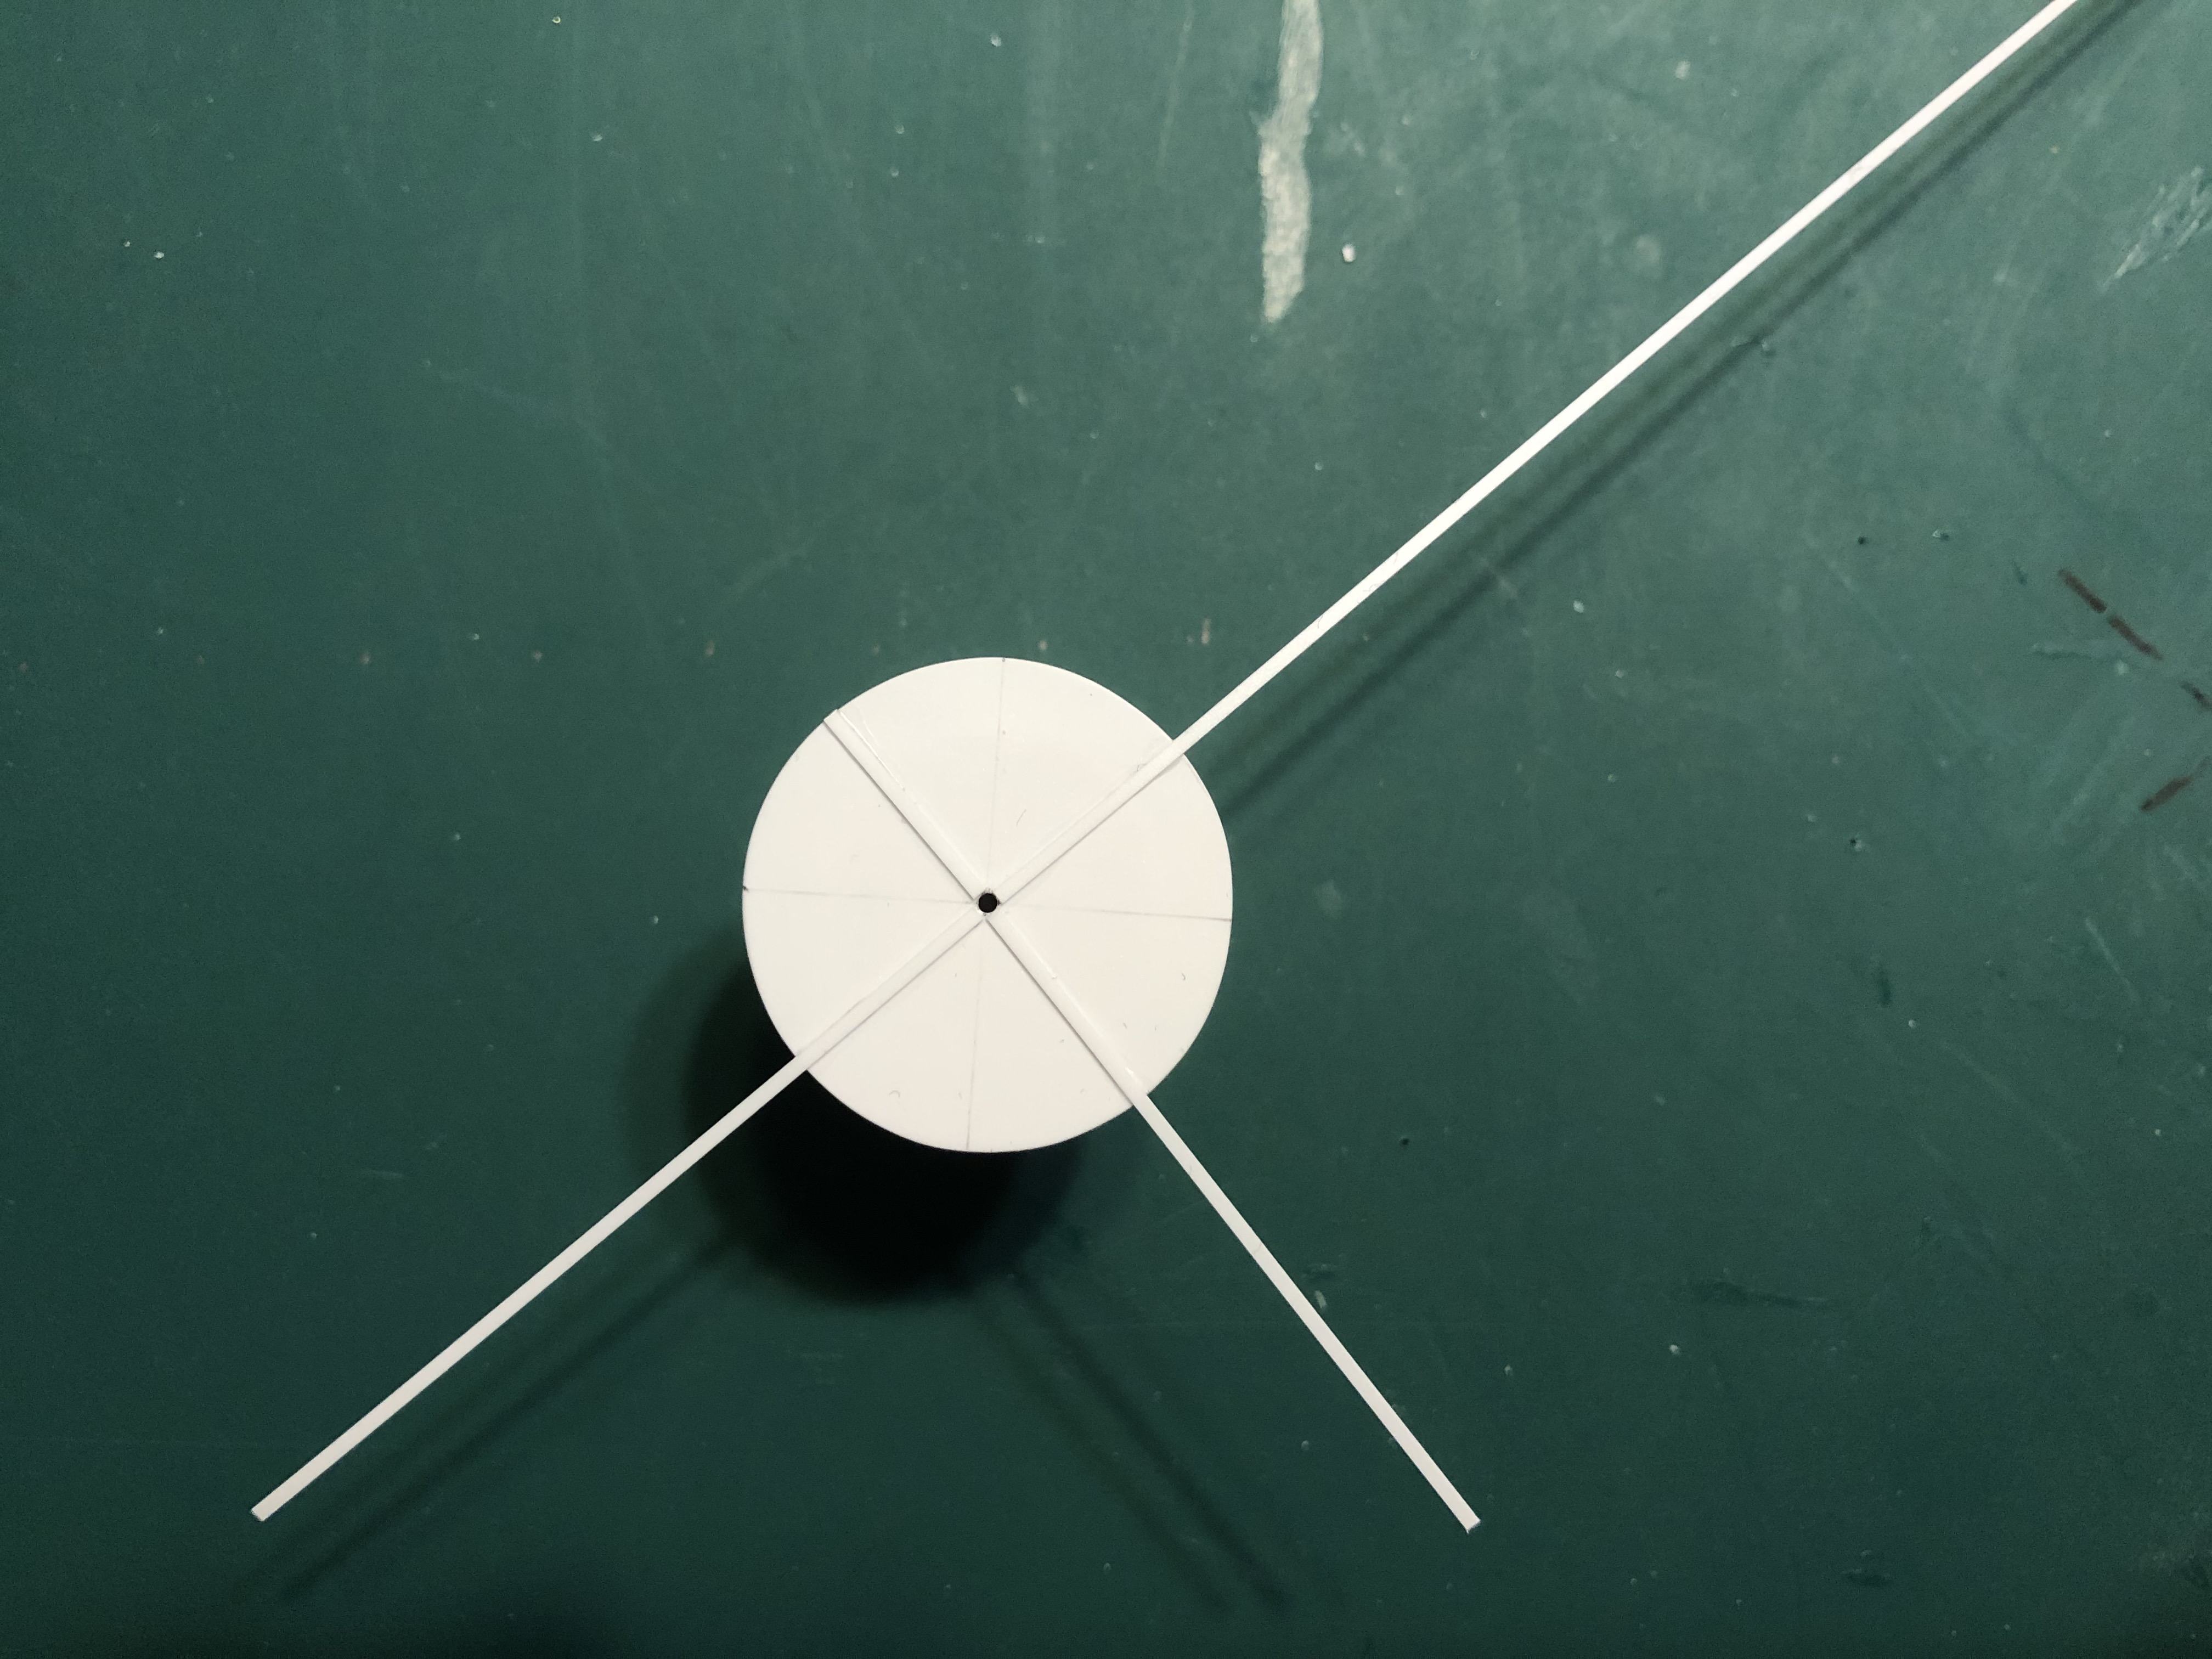
AVRE Bobbin Conversion Cont'd
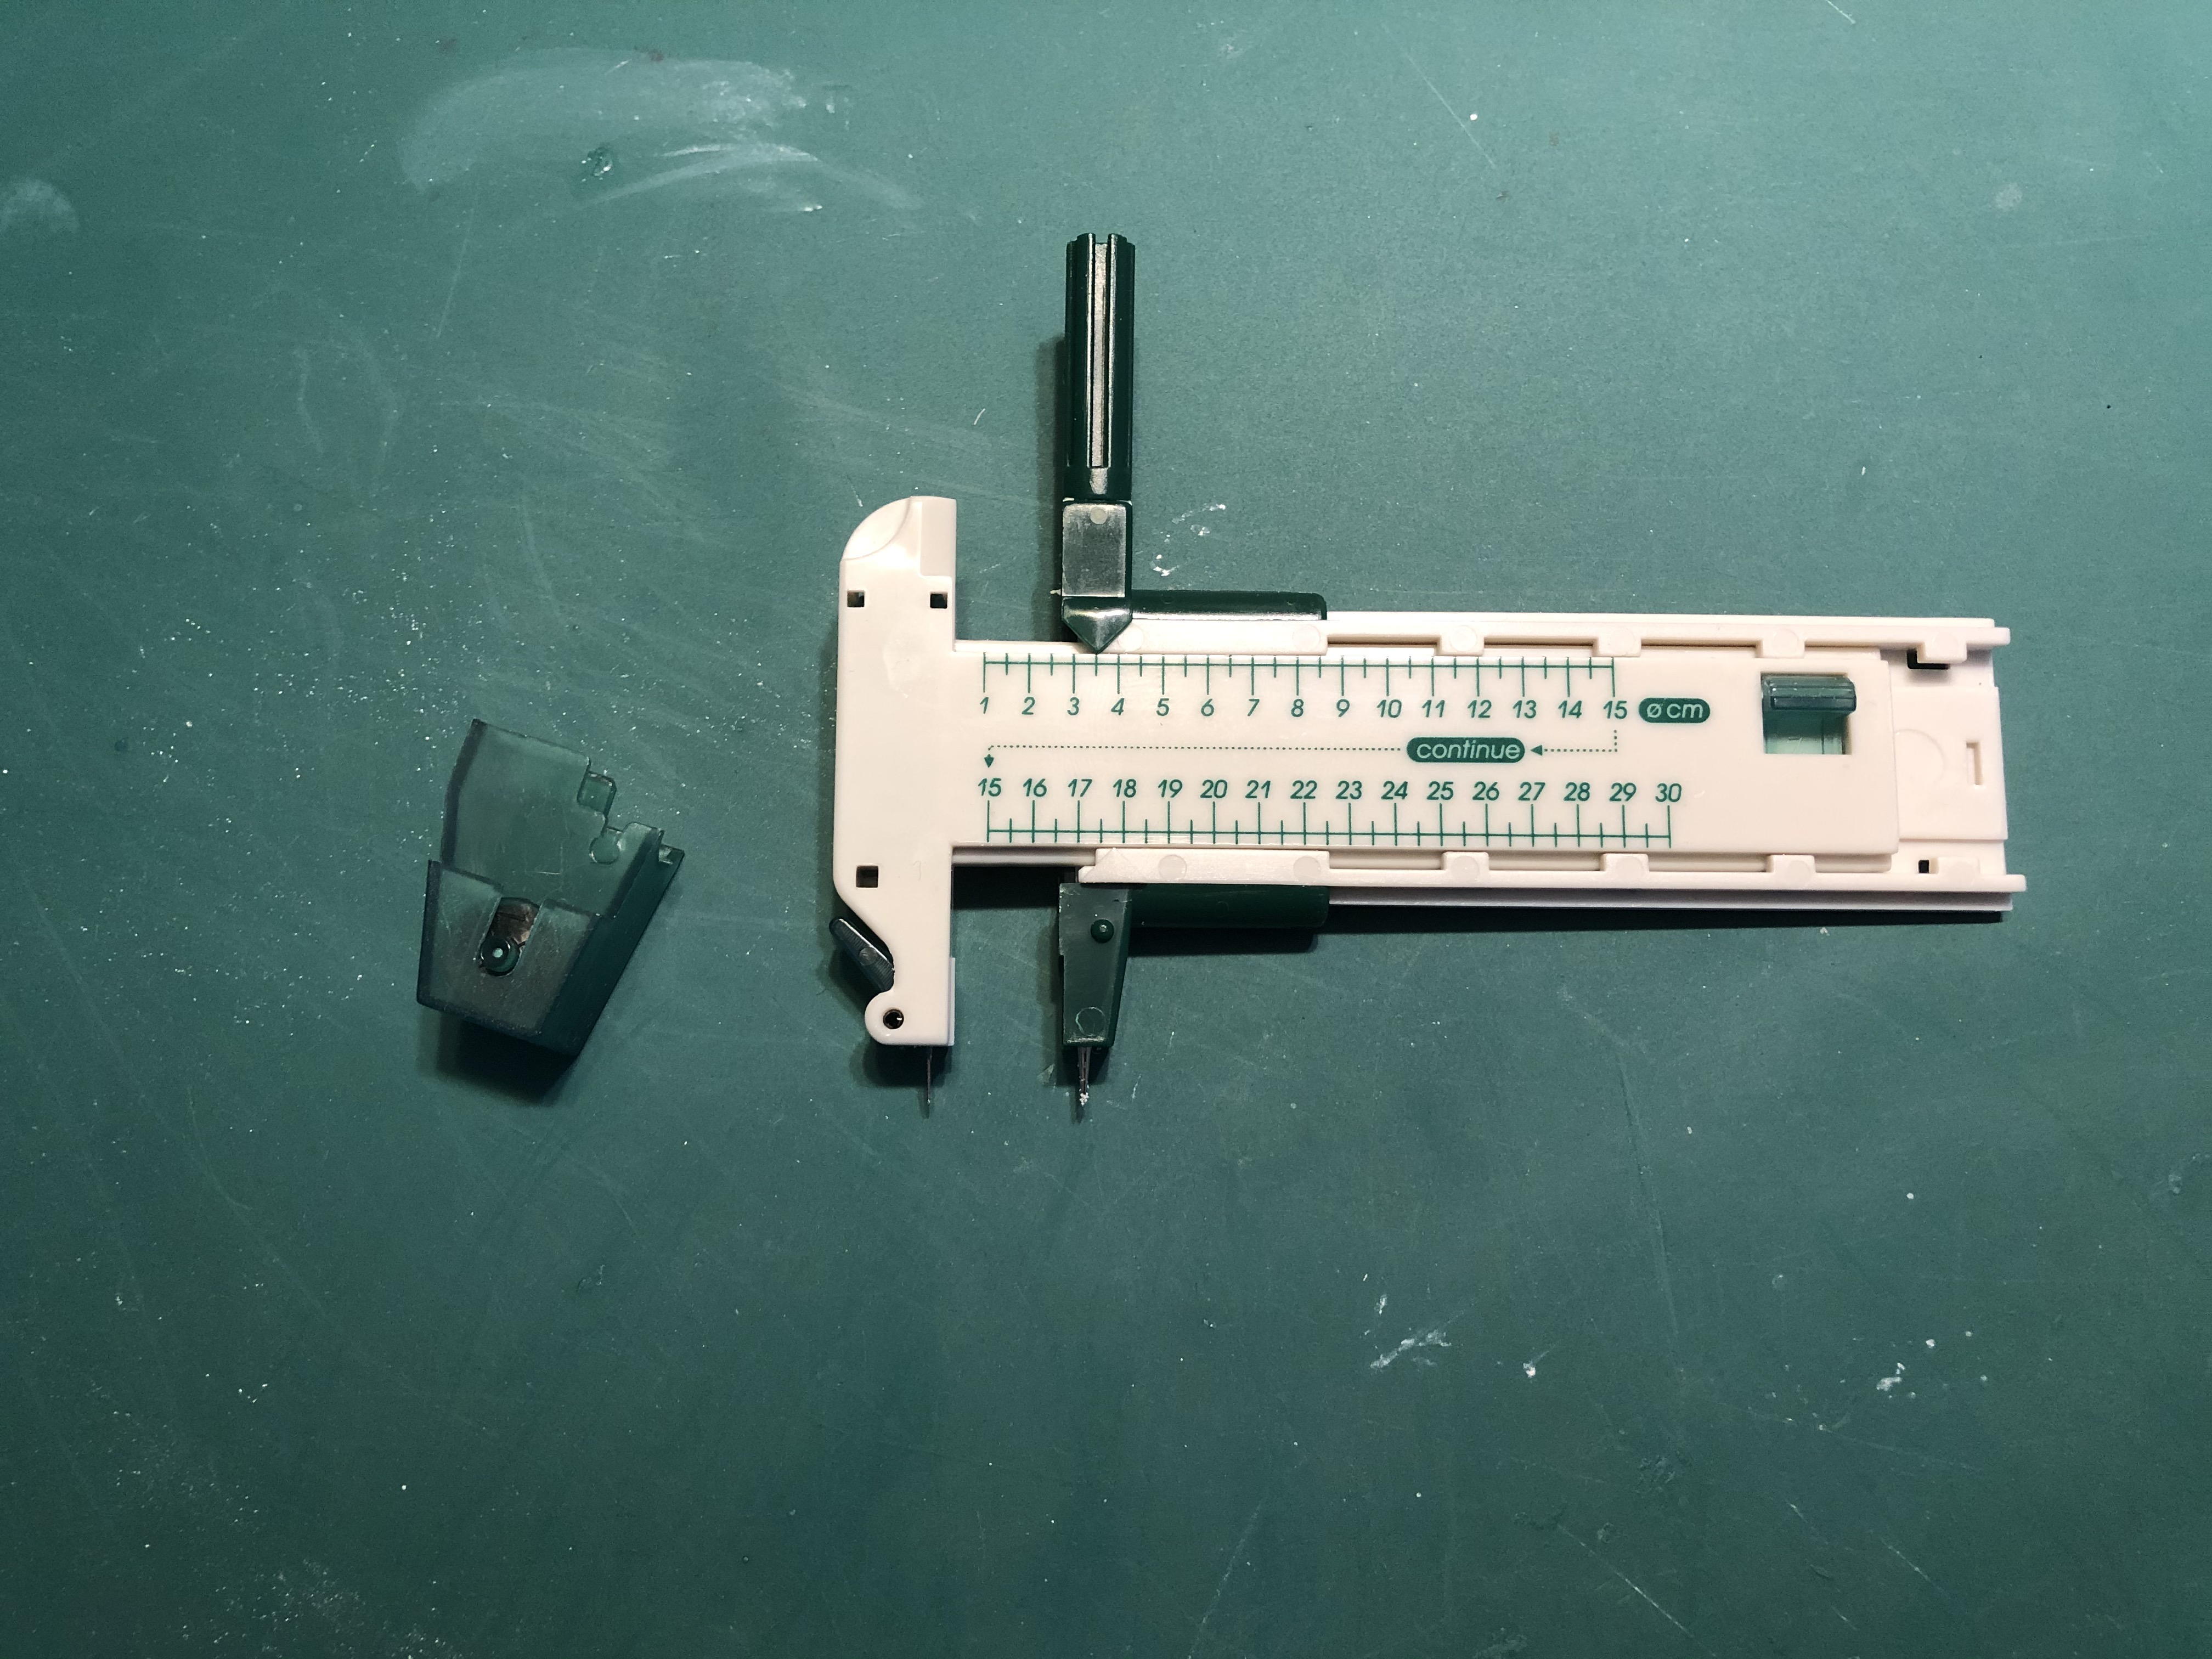 I used a fabric craft compass to cut out the circles. I ensured that I only applied light pressure (or the diameter would change) and kept the cut in the same direction. I did at least ten rotations and then ten more from the other side, using the centre point as a reference
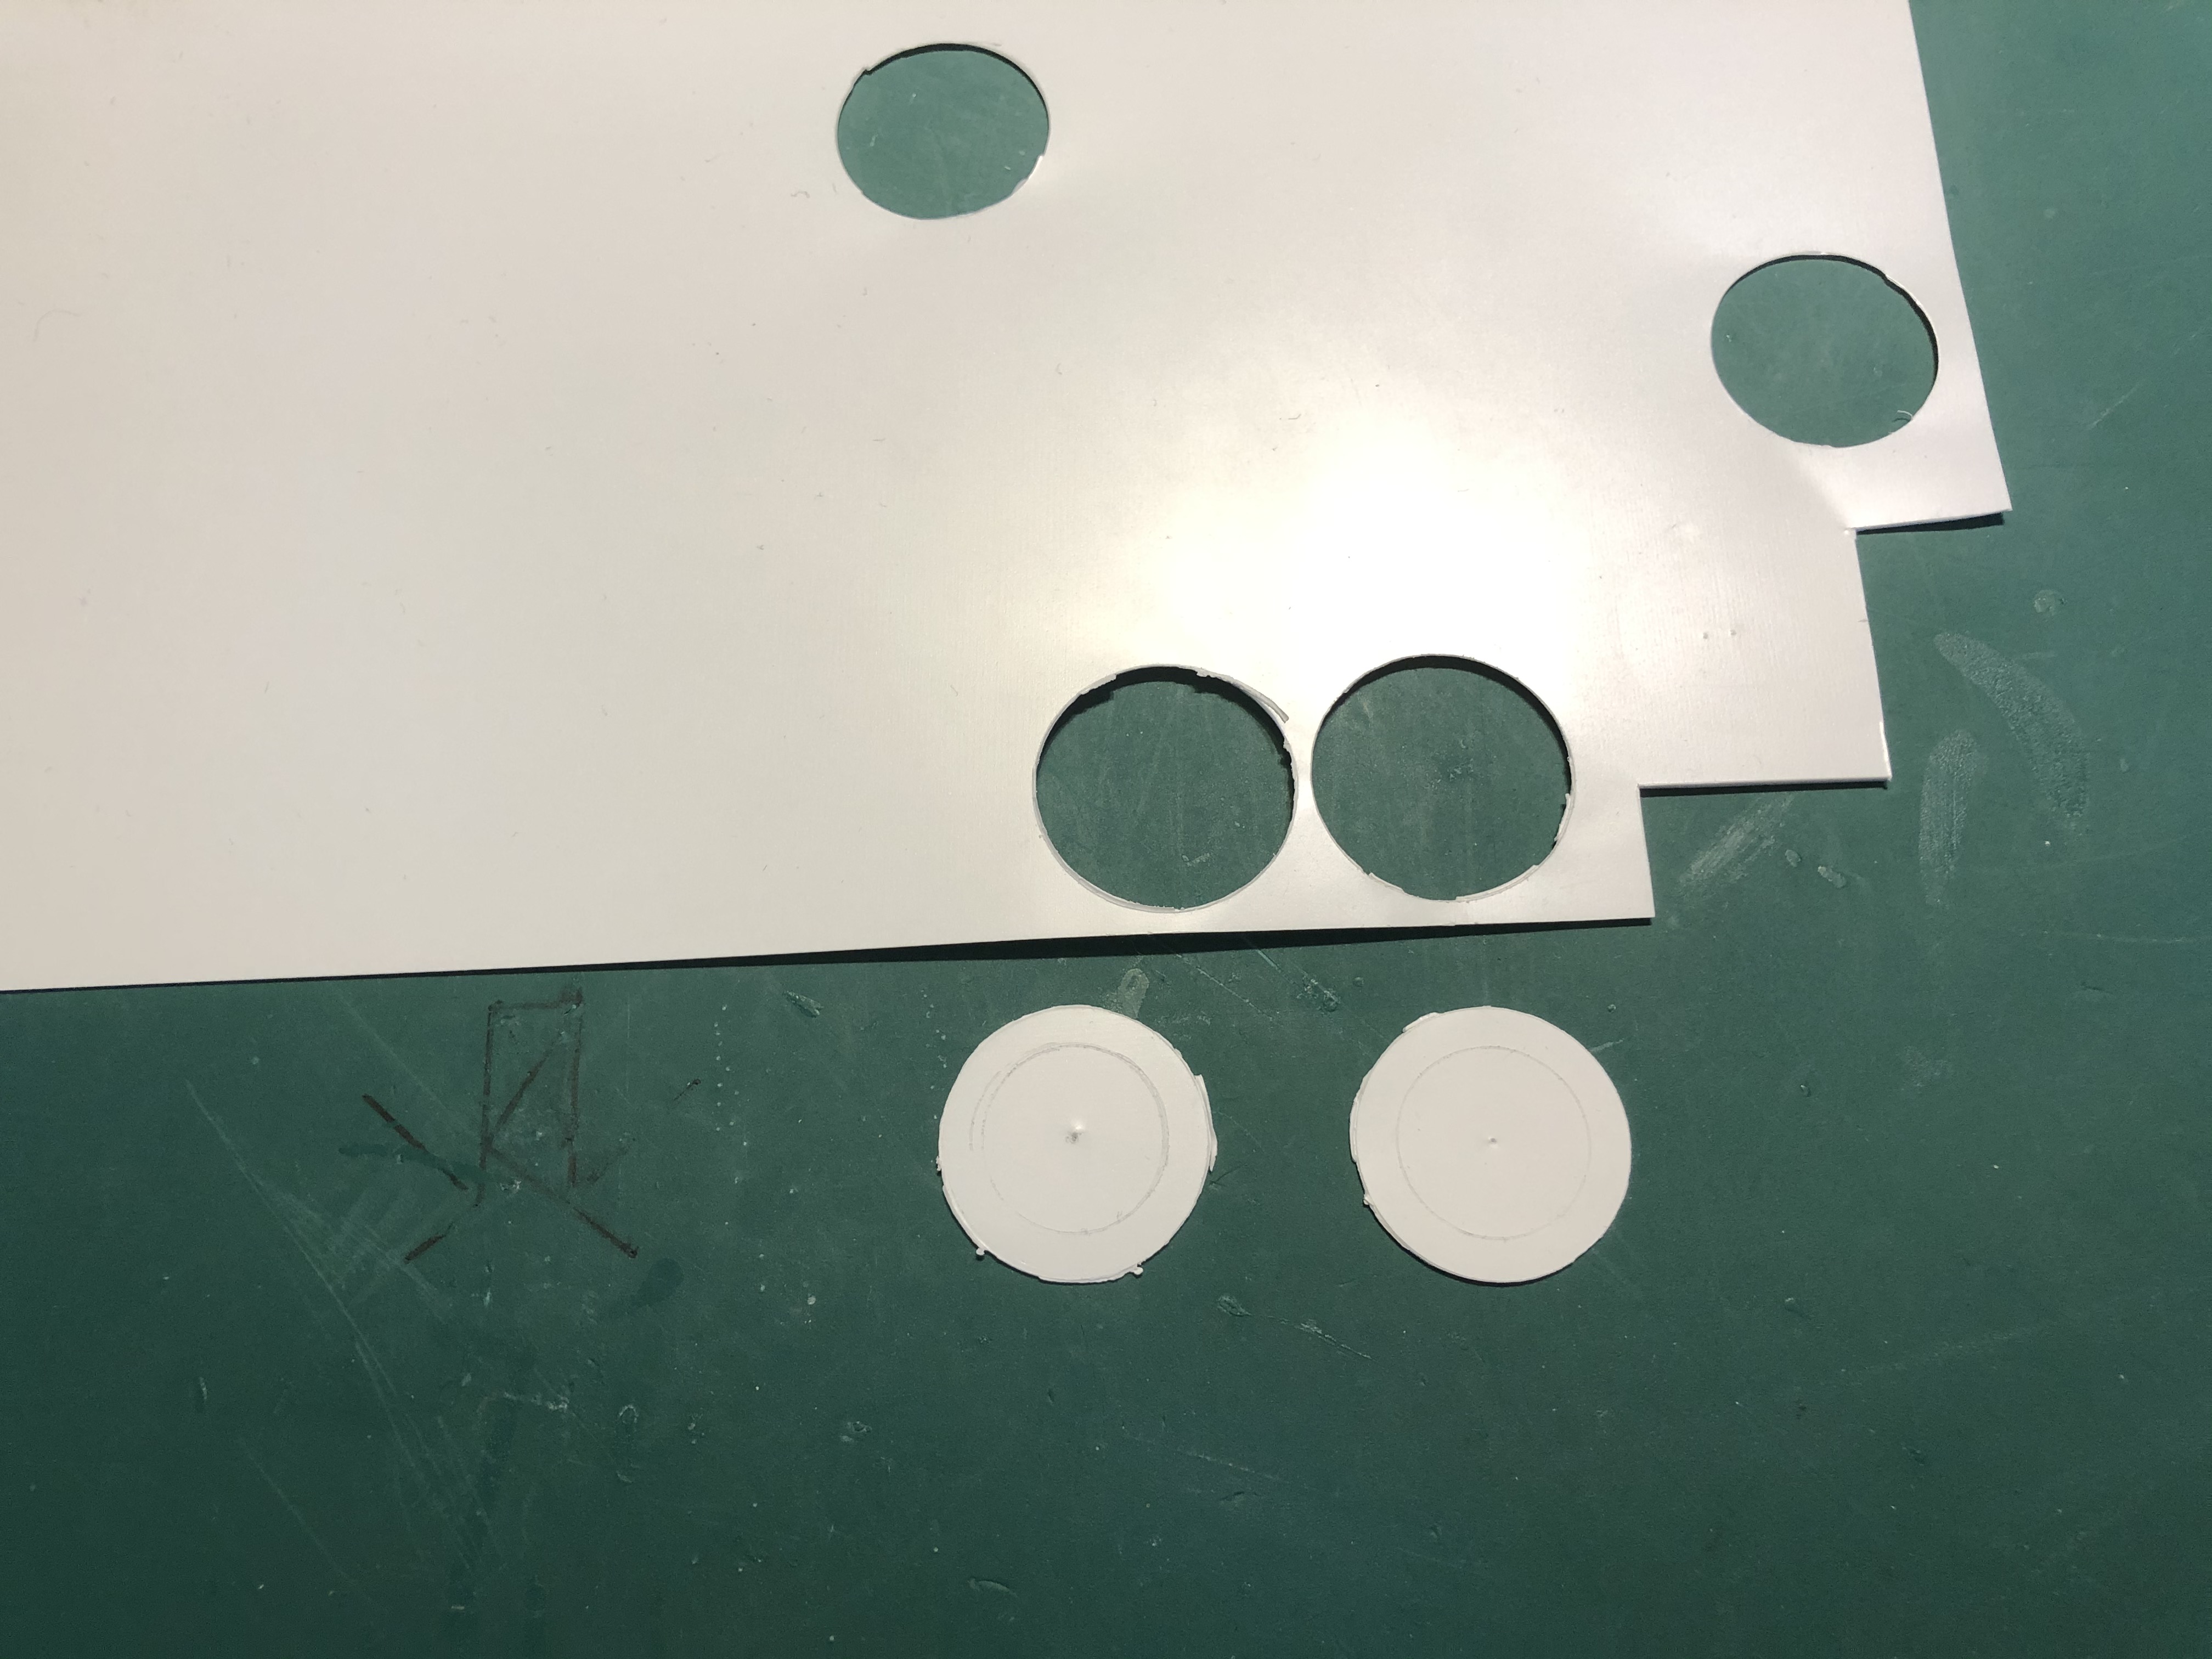 Cut out discs from 0.5mm styrene card
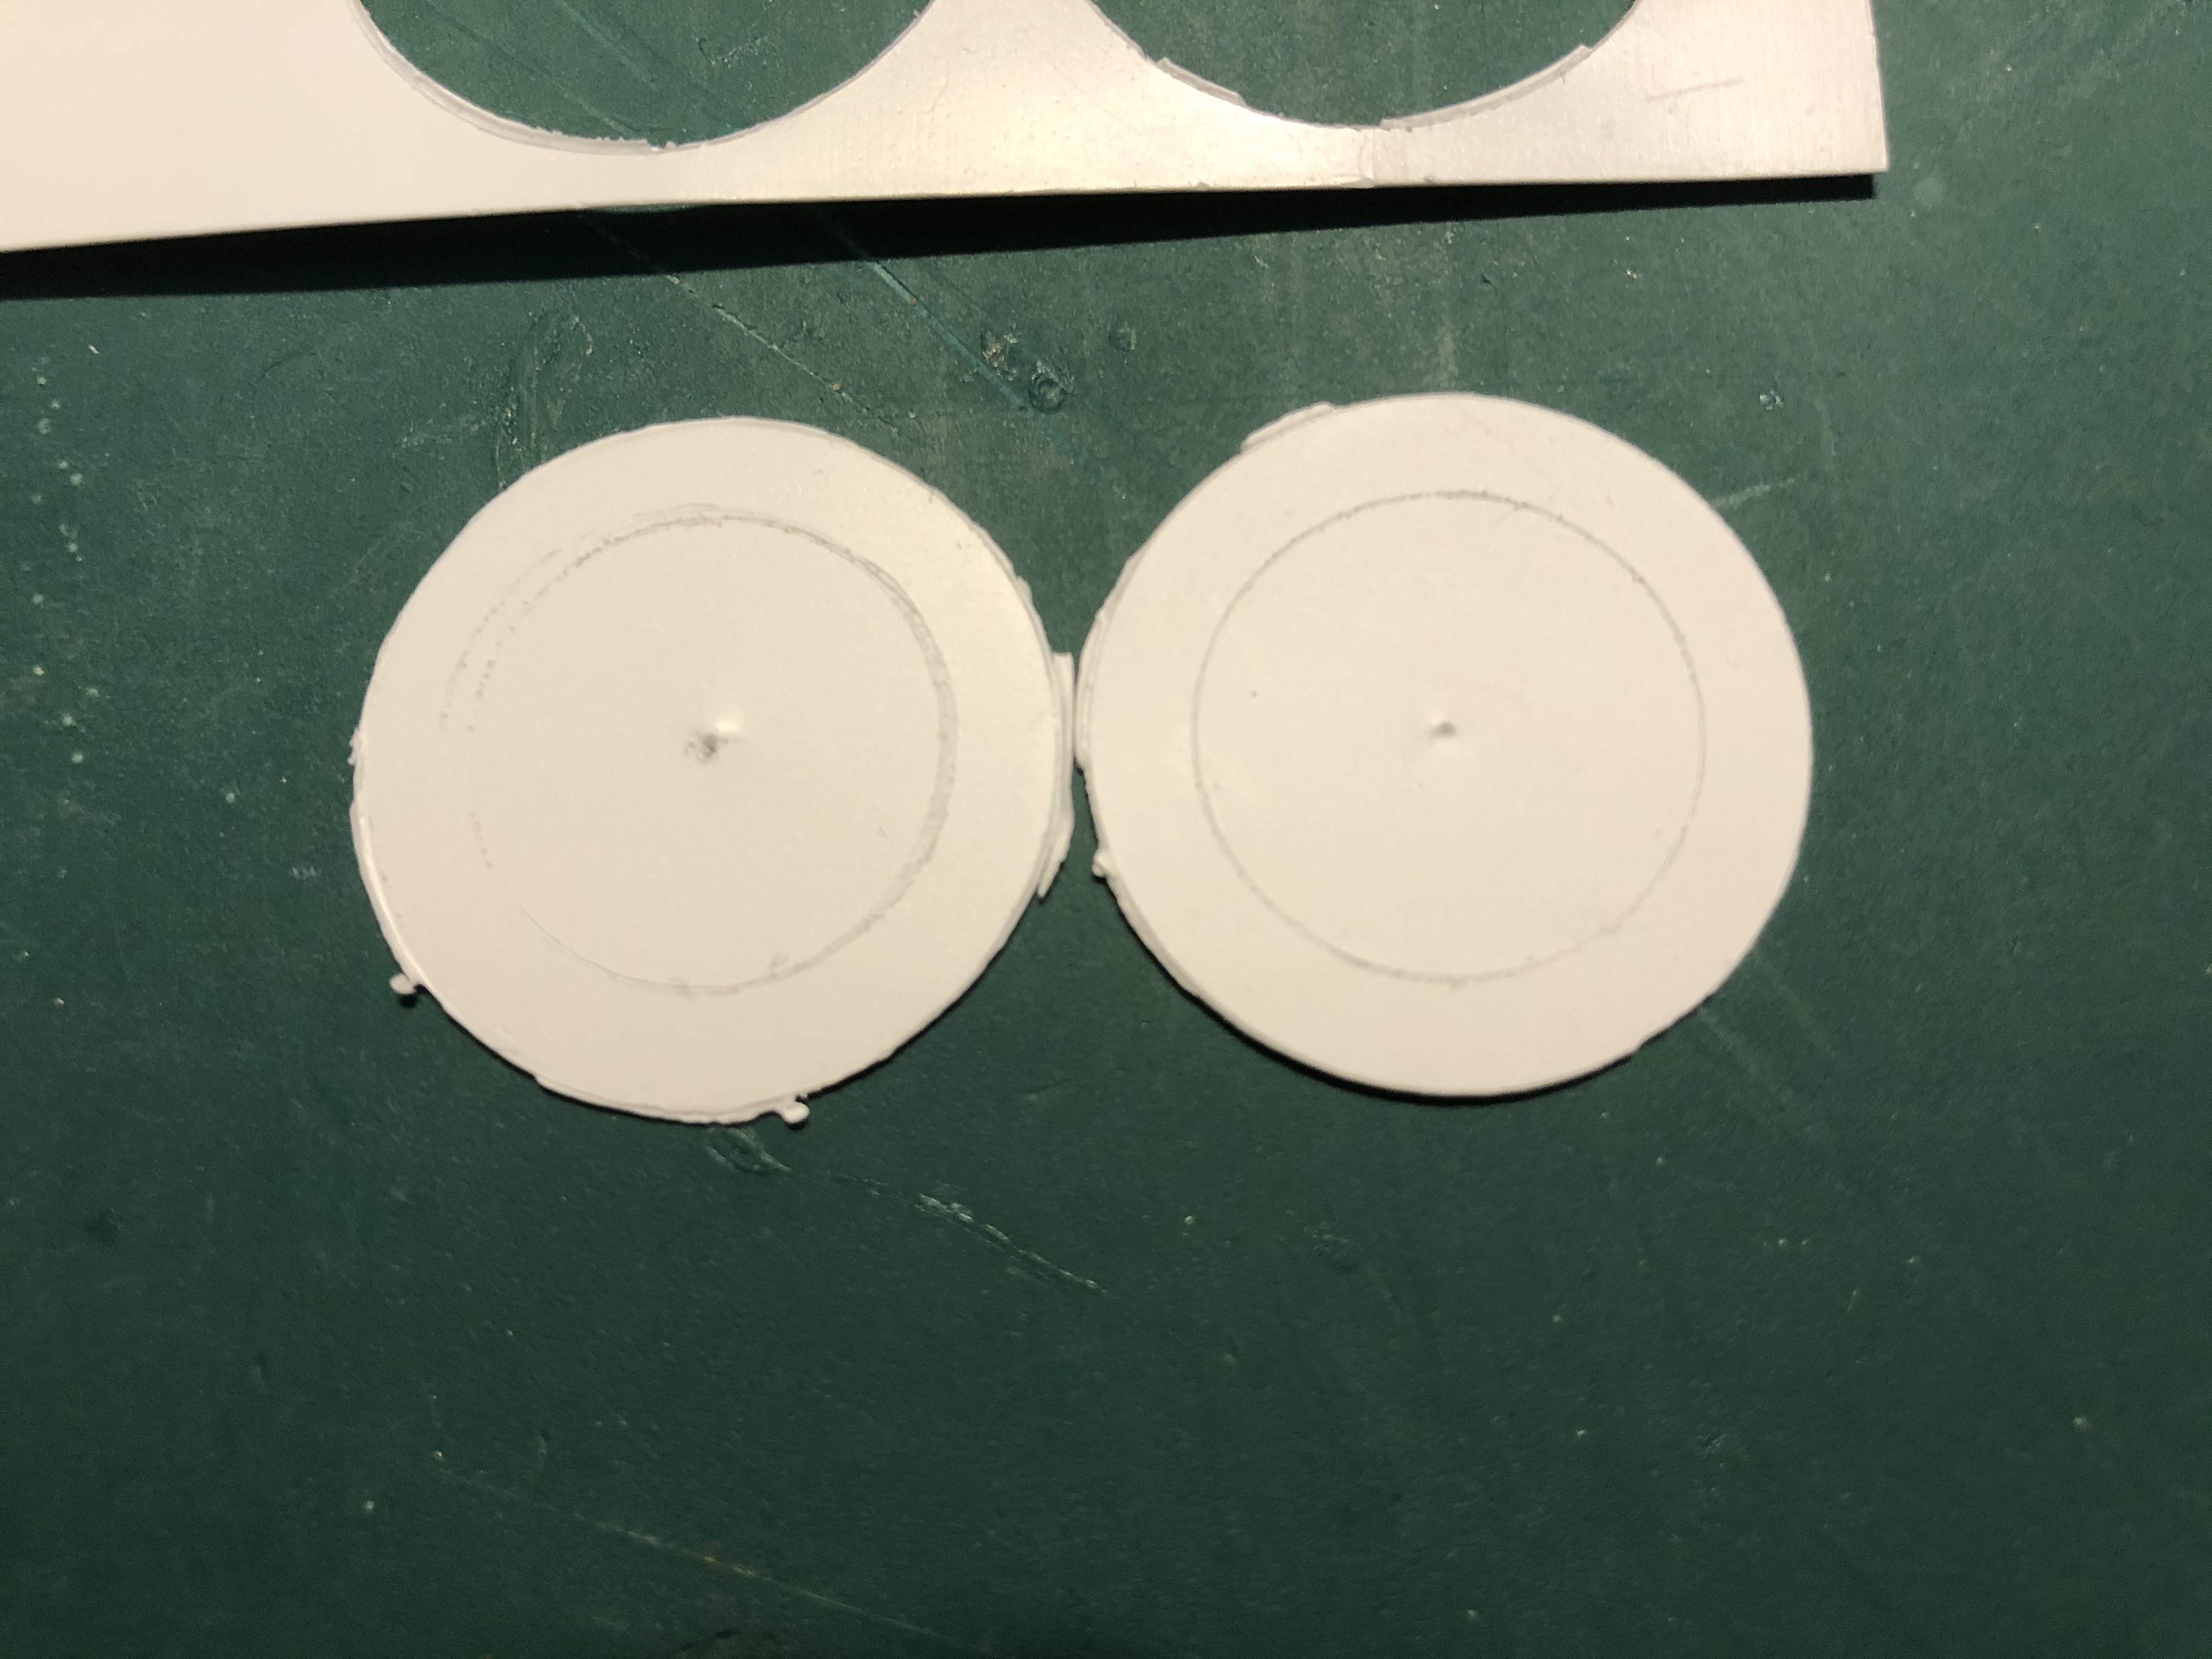 Close up. I also marked the inner circle to be able to align the roll centrally to the discs.
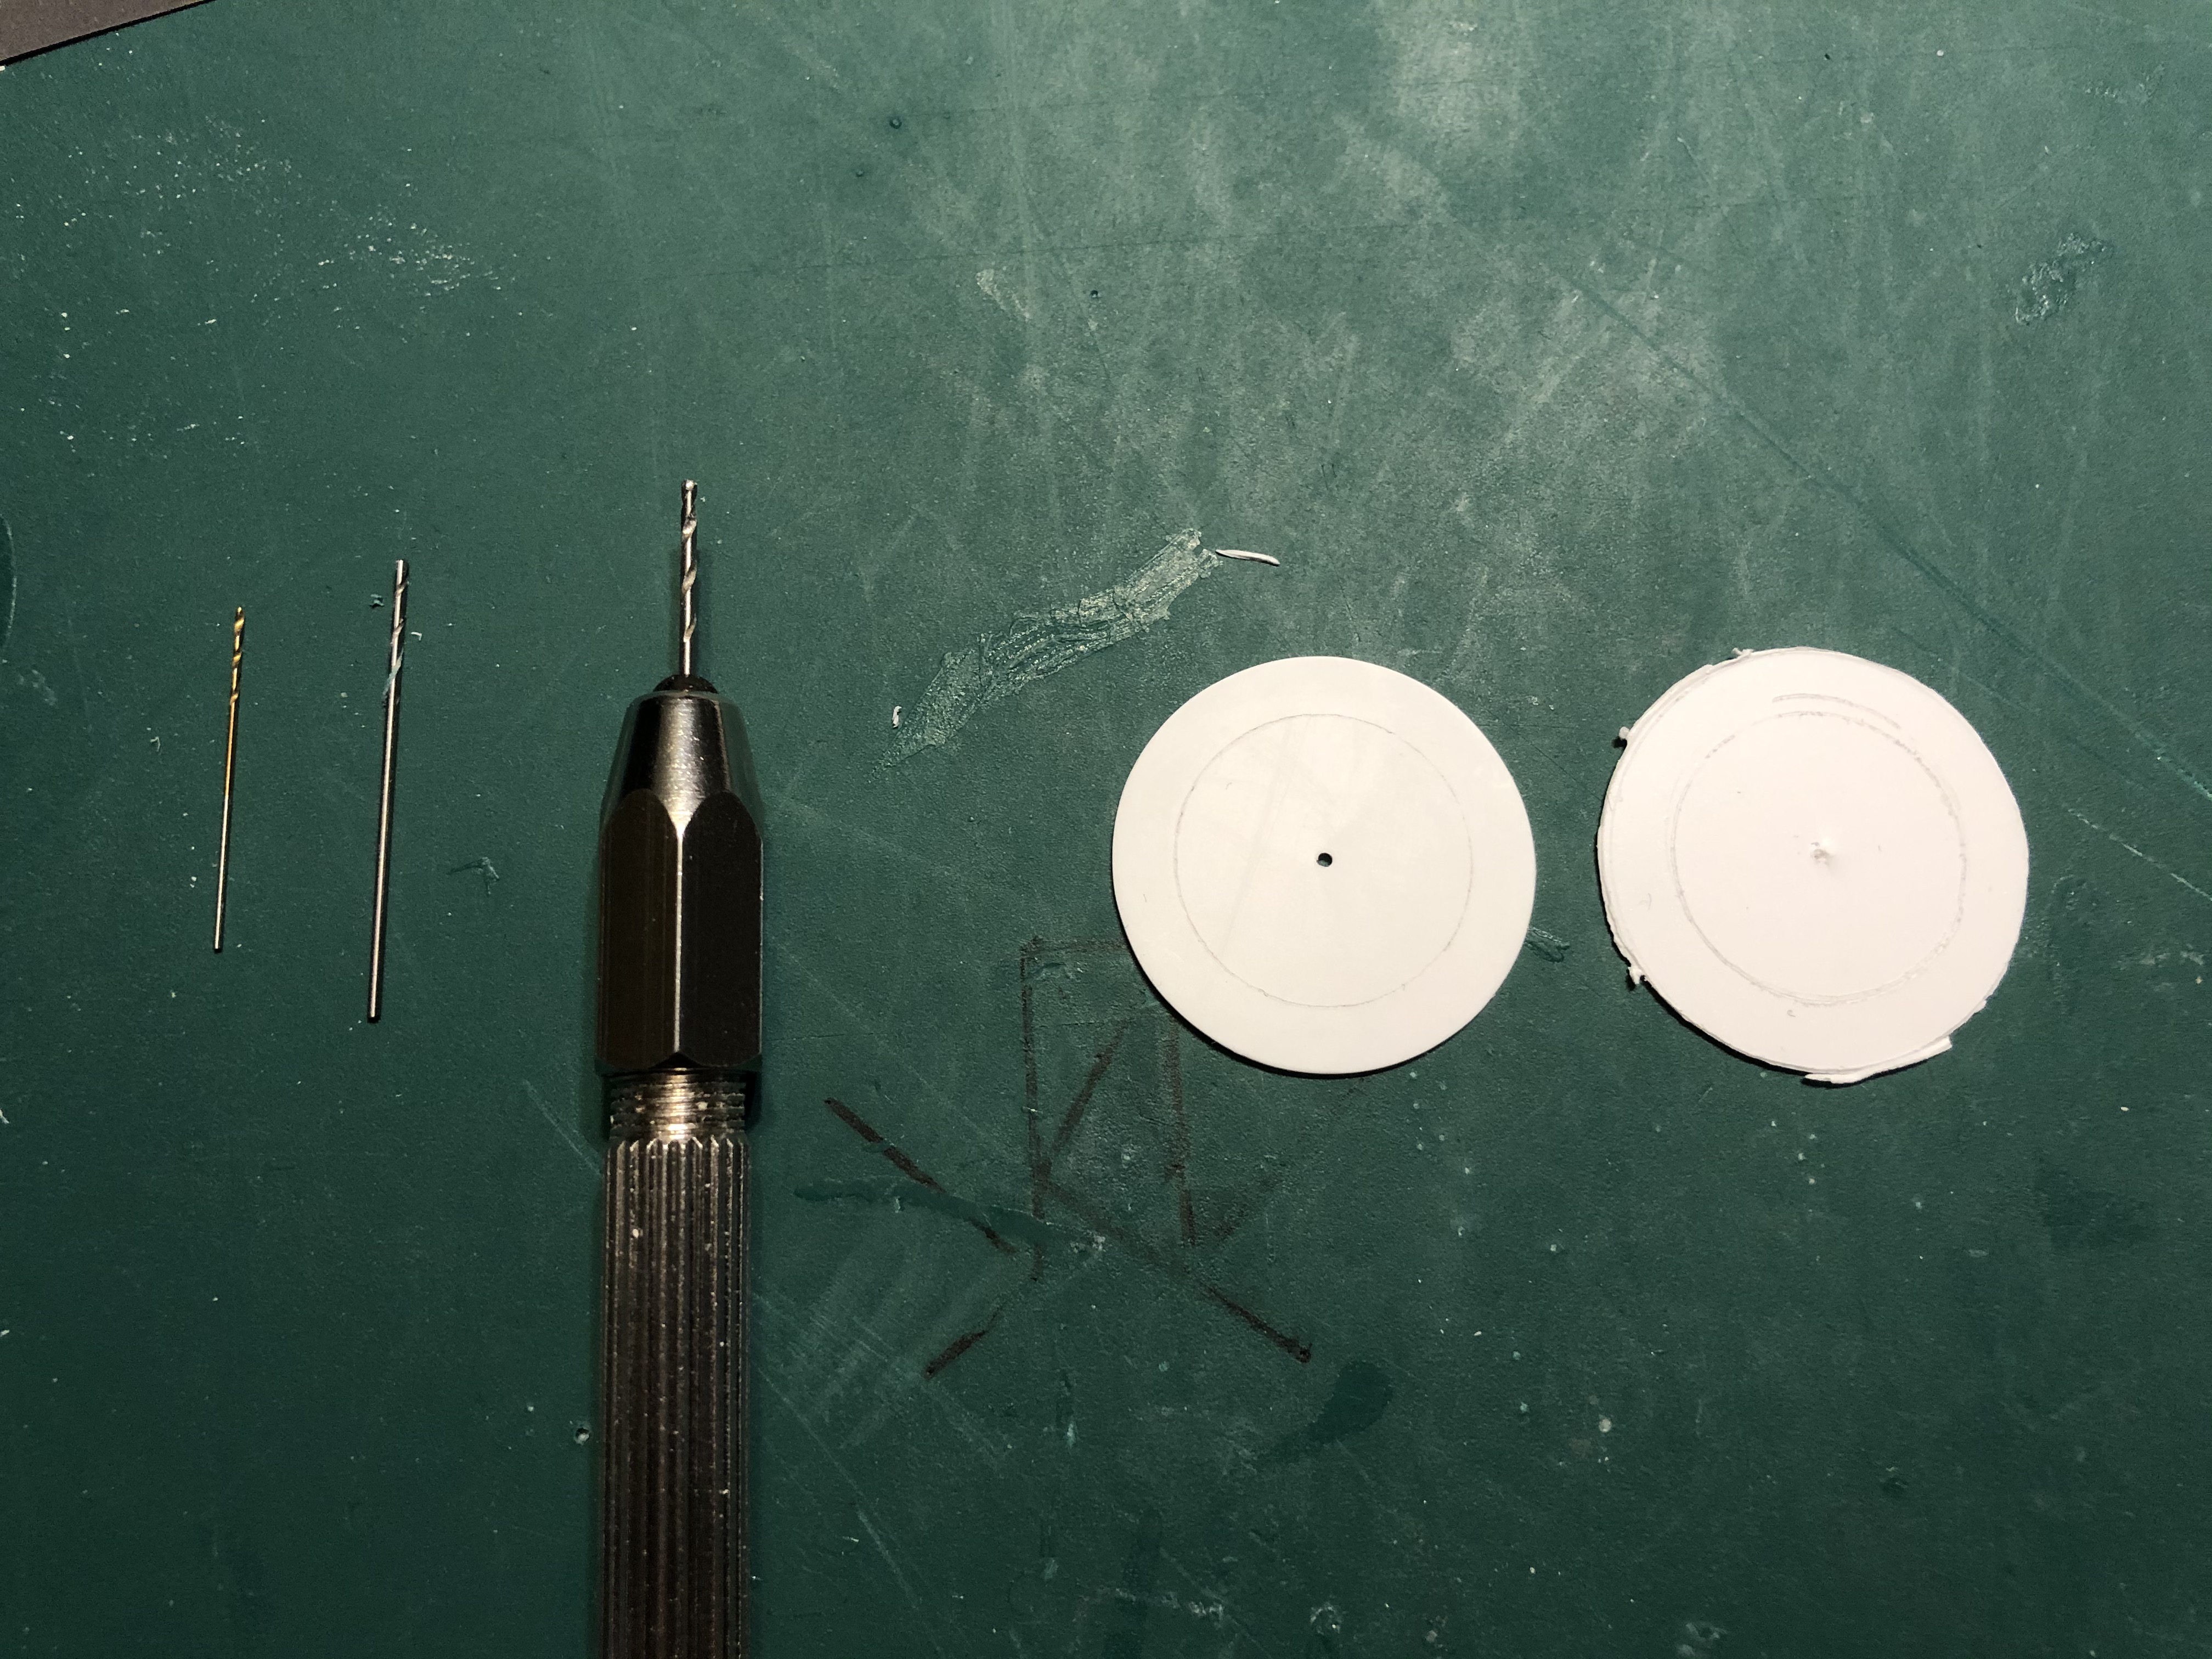 I then sanded each disc round and drilled out the centre hole progressively from 0.5mm to 1mm diameter.
AVRE Bobbin Conversion Cont'd
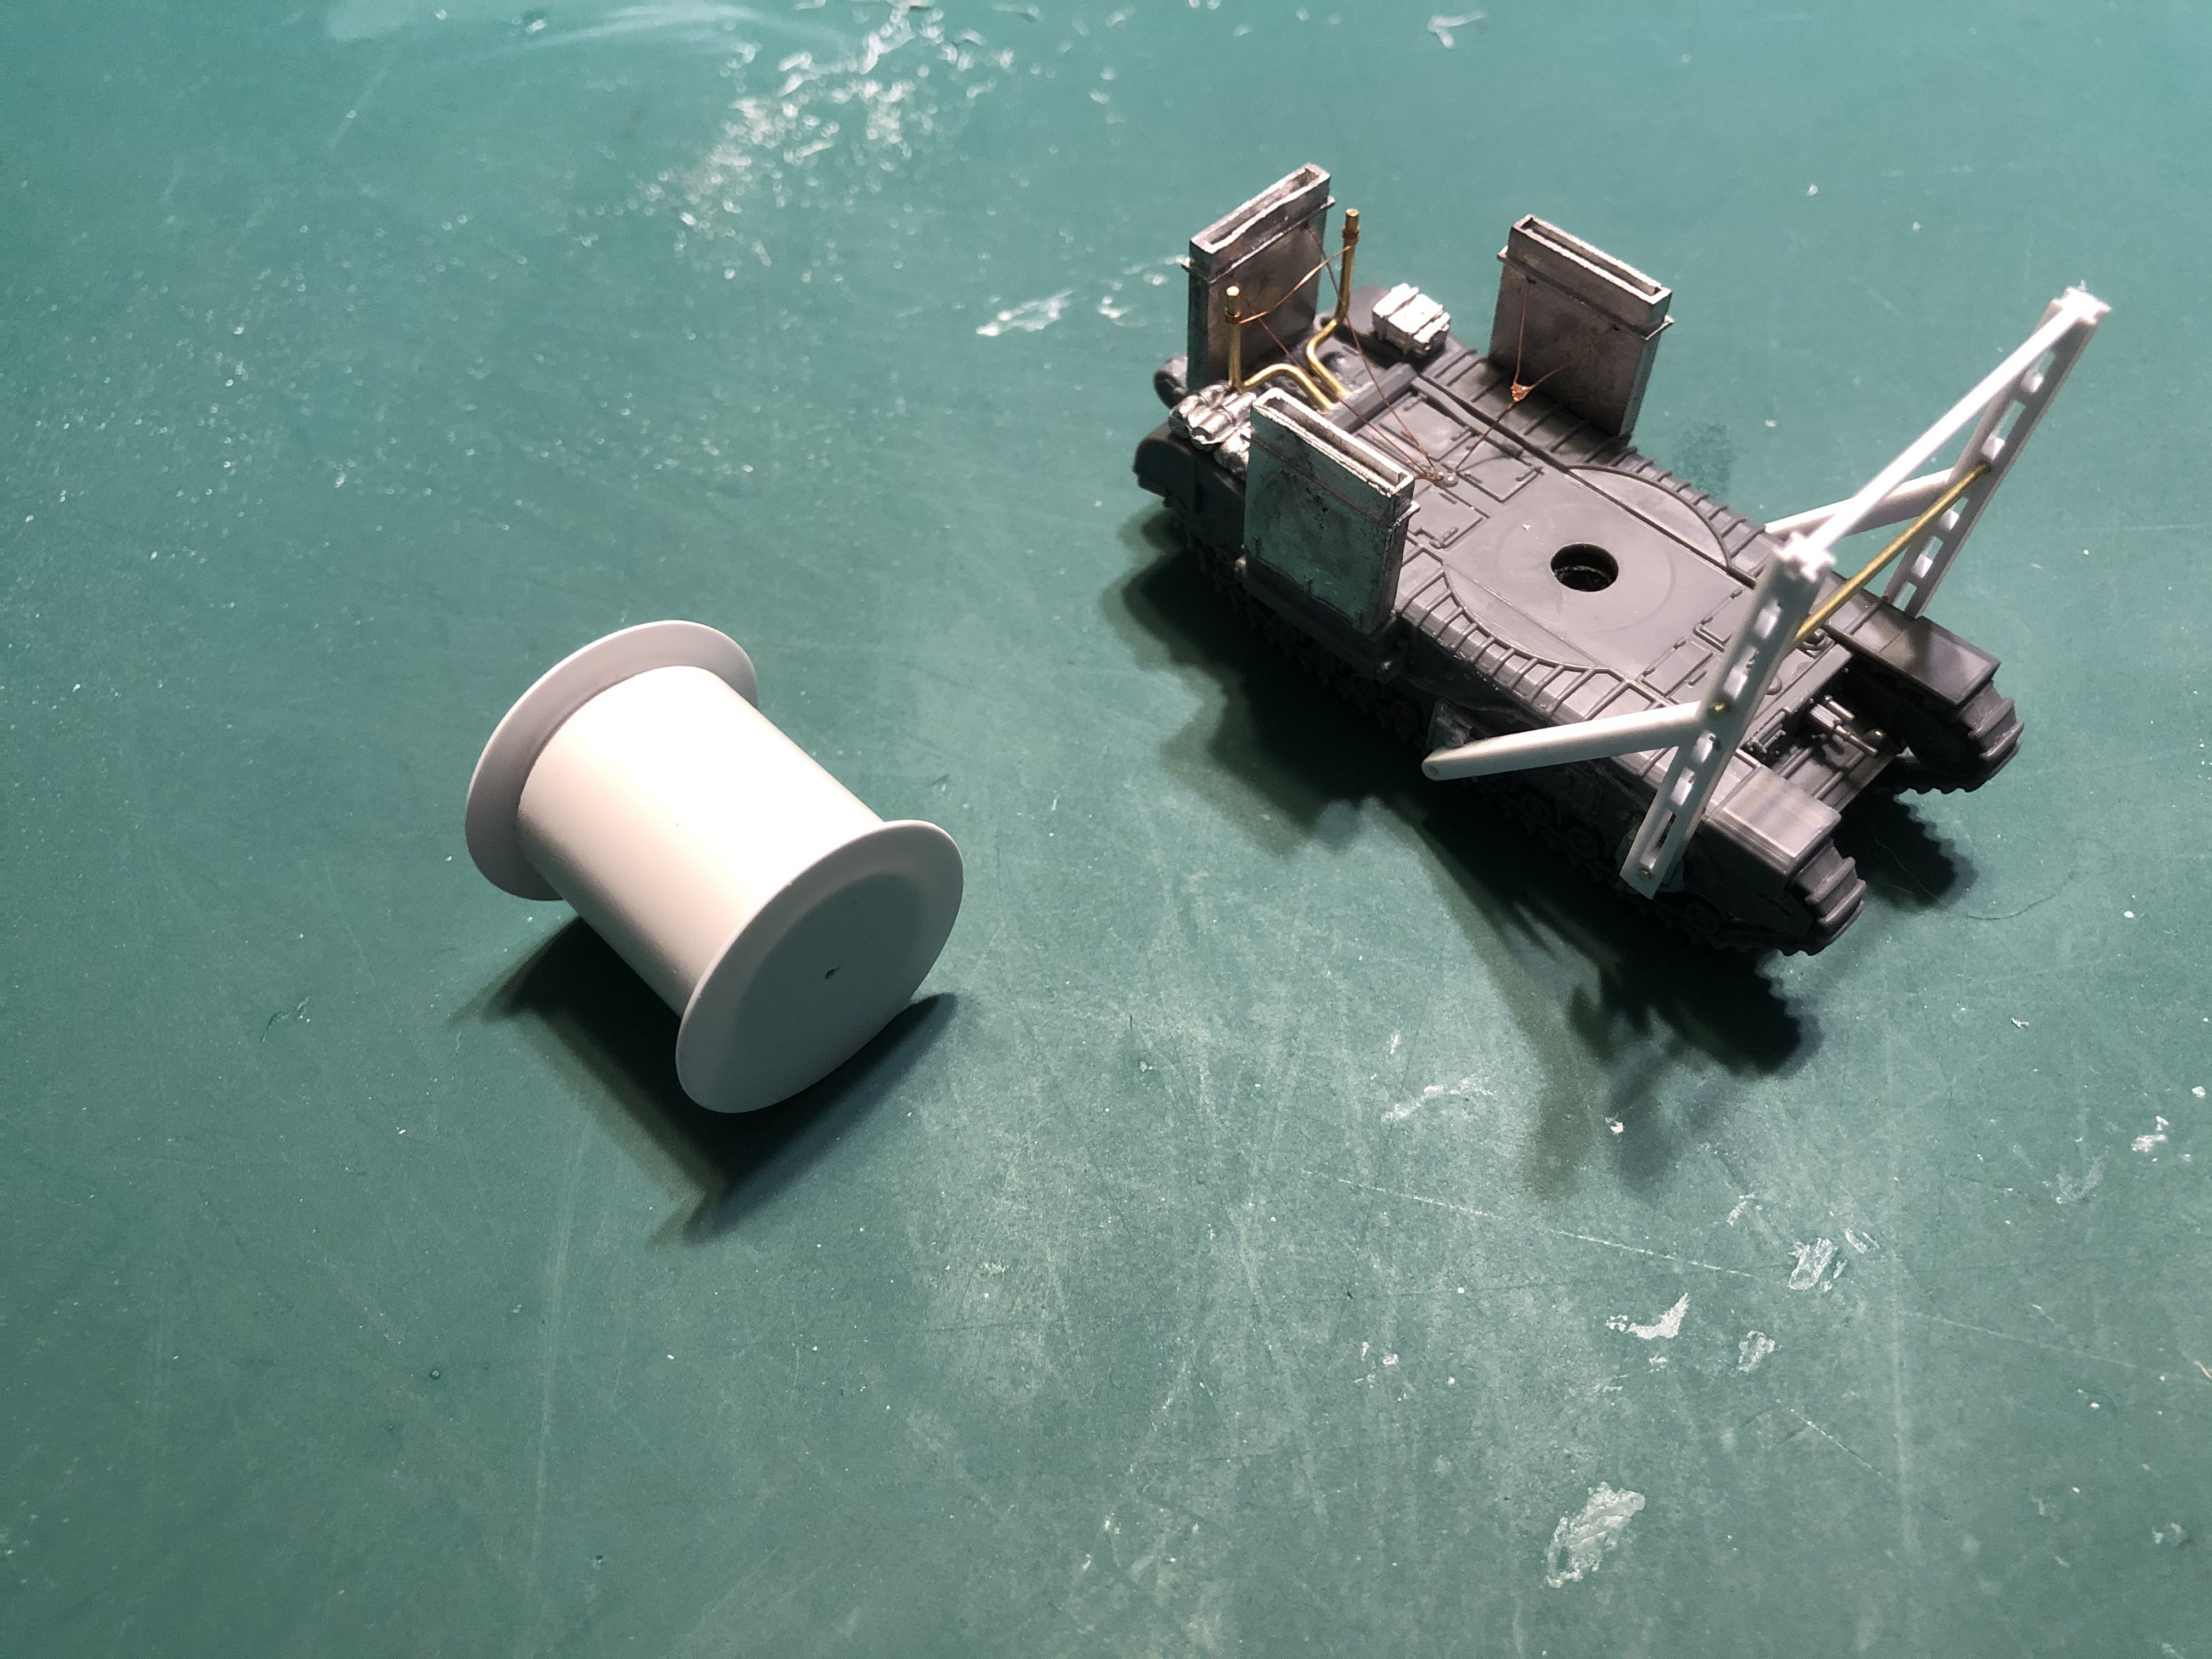
After completing the main sections, I offered everything back up to the tank so that I could confirm the diameter of the ends of the Bobbin roll were going to fit.
AVRE Bobbin Conversion Cont'd
The next thing to create was the Bobbin roll itself. So that I didn’t have to make miles of carpet I decided to place an infill piece over the roll. After scaling the roll I found that a bit of 20mm plastic pipe would work brilliantly. After cutting the pipe to the correct lengths using a plumbers pipe cutter, I used the pipe as a former and cut a section out of the longer pipe section so that it would fit inside the other one. Once sanded smooth I superglued everything in place.
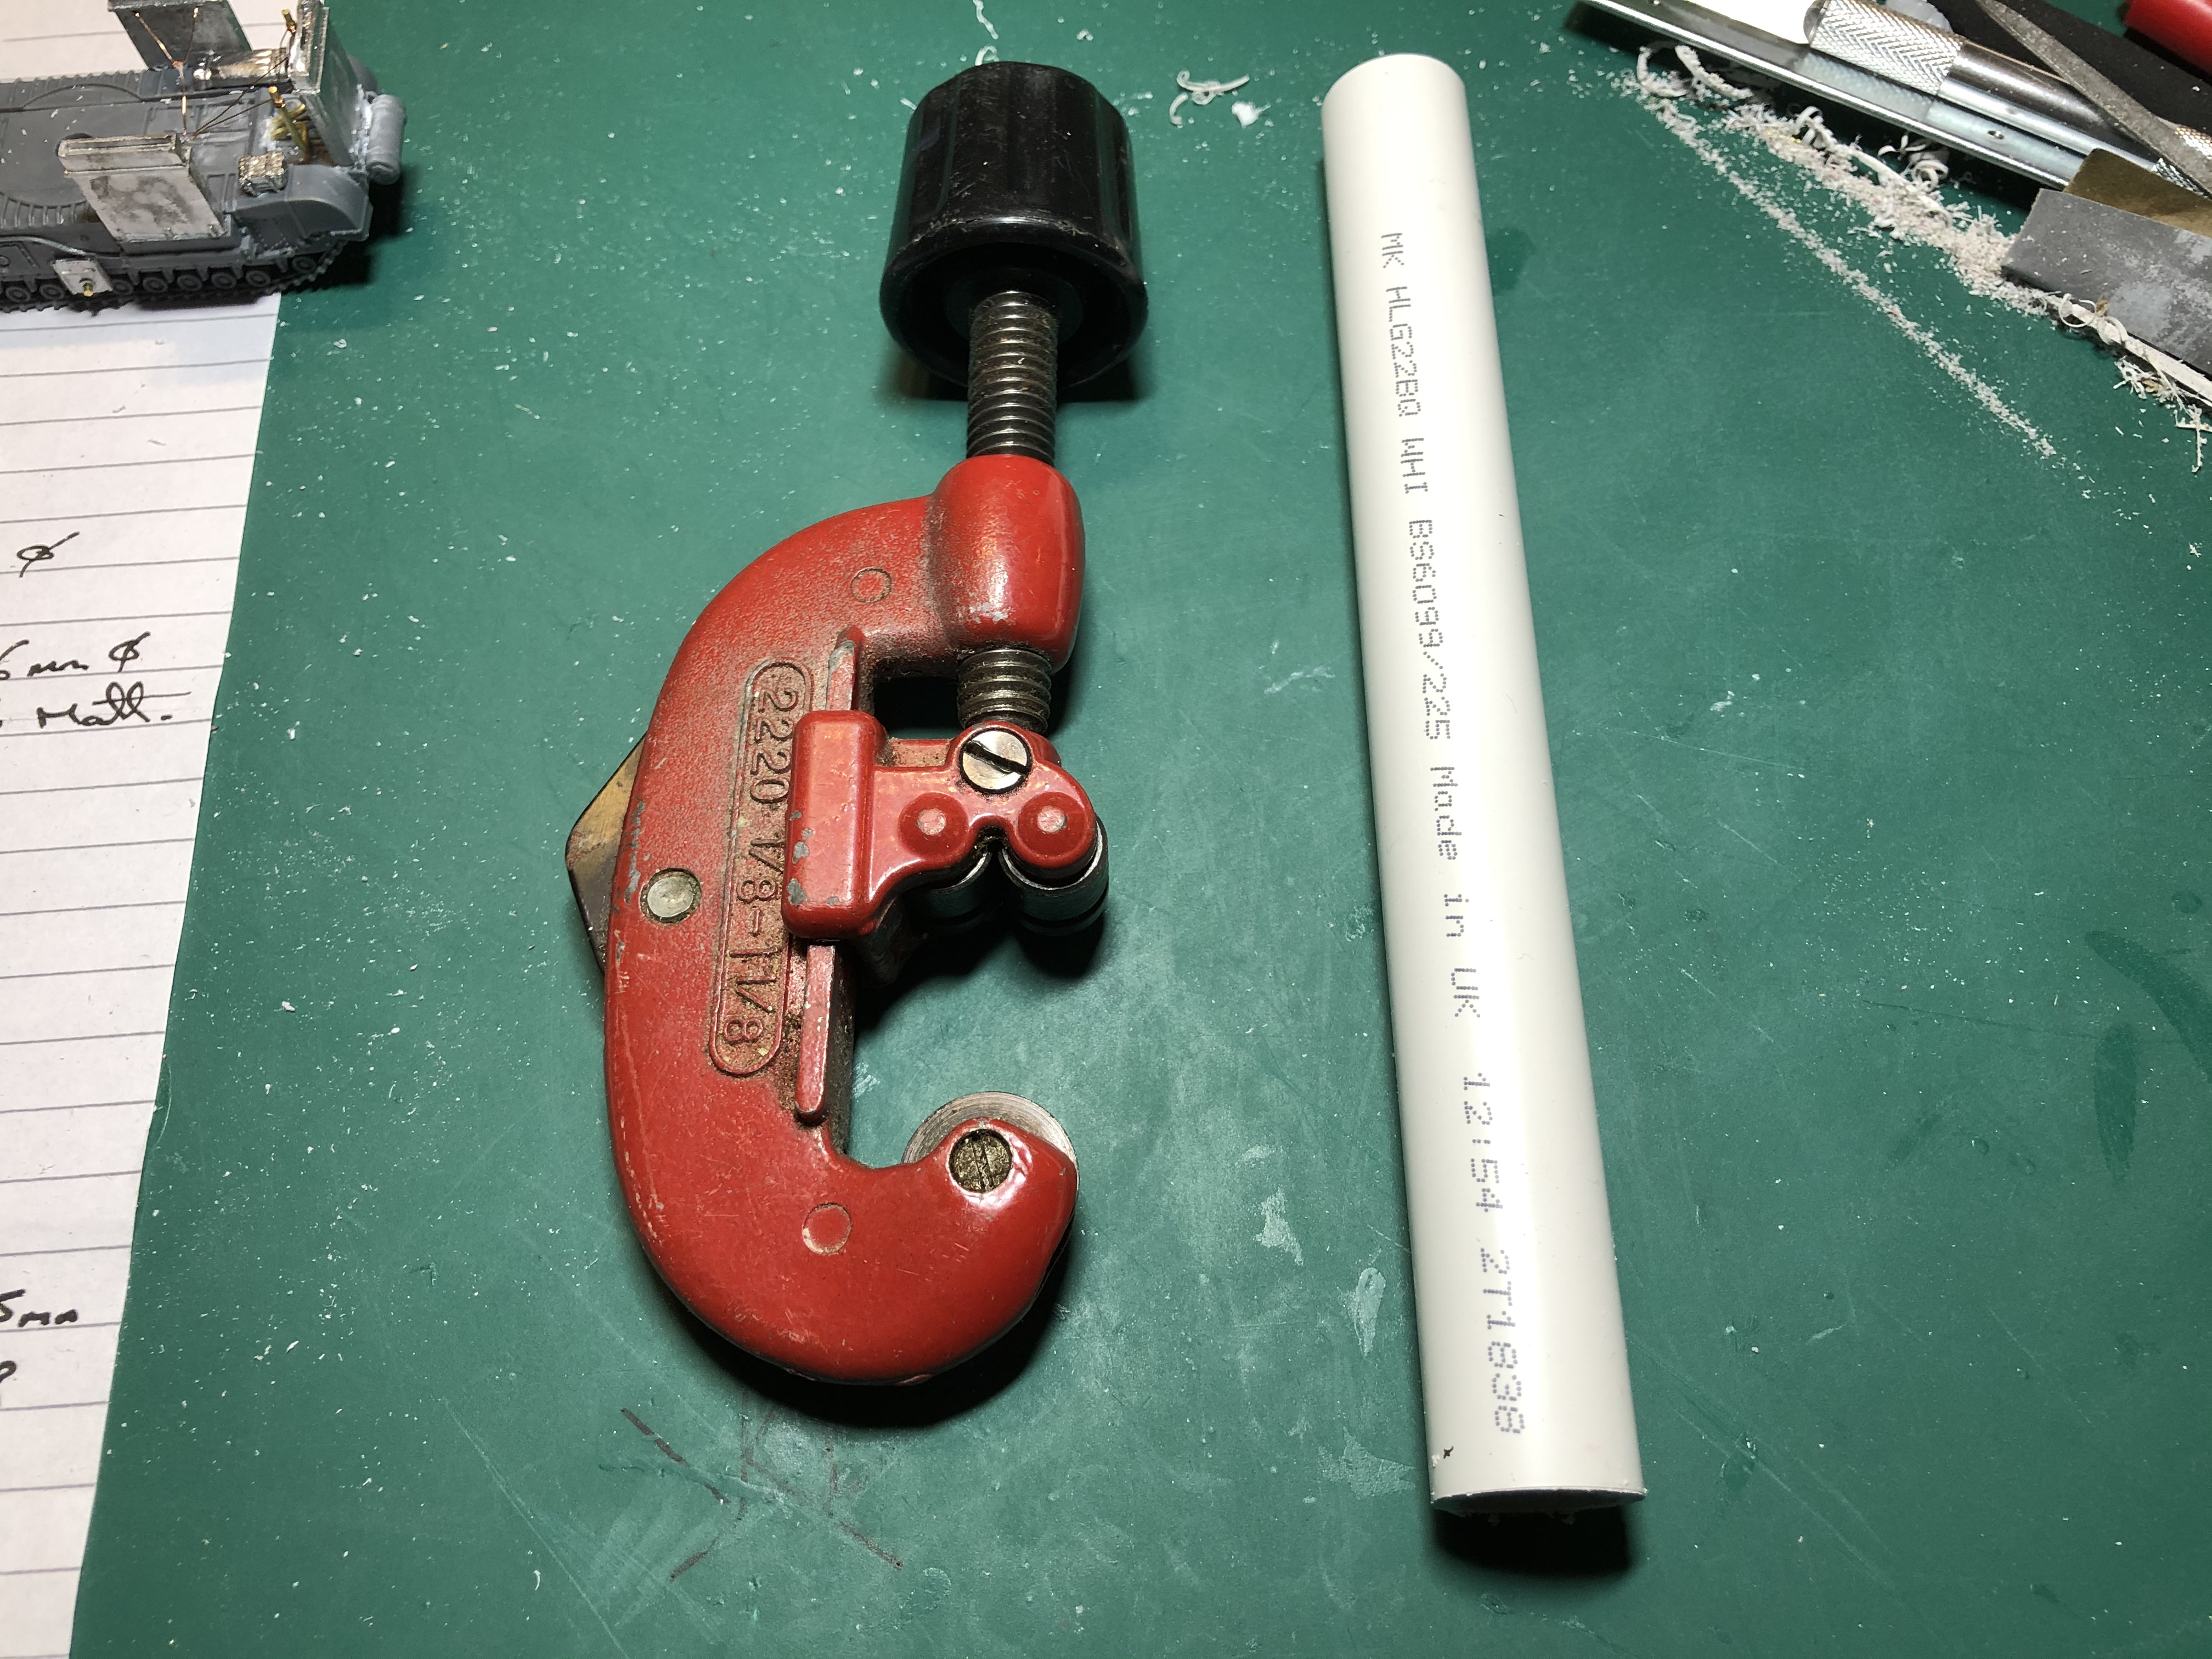 Plumbers pipe cutter to get accurate 90 degree cuts, i used it to mark the pipe and then cut it using a razor saw.
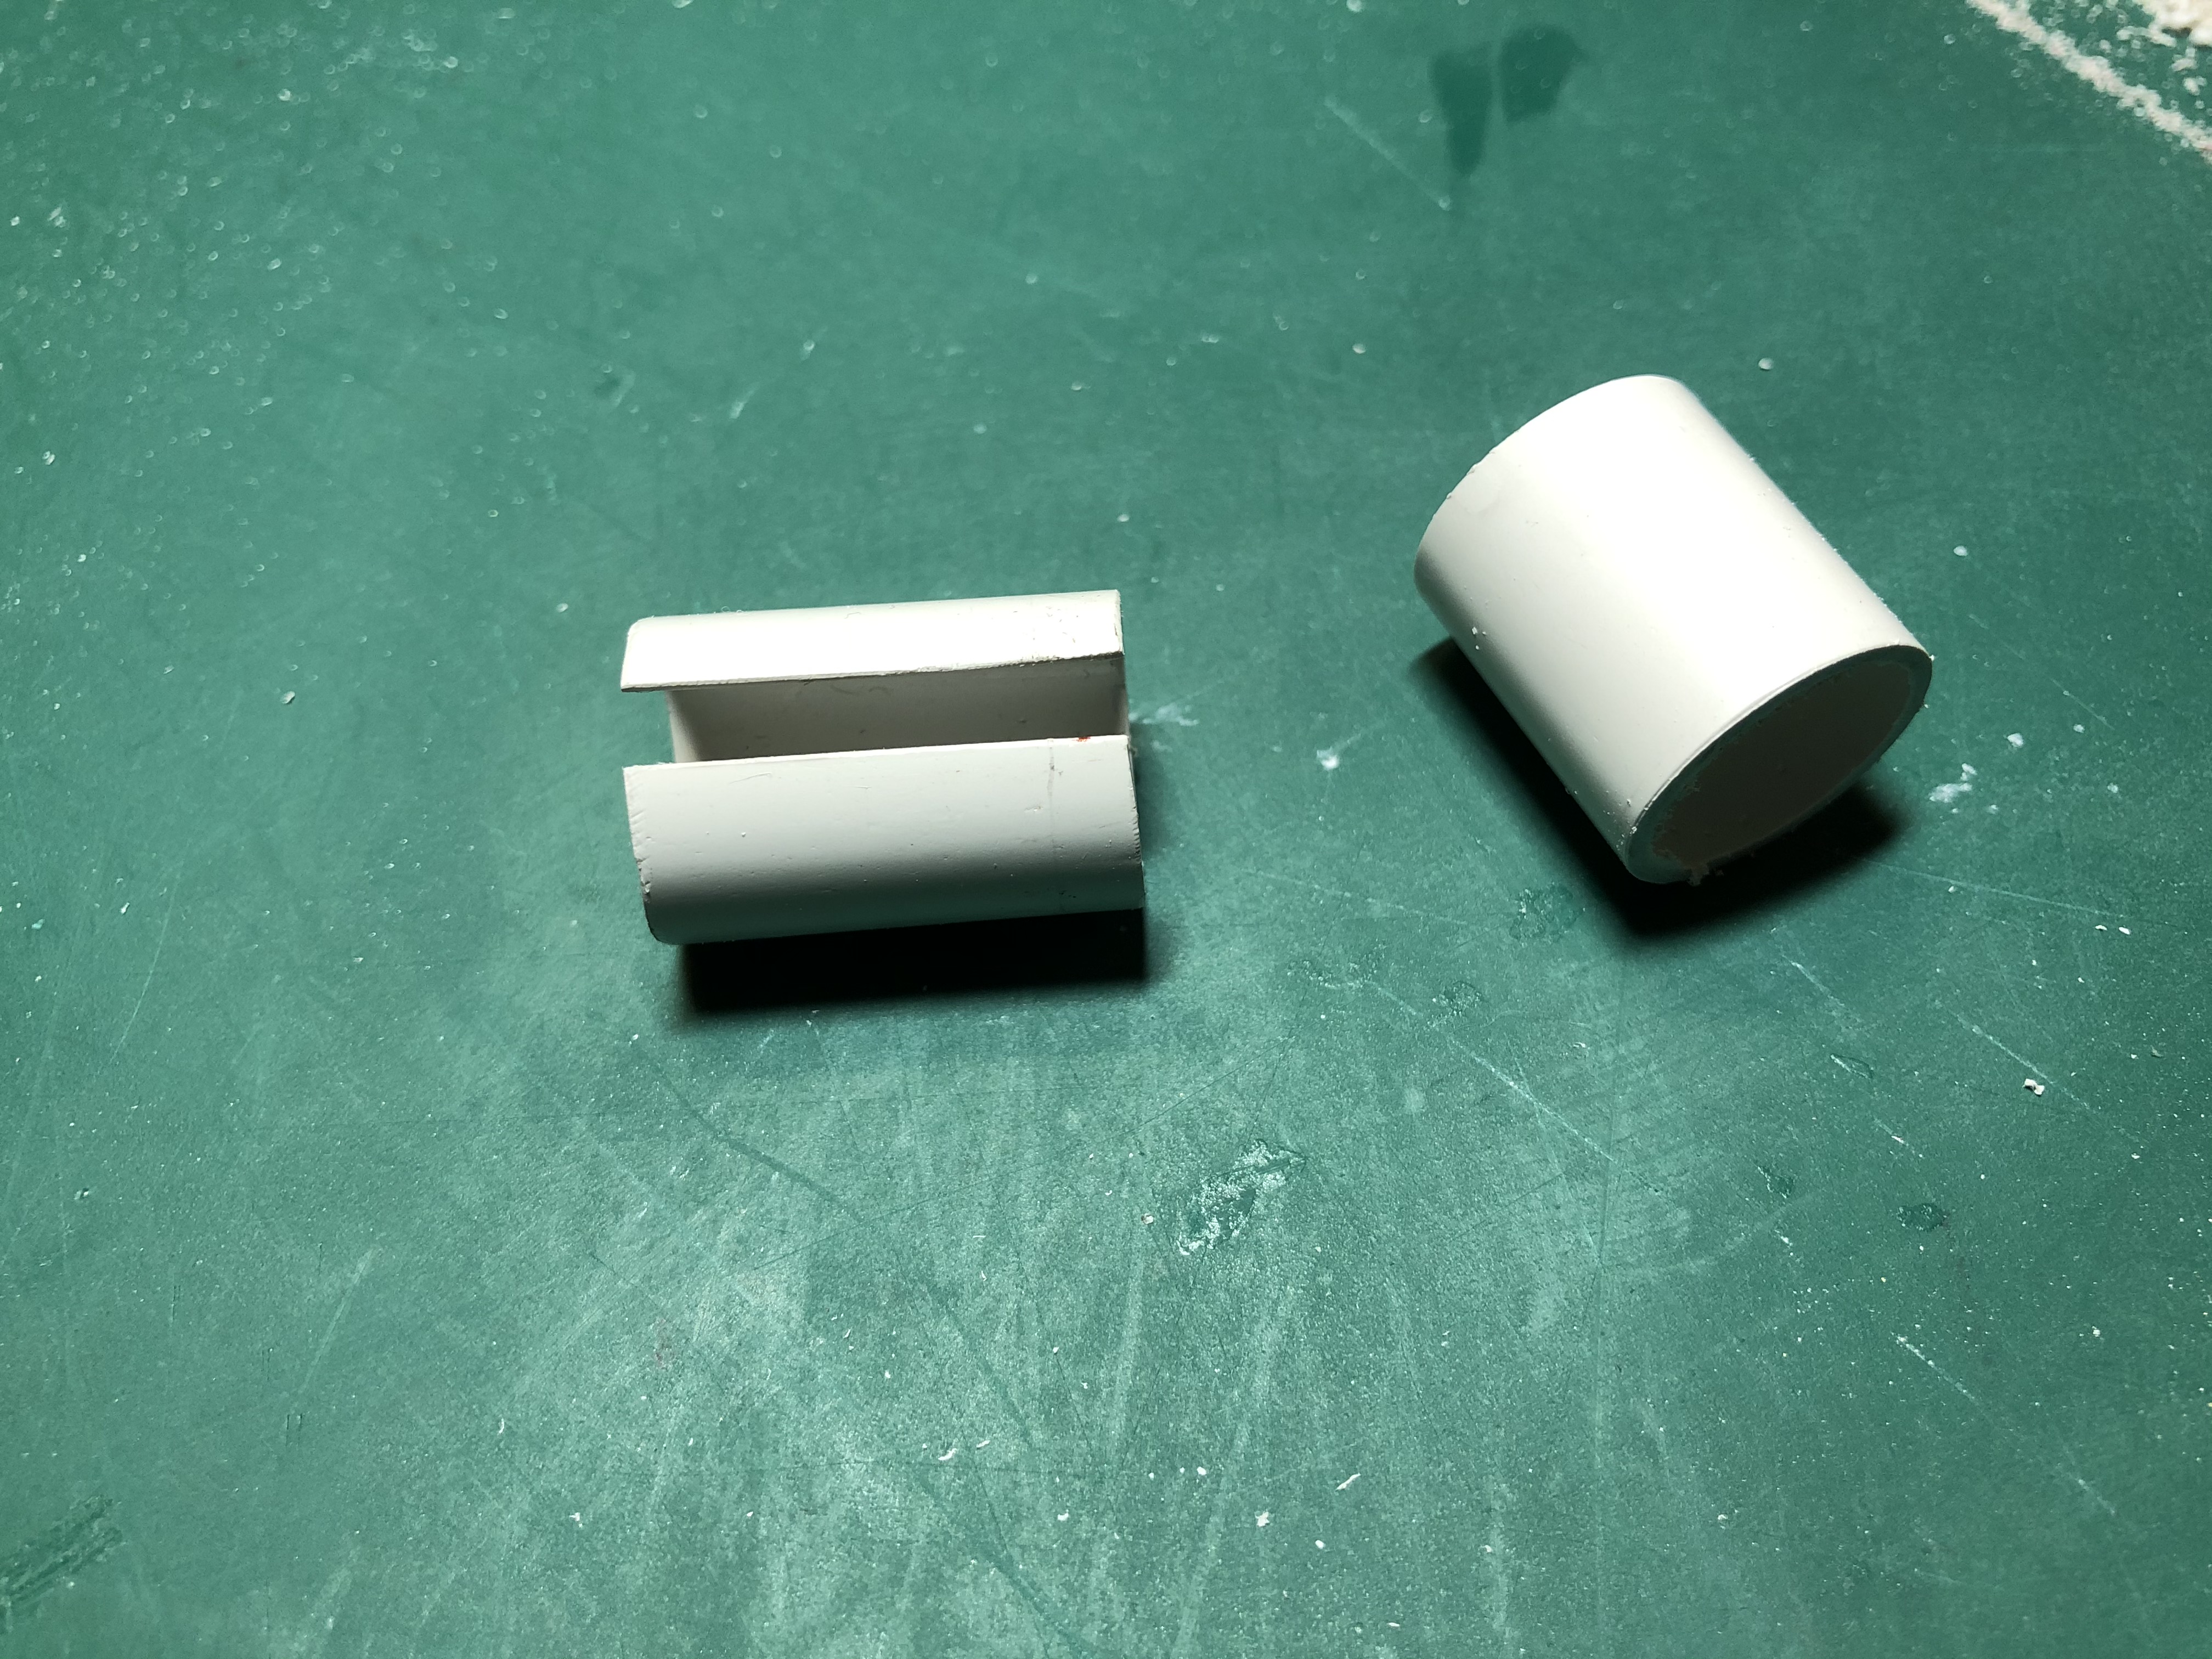 inner section cut so that it would fit inside the other pipe section.
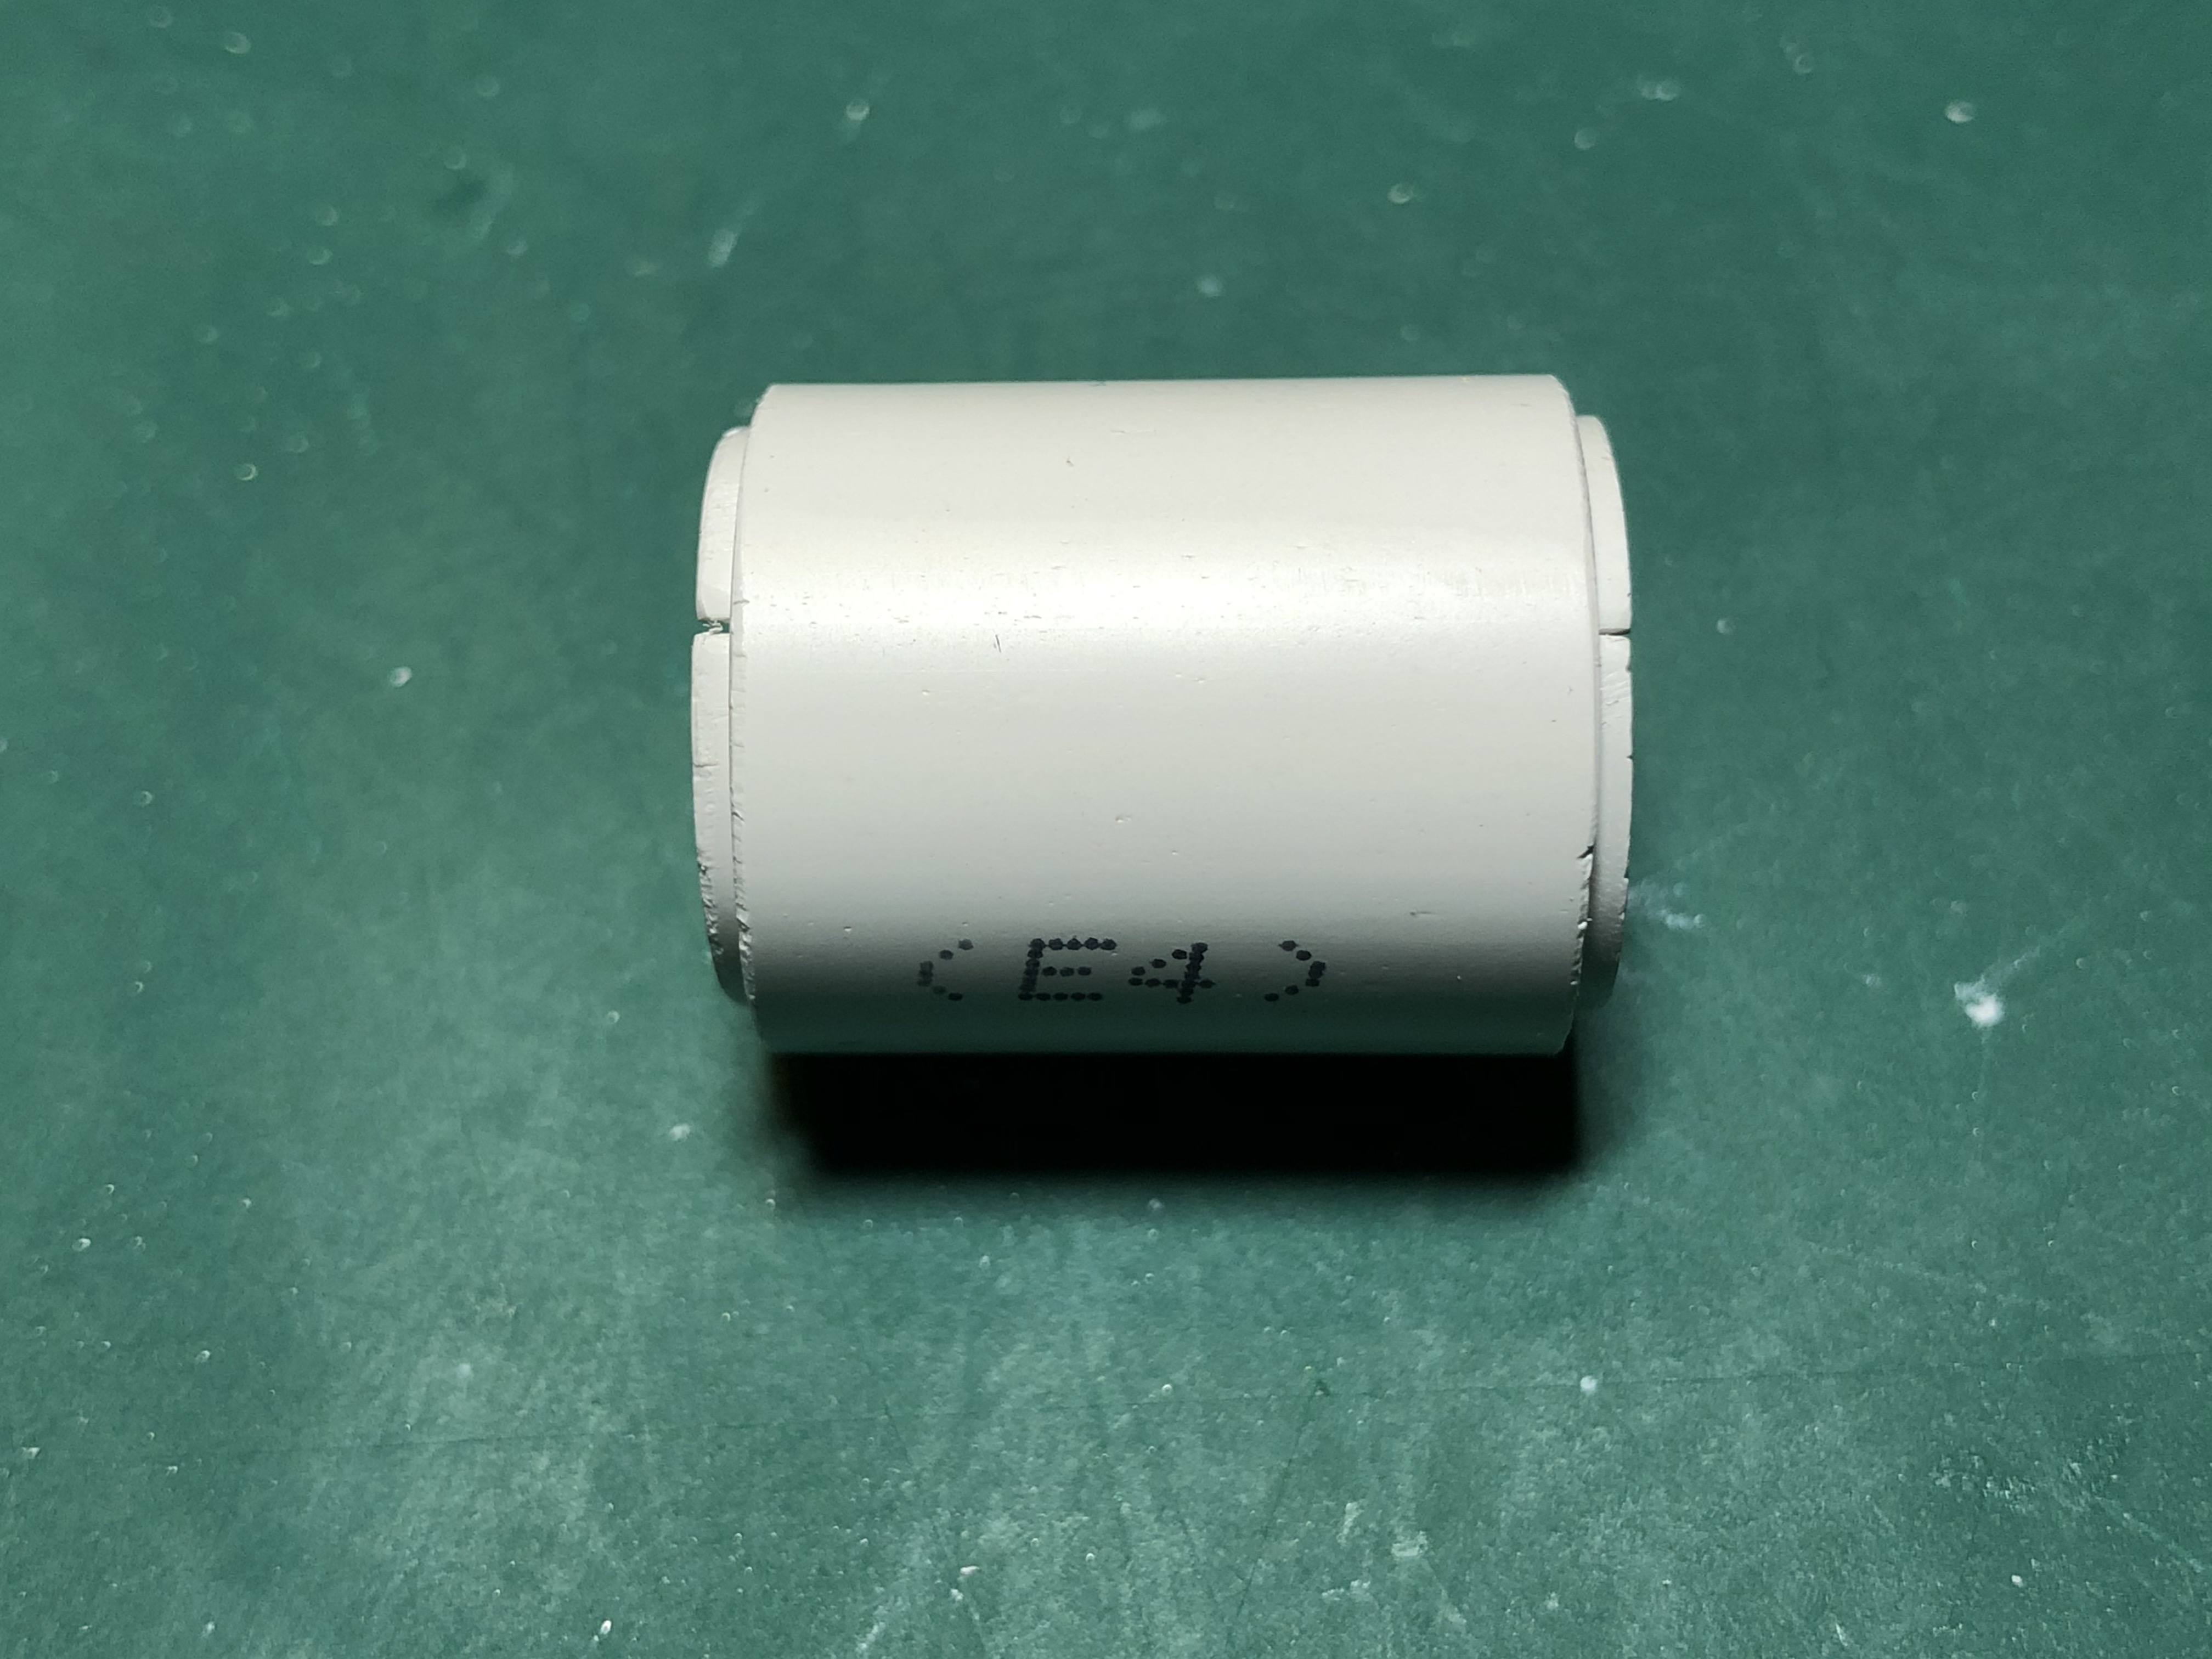 Inner section fitted in place.