


Annihilation Looms


Recommendations: 424
About the Project
+Transcript - Bridge Officer report+ “We have reluctantly made planet fall following Director Krennic’s instruction. This backwater rock is locally referred to as ‘Gamu’, though I can find no imperial records listing the planet by that name.” “Speculation regarding the rebel cell alleged to be operating from this area, have been exacerbated by Scout Unit Delta failing to make their last scheduled report.” “Director Krennic is, at this very moment, leading the entirety of our shipboard forces to the location of Delta’s last relay. Primary survey, following the scouts passage has revealed this area to be the site of an abandoned processing facility. Though what was being processed here is left to speculation.” “I must state for the record, that I consider Director Krennic’s actions to be reckless in the extreme. He has broken protocol and left this vessel without the requisite … don’t interrupt my report ensign! .. what do you mean? .. what sounded like a Wookiee?…” +Transmission Terminated+
Related Game: Star Wars: Legion
Related Genre: Science Fiction
This Project is Completed
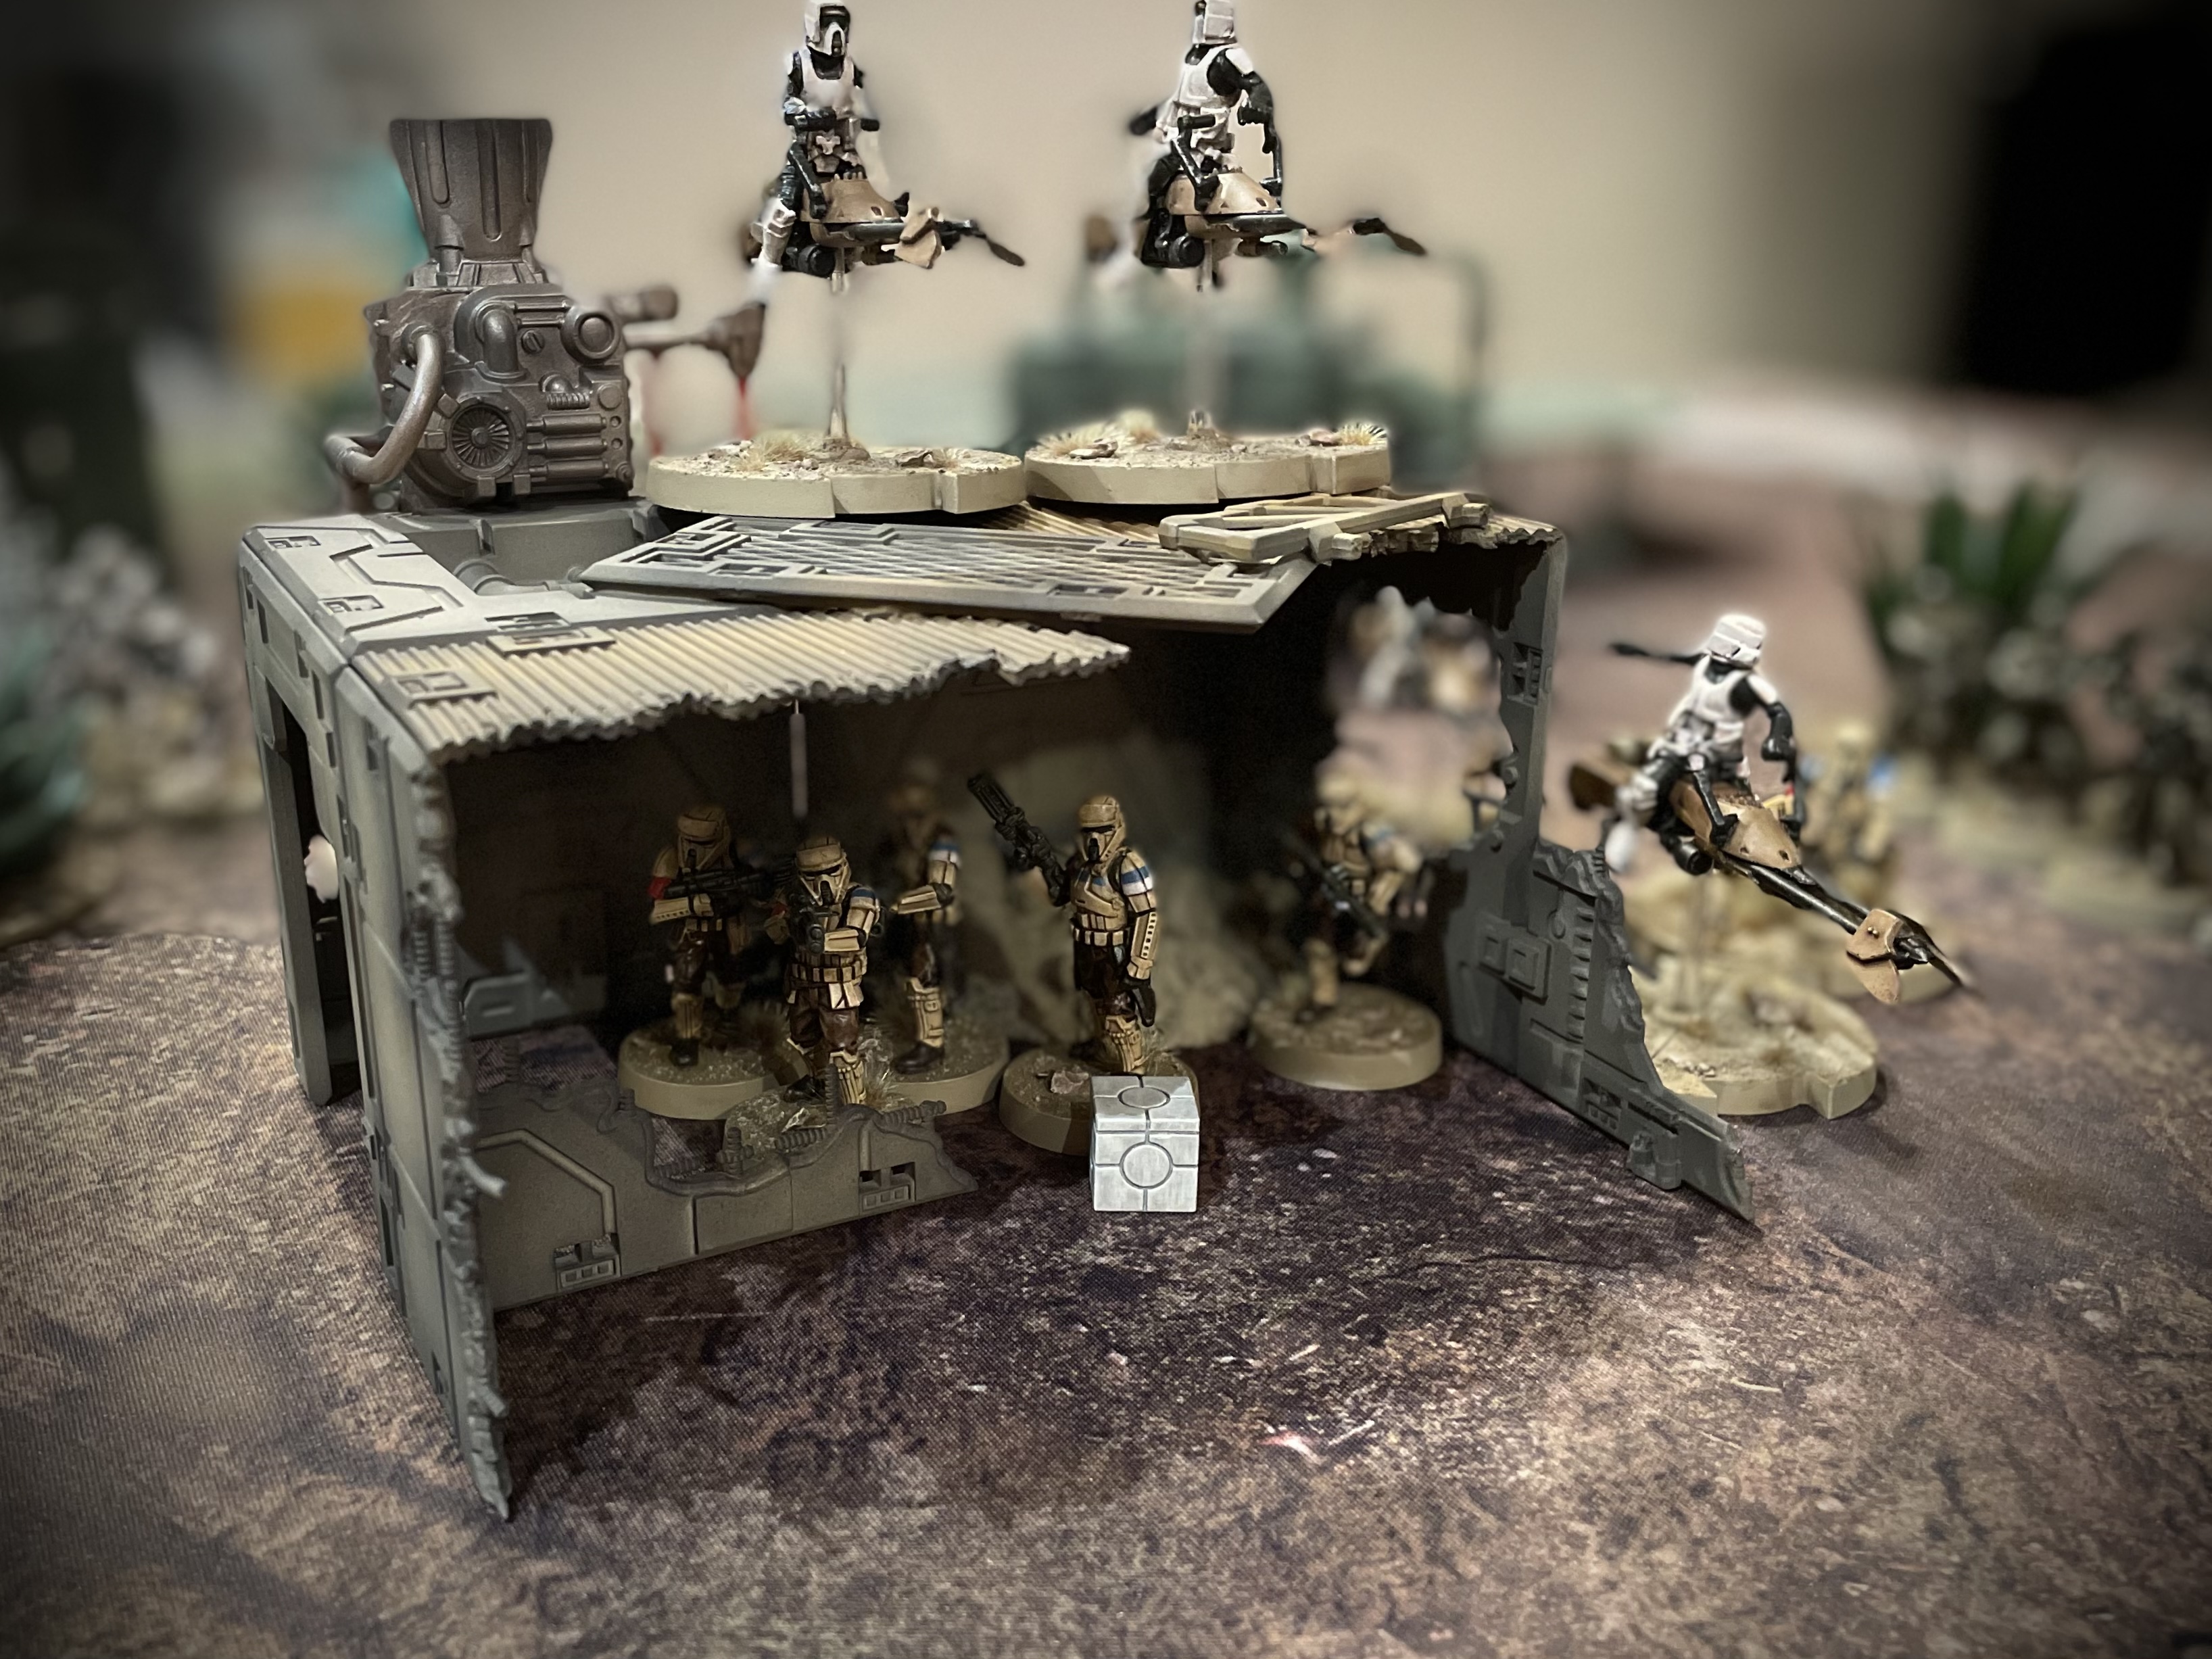
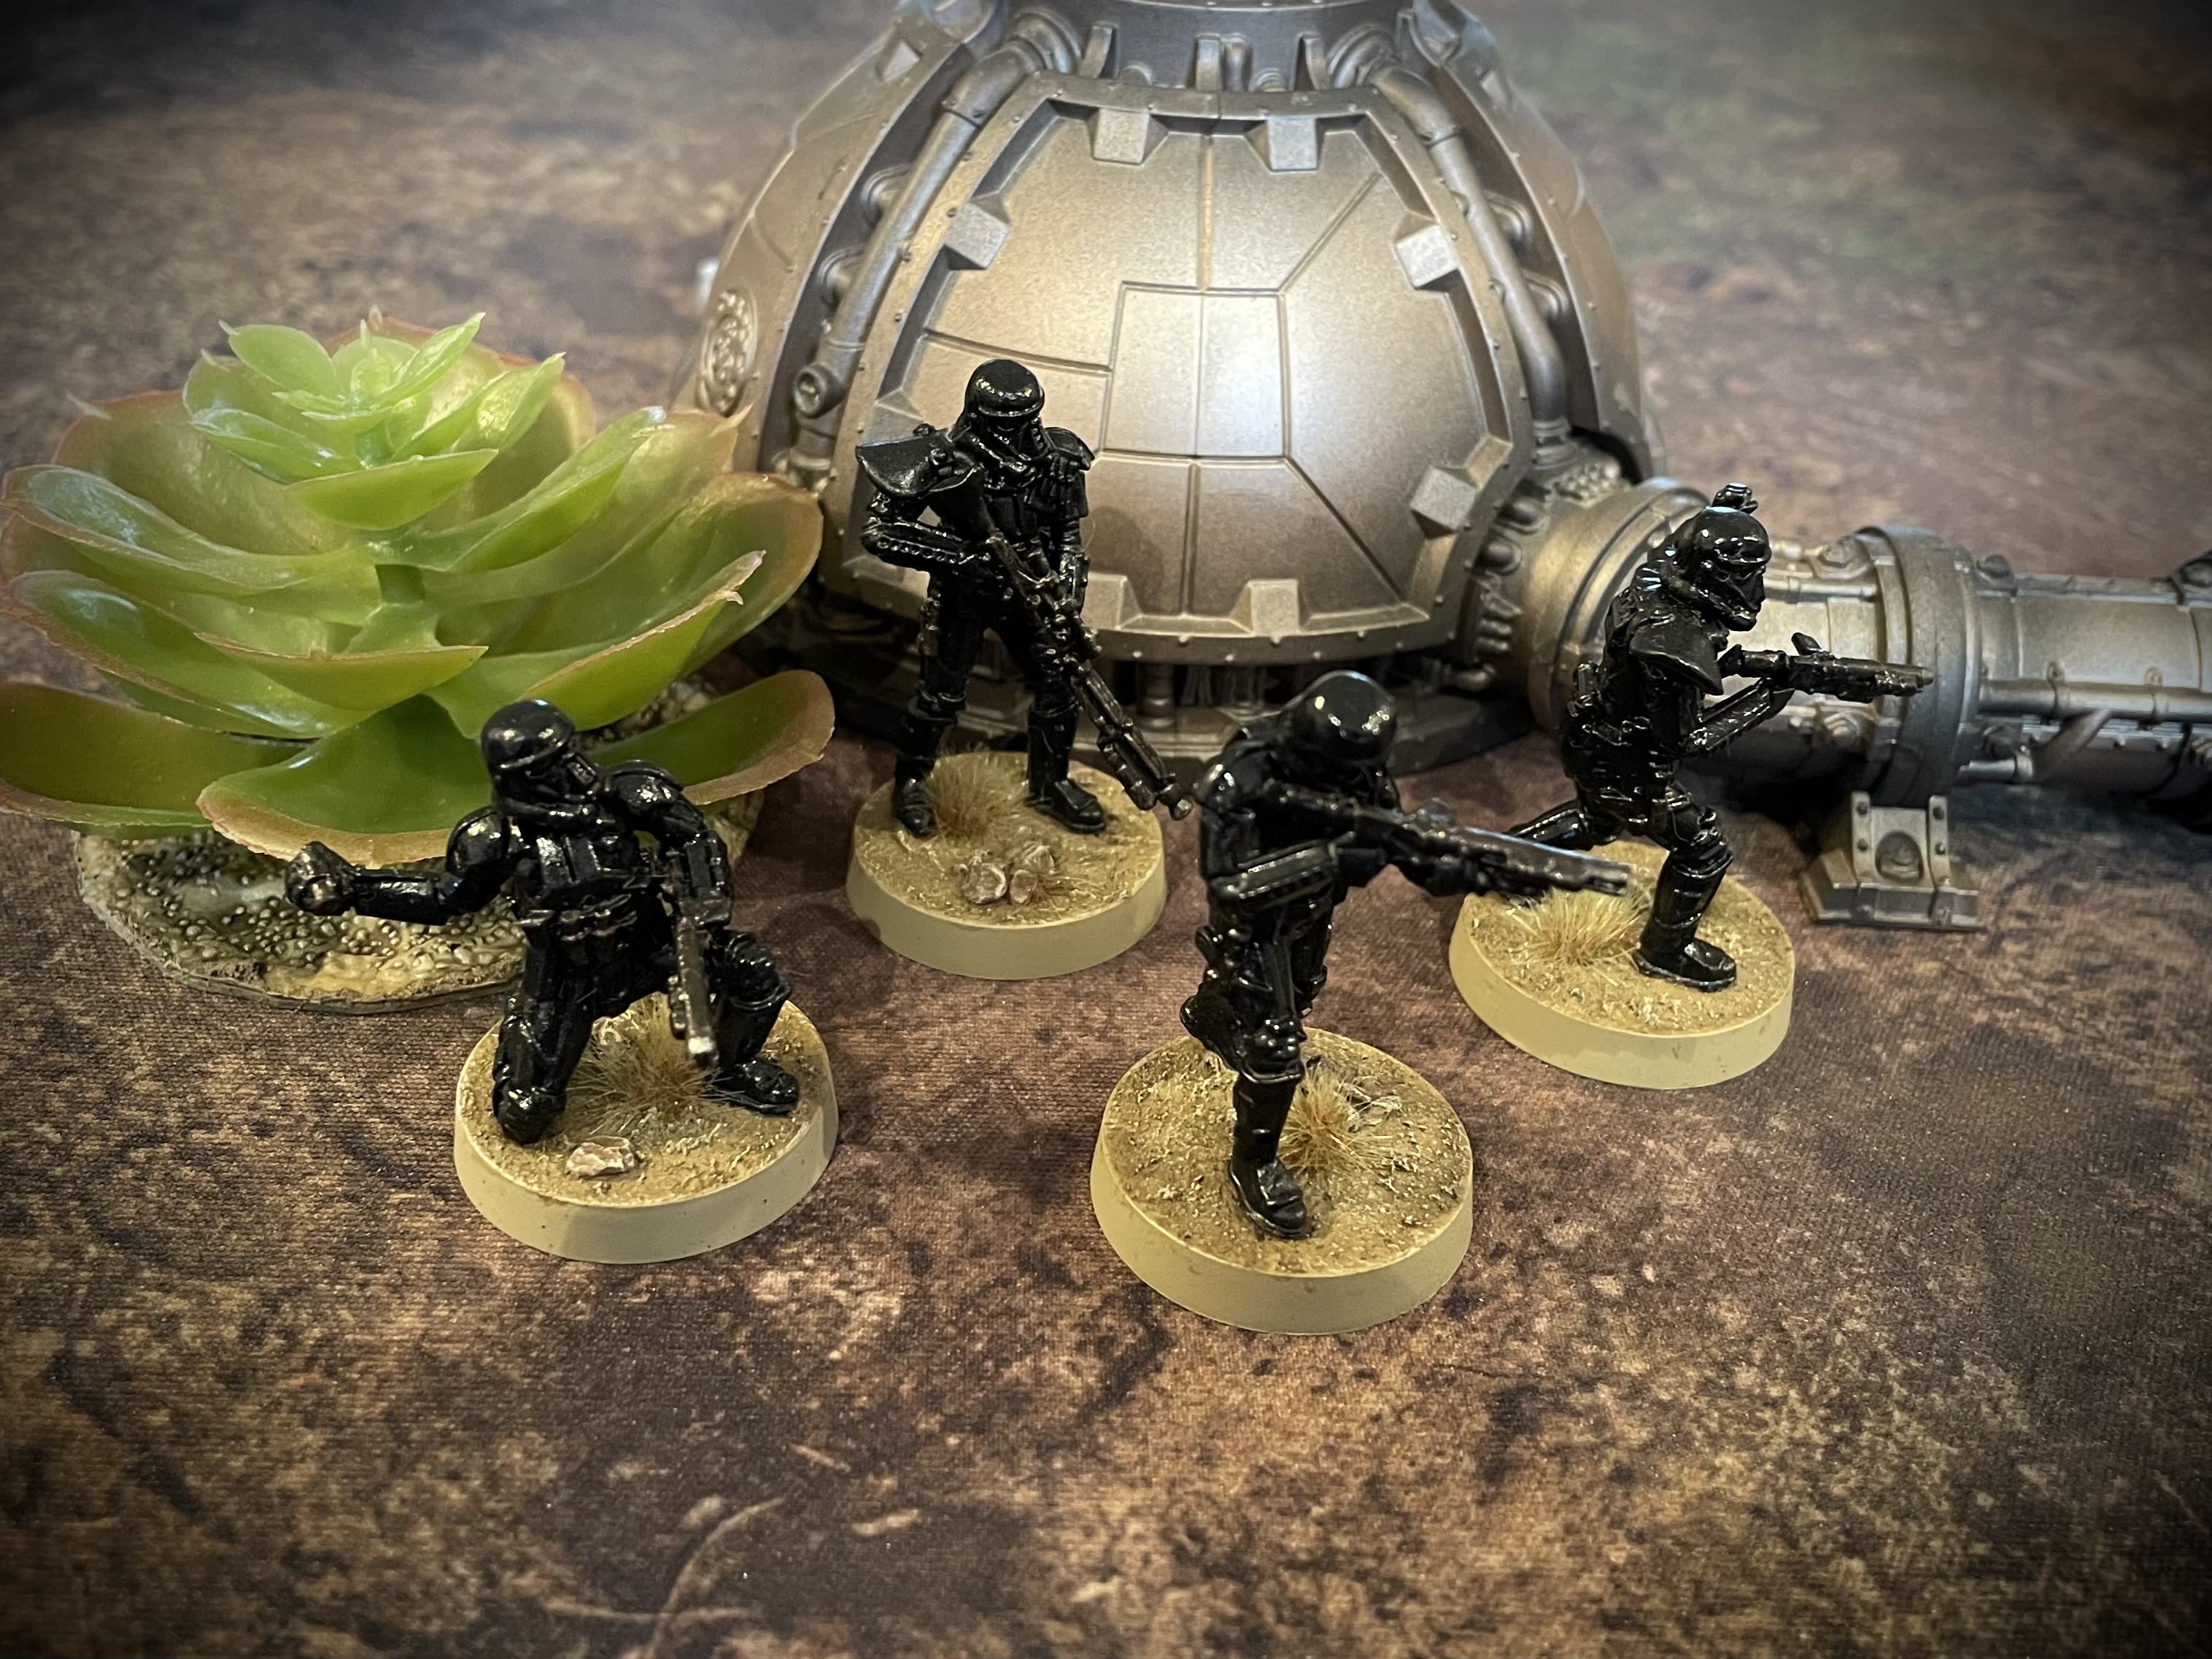
Imperial Forces
Imperial Forces
We had decided to play a Rogue One themed battle. Taking the role of Imperials, I would be using Director Krennic as my Commander, along with his unit of Death Troopers. While this combination is thematic, the synergy between Krennic and the Death Troopers make them a natural addition when fielding him. Two units of Shoretroopers and their accompanying Mortar teams would flesh out the core of my lists. This would give me a decent amount of range four firepower and the ability to dish out a lot of suppression.
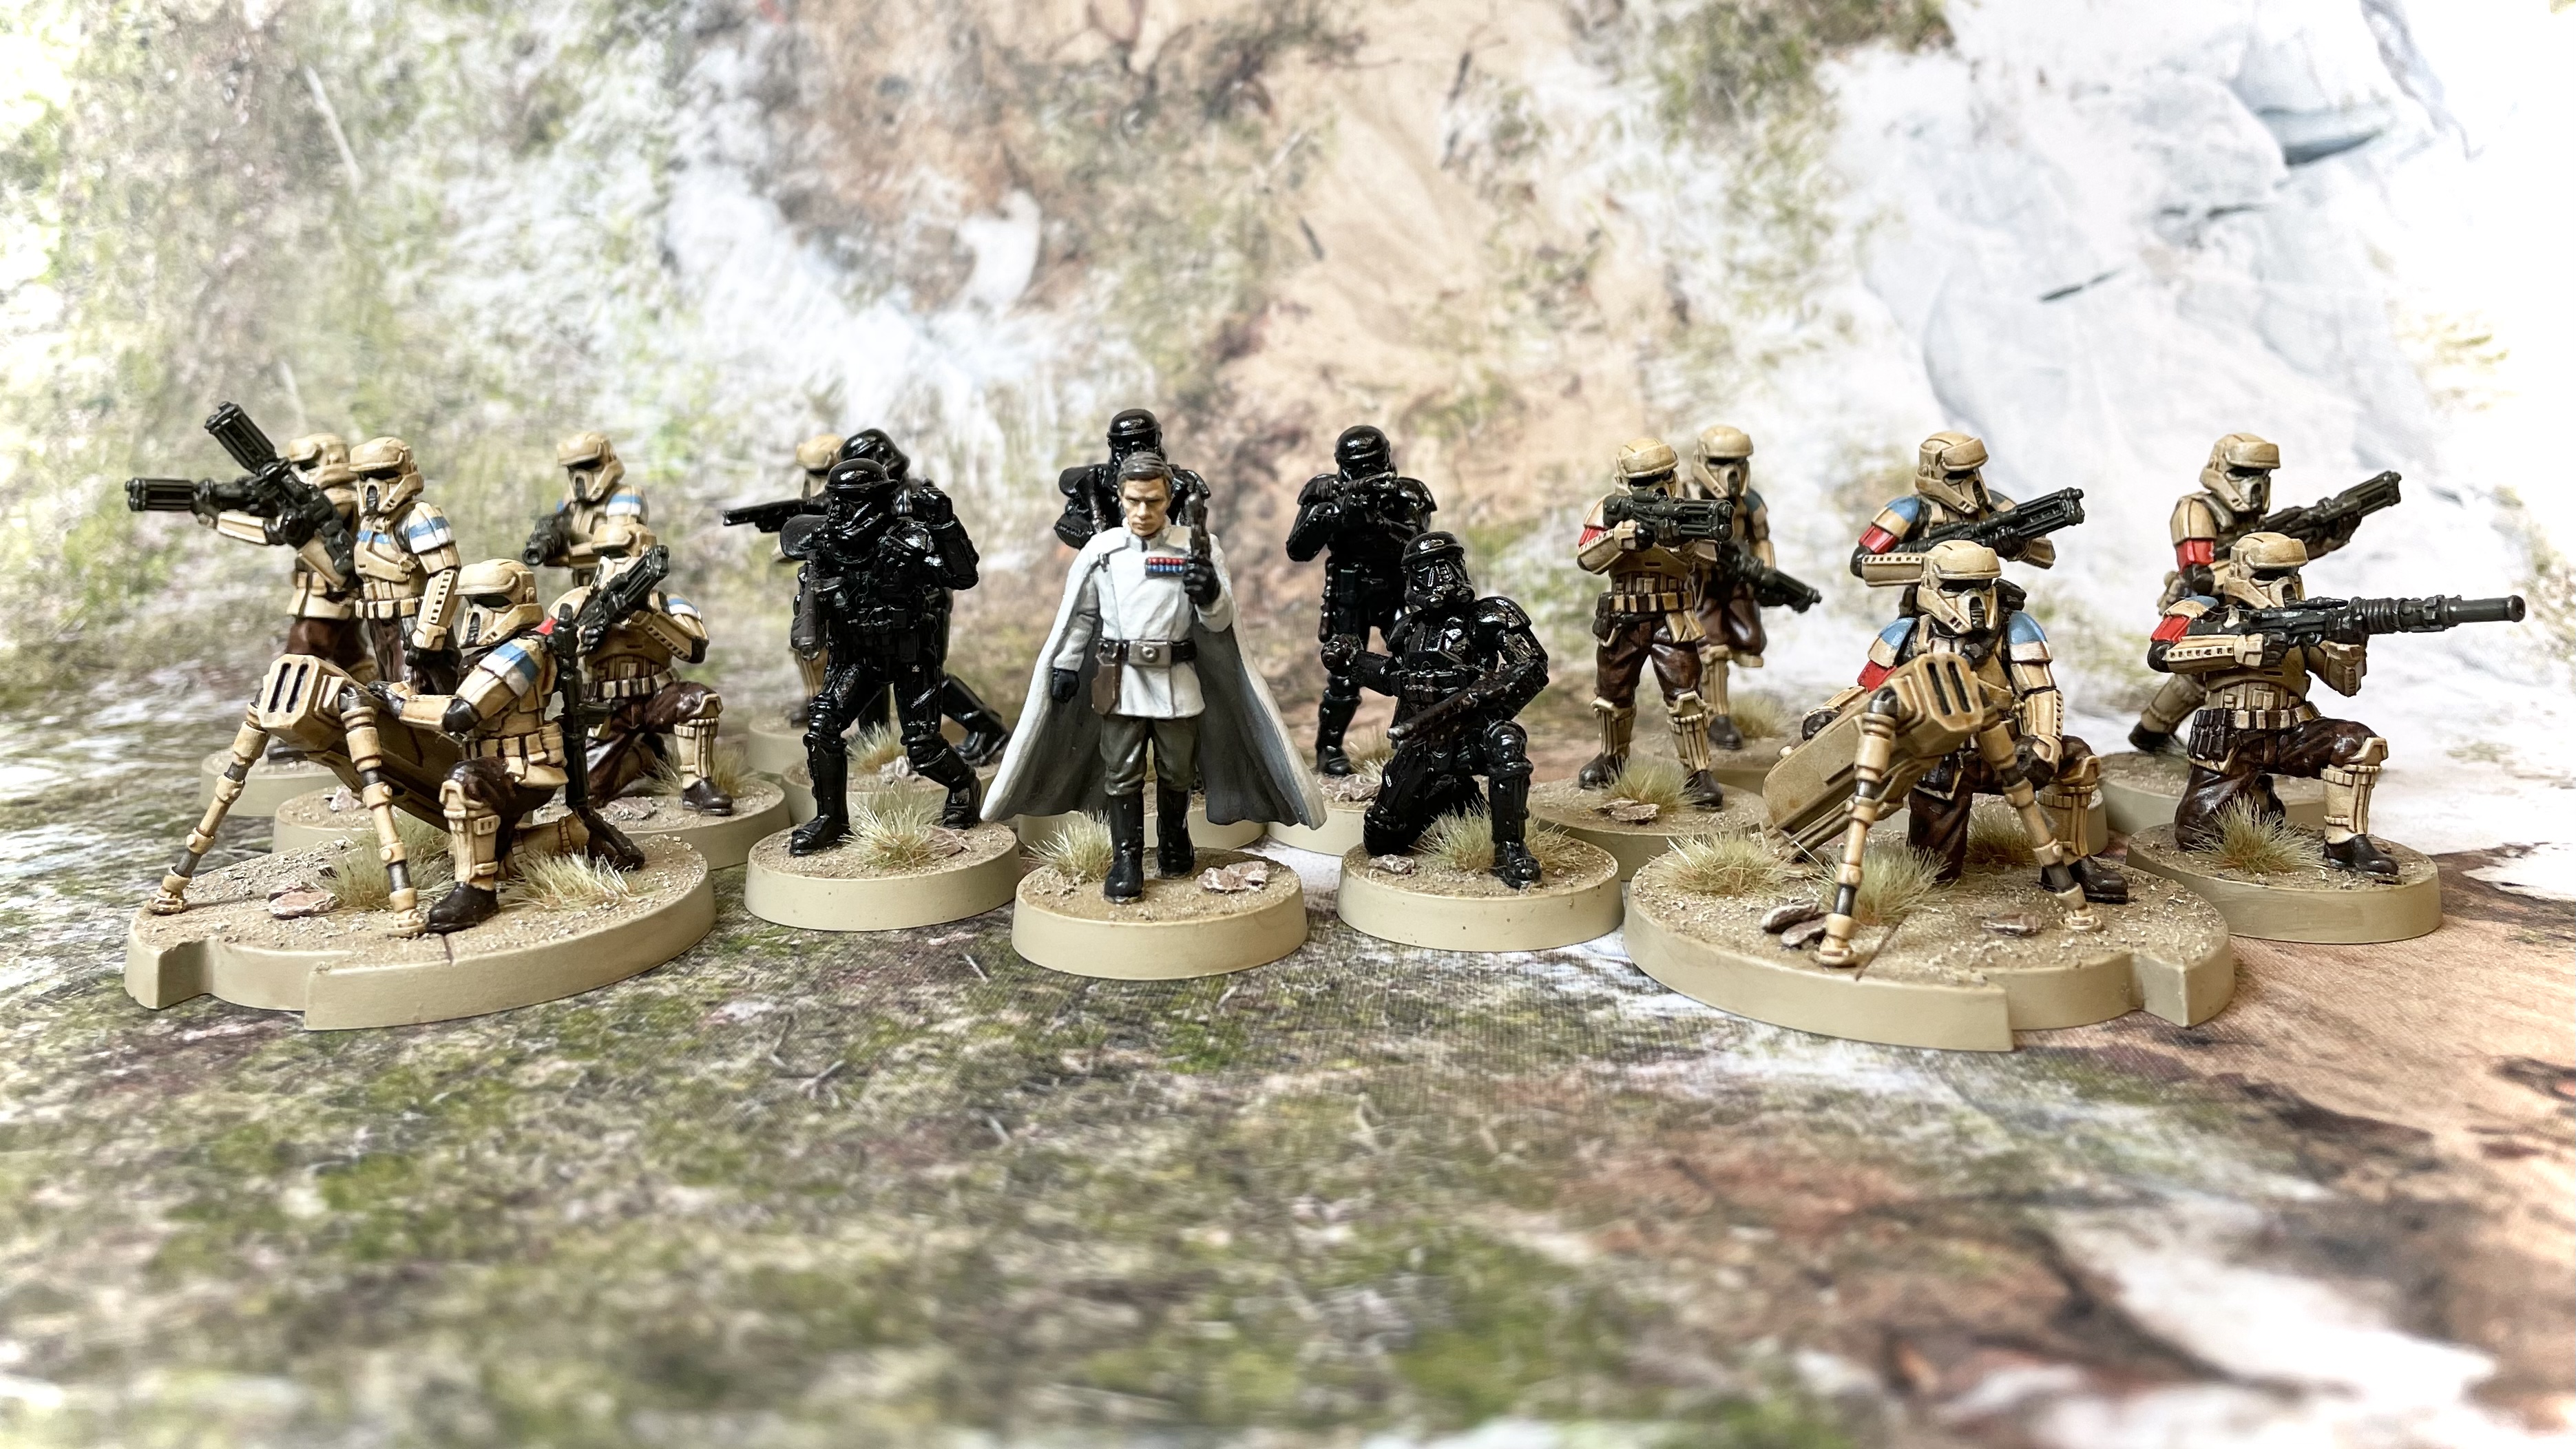
I was conscious that my army was looking pretty static so I added two units of Speeder Bikes along with a Scout squad and a Scout Sniper Team. The scouts would give me the option to push a couple of units up the table on deployment, should the objective call for it. The bikes would provid some manoeuvrability to harass the enemy line.

I still had 140 points to spend and considered my usual strategy of fielding an Operative such as Fett or Bossk.
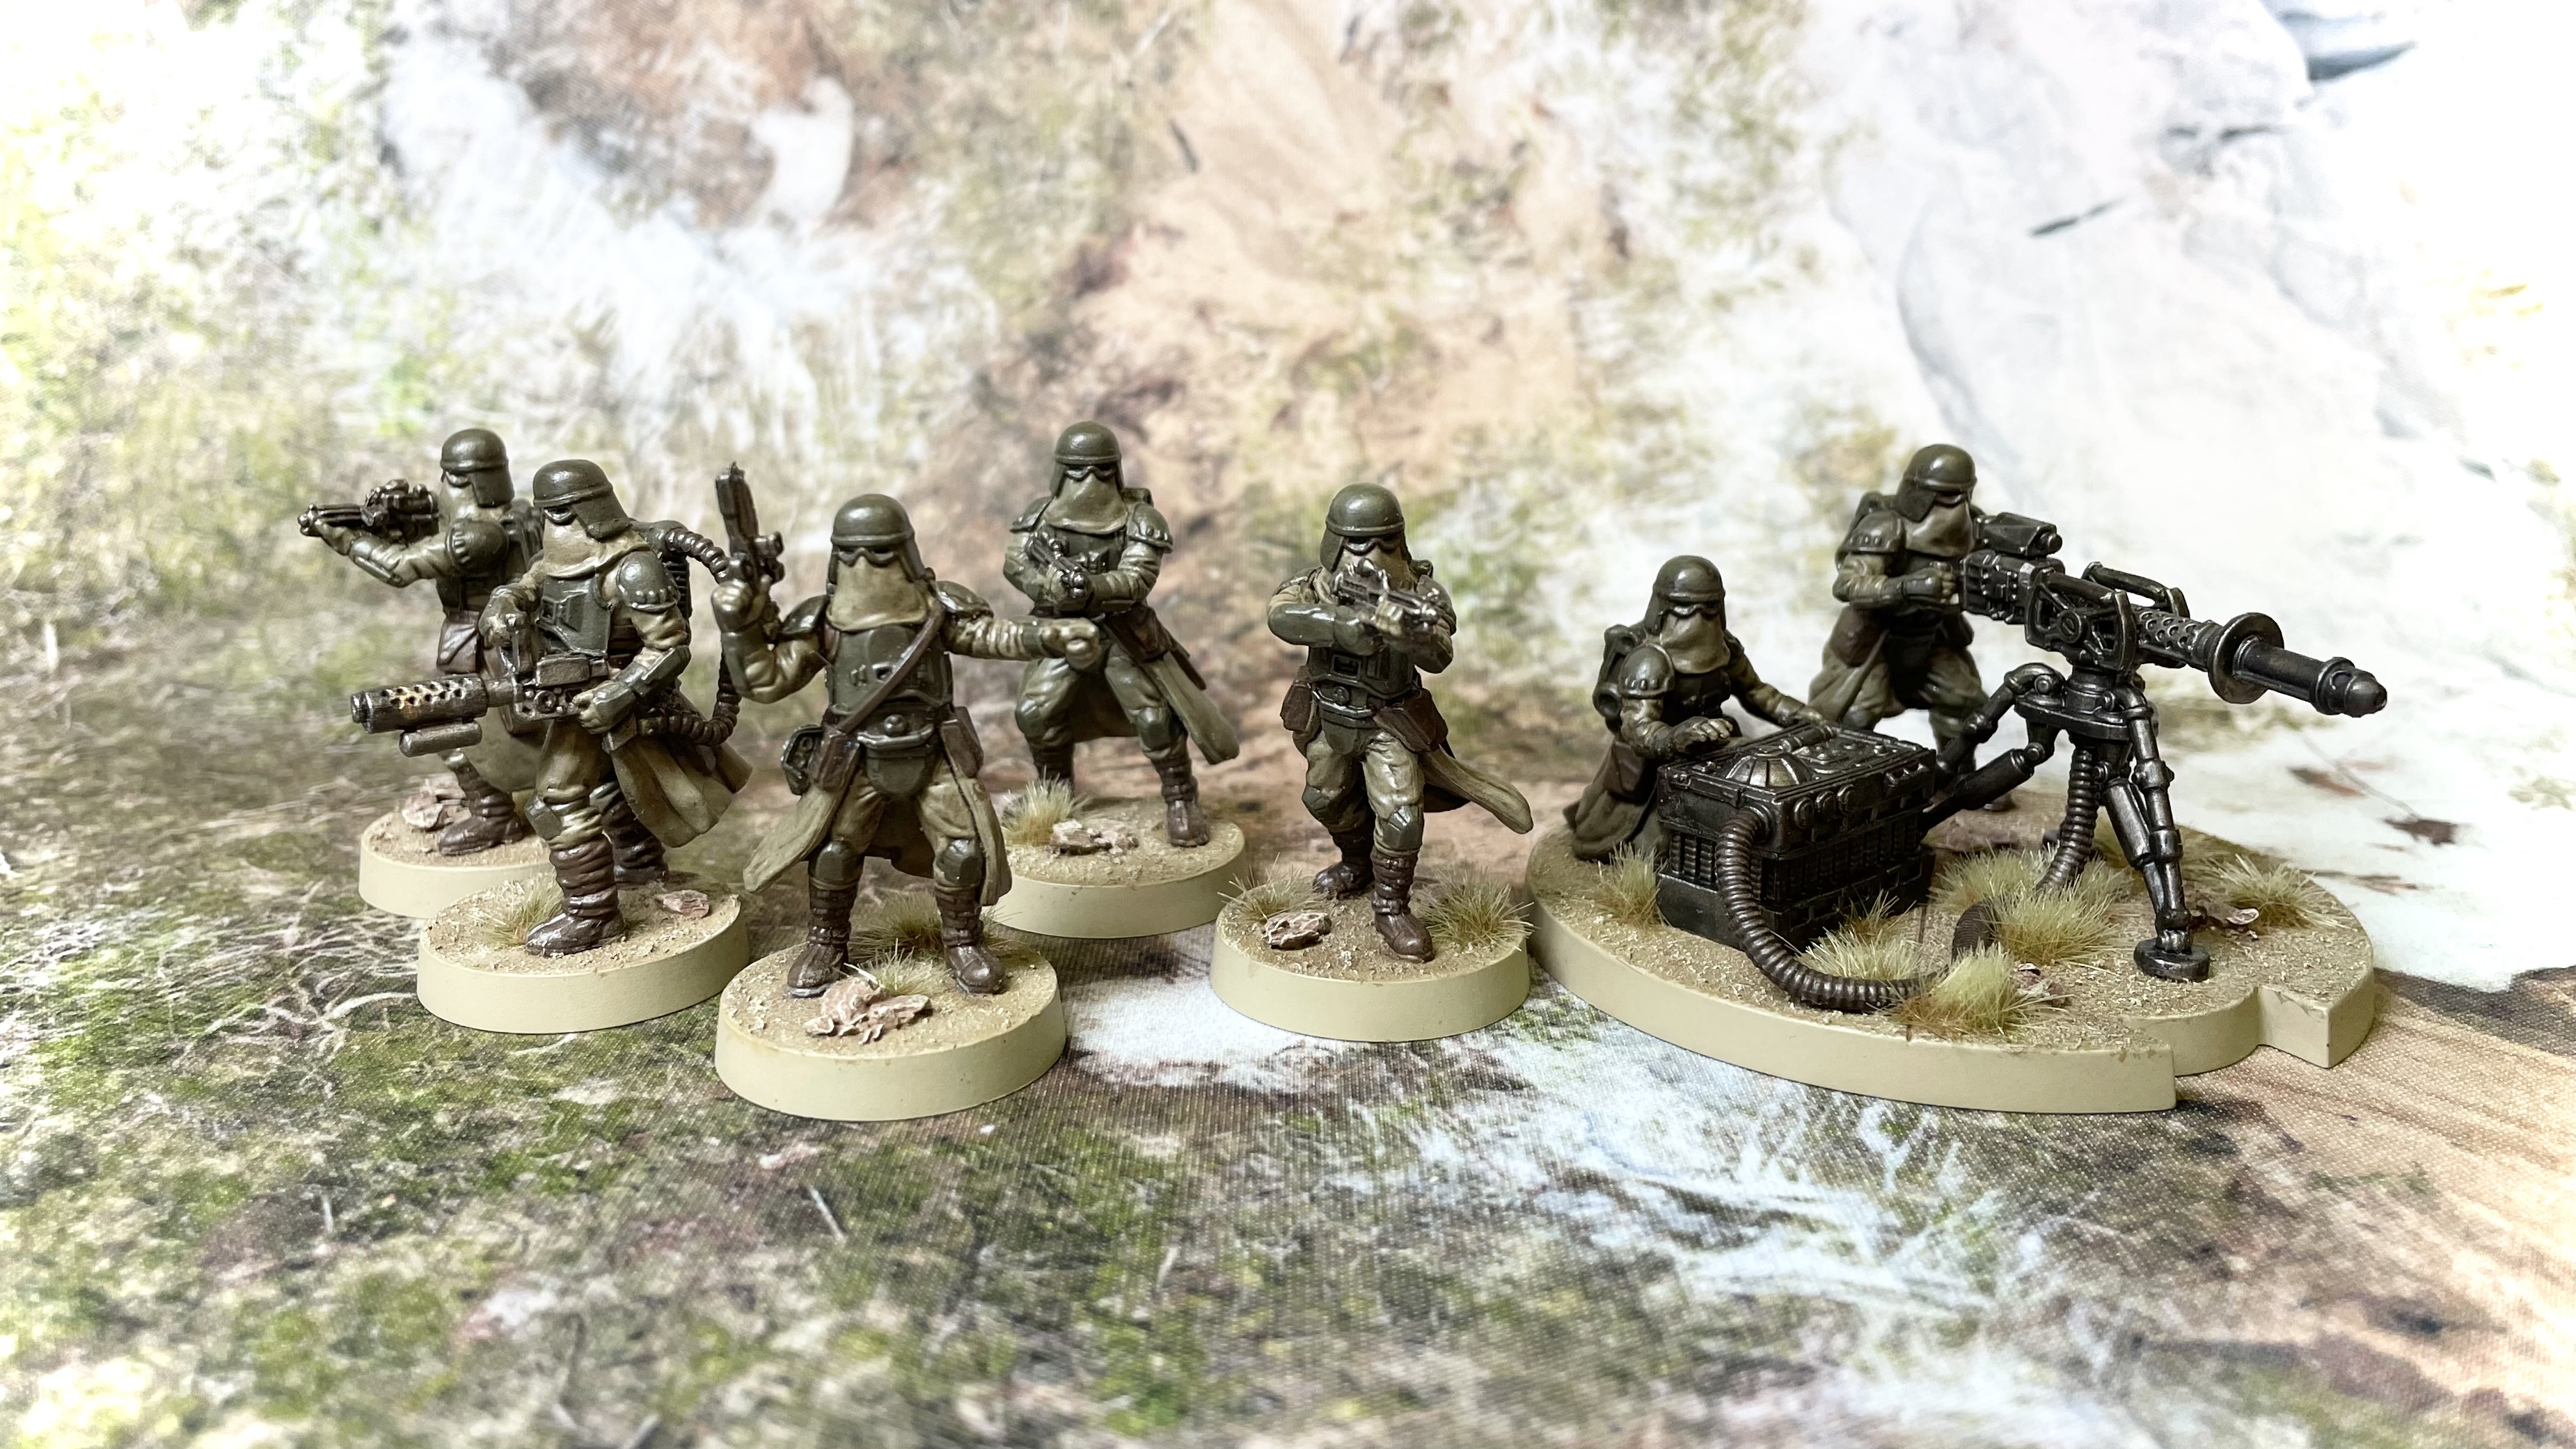
However I wanted to try a more stripped down list and figured that for the same cost I could add two basic units instead. I would keep my unit upgrades minimal and aim to out activate the Rebels. With this in mind I opted for a unit of Snow Troopers (rebranded hazardous environment troopers), armed with a flamethrower, who would be good for objective grabbing or engaging any close assault units. This left enough points to bring the accompanying E-Web blaster team, to bolster my defensive line.
Points: 800
Activations: 12
Commander
* Director Orson Krennic [75]
Corps
* Shoretroopers [52]
Targeting Scopes [4], T-21B Trooper [32]
* Shoretroopers [52]
Targeting Scopes [4], T-21B Trooper [32]
* DF-90 Mortar Trooper [38]
* DF-90 Mortar Trooper [38]
* Snowtroopers [44]
Flametrooper [20]
Special Forces
* Imperial Death Troopers [72]
E-11D Config [0], Overwatch [4], DLT-19D Trooper [34]
* Scout Trooper Strike Team [20]
DLT-19x Sniper [28]
* Scout Troopers [48]
Support
* 74-Z Speeder Bikes [70]
* 74-Z Speeder Bikes [70]
* E-Web Heavy Blaster Team [55]
Linked Targeting Array [5], Barrage Generator [3]
Command Cards
[1 pip] Voracious Ambition
[1 pip] Covert Observation
[2 pip] Deploy the Garrison
[2 pip] Push
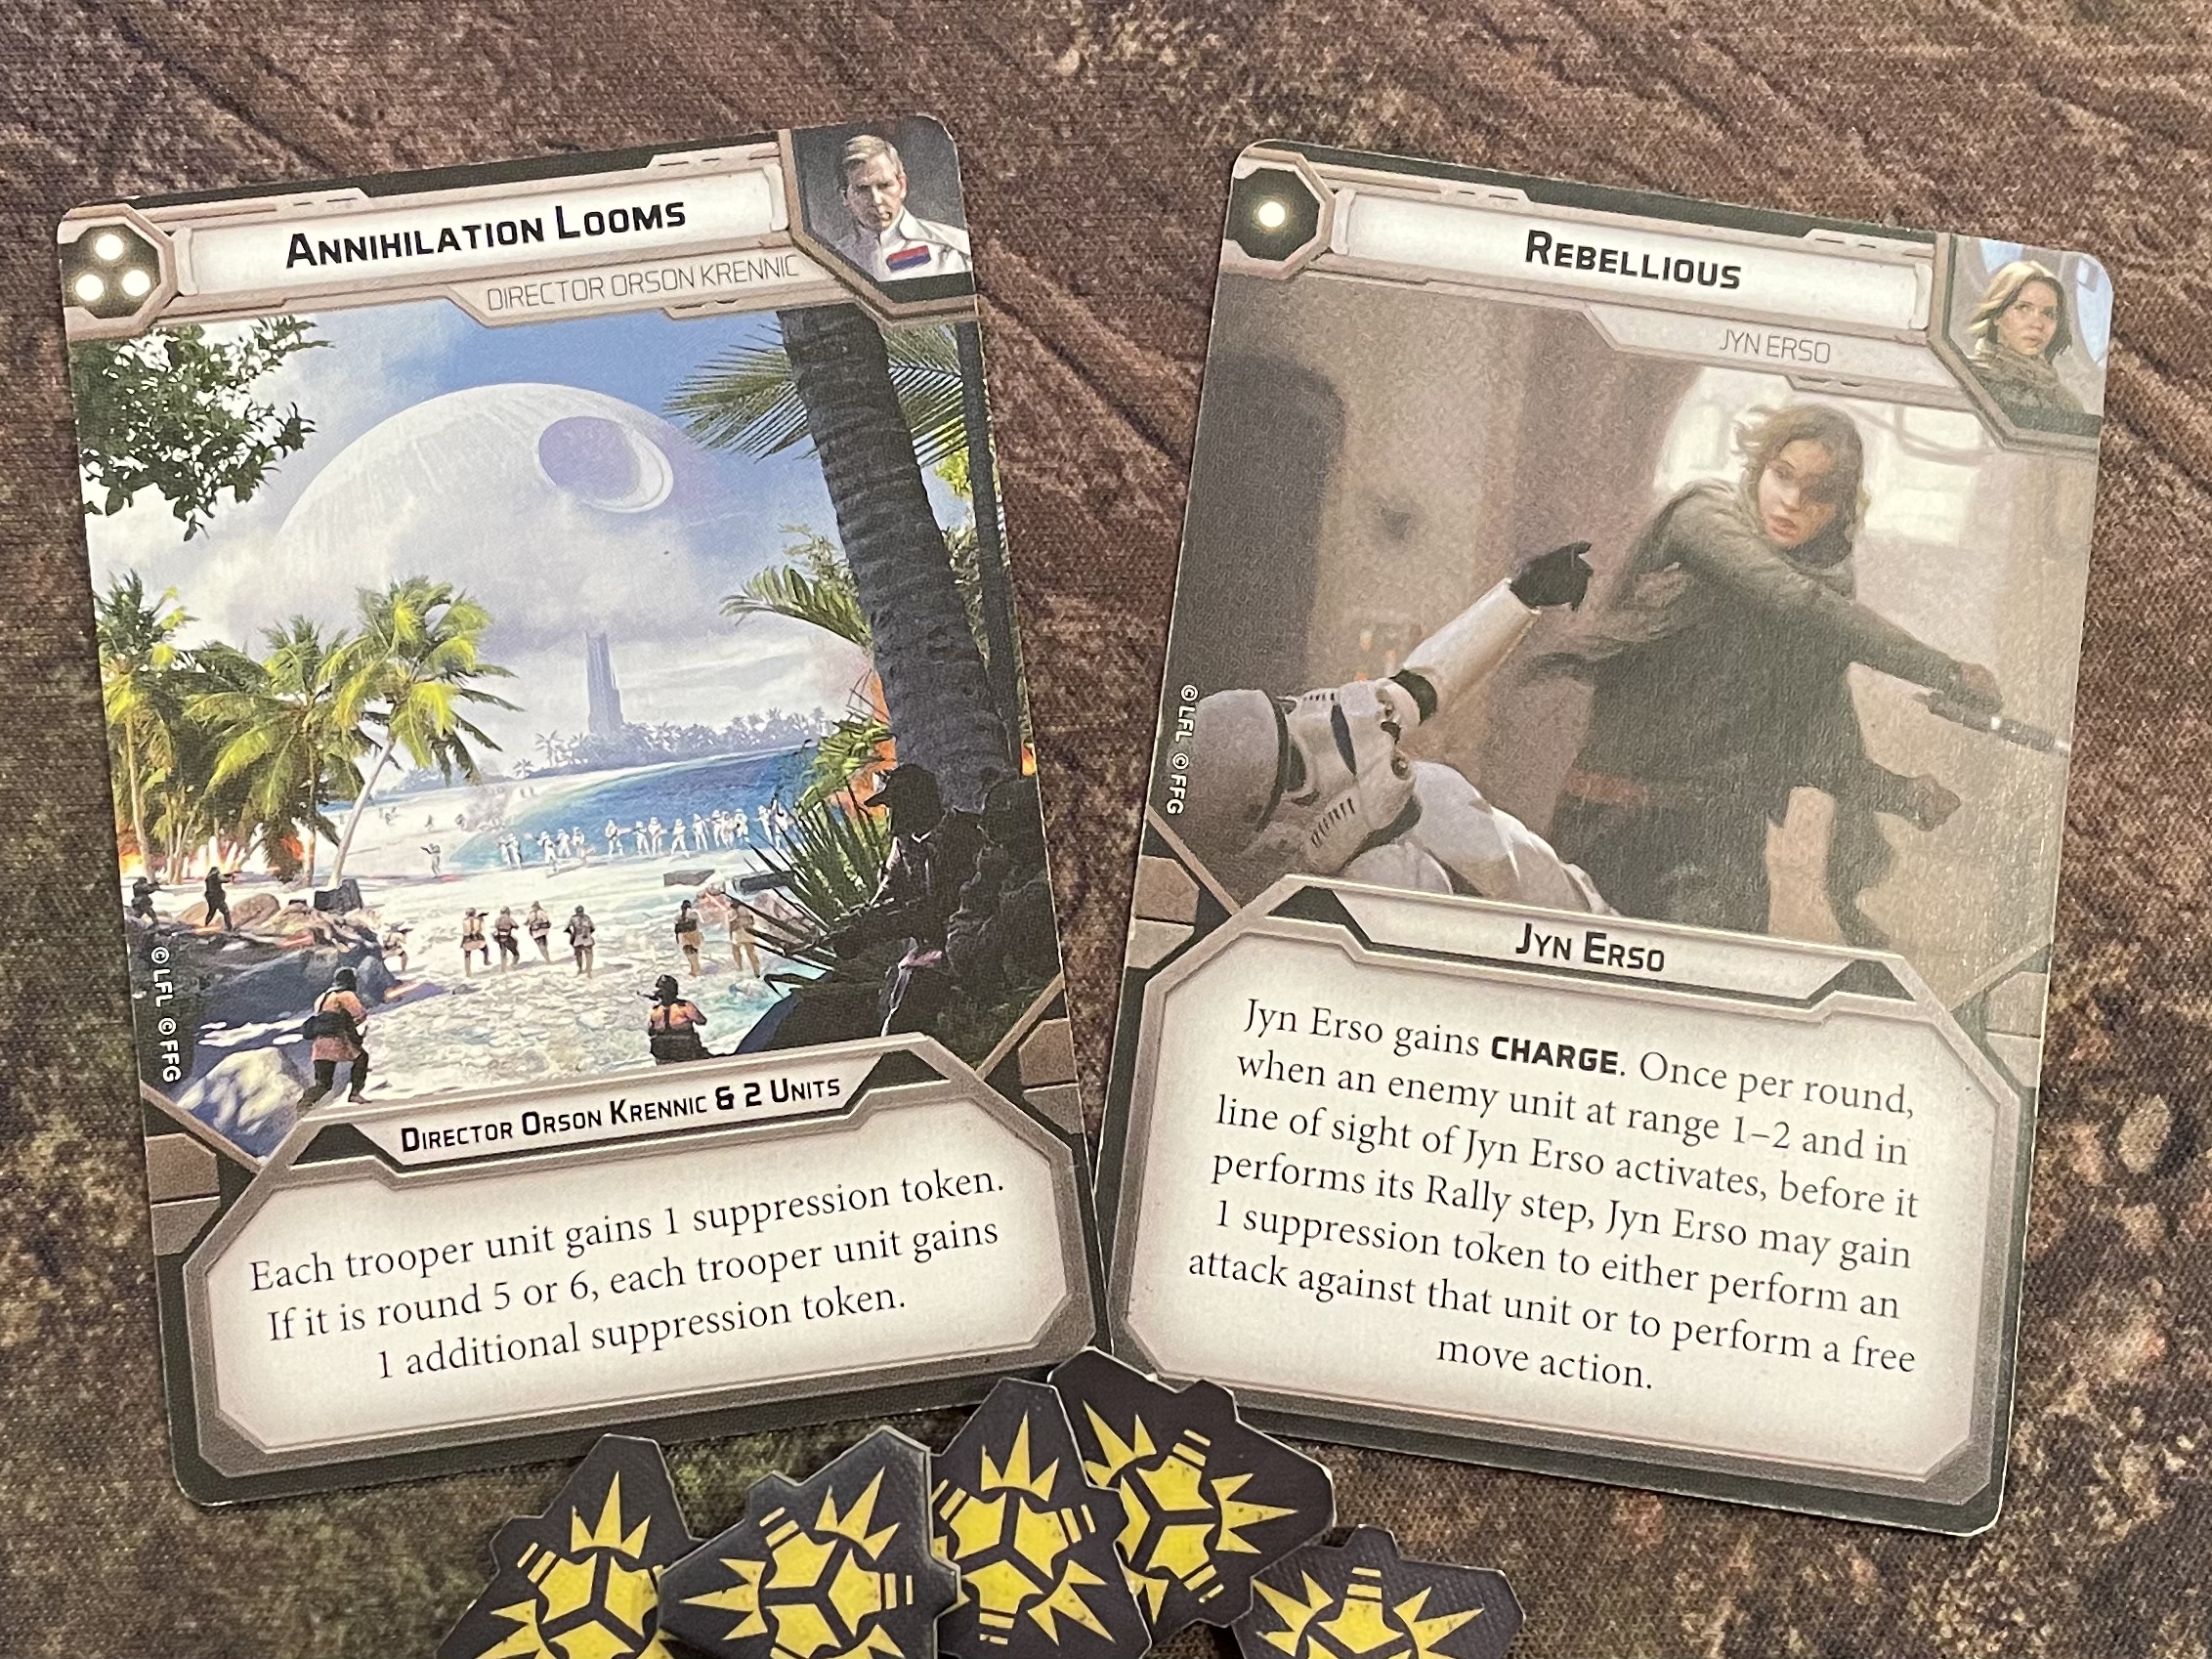
[3 pip] Annihilation Looms
[3 pip] Coordinated Fire
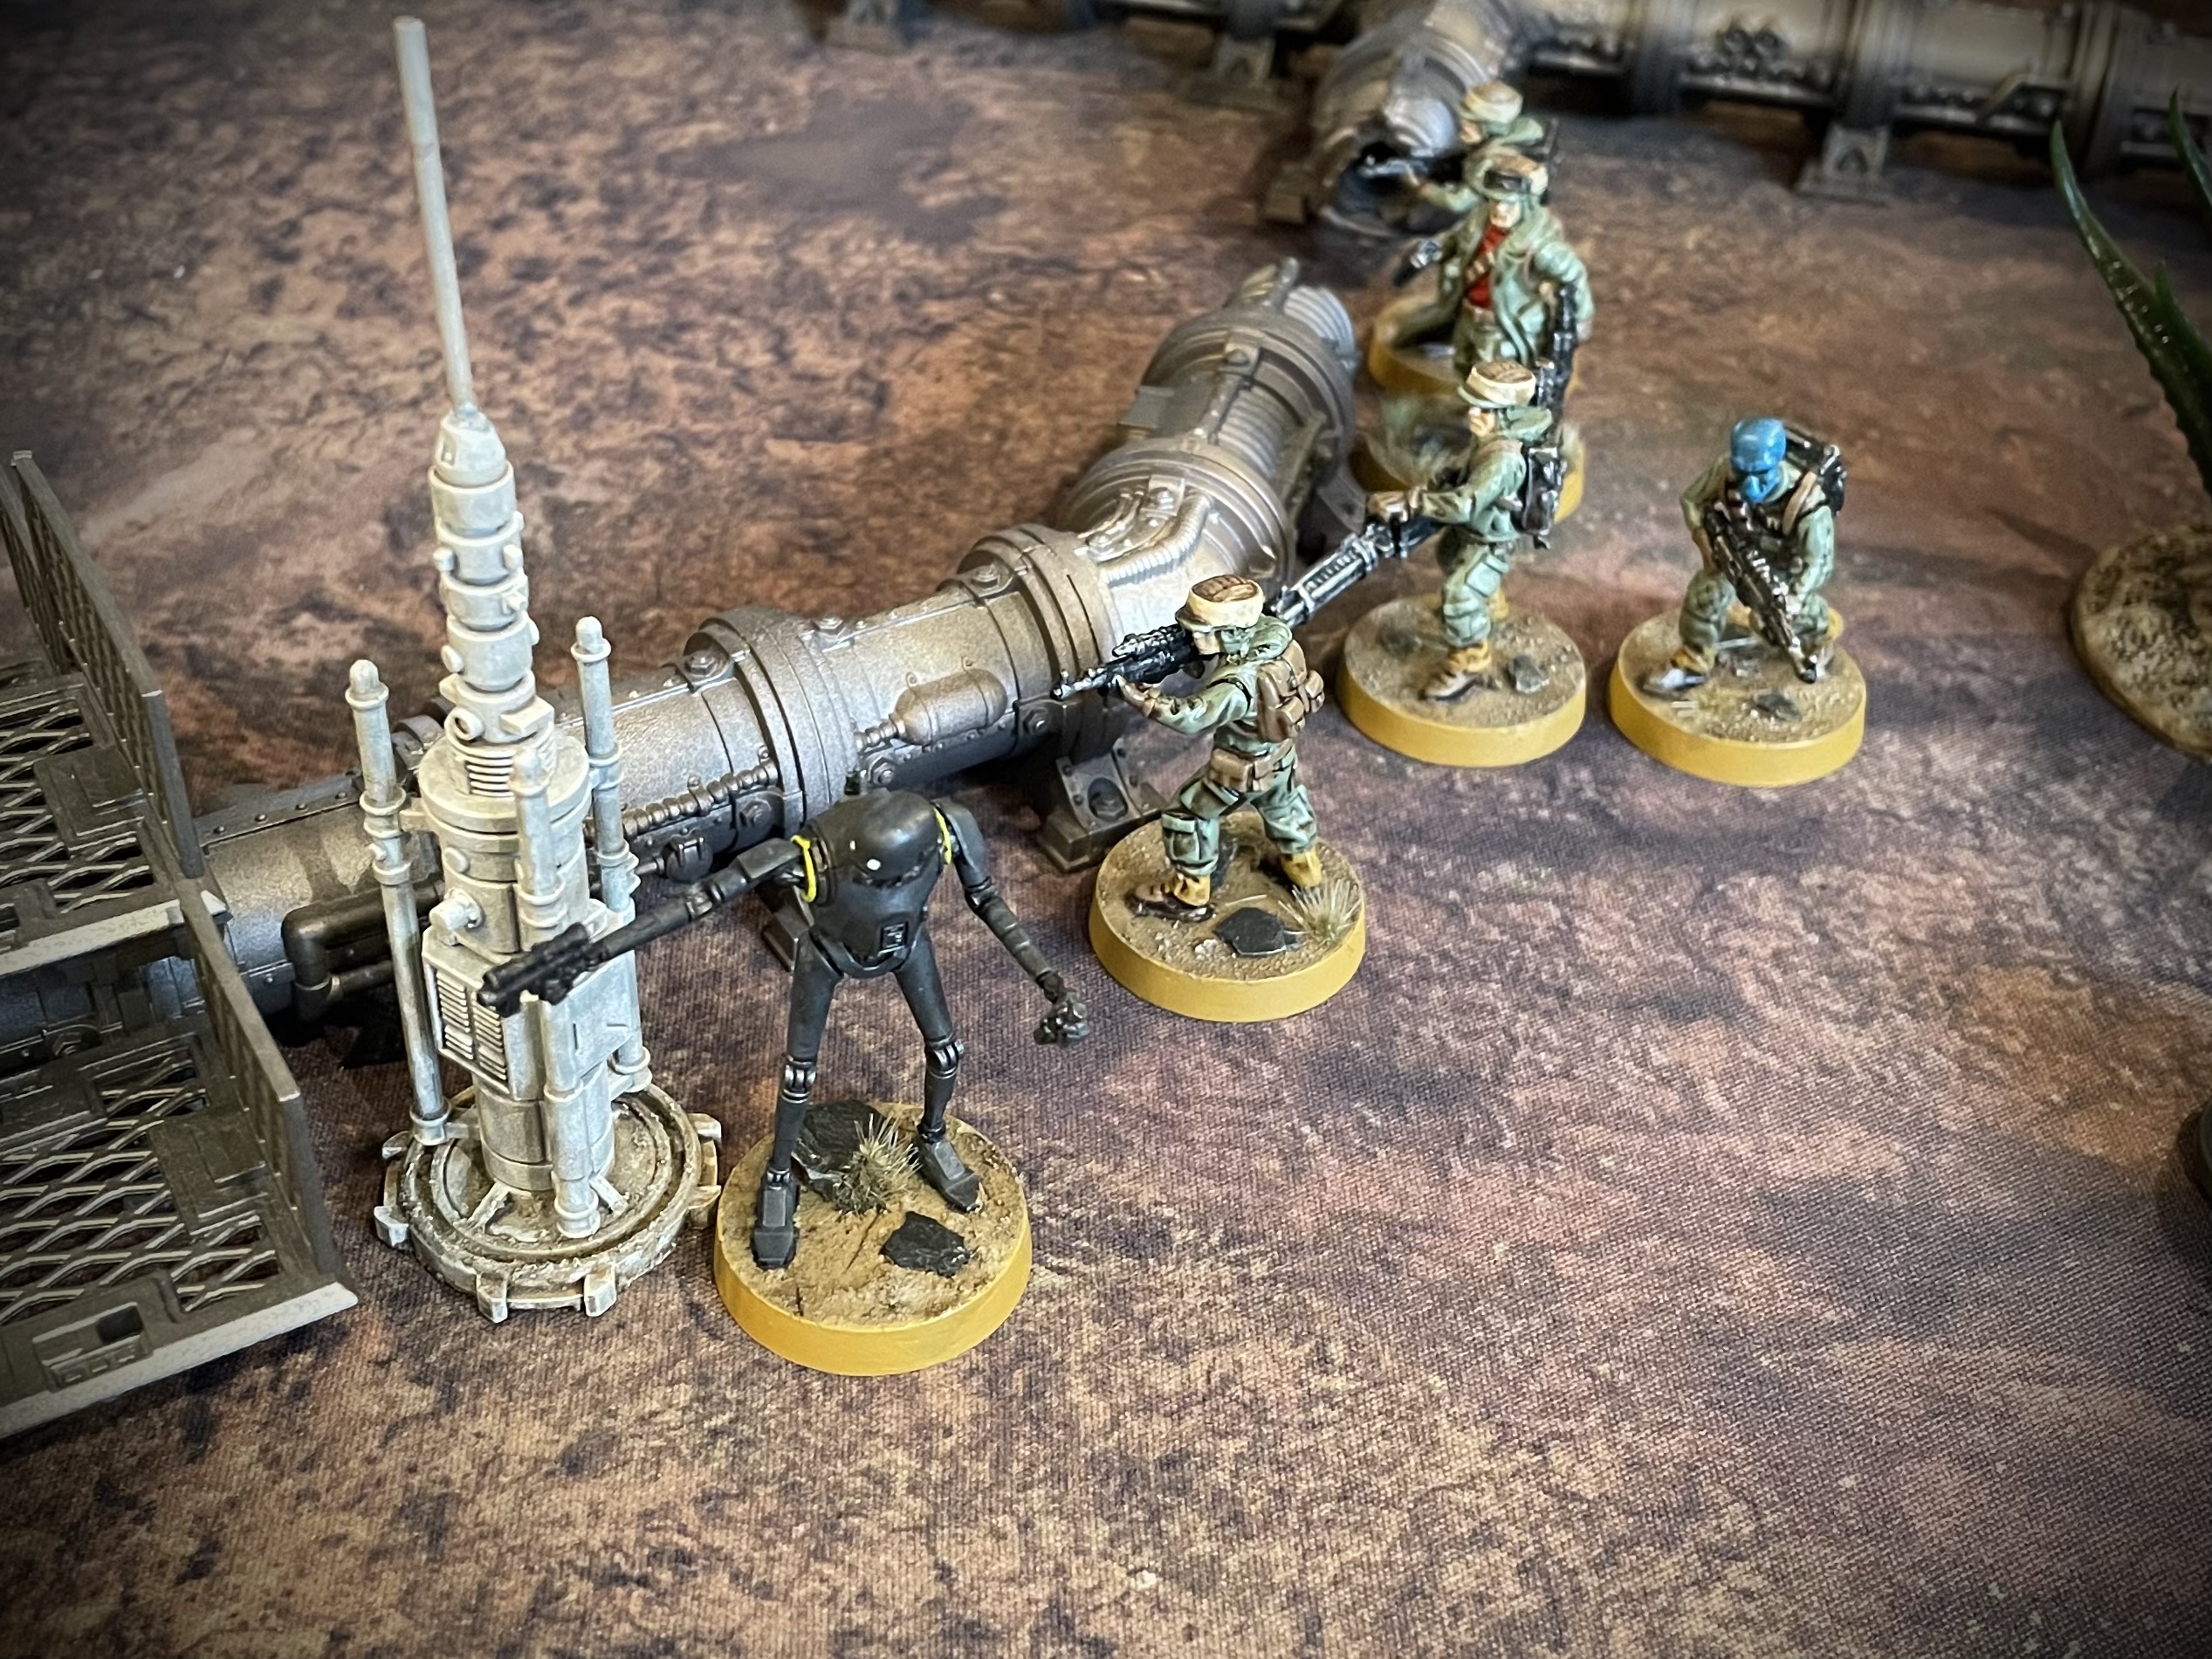
Rebel Forces
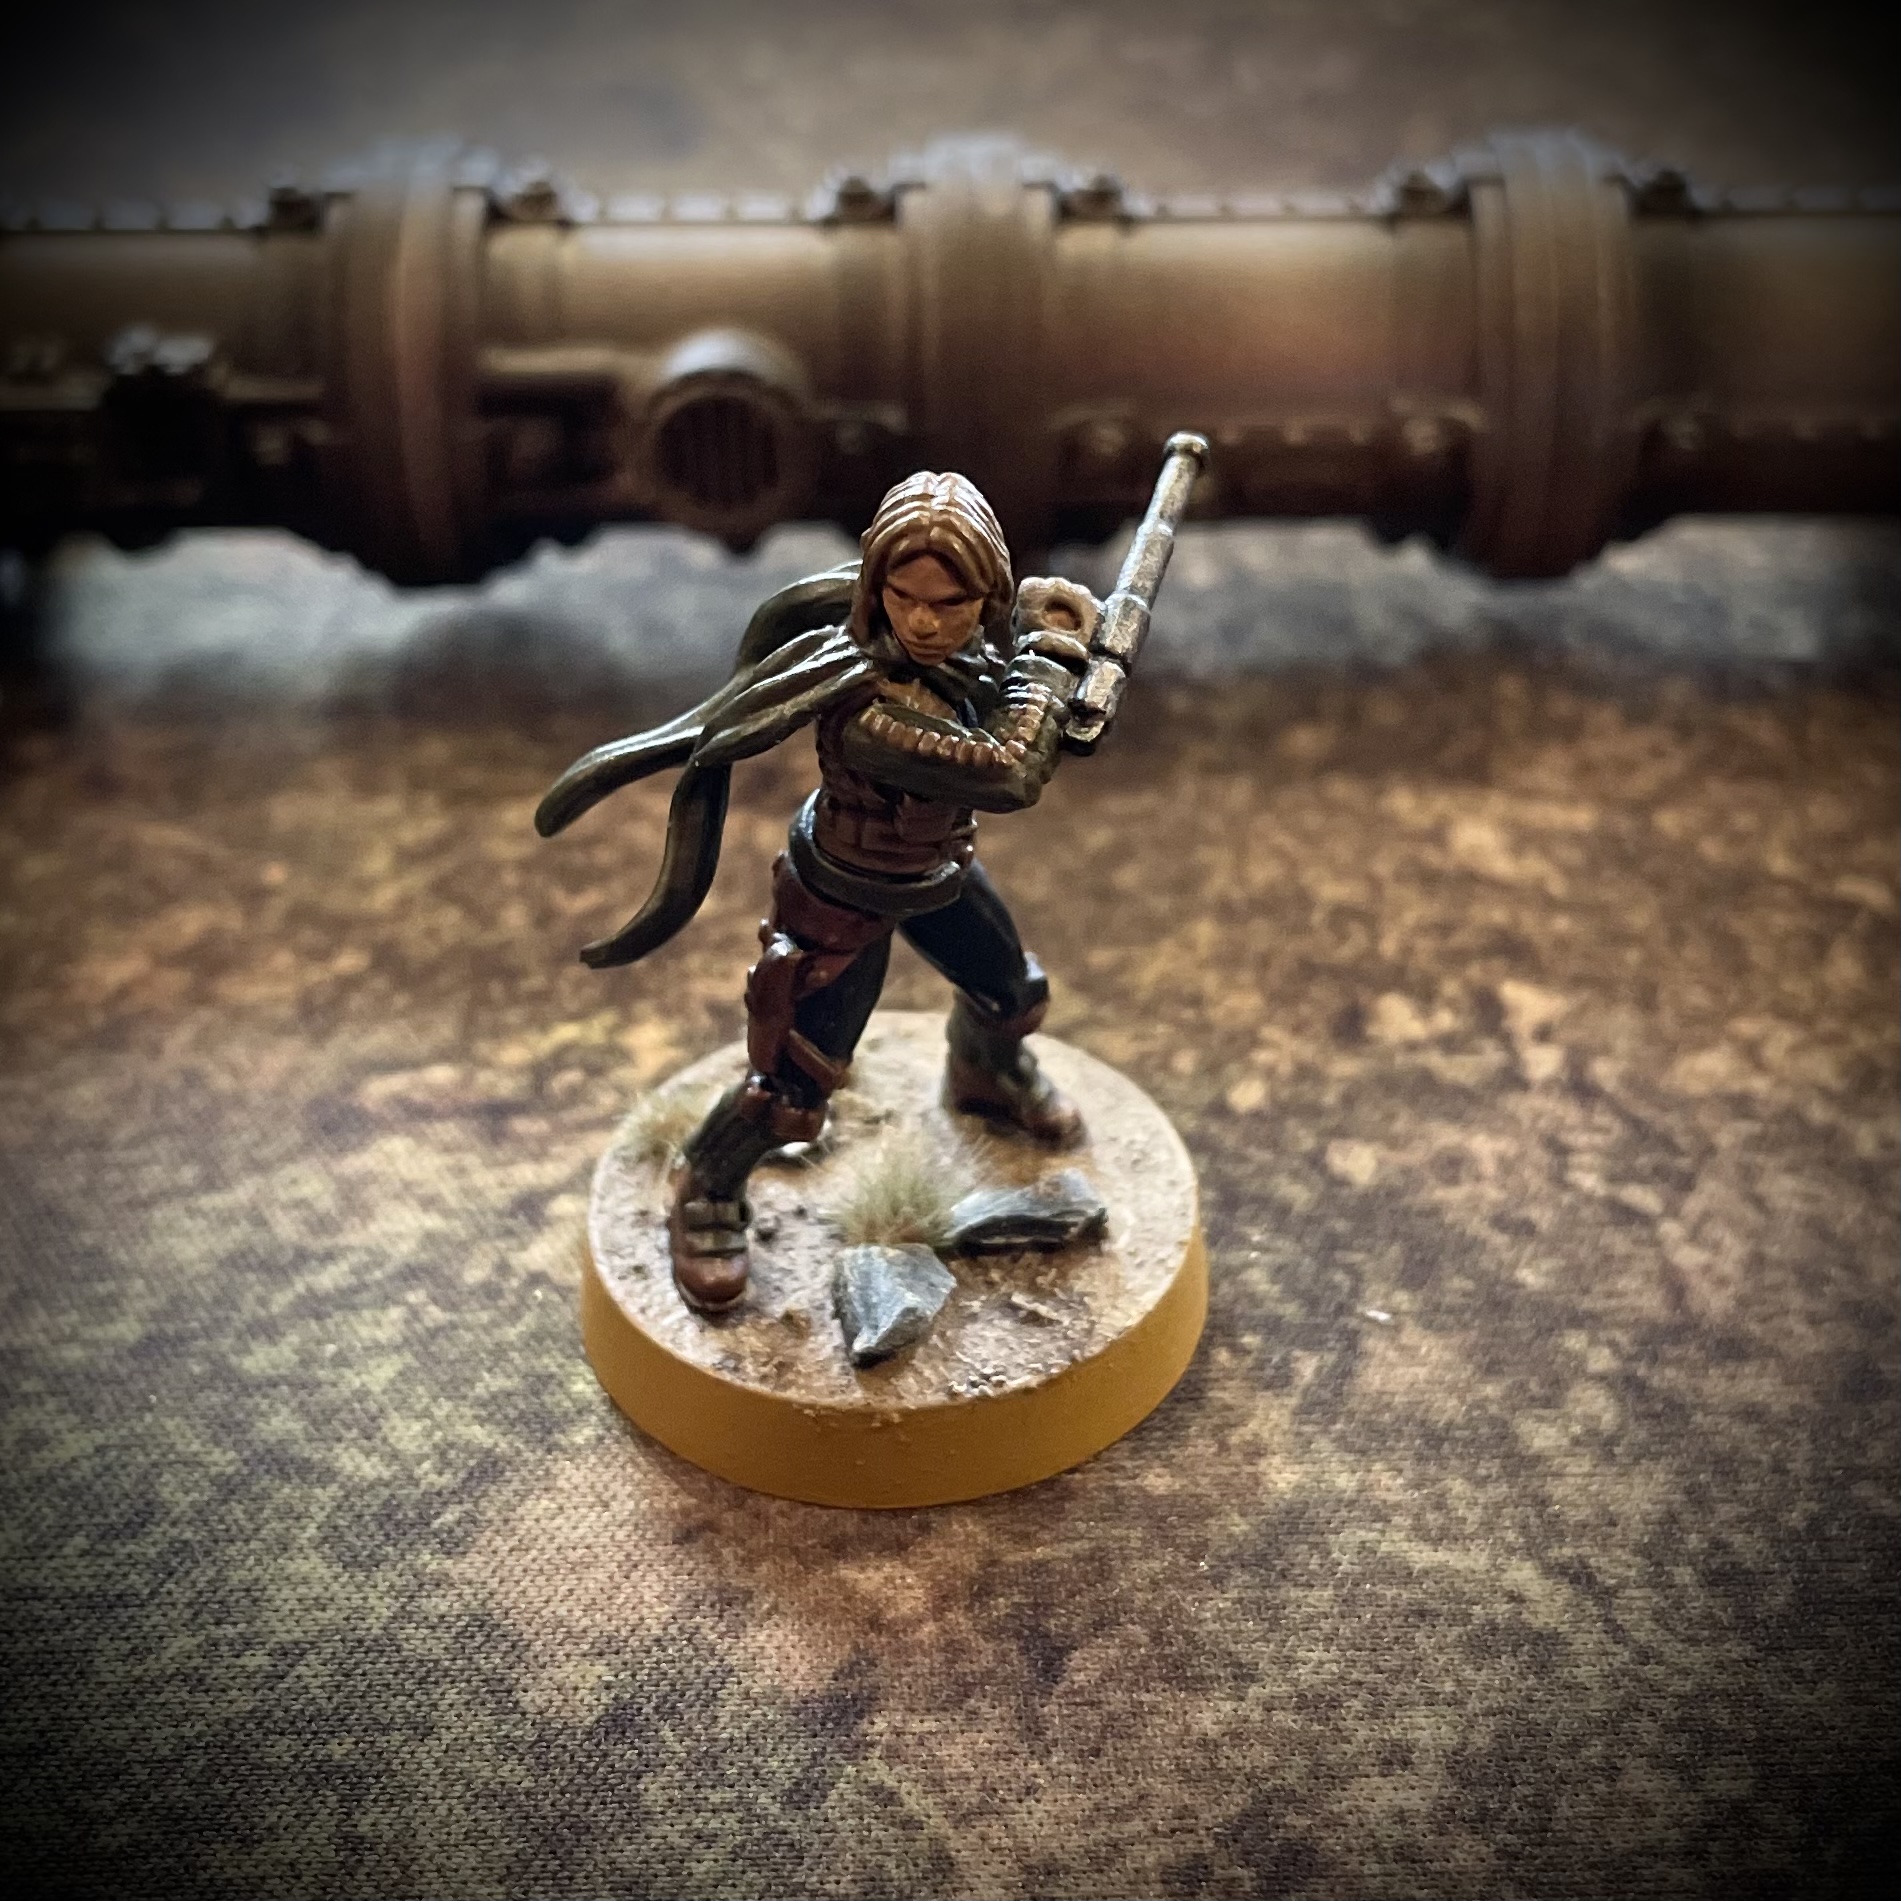
Having decided on a Rogue One themed game, I would be building my list around the Heros Cassian Endor, his trusted sidekick K-2SO and Stardust herself, Jyn Erso. First up Cassian was upgraded with his A280, Duck and Cover and Offensive Push, K-2SO was upgraded with Jyn’s blaster. Next up was 2 squads of pathfinders, one with Bistan, one with Pao and both with Duck and Cover and the A-300s. Not only do these units fit the theme of the list, but they are great fun to play. Since the points adjustment they are now in a much better place; Danger Sense will help them survive and Dauntless can be used to counter the high suppression to give them a free move. I just have to be careful to not get too carried away and leave them isolated on the board.

Jyn was upgraded with her A-180, Vigilance and Duck and Cover. I love using the three Rogue One Heroes together, Cassian and Jyn’s command cards are quite complementary and K-2SO can help protect and hand out aims/dodges to Cassian. Duck and Cover should help Jyn survive a bit longer and Vigilance is a must in any rebel list, I think!
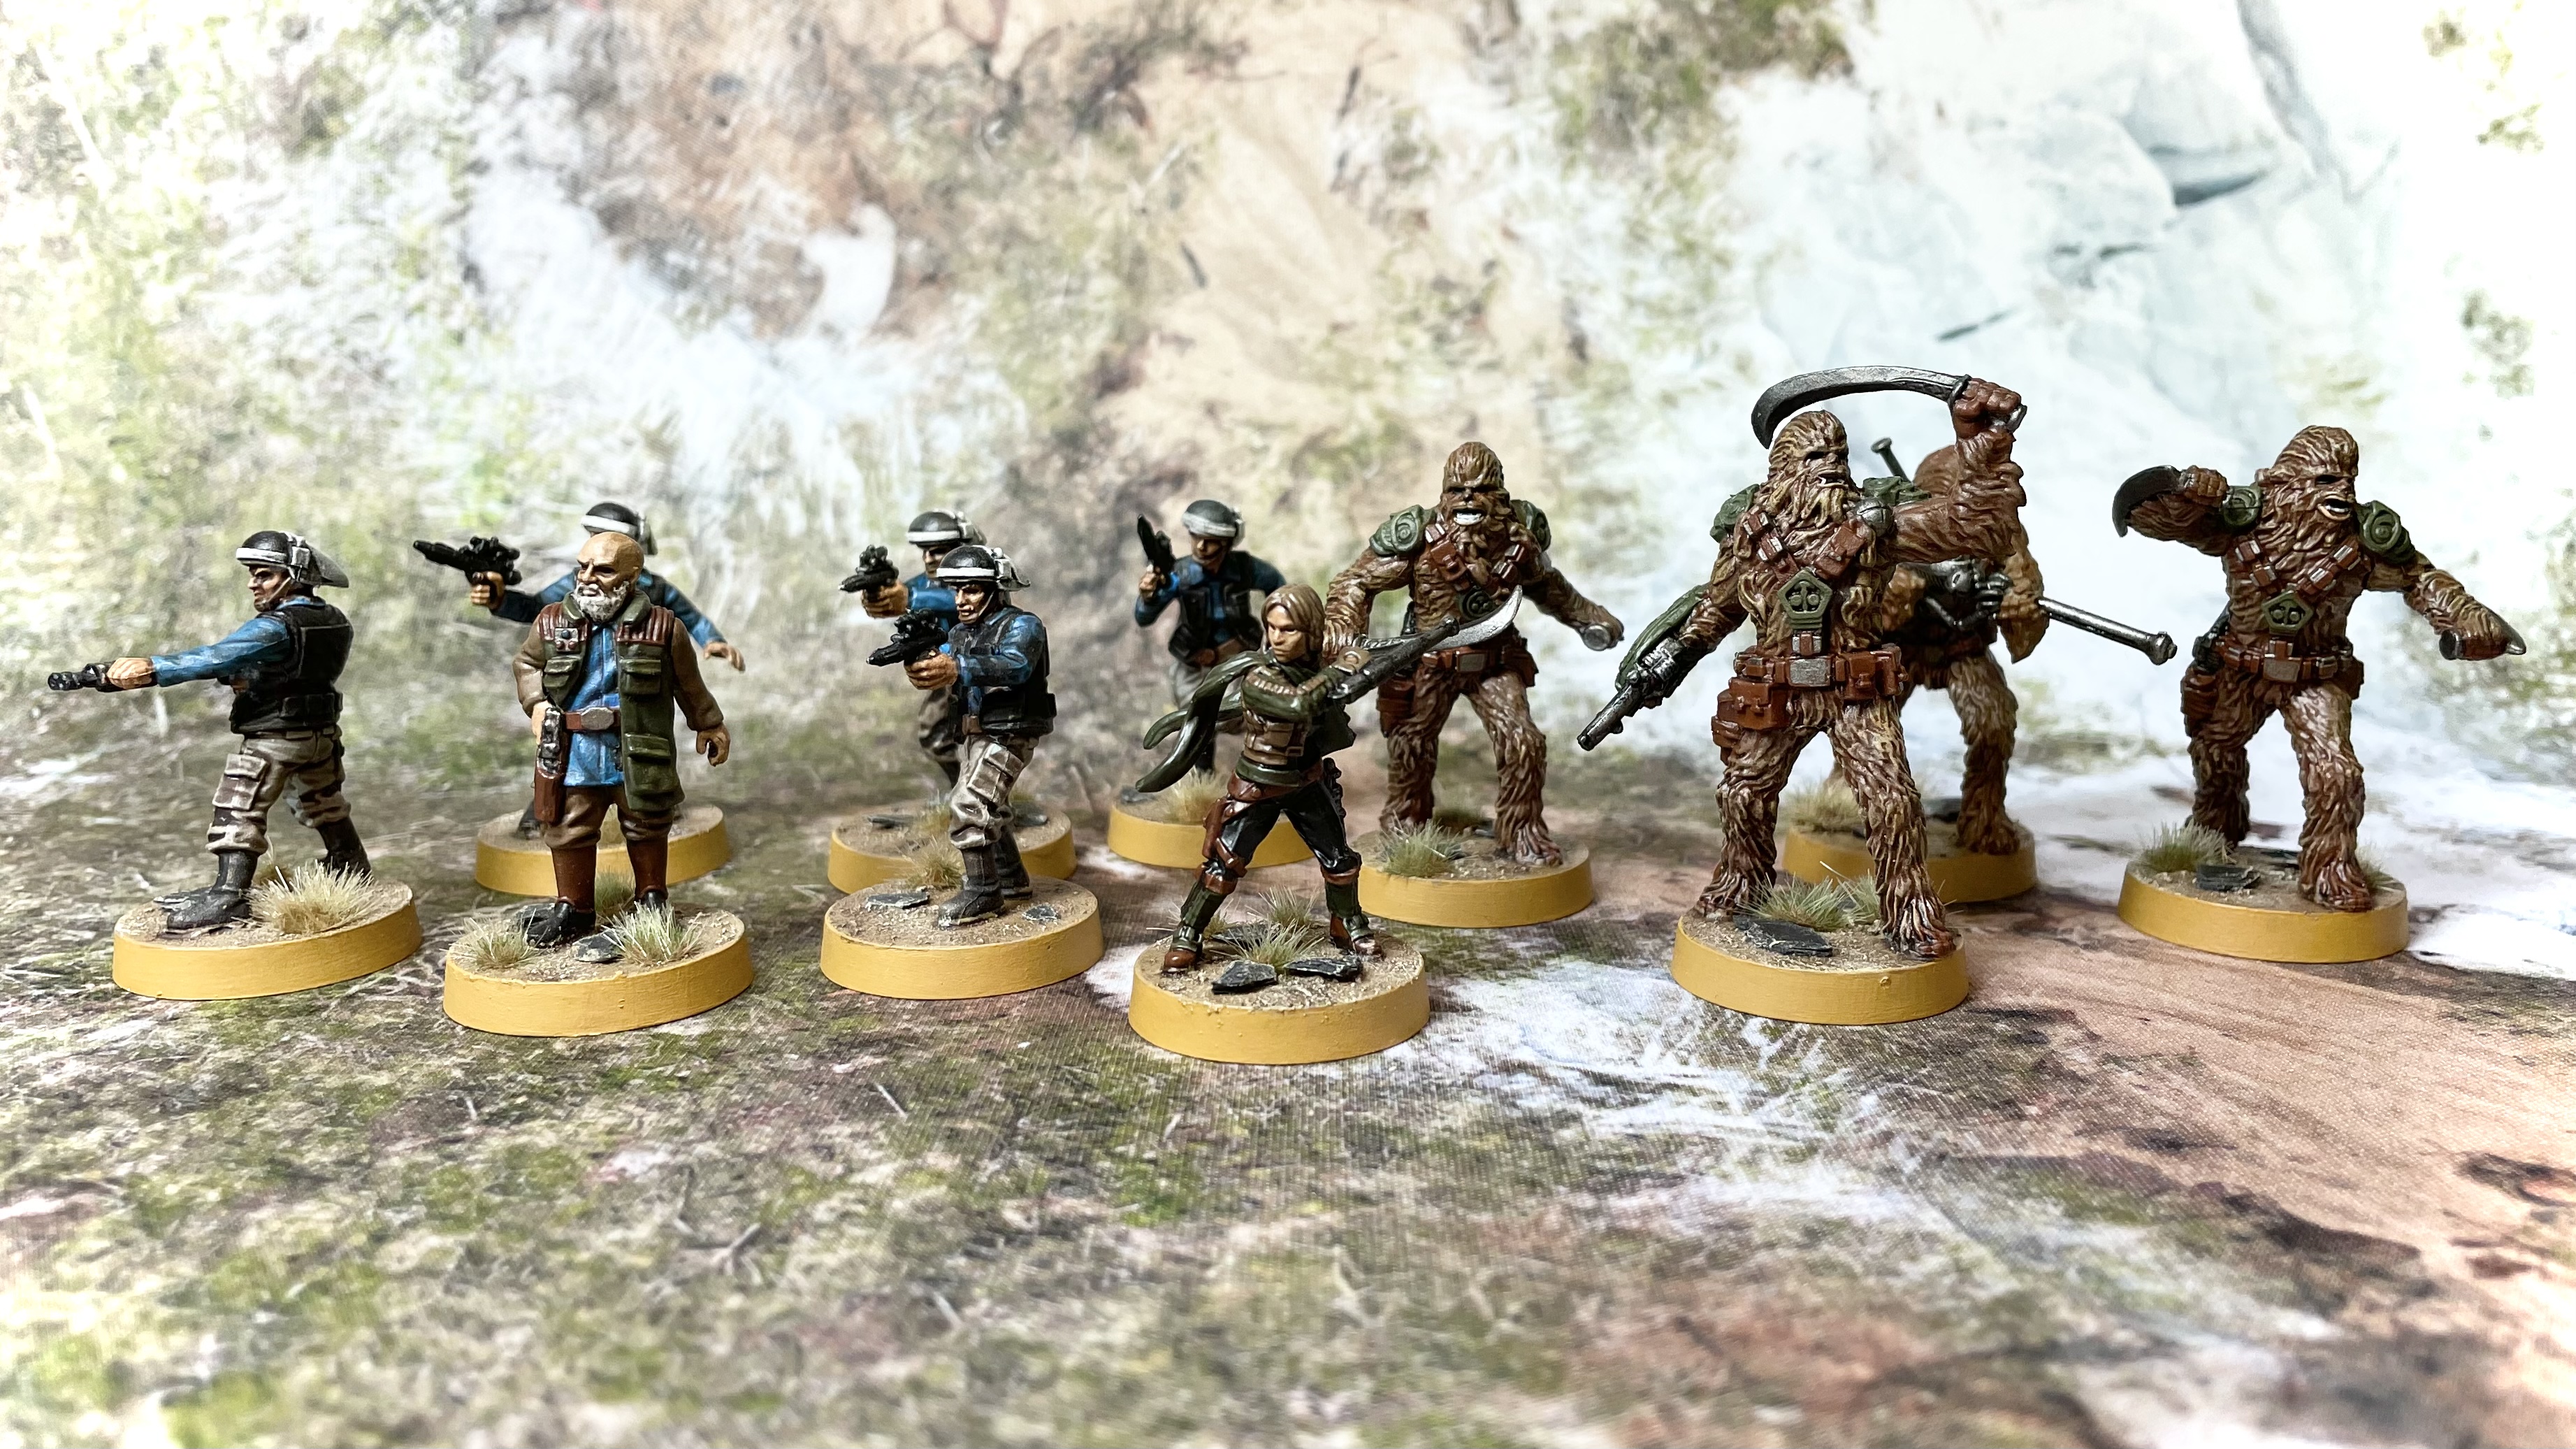
To company Jyn into assault I choose a squad of Freedom Fighter Wookiees with Tenacity, Offensive Push and the Long Gun. This high wound unit would give me some durability and if I’m lucky enough to get a charge off before they suffer too many wounds, they should do well.
I then decided to add a squad of Ship Troopers, upgrade with a Rebel Office for that Courage increase and the MPL-57 barrage gun. This unit can be used as a good counterattack unit and hopefully the white dice gods will shine on my rolls!
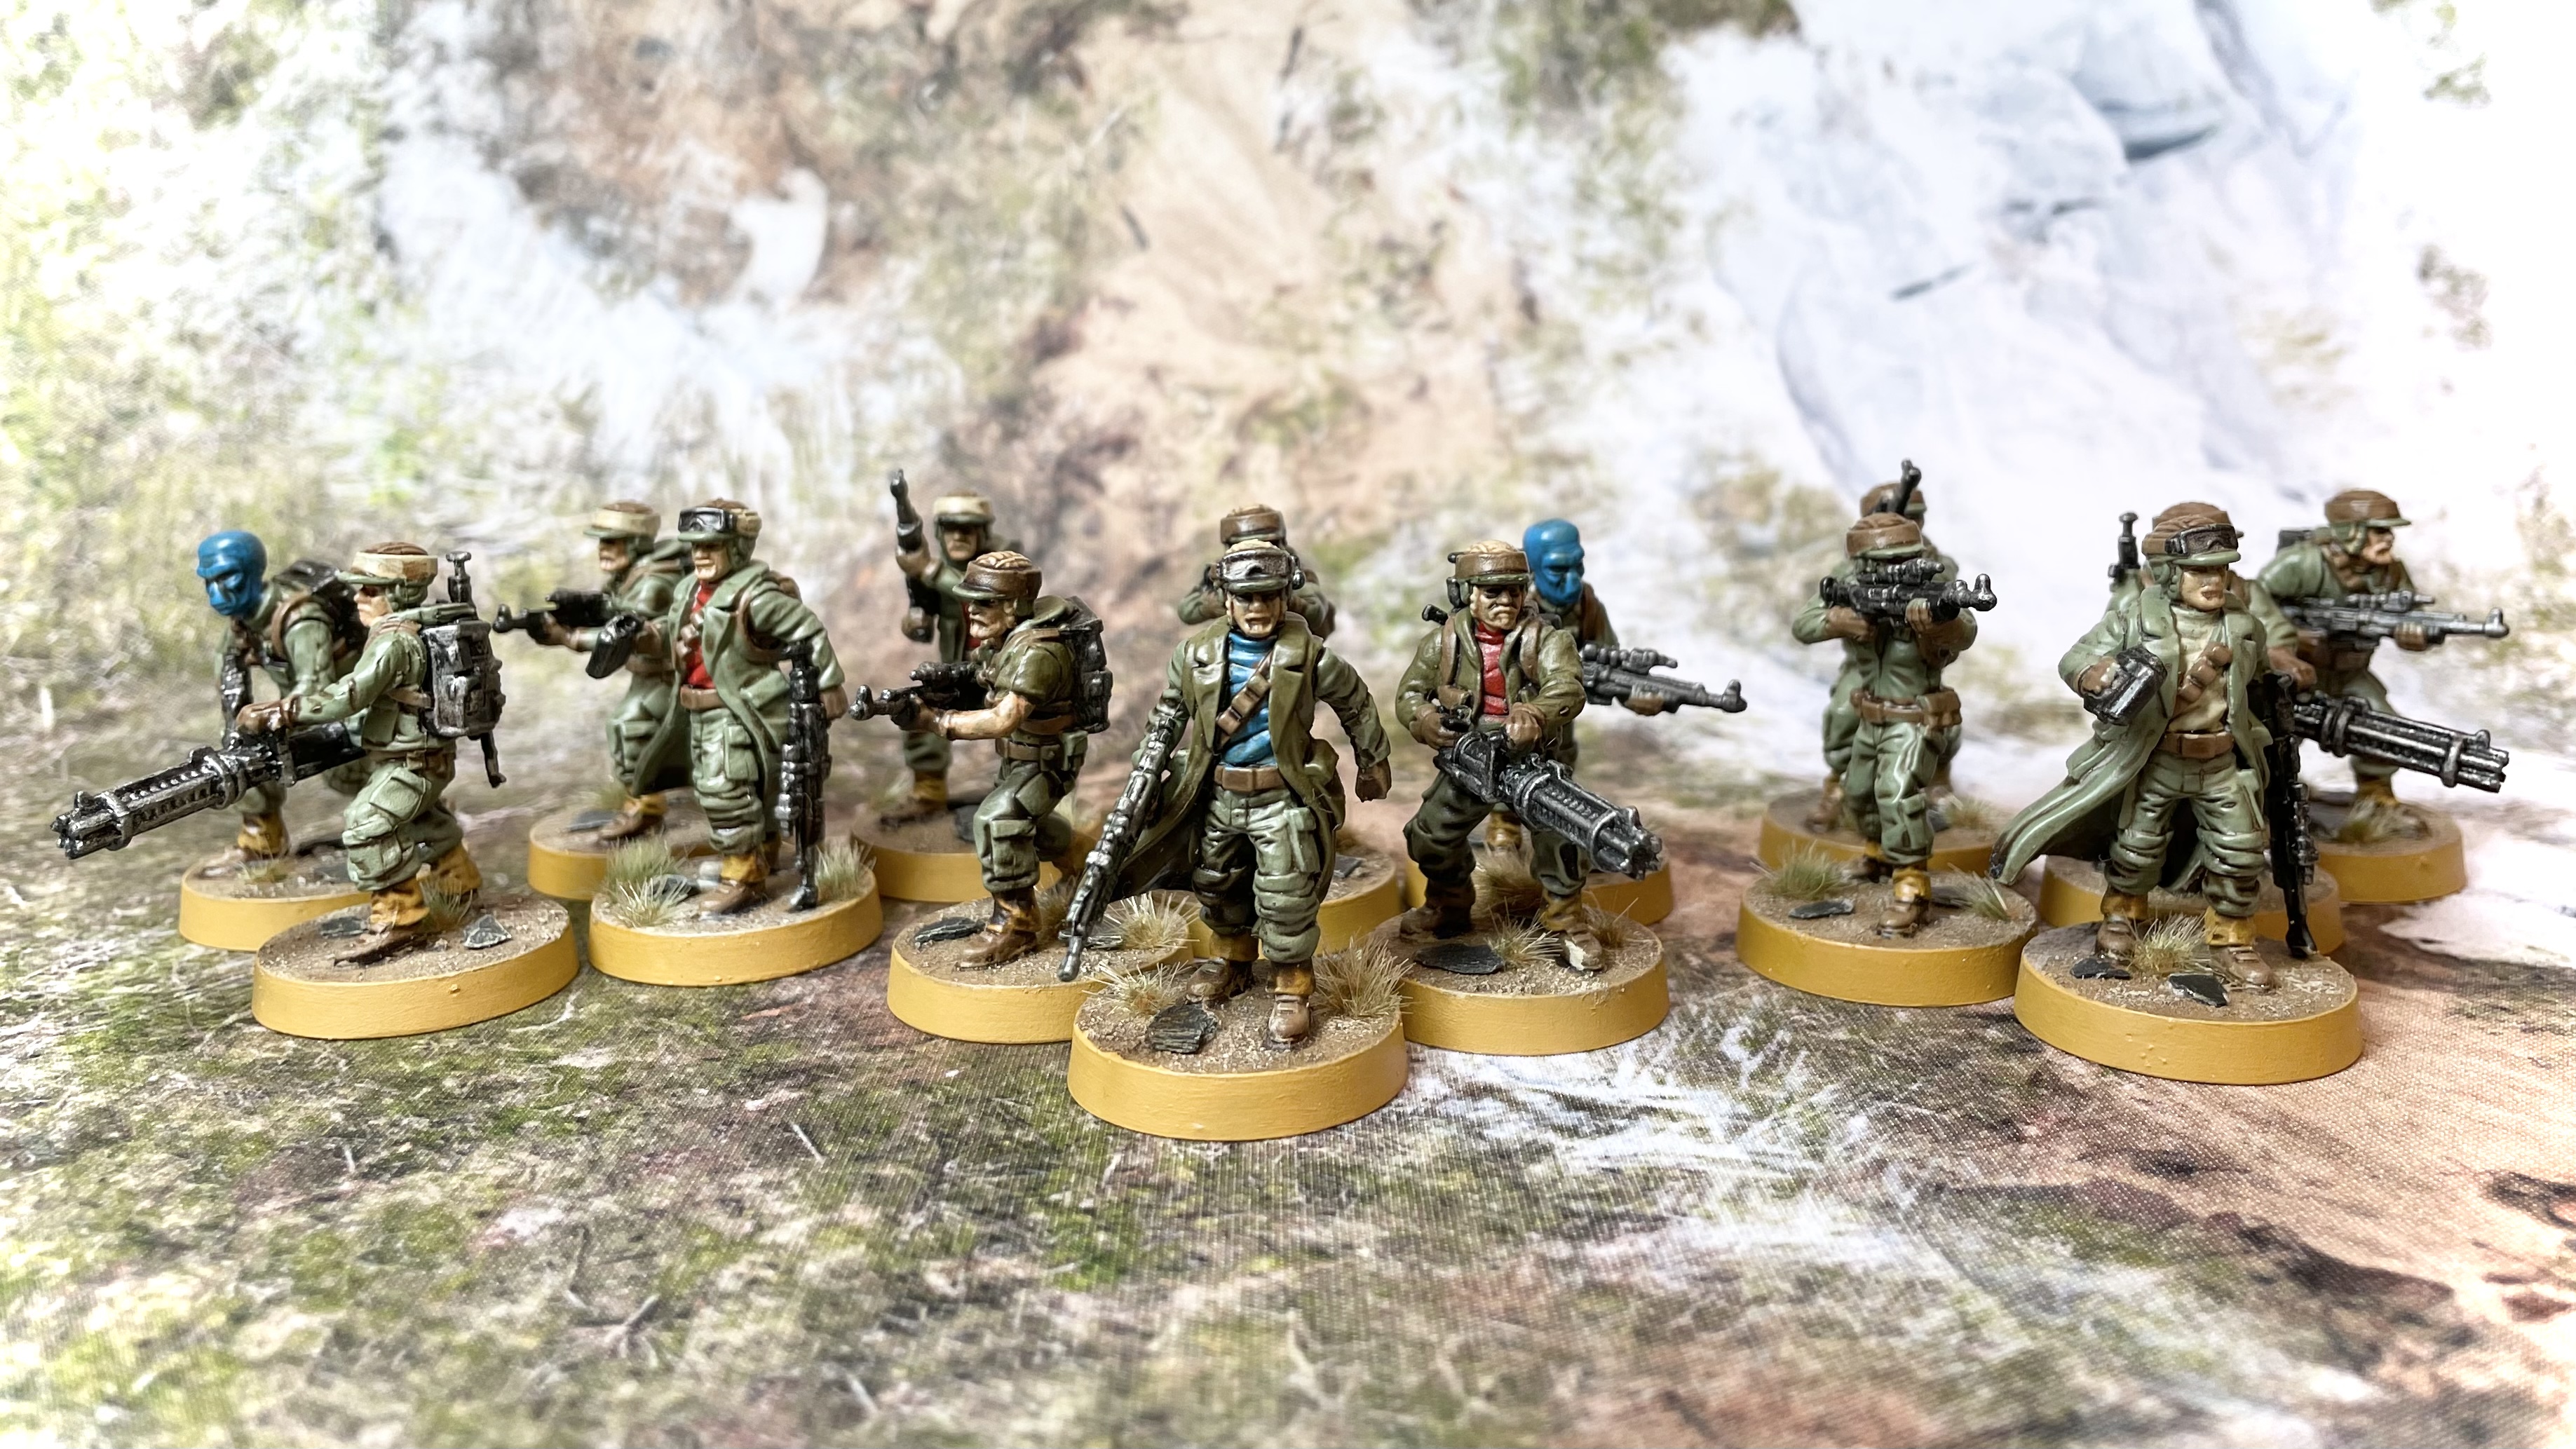
With the bulk of the list selected I moved to my core units and my trusted Rebel squad with a Z-6. At 60 points they figure in most of my lists, 3 squads of these would give me a solid gun line and some objective grabbers.
Points: 800
Activations: 10
Commanders
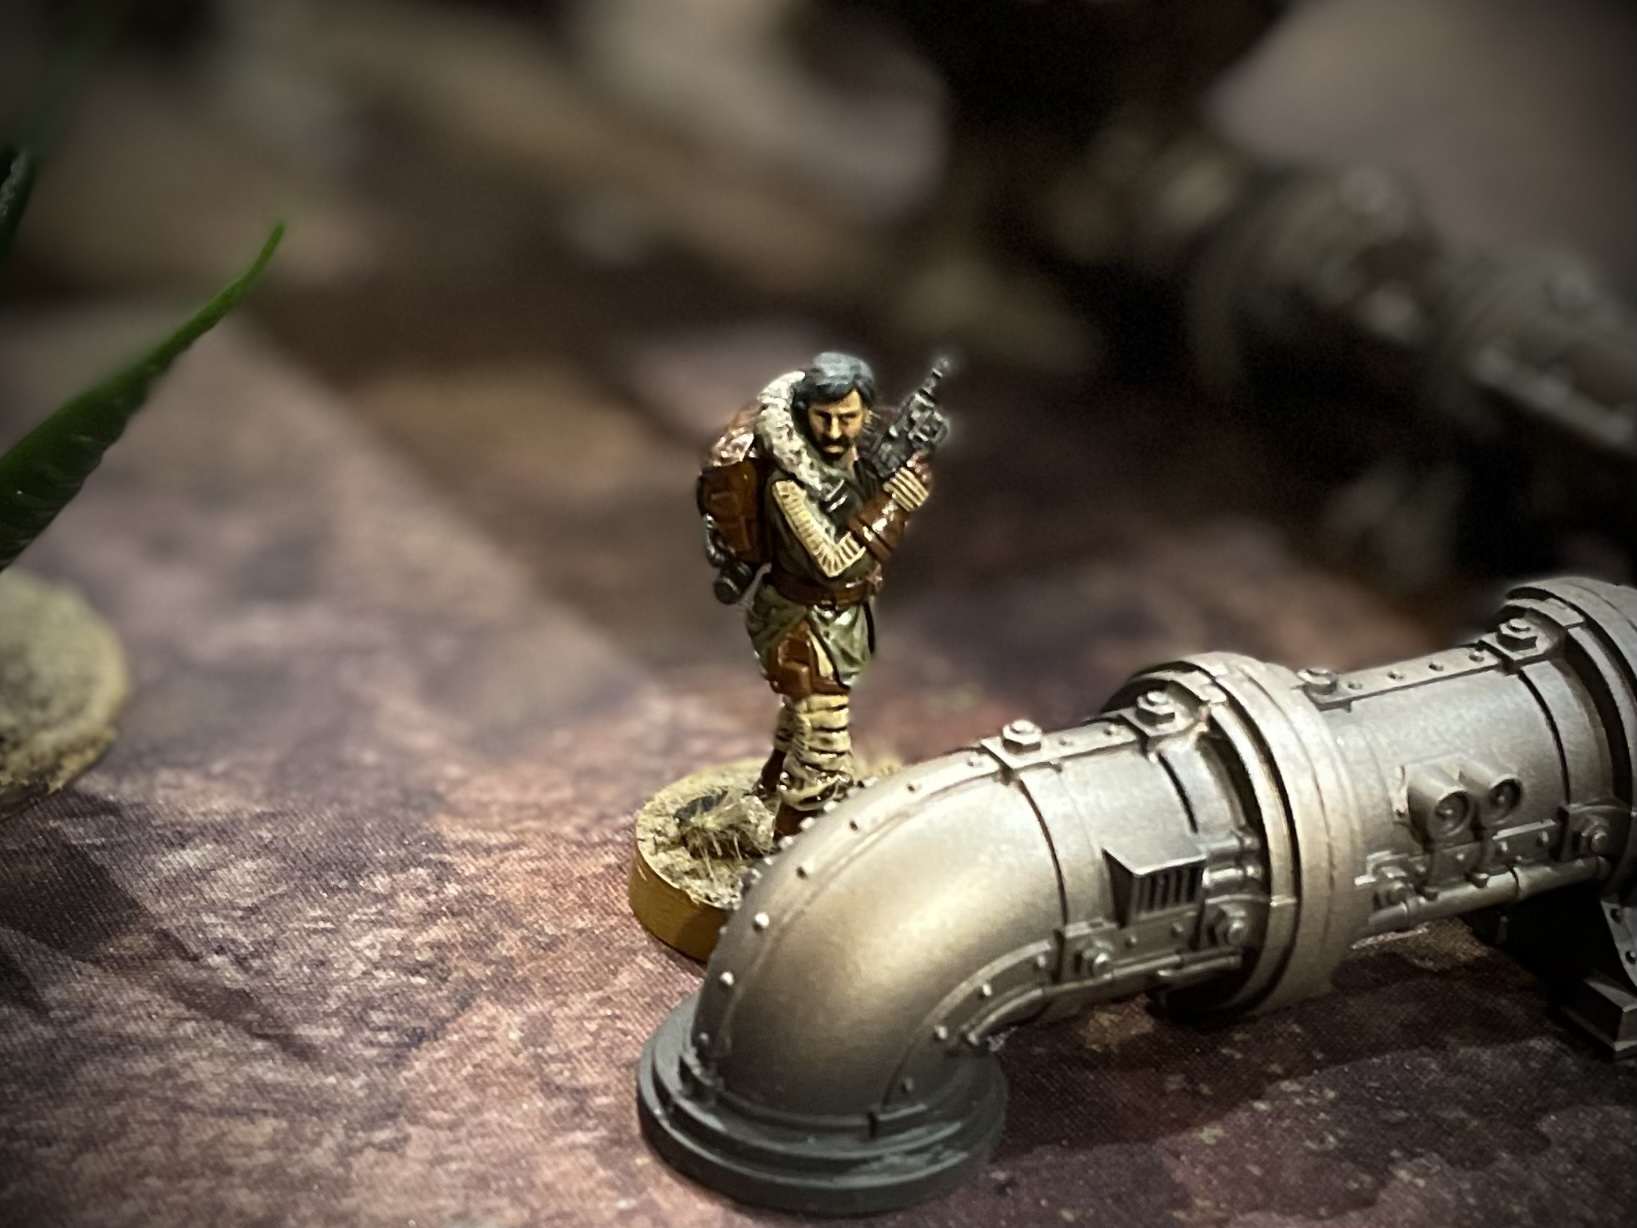
* Cassian Andor [90]
A280-CFE Config [10], Offensive Push [4], Duck and Cover [2]
* Jyn Erso: Stardust [90]
Vigilance [5], A-180 Config [0], Duck and Cover [2]
Operatives
* K-2SO [70]
Jyn’s SE-14 Blaster [5]
Corps
* Rebel Troopers [40]
Z-6 Trooper [20]
* Rebel Troopers [40]
Z-6 Trooper [20]
* Rebel Troopers [40]
Z-6 Trooper [20]
* Fleet Troopers [40]
MPL-57 Barrage Trooper [19], Rebel Officer [16]
Special Forces
* Rebel Pathfinders [56]
A-300 Config [0], Duck and Cover [2], Bistan [28]
* Rebel Pathfinders [56]
A-300 Config [0], Duck and Cover [2], Pao [20]
* Wookiee Warriors: Freedom Fighters [69]
Offensive Push [4], Tenacity [4], Long Gun Wookie [26]
Command Cards
[1 pip] Crack Shot
[1 pip] Rebellious
[2 pip] Trust Goes Both Ways
[2 pip] Last Stand
[3 pip] Complete the Mission
[3 pip] Volunteer Mission
[4 pip] Standing Orders
Battle Deck
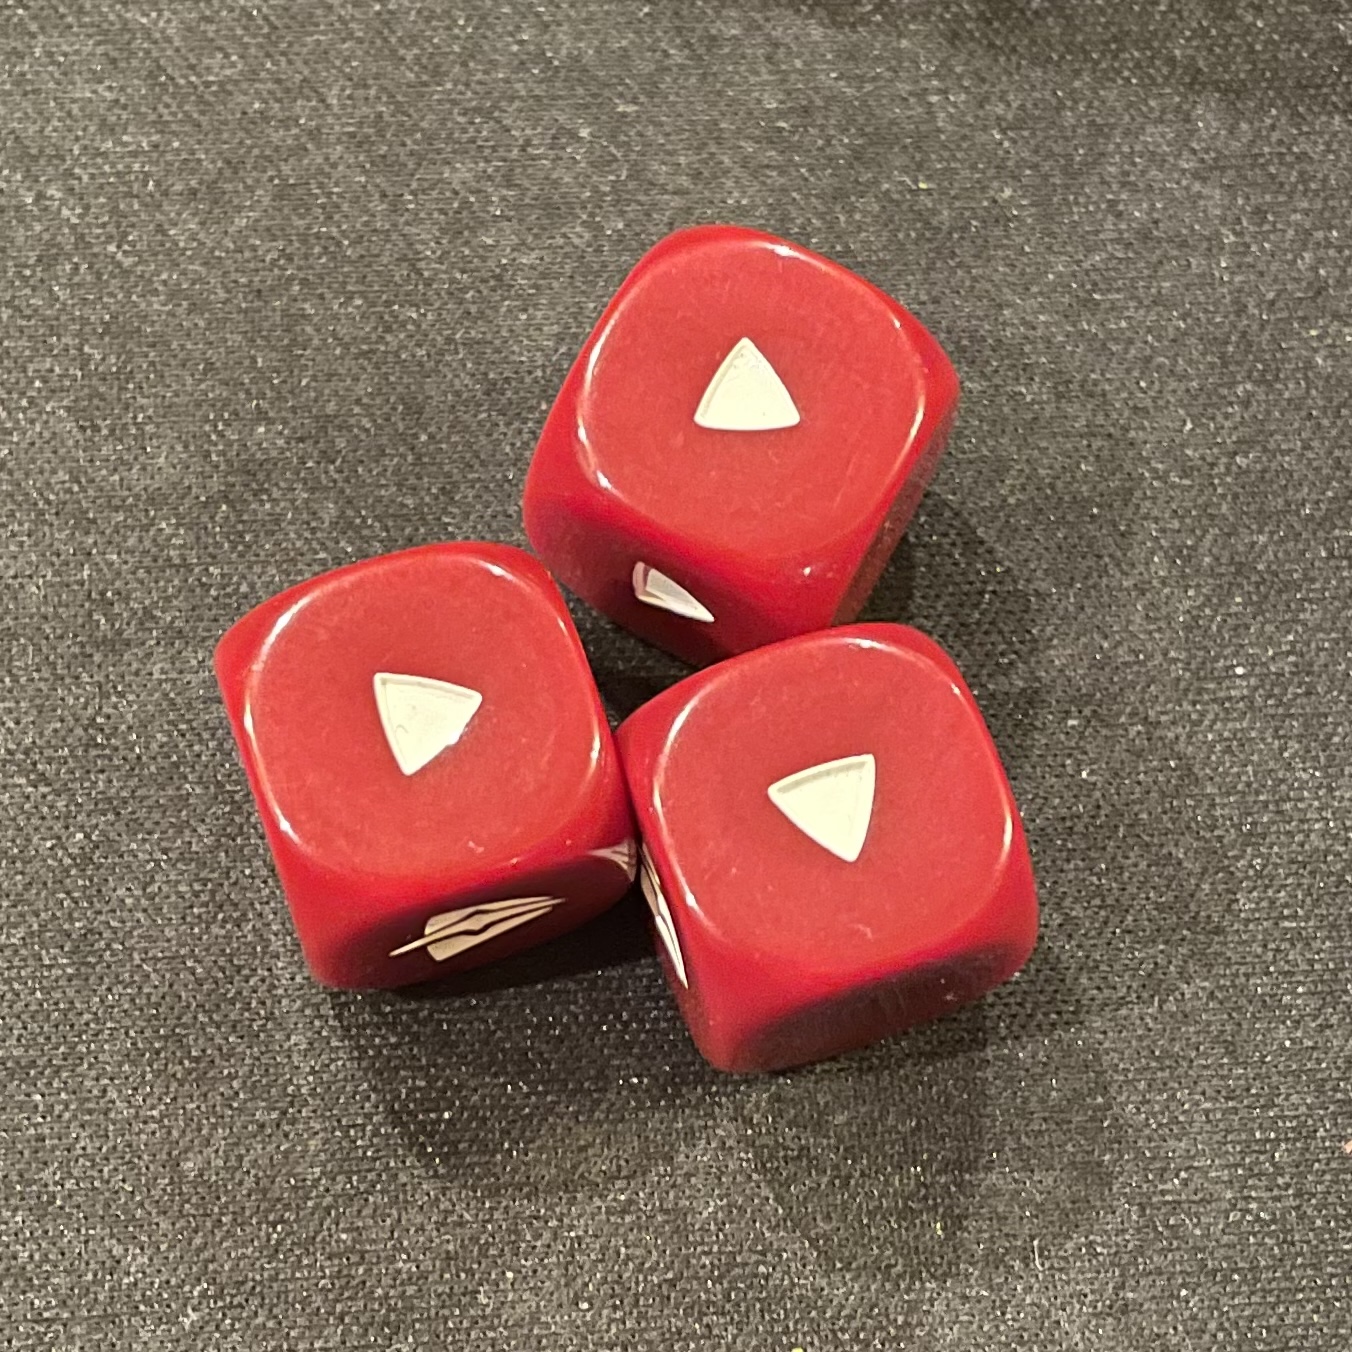
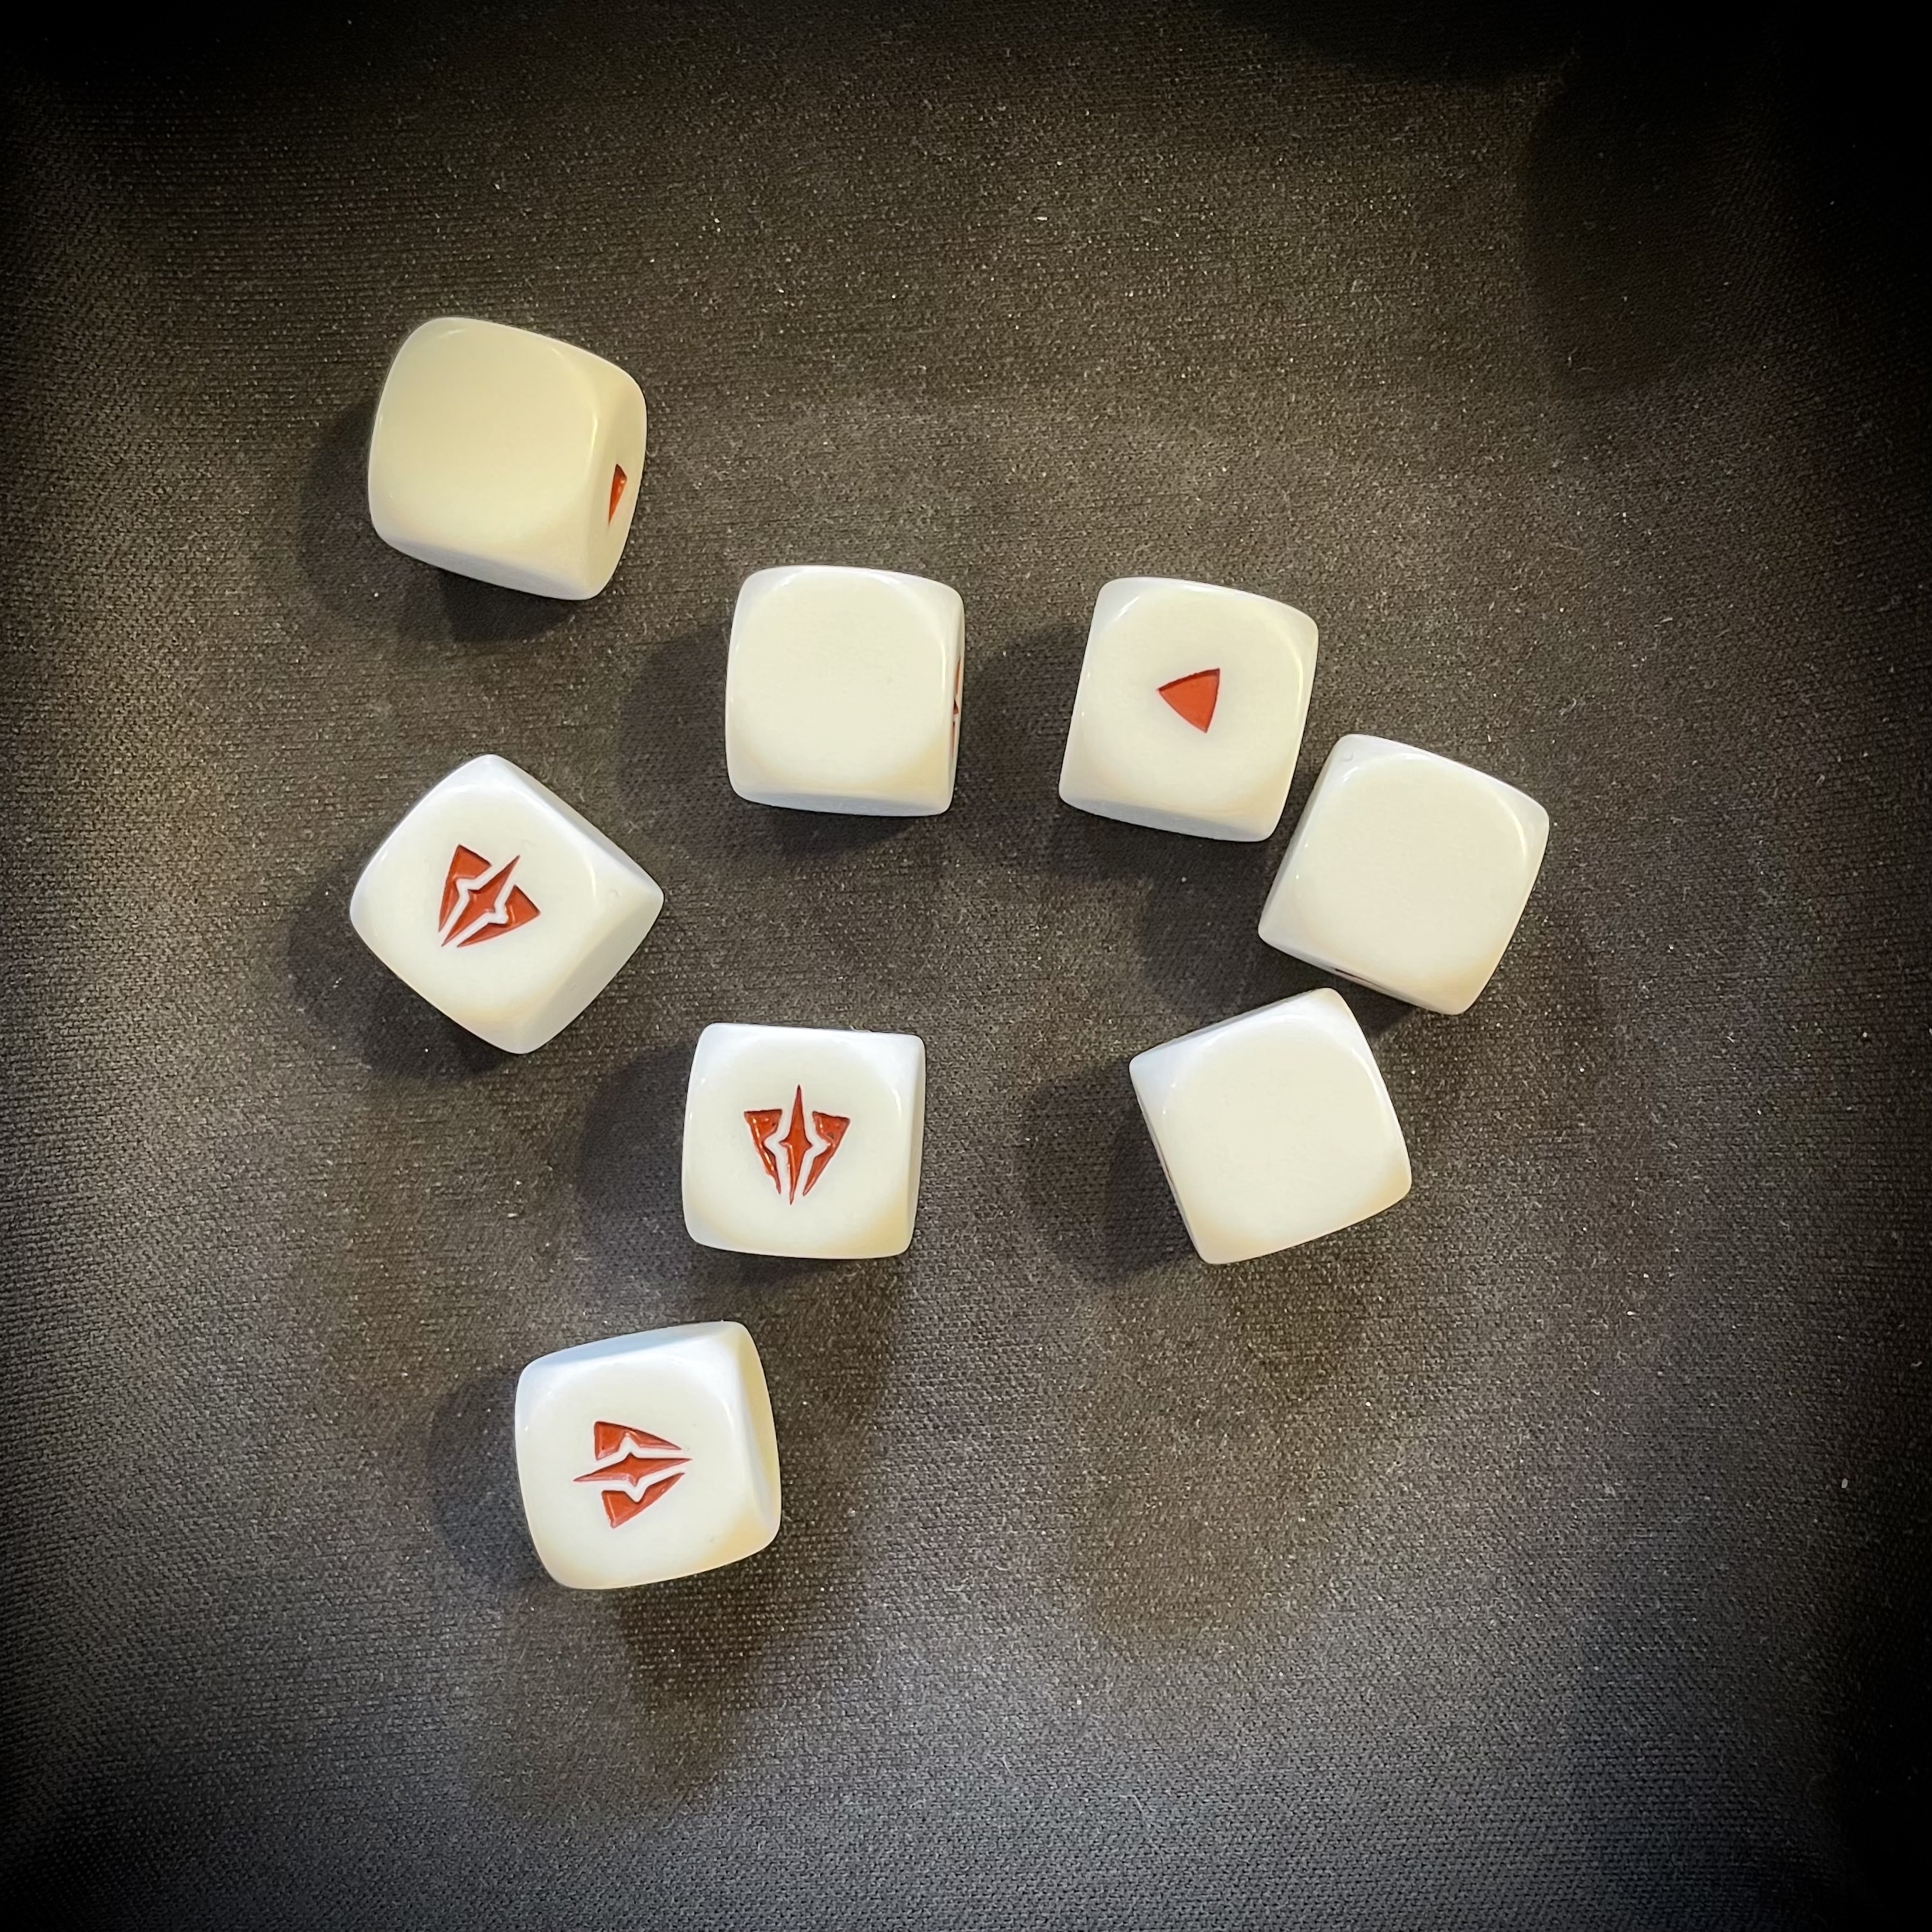
We had both built our lists to the full 800 points and agreed to use a randomised Battle Card Deck for this mission. This meant a roll off to see who would take priority. I won the role and opted to be the Red Player, allowing me to choose table edge while forcing Fil to take first removal of battle cards.
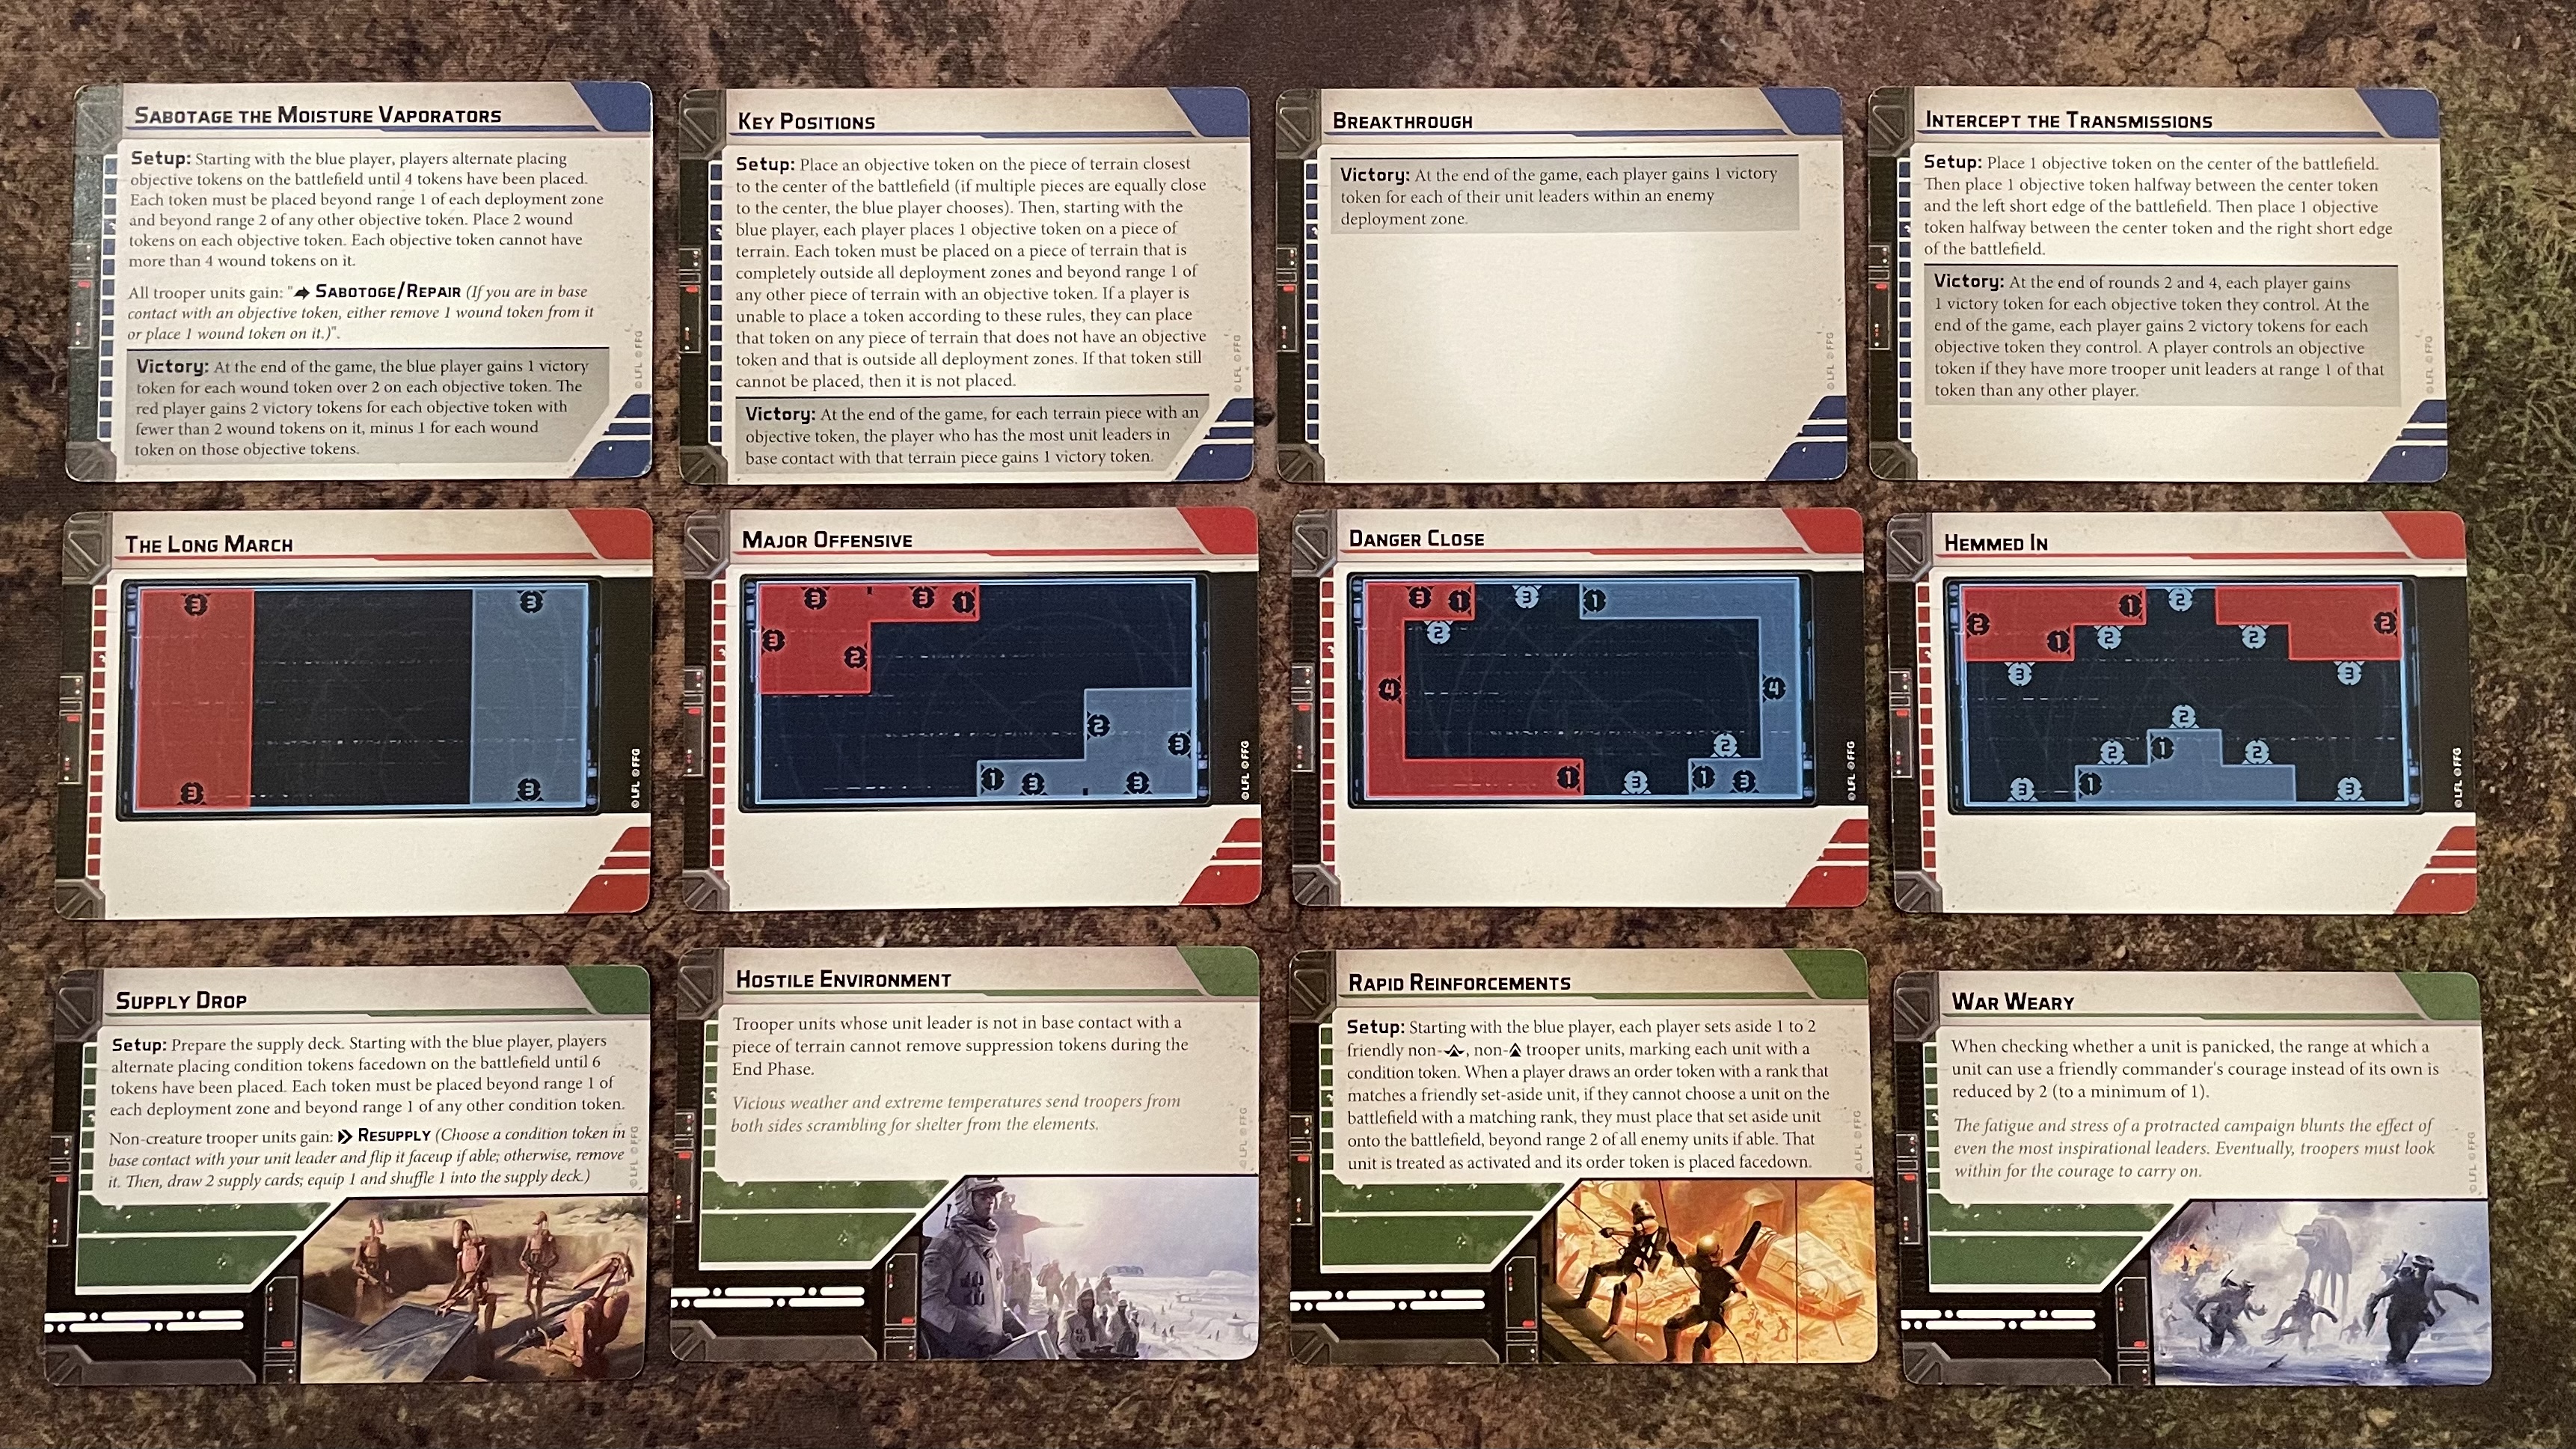
When building a mission for games of Star Wars Legion, three sets of cards representing Mission, Deployment and Conditions are shuffled and placed as shown above. Each player has two opportunities to remove 1 card from the left hand side (or pass). After both players have taken their two chances to eliminate cards, the leftmost cards will be the scenario for the coming game.
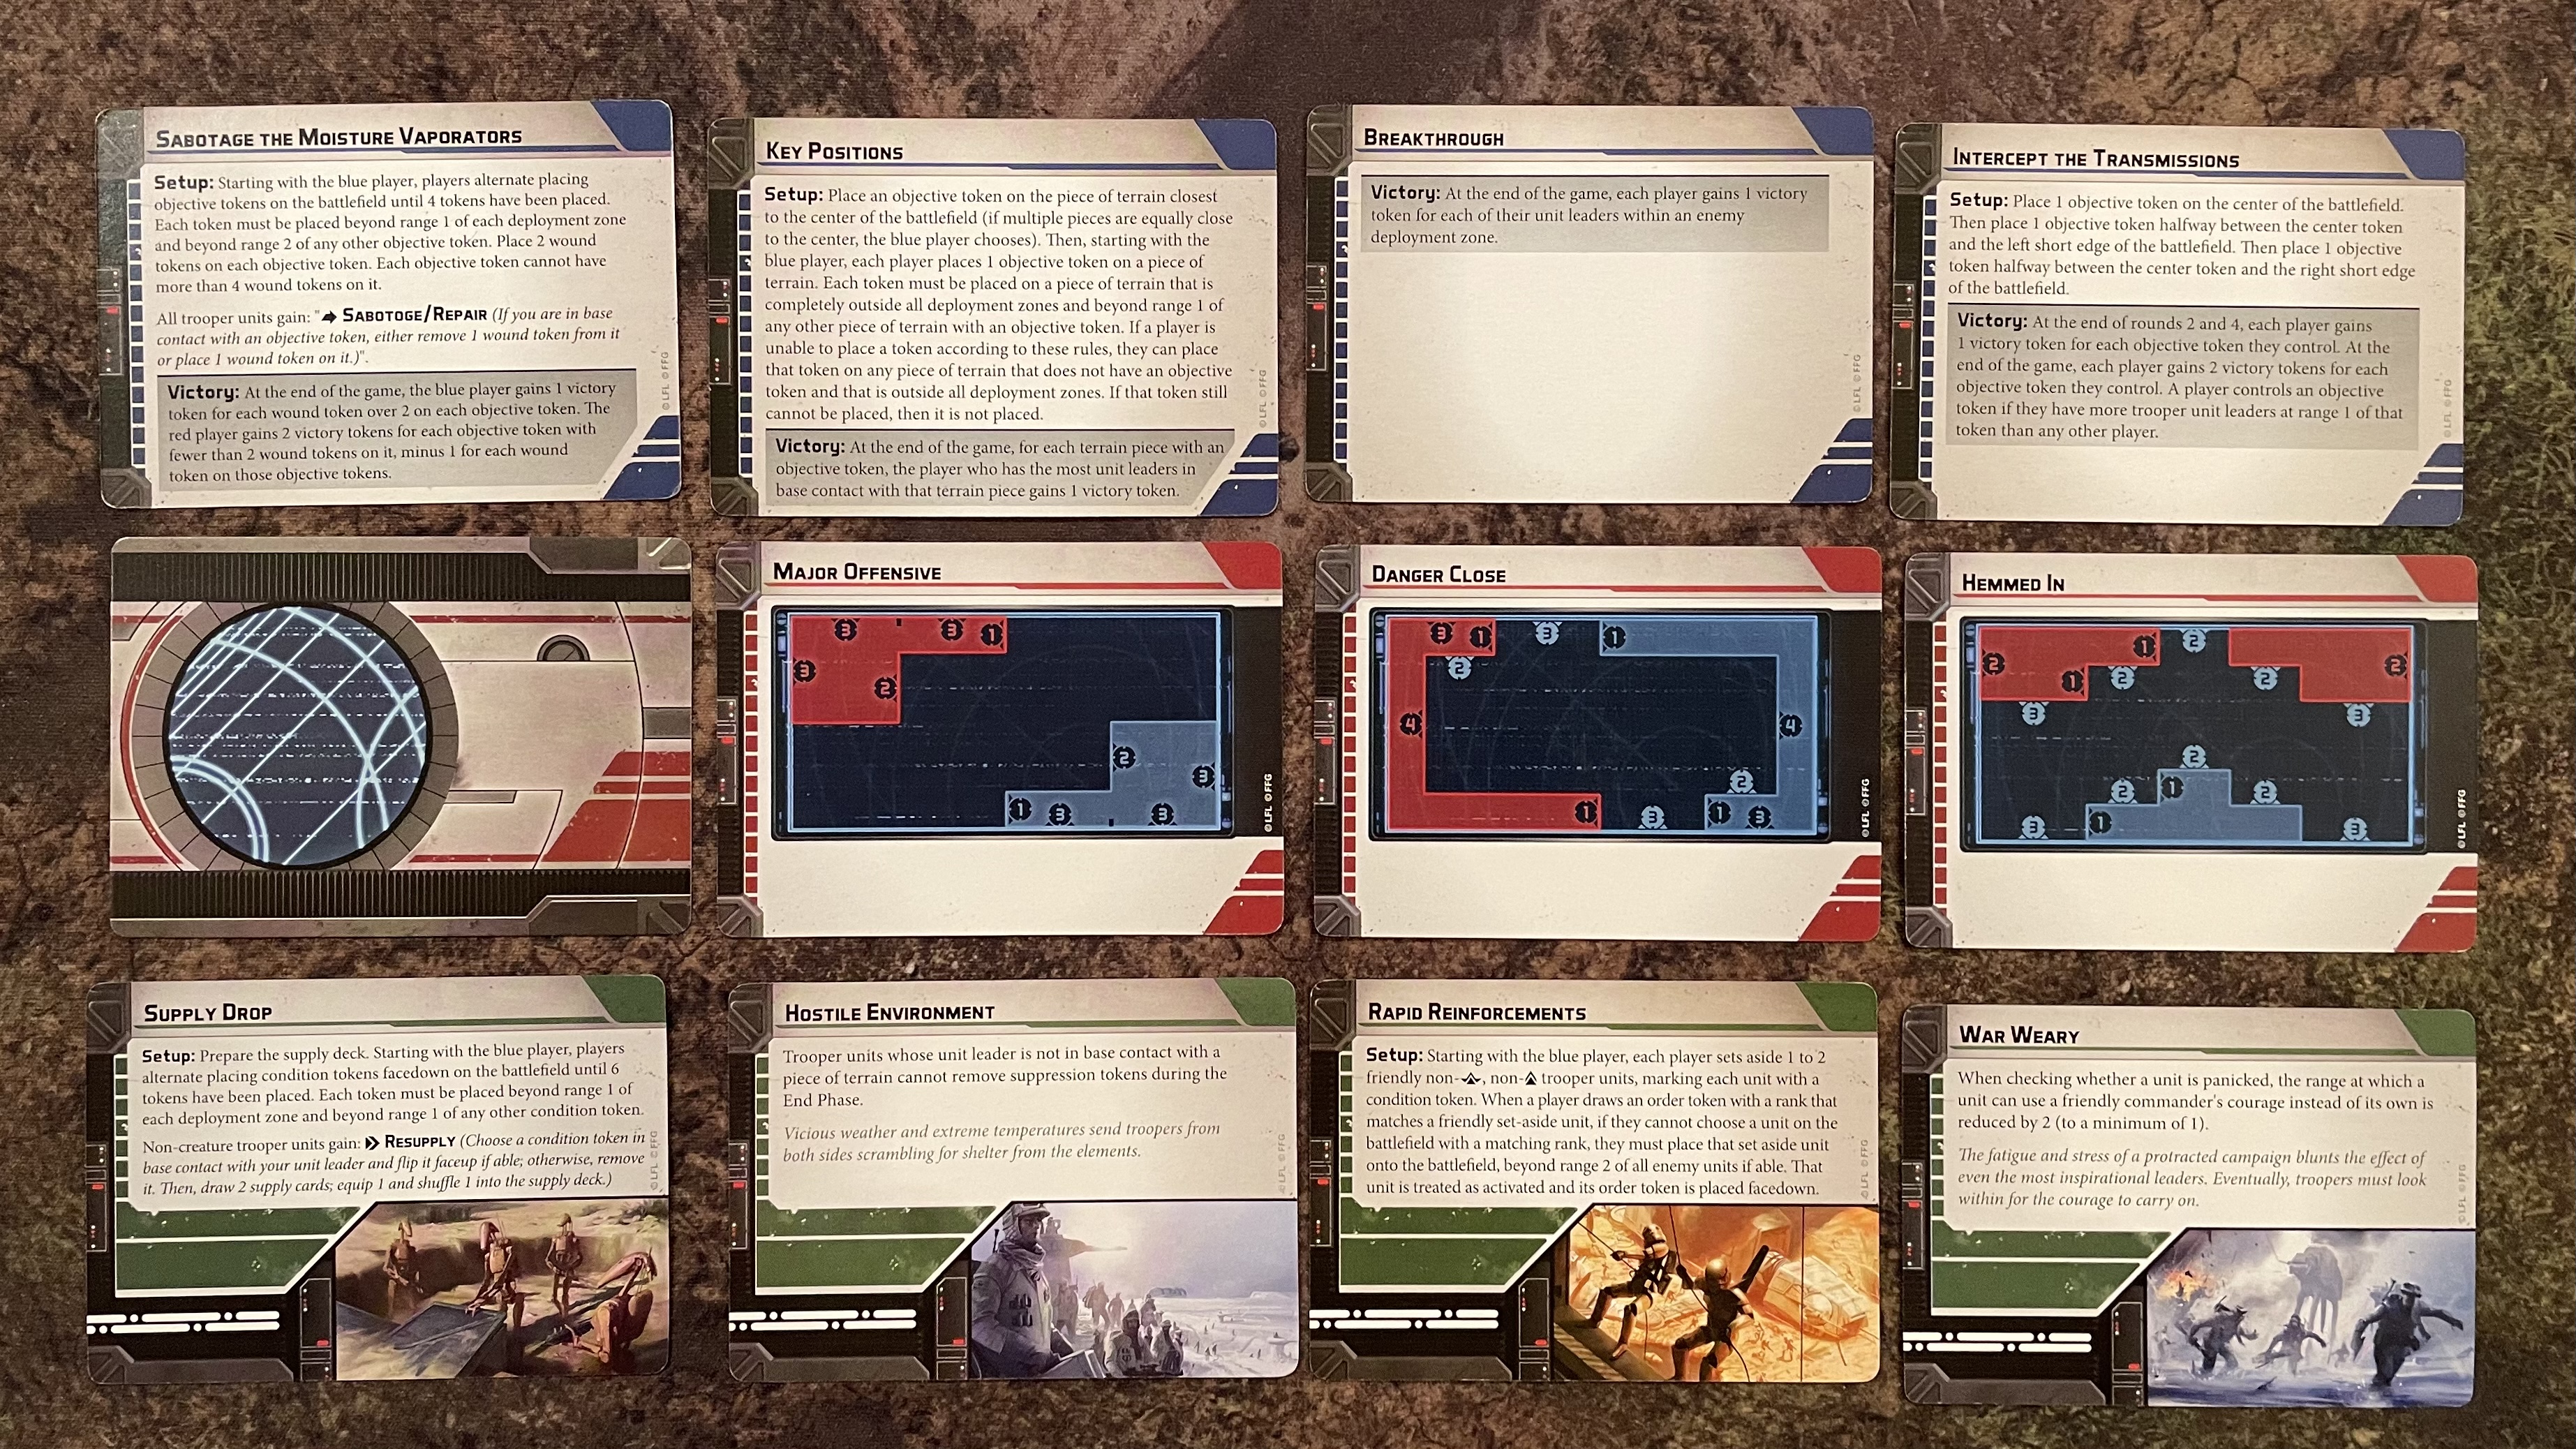
In the end only one card was eliminated meaning that we would be playing Sabotage the Moisture Vaporators, with the Major Offensive deployment and a Supply drop. As we weren’t using a desert board we reimagined the Vaporator scenario as follows; The Rebels would be attempting to upload important Intel to interplanetary comms relays while the Imperials would be attempting to retrieve any Intel already stored there.

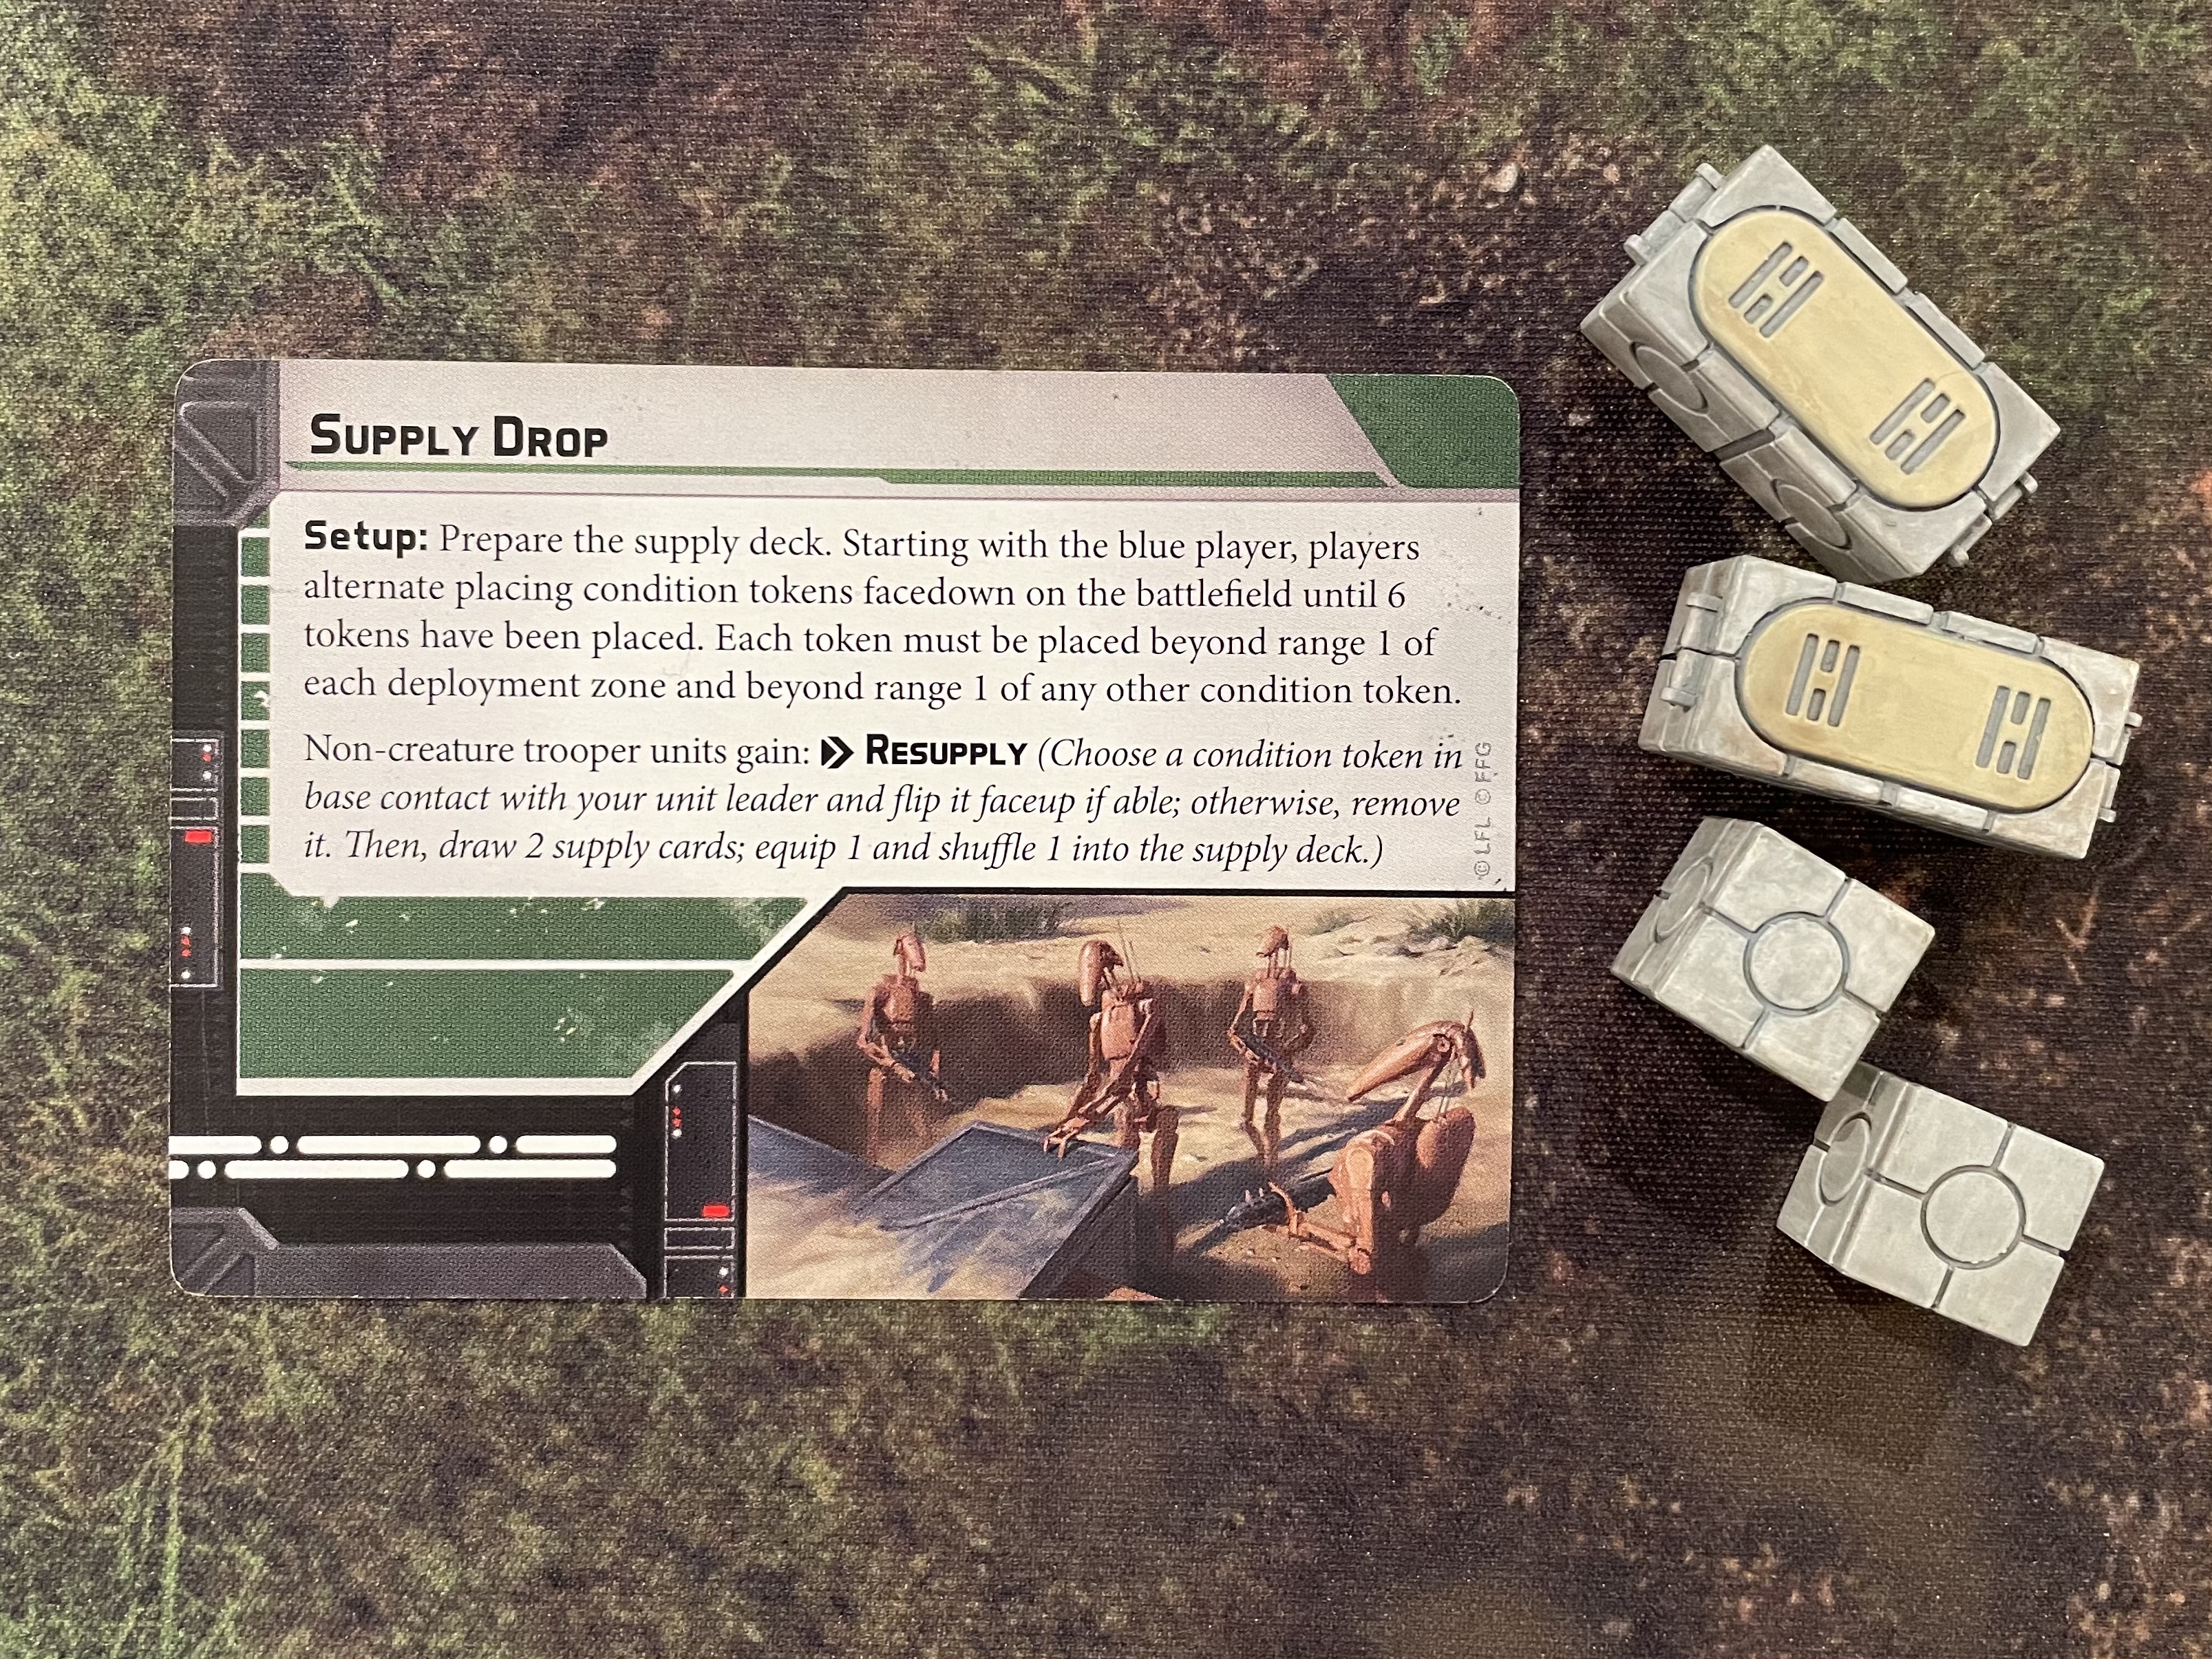
Each player would have the opportunity to place two ‘Interplanetary comms relays’ which would serve as the mission objectives. We would also be placing up to three supply crates each, thanks to the Supply Drop conditions card.
Deployment
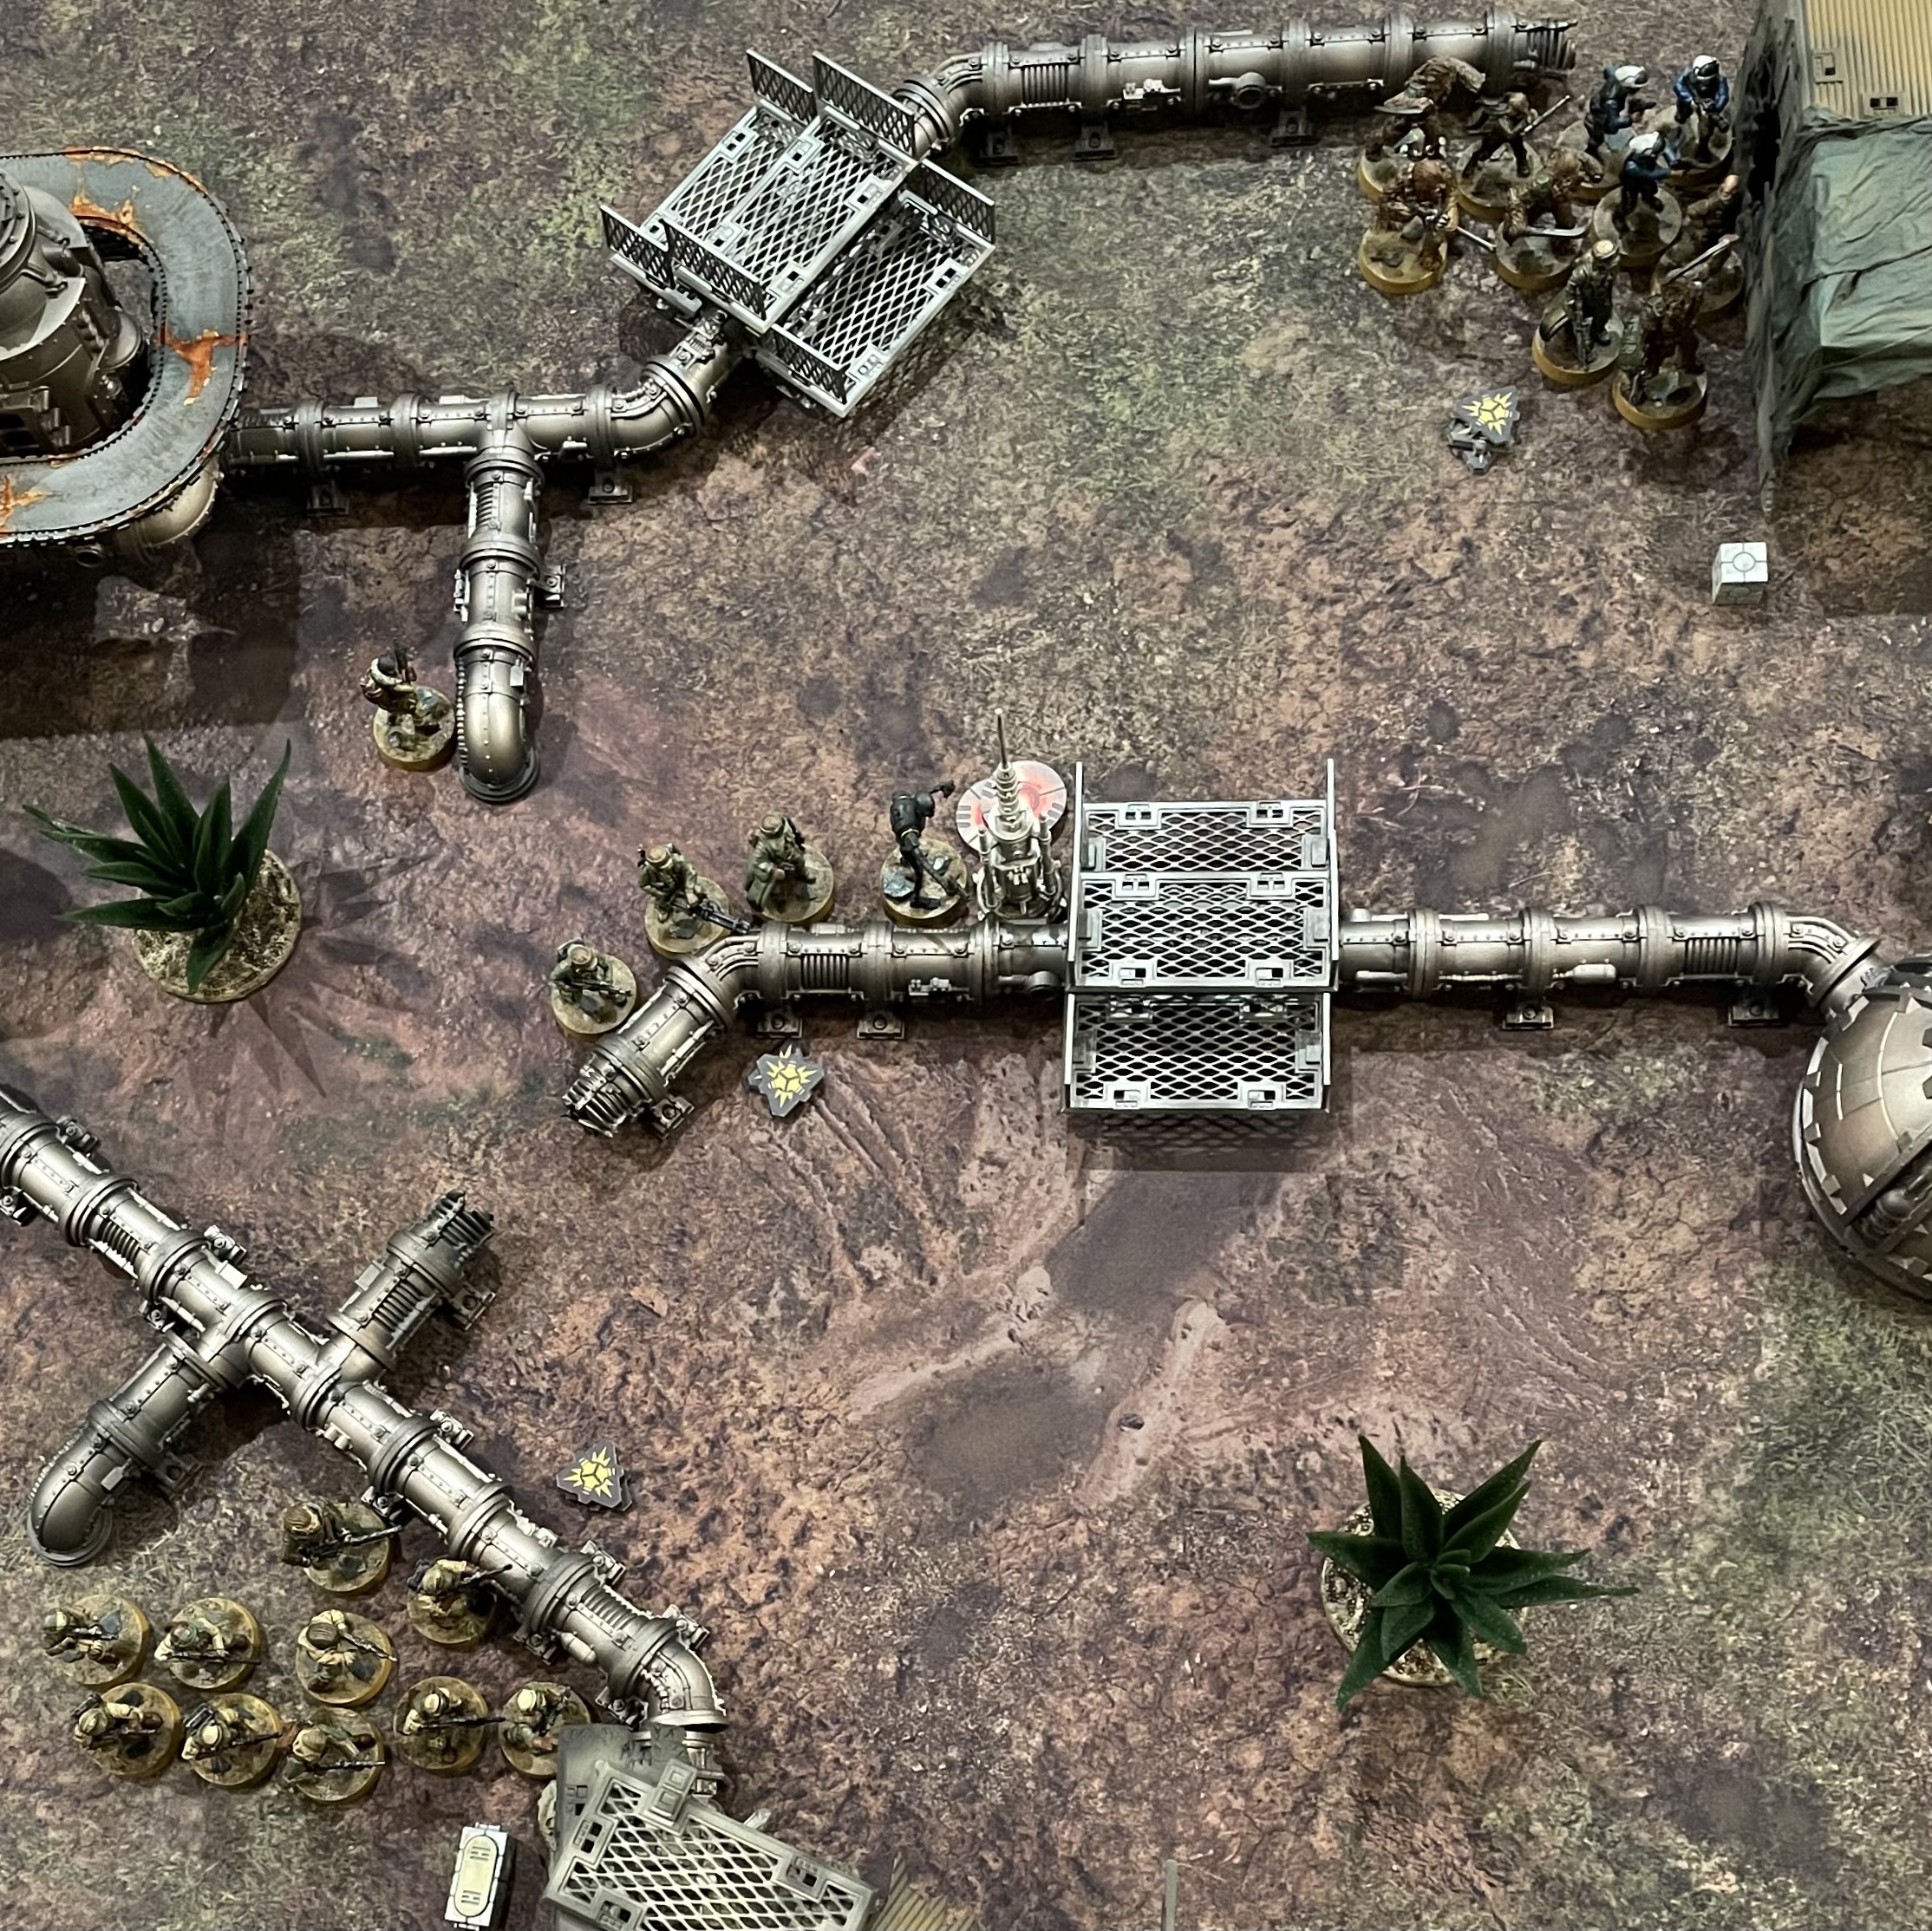
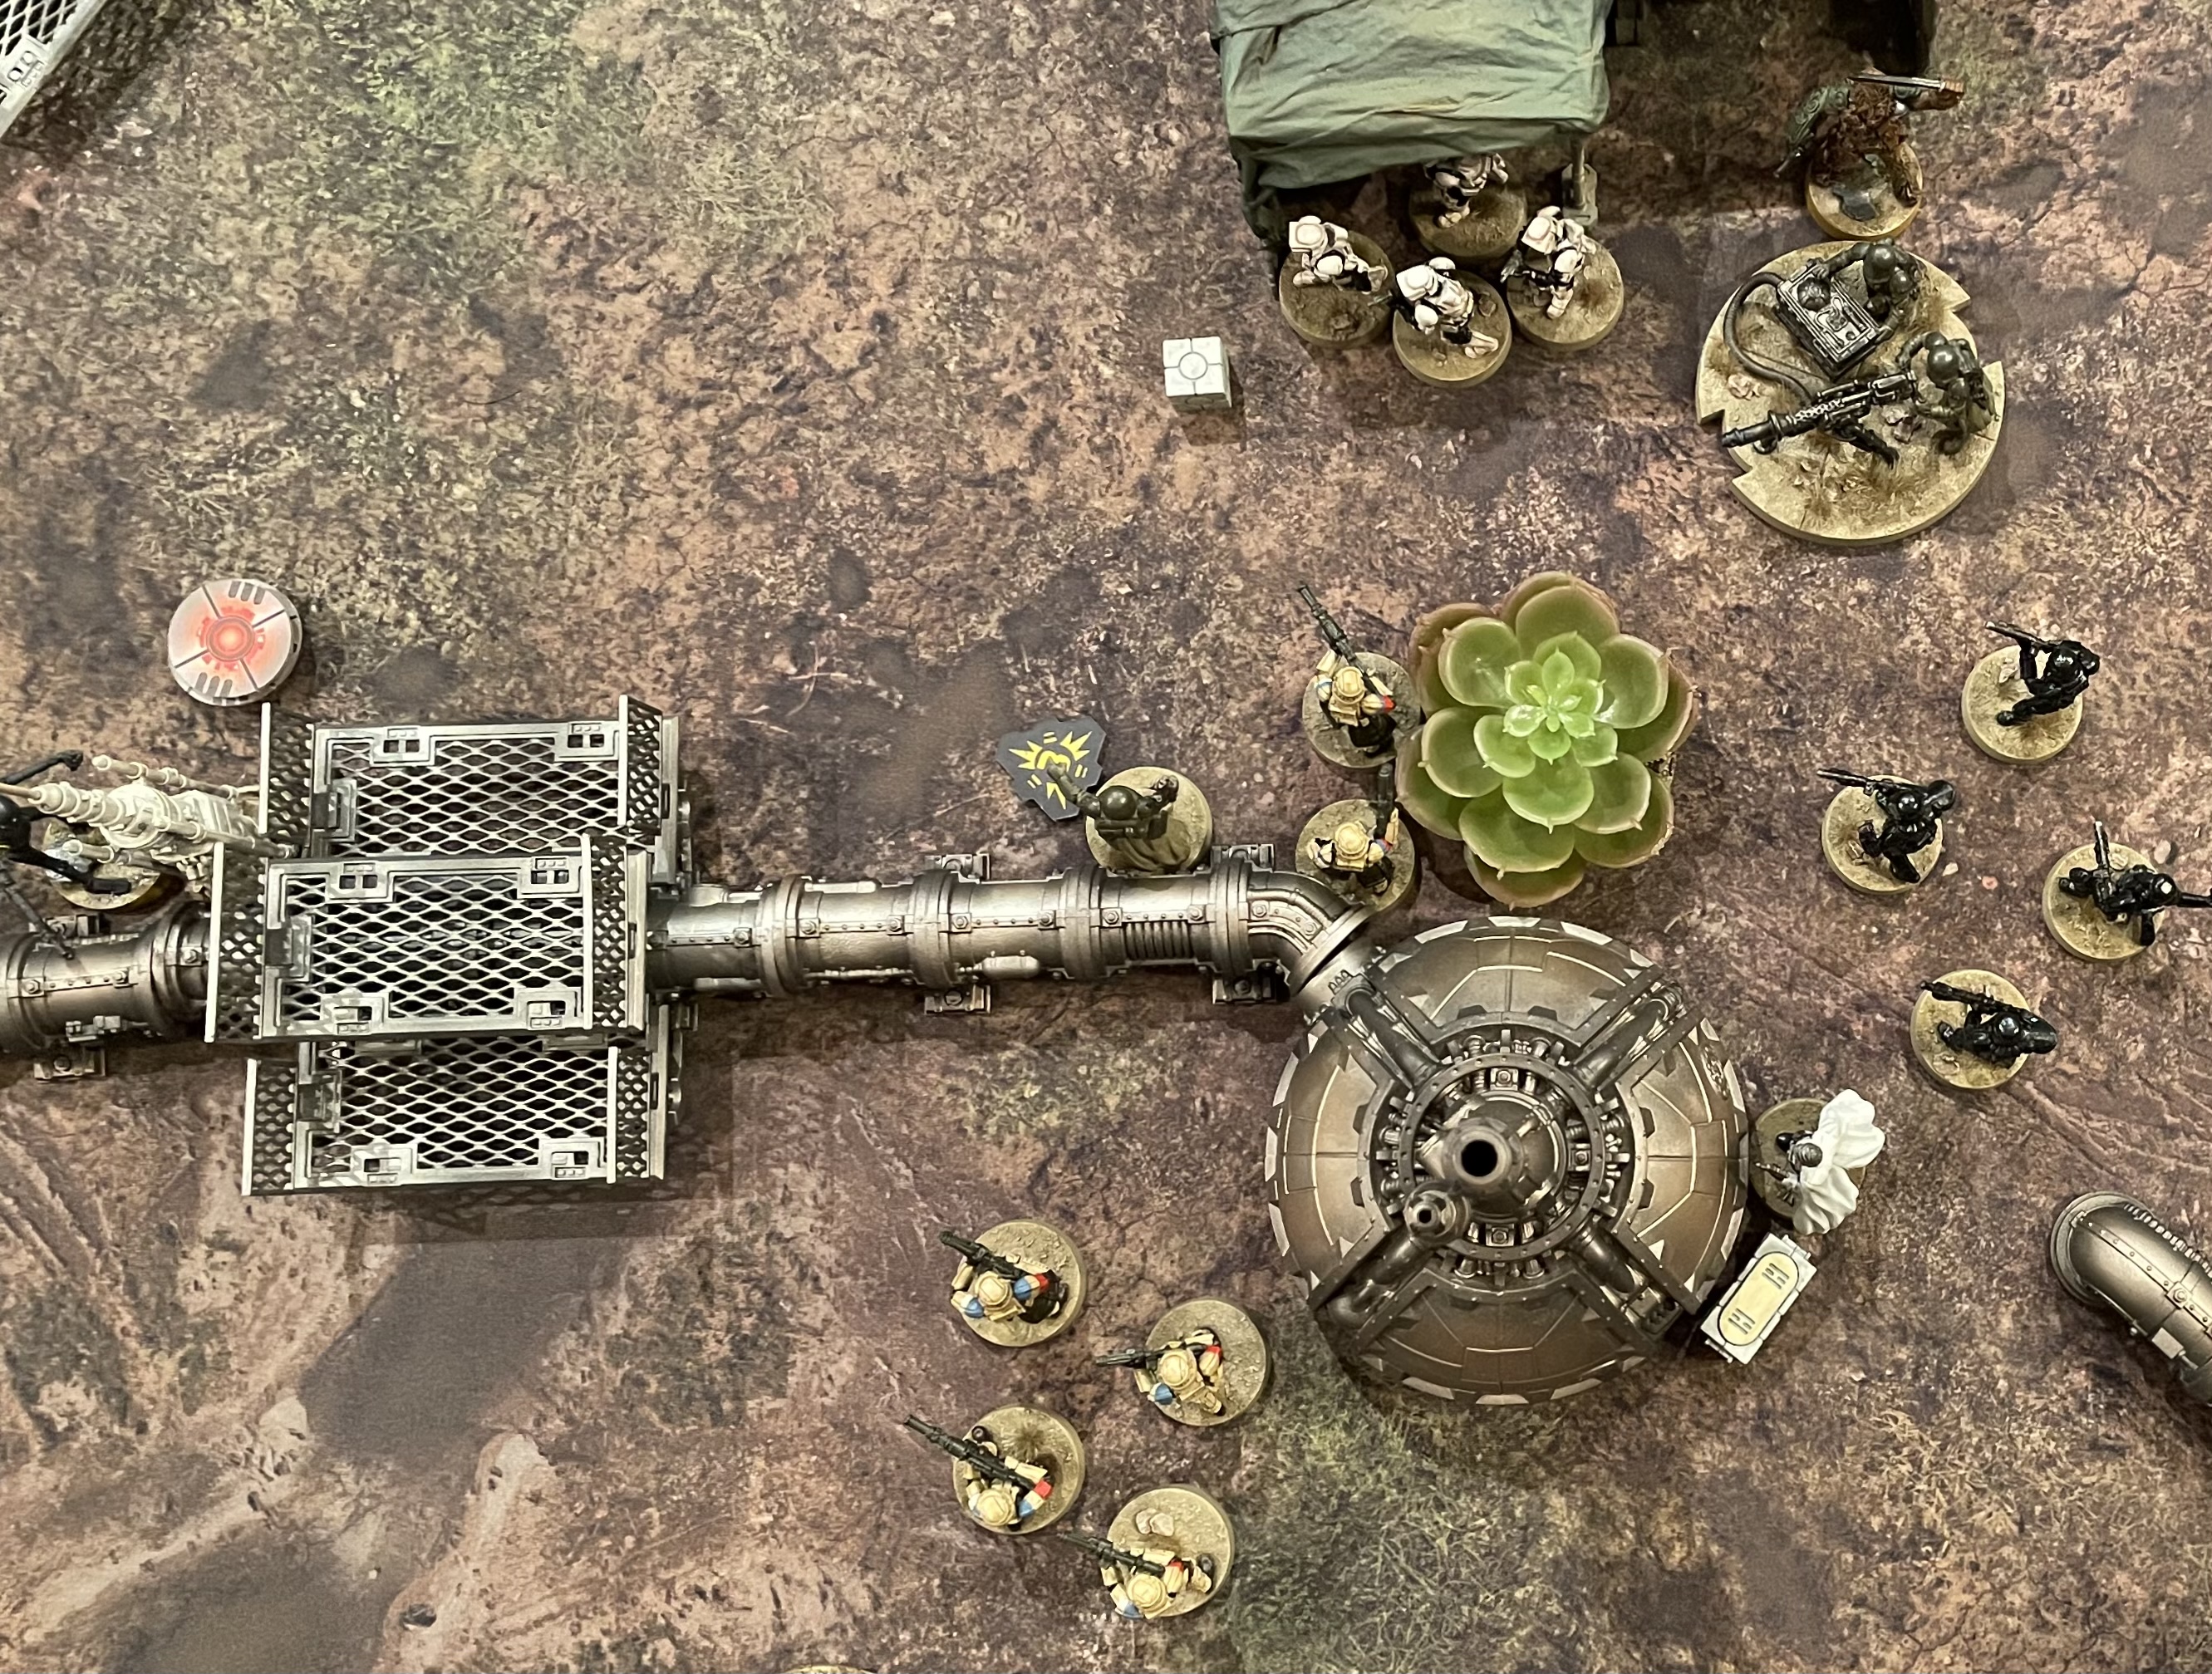
The Major Offensive deployment gives each player a fairly generous deployment area, in opposing table corners. The Relays and supply crates had to be placed at least range one away from the deployment zone as well as at least range one away from any other objective. I opted to place my Relays to the North and West of my deployment zone, in the direction I intended my forces to move.
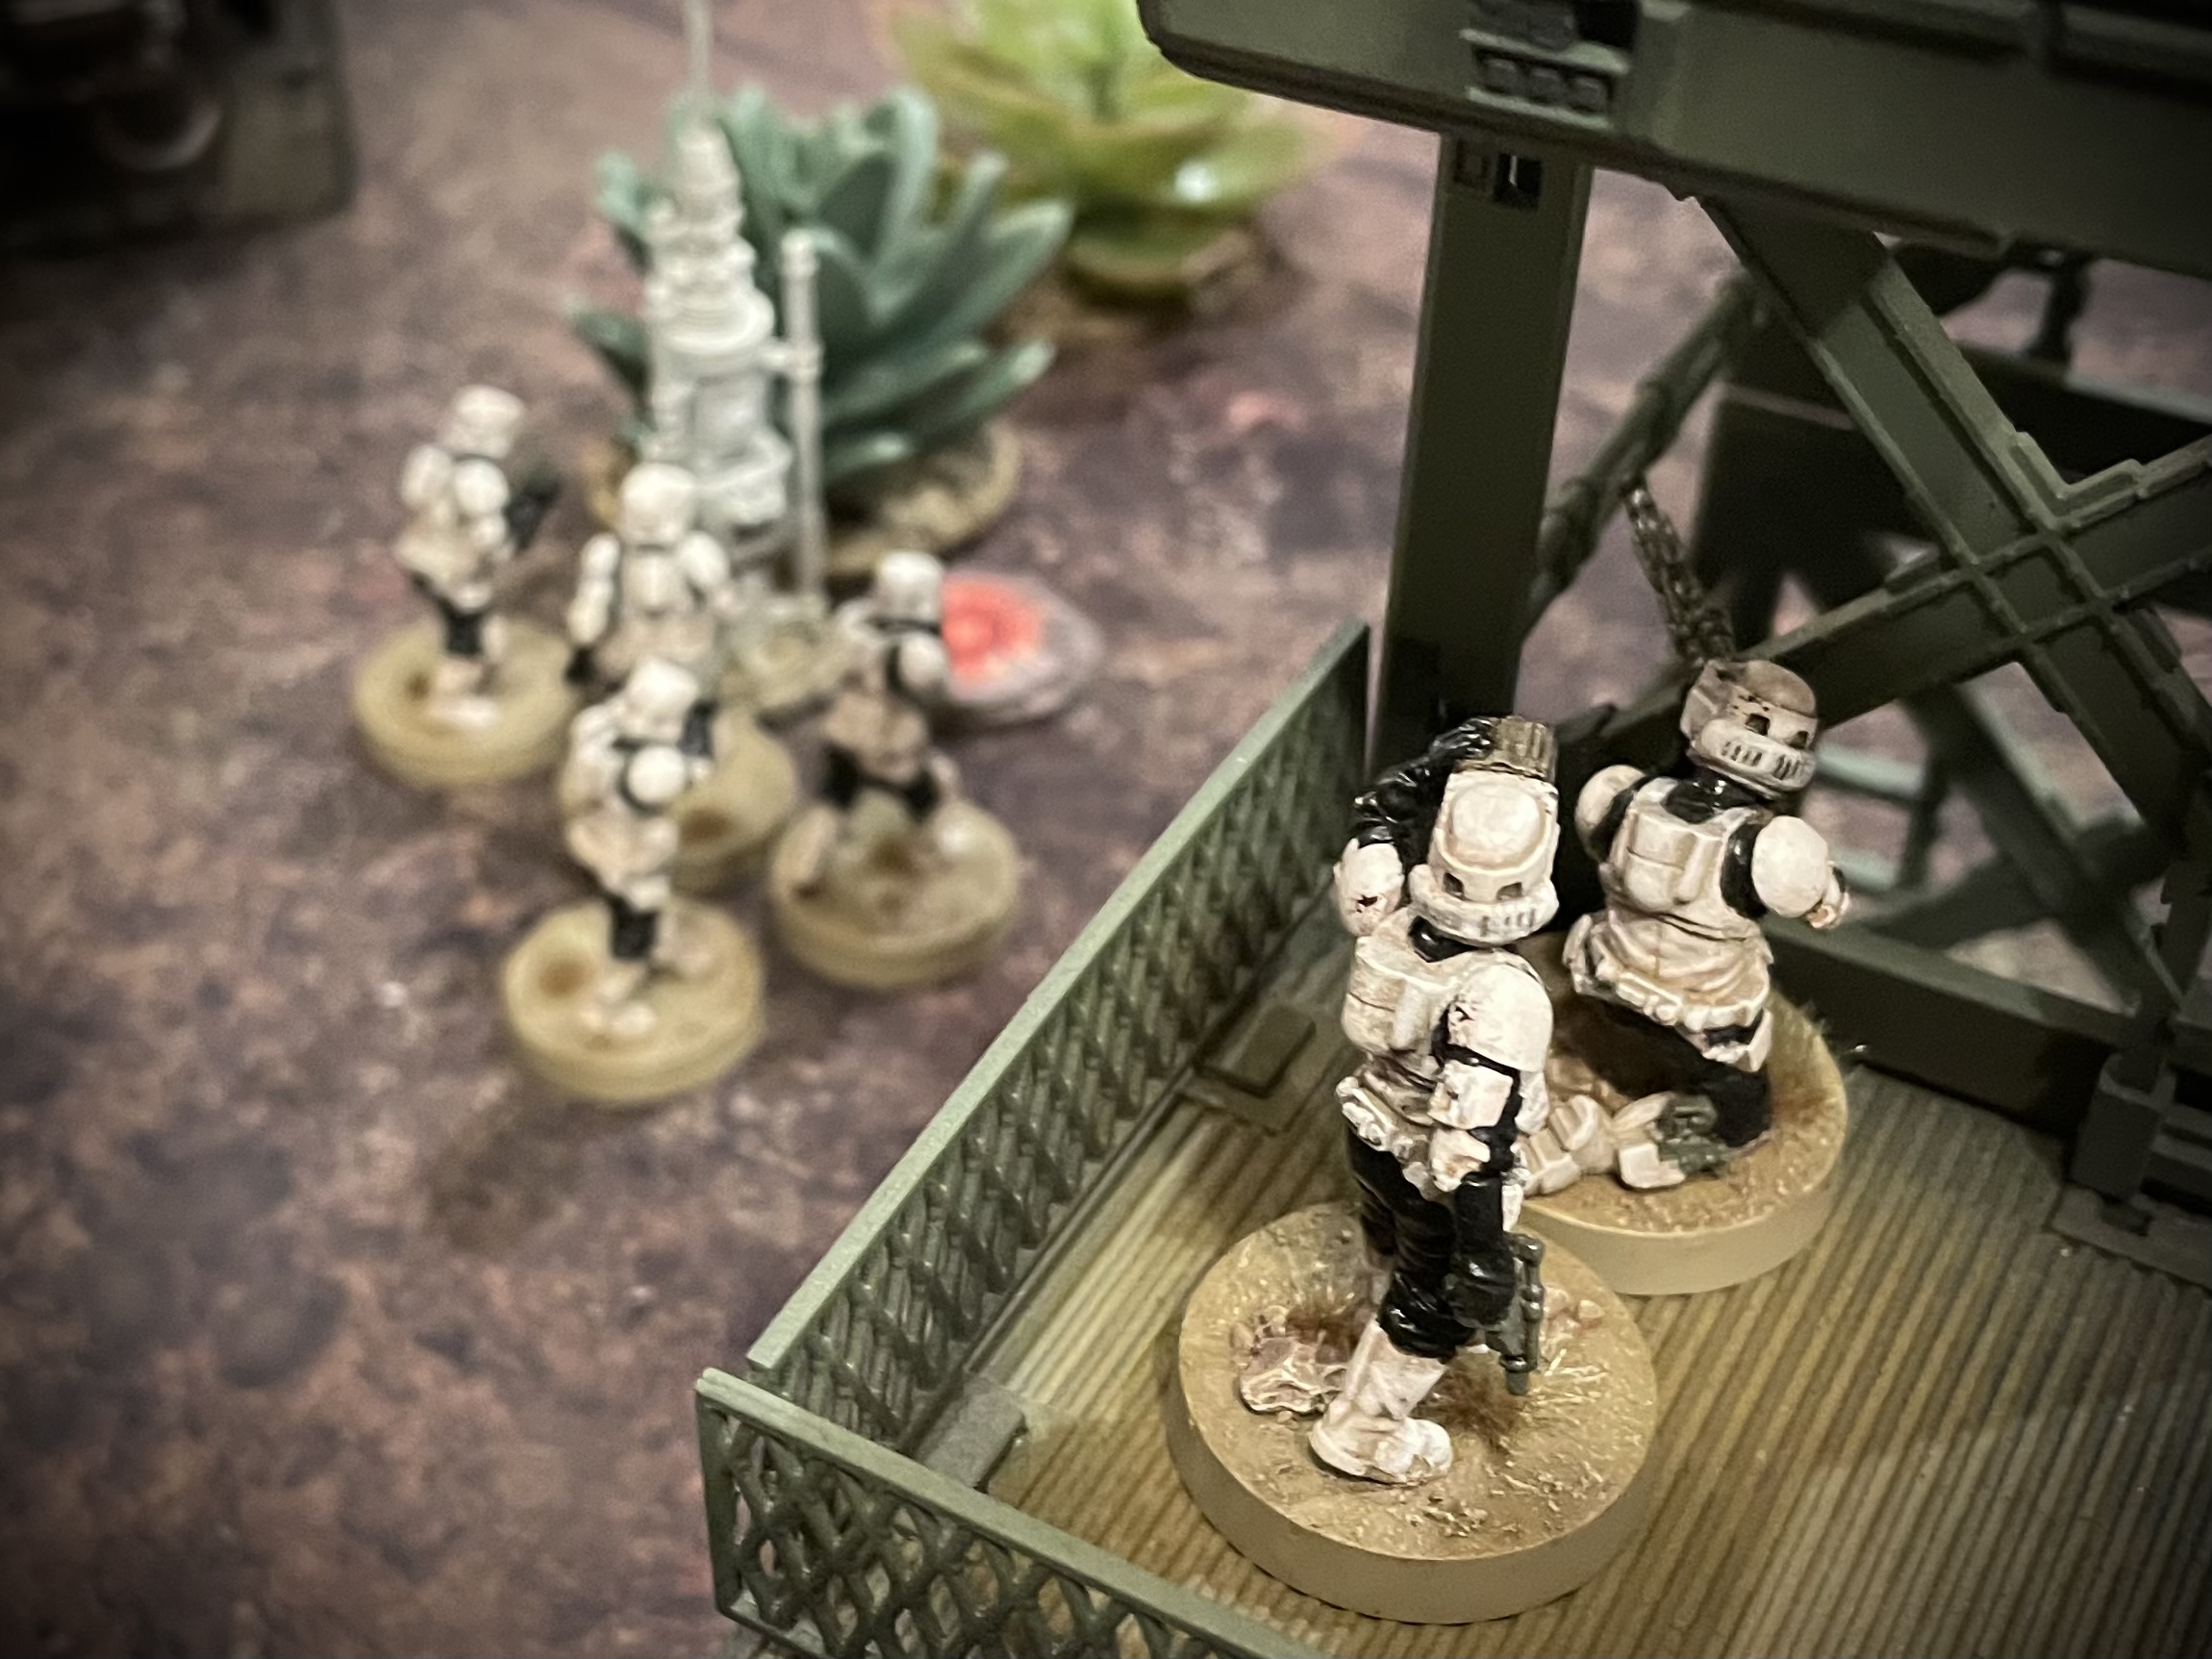
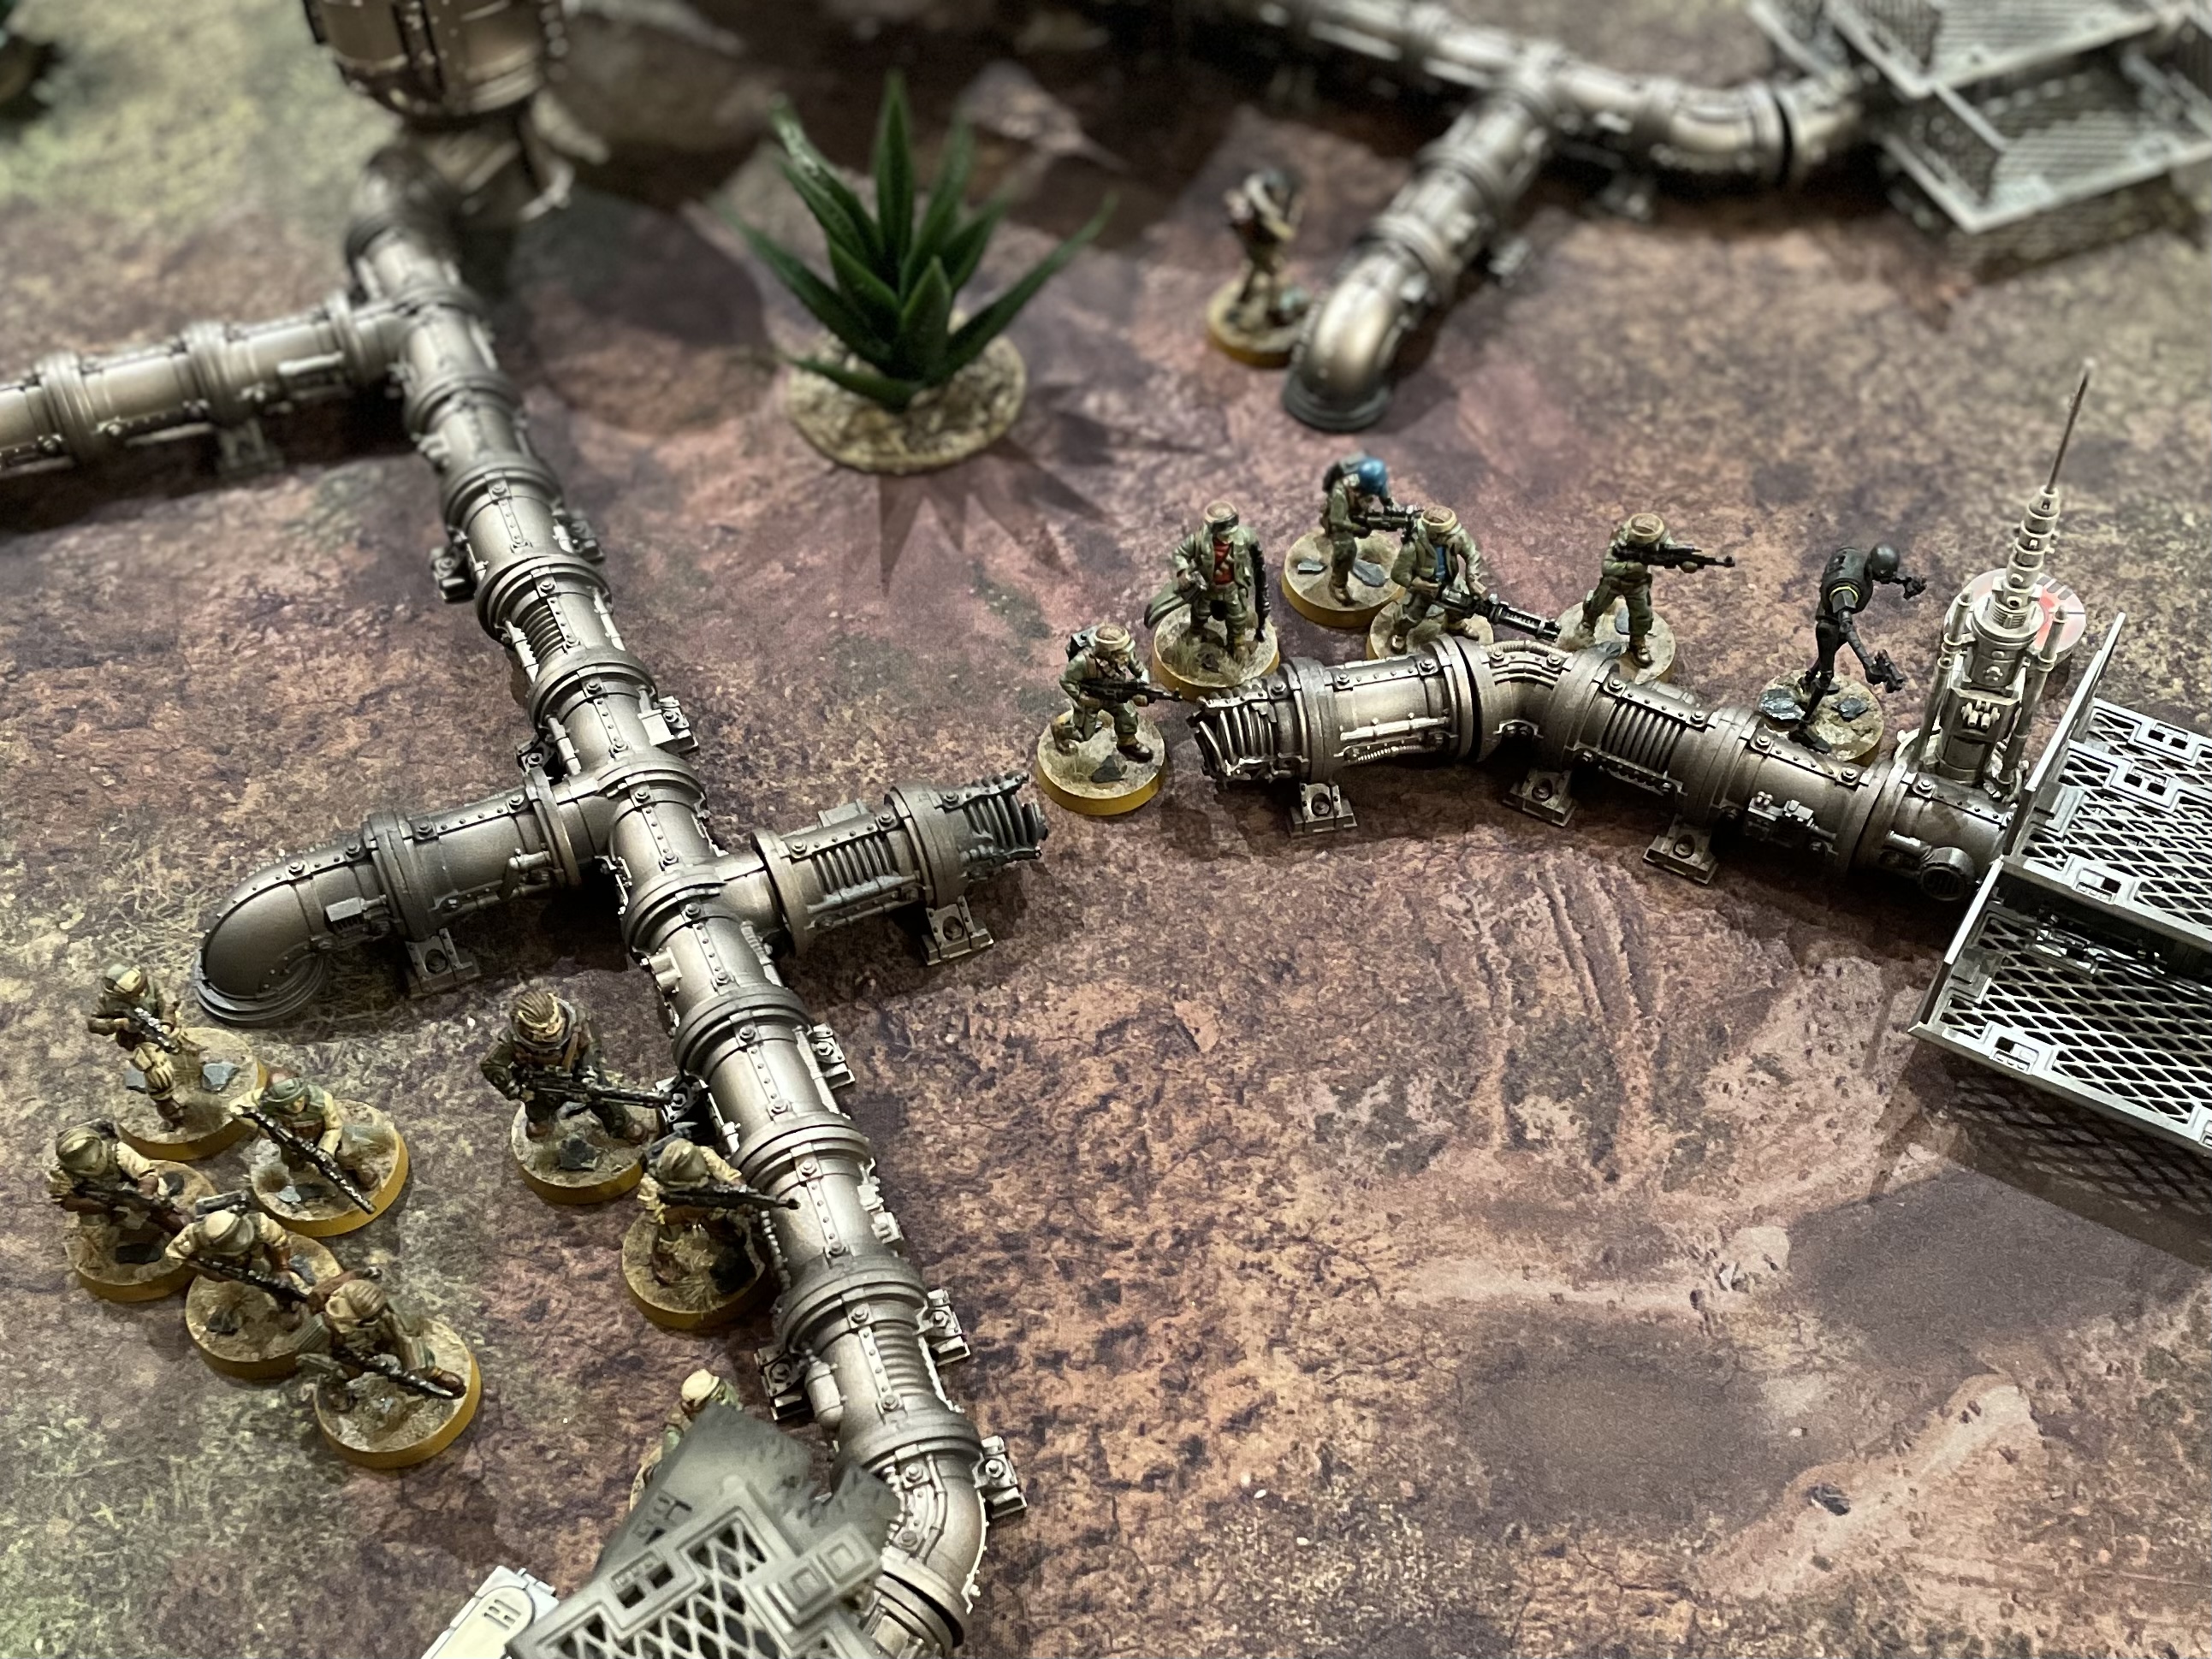
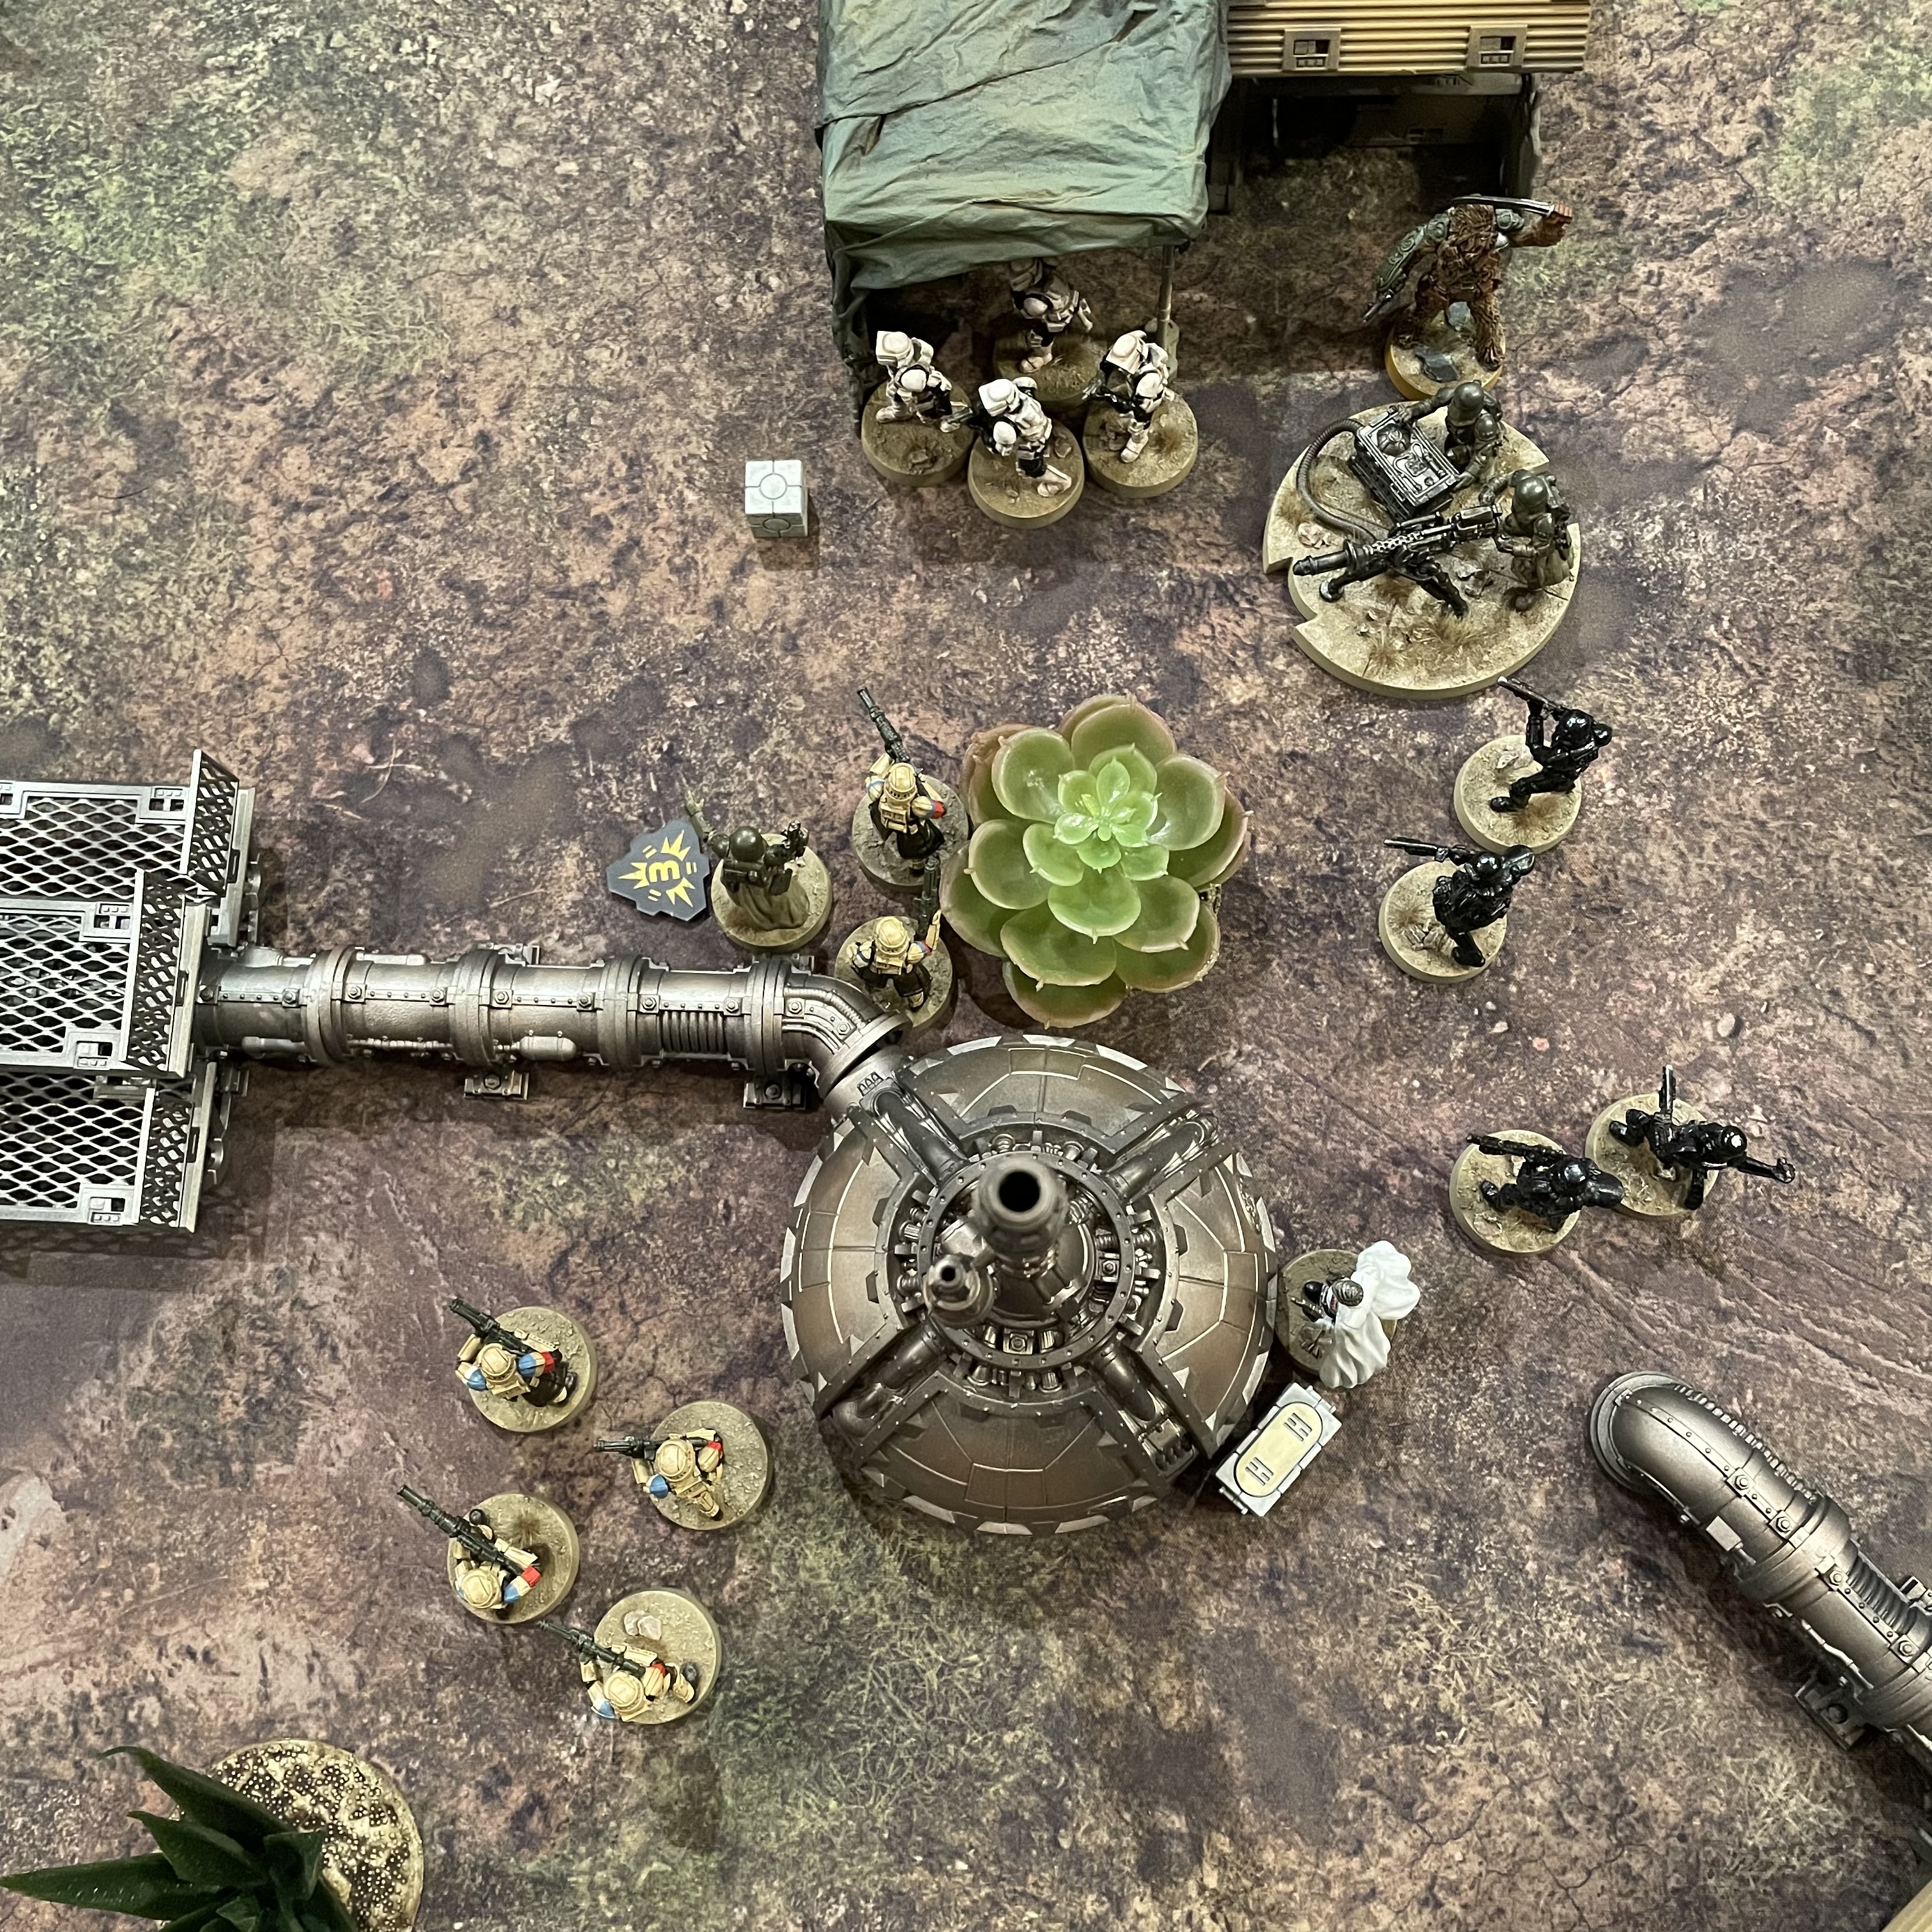
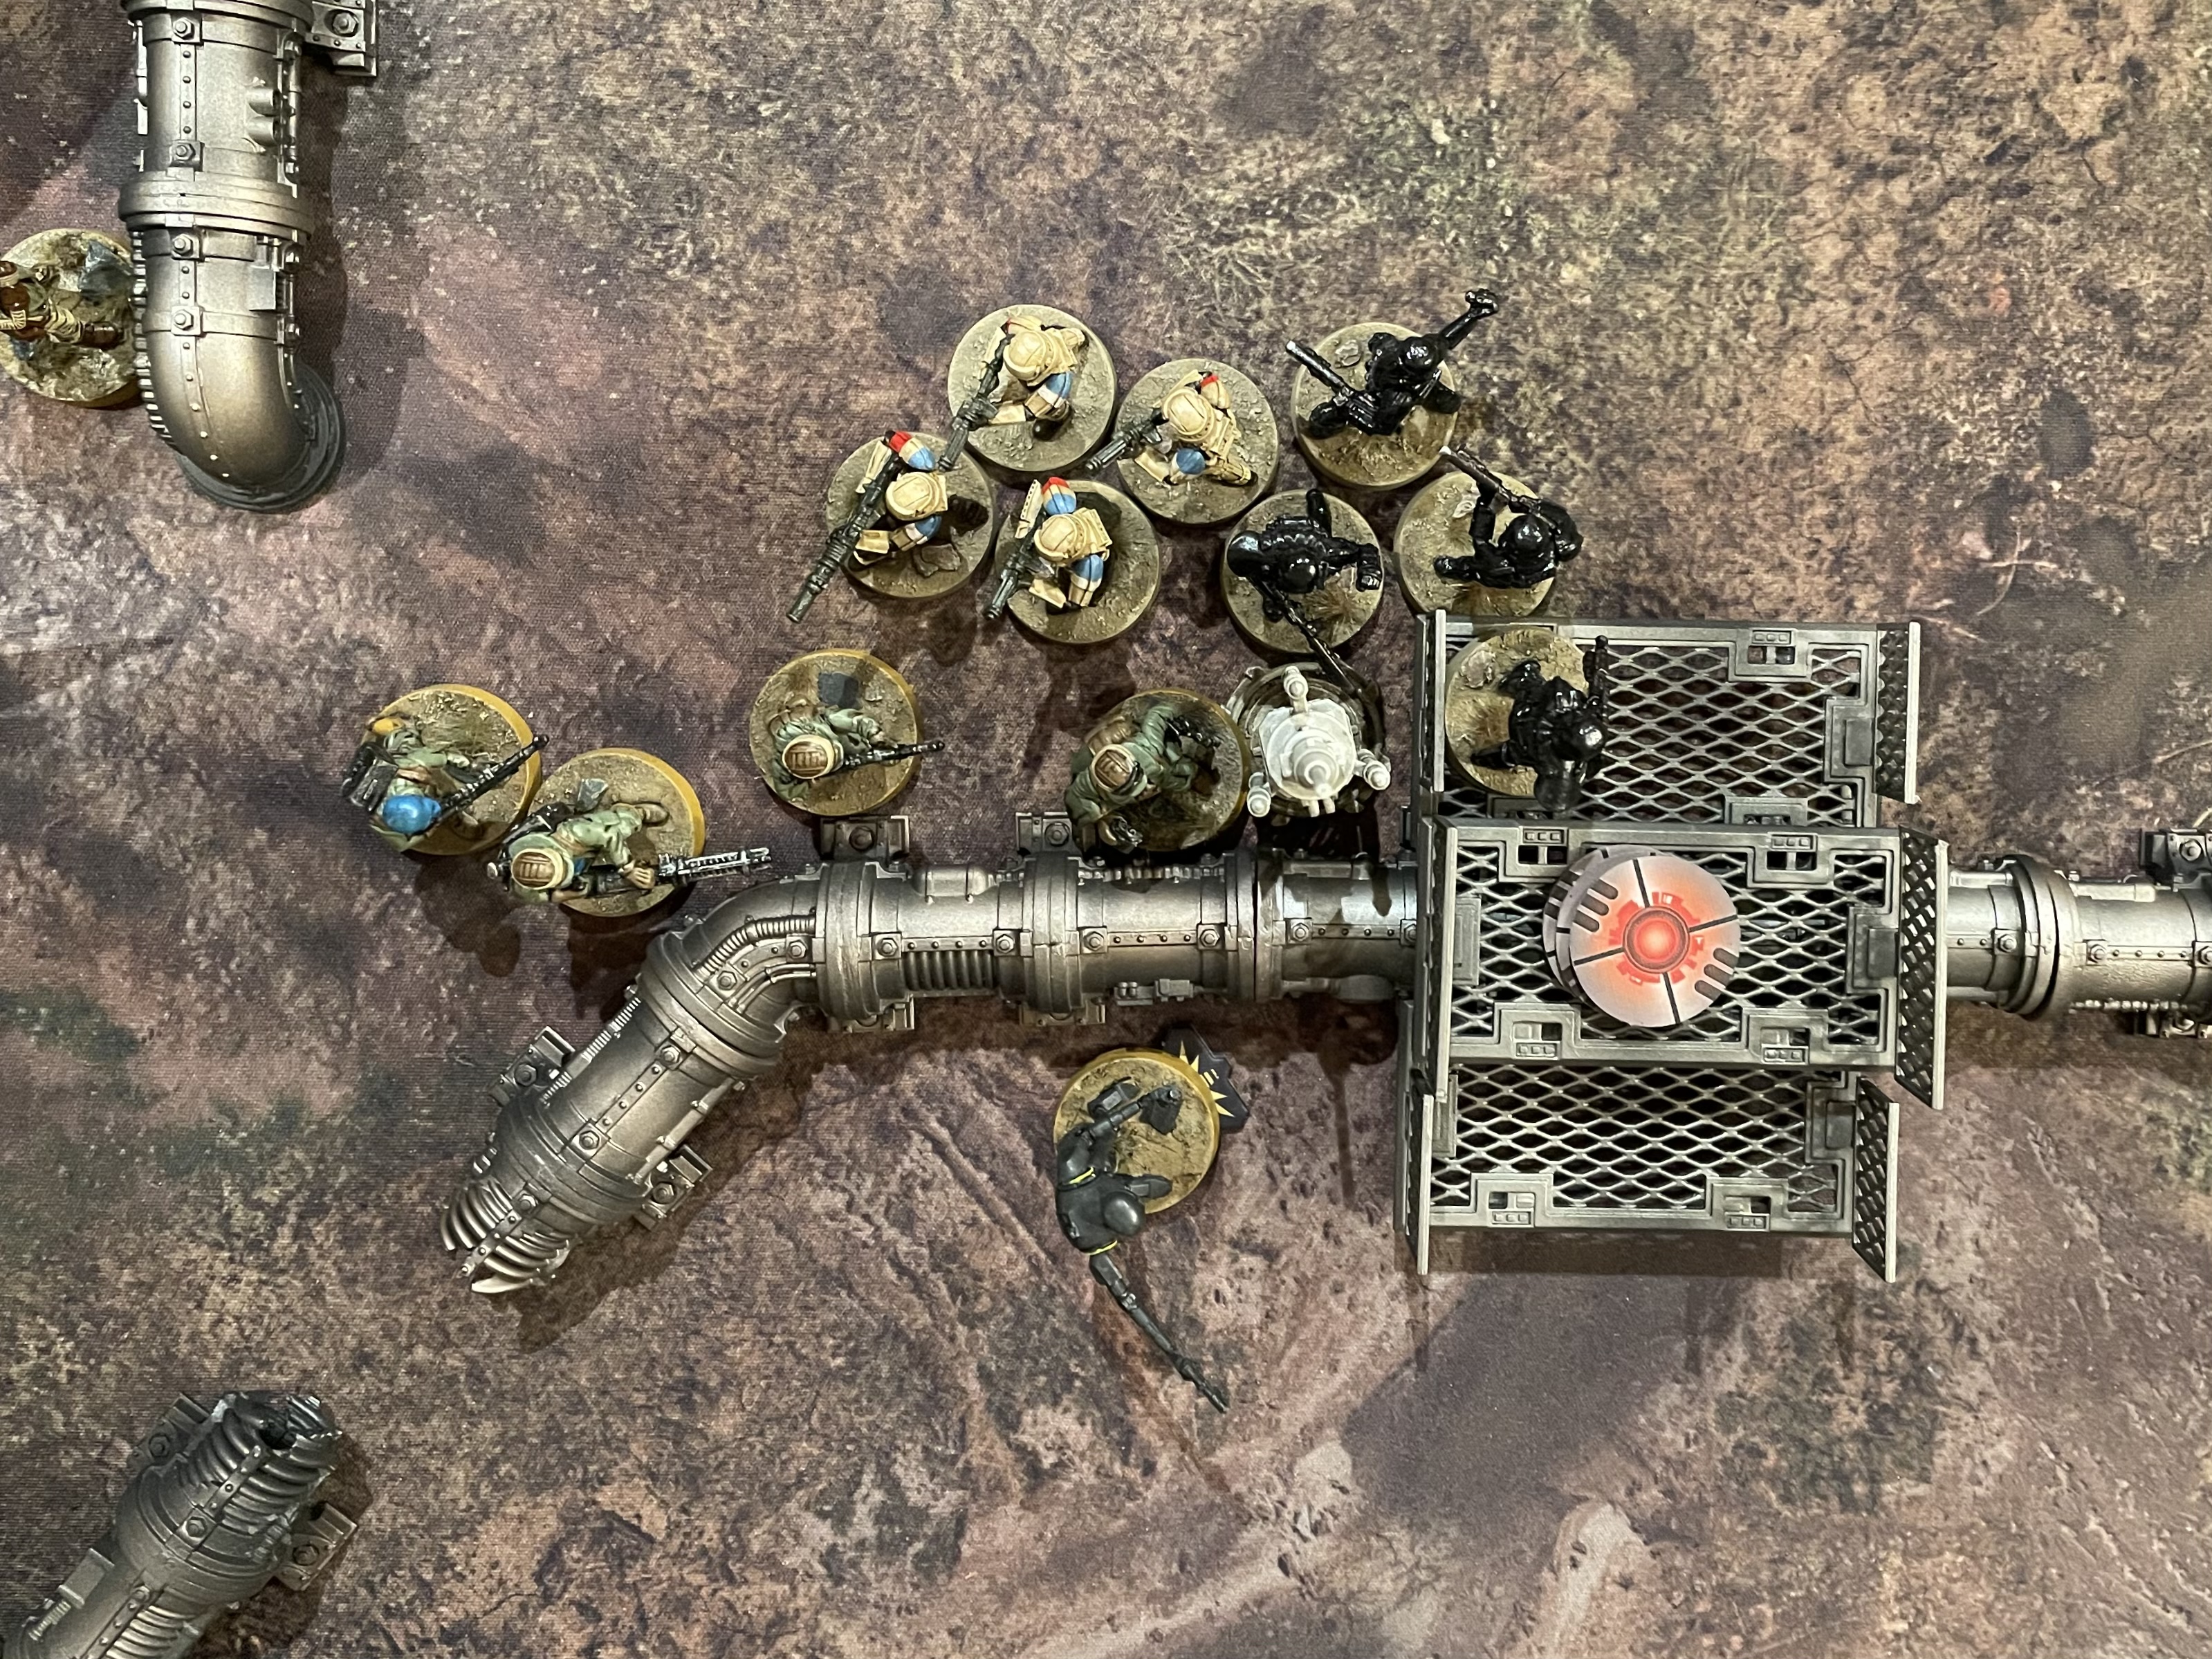
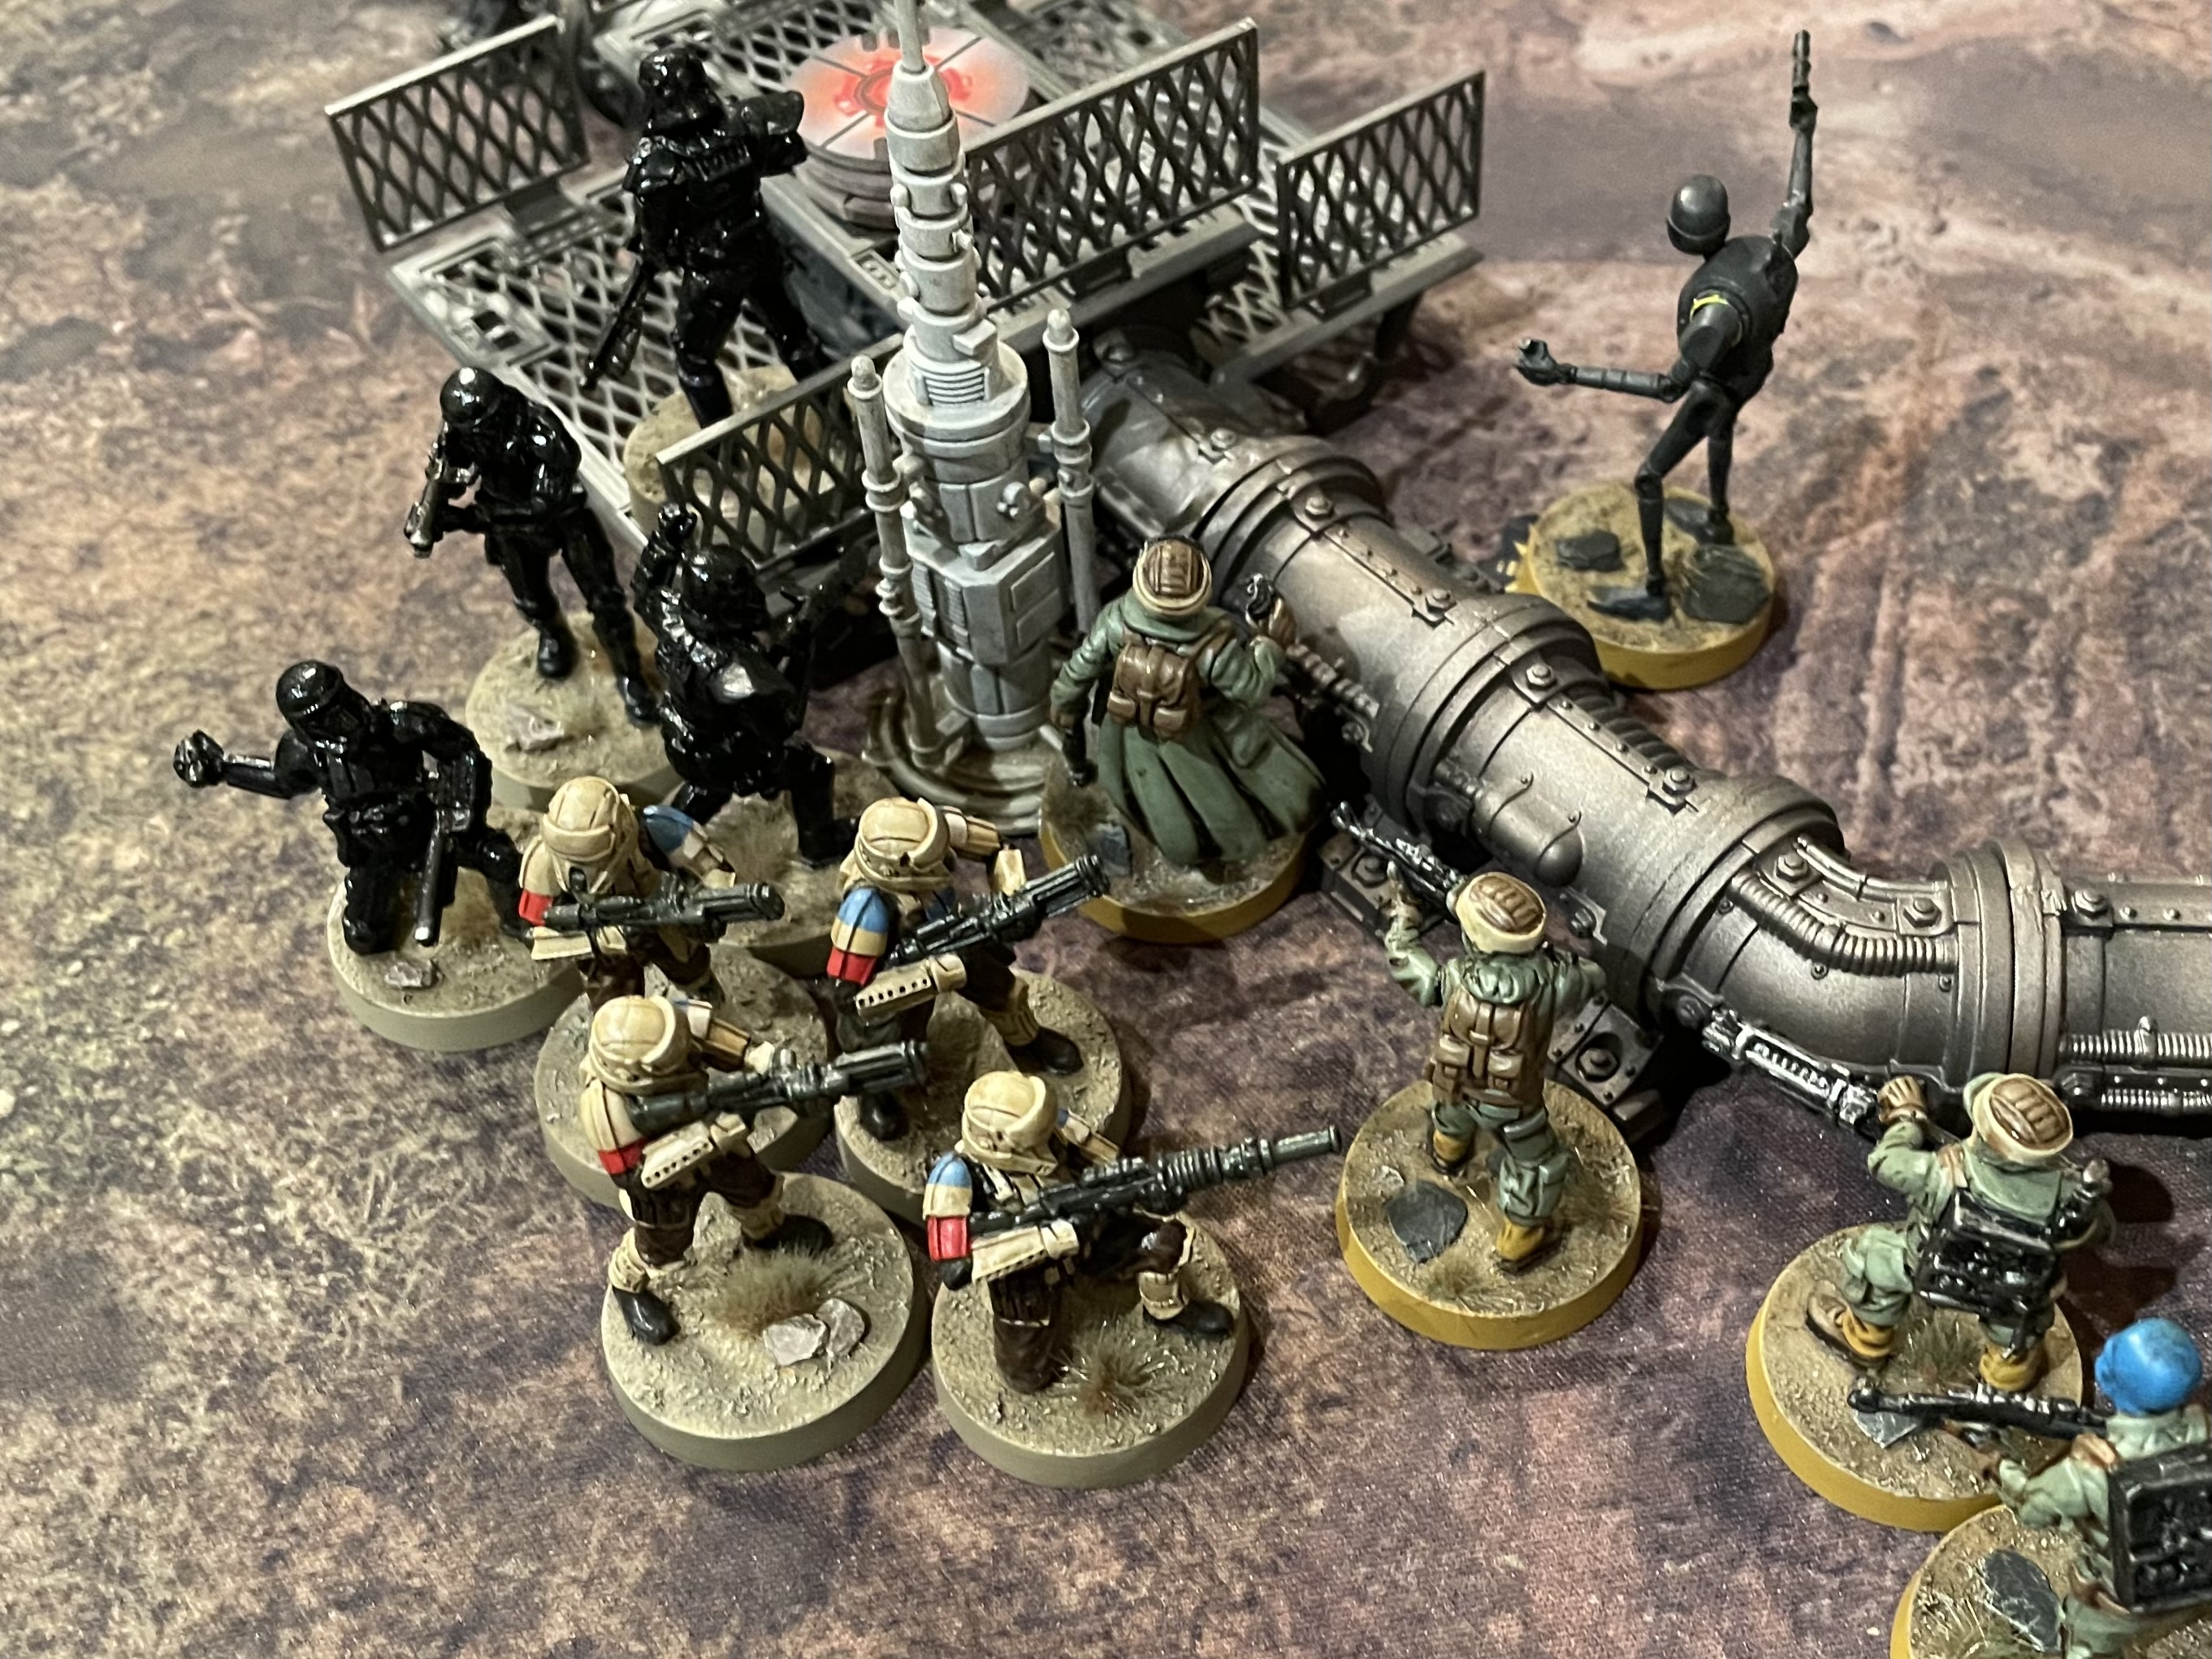
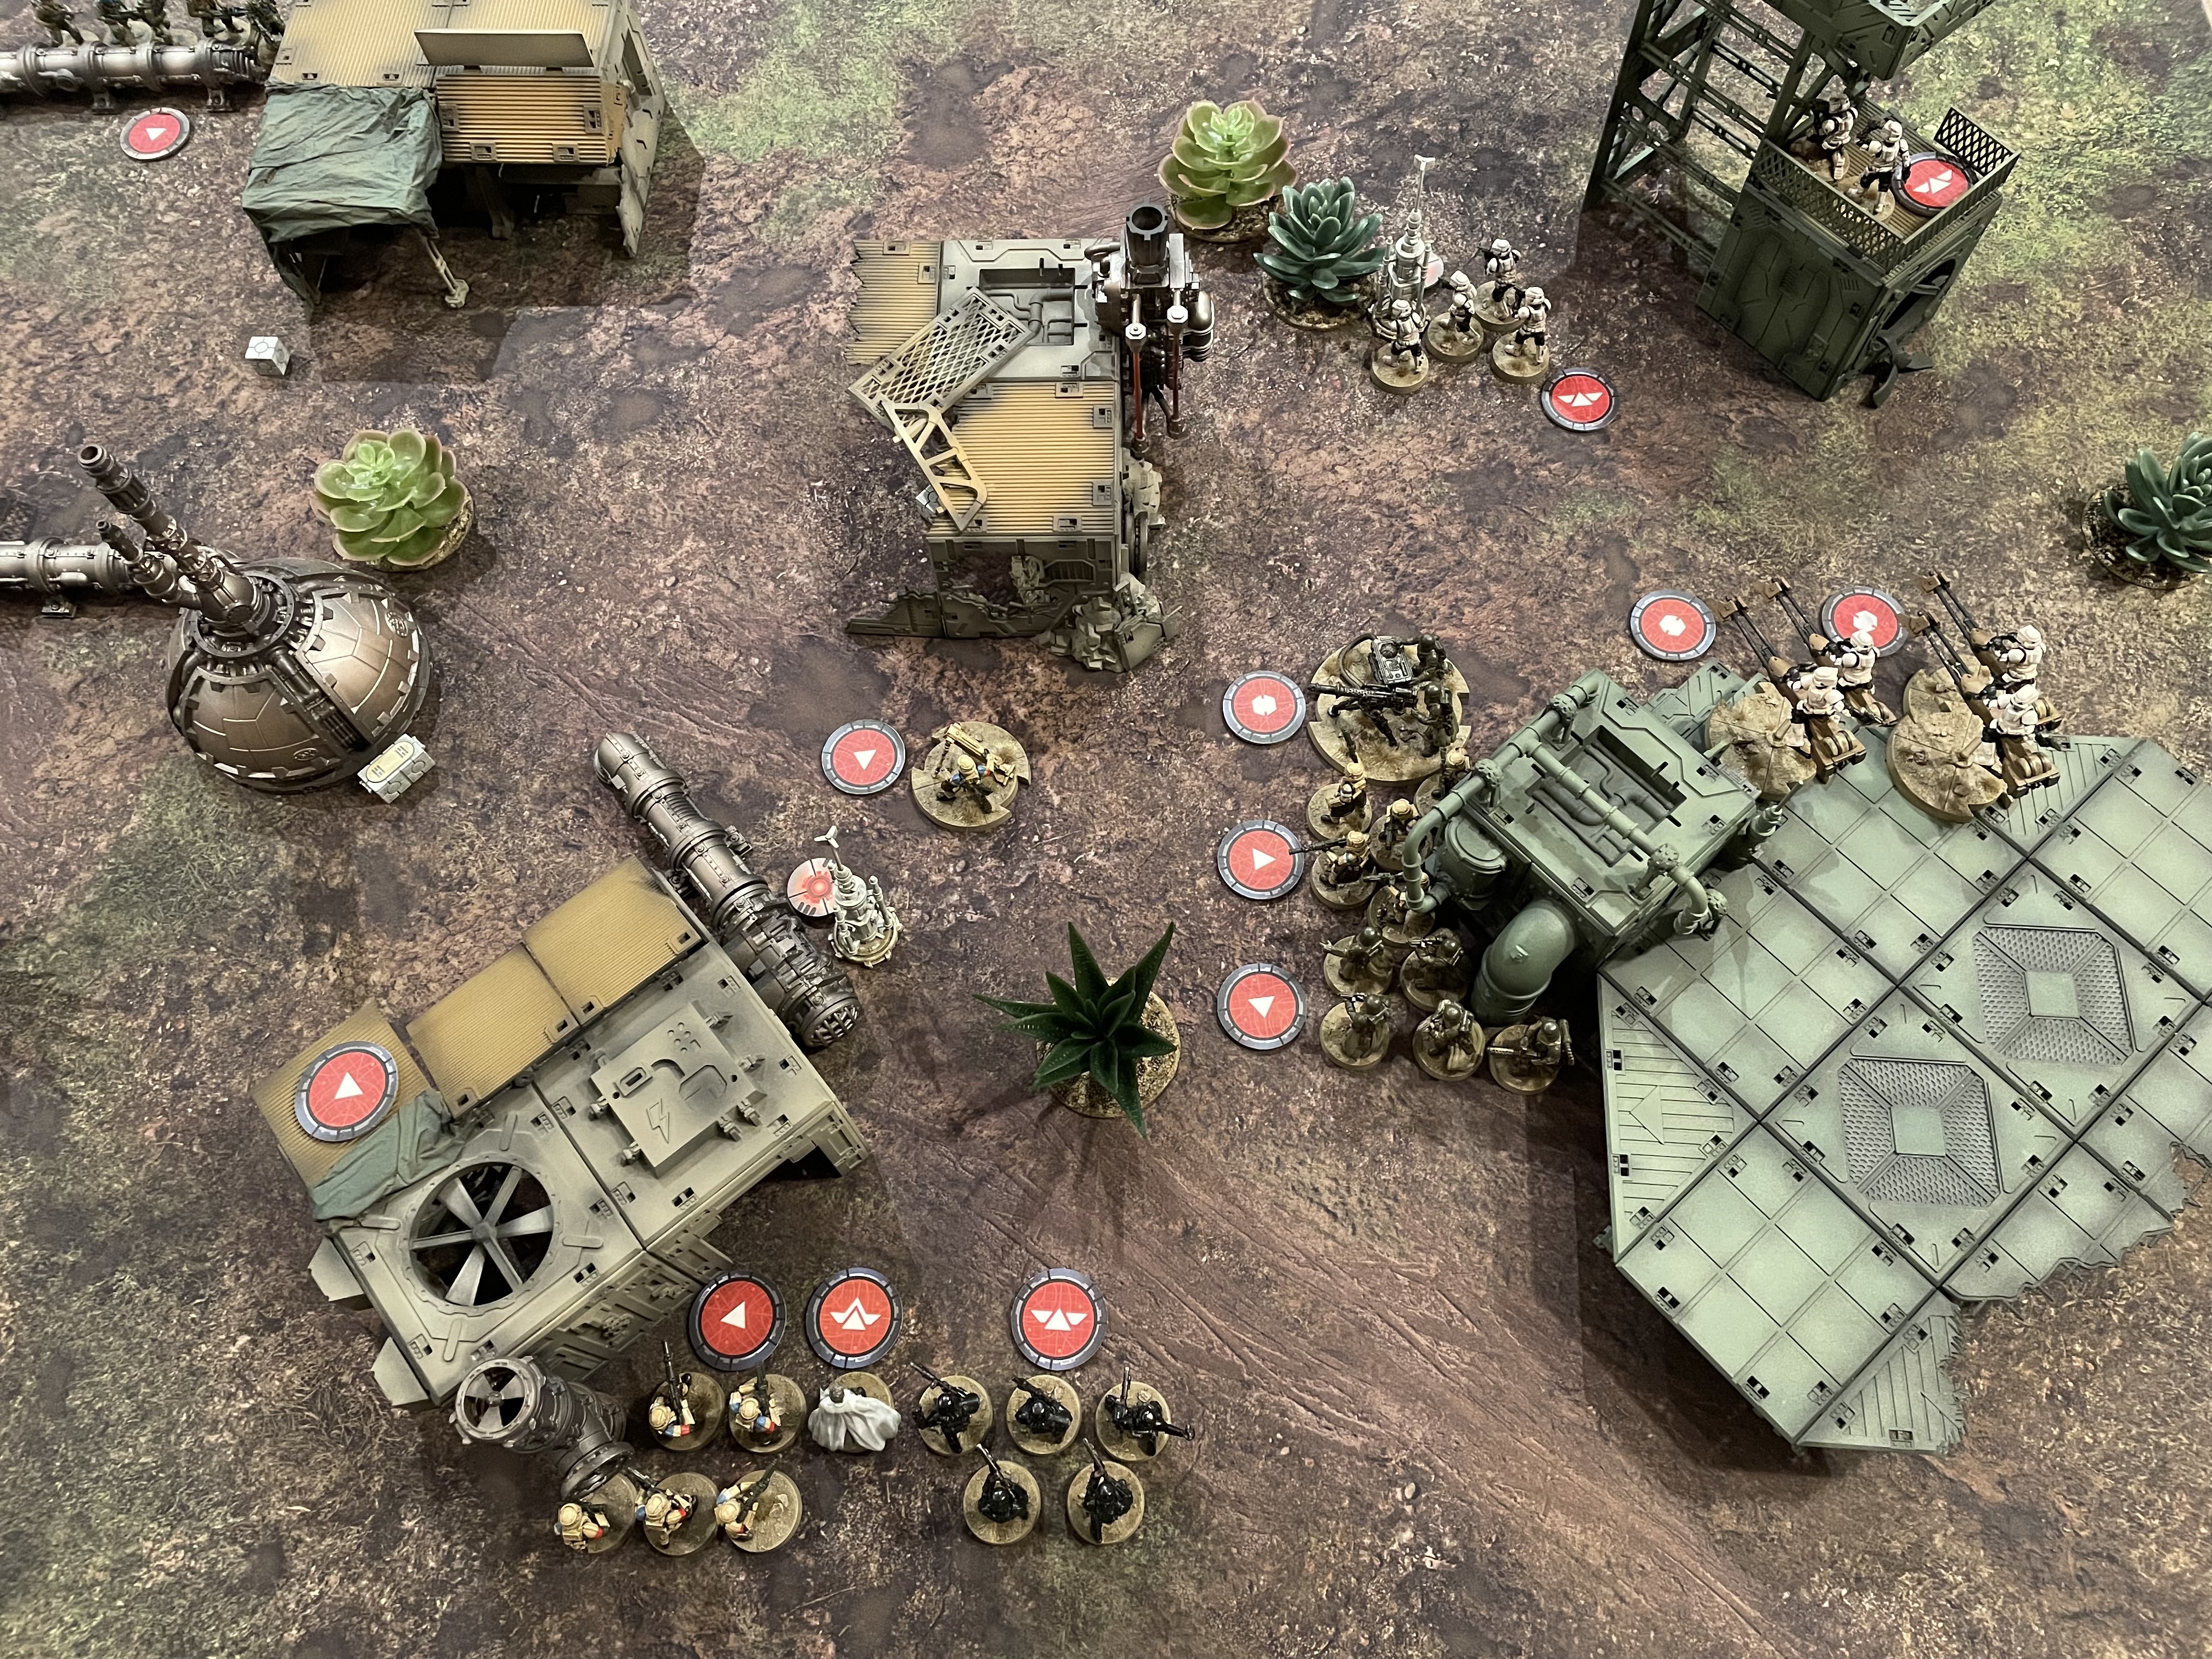 Imperial Deployment
 Although this brought my objectives closer to the enemy, it meant I wouldn’t have units left behind while they spent activations on the objectives. This was important as it would take a unit two turns to download the two available Intel tokens placed on each Relay. I would use the two work shacks close to my deployment zone to offer cover to my gun line. Meanwhile the scouts would use their scout move to reach the first coms relay early, while the sniper team occupied the tower behind to provide them cover.
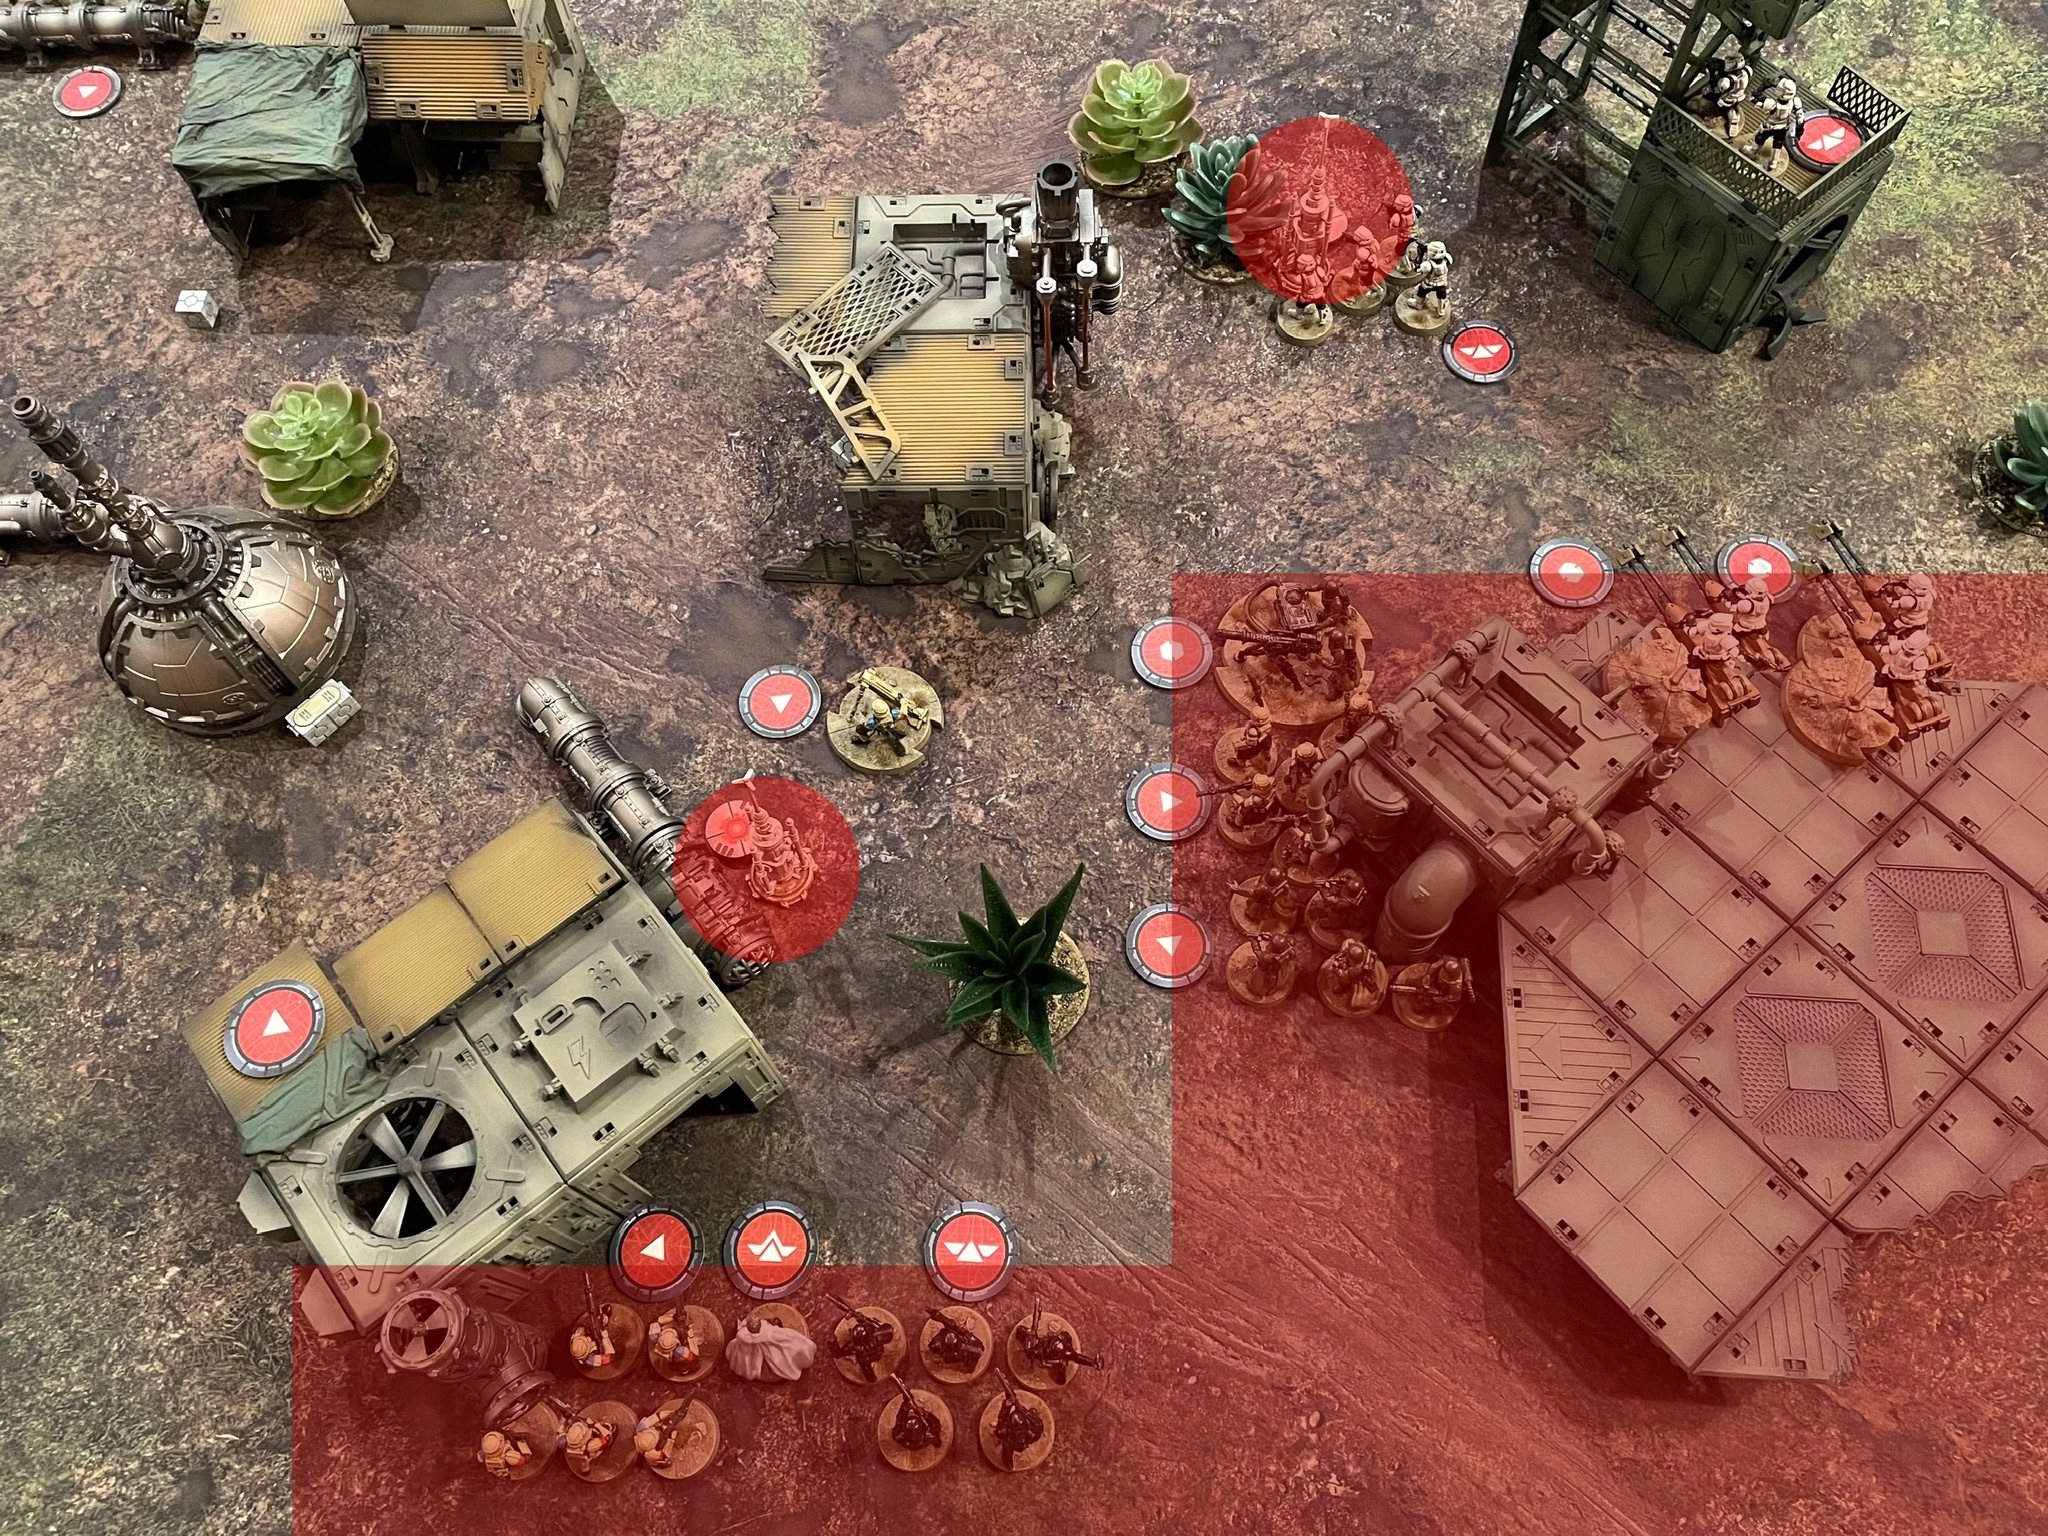
The Rebels approached things very differently, placing one relay close to the very back of their deployment zone and the second, close to the centre of the battlefield. A loan Rebel Trooper unit was placed to deal with the rearmost objective while the bulk of the force was split into three distinct detachments.
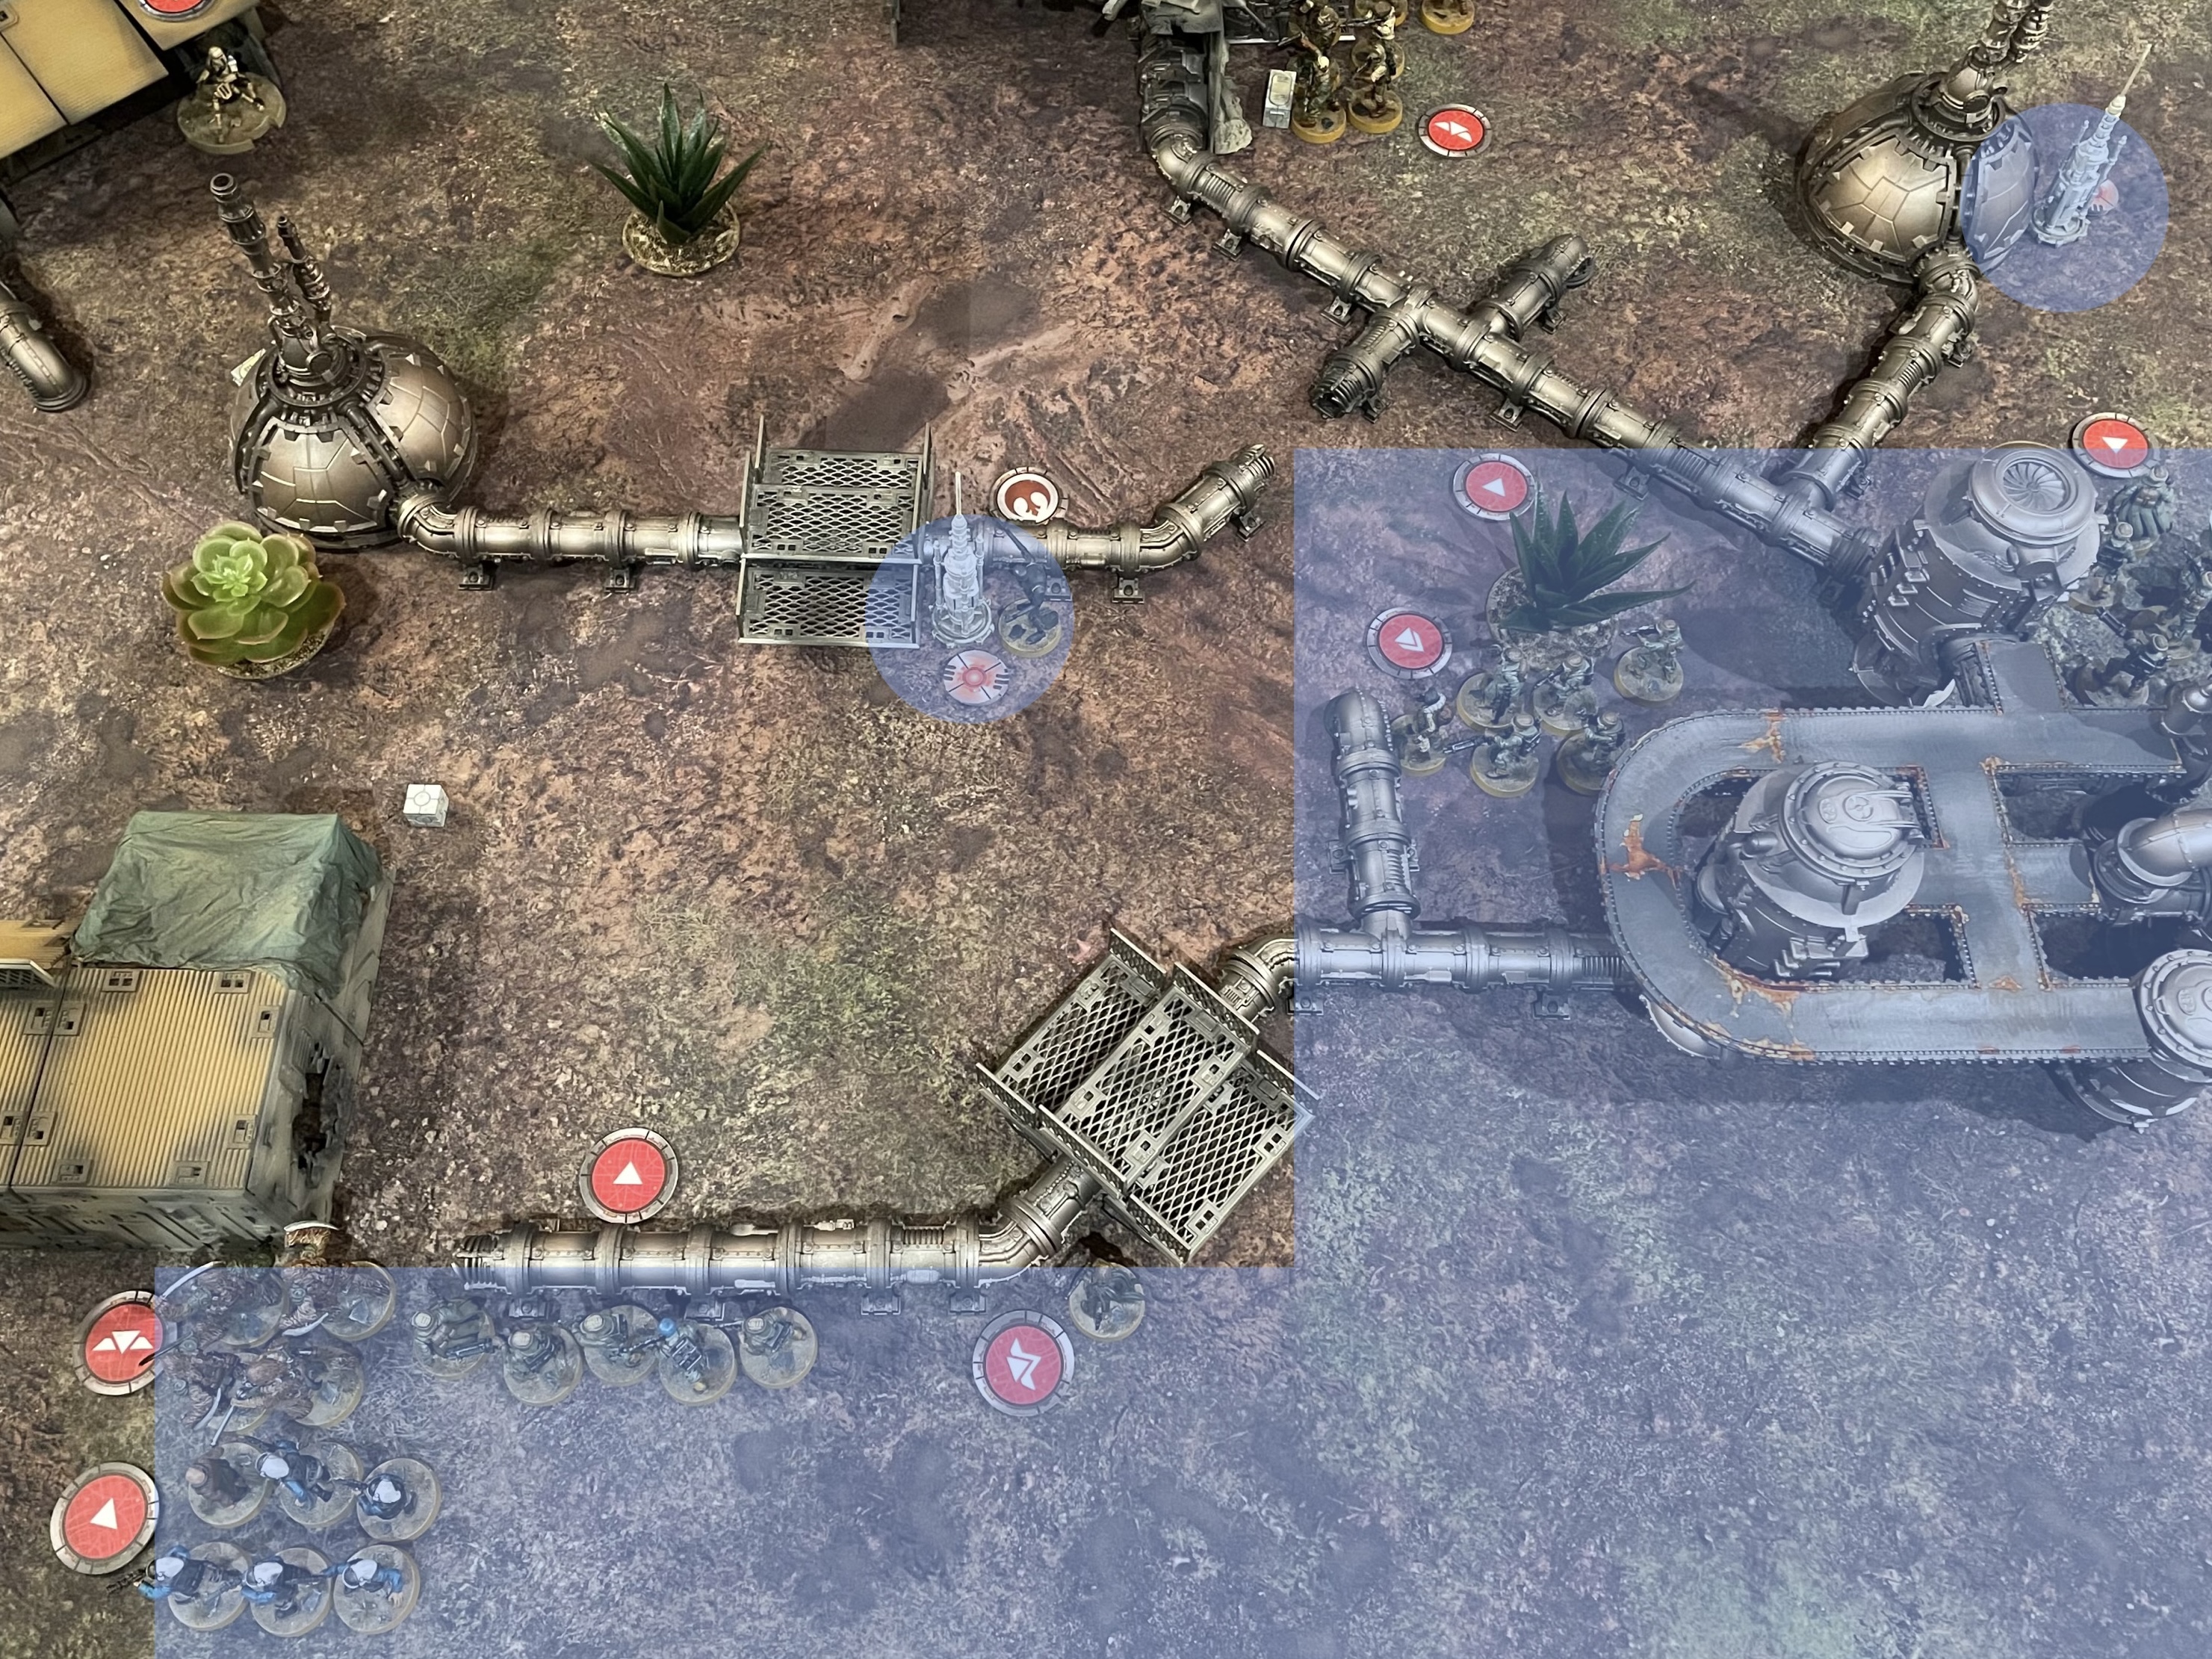
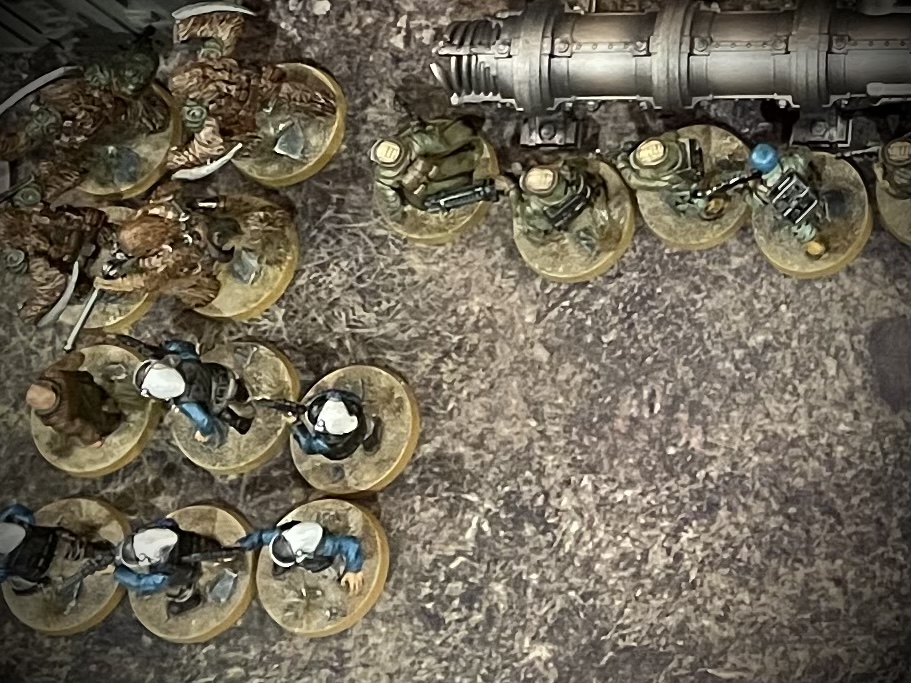
 Rebel Deployment
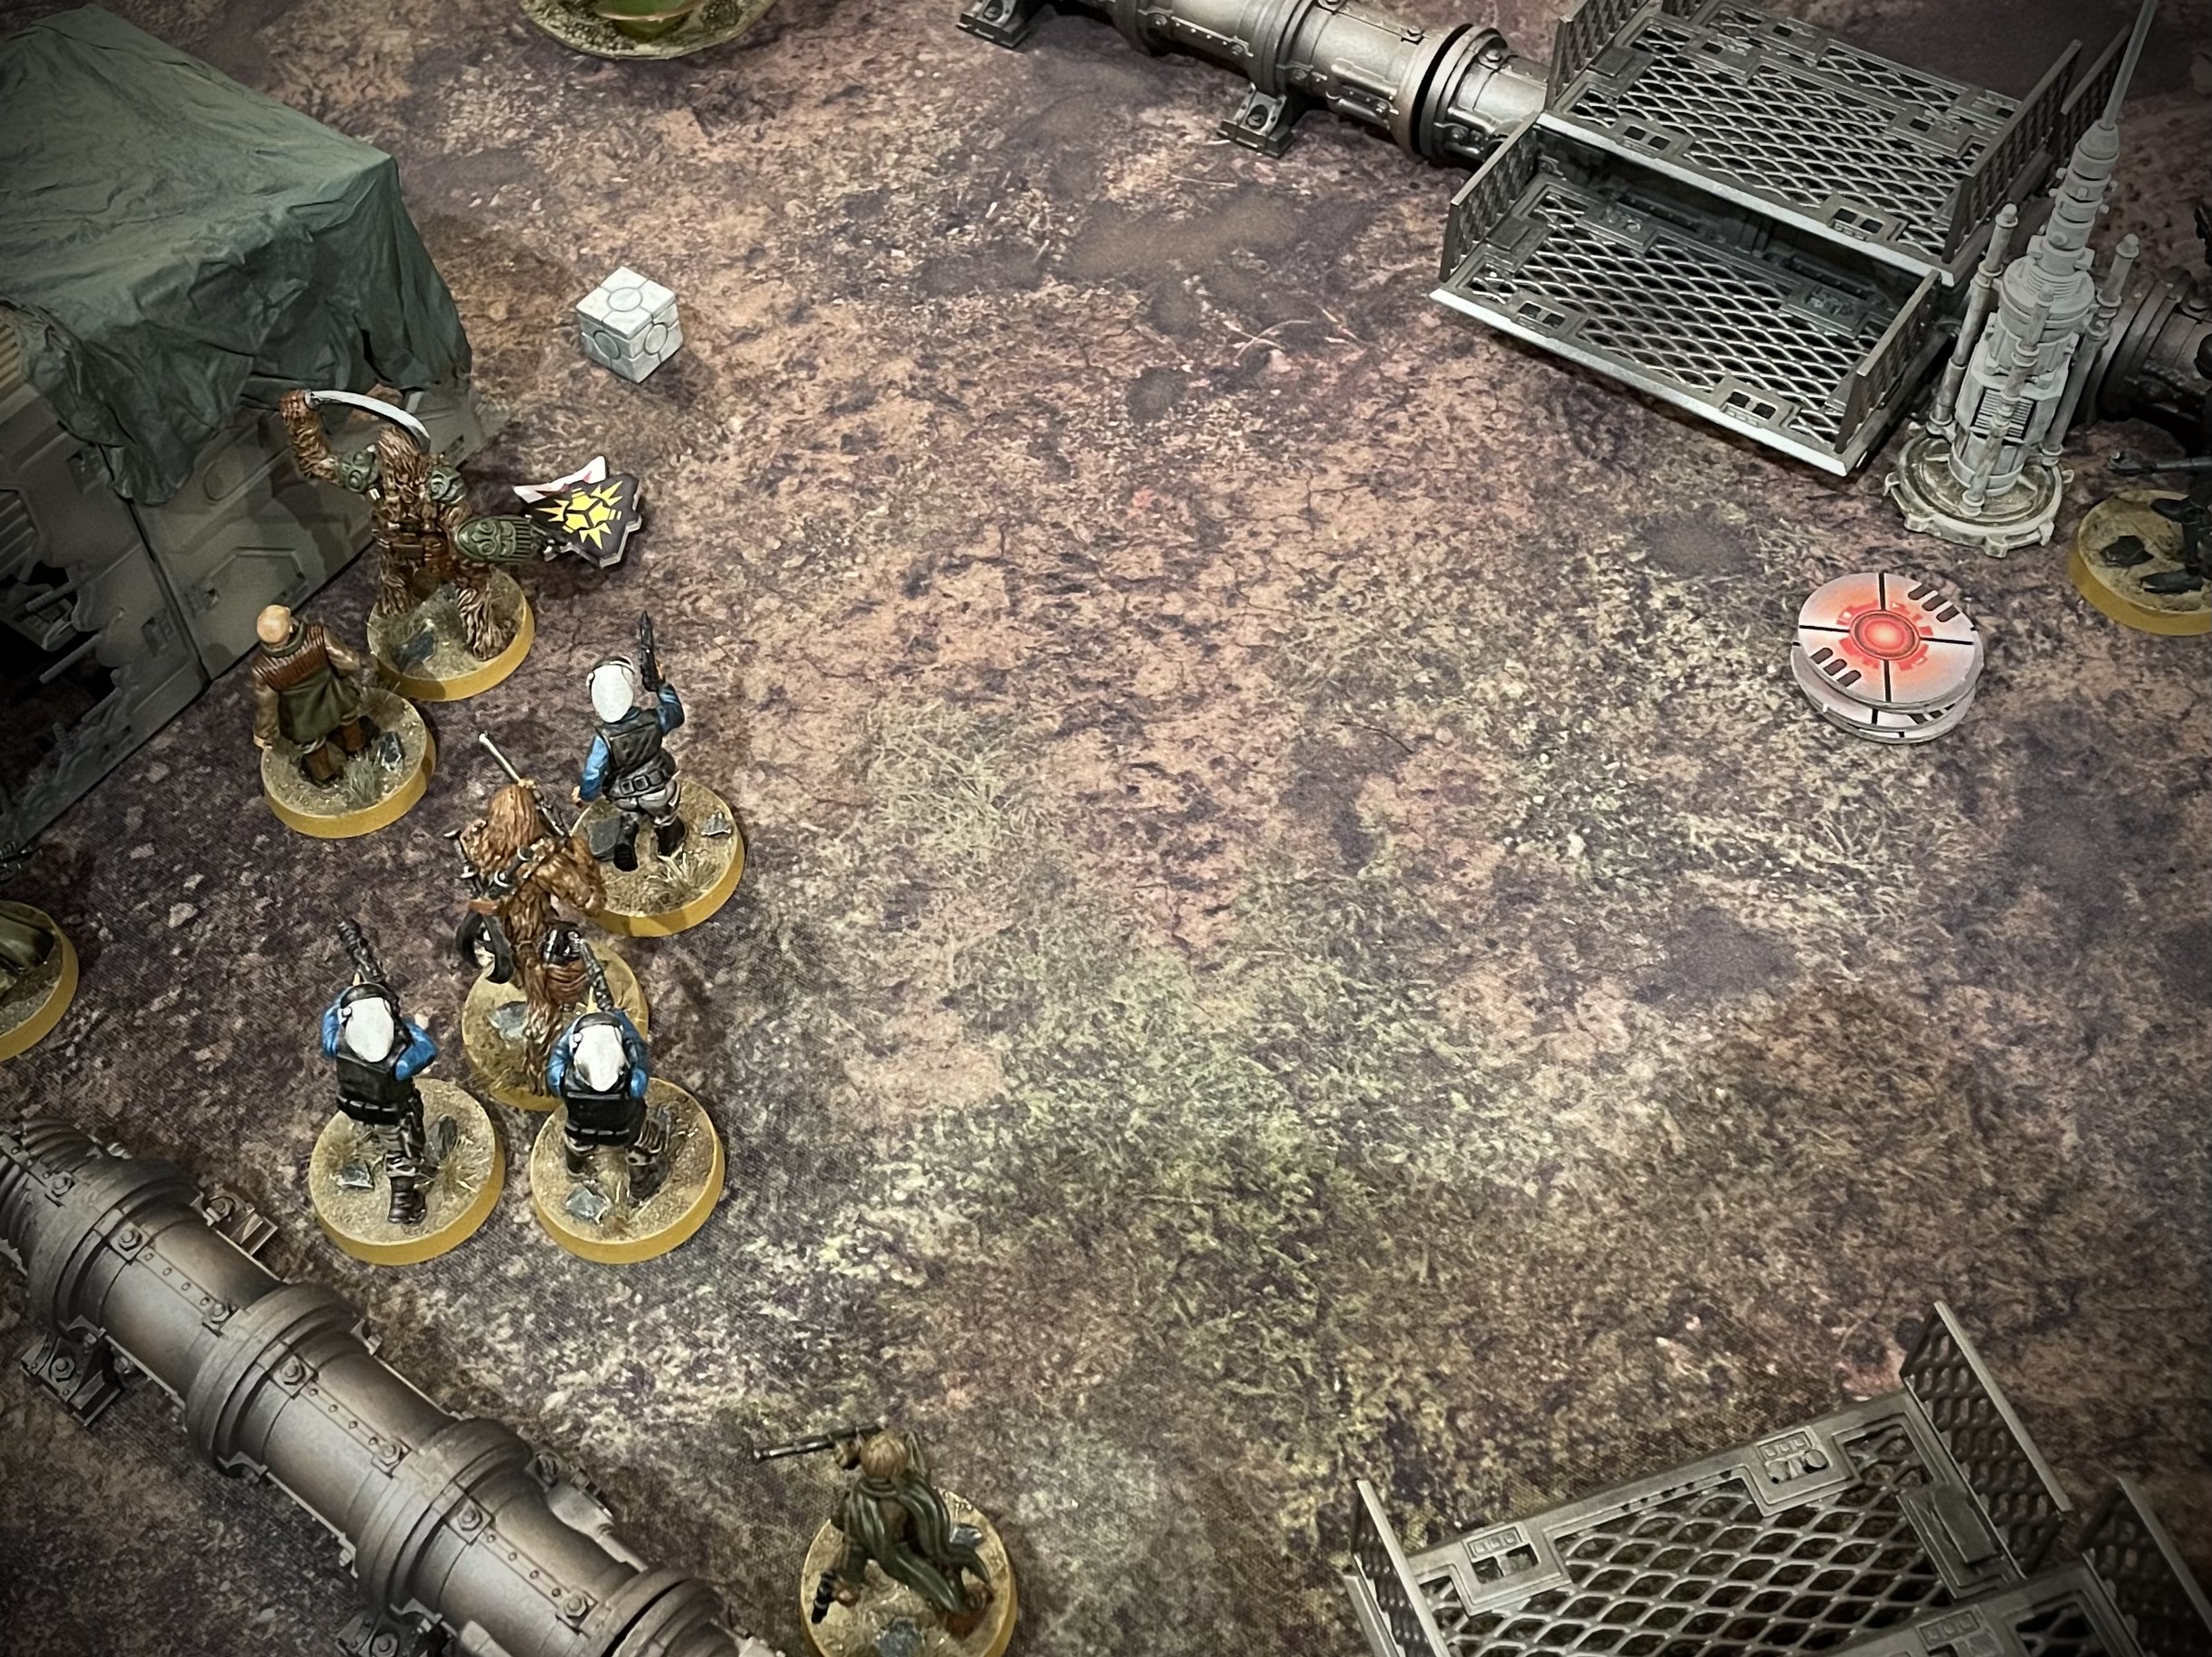
 Cassian and a unit of Troopers were placed close to the central objective. K-2SO took advantage of the ‘Detachment’ rule to set up beyond the deployment area, in range 1 of Cassian. On the northern flank Jyn Erso led a combined force of Rebel Troopers, Fleet Troopers and Wookiees, close to the imperial lines. Finally, two units of Pathfinders led by the infamous Pao, had infiltrated along the southern flank to take up a position behind a work shack.
Round 1 - Orders
Imperial – The bulk of my troops would spend this turn seeking cover and firing positions. I also hoped to get an early objective point by extracting Intel from the Relay my scouts had taken.

However, the Rebels had amassed their most aggressive troops on the northern flank, where the scouts were sitting on the objective. I was anticipating a rush by the Wookiees, Fleet Troopers and Jyn! Fortunately, to engage the Scouts the rebels would need to break cover and I had placed my bikes close by. For this turn it was essential that I maintained control of the bikes, in order to keep them back for a counter attack against an onrush from the rebels.
I played ‘push’ which would give me the two order tokens I needed for the bikes, while keeping Krennic’s cards in my hand for a more opportune moment.
 Turn 1 Orders Cards
 Rebels – With no particular order card being needed, the Rebels opted to play Crack Shot in the hope of scoring some early kills on the advancing Shoretroopers.
Units had deployed forwards on two flanks, in an attempt to counter the range advantage held by the imperials, and put pressure on the objectives. Depending on how the opening of turn one went, the Rebels had the option of playing aggressively or simply folding back to draw the imperials into a central ambush.
Round 1 - Combat
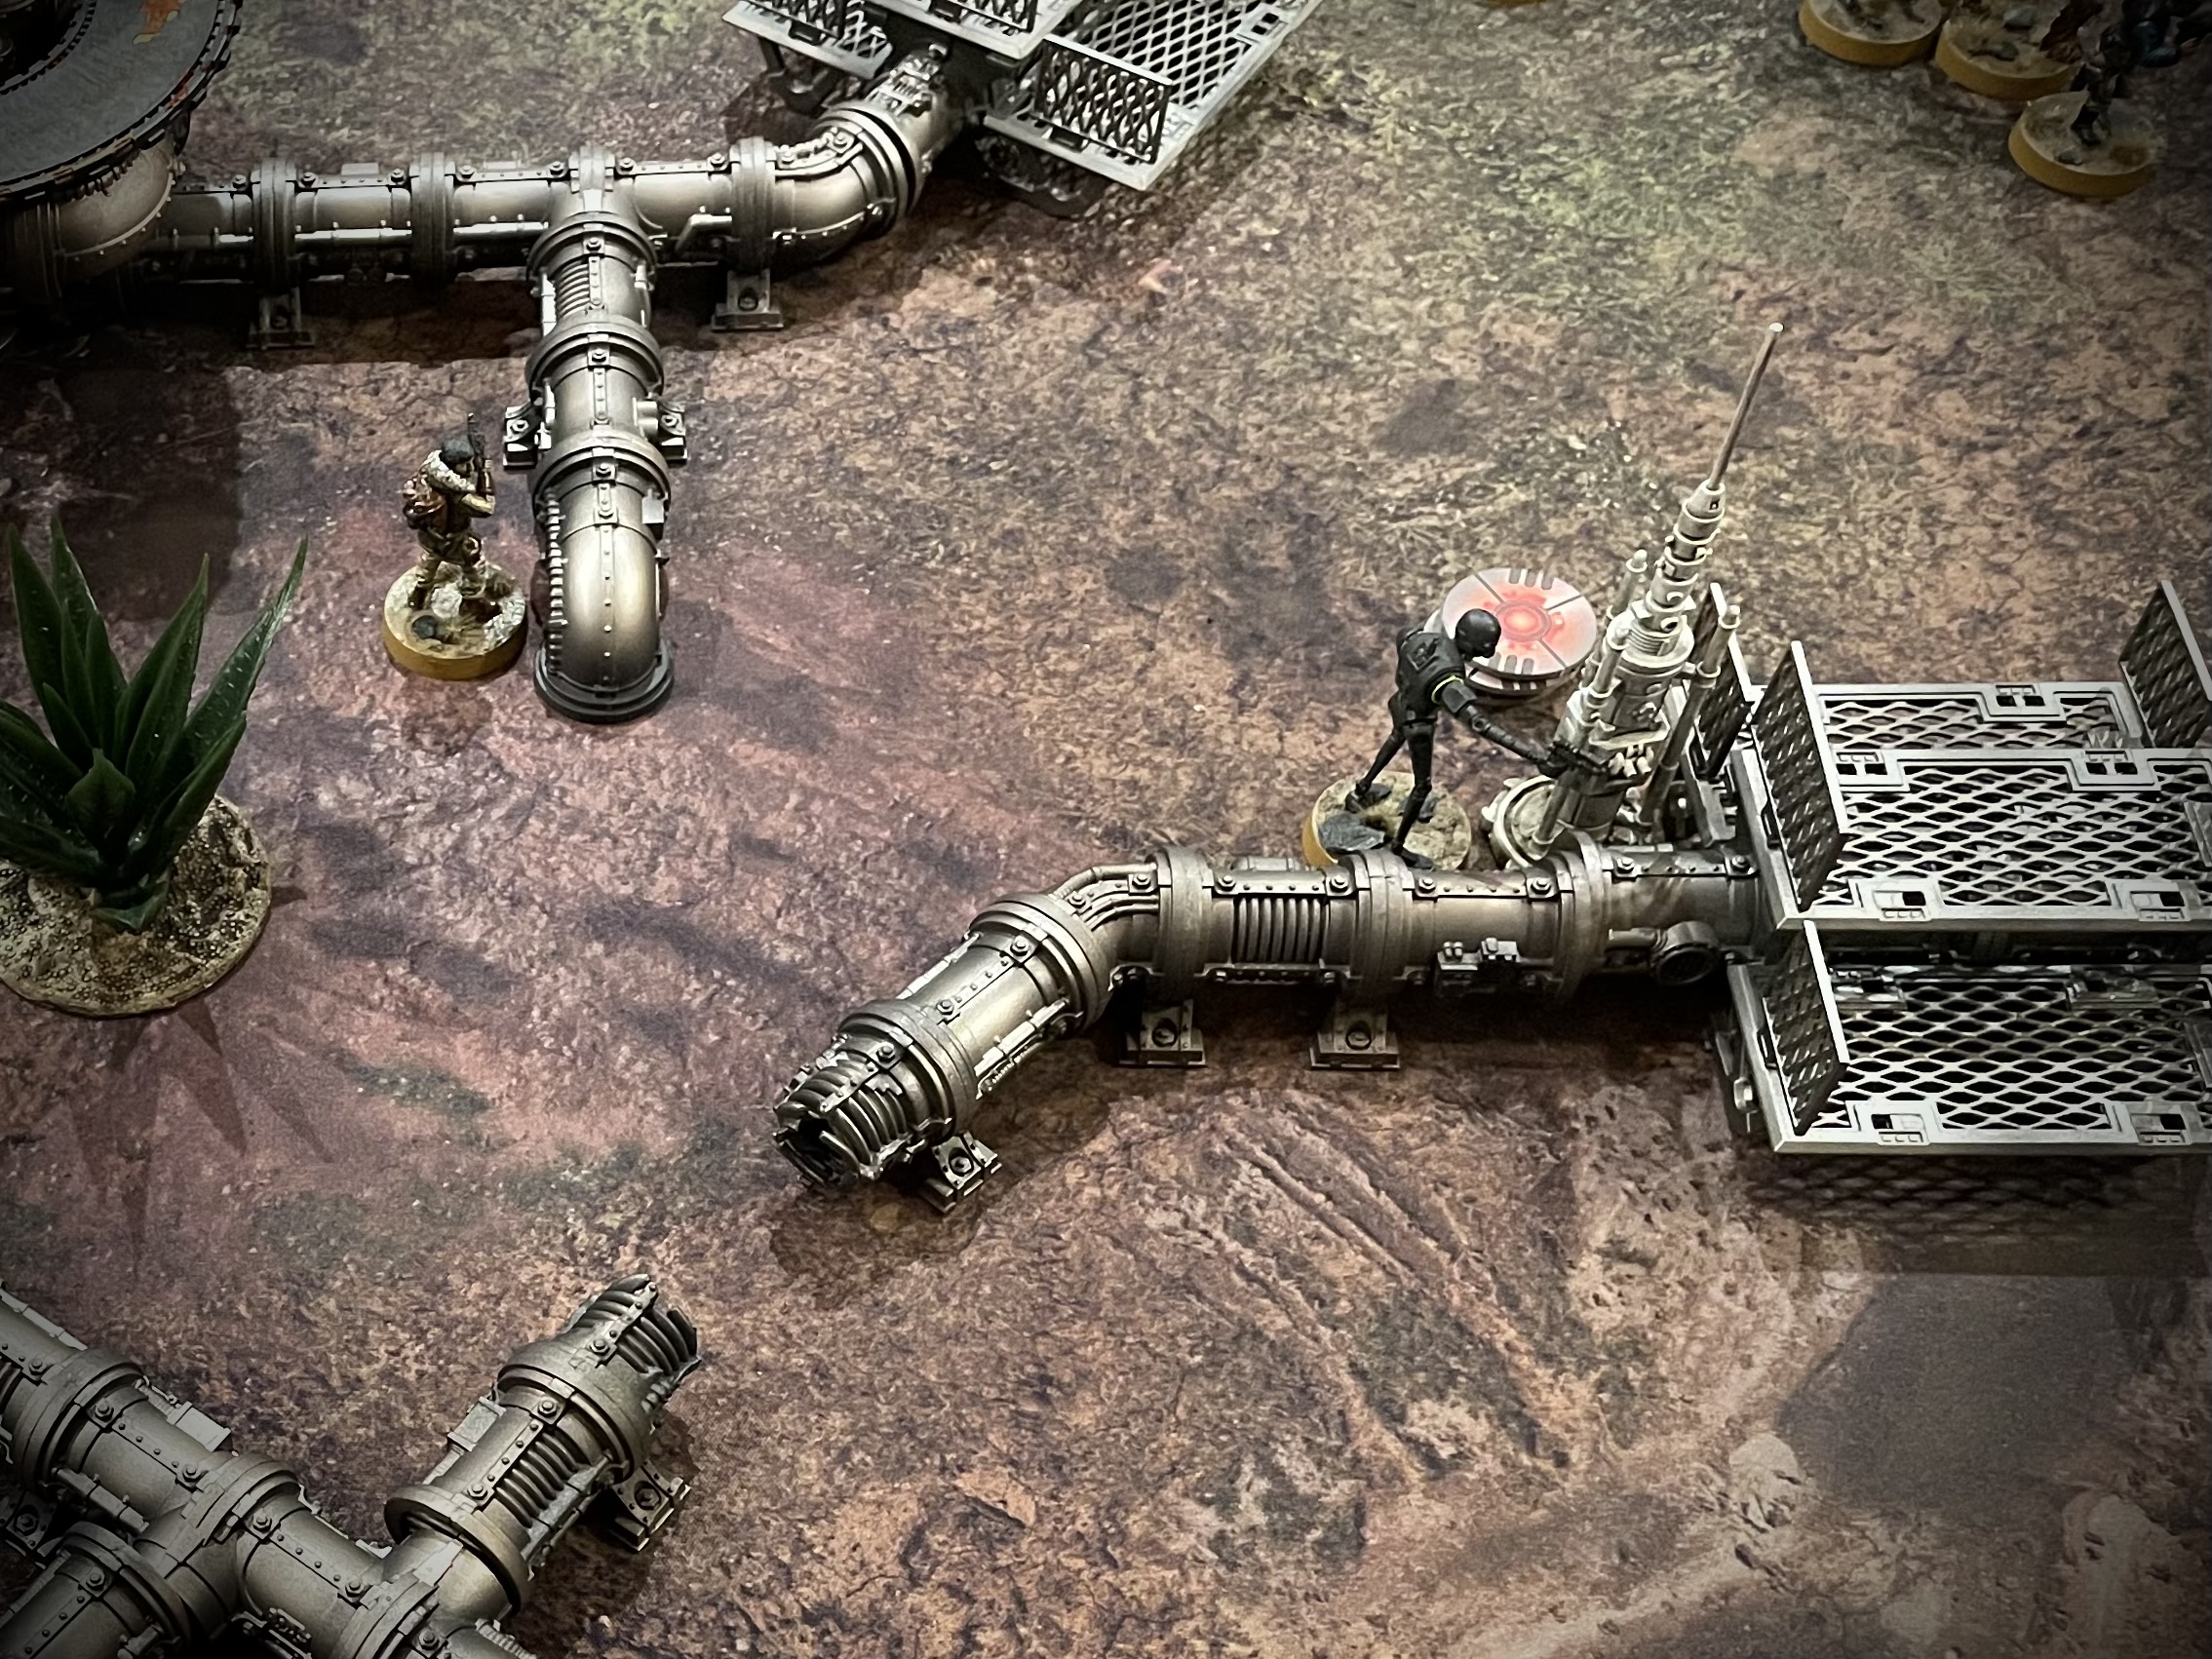
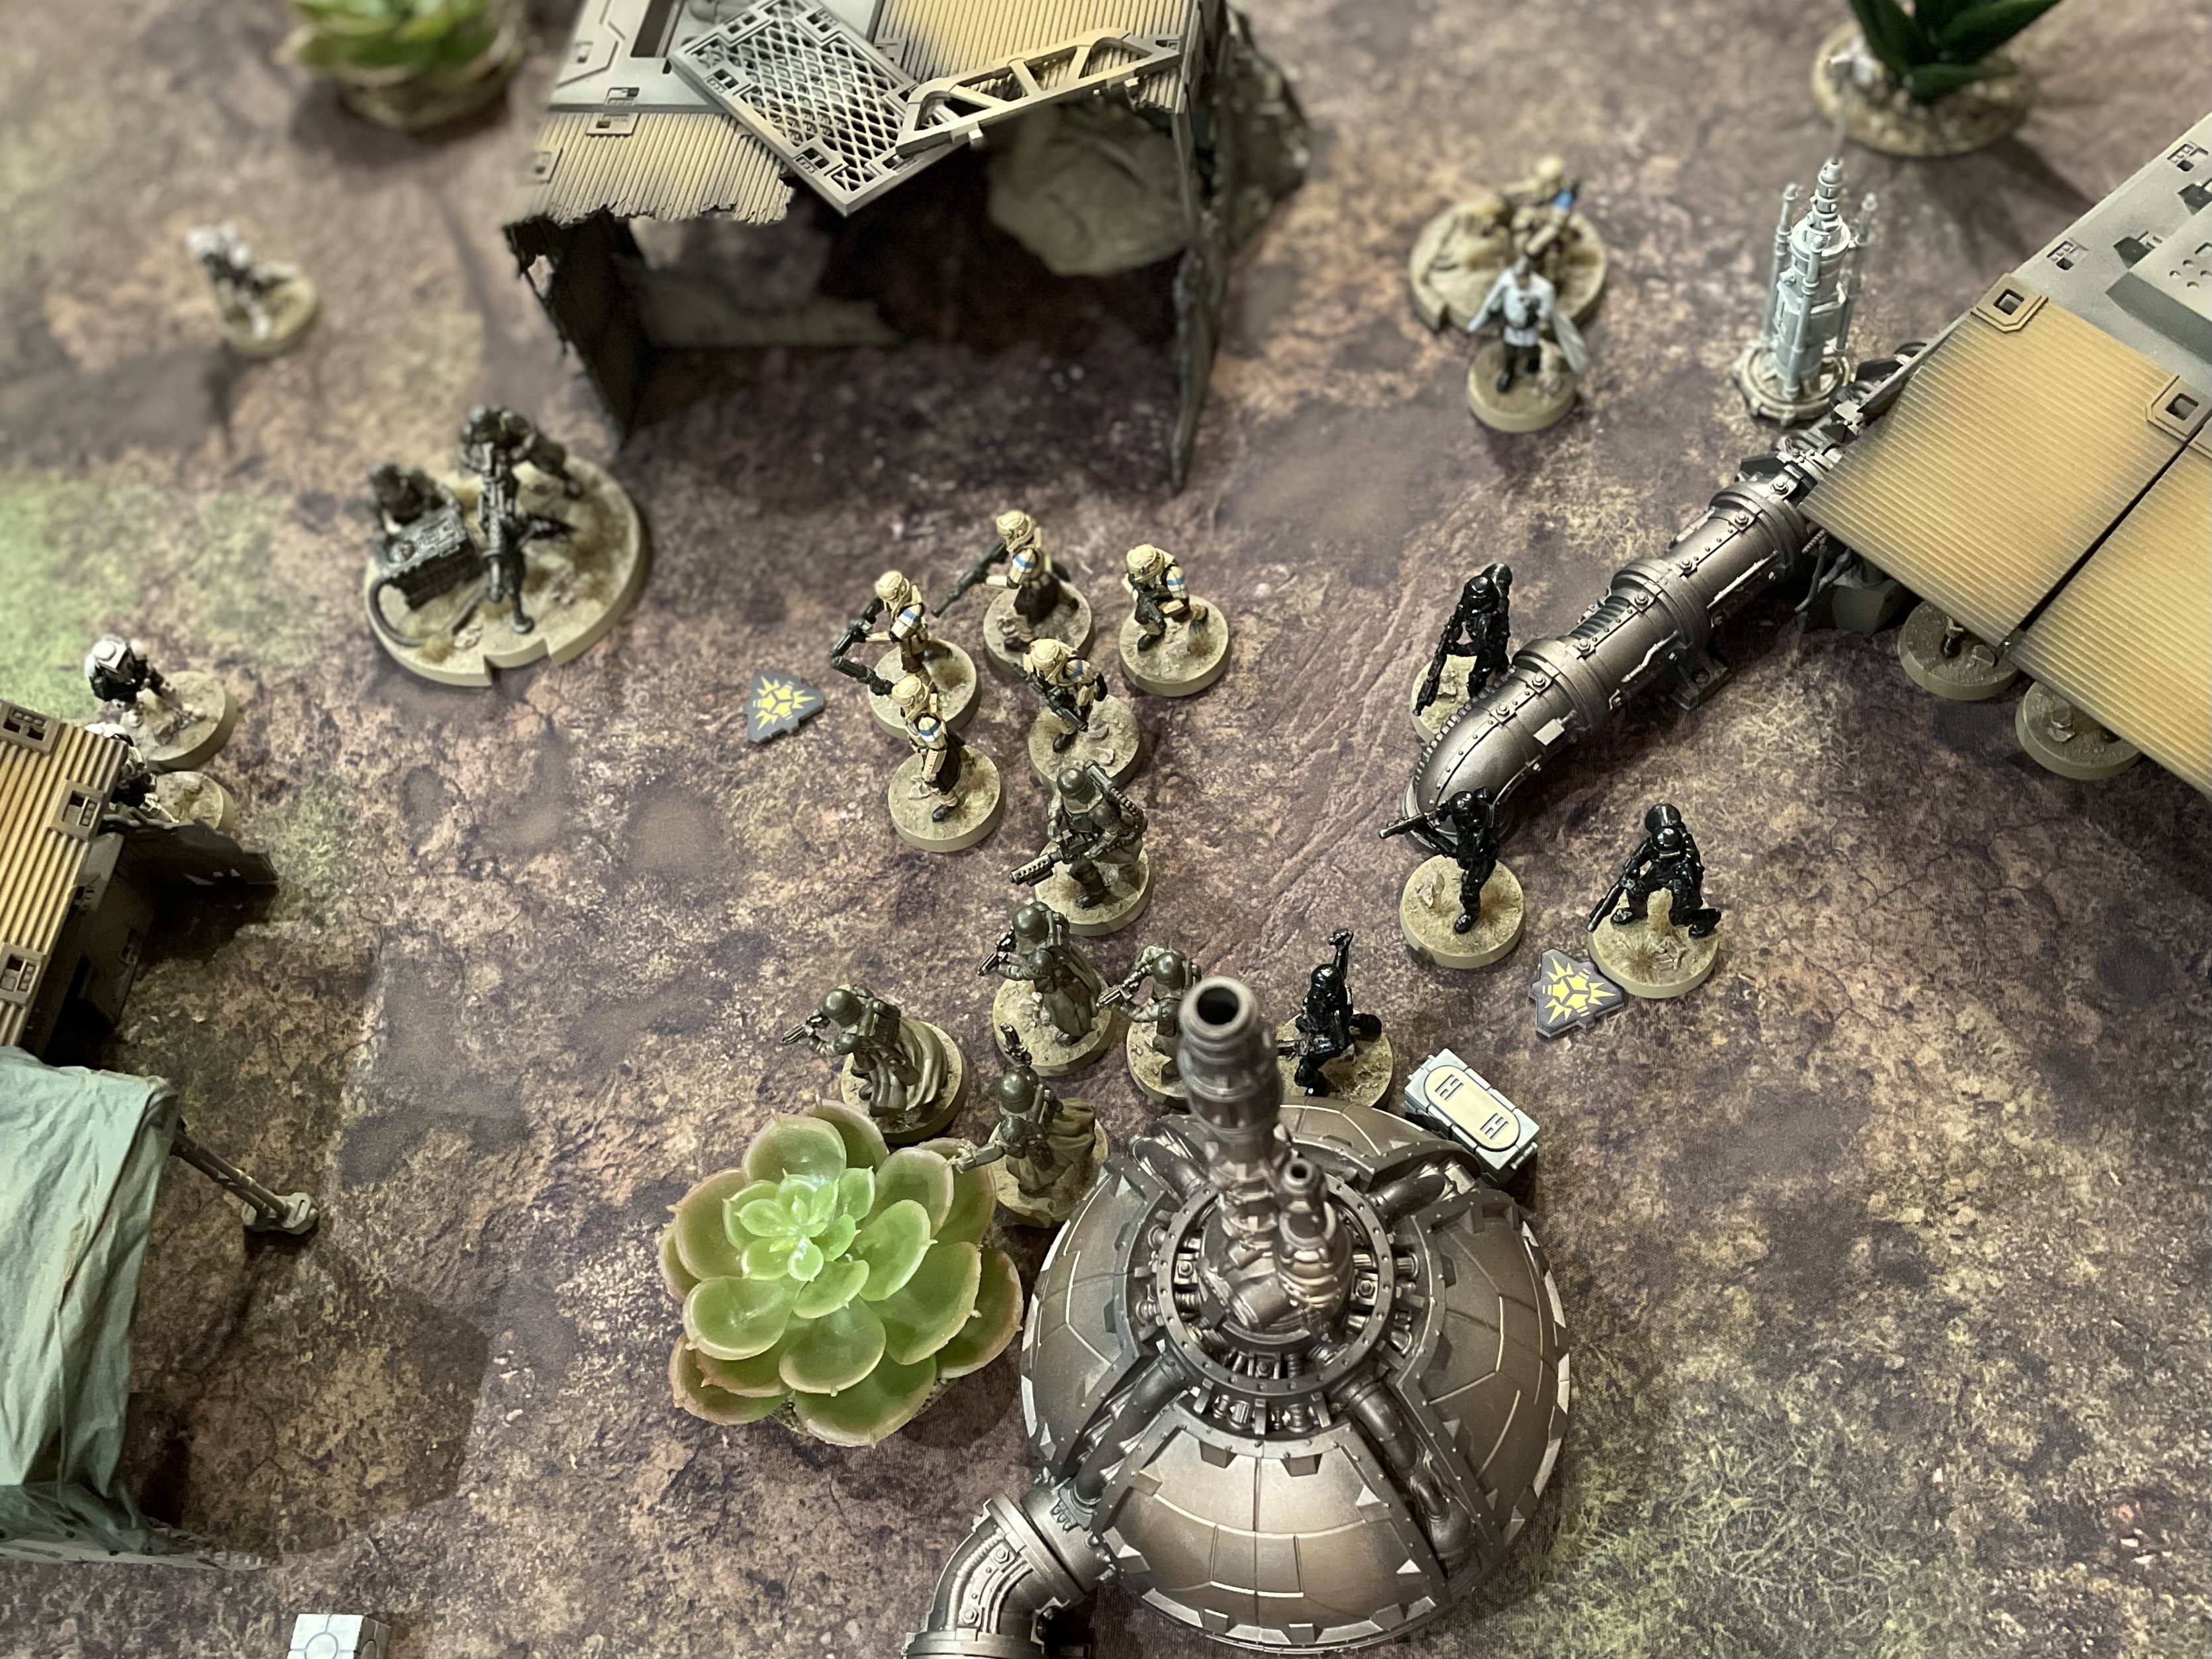
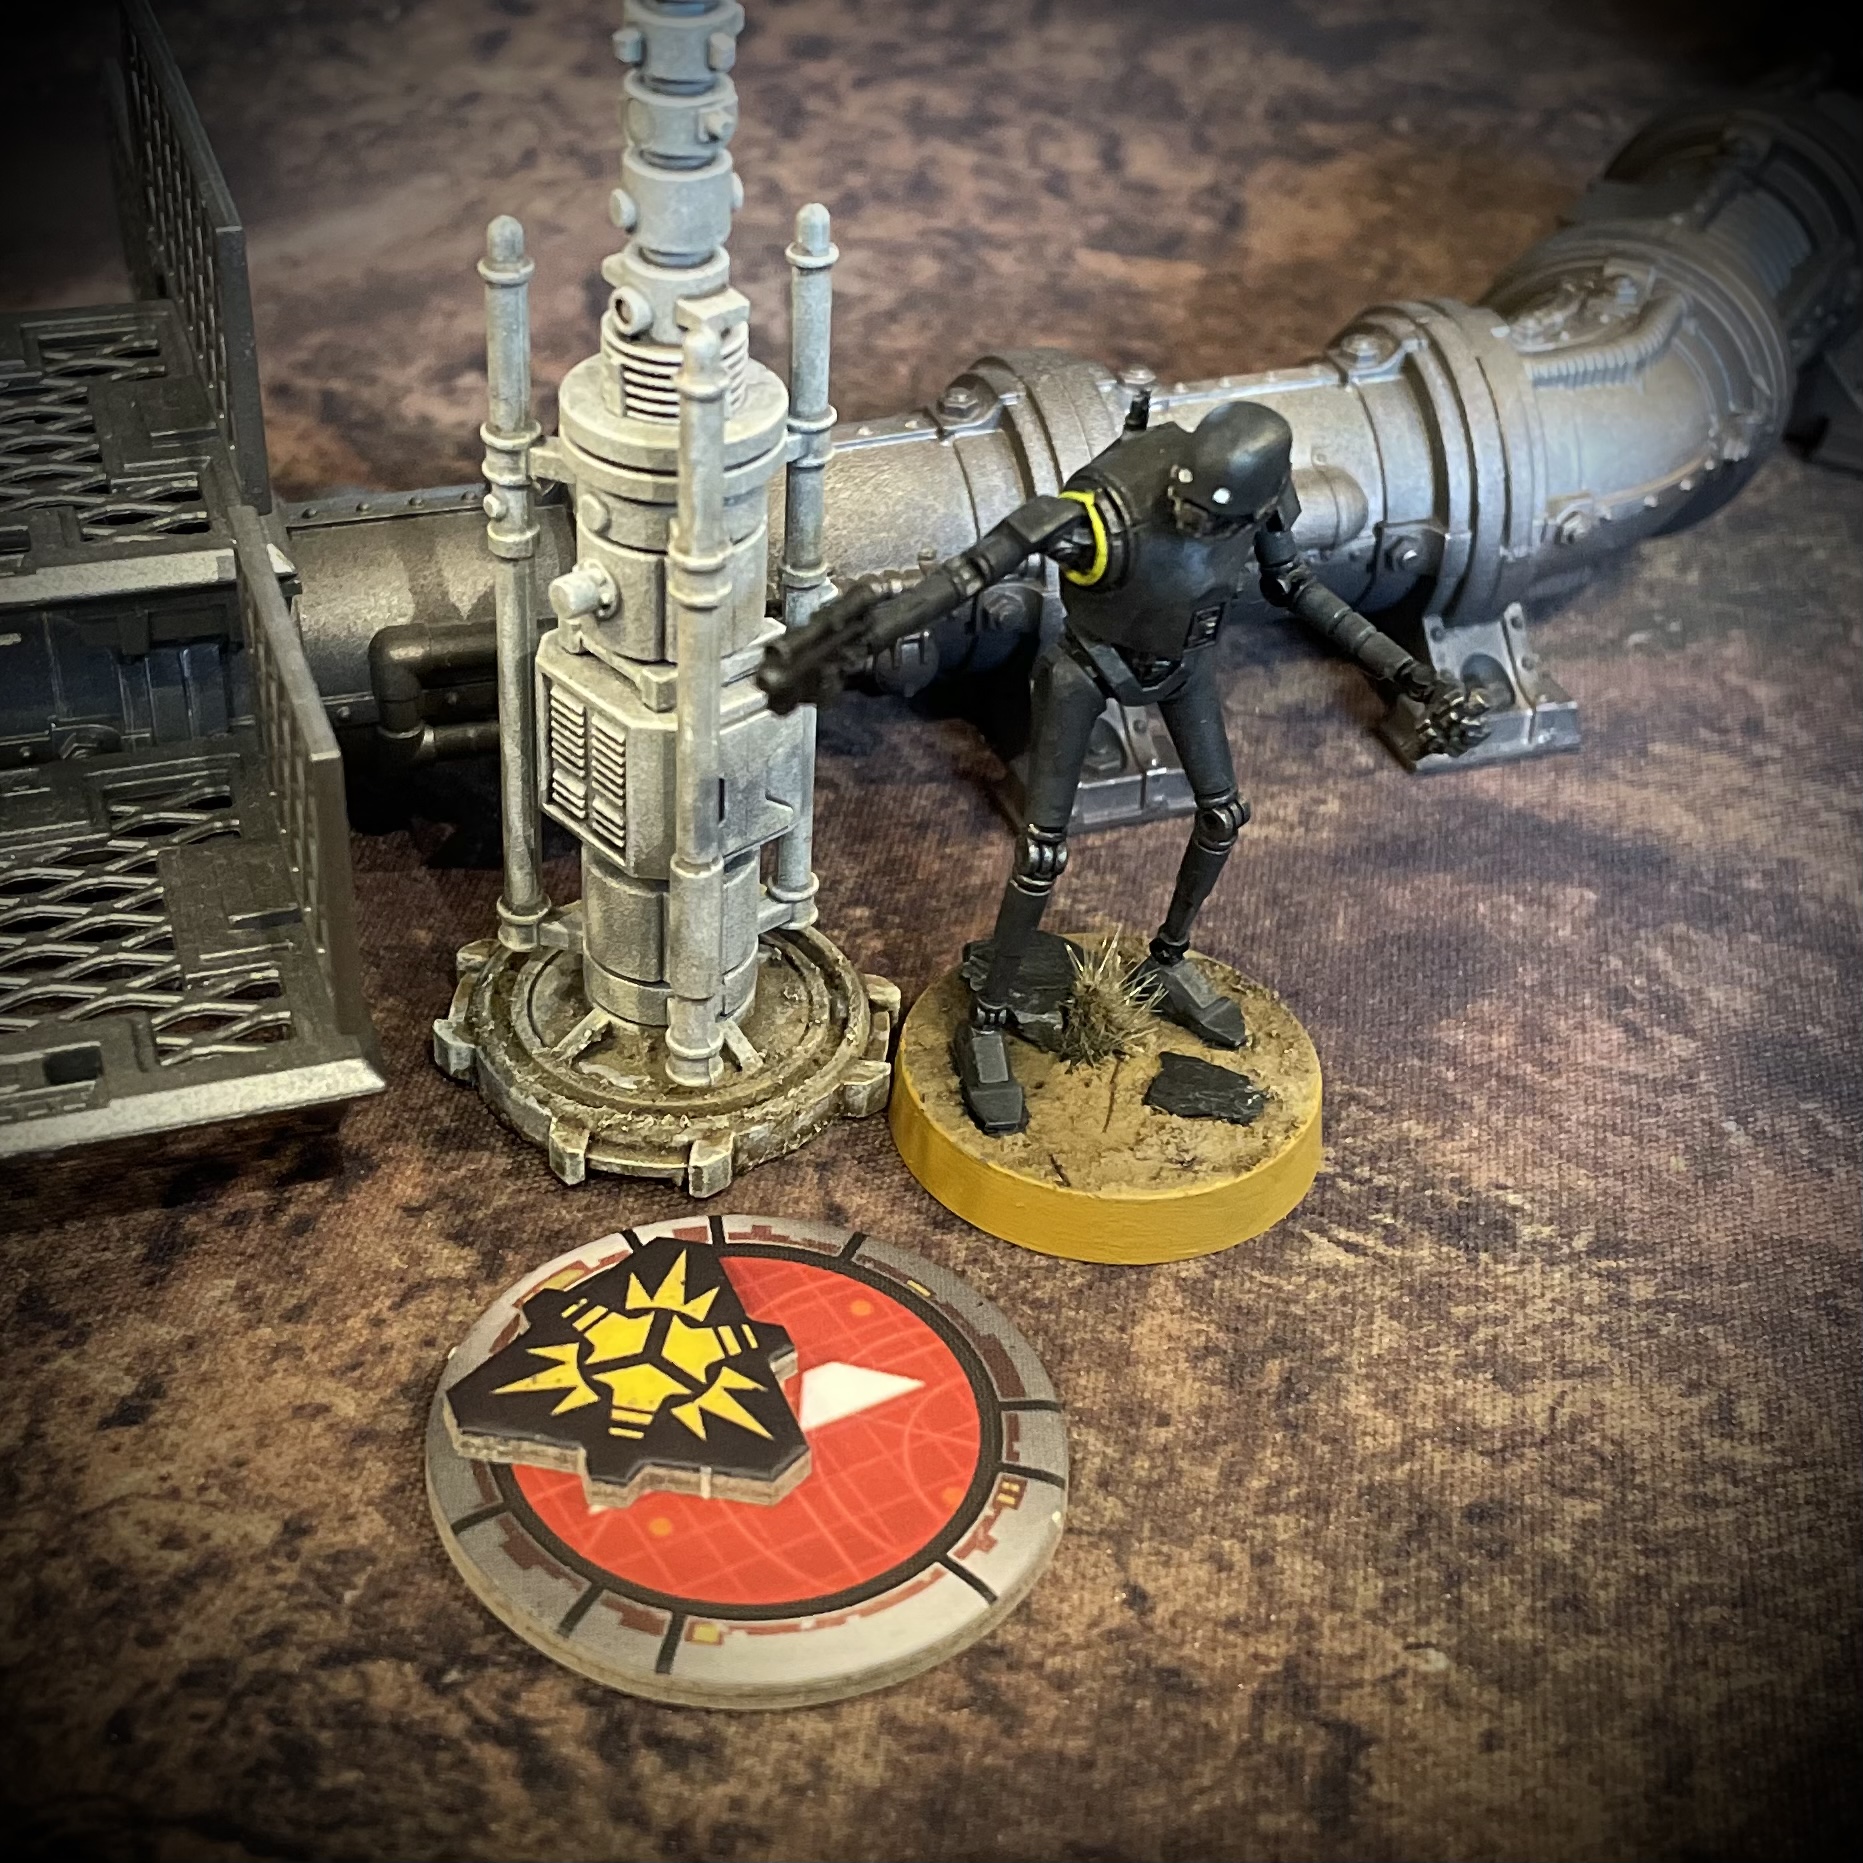
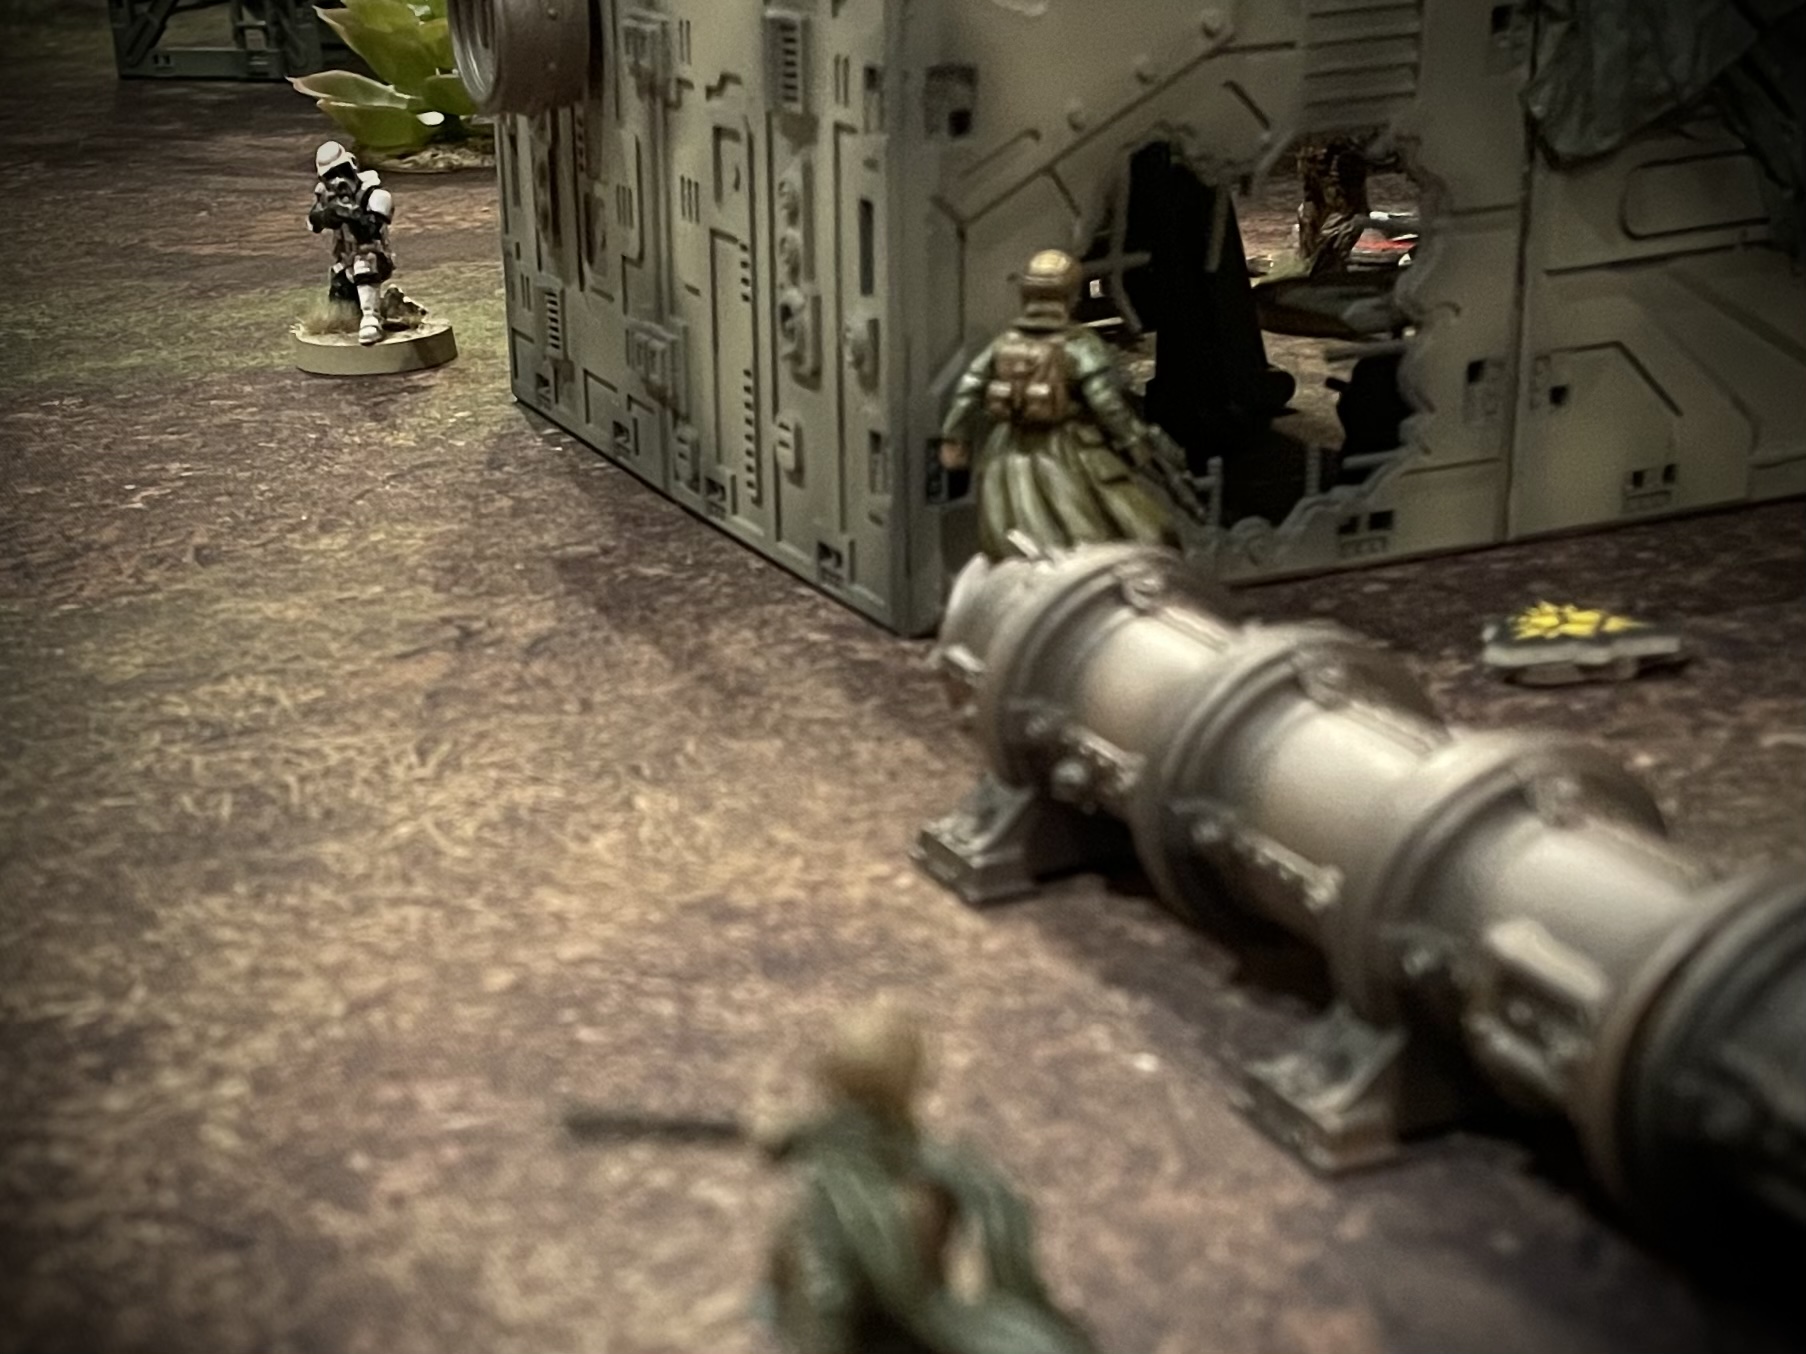
As expected, most of round one saw the infantry from both sides rushing into covered firing positions or moving onto objectives. An early shot from the Scout Sniper Team took out two Fleet Troopers, while the Scout Squad extracted an Intel token from the relay they had captured.
This early loss to the rebels may have given them pause, as instead of crossing the open ground, they surprised the imperials by diverting inwards towards the table centre…
… or had their placement been a rouse all along? In an unexpected move from the Rebels, Director Krennic, who had moved up to claim a comms relay, was now targeted by long range shots from the repositioned Wookiees and Rebel troopers. In the attack Krennic suffered three wounds, leaving him highly vulnerable!
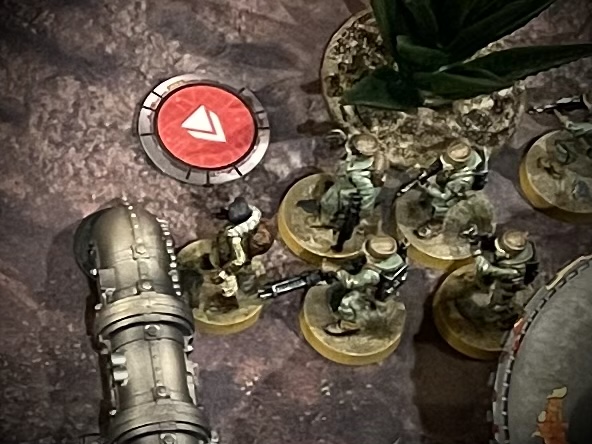
On the south flank there was an exchange of fire between the Pathfinders and the Shoretroopers who had moved into the southmost work shack.
The Mortar trooper was killed, taking an activation from the imperials. In retaliation the Shoretrooper unit gunned down four of the five rebels who were moving to support the Pathfinders from the centre of the battlefield.
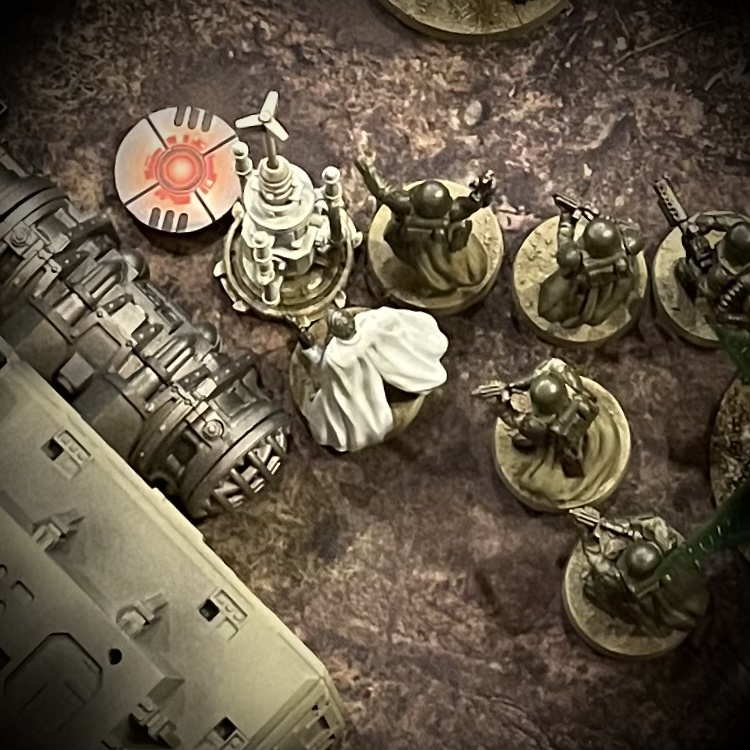
 Steeeve!
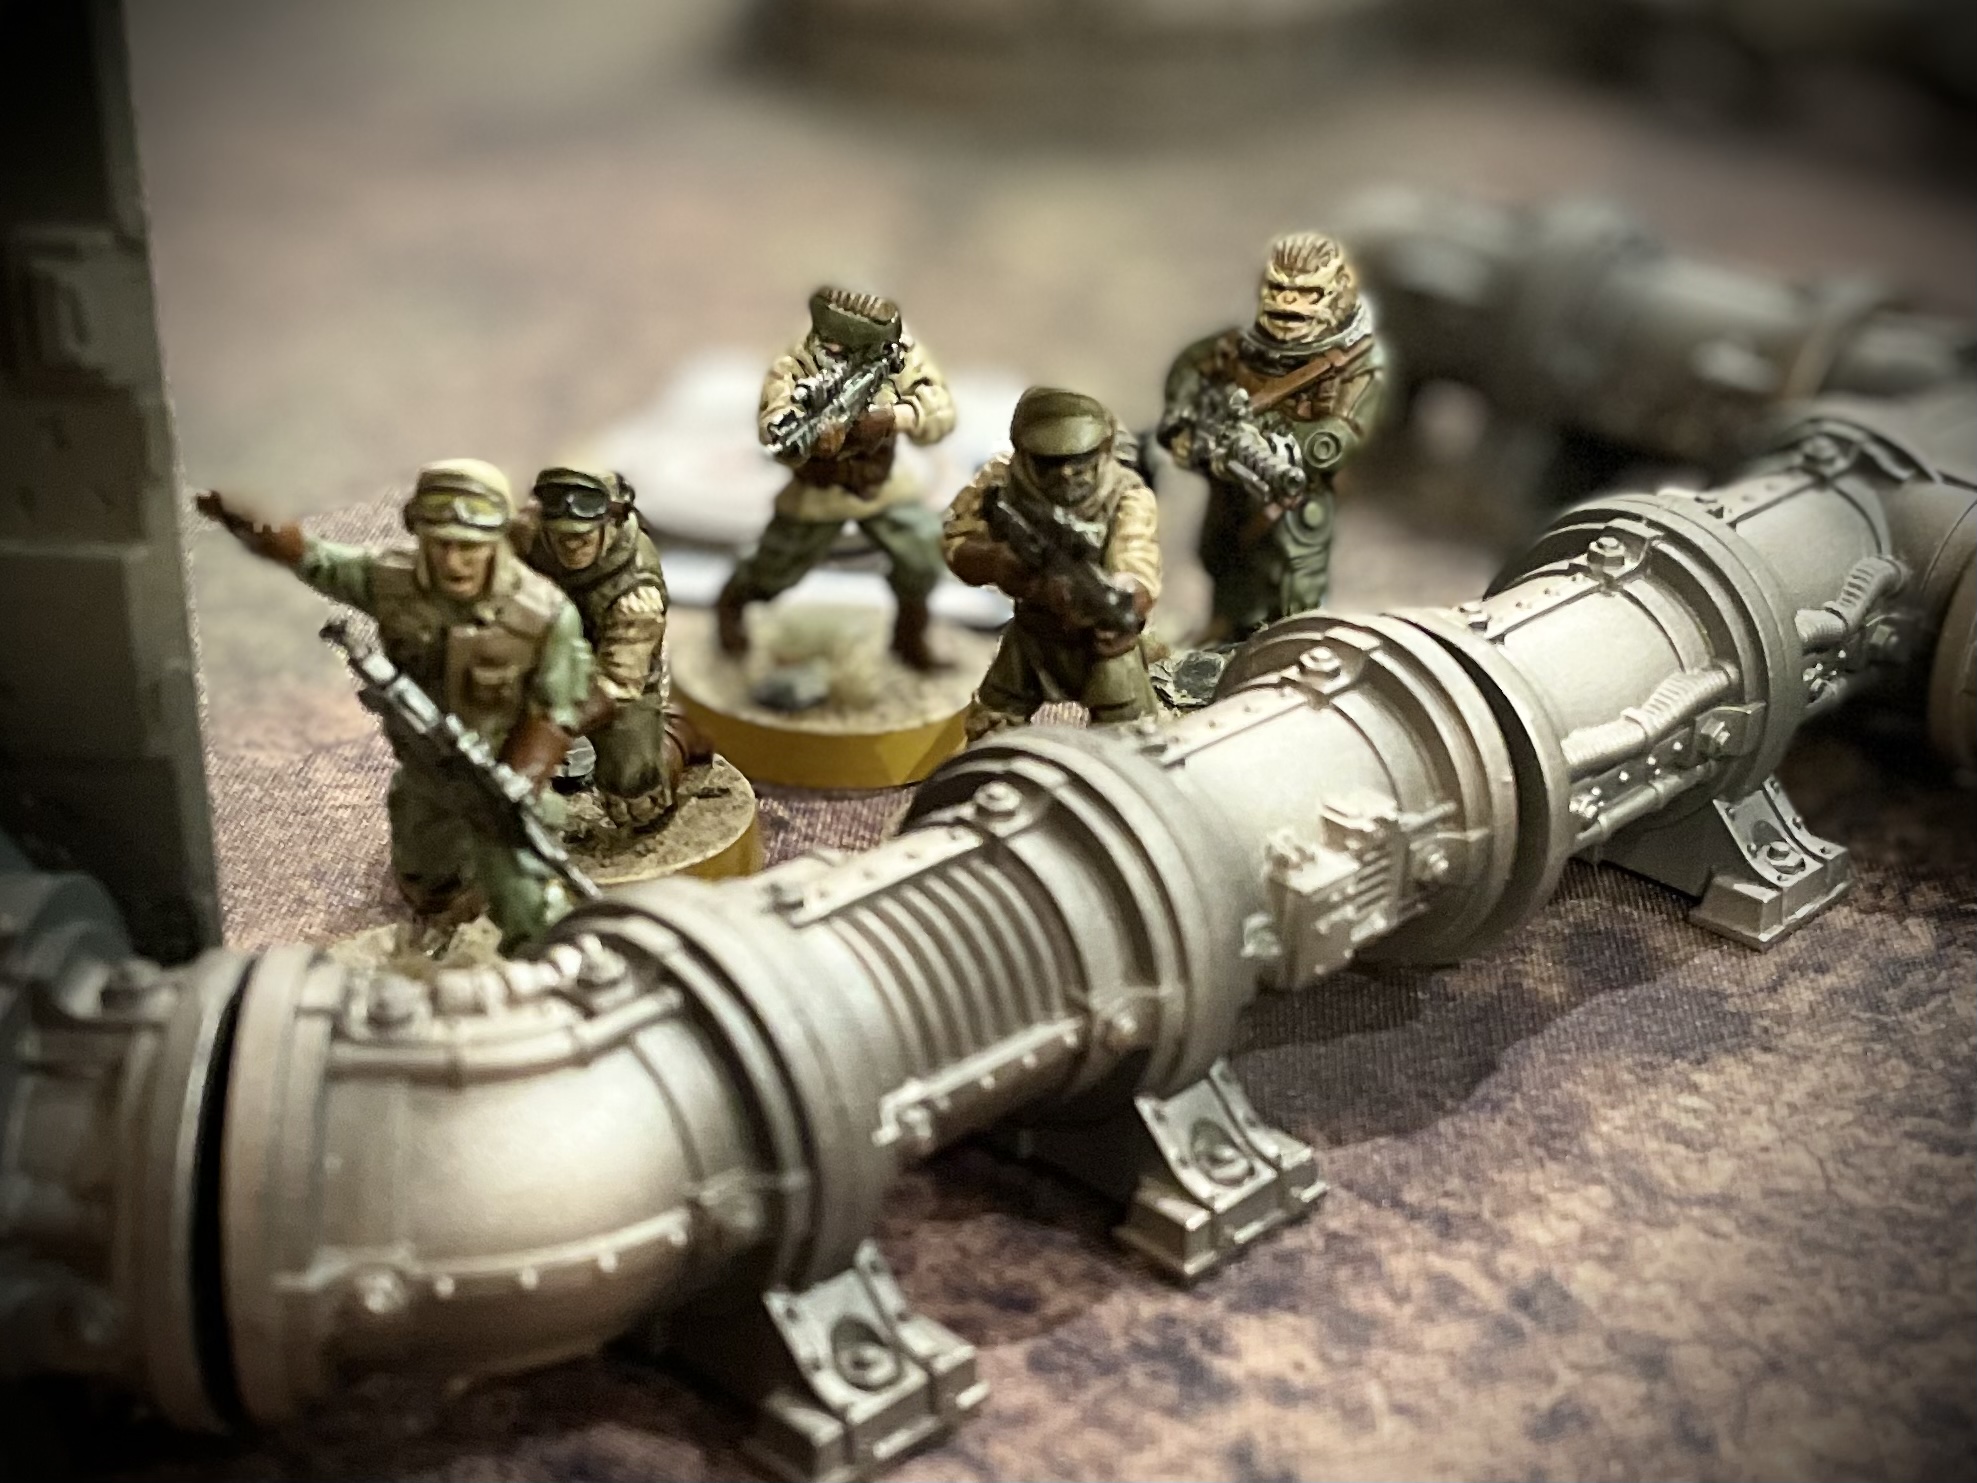
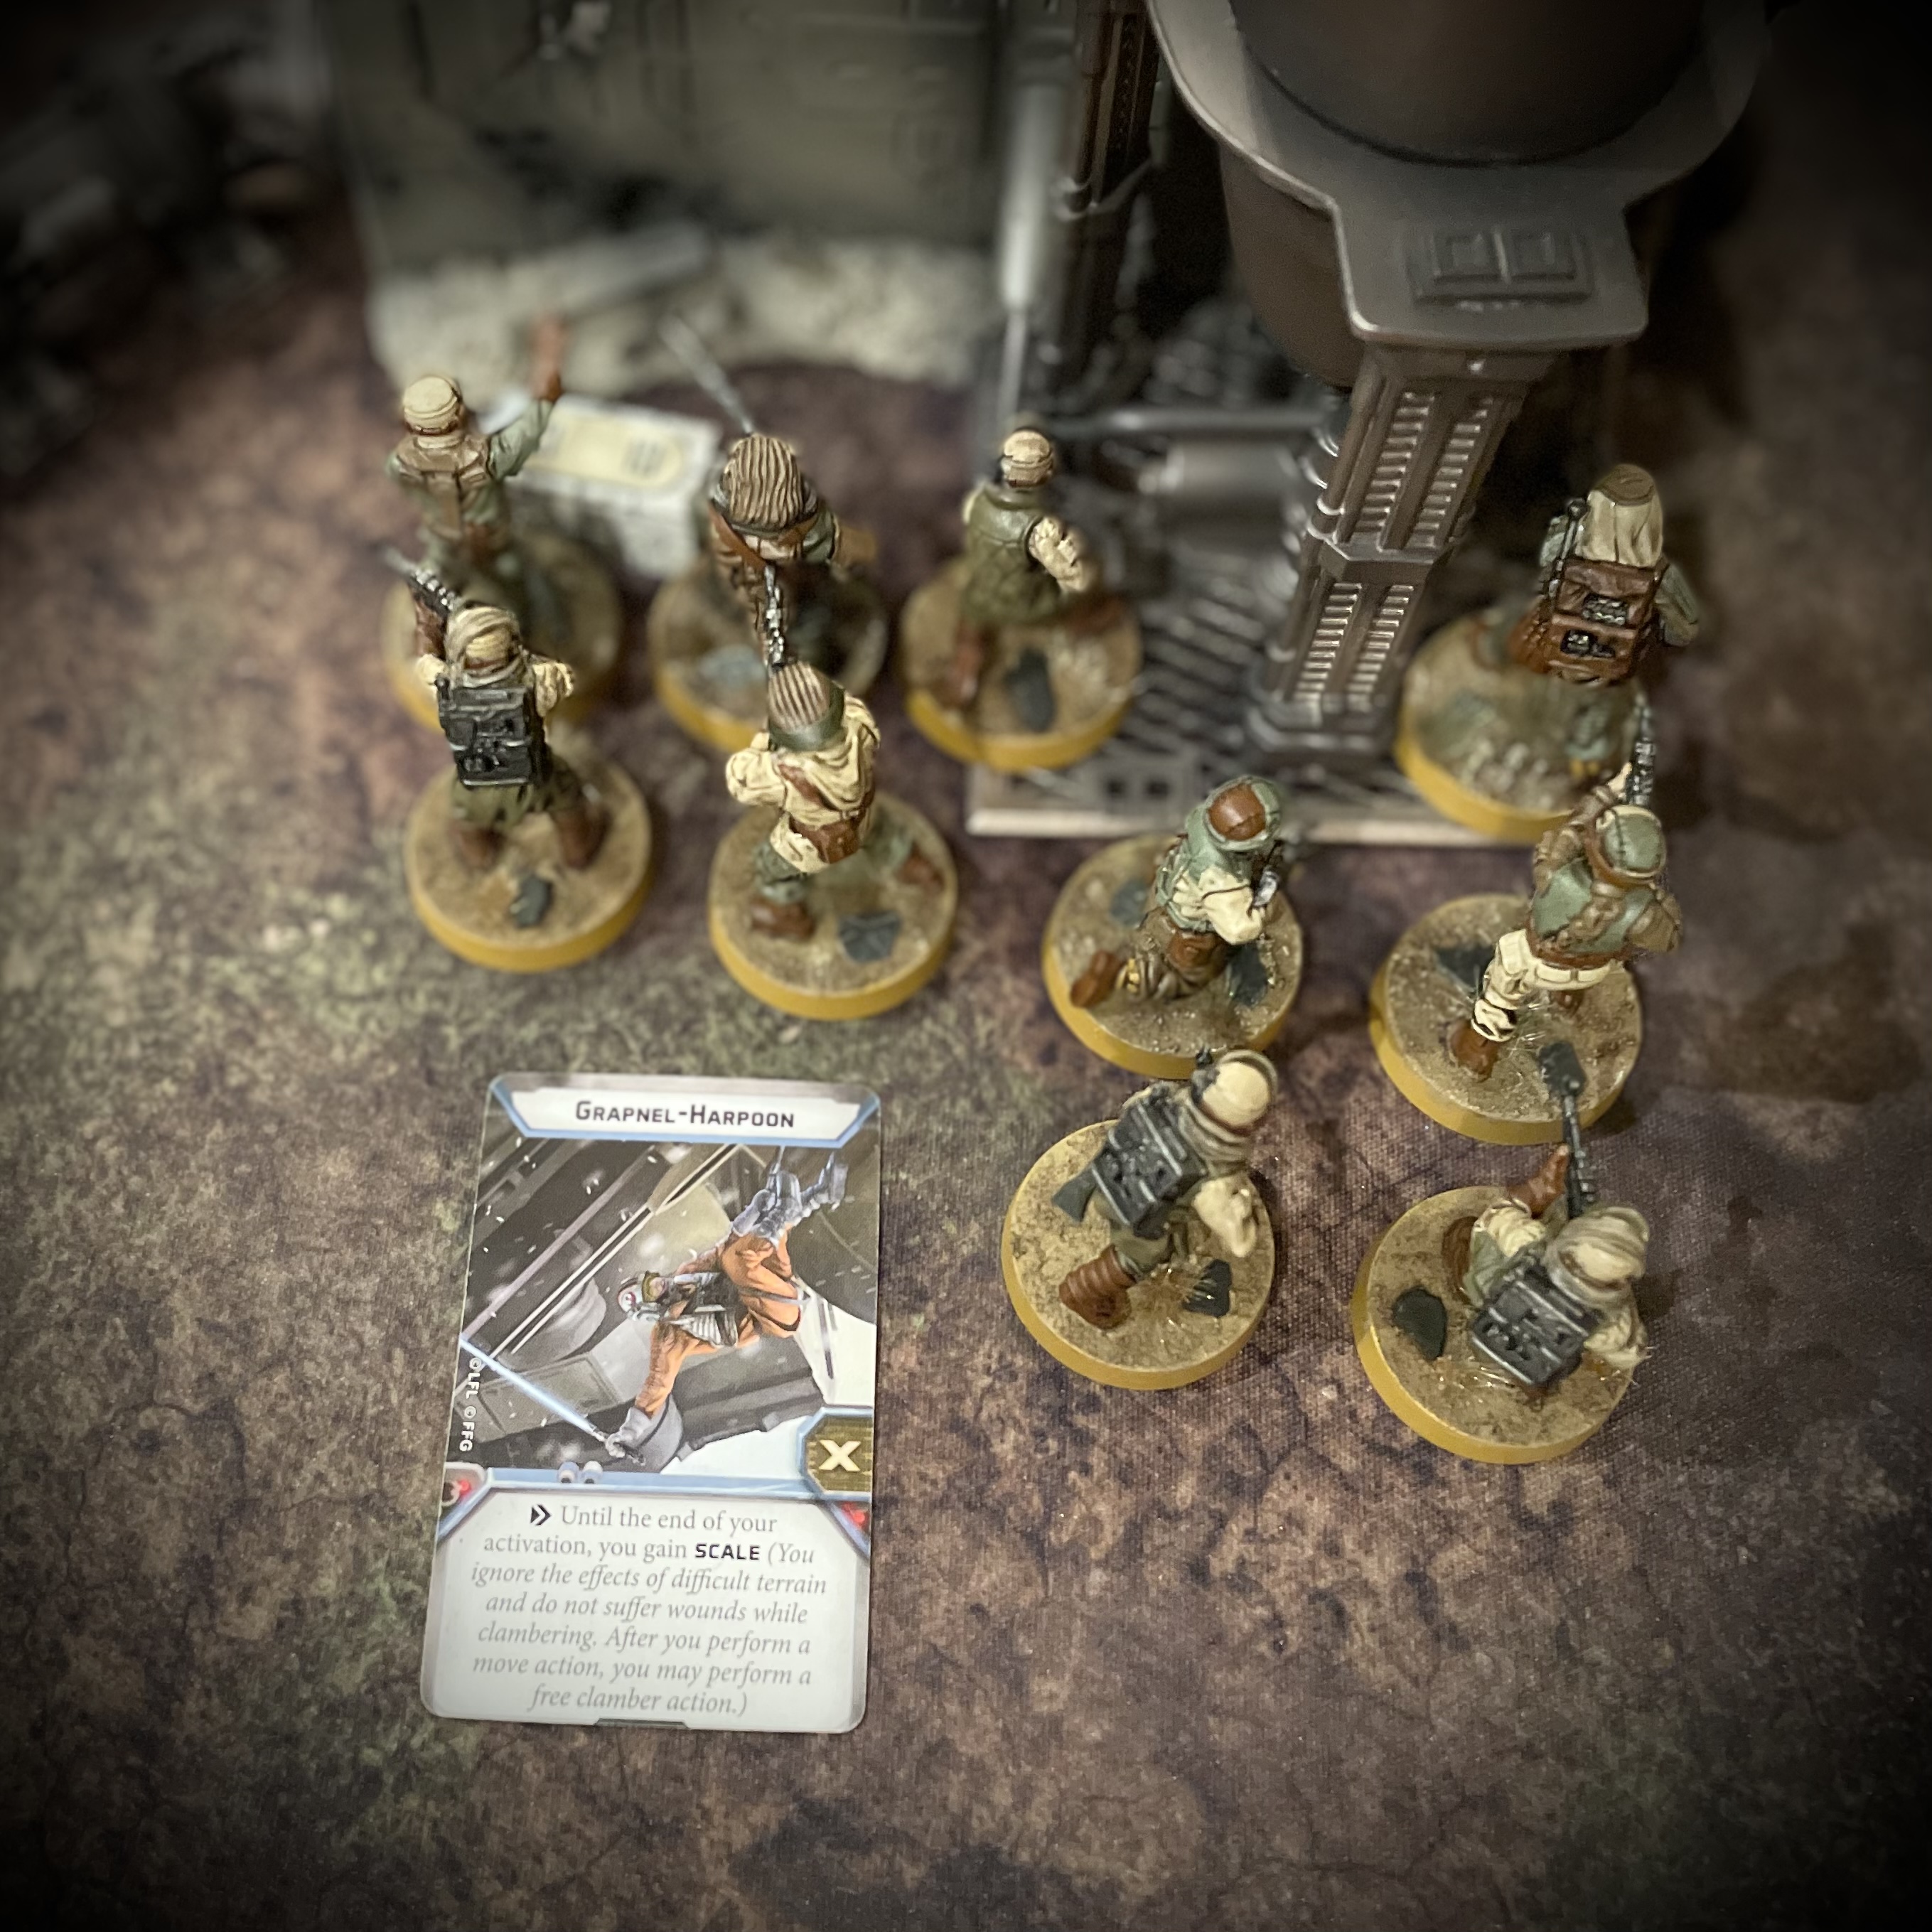
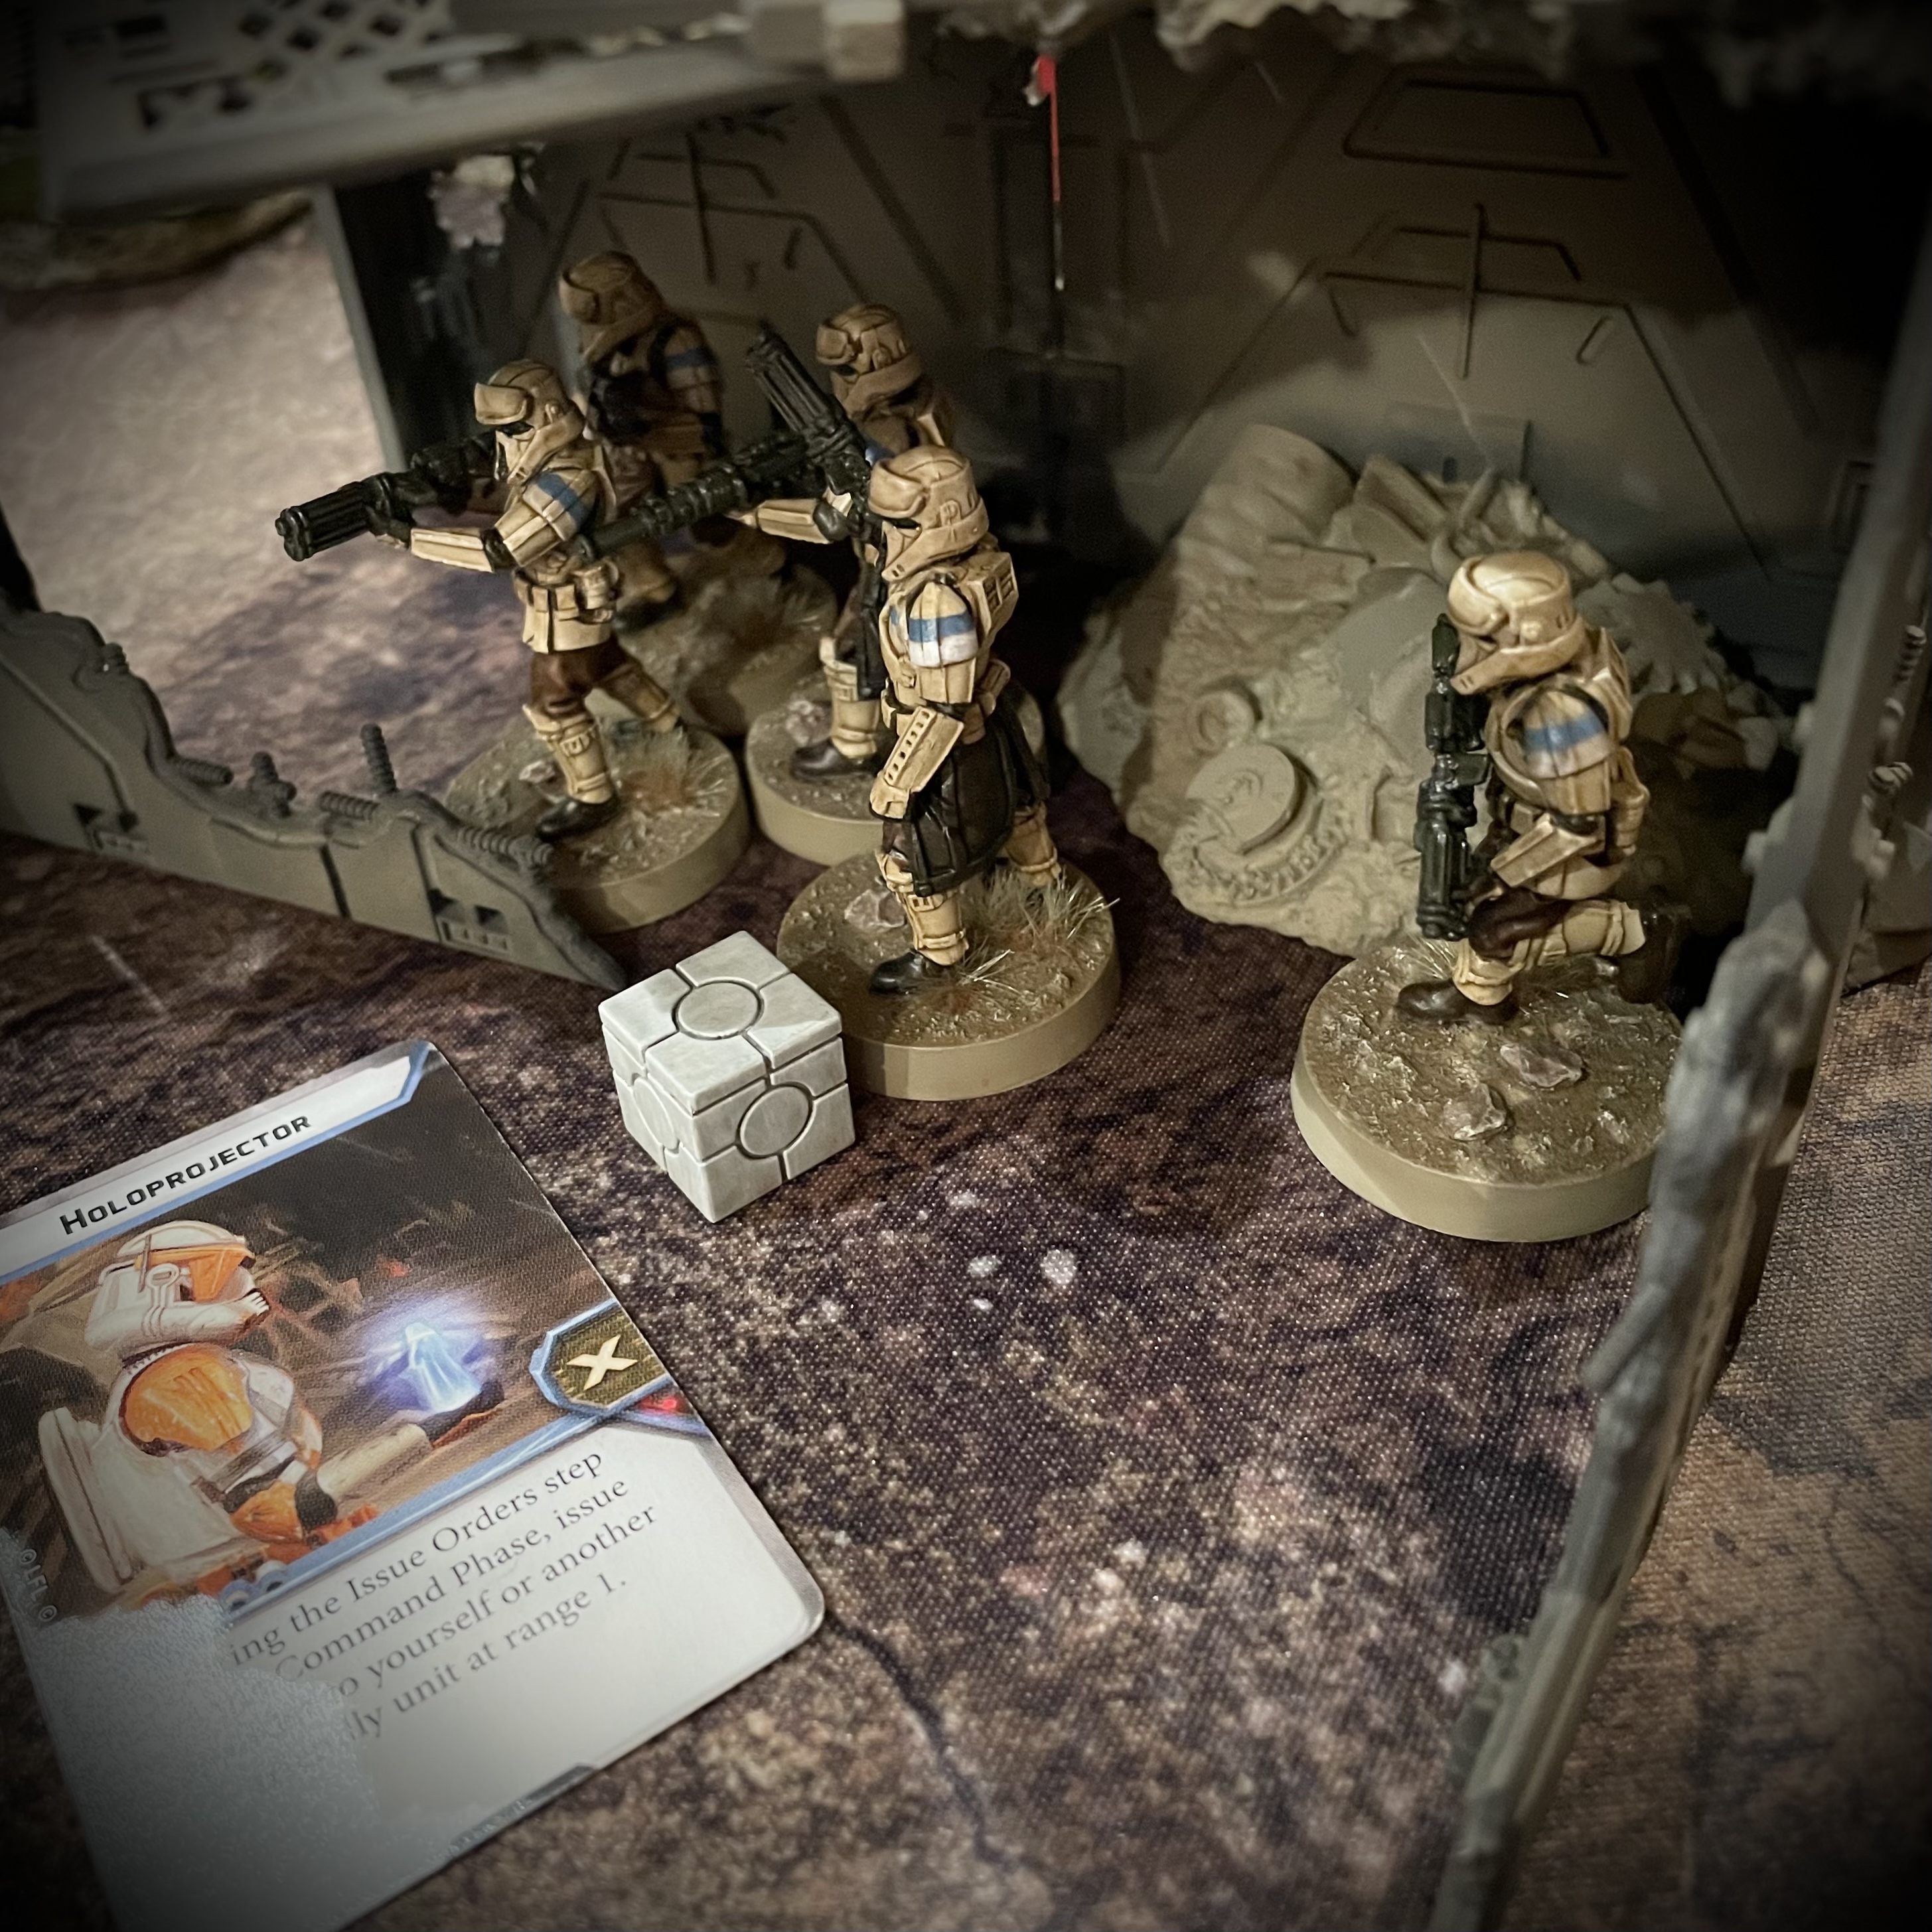
Pao’s Pathfinder squad recovered a grapple hook from one of the rebel supply crates. Meanwhile the northernmost Shoretrooper unit found a holo projector inside an abandoned workshop.
Round 2 - Orders
Imperial – Having seen my Commander reduced to half health in the last round, I was concerned that he would be targeted early this round if I didn’t react quickly.
Even though Krennic usually takes very little part in the battle, I would be at a distinct disadvantage without his command cards and buffs. My priority then was to pull him out of the fire. With such a large order pool the odds of drawing Krennic early were low, meaning I really needed to place an order on him.

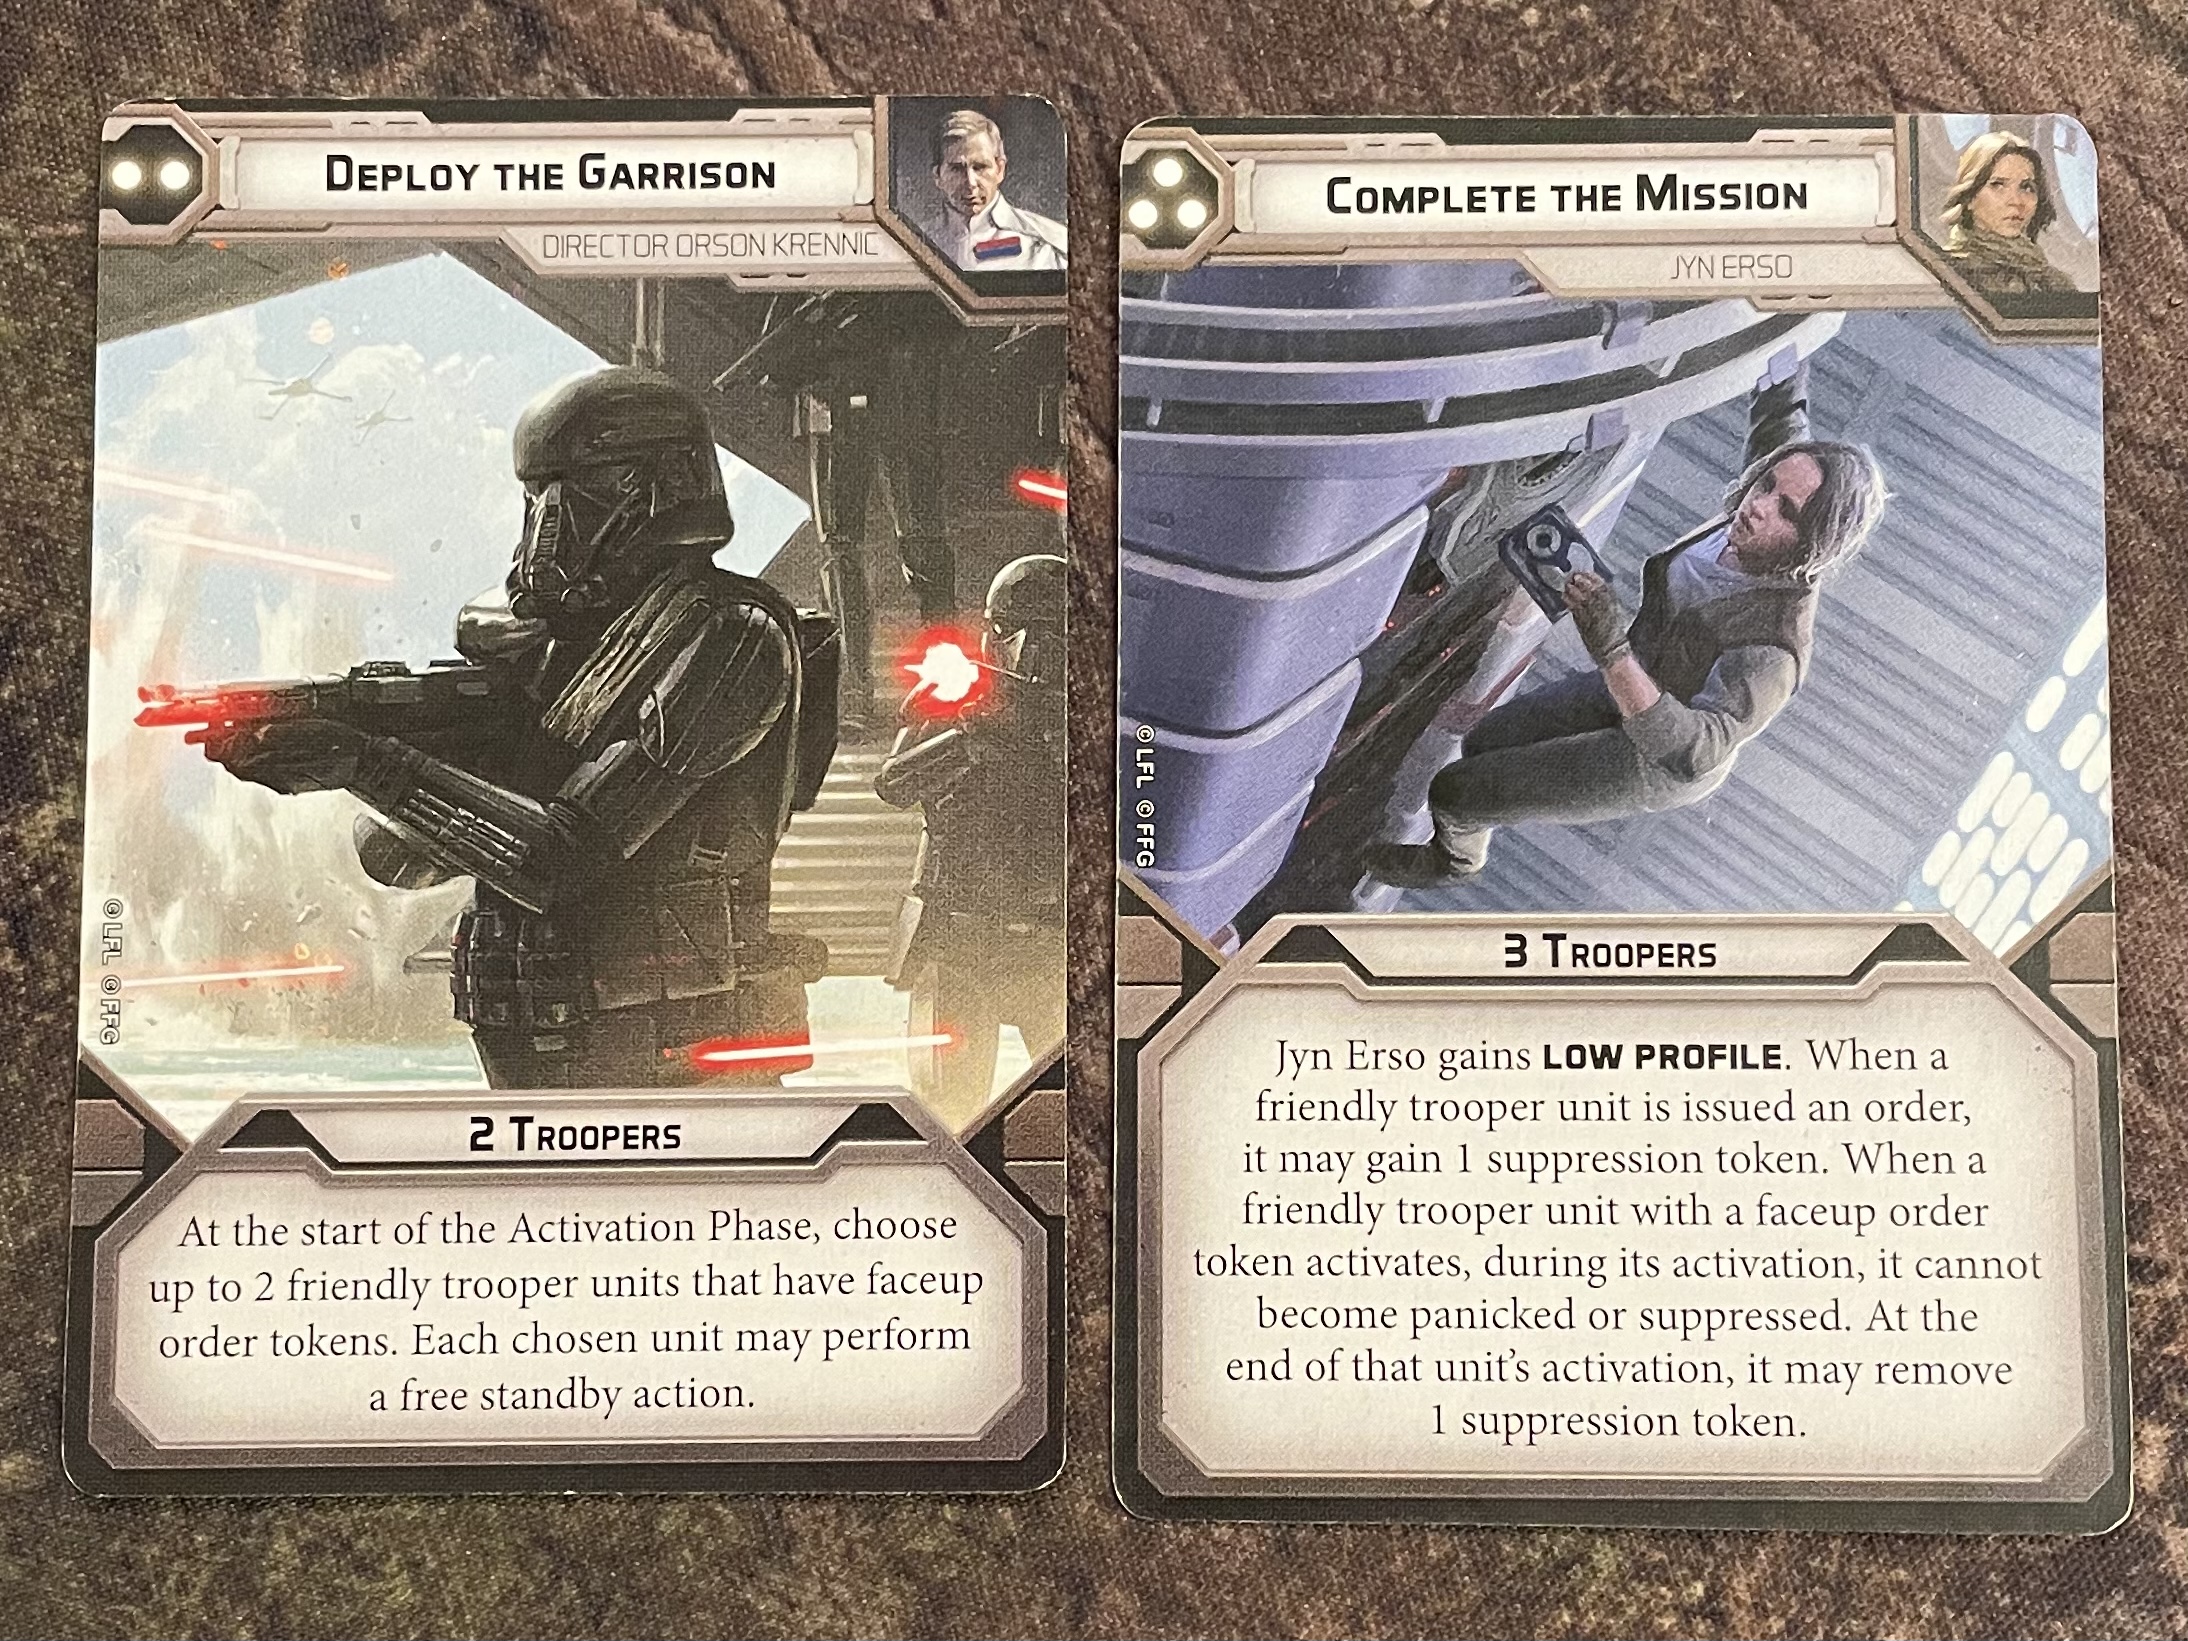
As the rebels had used a 1 pip in the previous round, I didn’t anticipate their remaining 1 pip being played just yet. I opted for ‘Deploy the Garrison’ placing one order on Krennic and the other on the southern Shoretrooper unit. I also had Krennic’s Entourage ability, allowing me to place an order on the Death Troopers. In addition to this, the Shoretroopers used the Holo Projector they had found in the previous round to give themselves an order, allowing them to coordinate a further order to the E-Webb!
Rebels – My Pathfinders on the southern flank weren’t going to be able to break cover anytime soon. I had also folded the northern flank to target the Imperials moving towards the central objectives but still had the approaching bikes to contend with. Worse still, the imperial gun line was now dug in with their weapons in range.
One of Krennic’s strategic abilities is that if there is a tie for priority when one of his commander cards are played, he automatically wins priority. I suspected he would play a 1 or 2 pip in order to retreat so attempting to win priority may well be a wast of a card this turn.
My troubles didn’t end here however. I was also going into this turn with a fair amount of Suppression on my units. Weighing all of this up, I went with ‘Complete the Mission’. This would save my lower pip cards while also mitigating the effects of panic and suppression this round. I would have to dig in and see how this turn panned out!
Round 2 - Combat
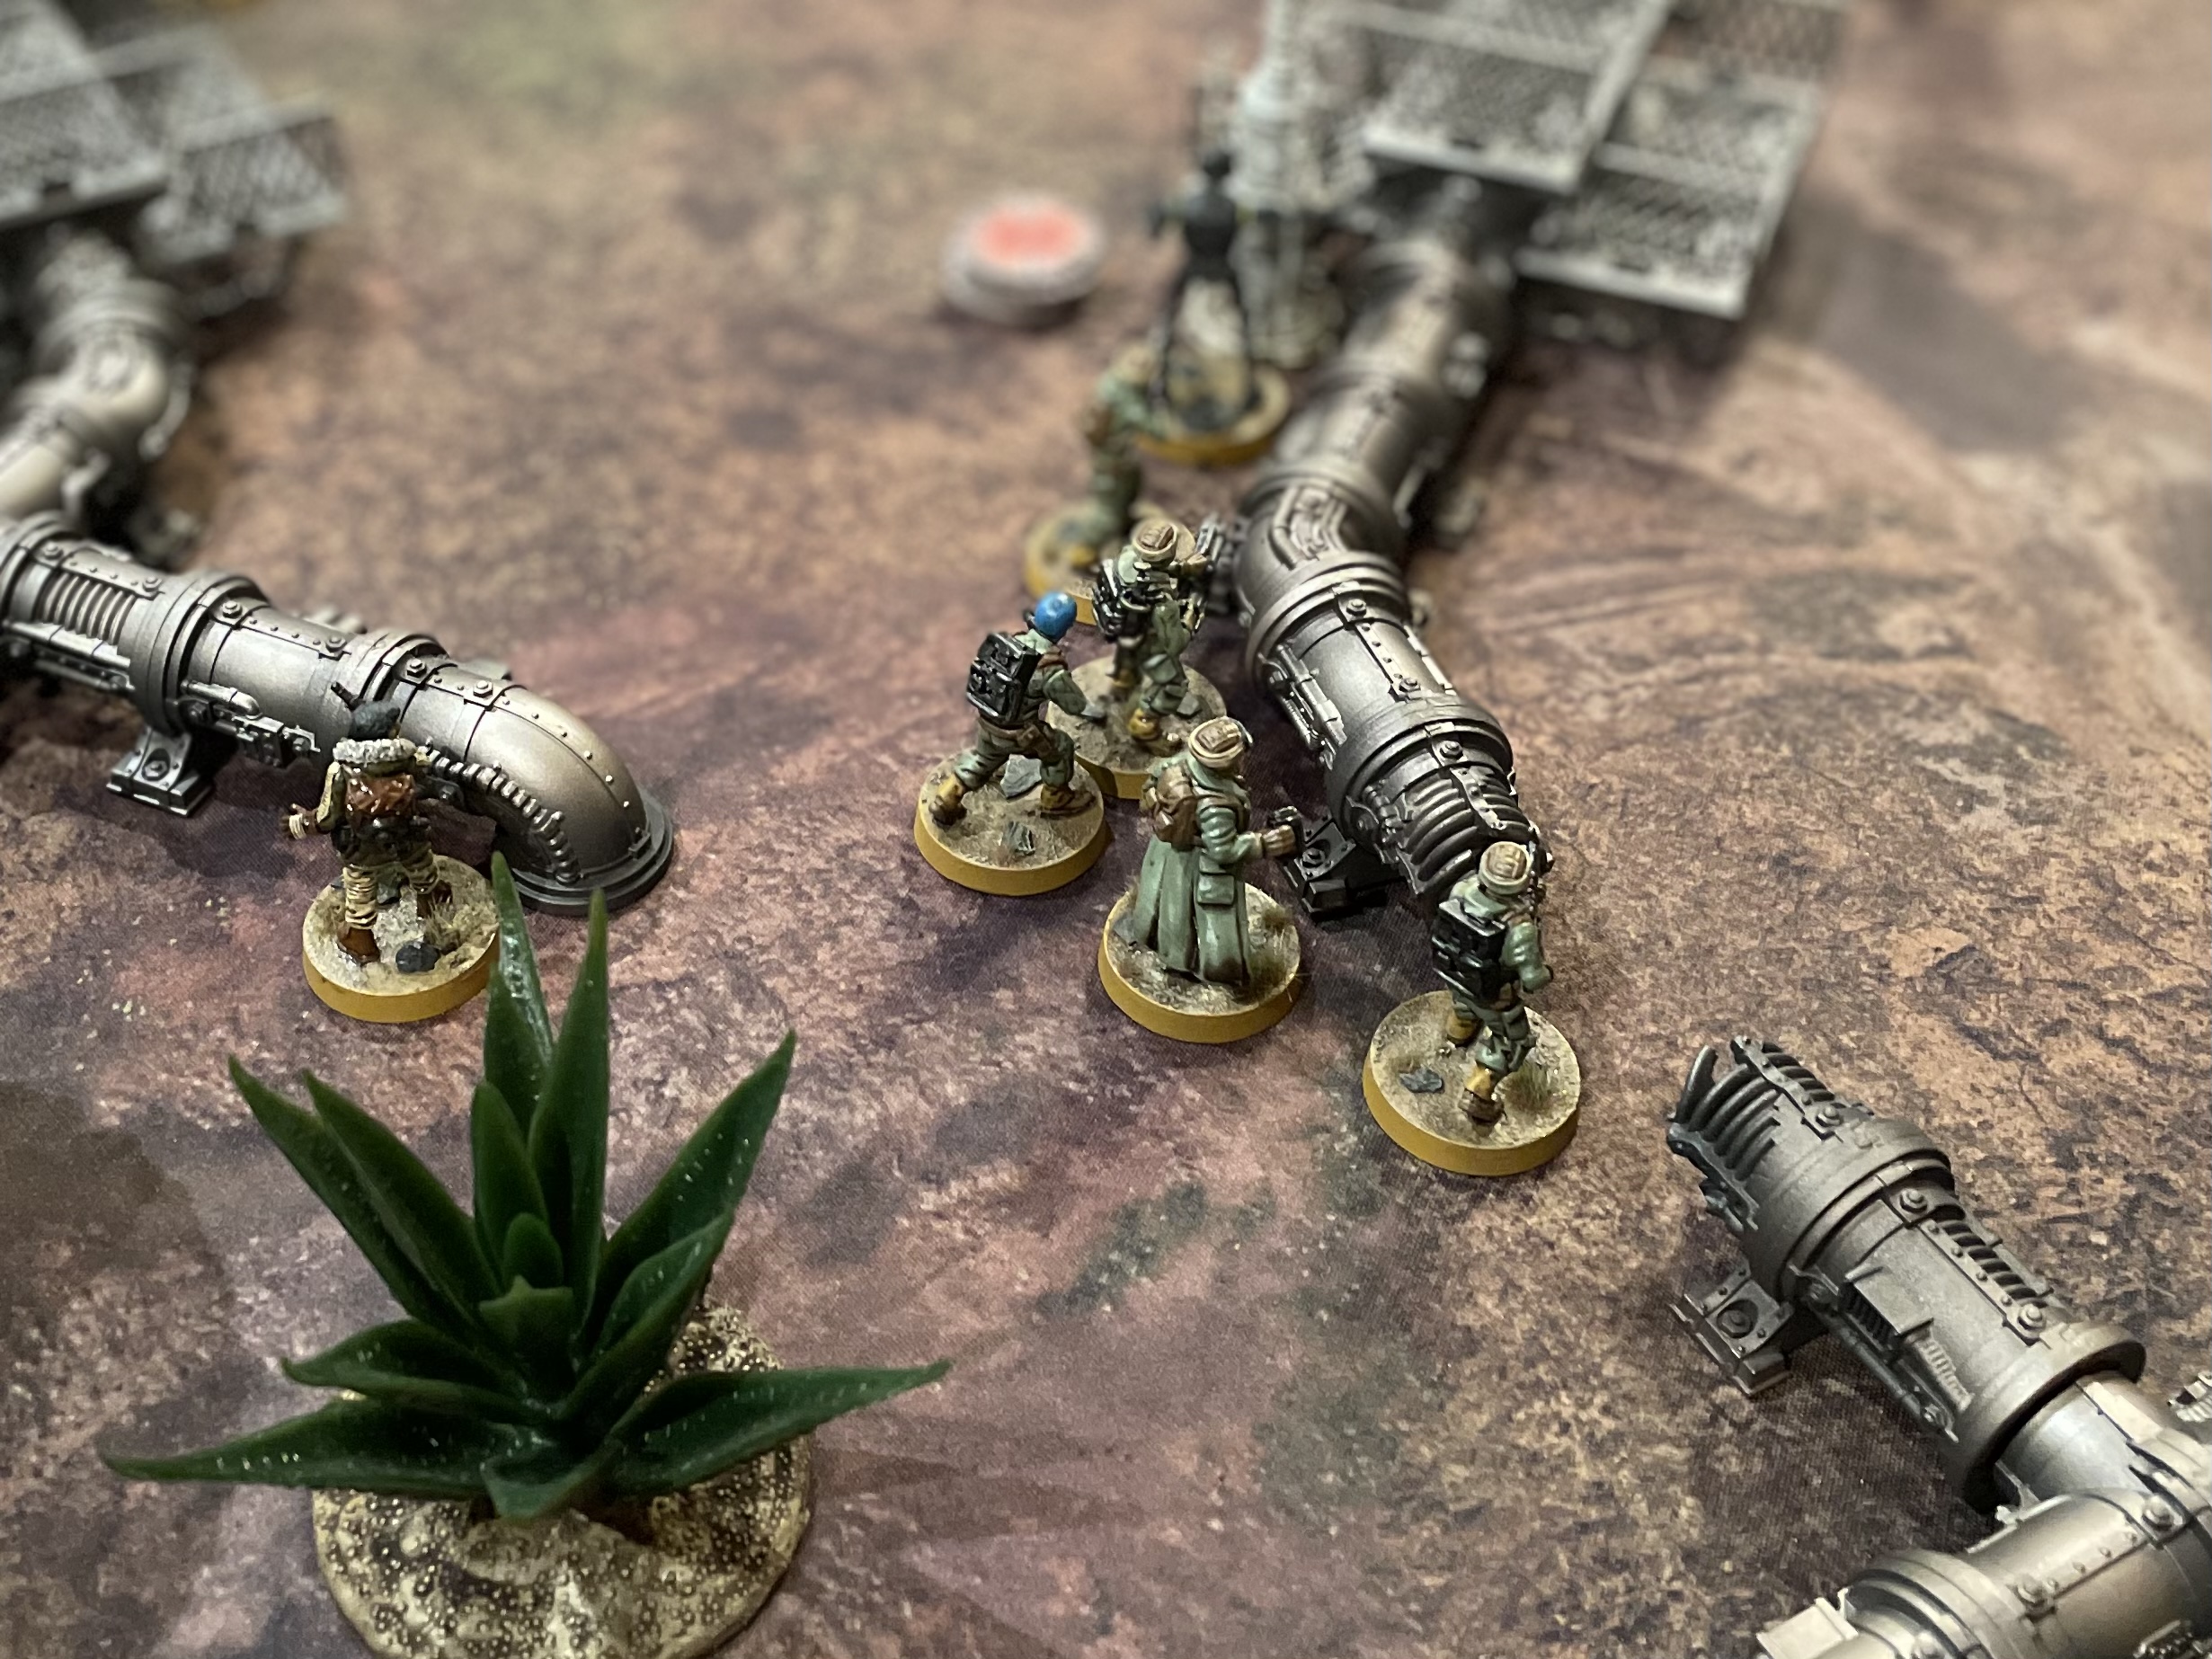
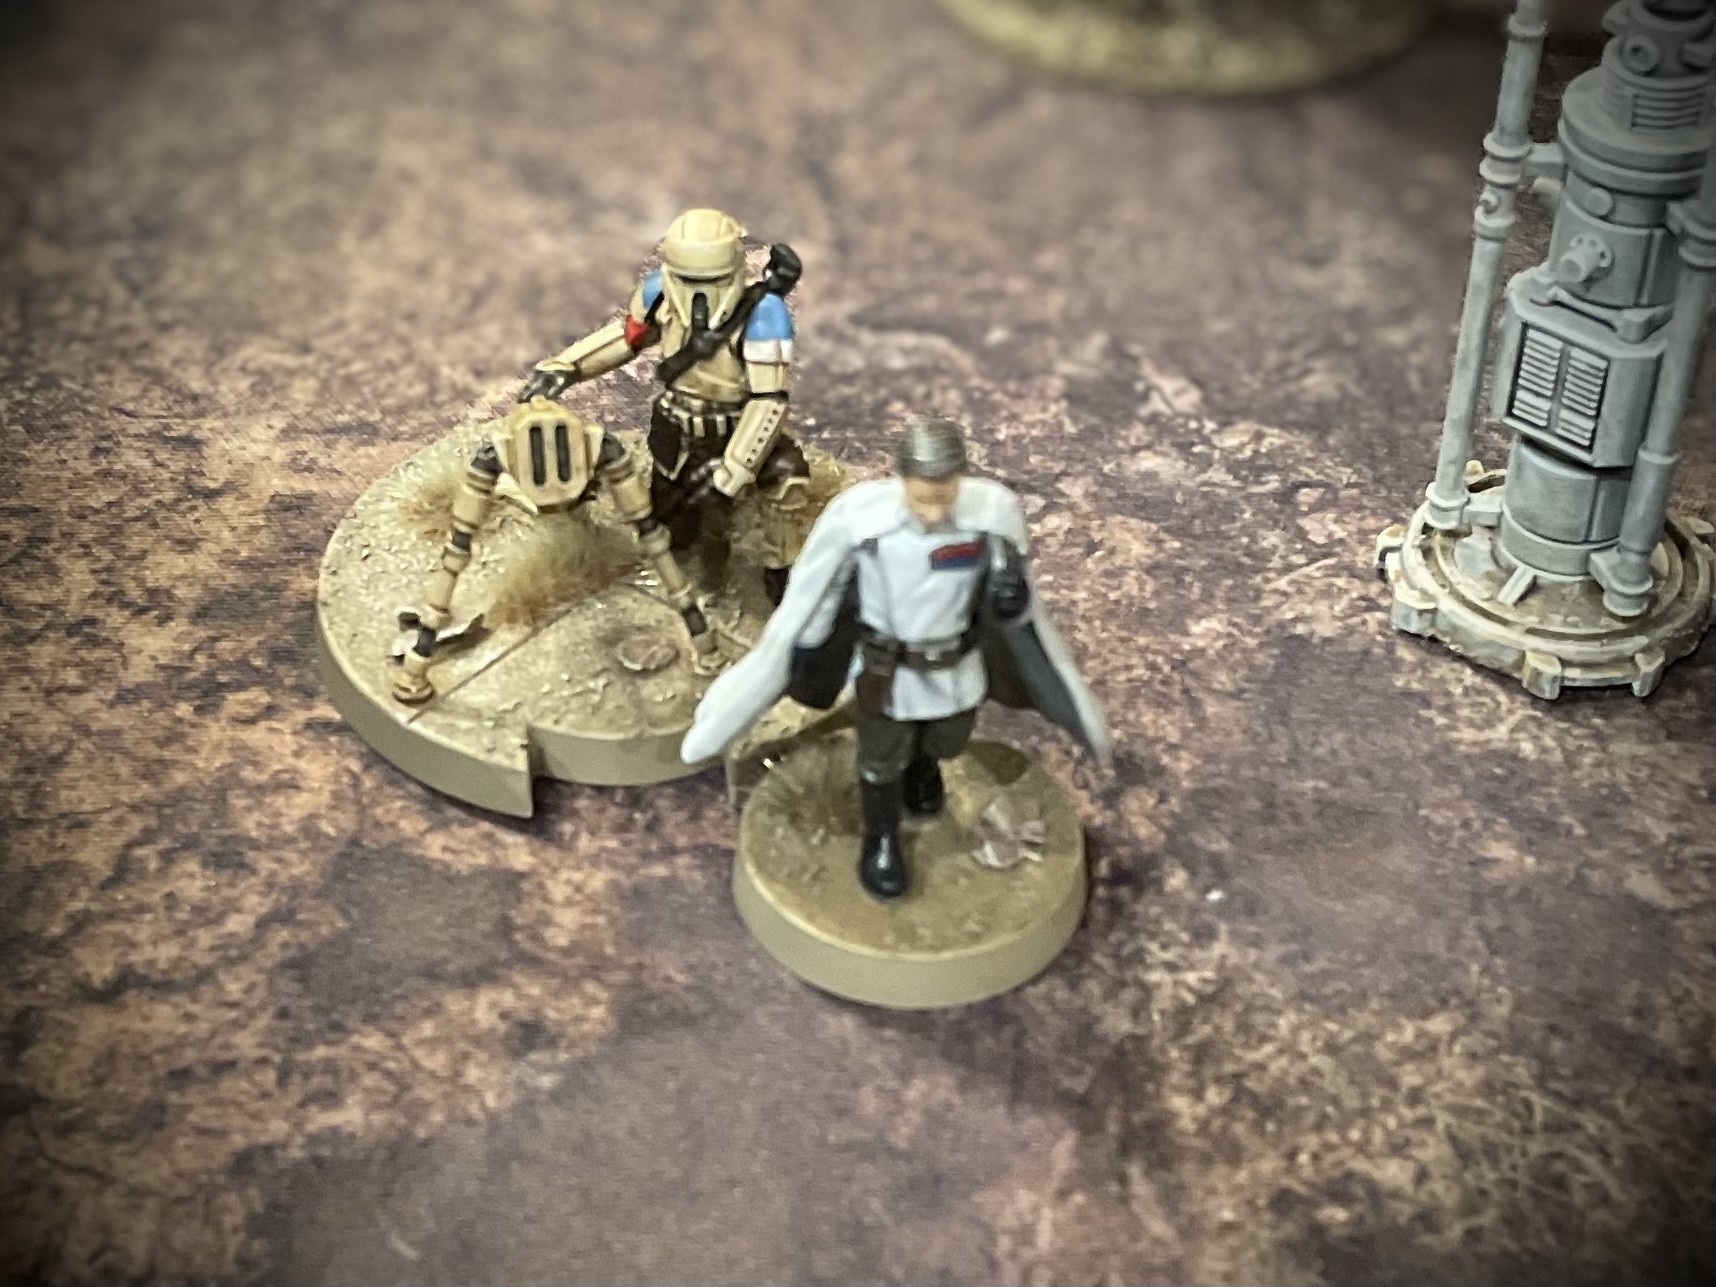
Winning initiative, Krennic immediately activated and spent an action recovering Intel from the Relay, before retreating behind the work shack!
 Tactical withdrawal …
On the southern flank Pao’s Pathfinder unit opened fire on the Shoretroopers, scoring three hits, which the troopers dutifully saved!
In retaliation they targeted Bistan’s unit, killing one and adding further suppression.

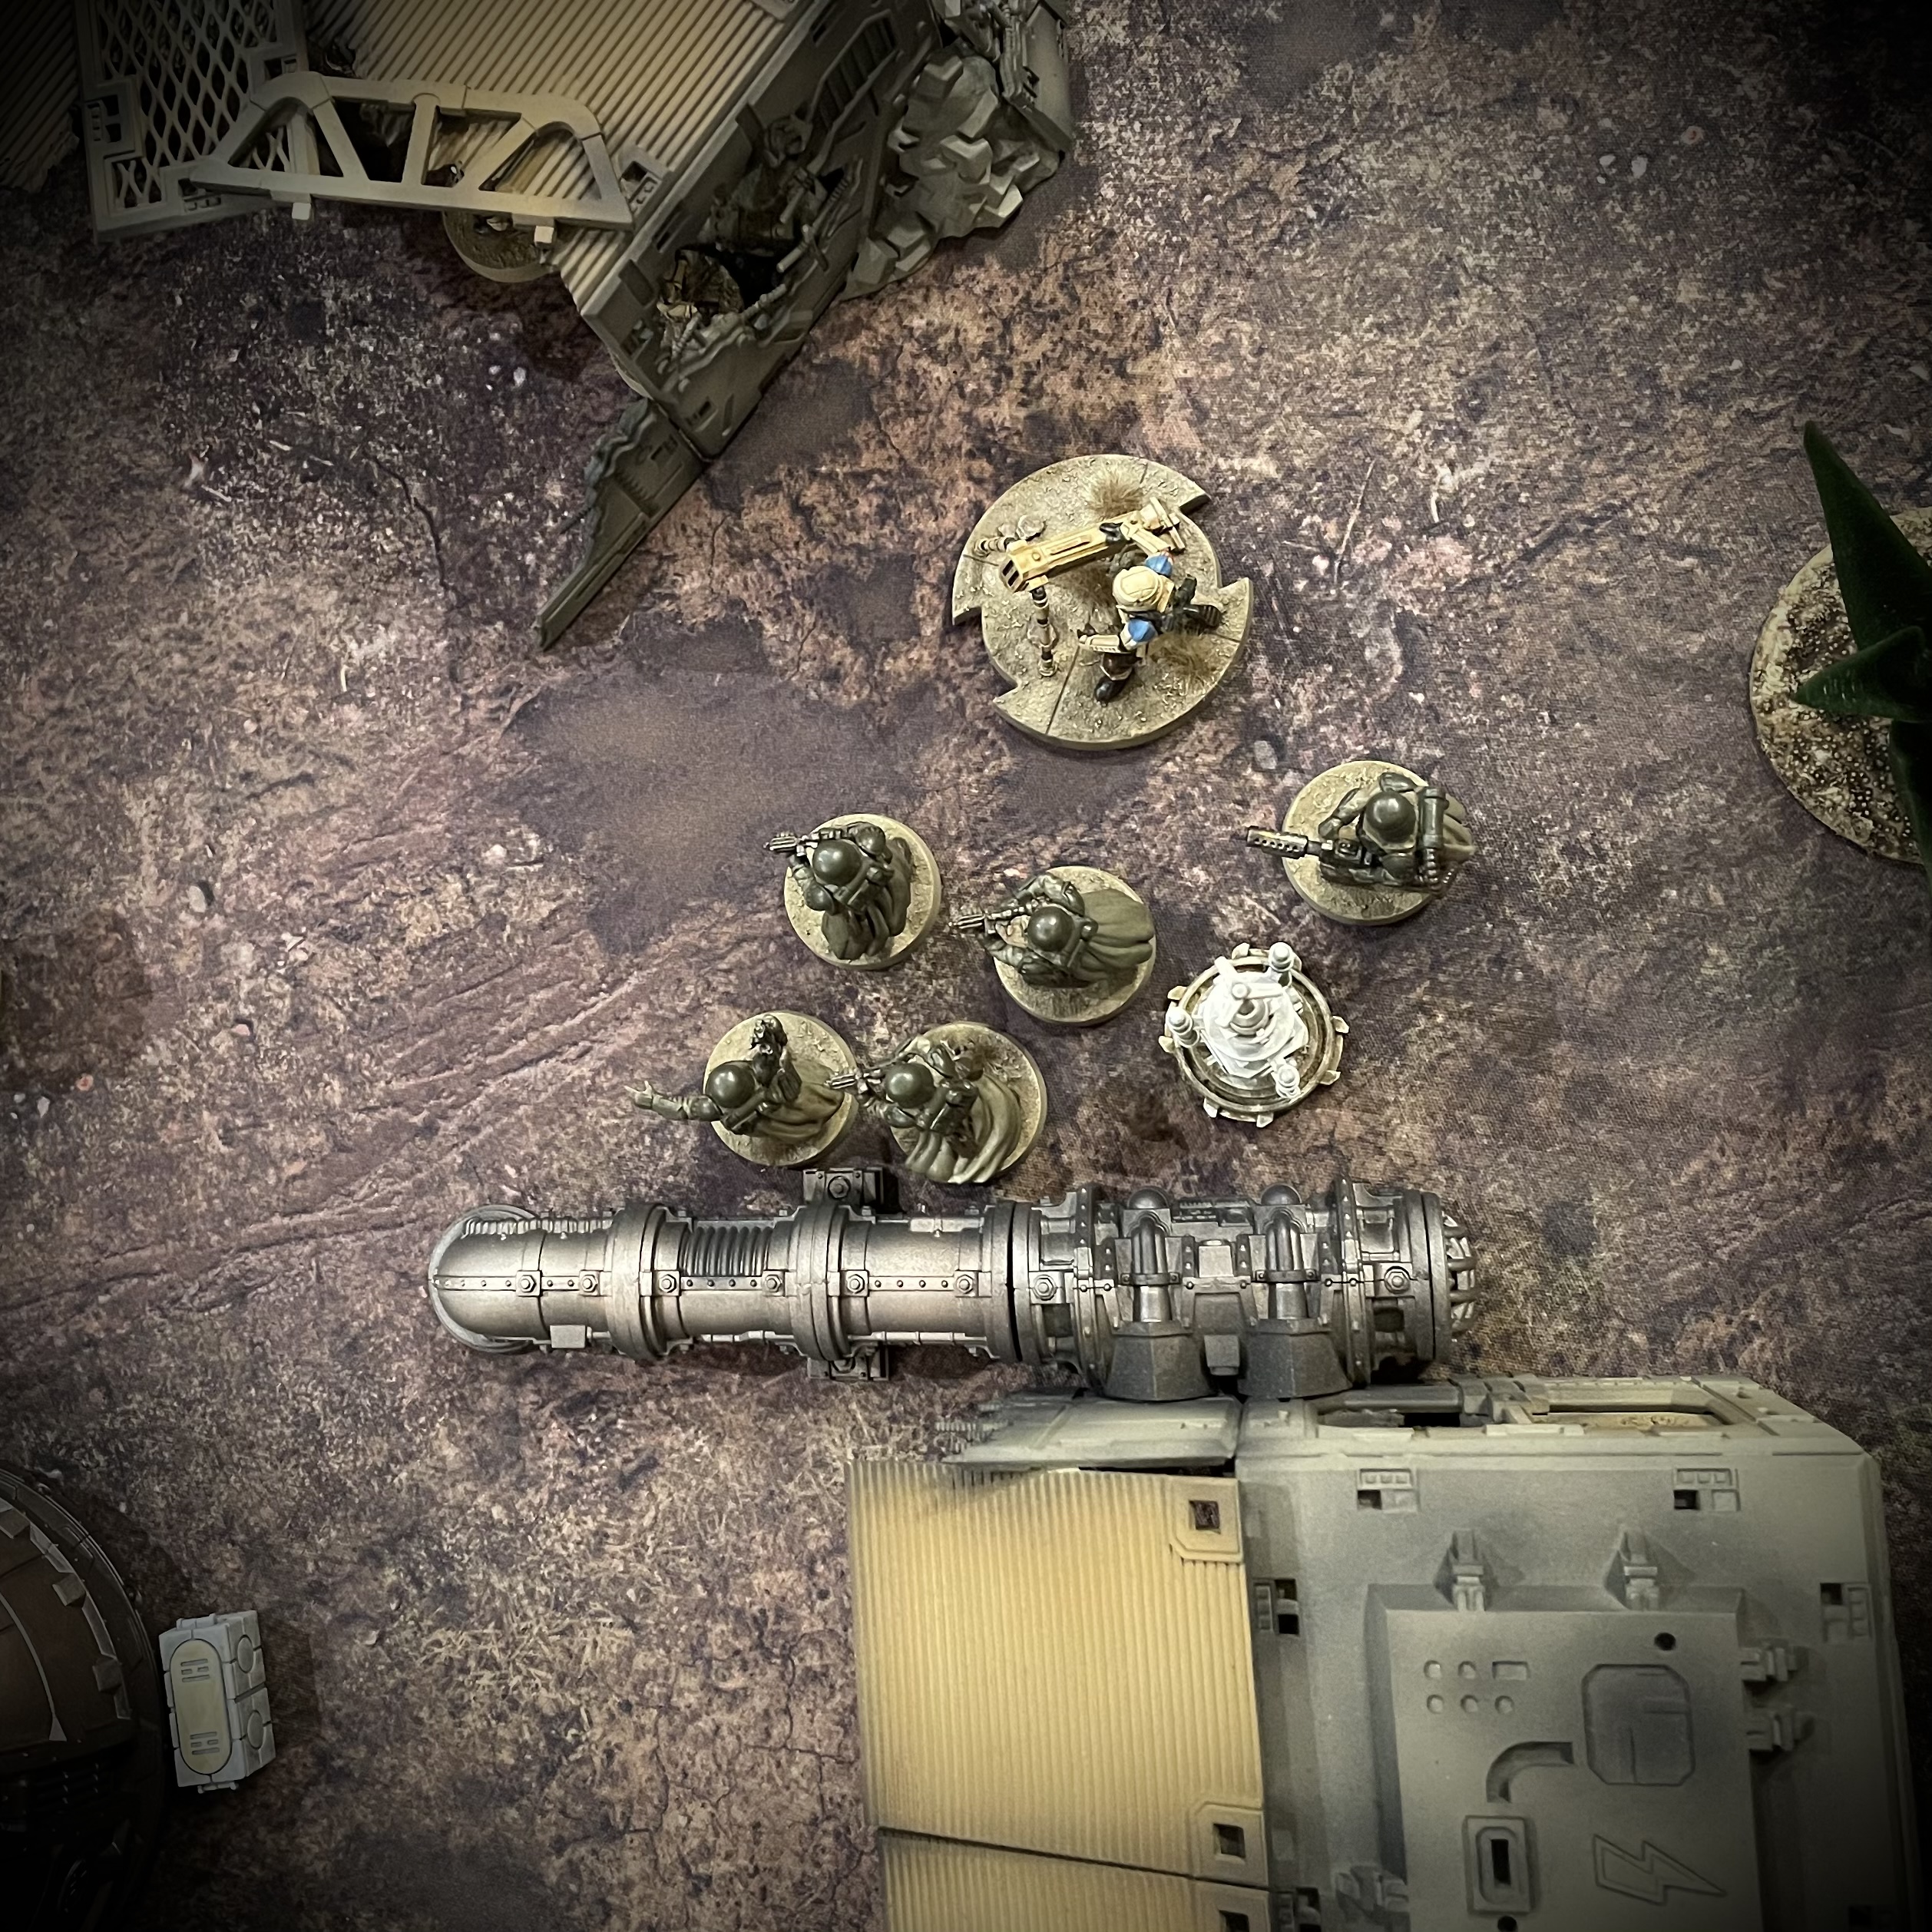
The Deathtroopers targeted the central rebel unit in a bid to suppress them out of the fight, but just as the Shoretroopers had done in the previous turn, they killed four of the five man unit!
However, thanks to the card the rebels had in play, the officers resolve was not broken and he continued his objective to upload data to the relay…. until the second Shoretrooper unit mercilessly gunned him down, leaving just Cassian and K2 defending the centre!
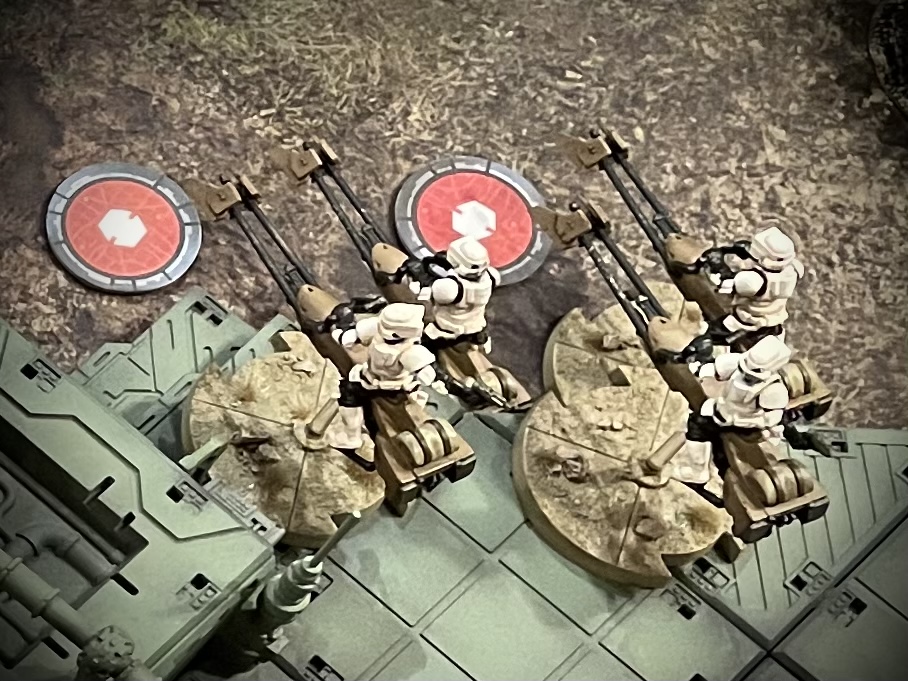
The Scouts and Hoth troopers extracted all remaining data from the imperial held relays, while an upload was still available to the Rebels central relay. Attempting to clear a path to this objective the Speeder Bikes surged forward, gunning down two of the Wookiees and wounding a third.
Their run of glory was short lived however as Jyn, the Fleet Troopers and the remaining Wookiees all targeted the Biker Scouts. More fire poured in from the south as Bistan used his longer range to target the hapless bikers! When the smoke had cleared just one bike remained, struggling to control his machine due to the effects of Bistan’s Ion charged heavy blaster!
 Guys?!
Round 3 - Orders
Imperials – I had recovered all available Intel from my own relays and now had my units in defensible firing positions. With the casualties I had already inflicted on the rebels, I didn’t feel that they were in any state to mount an attack on my position.
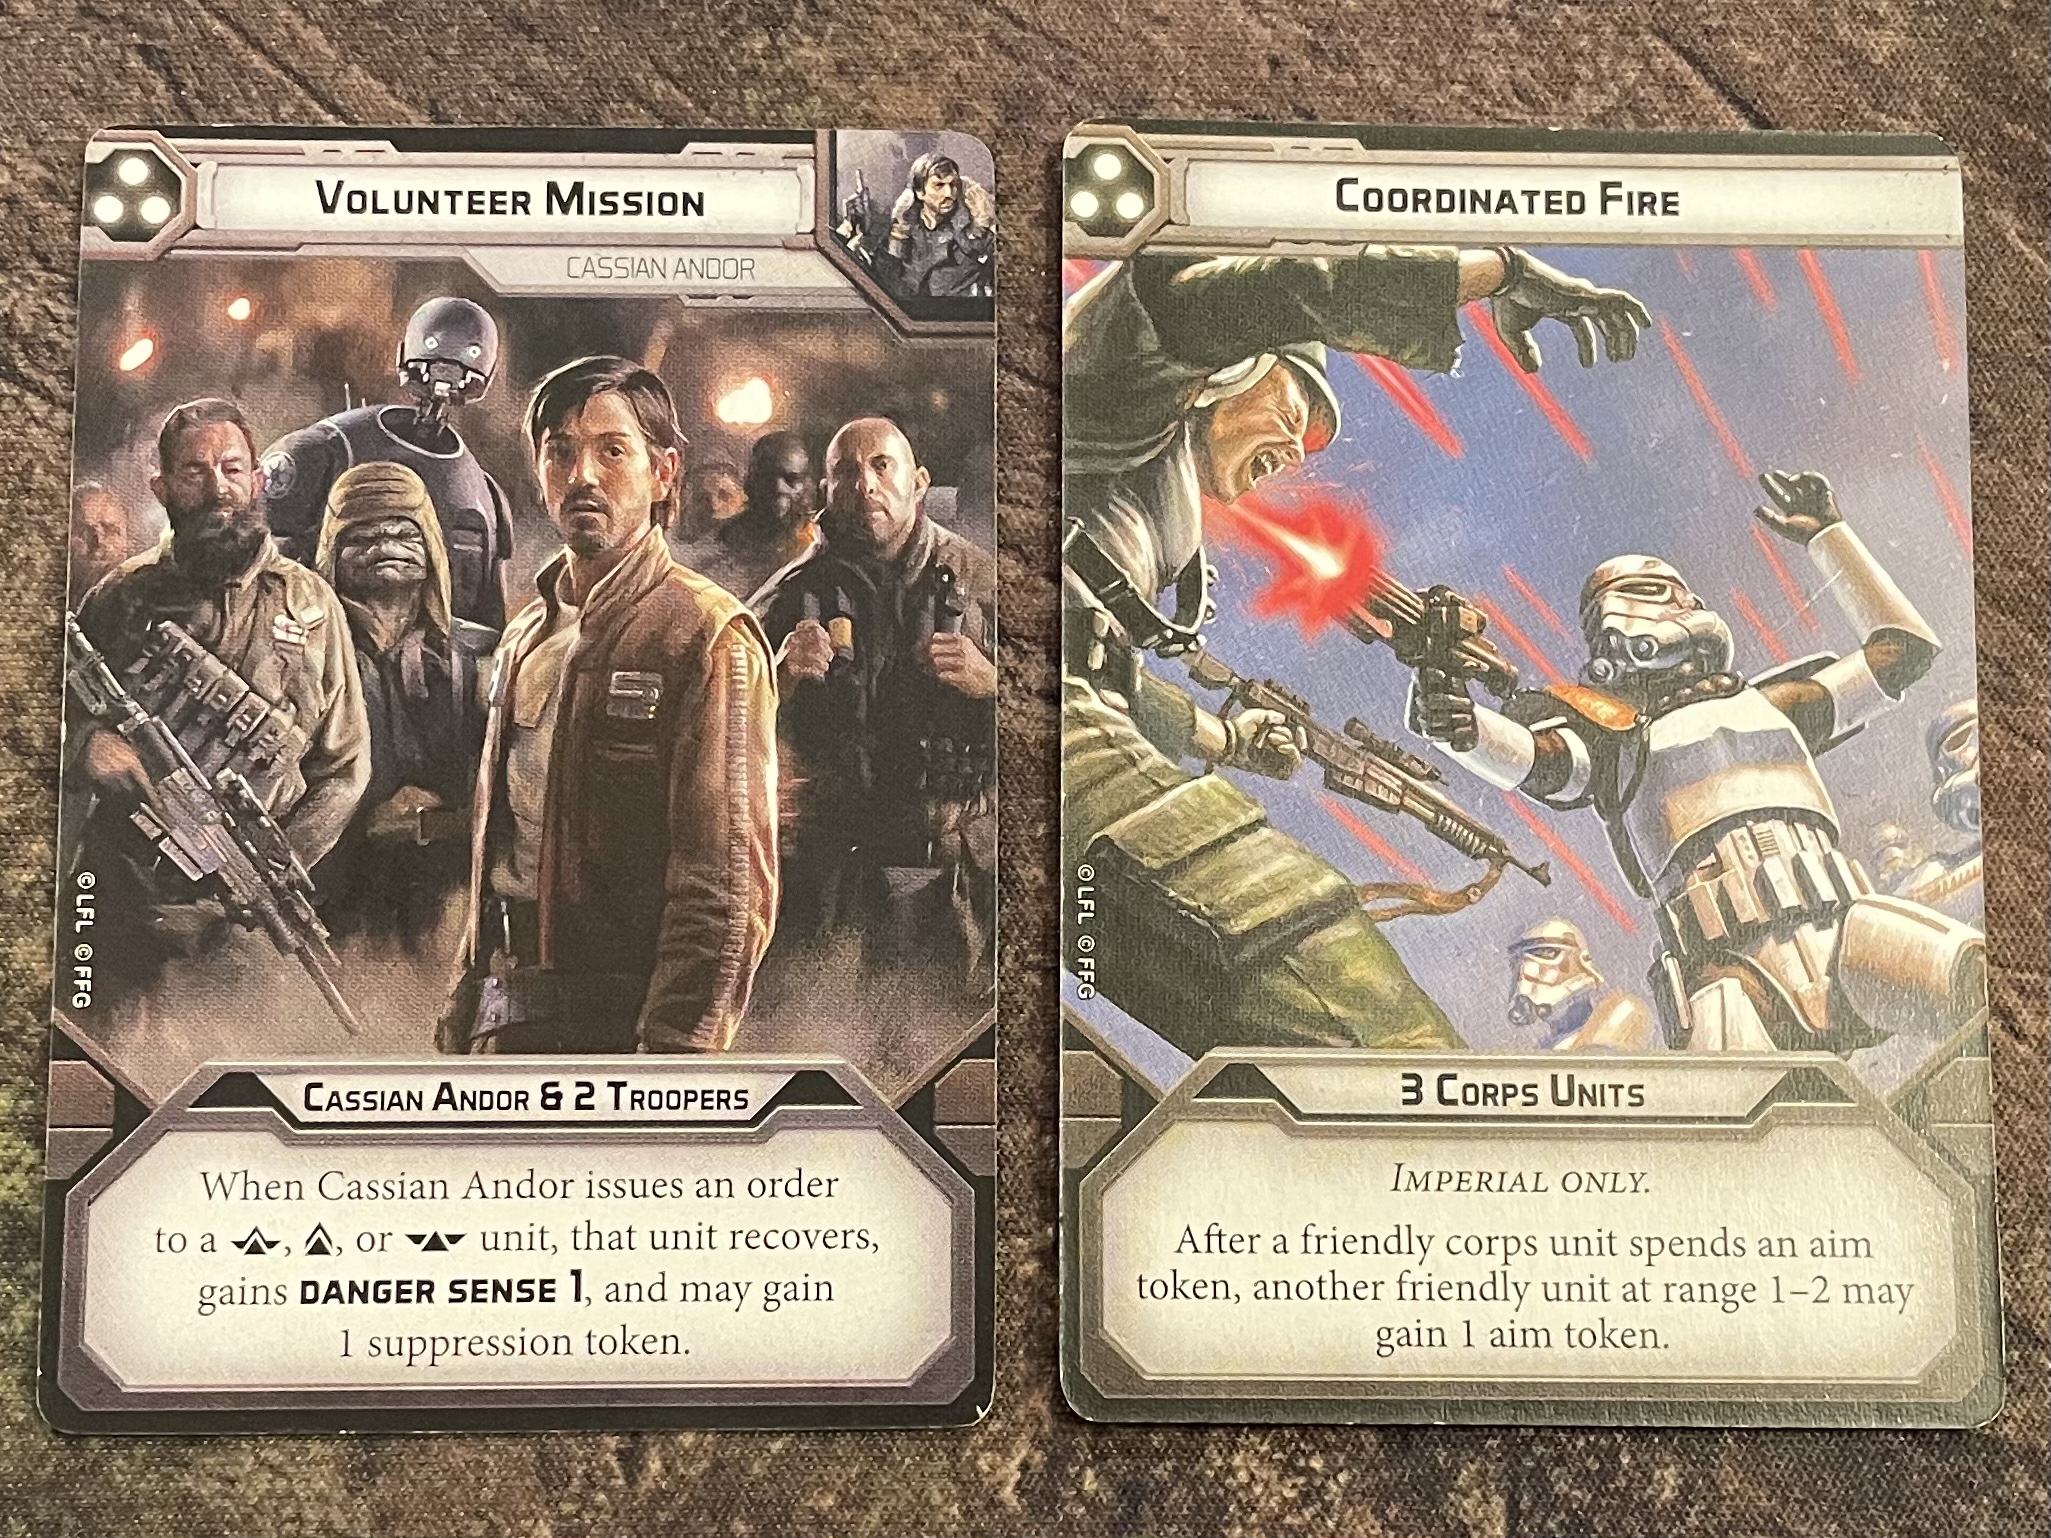
I could dig in for a comfortable draw but taking the central objective from the rebels wasn’t out of the question. Time was on my side so I opted to spend this turn dealing suppression and casualties where I could, without risking my own troops. ‘Coordinated Fire’ was the perfect order for this situation. Giving me plenty of order tokens and the ability to generate extra aim tokens would give me the greatest chance of causing damage.
Rebels – The imperial armies high activation was taking its tole and my more elite army was struggling to deal with the numbers it was facing. At this point victory was looking unachievable but I could still play for a draw.
I played Cassian’s three pip card – ‘Volunteer Mission’ in an attempt to rally my elite units and offer them greater protection from the firestorm that was sure to be coming. This would also allow me to save my lower pip cards for the final turns, where I may need the initiative.
Round 3 - Combat
Now that battle had been joined, the Pathfinders and Shoretroopers to the South dug in and poured as much fire on the opposition as they could muster. With both units in cover, the Shoretroopers suffered a singles casualty while two more Pathfinder’s went down.
The Fleet Troopers opened fire on the remaining bike before it had a chance to activate, causing five hits which it failed miserably to save.
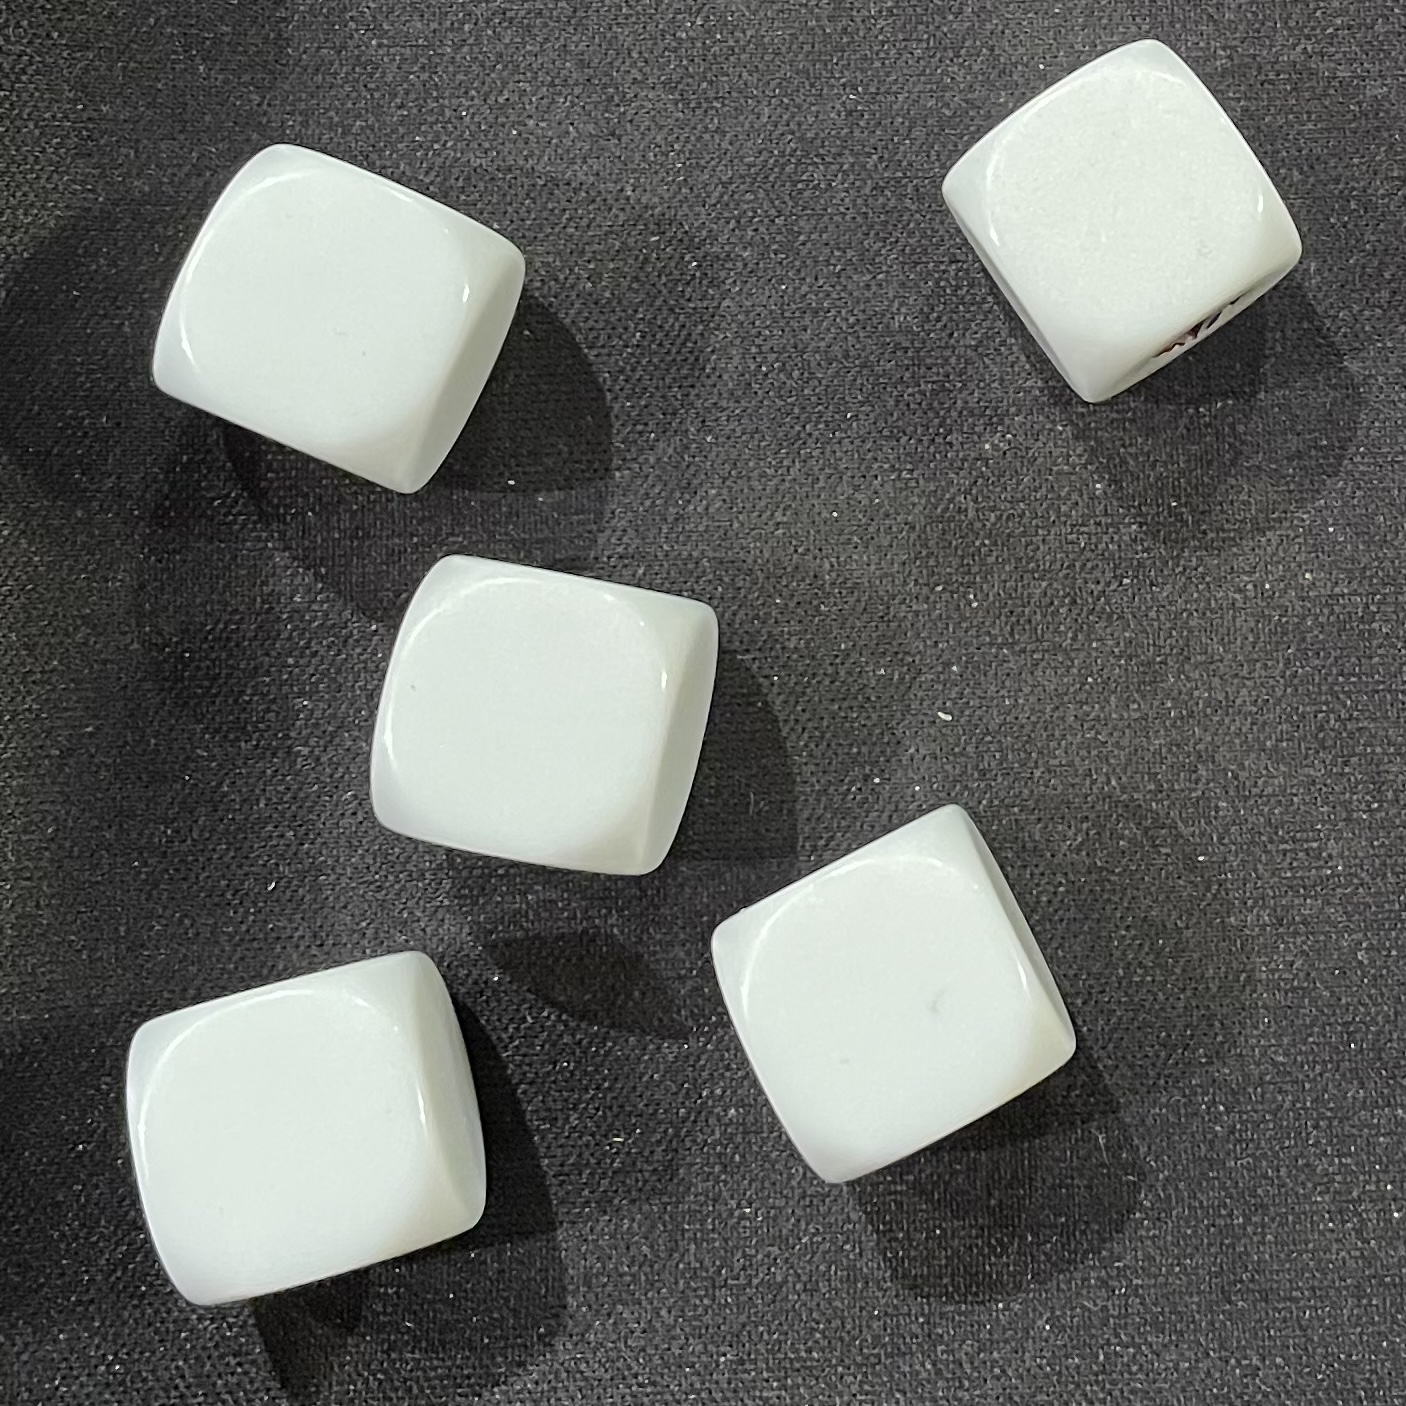 Blanco
With the ‘covering fire’ of the Southern Shoretrooper unit and remaining Mortar, the Northern Shoretrooper unit and Dethtroopers were able to break cover and still benefit from aim tokens. This brought them closer to the objective while still contributing enough firepower to finish off the Fleet Troopers and fell another Wookiee Warrior.
Though the Rebels had taken heavy casualties, the Trooper unit previously occupied with uploading Intel, was now able to pull forward in support of Cassian and K2, bolstering the central objective.
Round 4 - Orders
Imperials – With three turns to go I still had two 1 pip cards in my hand. In a bid to keep the Rebels on the back foot I attempted to win initiative by playing ‘Covert Observation’. This card has had an update from its original format and now causes suppression on any unit on the opposing side who receives an order.
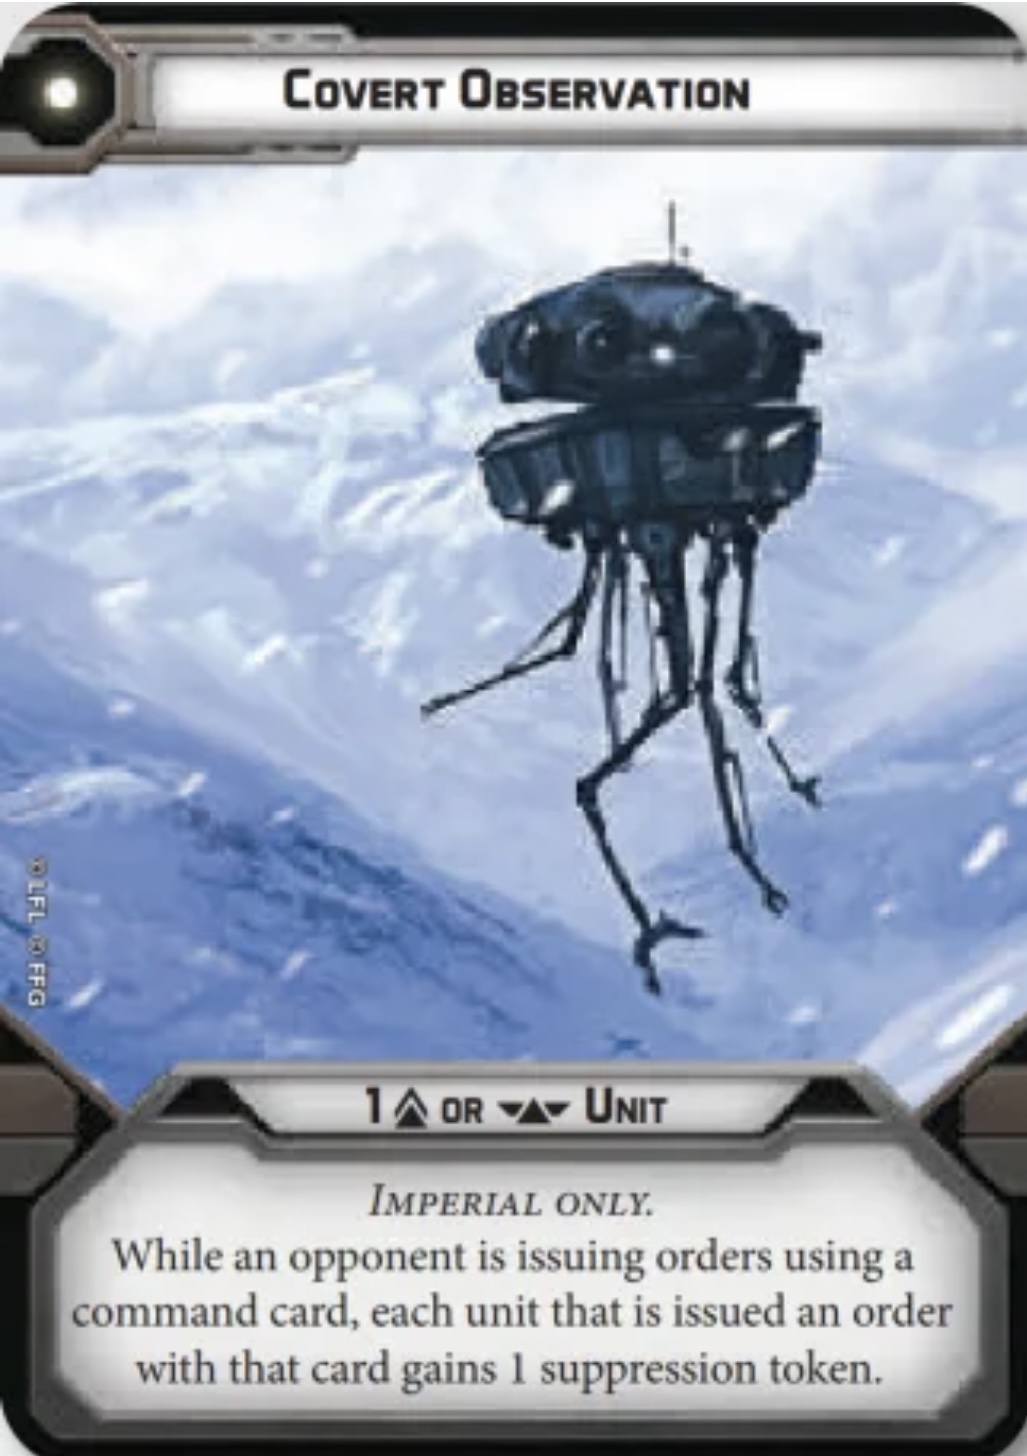
A small advantage but robbing my opponent of actions and increasing my chances of sowing panic in the enemy ranks could prove vital at this stage of the game.

Rebels – The imperials we’re beginning to rush my position and with most of my basic troops eliminated, my three plucky heroes were likely to come under fire this turn. By playing ‘Trust goes both ways’ I would be able to generate additional aim or dodge tokens by gaining Teamwork for Jyn and one other unit. The obvious choice was K-2SO, who was the last line of defence for my forward objective.
Unfortunately the Imperials ‘Covert Observation’ would mean K2 and Jyn each beginning the round with a Suppression token.
Round 4 - Combat
Once again the Imperials had stolen the initiative and wasted no time moving the E-Web into a position from which it would cover the objective with a standby action.
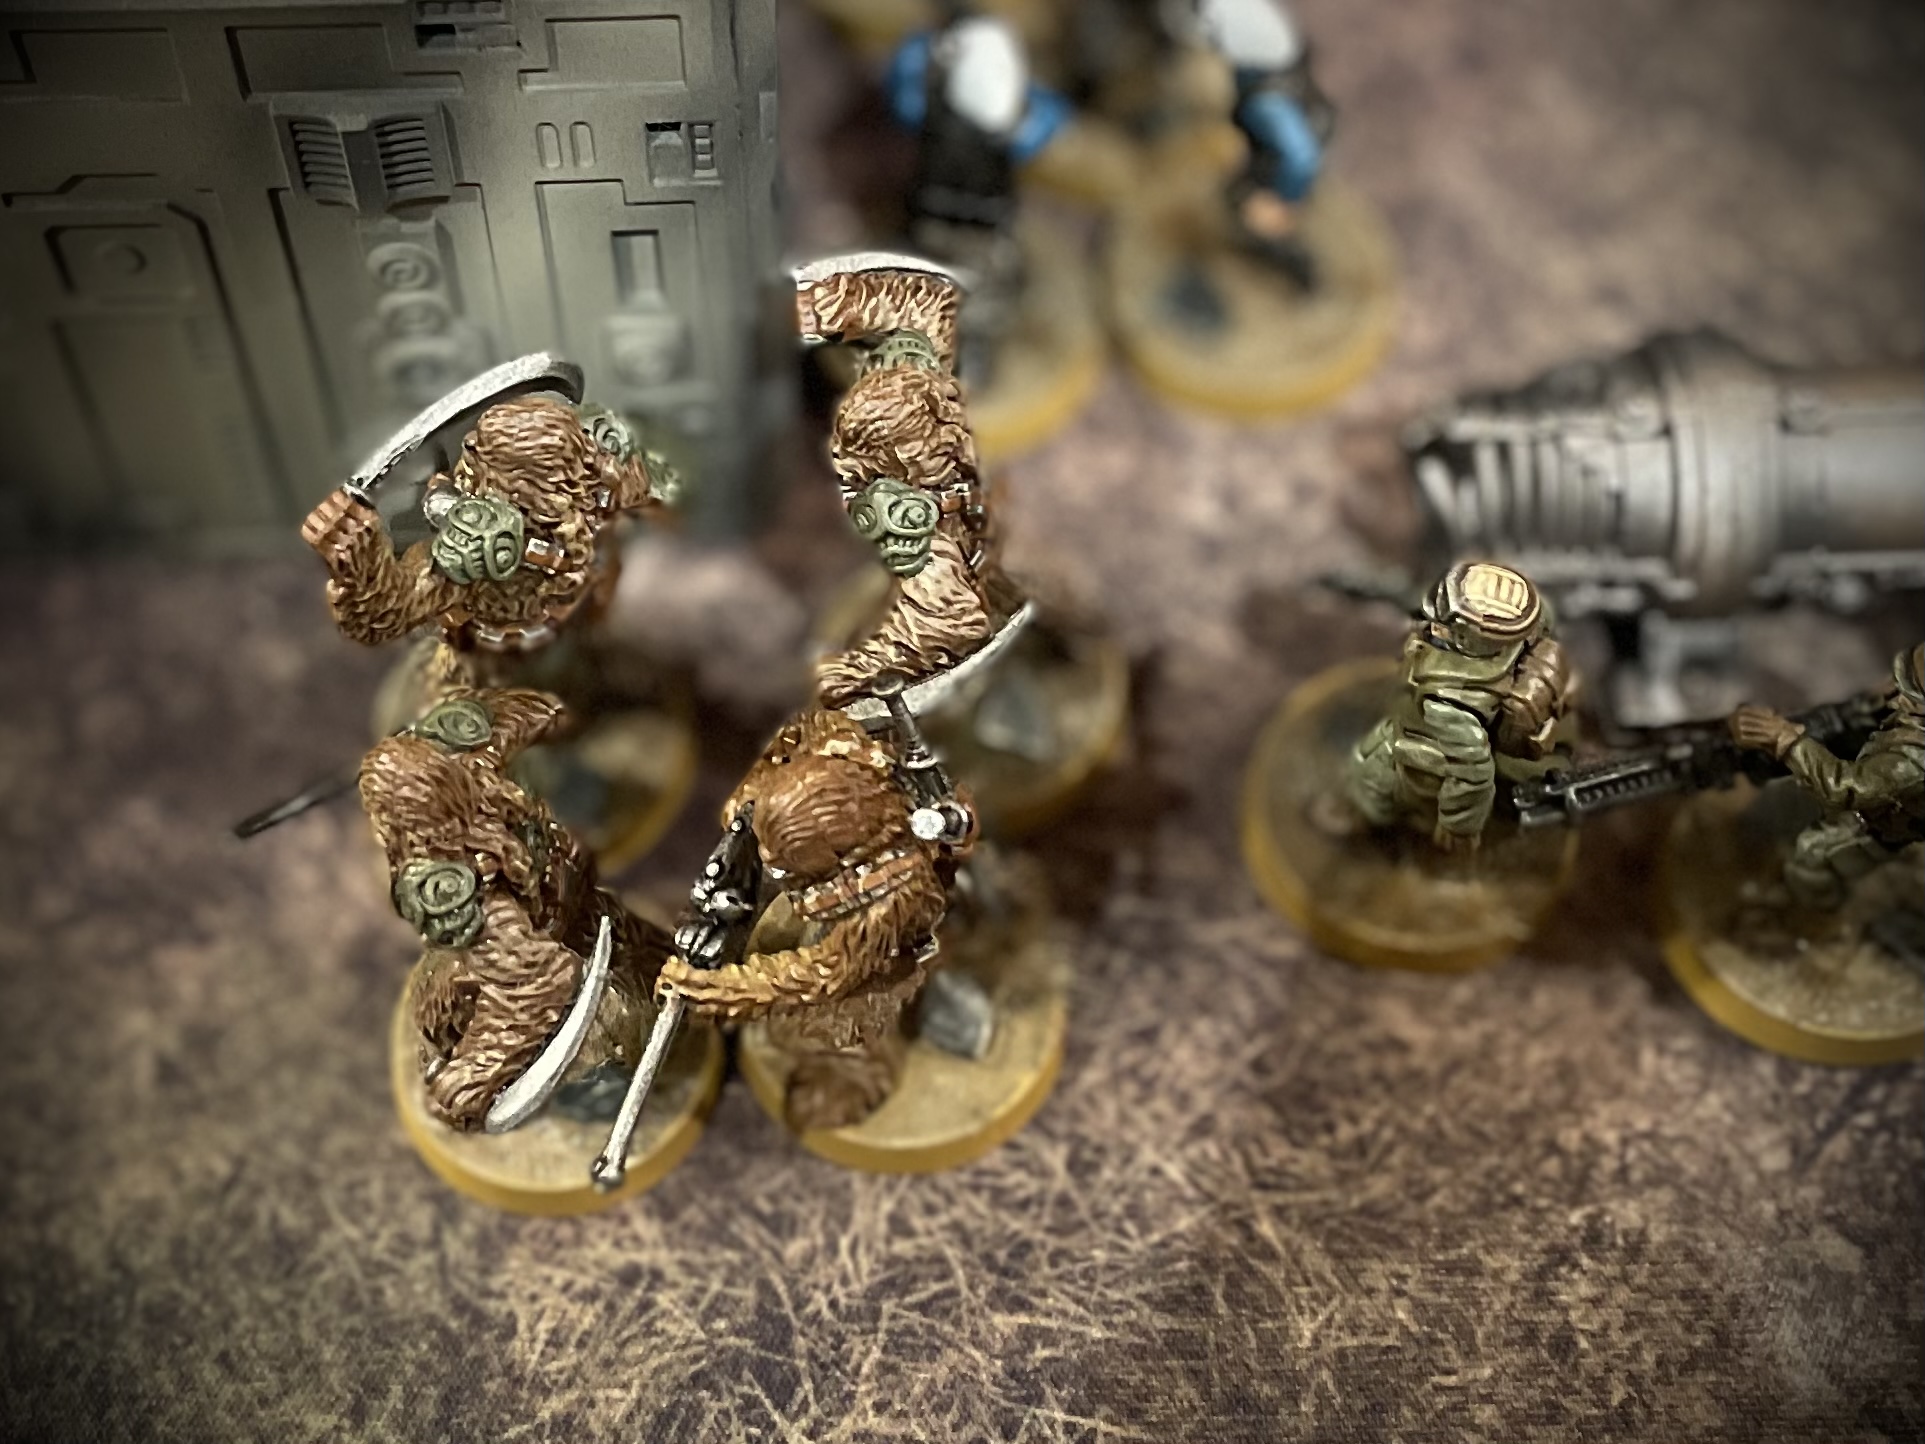
Seeing an opportunity to counter this move, the surviving leader of the Wookiee Warriors, made a bold move through an opening in the side of the work shack to charge the E-Web from outside of its fire arc!
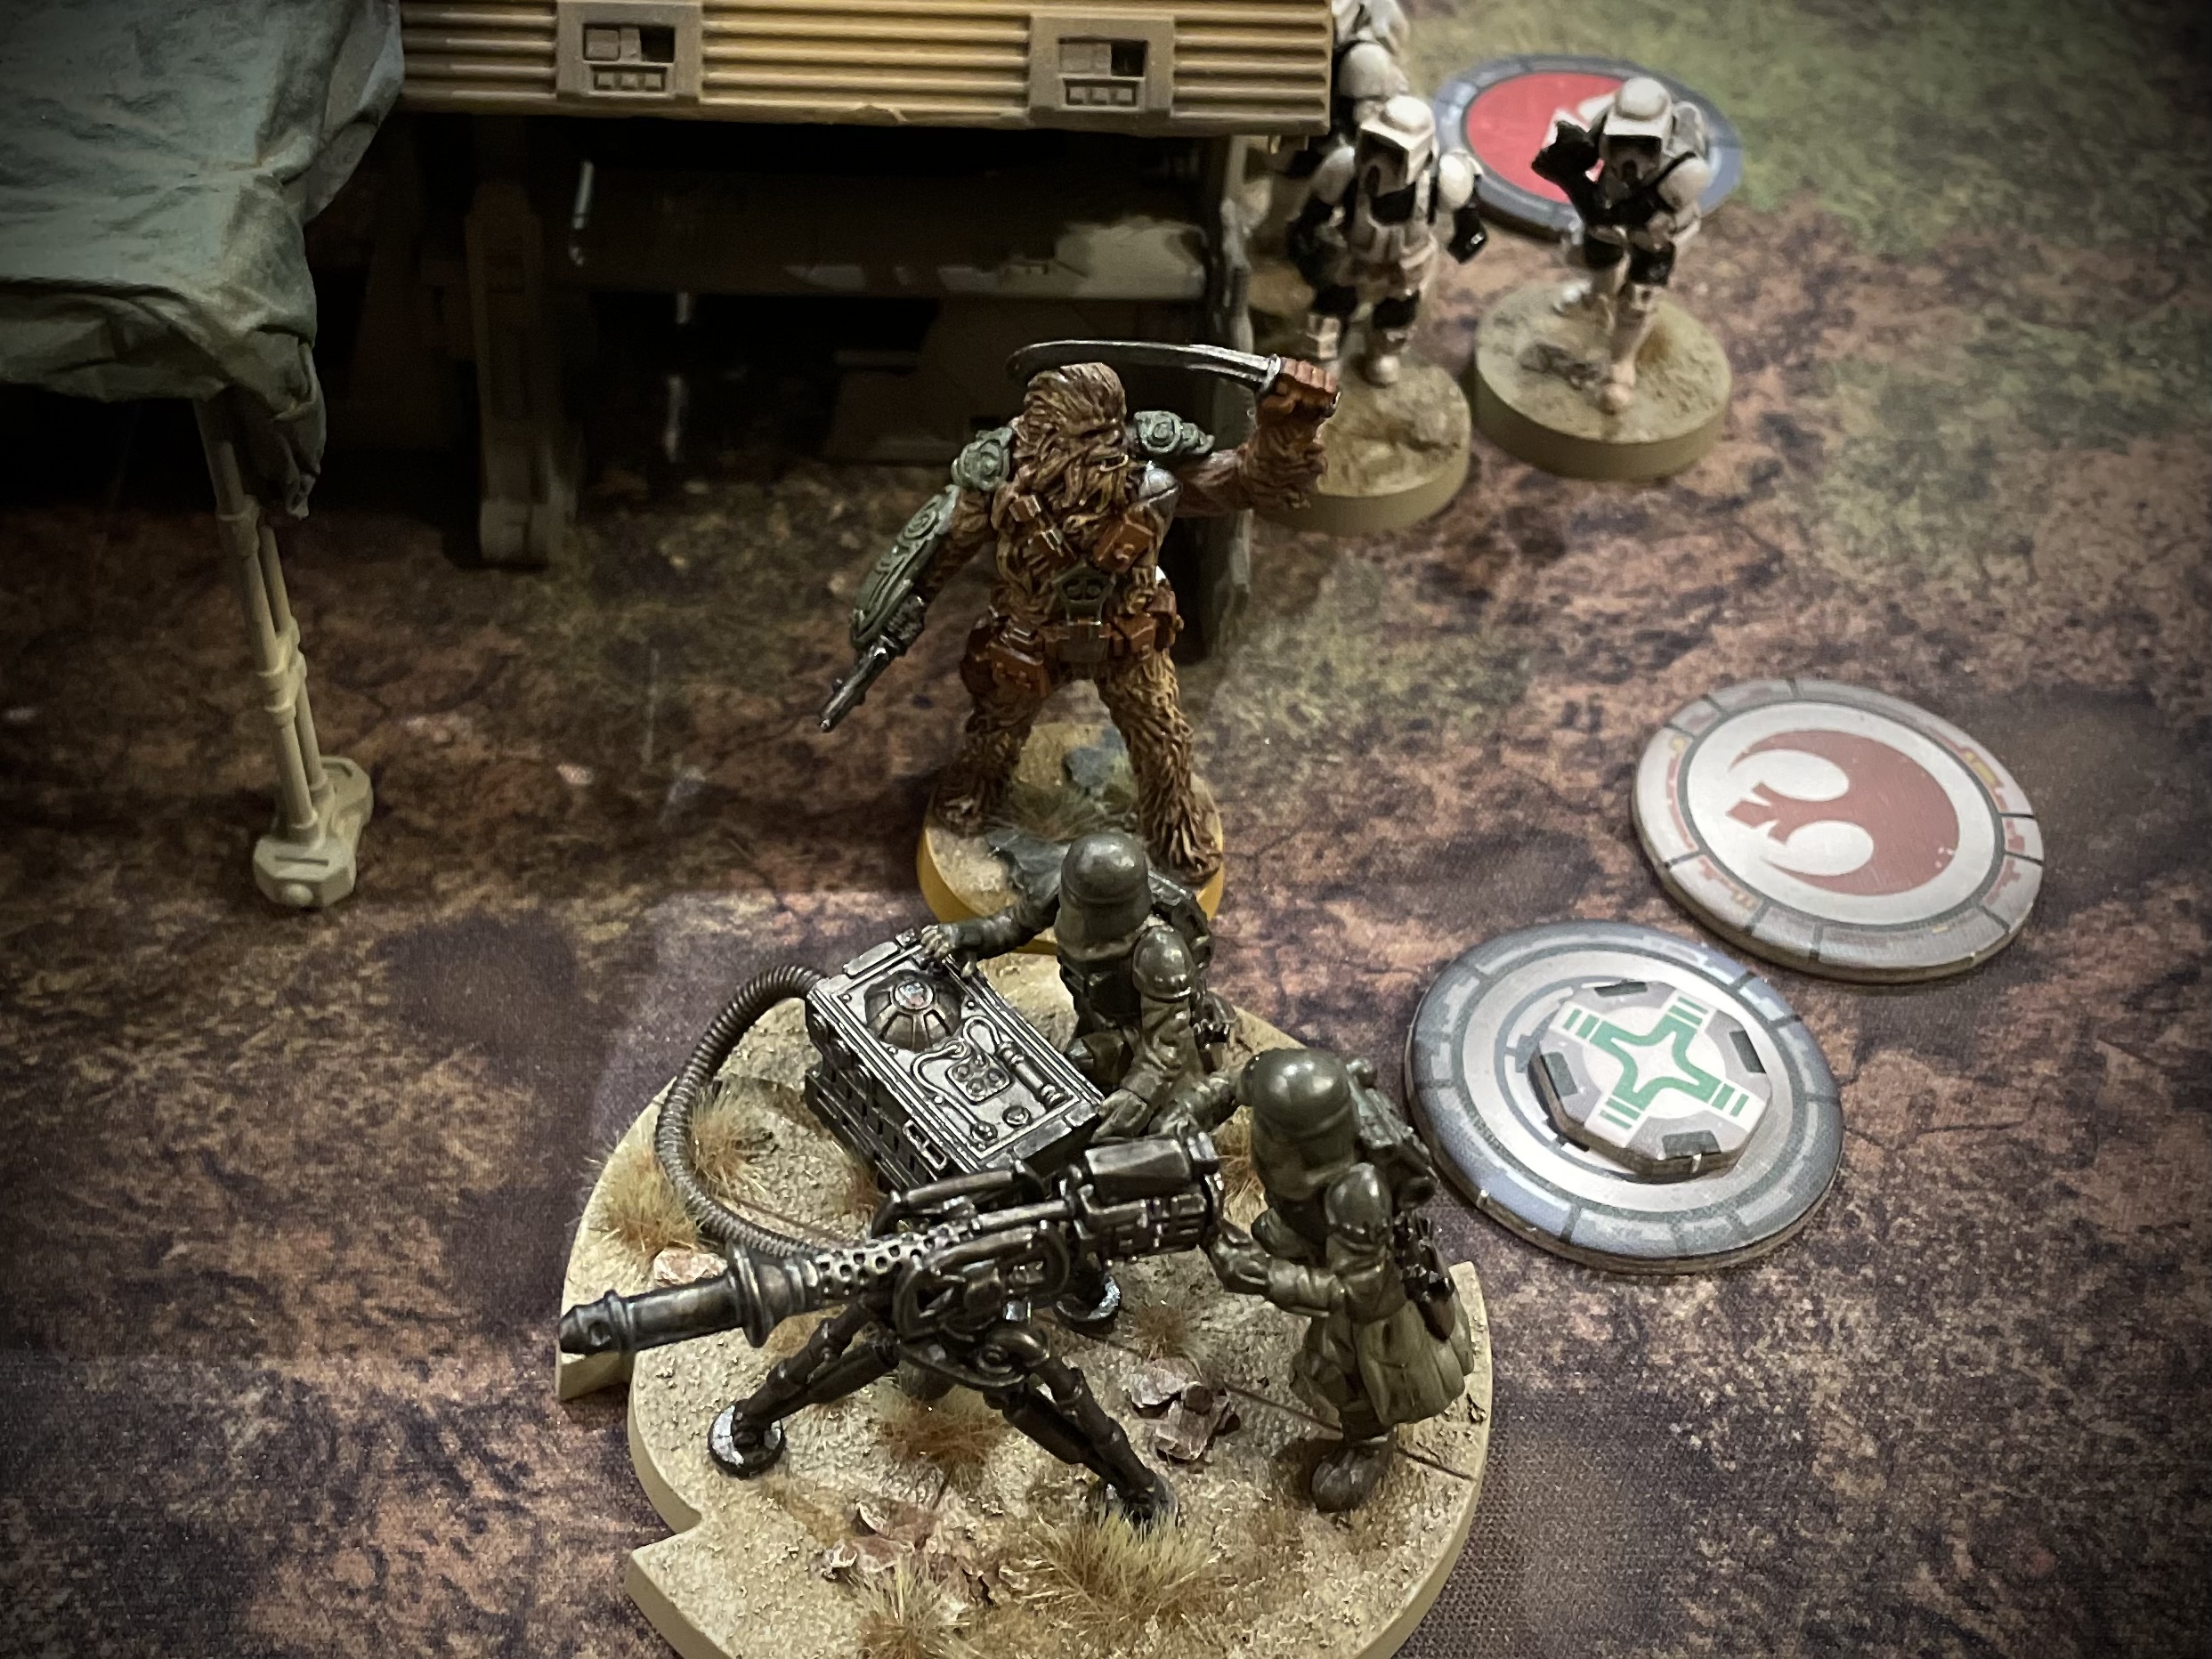
Though the weapons team suffered only a single wound in the ambush, they would now be occupied fending off an enraged man carpet! But the Imperials had plenty of units still in the fight and opened up a Mortar Volley on Jyn Erso, scoring a perfect shot!

Taking no chances, Jyn opted to Duck and Cover, gaining a 2nd suppression, allowing her to roll five dice in defence of the attack, due to her Danger Senses. She escaped with only a single wound, however due to the Suppressive nature of the mortar attack, was now left with four suppression tokens.
Sensing an opportunity, Krennic ordered any available troops to target the heroin as they continued their advance on the objective, ramping her suppression up to a staggering seven!

Jyn had resisted activating as long as was reasonable but eventually had to attempt to rally. She needed to clear just two of the suppression markers to avoid panic and with seven dice to roll, had a good chance of achieving this…
Fate had different plans however and Jyn was forced to flee in a state of panic! Fortunately for the rebels, her move took her just shy of the table edge.
Round 5 - Orders
Imperials – I had just two more turns to reach the Comms Relay and download at least one Intel token for a win. I had no choice but to throw every available man at the objective and to hell with the losses!
Krennic still had one last trick up his sleeve and I had been holding on for turn 5 for maximum impact. ‘Annihilation Looms’ is a double edged sword as it causes suppression on every troop unit, not just the enemy!… yet with Jyn already panicked, it might just tip the balance in my favour.
Rebels – It looked like this was the make or break turn for Jyn Erso. She would either rally and rejoin the fight or else flee the battlefield in a state of panic!
I knew Krennic was still holding a one pip which would trump my own, I just hoped he would be saving it for the last turn.
Round 5 - Combat
The Rebels had retaken the initiative and all eyes were on Jyn to see if her nerve would hold. Though one suppression had cleared automatically at the end of the previous turn, Krennic’s devious orders had placed two further suppression counters in the orders phase, for a total of eight!
… But this time the dice would be on Jyn’s side. She cleared four and was back in the game, all be it with a single activation. Jyn’s panic last turn had placed her conveniently behind cover and though this made a charge out of the question, it didn’t stop her taking down two of the remaining Shoretroopers with her A-180 Pistol.
In retaliation the imperial scout sniper, who had been working his way around the edge of the battlefield, targeted Jyn wounding her for a second time.
But this was going to be a punishing turn for the imperials who were compelled to break cover by their merciless leader. The remaining Hoth troopers were wiped out by the few remaining rebels. Cassian Sniped two of the scouts, making short work of their cover thanks to his marksman ability.

The Wookiee leader continued to slug it out with the crew of the E-Web but their superior armour kept them in the fight with a single wound remaining. The southern Shoretrooper unit and Deathtroopers fared better, making it into the cover of the central pipe system.
Krennic, impatient for victory broke cover to drive his men forward and it was then that the Rebels played their ace Card. K-2S0, who had remained silent for much of the battle now opened fire on the Imperial leader, taking him out of the fight!
Round 6 - Orders
Imperials – With their leader mortally wounded the imperial forces were left with no recourse but to revert to ‘Standing Orders’. The only available pip was placed on the Deathtroopers in the hope that they could still wrestle the objective from the enemy.
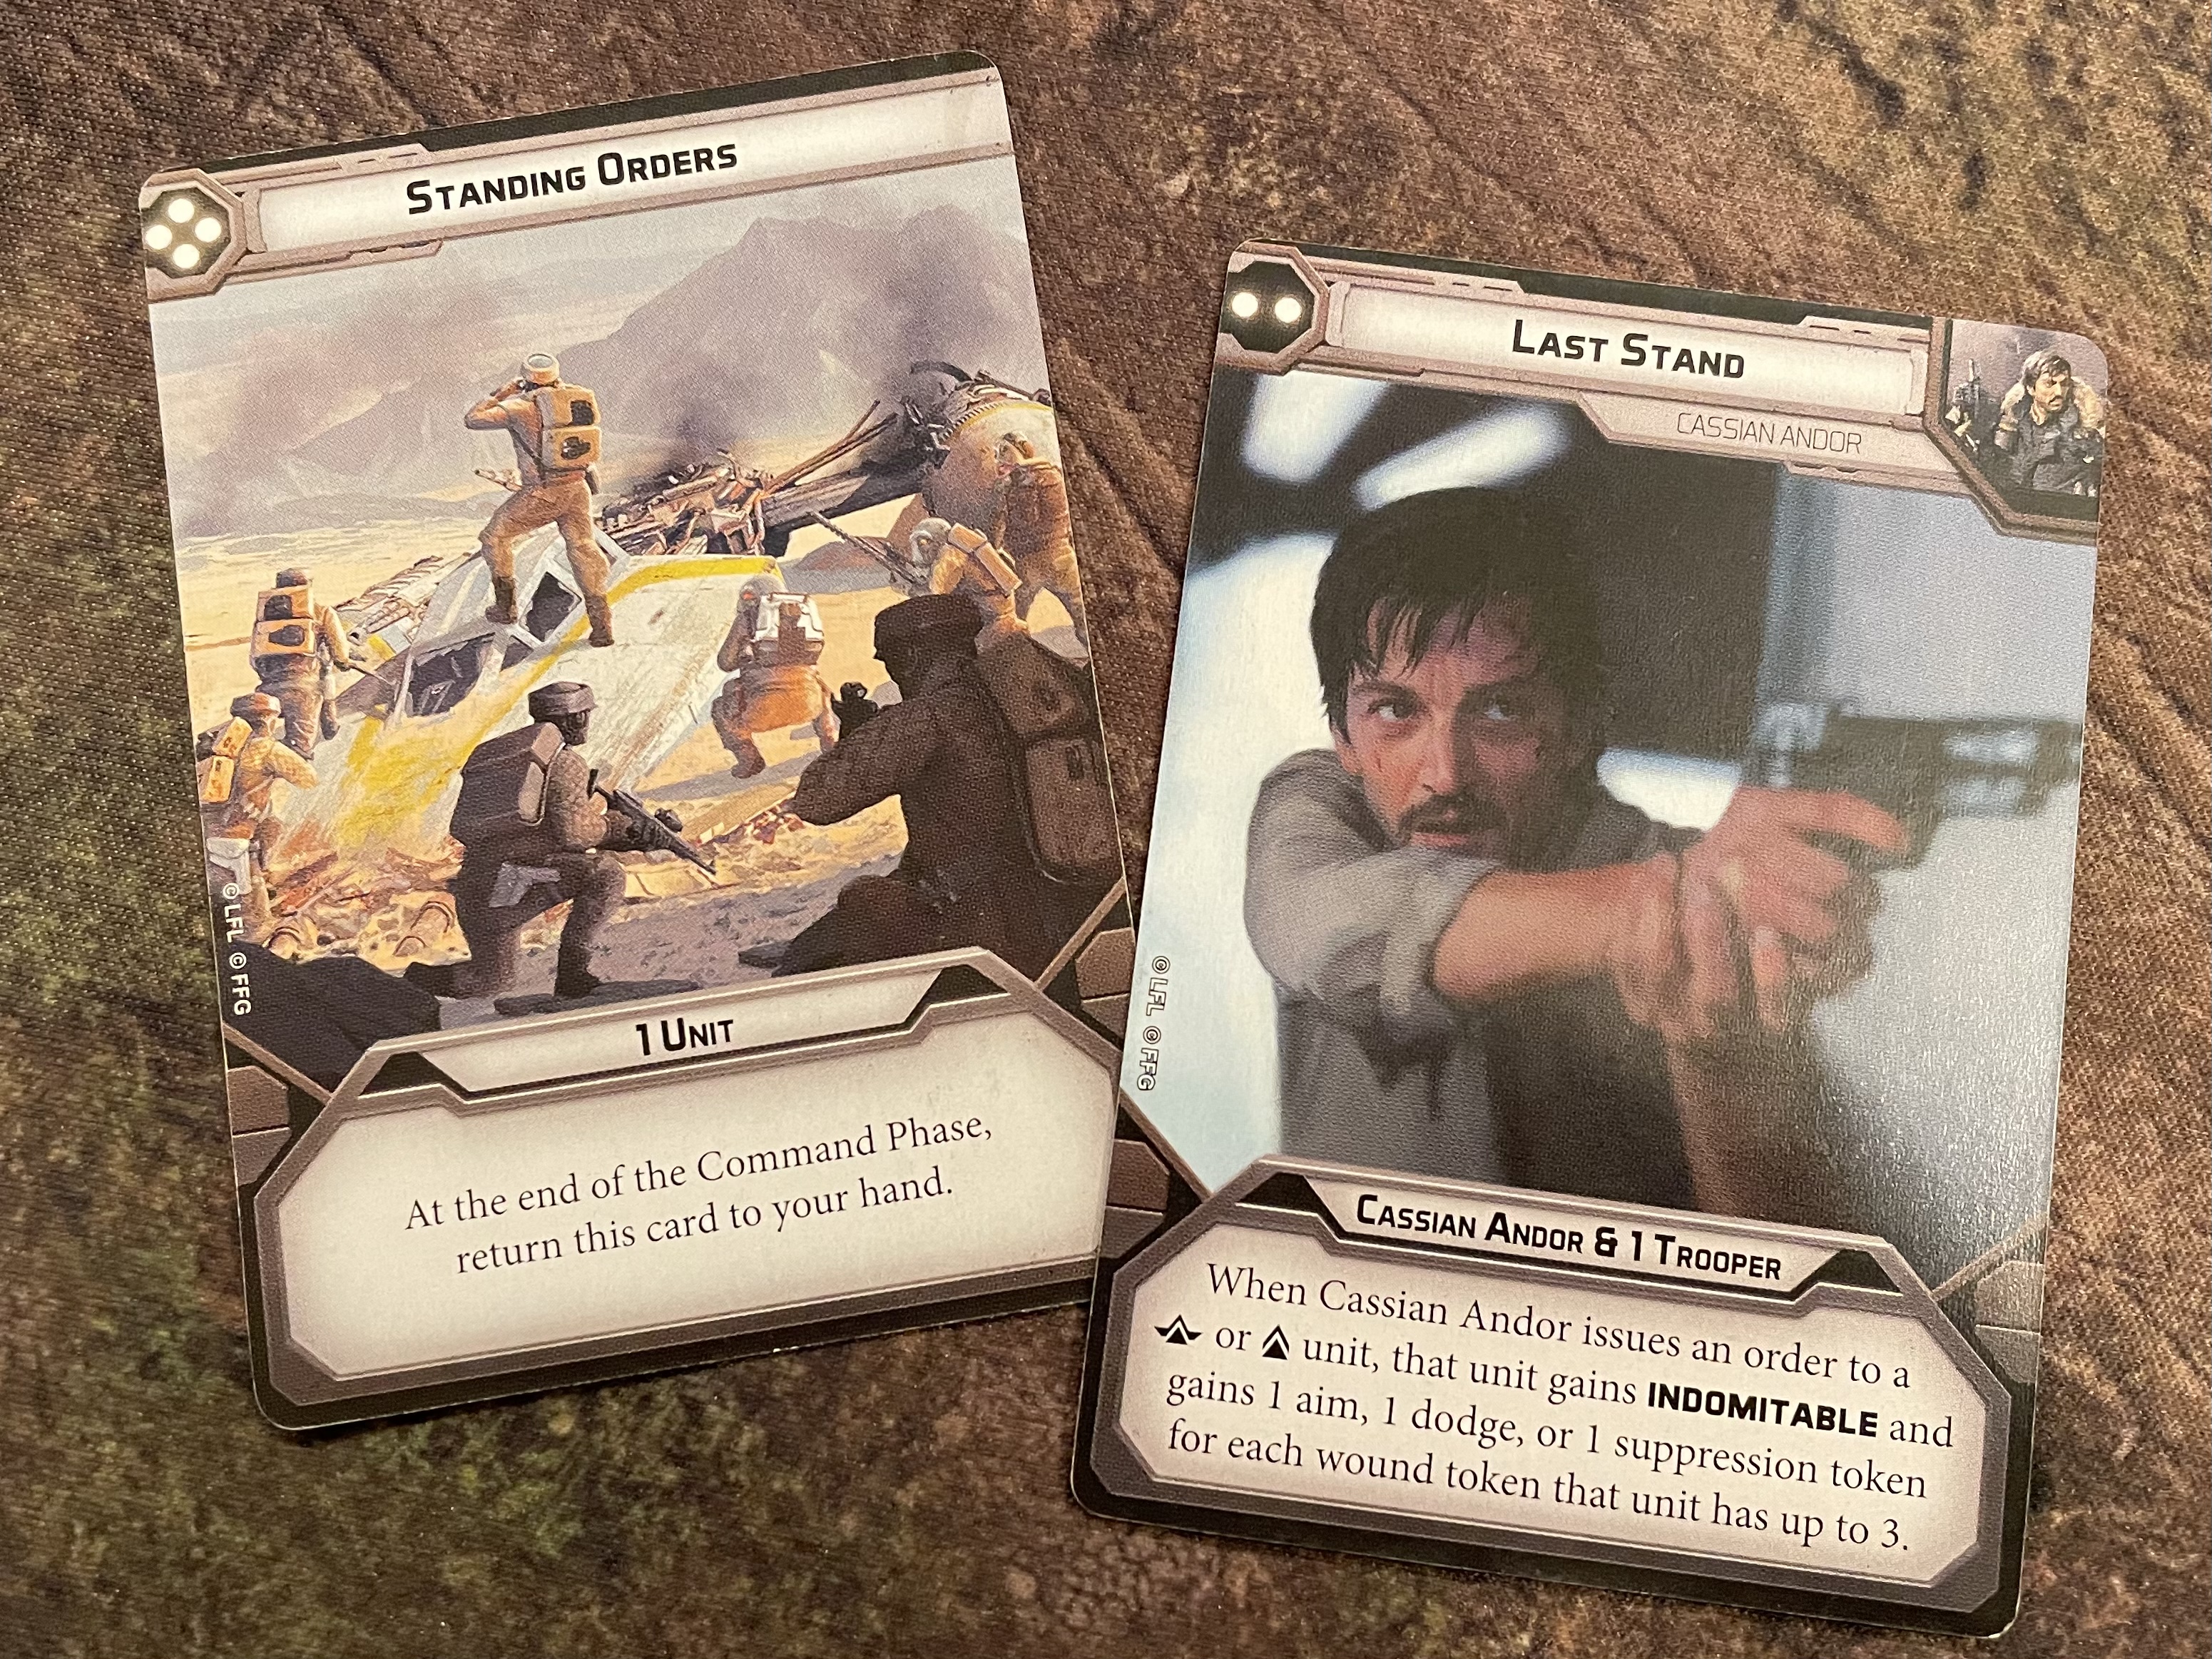
Rebels – Krennic was down but the Imperial troops had made it to the objective. This turn would come down to bodies and activations! What more appropriate order to issue than ‘Last Stand’!
Round 6 - Combat
Cassian was first to activate and waisted no time eliminating the two remaining scouts who were now closing on the objective.

The Imperials just needed to lock down the relay while keeping a path open for the Deathtroopers to extract the remaining Intel. The Shoretroopers had to engage the malfunctioning K2 unit before it could cause further damage.
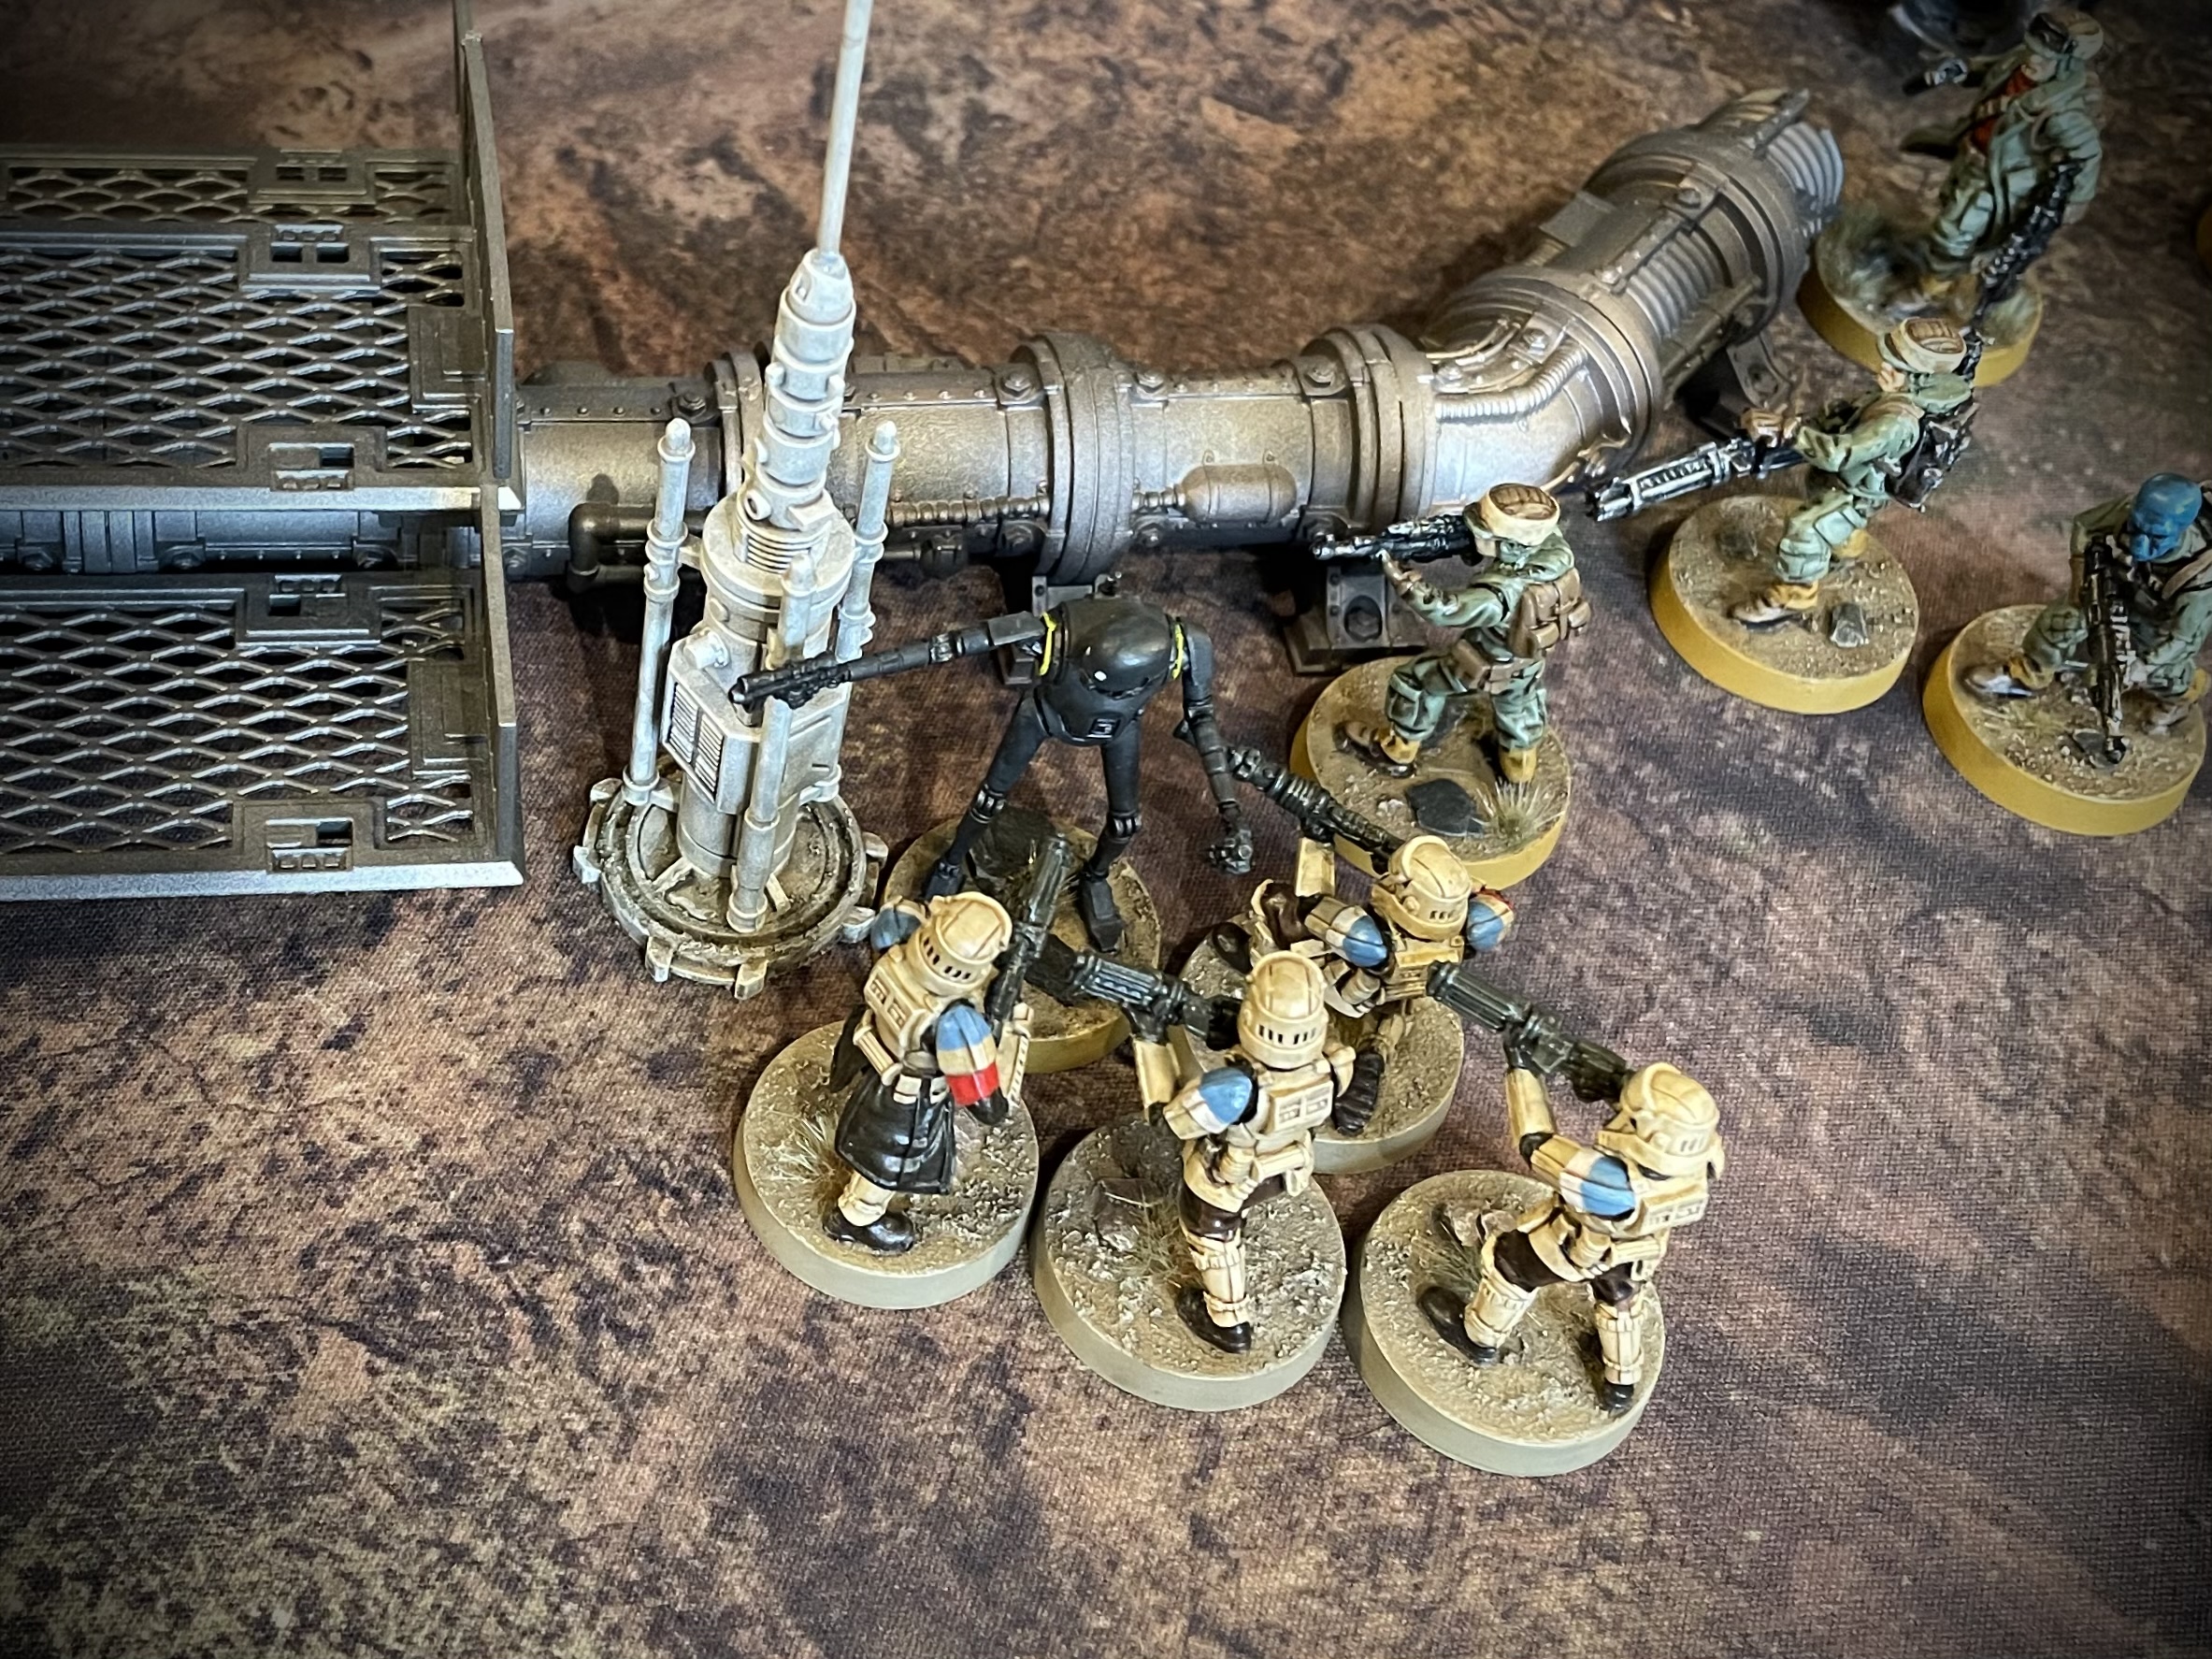
With just a single wound remaining, the Wookiee leader finally dispatched the E-Web crew, though there was no time for him to join the fight for the objective.

The Imperials were running out of time and running out of activations. Ignoring the battle around them, the Deathtroopers stepped to the objective and extracted the vital piece of Intel that would shift the battle in their favour…

… yet at the final moment victory was wrenched away from them. The stalwart K-2SO simply withdrew from the Shoretroopers, leaving an opening into which the plucky Rebel leader could step to the relay and re-secure the Intel.
The battle had ended in a hard fought draw!
New Battle Report Coming Soon!
 Next Battle Report Autumn 22
New Battle Report Coming Soon
 Next Battle Report Autumn 22


