![Perfect Historical Wargame Objectives! Victrix Treasures & More Reviewed [7 Days Early Access]](https://images.beastsofwar.com/2026/02/unboxing-victrix-treasures_-chests-_-market-stalls-coverimage-225-127.jpg)


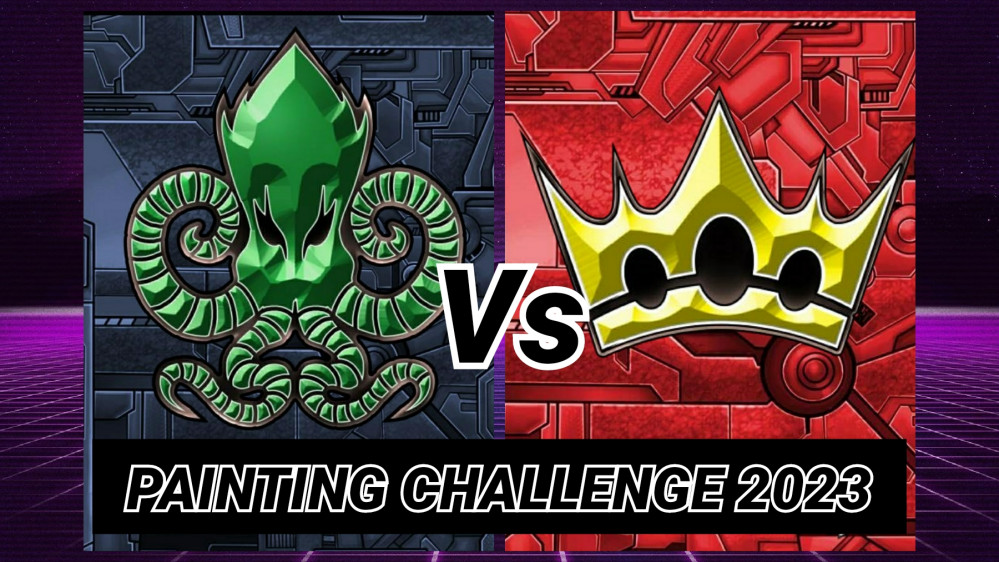
Bot War – Painting Challenge 2023


Recommendations: 407
About the Project
2023 Bot War painting challenge. At least 14 models in 28 days!
Related Game: Bot War
Related Company: Traders Galaxy
Related Genre: Science Fiction
This Project is Completed
Prologue - All the prep
Another year, another Bot War Painting Challenge, another project.
This will be my 5th painting challenge, previous ones can be found here:
And this will be another head to head attempt whereby I’ll be trying to finish off my Atlantican backlog and also the newest faction to get released in resin, the Overlords.
 The Traders Galaxy painting challenge 2023 promo
So with the rules set out, and all of my Overlords in hand (they were a preorder from September 2022 with a November release, but due to postal issues in the UK I got my hands on them in January) I begun to get everything prepped.
I’m only missing 2 models from the faction, a 4th Overlord model and the giant Squidlor titan (this has been ordered but I doubt it will arrive in time). I do have legacy Overlord models that I may paint up at some point (gator warriors) so will keep this in mind when I paint up Saur who is their champion.
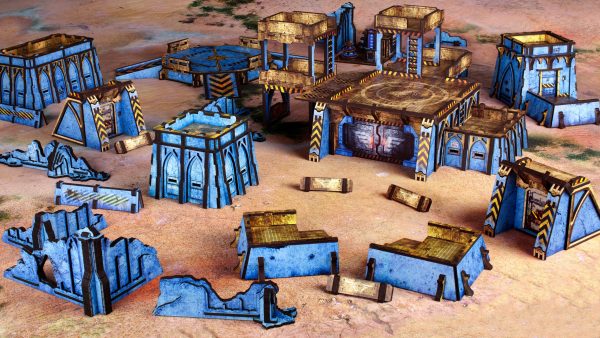
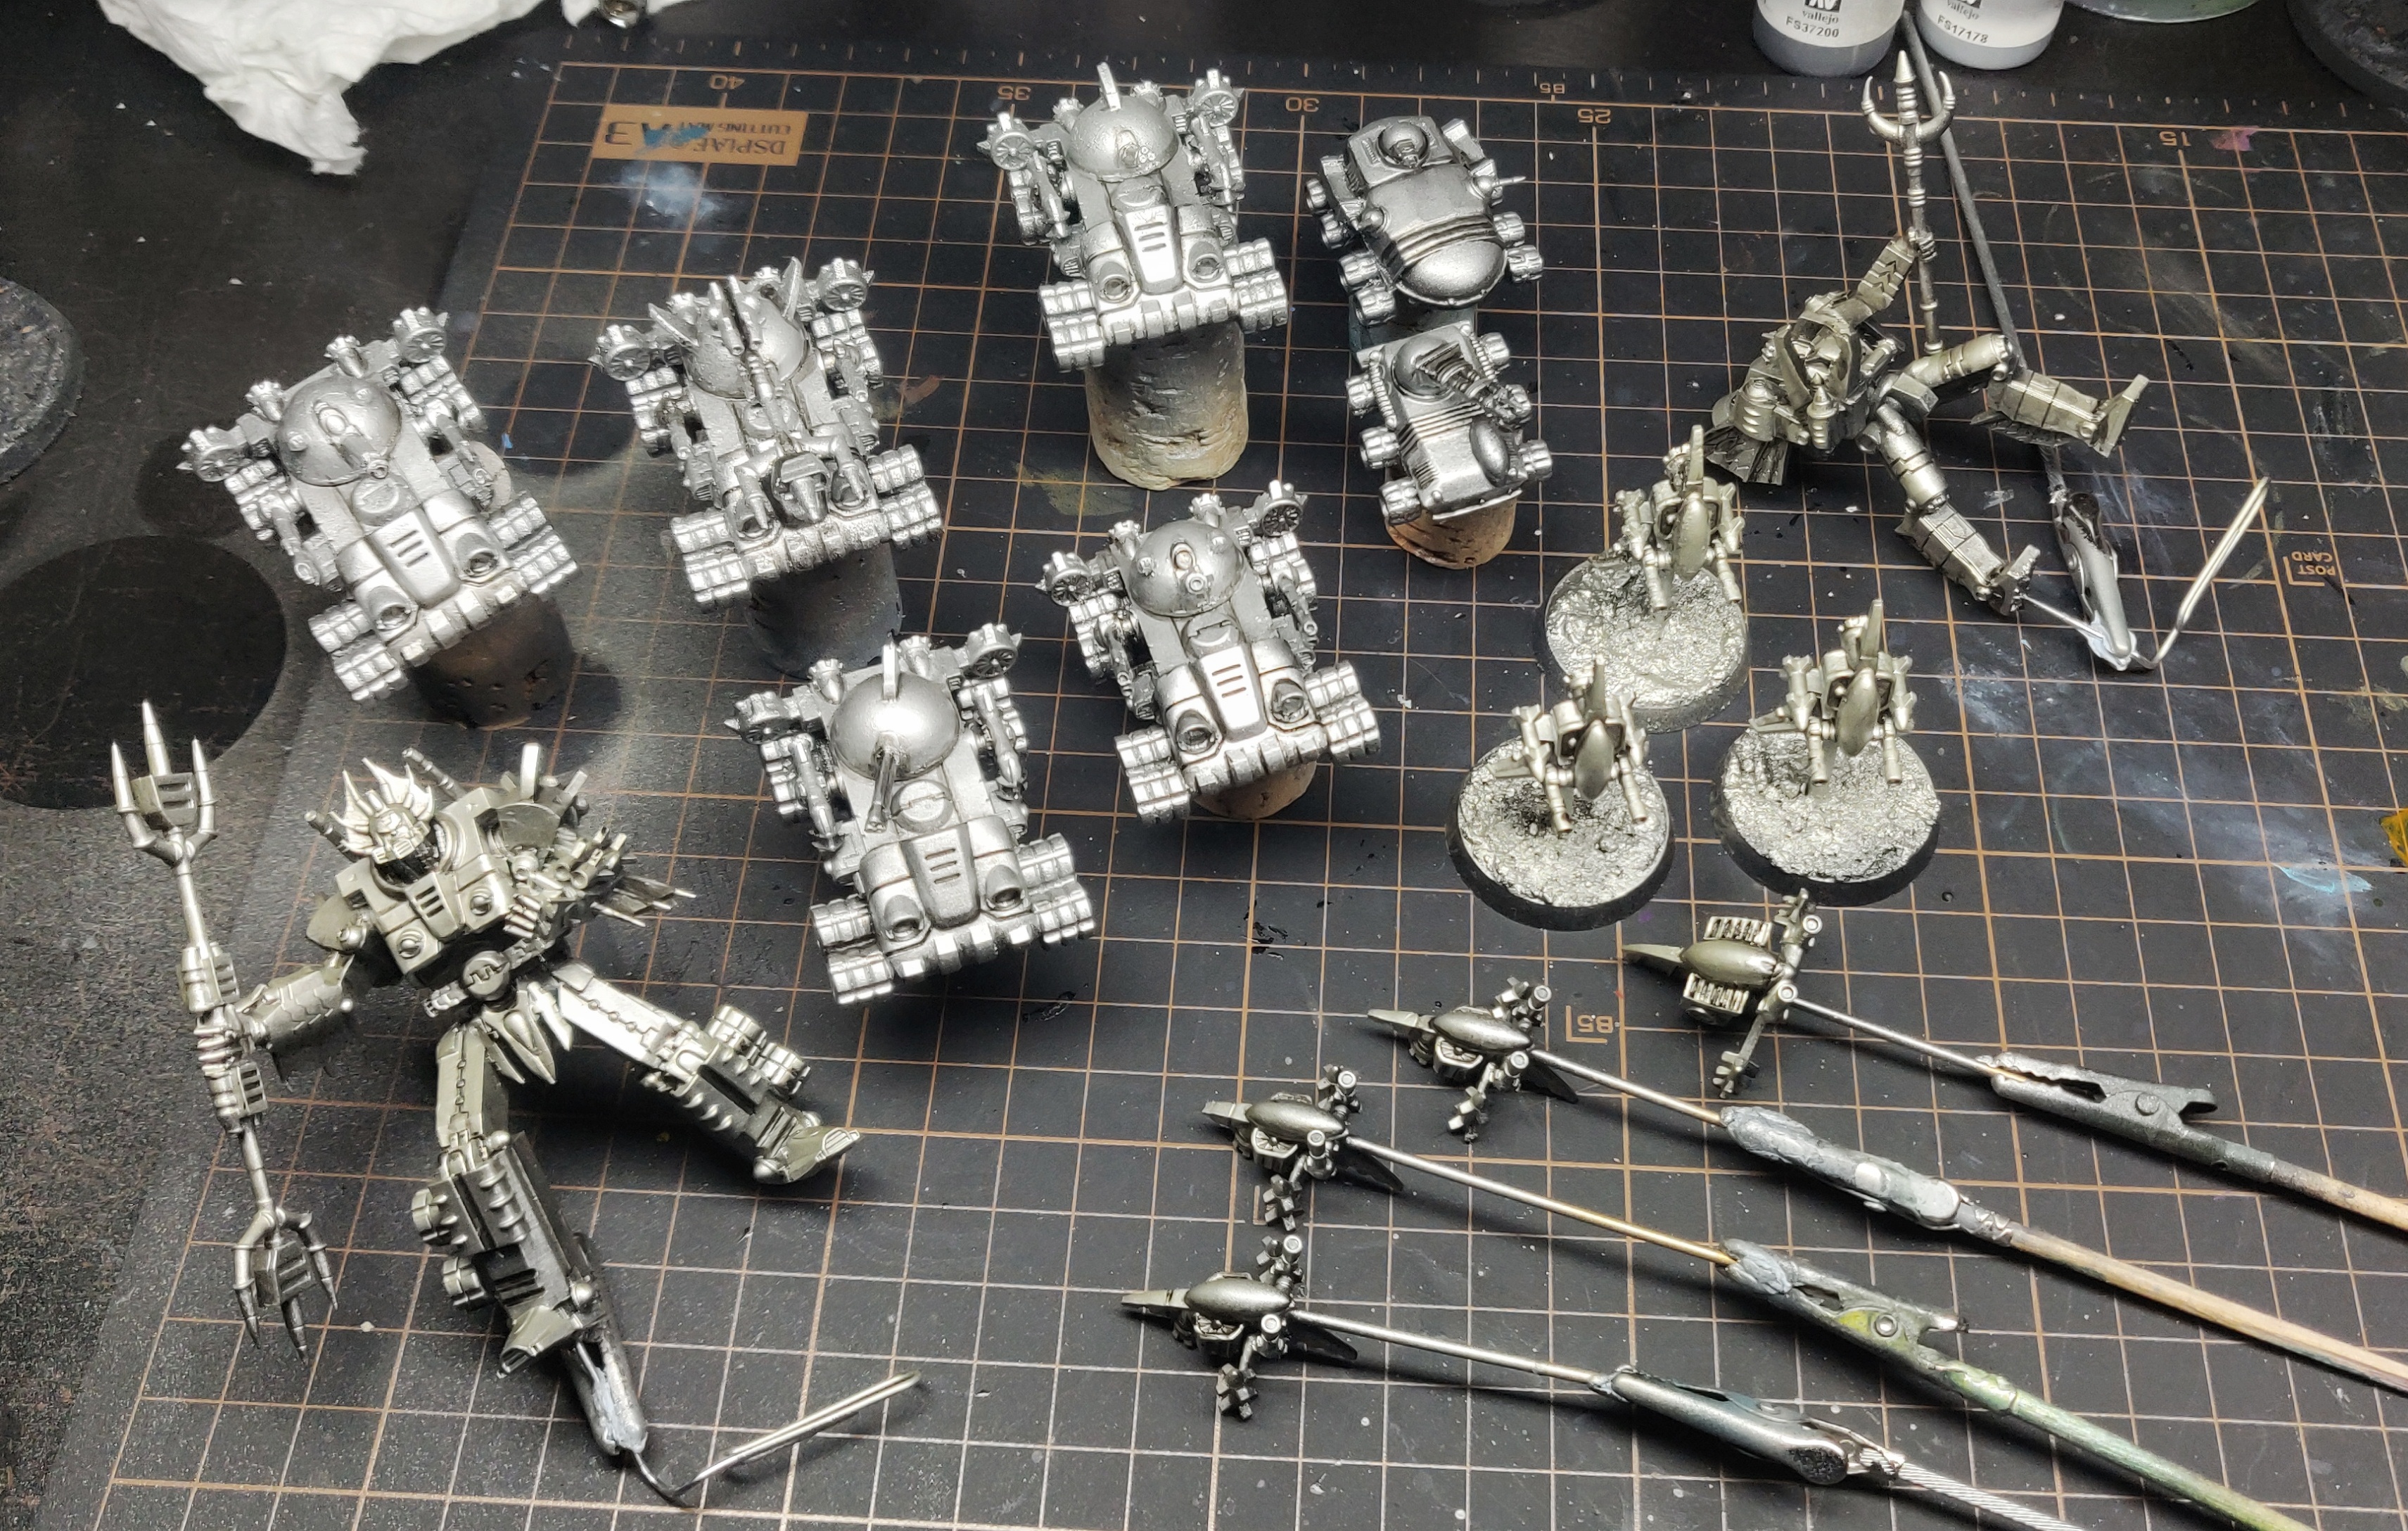
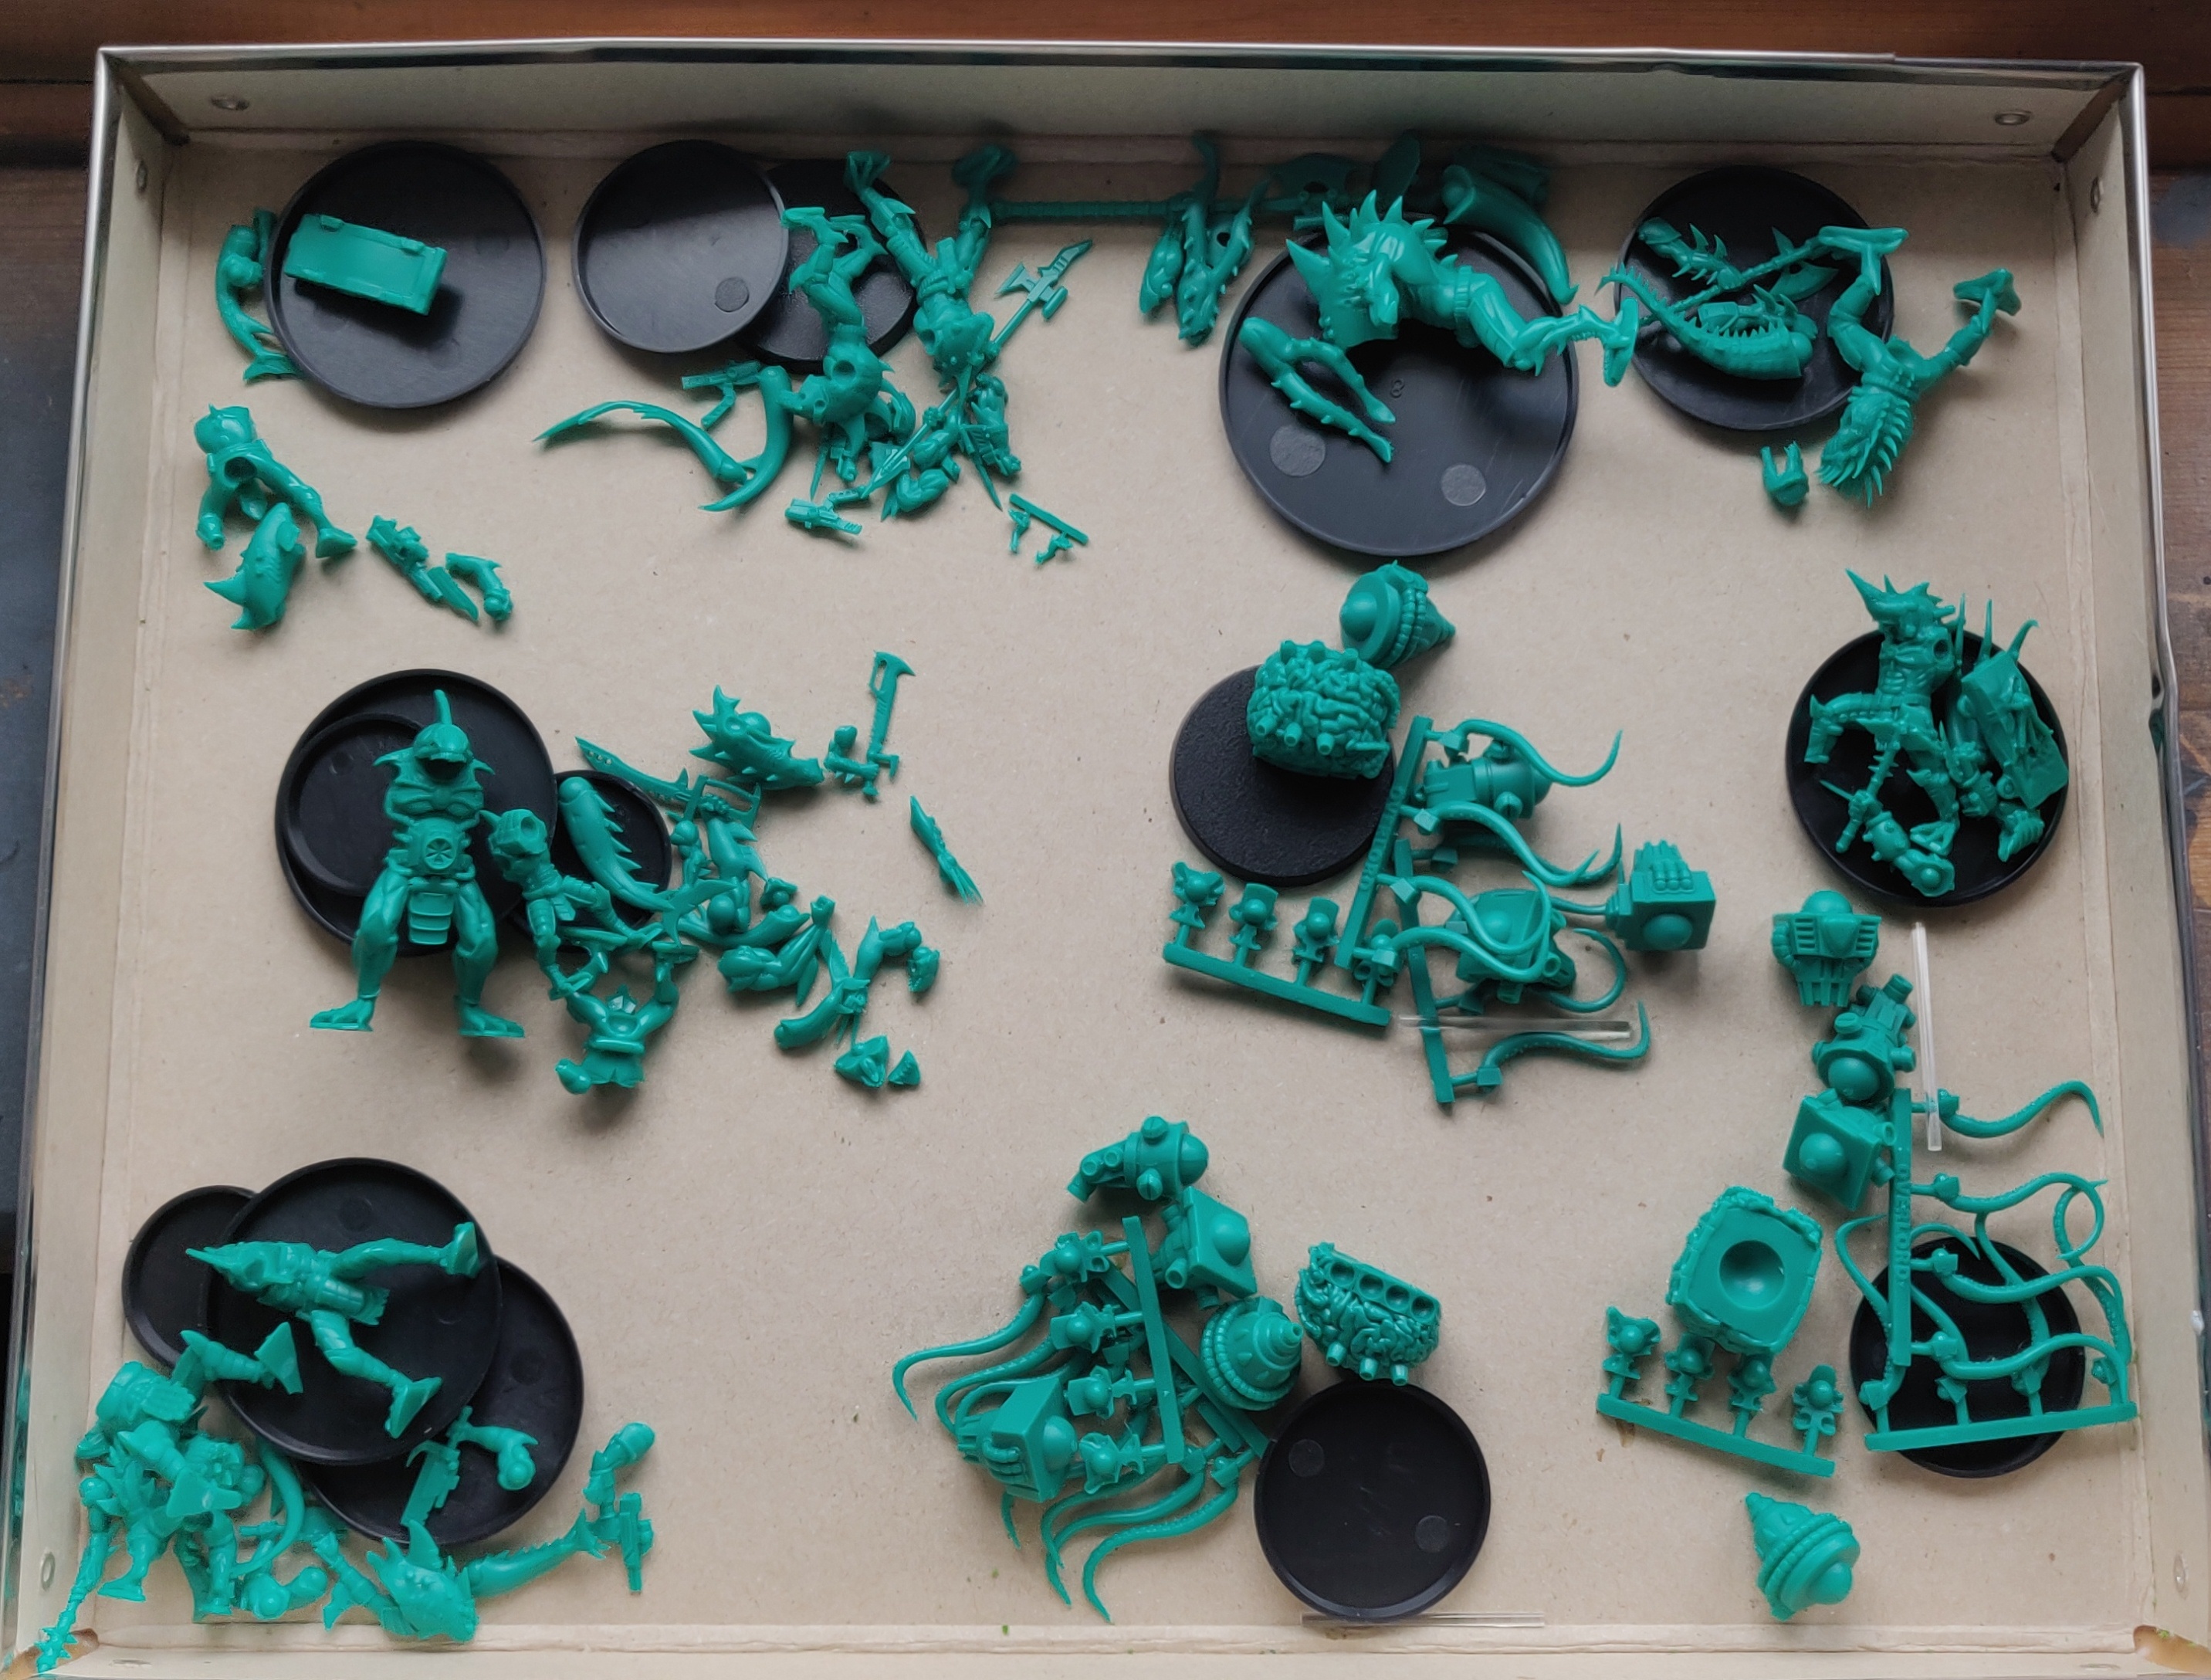 Unbuilt Overlords in their lovely green resin
 Some of the new Overlords that will be being painted up during this challenge
Whilst that will total 15 Overlords, and the minimum required for the challenge is 14, I figured I need an excuse to batch paint up some Atlanticans as well.
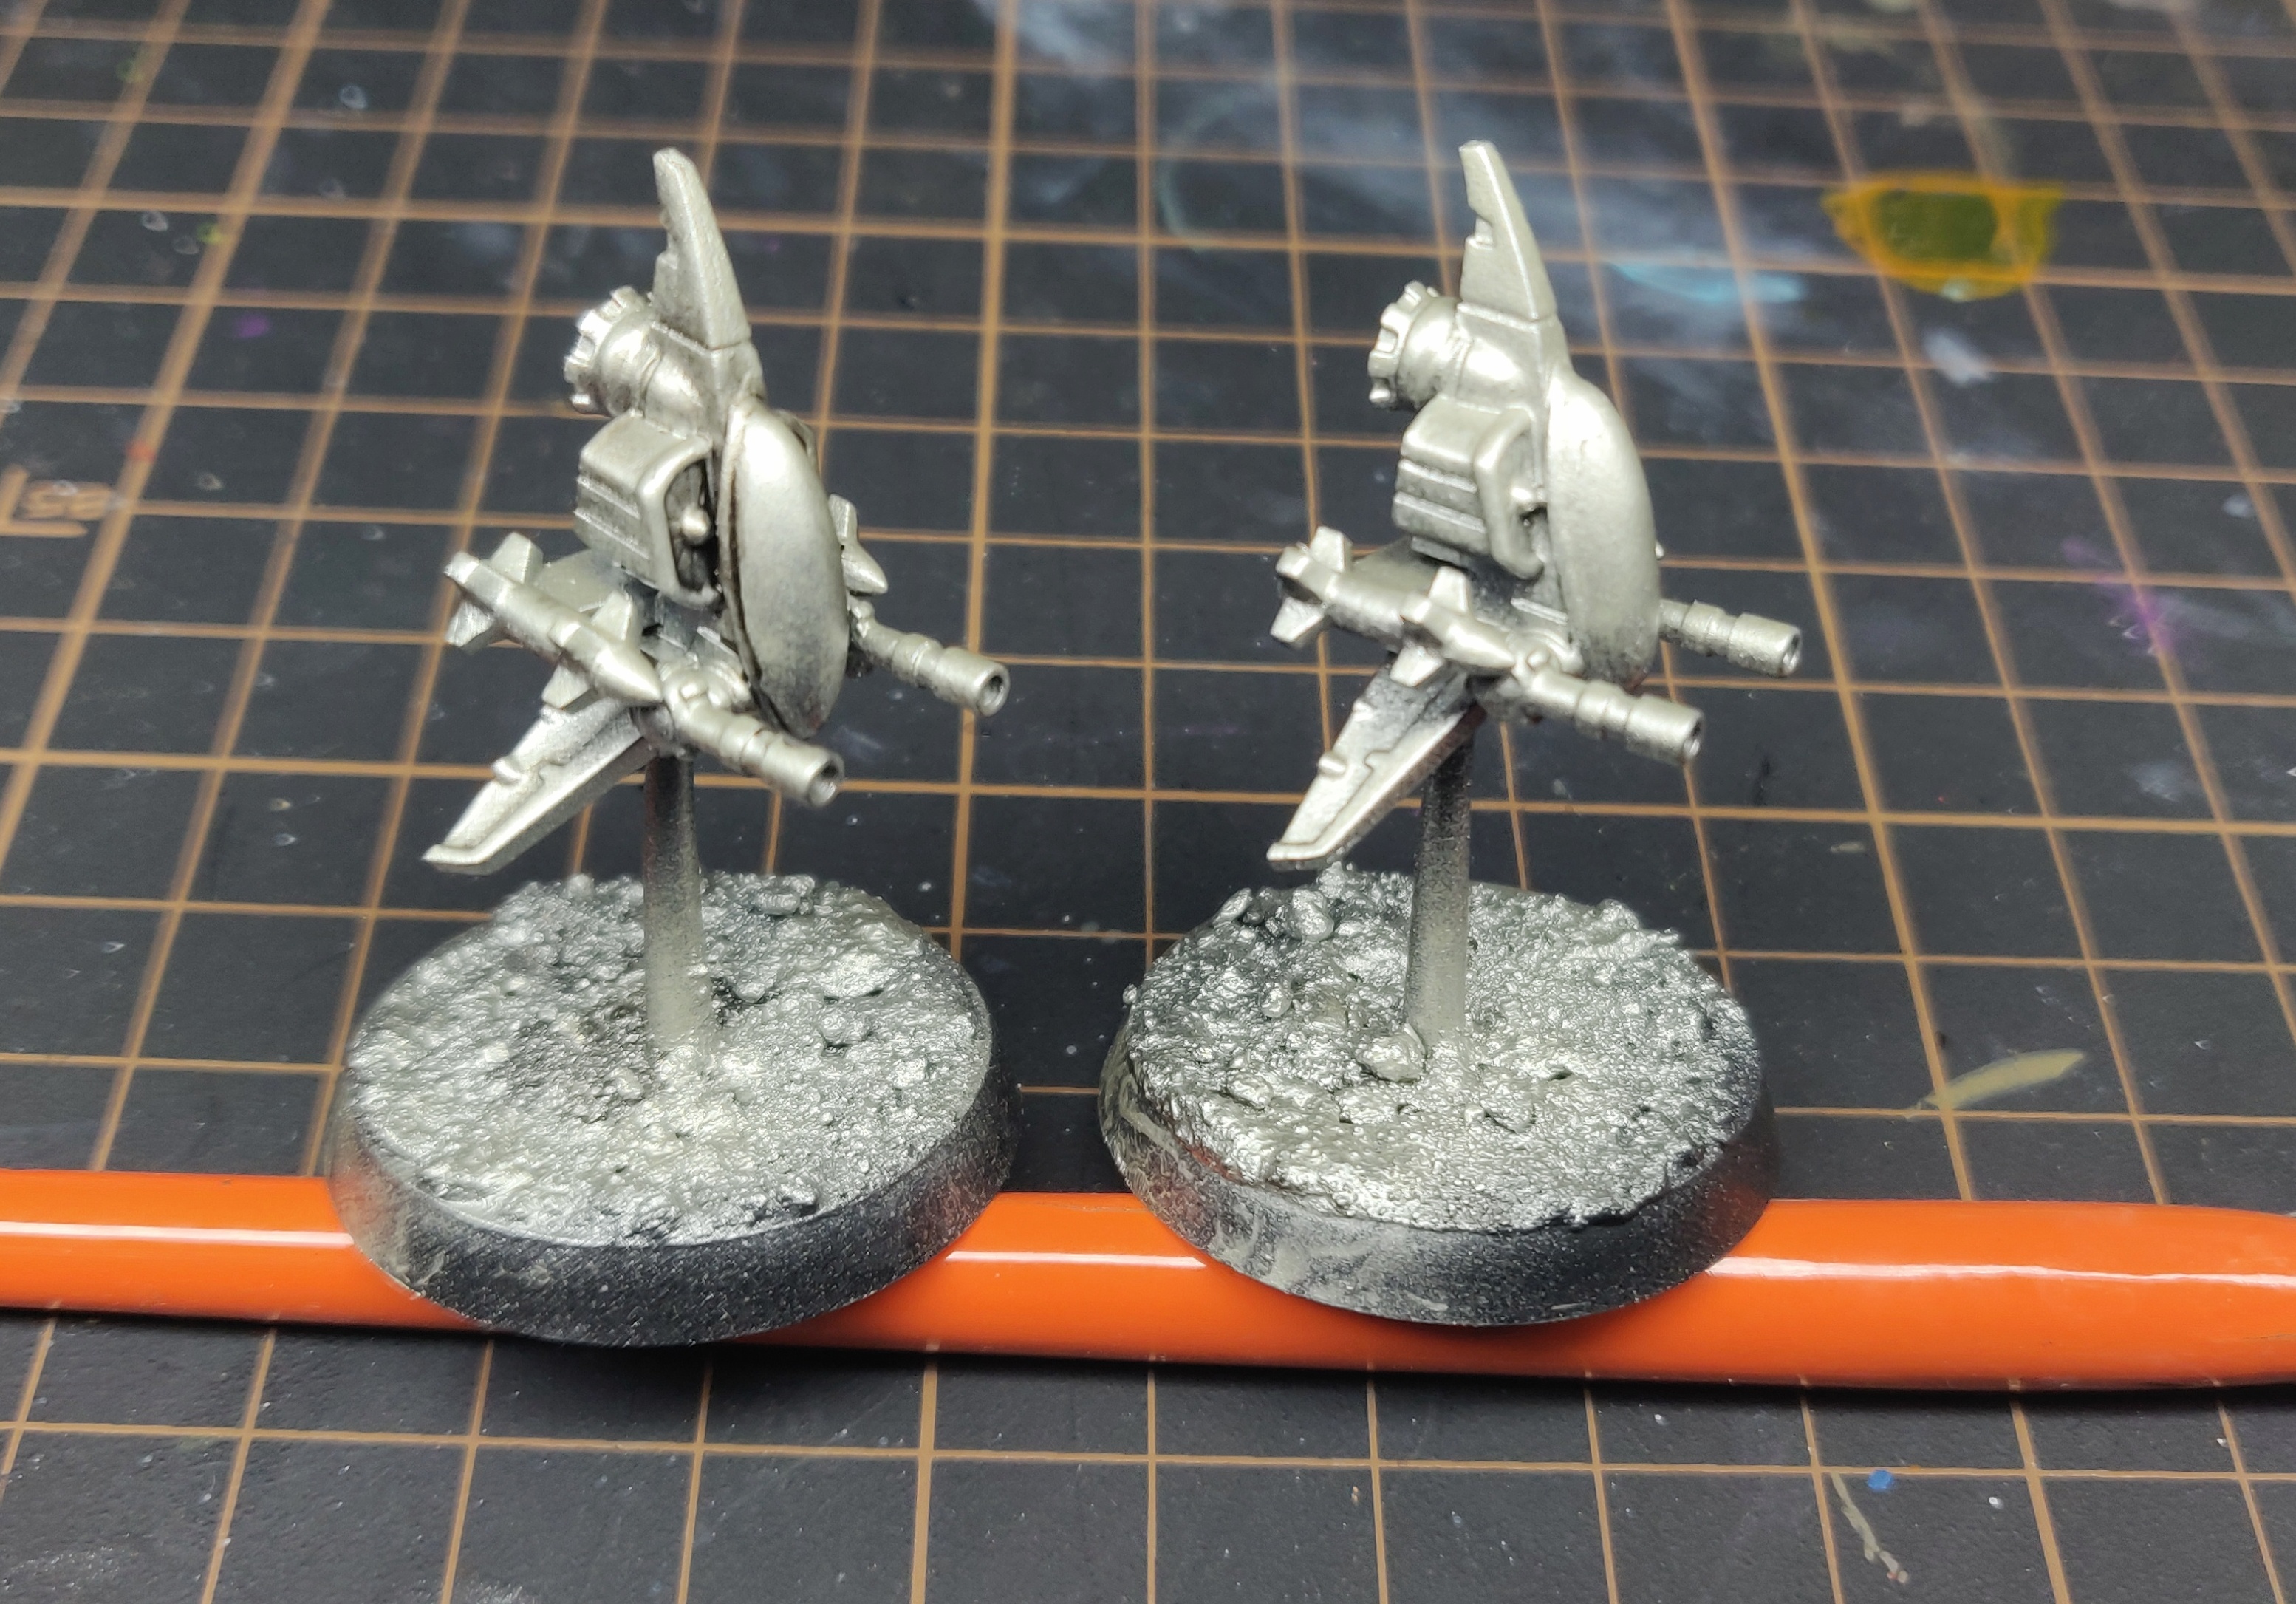
With that in mind, I’ve decided to add in the remaining Atlantican forces I have left over from my 2021 painting challenge which mostly consists of the ground forces like infantry and tanks, but also some of the fliers and big bot Omen.
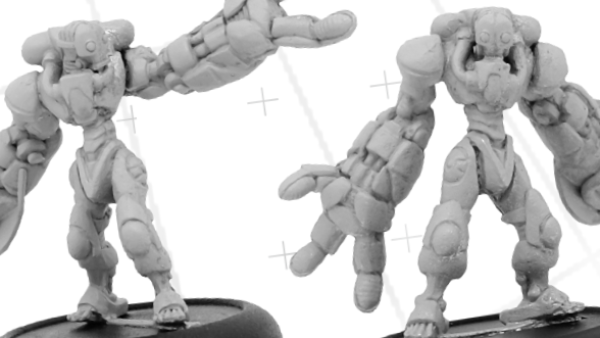
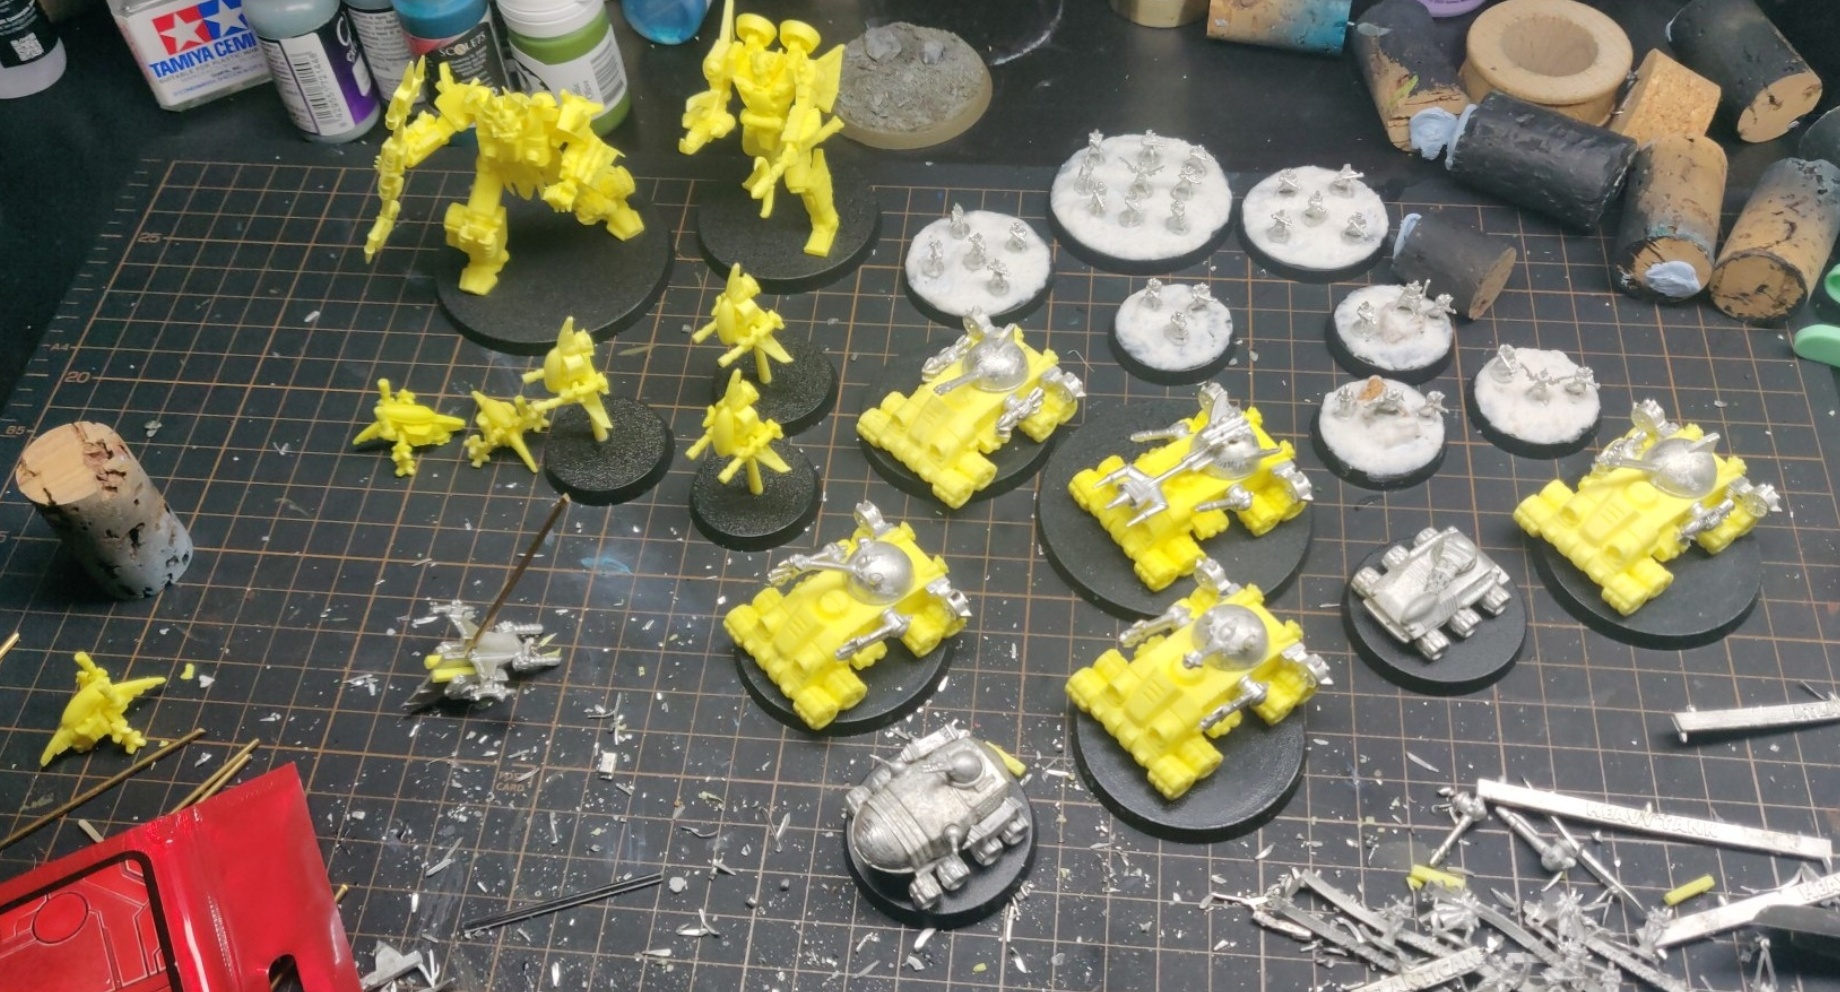 Atlantican Reinforcements
I included the Atlantican Infantry as this will increase the options available to me for getting them on the table. These are tiny 10mm metal figures and I’ve made them up to represent the different options available in the game. Generally characters are 3 models on a 30mm base, sections the same, squads are 5 on a 40mm,and platoons are 10+ on a 50mm base. I decided to get the bases textured up at this point as it will make it a lot harder to add this in once the models are all painted.
38 models in 28 days, can it be done?
Day 0 - All the priming
Before the challenge starts we’re allowed to fully assemble and prime the models we intend to paint for the challenge and are encouraged to post this shot as the start of our progress thread in the Facebook group.
I’ve gone for 2 different directions here as I will be approaching the 2 factions differently. The Atlanticans will have a lot of layers with a TMM base, citadel contrast filter, and then highlights, so they just got a solid coat of black Ultimate primer.
The Overlords on the other hand will be painted up in some organic colours and have a greater luminosity than the Atlanticans, so whilst they also had a black Ultimate primer as a base, they then had a thinned down liquitex white ink laterally sprayed over from an above angle to give some saturation boost for the colours to work with when they start to get applied. The ink was mixed with a little MIG Ammo Lucky shot ultra matte varnish and airbrush thinner. This was to help the white not be too strong, but to also mess with the consistency so that I could have a mottled effect and create some natural variance in the layers that will go over them.
 All the models I am aiming to get painted
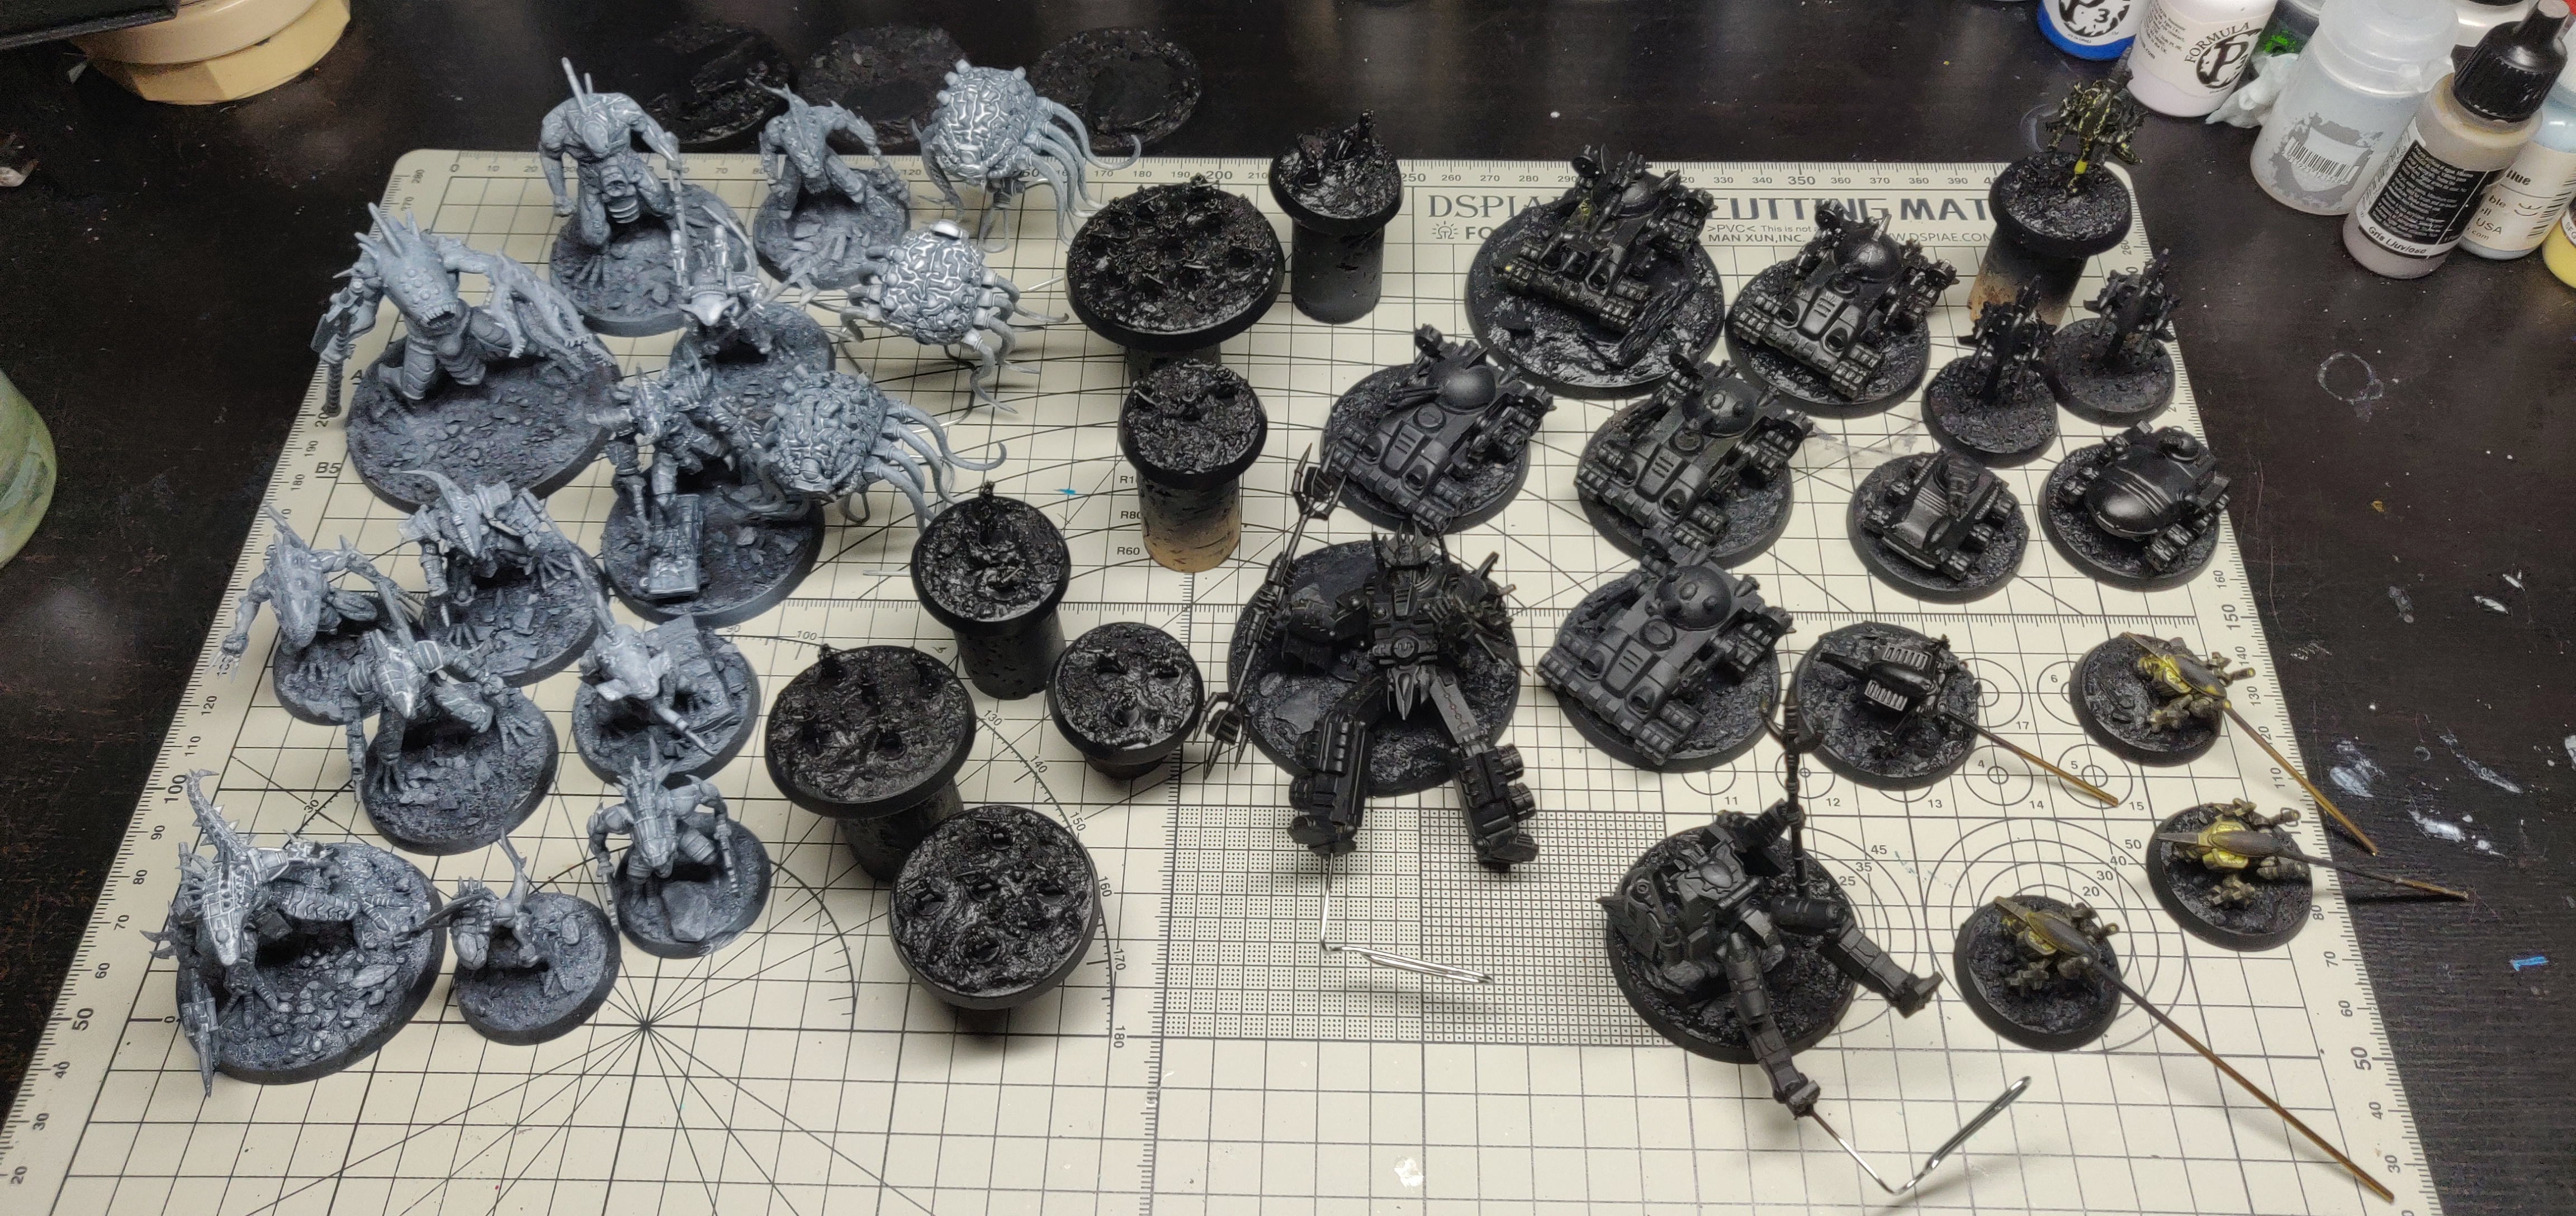 Overlords in black with a white lateral prime, Atlanticans in black
OK, I had a right nightmare with my primers and airbrush. The black would not adhere to a couple of models, more so with the Atlanticans tanks and the fliers, but a couple of Overlords also suffered. Some of these models are brand new and some have been sat in my backlog for a few years. All were washed and scrubbed but the primer just would not adhere, I even tried vallejo mecha black, vallejo surface primer, and Badger Stynelrez. In the end I stripped and scrubbed them with Isopropyl alcohol and rewashed them again. But still a few had issues. There’s nothing I can do at this stage as I need them primed so tried to slowly build up a solid basecoat. You will see these “bad ones” appear in photos as we go along, but it’s only tabletop and they look OK from 2 feet away.
It didn’t help things that my H&S infinity custom airbrush has a leak and caused me all sorts of grief. I fully stripped and cleaned it many times during the priming session and even replaced all of the seals. In the end I benched it and used my Bartsharp which worked fine (although a little less controllable). Not a great start to the challenge.
Day 1 - It has begun
OK, here we go.
To kick things off the Atlantican tanks, fliers, Omen and CRAB got an airbrushing of metals.
Over the black primer went a basecoat of Vallejo black metal. This was then layered up with vallejo Gun Metal, and then they got a final highlight of Vallejo Chrome. This is a very basic 3-stage NMM workup that will provide all of the models a solid base and cover up any primer.
This was changed up a bit for the fliers, Omen & CRAB as the gun metal had some metal color gold added, and the chrome had some brass to increase the warmth. The reason for doing this is to increase some subtle variety amongst the units and to match up with their bot-form counterparts I painted back in 2021.
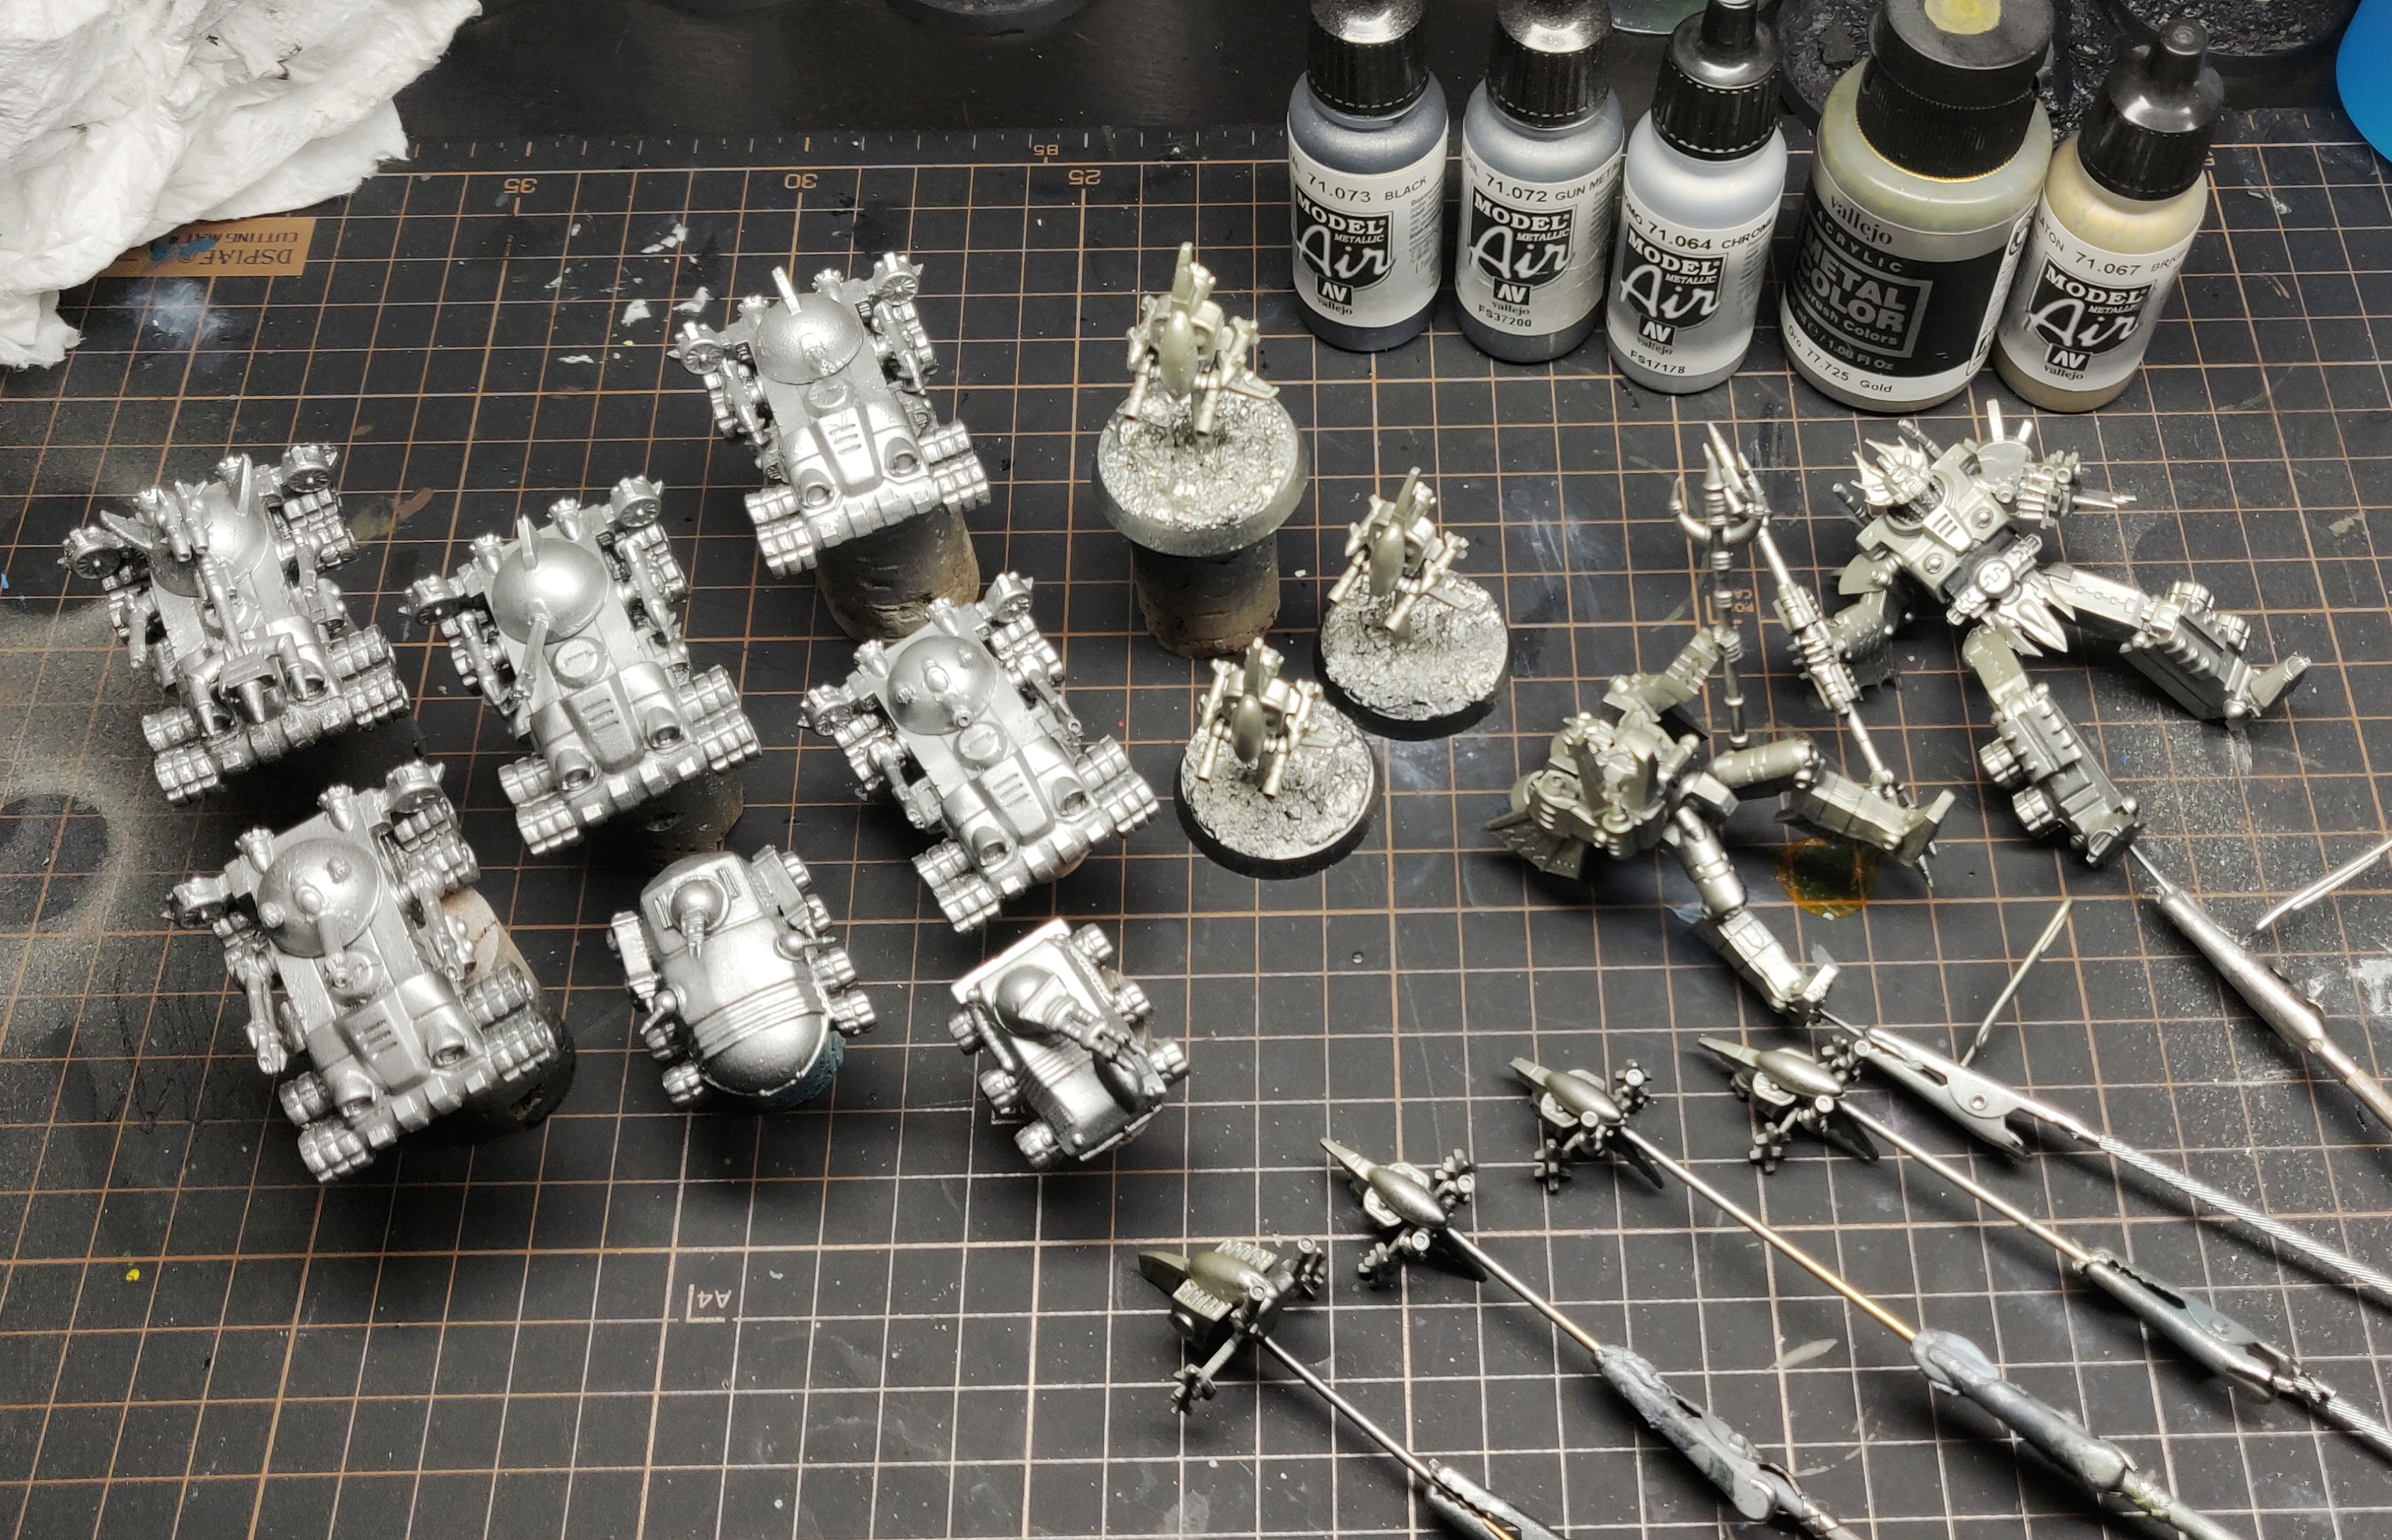
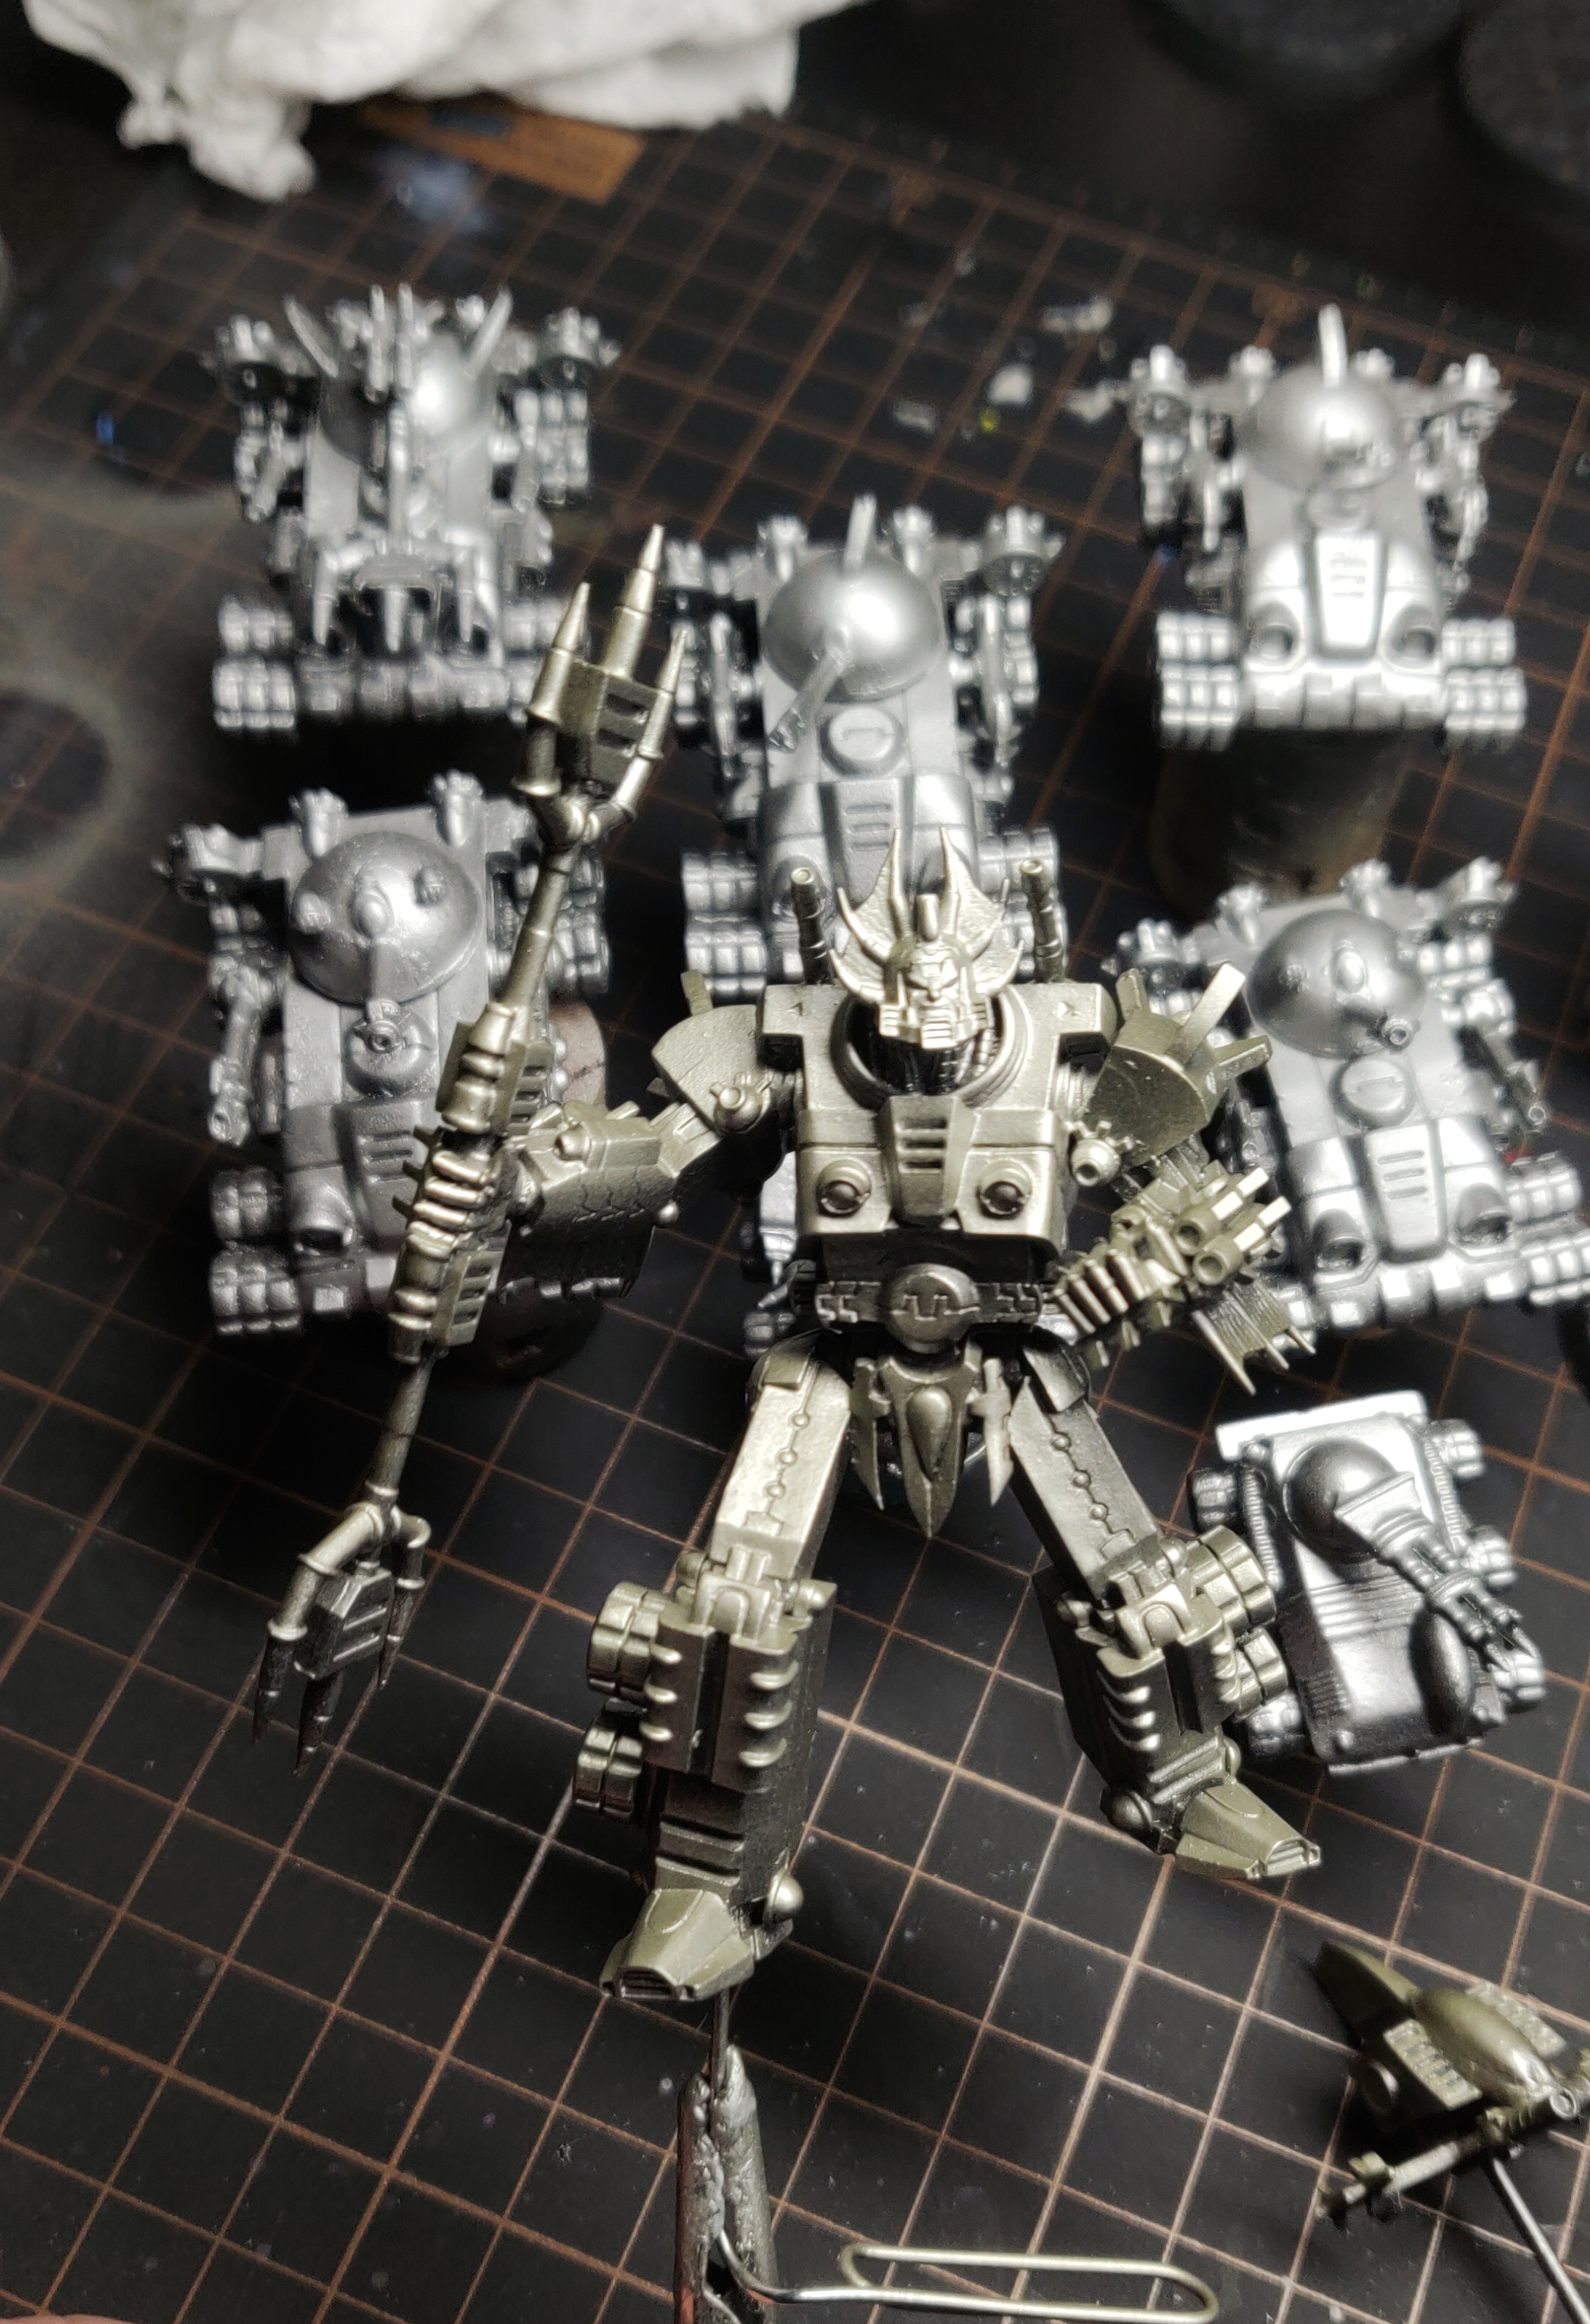 You can see the warmer metals here on Omen
Day 2 - Into the shadows
Using a mixture of Vallejo metal air black metal and liquid carbon Black ink I went in and shaded certain areas to increase the amount of contrast amongst the metal sections.
This preshading of the metals should really help the coloured filter I will spray over them all tomorrow to have some variation and more natural shading.
Its important to get as much contrast in at this point because the filter is then very difficult to correct once it goes on.
I’ve included a couple of before and after photos below which shows the pre-shading being applied.
 All shaded up - in hindsight I could have gone darker
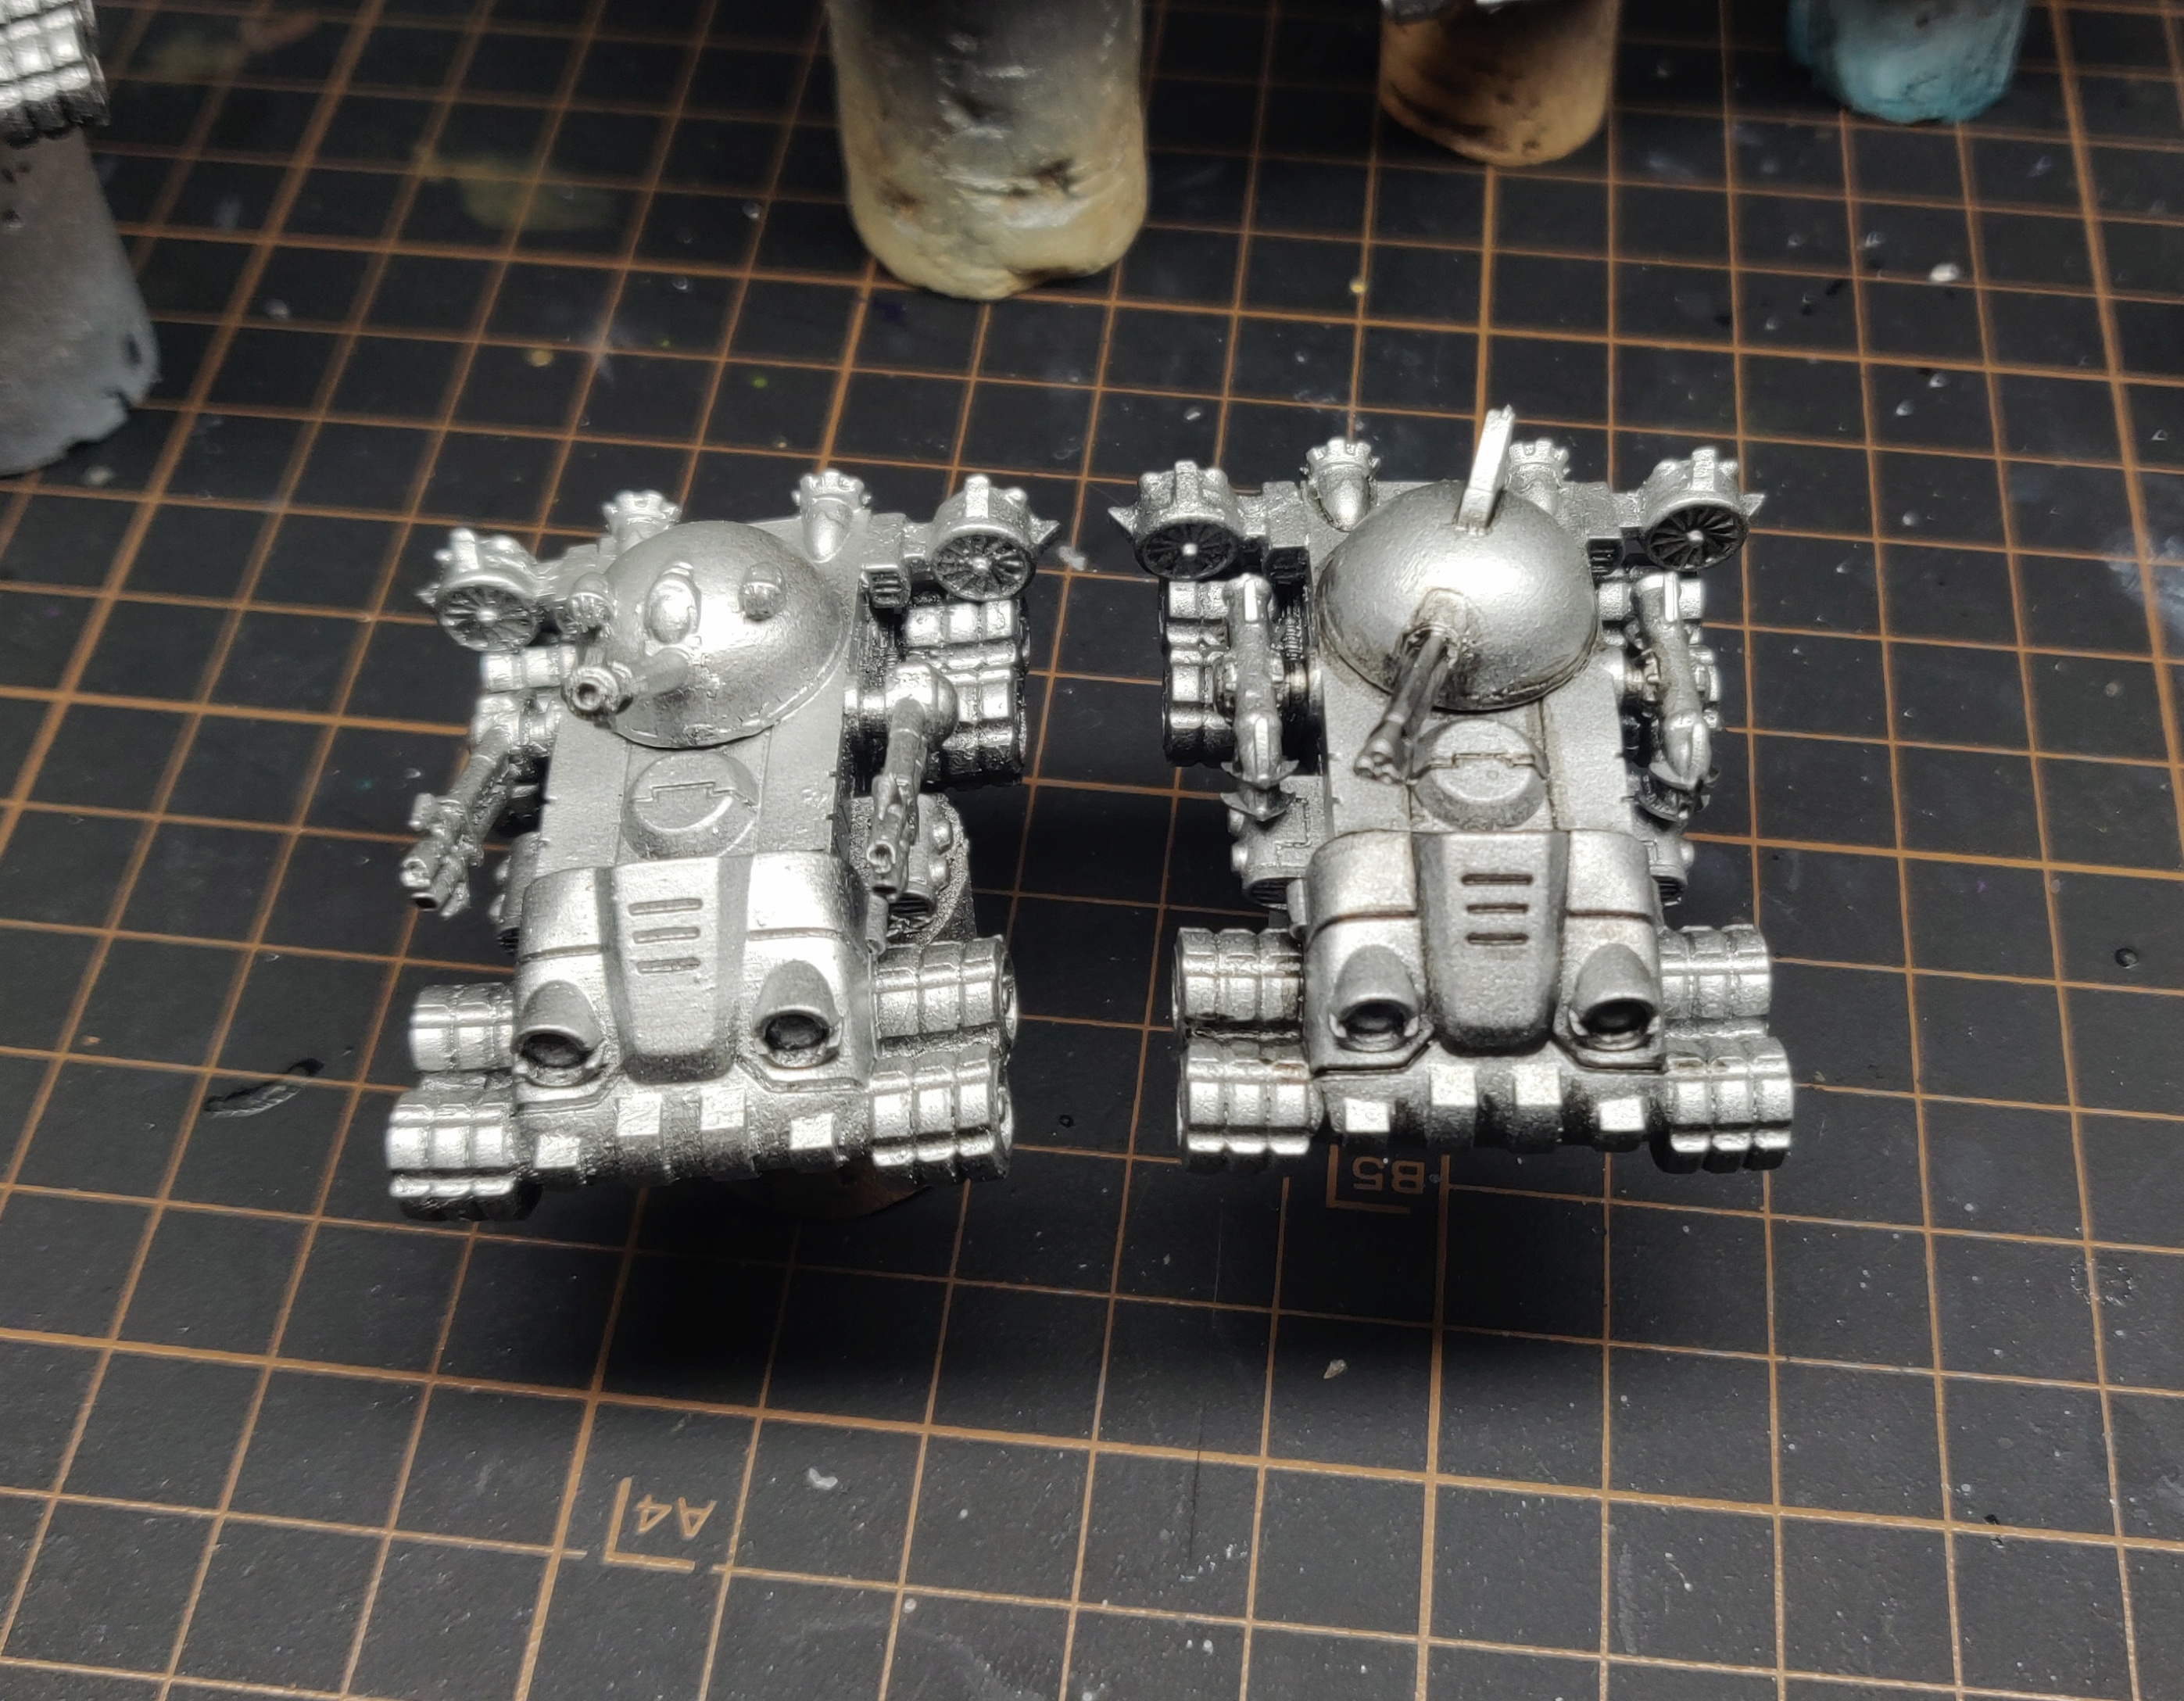
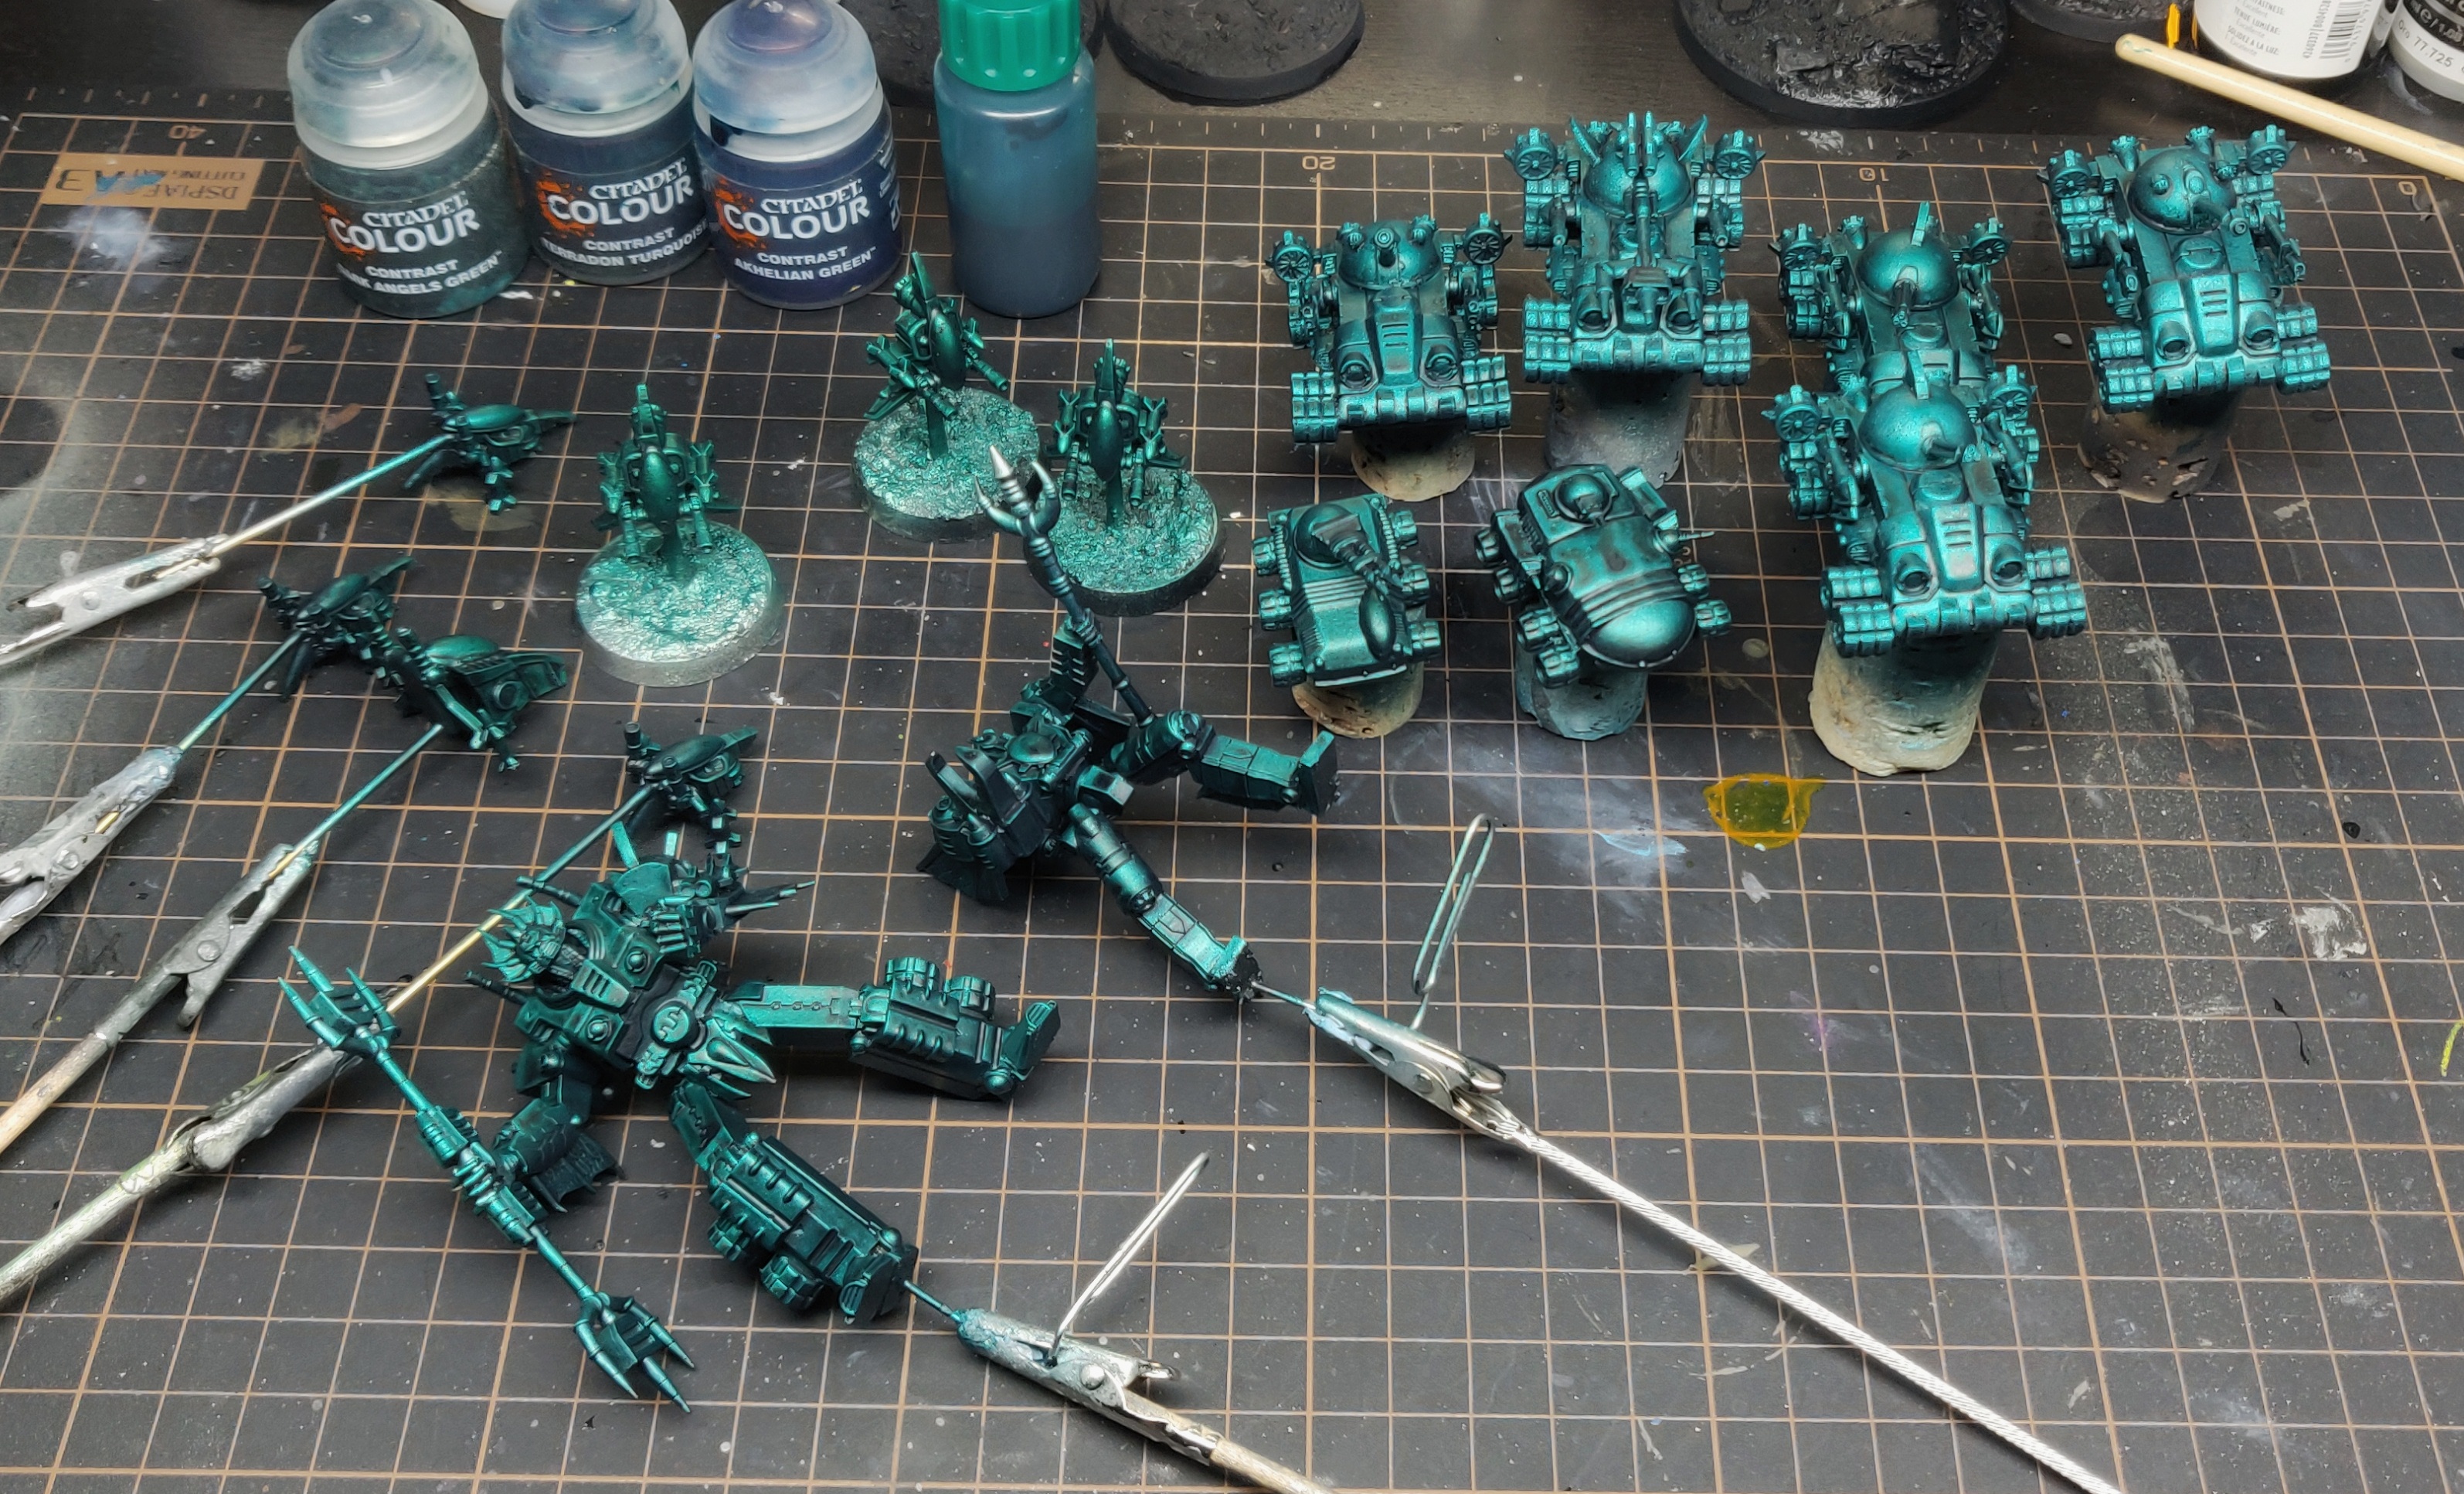
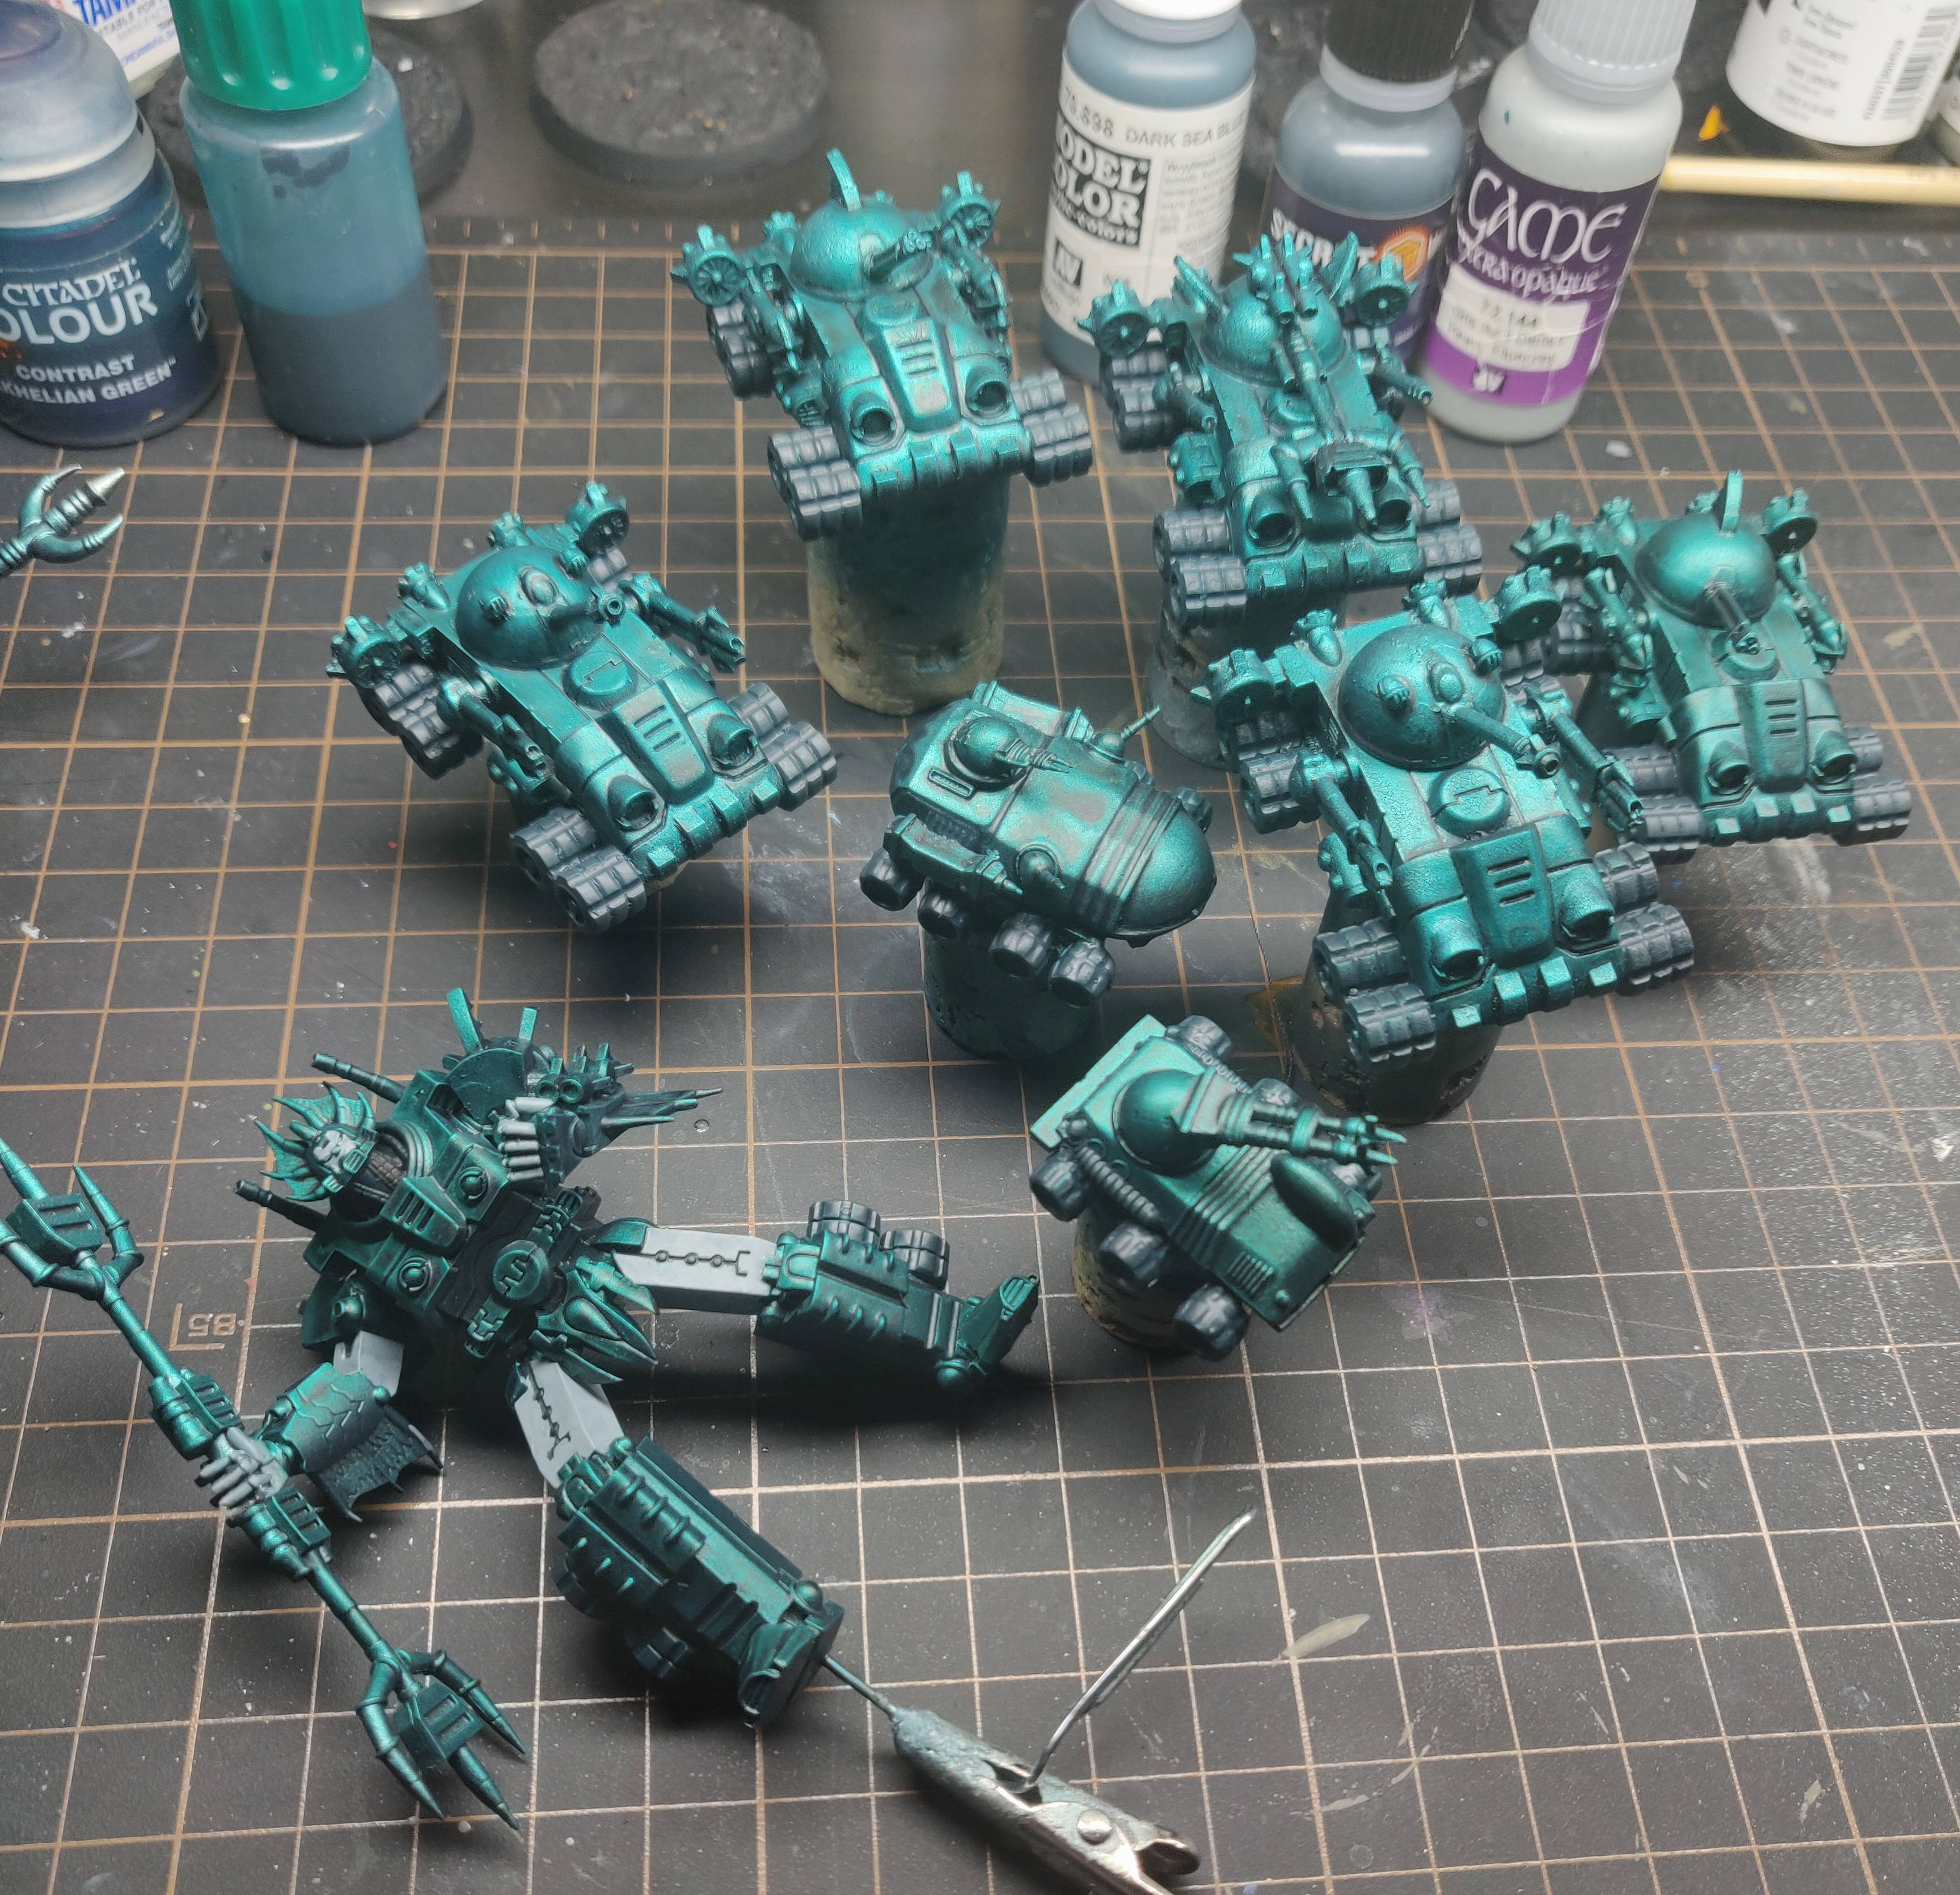
Day 3 - Now in colour
Today I start adding base colour to the Atlanticans.
Over the top of the TMM basecoat I use shake up in a bottle a mixture of citadel contrast colours; Dark Angels Green, Akhelian Green, and Terradon Turquoise, to create a really deep blue green colour. This then creates a blue-green metallic effect when applied with a airbrush as a filter over a metallic base.
It took a few attempts to get the mix I wanted, and I was testing this out in a cardboard box which I have been using for priming for many years, this was used to spray the metals into yesterday so I had the metallic basecoat I could spray over and make sure it was where I wanted it.
It’s still in the ugly phase but this now has all of the Atlanticans at the solid foundation so from now on I can break them into smaller groups to refine and work in details and other colours.
Day 4 - Blocking in
OK so this is the first weekend of the challenge, usually a time where I can make huge leaps forward with the project, but not this time. Last year I signed myself up for a weekend NMM painting class with Phoenix Miniature Art (https://instagram.com/phoenixminiatureart), so after an 8hr class learning about NMM and lighting different volumes I could only bring myself to basecoat the 58 tyres of the tanks and Omen with a mix of secret weapon tyre black (which will be the next layer colour to go on them) and vallejo model colour deep sea green.
Still not photographing well but it’s still early days. Also blocked in some of the under armour bot parts on Omen with vallejo game color extra opaque heavy blue grey. Day 2 of my NMM class tomorrow so it may be only a small bit of paint in tomorrow evening, might perhaps start on the yellows to break up the colours more yellows
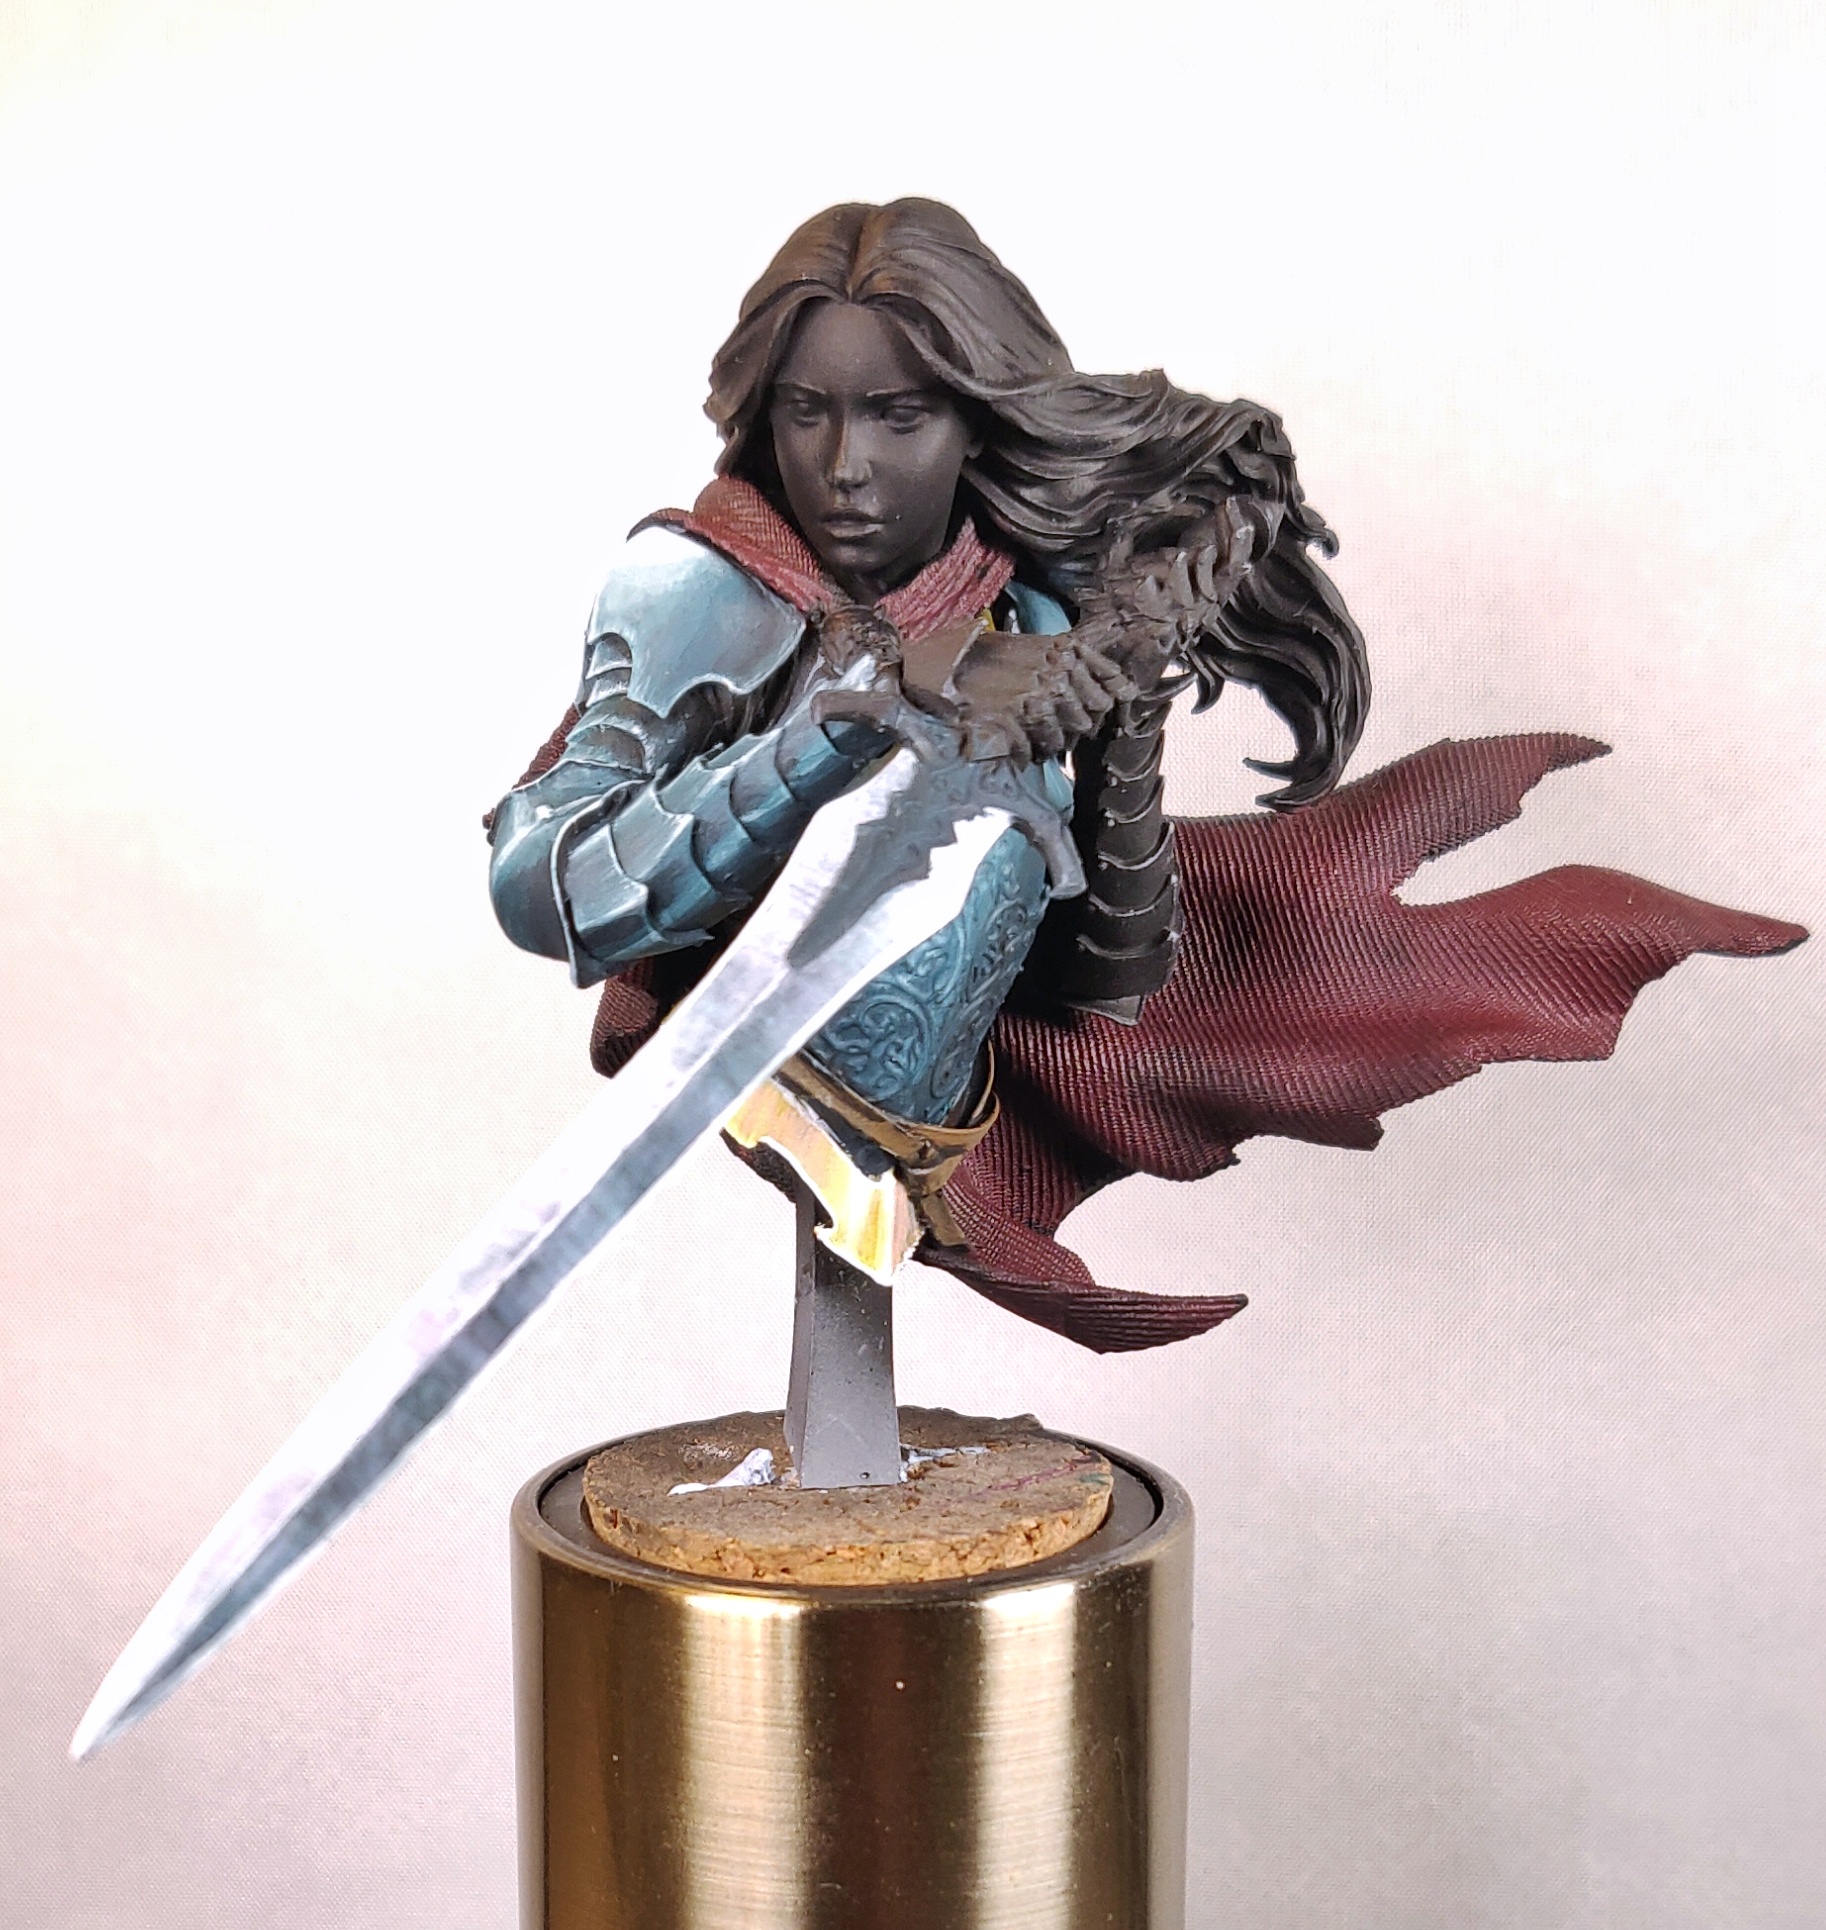
 Some NMM
 Day 5 - My brain hurts
Another NMM class today and my brain is very tired, so this evening I just blocked in the foundation for the yellow.
This is several coast of Vallejo extra opaque heavy goldenbrown with a little bit of orange mixed in to create an opaque basecoat over the green metallic.
This is nowhere near the final colour as you can see from Octo on the right of the photo, it will be an almost icy yellow for the most part so this is just there to allow me to build up to that from a closer starting hue.

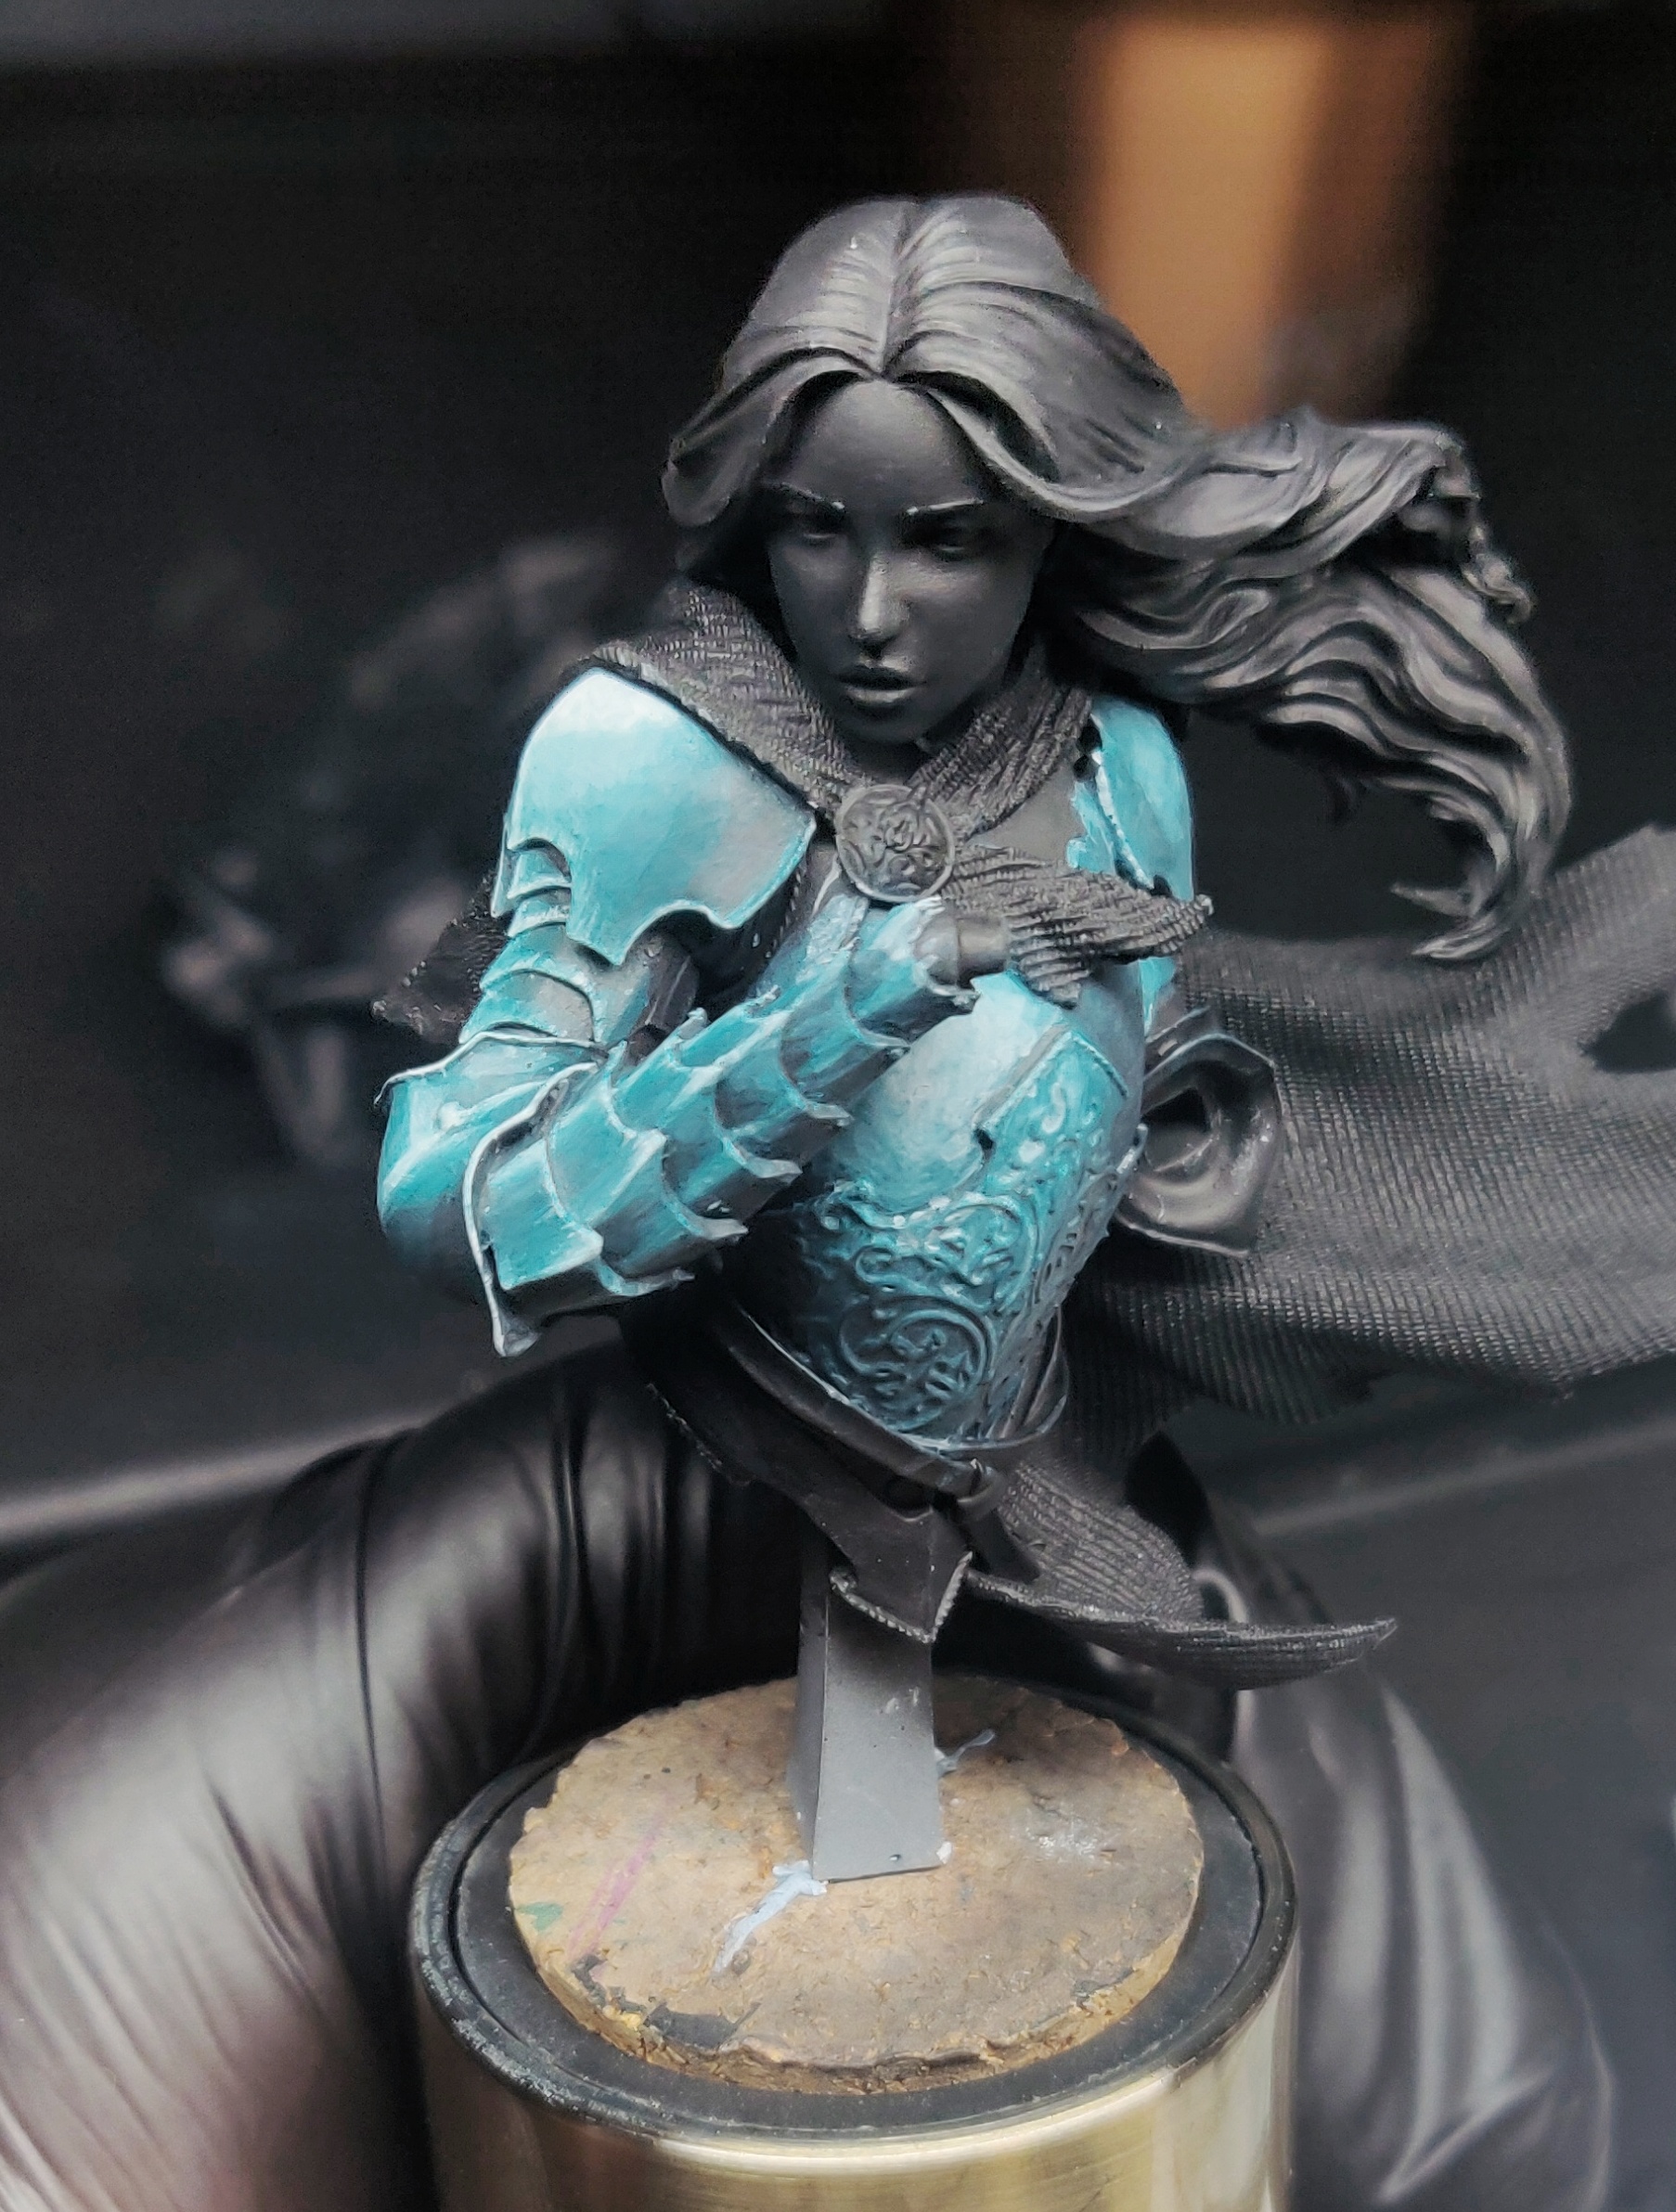
 Shiny sword
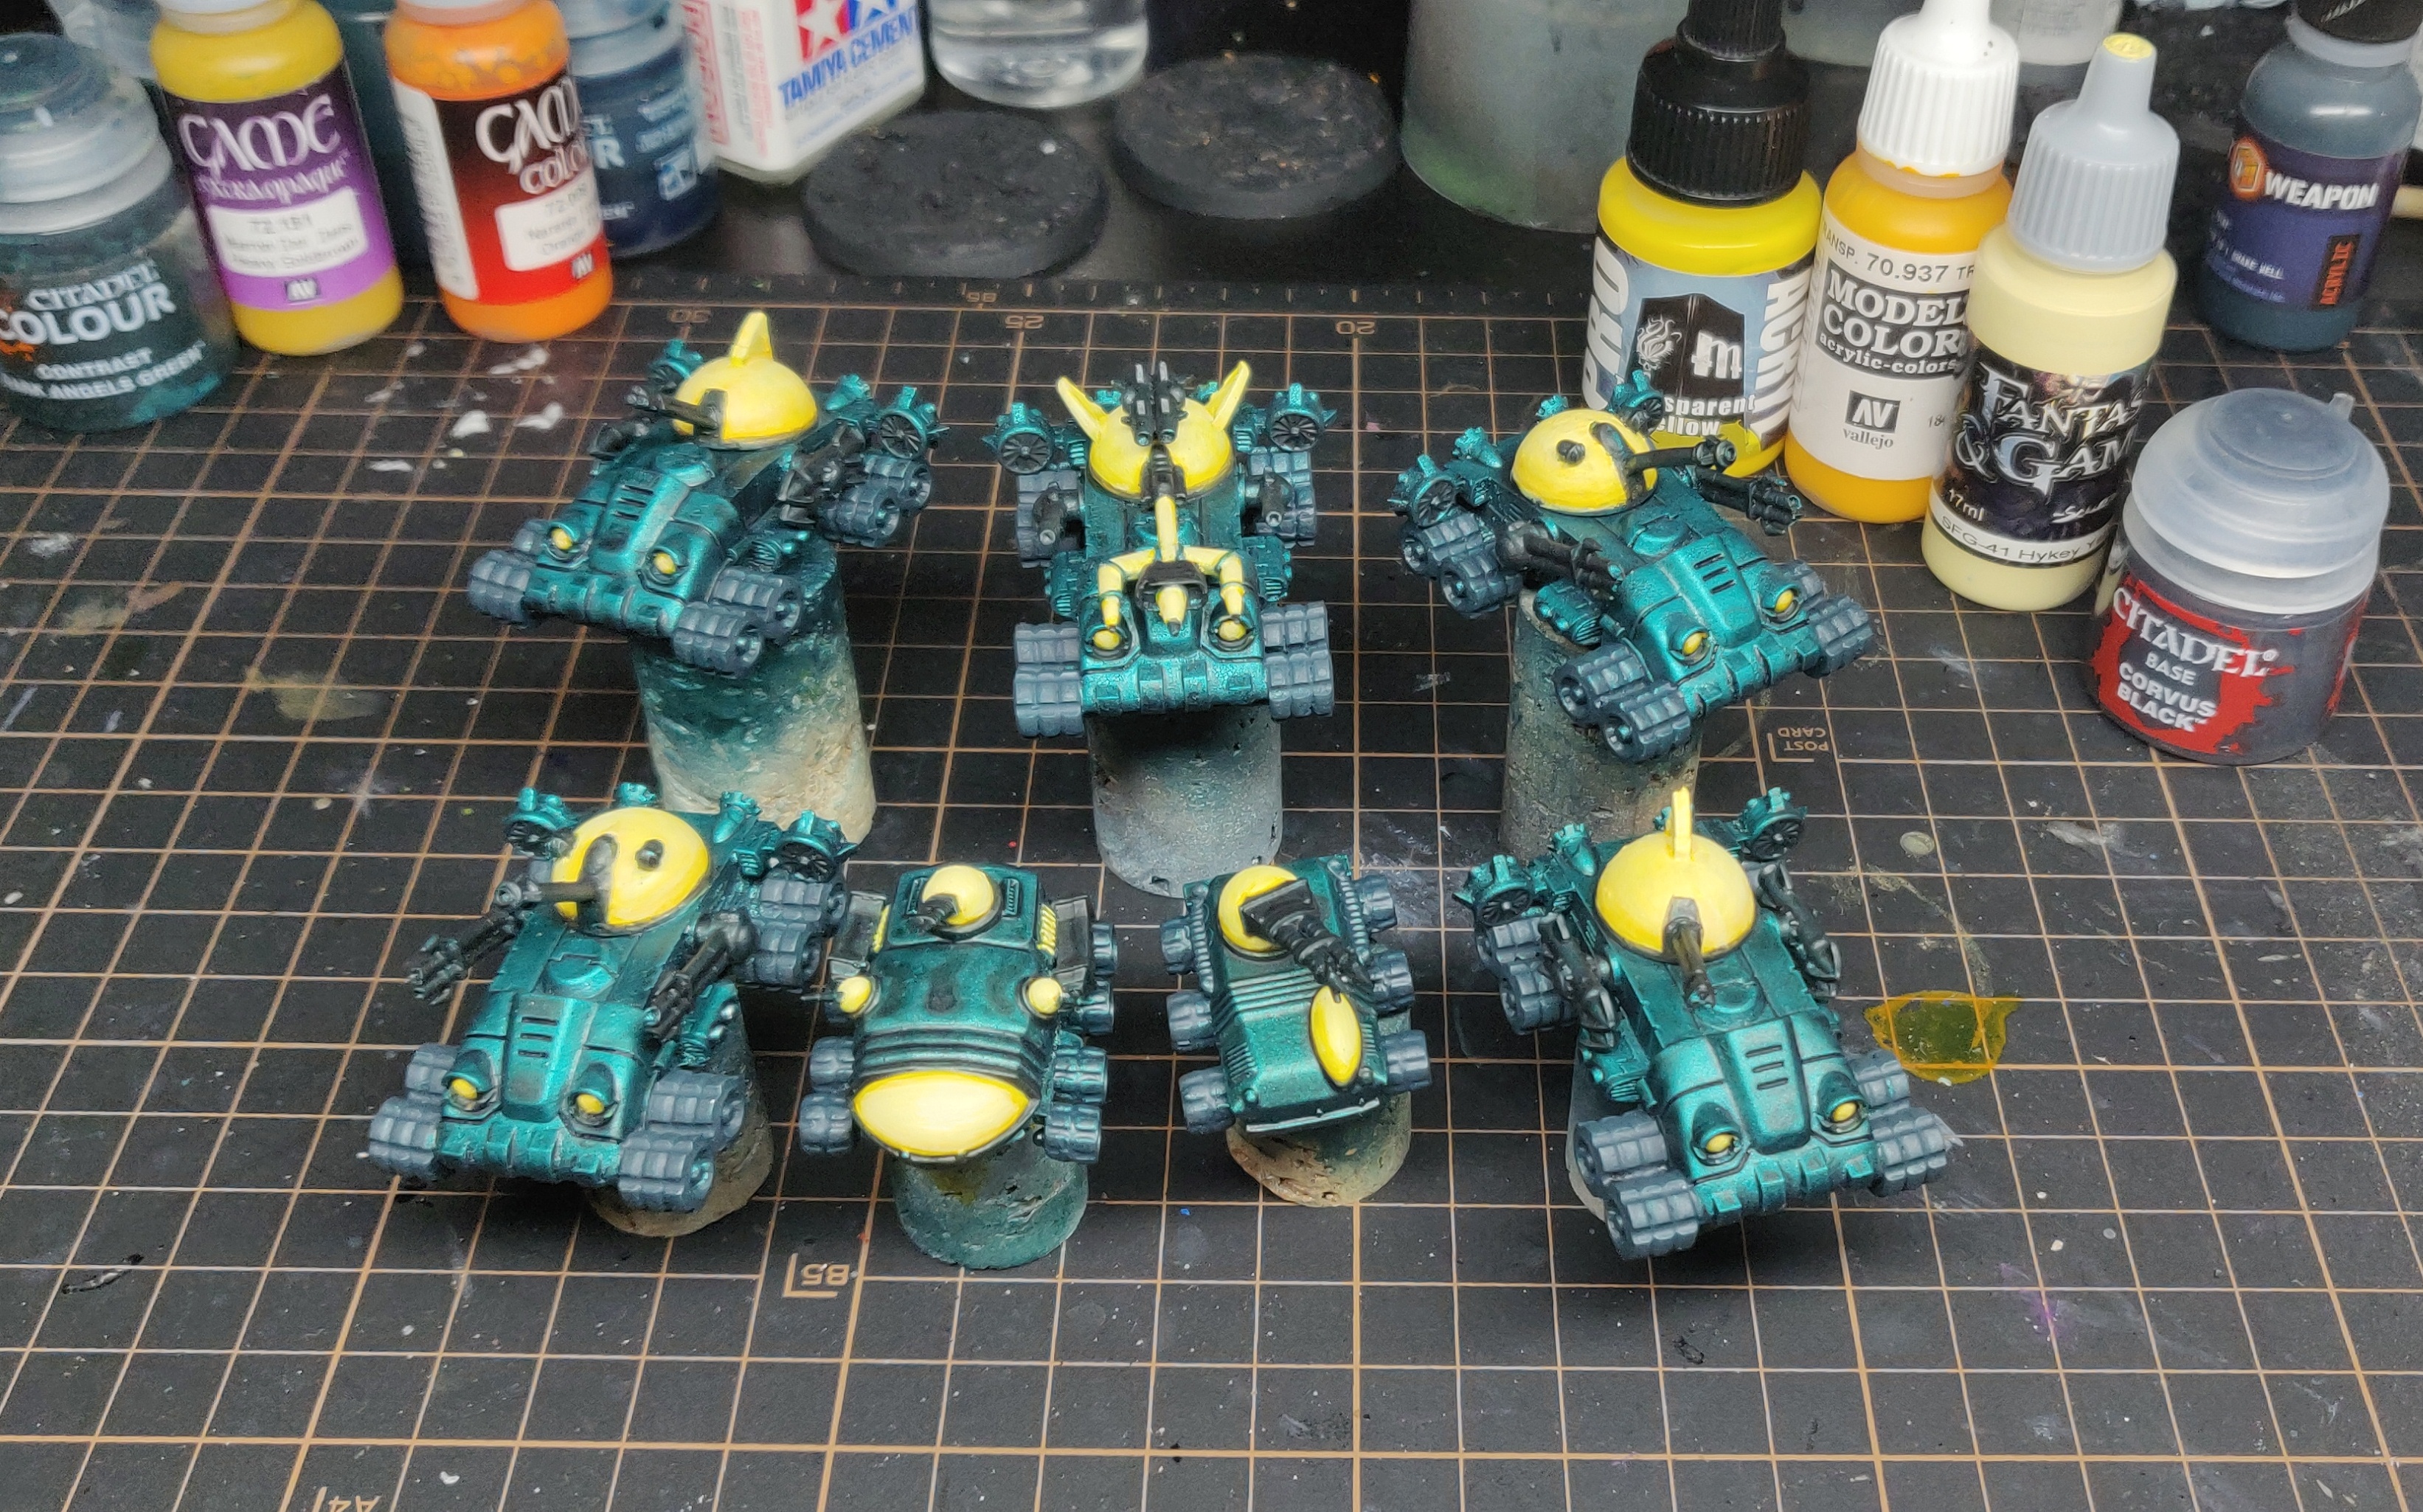
Day 6 - hitting that Hykey
Today was more working on the yellows to bring them up to the scalecolor hykey yellow.
This is achieved by crating a blend over the basecoat with multiple passes of thinned down Hykey yellow towards the centre of the piece and then shaded with different transparent yellows (one cold one warm) so that it has a nicer shade and colour falloff towards the edges. This is still not finished and will take another night to be done.
I also blacked out some of the details like weapons which will help me work out how well the colours are working together and also frame some of the yellow parts better.