Coral Reef Underwater Terrain Board
Recommendations: 56
About the Project
Our current fantasy RPG campaign is pirate-themed, and the party will soon have to dive beneath the waves to recover a quest item from a wreck strewn across a coral reef. It struck me that this would also give me an excuse to make a unique board that could be used for some interesting skirmish games as well. I will be using both premade terrain pieces and repurposed toys and aquarium decorations, as well as plenty of scratchbuilding. To maximize the experience, please read all of my narration in the voice of Jacques Cousteau.
Related Game: Dungeons & Dragons
Related Genre: Fantasy
Related Contest: TerrainFest 2023
This Project is Active
Step Four: Painting
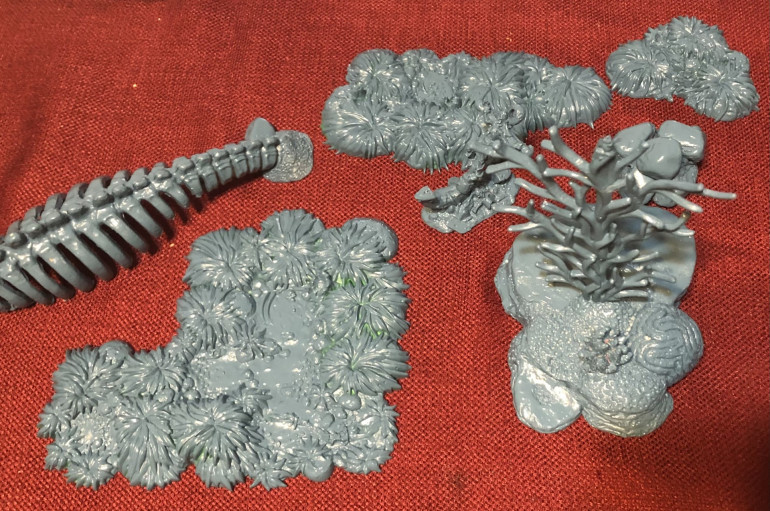
So everything that I’d made so far got a quick spray with the same spray paint I used on the board.
i would later give it a quick drybrush of a lighter tone of cheap craft paint.
Of course, not everything ended up being brilliant scratch-built artistry. The flat pieces you see in the picture above are from Archon Studio’s “Swamps of Doom set, which I was able to get ahold of. My plan was to paint the tufts in a lurid pink to look like anenomes anemnones anemomes wavy critters. However, with the sun going down on Halloween night and TerrainFest coming to an end, I had to post up what I had. C’est la guerre.
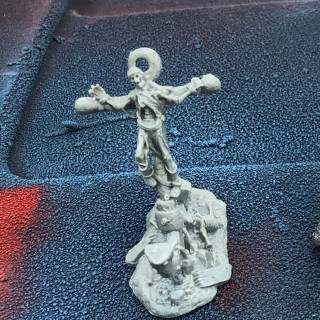
Another piece I had was part of Reaper’s last Kickstarter, a haunted anchor that seemed a good fit. This is another member of the “to be painted” club.
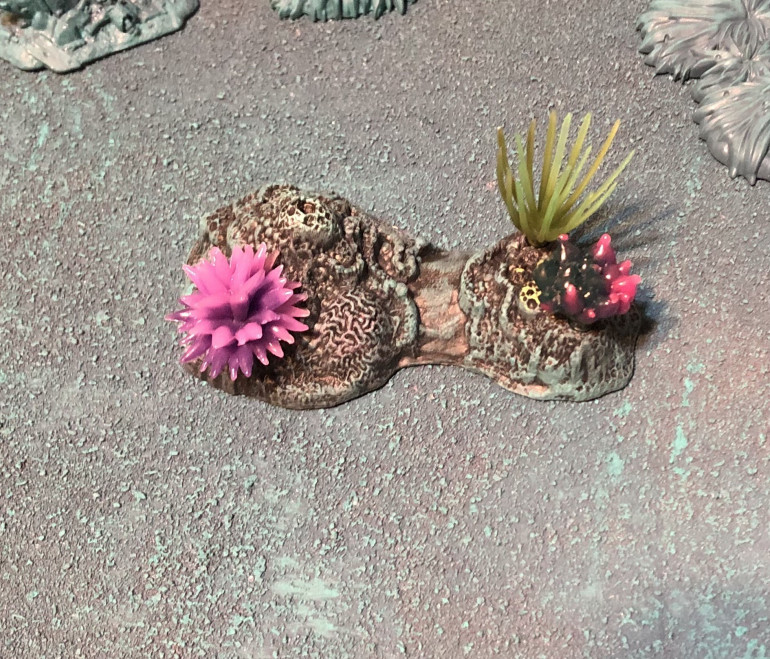
Here is the laziest entry. The recent Avatar film featured plenty of underwater action, and thus the attendant toys, doomed to end up in the bargain bin (and thus my grubby paws,) featured appropriate terrain accents. This is the base for one of the crab robots from the movie (you can look forward to one day seeing that vehicle repurposed into a Leagues of Votann Sagitaur proxy.) I removed the little post that held the craft and put it on the table more or less as is, with no more than a quick drybrush of the ubifying color to help it blend. Easy peasy.
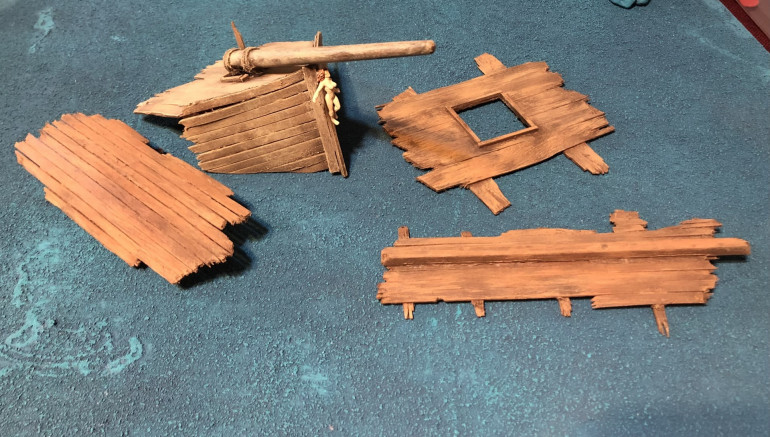
Paradoxically, the most work-intensive was the quickest, because I’d already made them for an earlier project. These shipwreck pieces were made from coffee stirrers, square dowels and matchsticks, a paintbrush handle for the bowsprit, and some thread for rope details. The figurehead is an old Heroclix figute with its spandex painted as garishly-painted wood (in an earlier story, a party was tasked with recovering this piece of art, but that is a story for another day.)
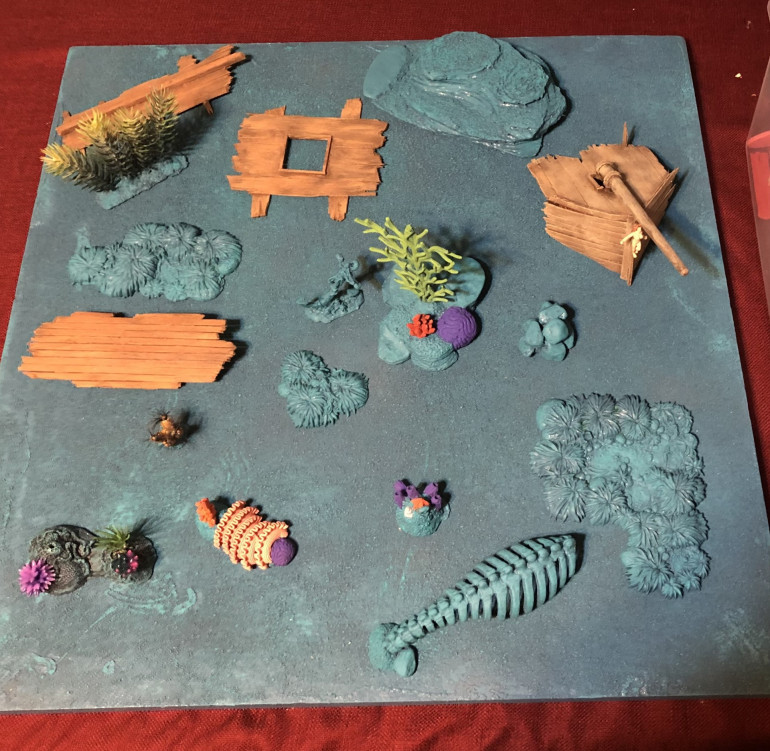
And so, with all of the elements as ready as I was going to get it before the deadline, and with ravening hordes of trick-or-treaters beating down the door for their unearned confections, I post here a finished-ish photo of the board so far.
In the immortal (literally) words of The Kurgan: “Happy Halloween, Ladies!”
Step Three: Scatter (part 2)
Our board isn’t nearly cluttered enough, so we need more scatter, using a combo of premade plastic pieces and more scratch-built and repurposed materials.
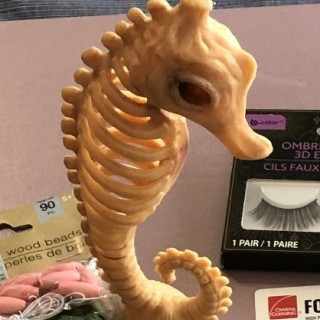
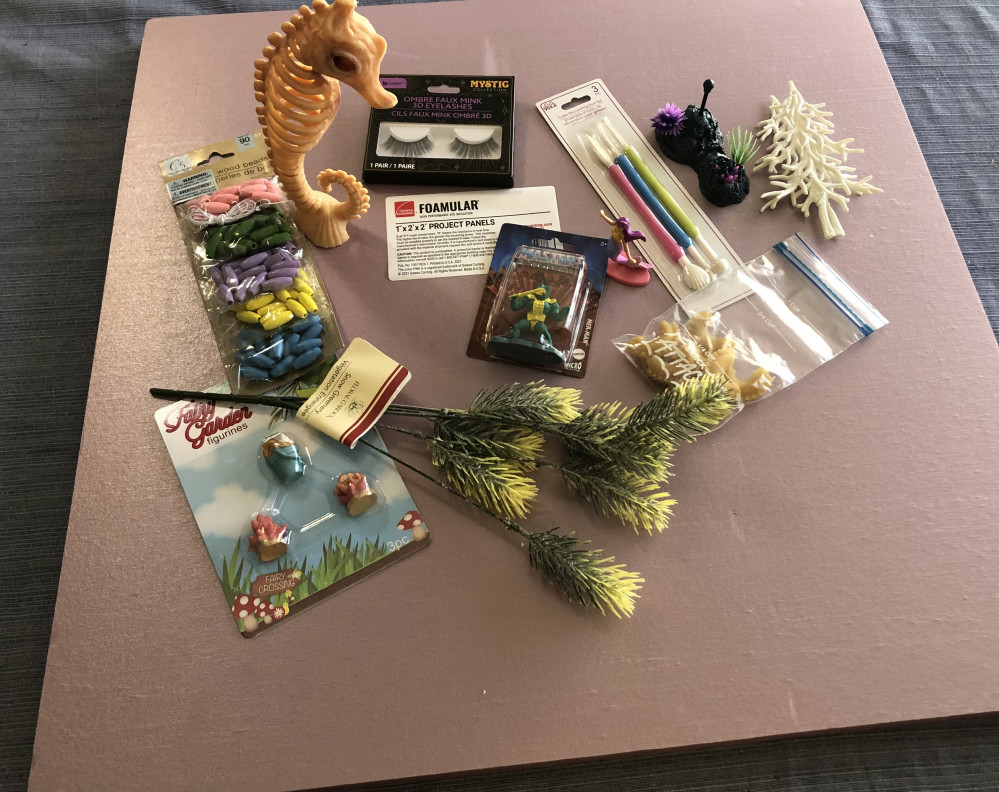
Last Spoopy season I picked up this seahorse decoration from the dollar store. It’s from the ever-expanding genre of “skeletons of things that do not have skeletons” that are so popular with the kids these days.
I thought it would make a cool whale (or what have you) skeleton. I may go back and cover it in starfish, which are filthy scavengers (saw a video on Youtube of a whalefall, and it’s crazypants.)
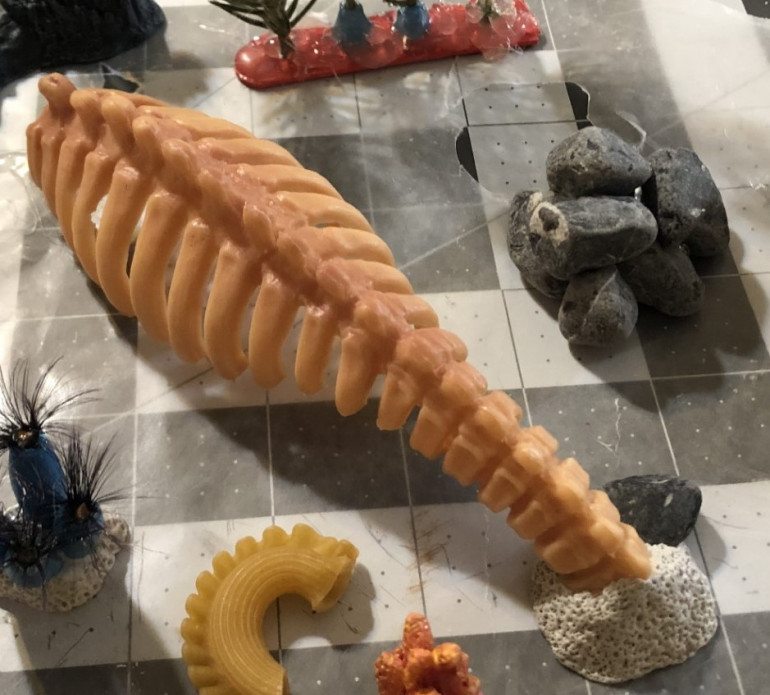
There were plenty of possible approaches for this, but in the end I went for a simple arrangement. I cut off the head and tail, which was a real beast because of the cheap plastic (naturally I kept these parts, as no true crafter throws away any part of the buffalo.) Then I took a pair of heavy snippers (and painkillers for my aging hands,) and cut through all the ribs of the front, leaving a spine and ribcage. I stuck this onto a small mound of sand made from plumber’s putty and a small rock. It’s not much, but it’s honest work.
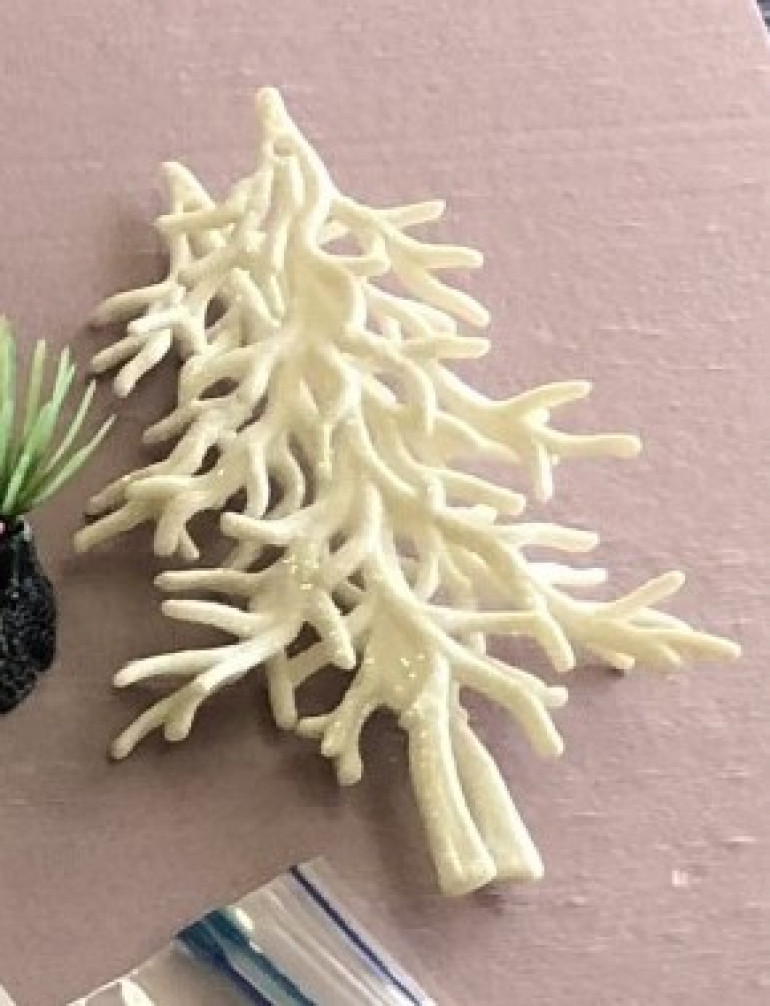
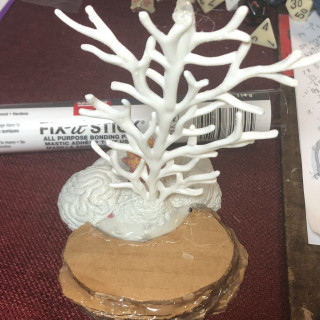
Okay, I’m a little proud of this one. When you are crafting terrain, you want to develop ‘crafting vision,’ or the ability to see what things could be, instead of what they are (like those benighted normal non-crafting people.) So with my brain in the mode of looking for things that would work for coral elements. I saw these plastic Christmas tree ornaments at the dollar store (which is basically my Mecca.) I did not see folk art-inspired holiday decor, I saw inverted staghorn coral.
I began by scrubbing off the glitter (hiss!) and snapping off the trunk piece. It needed a base, and chose a pill bottle cap. I cut a hole big enough for the tip of it, and used hot glue to secure it in place. So now I had the coral, but it was on an obviously regular base; not exactly natural looking.
To build this up, I started with more of my beloved plumber’s putty. Most of this was textured in a simple pattern of divots to match the other general bits of coral. But I also put in a large section of brain coral from the same stuff. I wanted a wide flat section for characters to stand on (a sniper poking a rifle barrel through the coral branches was an appealing image, even if it didn’t make the most sense for an underwater scene.)
To save on putty, I cut some rounds of cardboard of irregular sizes and stacked them. Sealing the edges with hot glue, I then used a thin layer of plumbing putty to add texture.
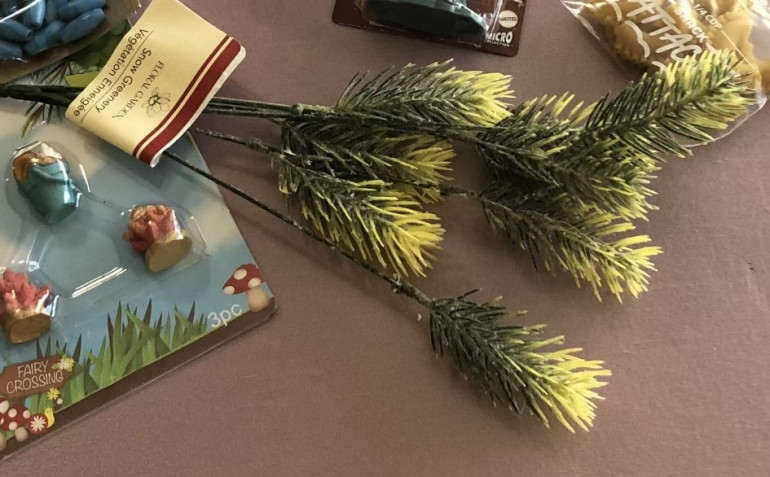
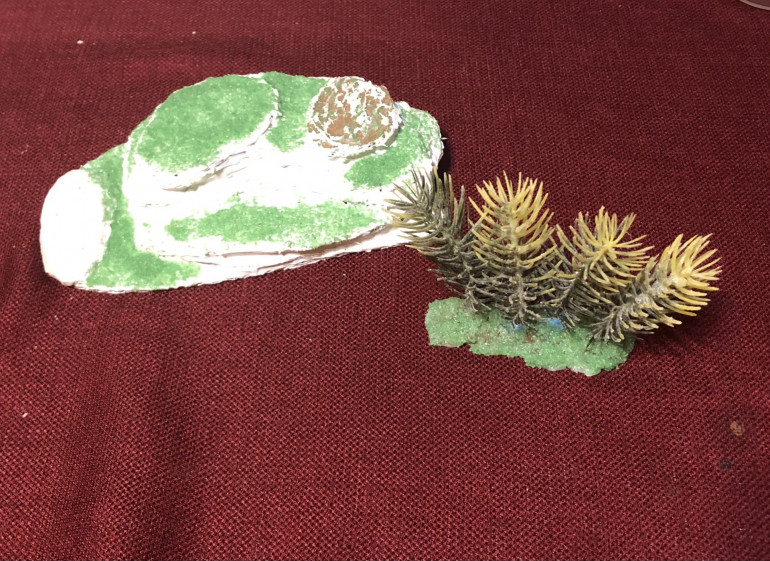
I also made a few standard pieces using tried and true methods, like a hill made from stacked cardboard shapes textured with glue and filling compound, a pile of rocks made from an actual pile of rocks hot-glued together, and a small bank of seaweed, made from the plastic foliage in the project cover image.
I pulled the little fronds off the wire stems, and hot-glued them down to a tongue depressor. More hot glue built up a mound for the base, and glue and sand gave texture.
The next step is to spray everything in the same tone as the board, and paint away!
Step Two: Scatter (part 1)
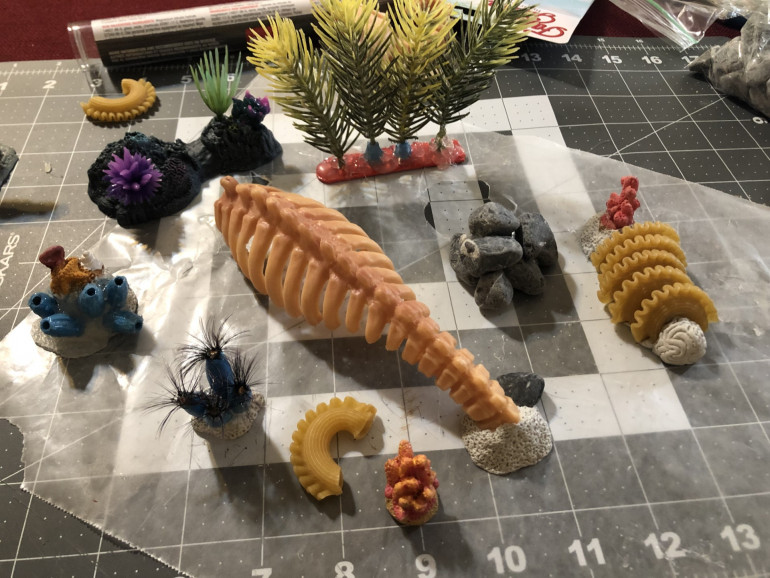
Any good terrain board needs plenty of scatter terrain, which in this case meant some coral reef elements, rocks, and sea plants. To accomplish this, I used some premade elements, converted and repurposed some other pieces, and scratch-built the rest.
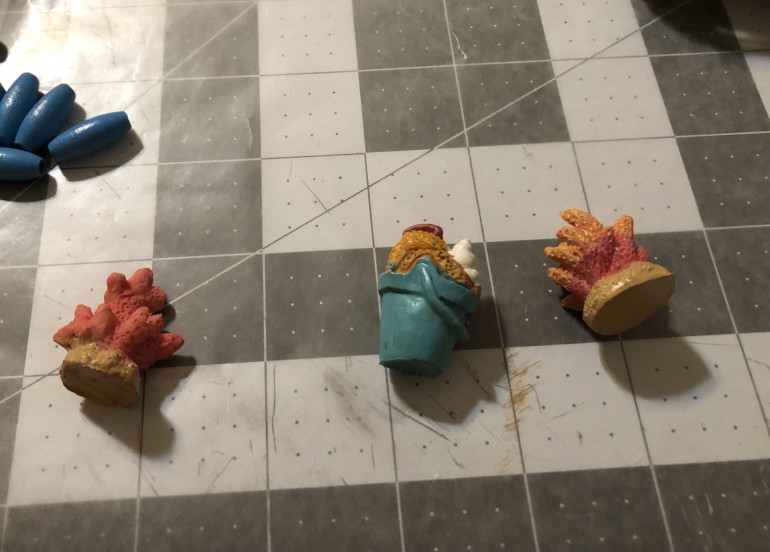
These were some really cheap resin decorative garden elements from the dollar store. The two that are coral bits work fine, I can just stick those anywhere, I wouldn’t even need to modify them, really. But what am I going to do with a pail of sand with a shovel and some seashells?
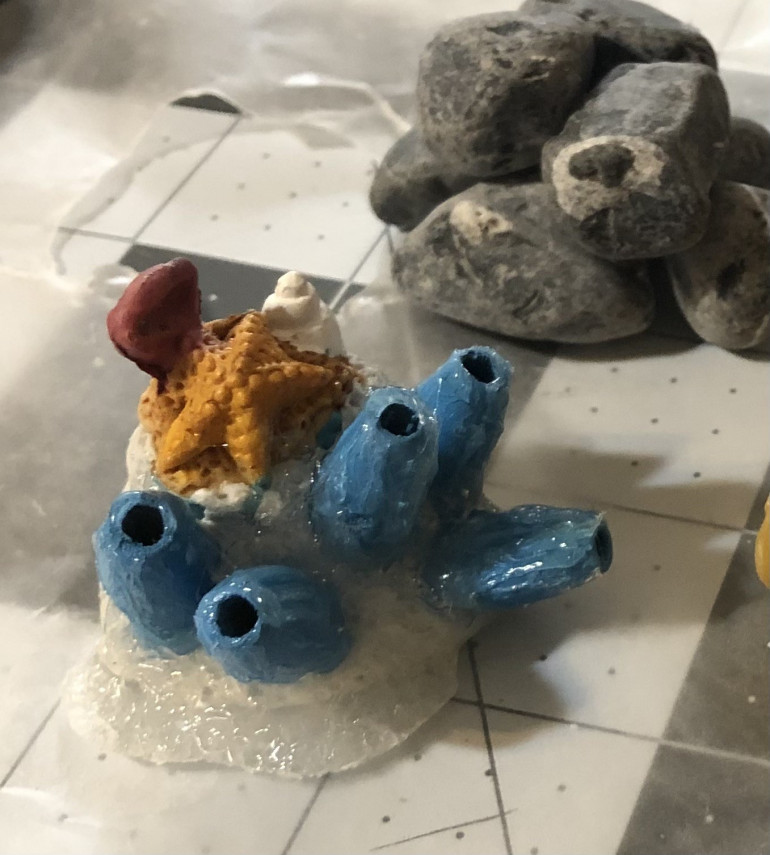
Rather than just throw it away, I realized that the top part works fine with the shell and starfish sticking out of the sand pile. So I just used cheap plumber’s putty from the hardware store (“Fix-It Stick” by Oatey,) to build up a pile around the base, covering up the plastic beach pail. Then I stuck some dollar store wooden beads into the base, and used glue gun to texture the outside. I textured the putty and voila: the first bit of scatter is done.
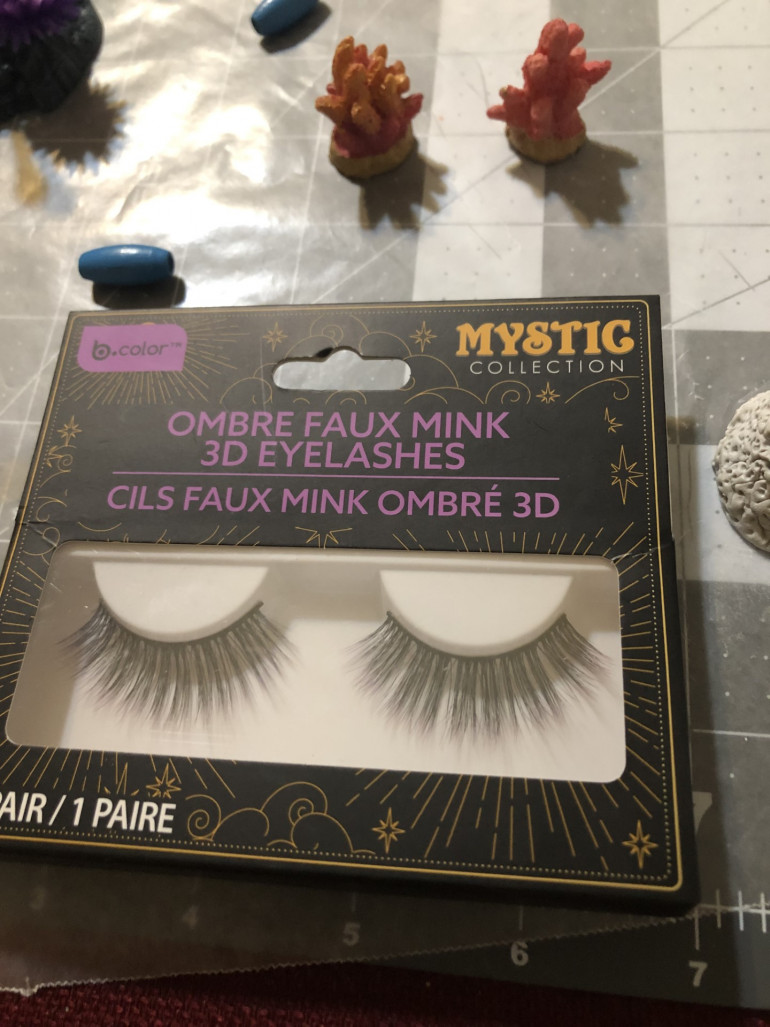
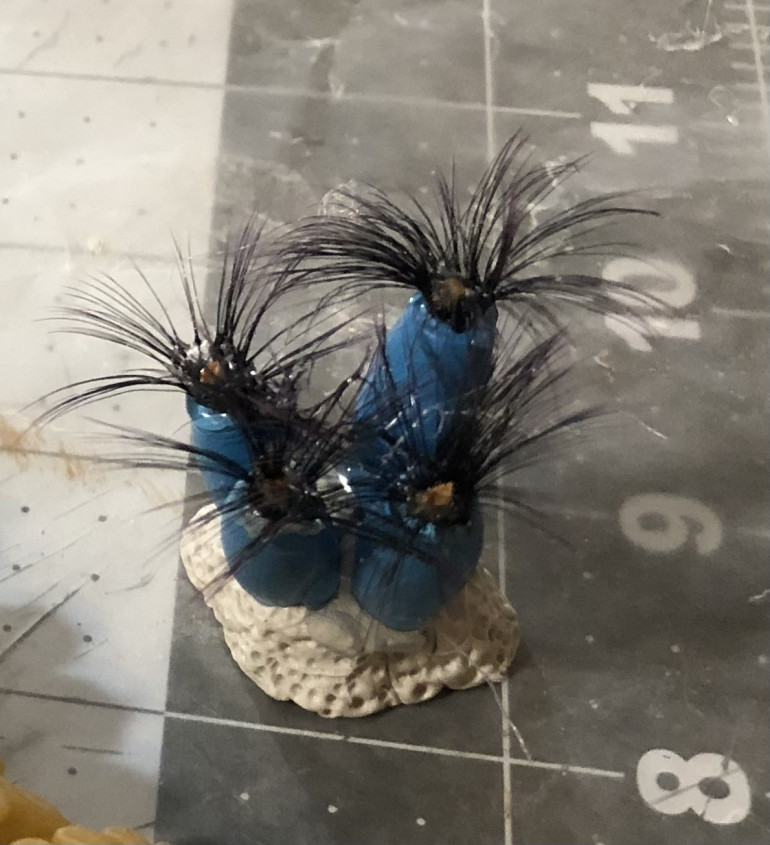
I also wanted some polyps or tube worms as well. I used more putty for the base and more beads for the tubes. But for the frilly fronds I used a dollar store product I don’t normally think of:
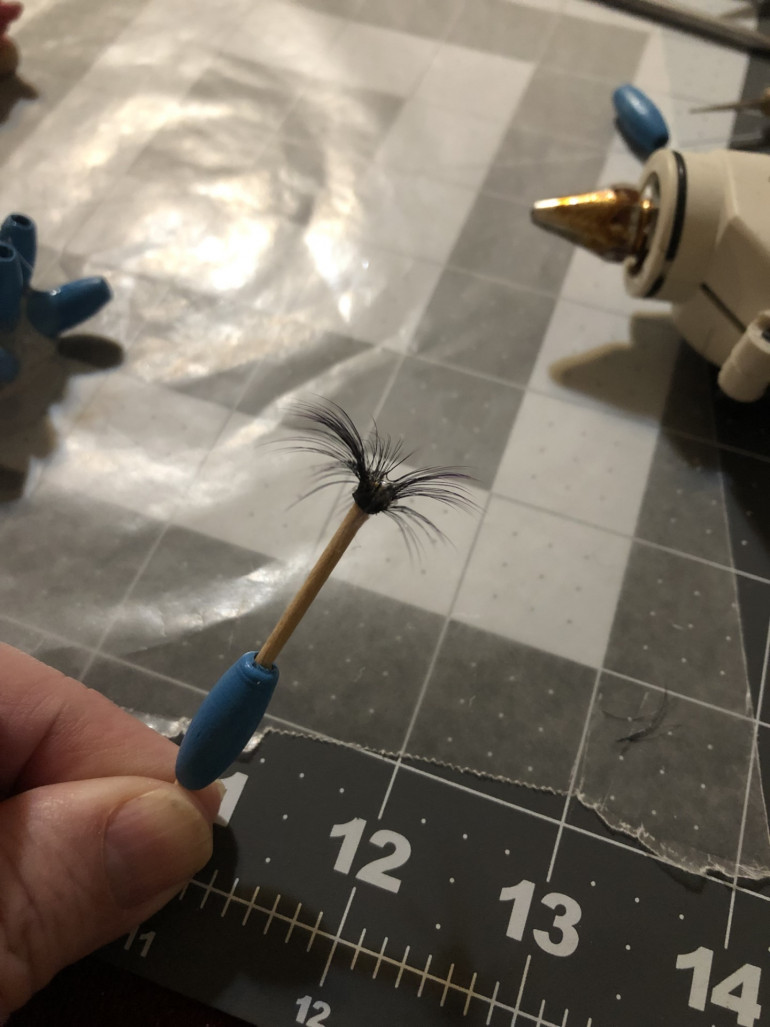
These fake eyelashes were perfect, and they were already adhesive! I stuck them to the end of a toothpick with an extra dab or hot glue and stuck them in the end of the beads.
Cutting each lash in half gave me four worms in tubes. I then suck them all in a putty base, for another scatter piece sorted.
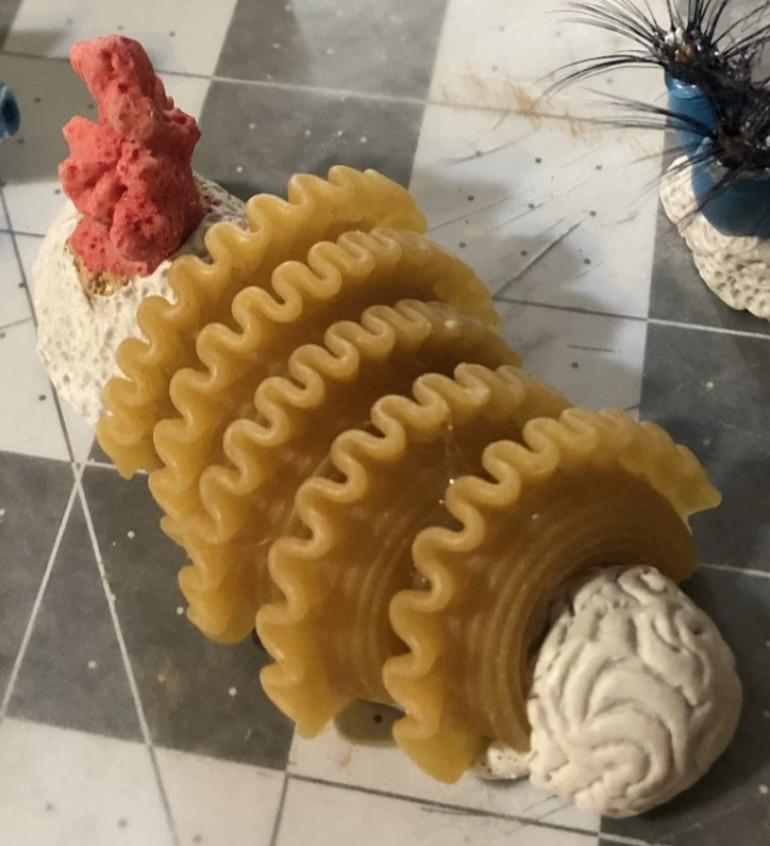
This next one would be a bit bigger. I had these funky pasta shapes that I thought would look great as coral structures. I stuck these in the middle of a long shape of putty, and I stuck one of the resin coral pieces in as well. For the other end, I carved it to look like a piece of brain coral.
Step One: The Board
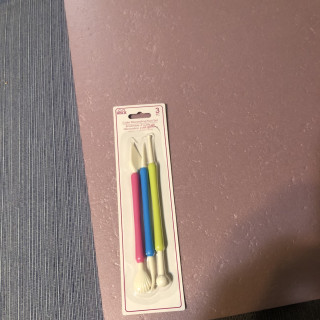
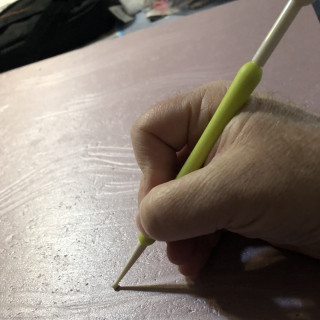
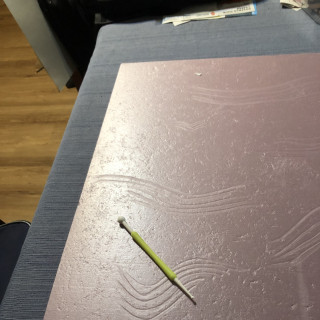
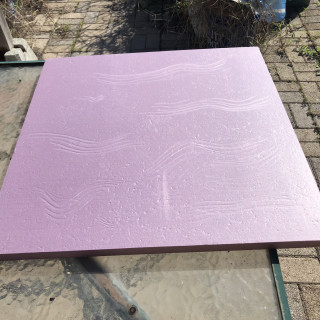
To start my project, I got a 2’x2′ foam board to represent a section of ocean floor. In order to replicate the sandy ridges one finds in such terrain, I picked up a set of cake fondant decoration tools from my local dollar store. The idea was to use the large round-ended tool to ‘smoosh’ down the foam in sandy edges using the larger ‘ball-end.’ Ahem.
Once this was done in a few spots, I used the smaller end to dig in under the dge in an attempt to give more depth to one side of the ridge, giving more of an ide of depth. How well this worked I leave to the viewer.
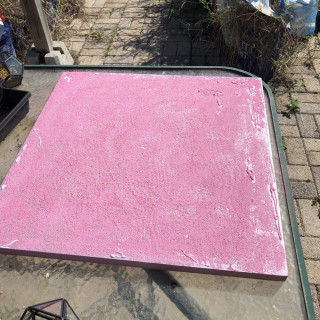
I then painted a healthy mixture of white glue and water, and sprinkled decorative sand all over. Alas, the sand I had was pink, too similar to the foam itself to show well in photos.
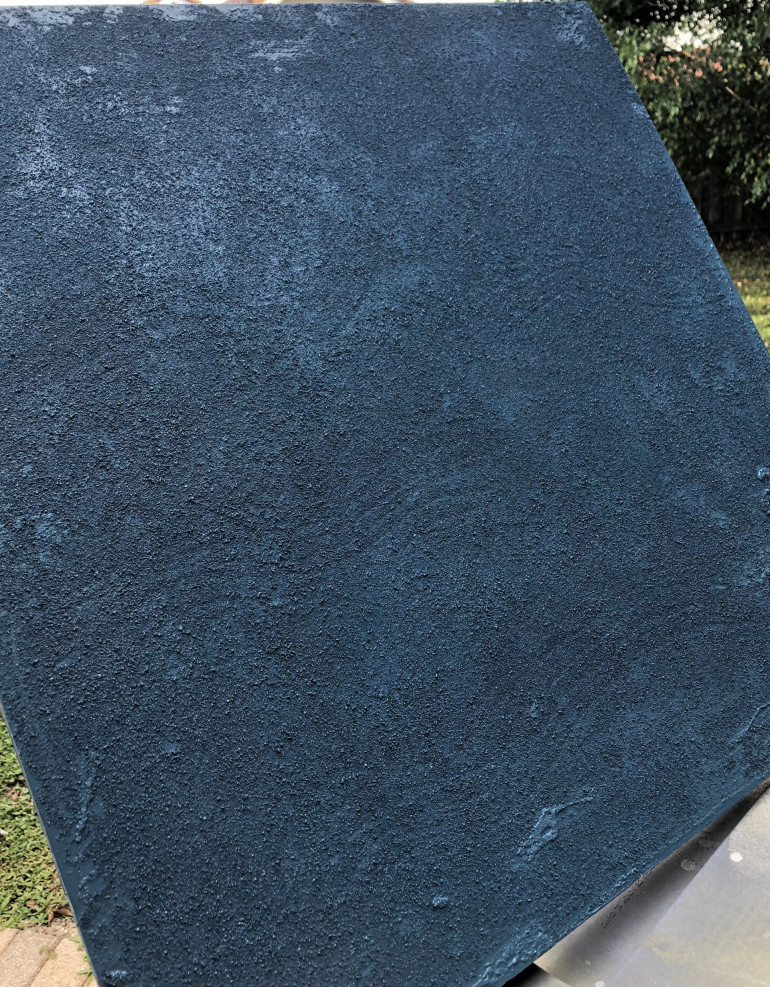
After allowing for copious drying time, I sealed the edges with more white glue and sprayed the whole thing in a suitably oceanic tone. The eventual plan is to paint wavy lines over the surface to try and replicate the patterns made by light filtering through the ocean above.
But this is as far as I have gotten so far.


![How To Paint Moonstone’s Nanny | Goblin King Games [7 Days Early Access]](https://images.beastsofwar.com/2024/12/3CU-Gobin-King-Games-Moonstone-Shades-Nanny-coverimage-225-127.jpg)


