![Very Cool! Make Your Own Star Wars: Legion Imperial Agent & Officer | Review [7 Days Early Access]](https://images.beastsofwar.com/2025/12/Star-Wars-Imperial-Agent-_-Officer-coverimage-V3-225-127.jpg)


BigGrim Does Boarding Actions!


Recommendations: 710
About the Project
Boarding Actions is great fun. It's also a pain in the bum as a terrain set as there is a lot of prep work to make it easier to use. This Project Log with detail the steps I have taken to prep a set I'm gonna paint for my Friendly Local Store, The Pop Shop in Elgin, Moray, Scotland. I'm glad the owner wants to showcase this game mode as it really is damned good fun, thus why I have taken this project on. I have two copies myself to work on too. I show the process for one of those sets, as well as some of the units I'll make for Boarding Patrols.
Related Game: Warhammer 40,000
Related Company: Games Workshop
Related Genre: Science Fiction
This Project is Active
And we're done. For this set...
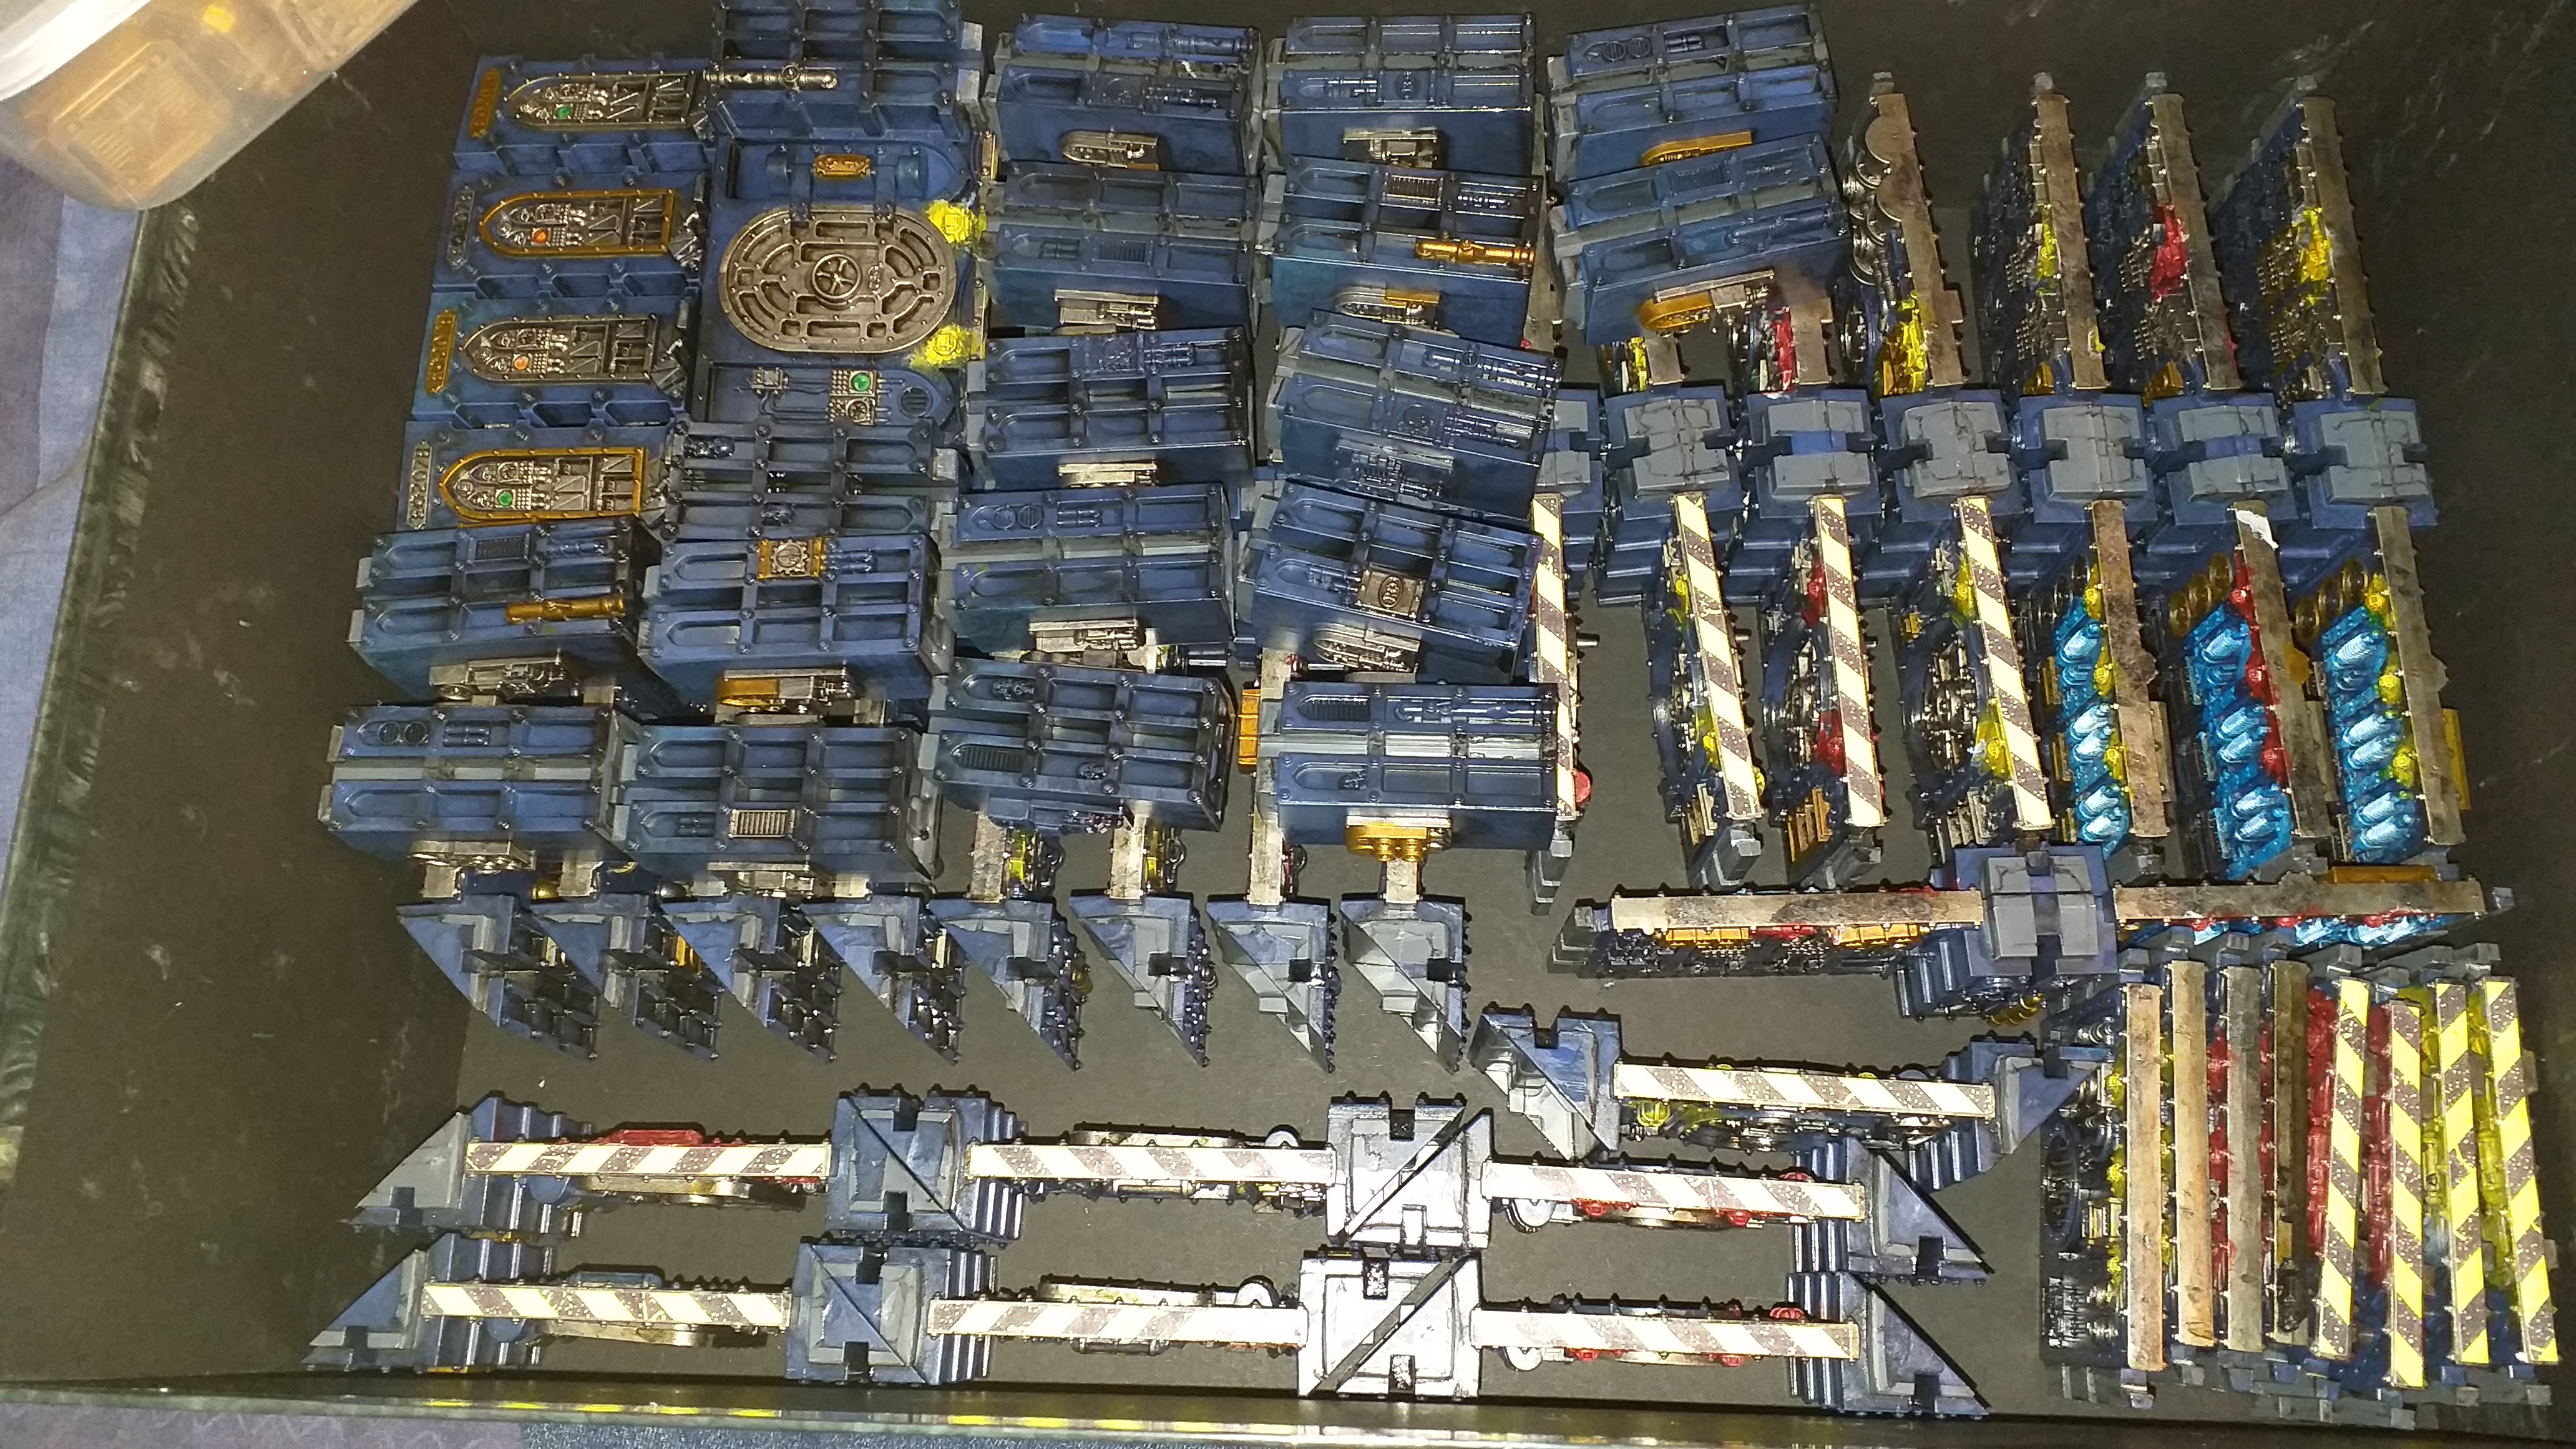
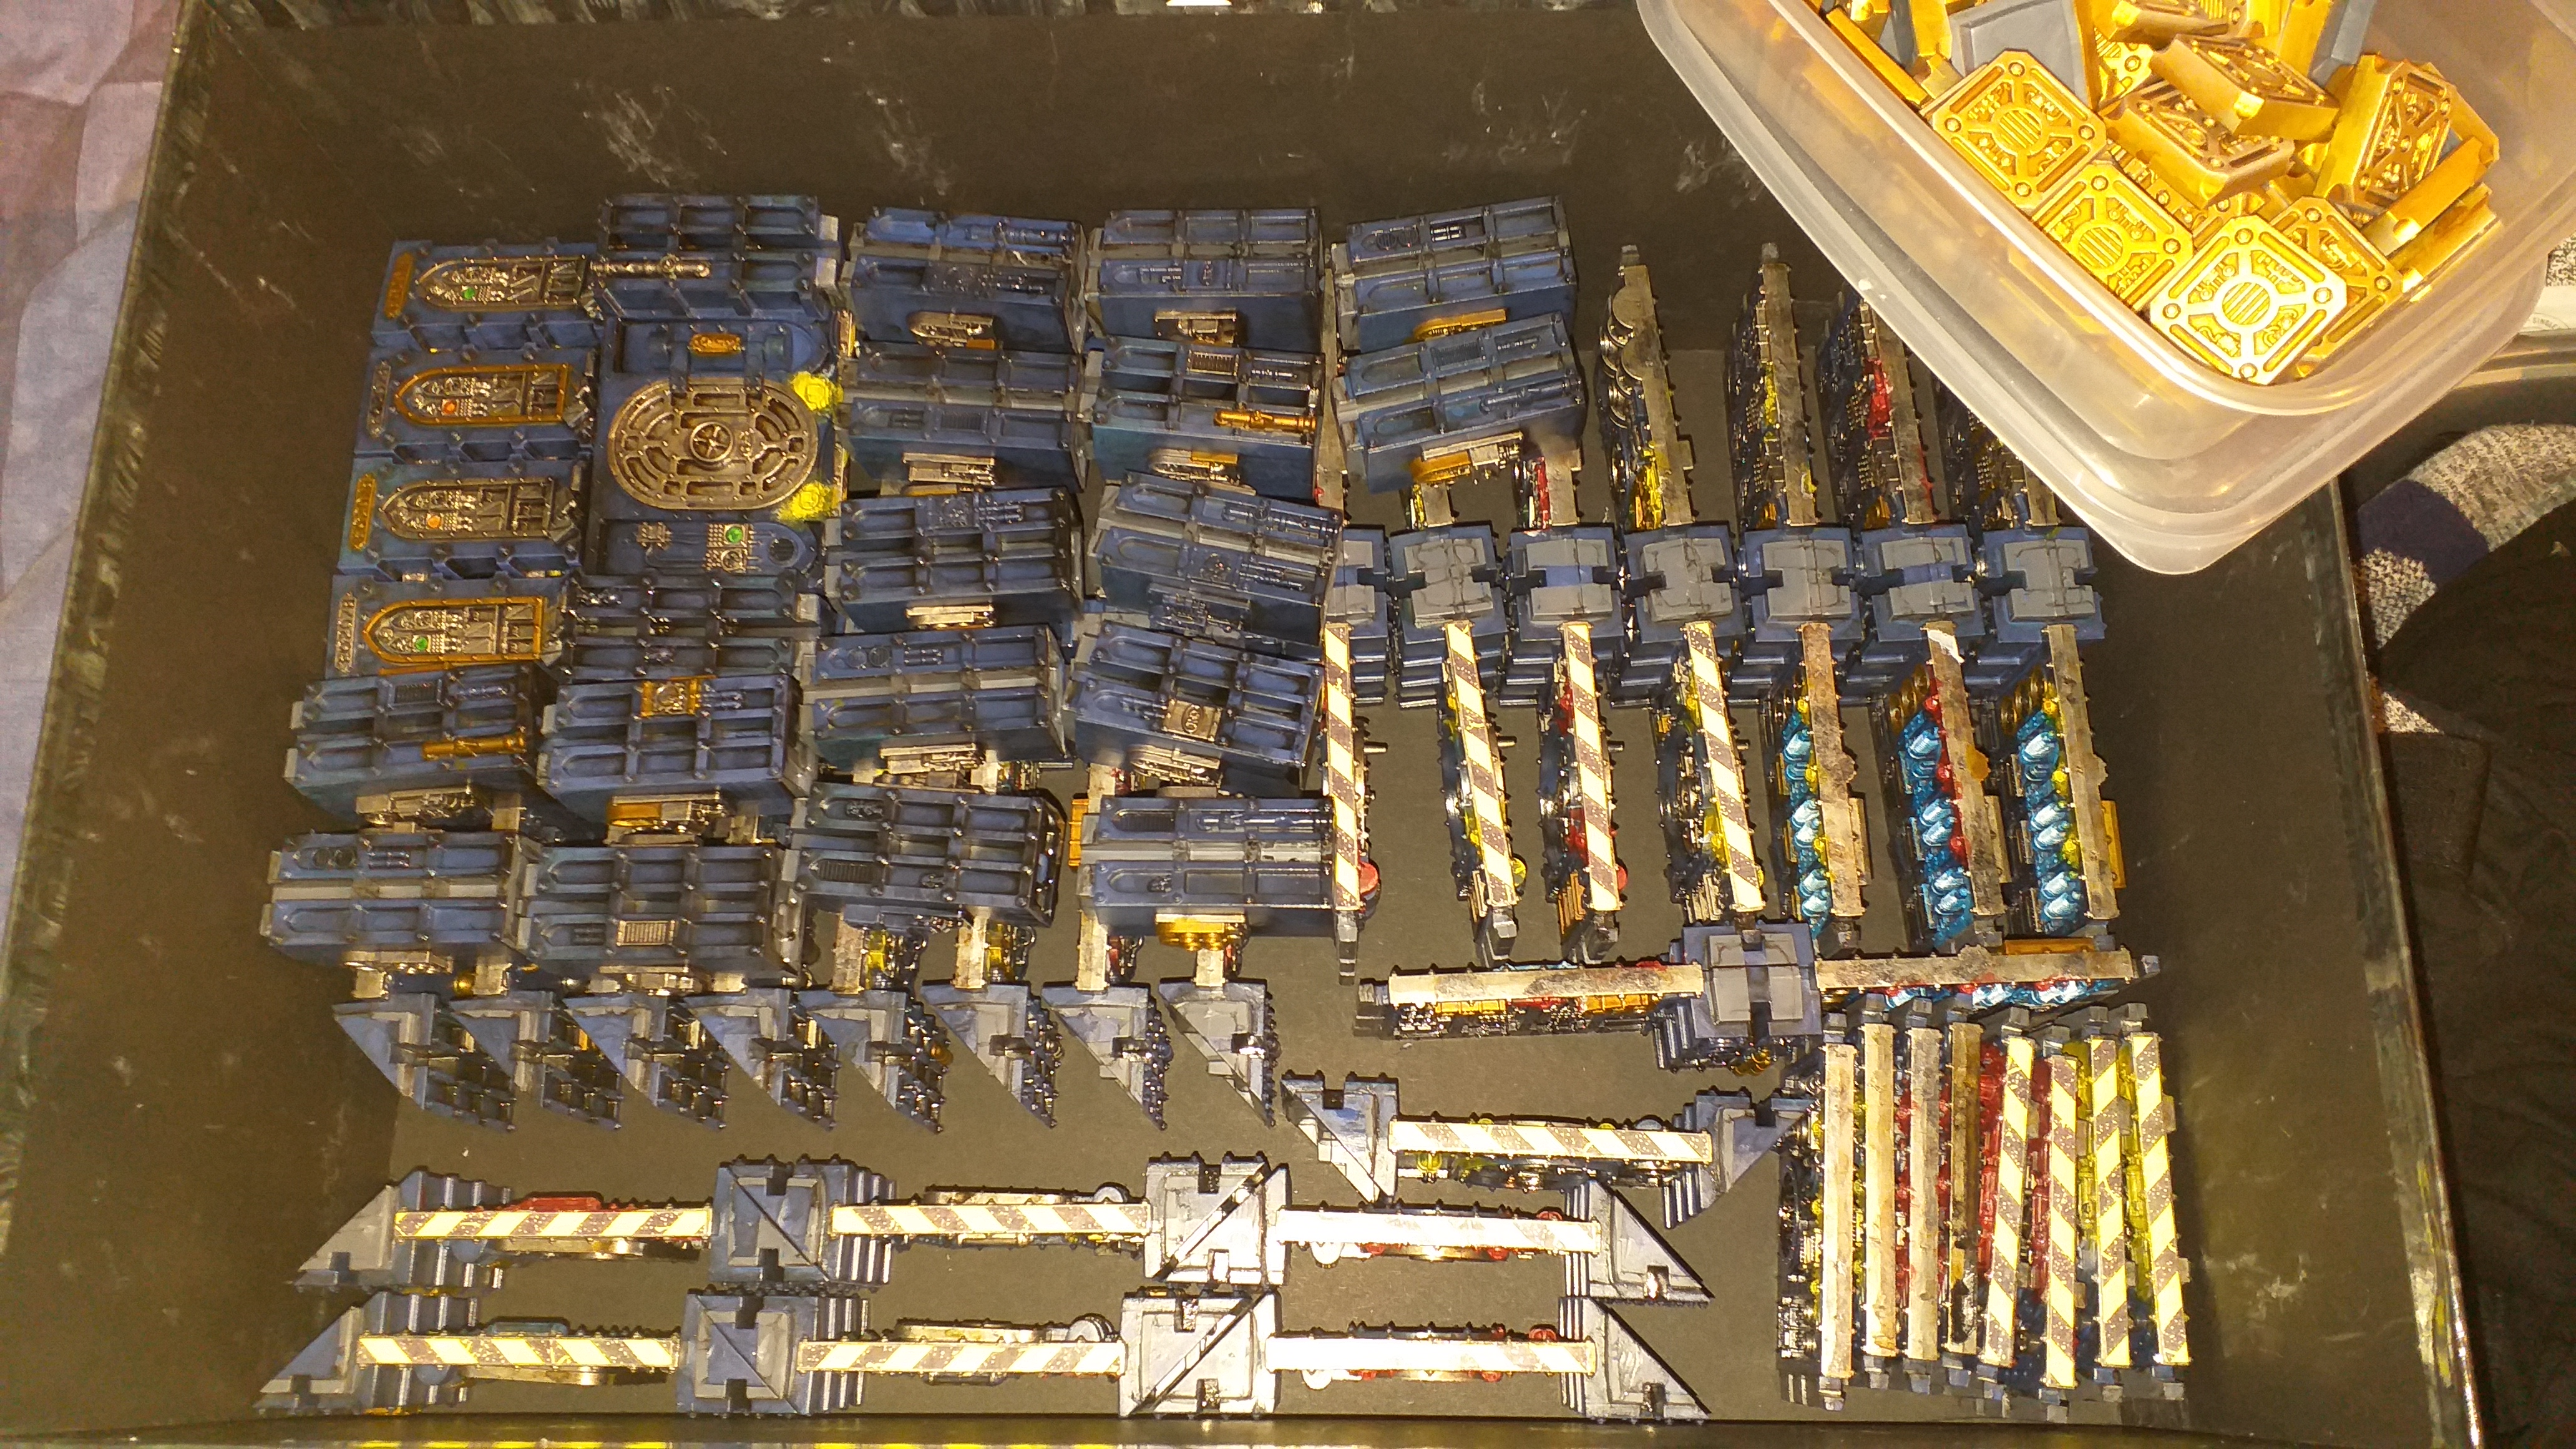
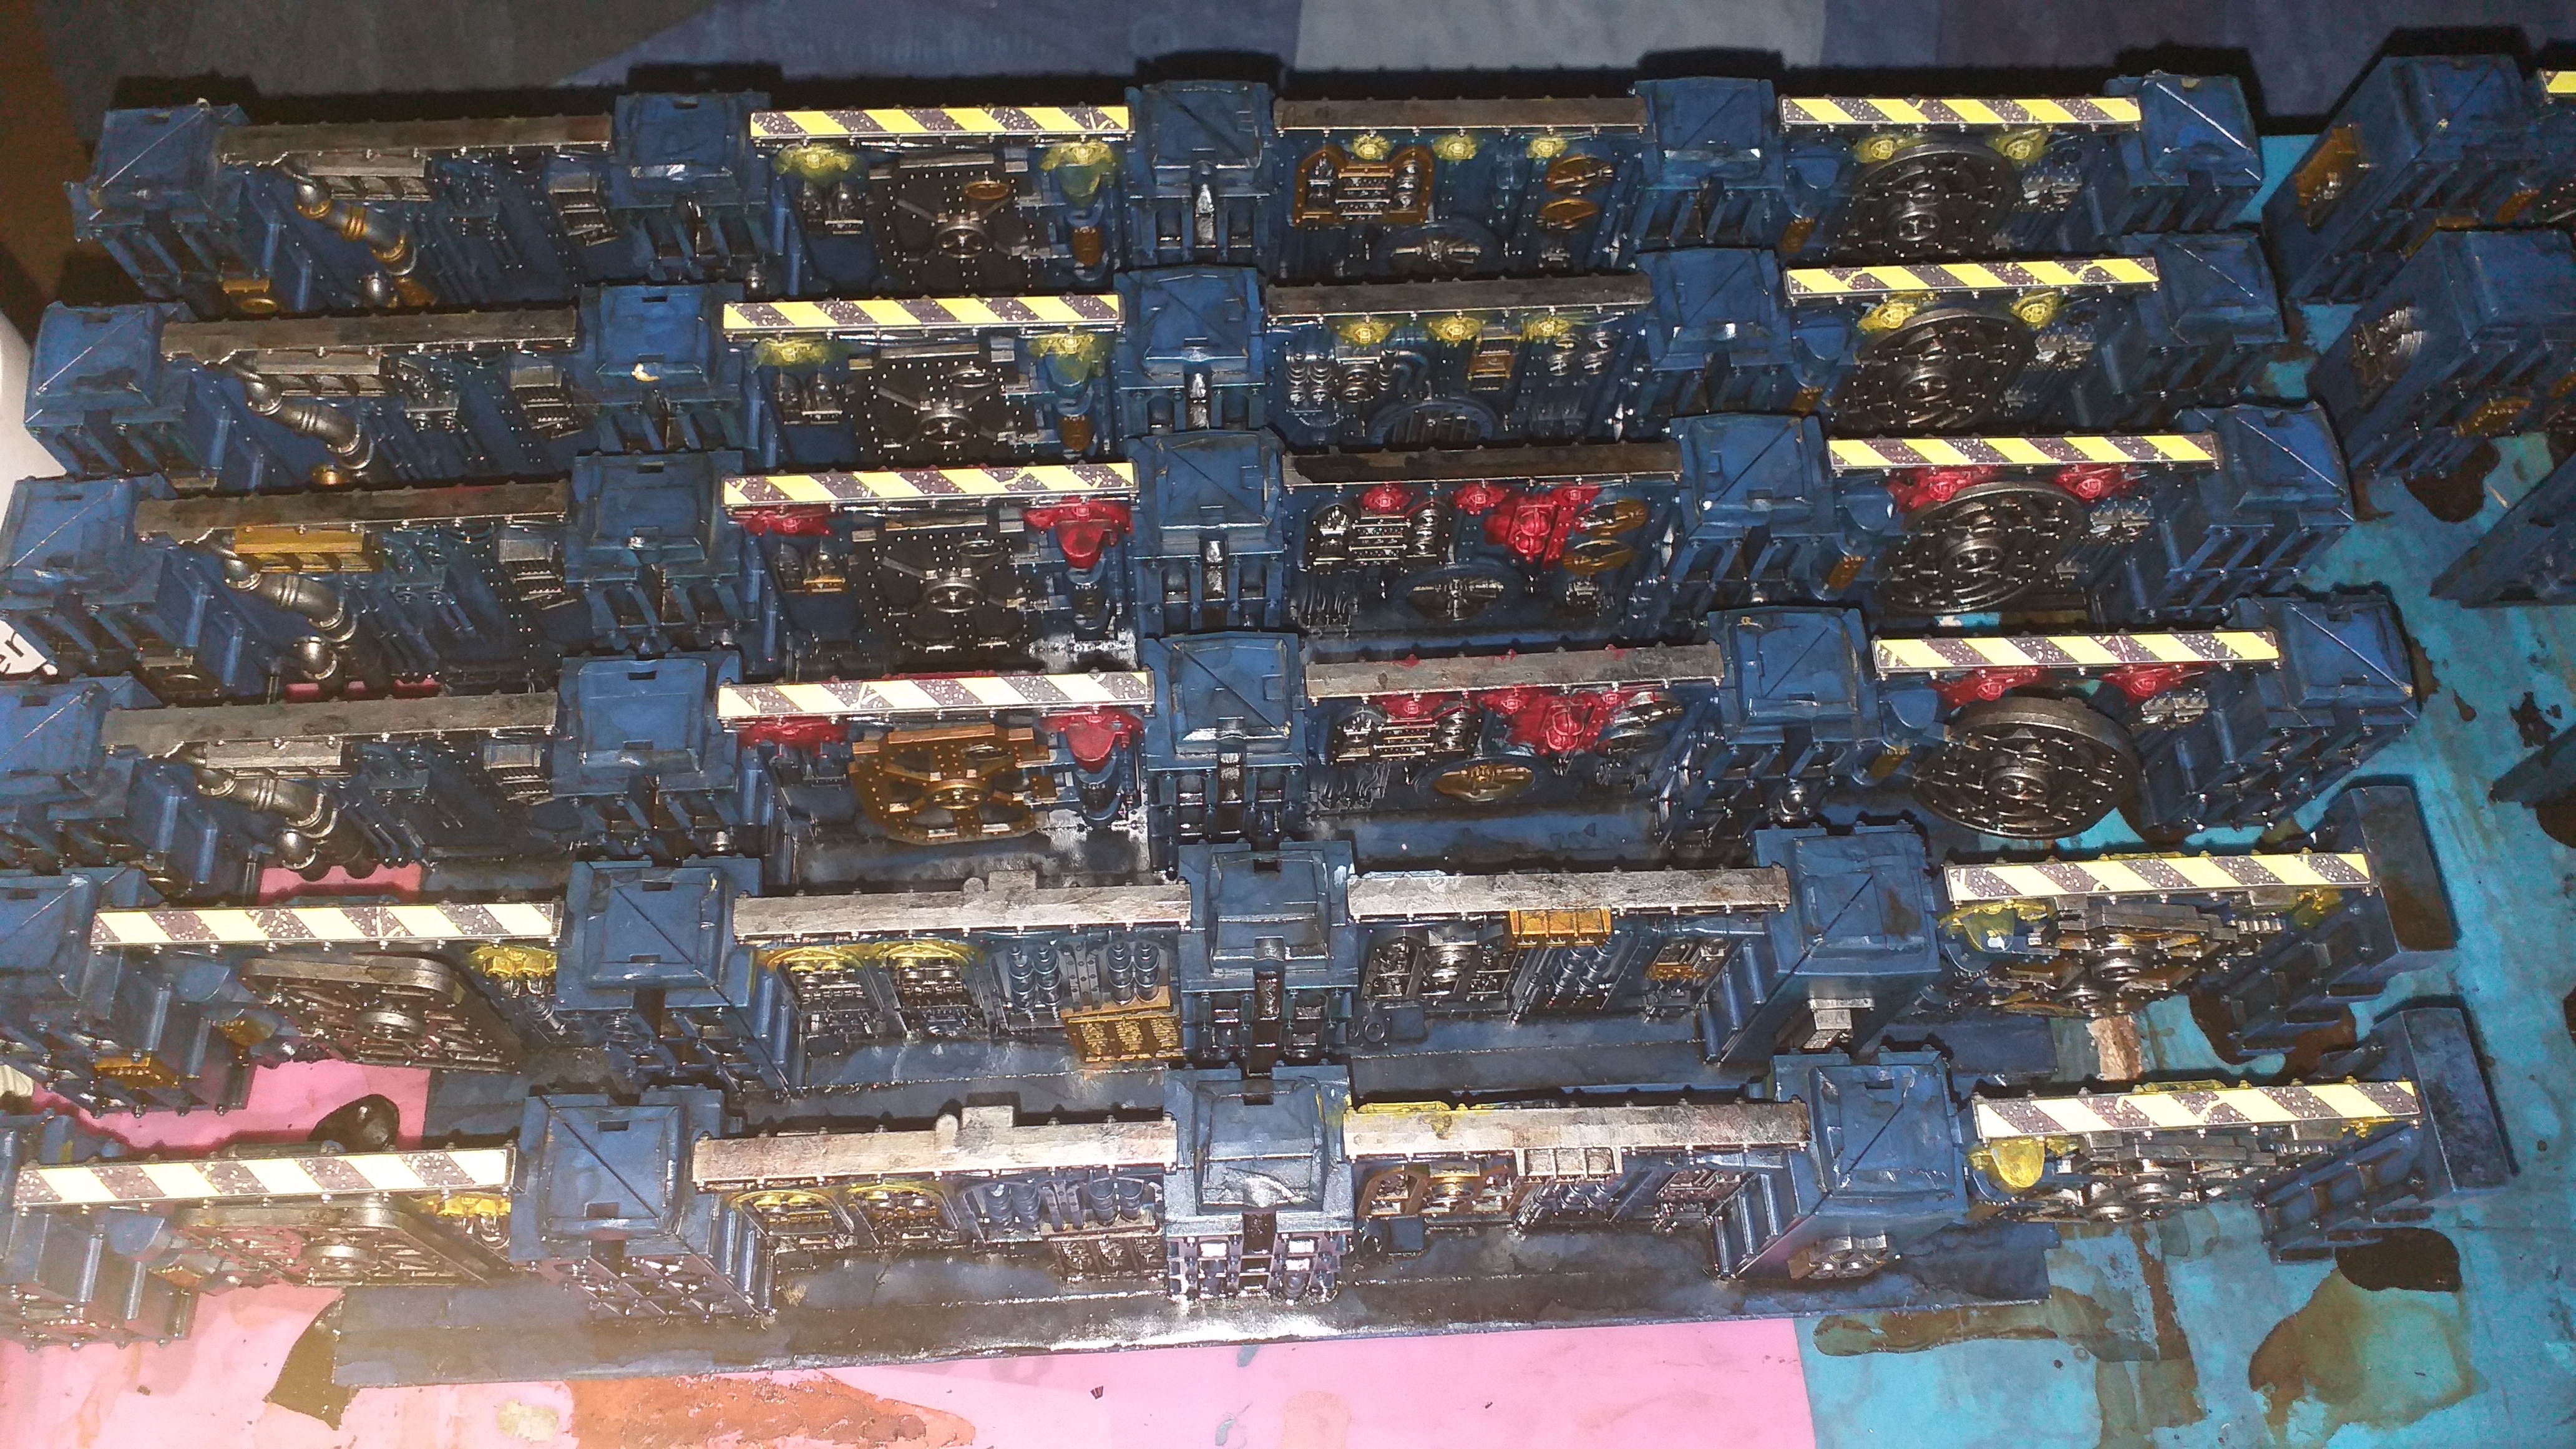
Well, here’s a completed board! I’m pretty pleased. All the sanding work was worth it. It went together and then apart again like a bloomin’ dream!

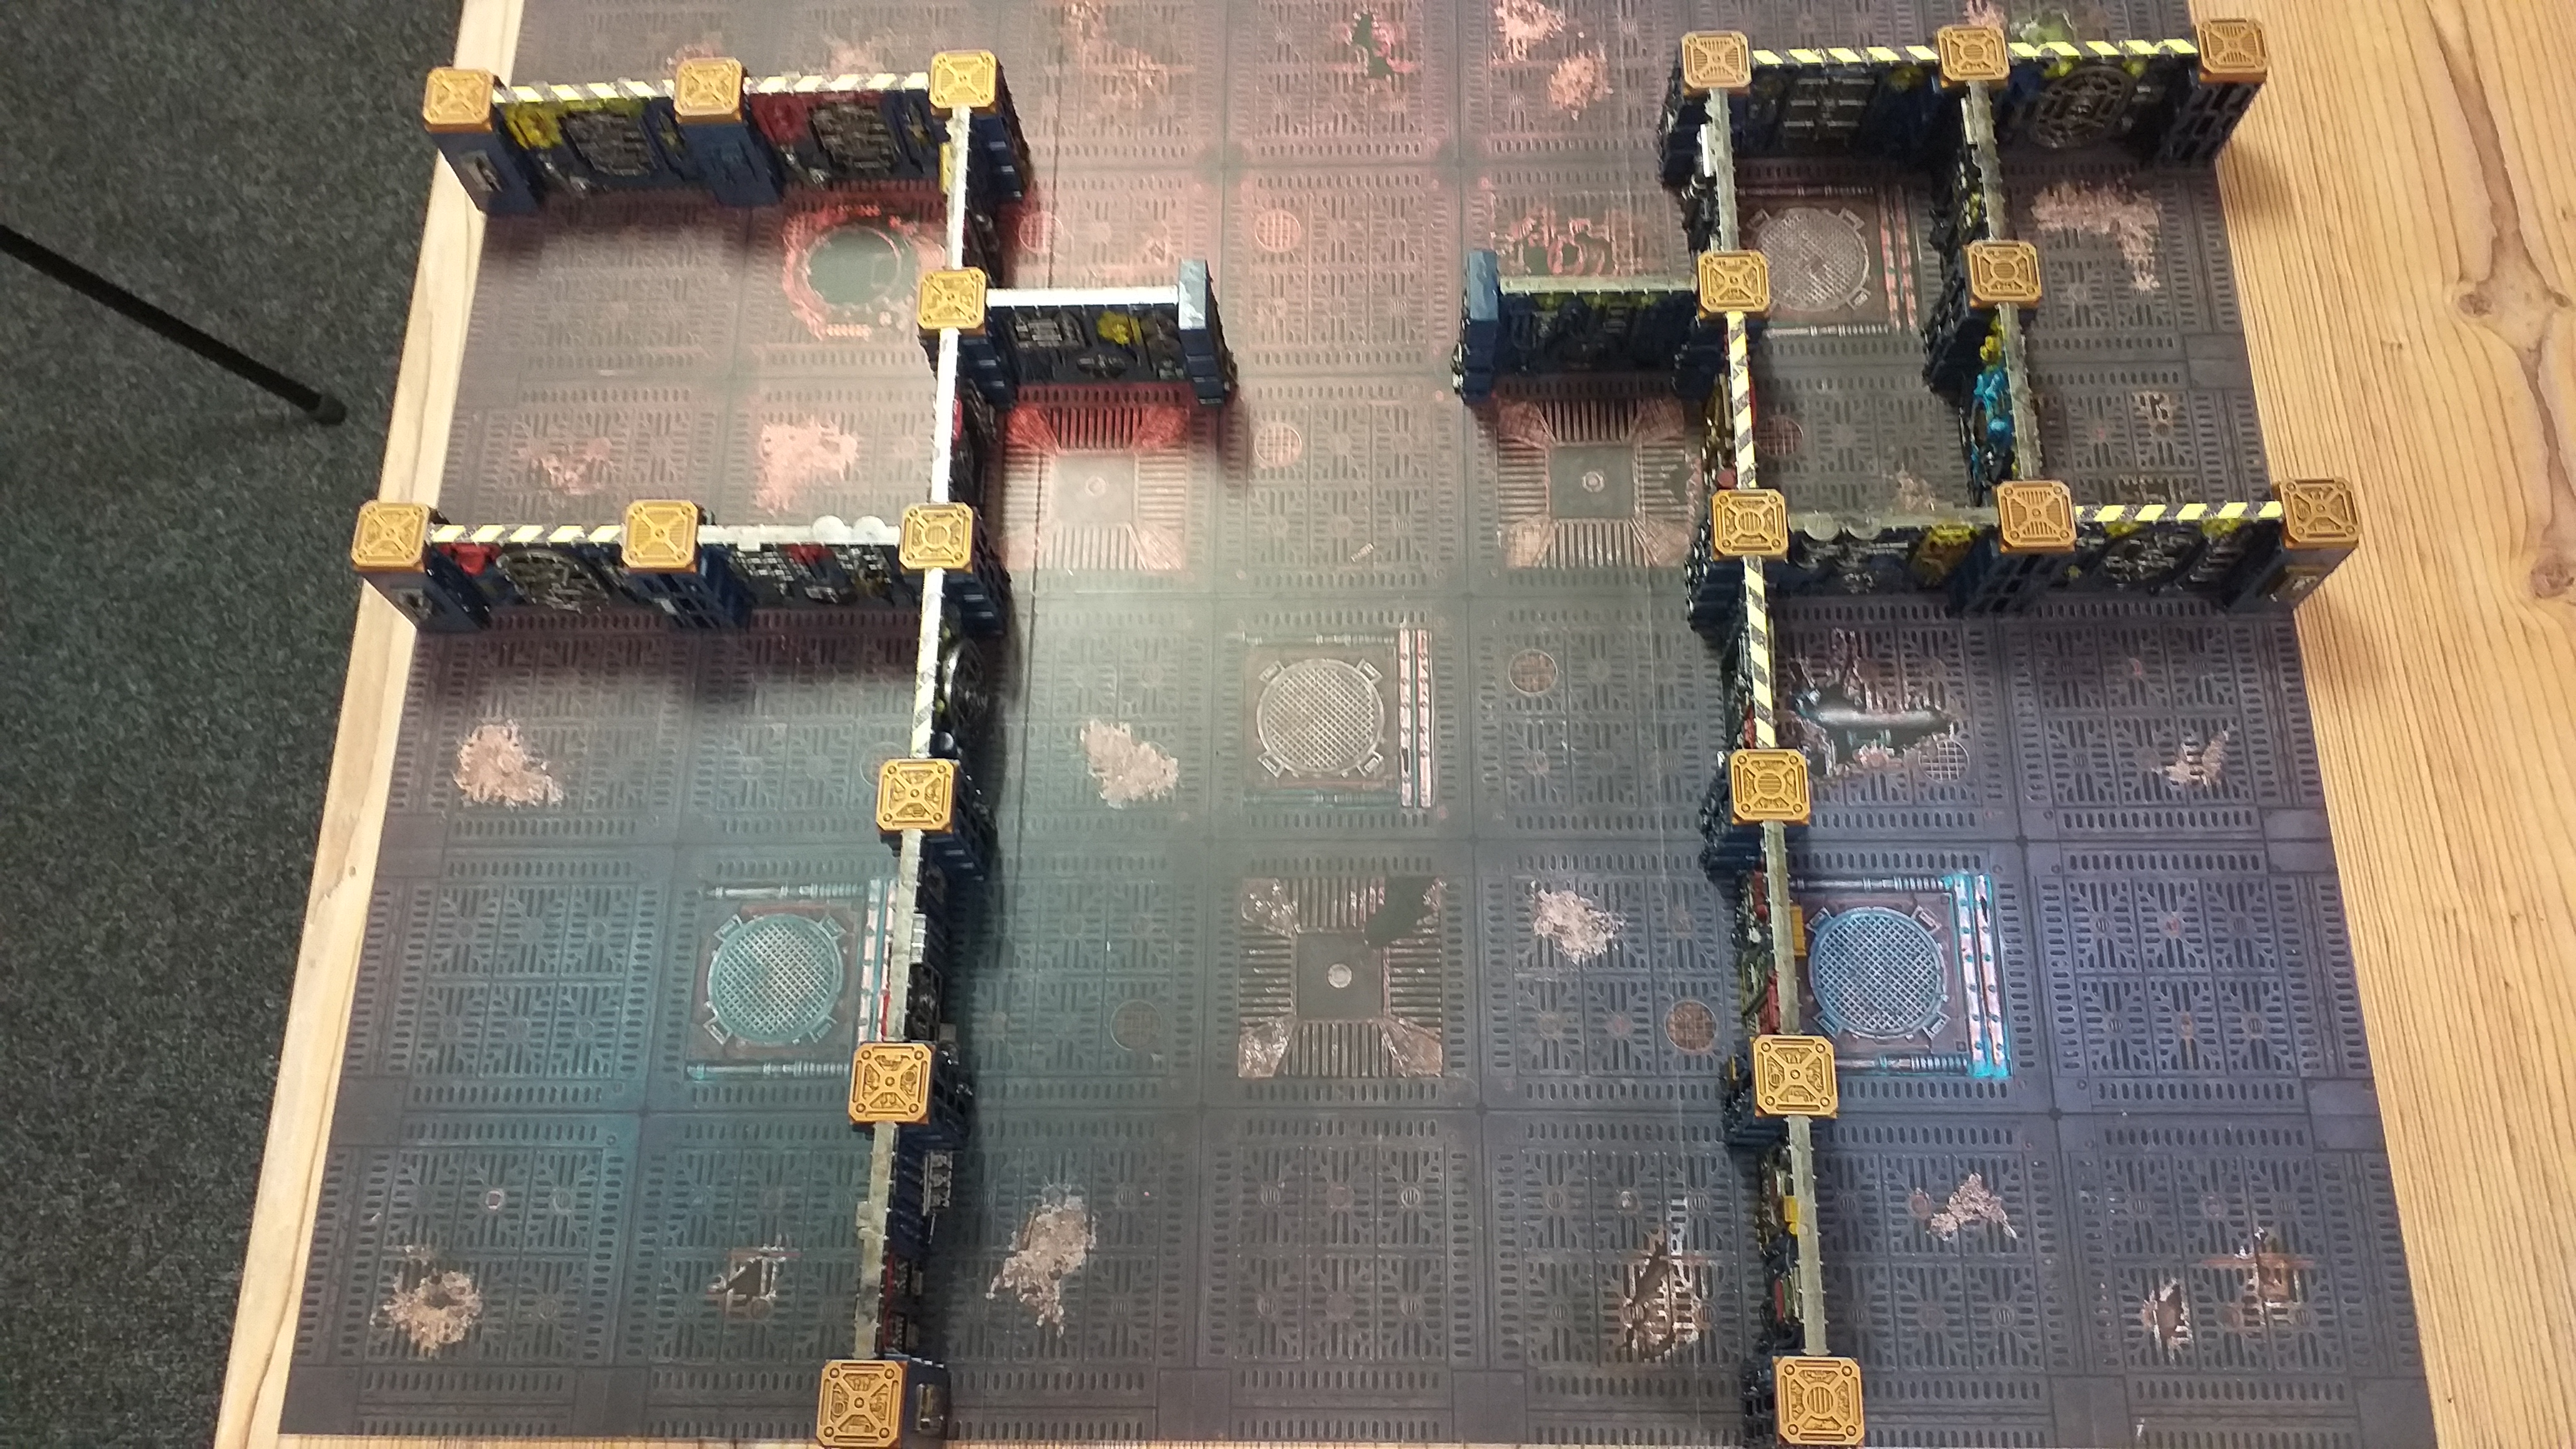
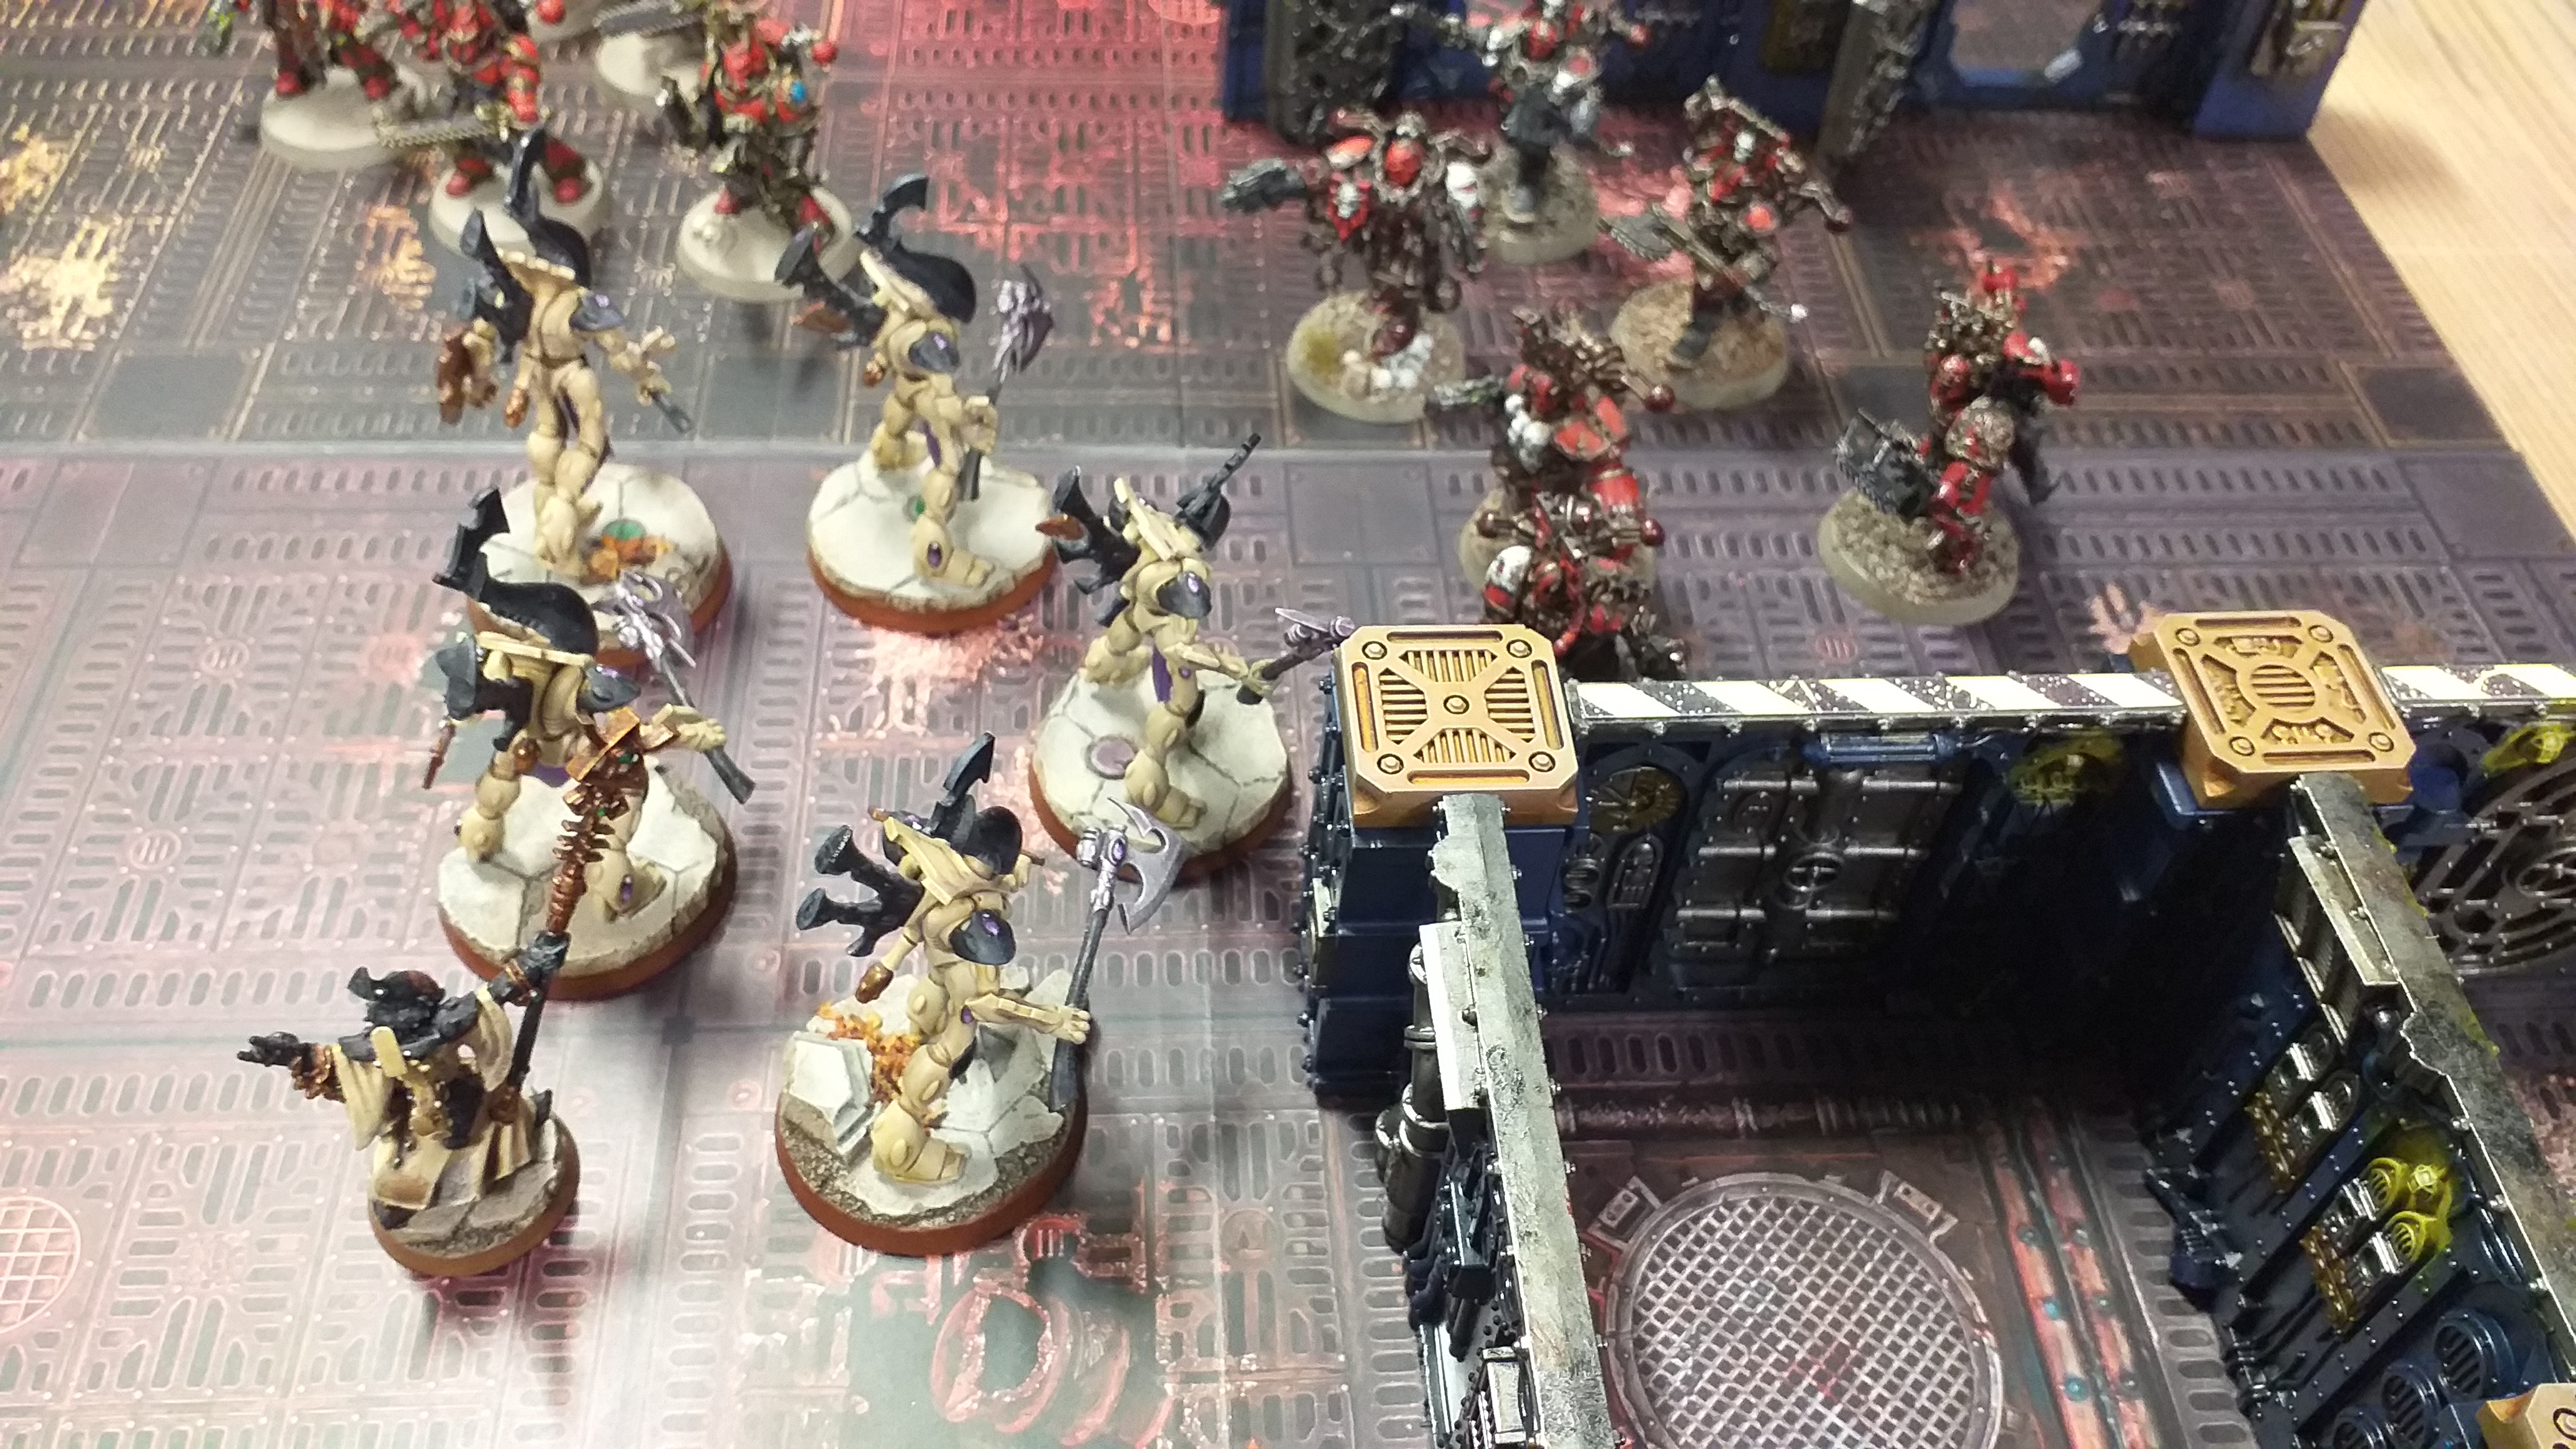
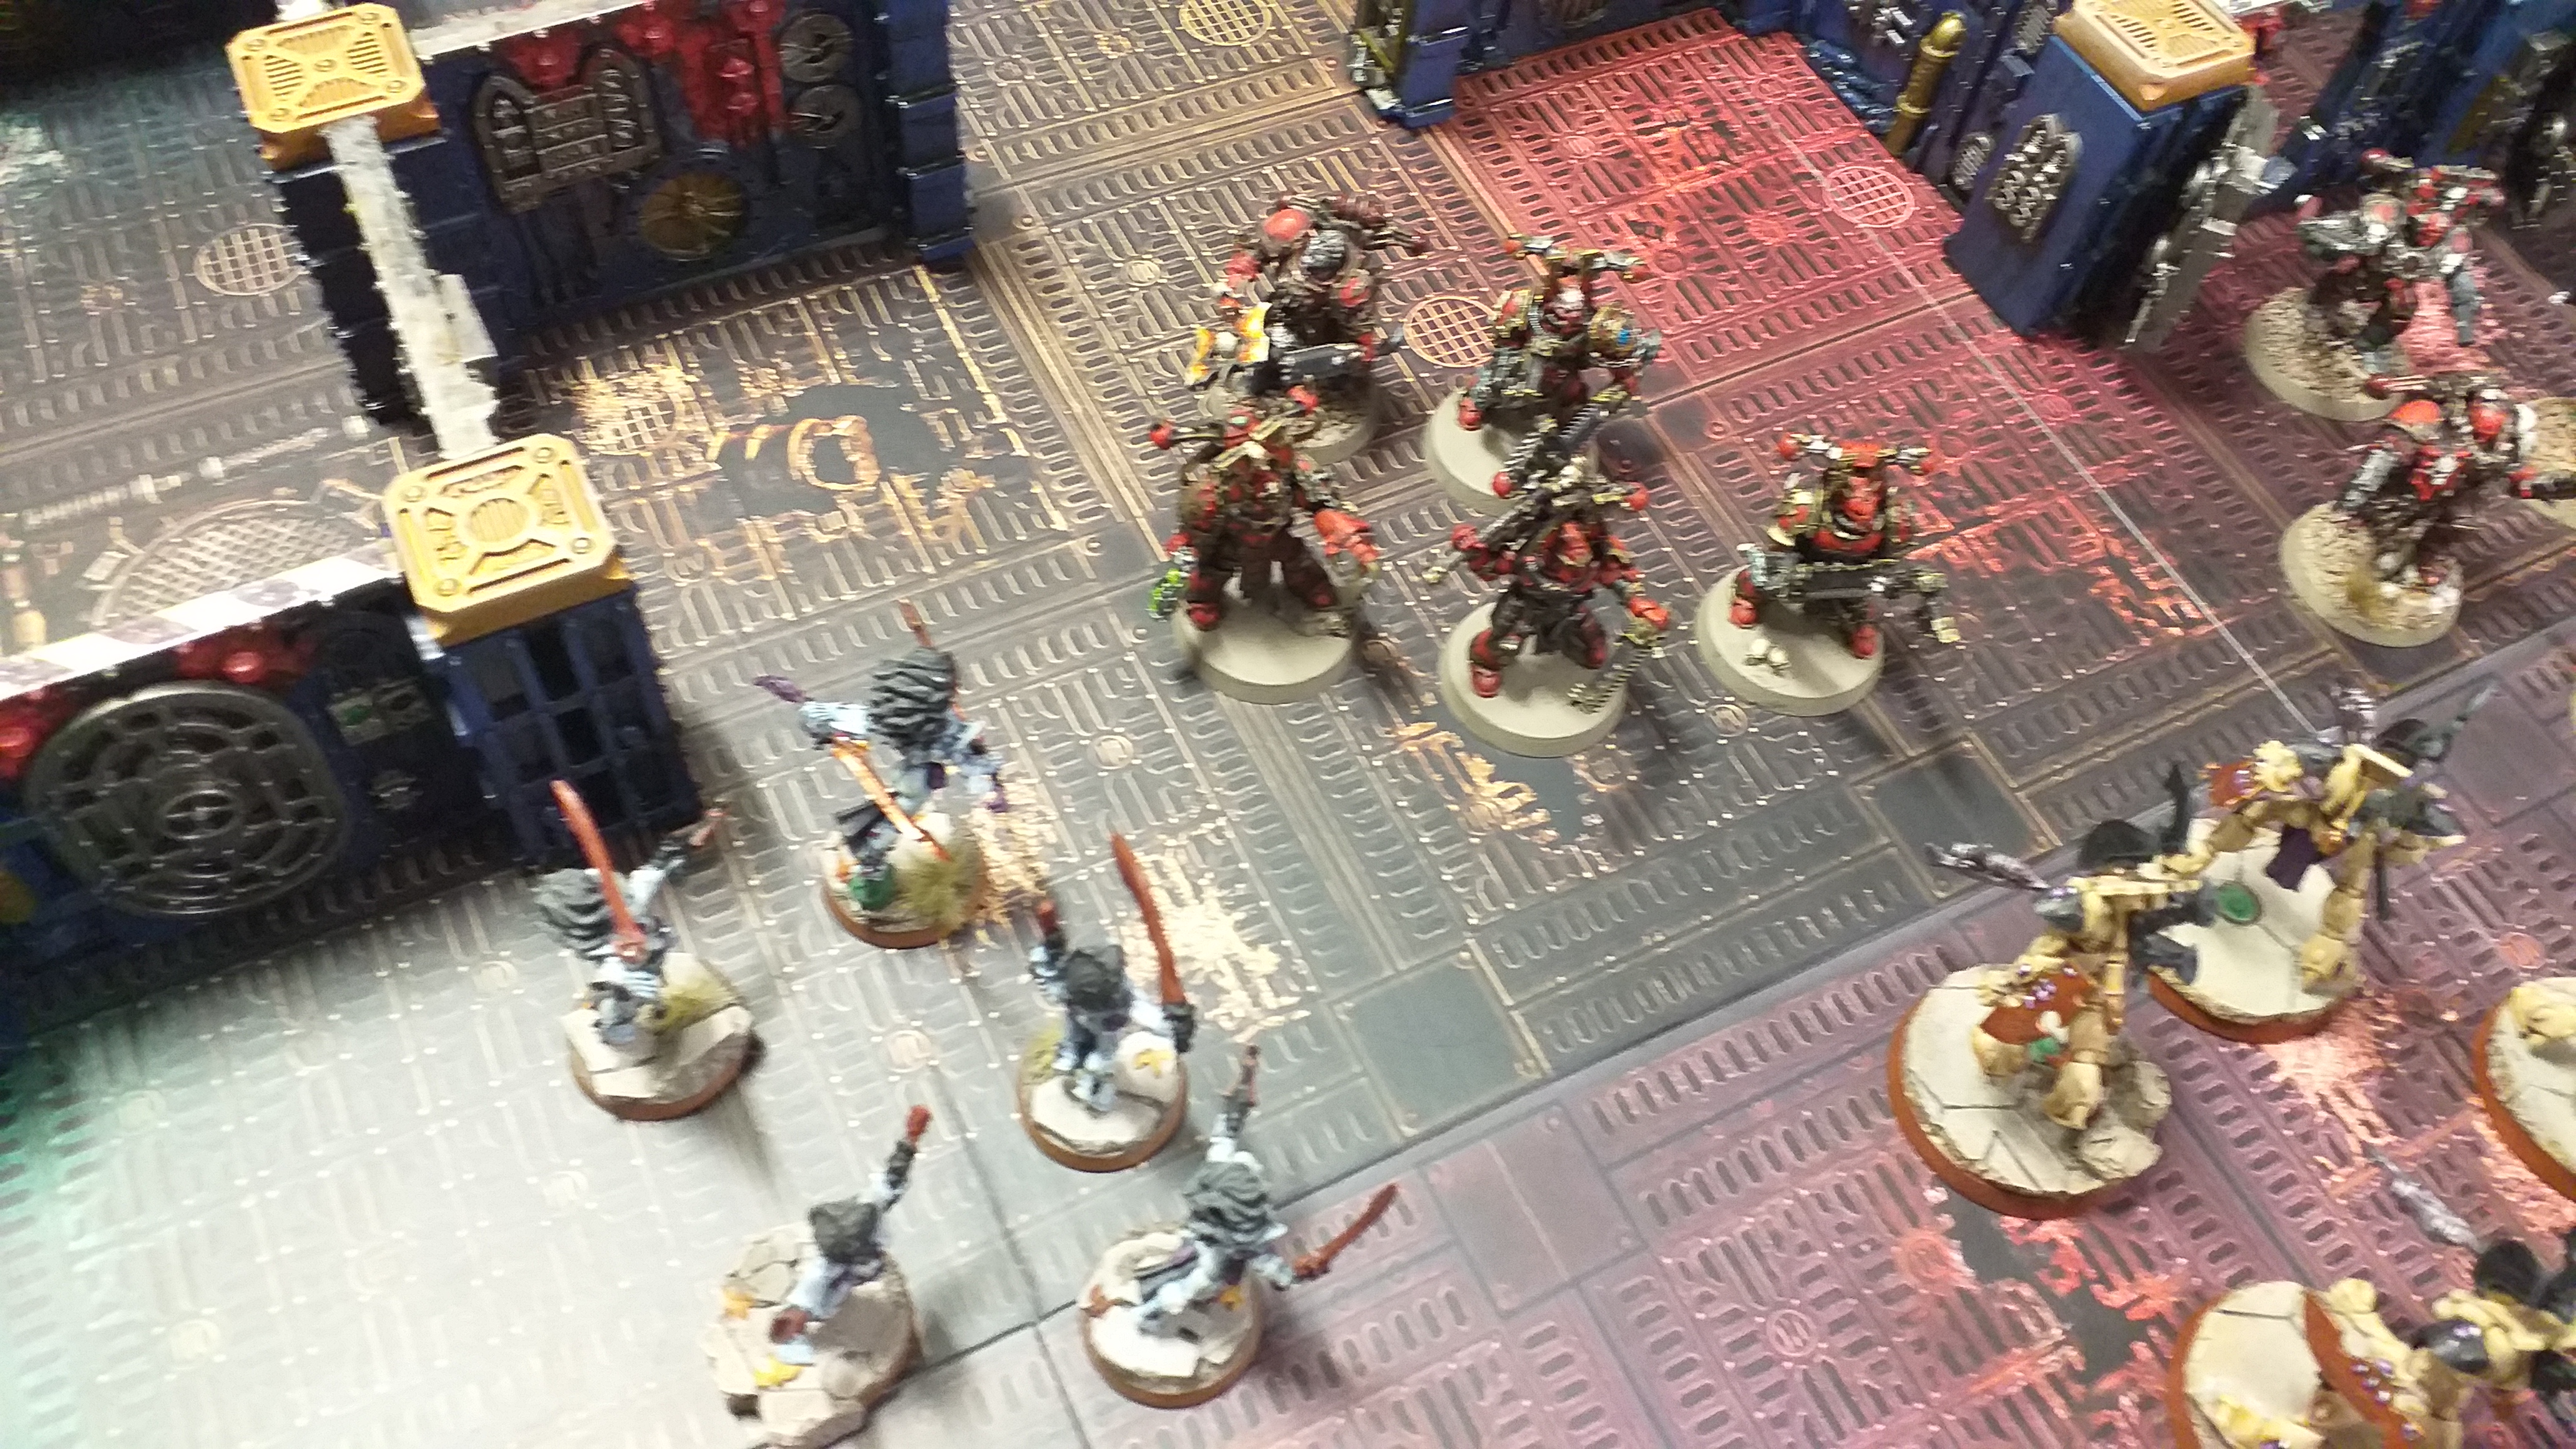
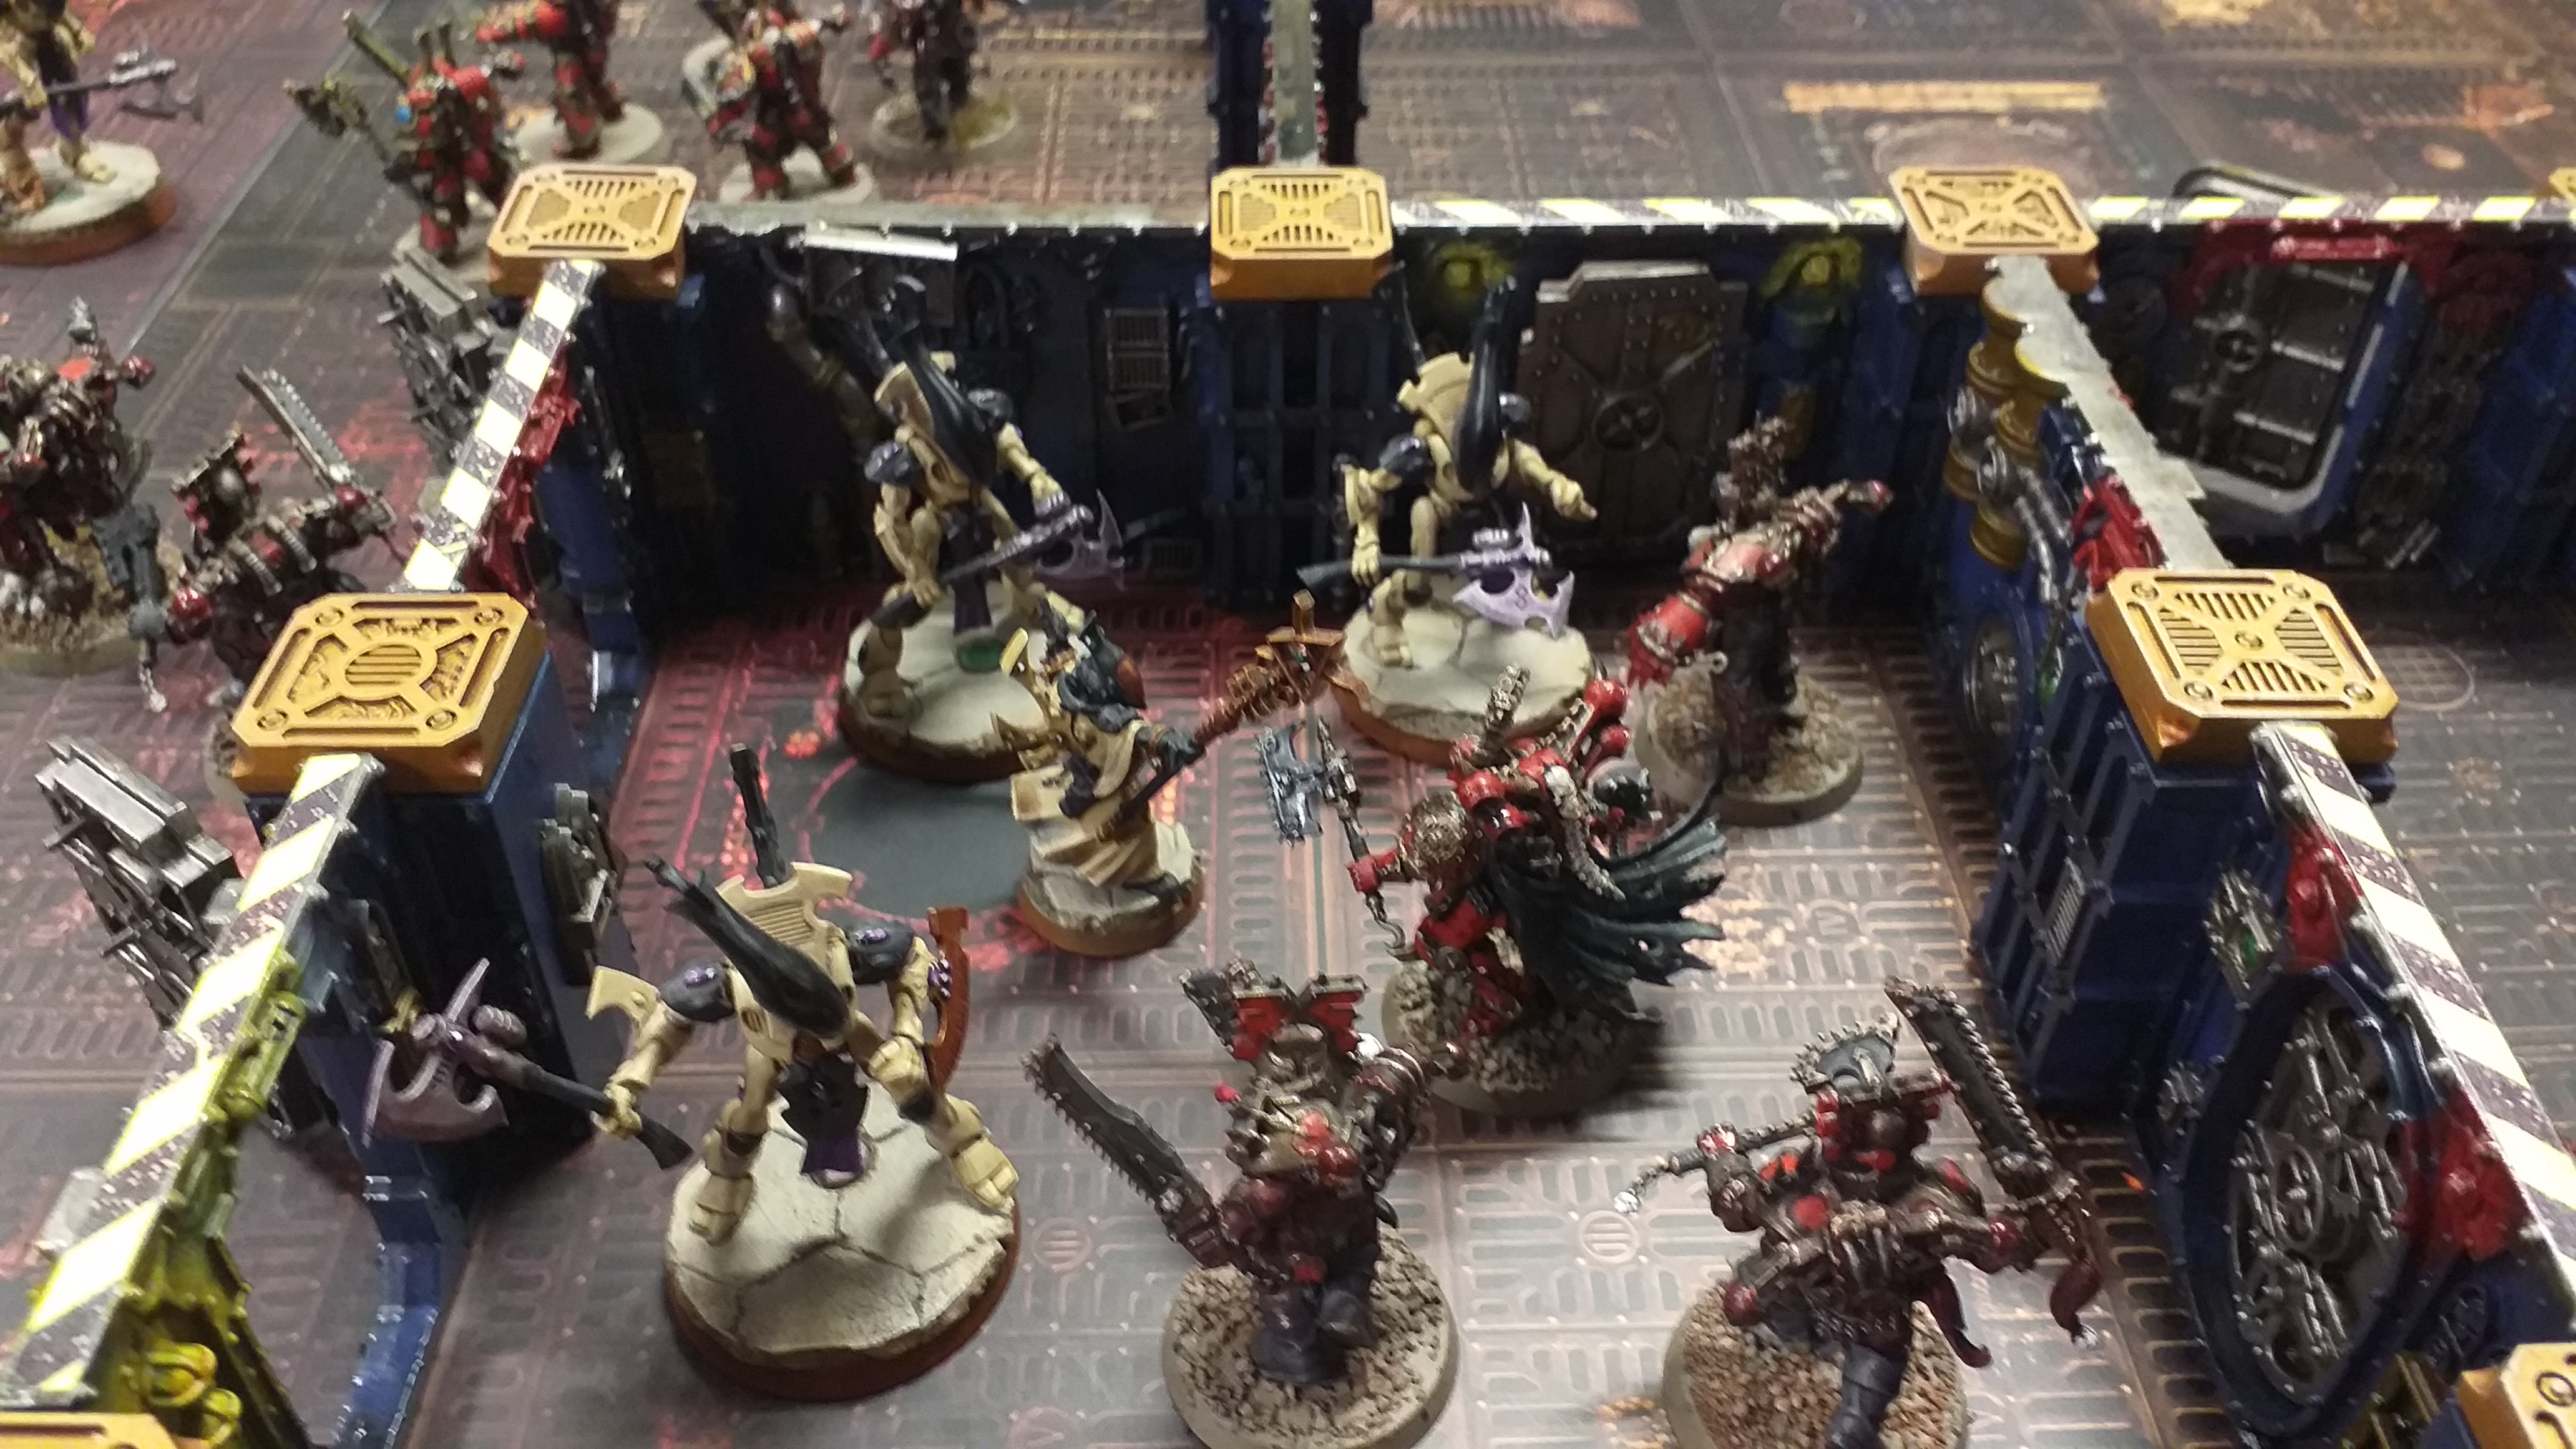
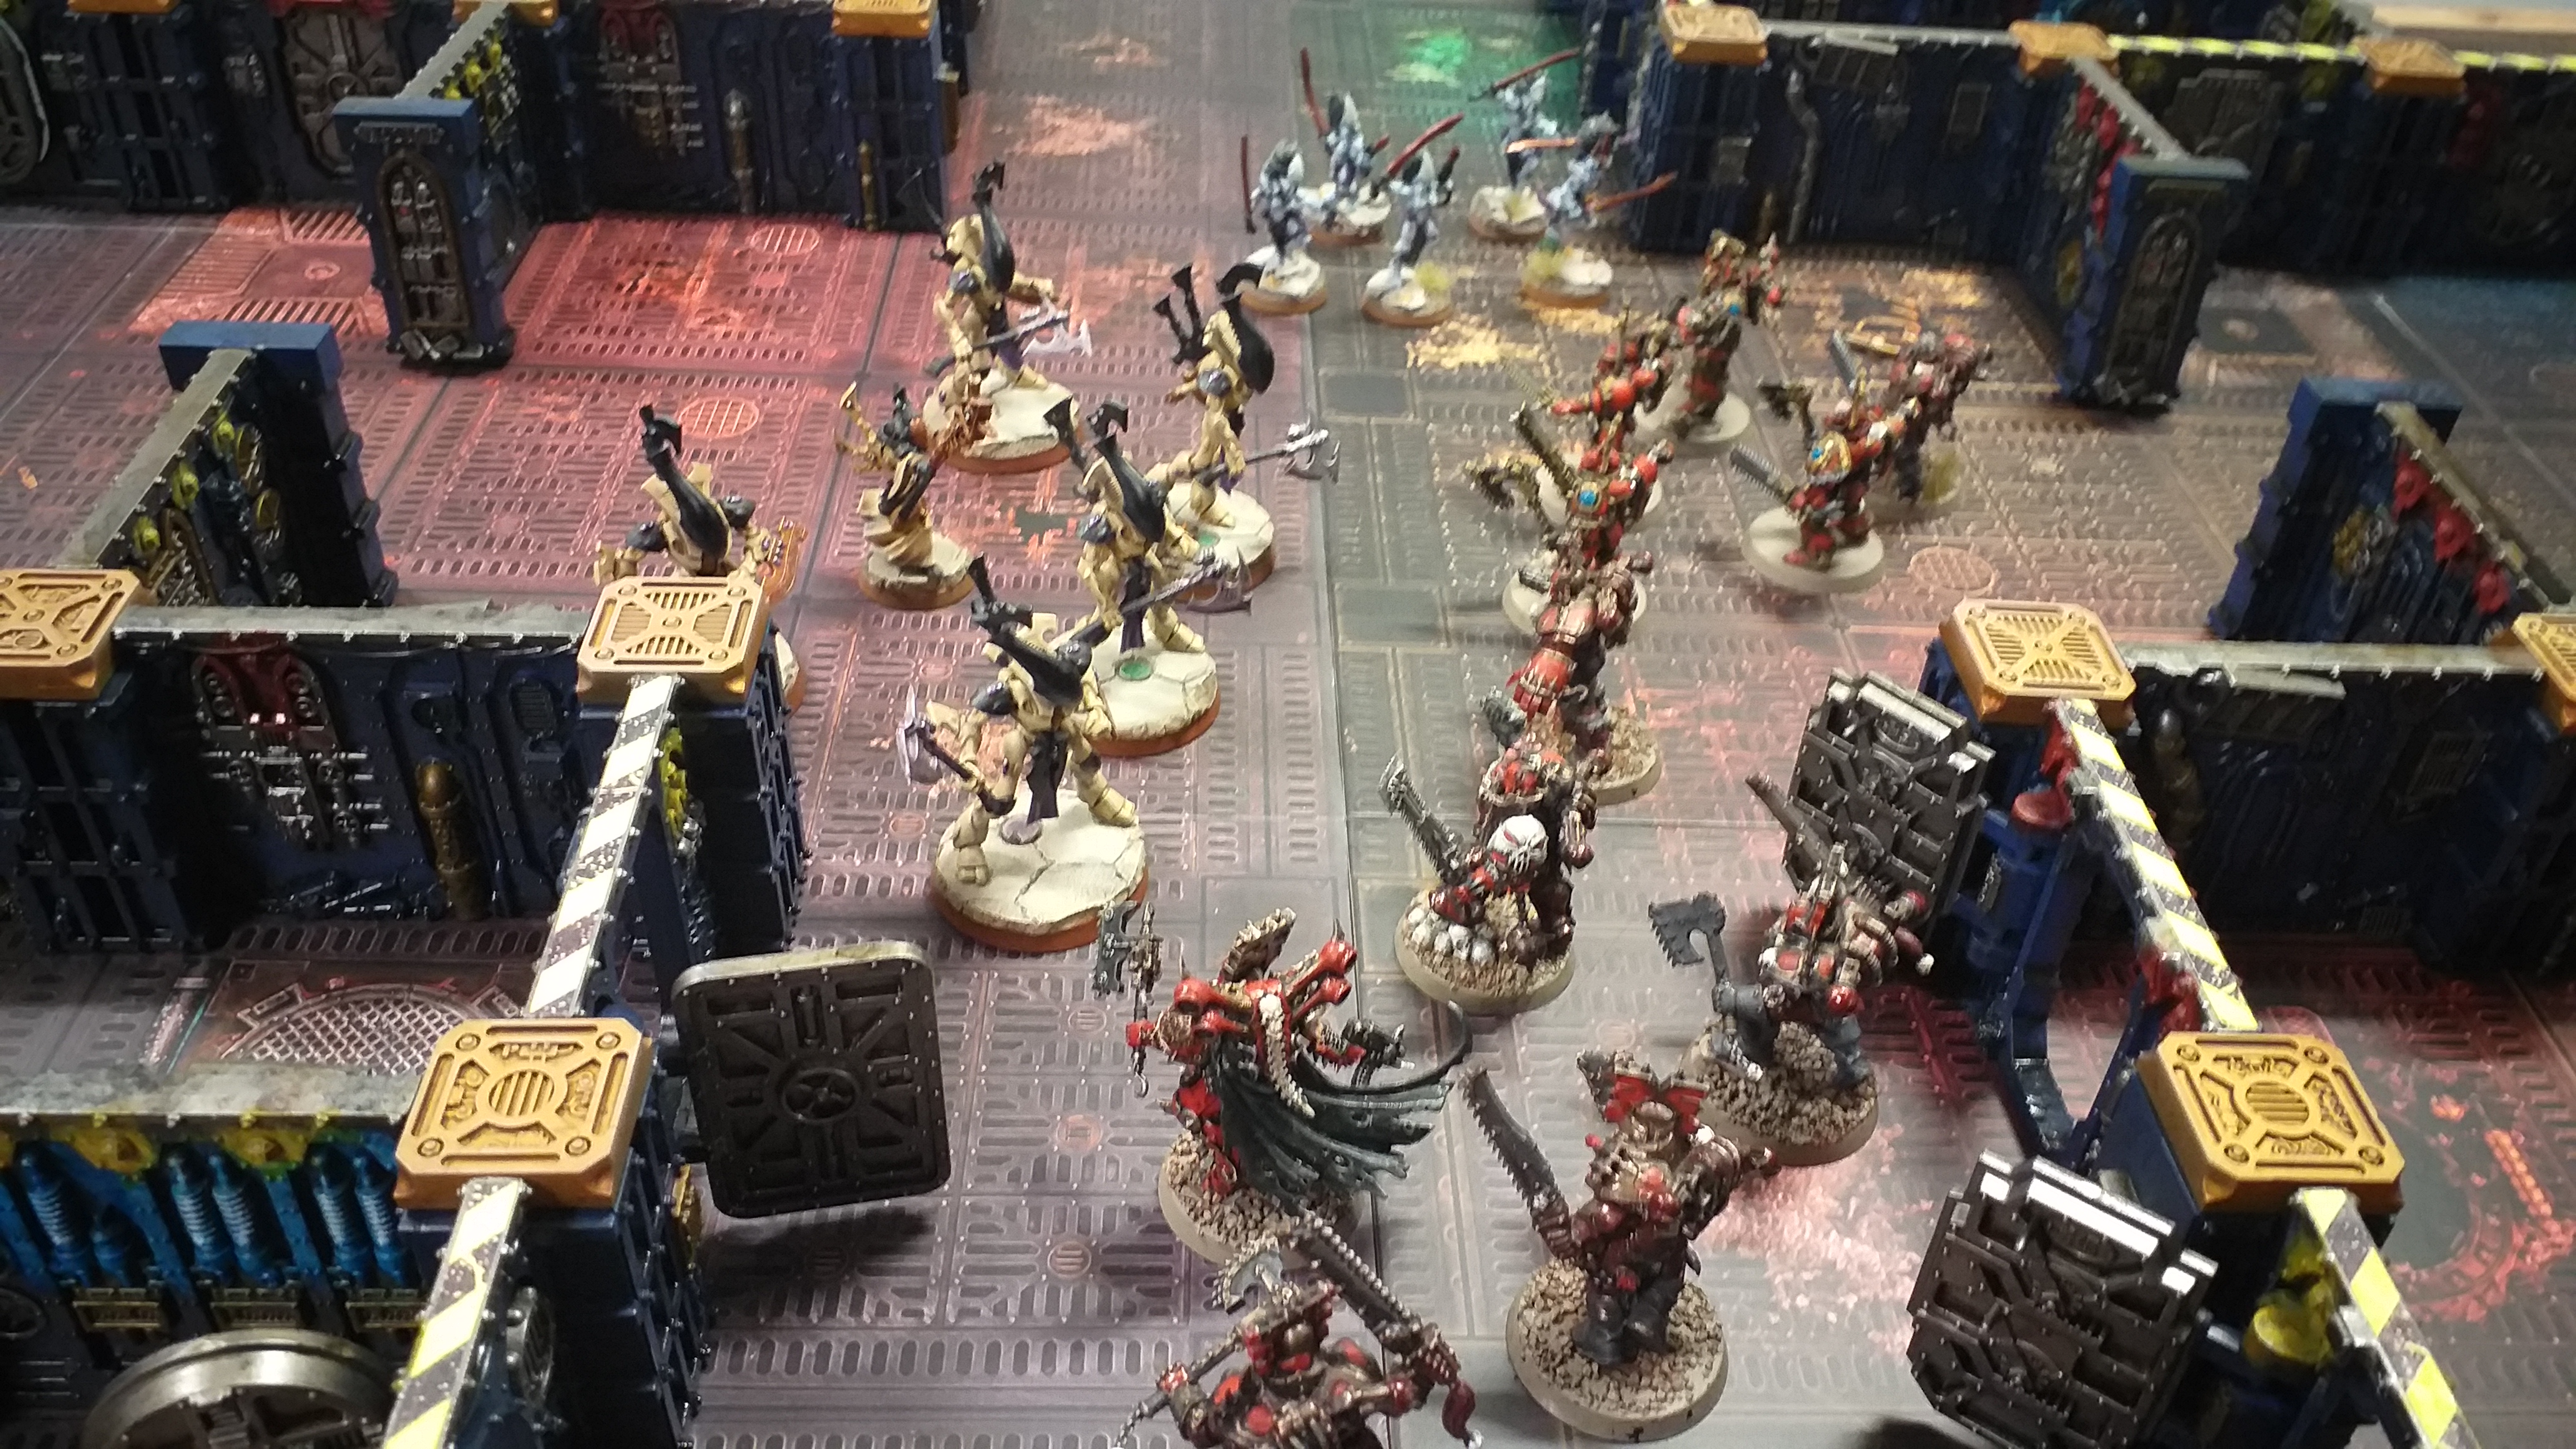
Here are some pictures with my Craftworld Eldar Vs Brett’s World Eaters. Please forgive the picture quality.
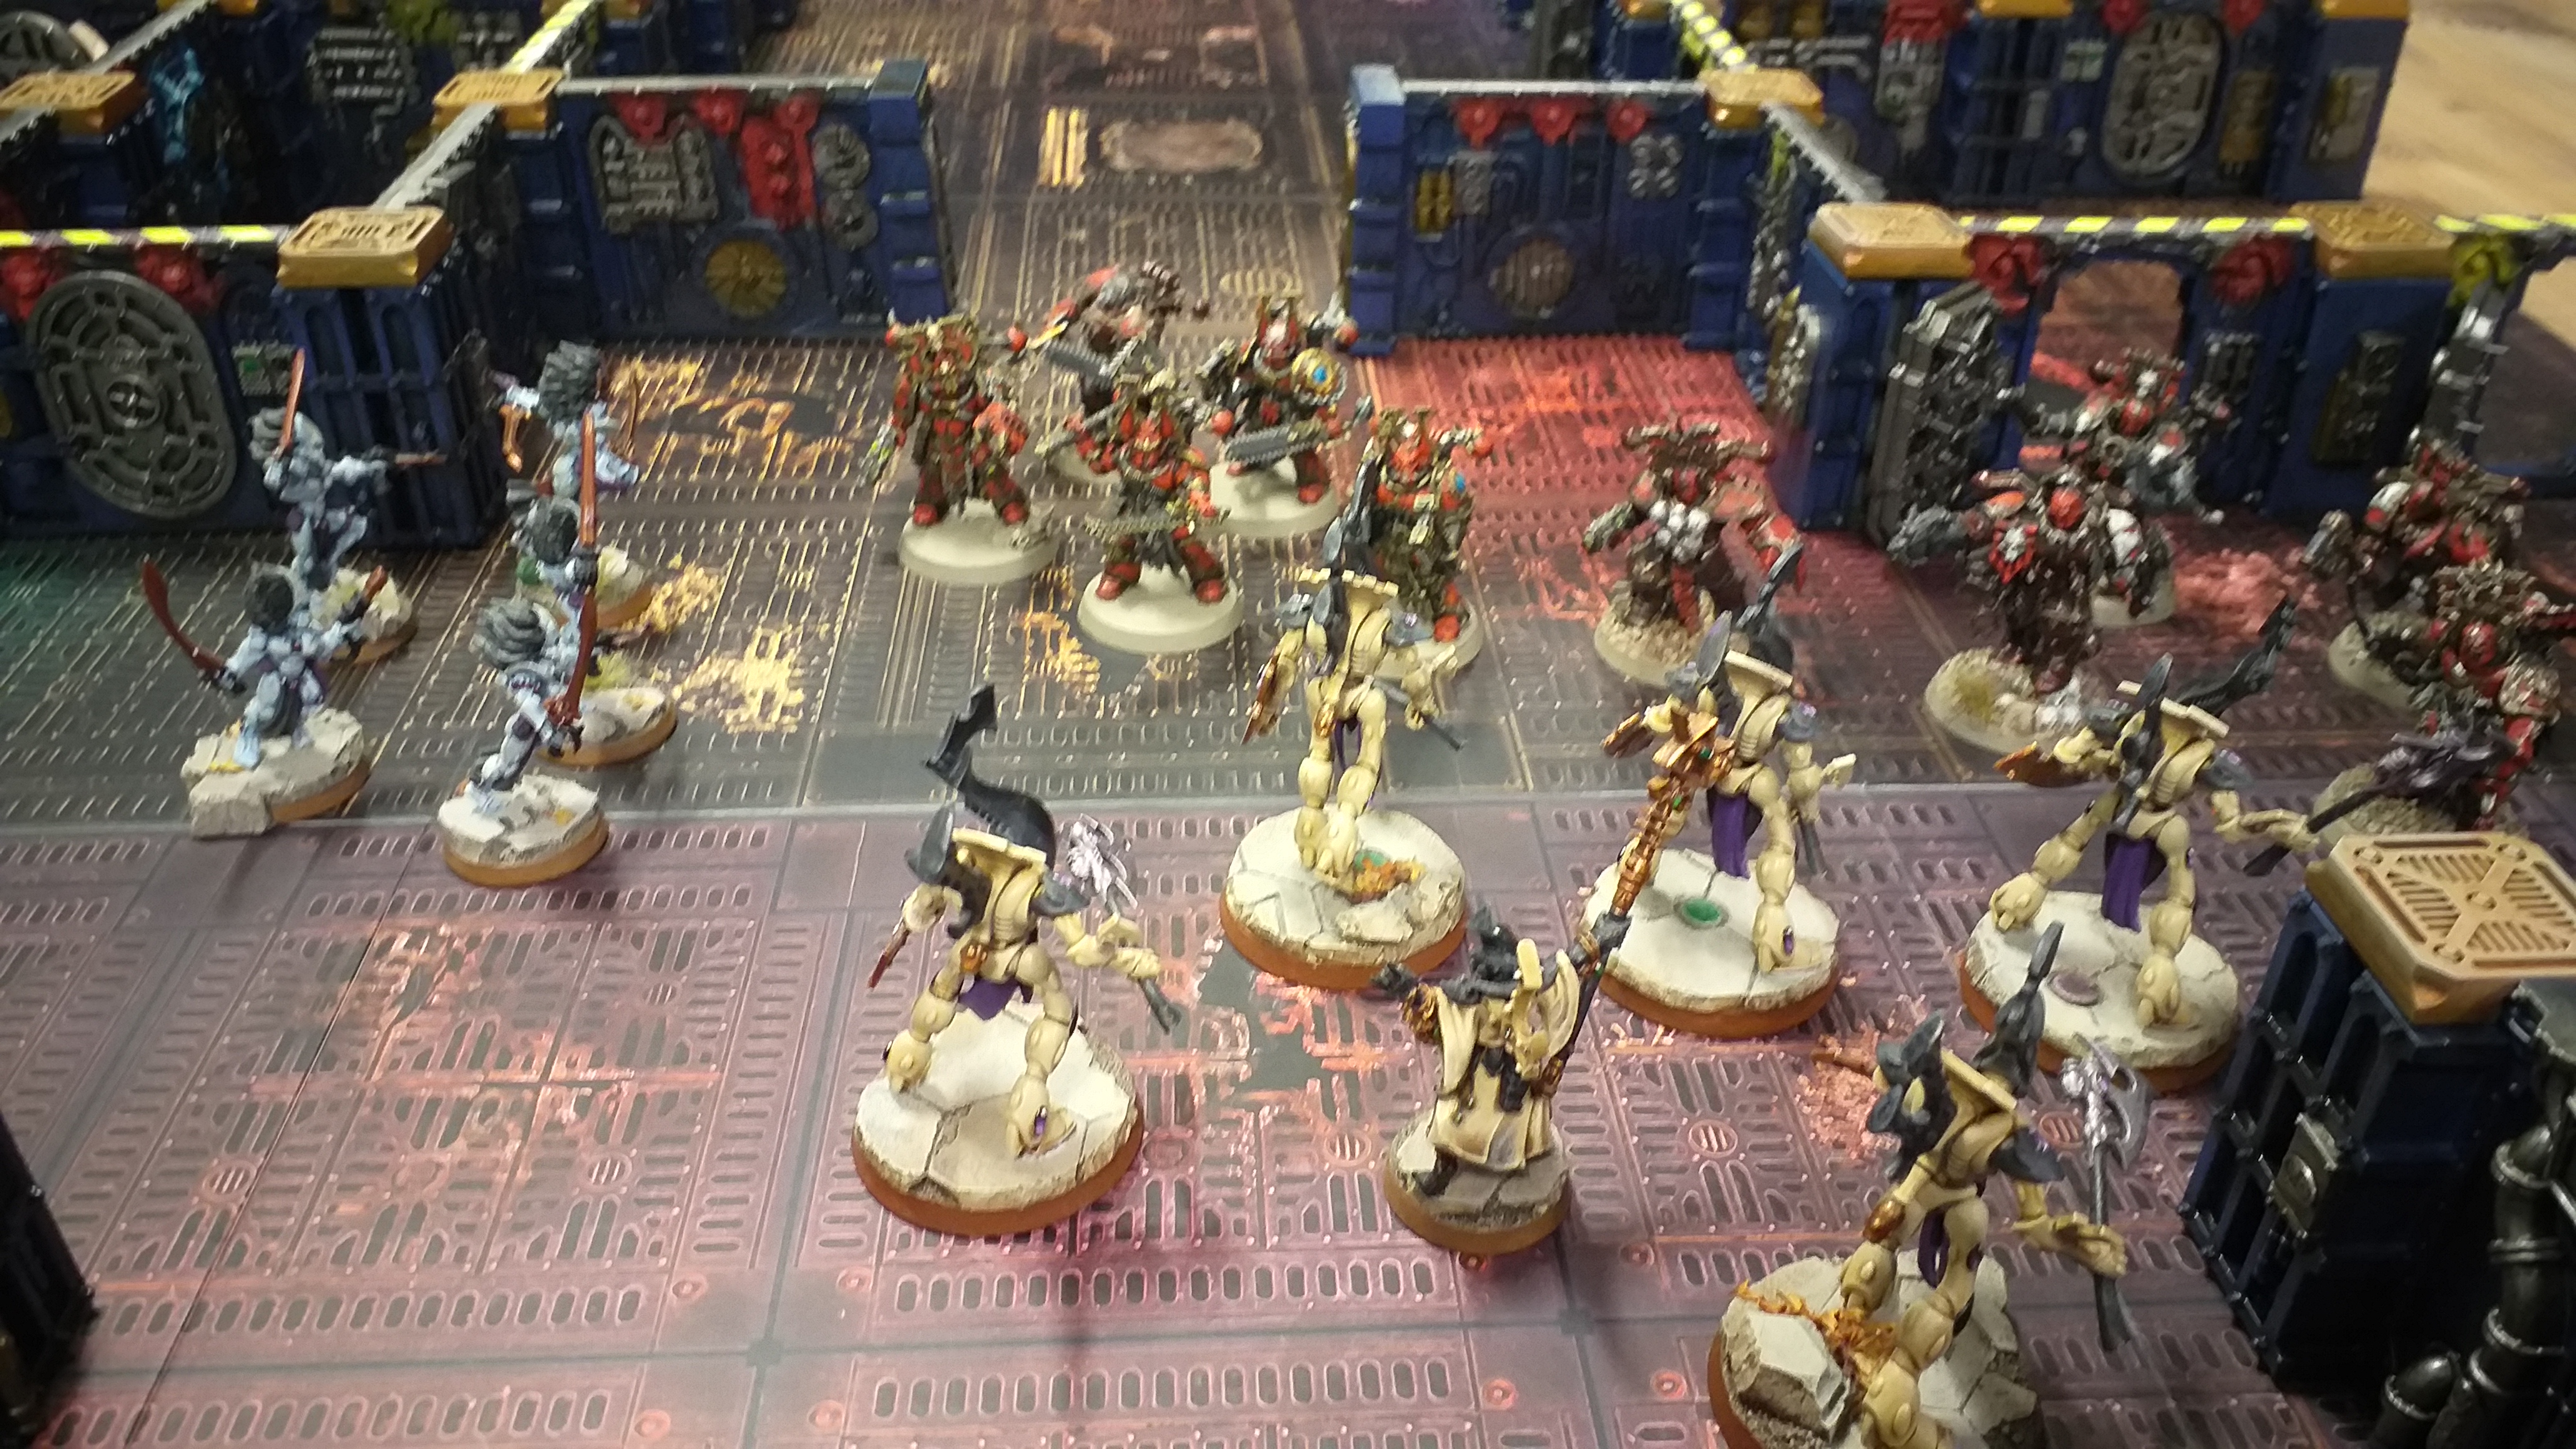
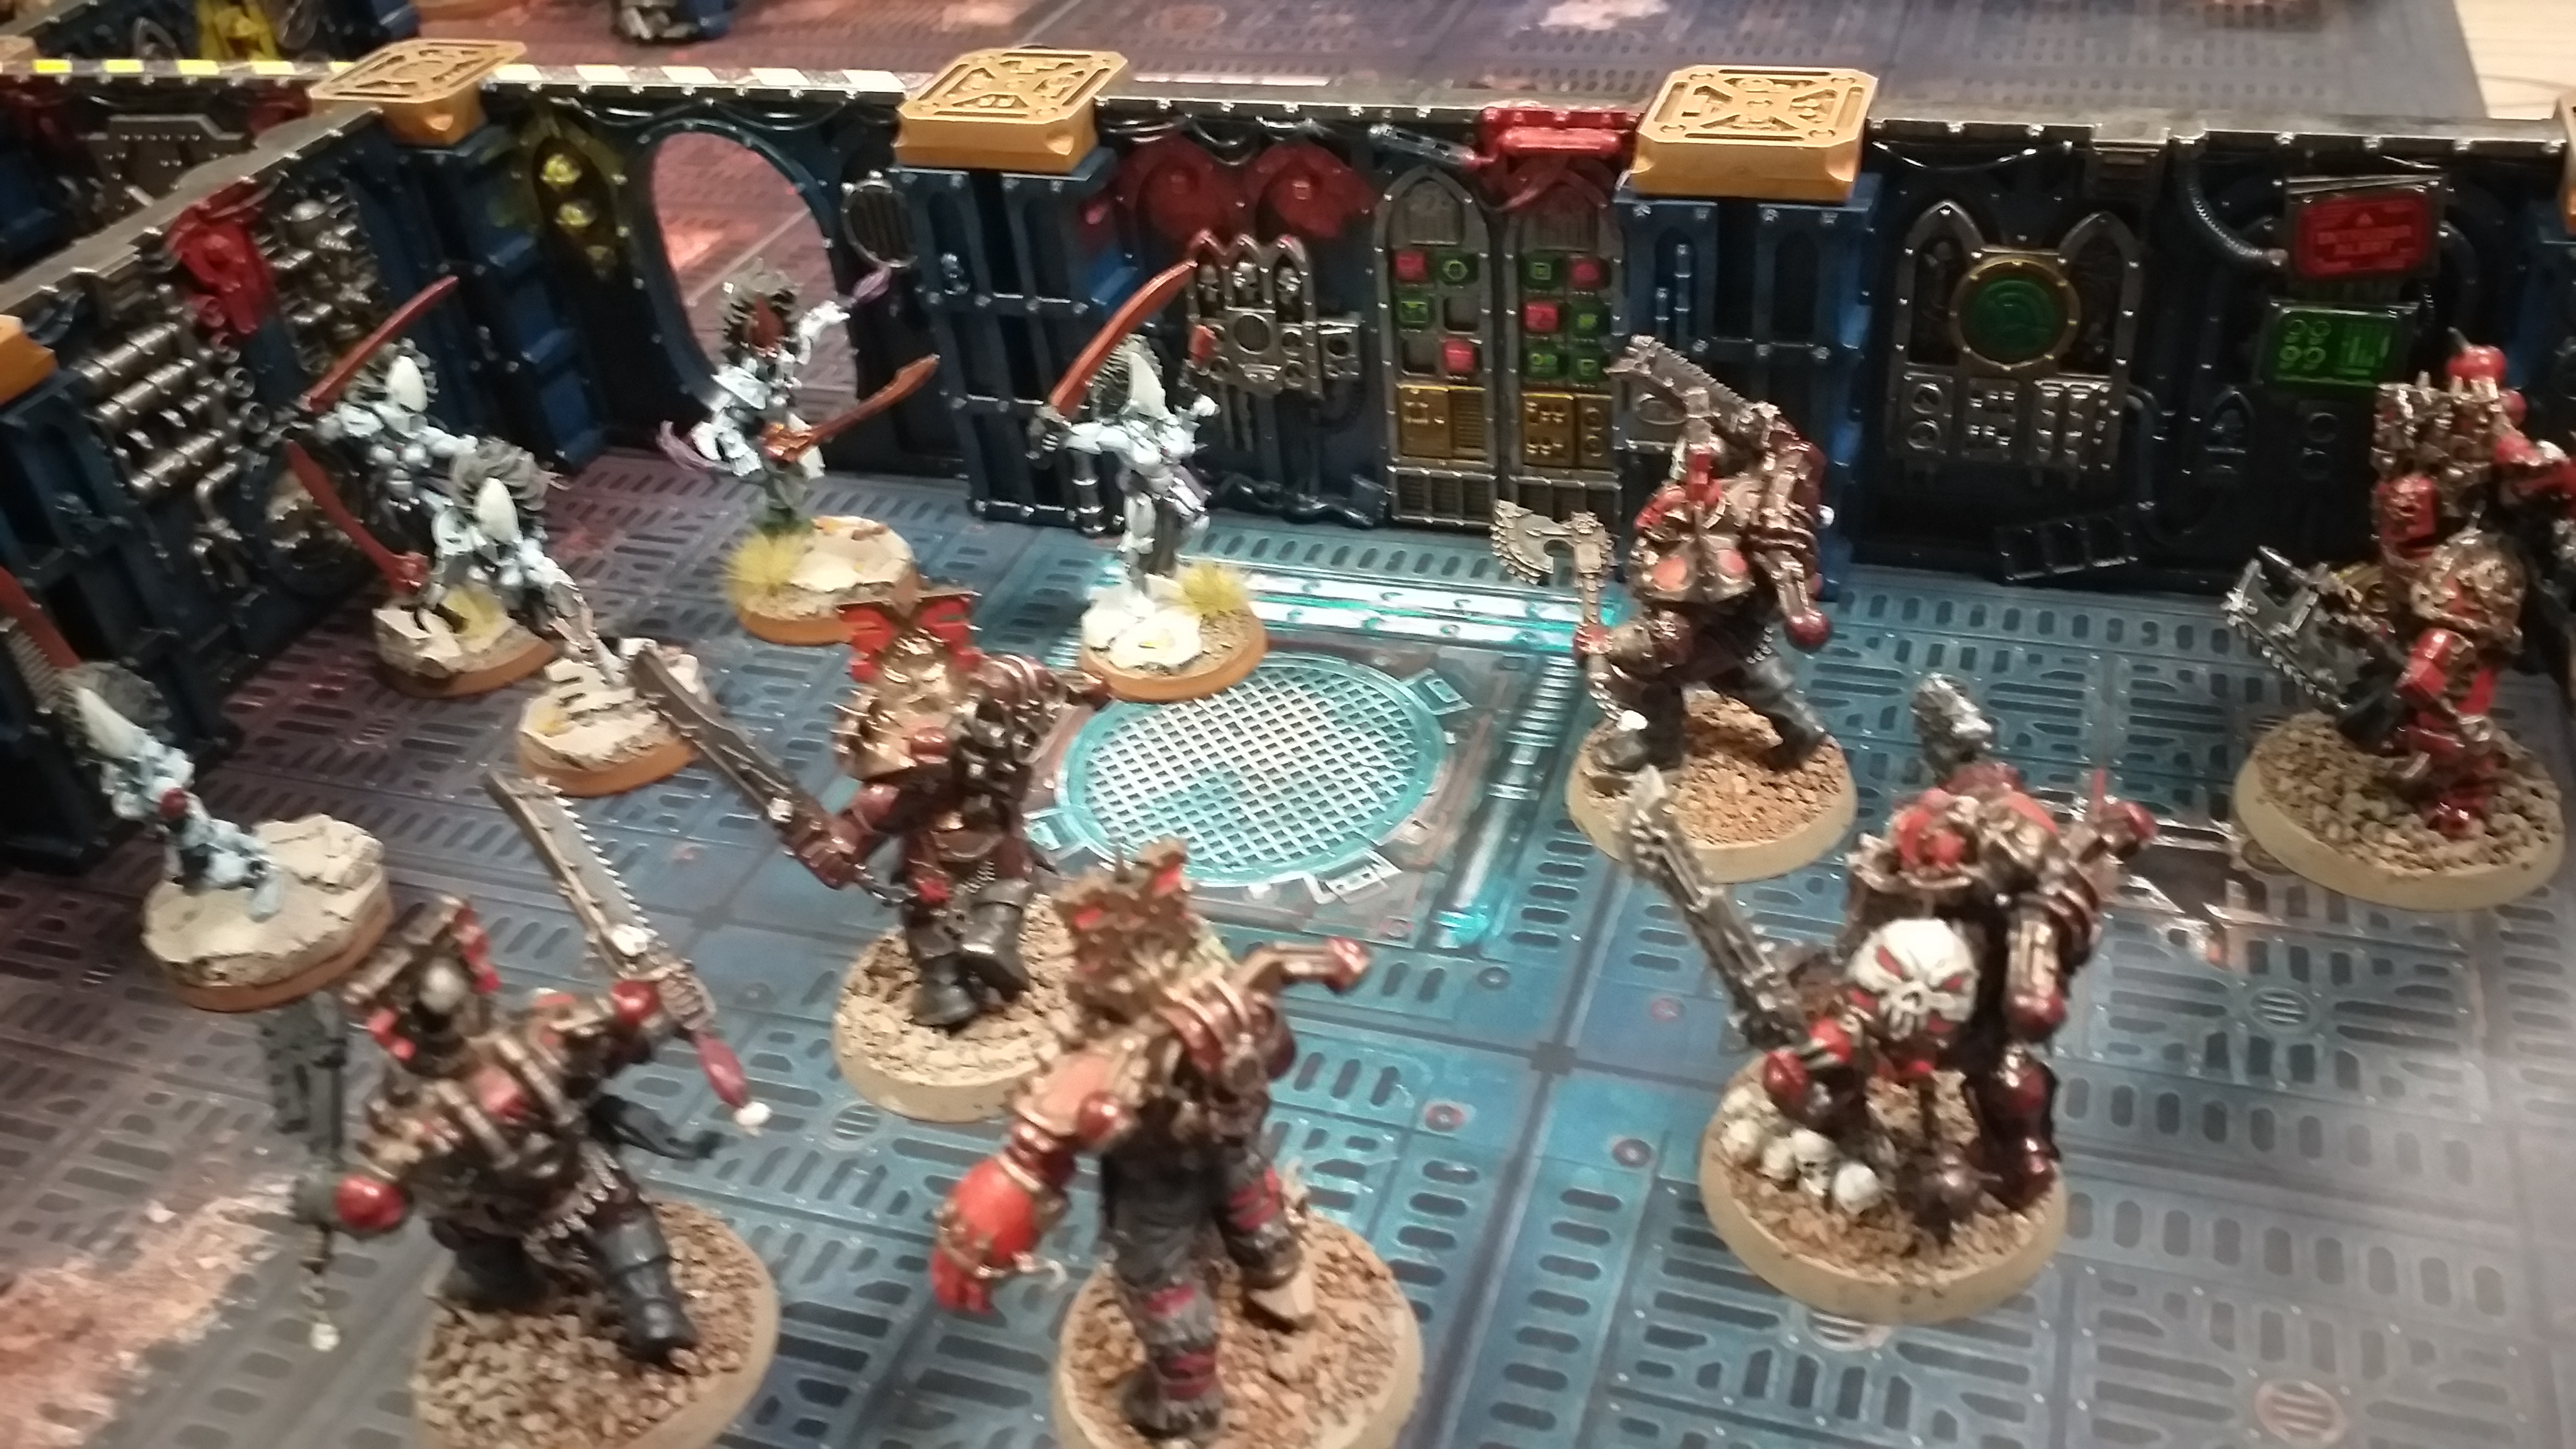
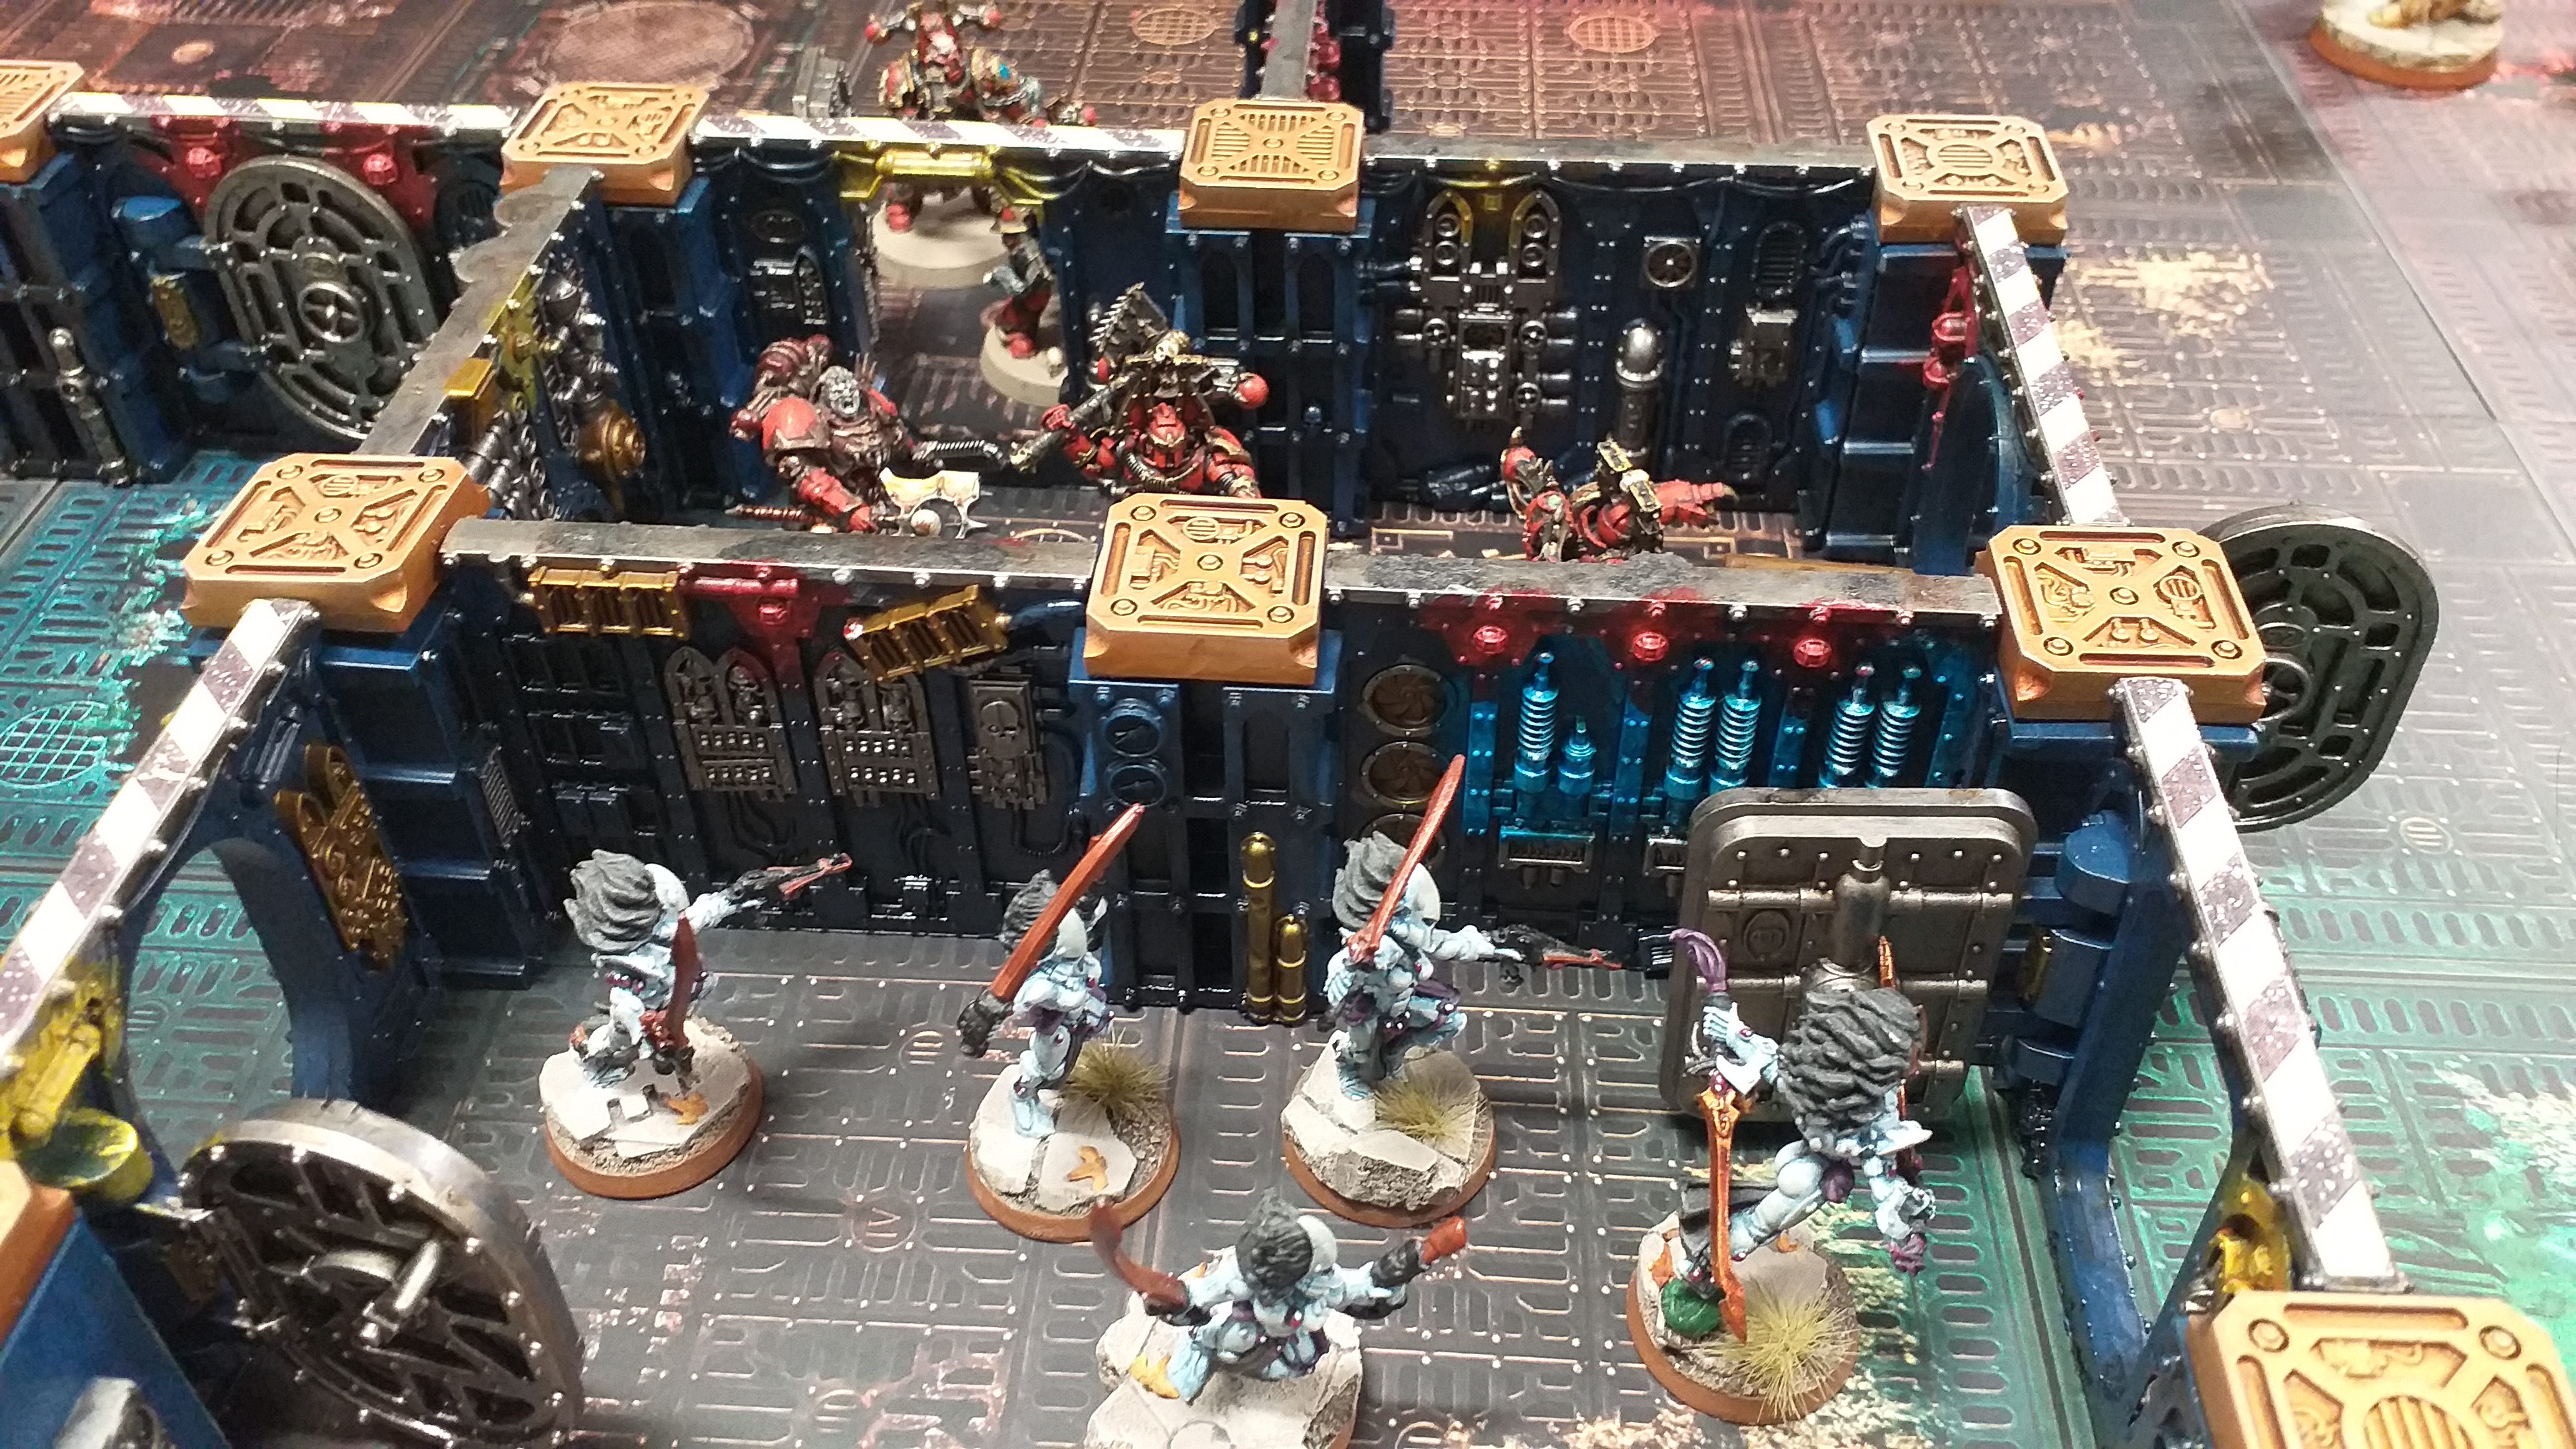
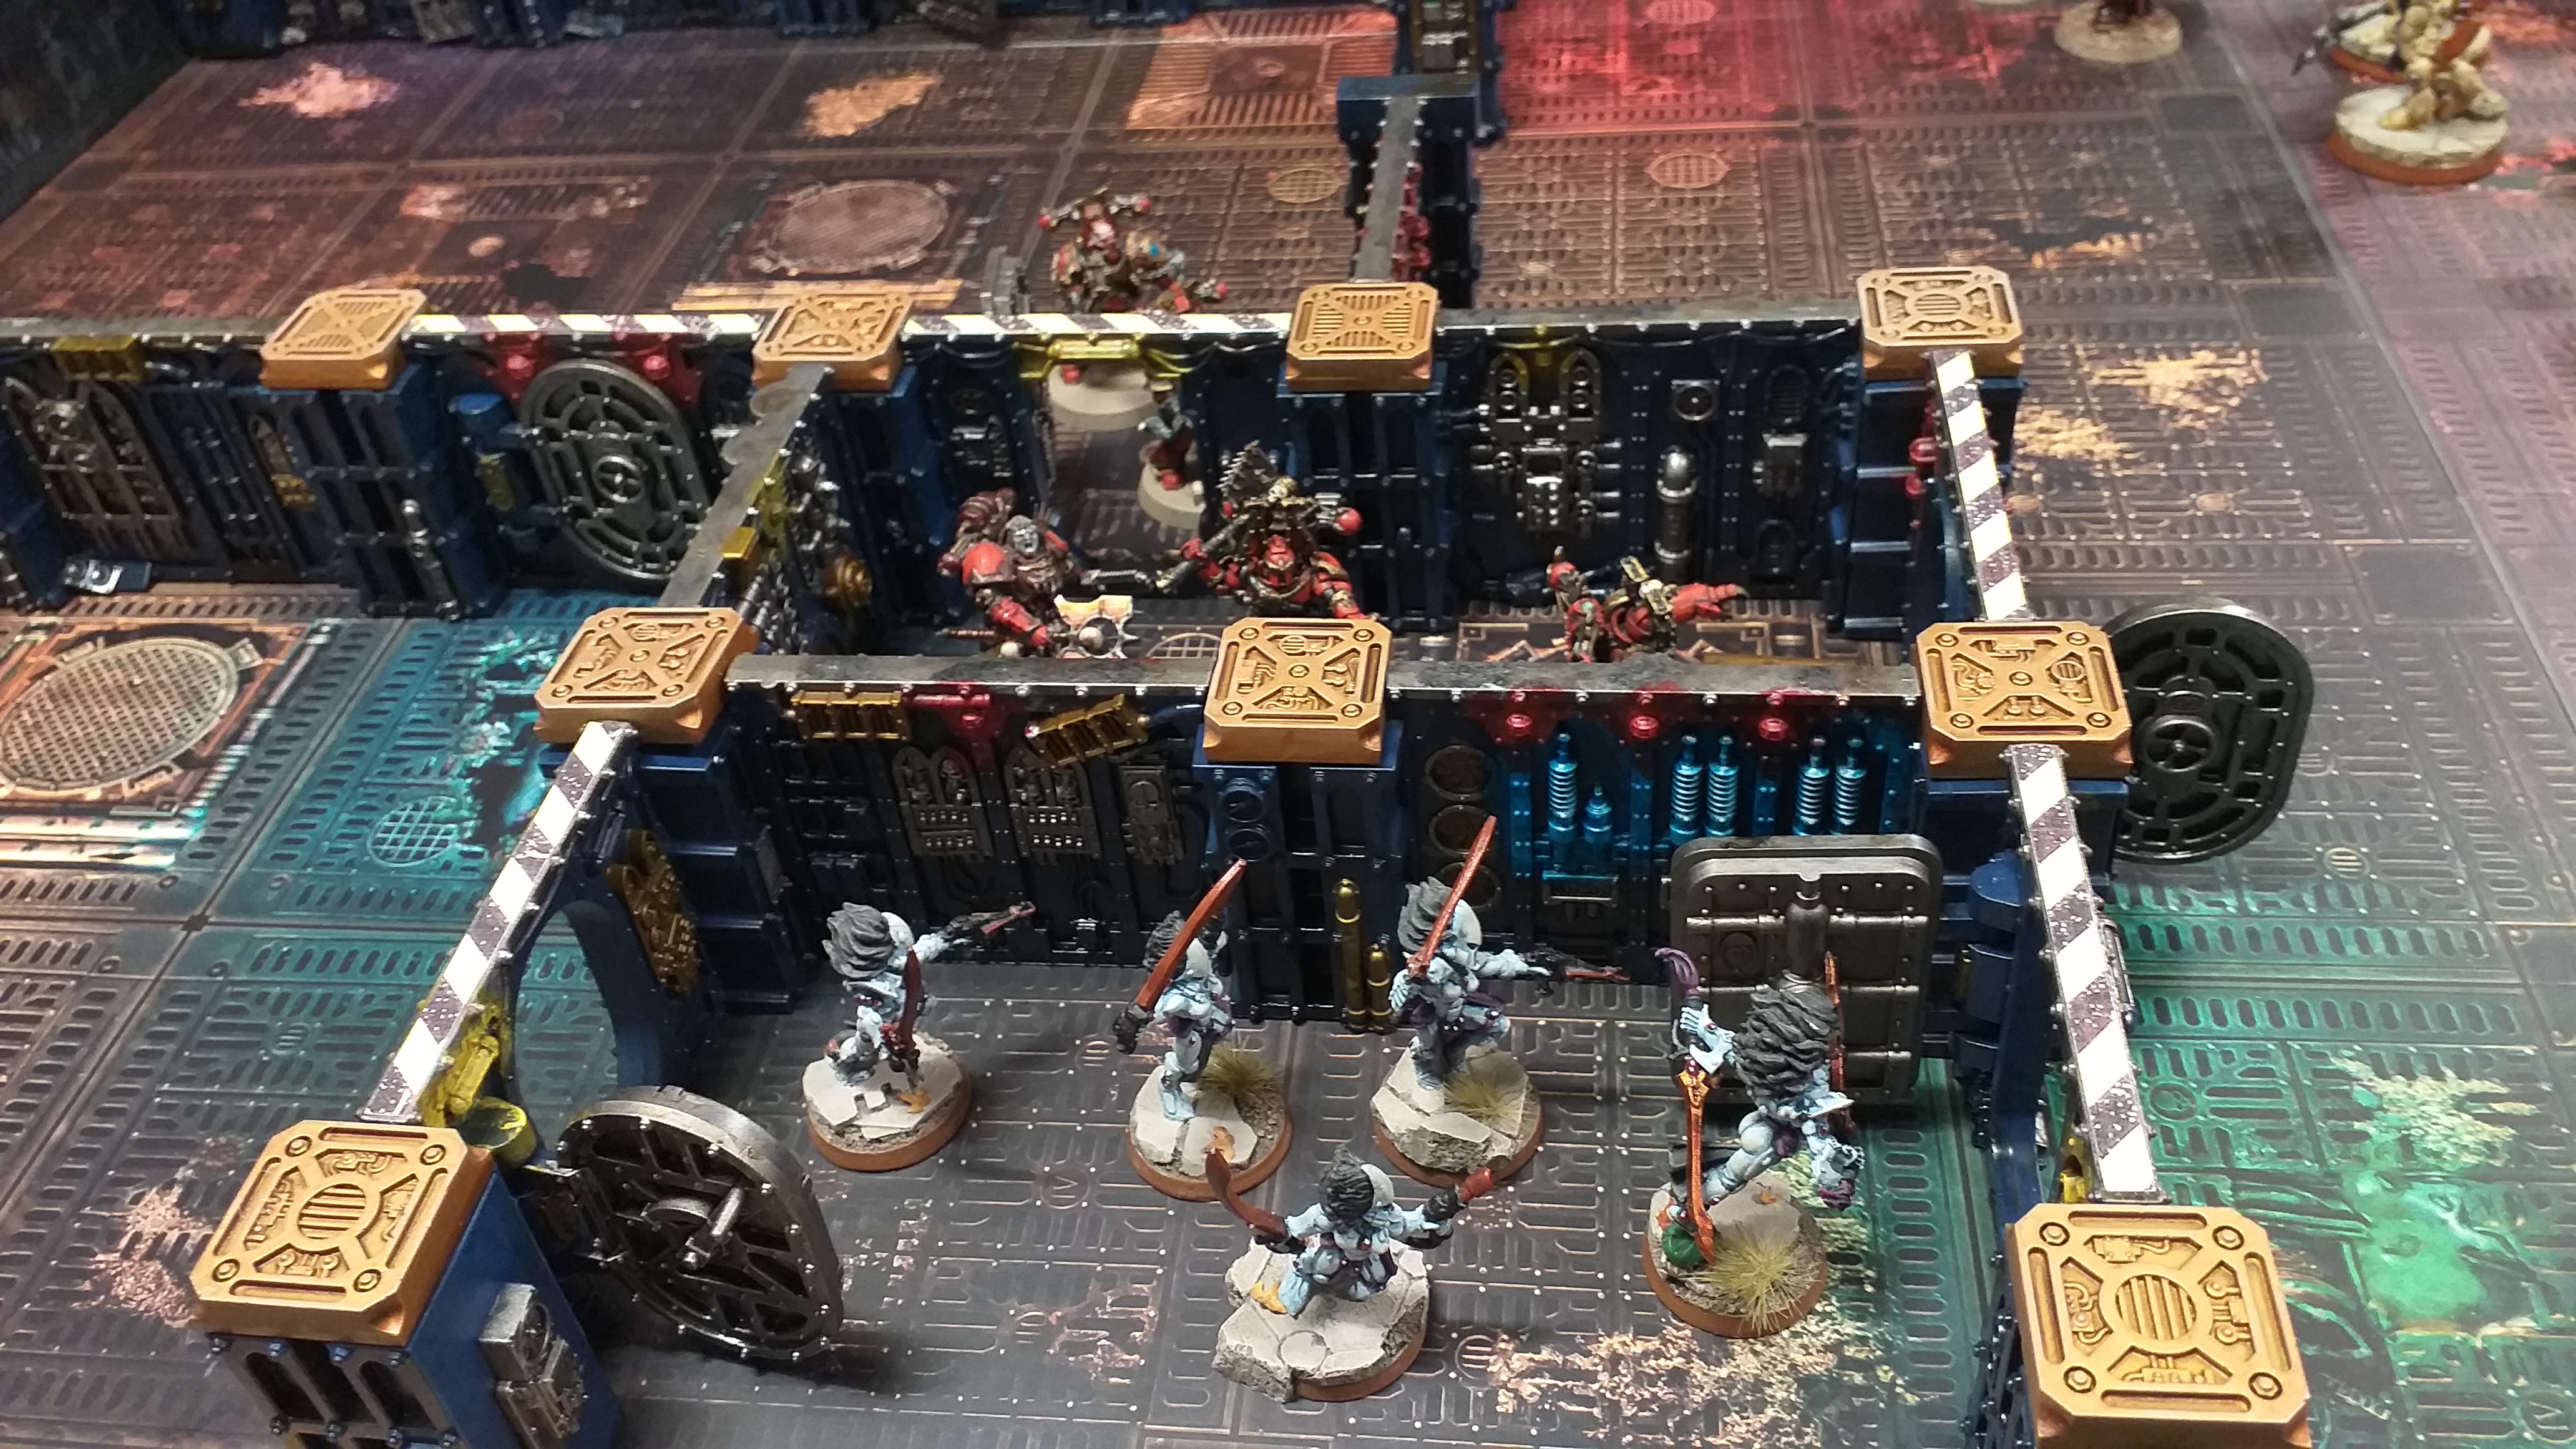
I’m handing this set over to Pete at the Pop Shop tomorrow. Hoping he’ll be pleased with it.
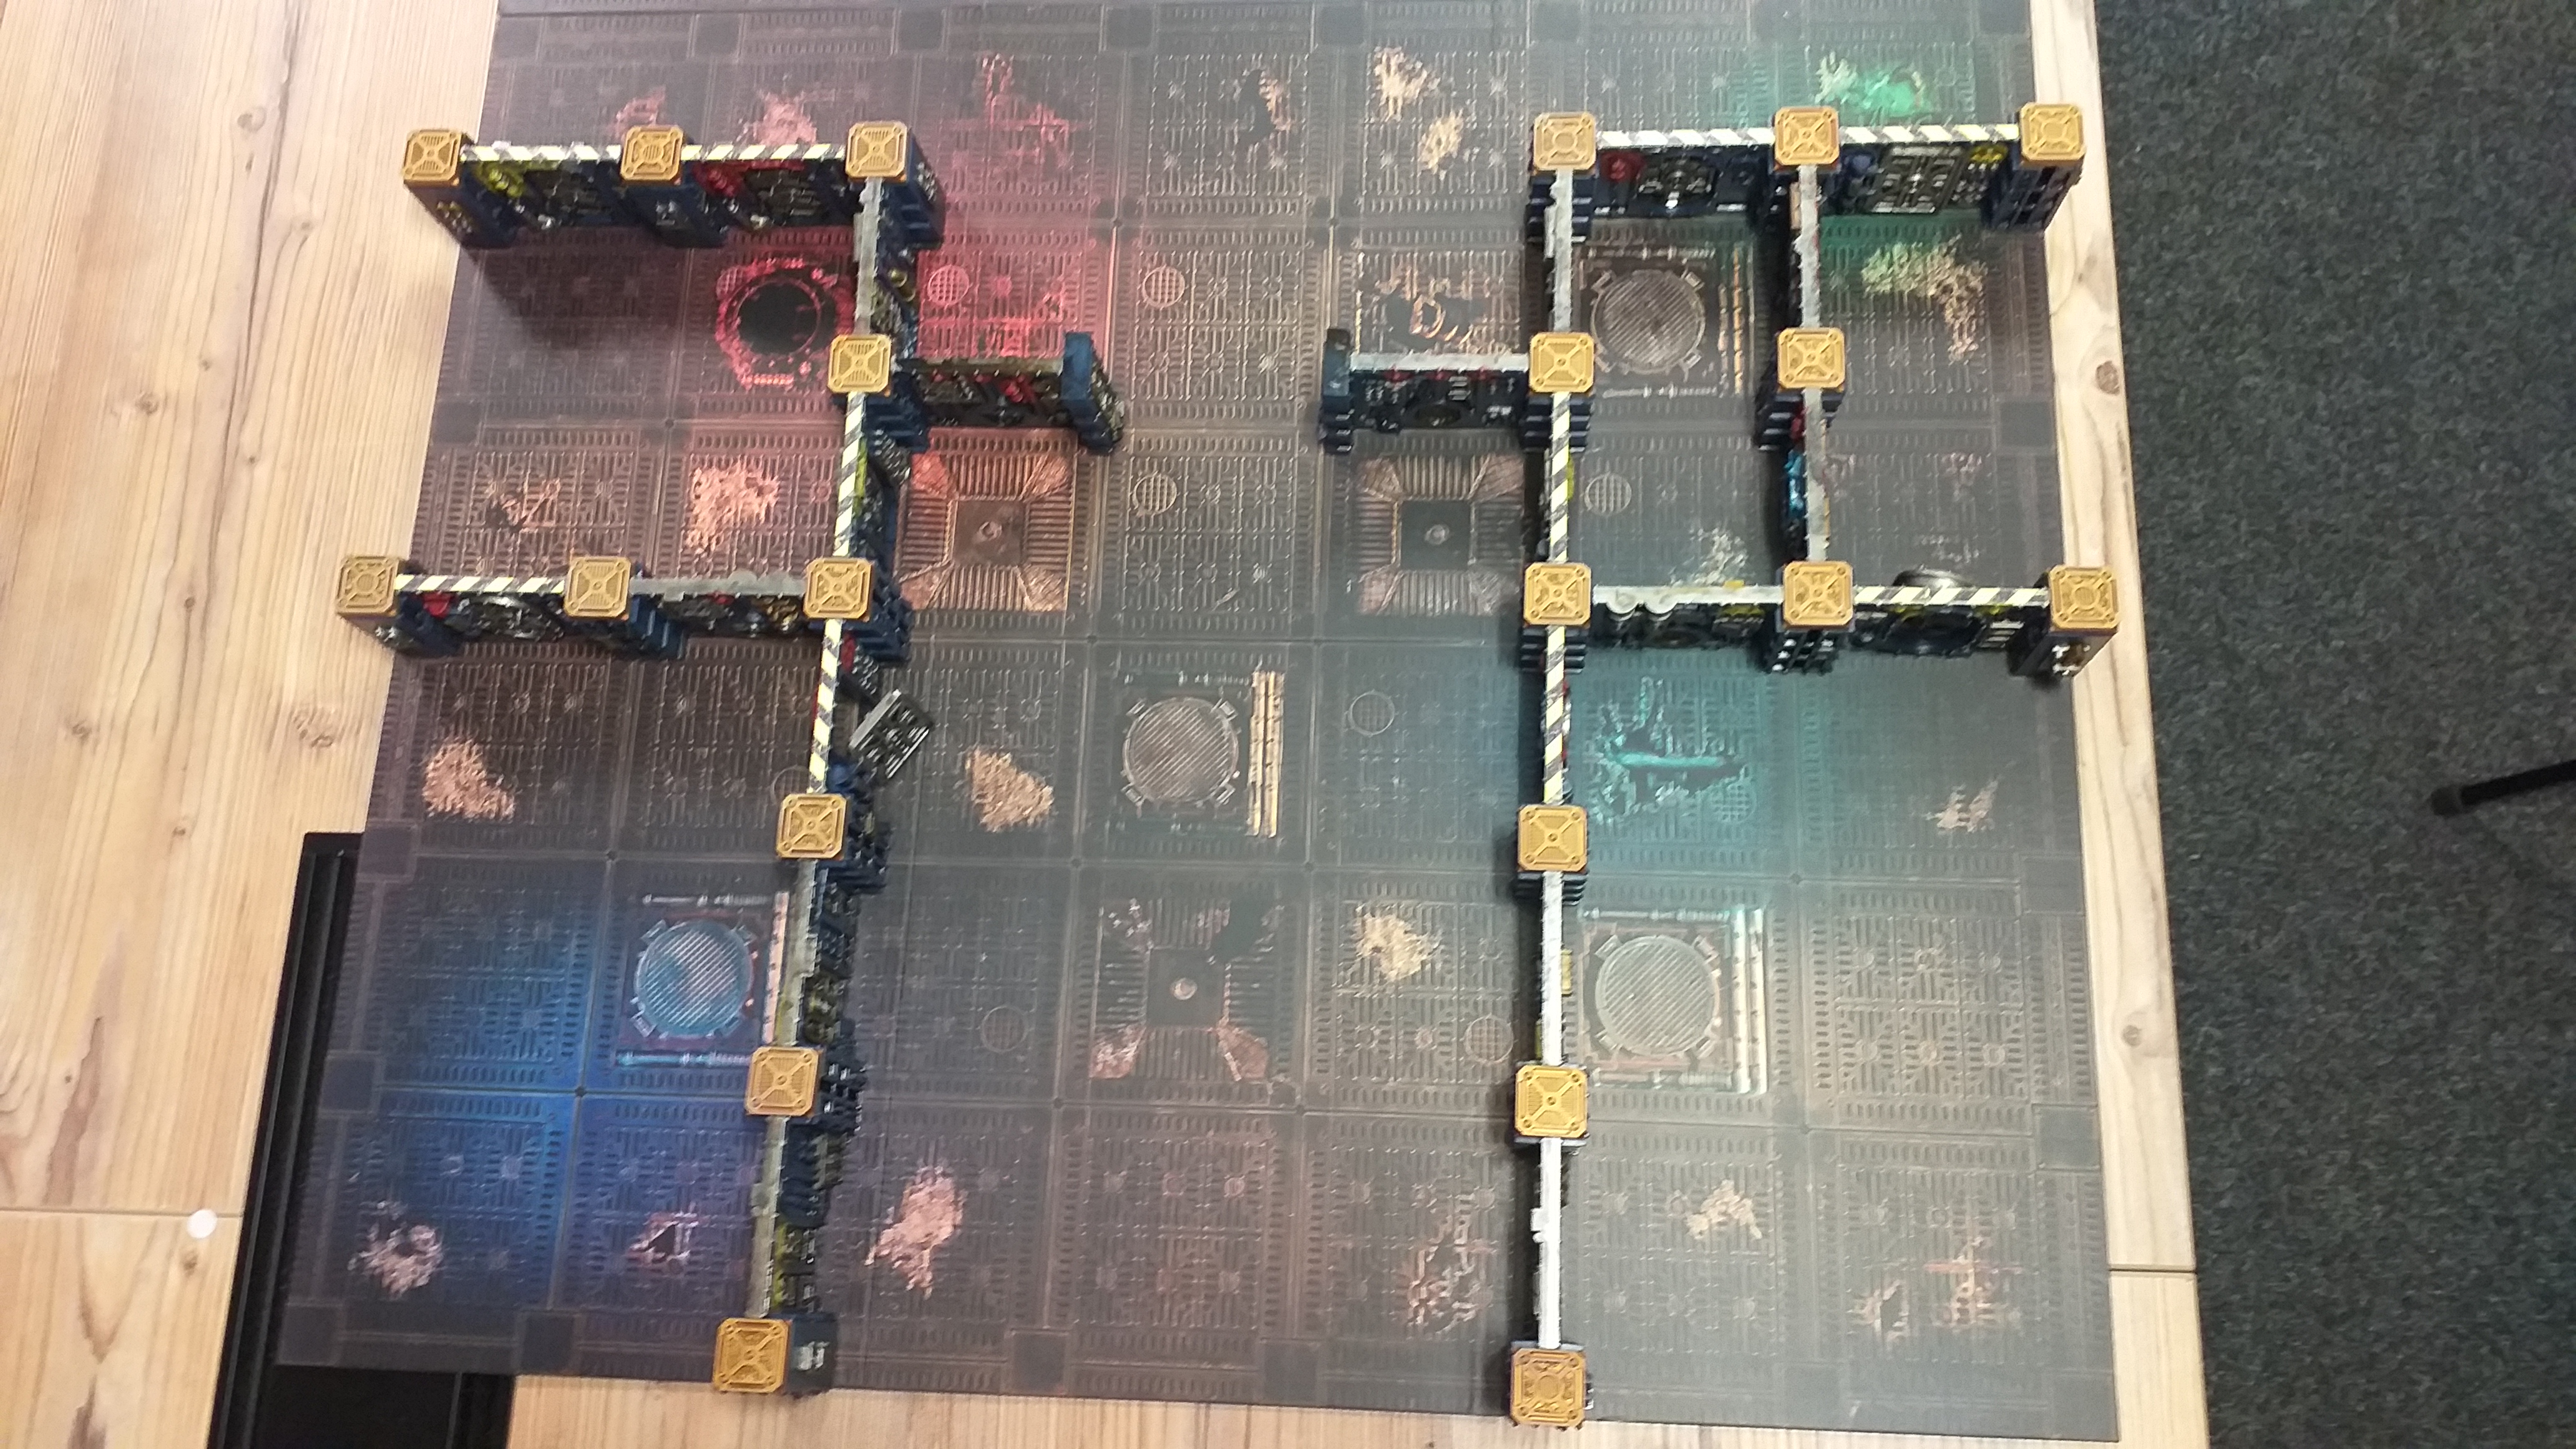
With this set done, is the Project Log to be closed? Nah. I have two sets of my own to do. One set is about halfway along, plus, given I got these sets through Kill Team, I have a good few of the extra parts, like consoles, generators and breachable walls, so I will show them here I think.
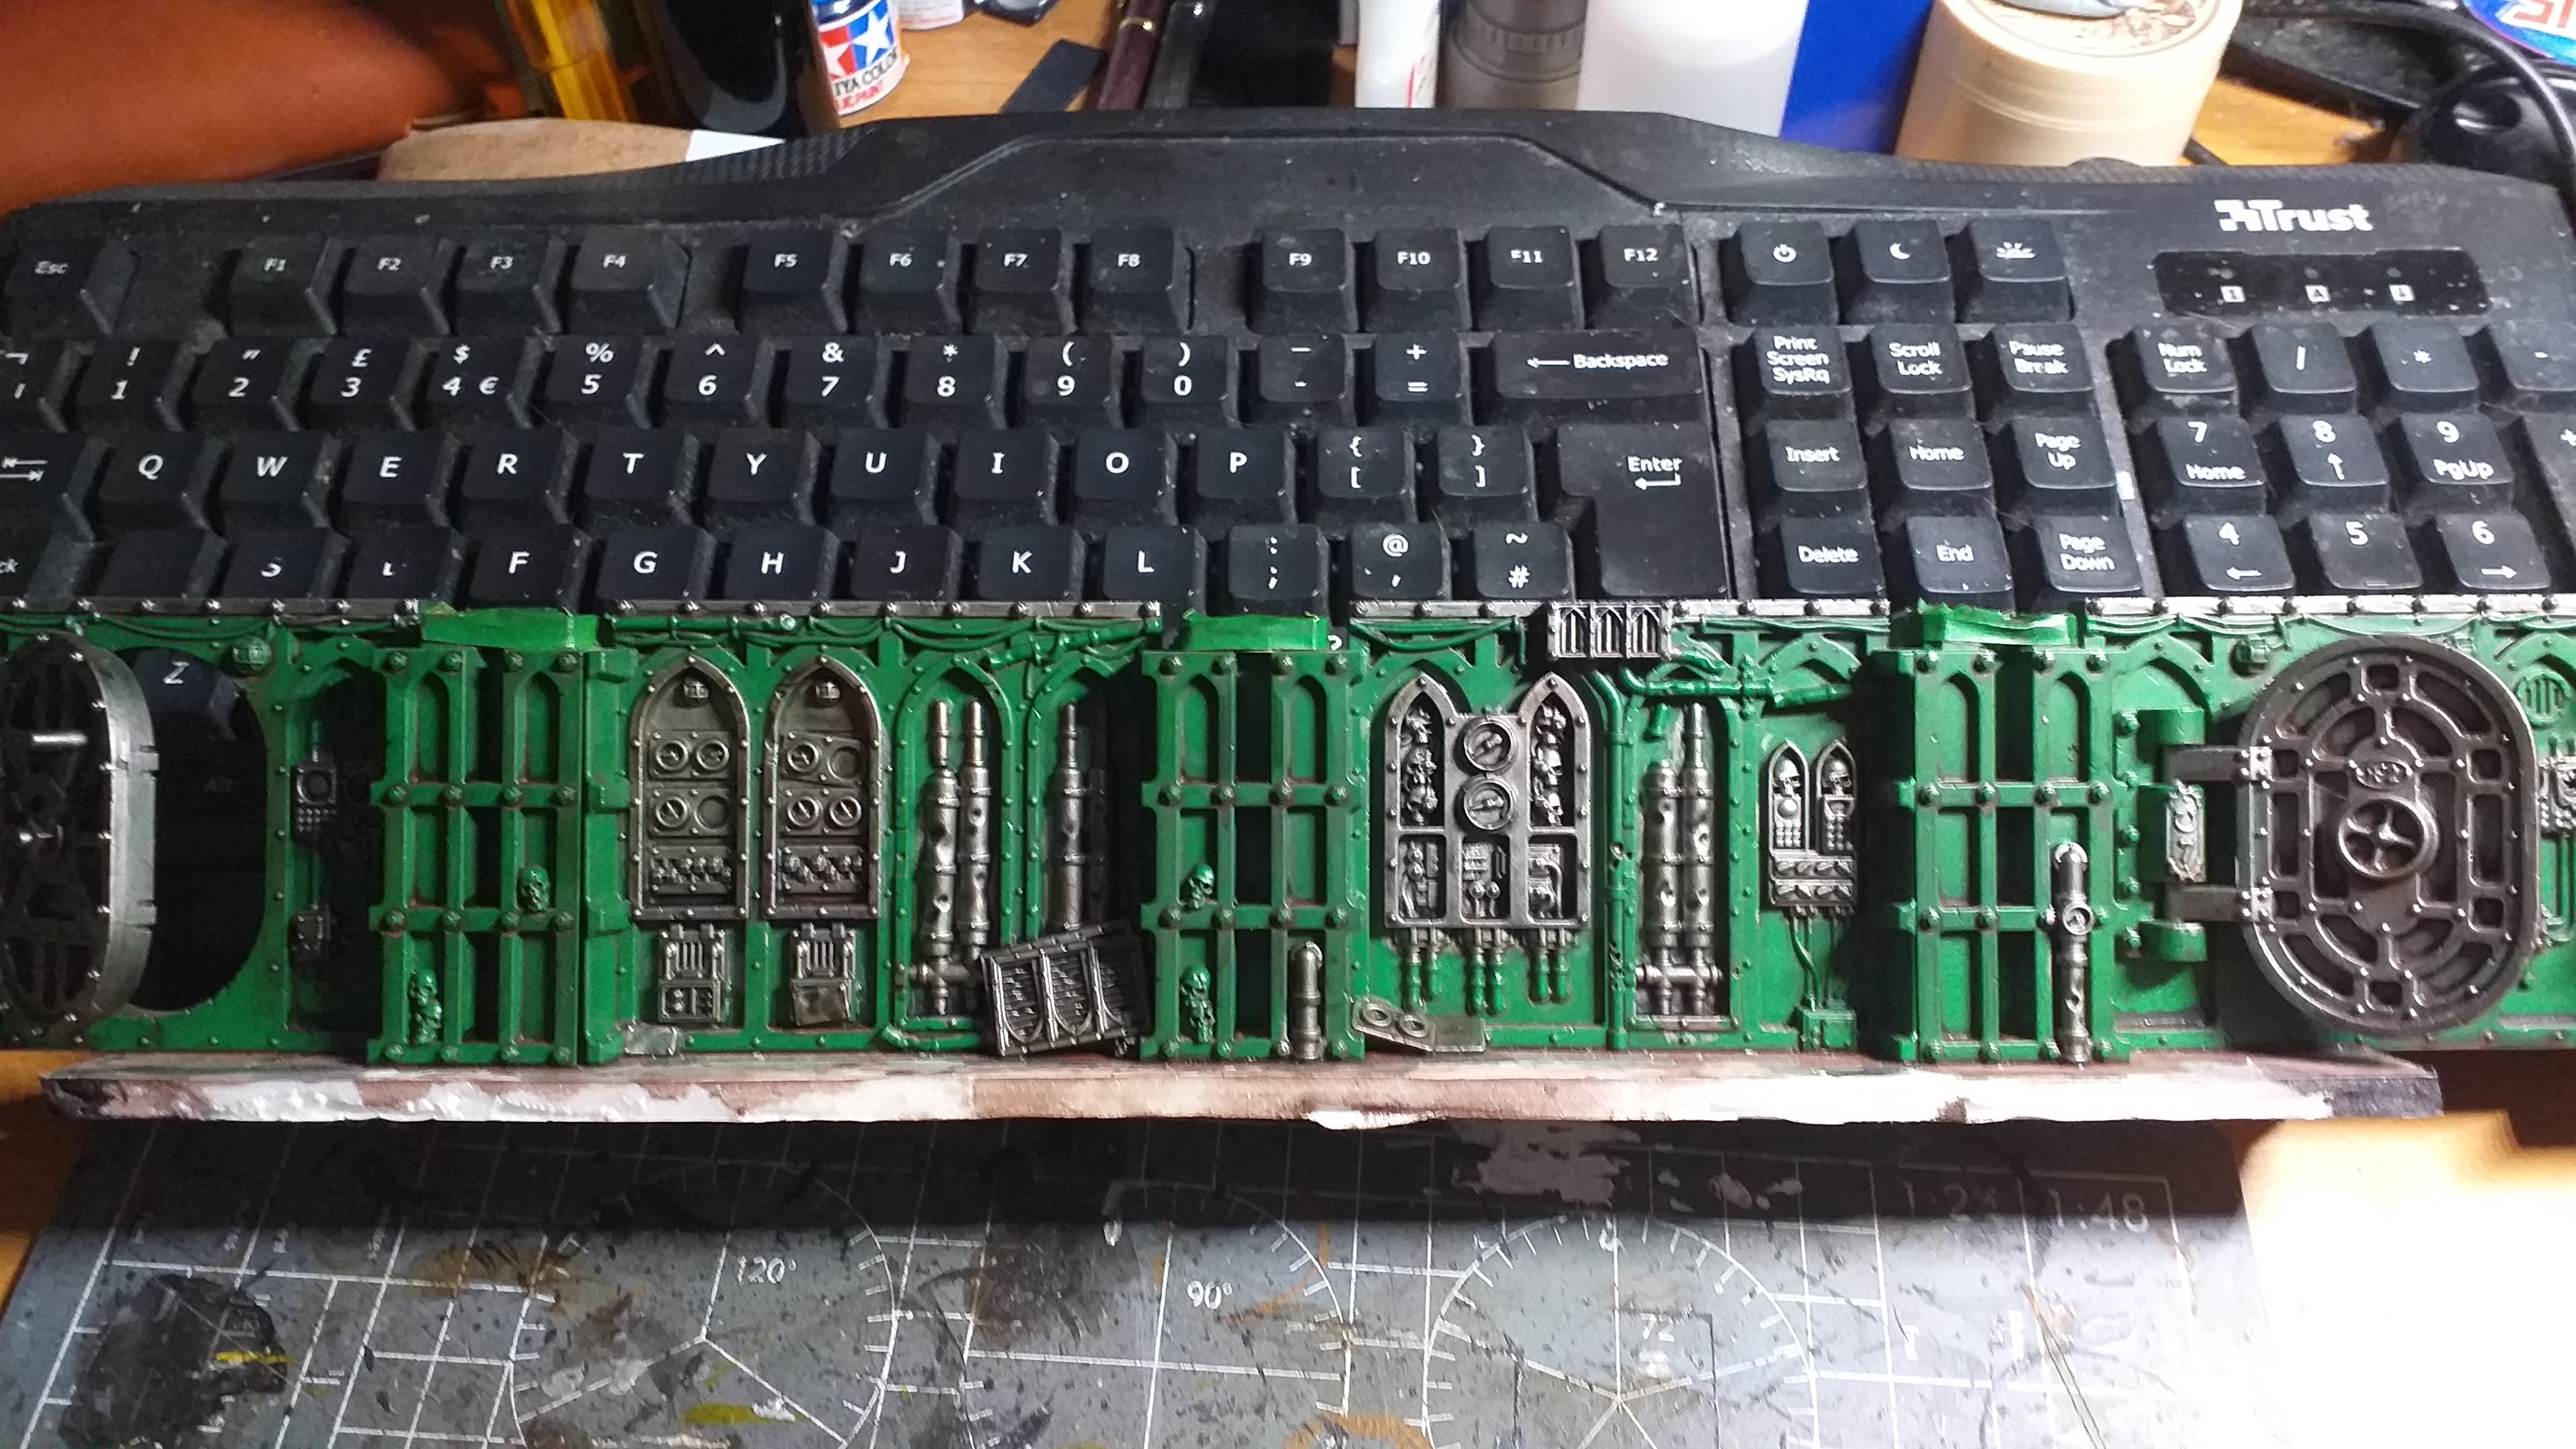
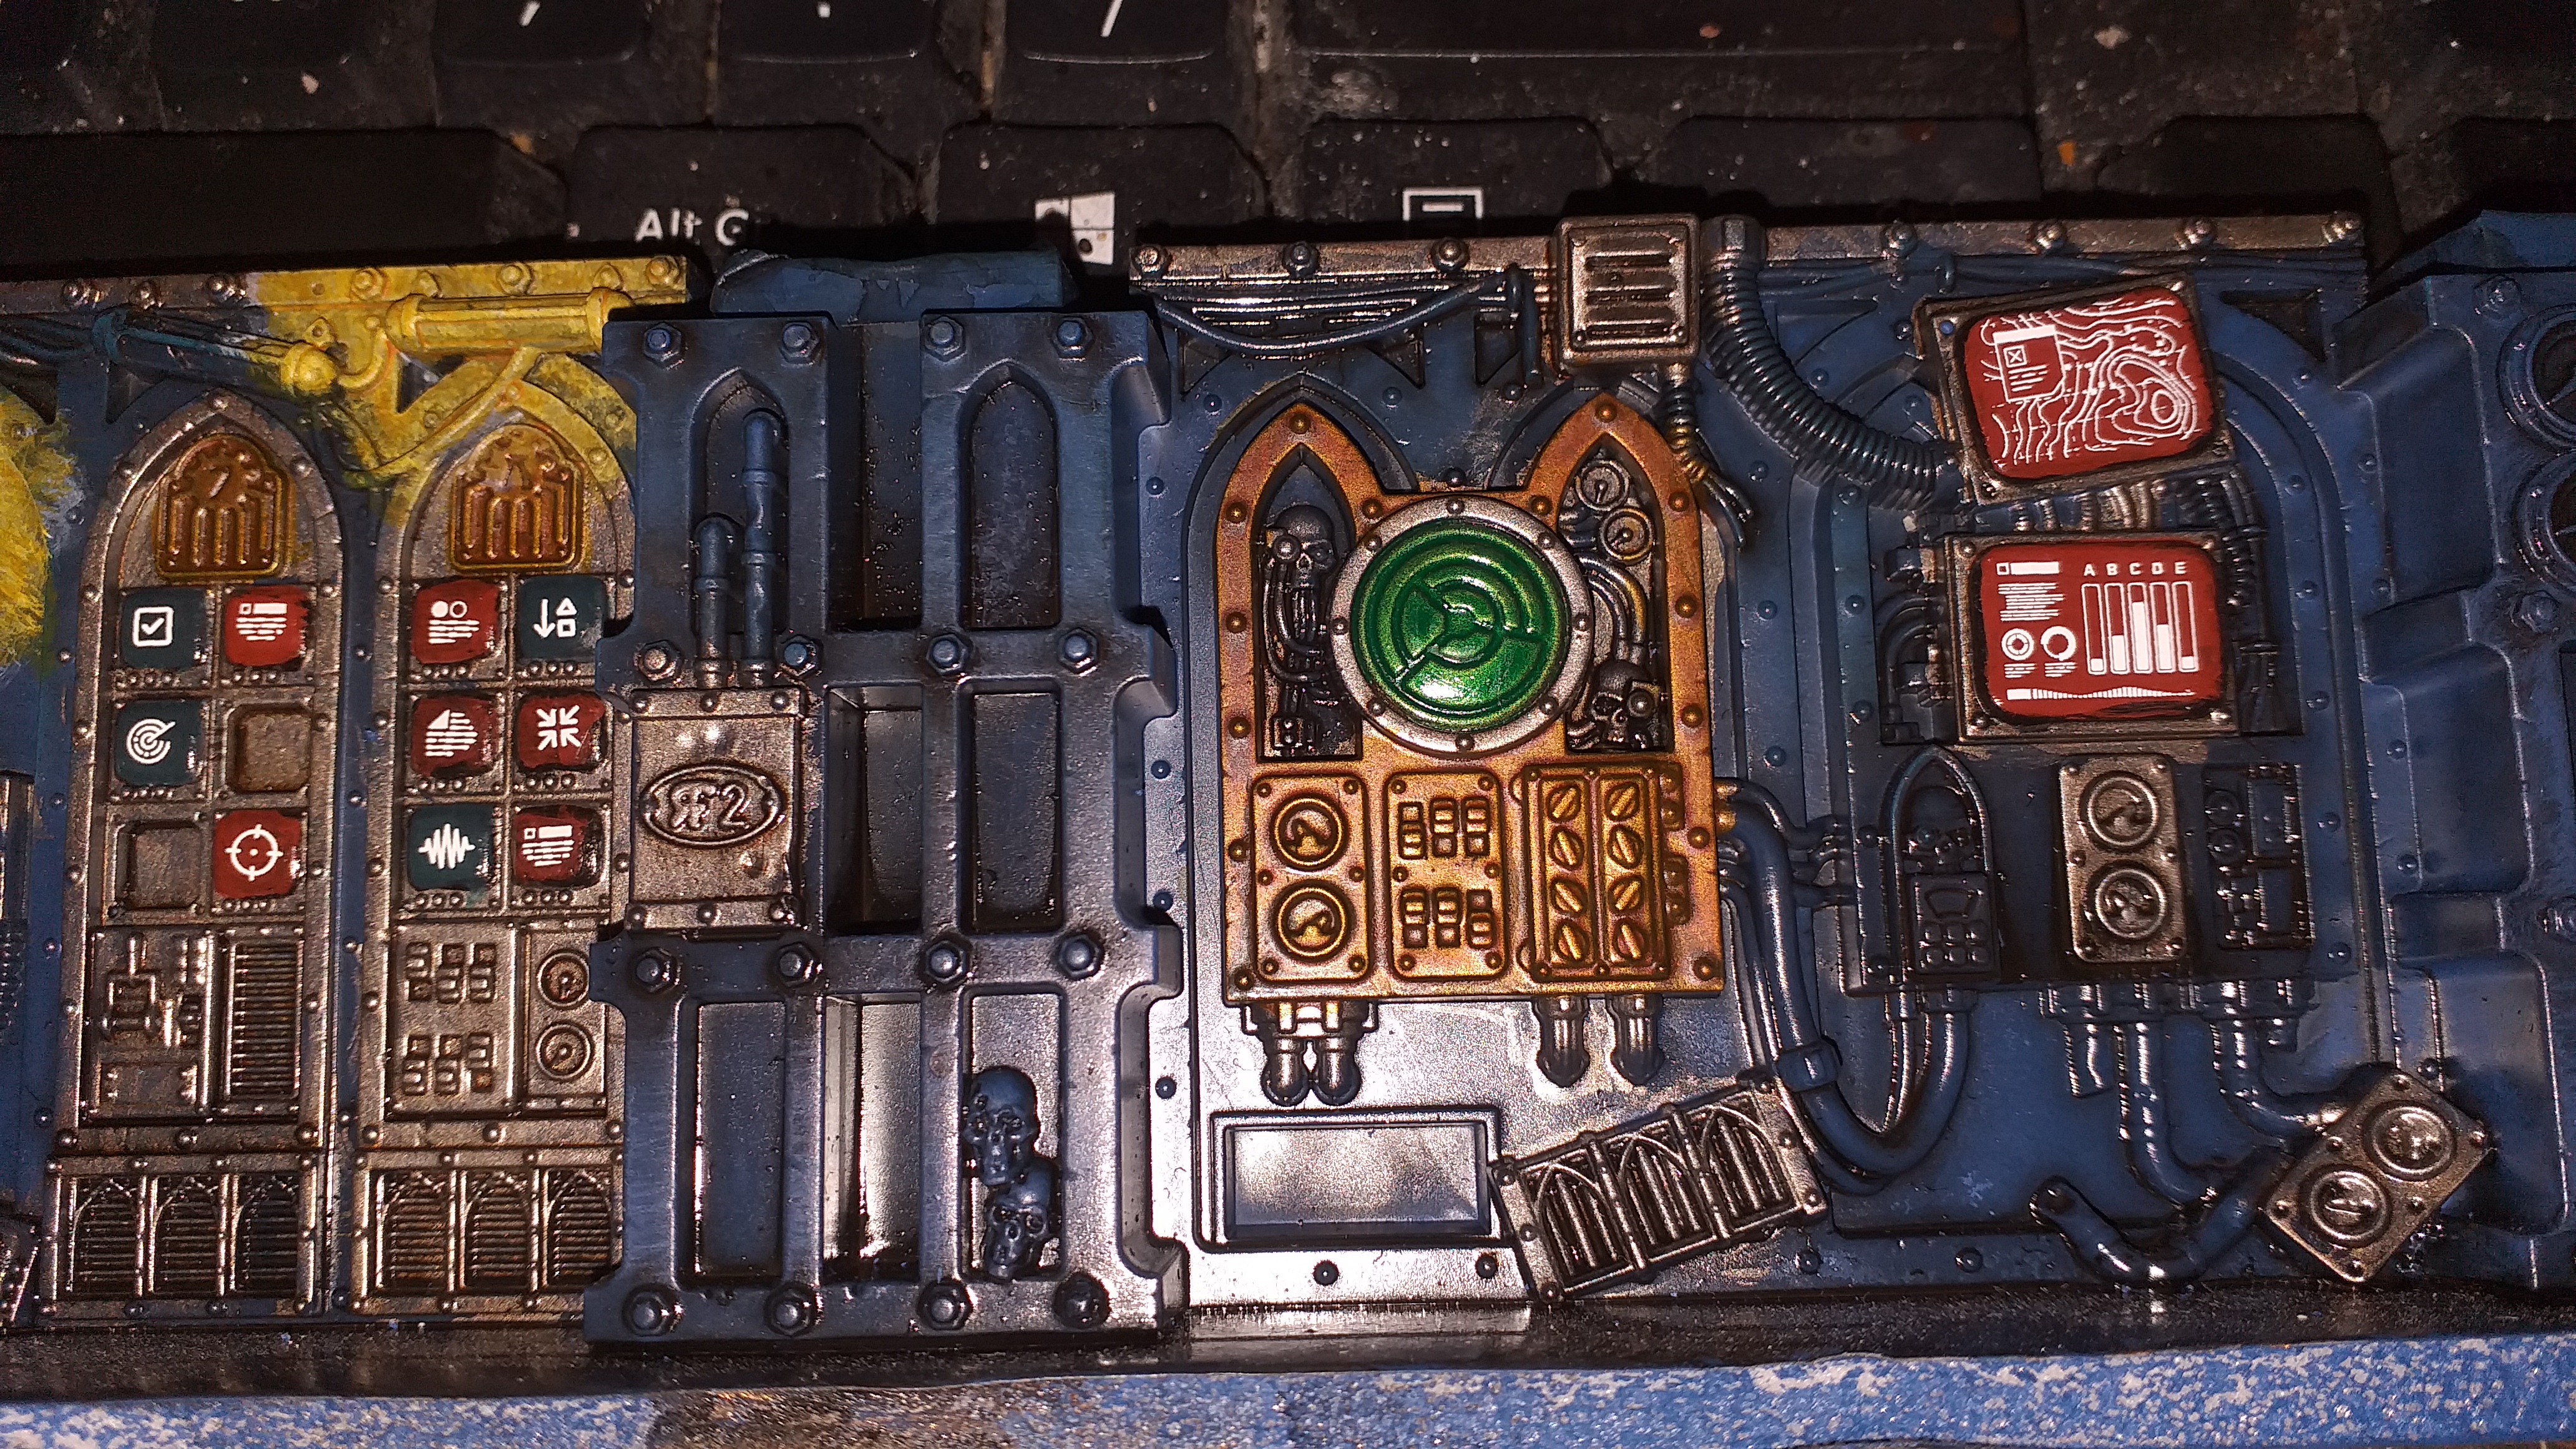
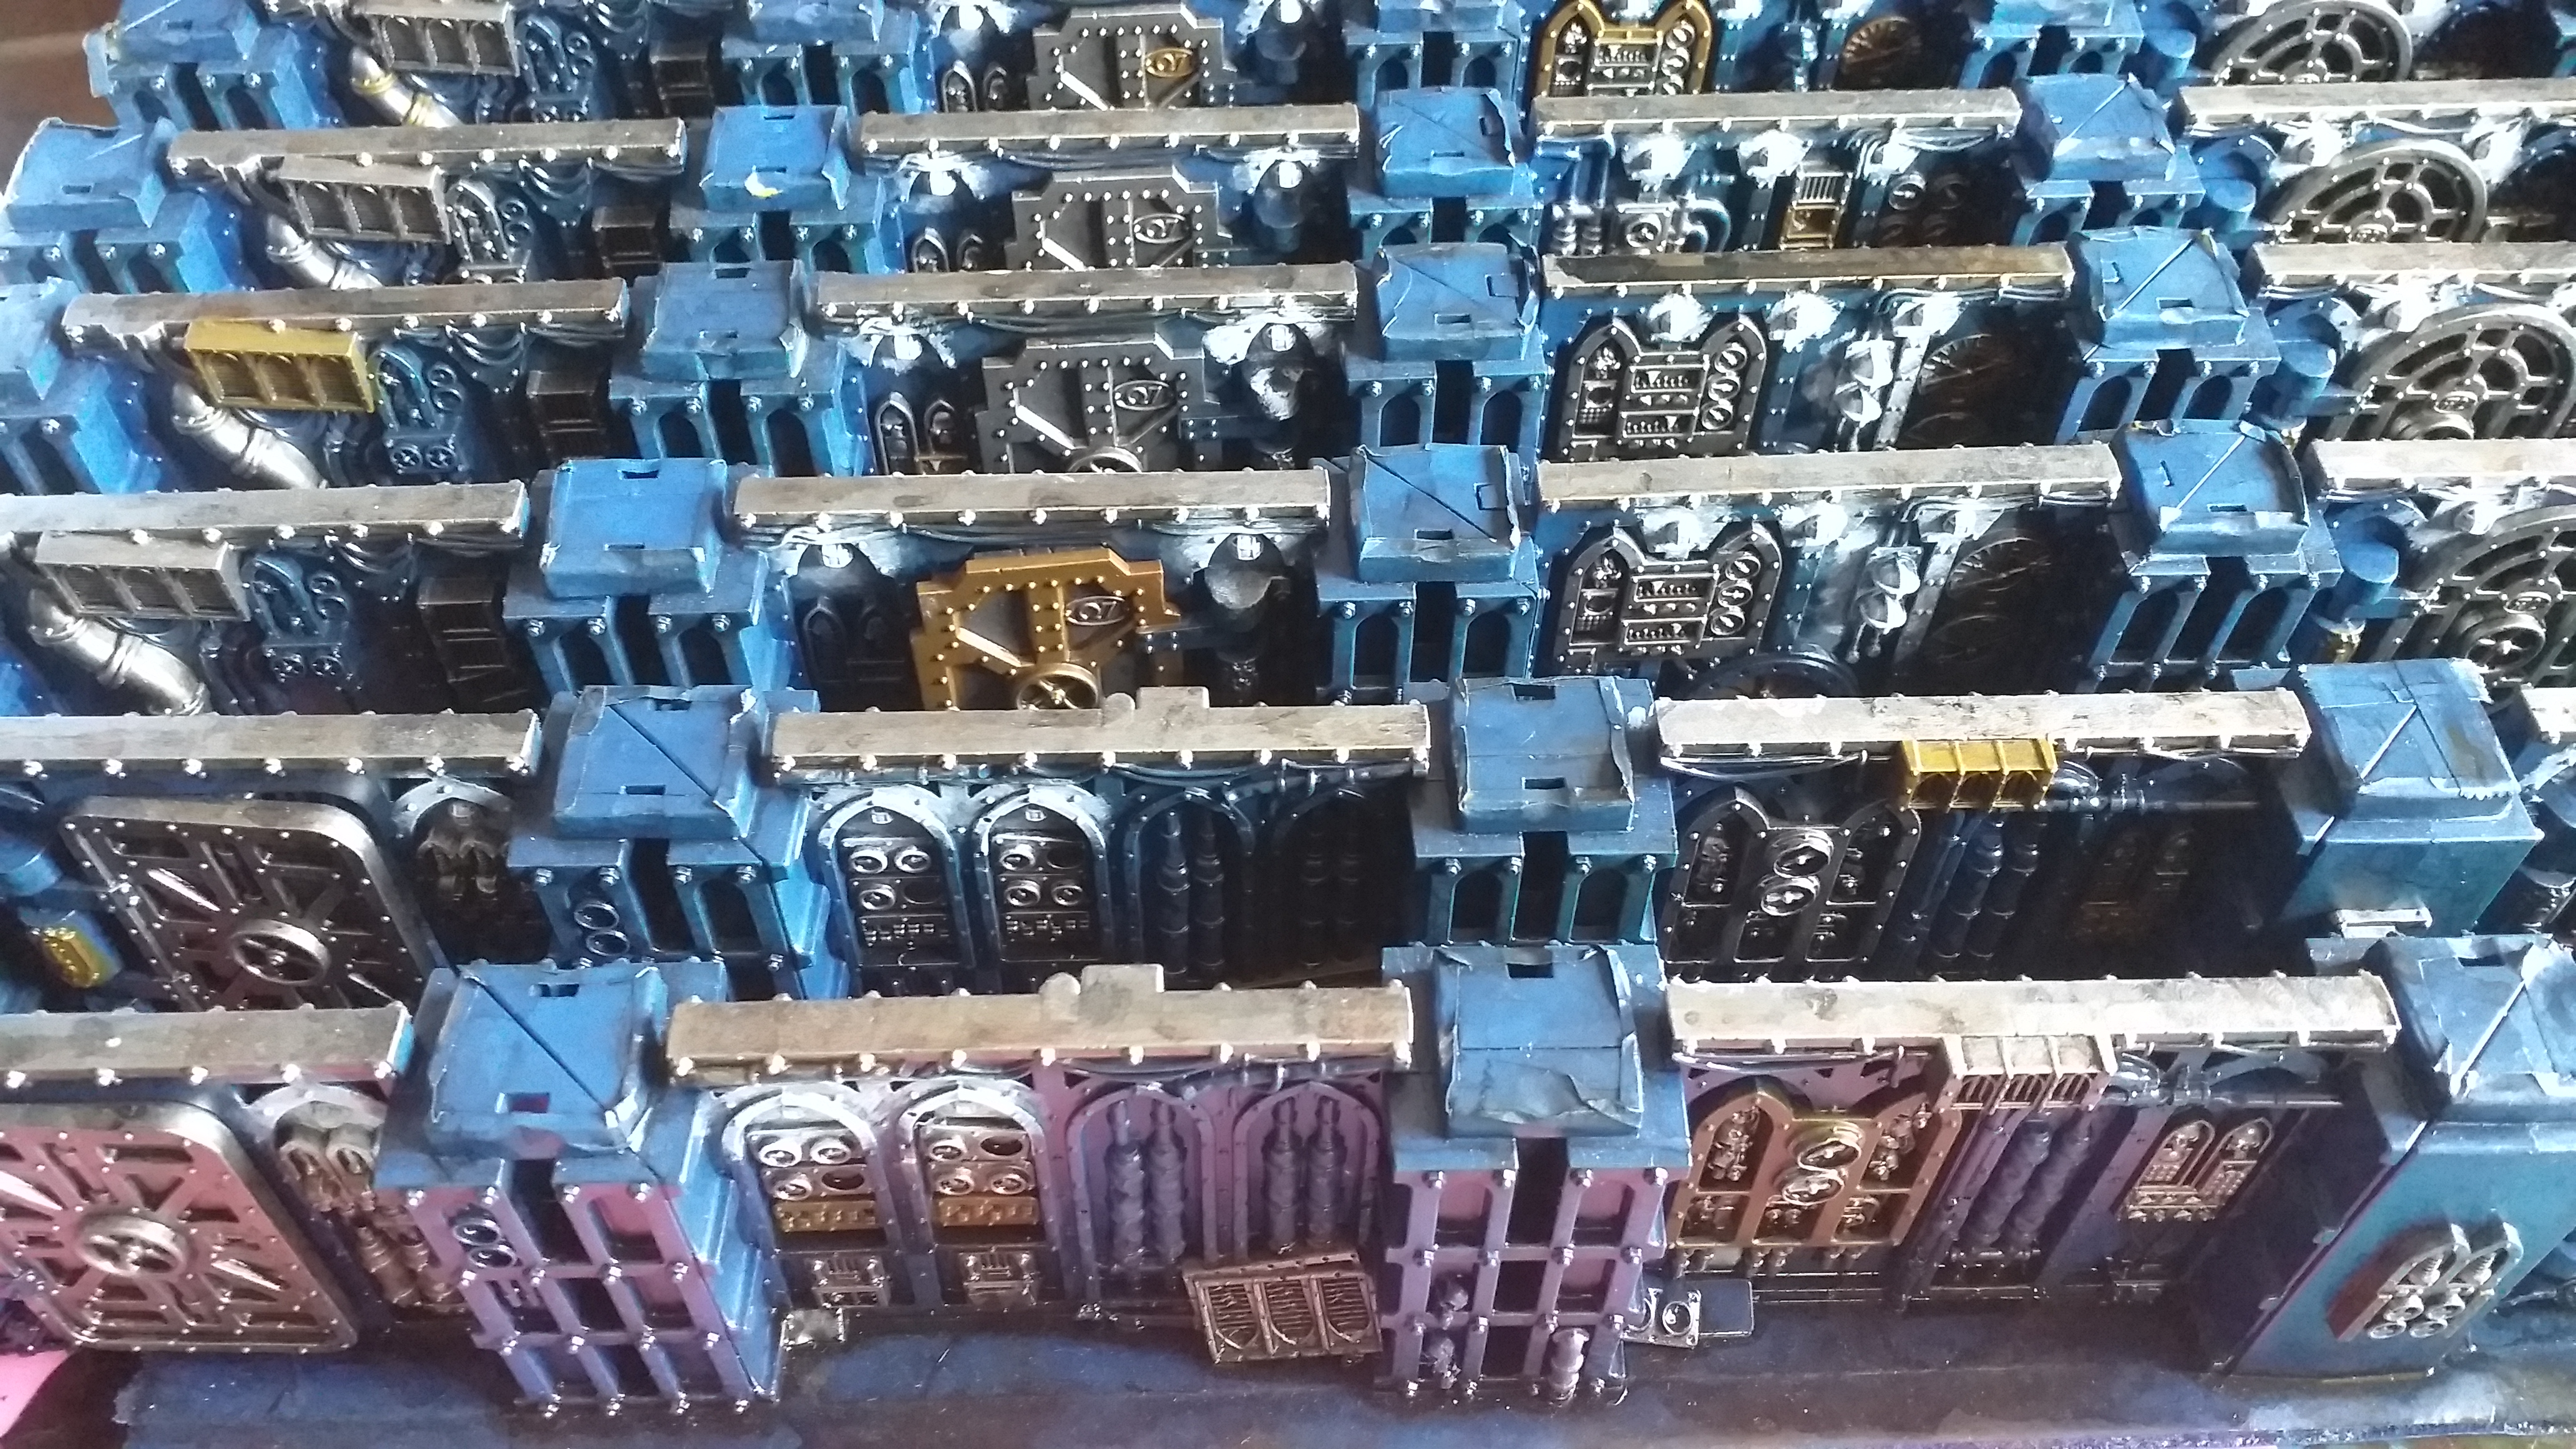
Below is an example of my set. As you can see, I’ve gone green for this one.
I hope you decide to hang around for the rest of the Boarding Actions terrain journey!
Unmounted and Packed.
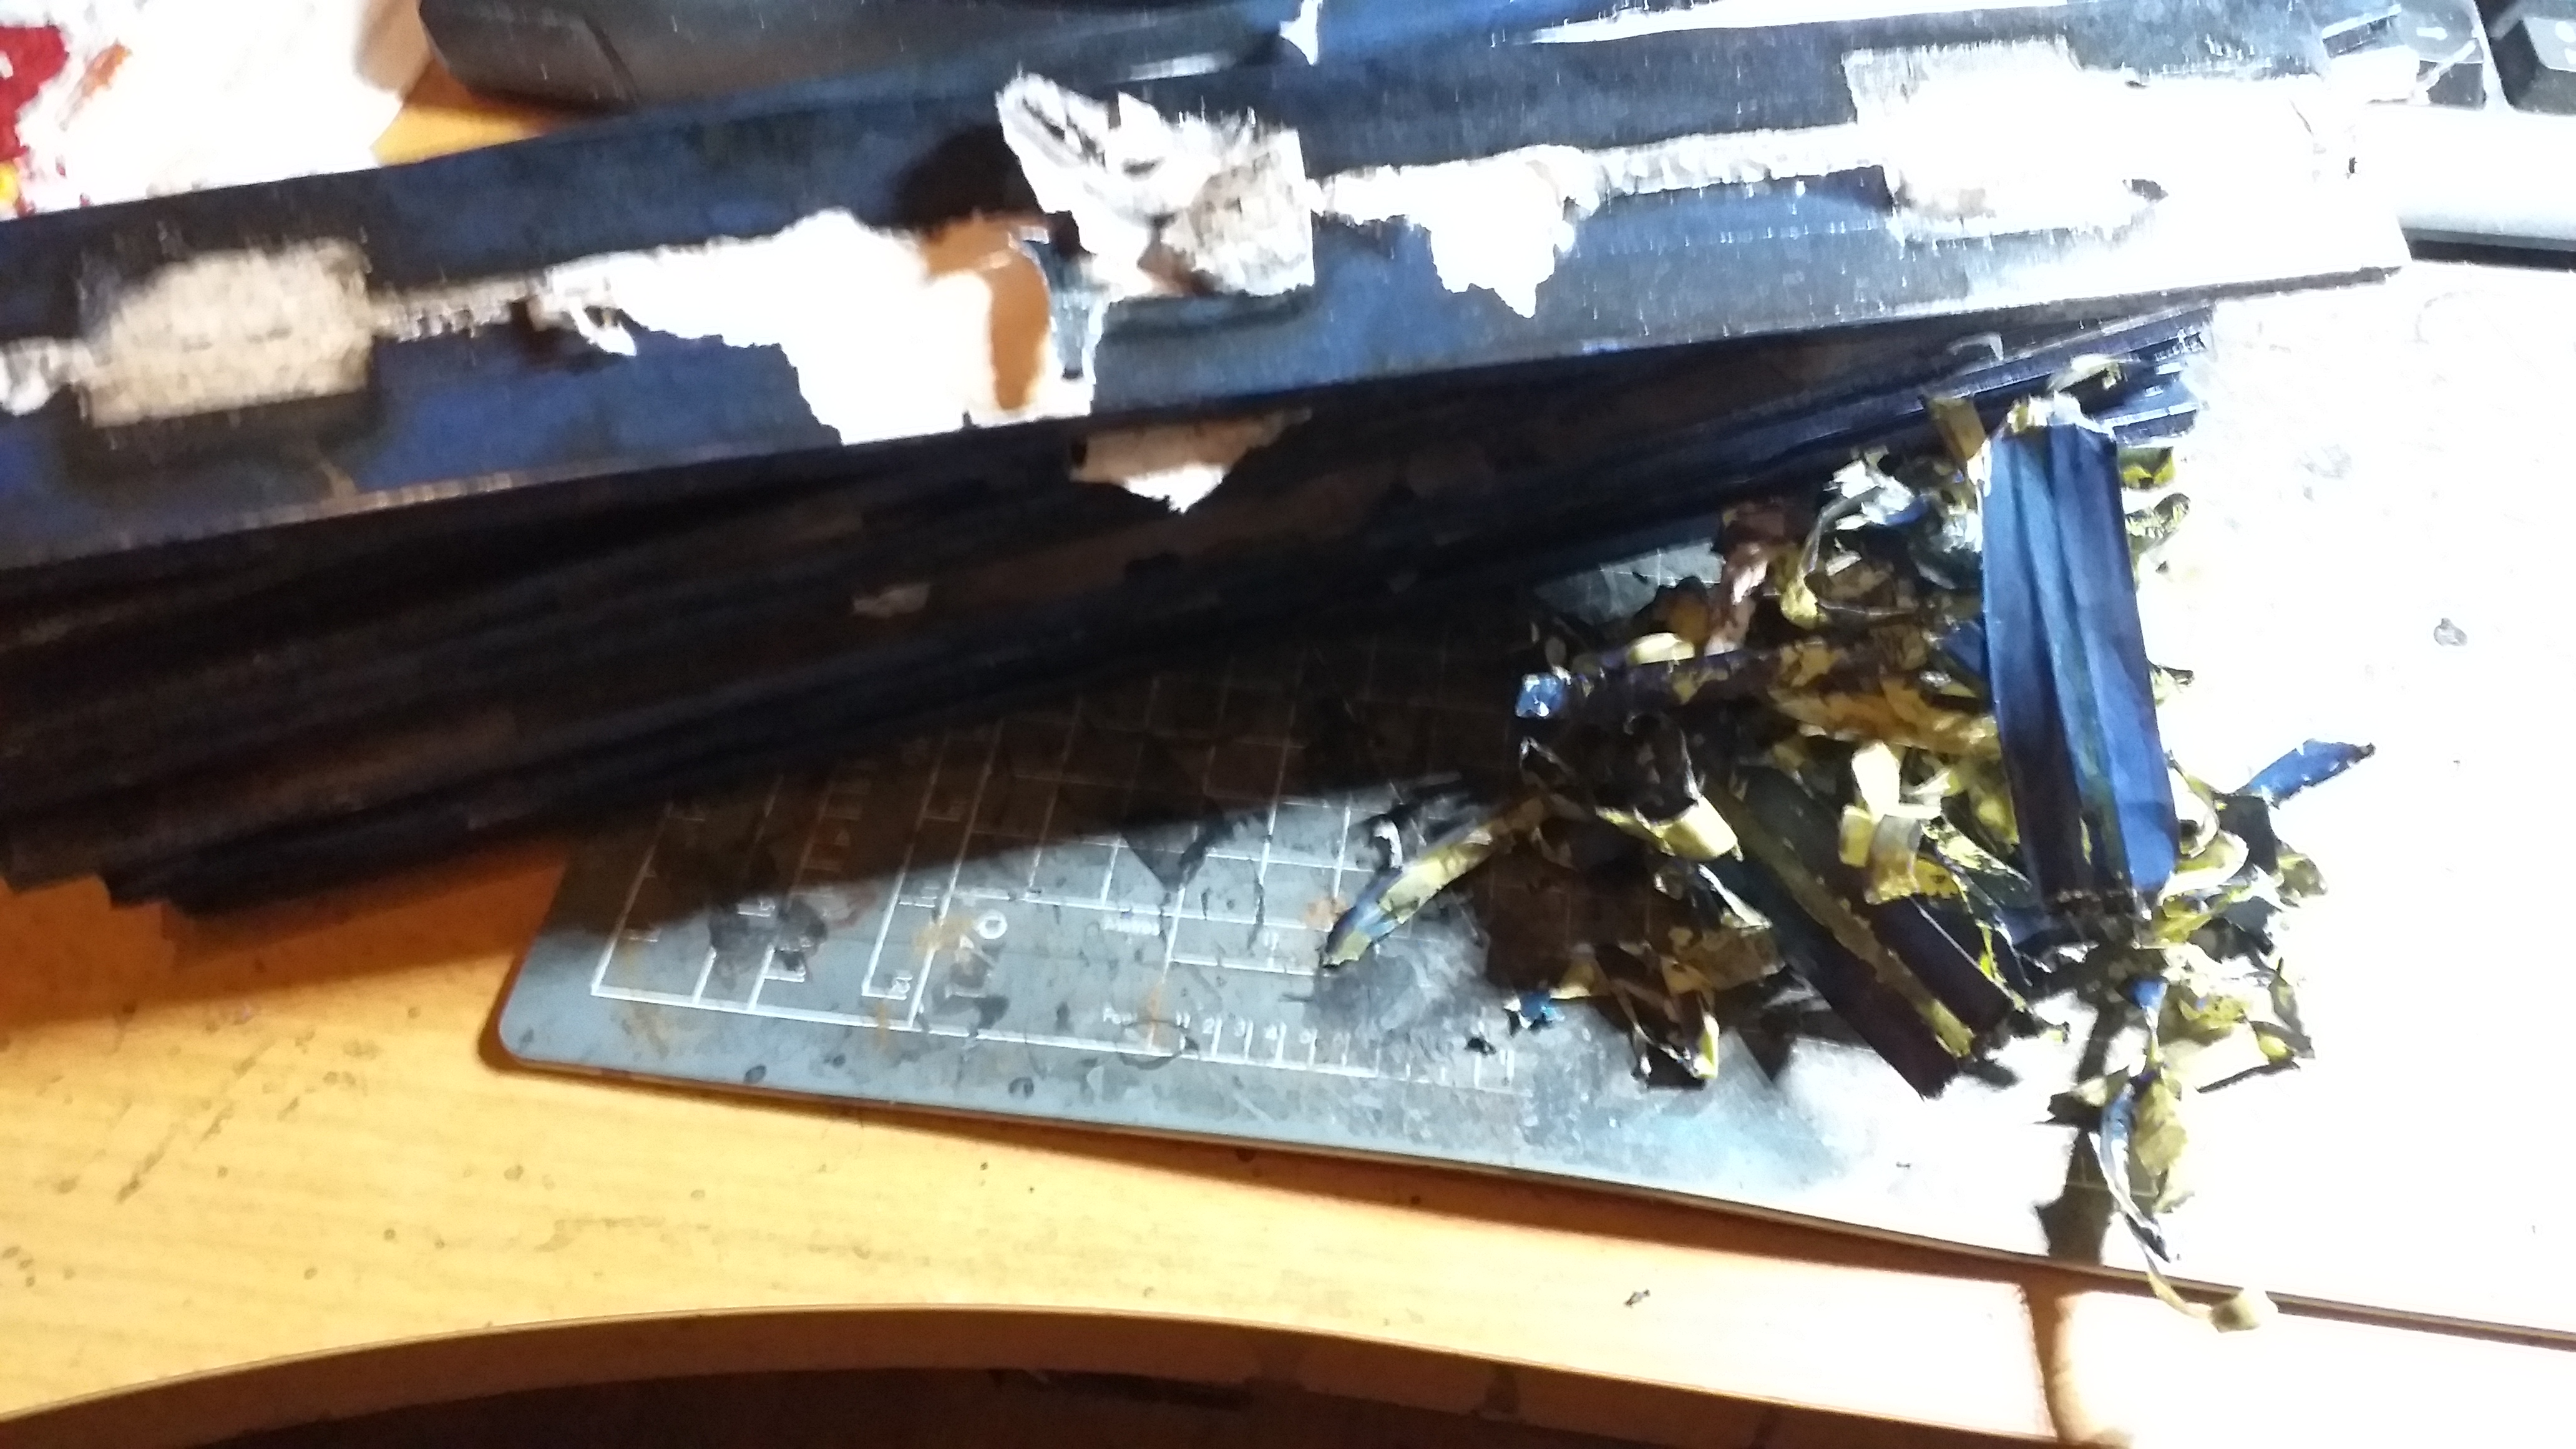
This evening I finished off little bits and pieces I’d missed. (It happens sometimes. You can’t see the forest for the trees, y’know?). Everything has been removed from the foam core and certain pieces given a last wee clean. Mostly male connectors where wash had seeped in.
Had a wee pile of masking tape and foam core strips. Taking it off was quite therapeutic. Is that no a bonny sight? 😀
I’ve packed it into it’s box and will take it into the Plastic Krak Heads play room (where my friends and I stream our games on YouTube) for some nice pictures and I’ll deliver it to the Pop Shop just in time for the Boarding Actions release!
I’ll post the “photo shoot” (I’m not THAT good a photographer…) and add them to this log.
Link to our Krak Heads channel. Most of the games are of a competitive 40K nature, though I wish to expand that. A few of us have moved into the Old World. Be aware, we’re not terribly PG, being a bunch of older fellas with a robust sense of humour.
Finishing Touches!
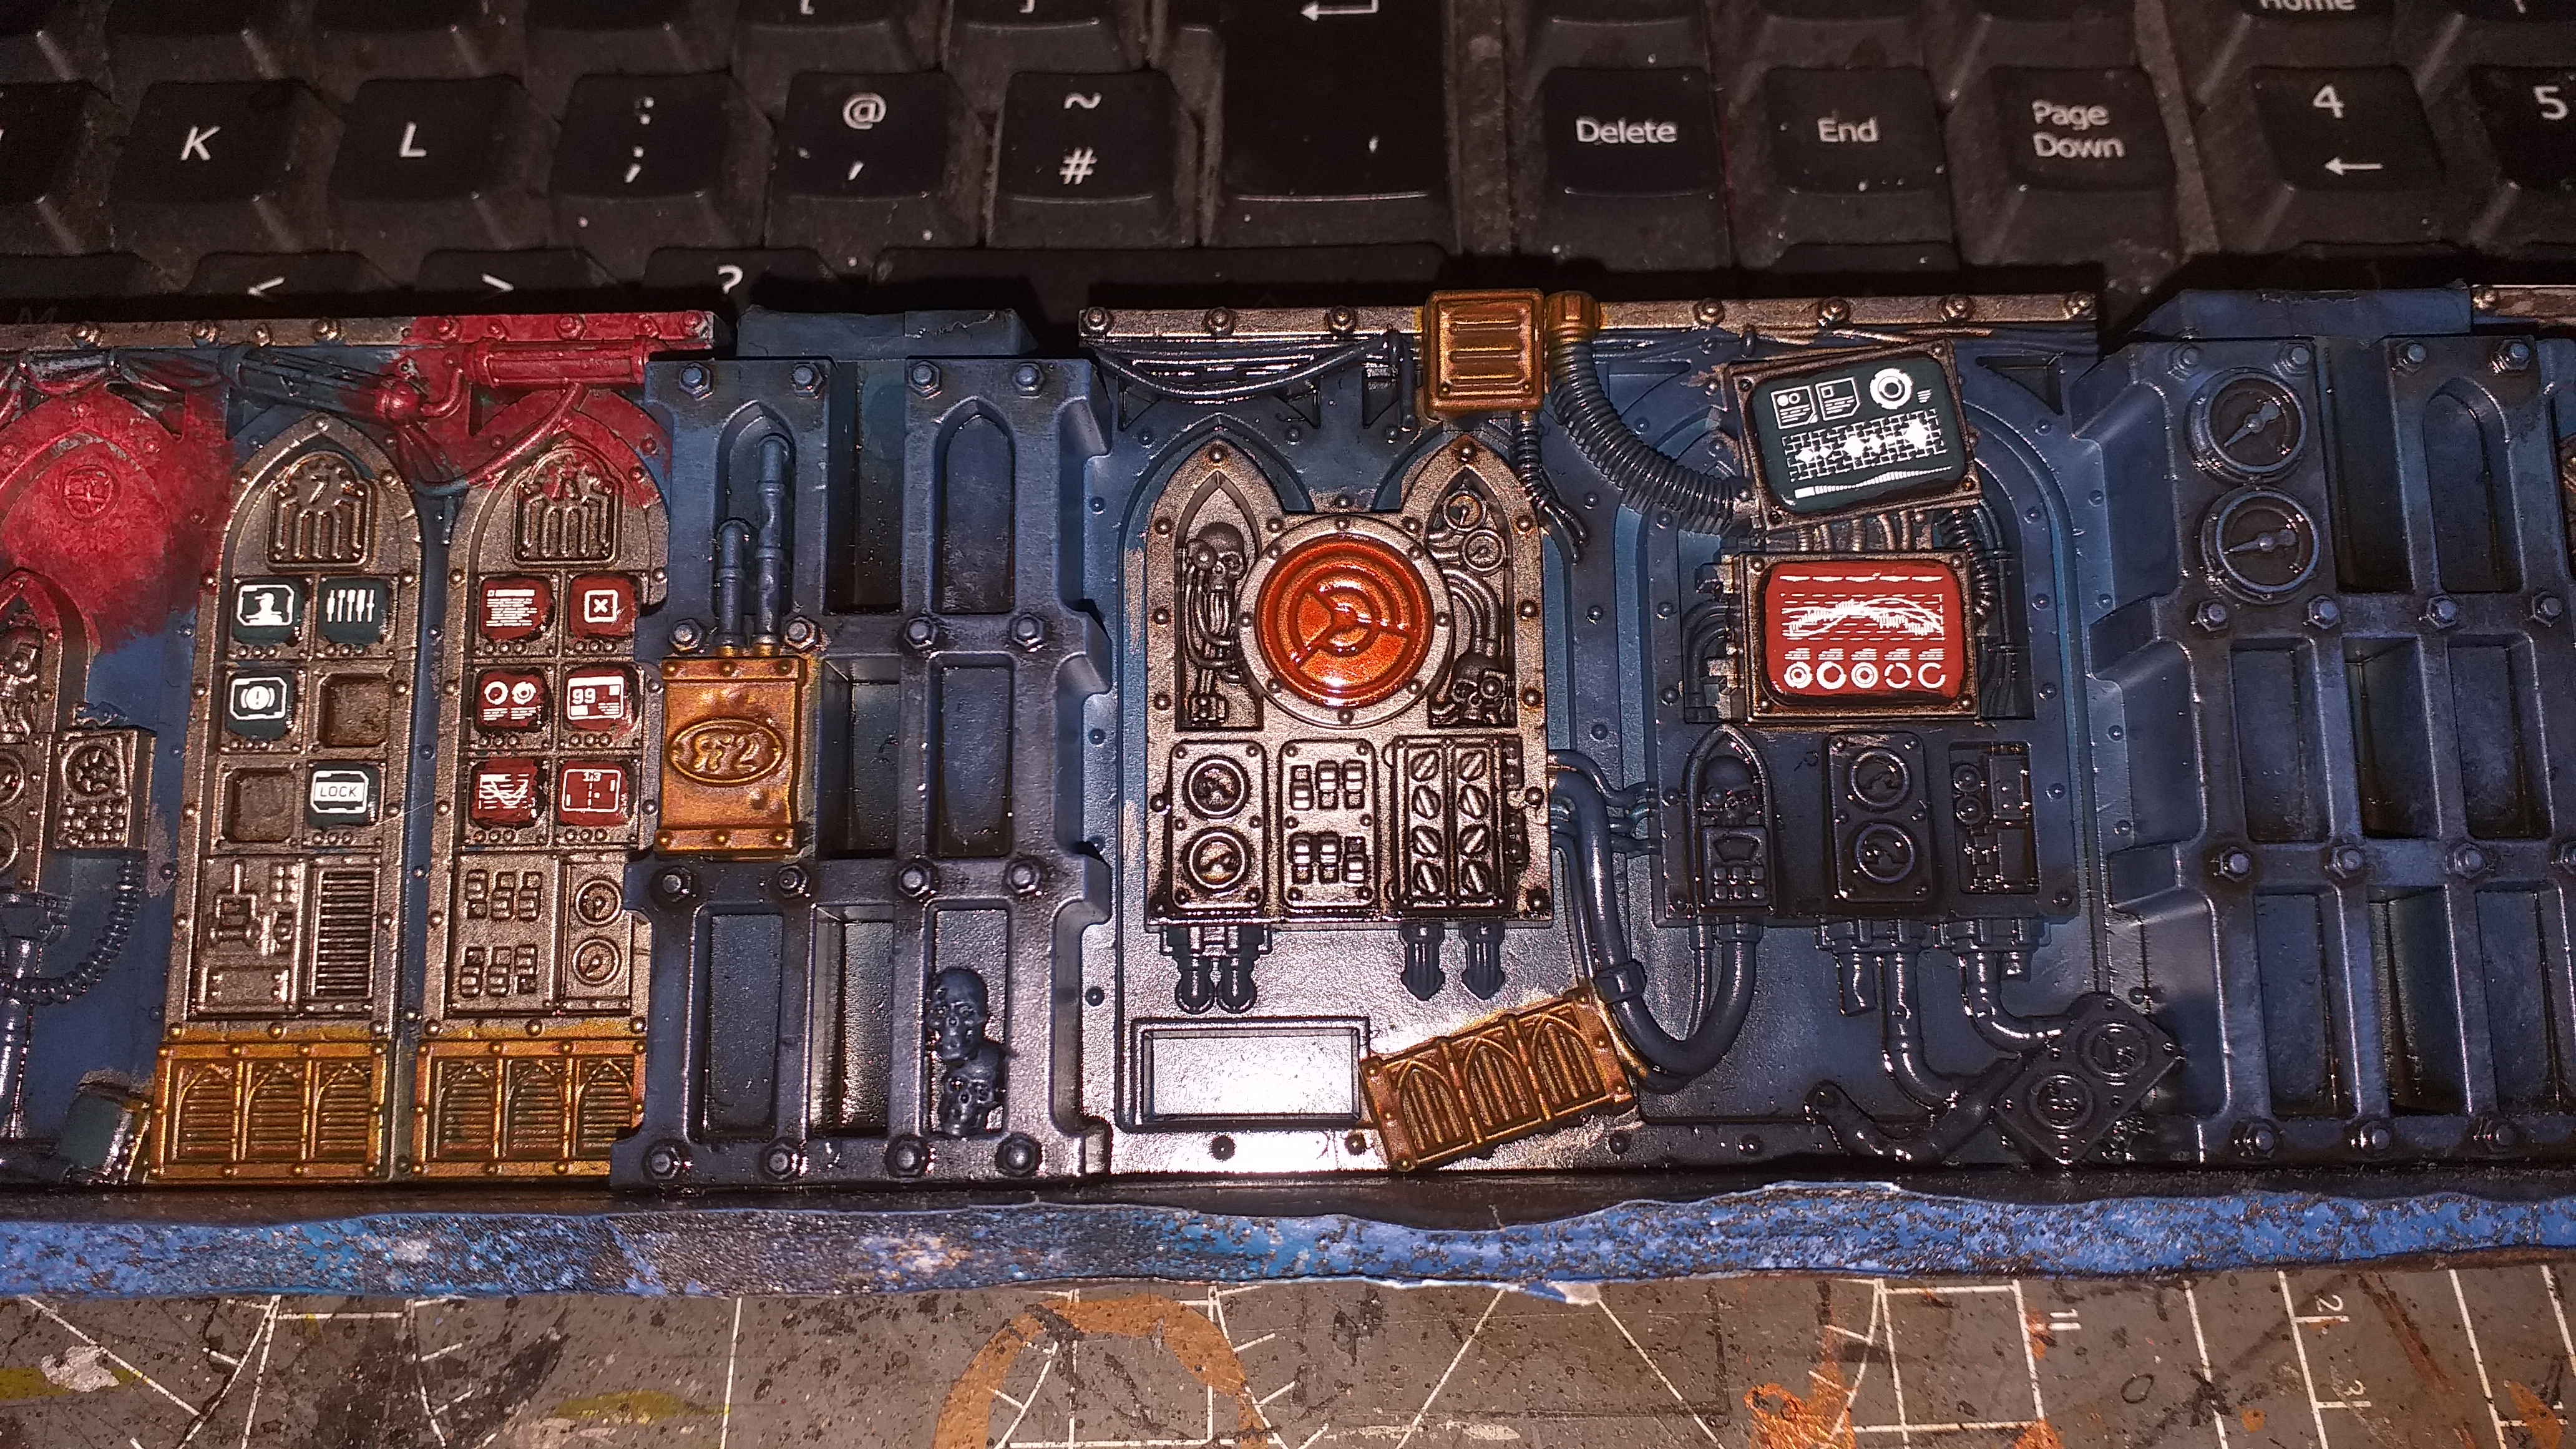
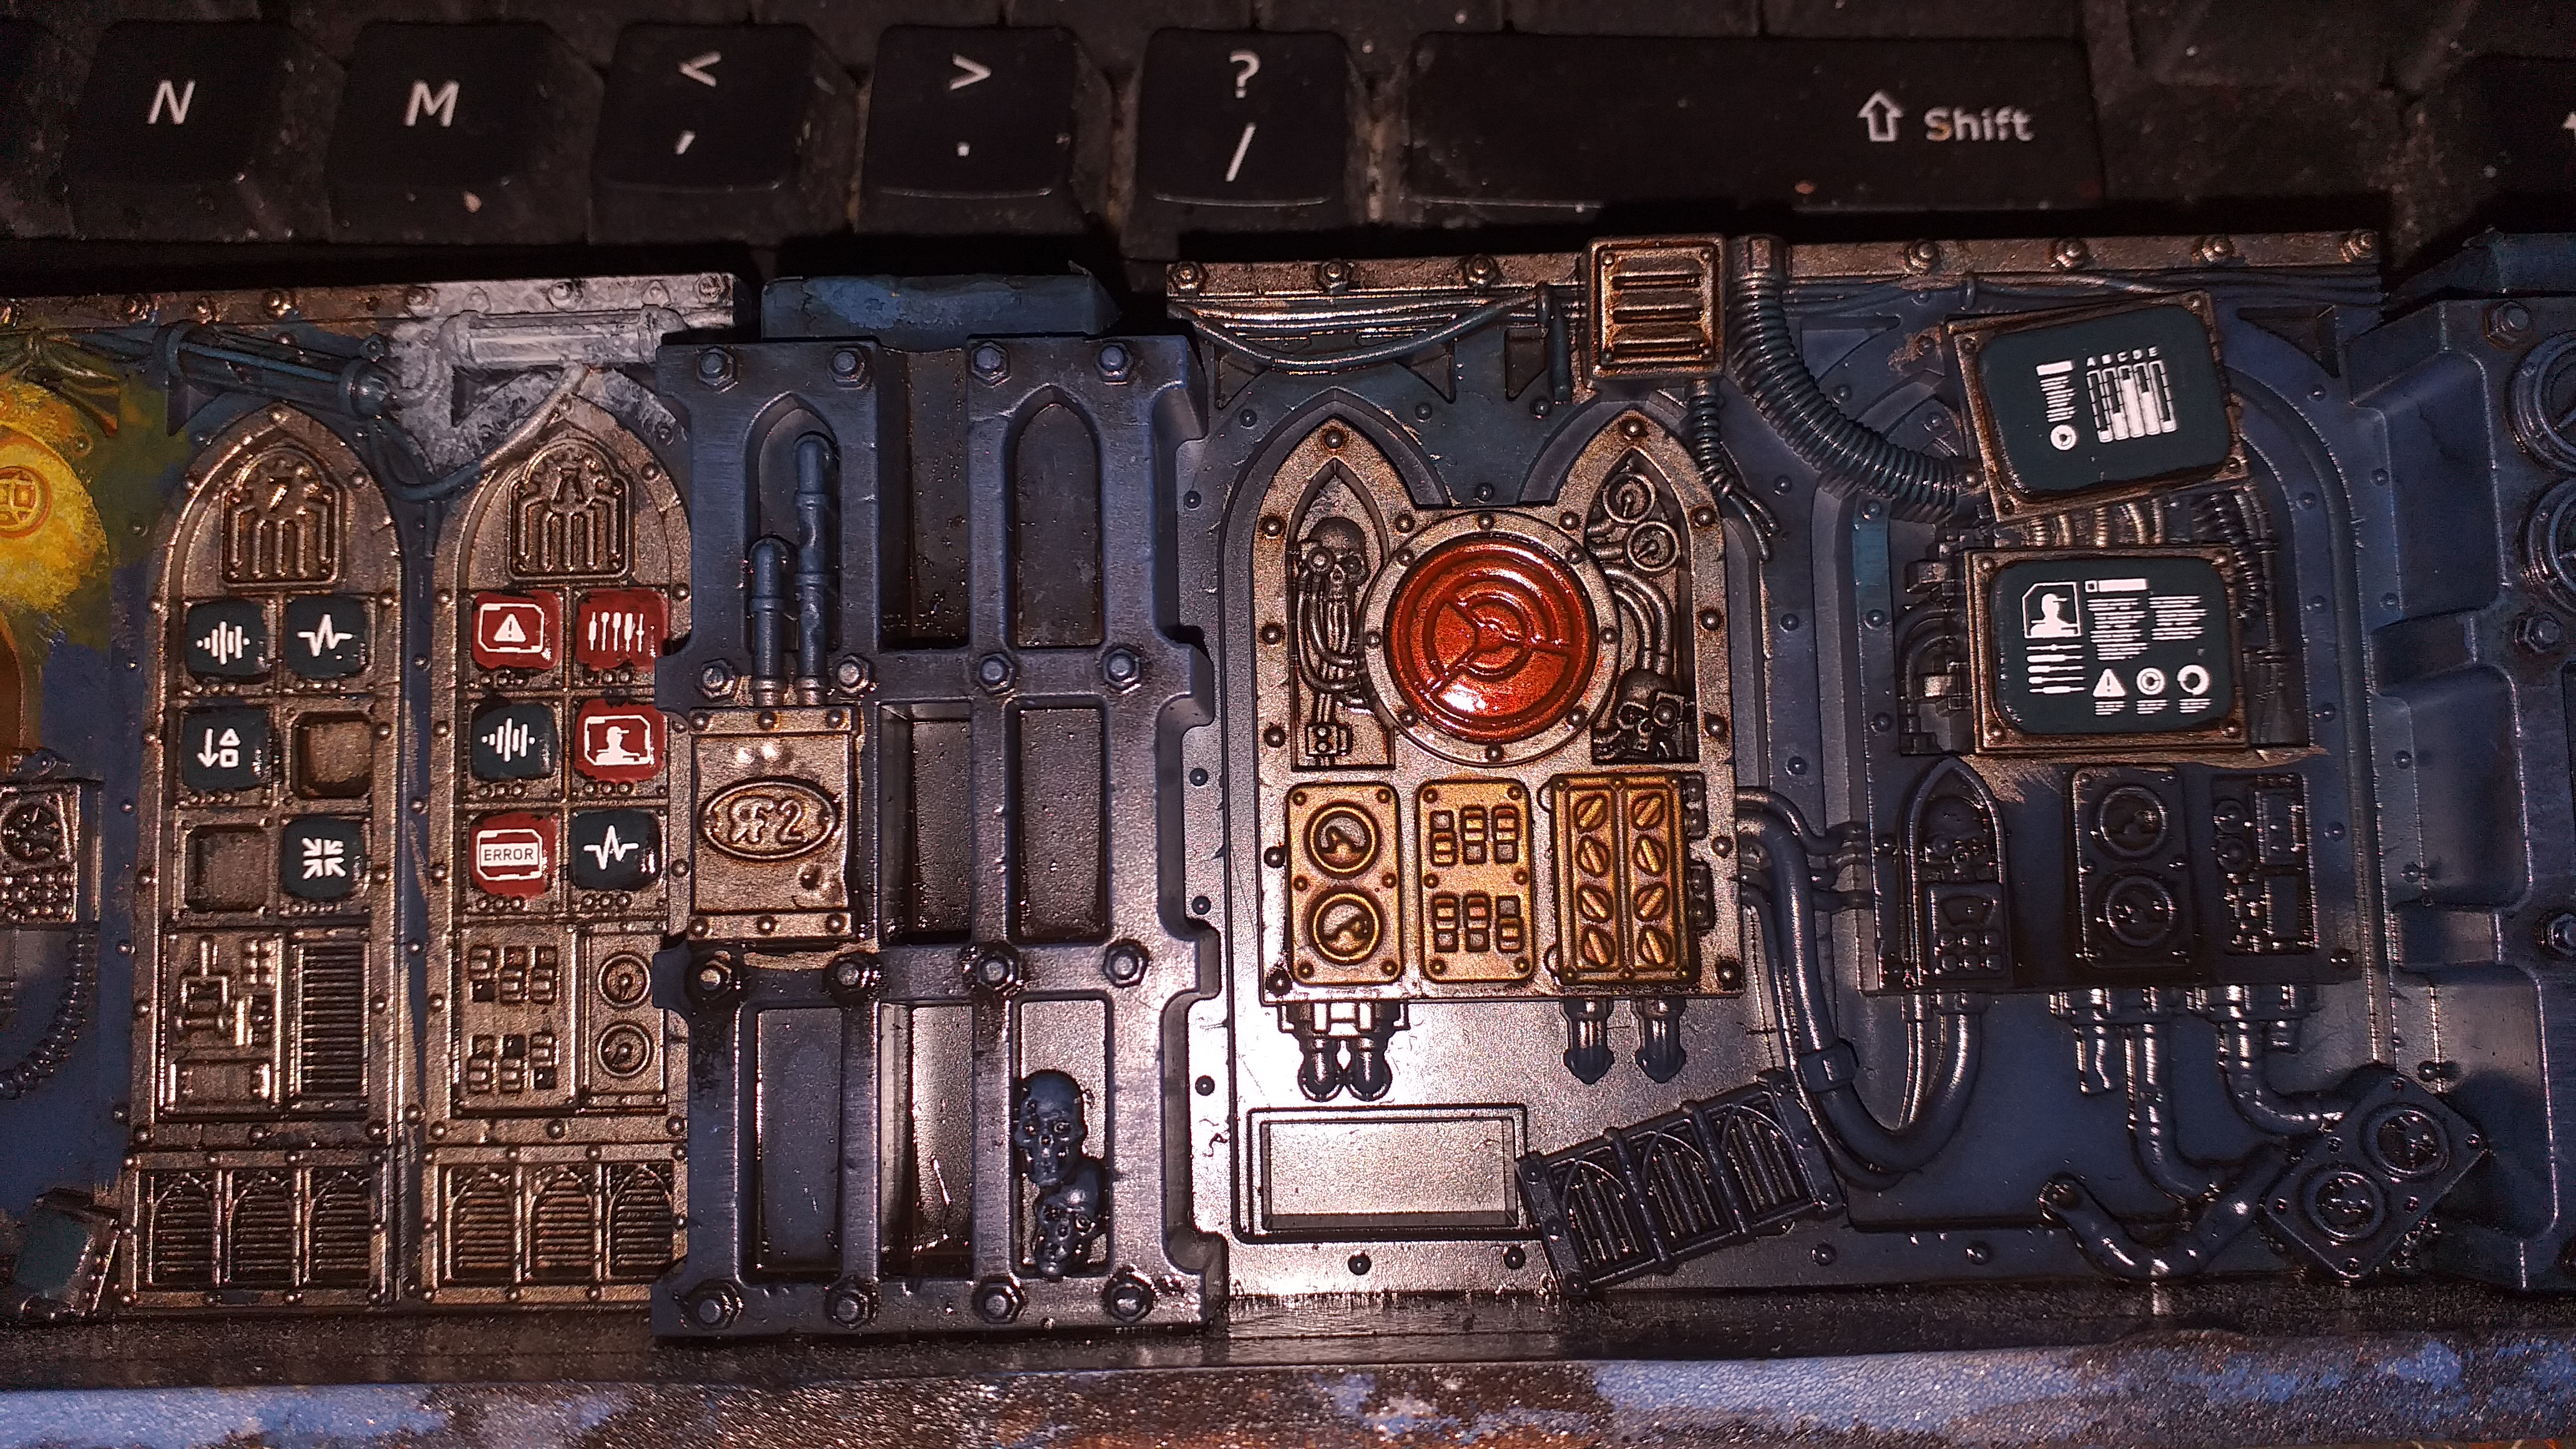
So, with the decals given 24 hours to dry, I hit the red screens with Blood Angel Red Contrast and the green screens with Striking Scorpion Green. Once that was dry, all screens were coated with ‘Ardcoat Gloss Varnish. I also gave the hazard strips labels with another coat of varnish. With this, I feel this may well be finished!
Time to take the walls off the foamcore and dismantle the walls. Looking forward to pulling this all apart and checking how well it fits together for gaming. Wish me luck! 🙂
Decals
Todays endeavours started simply. Paint the screens either Incubi Darkness or Word Bearers Red.
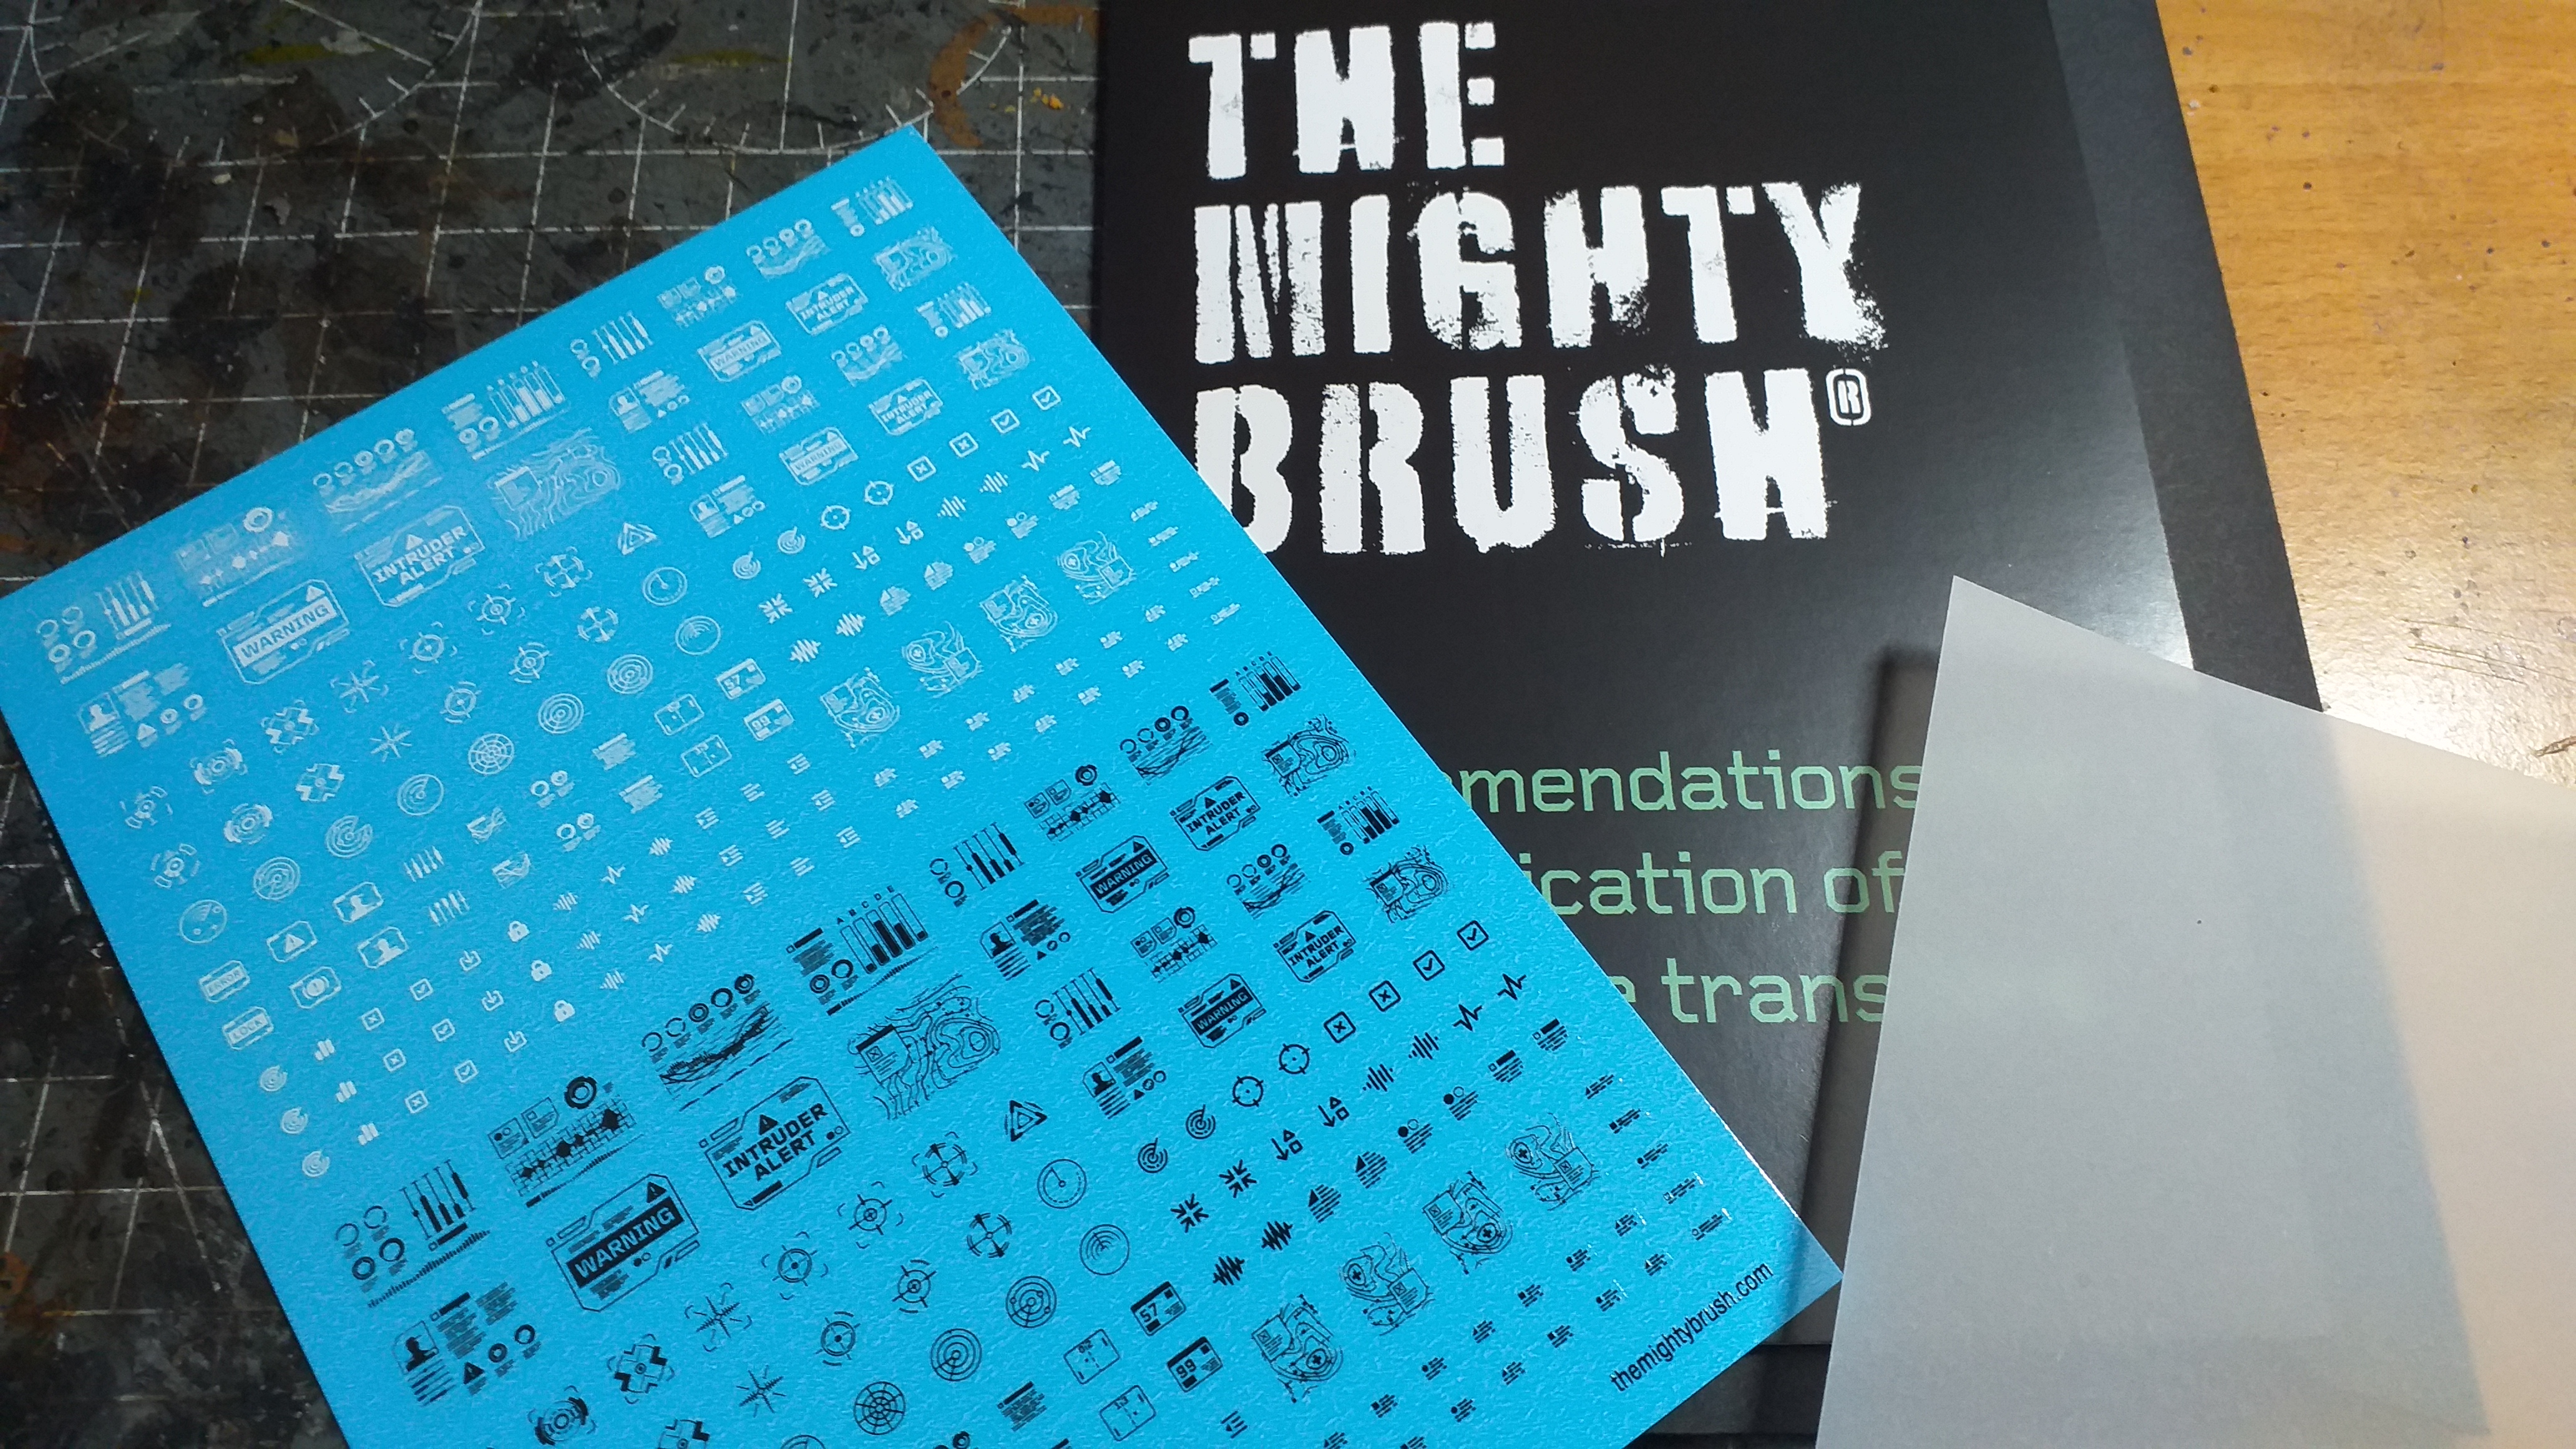
Then I broke out the decals. These are the Displays & Screens Waterslide Transfers Decals by The Mighty Brush and they are extremely nice!
They can be bought on ebay or their webstore:
I used warm water with a drop of washing up liquid, as they suggest. They are quite sticky. Lost two decals and two have minor folds but an hours work got readouts on sll of the screens. They are being left to dry for 24 hours, again, as the included instructions suggest.
Once they are dried tomorrow, I will test painting over one of the smaller ones in Contrast to tint the white, to see if they reactivate. If successful, we’ll have a new post tomorrow!

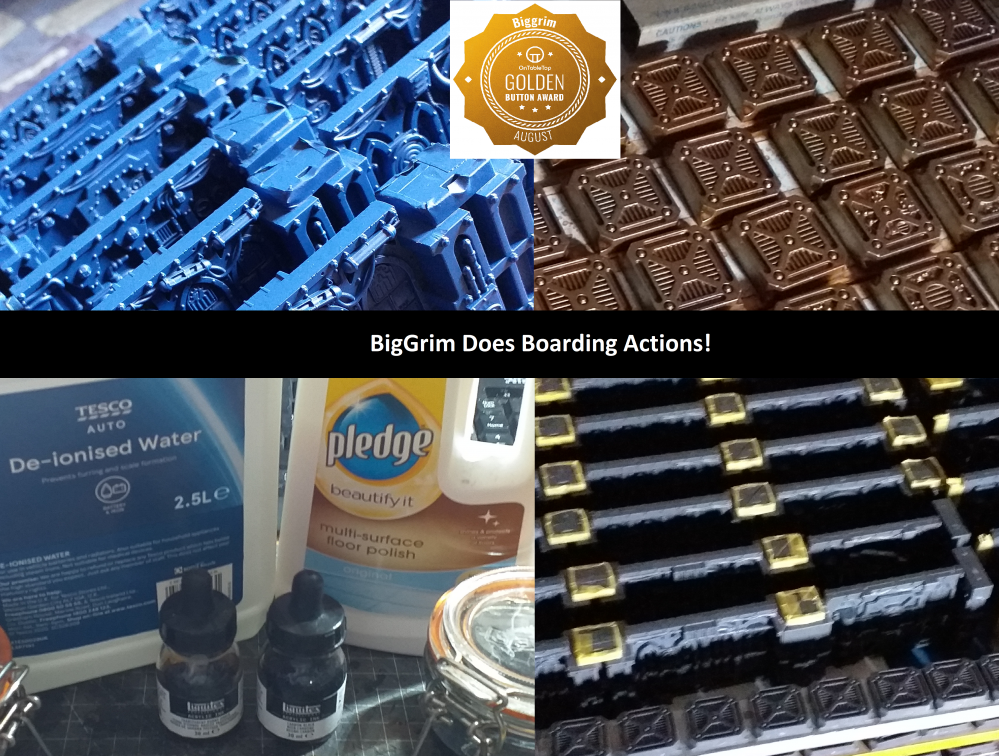
Aw no. Hazard Strips!
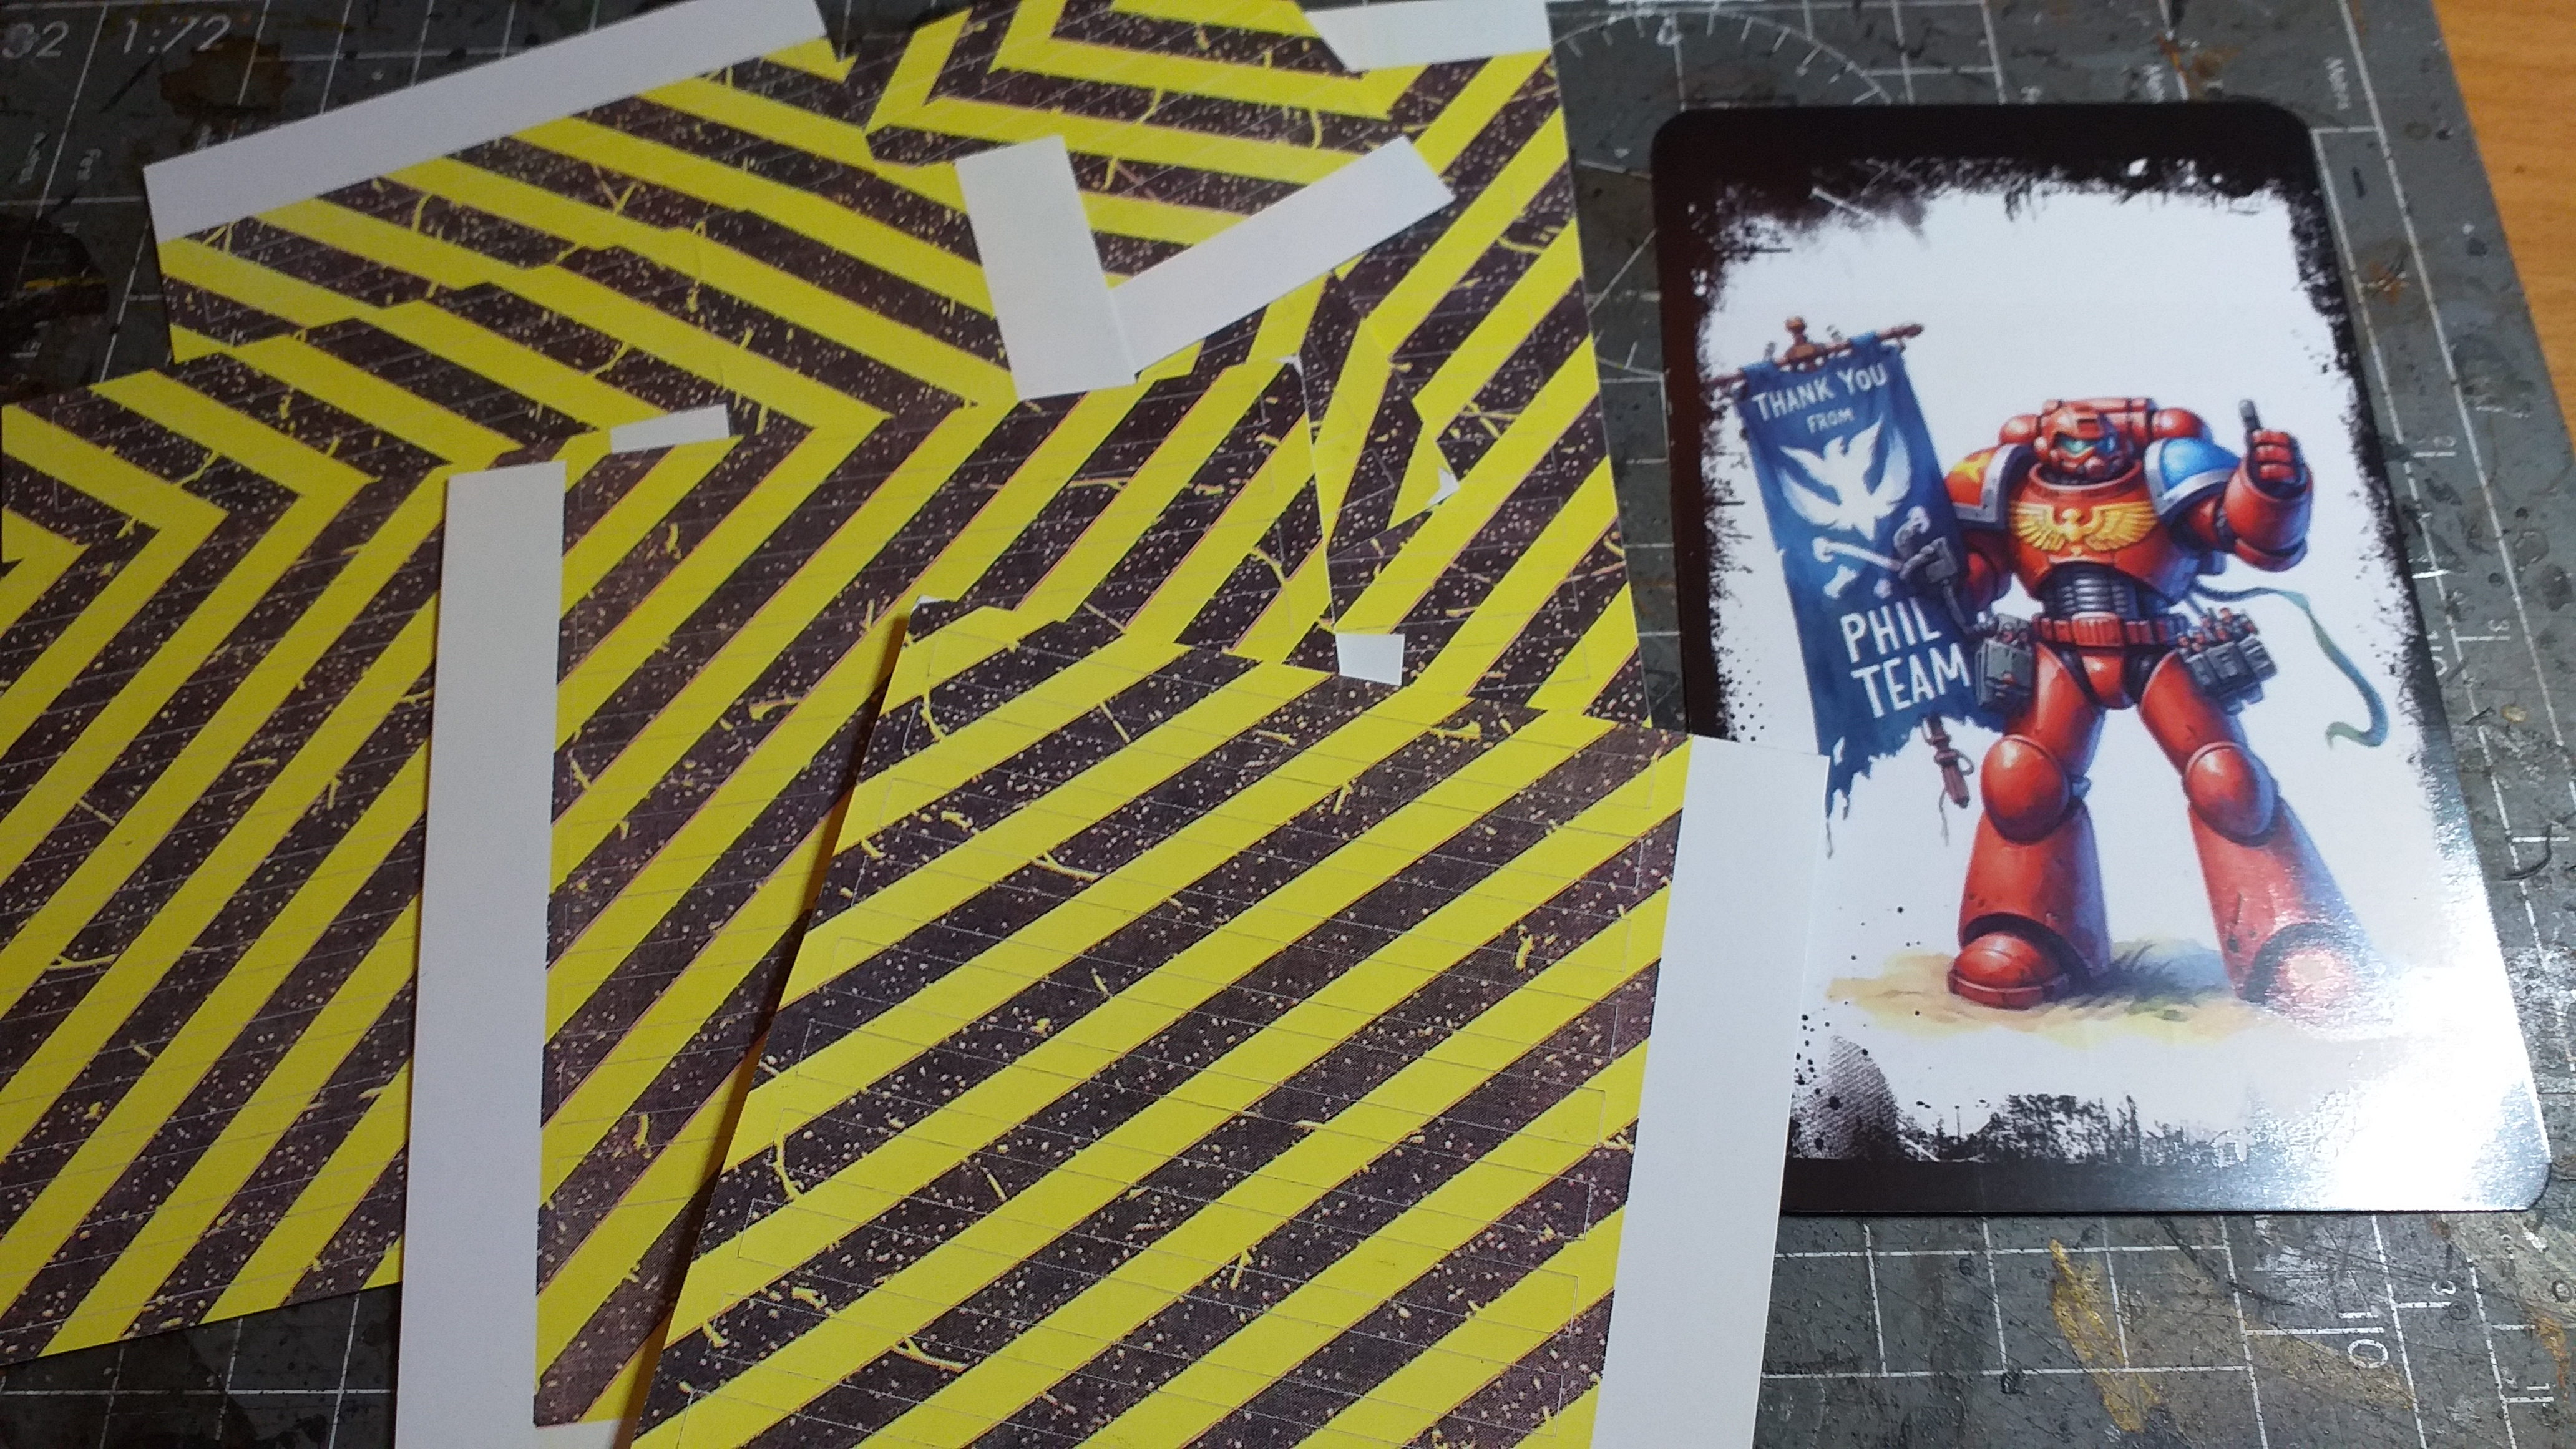
I want a method of seeing, at a glance, where the Bulkheads are. Obviously, hazard strips are an awesome way to do that.
One problem. I SUCK at hazard strips.
Enter a fella called Phil. He posted on one of the myriad 40K that he had created bespoke stickers for himself that fit on the top on the wall sections! One swift PM later, I paid him £12 for 60+ labels that will sort out all three Boarding Actions sets I’ll be working on!
He has since added them to his Ko-Fi shop!
https://ko-fi.com/s/163ecf7b94
The labels are excellent quality and are delightfully detailed! HIGHLY recommended!
I varnished the surface of the wall over the Bulkheads and once dry, applied all 20 labels required for one set. I then coated them with a coat of gloss varnish which ought to seal them in place.


Closing on the end!
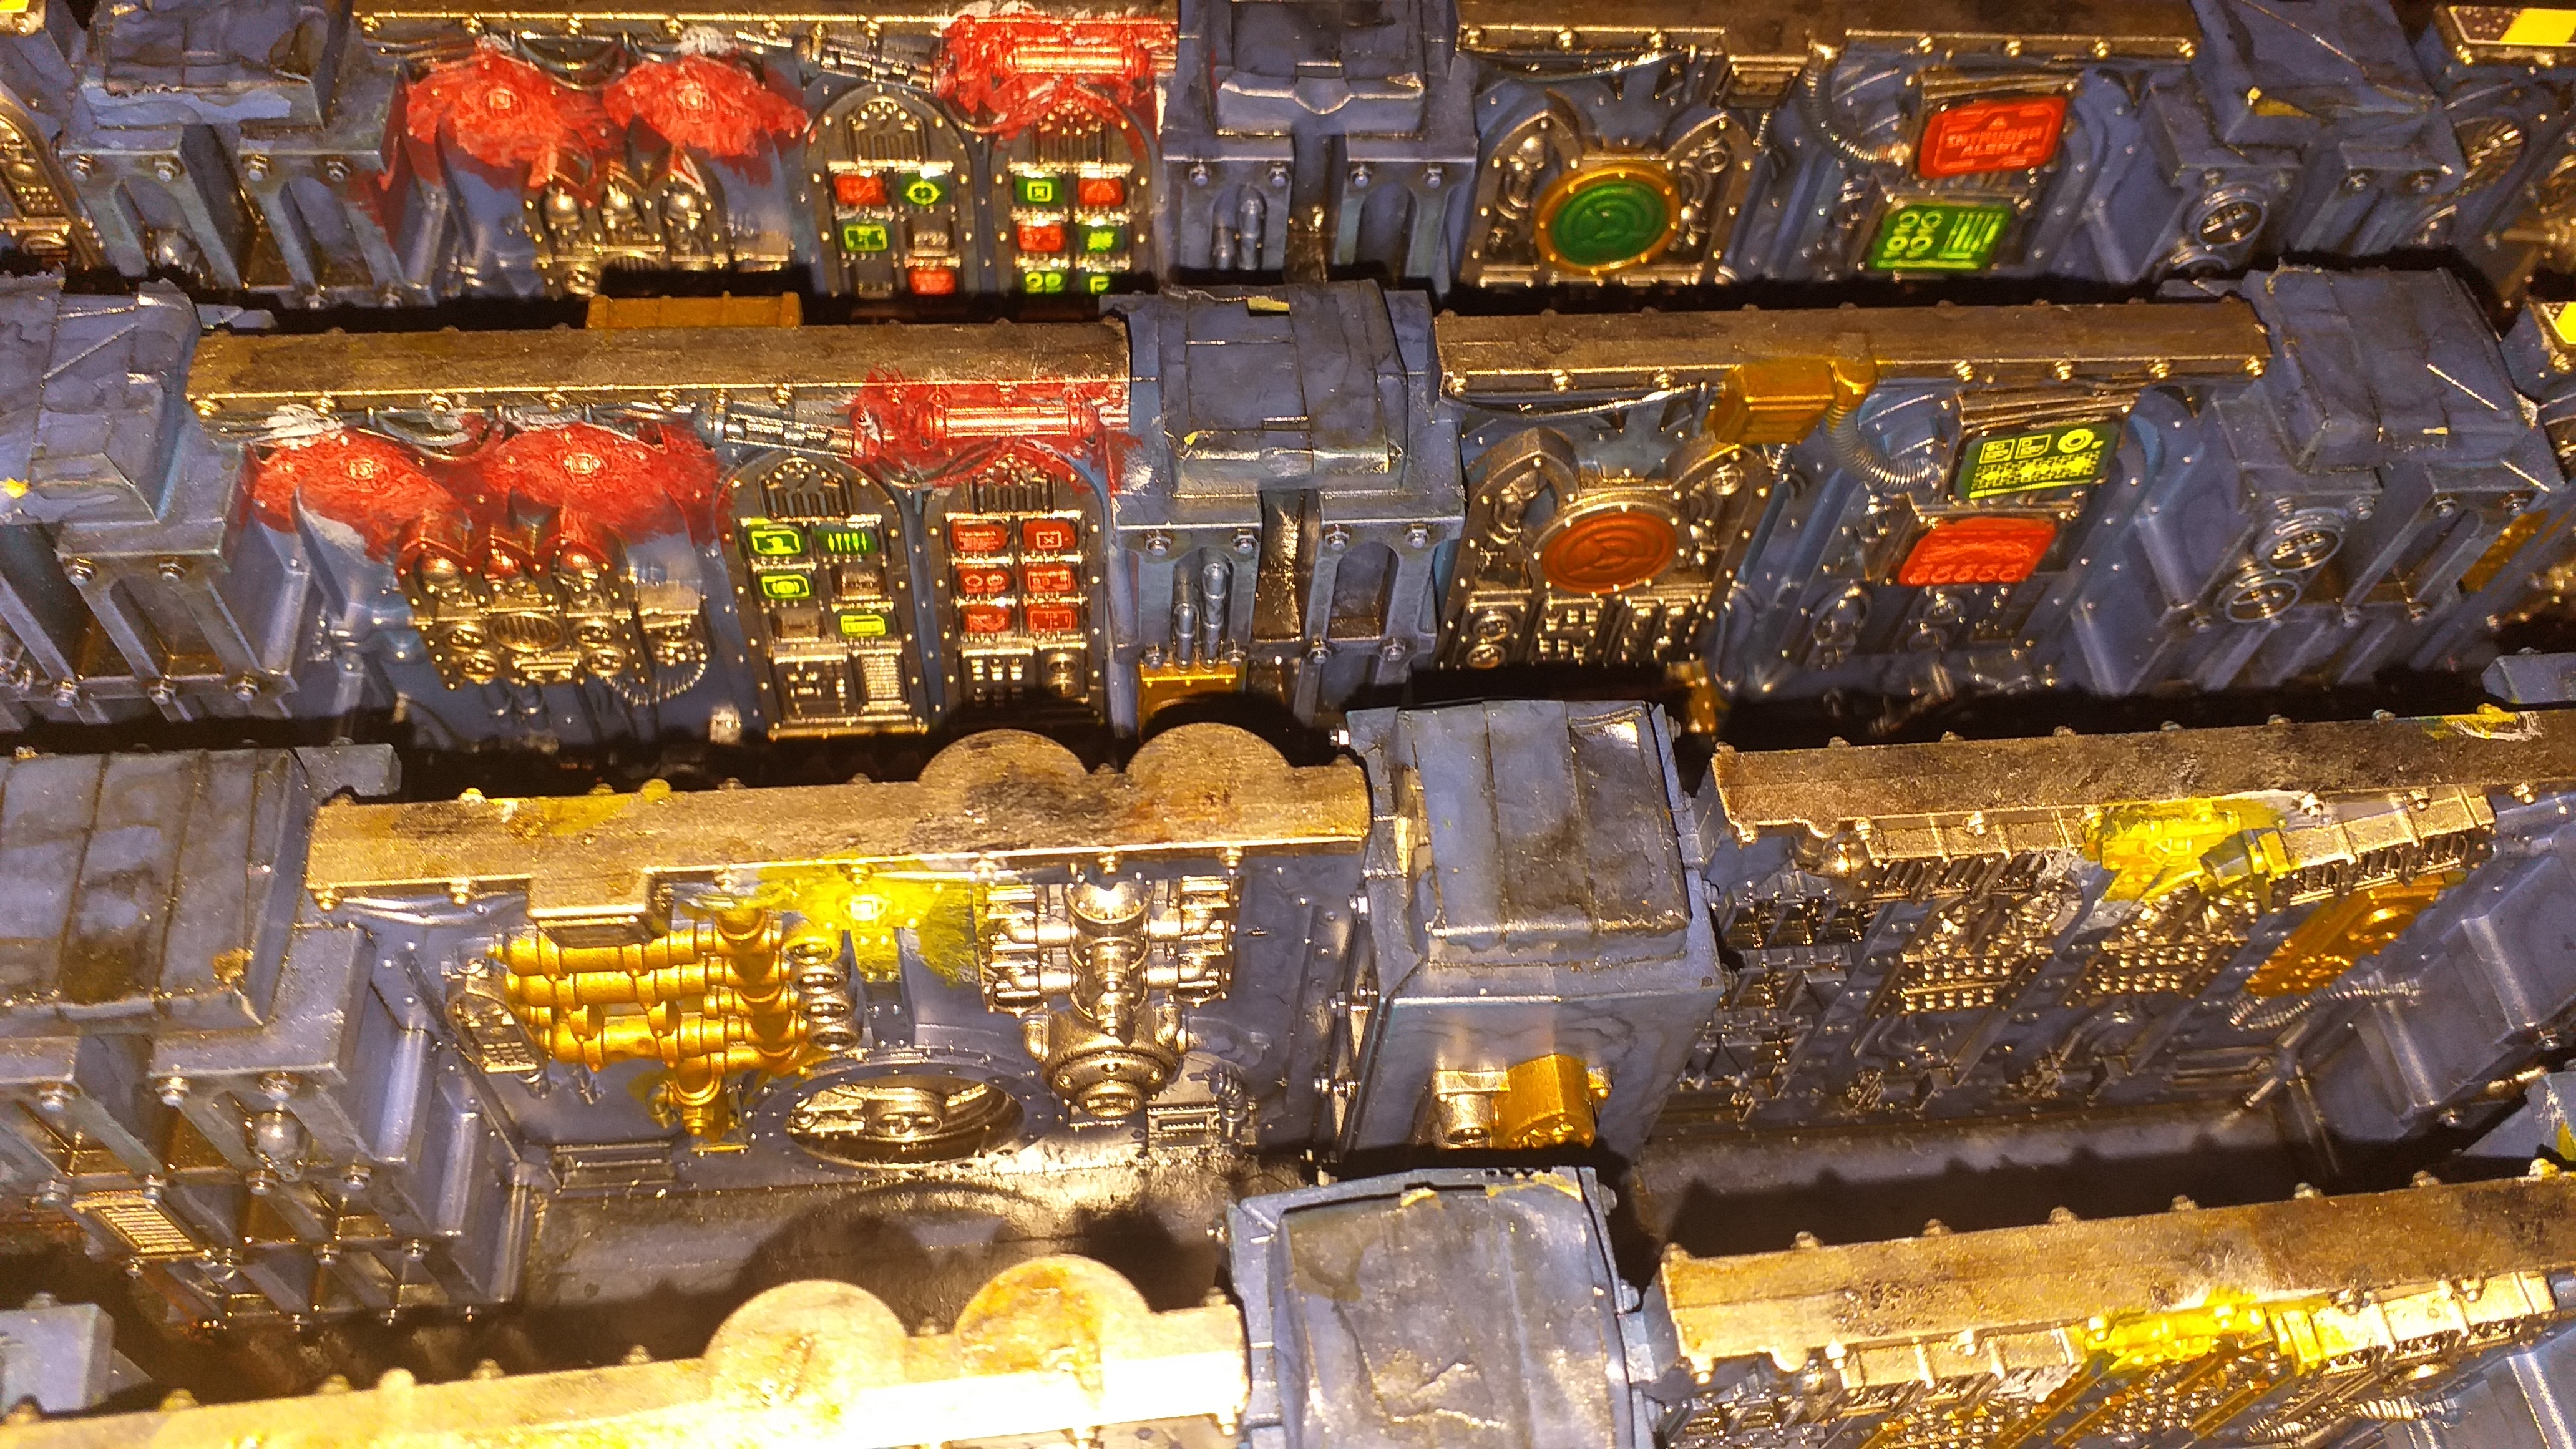
Next up, I painted all the screens Pro Acryl Coal Black. There’s only two wall designs that have screens! Bonus!
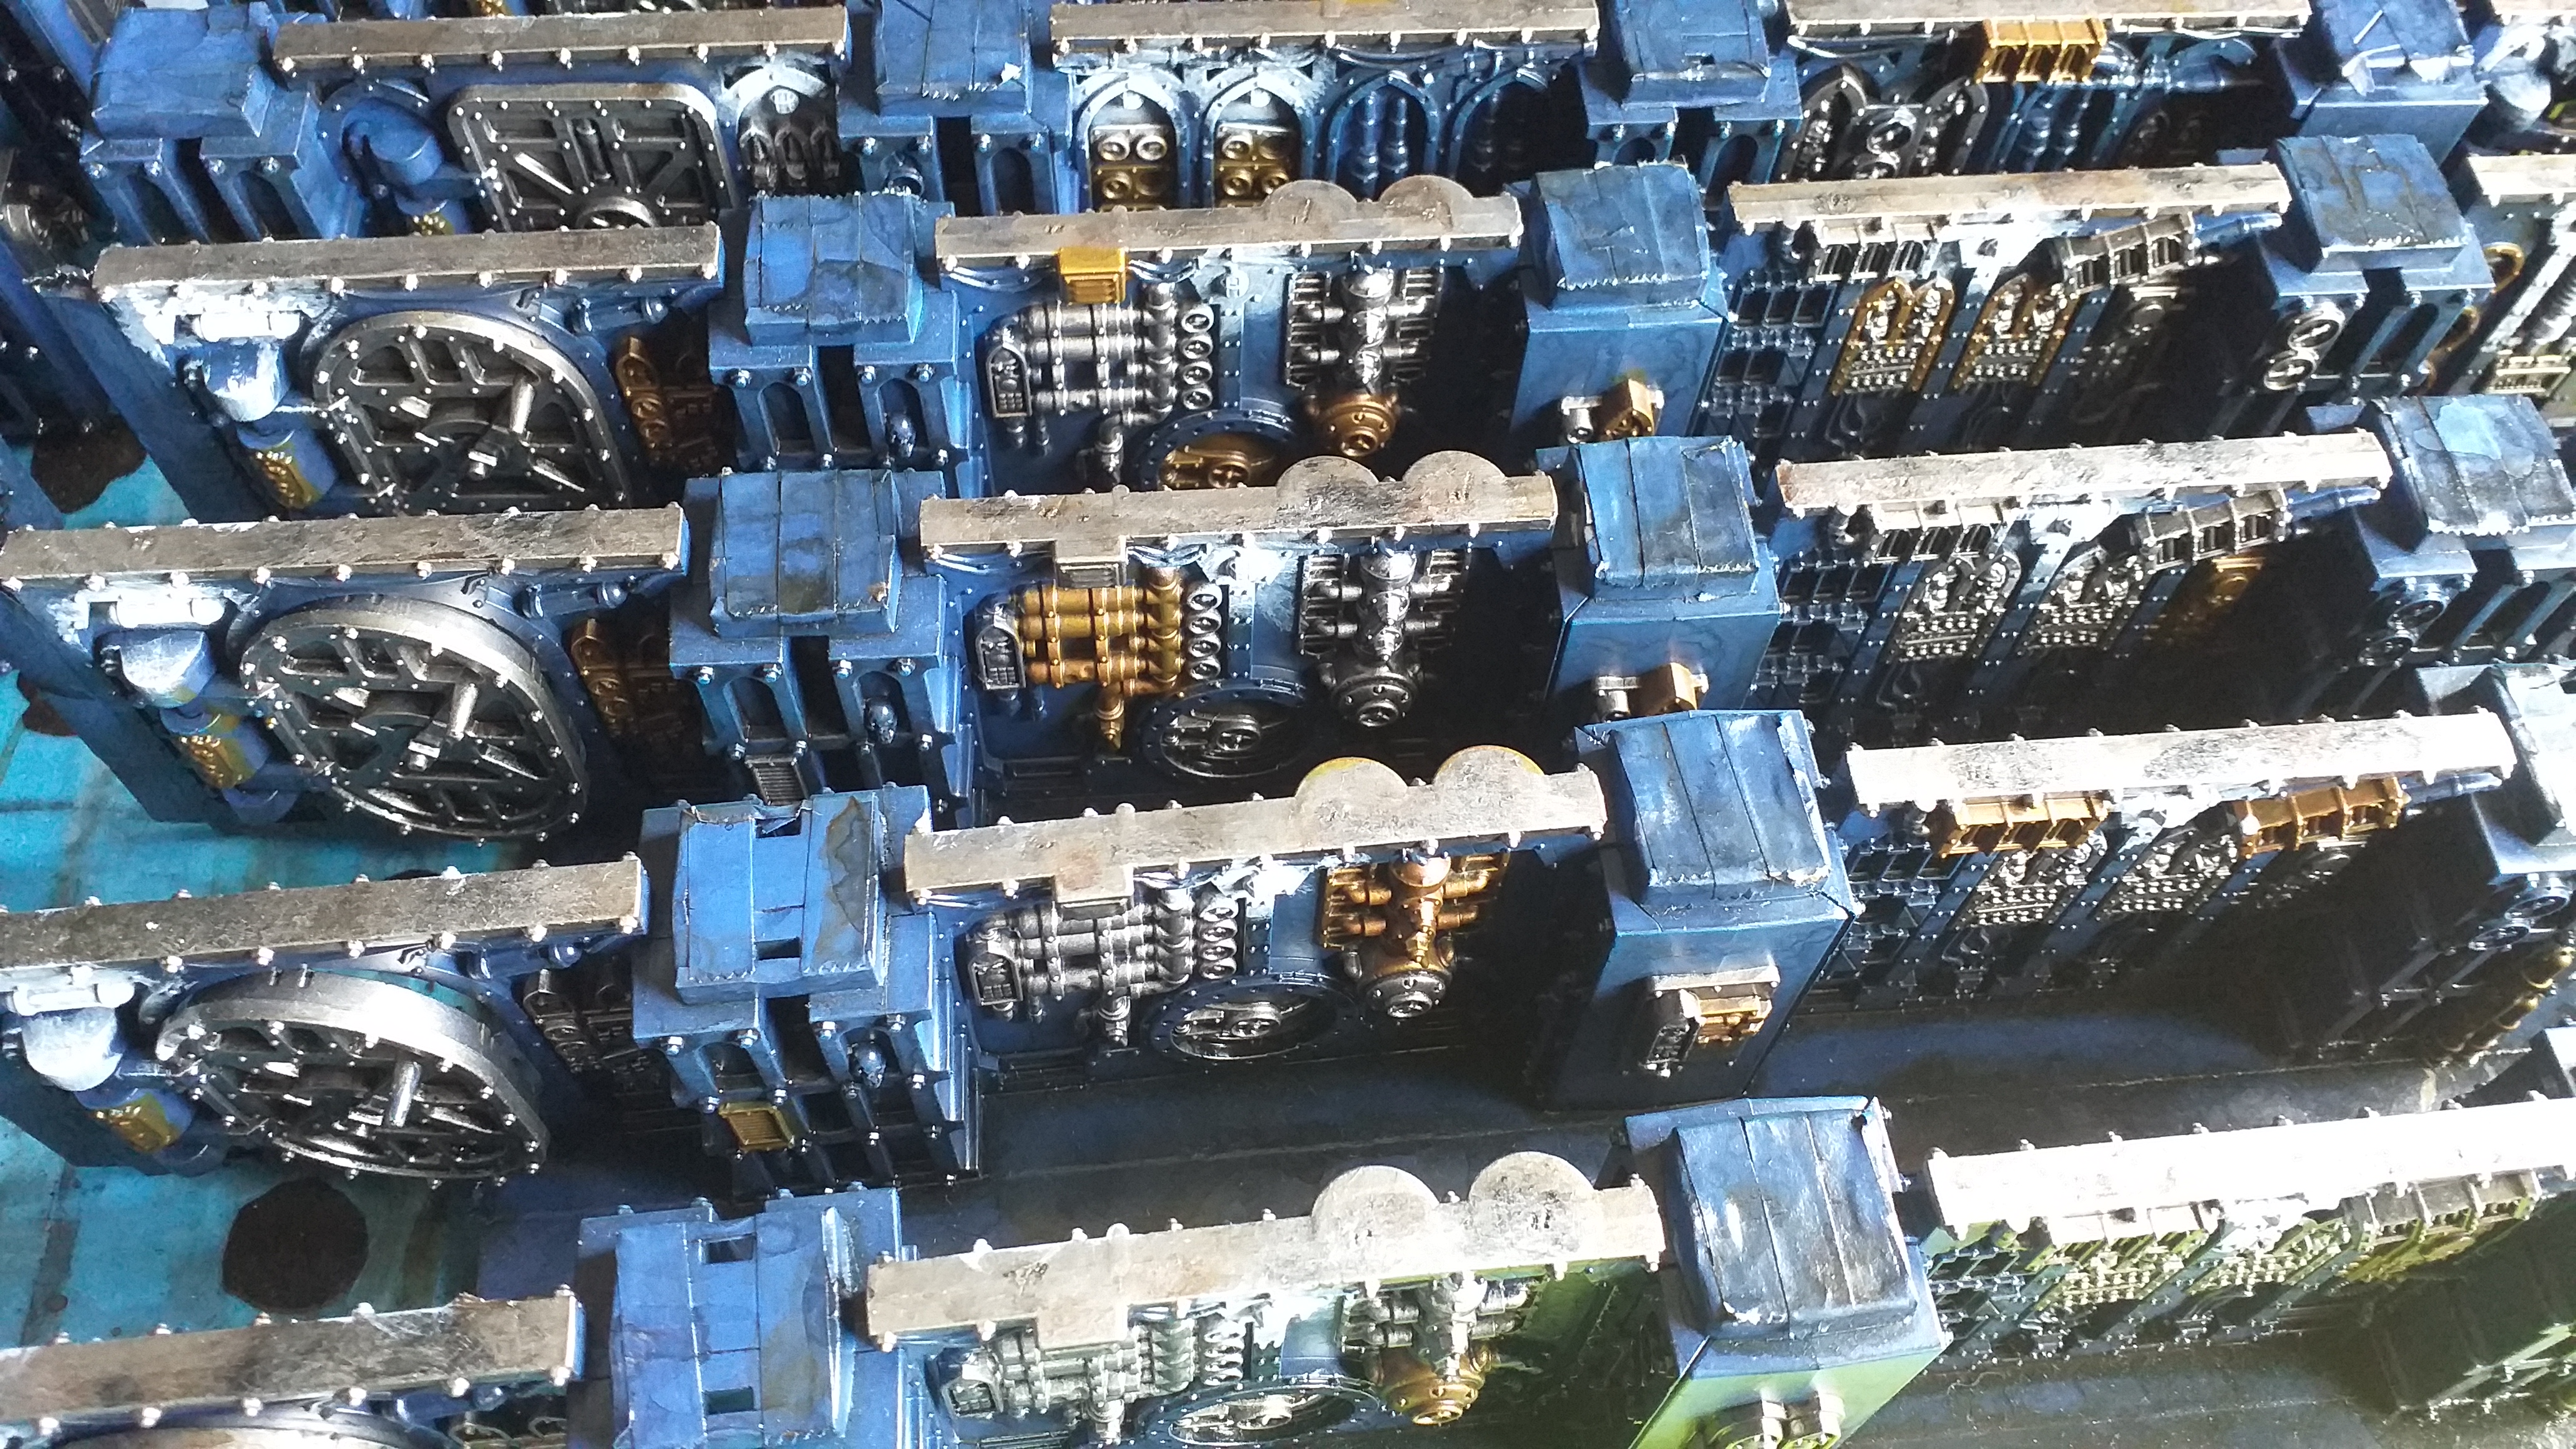
After that, I applied a gentle and targeted drybrush of Pro Acryl Bold Titanium White on all the energy coils.


First ever attempt at a lighting effect.
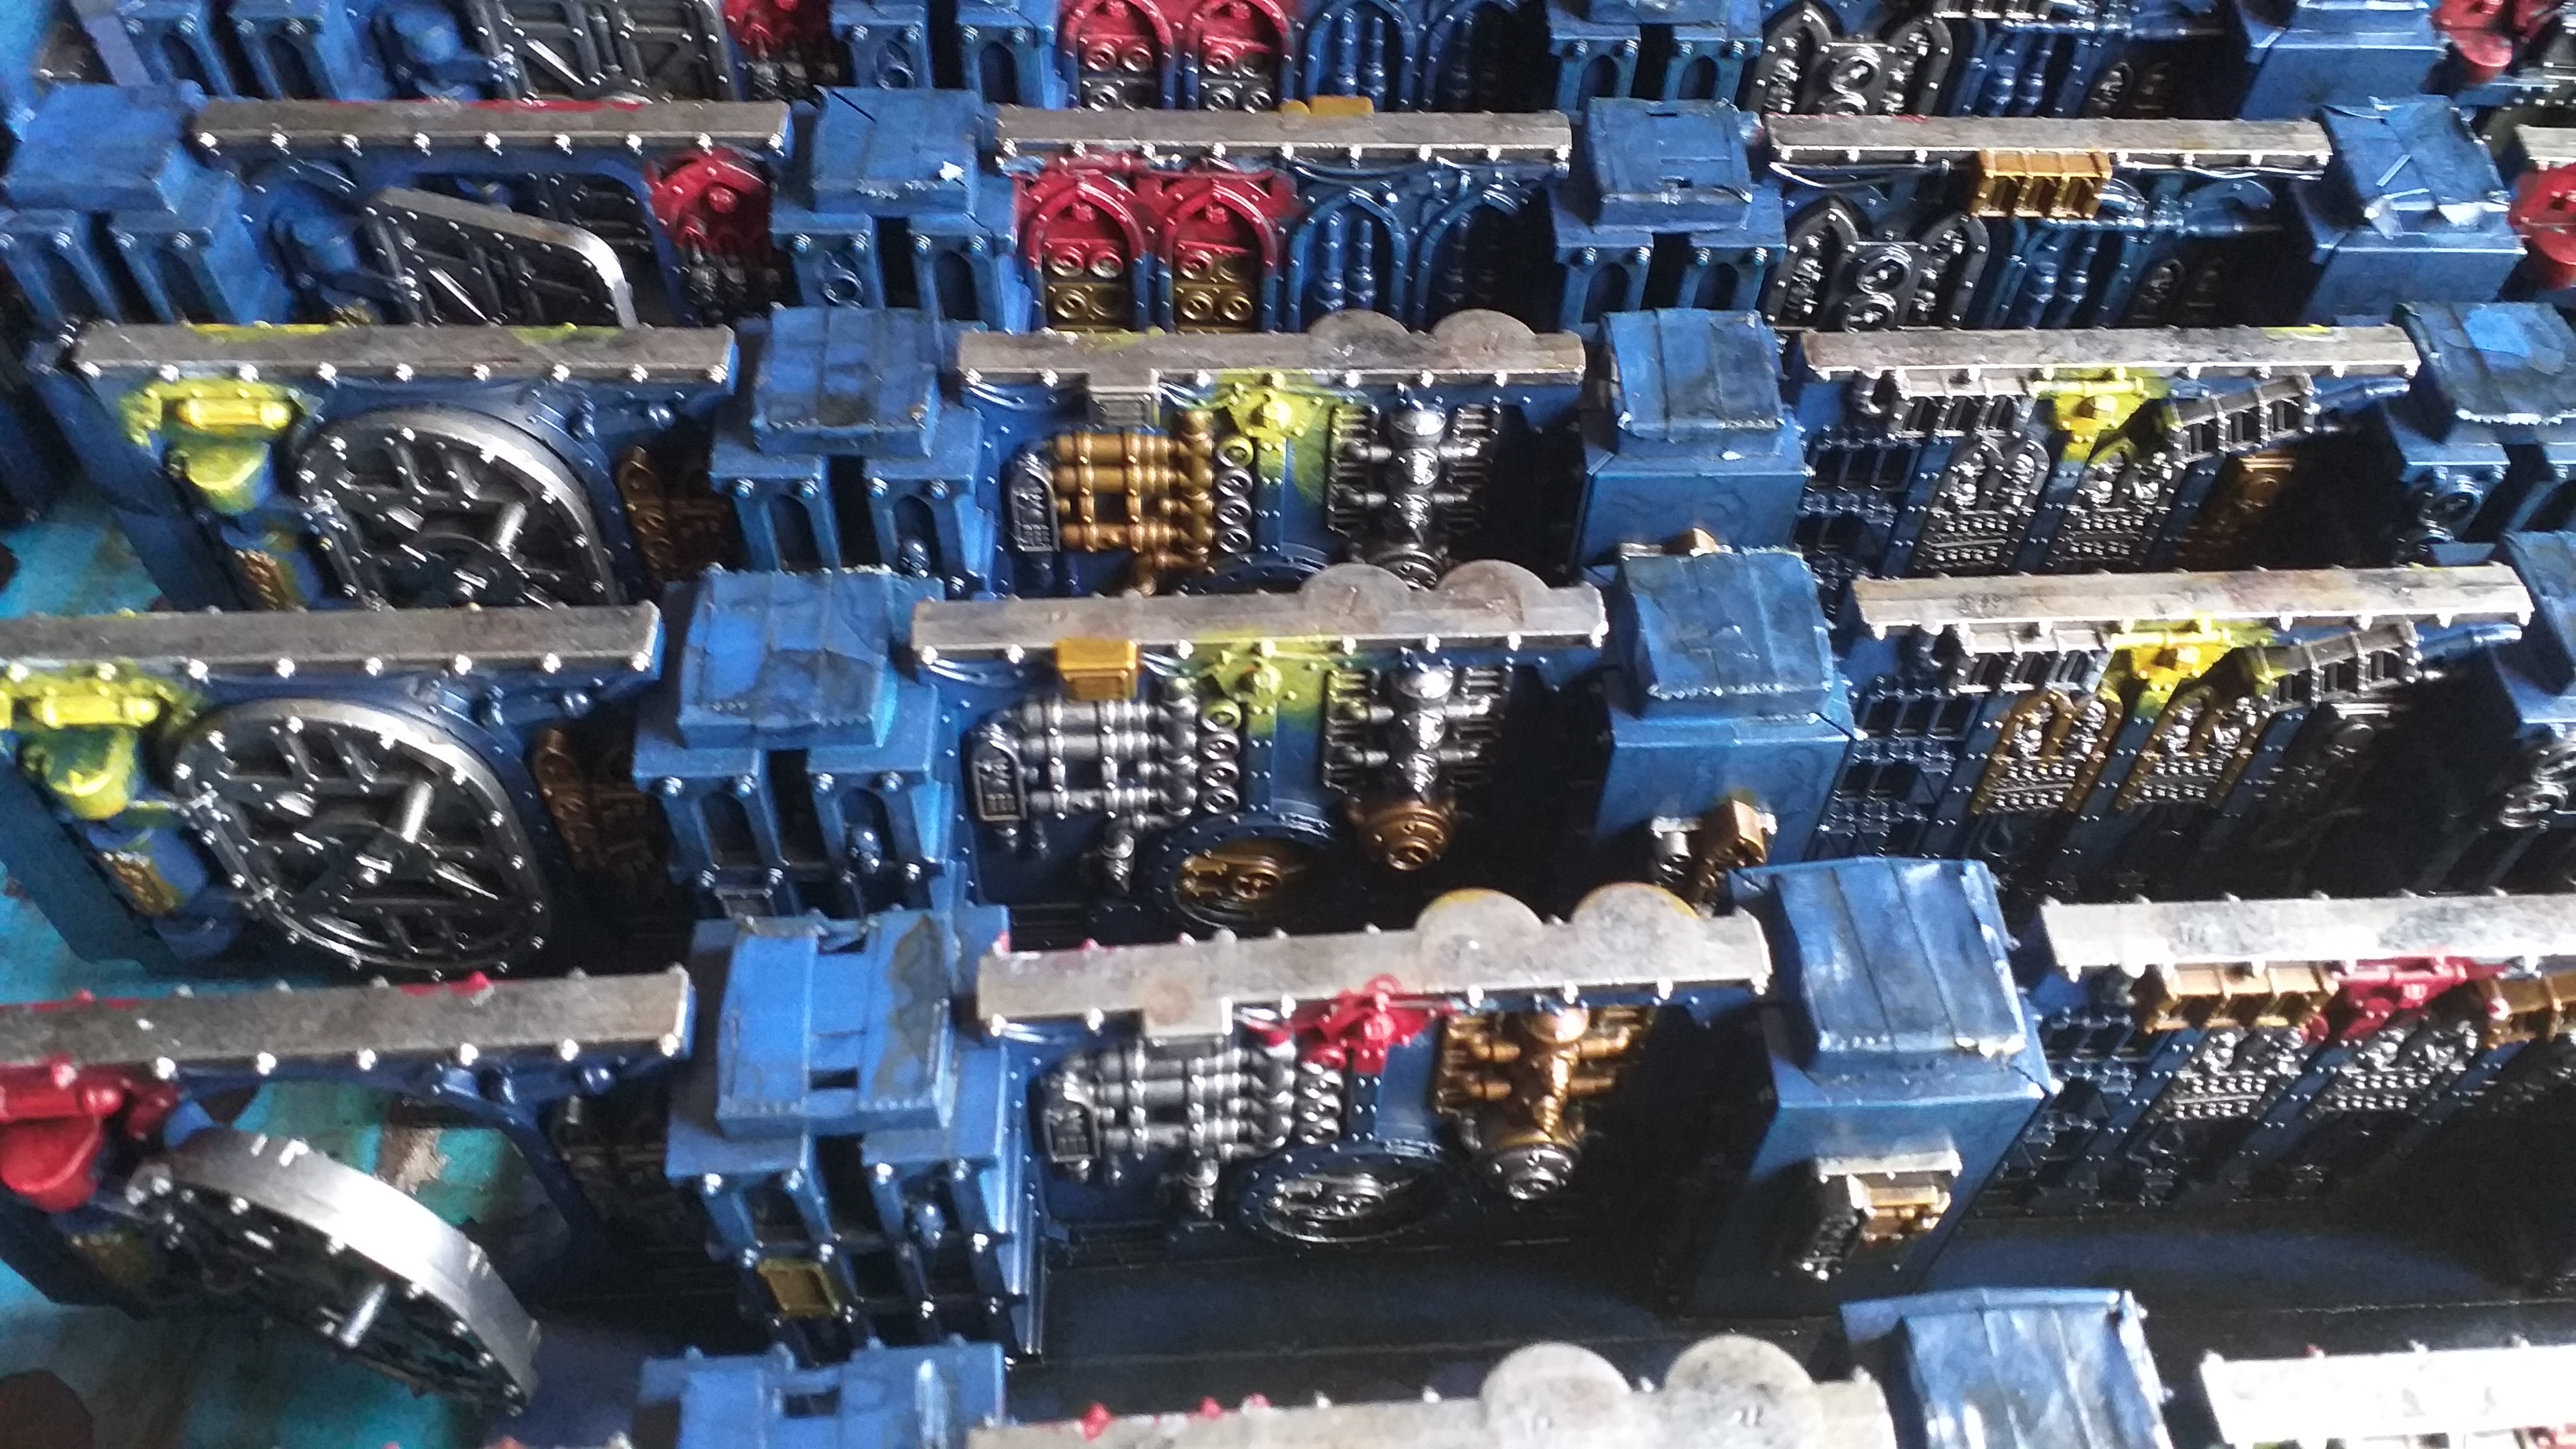
Sunday was a day of painting progress. It started with a first time attempt at a basic OSL (Object Source Lighting). It started with stippling GW Grey Seer around all the light fixtures and the power coils. I did the stippling with a small makeup brush.
I then did much more contained, focussed stippling of Pro Acryl Bold Titanium White. The results can be seen below.
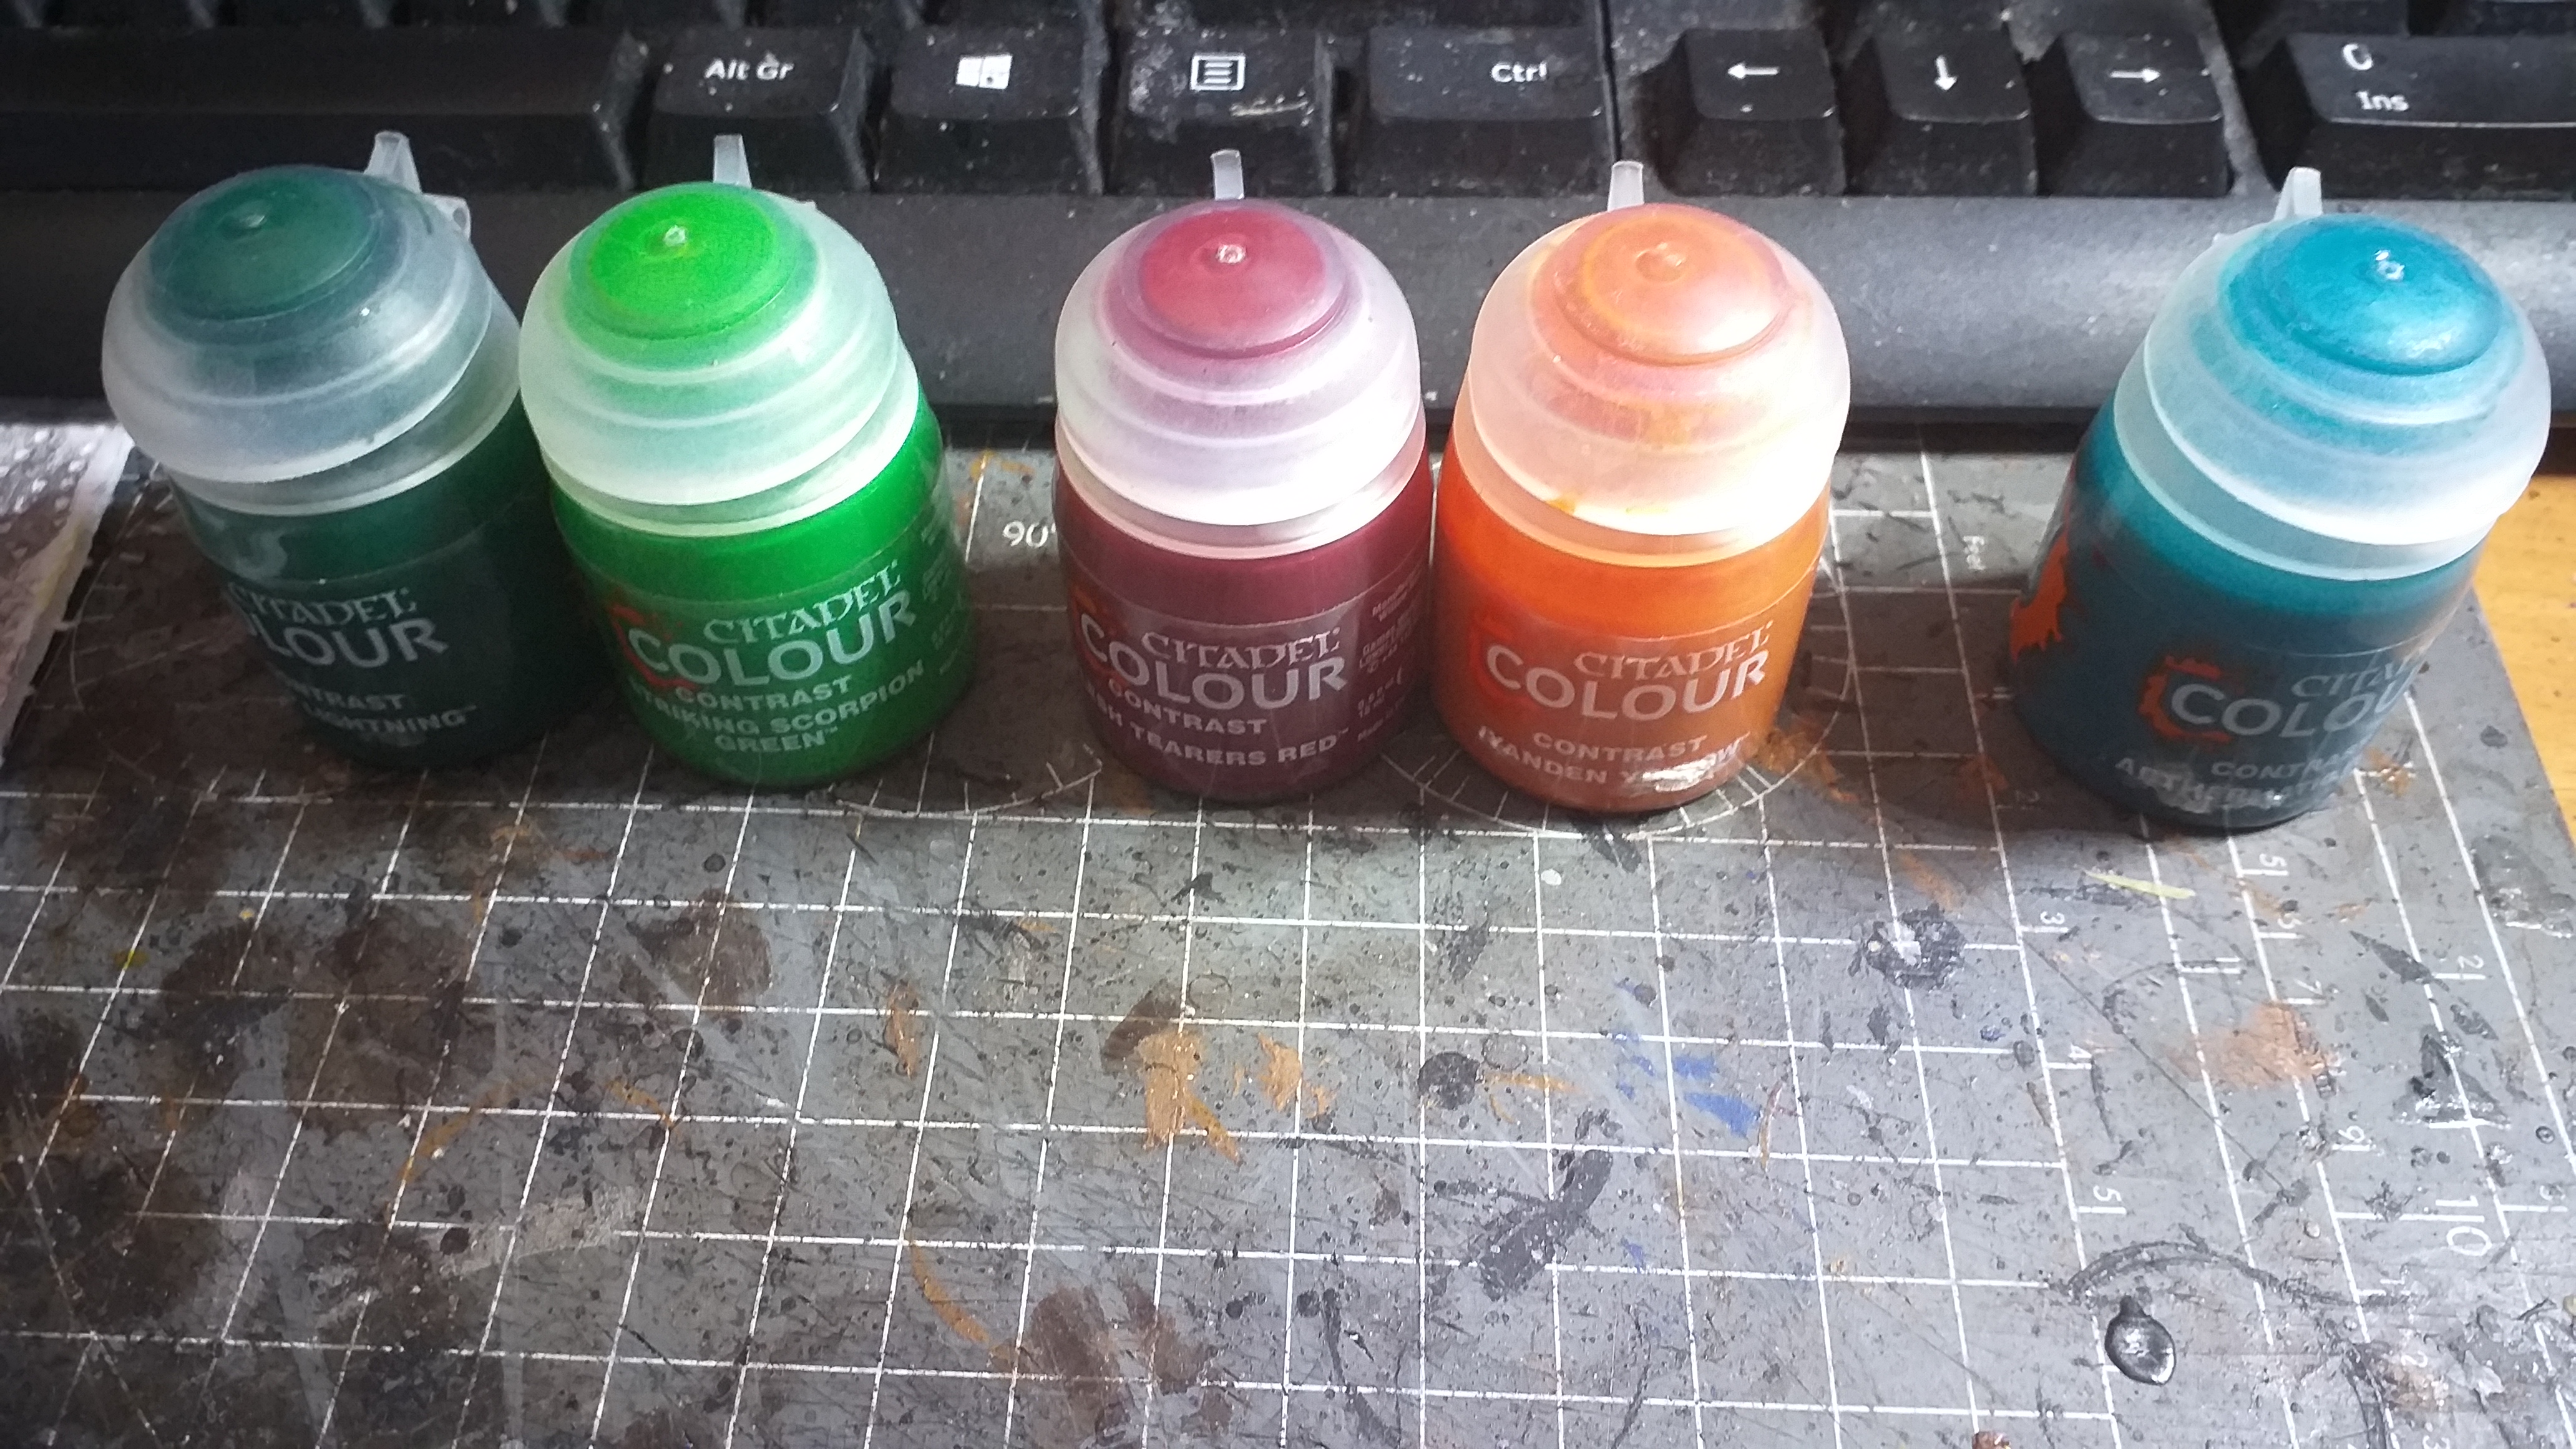
While that dried, I dug out the Contract colours I thought I’d use.
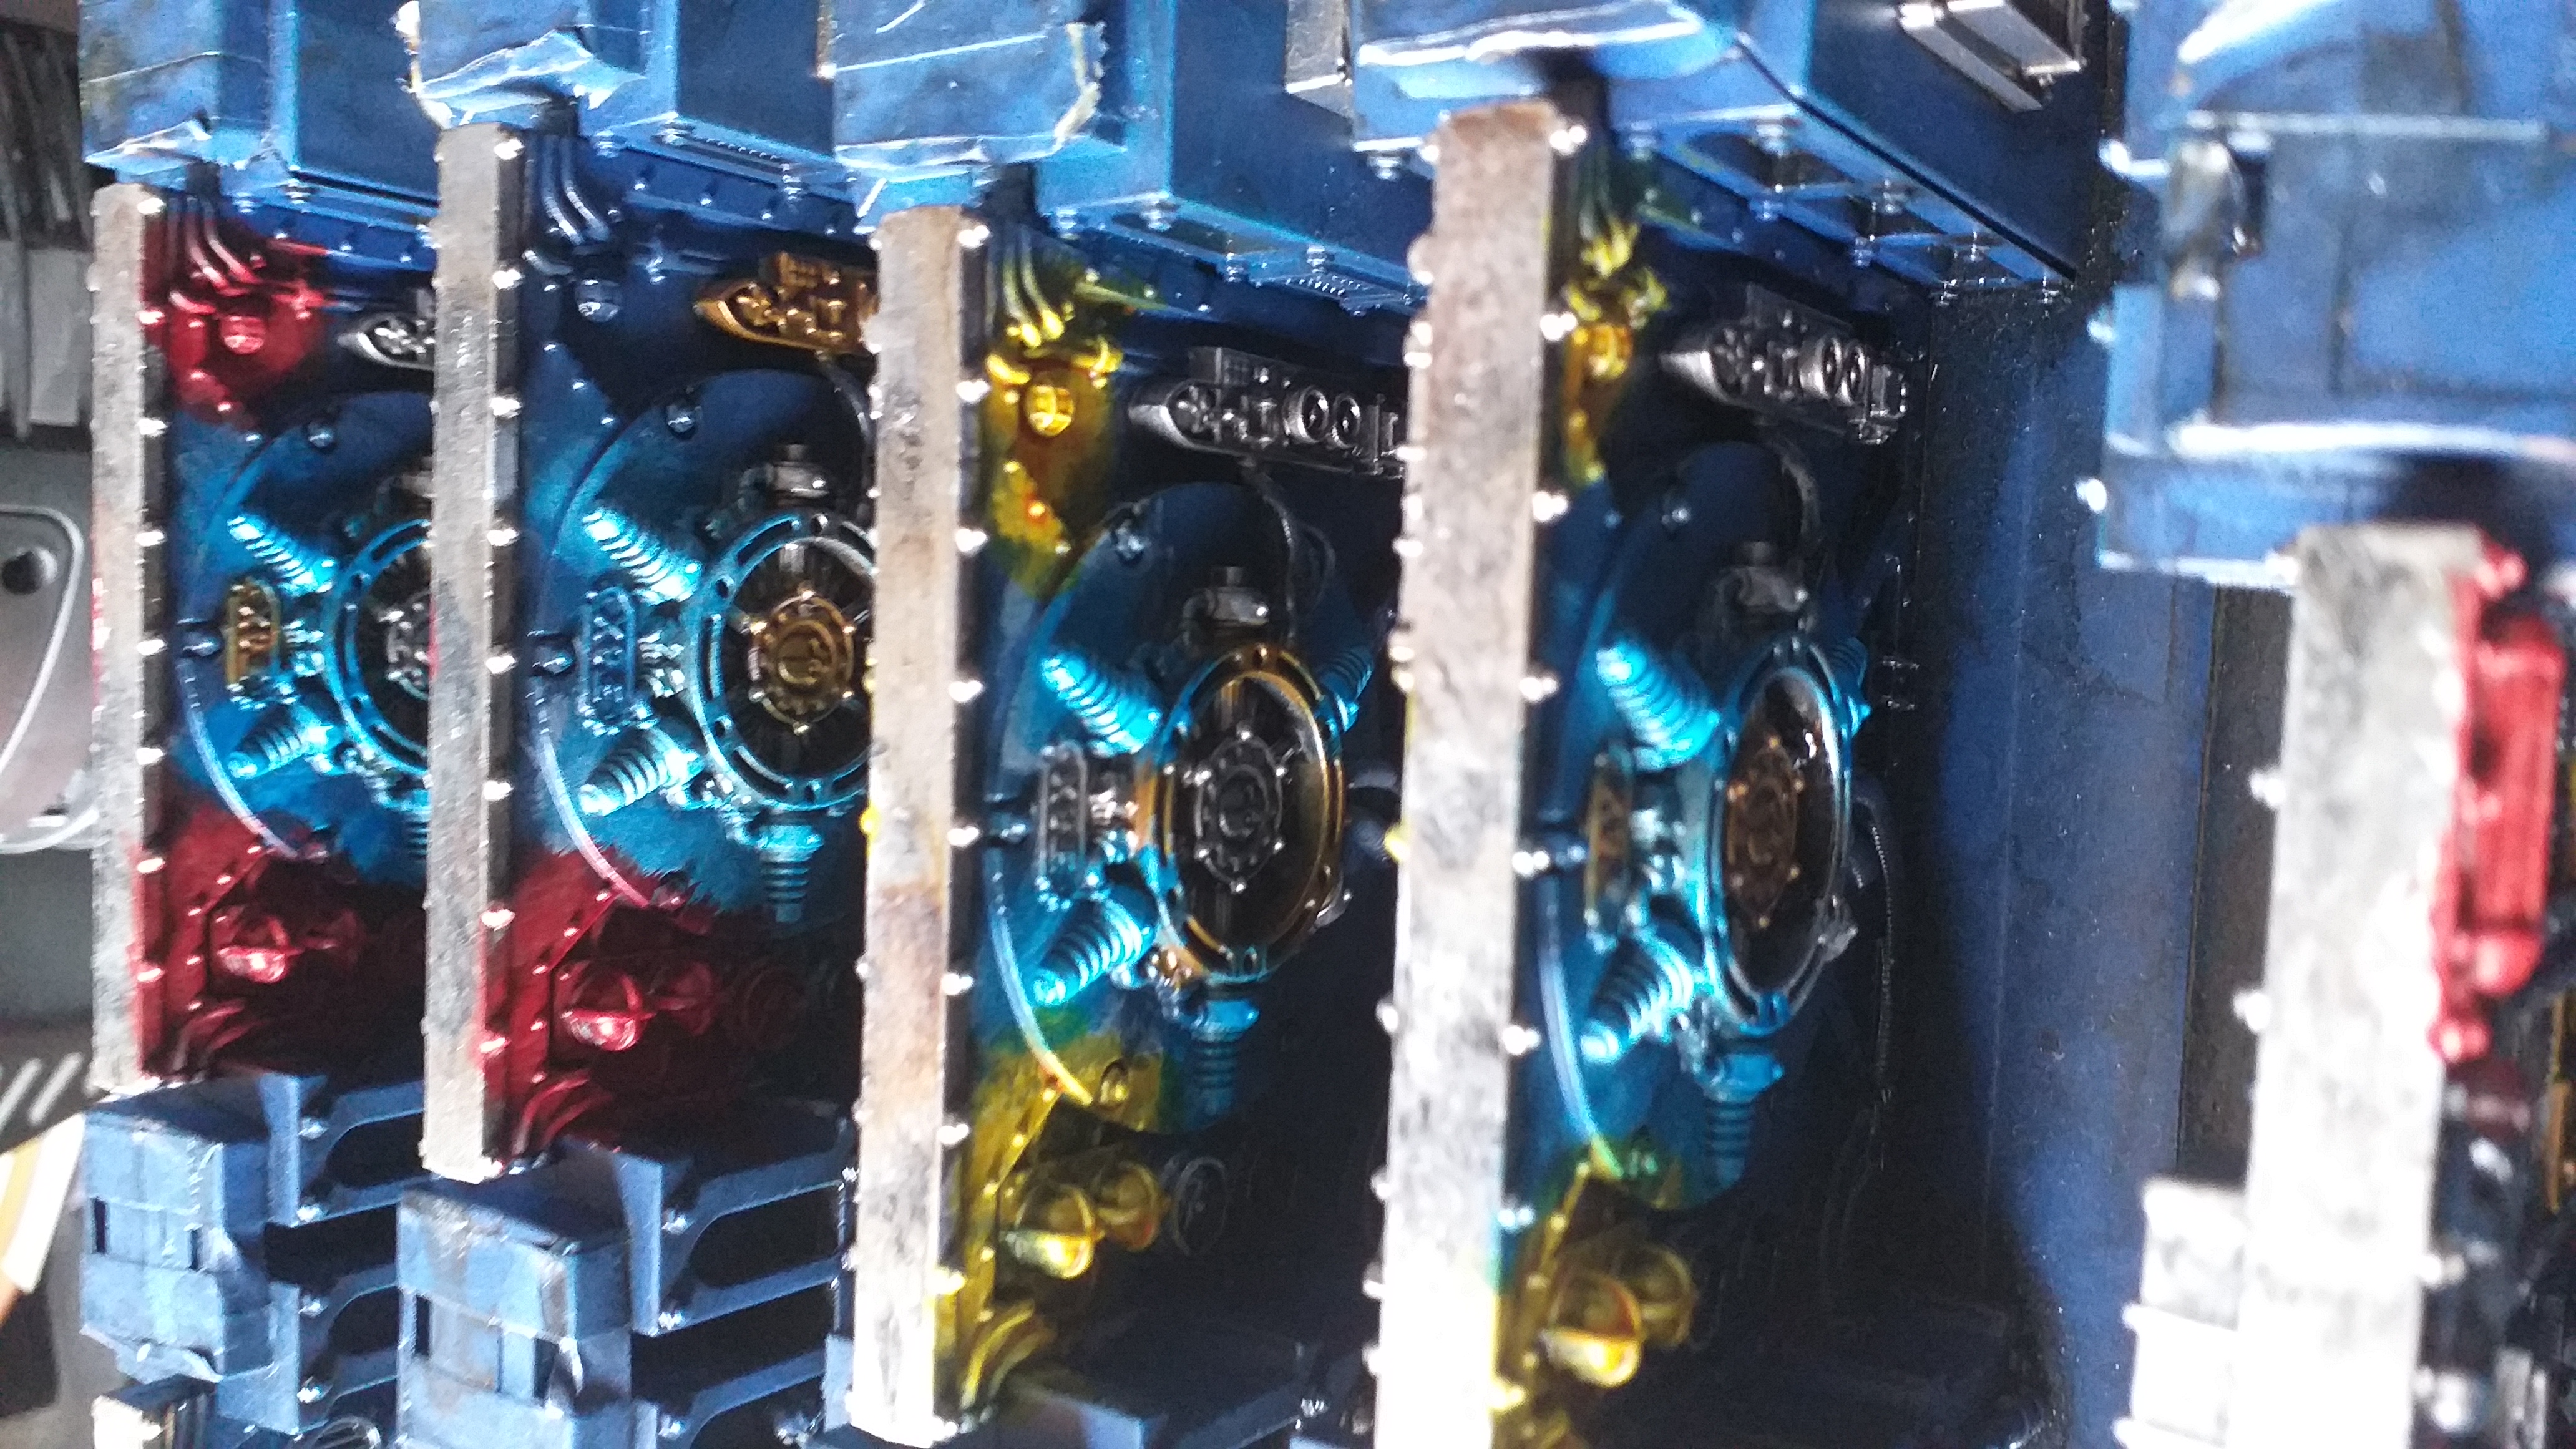
Warp Lightning and/or Striking Scorpion Green for computer screen displays.
Flesh Tearers Red for lights and computer screen displays.
Iyandan Yellow for lights.
Aethermantic Blue for the power coils. This turned out to have nearly zero impact and was swapped out for Talassar Blue.
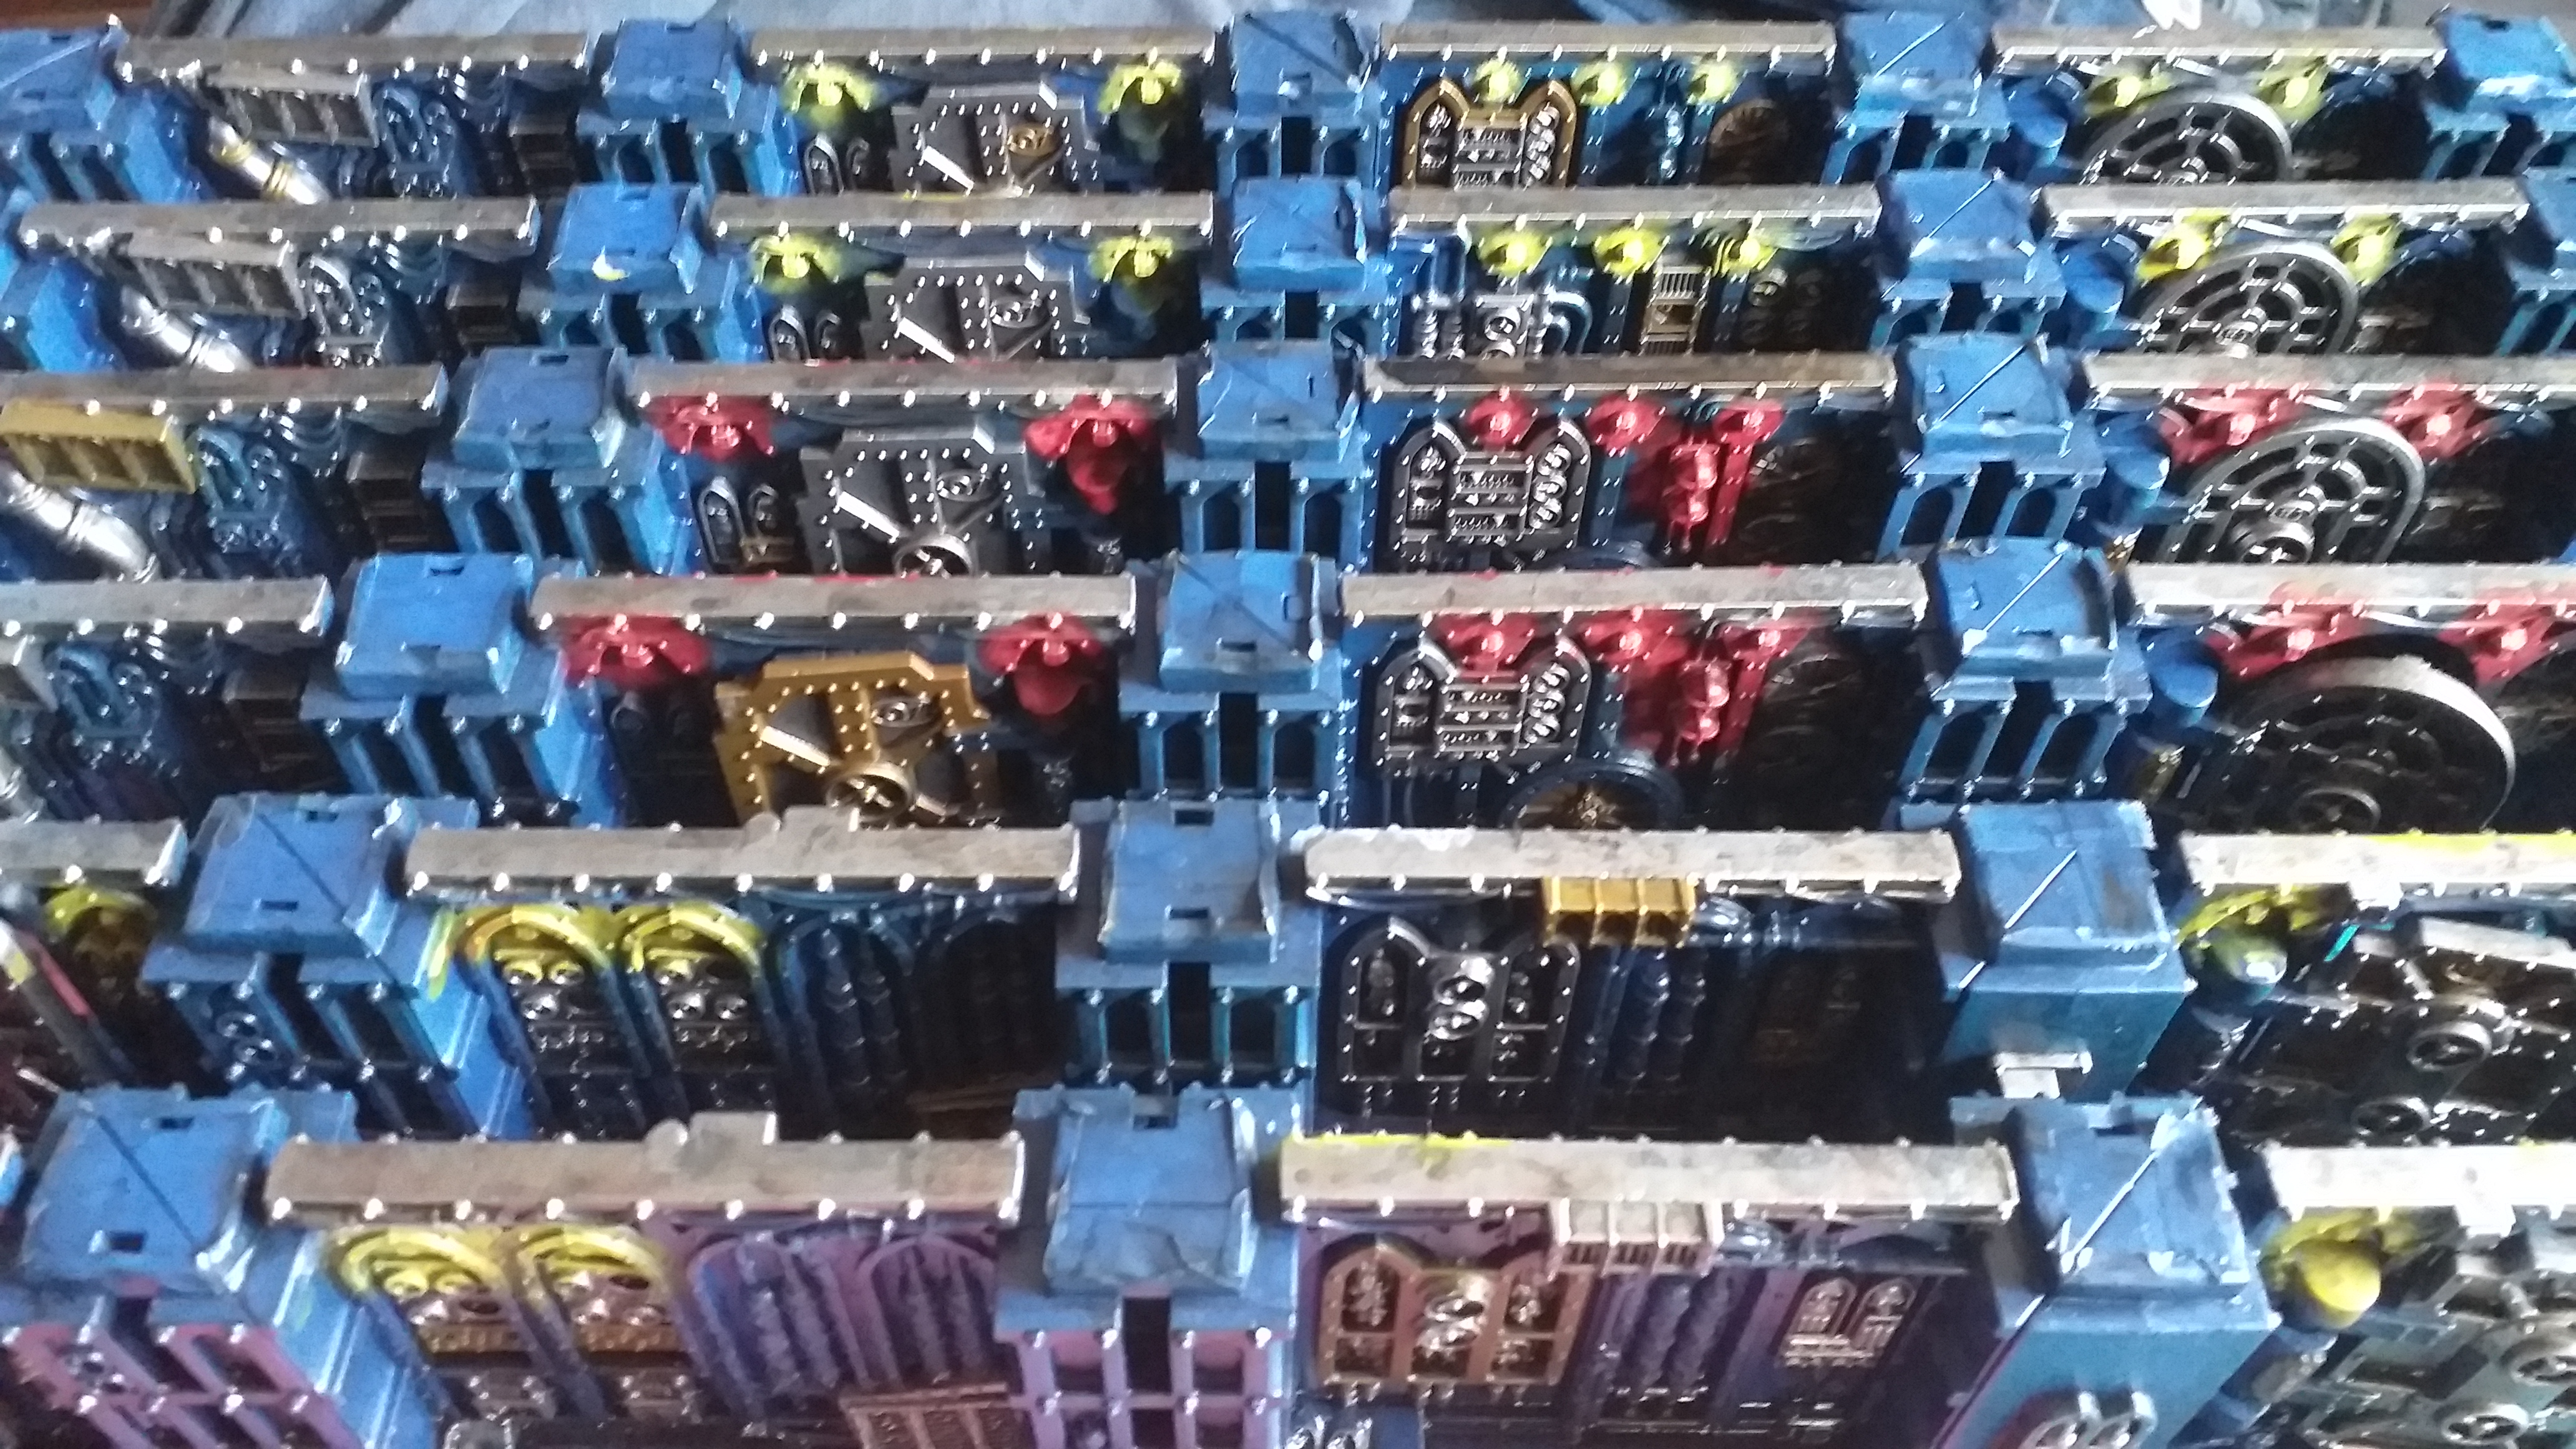
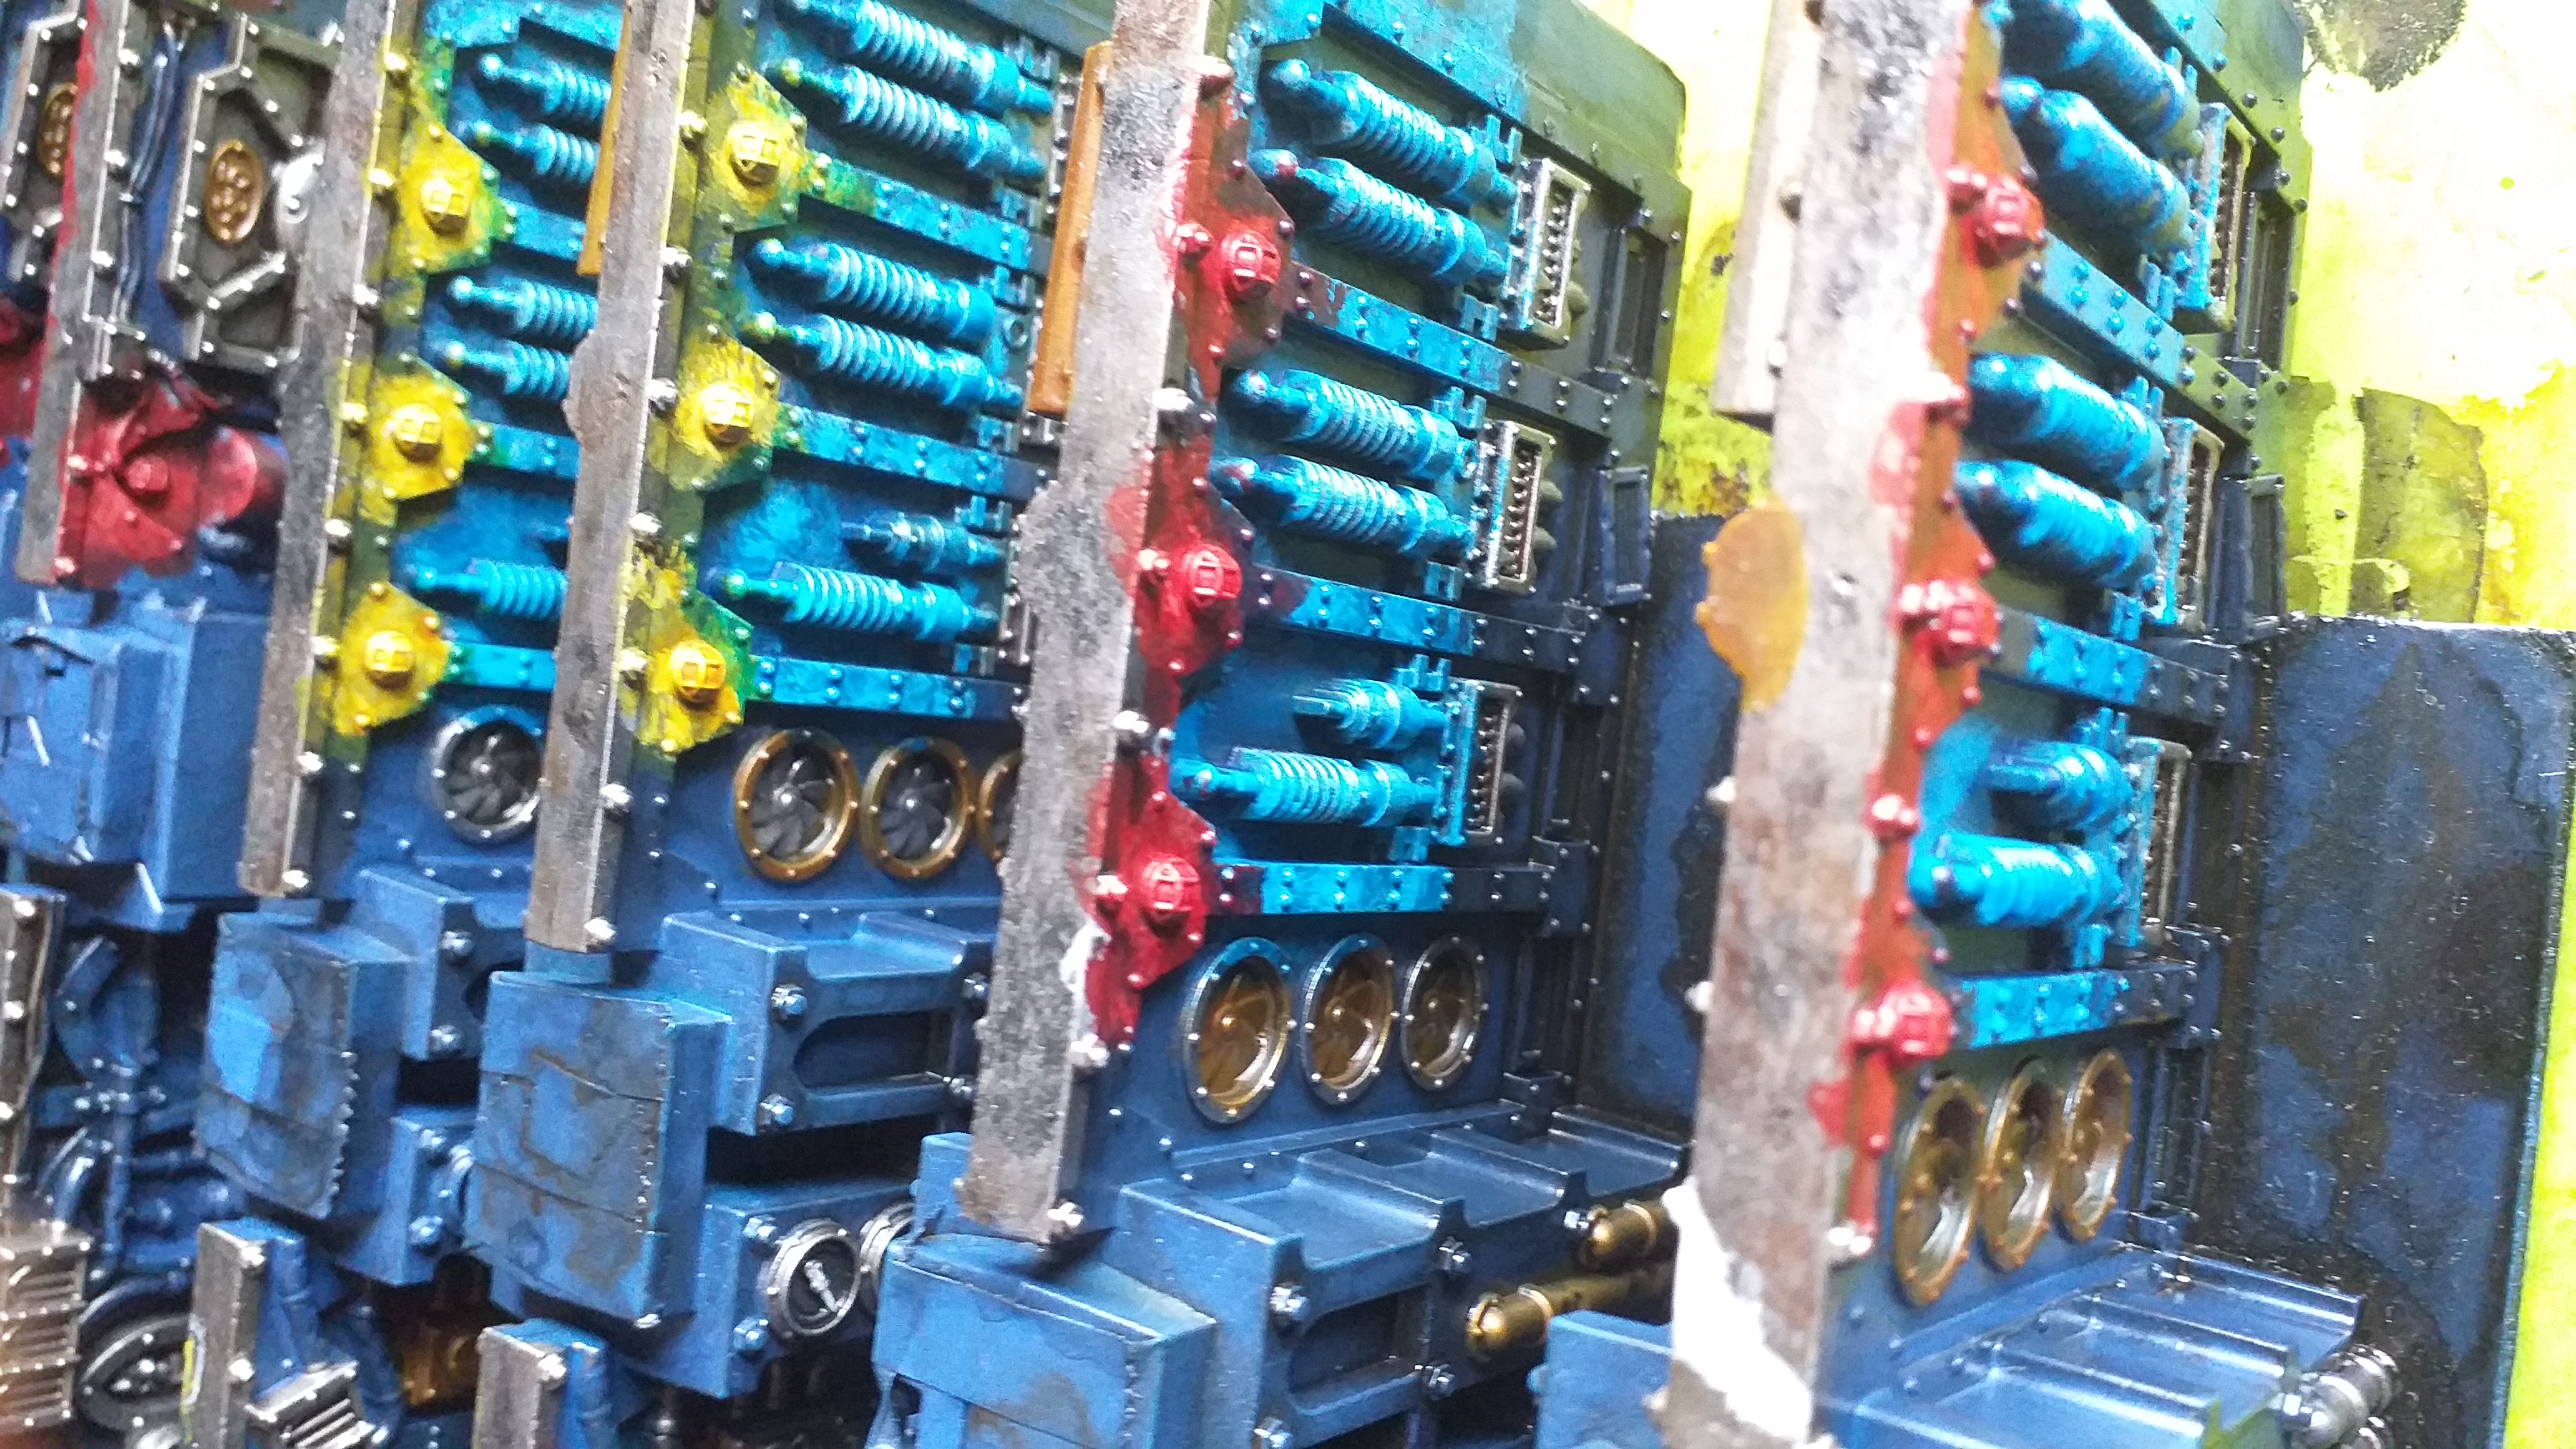
With the colours selected, I started. I stippled Iyandan over half of the lights, then Flesh Tearer over the second half.
I then stippled Aethermantic on the coils. There was practically zero change. I swapped out Talassar Blue and got a much better result.
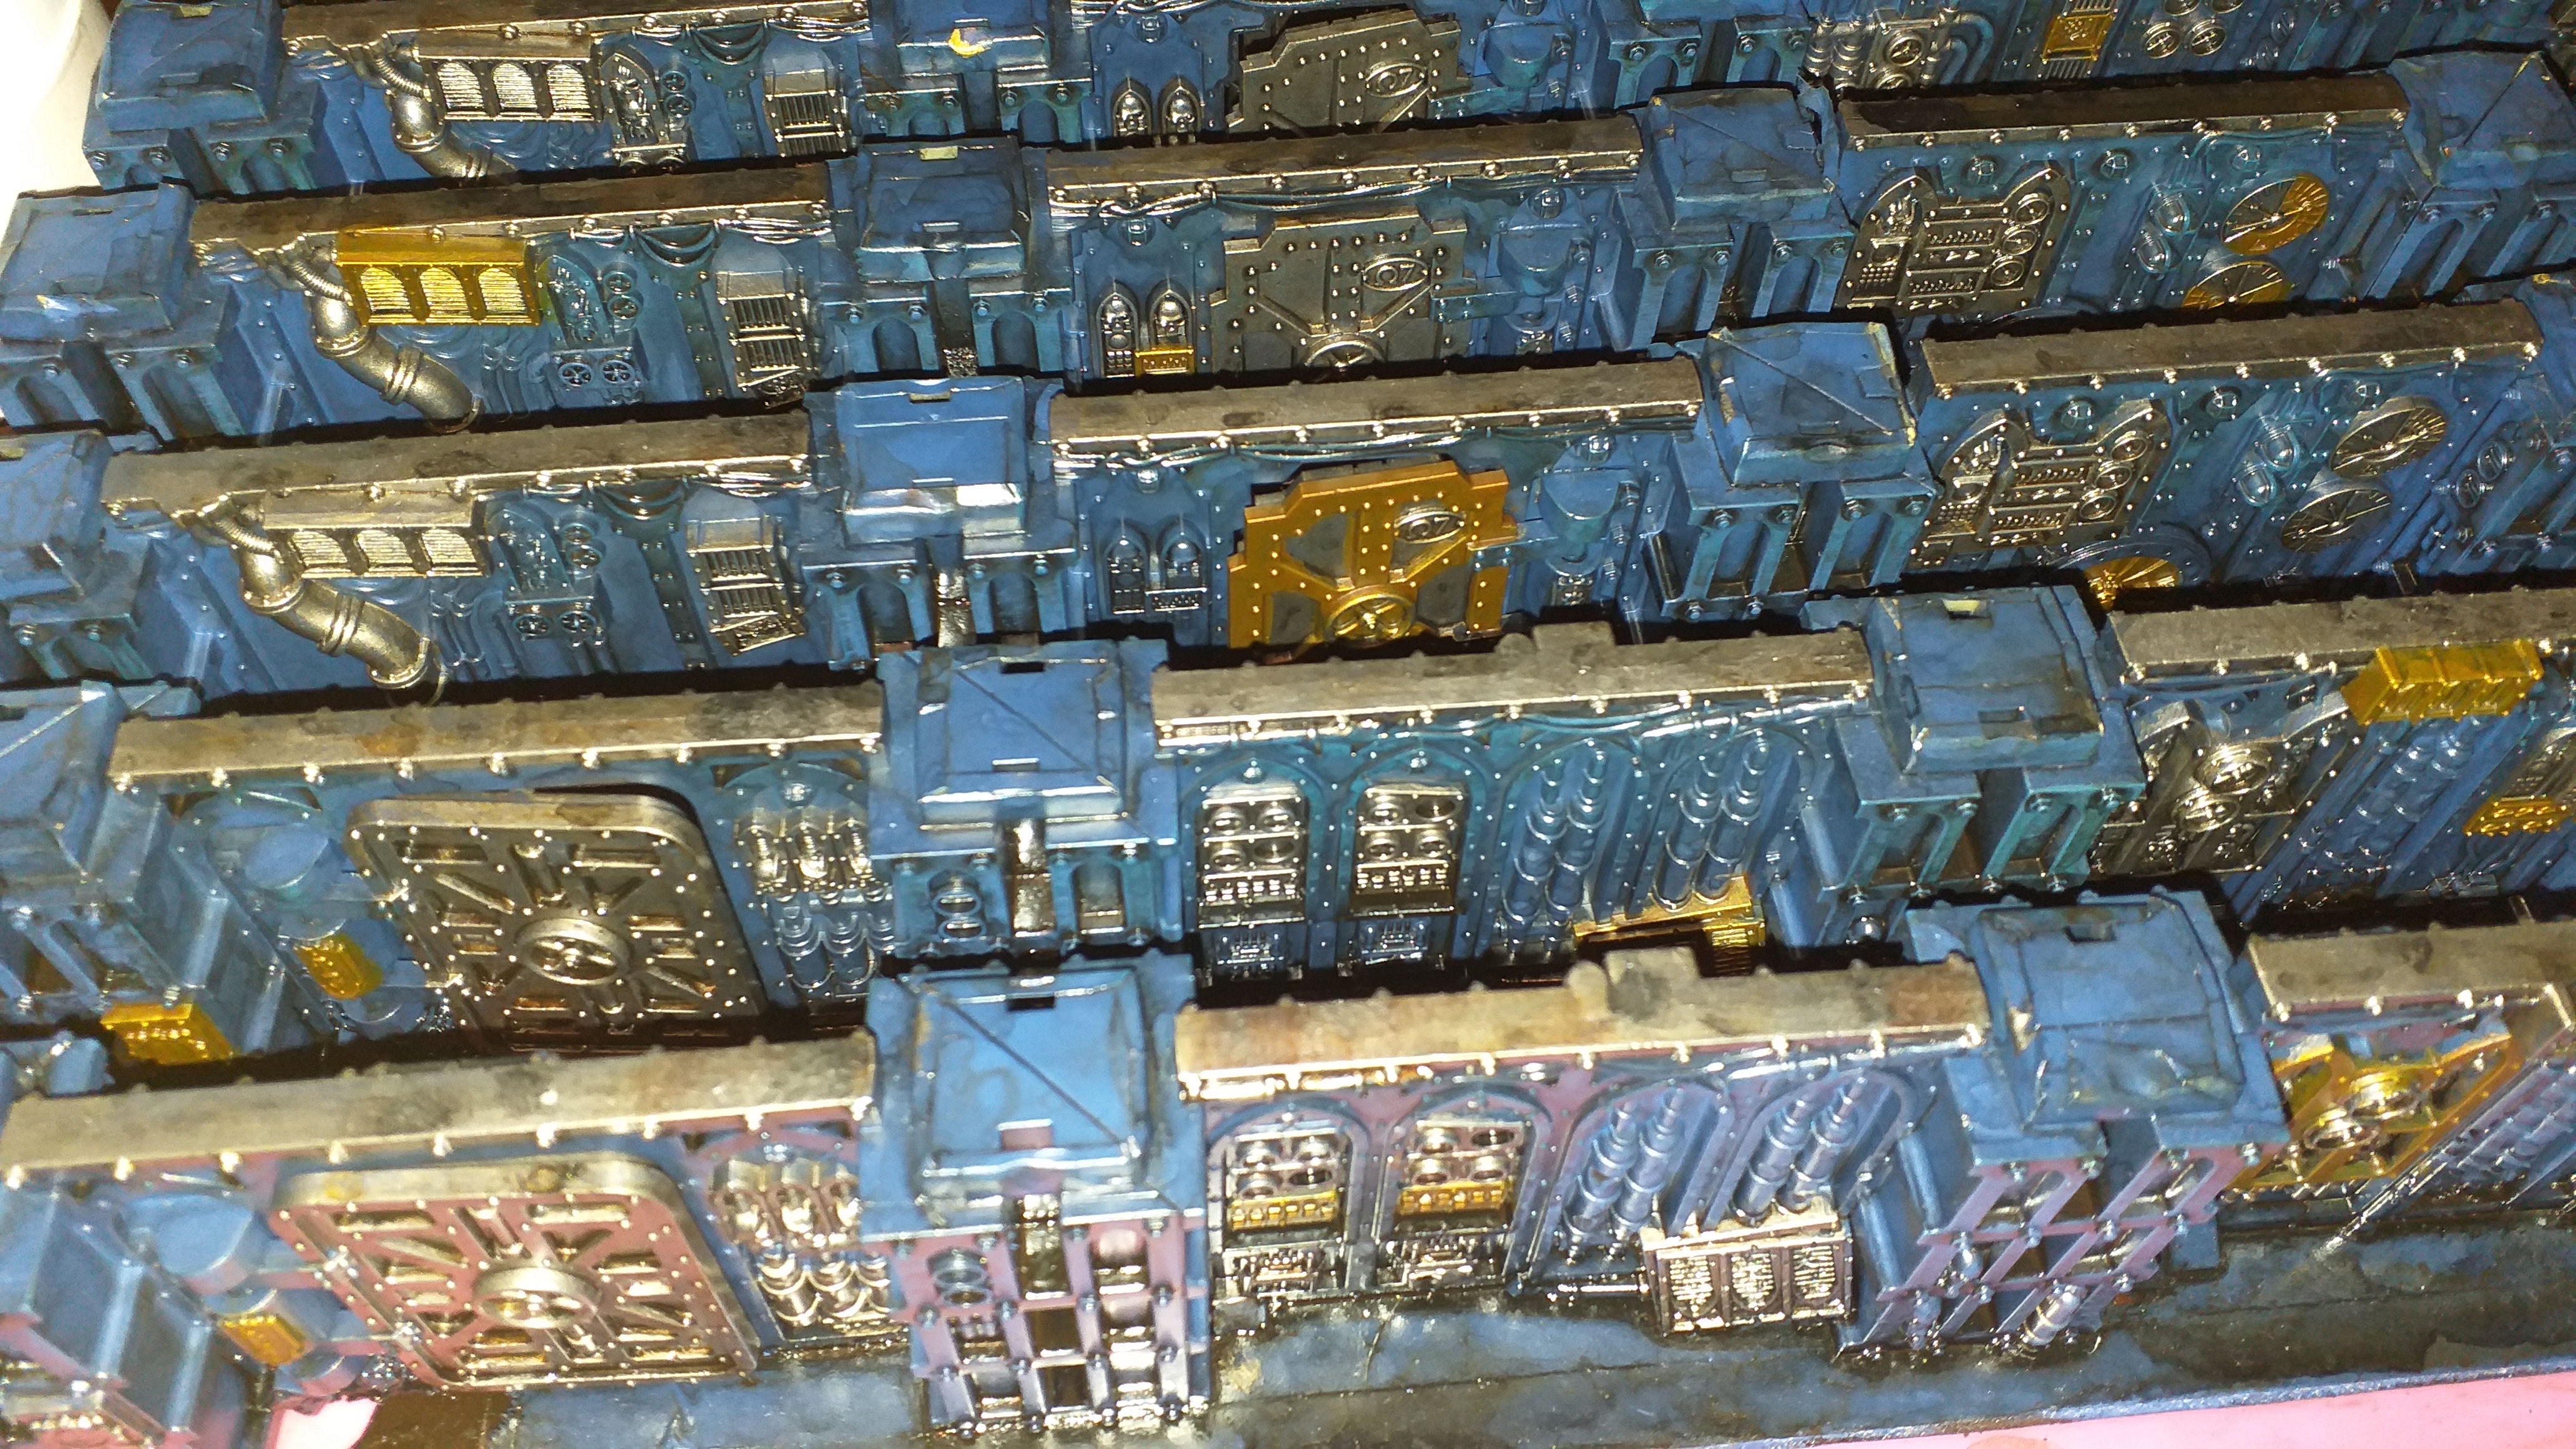
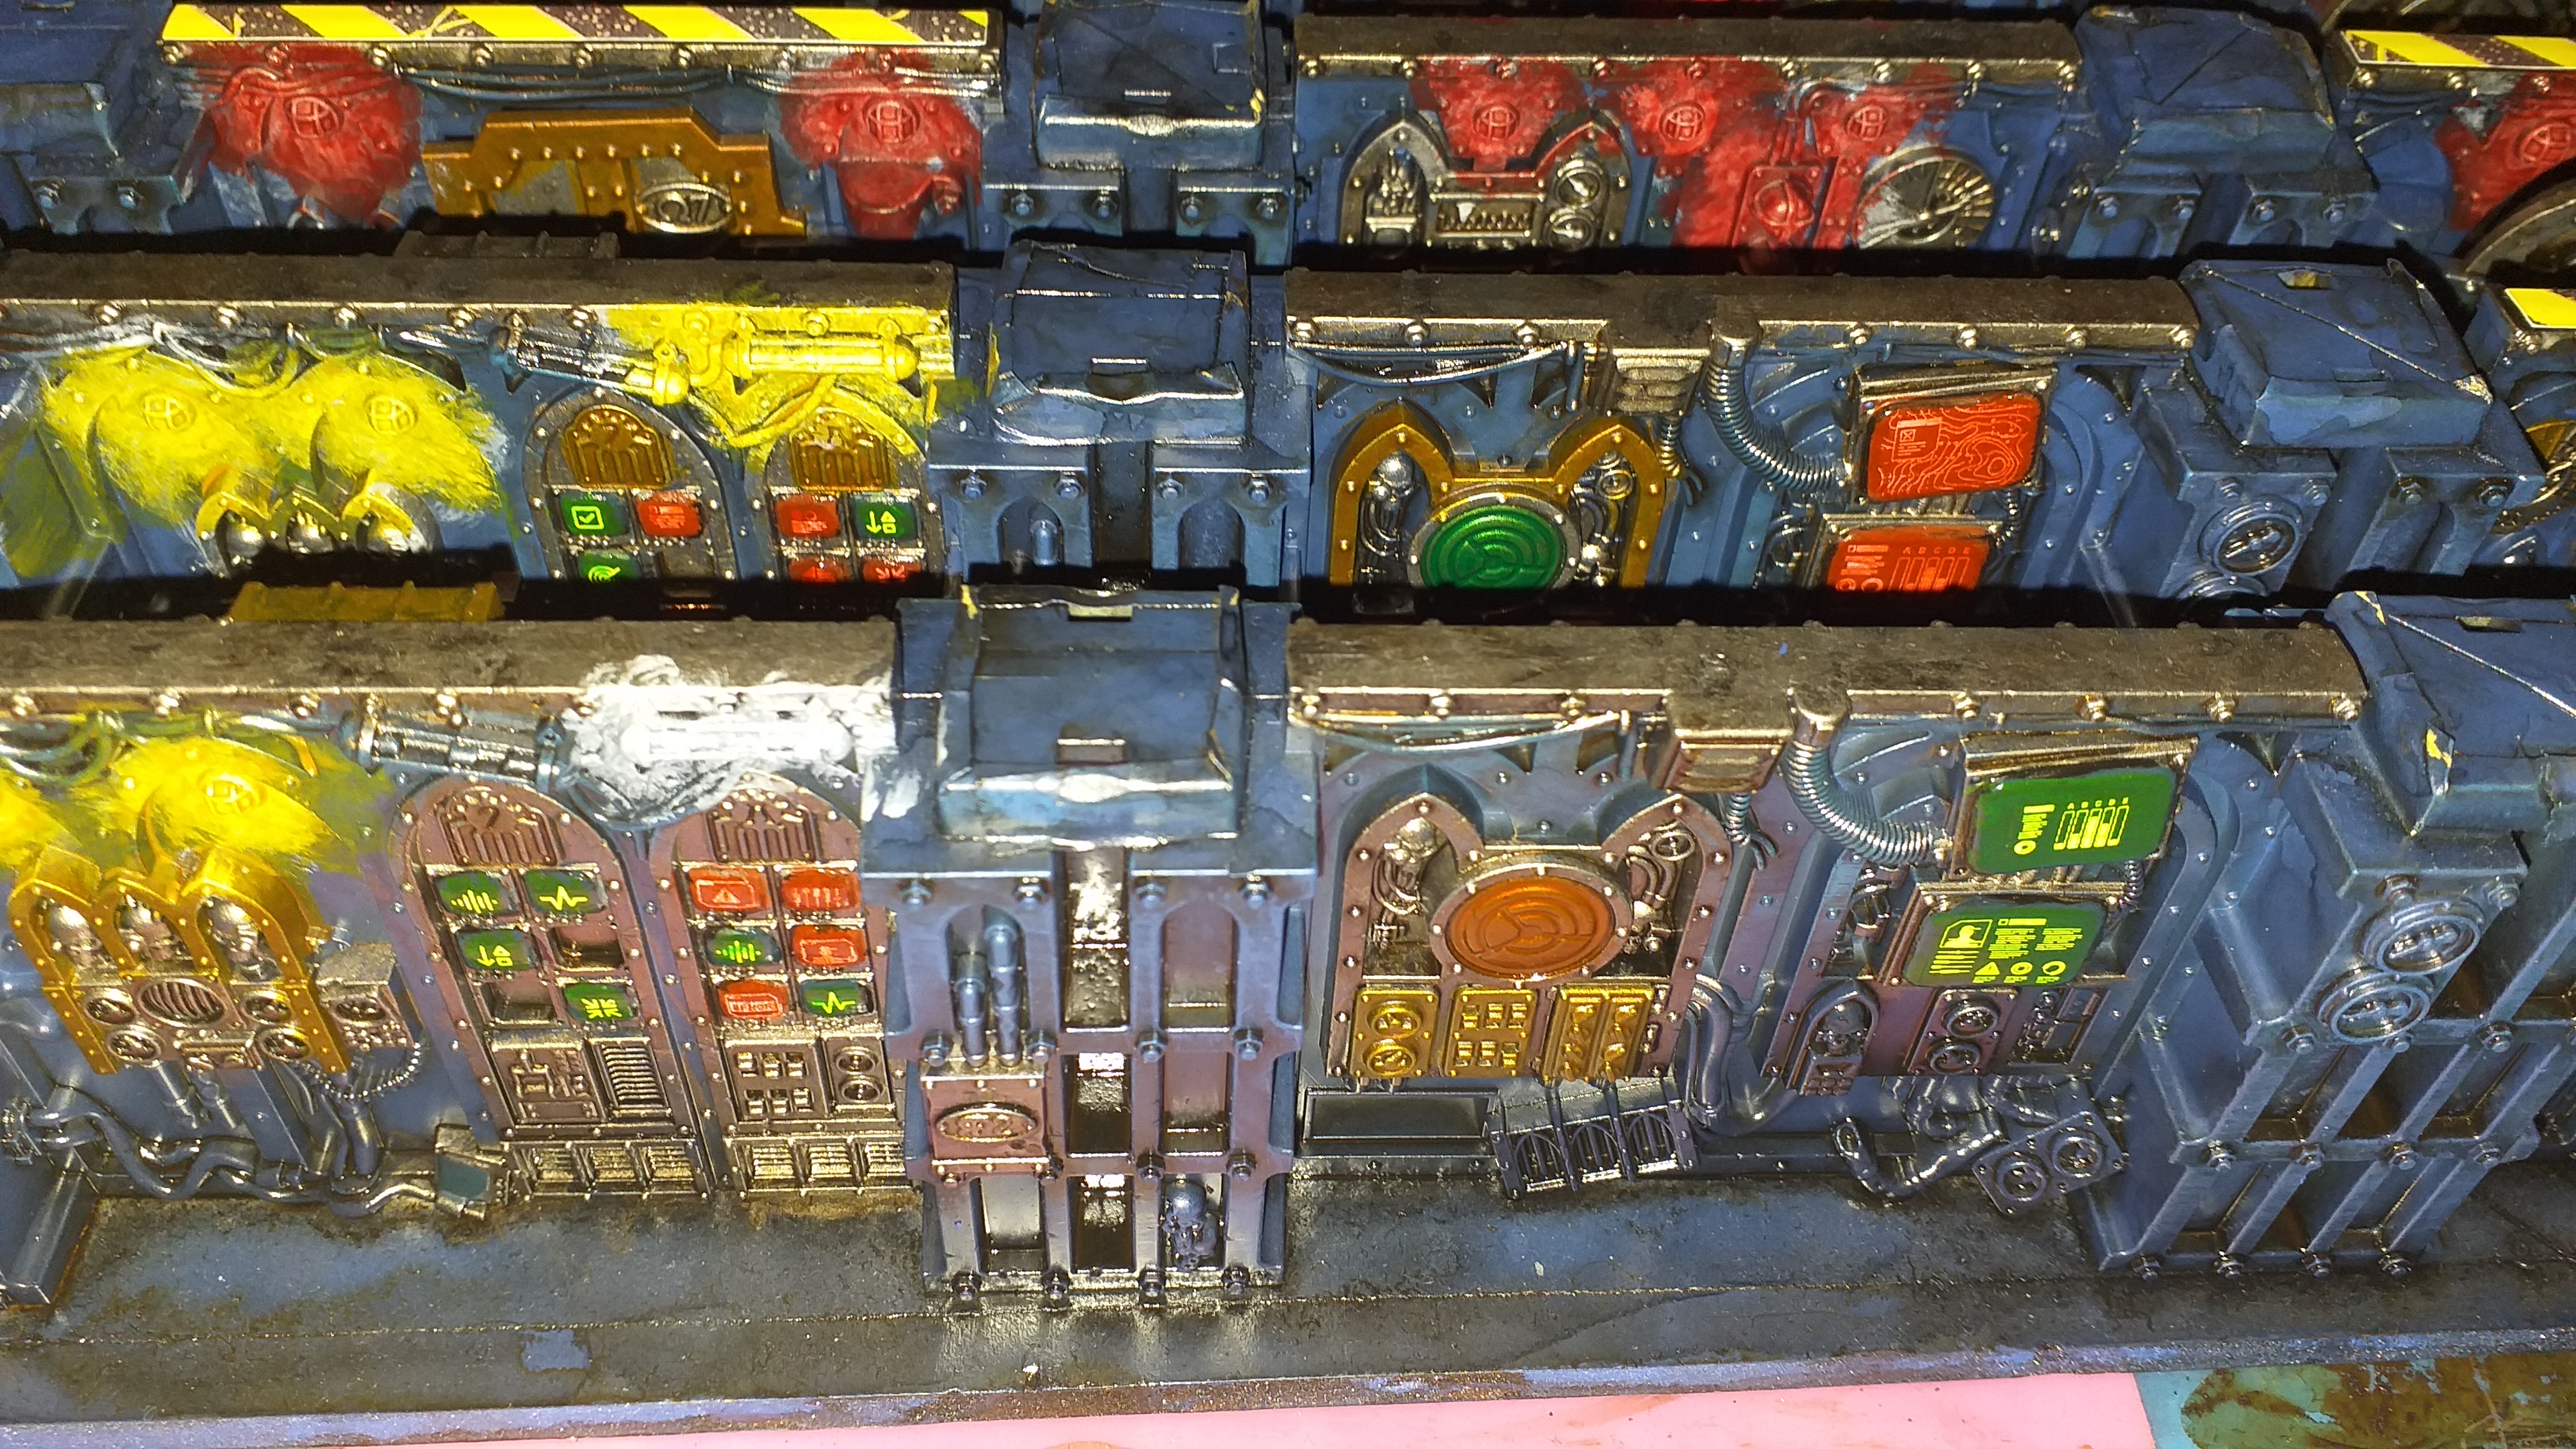
First wave of details!
Tonight I got two coats of Nazdreg Yellow on random sections of silver. This can make some sections look like gold, others quite like bronze.
Next, I think to try and get certain additional details done. Thinking red and white arrows on some of the gauges. Possibly red handles for some of the bulkhead wheels. Add some colour to some of the doors themselves. White and blue for some of the tesla coil details.
Once that’s done, I believe I’ll do some, if not all, the monitor screens. Thinking a mix of green and red.