


![How To Paint Moonstone’s Nanny | Goblin King Games [7 Days Early Access]](https://images.beastsofwar.com/2024/12/3CU-Gobin-King-Games-Moonstone-Shades-Nanny-coverimage-225-127.jpg)


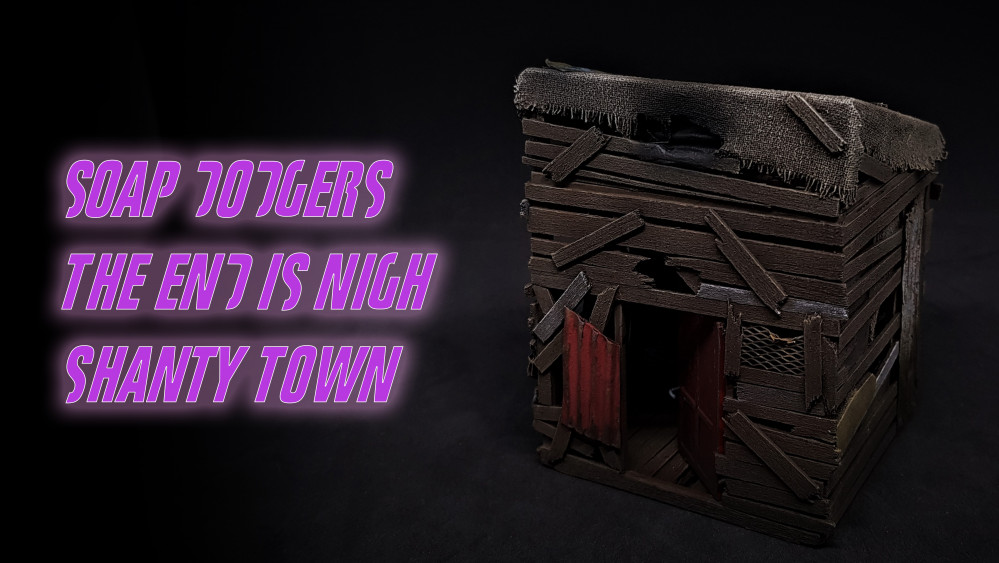
Terrain Challenge – Shanty Town


Two floor hut.
It’s been great to see everyone’s work. I have not commented as much as I wanted to as I feel under the gun, though I have lots of time left.
Started this yesterday. Thinking of breaking this down for people who do not wish to watch an hour video of me painting, I will come to that later.
I found some more materials, only a couple. A fridge was delivered with corrugated plastic. This works great and I also used a screen cover this is more of a fabric but has a strange texture on it.
I also made the stairs and they do work. I also laser cut Balsawood for the first time. I used 2mm balsa and apart from the smoke that comes out of it, making stains the wood this worked surprisingly well. I did have my fire extinguisher handy as I thought it would just catch fire and knowing how fast this would go I just had to make sure I had a plan B. Though I did laser cut the grain of the wood in the wrong direction (Doh!).
Not a lot of innovation in this one but I have made a plan and stuck to it. I wish I would find 28mm scale model kit cars and vehicles as I wish I would use this as panels for a building. I looked and can’t find anything I like or that would work.
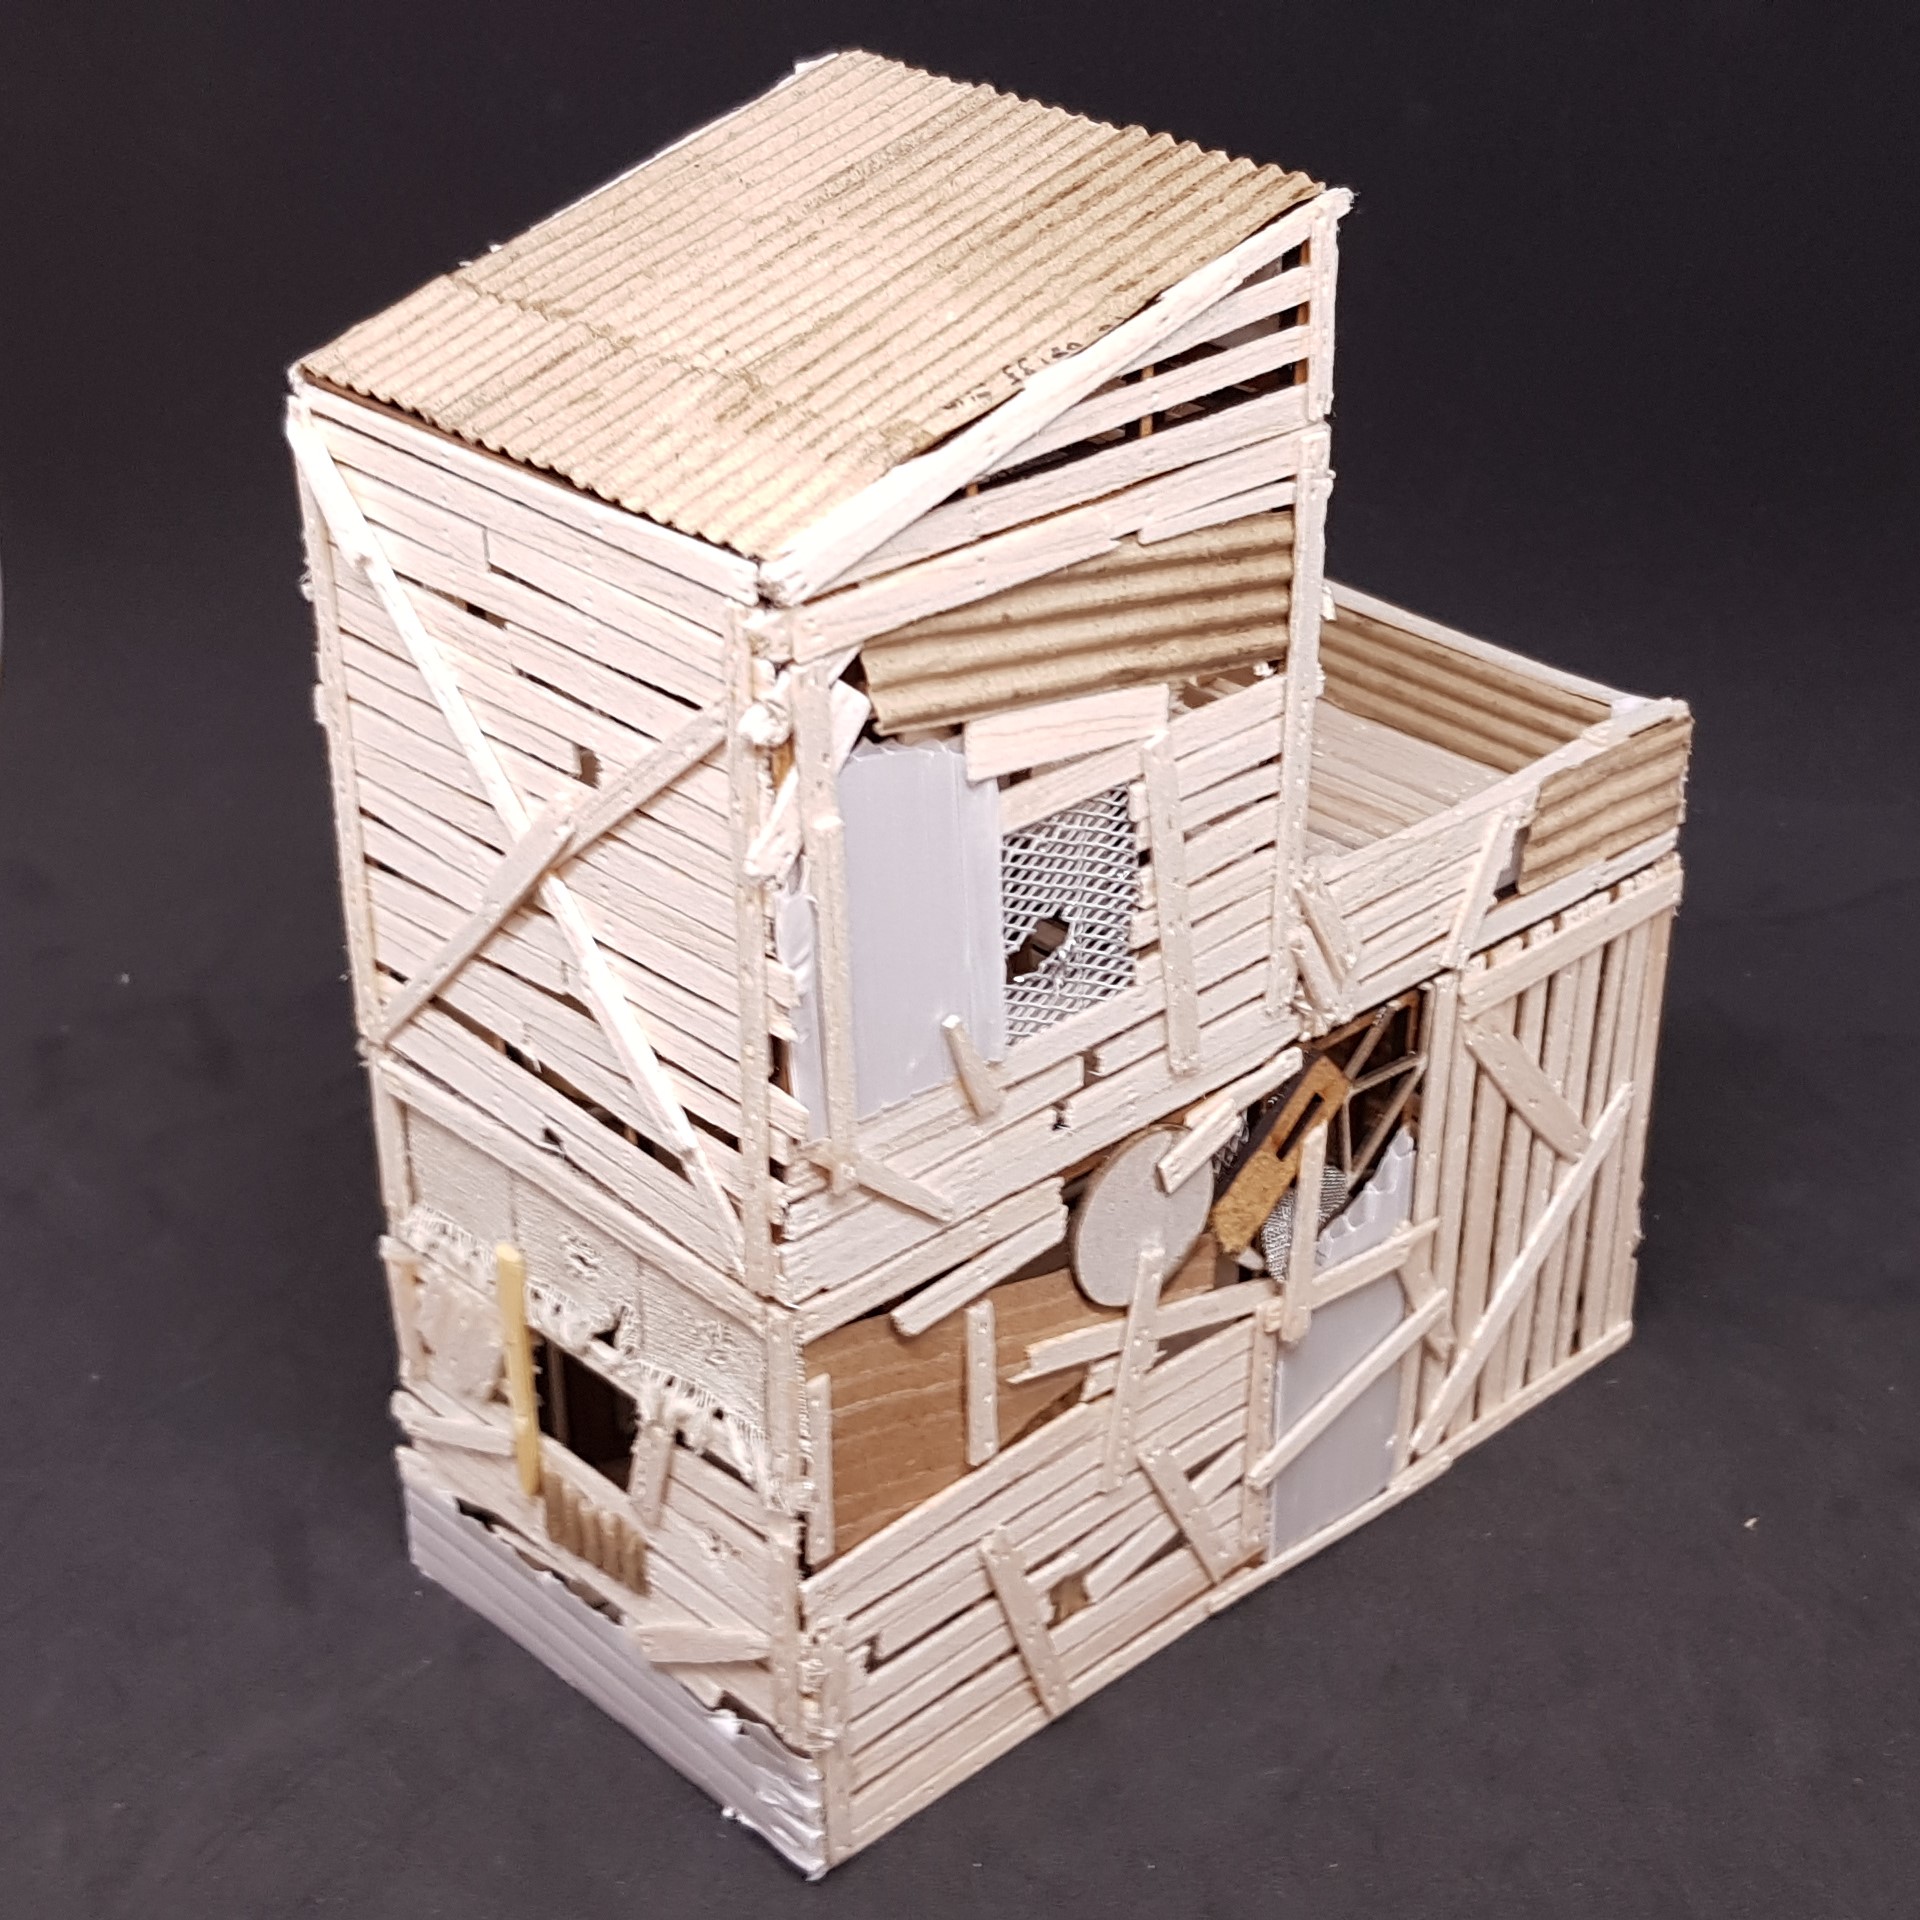 I decided to stick the upper floors together this was more to stop any damage that may happen with constantly putting two tightly fitting pieces together.
 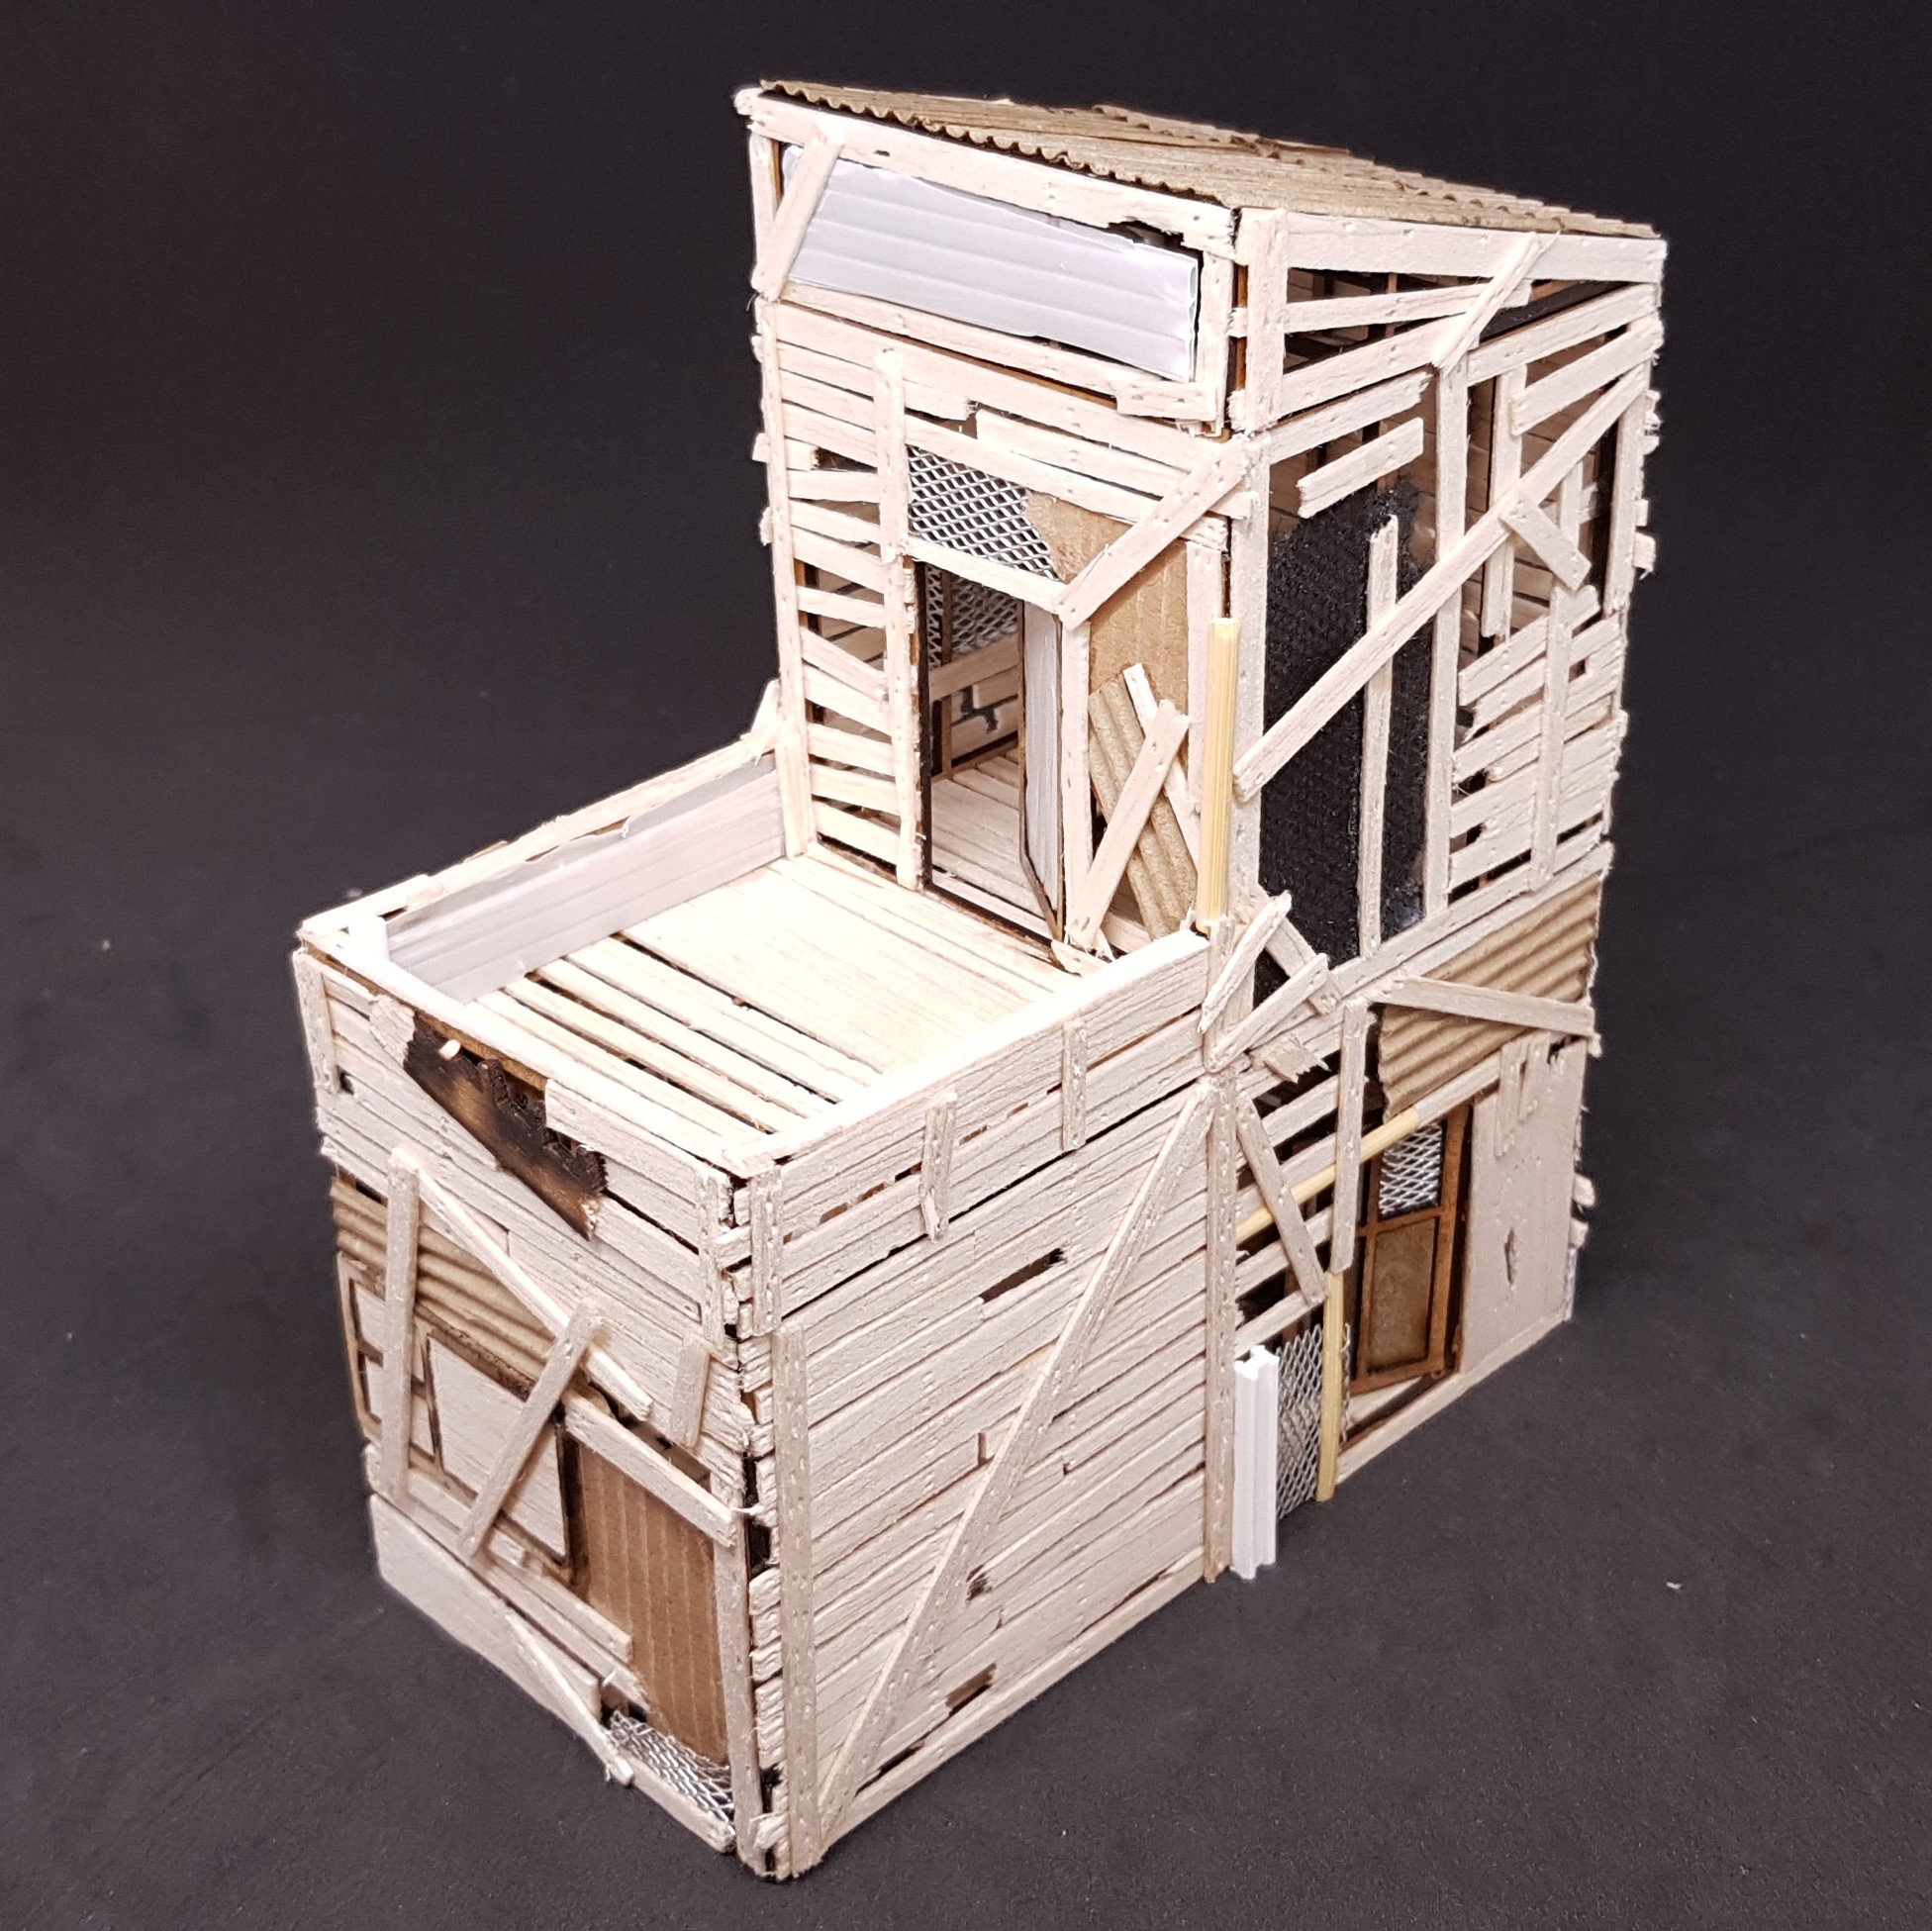 I reinforced the inside of the balcony; my thought was this would be a fighting position and a thin strap of wood is not what you would want to be cowering behind.
 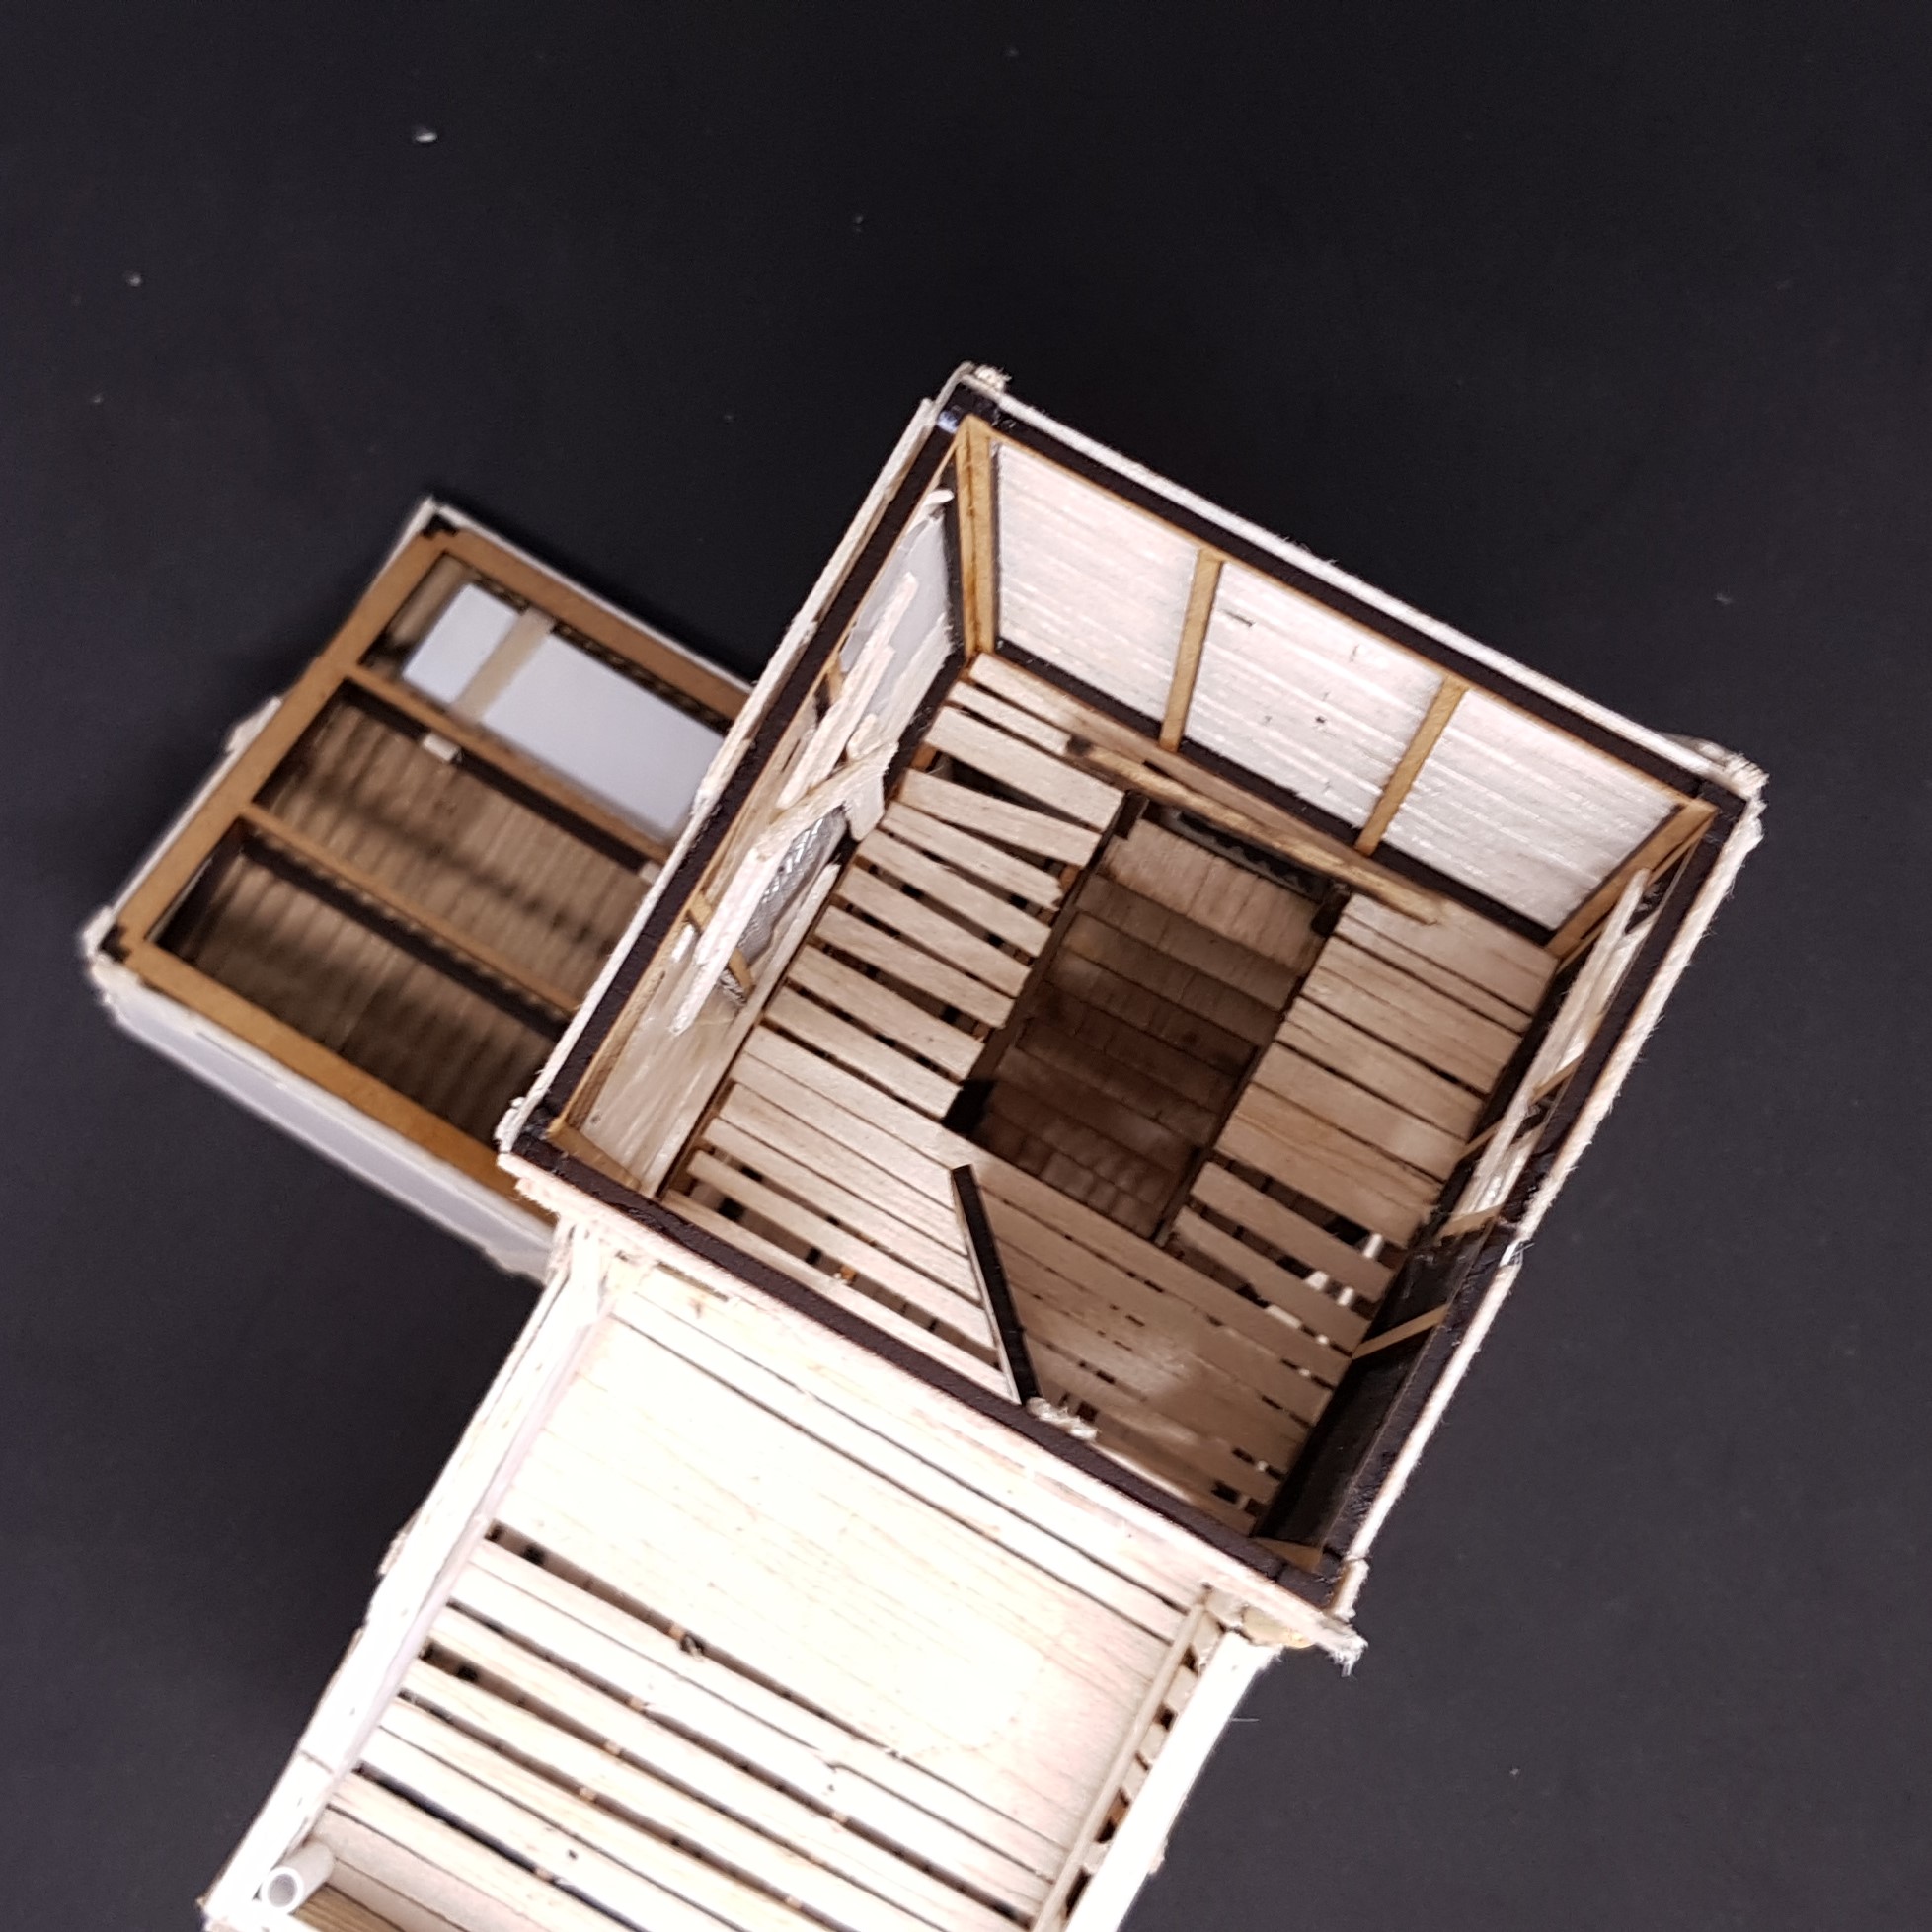 A shot with the stairs, a nightmare to photograph but I decided to not glue these down for packing and playability. a cross piece was added to make them easy to put in.
 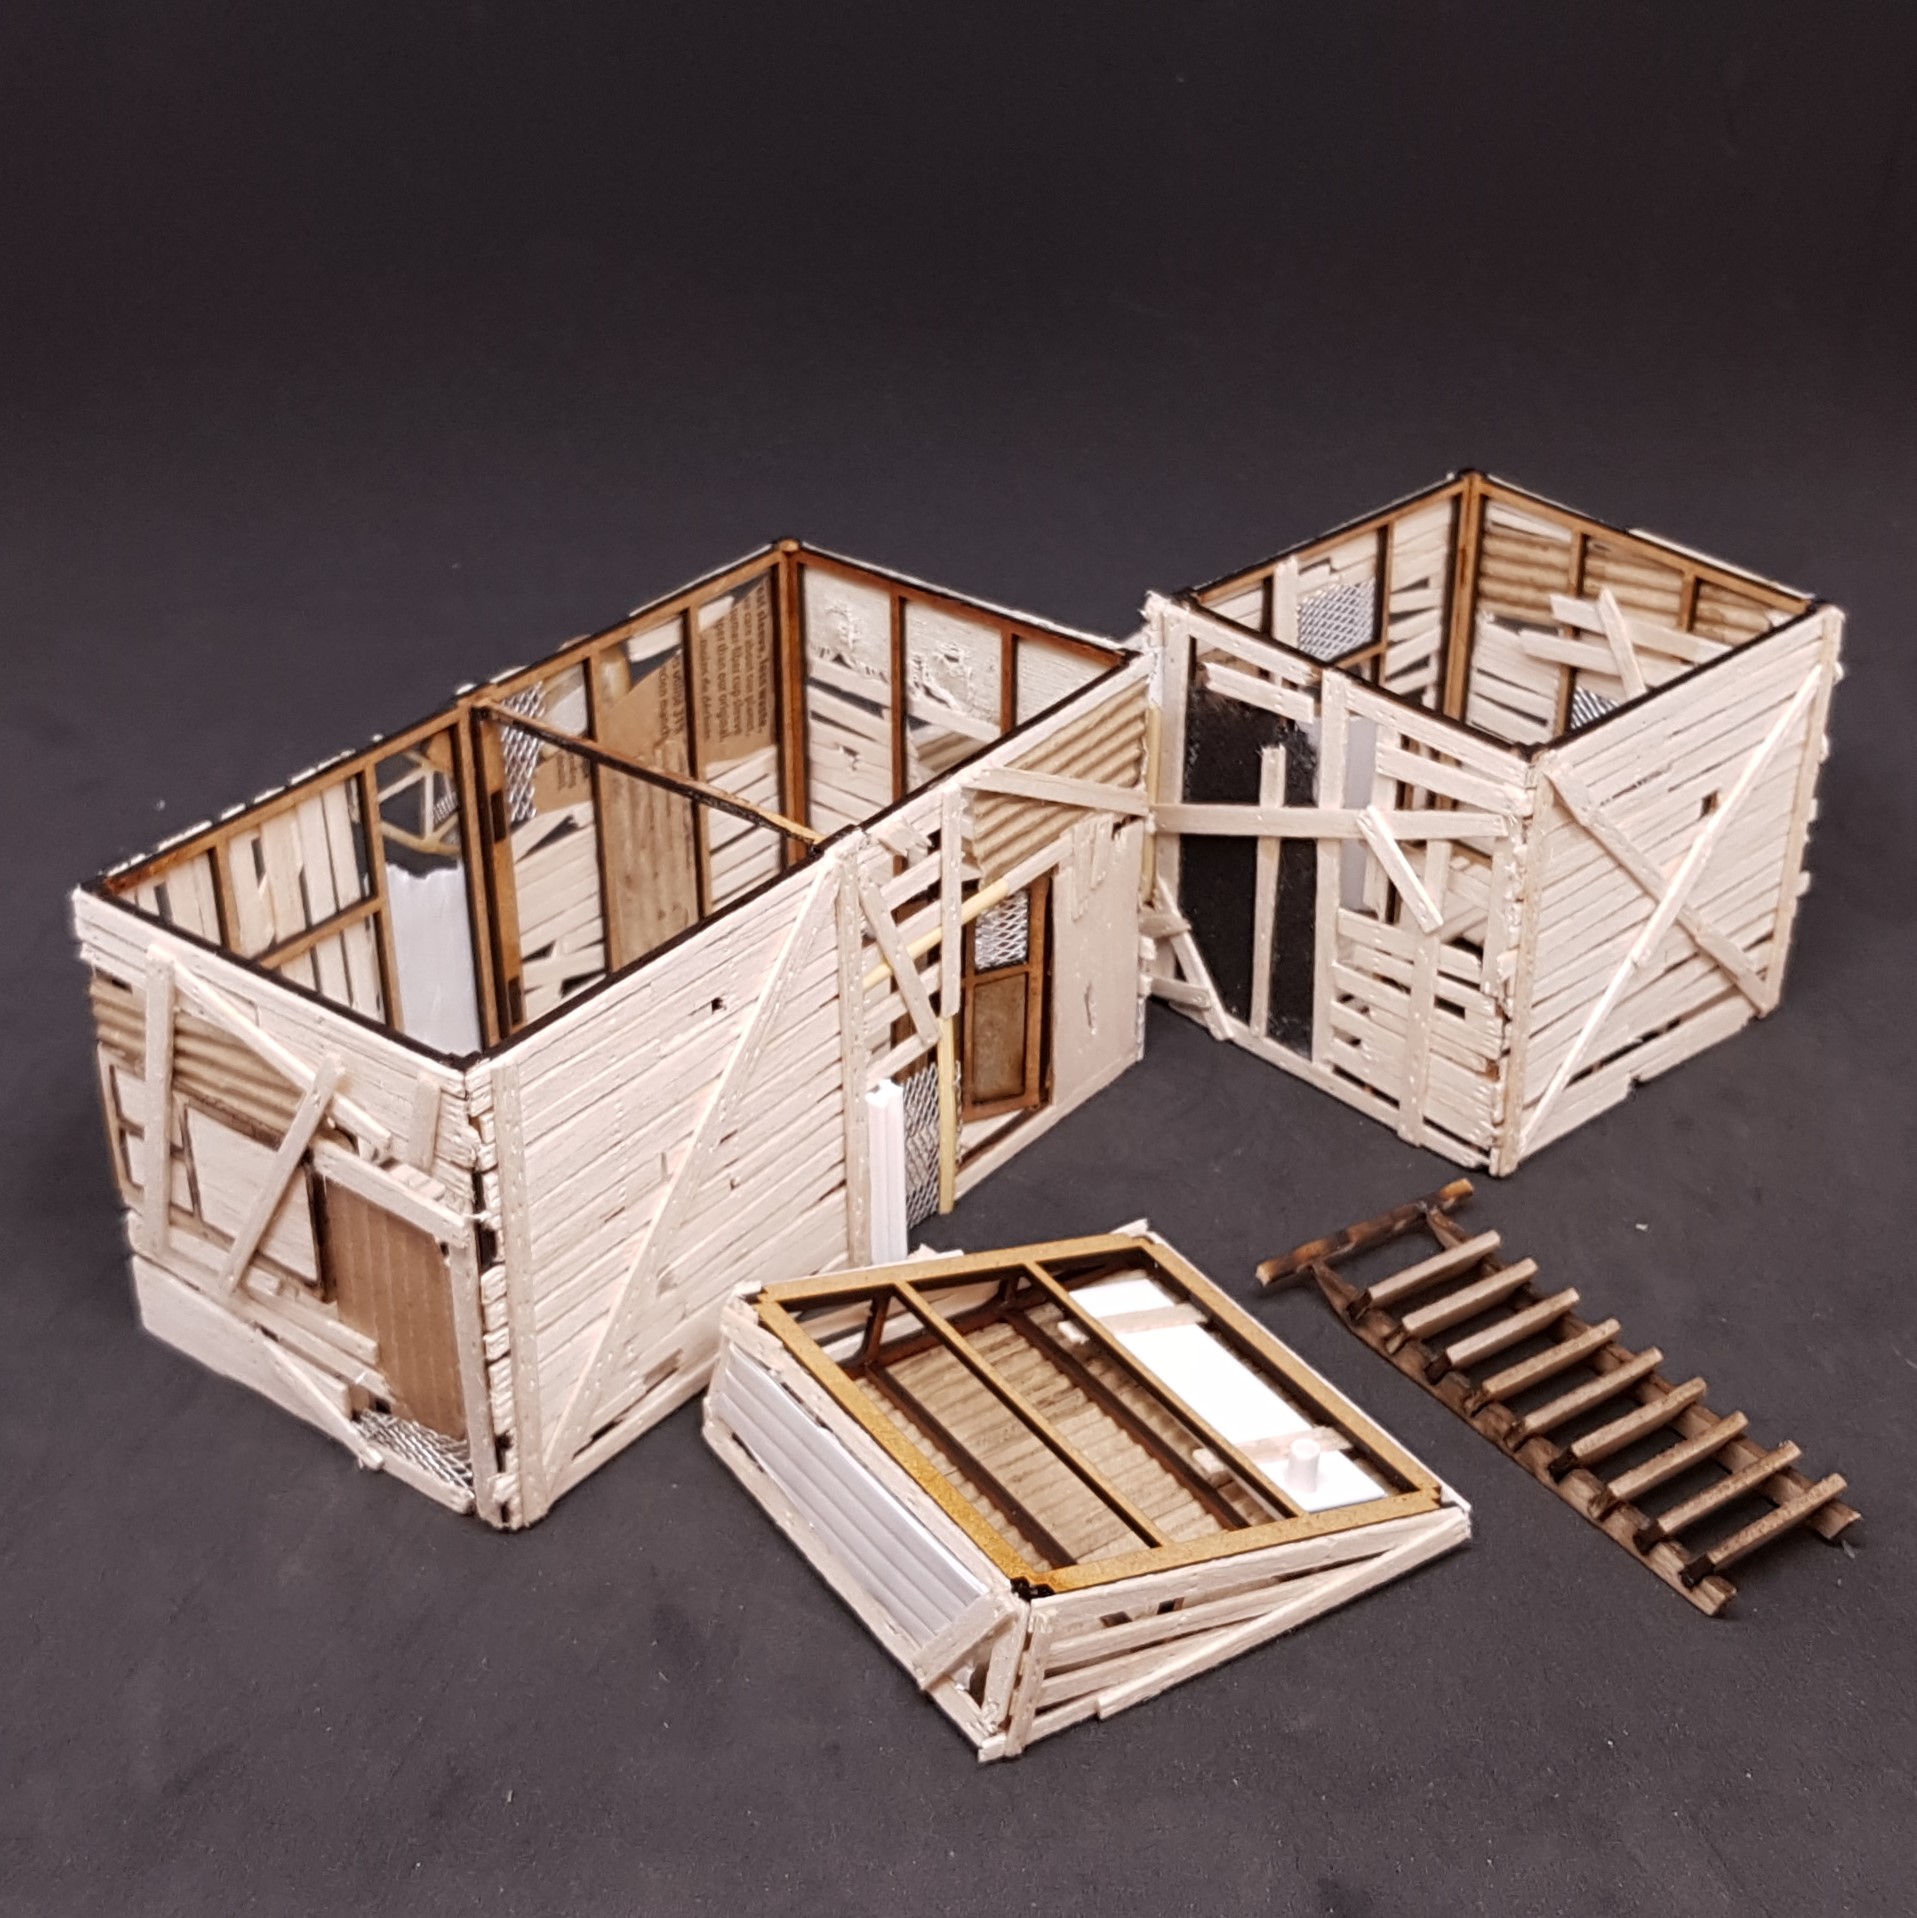 Everything disassembled for pliability and painting.
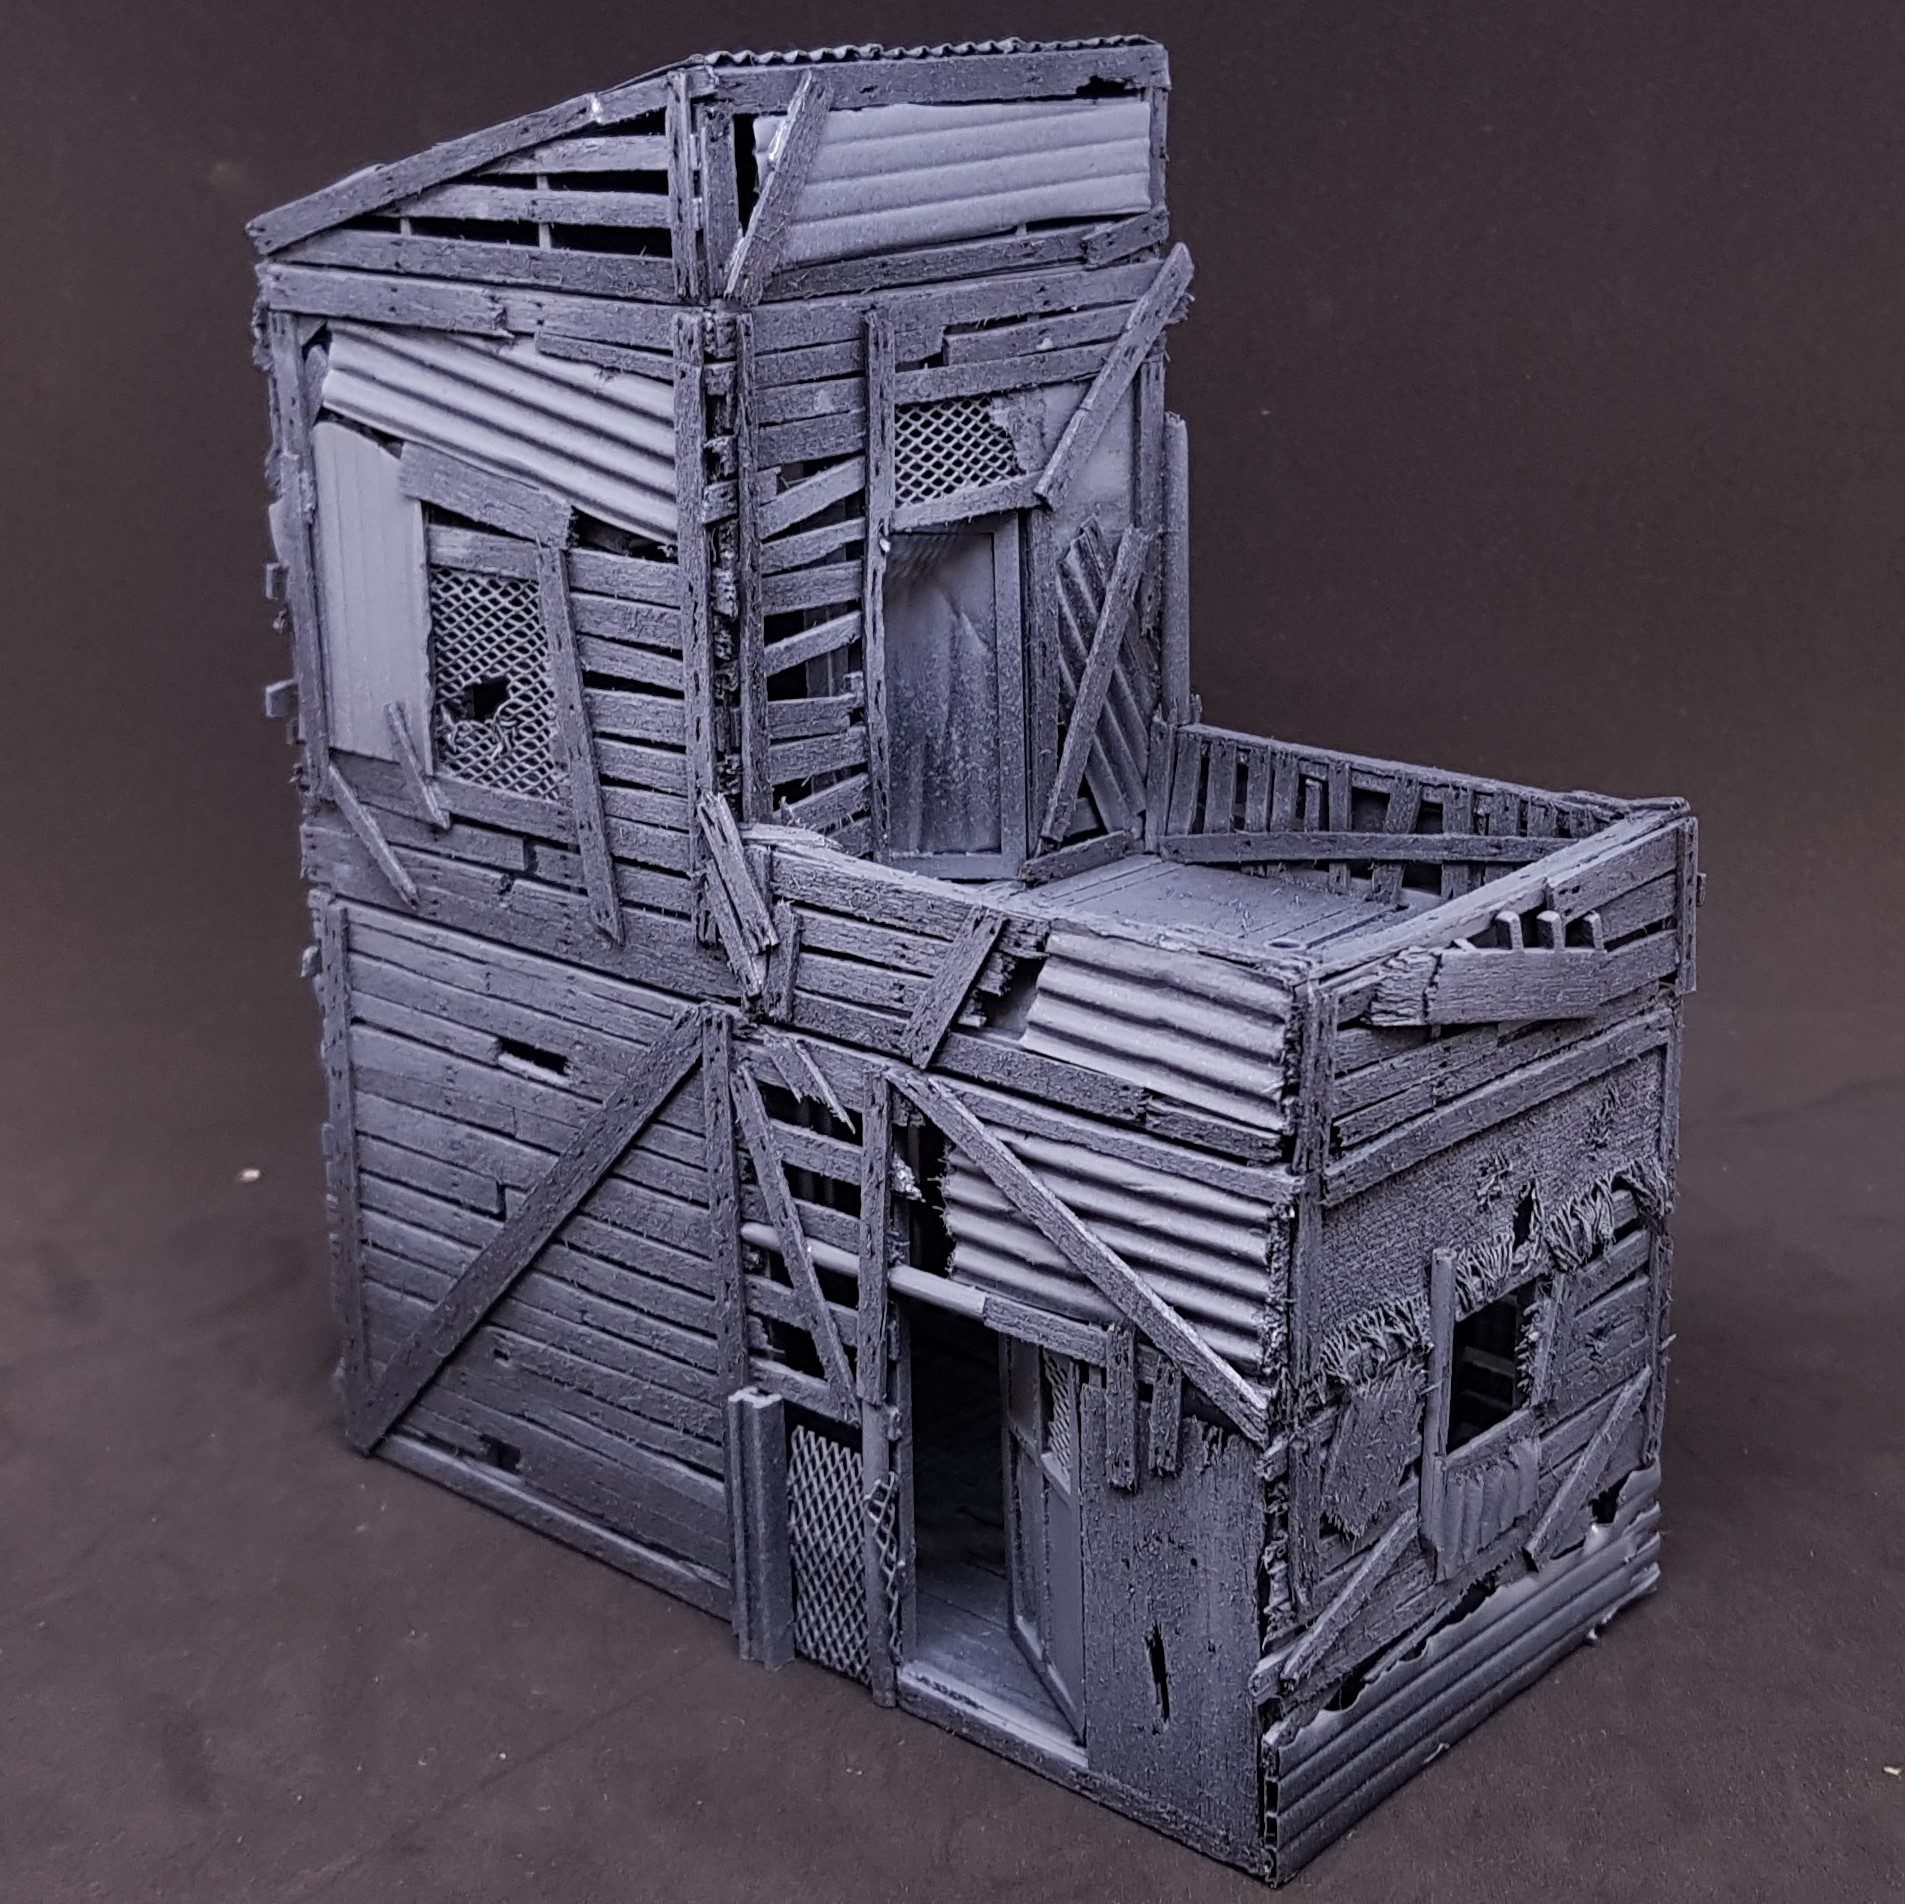 A zenith’d shot I like to do this as there is so much going on it’s hard to see detail.
  Other side.
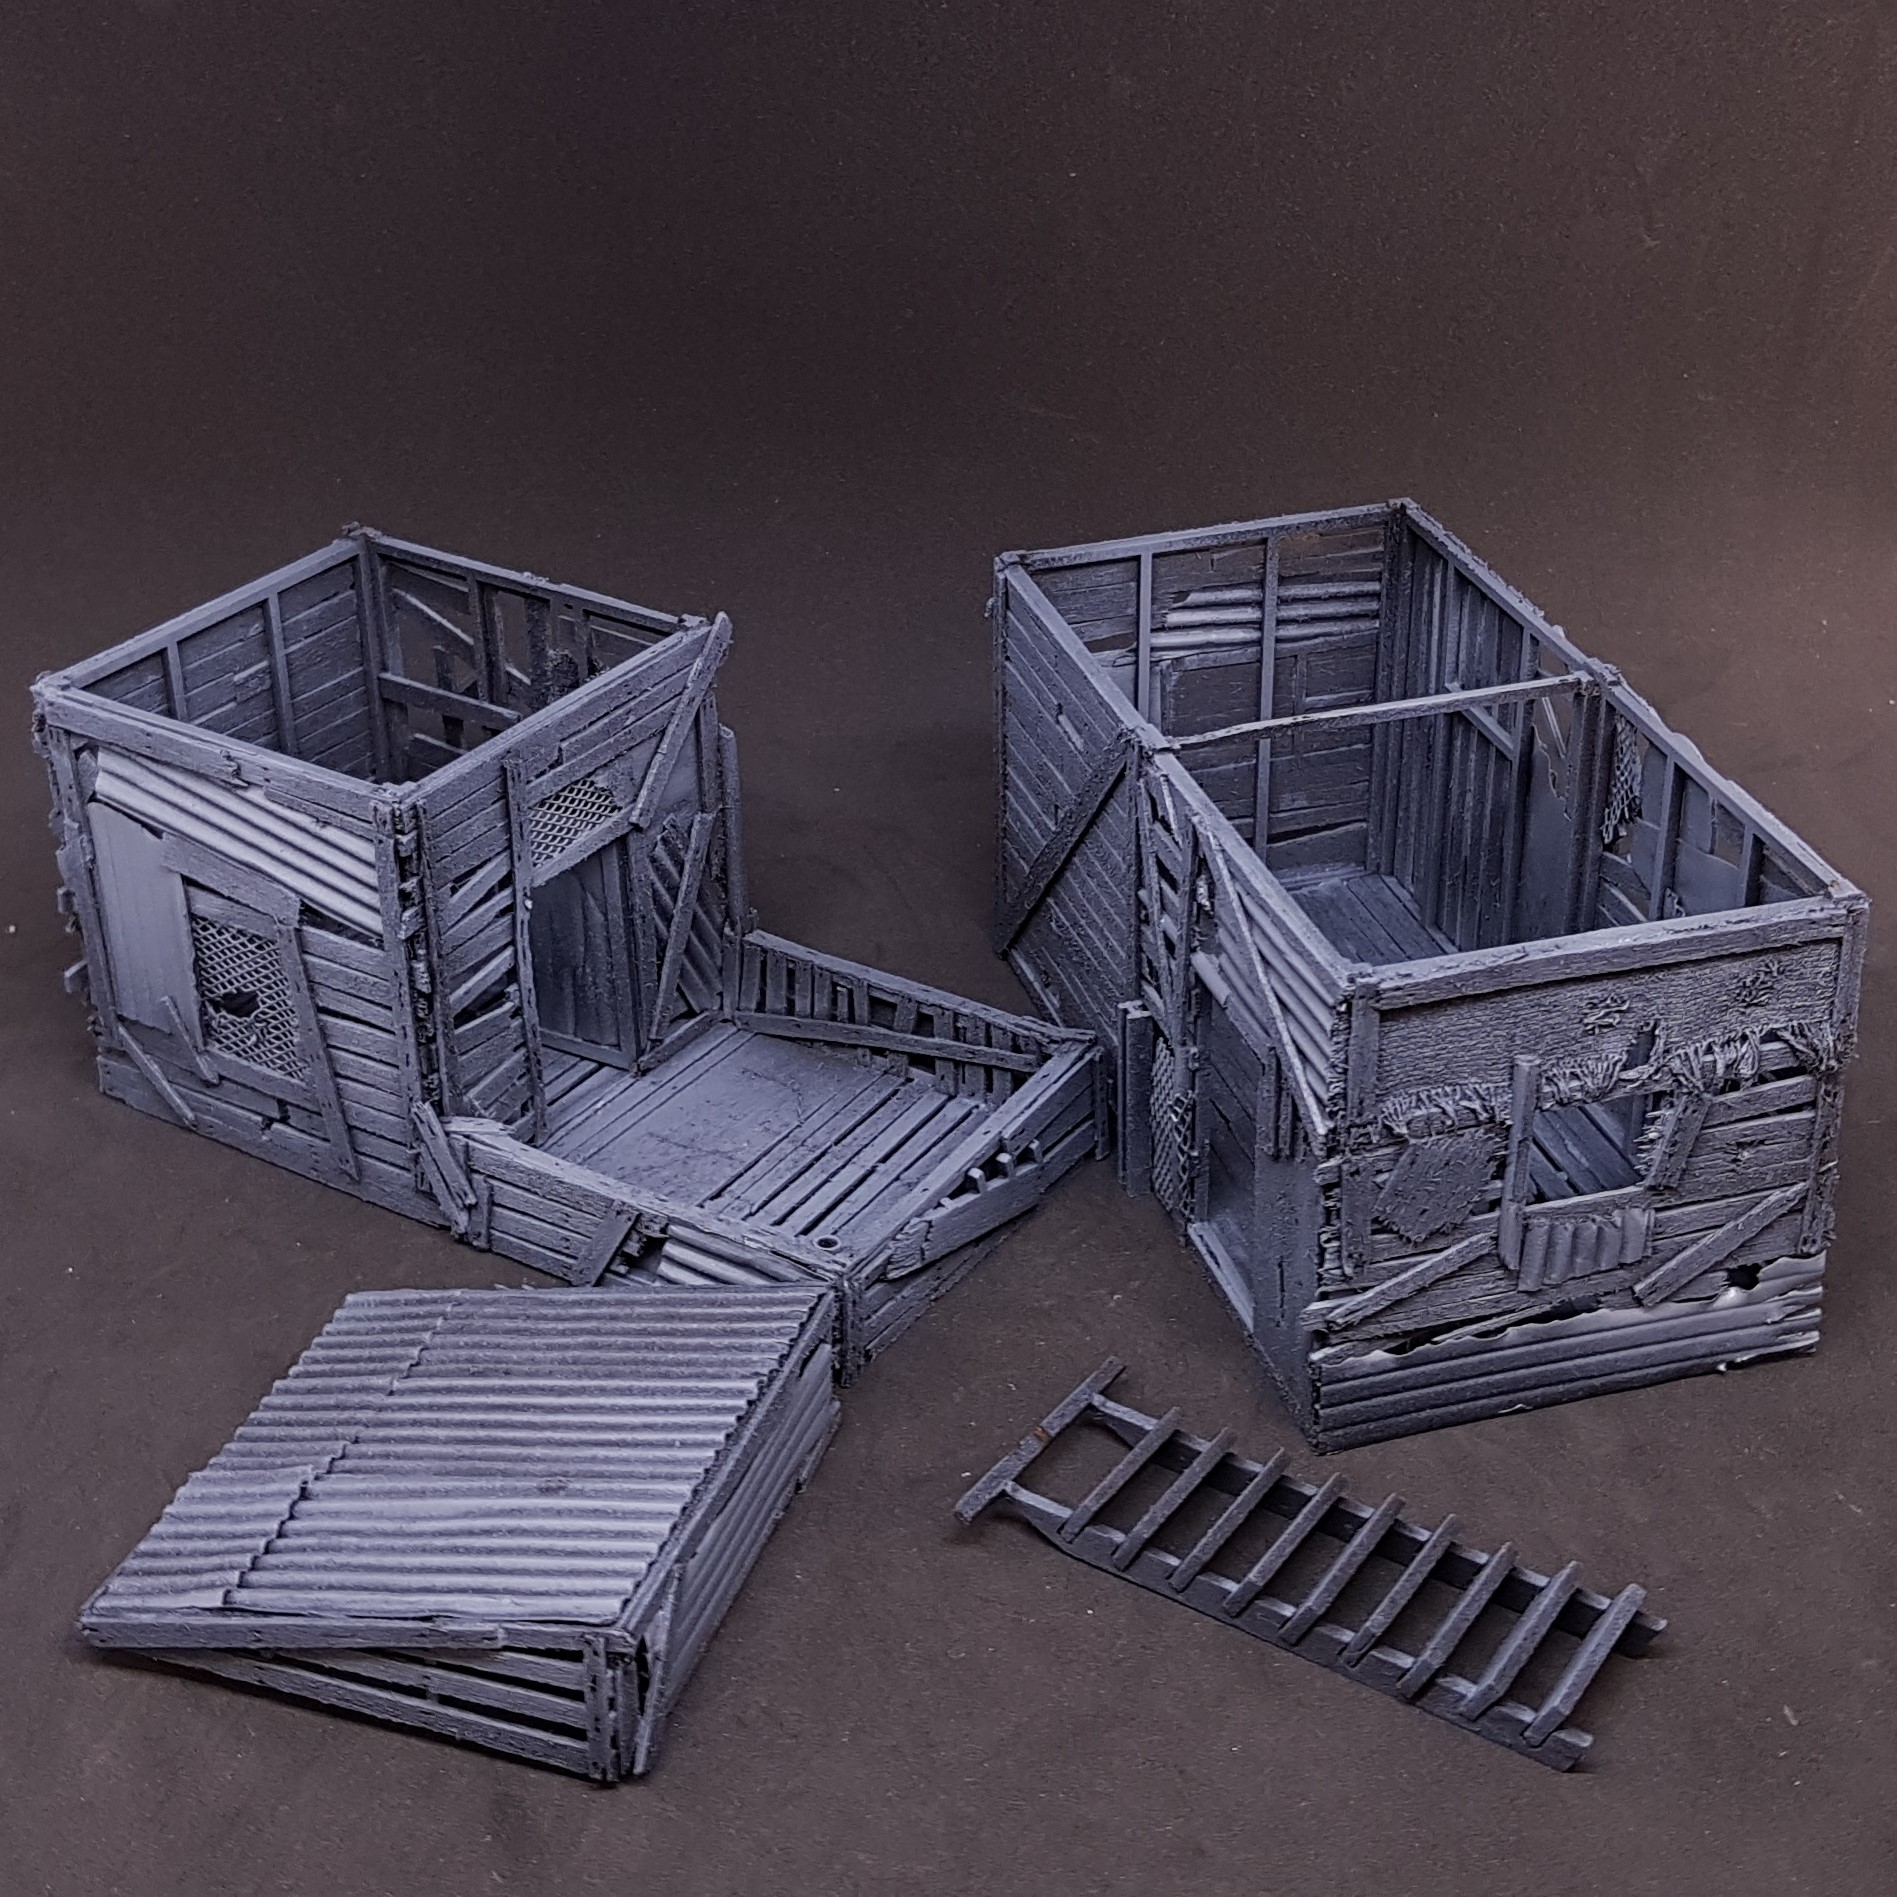 Deconstructed.
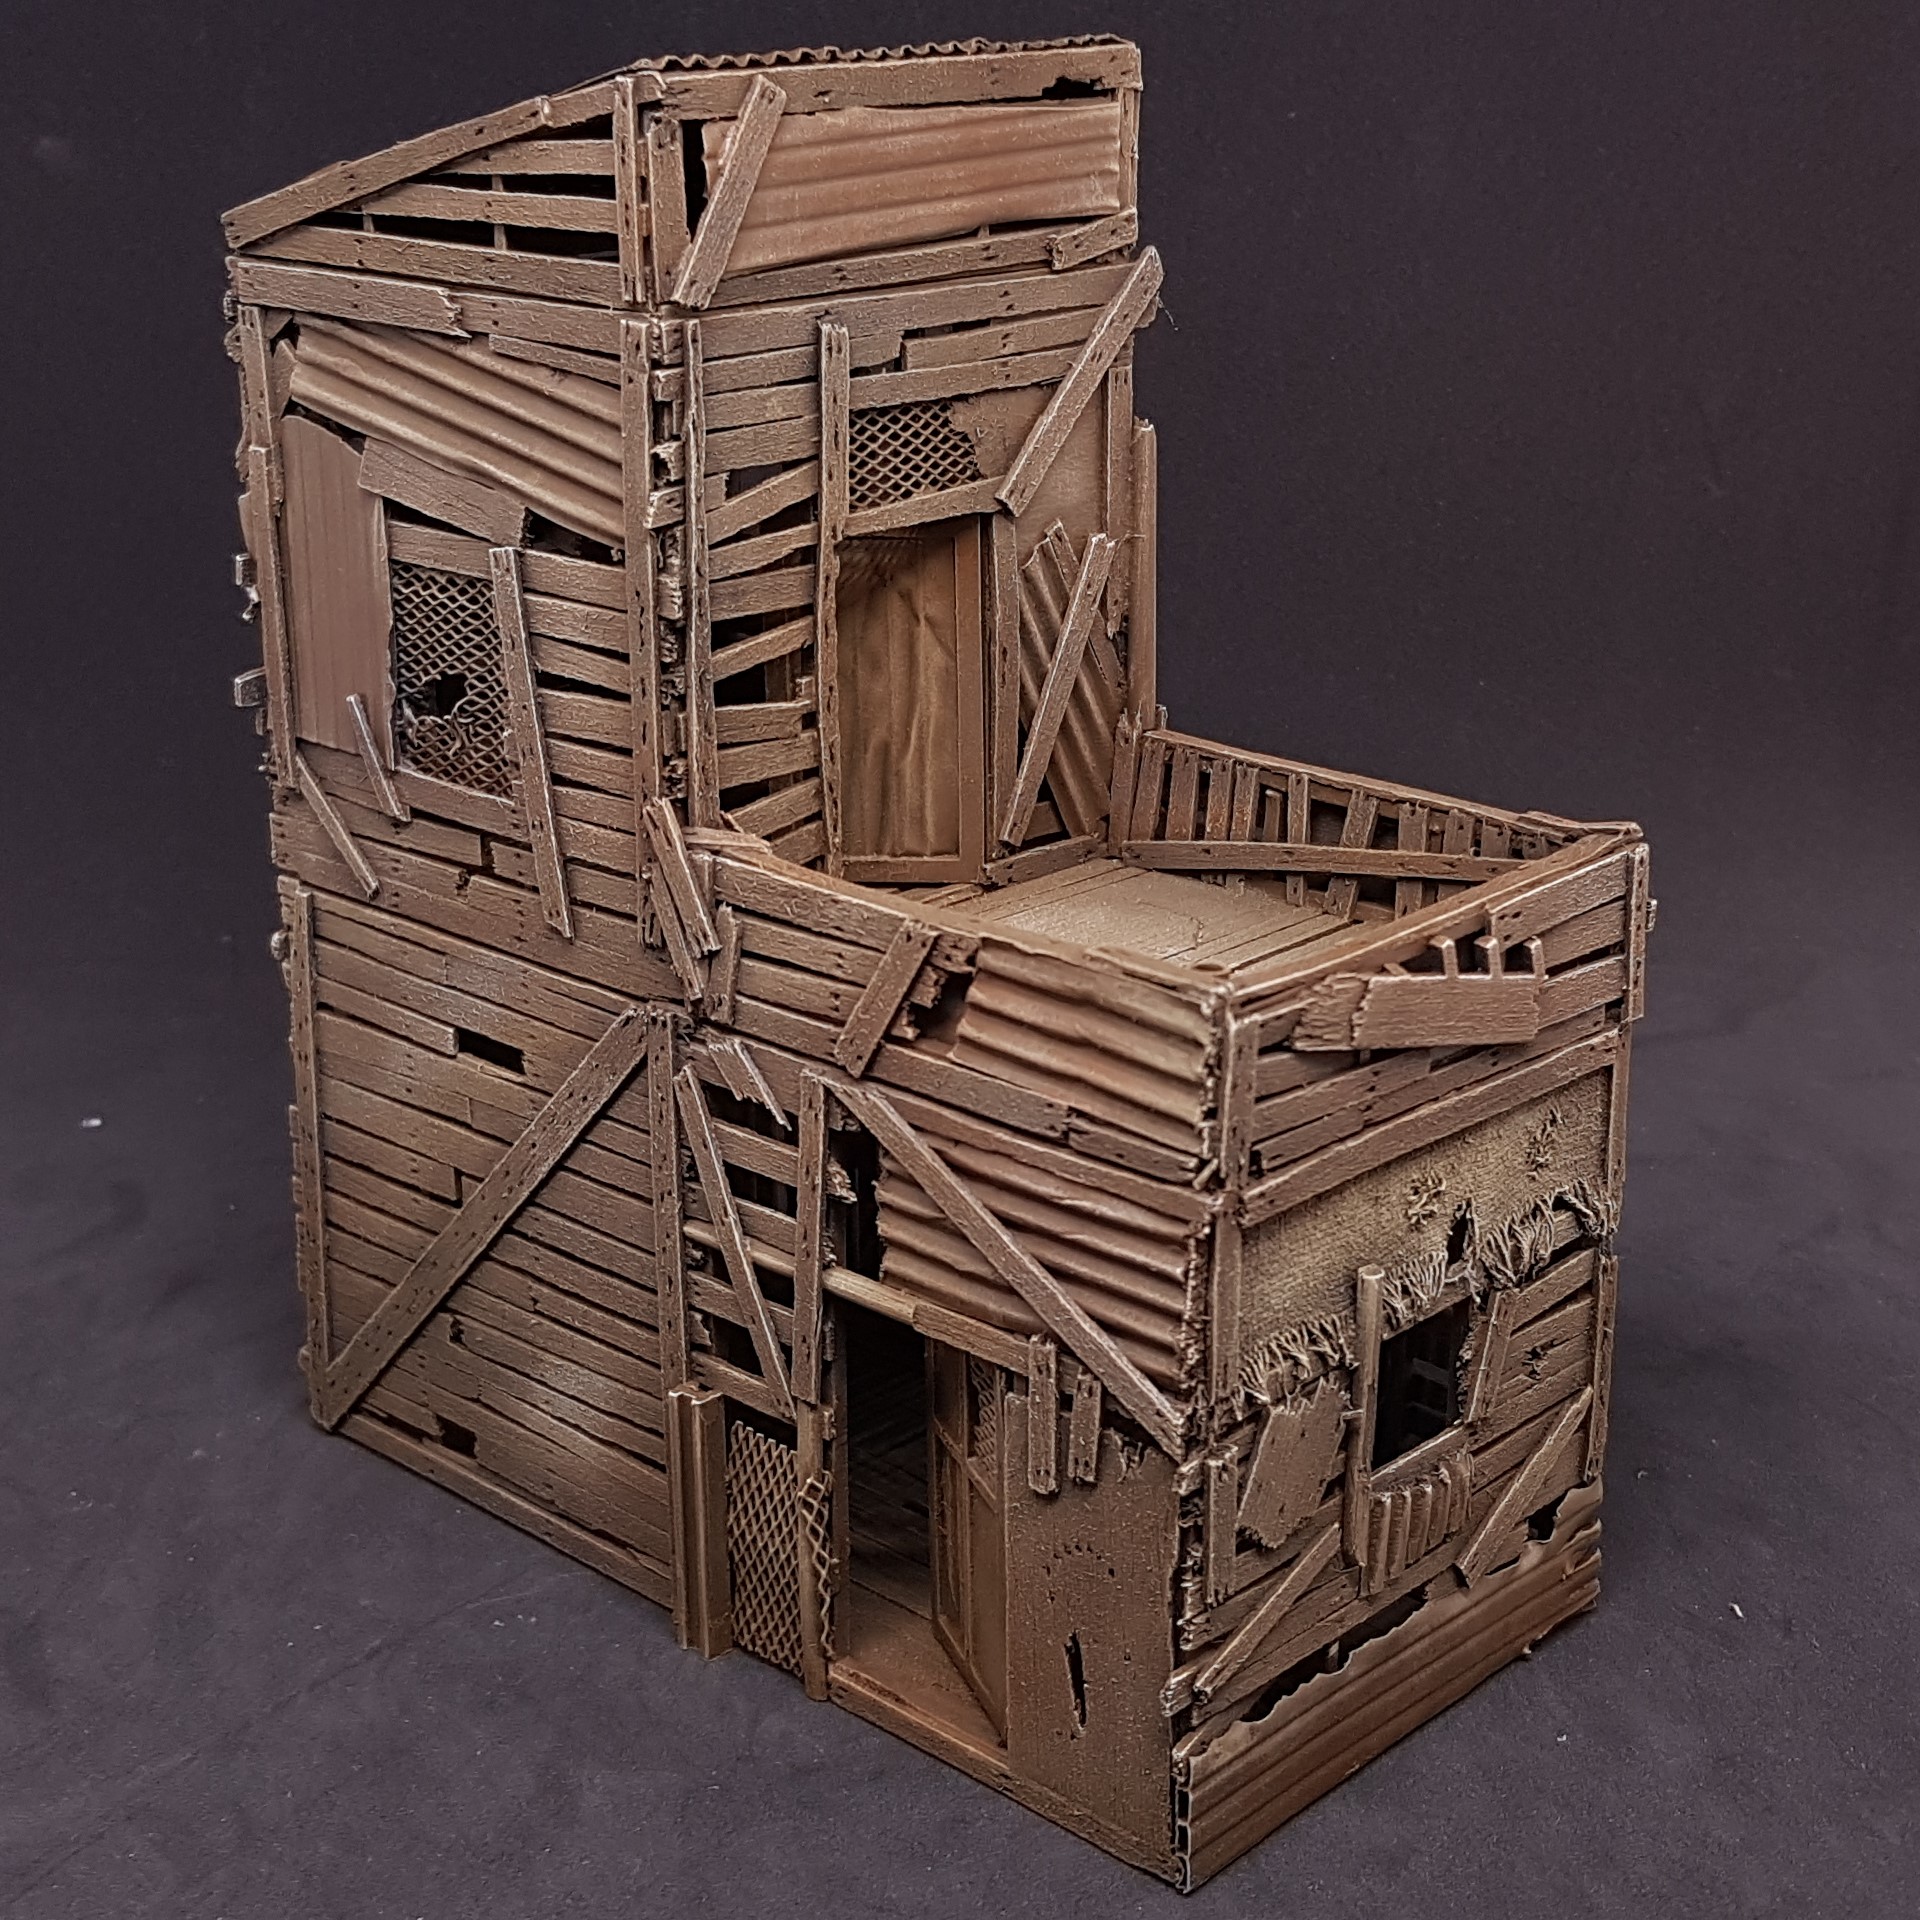 This is where I am up to now. Wood done about to move onto details.
 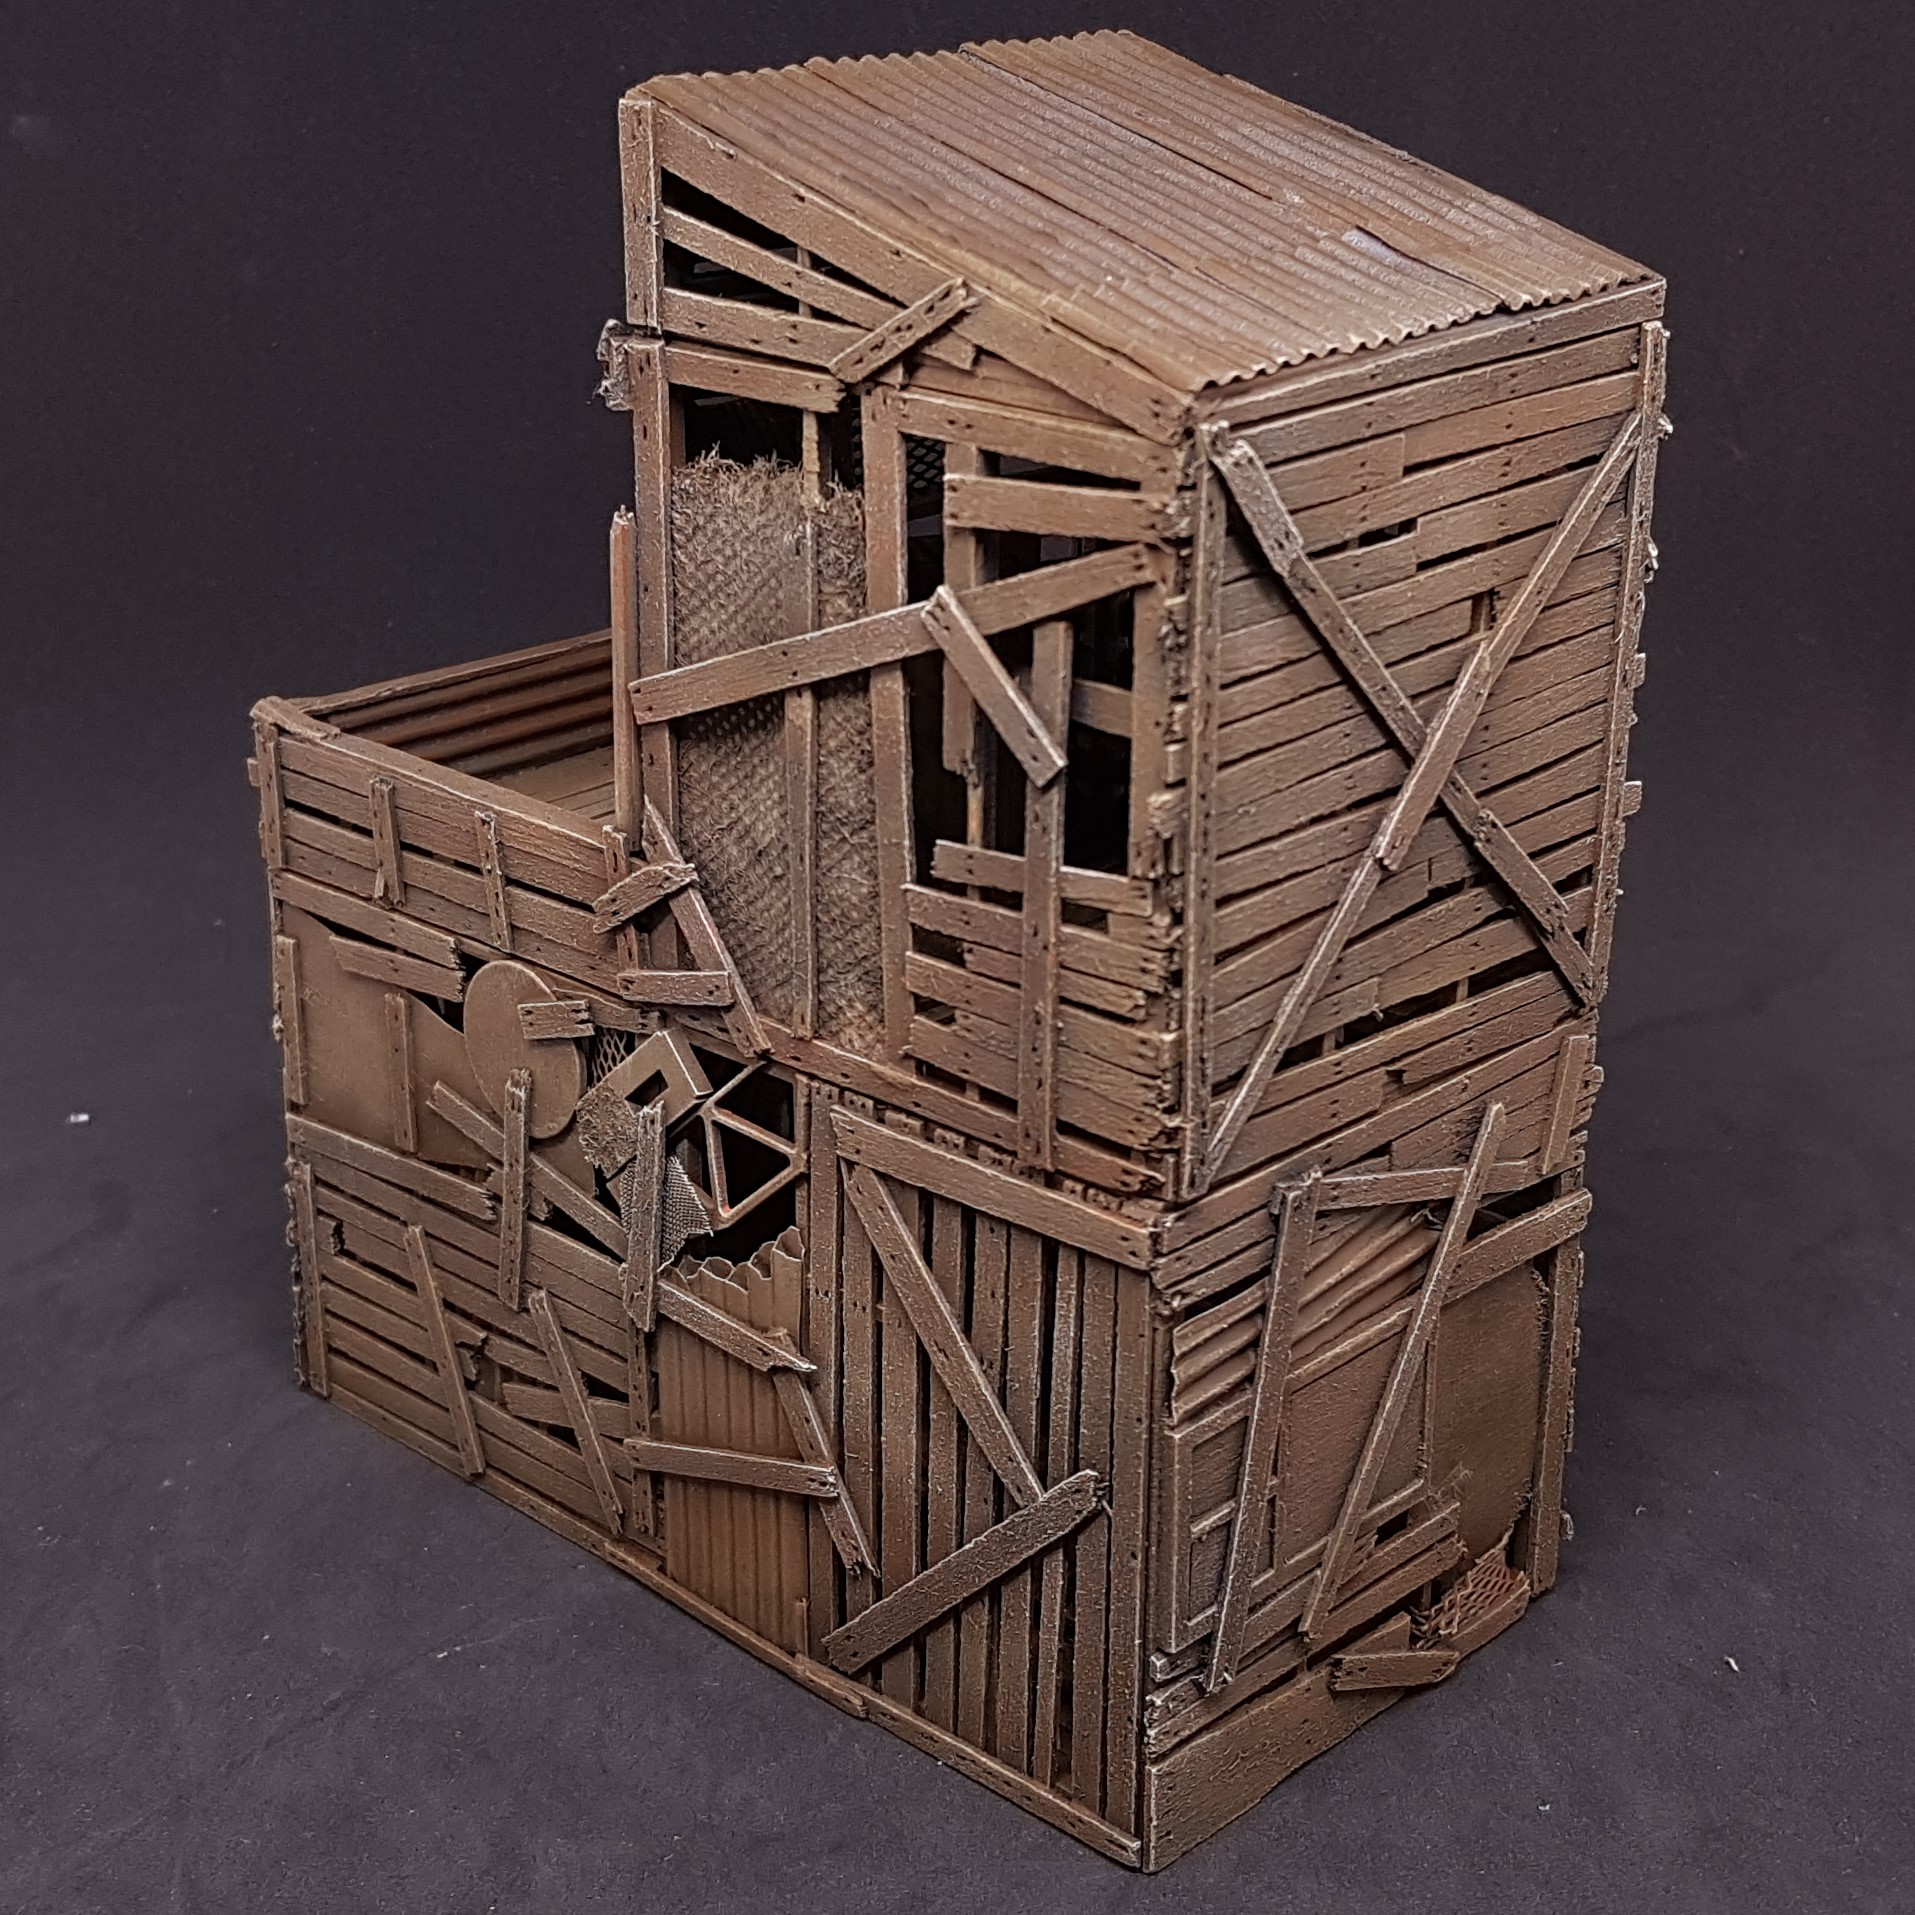 Otherside, looking forward to moving on.
 From doing this one it was quicker than doing 3 1/2 “cubes” but it’s surprisingly time consuming to build and paint. It’s fun doing get me wrong, but half way though each step I get the urge to do something else. I think it’s component fatigue due to the amount. Something I would think about if you undertake a similar project. Possibly don’t do it for a time based challenge so feel you can leave it for a bit.
Today I am going to start on the detail painting. Next up though I have a tutorial section on wood (giggles).


Leave a Reply