


![How To Paint Moonstone’s Nanny | Goblin King Games [7 Days Early Access]](https://images.beastsofwar.com/2024/12/3CU-Gobin-King-Games-Moonstone-Shades-Nanny-coverimage-225-127.jpg)


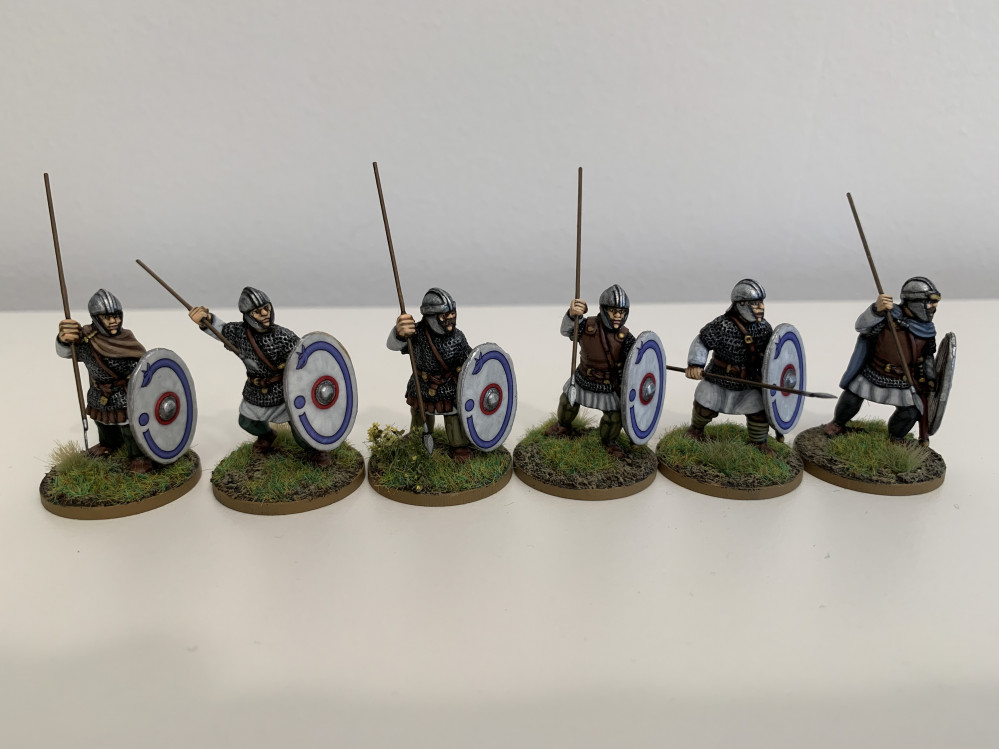
Romano-British for Dux Britanniarum


Battle Report - Raid on a Border Tower - Turn Six
At this point it was clear that the game could go either way with both sides on a Force Morale score of 4. On the British side both groups of Warriors had been wiped out and the Comanipulares were down to two men. However, the Levy were still at full strength and had established themselves in shieldwall with all of the British nobles close by.
On the Saxon side, one group of warriors had broken and fled, but the remaining groups were still operational, although with casualties and accumulated shock. These groups were working in two formations each consisting of a group of warriors and hearthguard. Saebert commanded the formation nearest the British Levy and Ceawlin would need to move his troops up alongside them in order to bring his full force to bear. However, he would need to do this quickly if he was to stand any chance of completing the original objective of capturing Peredur Constantine without taking further damage to his force’s morale.
The turn started with the British Missiles failing to repeat their success of last turn and all shots missing their target. Ceawlin then tried to bring his formation alongside Saebert’s but to do so they needed to negotiate a hedge surrounding a field alongside the road. The boughs of the hedge were thick and stout whilst its thorns and briars tore at the men’s clothing. As a result, Ceawlin’s men managed a mere 2 inches of movement and barely cleared the obstacle.
The next leader to activate was Peredur Constantine. There was no point in the battle-scarred Comanipulares remaining between the Levy and the Saxons, so he ordered them to move out to the right of the Levy and removed a point of shock.
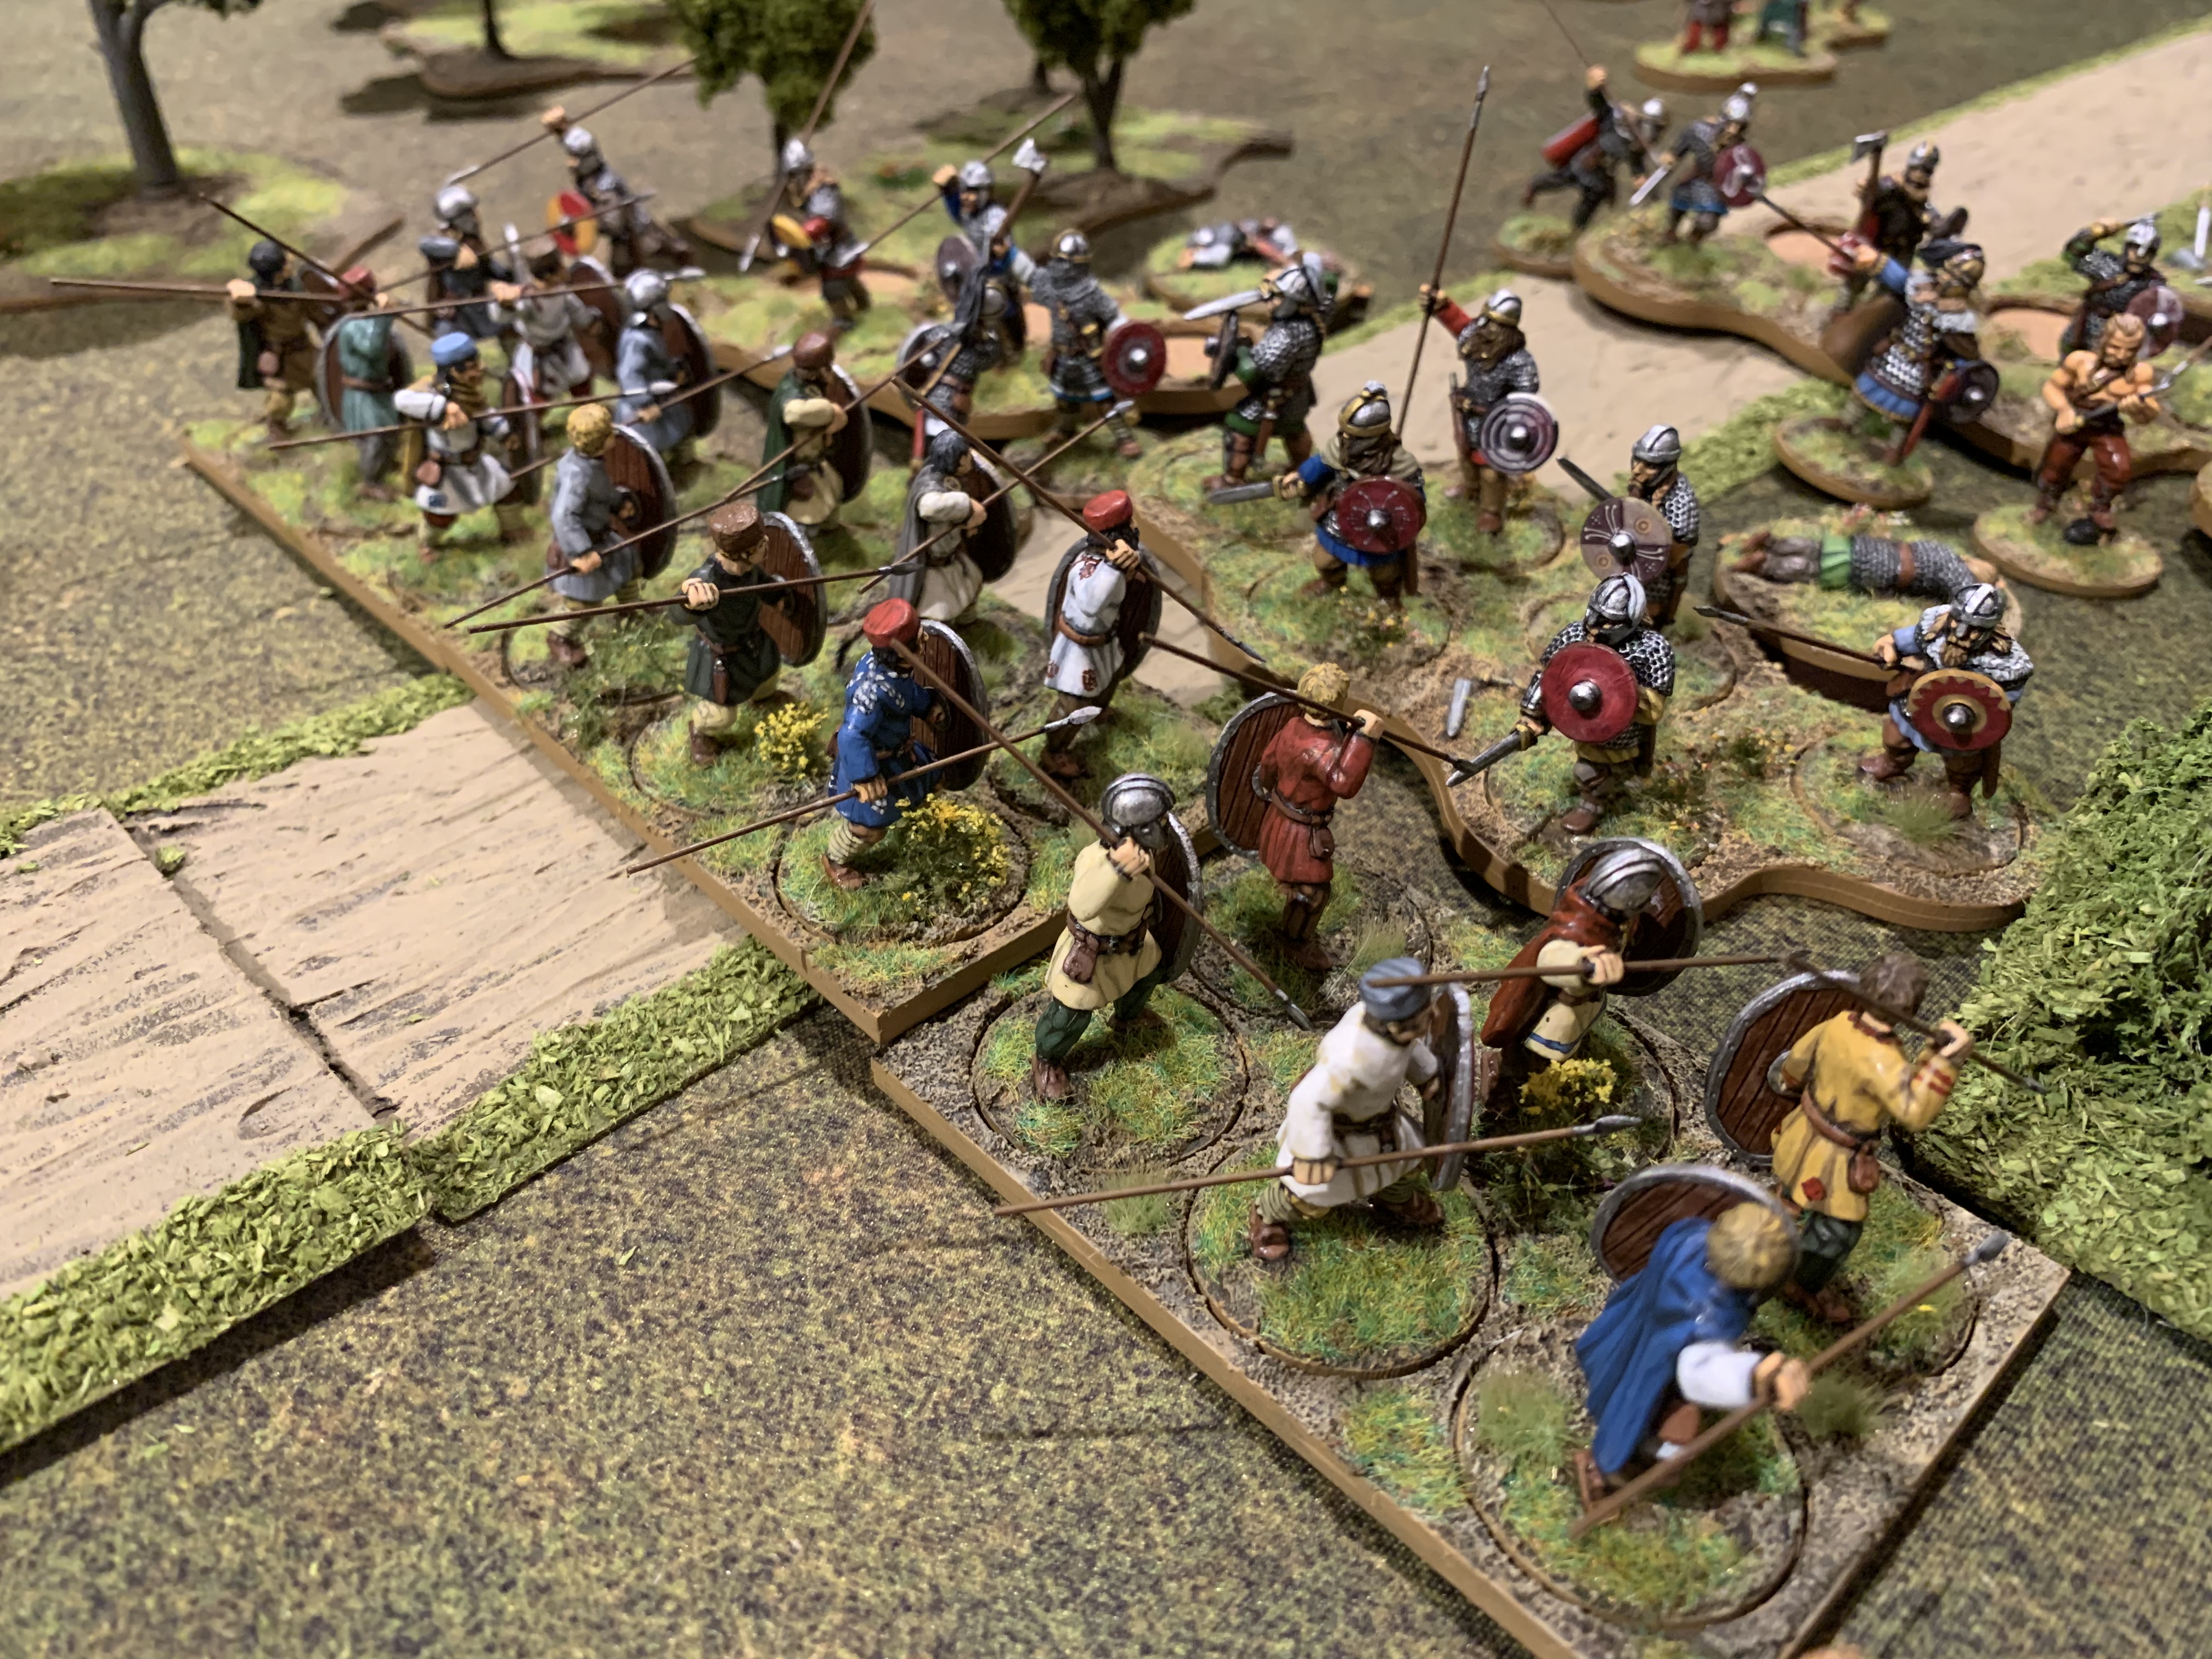 Urien Cadwallader and his Levy charge the Saxons under Saebert
Then came the turn of Urien Cadwallader. Weighing his options the British noble decided there was no merit in standing to receive the Saxon charge and ordered his men to charge the Saxon hearthguard and warriors led by Saebert the Old. Despite their inexperience, the Levy performed admirably, advancing in shieldwall a full 5 inches, one short of their maximum. This manoeuvre also brought them alongside the remaining Comanipulares, allowing the elites to lend their support.
The sheer weight of numbers provided by the Levy meant the British rolled a massive 25 dice to the Saxon’s 9. The Levy scored 10 hits and the Saxons only 3, but again, the superior quality of the Saxons showed. Despite the disparity in numbers, the British could only kill 2 Saxons, whilst the Saxons claimed the life of another of the Comanipulares, reducing them to 2 men.
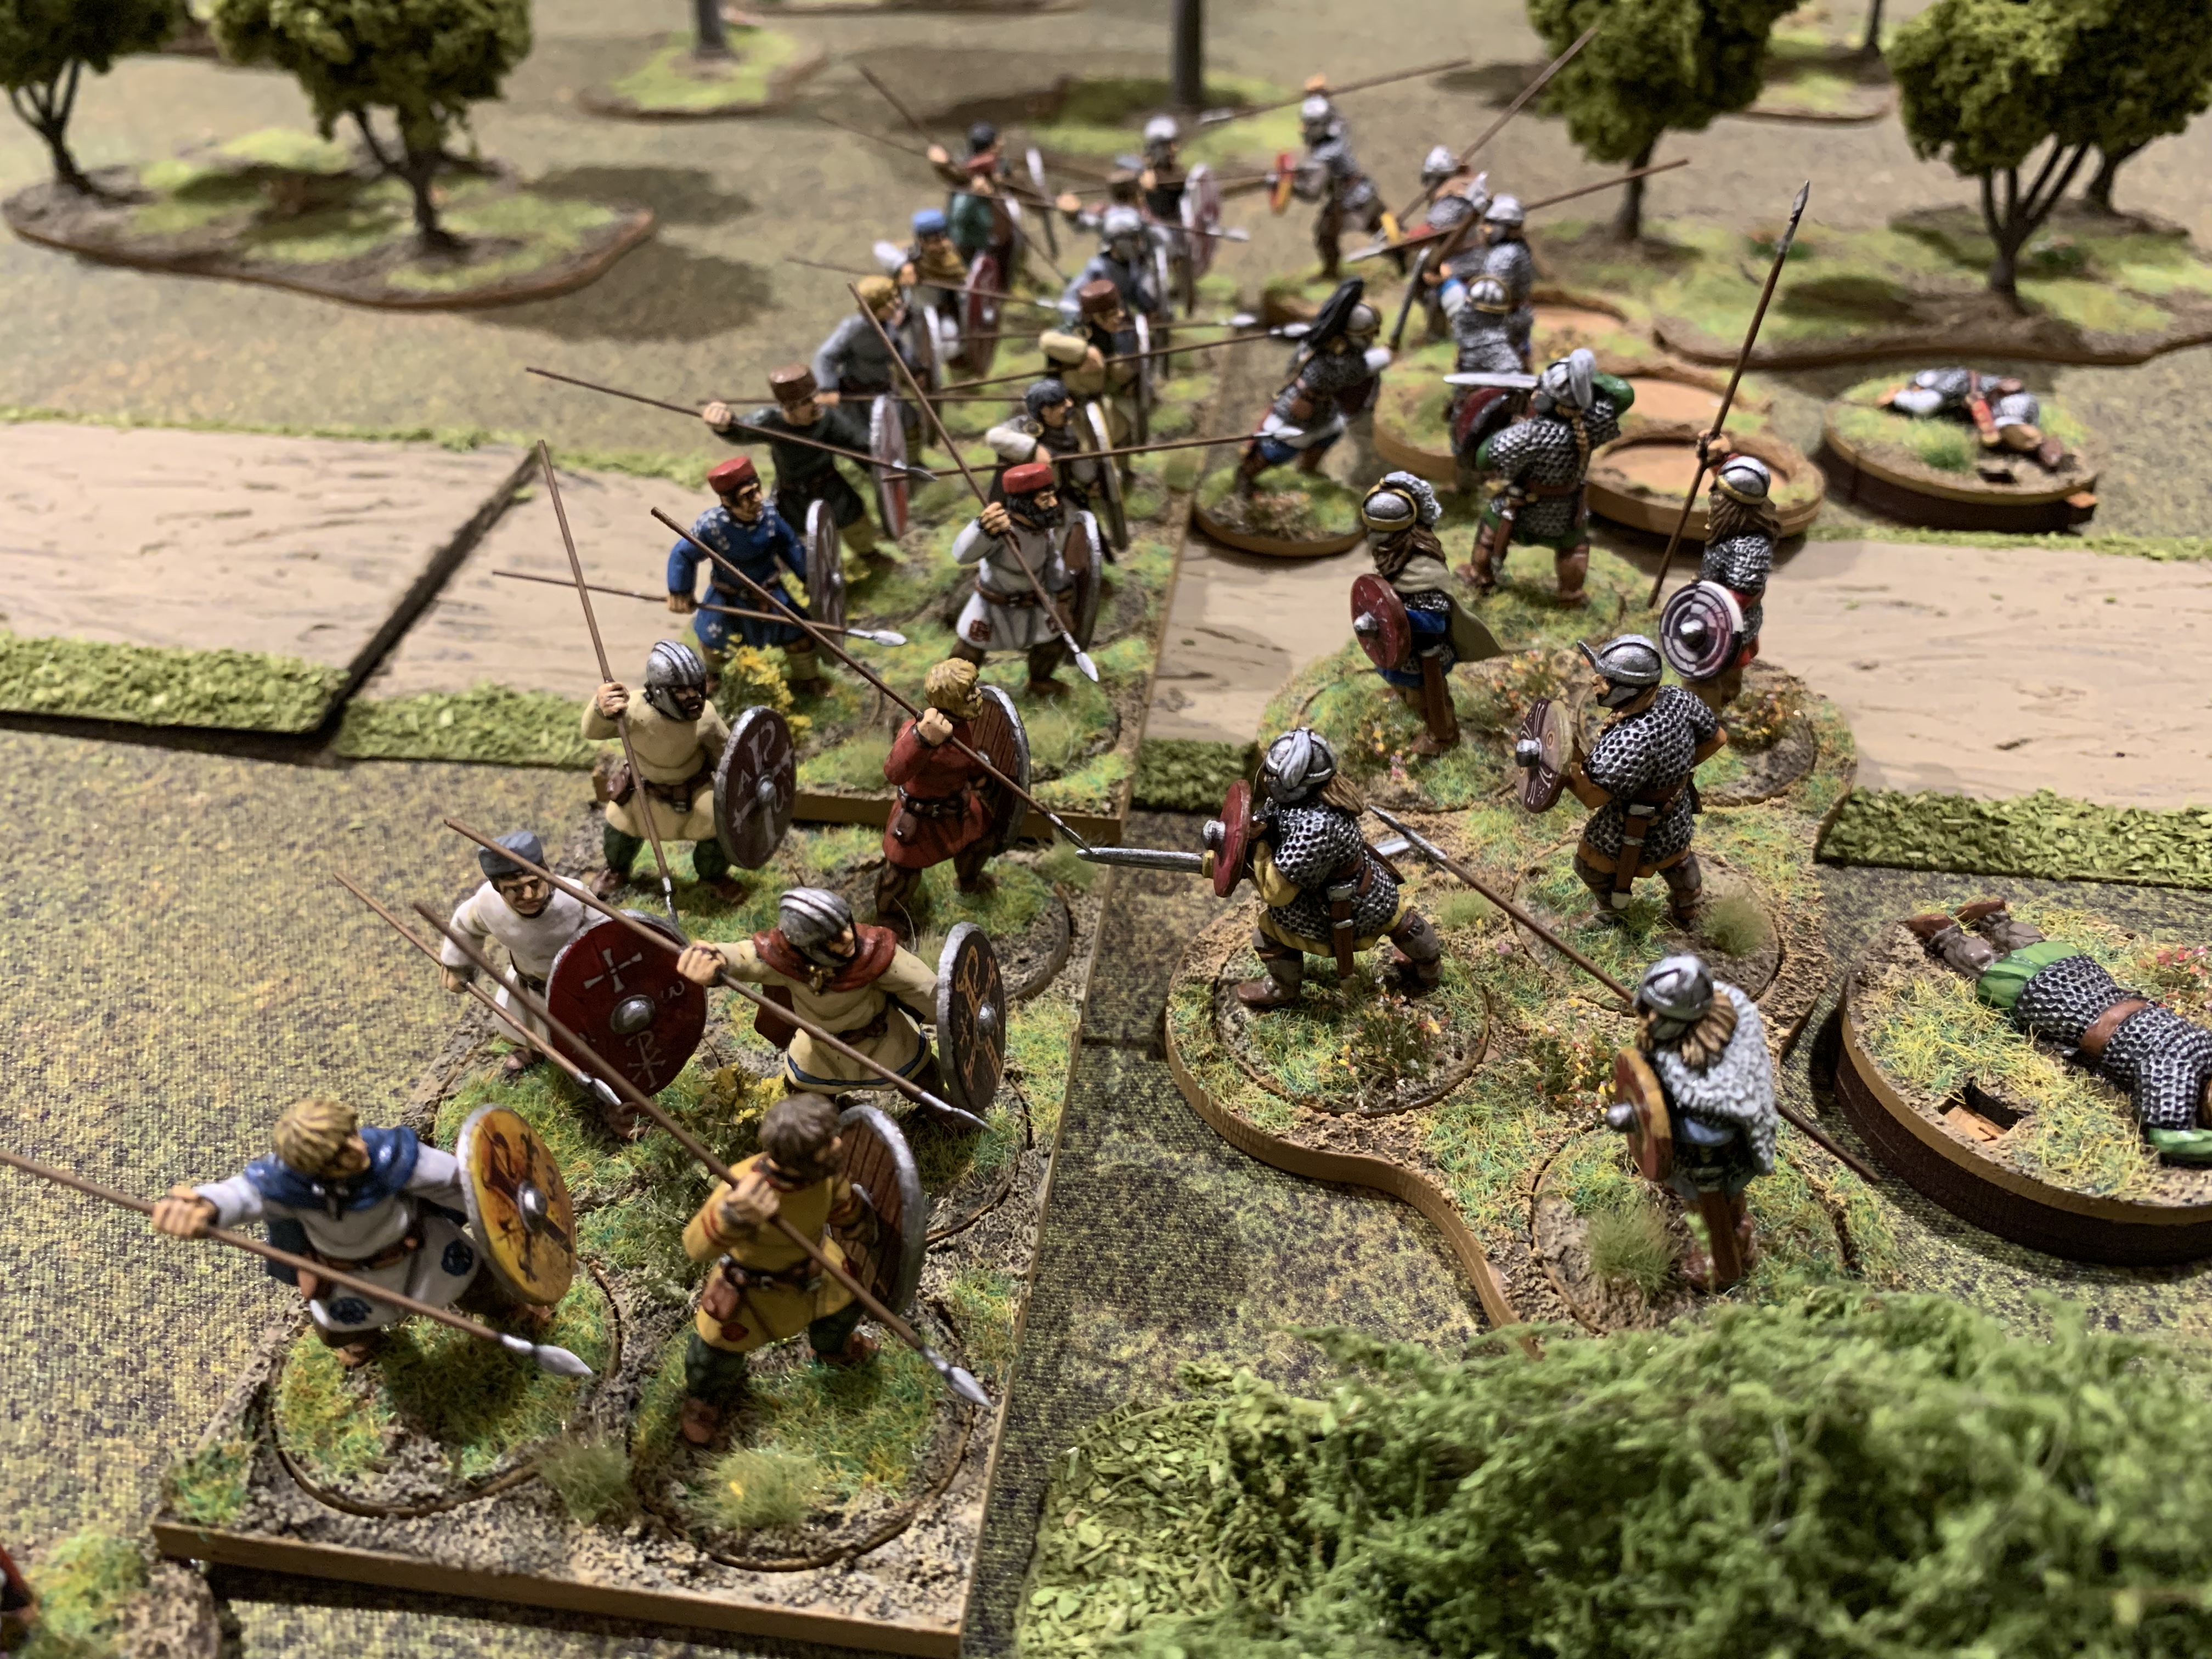 The battle rages back and forth
Both lines descended into a frenzy of hacking and stabbing as a second round of combat was fought. But this time, the British made their numbers tell. 24 dice resulted in 14 hits and 4 kills on the Saxons. Despite the Saxons making brave use of their 9 dice to cause 2 kills, the determination of the British citizenry to defend their lands proved too much for them. Saebert the Old staggered back wounded, as he watched the group of Warriors under his command wiped out by the enraged Levy. He retreated a short distance with the three surviving Hearthguard under his command and Saxon Force Morale fell to 1. Would Ceawlin arrive in time to save Saebert who was left hanging in front of the British line?
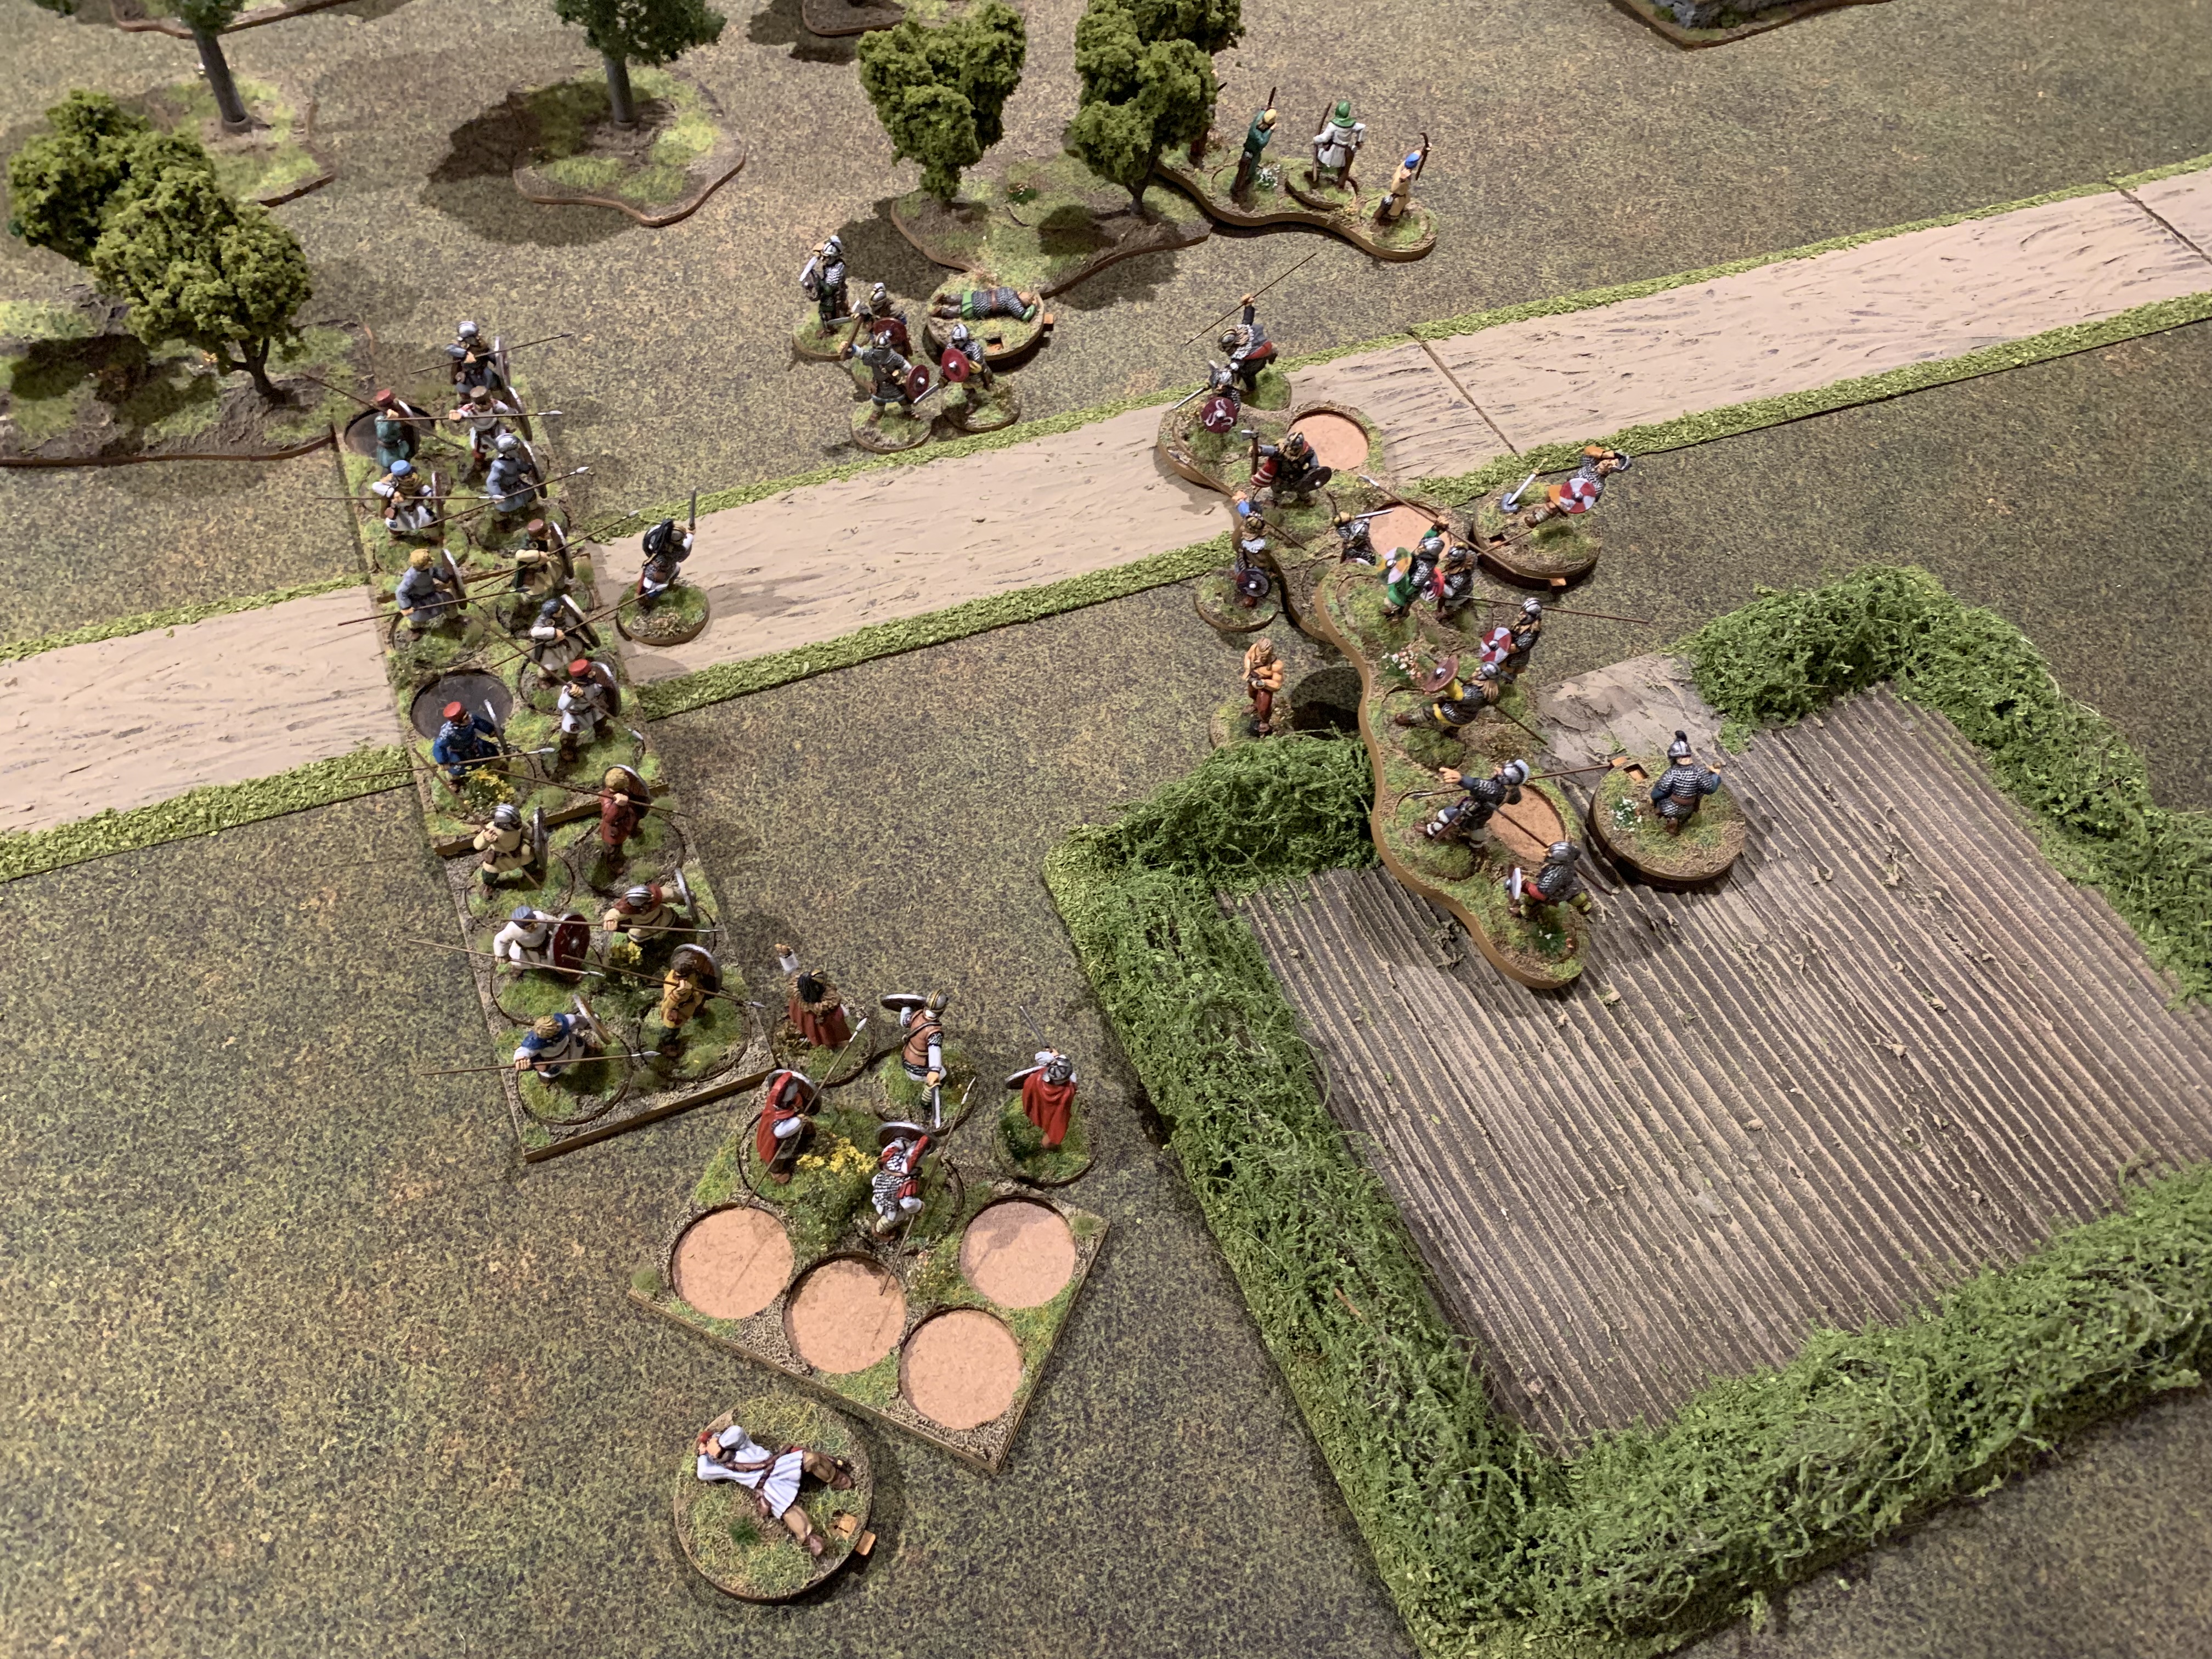 A wounded Saebert the Old retreats with the three remaining Hearthguard, hoping that his liege lord will come to his aid


Leave a Reply