


![Very Cool! Make Your Own Star Wars: Legion Imperial Agent & Officer | Review [7 Days Early Access]](https://images.beastsofwar.com/2025/12/Star-Wars-Imperial-Agent-_-Officer-coverimage-V3-225-127.jpg)


Burrows & Badgers – Painting & Gaming


Recommendations: 1394
About the Project
A collection of my Burrows & Badgers models to show off where things have got to so far AND where they're going next! Will feature some of my finished work and also plenty of WiP as well!
Related Game: Burrows & Badgers
Related Company: Oathsworn Miniatures
Related Genre: Fantasy
This Project is Active
Finished Kingfisher
So, I finished off the Kingfisher last night after a lot of very difficult washing steps that were painful to get right but I think it worked!
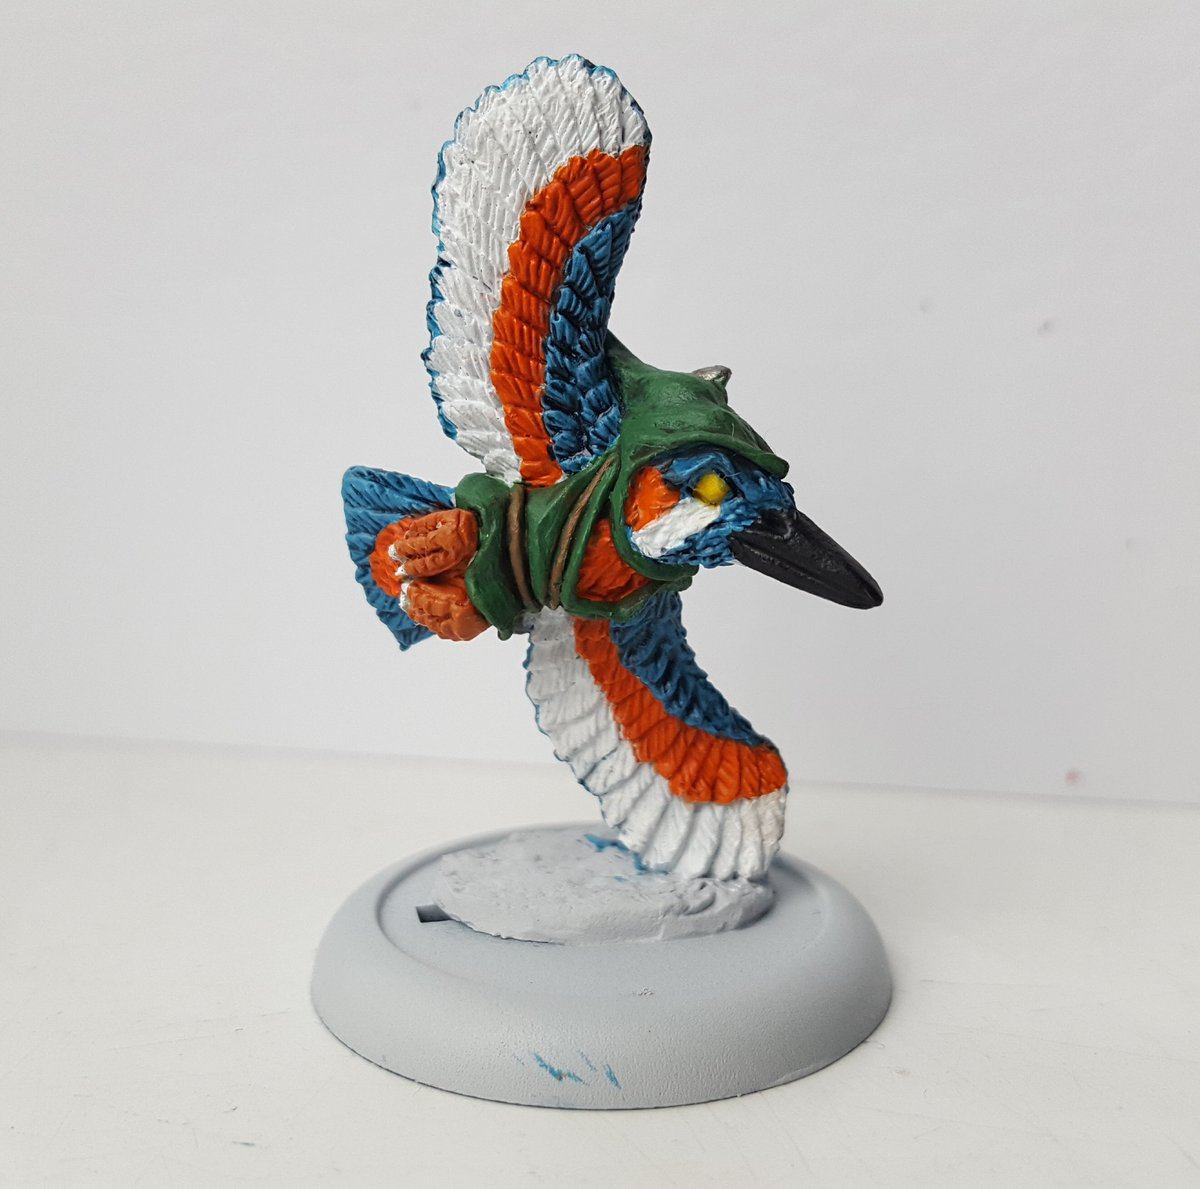
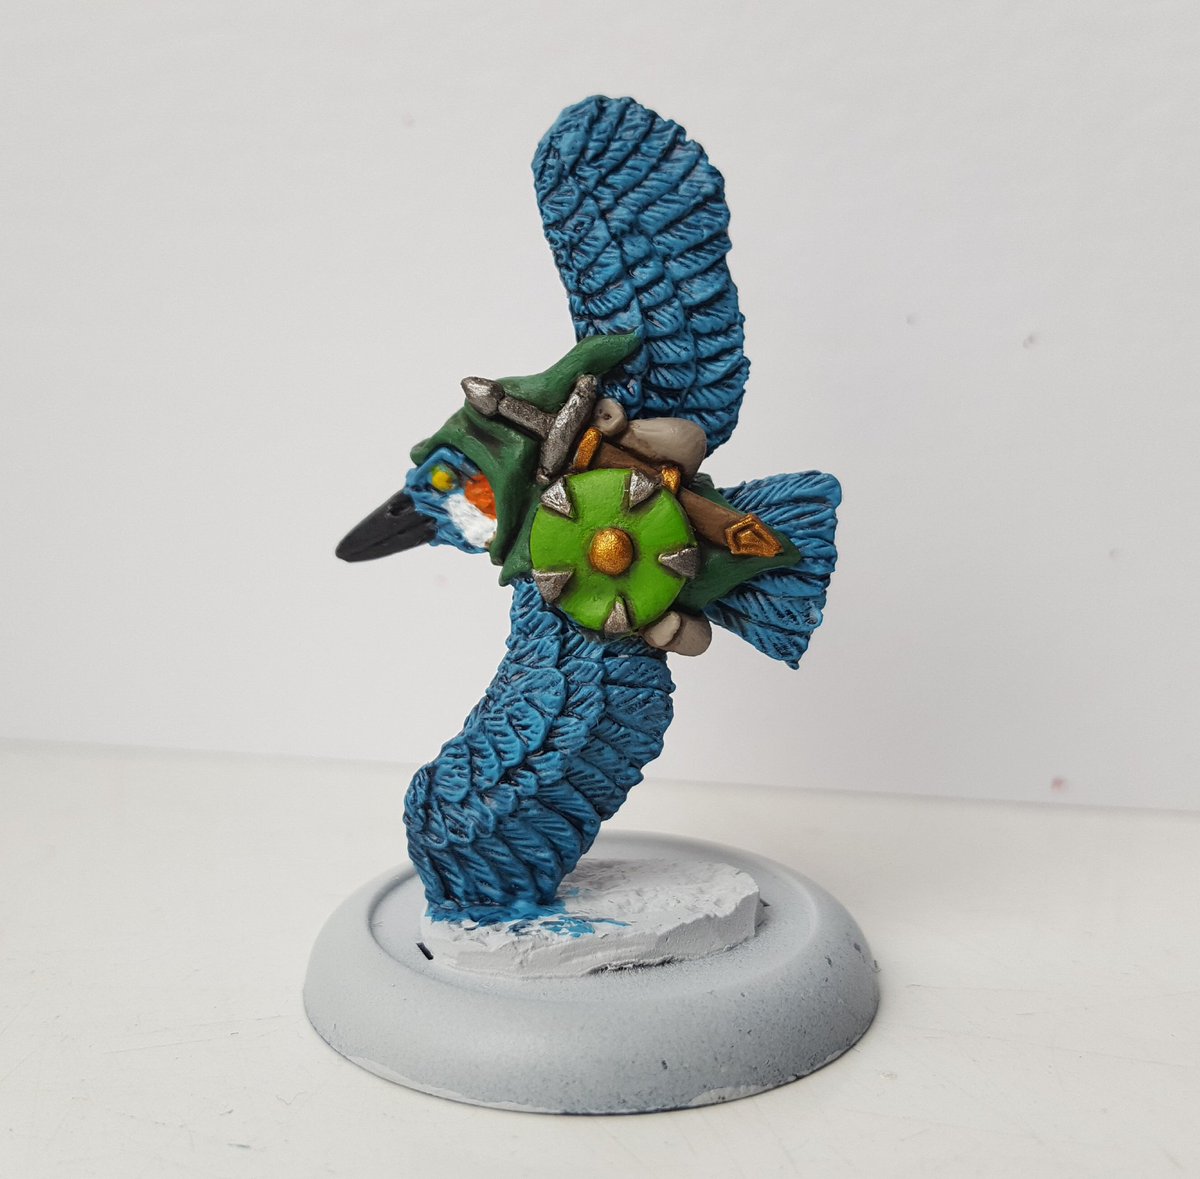
Once again I’m really enjoying painting with bright colours as opposed to the traditional khaki and dirty leathers that you usually see with Fantasy miniatures.
Painting this fellow however did make me realise that I need to get some more paints just to develop my collection a little and give me a few more options when it comes to browns, greens and such.
Will be painting the Otter Pirate next!
Kingfisher Time!
Last night I started work on the Kingfisher from the new Kickstarter. I’ve started working on the bright blues, oranges and whites for this lovely bird and can’t wait to get stuck in properly…
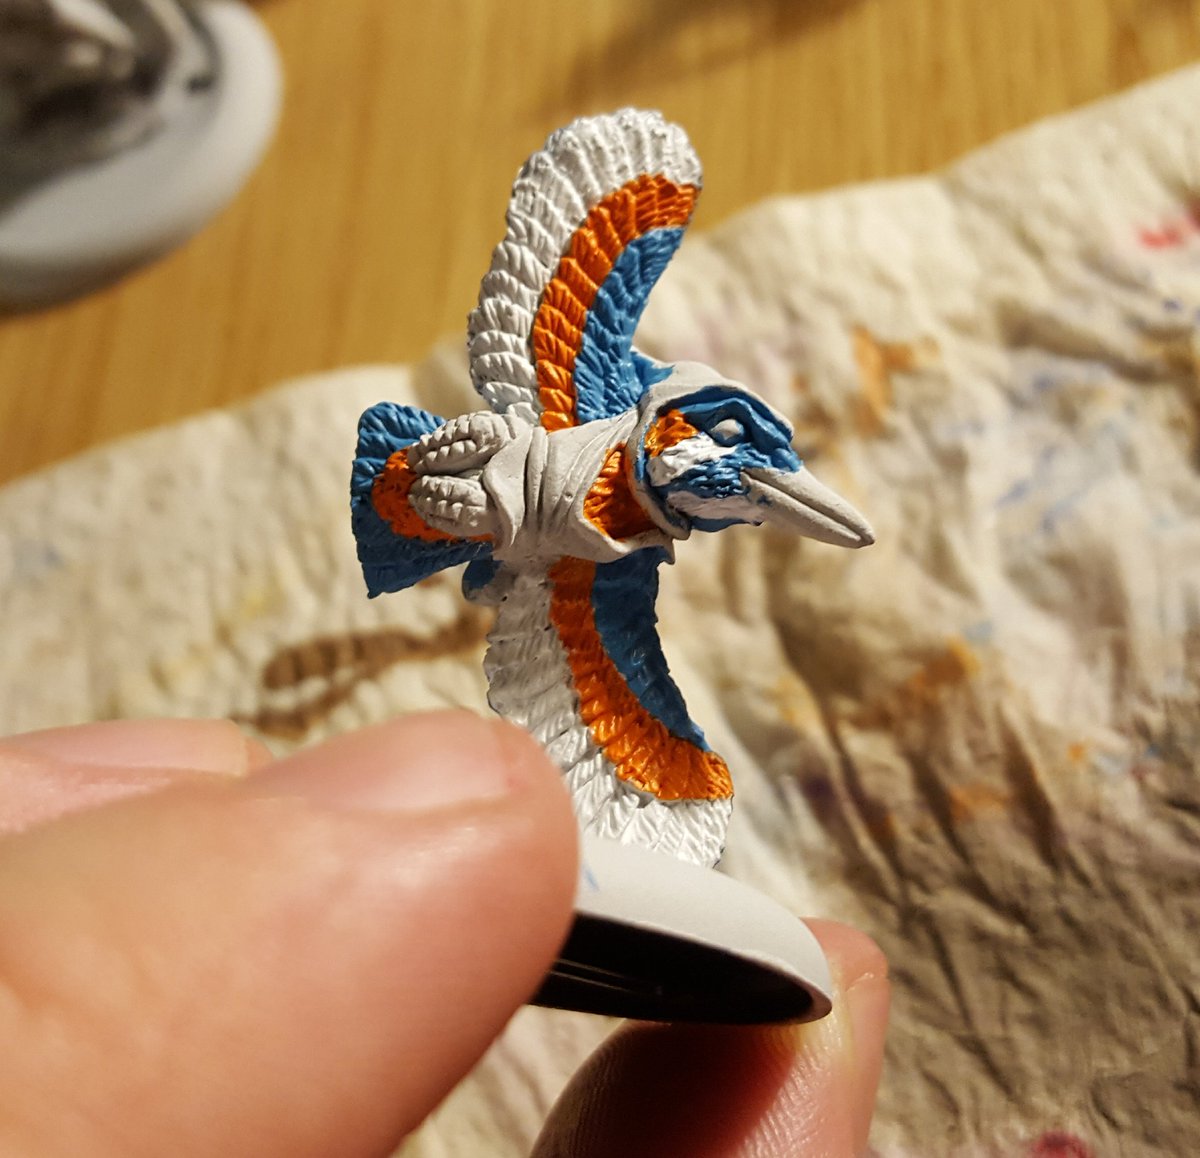

It was fun looking online at just what Kingfishers look like and then trying to match it. I’m going to try and do this a lot more for my creatures, especially those with definitive colour changes throughout their fur.
Will most likely crack on and finish the Kingfisher tonight!
Beaver Finished!
I got in and finished off the Beaver from the latest Kickstarter!
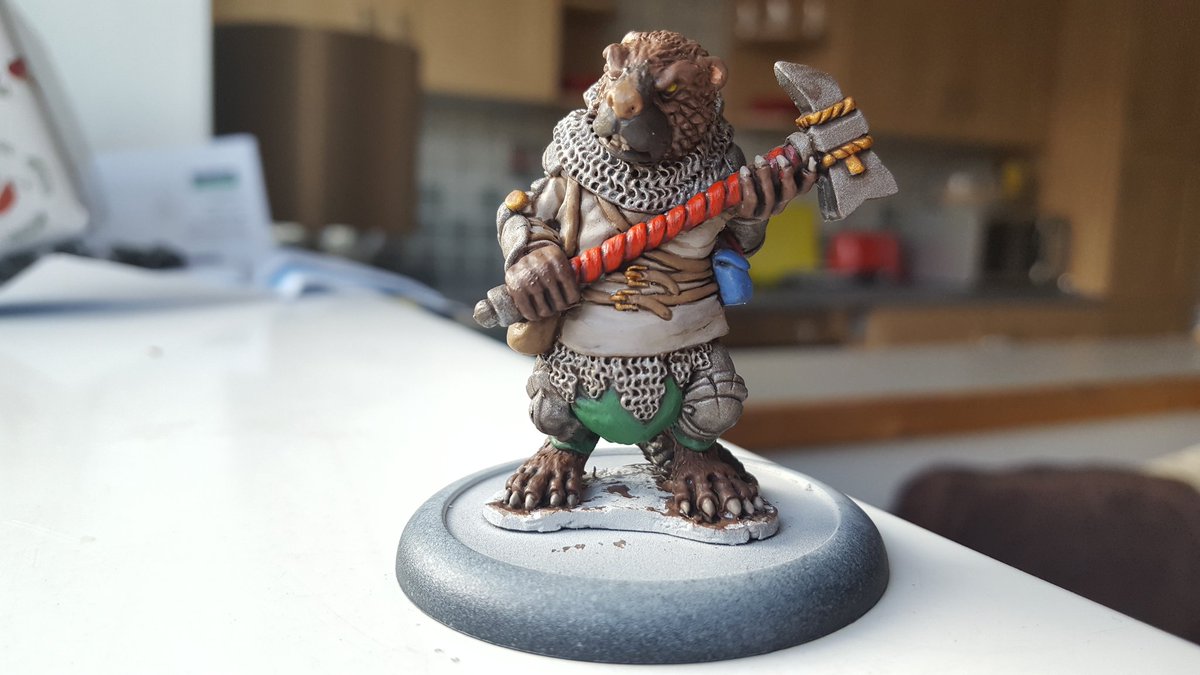
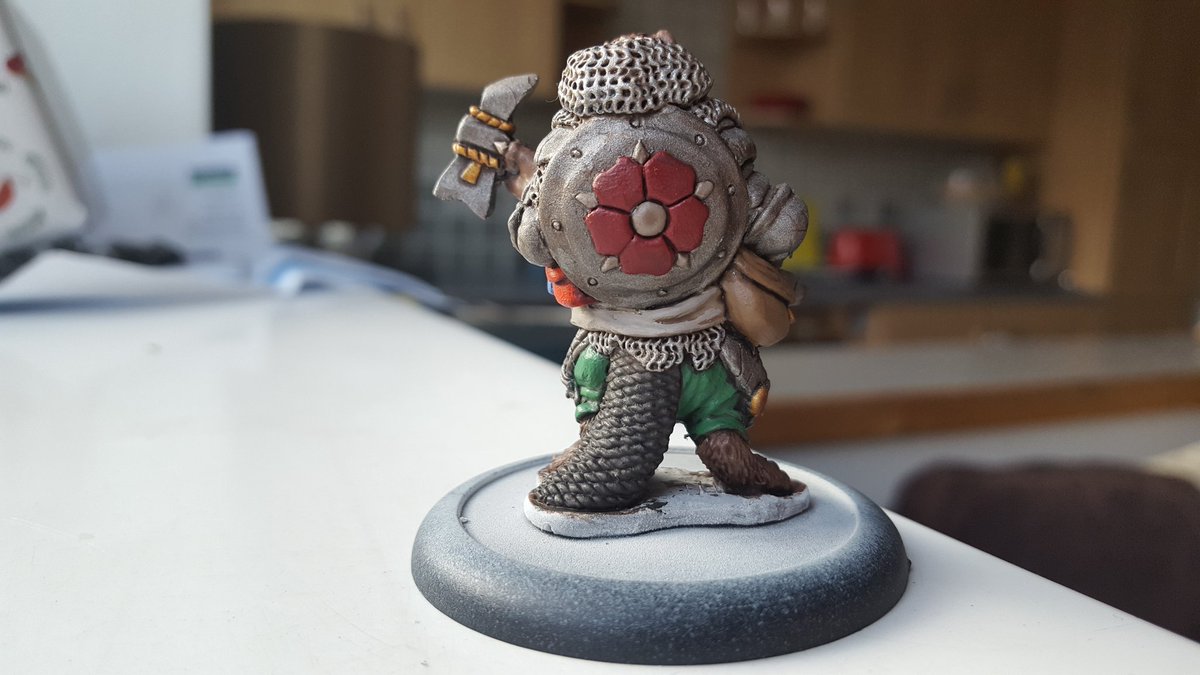
I had a lot of fun with him but the nose still annoys me. Thankfully I think he’s going to look all the better once I get the basing done!
More Painting - Beavers & Hares!
The Kickstarter for Burrows & Badgers arrived and with that, I begin painting again. I started out with the Hare Tavern Owner!
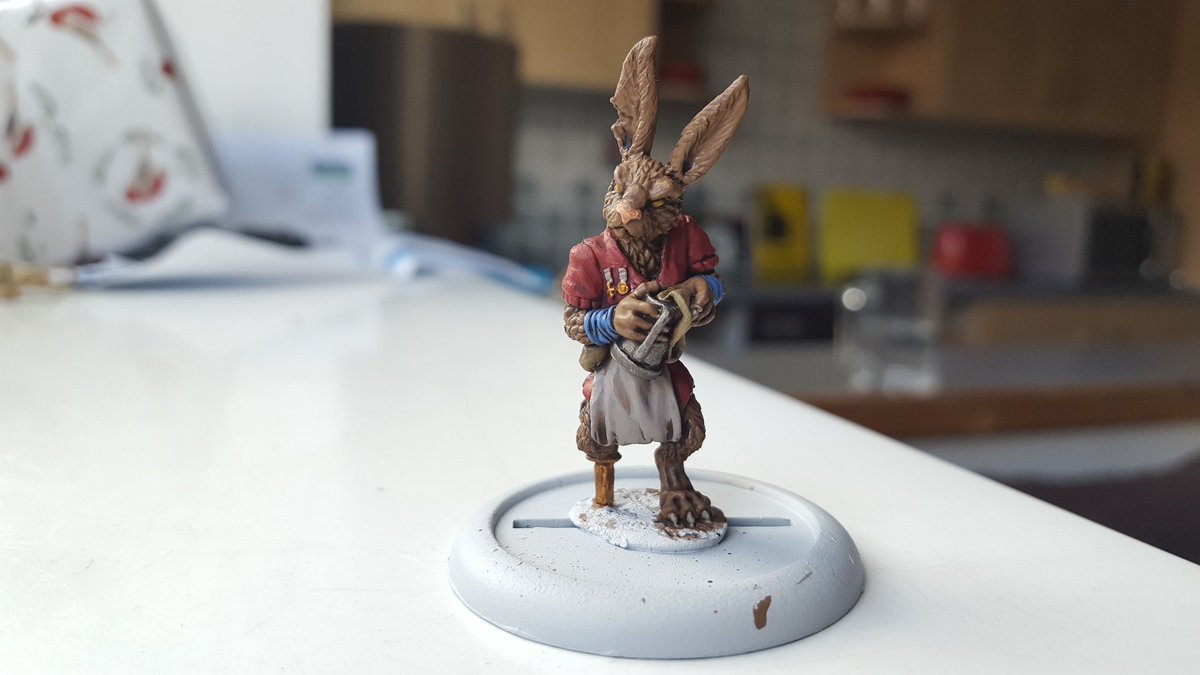
You can see him above more or less completed save for a few highlights and such that I went through and finished up later. I loved getting back into painting these miniatures and I think fur is awesome!
They paint up so very quickly as well, with large areas of the miniature just needing block colours and a bit of highlighting after a wash to make them stand out.
Progress has now moved onto the Beaver from the set where I’m just putting in the base colours right now.
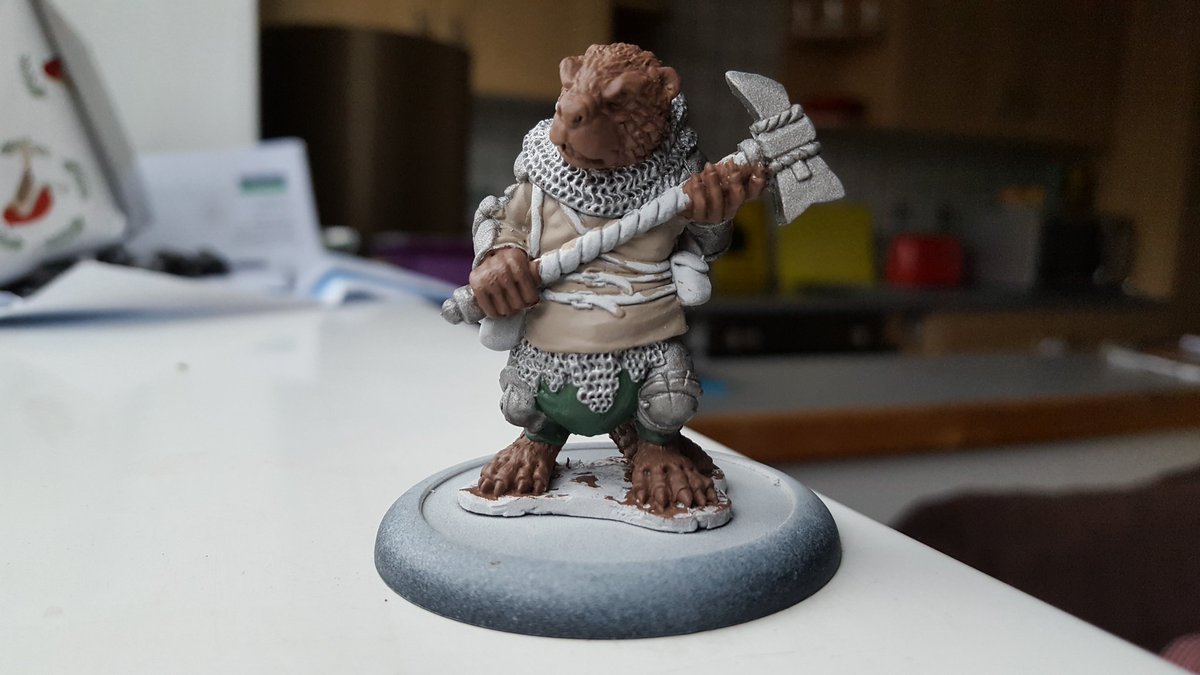
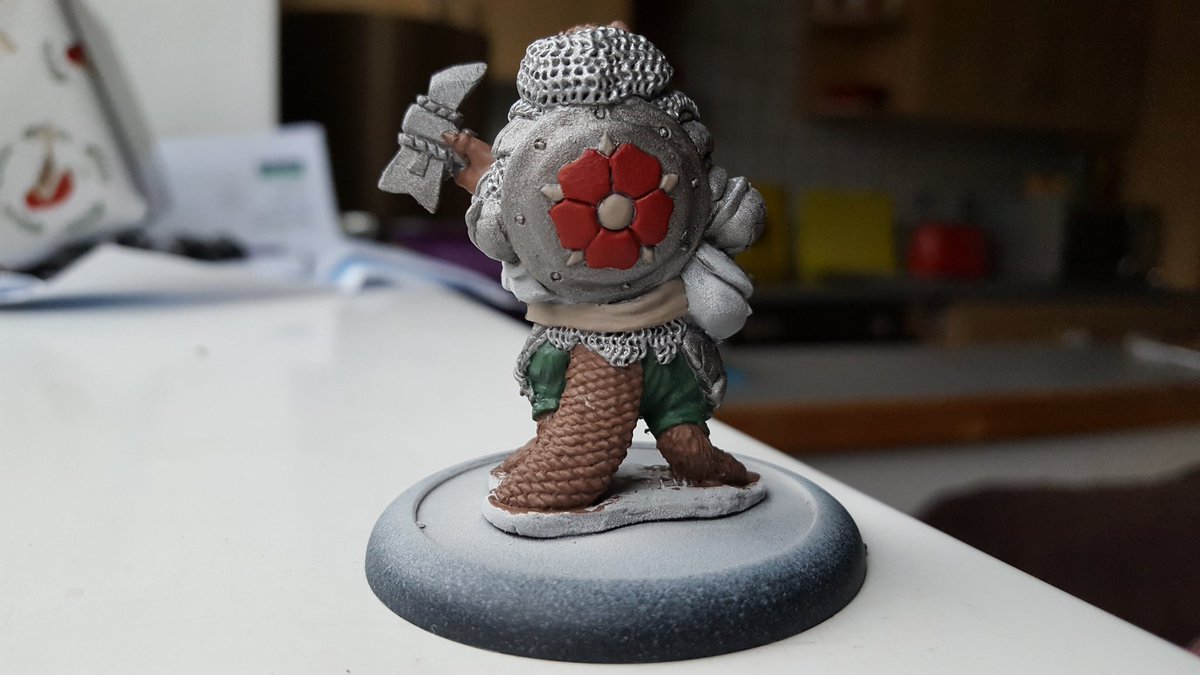
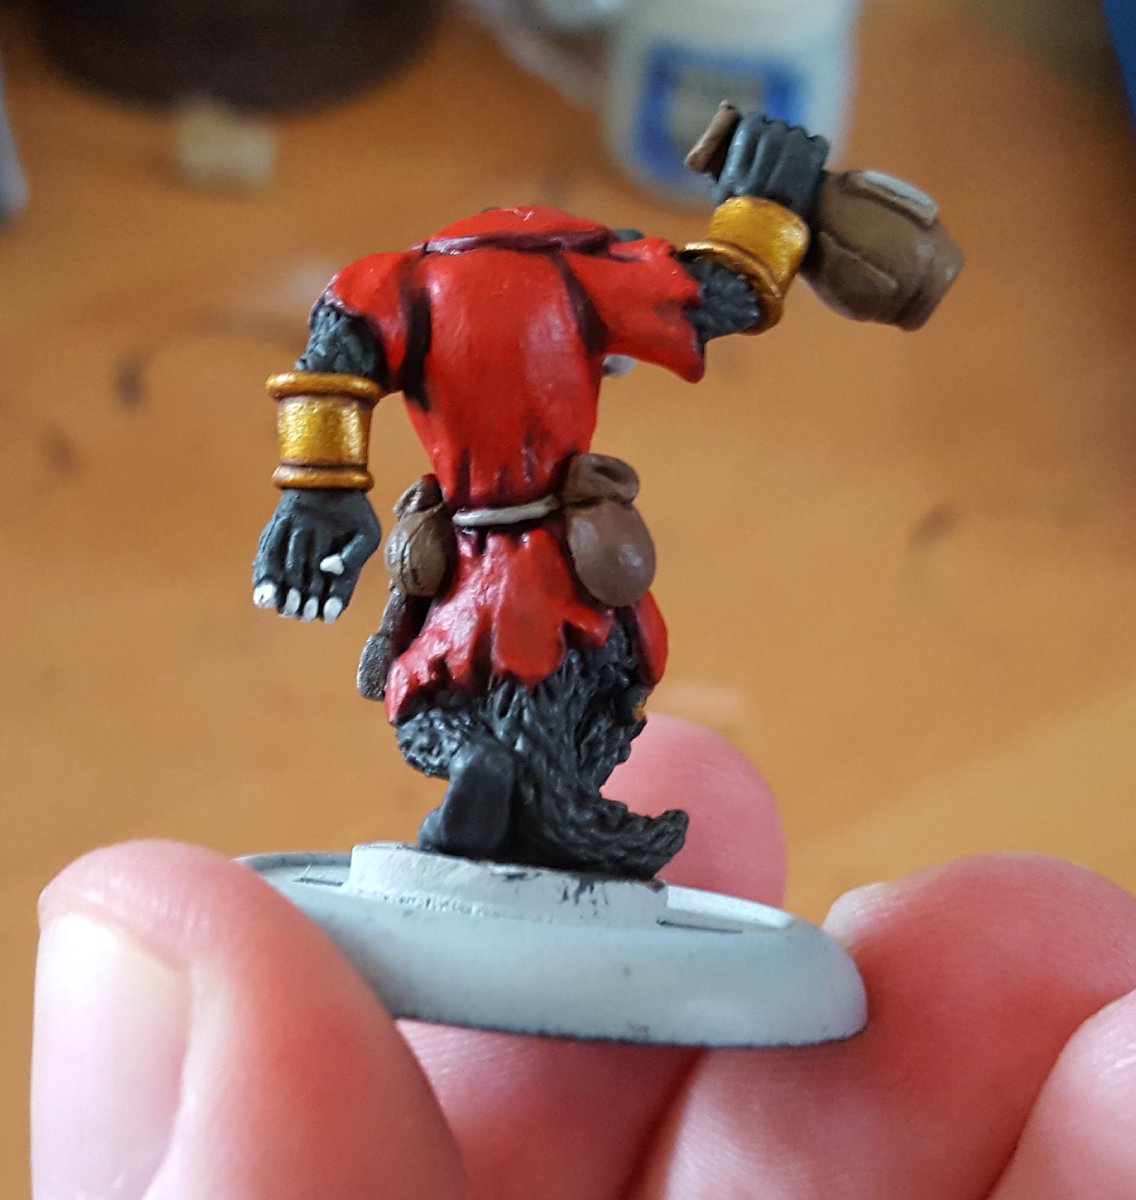
I’m going for a Crusader look as if he has been off fighting in a different land and has come back to see what needs smashing. A good healthy wash over this later and then picking out the other details is in order but it’s coming together nicely.
I am in serious need of some more undercoating spray so need to source some black and white soon!
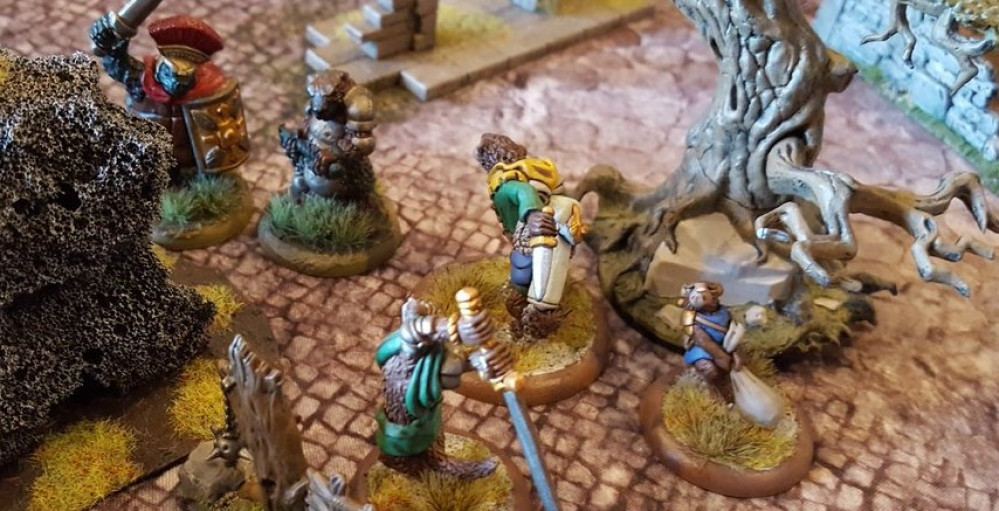
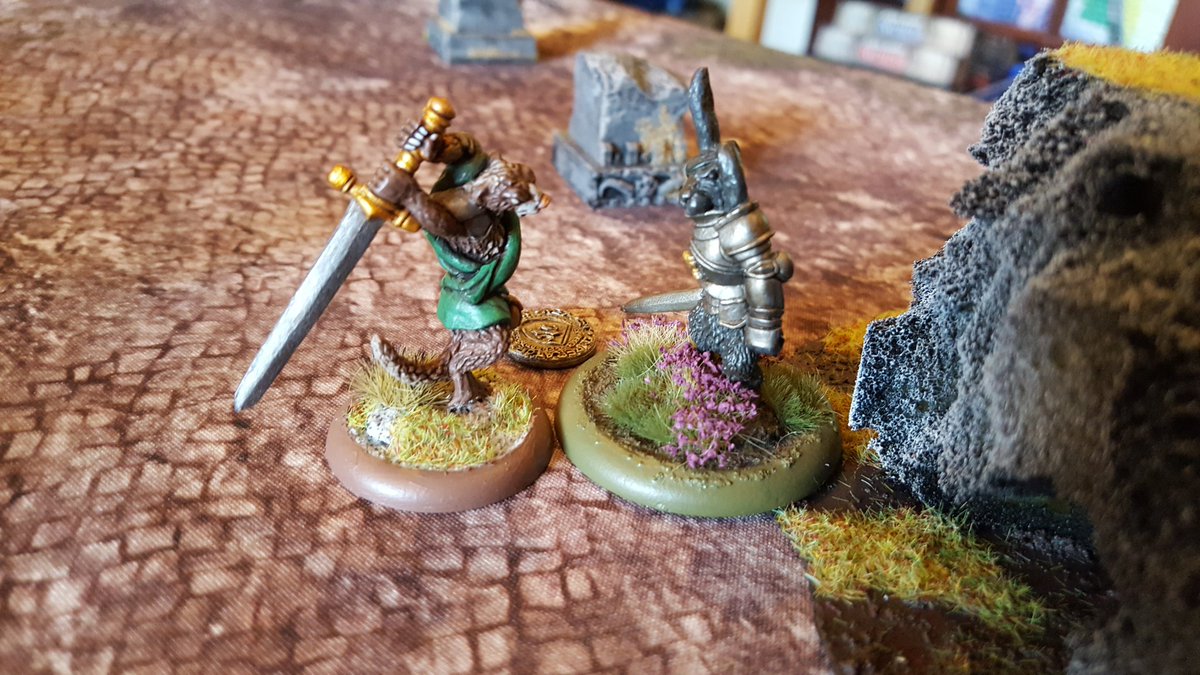
First Campaign Game
So, the first game of our campaign started for Burrows & Badgers. I have made a warband which focuses in on the idea of Robin Hood.
I have Robyn Waterfood, Big Jon, Red Bill, Much and Father Wenlock.
The first mission was Defend The Haul where I had a very ranged warband coming up a heavily armoured foe.

Here are just a few highlights where I was able to put paid to the leader of the enemy warband. Big Jon was able to rush out with a charge and hit the Hare in a flurry of blows and get the initiative for a final strike.
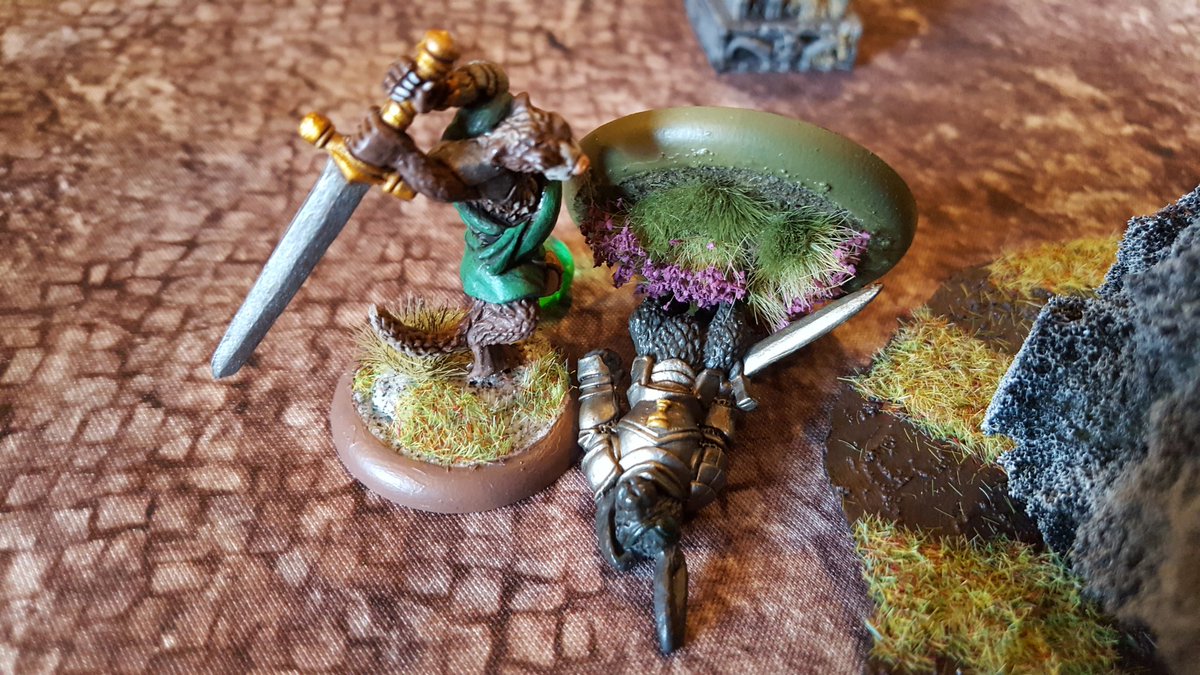
It was a close run thing as a whole with the enemy closing in all around me and it was getting tough to be able to use my ranged offensive capabilities against them and avoid the damage.
Thankfully I was able to get the better of the enemy in the central area and do a fair amount of damage to the enemy whilst also ignoring it myself.
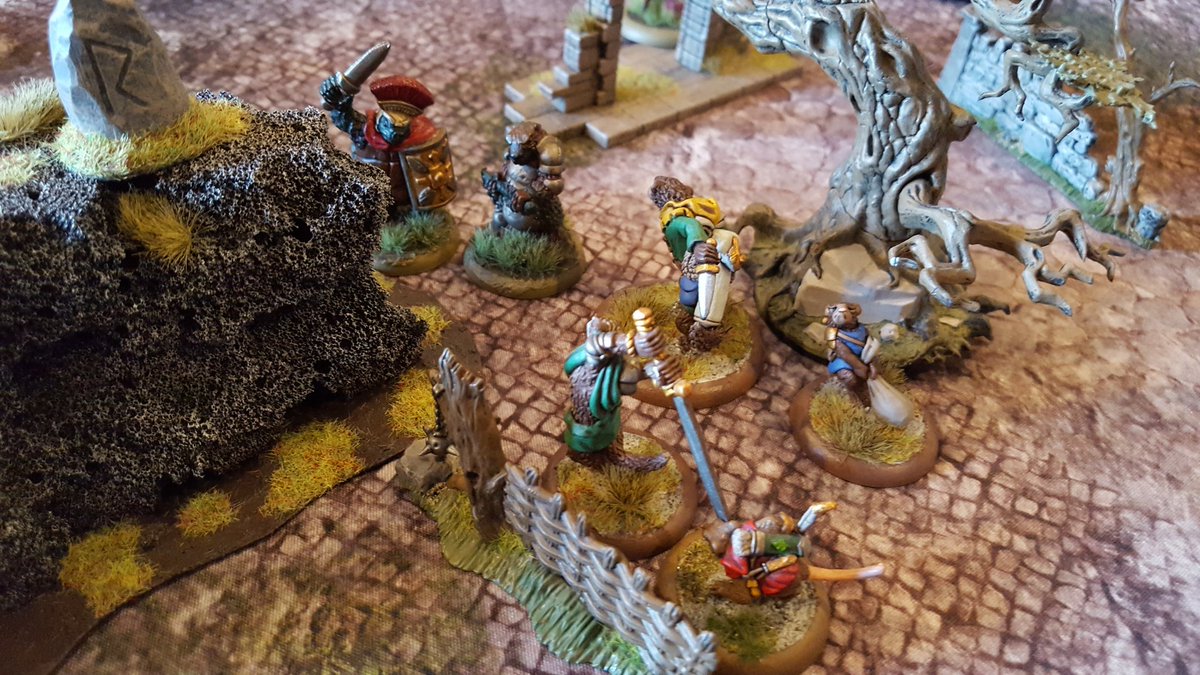
I learned a lot of good things about the game in this first match-up. Slippery is an amazing ability which really helps archers. Expert Shot is great for sniping from afar.
Also, Lucky is a fantastic spell to have at your disposal and when you boost it, it can be exceptionally powerful at the right time and used with the right characters.
It was a very cagey game overall with just one character going down a piece. Even though I ‘won’ I didn’t actually come out of it with any upgrades which is a shame…mainly because I just couldn’t get my Secondary Objective done due to the nature of the scenario and me being the attacker.
My Basing Techniques
So I thought I would document how I base my characters for Burrows & Badgers. It is very simple and easy to do. I start out with PVA glue and an Ash/Tundra basing material from GF9.
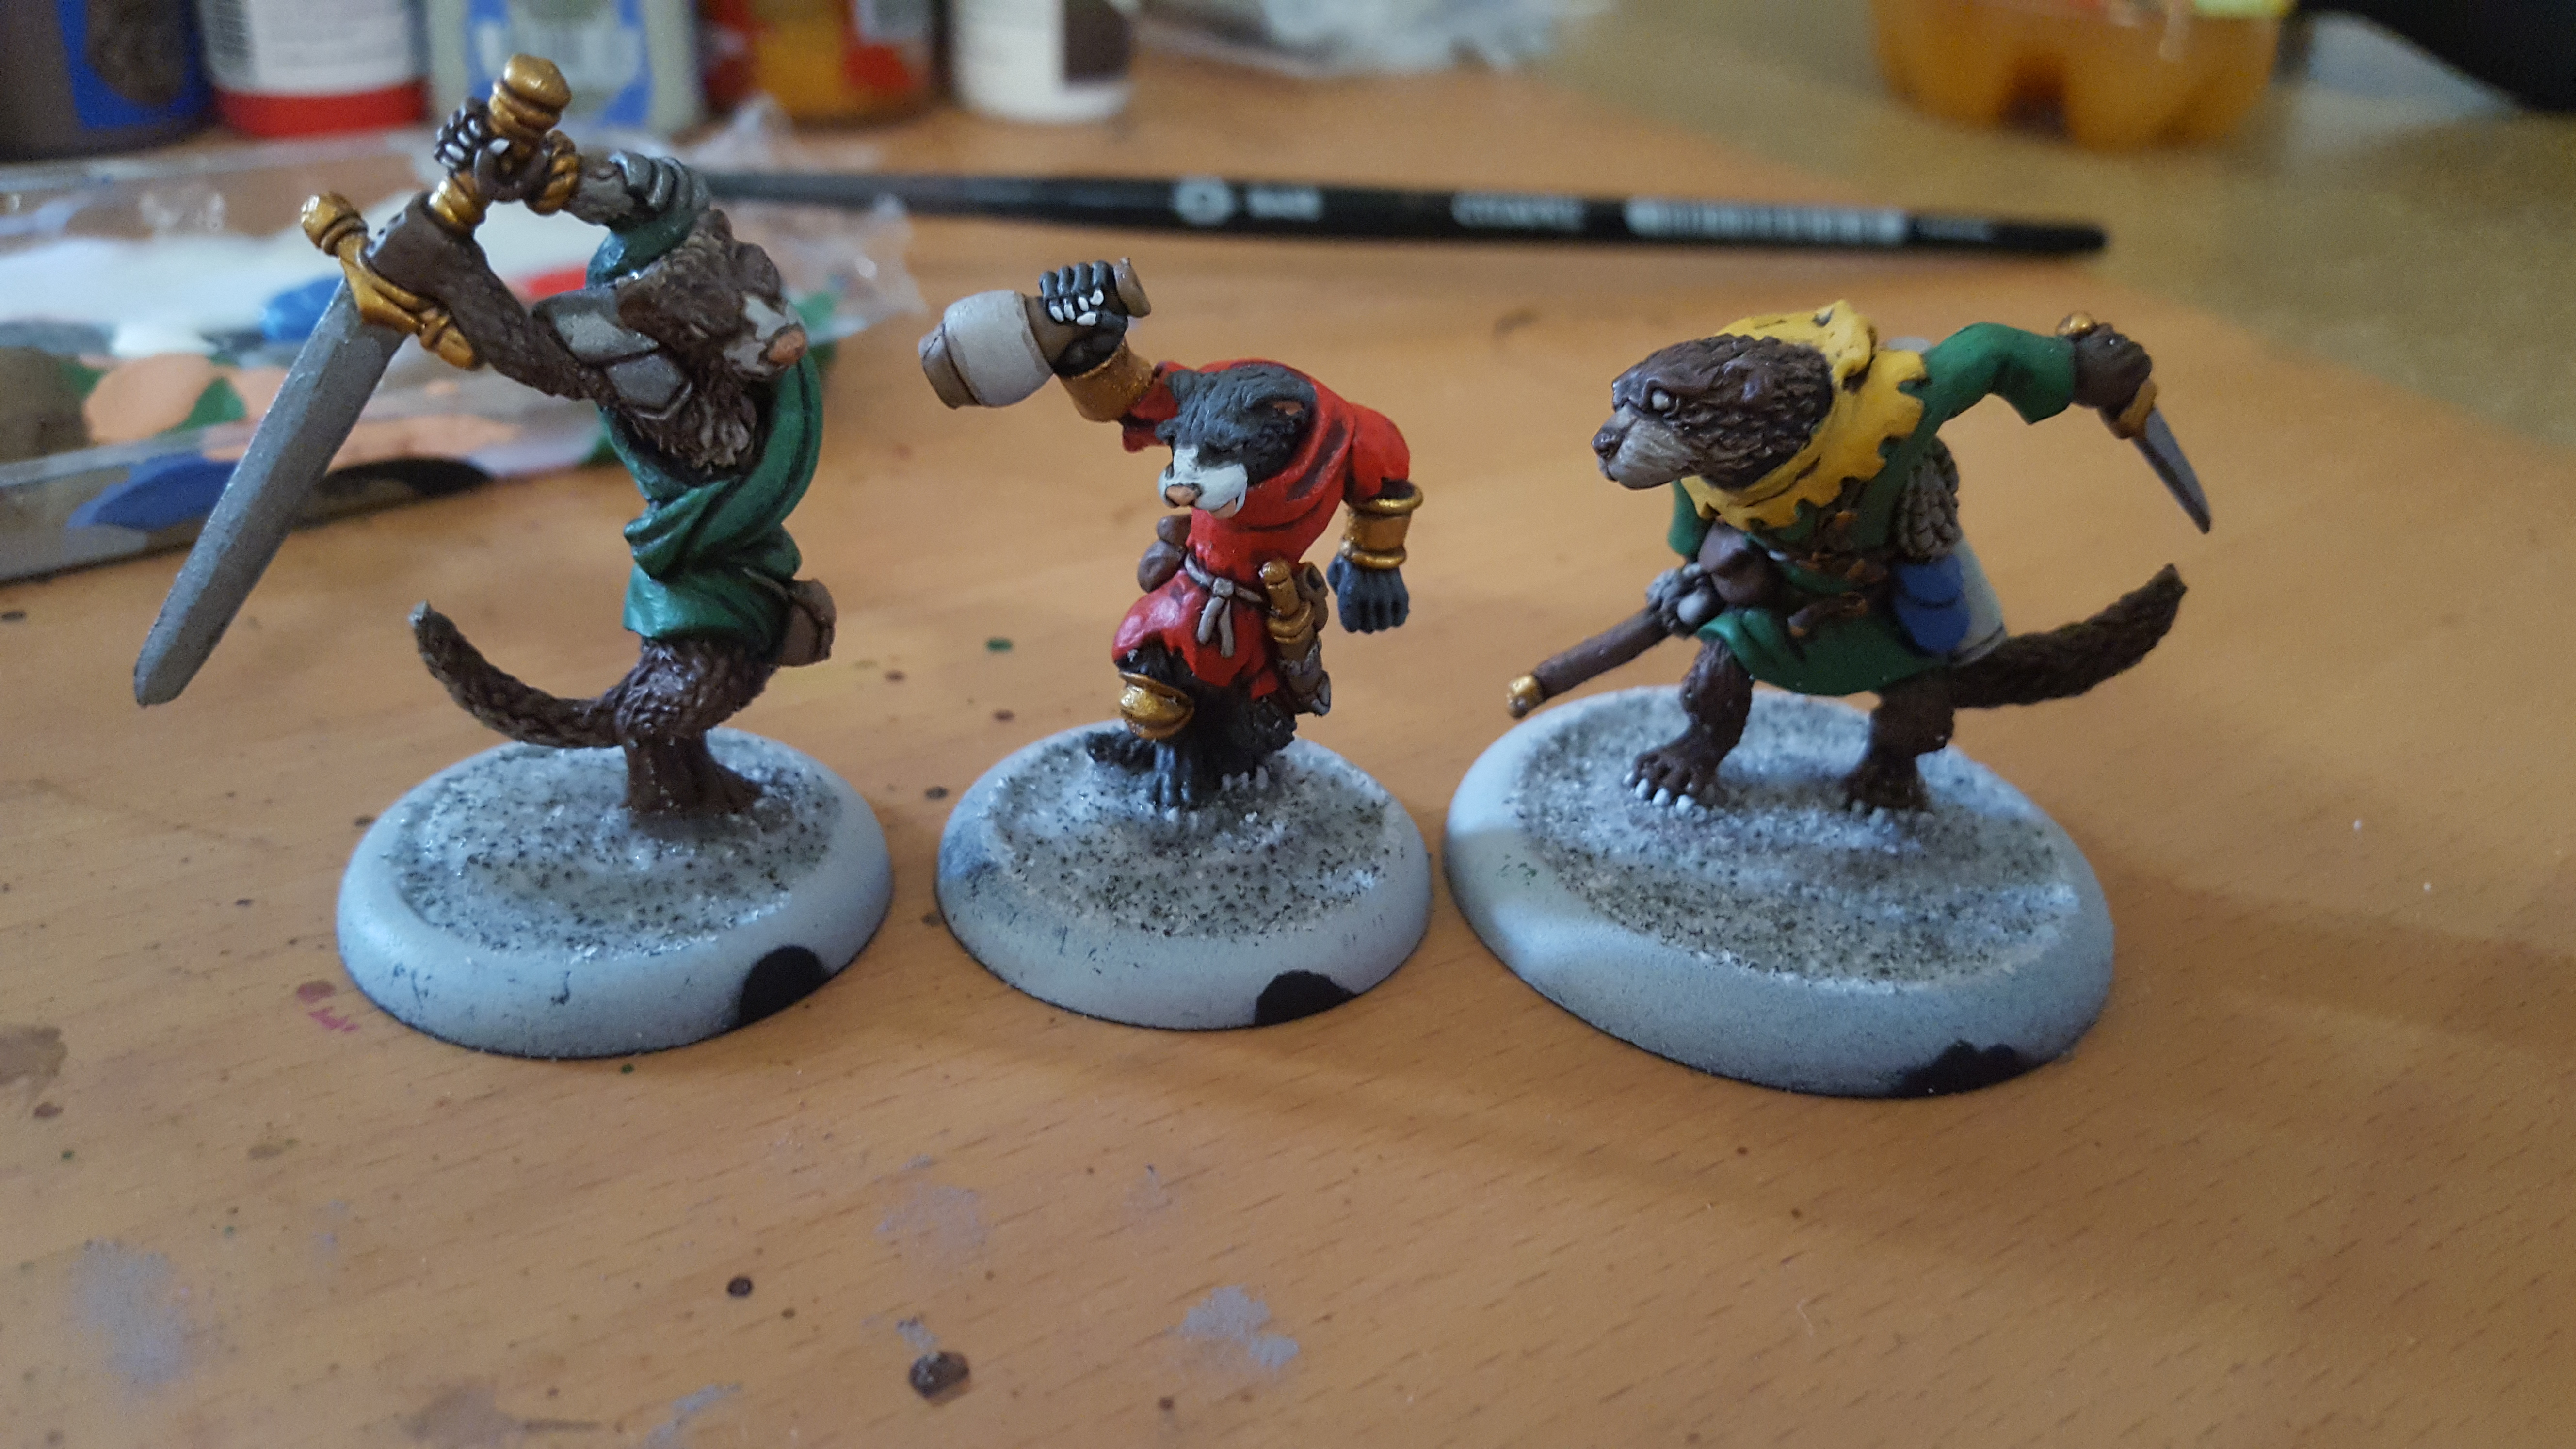
After that, we get stuck in with some grass flock from Games Workshop which then helps to add to the idea of this being the tundra landscapes for the Northern frontiers within the world of Burrows & Badgers.
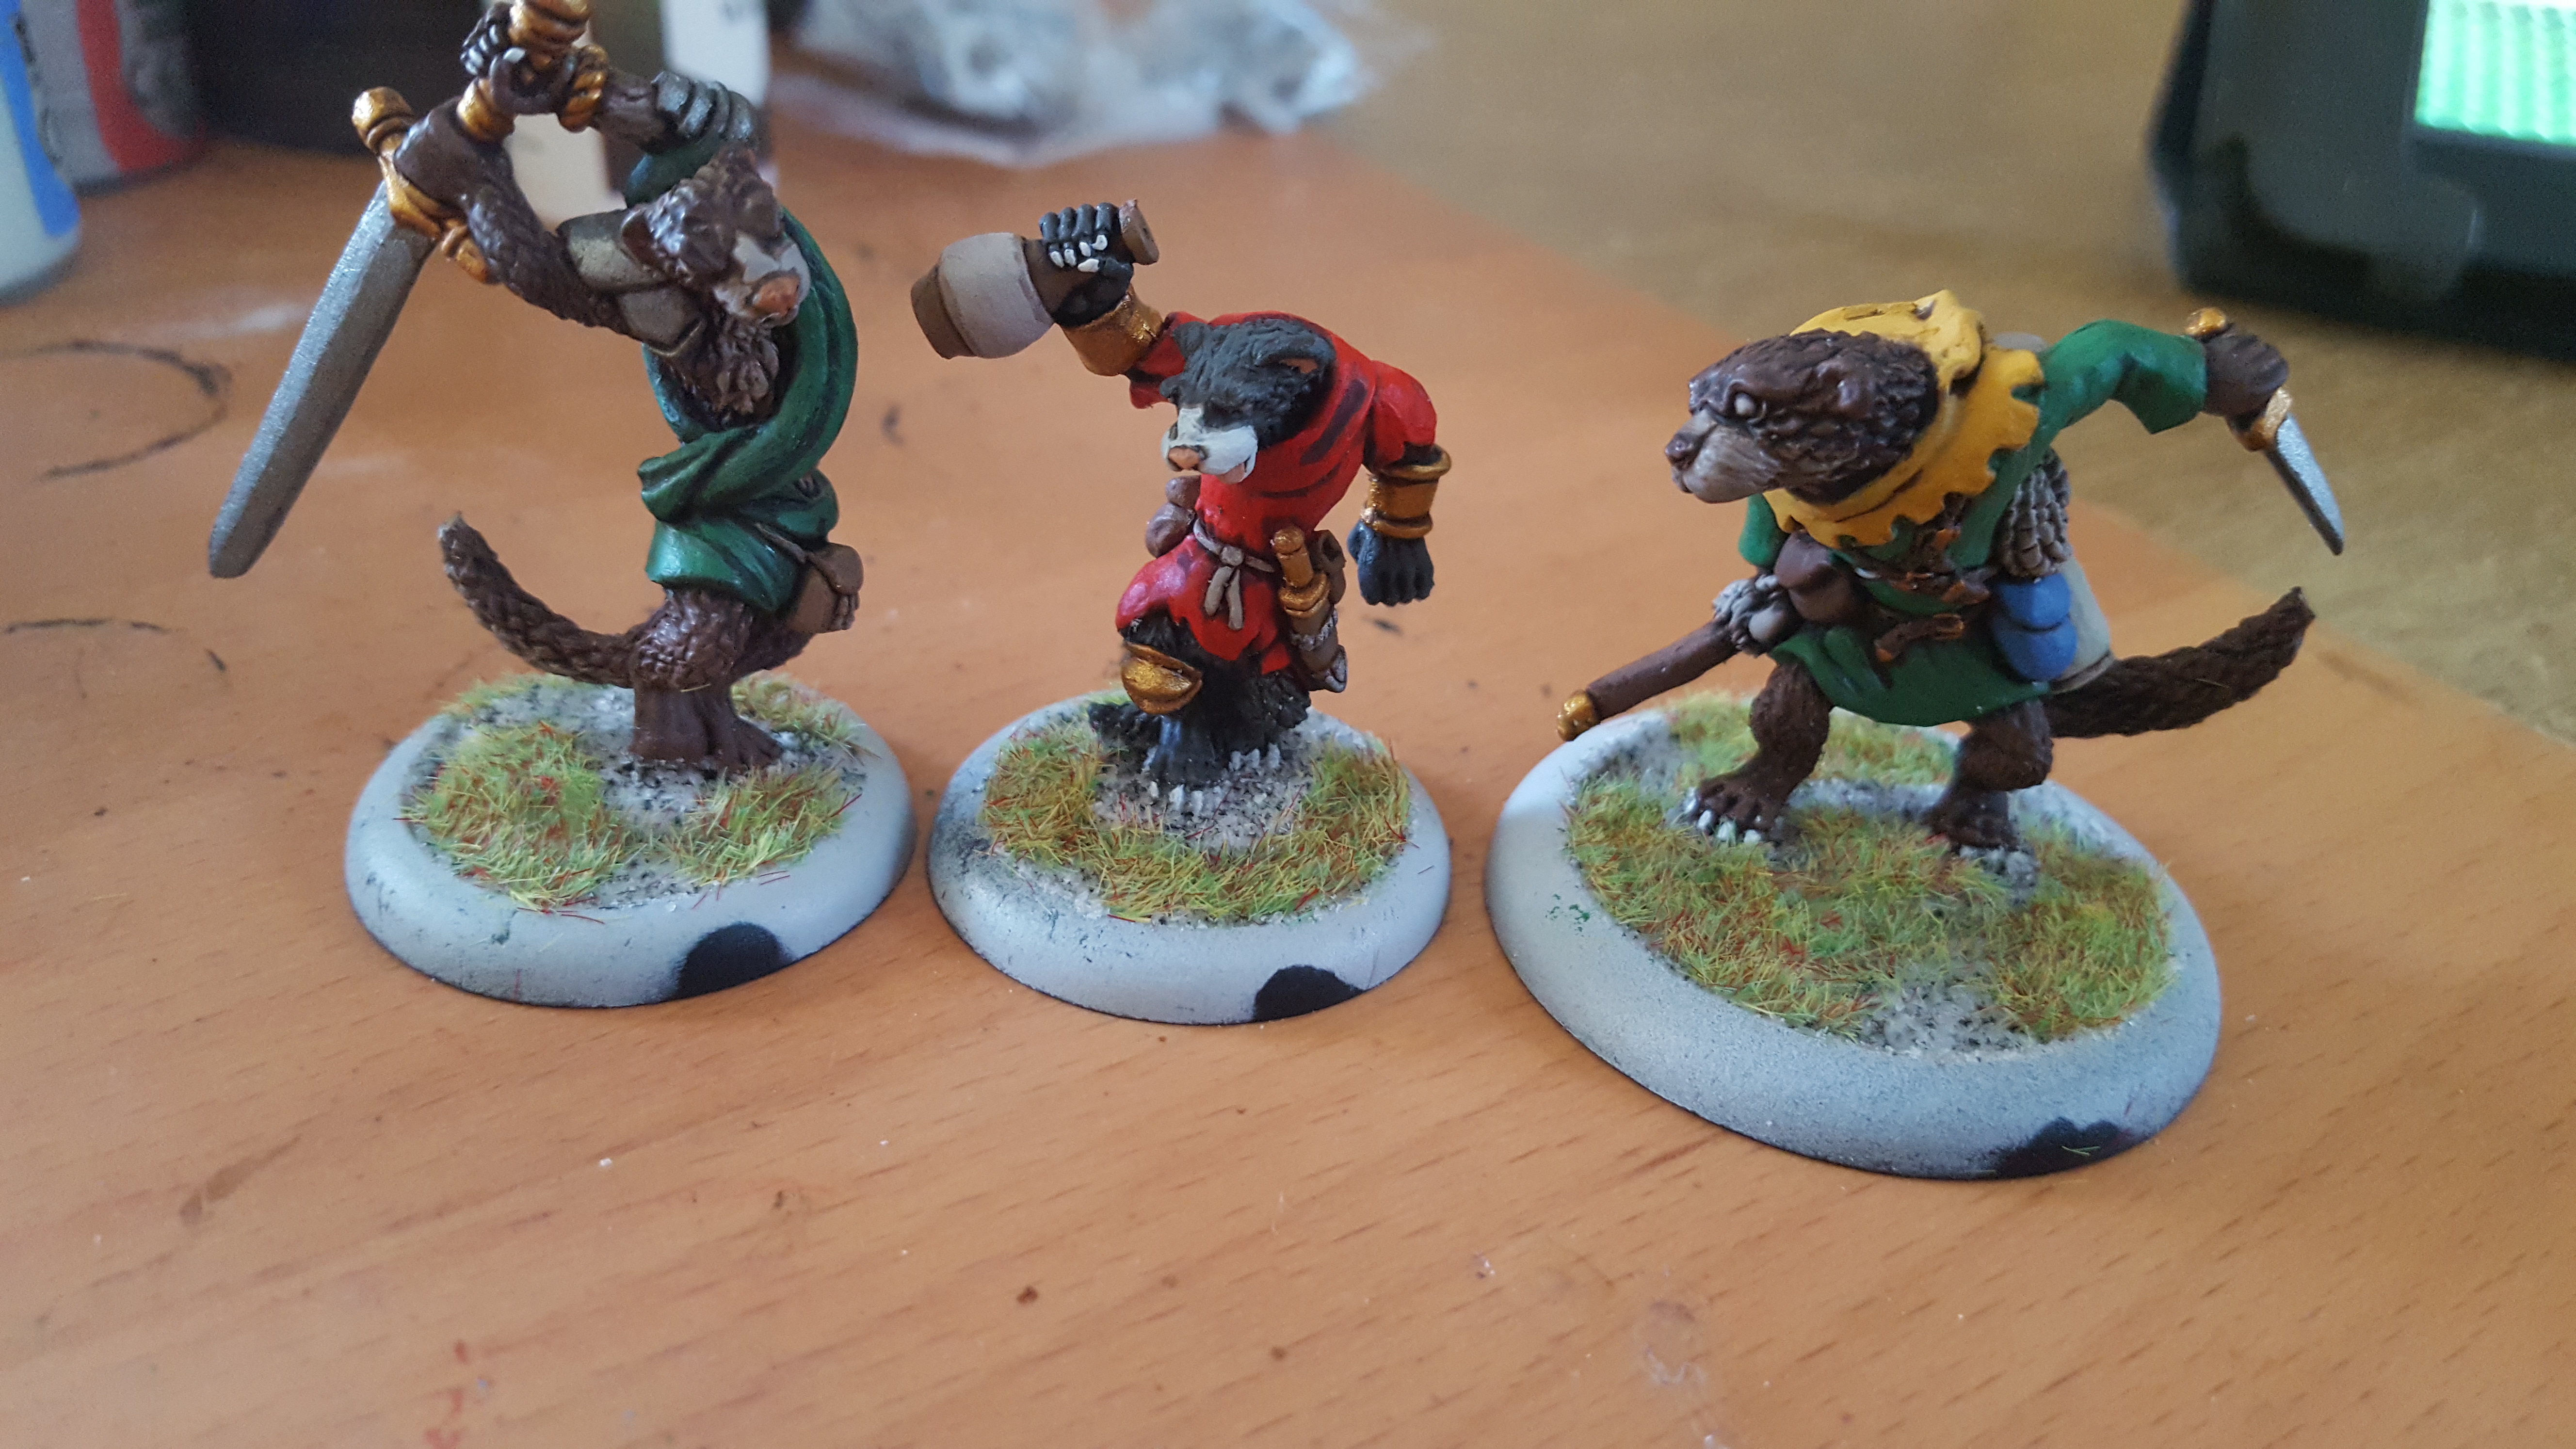
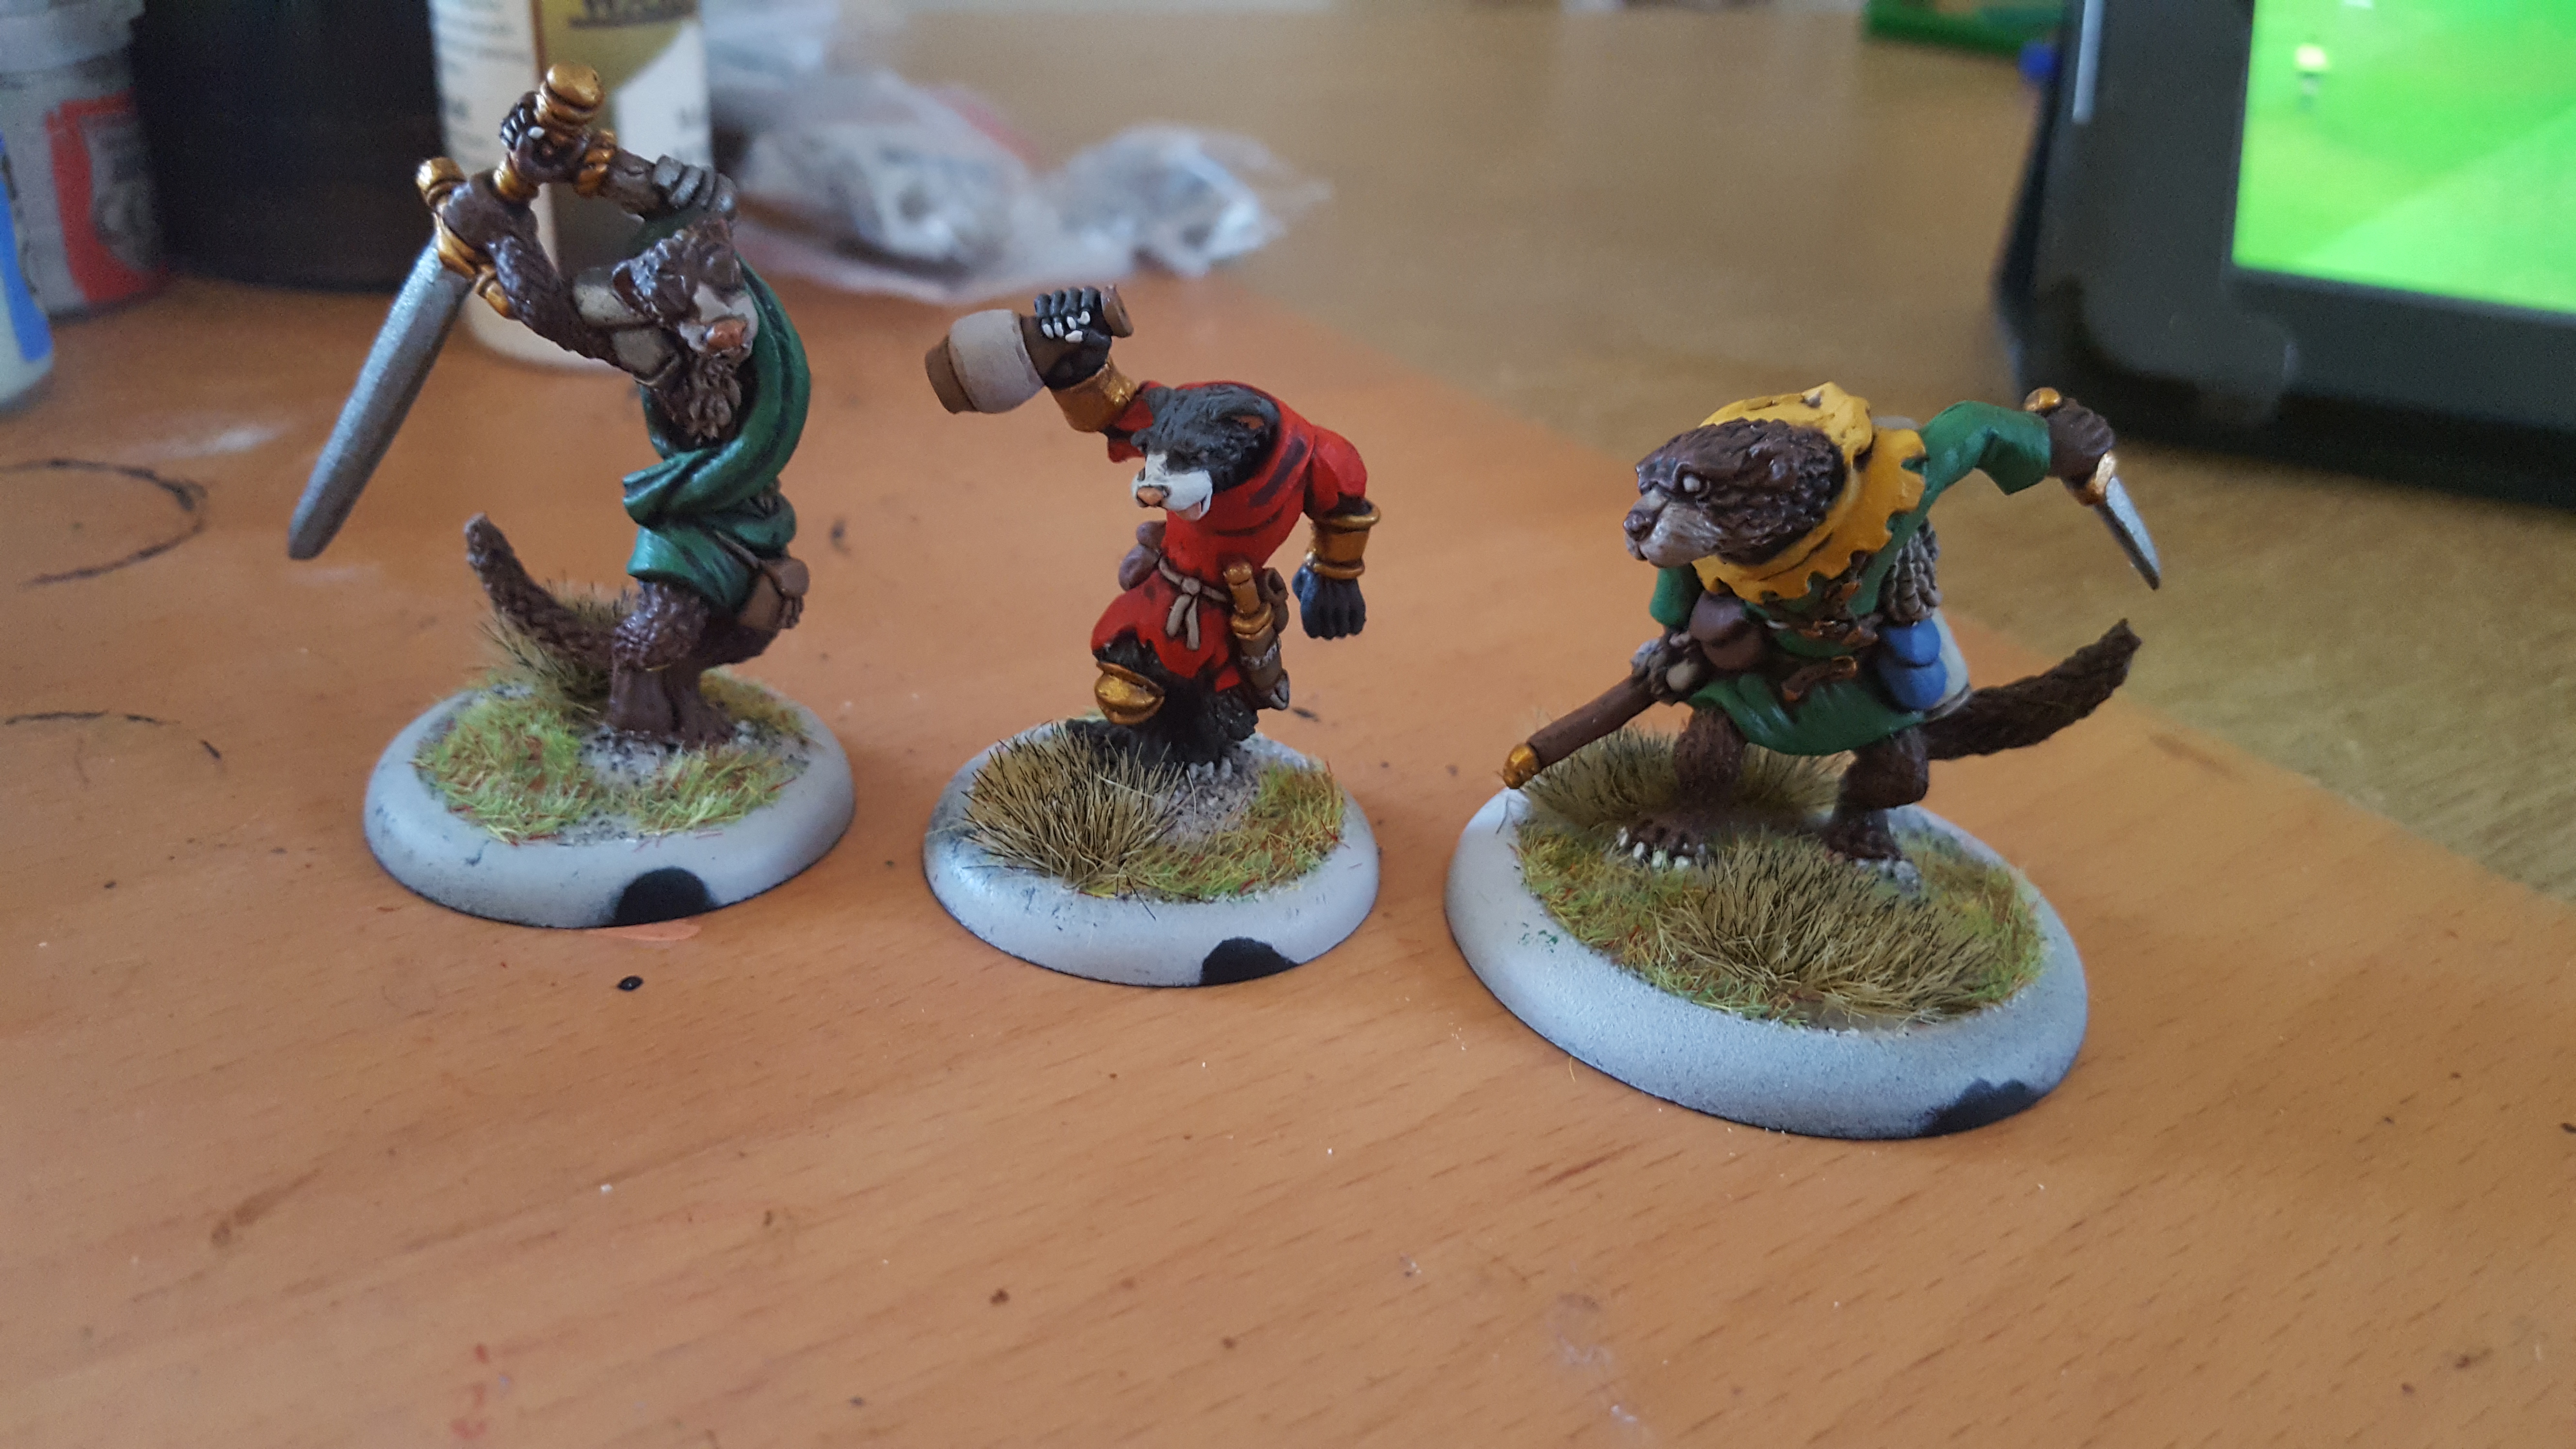
The next step is to give a bit more of a 3D look to the bases and that comes from some of the tufts that you can buy from Great Escape Games.
I would love to go back over and add some flowers to these bases at well but I want to find a colour that works with the white of the bases – maybe a red?
And finally, because I am a Mordheim player of days yore I paint my bases for skirmish games in brown.
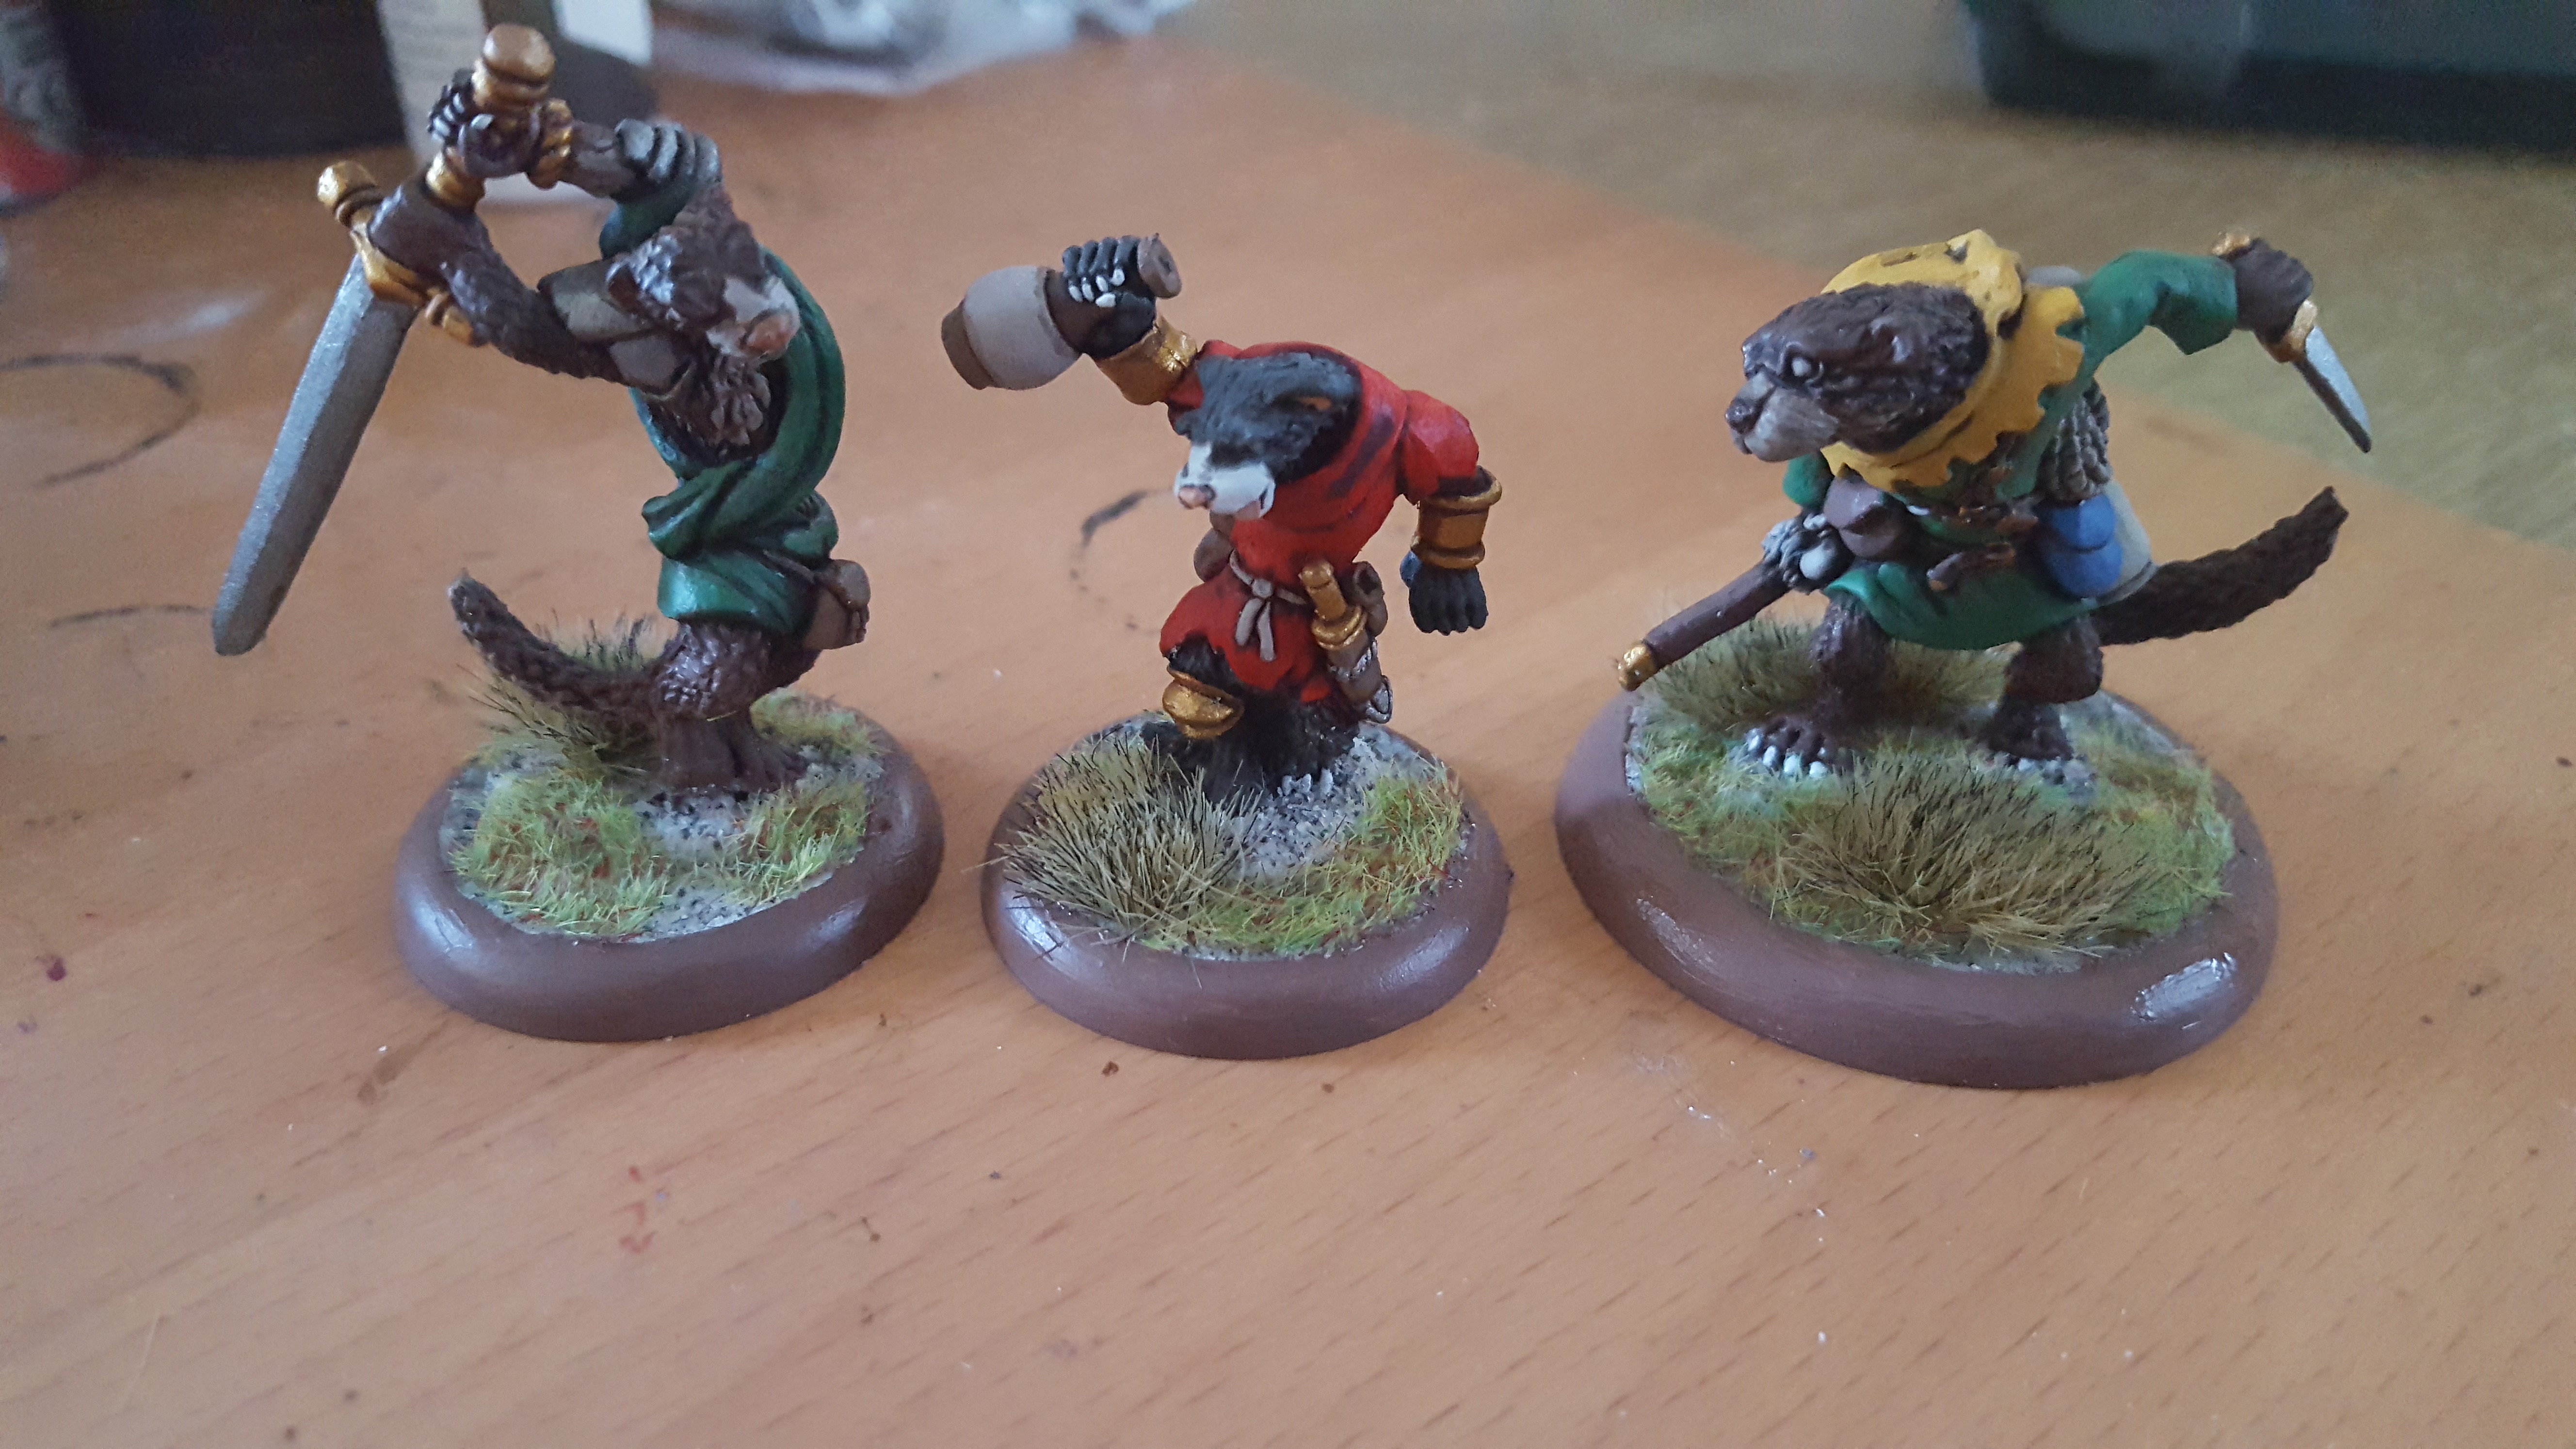
…and there we have it. The final three miniatures from my current collection are done.
I will be going into looking at building a new warband soon, probably themed around the idea of being all Mice I think to get the single species bonus.
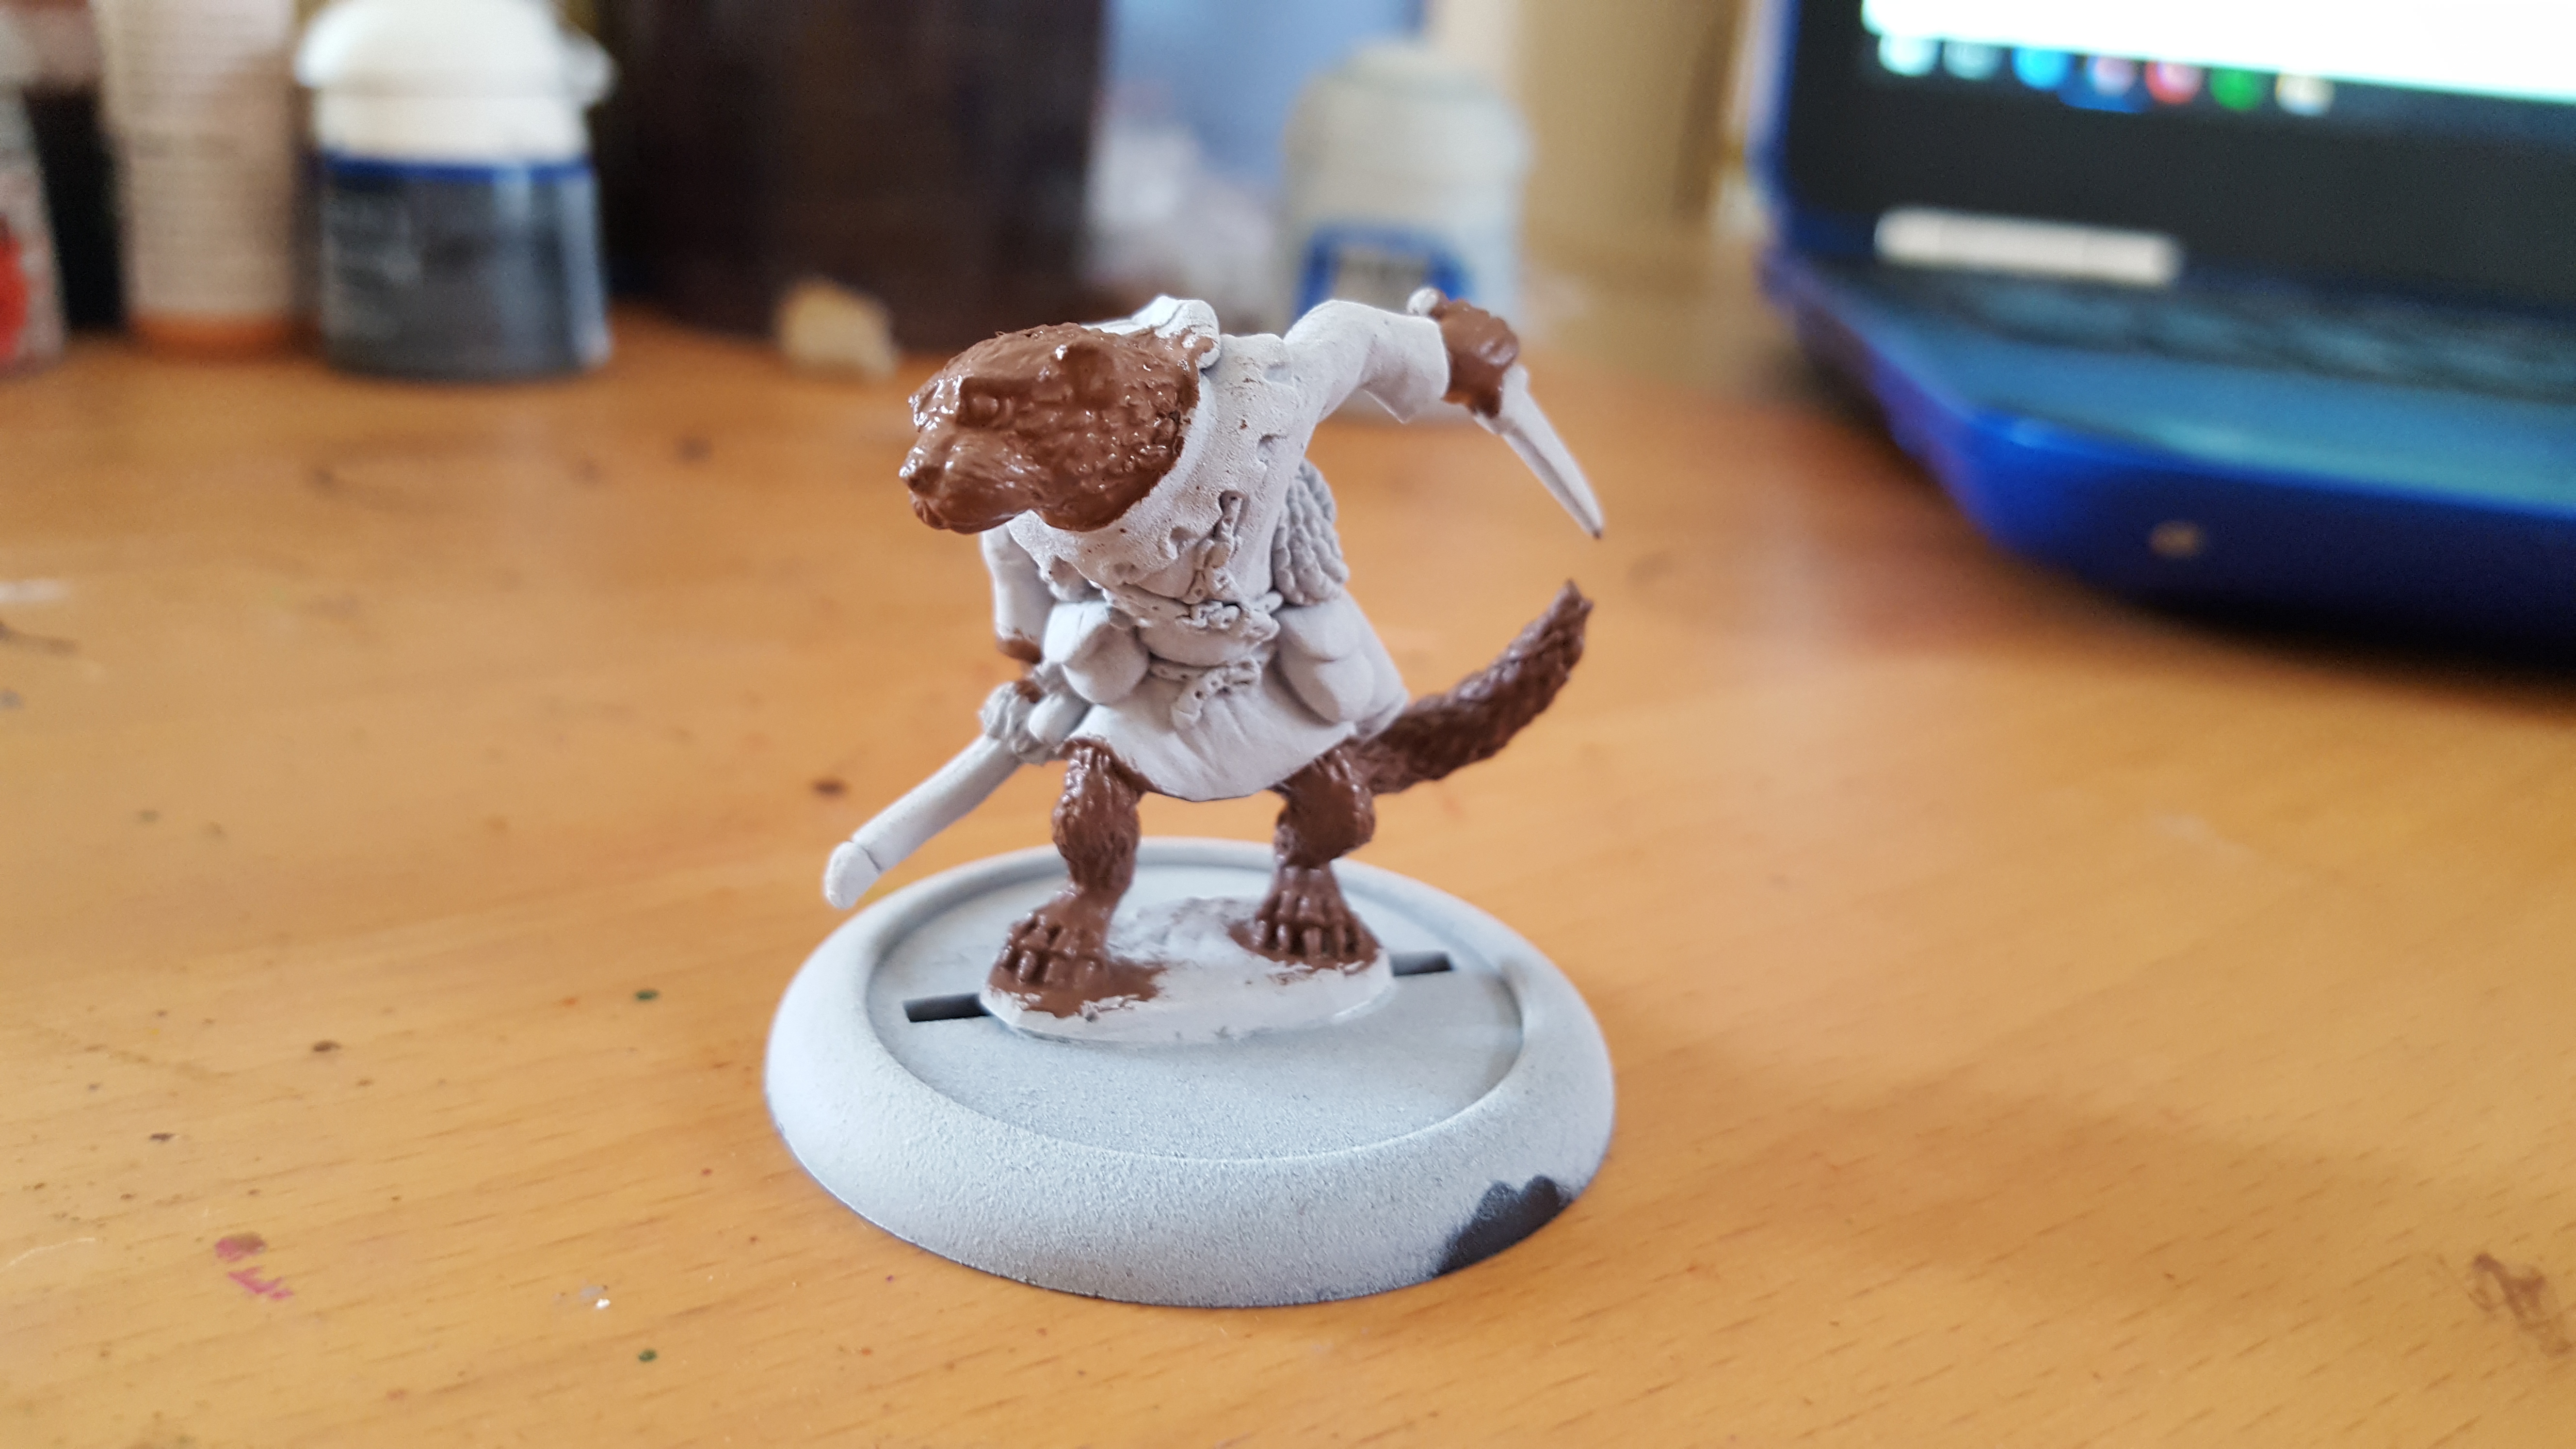
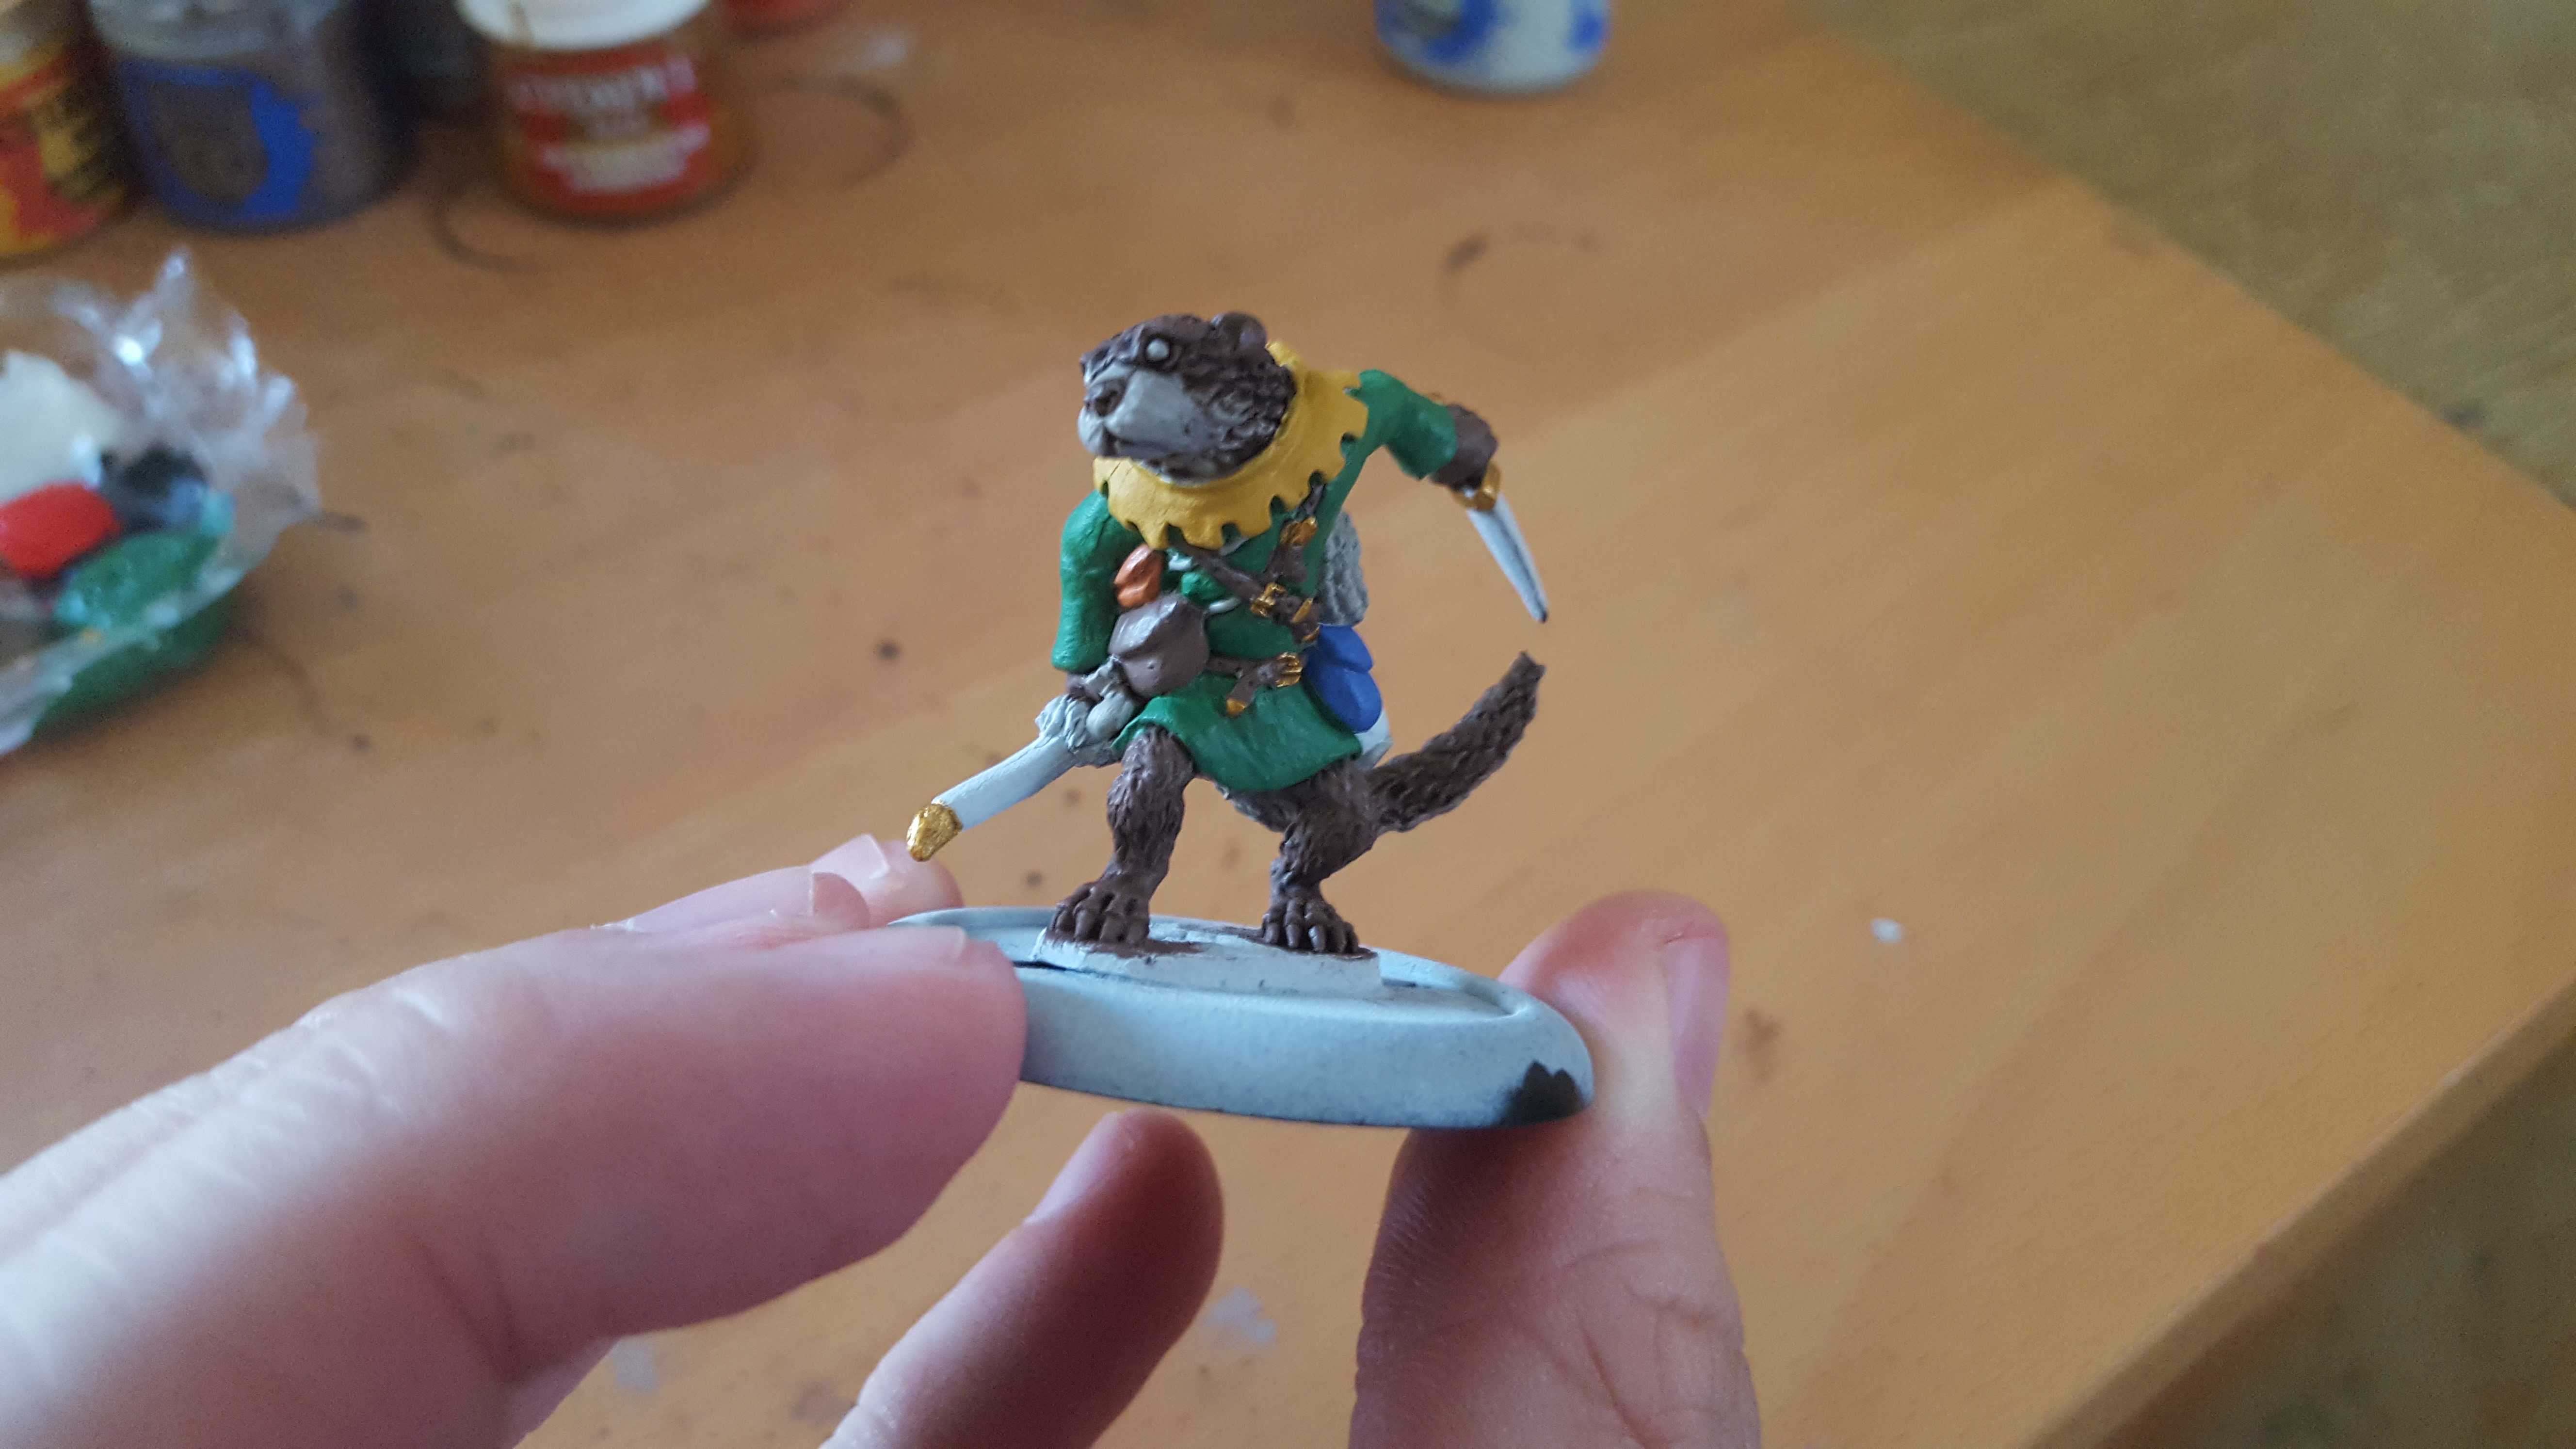
Painting The Otter Ranger - Step By Step
So I took some progress shots of the Otter Ranger that I painted up this week. It starts off with an undercoat of Corax White from Games Workshop and the start of work on the fur in brown.
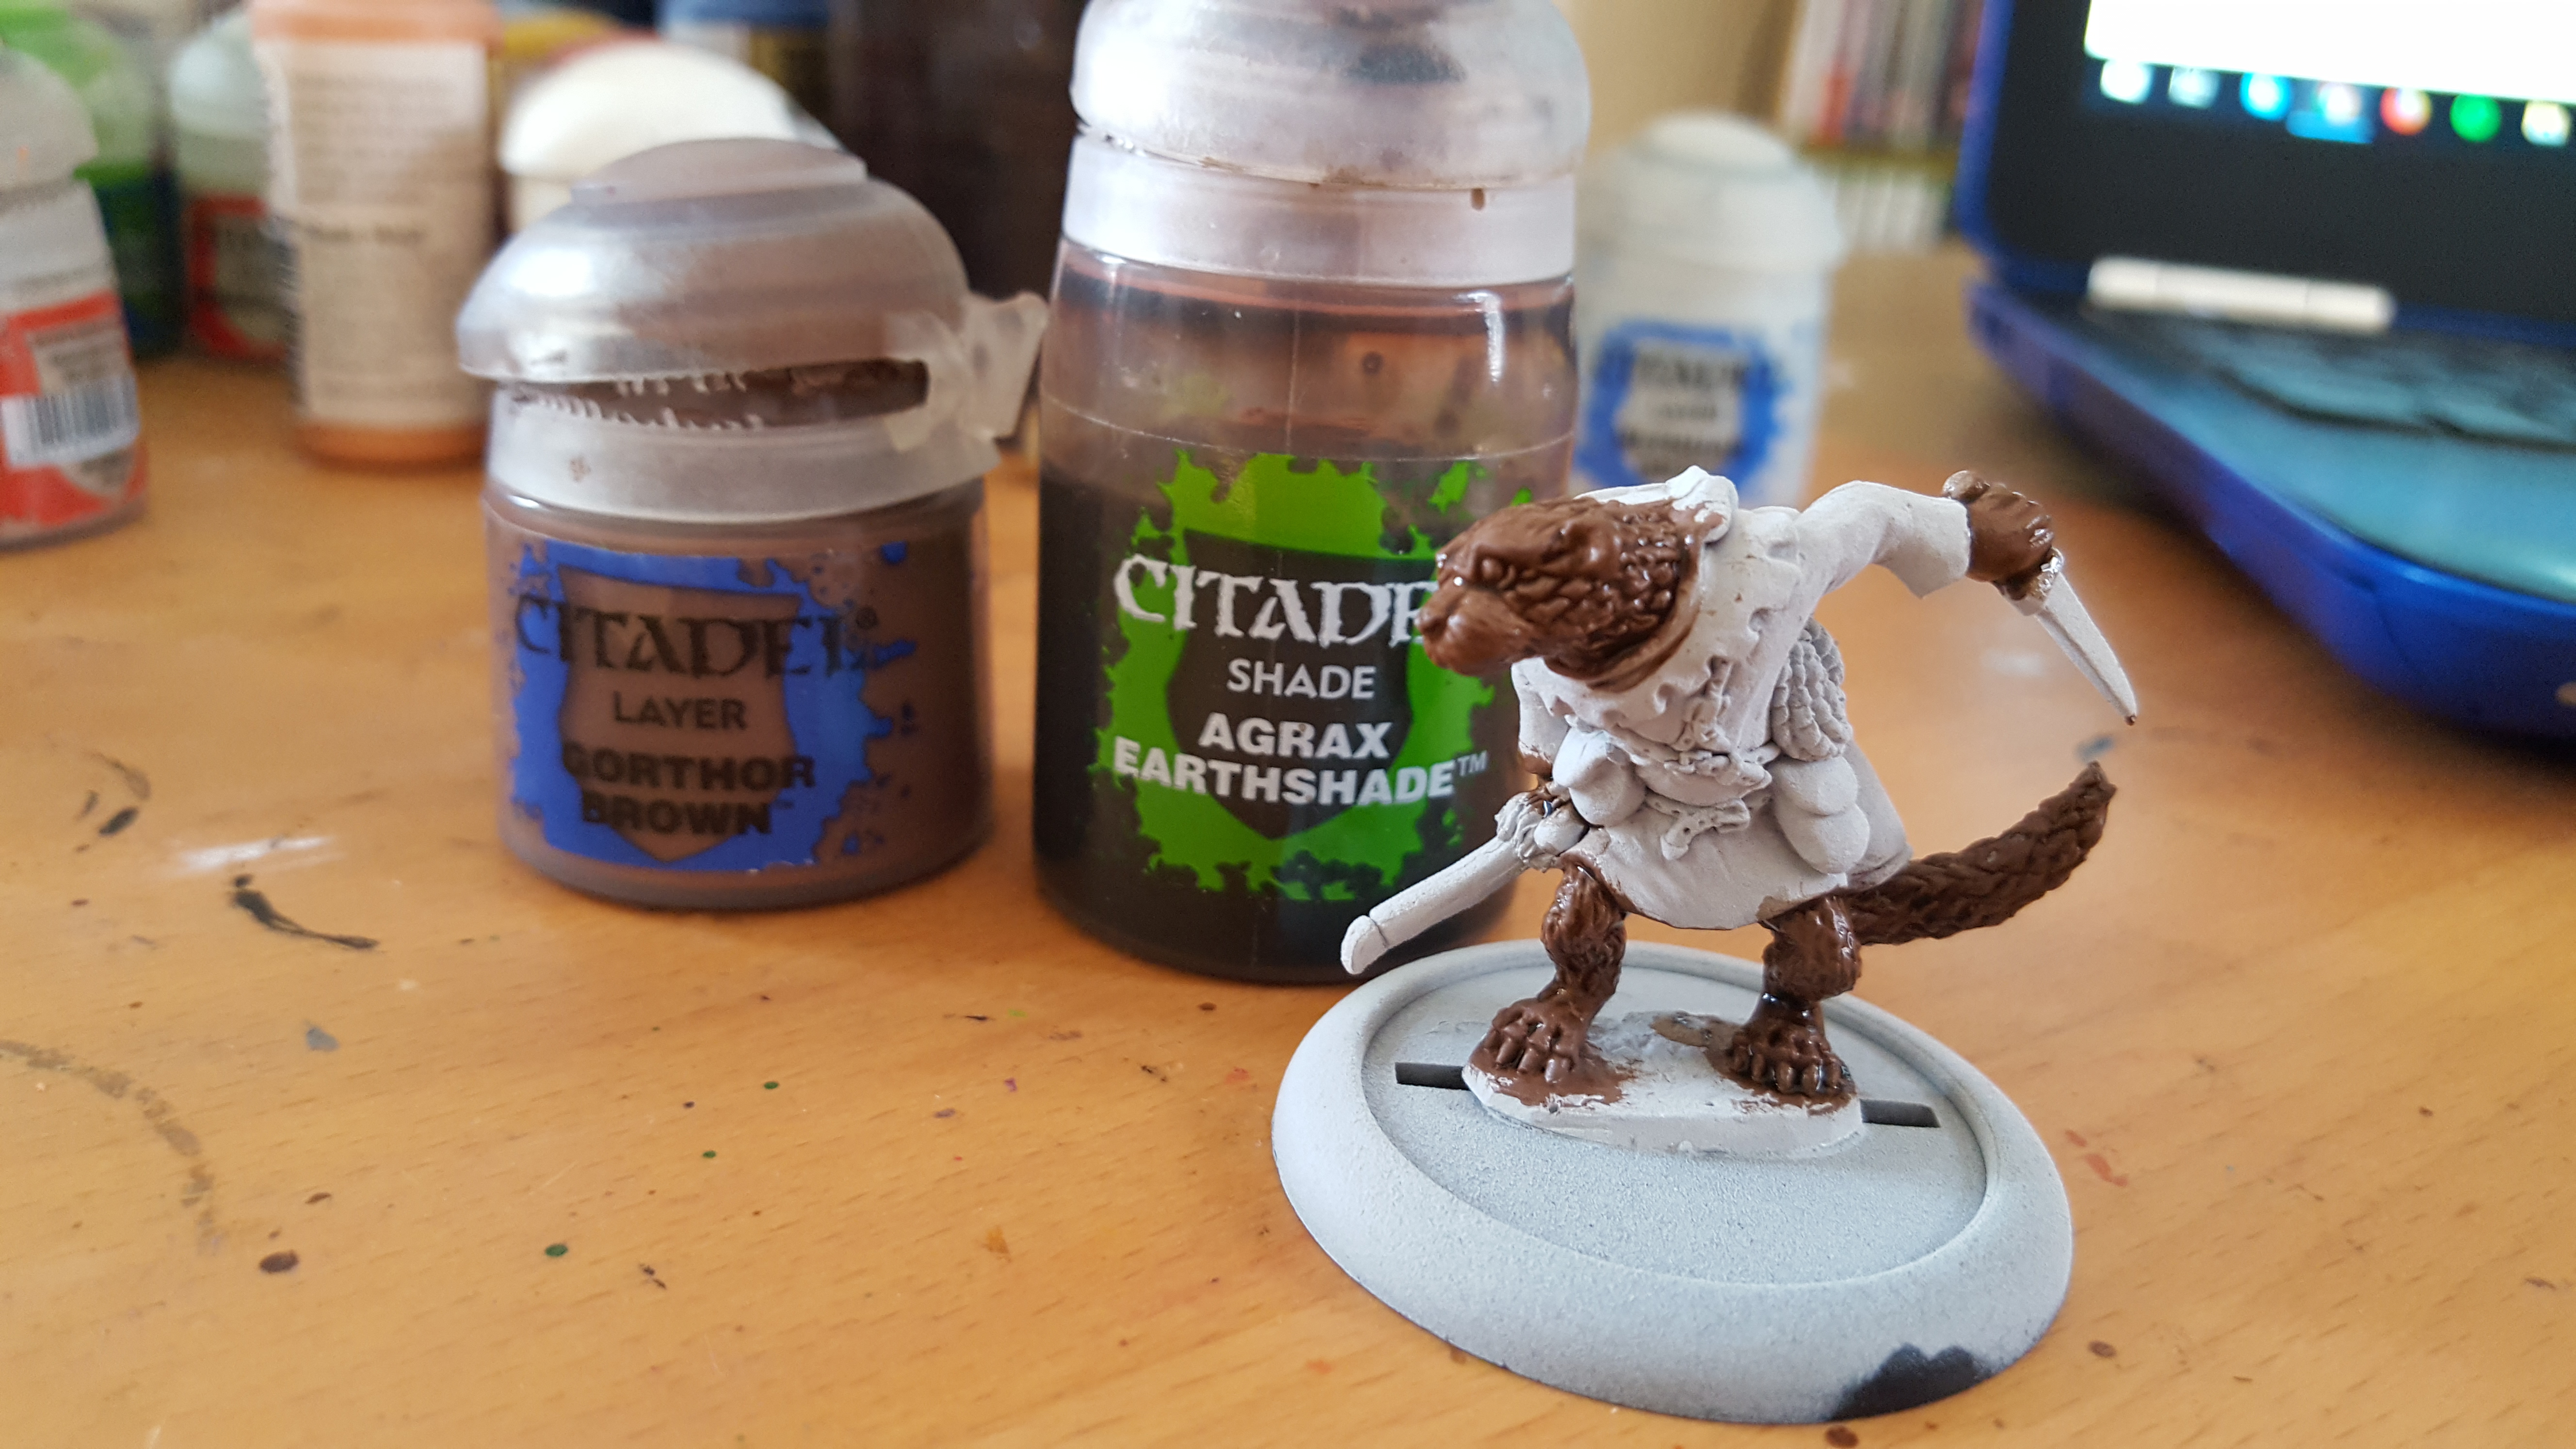
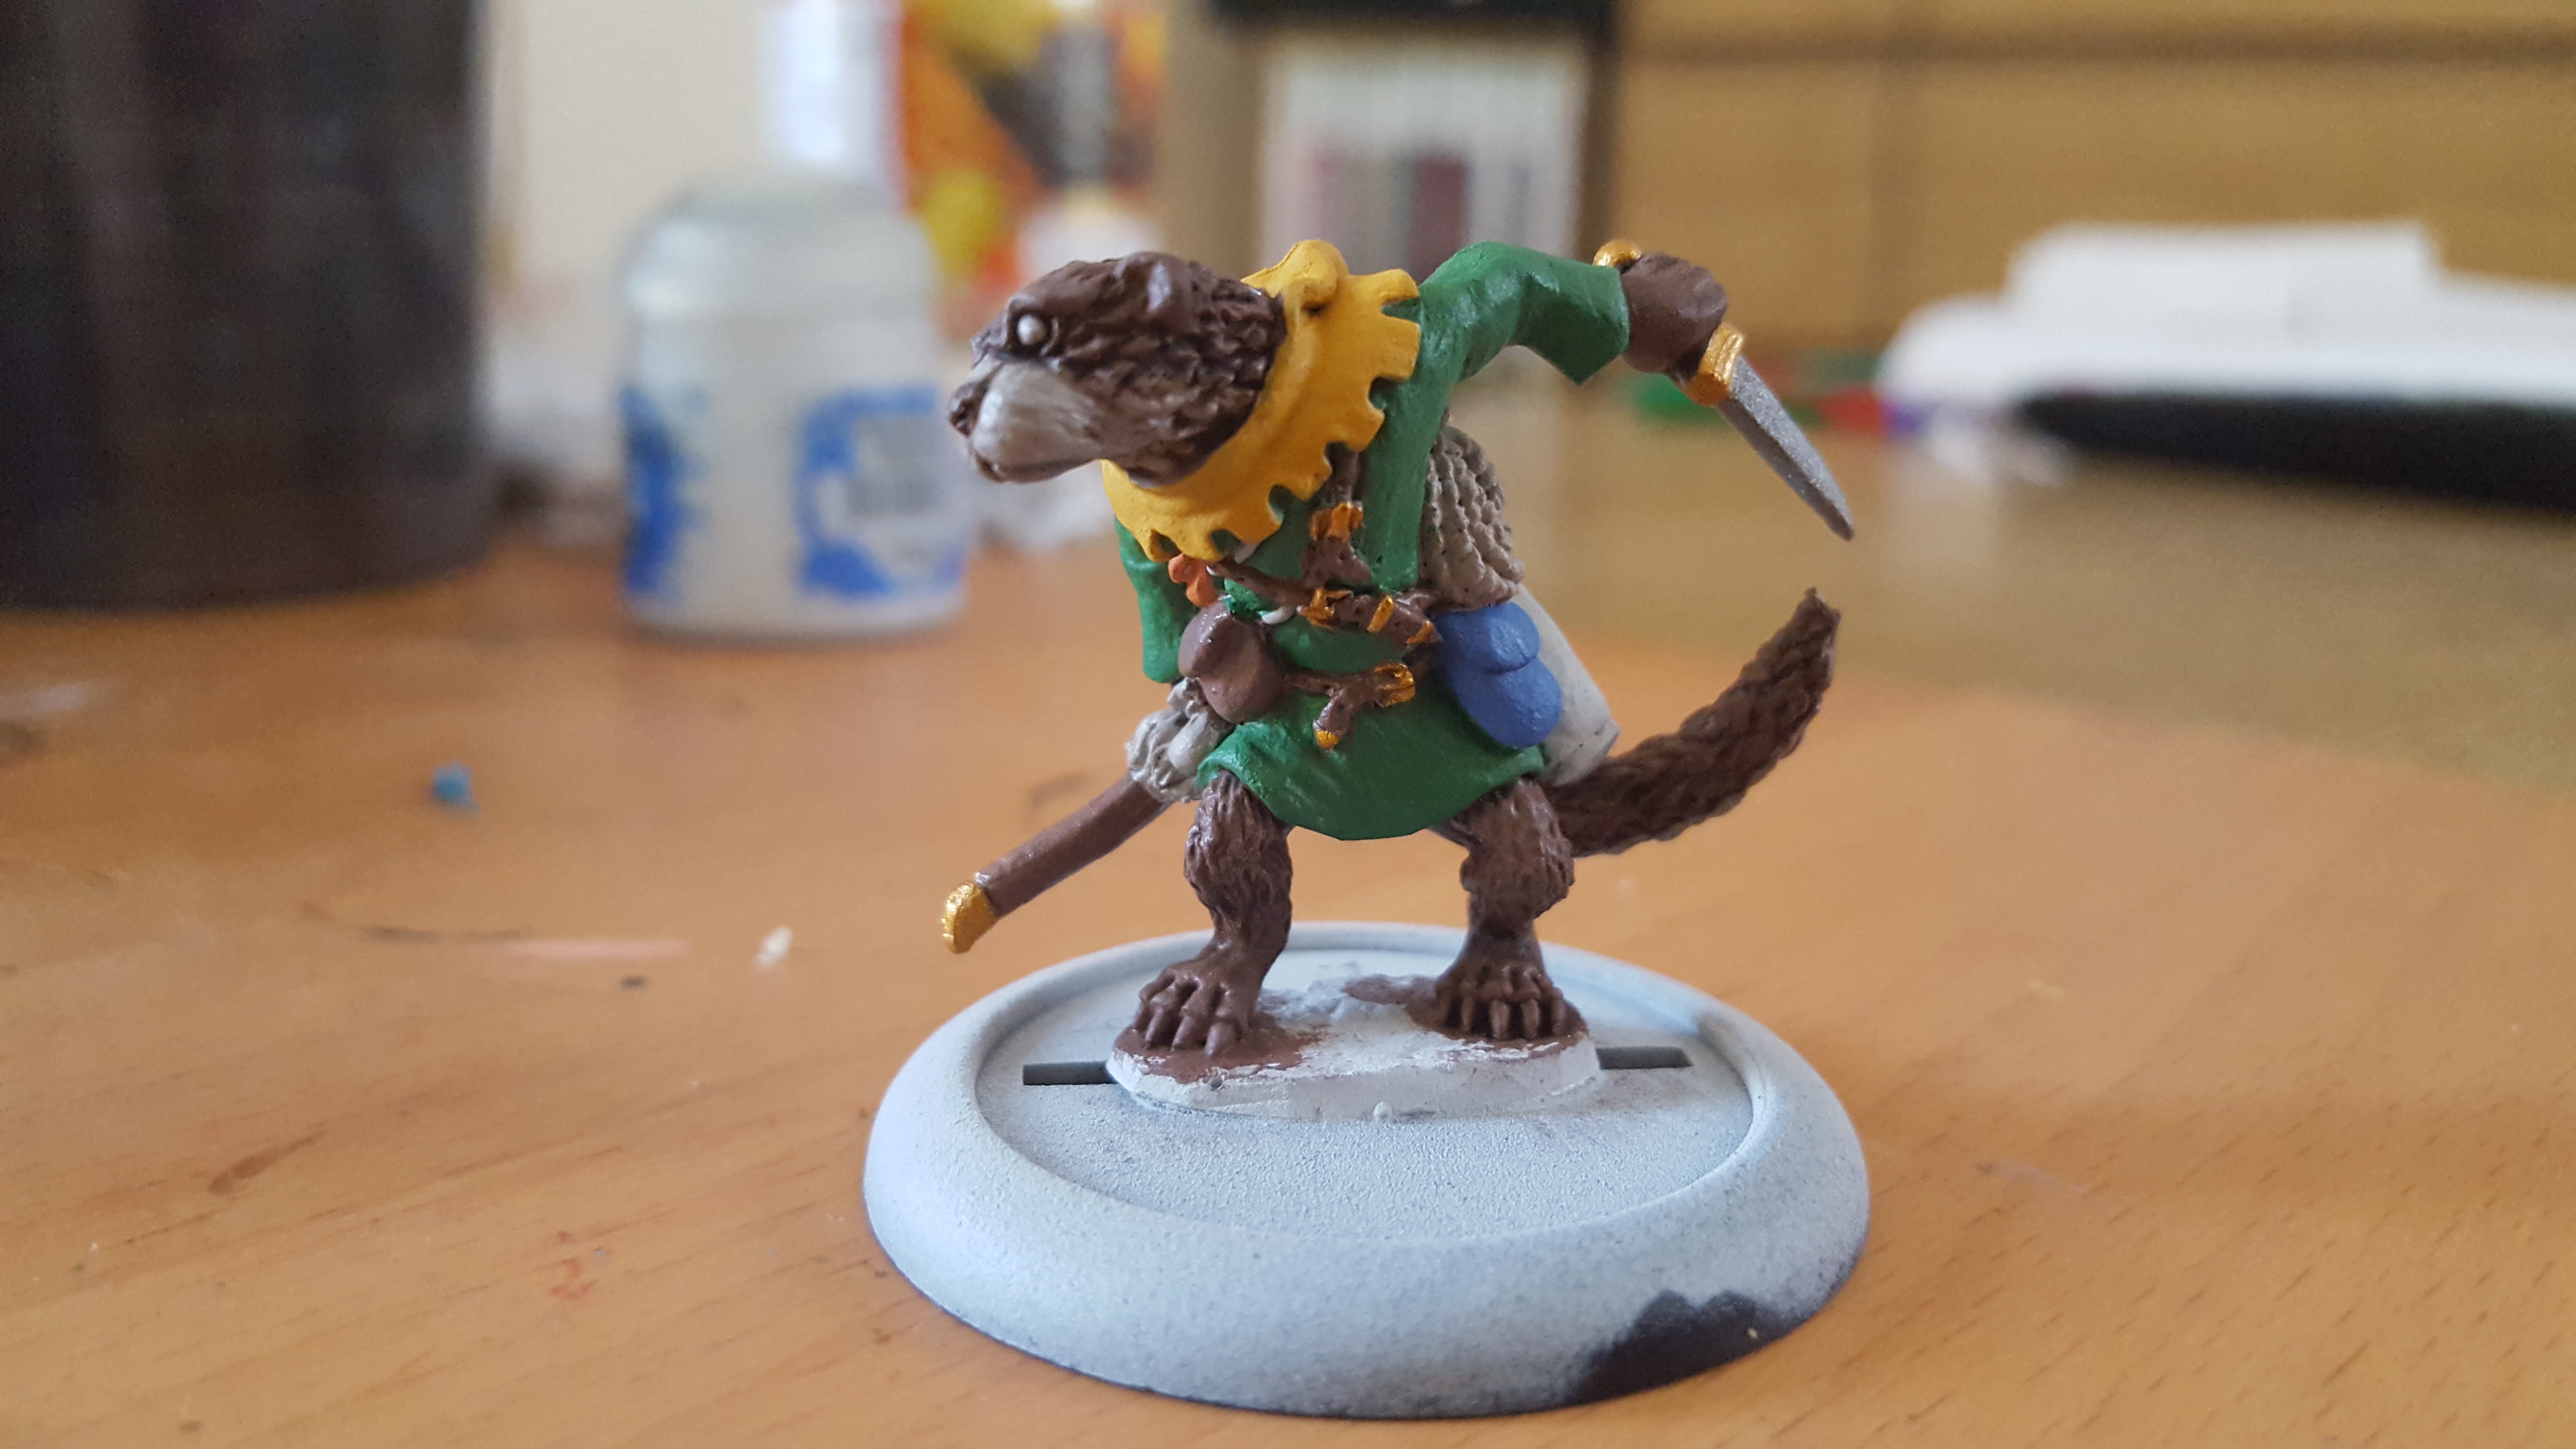
The next step is to work on the fur a little more as I add in the secondary colour for his scruff. This was done with an off-white and works nicely as it is not too stark.

Continuing on from there we work through the block colours for the Otter that will adorn his clothing and accessories.
The colours needed to be layered on a few times over, as seems to be typical with the Army Painter range, but it does come together very nicely and gives you a proper poppy colour.
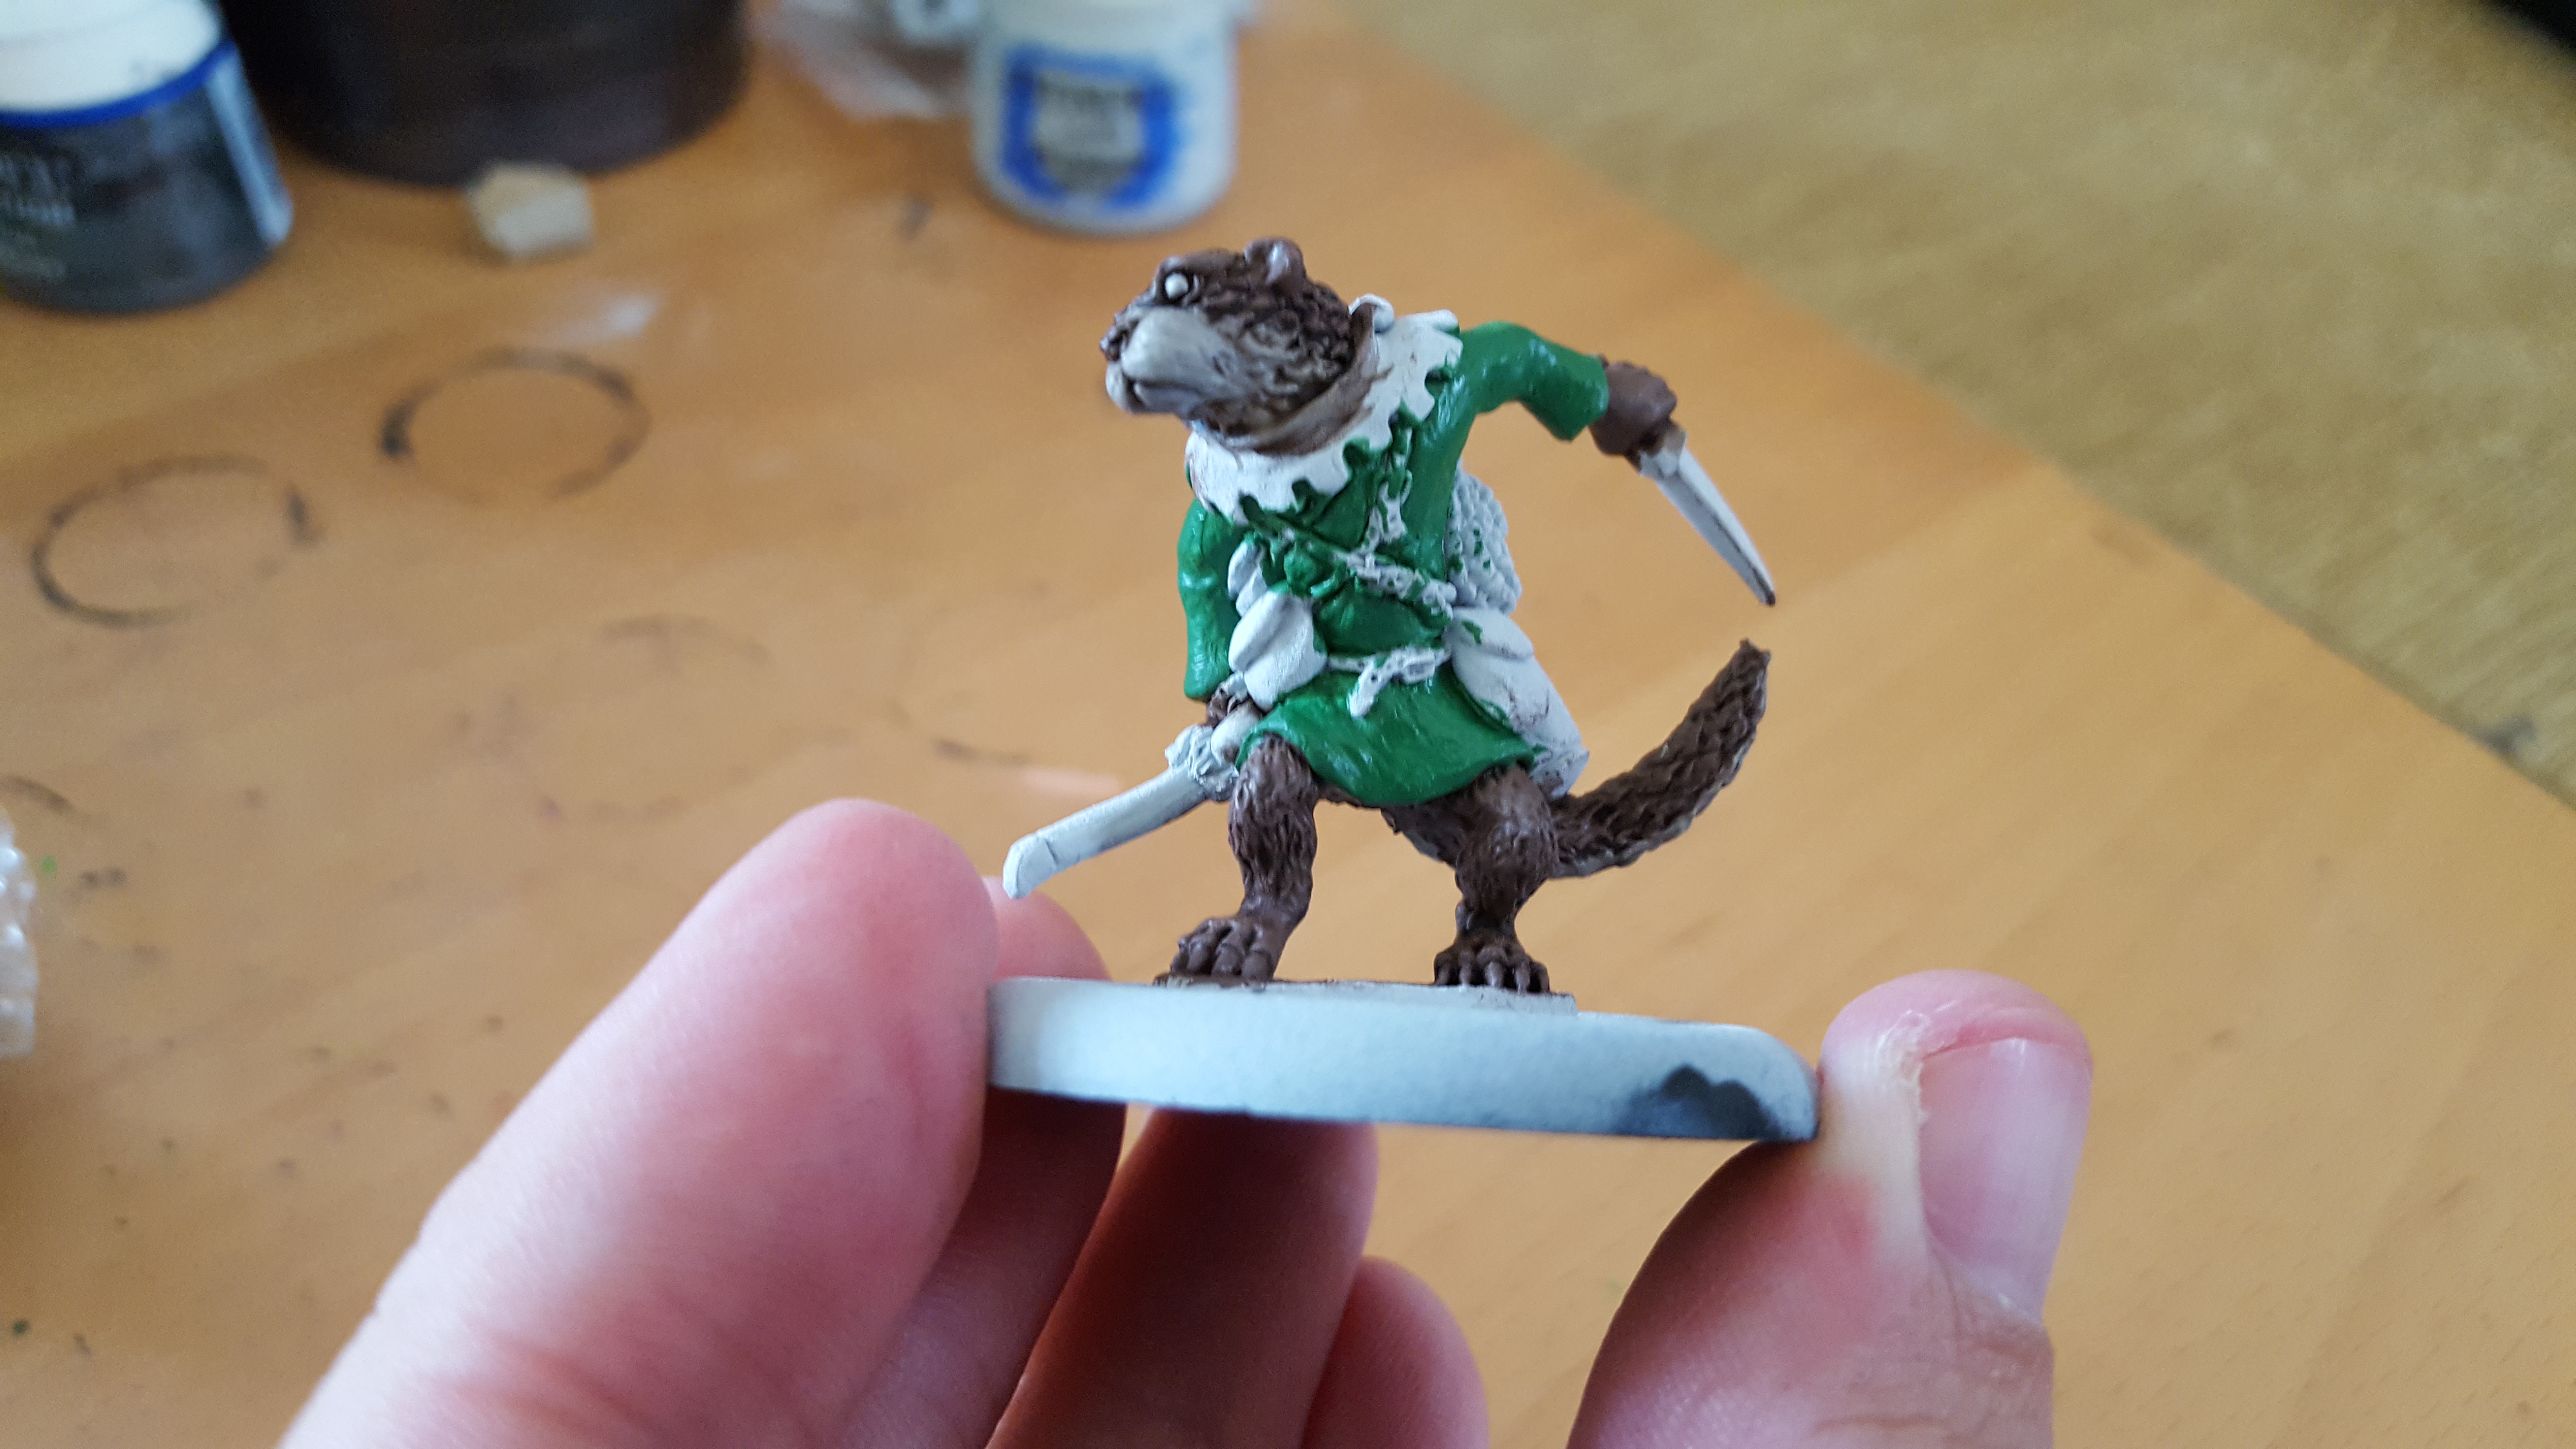
I find it tough trying to get good looking browns and such together and I think I need to expand things a little when it comes to shades like that.
I did at one time have some lighter browns and khaki colours but I appear to have misplaced them. So, the Otter is carrying around some coloured bags to show that maybe he’s picked them up on his travels.
After this, the ENTIRE body gets a wash of Agrax Earthshade.

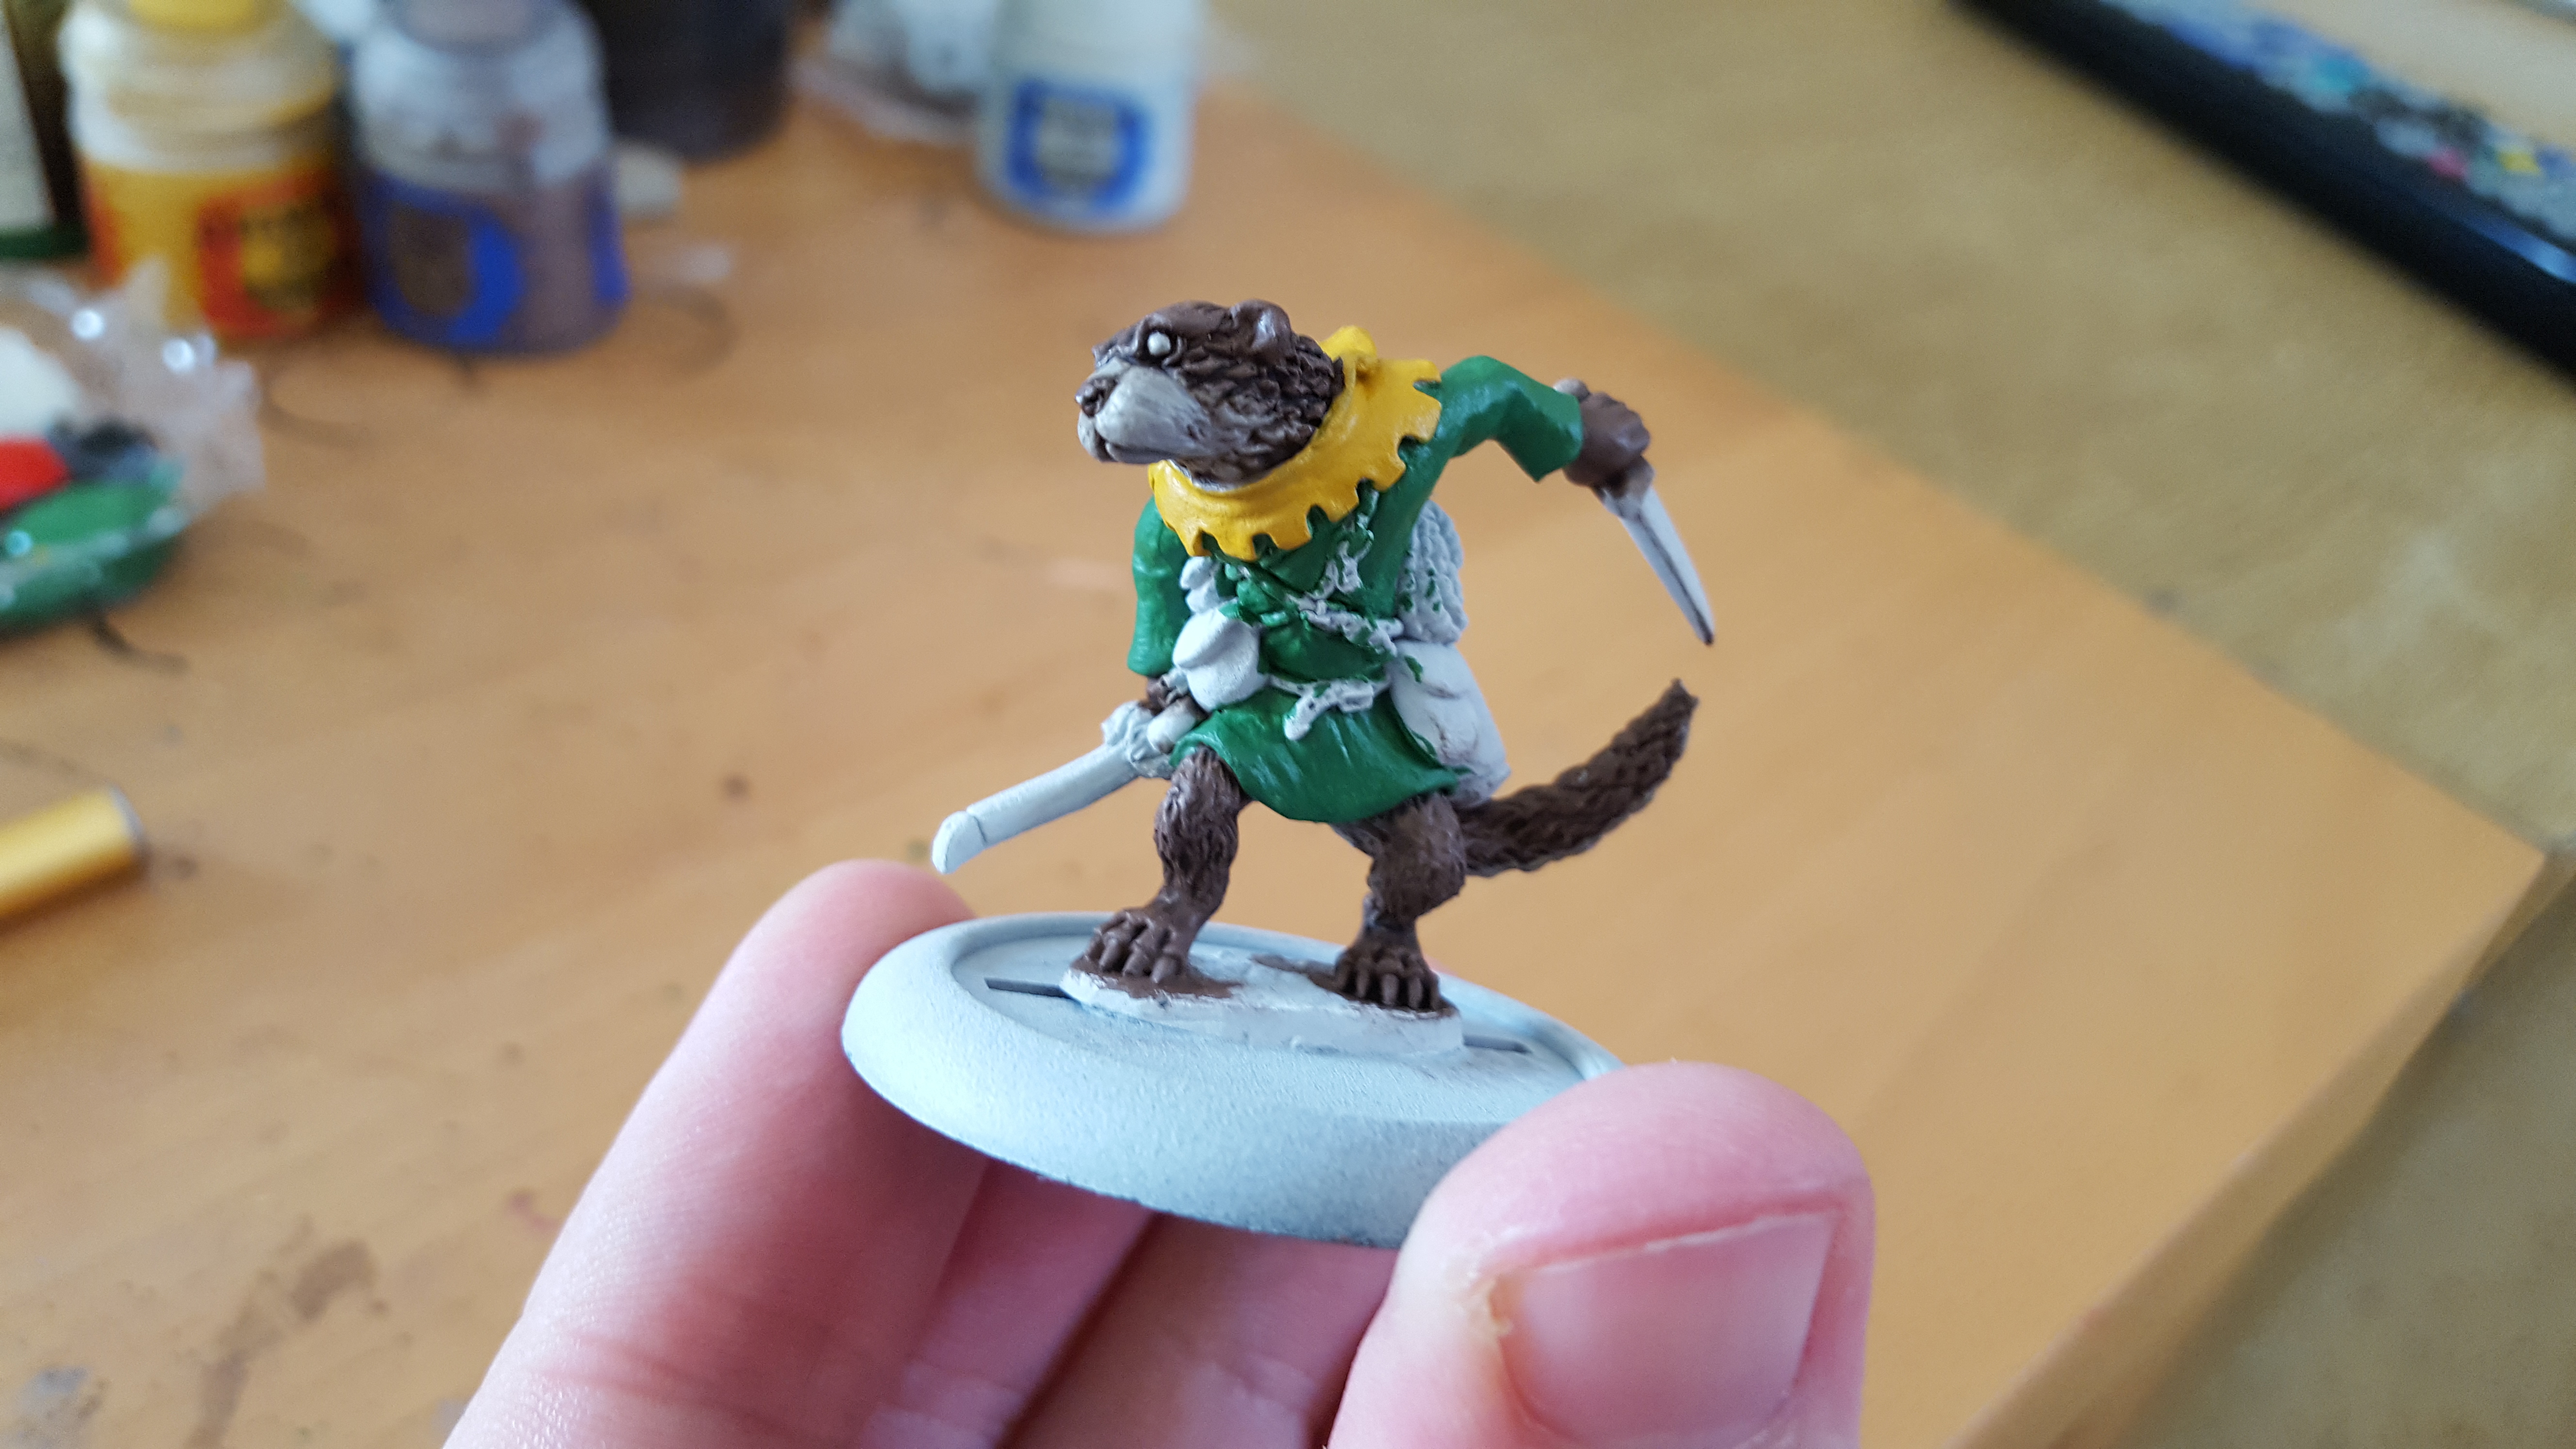
…and once that has dried you go in with familiar colours and do the highlighting. I tend to do a very heavy highlight of block colours whilst leaving the edges in deeper shadows and darker colours.
I think it worked out quite well!
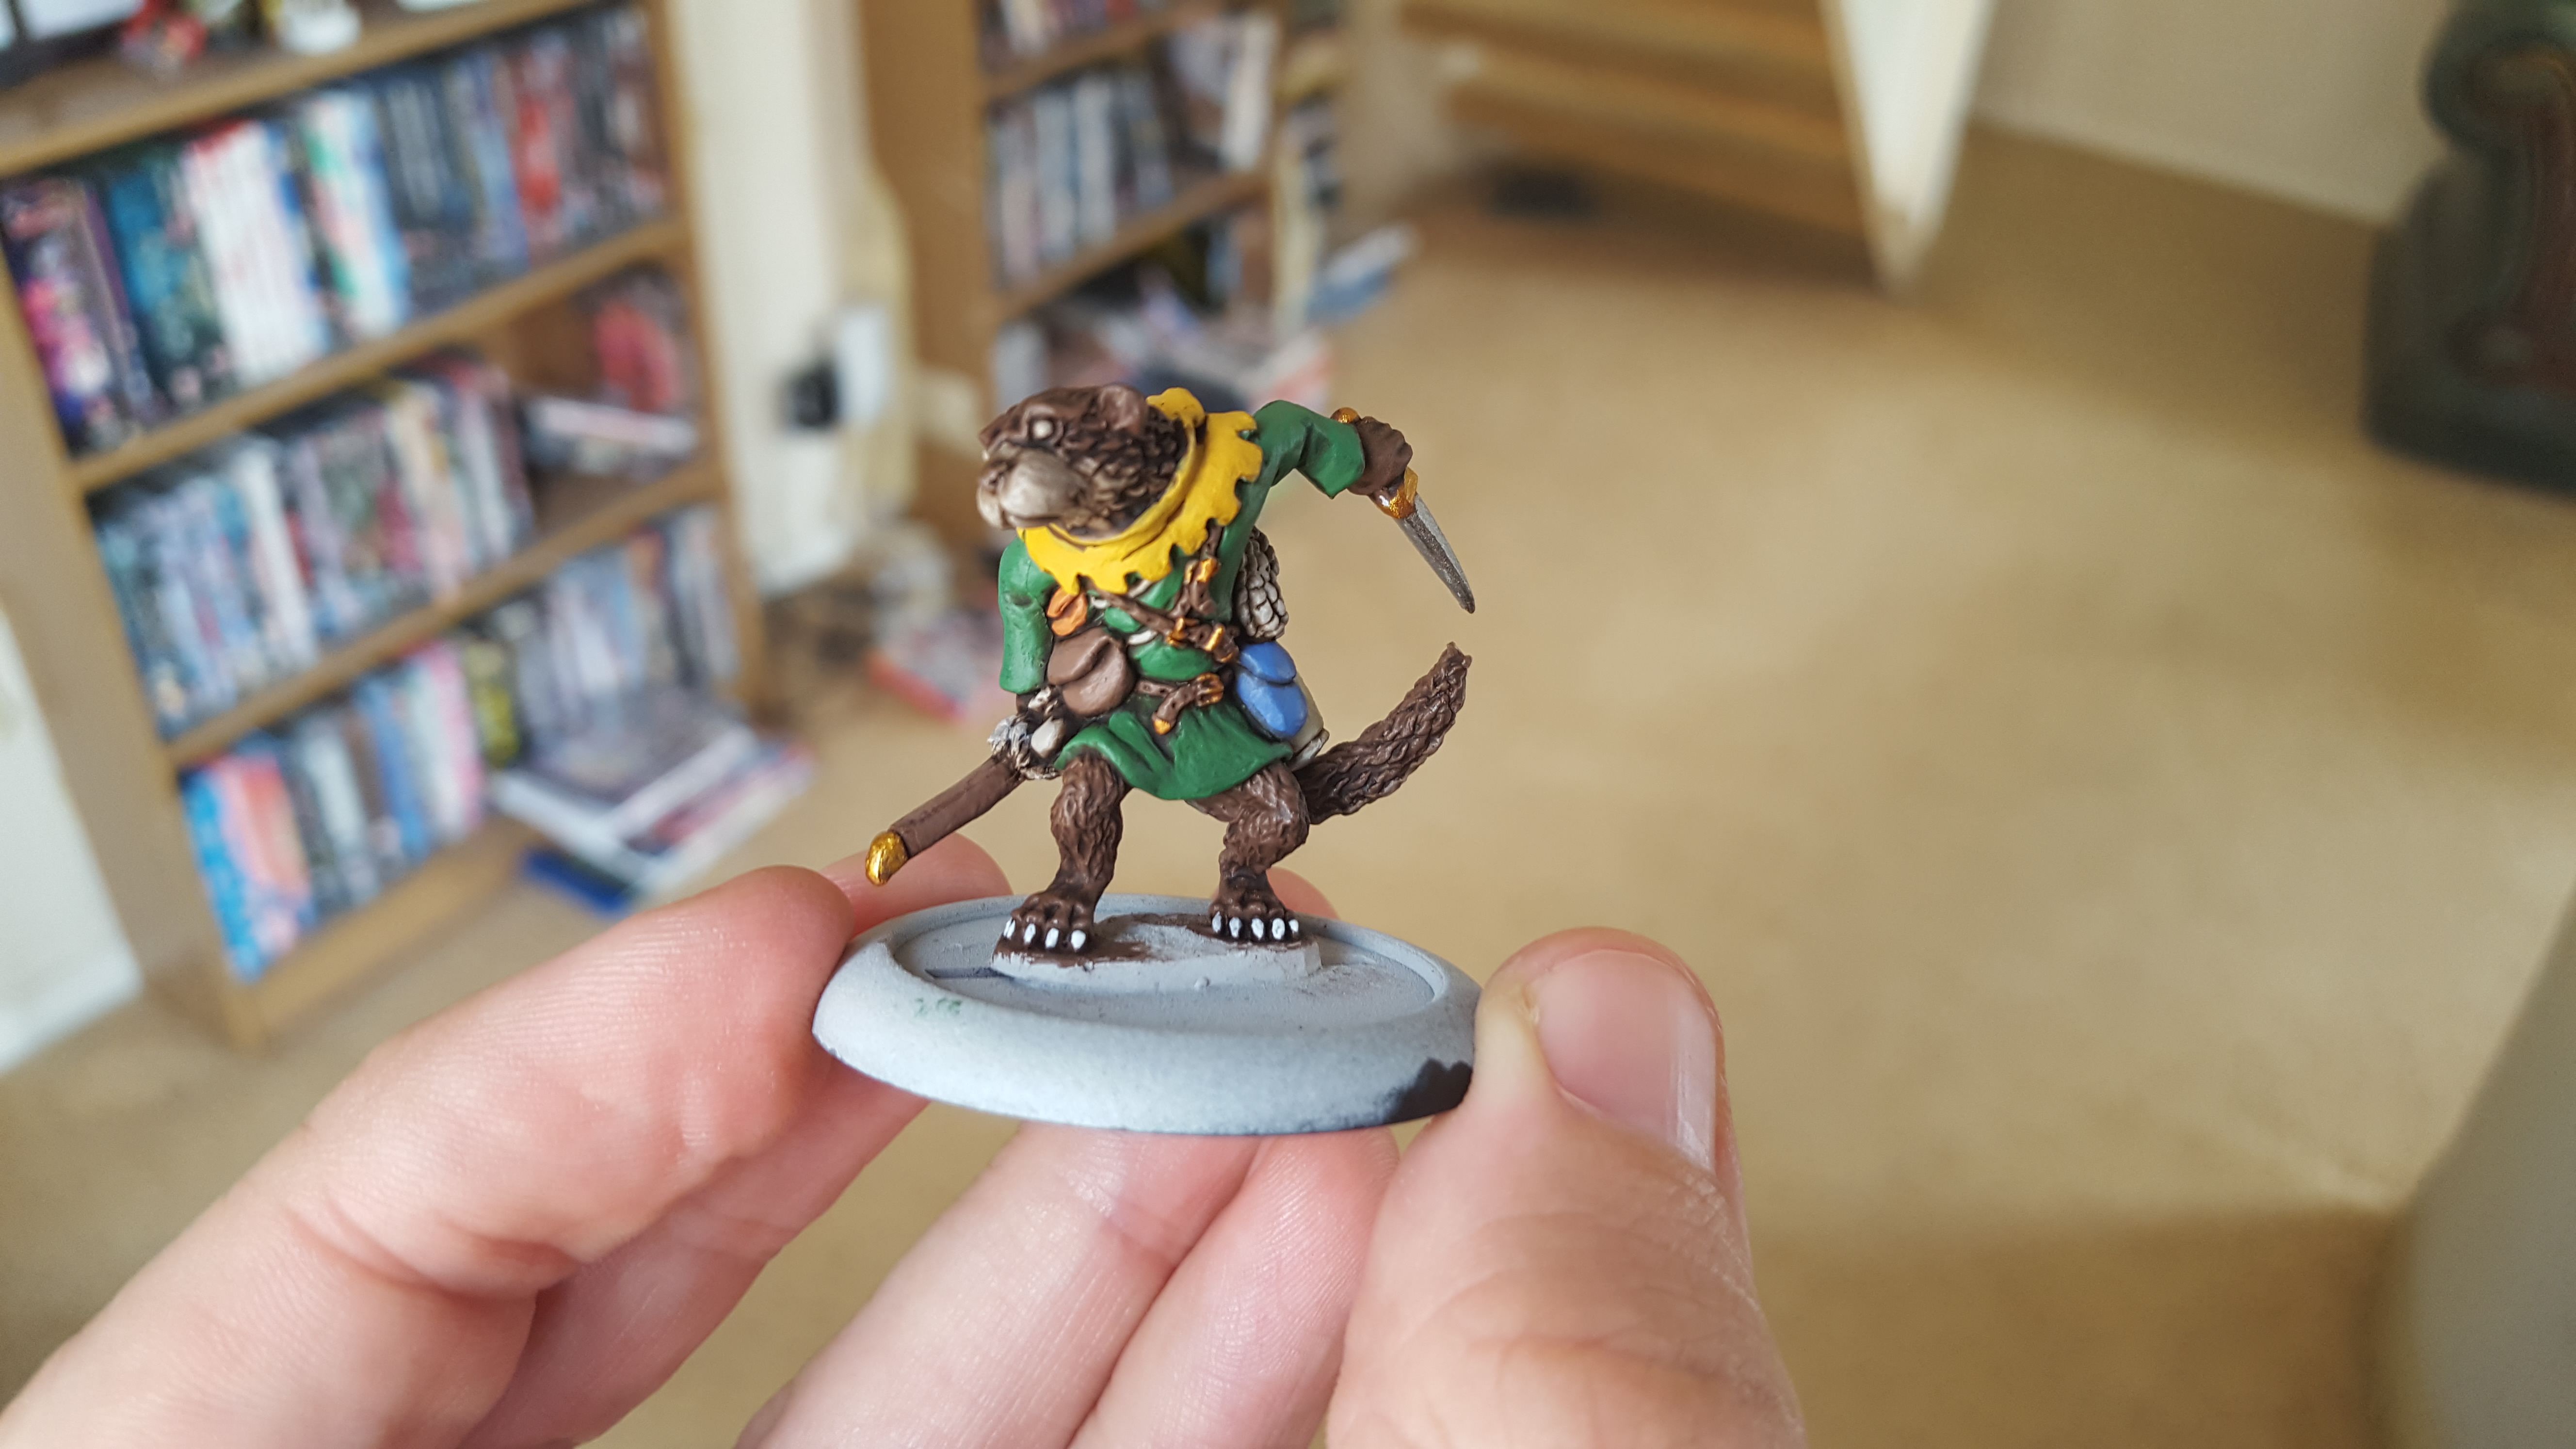
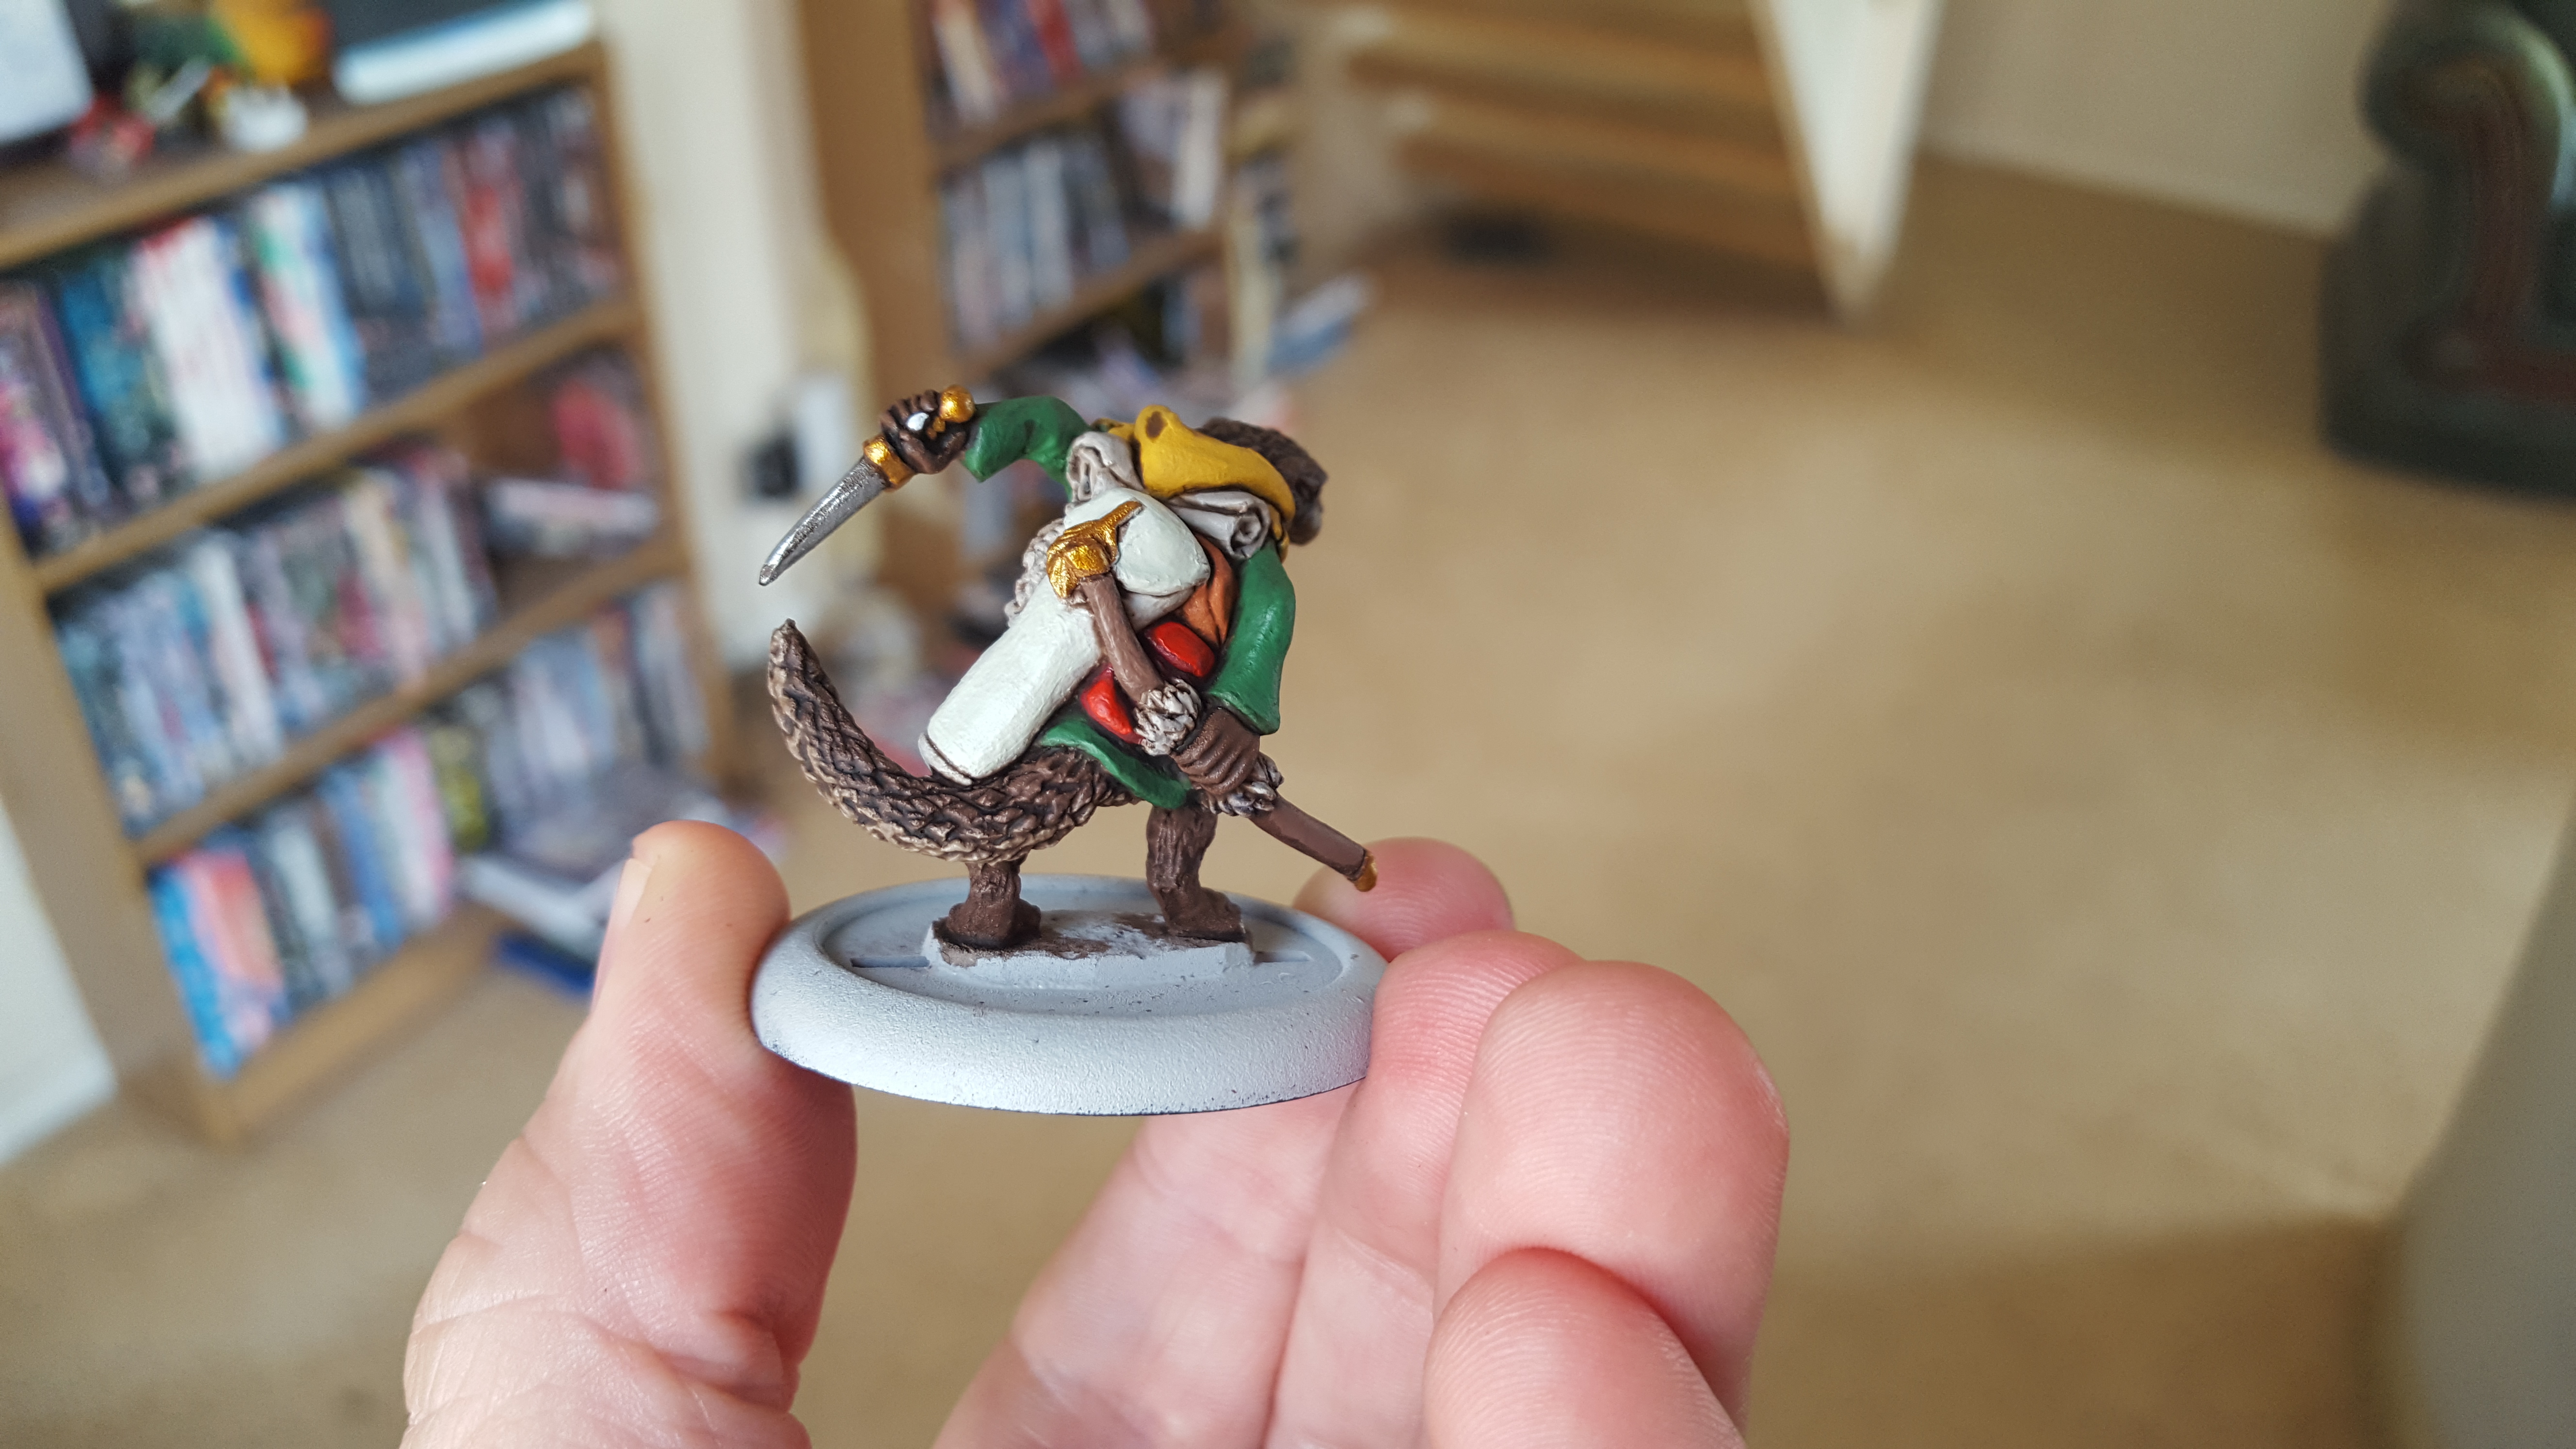
All you have to do then is bring some of the colours back up so that they pop, and do the work on the claws in bright white so that they stand out all the more with the finished model.
The last step is basing but I will show that off in a separate post.
Finished Drunken Weasel!
The Drunken Weasel has now been finished. Man, highlighting red is very tough…but I think he turned out well.

Turned out quite well and just need to finish the Otter now and I’ll be on to doing some more basing.


