


![NO Weekender Or Cult Of Games XLBS This Weekend [Updated]](https://images.beastsofwar.com/2026/03/No_Weekender_and_XLBS_this_Weekend-225-127.jpg)


Battle Arena


Recommendations: 32
About the Project
This is a arena i am making for 1st one shot i hope to run with my friends.its Finnished and I ran a one shot with my kids first and it was amazing the kids loved it.
Related Game: Dungeons & Dragons
Related Company: Wizards of the Coast
Related Genre: Fantasy
This Project is Completed
So tonight I started my battle arena, the board was lying around begging to be used and I folded lol and i thought i would share the journey.
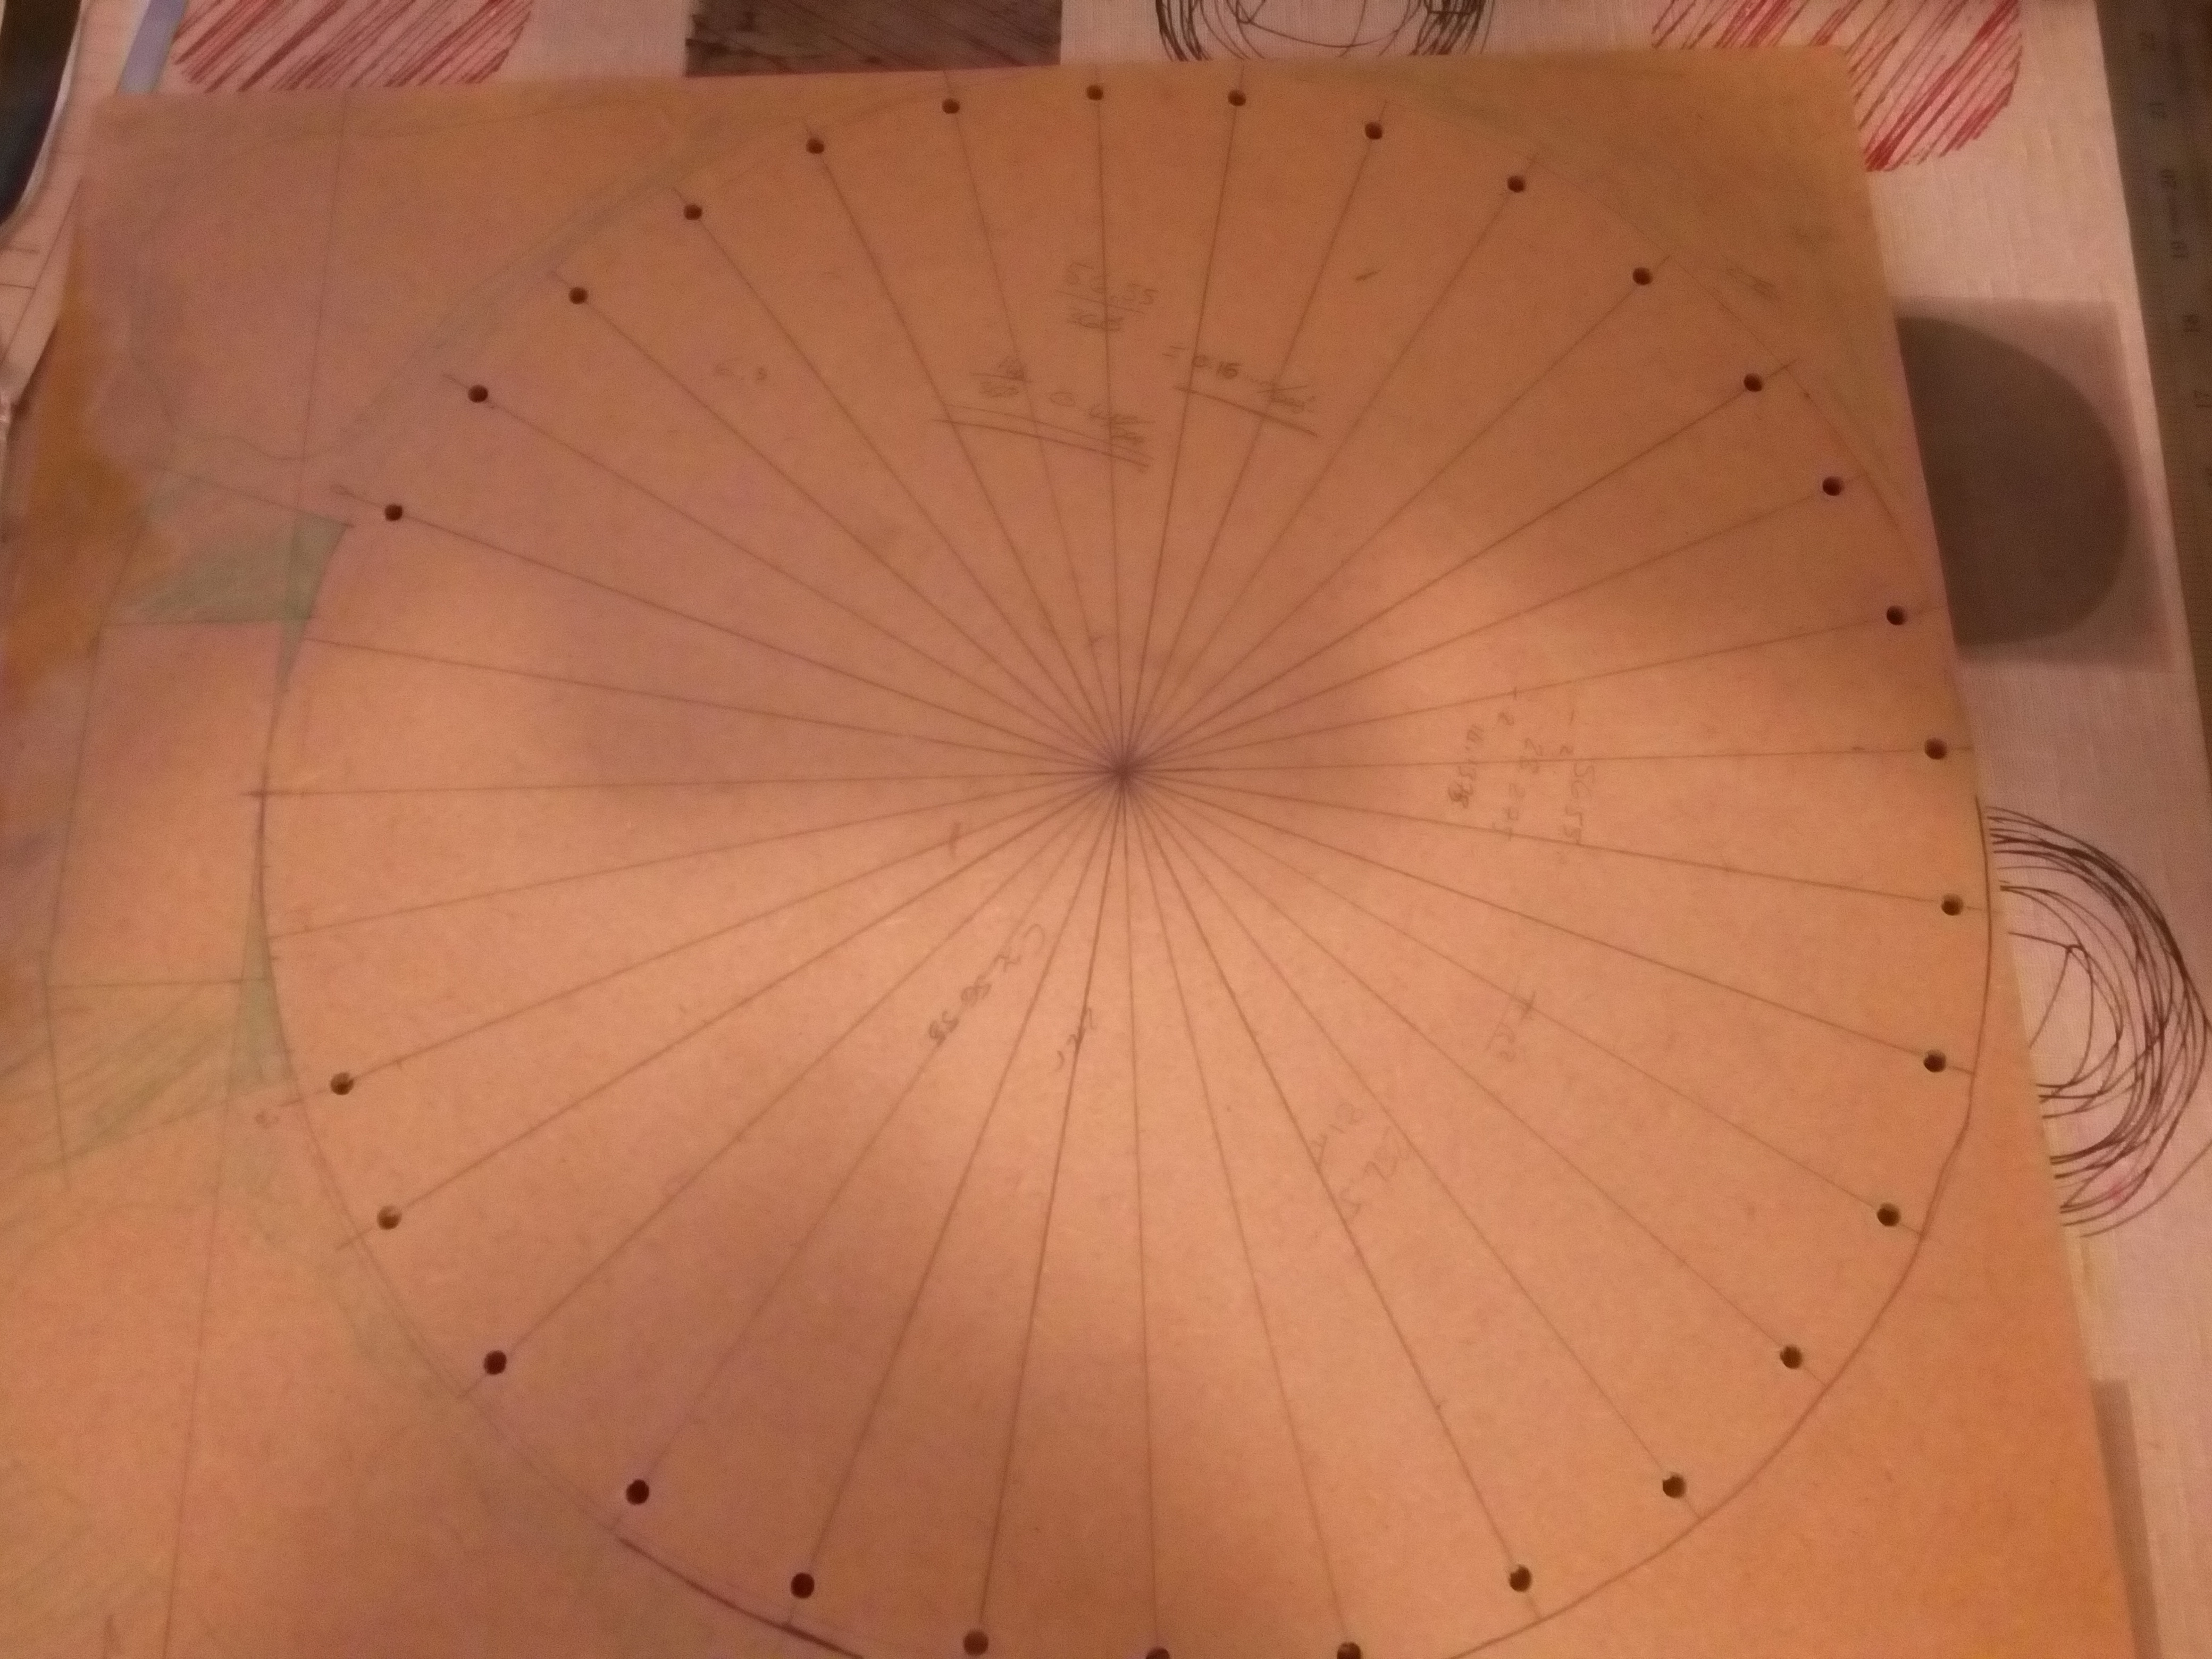
I started by drawing a circle 44cm in diameter (just so it will fit the board that i had). this was then sectioned into quarters, eighths and so on till their were enough points that it would suit a post and rope fence.
 I've used some 6mm dowel for the fence posts. i decided that the length of the posts can be anywhere from 30mm to 35mm.
Note to anyone who has to drill or cut MDF wear a dust mask and put on some goggles the dust is killer.
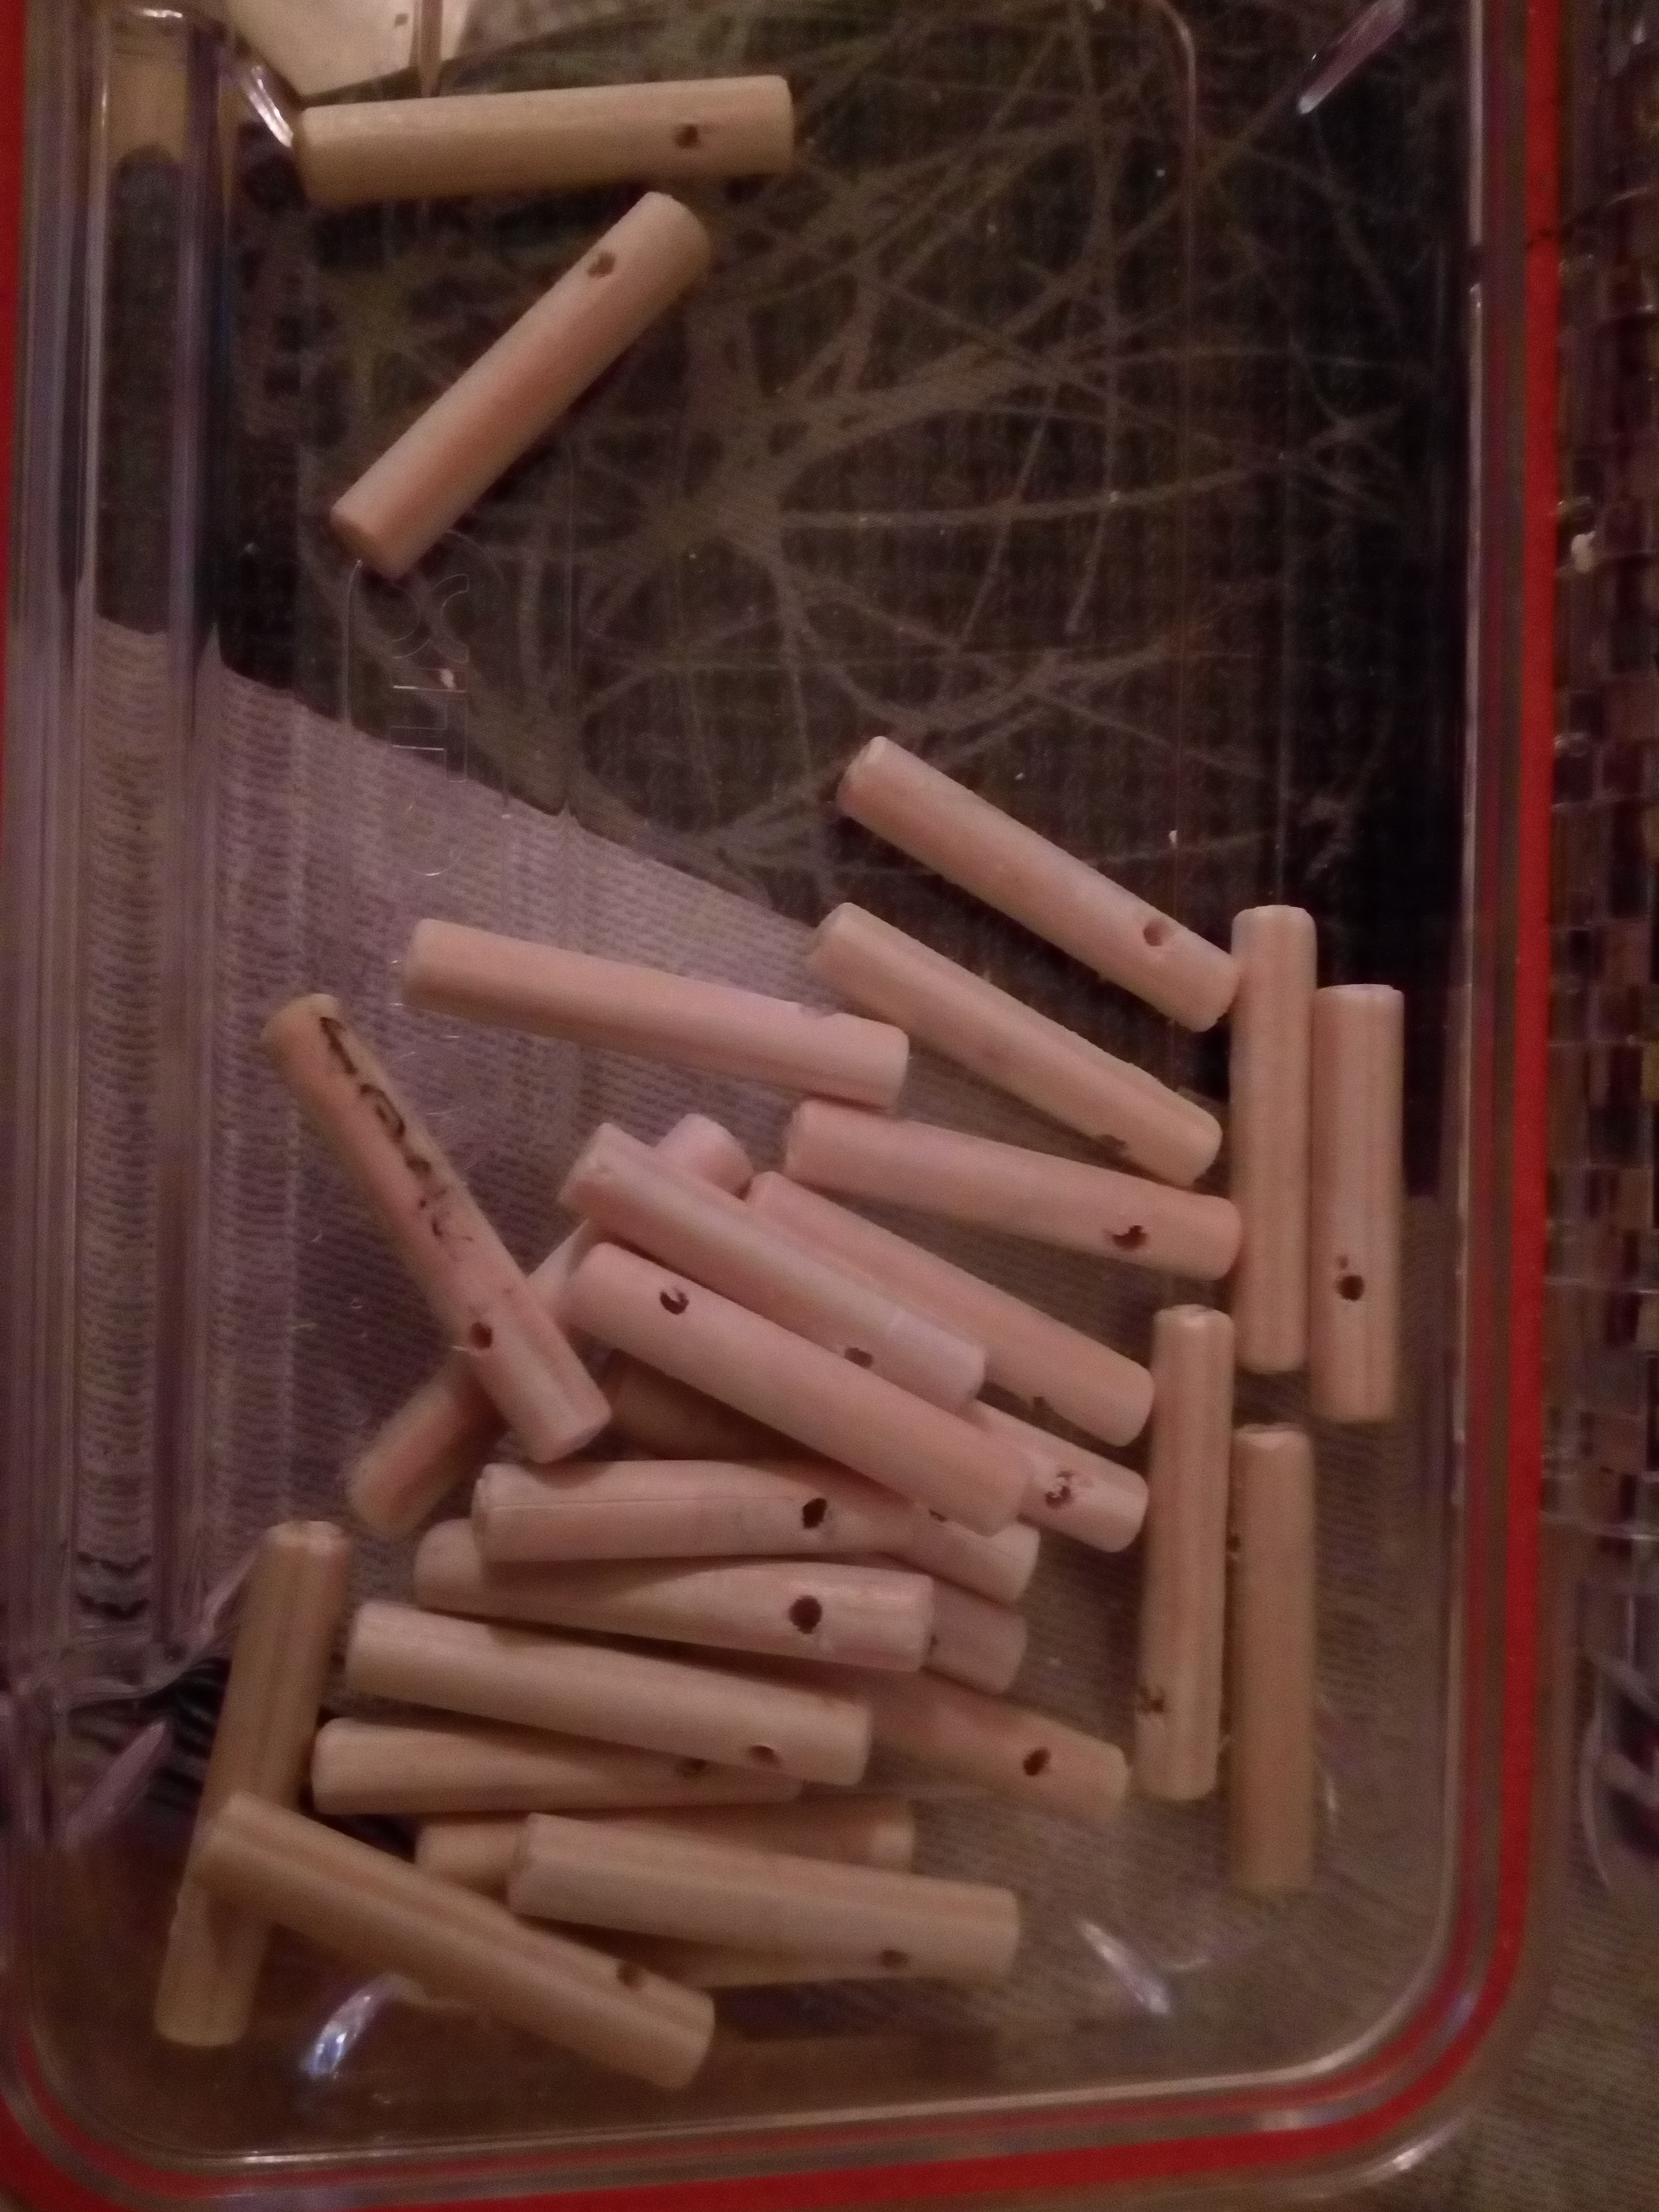 29 posts cut and drilled ready for gluing.
  For the base of the arena I used a Jarvis flocked roll (from the not so local model shop). Cheating I know but I liked the colour.
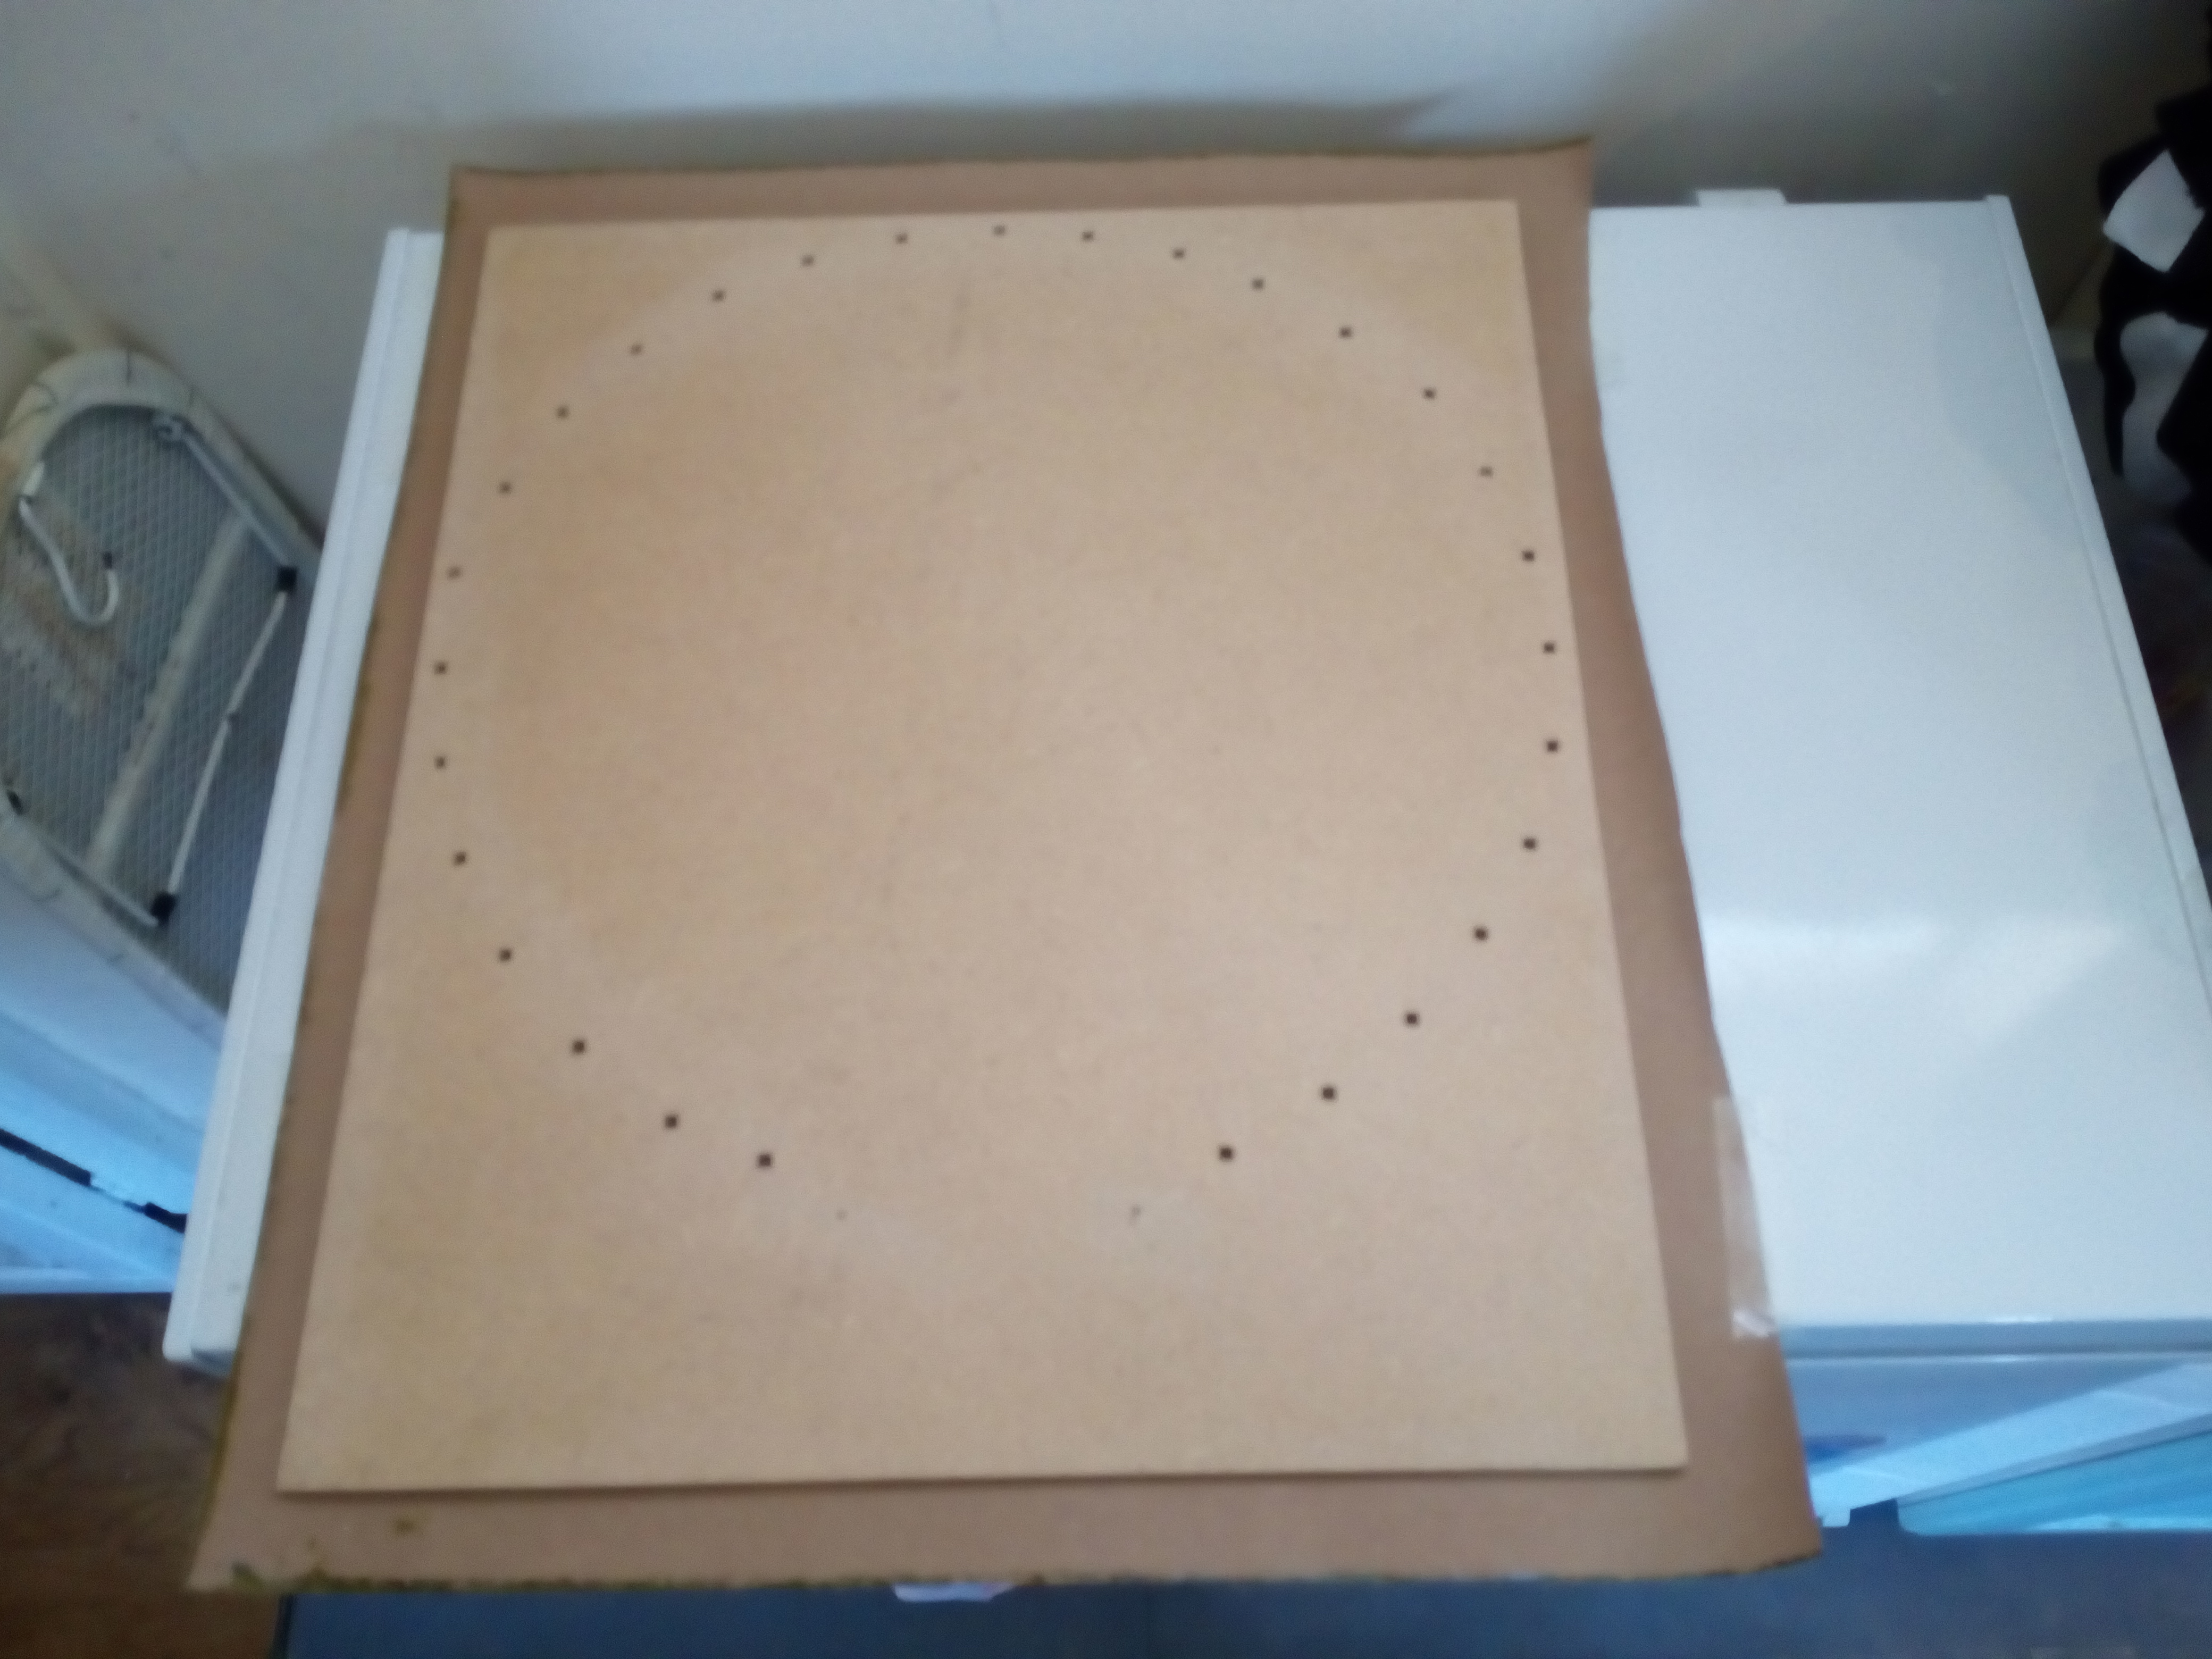 When the board was laid on the paper side of the roll I cut it oversized to allow for any error in the gluing the two together. To glue the two together the surfaces needed to be dust free so I used cloth and cleaned both the board and mat then both surfaces were sprayed with the adhesive and left for up to five minutes to become tacky. With both surfaces ready the board was pressed into the mat and left to dry further.
 I'm using a tin of spray adhesive to stick the mat to the board, I know! Using glue to stick something down isn’t new but when I tested some PVA earlier in the week and I wasn’t happy with the results. The issue with spray glue is the overspray so if you’re going to use it lay down paper lol (it took me half an hour to clean it up). Oh and use in a well-ventilated space!!!
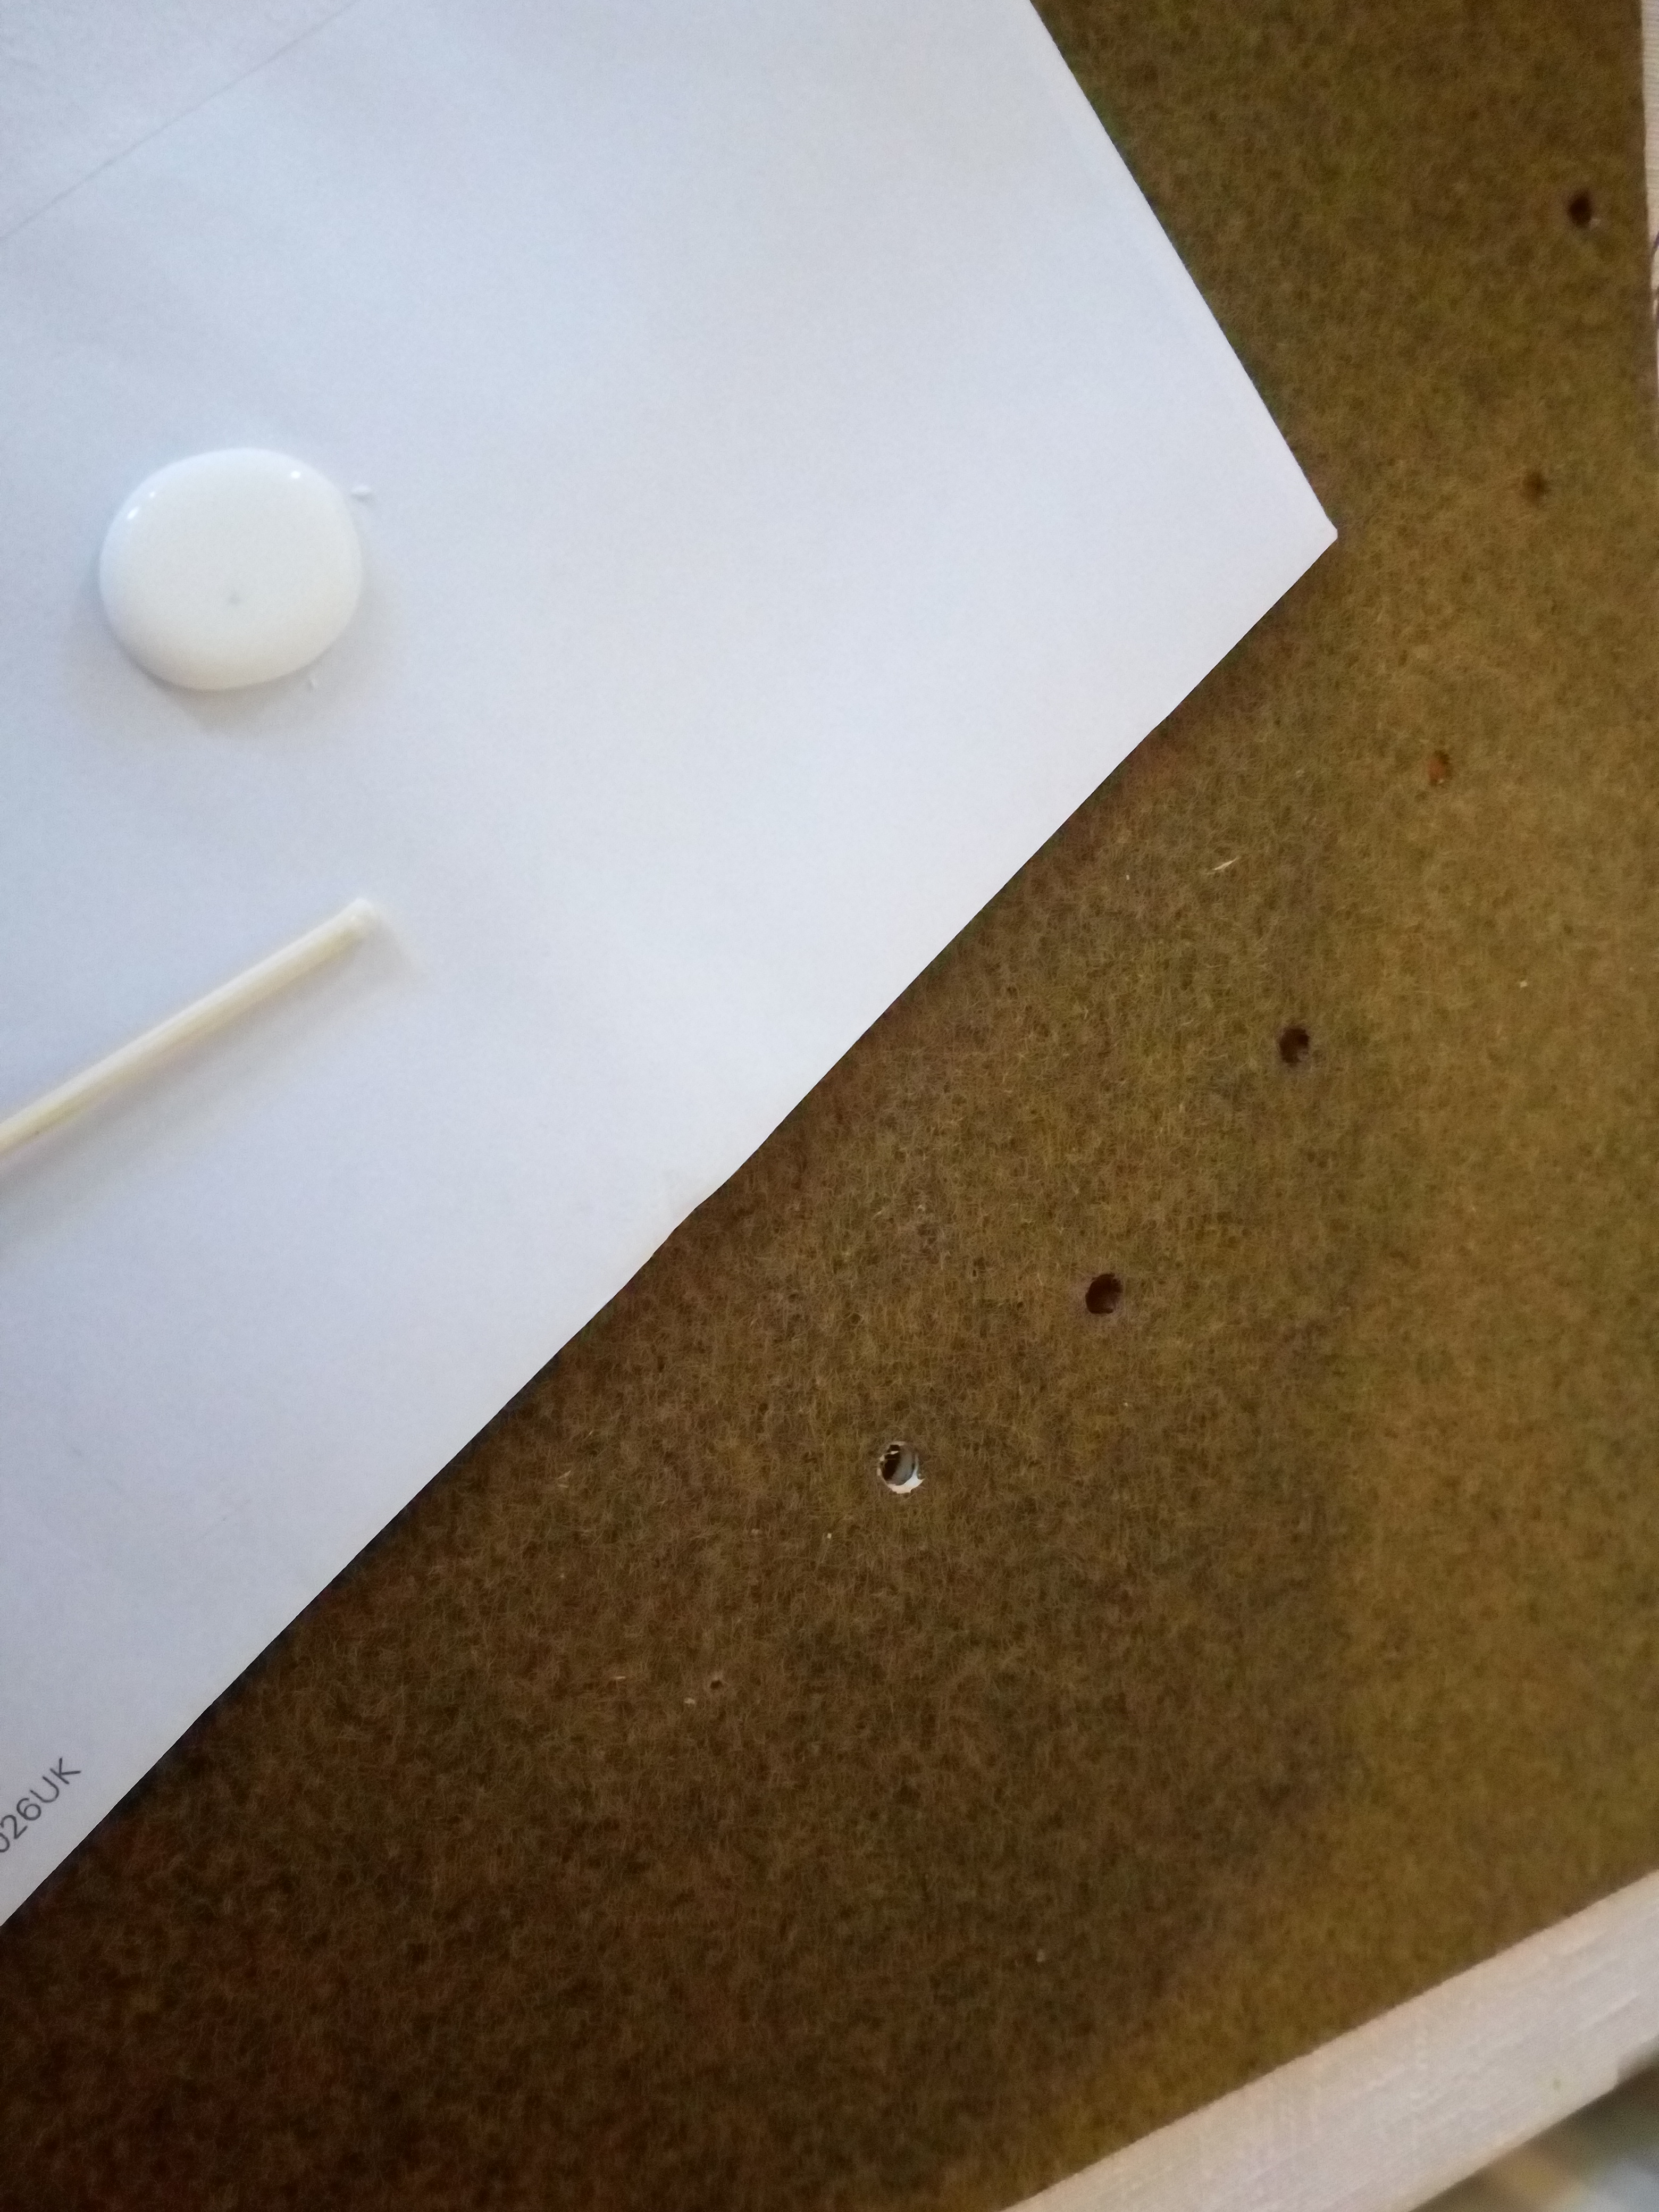
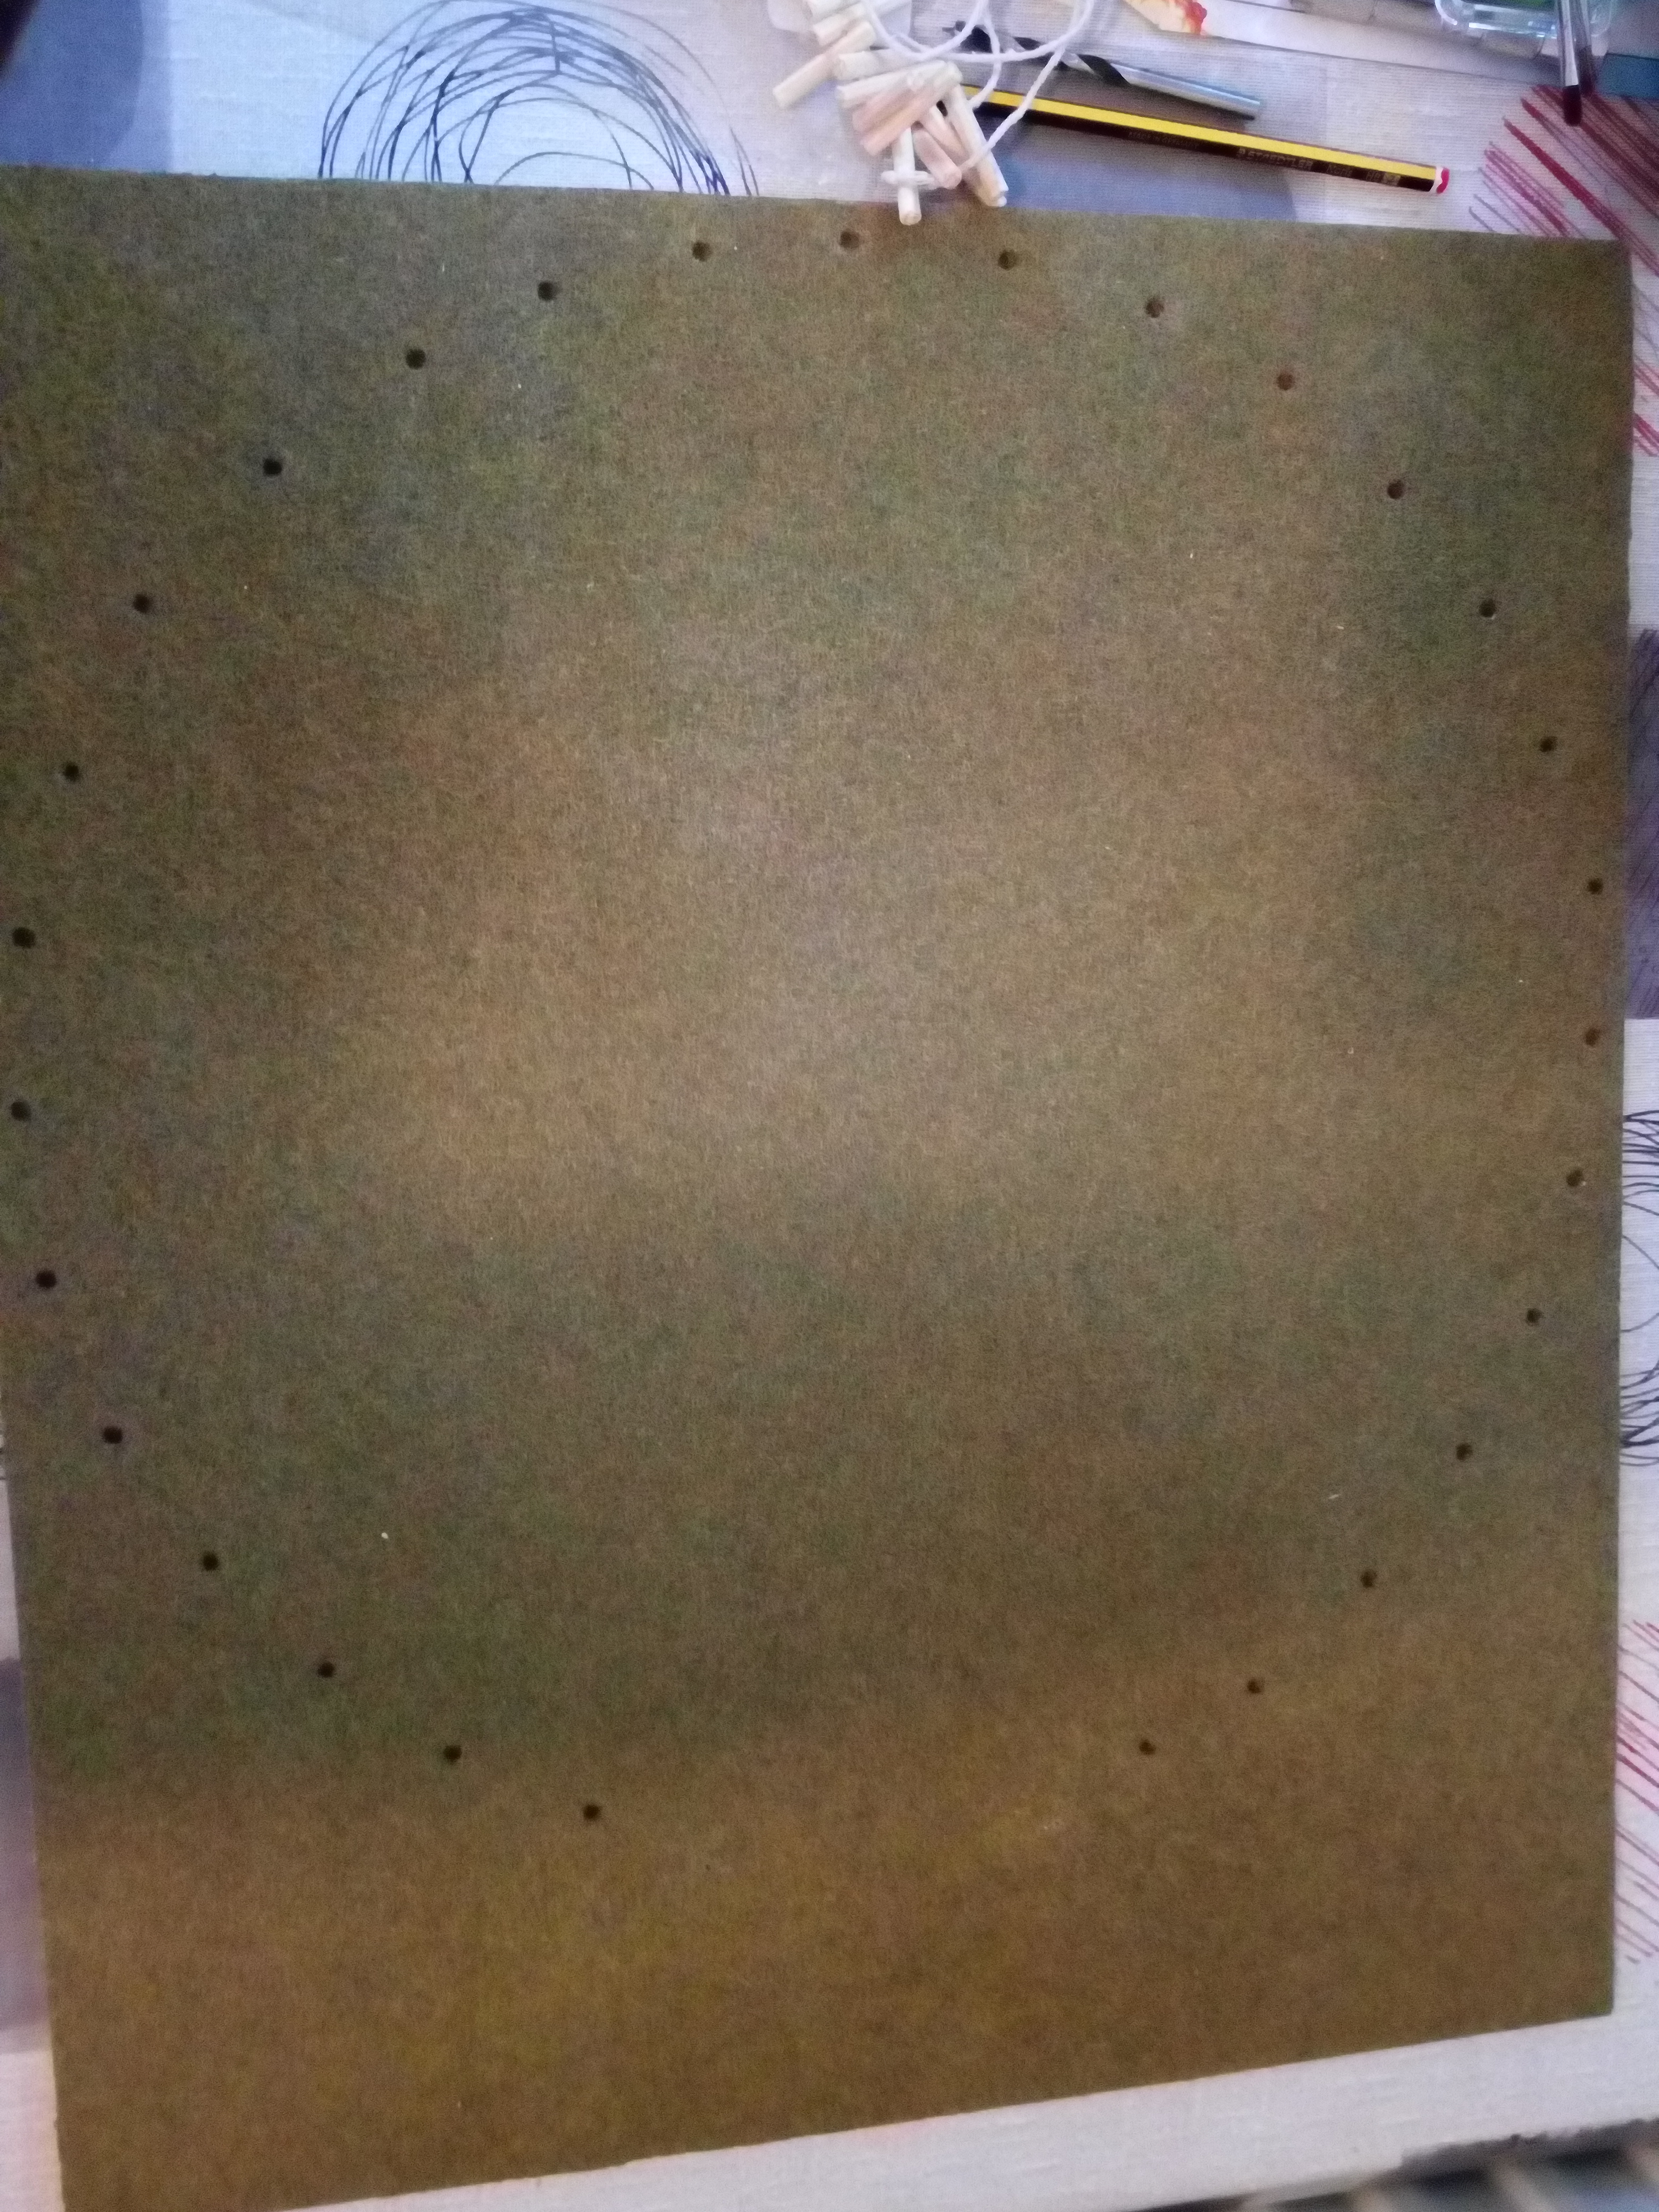 Ok so I left it about an hour and it seems solid enough to work with, so I started by using a pencil to poke the post holes though the mat
Fence Posts

Before fitting all the posts to the board i had to fit the rope to the posts harder than it sounds trust me!, I didn’t drill the hole for them at the right size but with some clear tape made into a type of needle i could thread though all the posts.
 Gluing the in the posts
Using some masking tape to cover the holes on the underside of the board, I used PVA to put the posts into the board
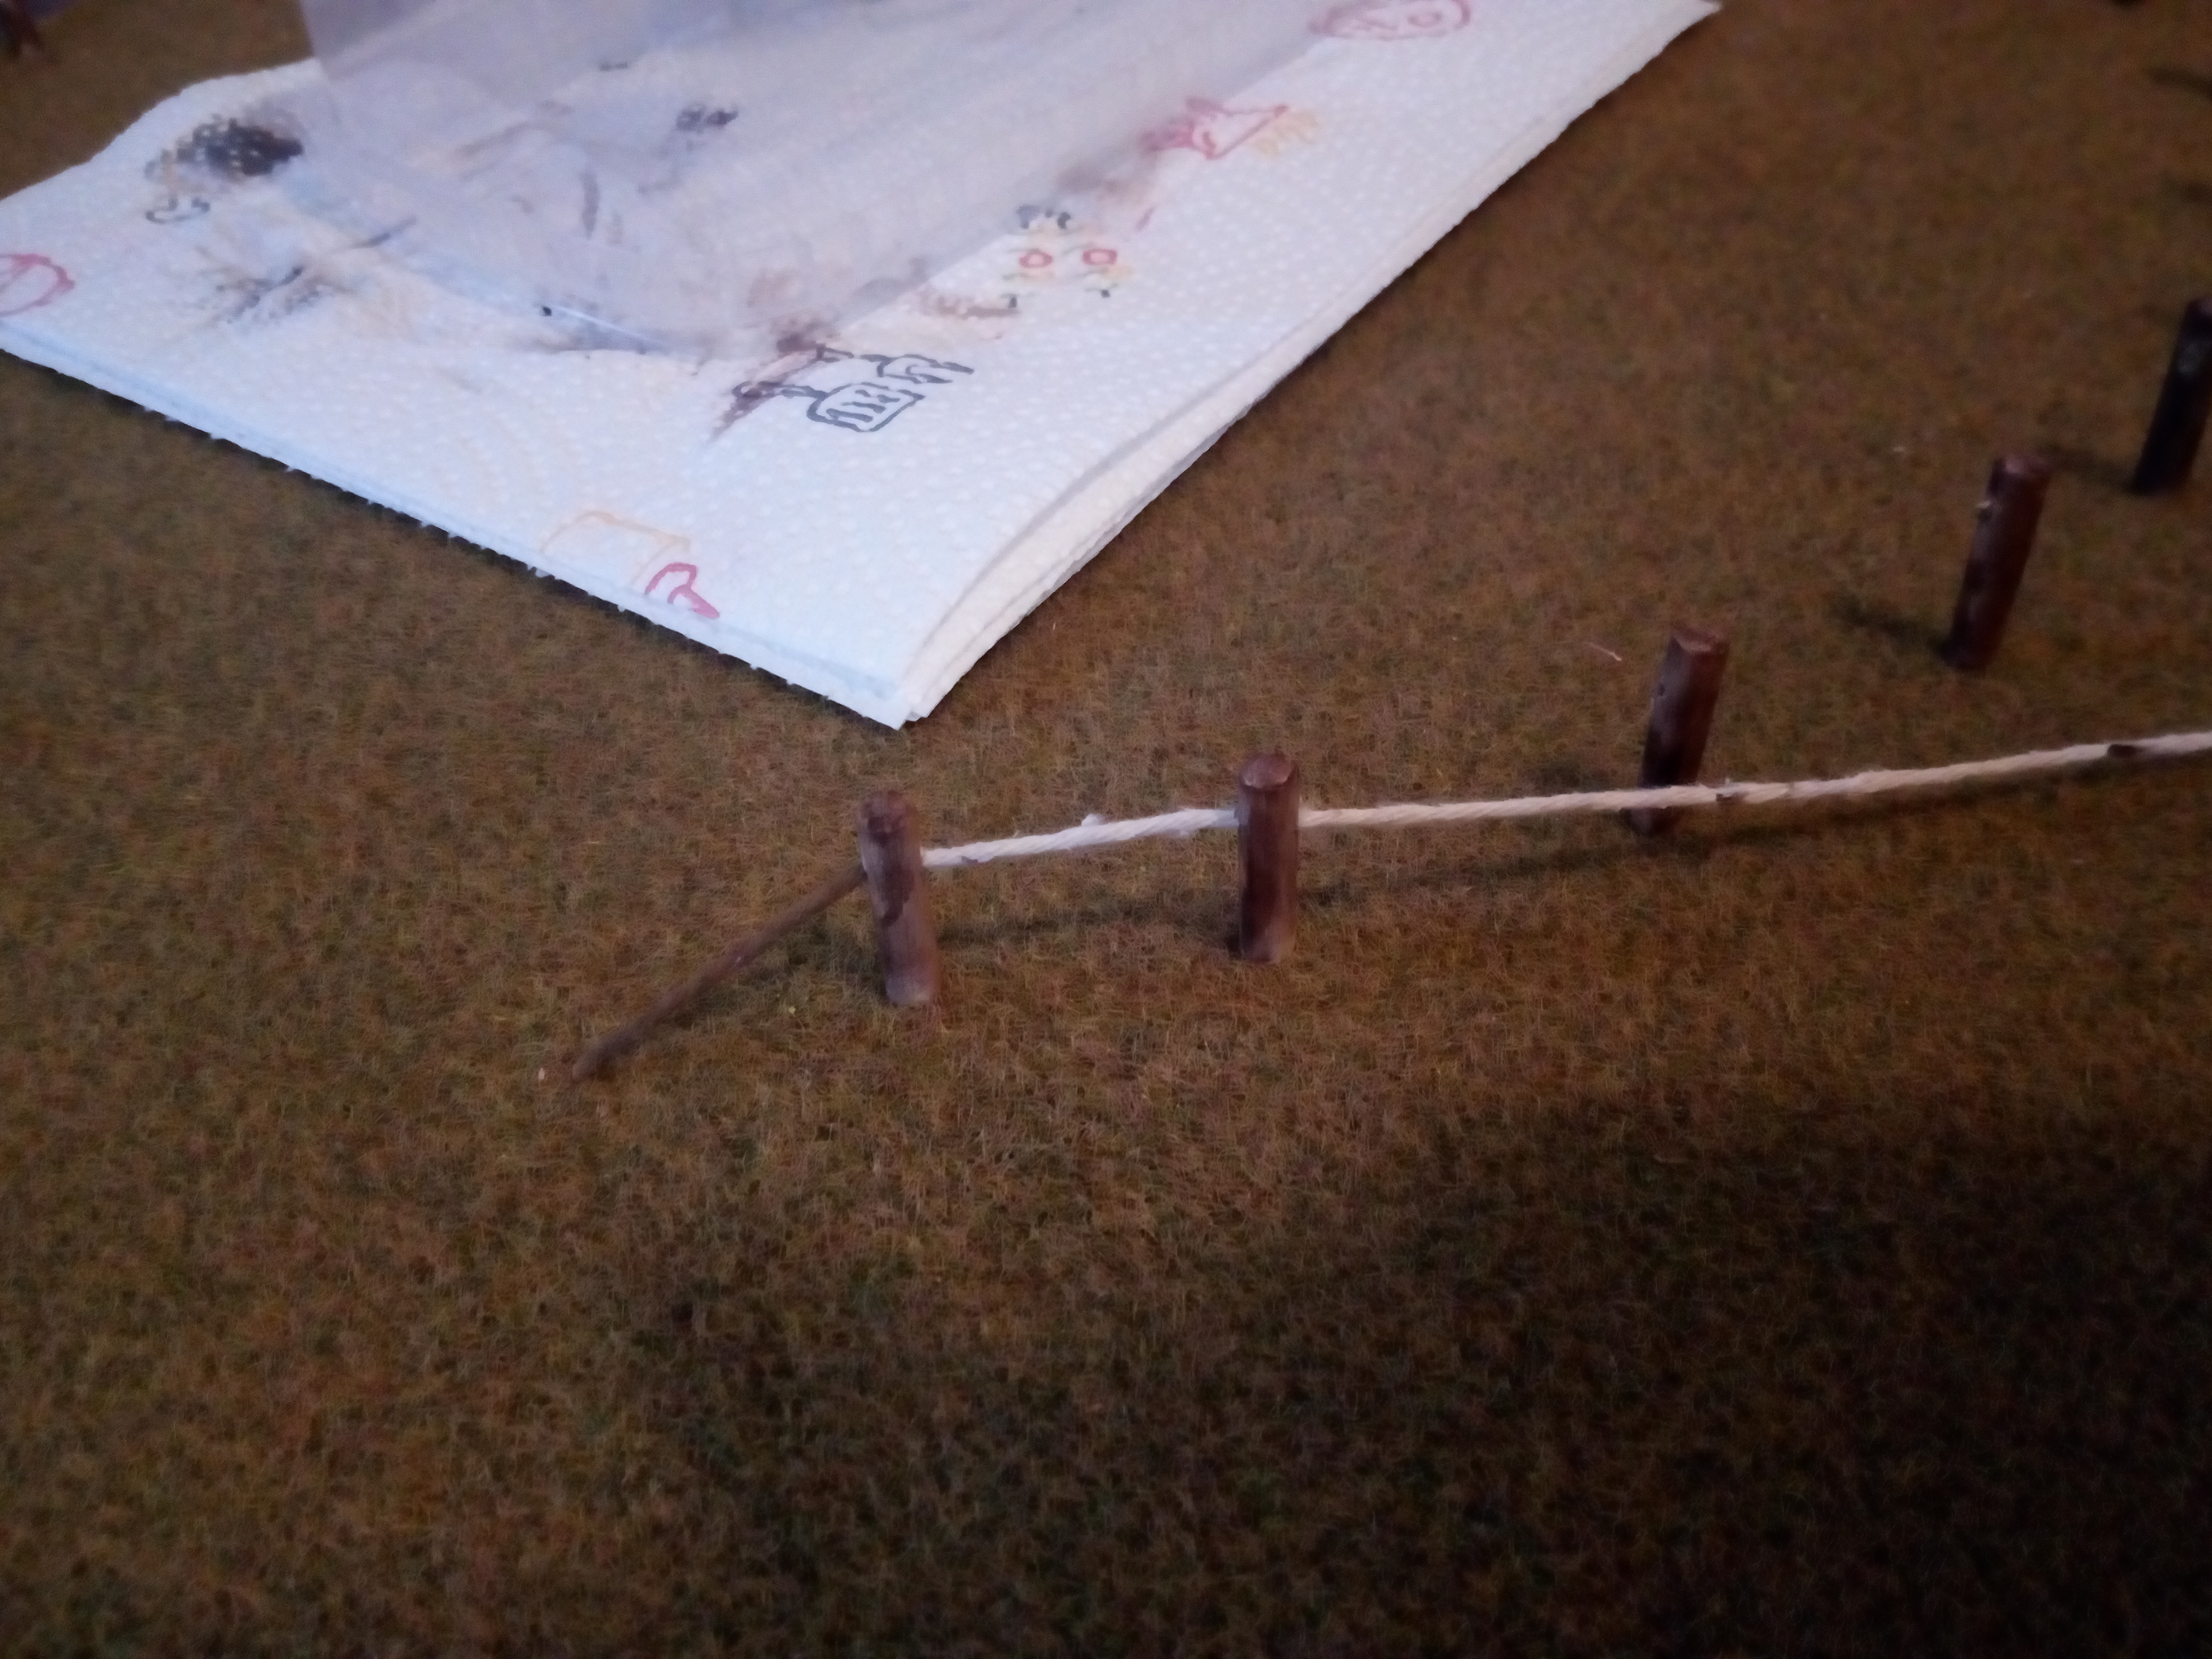
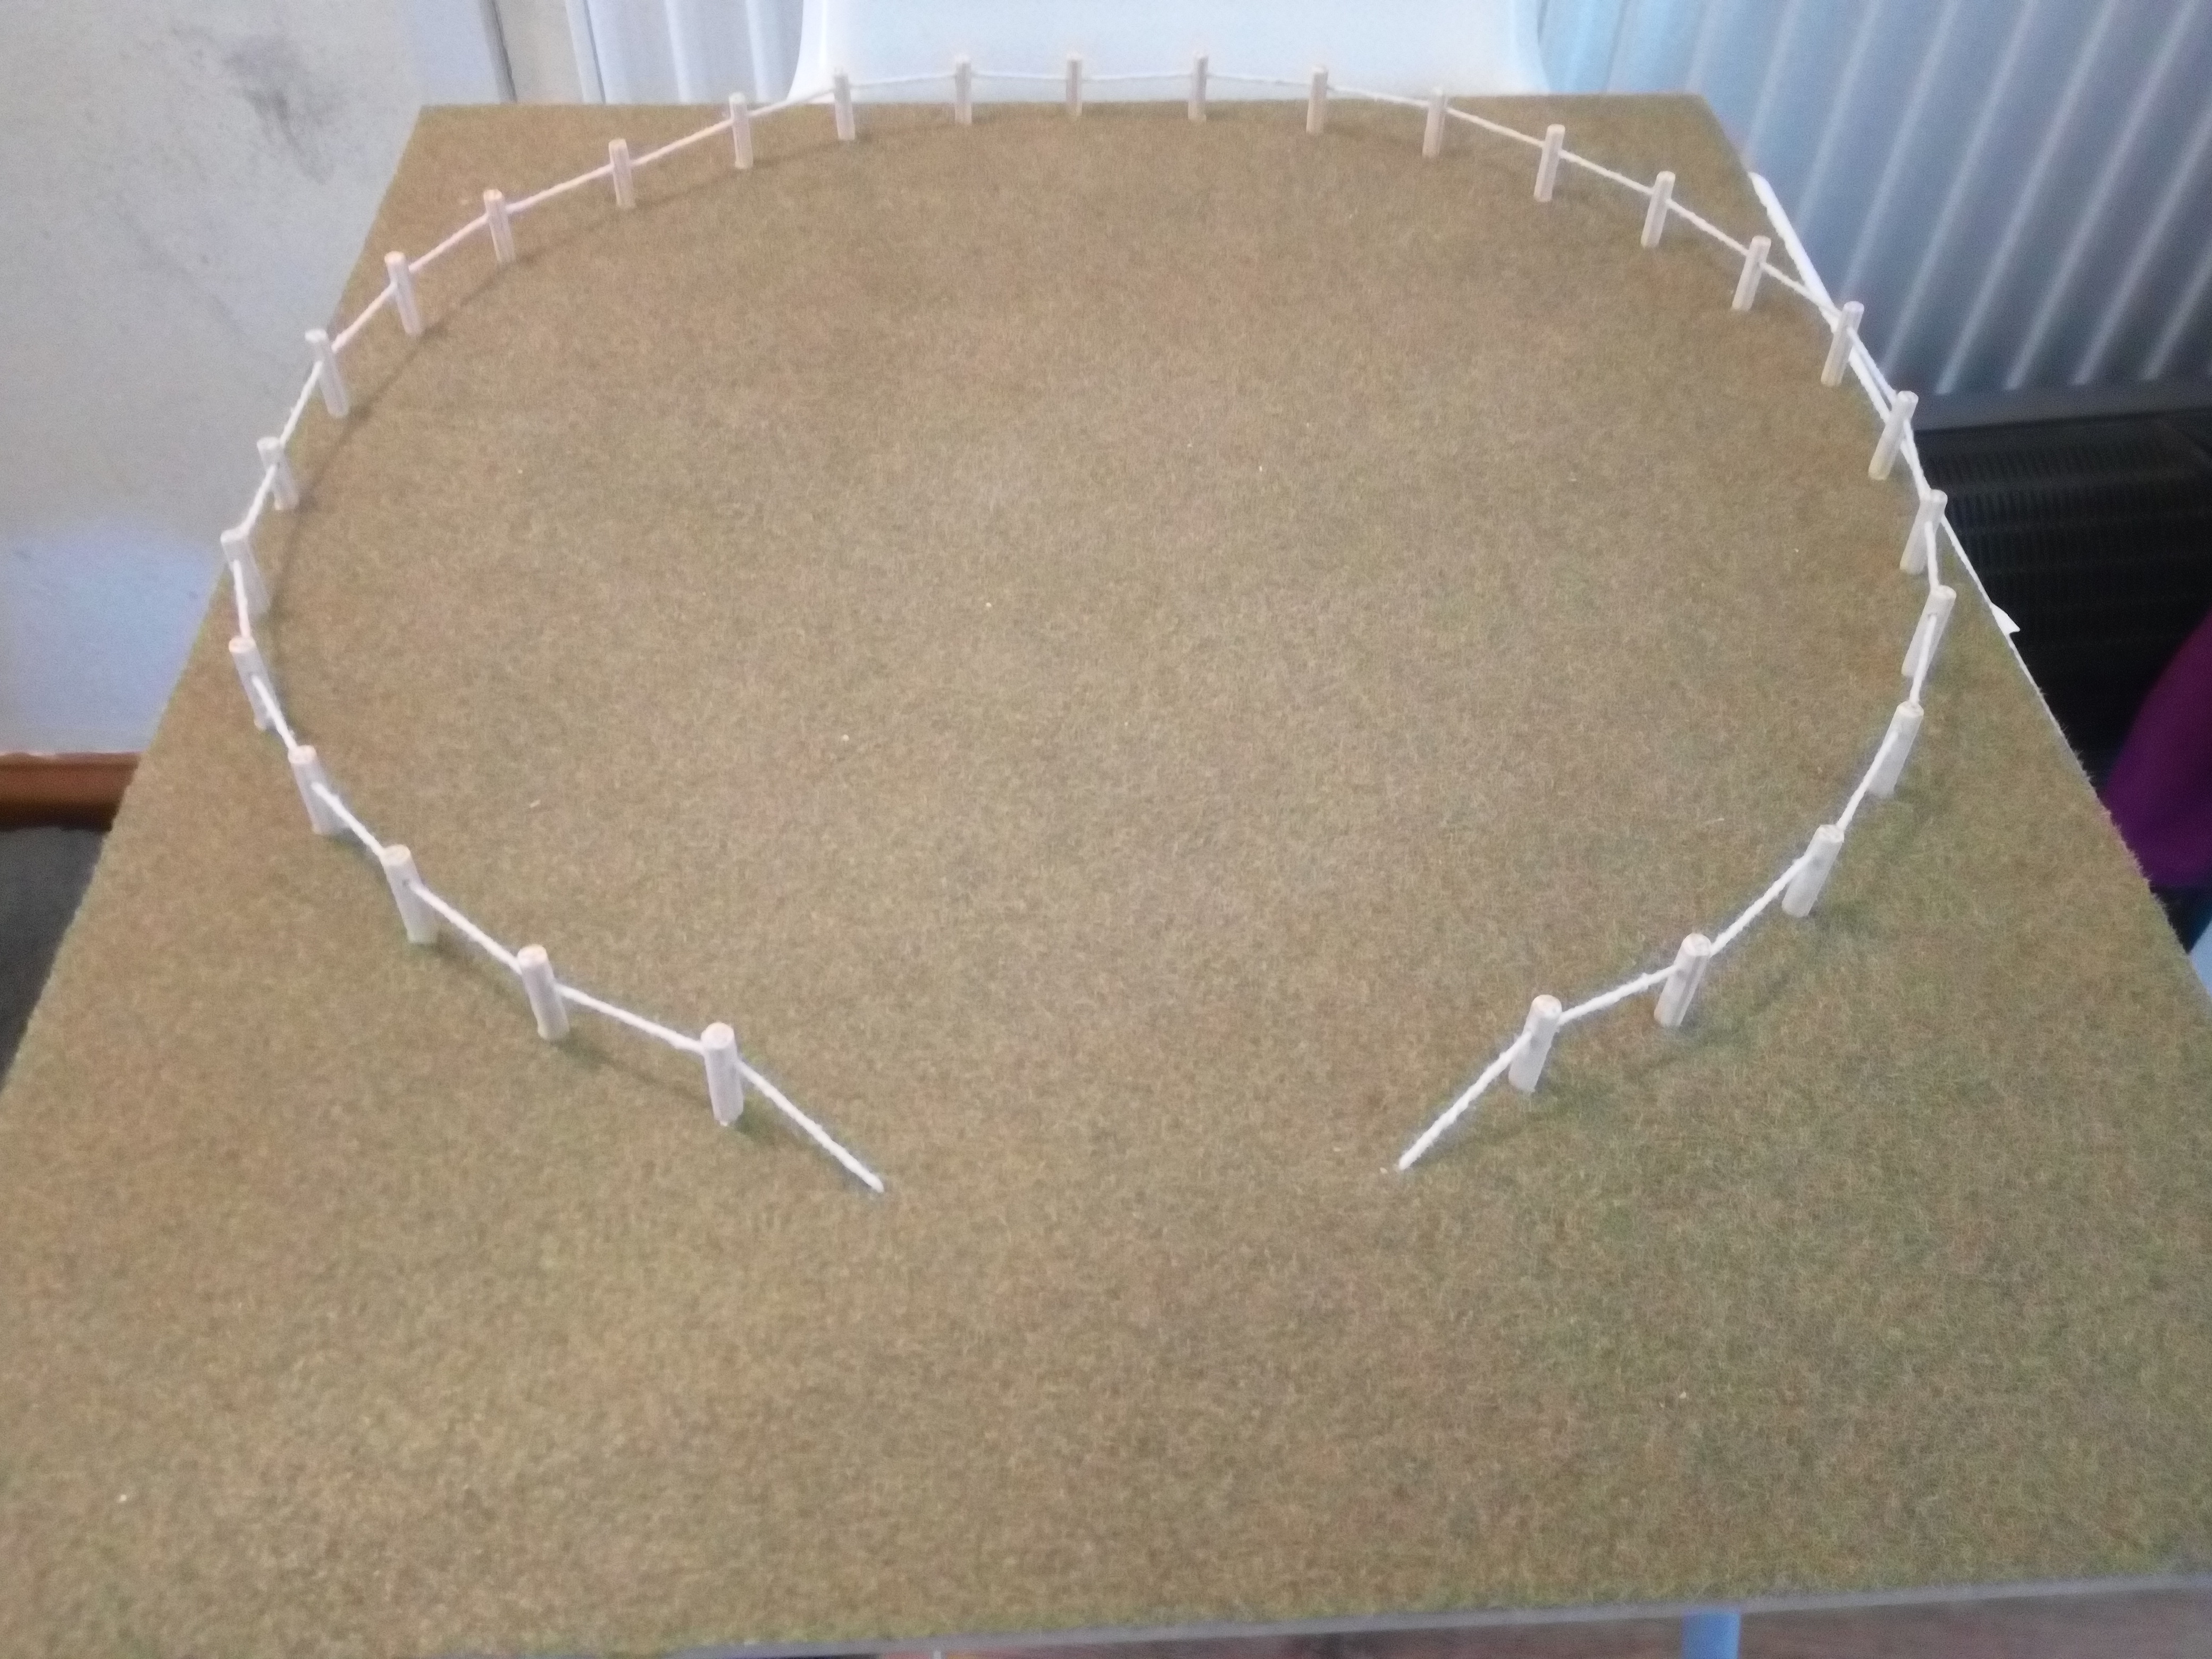 The posts are dried and I glued the rope in so that there was a sag in the rope just to make it look older.
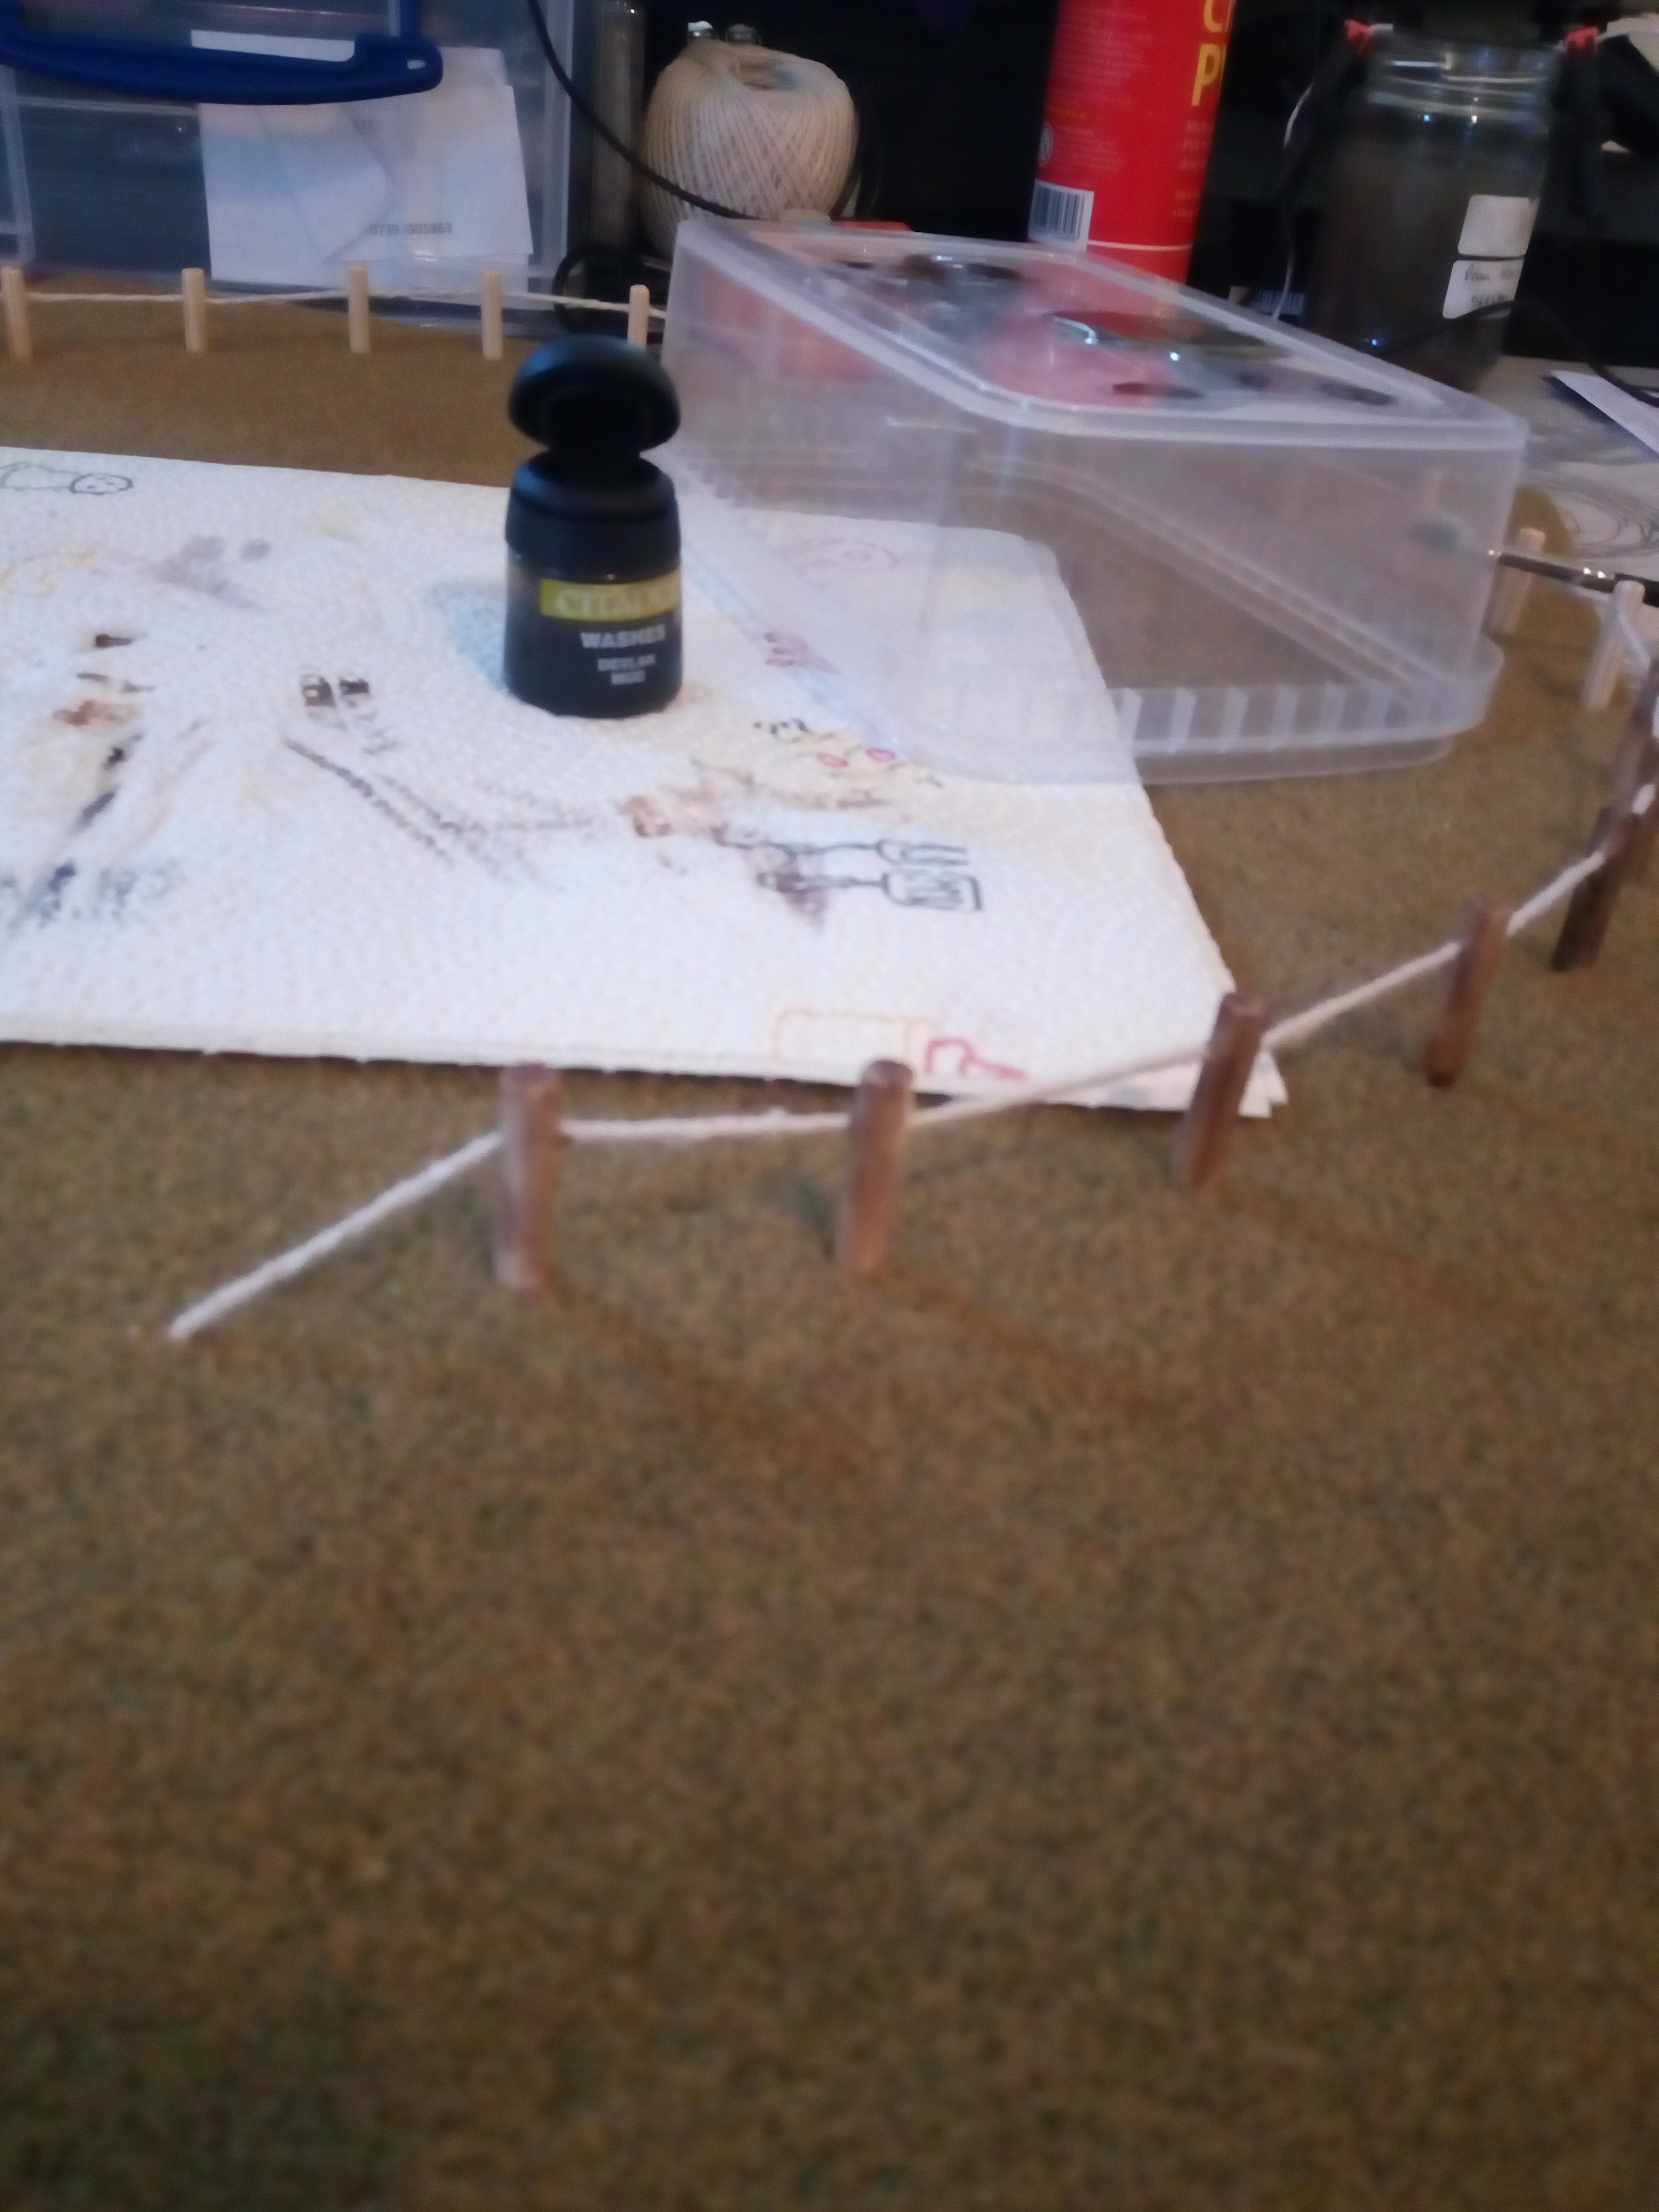
For the next stage of the Build I began to paint the posts with citadel Devlan mud wash just to give a old wood look. I’ve not done any highlighting on the posts yet I think I’m just gonna wait and see how it looks.
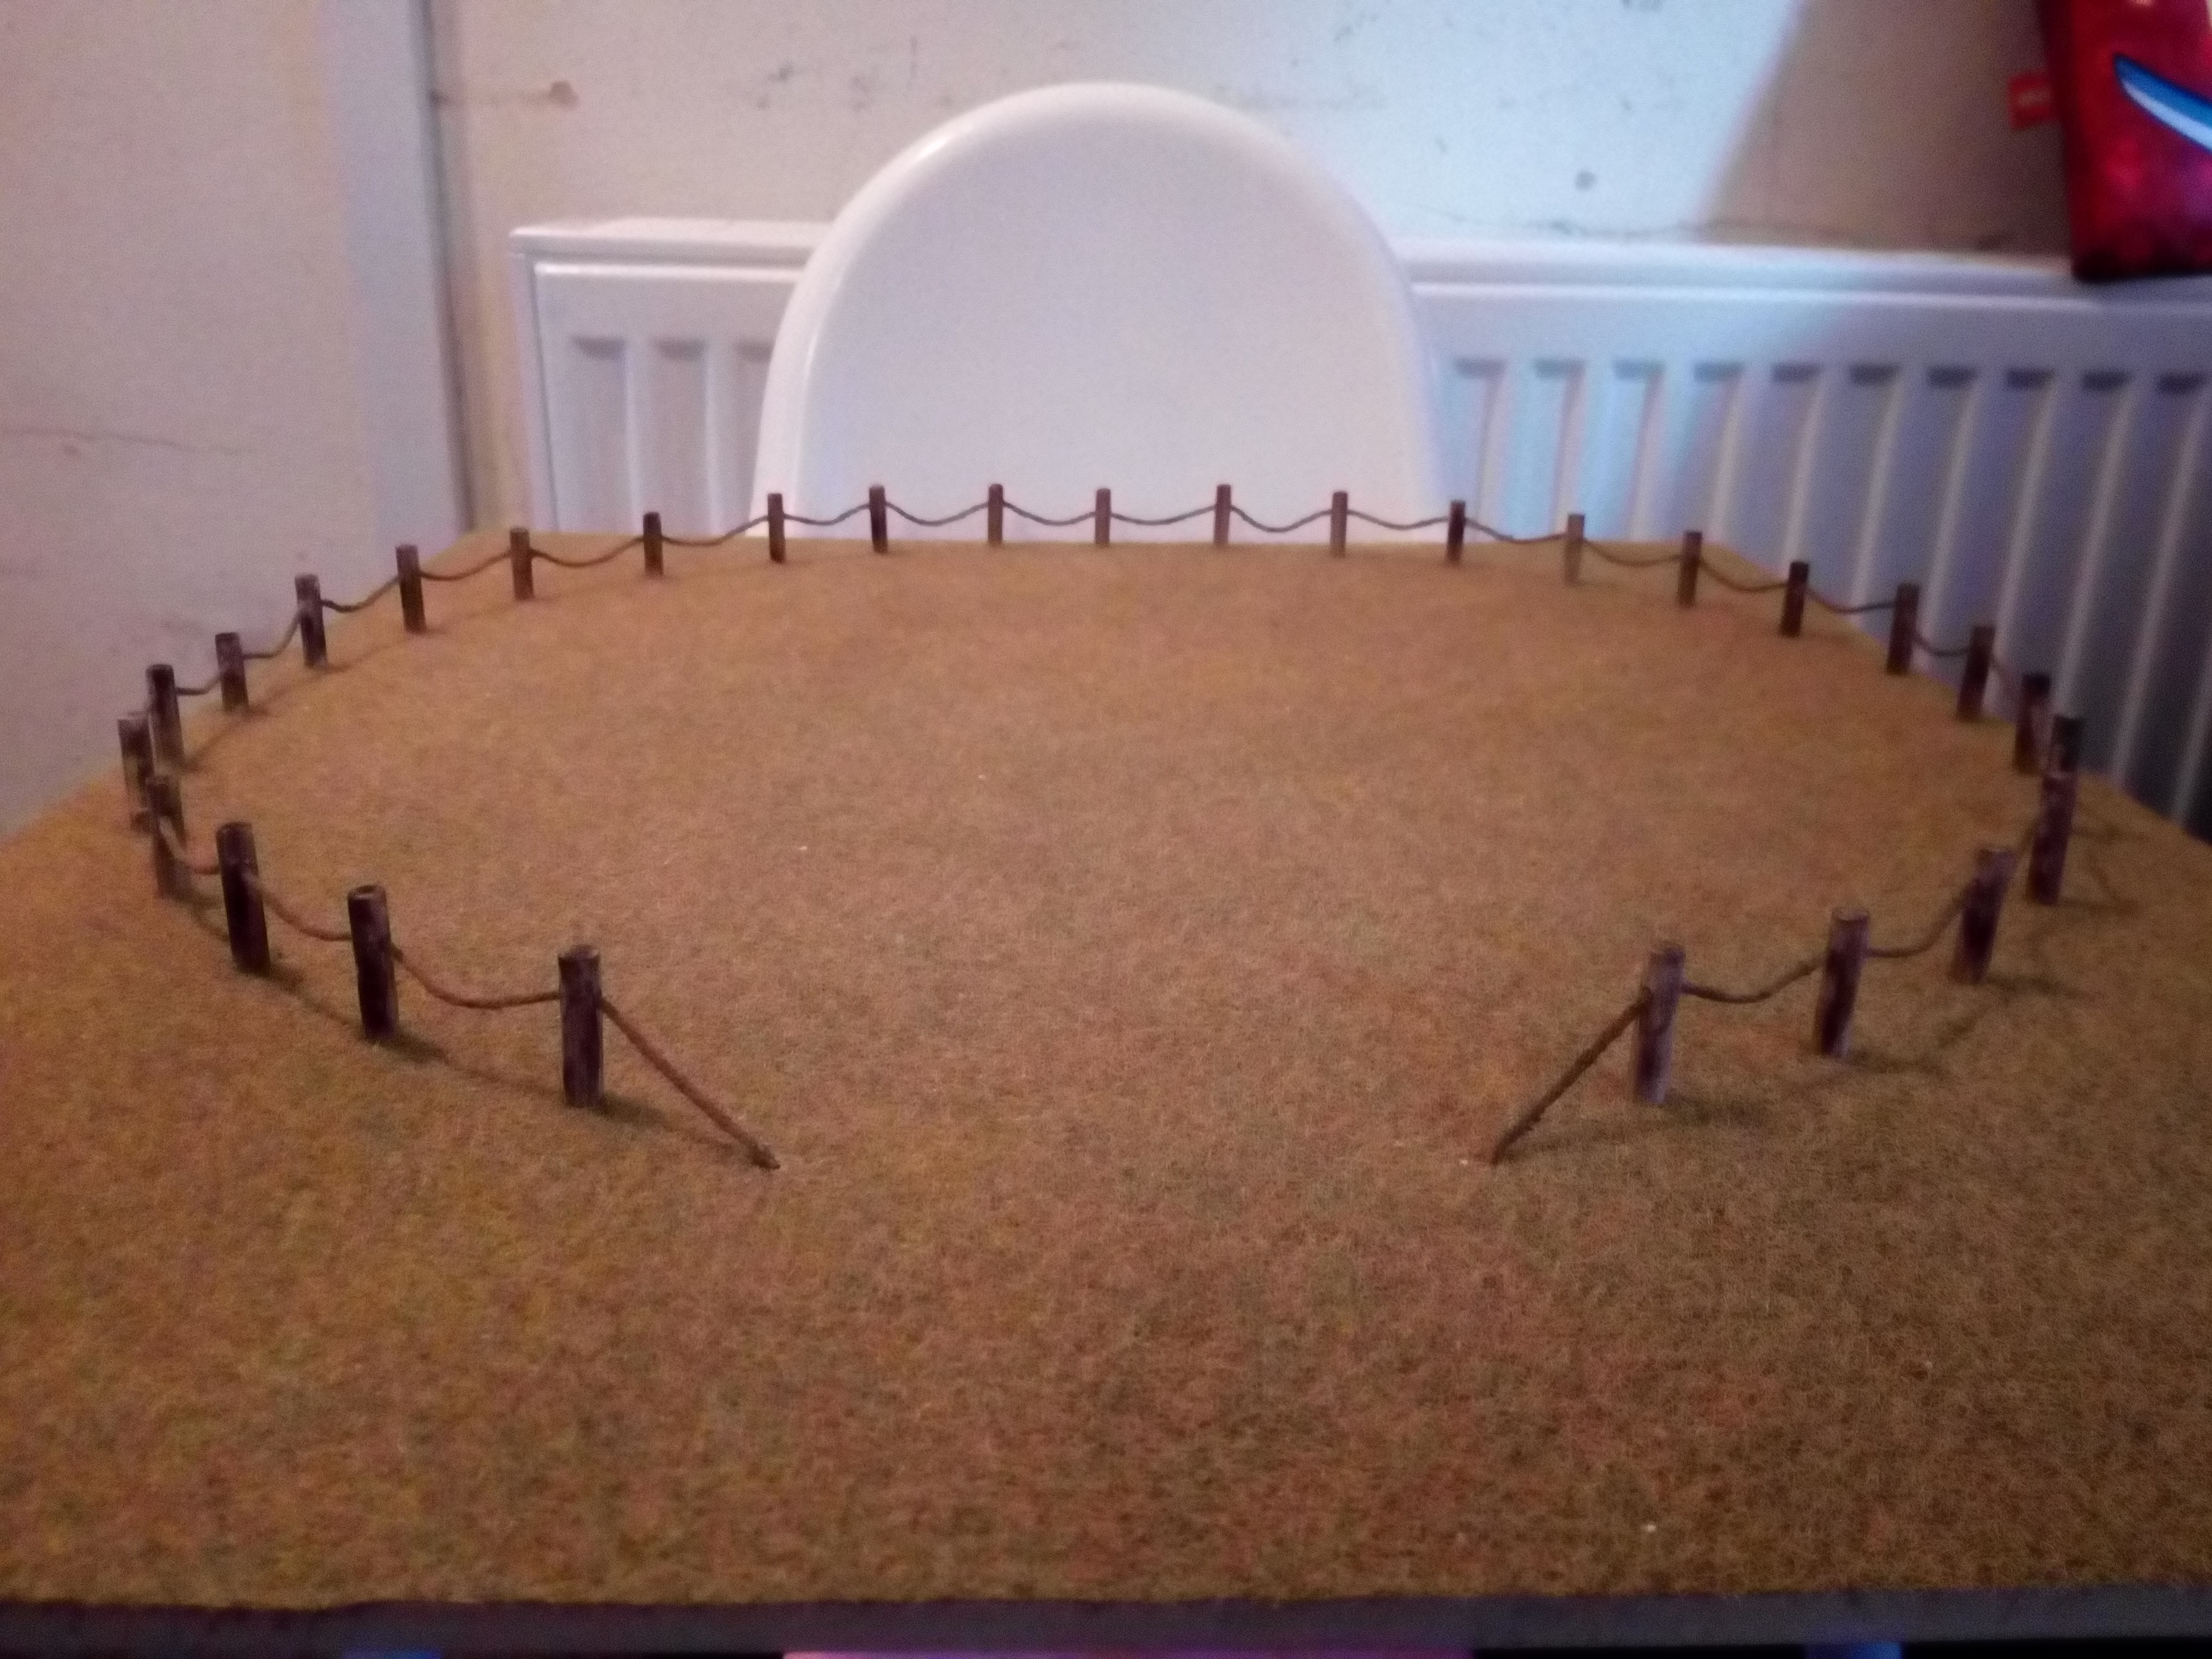
I removed the rope and mixed devlan mud, PVA and some snakebite leather (yep found at the bottom of the the paint box lol) and slowly started to paint and re -threading the rope as i go, i put a sag into the rope again so when the paint dried it becomes solid,when it was completely dry i went round again touching up ant missed spots.
Been on a holiday for a week so the build has been slowed a little, but I found a great model train shop Digitrains in Lincoln and bought some more supplies so the build will continue.
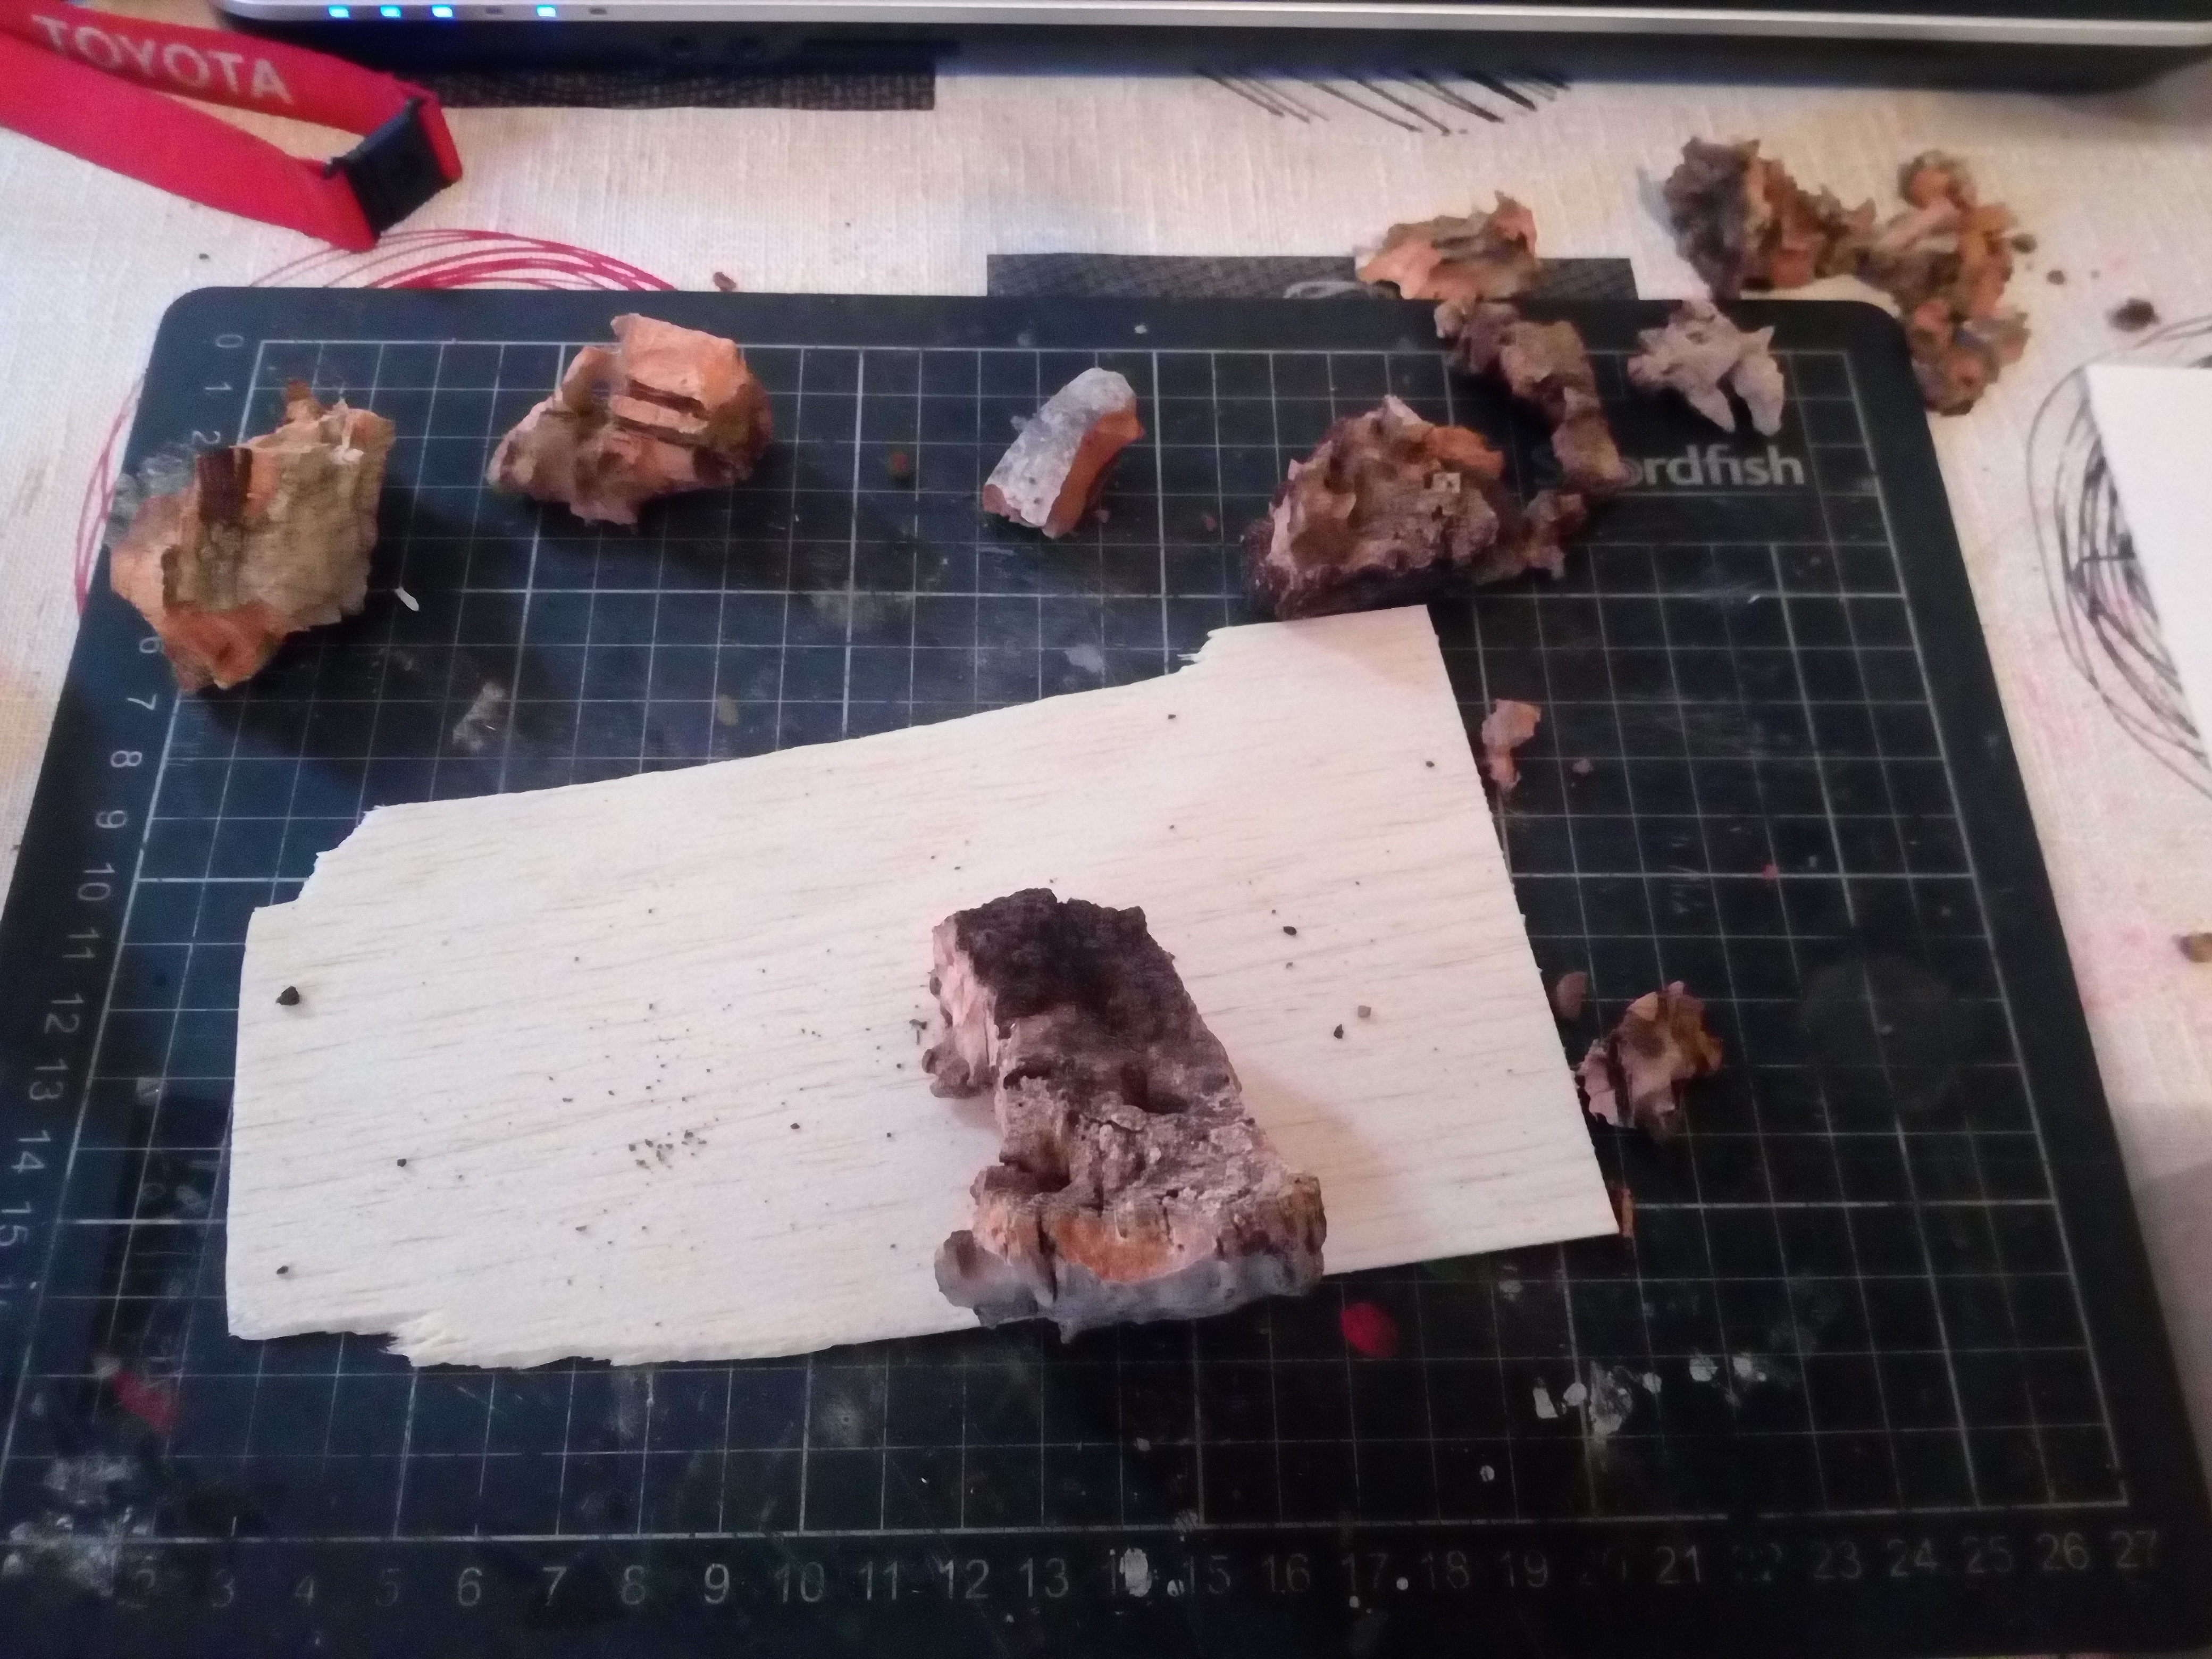
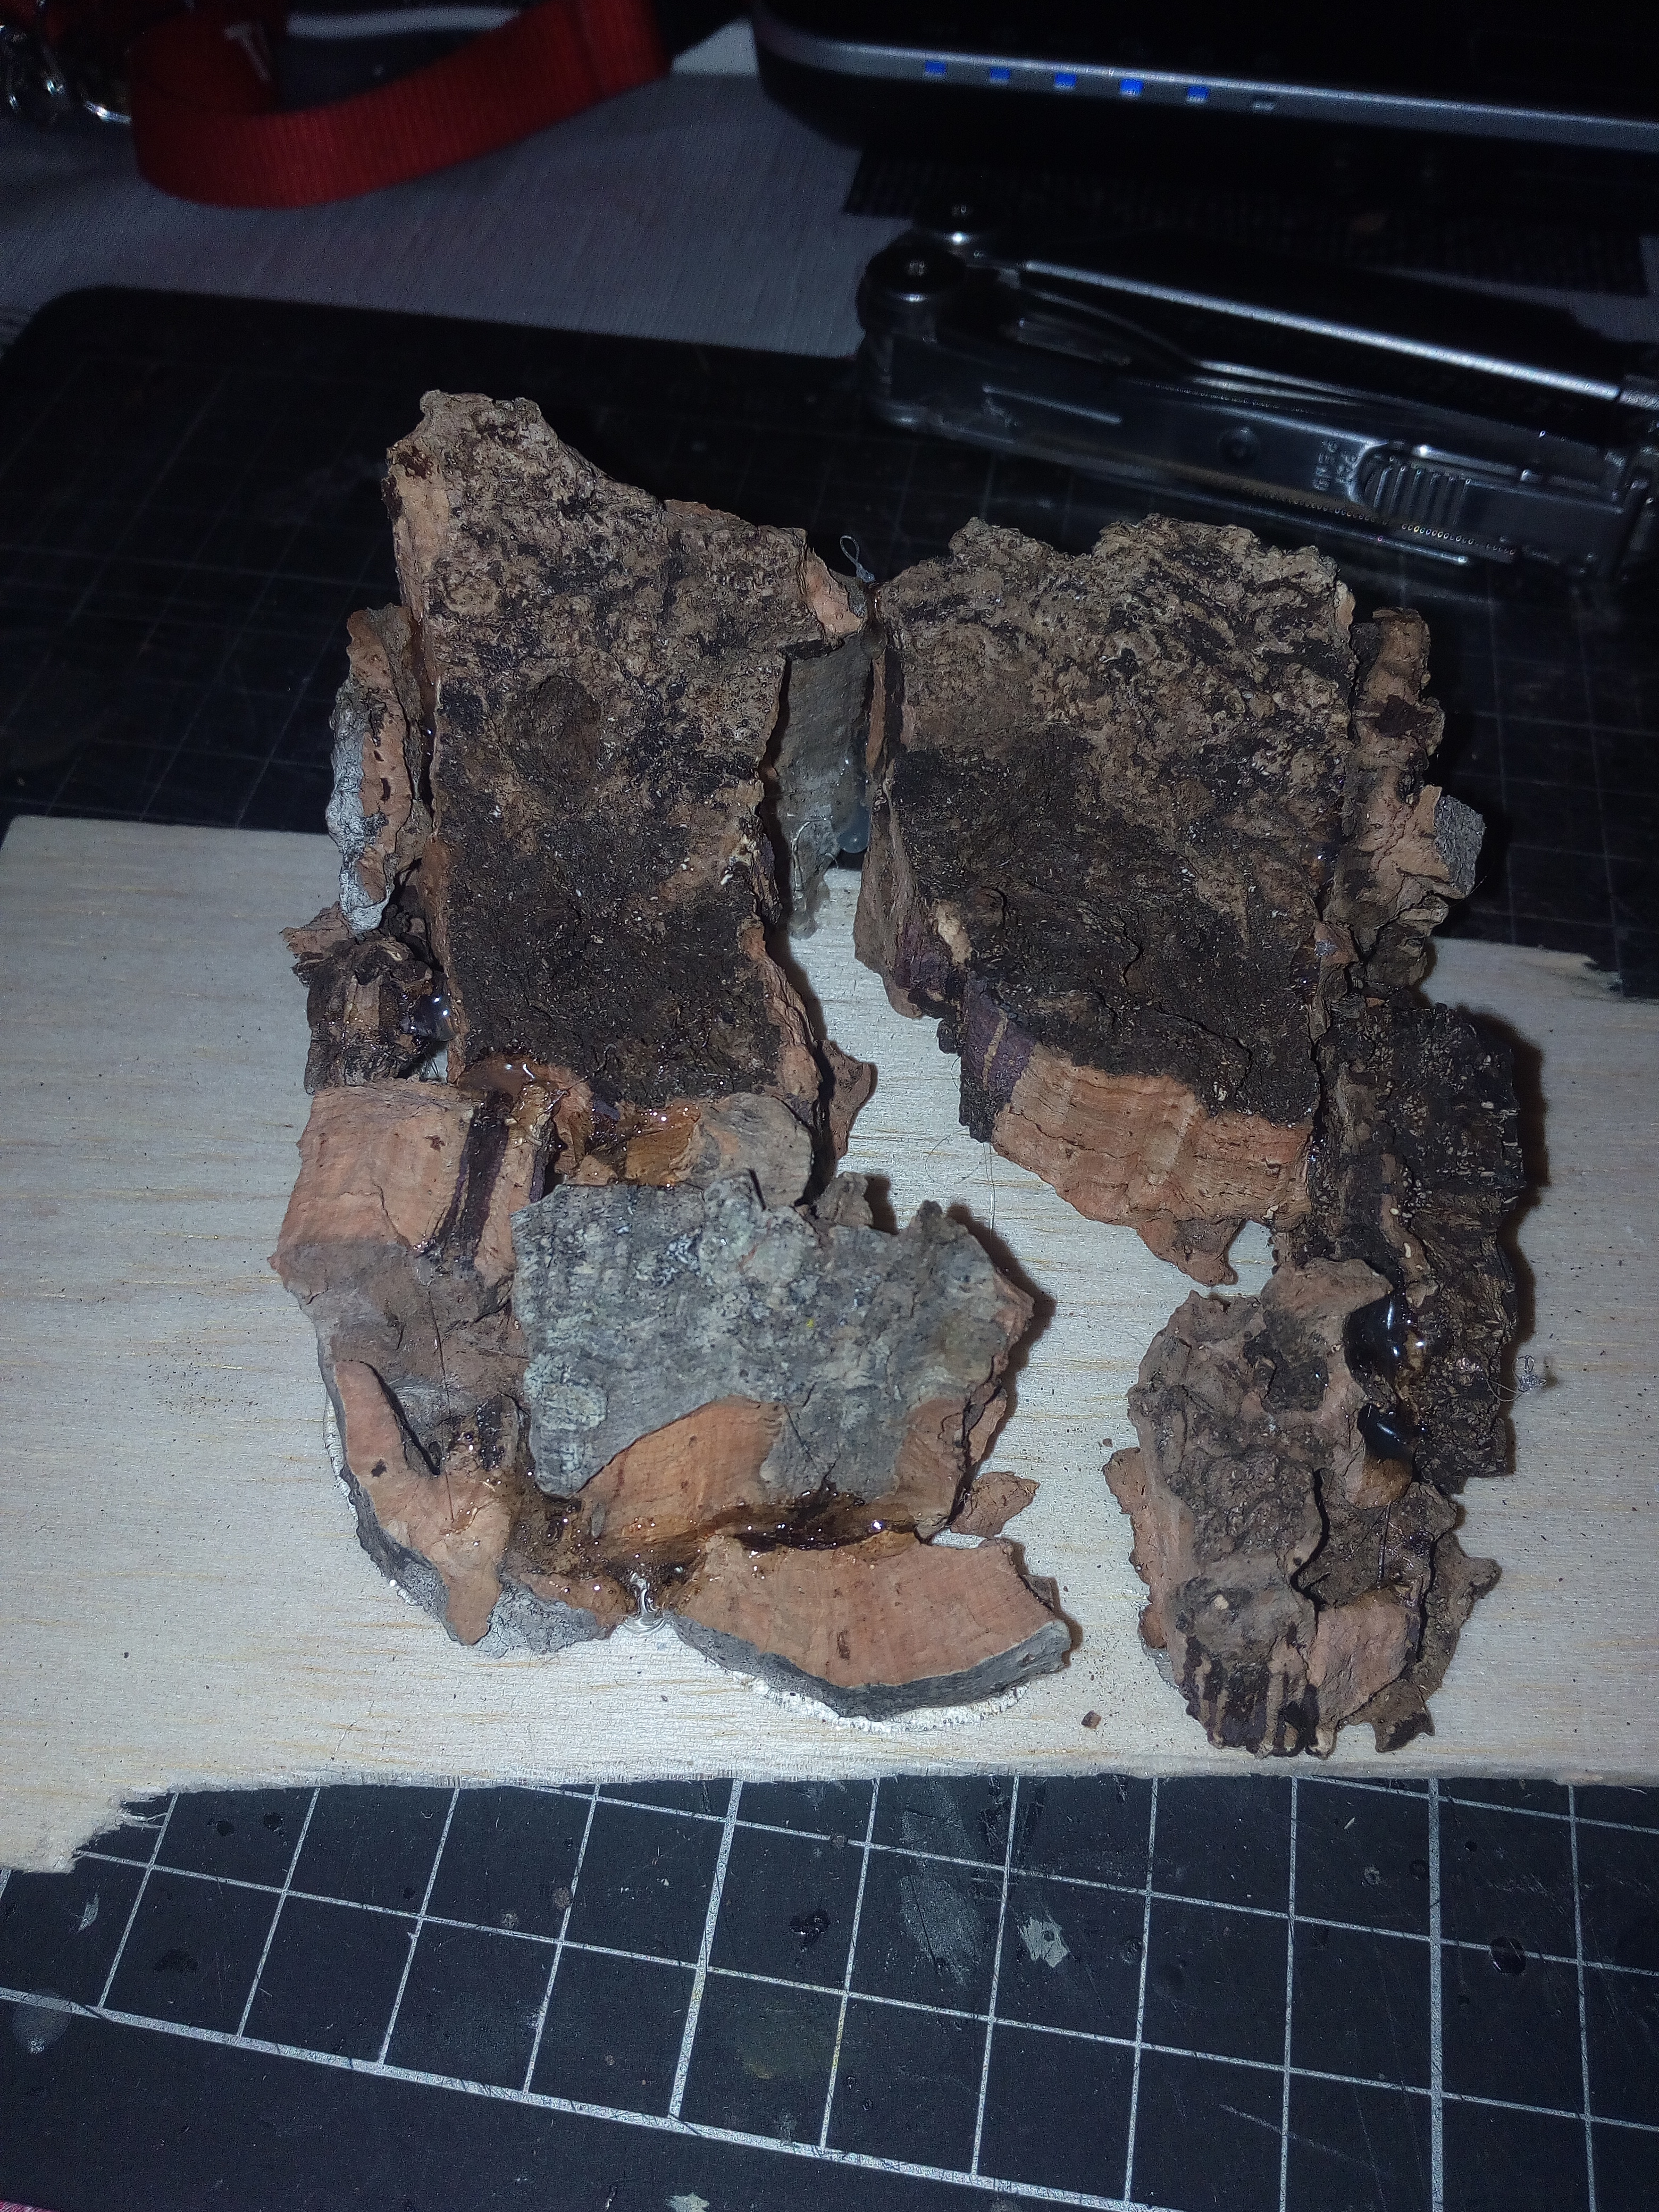
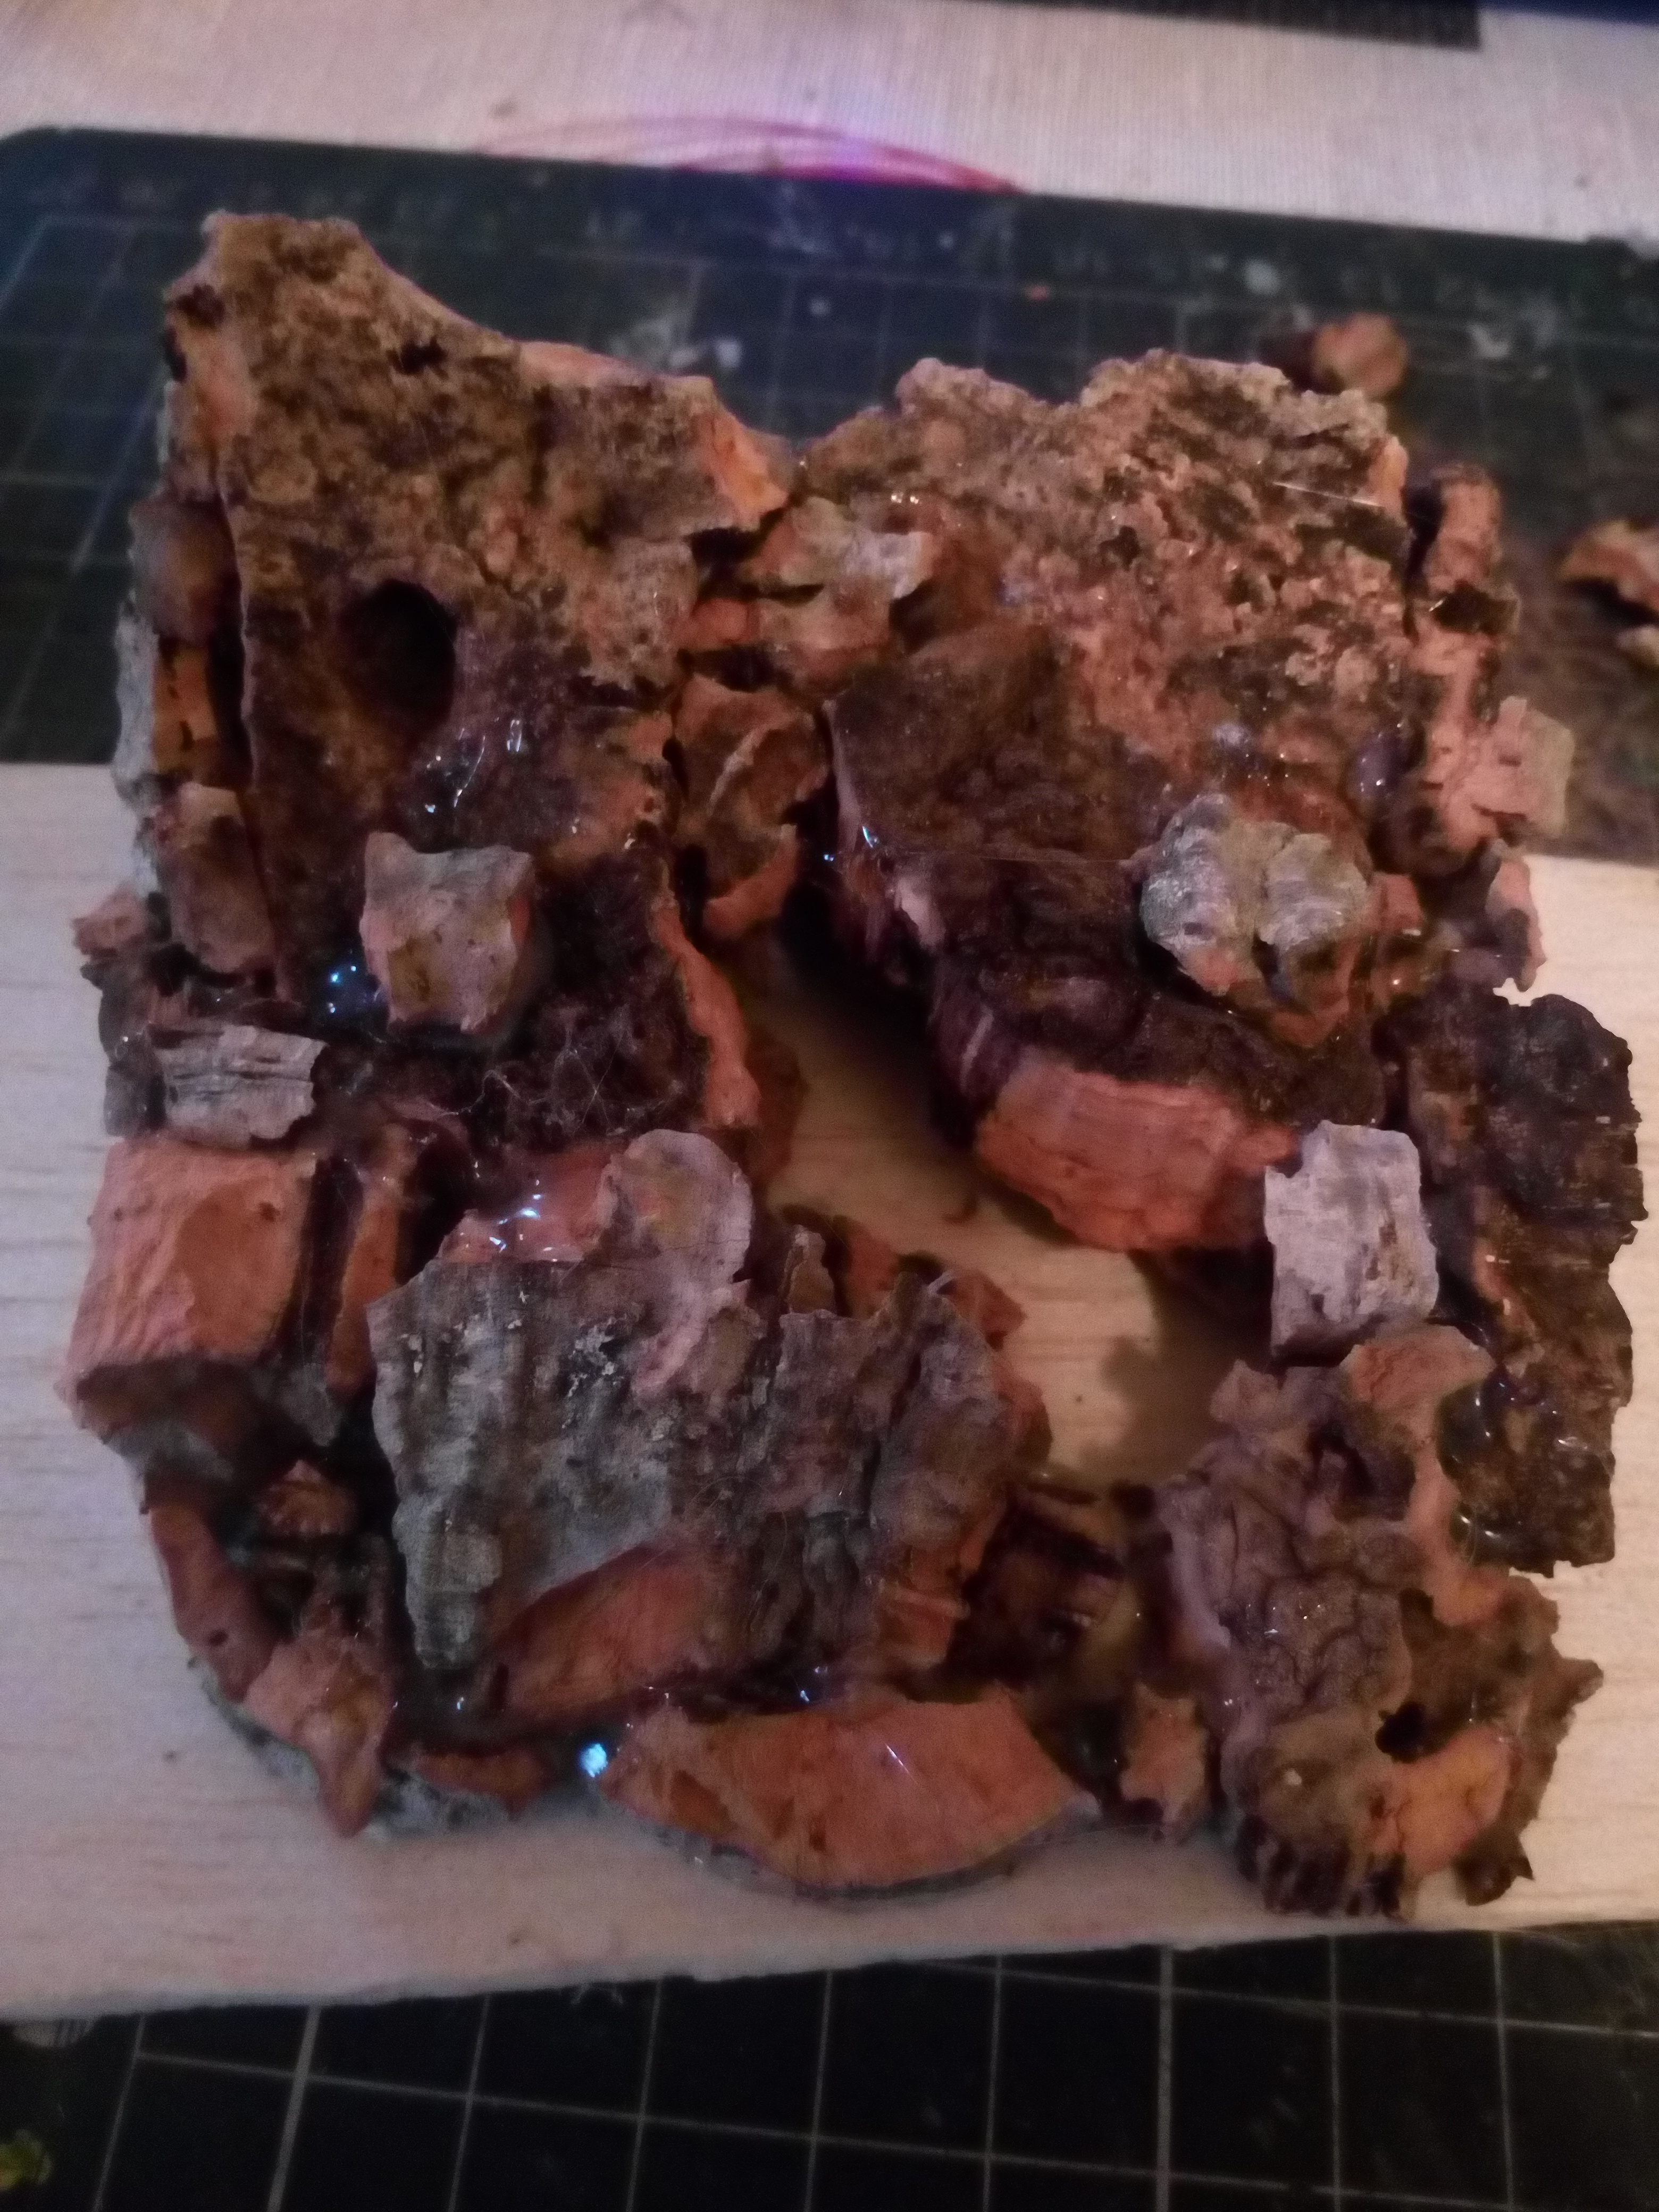
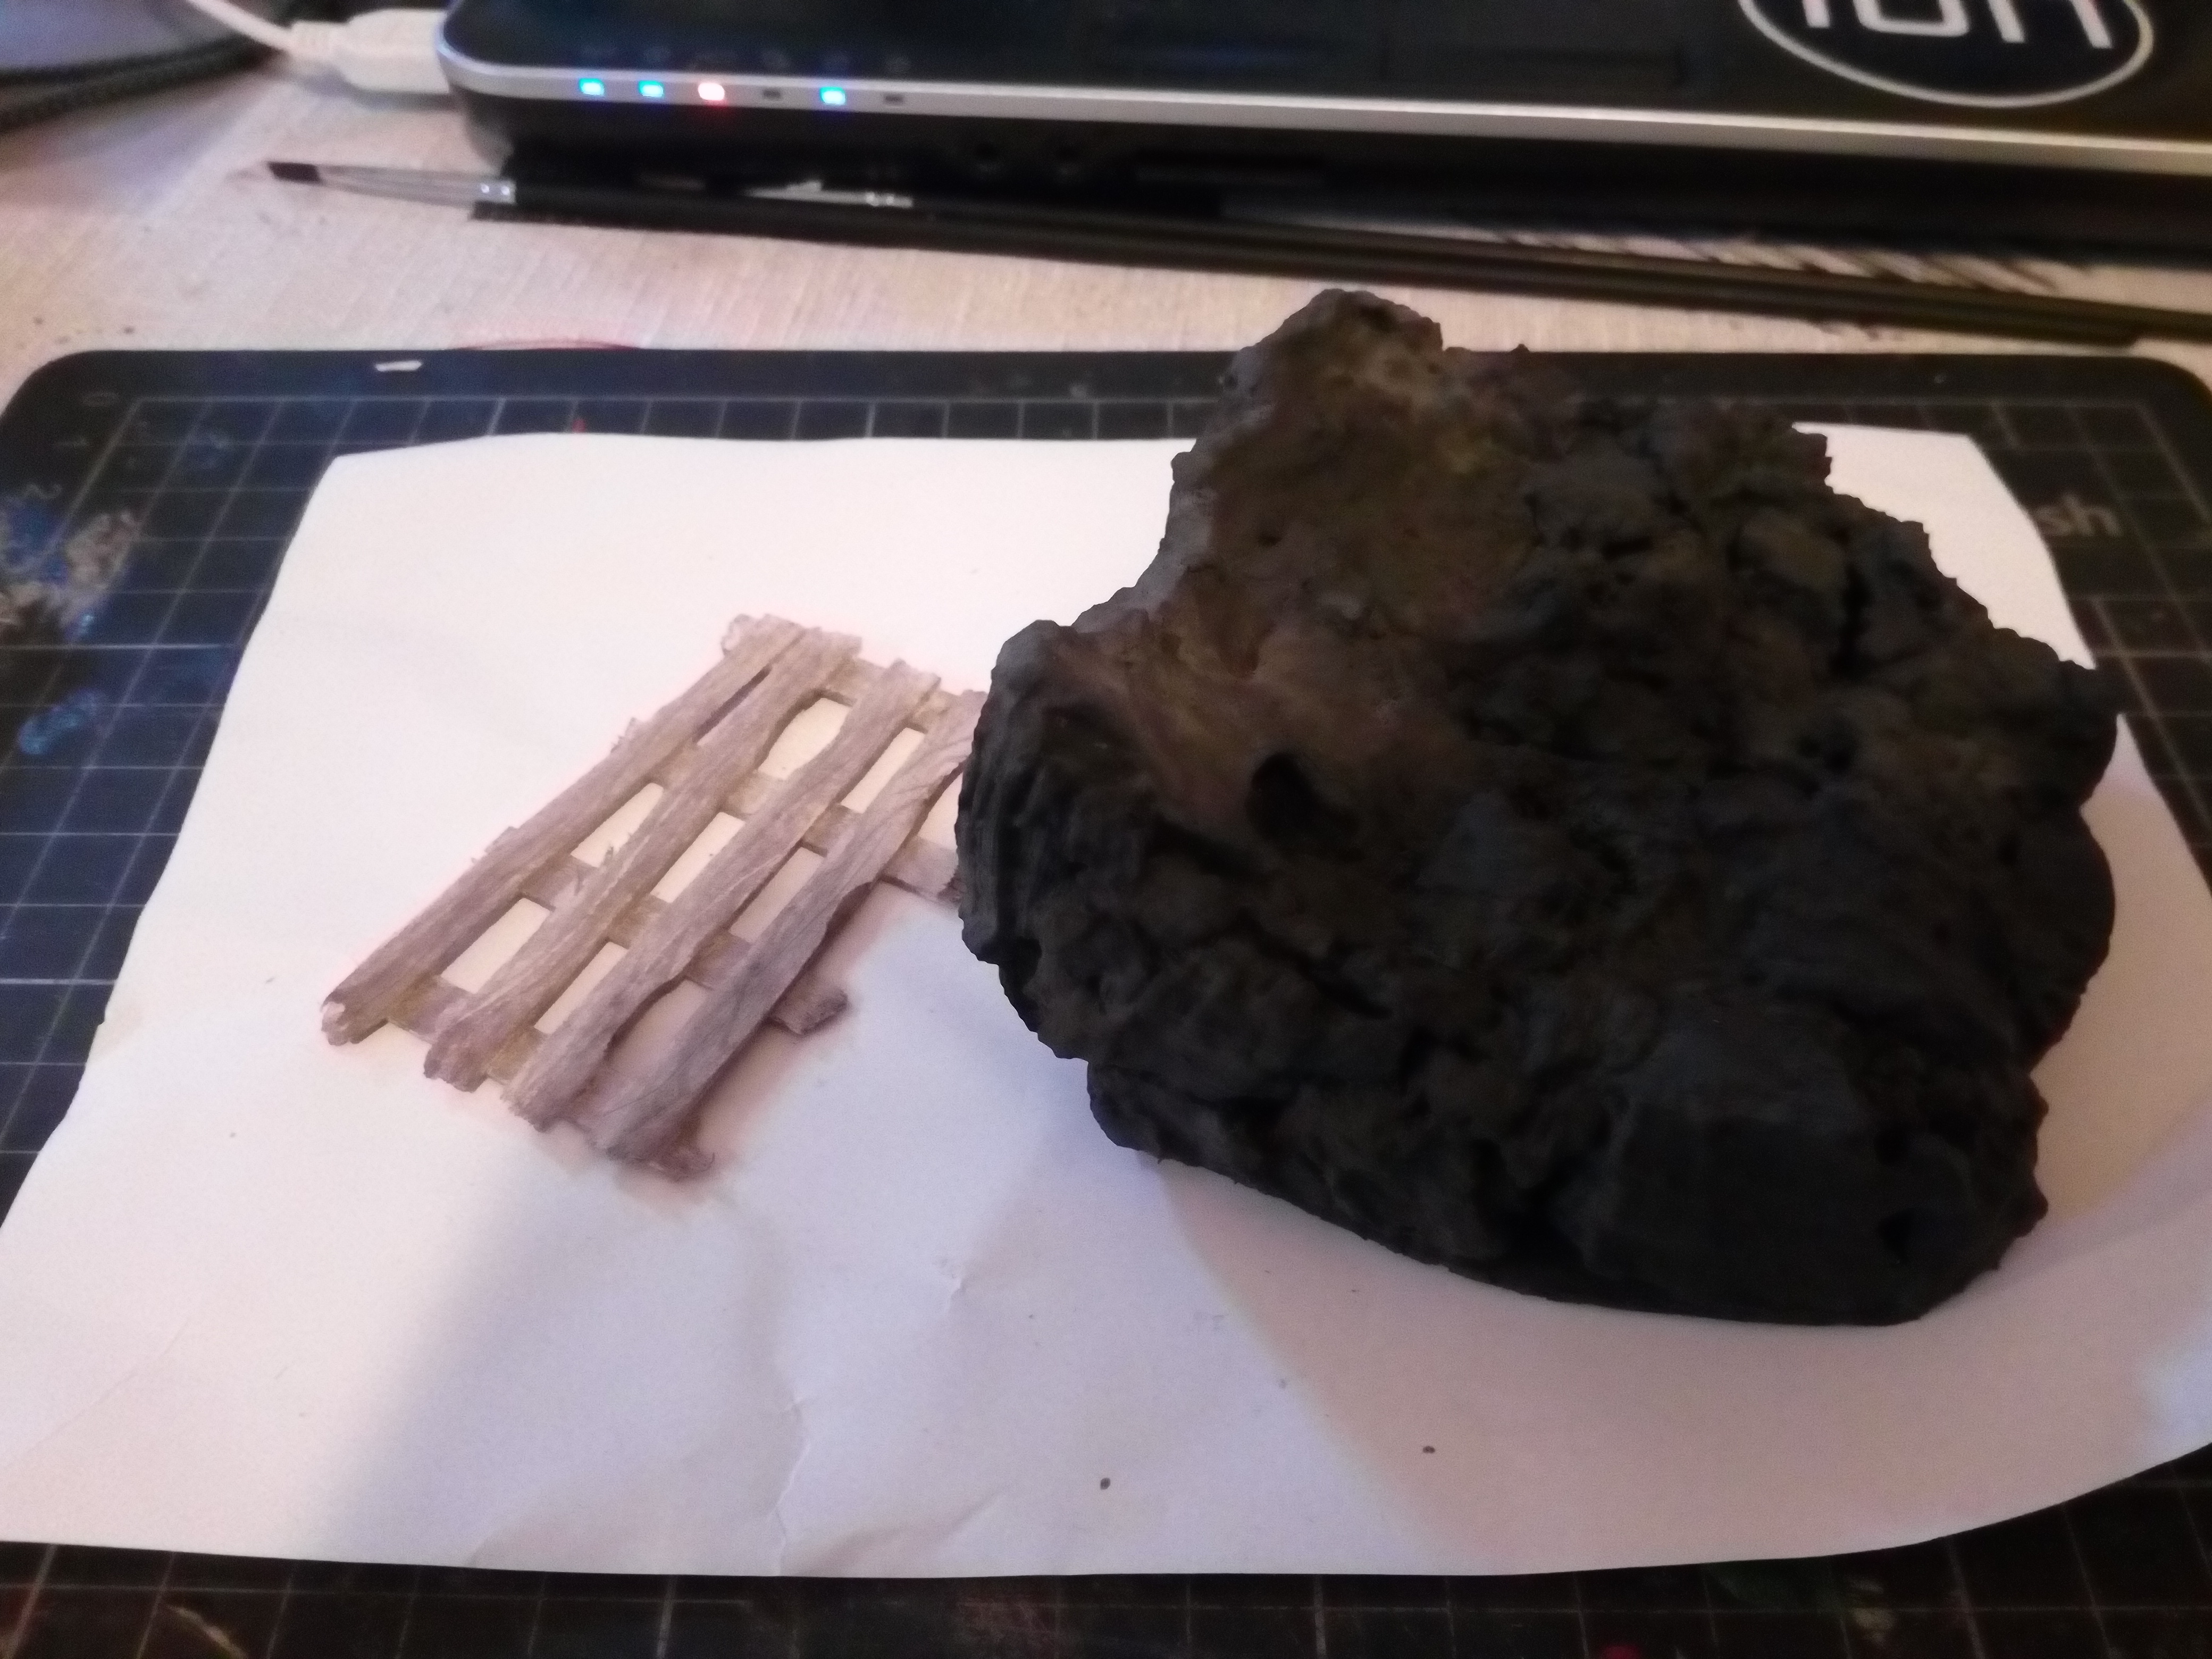
I liked the idea of the “big bad” in the game having the higher ground so i thought about using a podium and after getting some cork i gave it a go.
I’d broke the cork into more bit and started gluing them down on some balsa the plan was to make it look as if a wizard had pulled this up from the earth to be his podium.
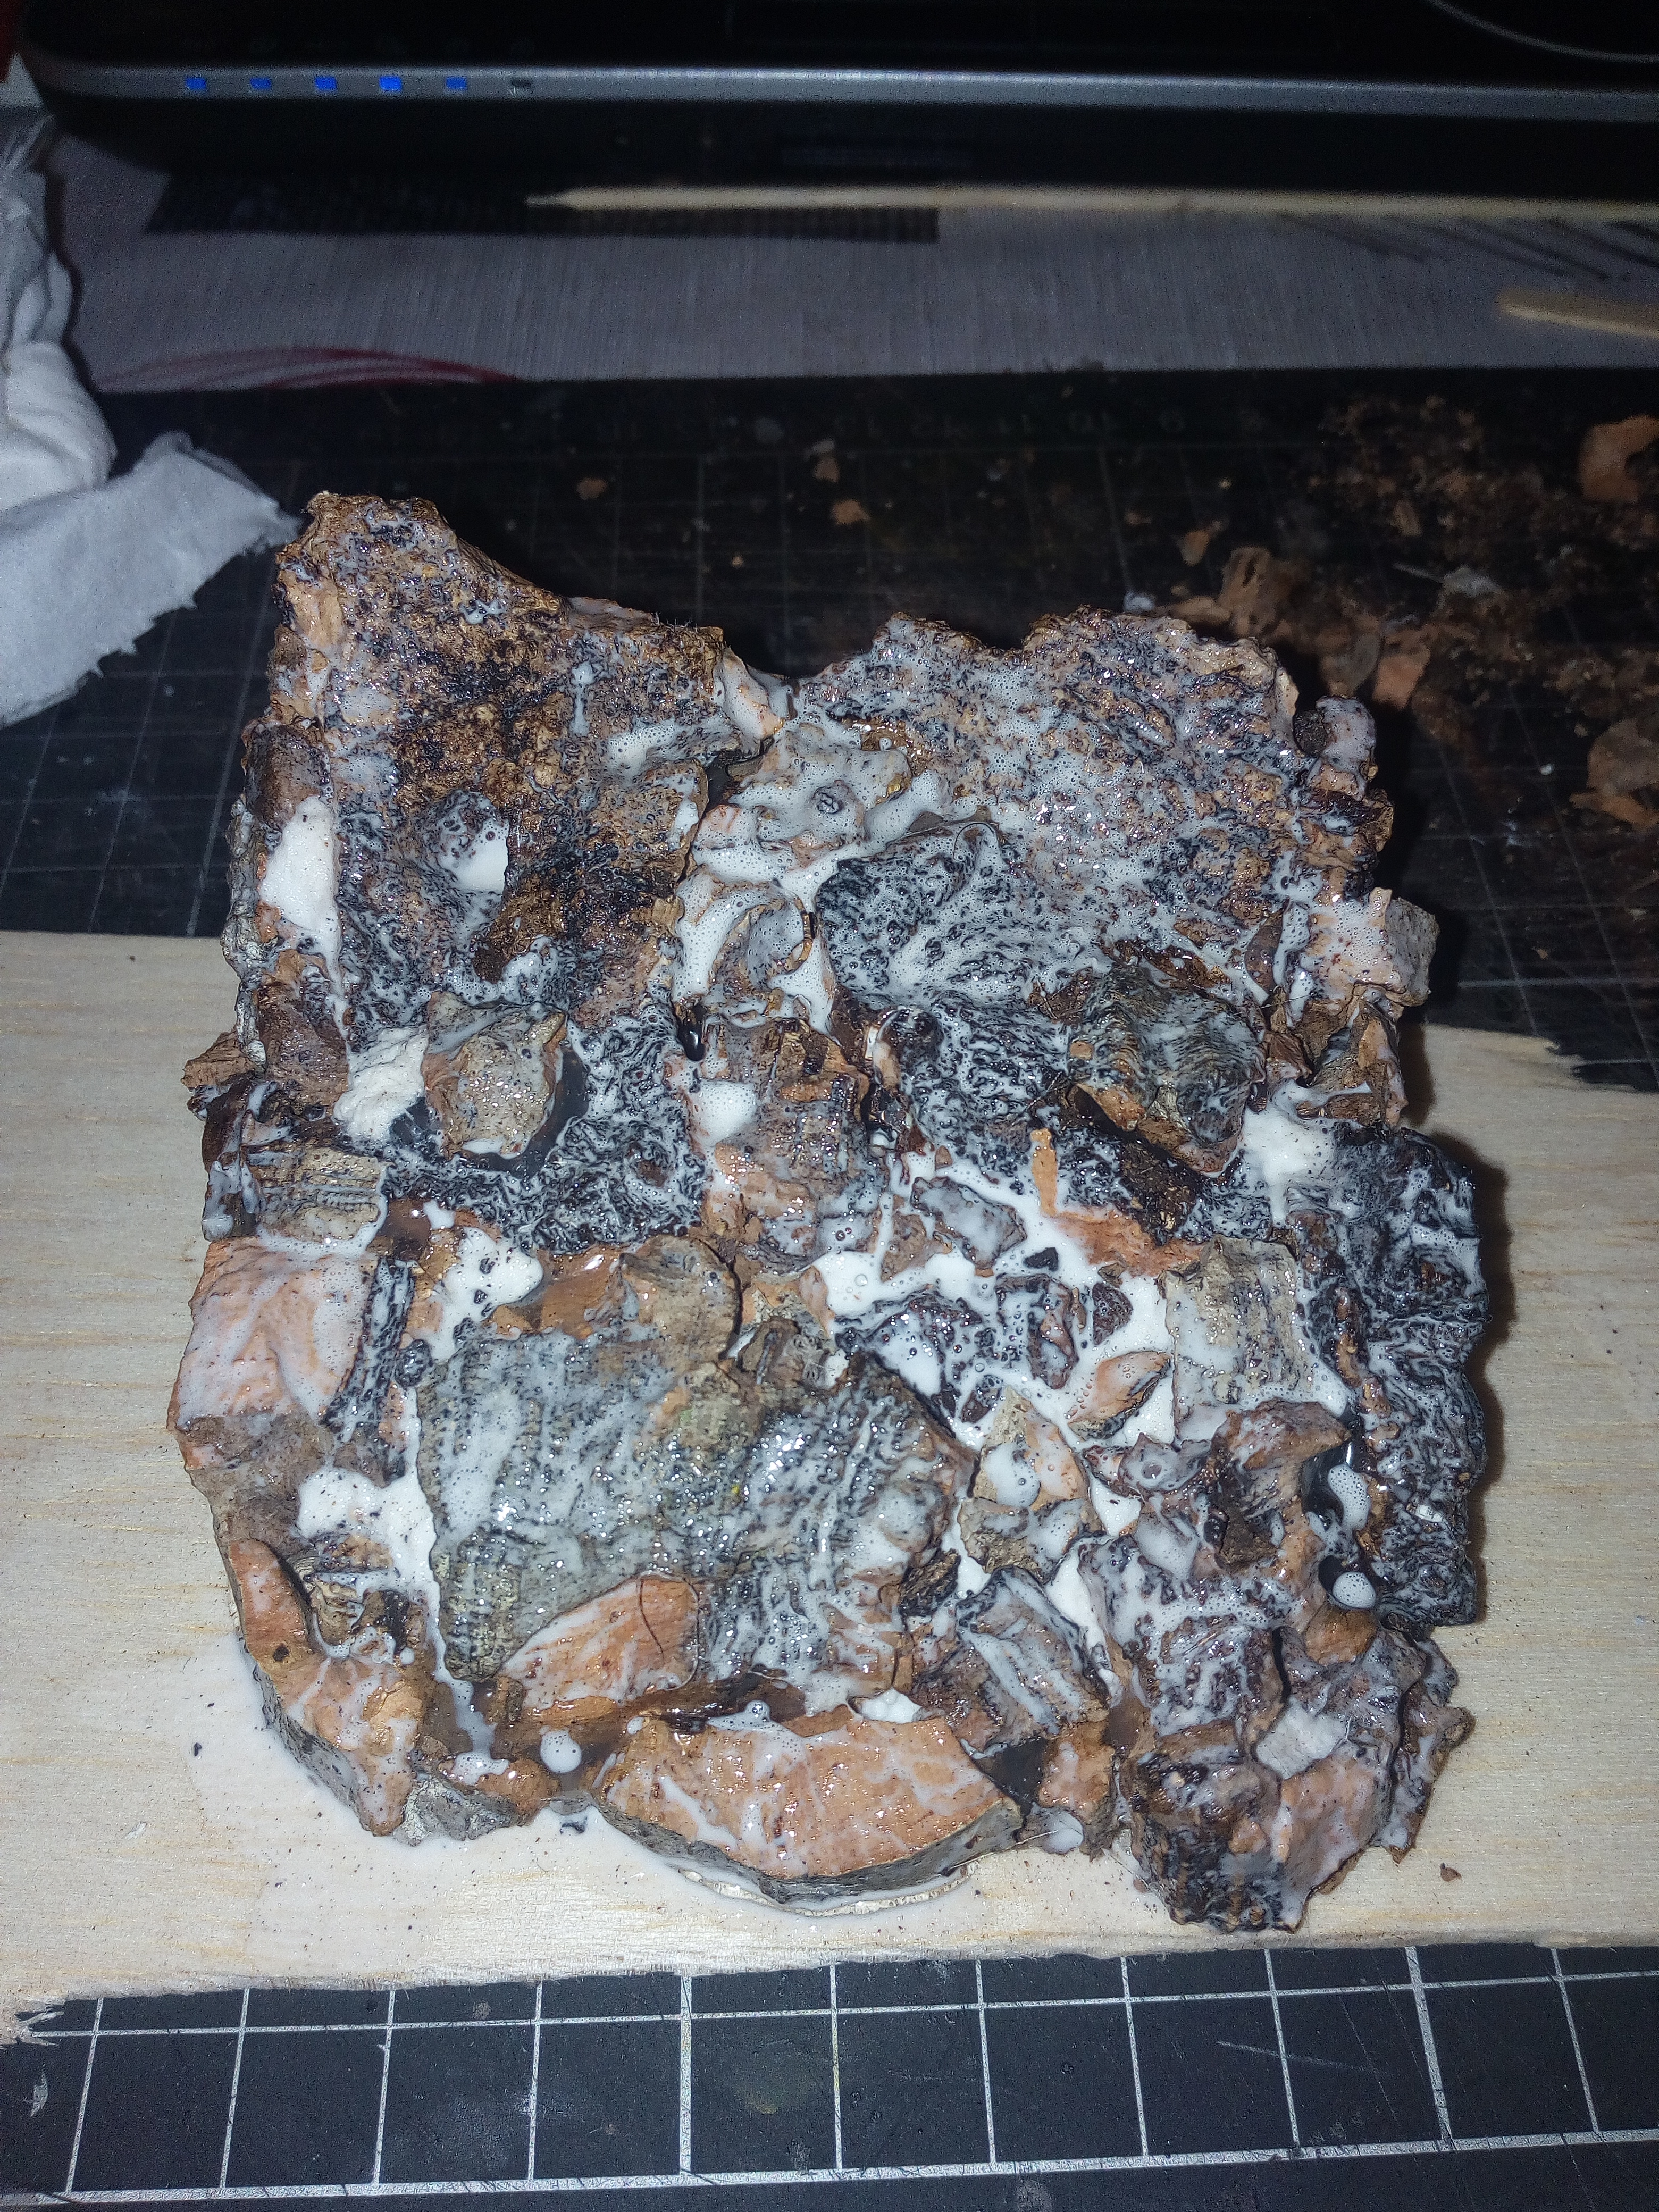
I had to use some PVA and toilet tissue to fill in the larger voids. after all the cork had been used i washed the whole thing with a PVA water mix approximately 50/50
(I also watched all of Mel’s Videos the terrain tutor on rock out crops).
Standing area
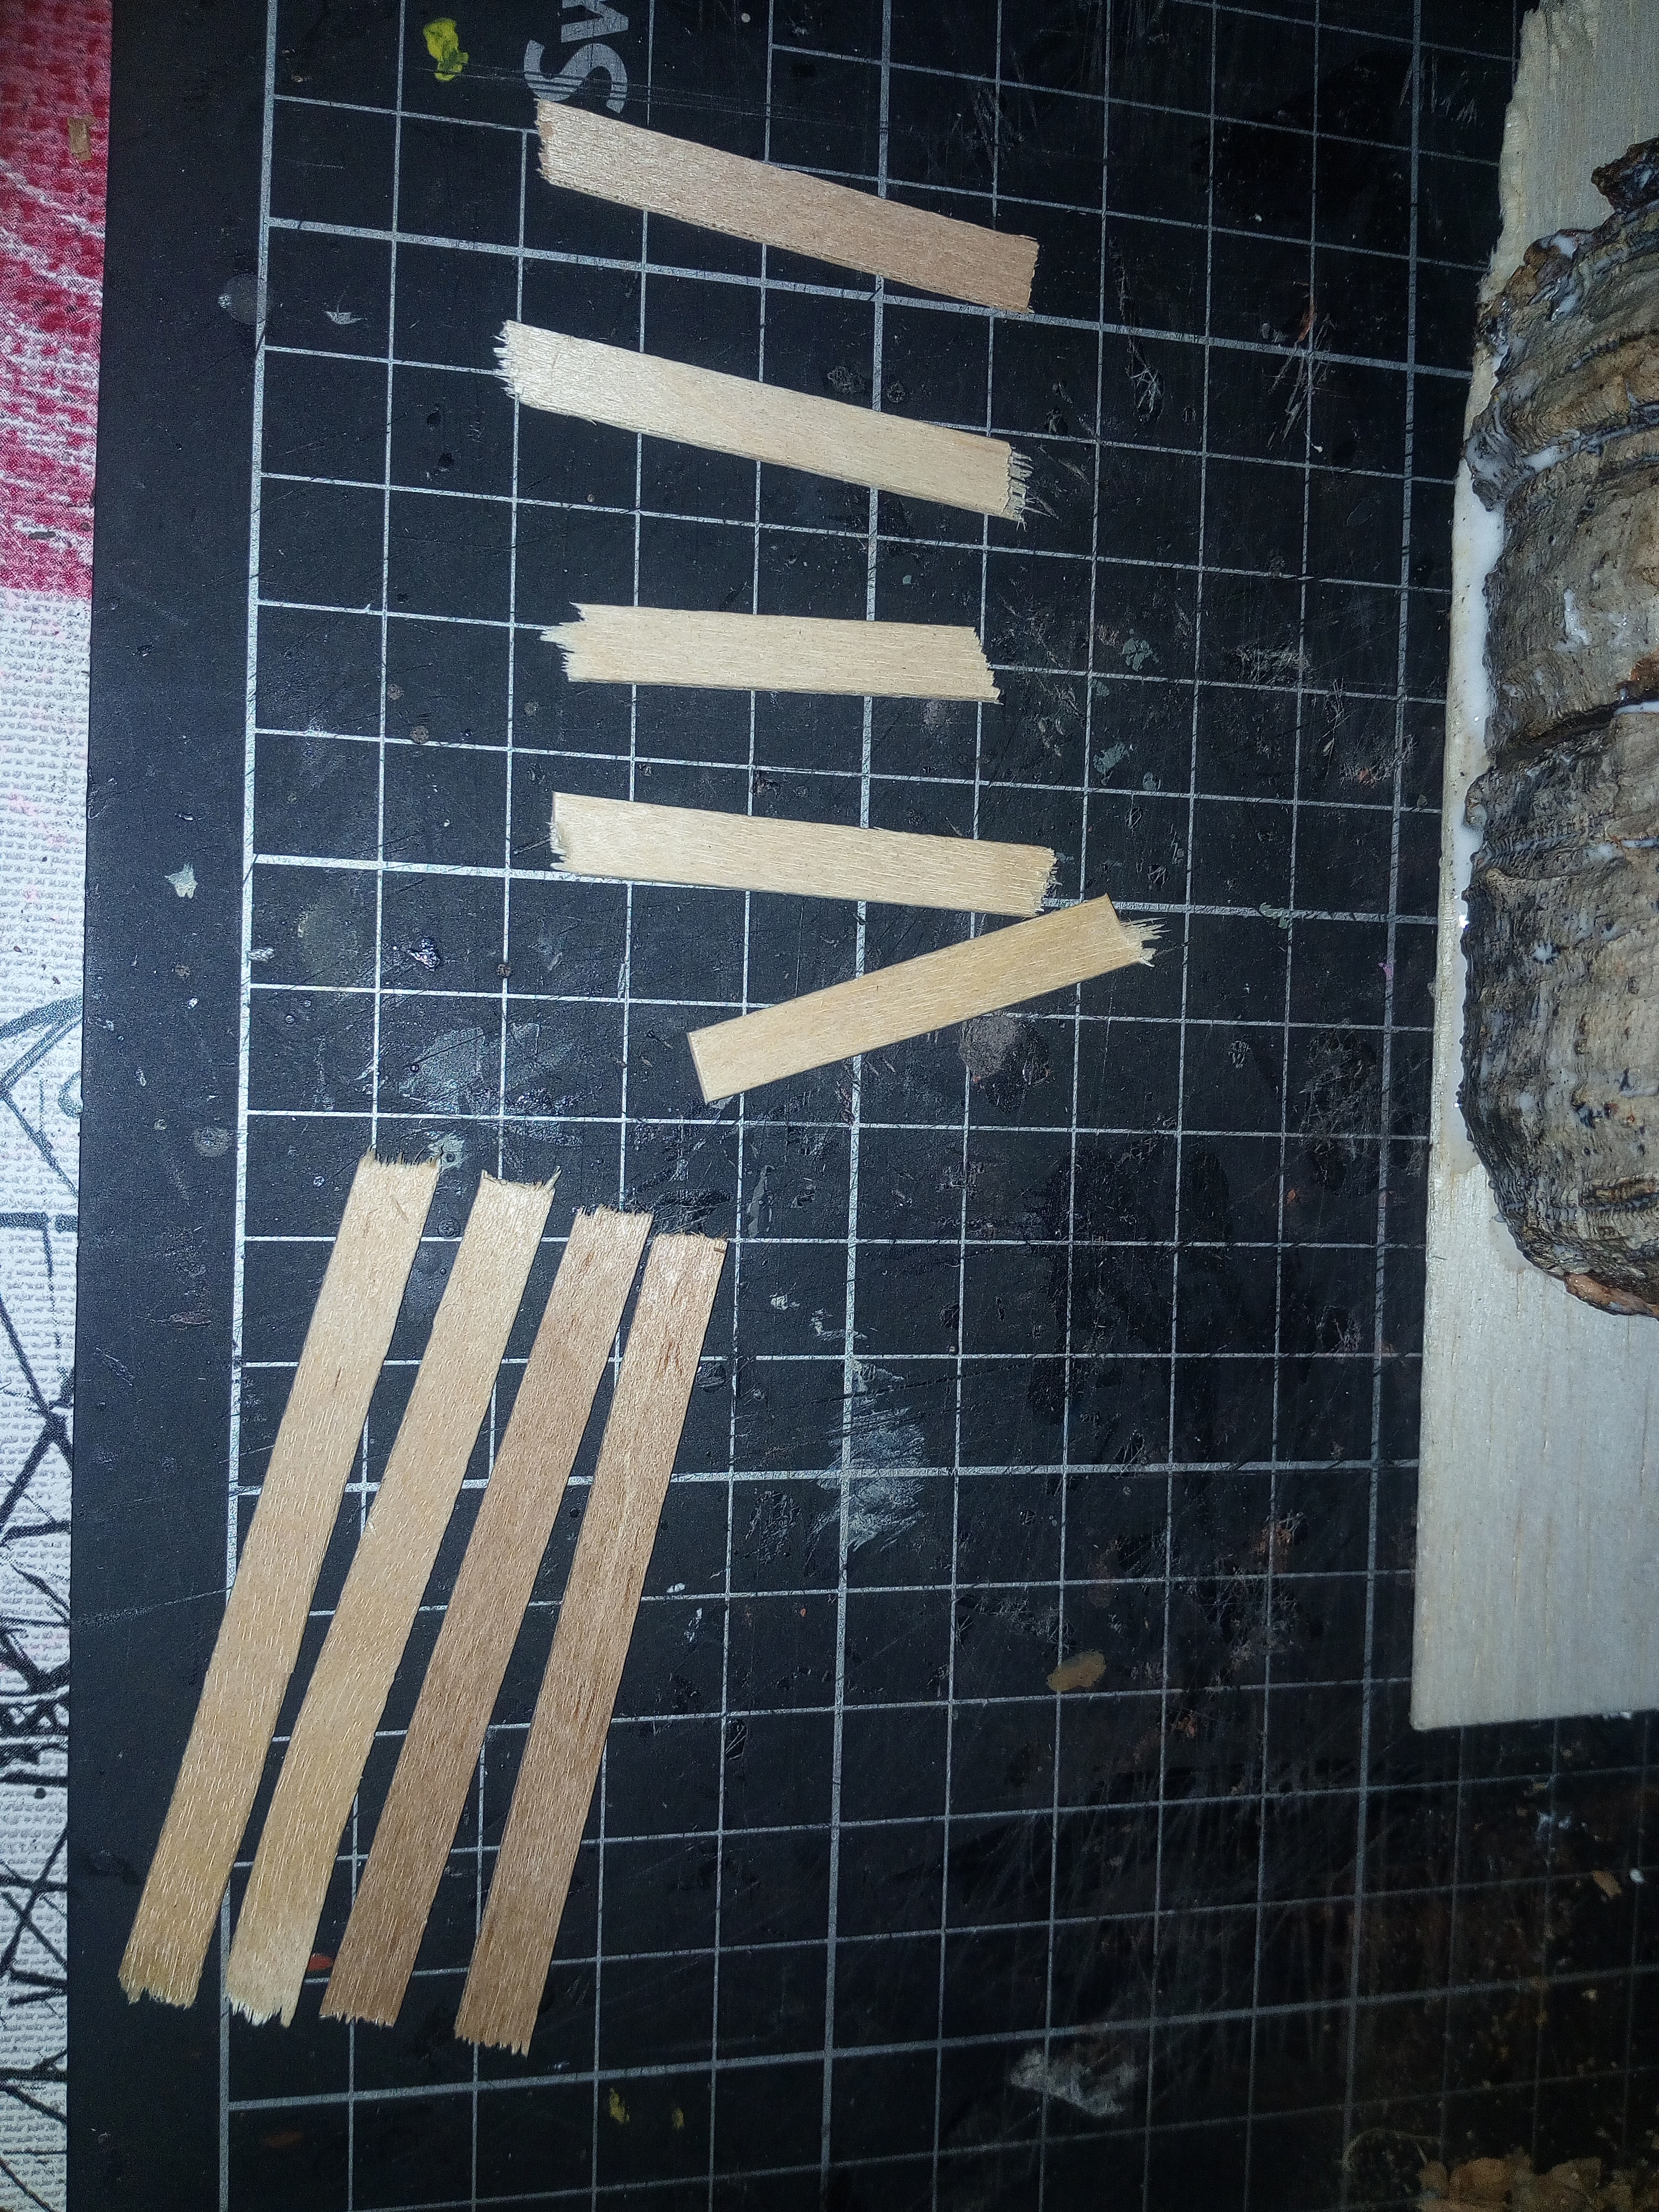

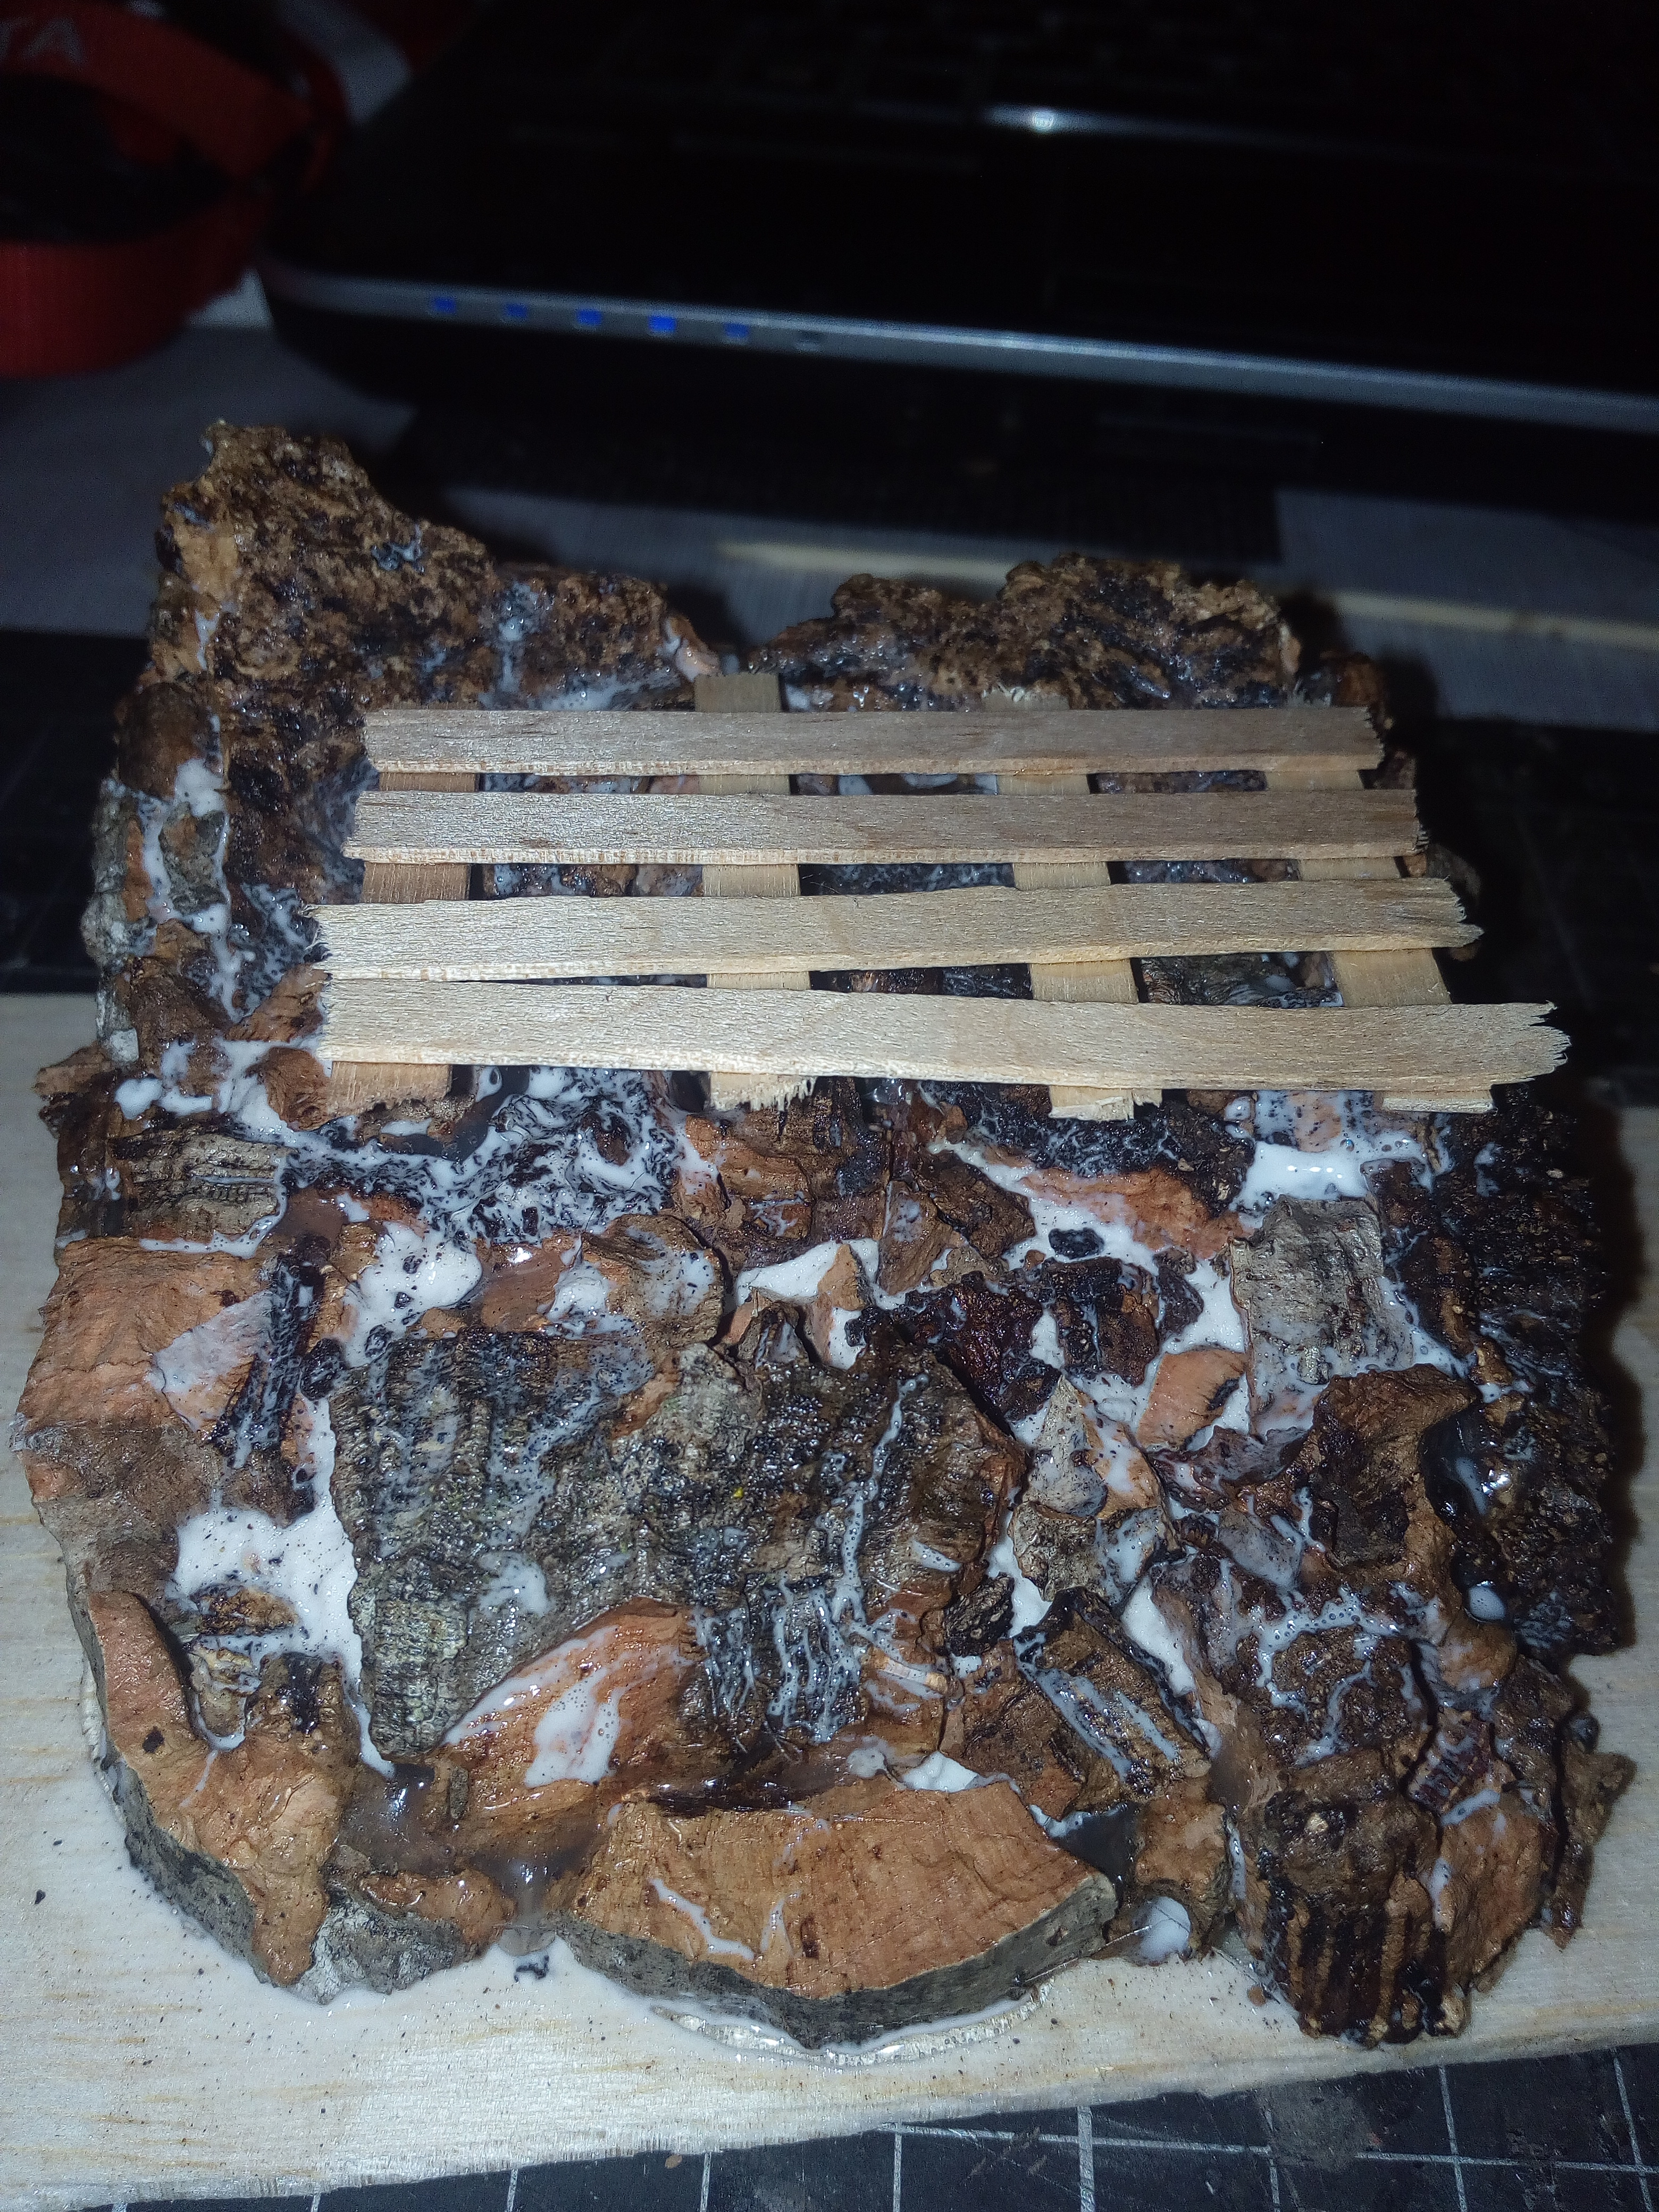
I decided that i’d need to have something on there to stand a mini on so the coffee sticks came in handy.
I roughed them up with a blade and sand paper and used PVA to glue them, while I was cutting them to size I roughly cut them to fit the top of the out cropping.
Painting the rock
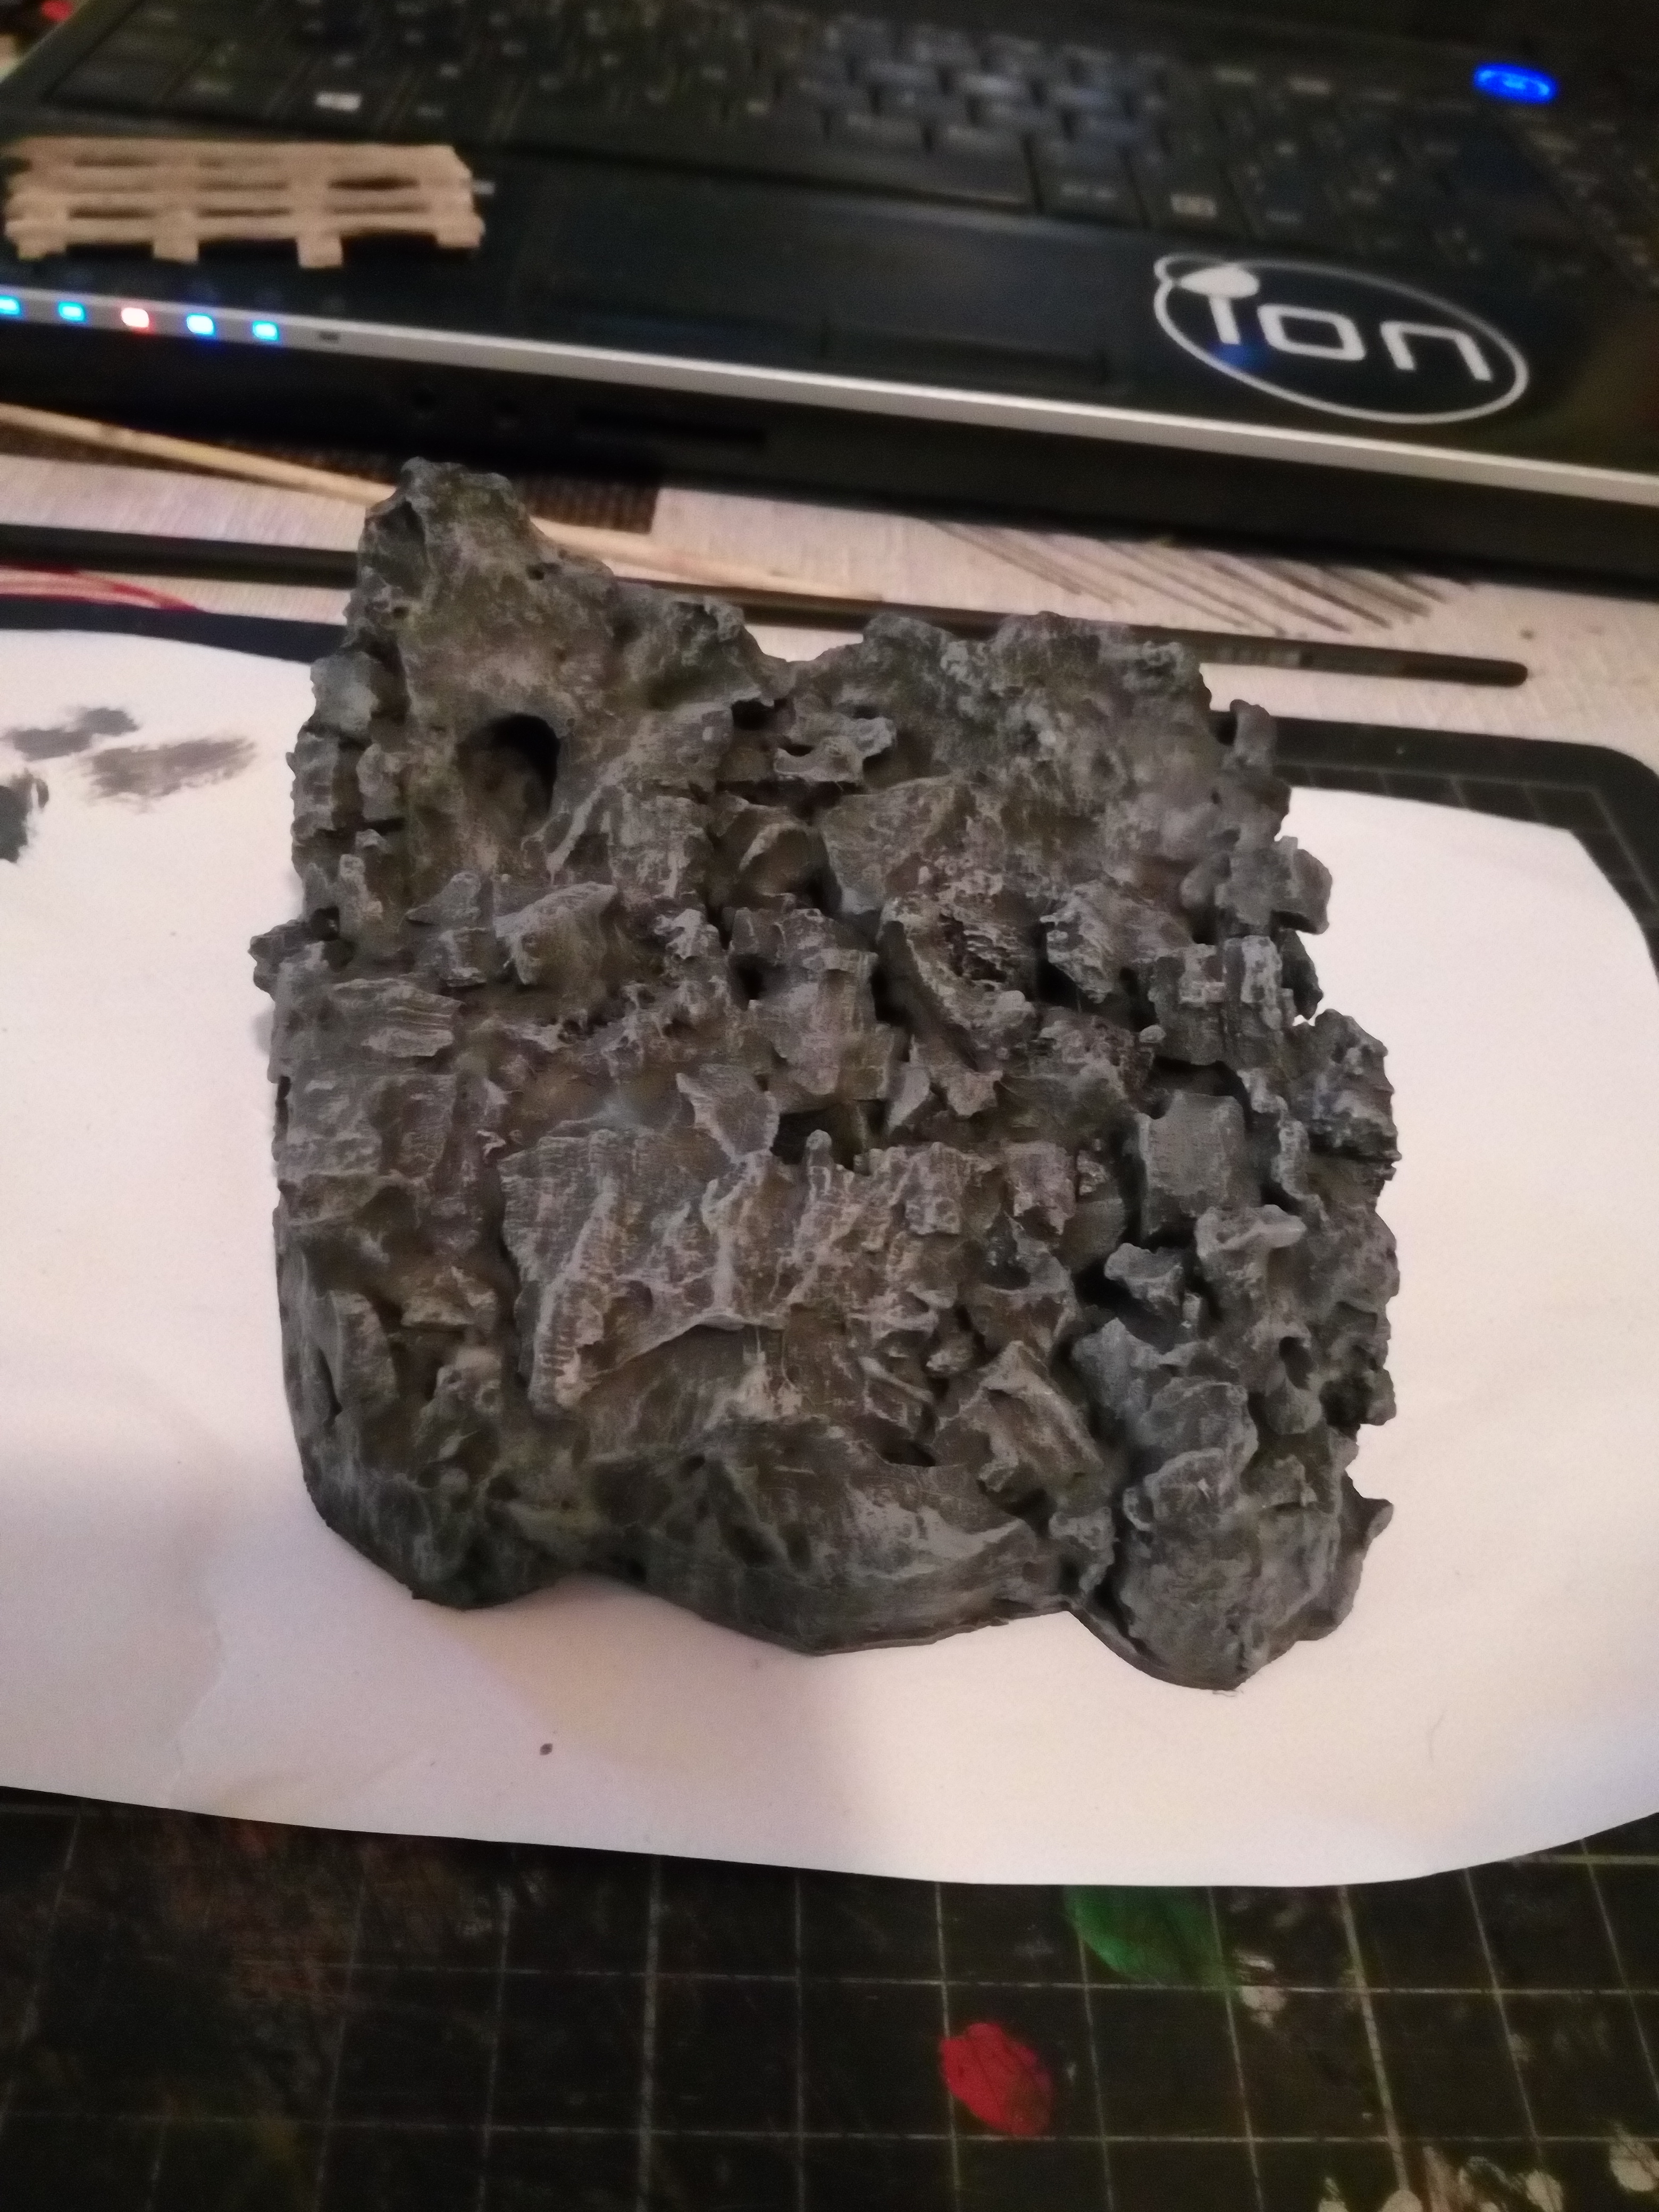
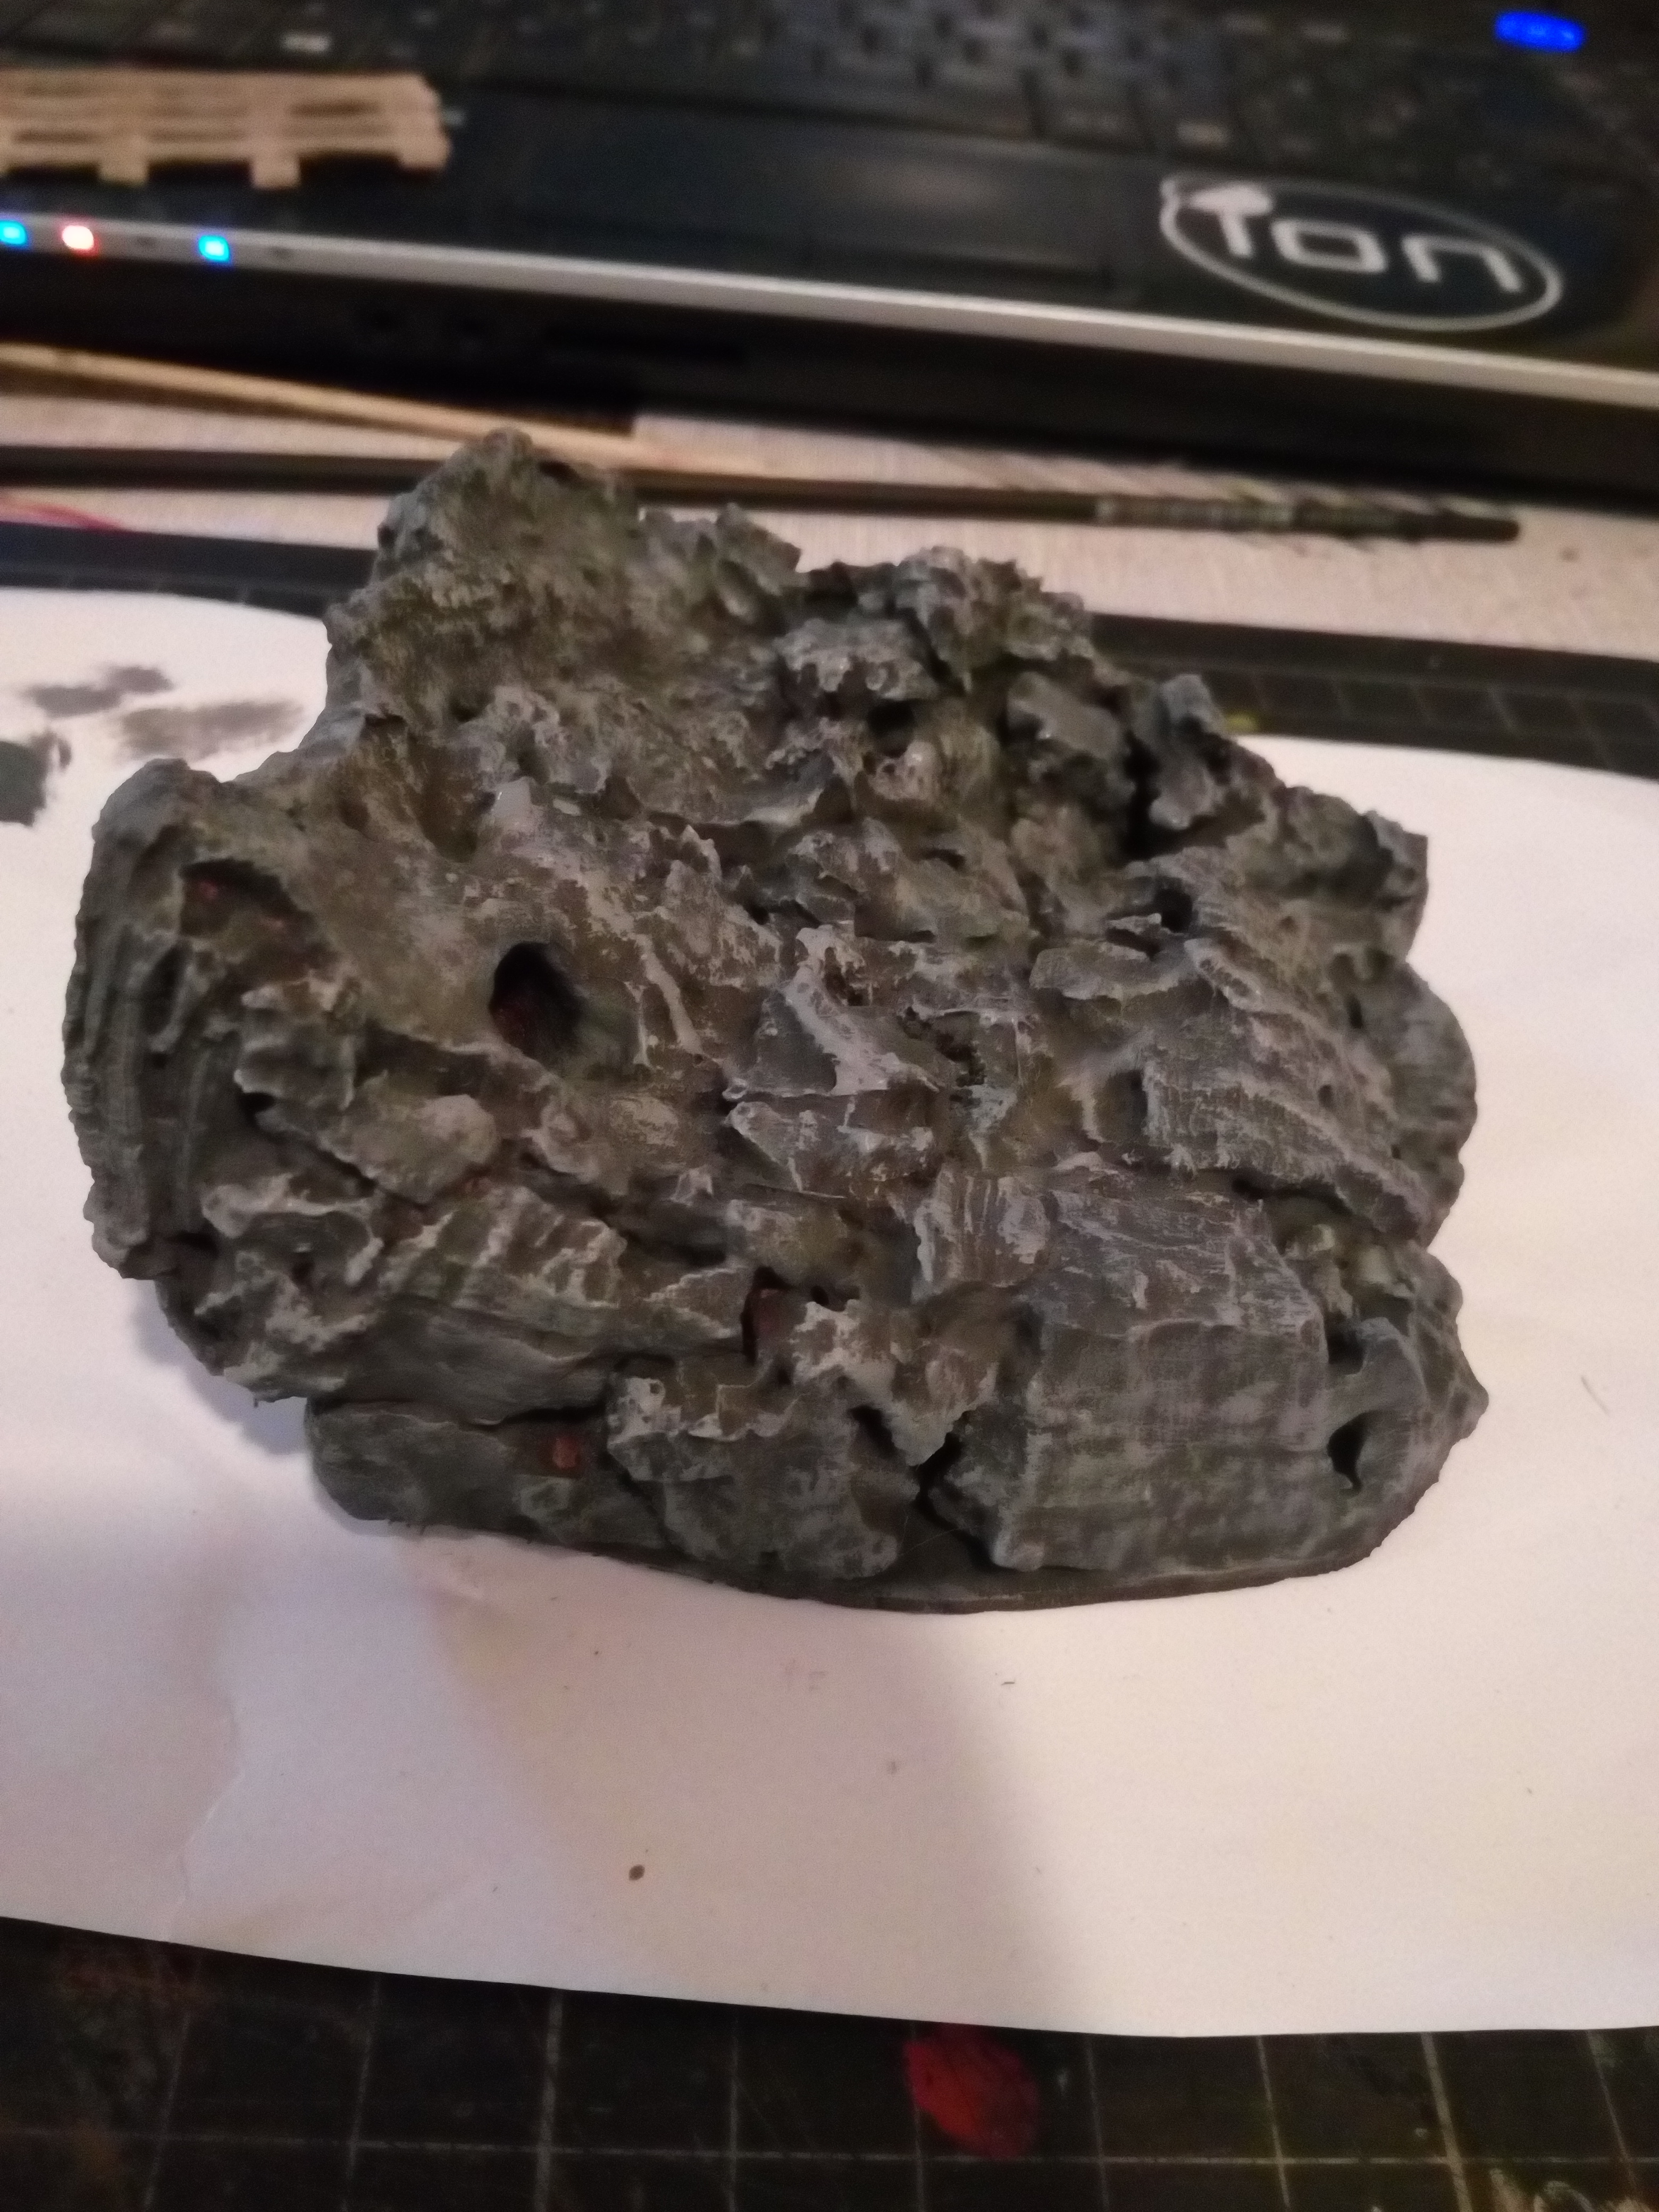

I started off with mat black rattle can.
Next was dry-brushing, working from grey to white.
I did try to follow The Terrain Tutor in building and painting this.


