
![246 Dwarves in One Box?! | Wargames Atlantic Dwarven Host Unboxing & Review [7 Days Early Access]](https://images.beastsofwar.com/2026/01/unboxing-wargames-atlantic-epic-fantasy-battles-dwarven-host-coverimage-225-127.jpeg)


Getting Started with Adeptus Titanicus…


Recommendations: 94
About the Project
This is my first attempt at starting and running a project log. I have a fair few armies and game systems I play and thought it'd be a good idea to track them... This is my first attempt and the first one I'm starting out from scratch. The others I hope to add as I go but they're already armies started etc.
Related Game: Adeptus Titanicus
Related Genre: Science Fiction
This Project is Active
The Legion grows and some shiny....
 The first of many Warhounds...
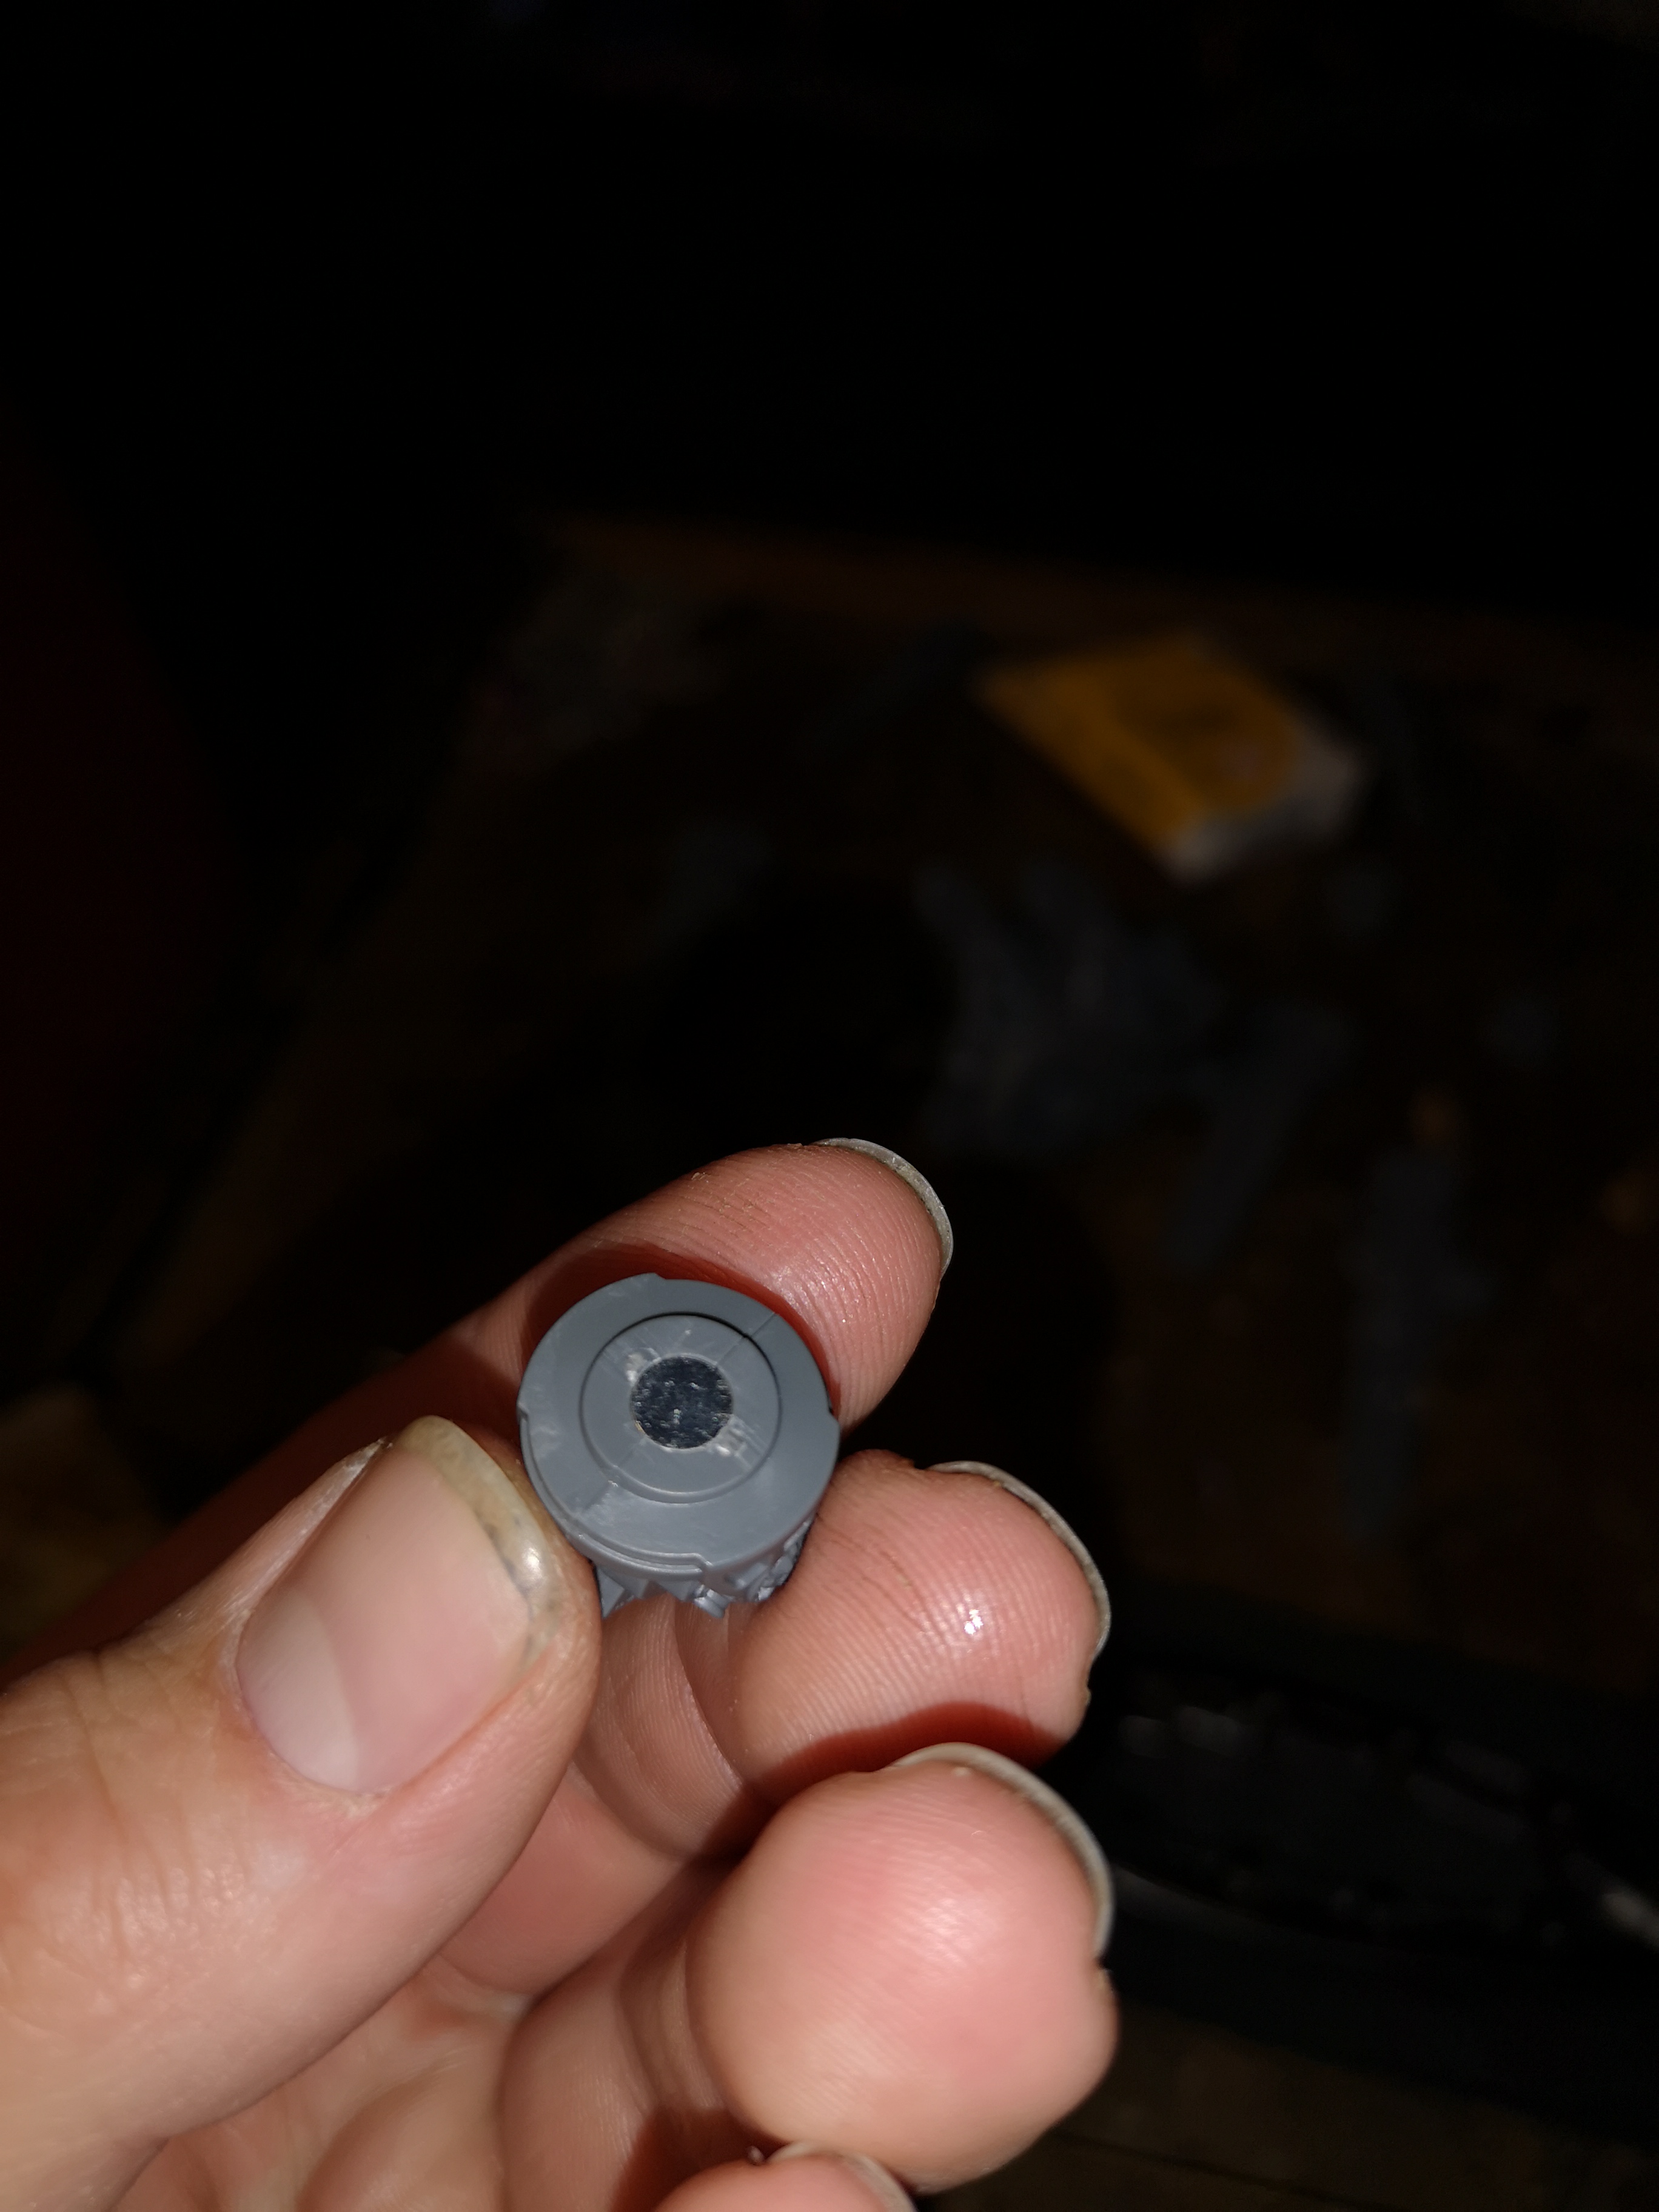
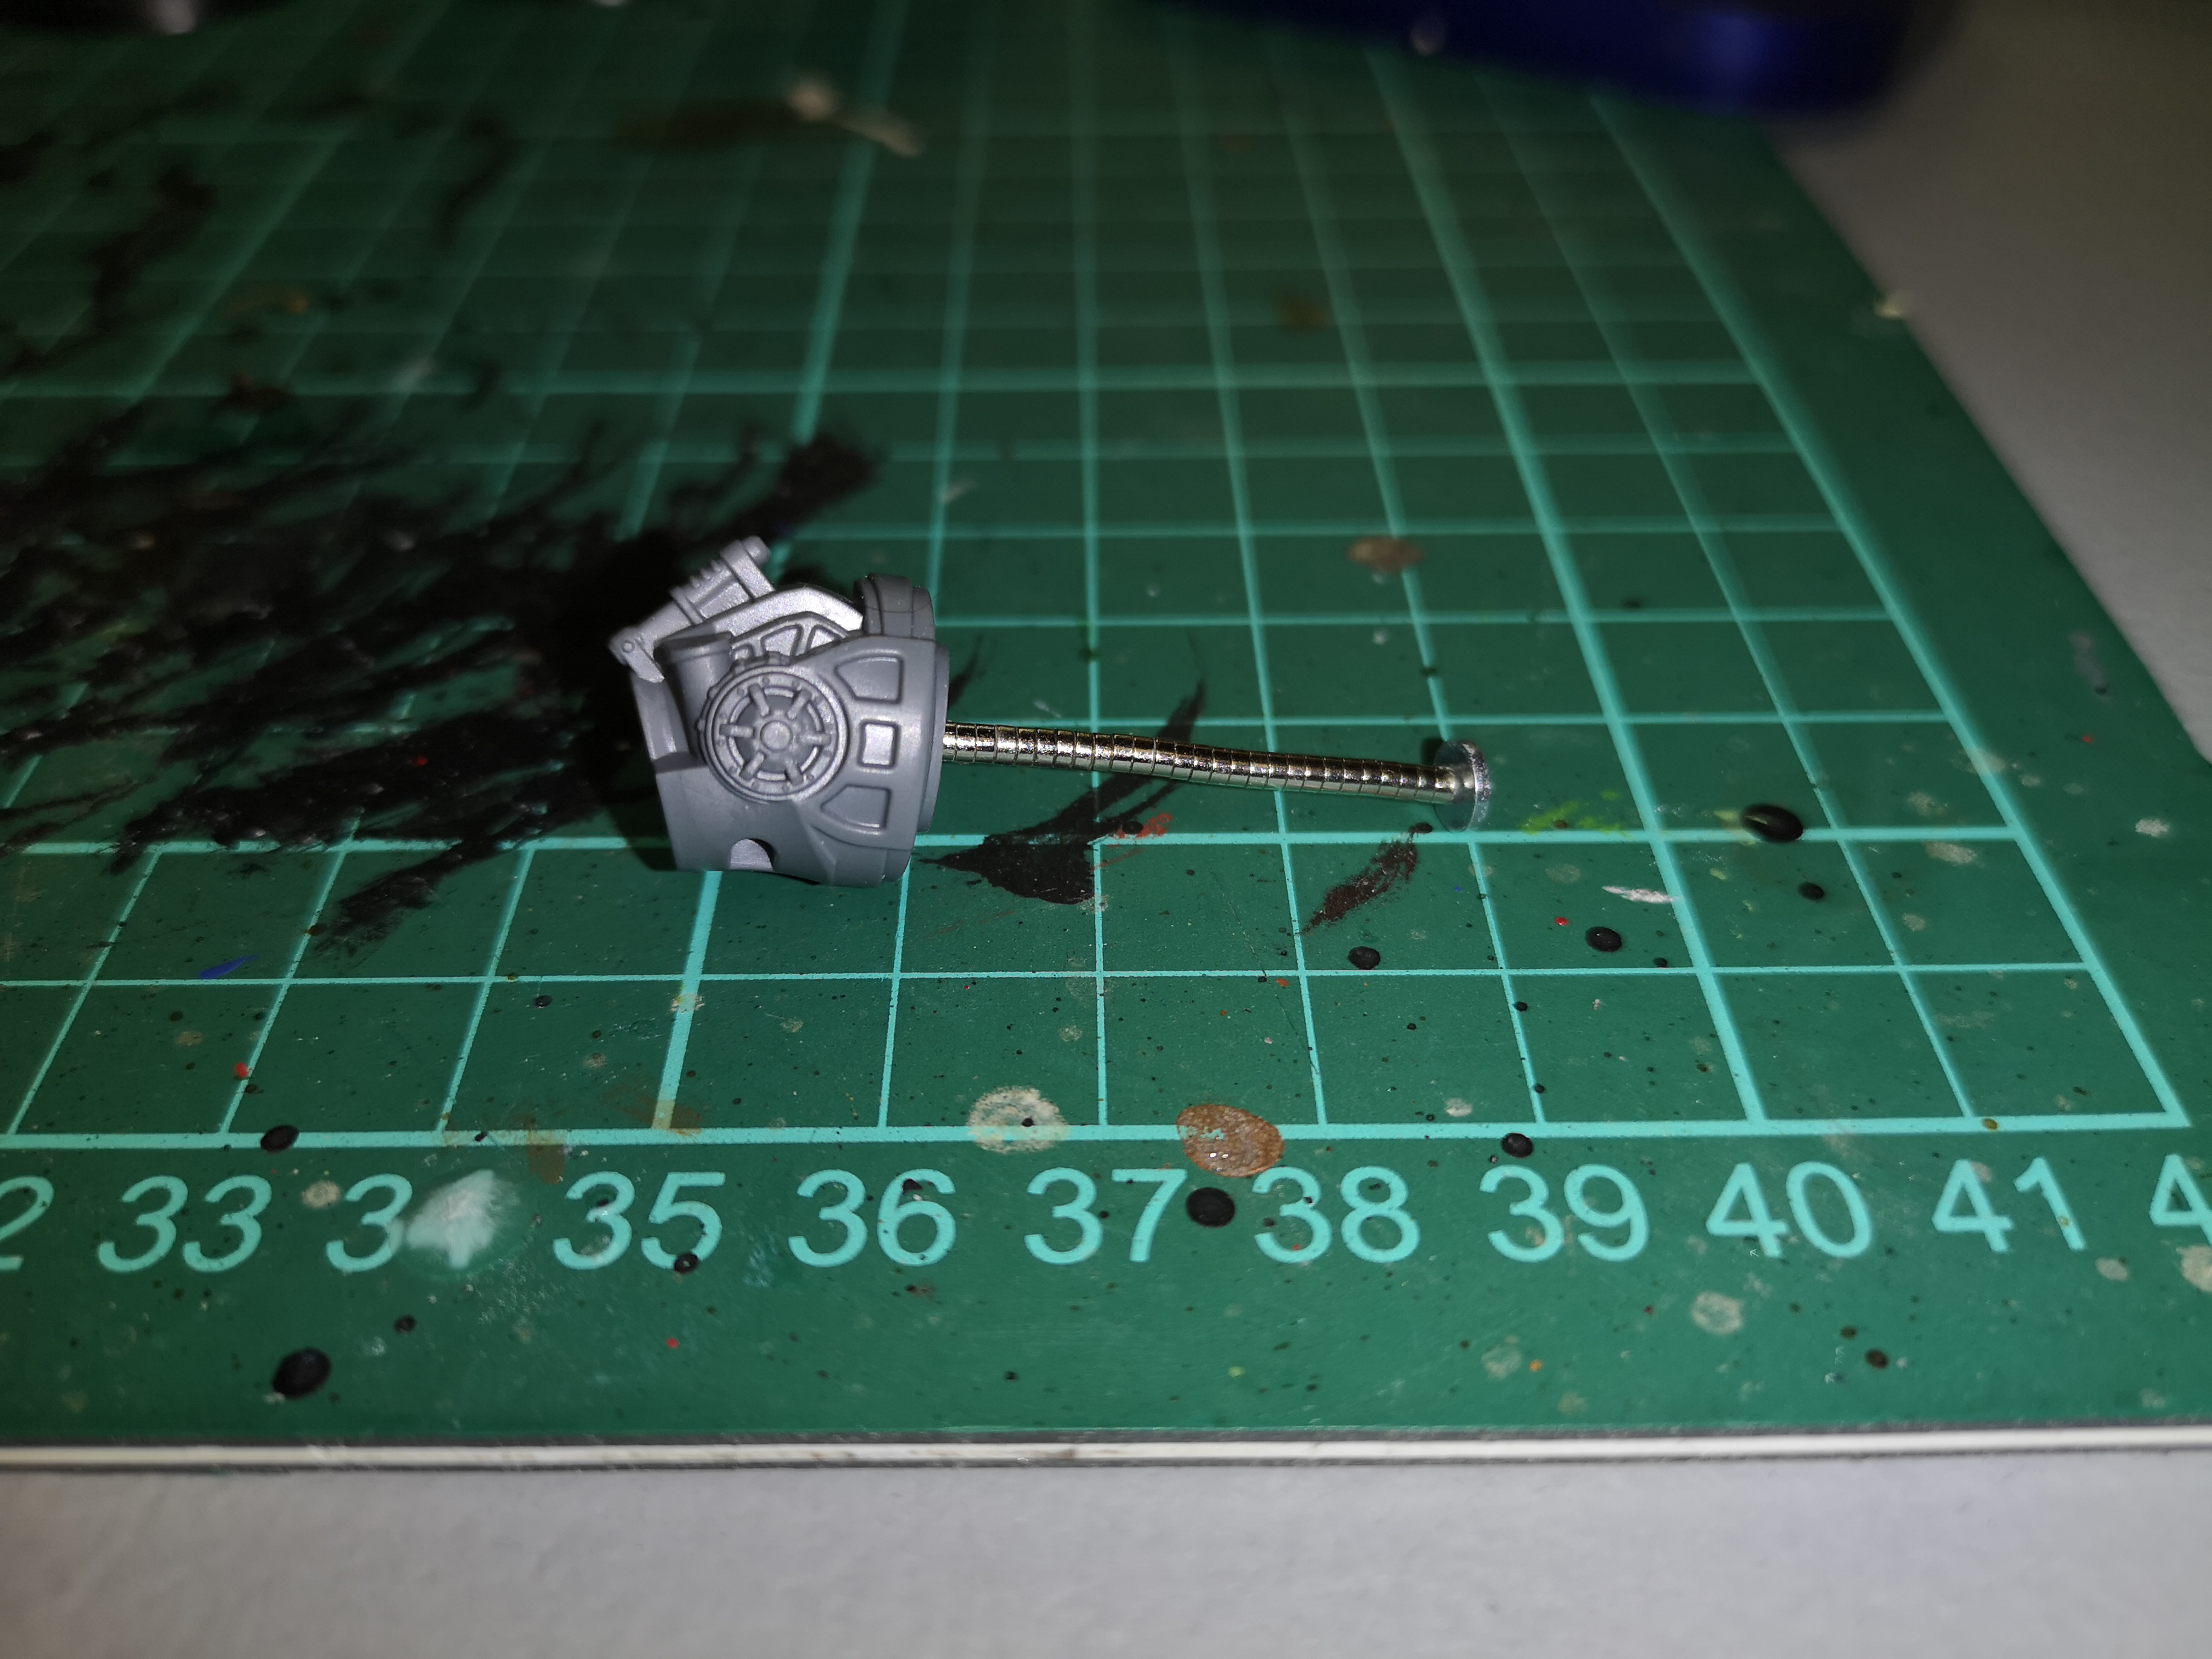
On one of the Titanicus groups I’m one, someone wanted a way to cat proof his terminals and created something rather awesome… A friend on the same group saw it as well and approached the creator to get the file to be able to 3D print the result. A few days later I received the below terminal holder as a present 🙂


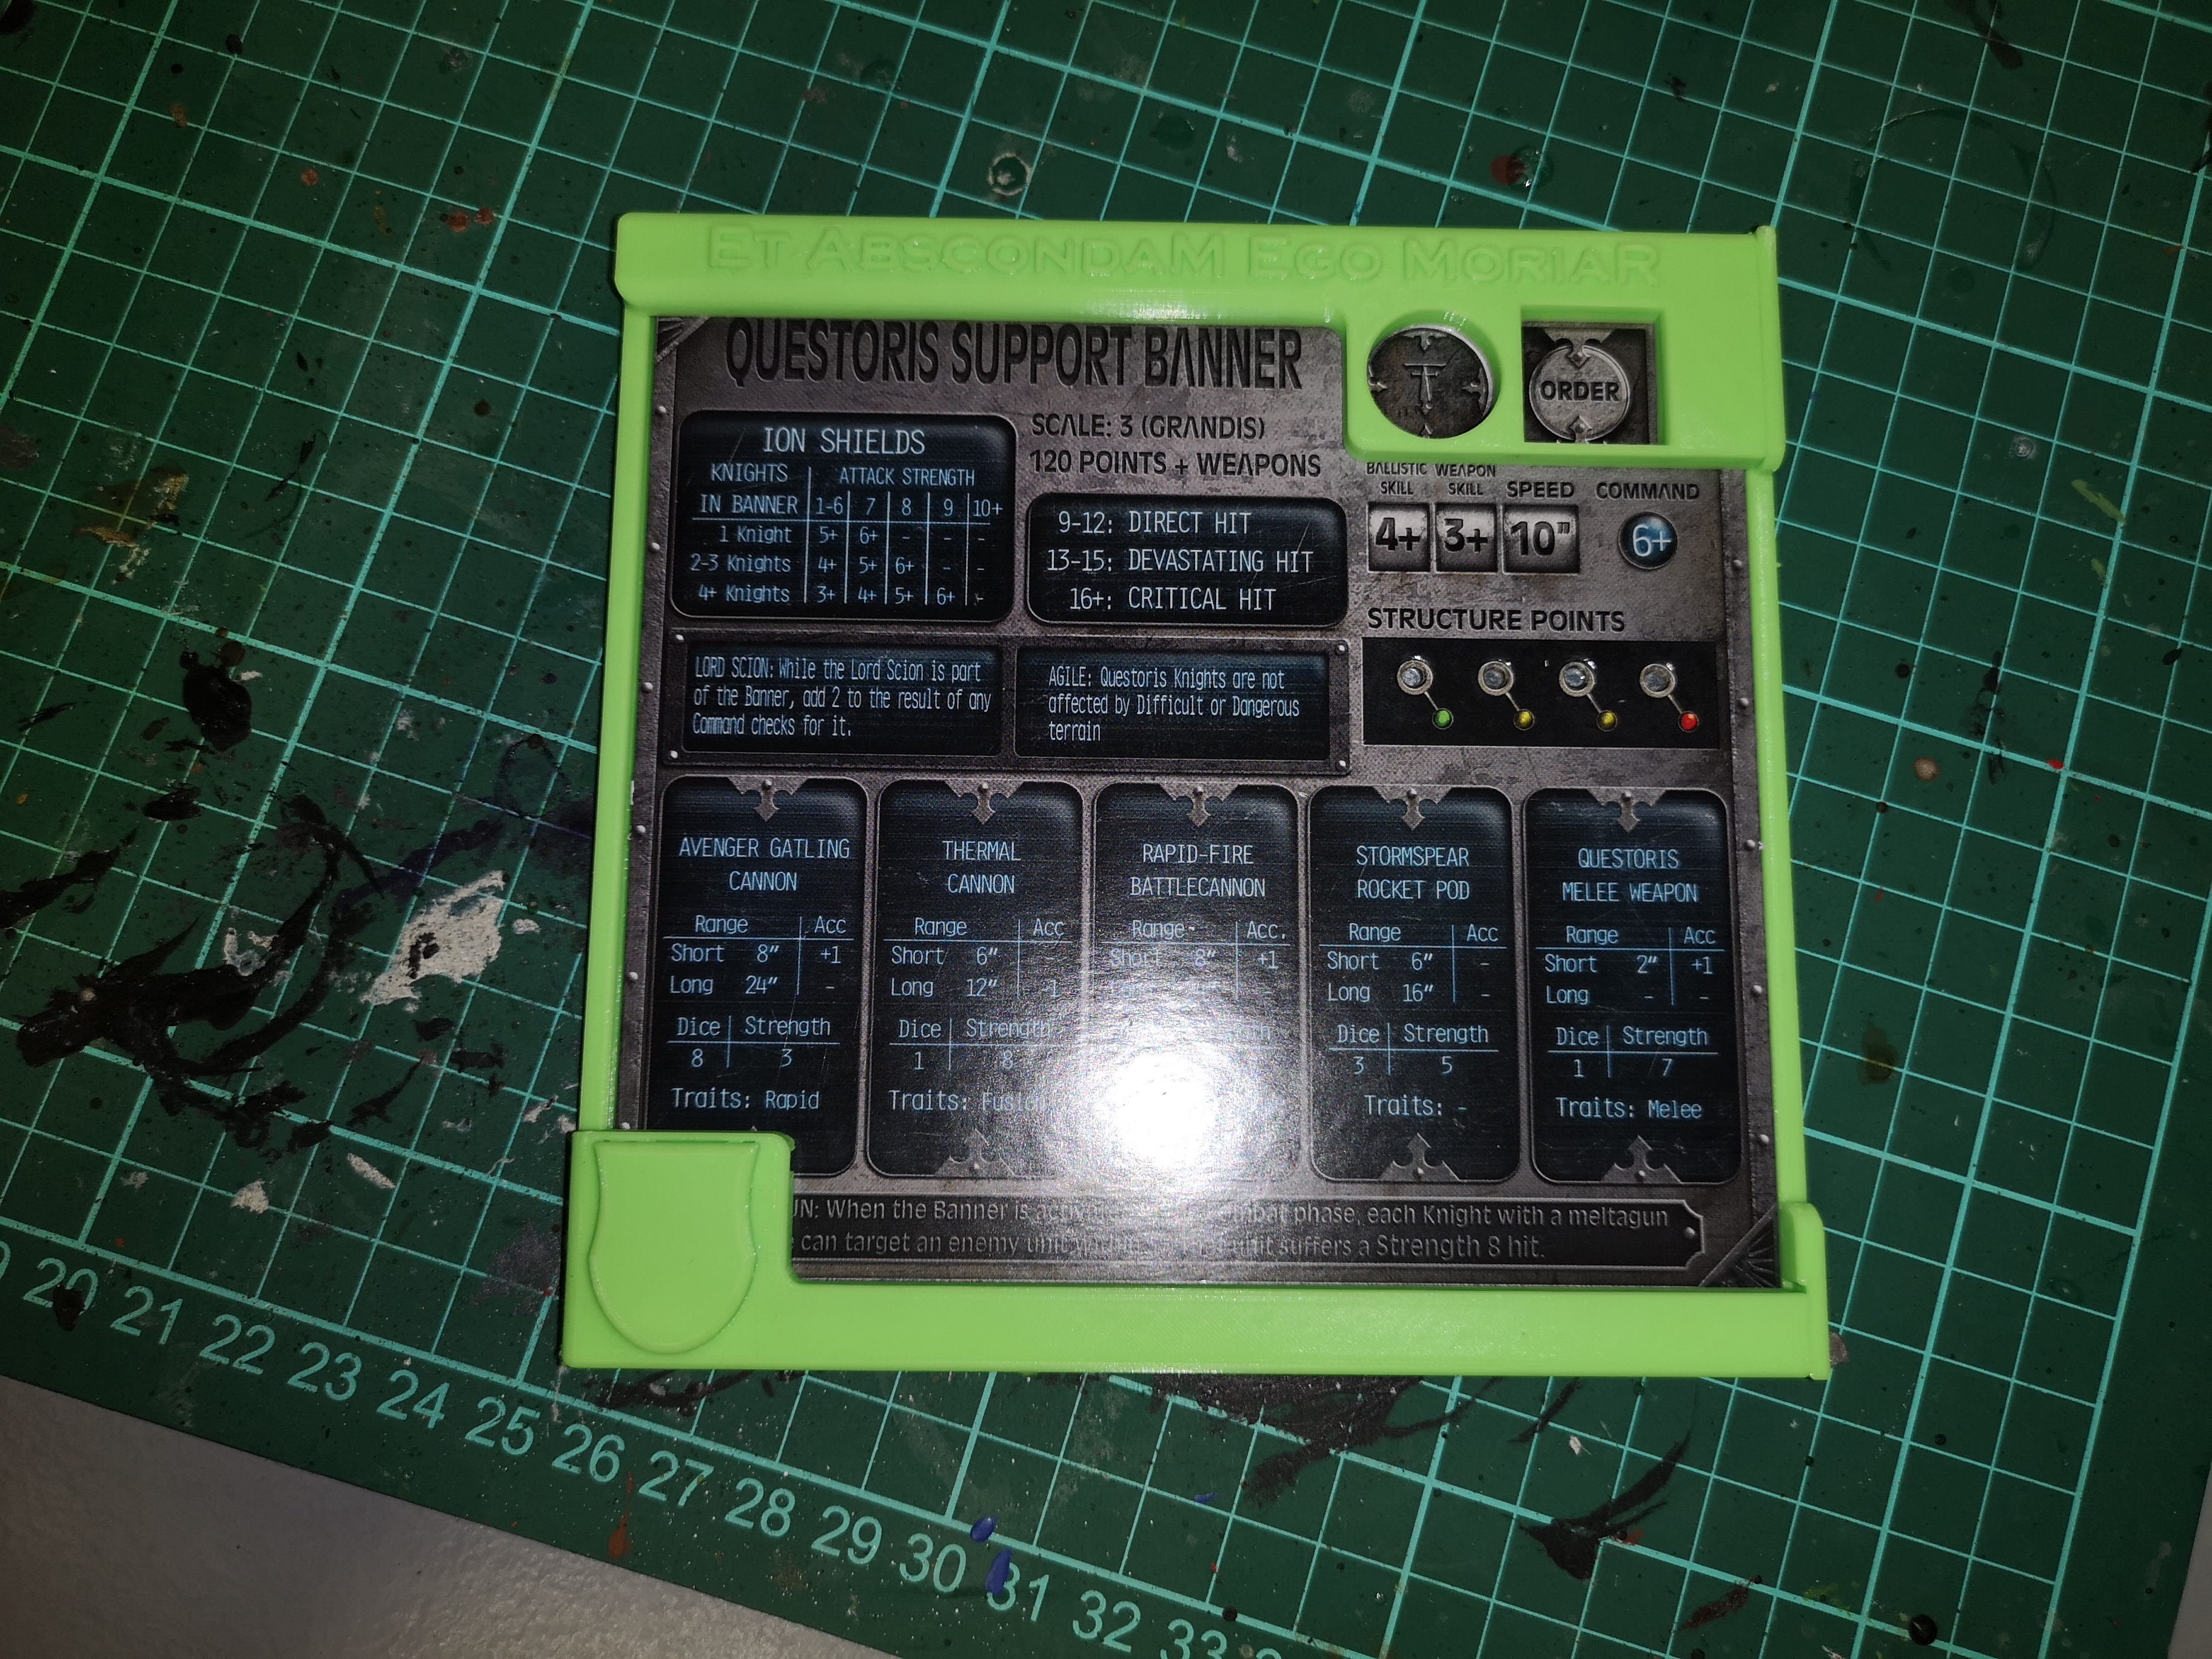


Atm I only have one for holding a knight terminal but I’ve spoke about getting more as well as titan holders as well. It comes with recesses to hold the command dice and to hold magnets under the structure point tracker.
I had debated magnetising the various trackers but with this terminal holder it takes it to the next level.
Moving forward once I have names for each engine etc then I’ll get them printed or labelled both on the engine base and on the holder but until then it’s just sample text.
Next update other than answering questions should see me start to build the Warlords up and started on the basing 🙂
See you all next time and thanks for following
Fear the patter of tiny feet...
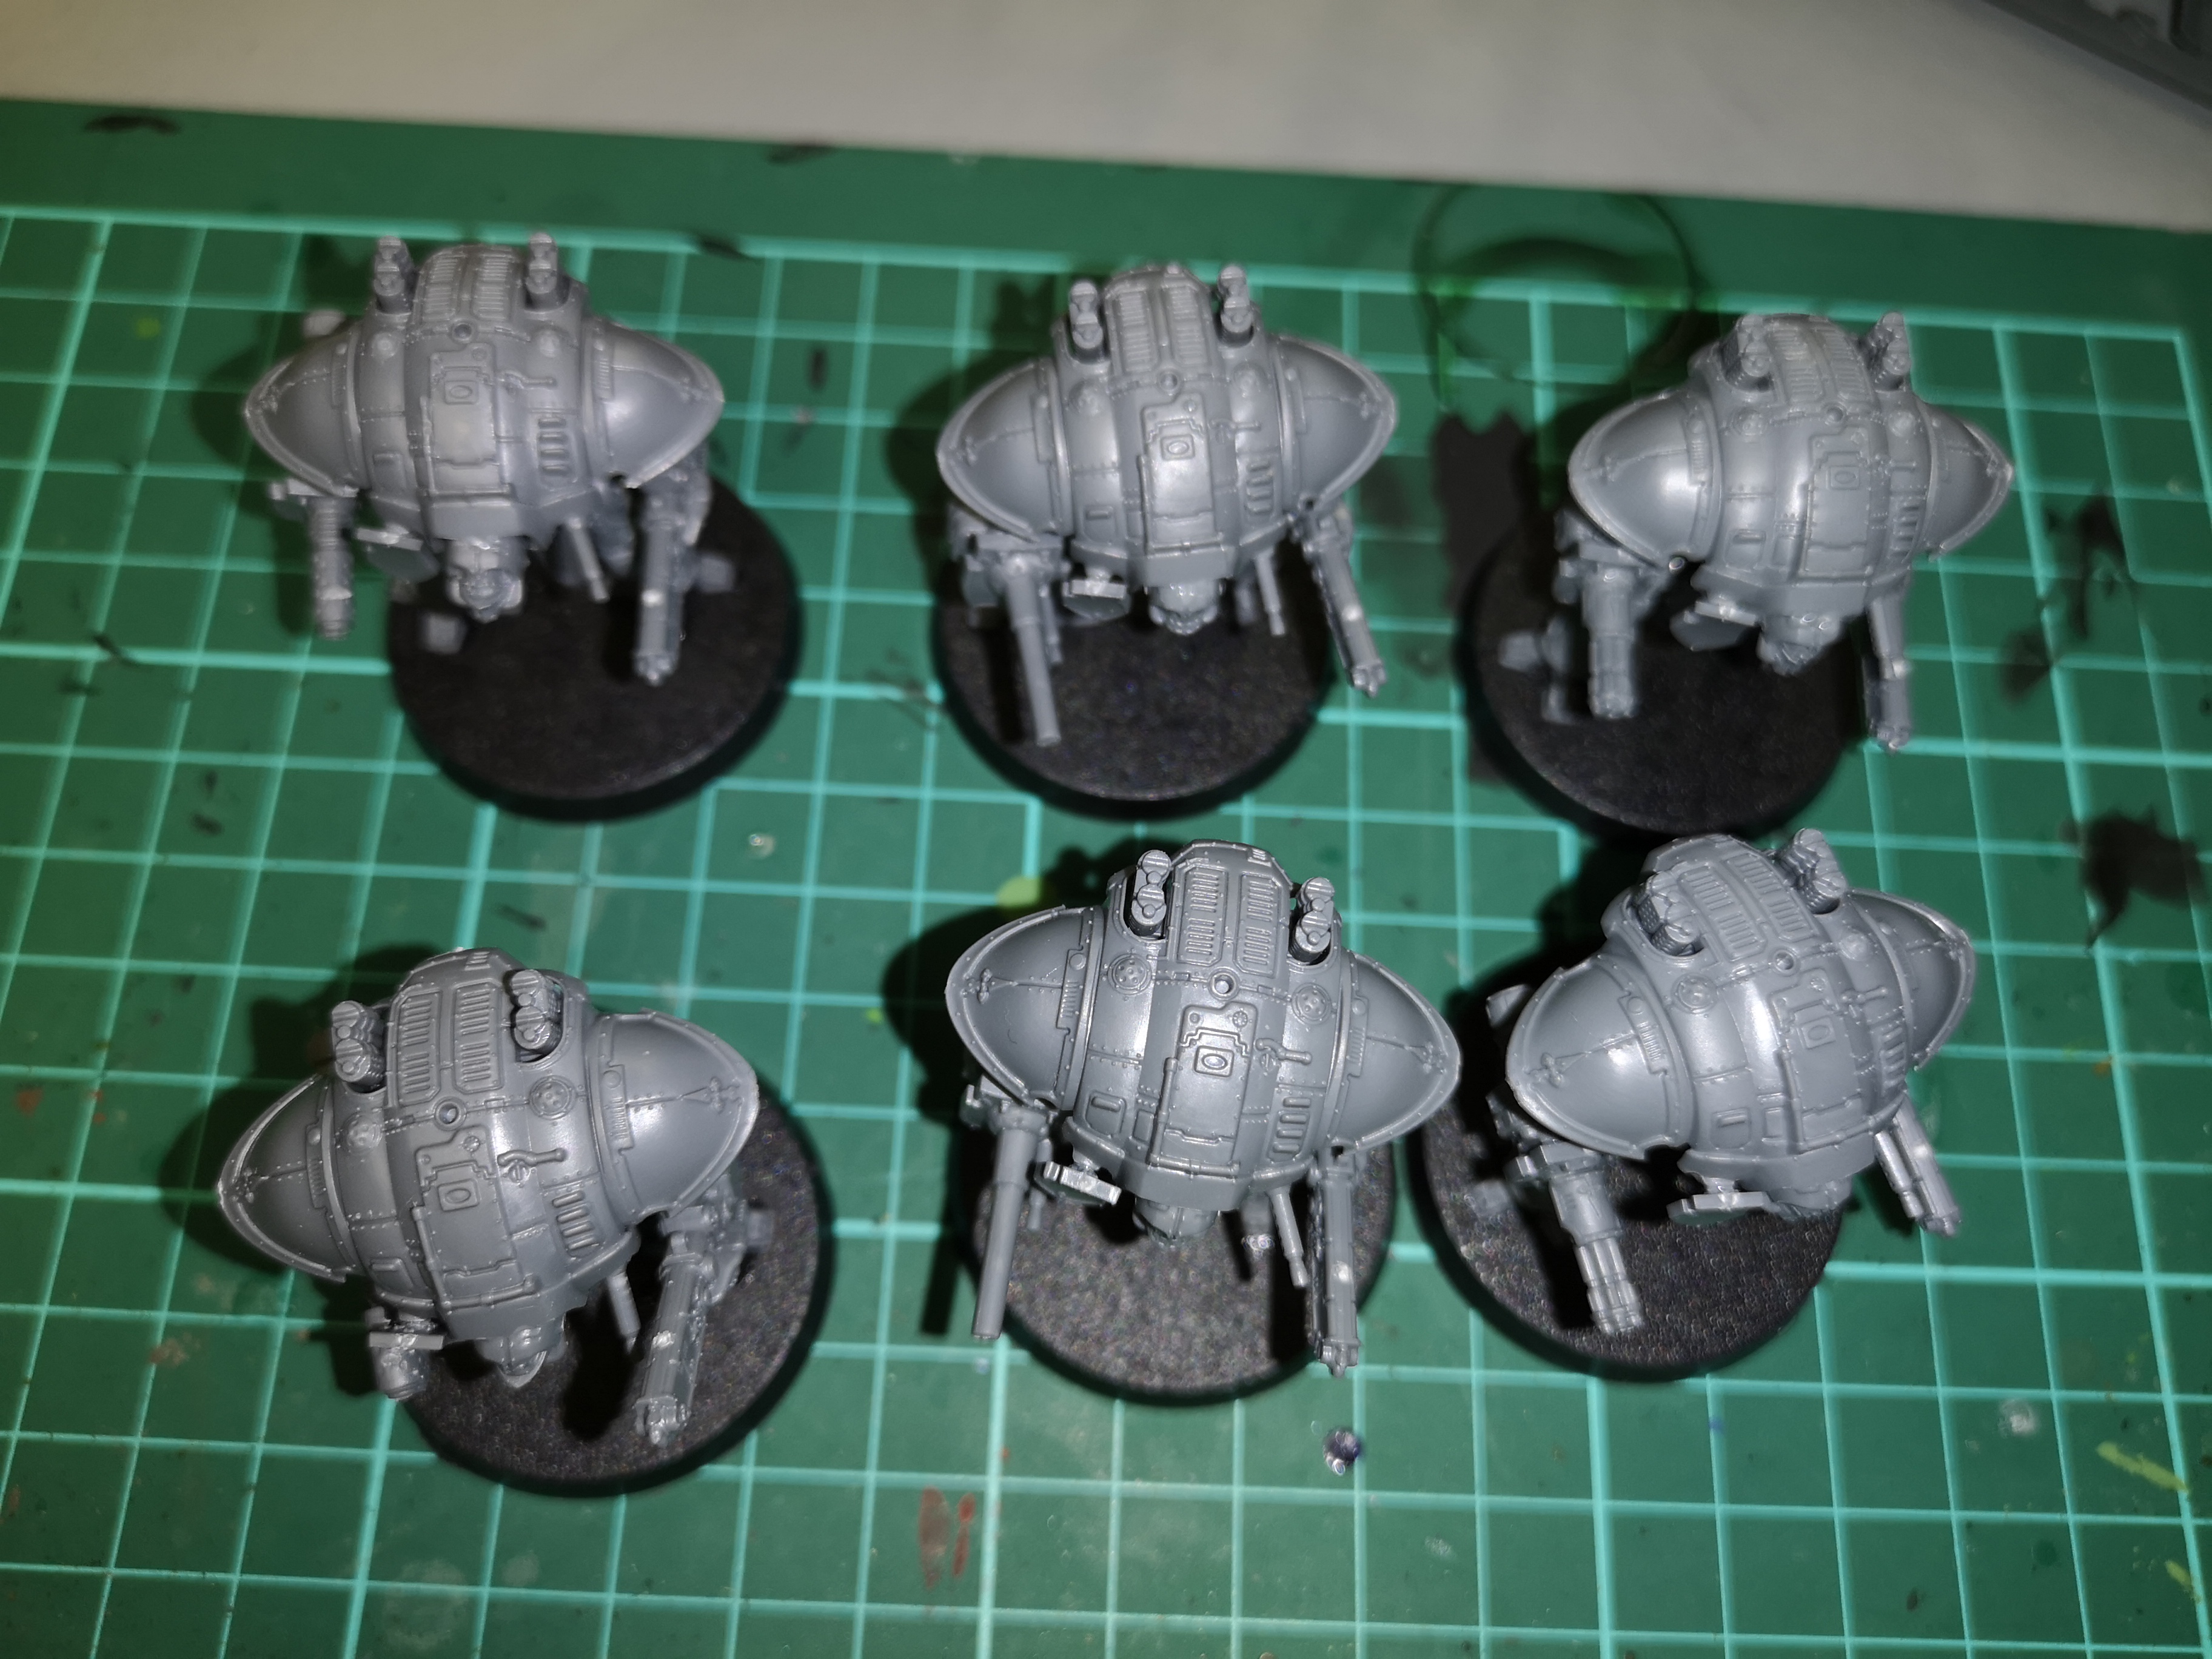
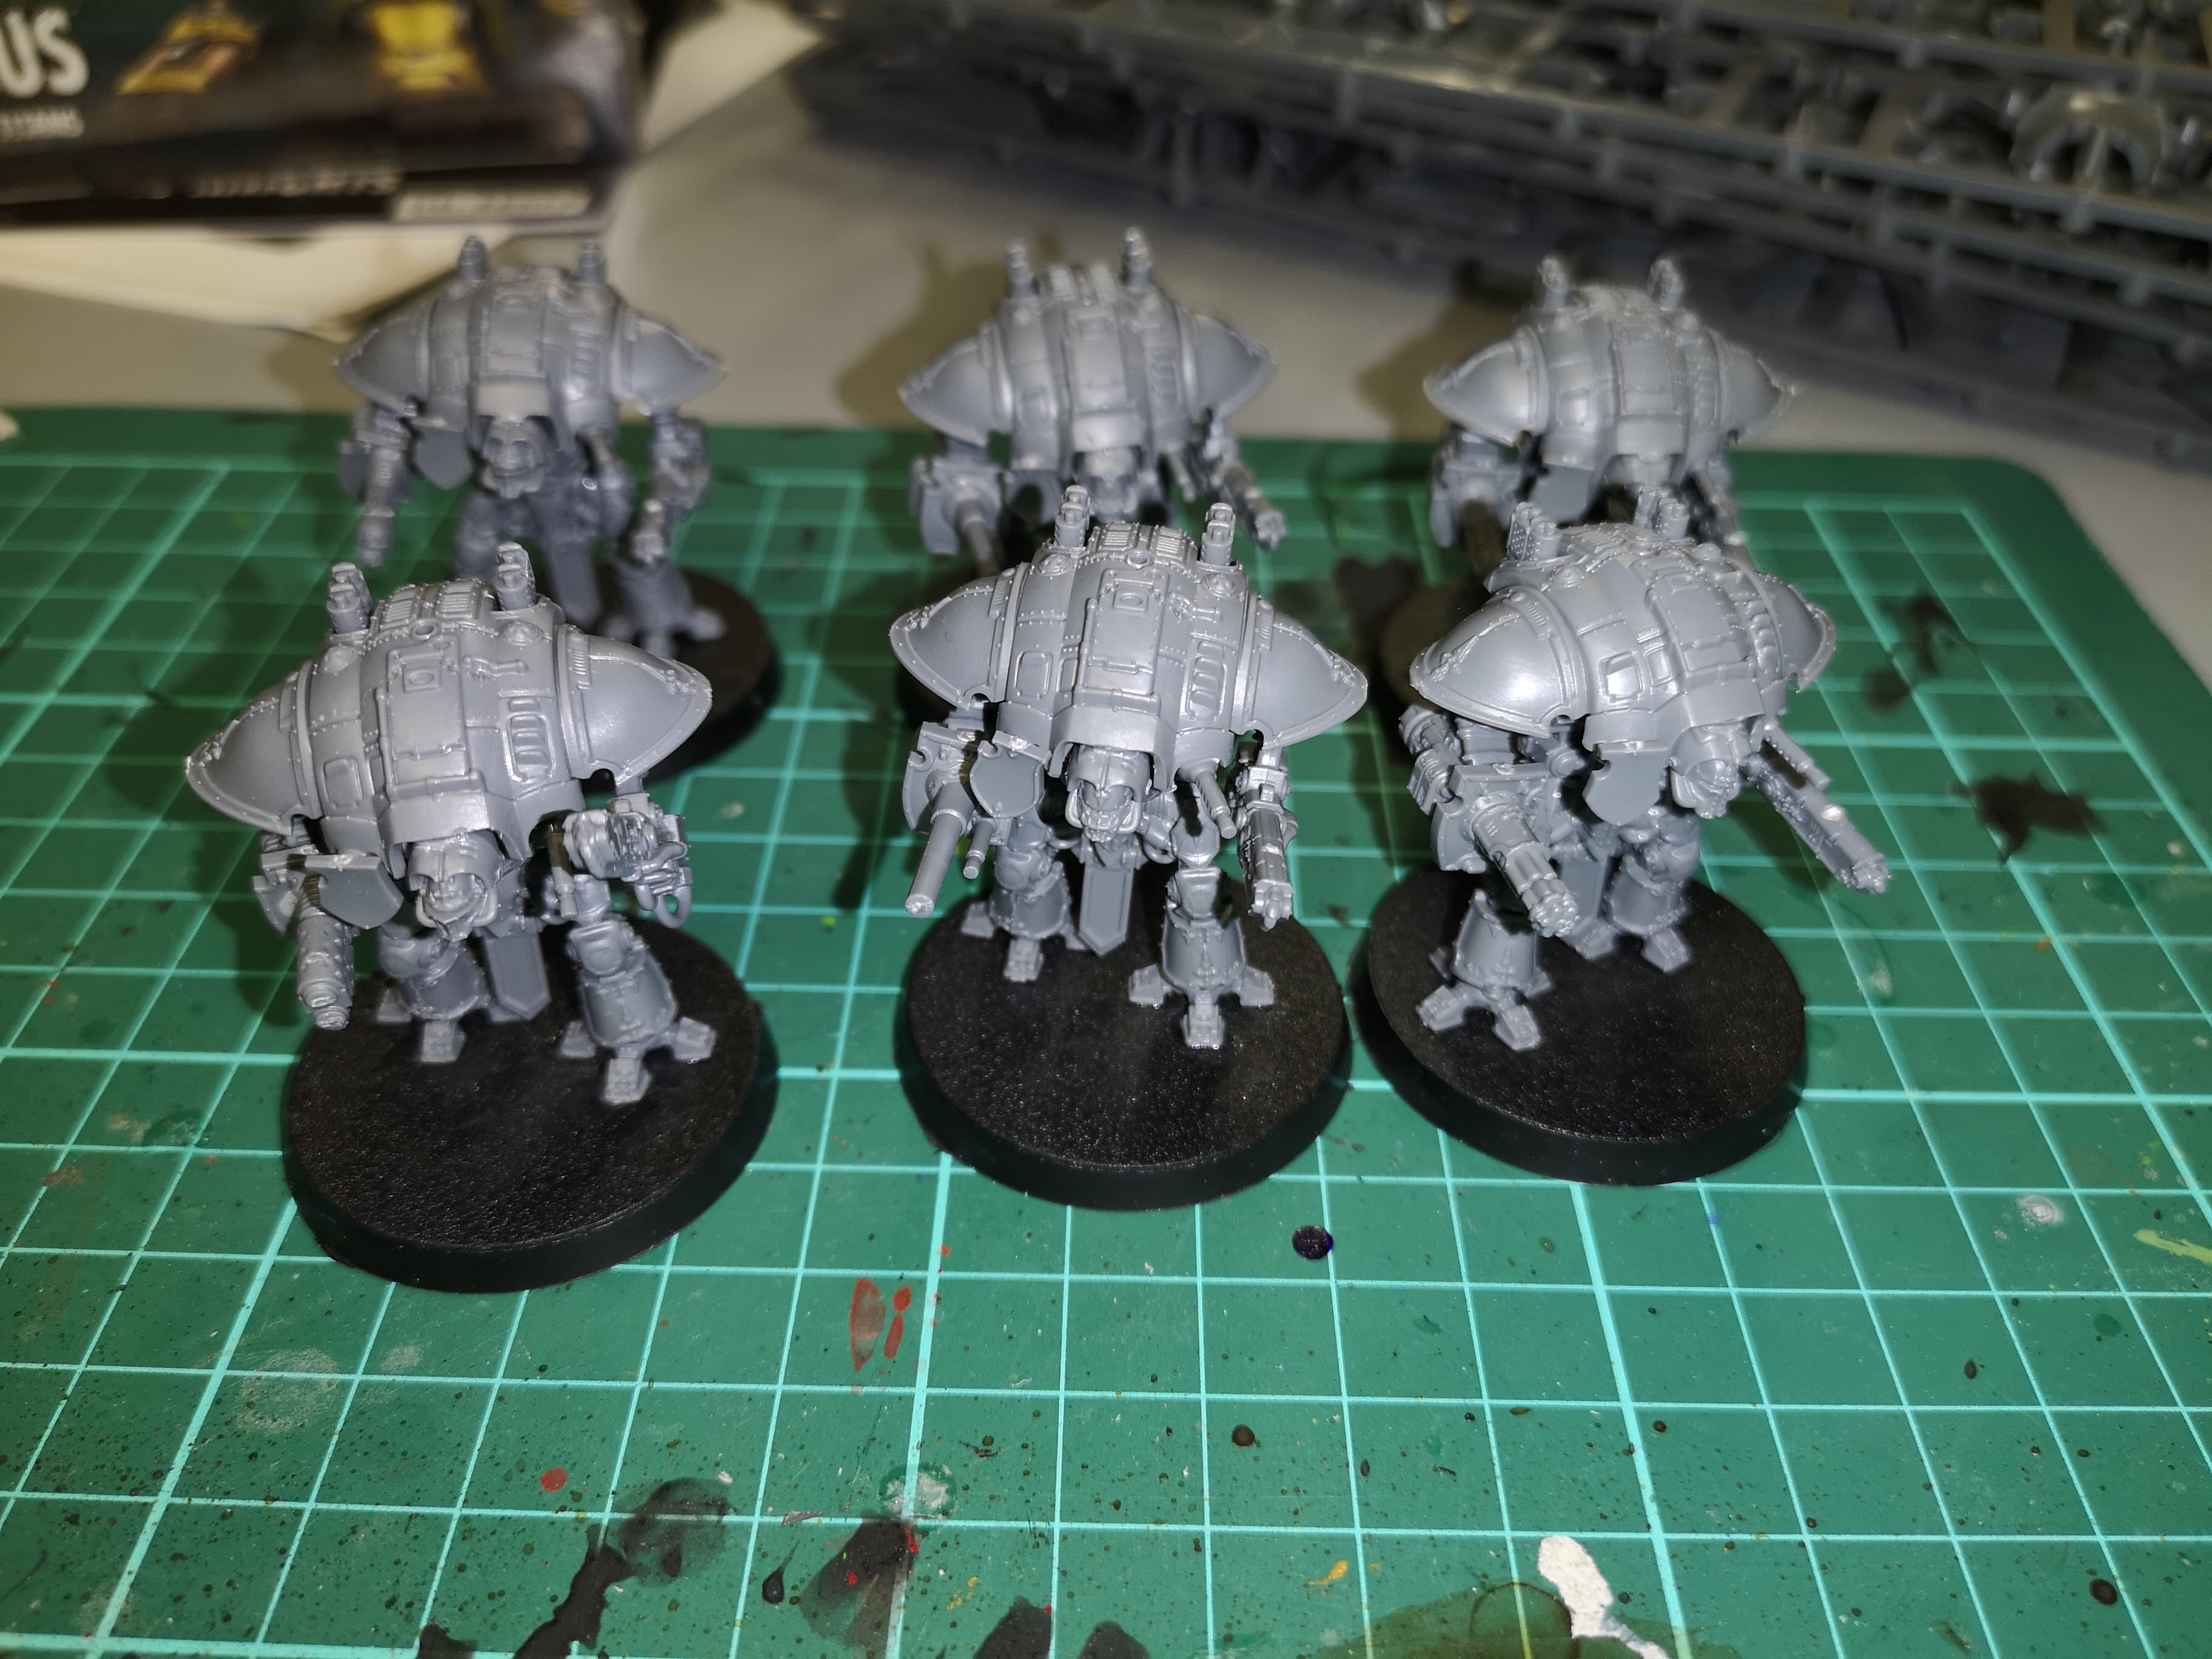
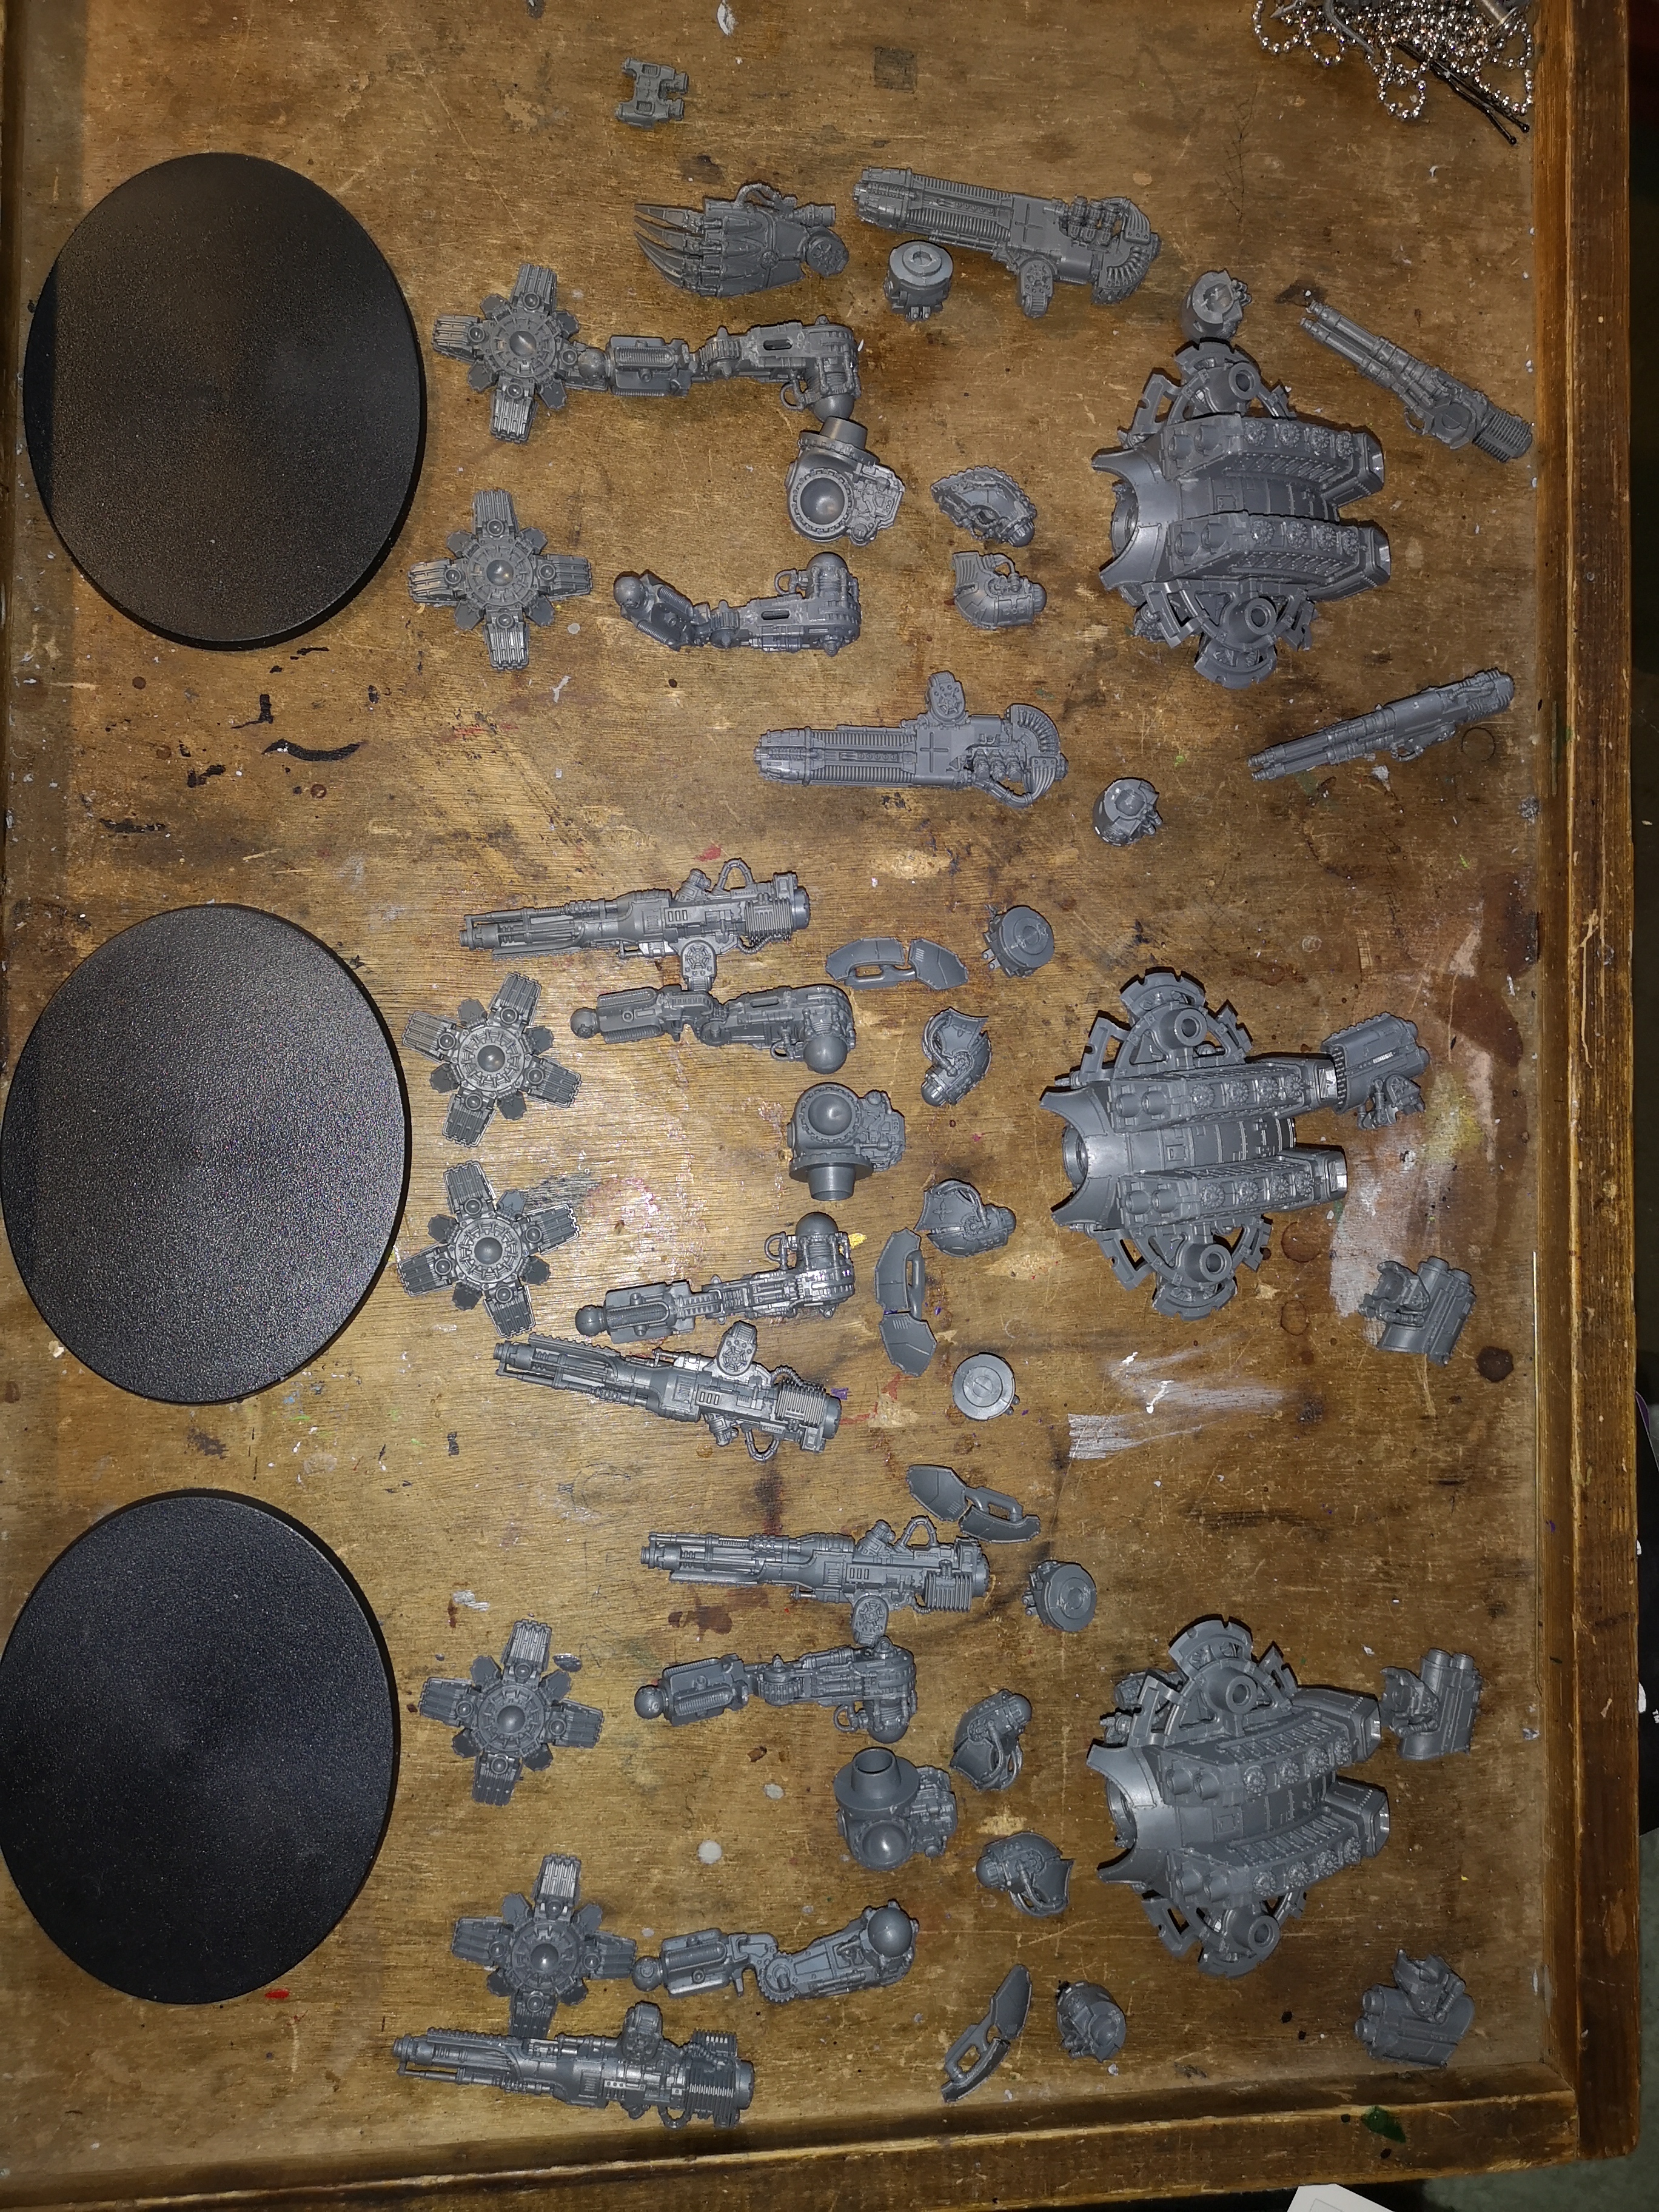
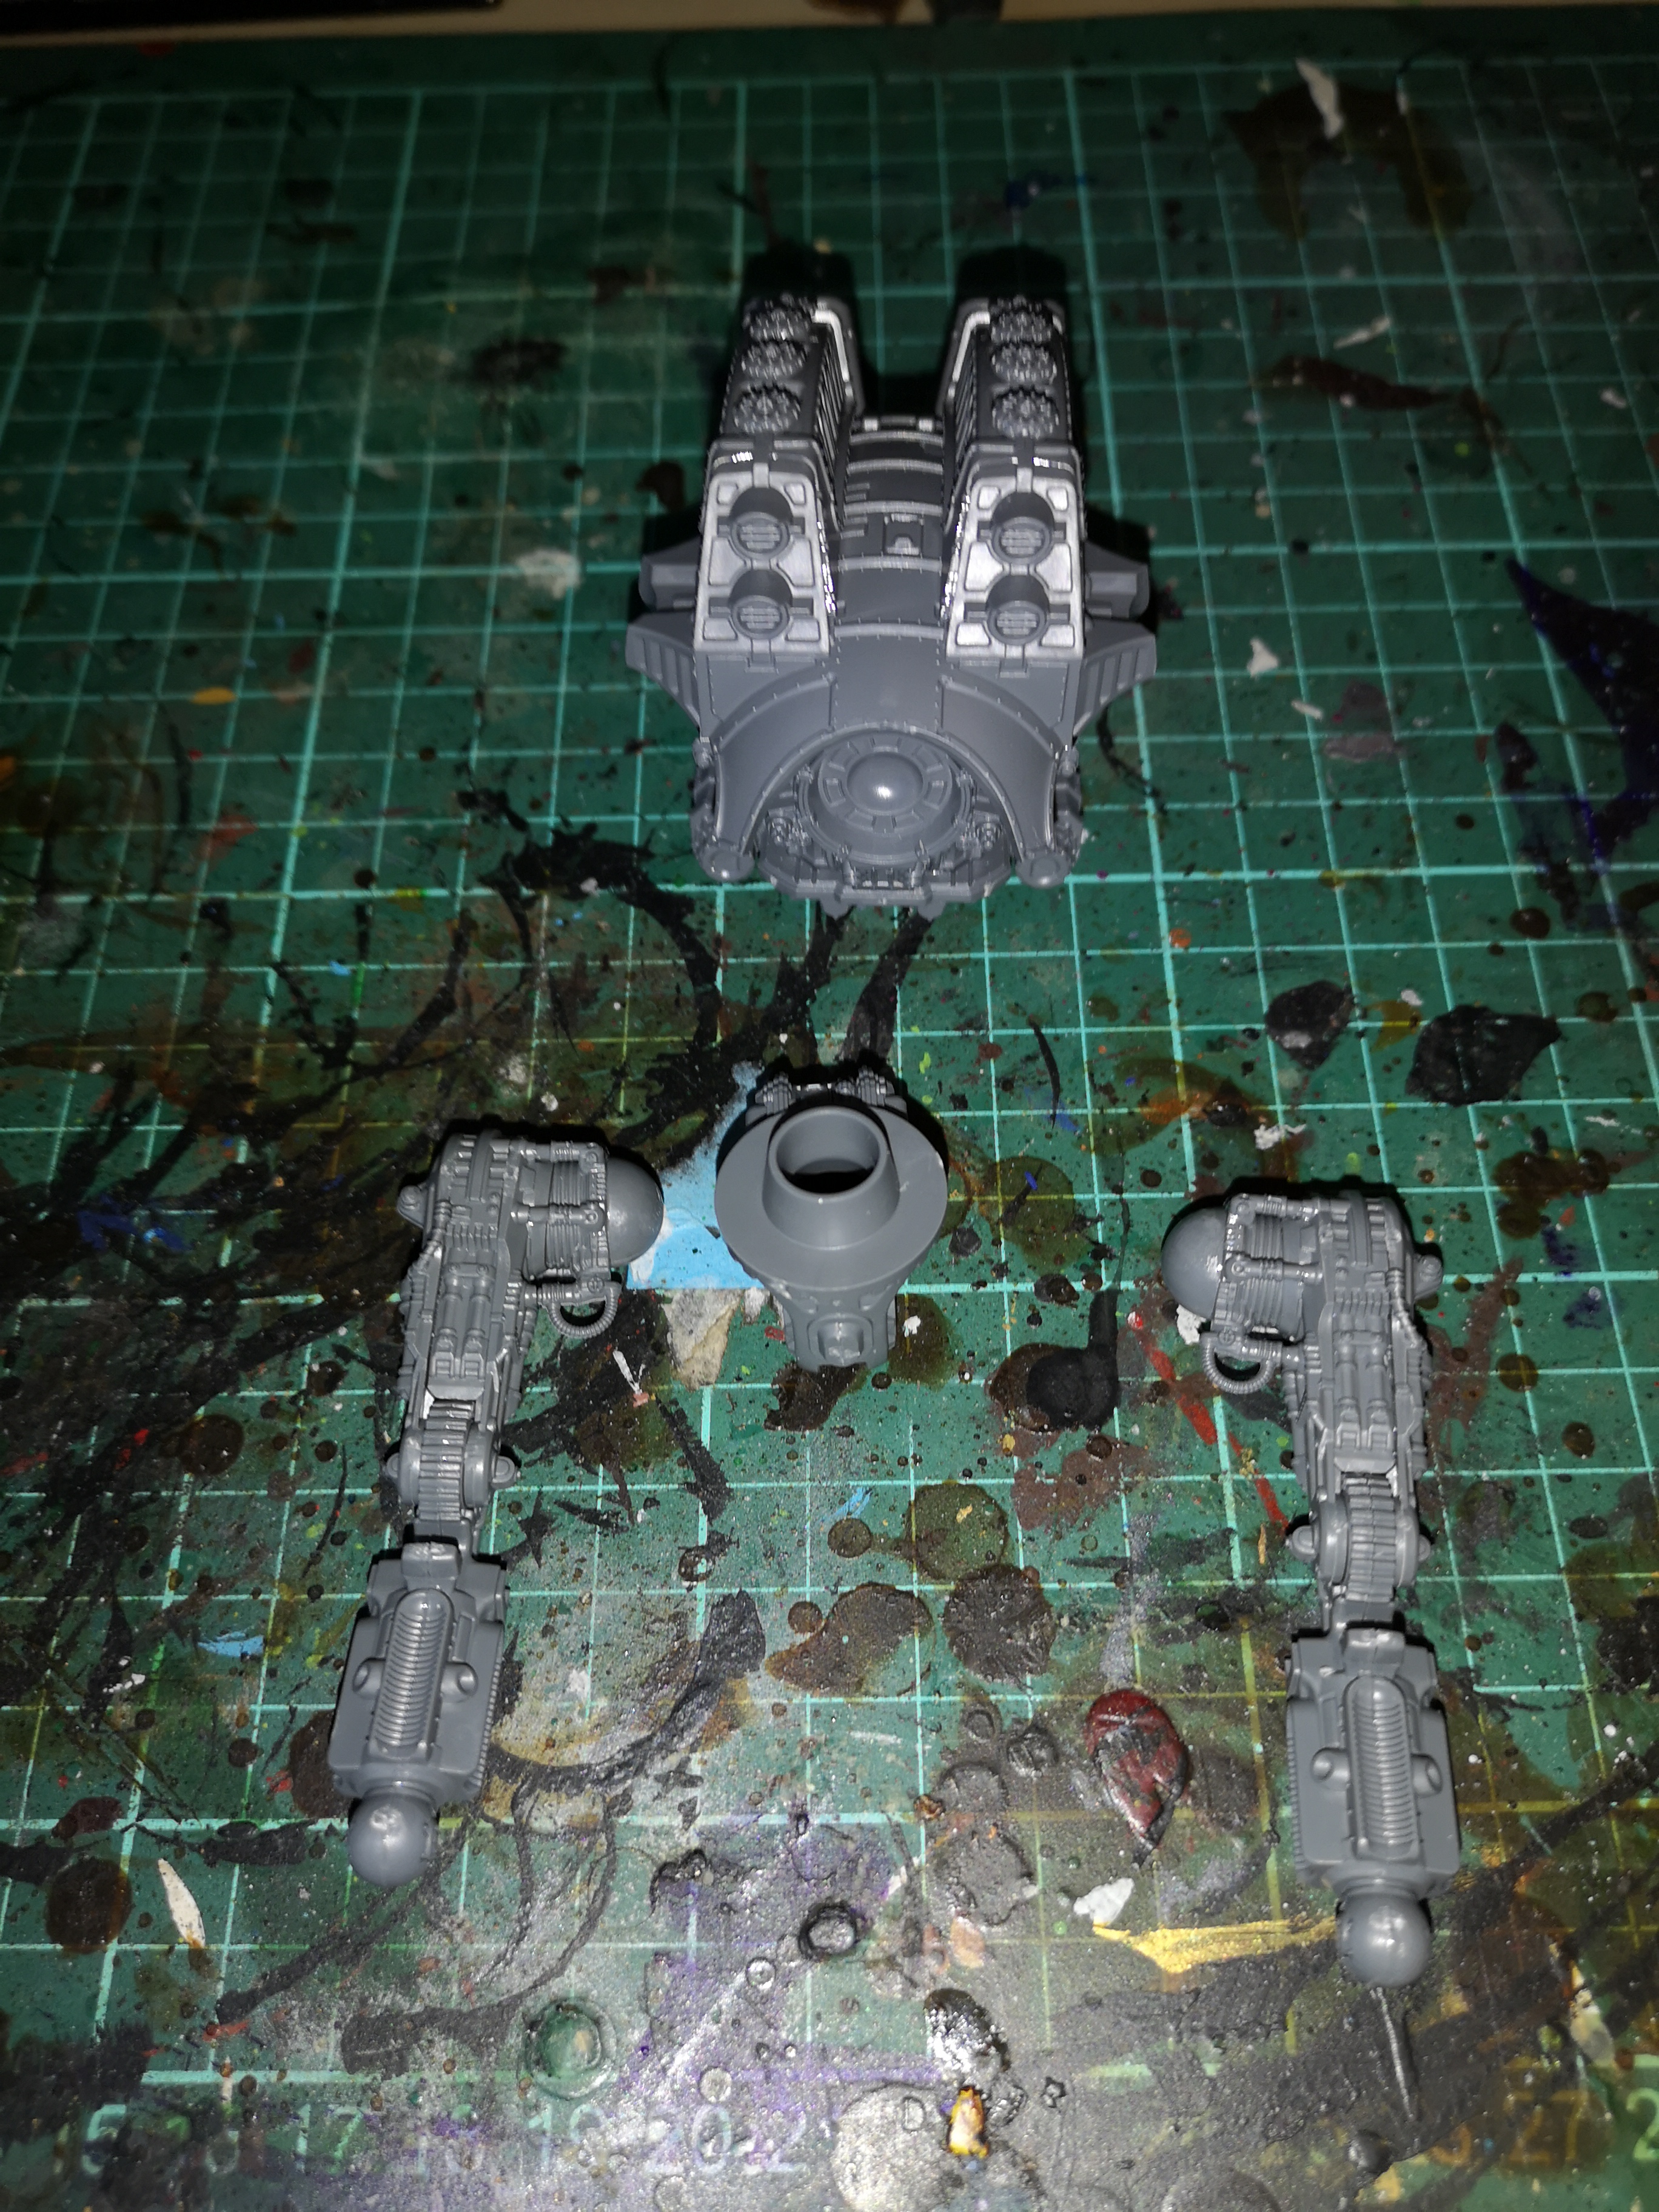
I got round to building the tiny knights a couple of Sundays ago.
The first 3 took me a couple of hours to assemble between customers but the final 3 took a lot less time.
Me being me and after some consultation with a couple of different groups I decided to magnetise the arms on the knights just in case they released more weapon options down the line…
Good decision as a couple of days later I saw some new knight sprues with different weapon options 🙂
These were done by just drilling some 2mm holes and using 2x1mm magnets and hold pretty well
Howie Did It...
A few people have asked me to show how I would magnetise the weapons so here goes at my first tutorial…
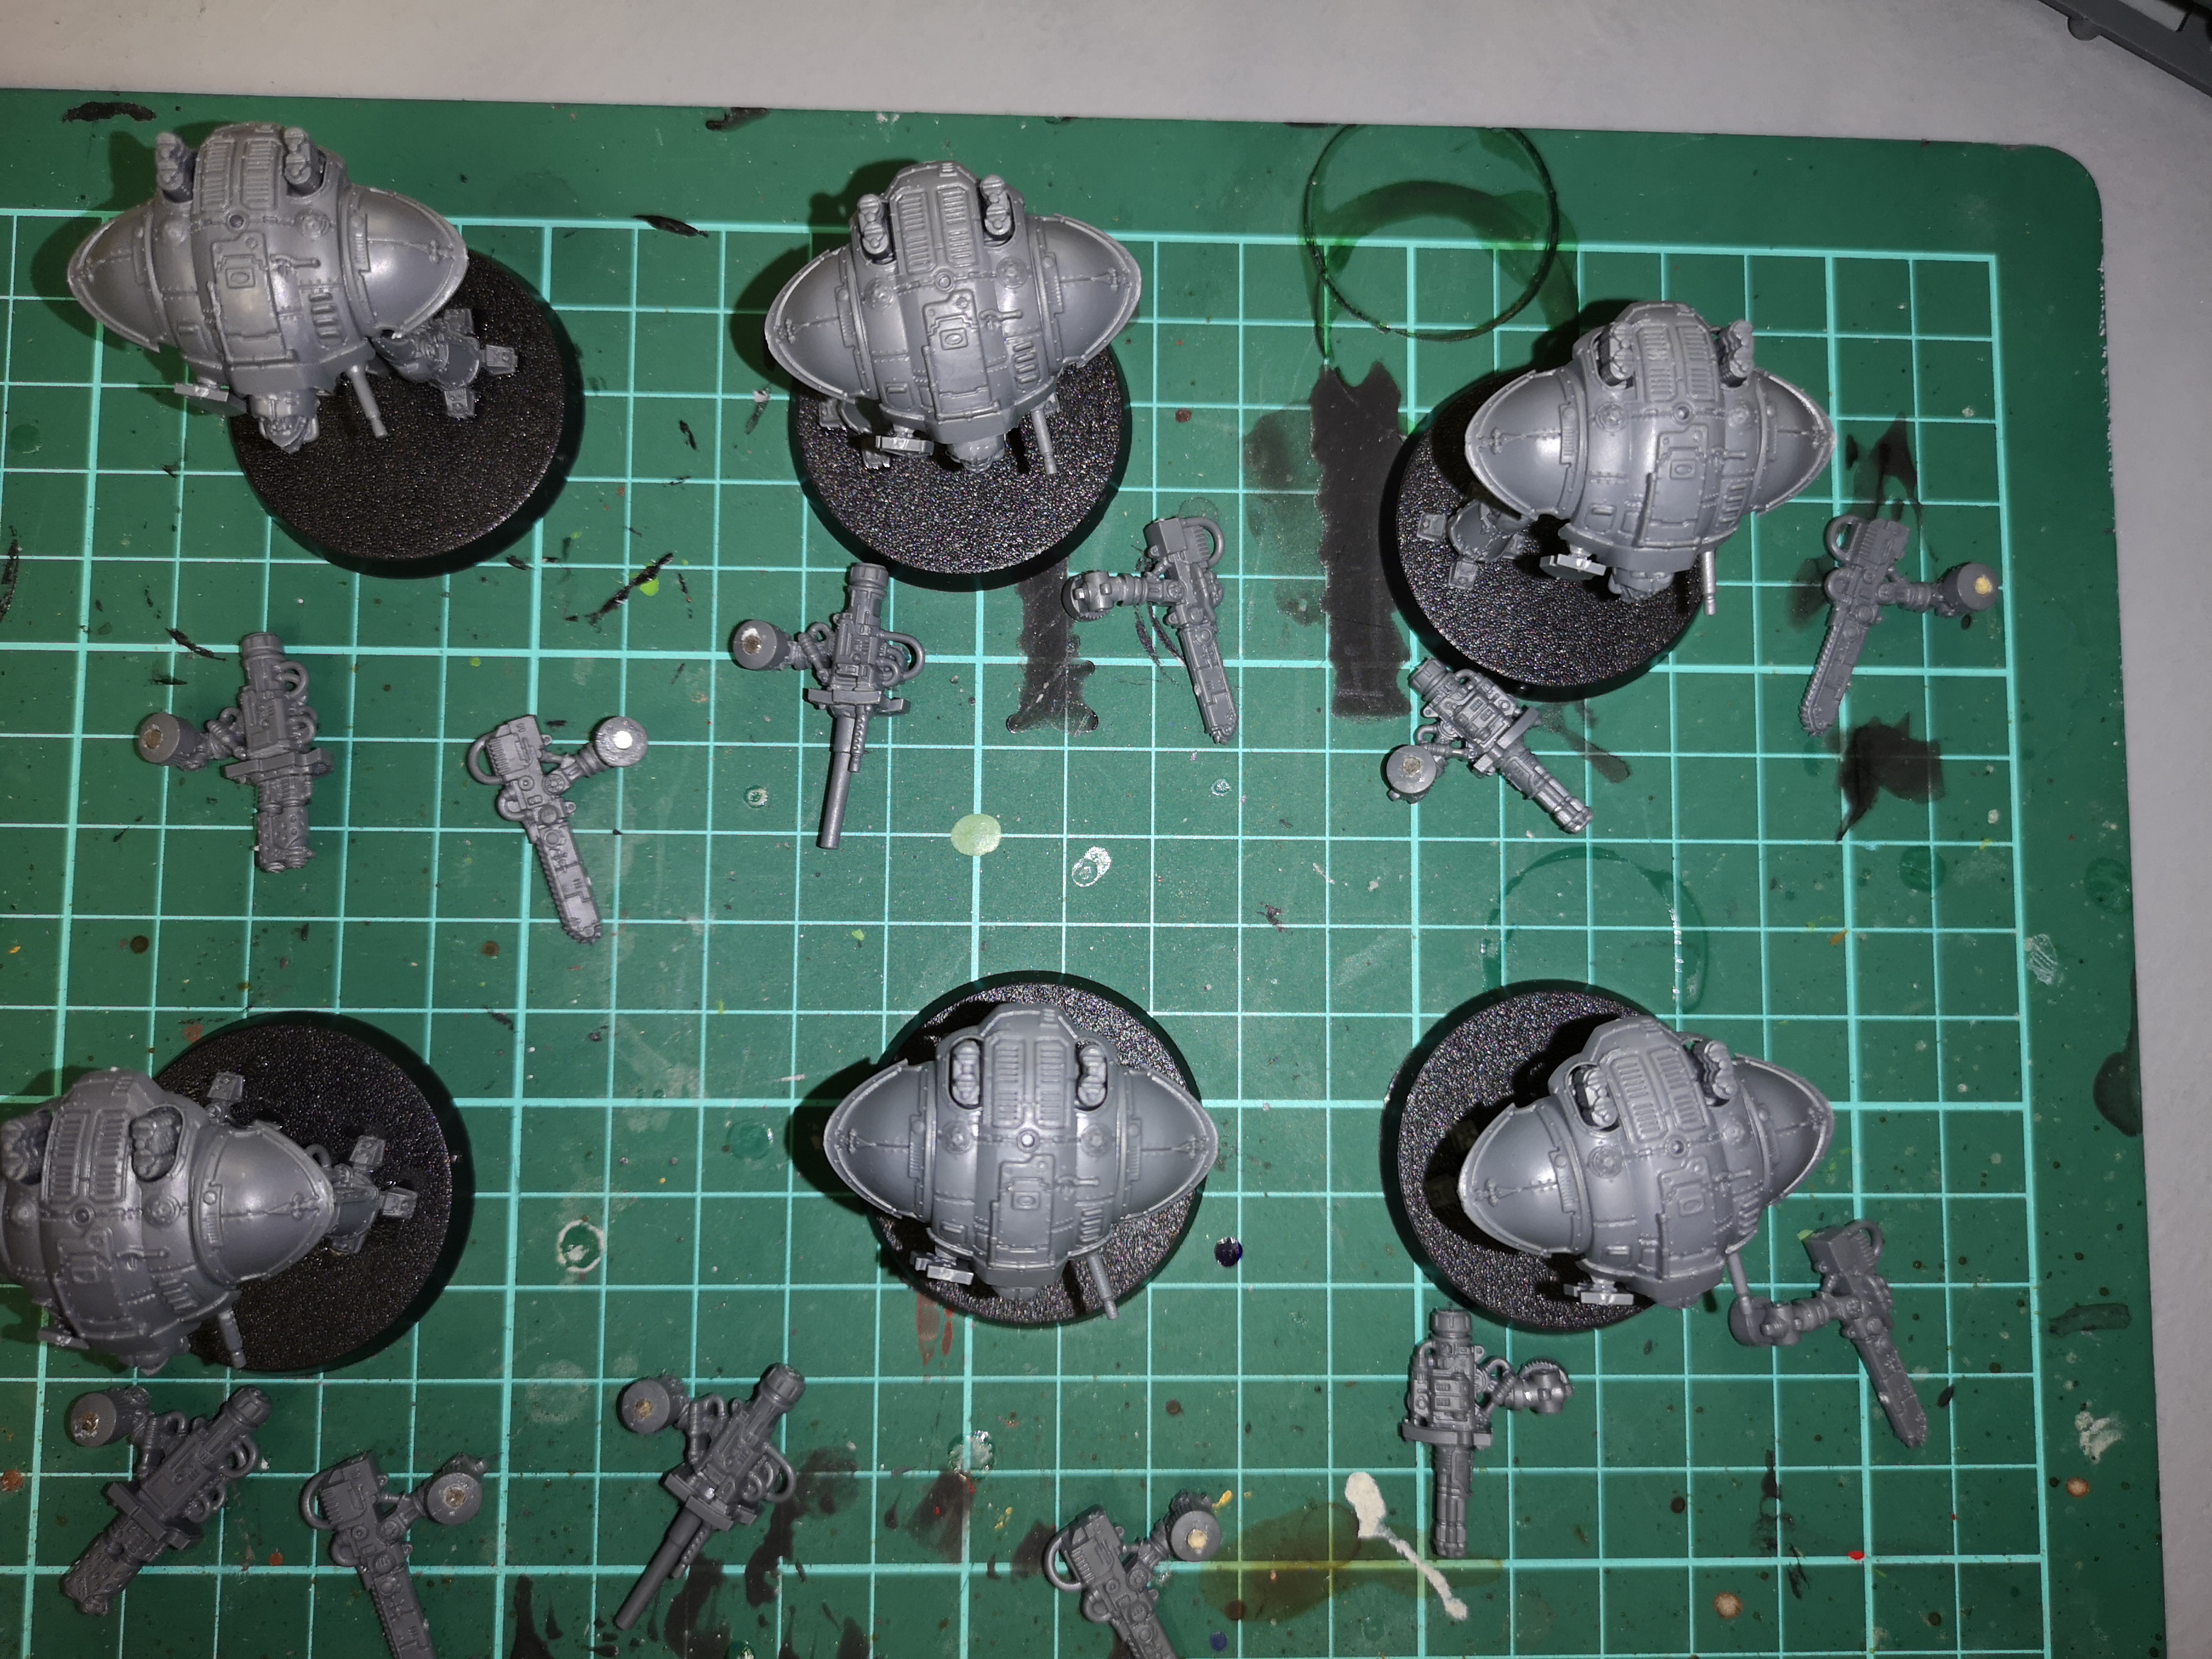
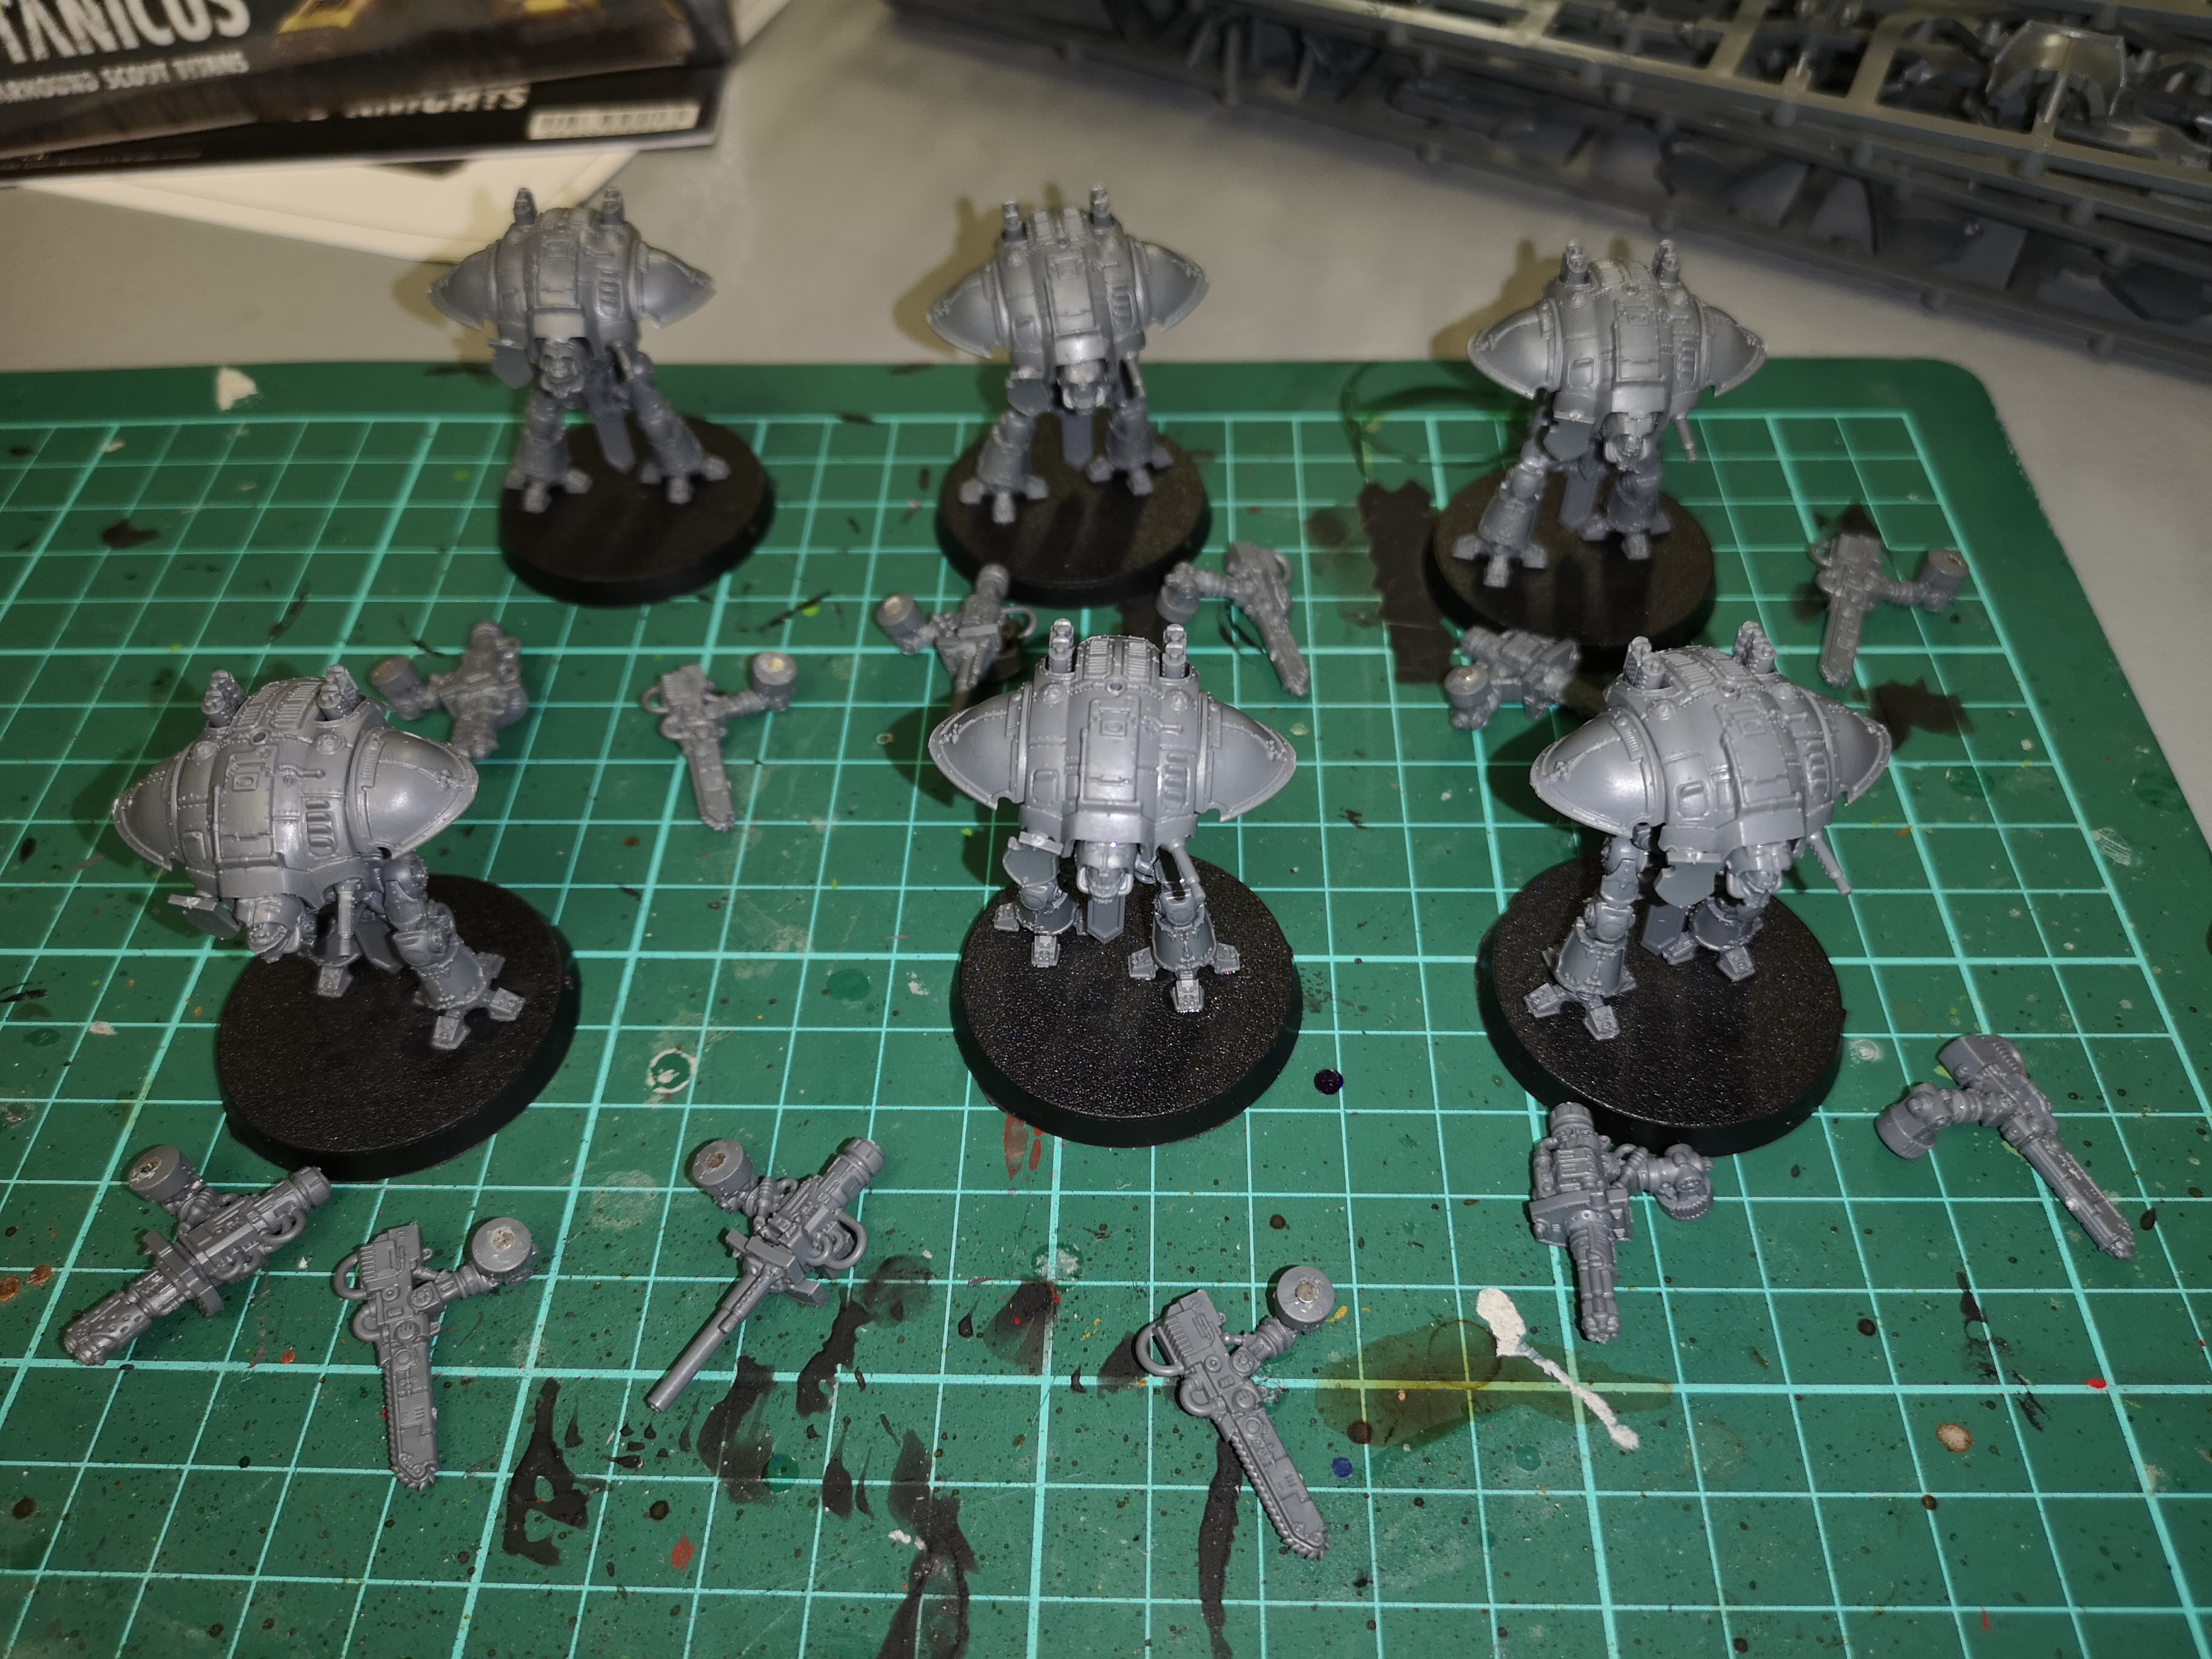
 First magnet in...
First off, these are fairly easy kits to magnetise, a few people in various groups have suggested that they were deliberately designed this way.
The holes are pre made at 5×1 mm so it was easy to source the right size magnets and when flush they fit nicely.
I normally try to do a dry test fit with a magnet to see if any glue is needed and adapt from there.
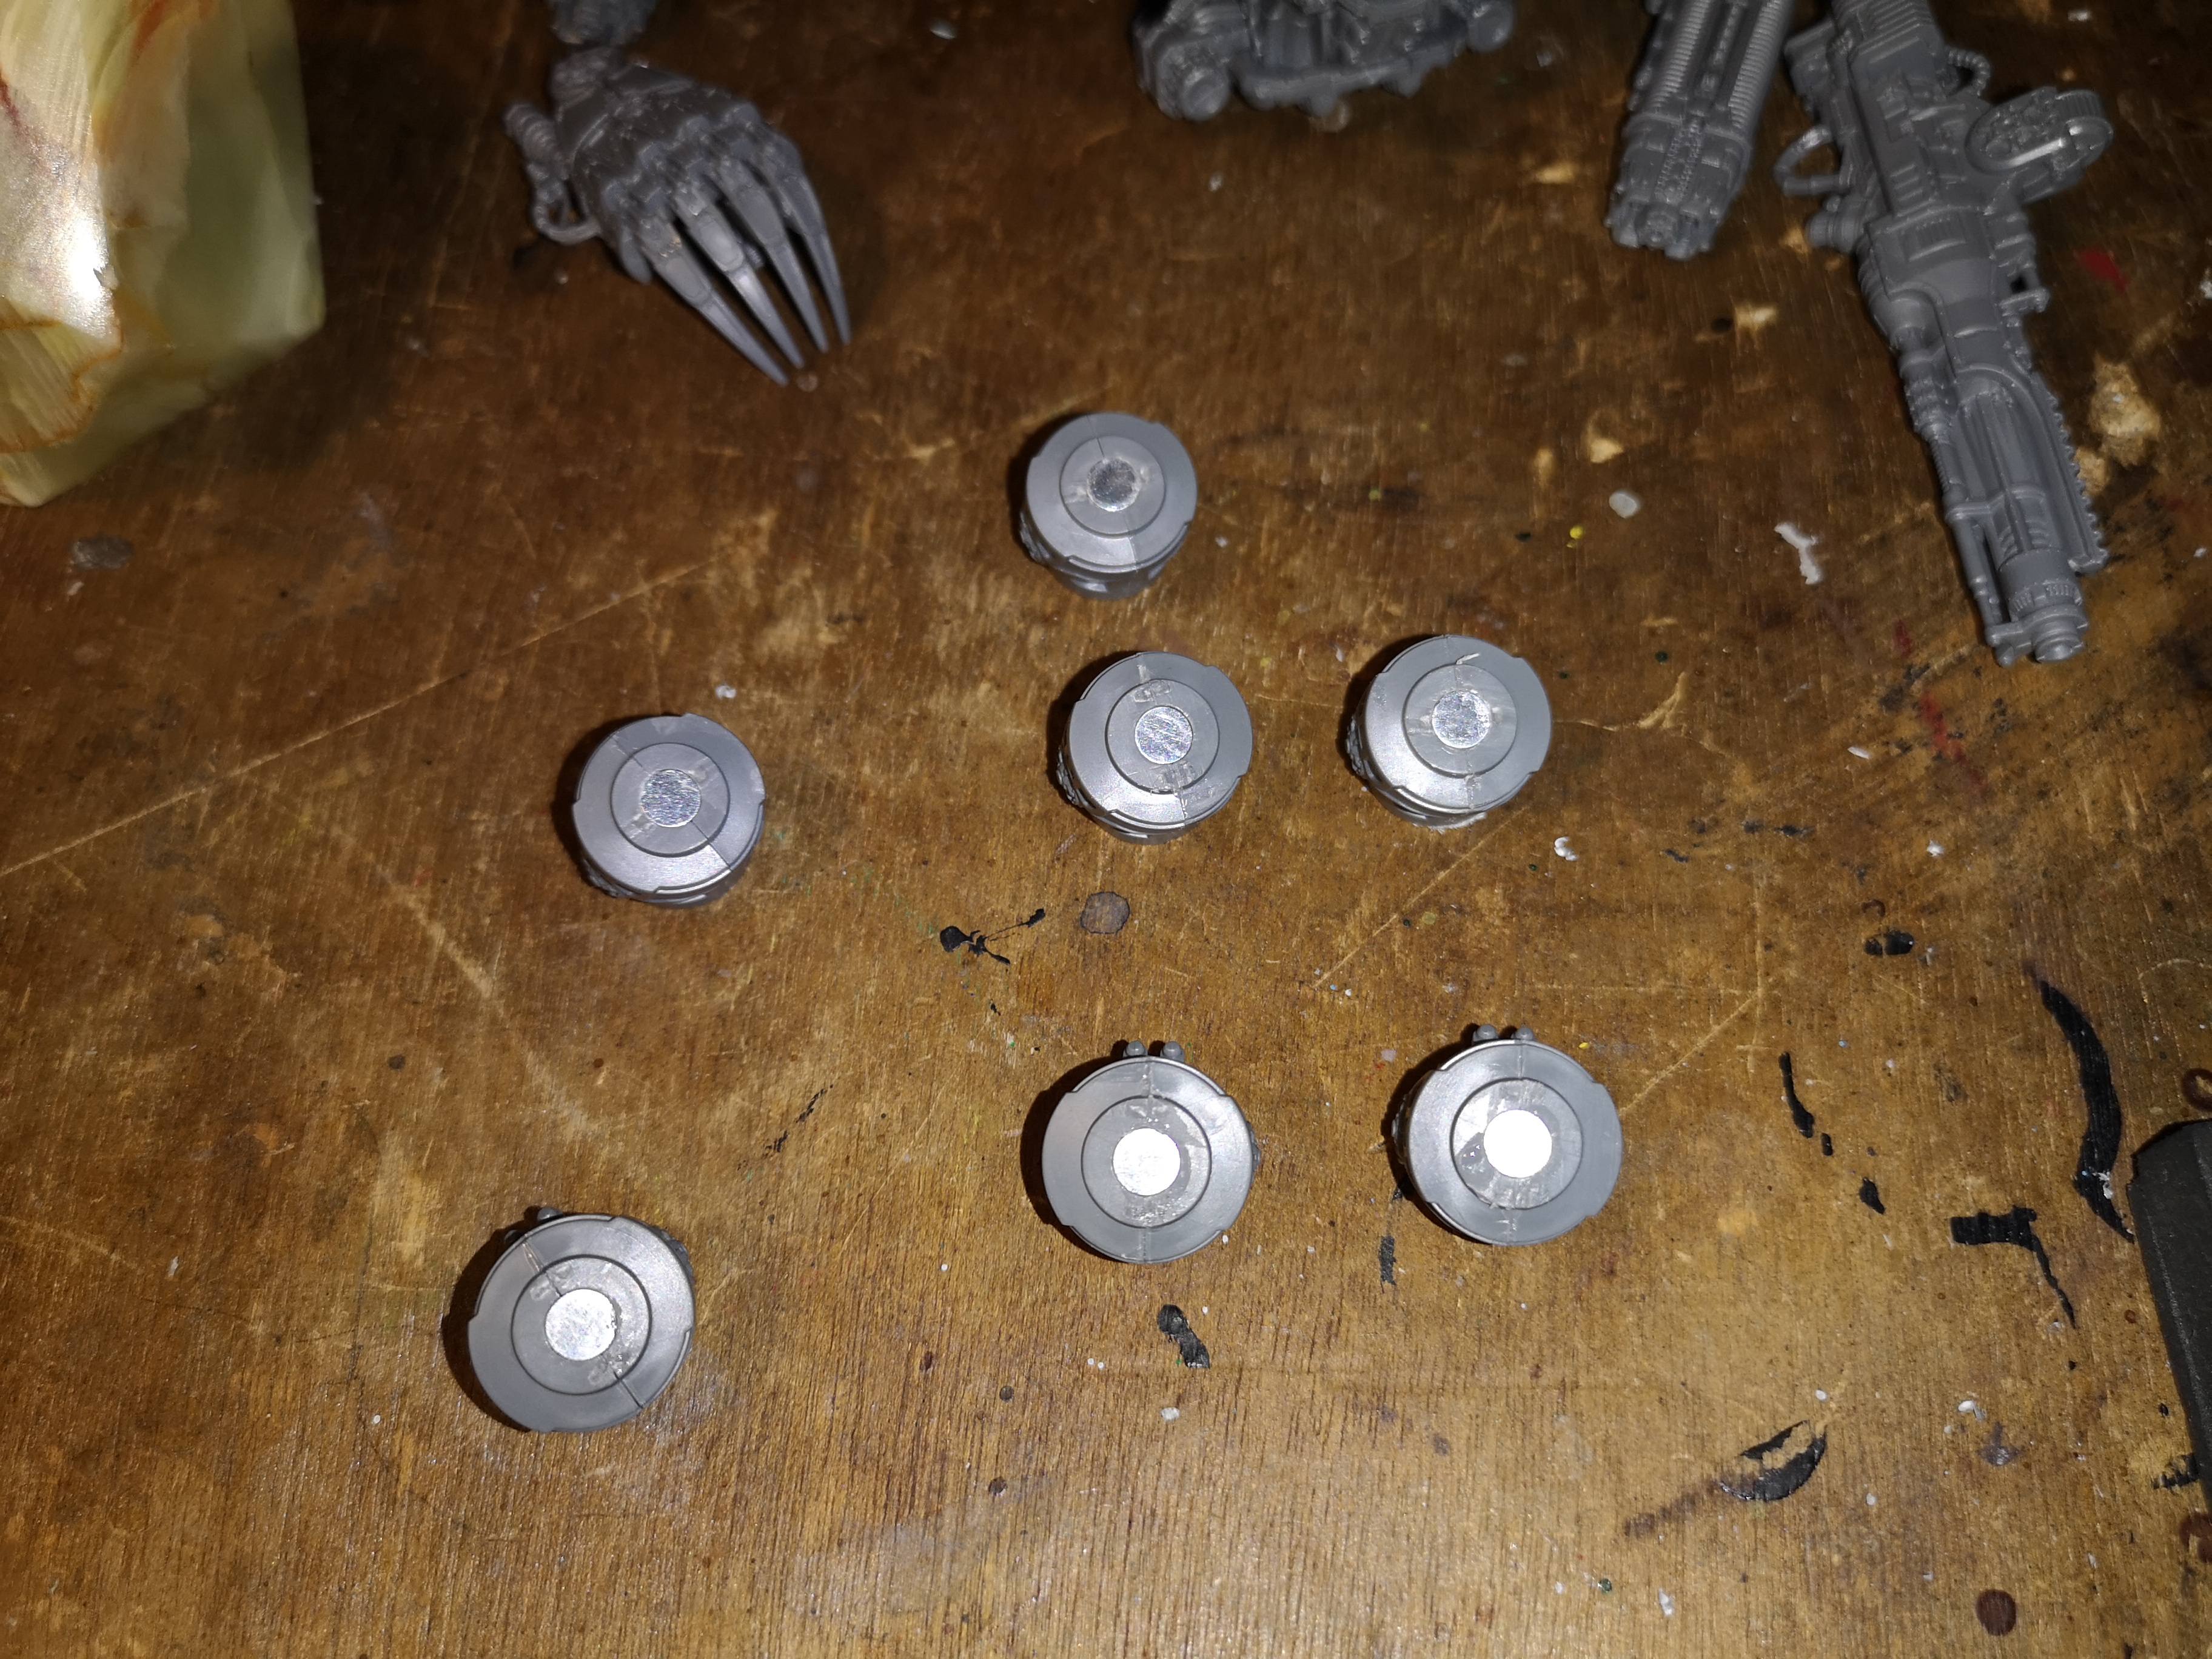
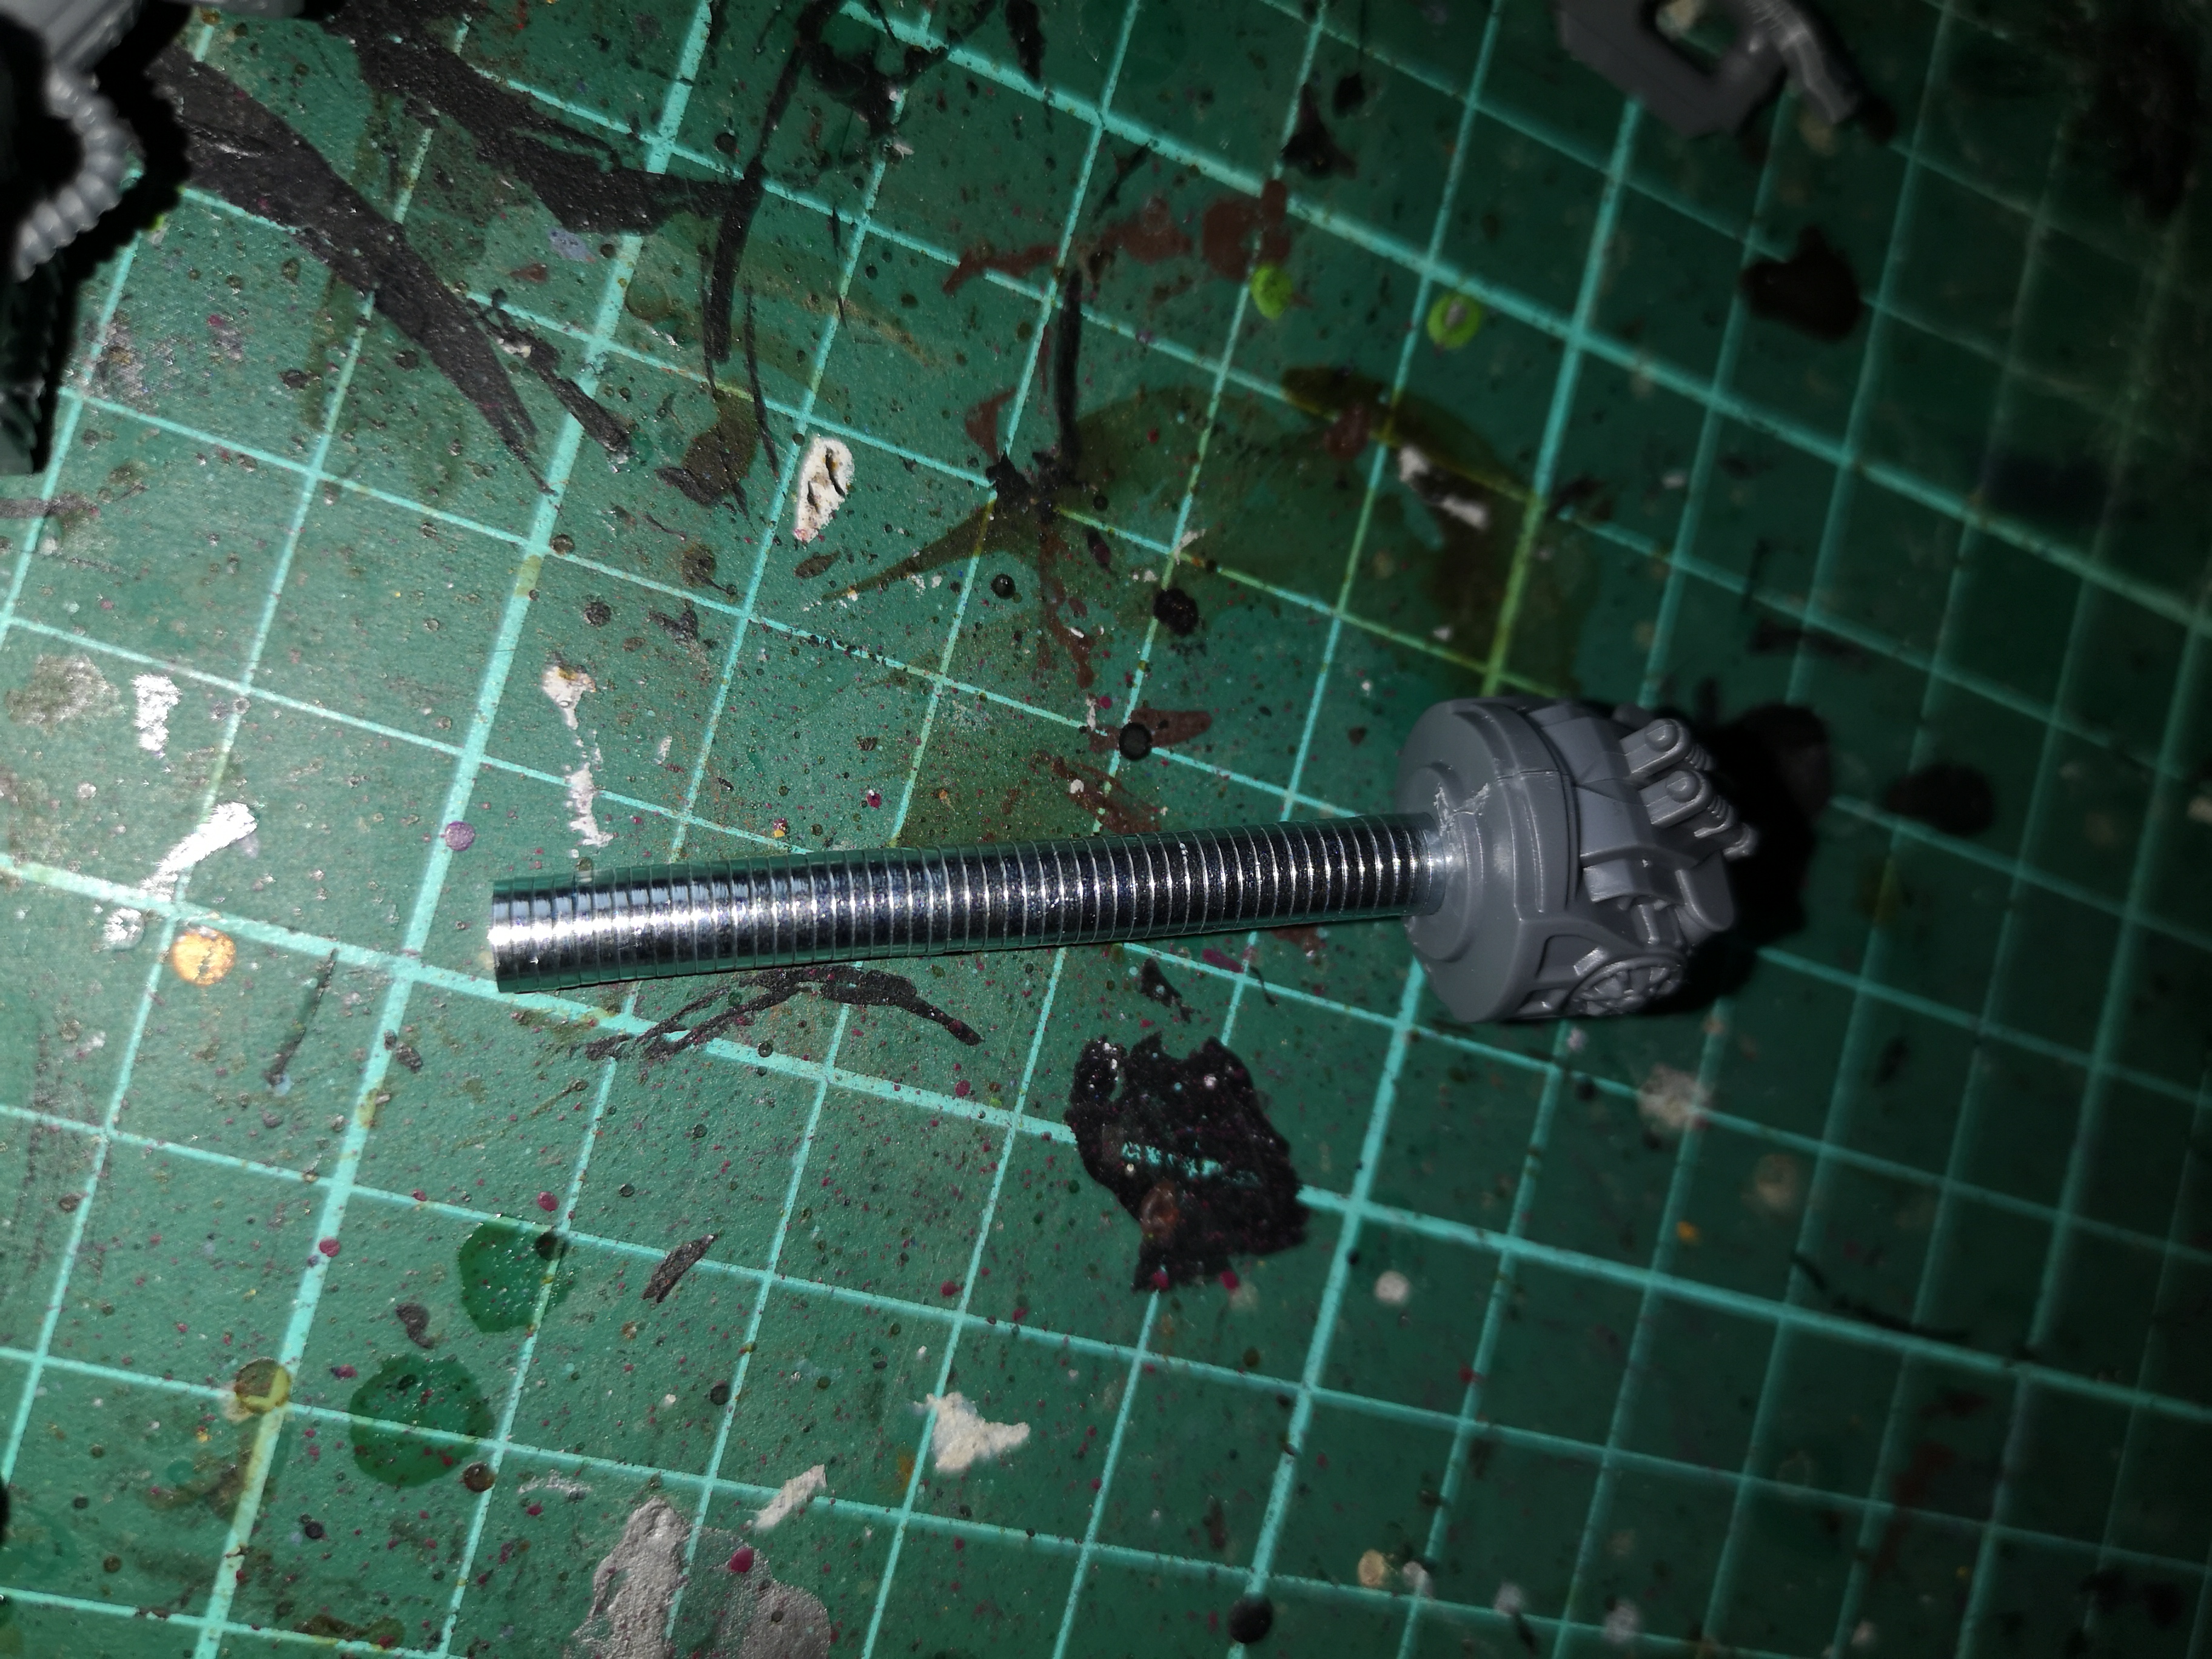
Firstly I isolate one magnet of the correct size on the end of a stack of much smaller magnets and check the fit against the hole.
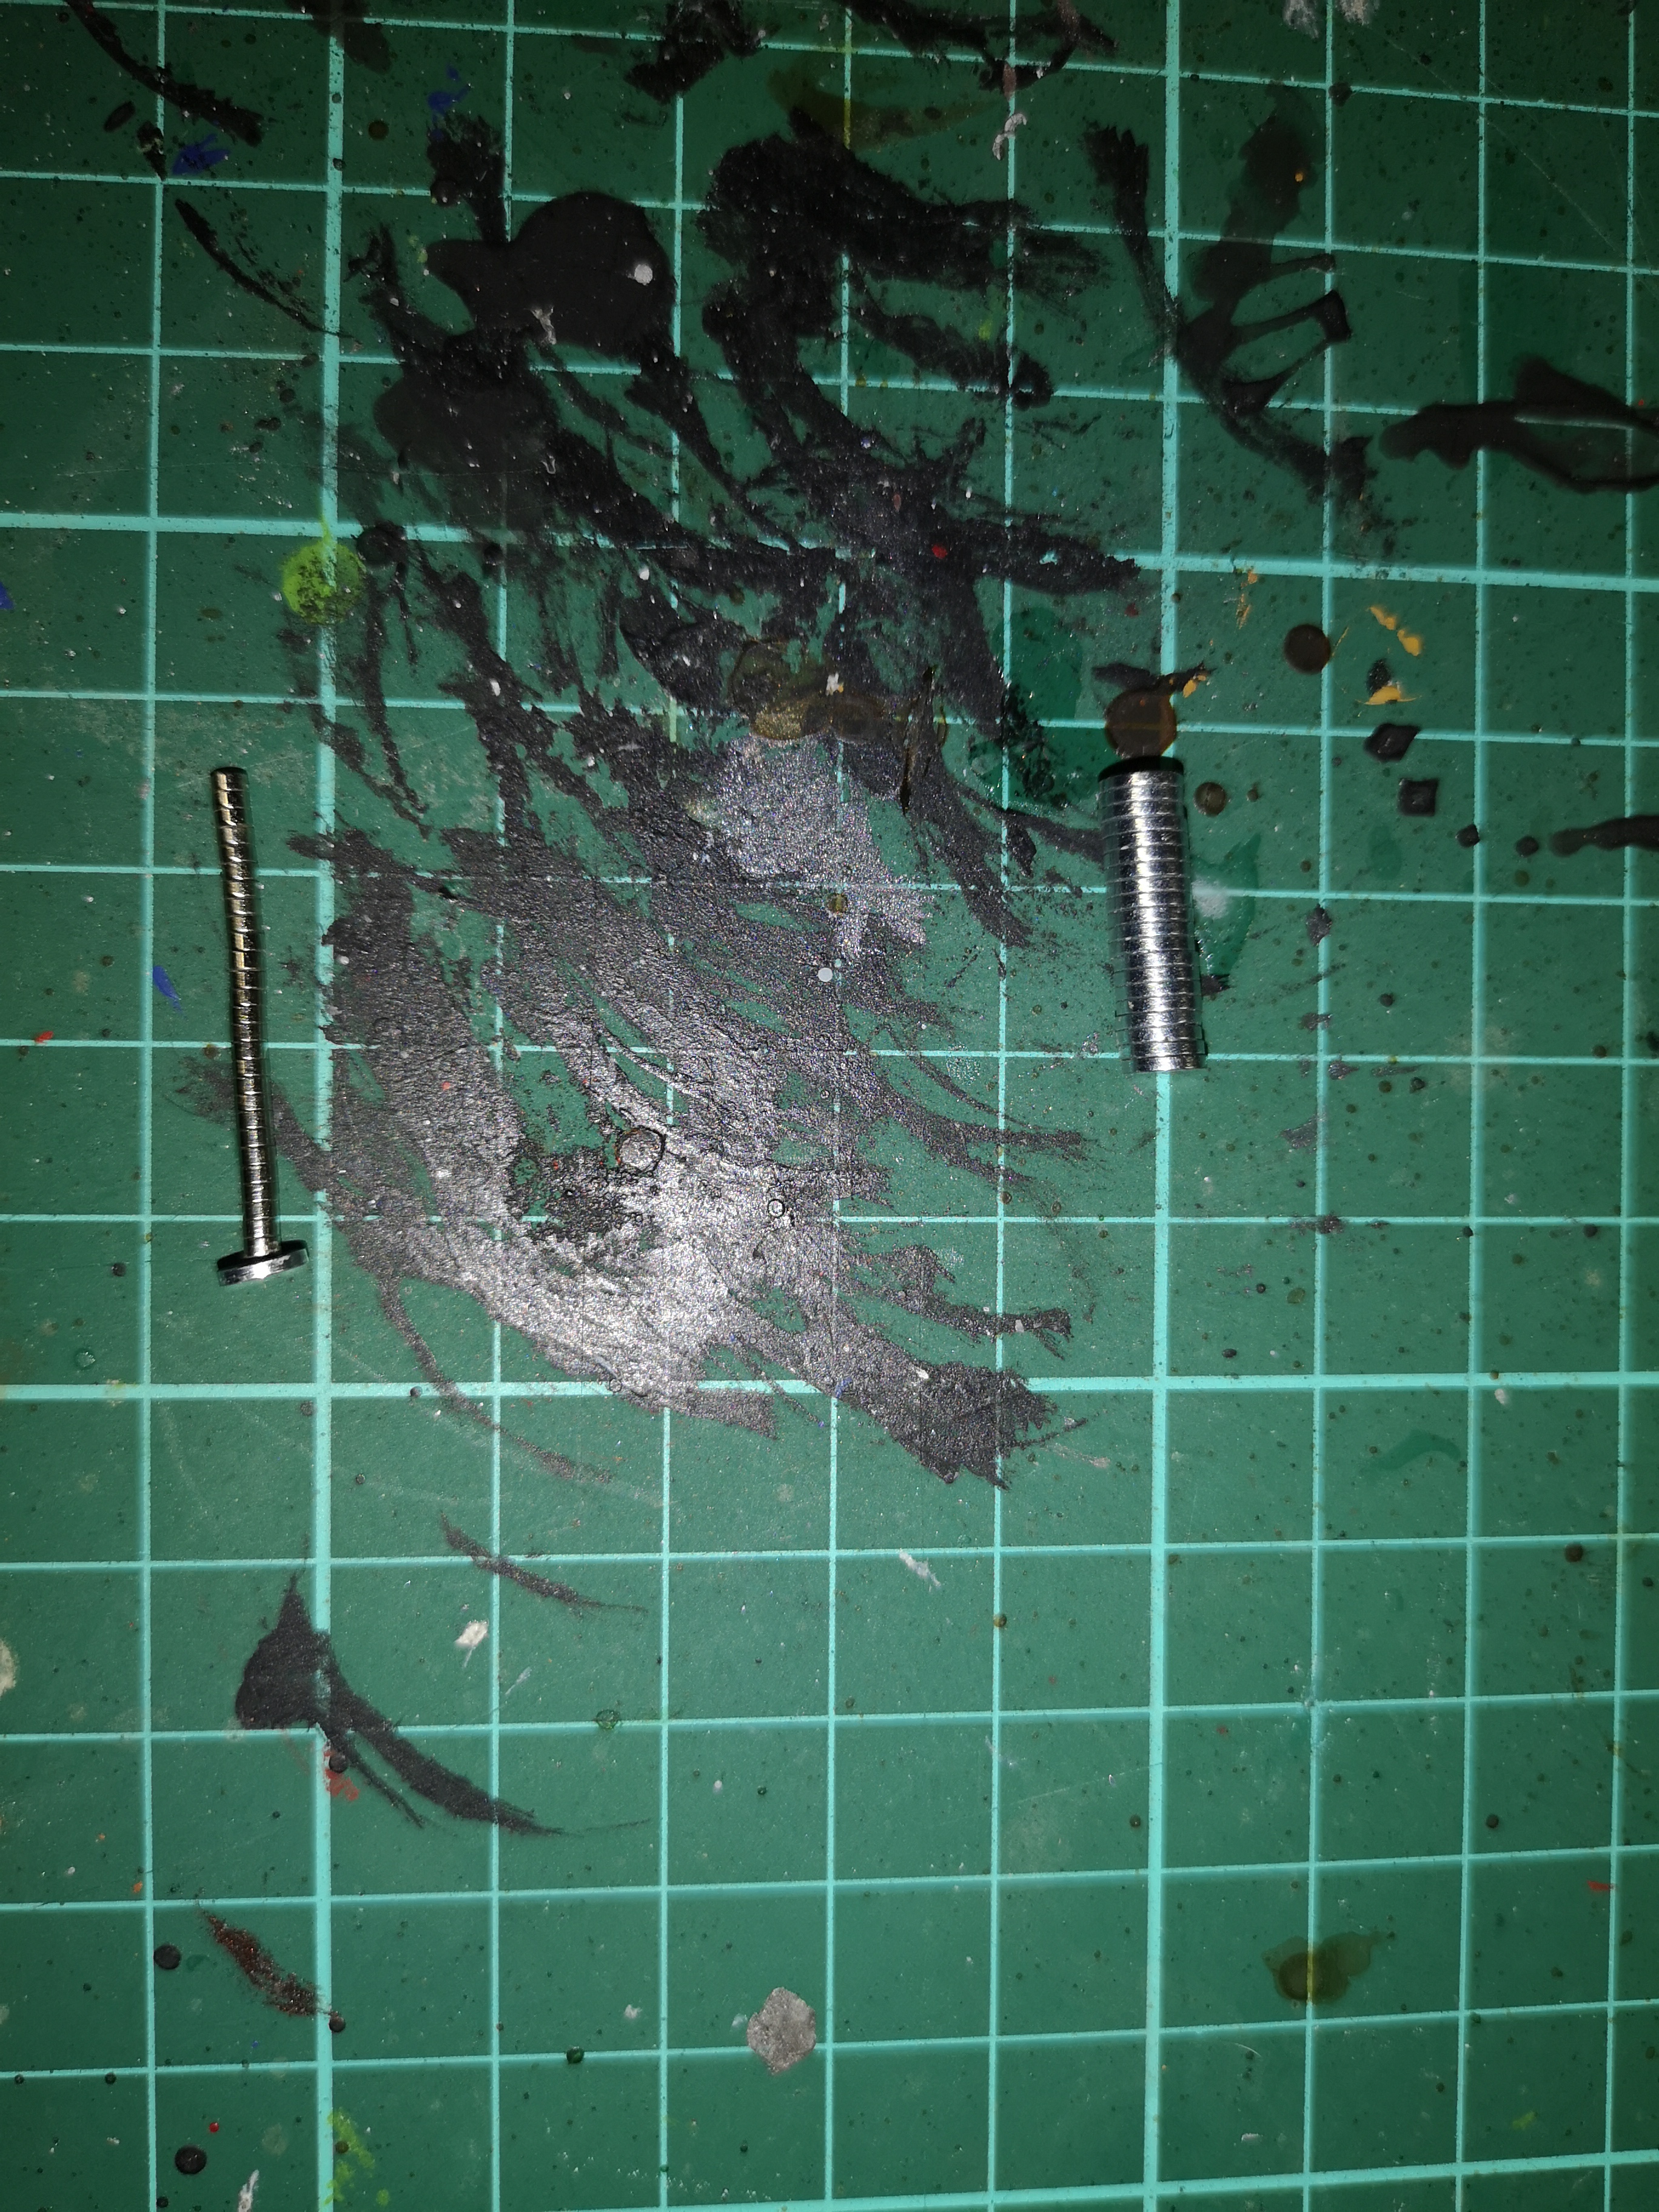 5mm on a stack of 2mm
Once I check the fit (basically fit it flush in the hole) I check how secure it is my trying to pull it back out again with some stronger 10mm magnets. If it comes out then I need to add some super glue around the back to help hold the original magnet in place
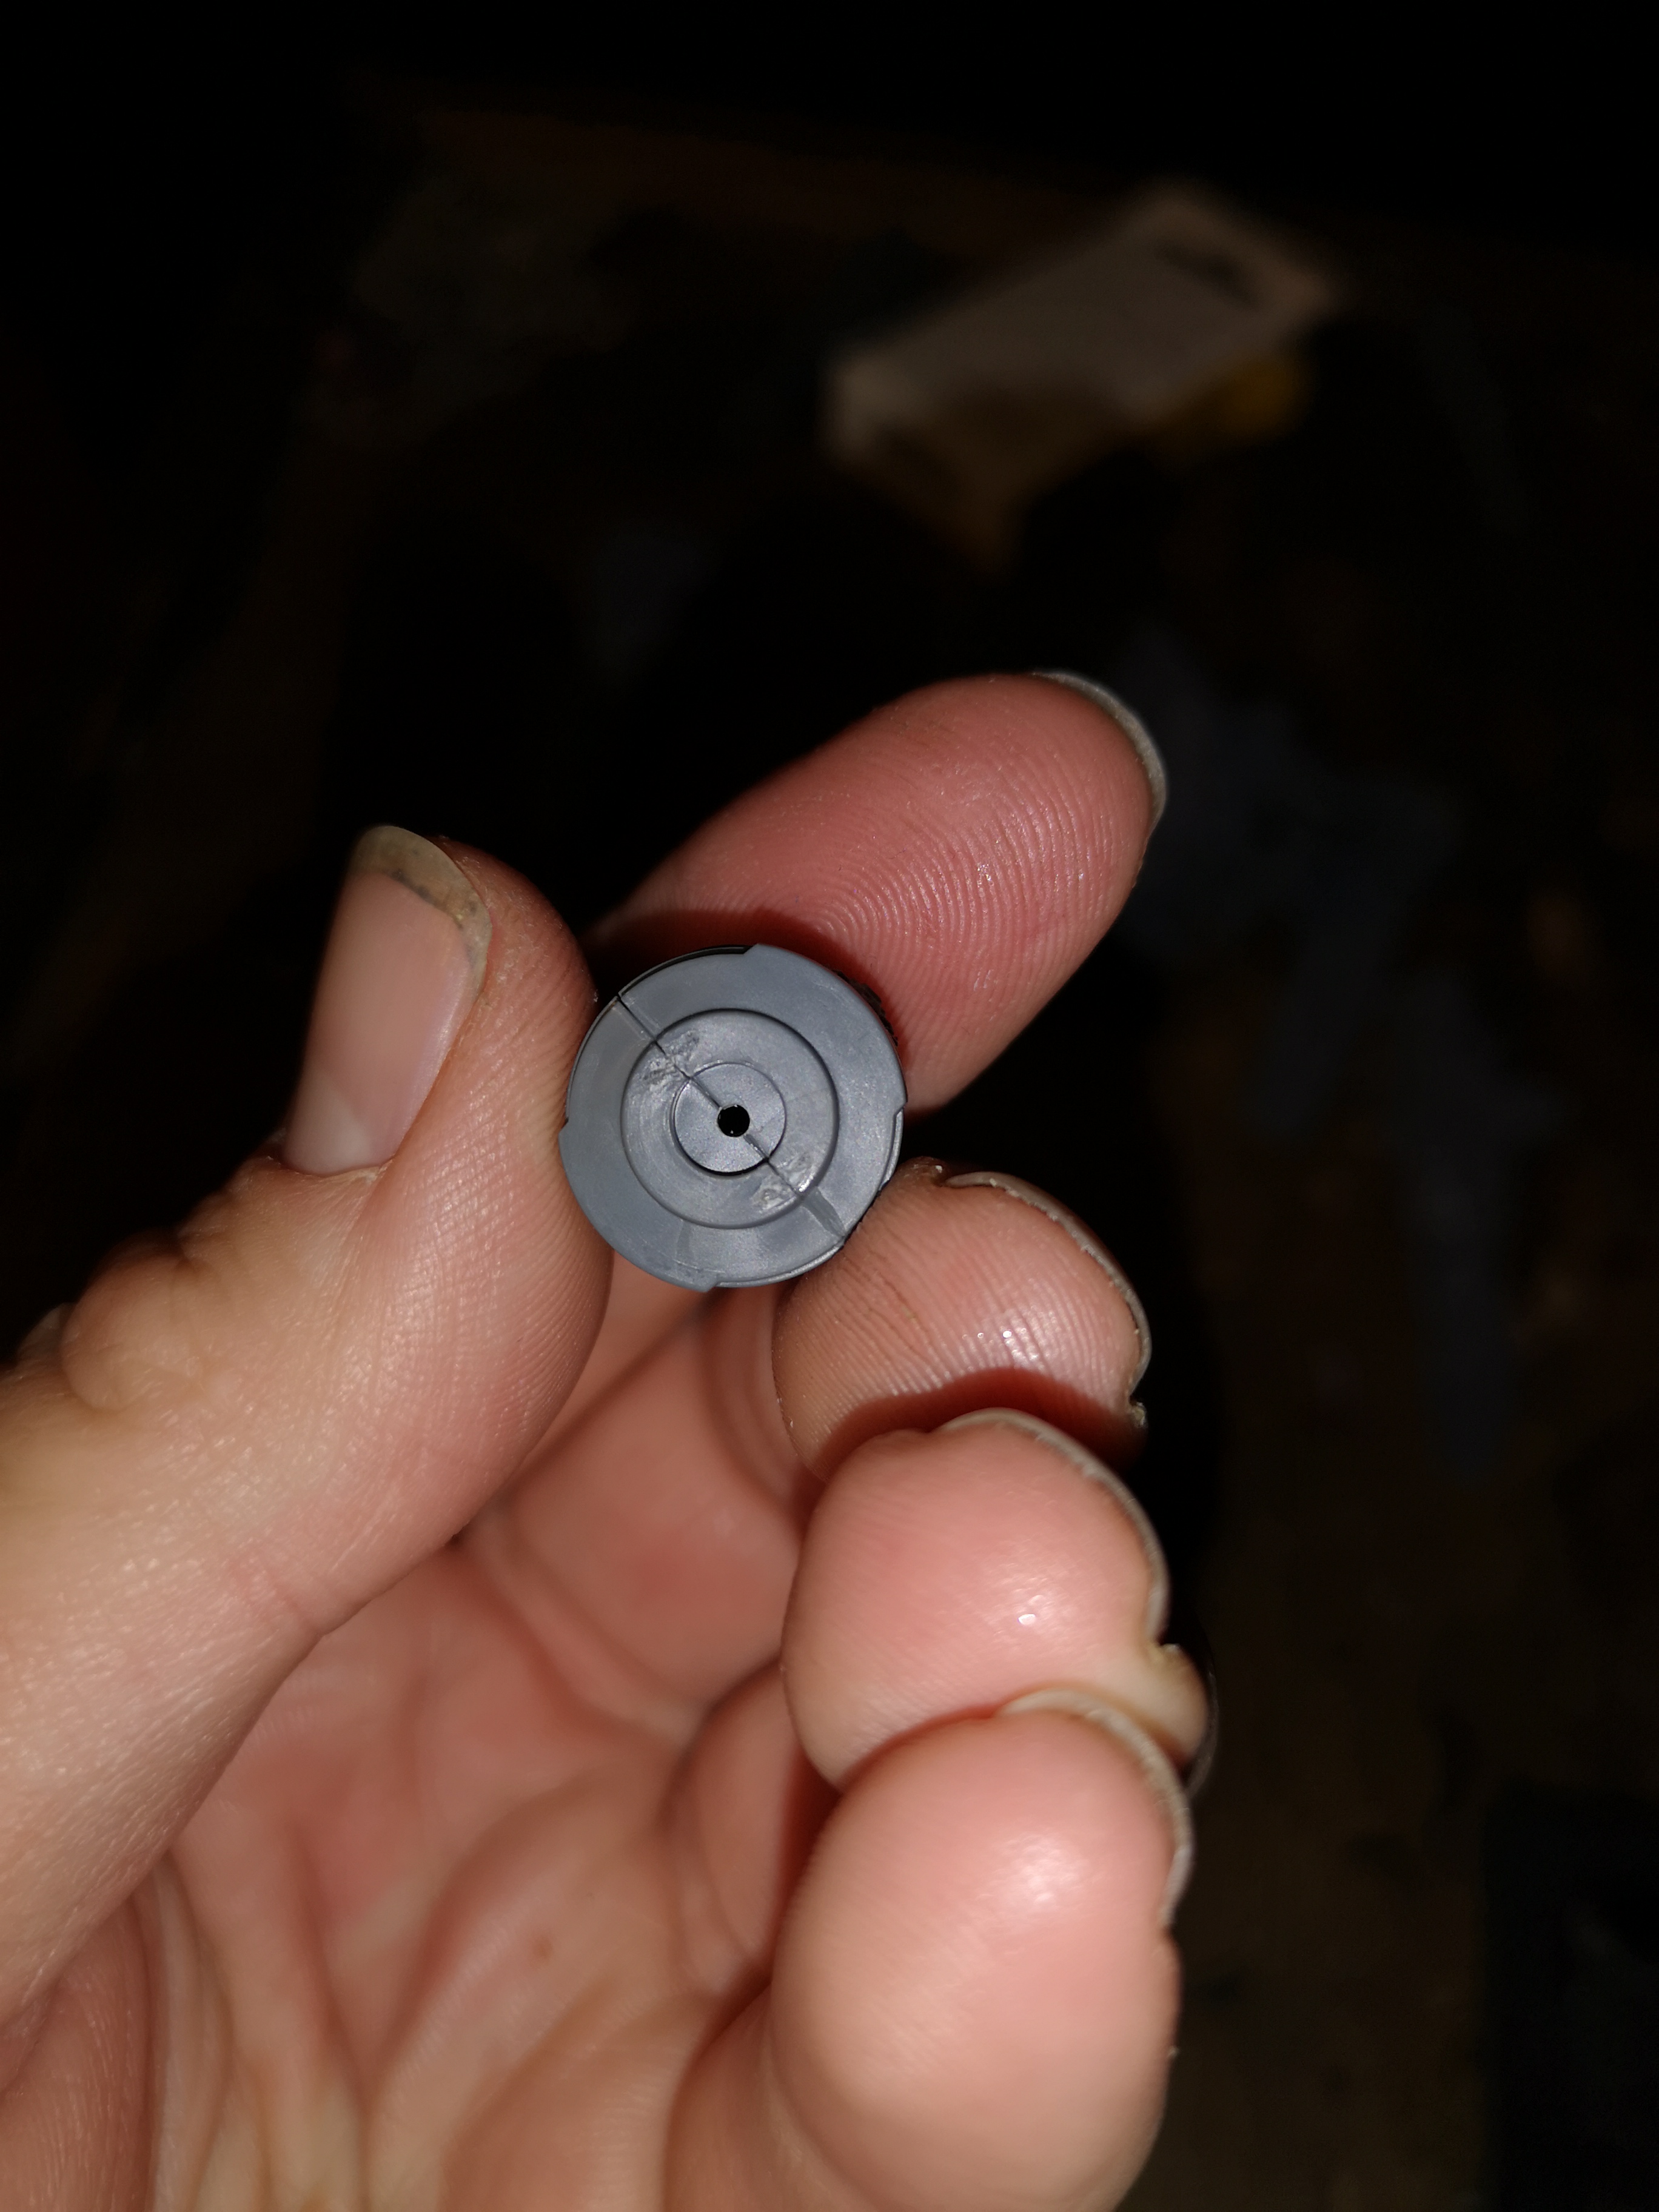 This one needed some glue. I also added a small 2mm hole to allow expansion room for air/glue to help fit the magnet flush.
 Repeat for each upper arm section, dry fit the magnet then glue if needed. Out of 7, 5 needed gluing
After I did the upper arm sections I then moved on to the shoulder sections.
I used the same stack of magnets attached to the upper arm section to keep polarity then test fitted to the under shoulder joint.
 Keeping the polarity...
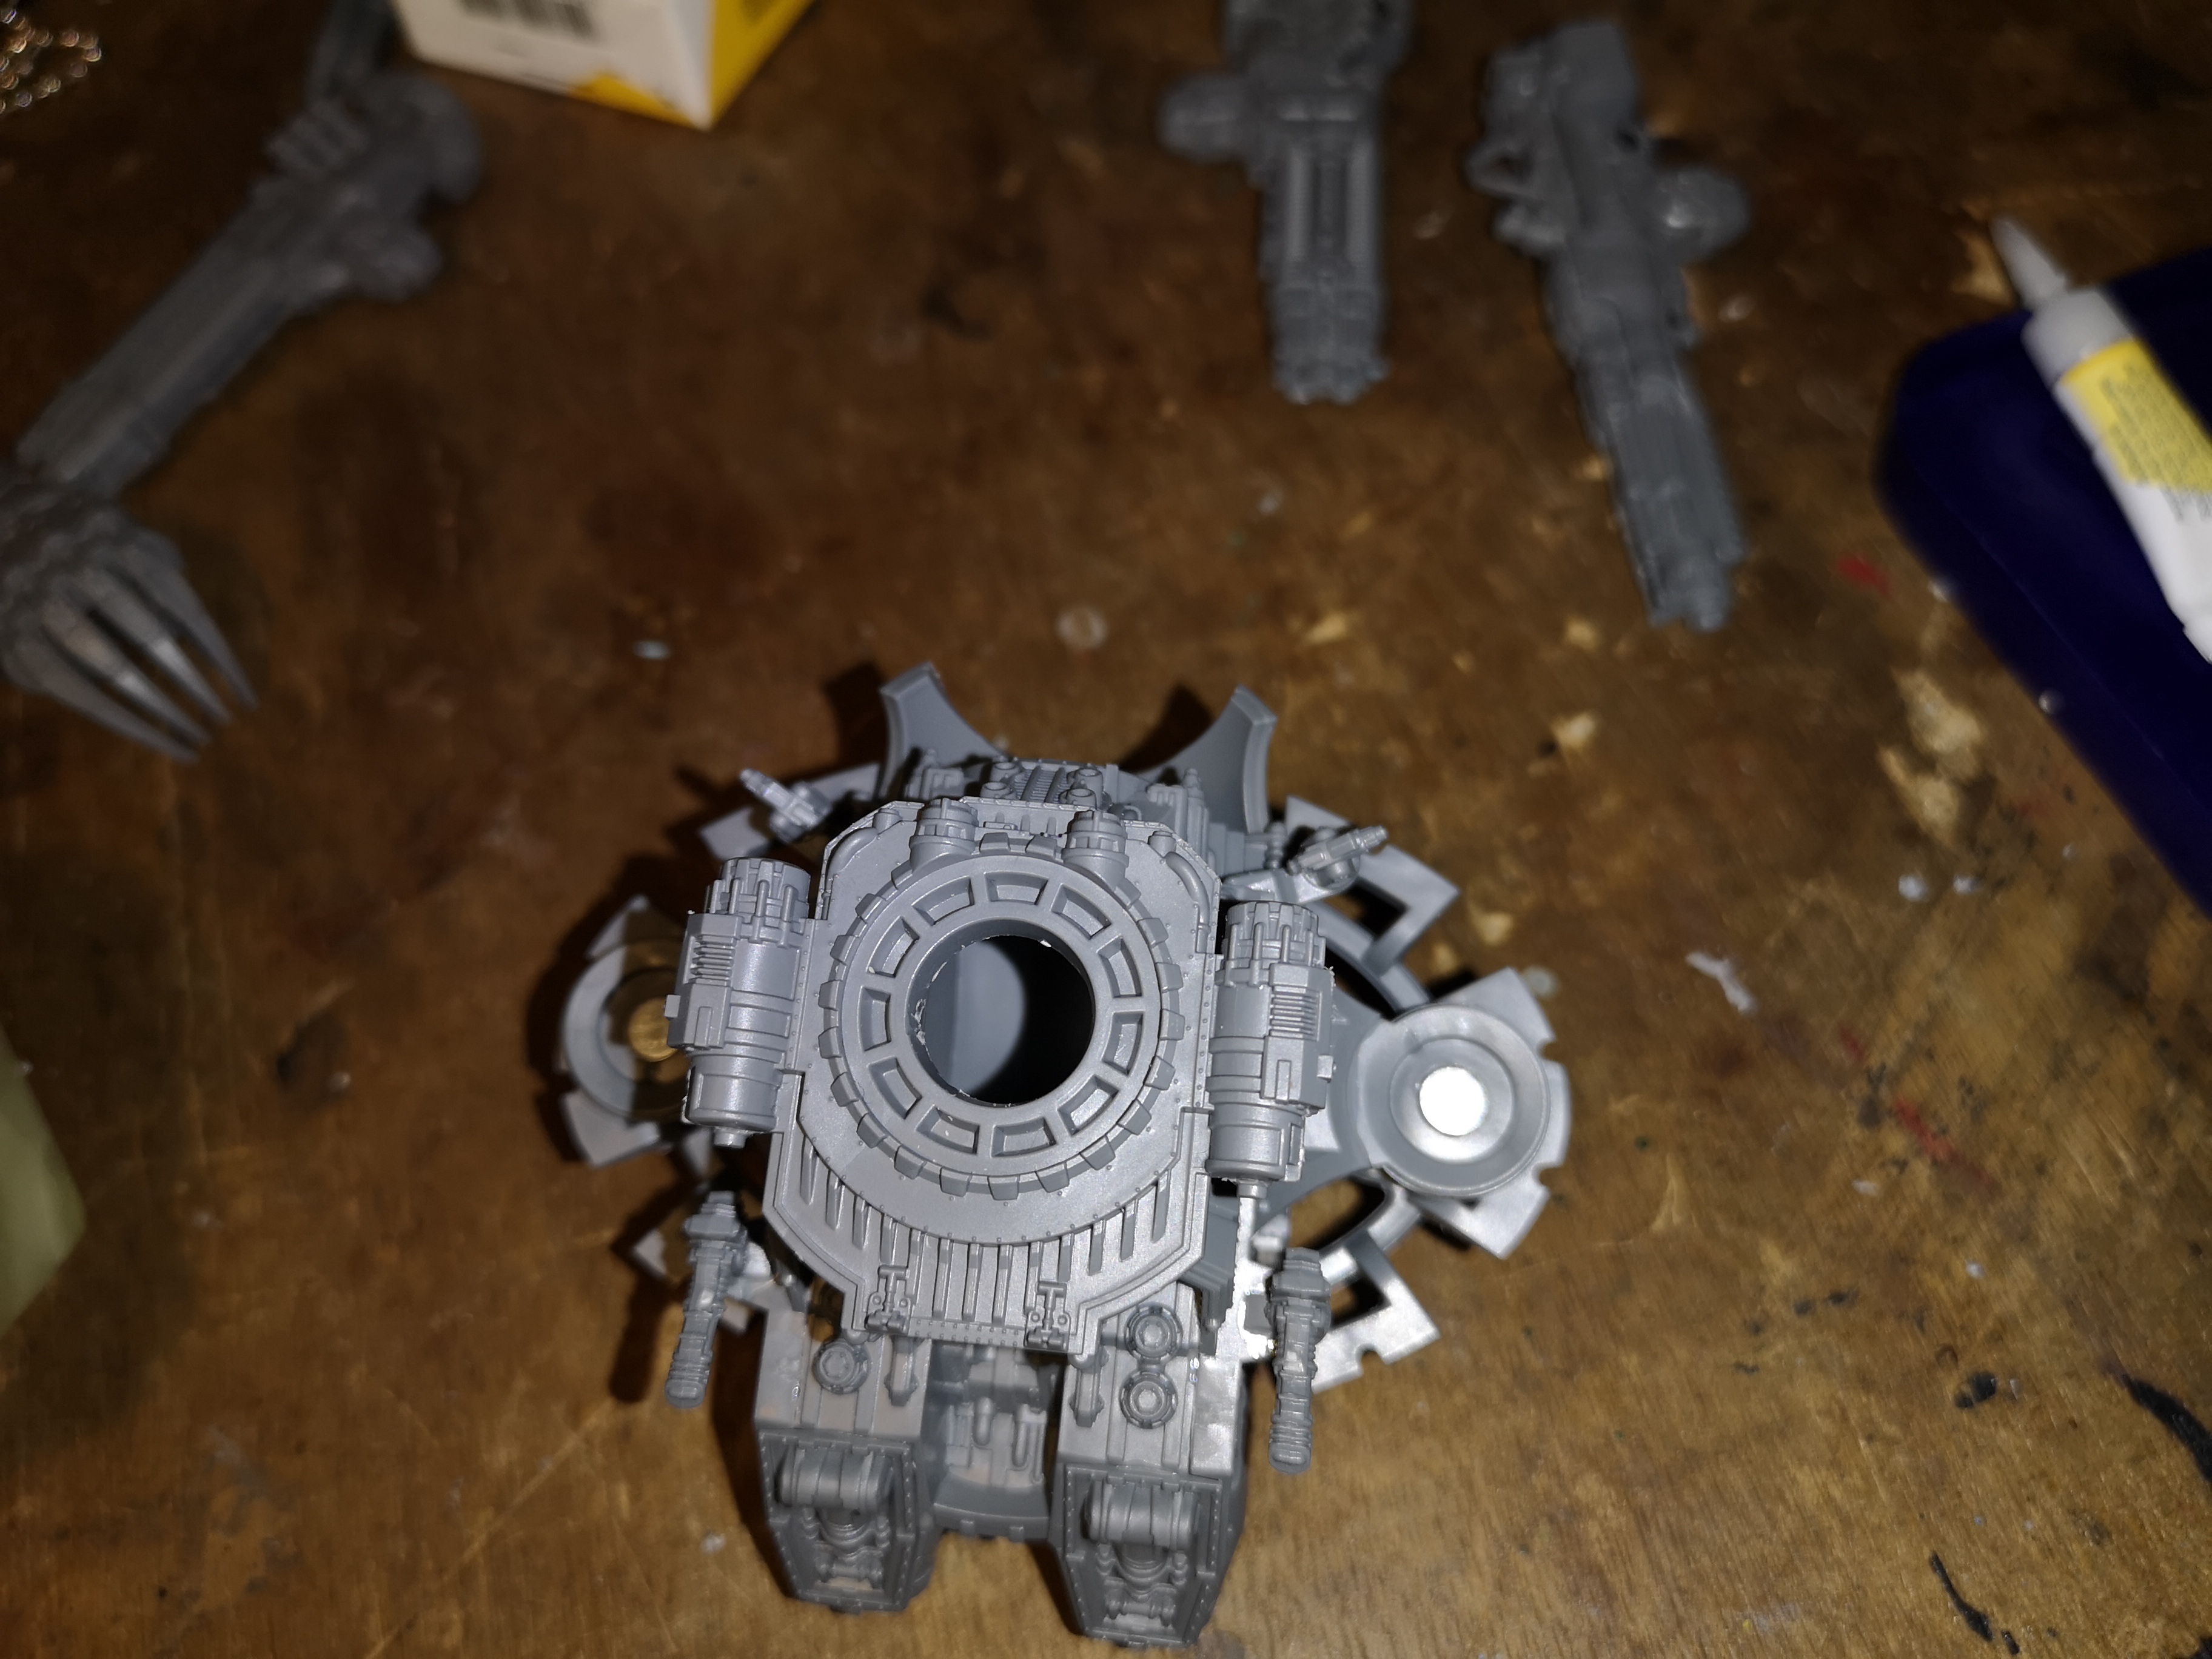 Here's the magnet in the lower shoulder joint
Hope this rough and quick guide helps. Please ask me for more detail etc if needed, this is the first time I’ve attempted a tutorial etc
3rd attempt, just a few pictures...
Having a little trouble uploading, so I’m only showing a few pics.
Next up will be Howie Did It… which I’ll run through how I magnetised the weapons…
Been too long since I last posted but this one includes magnets :p
Man life got in the way…
According to my photo log I took the pictures on the 19th May and its taken this long to get them uploaded and posted..
Not much but a little


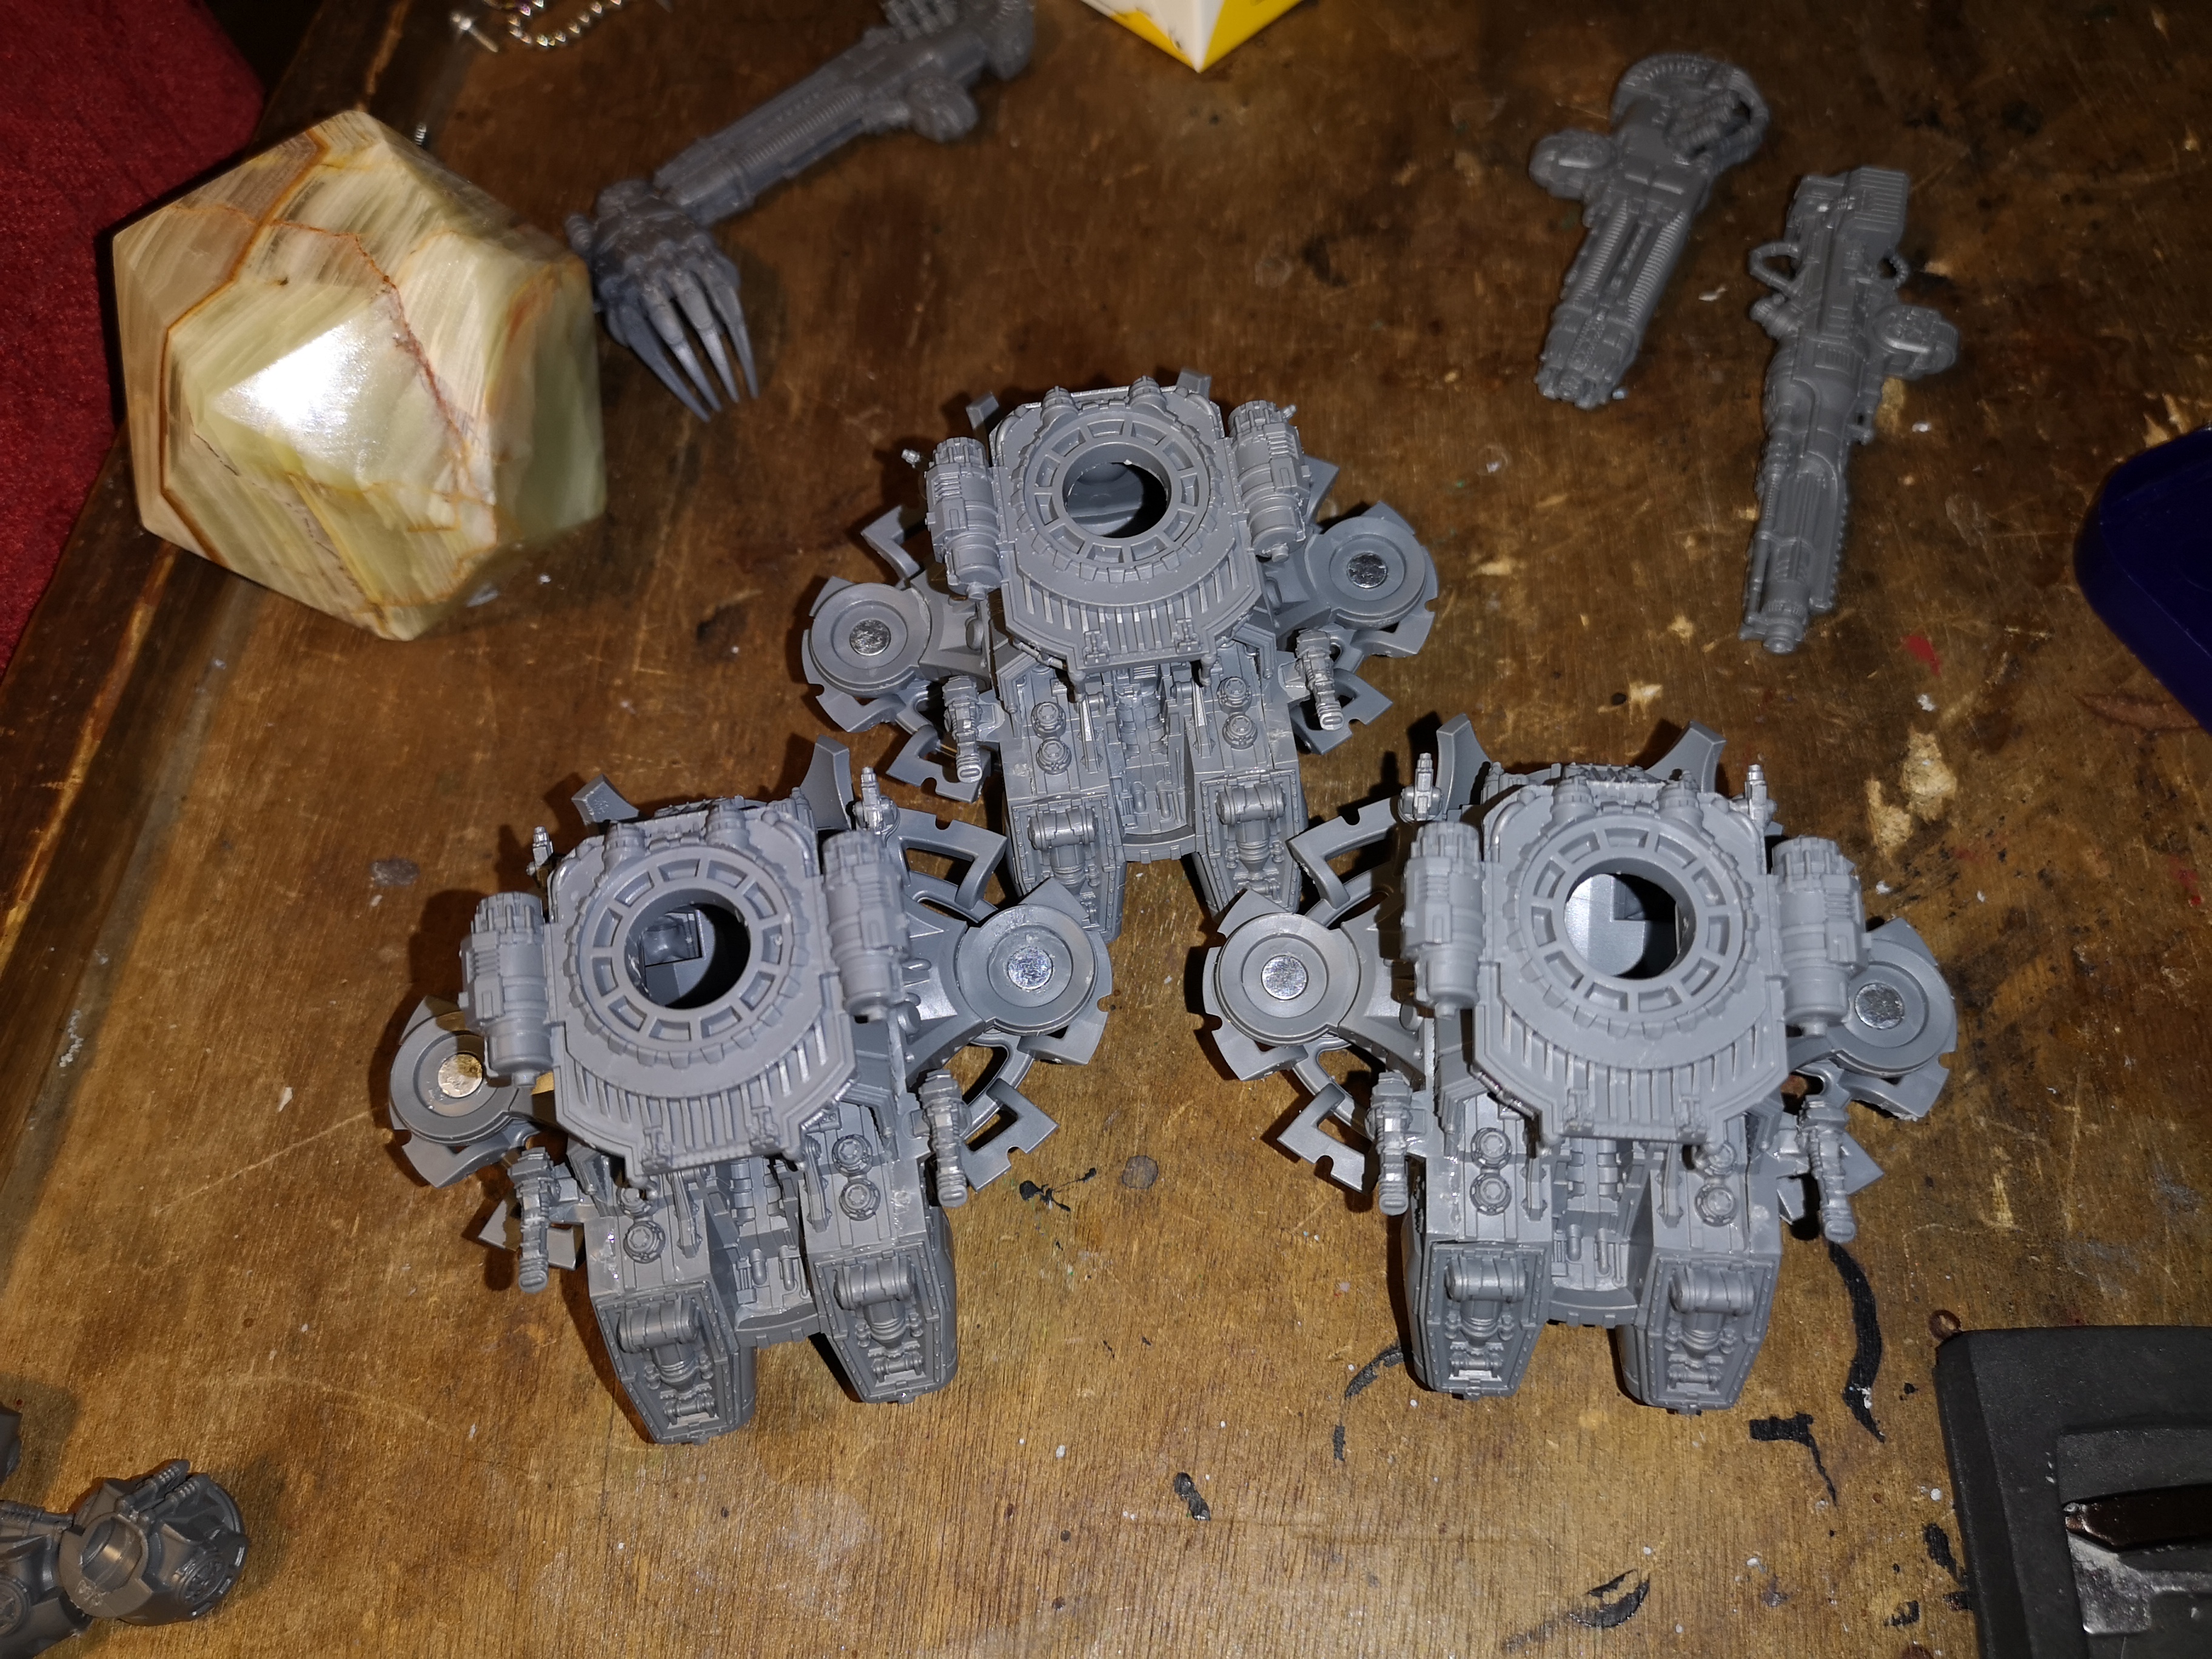
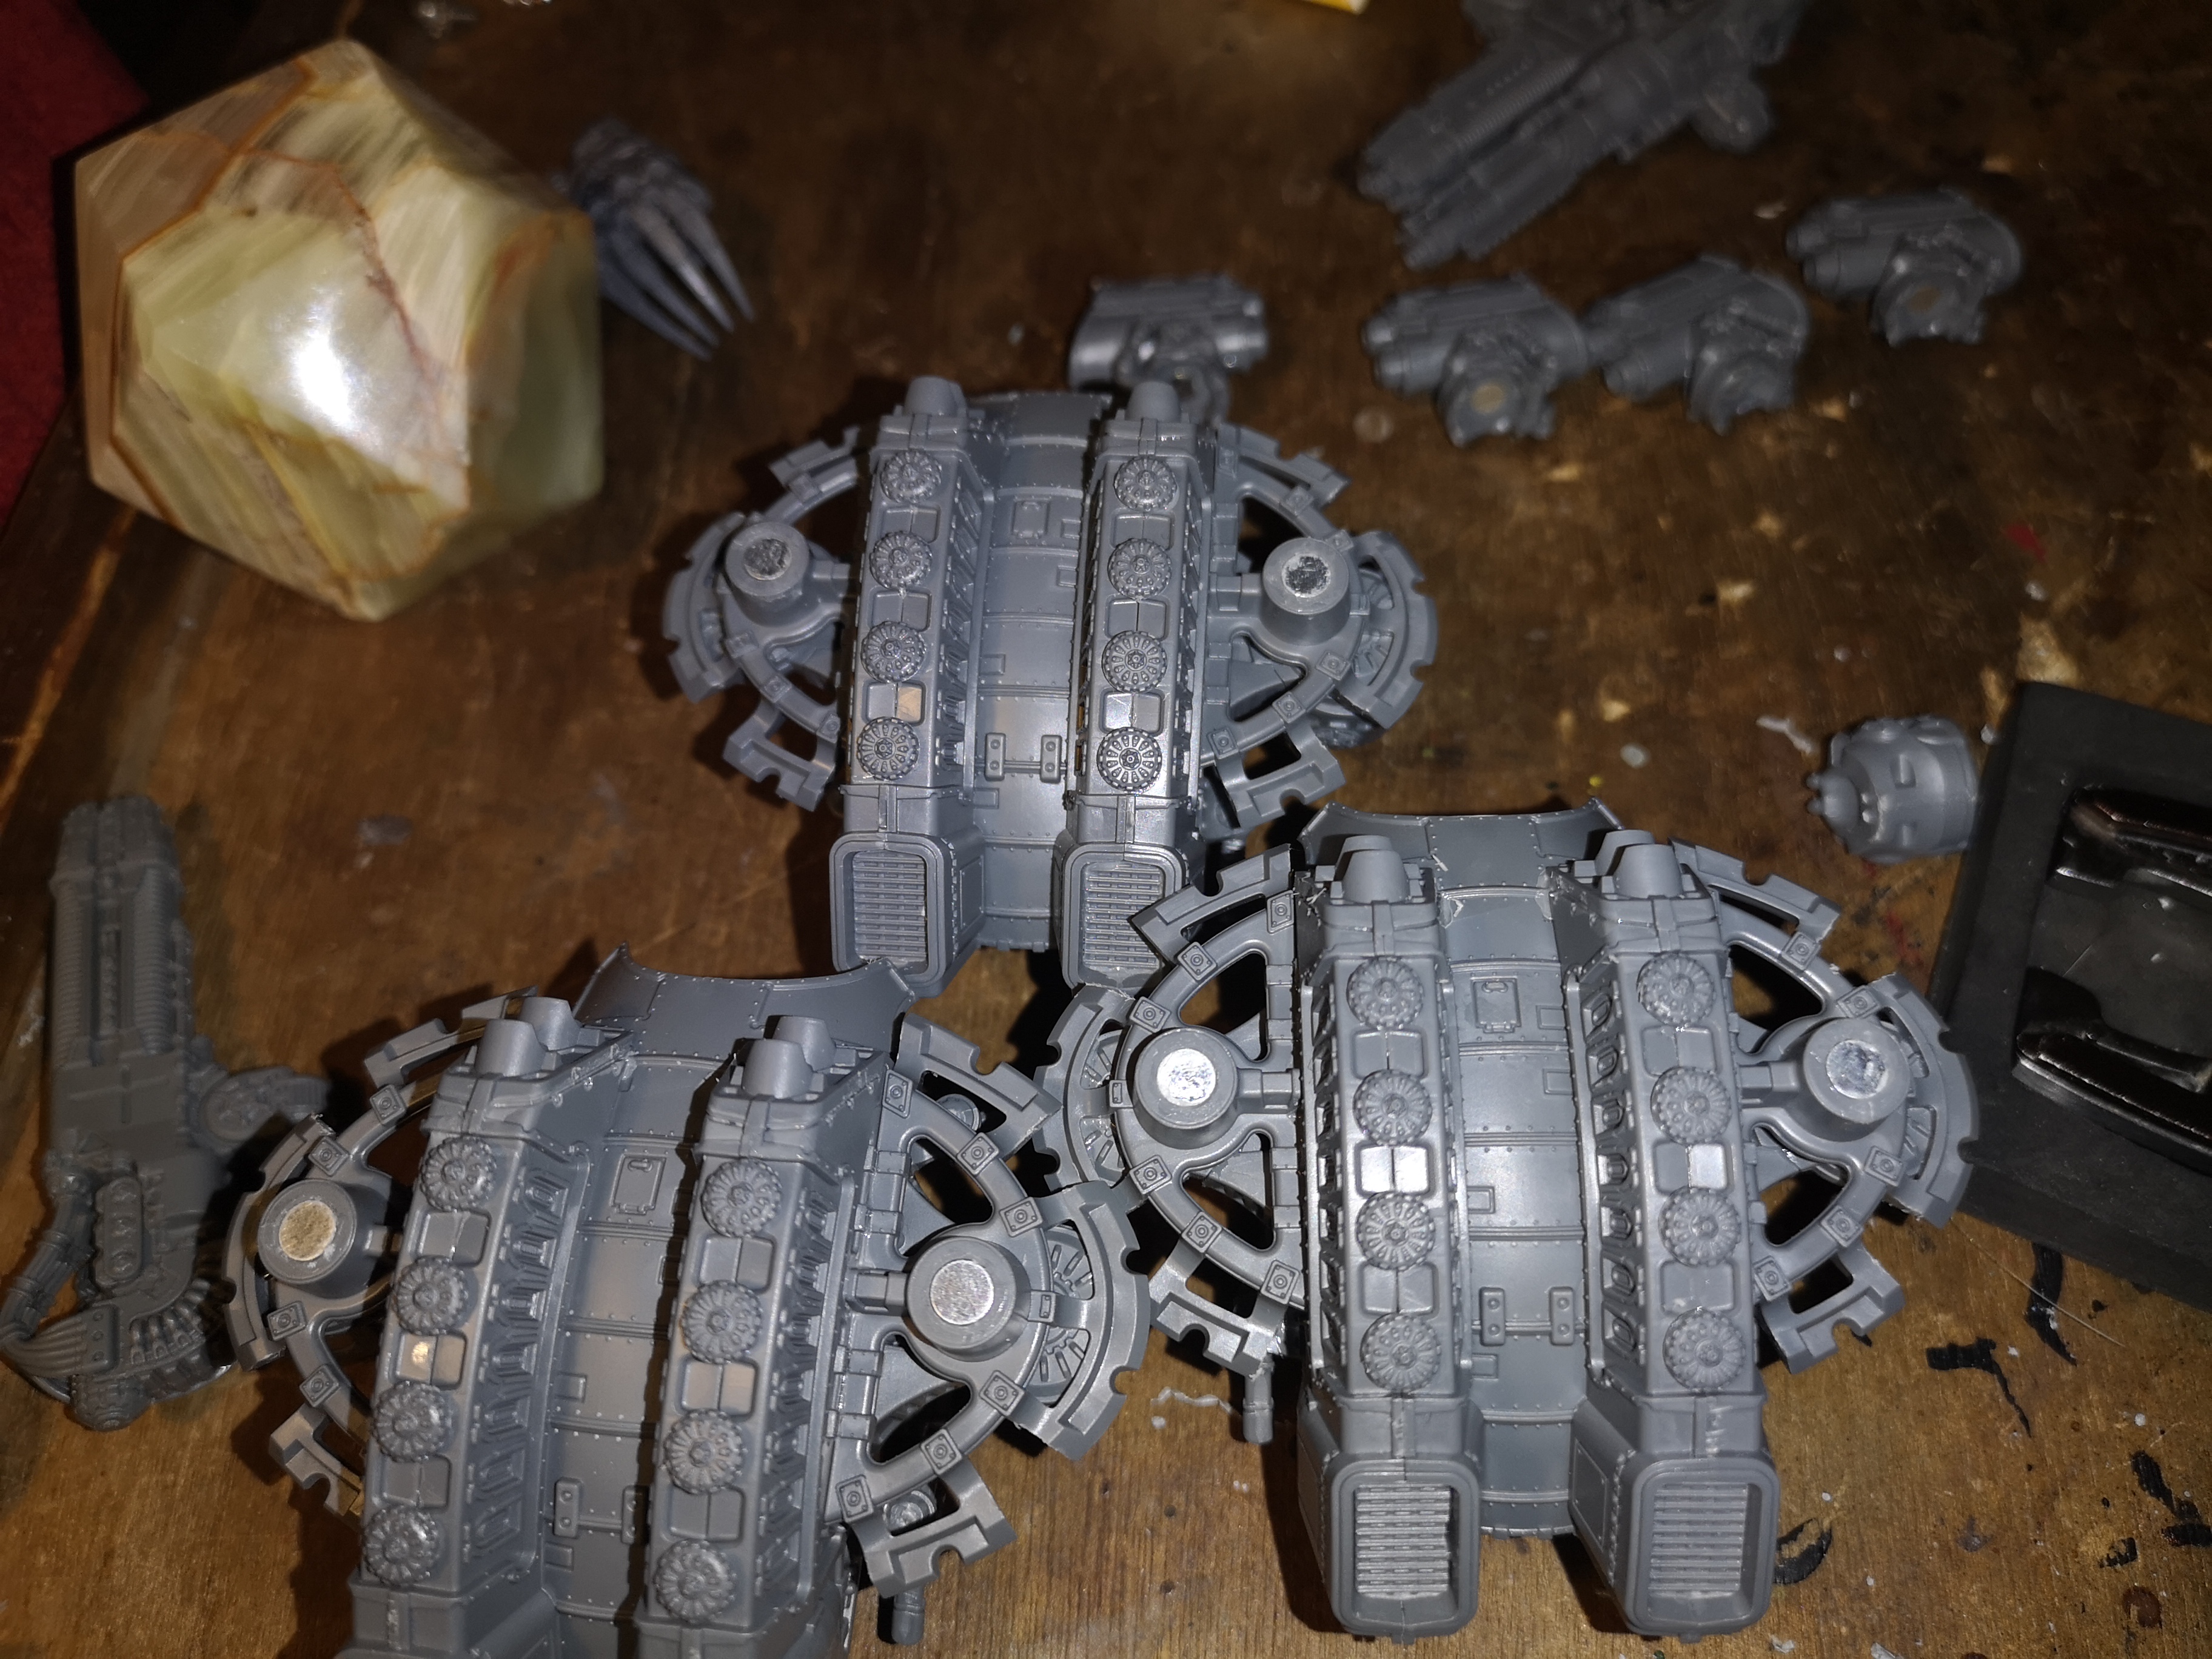
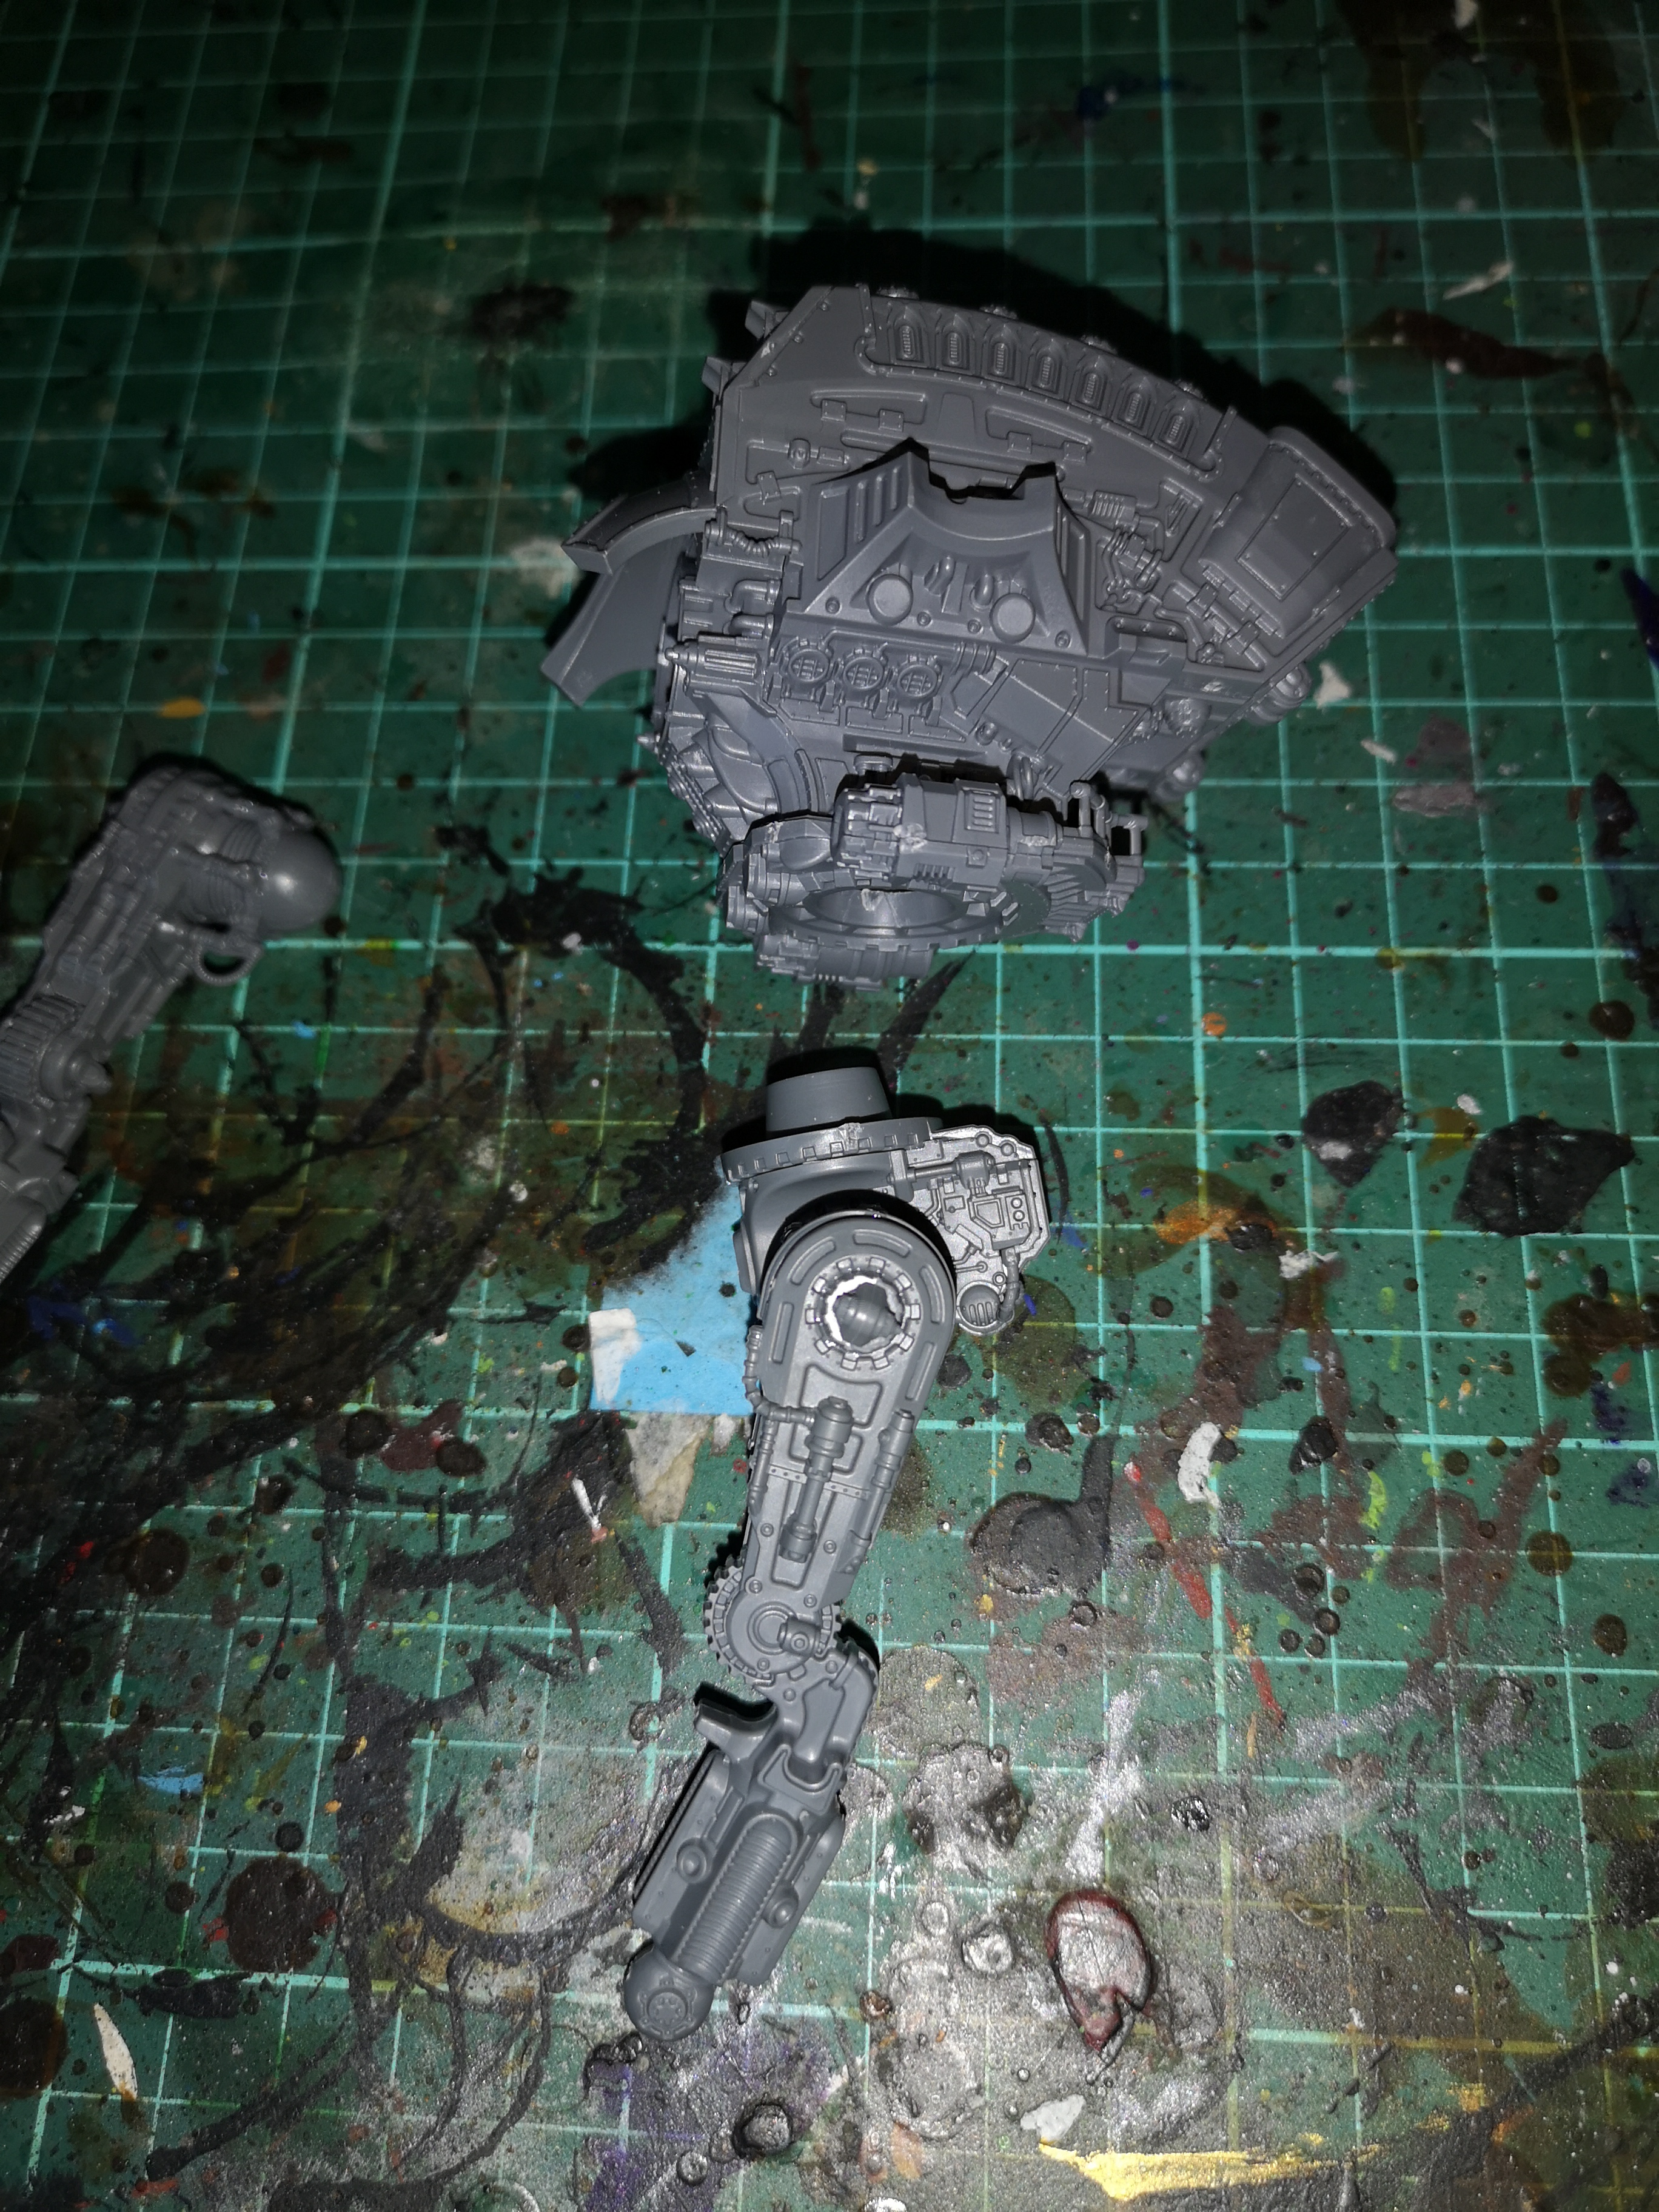
Not done much for a bit (other aspects of life in the way) but today I finished off the first warlord as you see in the pictures and in true form before finishing or painting anything I’ve got hold of another warlord bring the running total up to 3 Warlords and 6 knights so far.
There is a minor method to my madness, I want to see how the extra weapons for the warlord build so I can magnetise the right places to make all of them interchangeable across all the warlords I end up with (both Imperial and Chaos).
Still undecided on how I’m going to pose them, kinda want a mix of walking, behind buildings, the typical crushing something etc etc etc. A couple of friends are gonna send me some pictures of theirs for some inspiration and hunt out some epic scale bits etc.
Painting wise, gonna go with a dark metallic skeleton for each side to start then look at Blues and reds for House Terryn (Imperial) and I’ve got red and purple on order for House Devine (Chaos).
Not much more done but...

Hey guys,
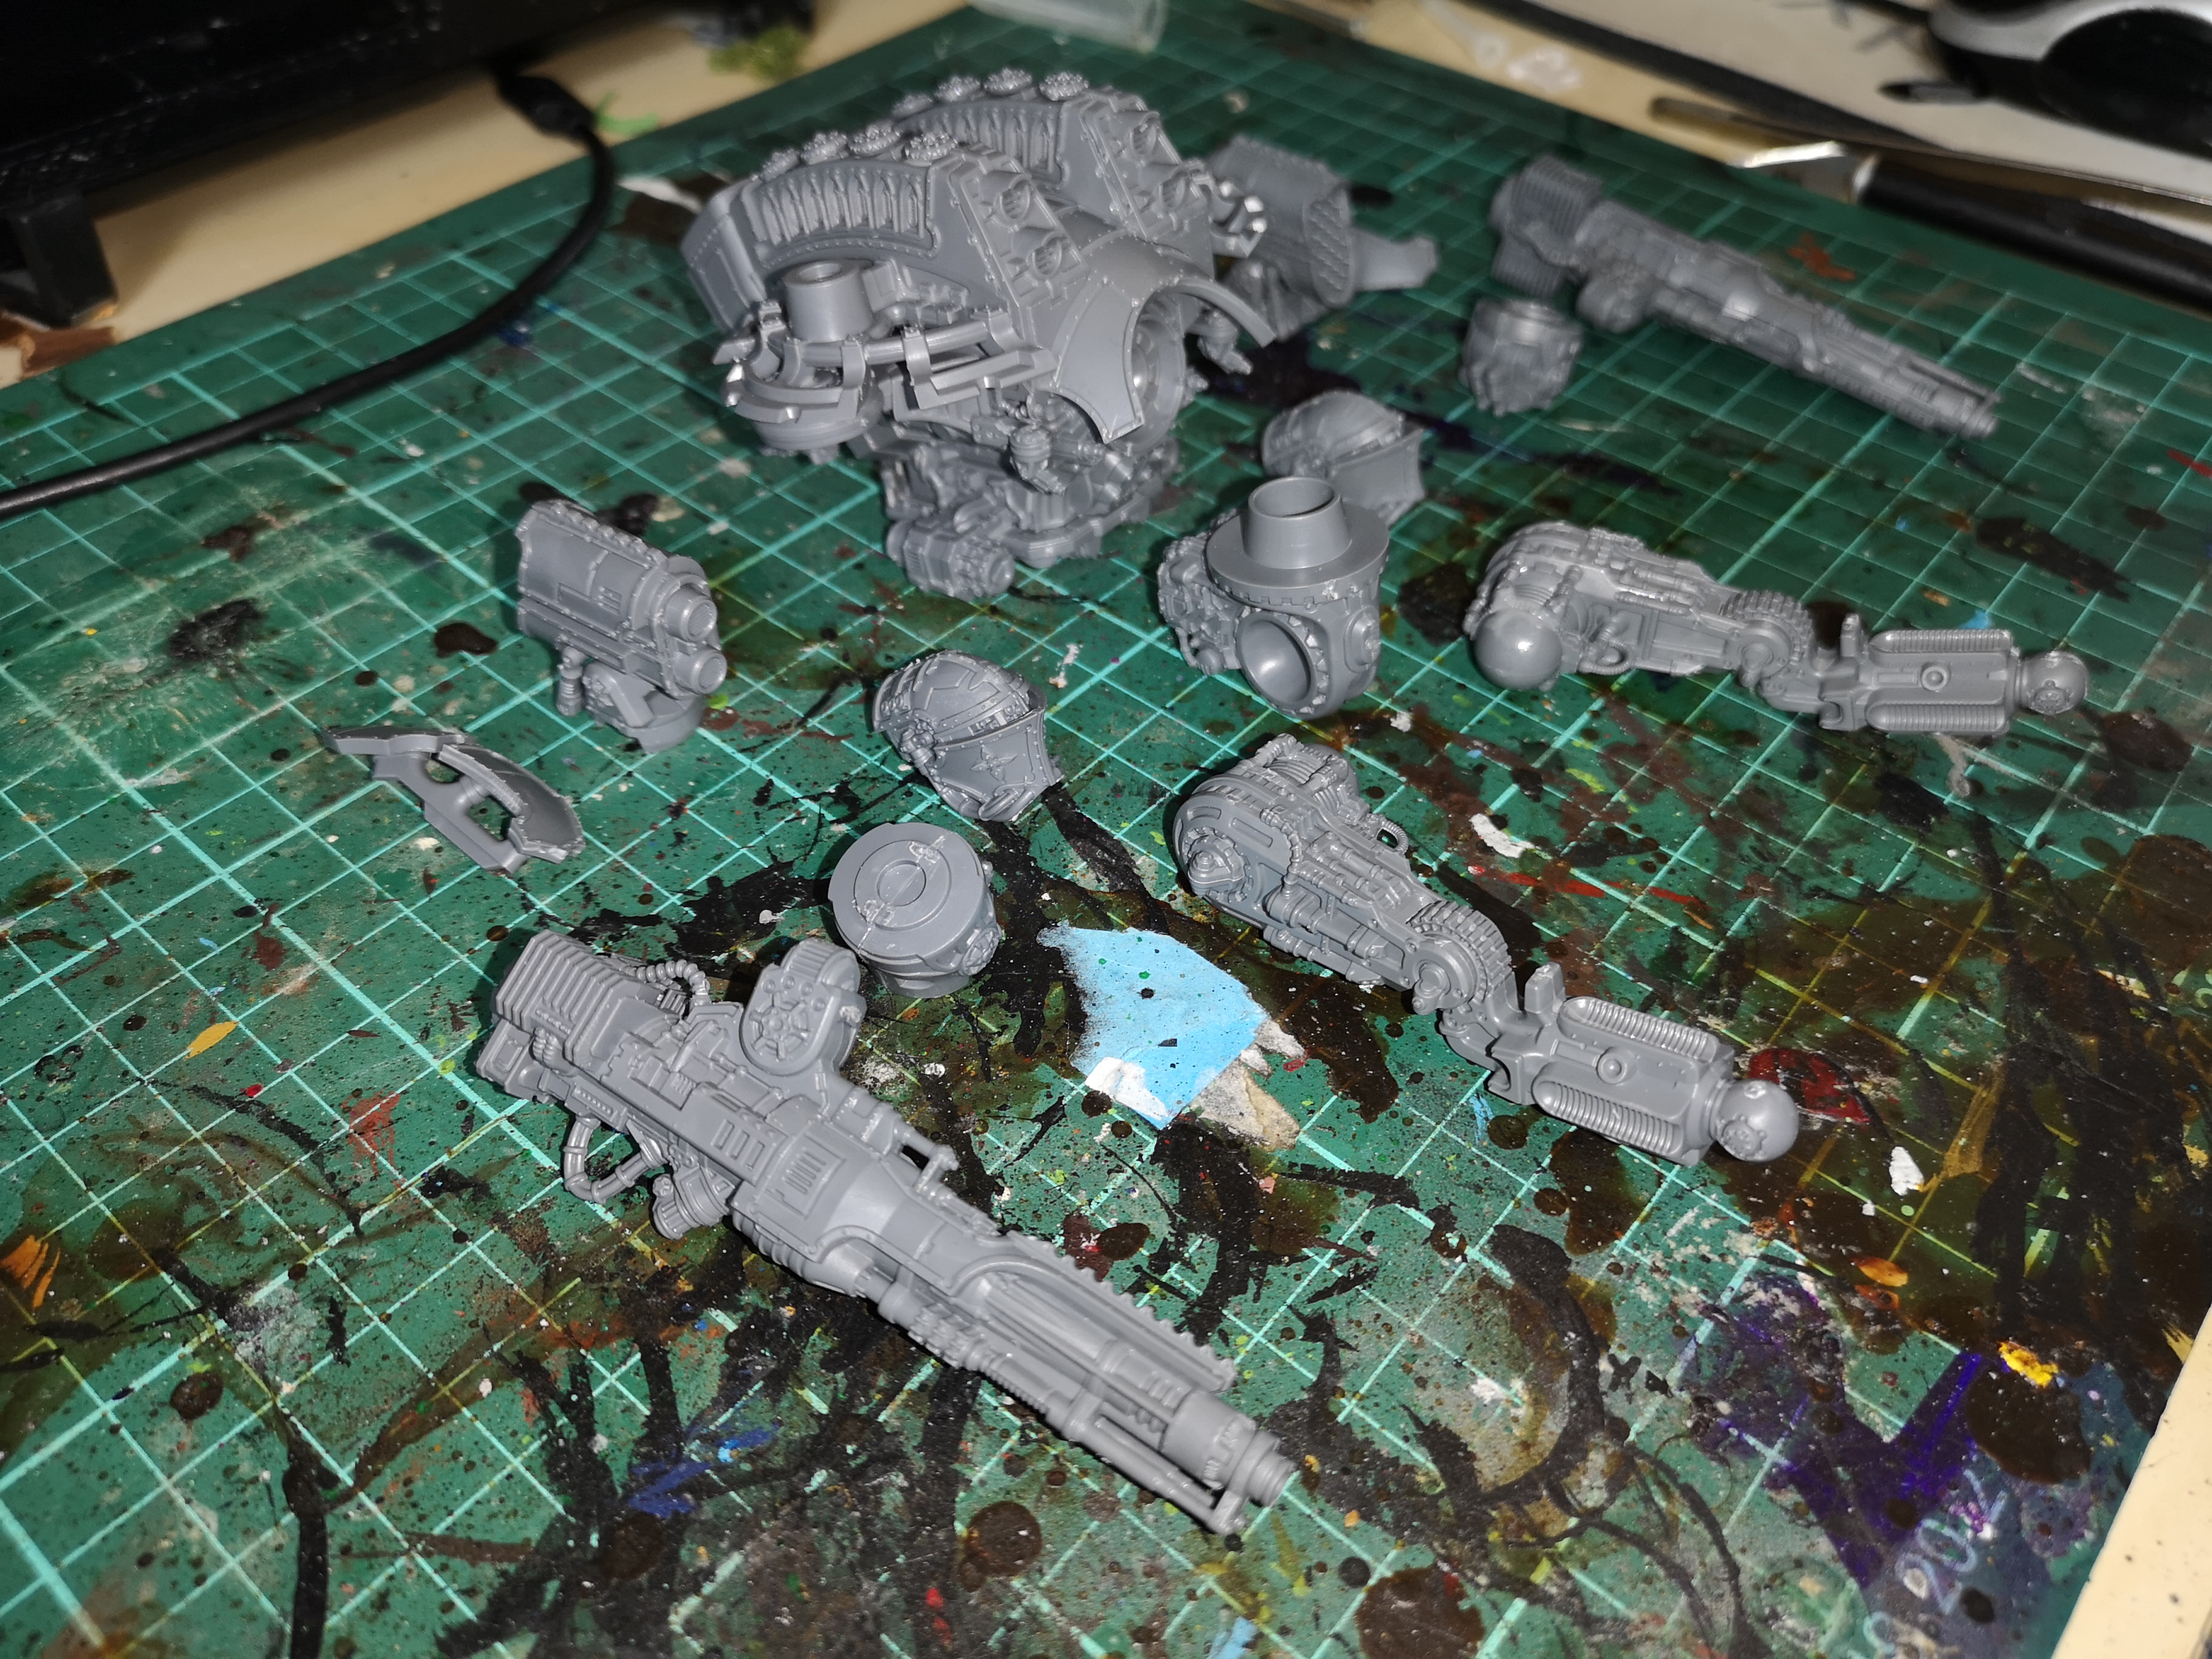
Didn’t get much done last night due to a fortnightly dnd game but I did manage to get two of the weapons completed with a couple of armour panels and their mounts. Also, the 5x1mm magnets arrived 🙂 As you can see in the second picture the fit is pretty good tho I might bore a small indent for the super glue to nest i for fitting the magnets in place.
I’m going to get the rest of the weaponry built before I start magnetising and I’m semi tempted to pick up another warlord to get all the extra weapons so I can see how they all fit before I start.
See you next time
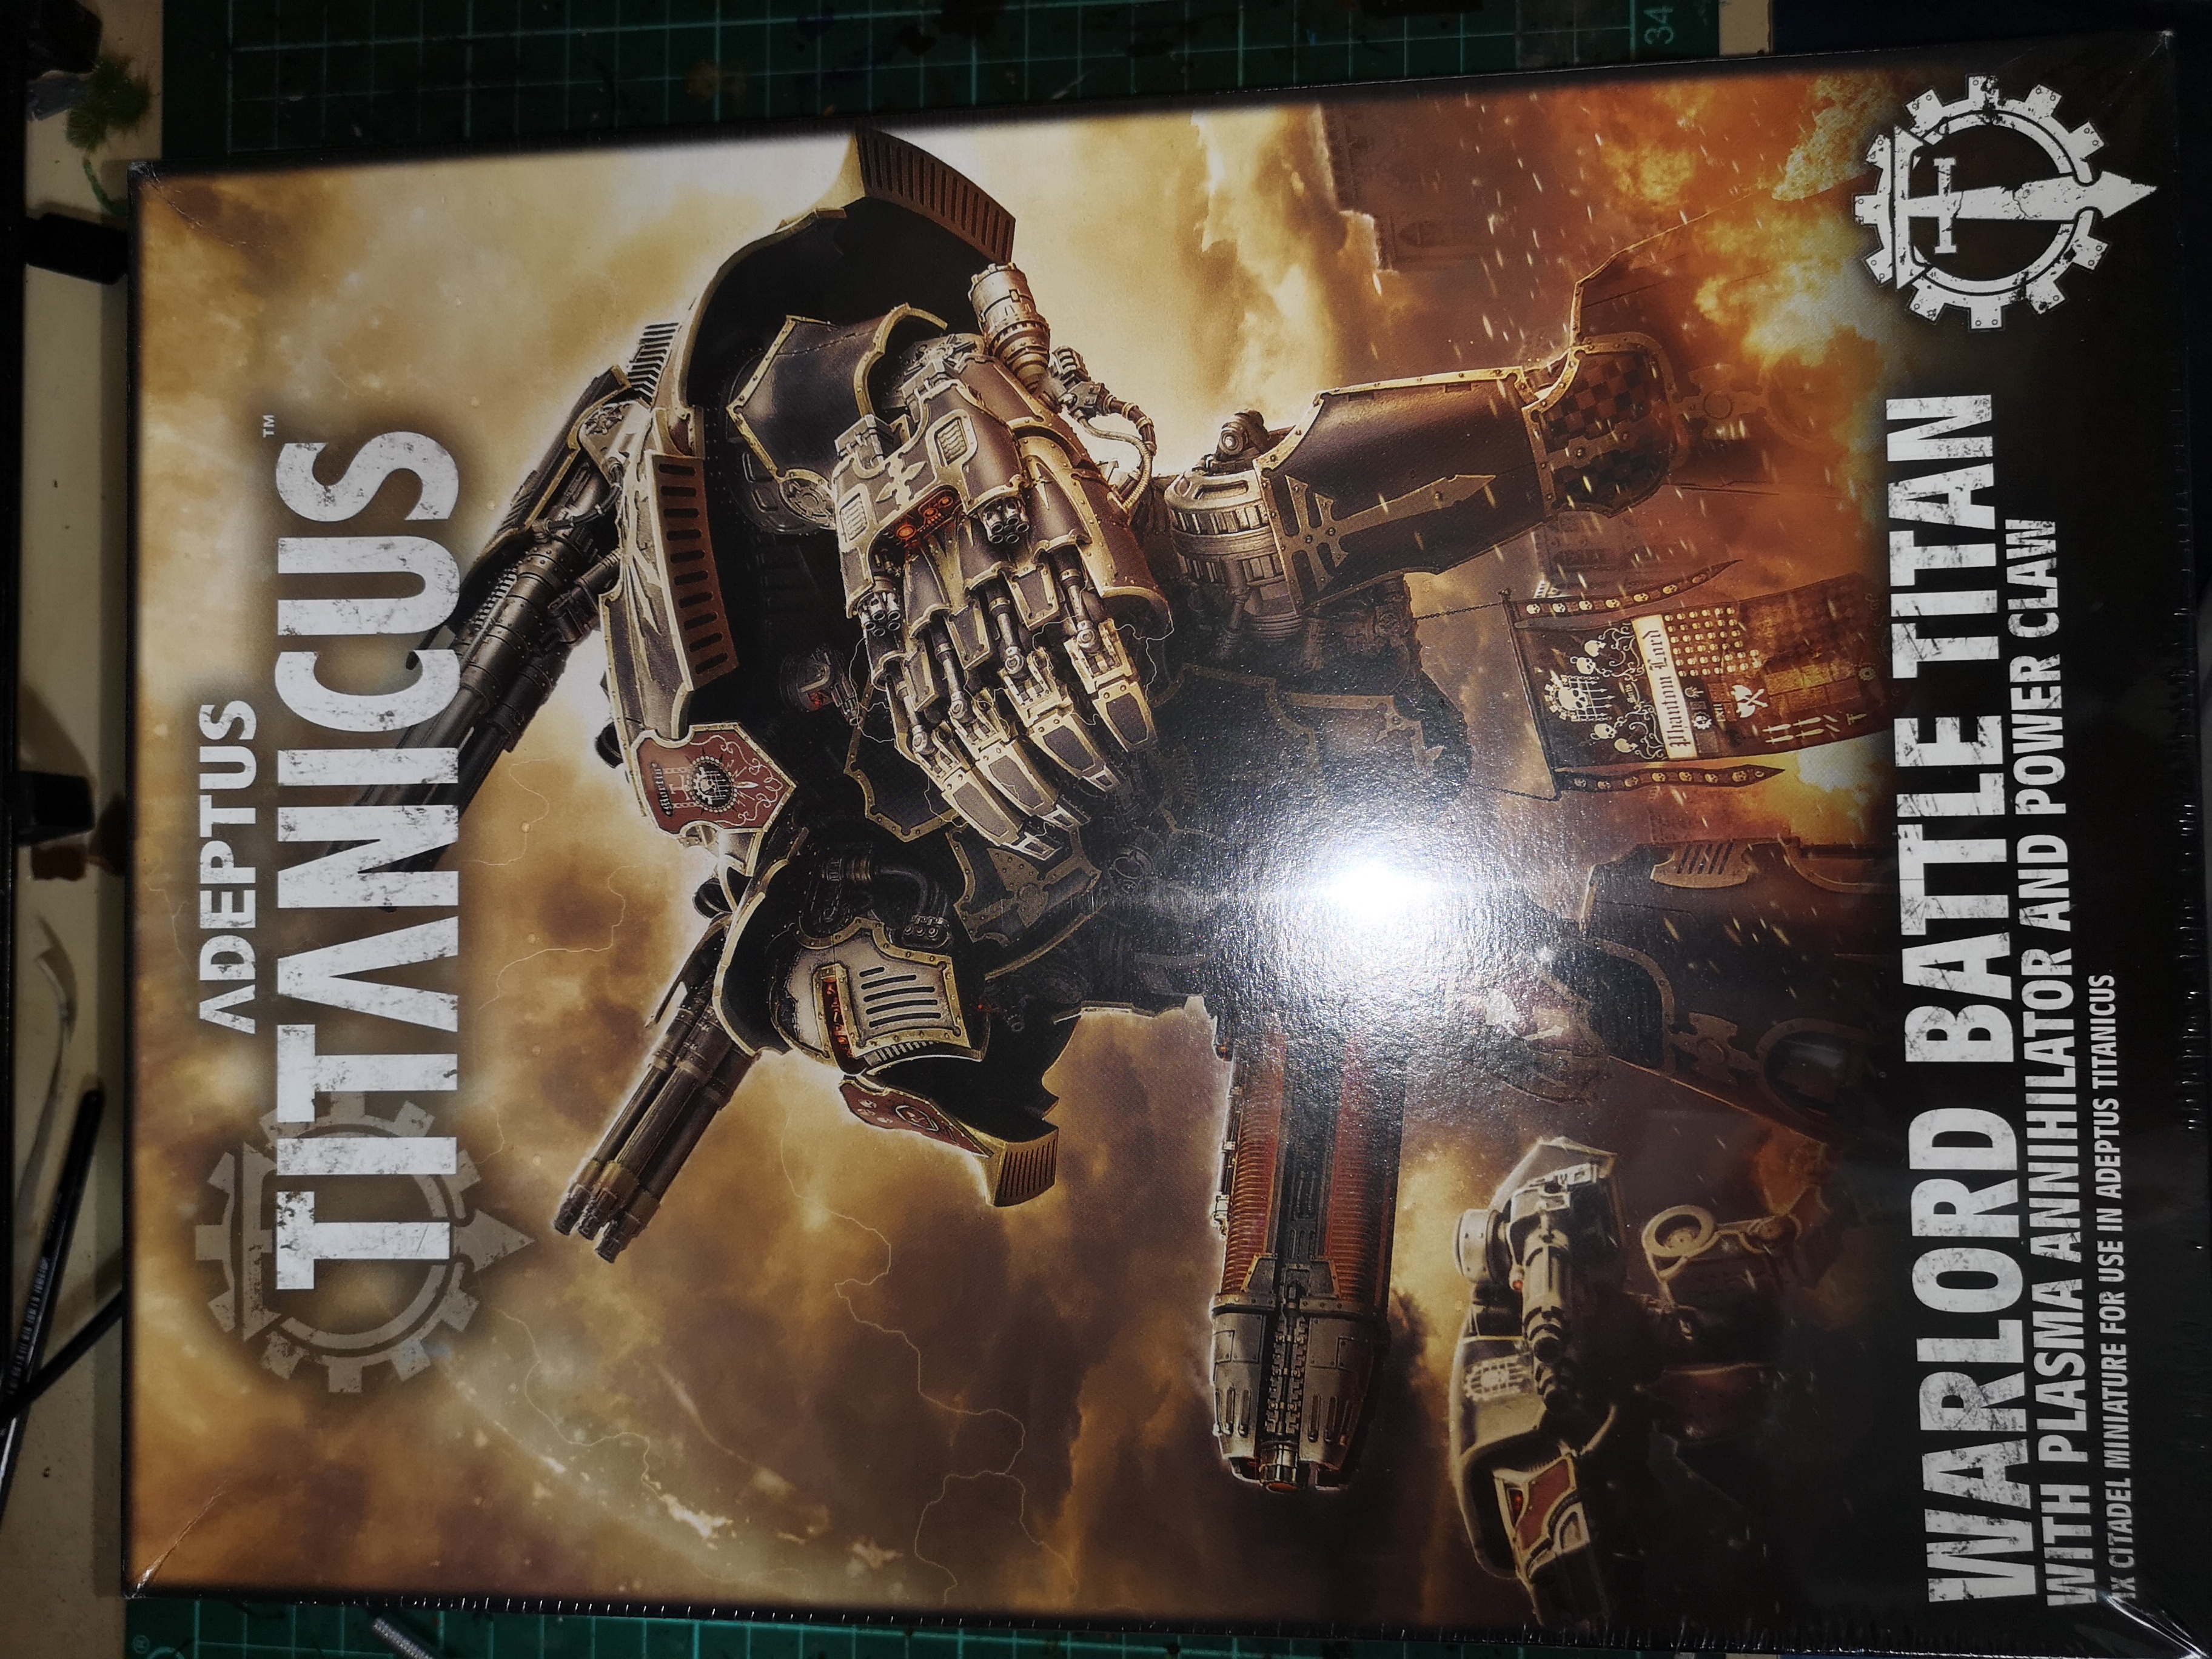
First day's progress...
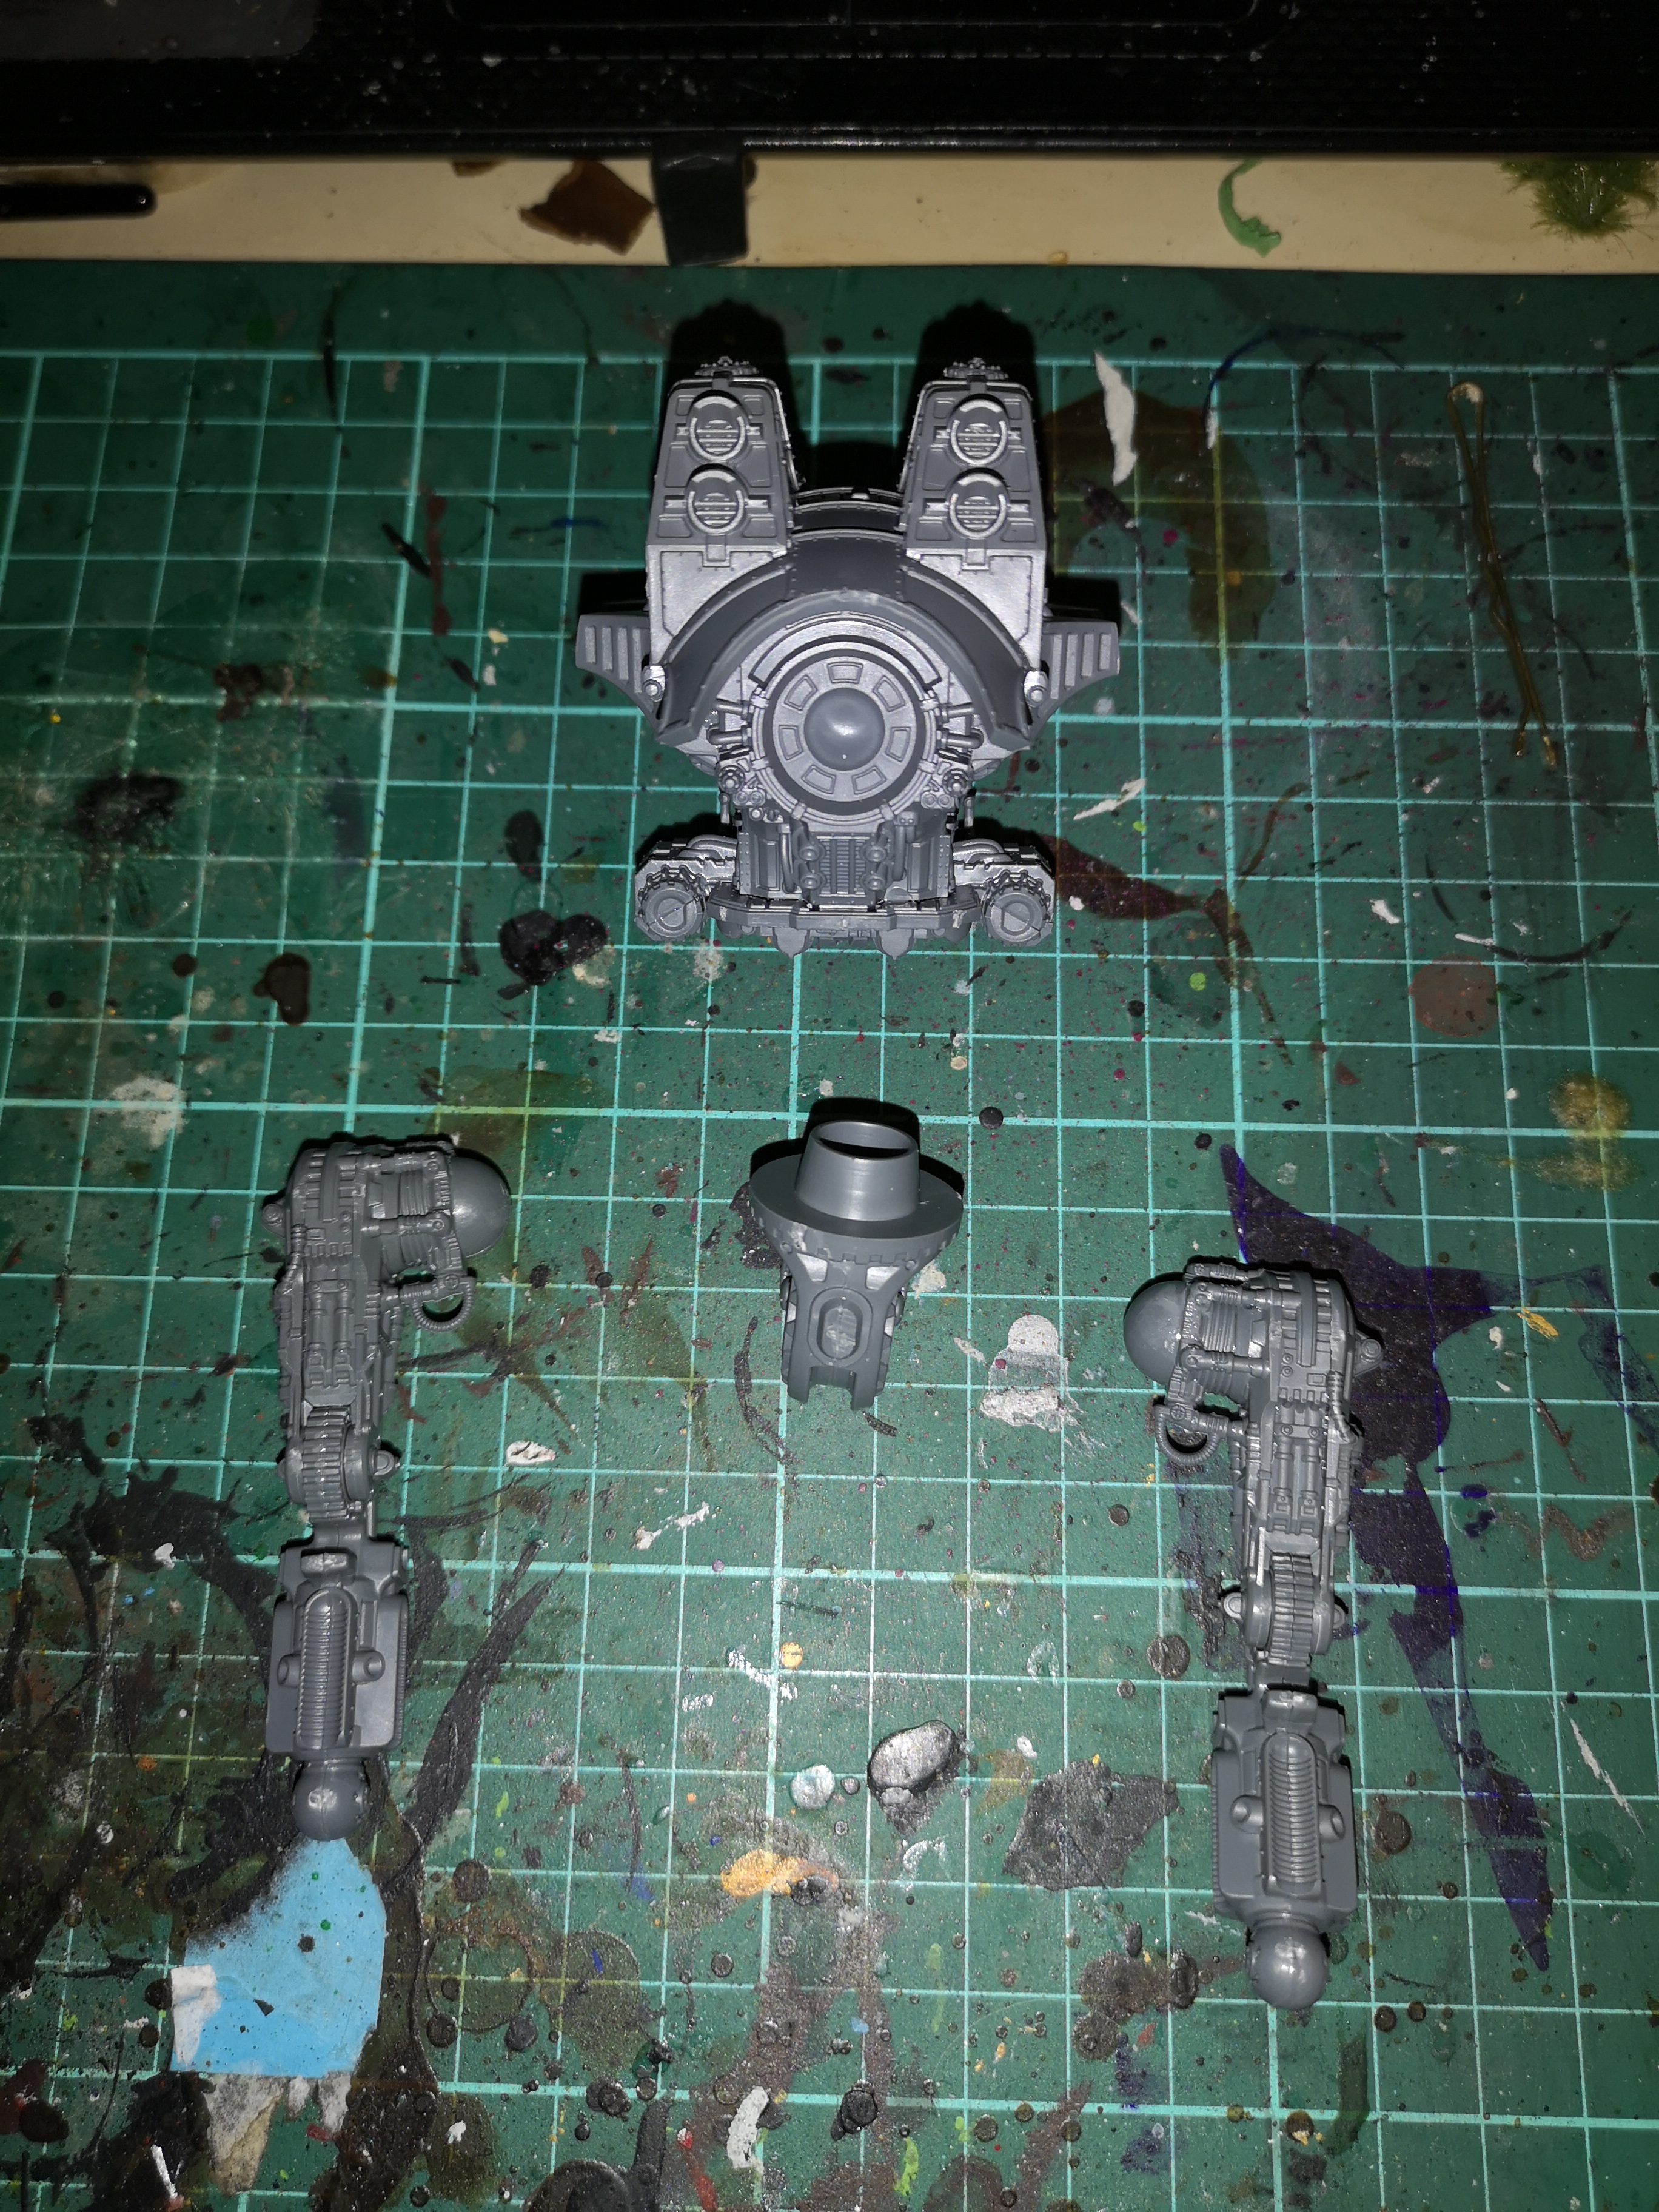
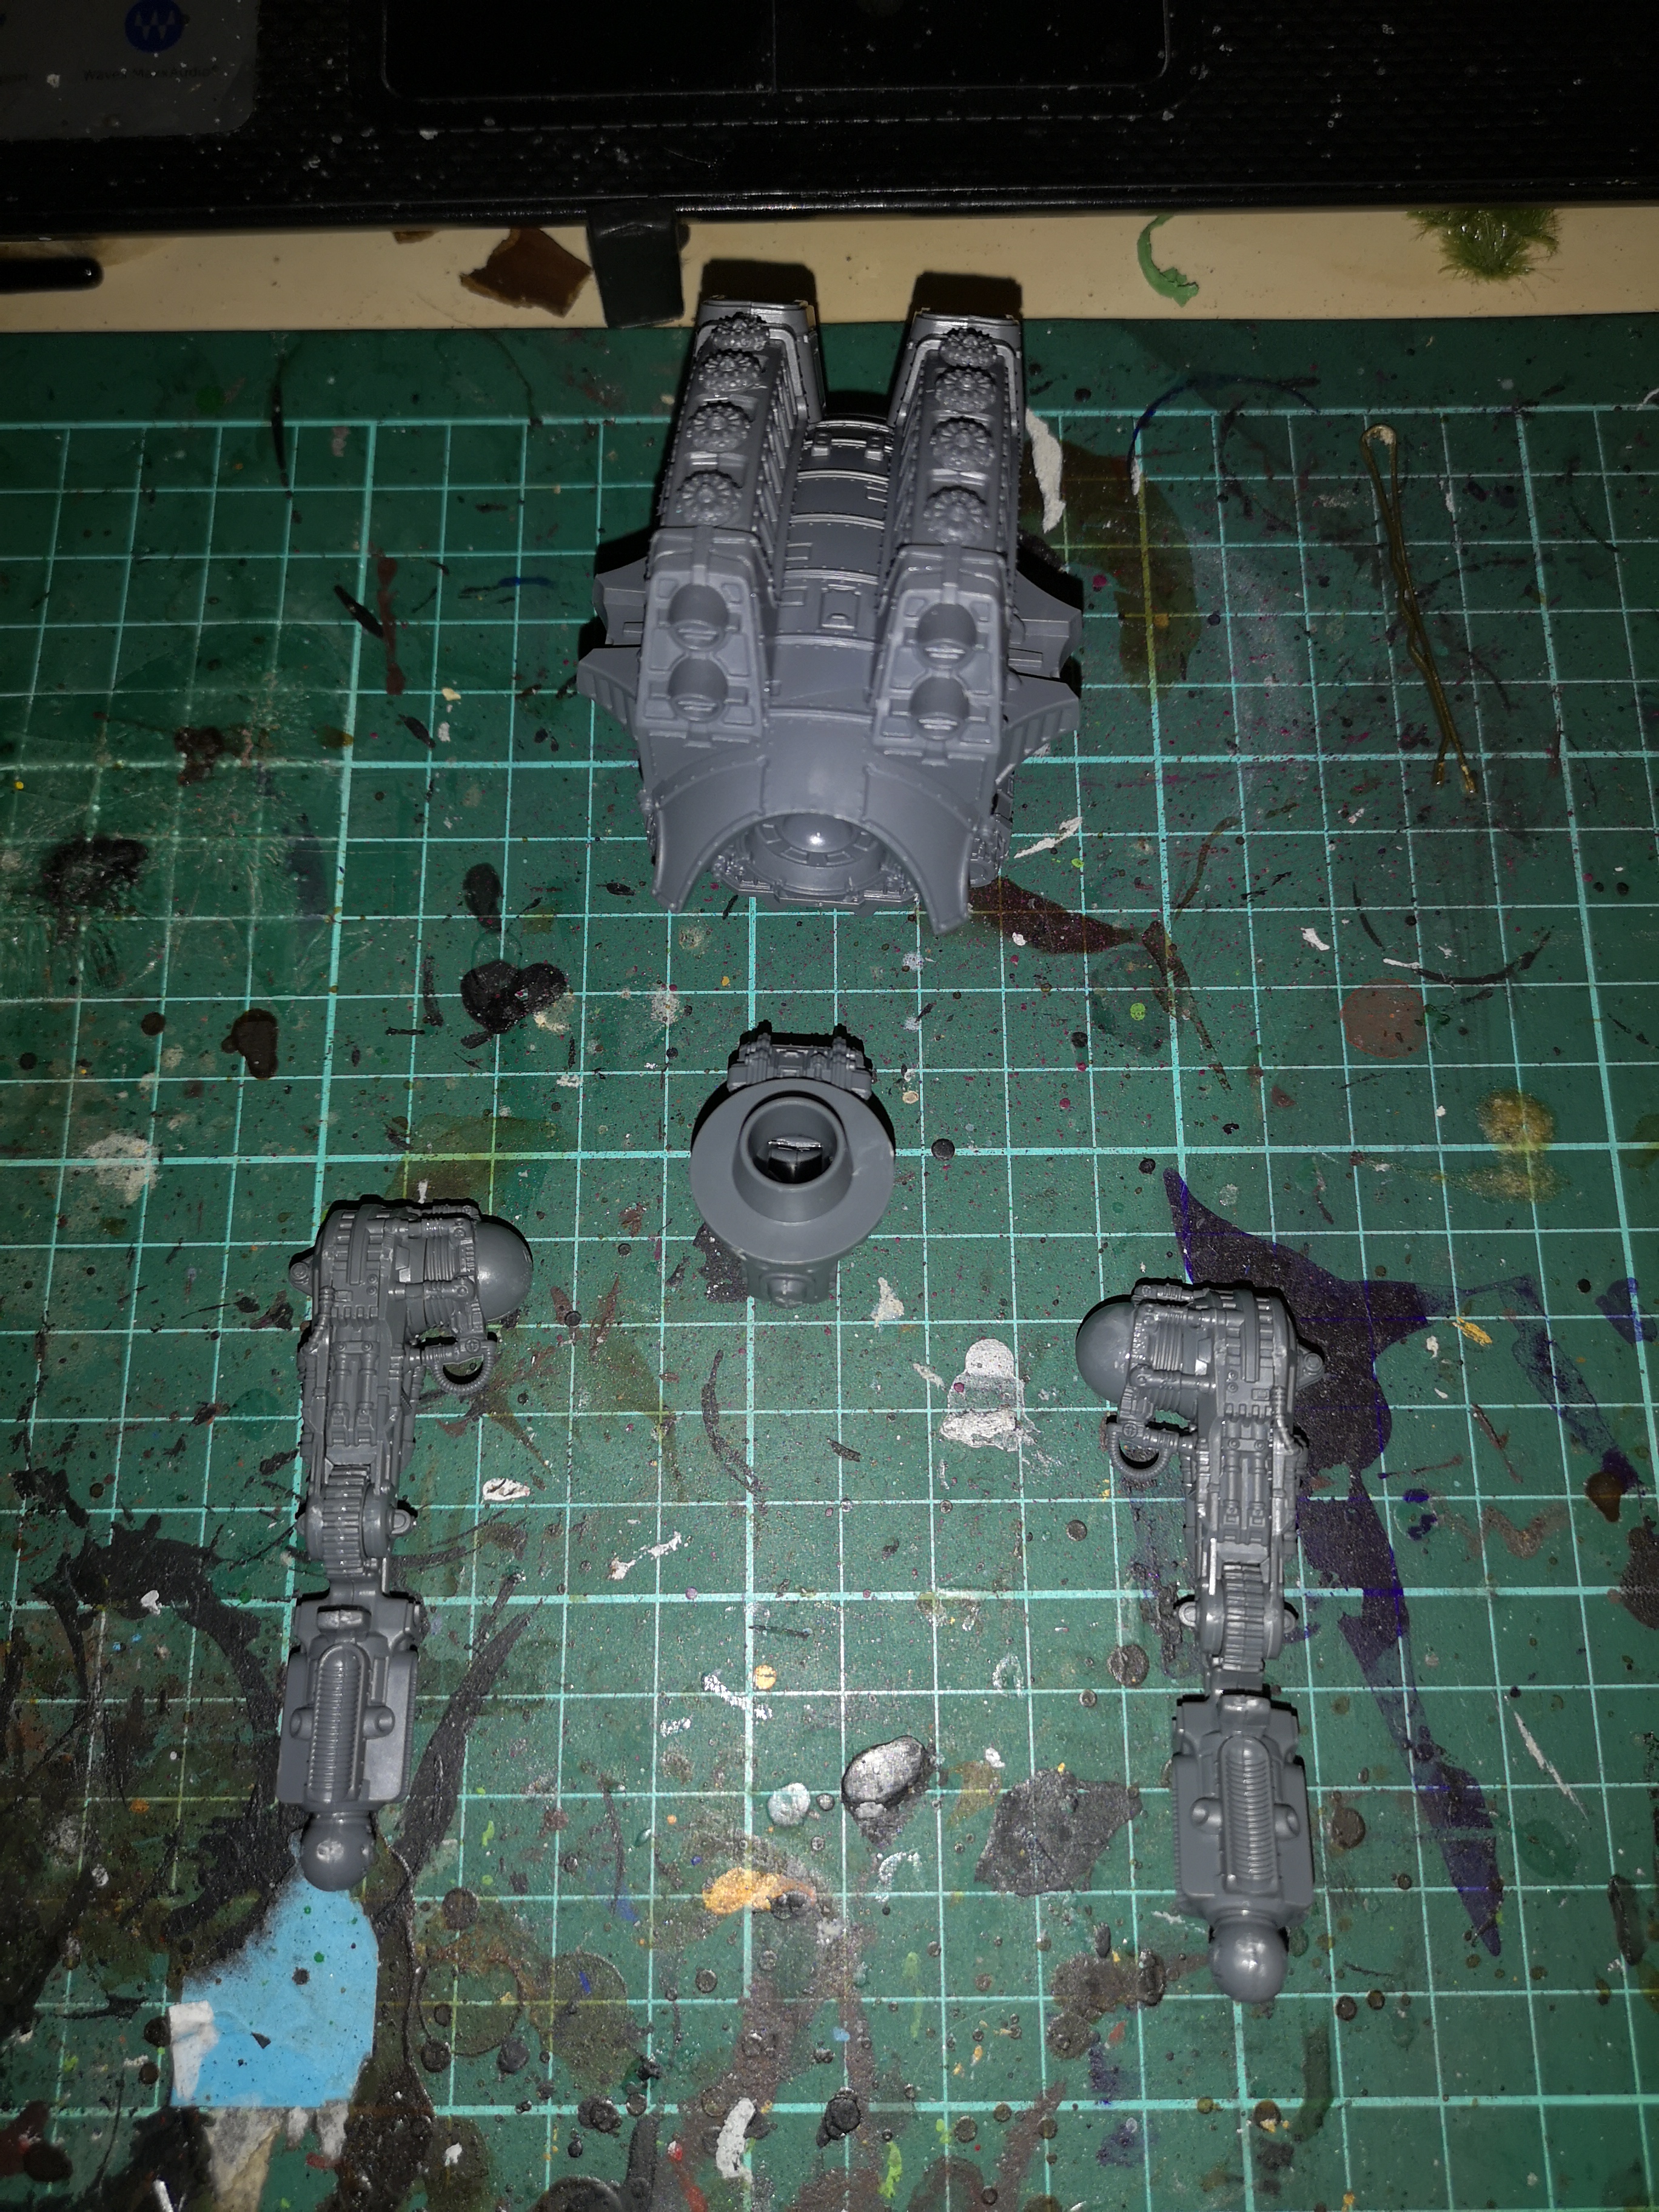
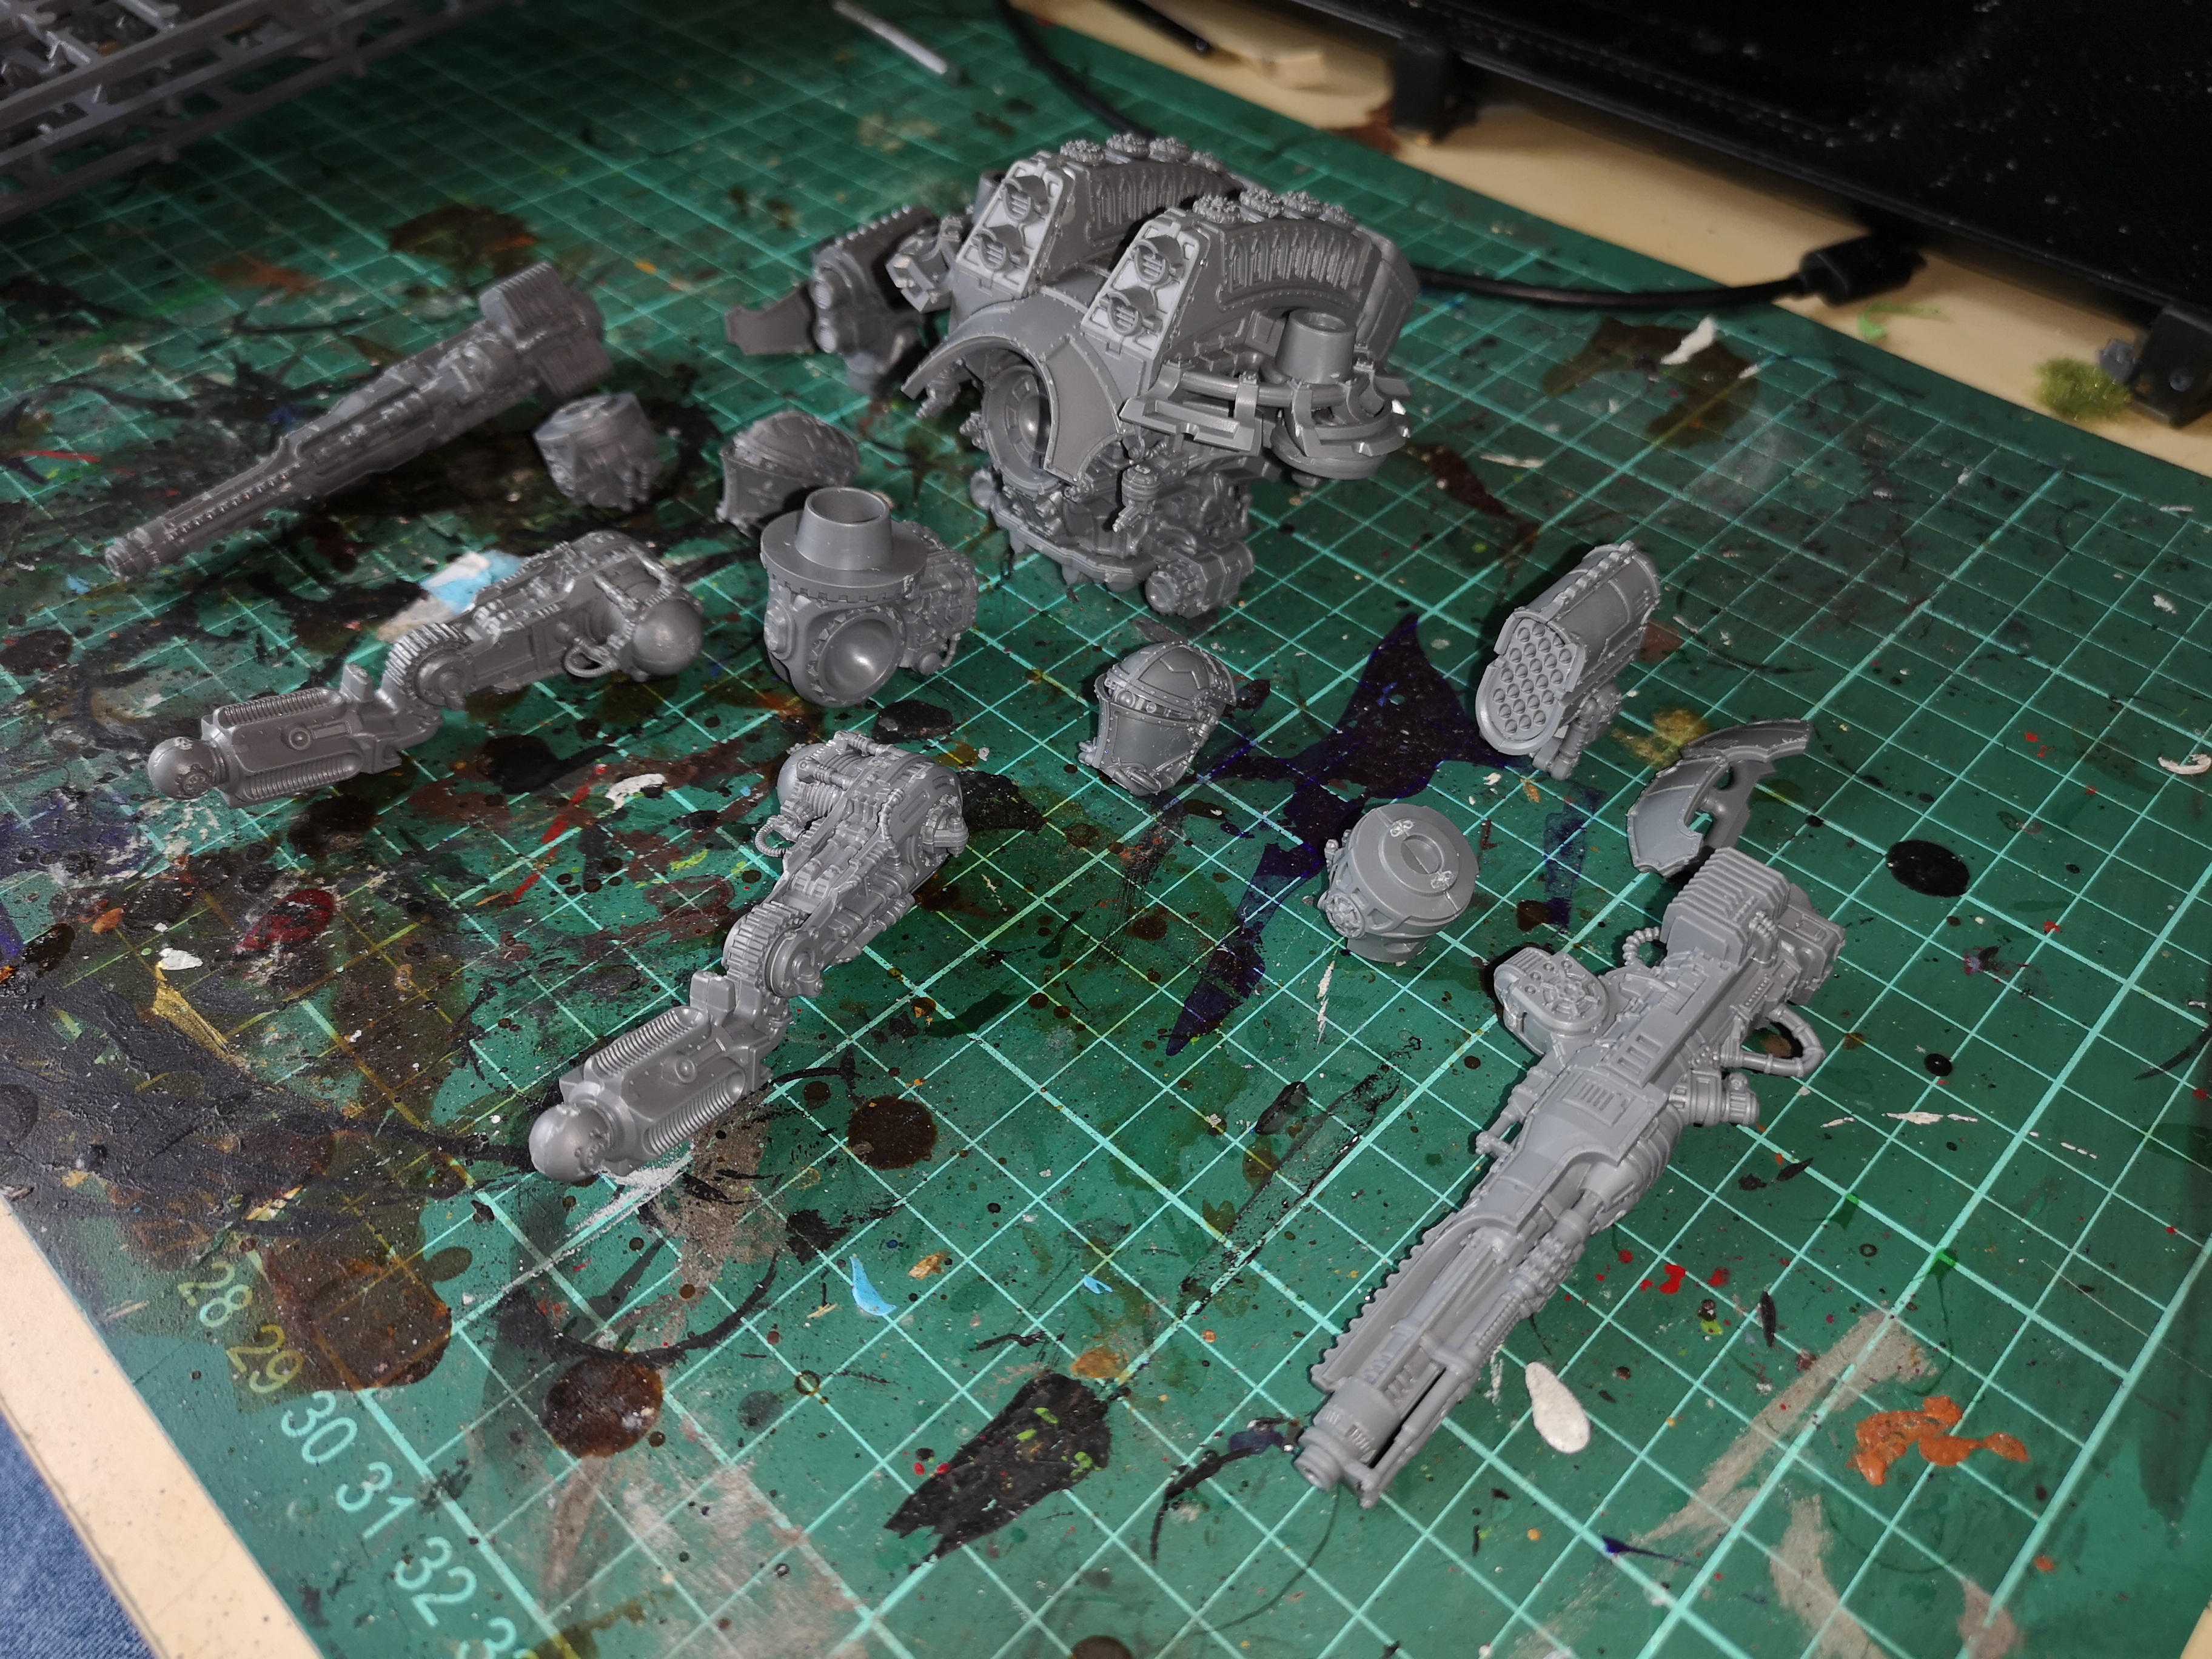
First evening down and I’ve got the hips, legs and most of the torso of the first warlord built. I’m leaving the armour panels off for painting and should get most of not all the rest of the skeleton finished tonight.
Watched a couple of videos on magnetising which mainly settled on 5x1mm magnets so I’ve ordered some ready for that stage.
Also started to think about posing and bases. I’m a little torn between mainly bare (other than the usual sand etc) or by adding some scale models or buildings (being stood on or otherwise). Also wondering about building up some thin cork or so to show them sinking into the terrain a little.
If anyone has any thoughts, feel free to add them in the comments…