


Blipvertus multigame Dwarf army


Recommendations: 662
About the Project
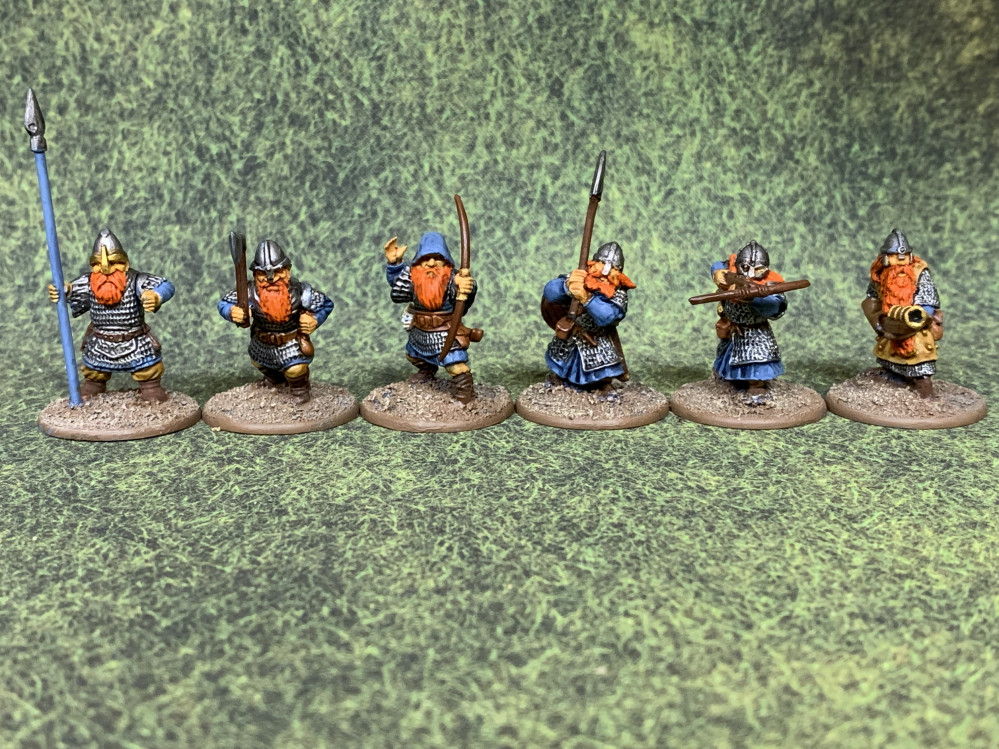
It started out simple. I wanted a Viking army for Saga but I wanted it to be different because everyone does Vikings. So instead I did seven other armies. I finally hit upon the idea of using Dwarves as my Viking stand in. Dwarves are also a part of Norse mythology and they’re ill tempered and armed with axes. Seems like a natural fit! When Oathmark came out with a plastic Dwarf infantry box I found everything I’d need for a Saga army. You can make dwarves armed with bows, something that is pretty rare for most Dwarf models, as well as spear and axe armed dwarves. You can also equip figures with a weapon in each hand making them a great substitute for Berserkers. One of the nice things about this box is all the figures are wearing chainmail and to me, that’s quintessentially dwarfish. Originally I was going to make the spear armed dwarves my warriors and my axe and sword armed dwarves as my hearthguard. But Oathmark came out with a box of Heavy Infantry Dwarves so I may use them as hearthguard. These also feature chainmail but also have segmented armor and some platemail. They also feature a lot of steel face masks integrated into their helmets. This is something I love because Tolkien mentions something similar in The Silmarillion about the dwarves in Middlearth. With my Viking army all planned out and a couple of boxes of minis, I was set. Huzzah! Then Age of Magic arrived. And Warlords of Erewhon. The unit options in both games increased the variety of units a Dwarf army could take. So I set about trying to find suitable minis that would look good together. I found a nice set of crossbow armed dwarves from Conqueror. Conquer also had dwarves armed with two-handed axes. Both units are also in chainmail thus making it easier for them to blend in. I then found some chainmail wearing handgunners from Mirliton. Because I’m getting minis from several different ranges I worried about how to make them look like a cohesive army. I asked our local guru, Sean Twiddy. He’s one of the smart guys that teaches art at one of the local universities and uses miniature painting in some of his lessons. Sean is also an avid Saga player. He suggested using the same color pallet for the whole army in order to tie it all together. So I tried it and painted up a test color scheme and I think it’ll work. The header/thumbnail photo is of the test minis. I’m going to try to document how I got to those finished images. I’m going to try to show and explain every step as well as show the sources of the materials used.
Related Game: SAGA
Related Company: Studio Tomahawk
Related Genre: Fantasy
This Project is Active
Well, that didn’t work.
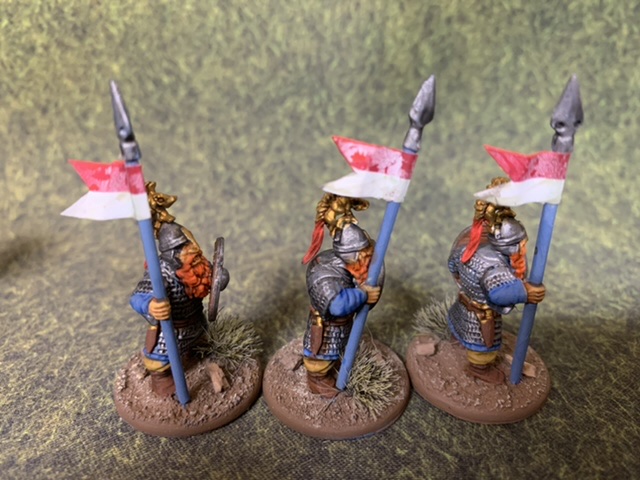 As the last step for these figures, I sprayed them with Army Painter Matt Varnish and as you can see, it discolored the paper pennants. Lesson learned? Put the pennants on after the varnish step.
 Project Update
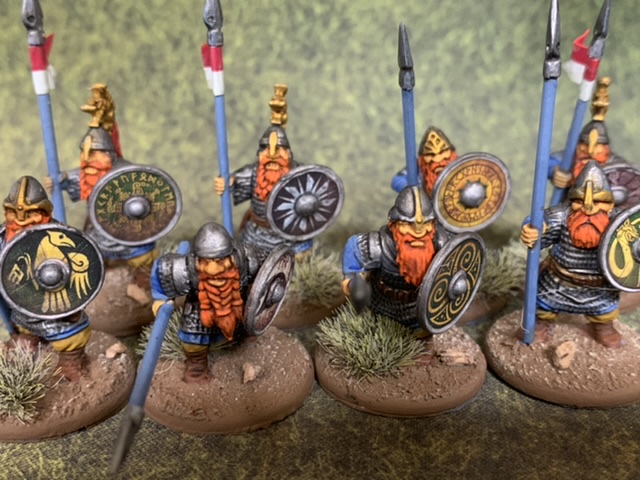
This is the second unit of spearmen. Either the exception of some pennants, they’re the same as the prior unit. Here are just some in progress shots.
 Most of the base colors blocked in. Pretty much just the beards to do.
  Beards done.
 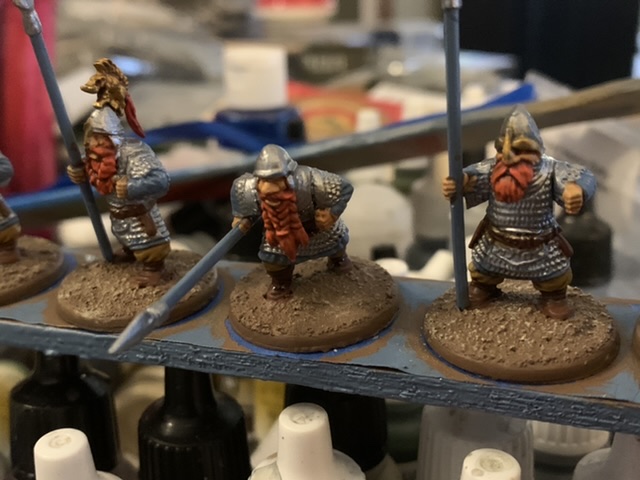 Beginning to add washes. Here the faces, beards and leather gear have been washed.
 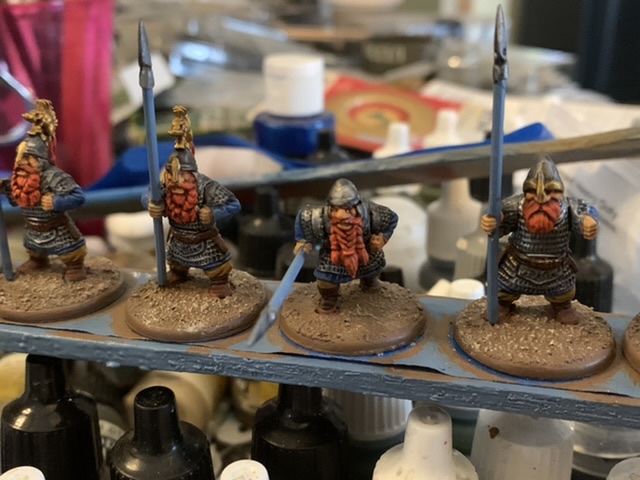 Here the armor has been washed. At this point the washes are done.
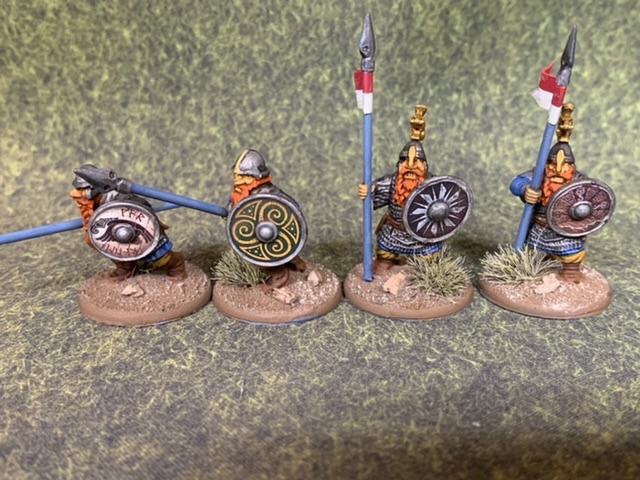
 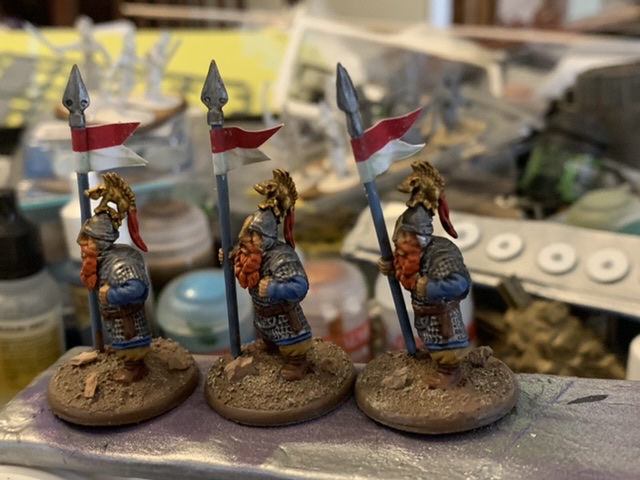 Added some pennants from Flags of War to mark out unit leaders. Saga doesn’t use them but Lords of Erehwon does. I cut the pennants out with some small scissors and the coated the backs with PVA glue and the wrapped them around the spear haft.
 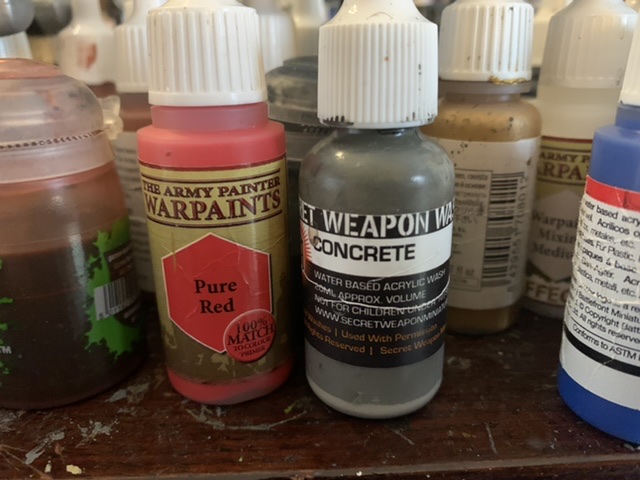 To cover the edges of the pennants where the white paper shows through I used some Army Painter Pure Red on the red areas and some Secret Weapons Concrete wash for the white areas.
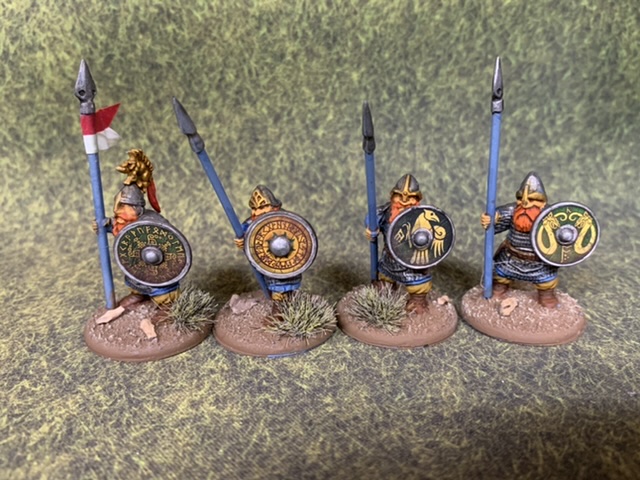
  Here are the pennants after the touch ups.
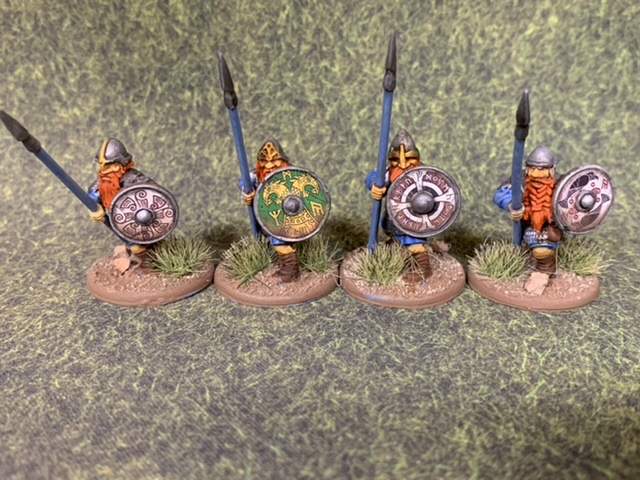
 First unit of spearmen done.
Once the shields were finished, I test fitted the shields to the figures. I then used a file to remove paint on the arm and on the shield so that only bare plastic is exposed. I then glued the shields in place with Testors styrene plastic glue. Once dry, I sprayed all the minis with Army Painter Ant Shine Matt Varnish.


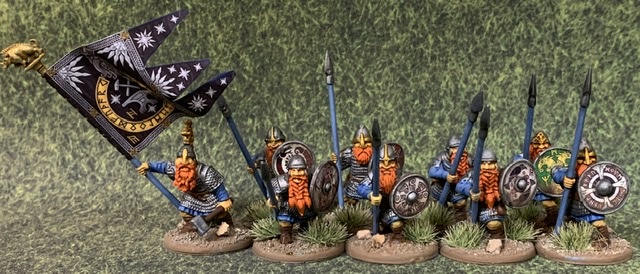 Nine down. Seventeen to go.
 Flags!
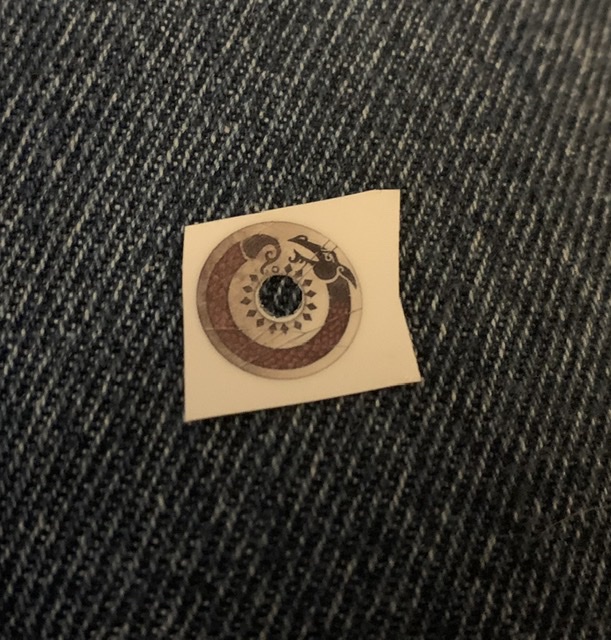
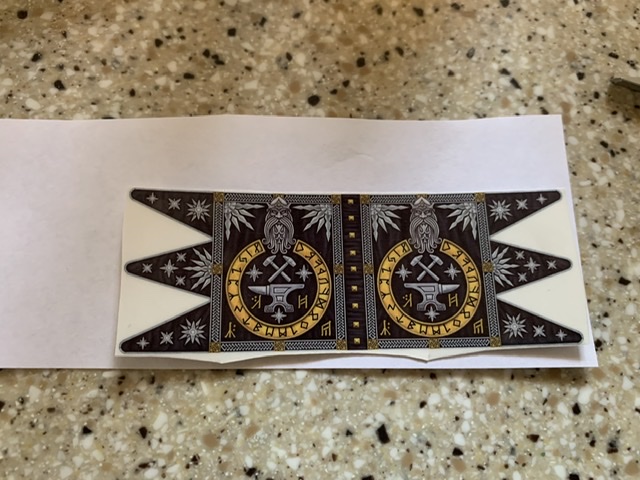 Well, just the one flag. After cutting the flag out I used a plain sheet of white stationery and cut it slightly larger than the transfer.
 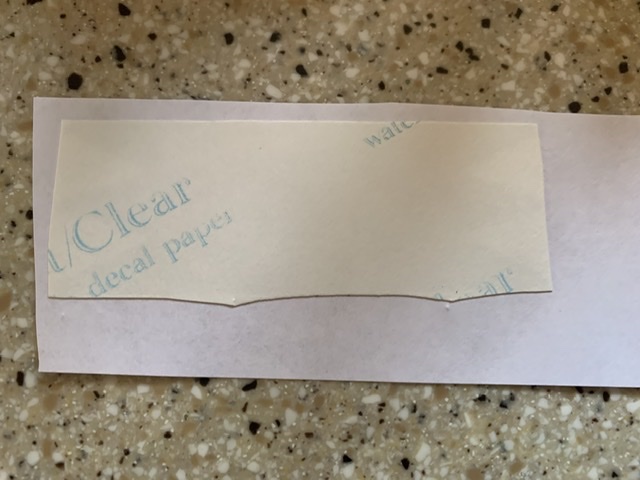 I then peeled off the plastic cover and applied the transfer face down pressing it firmly onto the paper. I then wetted the back of the transfer sheet and peeled it off. I then left this alone until it was dry.
 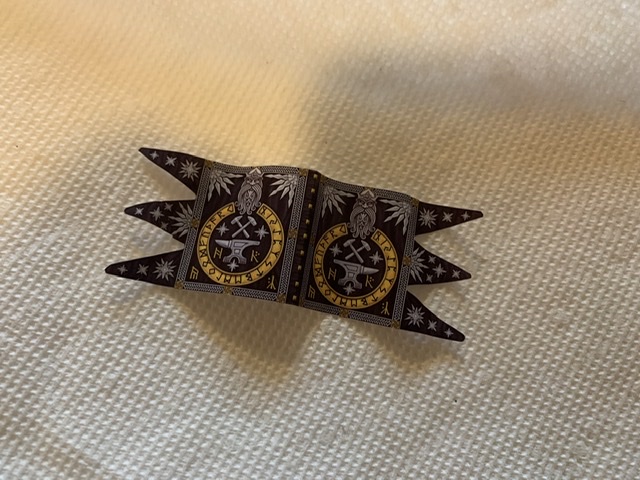 I then trimmed the paper as closely as possible to the transfer using the smallest pair of scissors I could find. I then pre shaped the flag by wrapping it around some paint brush handles.
 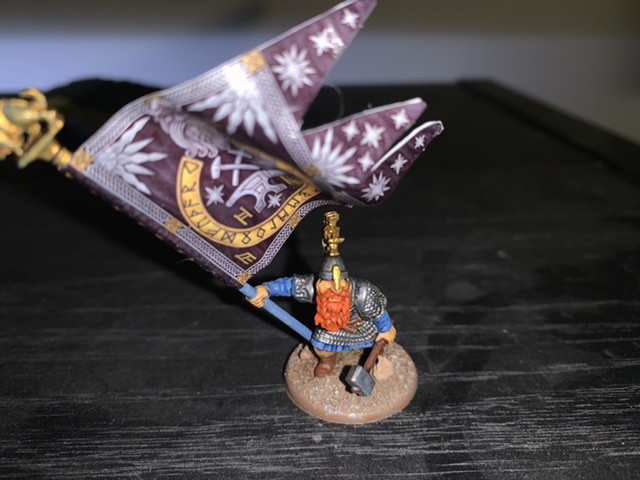 I then used Elmer’s glue thinned slightly with water then throughly covered the back with a brush. I then wrapped the flag around the banner pole and lined up the edges and shaped the flag, again using a pair brush handle.
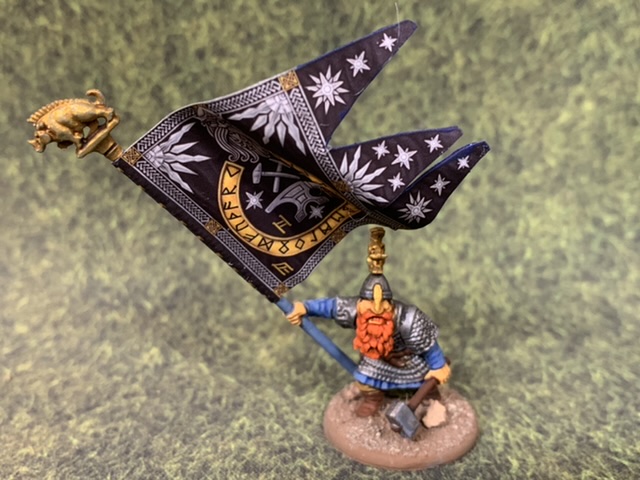
 Once the flag had dried, I painted the edges where white was showing with Vallejo Prussian Blue or Army Painter Plate Mail Metal.
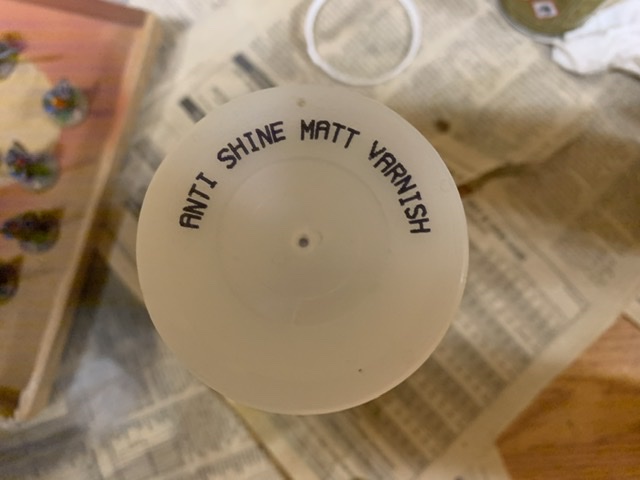 With everything now done, I sprayed all the spearmen and the banner bearer with Army Painter with Anti Shine Matt Varnish.
 Shields Pt 3
 With the transfers in place I touched up the rims so there’s no gaps between the transfers and rims.
 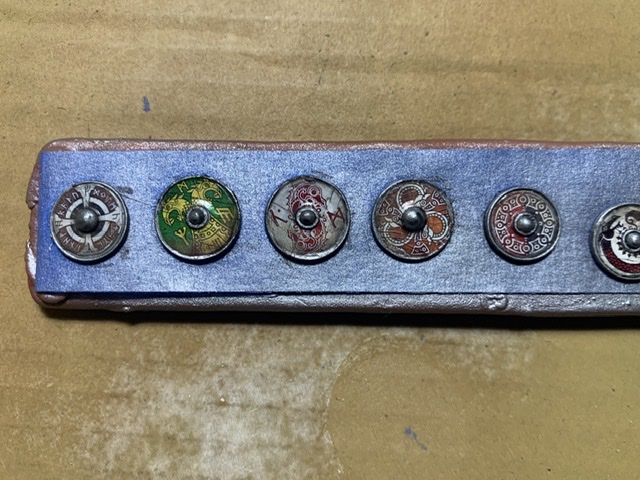 I then washed the rims and boss with GW Nuln Oil.
  This shot is a shot of the back of the shields before any touch ups.
 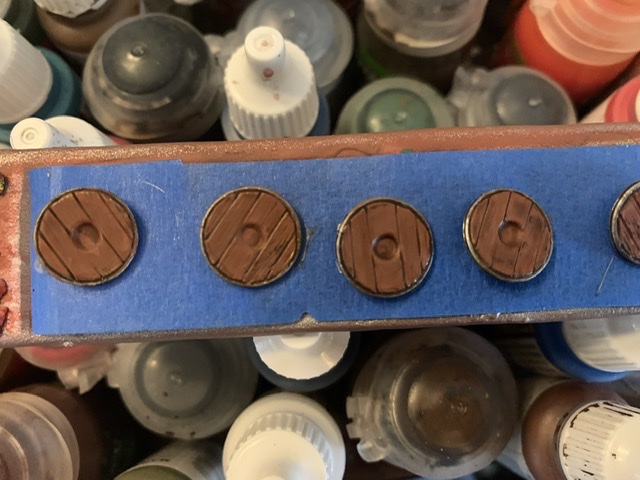 After clean up the rims and shield backs I washed the rims it’s GW Nuln Oil and the woode with GW Seraphim Sepia.
 Shields Pt 2
The decals or transfers are from Little Big Man Studios however these specific decals are not available from the LBMS site but only through Oathmark. I’m not exactly sure why.
In any event, the LBMS instructions are quite good. My specific suggestion is that as soon as you receive the transfer sheet, open the package and find an inconspicuous corner of the sheet and very carefully peel back the plastic covering, but do not entirely remove it. Put it gently back in place. By doing this you’ll make it easier to remove the plastic later and make it less likely that the transfer will fuse to the plastic. And by putting the plastic back in place you’ll protect the transfer until ready for use.
 Cut the transfer out and then carefully the transfer as close as possible to the design.
  Dry fit the transfer to the shield to make sure it’s the right size. One annoying fact of the Oathmark dwarves is that there are several different shield sizes. Fortunately the LBMS transfers are made in all the right sizes but you’ll have to marry up the right sized transfer to the shield.
  Once you’re satisfied carefully remove the plastic covering the transfer. The now exposed transfer is sticky and you want to put the sticky size down and in contact with the shield face. Once in place, press down firmly. Once in place, apply water to the transfer paper. Get it thoroughly soaked, then press down firmly again. Then peel off the wet paper.
 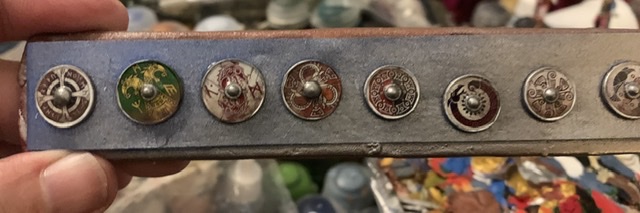 With the transfer now in place and exposed, use Micro Sol by Micromark if necessary, to help the transfer conform to any raised areas on the shield. Micro Sol essentially softens the transfer film allowing it to conform to contours.
 Shields Pt 1
 After cutting the shields off the sprues and doing some sanding, I affixed them to a paint stirrer and sprayed the backs Army Painter Fur Brown.
 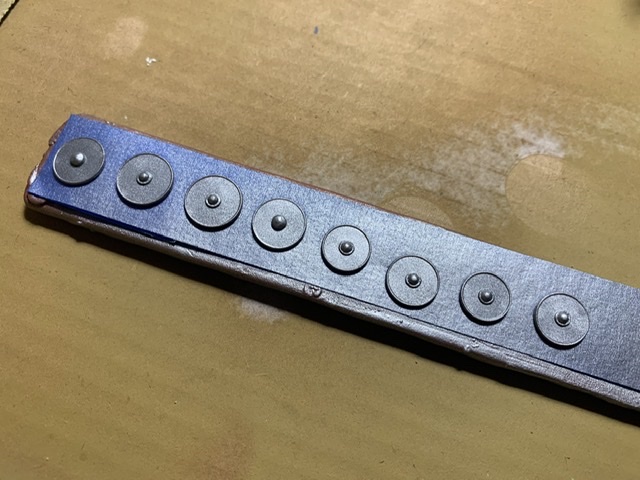 I then flipped them over and sprayed the fronts with Army Painter Plate Mail Metal.
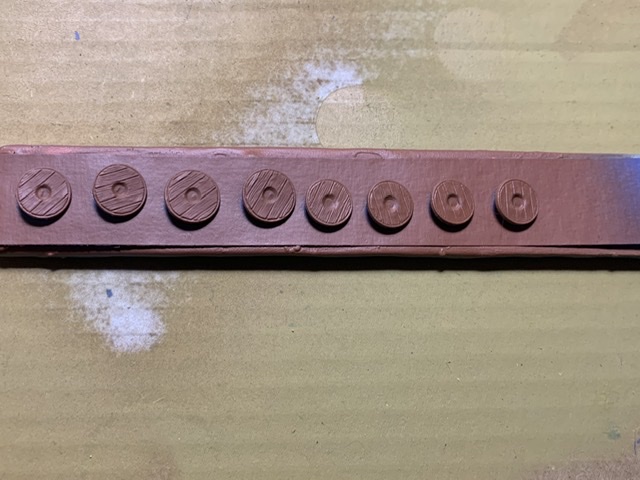
  I then hand painted the fronts white leaving the boss and rim in metal.


