![Make Your Own Star Wars: Legion Heroes! Rebel Agent & Officer Set Review [7 Days Early Access]](https://images.beastsofwar.com/2025/12/unboxing-atomic-mass-games-star-wars-legion-rebel-alliance-agent-_-officer-coverimage-225-127.jpg)


Blipvertus multigame Dwarf army


Recommendations: 662
About the Project
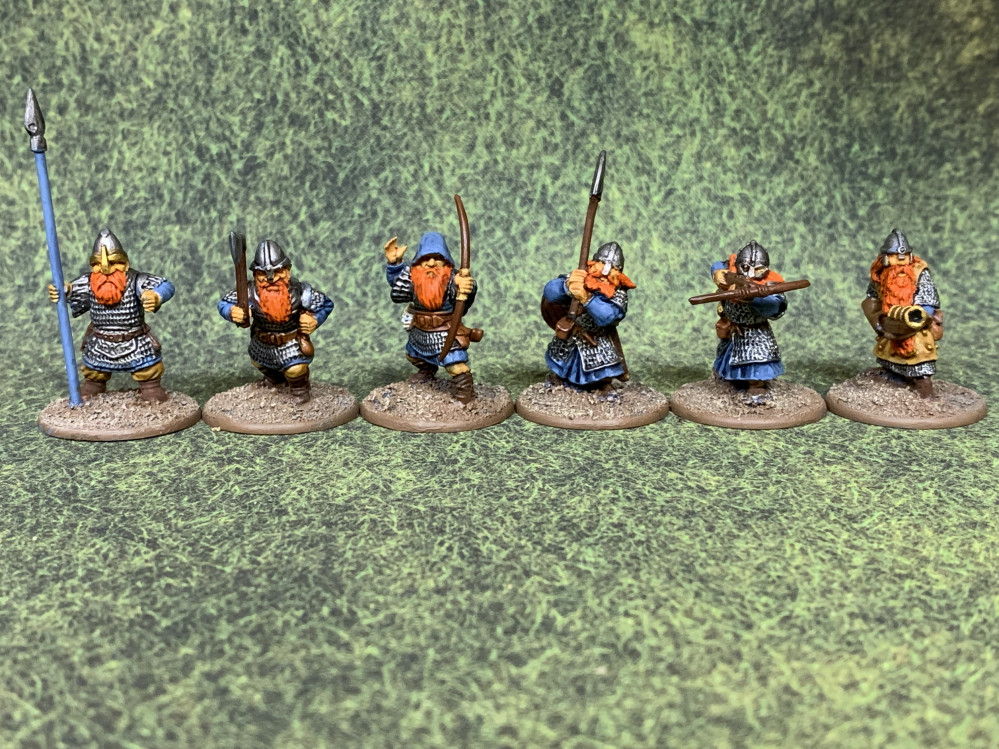
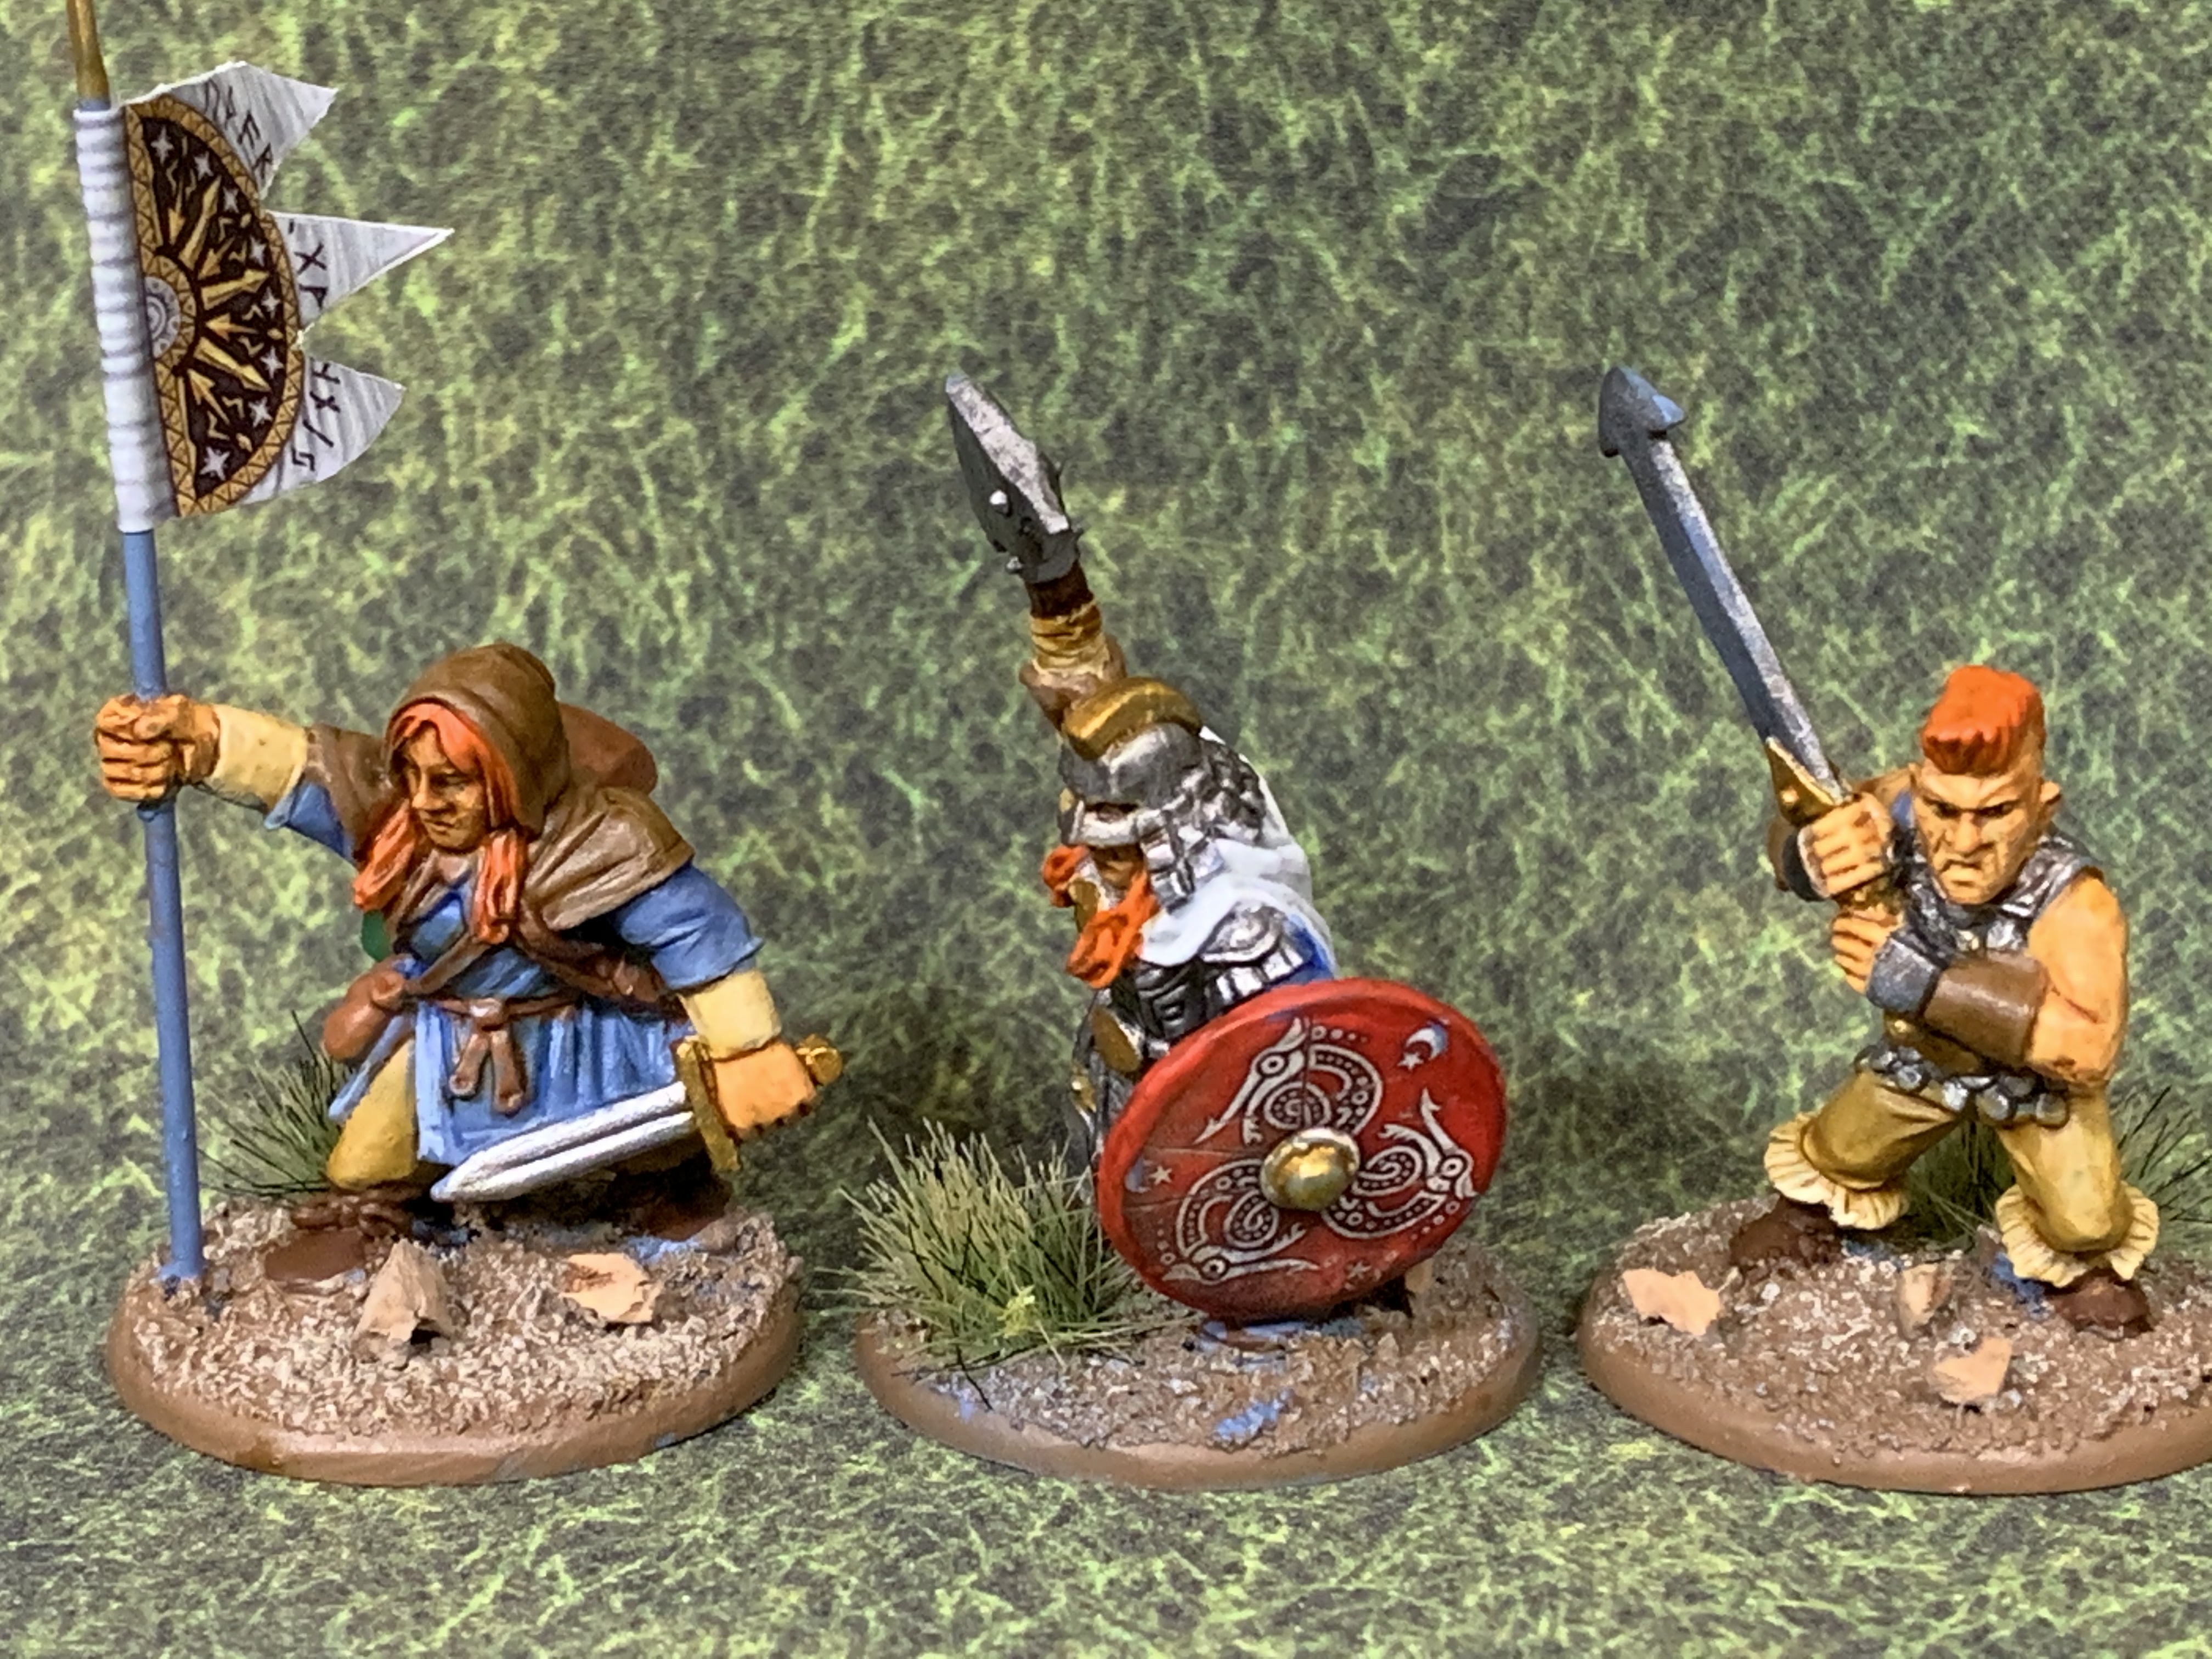
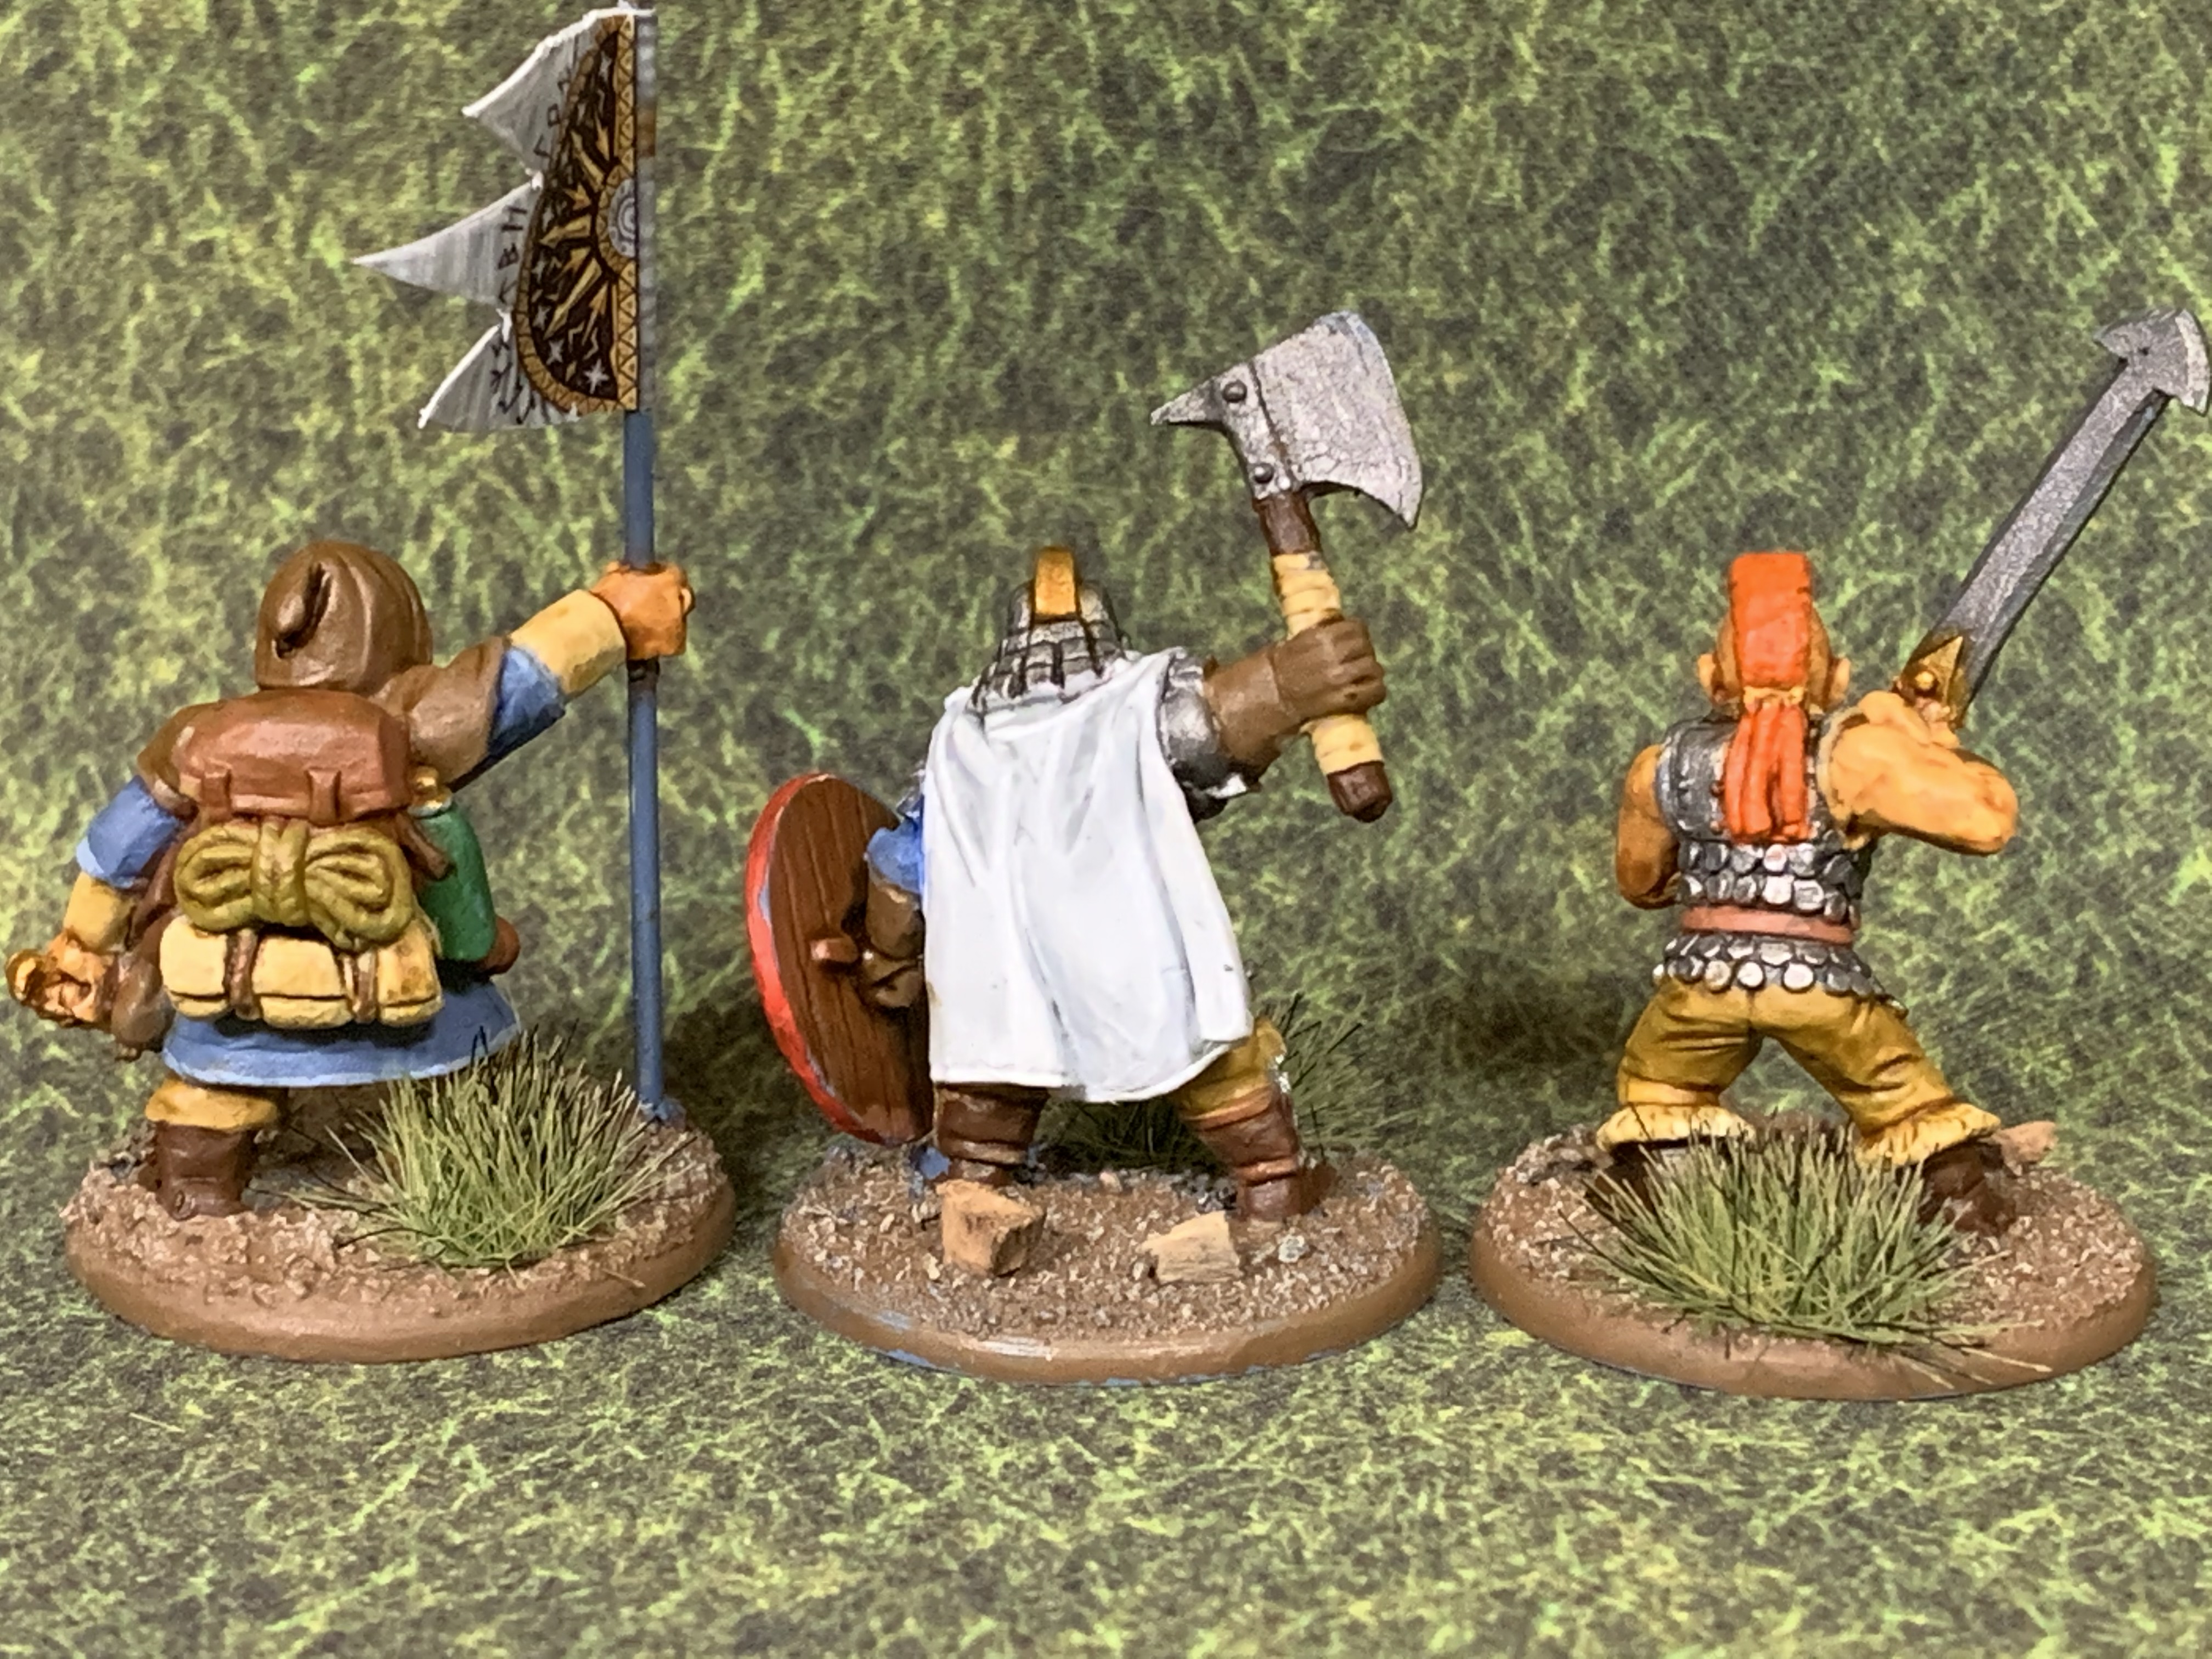
It started out simple. I wanted a Viking army for Saga but I wanted it to be different because everyone does Vikings. So instead I did seven other armies. I finally hit upon the idea of using Dwarves as my Viking stand in. Dwarves are also a part of Norse mythology and they’re ill tempered and armed with axes. Seems like a natural fit! When Oathmark came out with a plastic Dwarf infantry box I found everything I’d need for a Saga army. You can make dwarves armed with bows, something that is pretty rare for most Dwarf models, as well as spear and axe armed dwarves. You can also equip figures with a weapon in each hand making them a great substitute for Berserkers. One of the nice things about this box is all the figures are wearing chainmail and to me, that’s quintessentially dwarfish. Originally I was going to make the spear armed dwarves my warriors and my axe and sword armed dwarves as my hearthguard. But Oathmark came out with a box of Heavy Infantry Dwarves so I may use them as hearthguard. These also feature chainmail but also have segmented armor and some platemail. They also feature a lot of steel face masks integrated into their helmets. This is something I love because Tolkien mentions something similar in The Silmarillion about the dwarves in Middlearth. With my Viking army all planned out and a couple of boxes of minis, I was set. Huzzah! Then Age of Magic arrived. And Warlords of Erewhon. The unit options in both games increased the variety of units a Dwarf army could take. So I set about trying to find suitable minis that would look good together. I found a nice set of crossbow armed dwarves from Conqueror. Conquer also had dwarves armed with two-handed axes. Both units are also in chainmail thus making it easier for them to blend in. I then found some chainmail wearing handgunners from Mirliton. Because I’m getting minis from several different ranges I worried about how to make them look like a cohesive army. I asked our local guru, Sean Twiddy. He’s one of the smart guys that teaches art at one of the local universities and uses miniature painting in some of his lessons. Sean is also an avid Saga player. He suggested using the same color pallet for the whole army in order to tie it all together. So I tried it and painted up a test color scheme and I think it’ll work. The header/thumbnail photo is of the test minis. I’m going to try to document how I got to those finished images. I’m going to try to show and explain every step as well as show the sources of the materials used.
Related Game: SAGA
Related Company: Studio Tomahawk
Related Genre: Fantasy
This Project is Active
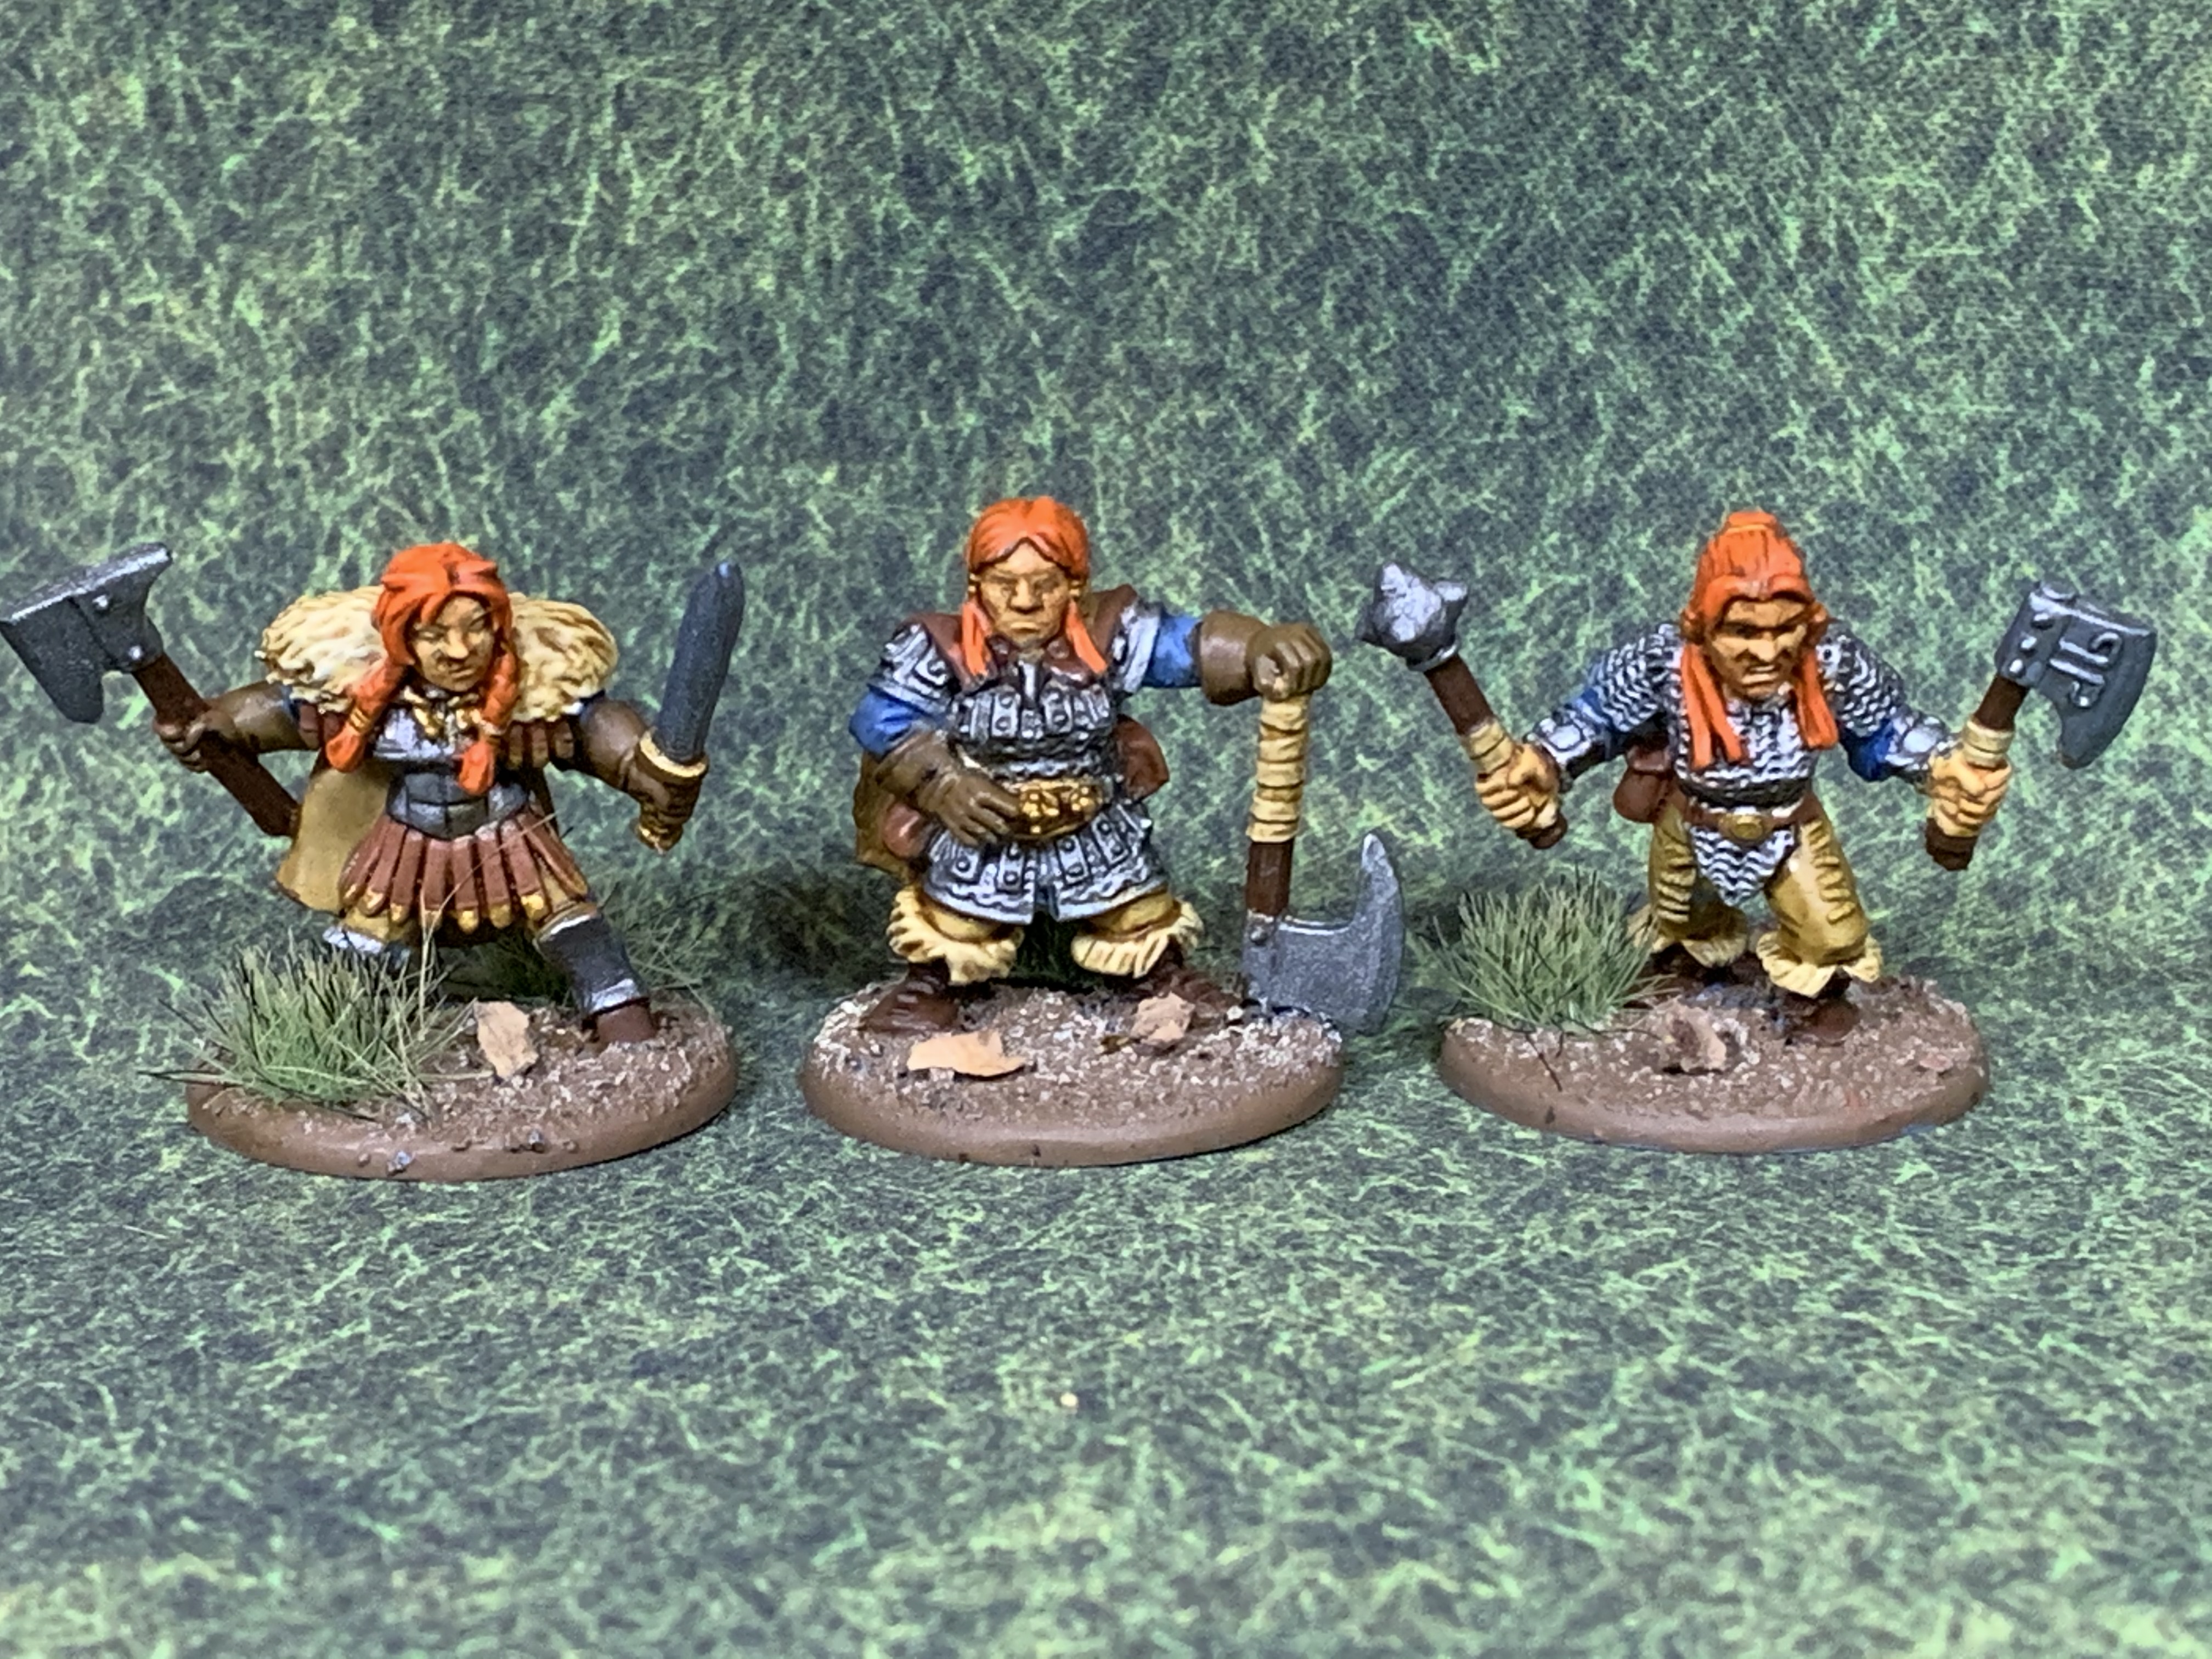
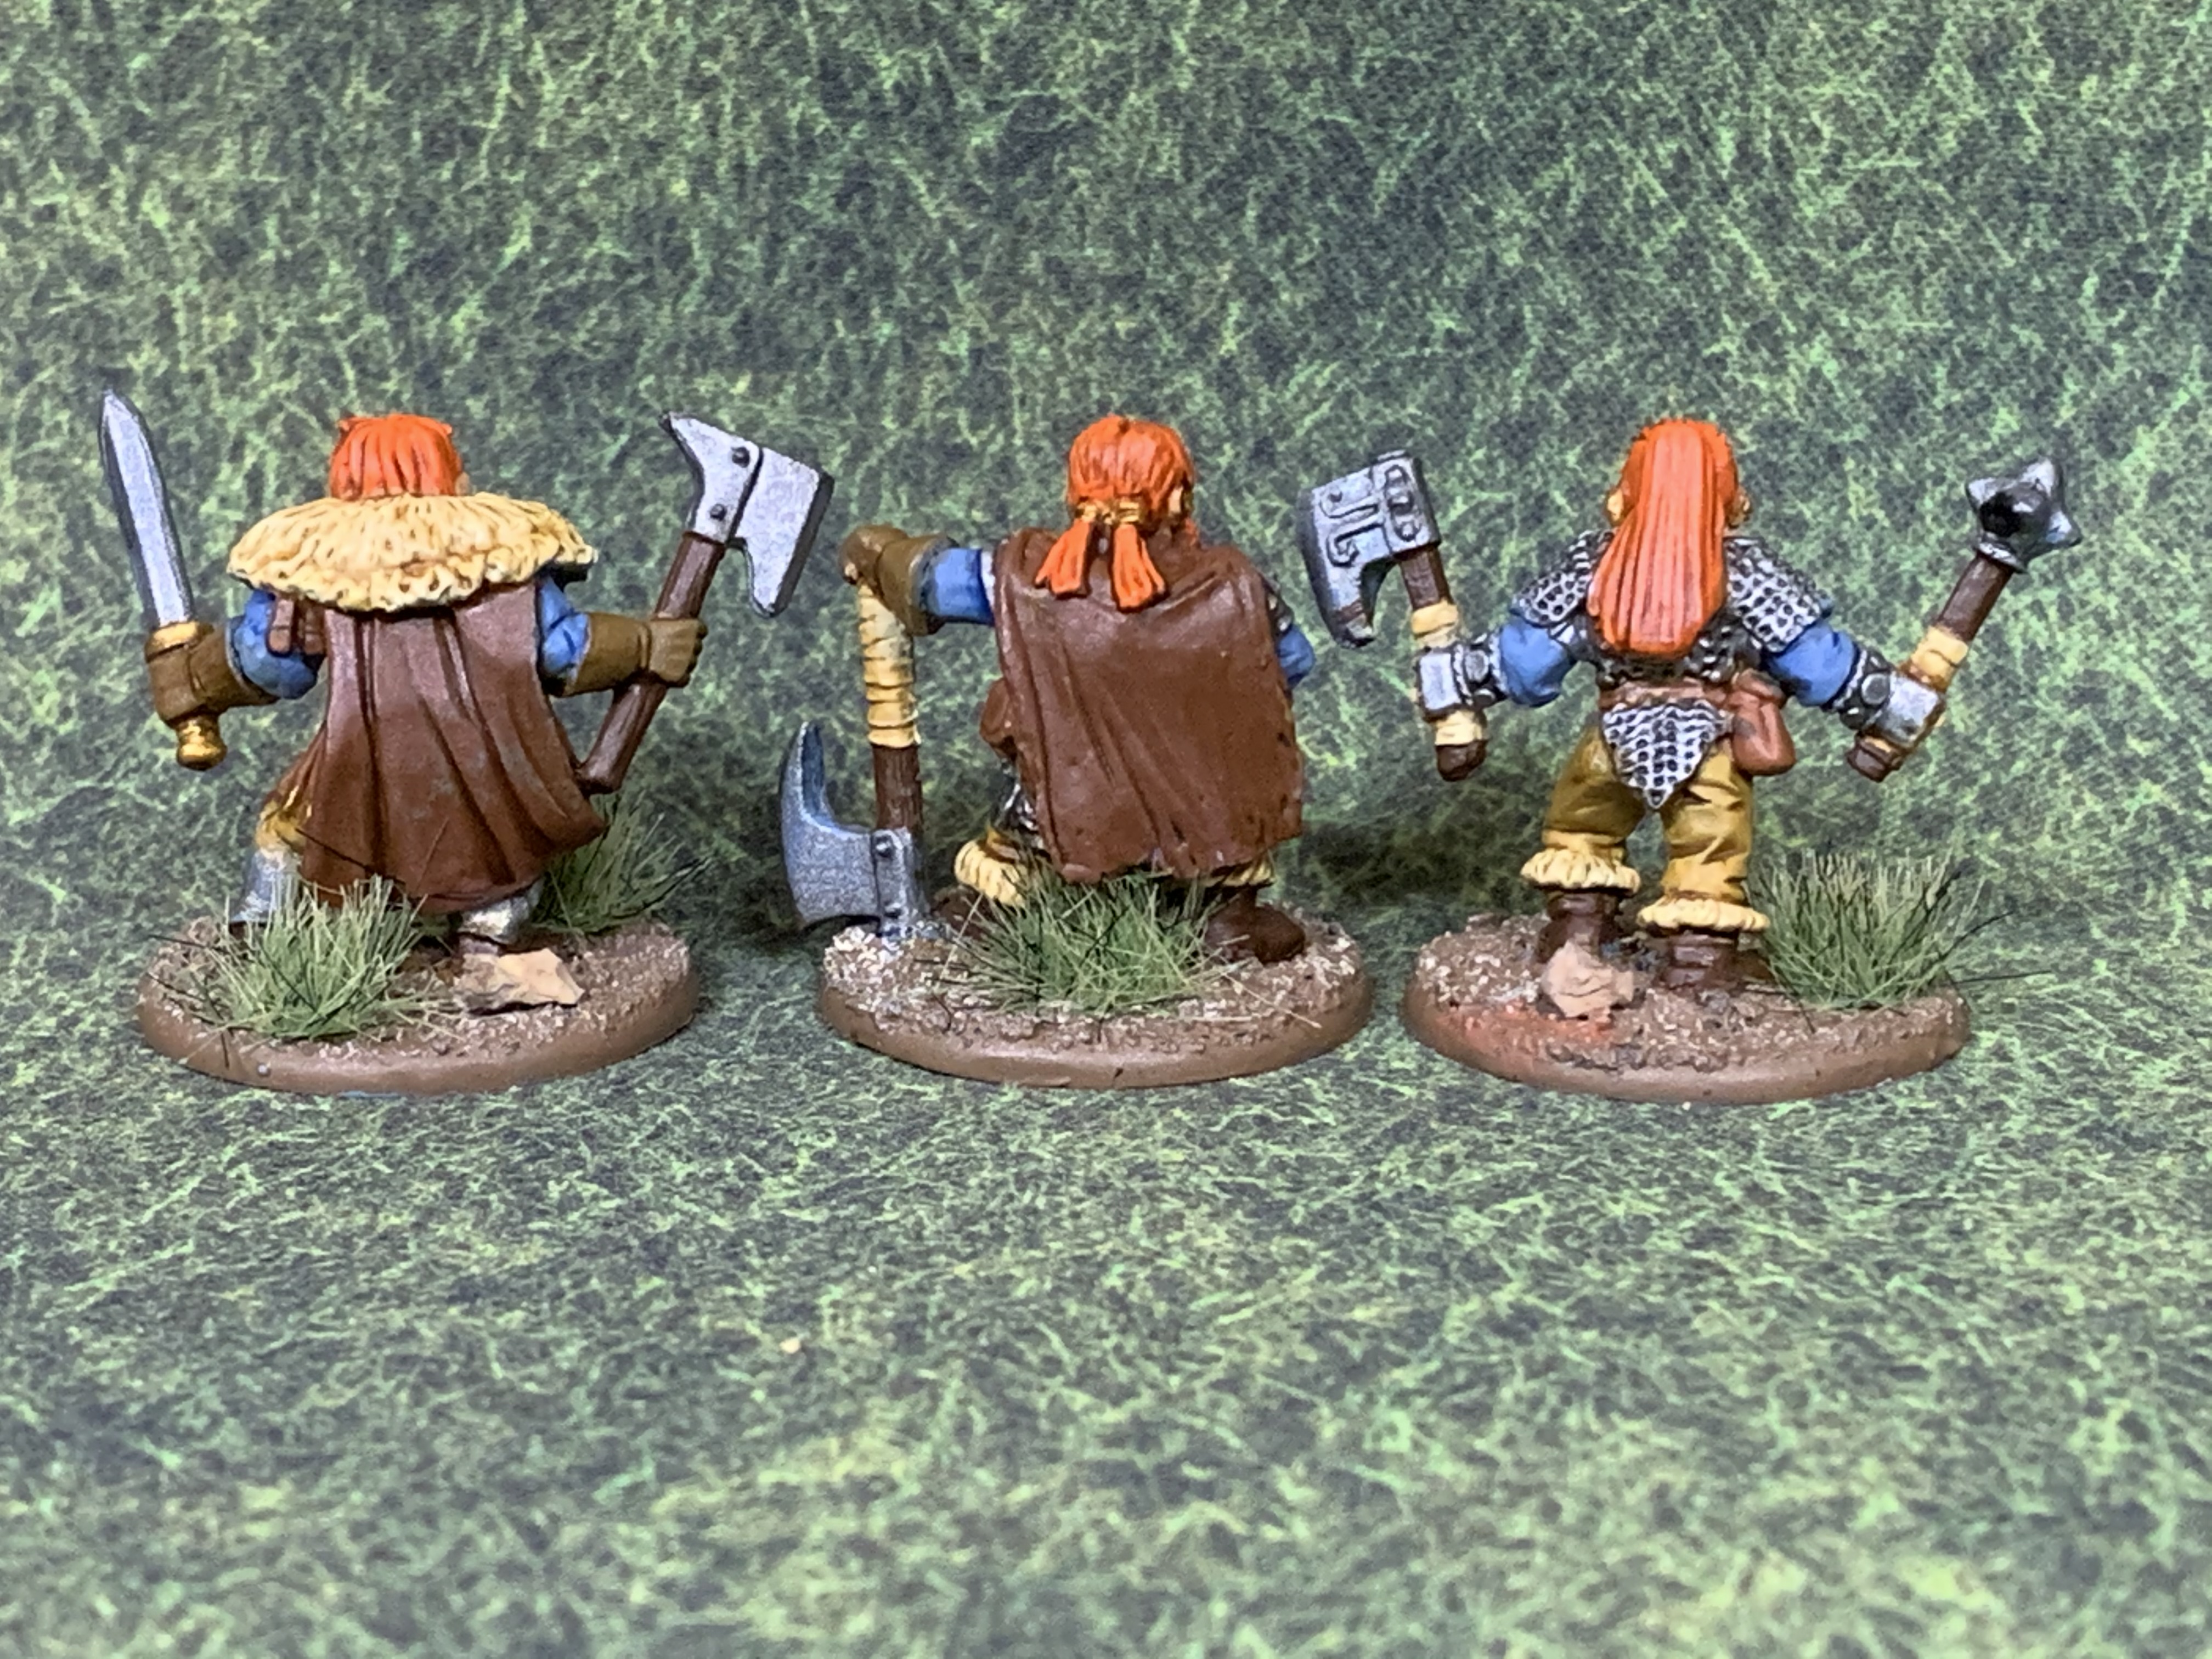
Archers
Up next will be a 12 man unit of archers. That’s a 1 point unit of levy for Saga. Warlords of Erehwon typically has 5 man units, that can be expanded, and there’s a unit leader that has slightly different stats. I’ll make two of the figures with helmets and designate them as unit leaders. The rest will have soft caps, hoods or will be bare headed. Saga doesn’t have unit leaders so the helmets will just add some variety to the figures.
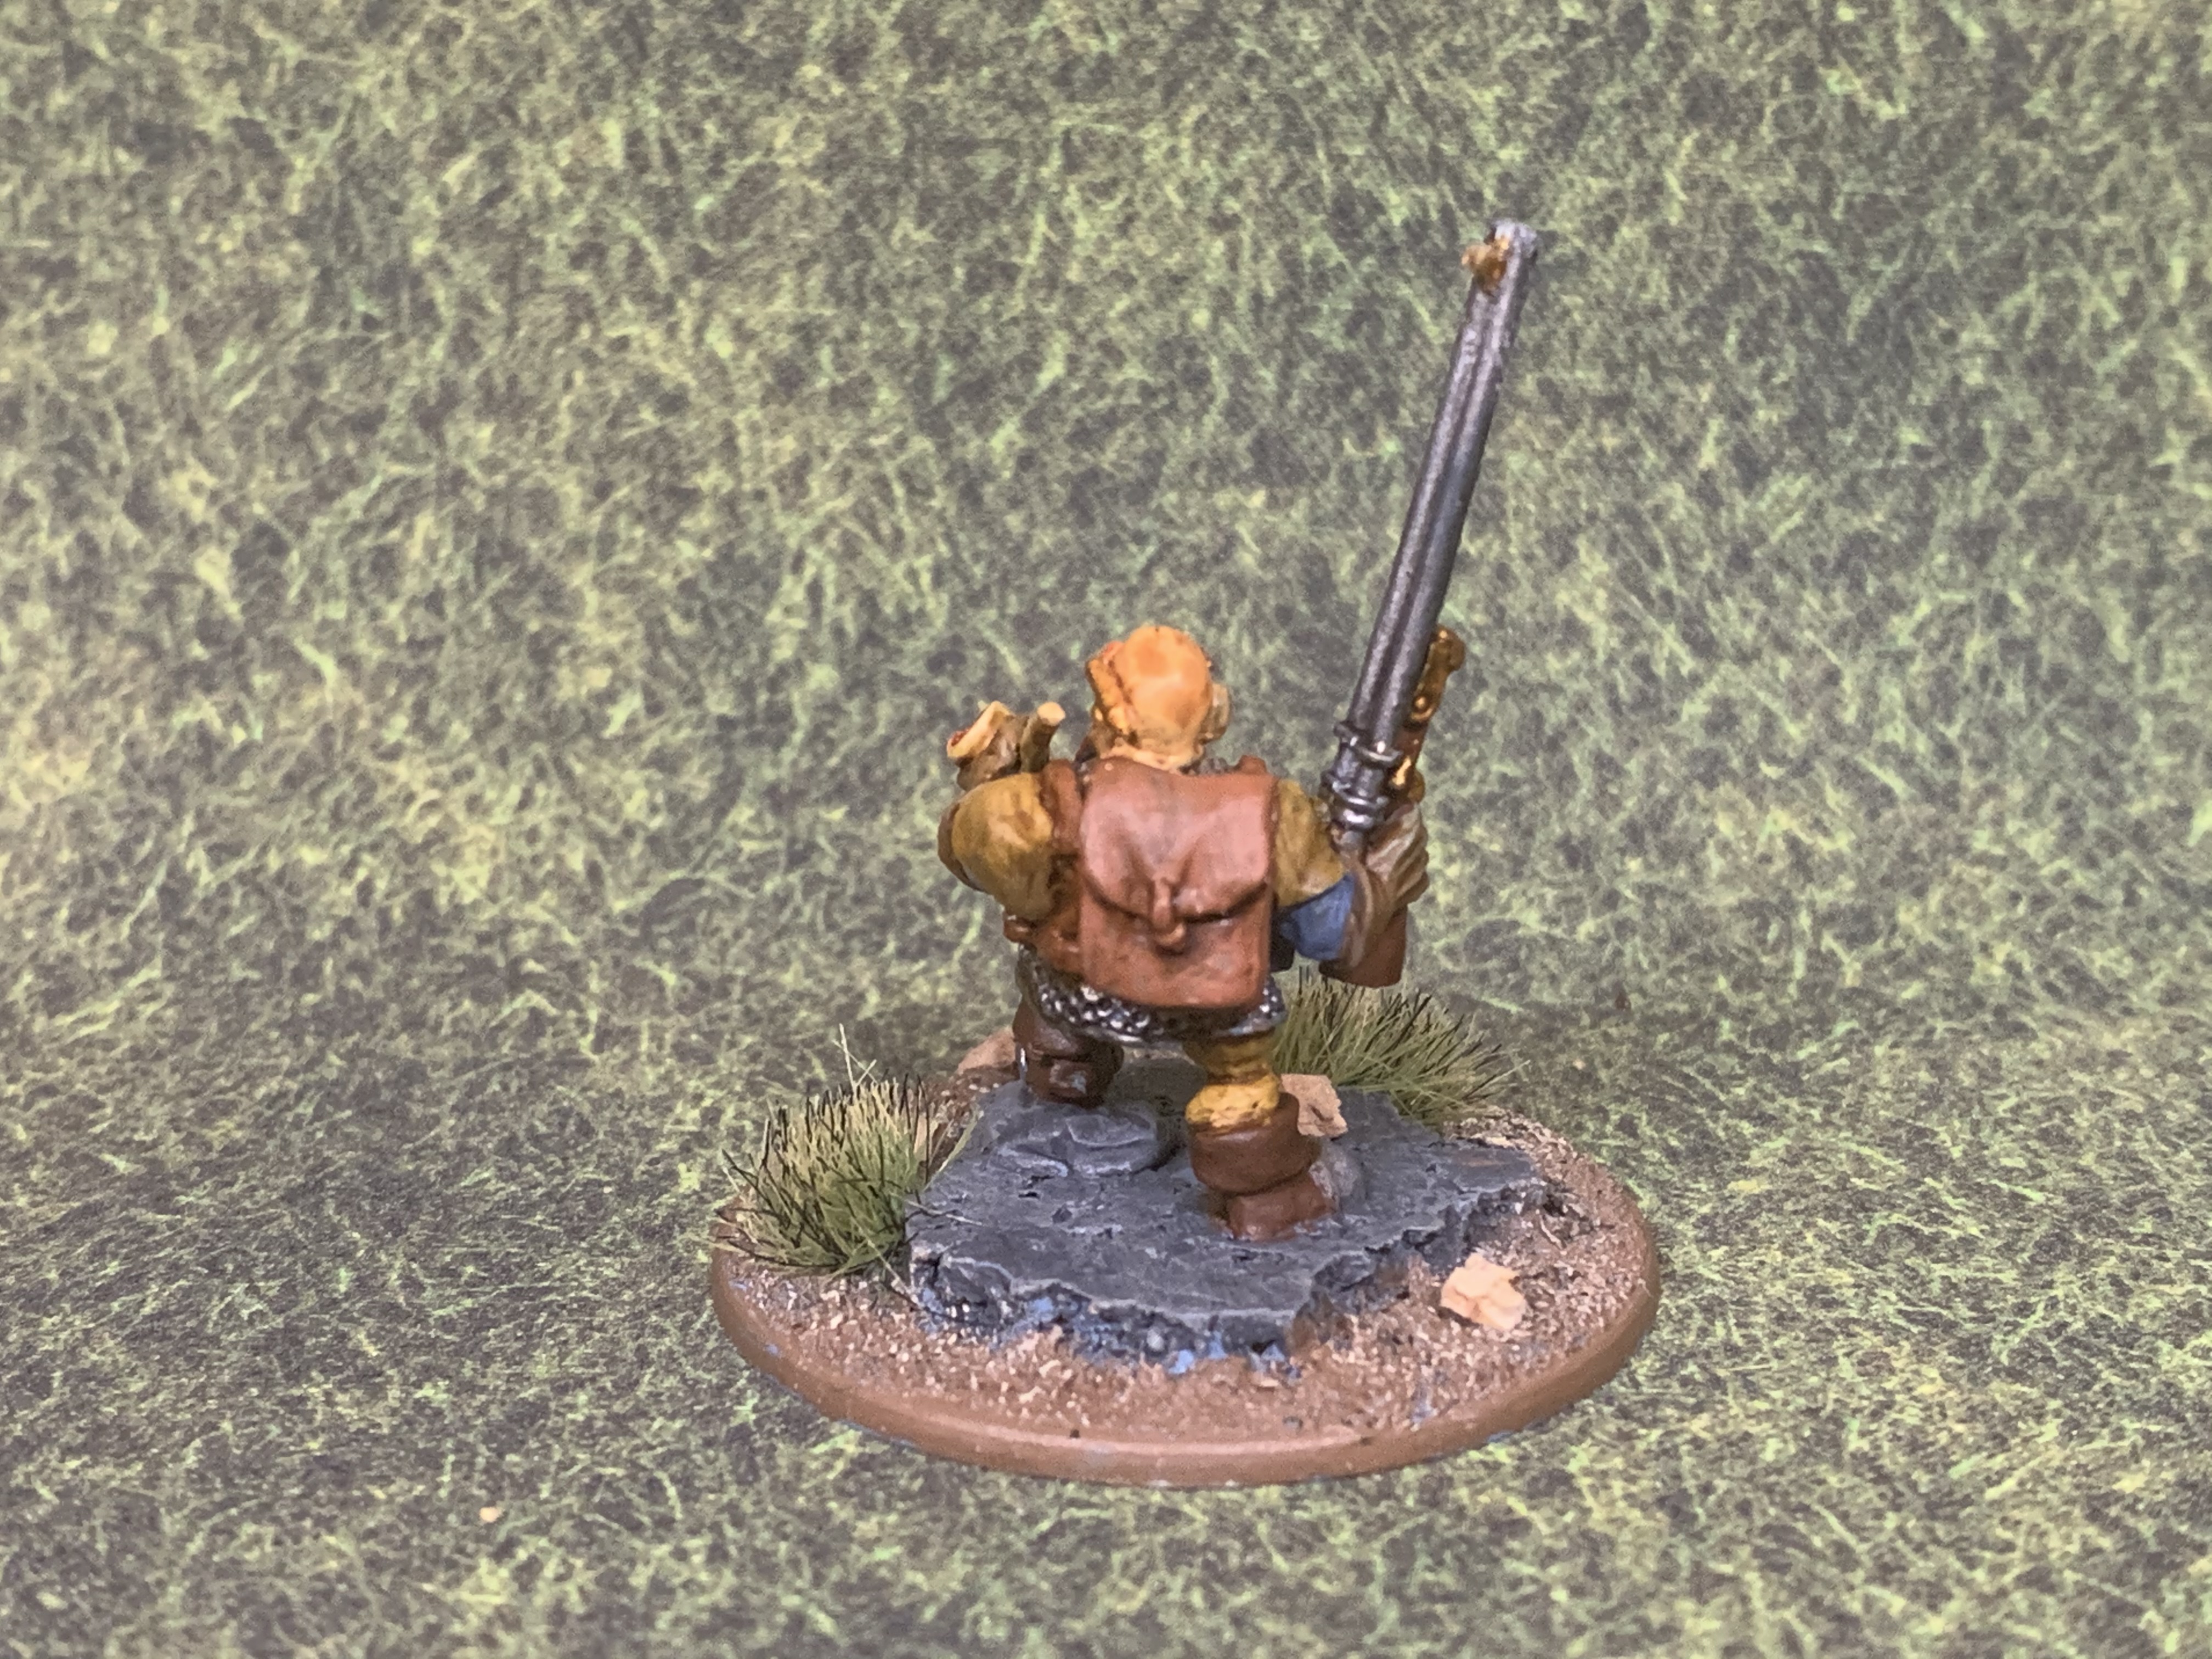
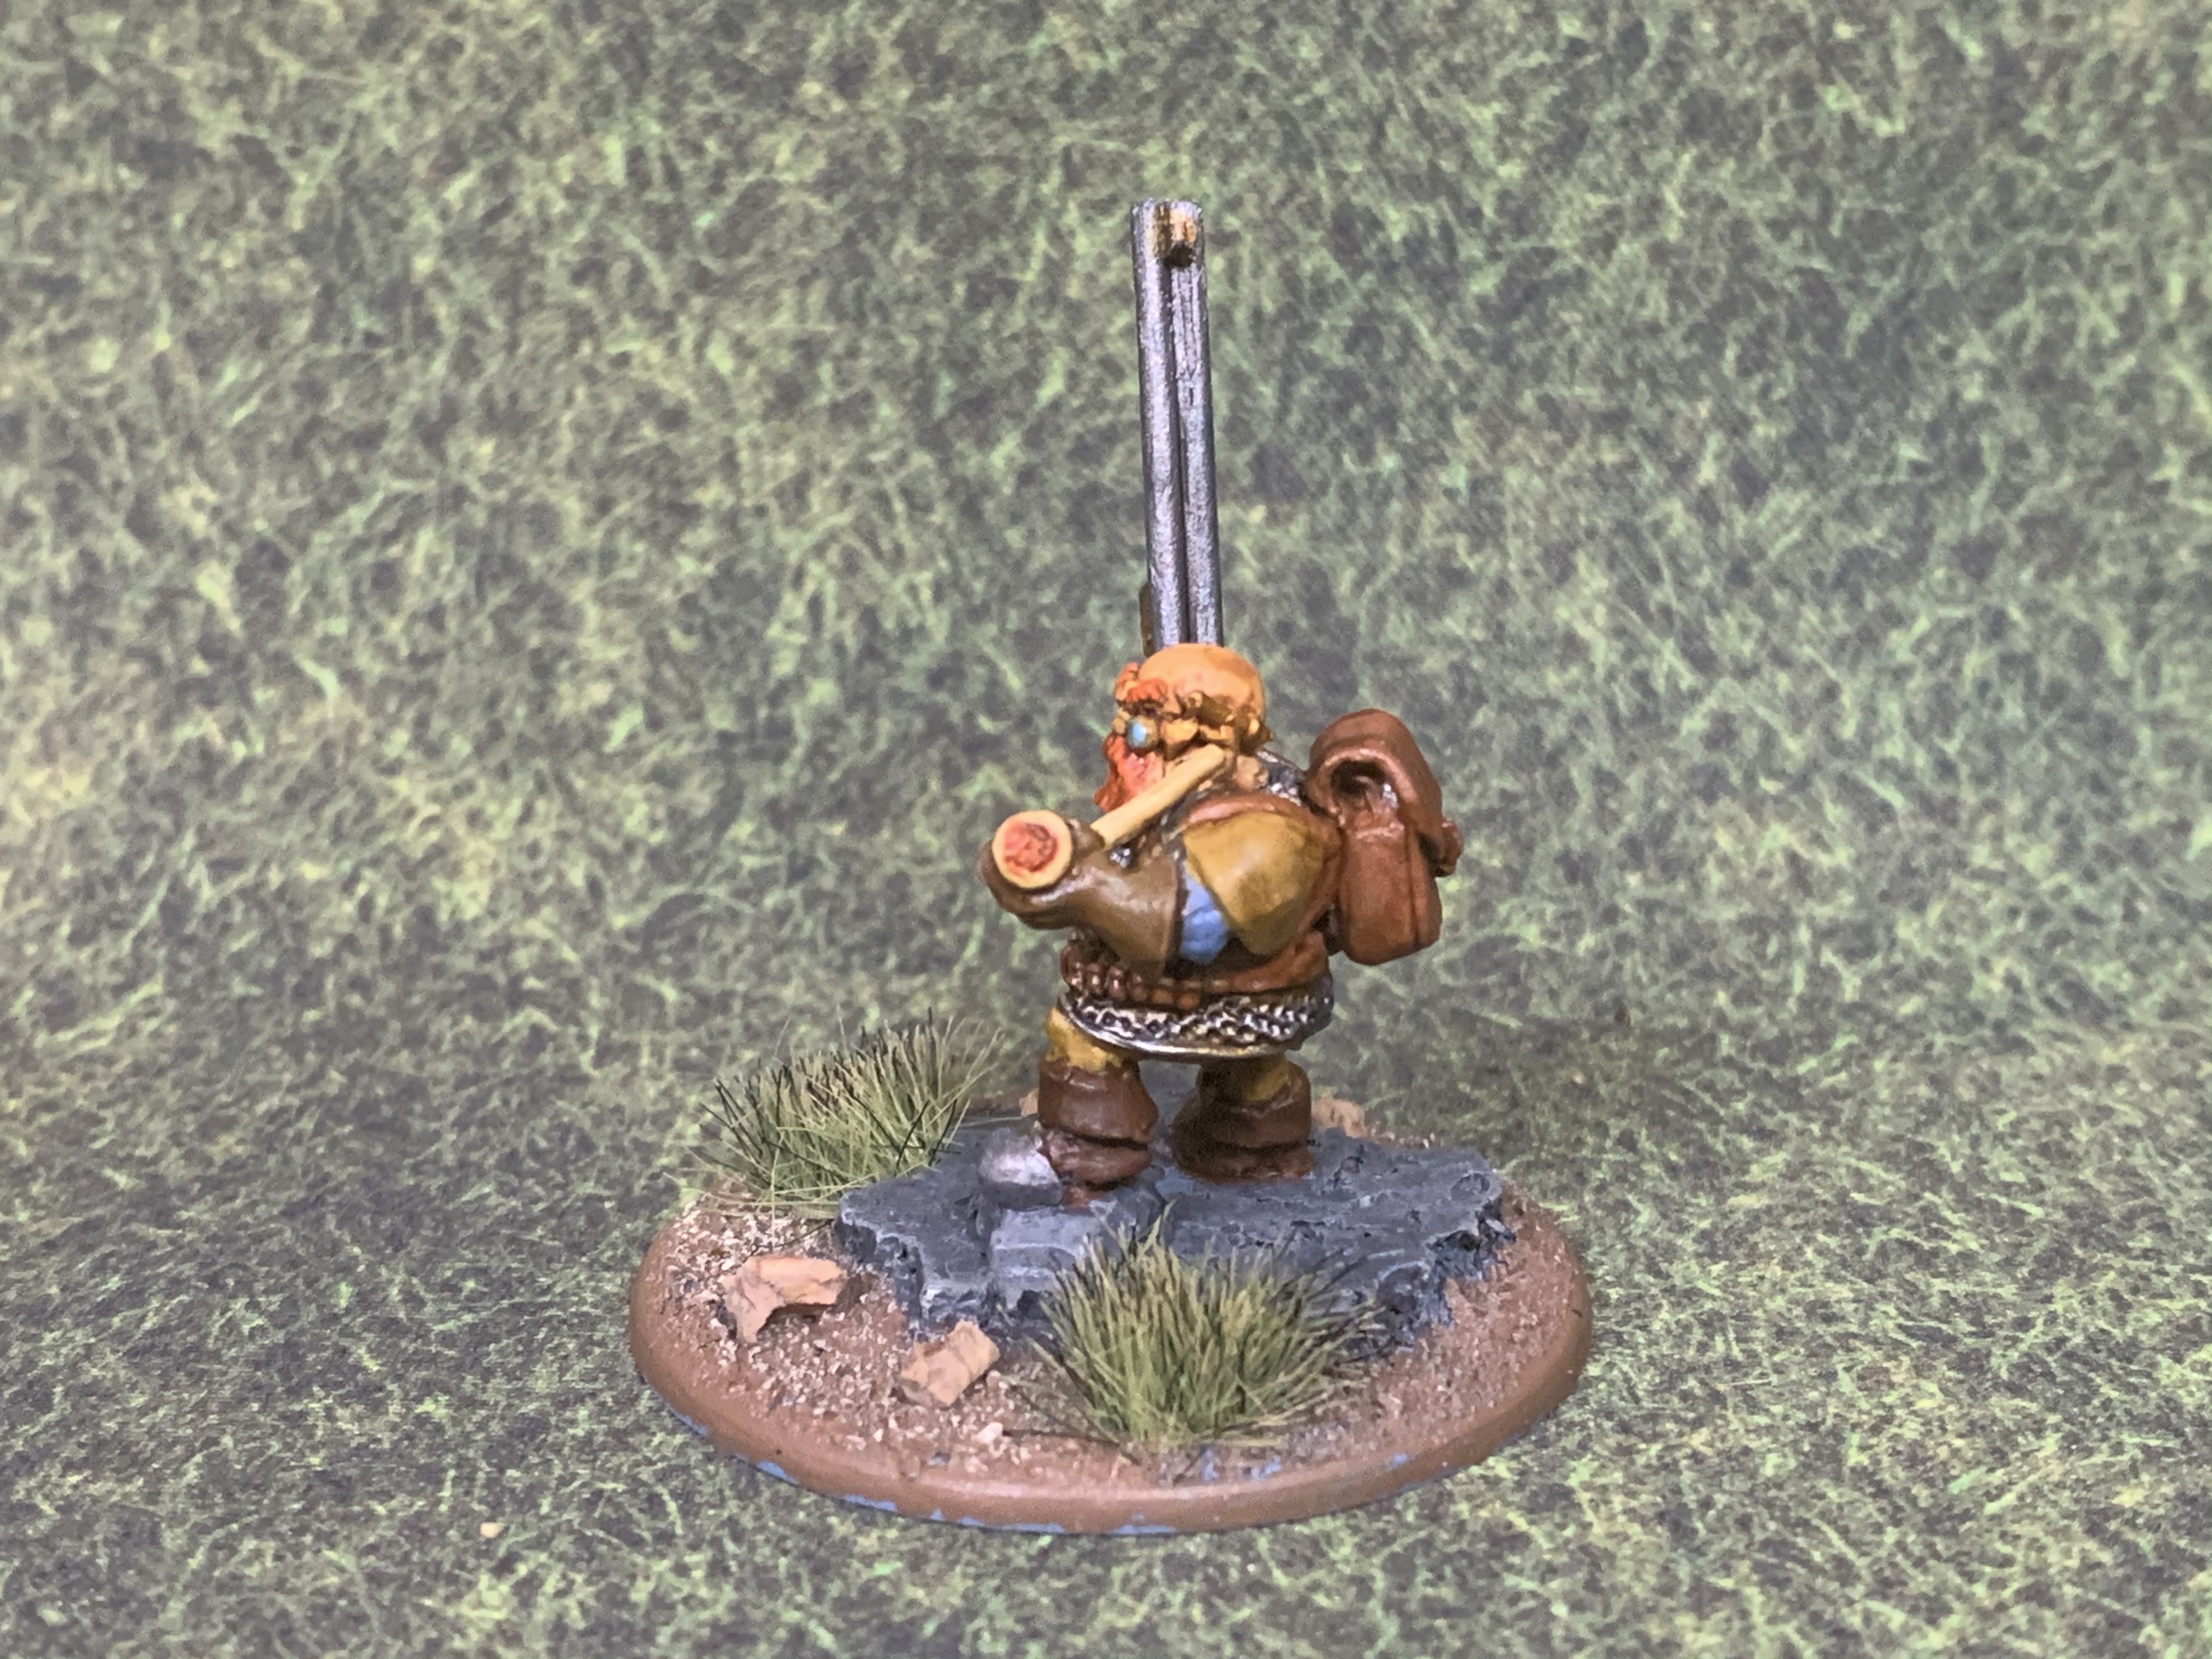
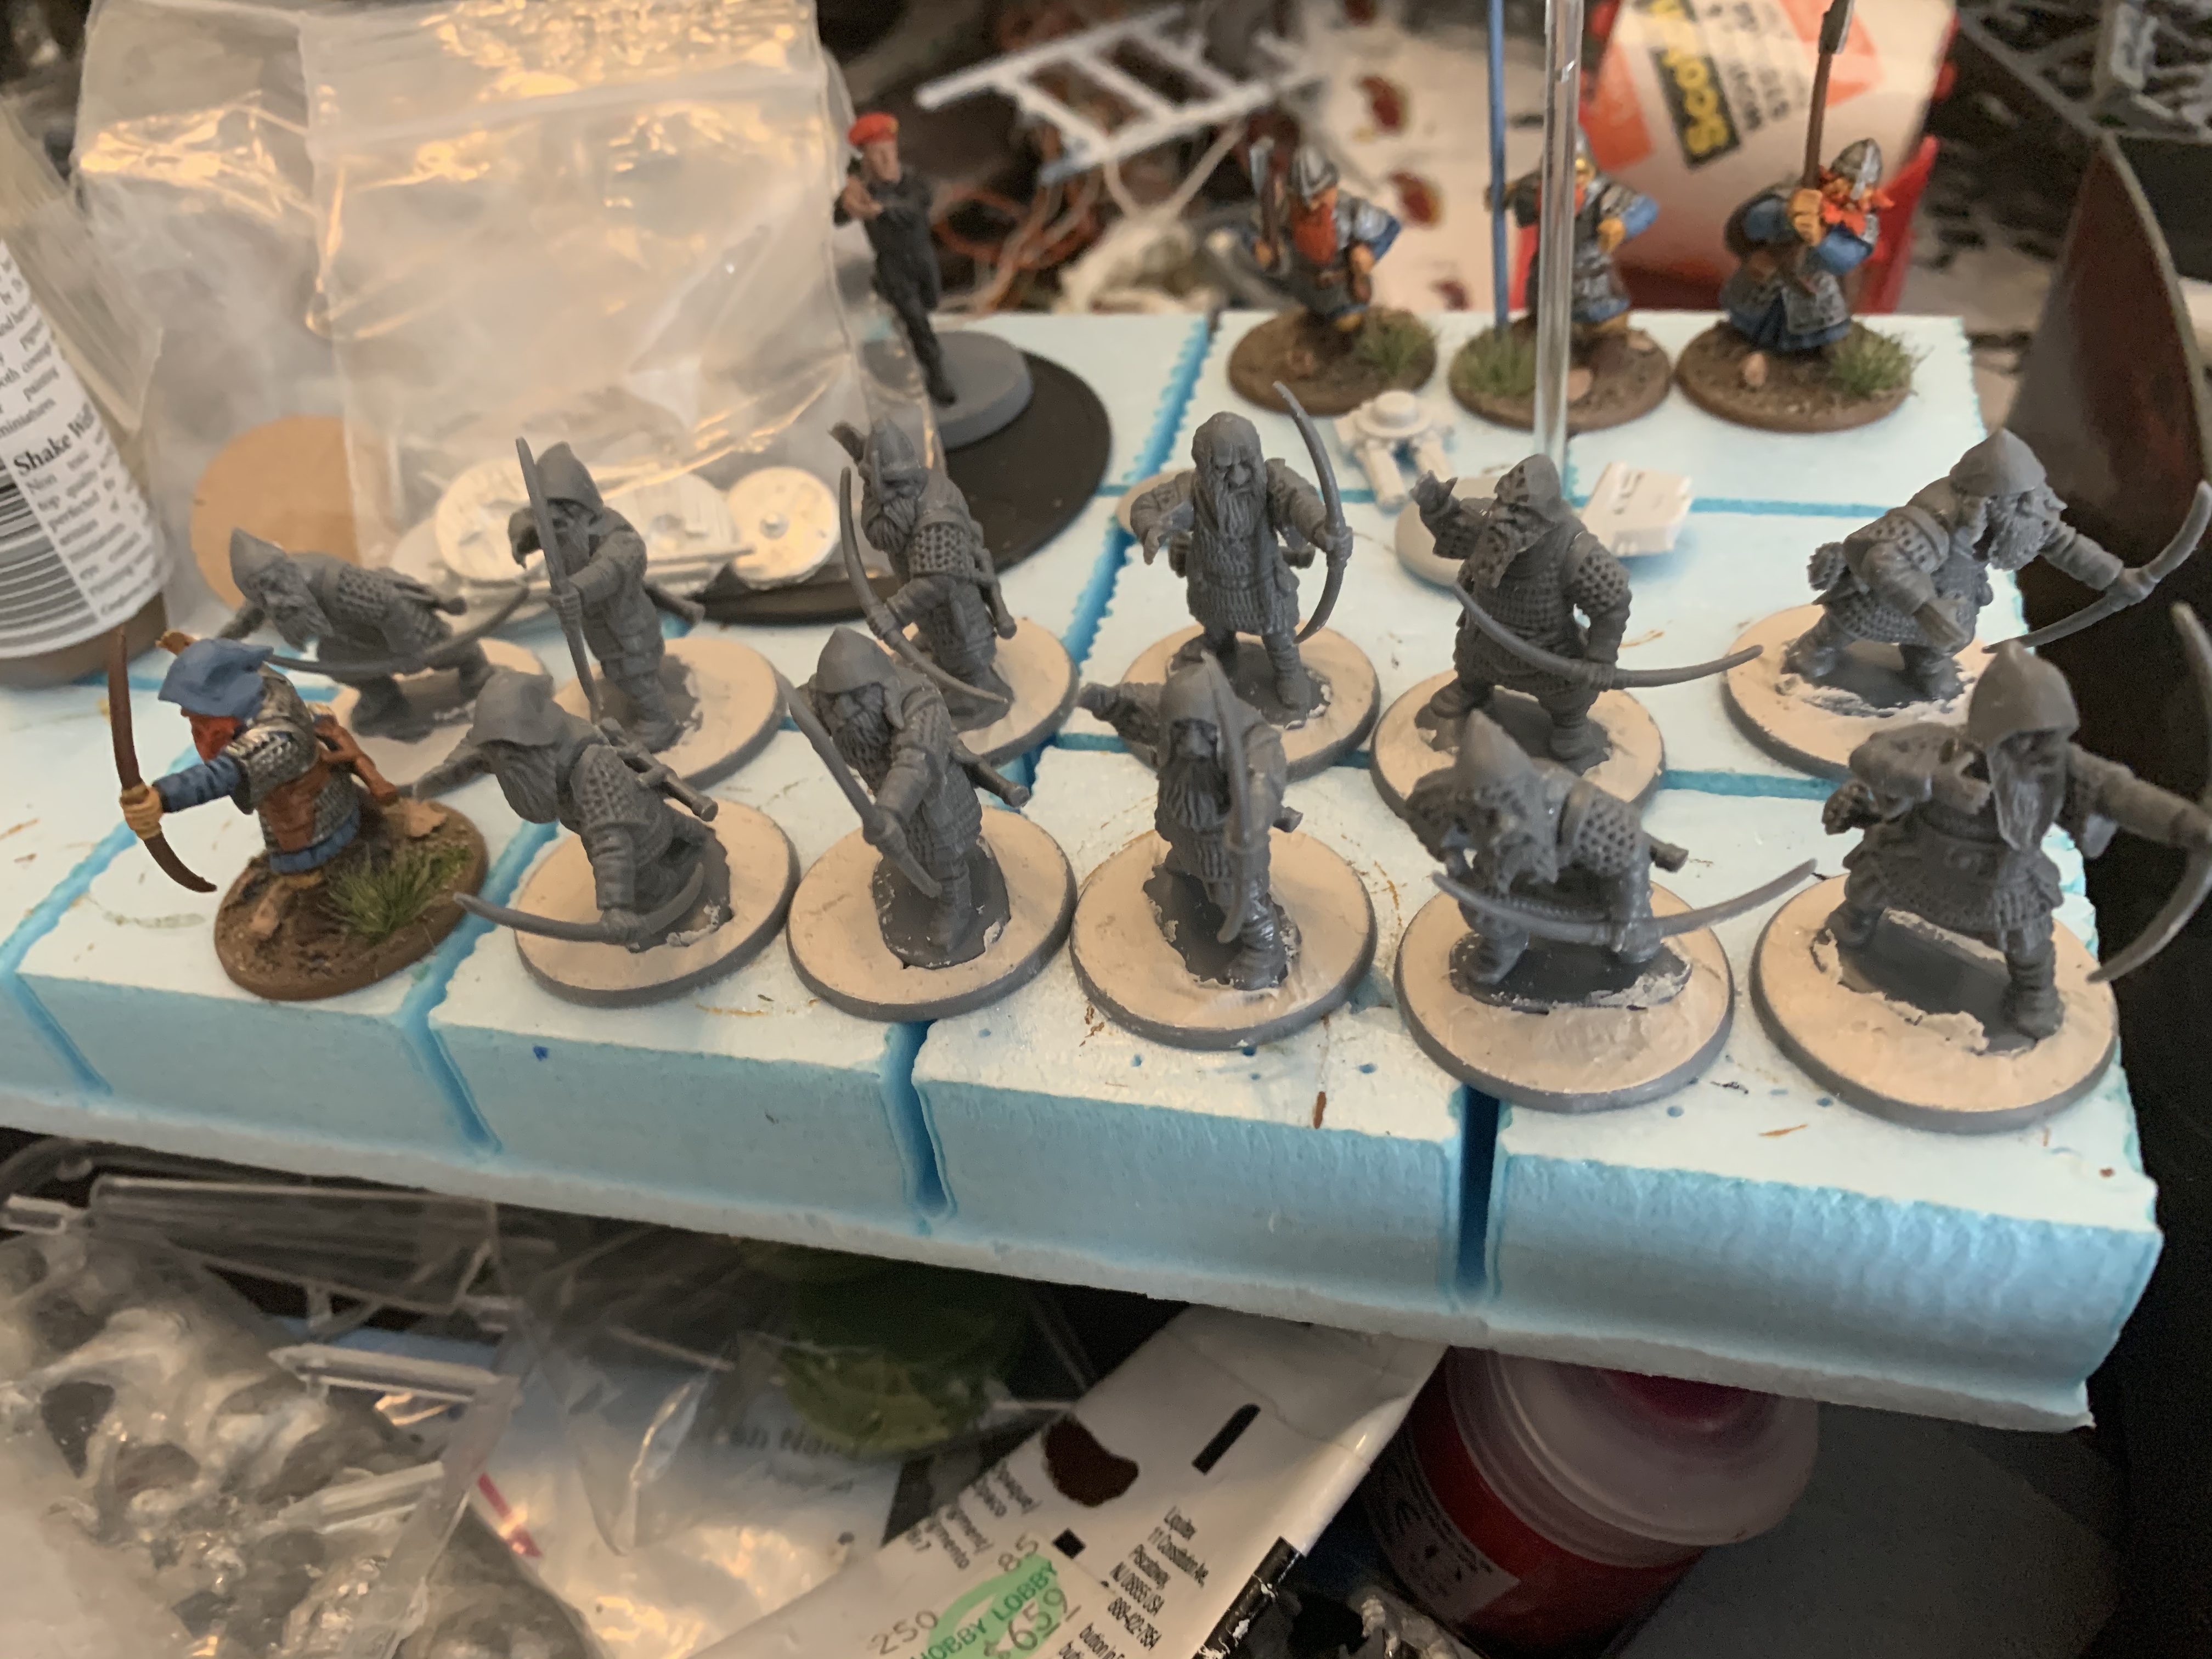 I built these by first gluing the bodies to the bases, then adding the left (bow) arms, then the right arms then adding the heads afterwards. I let all of those parts dry and then added the quivers last. Once that was done, I filled in the bases with base render.
 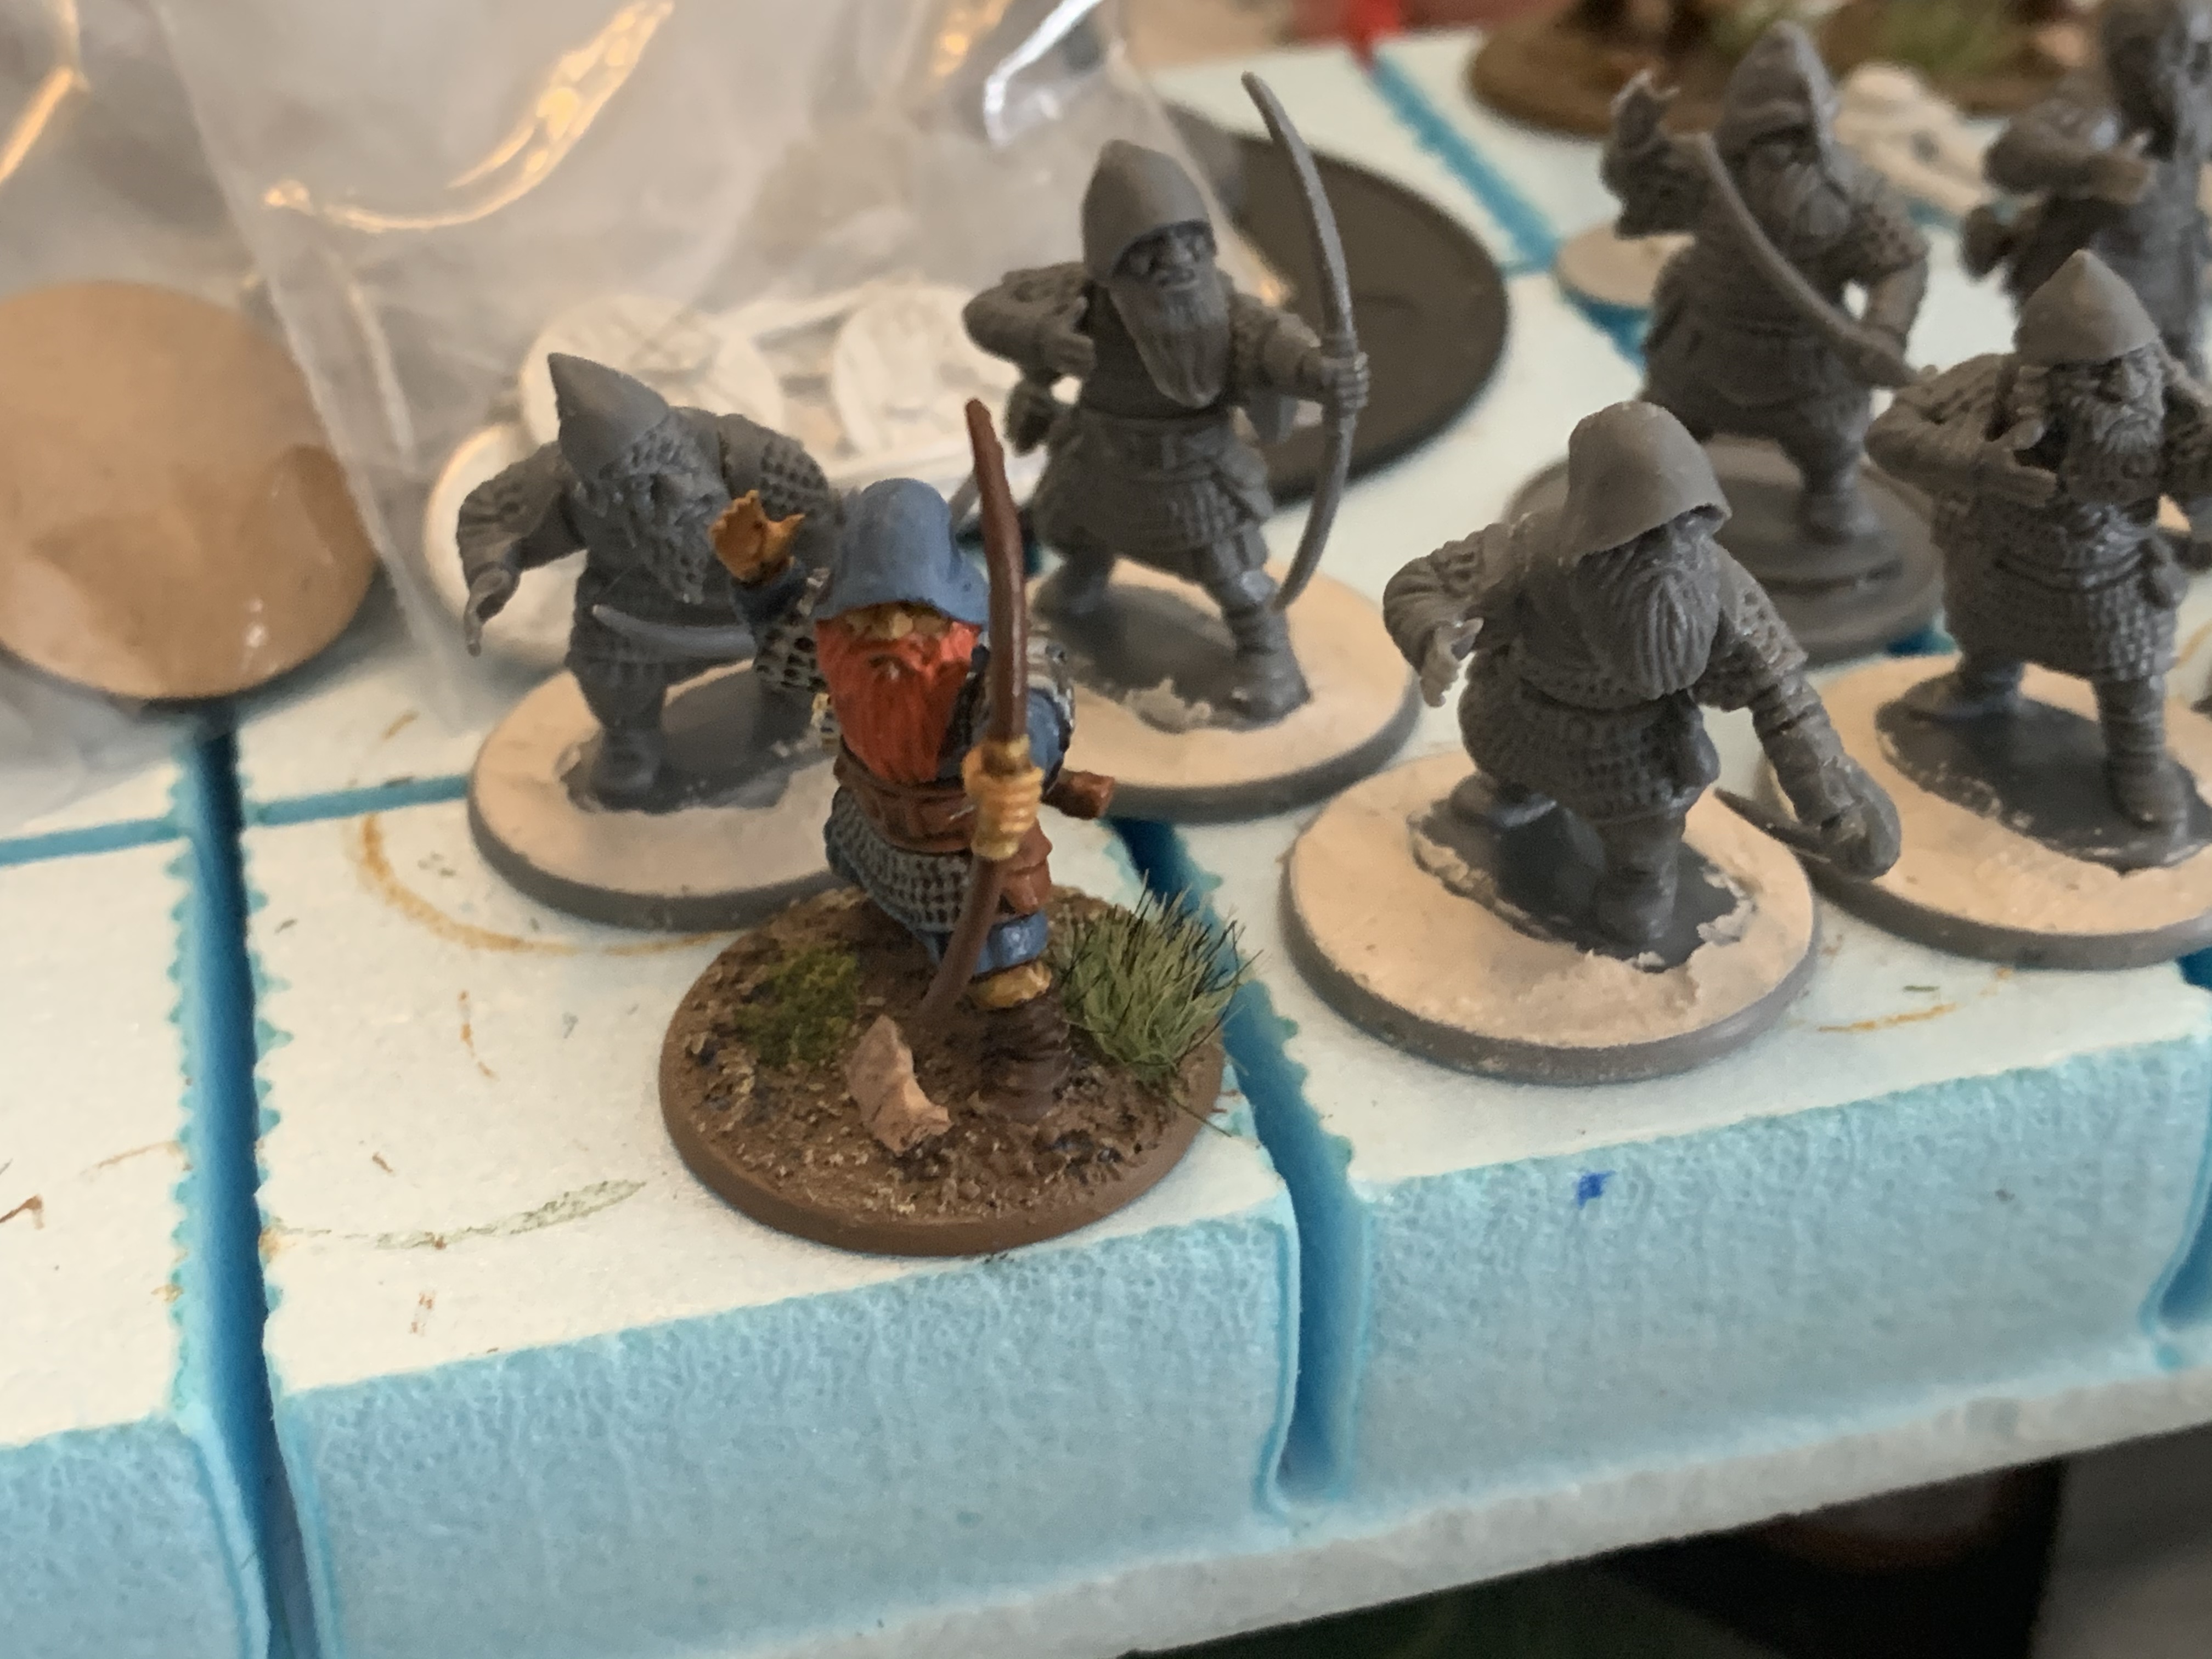 Close up of the test mini. One down, eleven to go!
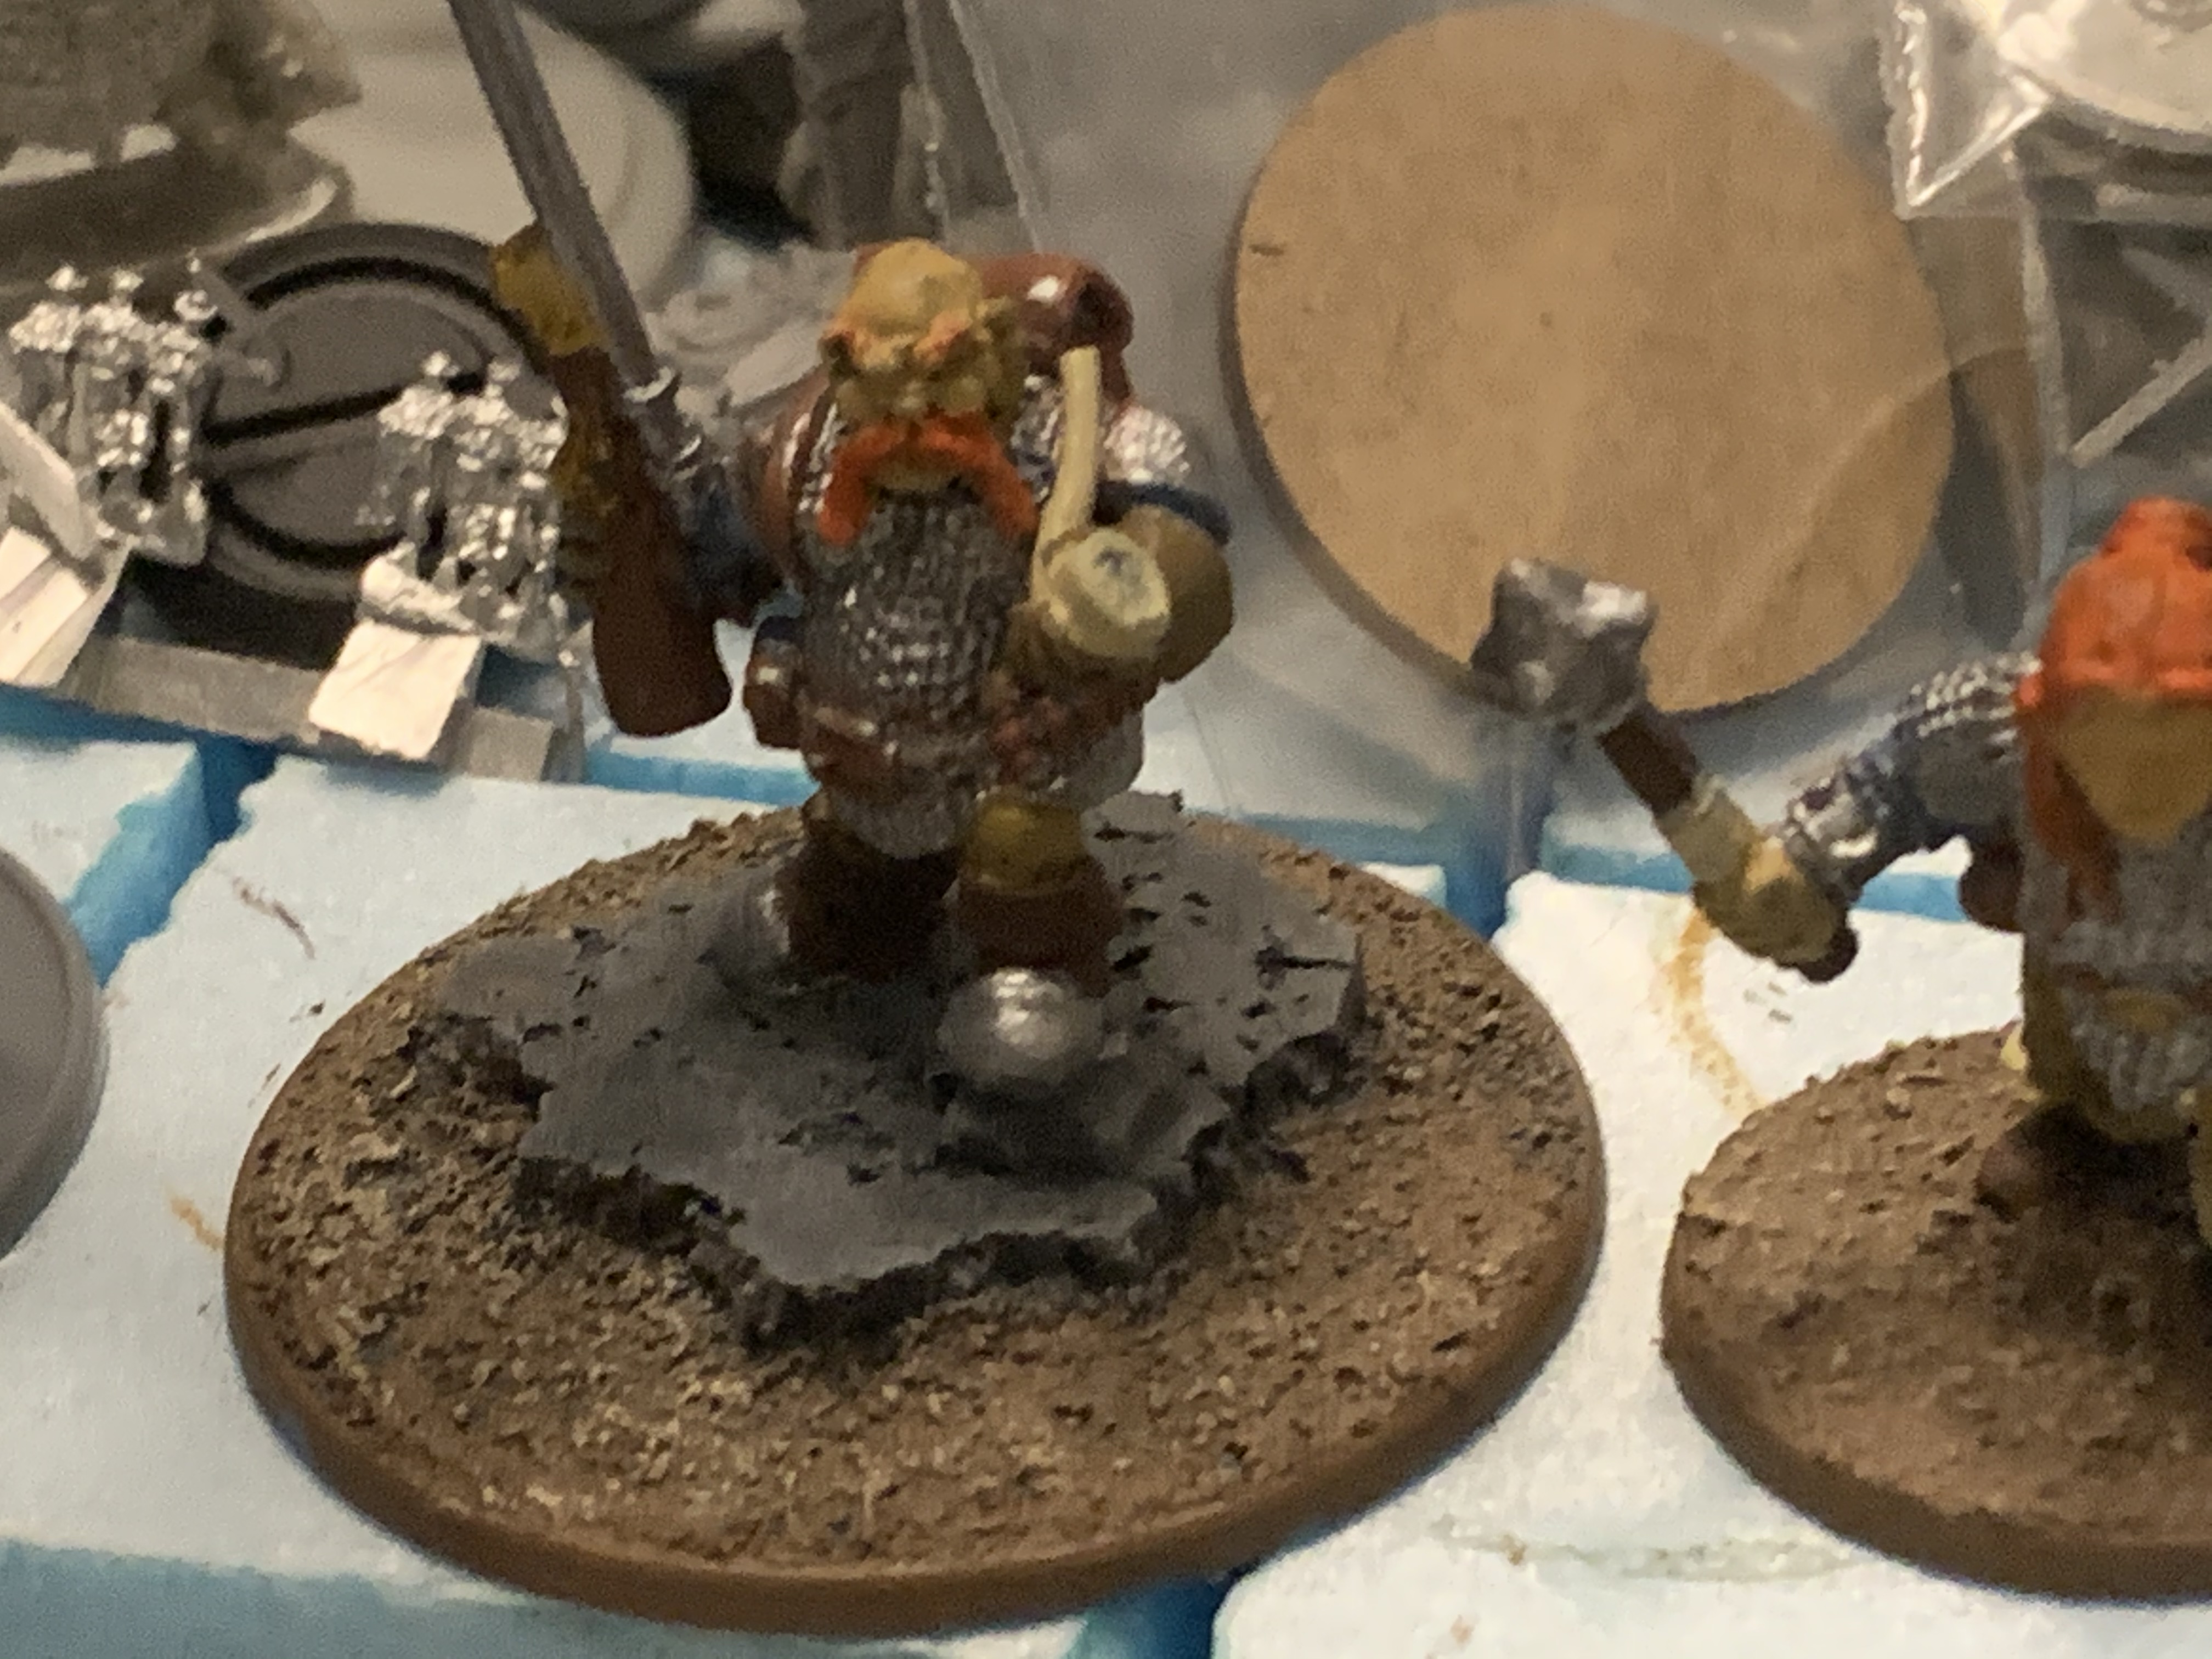
 Lieutenant/Sniper Pt 3 - Glamour Shots
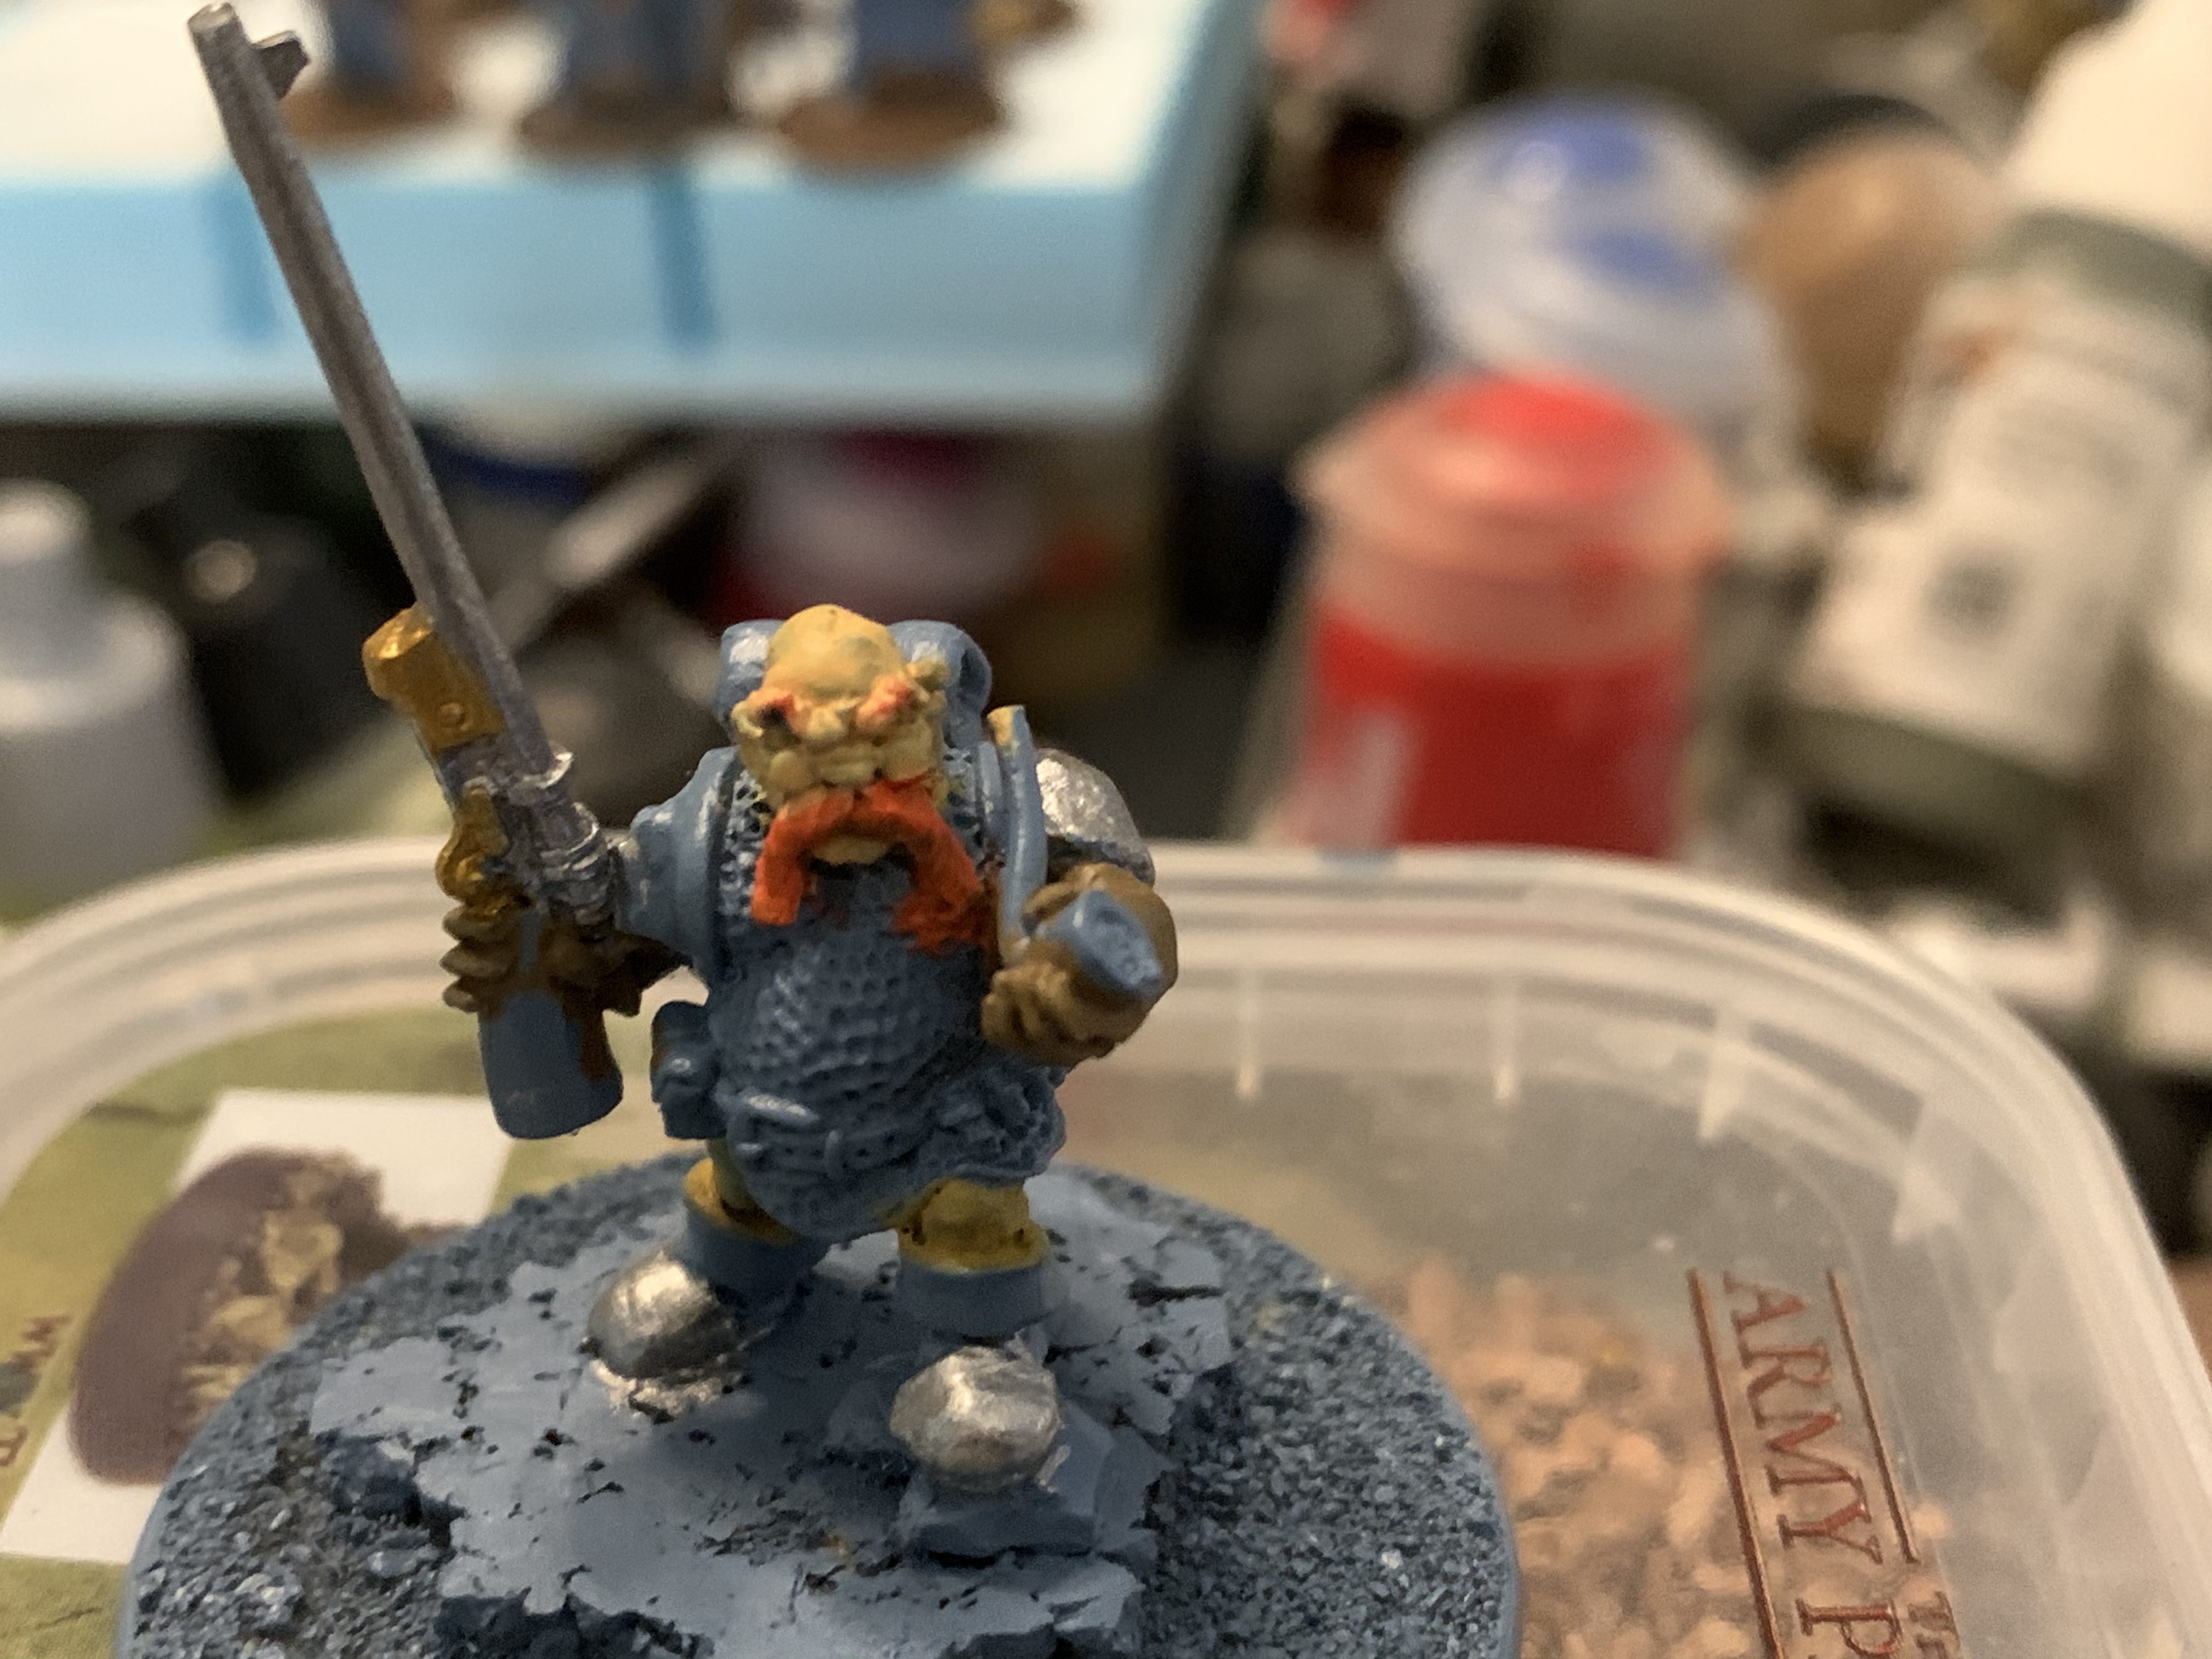
After painting, washing and full coating, I used GW ‘Ardcoat gloss on the glasses. The glasses are painted with Army Painter Voidshield Blue.
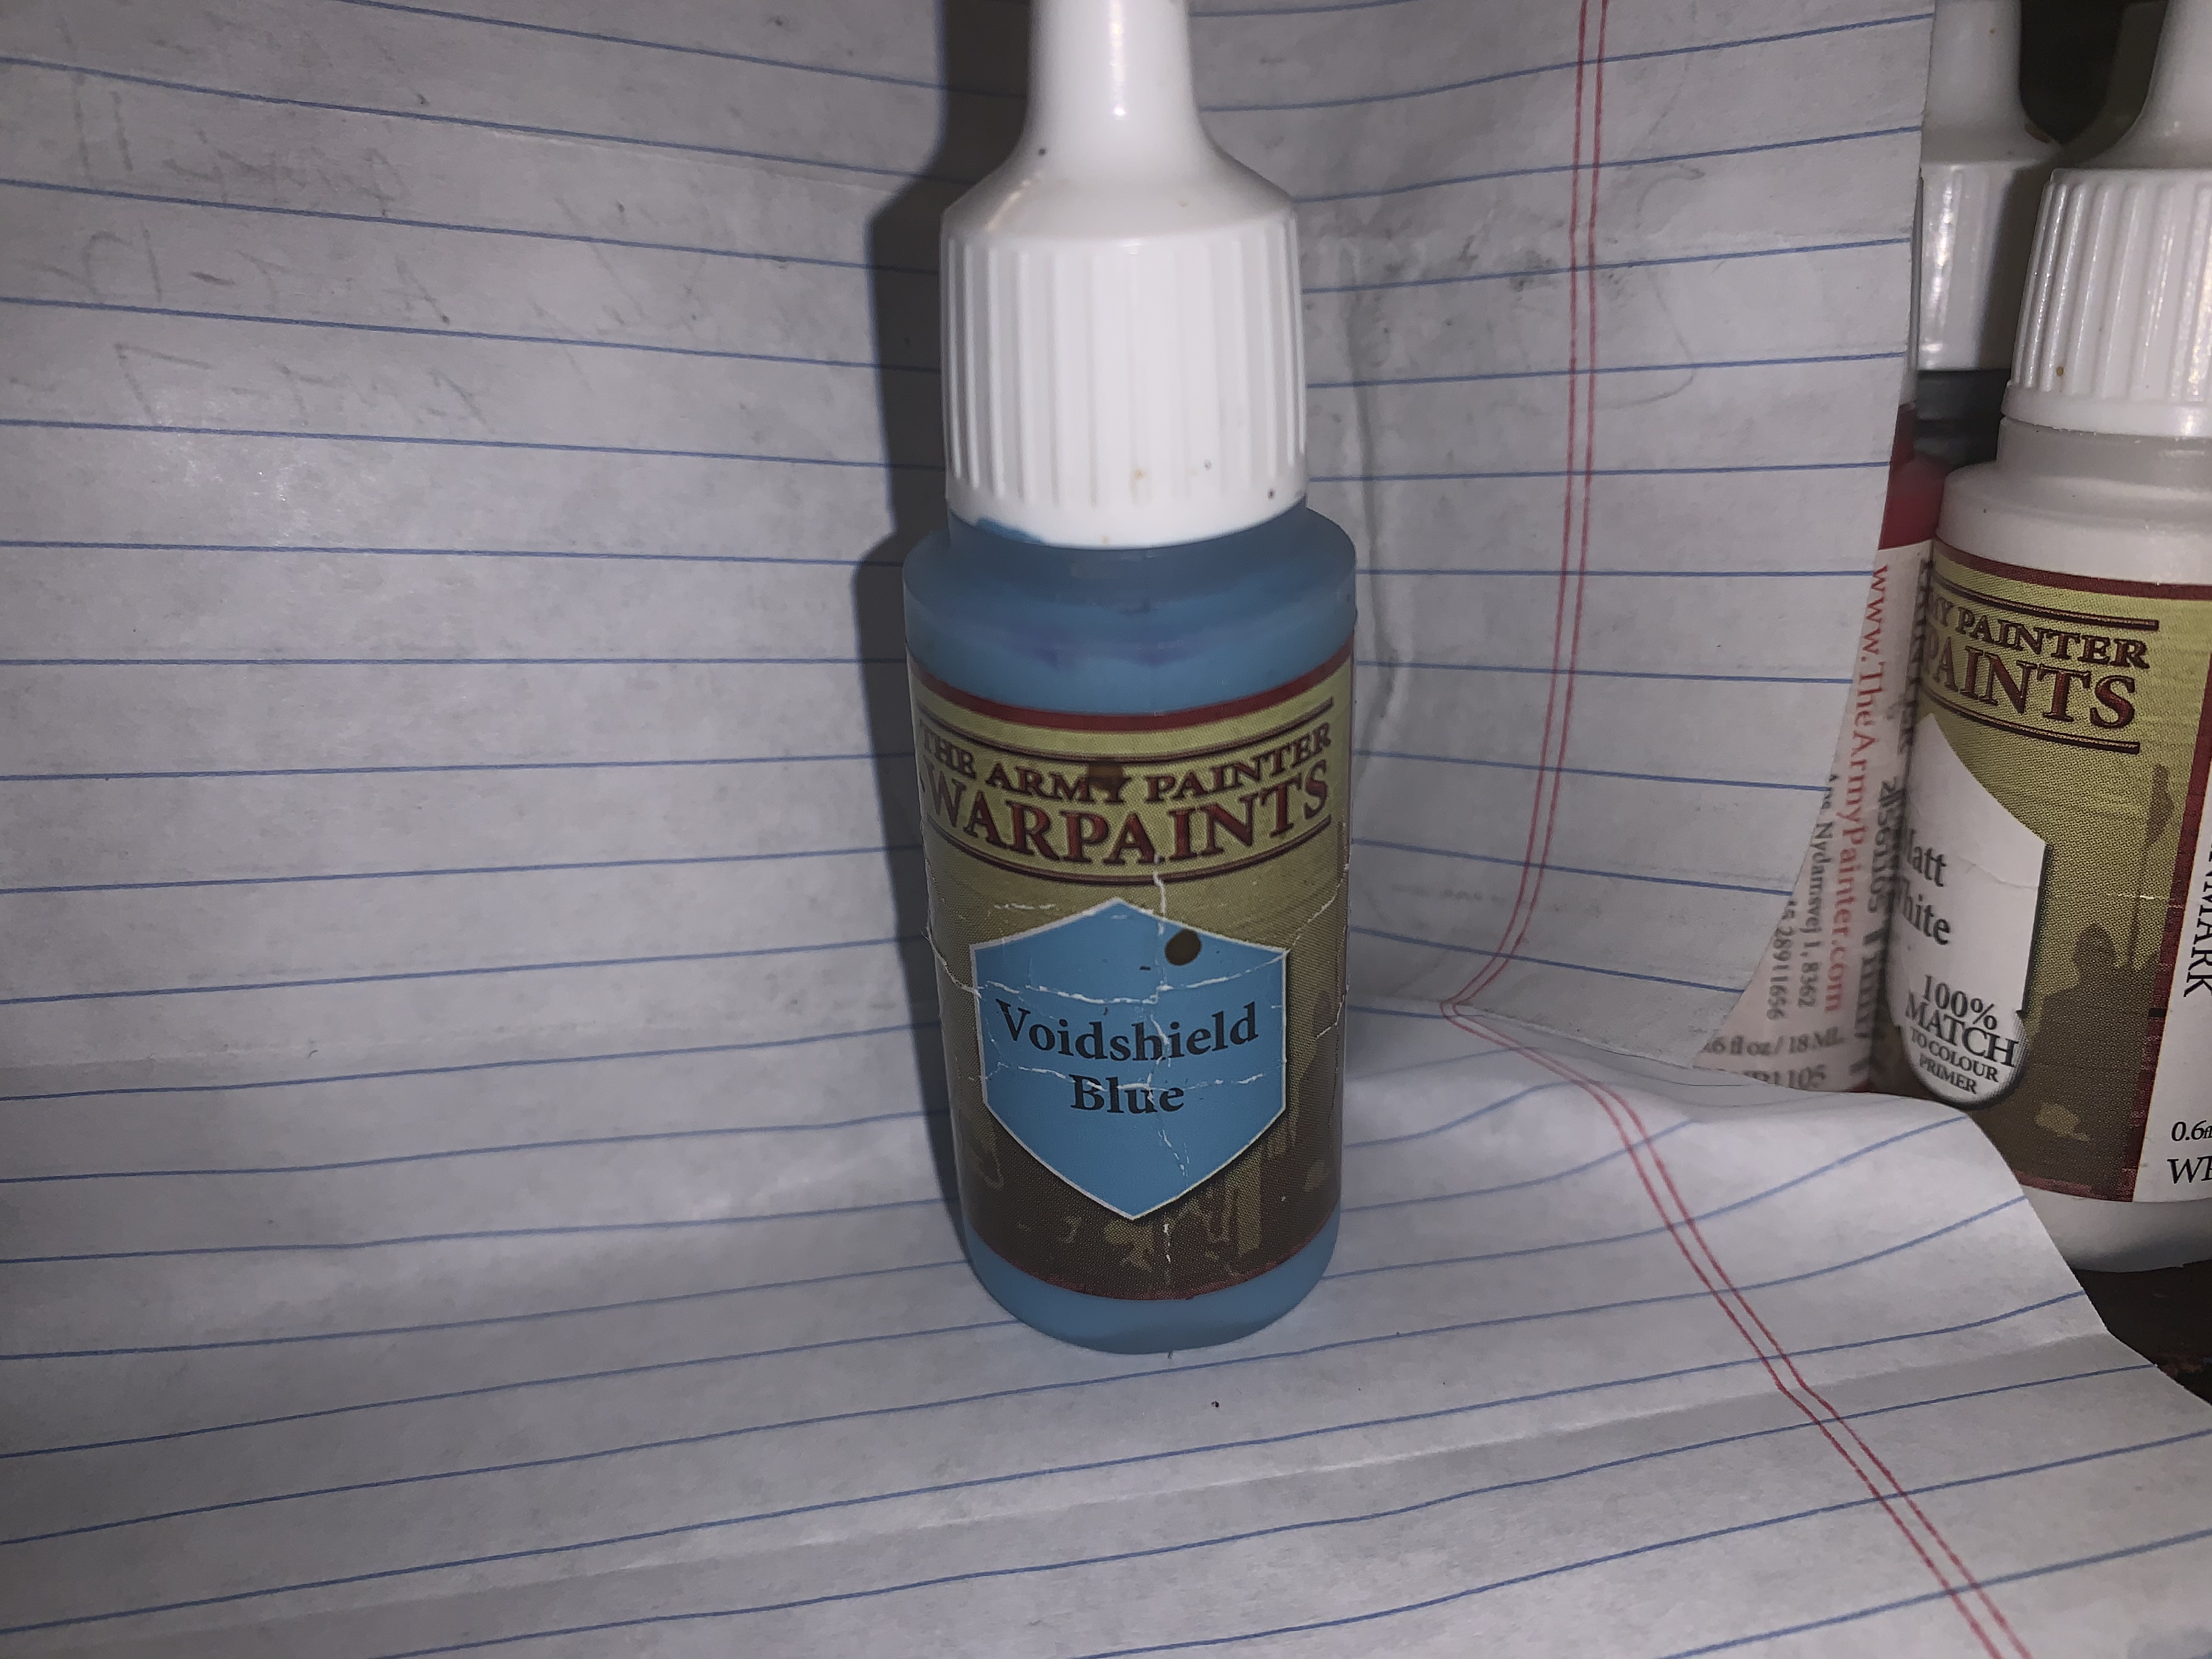 Army Painter Voidshield Blue was used for the glasses.
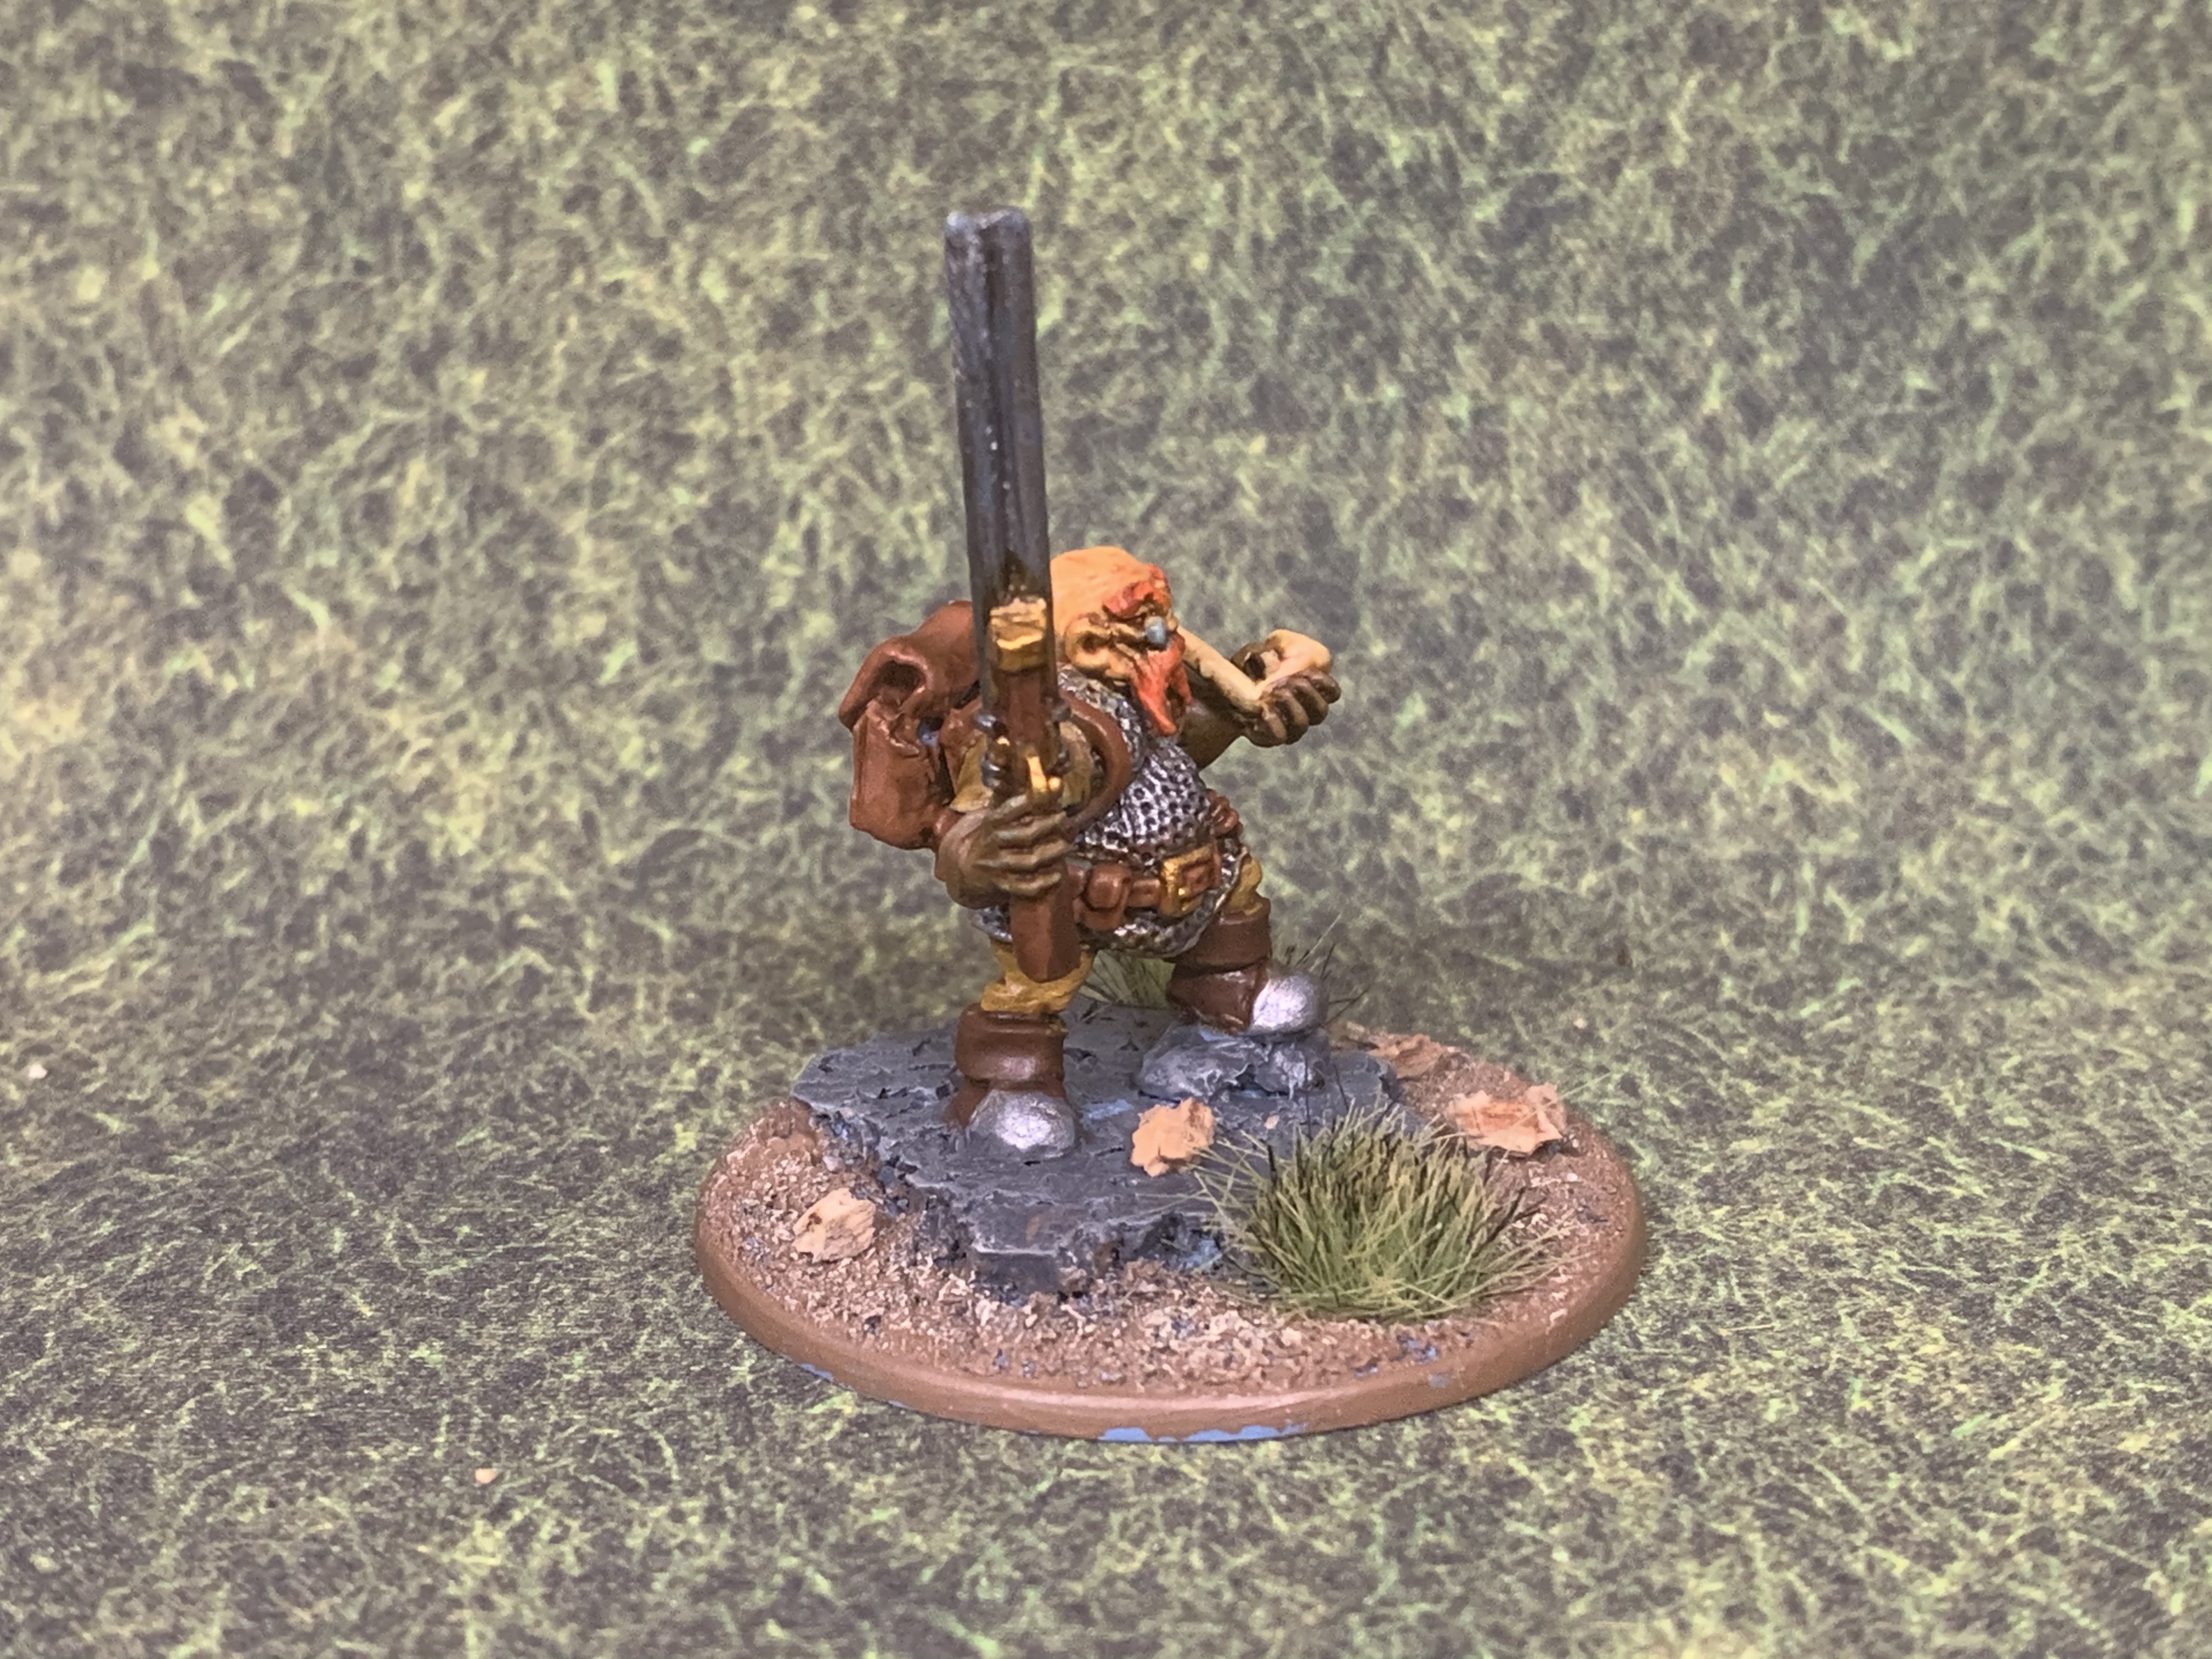


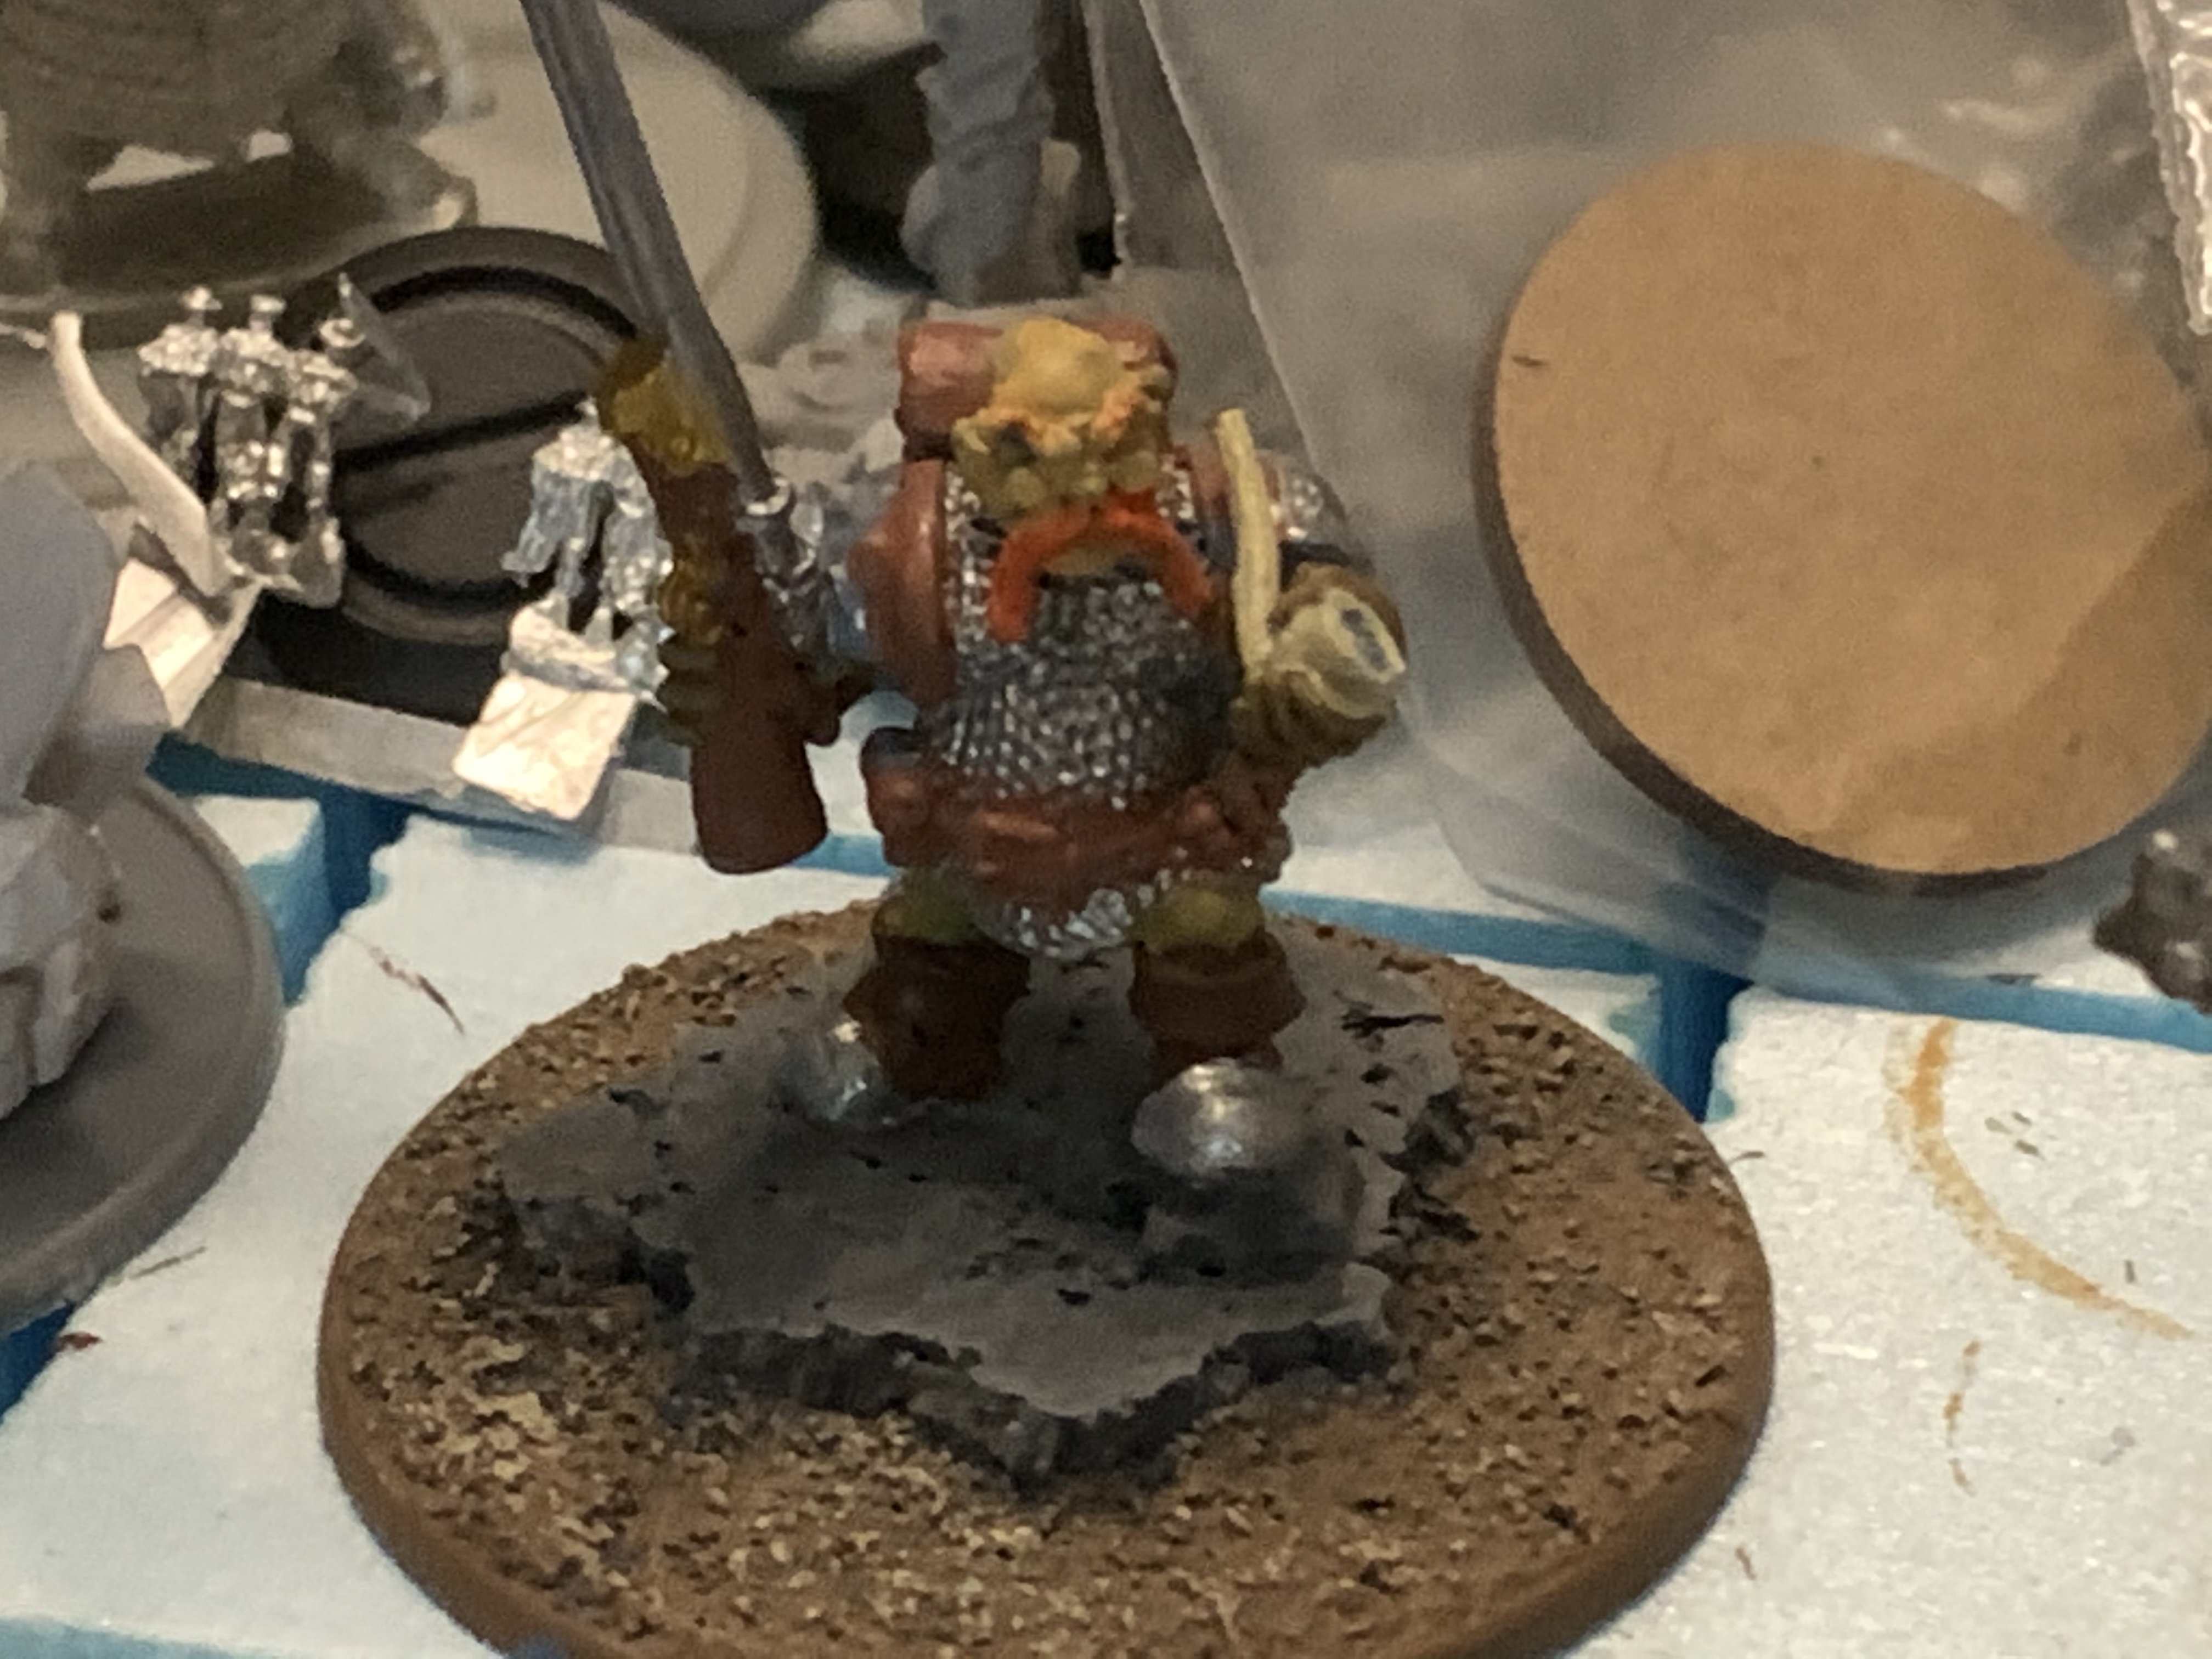

Lieutenant/Sniper Pt 1
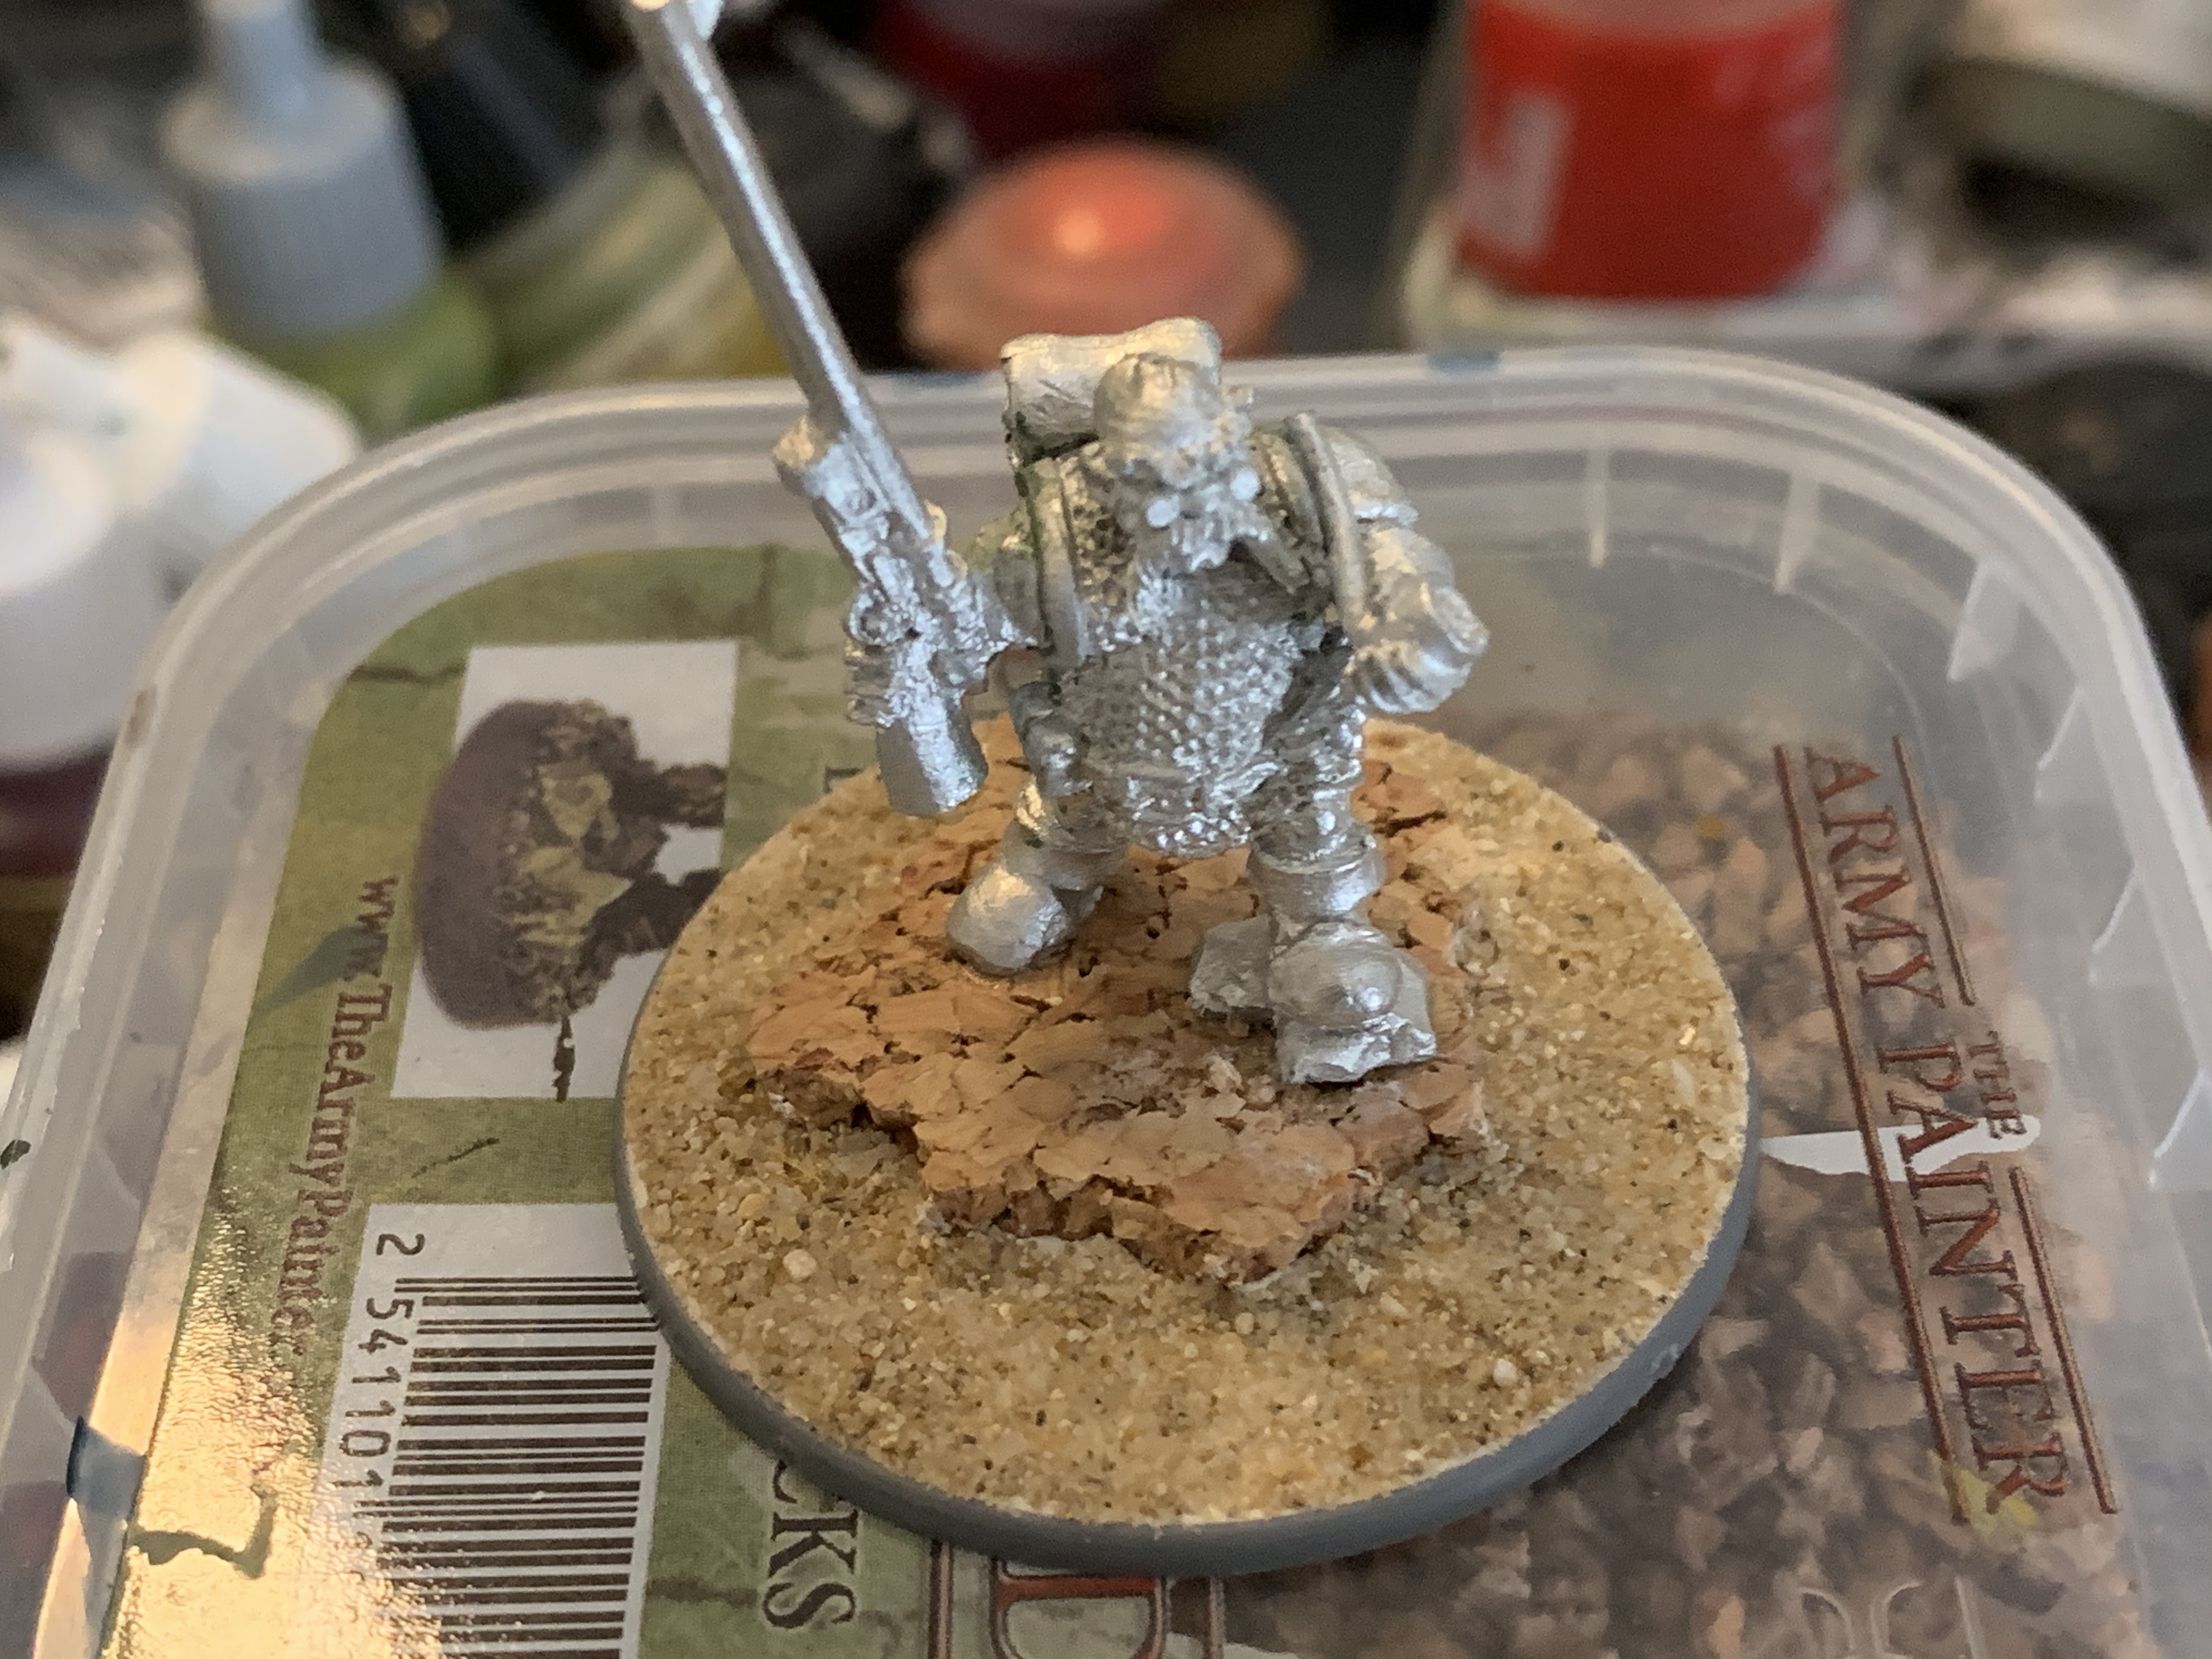
Saga: Age of Magic has a Lieutenant unit. The dwarvish equivalent is an Alchemist who is described as using volatile ranged weapons. I looked around for awhile before finally settling on this sniper figure from Heresy Miniatures.
This minis can be built in several different ways including pistol armed, or as a miner with a miners helmet and headlamp and a pick axe.
The figure has one foot on a rock so I decided to build on that a little.
 I had some cork from Tabletop Scenics that I decided to make into some rocks.
 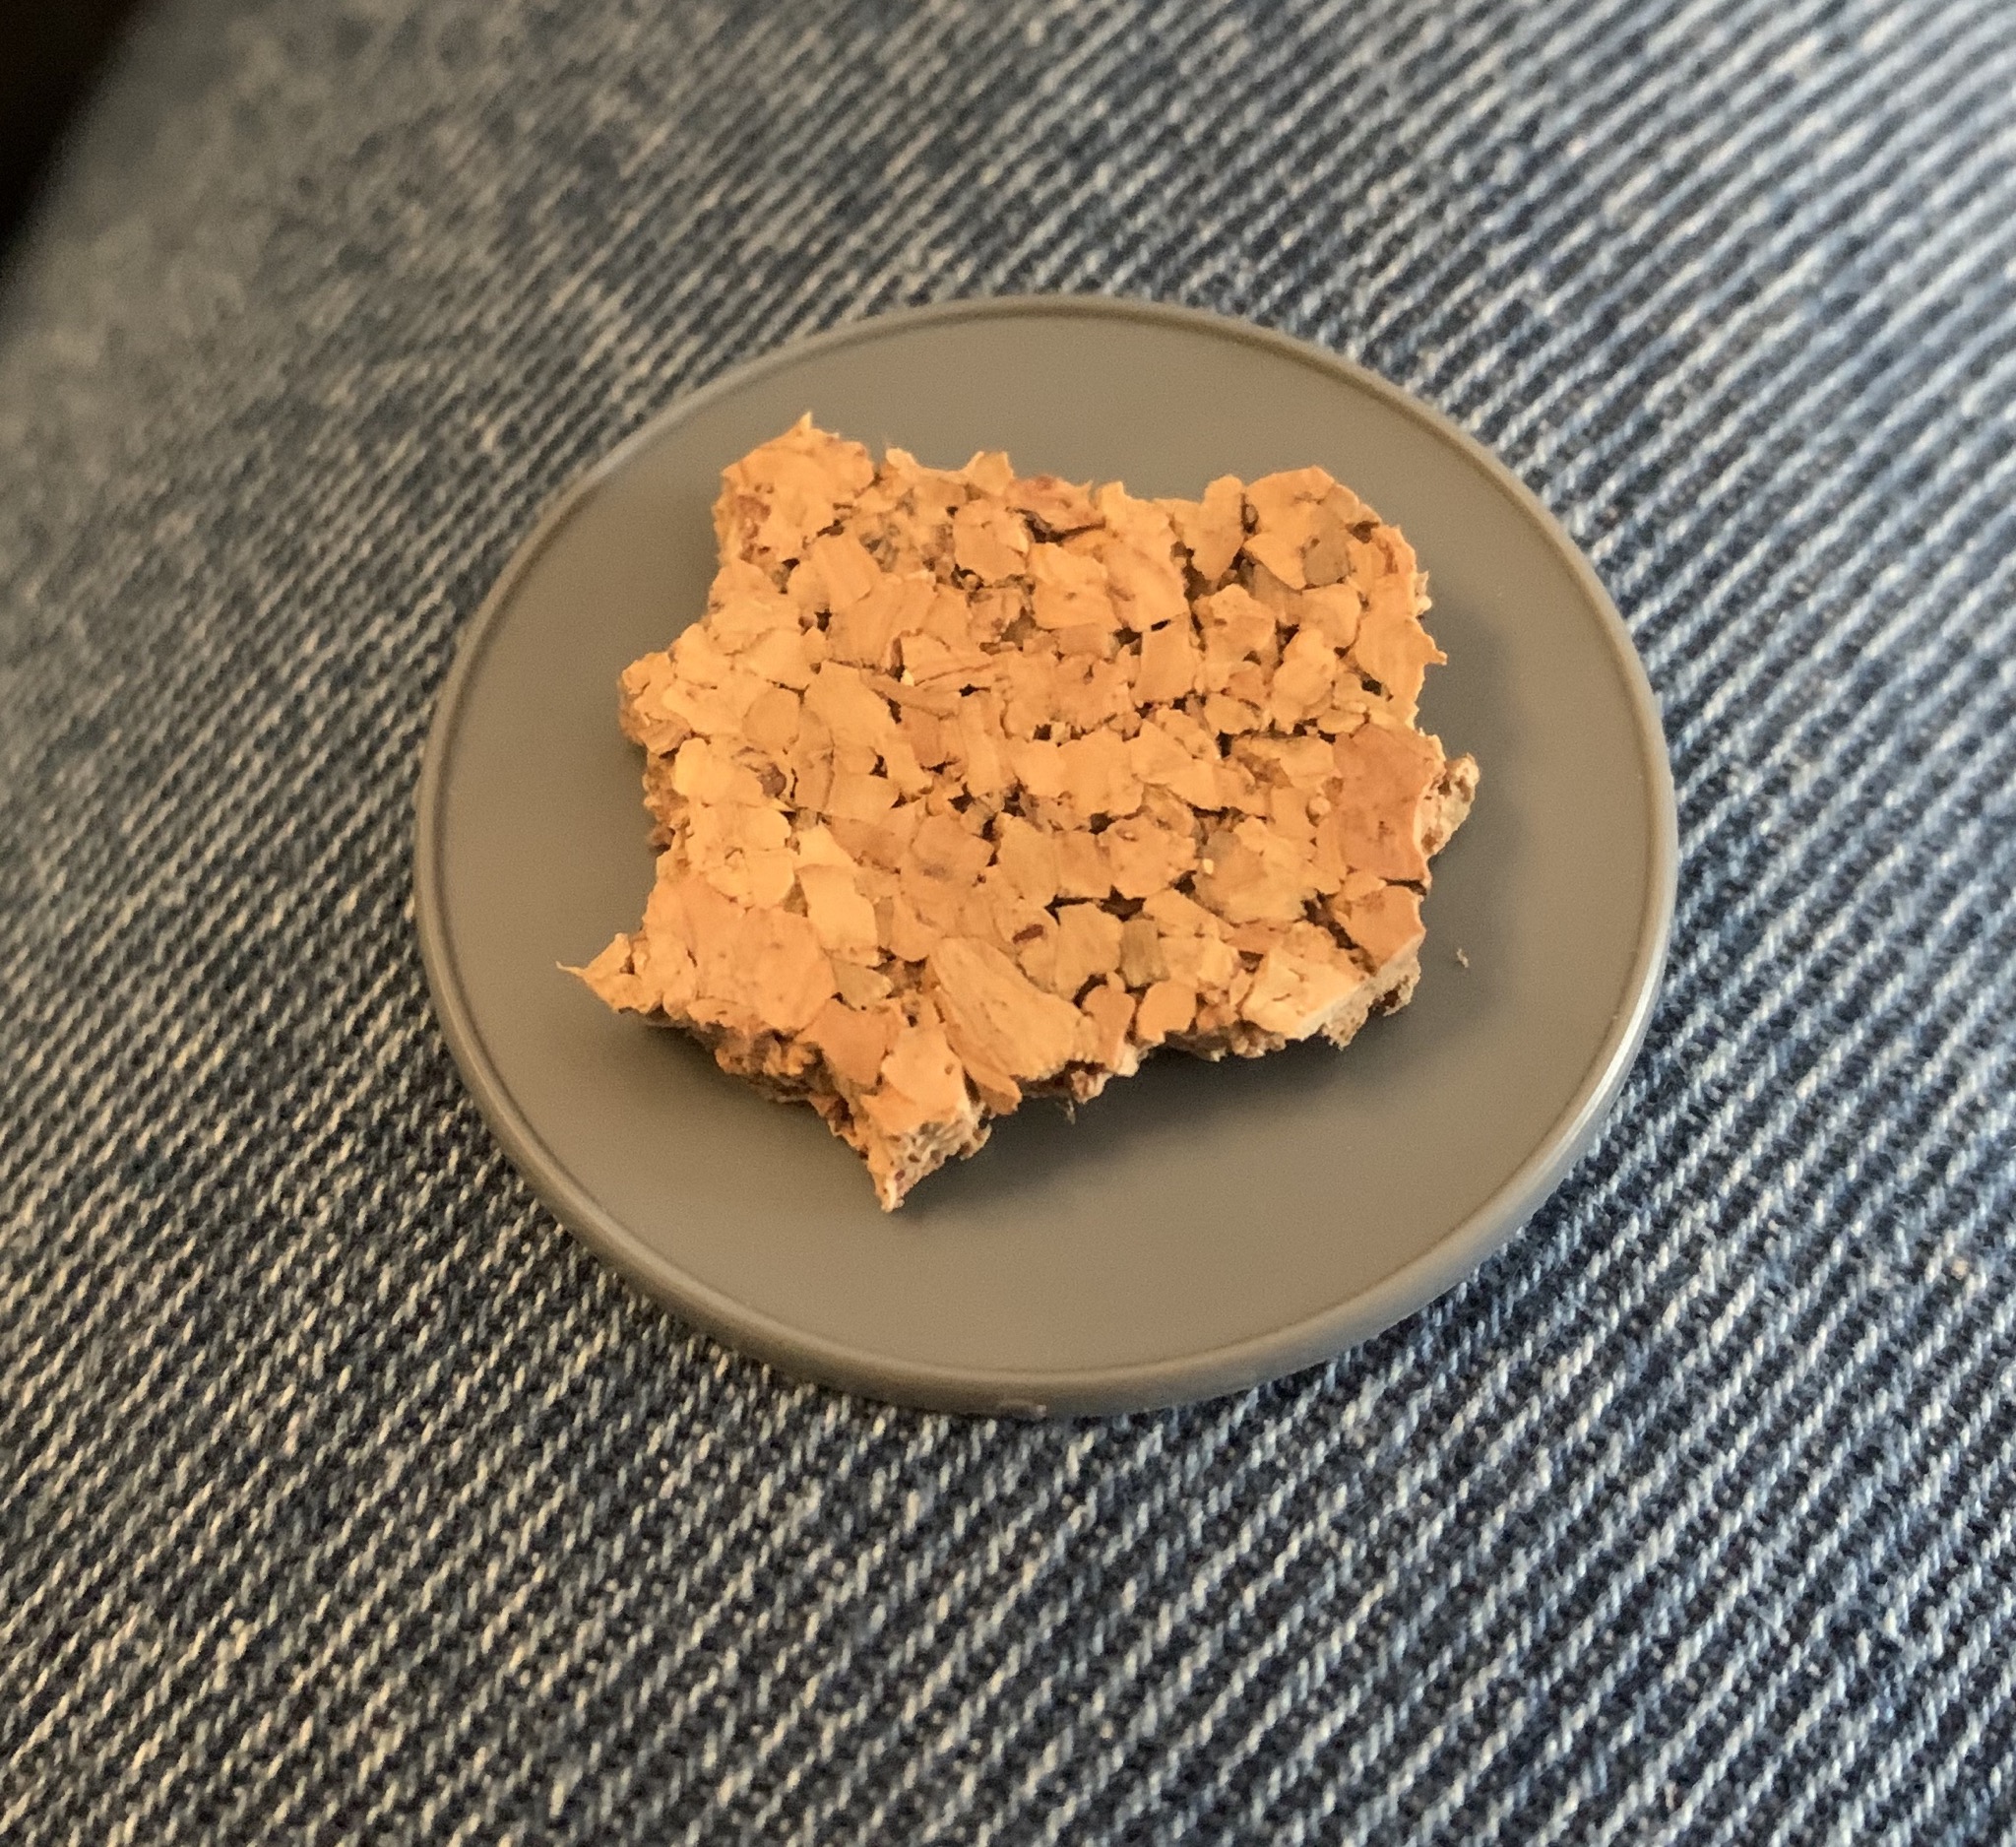 I broke up a portion of the cork by just snapping off the edges until it looked right. I then glued the cork to the base.
 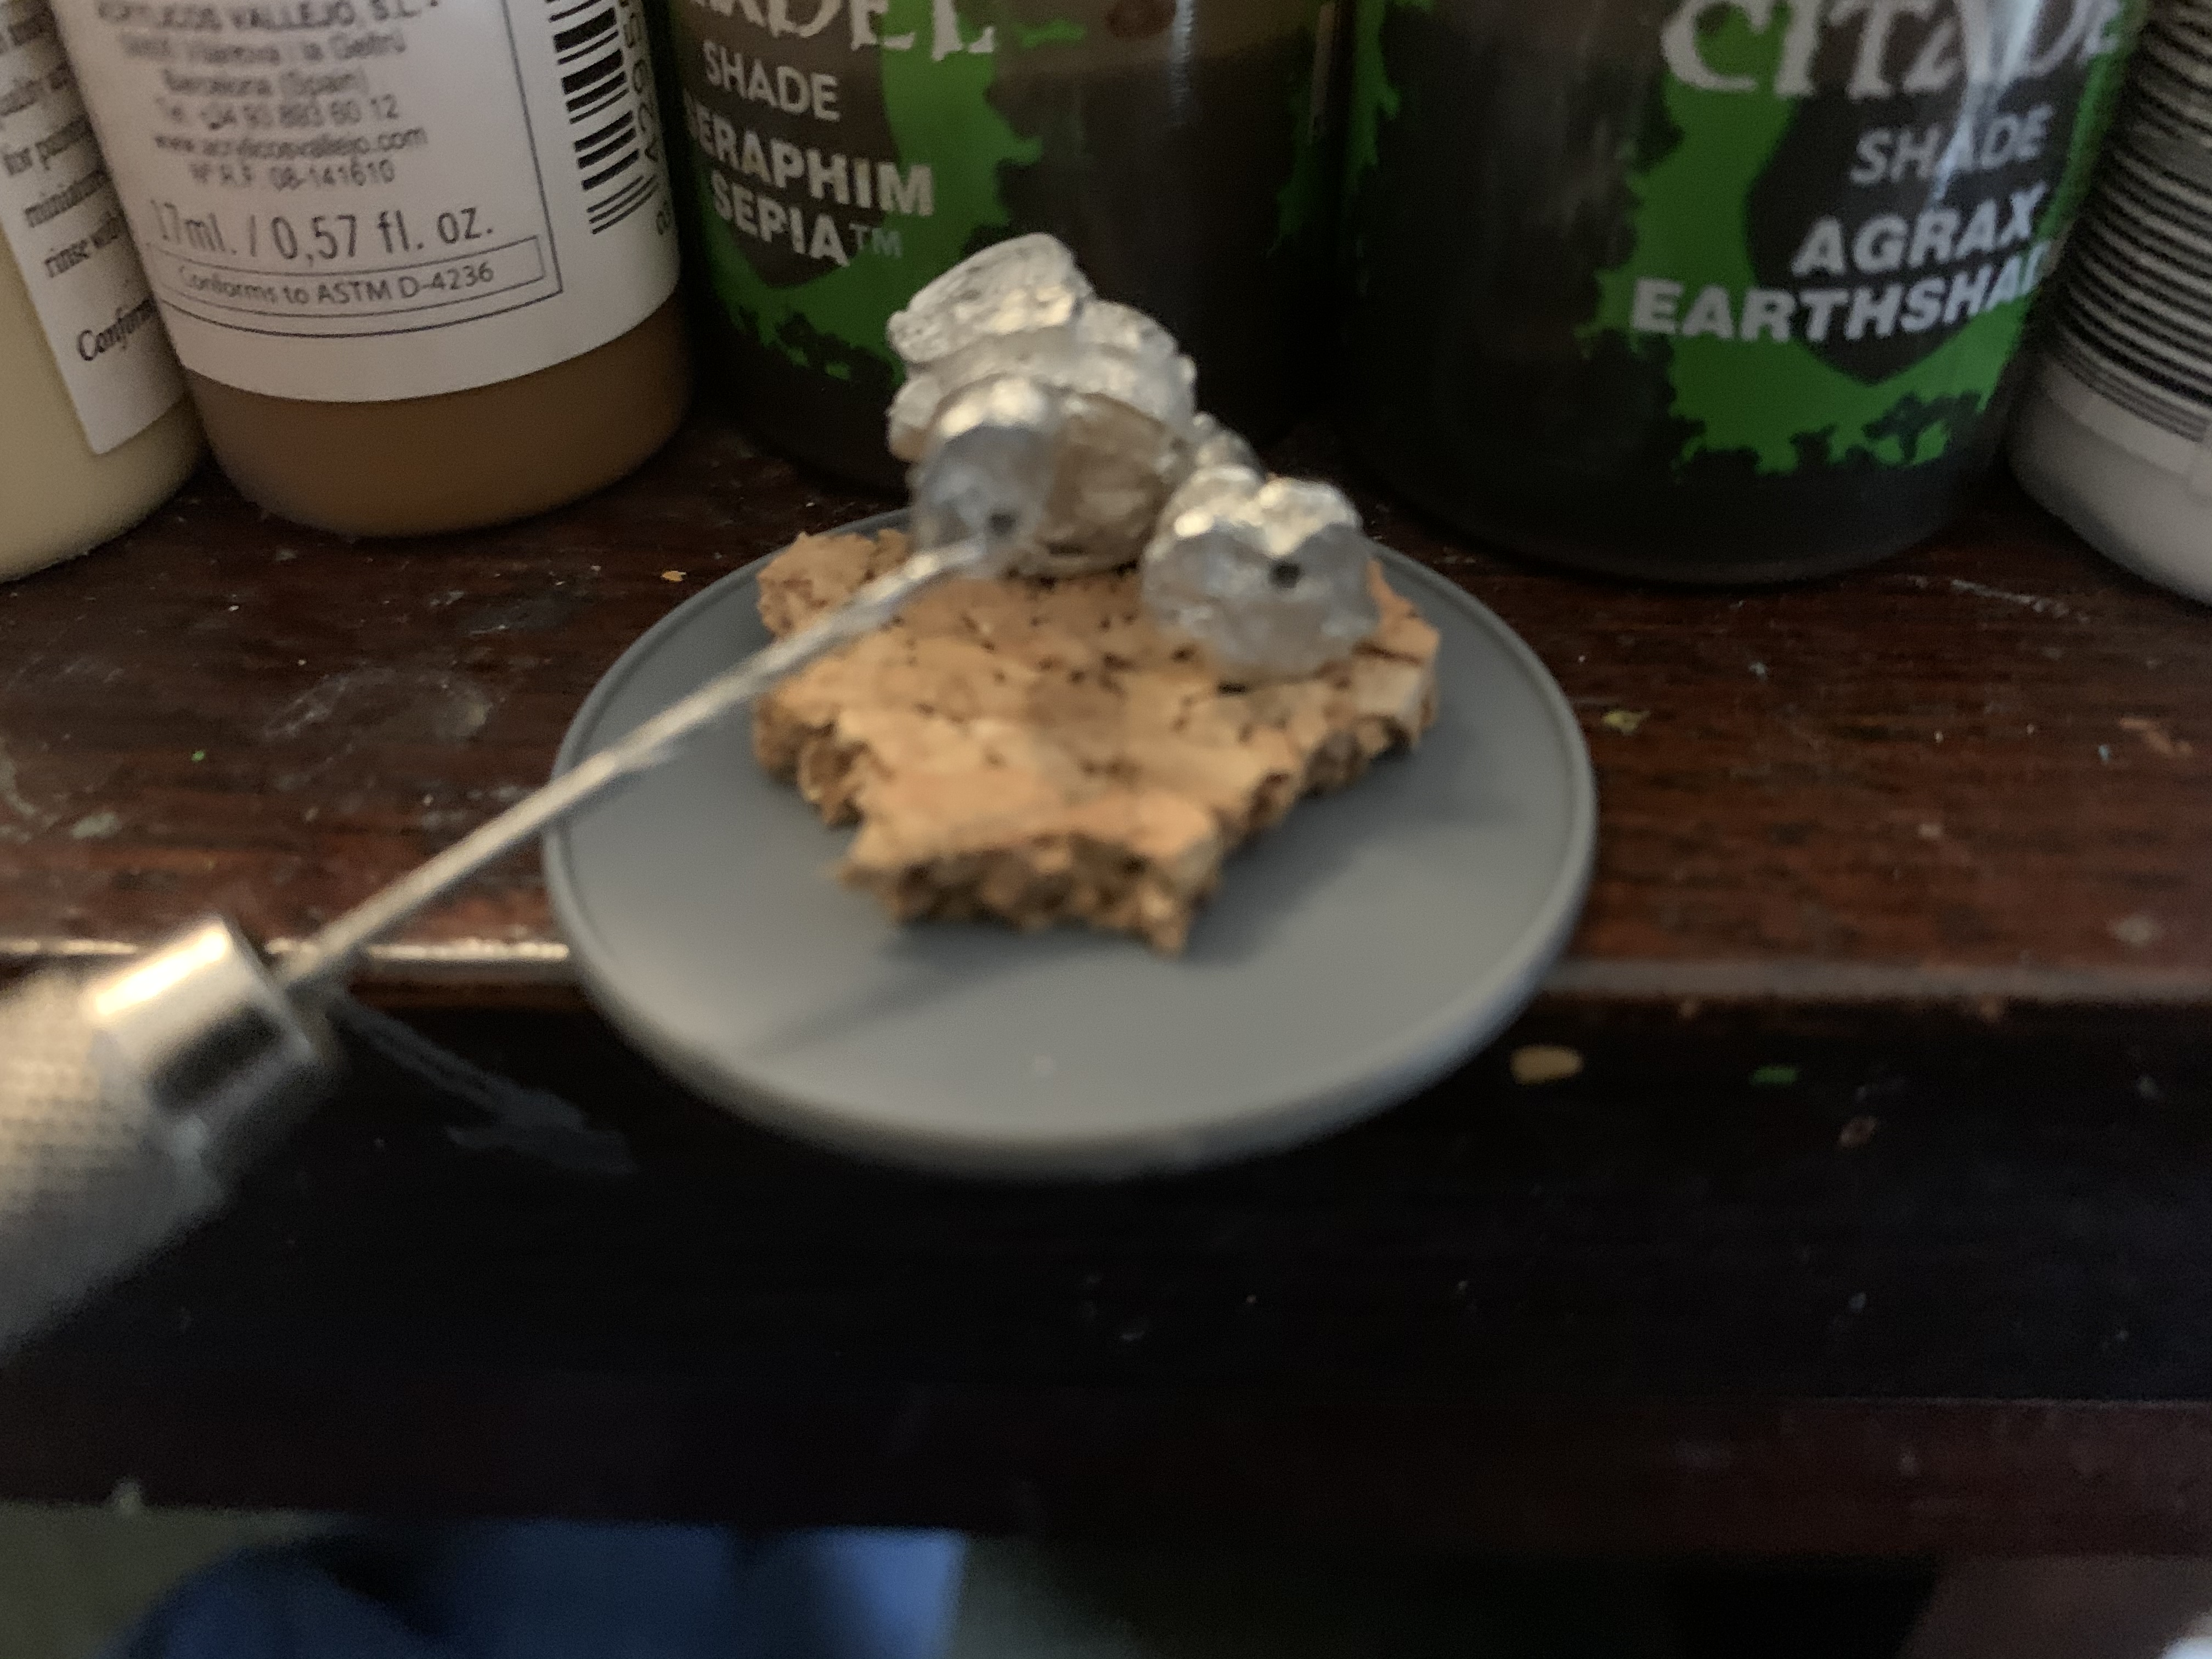 Next, I drilled holes into the feet of the mini.
 I then used some leftover wire from the steel spear I used to make the Shielmaiden’s banner pole and glued them into the holes.
 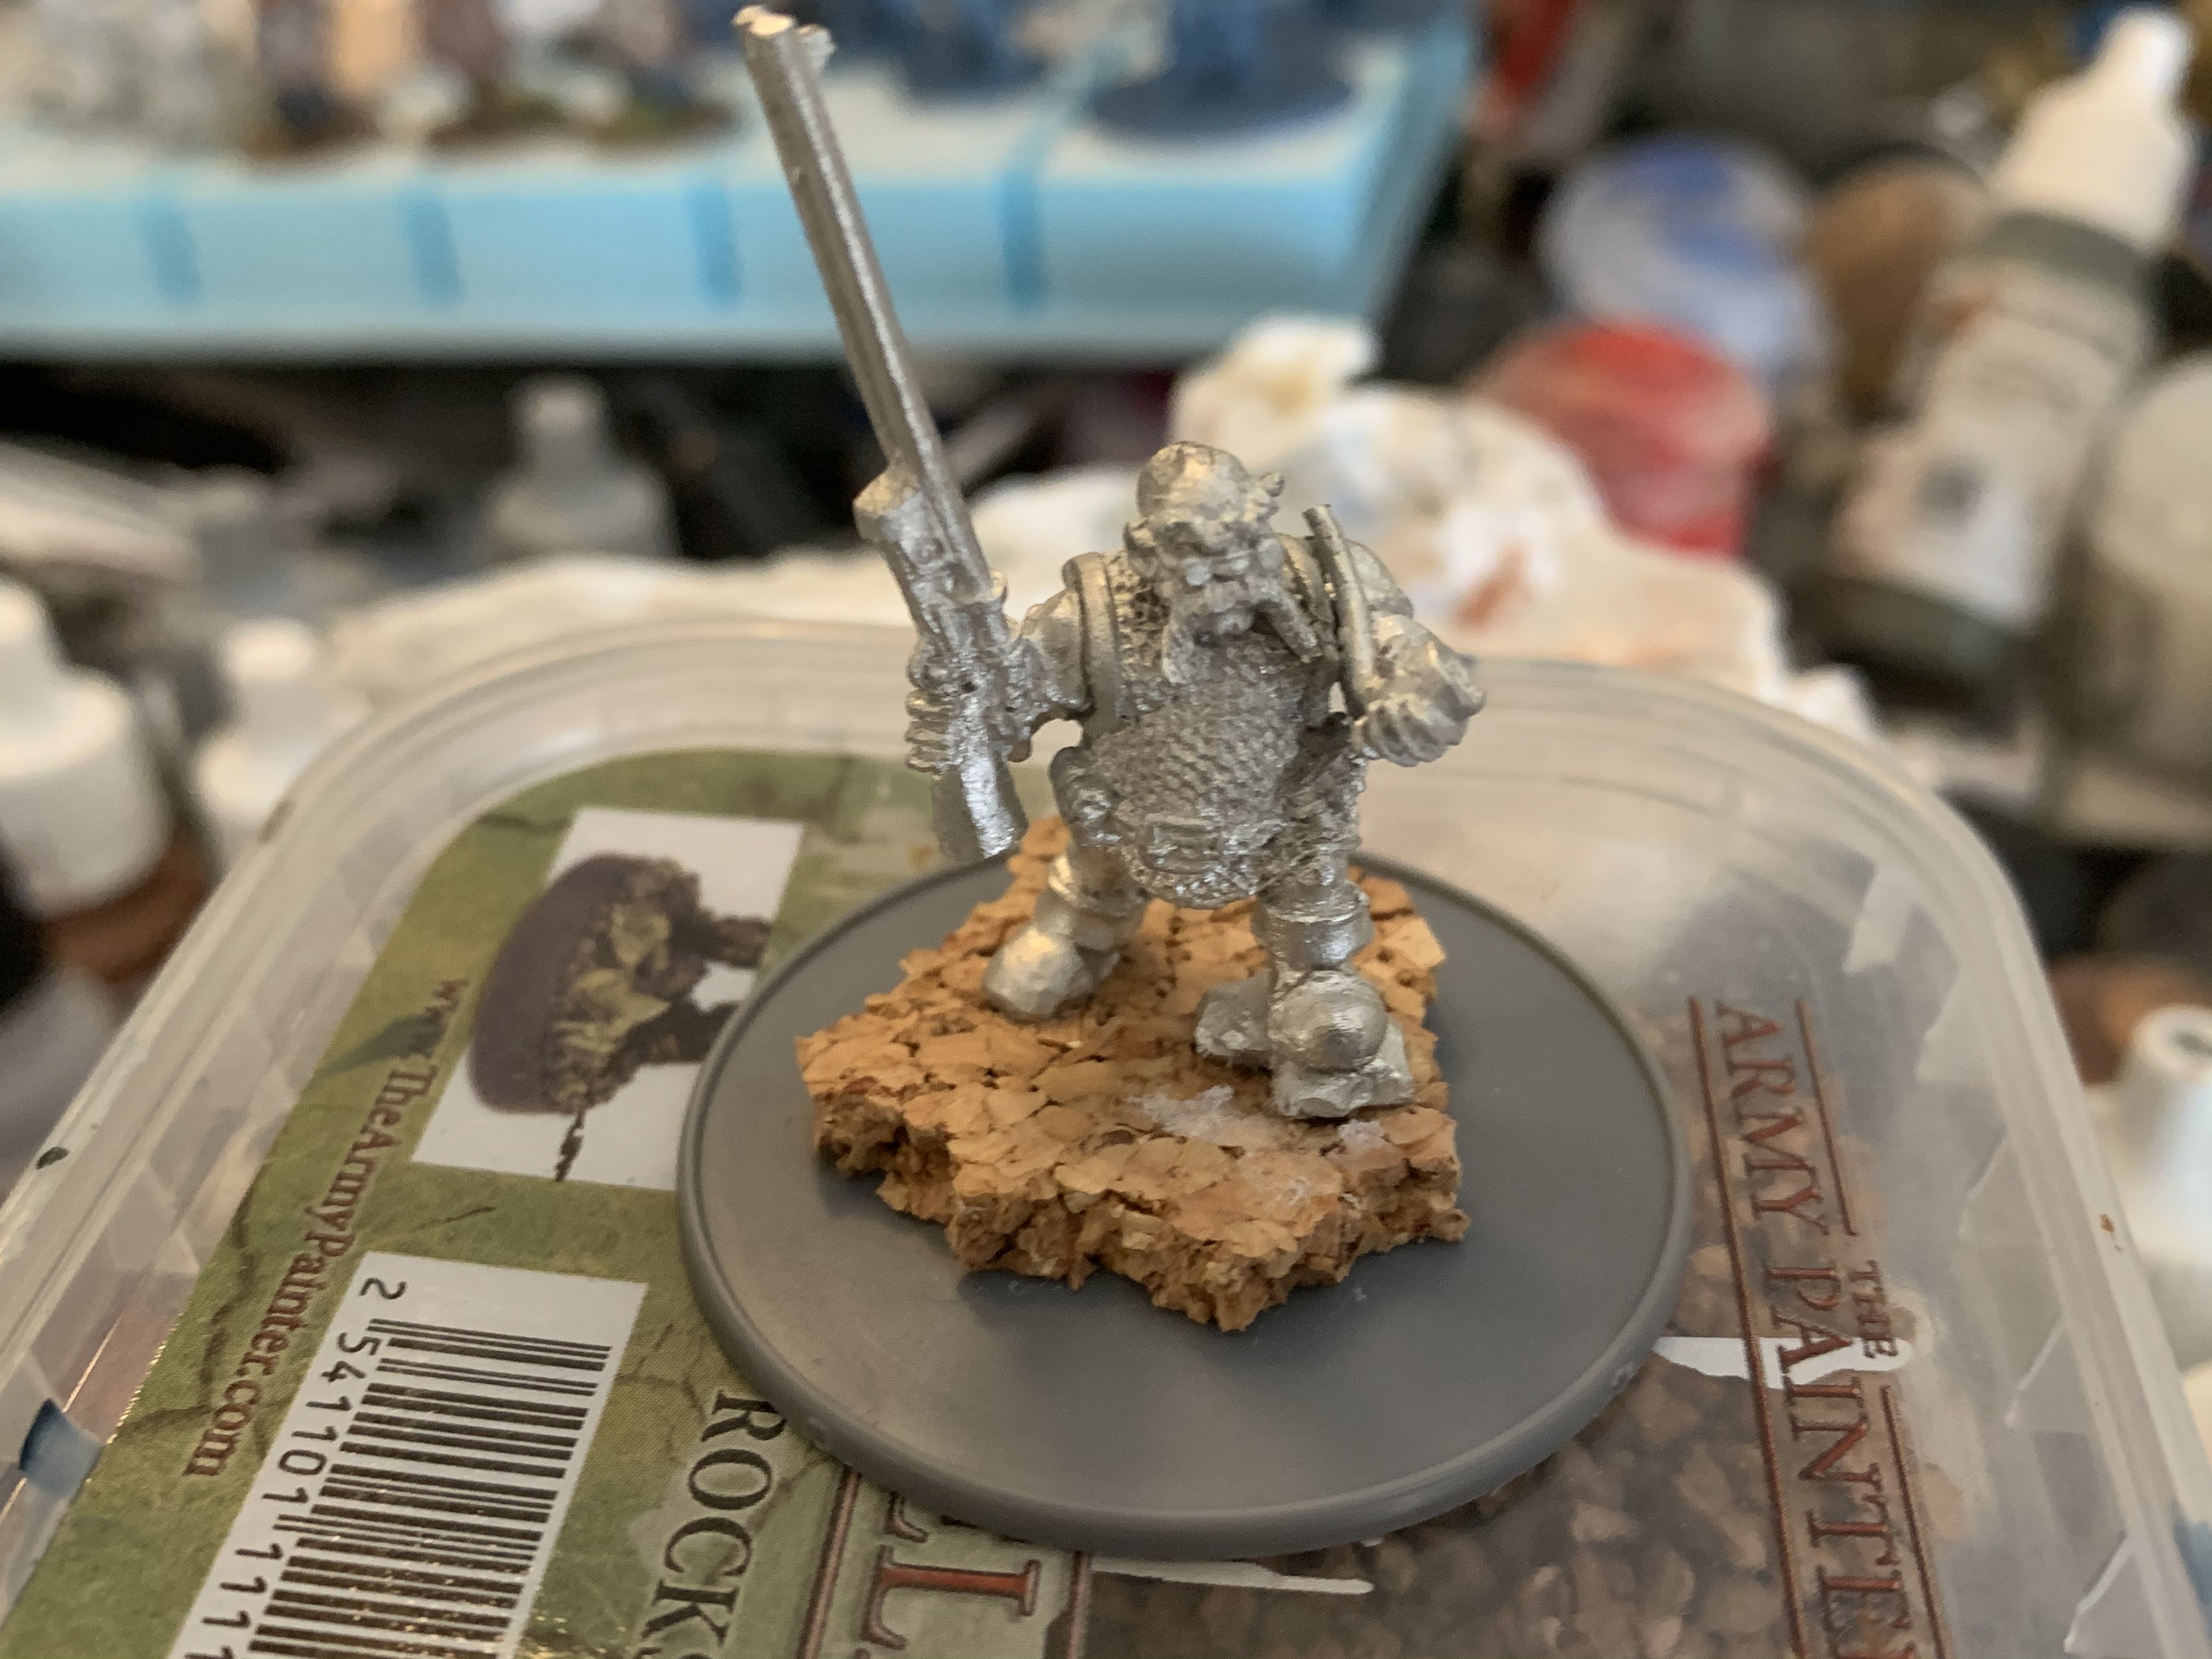 I then drilled holes in the cork and then glued the figure in place. After the body was in place, I glued the arms, head and back pack.
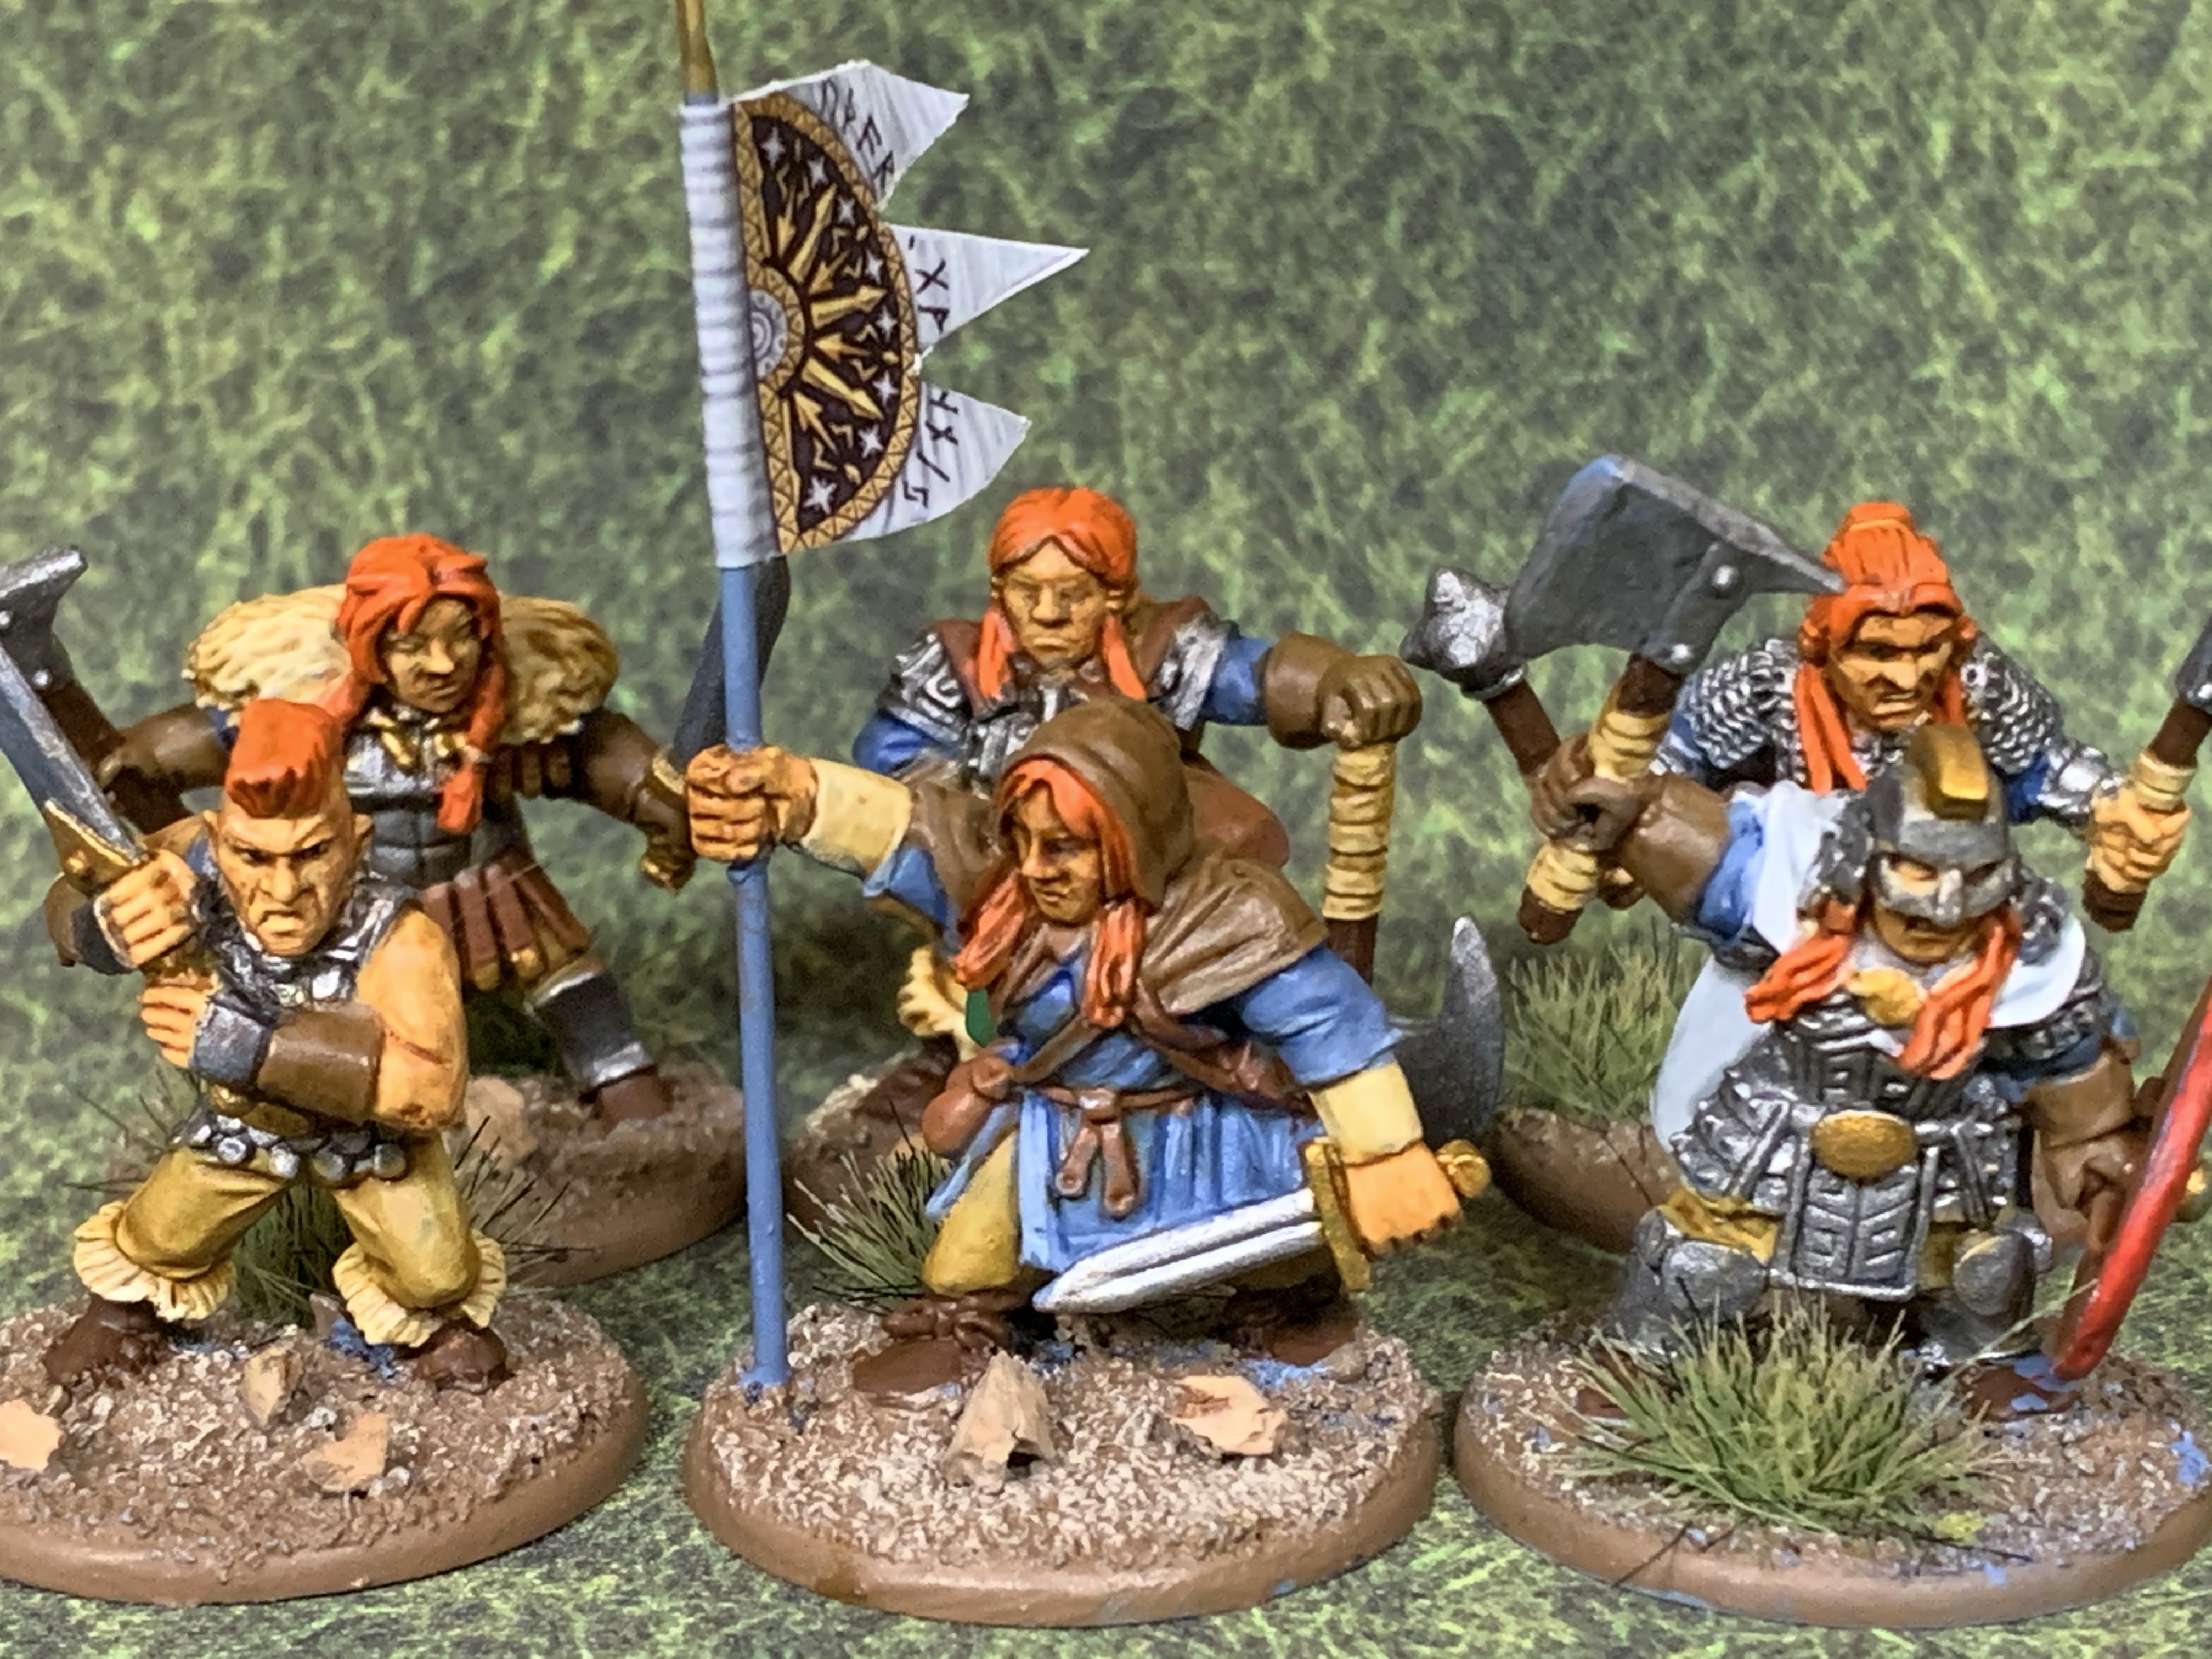
Adding a banner Part 3
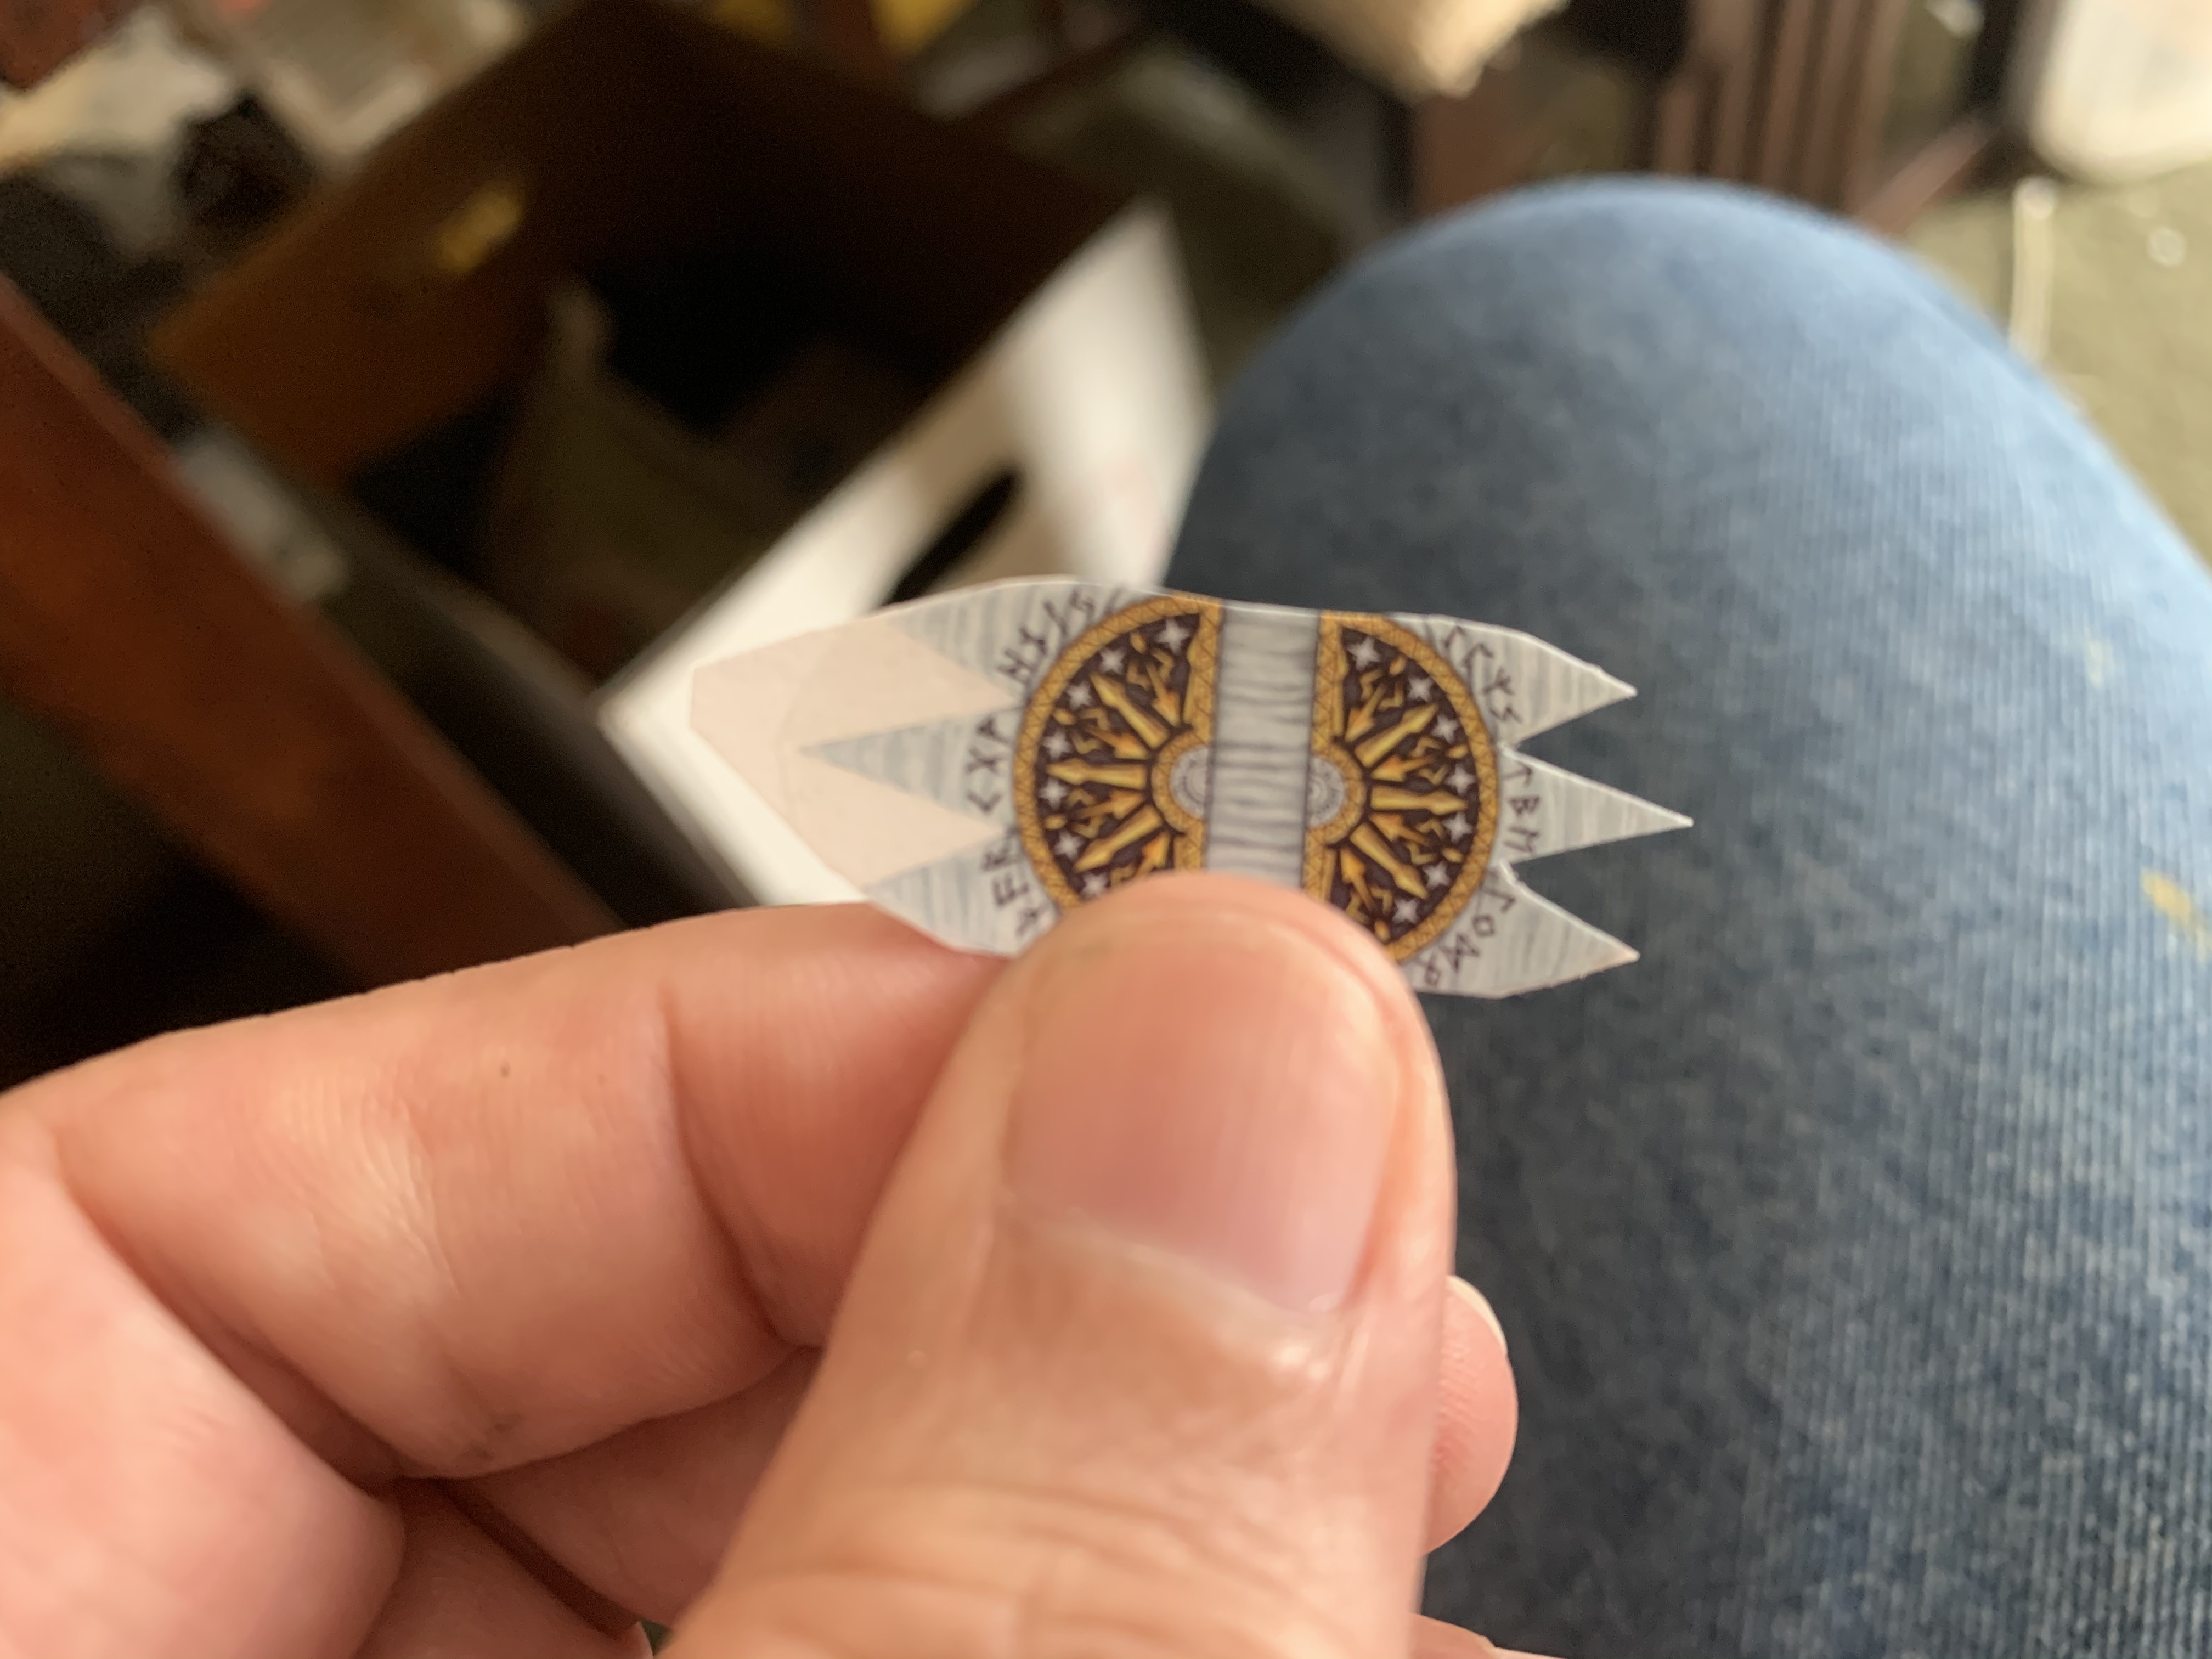 Once dry, trim the paper as close as possible to the transfer.
  Pre-form the transfer by wrapping it around the banner pole.
 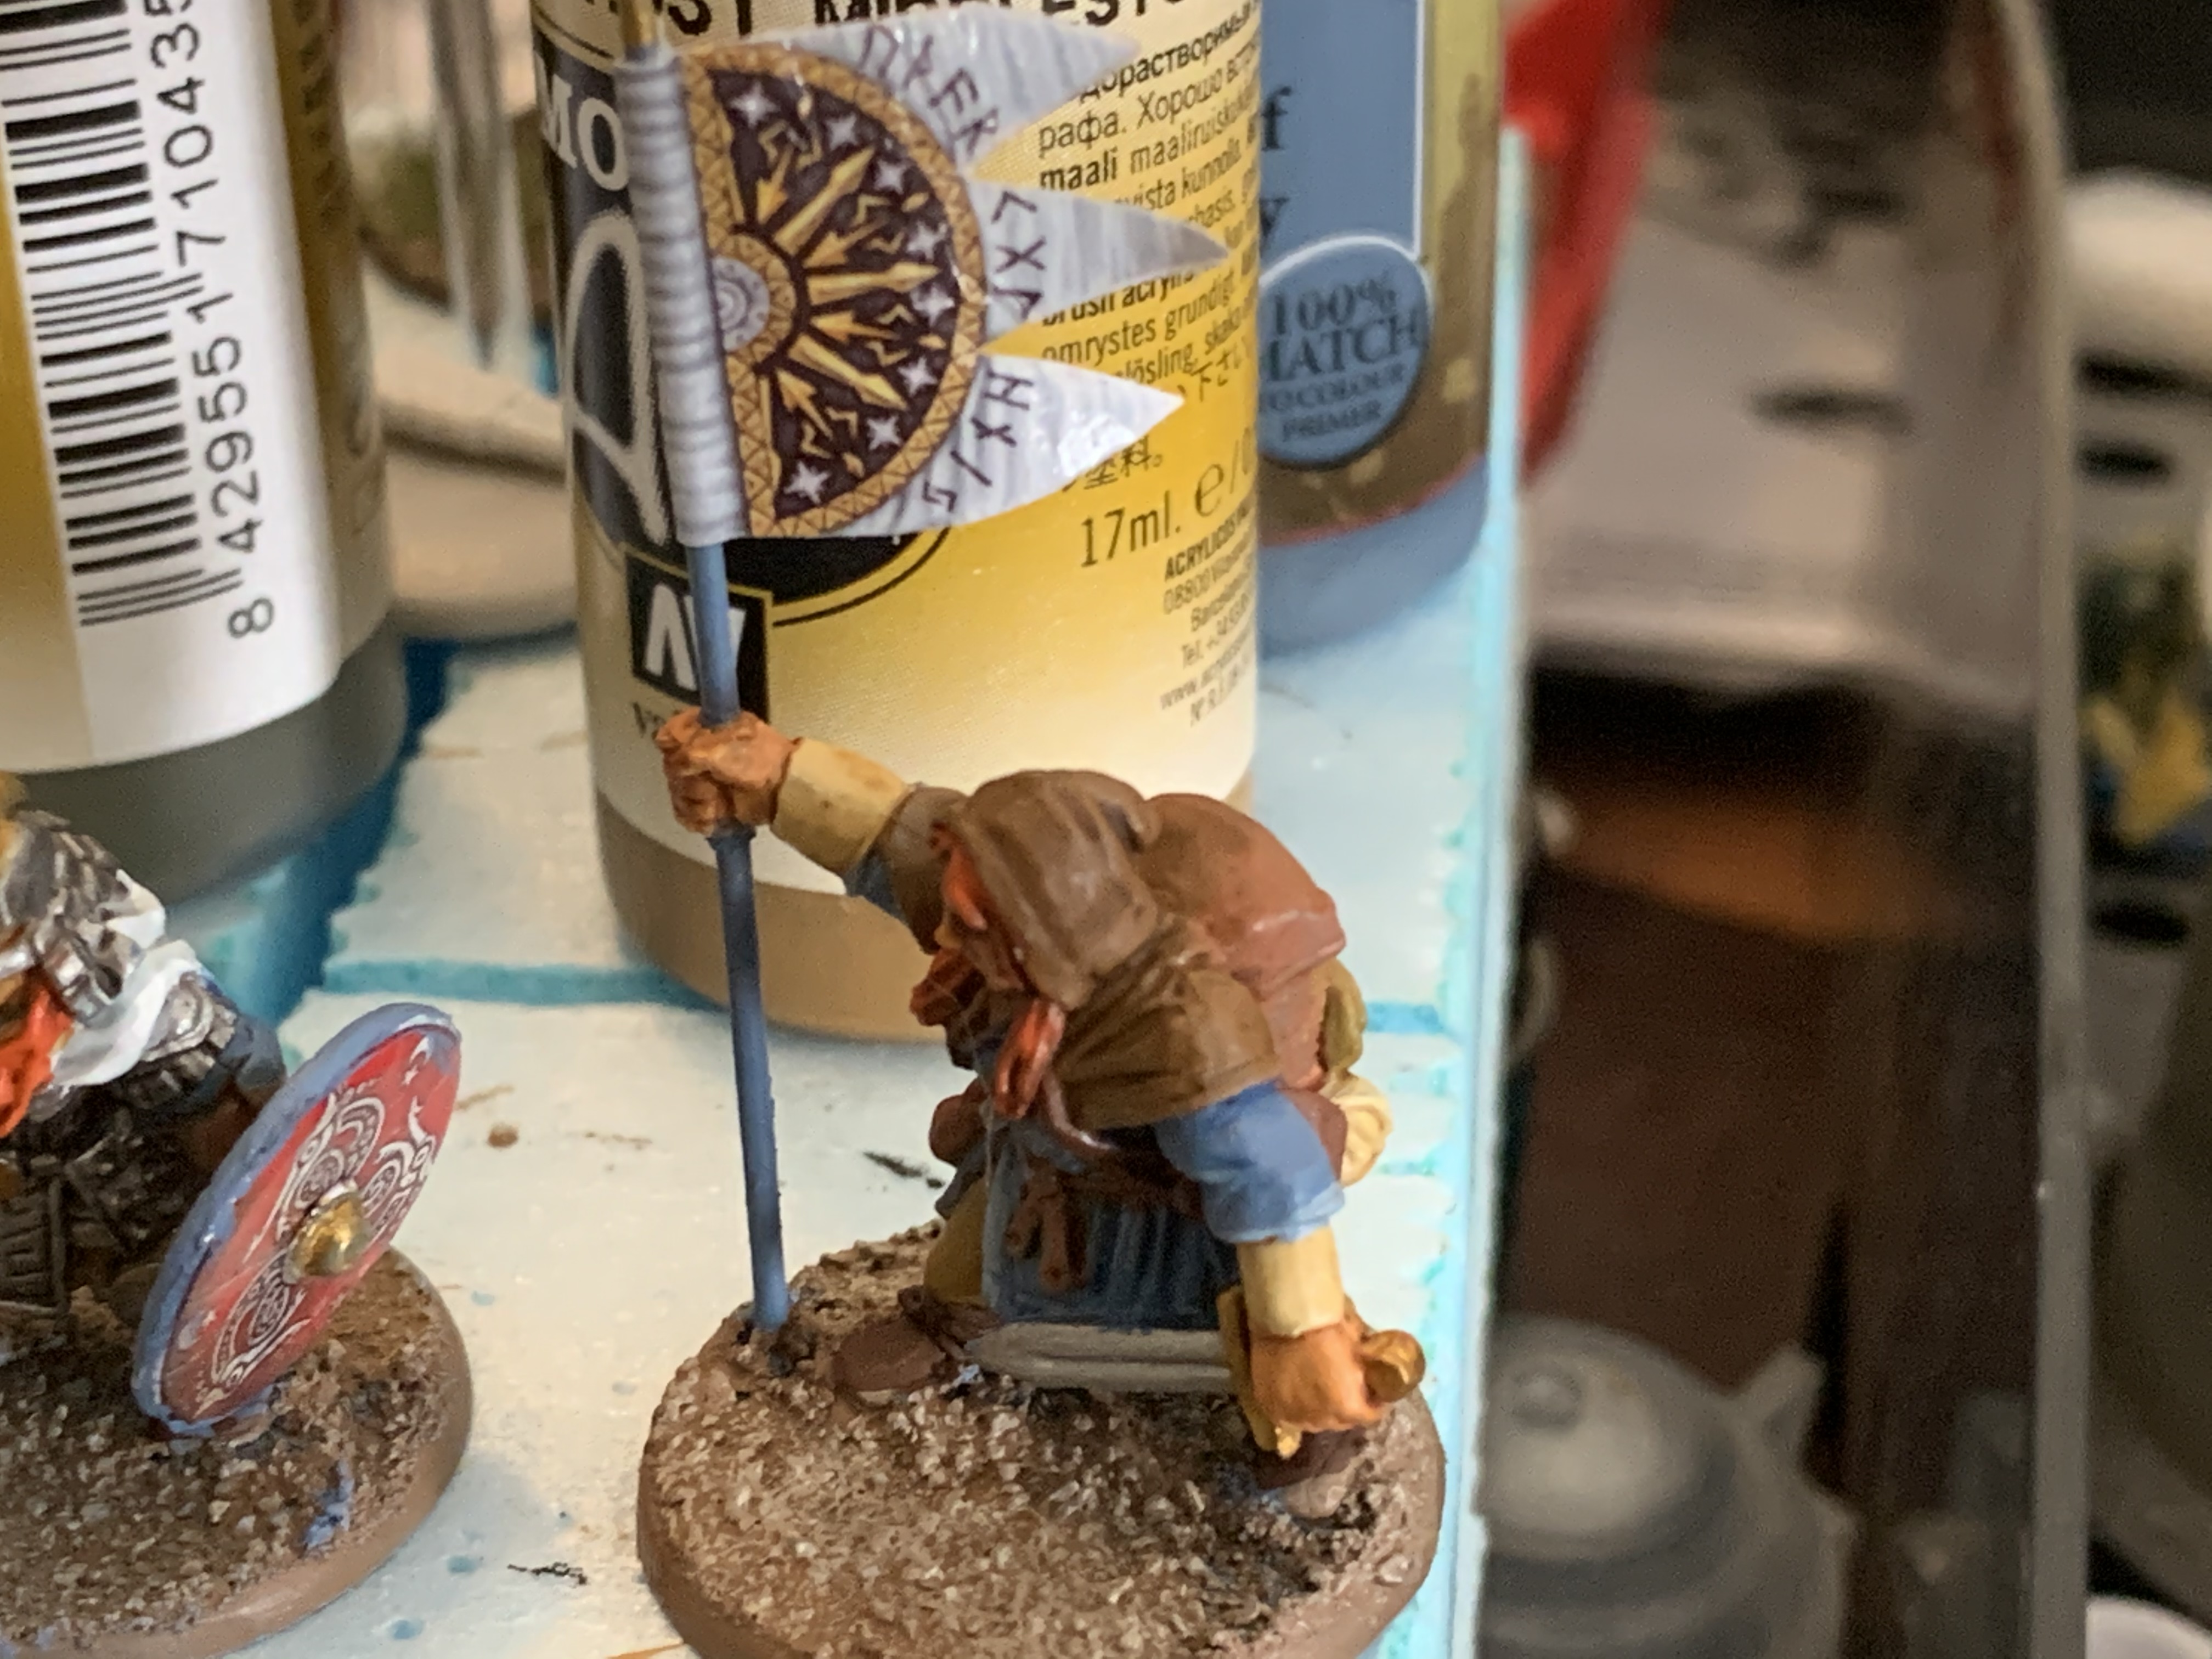 Coat the paper with glue, I used Elmer’s Glue, then wrap the transfer around the pole. Carefully align the edges before the glue sets.
 While the glue is still wet, use either a paint brush handle or small wooden dowel to add a wavy appearance to the banner. Do this by wrapping the banner around it.
Let the glue dry, trim again if necessary. Paint the edges too. I used Vallejo Ghost Grey on the edges.
Adding the banner Part 2
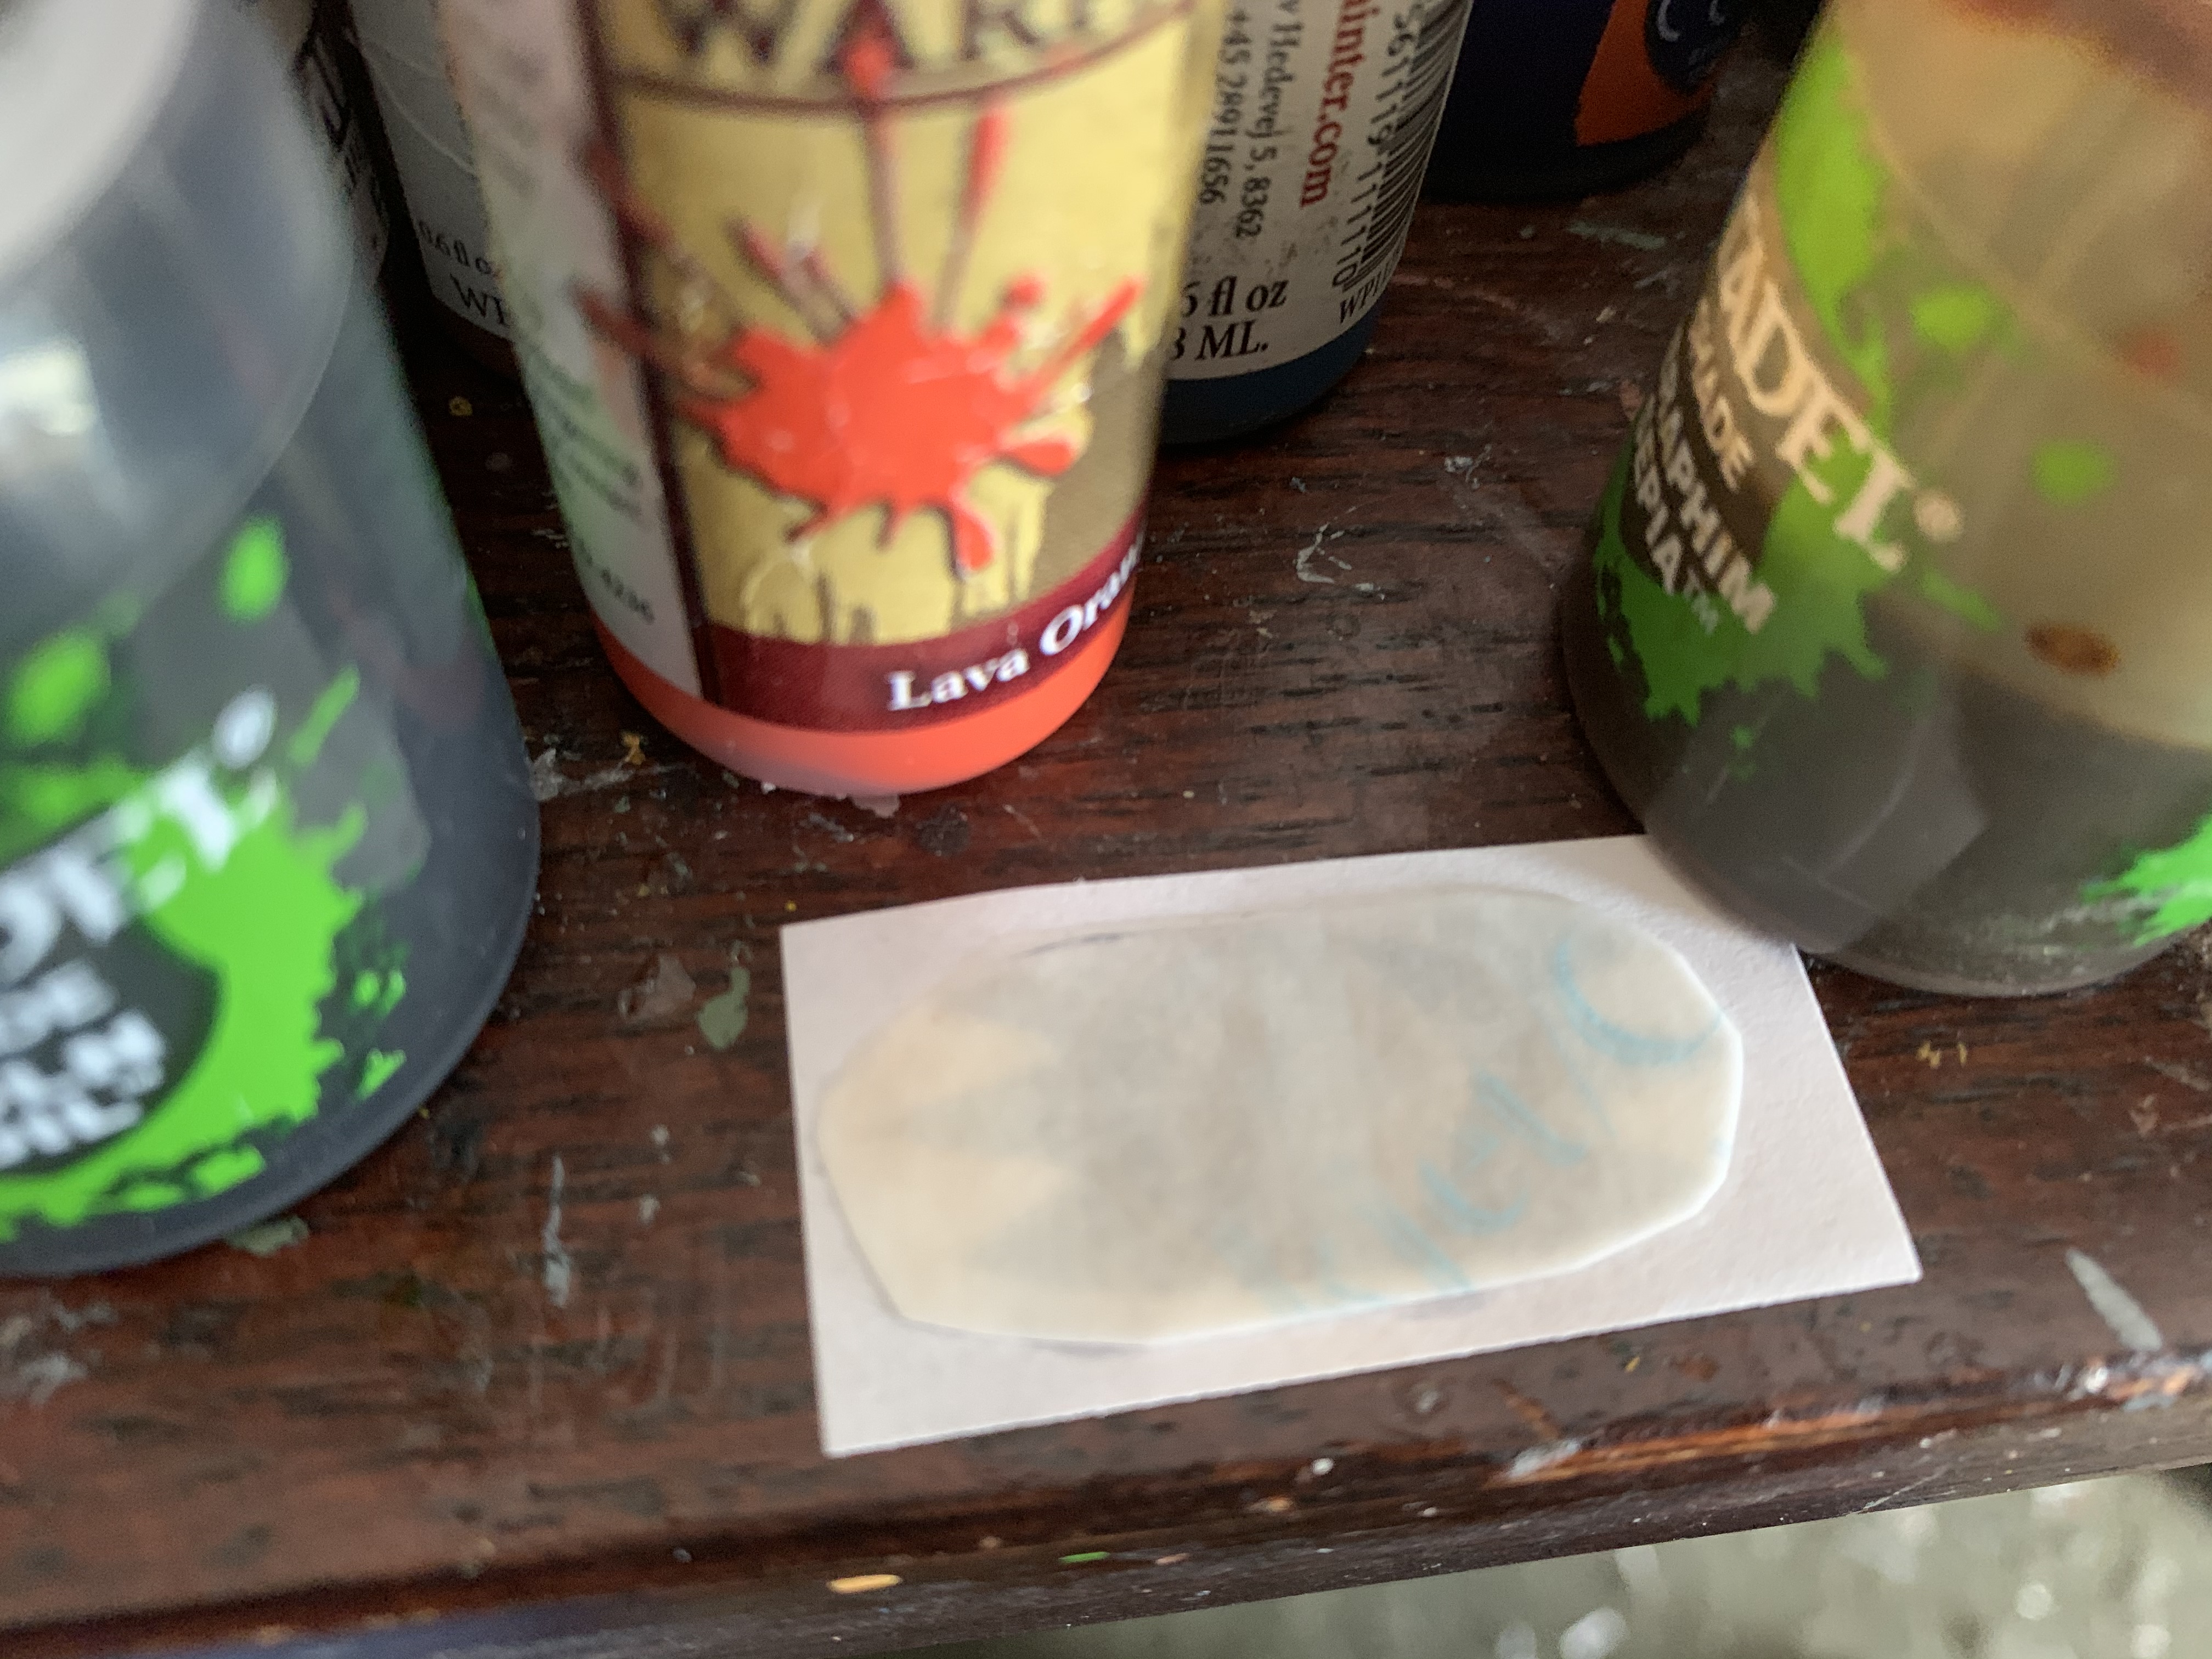 Use a small brush and carefully add water to the paperback of the transfer. Keep a paper towel handy and try not to get water on the white paper the transfer is being mounted to. If you do, just blot it up.
 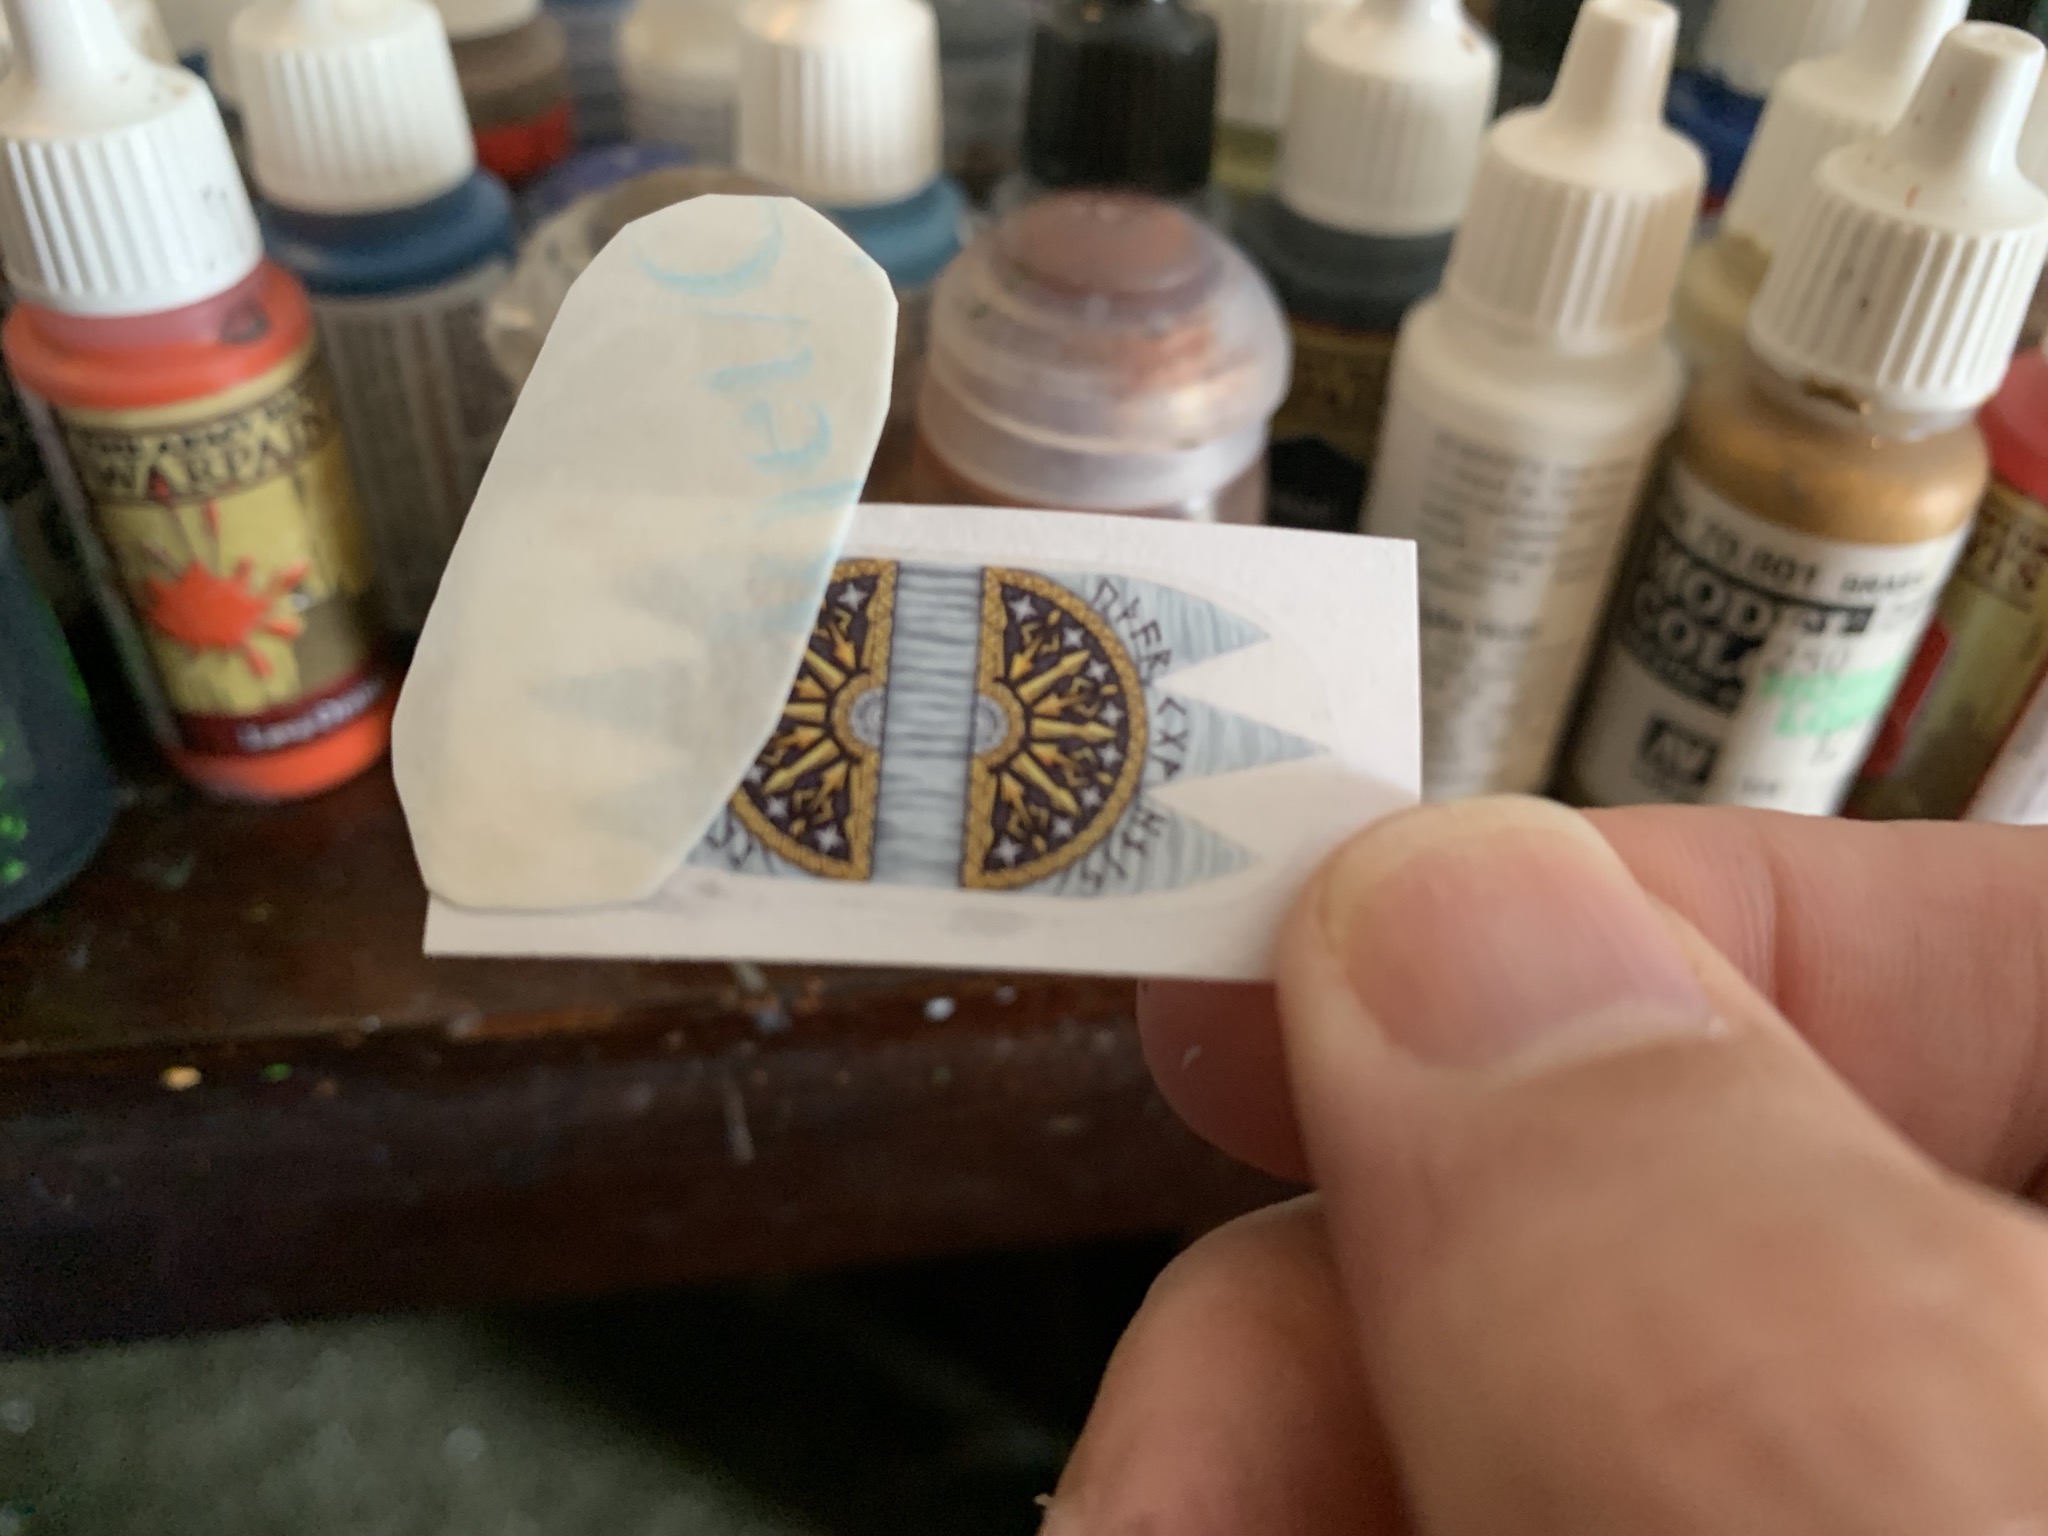 After a few moments, the transfer’s backing should slide away easily.
 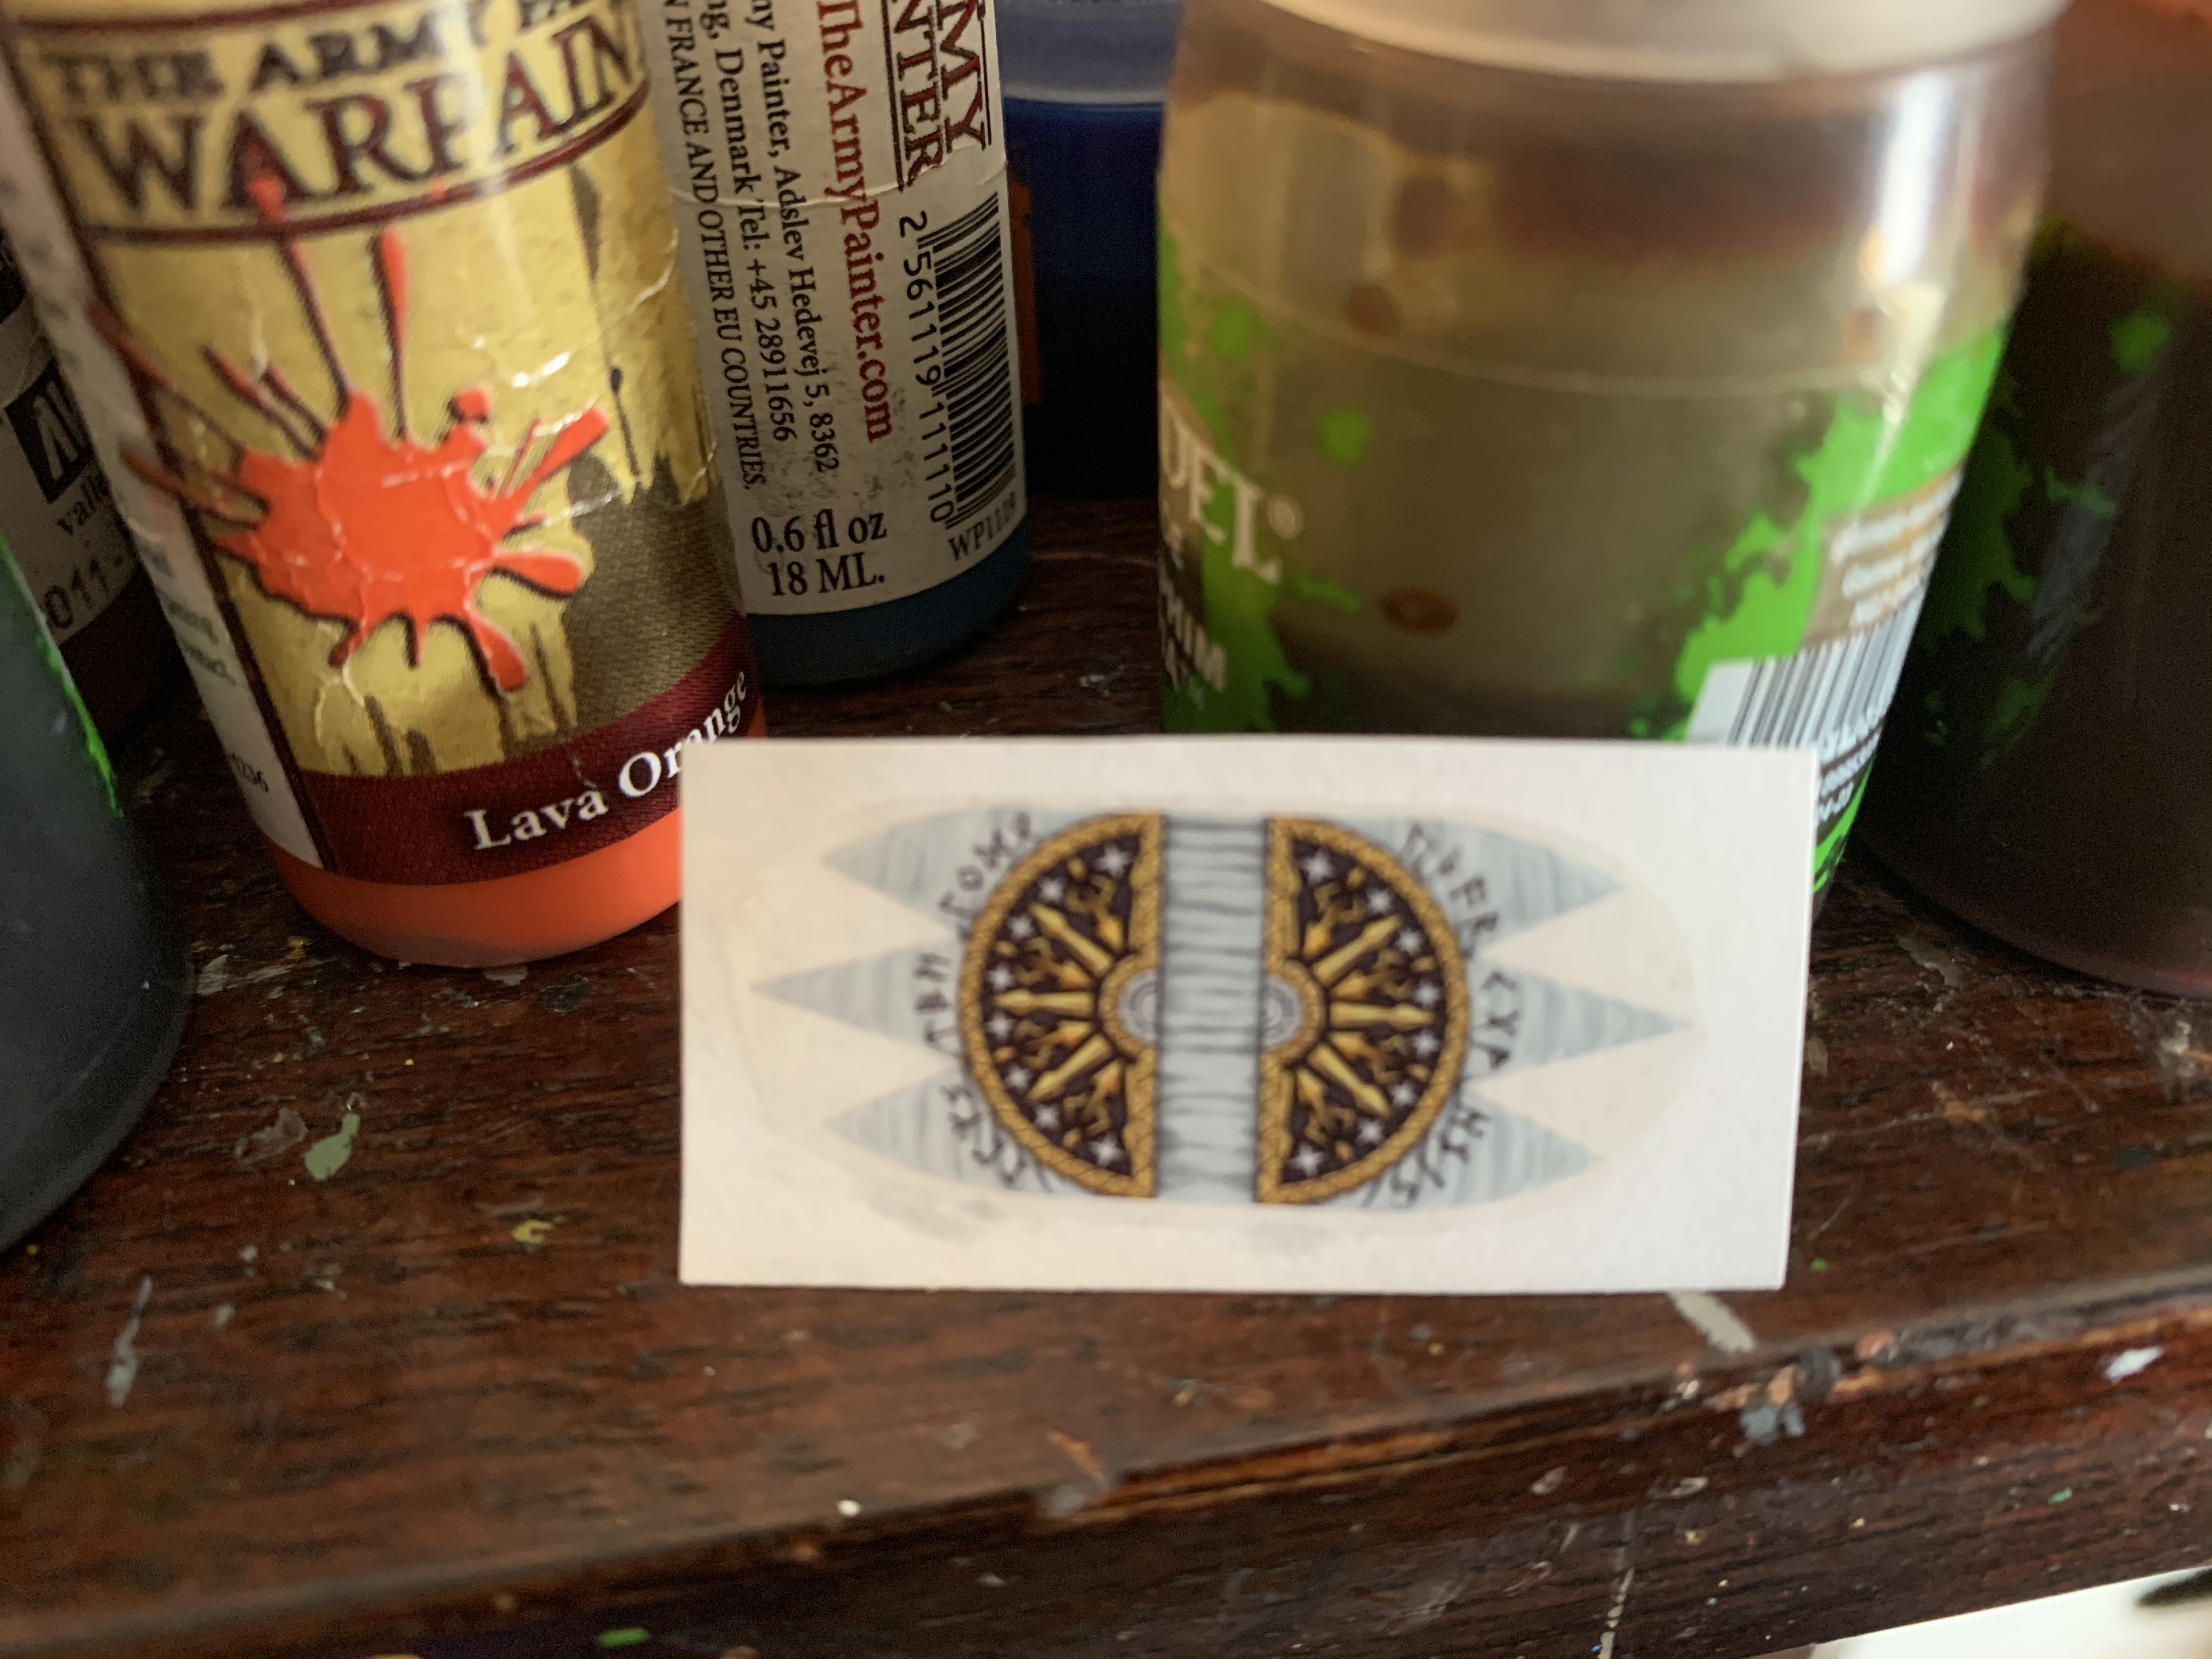 Set aside to dry.
 Adding the banner Part 1
The banners and transfers are from Little Big Man Studios and are specifically made for Oarthmark, but you won’t find them on their website. They’re sold through Northstar. I’d include a link but apparently the anti-spam software is super sensitive to hyperlinks.
The banners have very good instructions and what follows is basically those instructions with a few tips.
You can mount the banner on any of several different materials including thin lead foil. If you do use lead foil, prime it white first. I’m going to use white paper but otherwise, the steps are the same for both.
 Cut out the banner you intend to use. Don’t worry about trimming it closely, that’ll come later.
 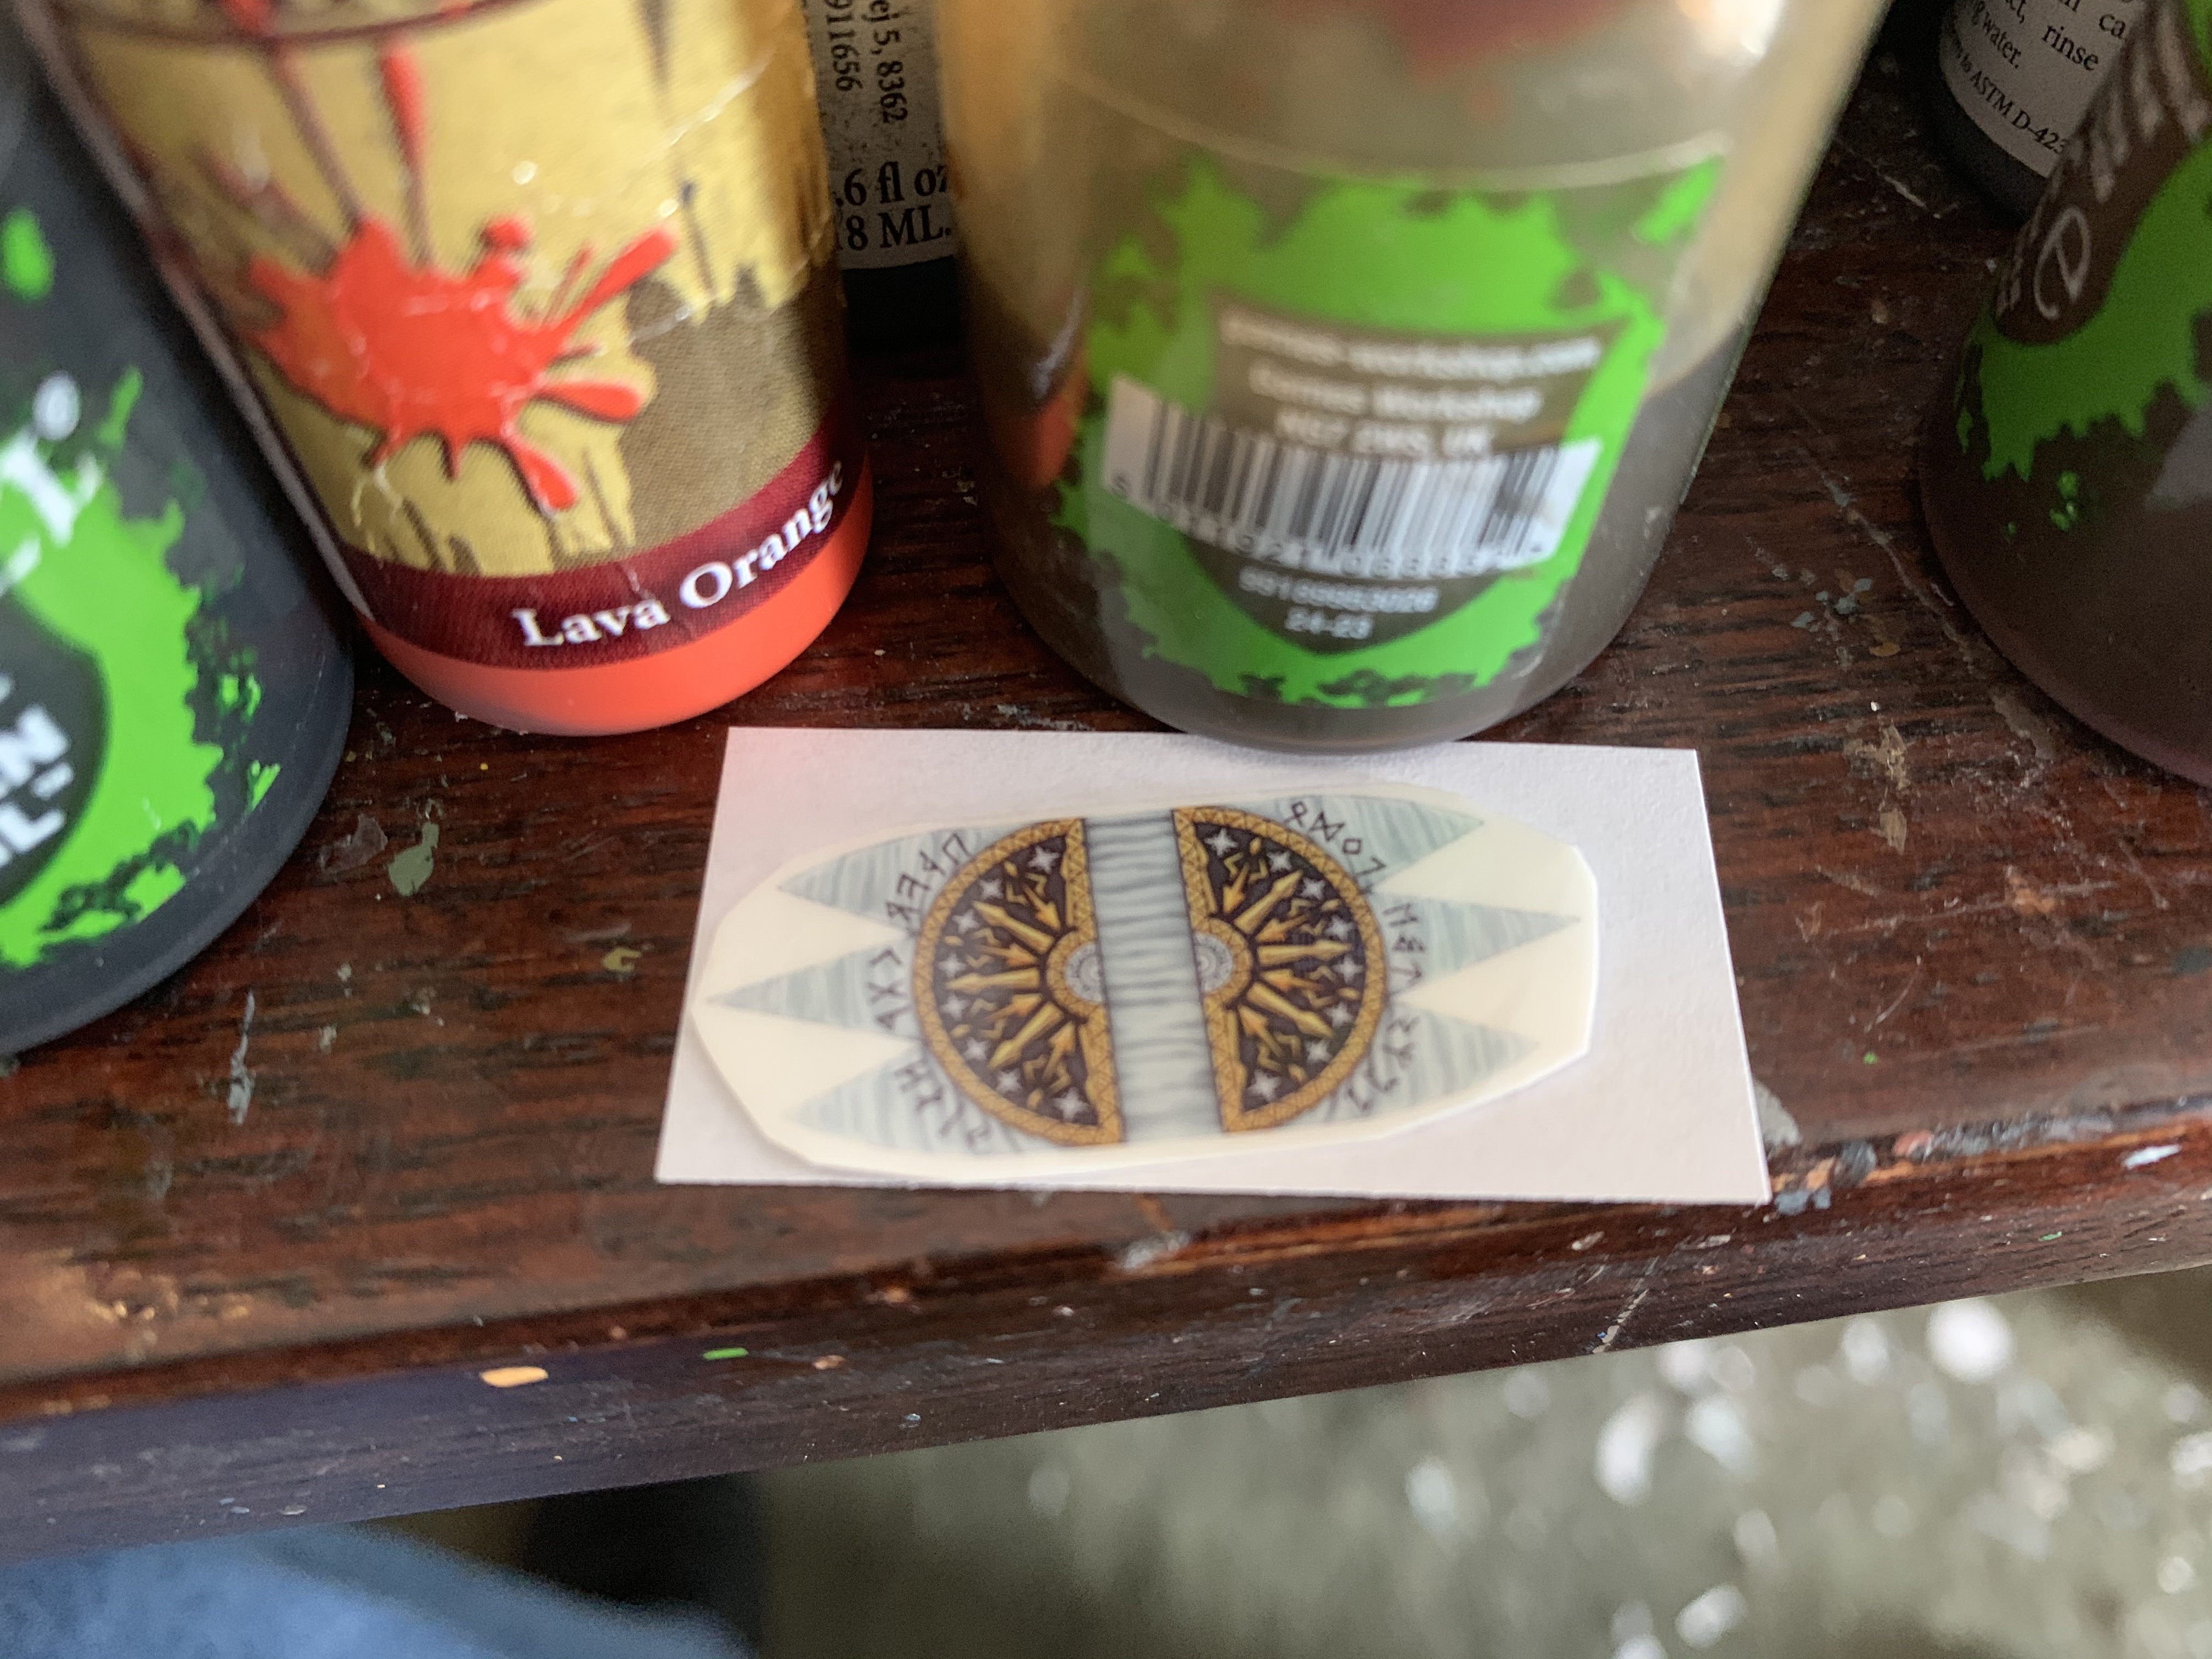 Cut out a piece of white paper larger than the transfer.
 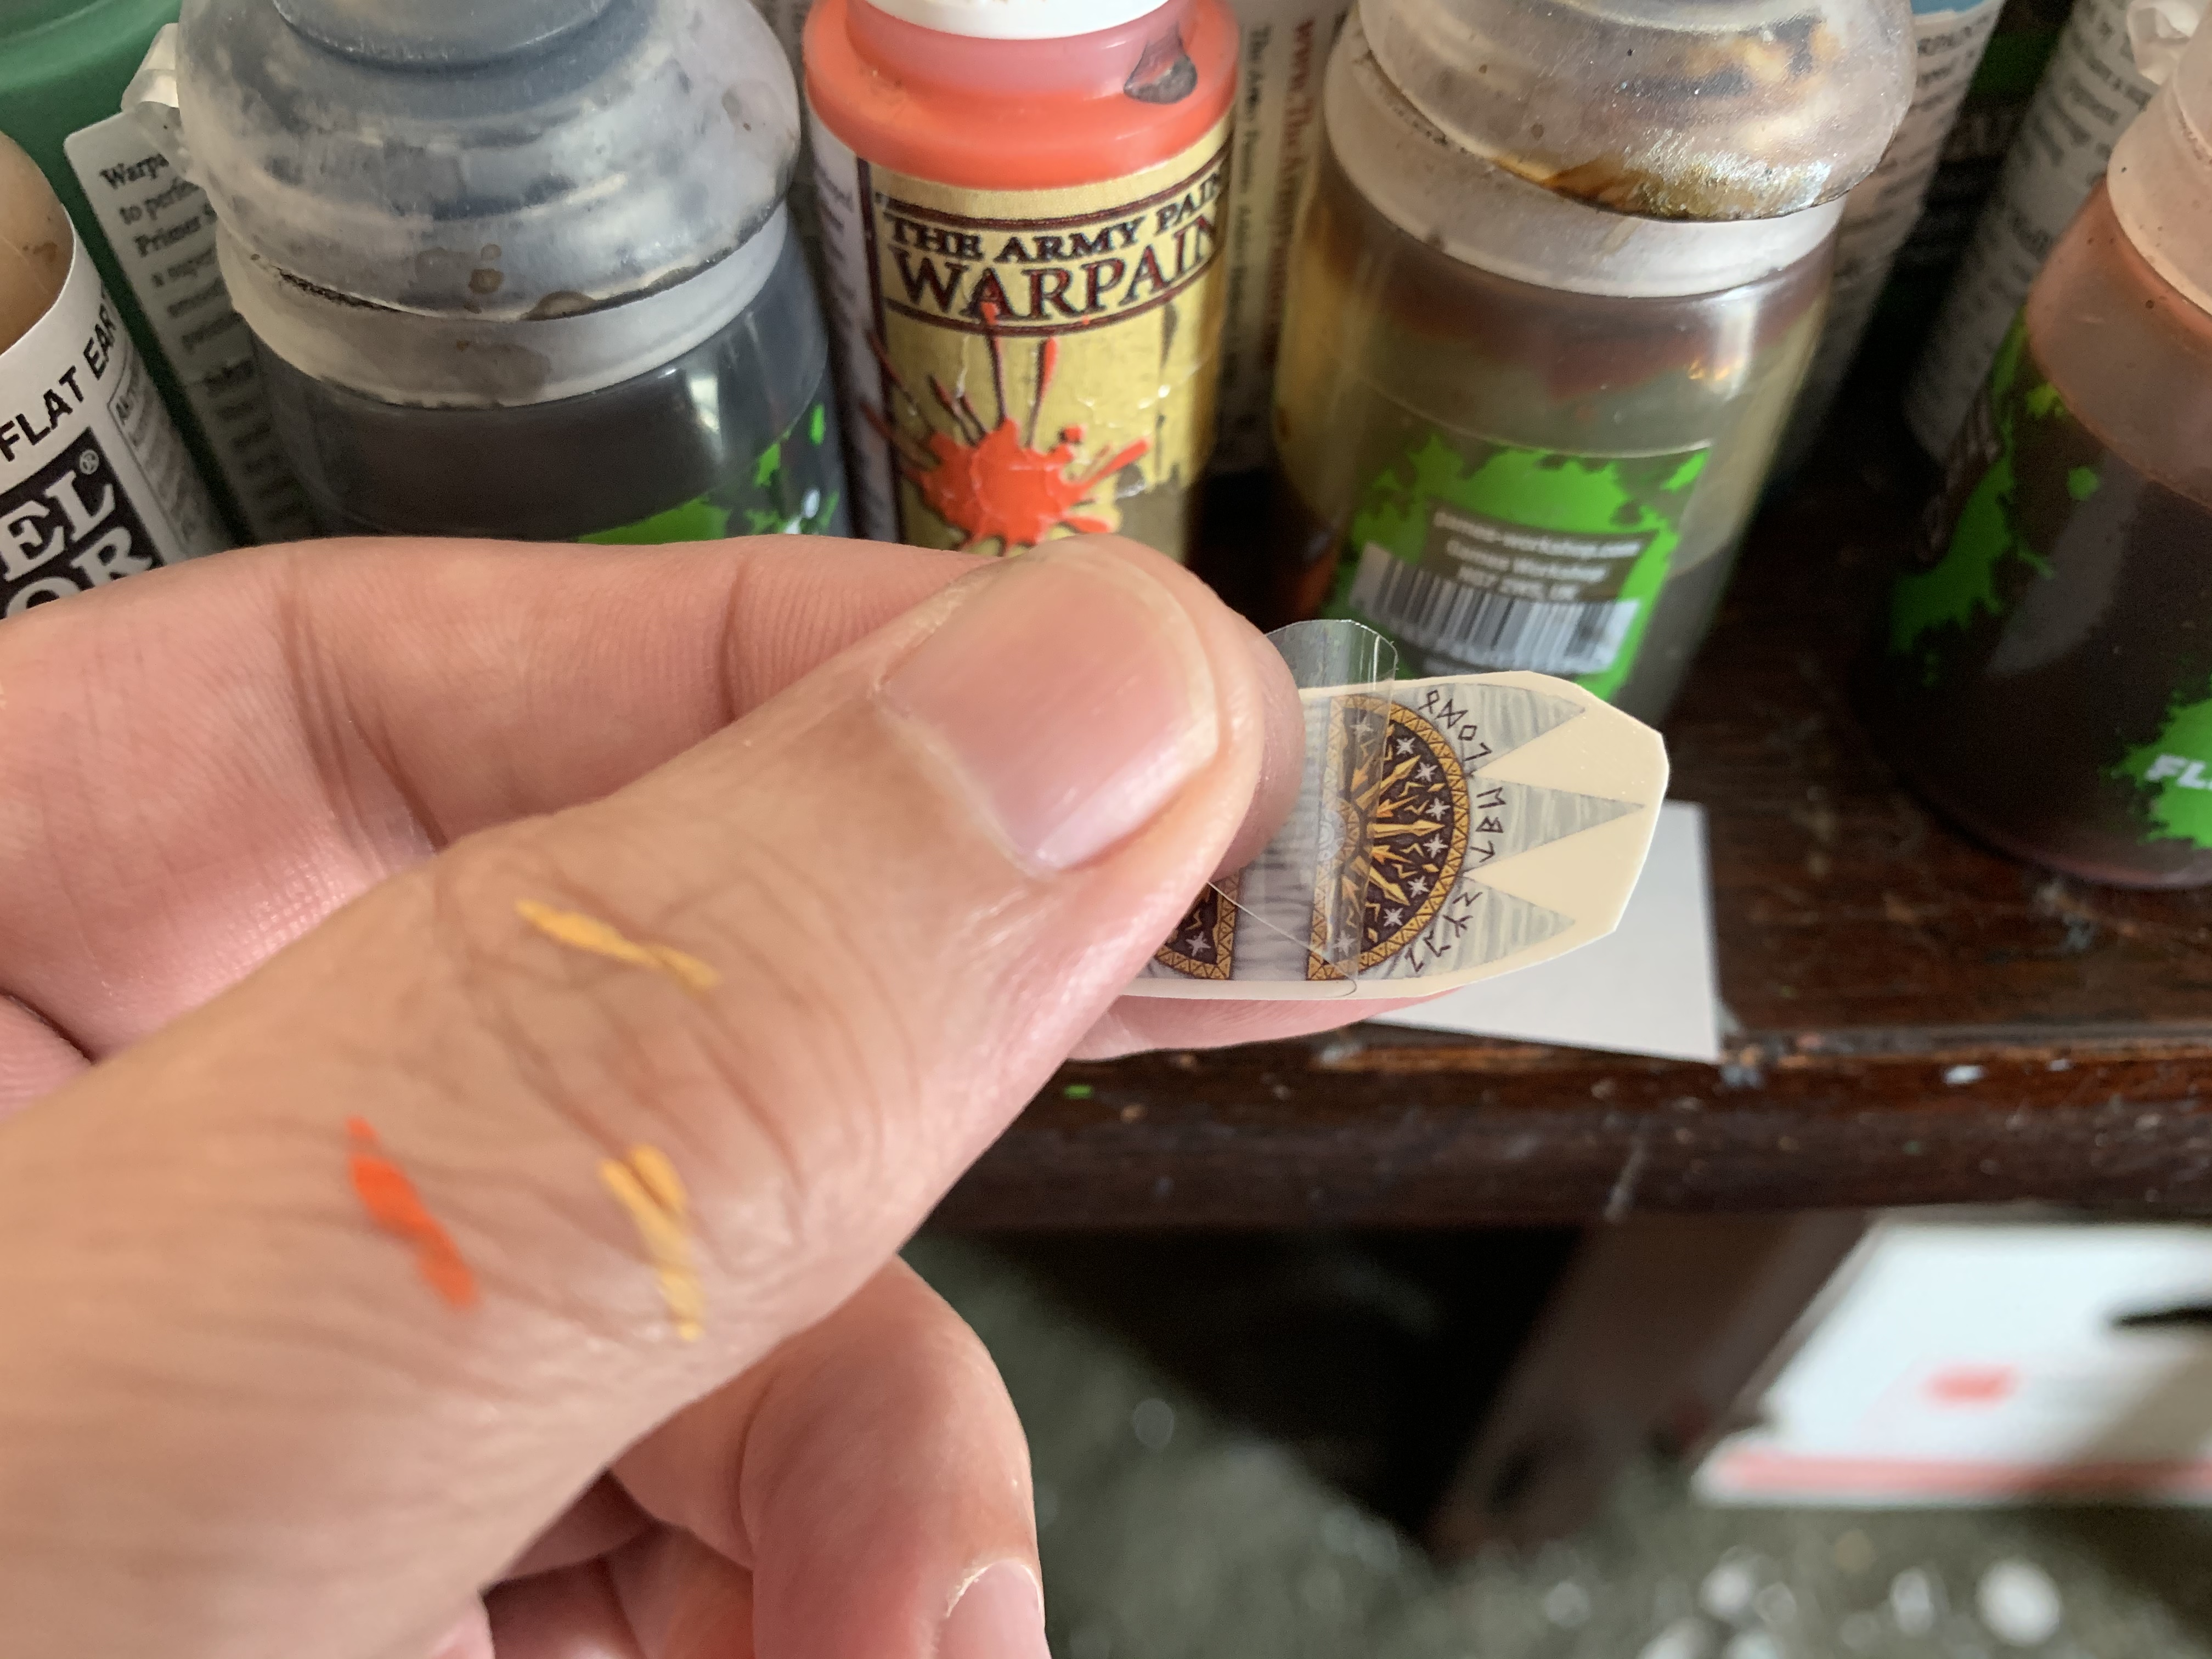 The transfer is protected by a thin plastic cover. You’ll need to carefully peel it off.
 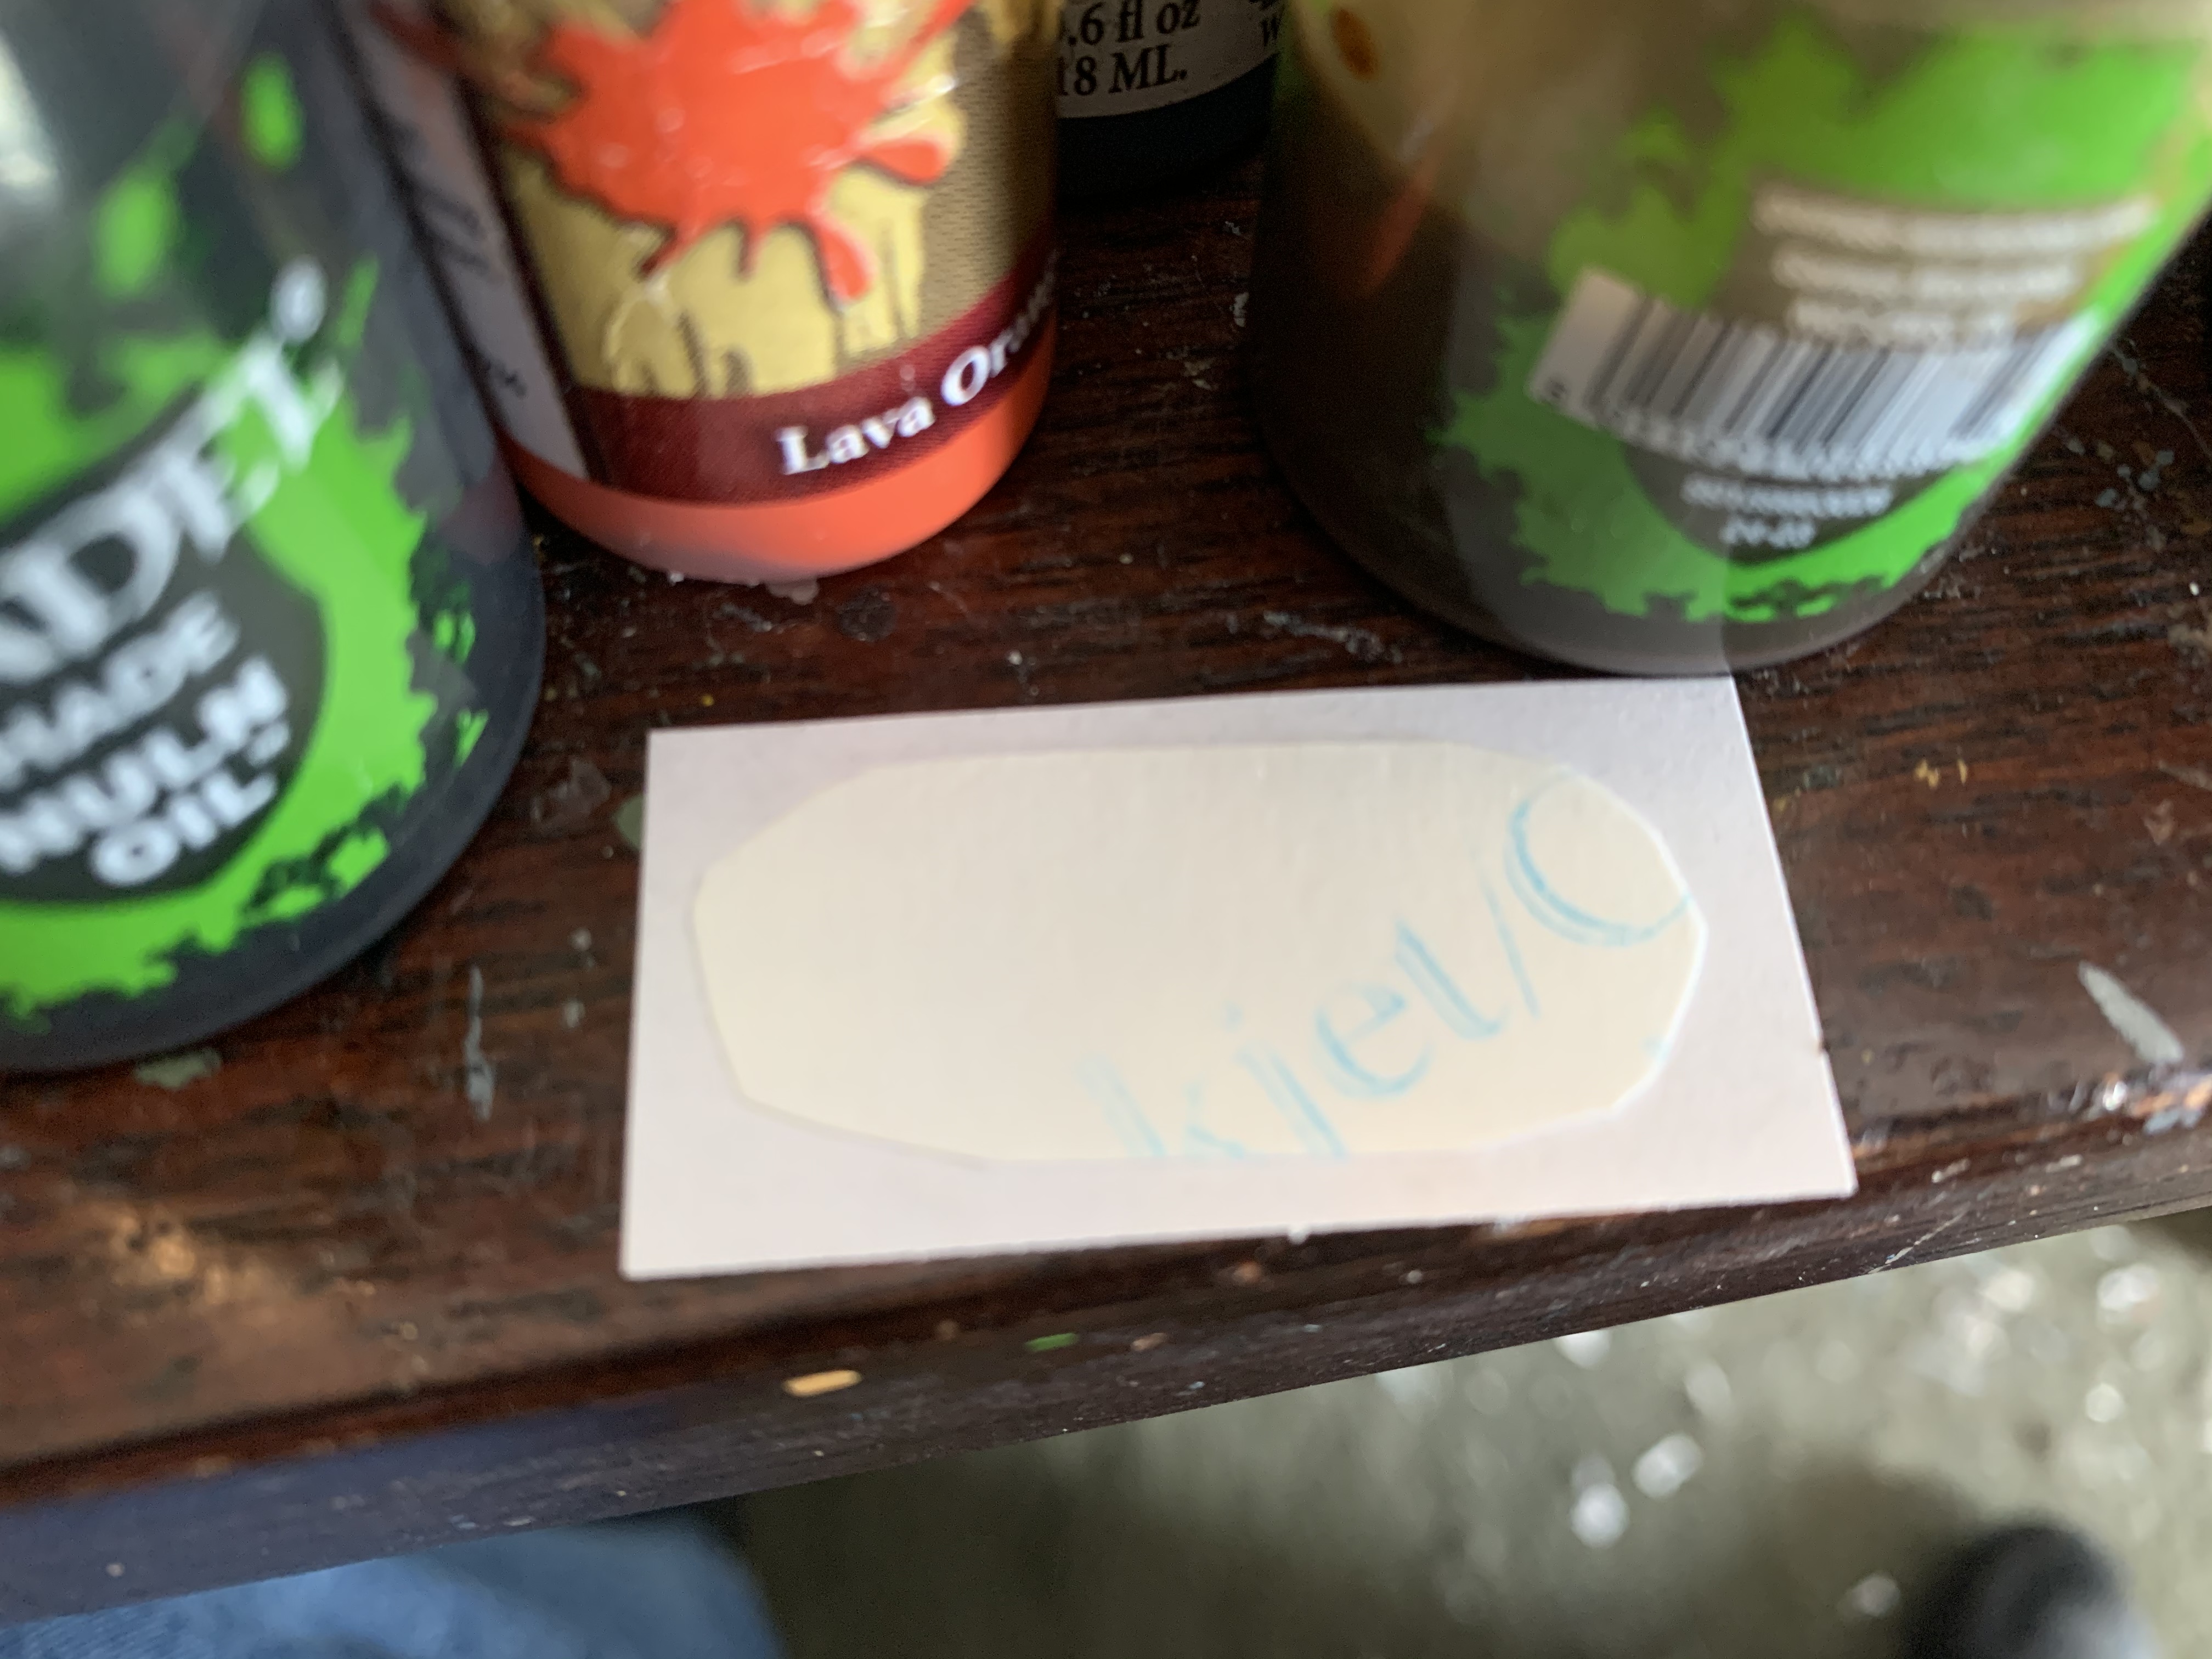 The now exposed transfer has a sticky surface. Place it sticky side down on the paper. Then press down making sure there are no air bubbles.