


![1918 Spring Offensive Wargame | Full Rules Overview with John & Gerry (WW1 Tabletop Game) [7 Days Early Access]](https://images.beastsofwar.com/2026/03/unboxing-warfulcrum-games-1918-spring-offensive-review-coverimage1-225-127.jpeg)


Ork Expansion


Recommendations: 289
About the Project
It's the perfect storm; lock-down, working from home and a Spring Clean Challenge. What better time to dust off some minis that have been sitting around for years and expand an army?
Related Game: Warhammer 40,000
Related Company: Games Workshop
Related Genre: Science Fiction
Related Contest: Spring Clean Hobby Challenge (Old)
This Project is Active
Getting Colourful
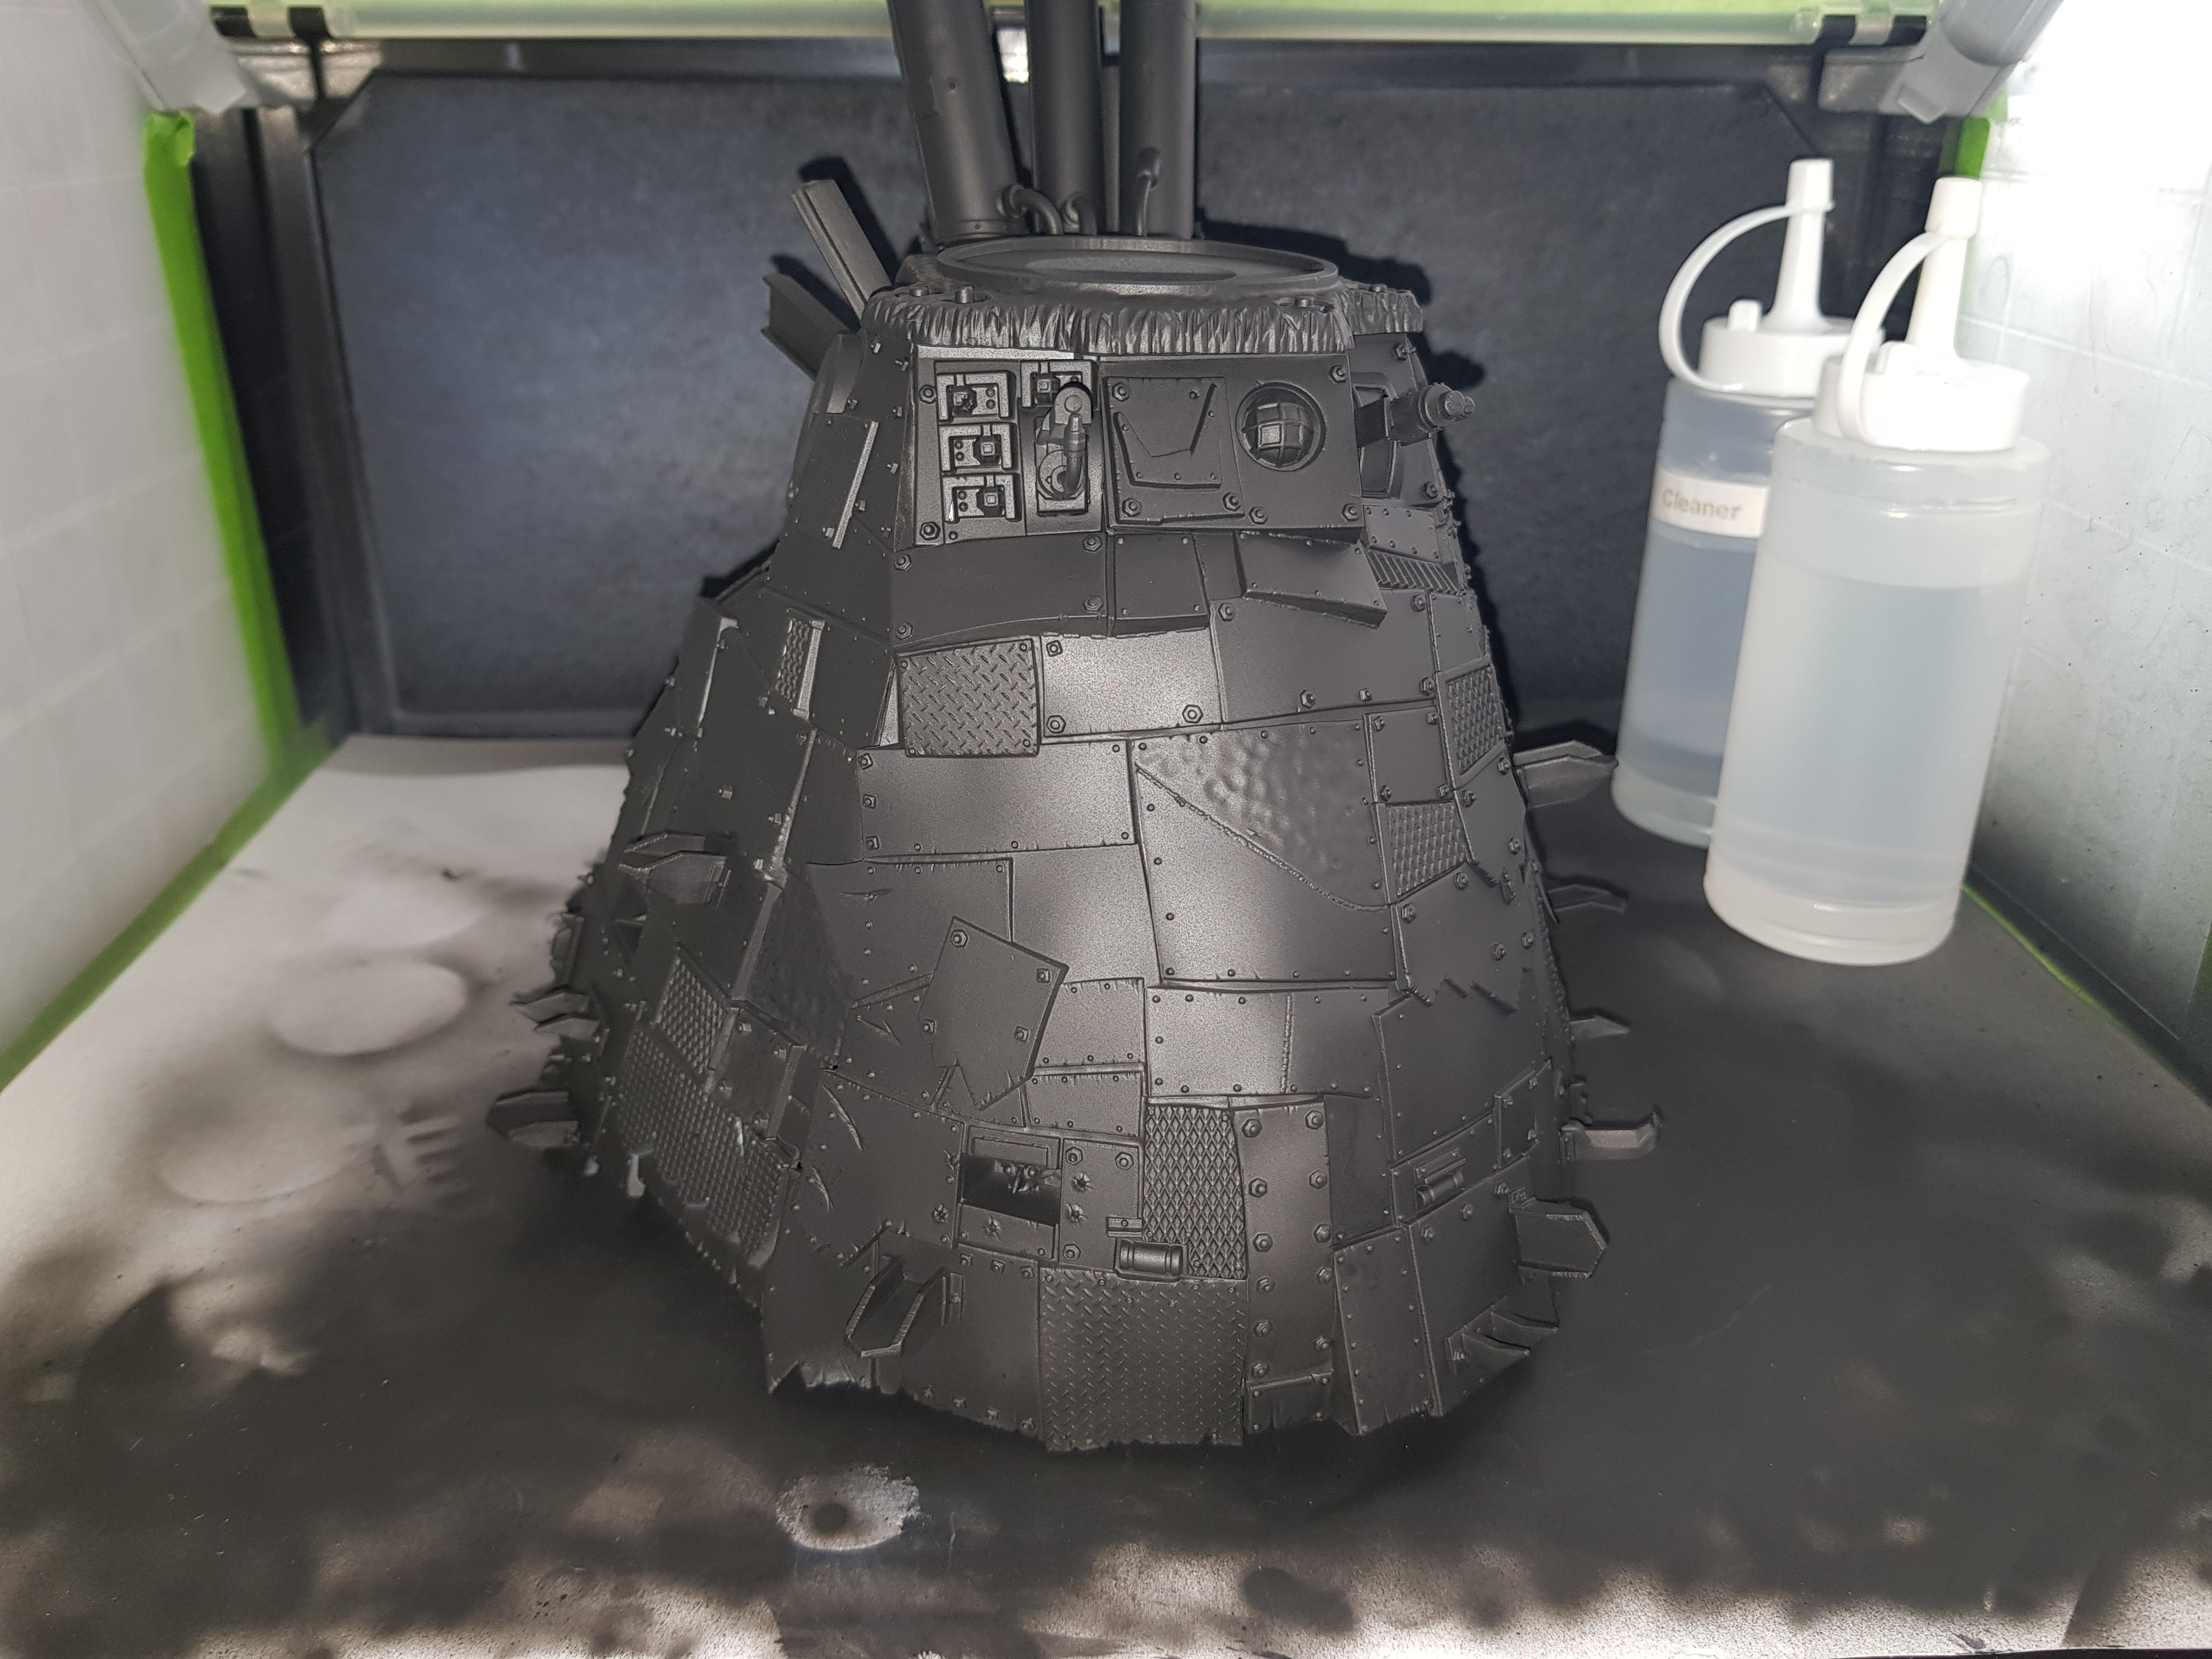
If I thought the progress in the last update was the stage where things start to look a mess then I don’t know how to describe this…
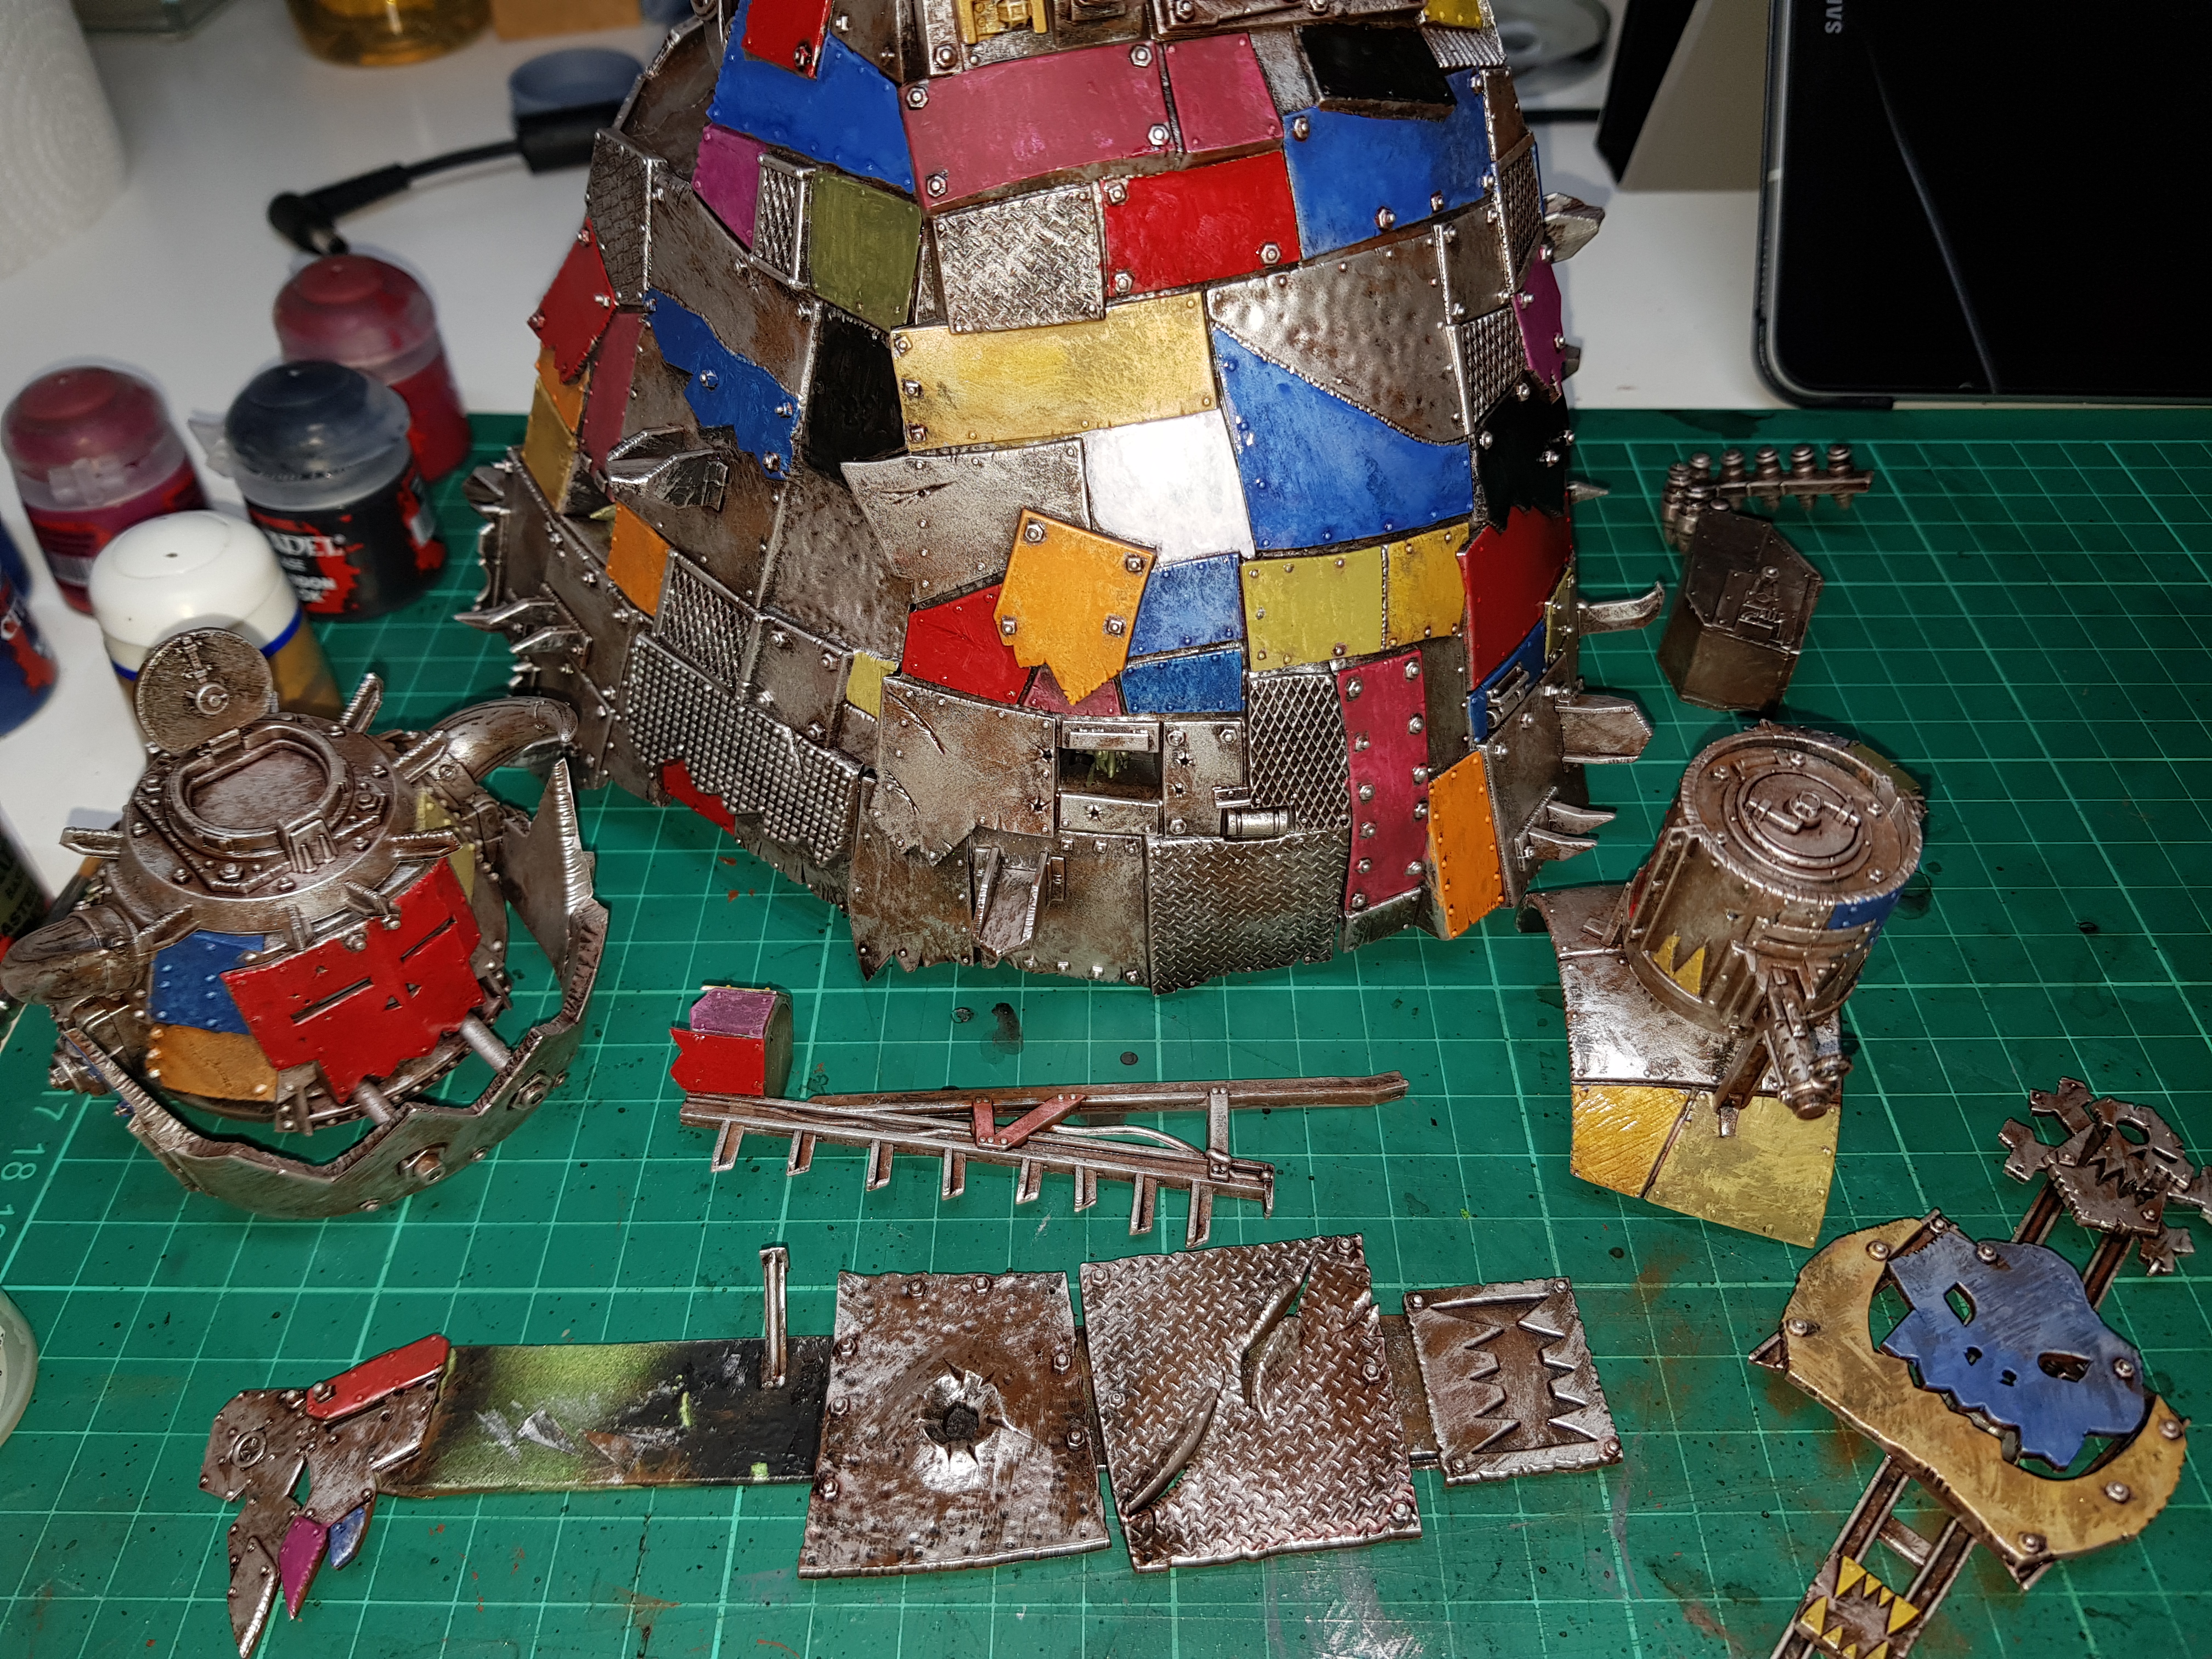
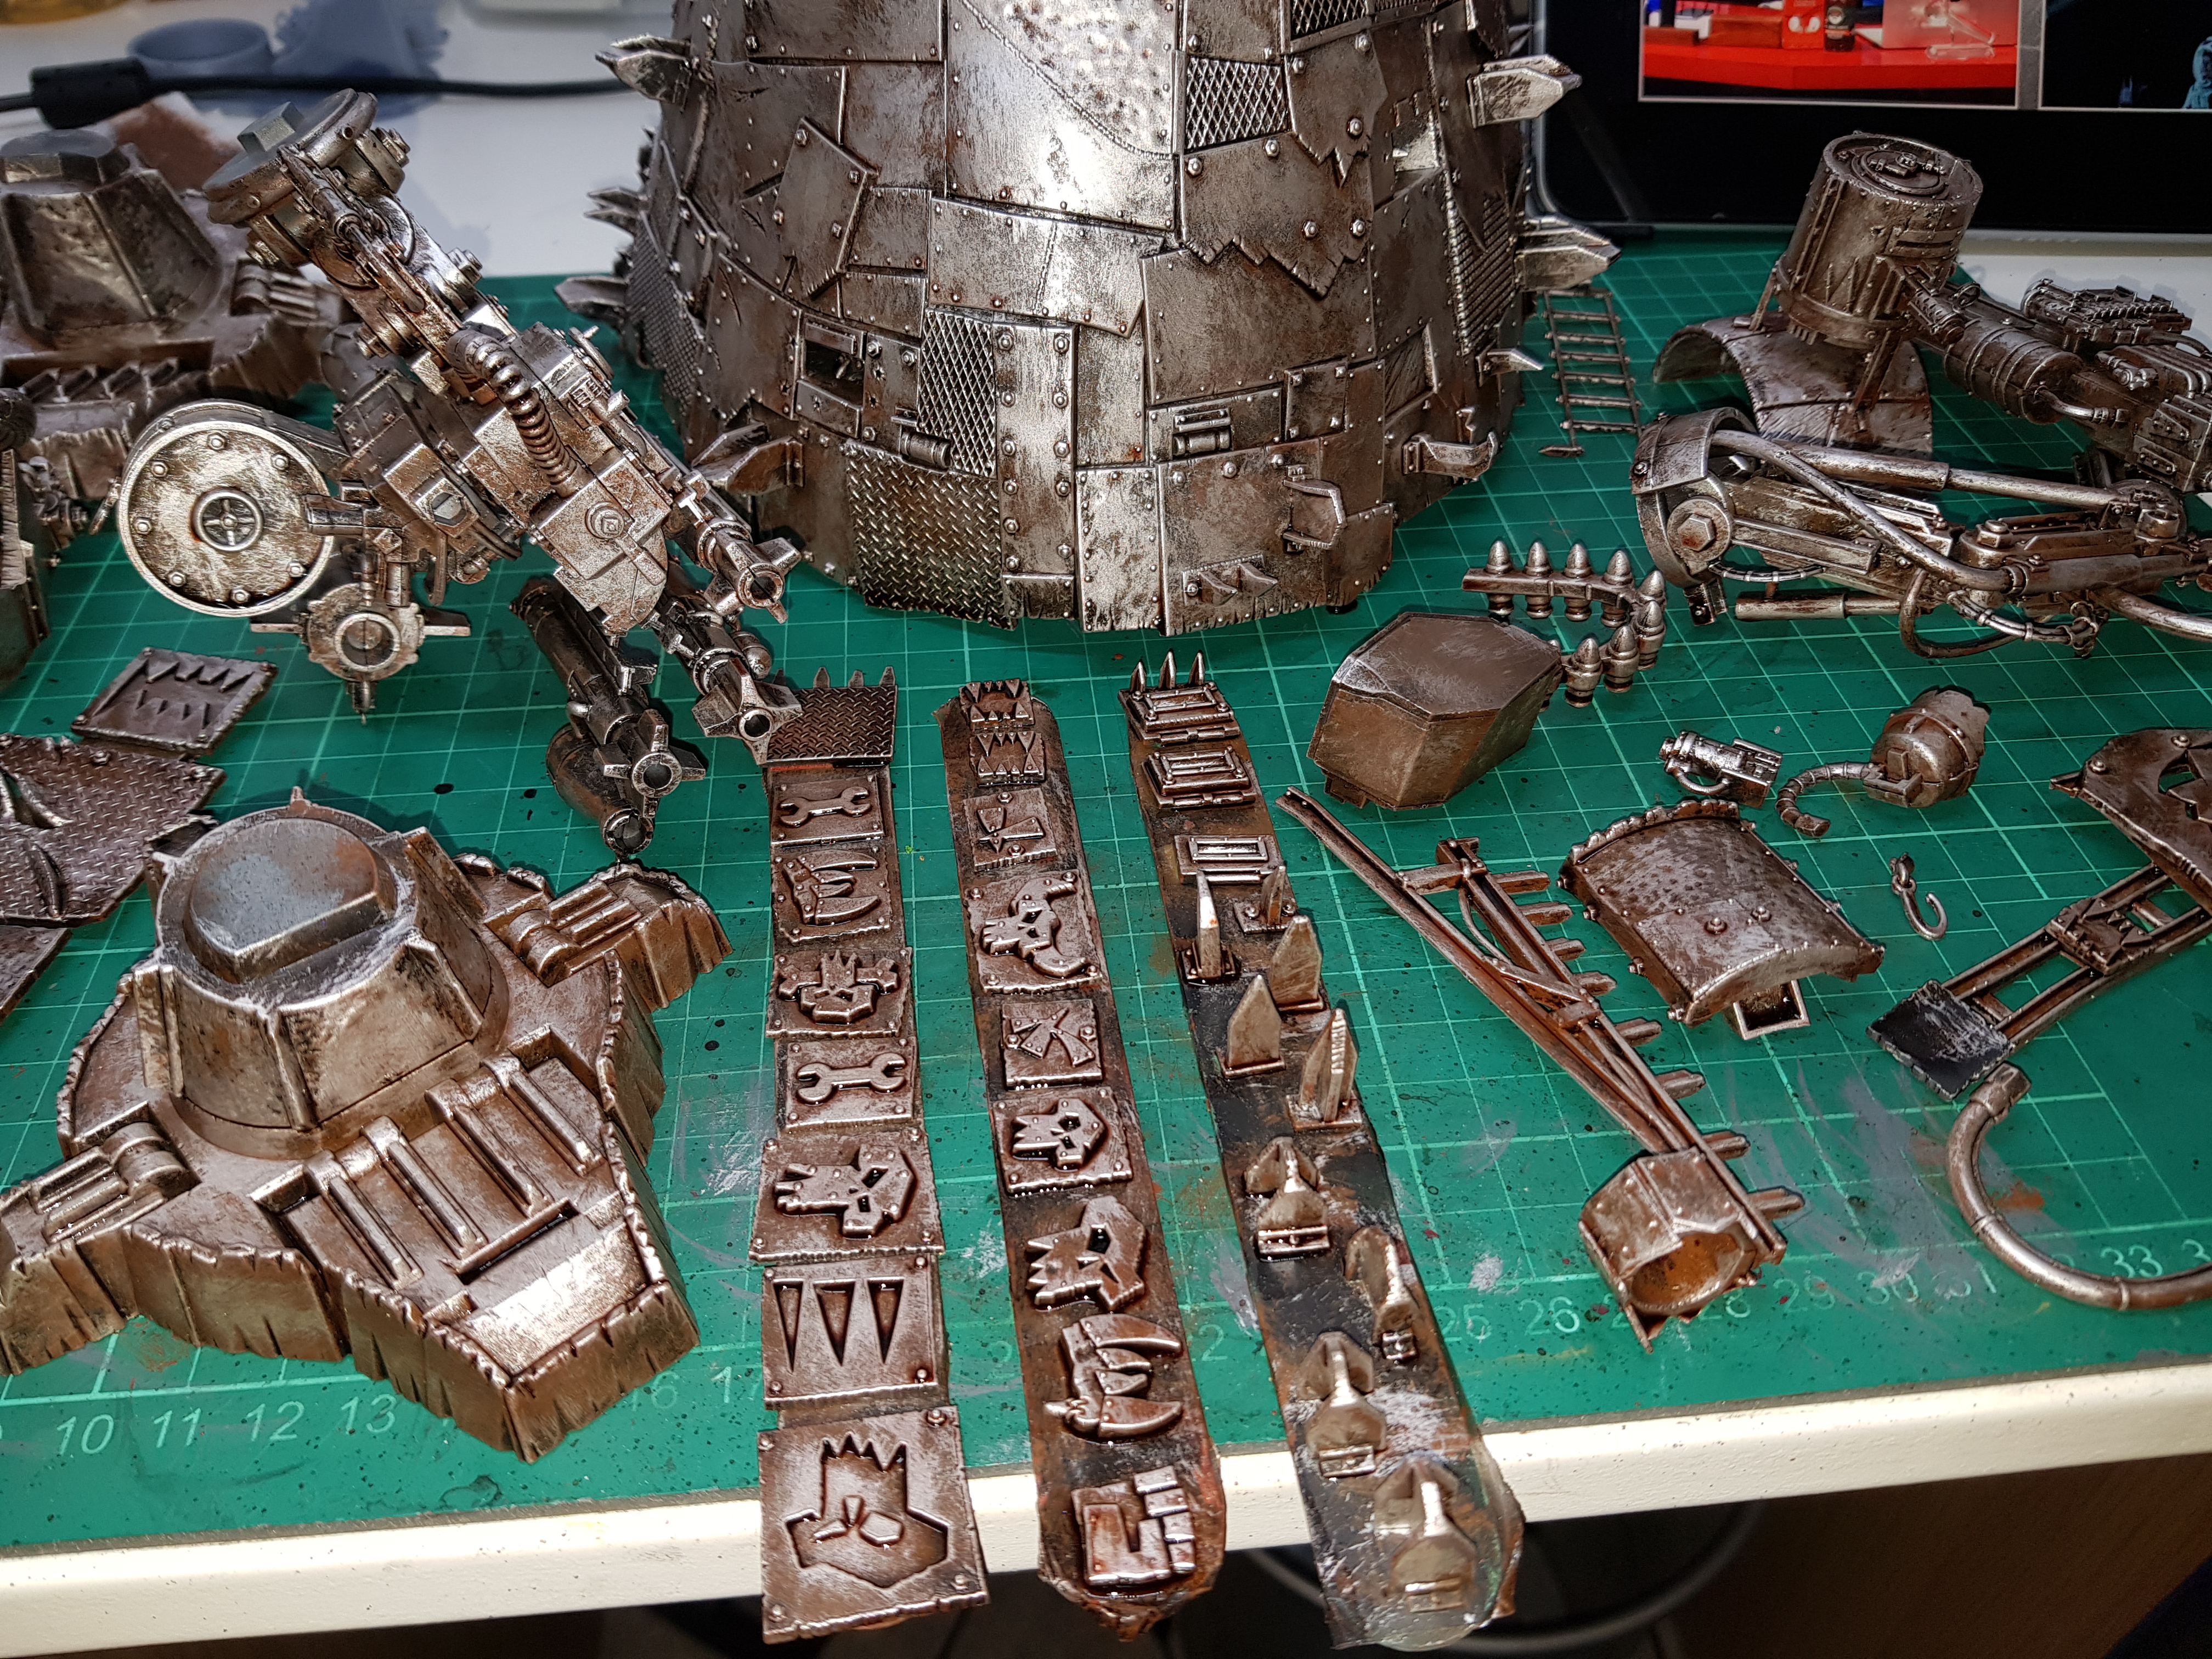
I’ve started to add some colour to the Stompa. The idea is that, given that it’s made up of a lot of panels, it needs to look as though it’s constructed of pieces of metal and scraps from all sorts of sources. As a result, the panels have randomly been painted up in differing colours.
 A nice selection of colours.
Pretty much all of the paints selected are base paints or the old foundation paints in an attempt to reduce the number of coats required.
Some panels were painted with thickish layers or multiple coats to get good coverage whilst others less so in order to have some of the texture of the metal show through.
 Nice one mate, you've painted you're Stompa up like some sort of crap clown...
Some of the painted panels have been given a coat of gloss varnish (Citadel ‘Ardcoat) to help with the next stage.
Even though I’ve got a pretty good idea of what I want to do and have done this on previous minis in the army in the past, I can’t help but worry a little bit about how this is looking at the moment!
What a F*$%#n' Mess!
After my last post I was thinking about what to do next. I realised that my original intention was to add something cool to my army and that the Grots were intended as a big of a filler to work on when I had a few moments to spare. I needed to crack on with the Stompa otherwise this project was simply going to turn into painting a load of Grots which, on its own, isn’ that interesting.
With that in mind, I devoted a few hours to the Stompa.
Normally, I don’t like to share any evidence of work in progress with anyone, not even close friends. Usually there’s the moment of grand reveal, ta-tah! Finished mini(s)! That’s probably why I’ve never documented a project in this way before. We all recognise that there’s the really, really ugly stage(s) that minis go through before things come togather. This is the first of those stages.
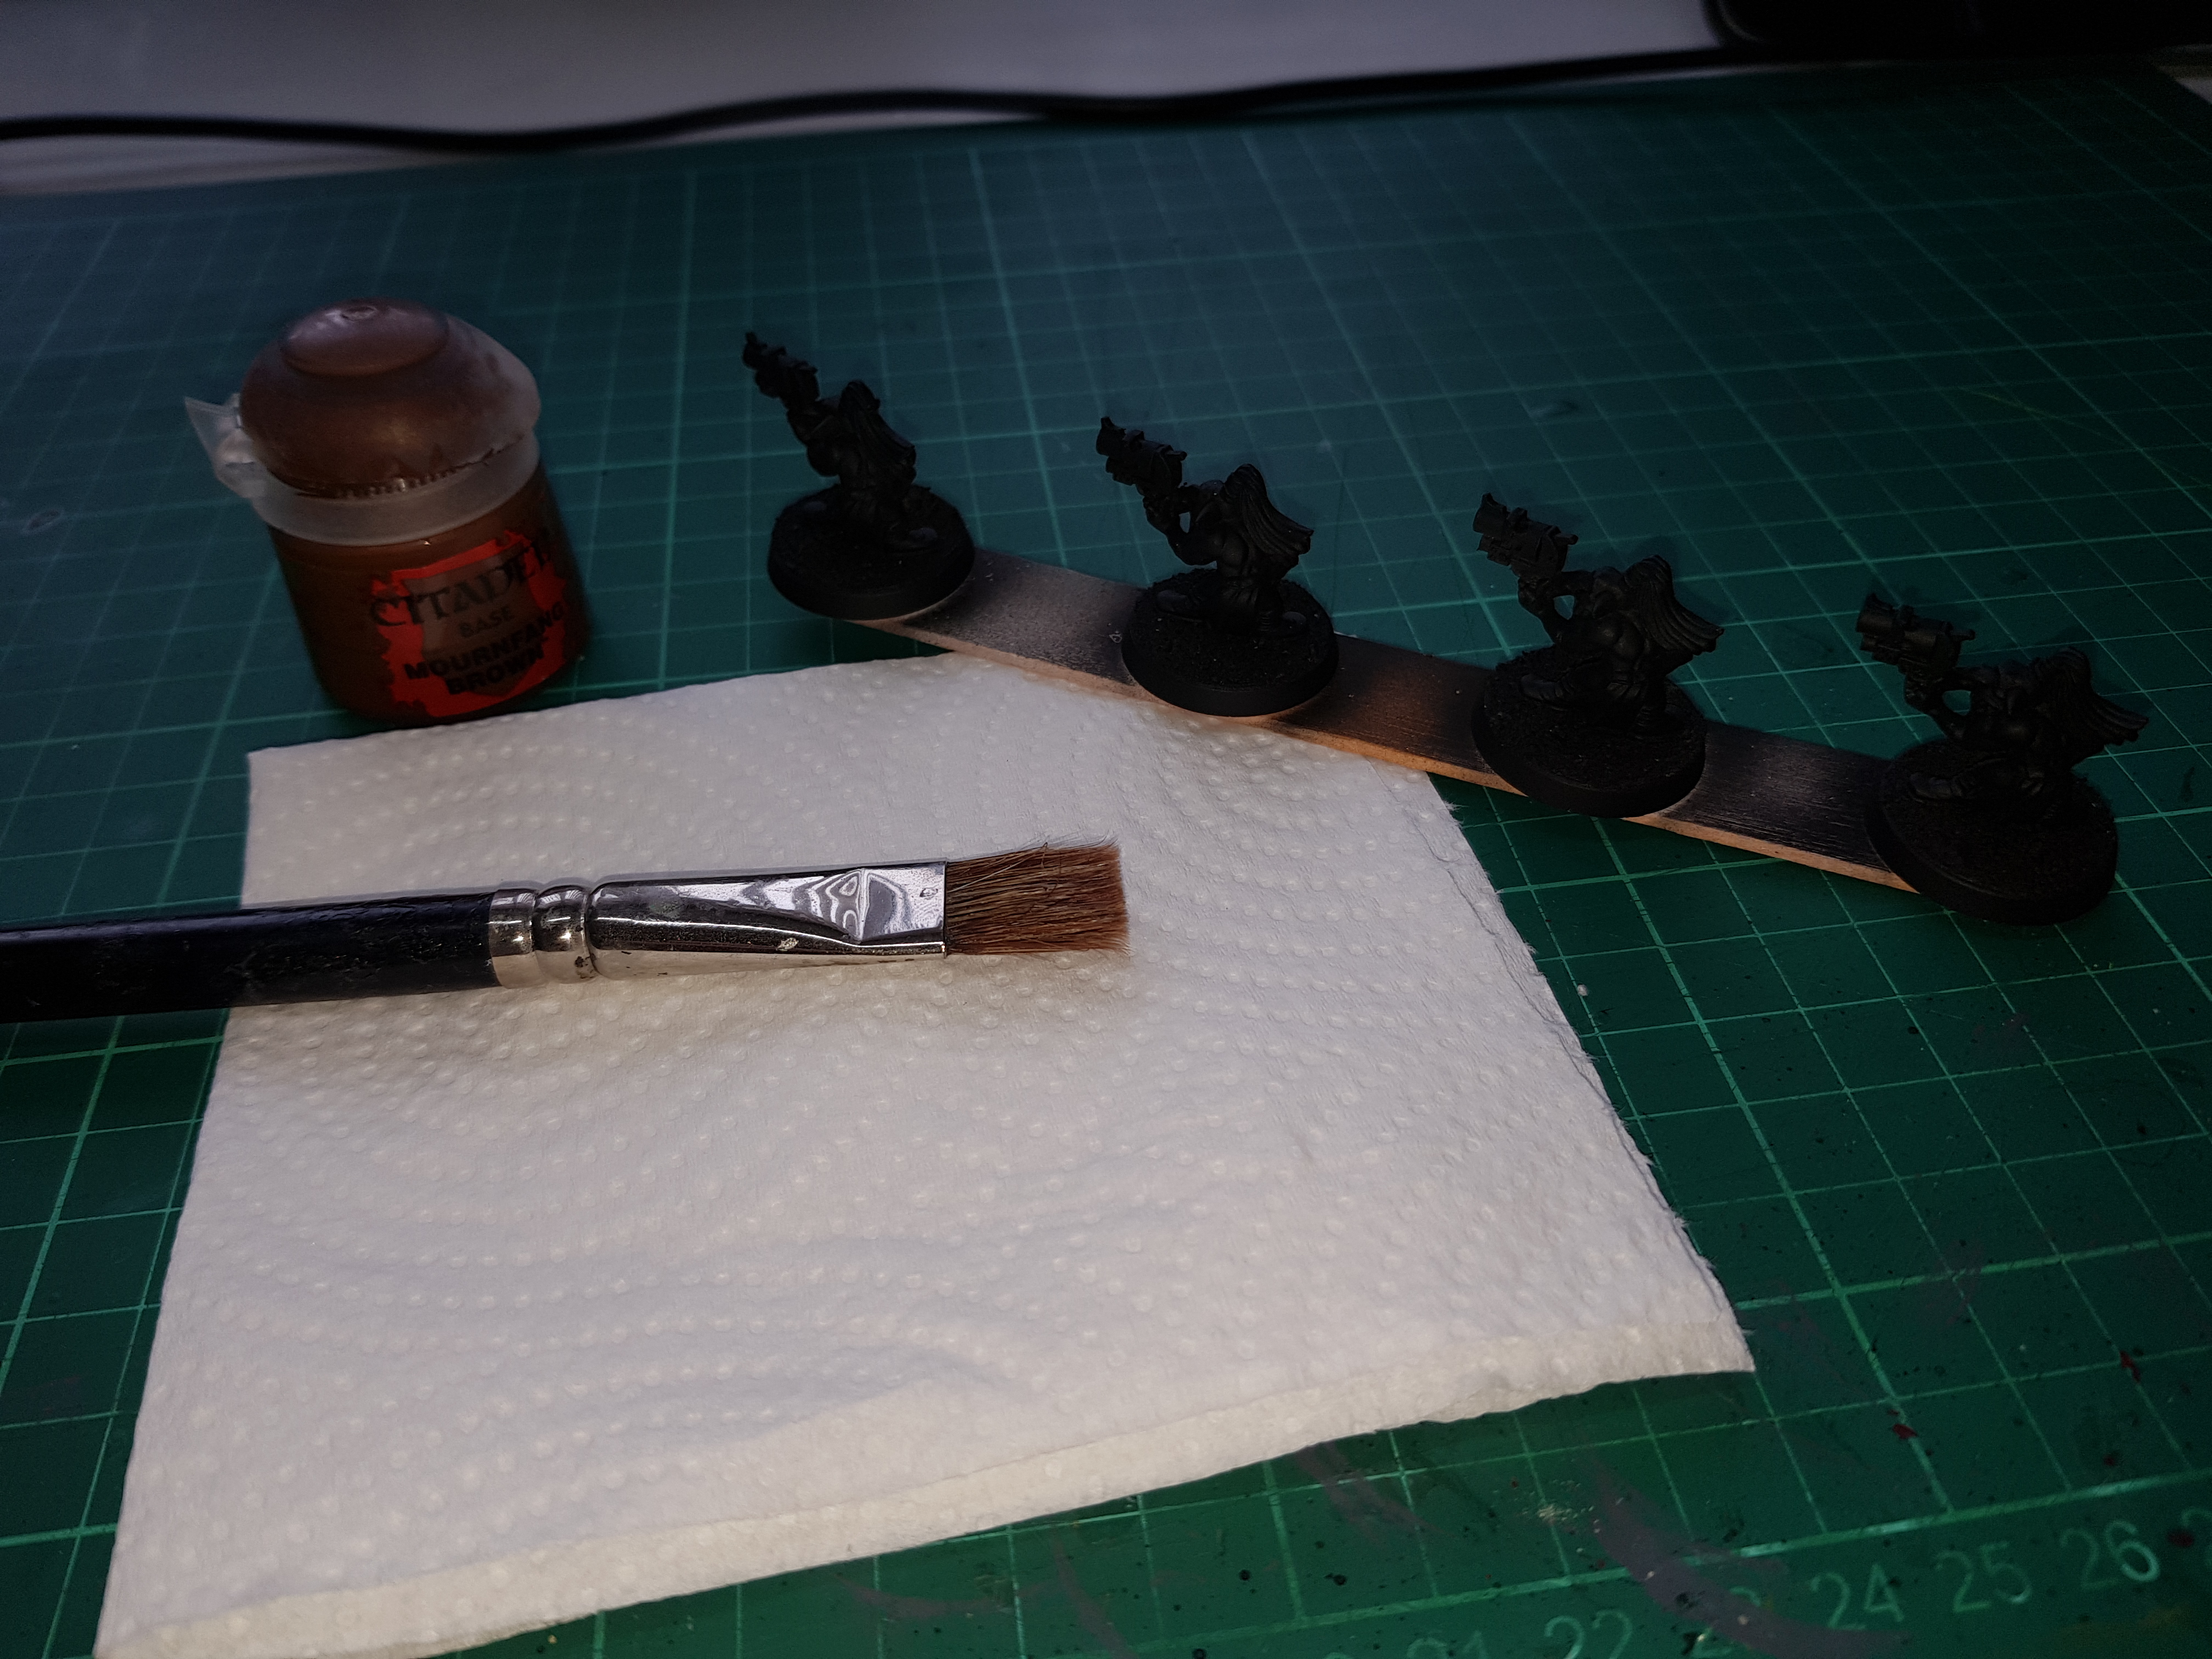
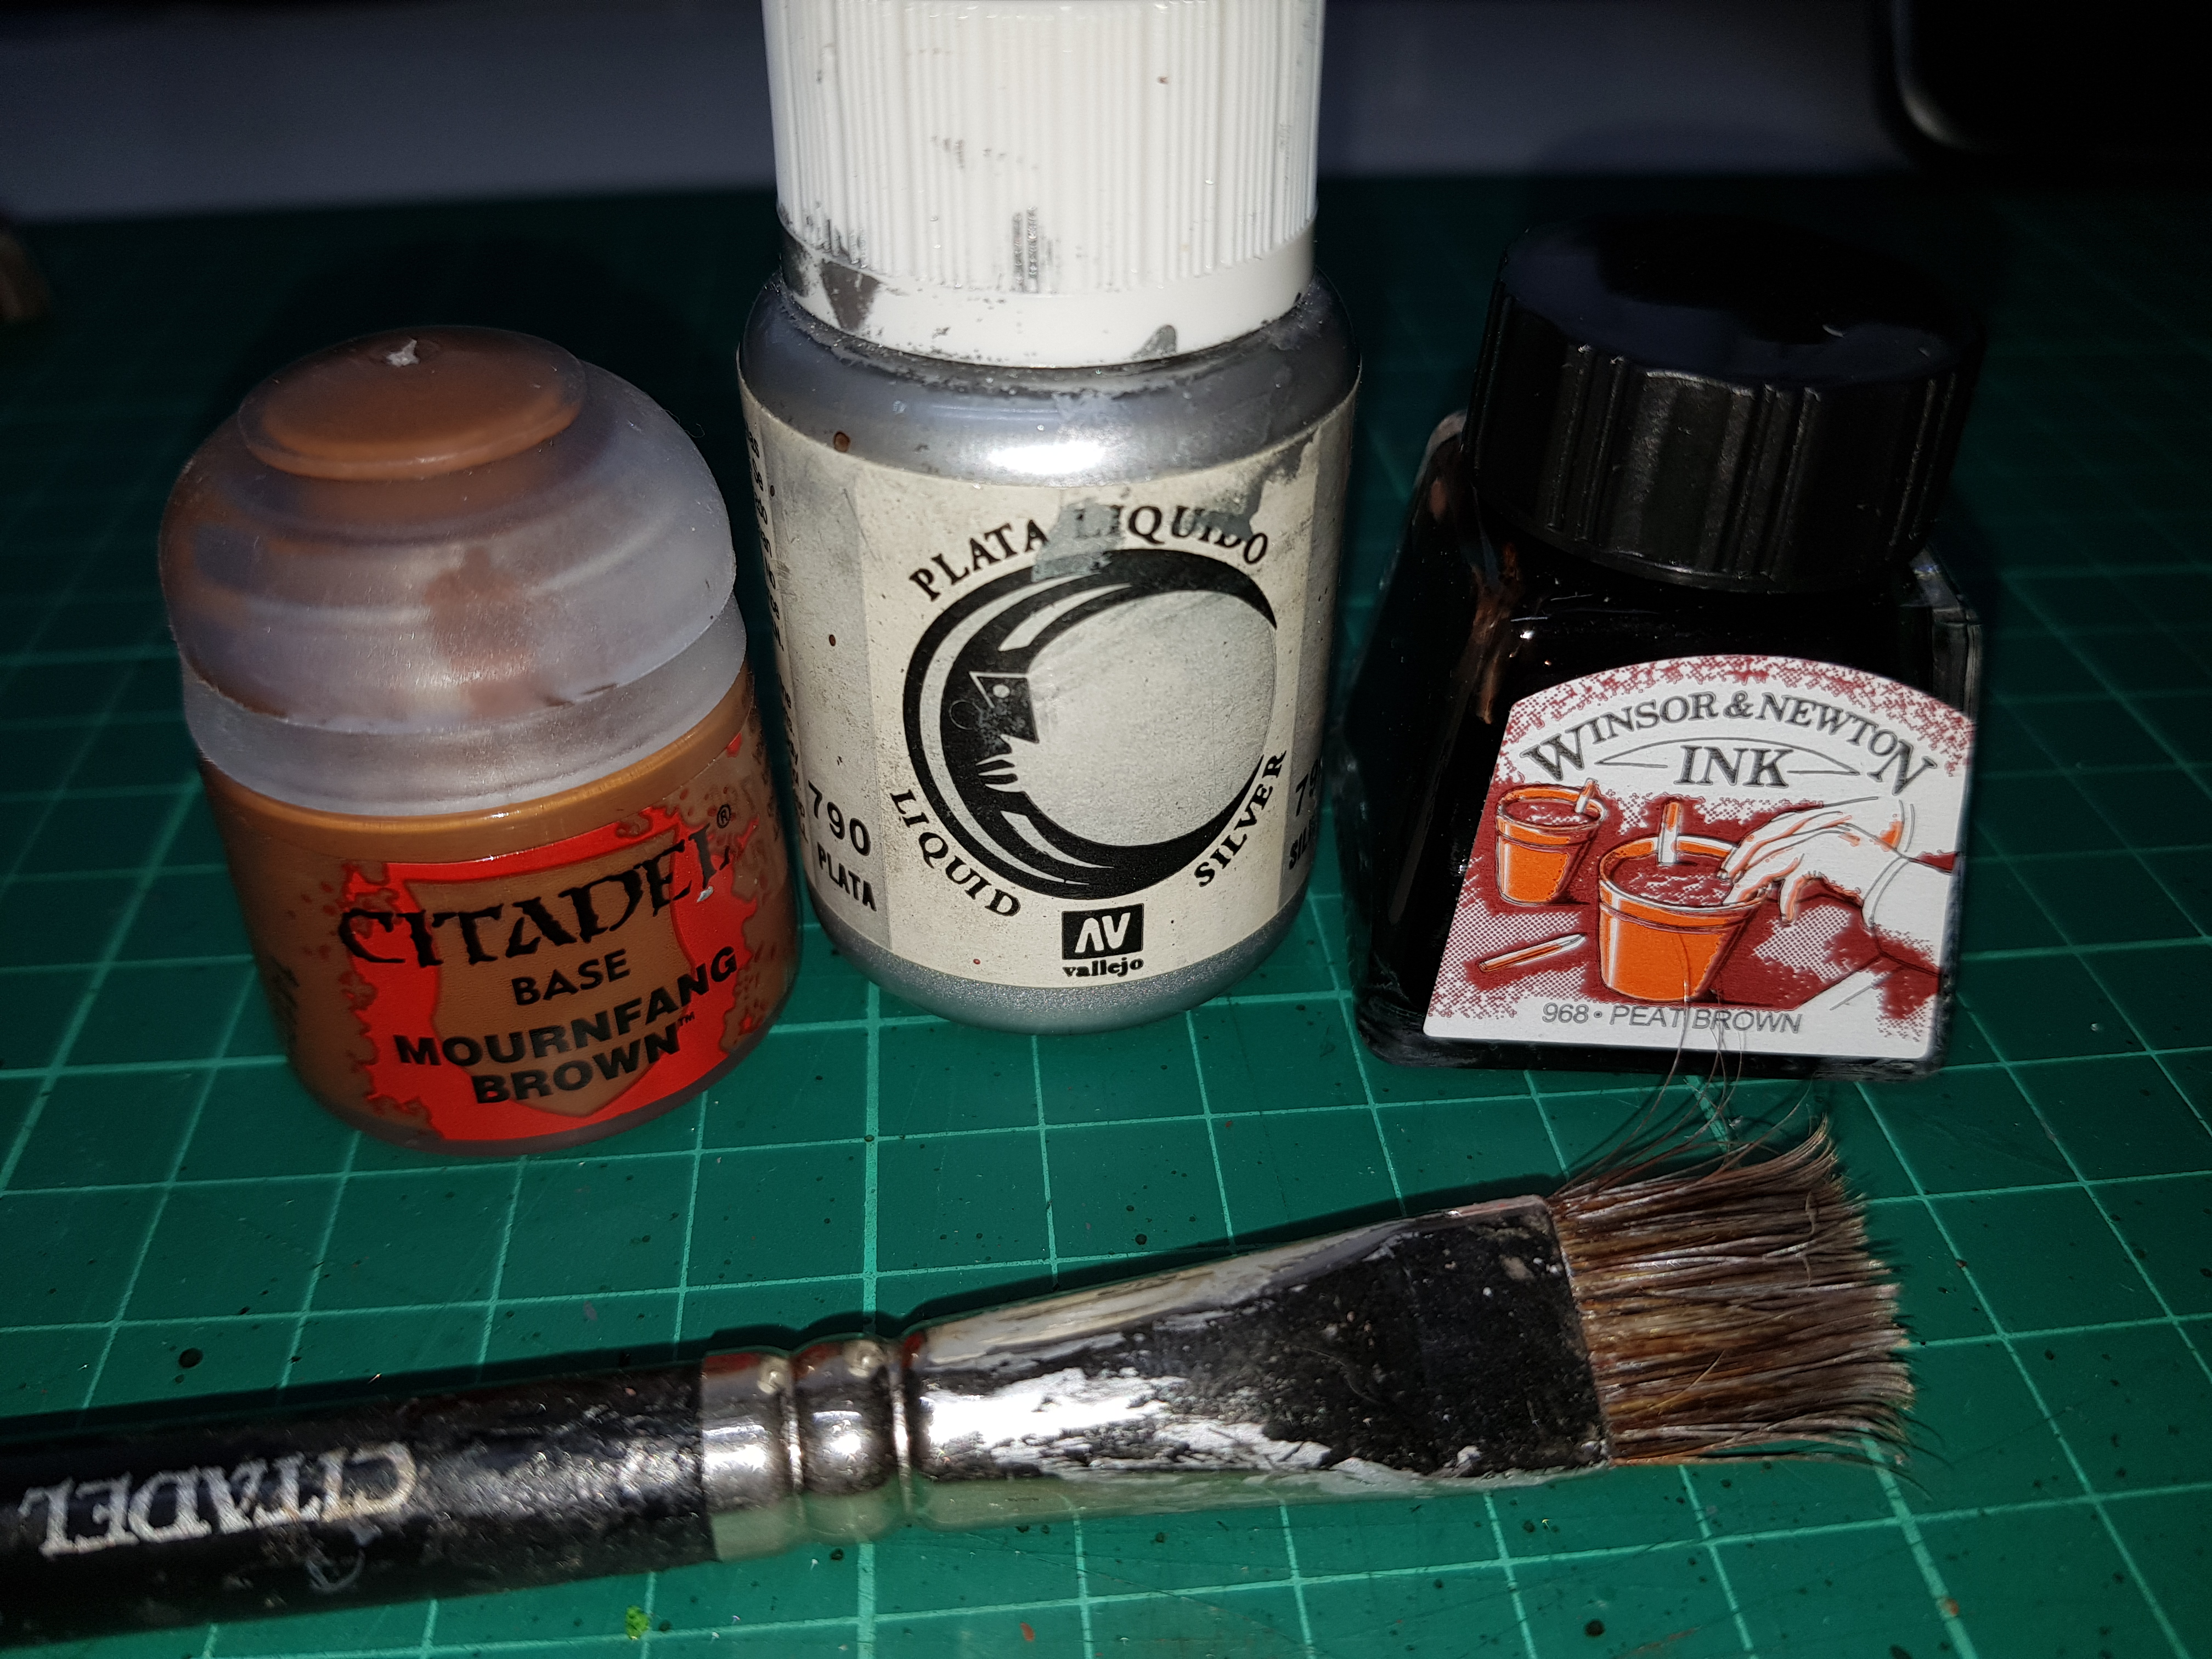 As has become tradition; here's what I used. As it happens, one of these proved to be less useful...
First of all, I smashed a load of Mournfang Brown over everything using a big, old drybrush. This was a very similar process to that adopted for the Grots. More of an overbrush, incredibly rough.
Next, I did a similar thing with some silver. This was Vallejo Liquid Silver which I find works well for this technique/process. This isn’t a silver I’d use for a lot of purposes as it’s really, really shiny and gives good coverage but for this it’s great. This is an acrylic but, I believe, the solvent is alcohol. I find that it’s easy to wipe on to a paper towel to give you that drybrush setup and the fact that it dries quickly and seems to go a long way means that I can cover a lot of mini in a relatively quick time. I gave a lighter coverage than I did for the brown, alternated coverage and approach for different areas and used both a drybrushing and a stippling/general smooshing technique.
After this, it all went a bit downhill…
As I’ve noted a few times, I’m trying to replicate techniques I’ve used previously. I recall on my Ork Trukks that at this point I added a layer of the old Citadel Brown Ink. I have some of this left but not enough so decided that the Windsor & Newton Peat Brown Ink would likely be an able replacement.
My hazy memory thought that I diluted this and used it as a wash. I tried 2 parts water to 1 part ink. Too dilute. I upped this to a 1:1 ratio. Still too dilute but what the hell, I’m going for it.
The purpose of the ink, rather than a normal wash, was to stain the silver and tone it down somewhat.
The dilute ink didn’t really have the desired effect, in fact:
- It pretty much ran straight off the pieces;
- It made a right mess of my desk;
- It took a lot of clean up;
- It stained my fingers; and
- The only noticable effect on the actual parts seems to be a few areas of a reddish staining.
I’ve included pictures in the gallery below of before and after the ink stage and you can see the lack of noticable effect.
Thinking back, I’ve realised that the approach I used previously was to apply the ink neat, realise it was far too dark and then use a wet brush to remove it from certain areas.
If/when I paint more Ork vehicles in the future I’ll likely skip the ink stage completely and see if the final result is similar.

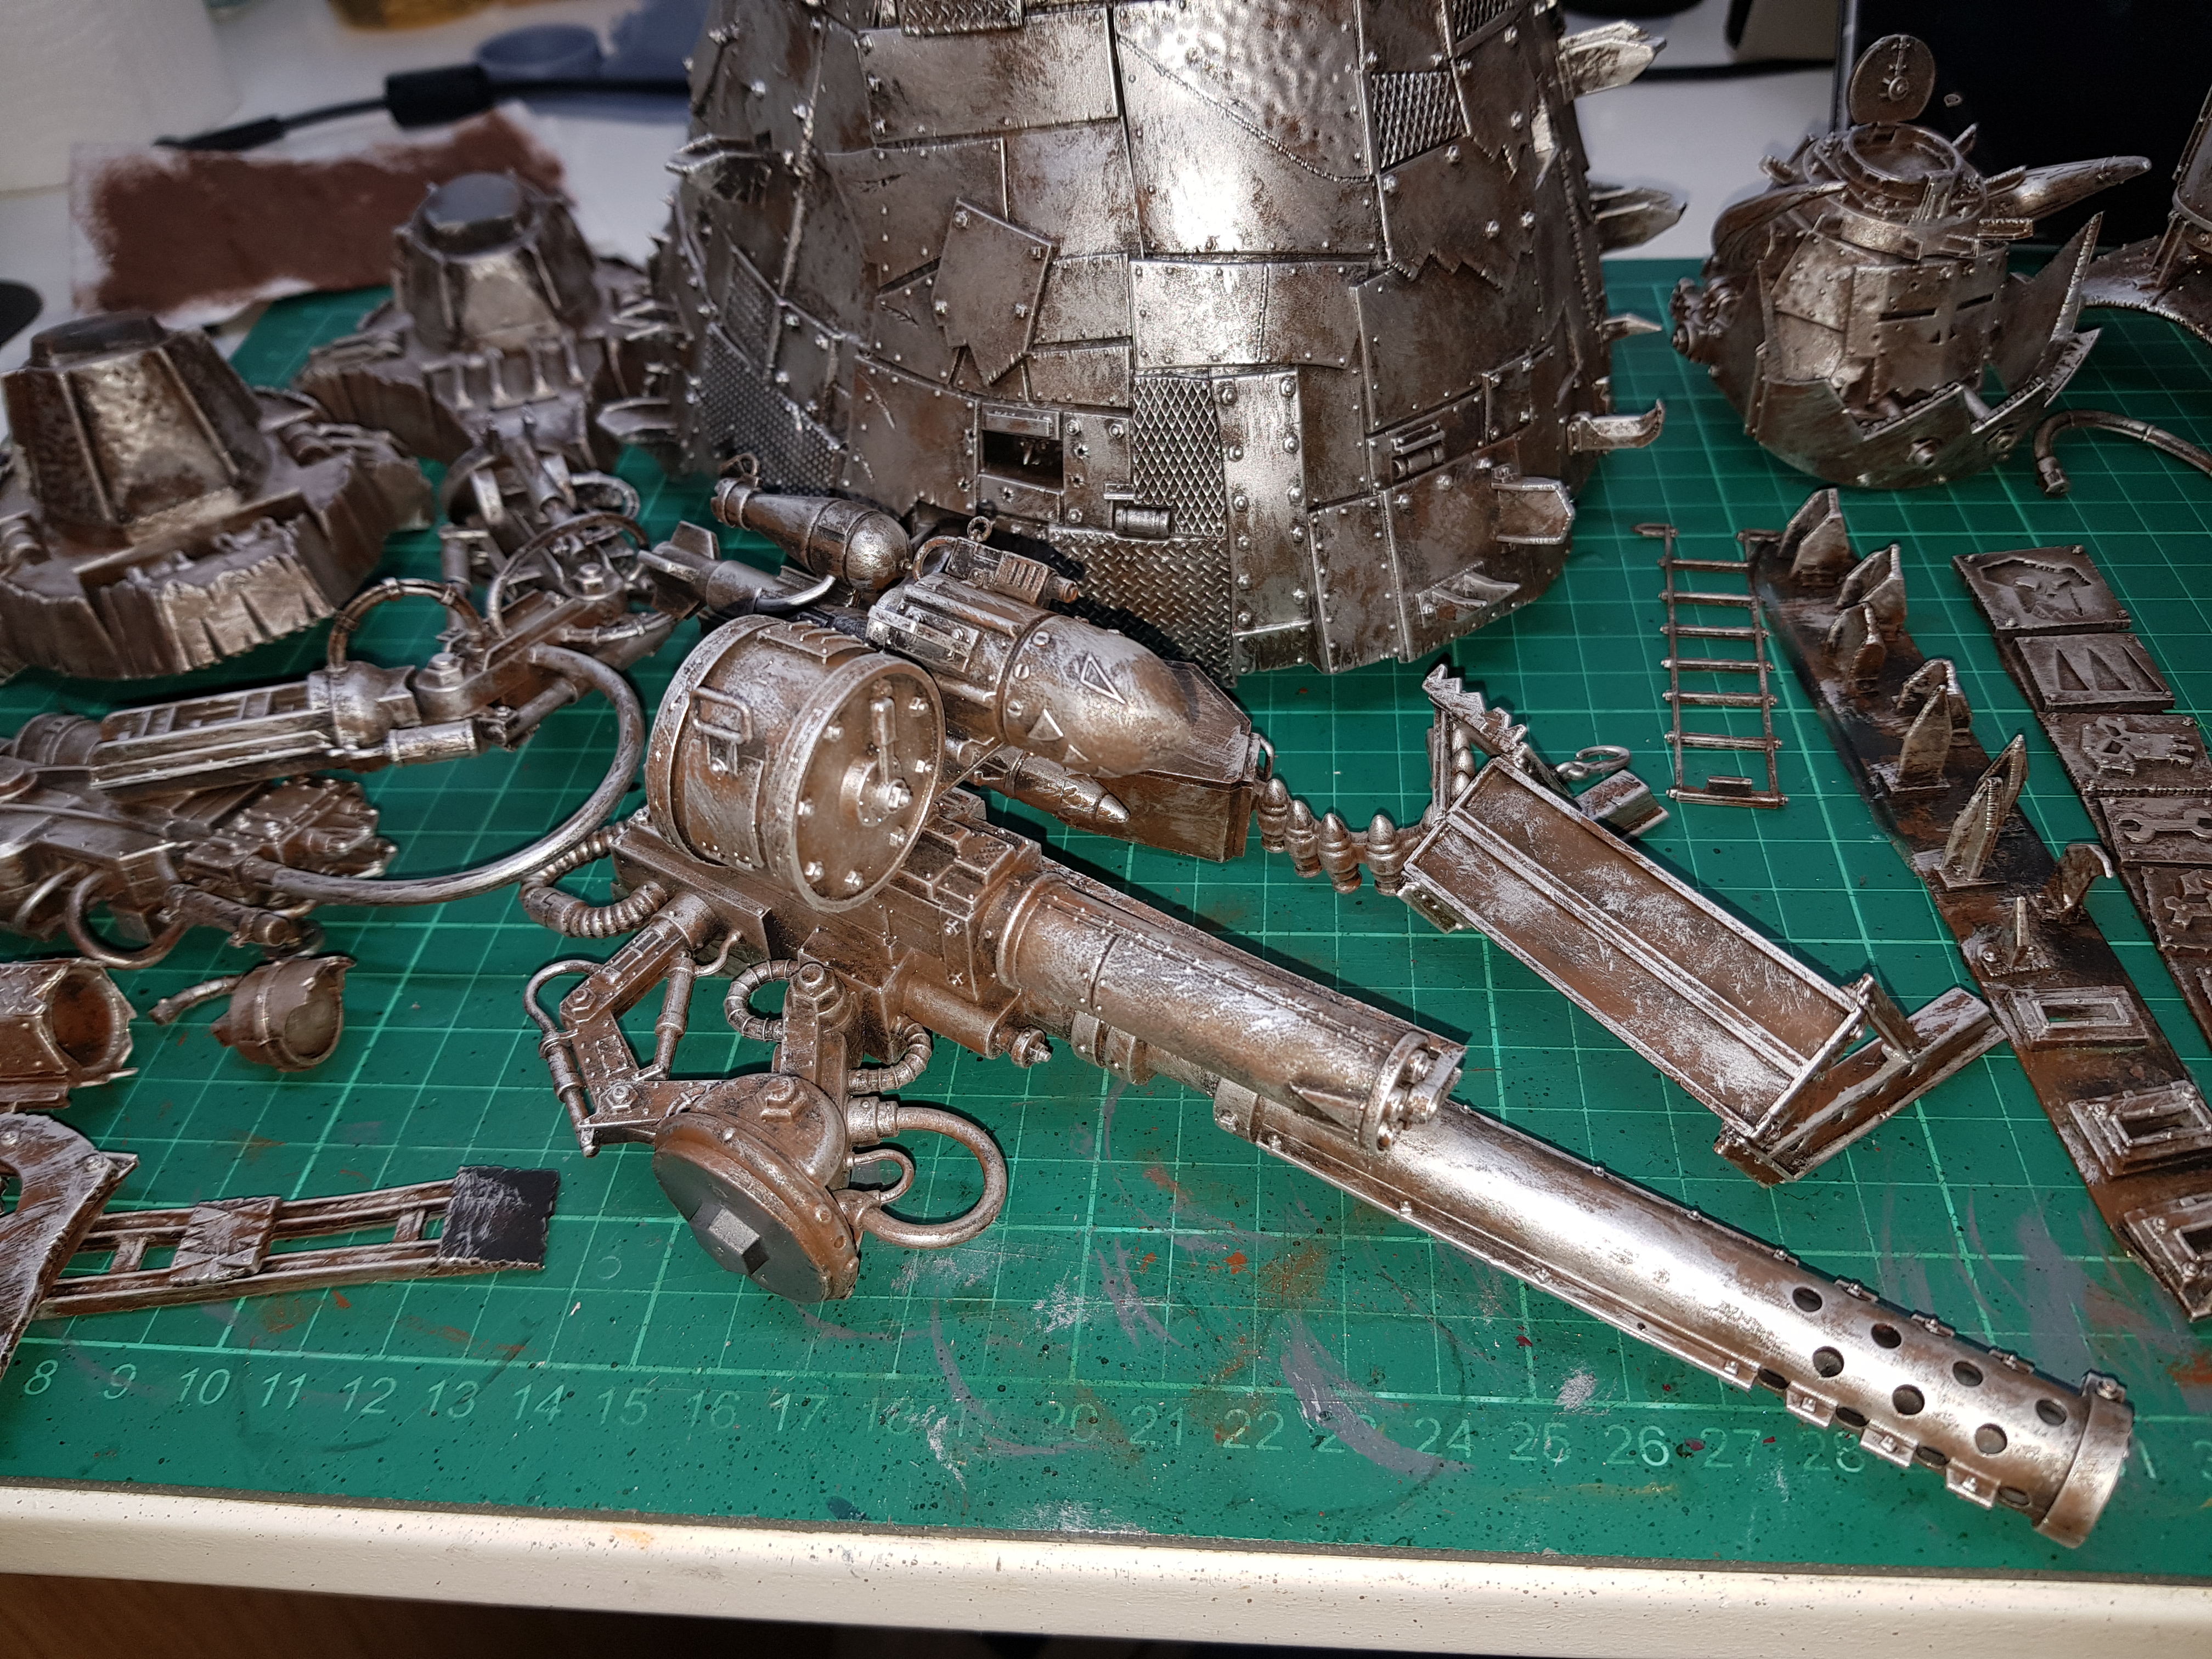

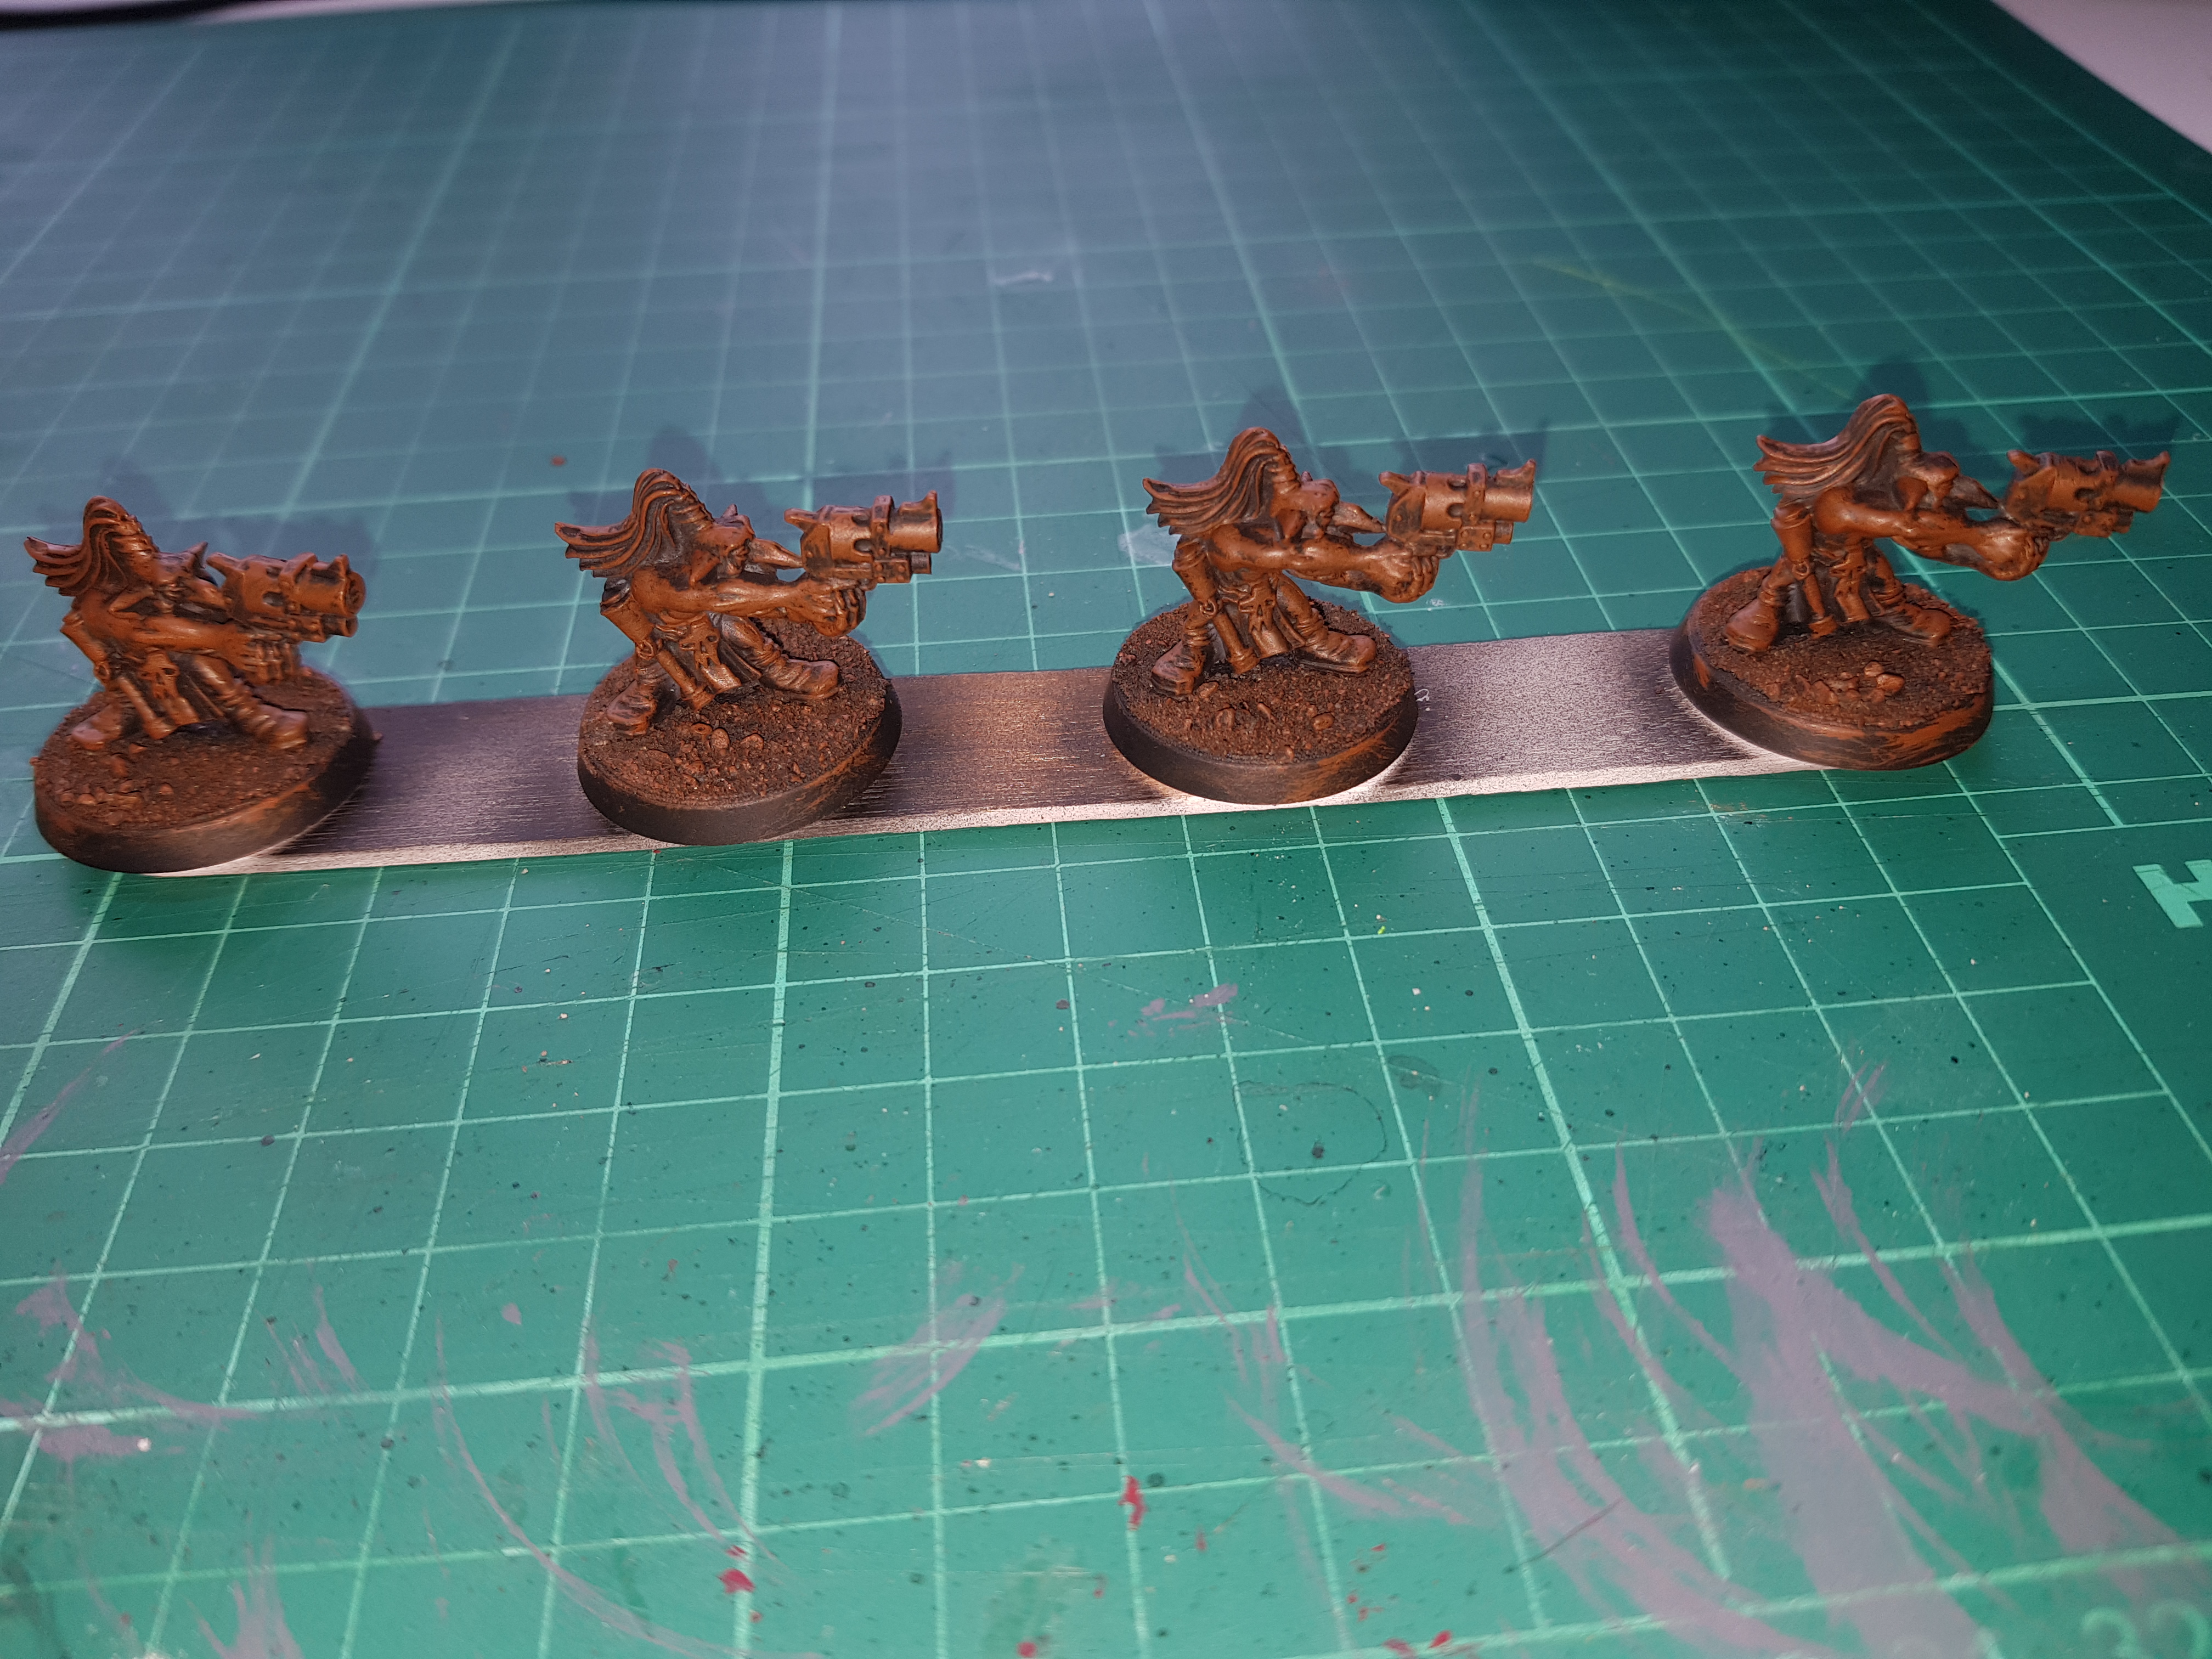
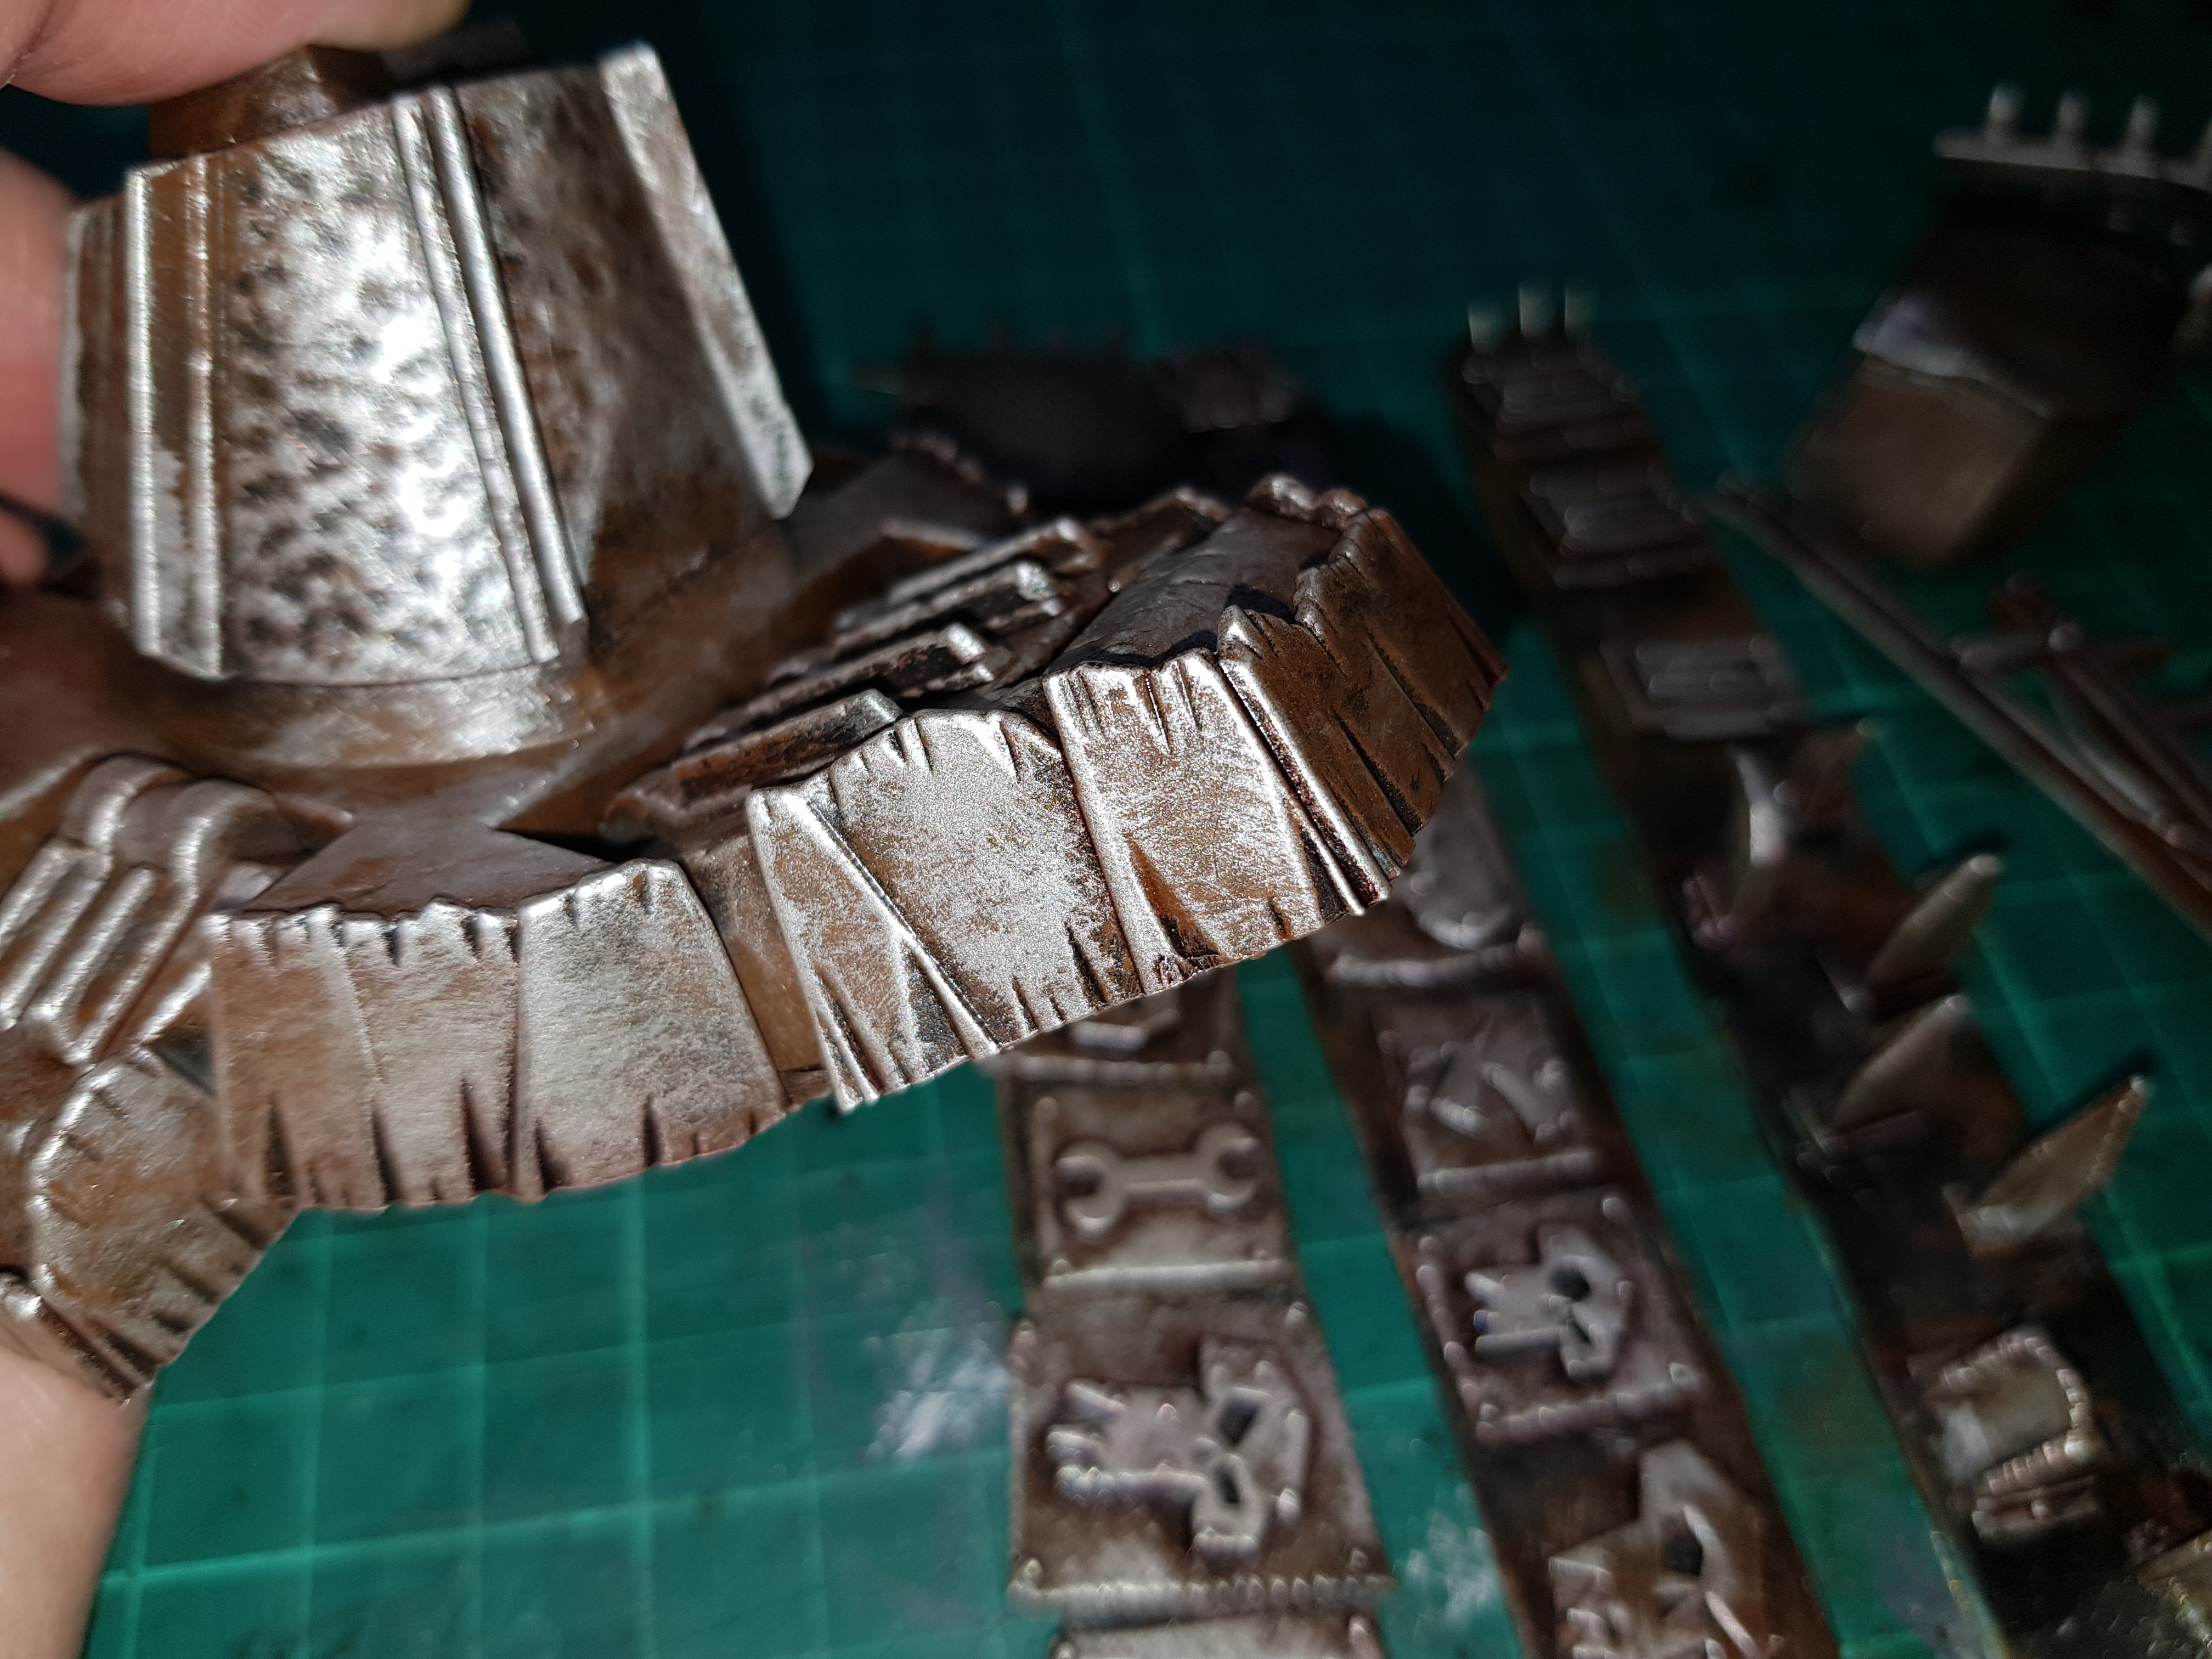 Here's a close up of the finished metallic effect.
Ultimately, this gives a good metallic base to work from for the rest of the mini. Whilst a good amount will get covered up in the upcoming stages, I find it easier to do the whole mini this way without too much thought or having to avoid certain areas.
Any areas that are accidentally missed will have a half decent metallic appearance whilst some areas can be intentionally left or made to look effective with little additional effort.
More Green
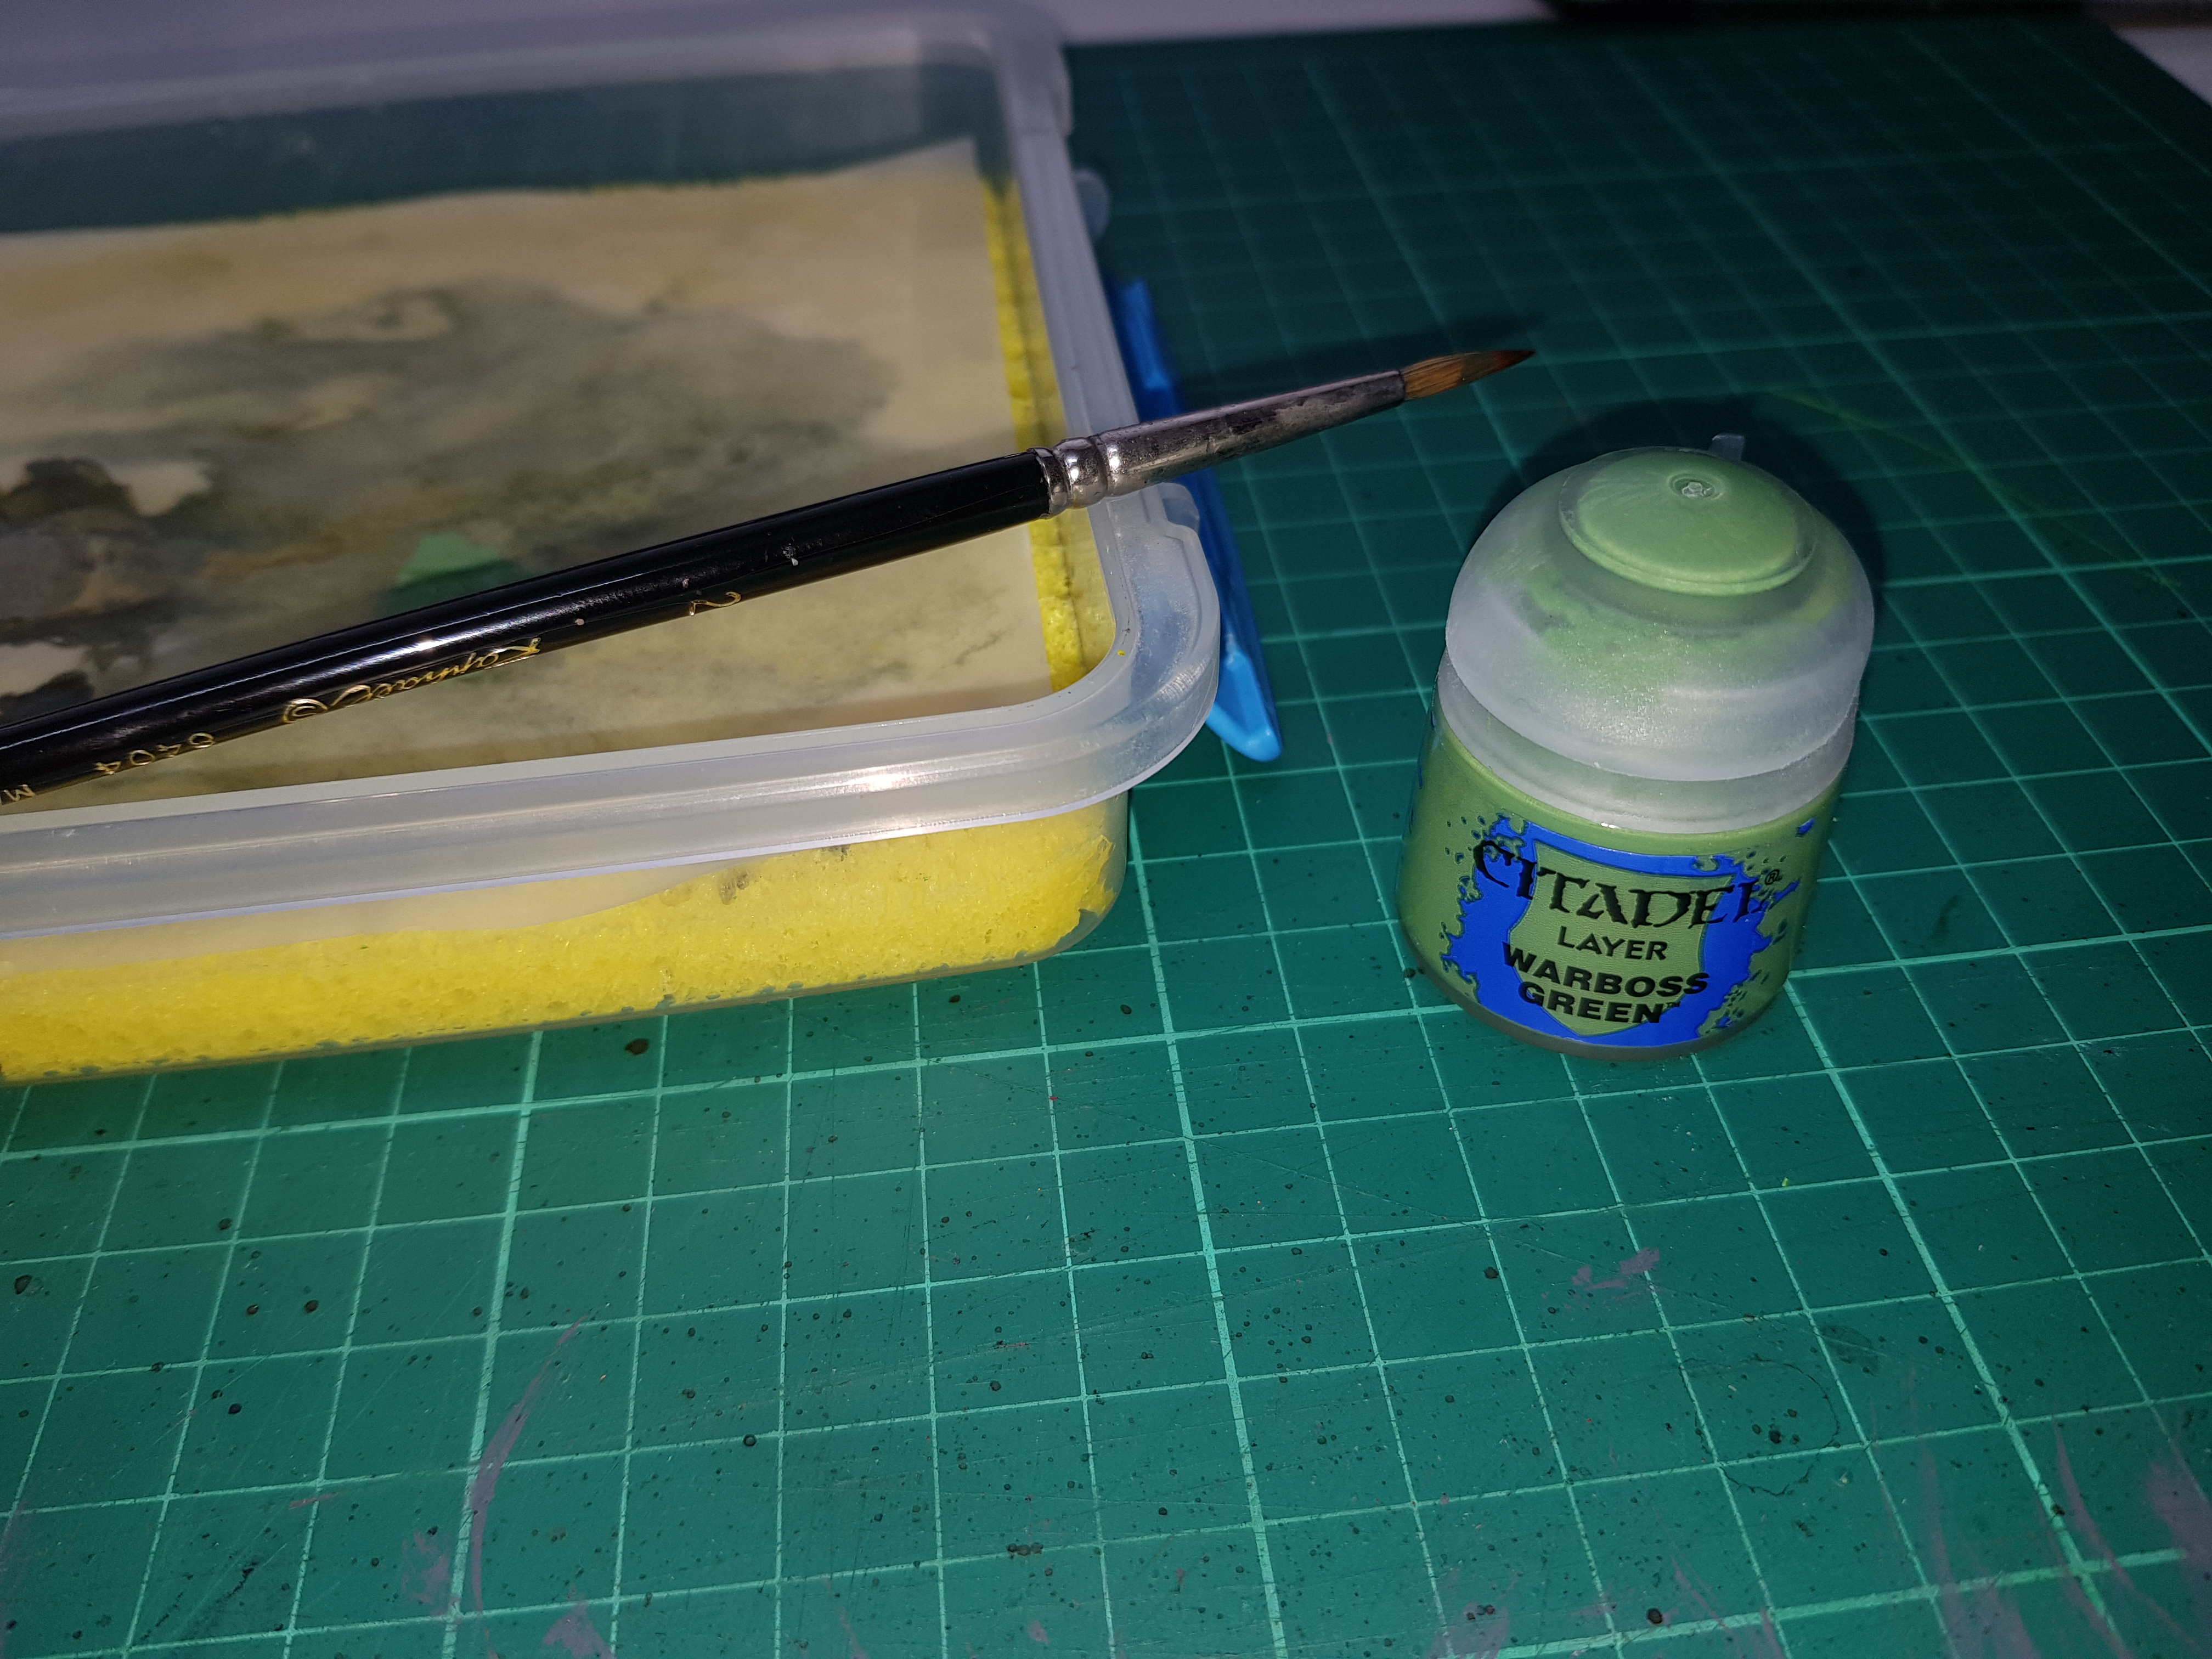
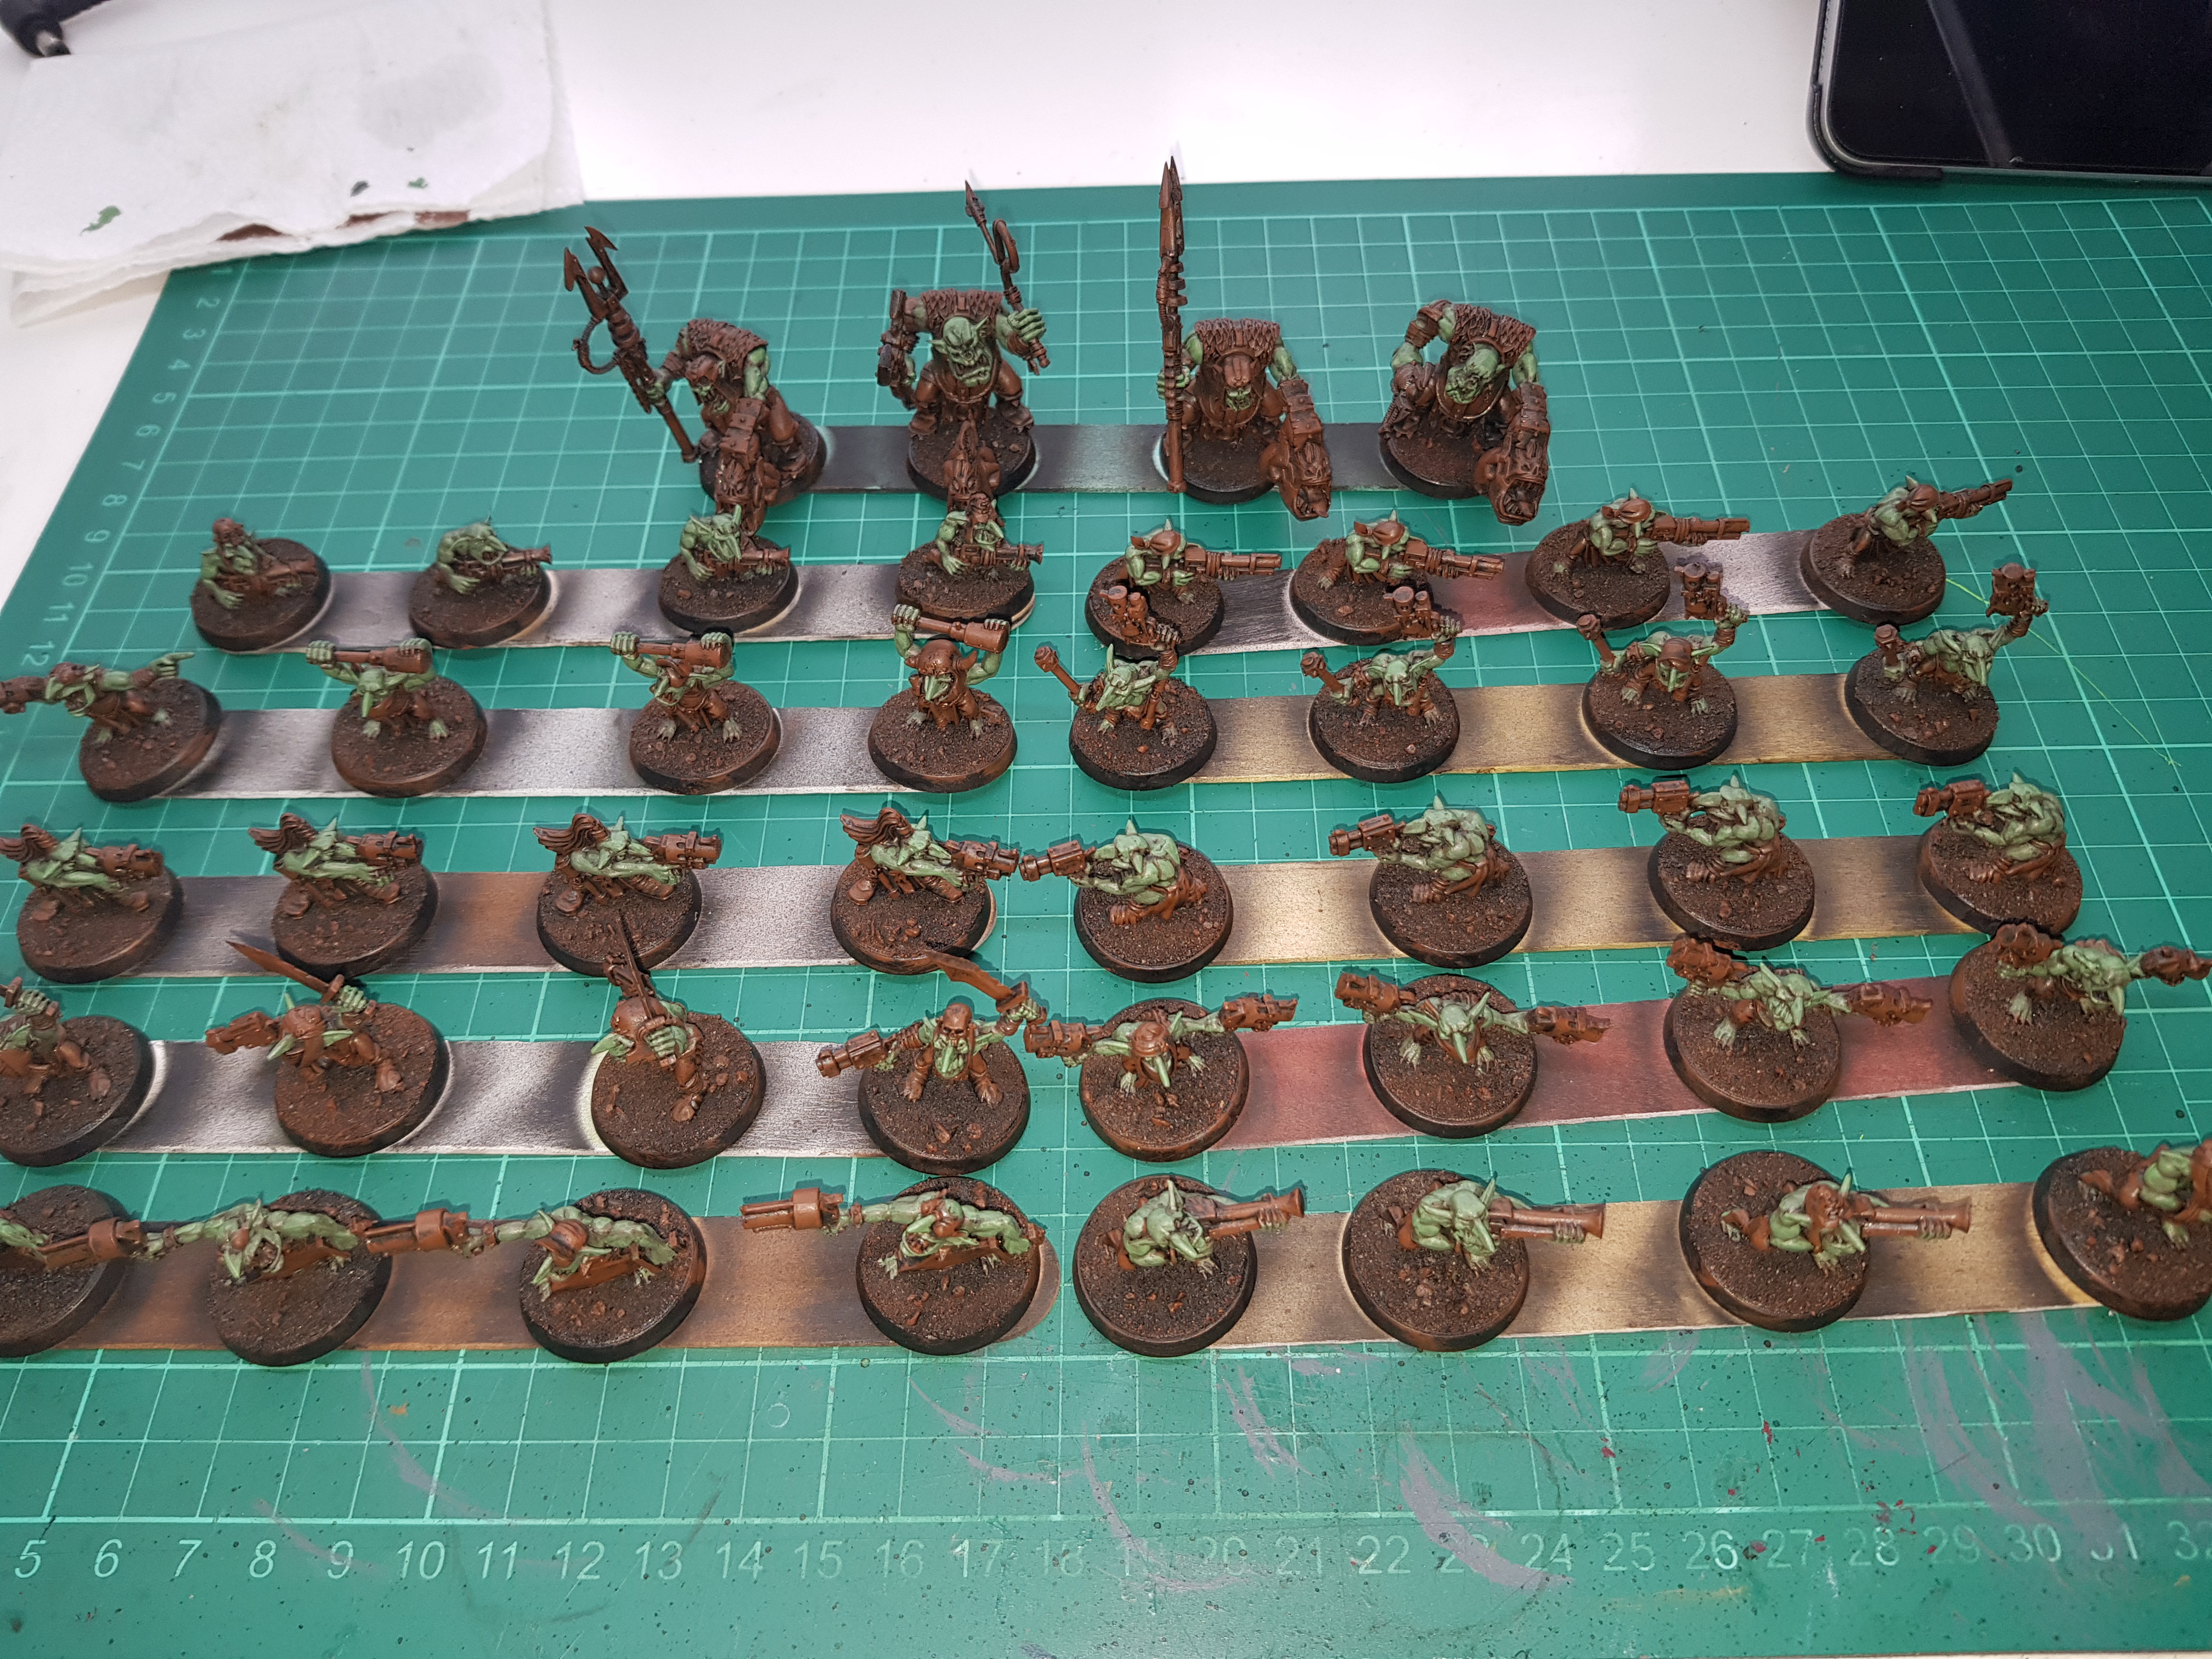
I’ve carried on with the skin on the Grots, adding some basic highlights using a lighter shade of green.
This was a similar process to the previous step but with a slightly more thinned paint (the Warboss Green is a layer paint which seems thinner/less opaque straight from the tub anyway) and covering less of the green.
Given the number of minis and the fact that they’re troops I’ve tried to get some contrast on the minis without spending too much time on them. As expected, I found a few places where I’d missed with the first green (mainly ears it seems) but given the “hobo highlights” I was able to rectify this enough with the lighter green rather than having to revert to the original green.
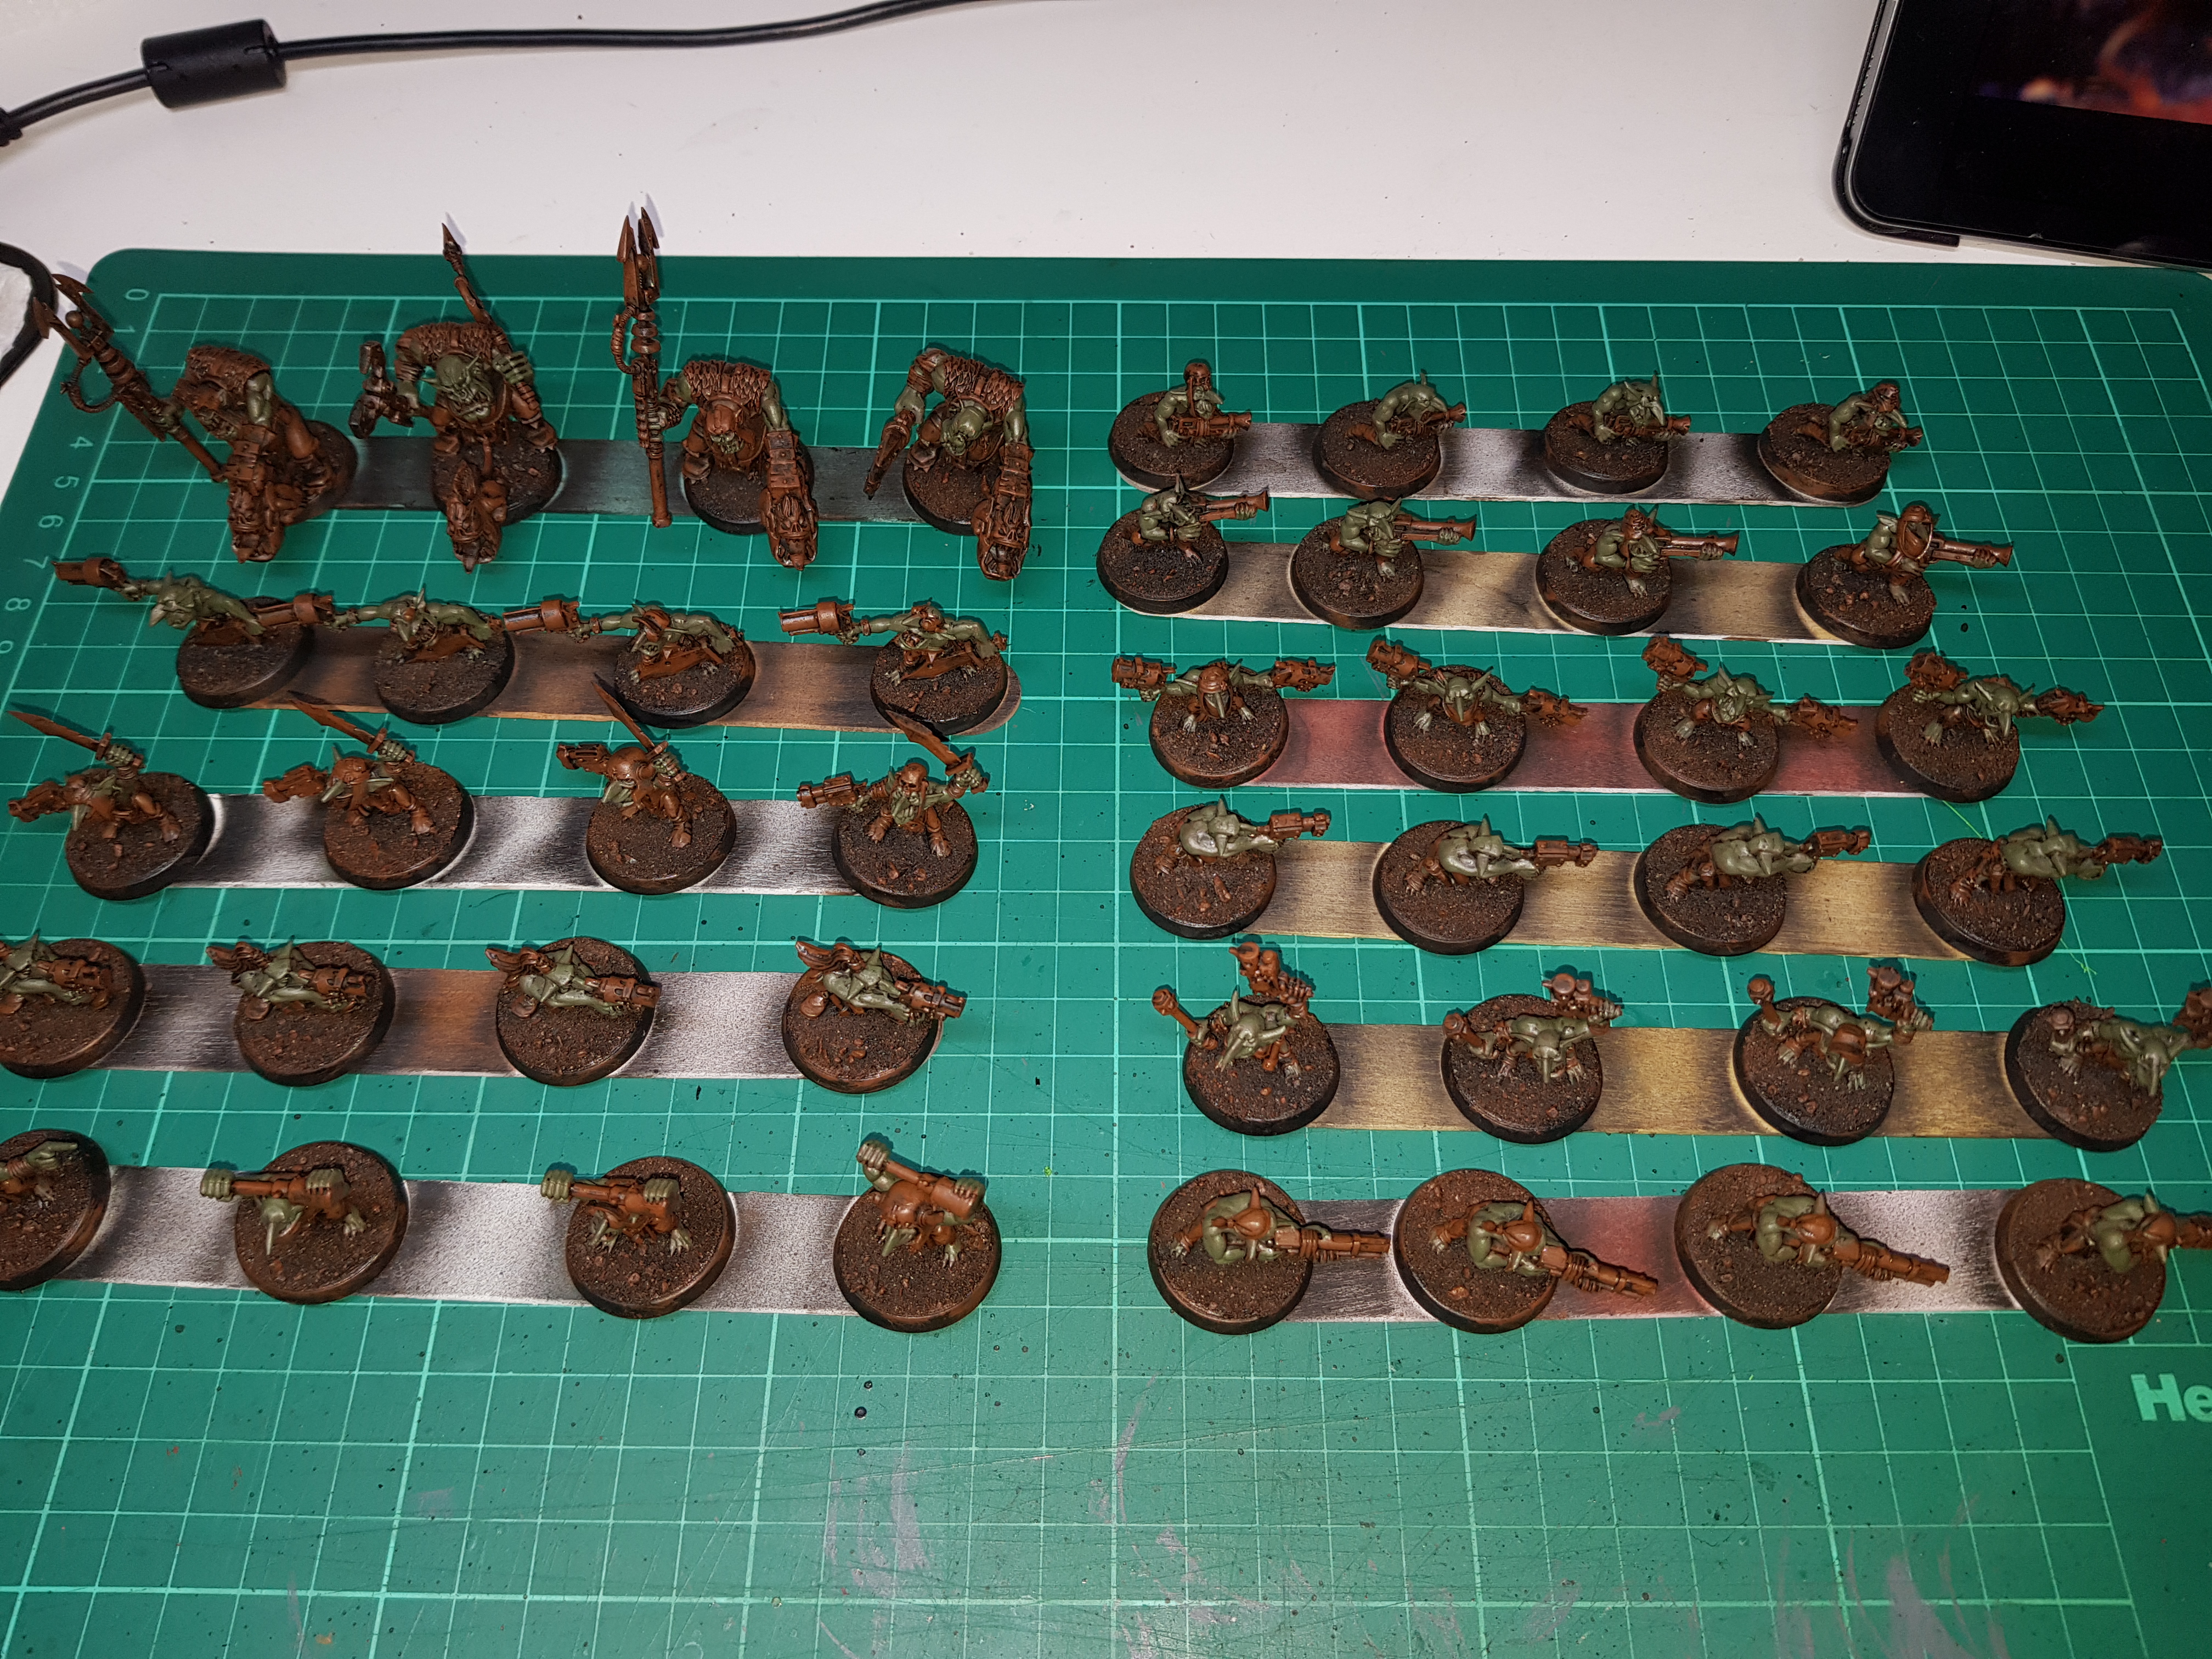
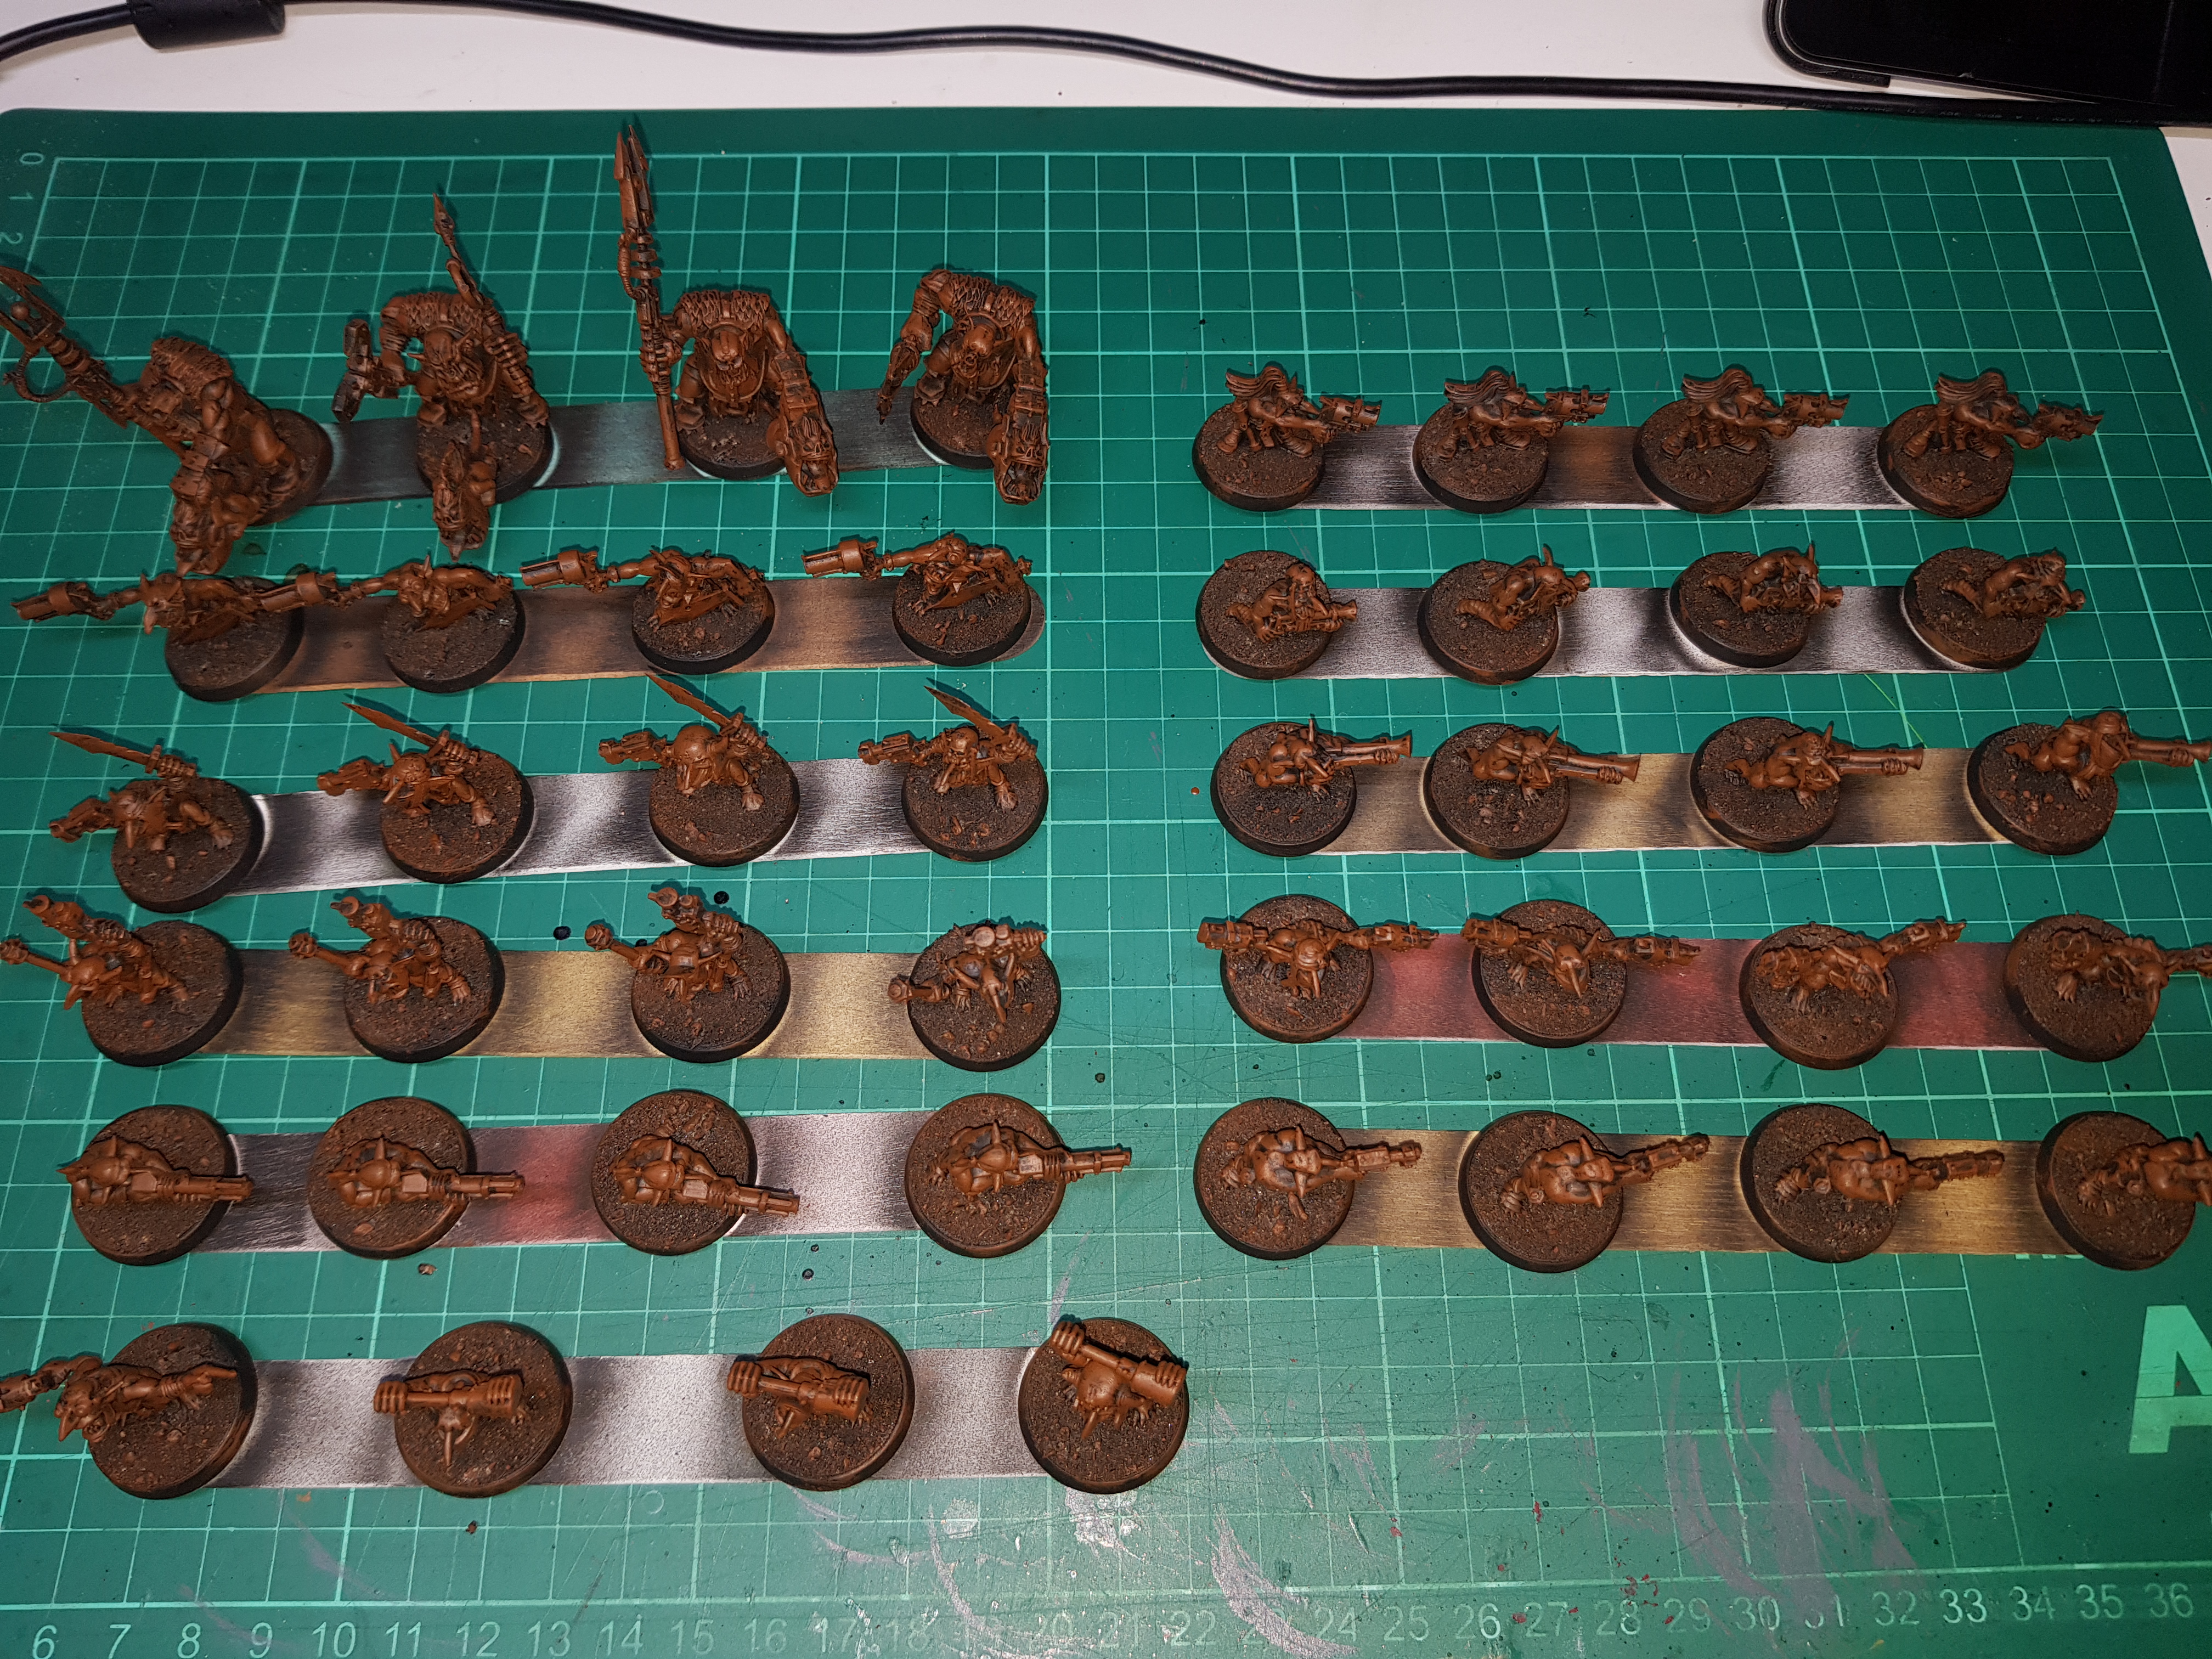
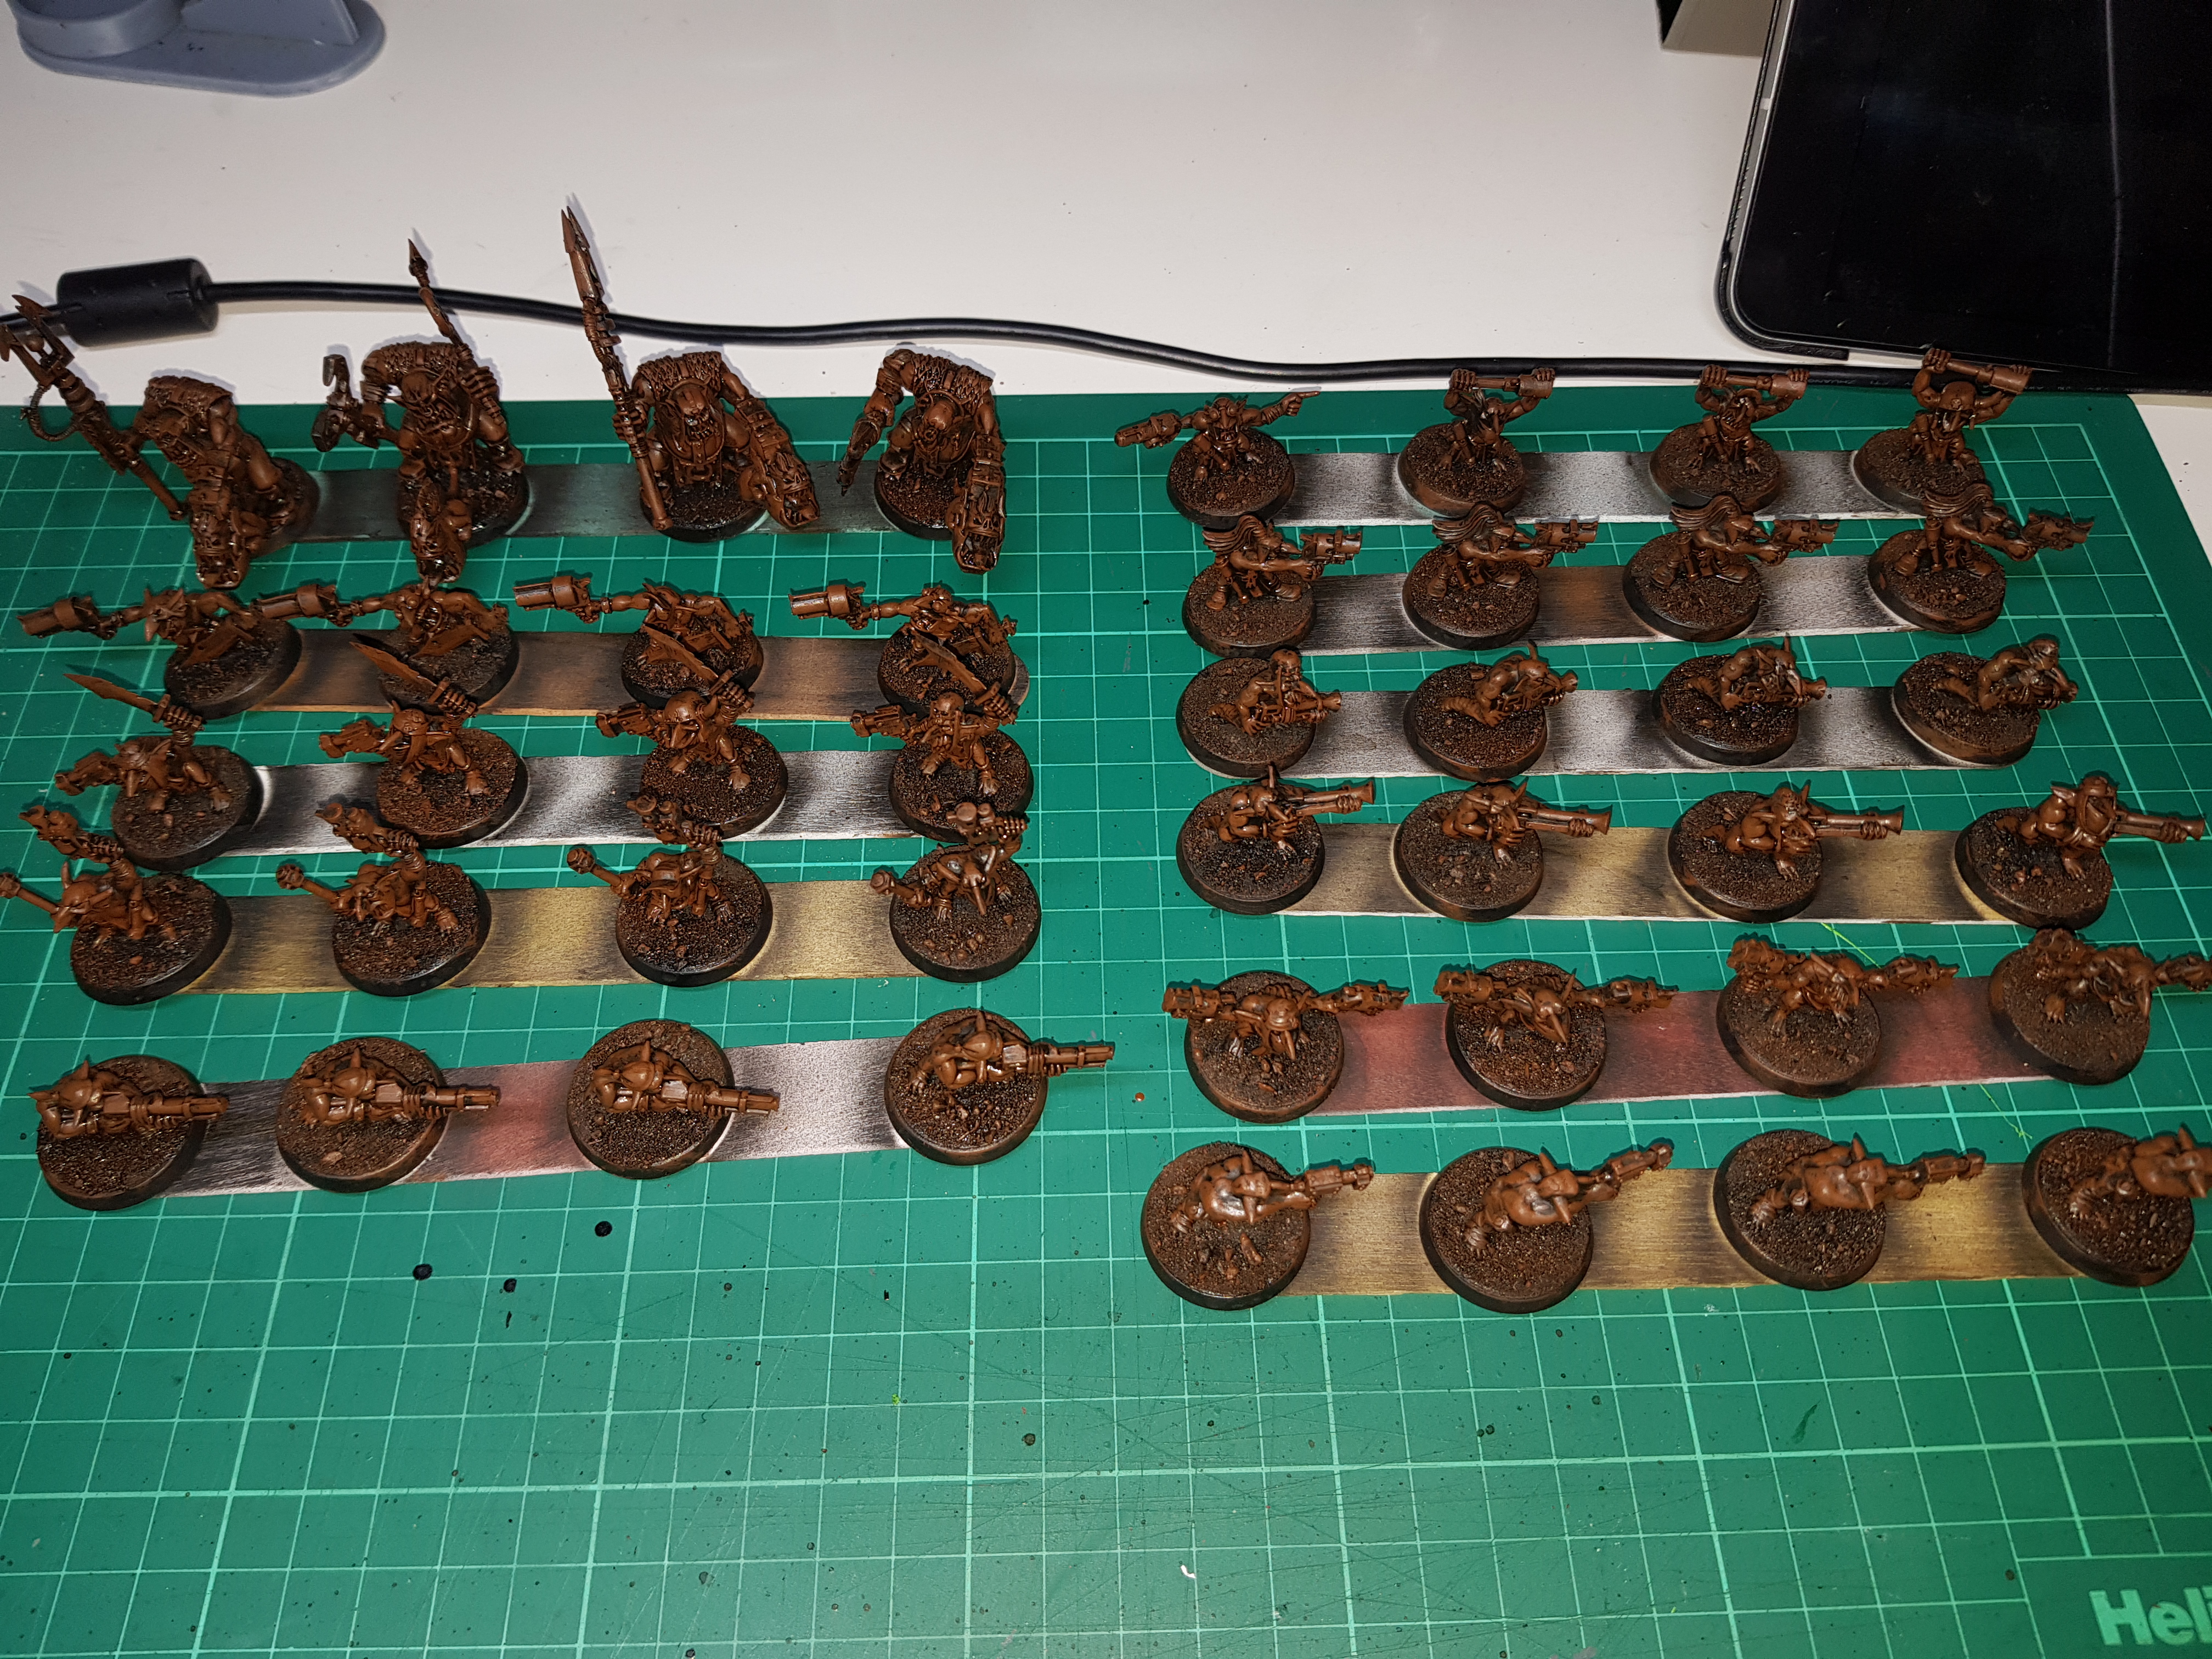
Below you can see the equipment used (same as before), an example of one strip of minis painted and the full compliment of grots.
I’m debating now what to do next. I wouldn’t normally paint the metallics until later on in the process but I’mtempted as I reckon once they’re done these will look very close to being done (although there will still be a good number of steps to complete).
I’m also concious that I haven’t progressed the Stompa at all and am keen to progress both elements of the project rather than completing the Grots and then going back to the Stompa.
Putting the Green in Greenskins
A weekend with a combination of chores and nice warm weather scuppered any chances of getting hobby done and then work got in the way of getting any painting in. How inconsiderate!
Anyway, I’ve finally got some colour on to specific areas with a normal brush so it feels like I’ve actually done some proper painting now.
 Tools of the trade.
As you can see, I used Castellan Green for the first green colour. This is a base paint but given that I’m going over brown rather than the black primer I might have gotten away with a layer paint at this point.
I used what I would consider a relatively normal sized brush; it’s a size 2 but that isn’t all that helpful as a reference given that different brands sizes don’t match up with each other.
I’m also using my home made wet palette. For this process I didn’t water the paints down other than using the moisture from the wet palette and the water in the brush from dipping it in my water pot.
I picked out all of the green areas on the Grots attempting to be relatively neat in order to save time correcting mistakes. Despite this there will be areas wher I’ve got green that I shouldn’t and whole areas that I’ll have missed.
You can see that the shading in particular from the previous step is still showing through now that the green is down.
Getting all 44 minis to this stage was quite time consuming but not difficult and the base green is the biggest single area of colour so it feels like good progress on the way to getting these done.
Hobo Highlights
If I’m not going to do zenithal highlights as the next stage, what am I going to do? I’m going to add what I affectionately refer to as “hobo highlights”.
This step probably takes longer than zenithals with either an airbrush or spray cans and probably, overall, doesn’t give as good a result so I can’t really recommend it but I feel I need to do it to match these units in with the rest of the army.
Aside from the blending in with existing minis, this effect does have some up sides being:-
- It does make it easier to the see the details of the minis and does give some basic element of pre-shading and highlighting;
- It’ll give the whole mini the dirty hue which is a theme of the army; and
- Given that this will be a very basic paintjob, I can likely get away without doing too much more to some of the deeper recesses and brown areas.
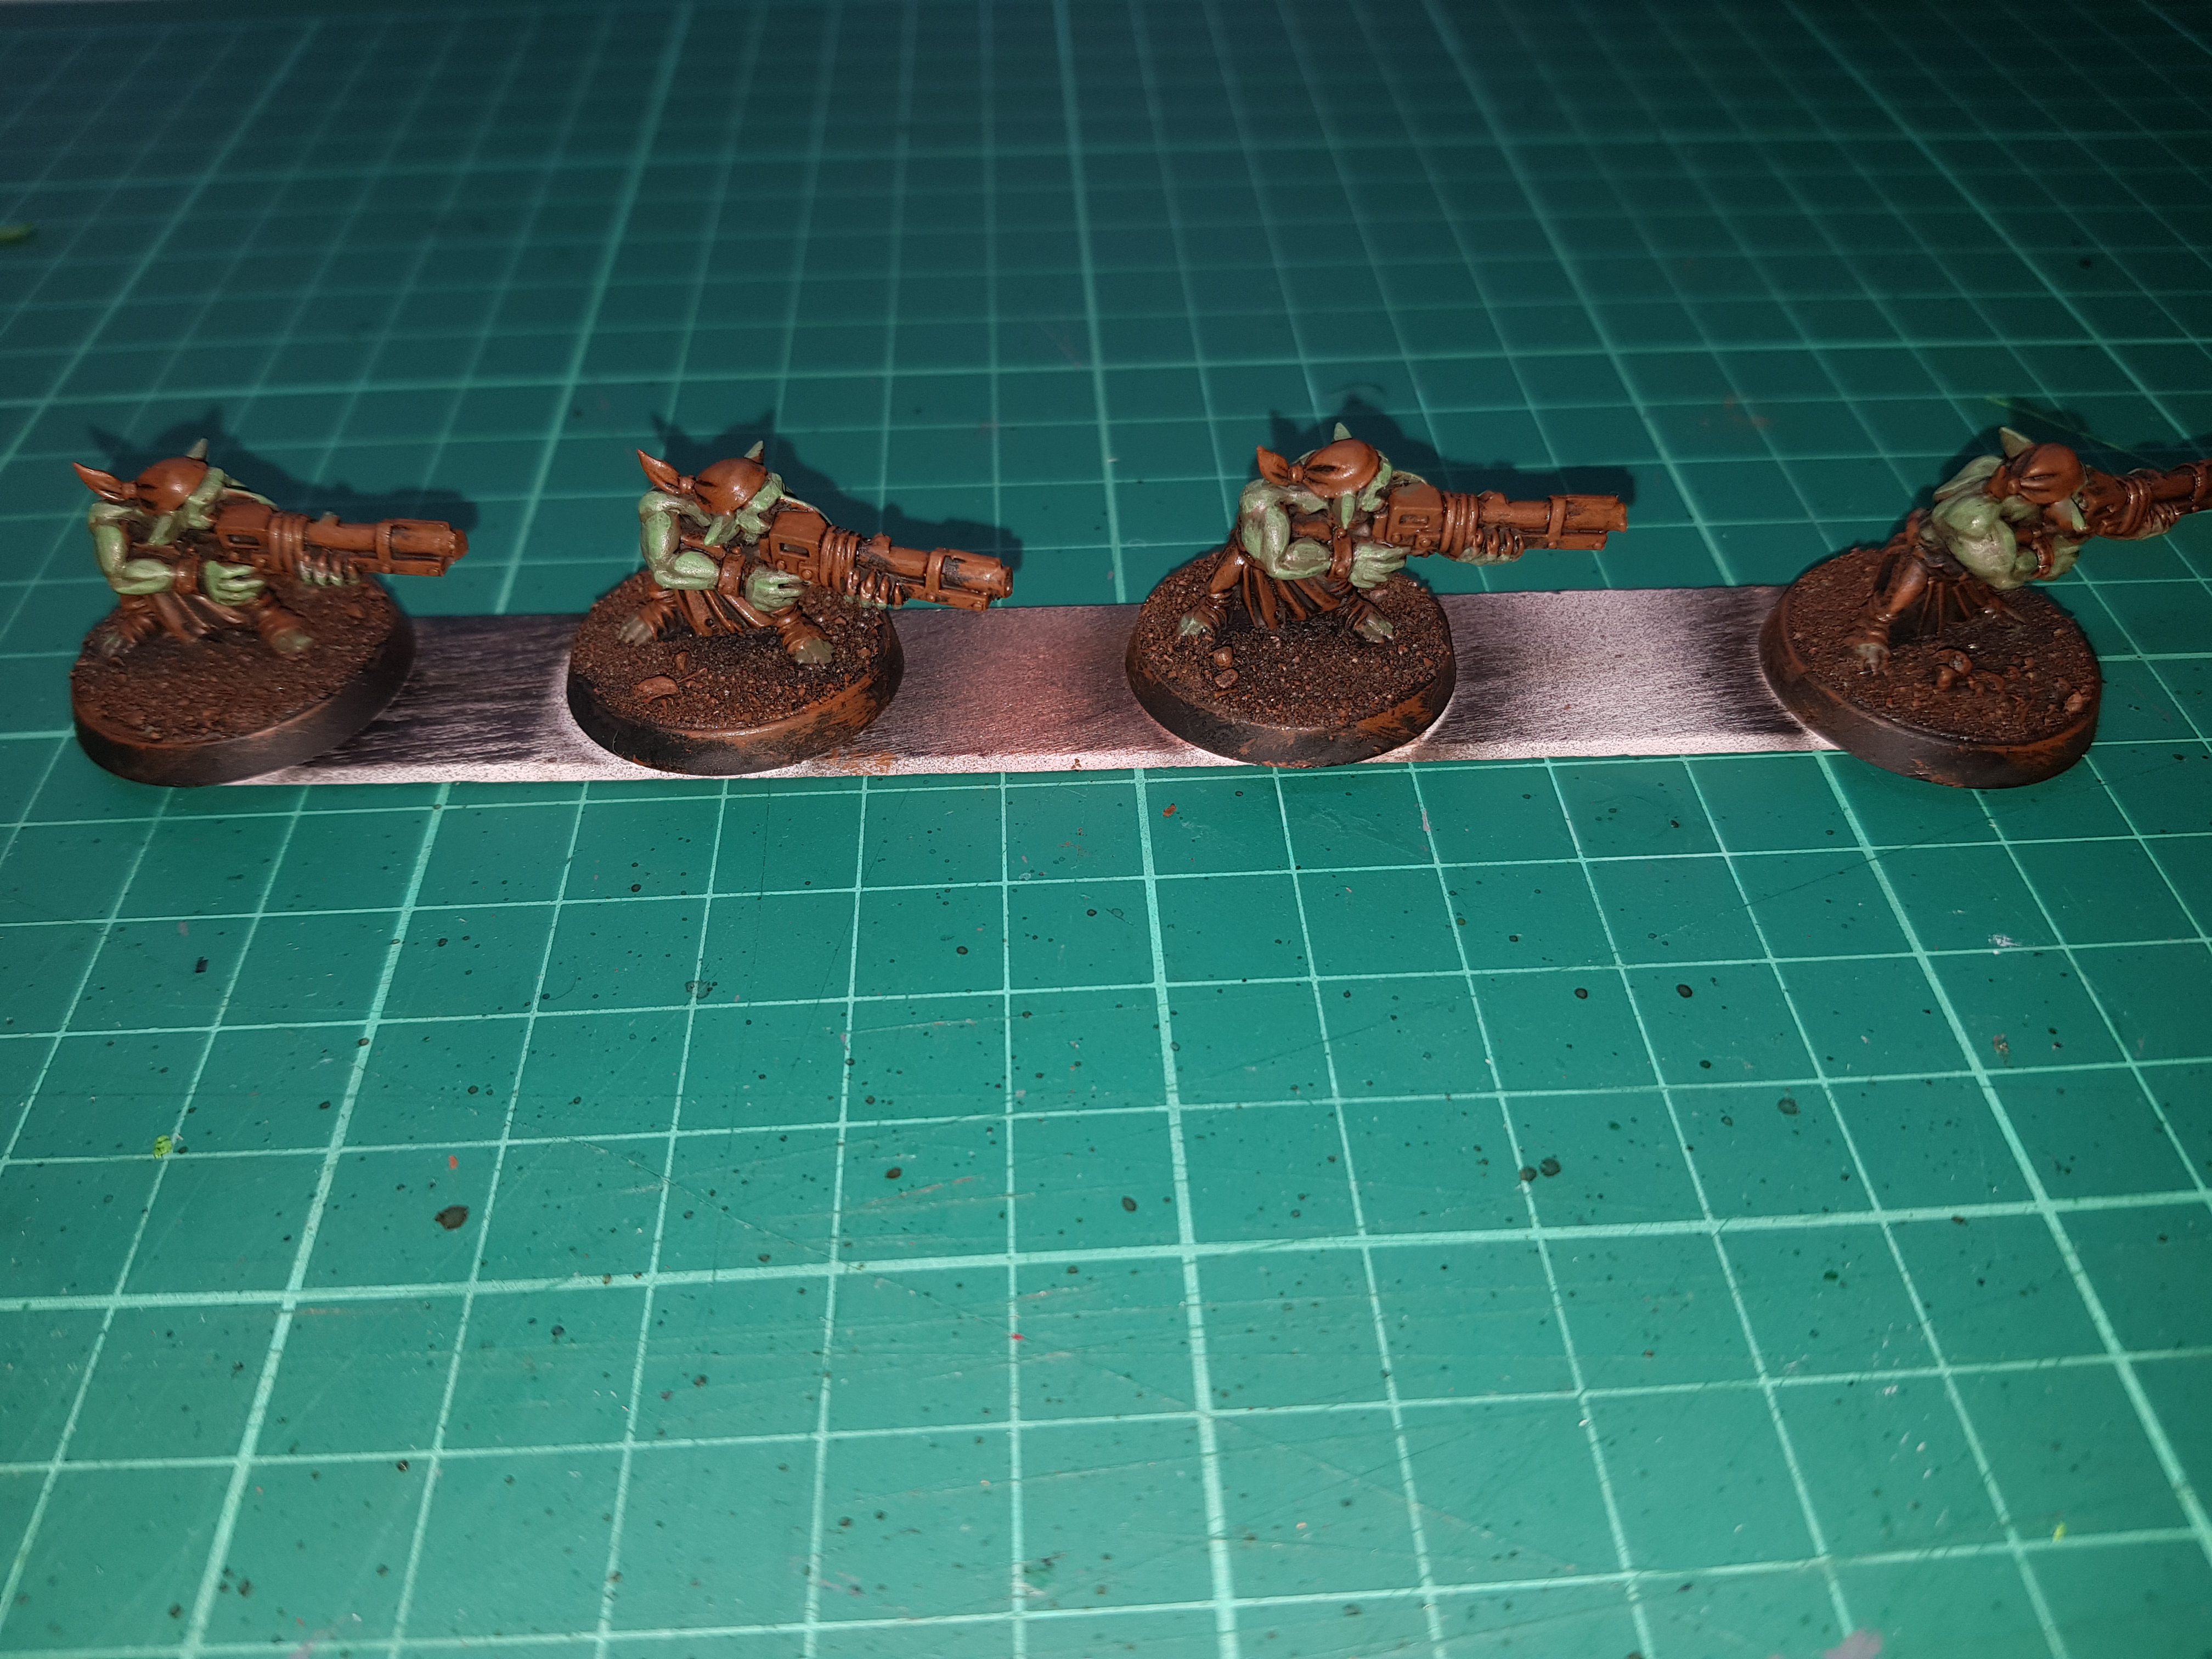
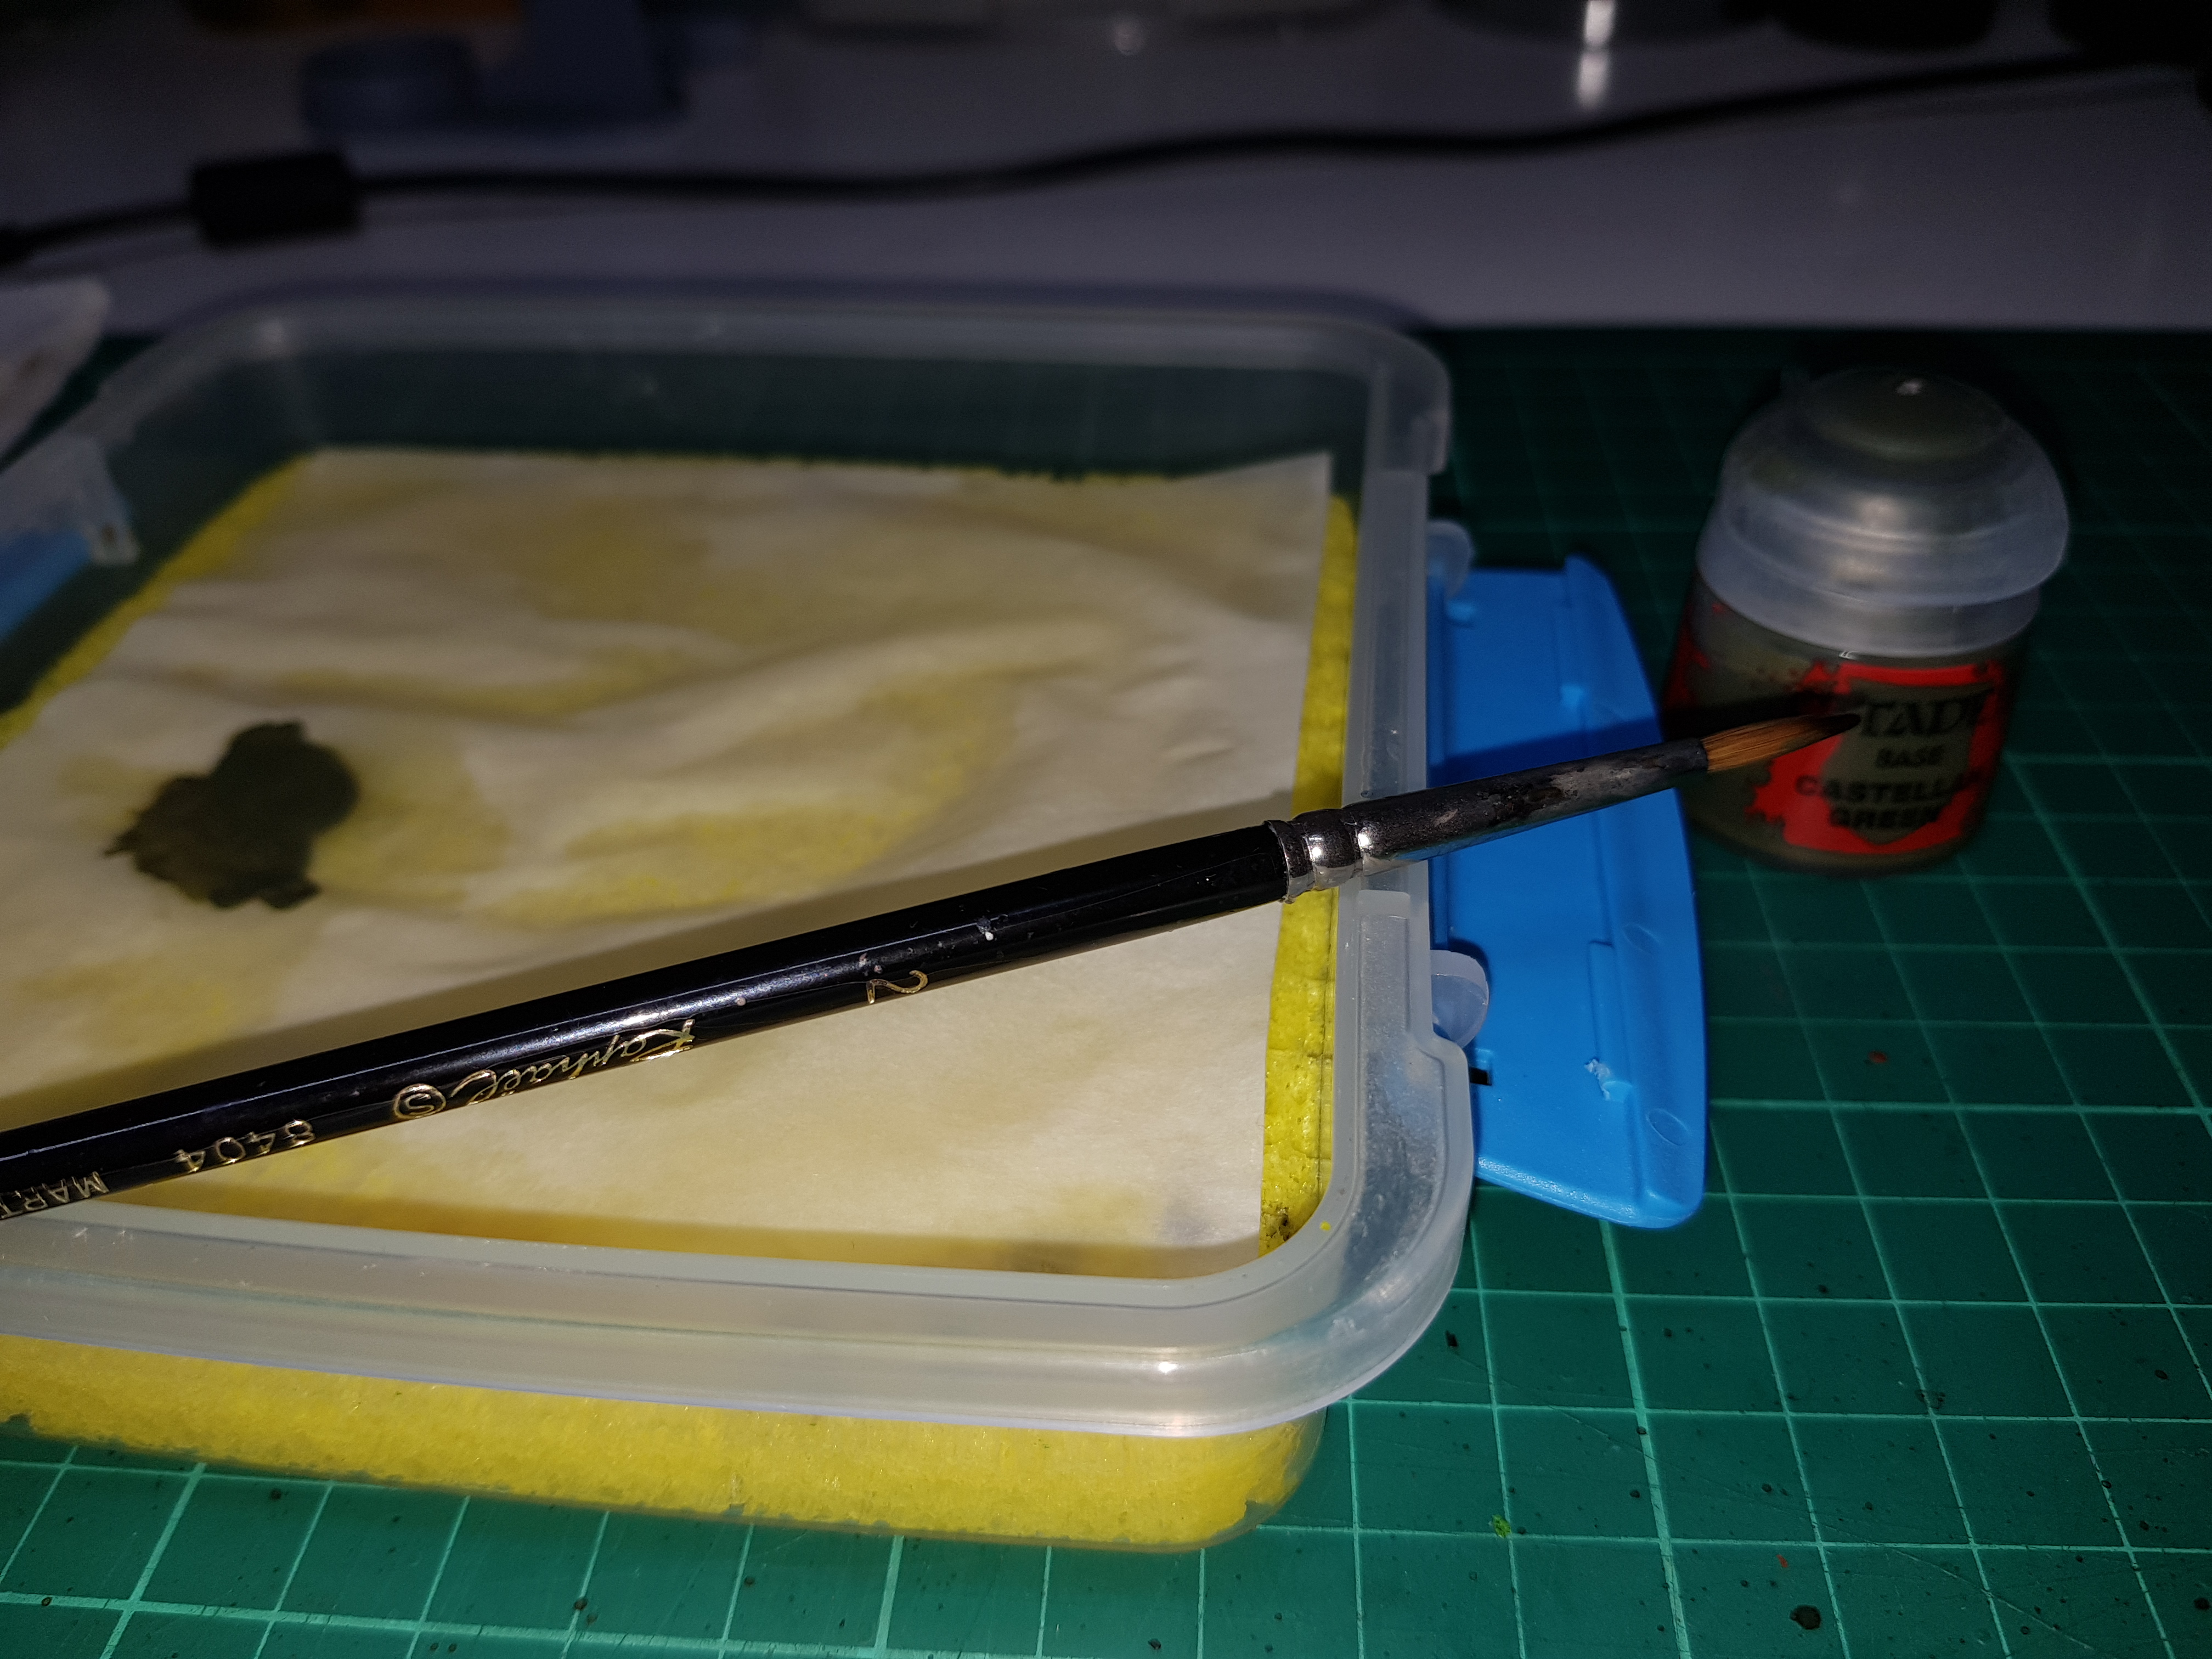
 Here are the weapons of choice.
I take the brown and apply it to a large drybrush. The paint is then rubbed off onto the paper towel, similar to preparing to drybrush, however, I only give a couple of passes on the paper to leave a significant amount of paint on the brush. I then lightly sweep over the mini to catch the raised areas. This is much more of an overbrush than a drybrush.
Eventually I end up with some very brown Grots. Given the number that I’m working on and the relatively small amount of paint applied, by the time the last ones have been done the first are dry.
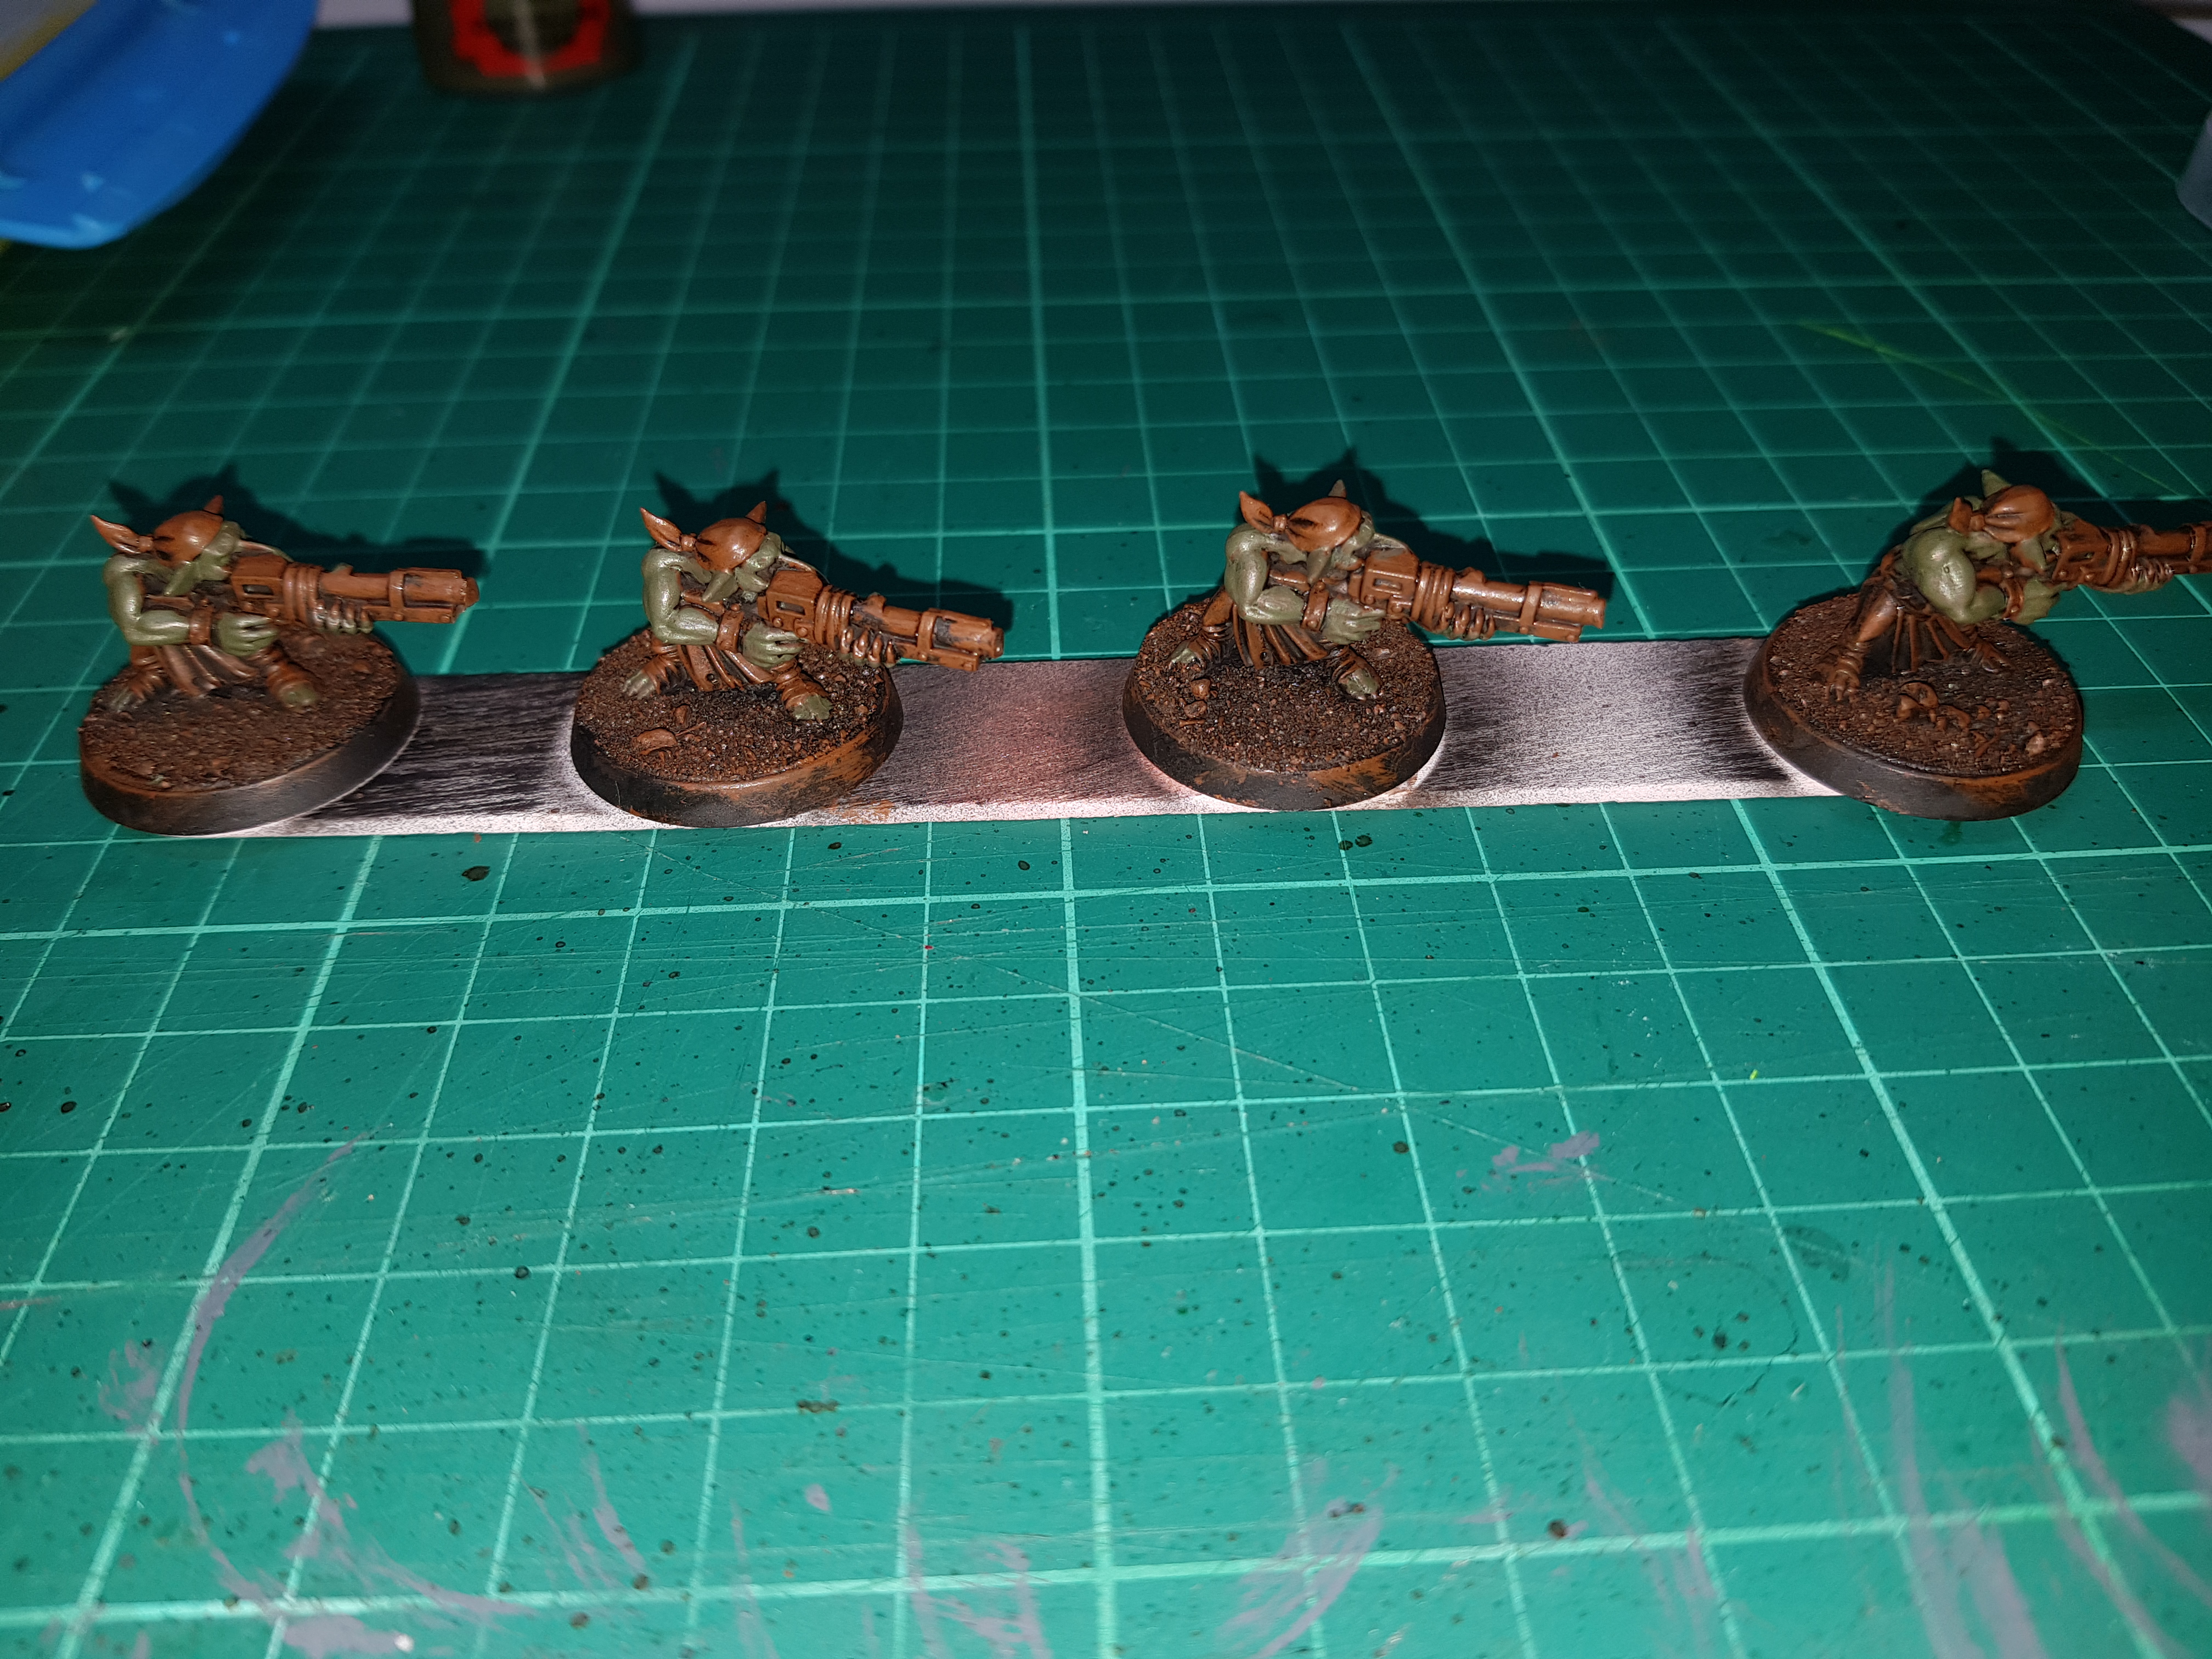
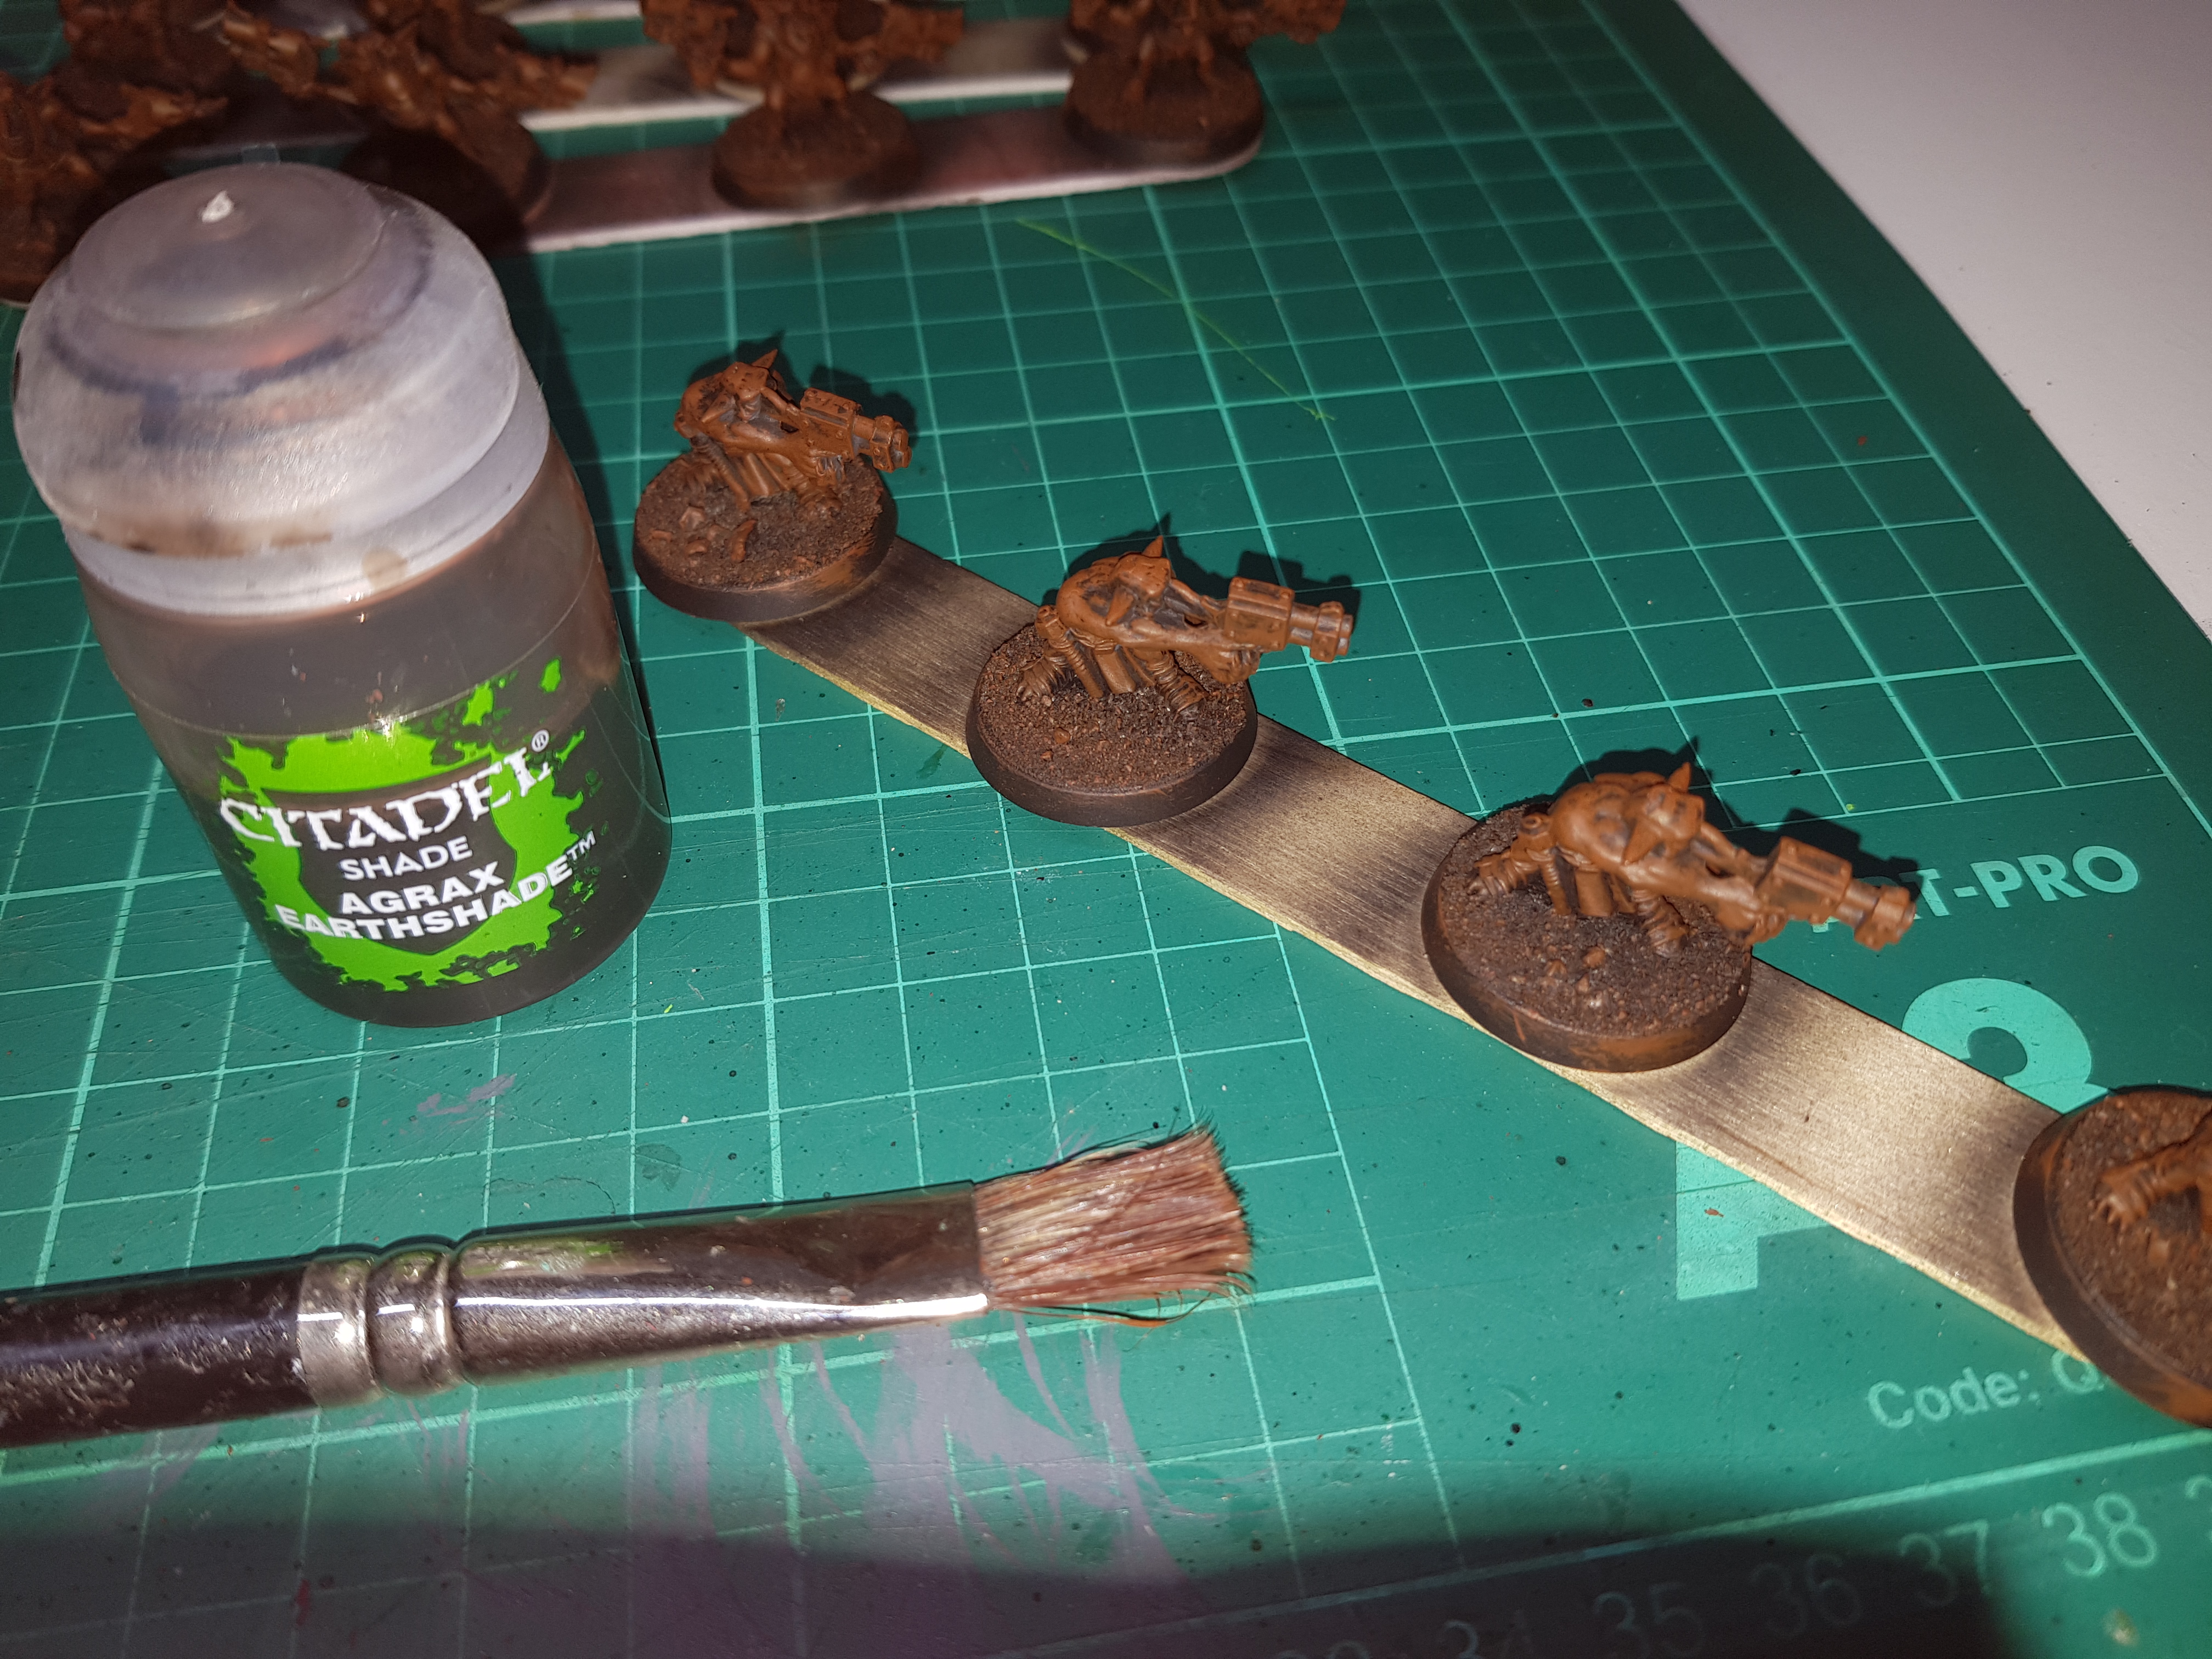 Next is a liberal wash with everyones favourite Agrax Earthshade.
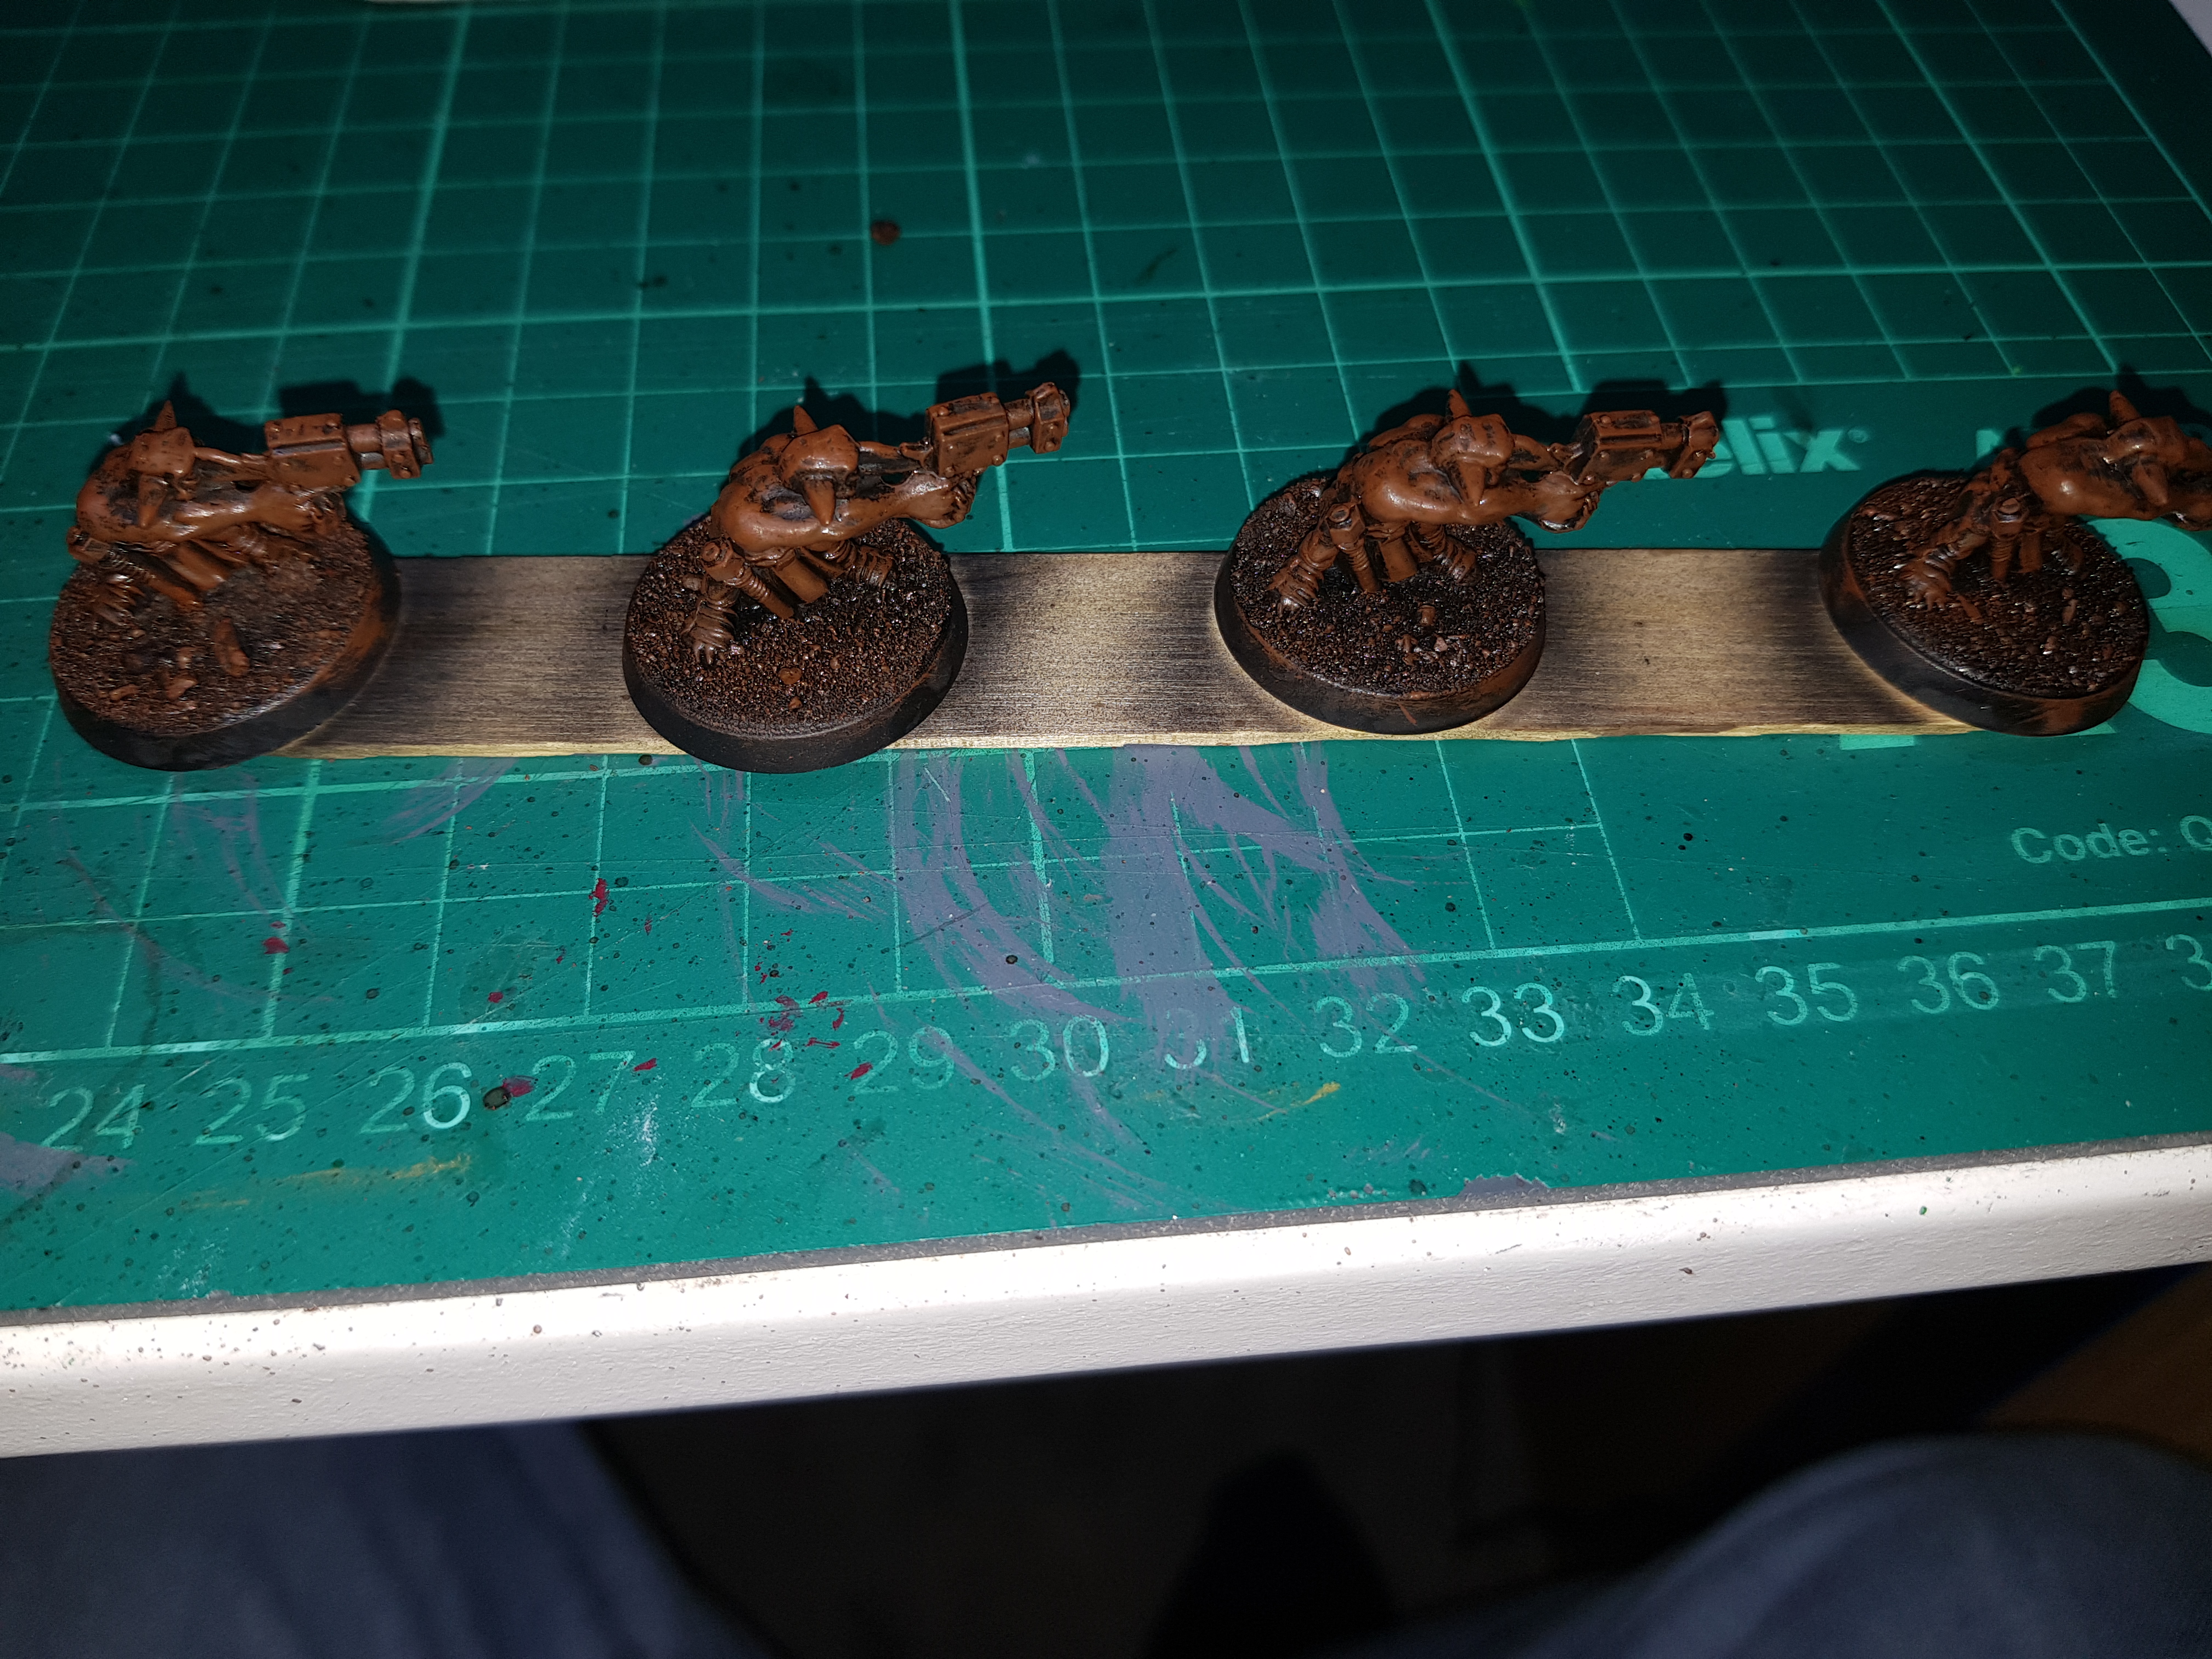
Everything’s washed over with Agrax Earthshade to darken the recesses and that’s it. Obviously the usual advice of not letting this pool too much applies but given that this is the first stage after priming you can be pretty rough and ready as there’s plenty of time to touch things up.
I’m attempting to leave the minis on the sticks used for priming in order to assist with batch painting and to save re-attaching for varnishing. It’s not something I’ve done much before and so I’m finding it a little awkward but hopefully it will save some time.
A Note On Zenithal Highlighting
Whilst recently I have been applying a zenithal highlight to minis after the priming stage, for this project I am not going to be doing this. Given that the aim is to blend these additions into an existing army, I’m attempting to remember the stages used previously and replicate these as best I can and I definitely didn’t use a zenithal highlight back then.
So why create an entry just to point out that I’m not going to be using a technique?
Well, I recently learned something interesting/useful and thought it would be a good opportunity to pass this information on. It also seems somewhat topical as the subject of inks has been mentioned in a couple of recent Weekenders.
A number of months ago I watched a Goobertown video on airbrushing acrylic inks, including white. Soon after, I found myself in a Hobbycraft store which stocks Daler Rowney FW Acrylic Inks and so I picked up a few to experiment with. I had a play, particularly with the white in a hope to achieve a zenithal highlight and had terrible results; the finish was splotchy and the more I tried the ink ran into the recesses rather than giving the desired effect.
Was the pressure too high/too low, had I diluted too much/too little, was it my airbrush, was their something else, was I just completely and utterly useless? I couldn’t work it out.
It was sometime later that I was listening to Paint Bravely the Podcast (featuring Brent from Goobertown) when the subject of inks came up again and in particular the strange phenomenon that is how terrible the white Daler Rowney FW acrylic ink is. Apparently it is a known issue with the white but the other colours are fine.
I’ve since switched to the Liquitex Professional Acrylic Ink for whites and it behaves exactly as expected.
Thankfully the guys on the Weekender keep referencing the Liquitex version which is the one to go for; don’t be tempted to try the Daler Rowney!
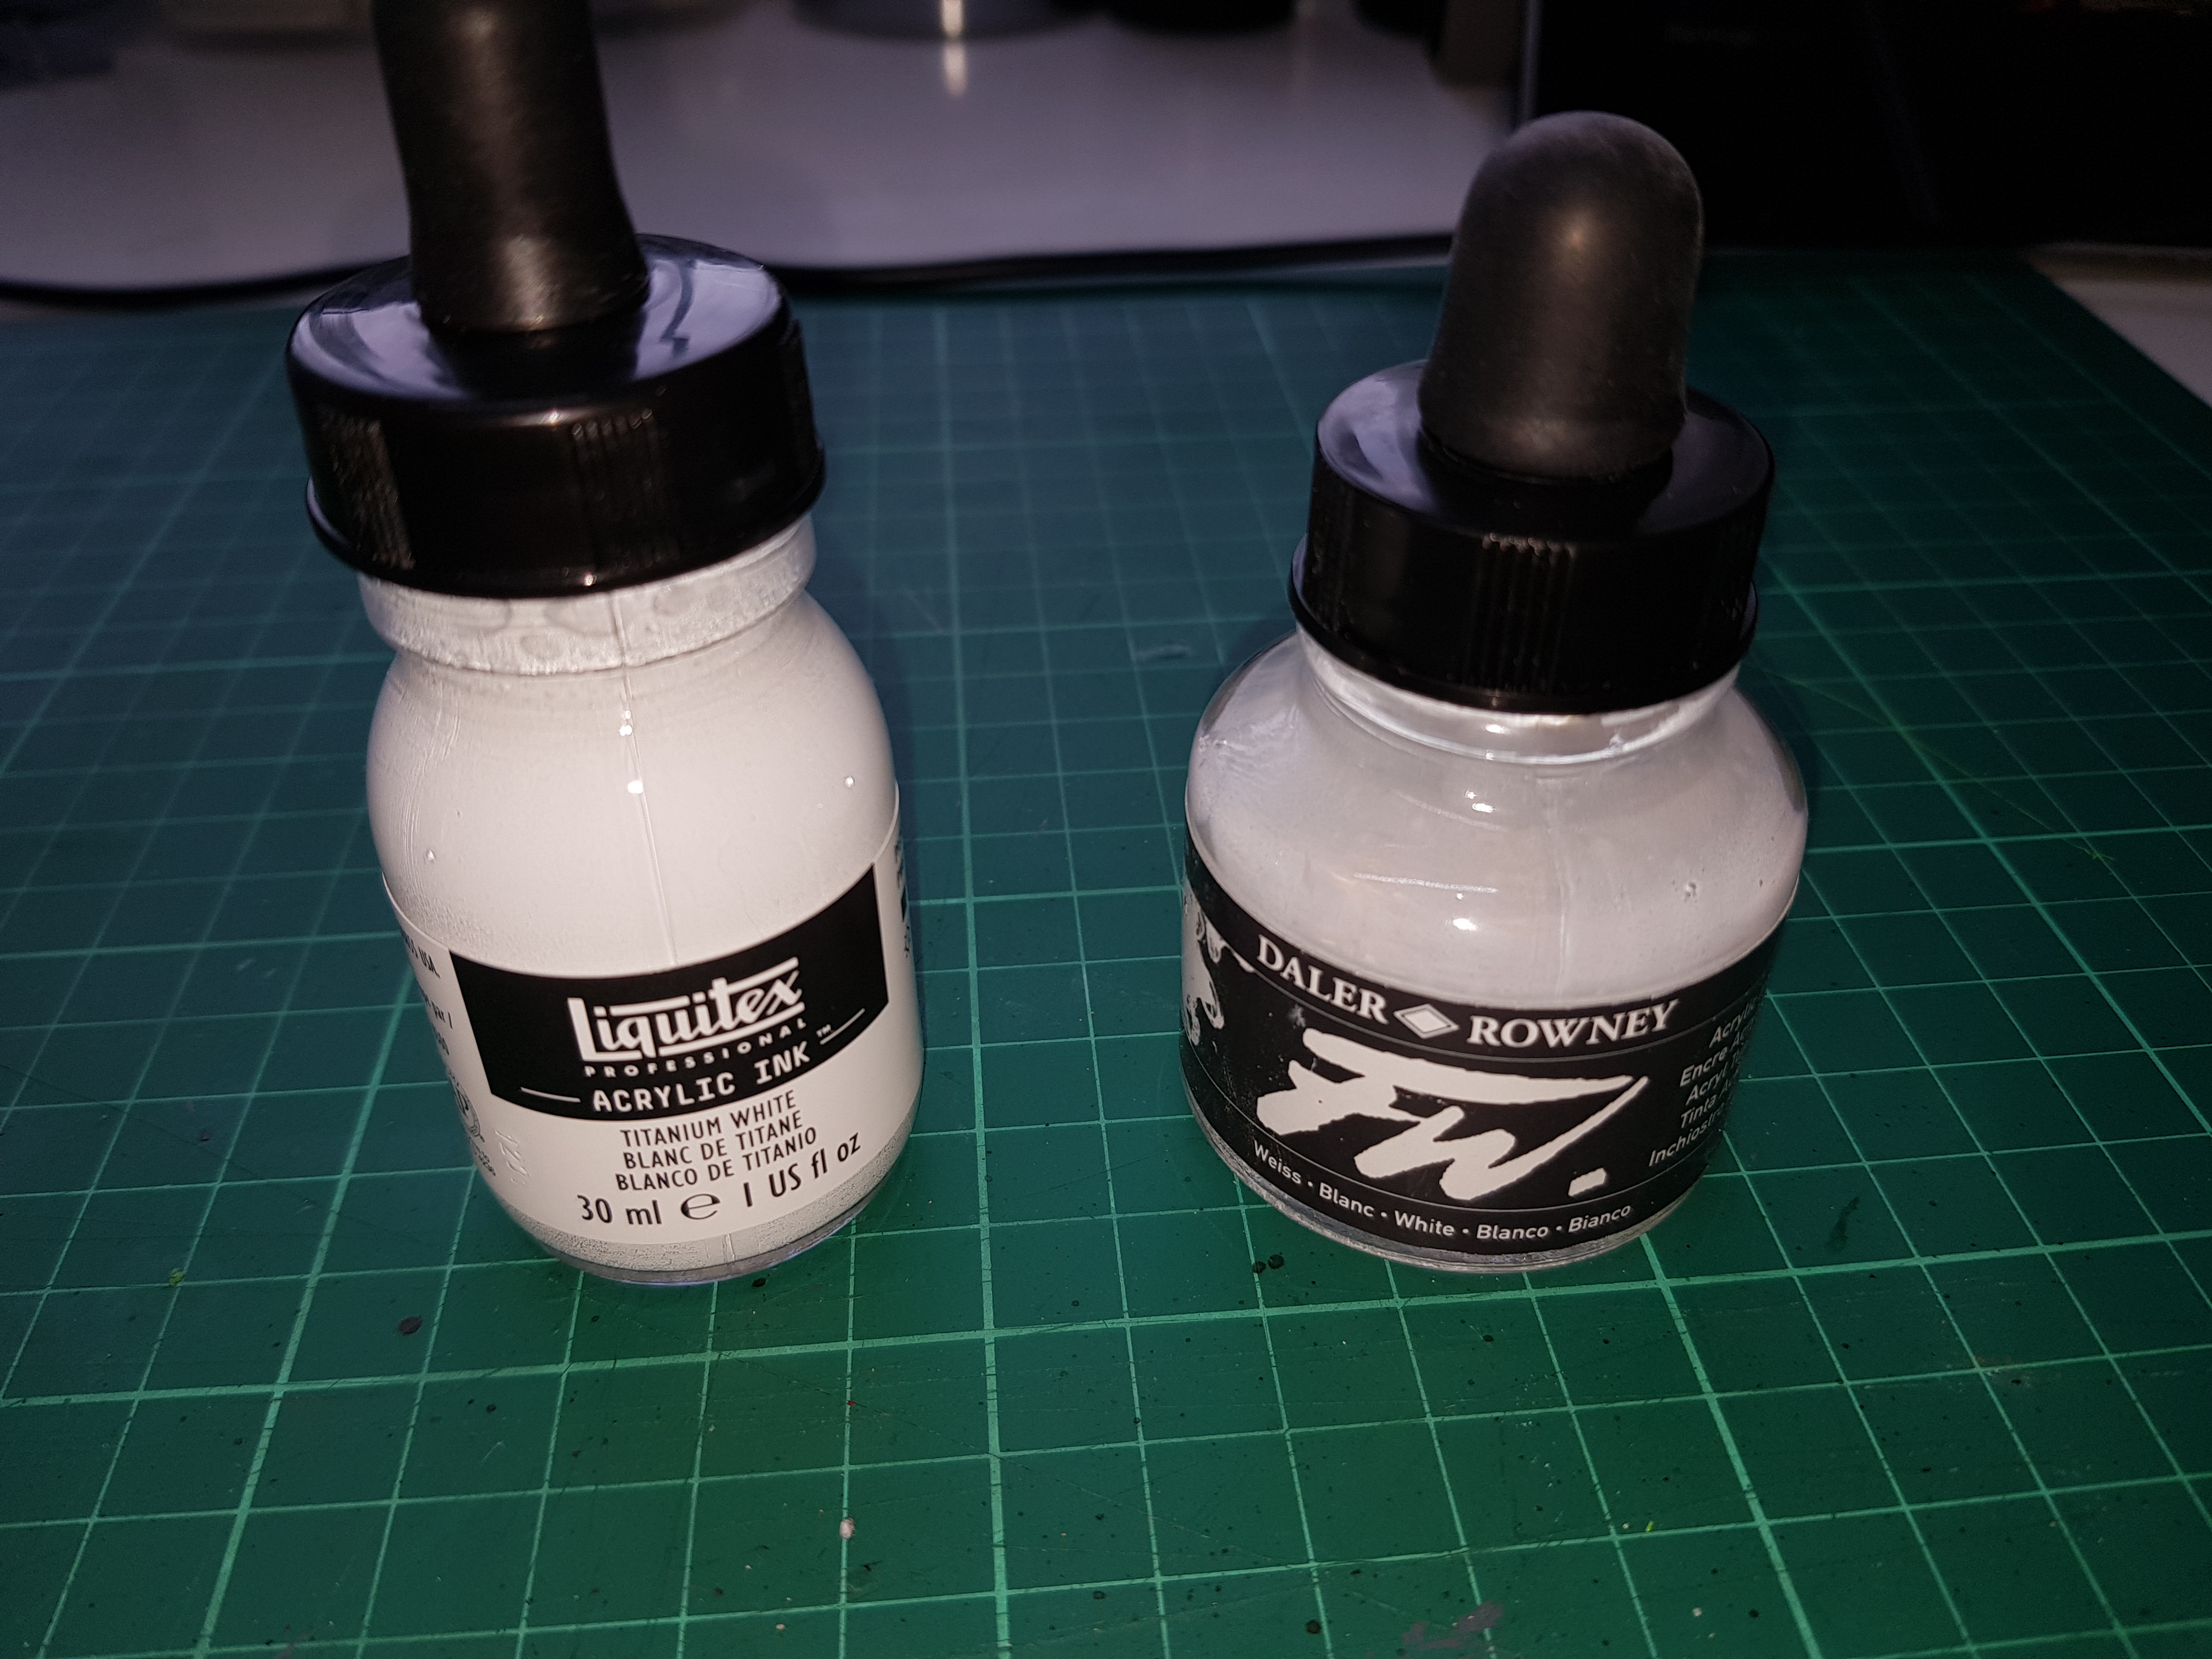 The white ink that you're looking for and the one you're definitely not!
Priming
Finally on to getting some sort of paint on to things.
Whilst all of my old orks were sprayed black using an assortment of rattlecans, all of my priming nowadays is done using an airbrush. I’ve only ever used “Ultimate Primer” which appears to be a repackaging of Stynylrez. This is what I’ll be using for these minis but I’m running low so I’ve had to order some more; unfortunately I couldn’t find any available and so have had to order “Surface Primer” from Vallejo.
The directions on the “Ultimate Primer” says that a 0.4 or larger needle should be used but the only airbrush I have is 0.2. Previously I thinned the primer using home made thinner to compensate for the smaller needle but I found this effected the primer; it worked but went on very thin, dripped and wasn’t ideal. I now spray this straight out of the bottle and it works absolutely fine.
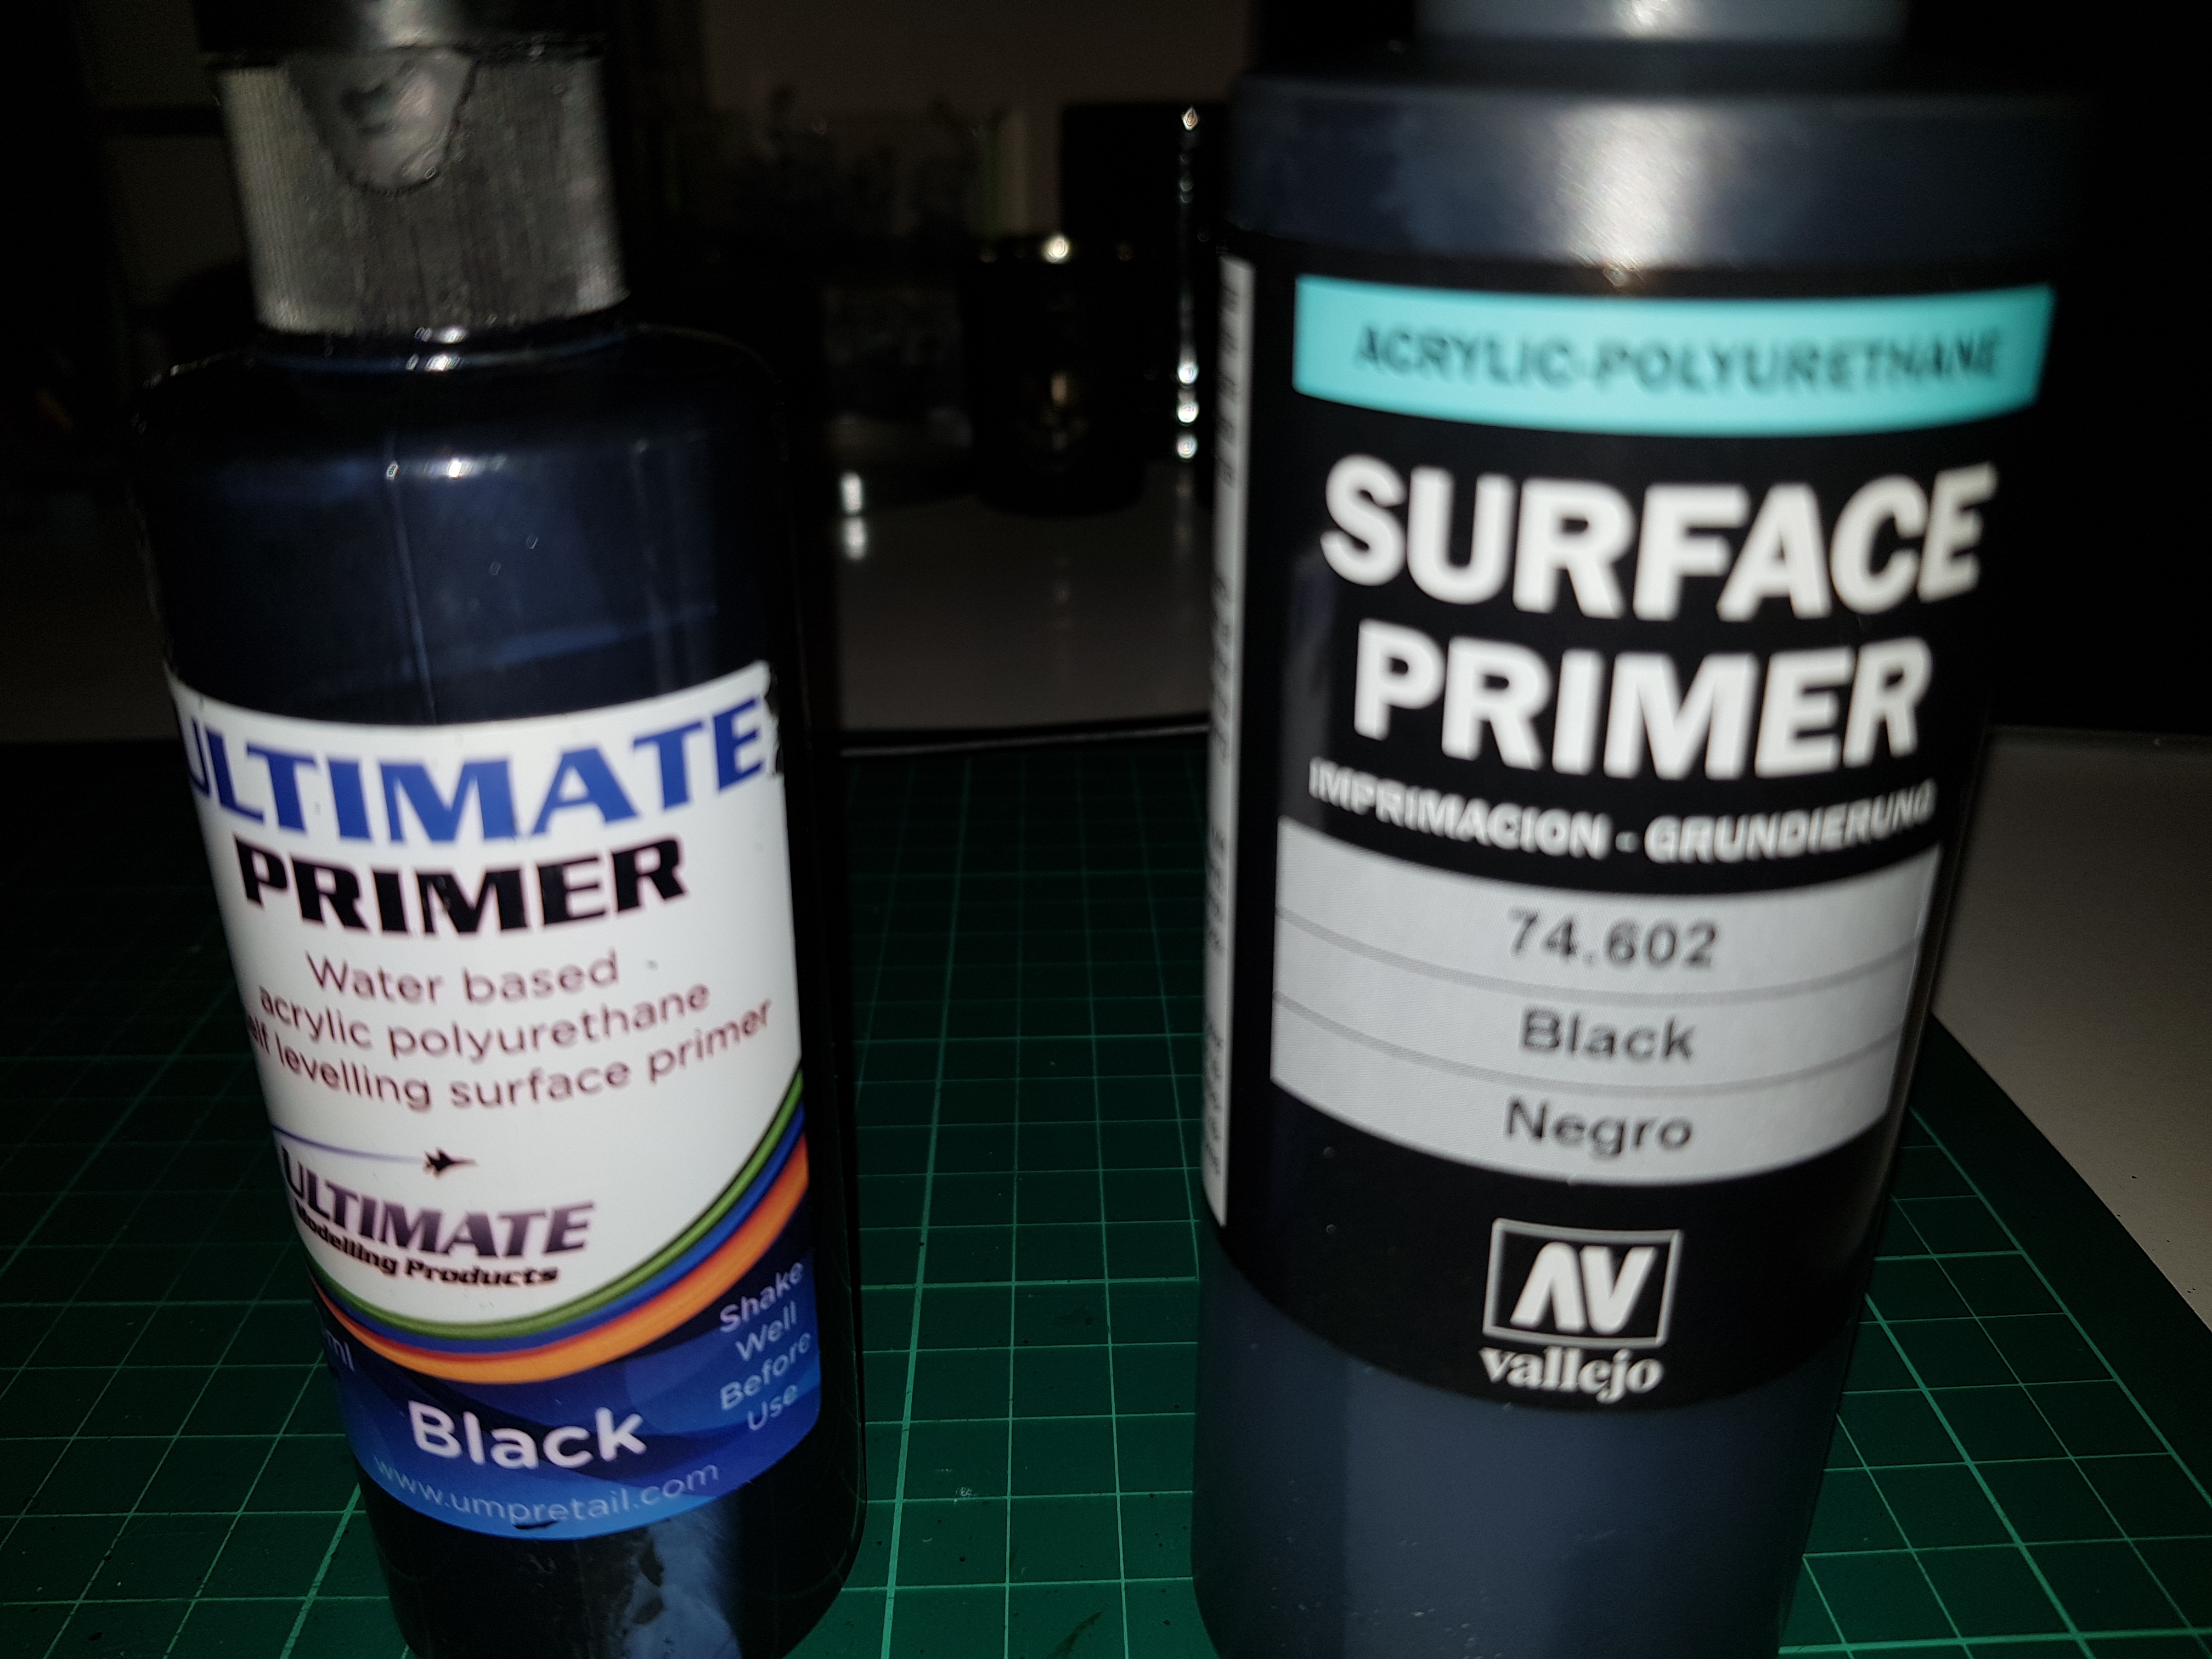 The current and new primers.
In order to prepare the parts for priming I attached the Grots and small parts to sticks (they’re like large ice lolly sticks from a craft store). Traditionally I’ve always used blue tack for this purpose having had some bad experiences with double sided tape but this time I’ve used a mix of blue tack and tape.
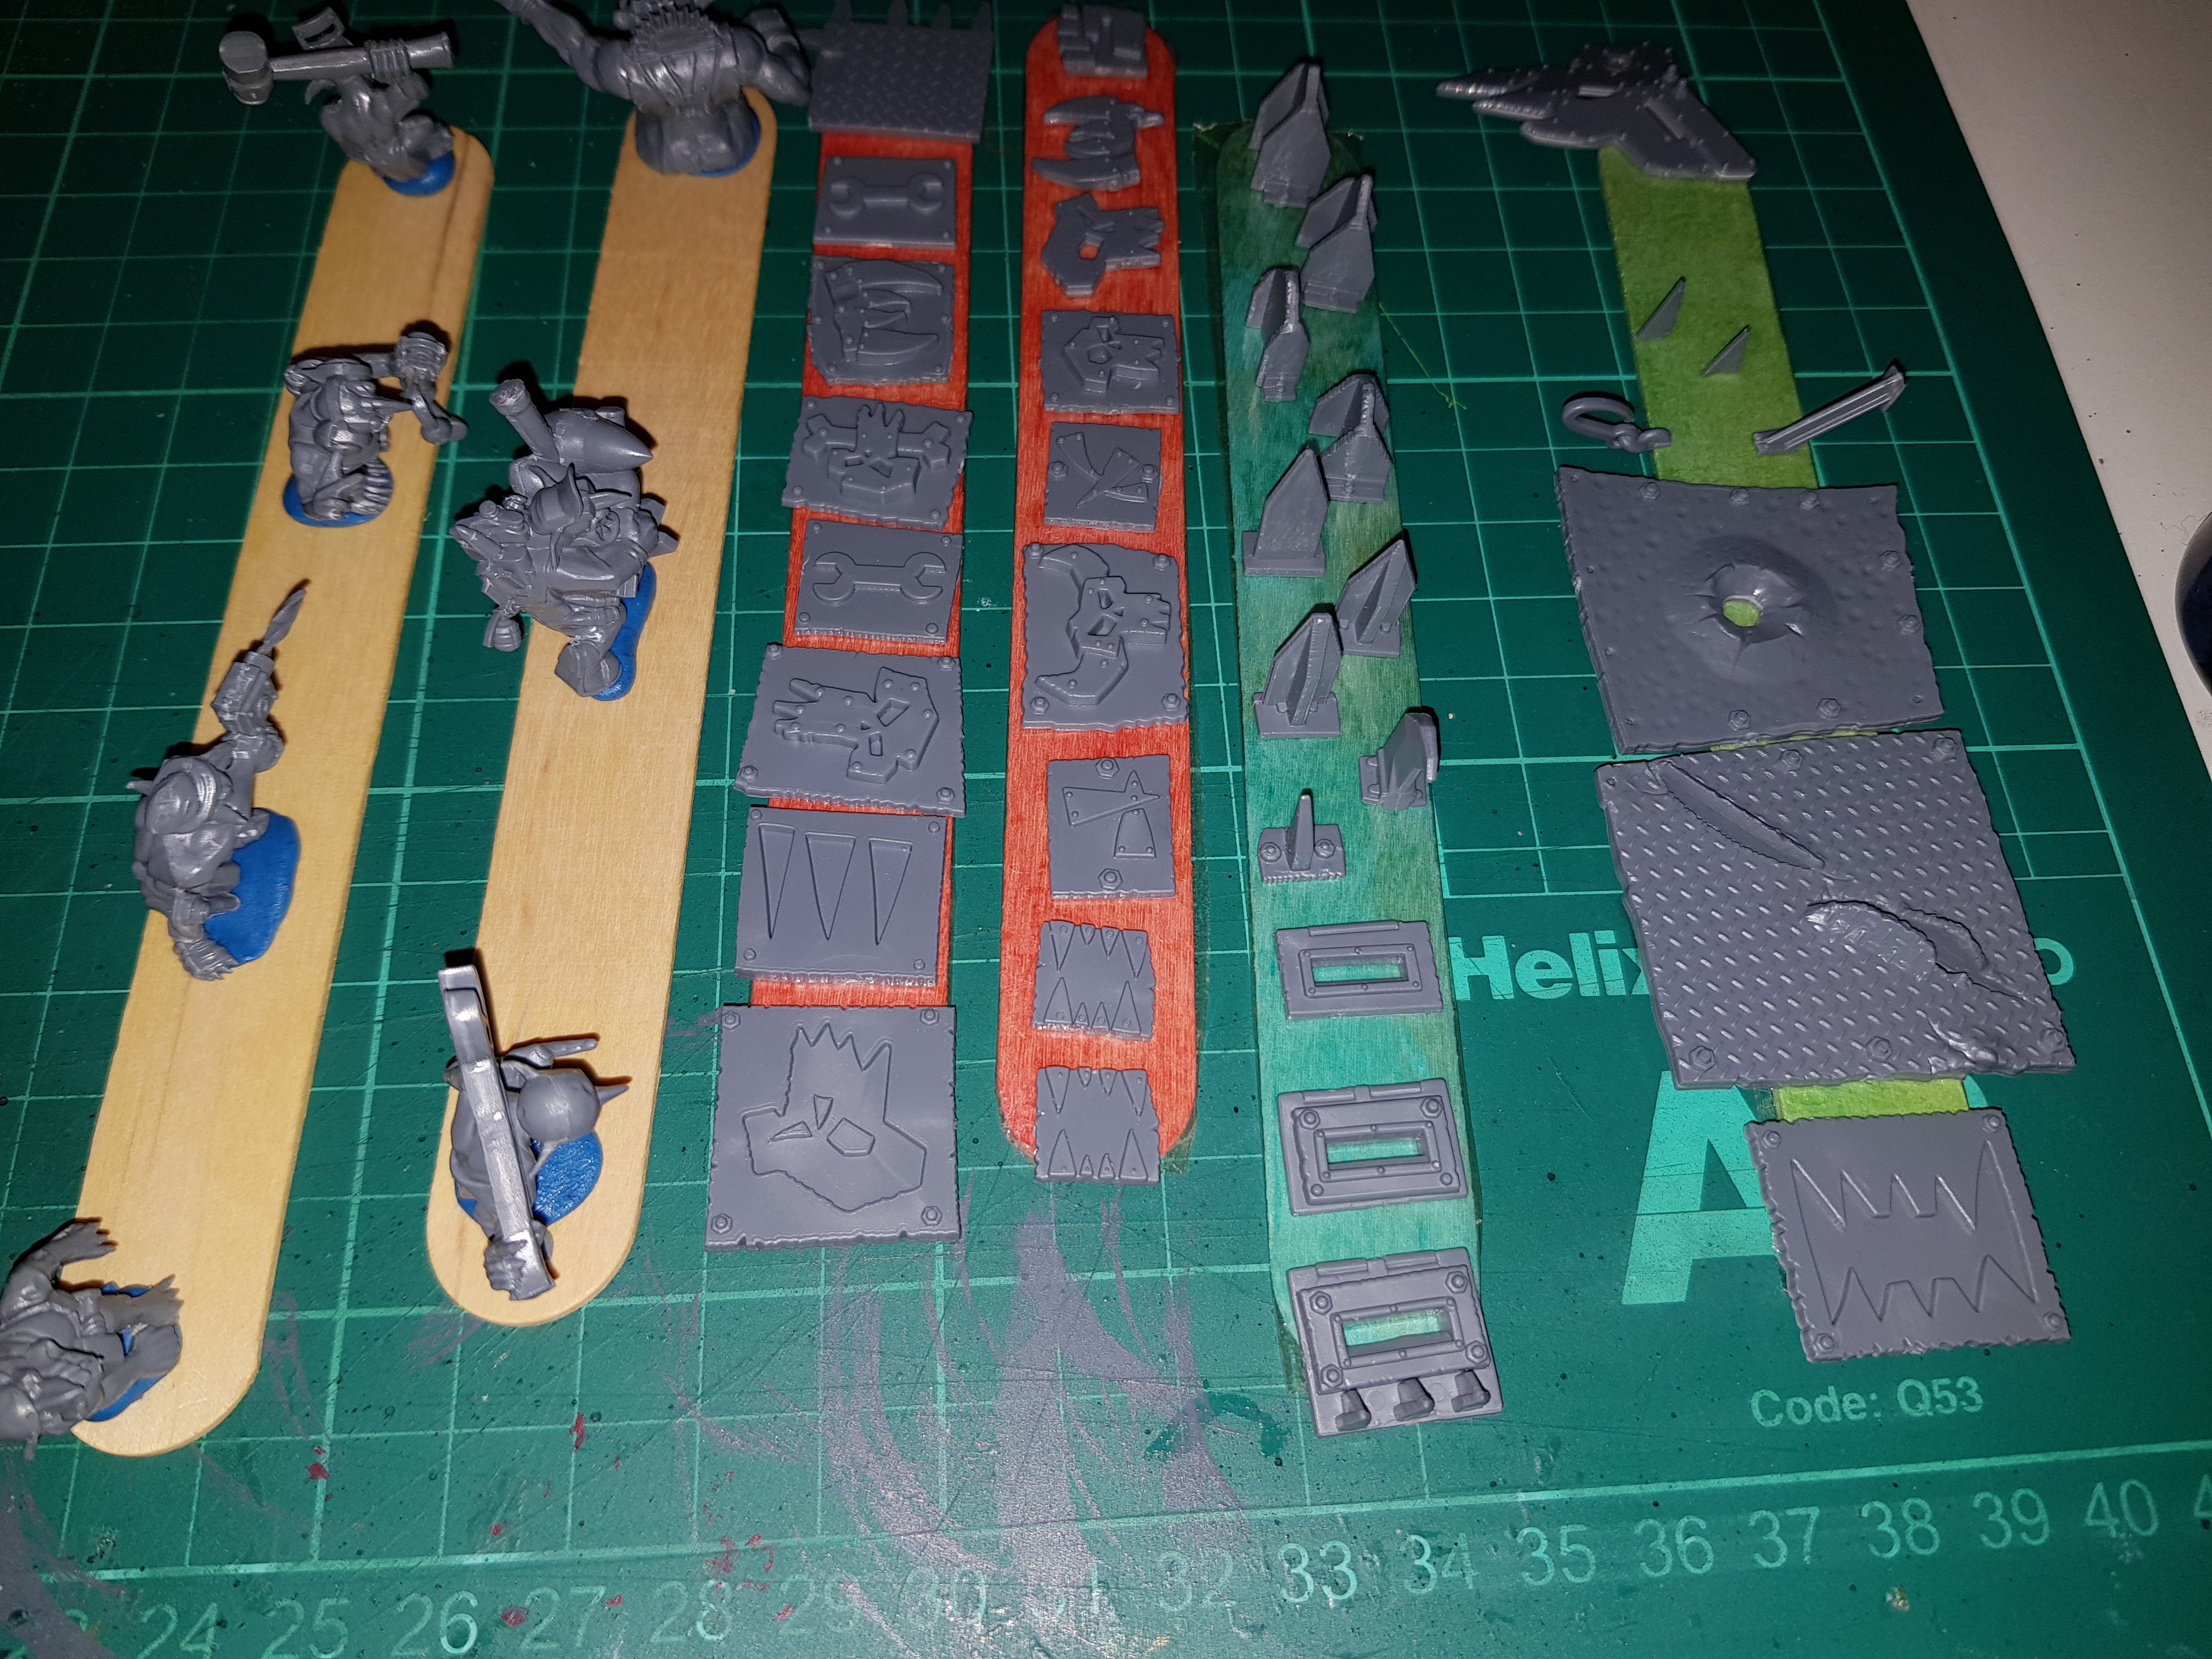
The Grots are nice and easy seeing as they’re on bases; they can be tacked straight to the sticks.
The armour plates I stuck straight on the tape seeing as the backs won’t need to be painted. Similarly, the spikes were stuck down to the point where they would attach to the mini and were arranged in an offset pattern to aid in getting the paint on to them easily.
Any other small bits were stuck down as best as possible with the bigger parts left separate given that they’d need to be sprayed a few times to cover all areas and would therefore need to be turned over.
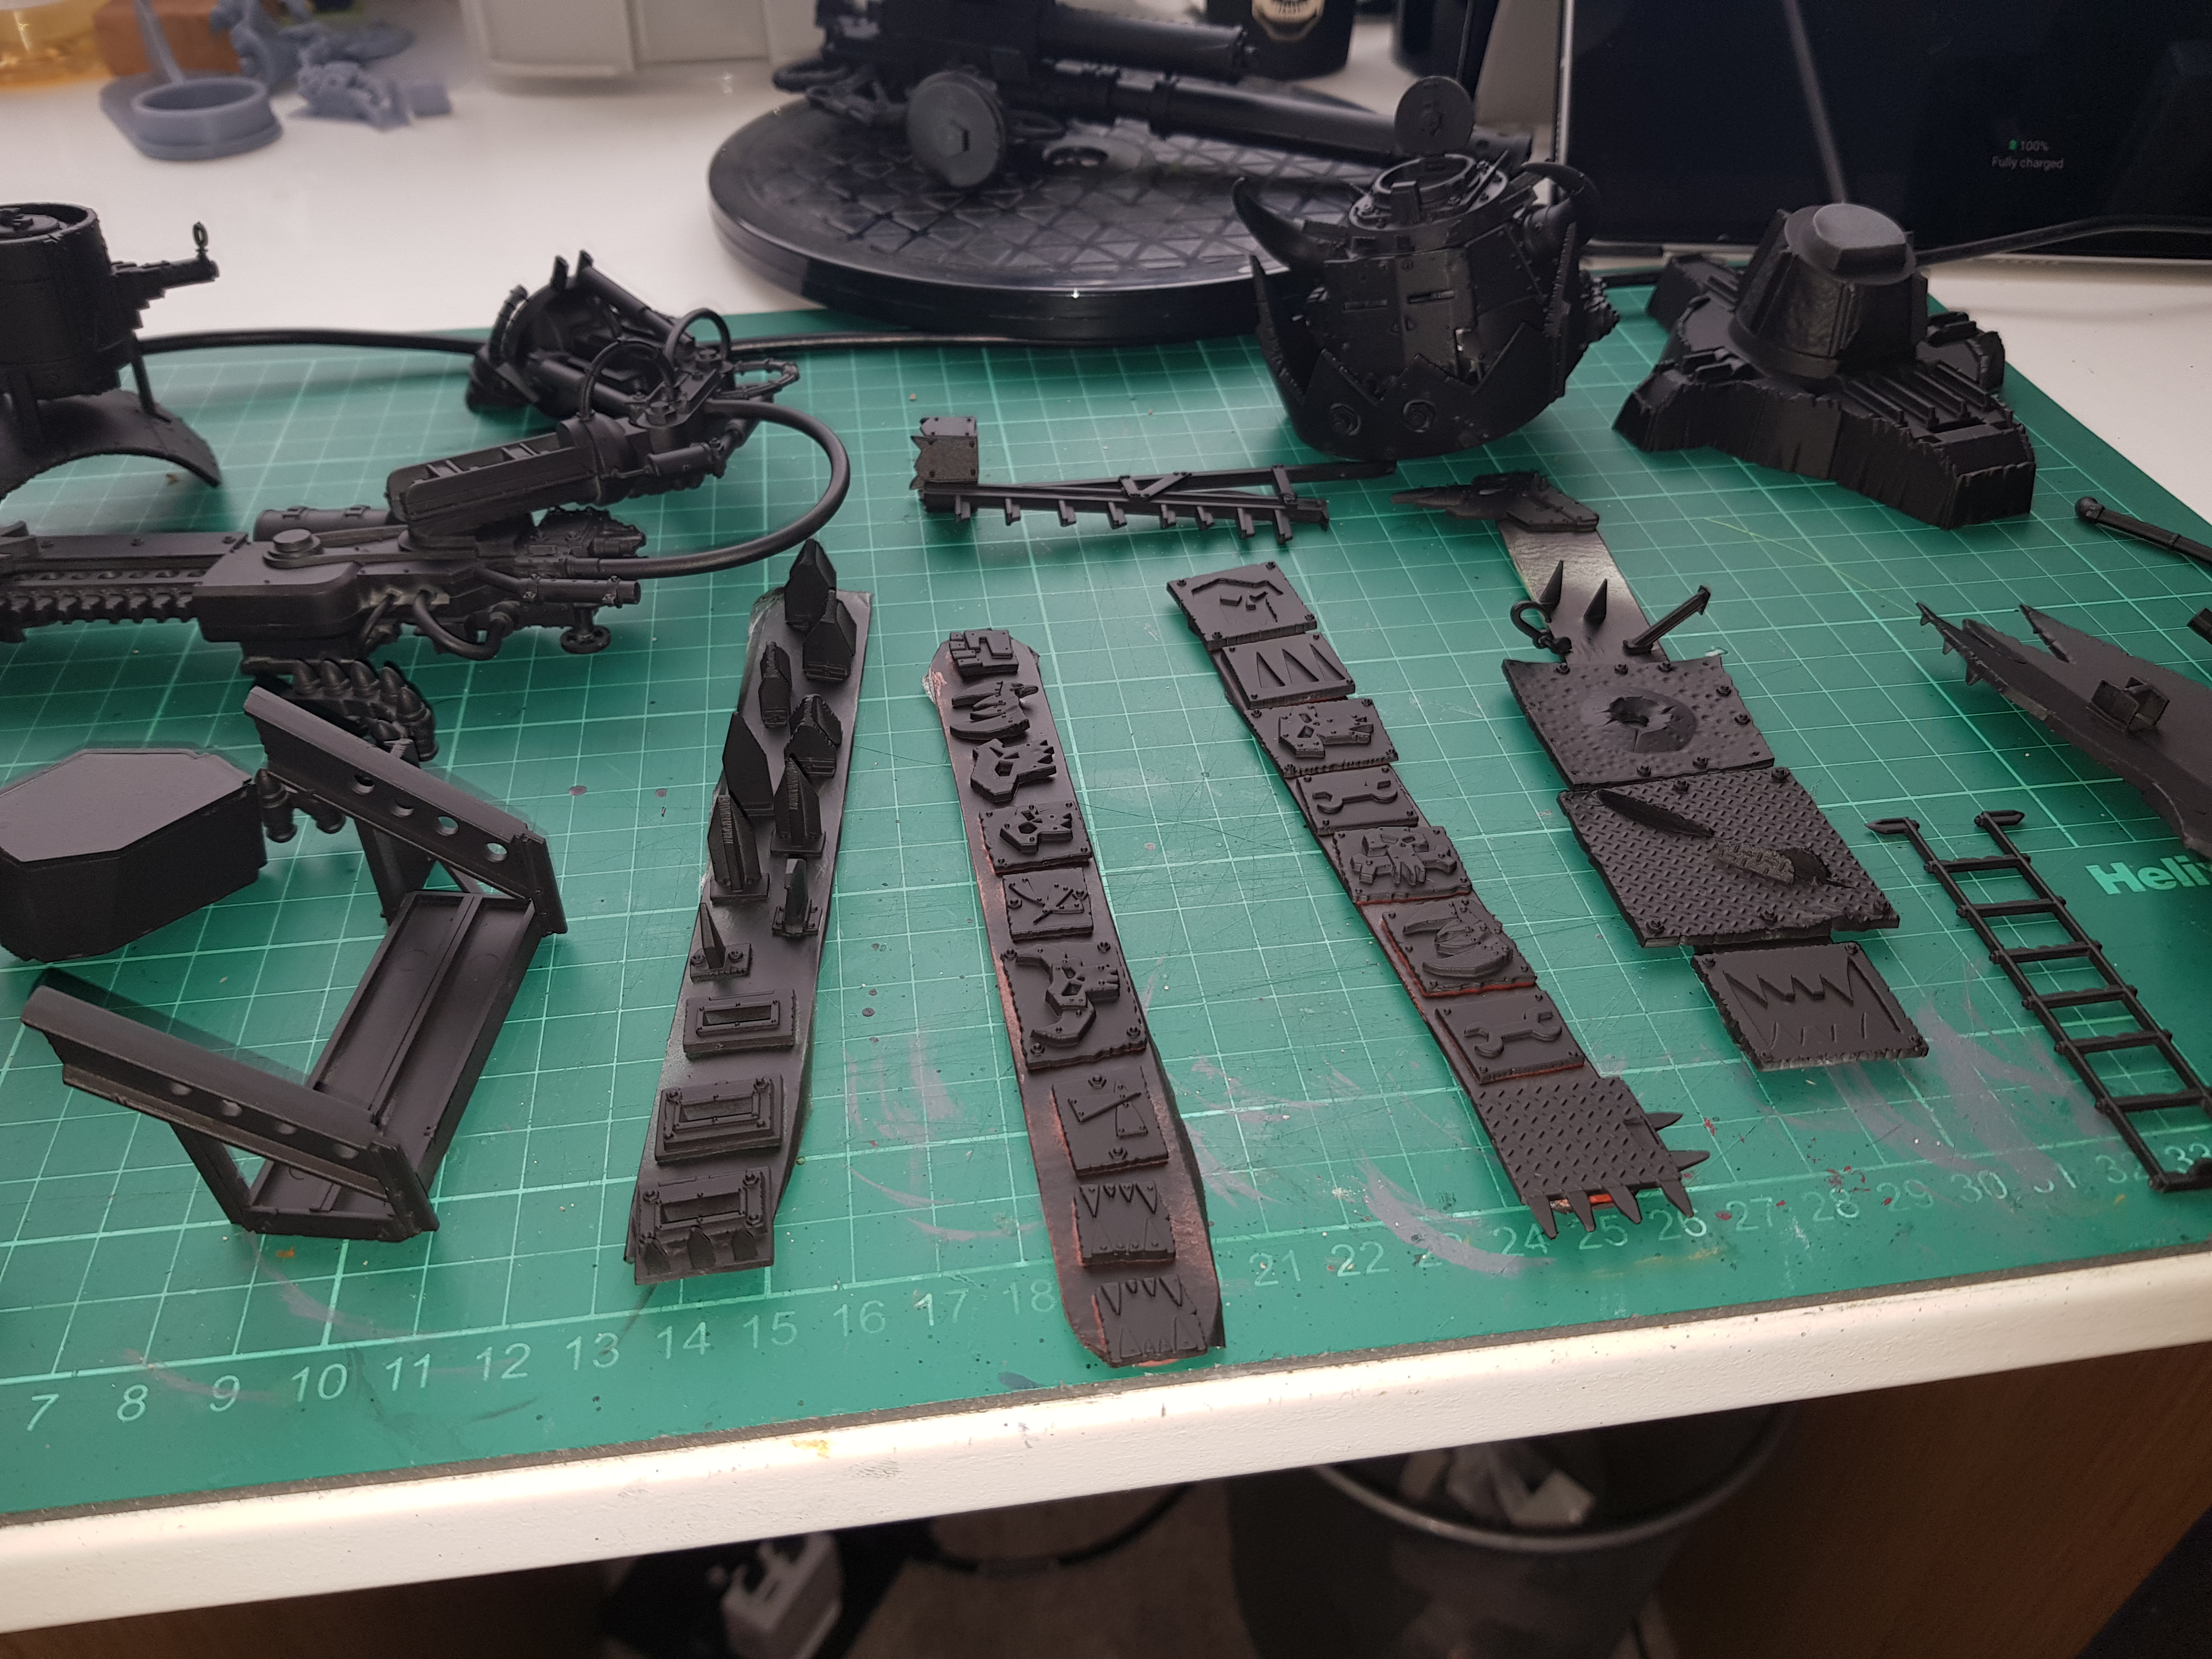
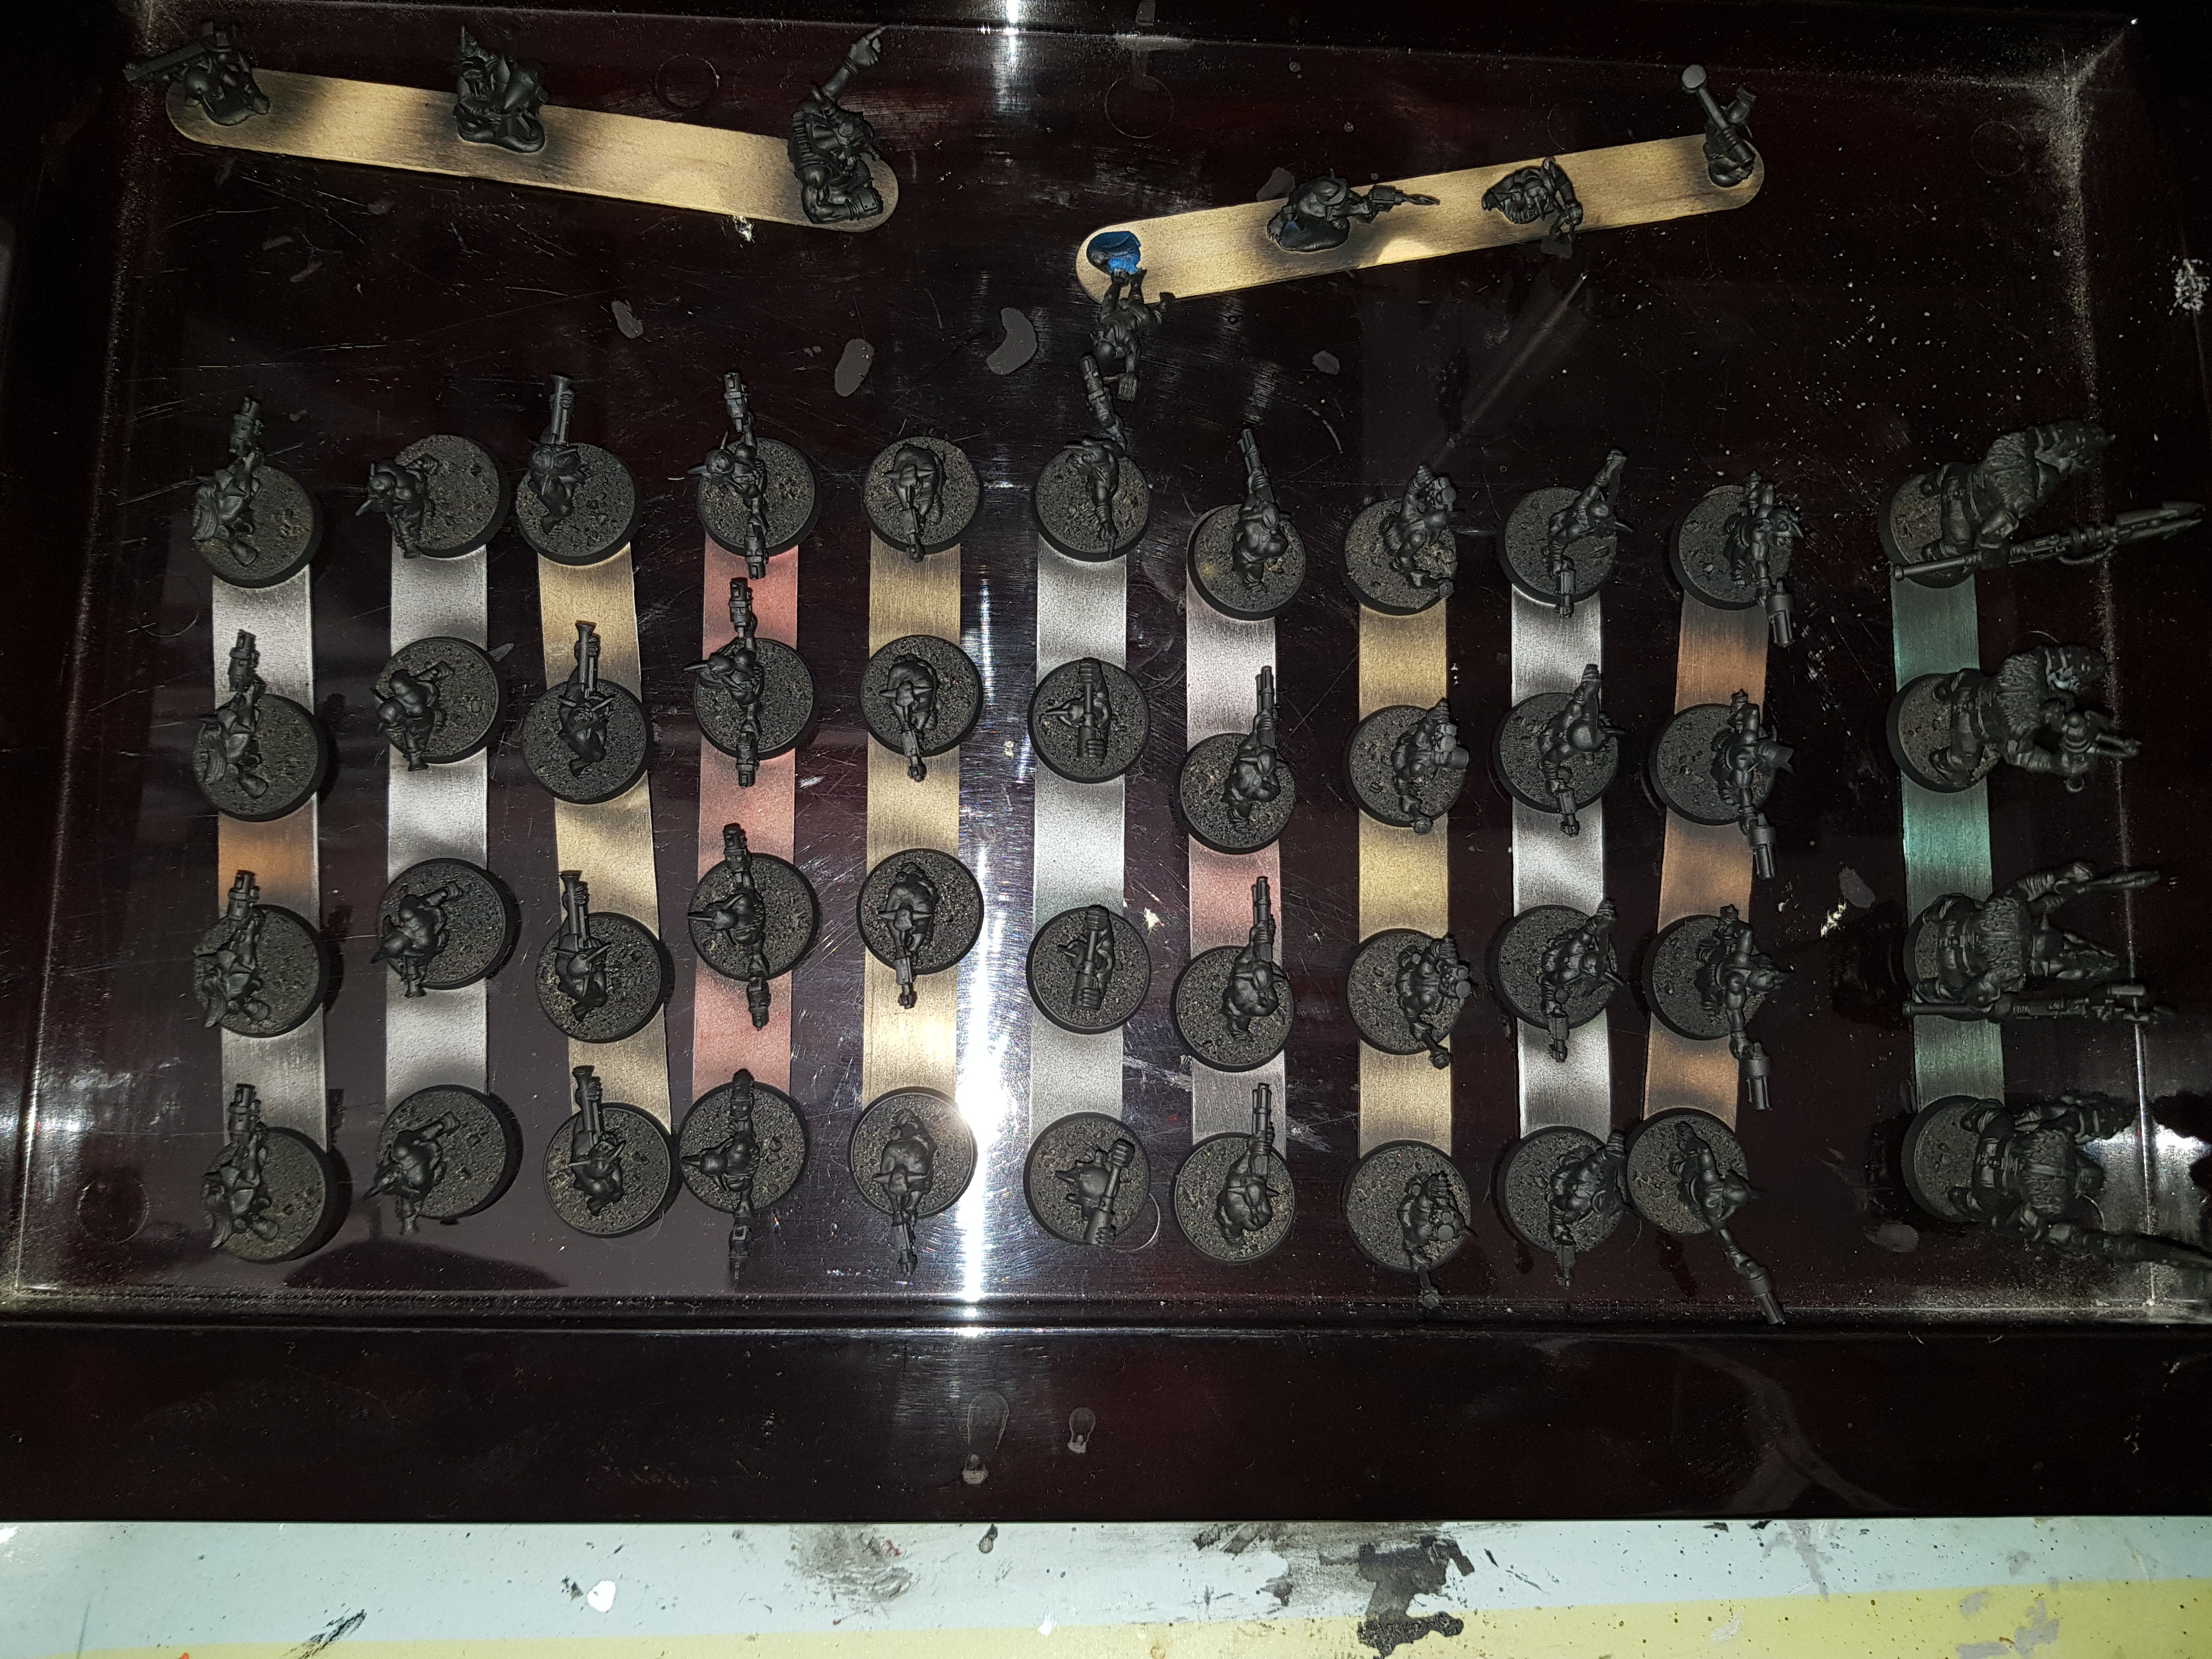
Eventually everything was black.
It took longer than expected, there were a few mishaps with bits getting knocked off, paint was spilled, there was swearing and I wished I’d paid more attention to not getting paints on connection points, but now I can actually start to get some colours on.
Getting Started
After all that waffling and planning it’s finally time to get on with actually doing something.
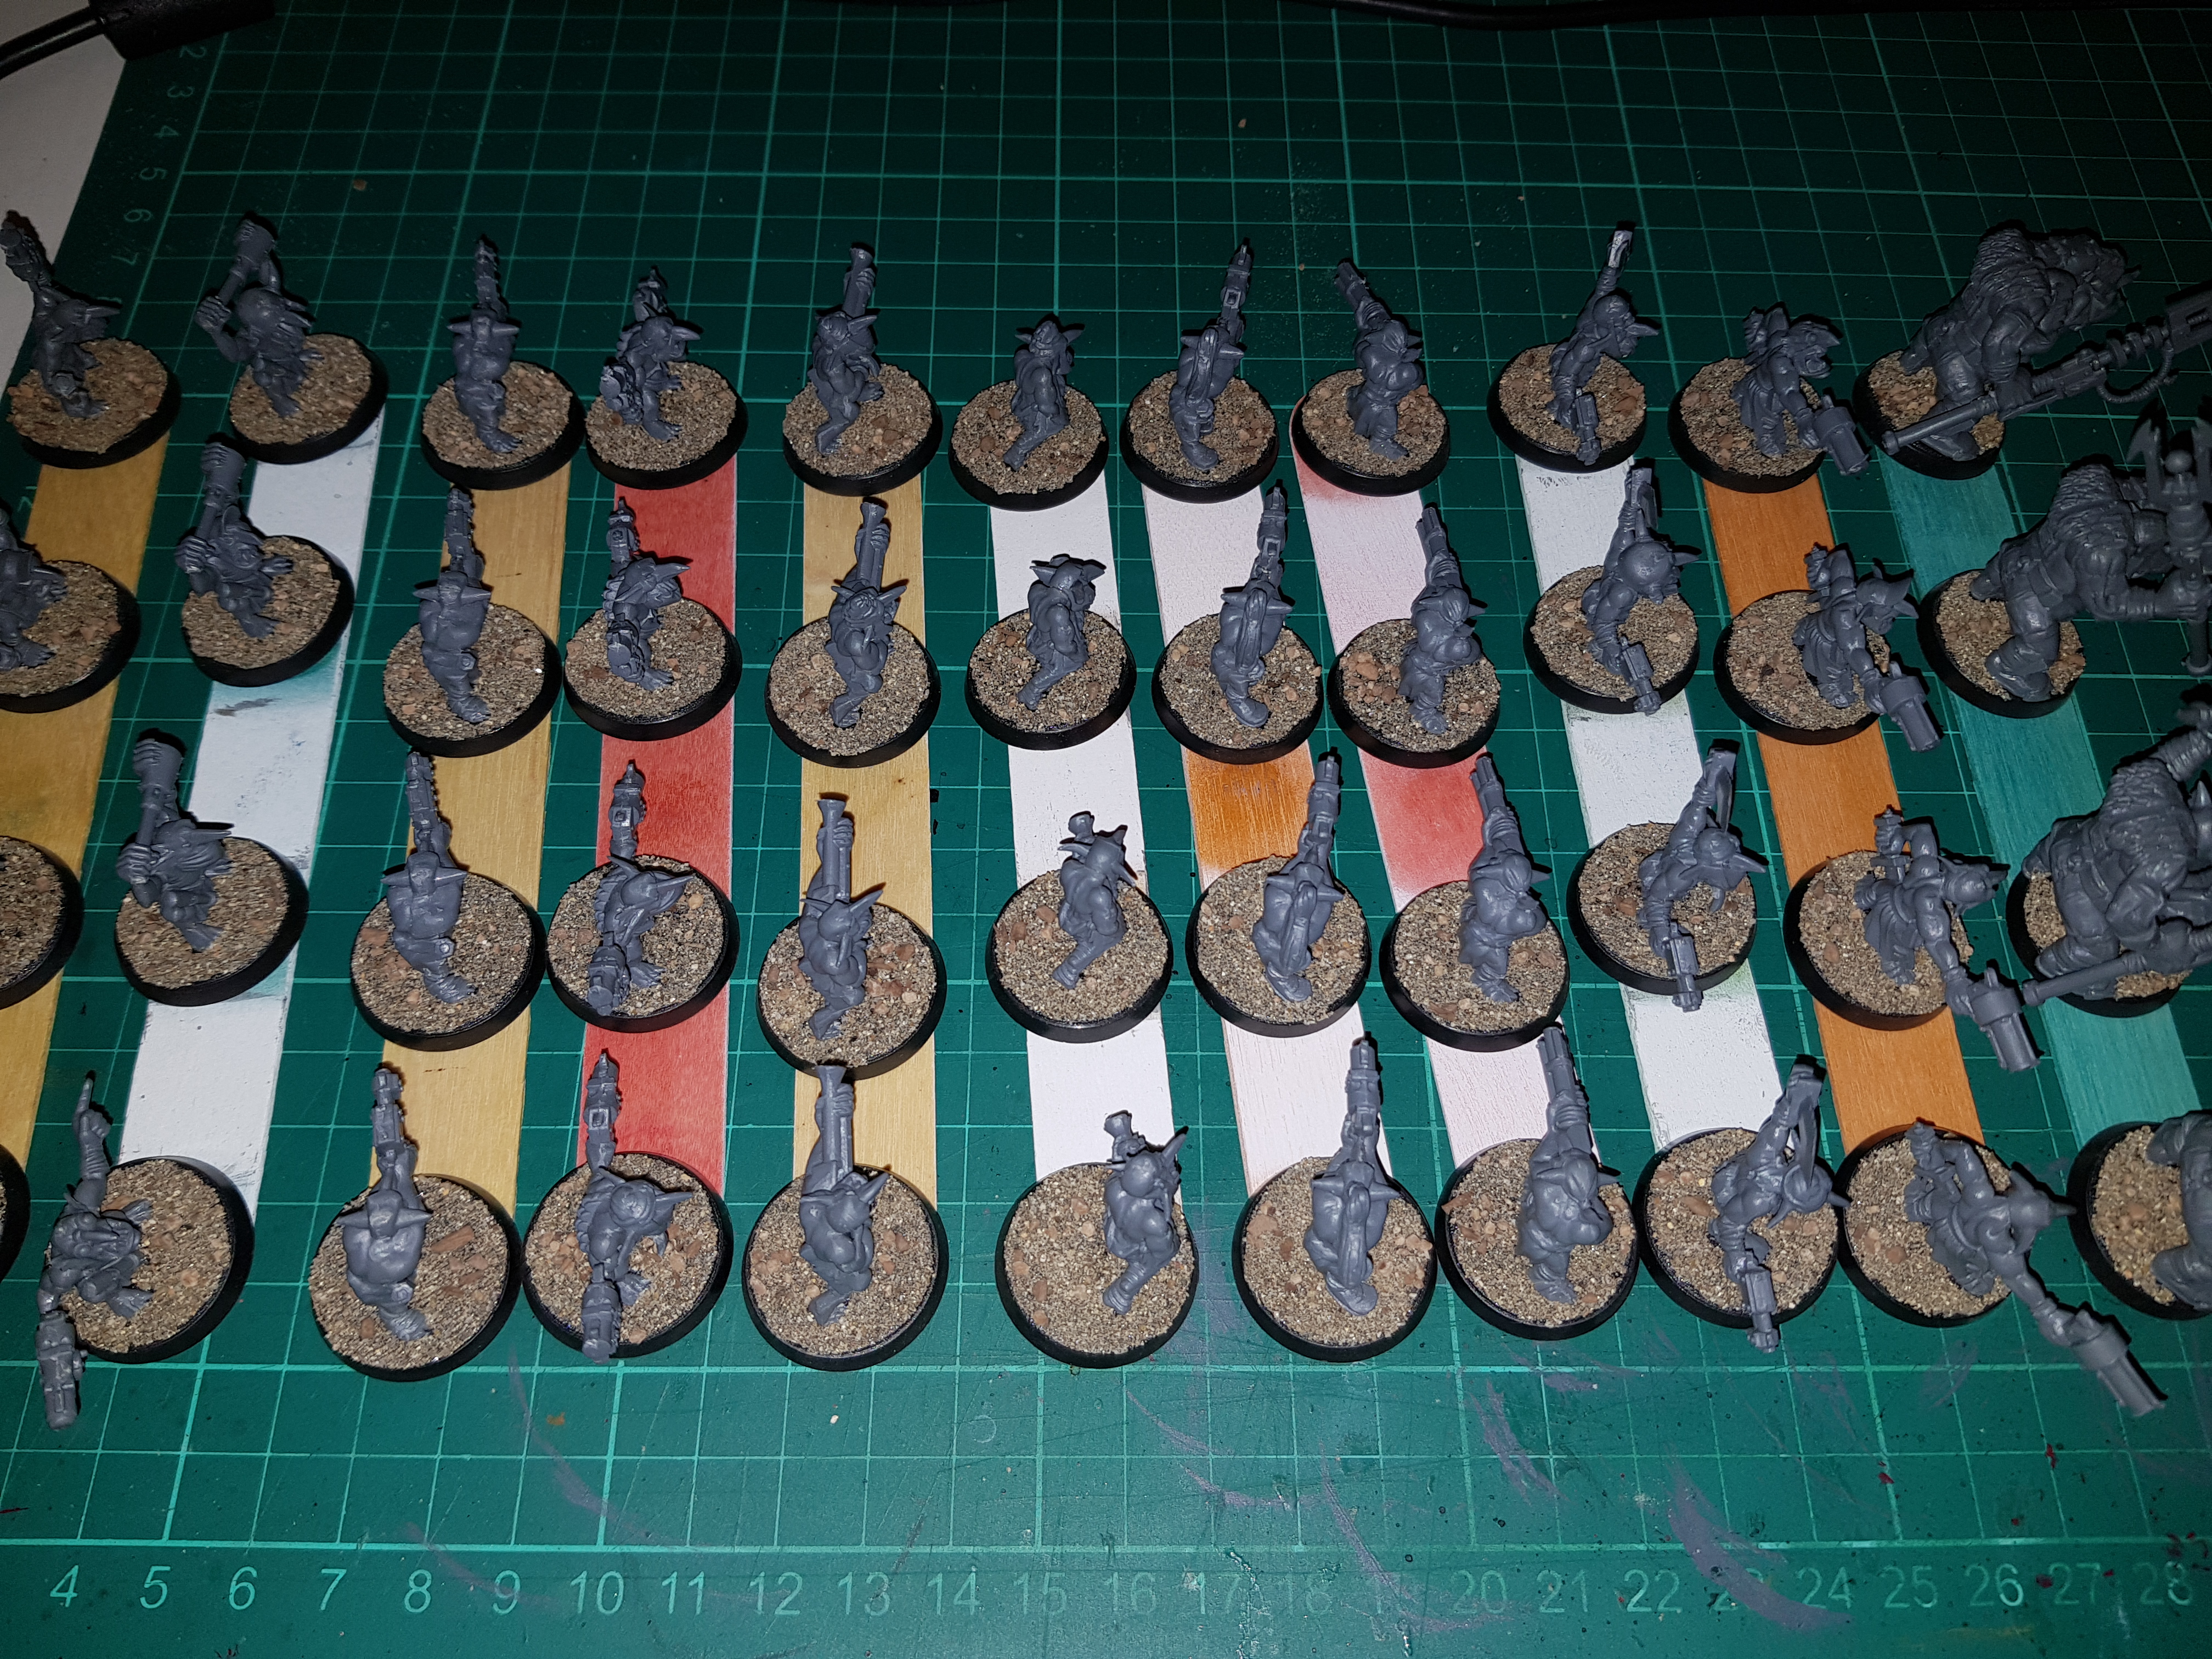
Obviously everything is going to need priming but first I want to base the Grots so that everything can be sprayed in one big batch.
I don’t think there’s going to be earth shattering here but I’ll just go through the process I’ve used.
First up, the items I’ll be using:-
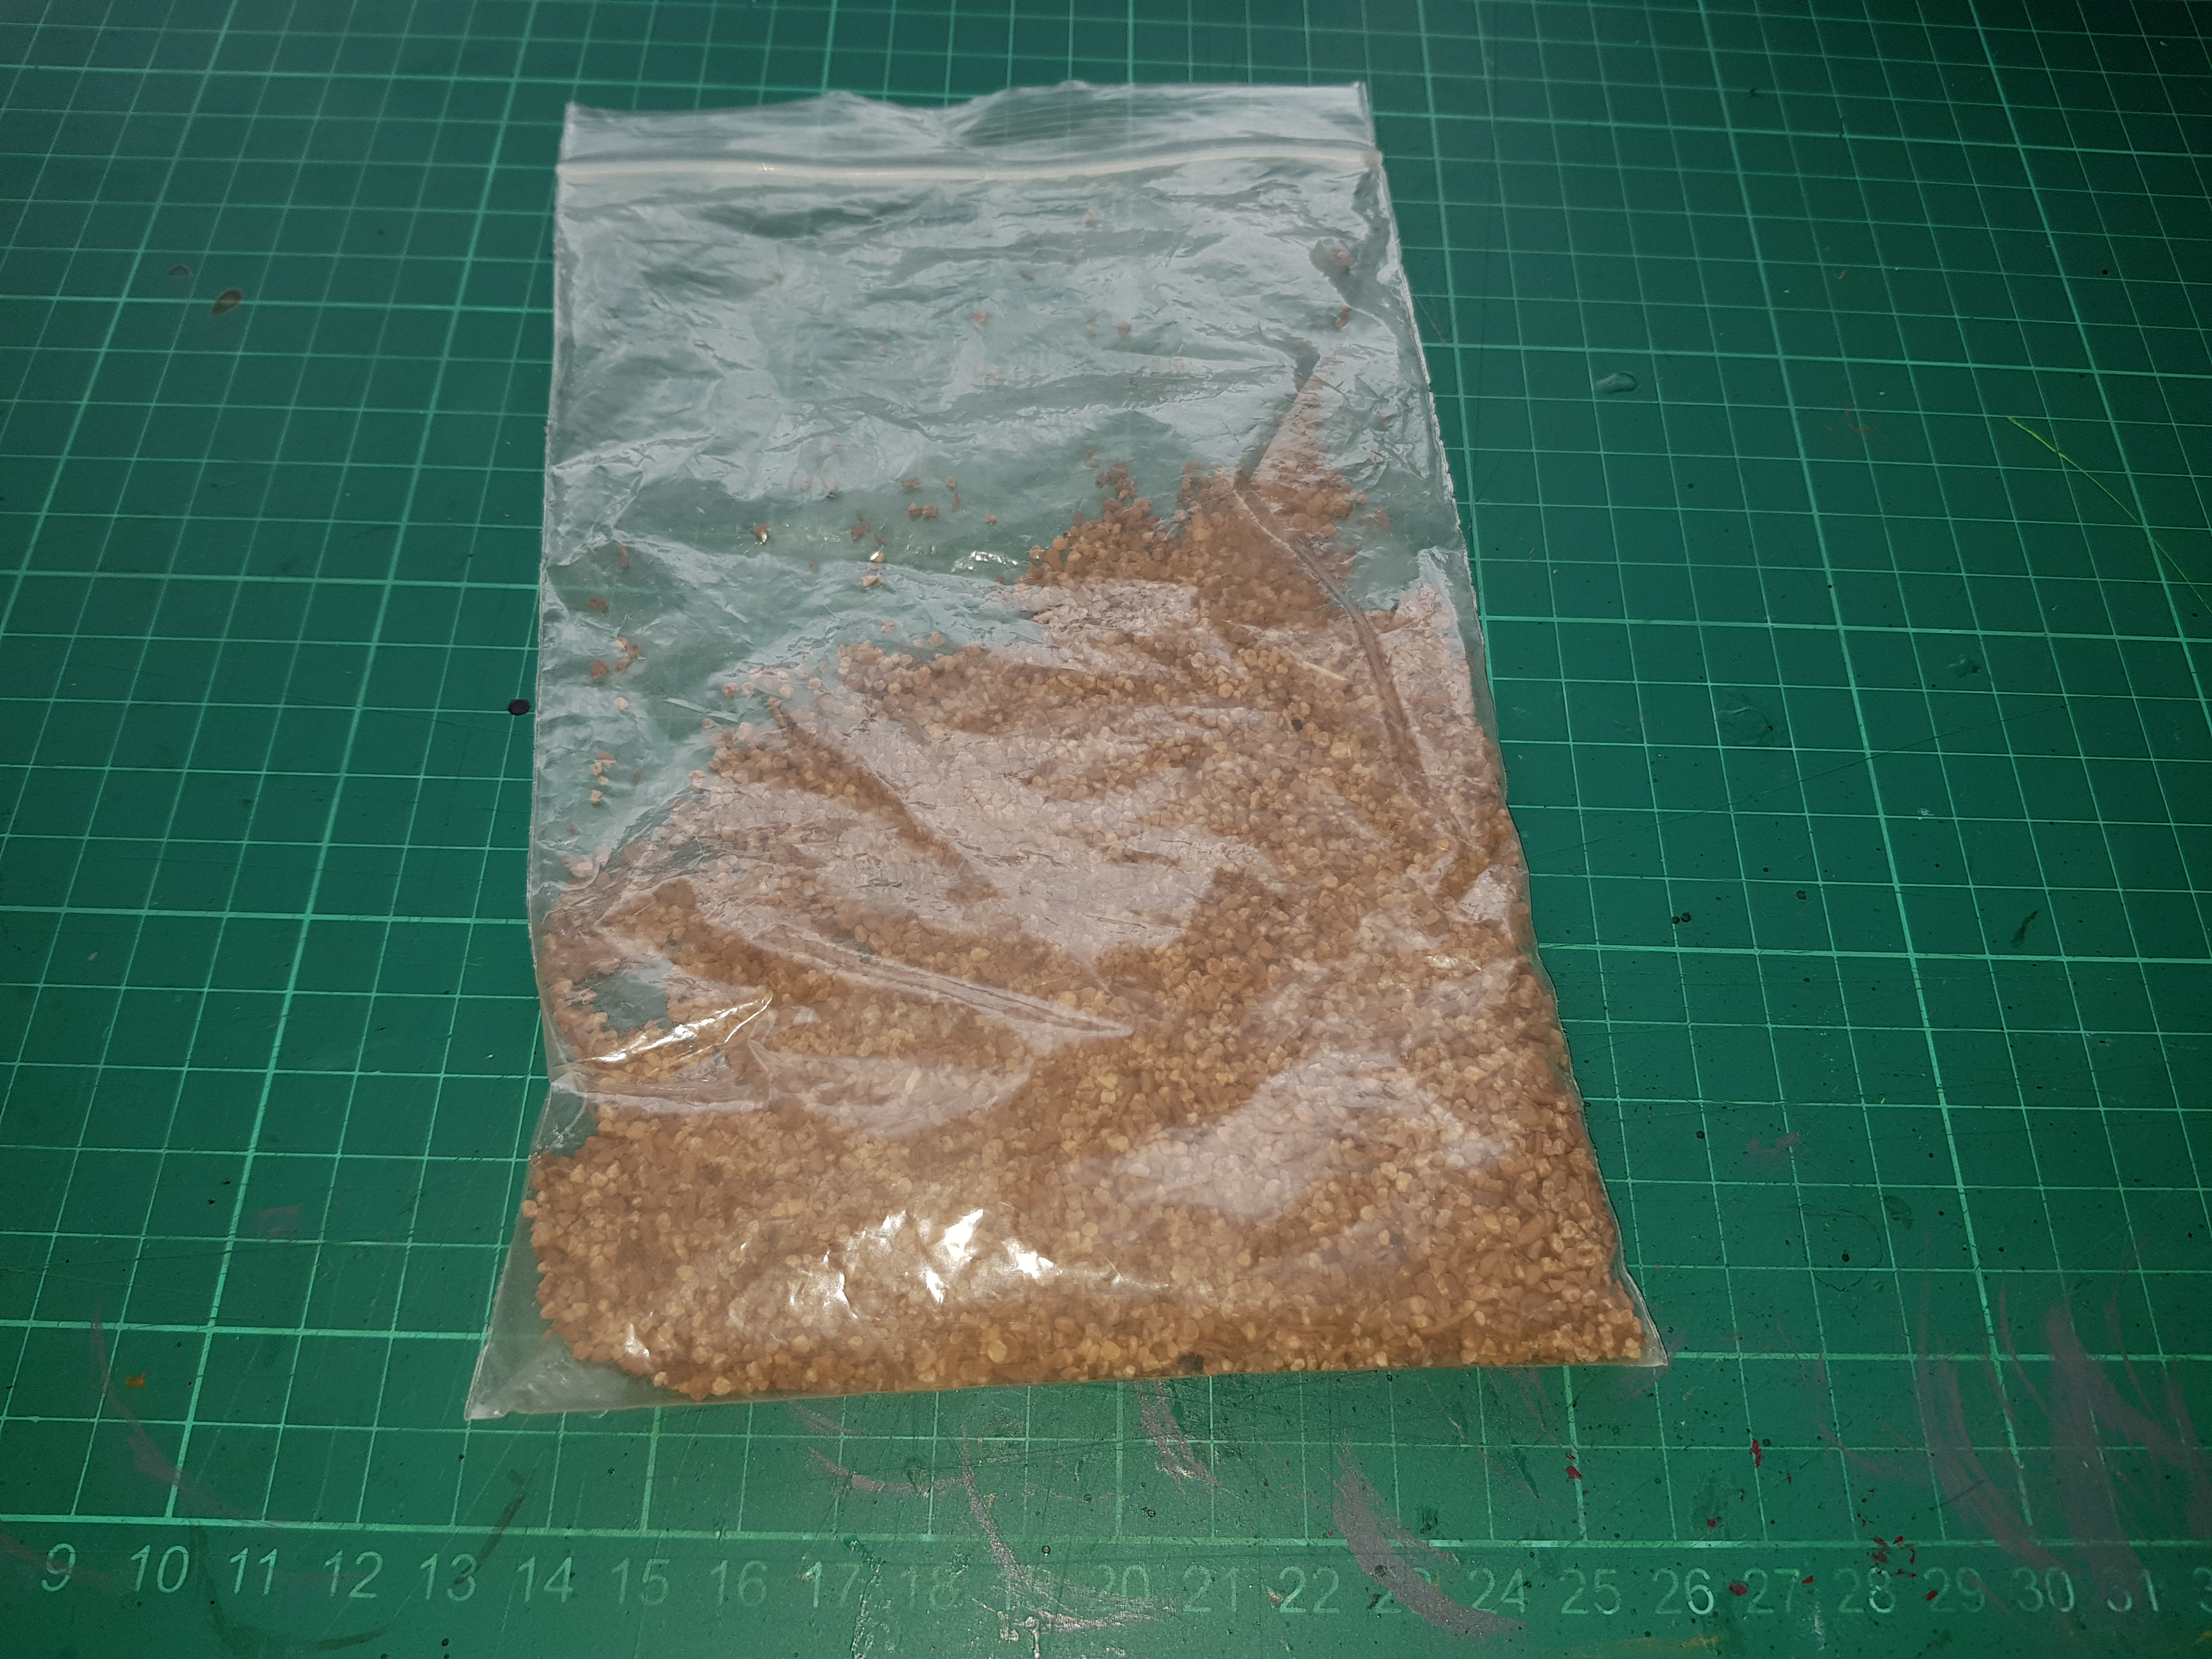 This is a bag of fine talus. I have no idea where it came from but I’ve had it years.
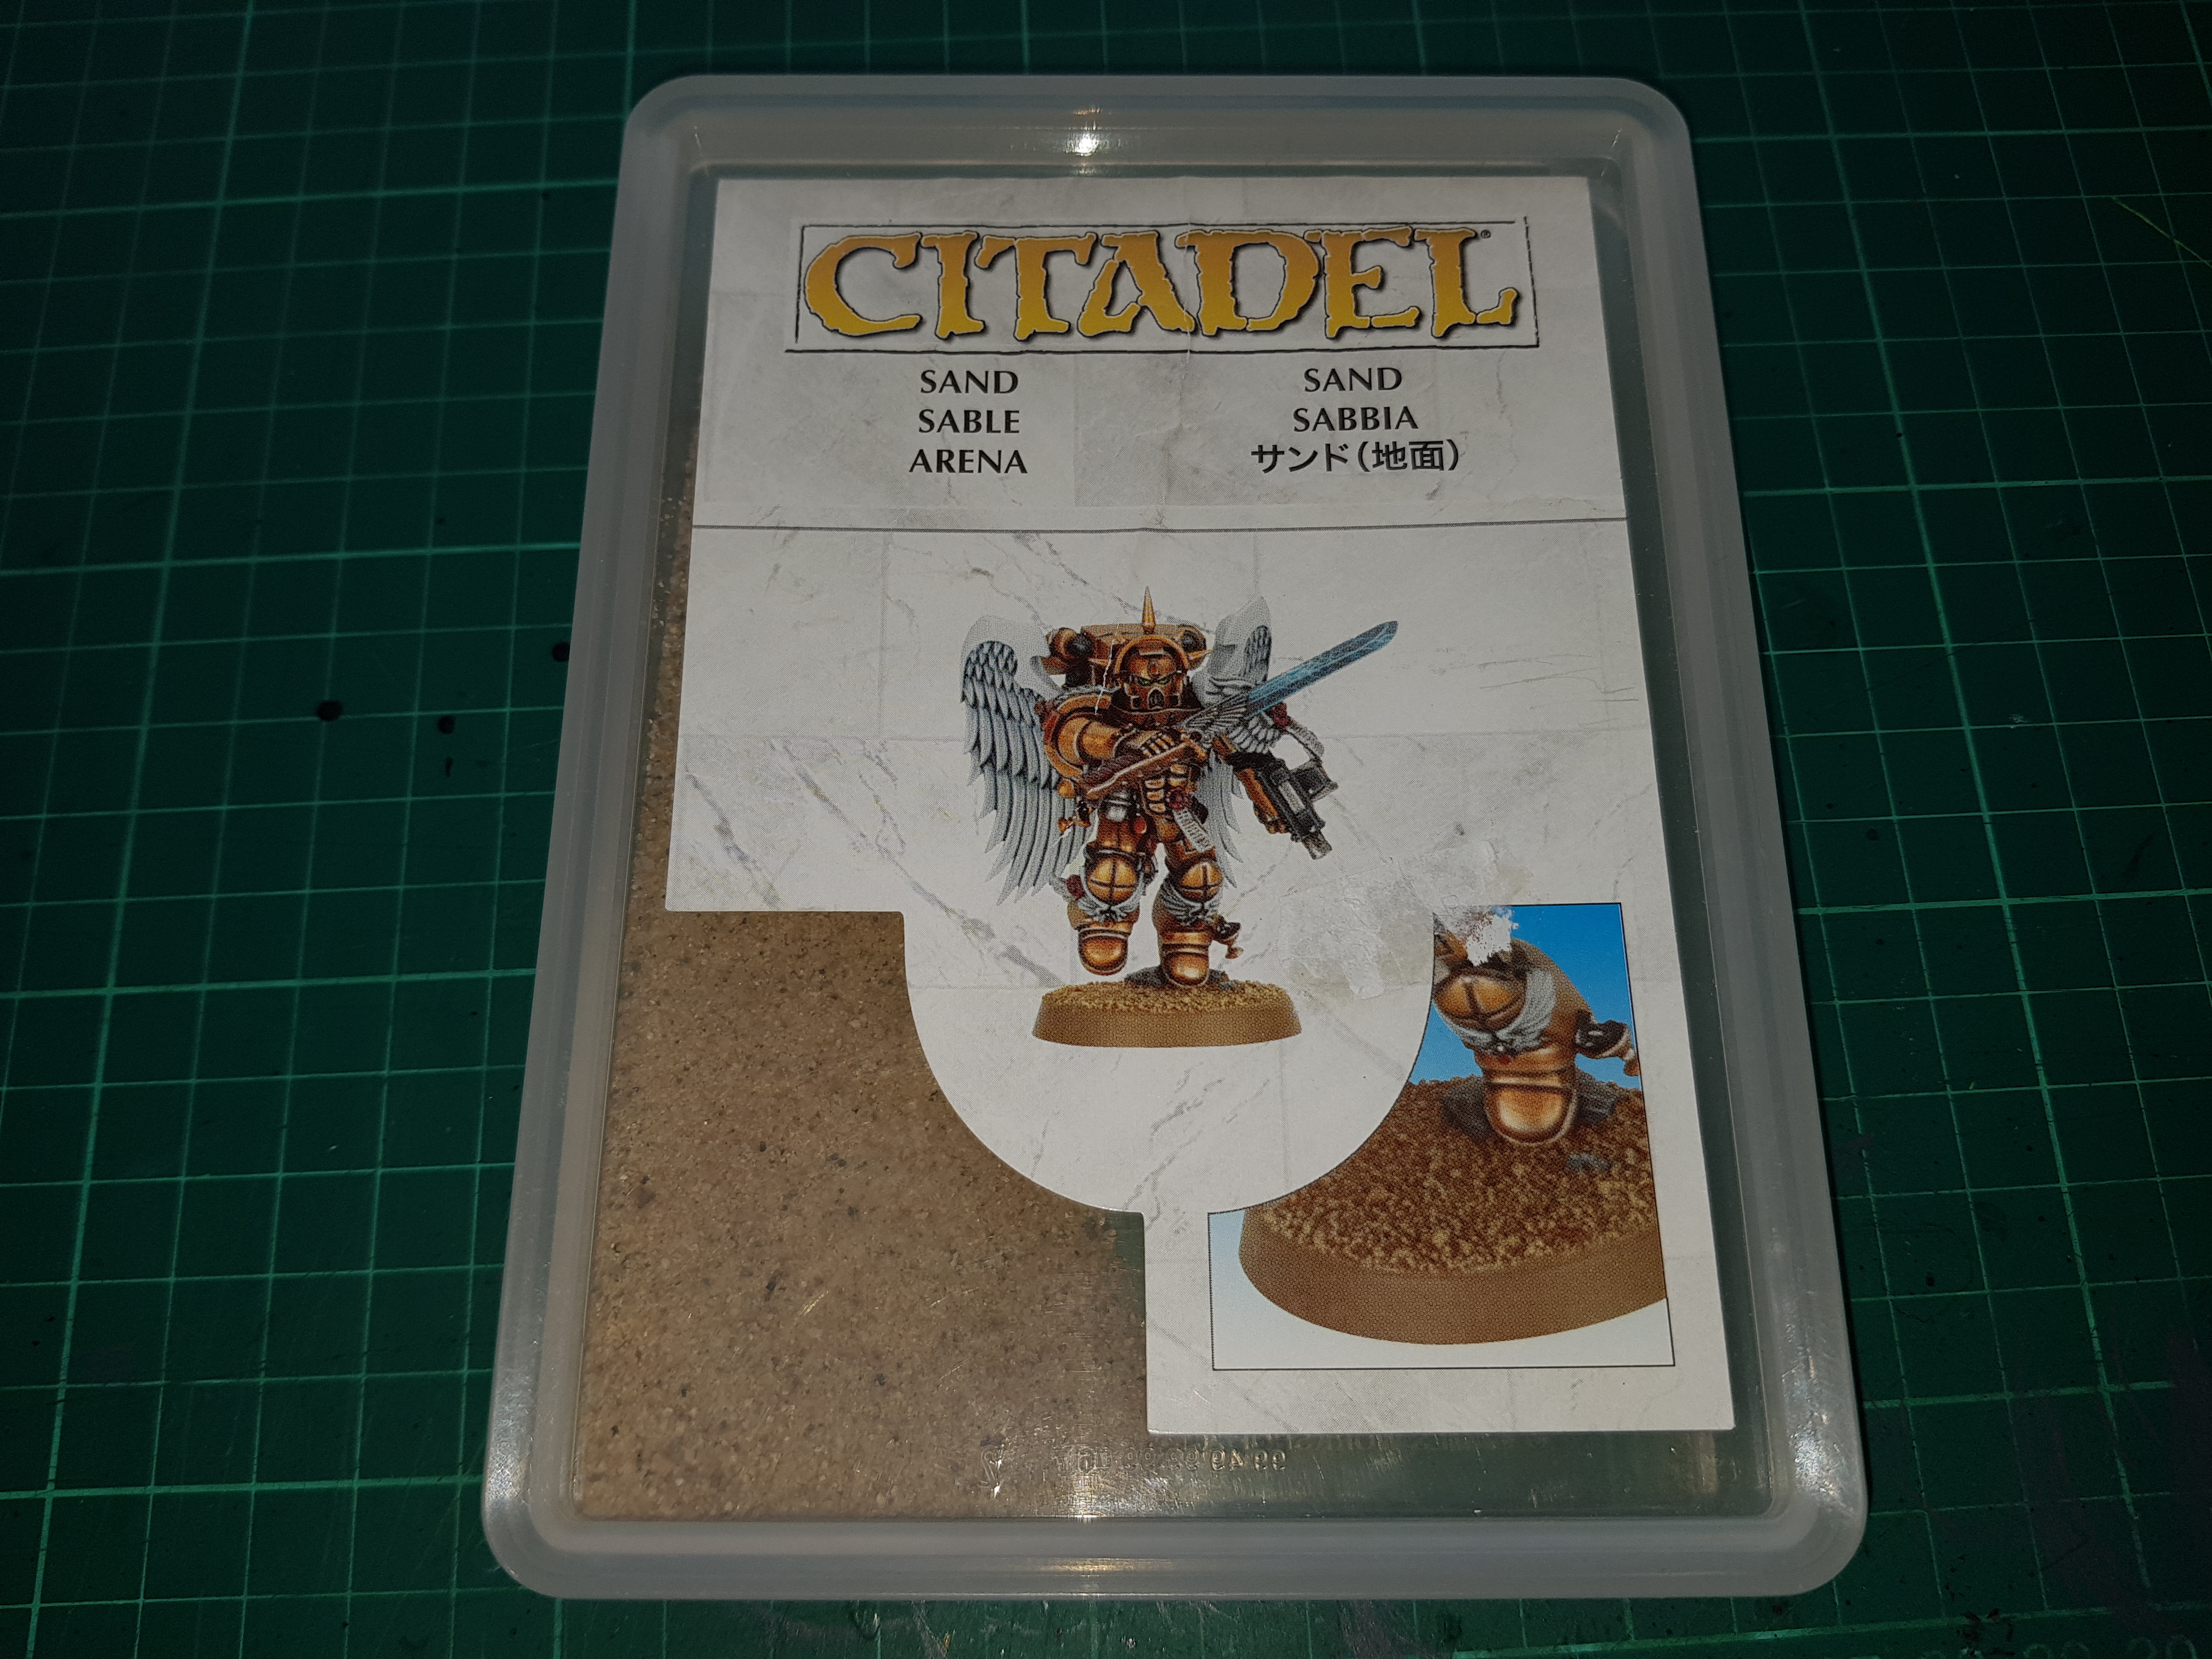 This is the GW sand, not sure if it’s still available in this container but I find the size and shape really useful.
This is stuck down using standard PVA. I got mine from a hardware store and have decanted some into a jam jar. I use this neat rather than watering it down.
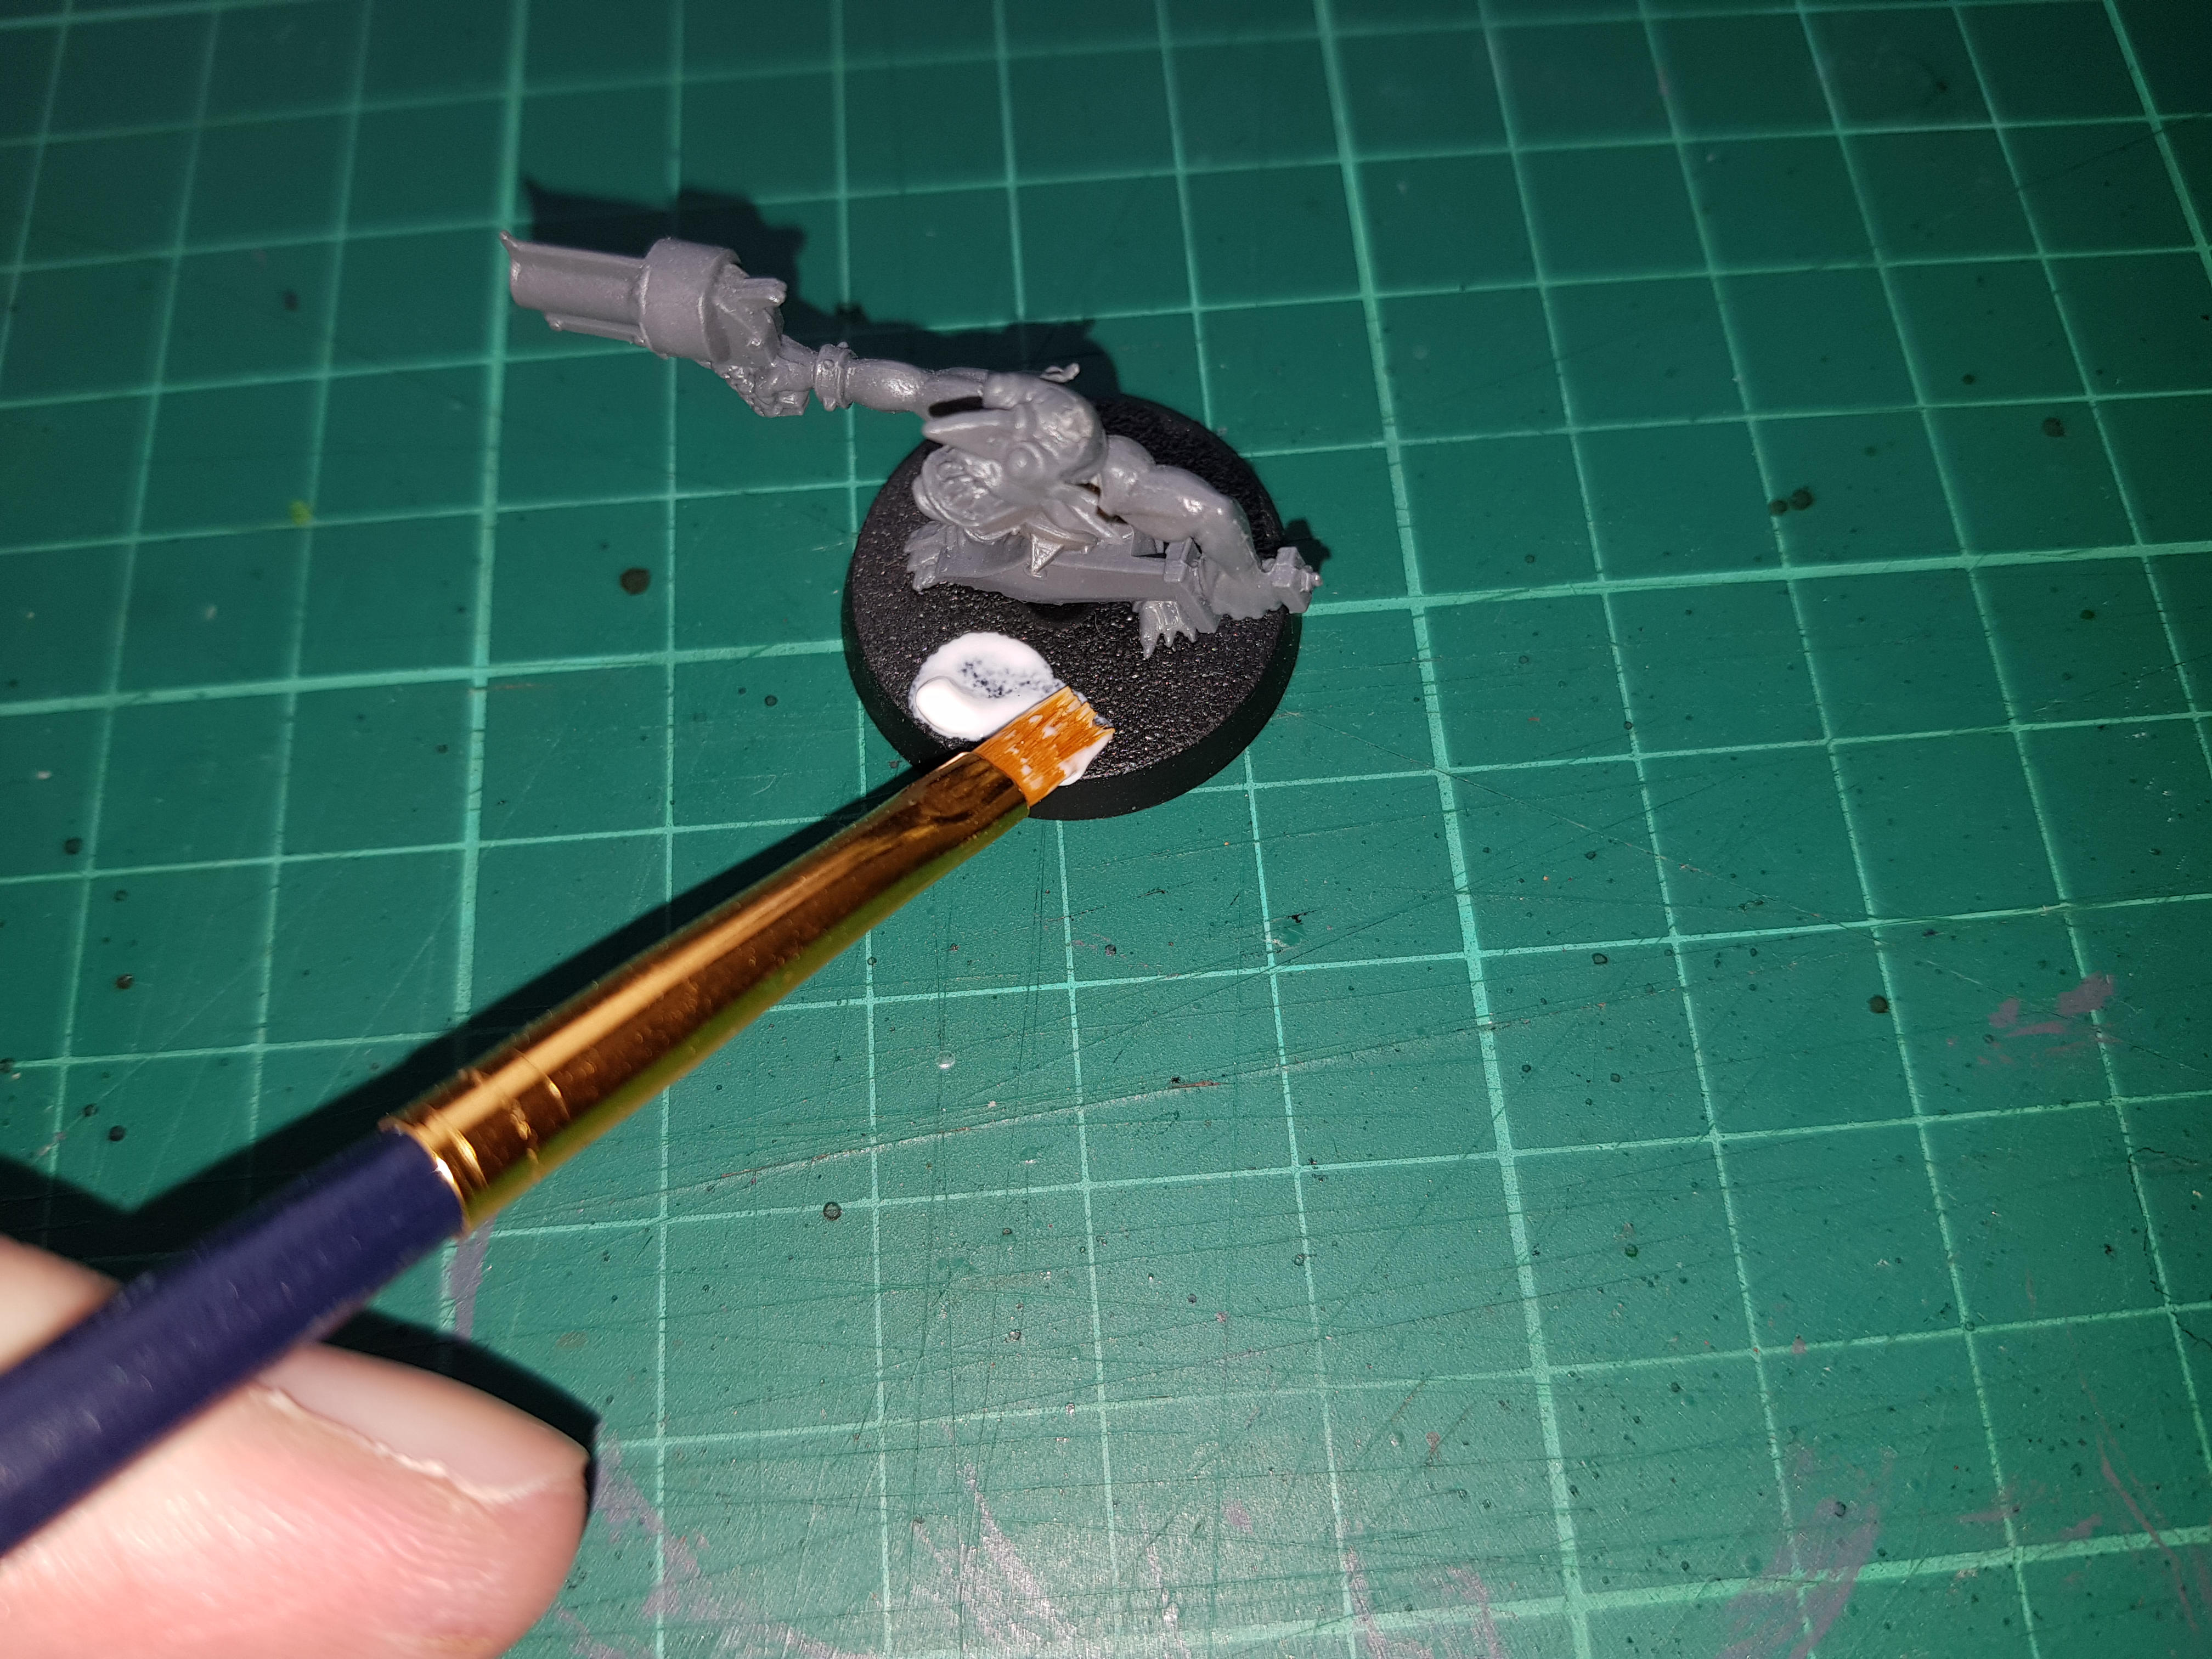 I use a cheap brush to apply PVA to the base and find a wide flat brush is good for this.
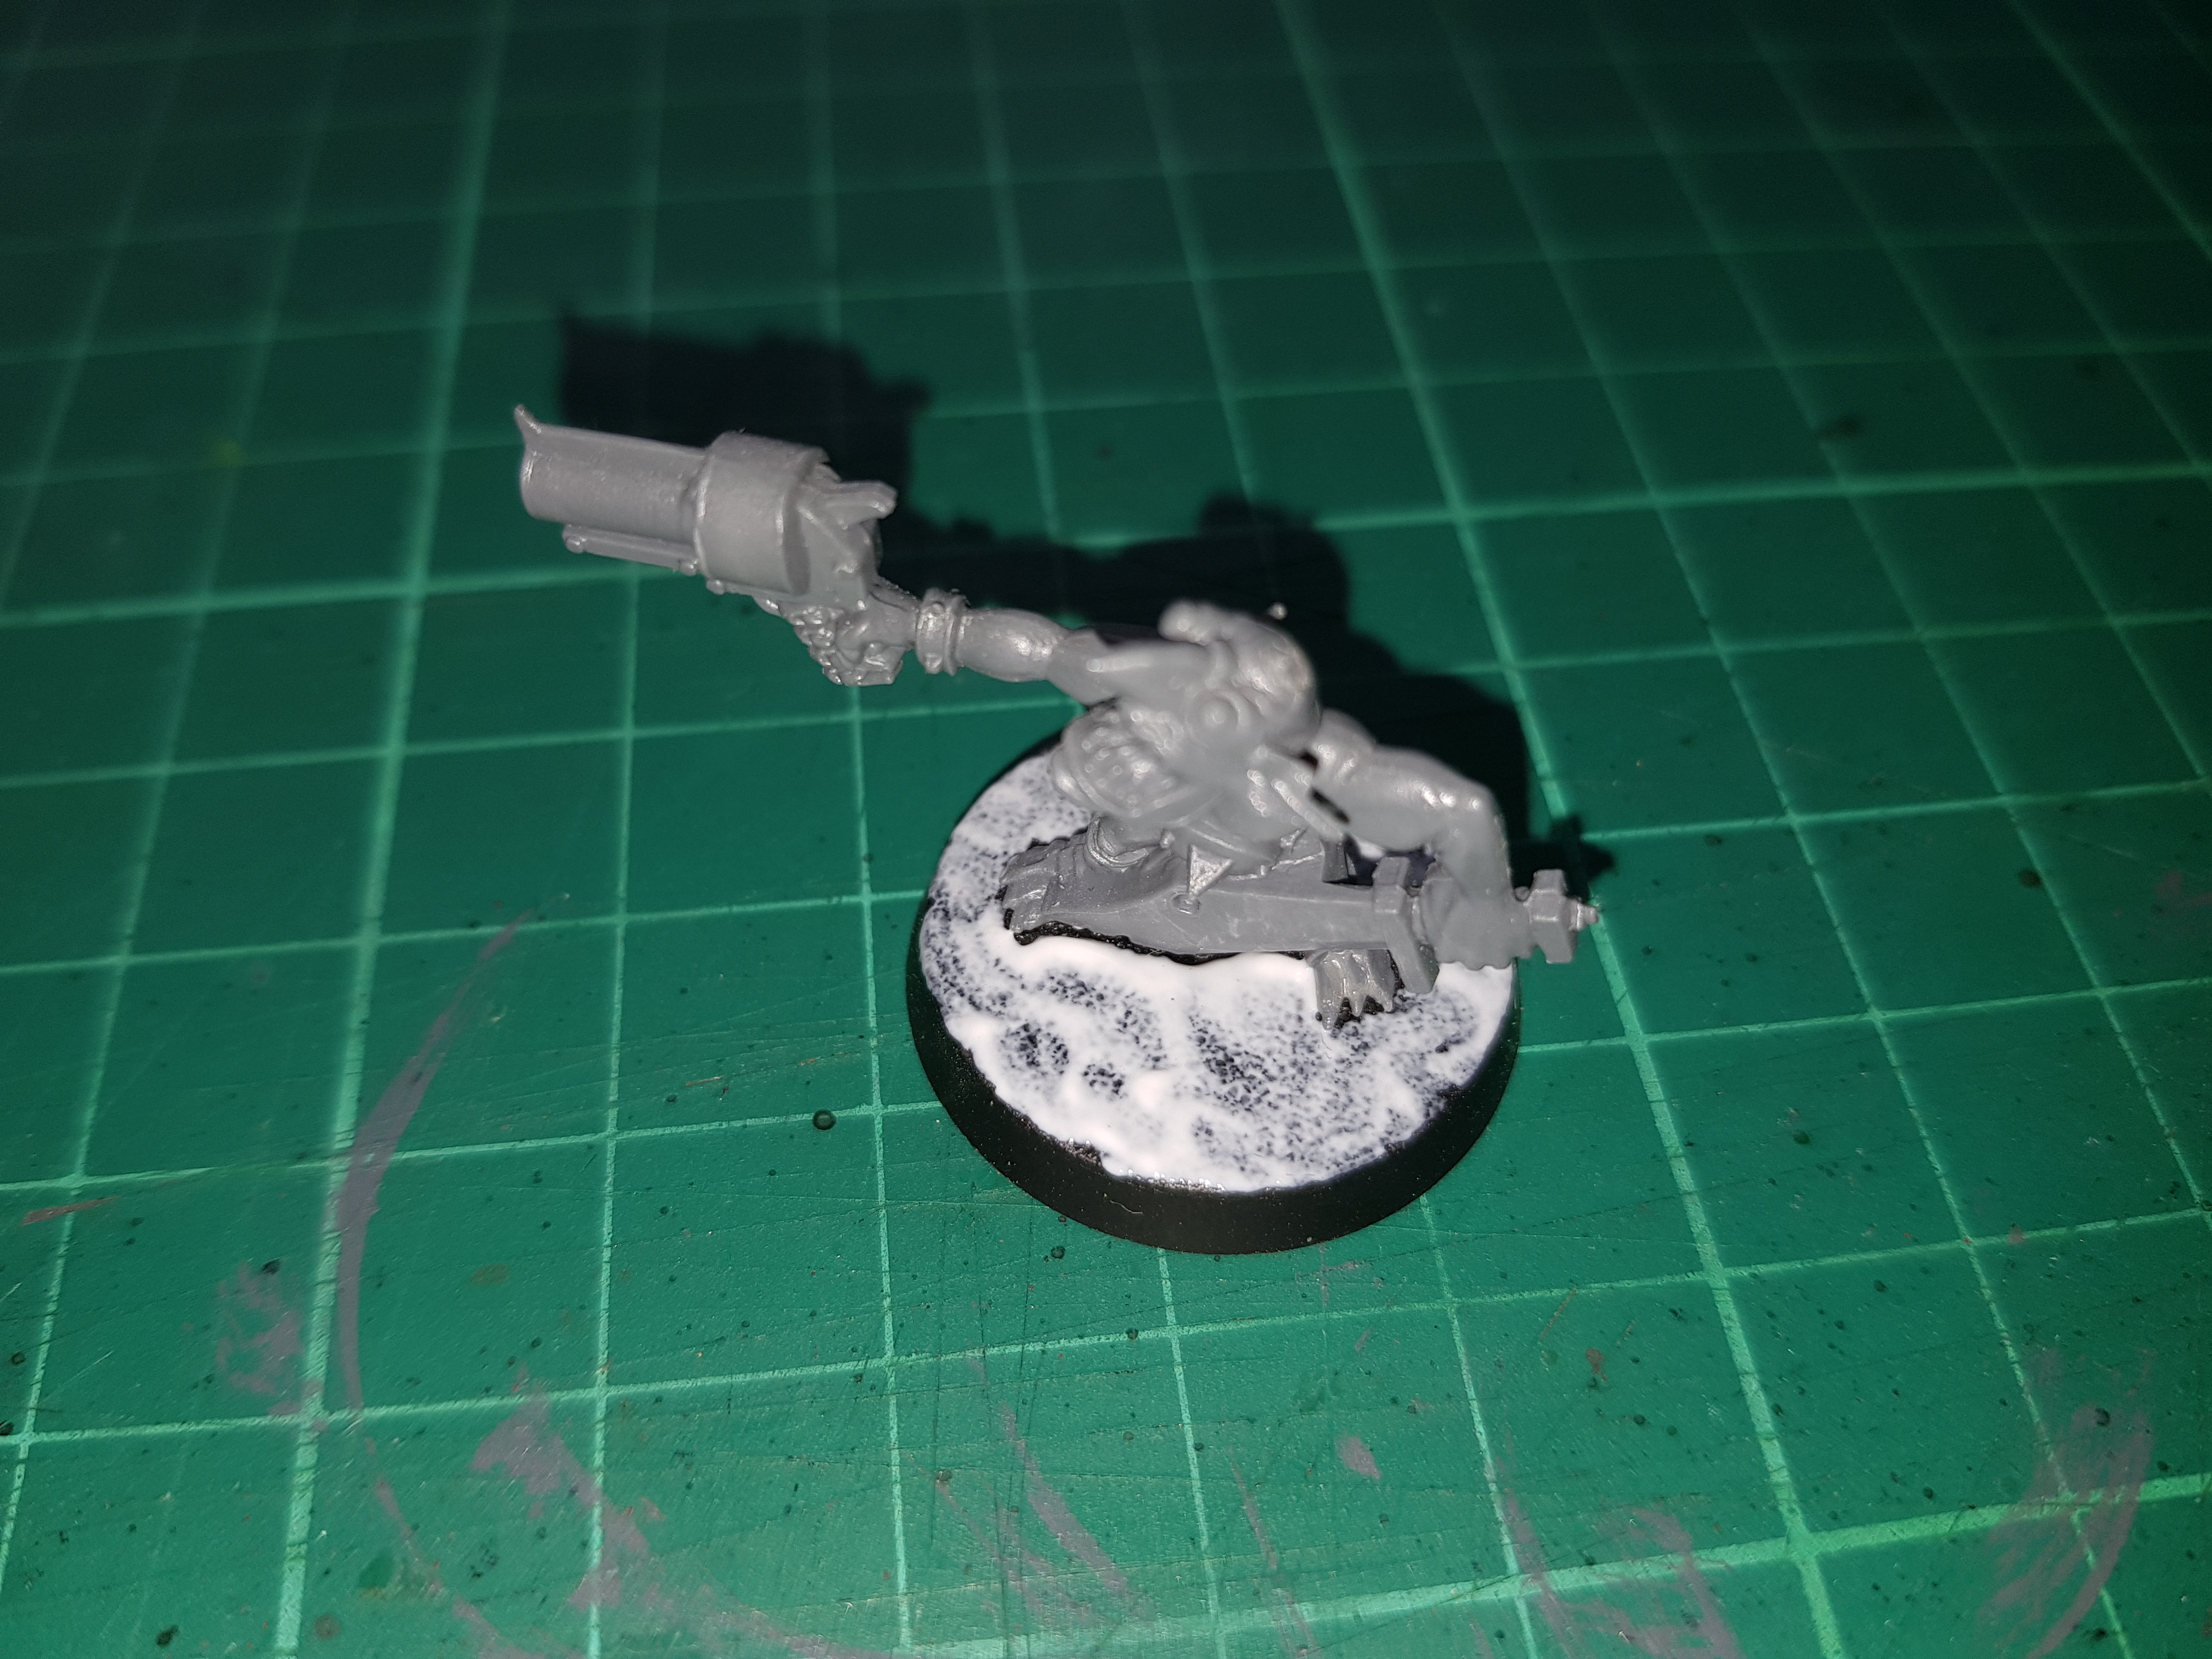 I slap a rough layer of PVA all over the base. This doesn’t have to be too accurate, I’ve just tried to avoid the feet and lower areas of the mini.
 I sprinkle a small amount of the talus into the PVA.
 I dunk the whole base in the sand.
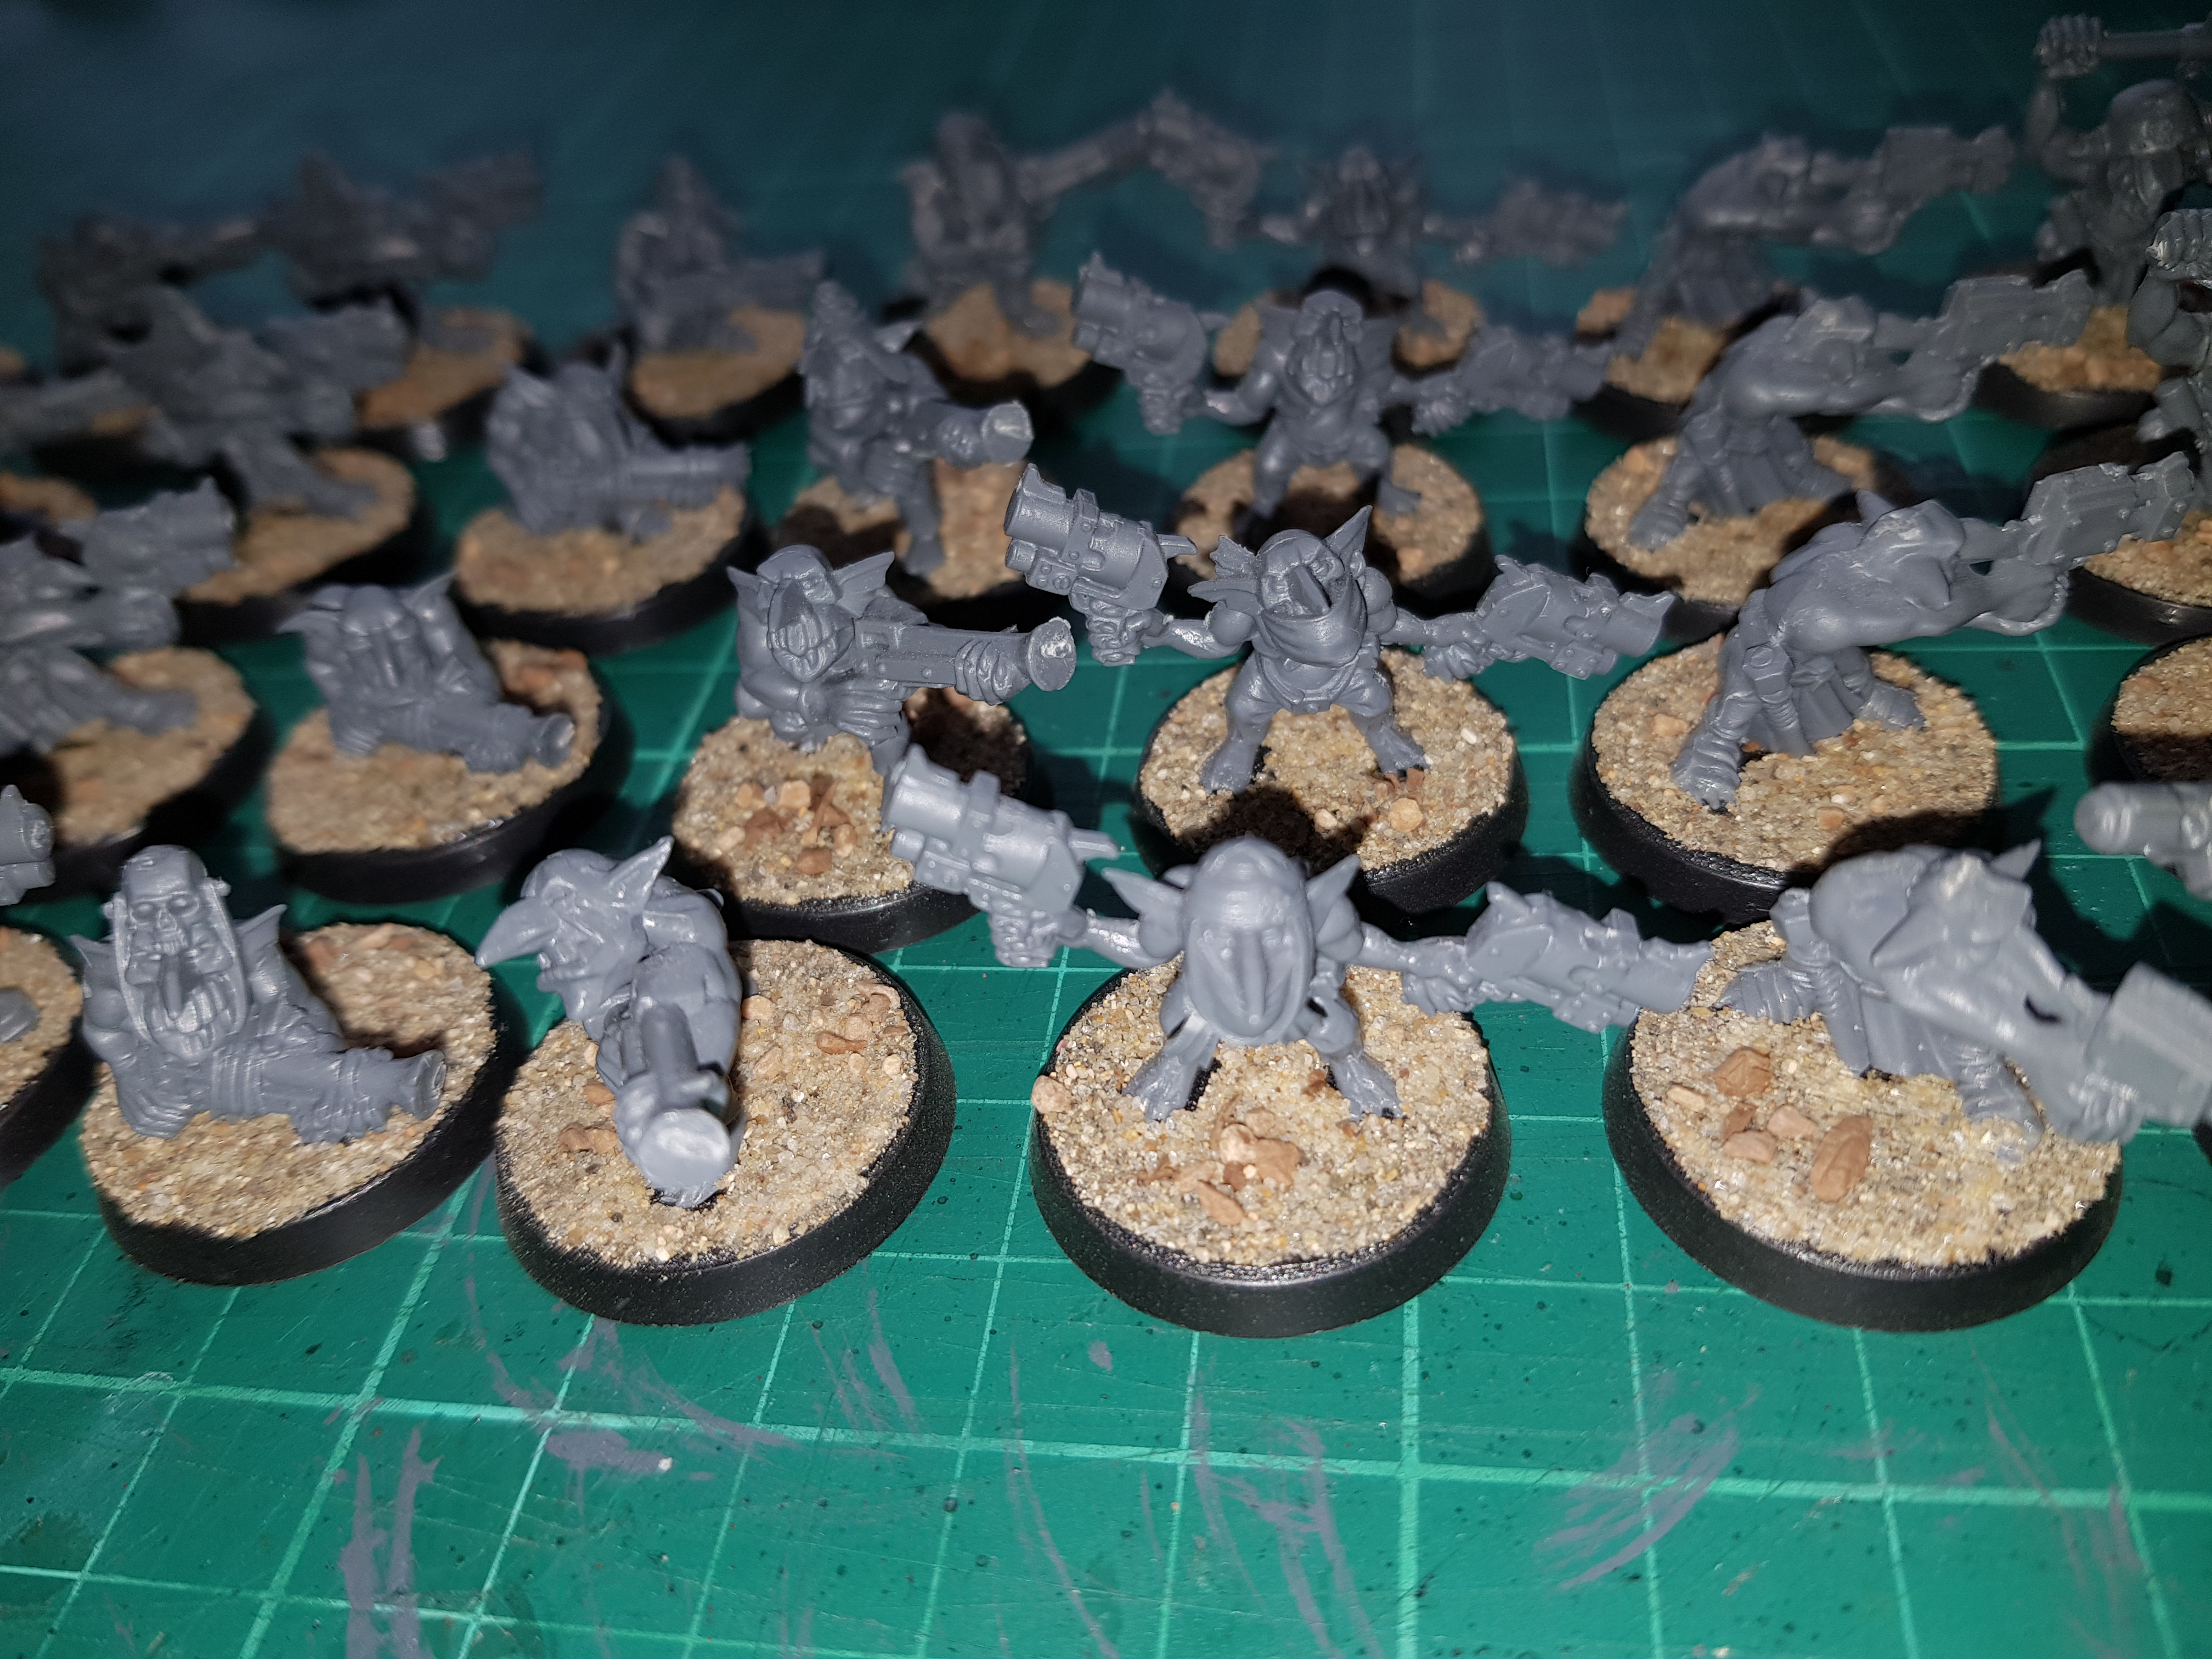
 All the grots have a little play in the sandpit. I leave them for a few moments for the sand to adhere.
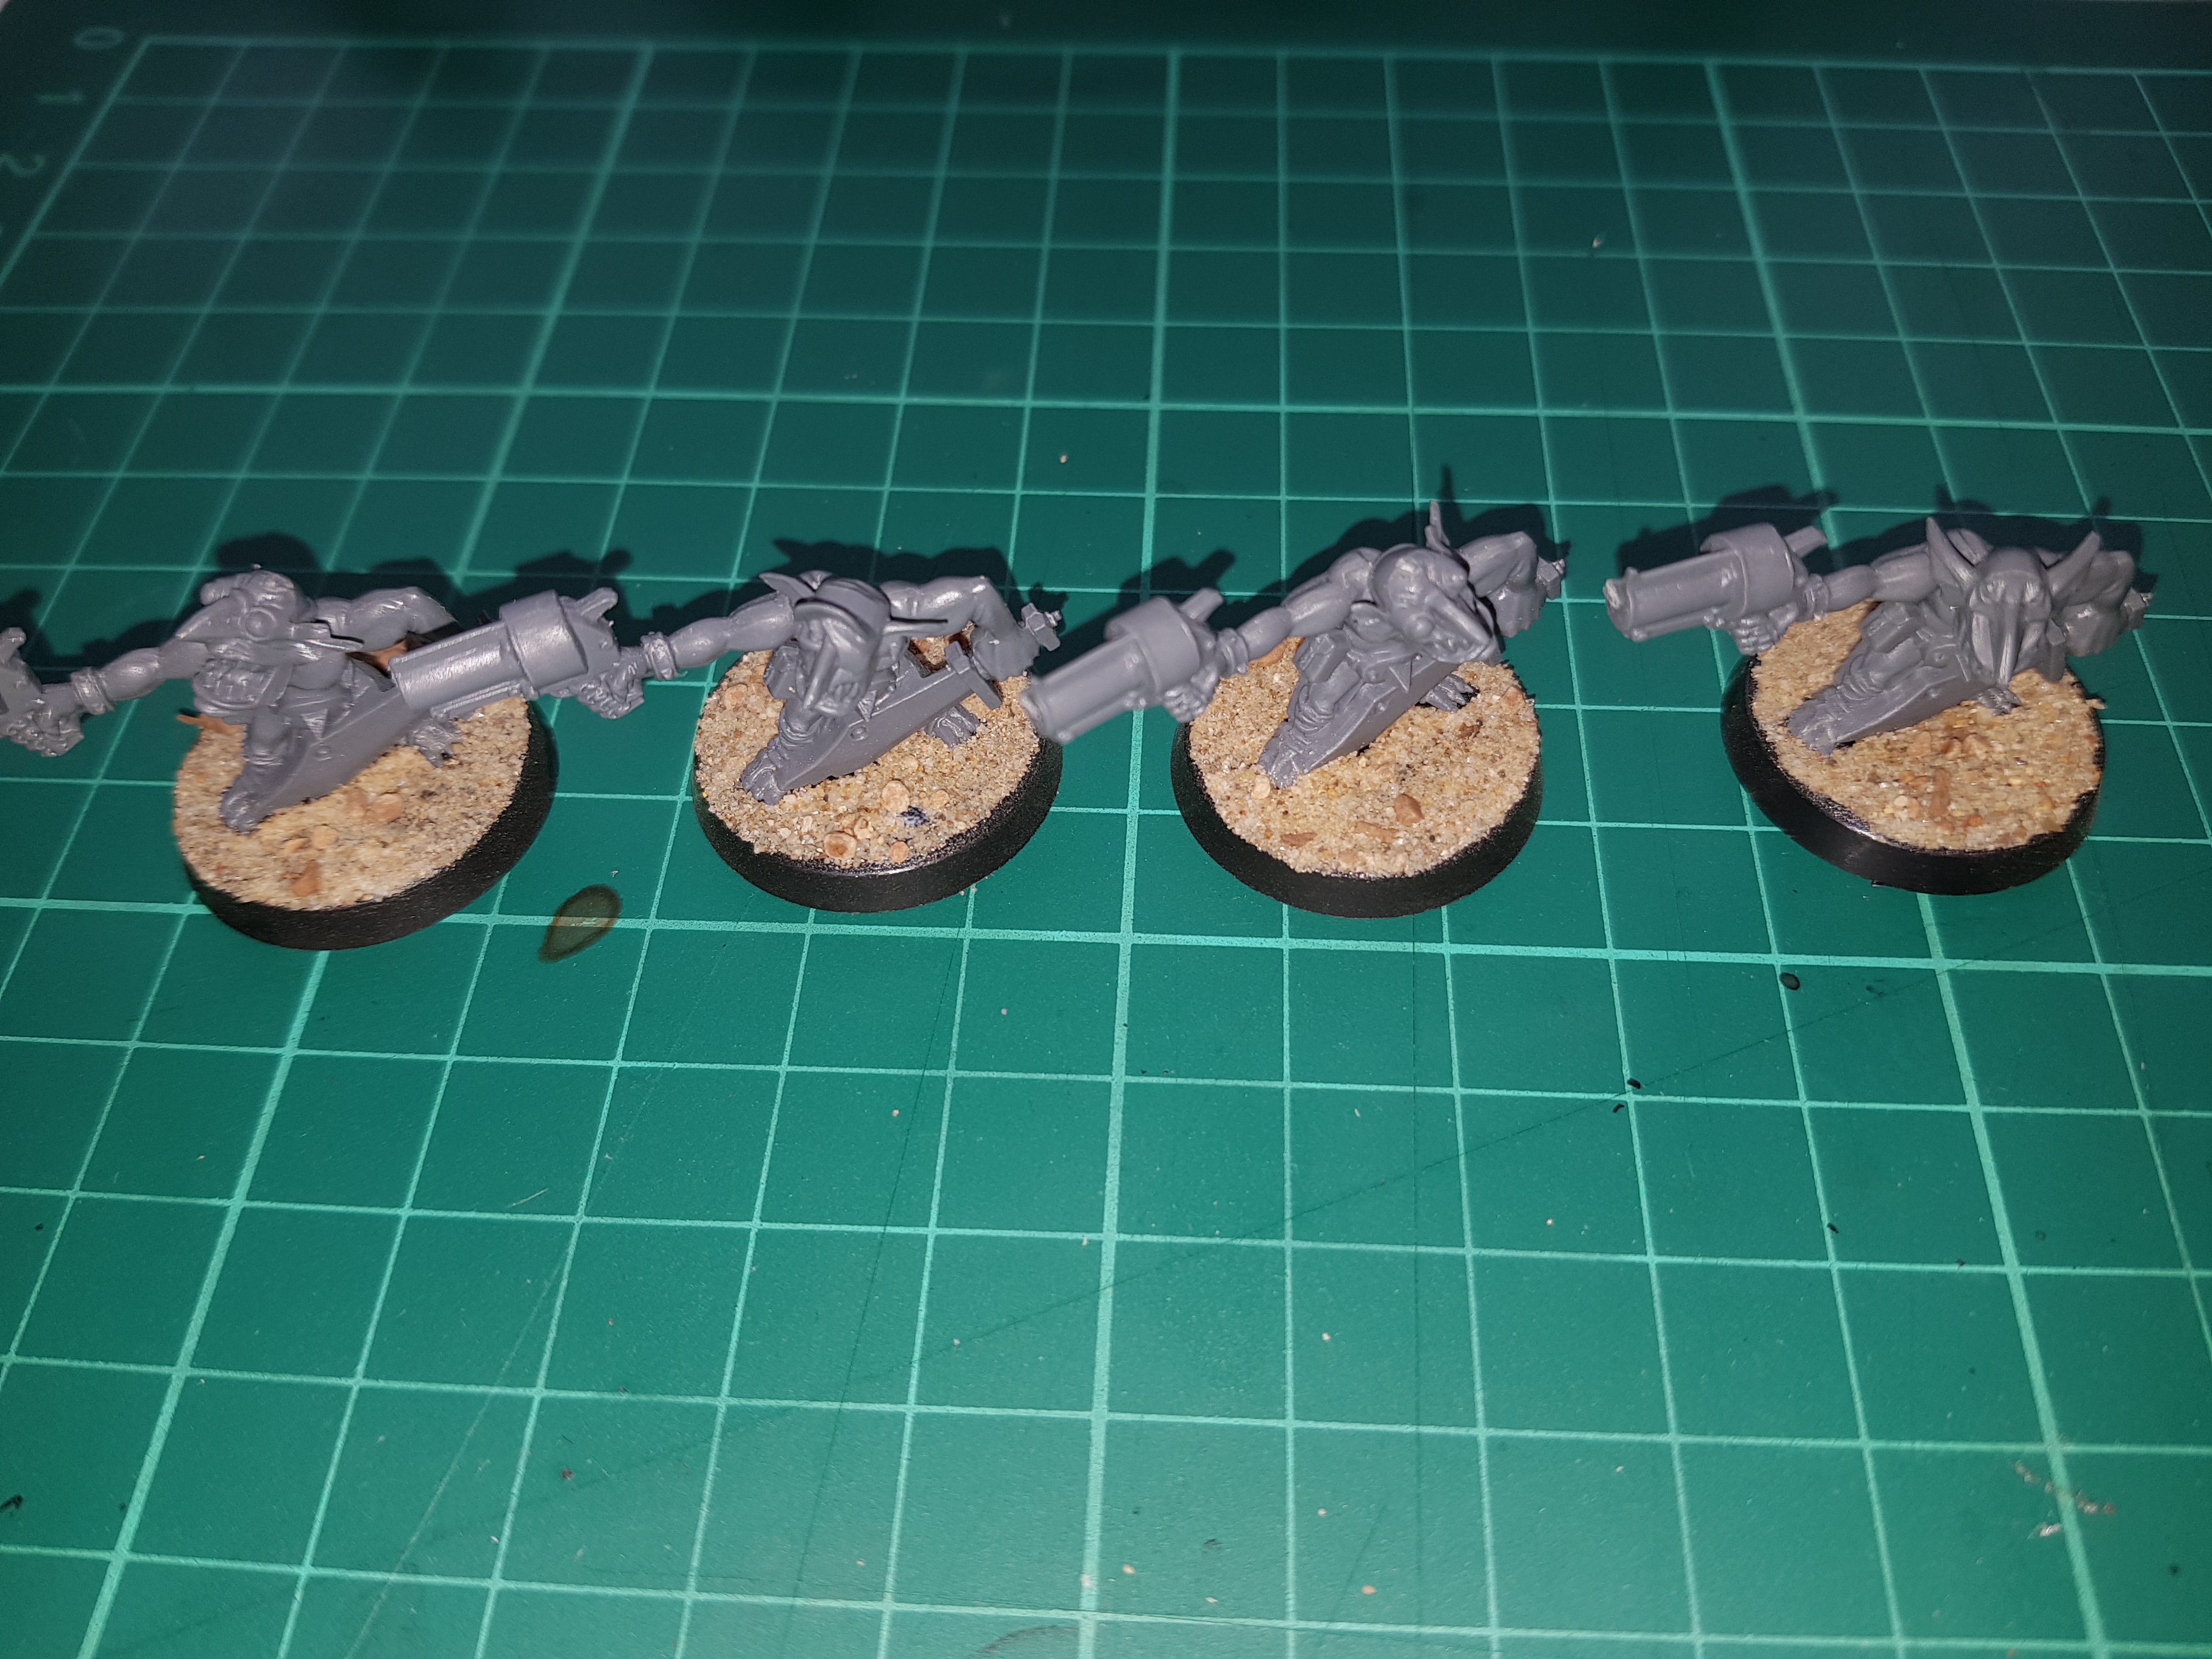 When the grots are remove from the sand I turn them upside down and give them a tap to remove the worst of the excess sand. It’s also worth wiping around the edge of the base to remove any overspill whilst the glue is not fully set.

I have just learned that there appears to be a limit to the number of entries within an update hence the above 3 images being included as a gallery!
This shows that the Runtherds had their arms reattached before being given the same treatment, the fully based Grots and a close up to give a better idea of the effect.
Inevitably some of the sand and talus will come off but I just want a random texture to add some interest to the base and the process of priming, painting and varnishing will result in the material being sealed sufficiently.
Whilst completing this process I noticed a hell of a lot of really terrible mould lines; I have no idea what past version of myself was doing, he either missed a lot or really couldn’t be bothered. That’ll be a quick job before I get down to priming.


![StarCraft Tabletop Miniatures Game Pre-Orders Live Now [Updated]](https://images.beastsofwar.com/2026/03/starcraft-tmg-news-cover-600-338.jpg)


