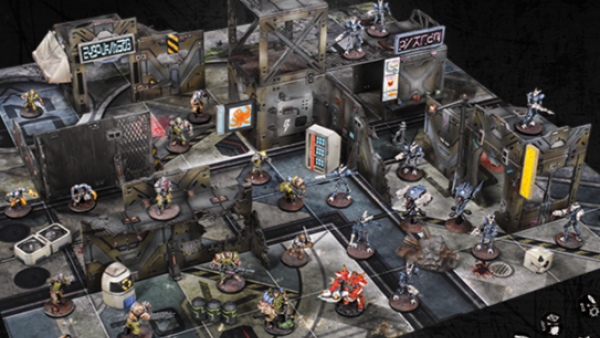


Games and Reports


Recommendations: 48
About the Project
A selection of battle reports from the games I have been involved with.
Related Genre: Historical
This Project is Active
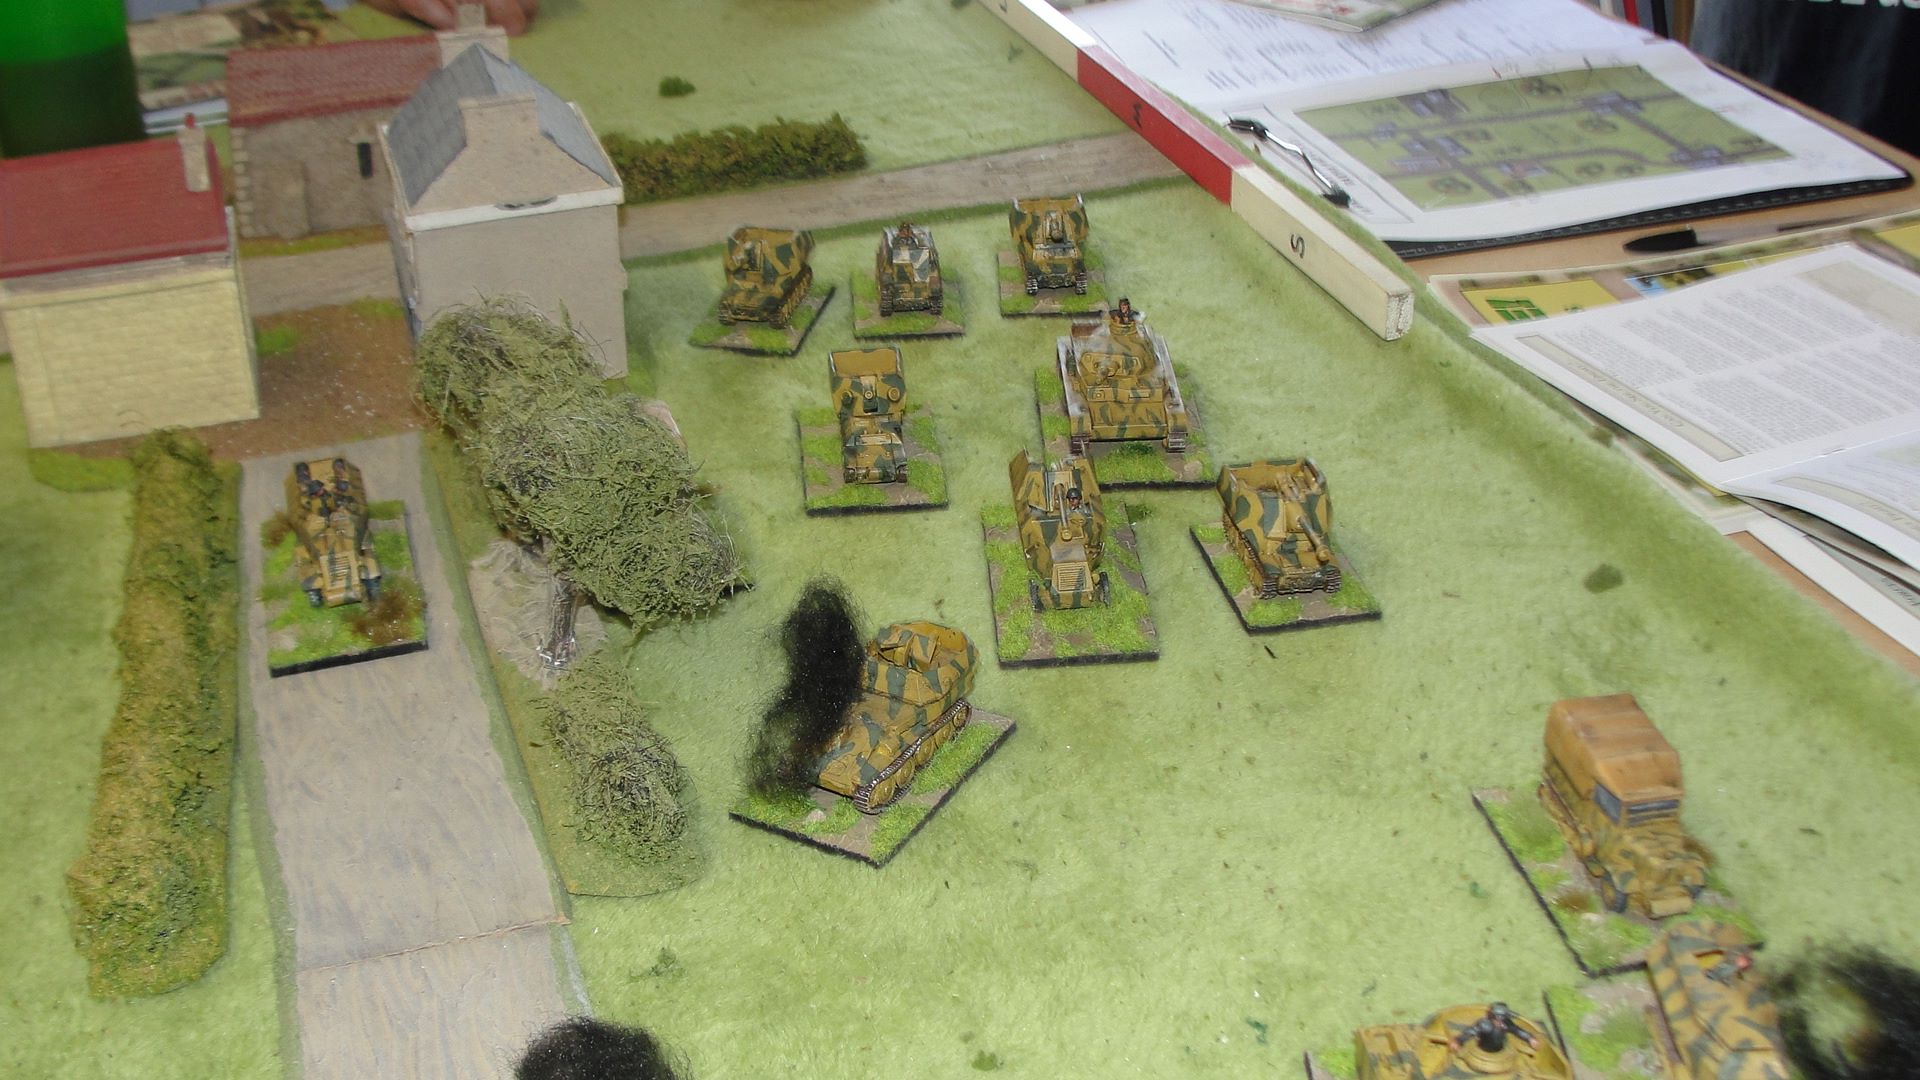
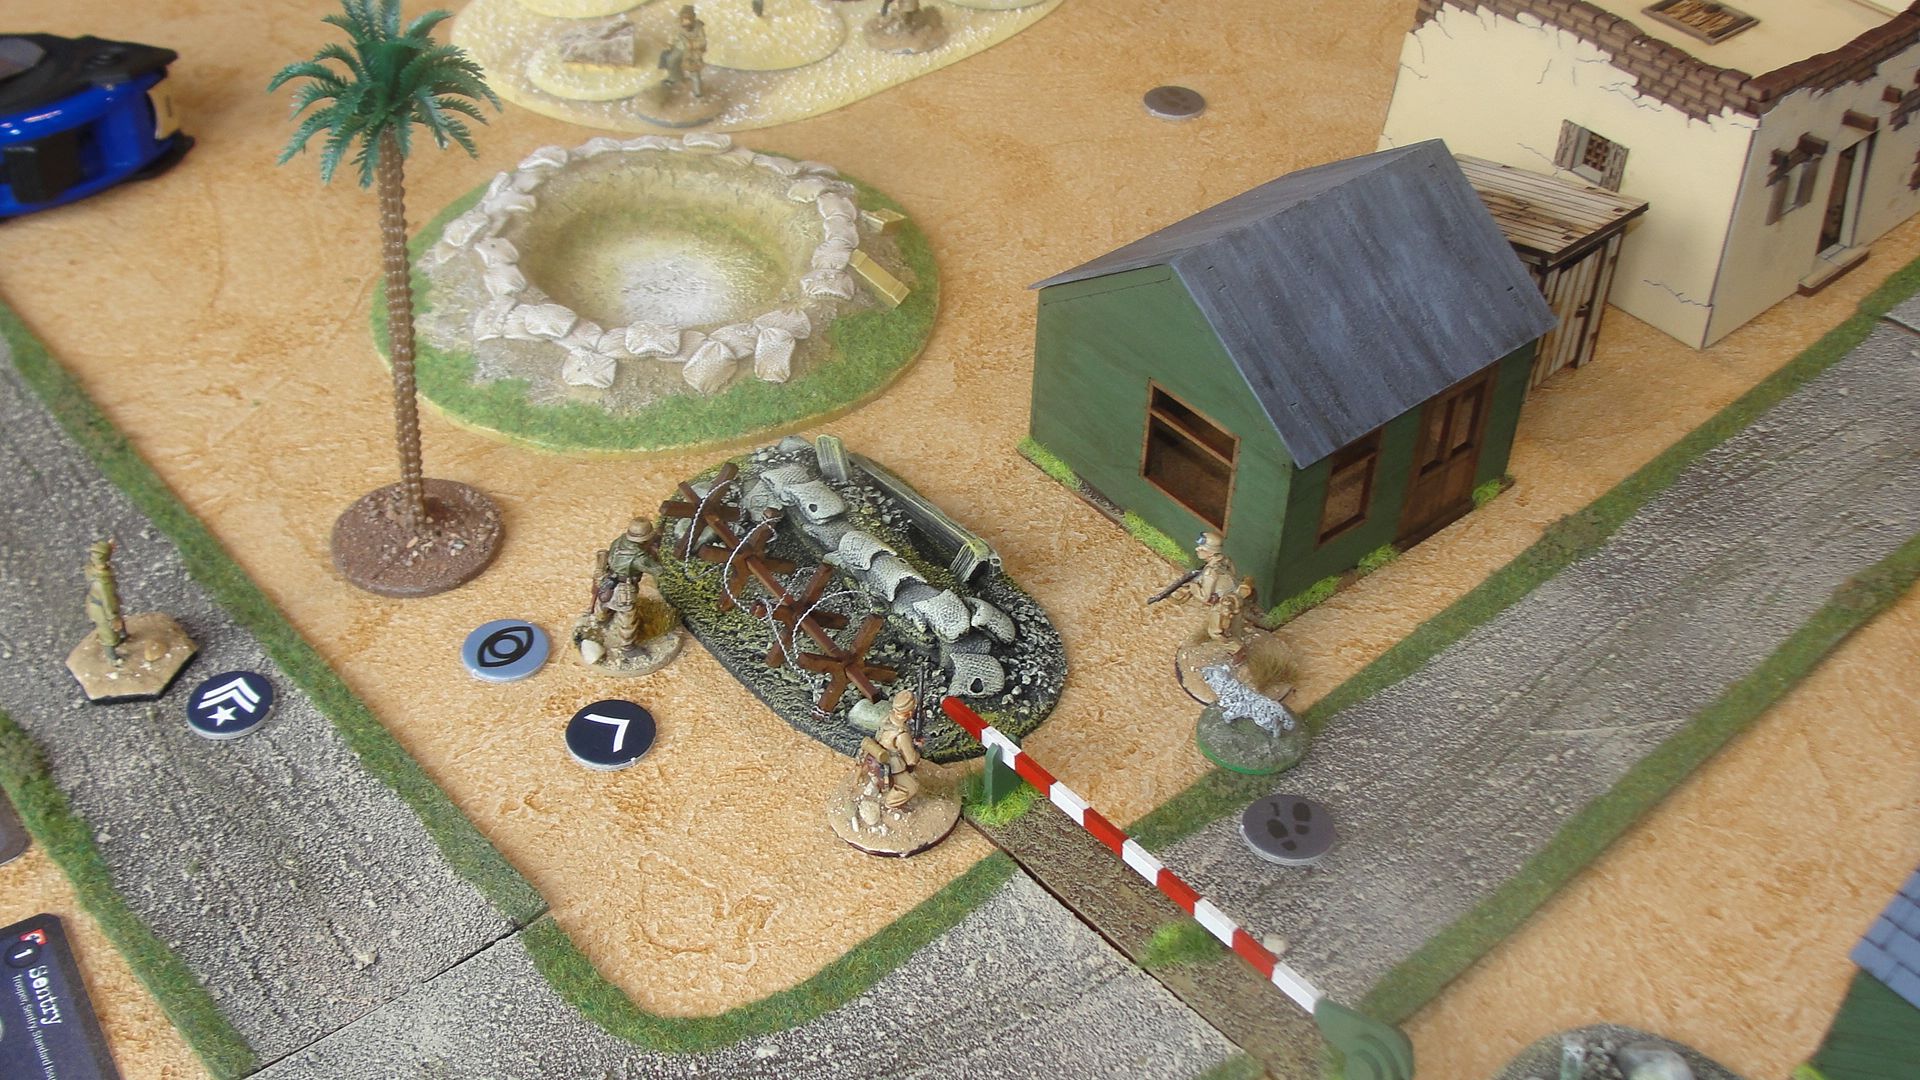
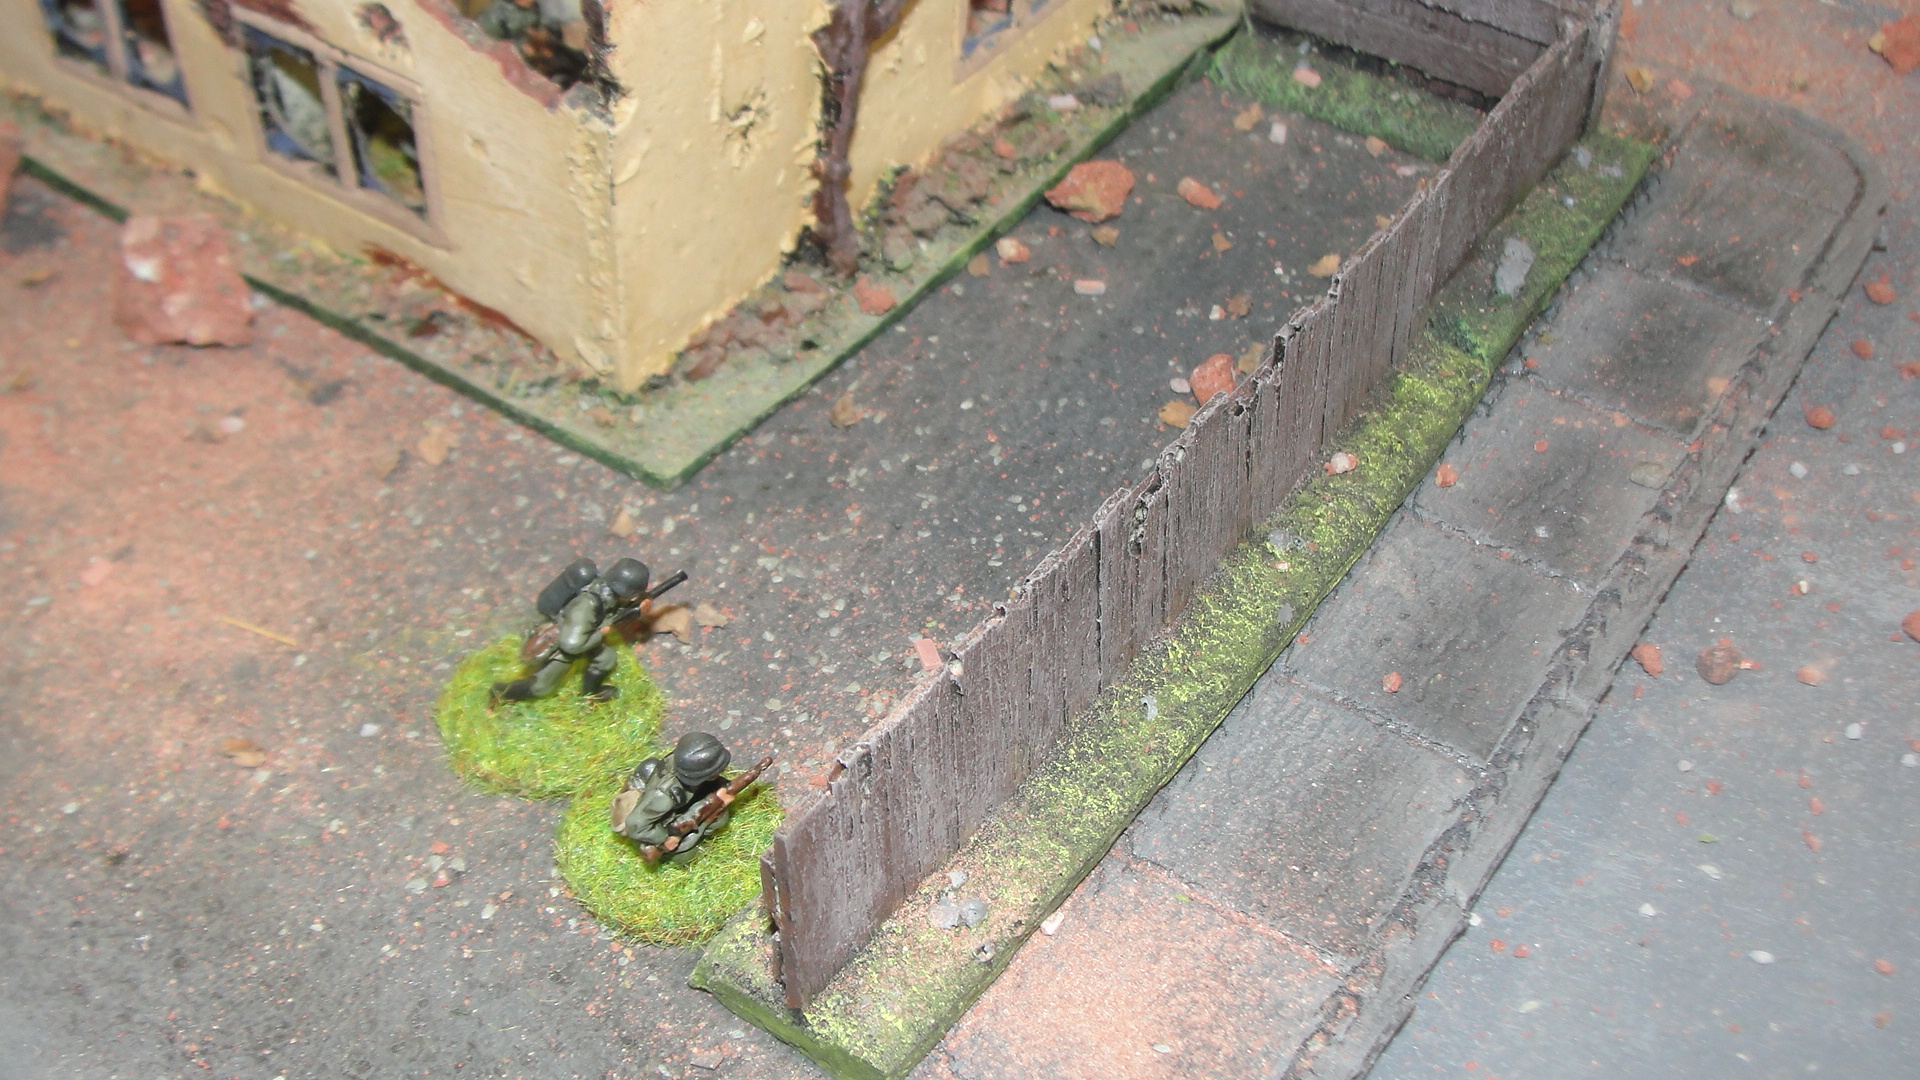
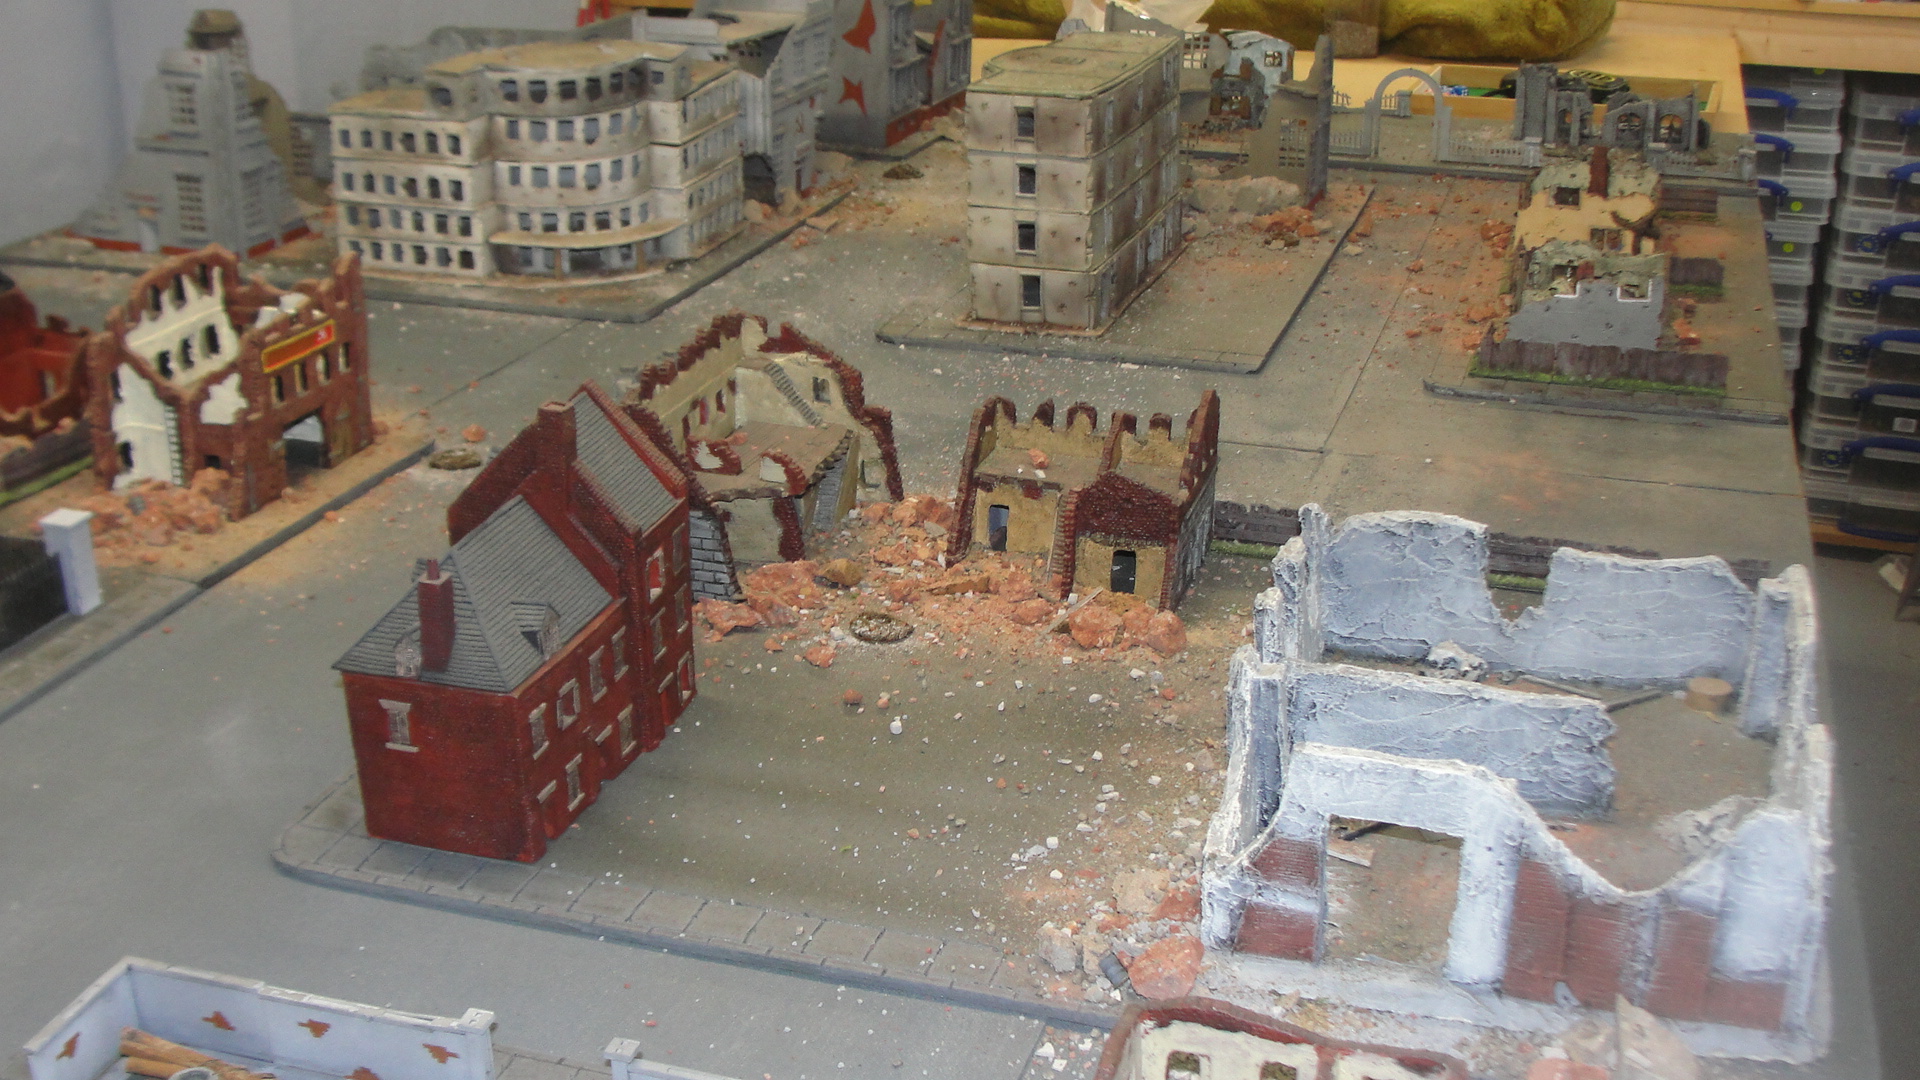
Le Bas de Ranville and Herouvillette
With the anniversary of D-Day fast approaching it seemed appropriate that we commemorate the occasion with a game. My mate Paul decided he was going to run a scenario from the Normandy scenario book published to support the Rapid Fire rules. However we would be playing the game with the newer Rapid Fire Reloaded ruleset.
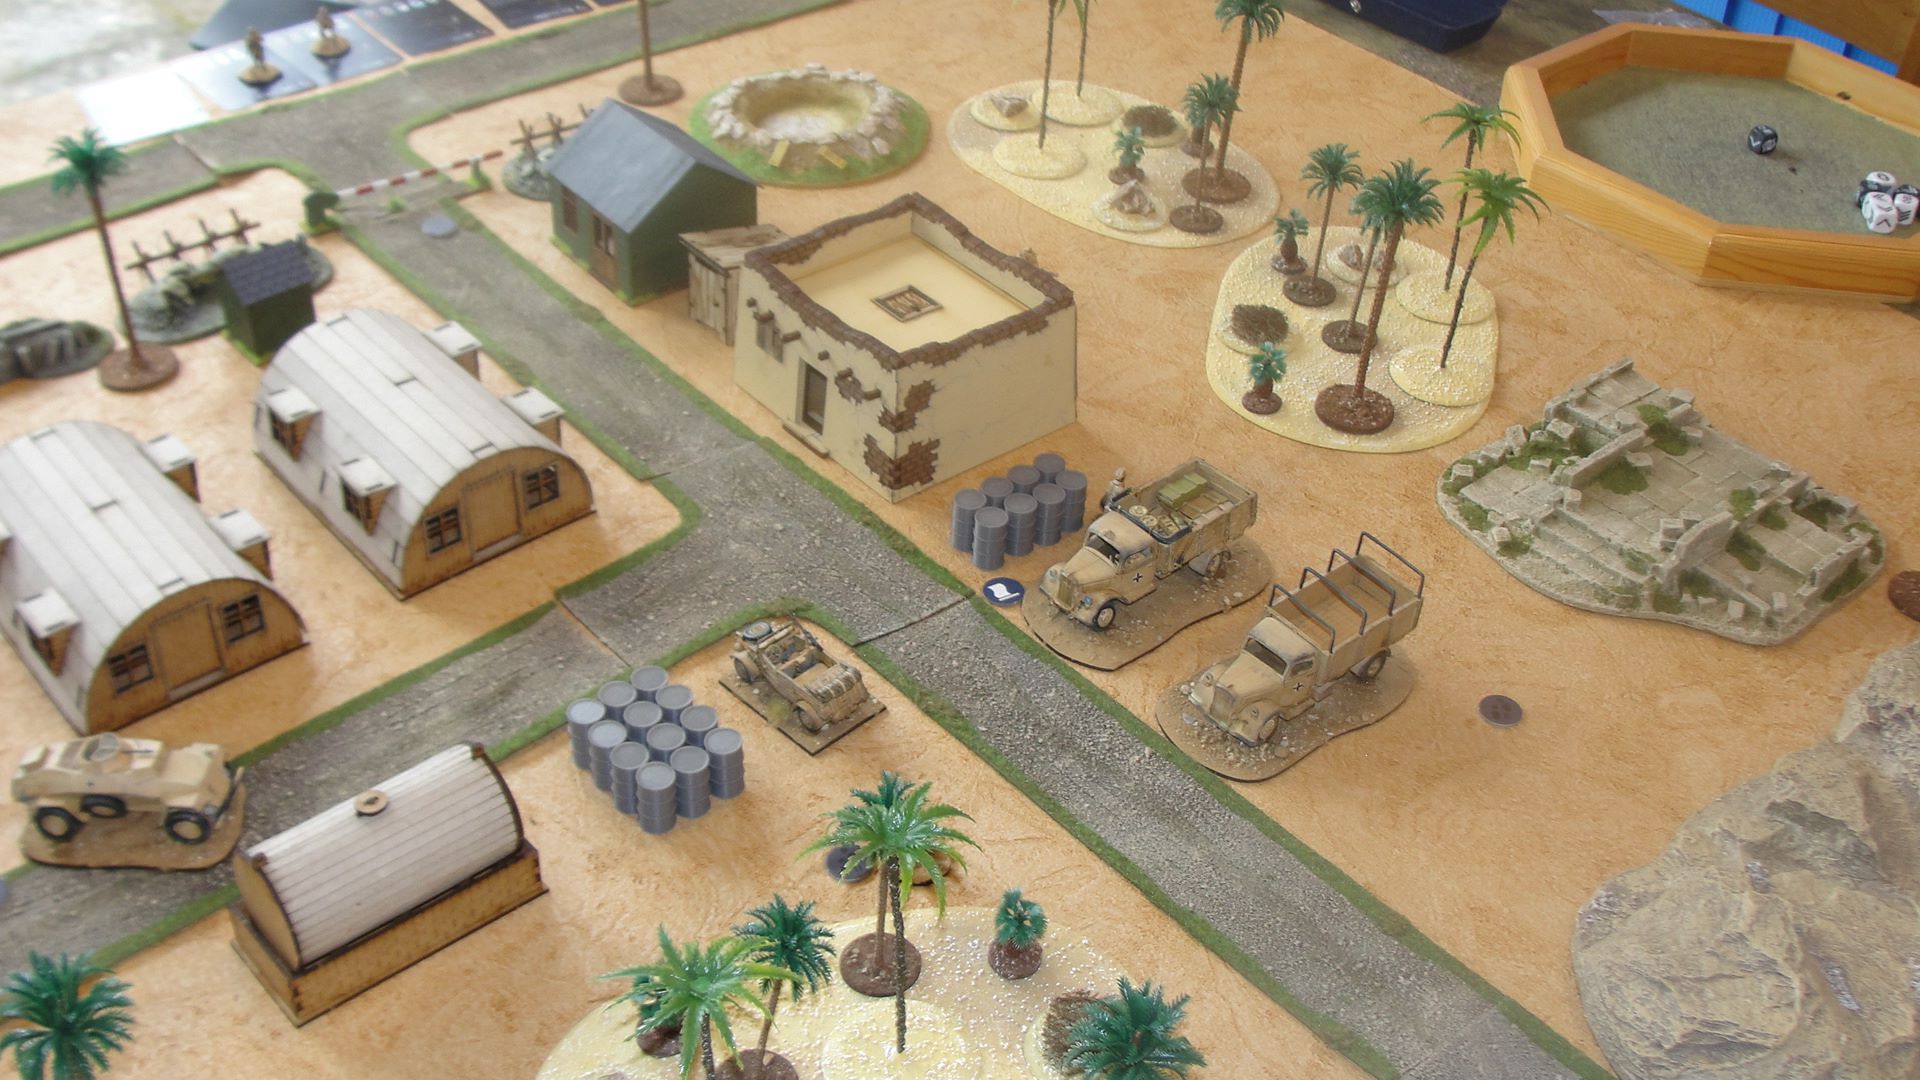
The scenario was the attack by the Kamfgruppe Luck (21st Panzer Division) and the 6th Airlanding Brigade holding a series of villages blocking the way to the Orne Canal. I just need to say that I cannot claim any credit as Paul provided the terrain and figures. Being of a certain age “old gits” the majority of our WW2 collections are 20mm.
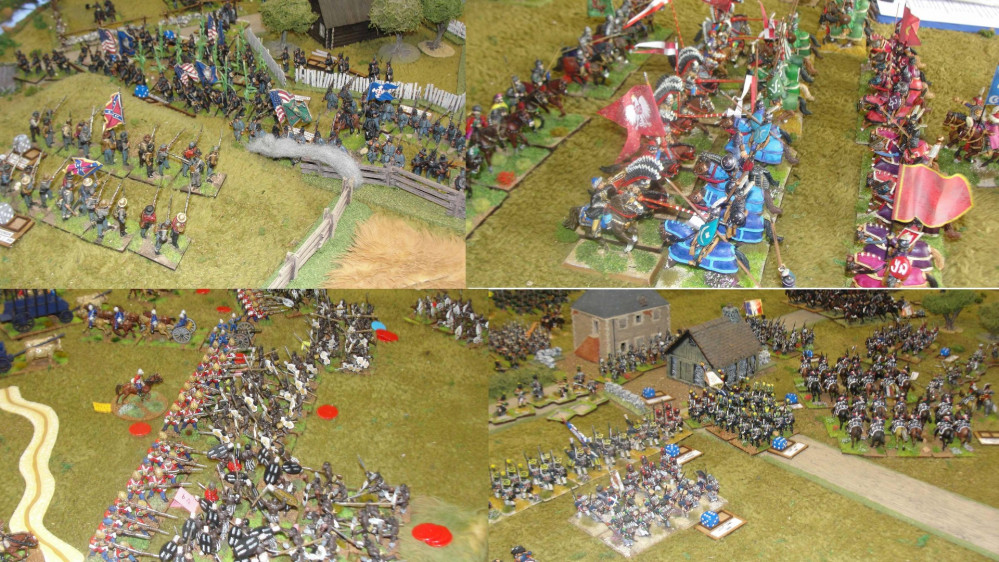
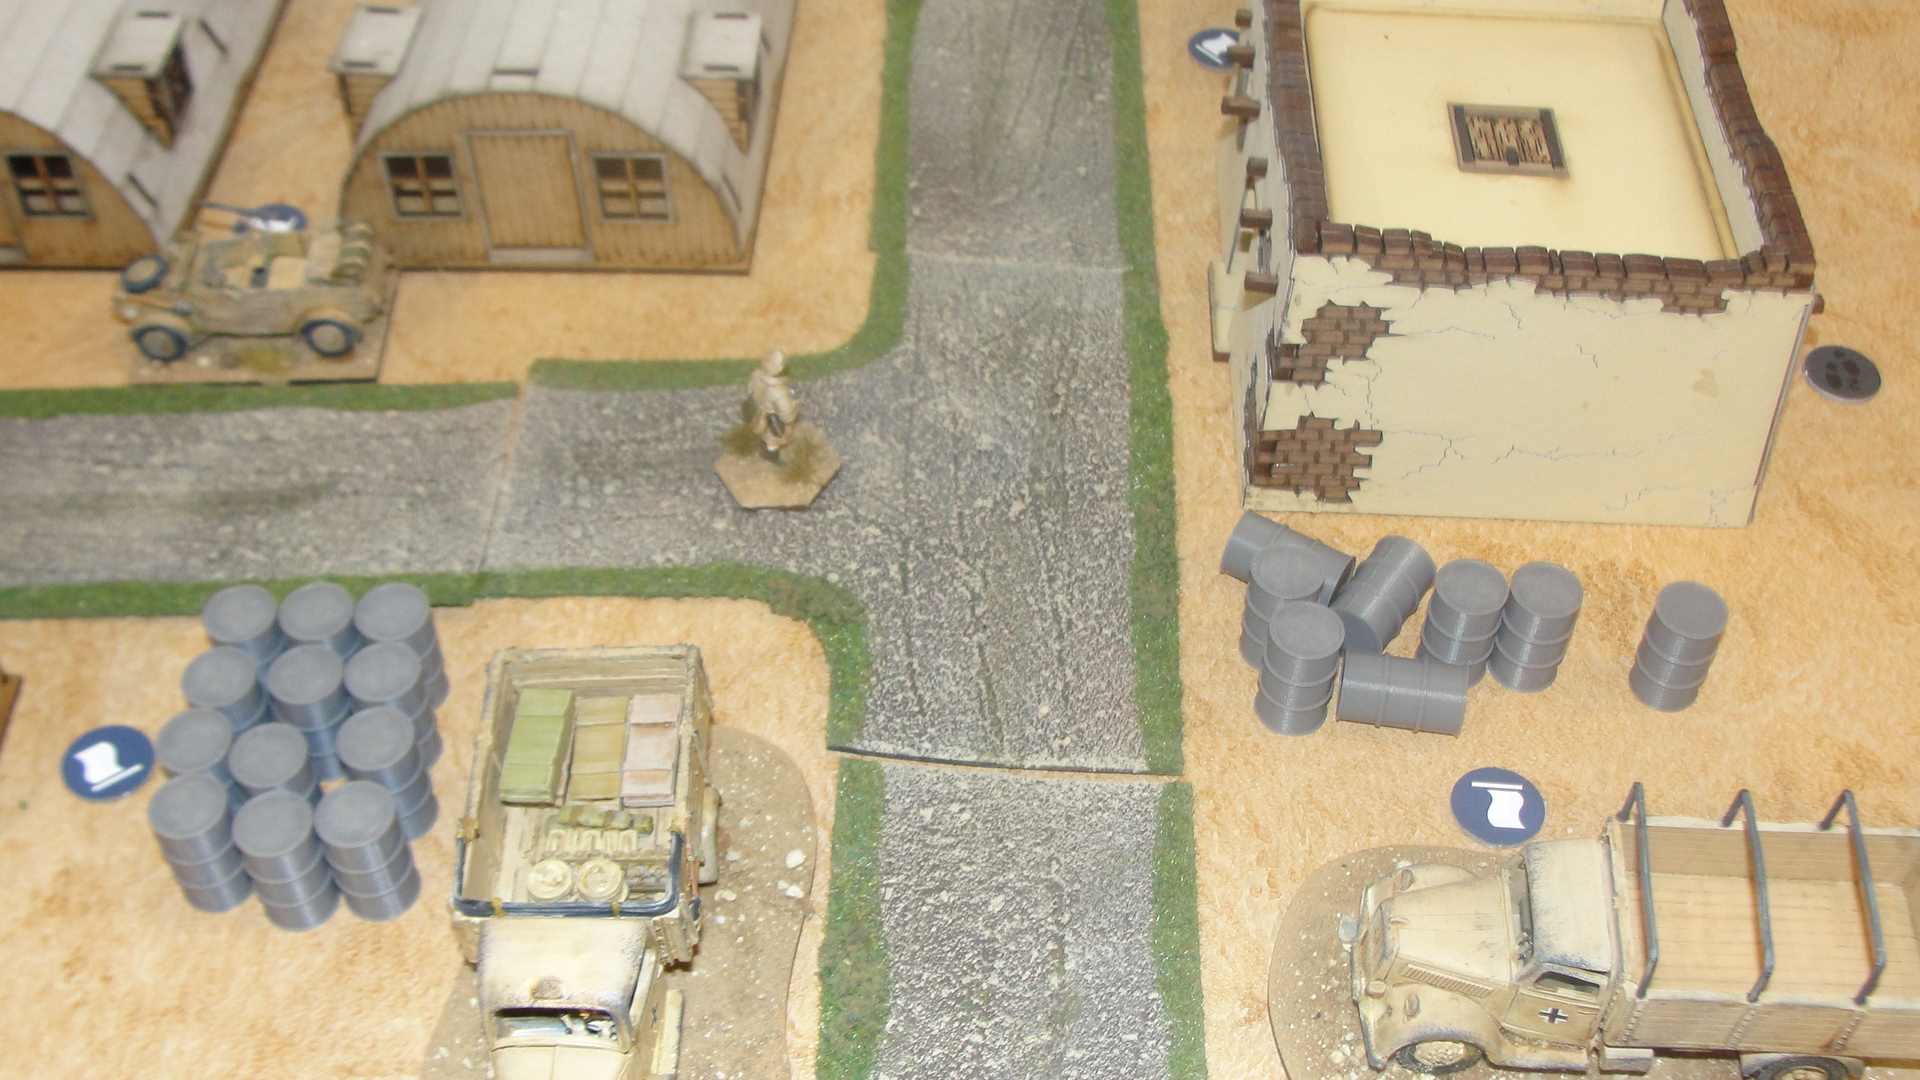
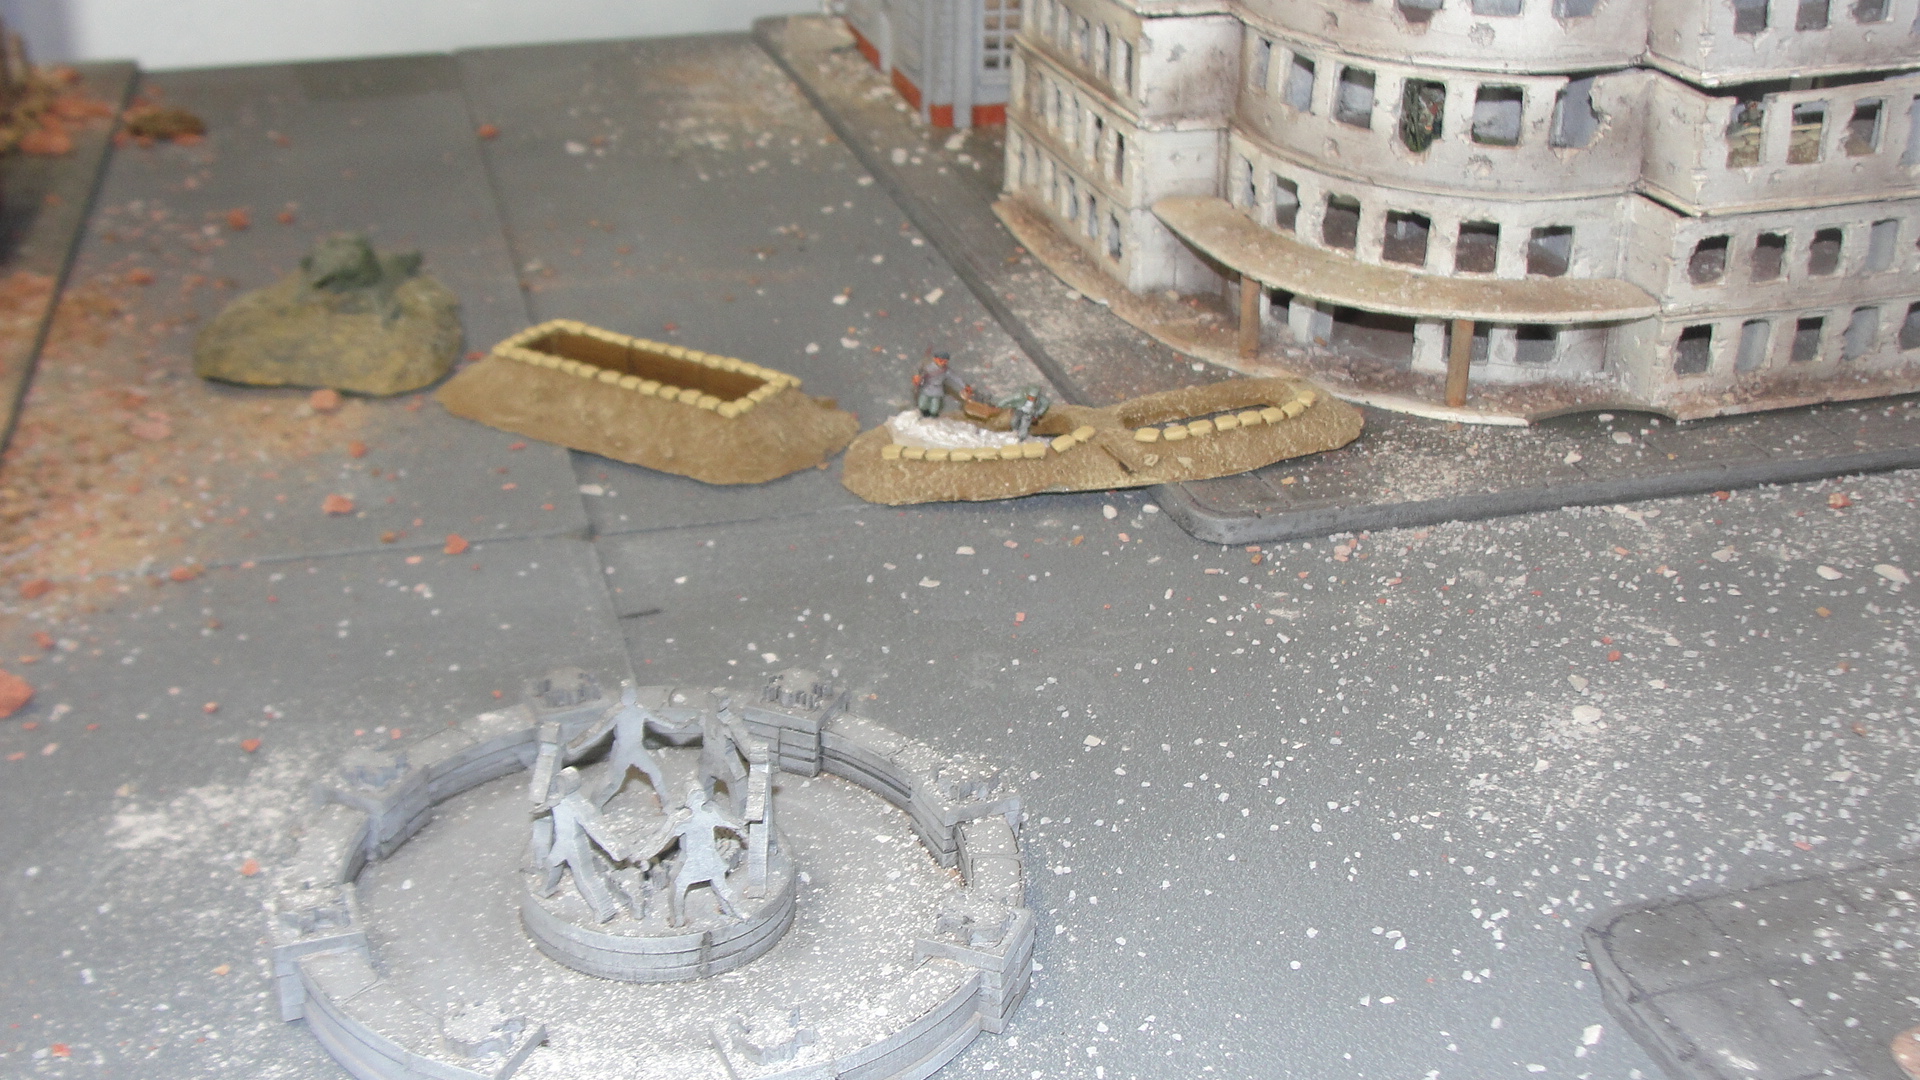
Initial deployment for the British were the 1st Battalion Royal Ulster Rifles in Longueval (bottom left), the 12th Battalion The Devonshire Regiment in La Bas de Ranville (top left), 2nd Battalion Ox and Bucks Light Infantry in Herouville and later in Escoville (top right) and the Brigade Hq holding Ranville itself (top centre).
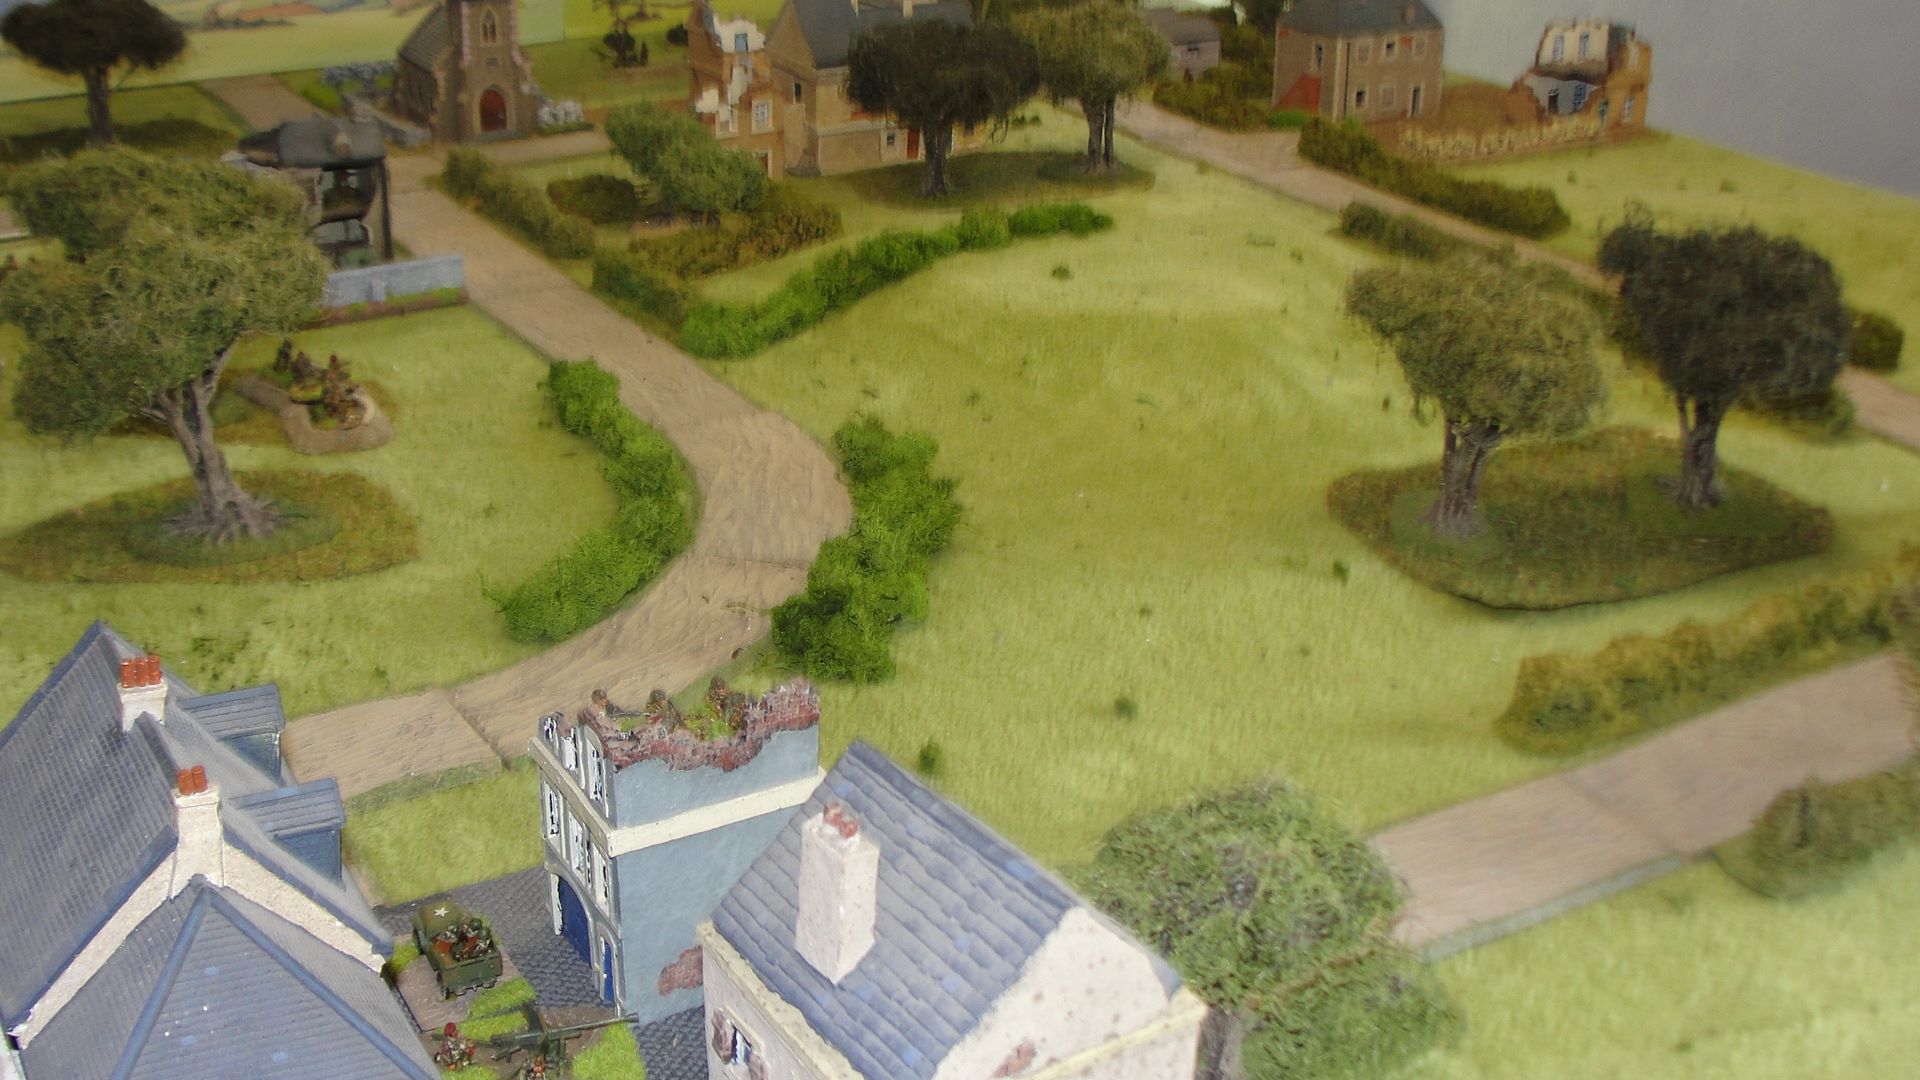 View of the overall table
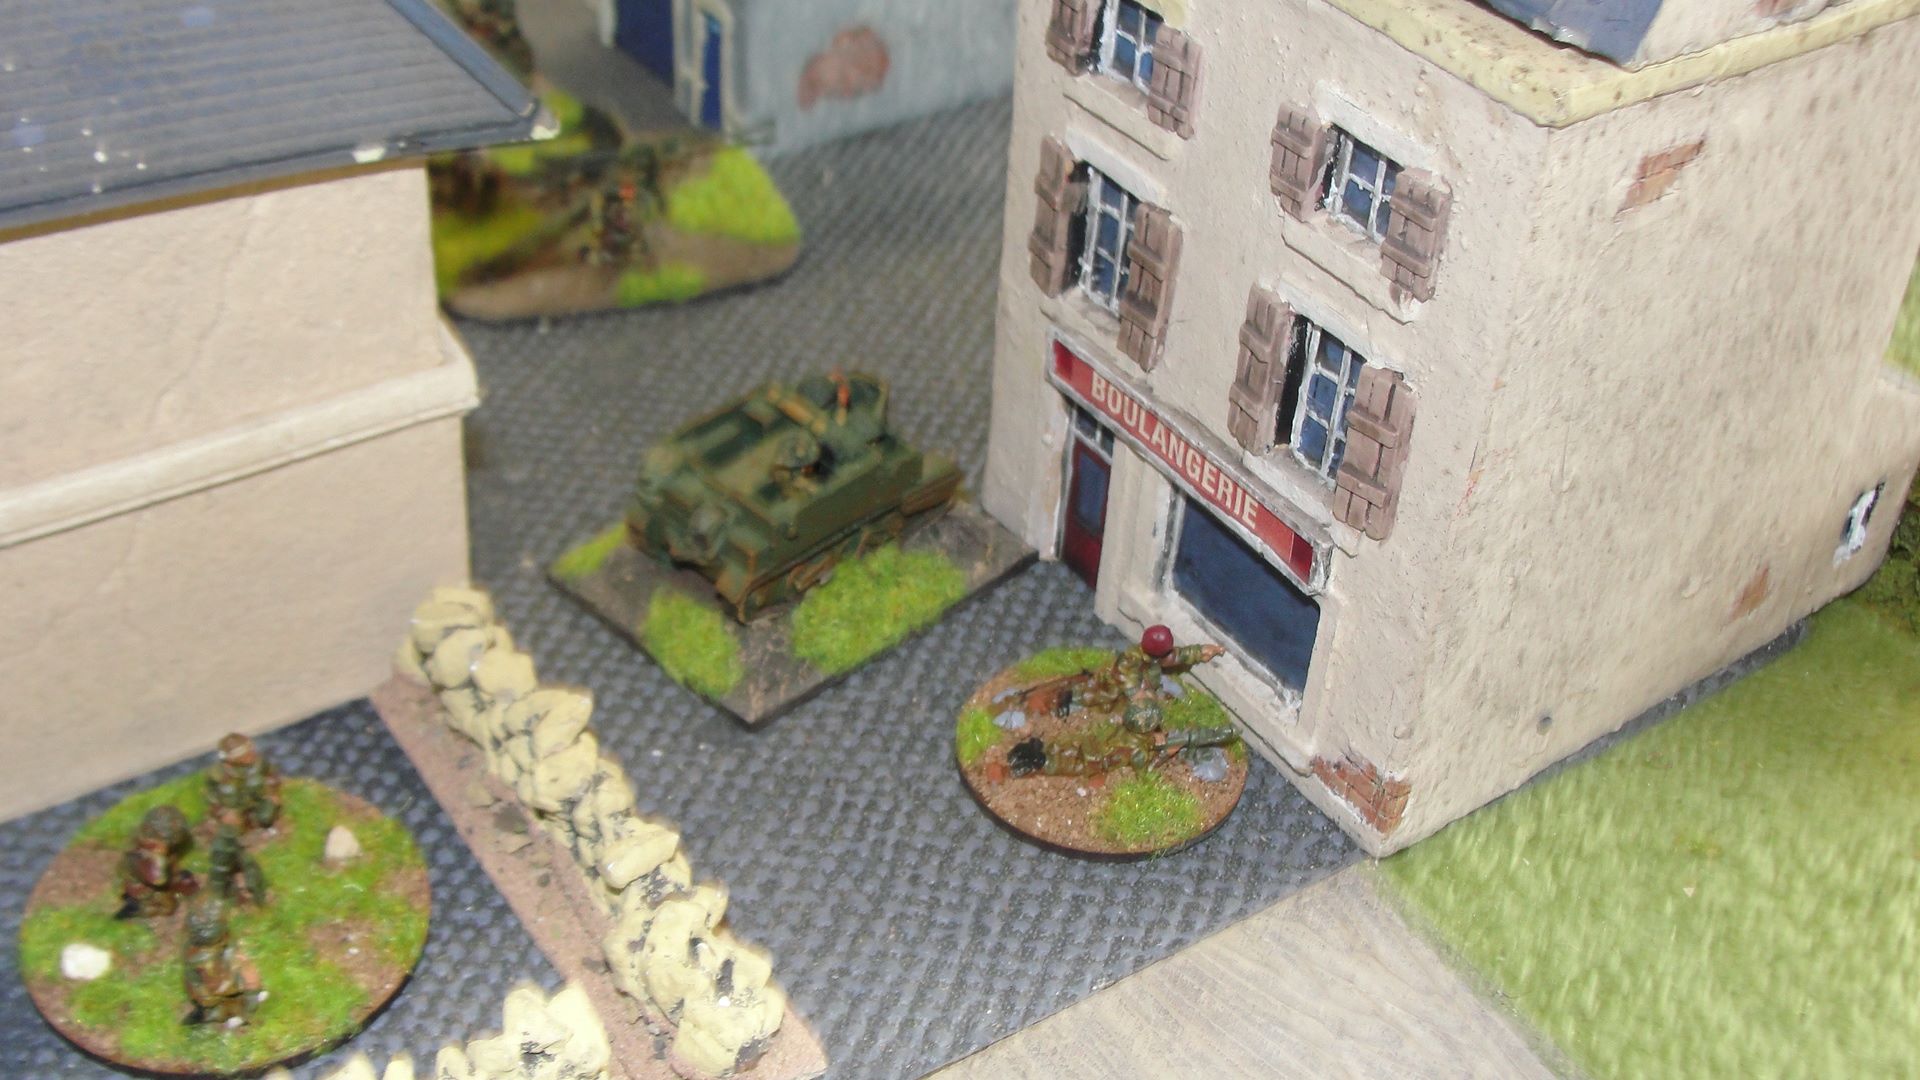 1st Battalion Royal Ulster Rifle in Logueval
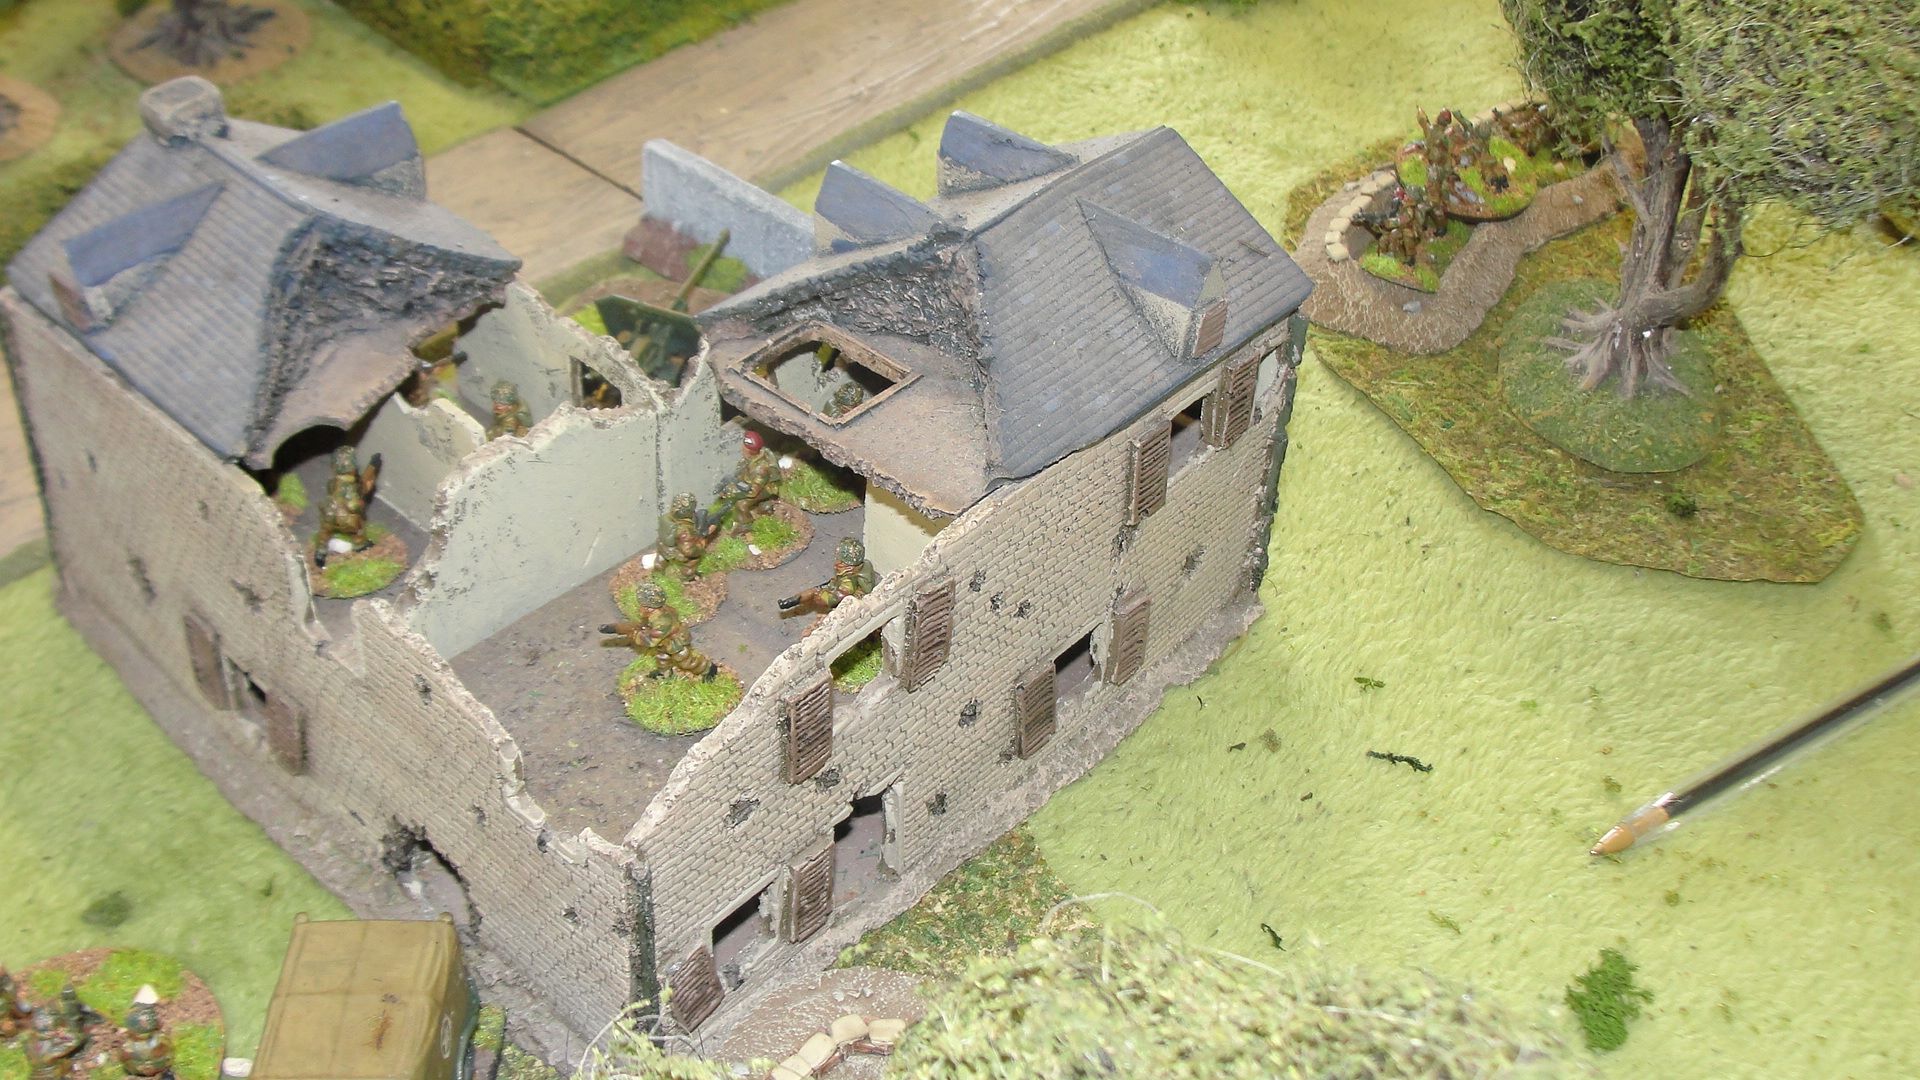 12th Battalion The Devonshire Regiment
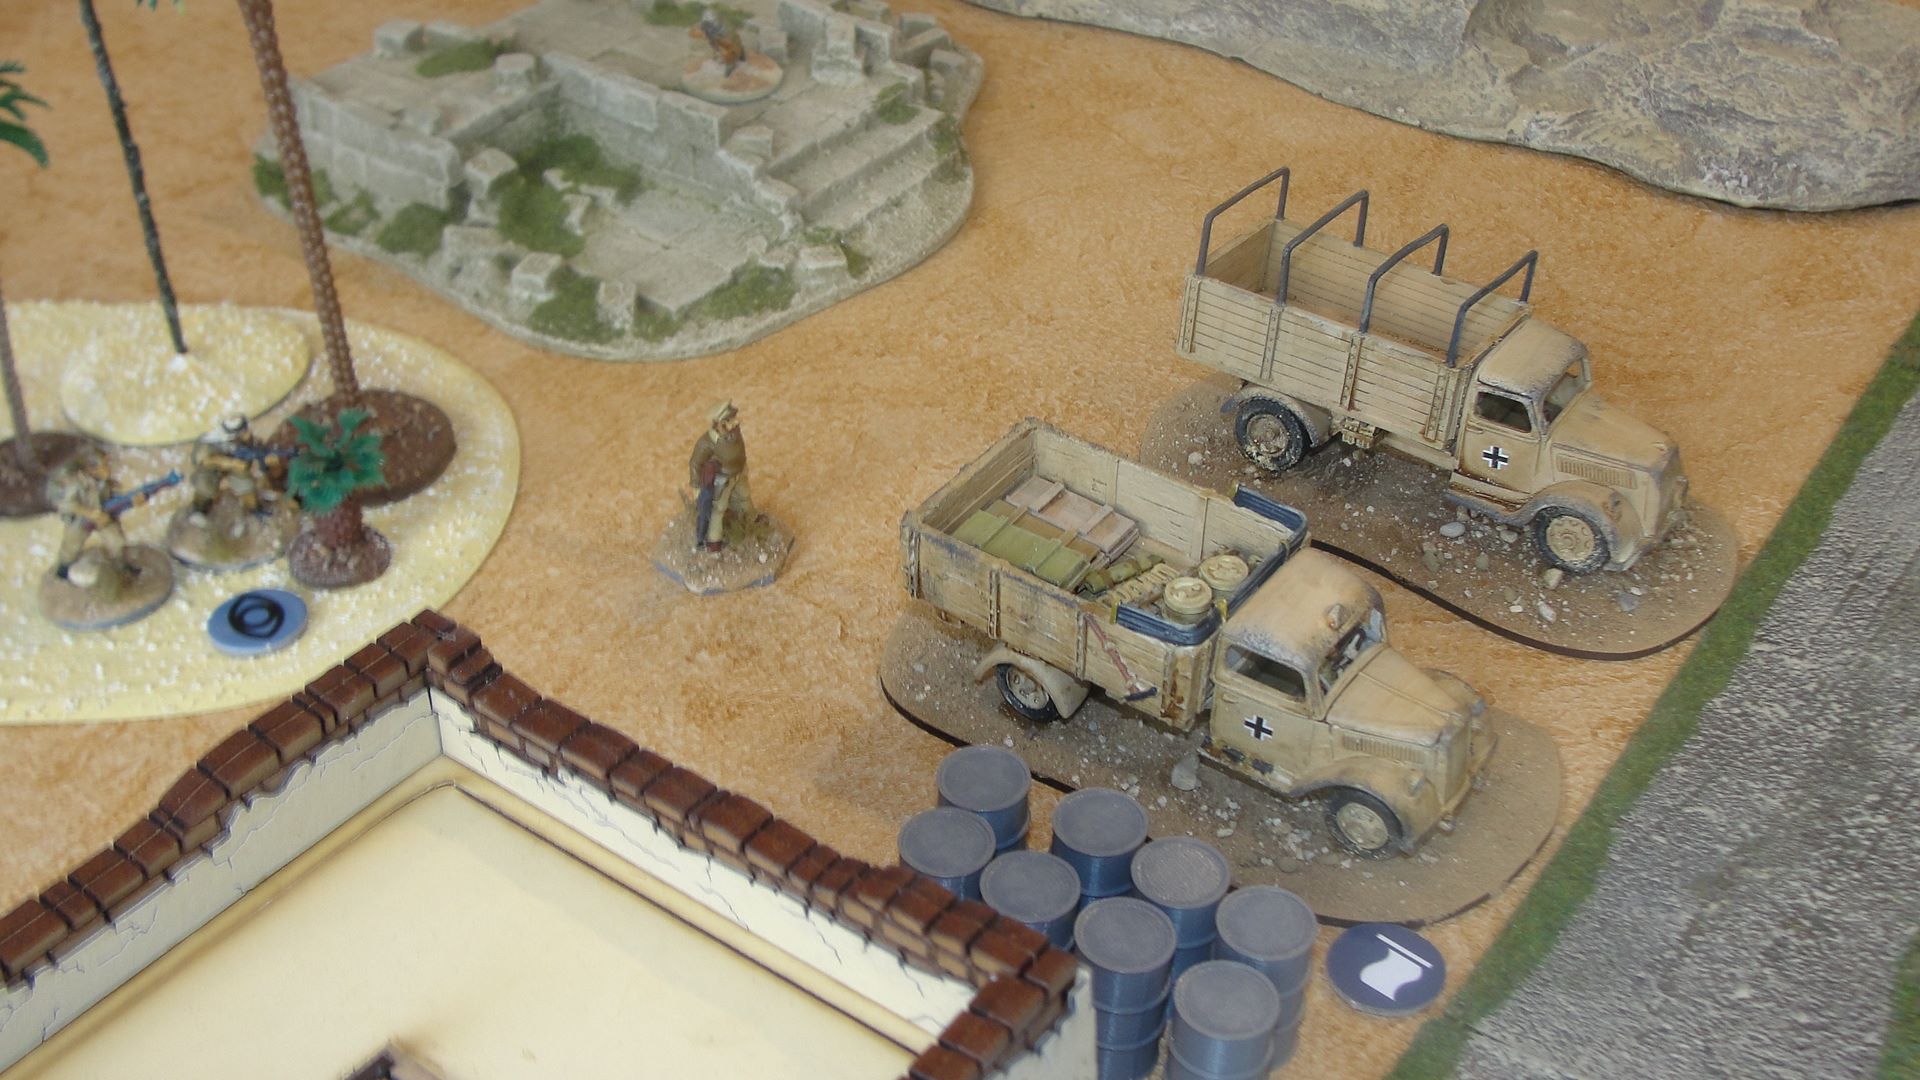
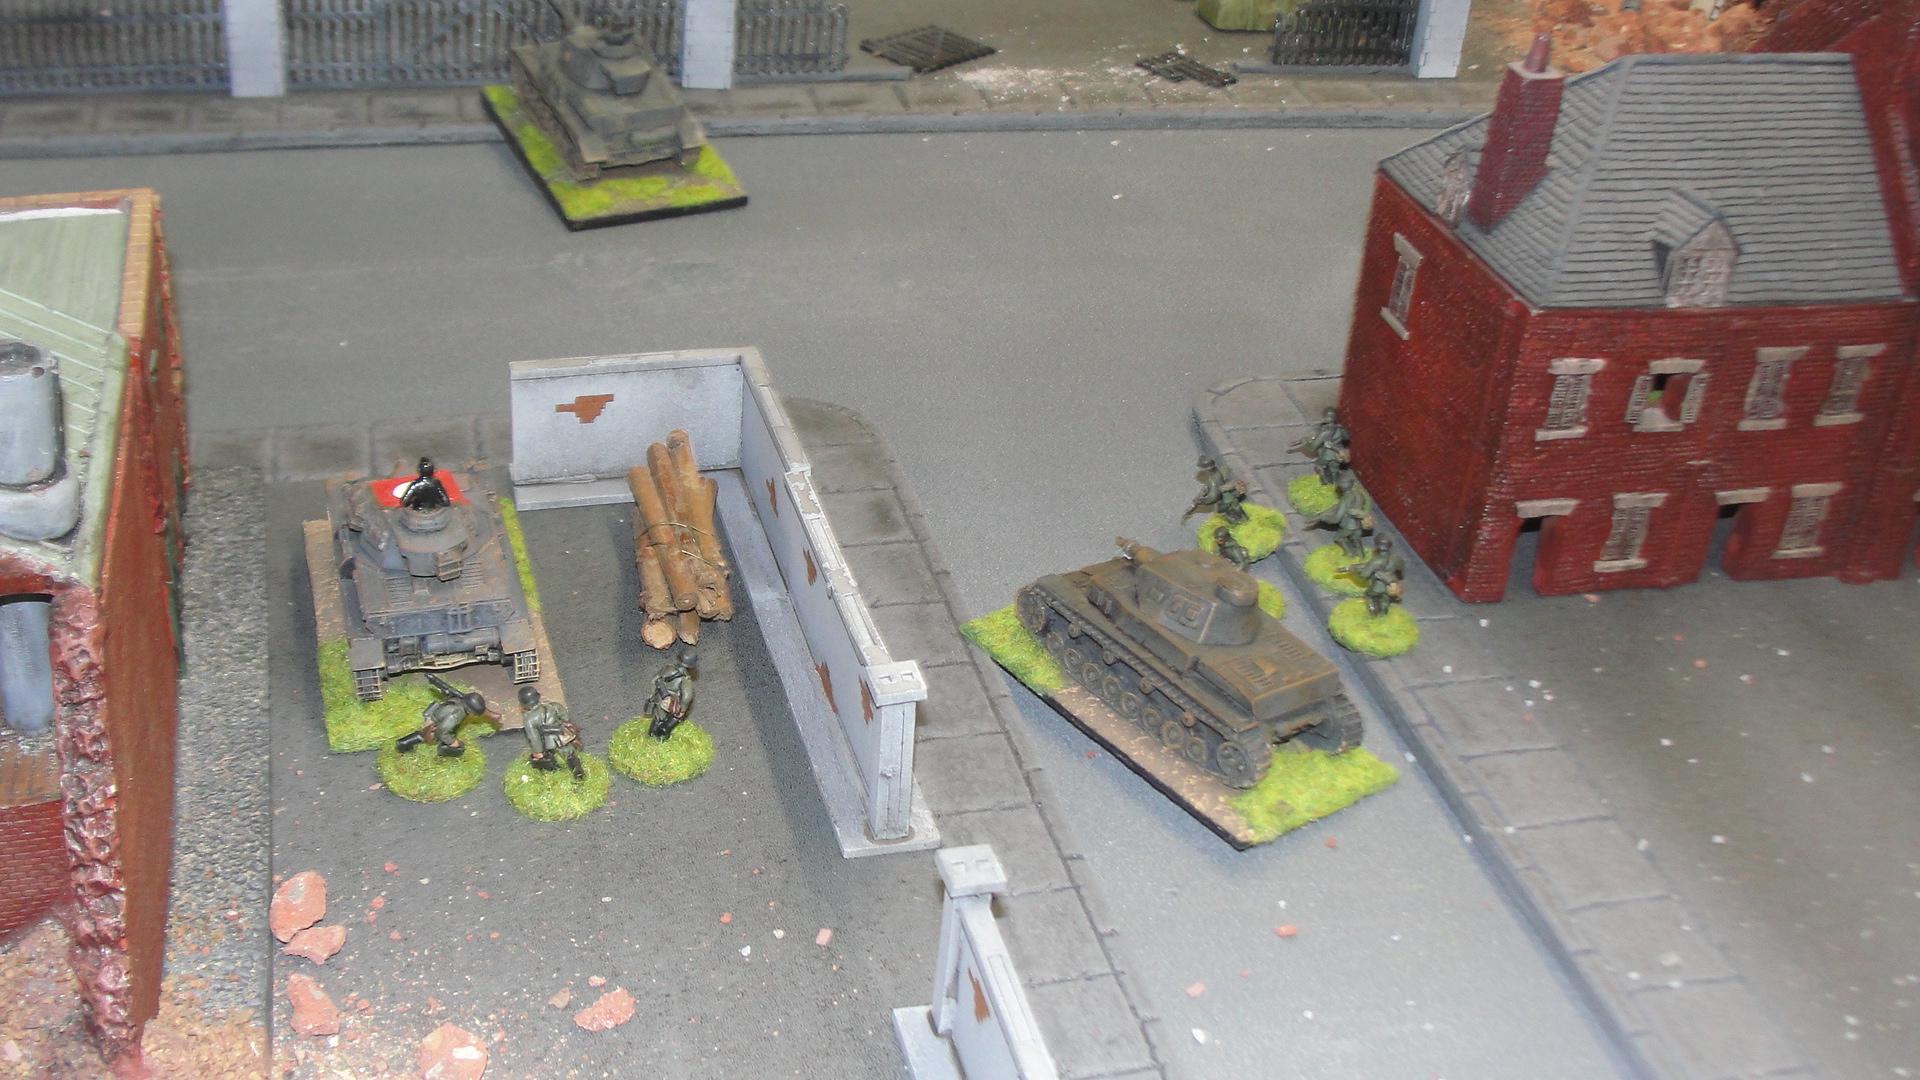
The 21st Panzer entered the field and advanced the Recce units up the road towards Escoville while the infantry and self propelled approached Longueval. Where some excellent artillery fire (I threw a 6) hit destroyed the approaching transport and killed several of the passengers.
The Recce unit did not come off any better as artillery supporting the Ox and Bucks destroyed one of there half tracks.
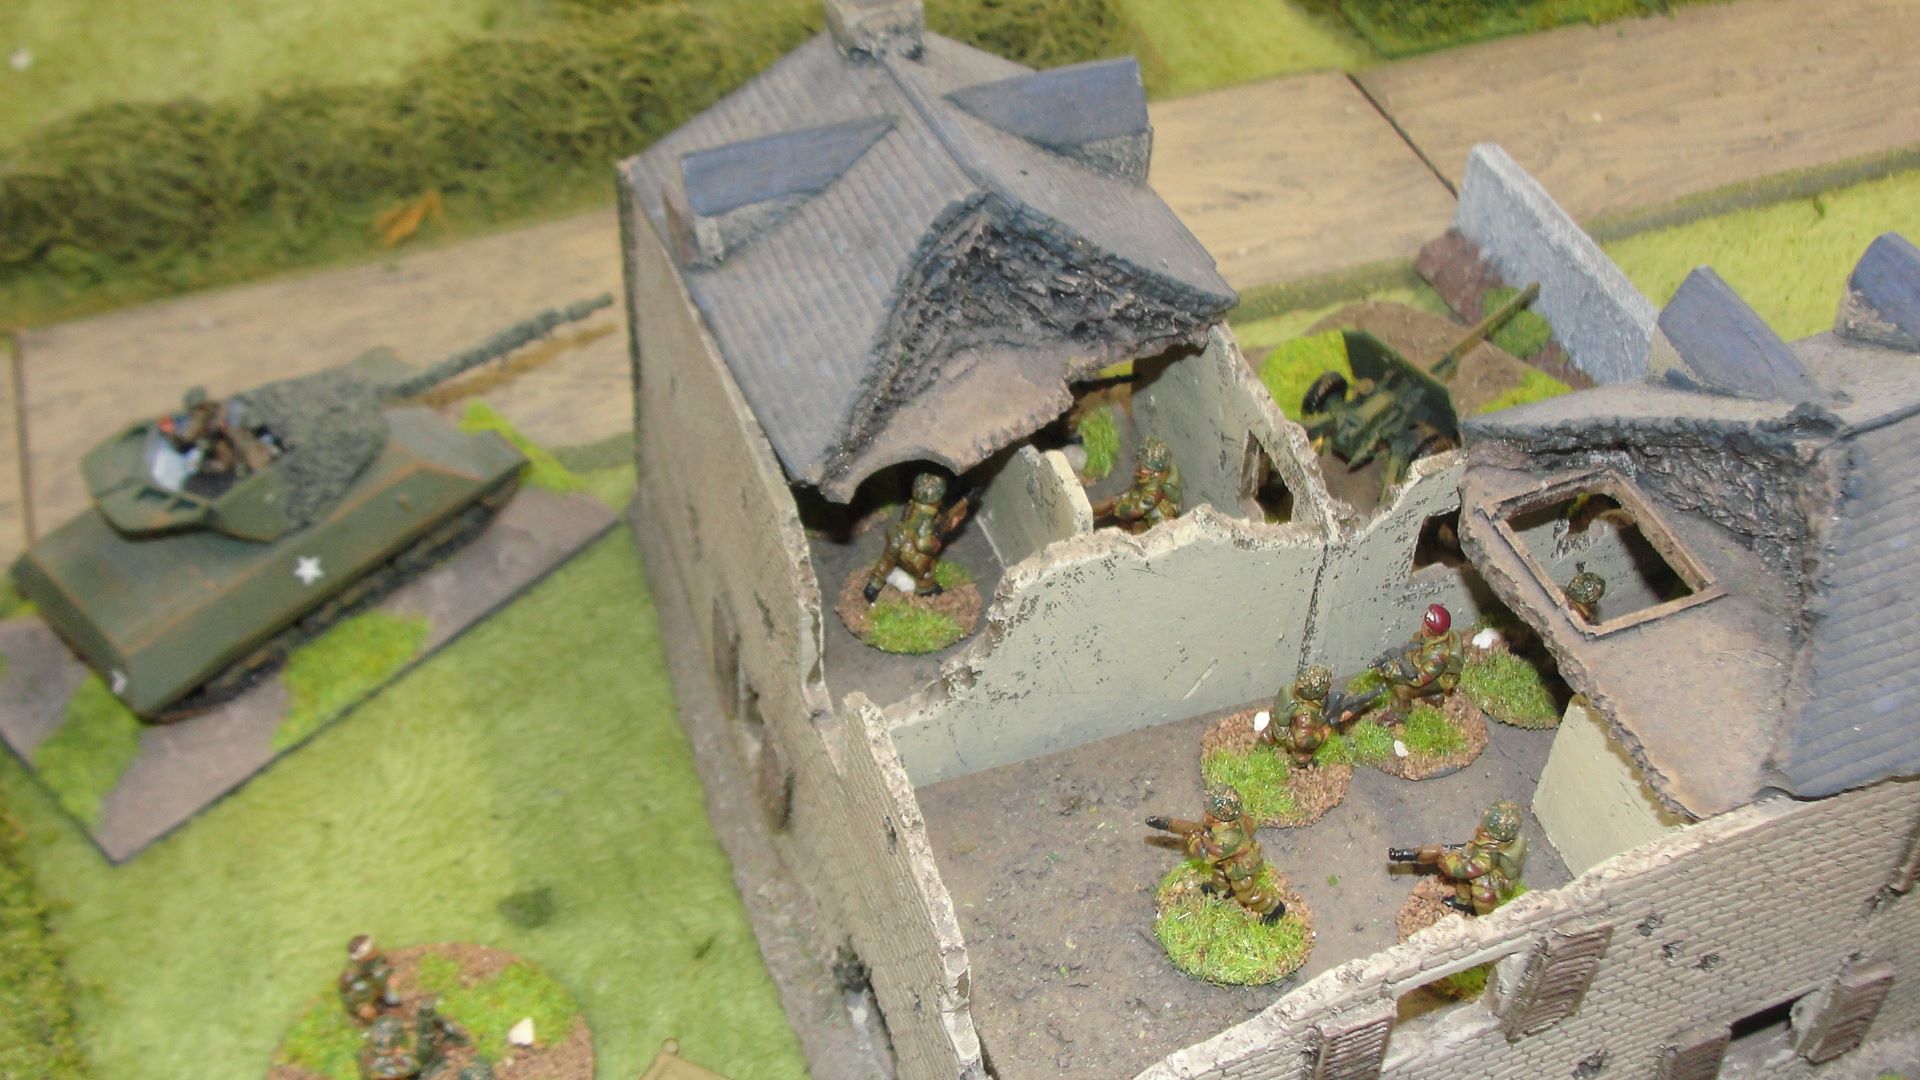
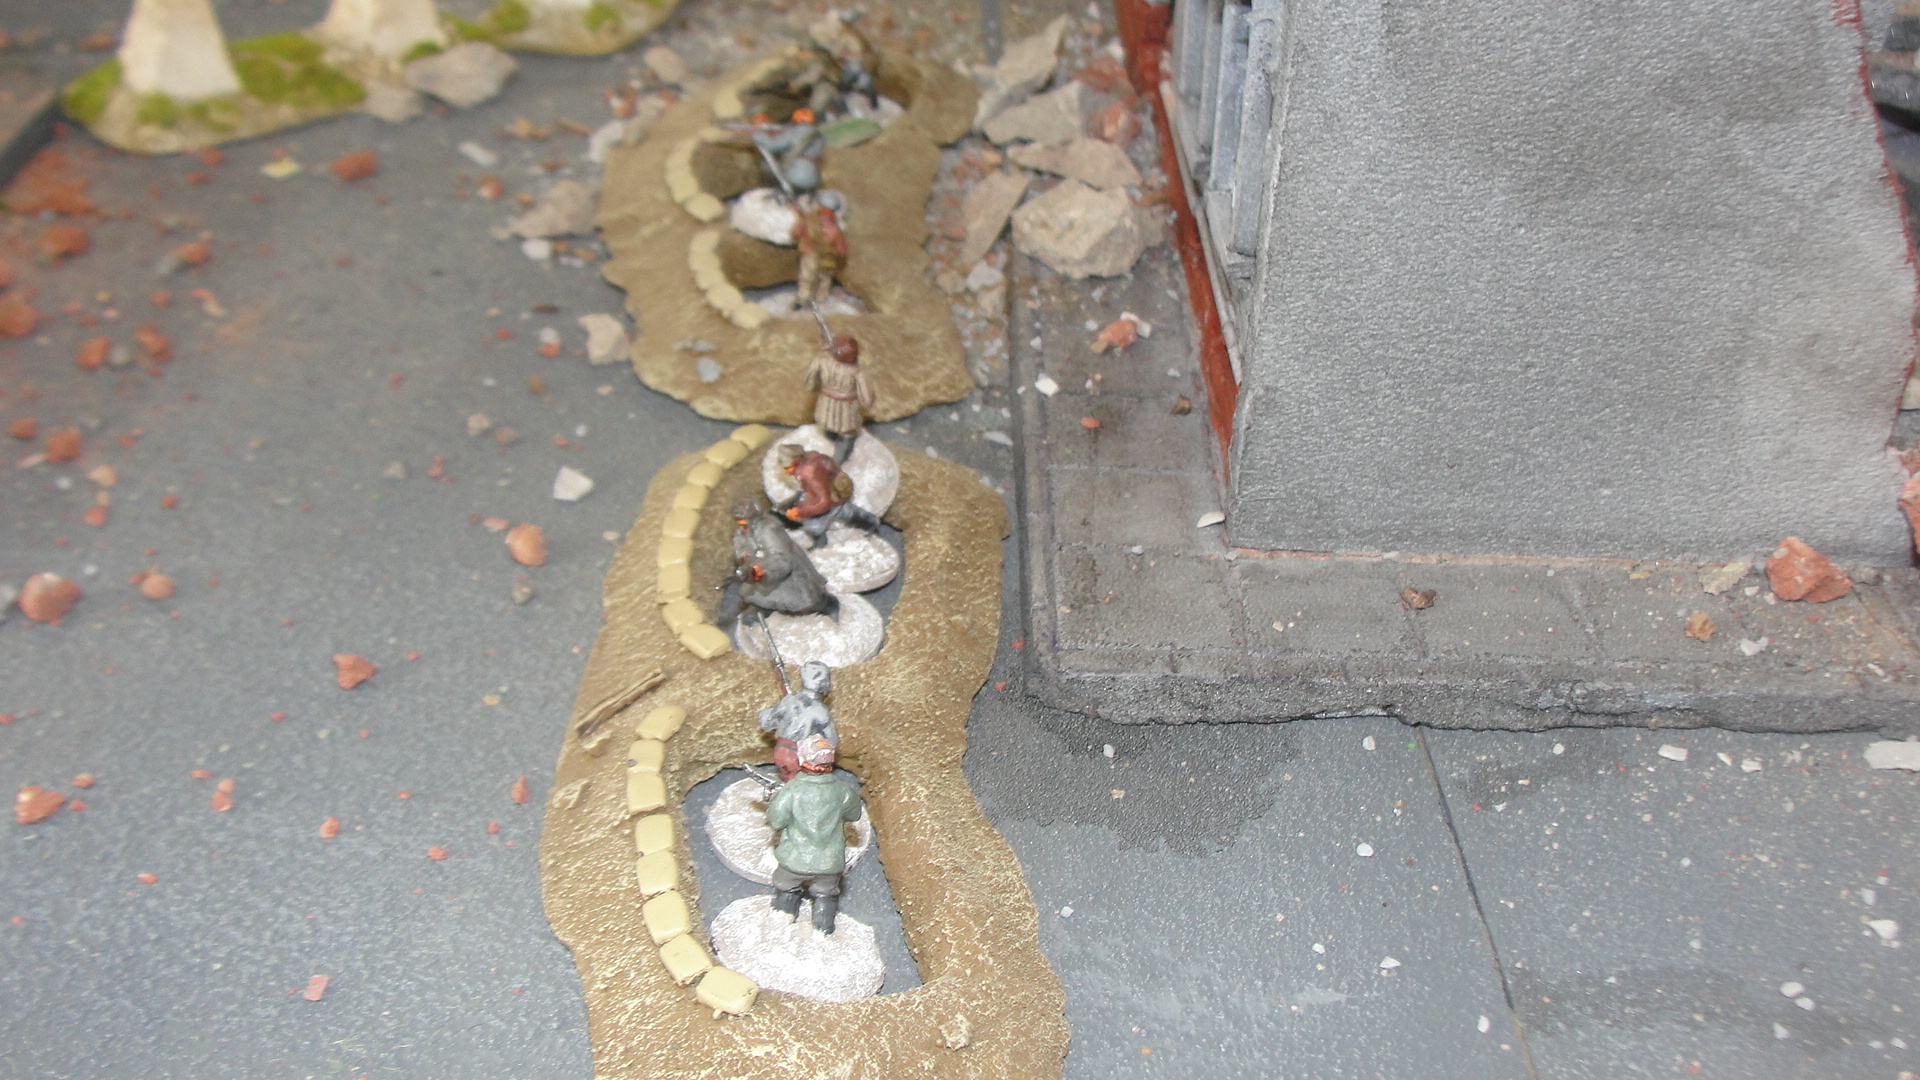
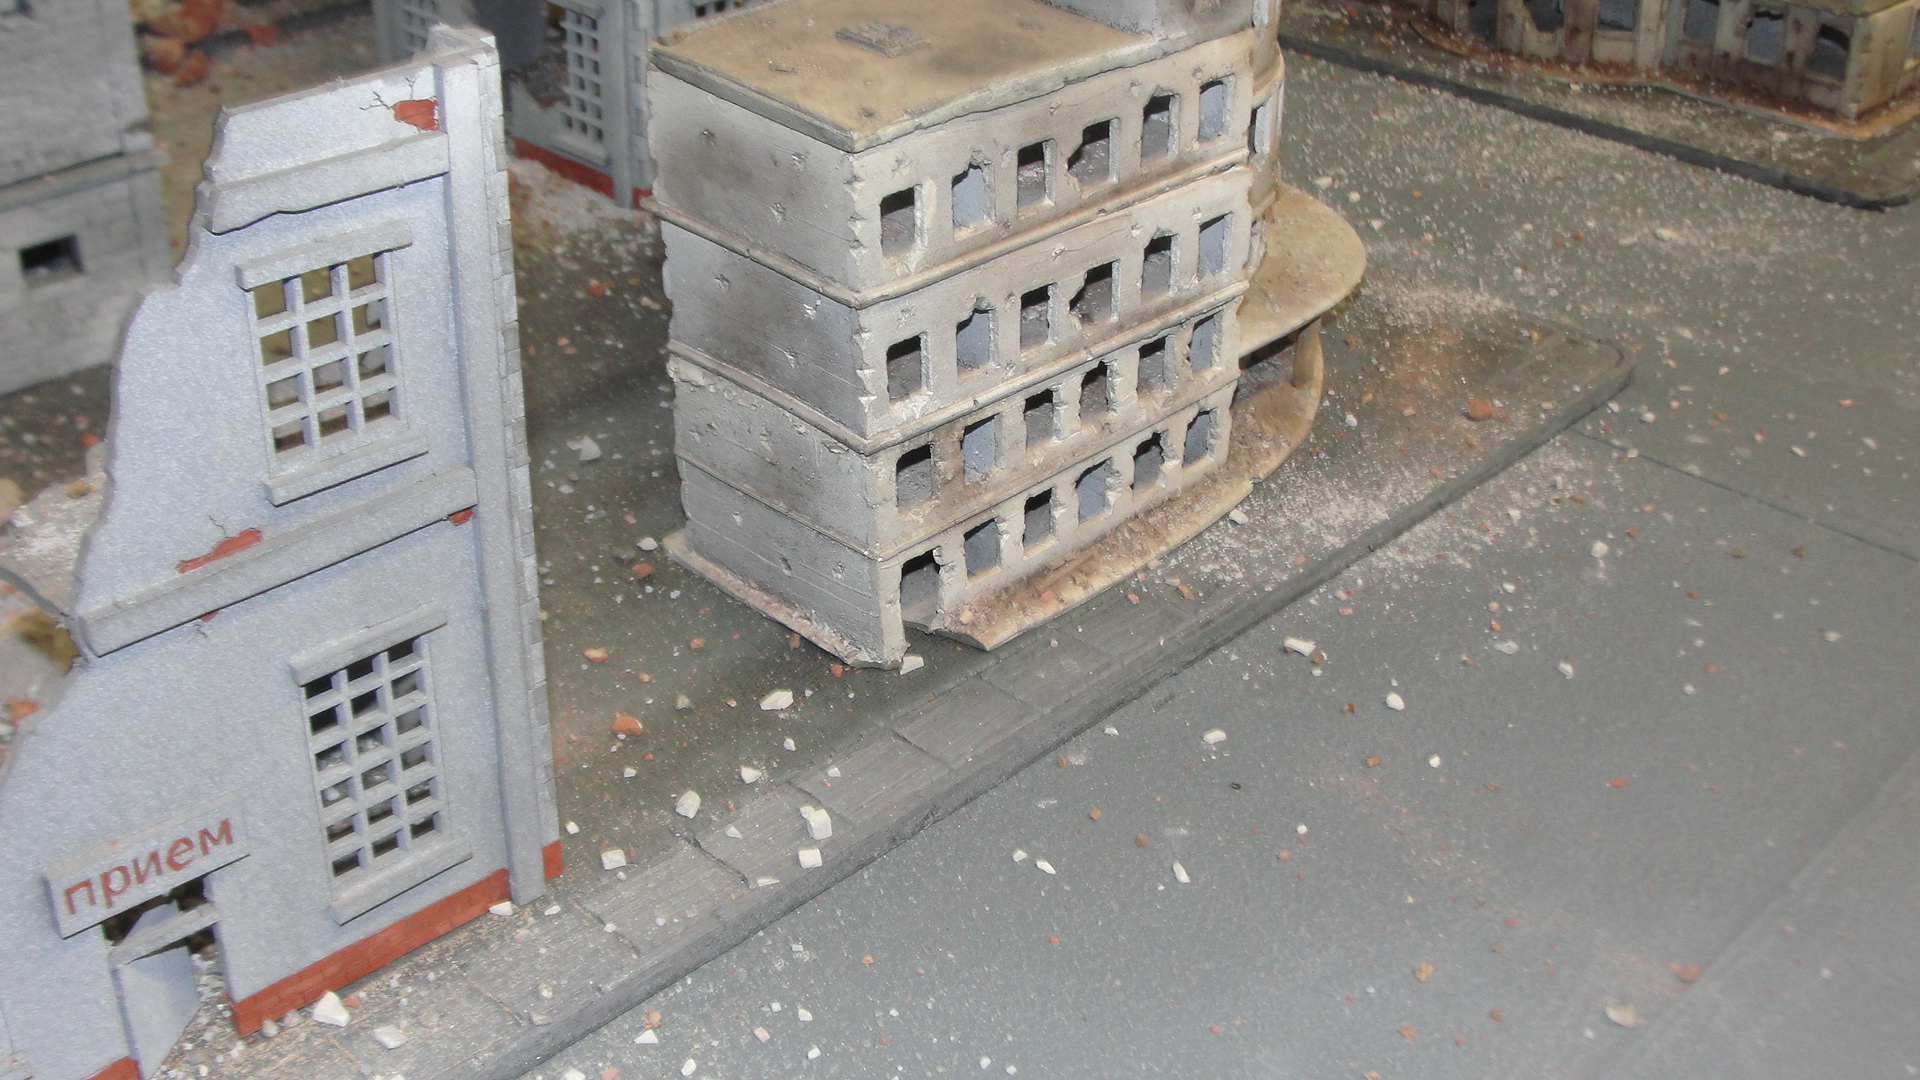
At Longueval a serious firefight was developing with artillery destroying more vehicles and both sides infantry taking casualties. The RUR were feeling particularly picked on as the amount of high explosive fire hitting the front buildings reducing them to rubble.
More and more German forces were being deployed against Longueval trying to dig out the RUR. After taking heavy casualties the defenders were forced to take a morale test which they passed and the fighting continued. However while the forces were concentrated in Longueval they were not focusing on their overall objective of capturing three of the villages and getting forces off the board.

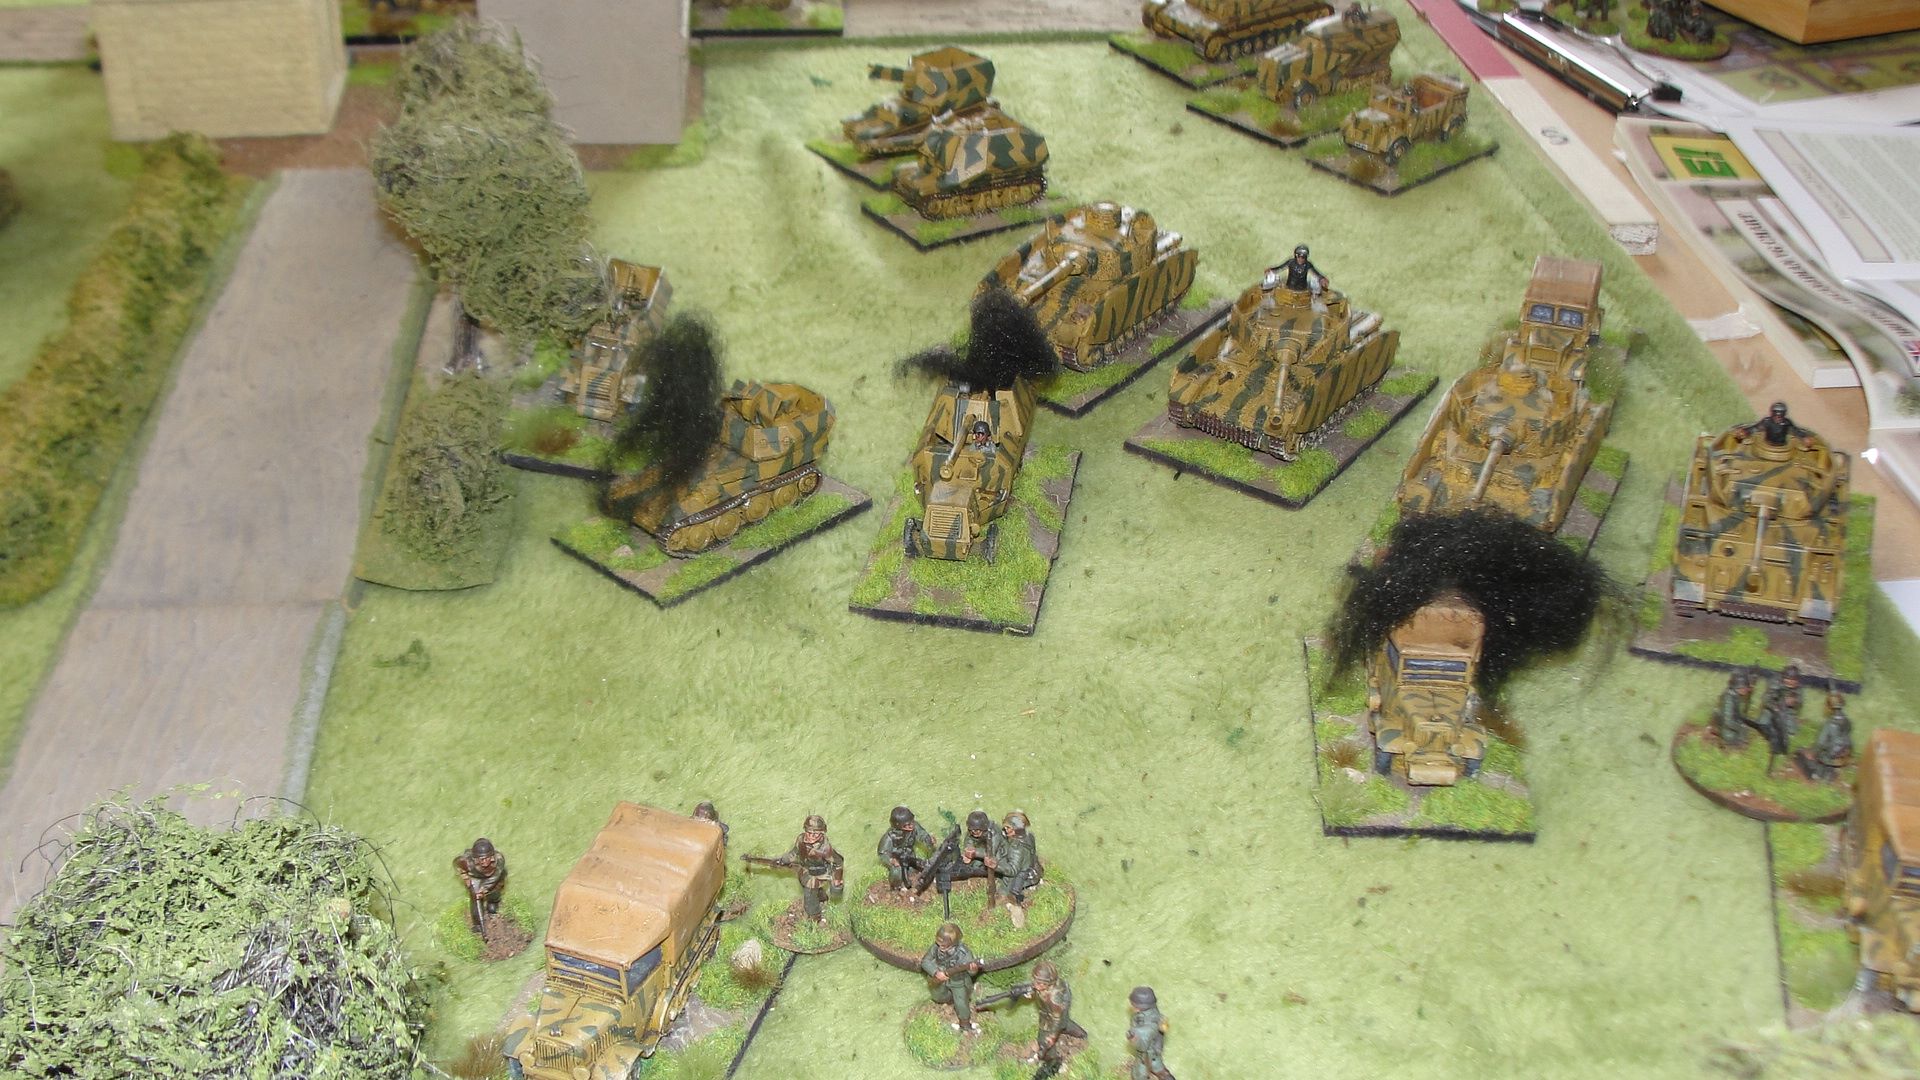
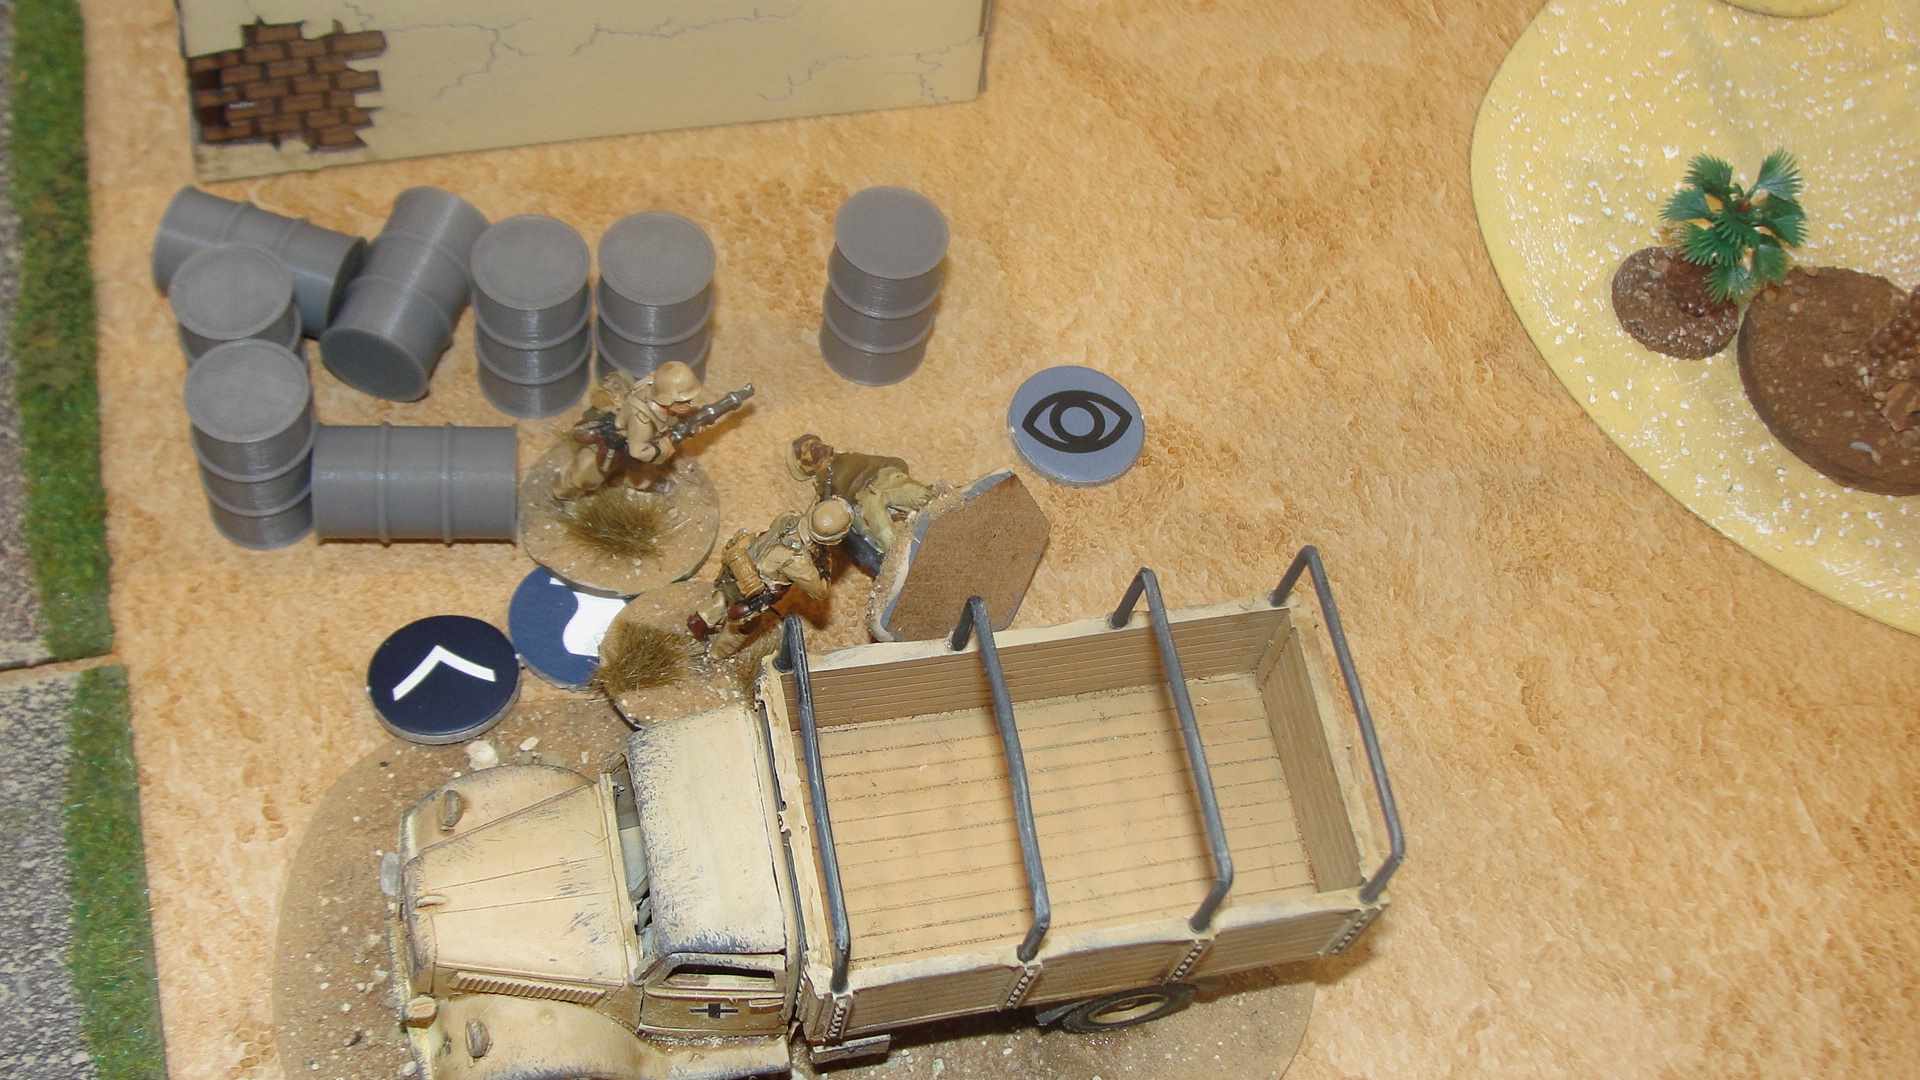
Pushing past the destroyed building a Pzkw IV pocked its nose into the village but was destroyed by a PIAT (I threw another 6). The german infantry had also taken enough casualties by this time that they needed to take a morale test which they failed and quit the field leaving their armour a bit stranded.
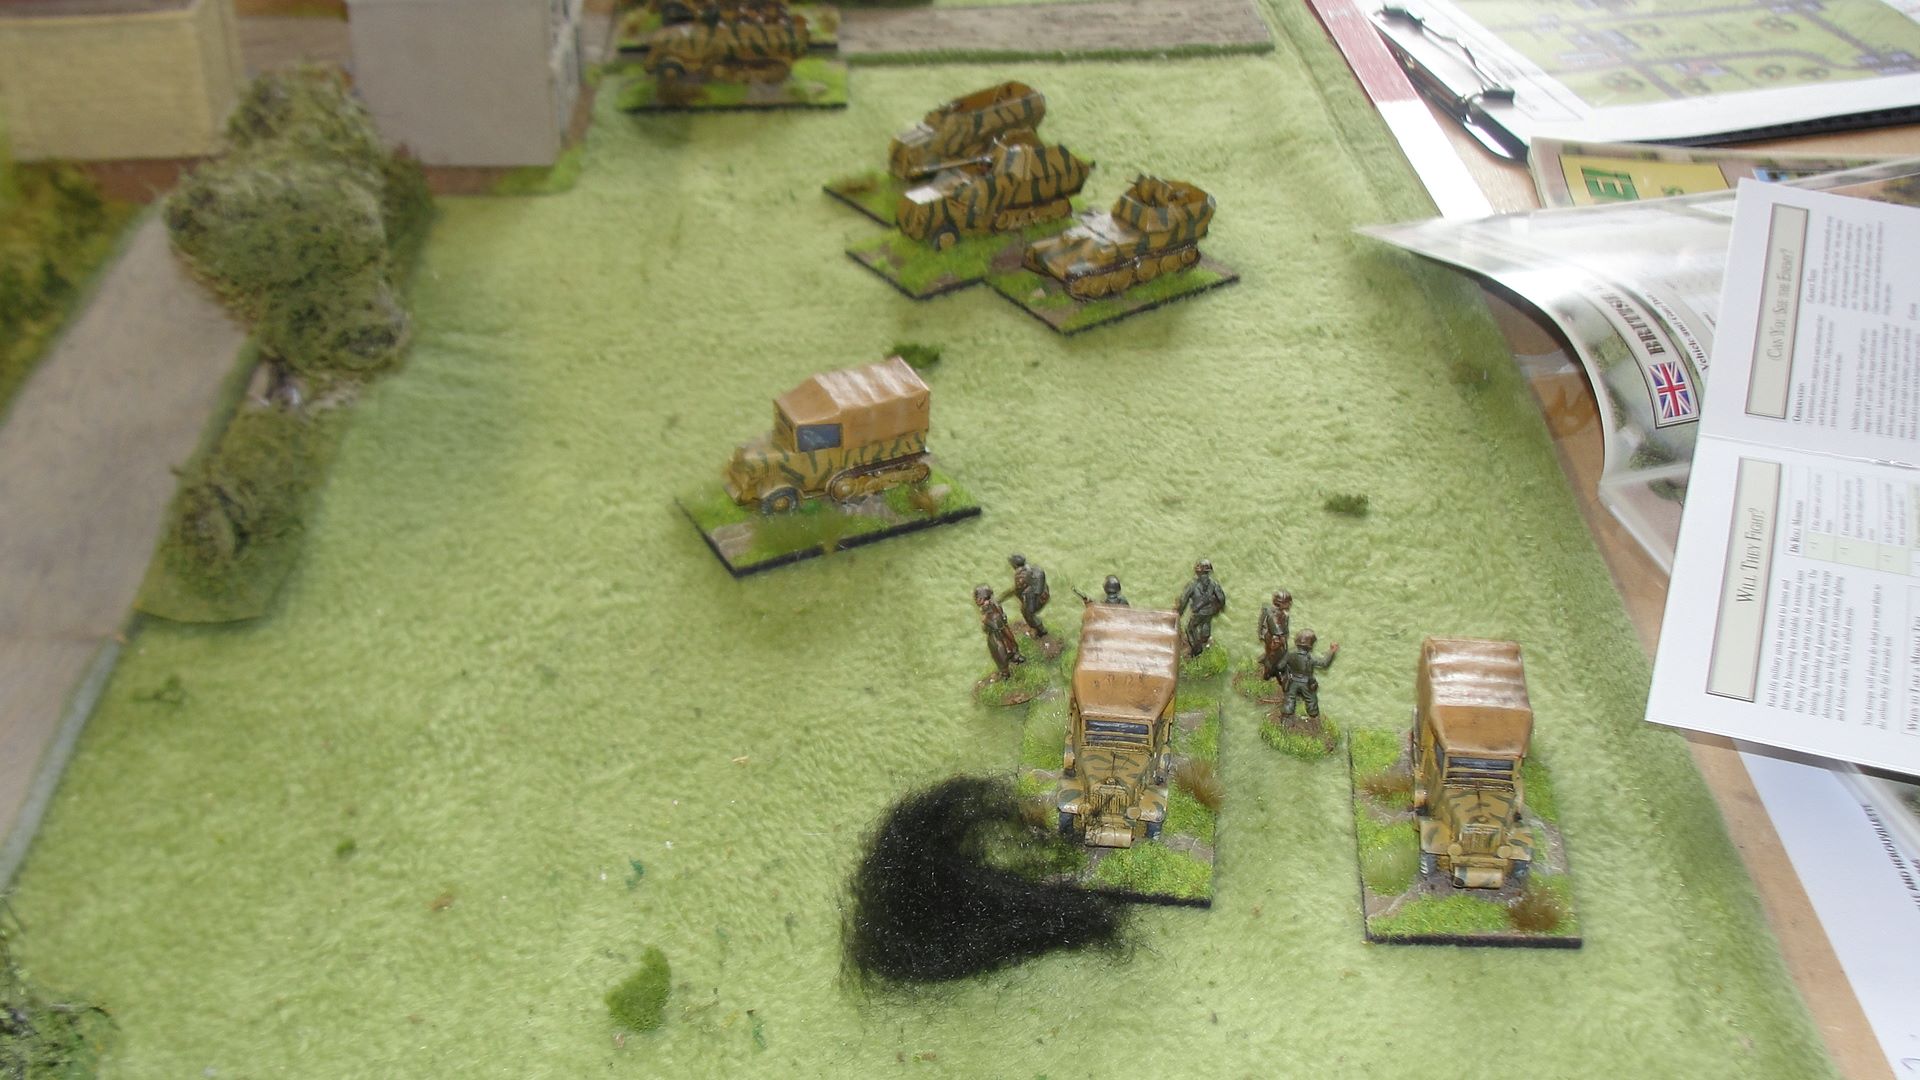
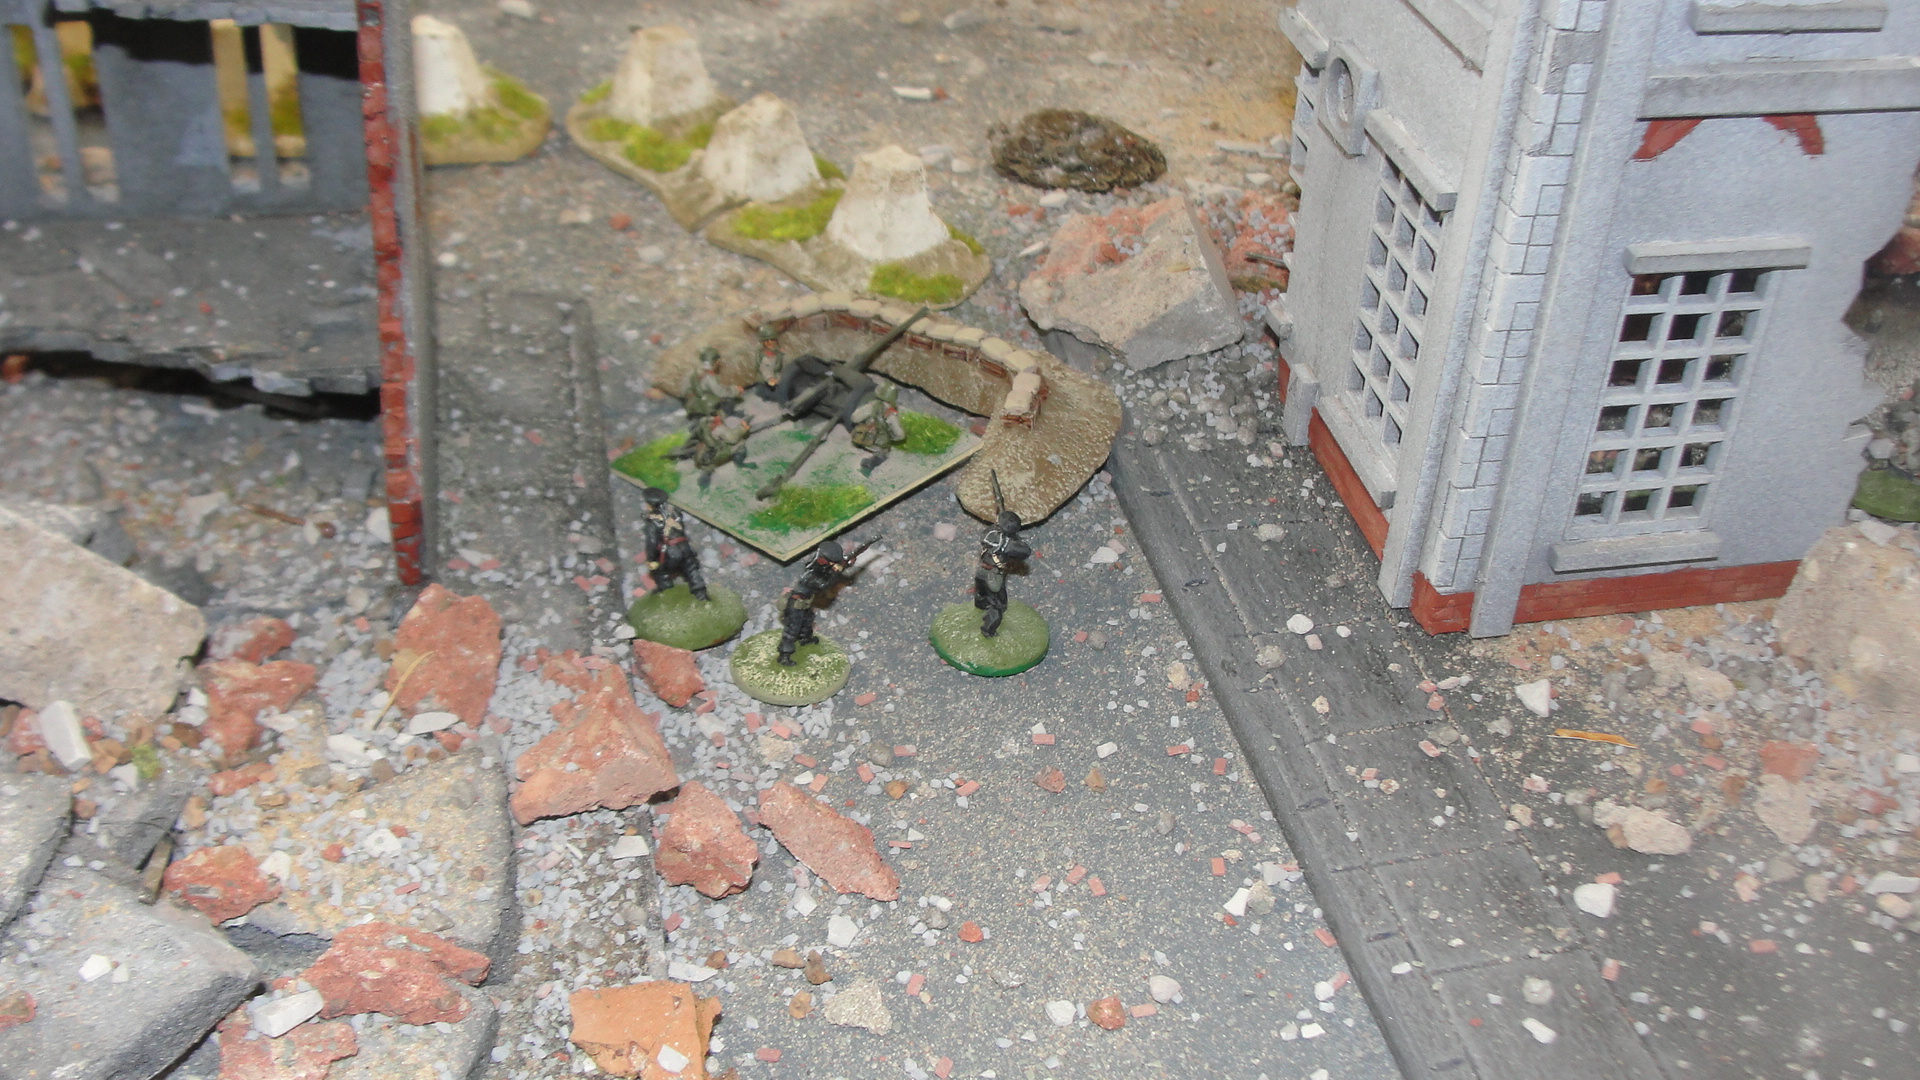
On the German right flank and the centre the German advance was still progressing but a halftrack approached a hedge and got a 17pdr shot through the engine destroying the vehicle and wiping out most of its passengers.
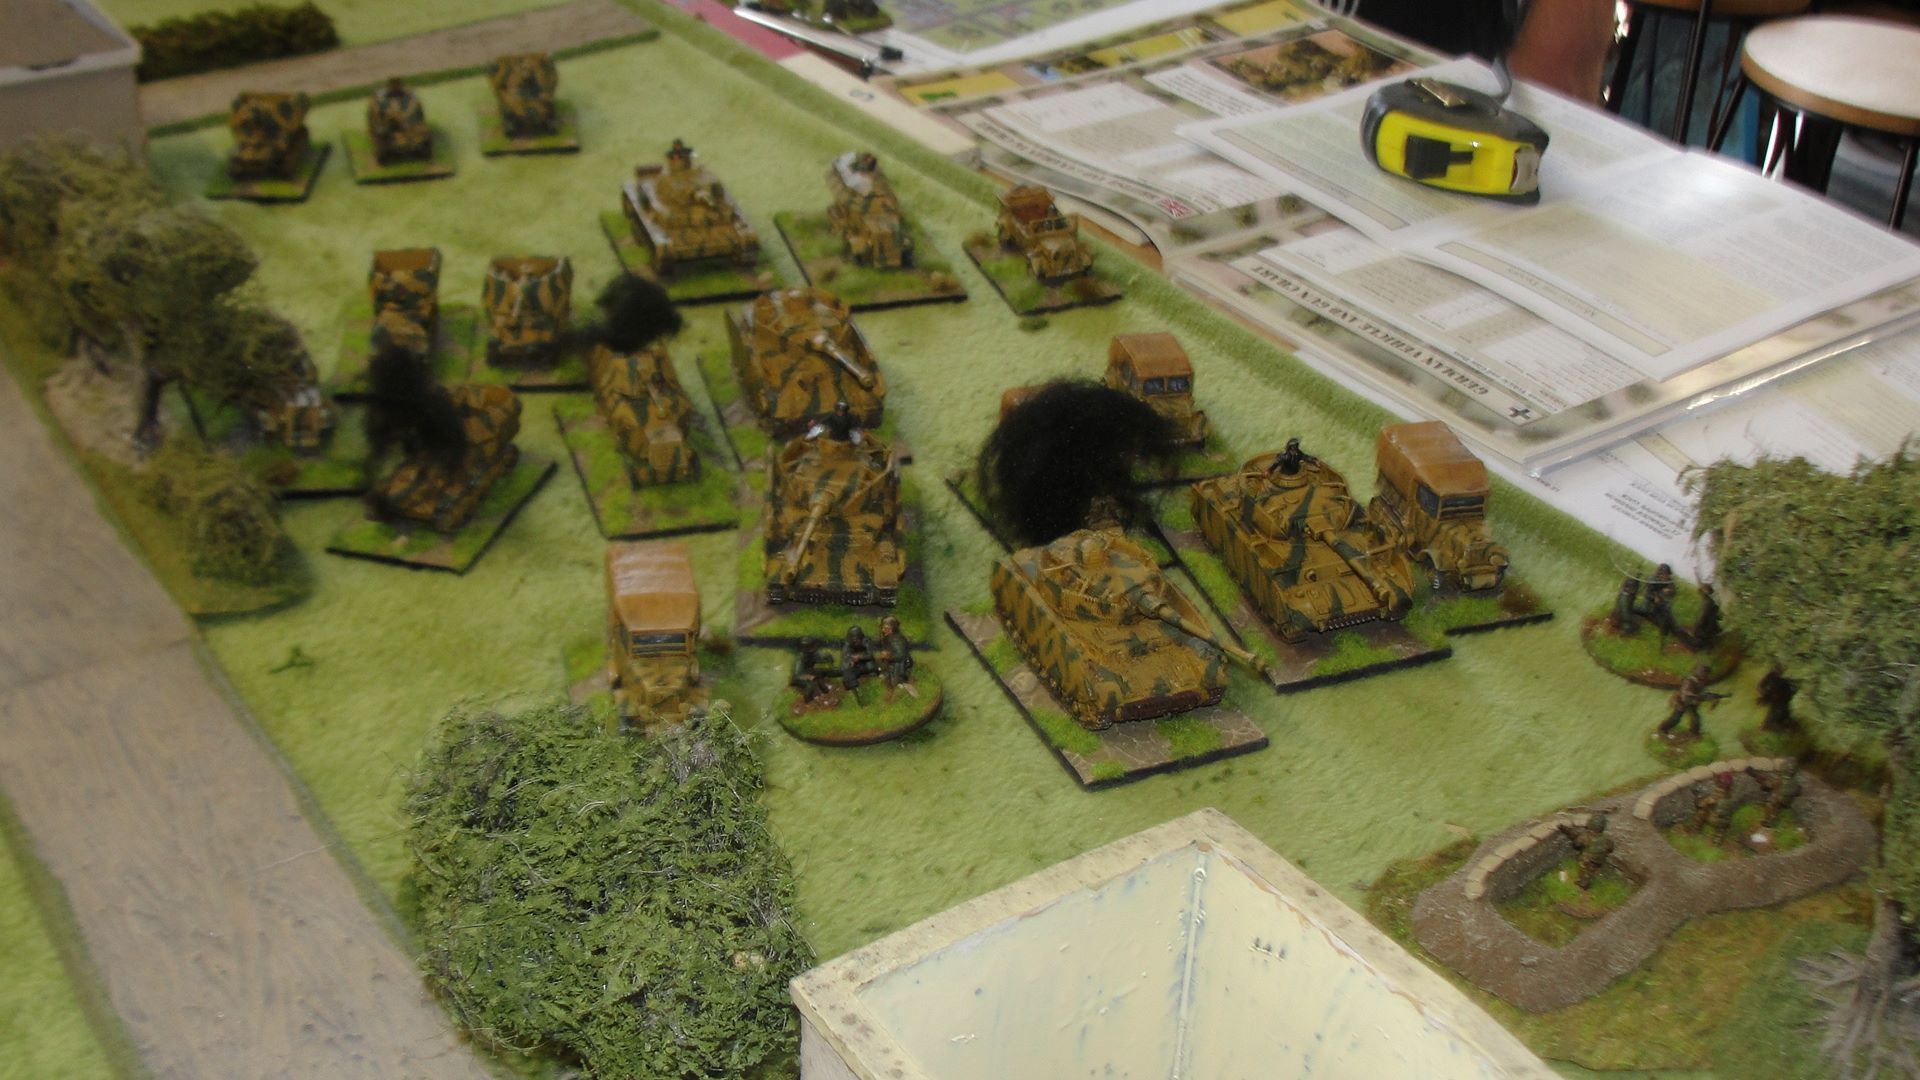
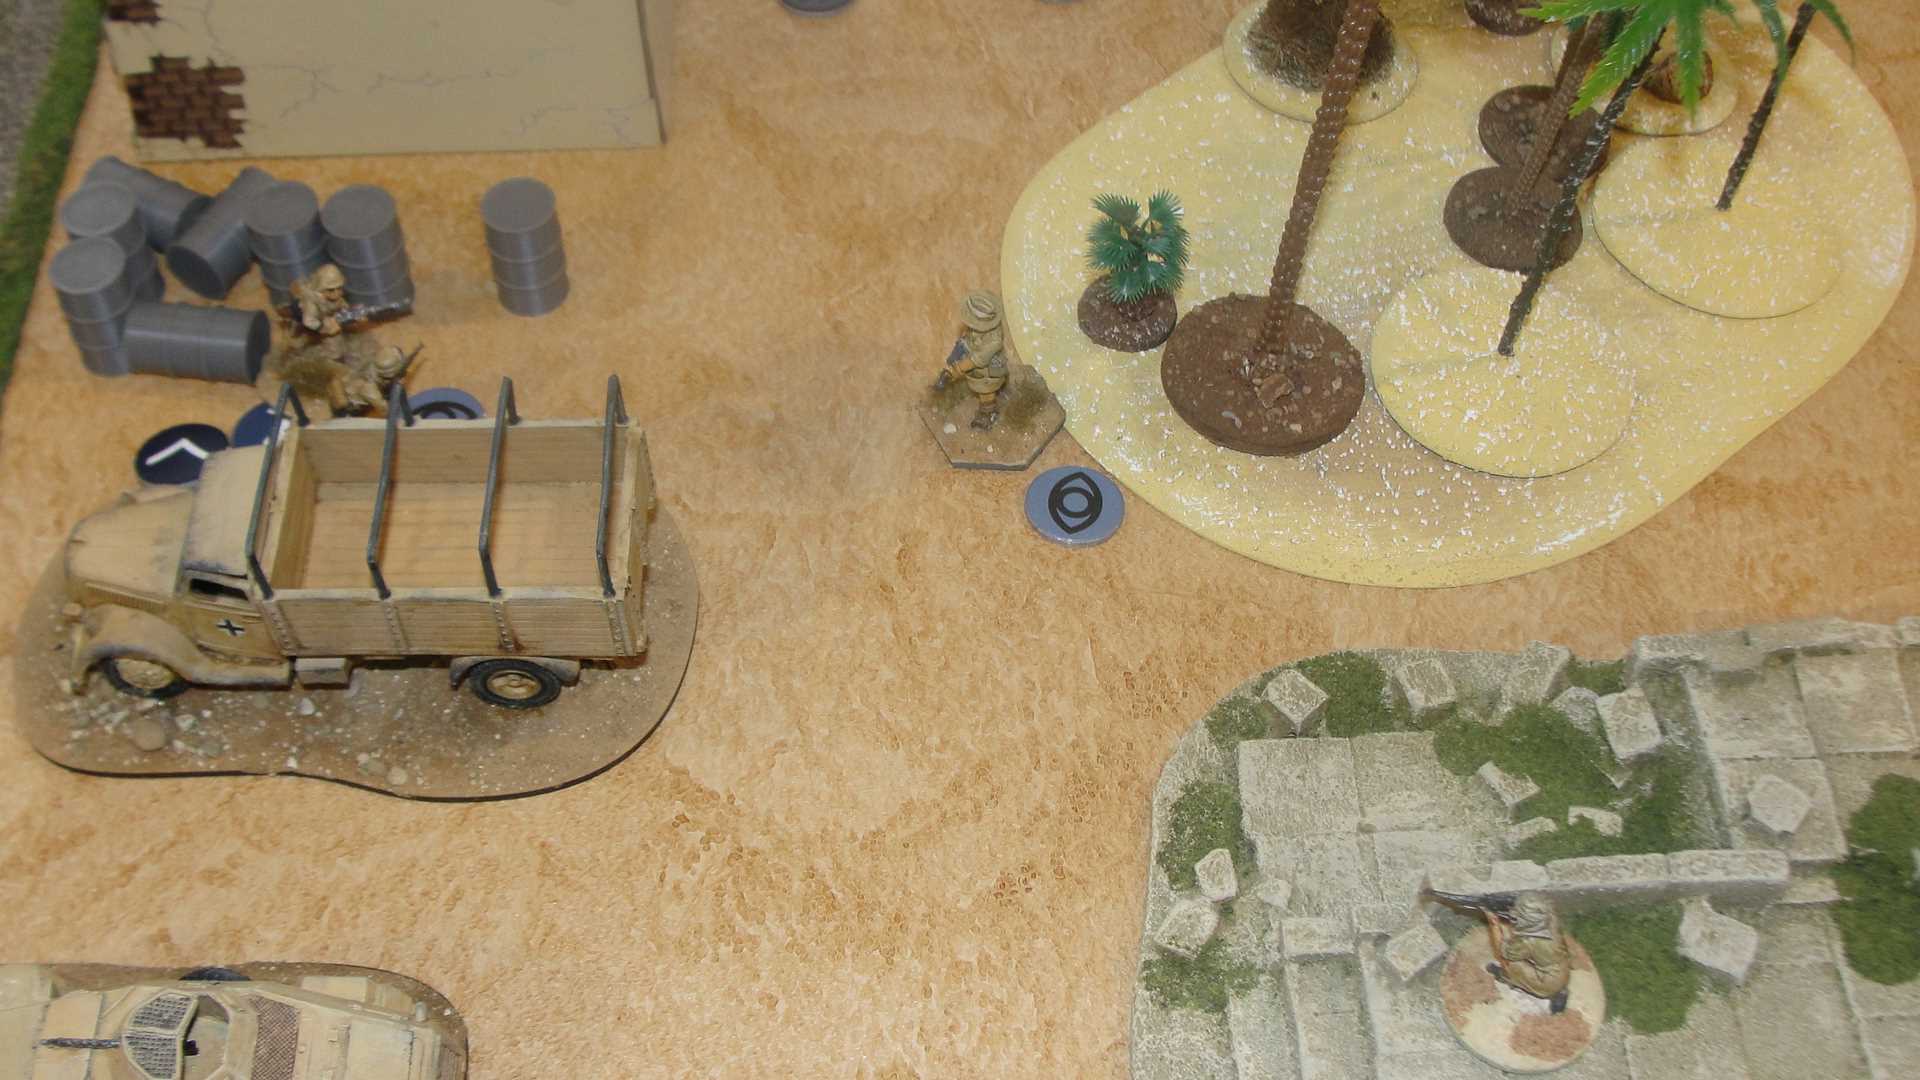
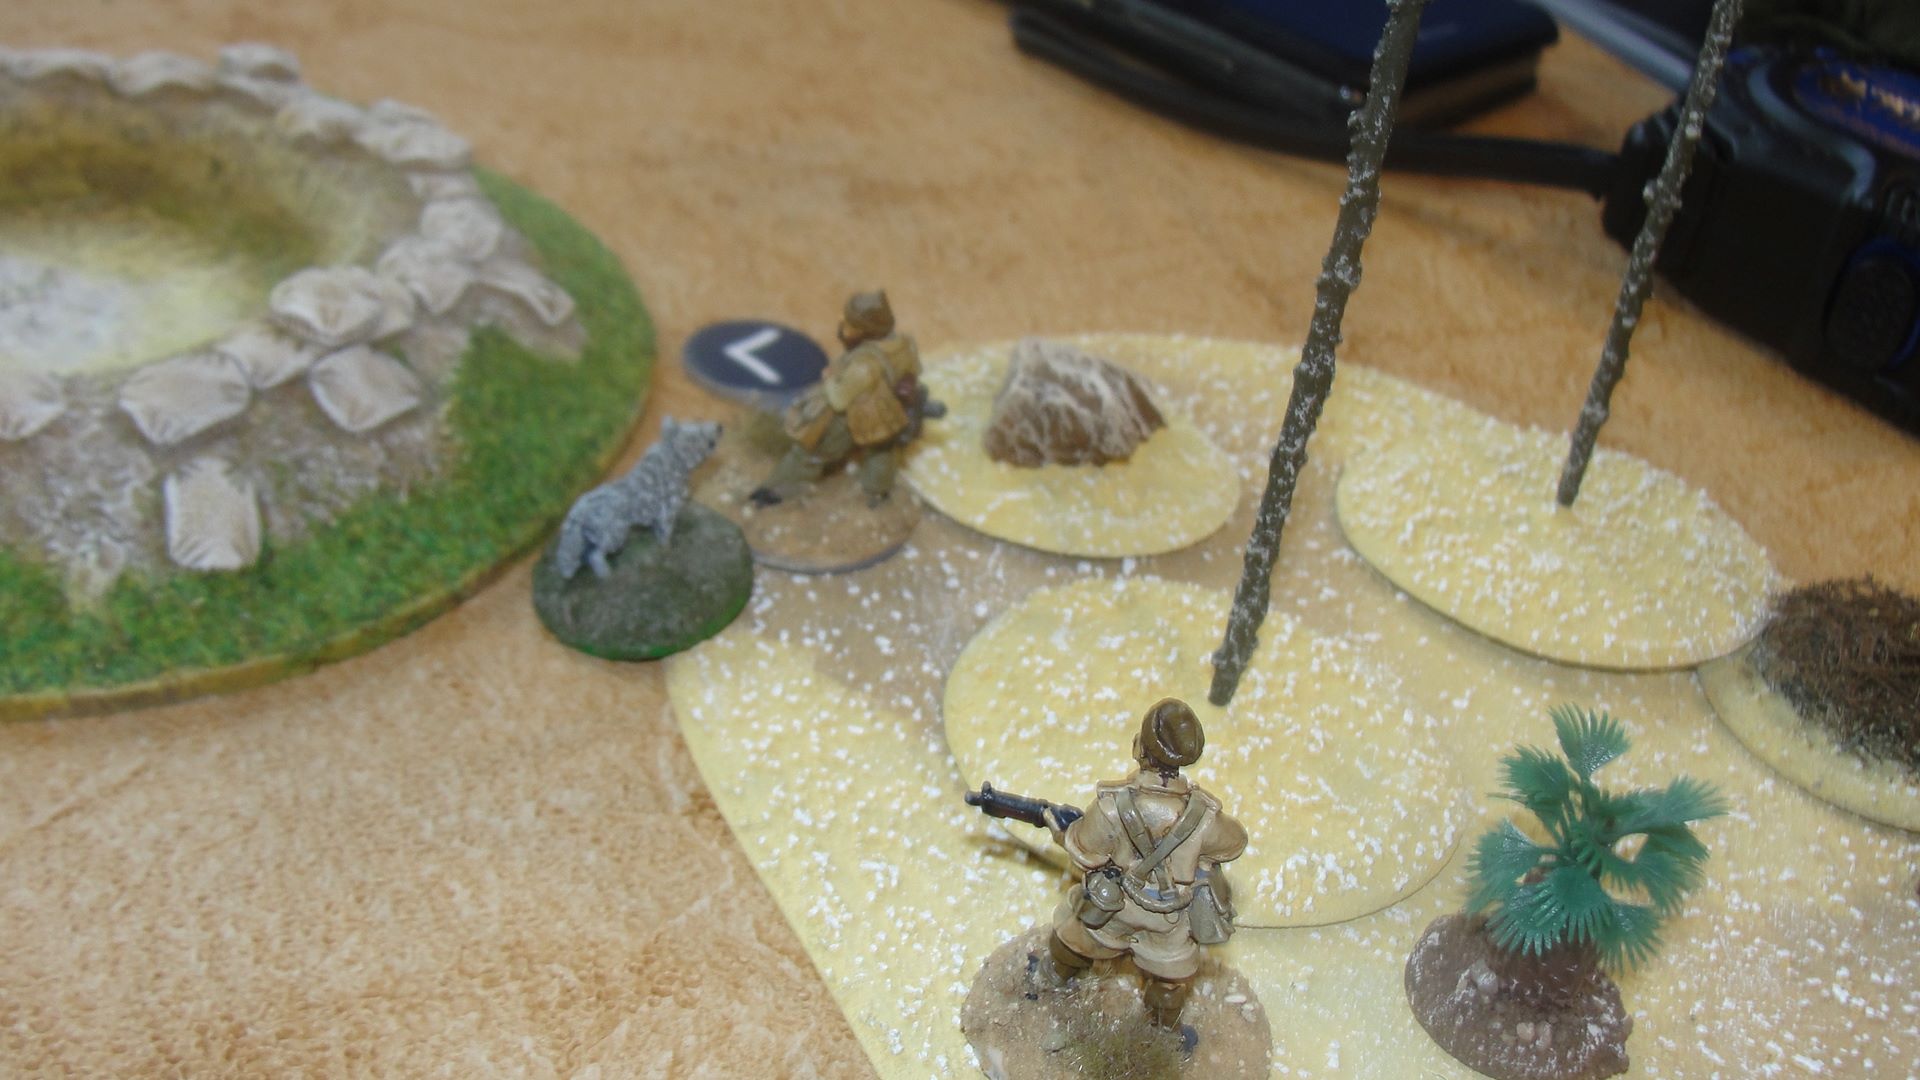
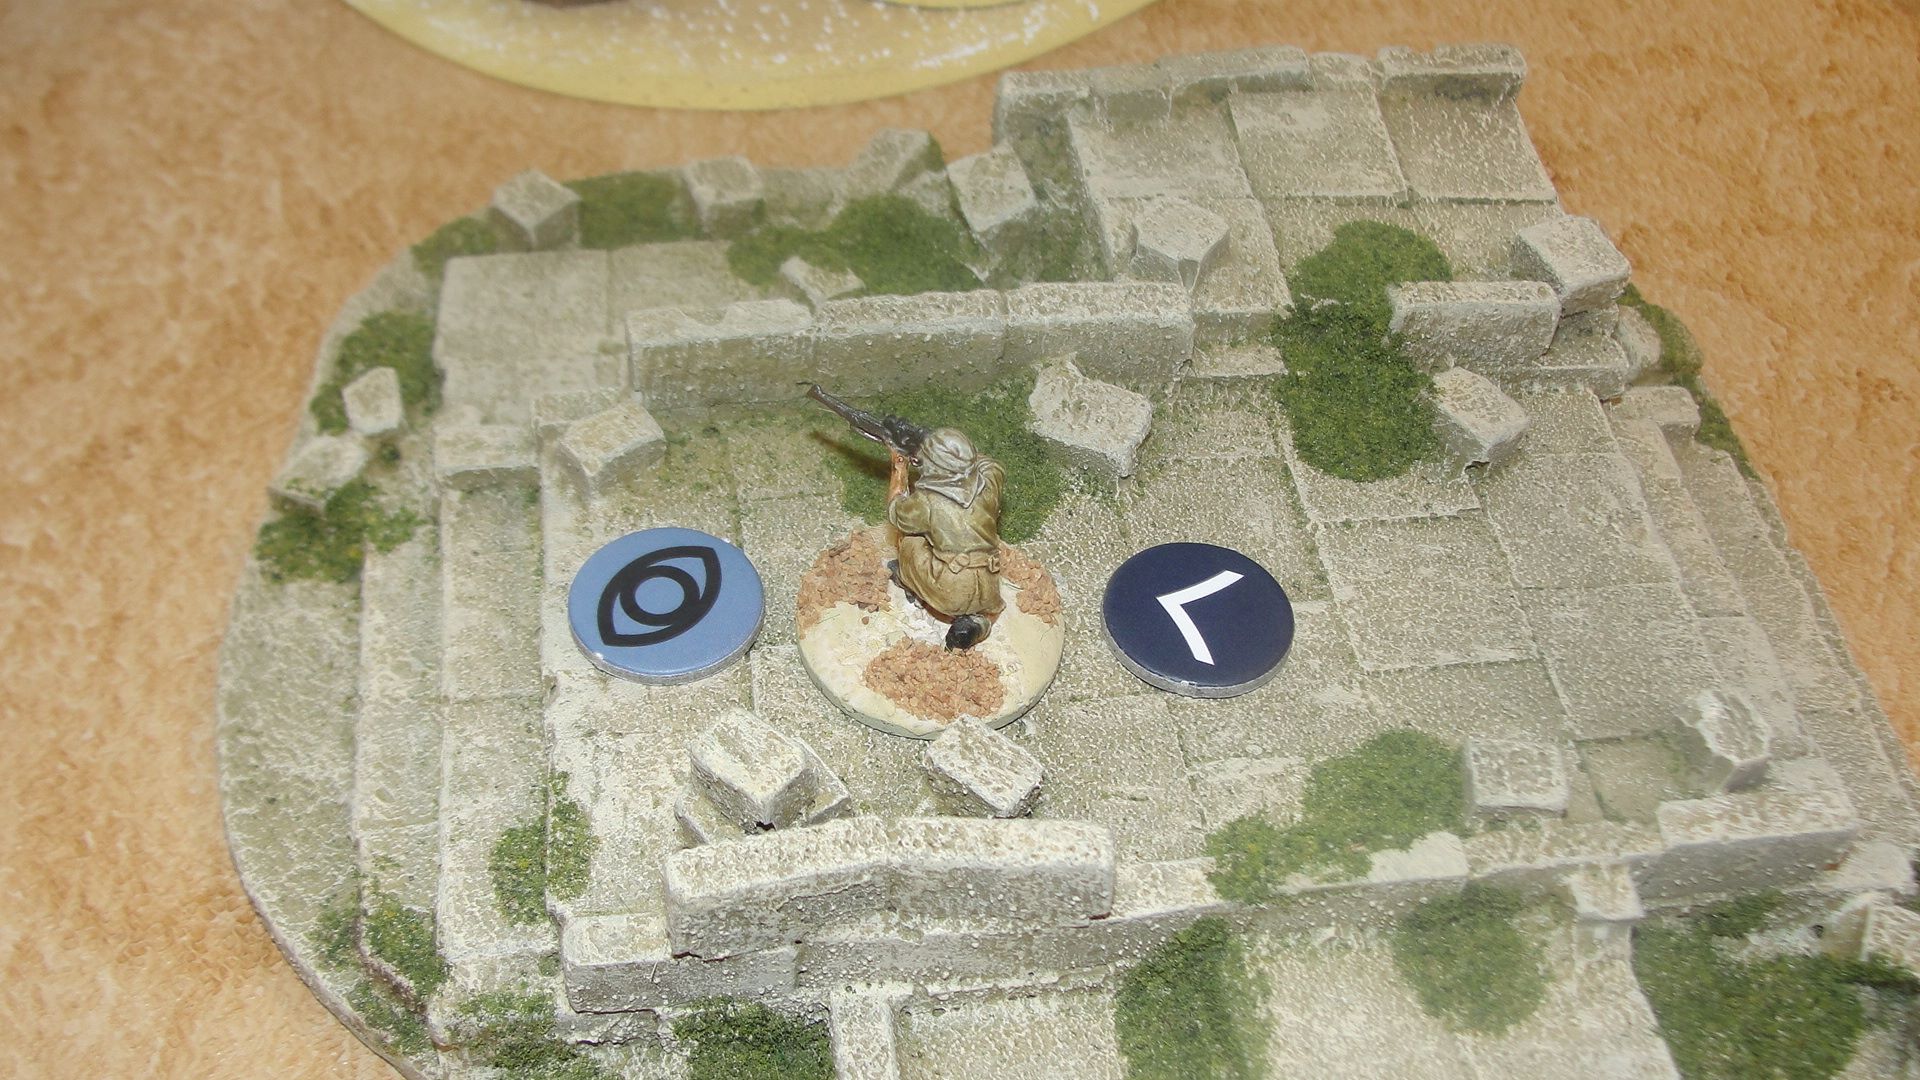
After taking losses on the road on the German right flank the Recce decided to approach through the woods and fields to attack Ranville and La Bas de Ranville. The Airlanding Brigade HQ took heavy fire from the germans in the woods attacking Ranville but just managed to survive. The armoured car approaching Le Bas de Ranville received a hit from the 17pdr but got away with just a heavy damage.
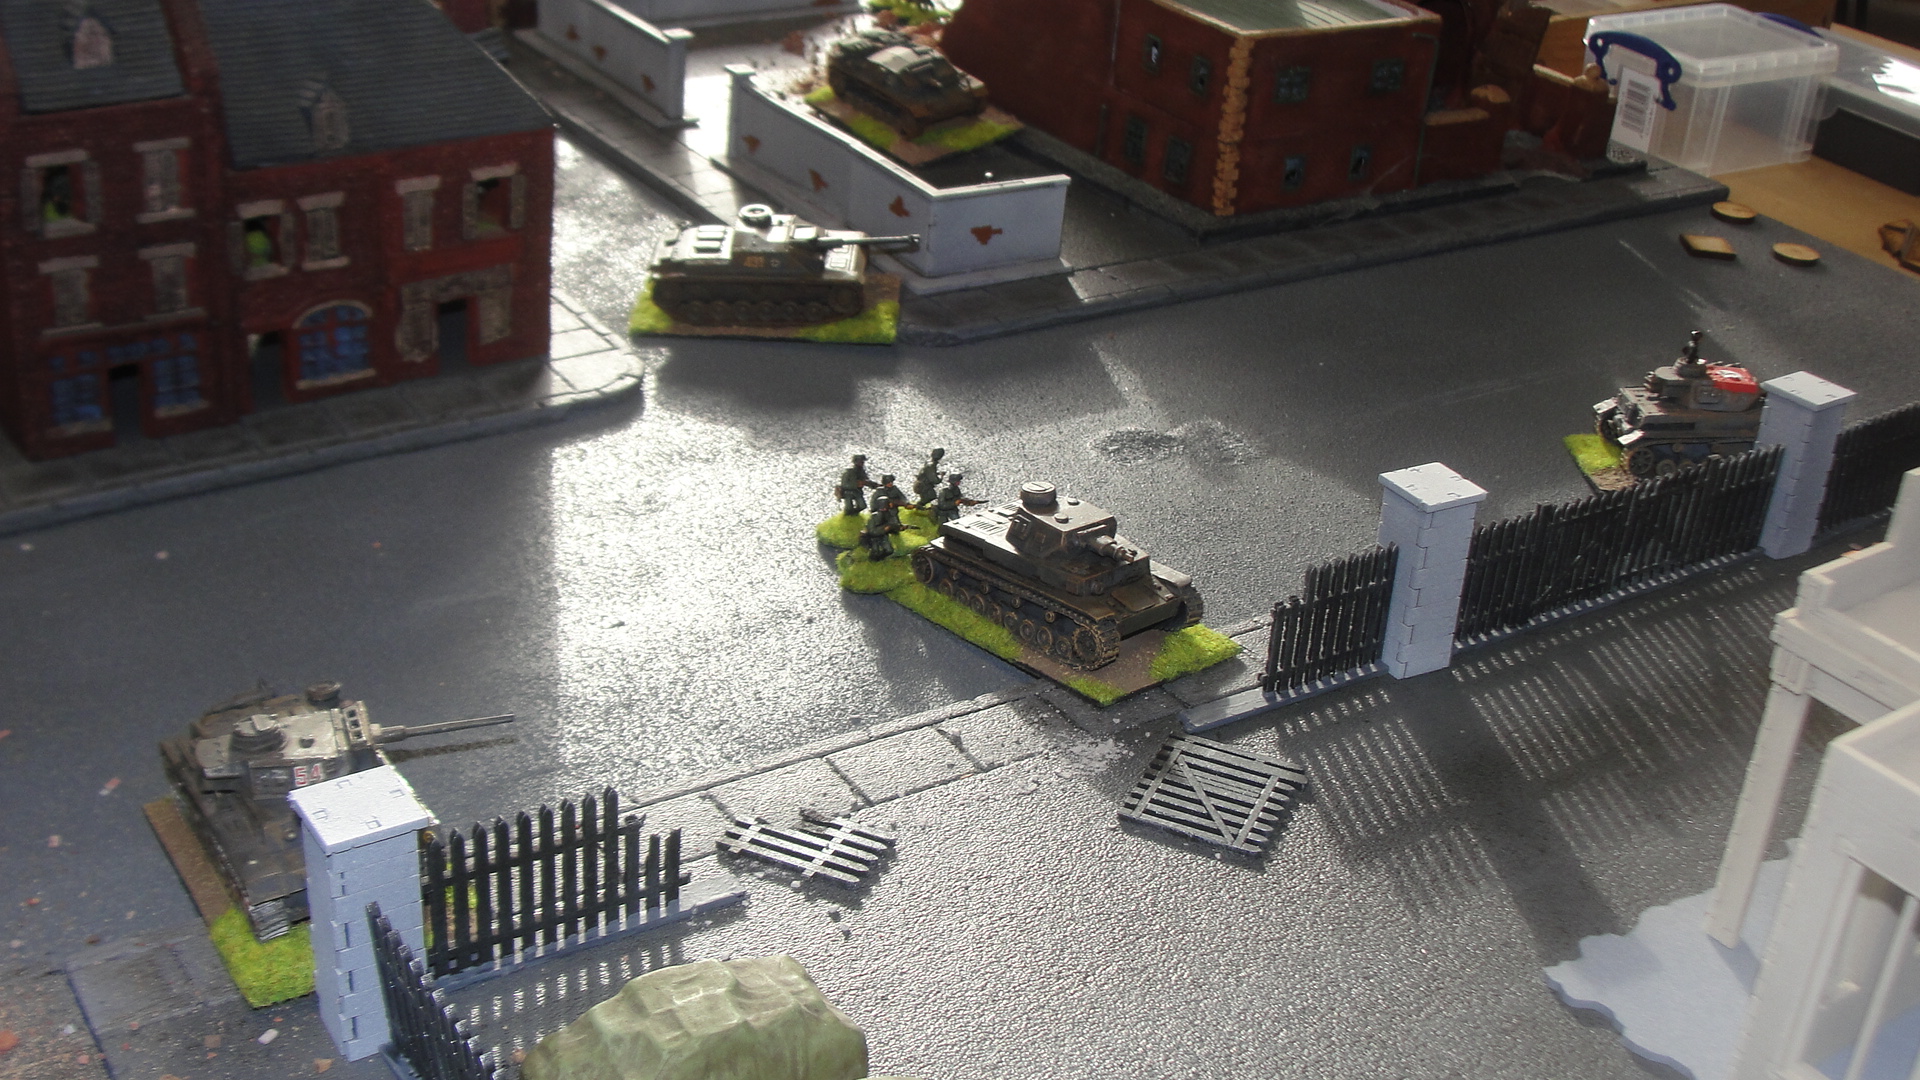
The Germans started to move up the board at this stage but were concerned with the 17pdr covering the road.


While they left the artillery to hit the remnants of the RUR who passed another morale test and held 😊. They were also busy trying to get more infantry support to the village to allow their armour to start to enter.
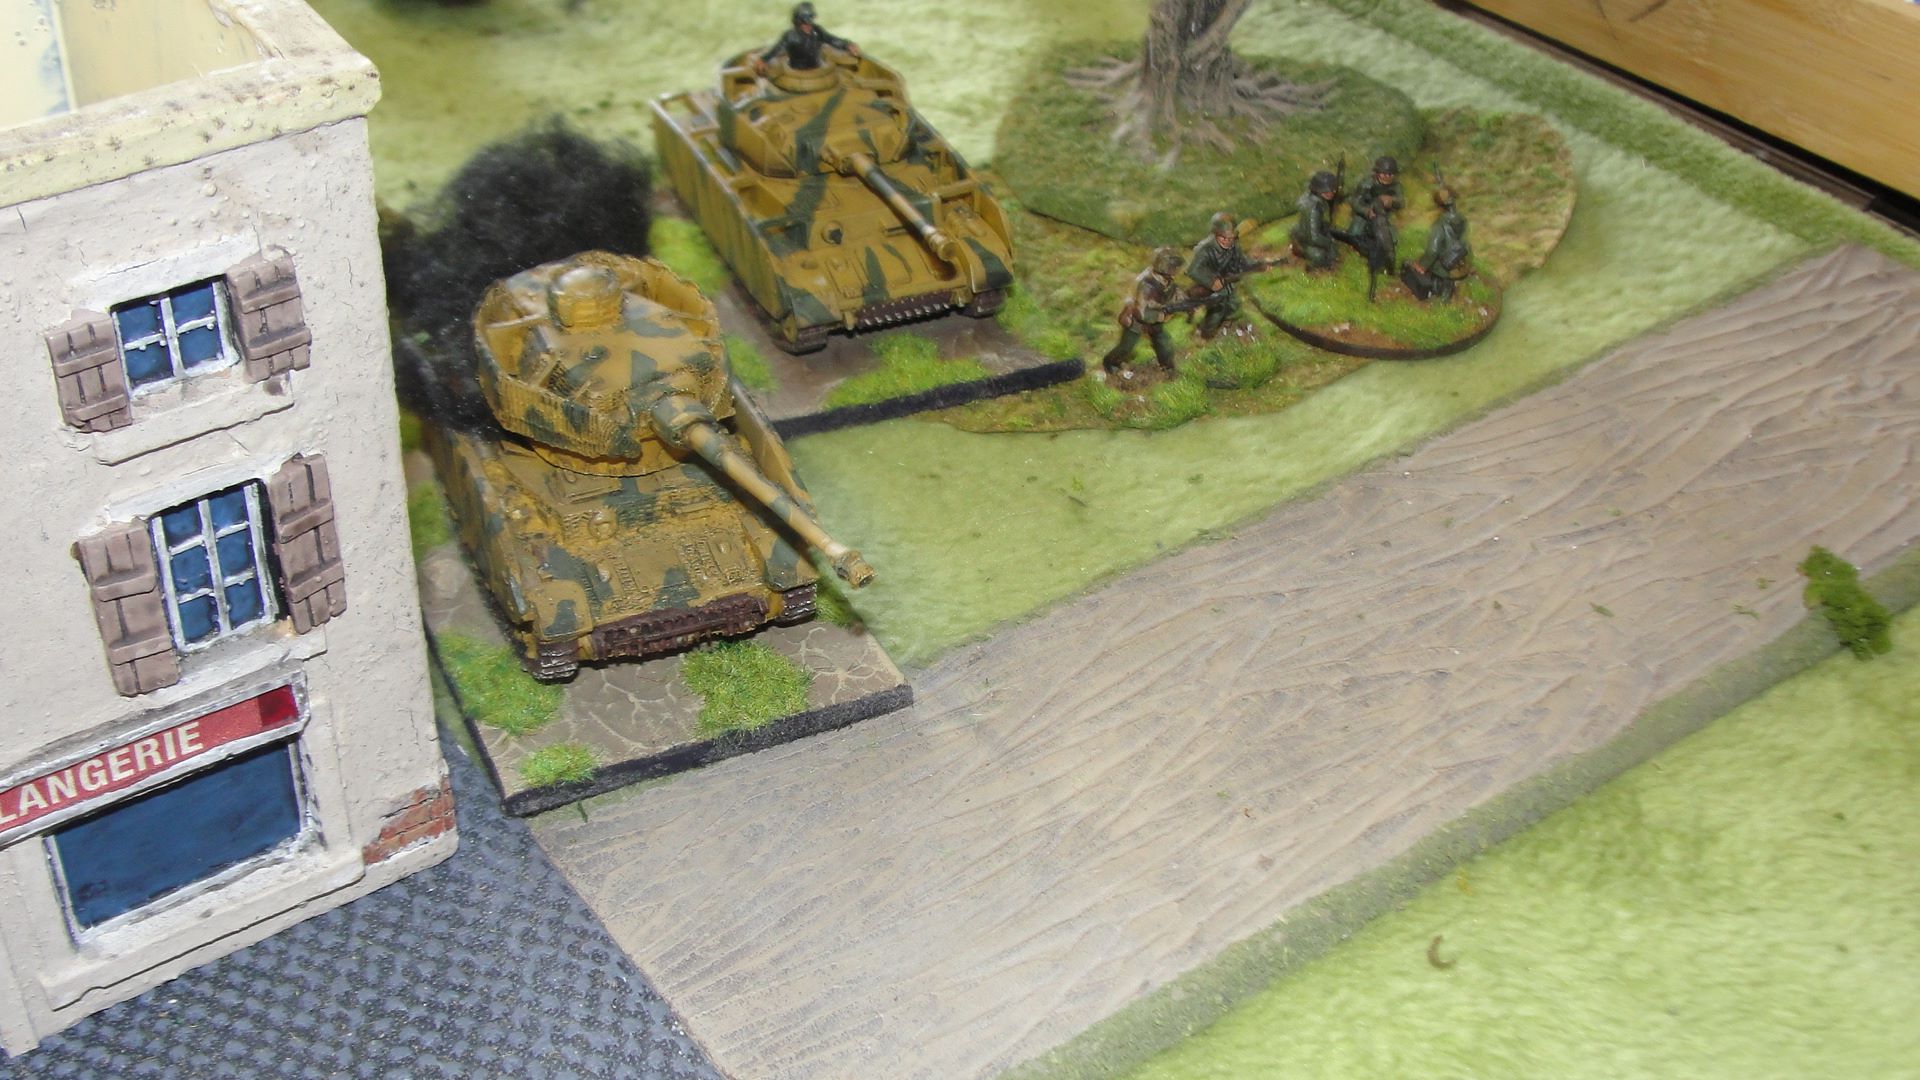
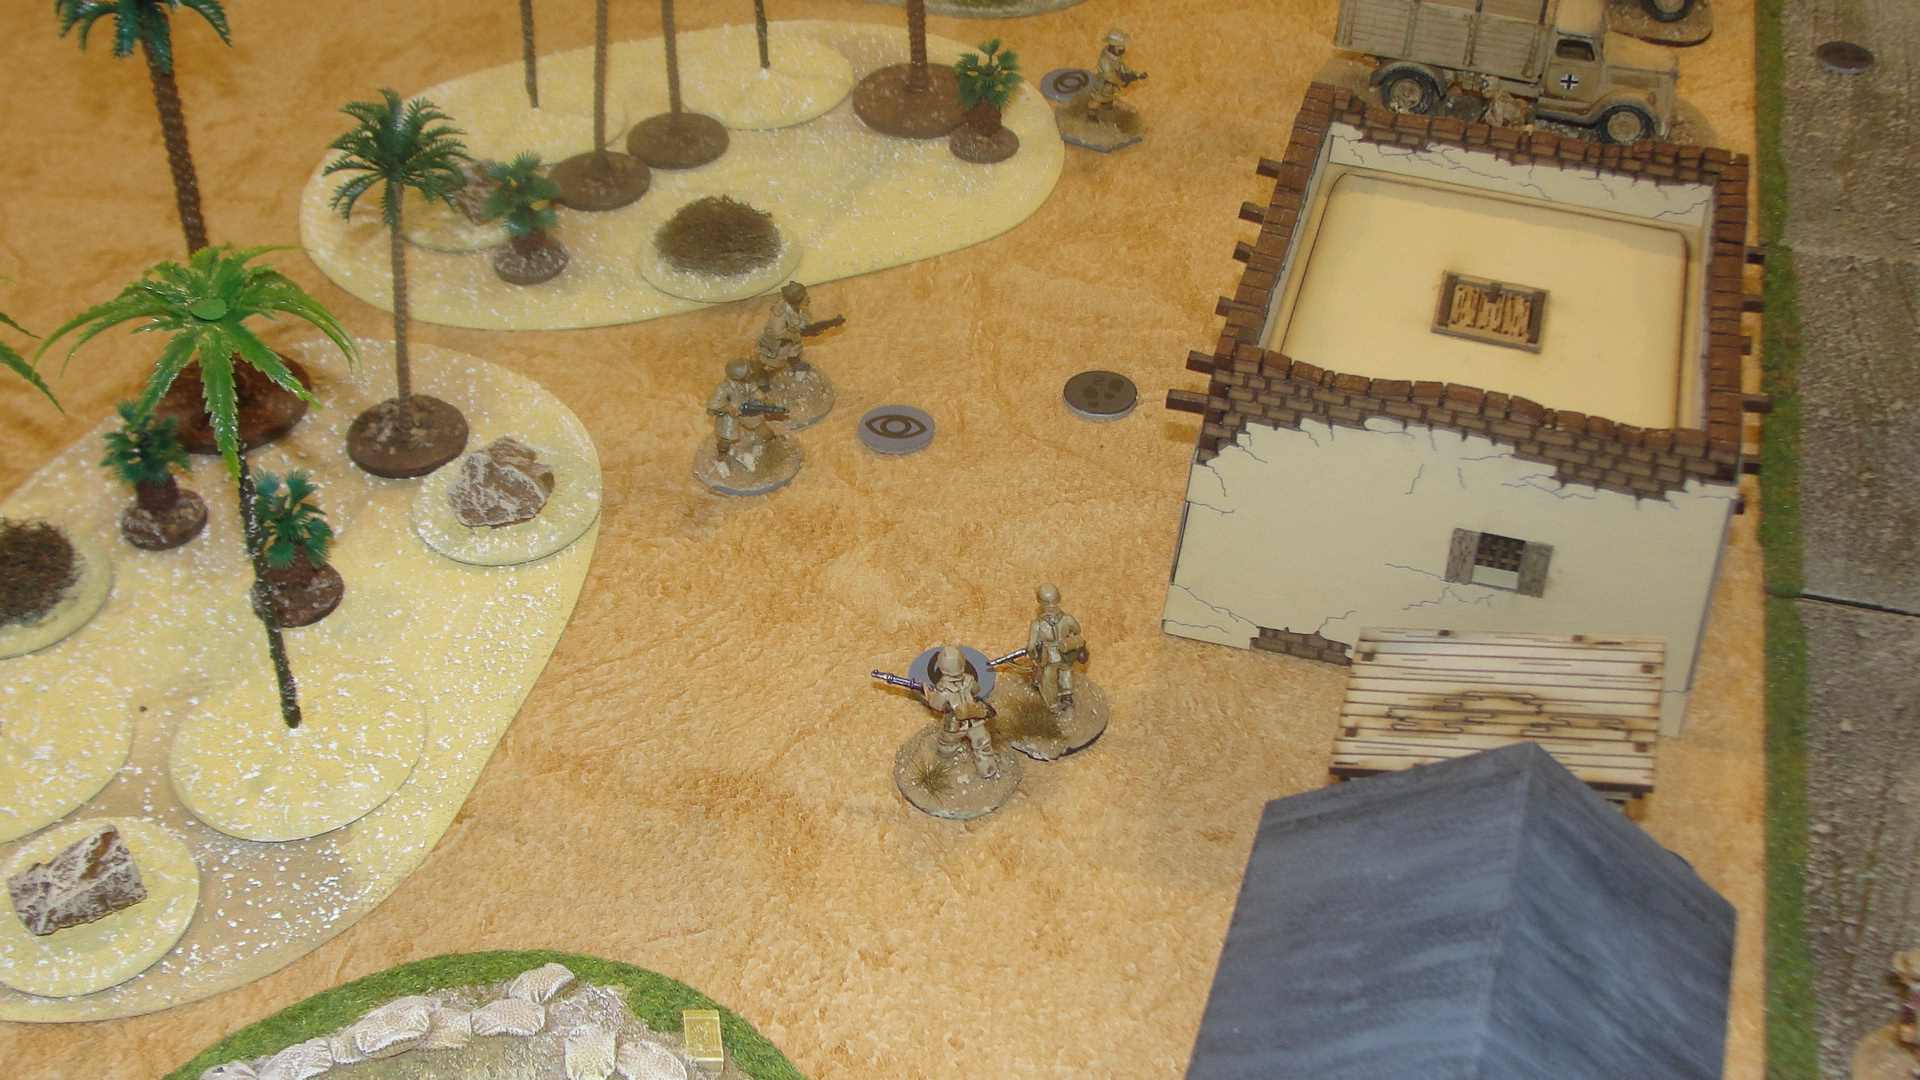
The Airlanding Brigade HQ decided that a quick “strategic withdraw” was in order to avoid getting any more HE fire in the face and evacuated the building they were holding falling back to the second building in Ranville.
By this time the British reserves had arrived a solitary M10 (hurrah) and took up position supporting the Devonshires.
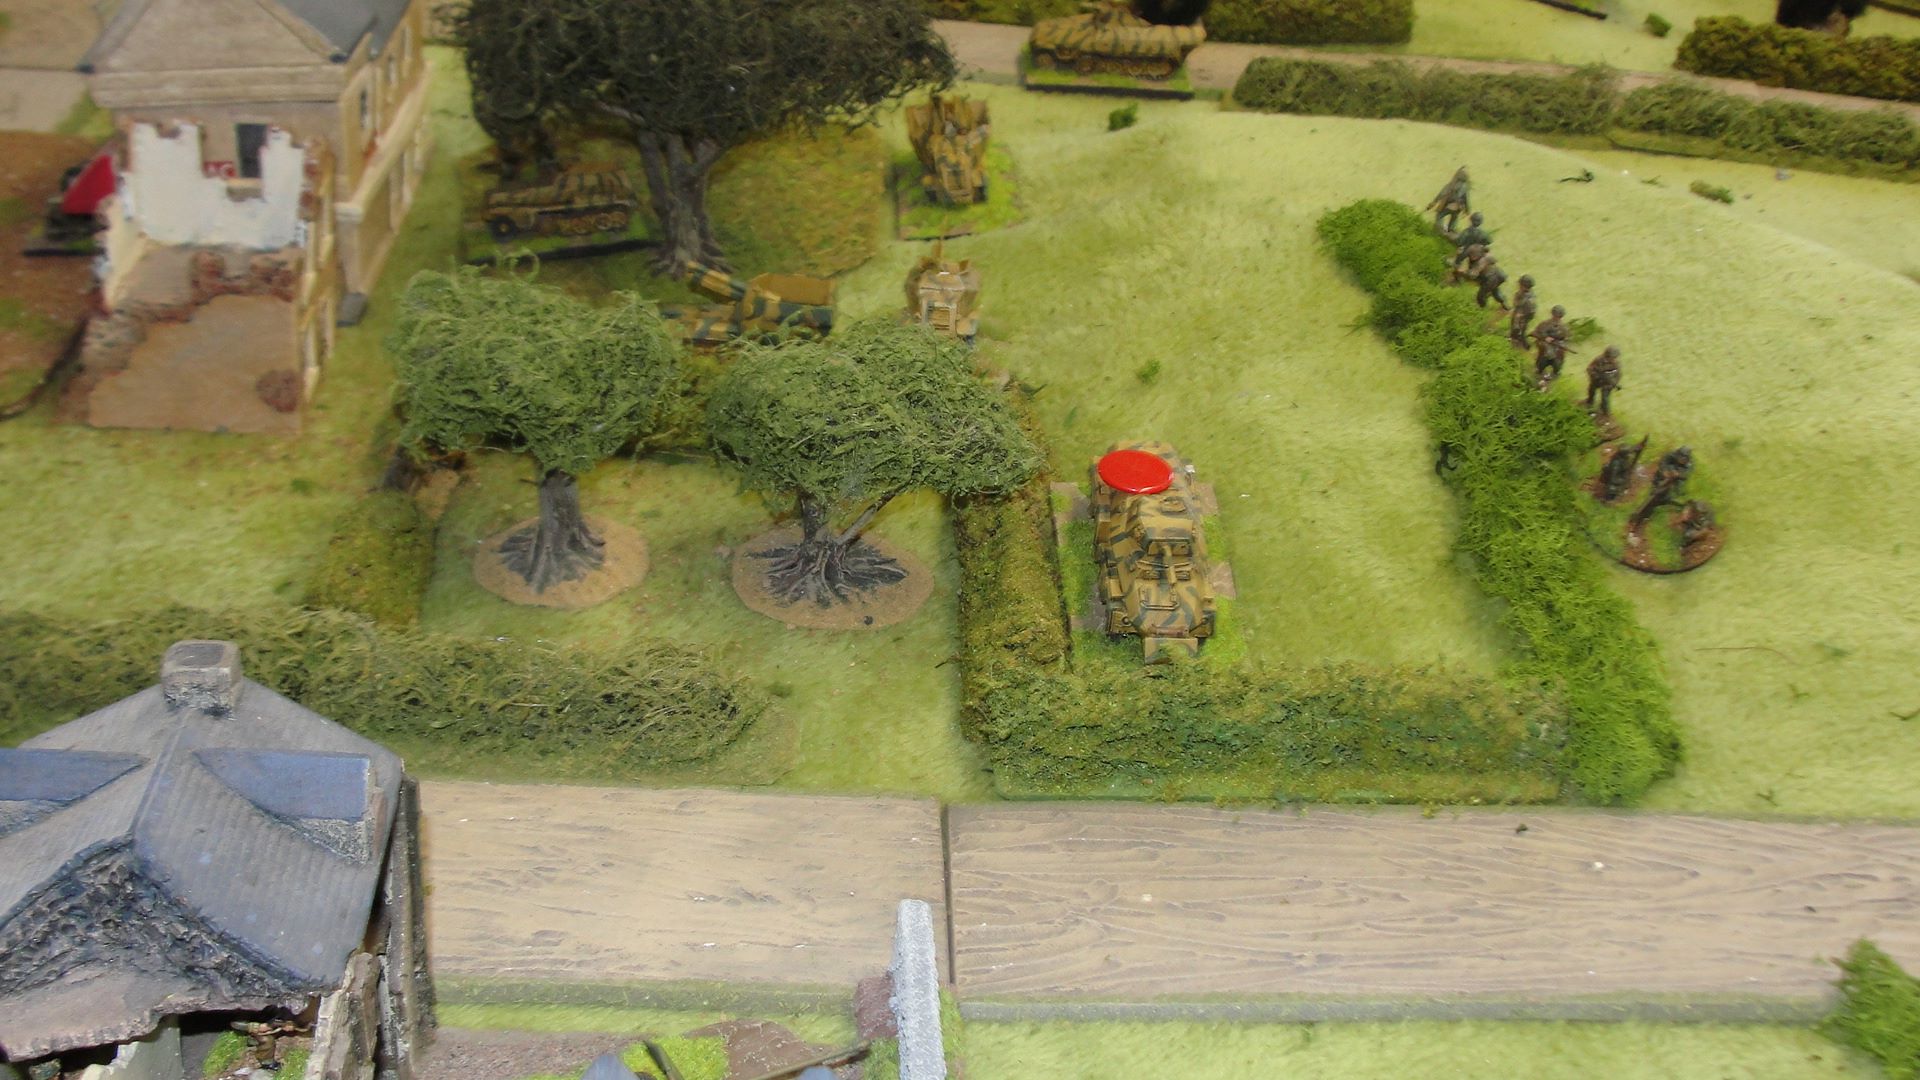
Shortly after this the game was called with the British still holding five villages and the Germans not having time to capture them (or the infantry). So victory to the Brits and back to camp for tea and medals.
Another good game and an enjoyable set of rules and did I mention I kept rolling 6’s 😊.

As a group we play several different sets of WW2 rules depending on the size of the game:
- Platoon level – Chain of Command
- Company level – Battlegroup
- Battalion level and above – Rapid Fire Reloaded
Despite the age of the rules the latest incarnation still delivers a good game.
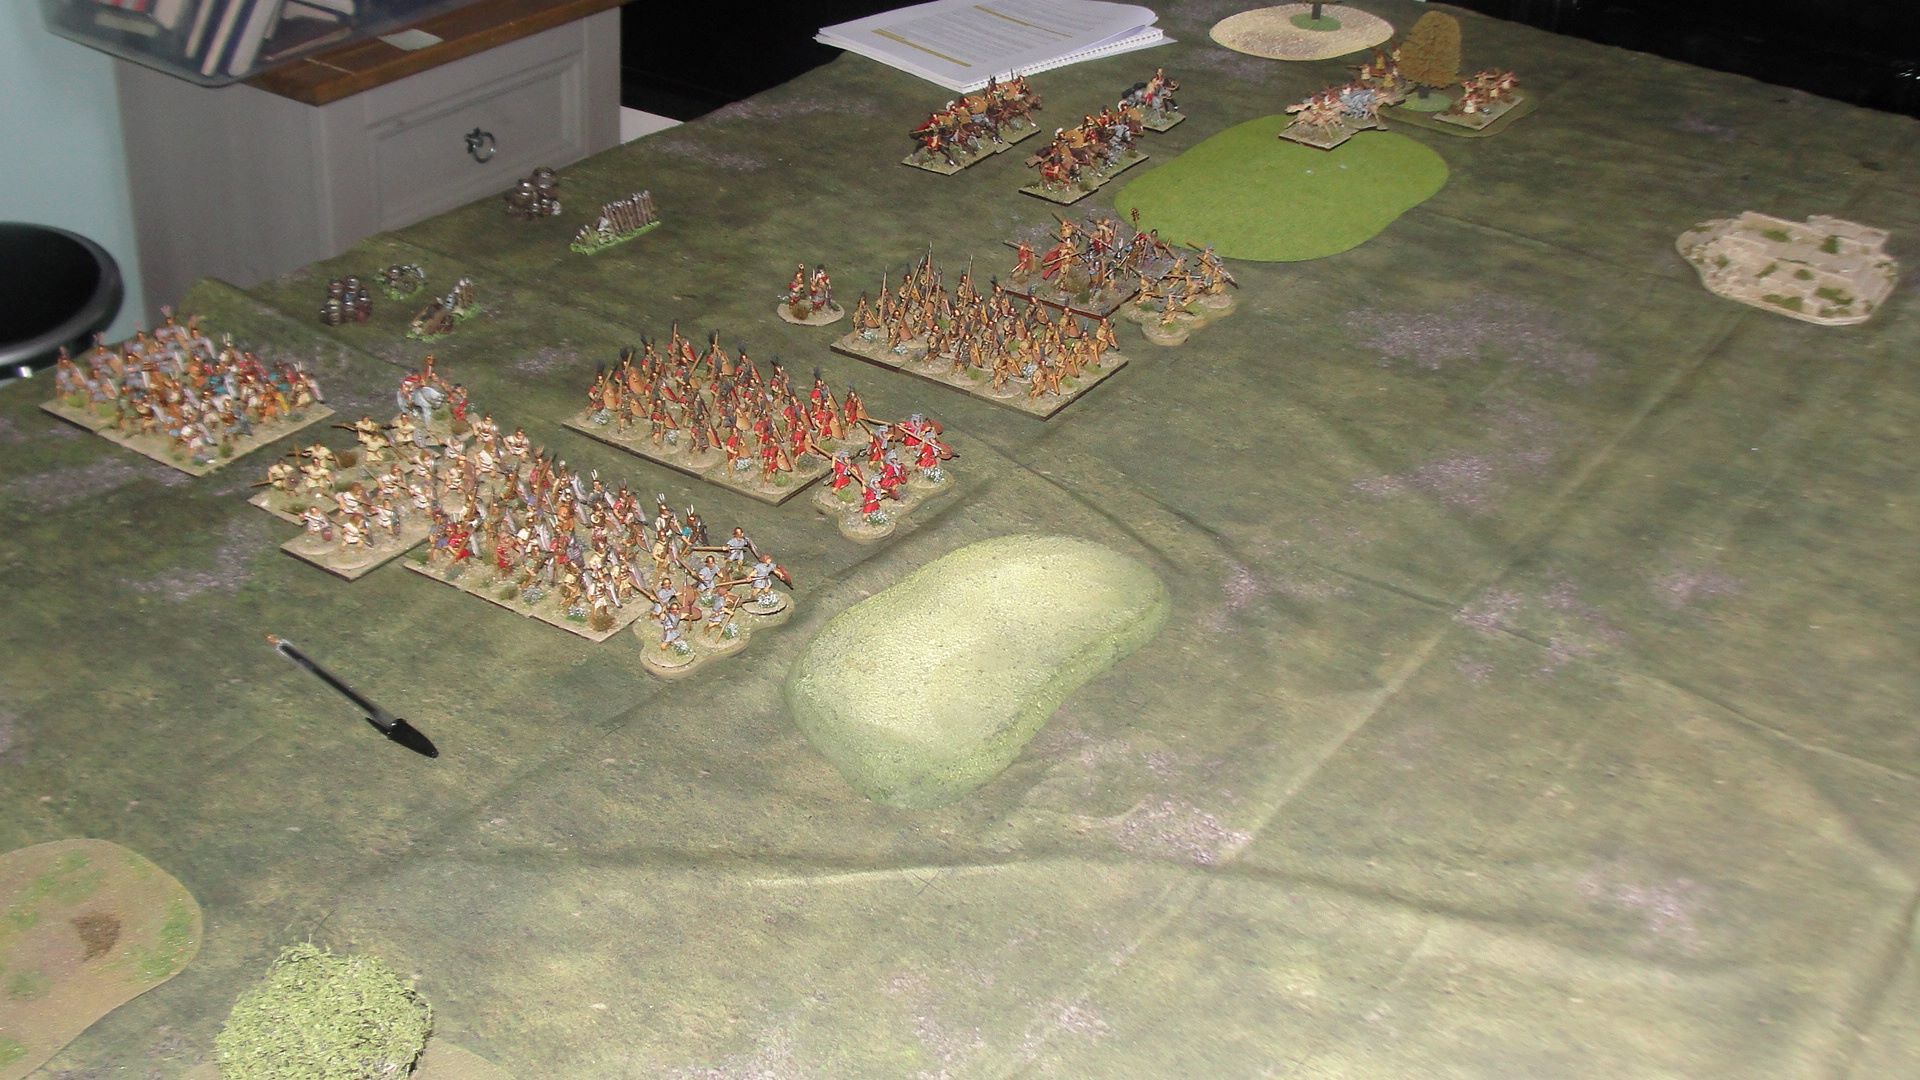
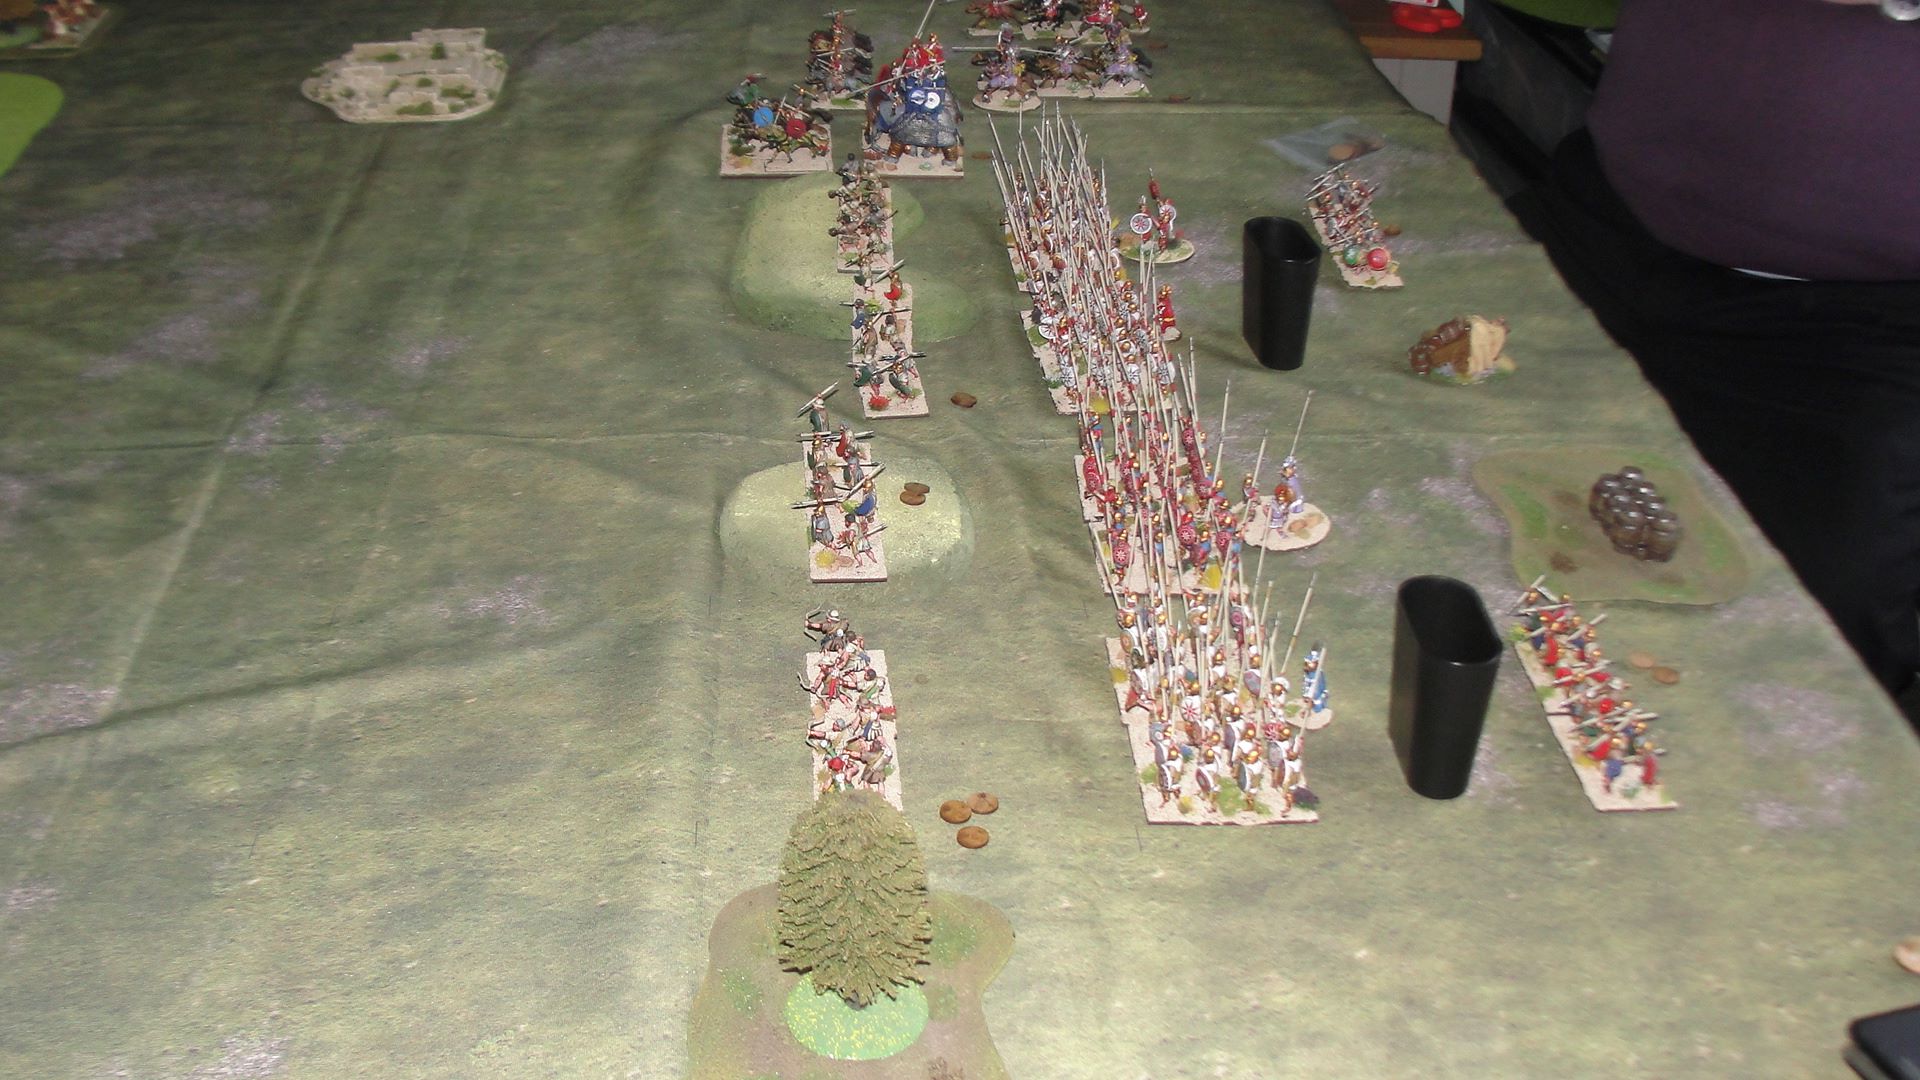
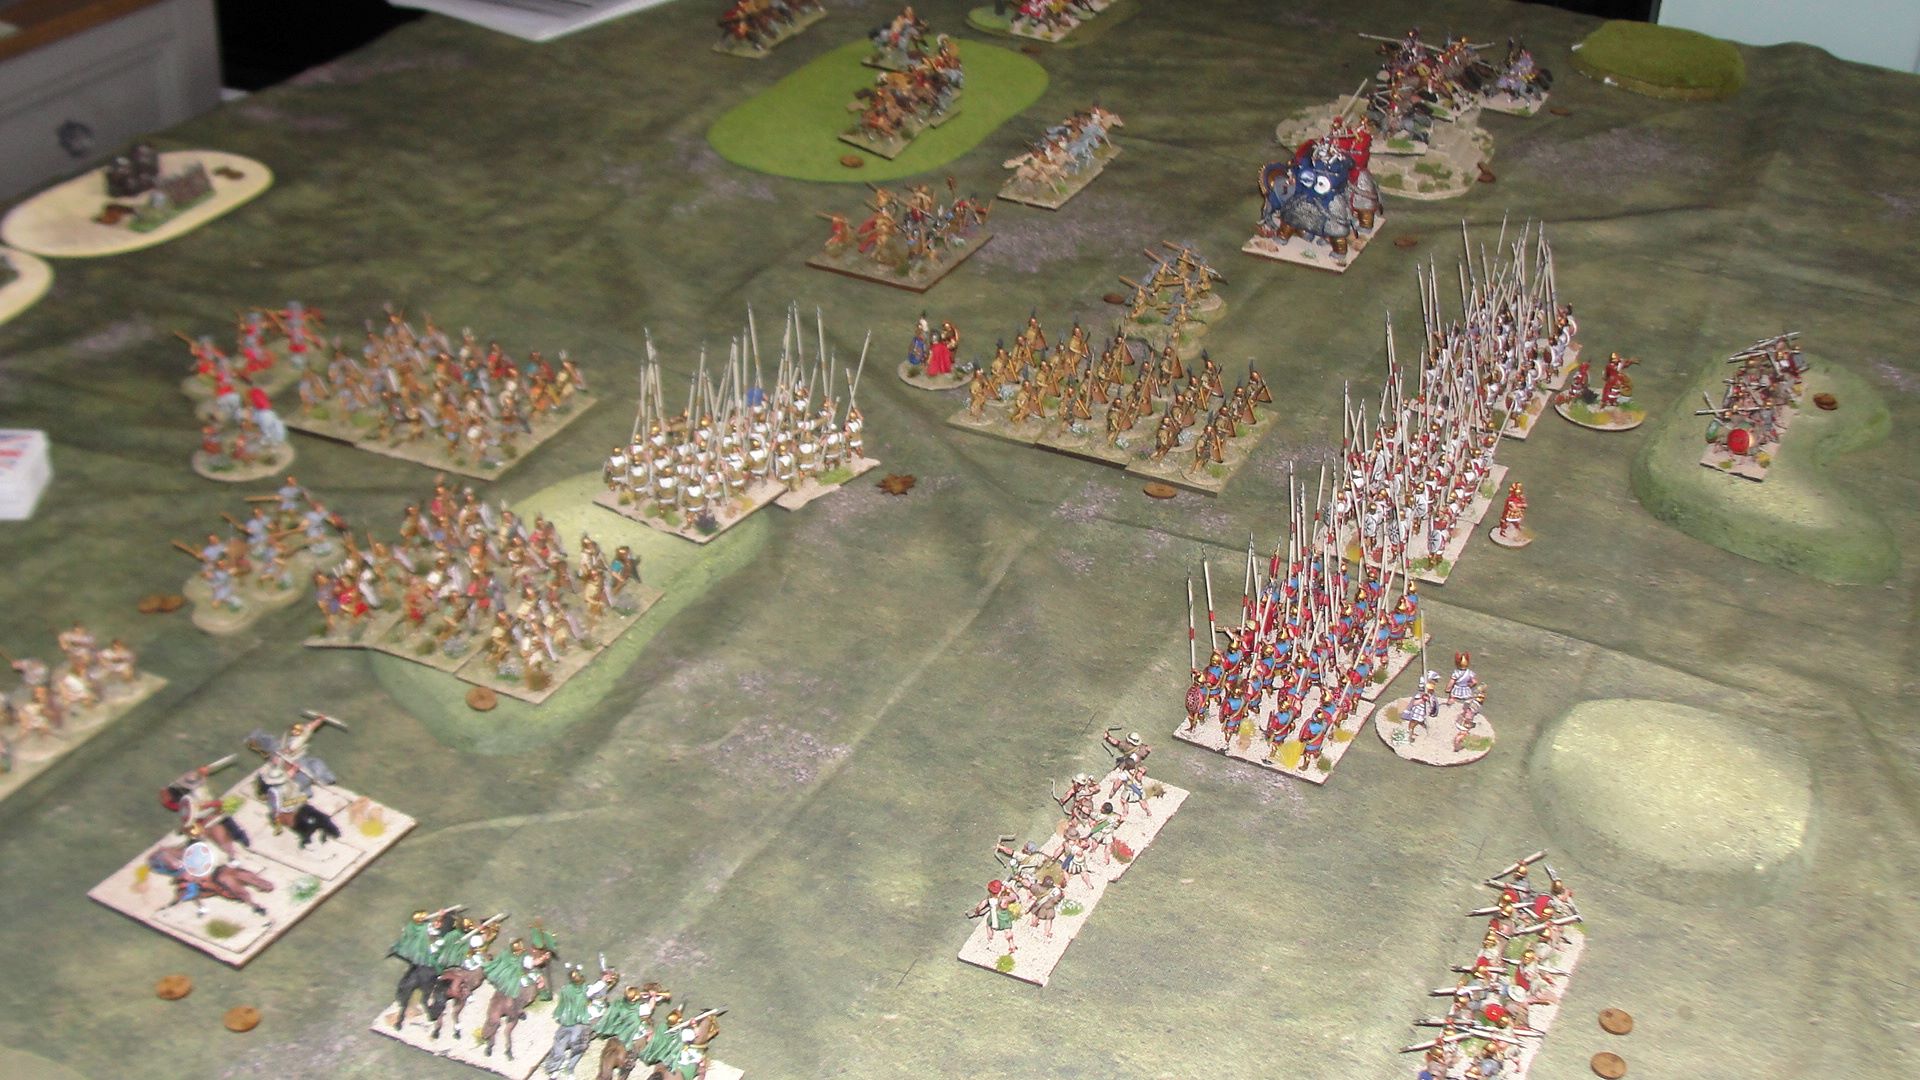
Republican Romans on the Table
When I started my Punic Wars project if you told me that:
- It would be the Republican Romans that would first take to the battlefield.
- It would be for a “rank and file” game rather than a skirmish game.
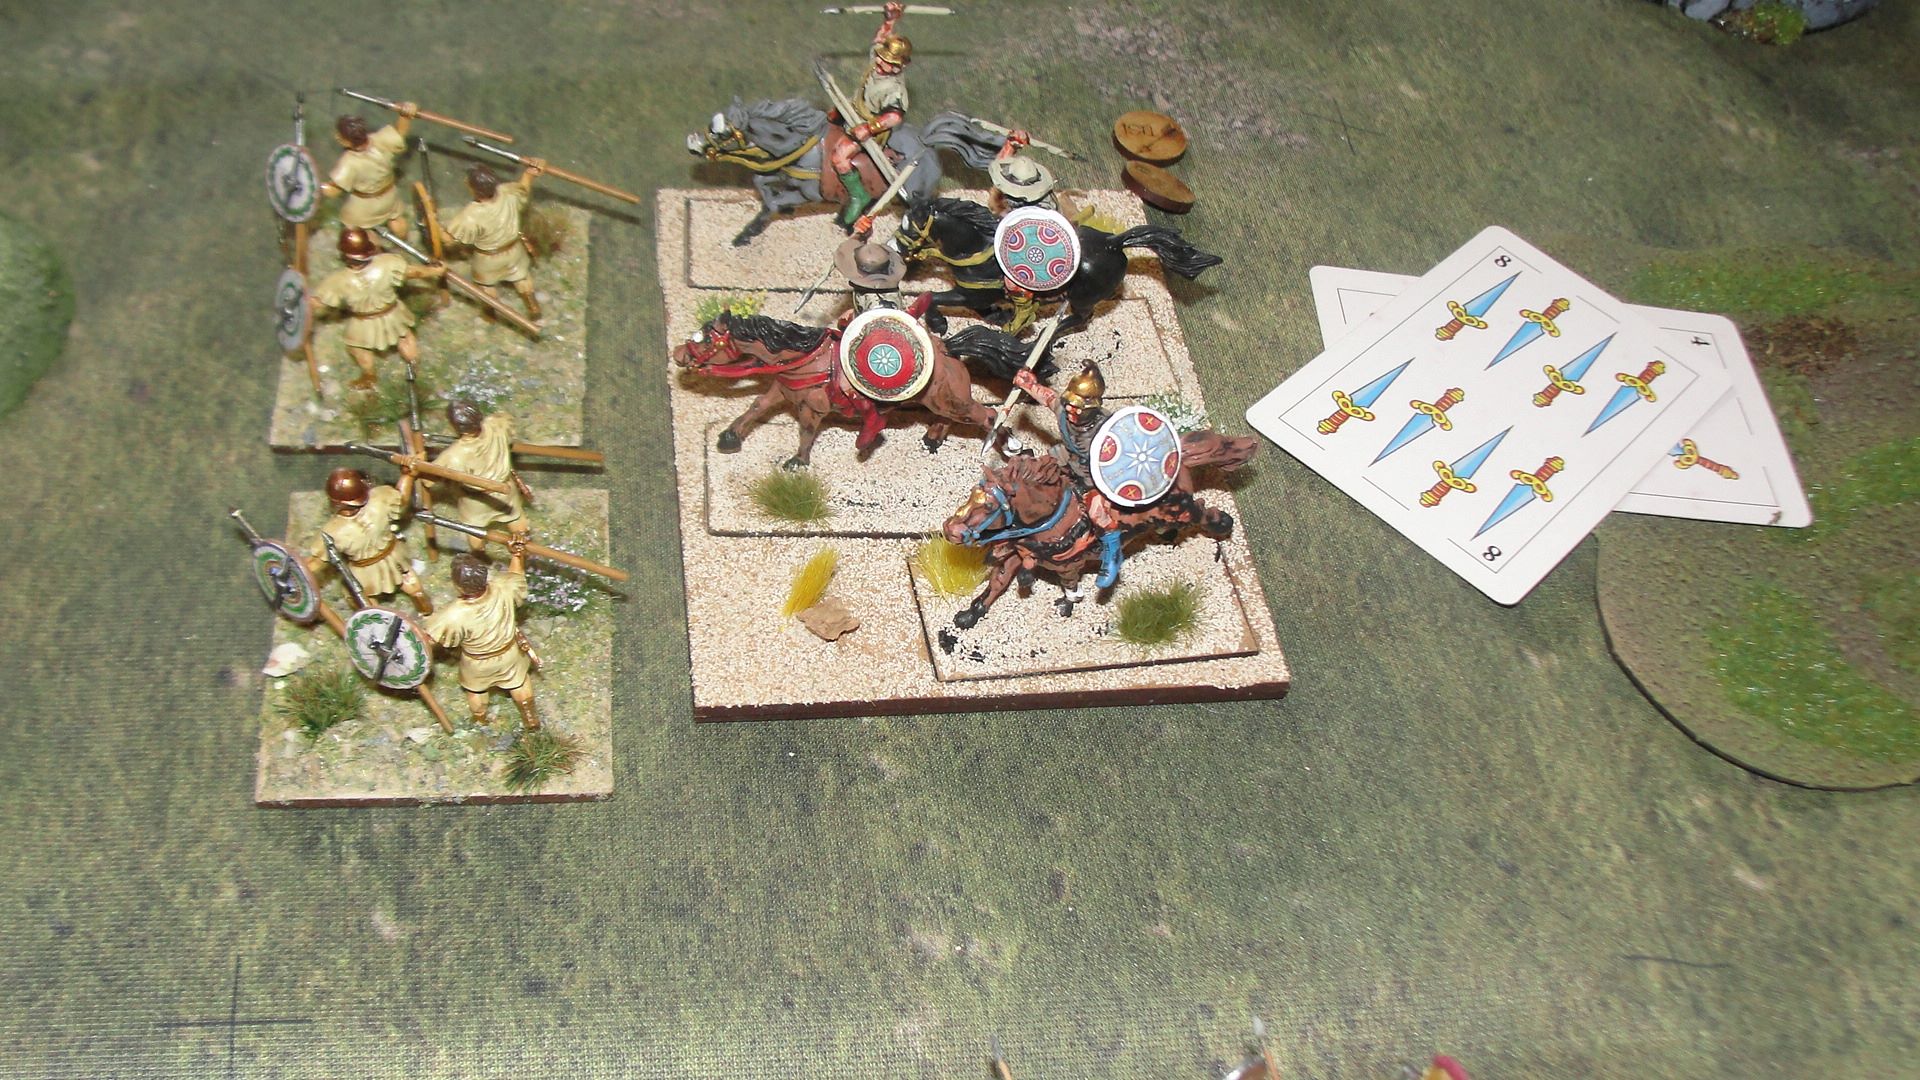
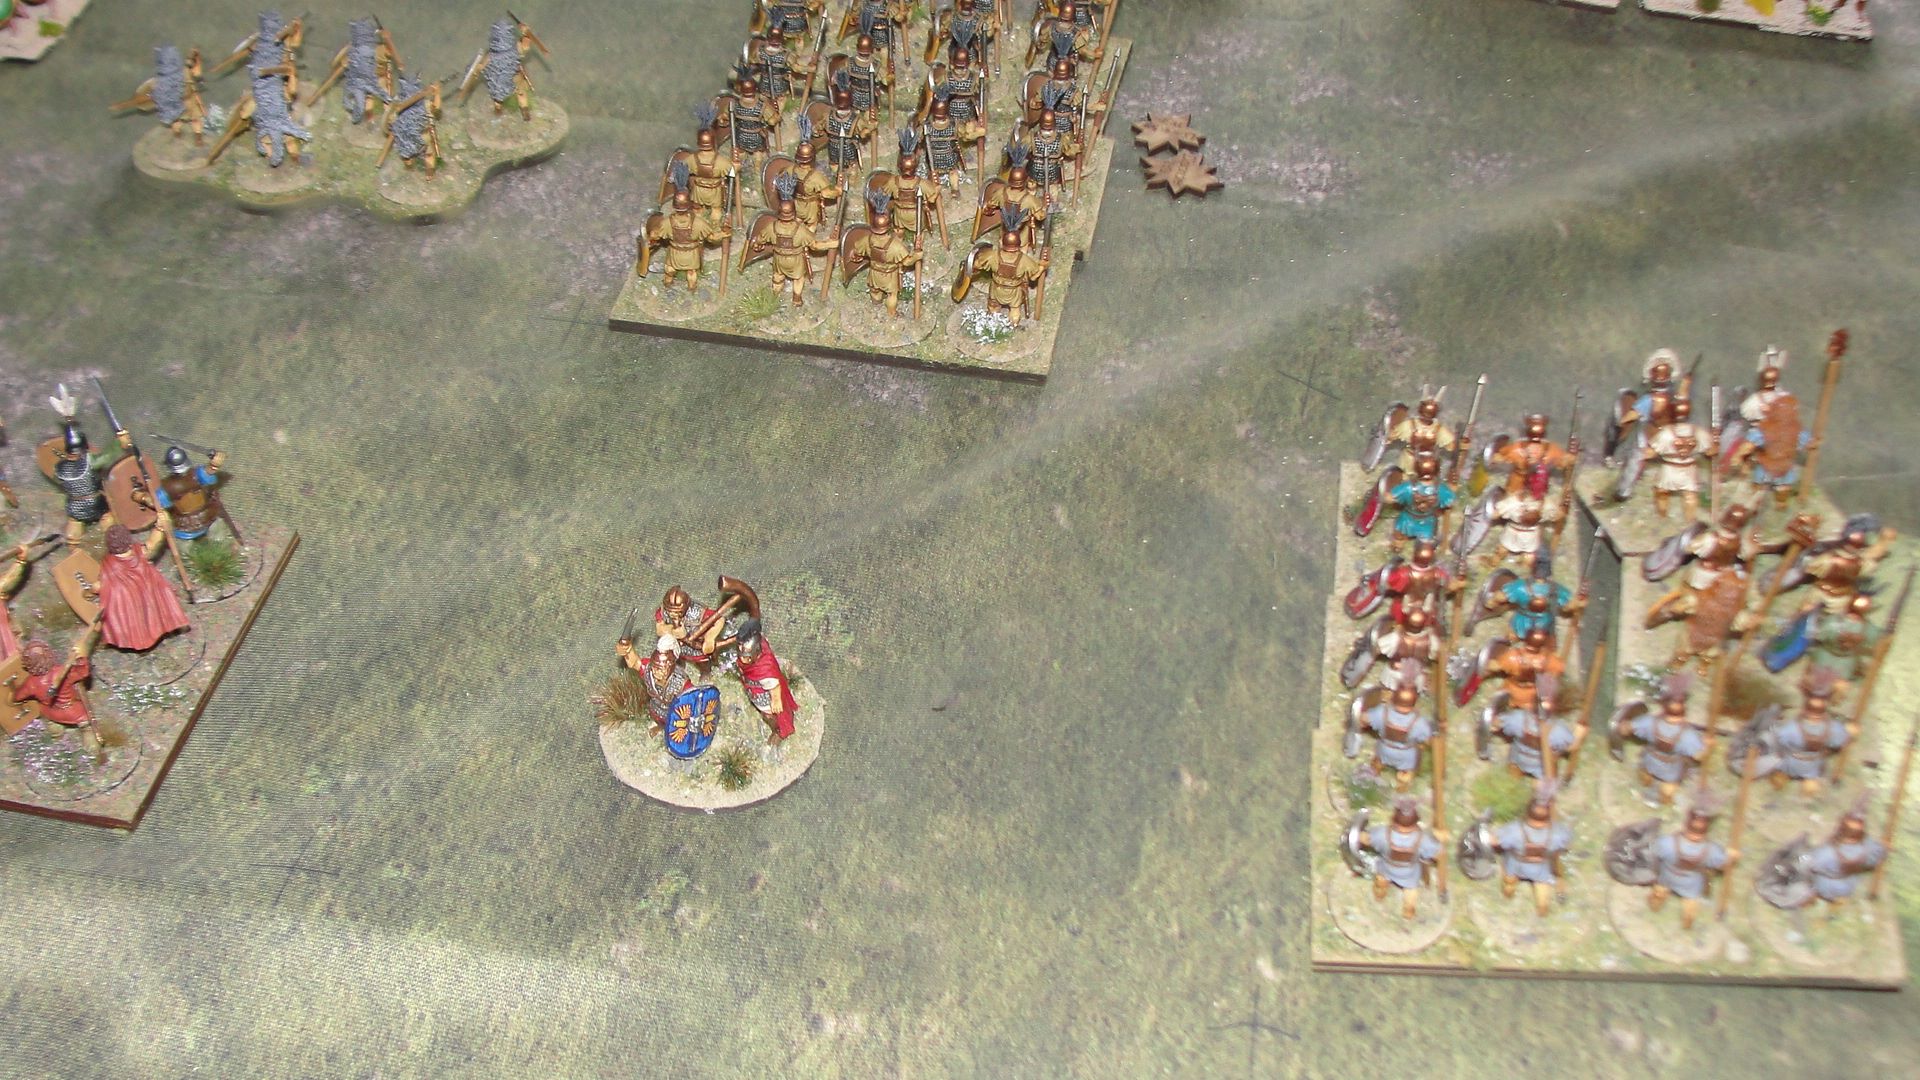
I would have said you were joking but the other week the Polybian Roman to fight the Pyric army.
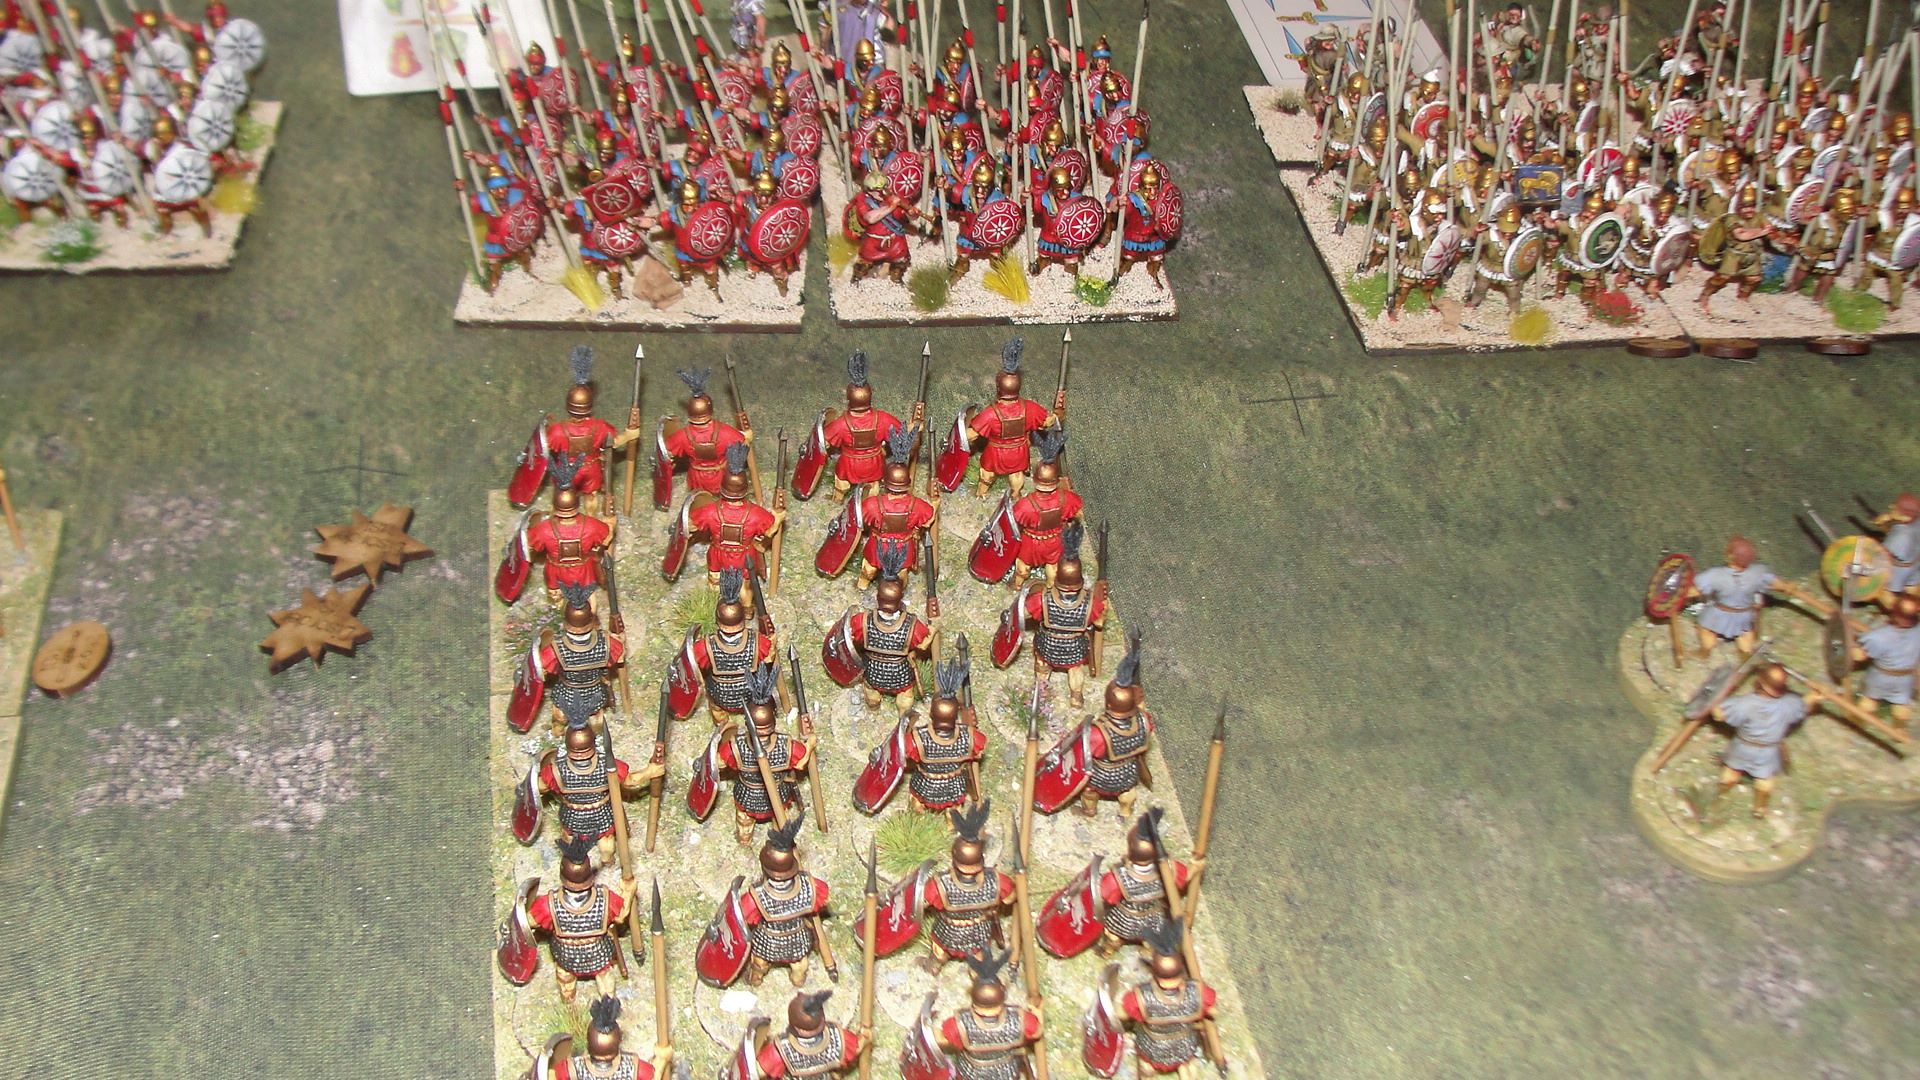
I went with the legions deployed in the centre and smaller cavalry and light troops deployed on the flanks. The main issue with the Romans is the lack of cavalry so I had to lead with the infantry and be more cautious with the cavalry.
The Pyric forces were deployed in a similar manner with the pike phalanx in the centre supported by cavalry on either wing.

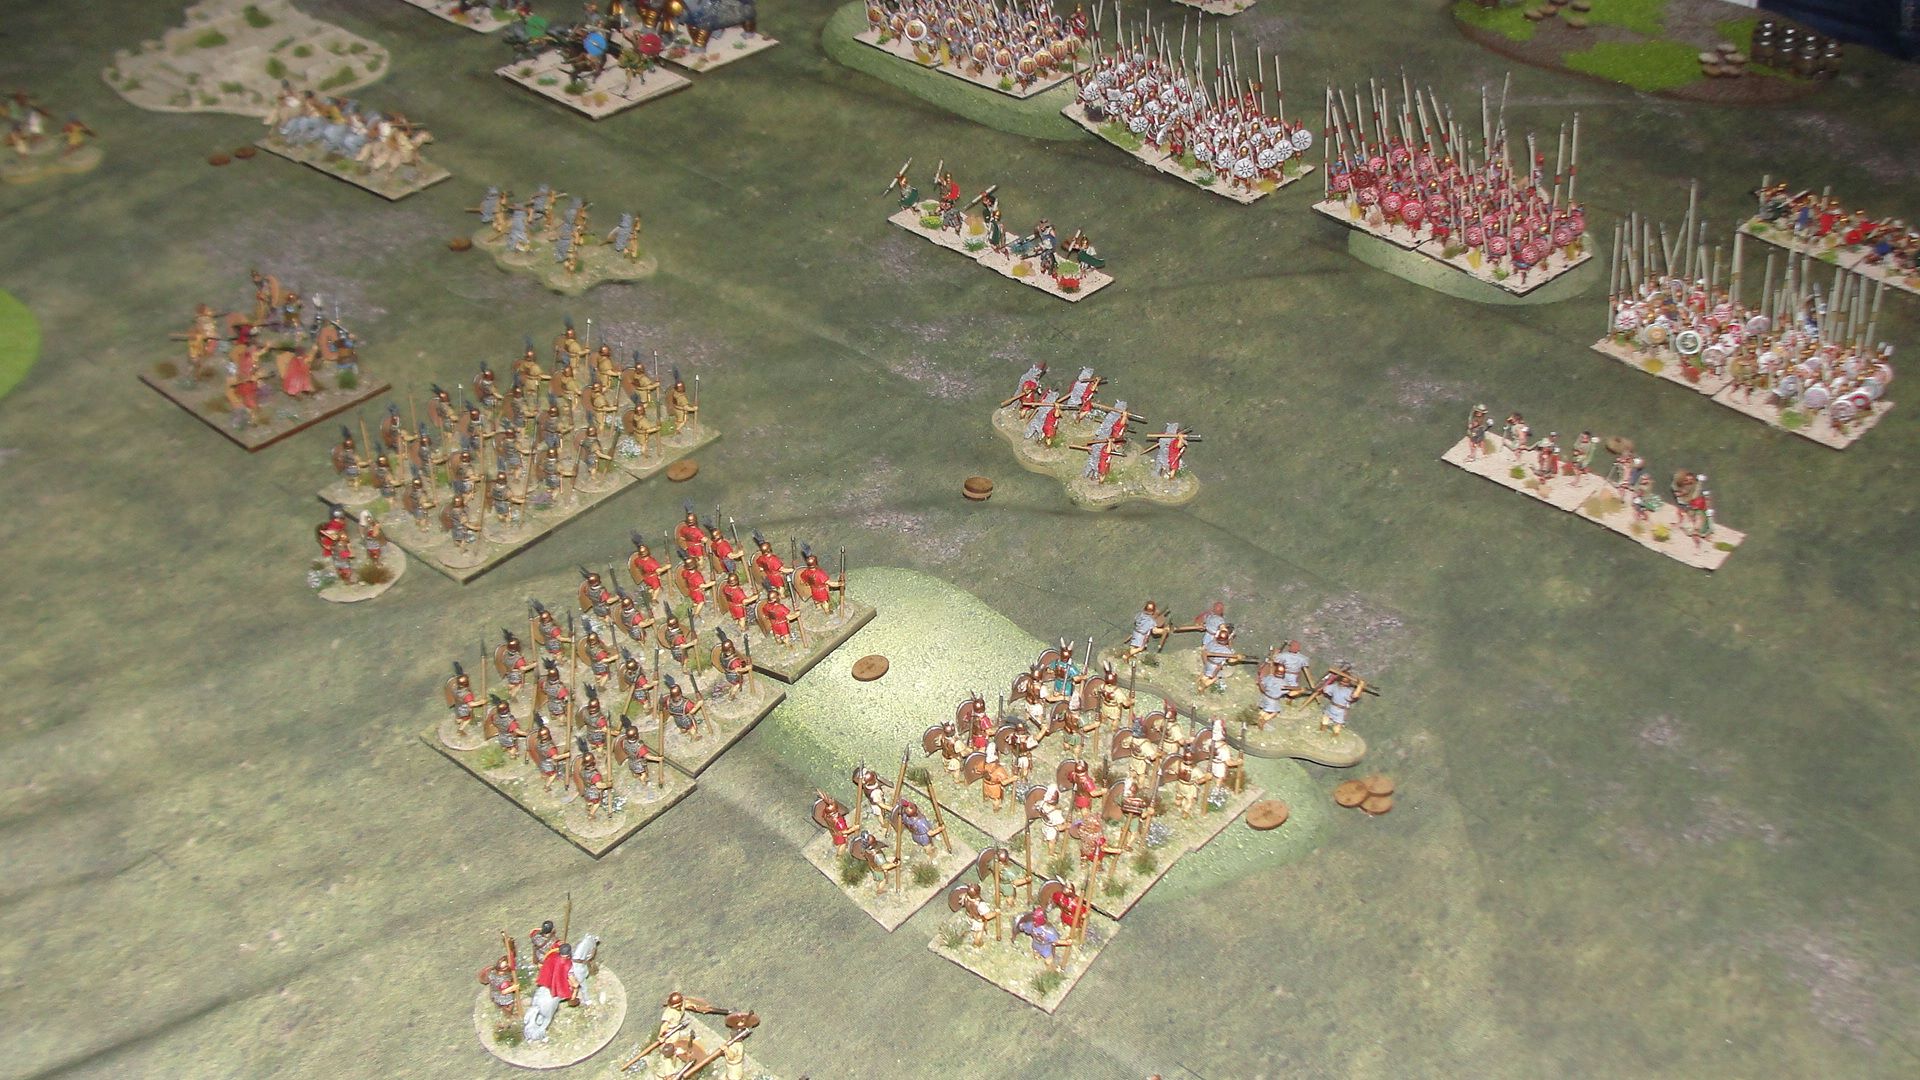
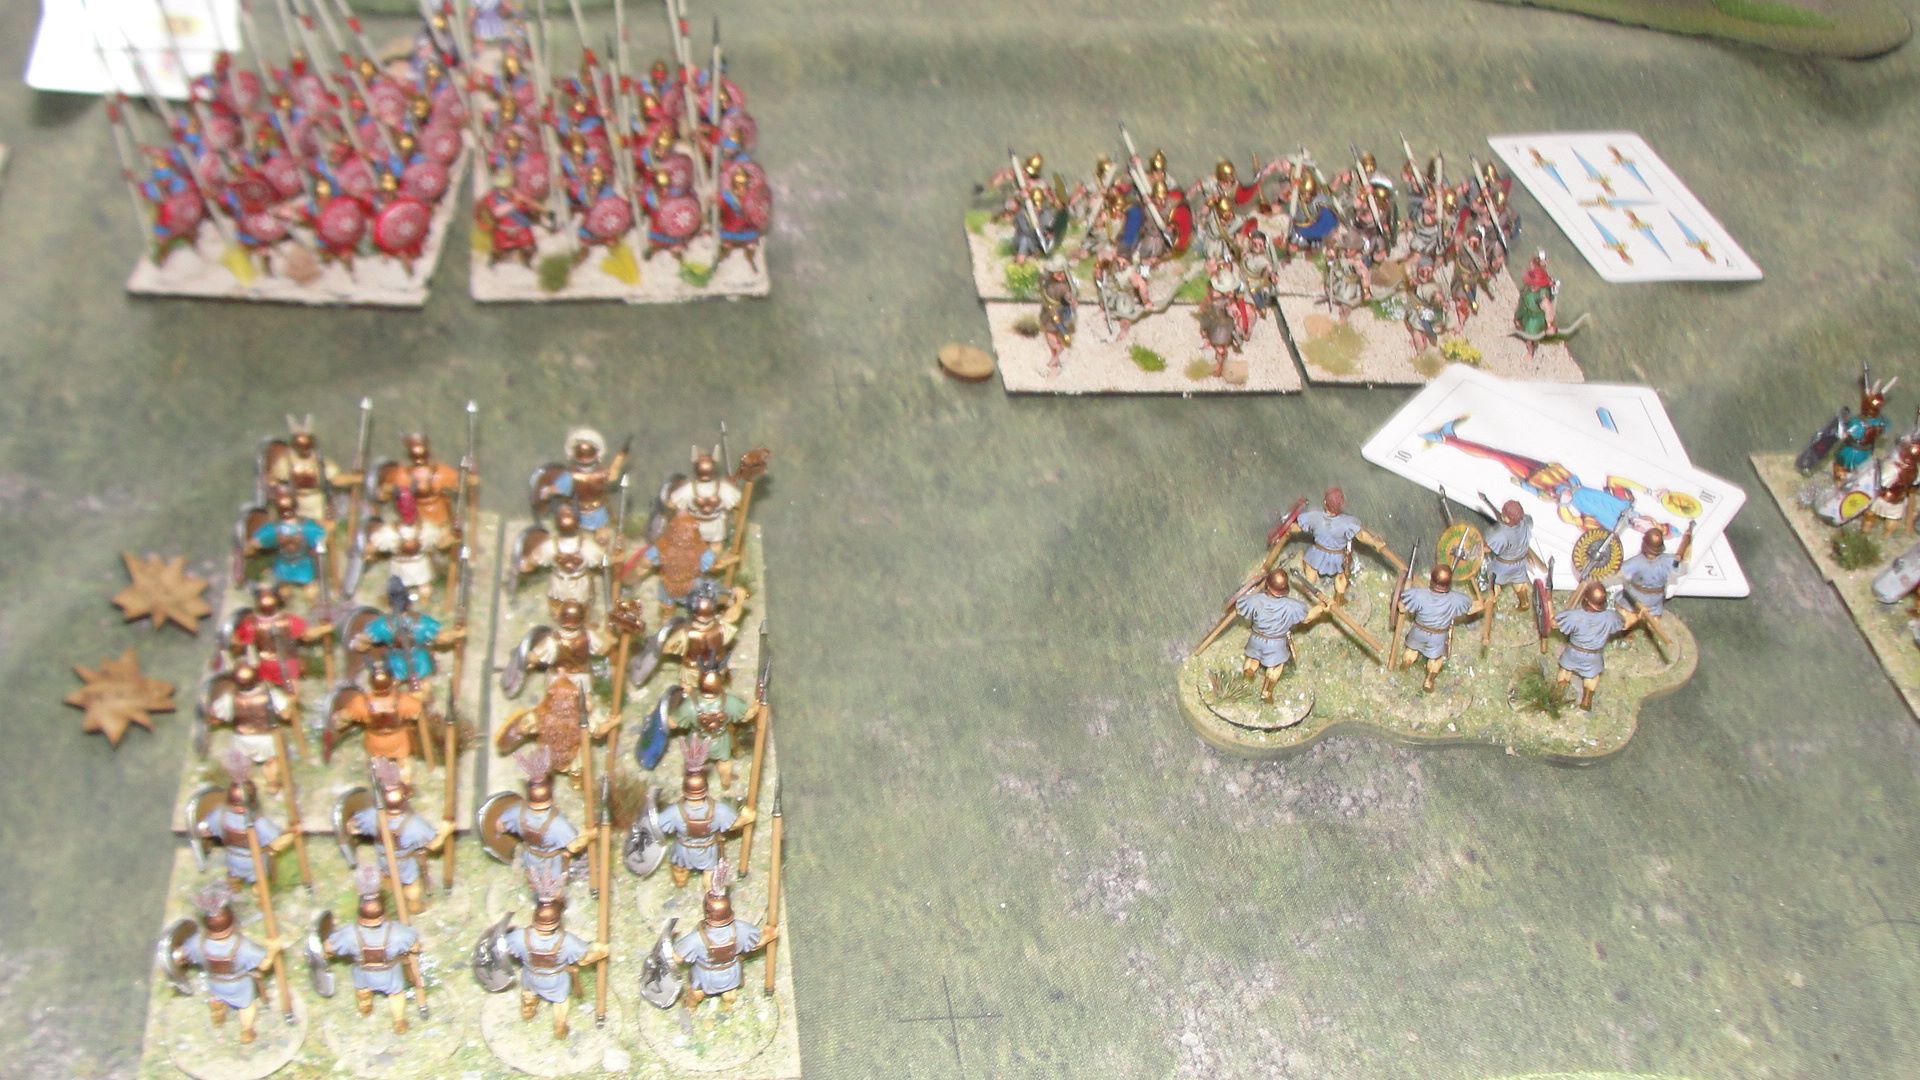
As both centres advanced the early exchange of missile fire favoured the Romans with the veteran velites destroying several skirmishing units much to the disgust of the Pyric commanders 😊.
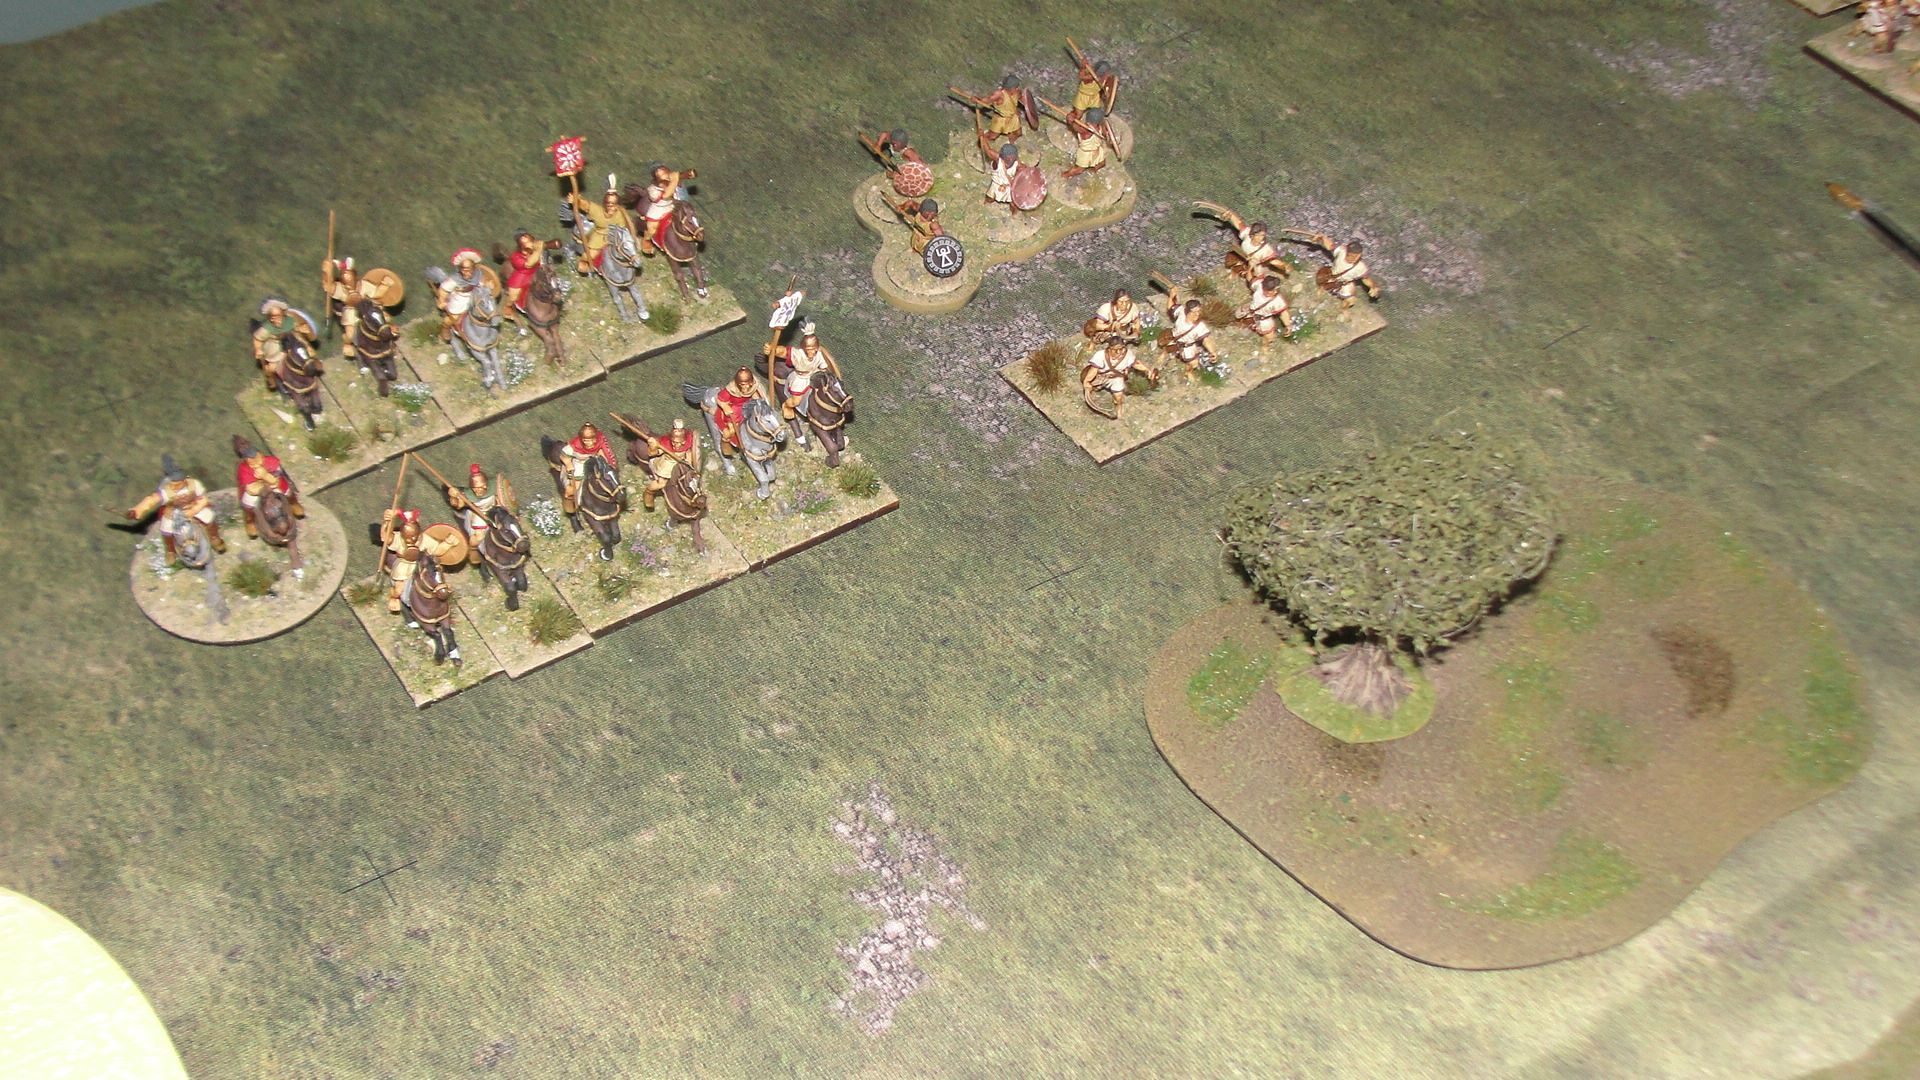
On the Roman right flank the Pyric light cavalry made a dash forward pinning the light trrops in my flank command back.
In the centre the early clashes the Roman pilum proved ineffective, and the pike drew first blood and disordered the Roman heavy infantry.
The Pyric light cavalry burst from the woods and caught a velites who failed to evade and were ridden down.
Back in the centre the legio heavy infantry had failed in their attempt to rally and had taken another hit from the phalanx they were fighting, something was wrong with my veterans today.
In similar fashion my heavy infantry on the extreme left had been engaged by pike, again missed with the pila and had taken a casualty from the combat! My veterans were just not making their saving rolls ☹️.
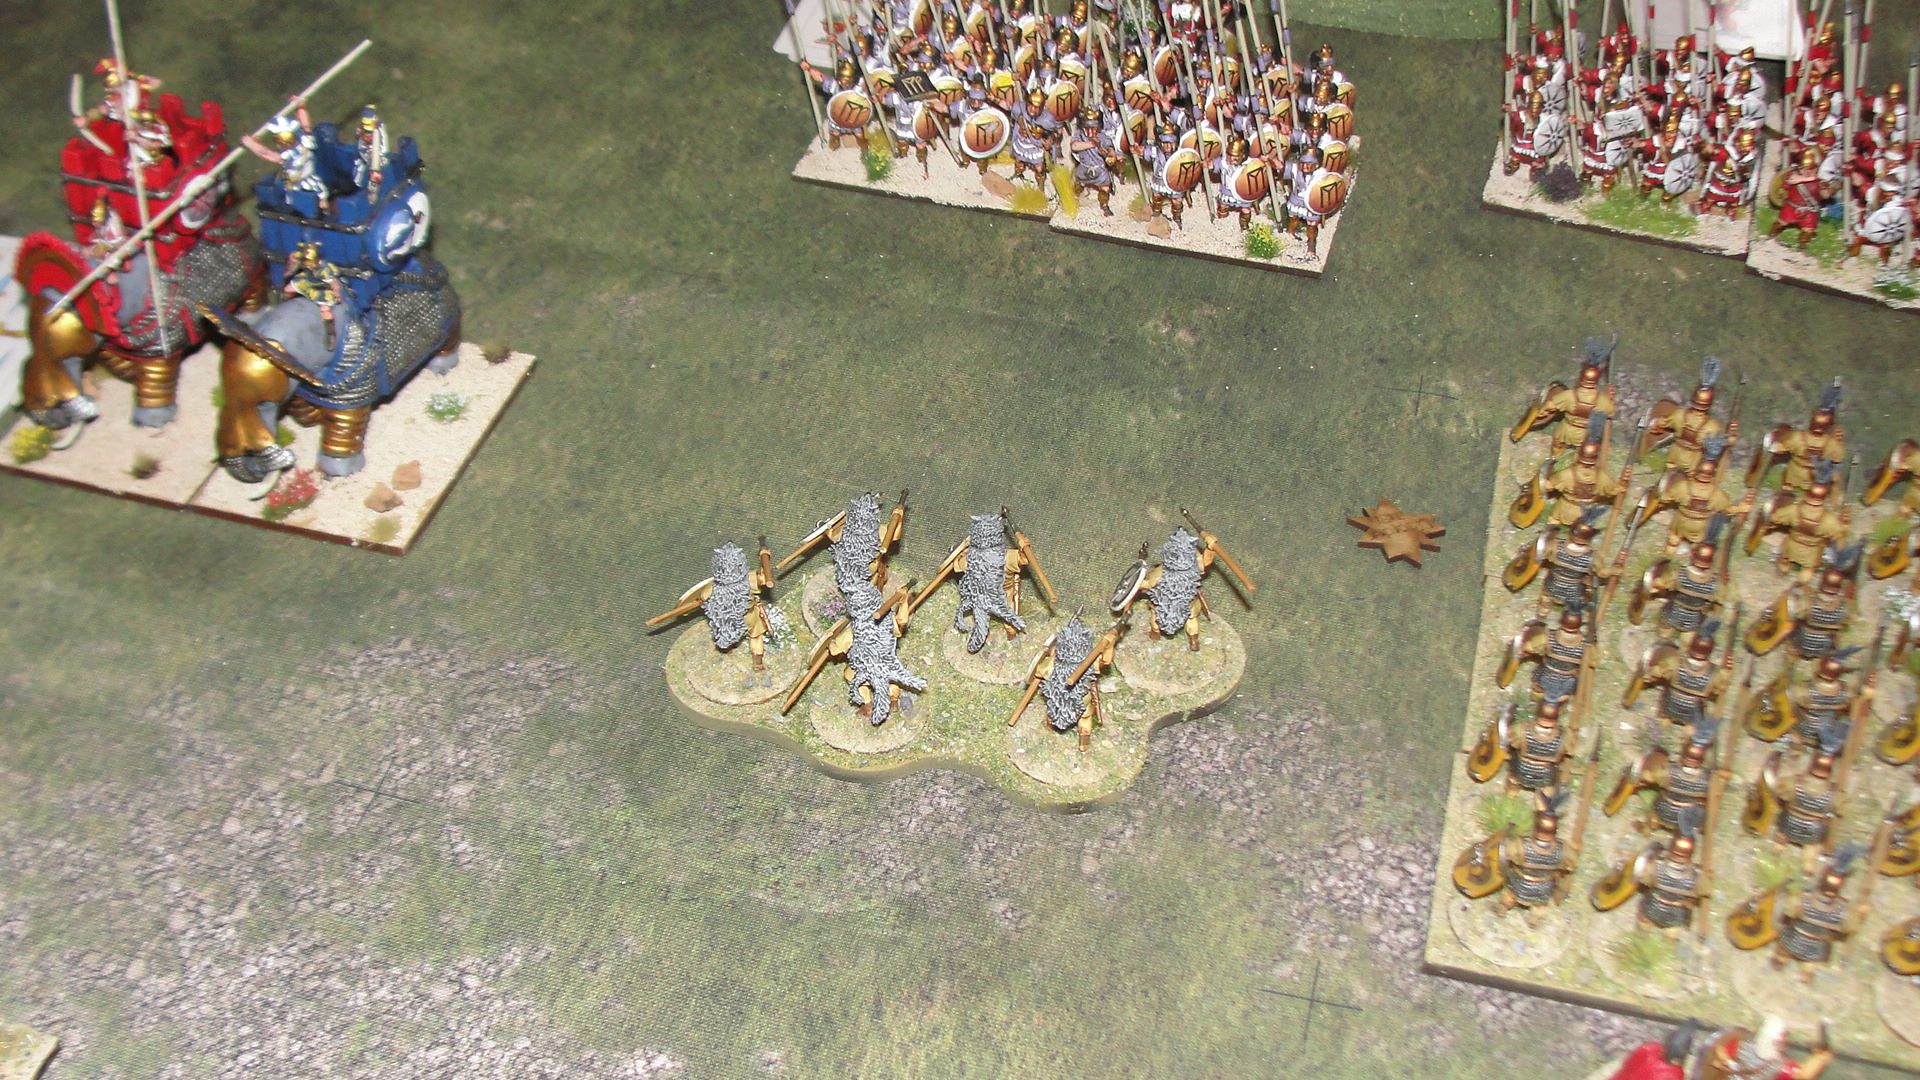
In an attempt to expose the flank of my infantry the Pyric light horse charged a unit of veteran velites but were given short shift in the combat and were destroyed.
In the centre the battlelines were becoming messy as units on both sides pushed forward and some hung back.
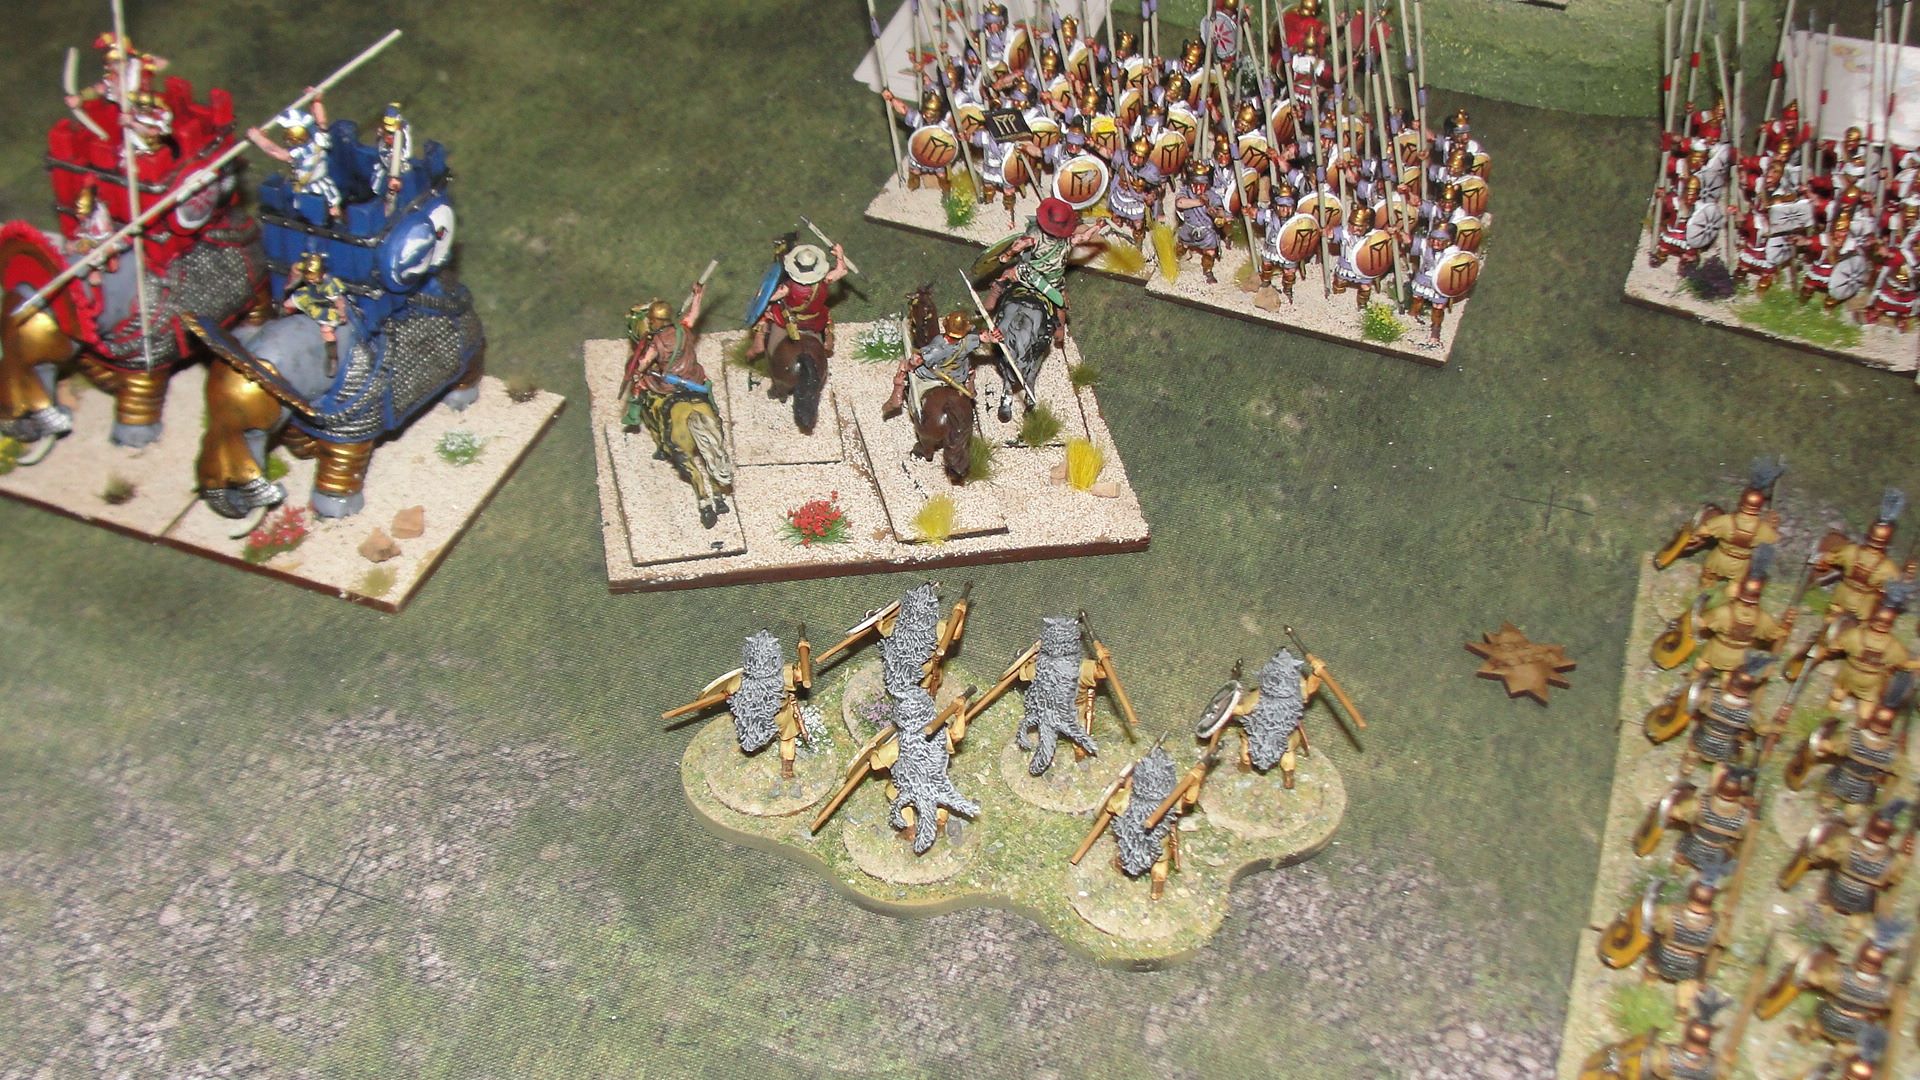
My right flank was causing concern as cavalry was now threatening the flank of my heavy infantry if I was not careful.
The Pyric light cavalry managed to get to the rear of one of my heavy infantry but luckily for me were driven off by a Spanish scutarii unit so avoided any embarrassment.
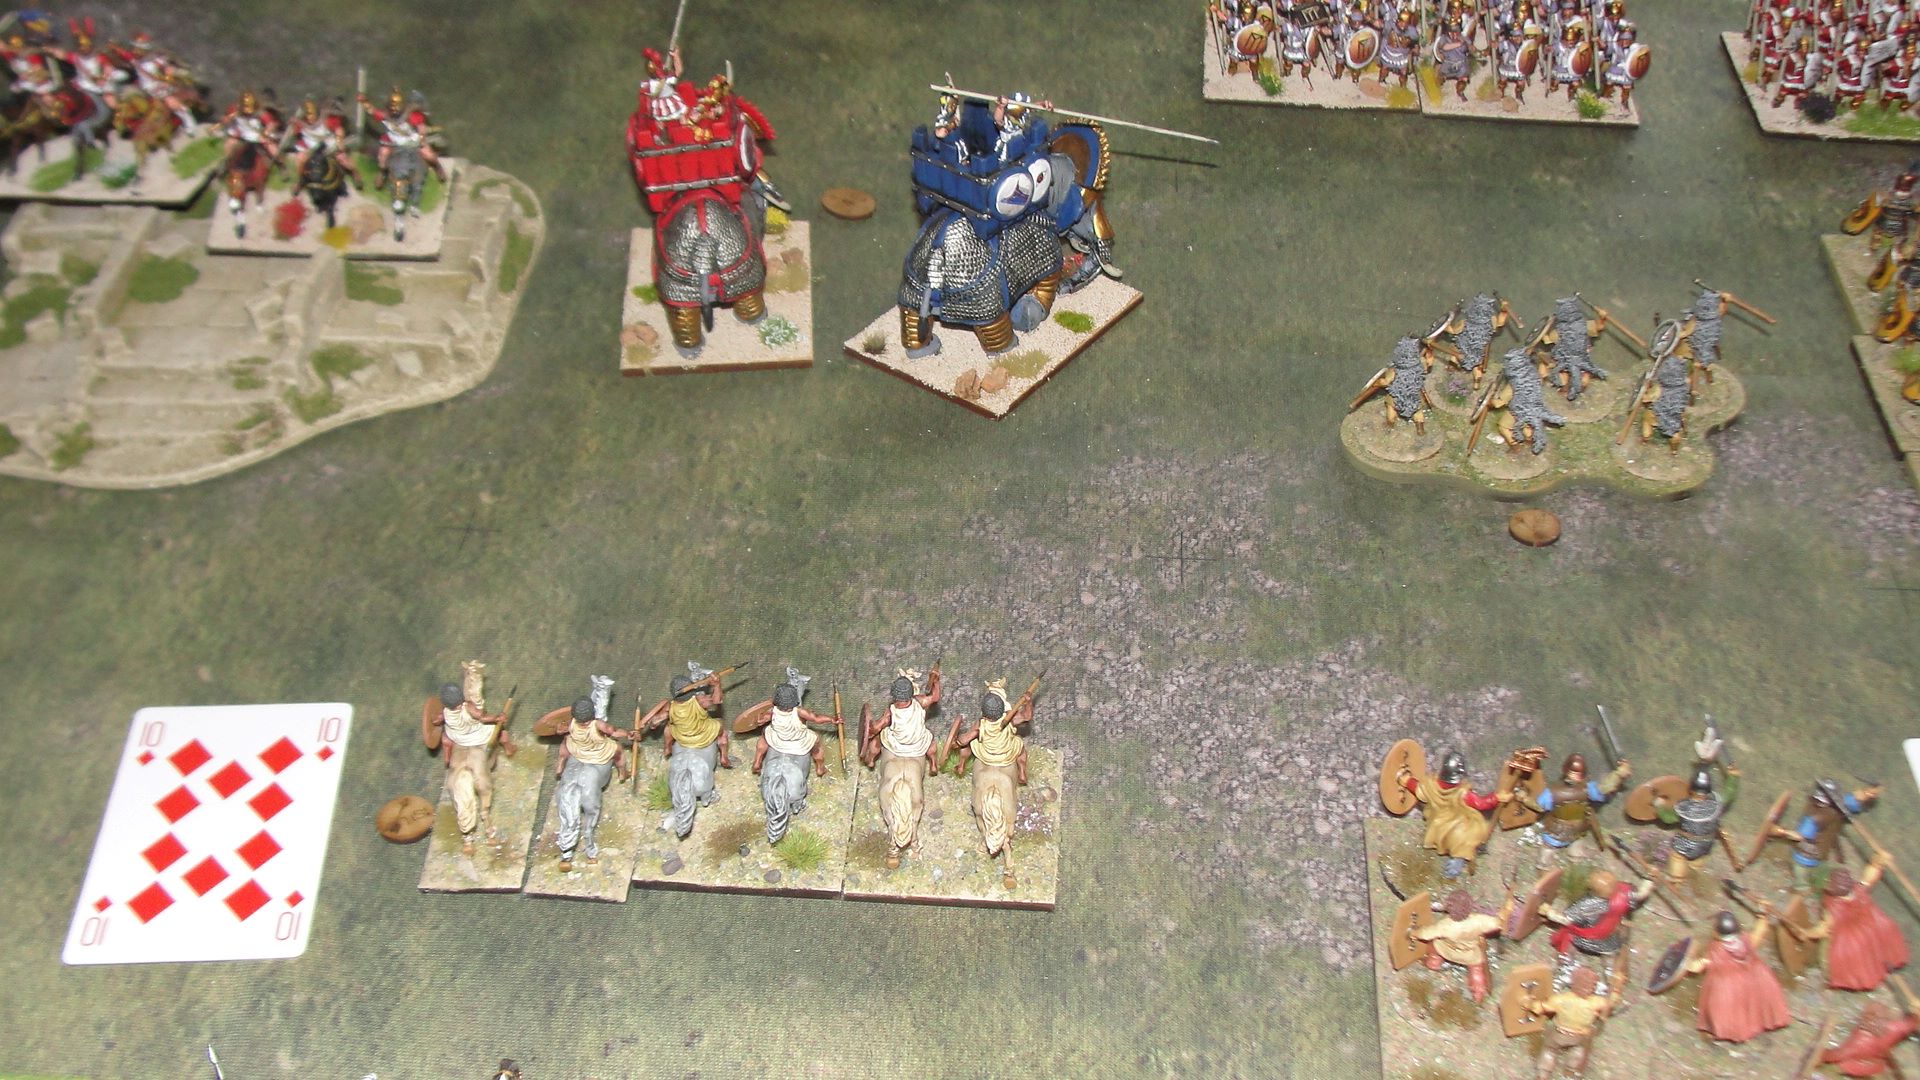
And to really upset the Pyric commanders the Numidian cavalry rode forward and slung a few javelins at his elephants who routed and then rampaged through one of his pike blocks😊.
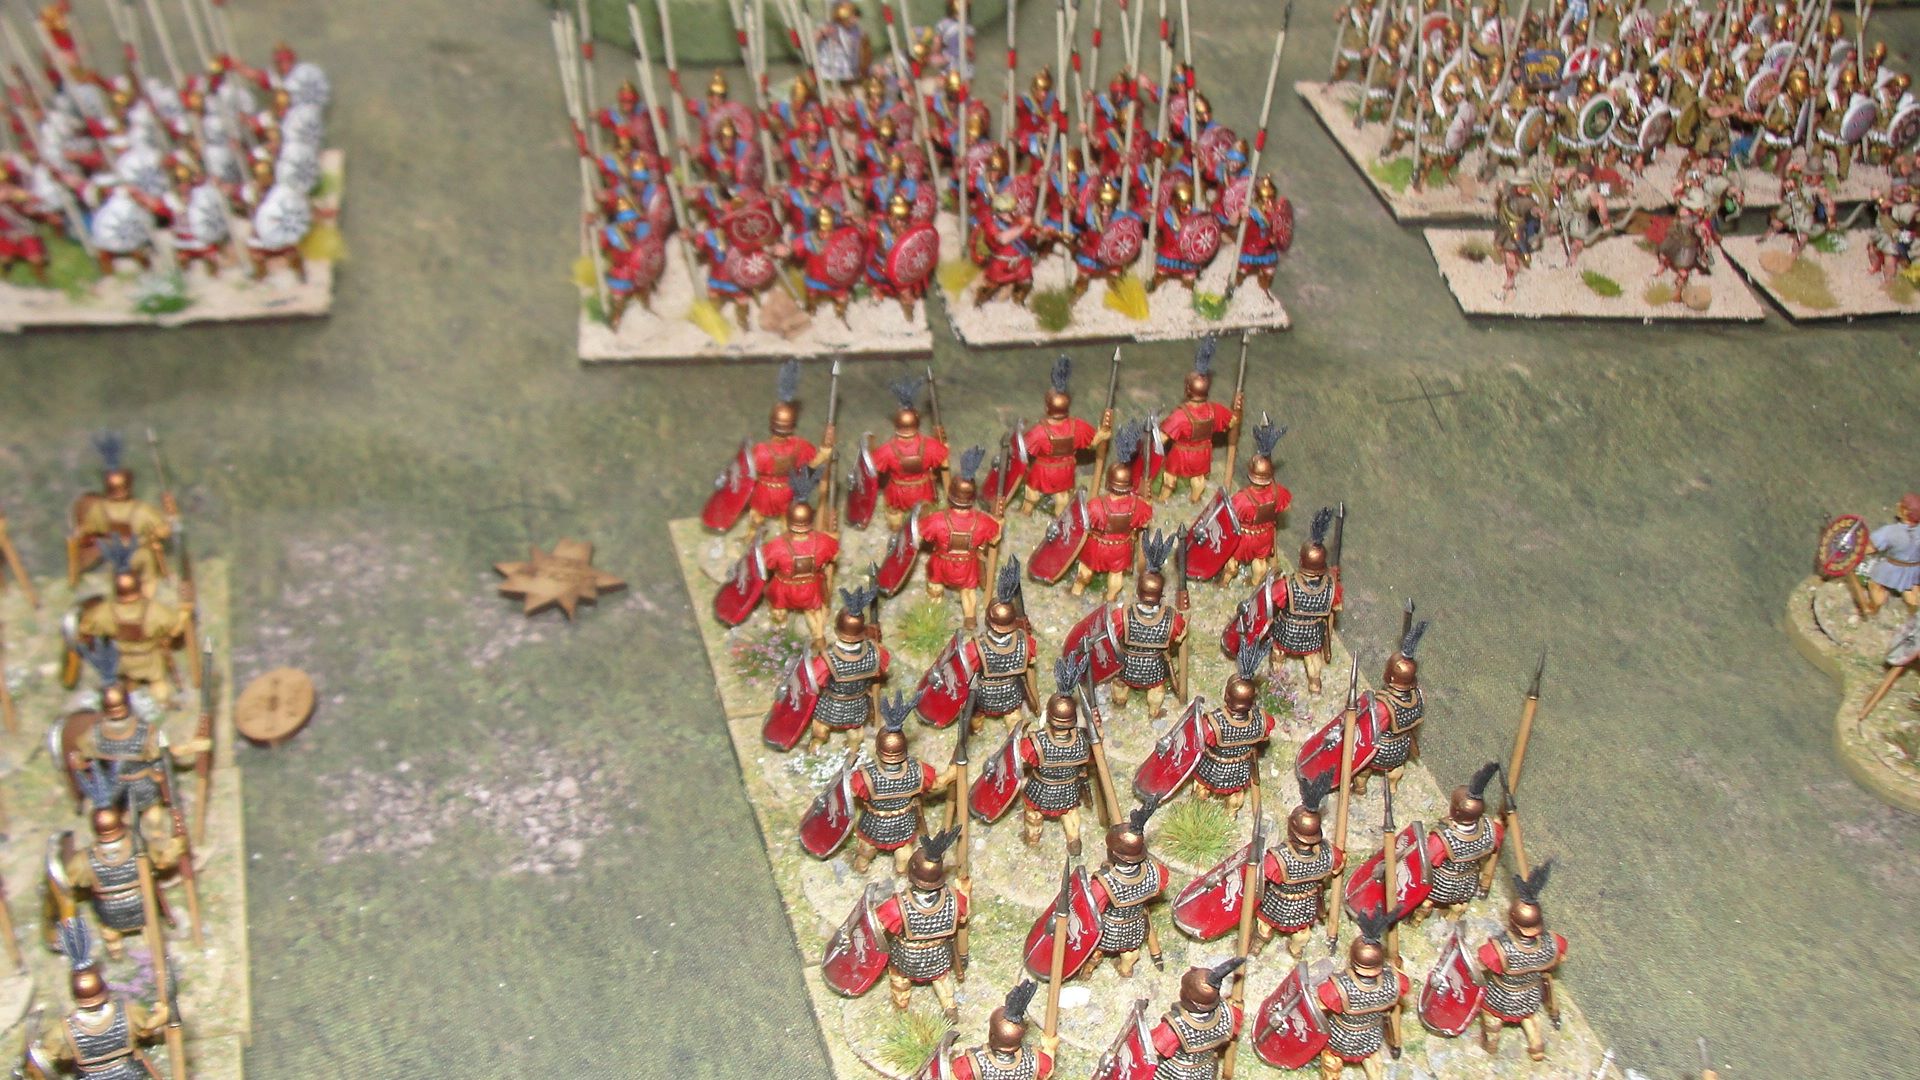
At the same time one of the legio units managed to finally get rid of a pike block. The game was now getting very close with loses on each side mounting and the game could go either way.
At least one of my heavy infantry units was behaving correctly and having successfully rallied twice the Triarii were in the front rank but they still had two disorders on them and could no longer rally unless they fell back.
However on my right flank my veterans were not behaving themselves and failed to rally a couple of times and soon took to their heals two legio units down.
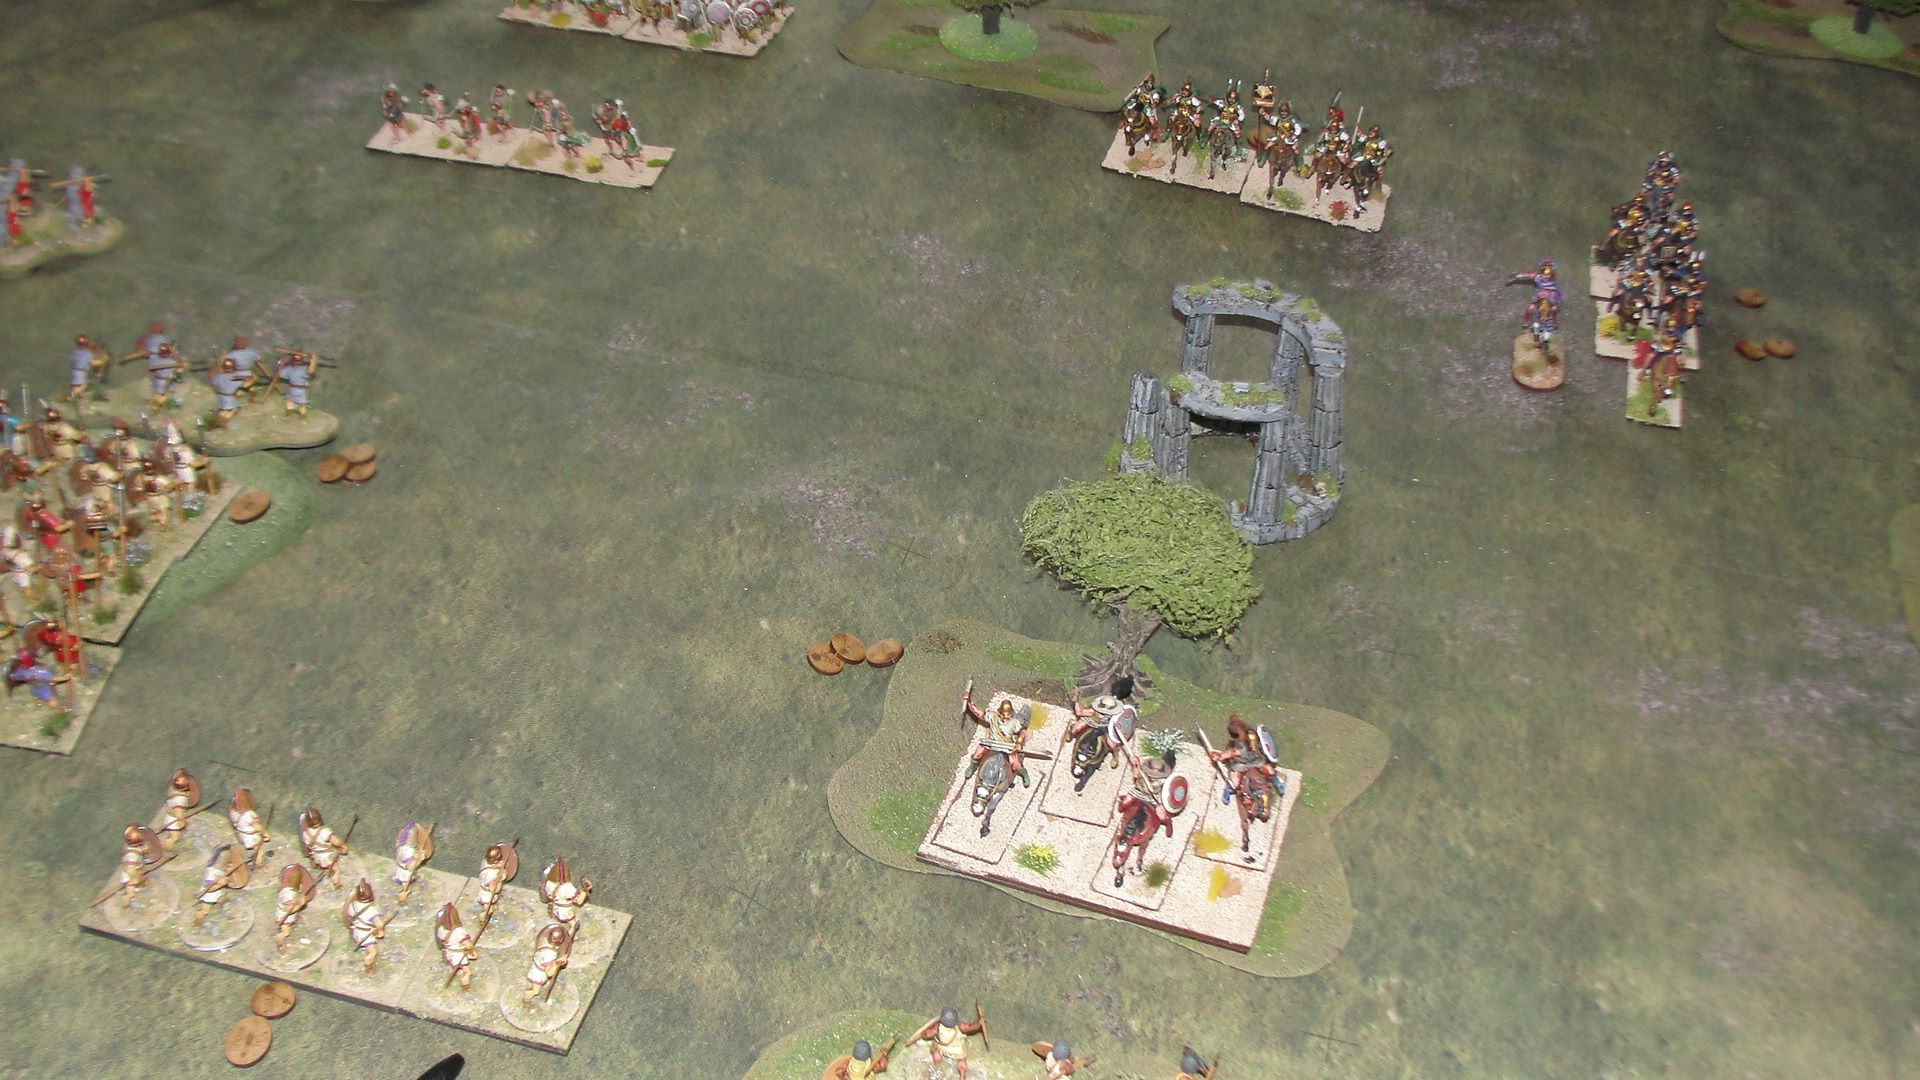
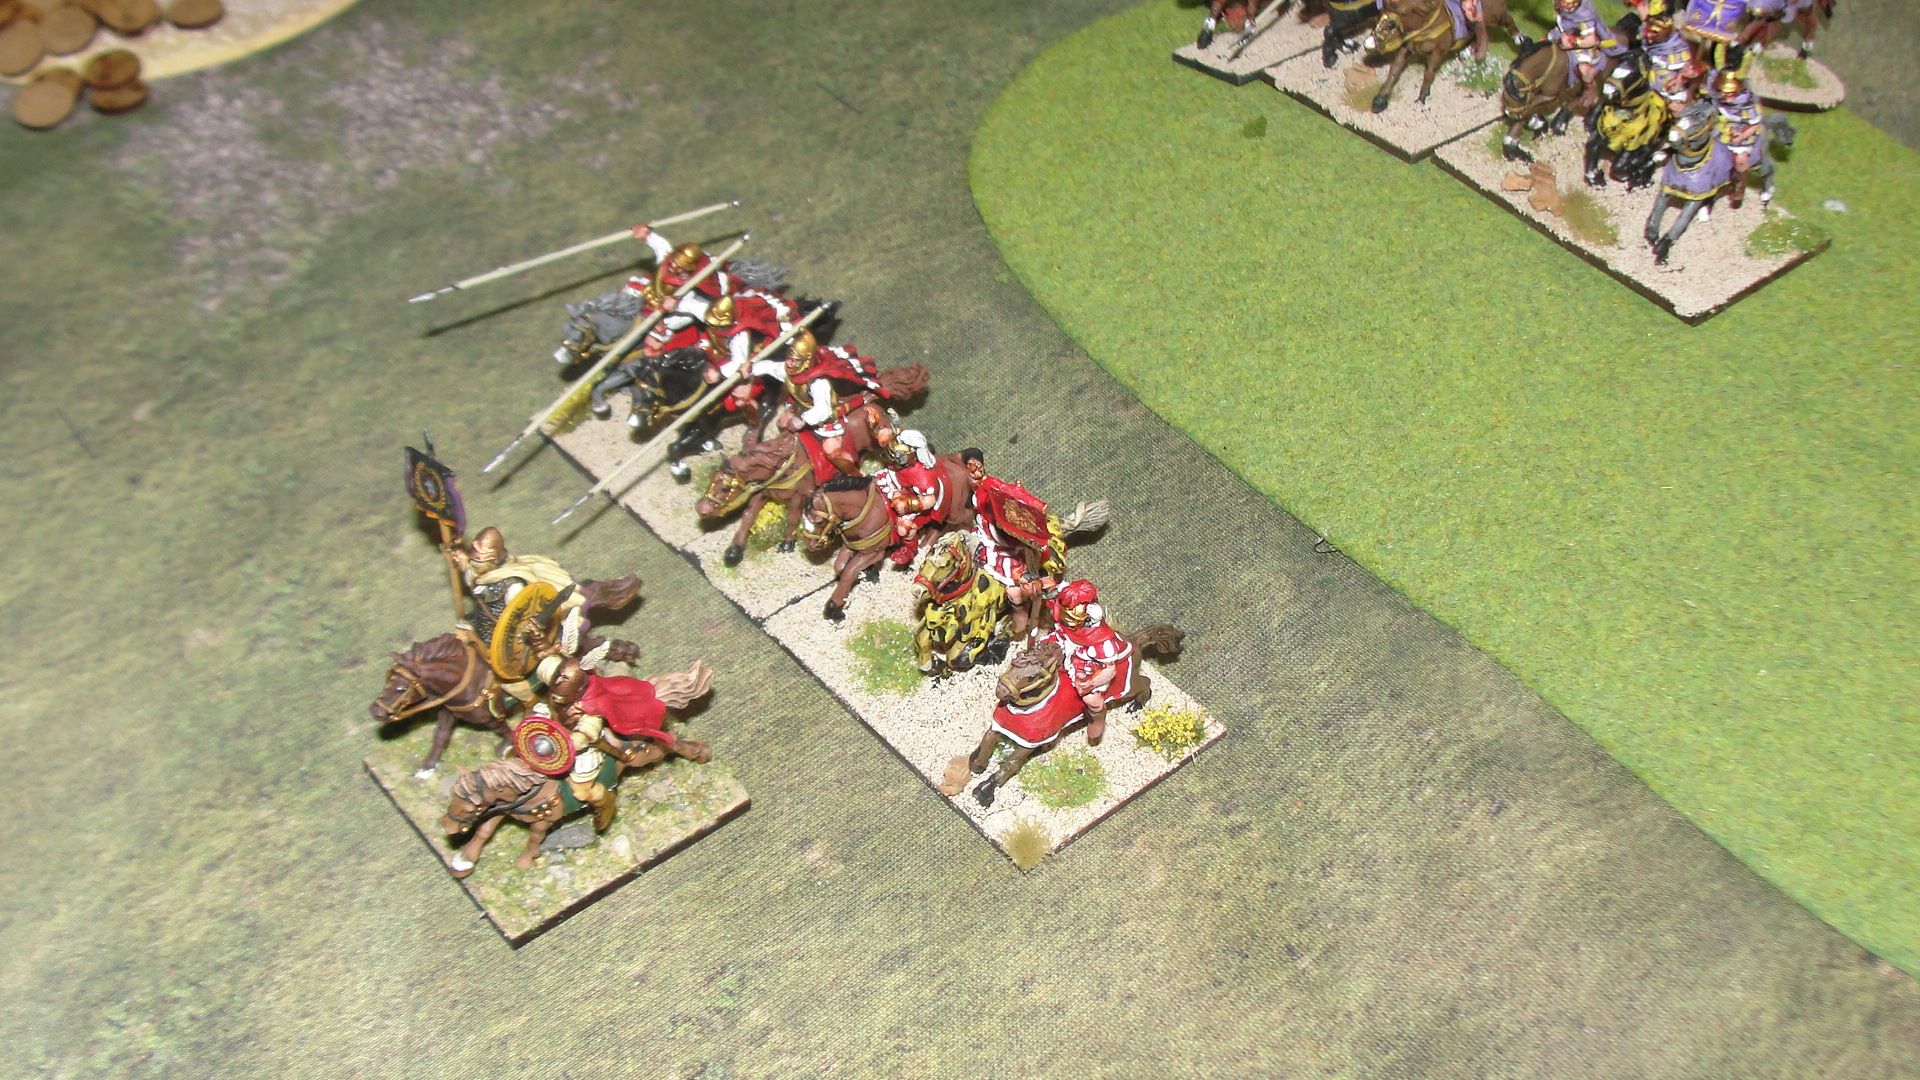
And to make matters worse the lance armed companions managed to get at my cavalry and rode them down so only “three victory medals” left on both sides.
However it was my other cavalry unit on the left wing that won me the game (apologies for the picture a Gerry shot to imply movement) as I managed to get a couple of moves from them and advanced and take the enemy camp and their last 3 “victory medals” before they could do the same to me.
Another close and enjoyable game (well at least for me) so now onwards and get the rest of the Carthaginians painted and also some more Romans so I can also field the Camillian Roman army that actually fought the Pyric’s.
For anyone who doesn’t want the issue of measuring and dice I would heartily recommend “To the Strongest”. While the card and movement mechanisms take a bit of getting use to they have produced some cracking games.
02 Hundred Hours - Intelligence Gathering
We had another chance to try out the 02 Hundred Hours rules last week. This time it was just me (playing the SAS) and “Broken Dice” who was running the DAK forces this time.
A change up in the scenario and this time we were playing the “Intelligence Gathering” scenario. Five locations were marked on the board with each marker a variable value. The SAS had to gather “3 points” of intelligence and the DAK had to “take out” at least half of the attackers.
With the patrol route planned and the objective markers (counters with flags) let battle commence.
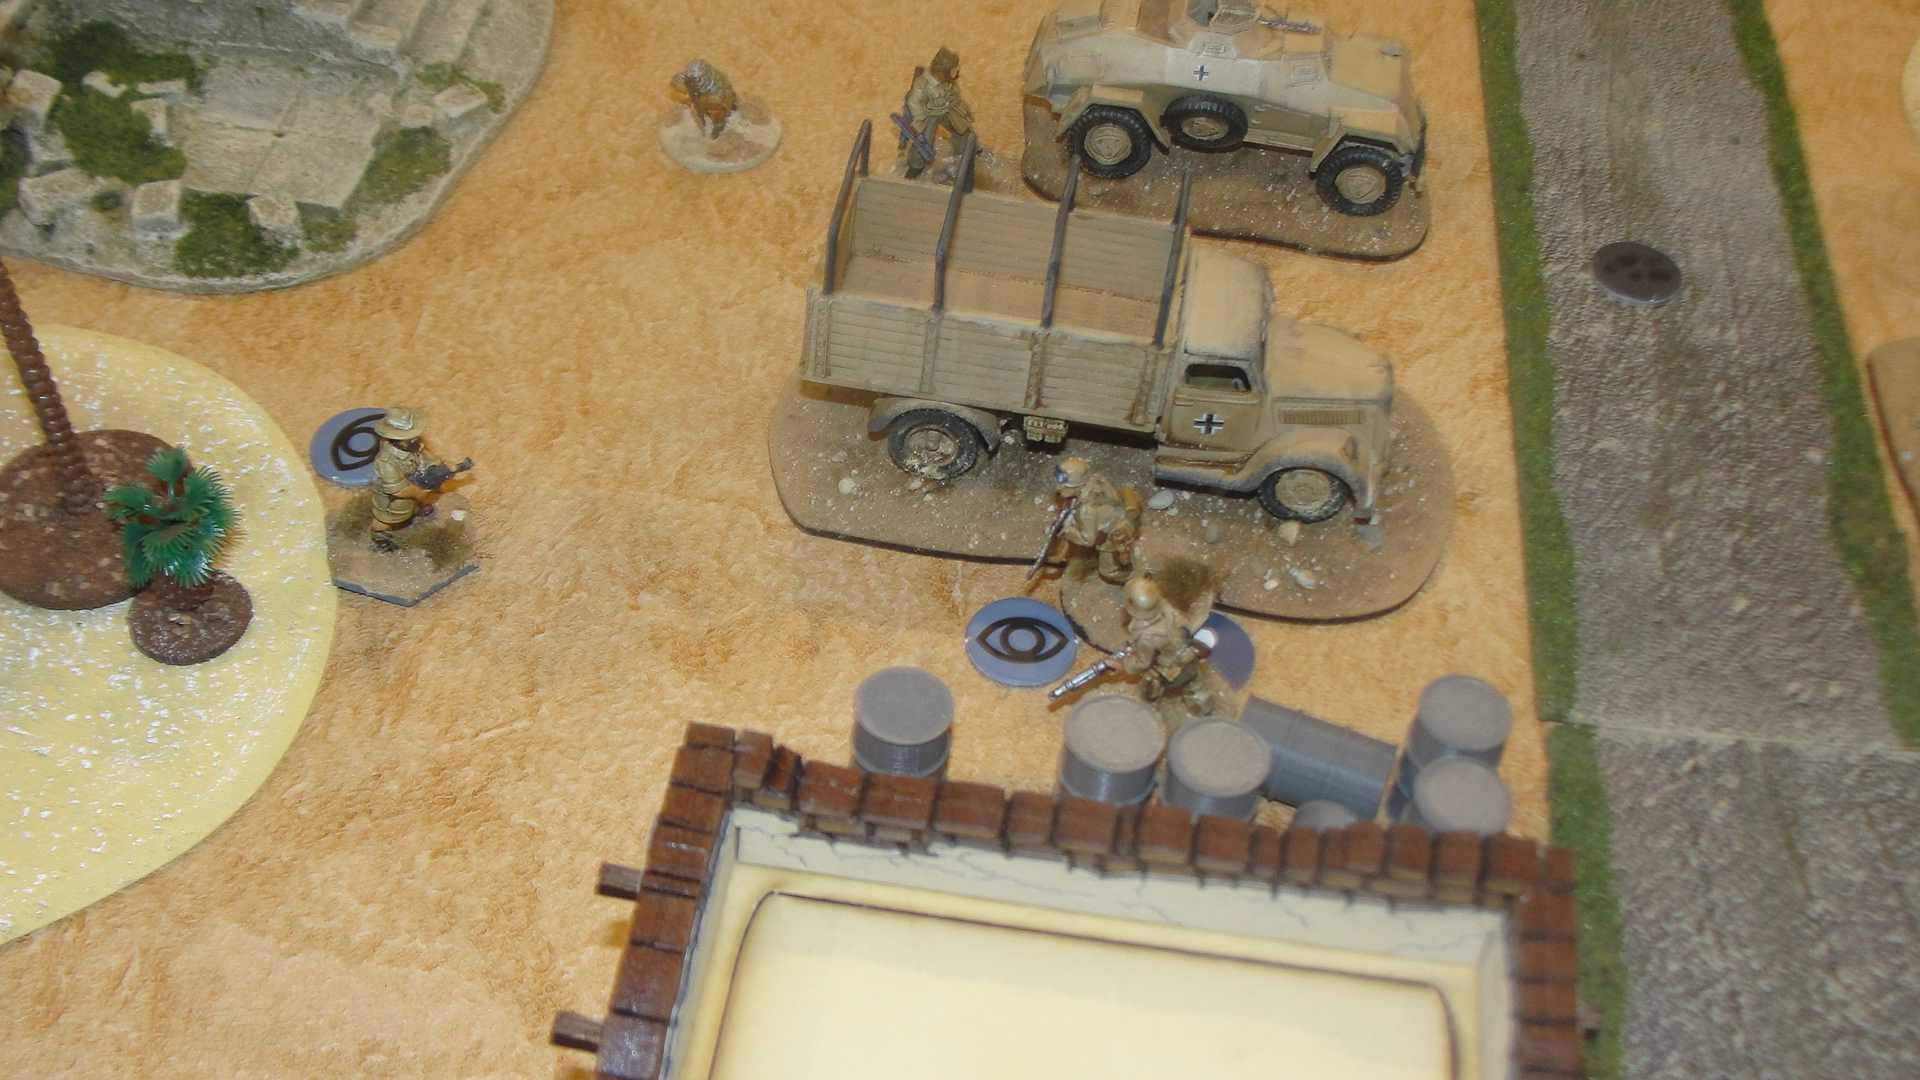
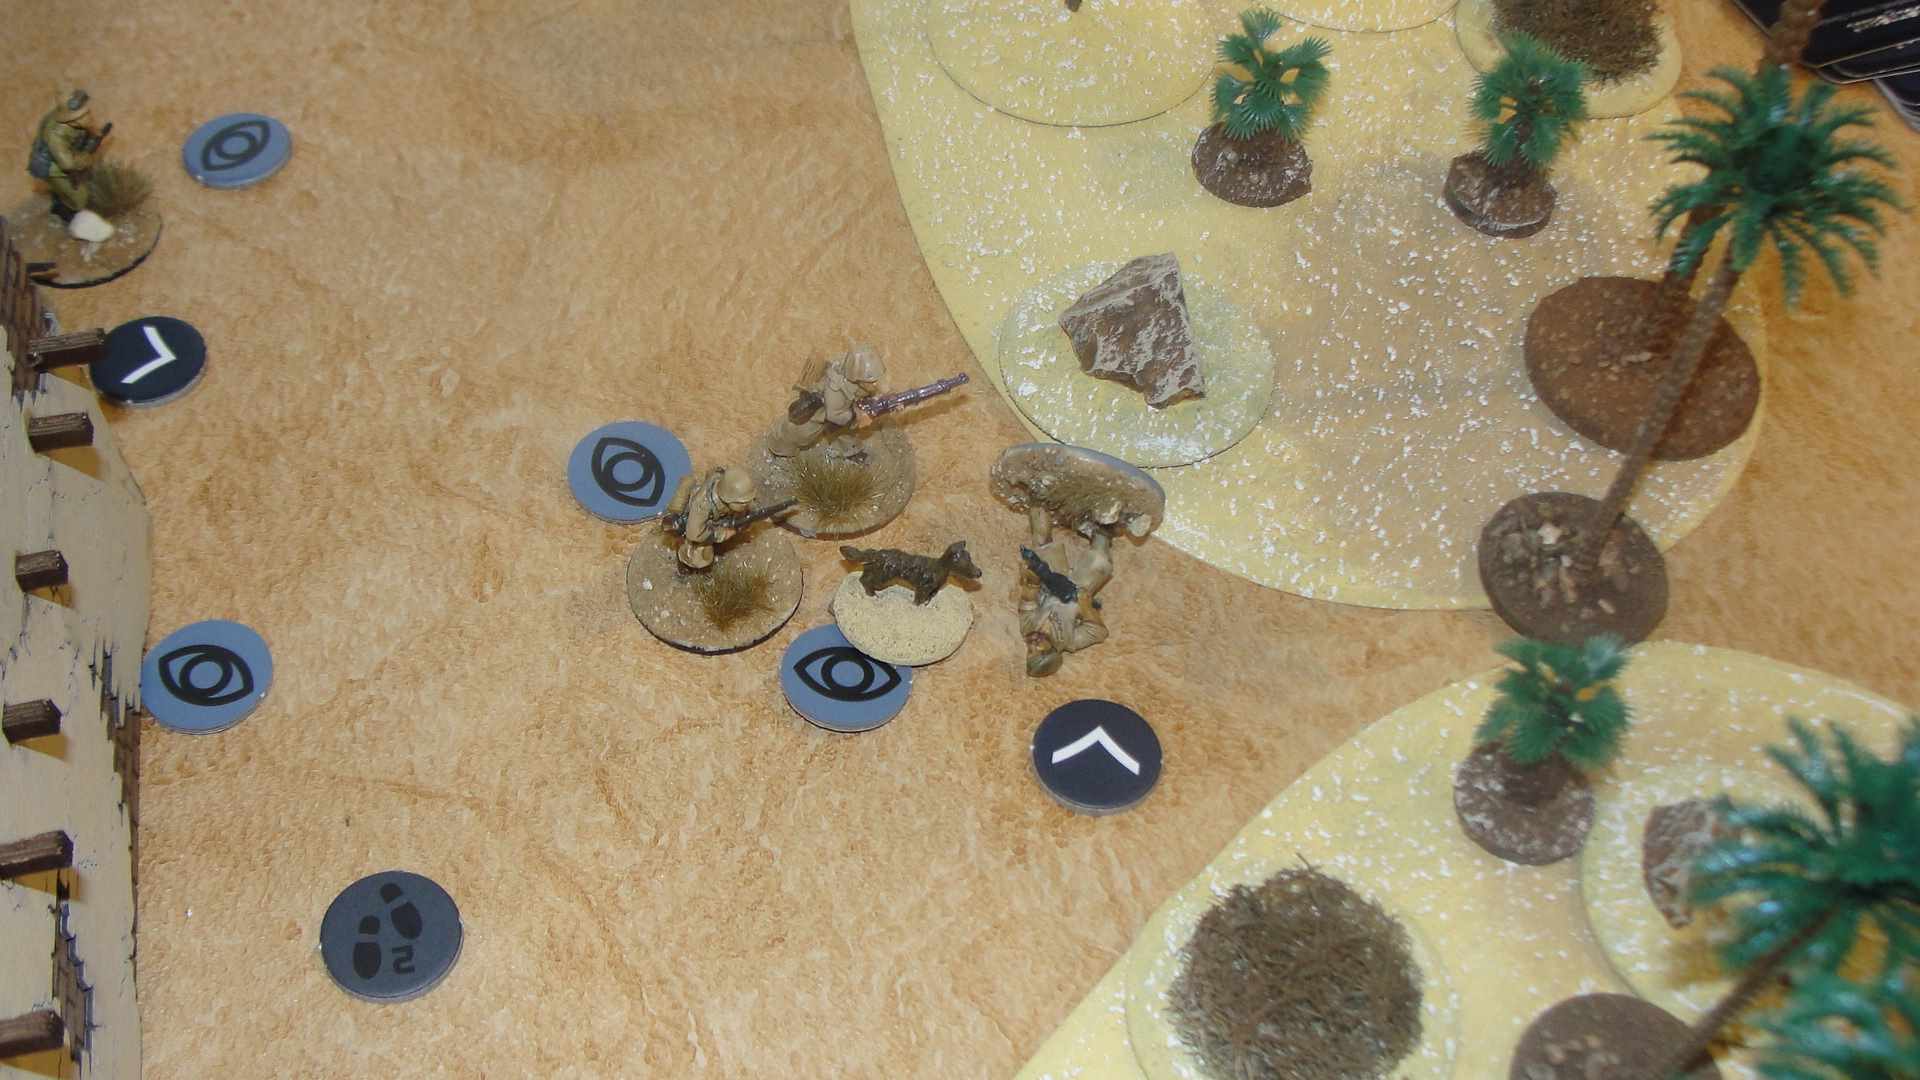
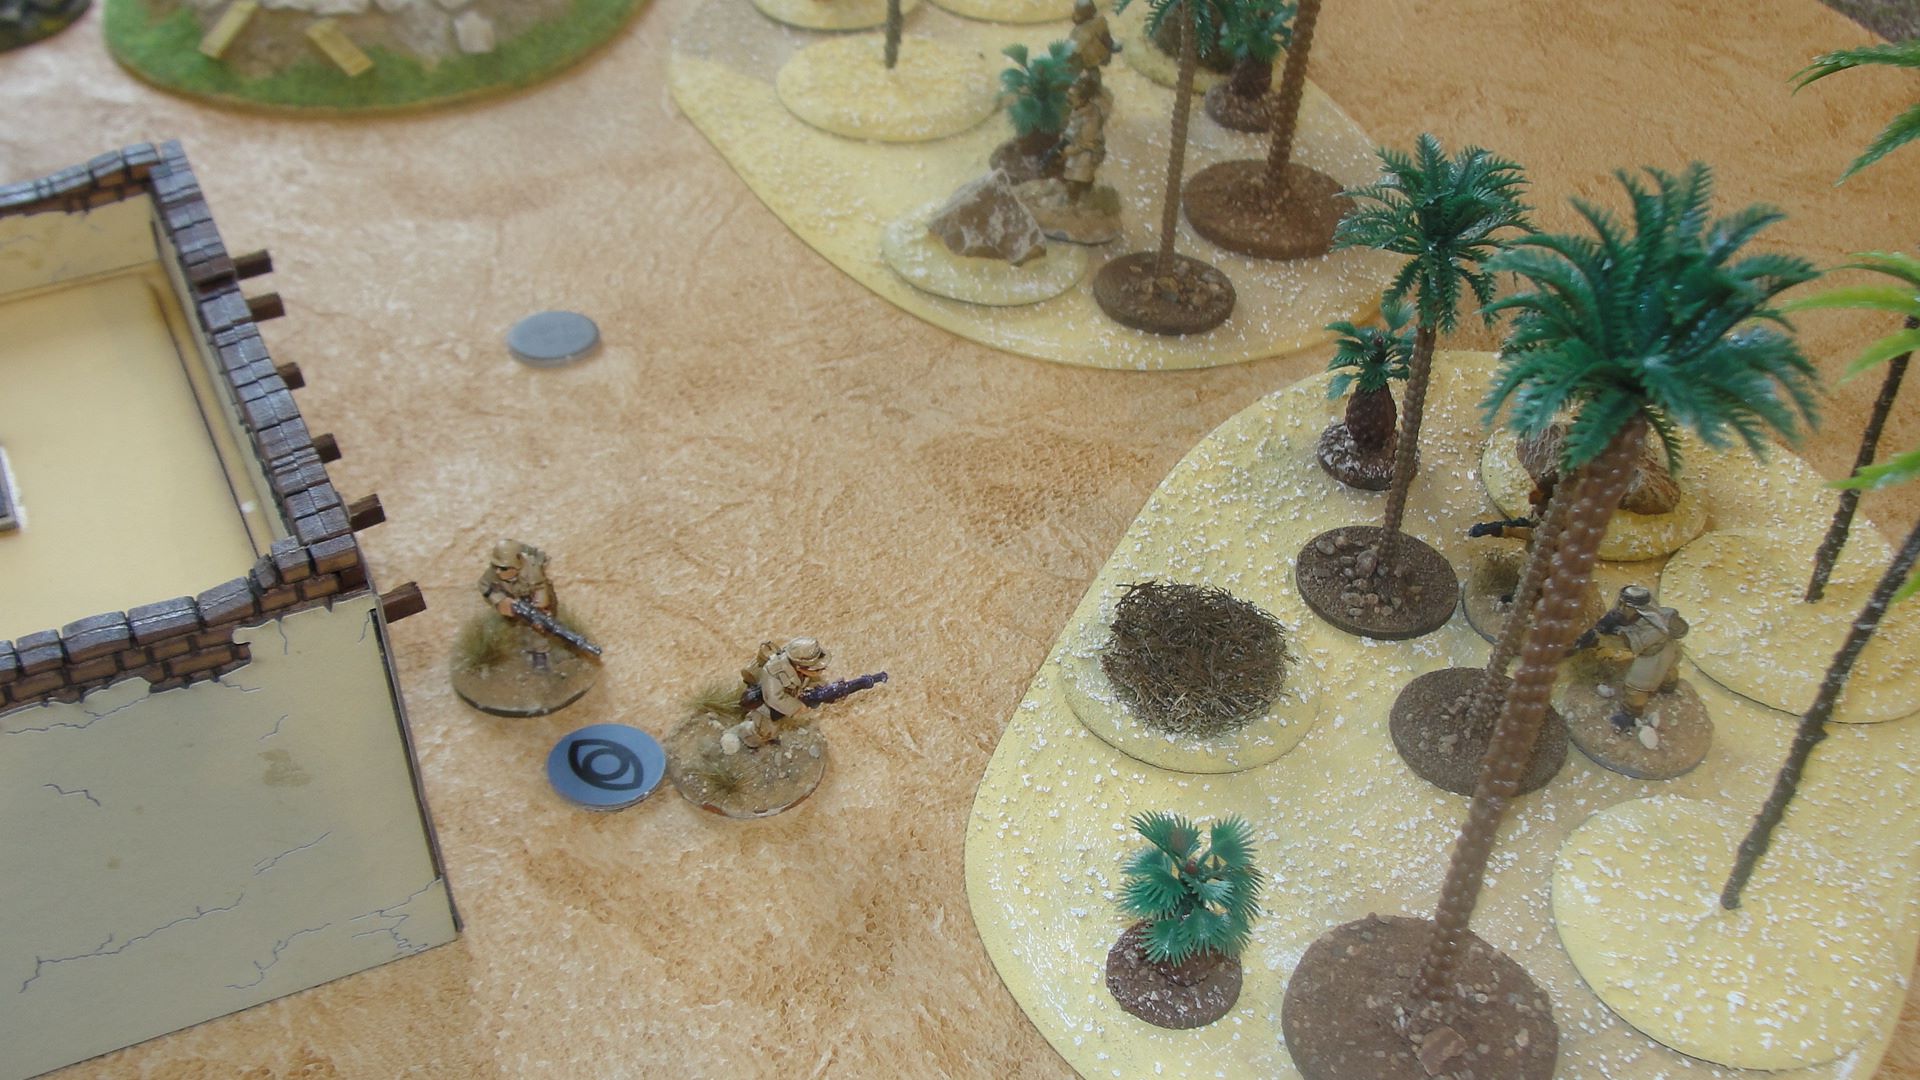
It did not start well for me with the sergeant moving on the board with all the stealth of a “tap dancing” elephant and alerting the nearest German patrol. The only advantage was no one had direct line of sight.
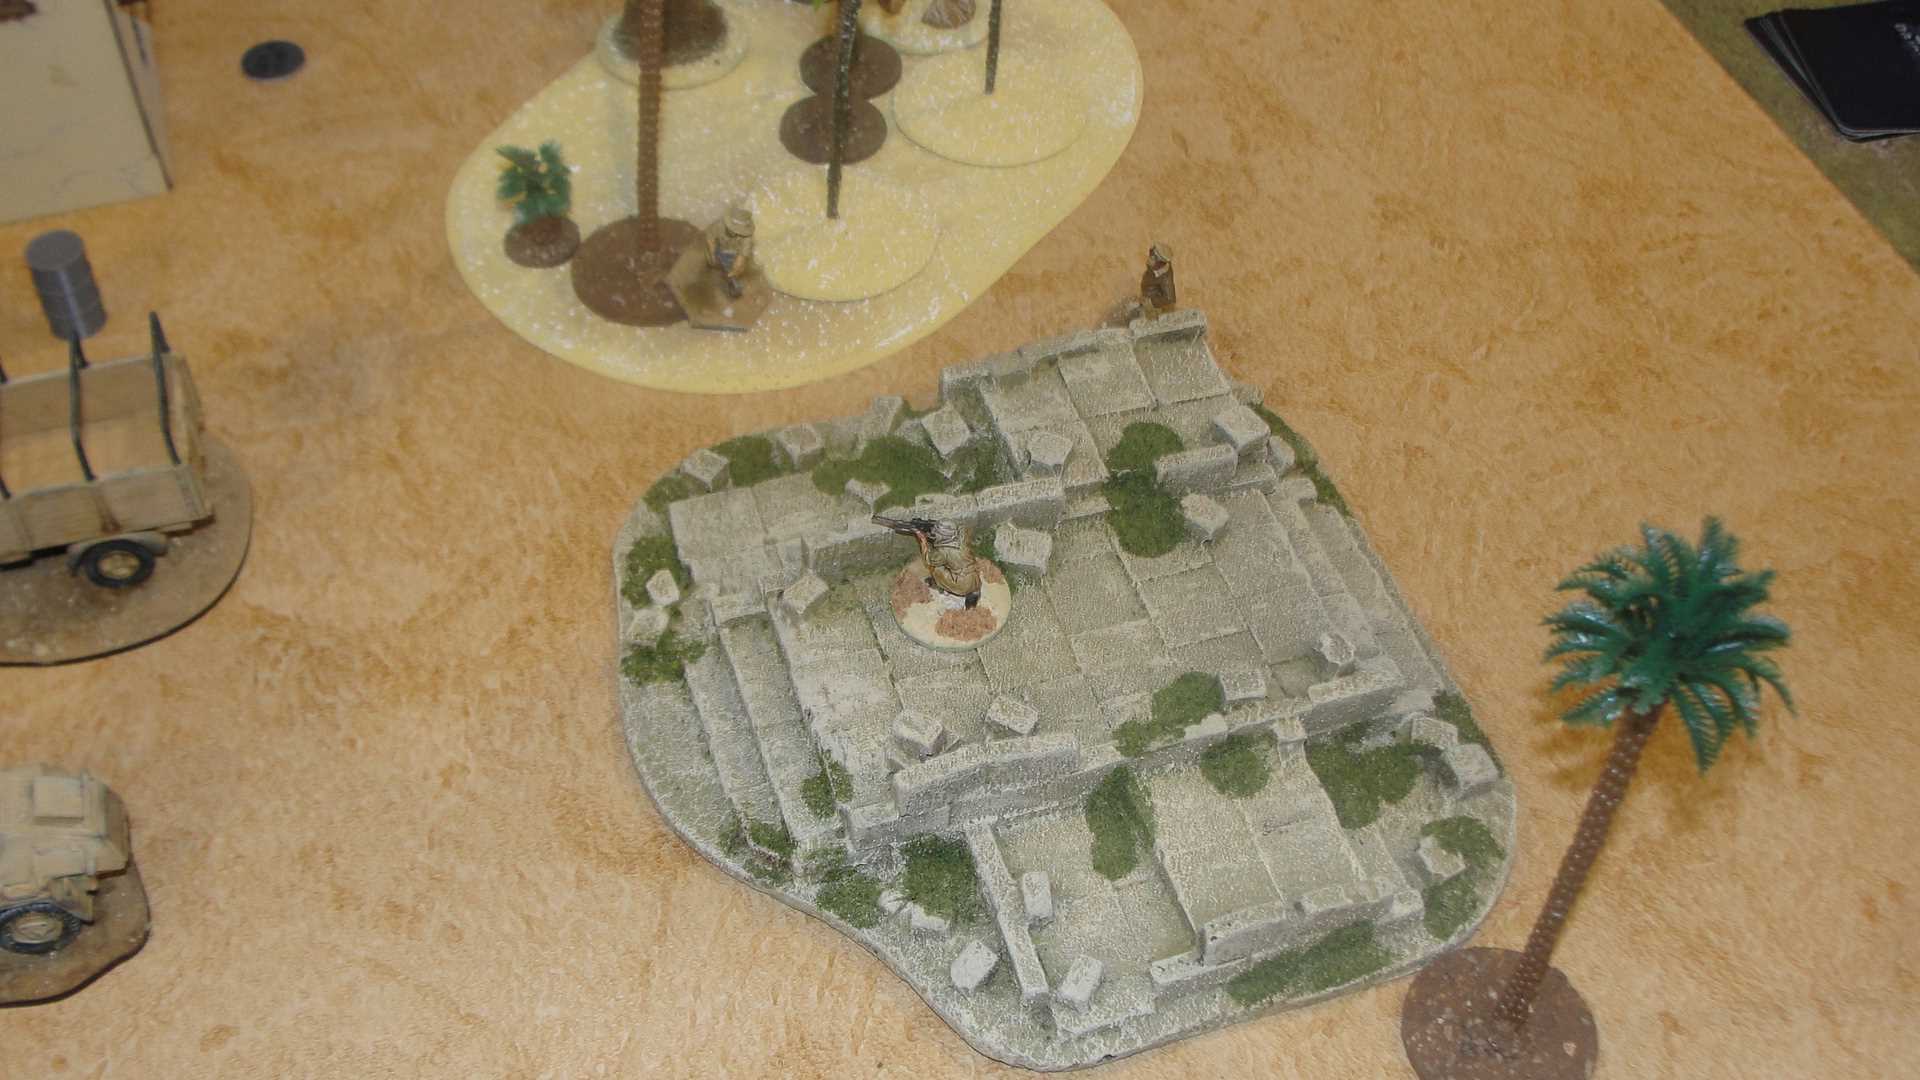
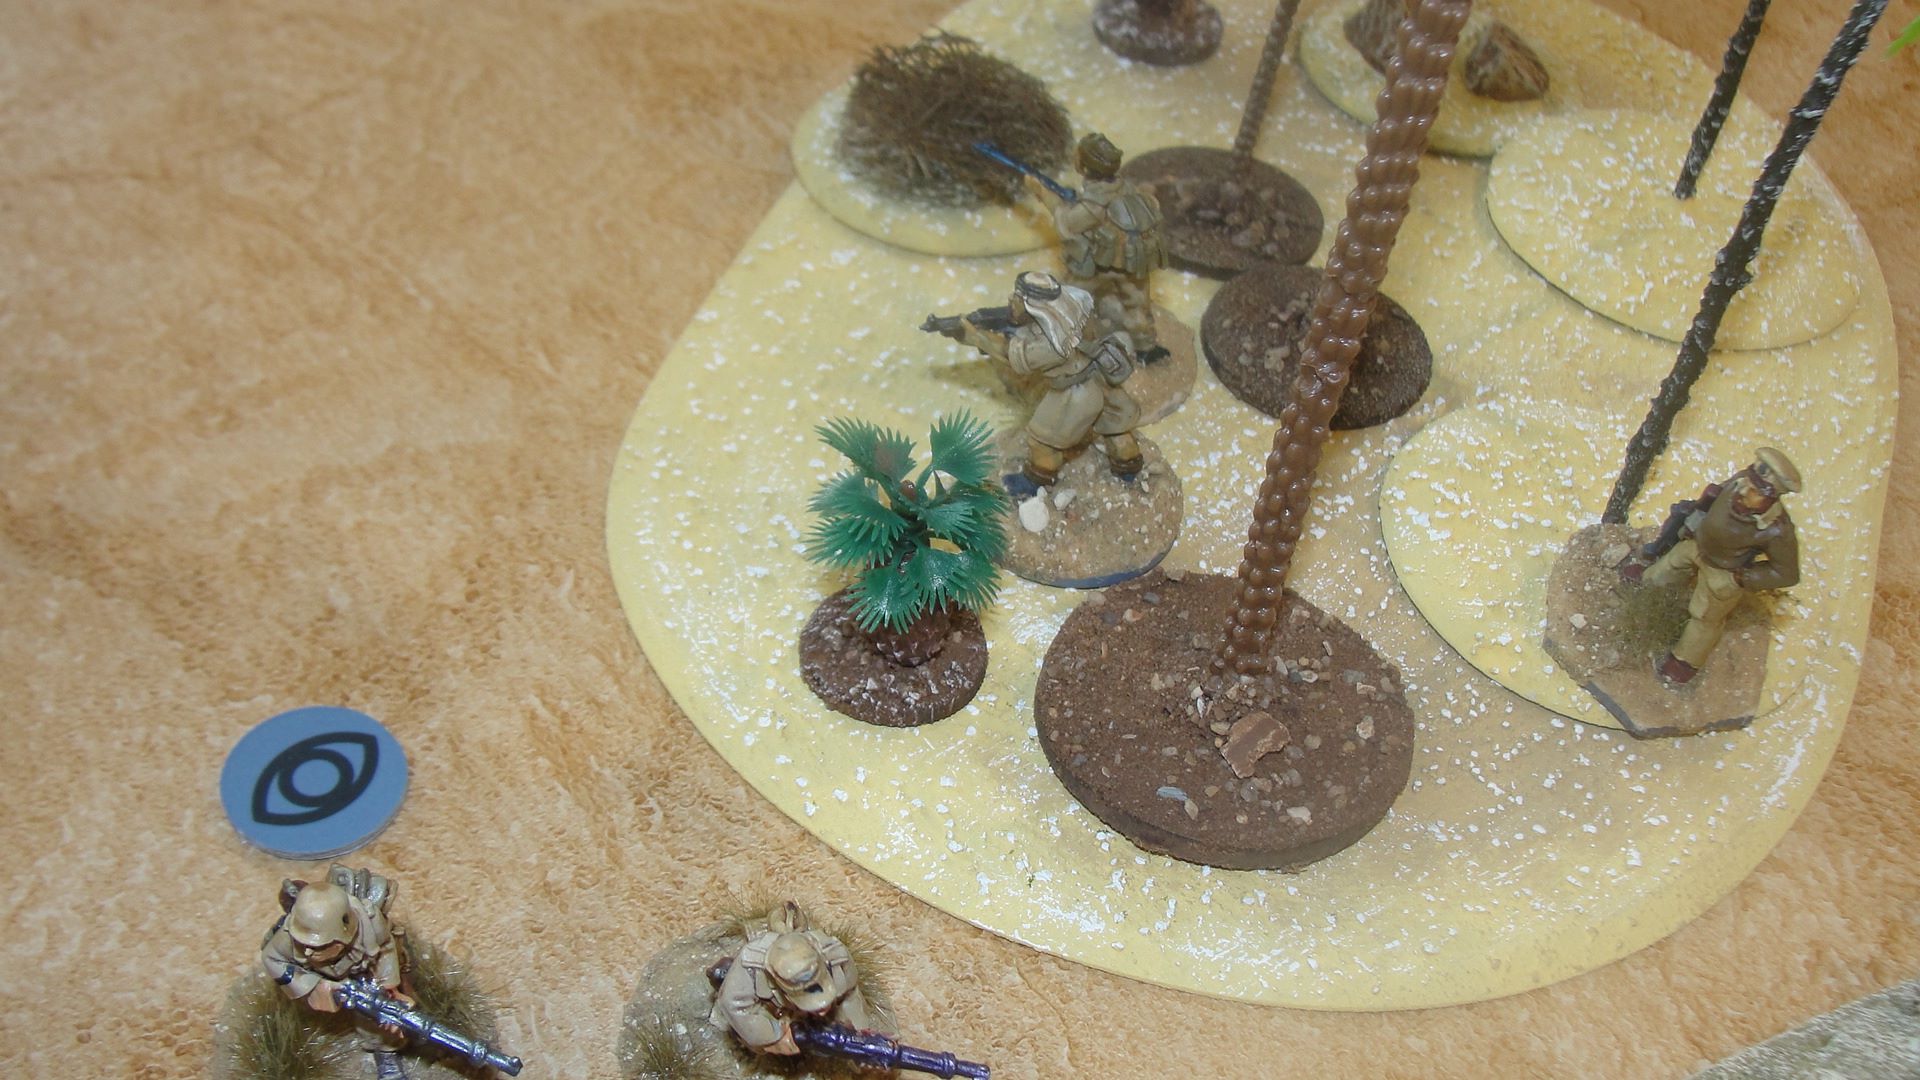
3 other members of the patrol managed to move on without attracting attention and the sniper taking up position to provide covering fire as the other team members moved towards the objectives.
The last two members of the team weren’t as stealthy and came on thrashing through the undergrowth attracting the attention of the nearest enemy patrol.
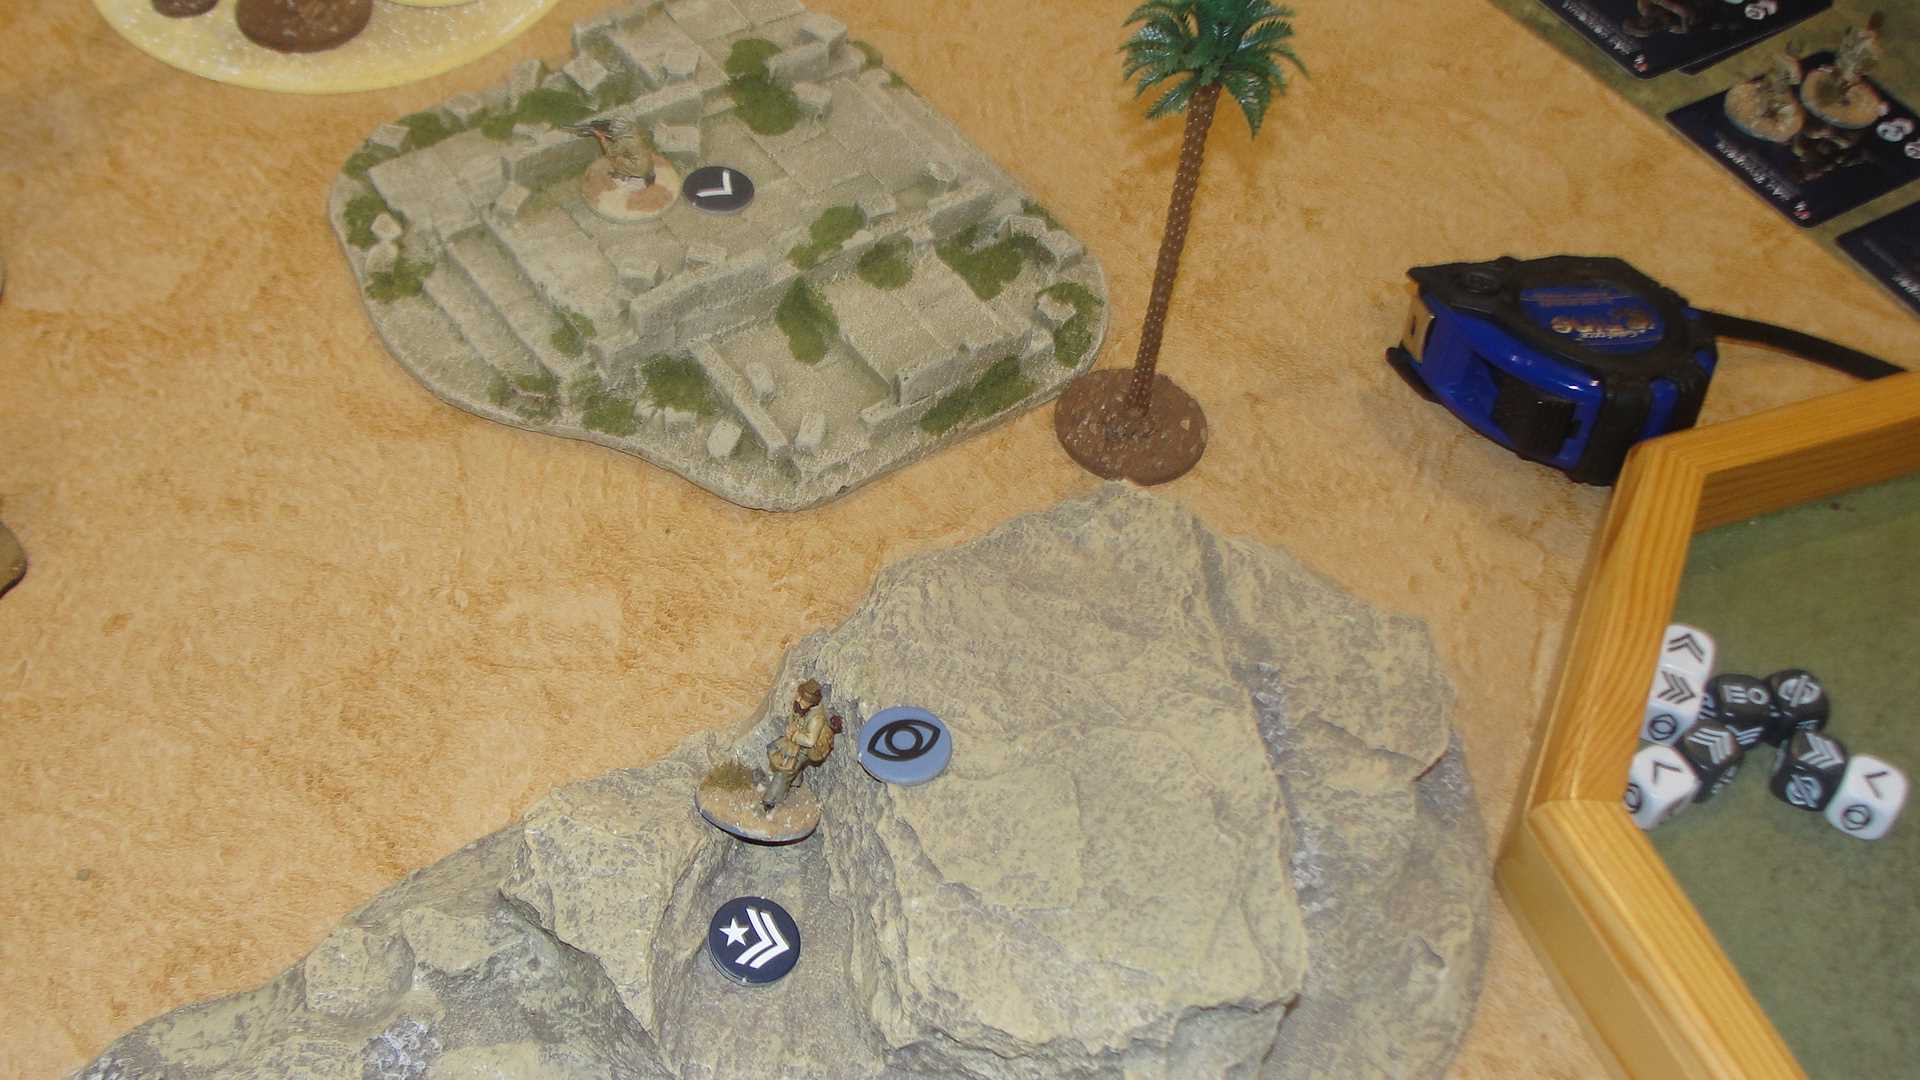
Now one of the things you must get used to in the game if you are the defenders is your troops wandering off in random directions. The DAK sergeant decided to have a look at one of the huts instead of moving towards where the SAS patrol had entered the table.
However, he soon advanced towards the “noise” and straight into an ambush having spotted the SAS officer. The resulting gun fire did raise the “alarm level” enough so the “alarm was raised” and the DAK reinforcements could enter the fray.

As the SAS officer advanced to check on the first objective a “pair” of DAK sentries emerged around the corner (I didn’t get the right “action token” to get my officer to move first) and instead of trying to shoot him the sentries applied a rifle butt to the head and took him out of the game.
With the officer down the patrol was now targeted by one of my troopers who “opened up” with his SMG and missed. Unfortunately, the sniper didn’t have a shot as they were hiding behind the truck.
The other part of the patrol had also become entangled with an enemy patrol. The sentries worried about the SMG closed to close combat and managed to take out one of the troopers ☹️.
The gunfight was ongoing between the trooper and the sentries. The SAS sergeant having recovered from his earlier mishap now started to move to get behind the patrol and get to the objective marker.
Once he had got into position, he “opened up” with his SMG gaining three bonus dice as he was covert before firing, not in line of sight and had a clear view of the targets at the start of the action. This did not help as with six dice he failed to get any hits😟.
Next the sniper tried to help out his beleaguered colleagues fighting the sentries but he also missed.
At this point the DAK dog handler appeared around the corner and released his “woofer” to launch an attack on the surviving SAS trooper. The trooper failed his save from being hit and was “taken out” by the dog!
So with 3 SAS attackers down the game was over and a victory went to “Broken Dice” and the DAK.
This second game played completely differently from our first game. As the SAS player I should have concentrated on staying covert and going for the objectives and not getting involved in firefights. You also need to get your head around a couple of the game mechanics. These are designed to represent moving and fighting in the dark so while it may seem strange you are not always moving where you want to go or having to take a move action to enable you to try and detect enemy, they do make sense.
Even though I lost it was an enjoyable game and did give a narrative feel with plenty of memorable moments.
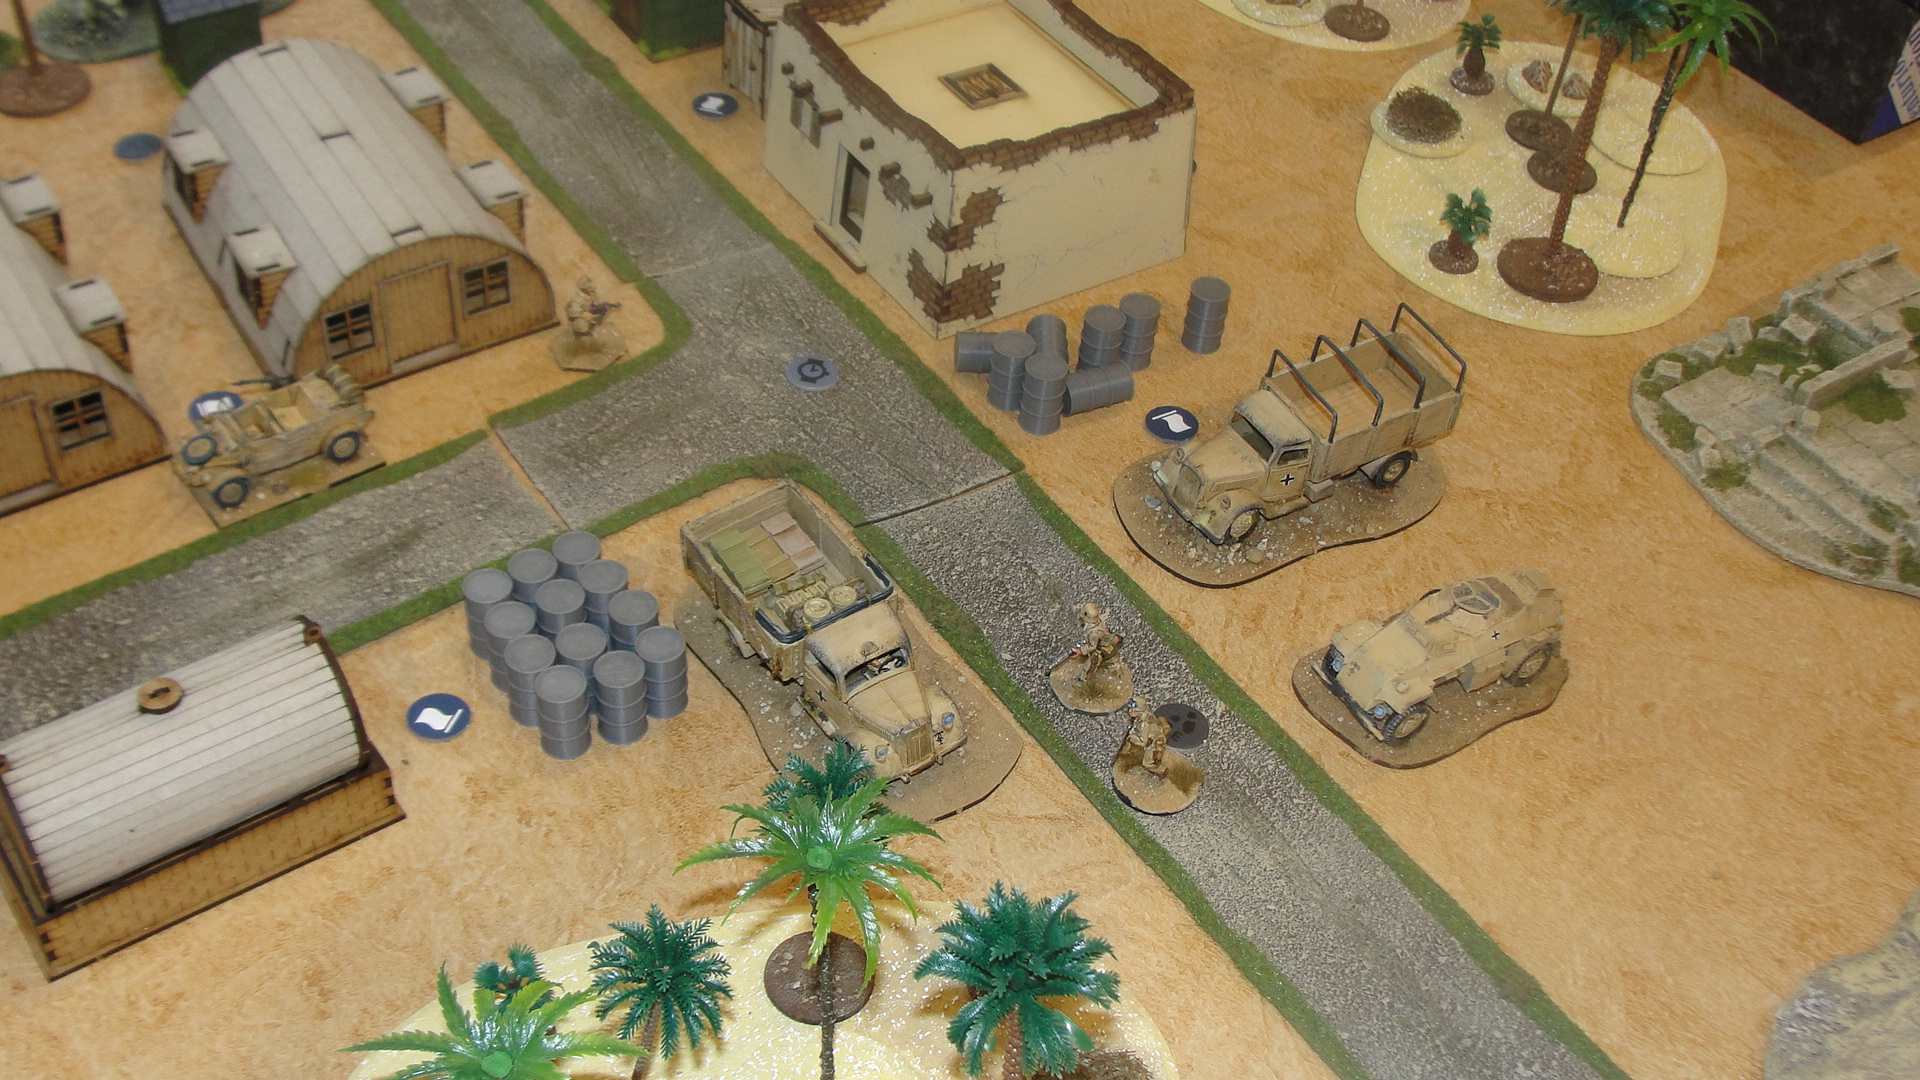
02 Hundred Hours - Raid in the Desert
The release of 02 Hundred Hours peaked my interest when it was originally released as I didn’t want another project I didn’t bite at the time. However when the announcement of the North Africa supplement the decision was easy as I have already got a fair sized skirmish force for the deserts of North Africa.
For this game the scenery and layout (and an excellent lunch) were provided by “Broken Dice” David who also commanded the SAS forces. The DAK defenders were commanded by my other mate Nigel and I umpired the game.
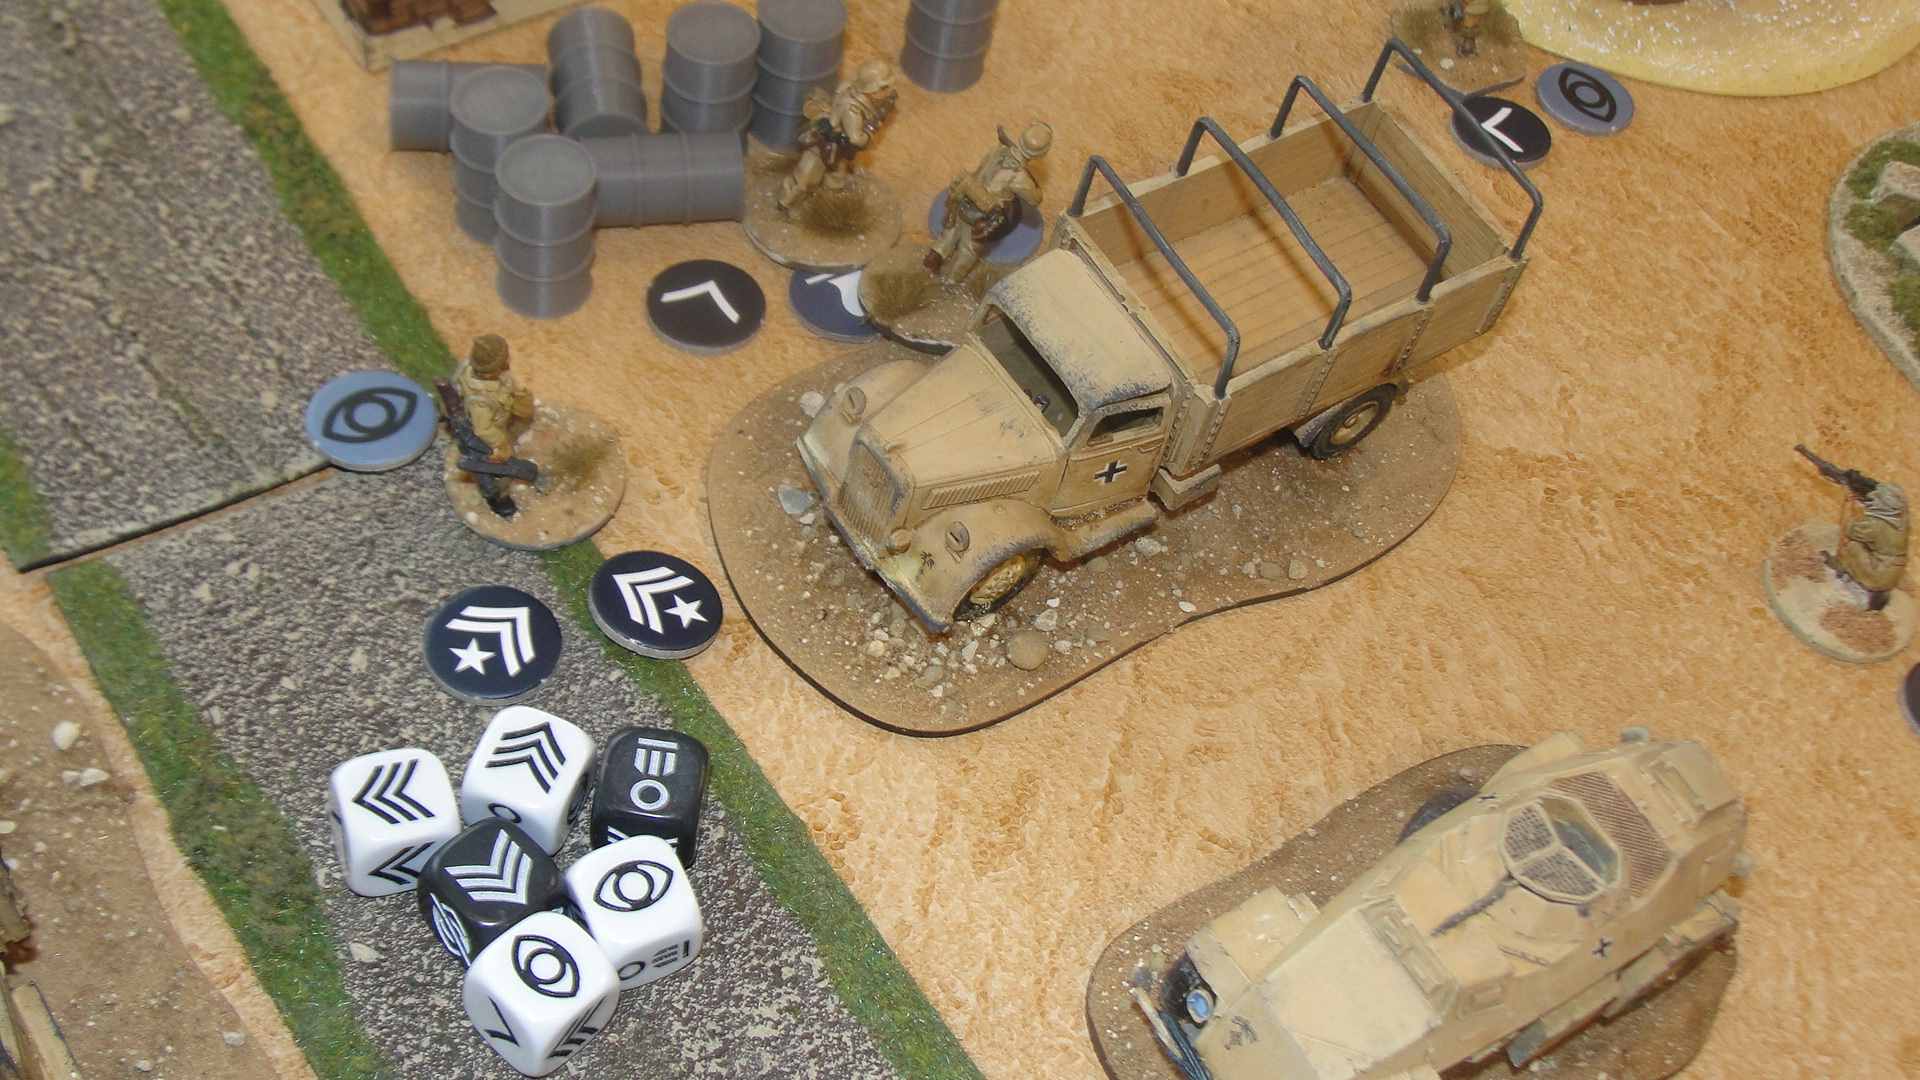
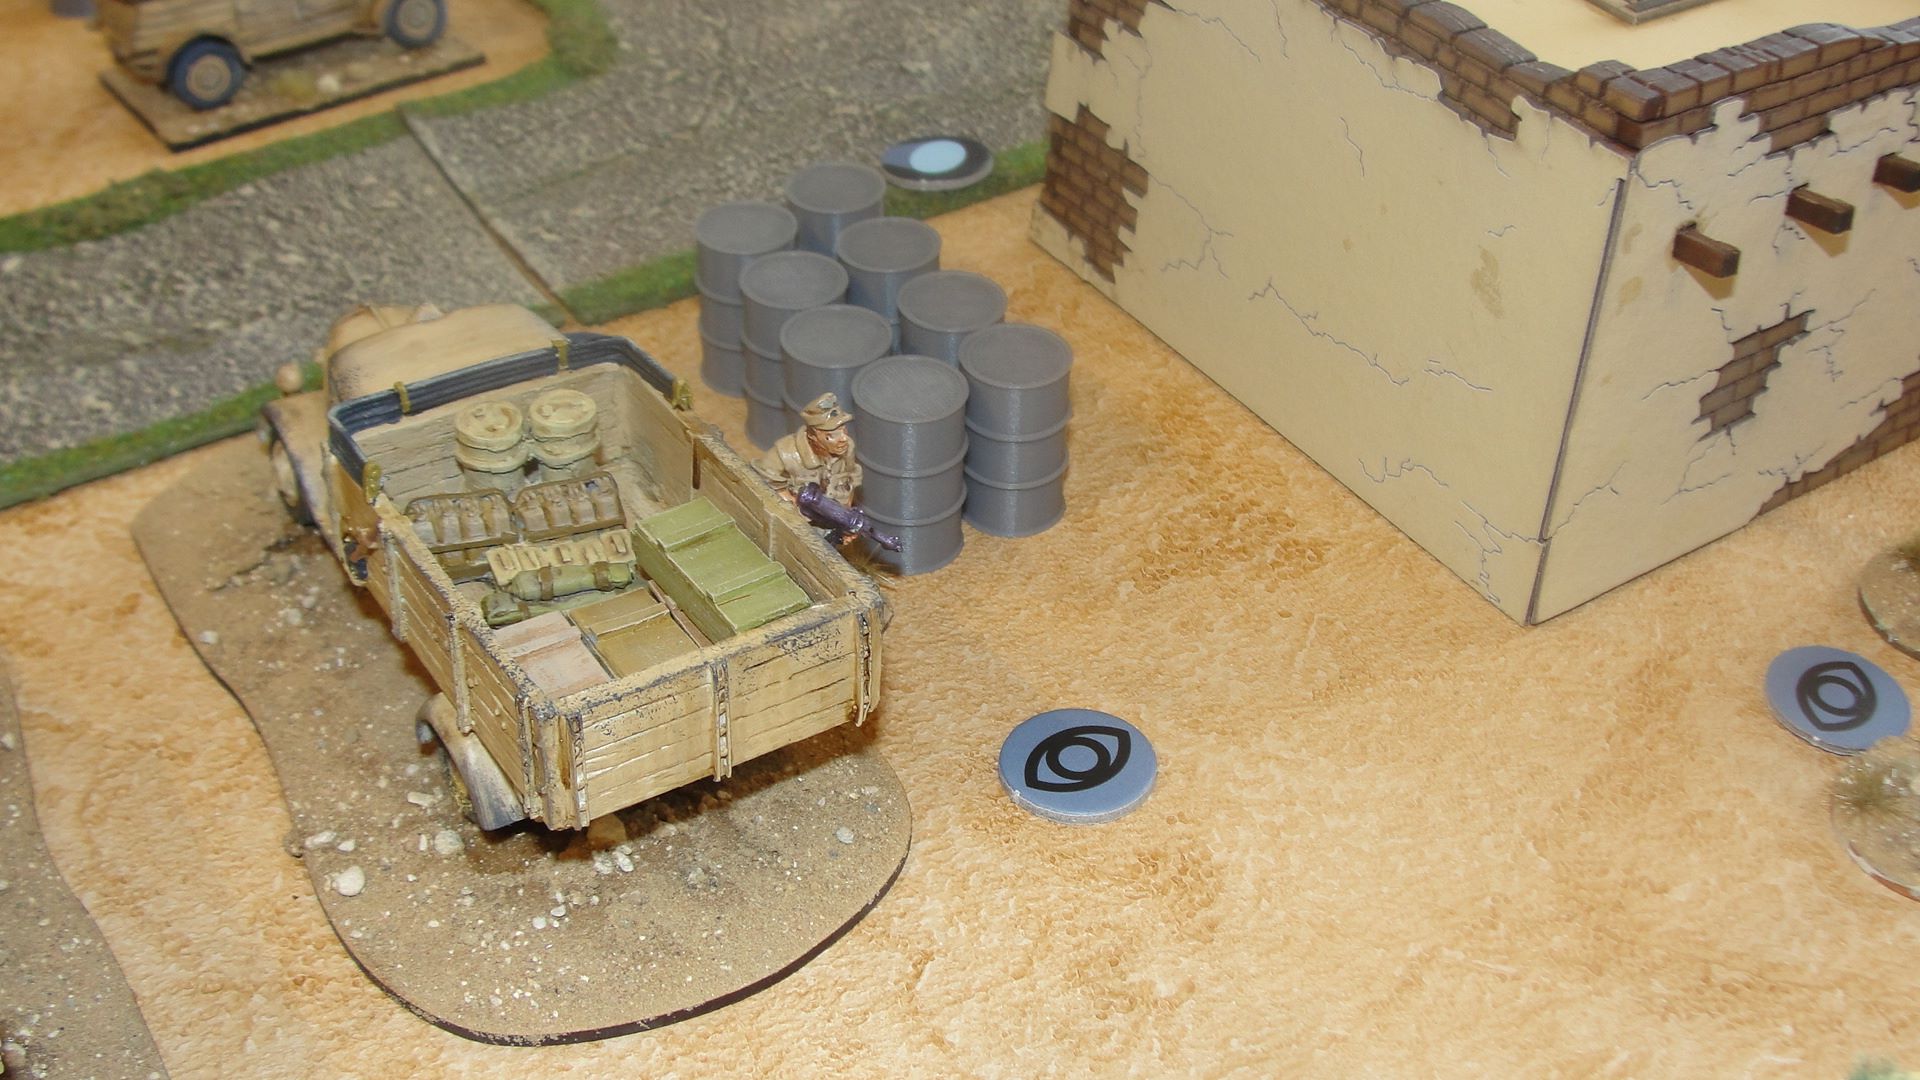
This was the “Sabotage” scenario with the SAS needing to creep into the camp and place a demolition charge on a target in the centre of the board and then escape.
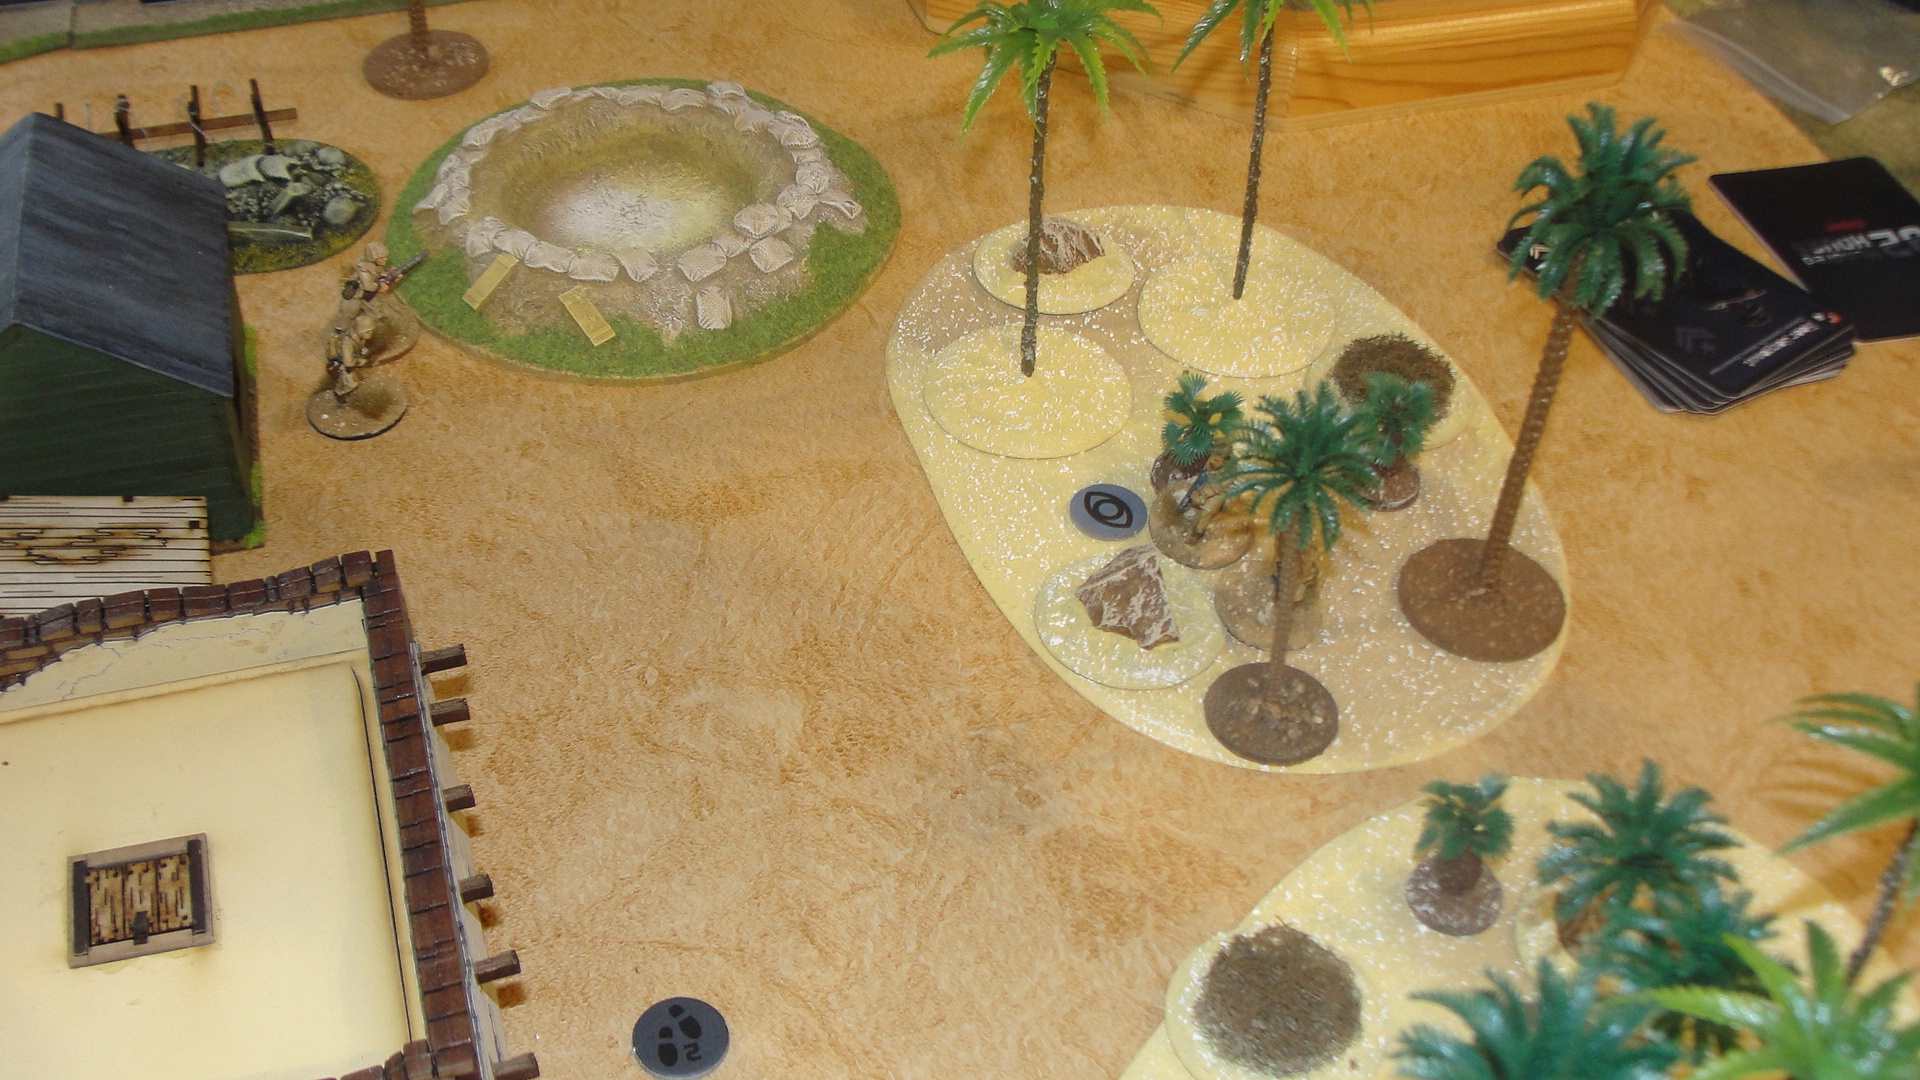
Now the DAK patrols kept moving on the patrol route and while they were detected by the raider, the sentries proved particularly inept at seeing anyone (or ducking but more of that later).
DAK officer moves towards the patrol and puts himself between the raiders and the target (which could be a mistake).
Now with the patrol passing the raiders it is nearly time for the alarm to be raised and an SMG fires from the cover and hits both the patrolling sentries. They then both fail to duck back into cover and are both taken out. Soon afterward the German Officer meets a similar fate as he tries to locate where the fire is coming from (he also failed to duck).
With the alarm raised reinforcements start to arrive for the DAK and the dog handler moves rapidly towards the sound of the gun fire.
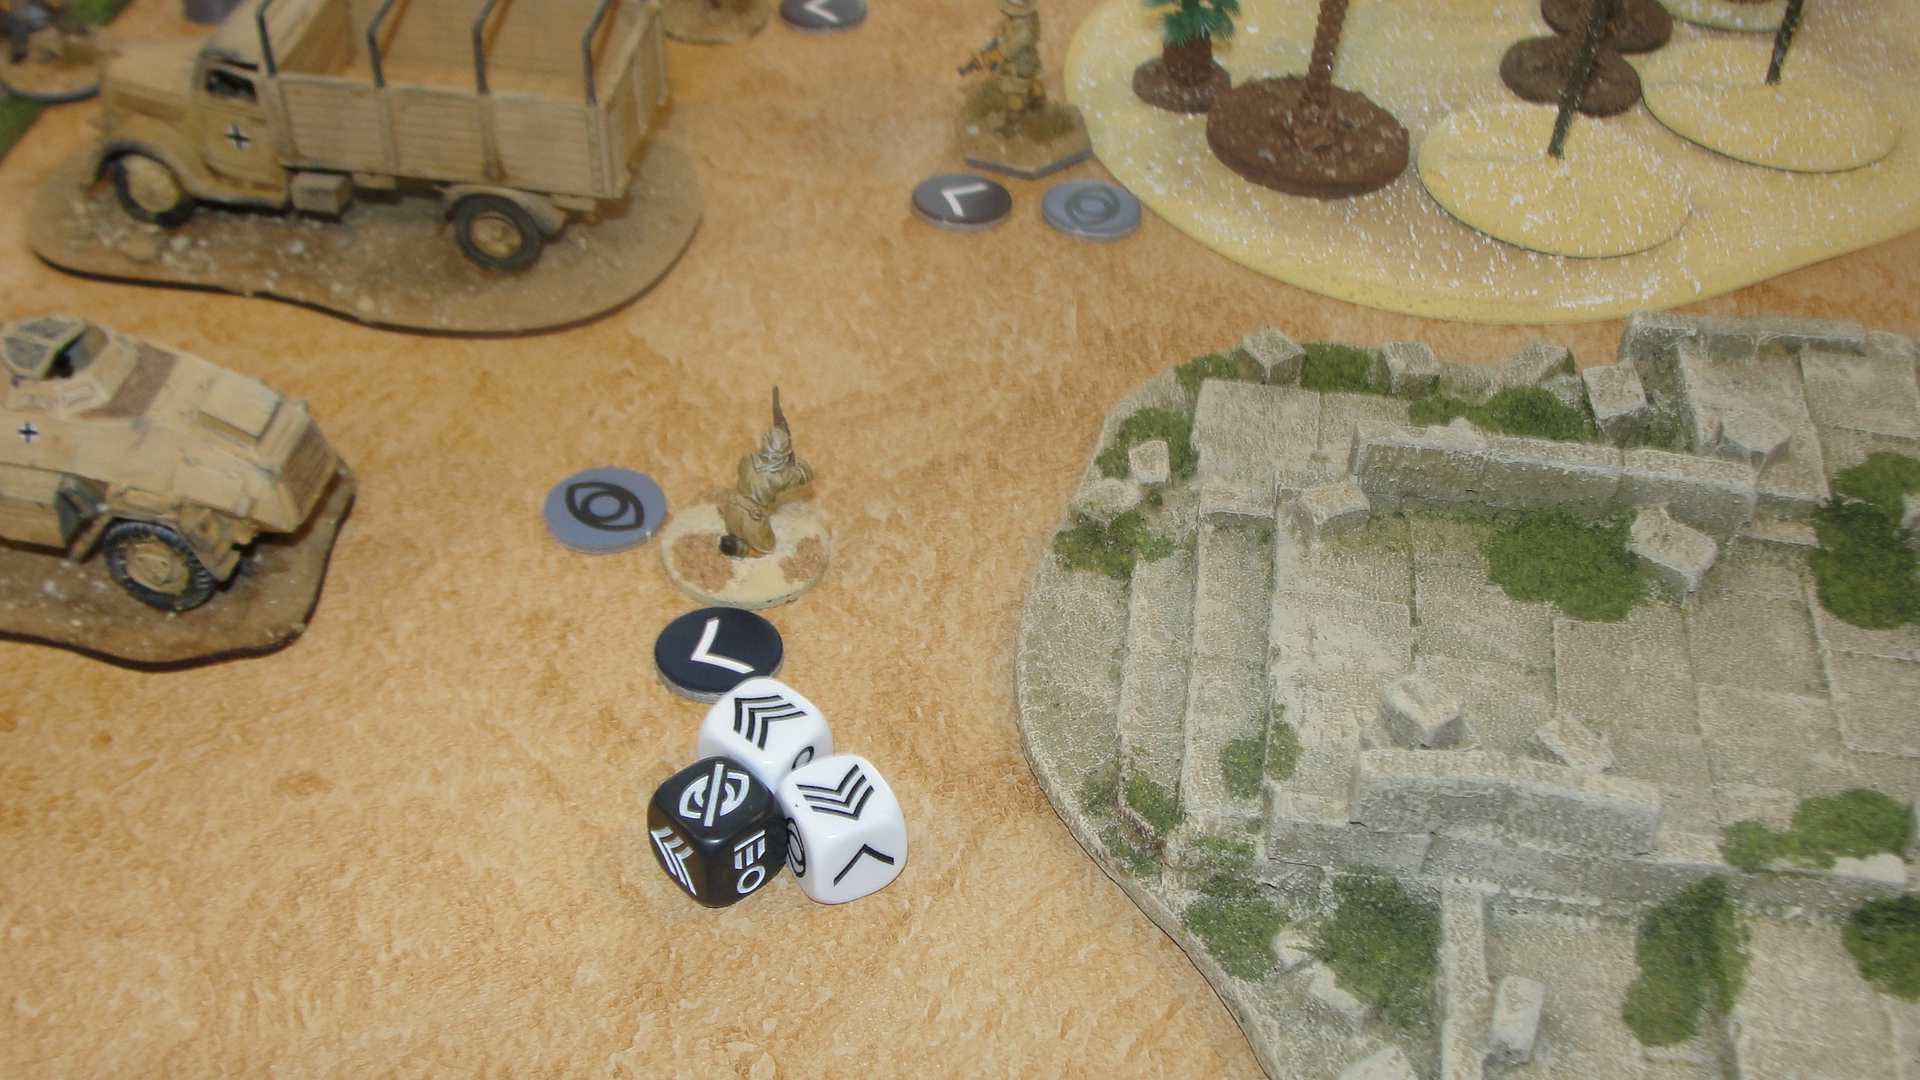
With the patrols taken out the SAS officer moves rapidly towards the target with the demolition charge in hand.
Having reached the target, the charge is placed and it will become armed when the next “time” chit is drawn. This will also trigger the end of the turn but not to worry the charge will not detonate until the next “time chit” is drawn so the officer will have plenty of time to get out of the way.

The SAS troopers also take out the dog handler (who also failed to duck) but an event card comes into play and the “woofer” goes berserk, rolls the dice and heads for the nearest of the enemy. While it does not take out the trooper, it gives him a scare and then heads off into the night.
The sniper from his vantage position spots a sentry approaching the officer and takes careful aim.
And guess what another sentry that fails to duck and gets taken out (so far Nigel had not managed to make one successful evade roll).
The end of turn came and Nigel drew the first chit of the next turn. Guess what a “time” chit was drawn and the demolition charge explodes with the officer still standing there admiring his handy work and takes a strength 2 hit. This time it is “Broken Dice’s” turn to fail and the first of the SAS becomes a casualty although it could be claimed it was self-inflicted.
At this stage the game was called as the DAK didn’t have enough troops left to stop the surviving SAS troopers from exiting the board!
I need to play a couple more games to get a good opinion of the rules but they did provide a good narrative driven game and some chuckles along the way. Are the defenders “tethered goats” or was it just some poor dice throwing on the Germans side and “Broken Dice” found a set of dice that worked for him, the secret is they don’t have and numbers on them.
Only time and another game will tell.
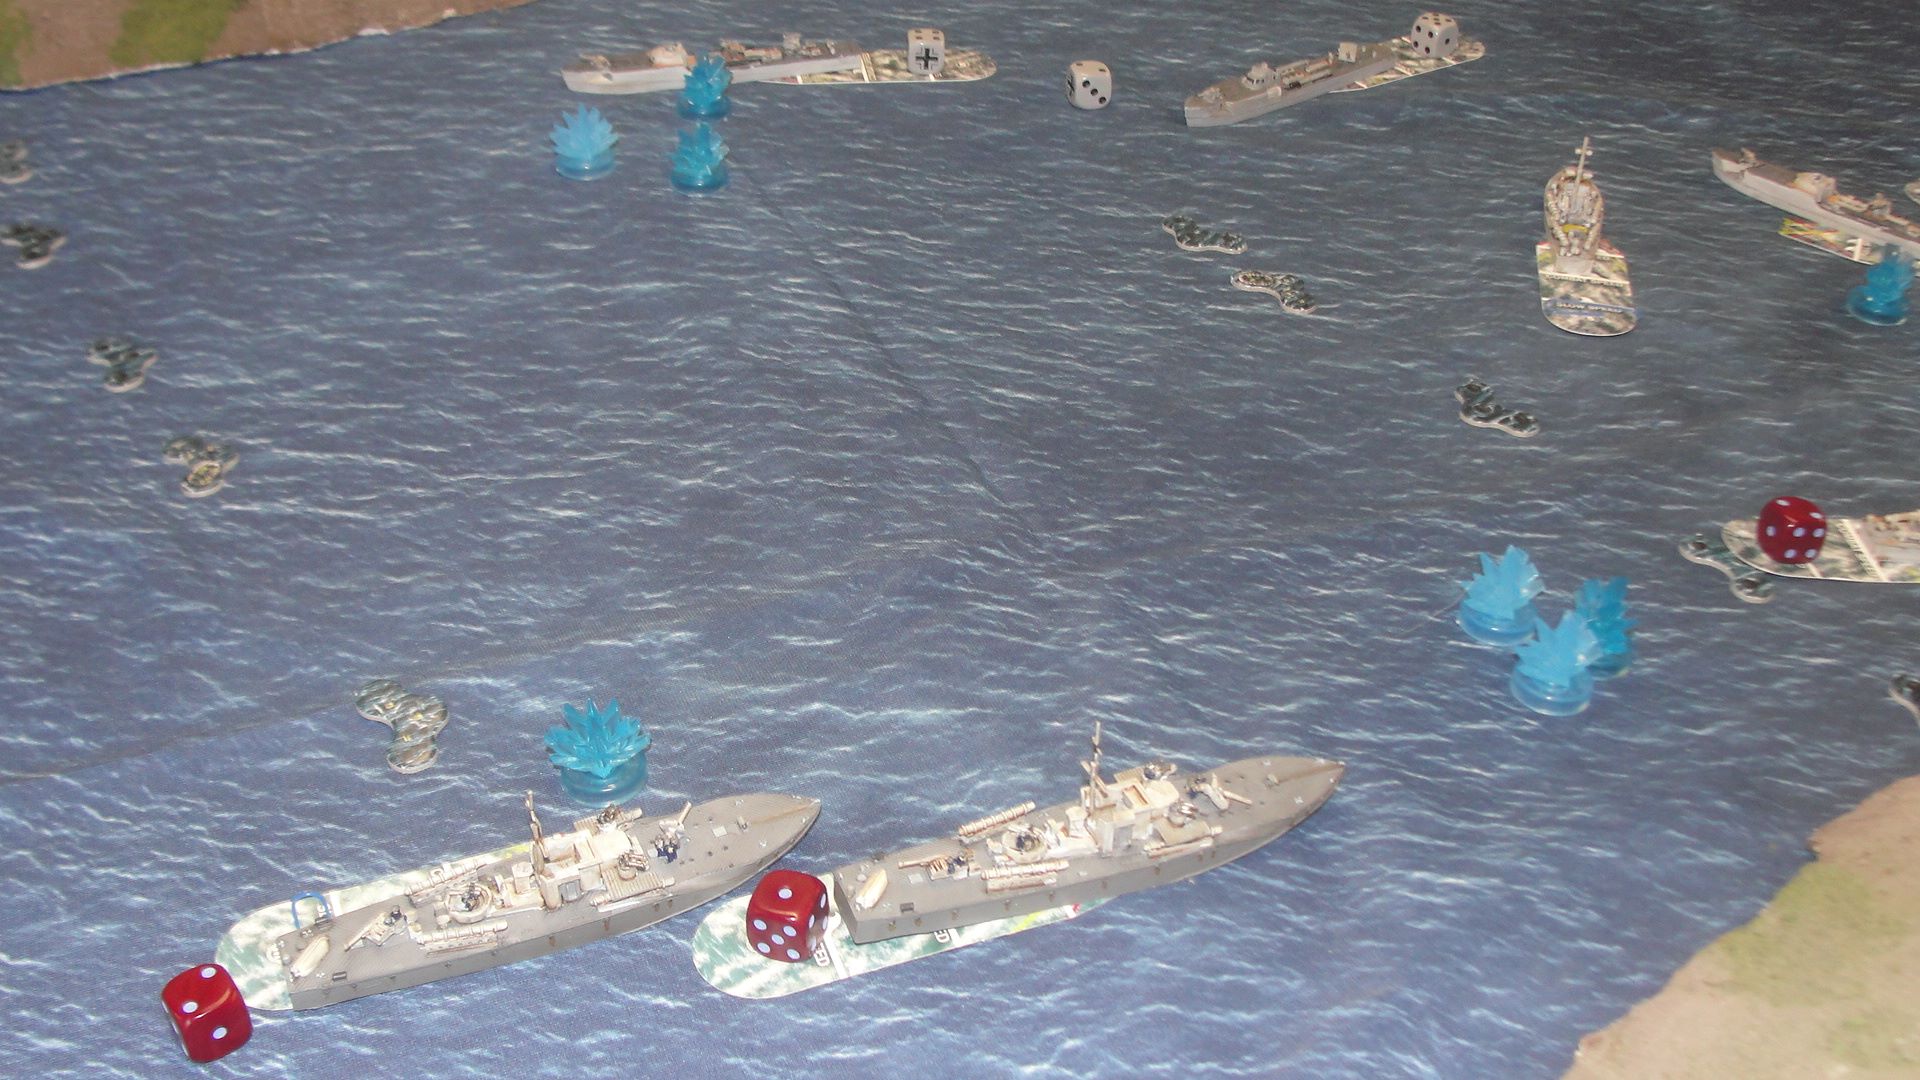
High Jinx on the High Seas - Raid on the Anchorage - part 1
Cruel Seas game whare the scenario was an RN raid on a Kriegsmarine anchorage to rescue some high profile POW’s.
The Royal Navy briefing was as follows:
HMS Orchis has been ordered to accompany elements of the 35th and 58th Flotillas in a raid on the Tromsburg anchorage in northern Norway. Intelligence has been received that a number of POW’s are being held onboard a merchant ship that is due to depart the anchorage on the night of the 20th of November.
Latest arial surveillance shows that the merchant ship is moored with a Kriegsmarine Vorpostenboot Flakship and 2 R-Boats.
The anchorage is protected by anti-submarine and torpedo nets, but these can be crossed by lighter vessels (with care).
To achieve your objectives of freeing the prisoners you will be accompanied by a platoon of commandos who will need to be transported to the transport via the lighter craft (one section per boat).
To reach and return from the objectives the Vosper MTB’s will need to be towed by yourself and the Cape Portland as they do not have the fuel to make the return journey.
HMS Orchis is capable of vectoring in the smaller craft to intercept the enemy through use of radar, it also carrying star shells to assist in identification of enemy forces.
The Admiralty orders are simple “recover the personal held by the German forces and return to base at Scapa Flow”.
The Kriegsmarine were ordered to defend the anchorage and ensure that the transports were not taken by the enemy.
As an aside one of the players has earned the nickname of “Uncle Albert” as every time we play a naval game (or an air game for that matter) every ship he commands ends up sunk (or plane shot down).
 The RN approach the entry to the Fjord
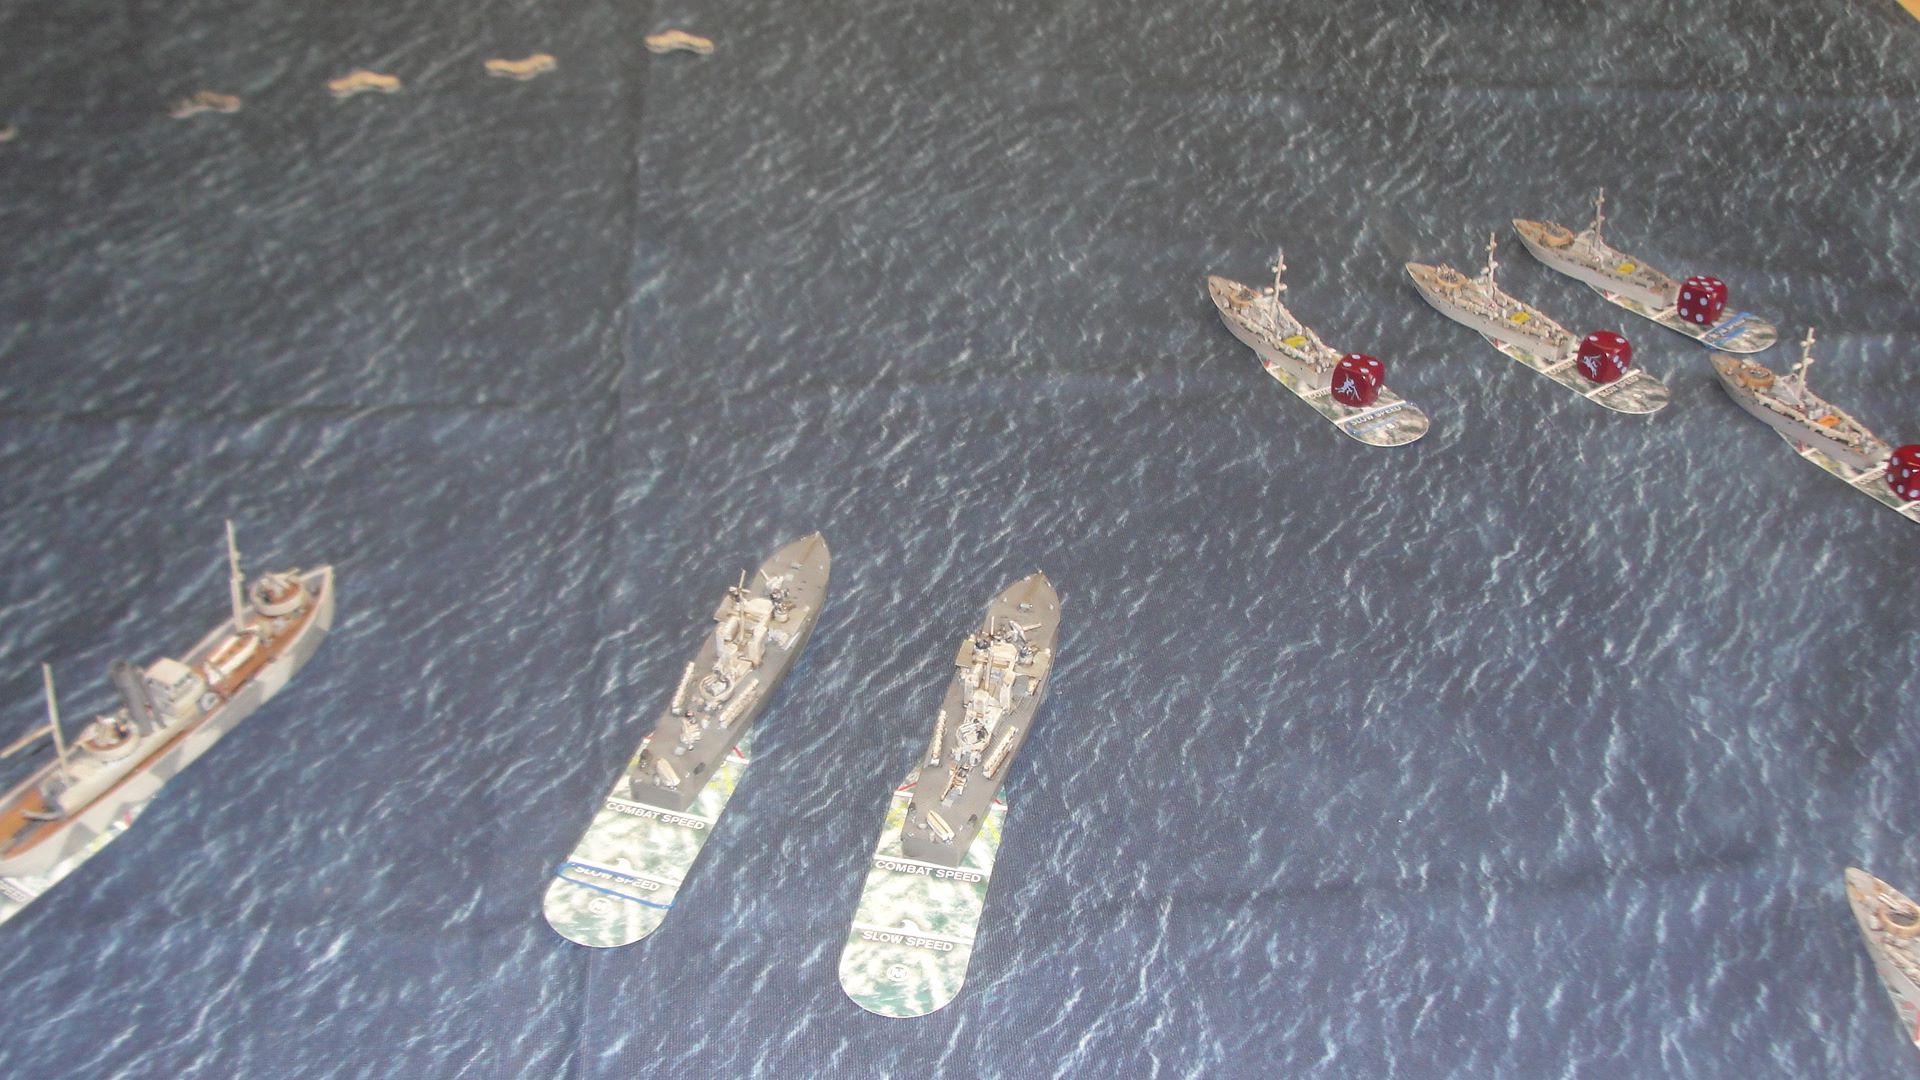
 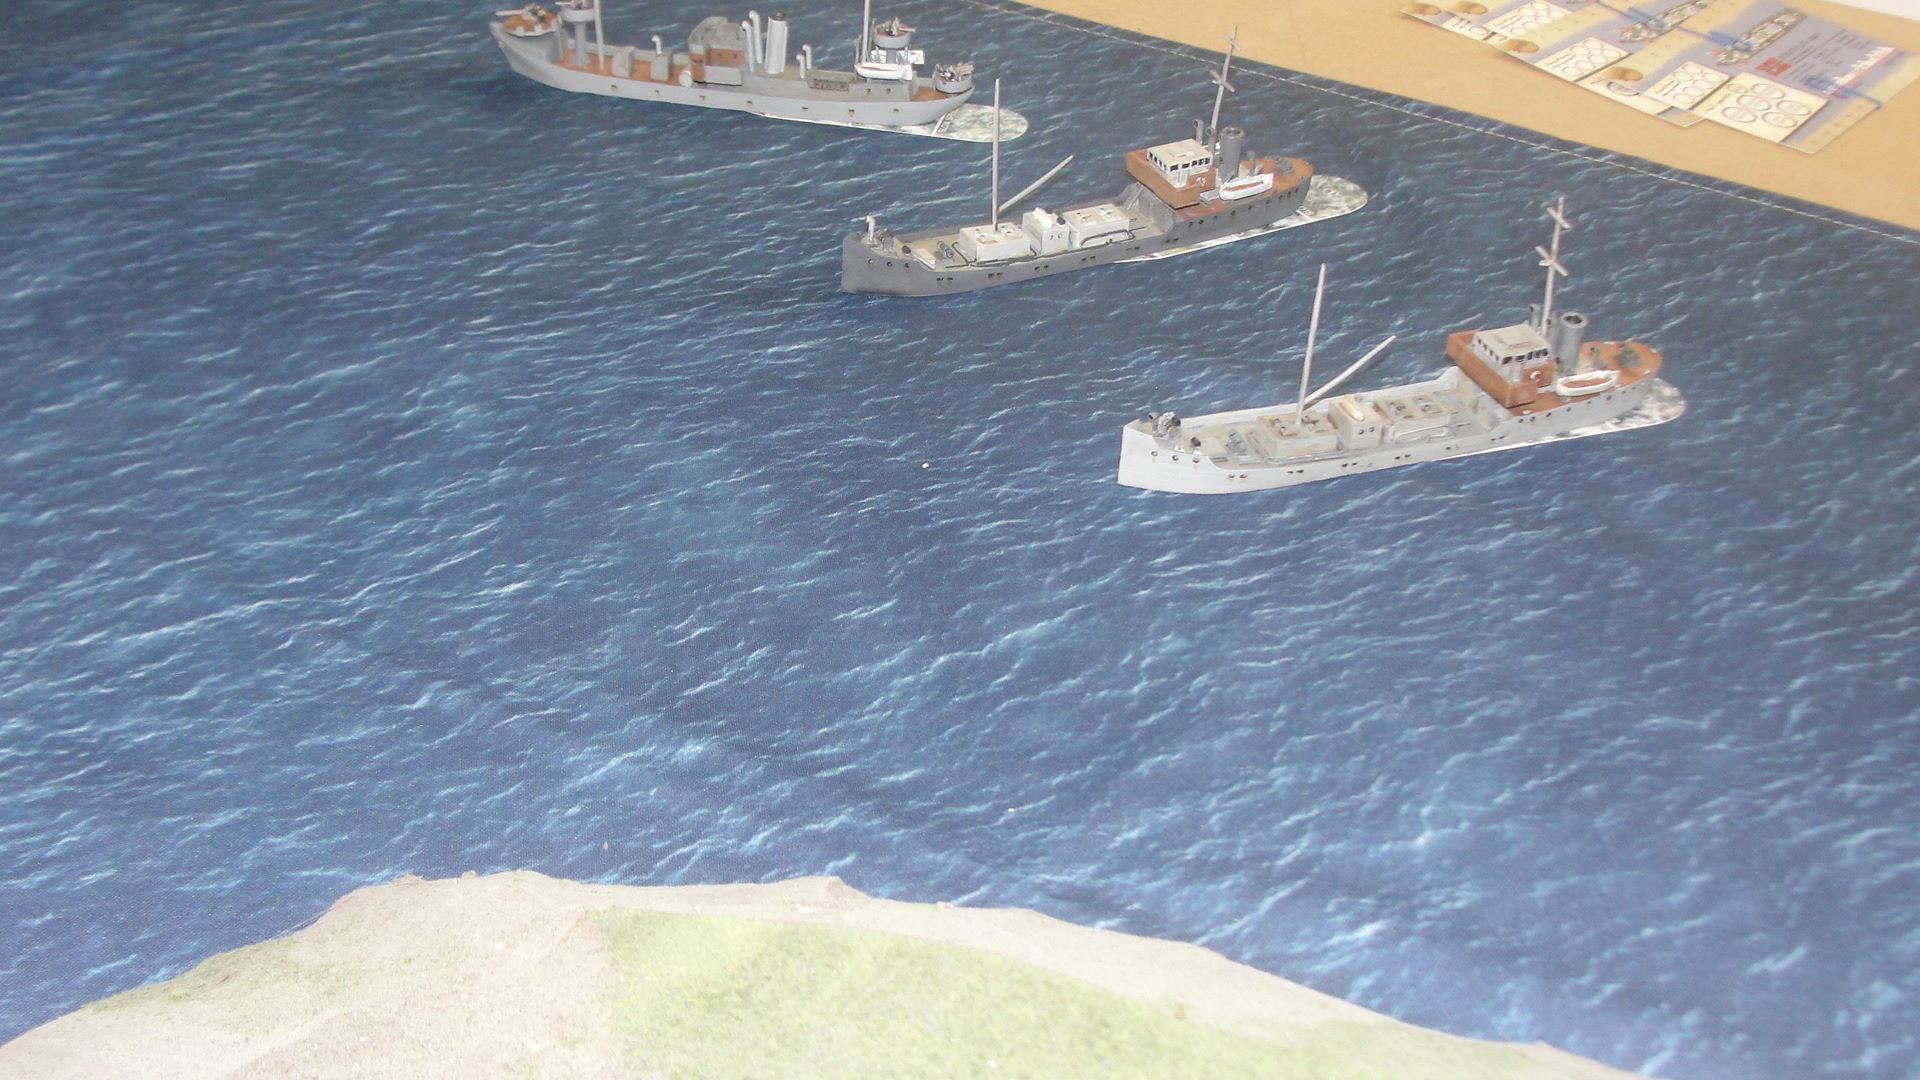 When the RN approach the anchorage they realise there are two transports not one which one holds the prisoners?
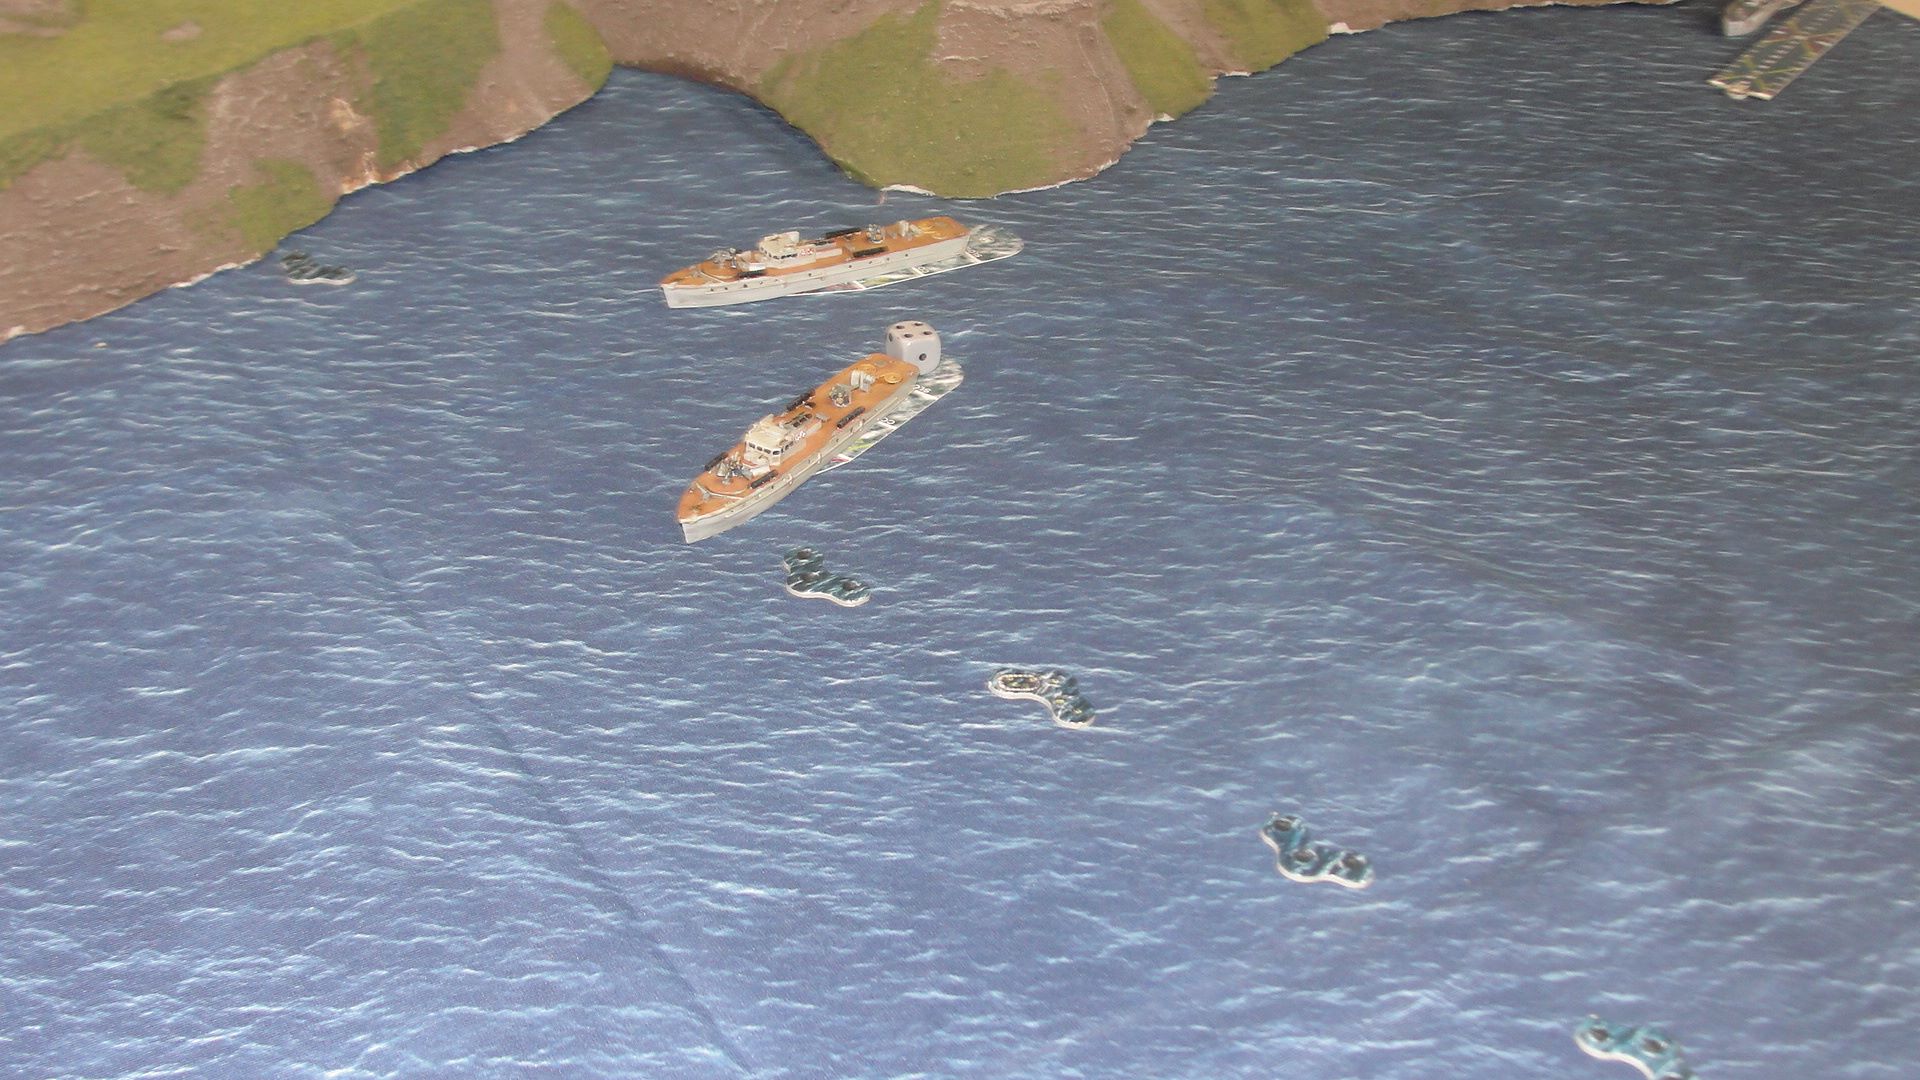 The two R Boats bravely (or foolishly depending on your opinion but they were commanded by “Uncle Albert”) moved forward to engage.
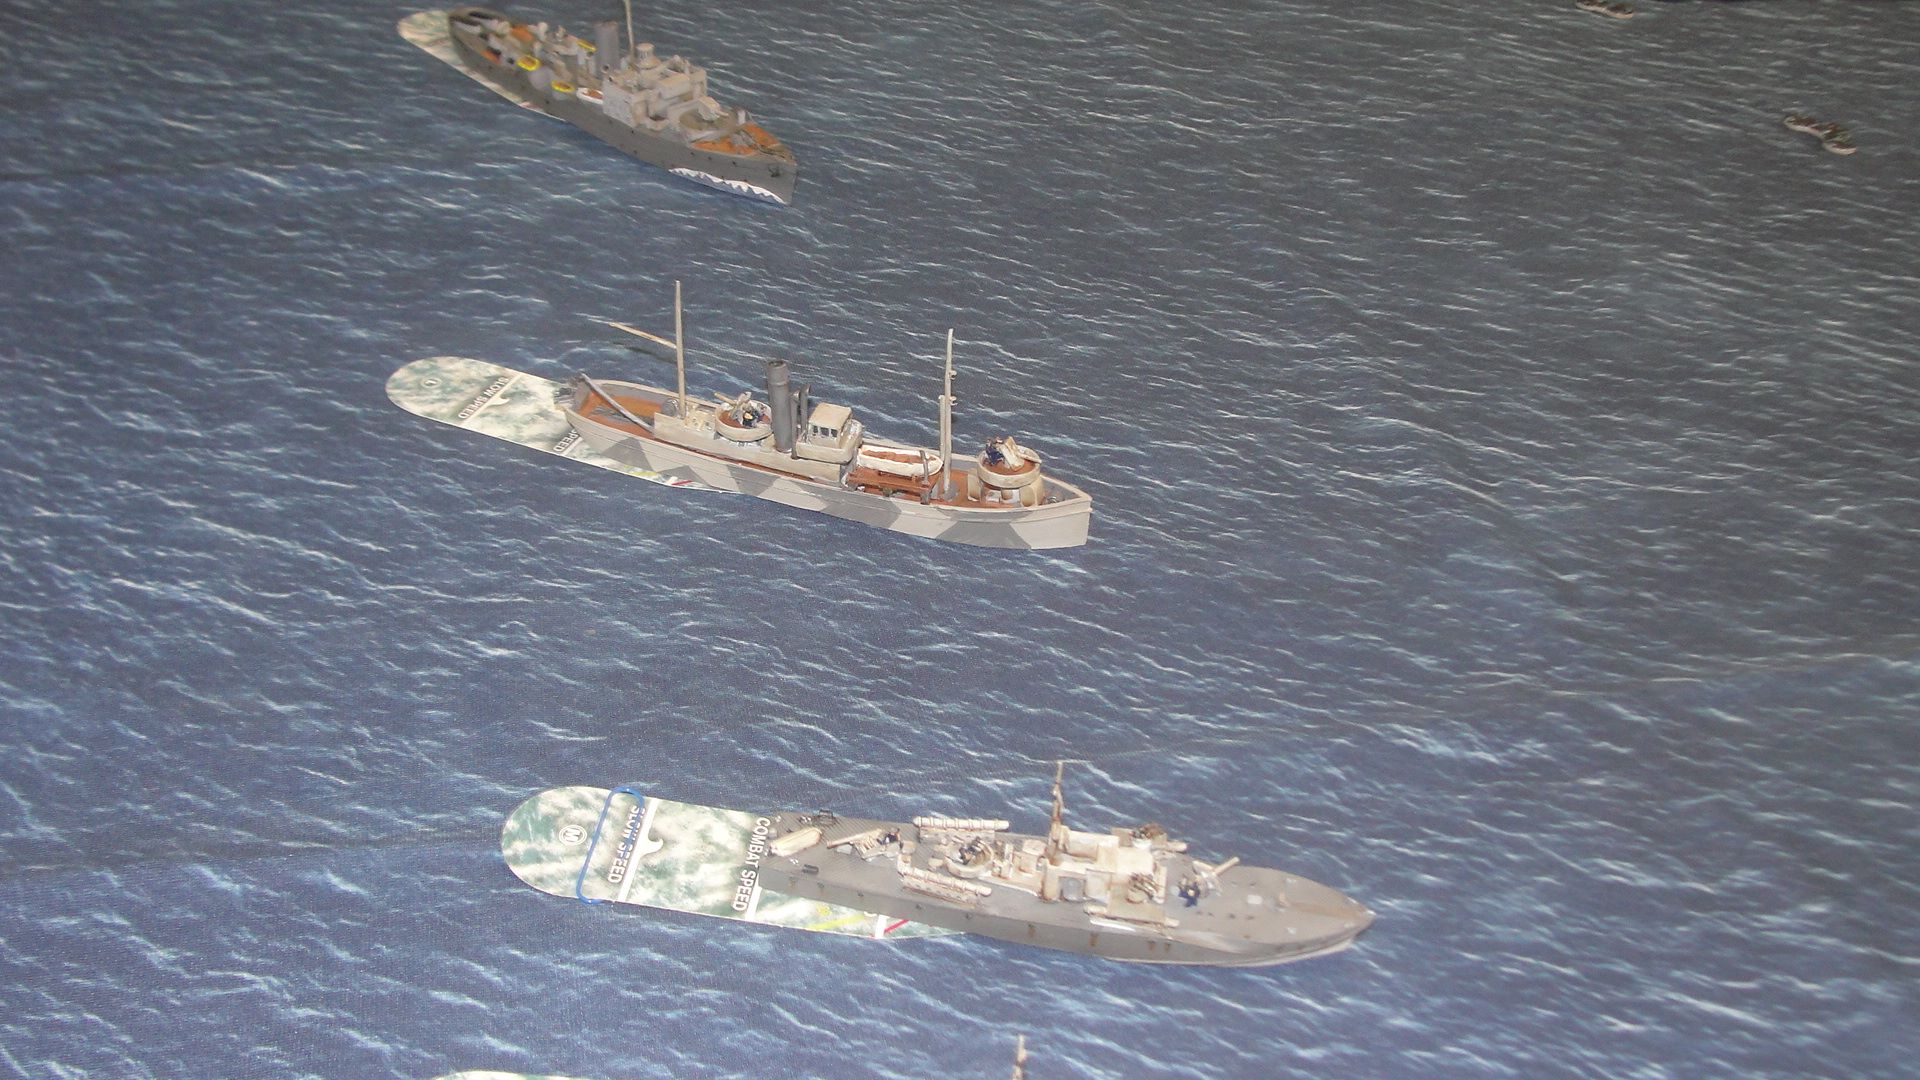 The Corvette and Trawler opened up on the R Boats as they were spotted and also fired “star shells” to illuminate the rest of the anchorage.
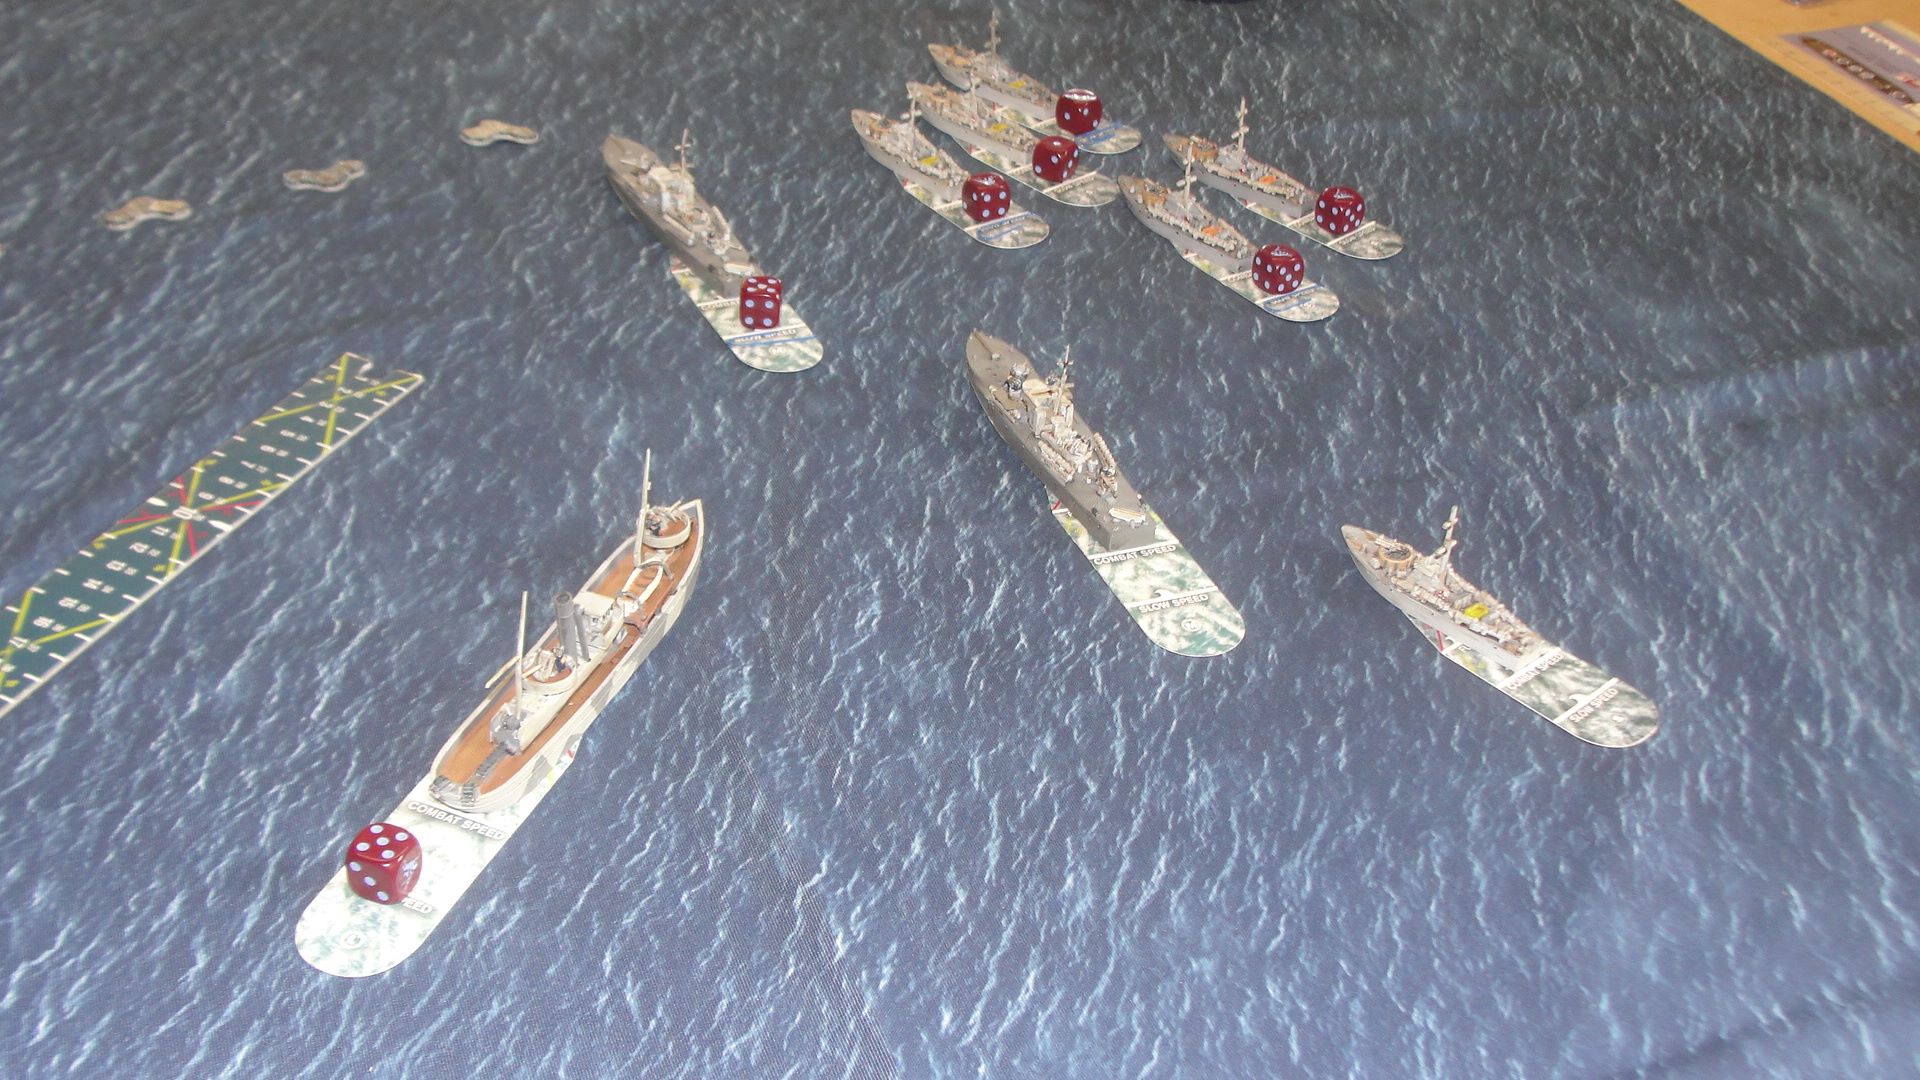 The various MTB’s were approaching the gap in the nets but it was congested and you could sense something was going to happen.
 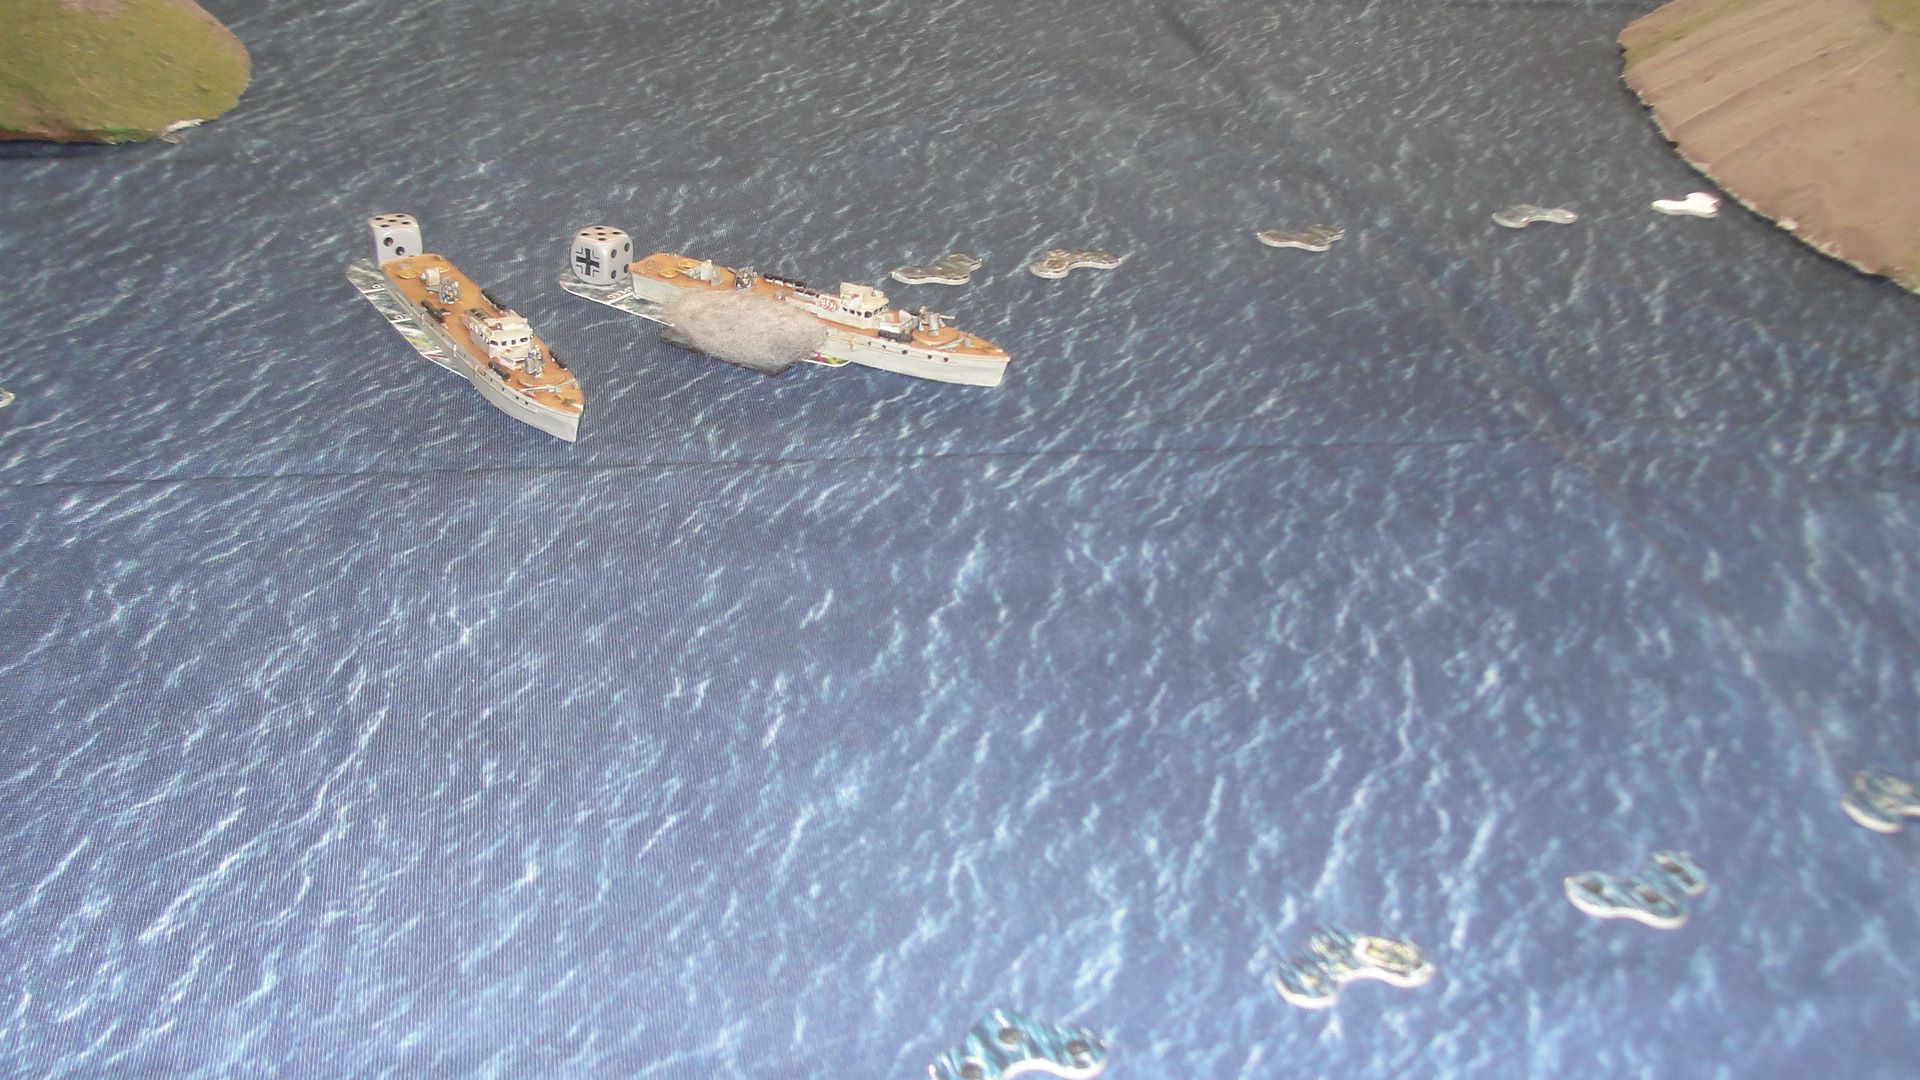 As the R Boats engaged, they took heavy fire from the RN forces, and one was soon slipping beneath the waves. However, they had inflicted damage on the Fairmile D’s putting its rudder out of action.
 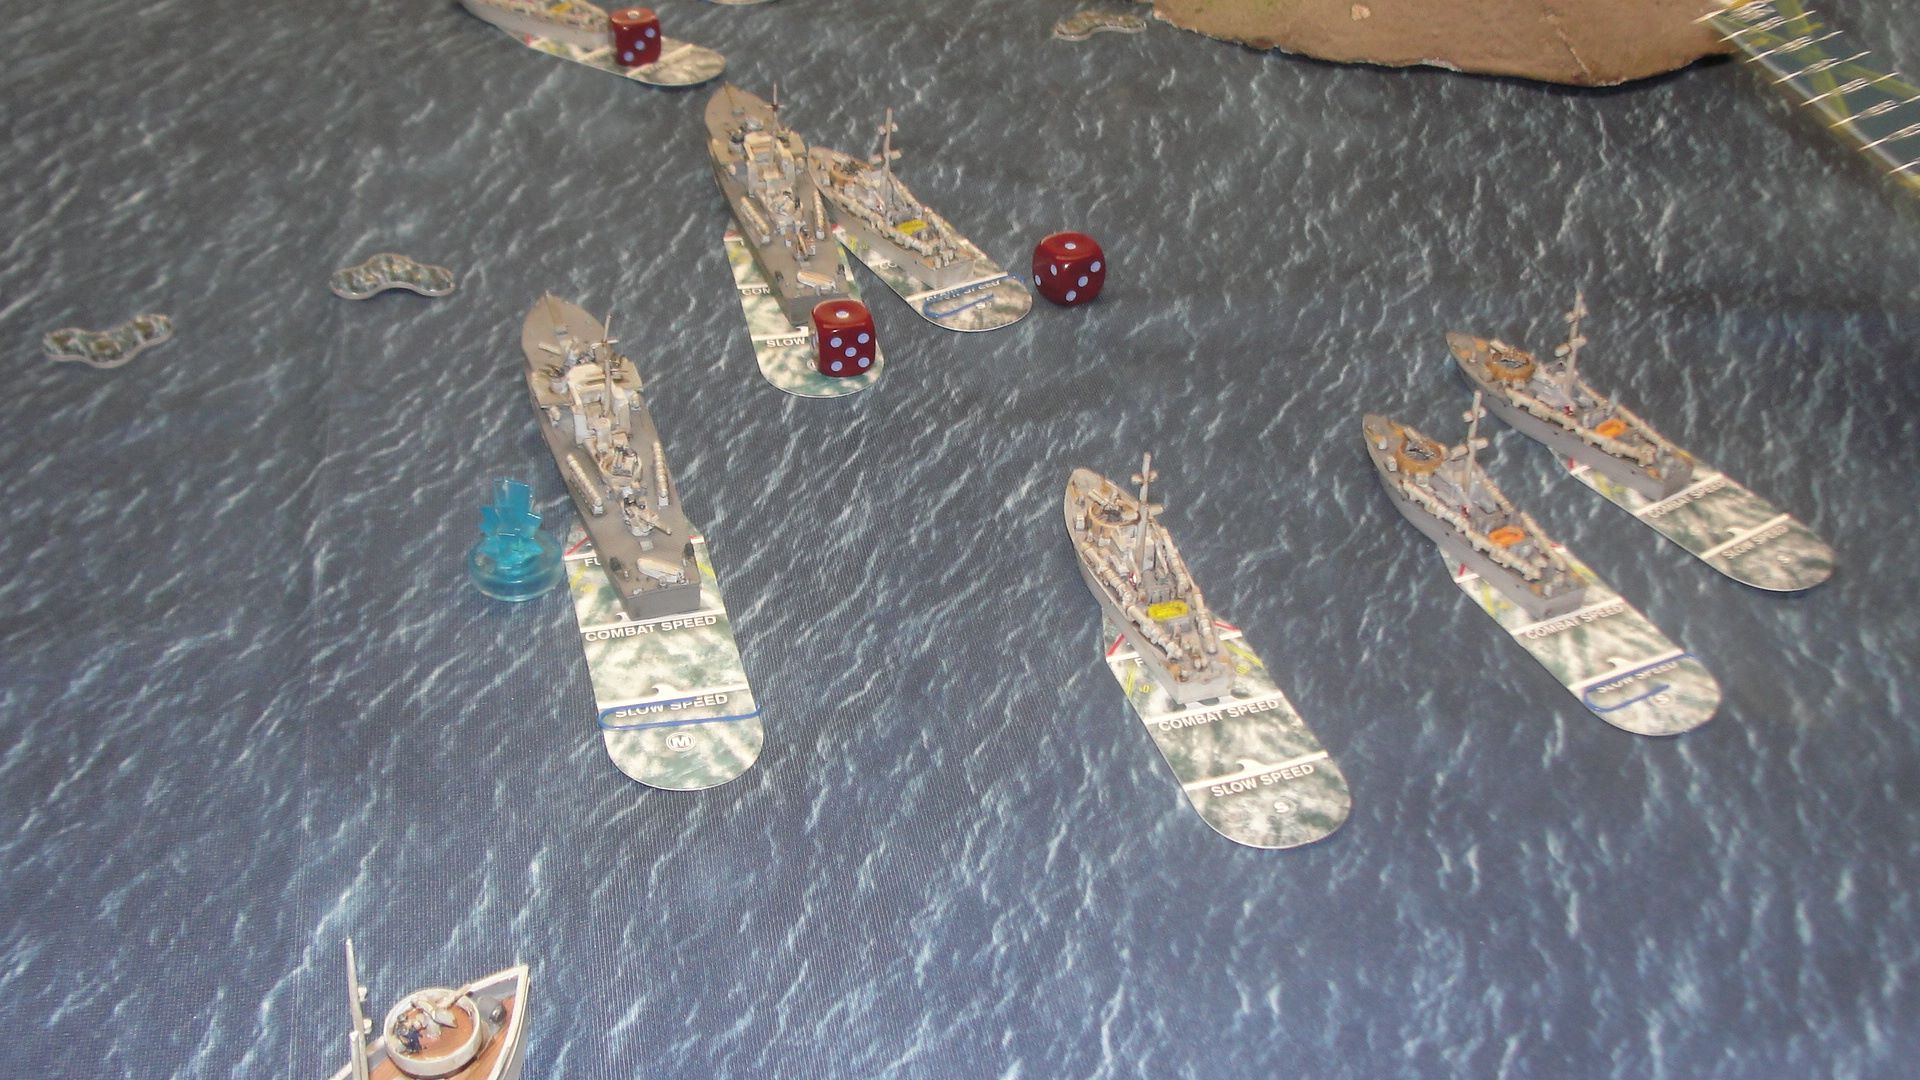 With the congestion entering the anchorage the inevitable happened and one of the Fairmile D’s and a Vosper collided.
 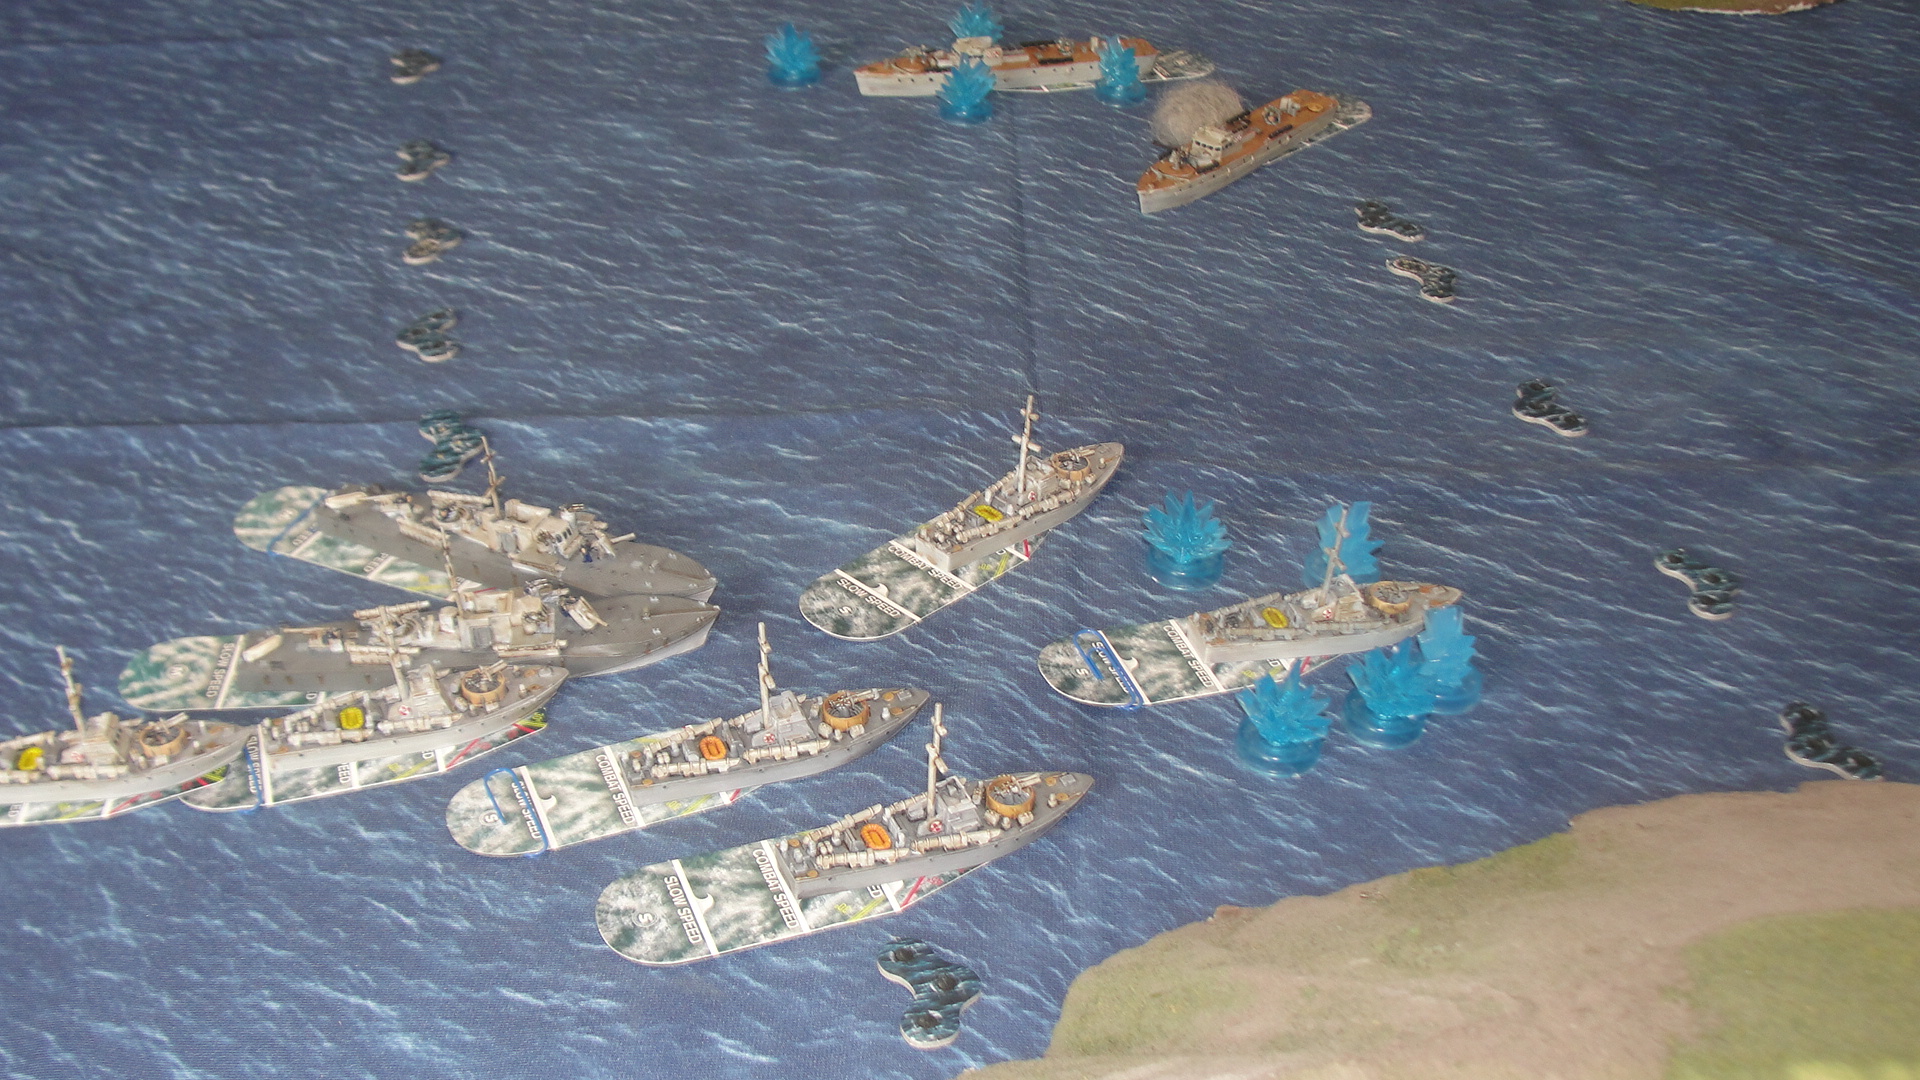 When the Fairmile D with the rudder damage threw for its effect, it was inevitable that it turned to its starboard and rammed the other Fairmile. Just to add to the fun one of the following Vosper’s did its move forward and rammed the other Vosper in the stern. By now the RN had done more damage to itself than the Kriegsmarine and the commander of the Corvette could feel the Admiralty Board of Enquiry looming in his future!
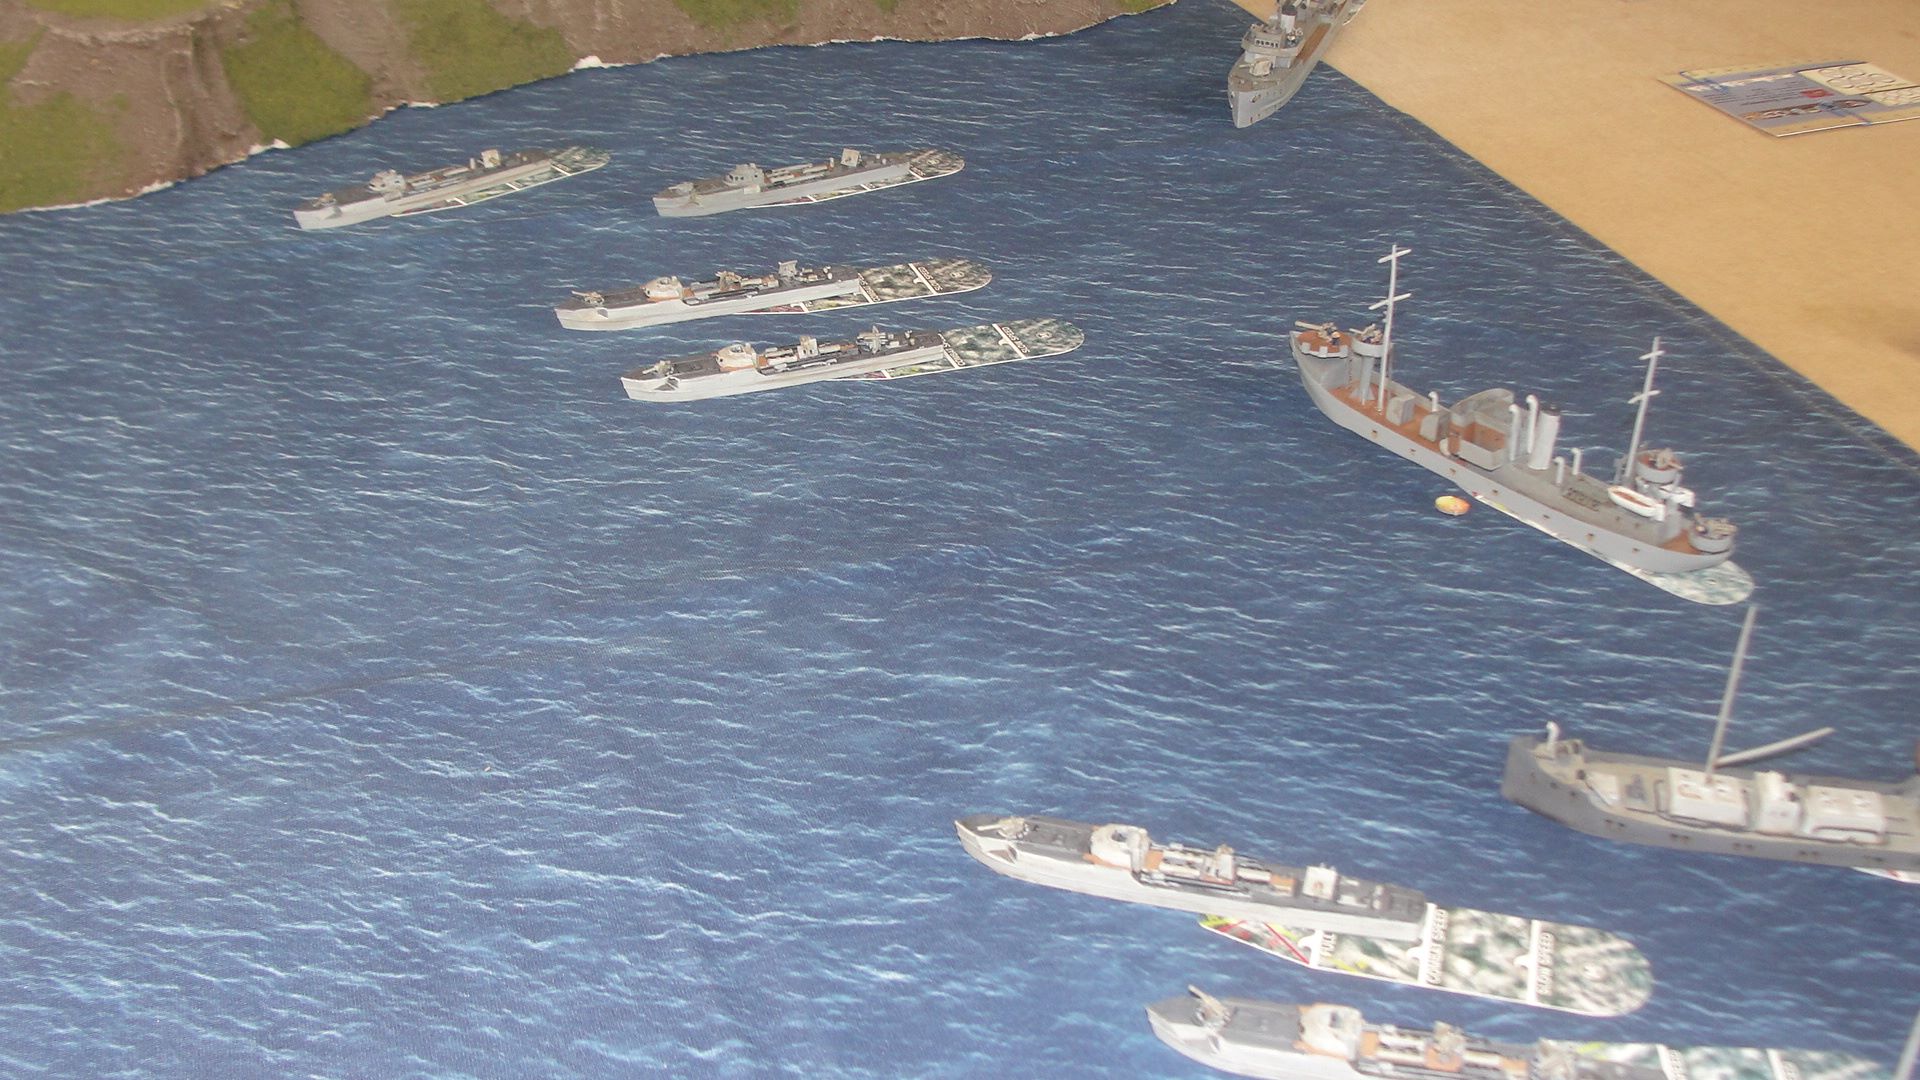
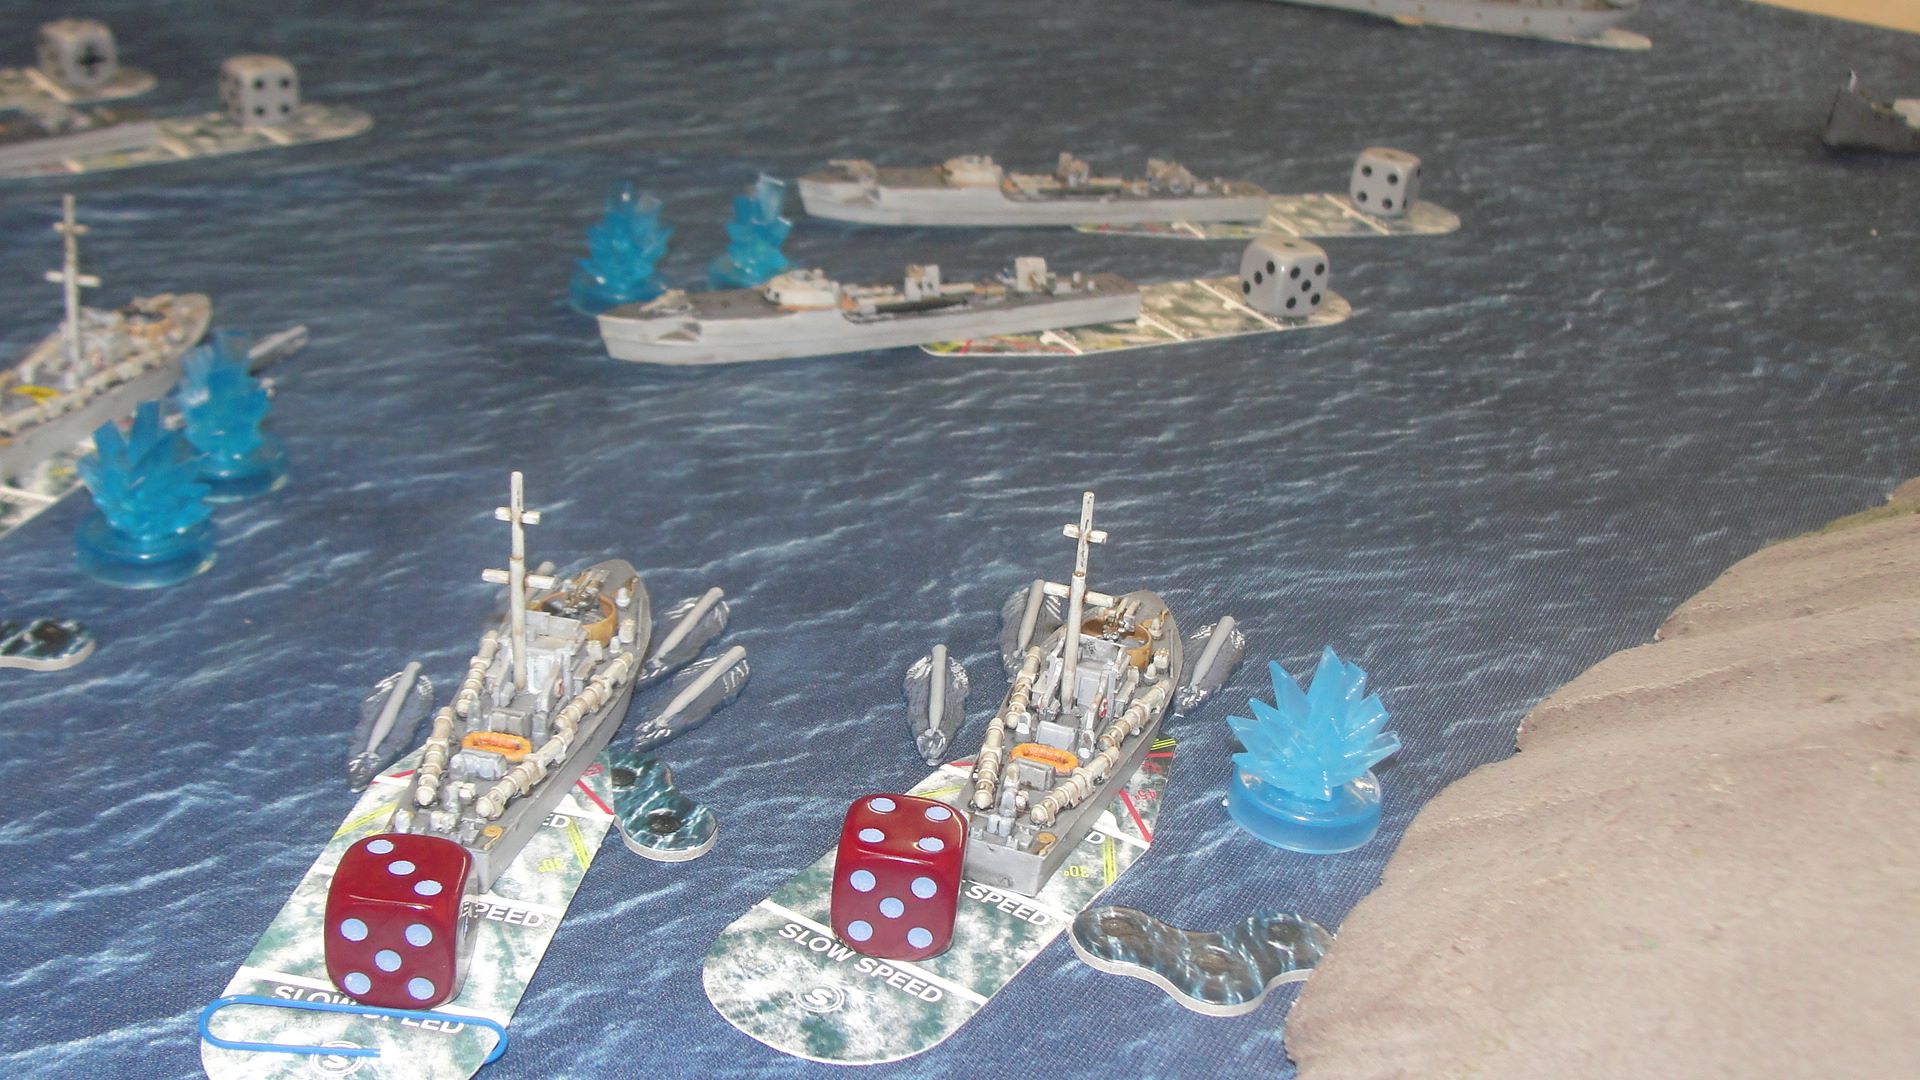
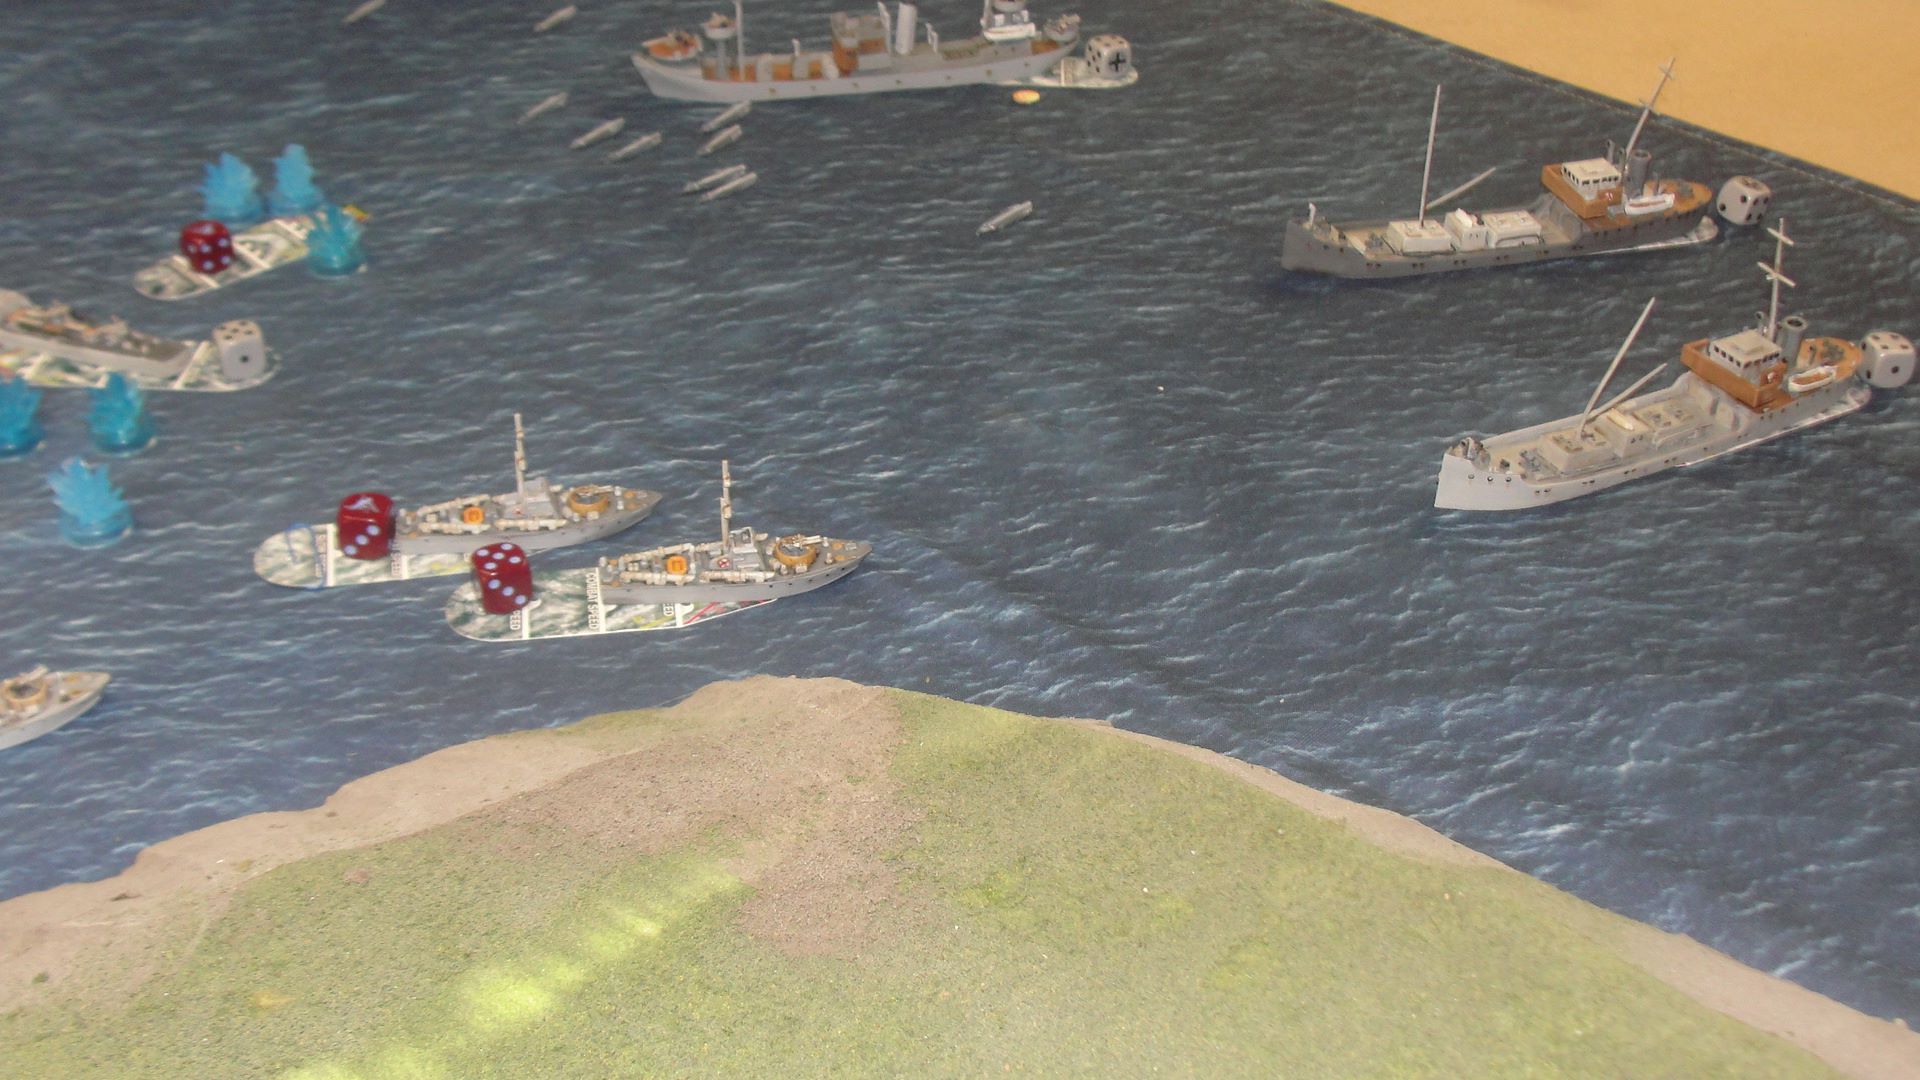
The S Boats did not arrive in time to stop the initial group of Vospers crossing the second set of torpedo nets. As soon as they cleared the nest all torpedoes were launched and the Flak ship and Minesweeper.
While one Vosper disintegrated under the fire from a couple of S Boats the Vosper’s carrying the commandos had entered the anchorage proper and were heading for the transports.
By now the Fairmile D’s had also sorted themselves out, completed repairs and started to engage the S Boats with their 6pdrs causing severe damage.
With torpedoes fast approaching both the Flak ship and the Minesweeper the fate of the defenders was sealed. The Commandos on the Vosper’s had identified their target and were readying to board and the game was called.
With the loss of only 2 Vosper MTB’s the game was called in favour of the RN but “Uncle Albert” did have two ships left afloat. However, these were the transports who no one was firing at 😊.
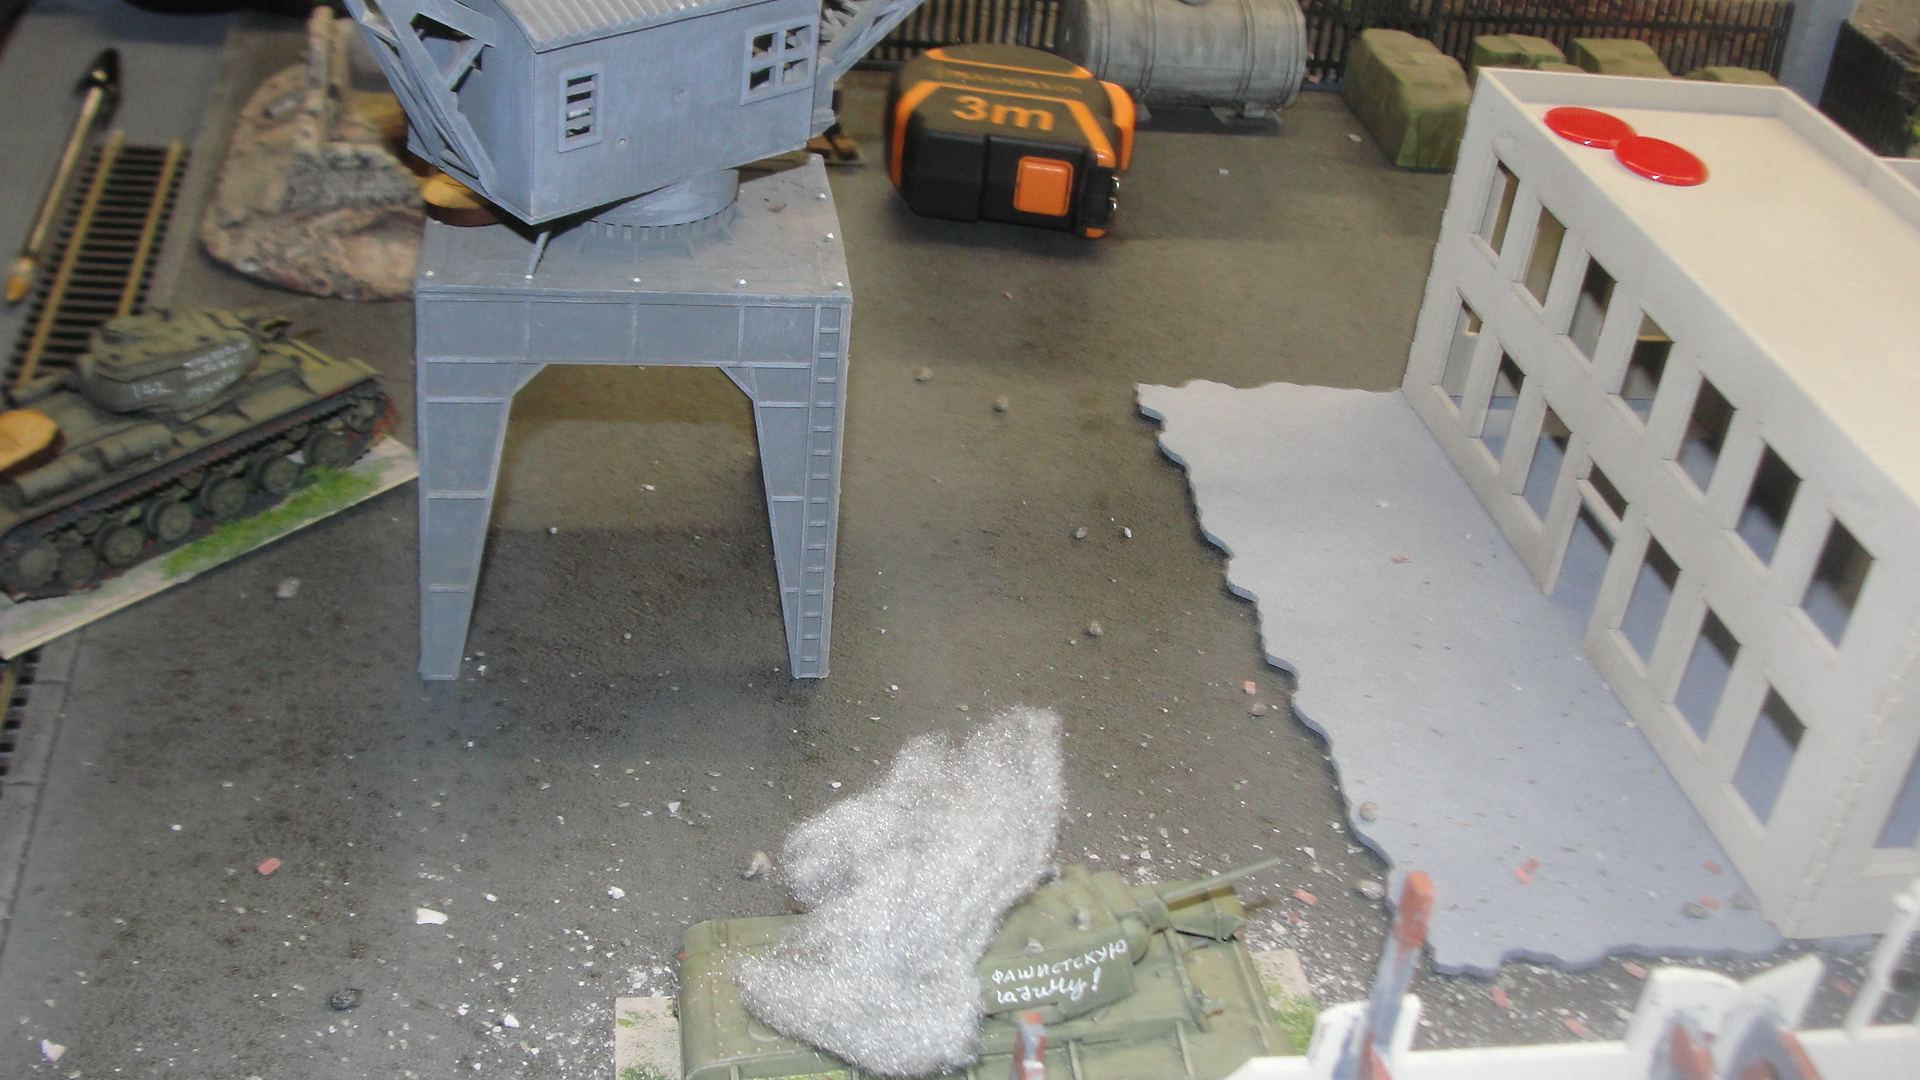
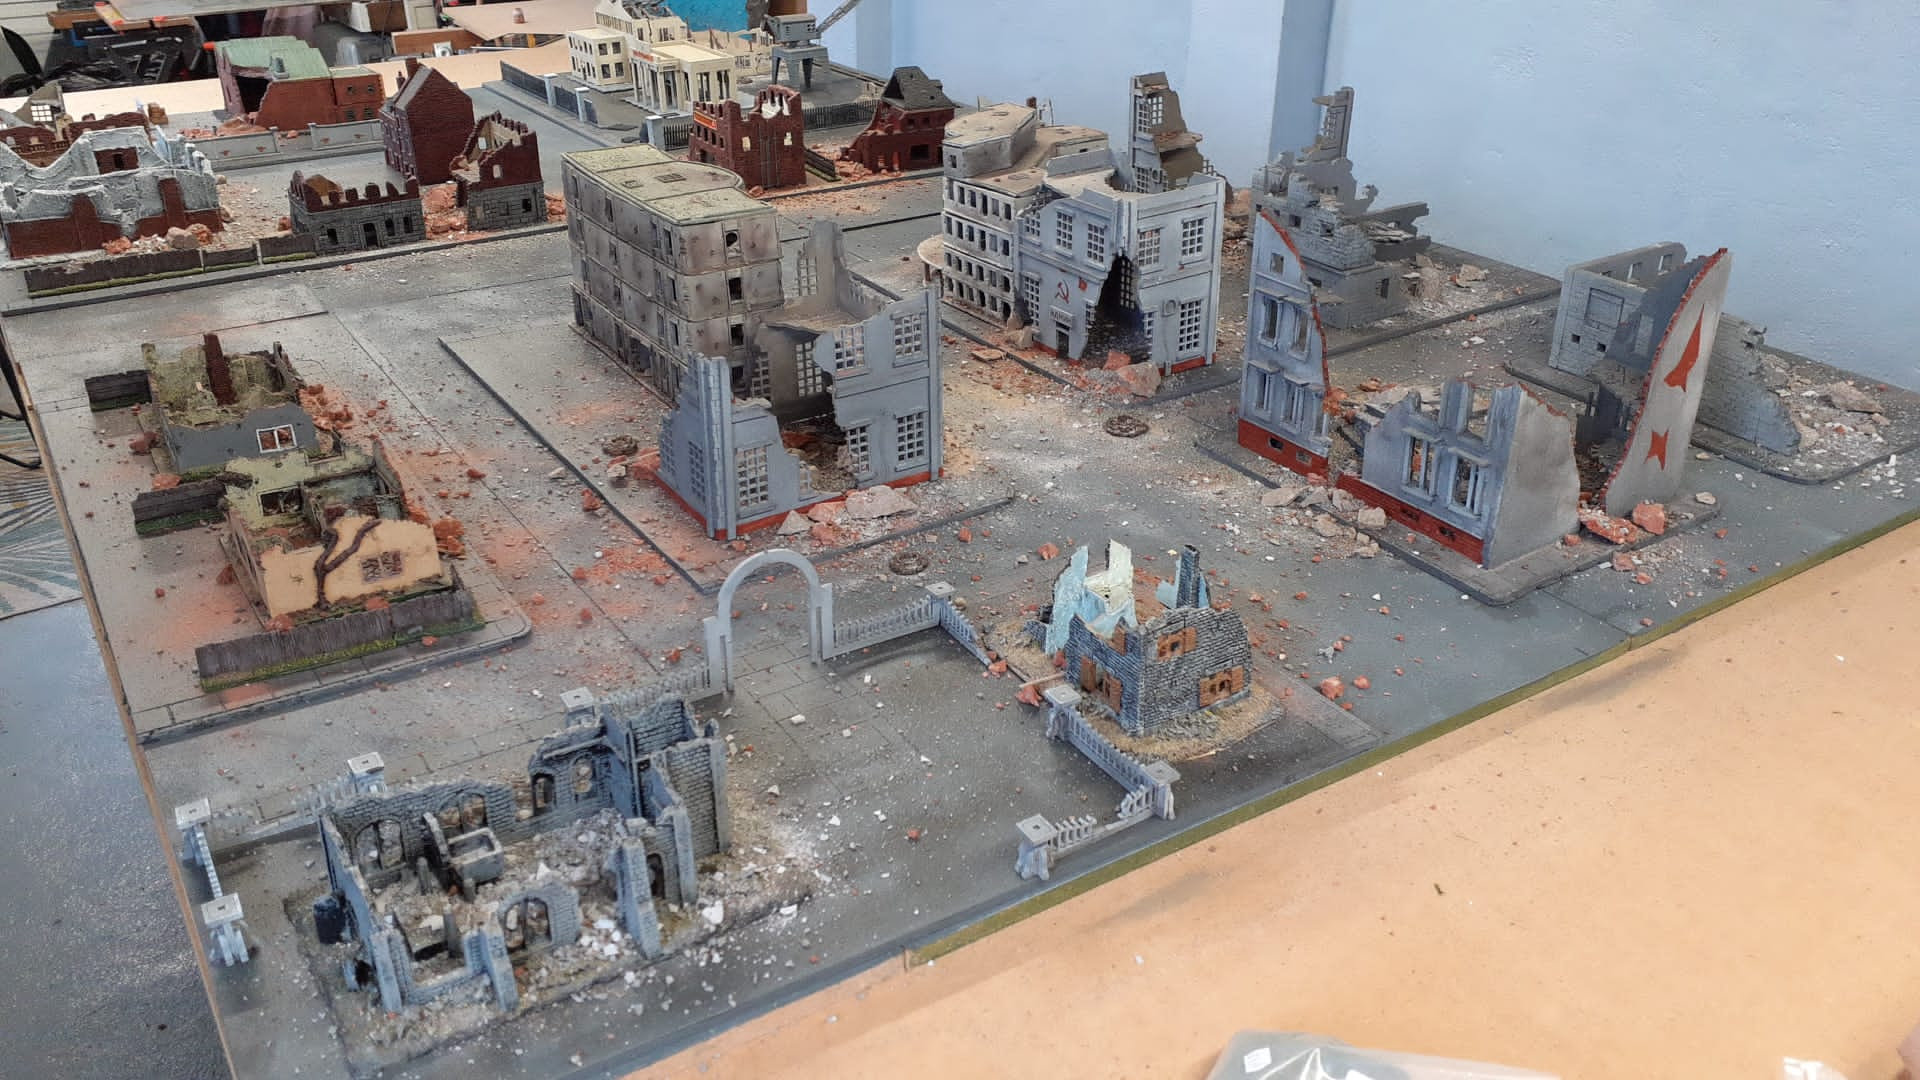
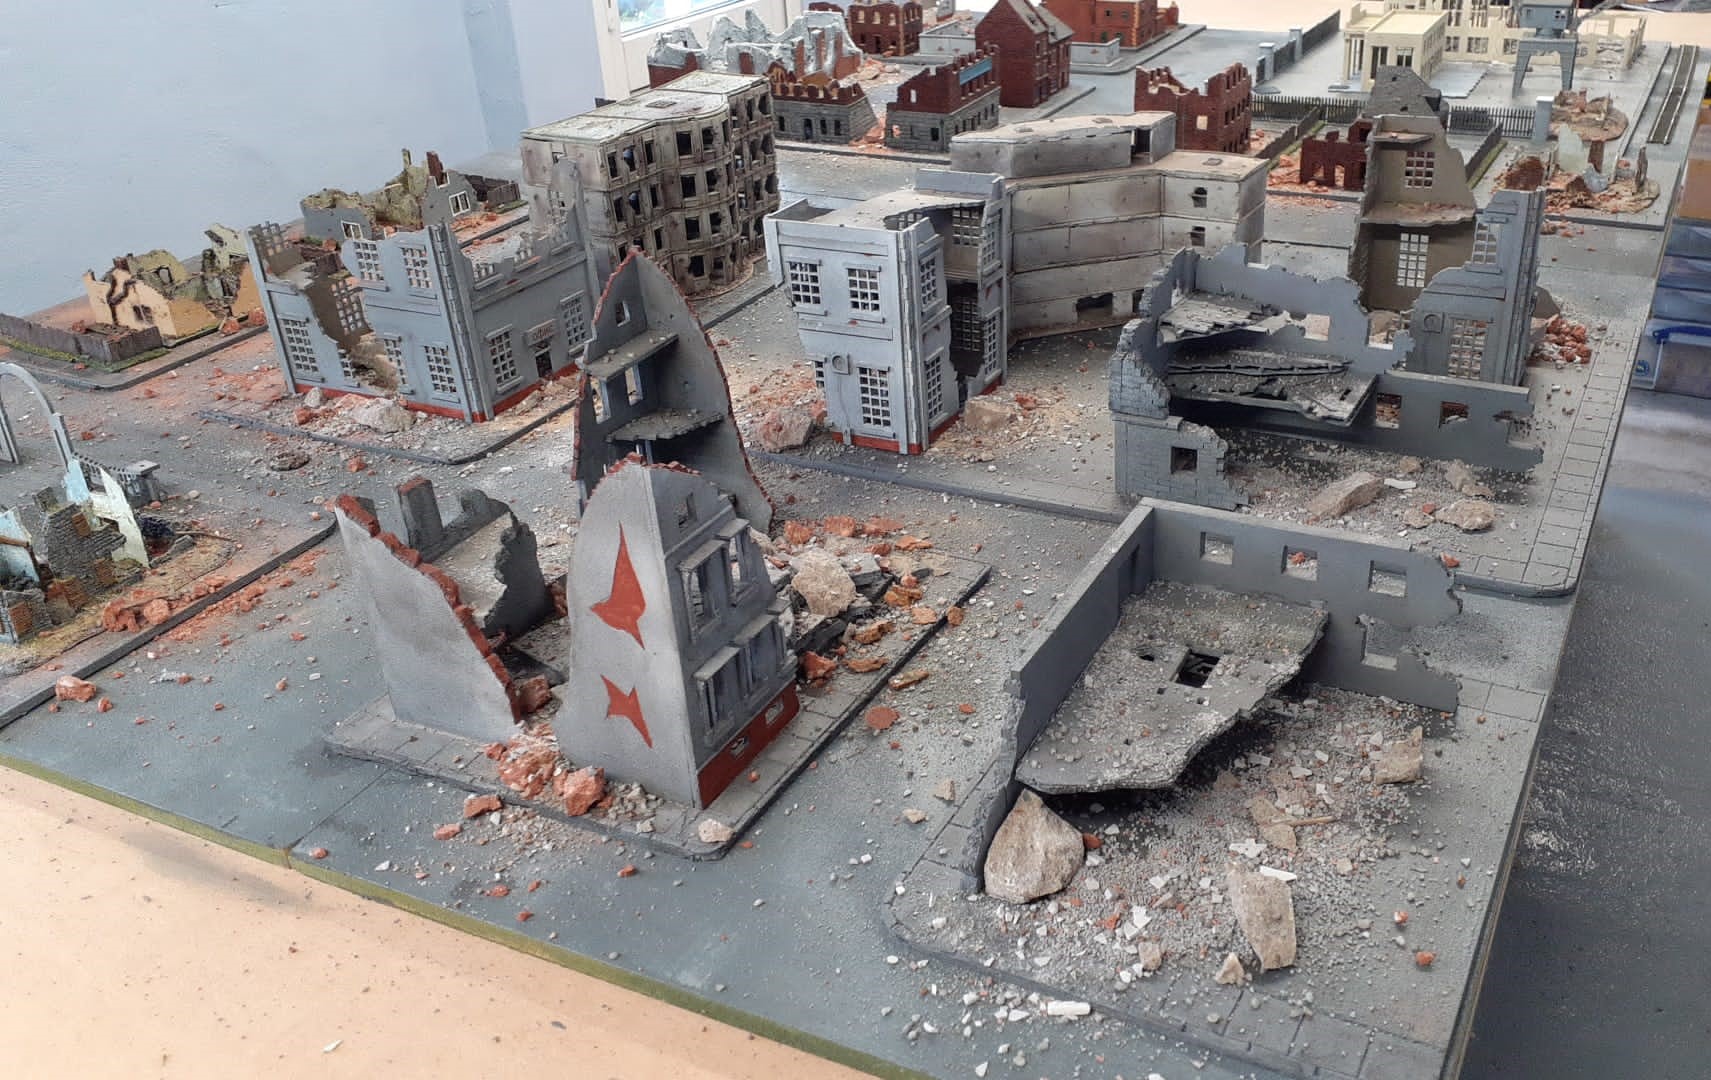
Stalingrad (Part 2)
It was back to the Stalingrad game this week.
As things were standing the Russians were approximately 50% of the way to their morale limit while the Germans were slightly better off.
The situation was that the Germans were still assaulting the tractor factory while along the rest of the front both sides had hunkered down and were taking pot shots at each other.
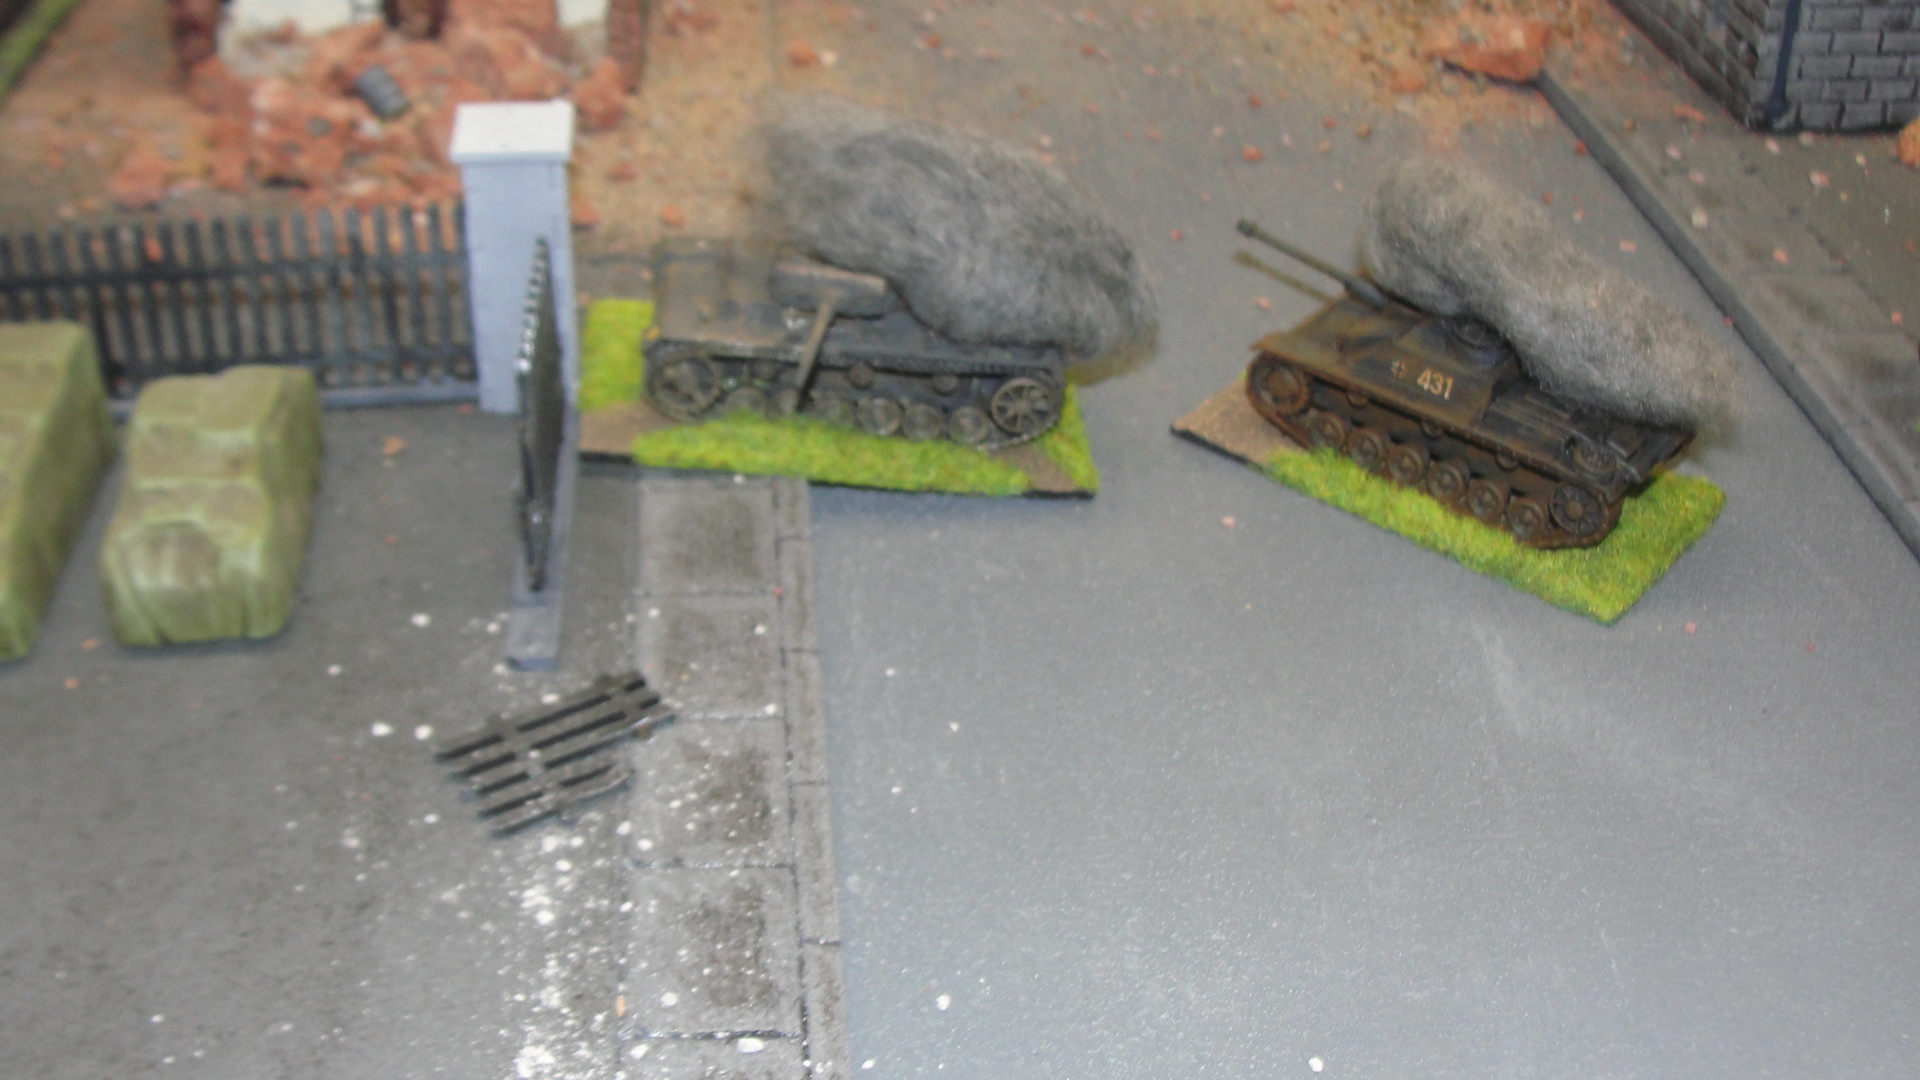
The Germans had moved a Stug 33B into position ready to open fire (only 24 of these beasts were built and all were used in Stalingrad) carrying the heavy 150mm gun.
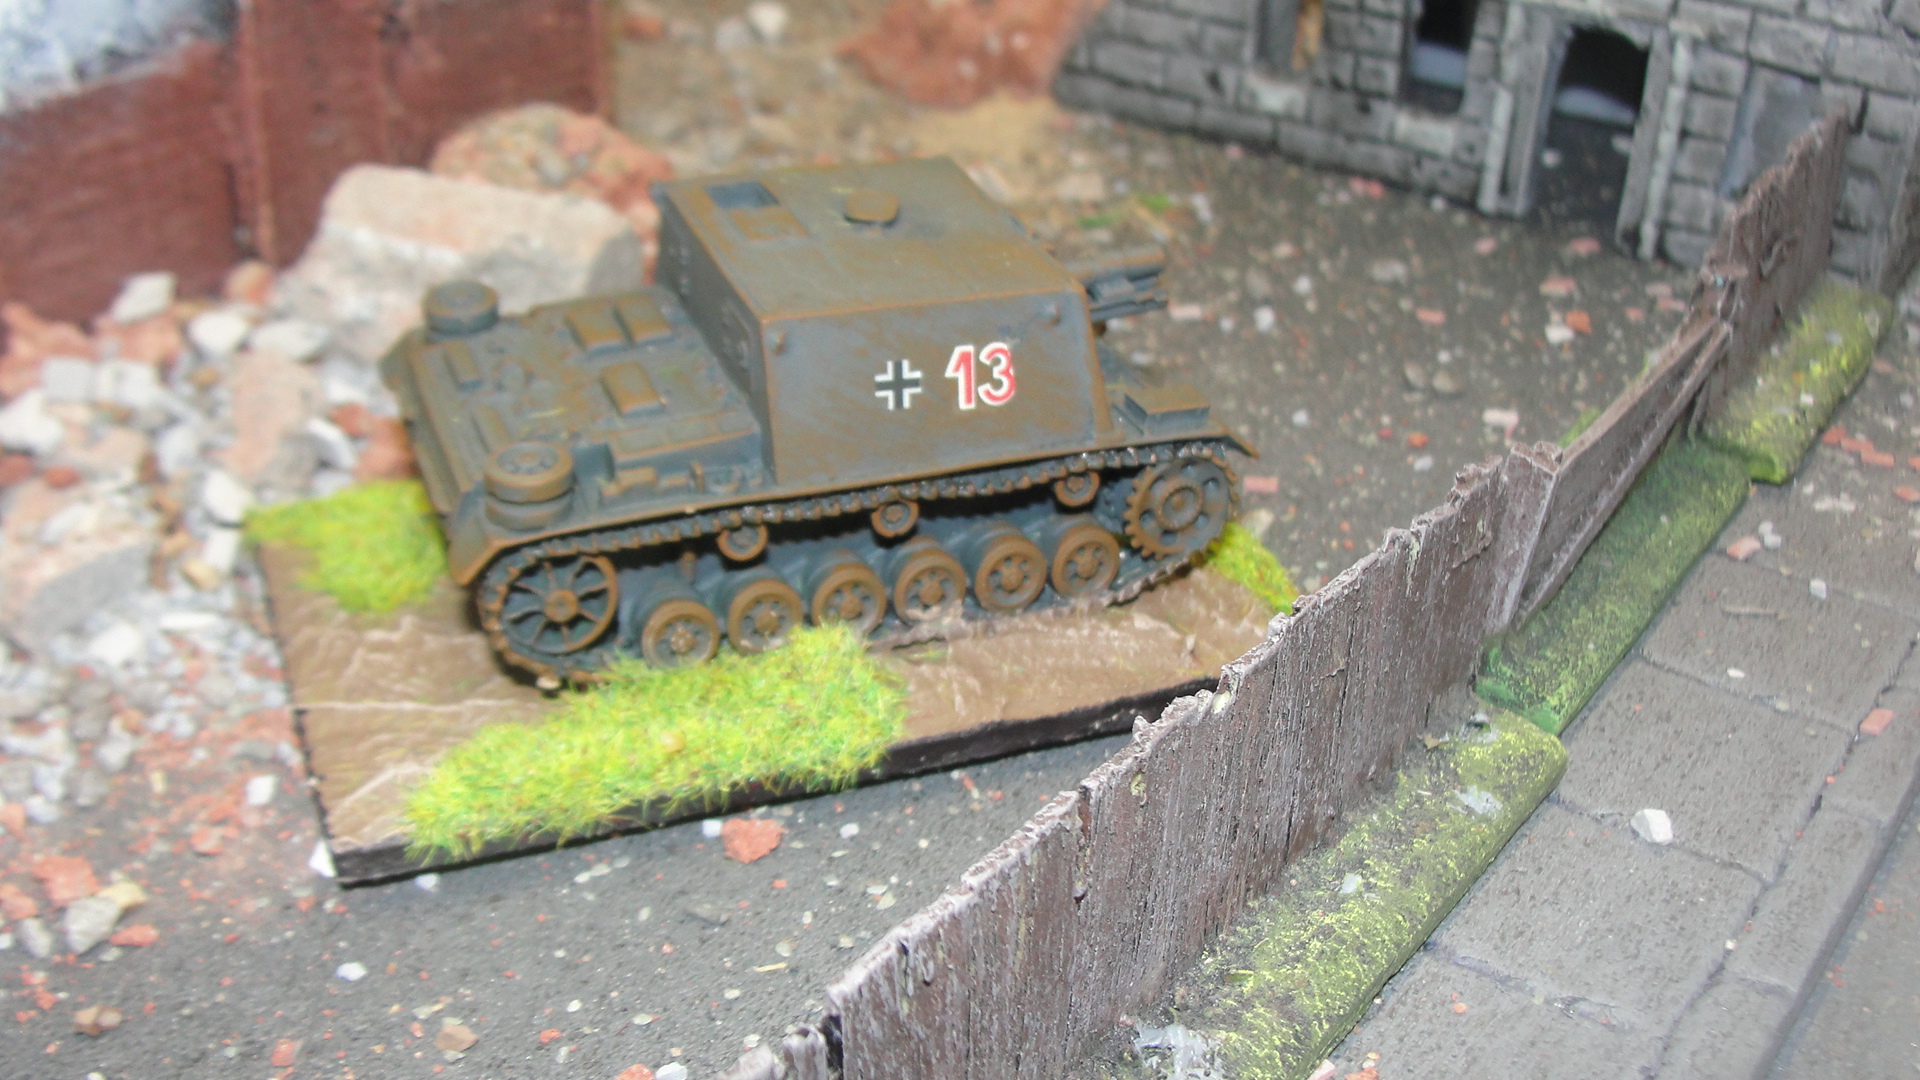 Stug 33B in position
The Stug 33B targets the centre section of the flats that it knew was holding a command group and spotters, after all you cannot miss a building can you. The Stug 33B later suffered a “breakdown” and became immobilised (the Russians drew a lucky Battle Rating chit) but at the time it was parked next to its ammunition truck so could keep firing for the rest of the game.
 Targeting the flats
 The crossroads at the centre of the board was held by a Workers Militia AT tank team armed with Molotov cocktails and the dug-in T34. Somehow both these survived till the end of the game.
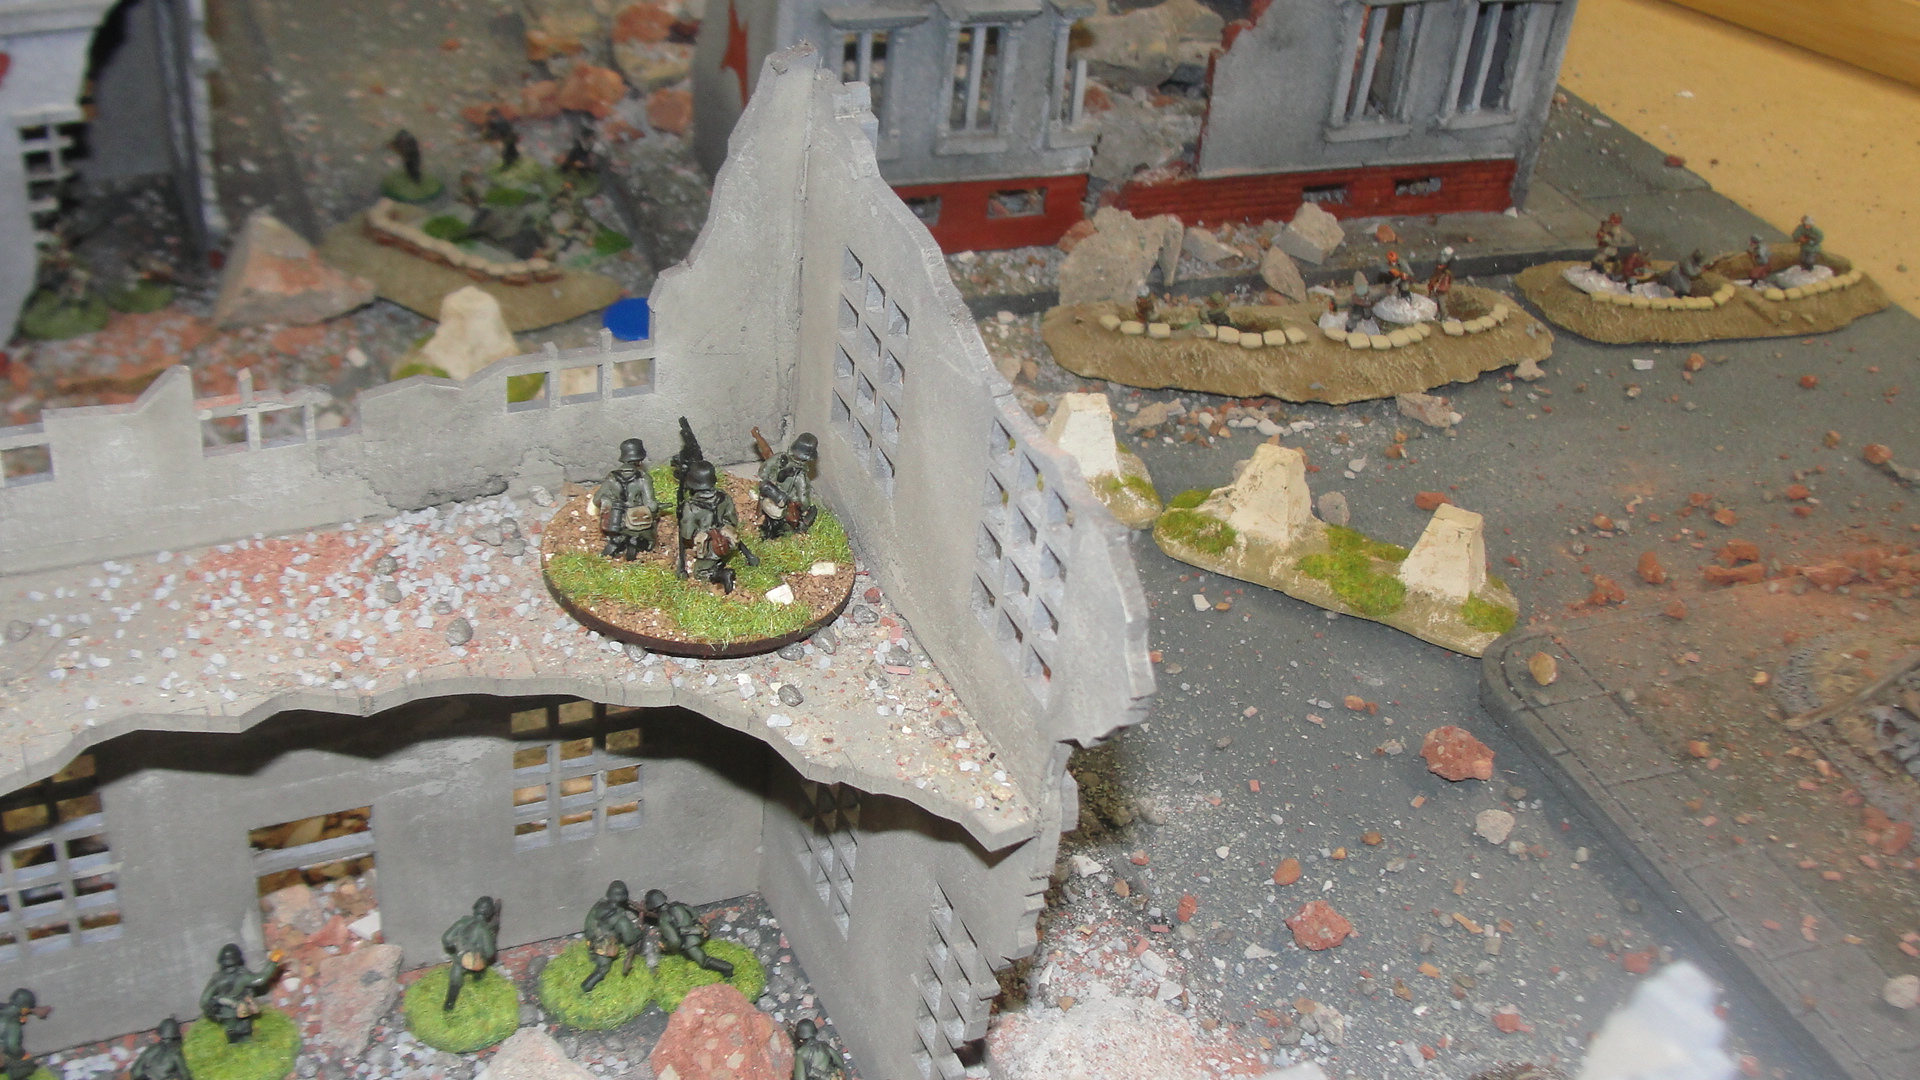
A section of the Workers Militia and Platoon HQ were still holding the left flank of the Russian line while the heavy fighting was continuing at the Tractor Factory.
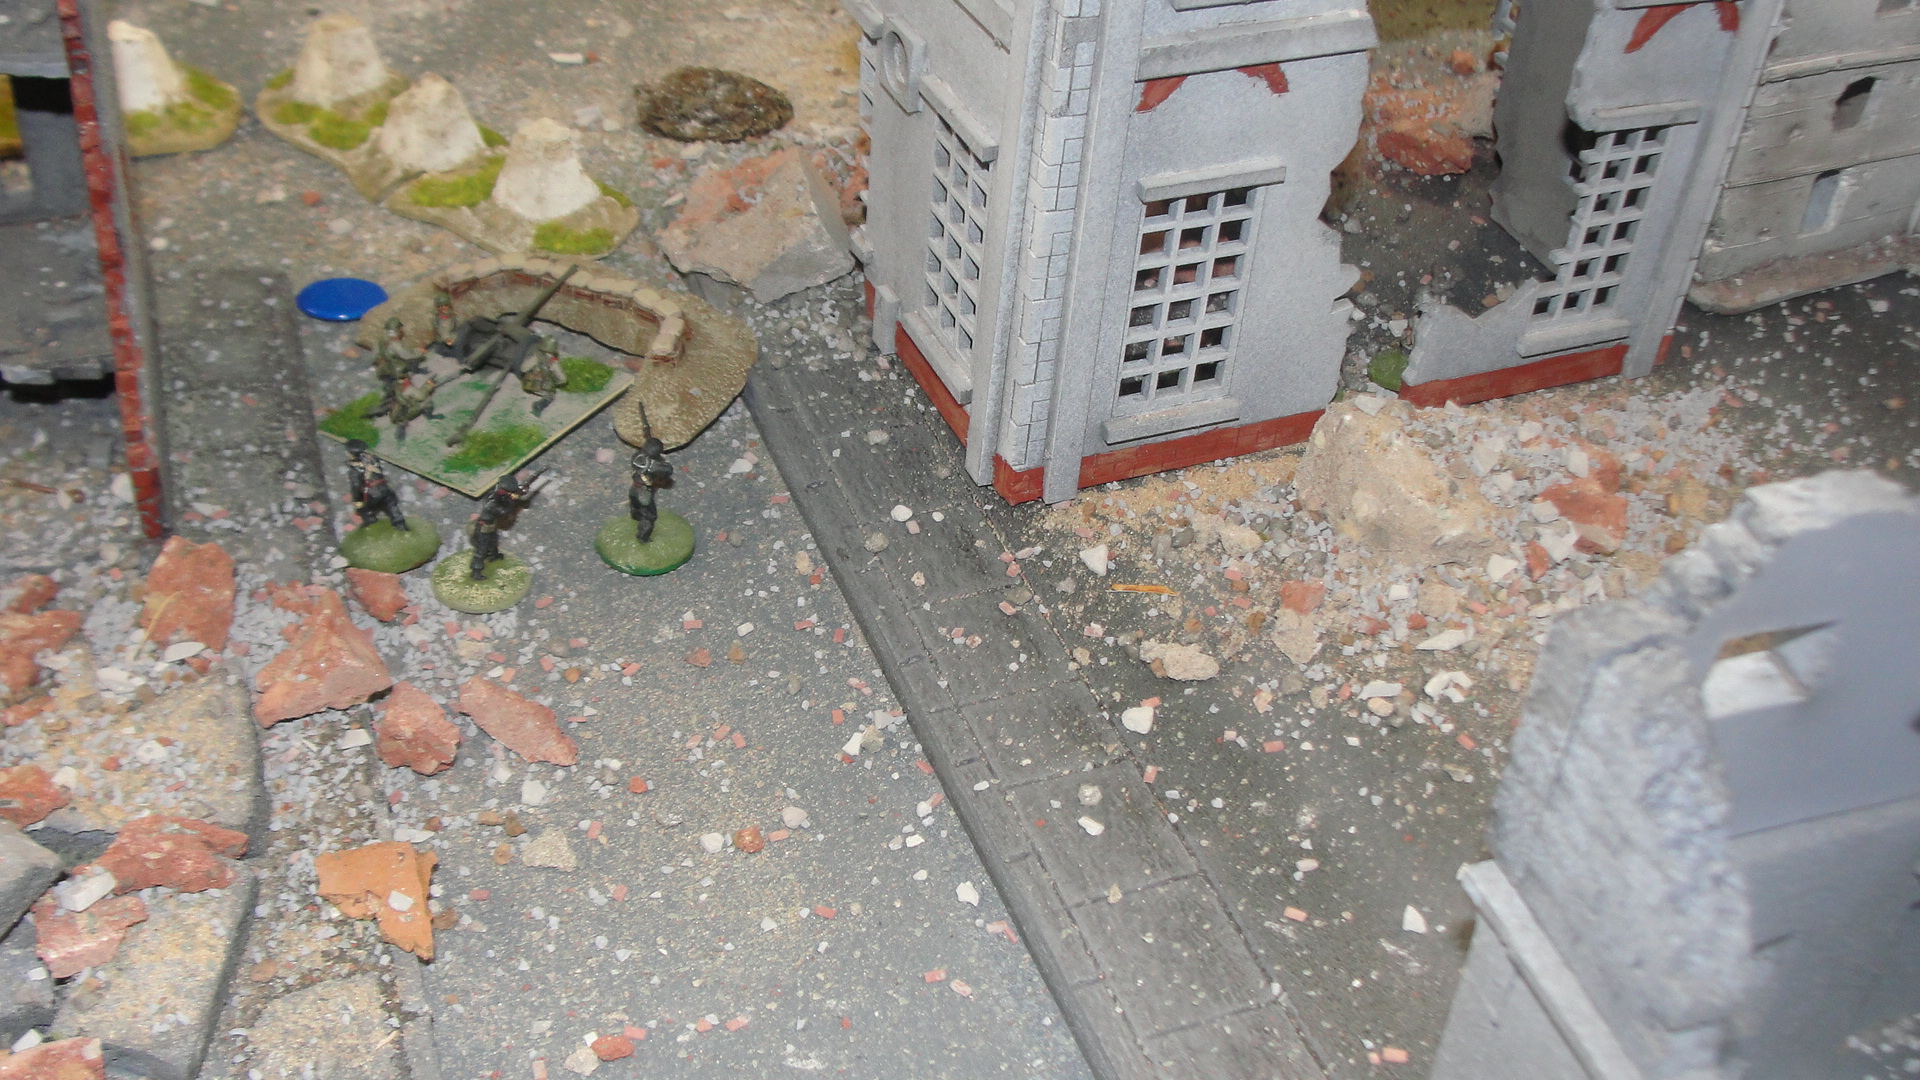
The Naval Infantry platoon AT gun waited patiently for a target but none appeared so started taking “pot shots” at the German infantry holding the buildings opposite.
While on the Russian right flank the assault on the Tractor Factory continued with the German armour advancing in force with infantry support.
To counter this the Russians moved the last of the Naval Infantry platoon into the factory to support the T34 and the KV8.
The T34 in the factory “took out” another Pzkw IV that was closing the range.
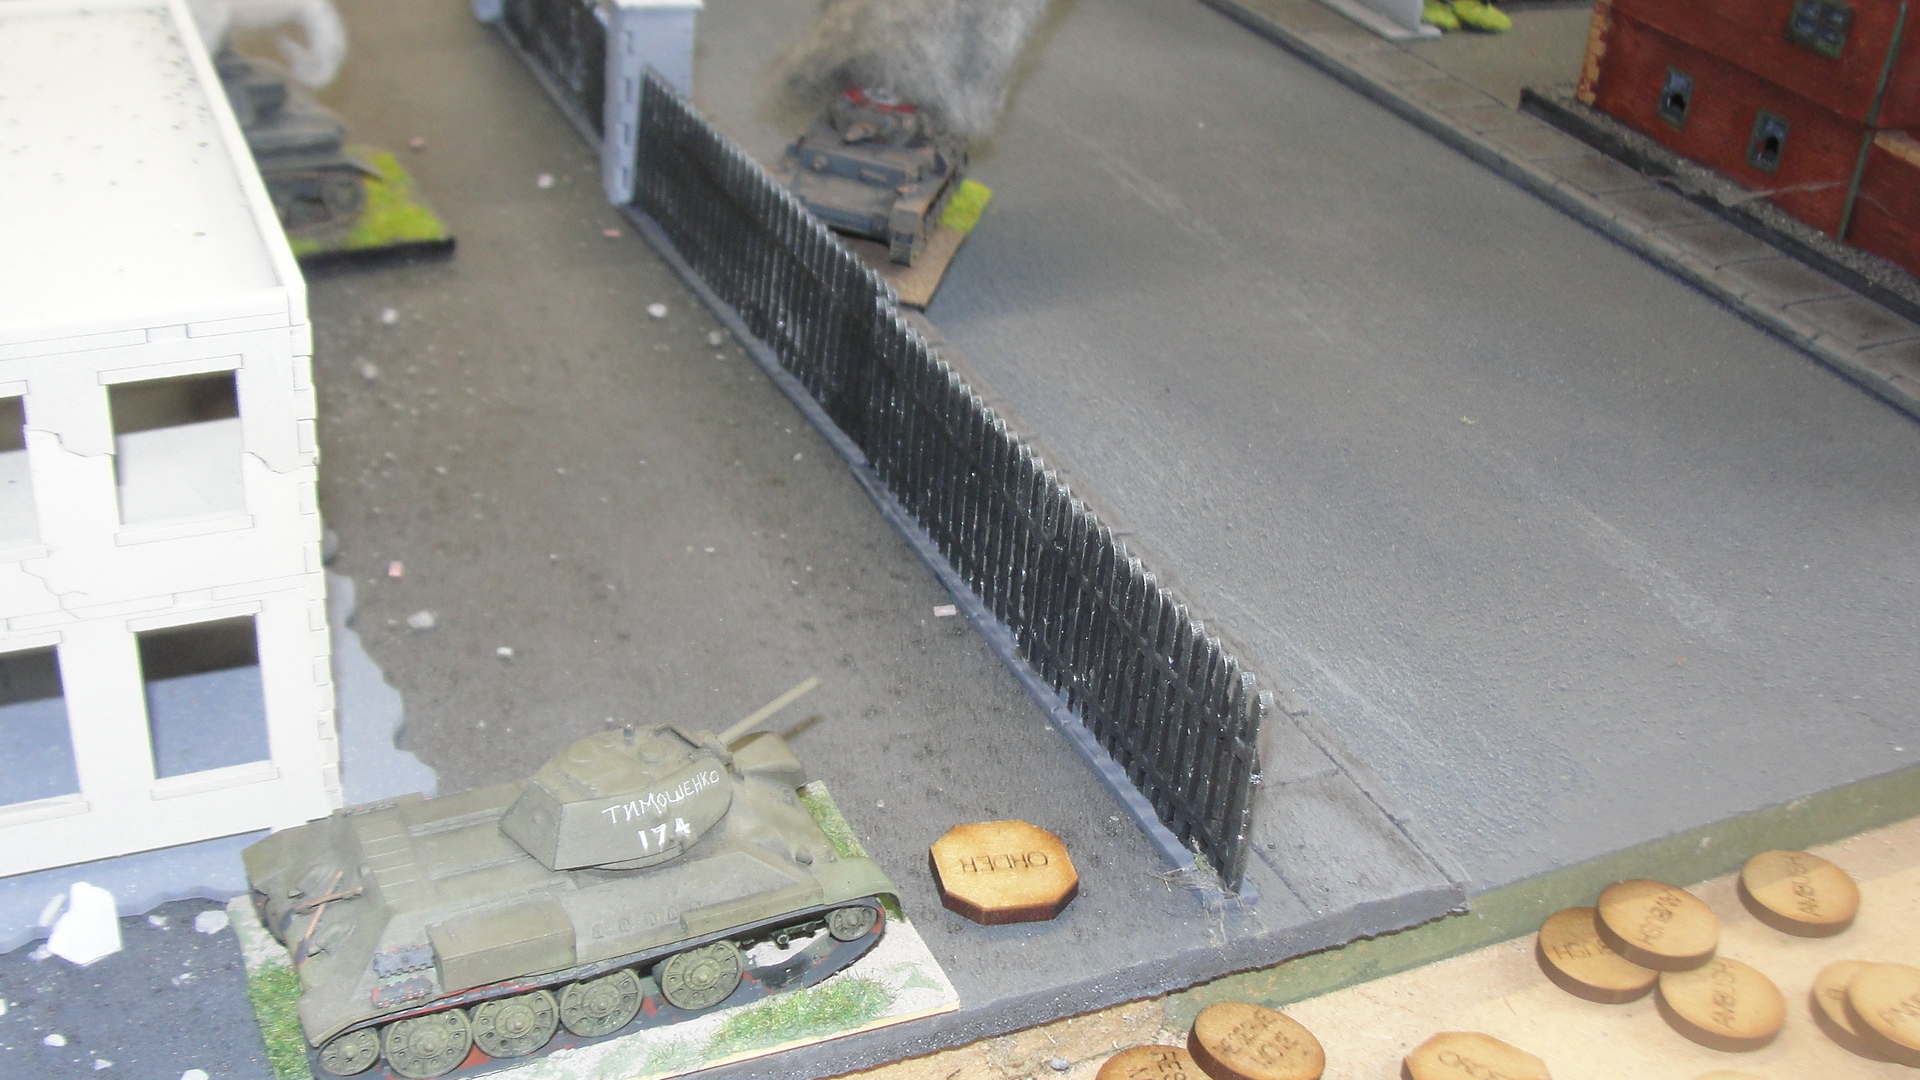
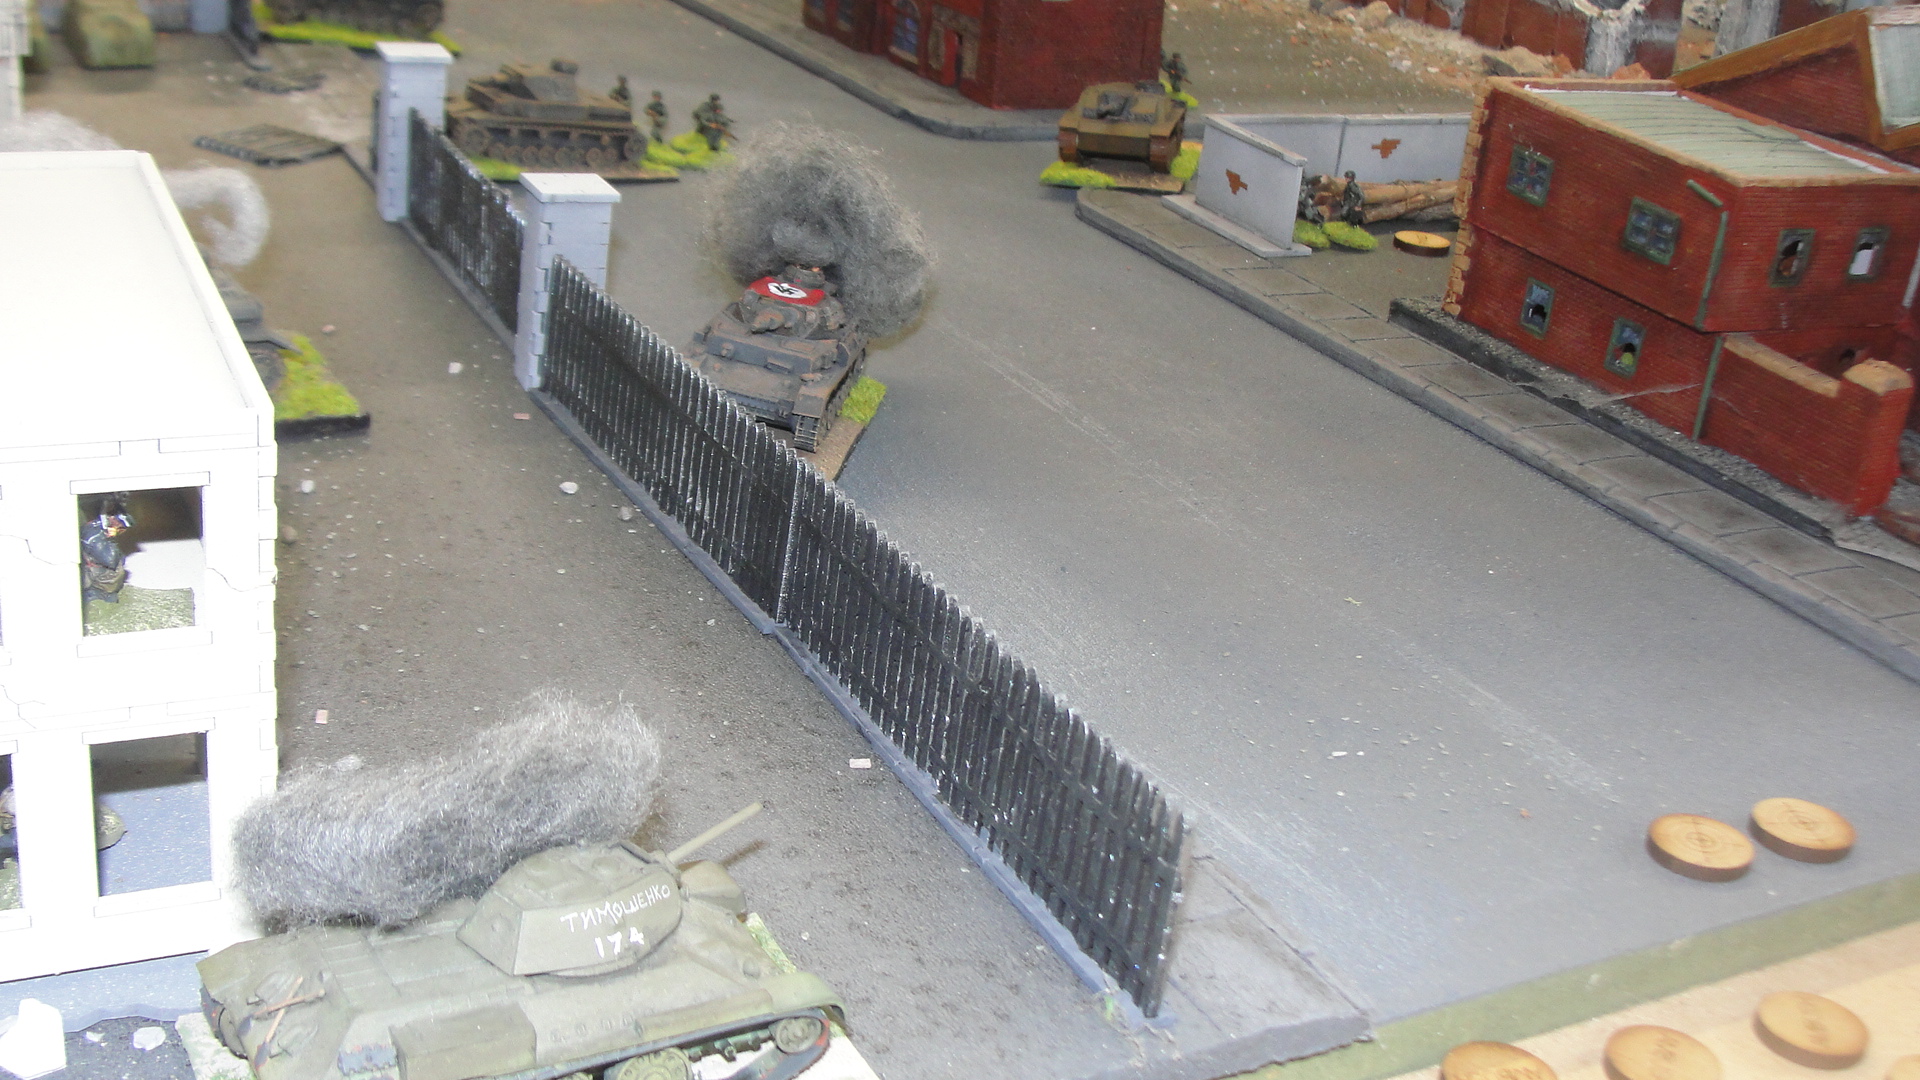
On the Russian left flank time had also run out for the T34/76 (named after Timoshenko) as the Stug IIIF fired and took it out.
But the Russians soon had their revenge as the StuG IIIF moved the KV8 lurking in the factory took it out (I think it was the KV8, but there was also a AT rifle taking pot shots at the time).
KV8 with its mighty 45mm gun celebrates another success (although the rules still show the 76mm gun which is incorrect). The 2 “red counters” on the building show that it had lost 2 out of 3 “structural integrity” points another 1 and the building would collapse!
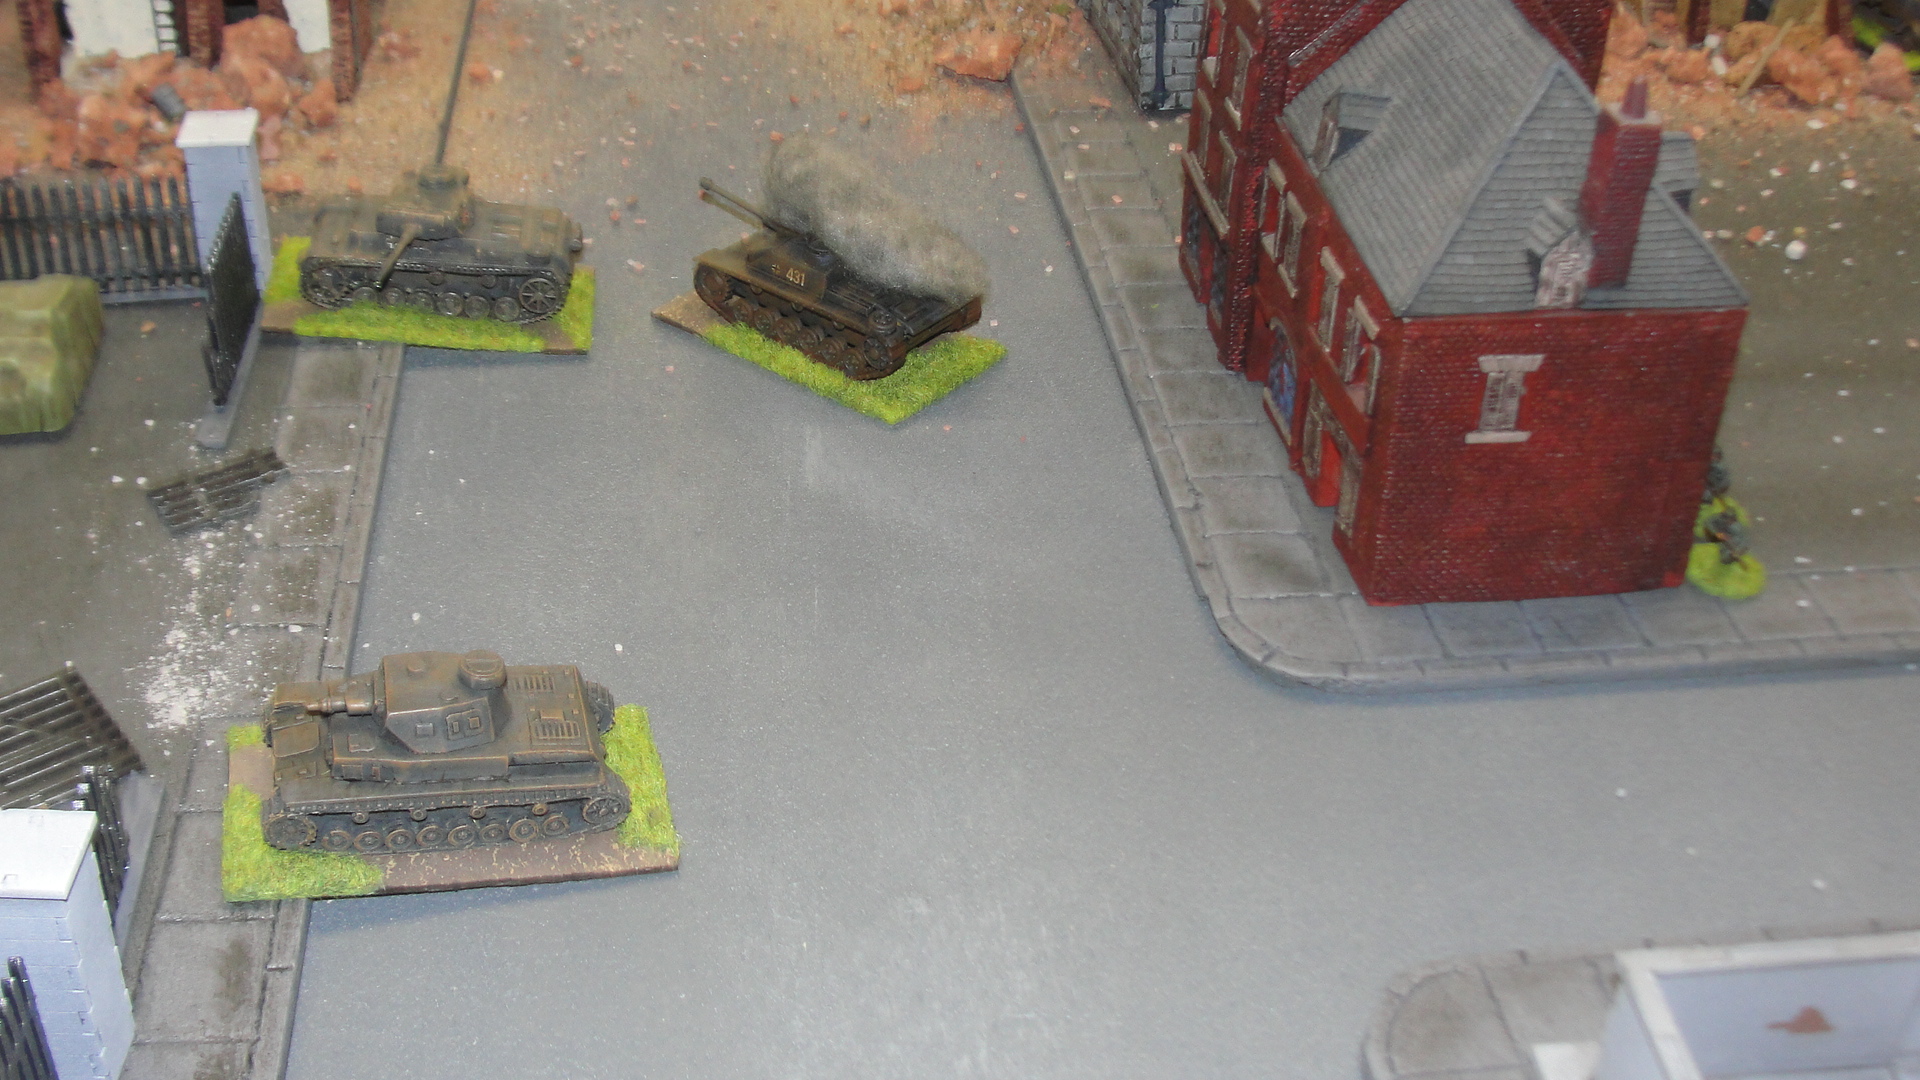
As time was running out the Russians had snuck a T70 into the factory and this managed to knock out the Pzkw IIIJ lurking near the factory gates.
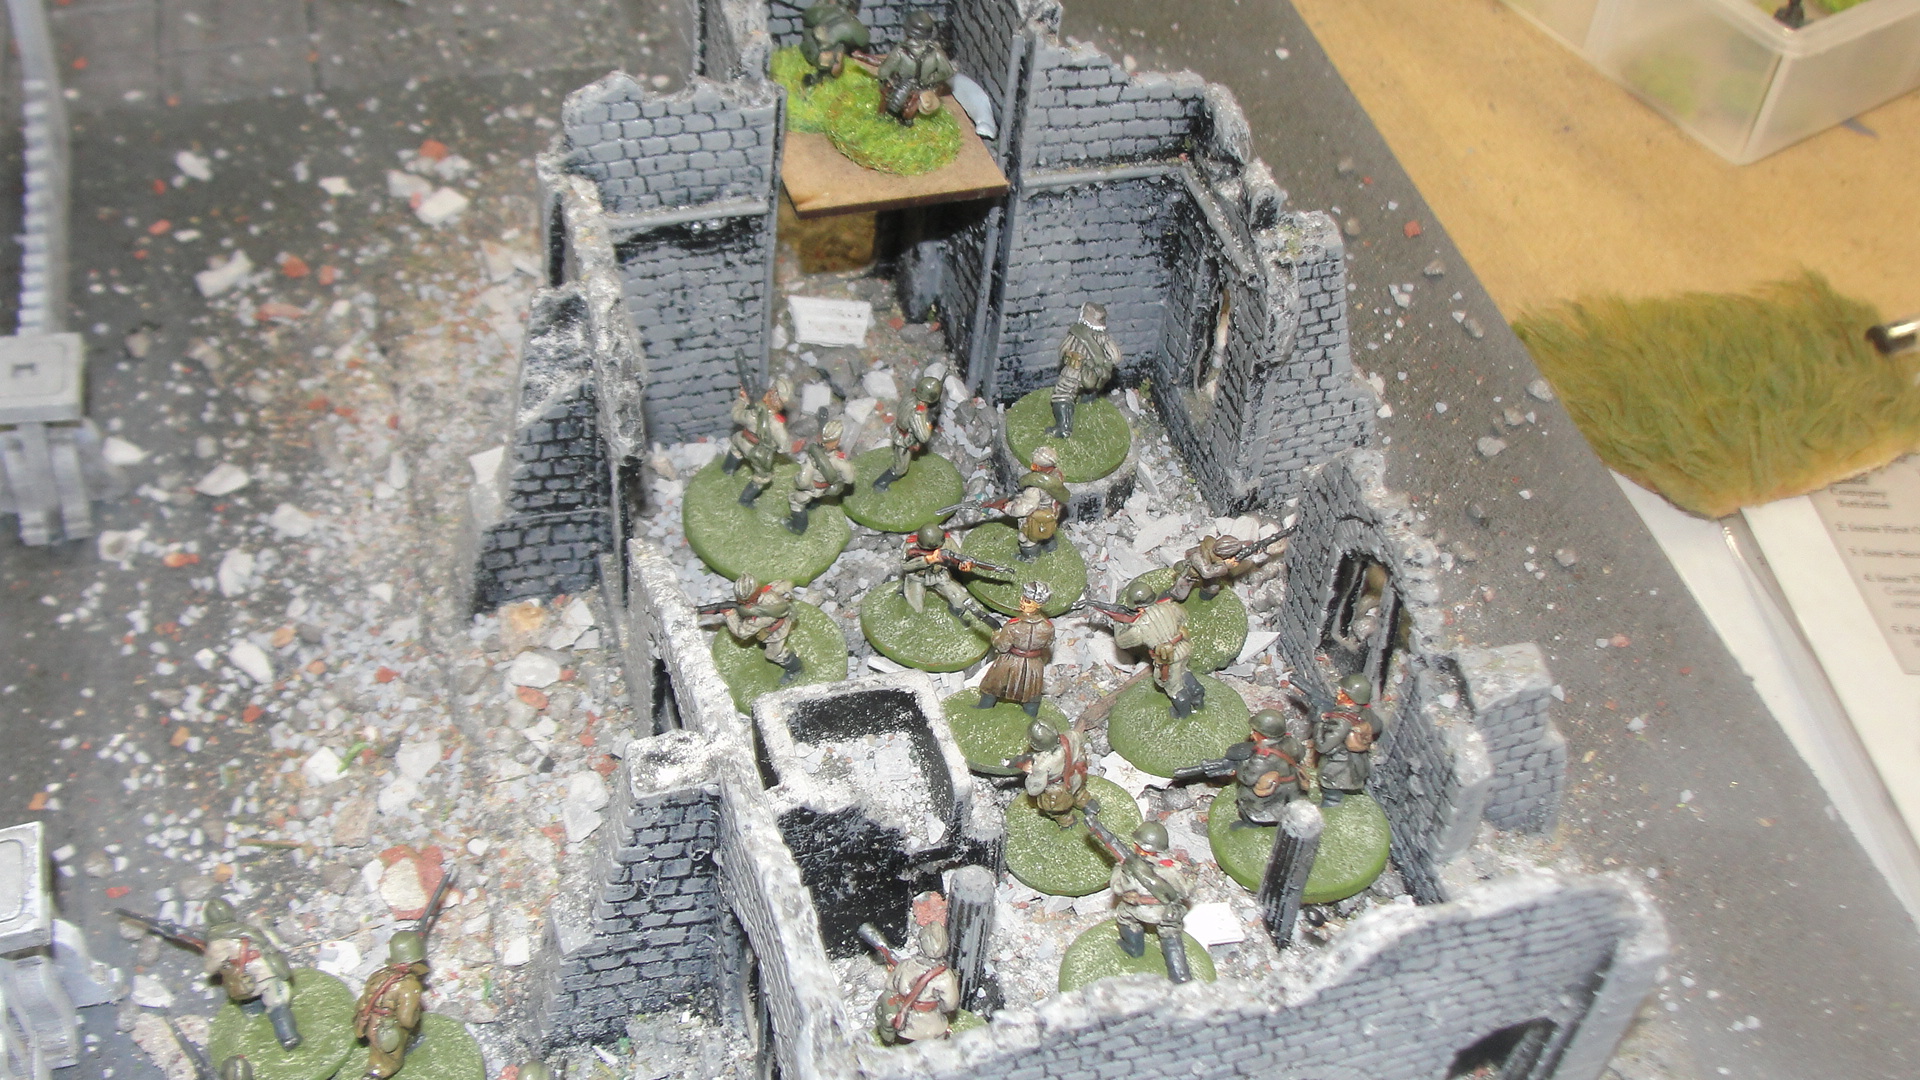
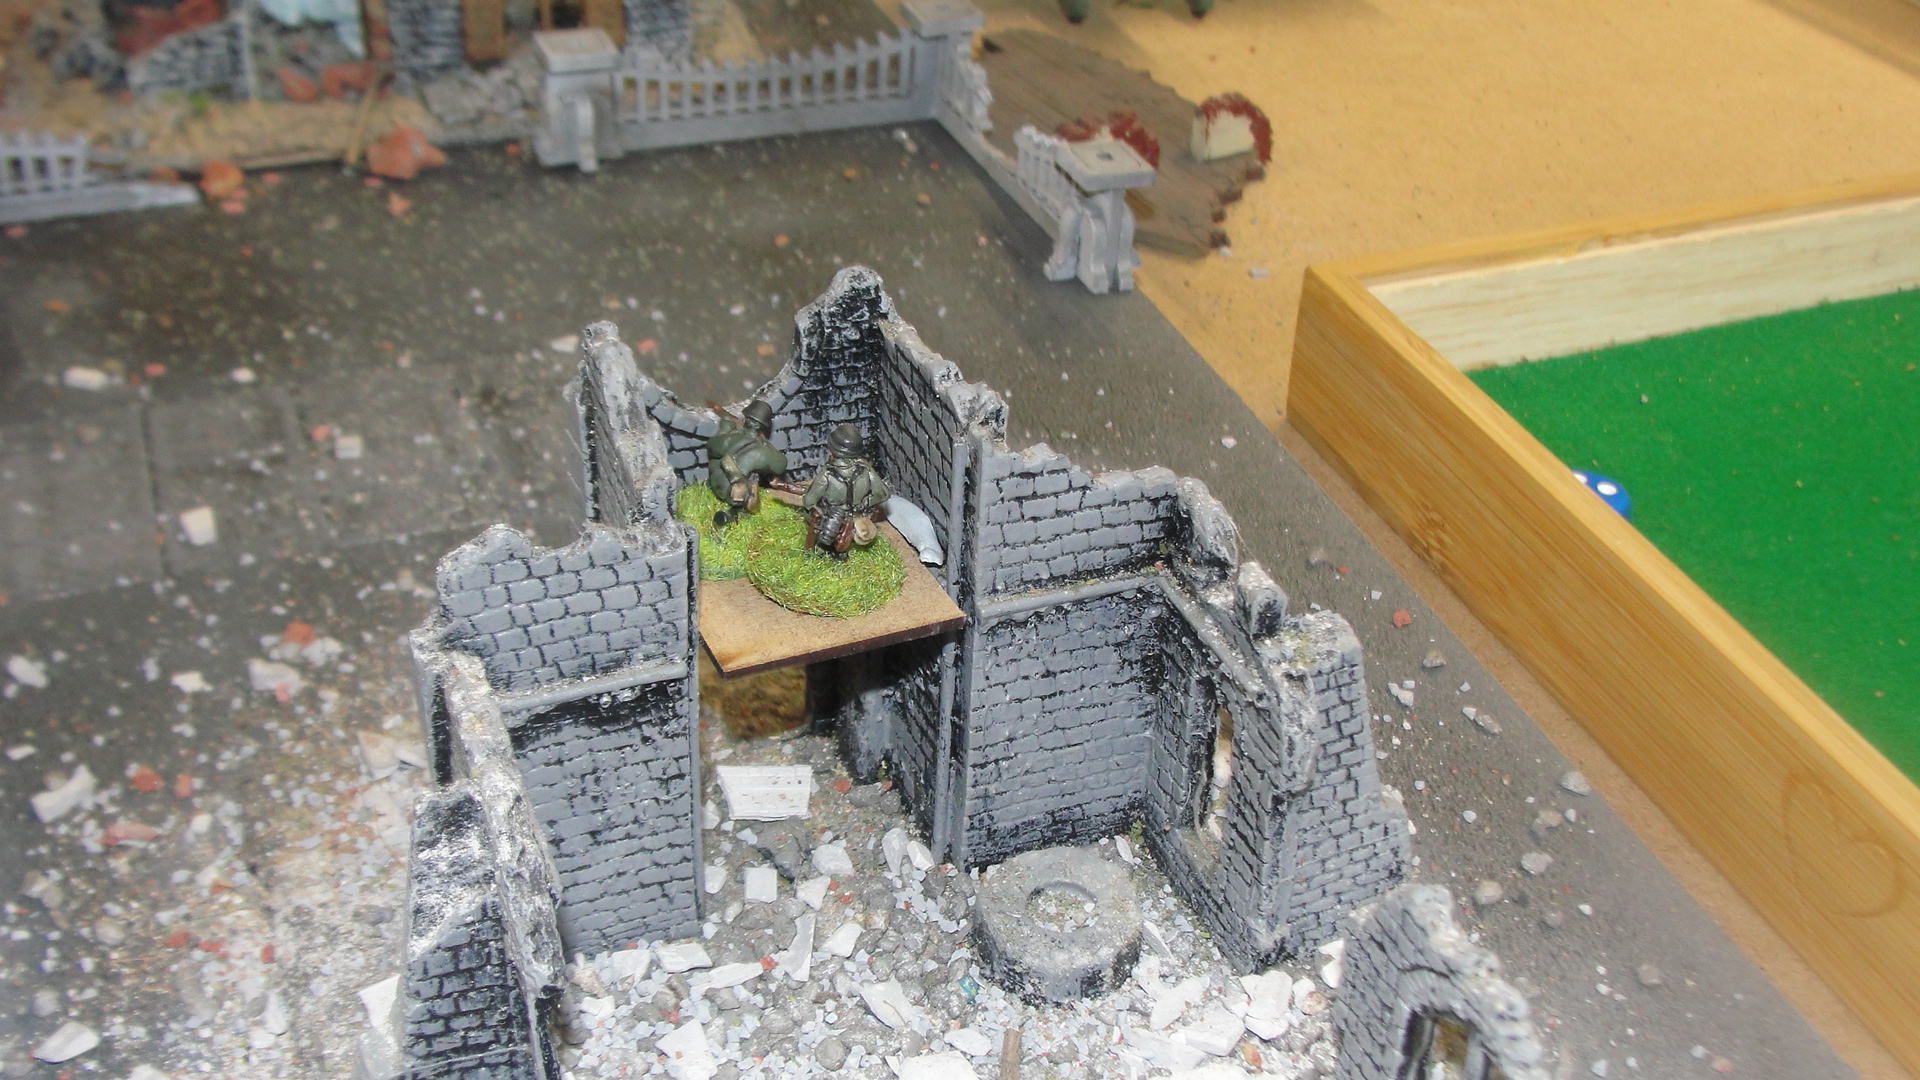
The German sniper now had a nasty surprise as 3 sections of Russian infantry suddenly emerged from a “hidden cellar” where they had been lurking since the beginning of the game. However, much to the Russians disgust on the first turn all 3 units failed their “experience check” and would not close assault the sniper. After taking fire from the sniper next turn however one of them succeeded and the sniper was no more.
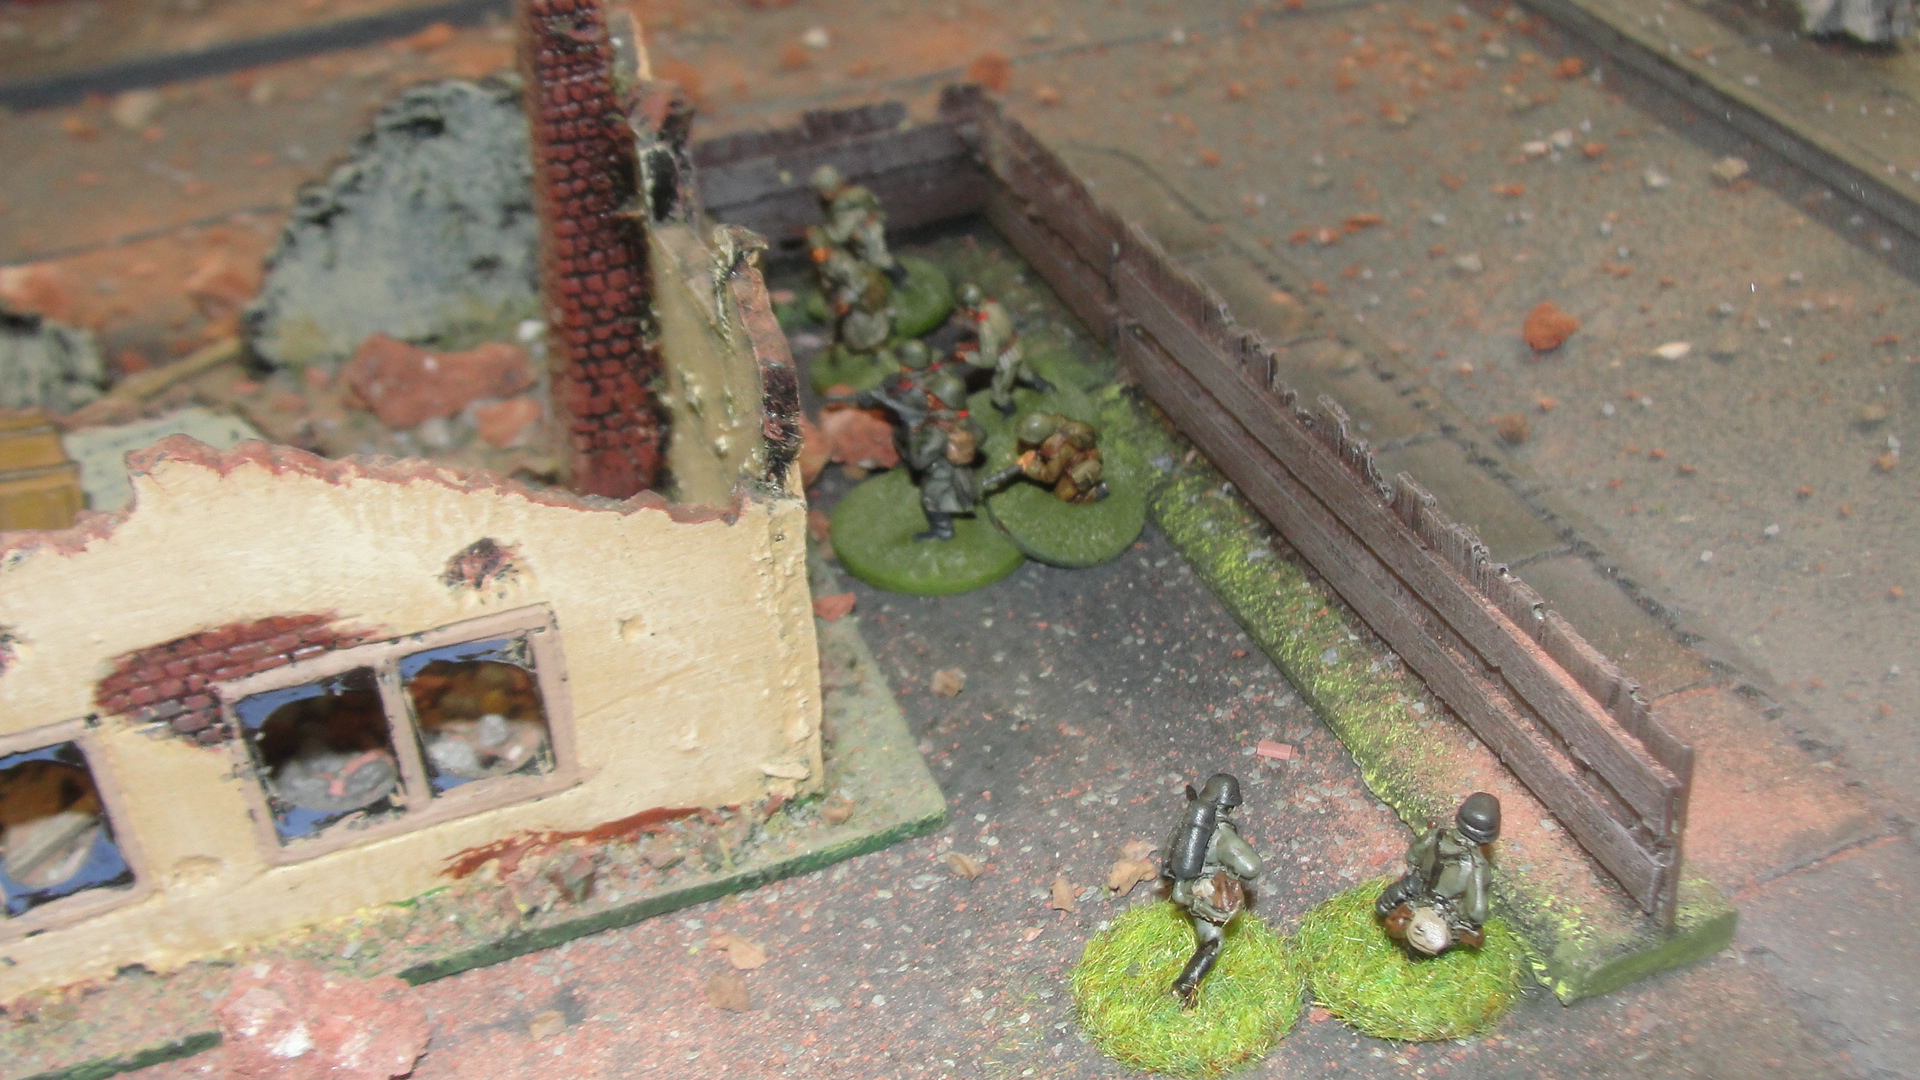
One of the Russian infantry sections that had emerged from the cellar now assaulted an infantry gun and wiped it out (I forgot to get a picture of that) and were closing in on an objective point much to the joy of their commanders. However as they prepared to advance on the objective a German Pioneer Flamethrower team appeared on their flank!!
One “whoosh” of flame and the section was no longer there, killed and broken, that’s two “morale” chits that had to be drawn one for loss of a section and another for coming under flame attack for the first time in the game.
Unfortunately, time had run out and we needed to call the game. No one had taken enough casualties to exceed their Battle Rating, no one had taken all five objectives so a quick “tot” up was needed to see what the total Battle Rating losses for each side was. The Russian had lost 54 ot of 66 while the Germans had lost 44 out of 65. So a “Tactical Victory” for the Germans.
But more importantly for me had I found a set of rules that “worked” for street fighting and the answer was yes.
Stalingrad (Part 1)
Period: WW2
Rules: Battlegroup (Stalingrad supplement)
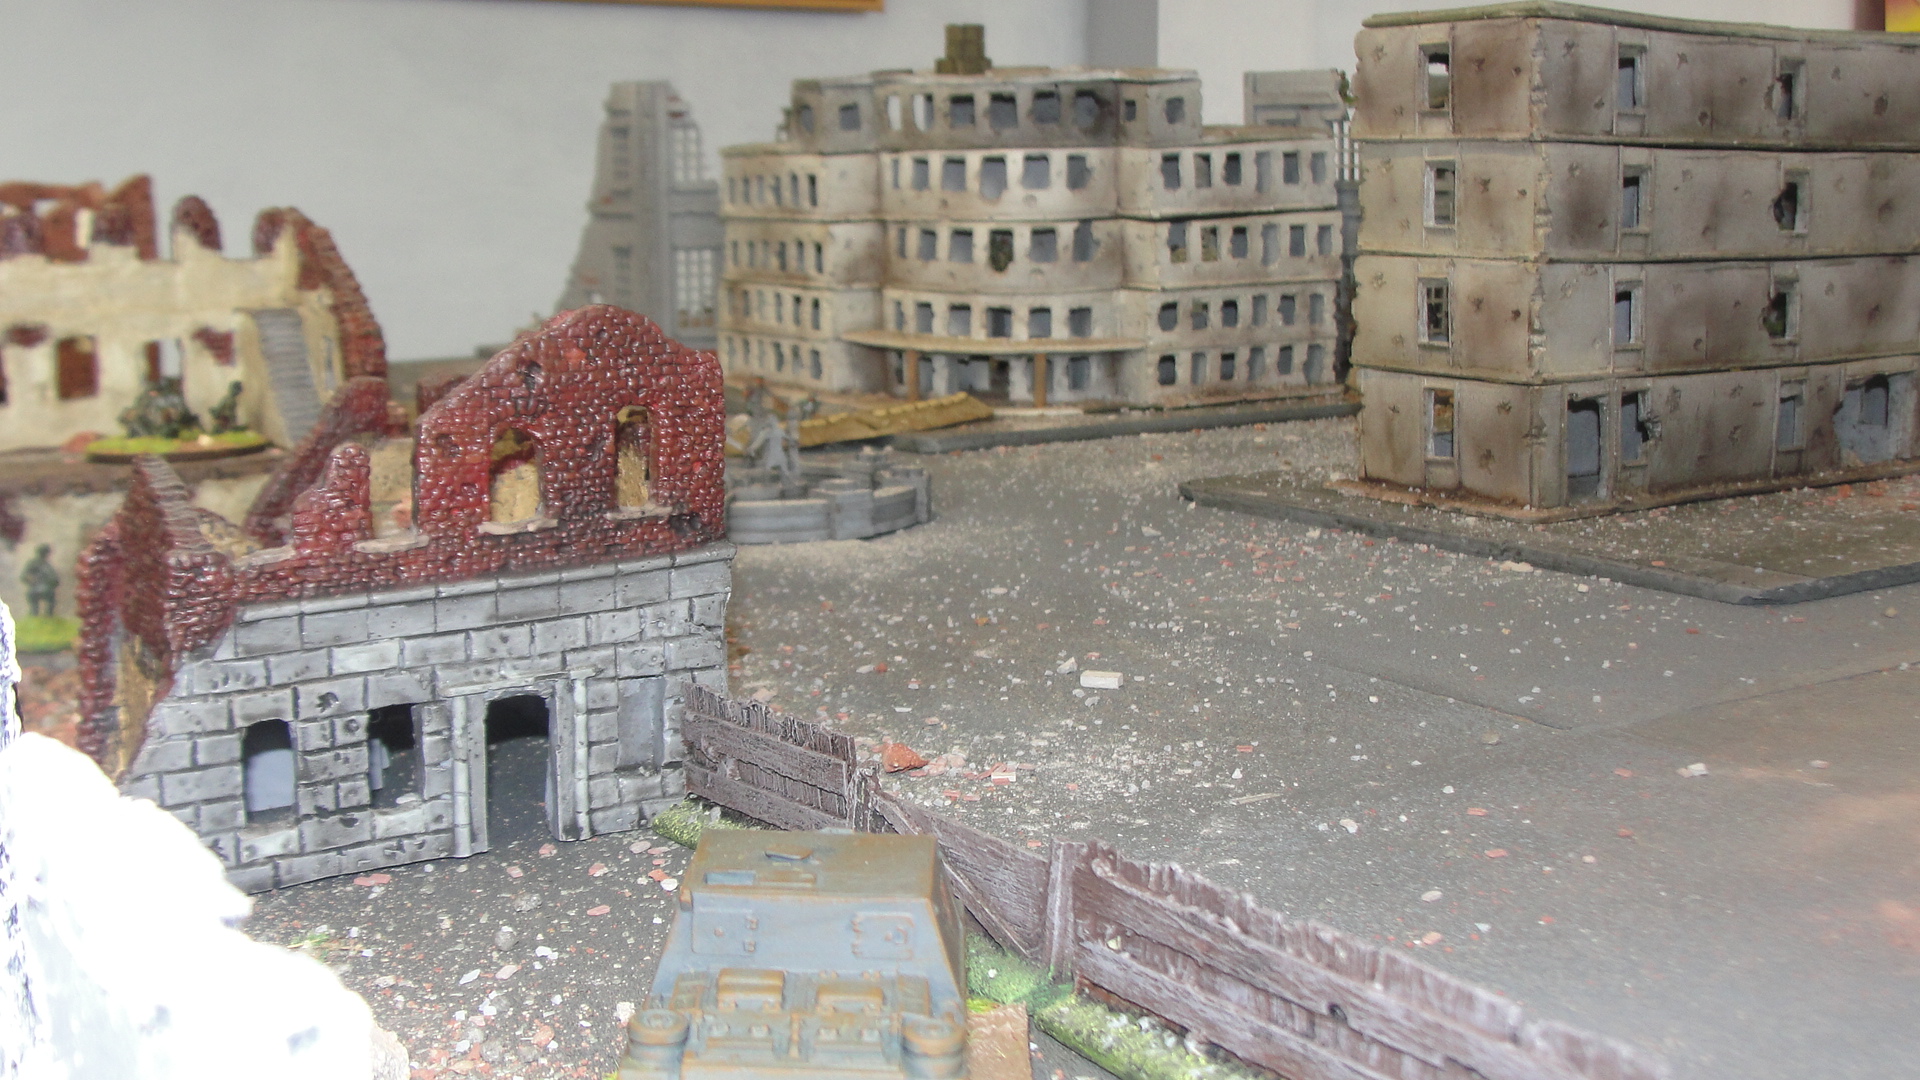
Having a large collection of WW2 20mm Soviet forces matched by an even larger collection of 20mm German forces pulled together over the years by my mate Paul. A few weeks ago I suggested that I pull together a Stalingrad scenario using the Battlegroup rules. Over the years we have used a number of WW2 rules but recently returned to Rapid Fire, however these do “not scratch that itch” as far fighting in urban areas like Stalingrad.
What I didn’t expect was that Paul (the Terrain-Meister) to go into overdrive to provide the table setup below, with several new buildings produced (including the Tractor Factory) in the space of 9 days. A joy to fight over.

The Russians had 3 infantry platoons made up of Workers Militia, Reserve Infantry and a “remnant” Infantry platoon (these have already taken casualties and start understrength) supported by armour and artillery. The Germans only had 2 infantry platoons made up of a standard platoon and a “Sturm” platoon again supported by armour and artillery.
Five objective points were placed on the board, the Russians placed 3 all in their left flank quarter in the Workers district (where the flats are at the top of the board), while the Germans placed two on both of their flanks.
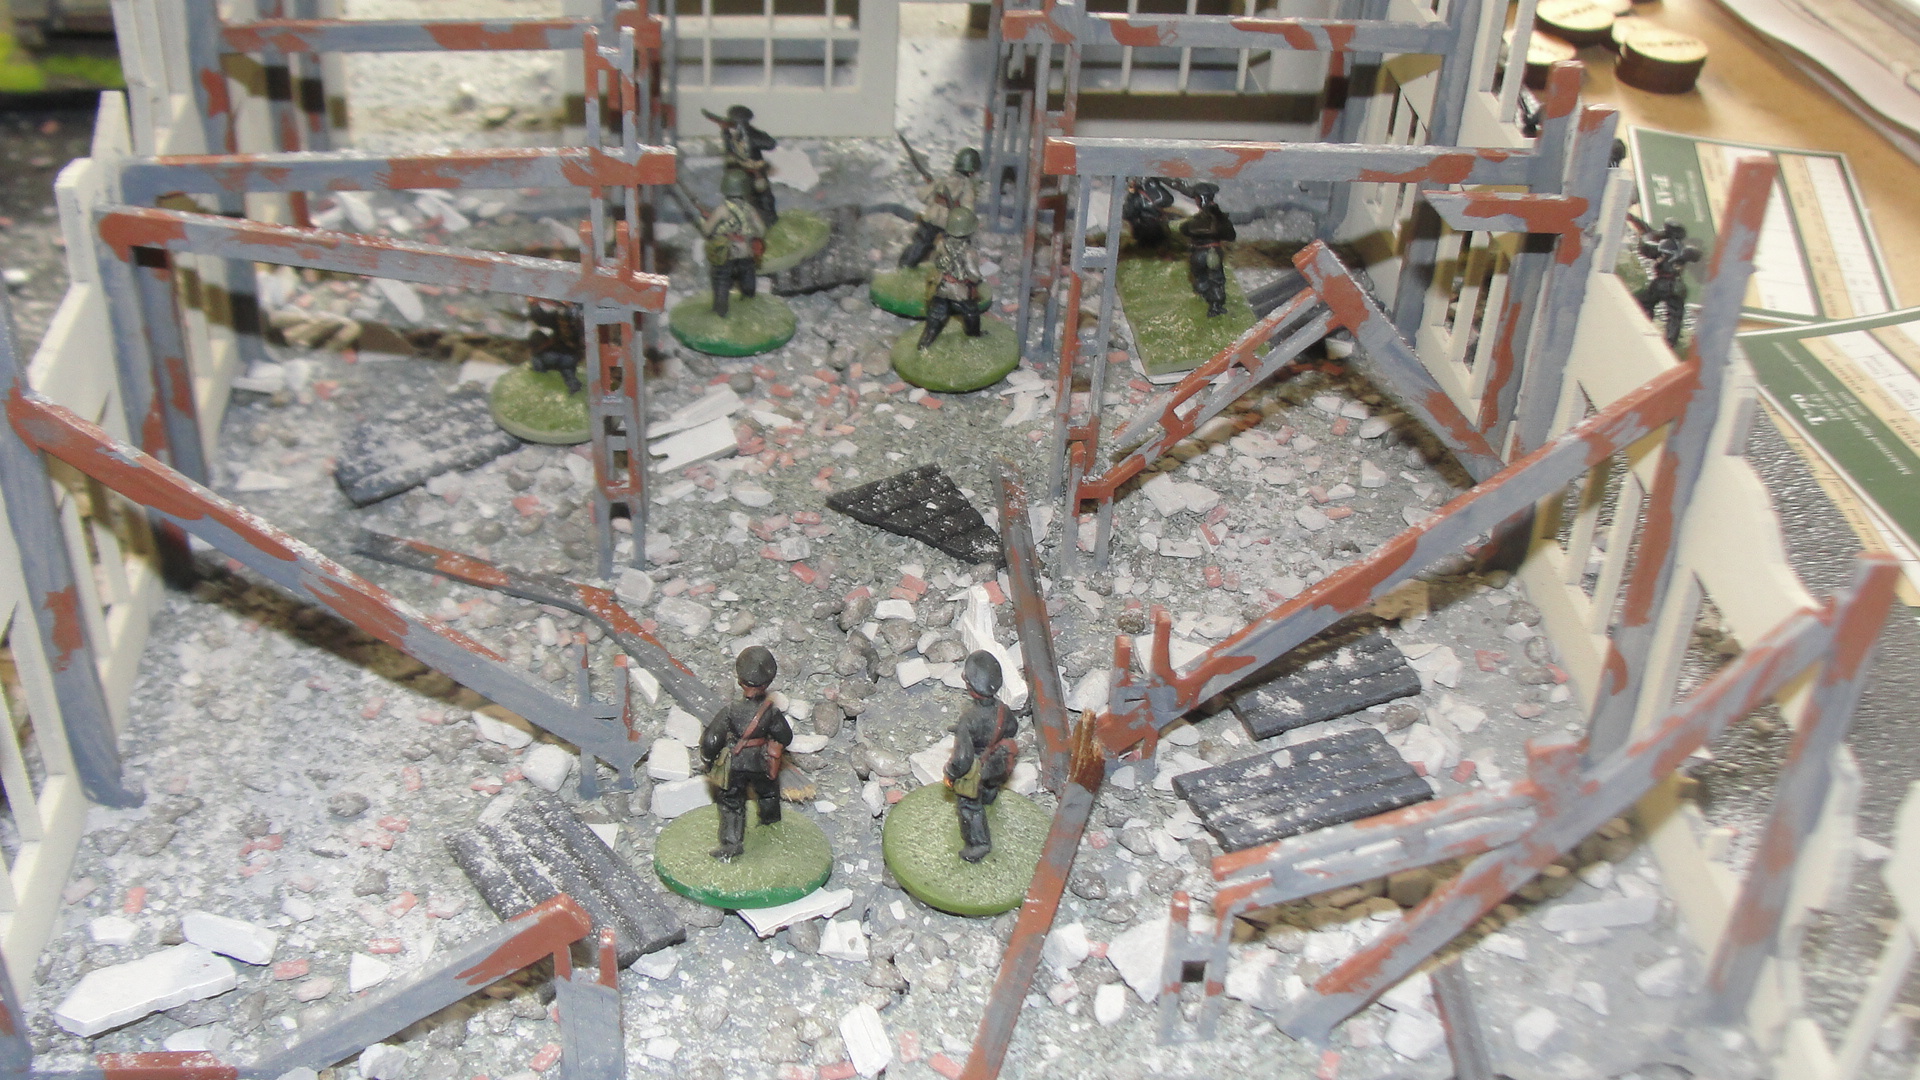
The Russians deployed most of their starting forces defending the Workers Quarter and the objectives they had placed. With a section of the Workers militia dug-in at the crossroads.
The Germans deployed one of their platoons in the Workers Housing while the Sturm Platoon was held in reserve with the armour. The opening moves for the Germans was to advance with the armour and Sturm platoon and assault the Tractor Factory.
 Workers Militia defending the crossroads
After a couple of failed shots at the Russian armour the Pzkw IV F2 advanced on the Tractor Factory to try and get a decent shot at the Russian Armour (cursing the frontal armour of the KV’s).
In the meantime, the MG34’s were being used in harassing fire on the Russian defenders.
On the German right flank the infantry were in a firefight with the Workers militia for control of the Workers Quarters.
On the Russian left flank their 45mm Anti-tank gun was forlornly looking for a target (blue marker represents reserved fire order). Also I know the “anti tank obstacles” are not entirely accurate but we didn’t have anything to represent the anti-tank ditch that had been selected as a defence.
In the centre the Workers Militia were also on “reserved fire” as was the T34. The militia soon quit the battlefield after being “pinned” by enemy fire and then subsequently failing a morale test.
Also before anyone points it out I know the T34 is actually a T34/43 but its the only dug-in T34 available (I still need to complete this model with camo netting).


In the Tractor Factory the Russians had deployed a KV1 and KV85 supported by a platoon of Naval Infantry to stop the German advance. The KV85 had been pinned after failing a morale test from a hit from the Pzkw IV. While it didn’t penetrate it distracted the crew.
After a number of failed attempts to penetrate the frontal armour of the KV’s the Pzkw IV F2 decided it would go “toe-to-toe” with the KV but missed.
But this is where “Broken Dice’s” luck showed again, after inflicting a loss on the Germans they had to draw a chit for morale loss. However they drew a “mine strike” marker instead and as the only Russian tank that had moved was the KV 1 it took the hit. A 6 was rolled and the KV 1 was no more.


But German celebrations were short lived as a T34 that had “tipped toed” under cover of the Tractor Factory popped its nose out around the corner and fired at the side armour of the F2 and we had an ex German tank.
The rest of the German armour continued to advance on the factory complex.
But time had beaten us and time was called but there will be a part two coming soon as the game continues in a weeks time.