![Very Cool! Make Your Own Star Wars: Legion Imperial Agent & Officer | Review [7 Days Early Access]](https://images.beastsofwar.com/2025/12/Star-Wars-Imperial-Agent-_-Officer-coverimage-V3-225-127.jpg)


To the Trenches! Chain of Command


Recommendations: 424
About the Project
Recently have been able to get a regular number of games of Chain of Command in and has got me back into the creative space of building more terrain. Ive started with creating sections of a Trench network.
Related Game: Chain of Command
Related Company: Too Fat Lardies
Related Genre: Historical
Related Contest: Spring Clean Hobby Challenge 2024
This Project is Active
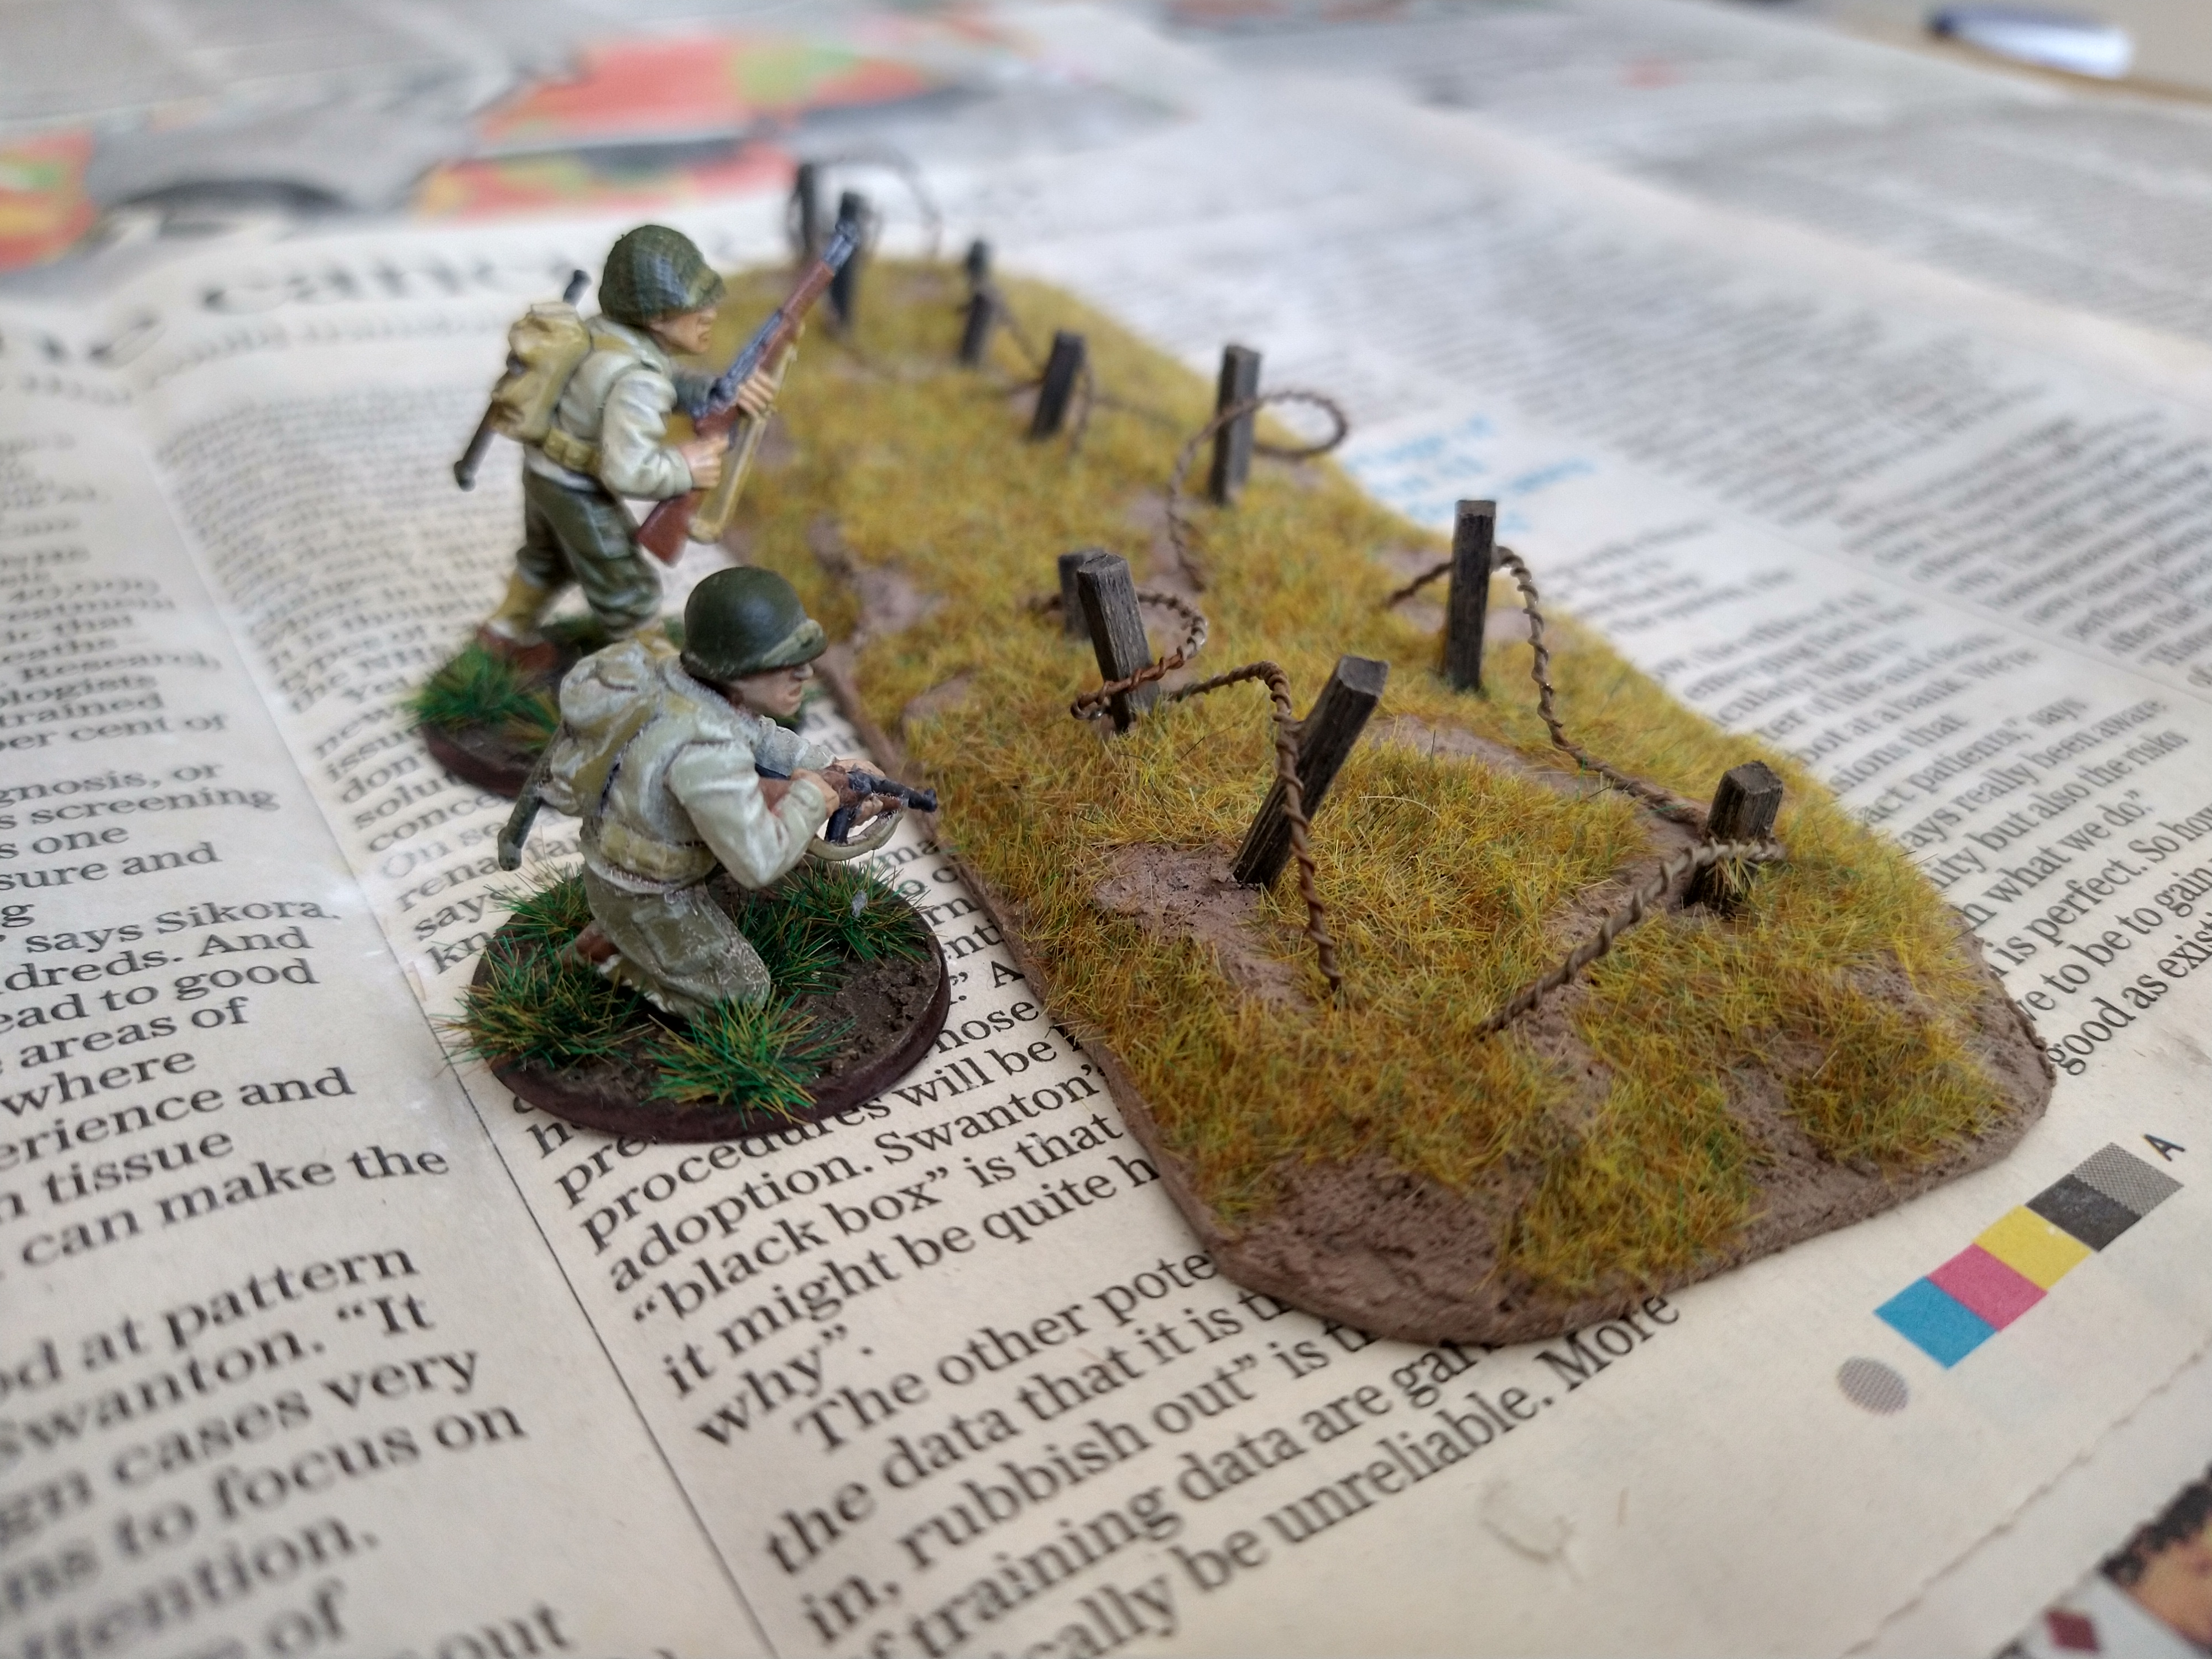
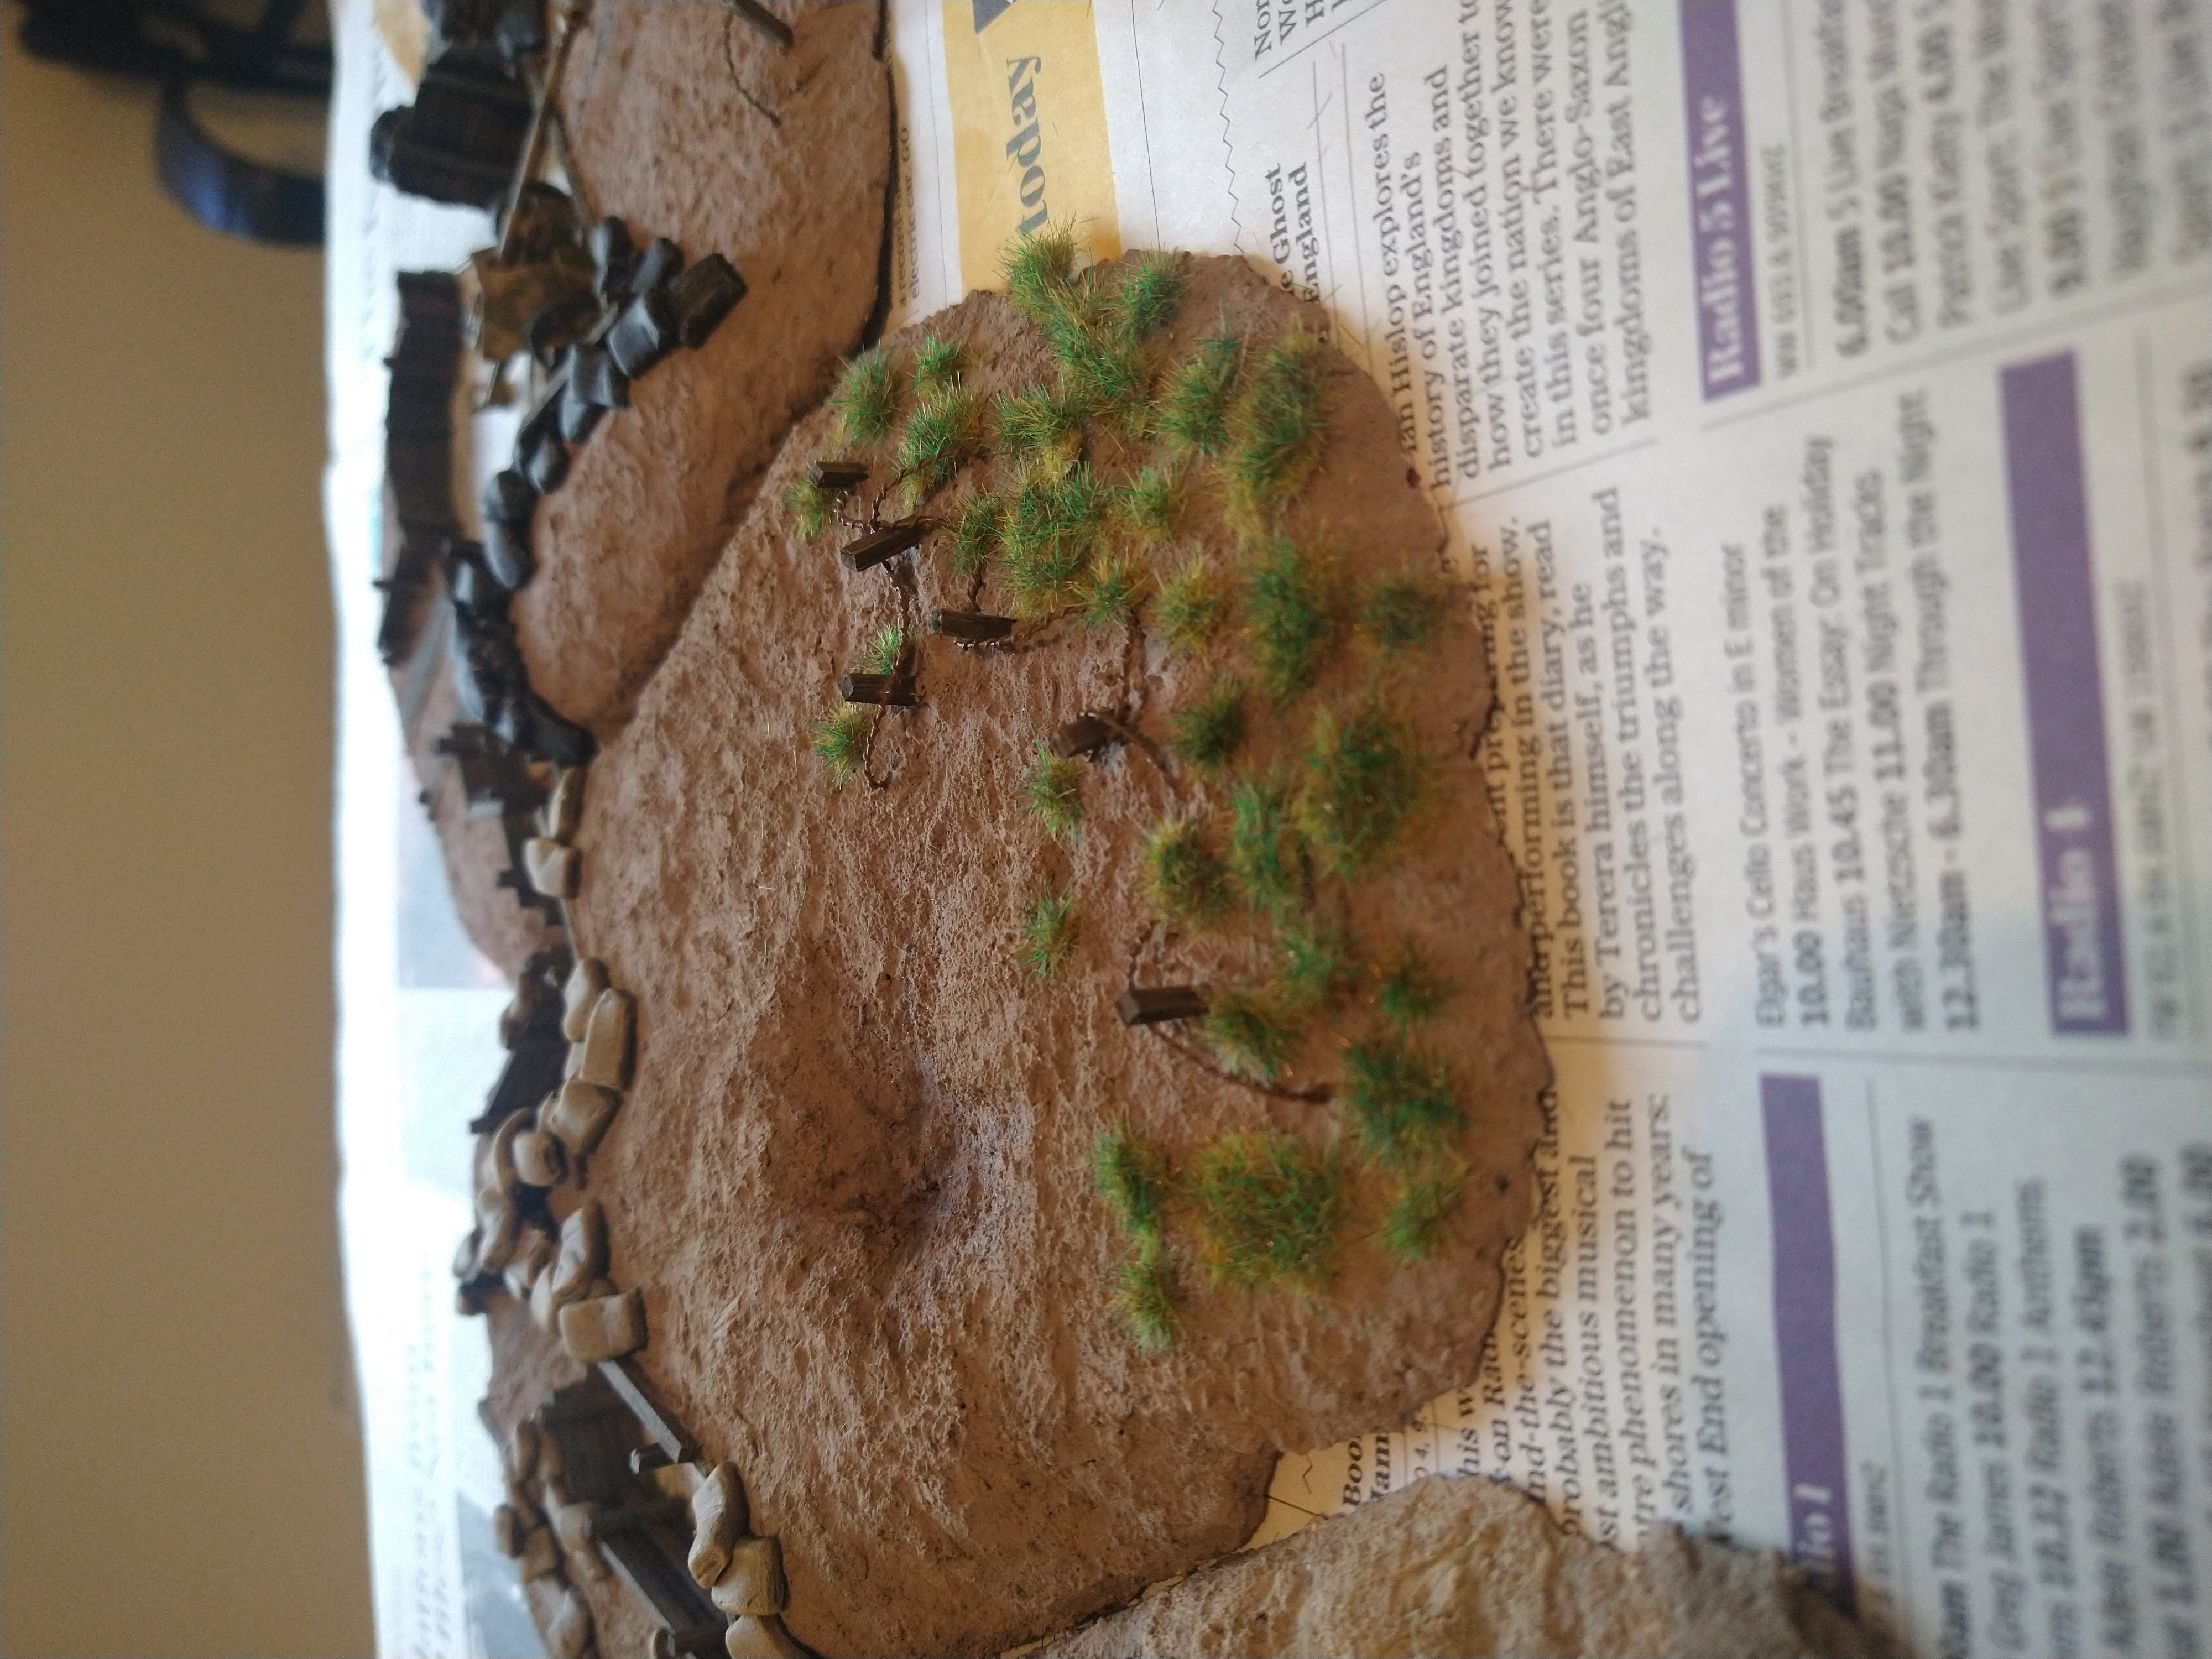
adding grass!
Here i decided to bite the bullet as for me, a wire fence is very different to how it sits in the landscape to a trench (exception being WW1 where everything is portrayed as being just heavy thick mud).
So I decided to add grass and glue directly onto the piece.
I didnt want a carpet look and so I applied glue in randomised places leaving some of the ground texture exposed.
I then used the static grass applicator with the 2mm Dead grass to the piece.
And this is the initial result …
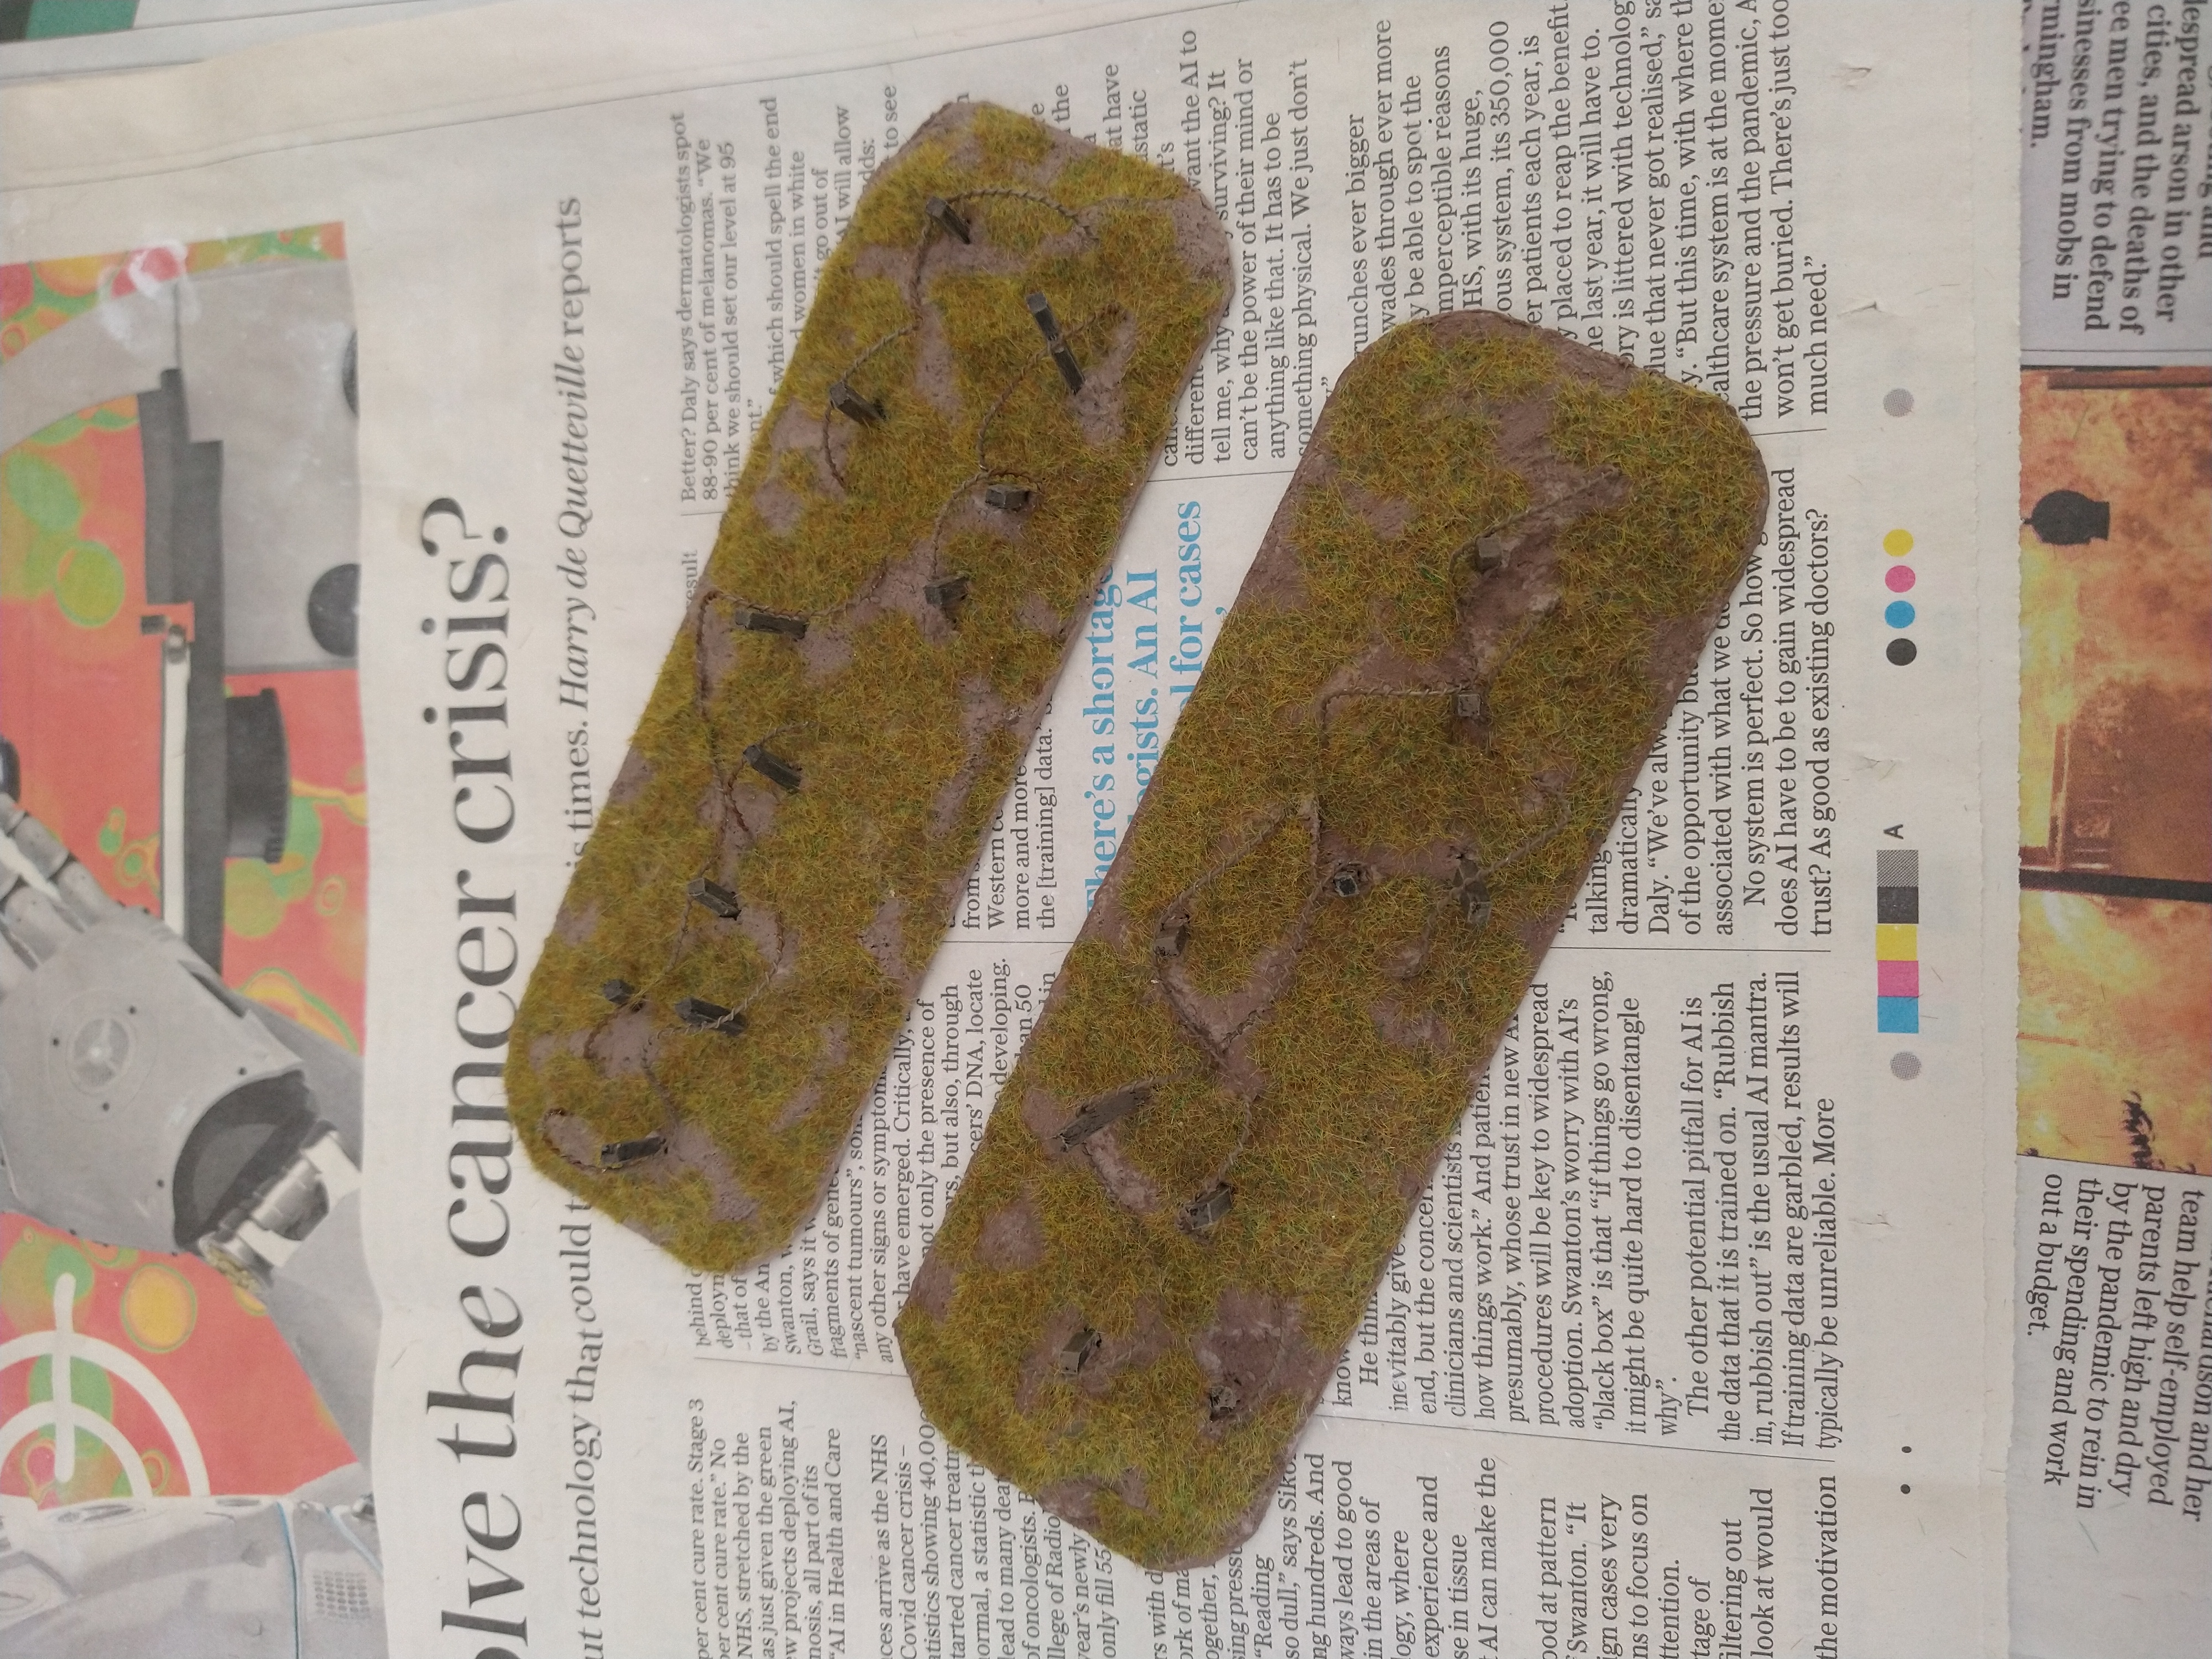

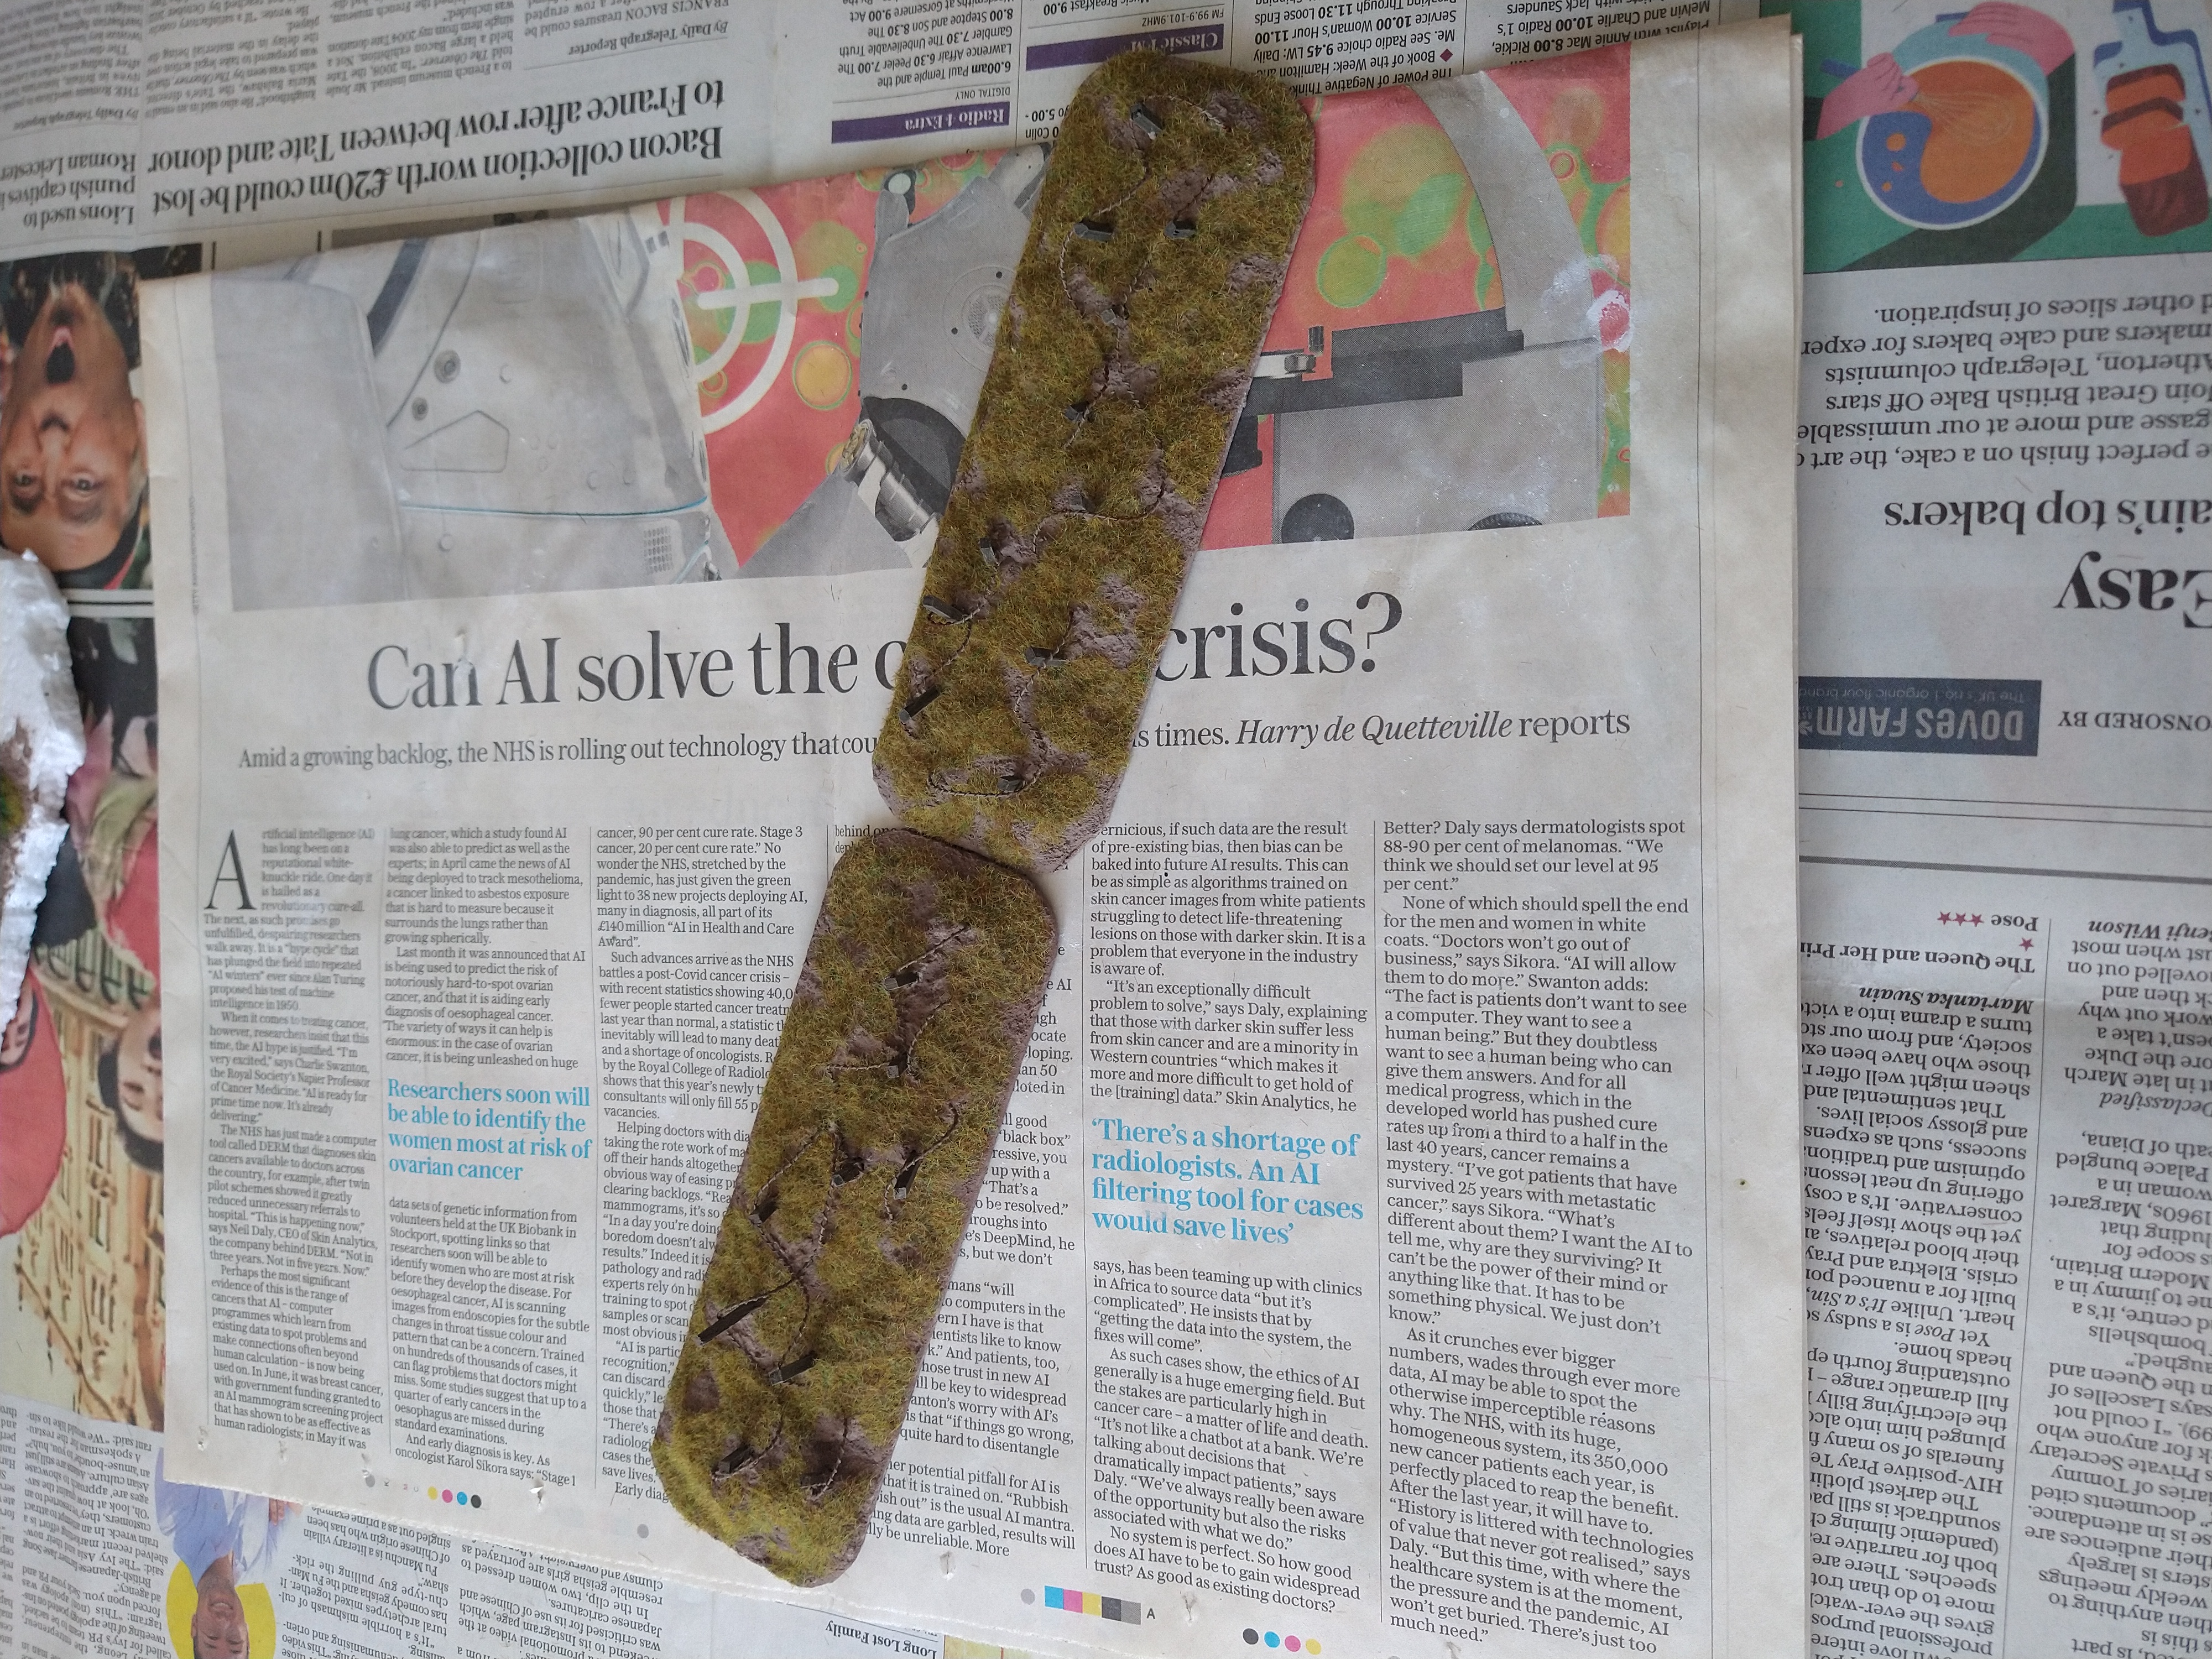
Wire sections .....
Ever since I created the first piece of trench with the barb wire protecting the approach to it from the front, I have wanted to make some small pieces of moveable barb wire.
These are also a support option in Chain of Command and so fits nicely with the project.
These are 6 inches by 2 inches in size as per the requirements in CofC.
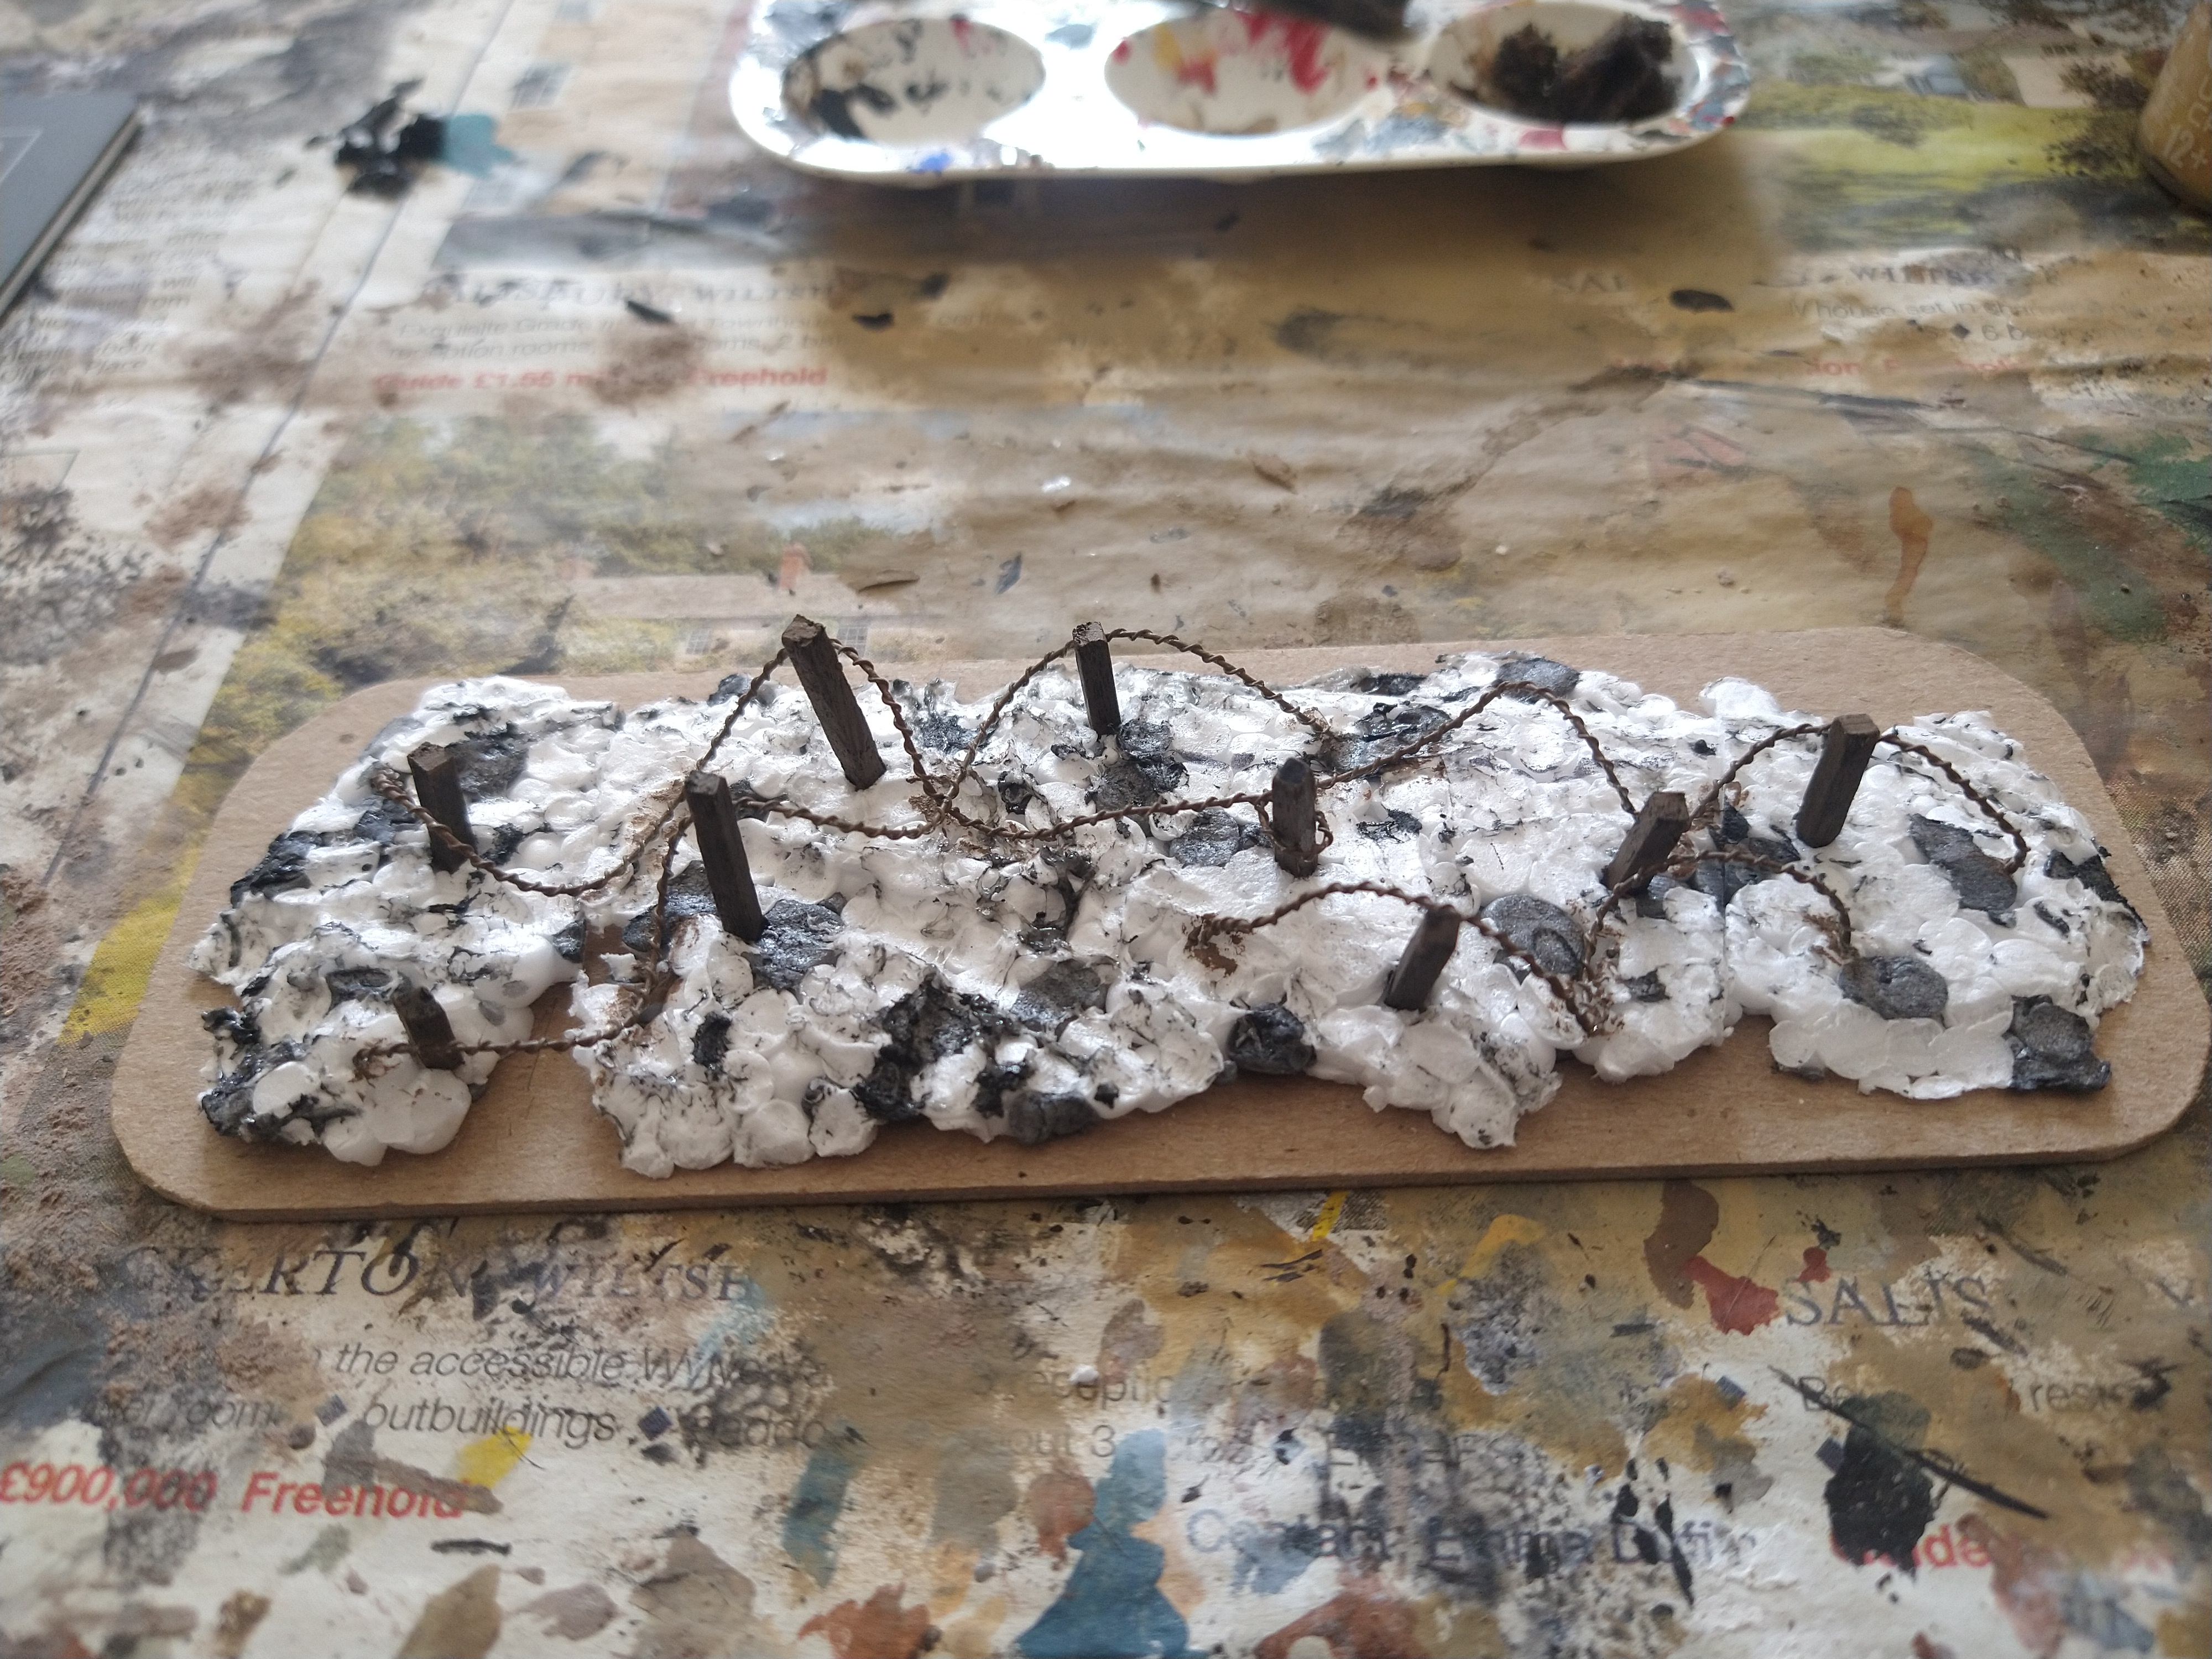
Made in a very simple way.
- cut a 6 inch by 2 inch piece of 1mm thick chipboard
- shaped a very thin slice of polystyrene and glued to the chip board
- layed out the route of the barb wire
- pre-drilled holes for the wooden posts
- cut the posts to length from matchsticks and sharped the edge to help penetrate the polystyrene when it came to glueing
- removed everything.
- the posts and wire were painted in the exact same way as previously on the trench sections.
- applied the ground texture – each time it got to the hole for the post, the post was glued into place
- once all posts and ground texture in place, the barb wire was added

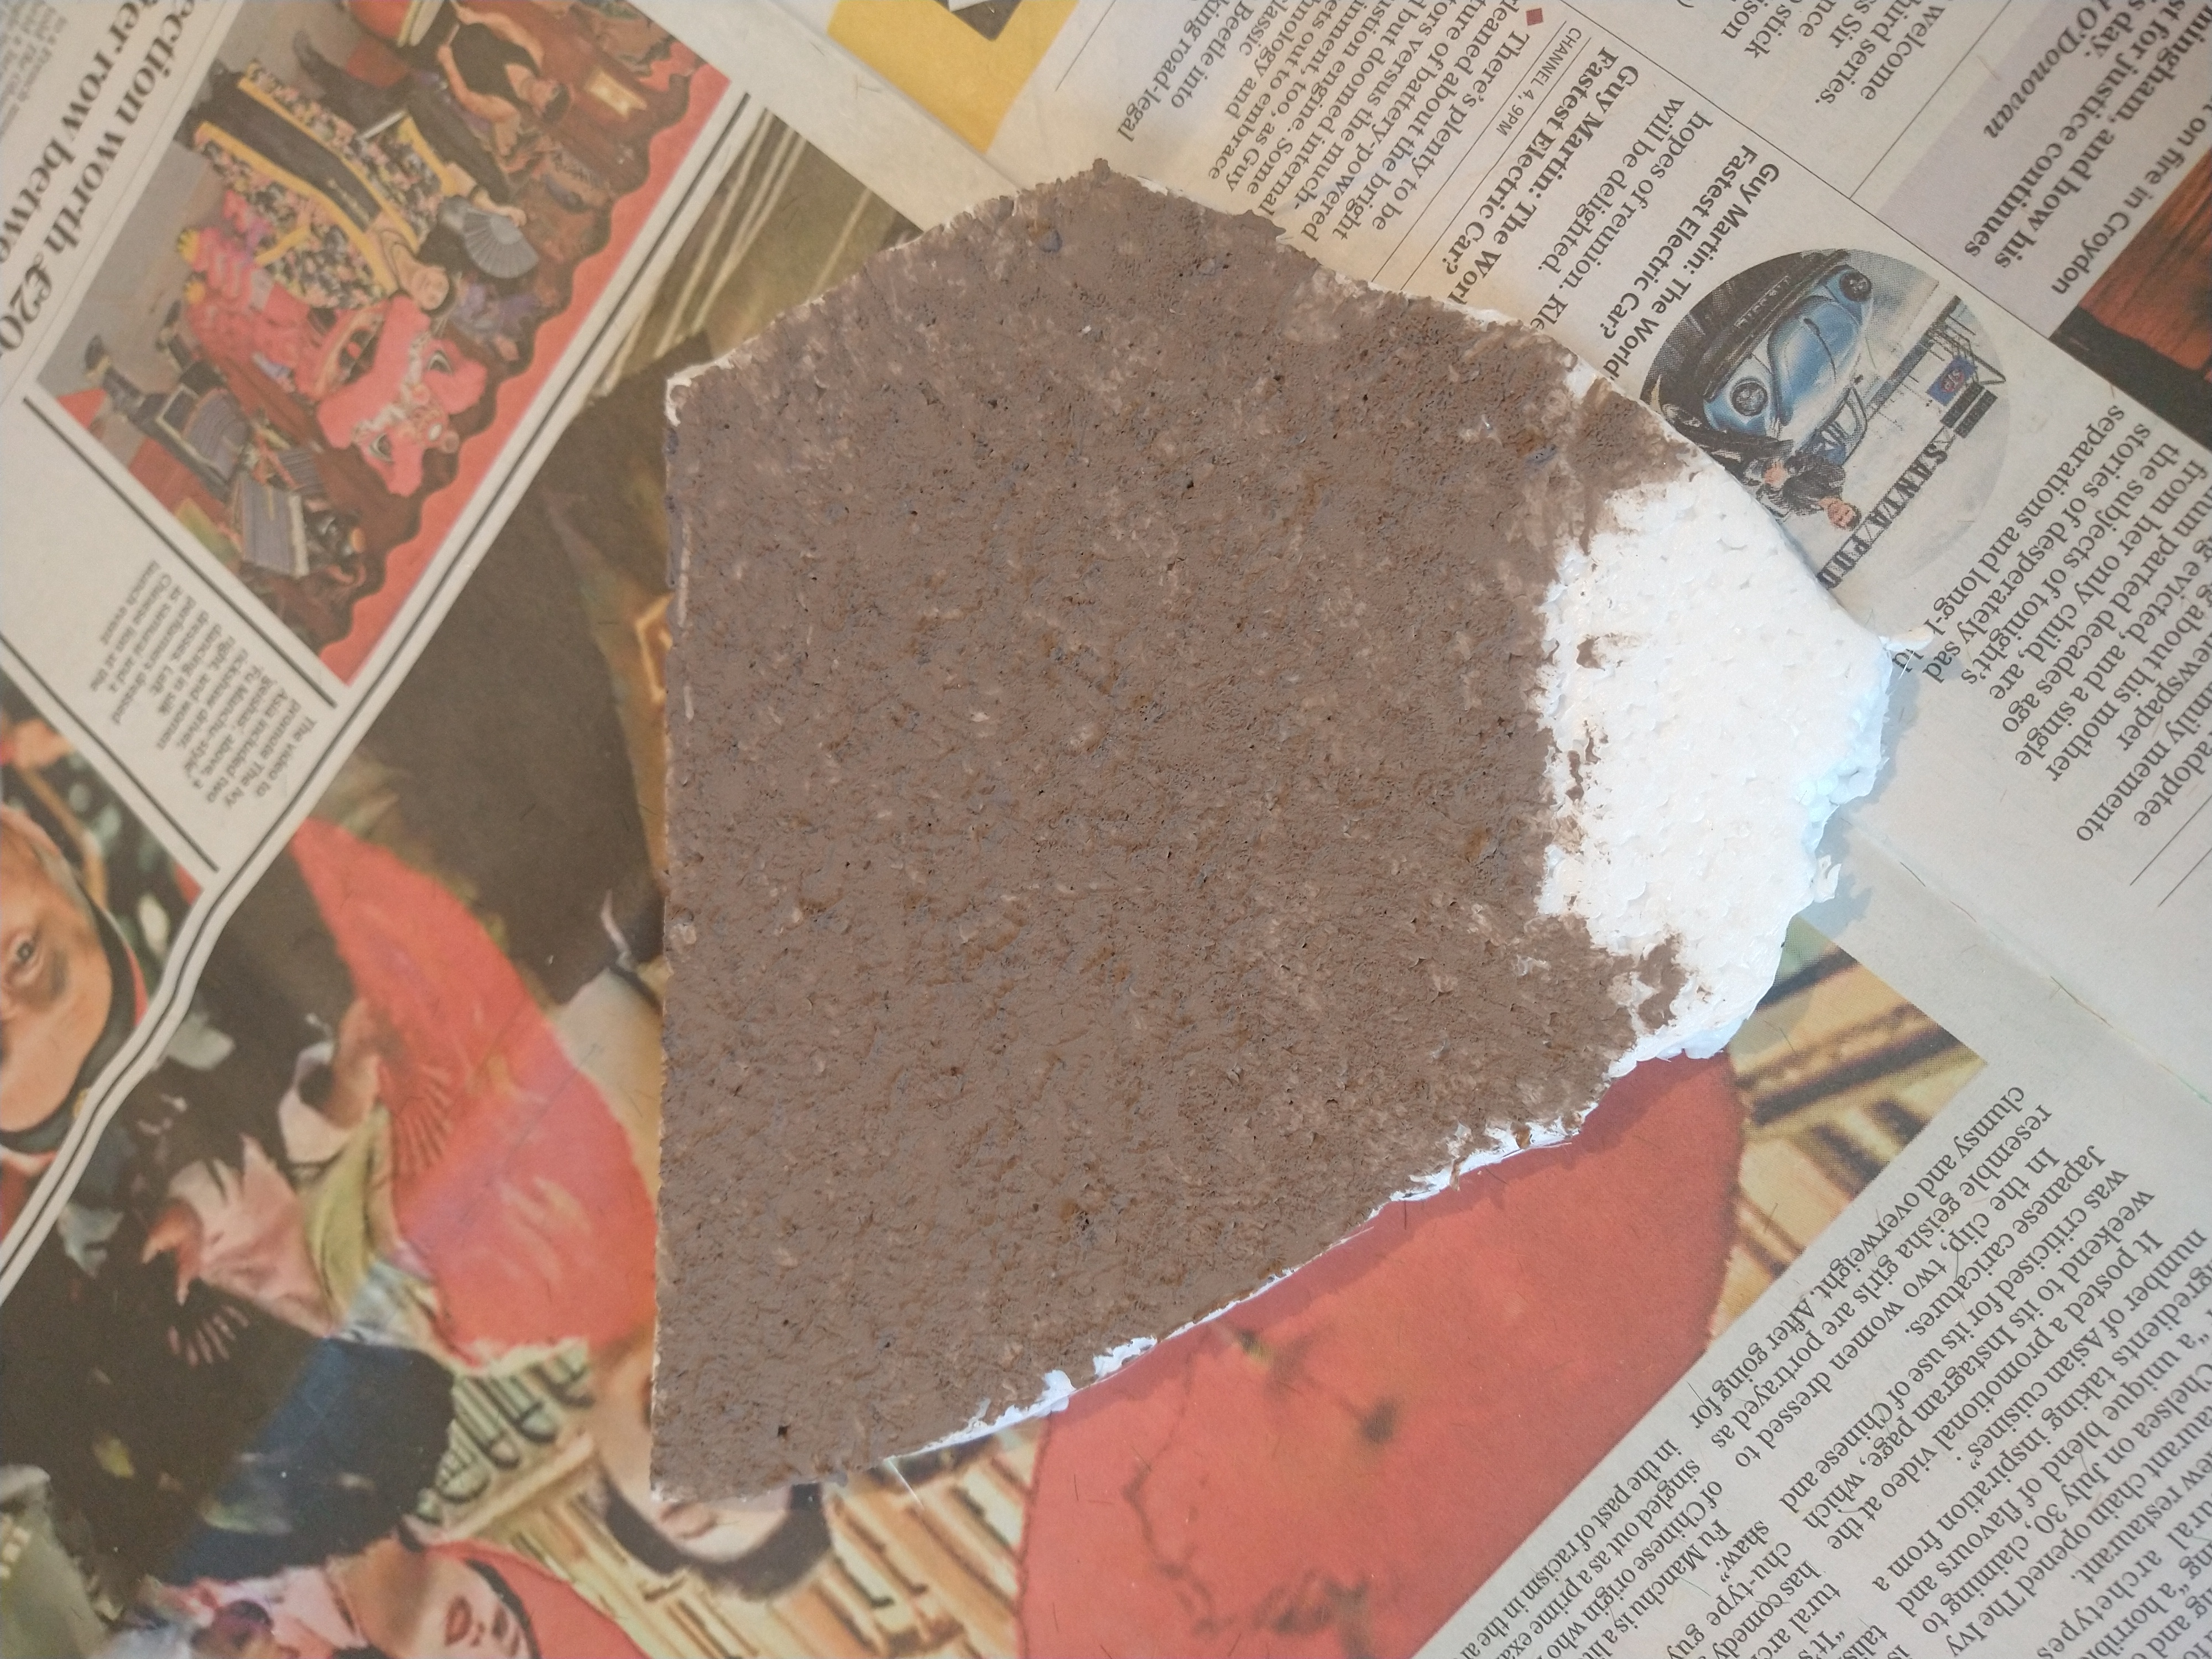
flocking directly to the ground textures
I then decided, as i had already half done a test piece, to flock directly to it without risking anything that had actually taken time and effort ……
results were very “meh” and uninspiring.

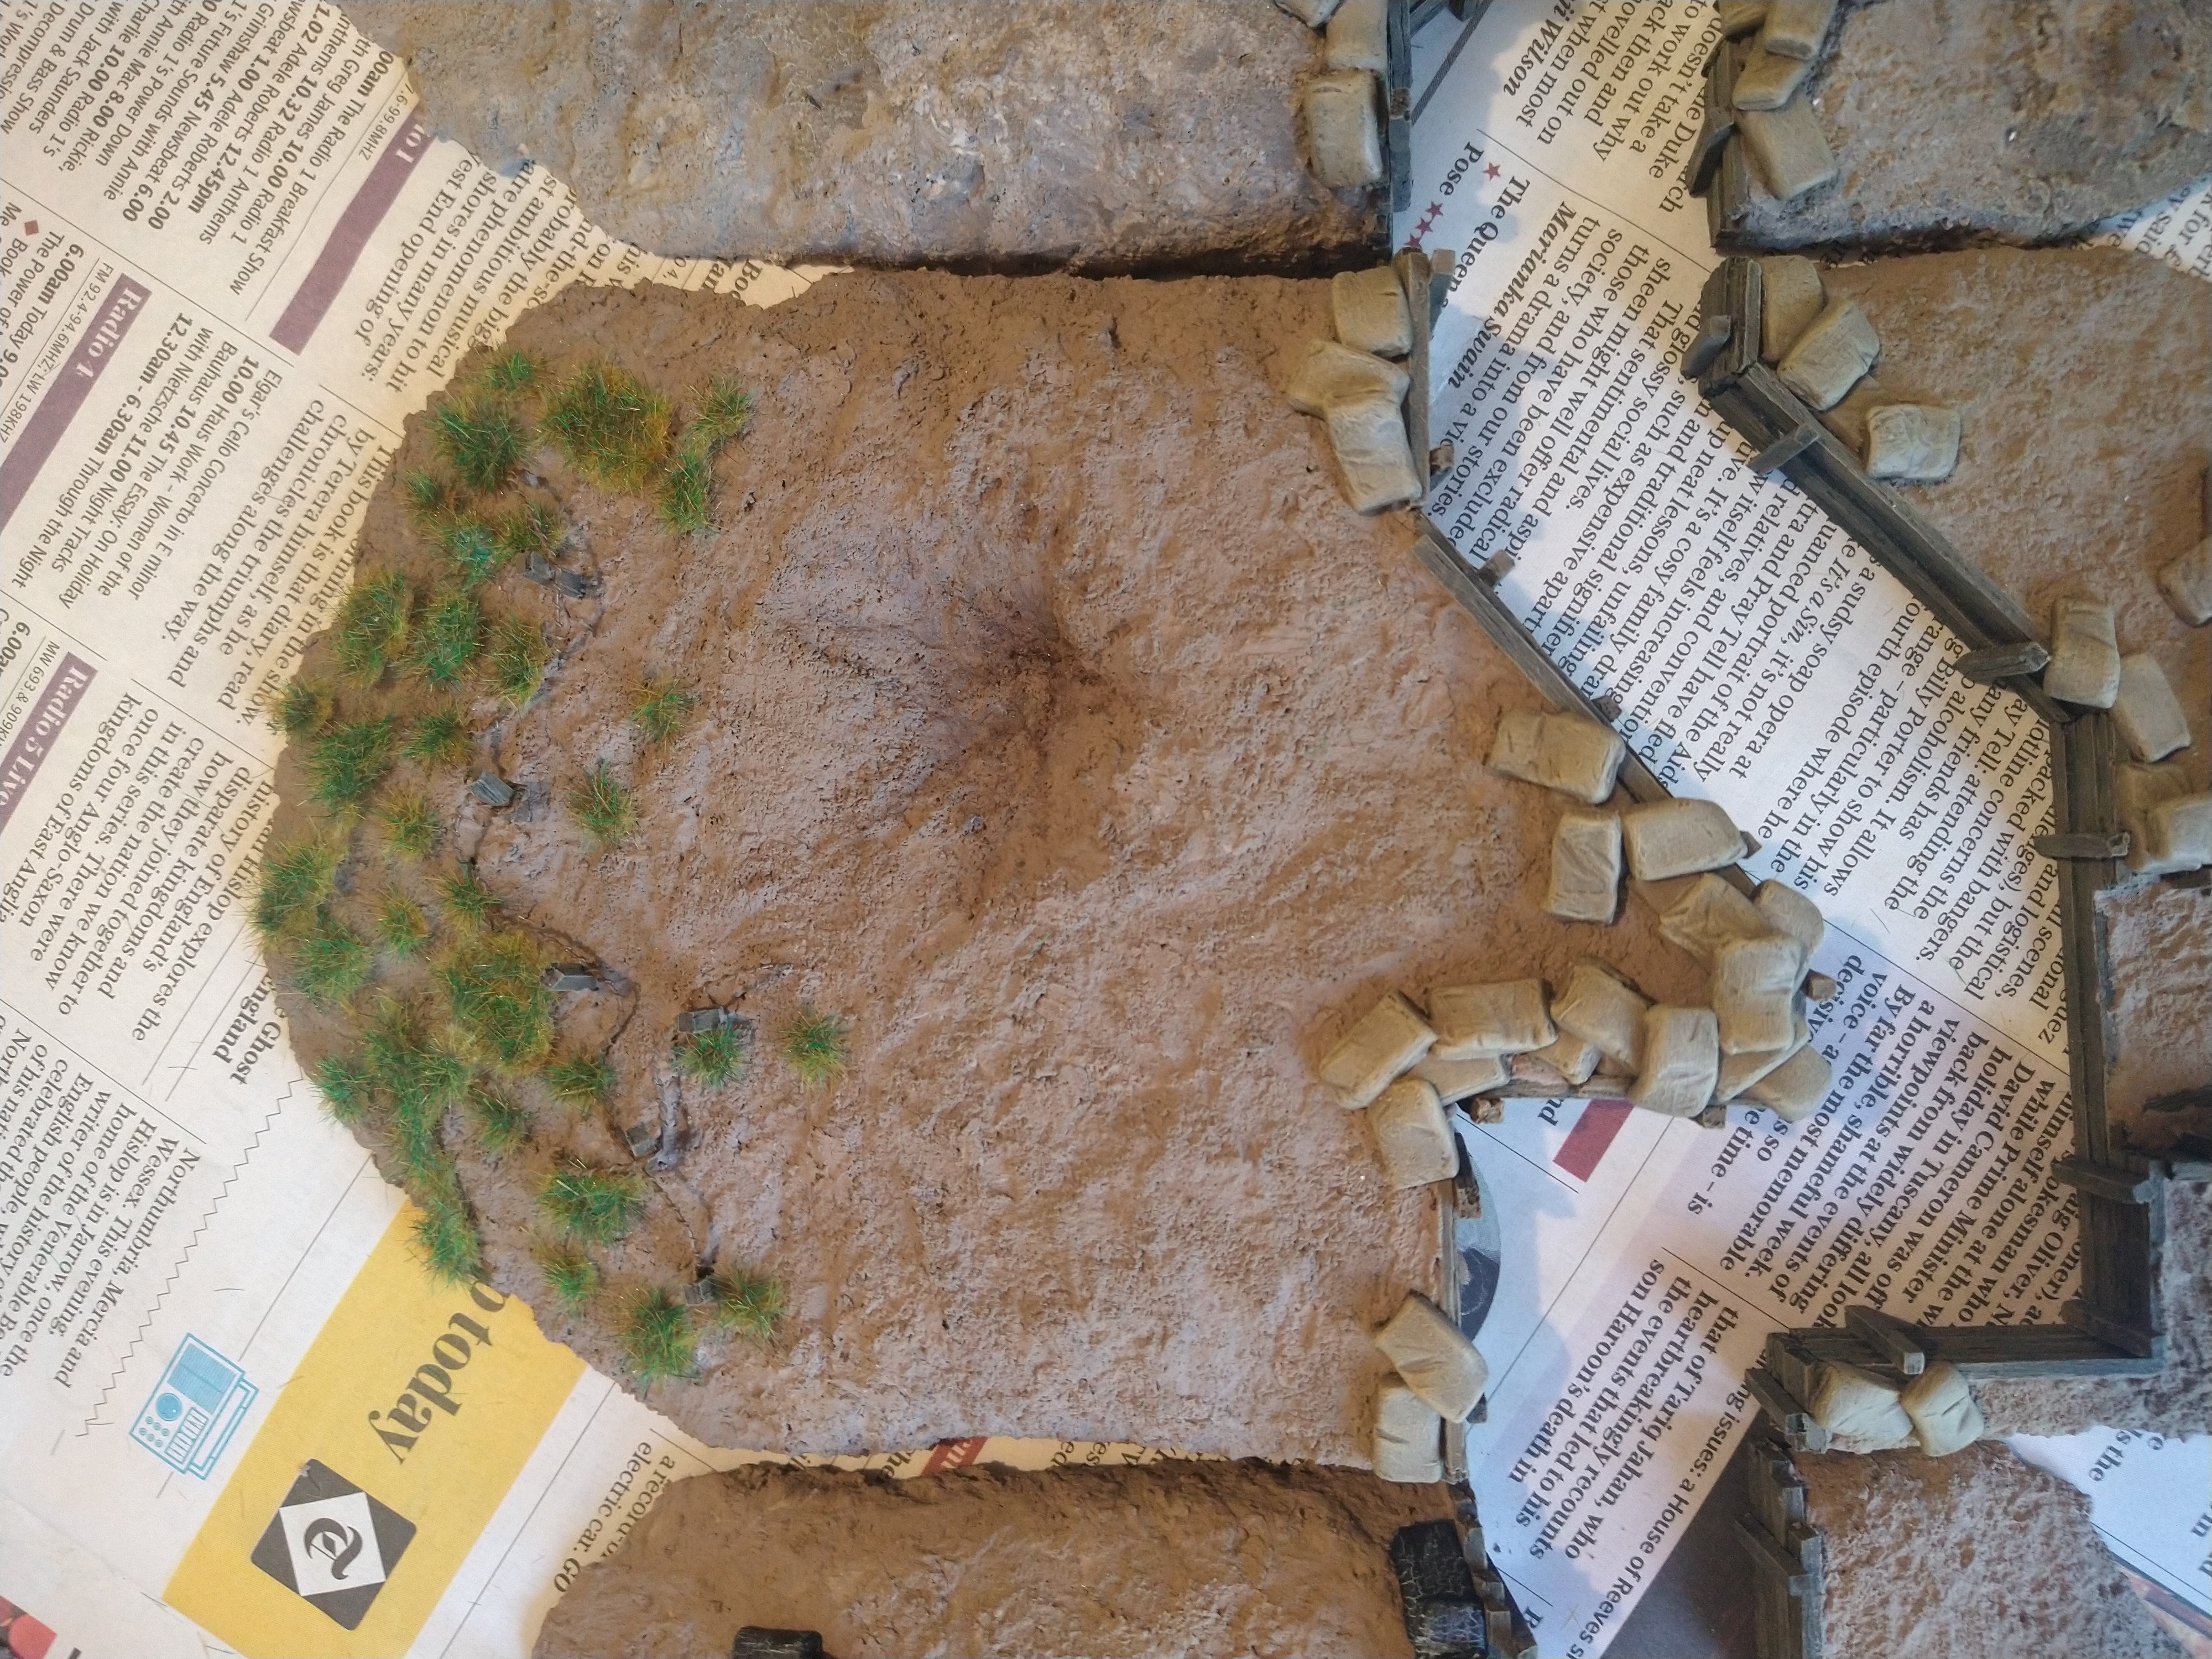
the "Duh" moment .......
It then occured to me, that as I had made my tufts on grease proof paper that needed to be removed to be applied to the model, rather than glued directly onto it … that I didnt actually need a test piece and could just “test fit” the tufts onto one of the existing pieces of trench that I had already made.
It gave me an idea of what it would look like, but would take some work to make it look like its embedded into the ground rather than sitting on top …. so still not convinced……..
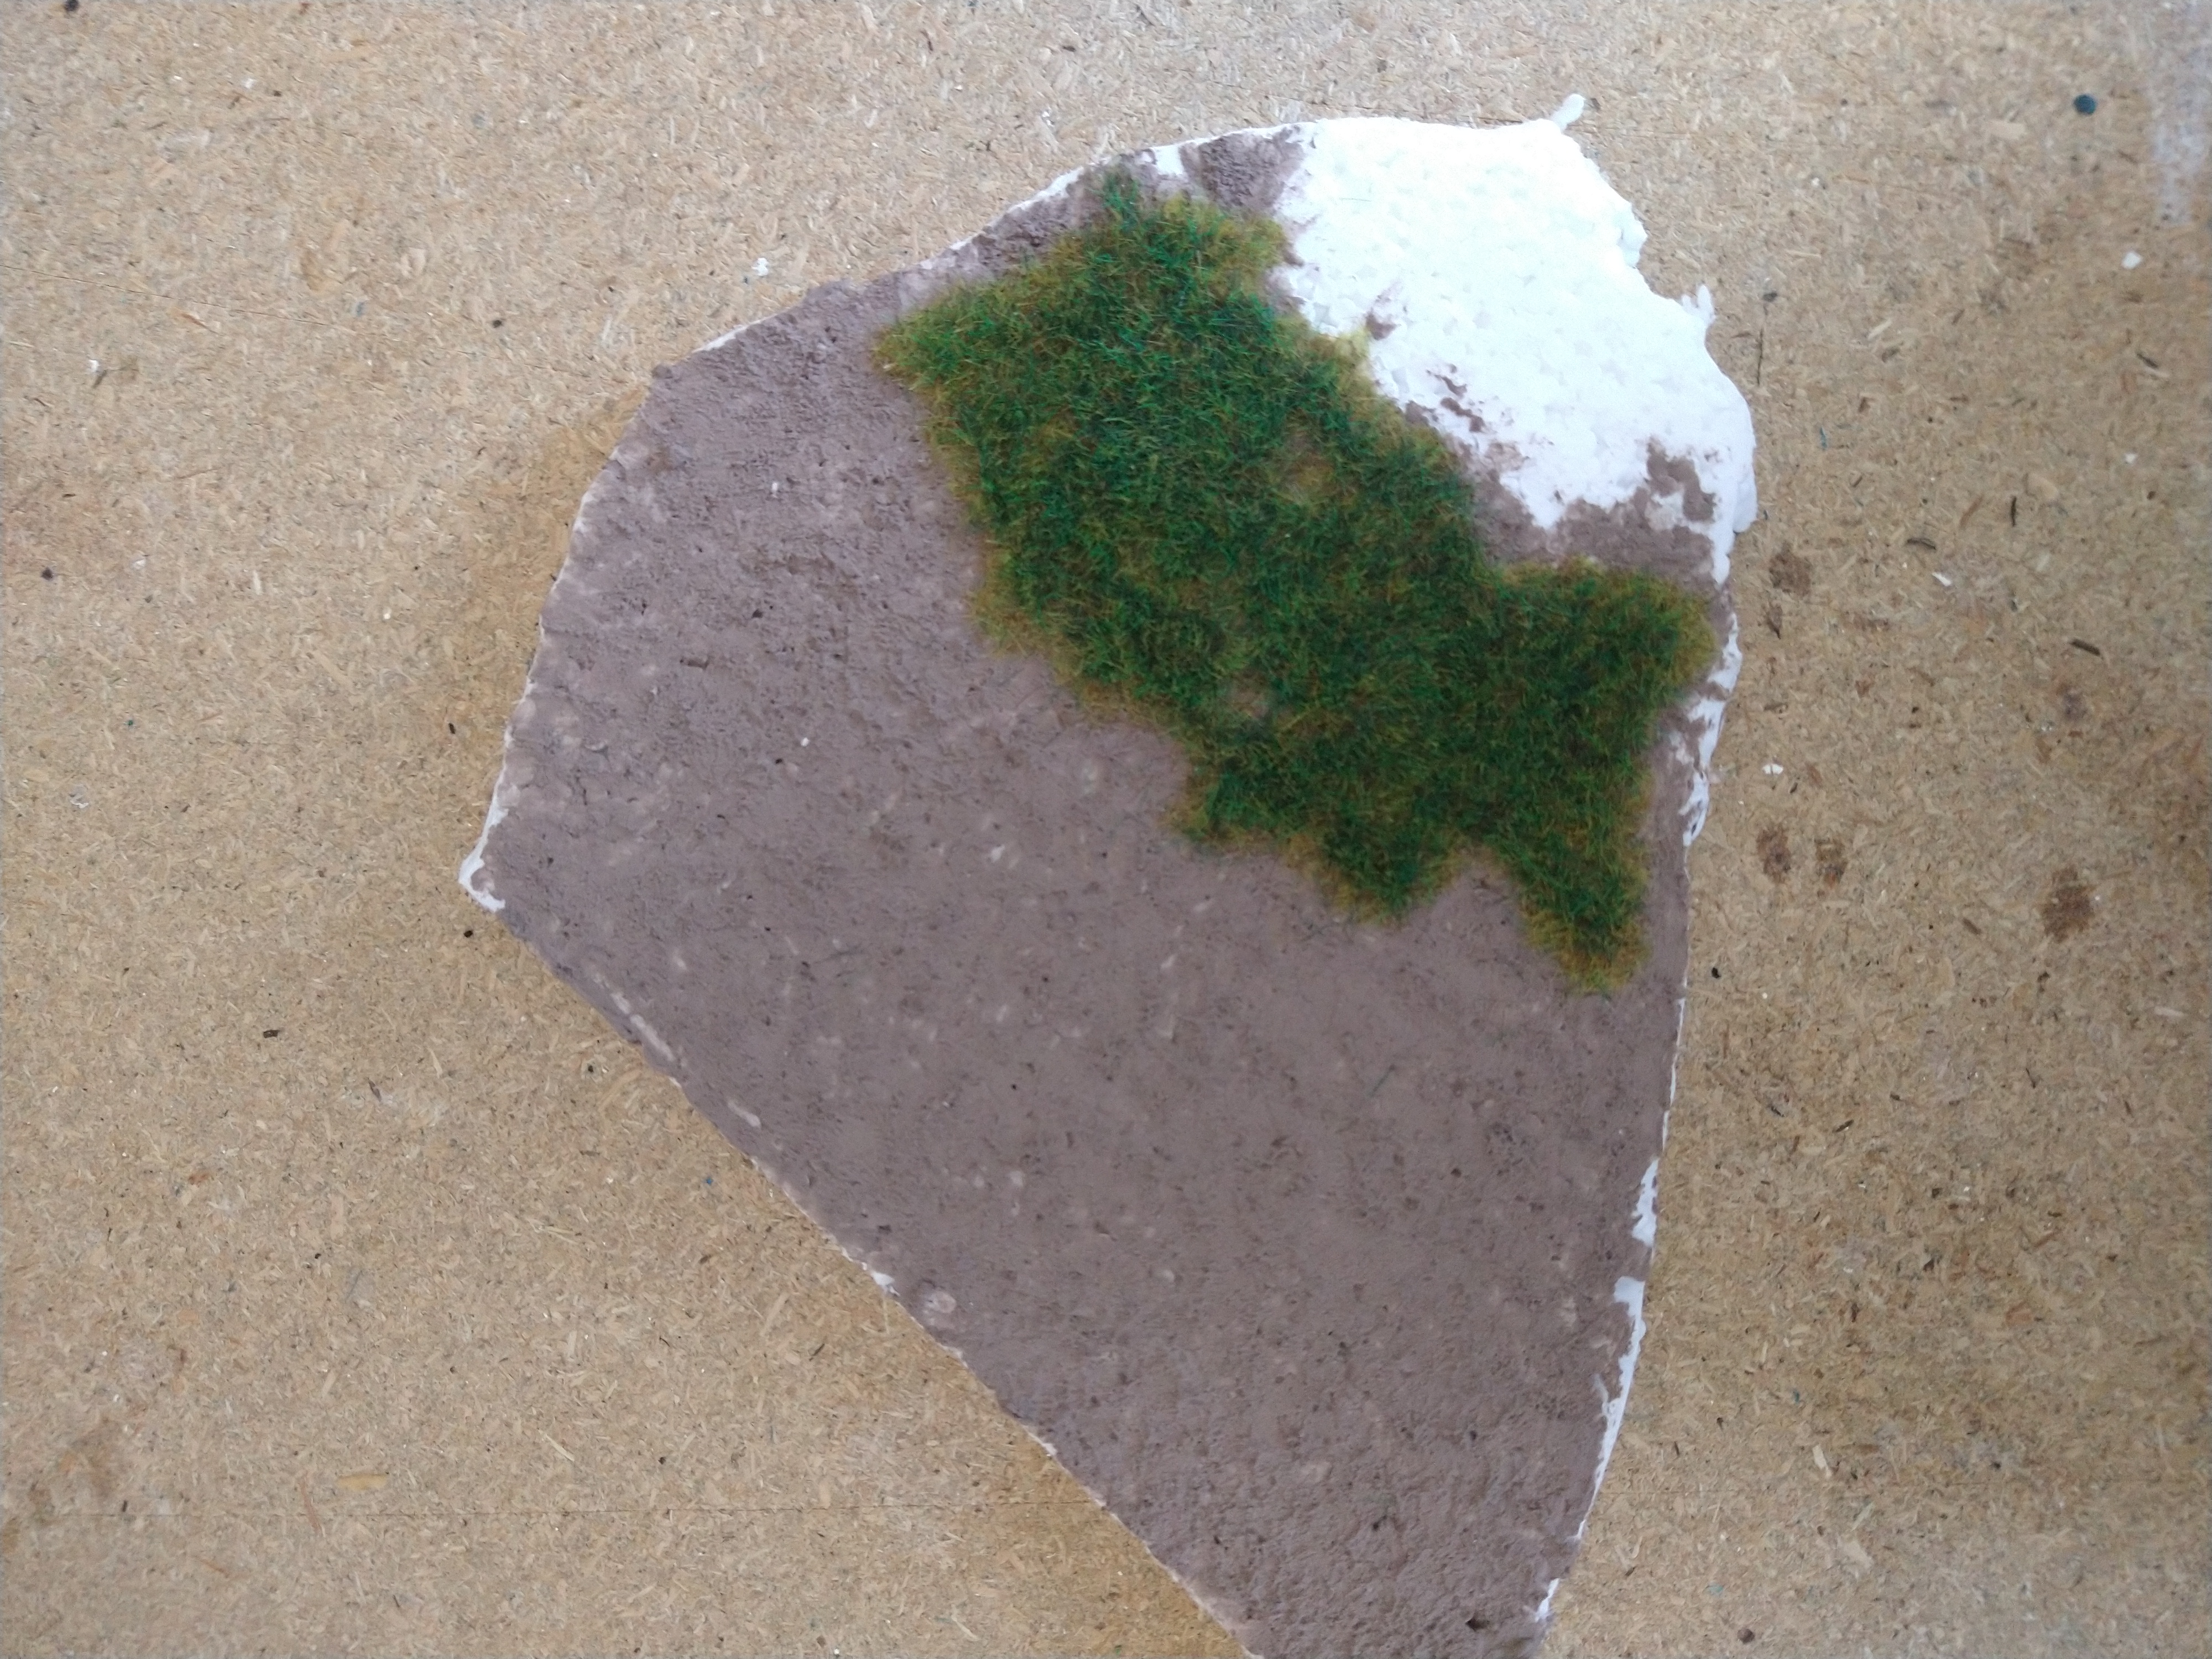
To Flock or not to Flock .... hmmmmmm
Since I have started the project ive been struggling to decide whether or not the fron edge of the trnach pieces need to have scatterings of grass that thin out as you move closer to the trench.
This in my mind is for three reasons
1 — helps the trench seem more “in the ground”
2 — helps to give hte impression that as earth as excavated, it was just thrown onto the existing ground and some of that either wasnt reached or fully covered
3 — makes it look like the trench has been established for a period of time, and nature is starting to take back over
But, there is a fear …. if it looks &*%$ then ill ruin the piece.
So I decided to just put on some of the ground texture i had been using onto a scrap piece of polystyrene to use as a test piece.
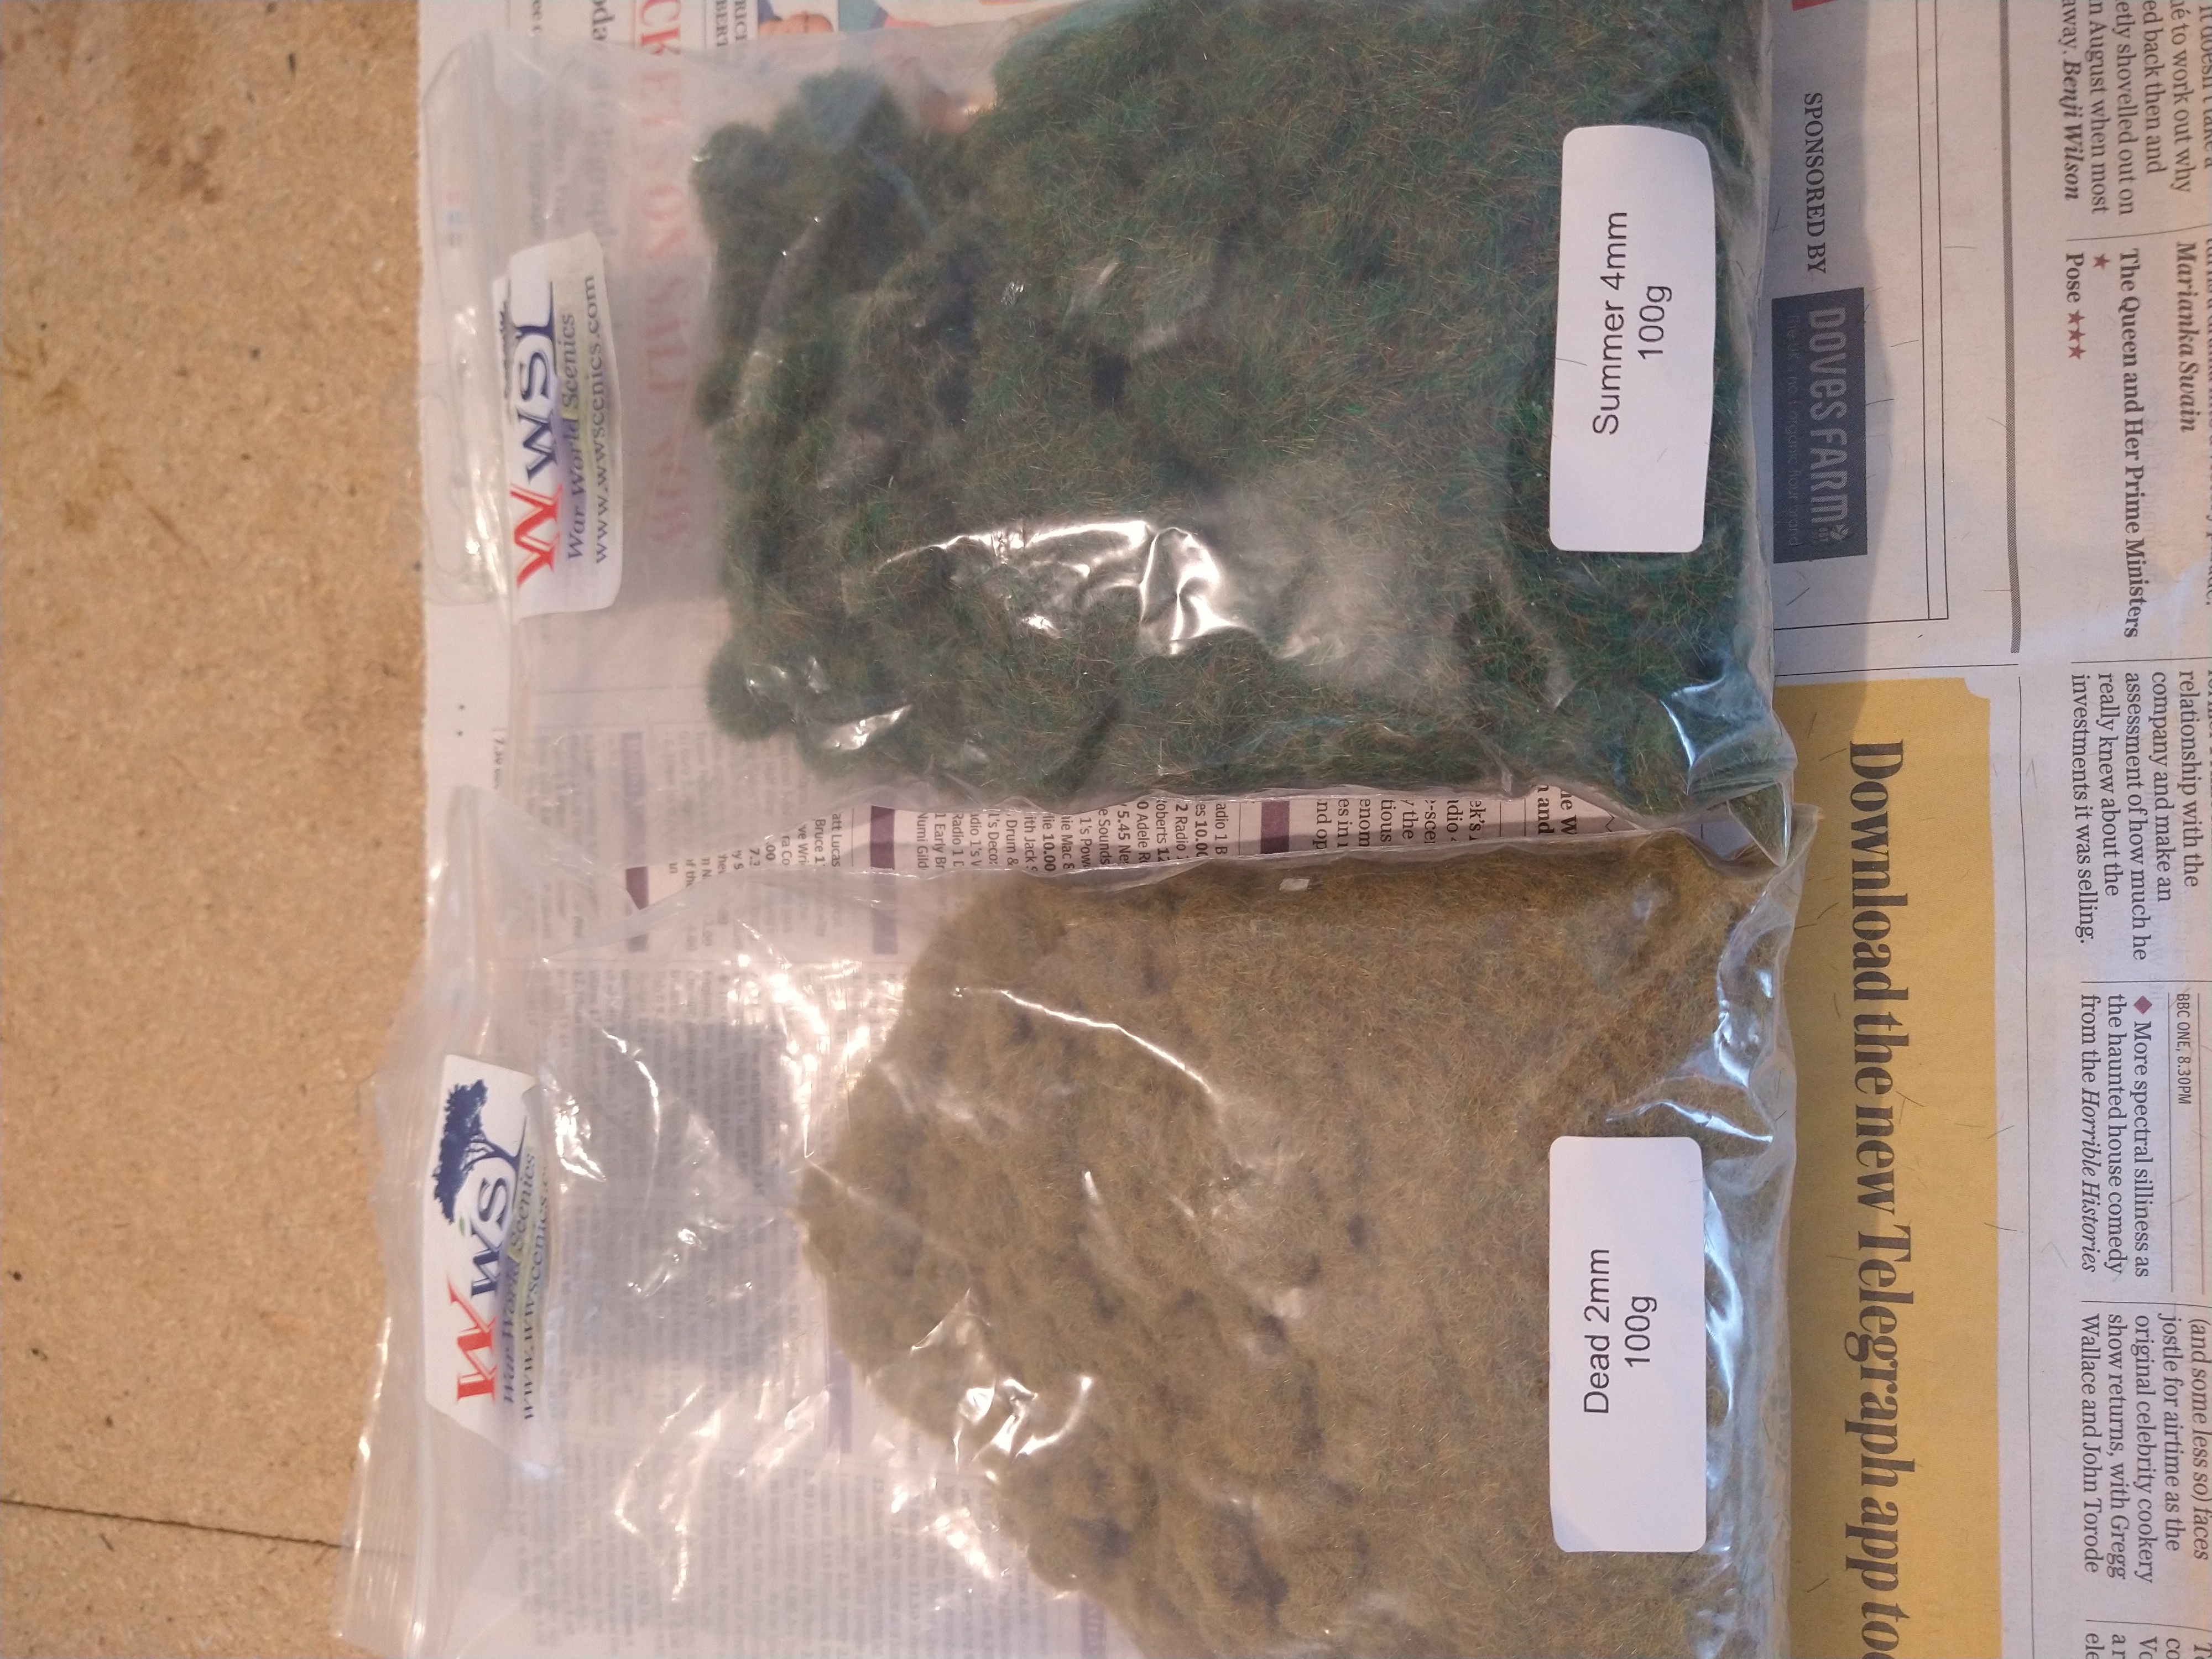
I then made my own grass tufts using my static grass applicated and using two colour types.
2mm Dead grass for the first layer, and then adding 4mm Summer over the top to give some colour variation.


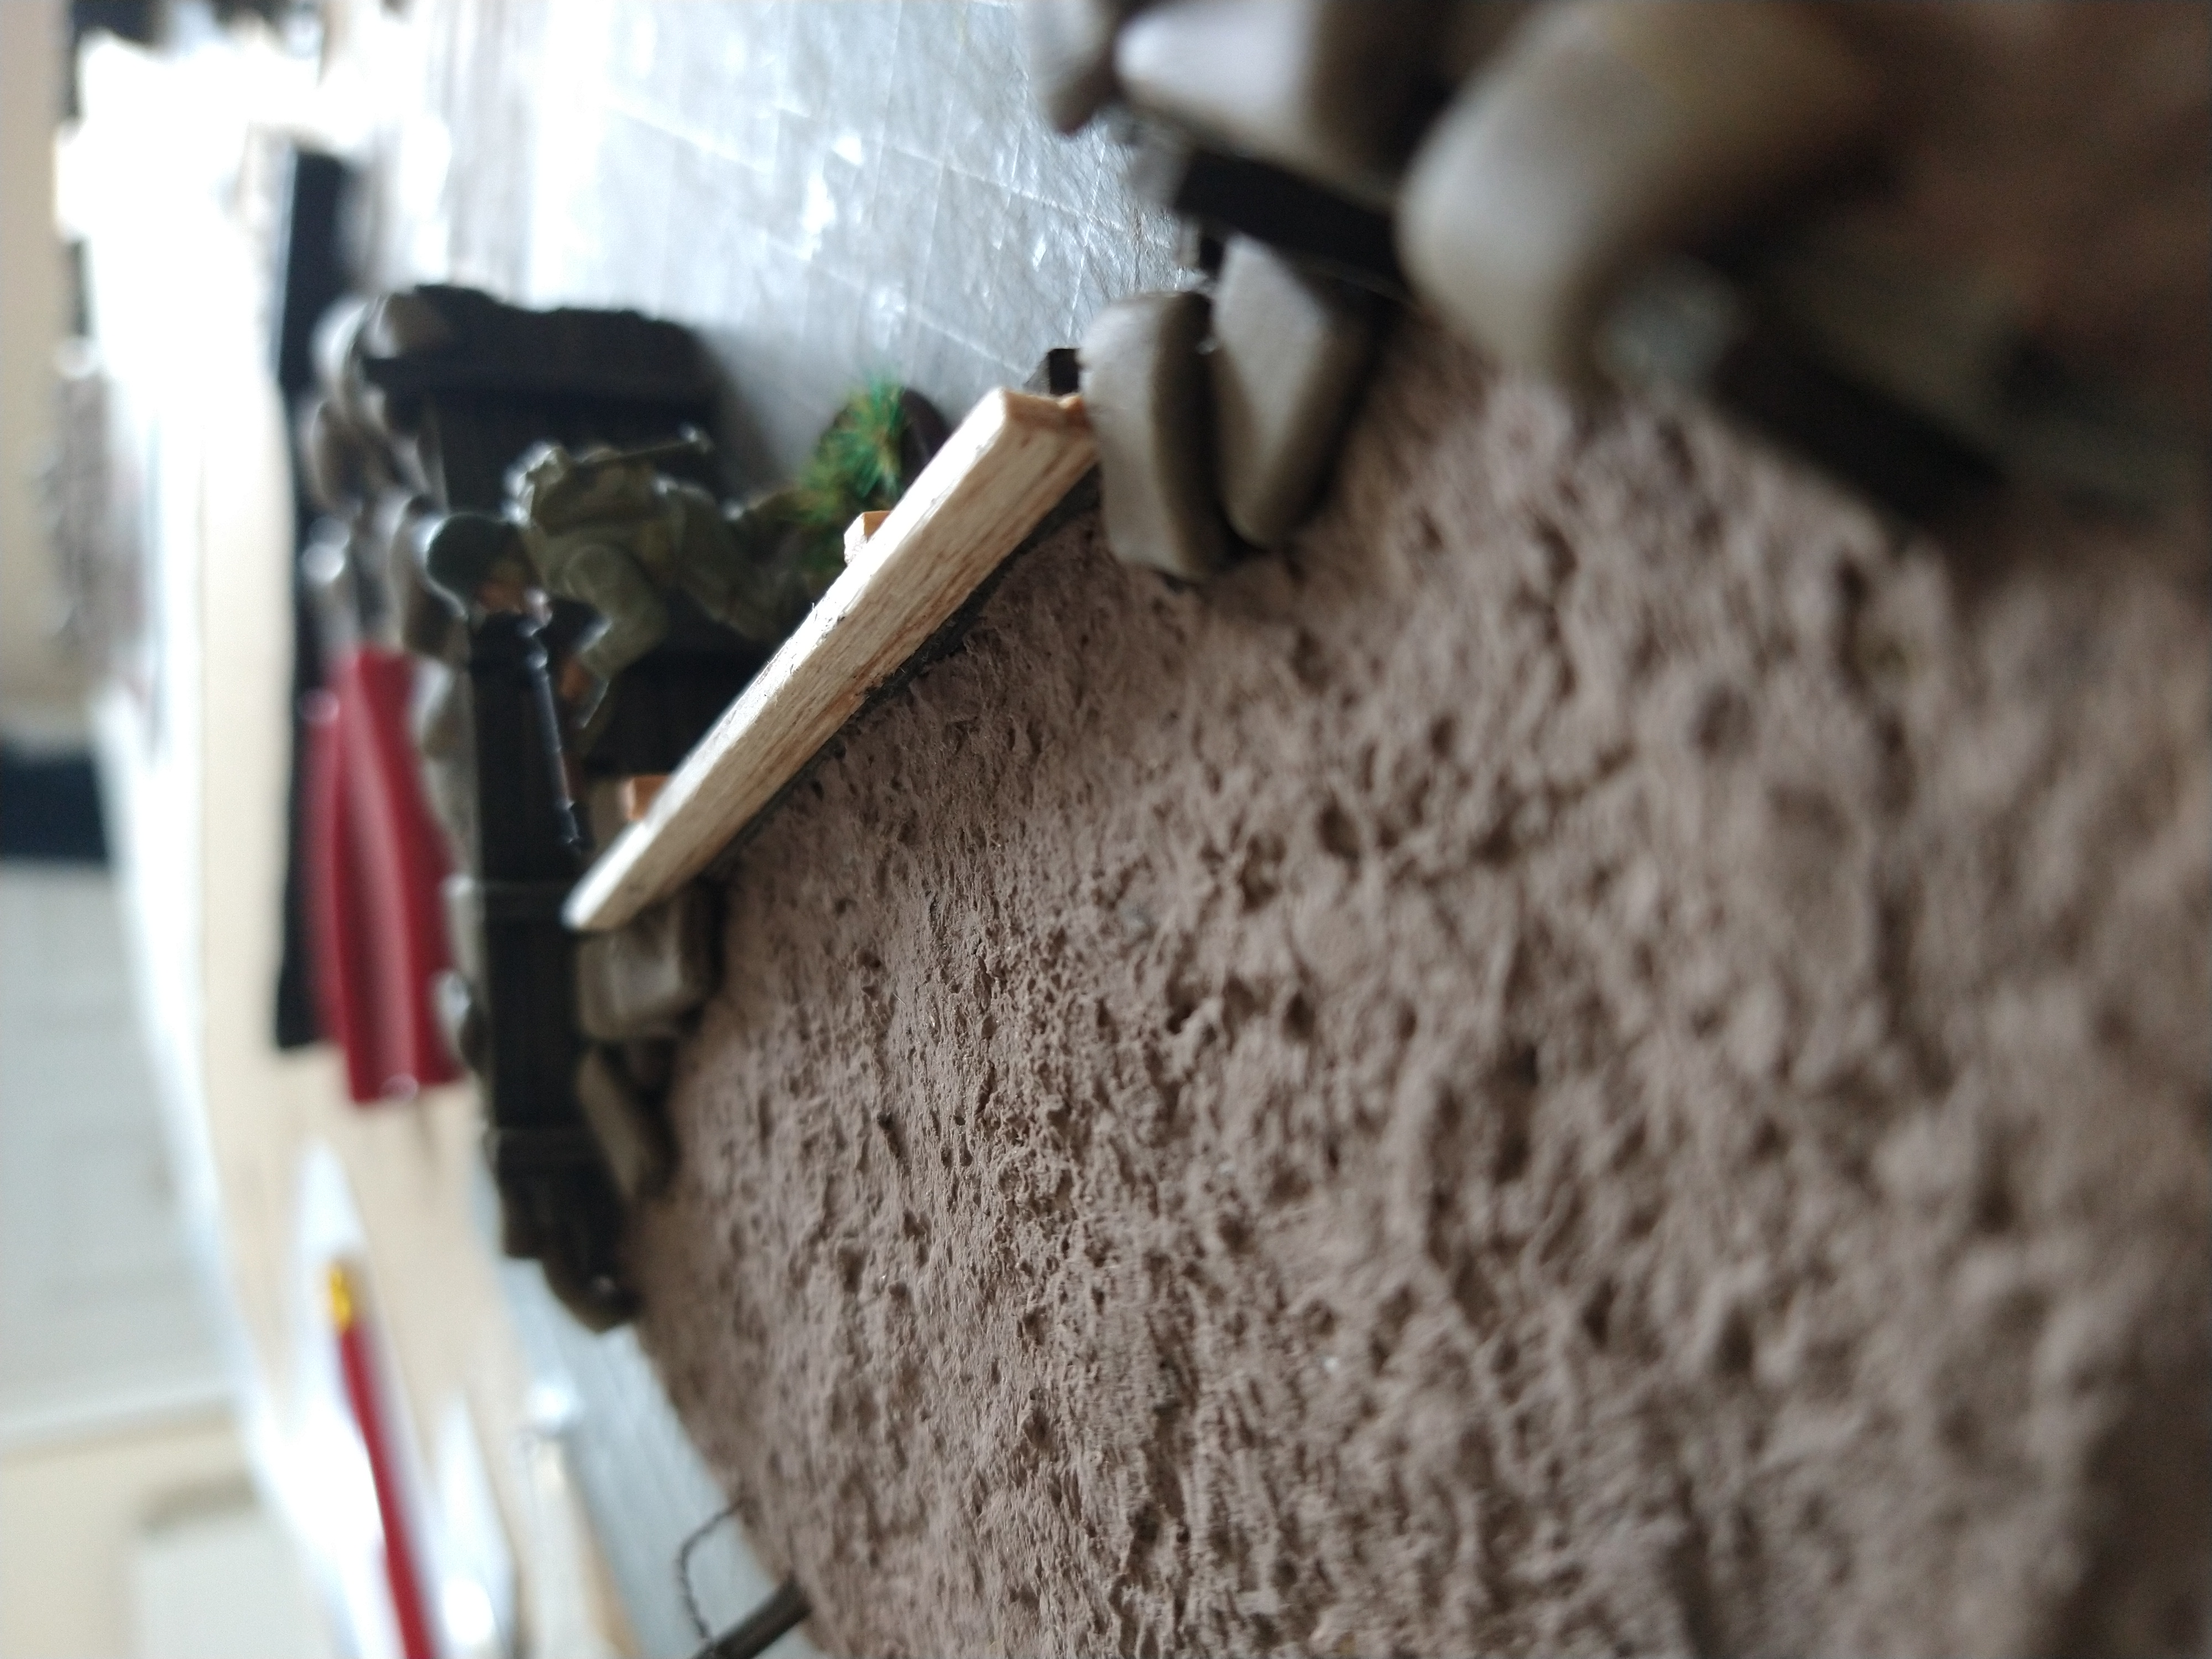
3rd section .... infantry insert
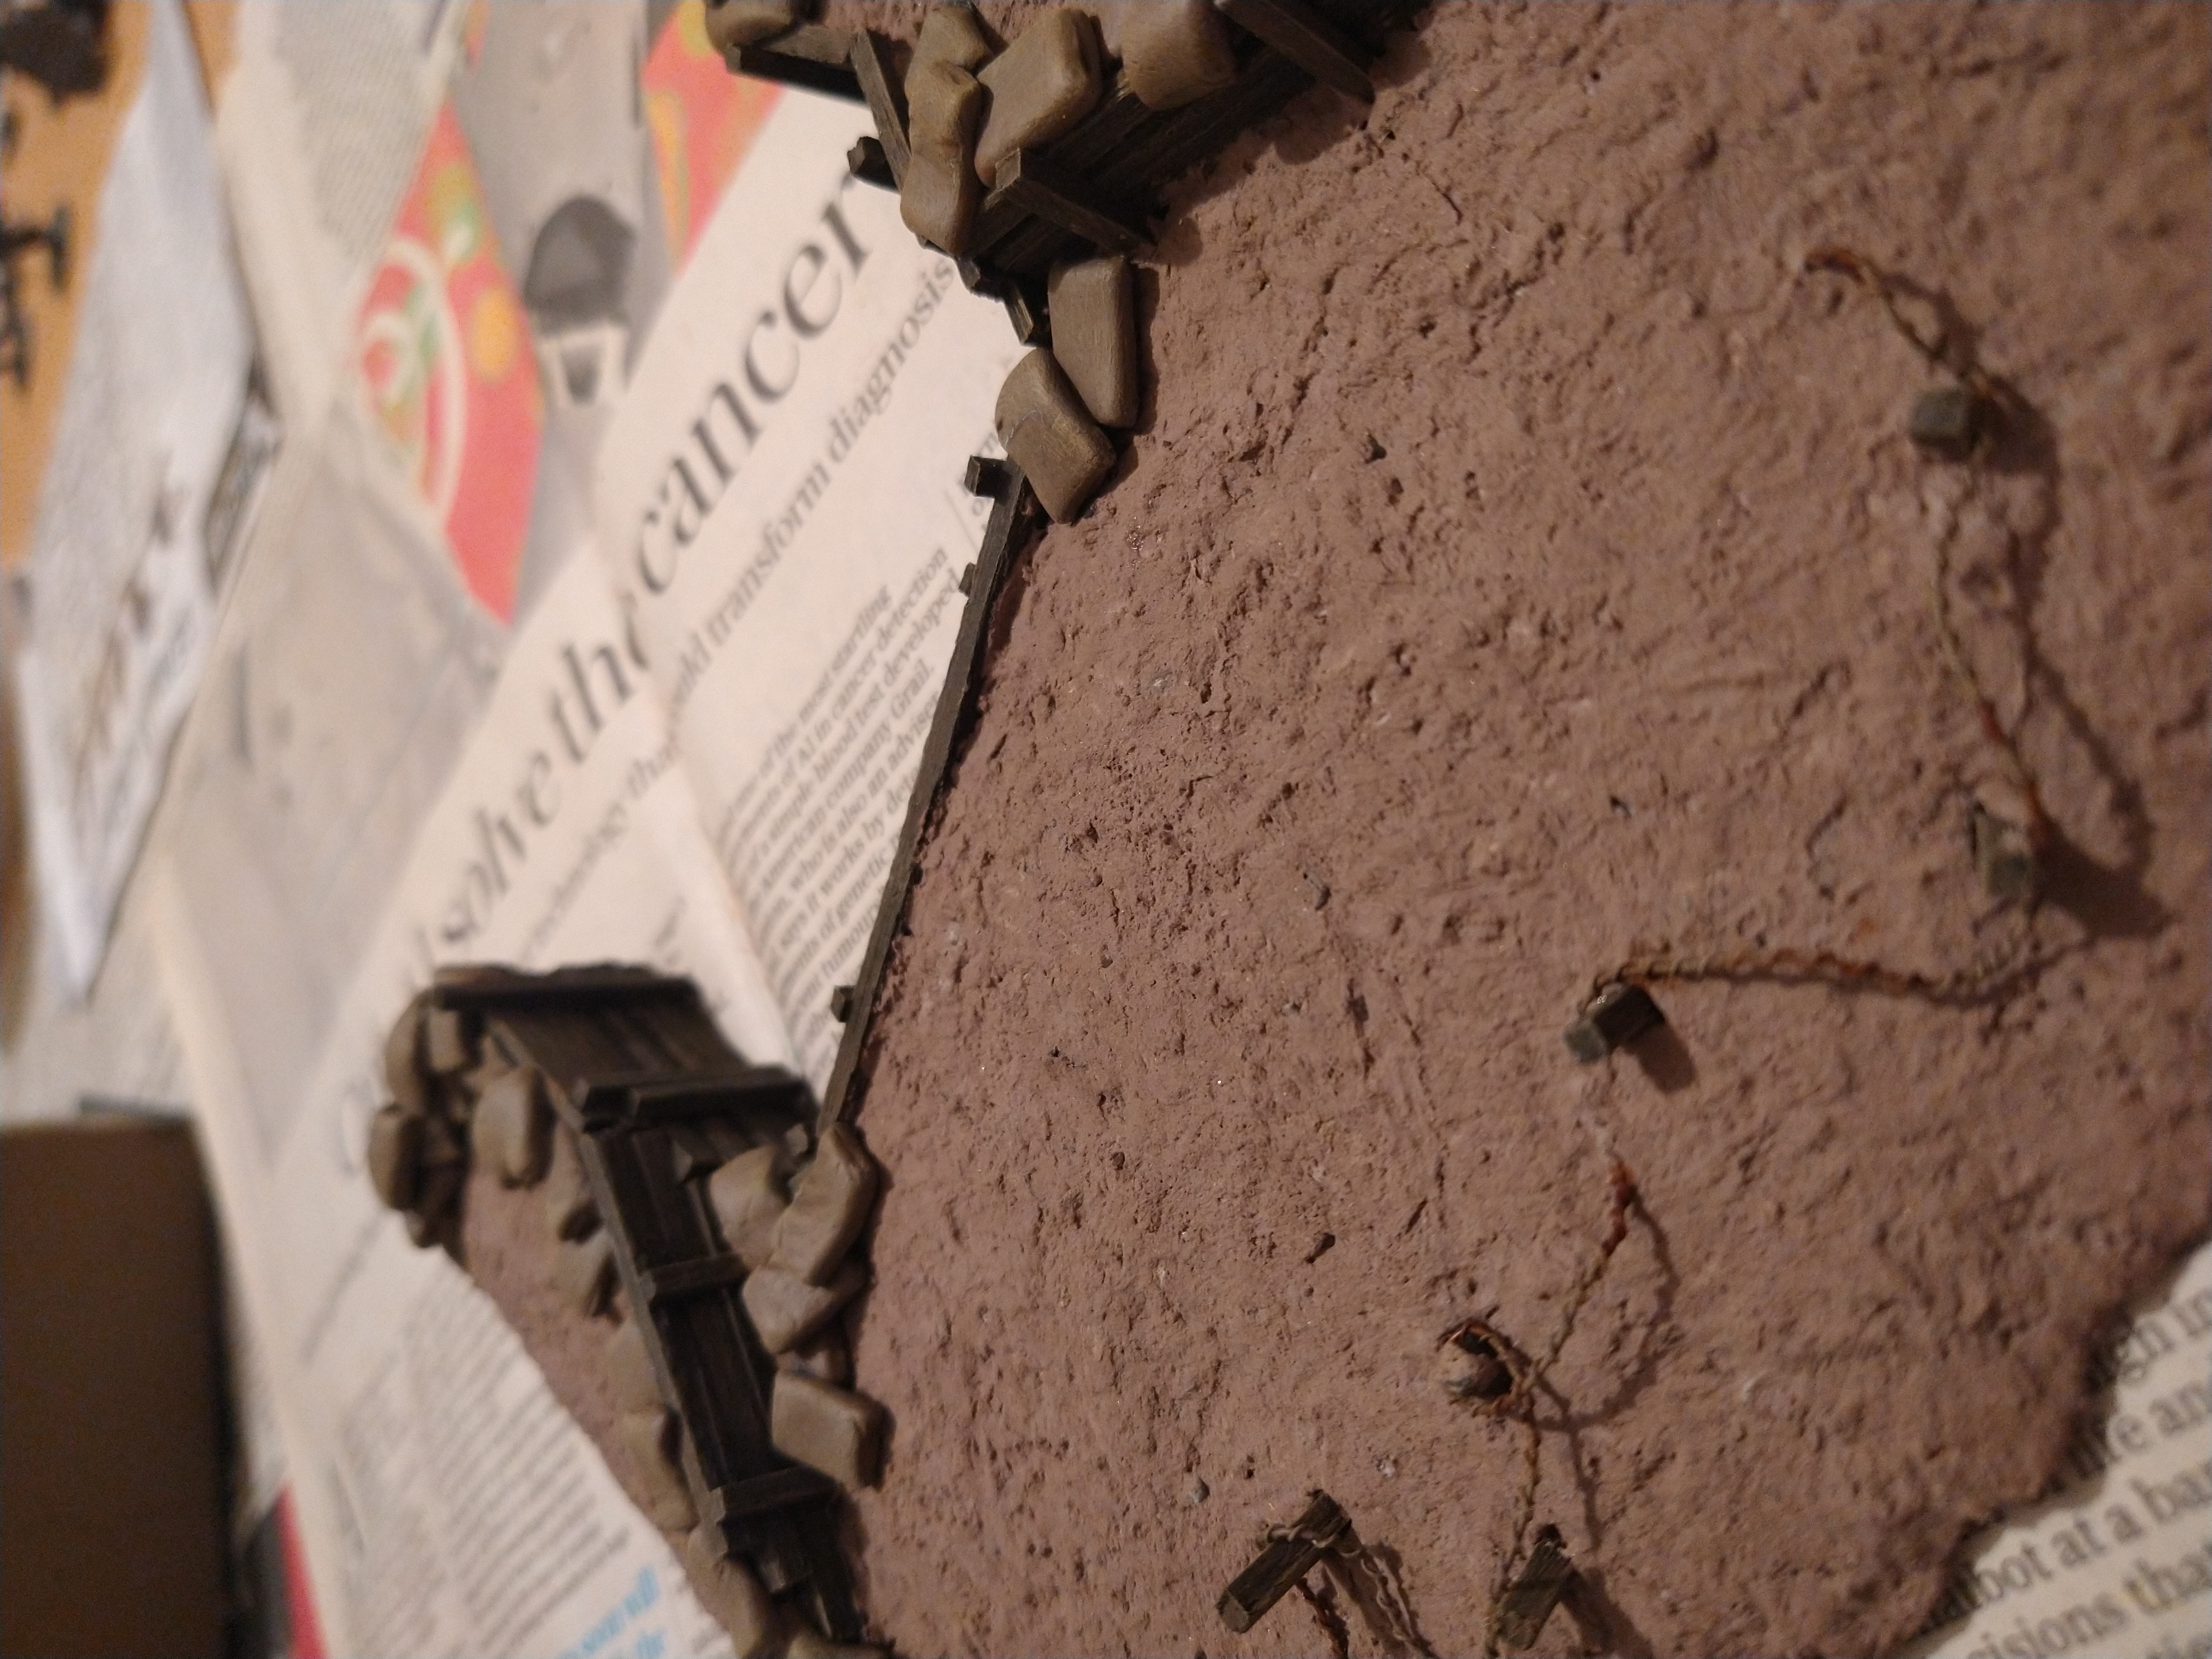
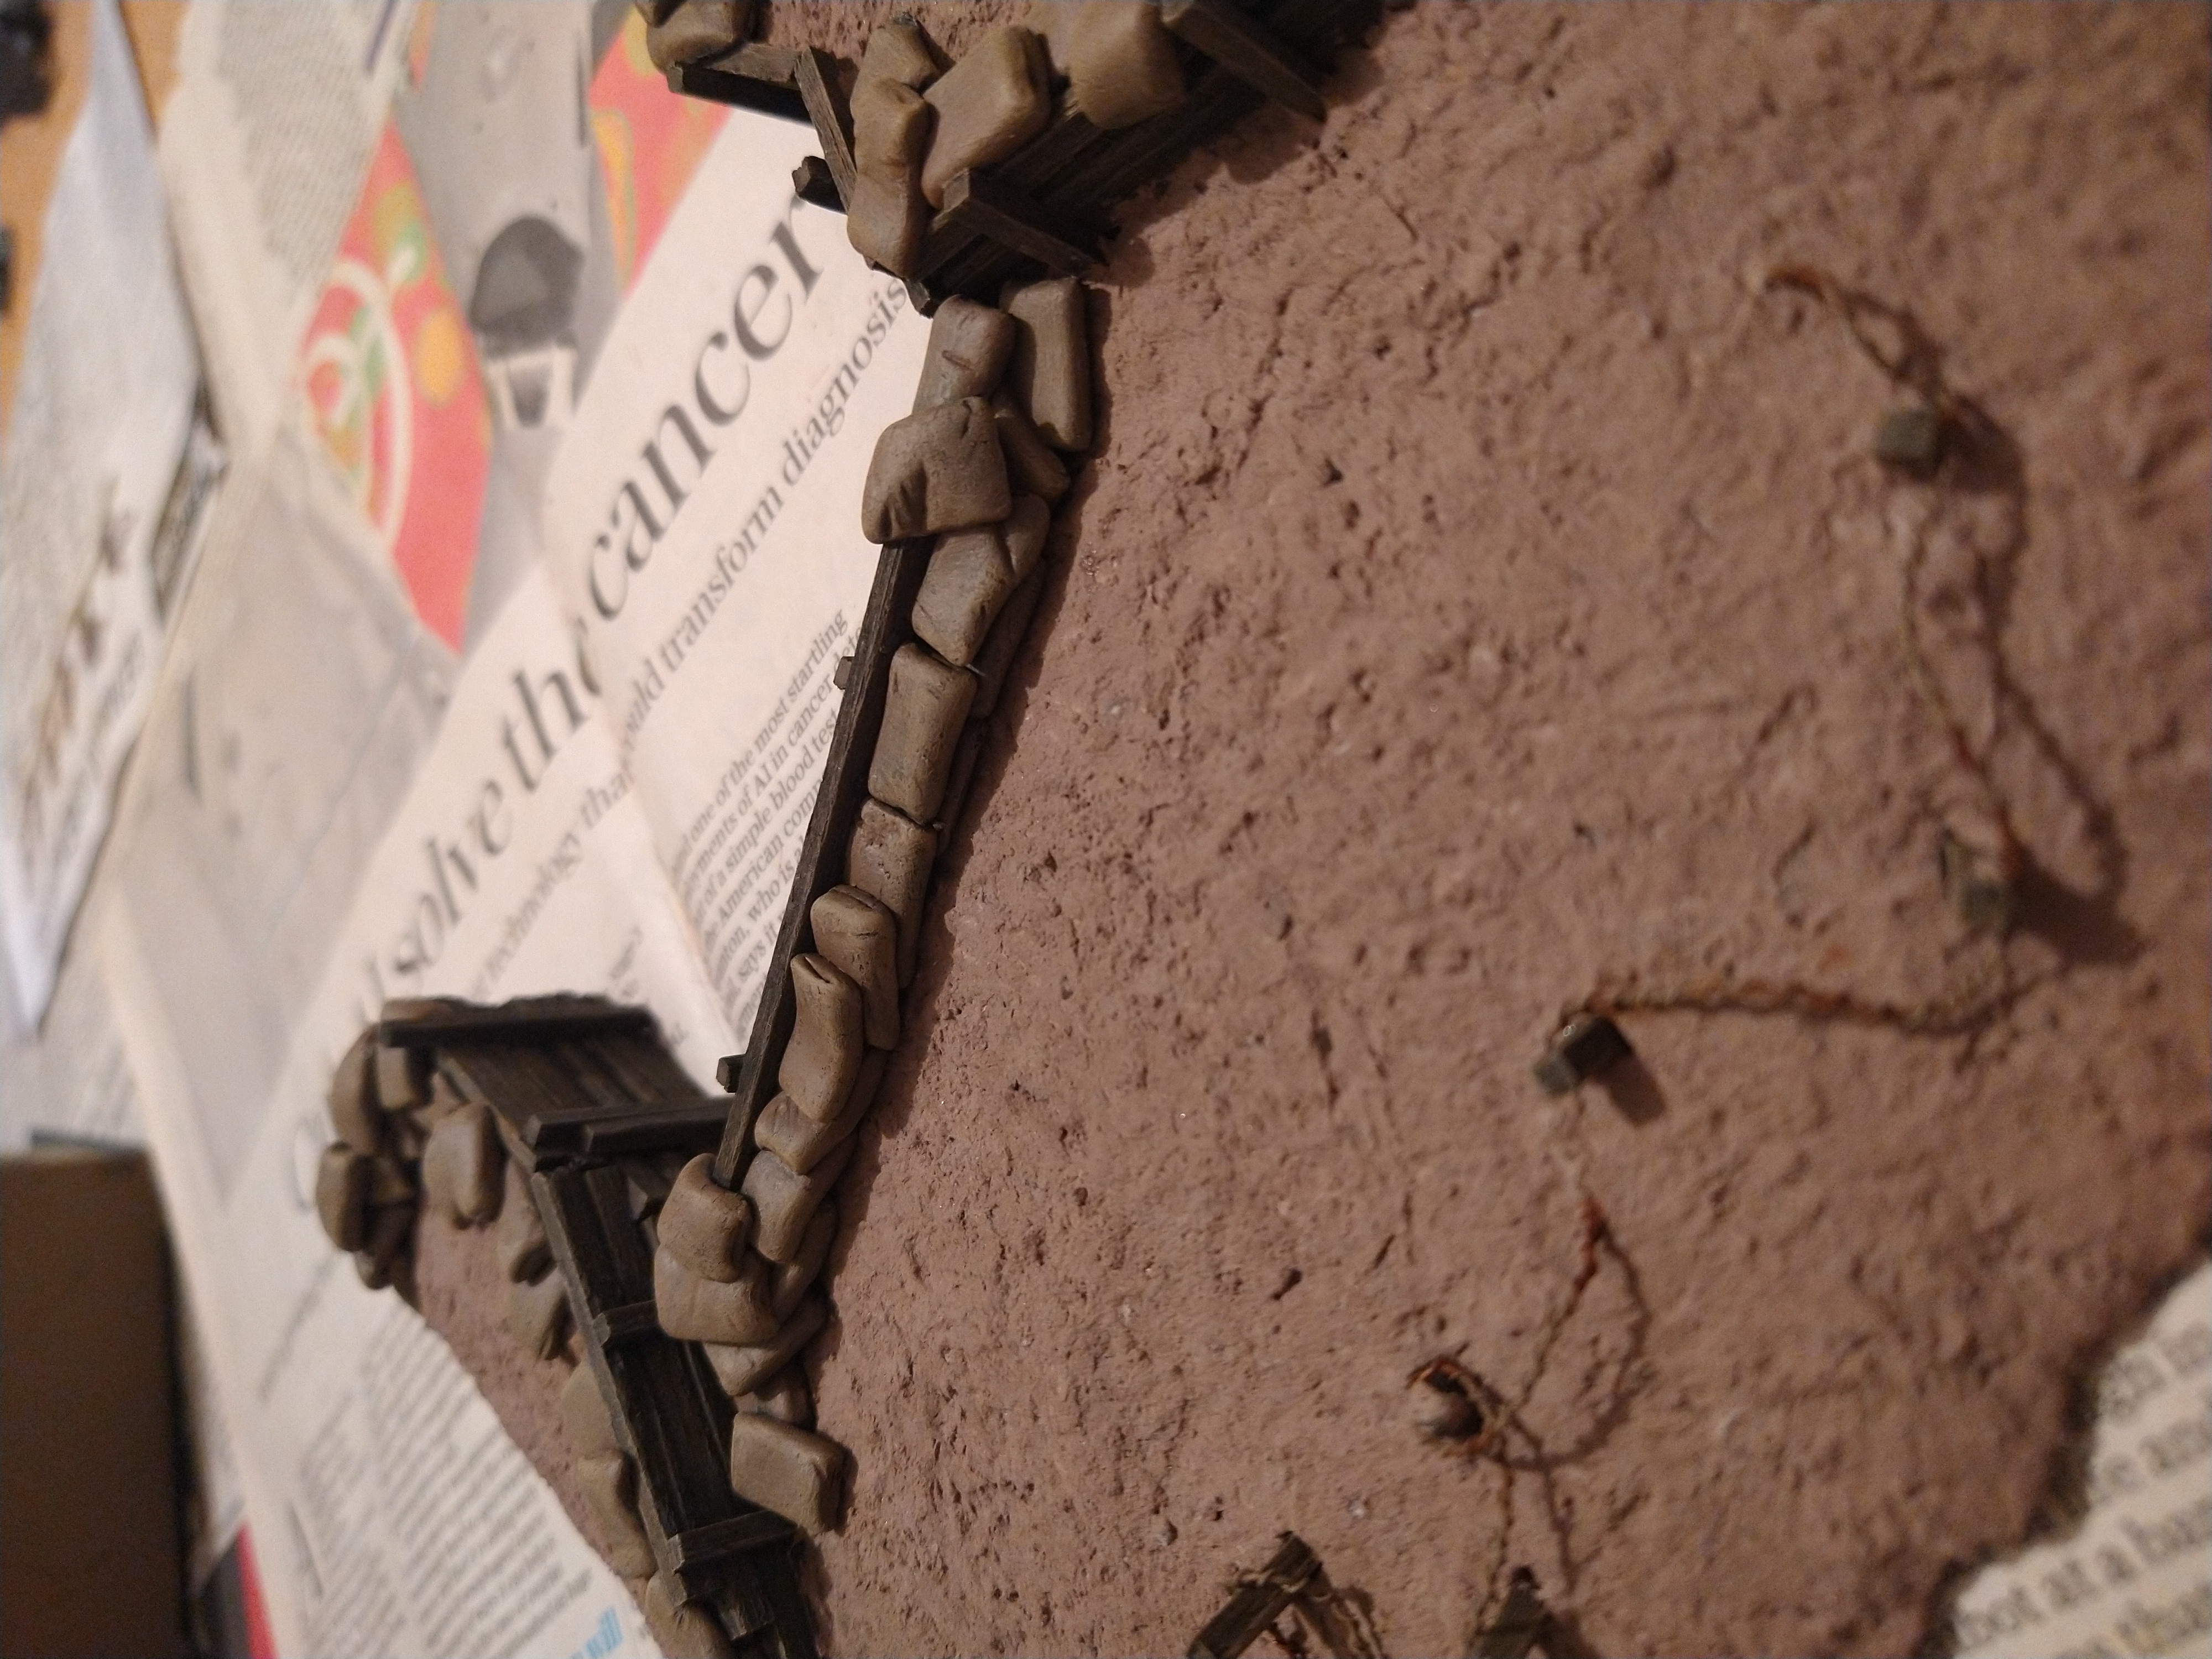
Sandbags being added (these would help to ensure a snug fit, and also to hold the piece securely into position when in use).
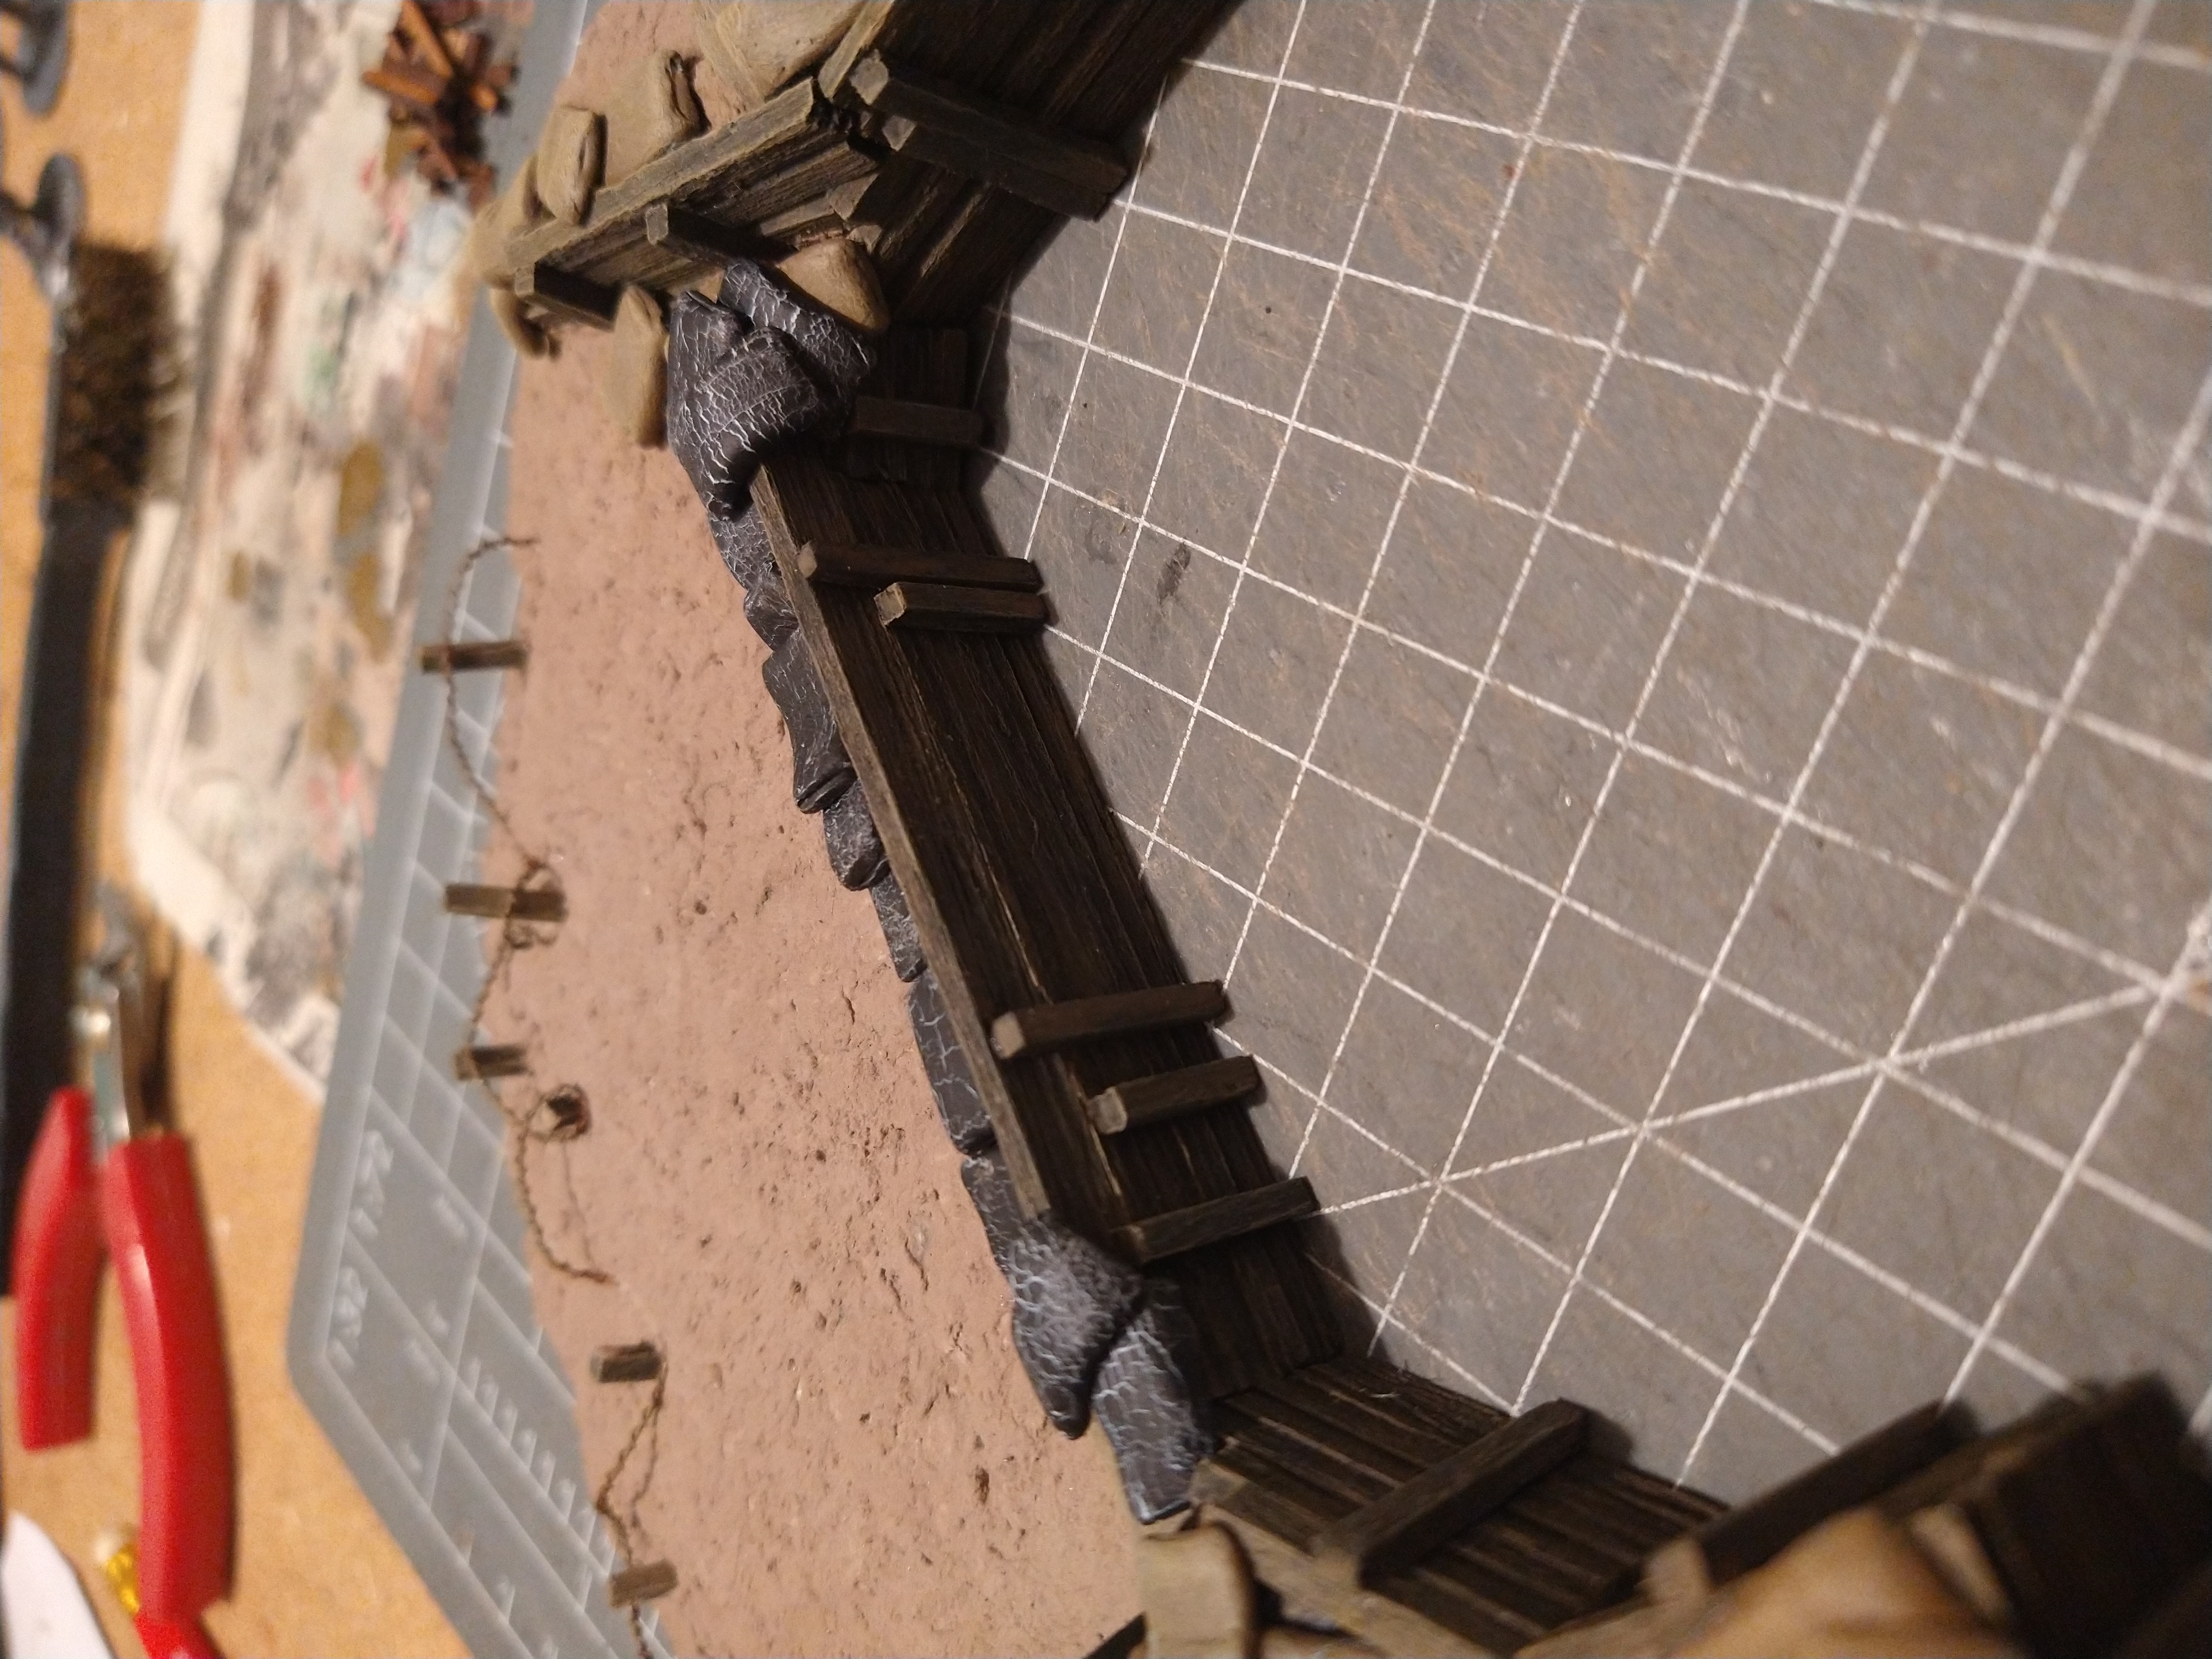
3rd section .... final modifications
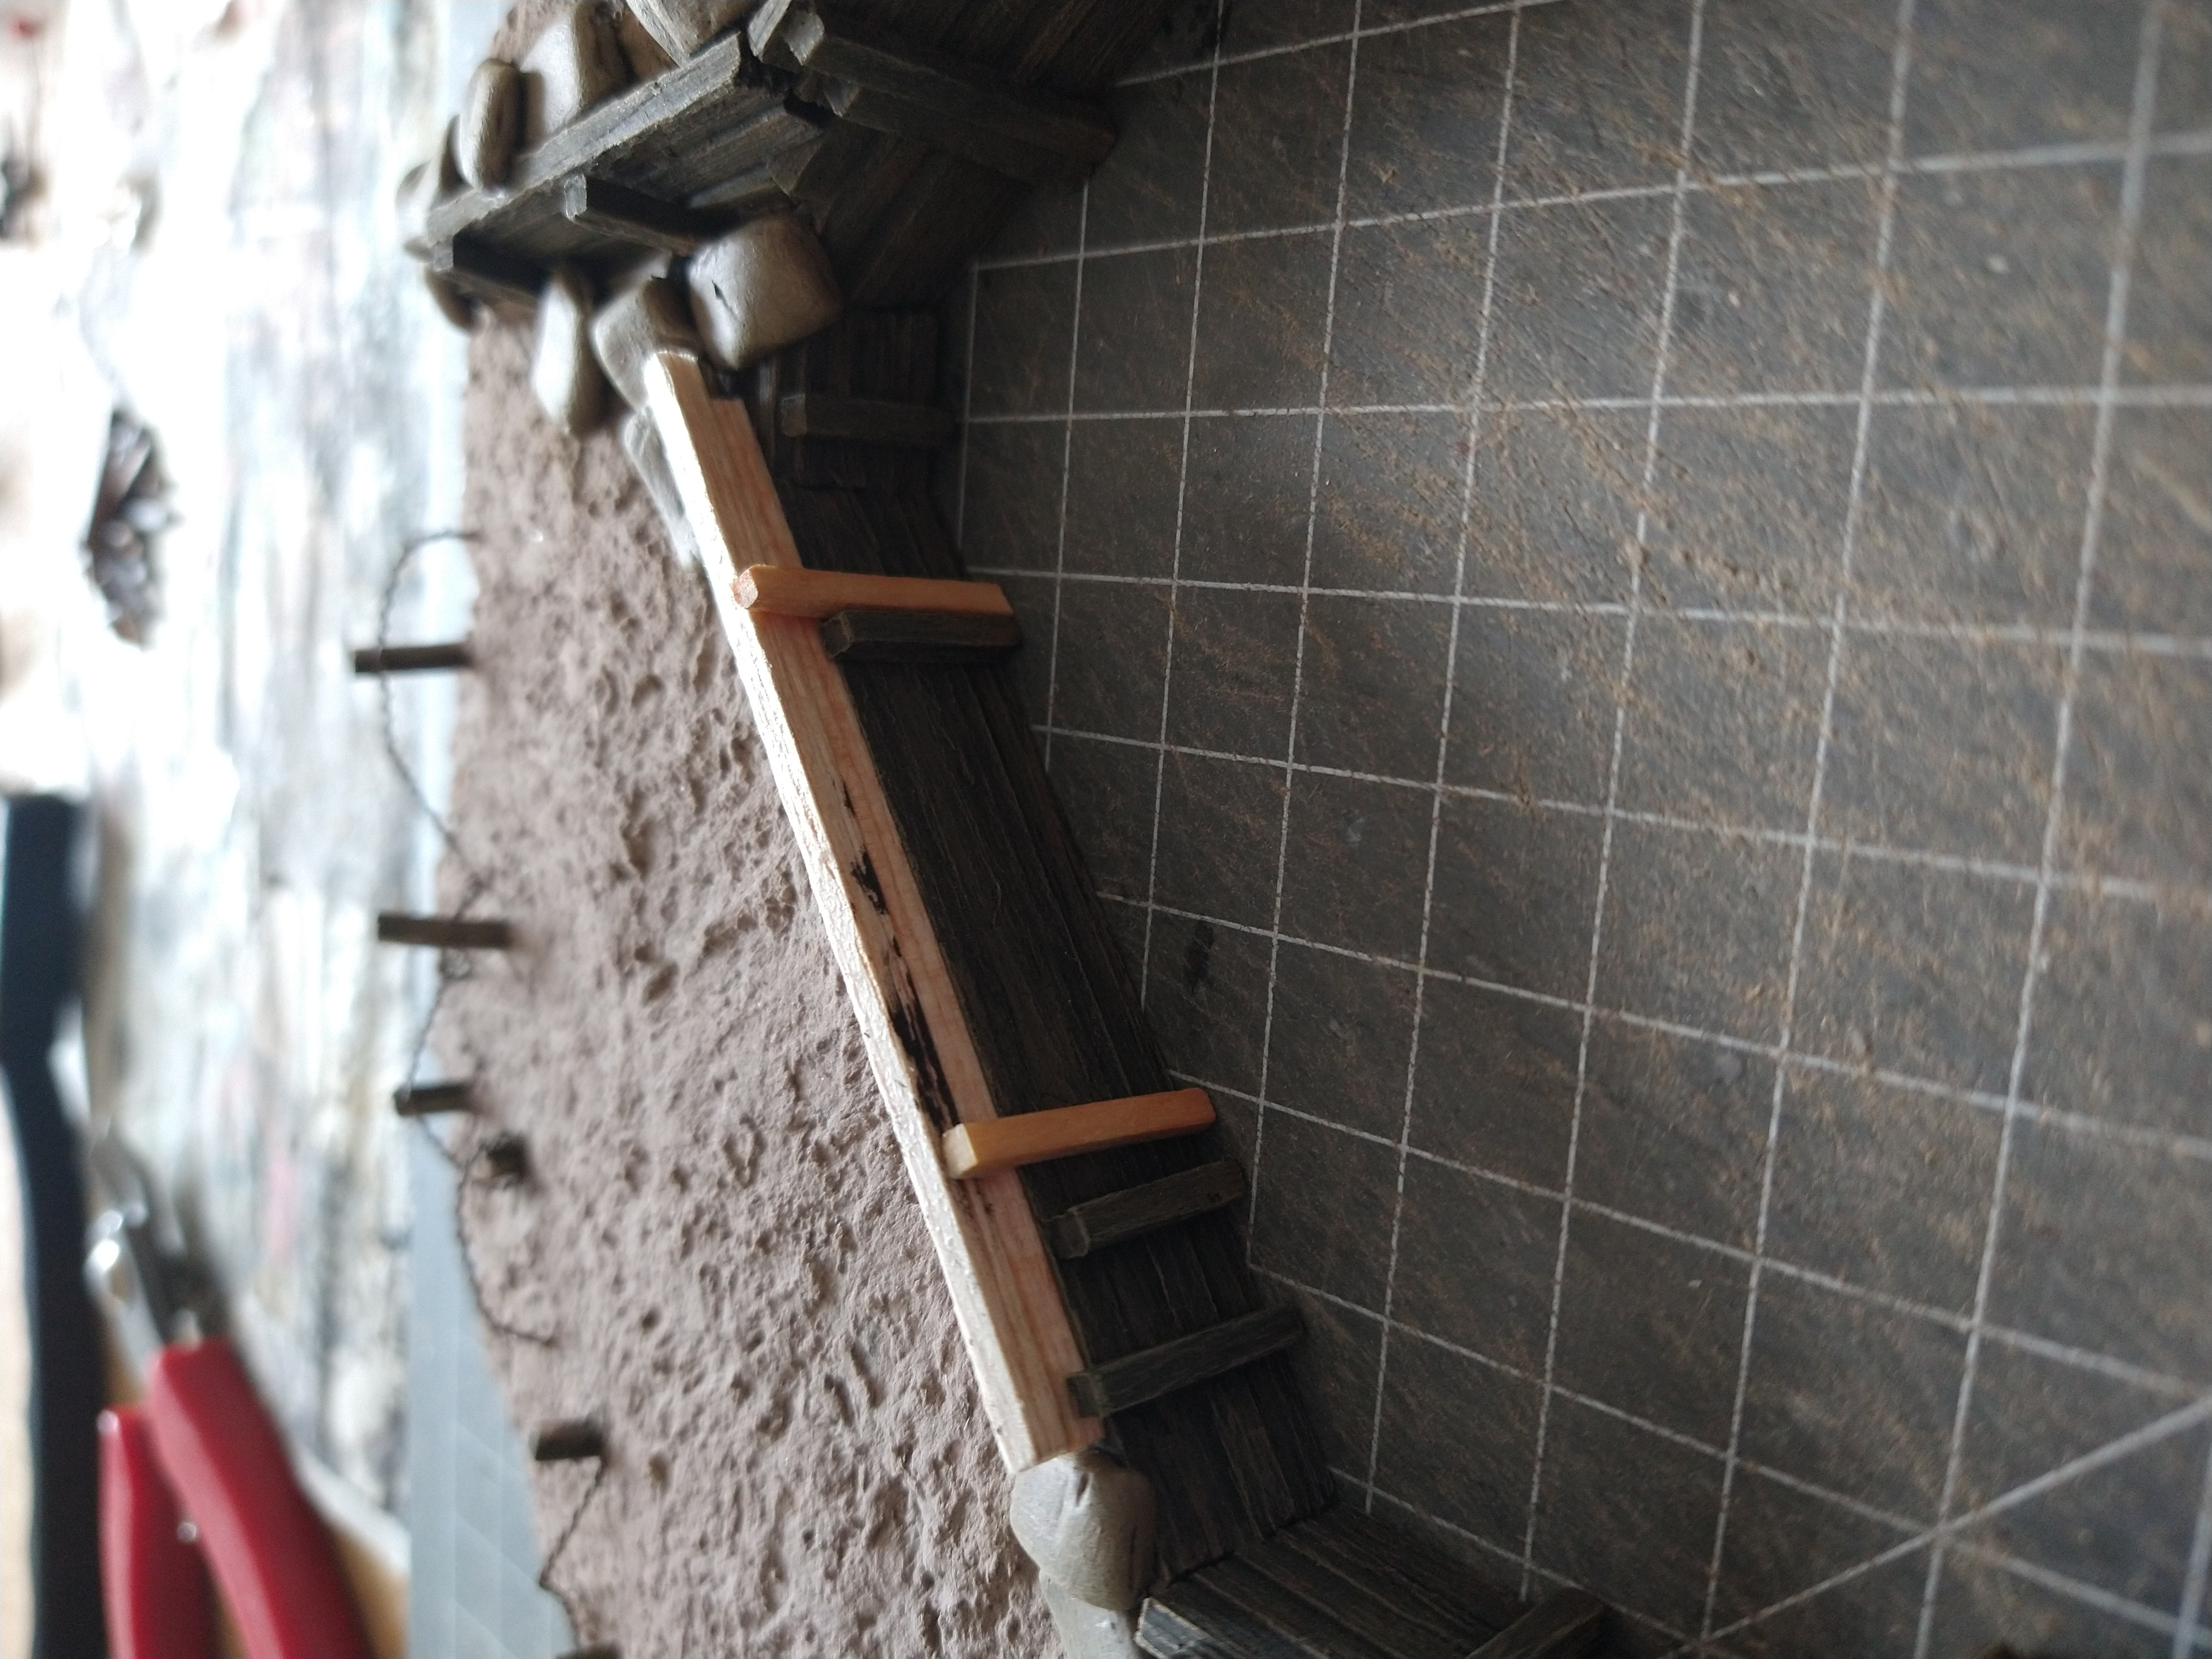
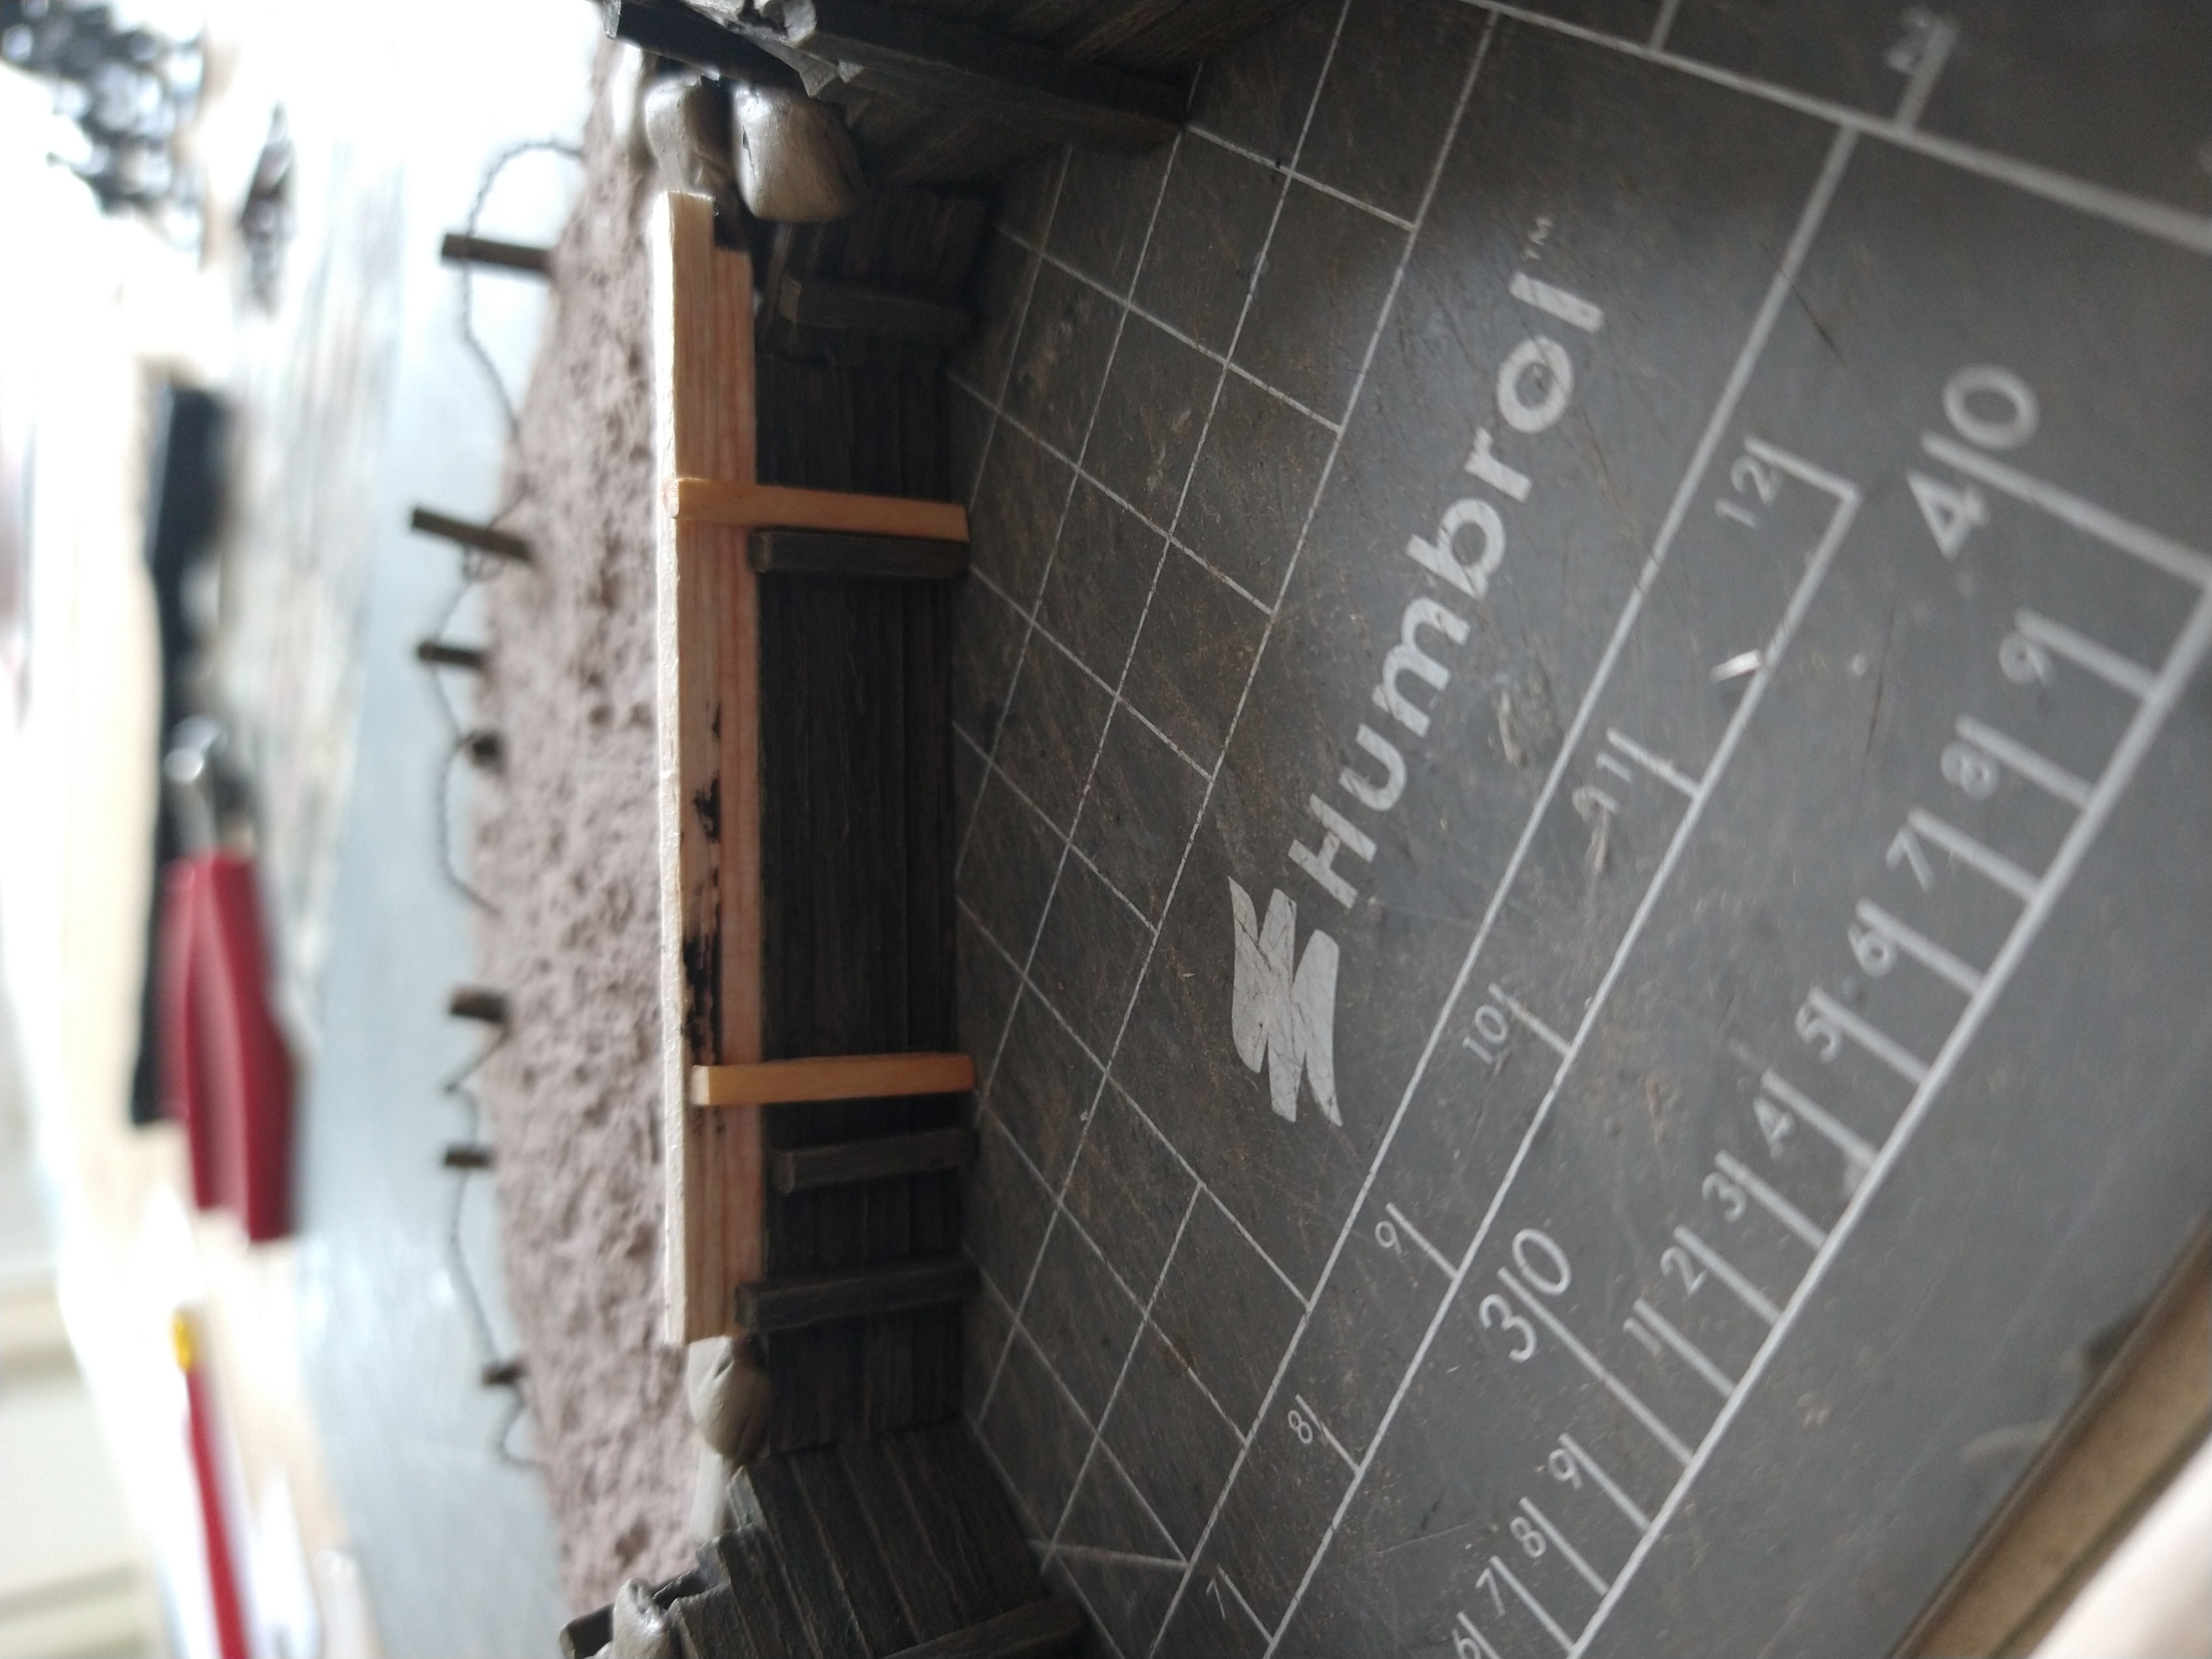
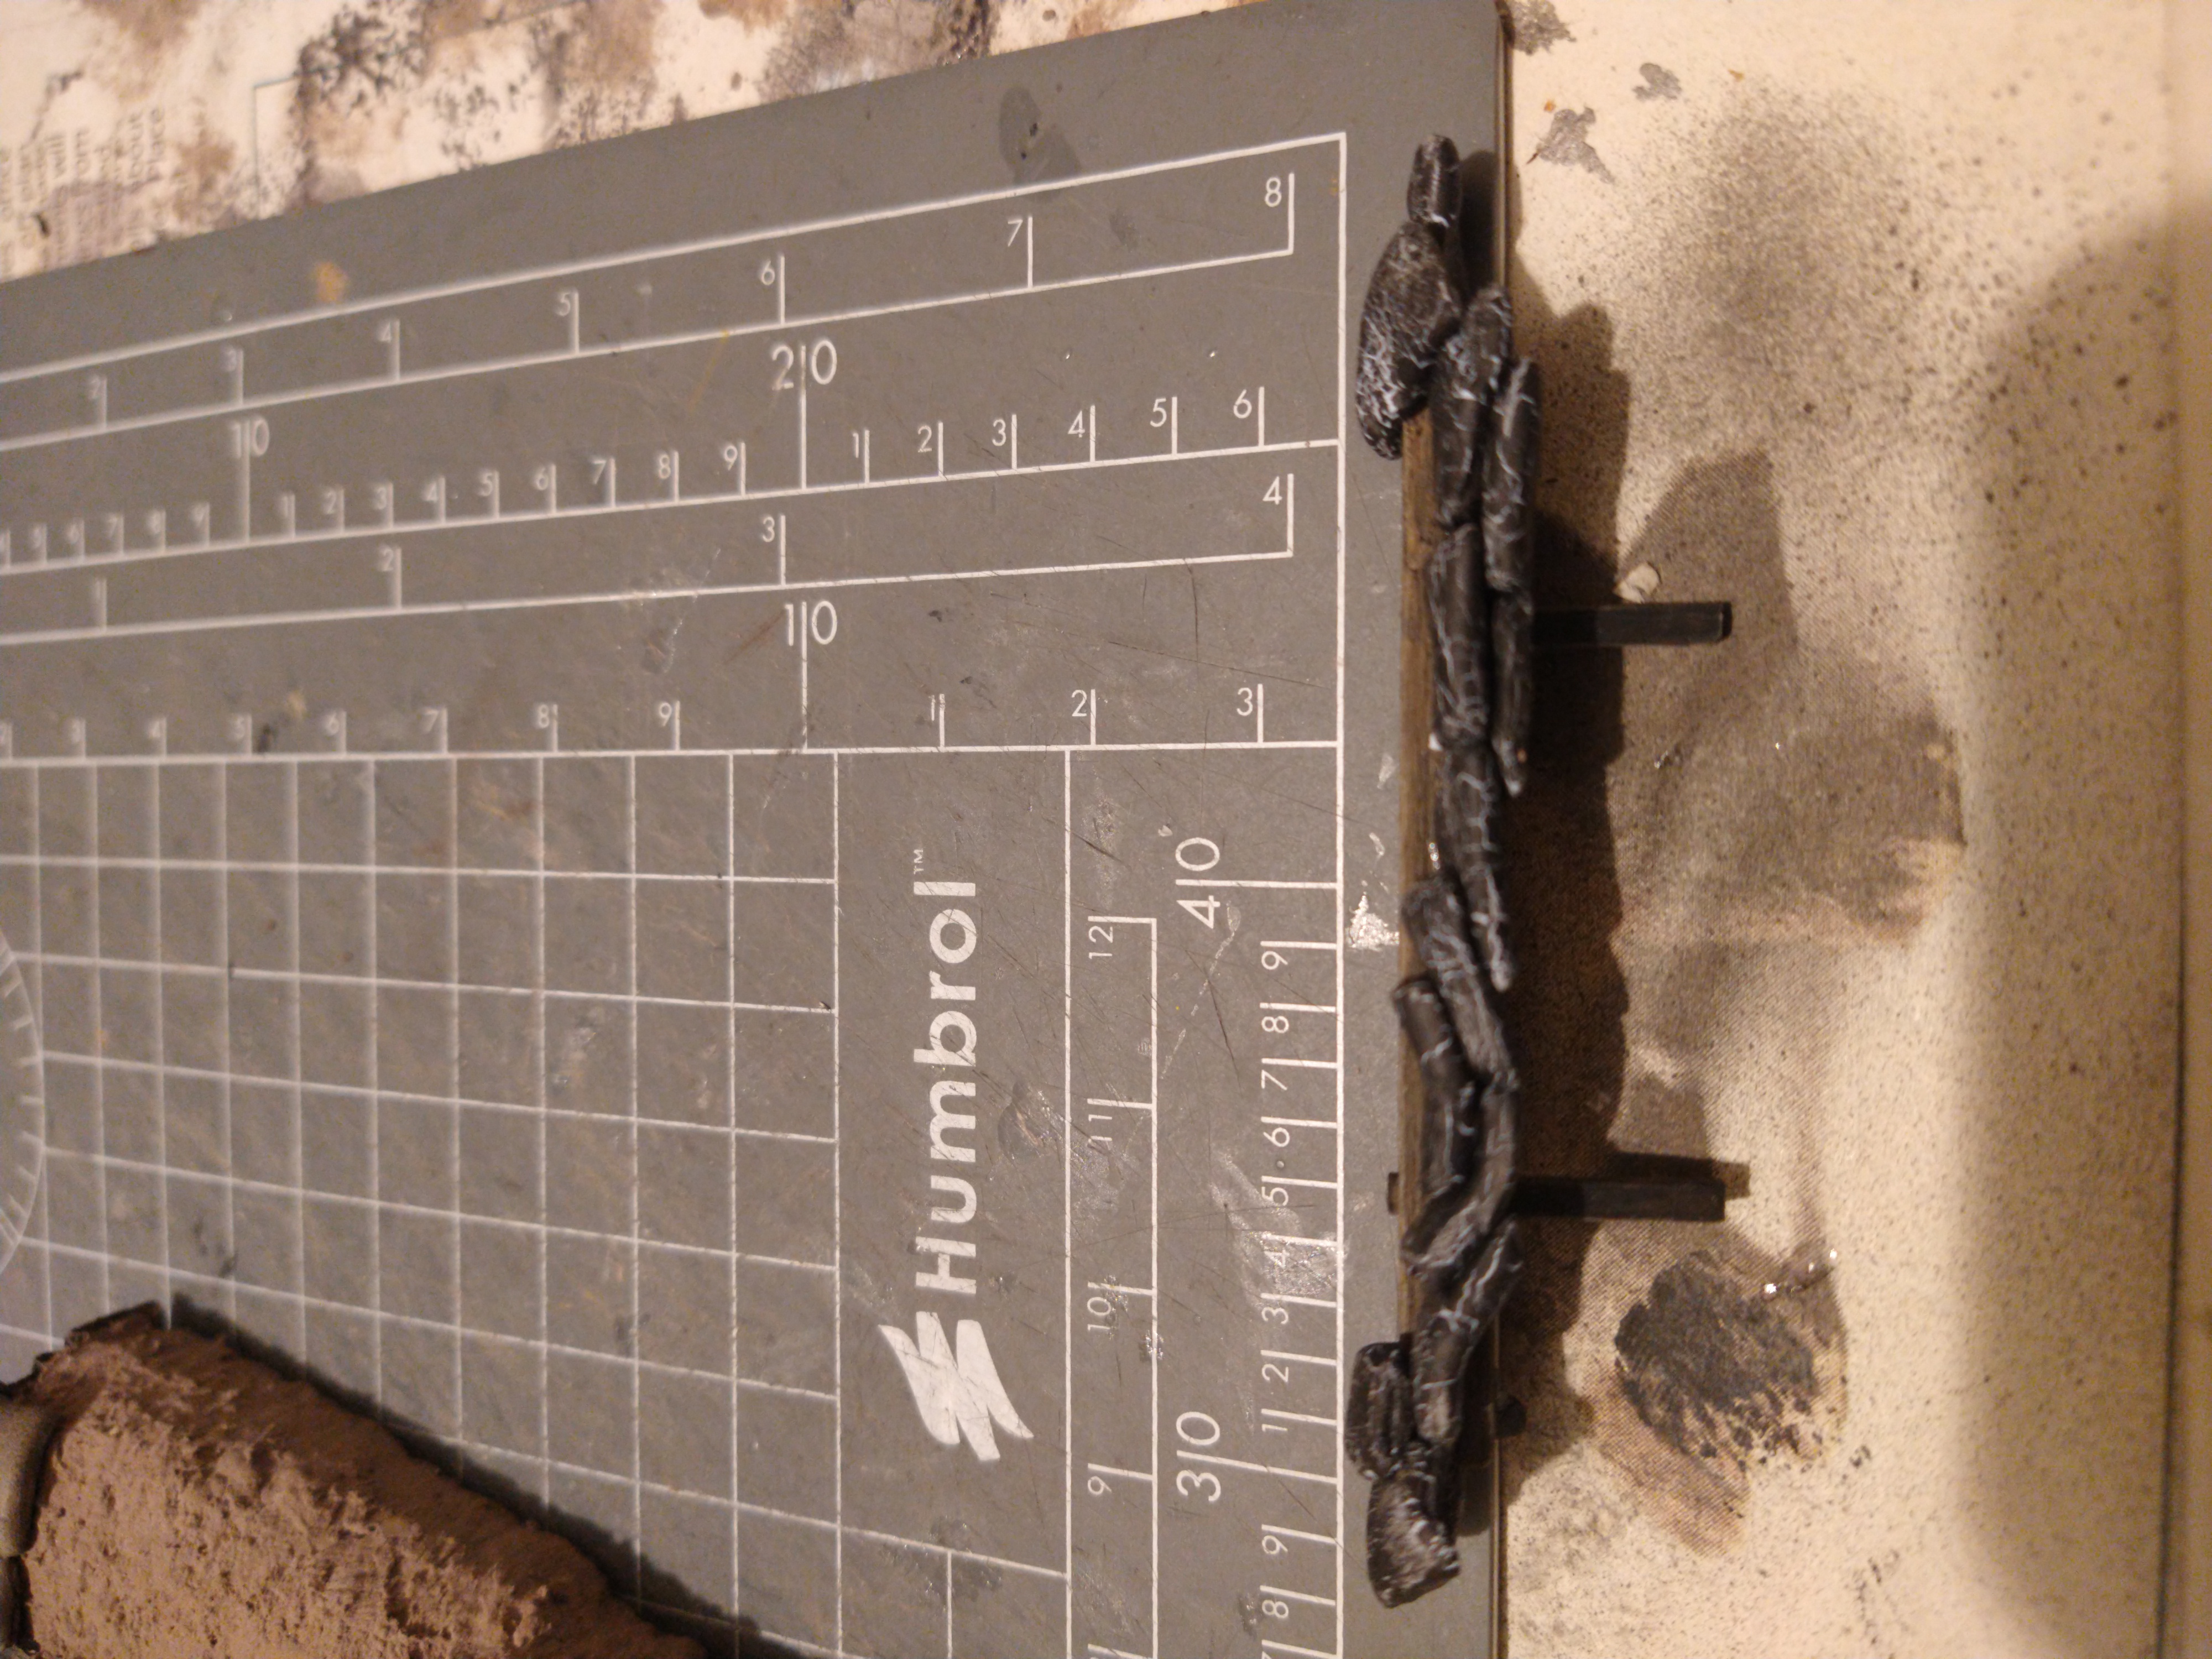
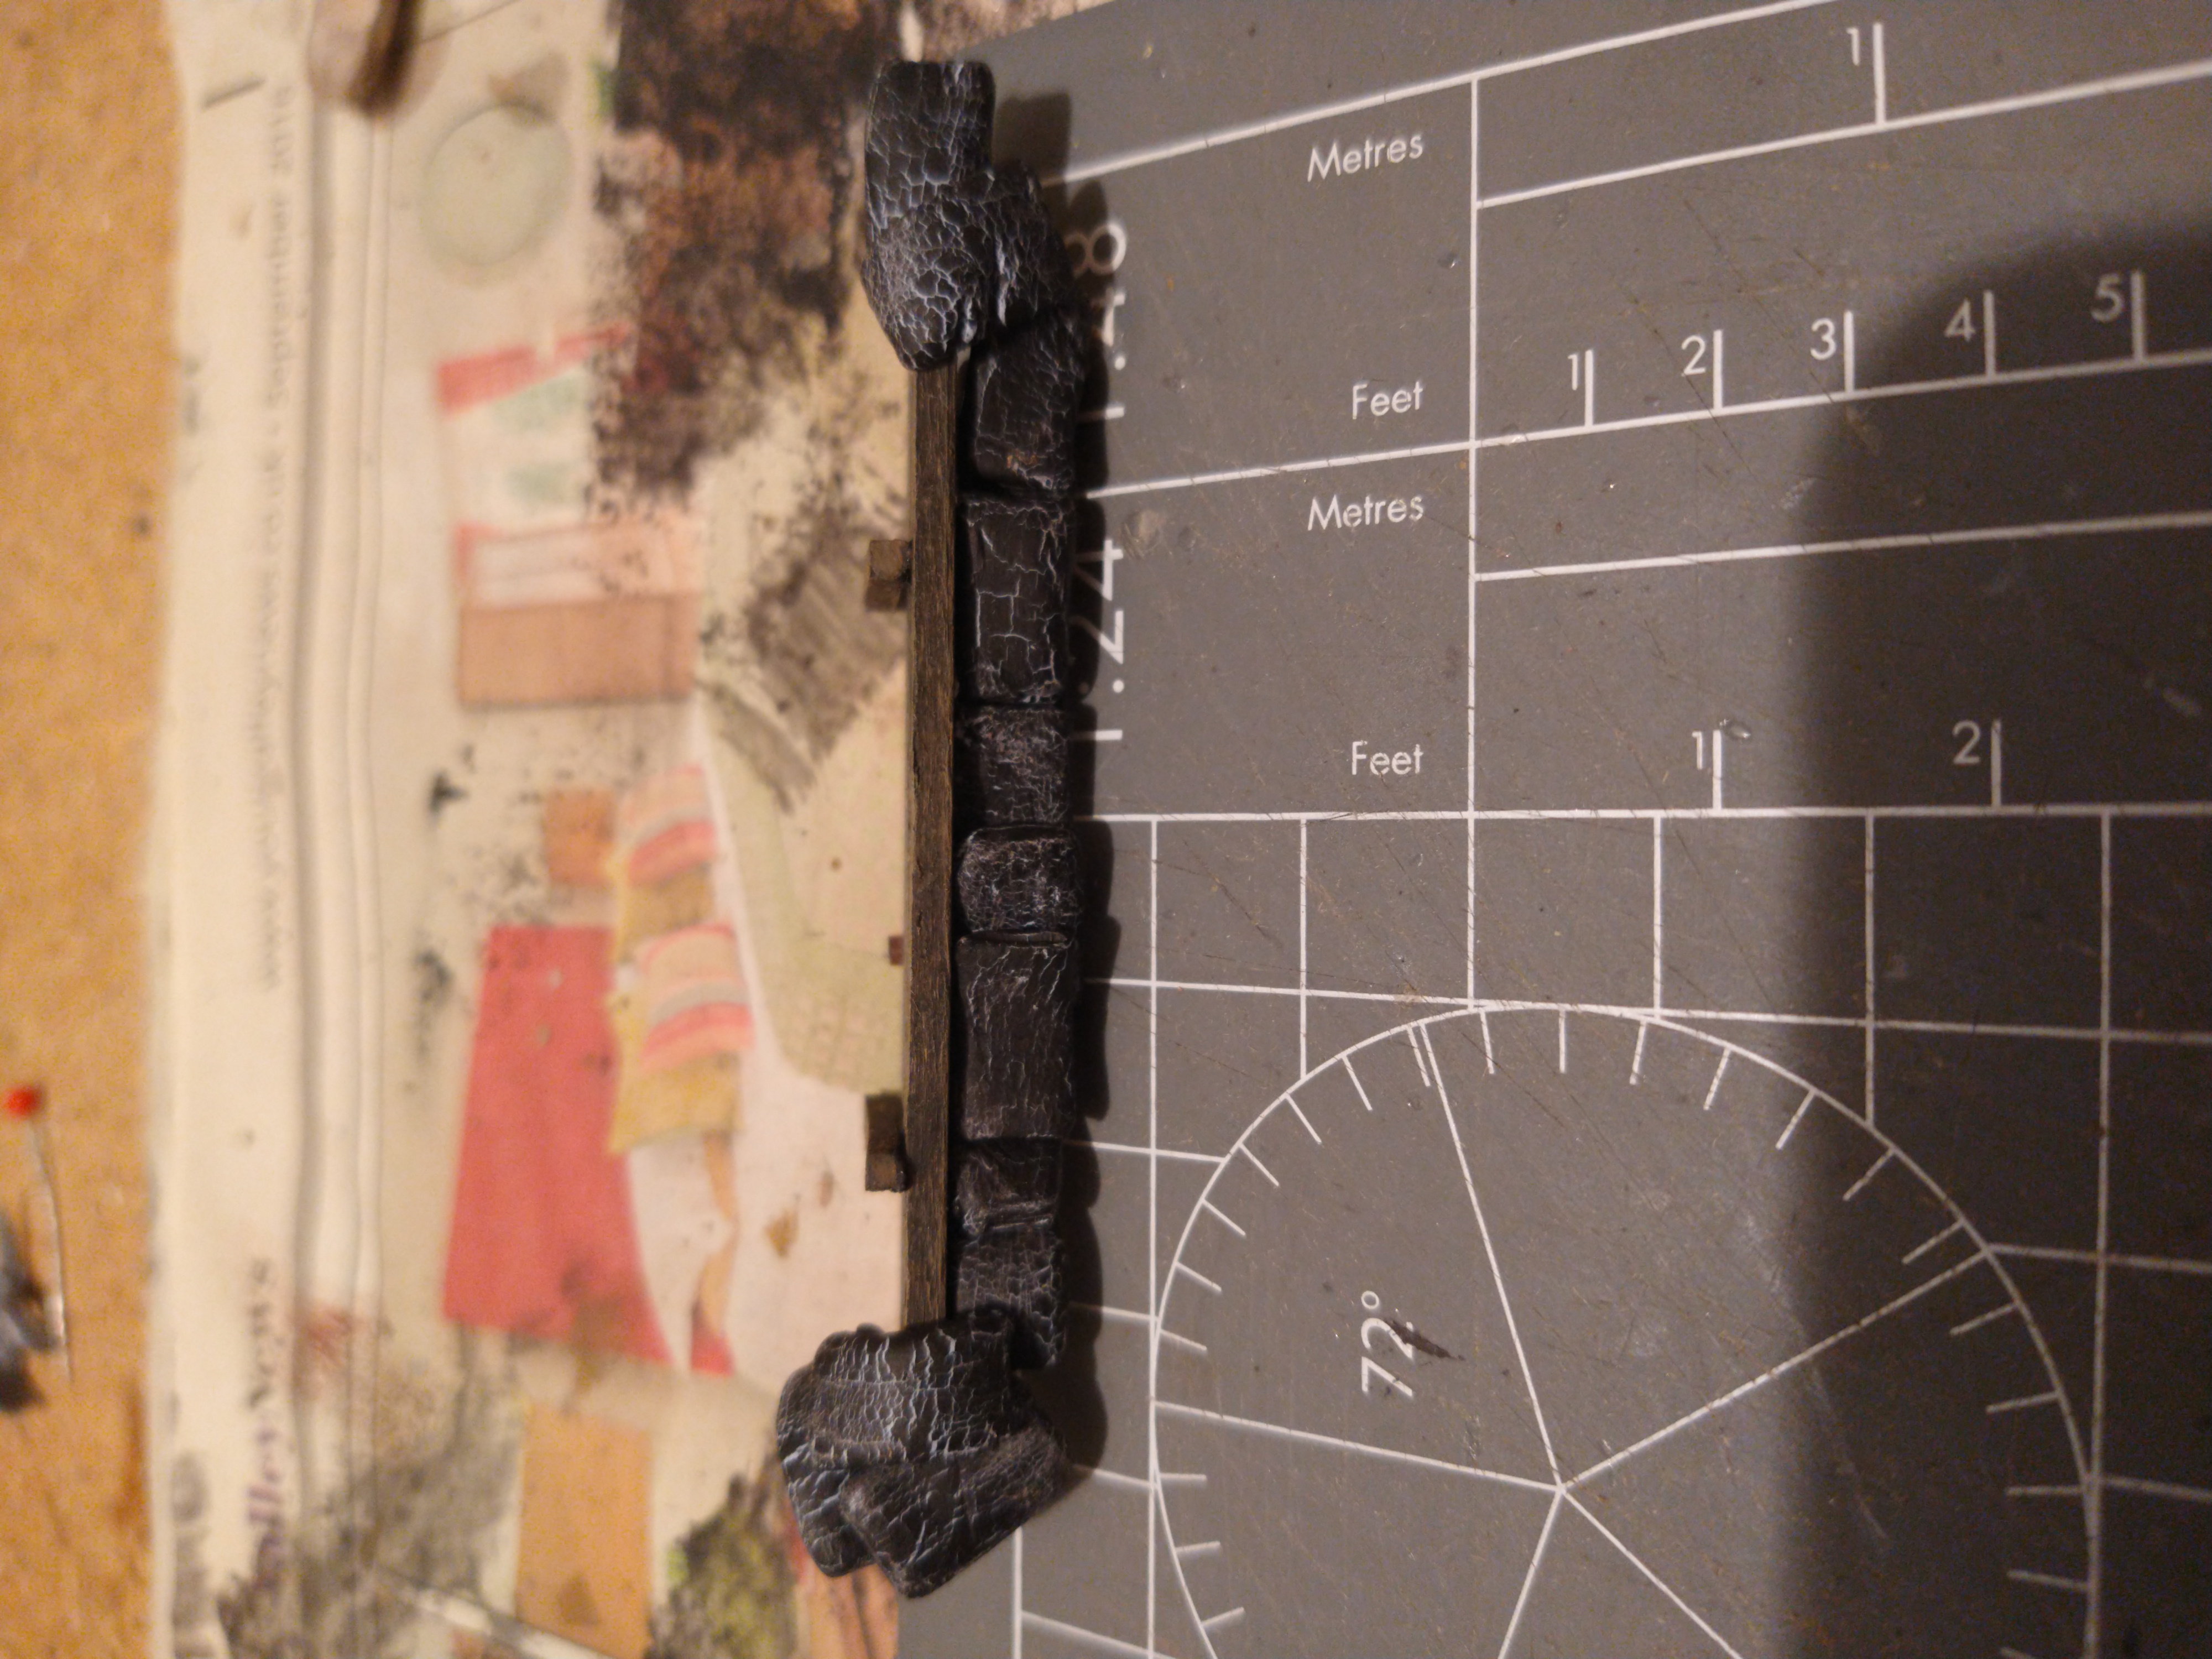
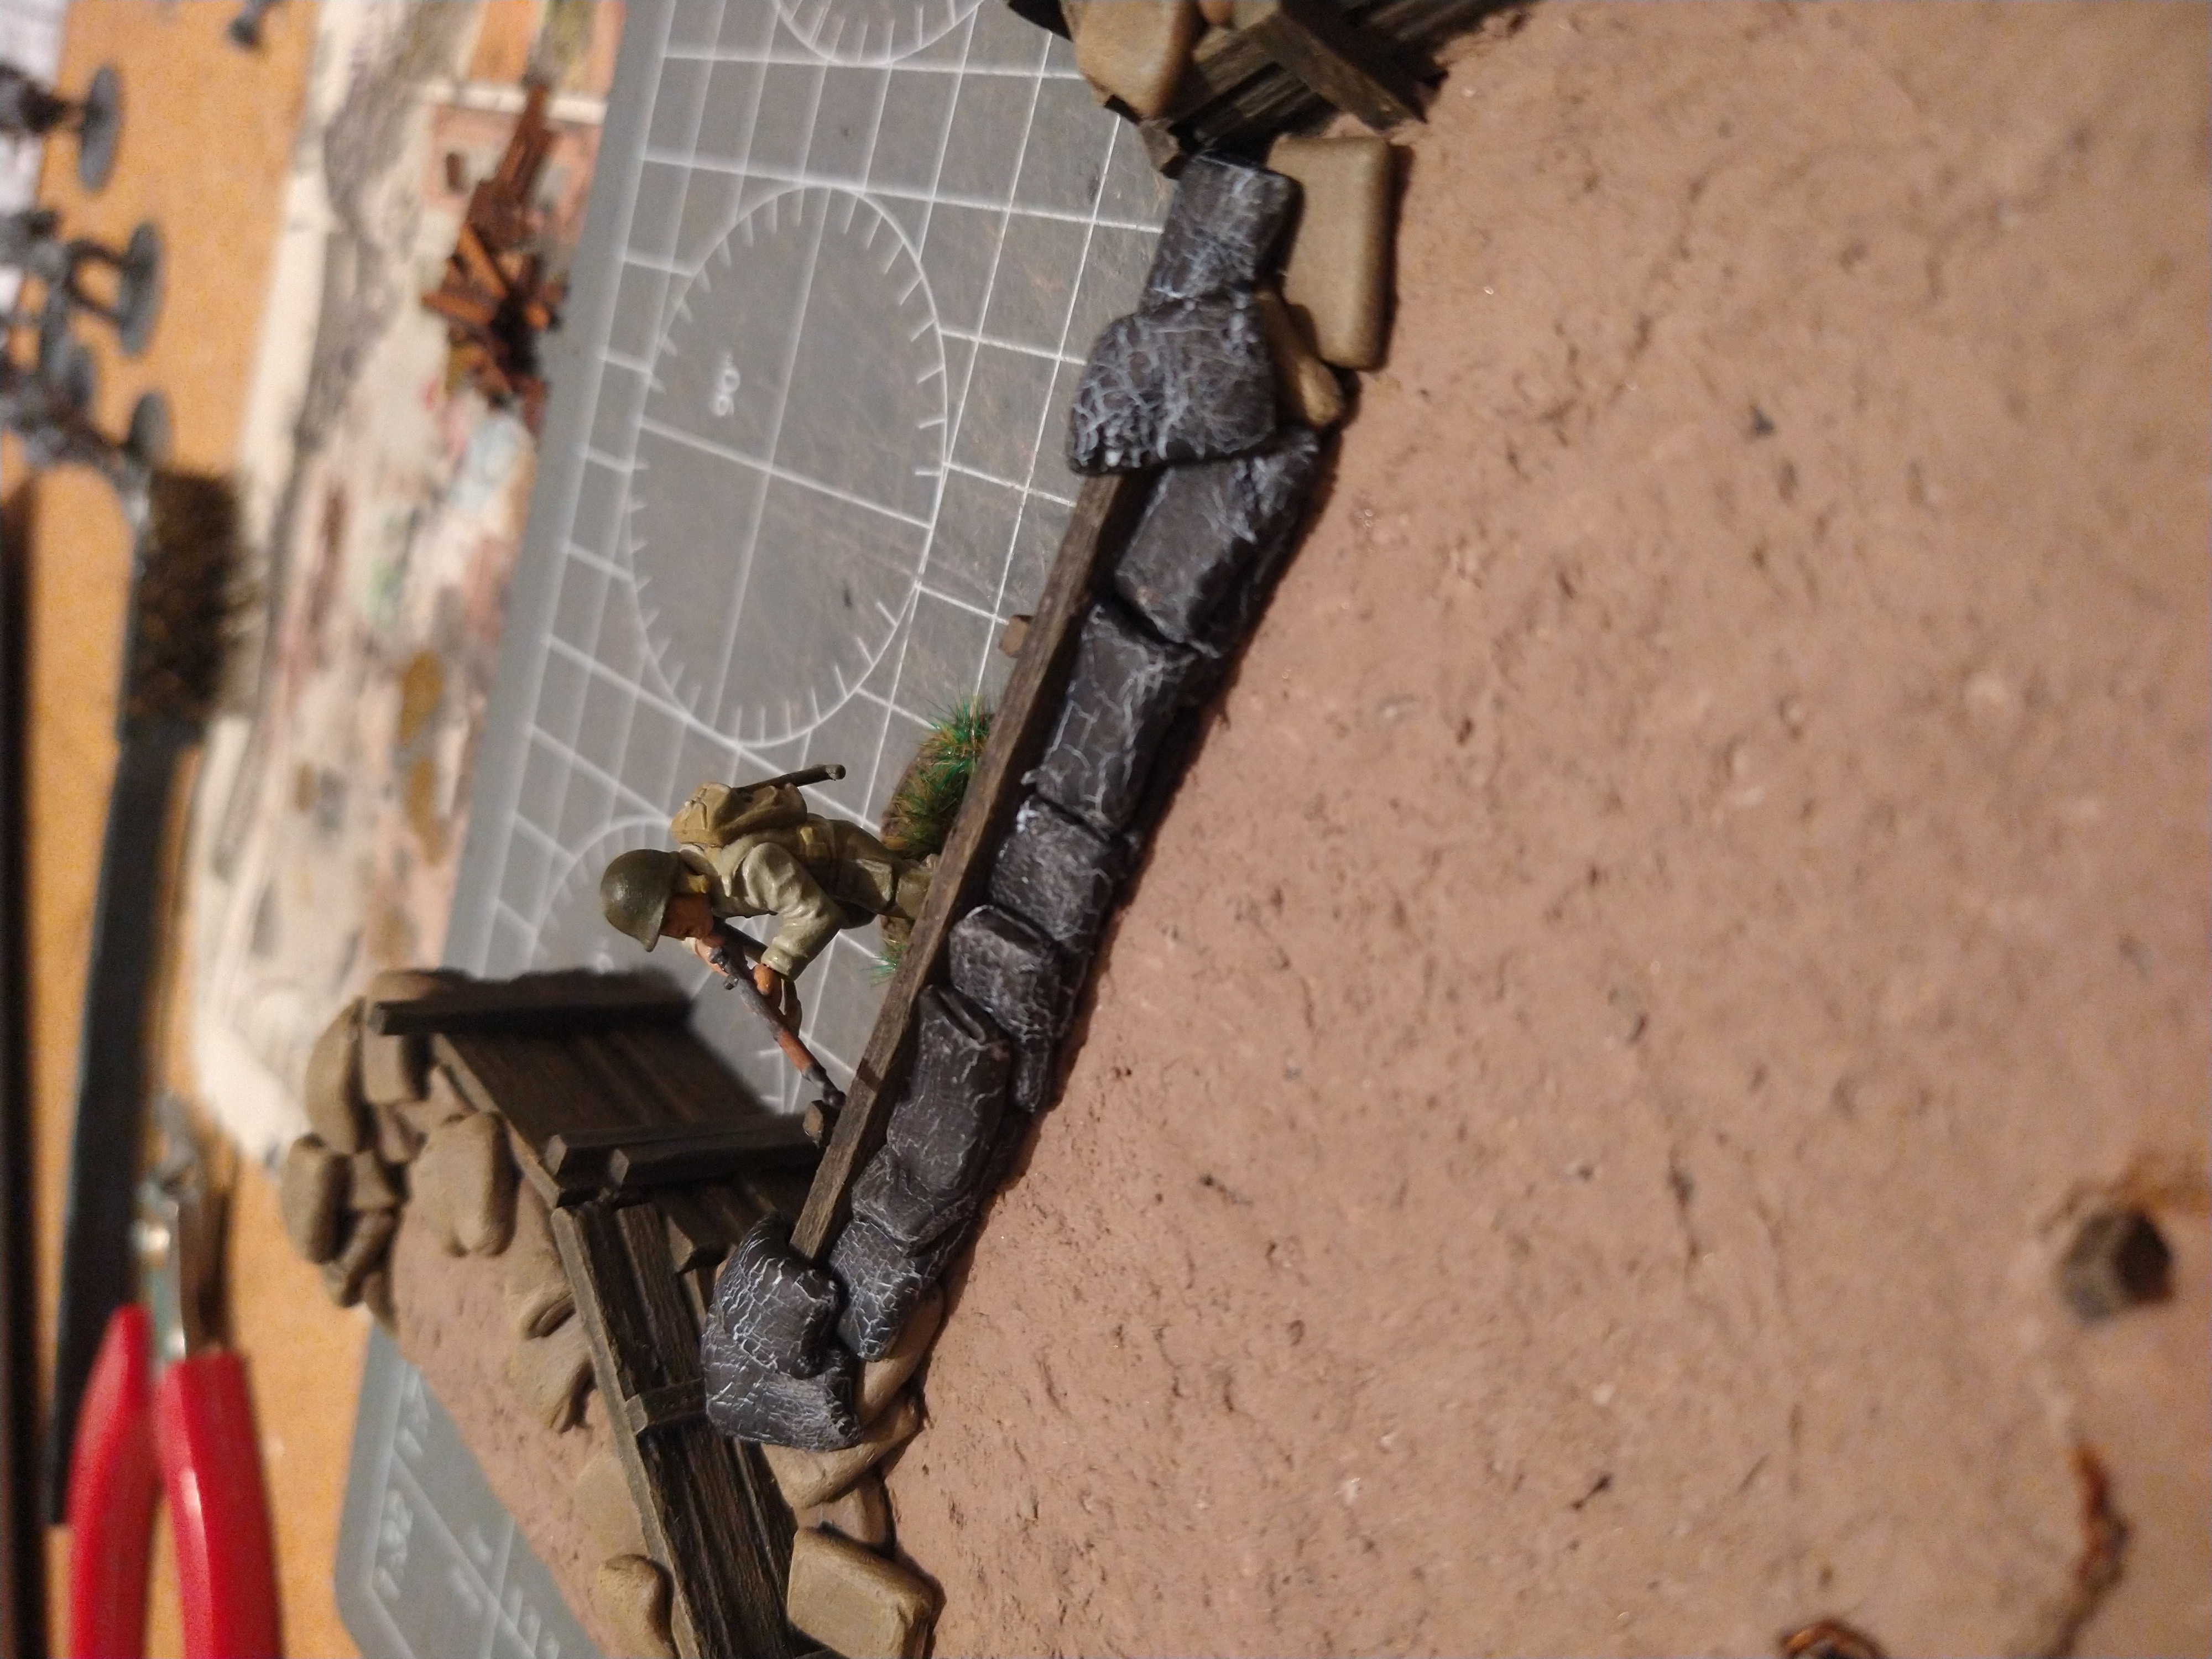
The last thing I needed to do, to fully complete this section, was to raise the front wood panelling to protect the infantry.
On the core part of the model this is lower than the other sections as the gun sites lower to the ground, and it meant infantry looked a little exposed in its current look.
So I decided to build and insert that i can slide in / remove depending on how the section will be used.
The construction was again, the same as how I made all the other pieces with the wood panels / sandbags.
The important thing here was to be care not to glue any of it to the base model!
Below is the wood section being made / test fitted.