![Very Cool! Make Your Own Star Wars: Legion Imperial Agent & Officer | Review [7 Days Early Access]](https://images.beastsofwar.com/2025/12/Star-Wars-Imperial-Agent-_-Officer-coverimage-V3-225-127.jpg)


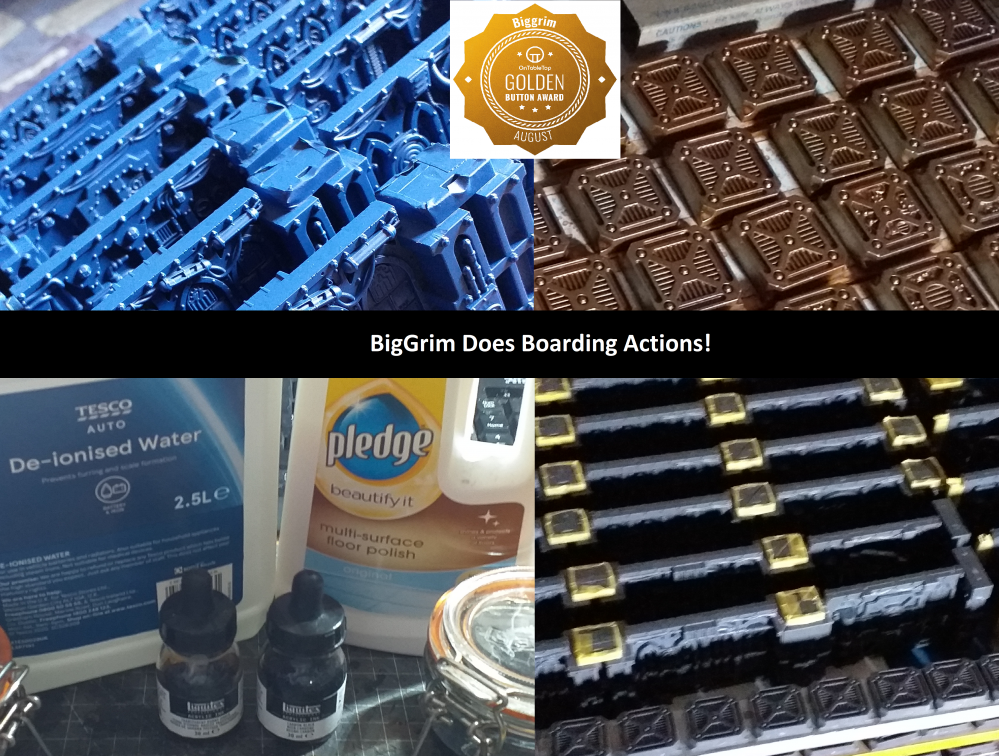
BigGrim Does Boarding Actions!


Recommendations: 710
About the Project
Boarding Actions is great fun. It's also a pain in the bum as a terrain set as there is a lot of prep work to make it easier to use. This Project Log with detail the steps I have taken to prep a set I'm gonna paint for my Friendly Local Store, The Pop Shop in Elgin, Moray, Scotland. I'm glad the owner wants to showcase this game mode as it really is damned good fun, thus why I have taken this project on. I have two copies myself to work on too. I show the process for one of those sets, as well as some of the units I'll make for Boarding Patrols.
Related Game: Warhammer 40,000
Related Company: Games Workshop
Related Genre: Science Fiction
This Project is Active
Priming!
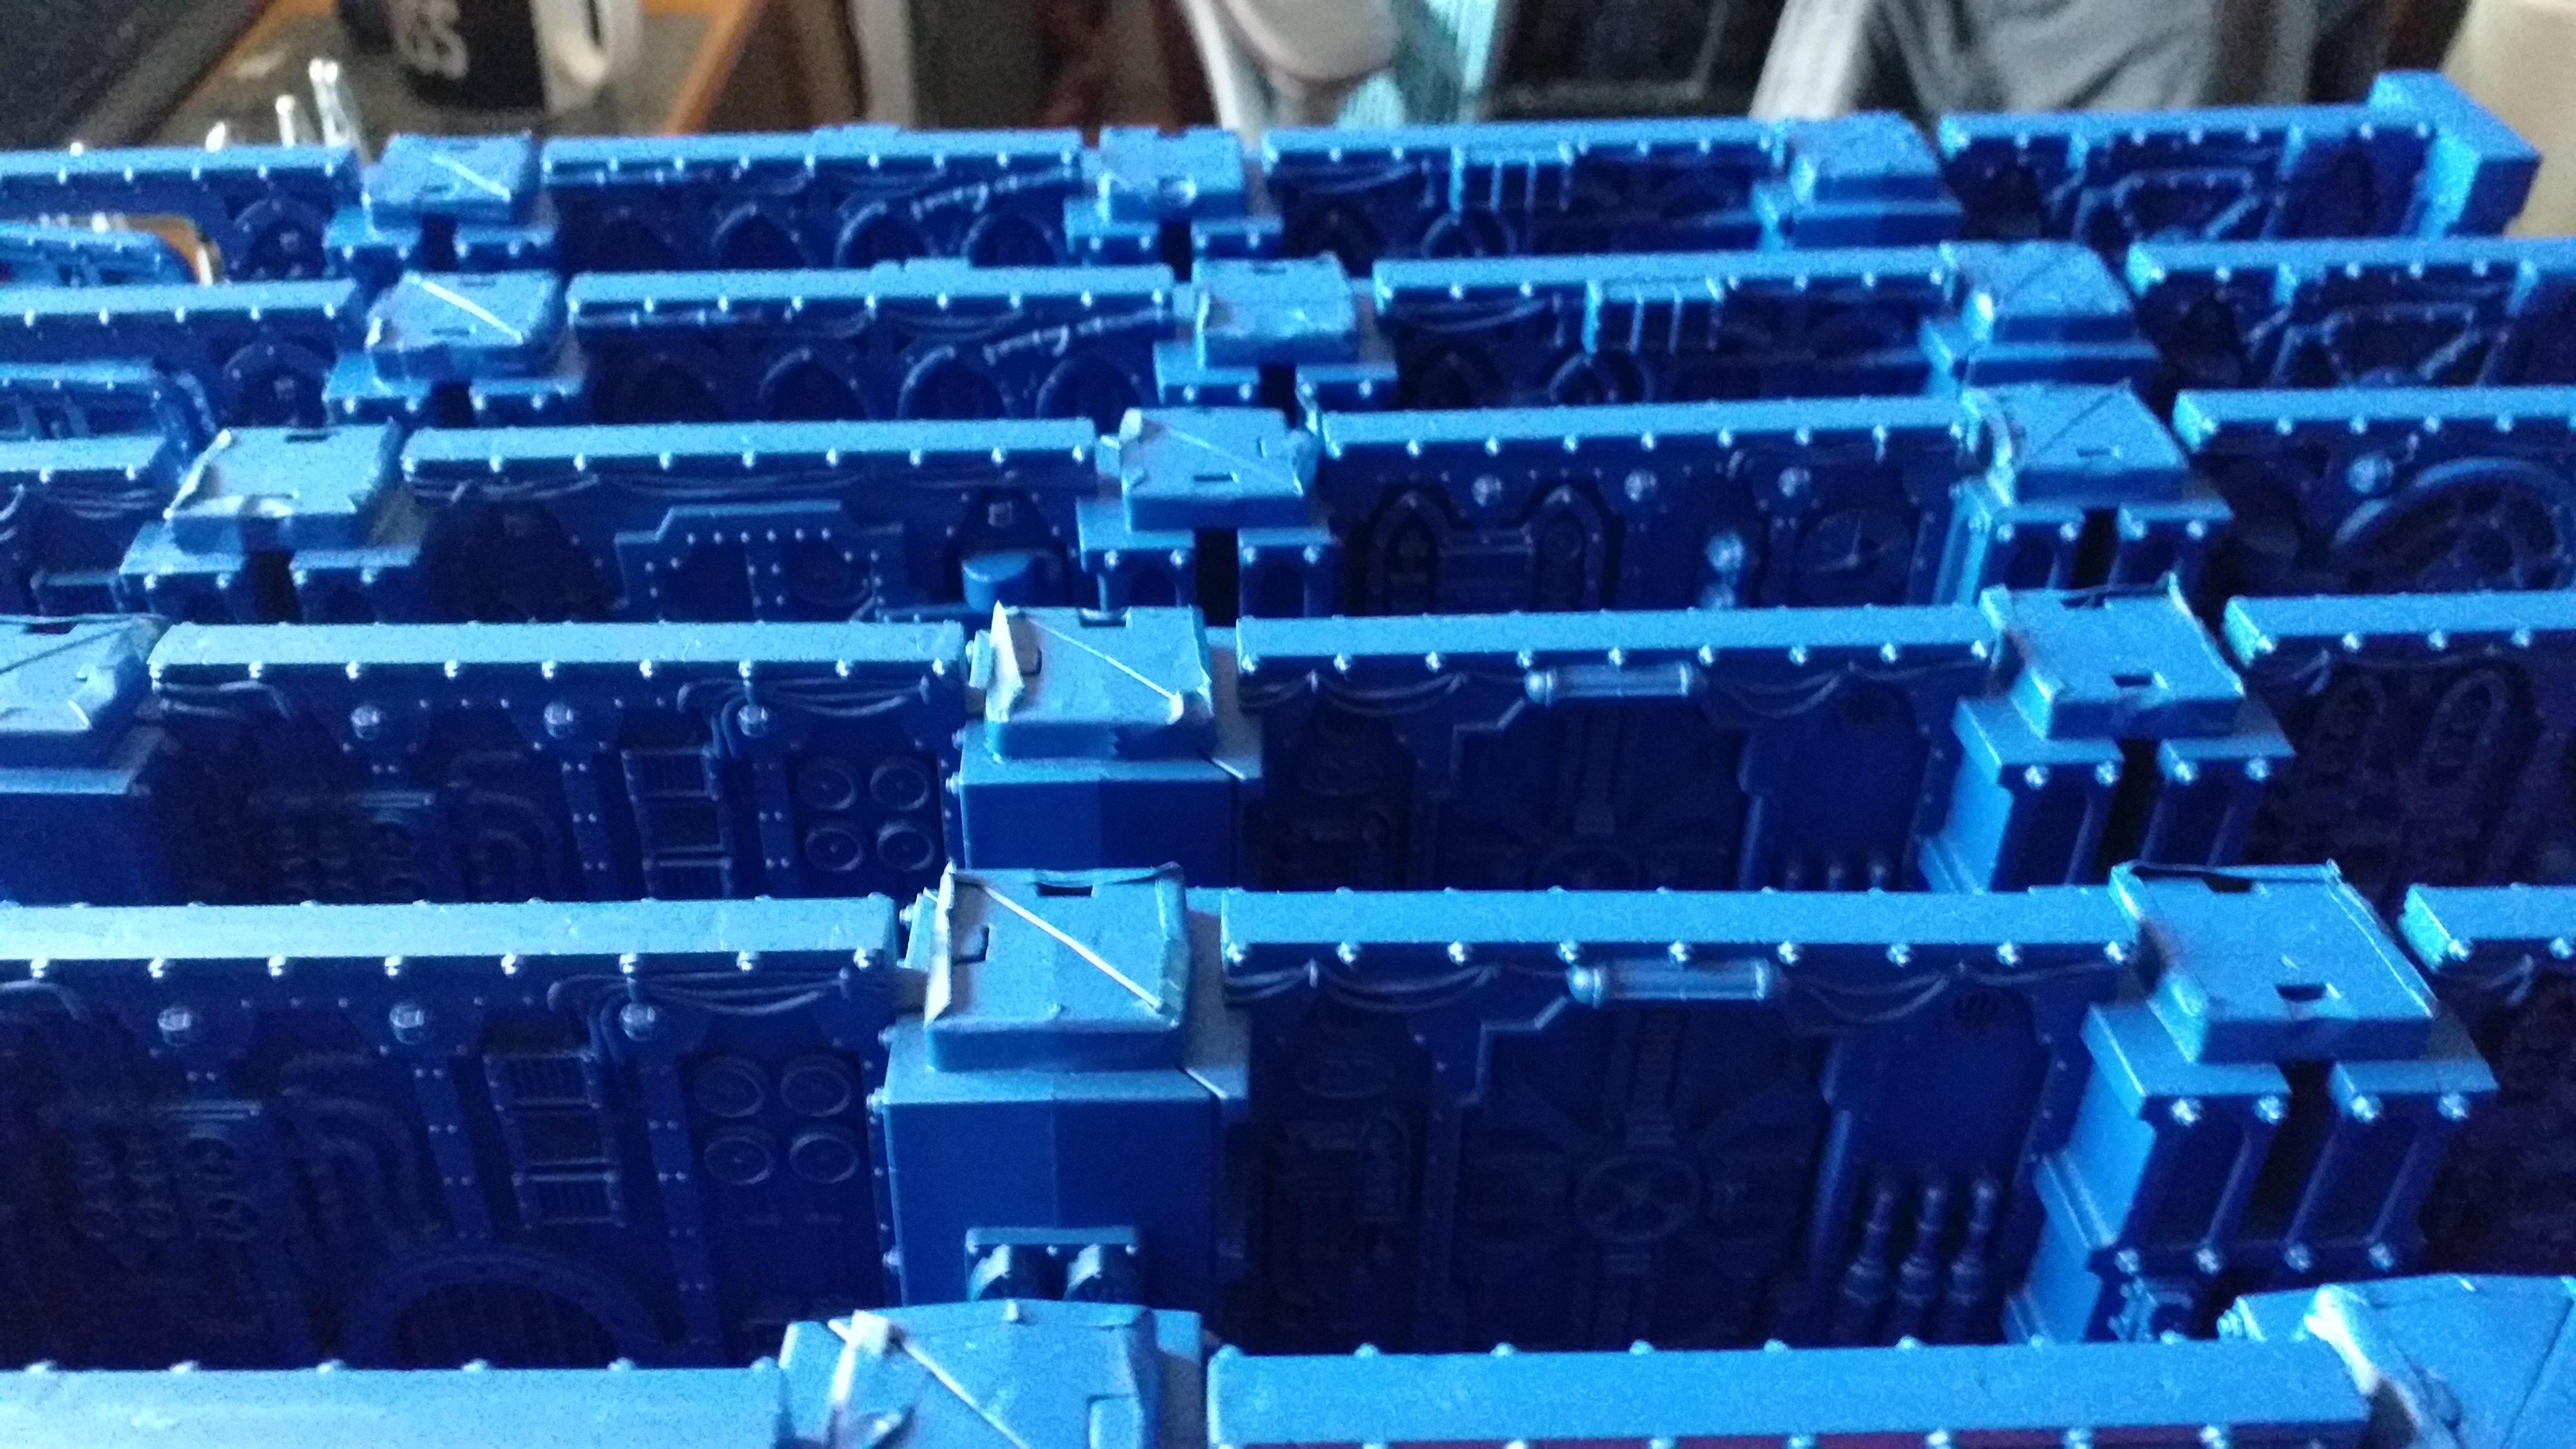
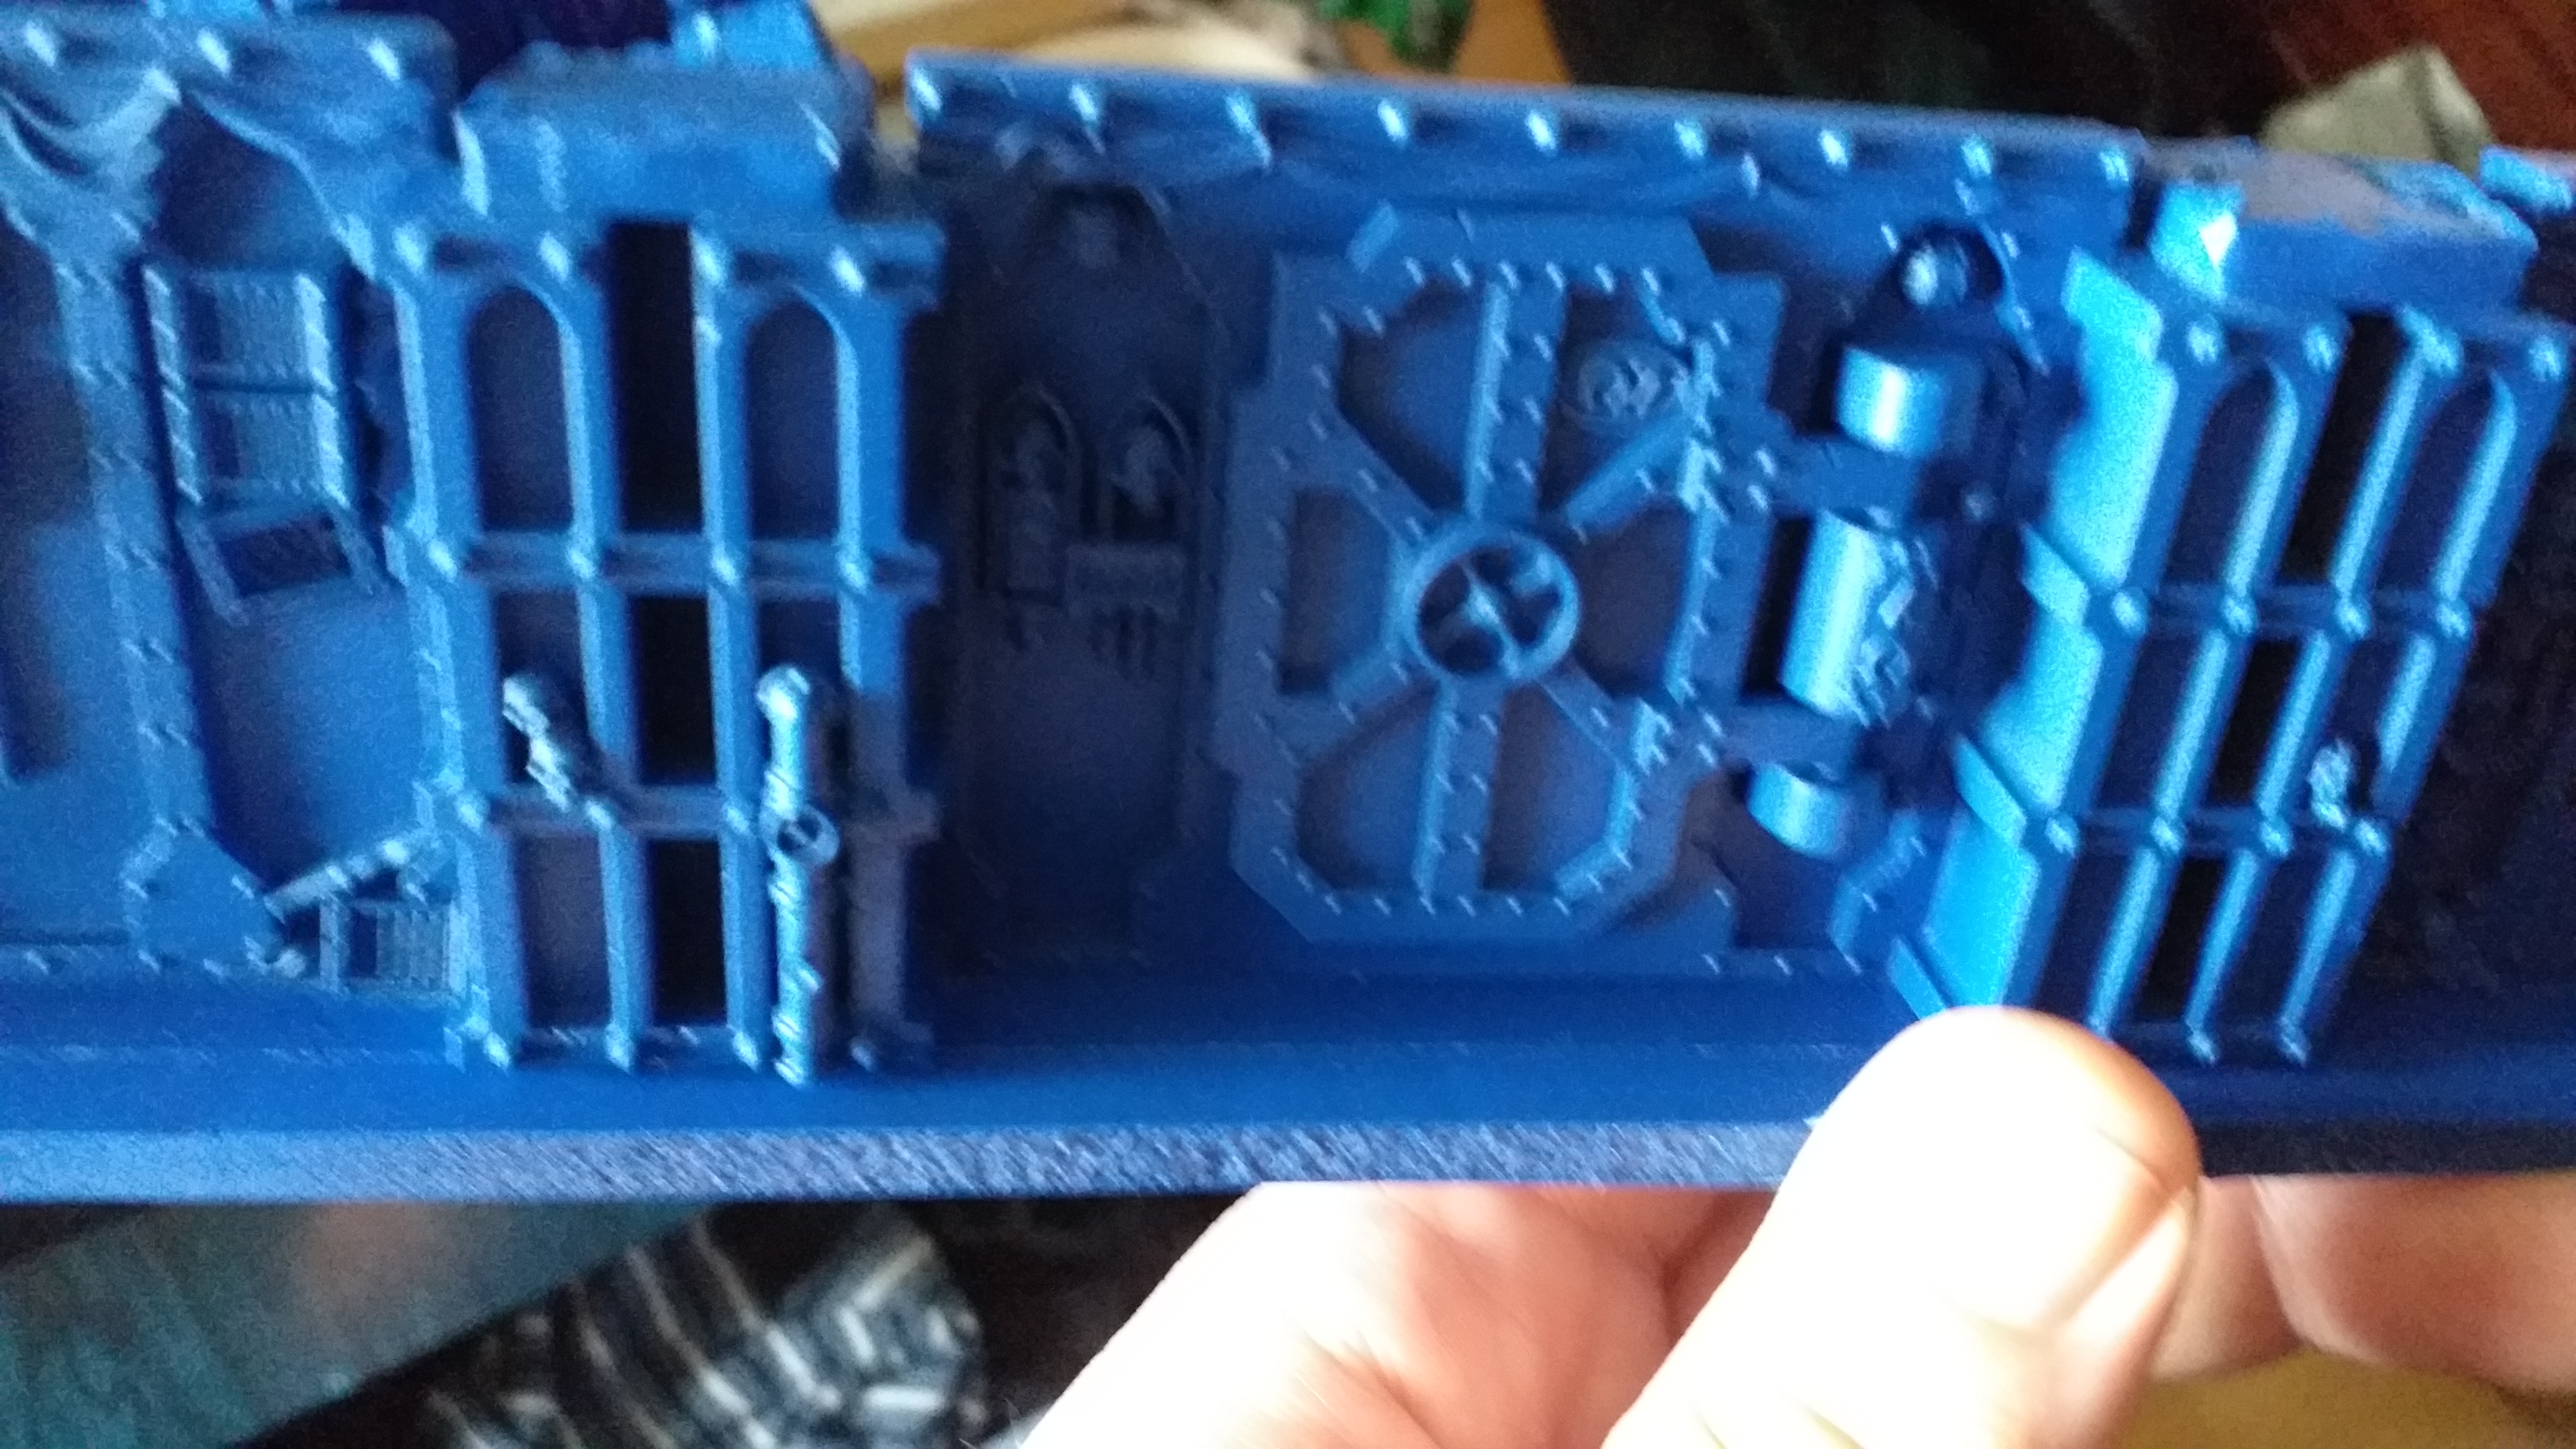
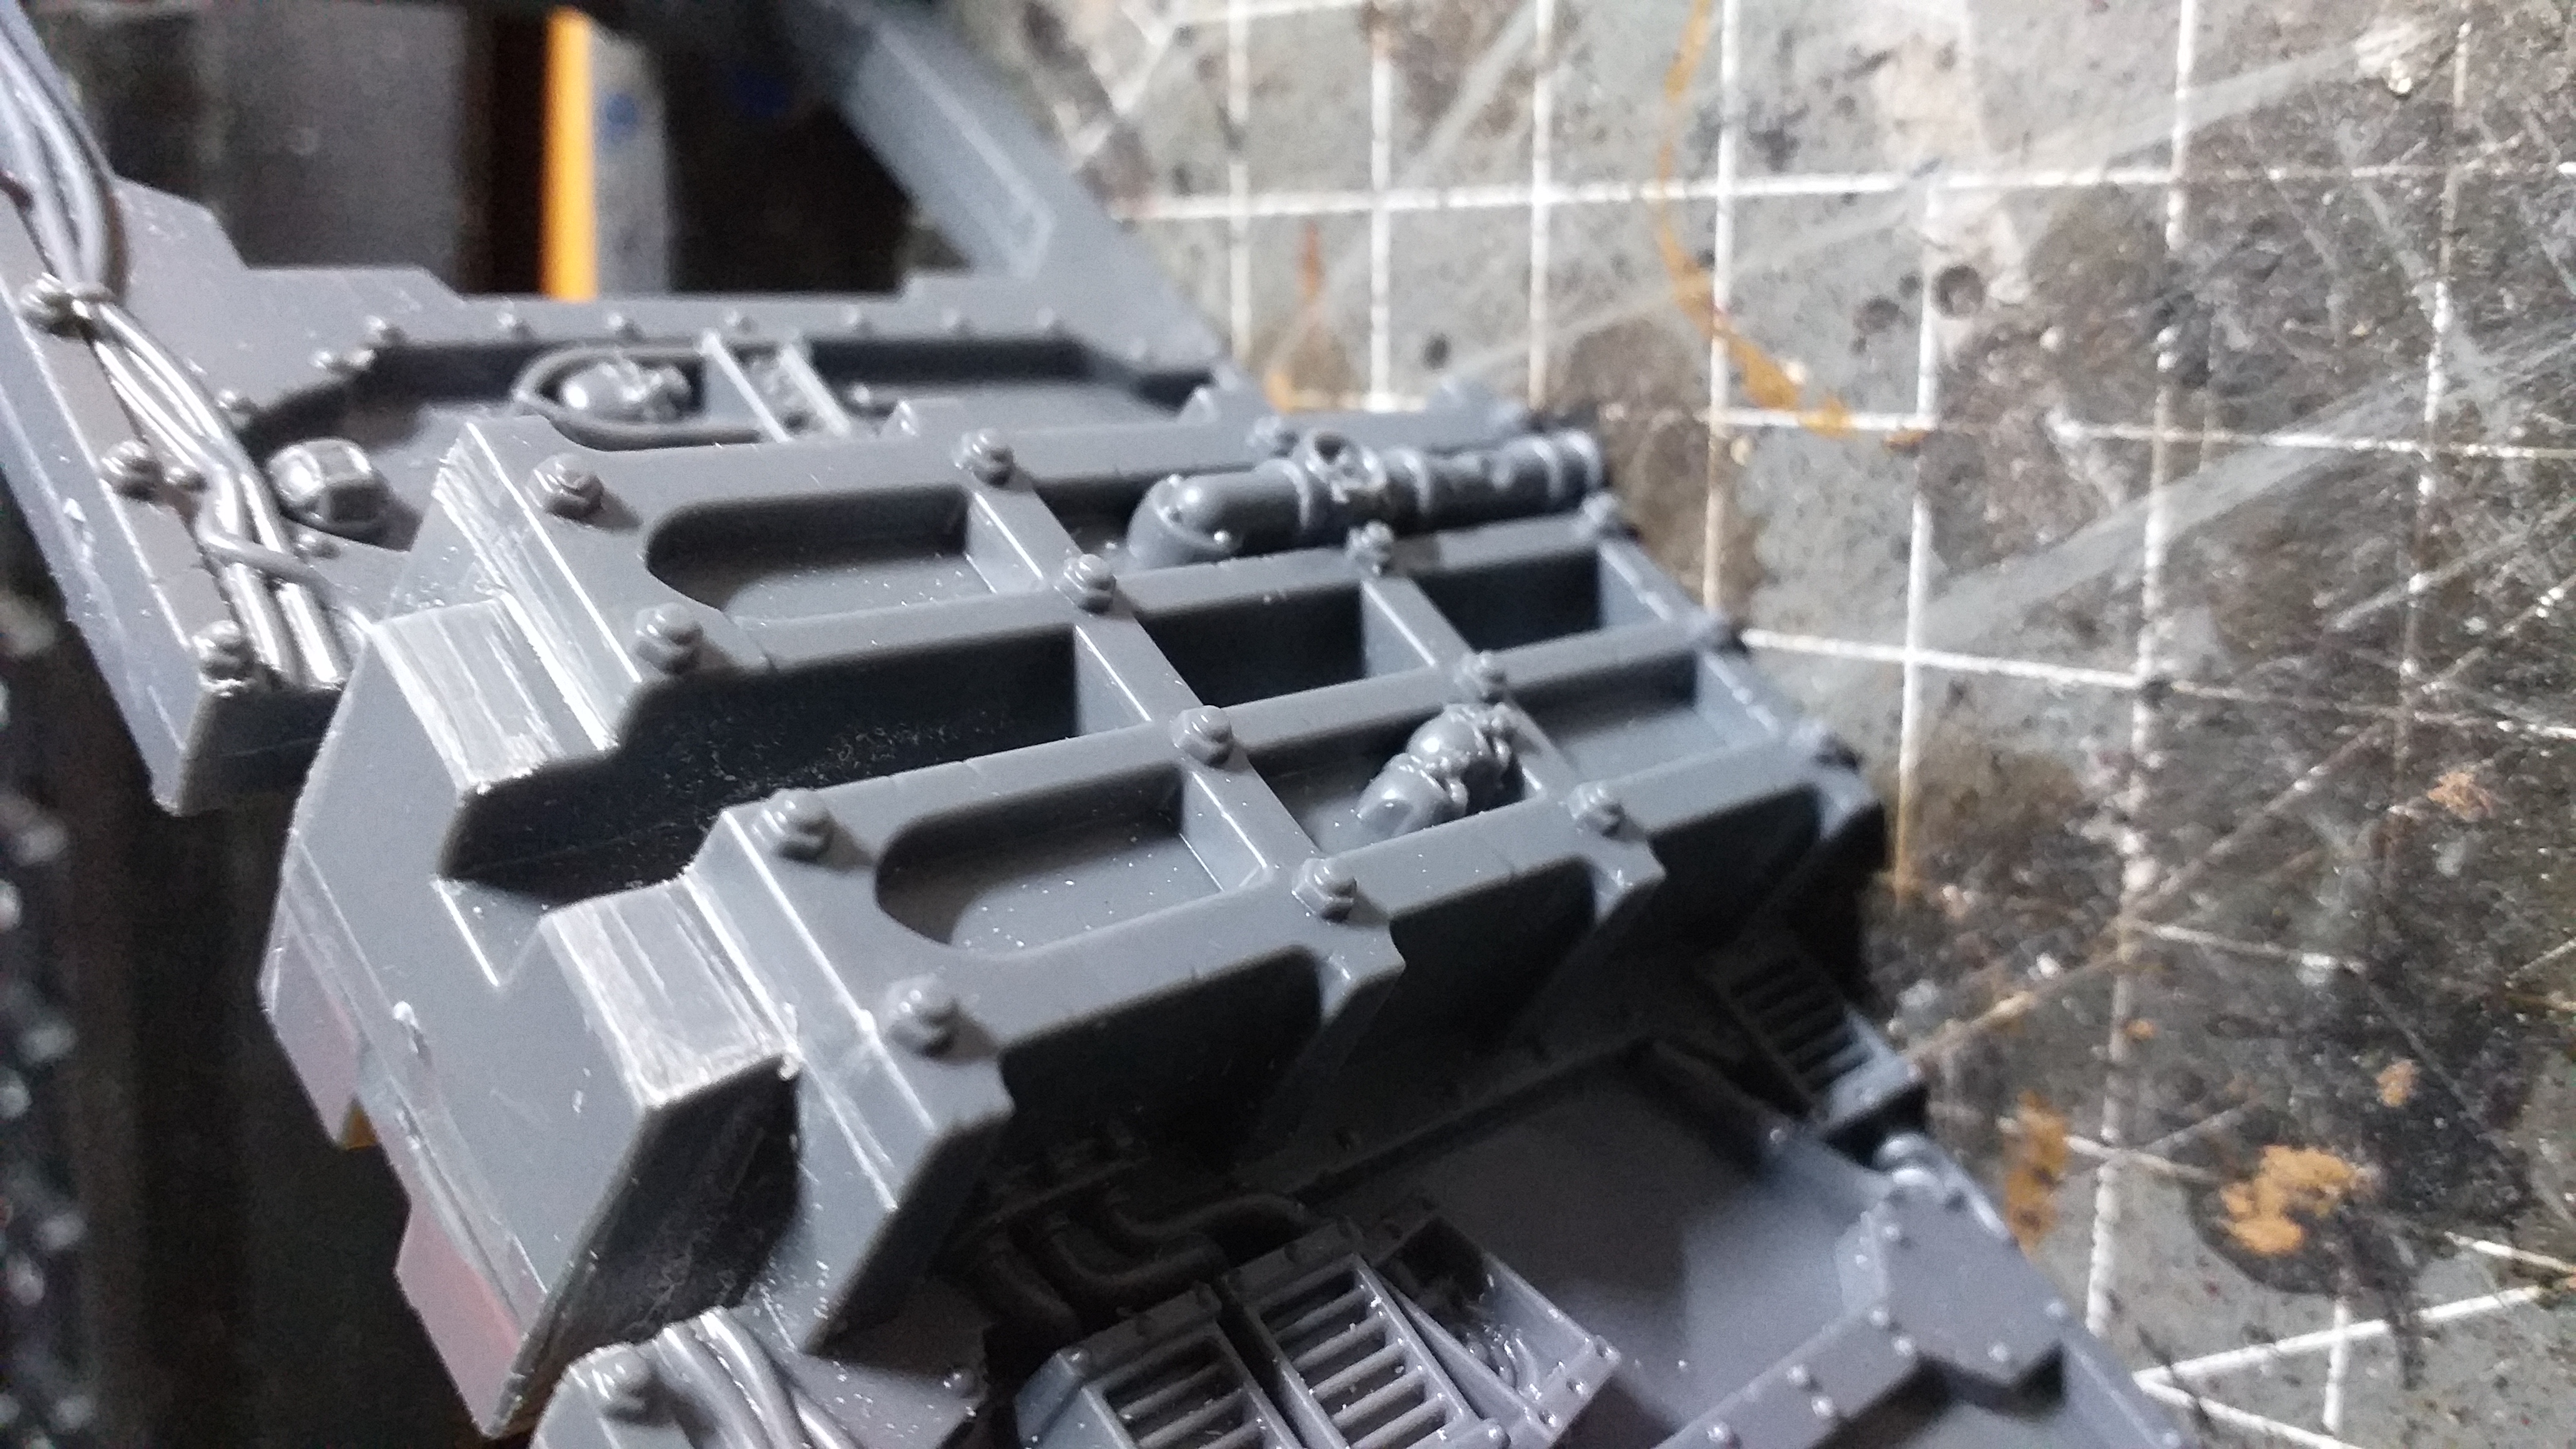
Finally got a decent evening for priming. First up, the walls.
The walls were carefully primed with the rather lovely Colour Forge Republic Blue. It’s a superb dark blue that almost seems to have a purple tint in a certain light. Very, very nice.
Next, the Pillar Caps. These were primed in the ever reliable Retributor Armour. It really is a glorious gold. I had them bunched a touch too tightly on the paint sticks and I’ll need to go over the sides and some nooks and crannies by hand.


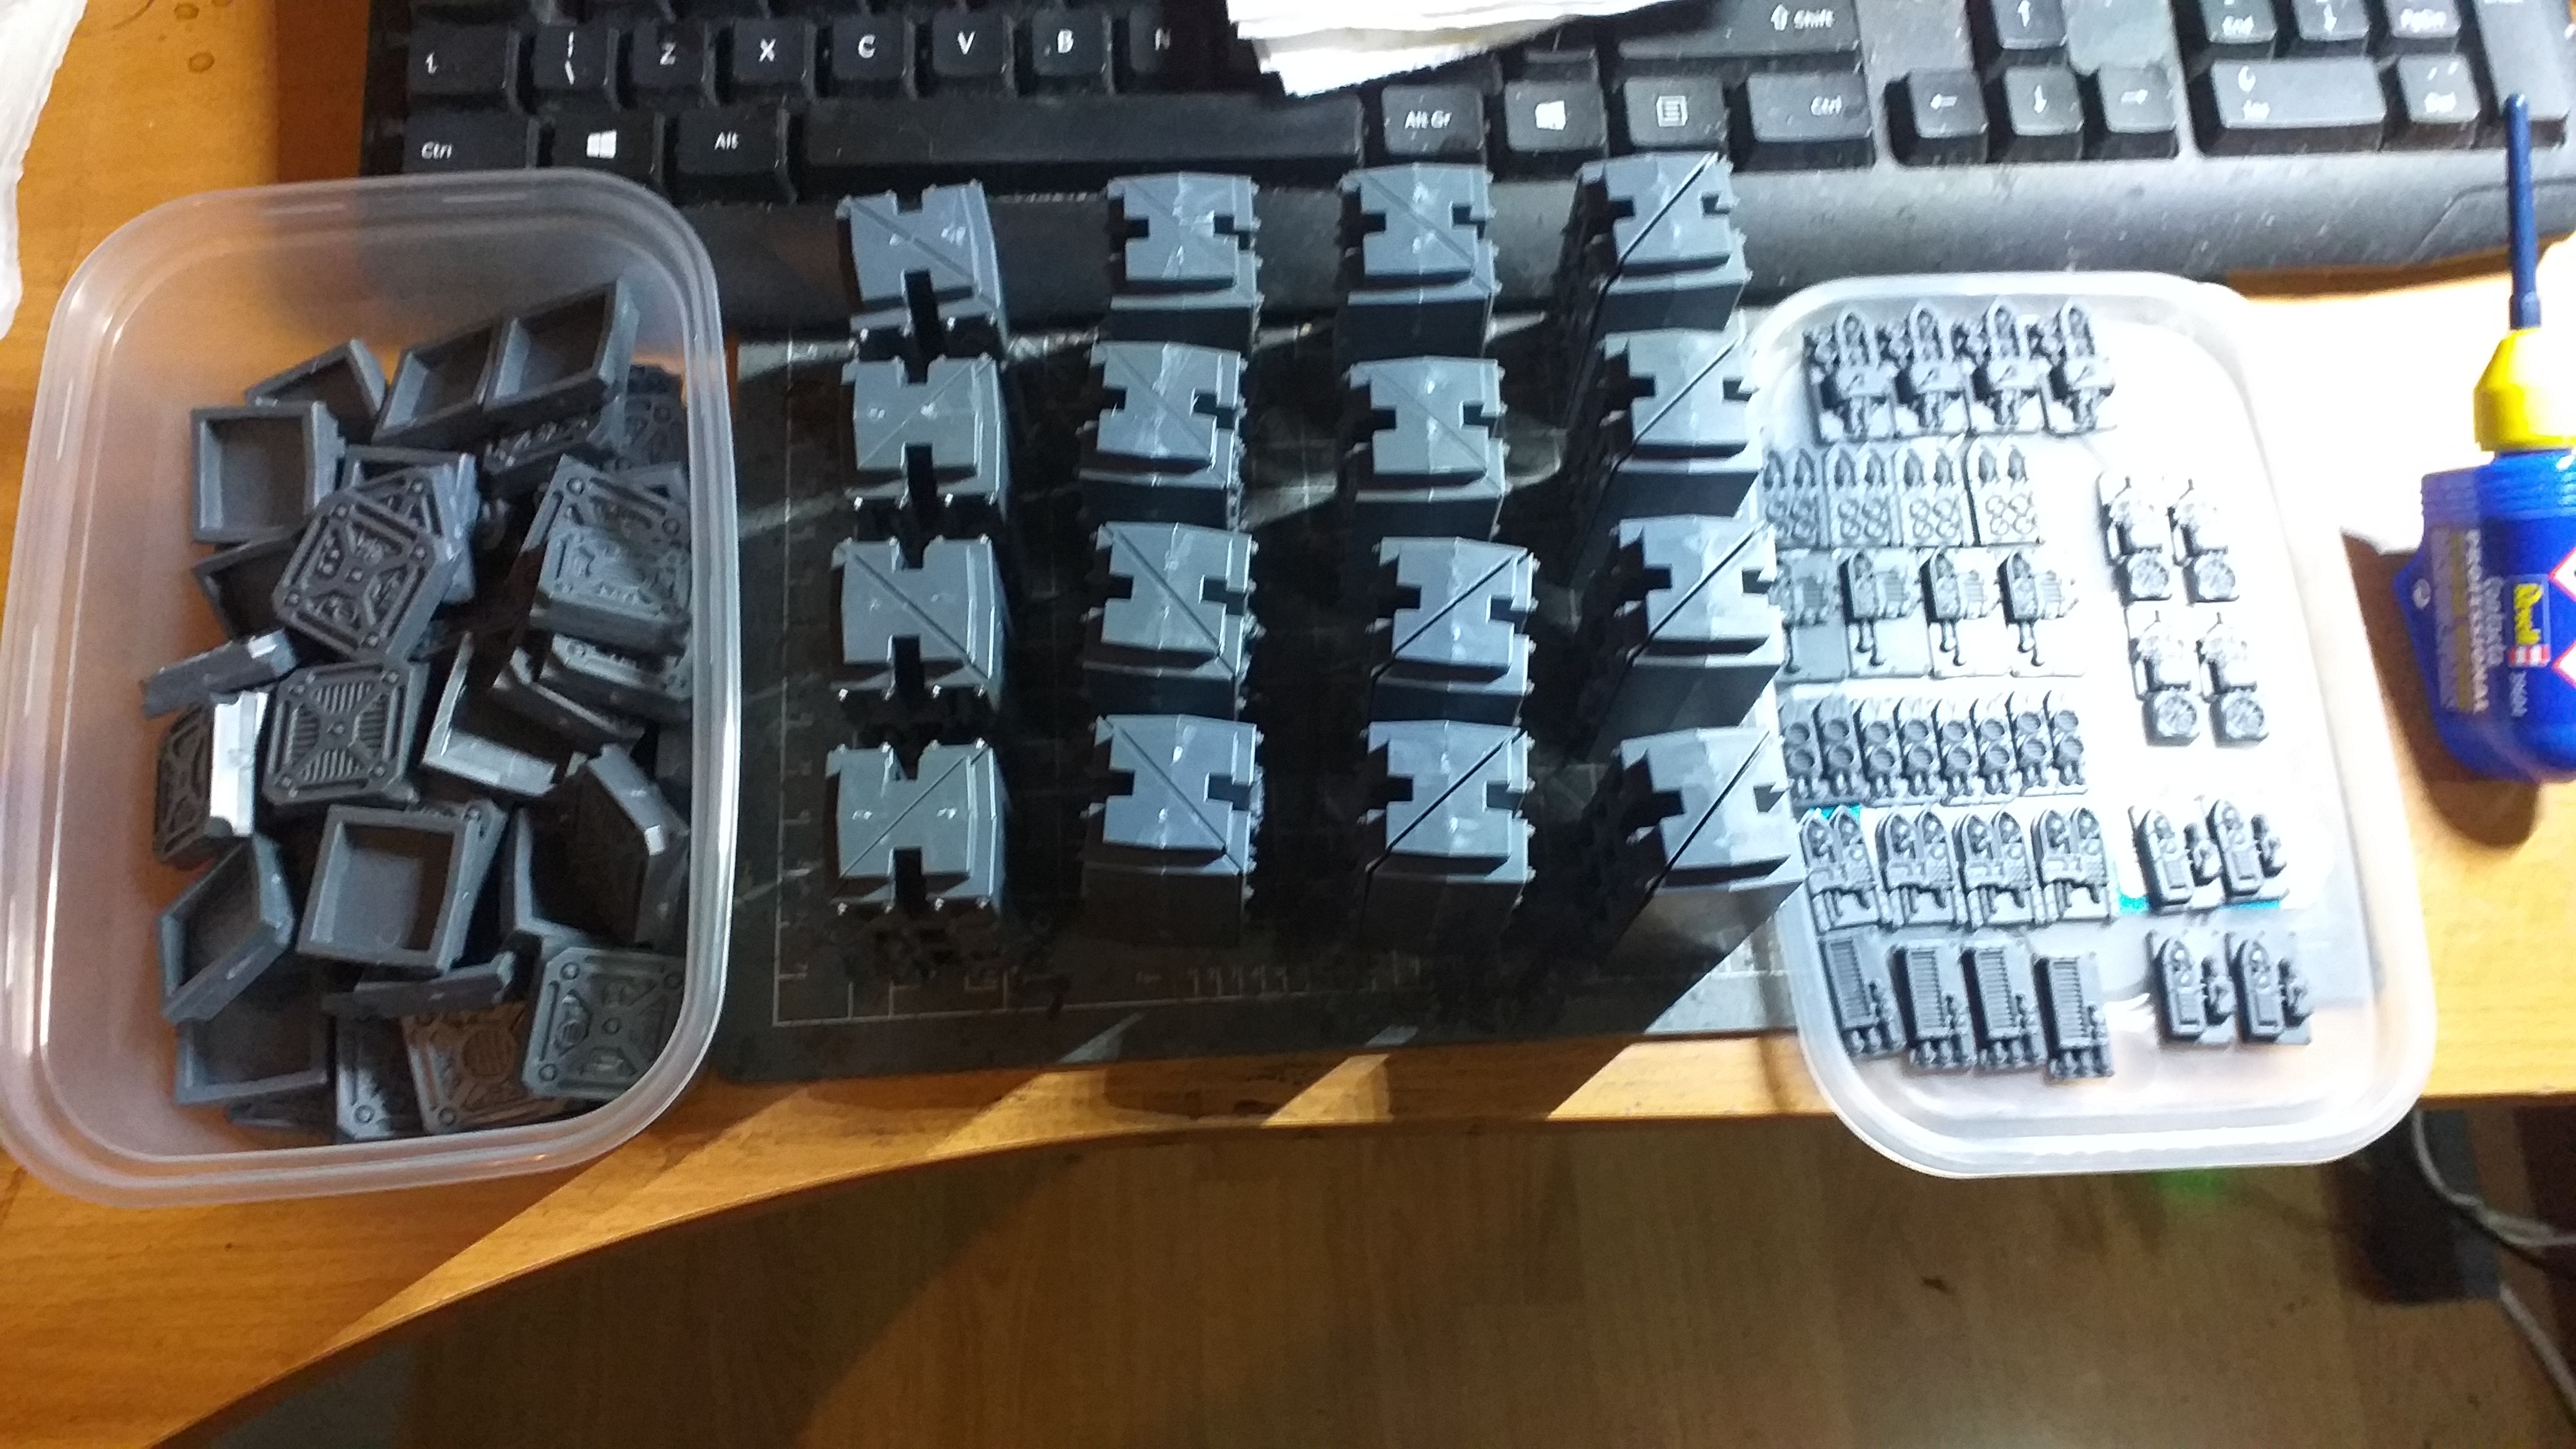
Prepping for Priming!
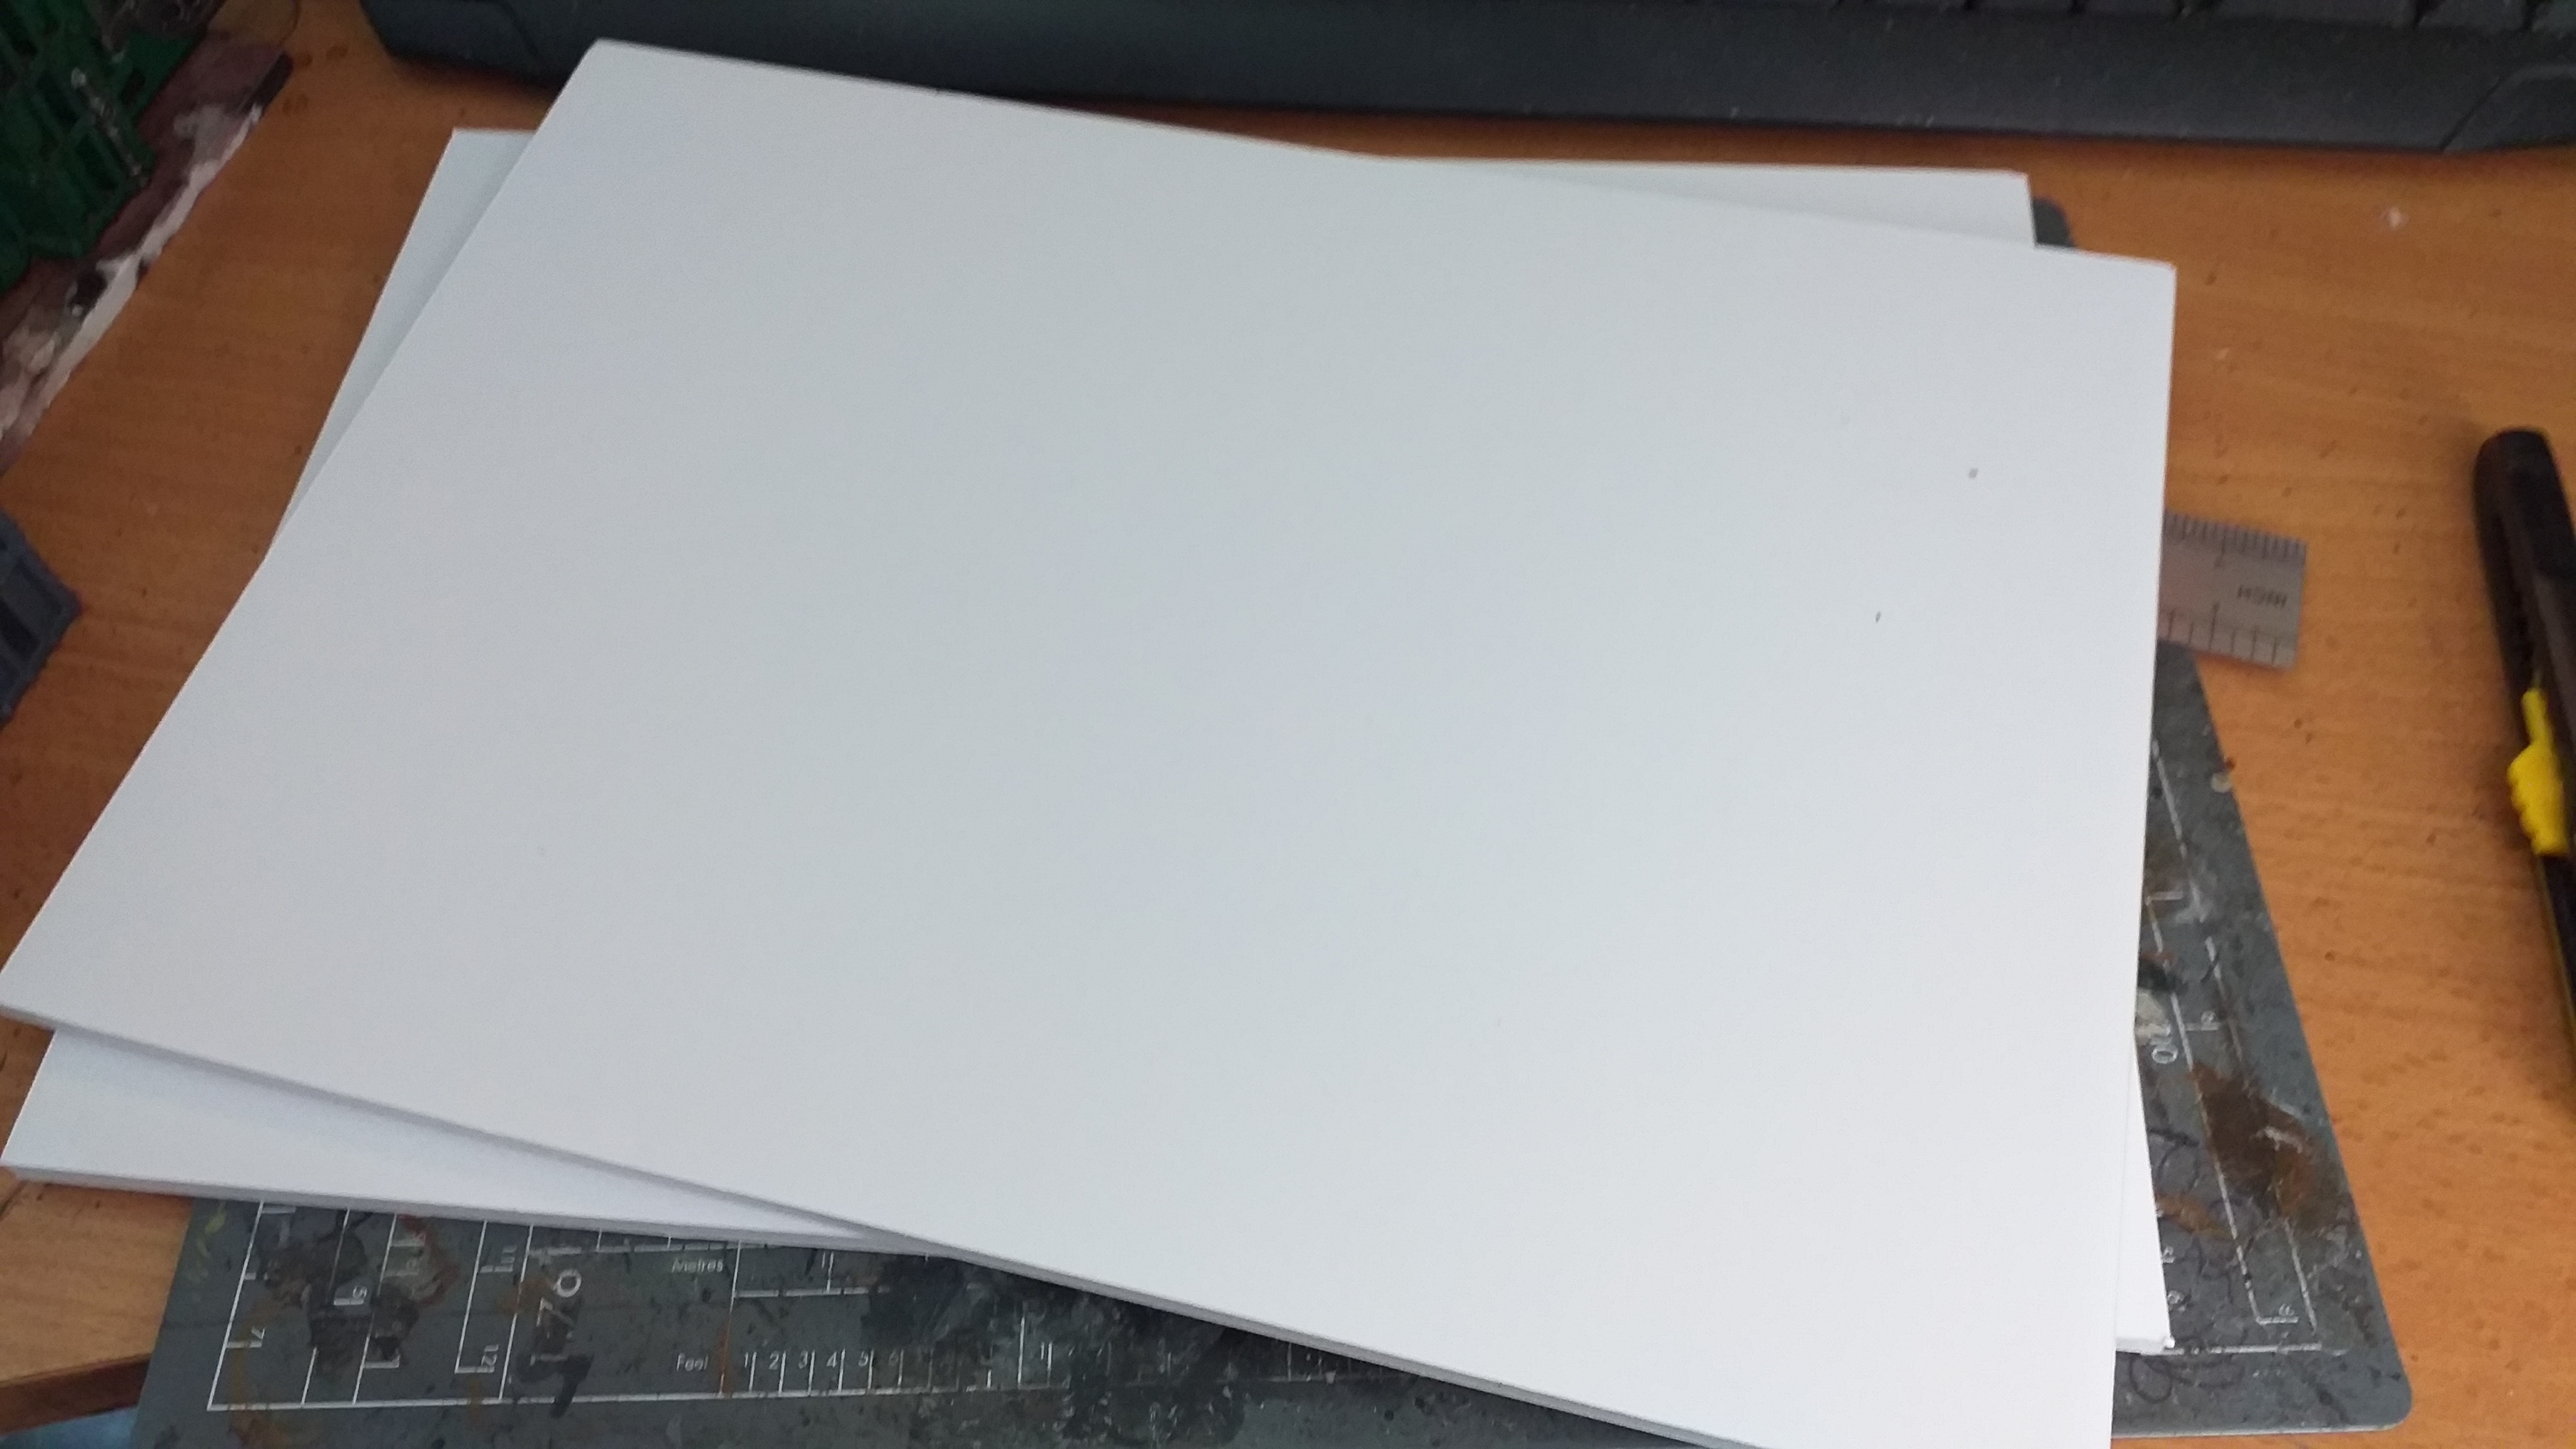
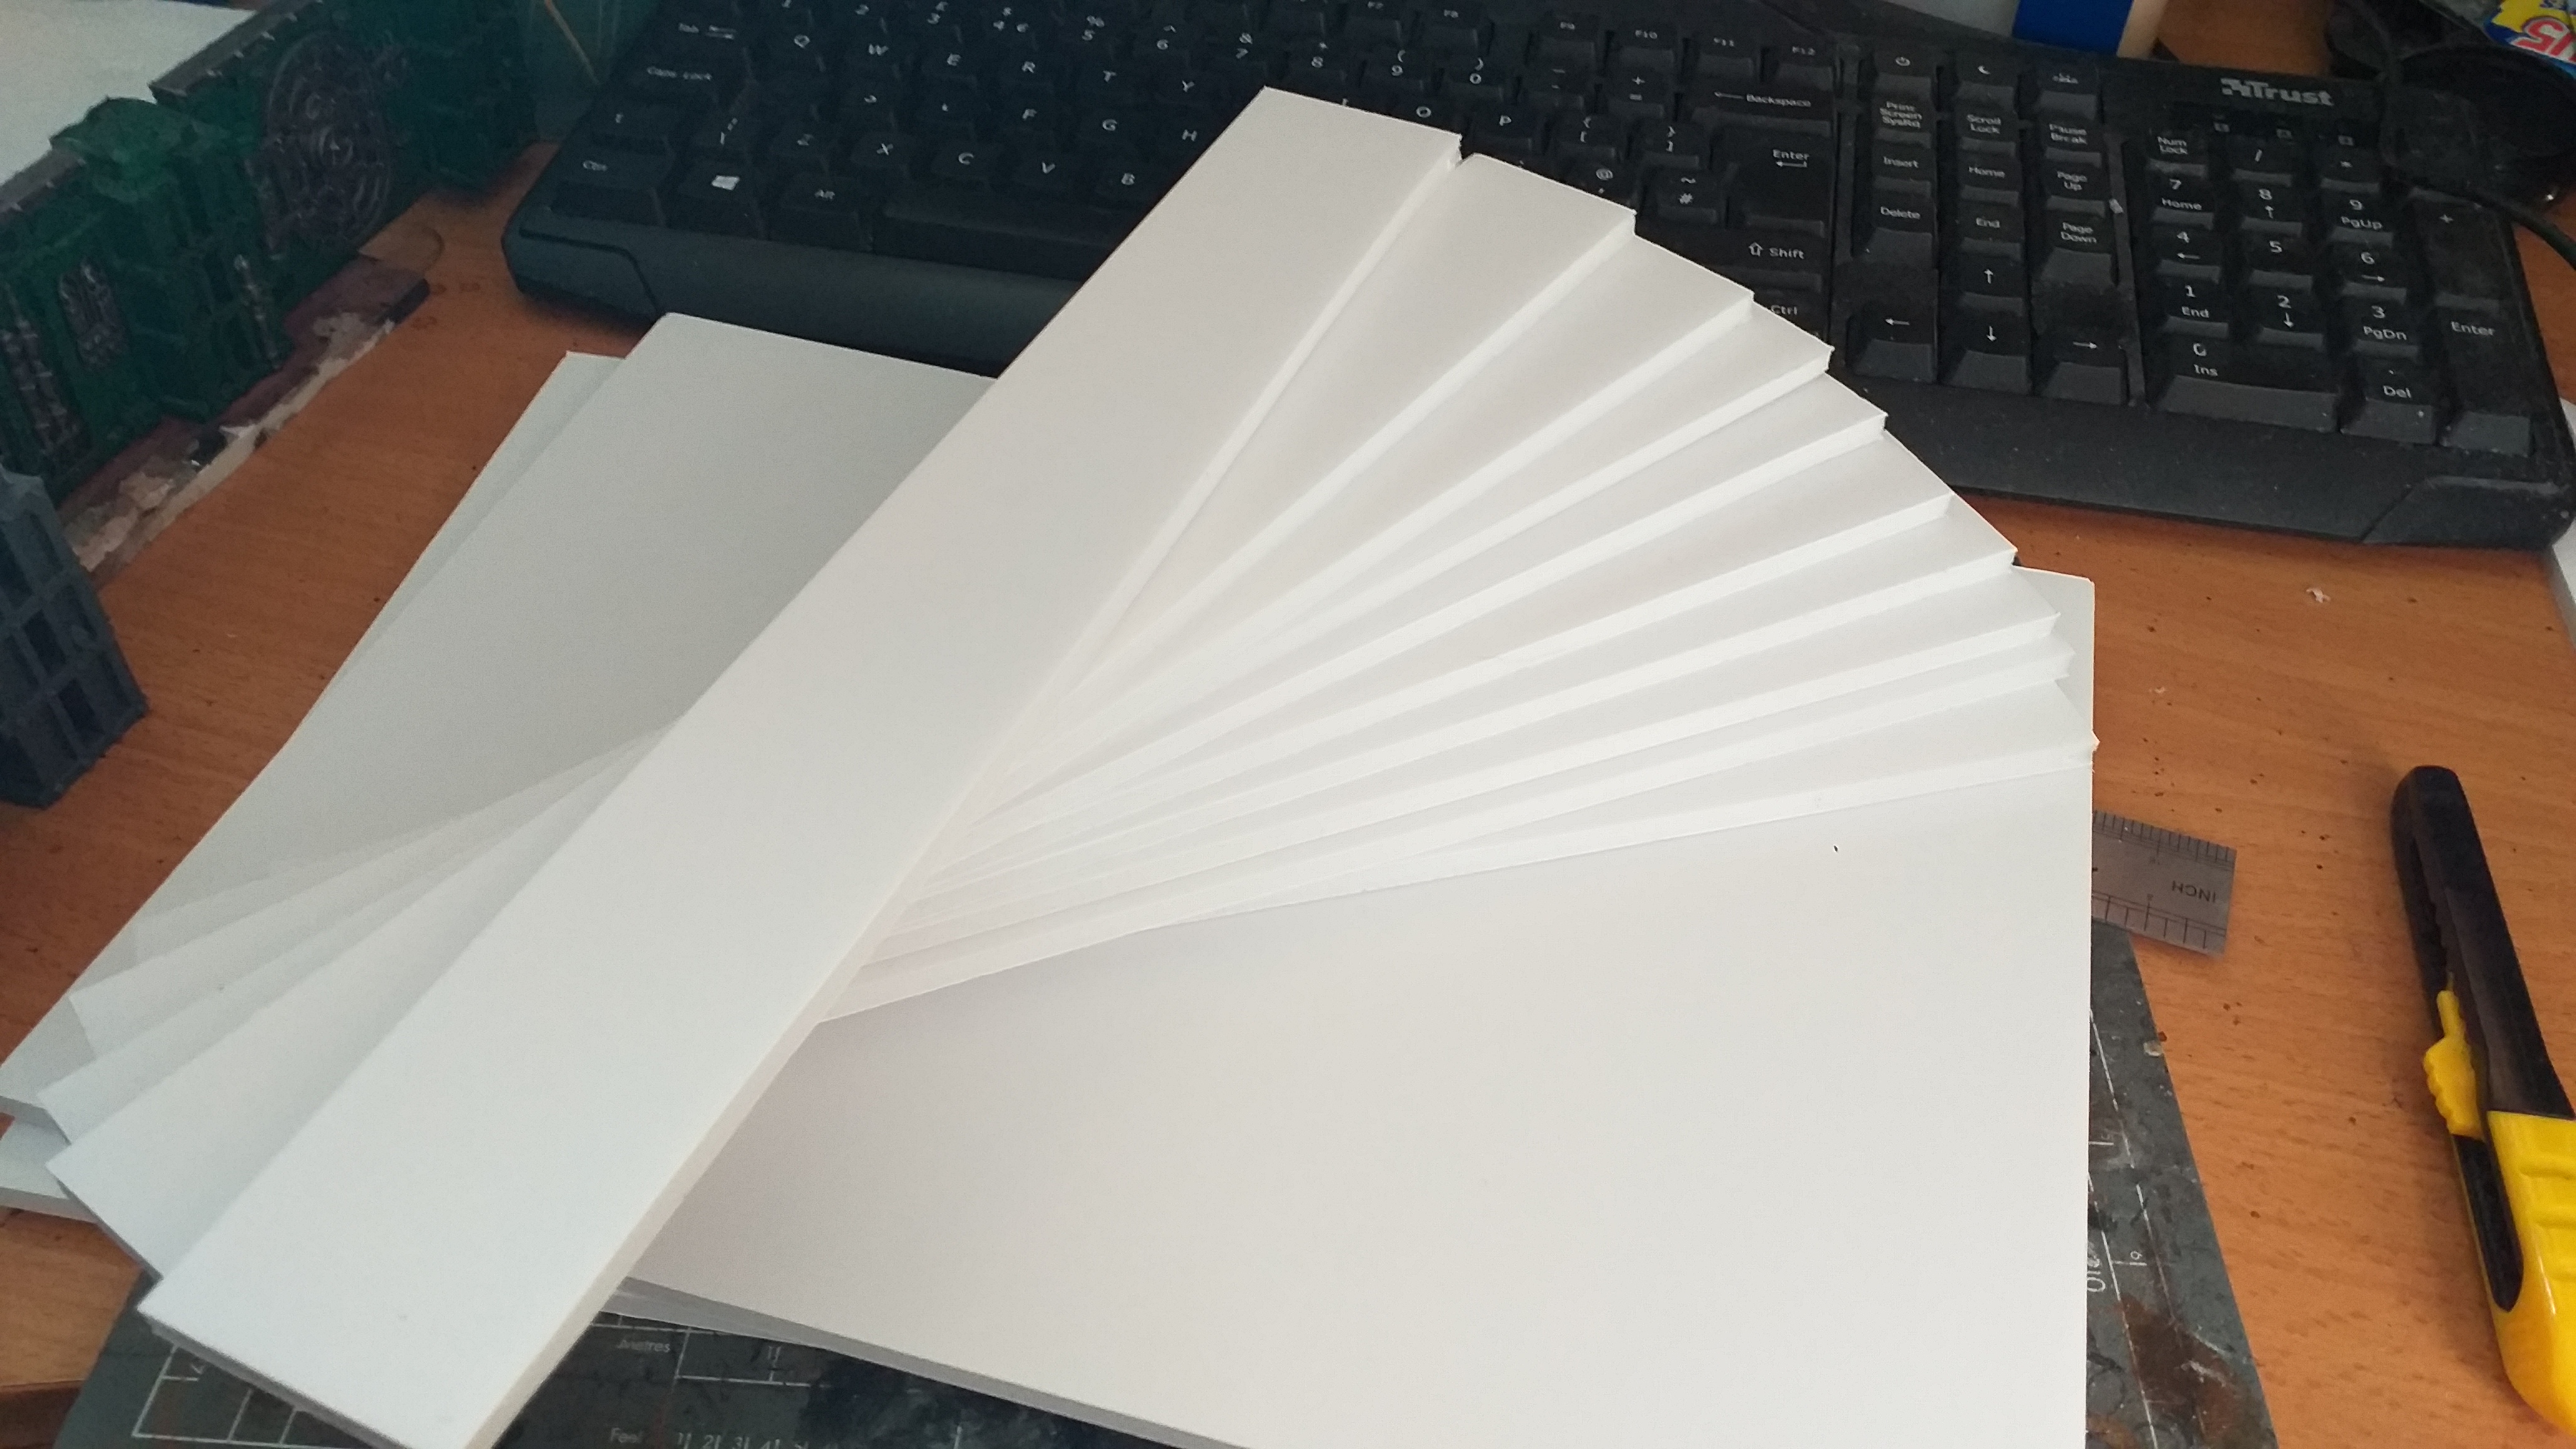
First up, Foamcore!
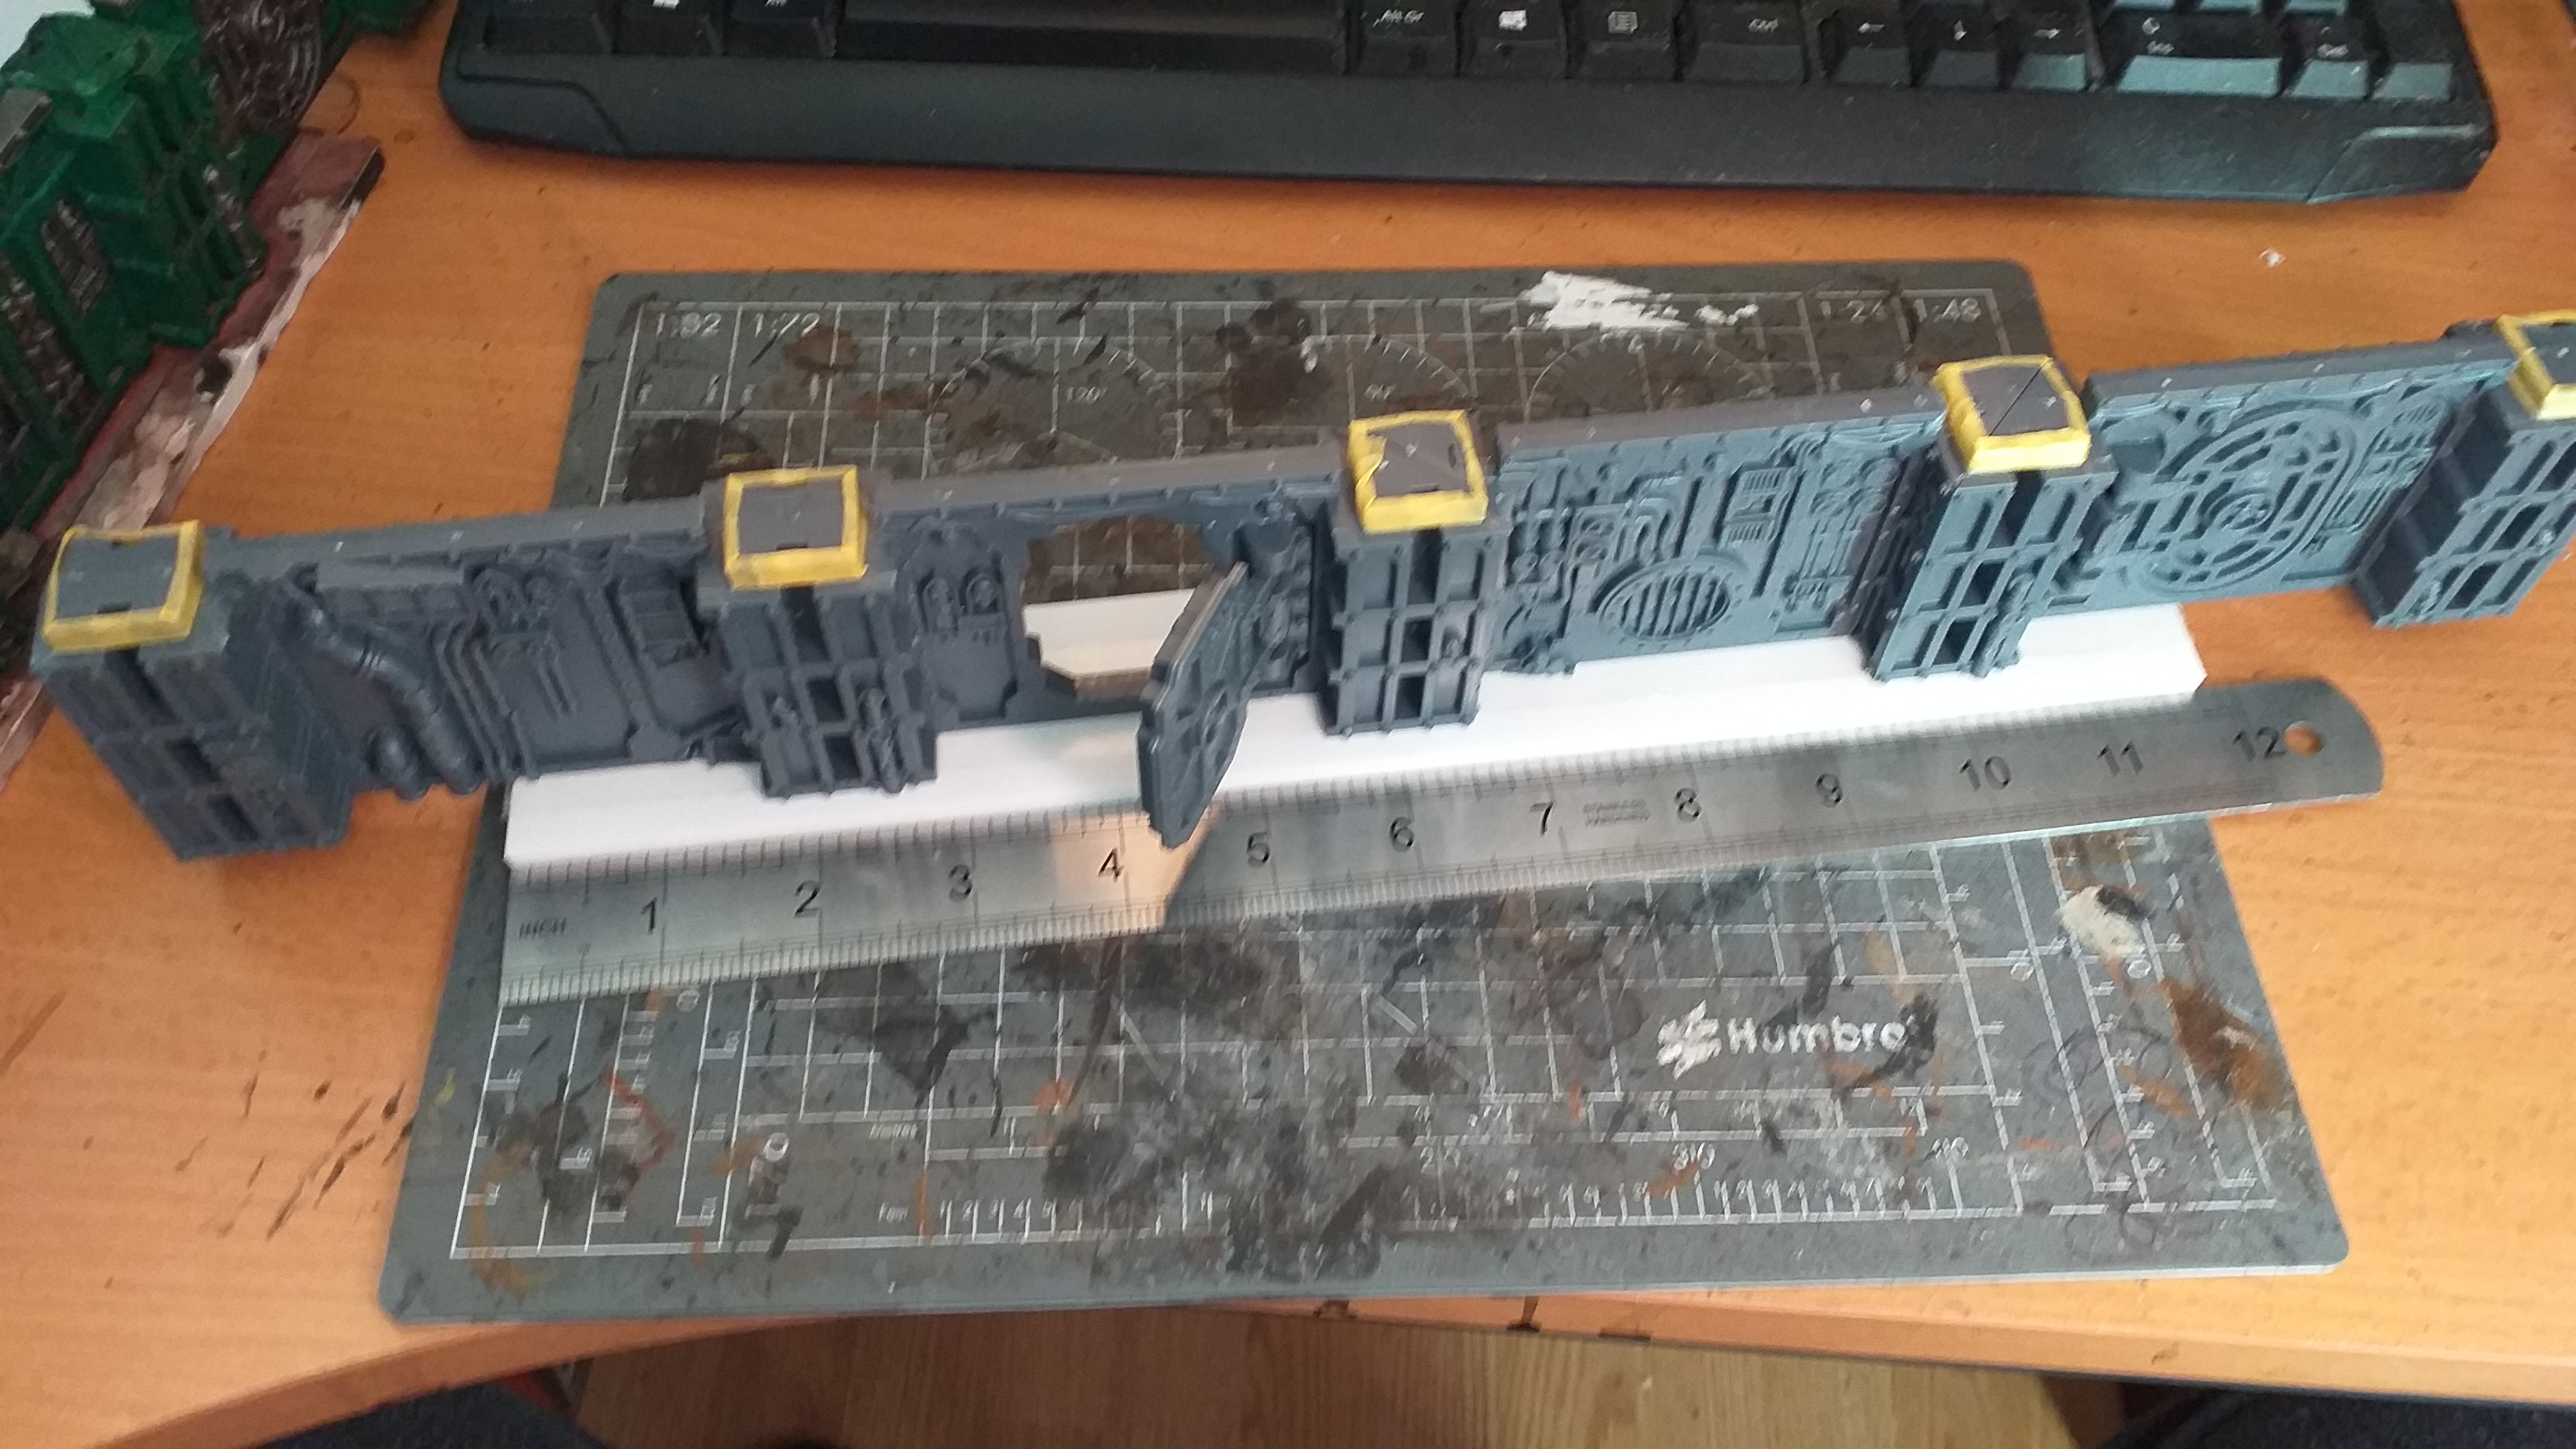
I sliced three sheets of A4 Foamcore into roughly 4 4.5cm wide strips. I produced 12 strips total. I applied doublesided tape the length of the piece and put it aside.
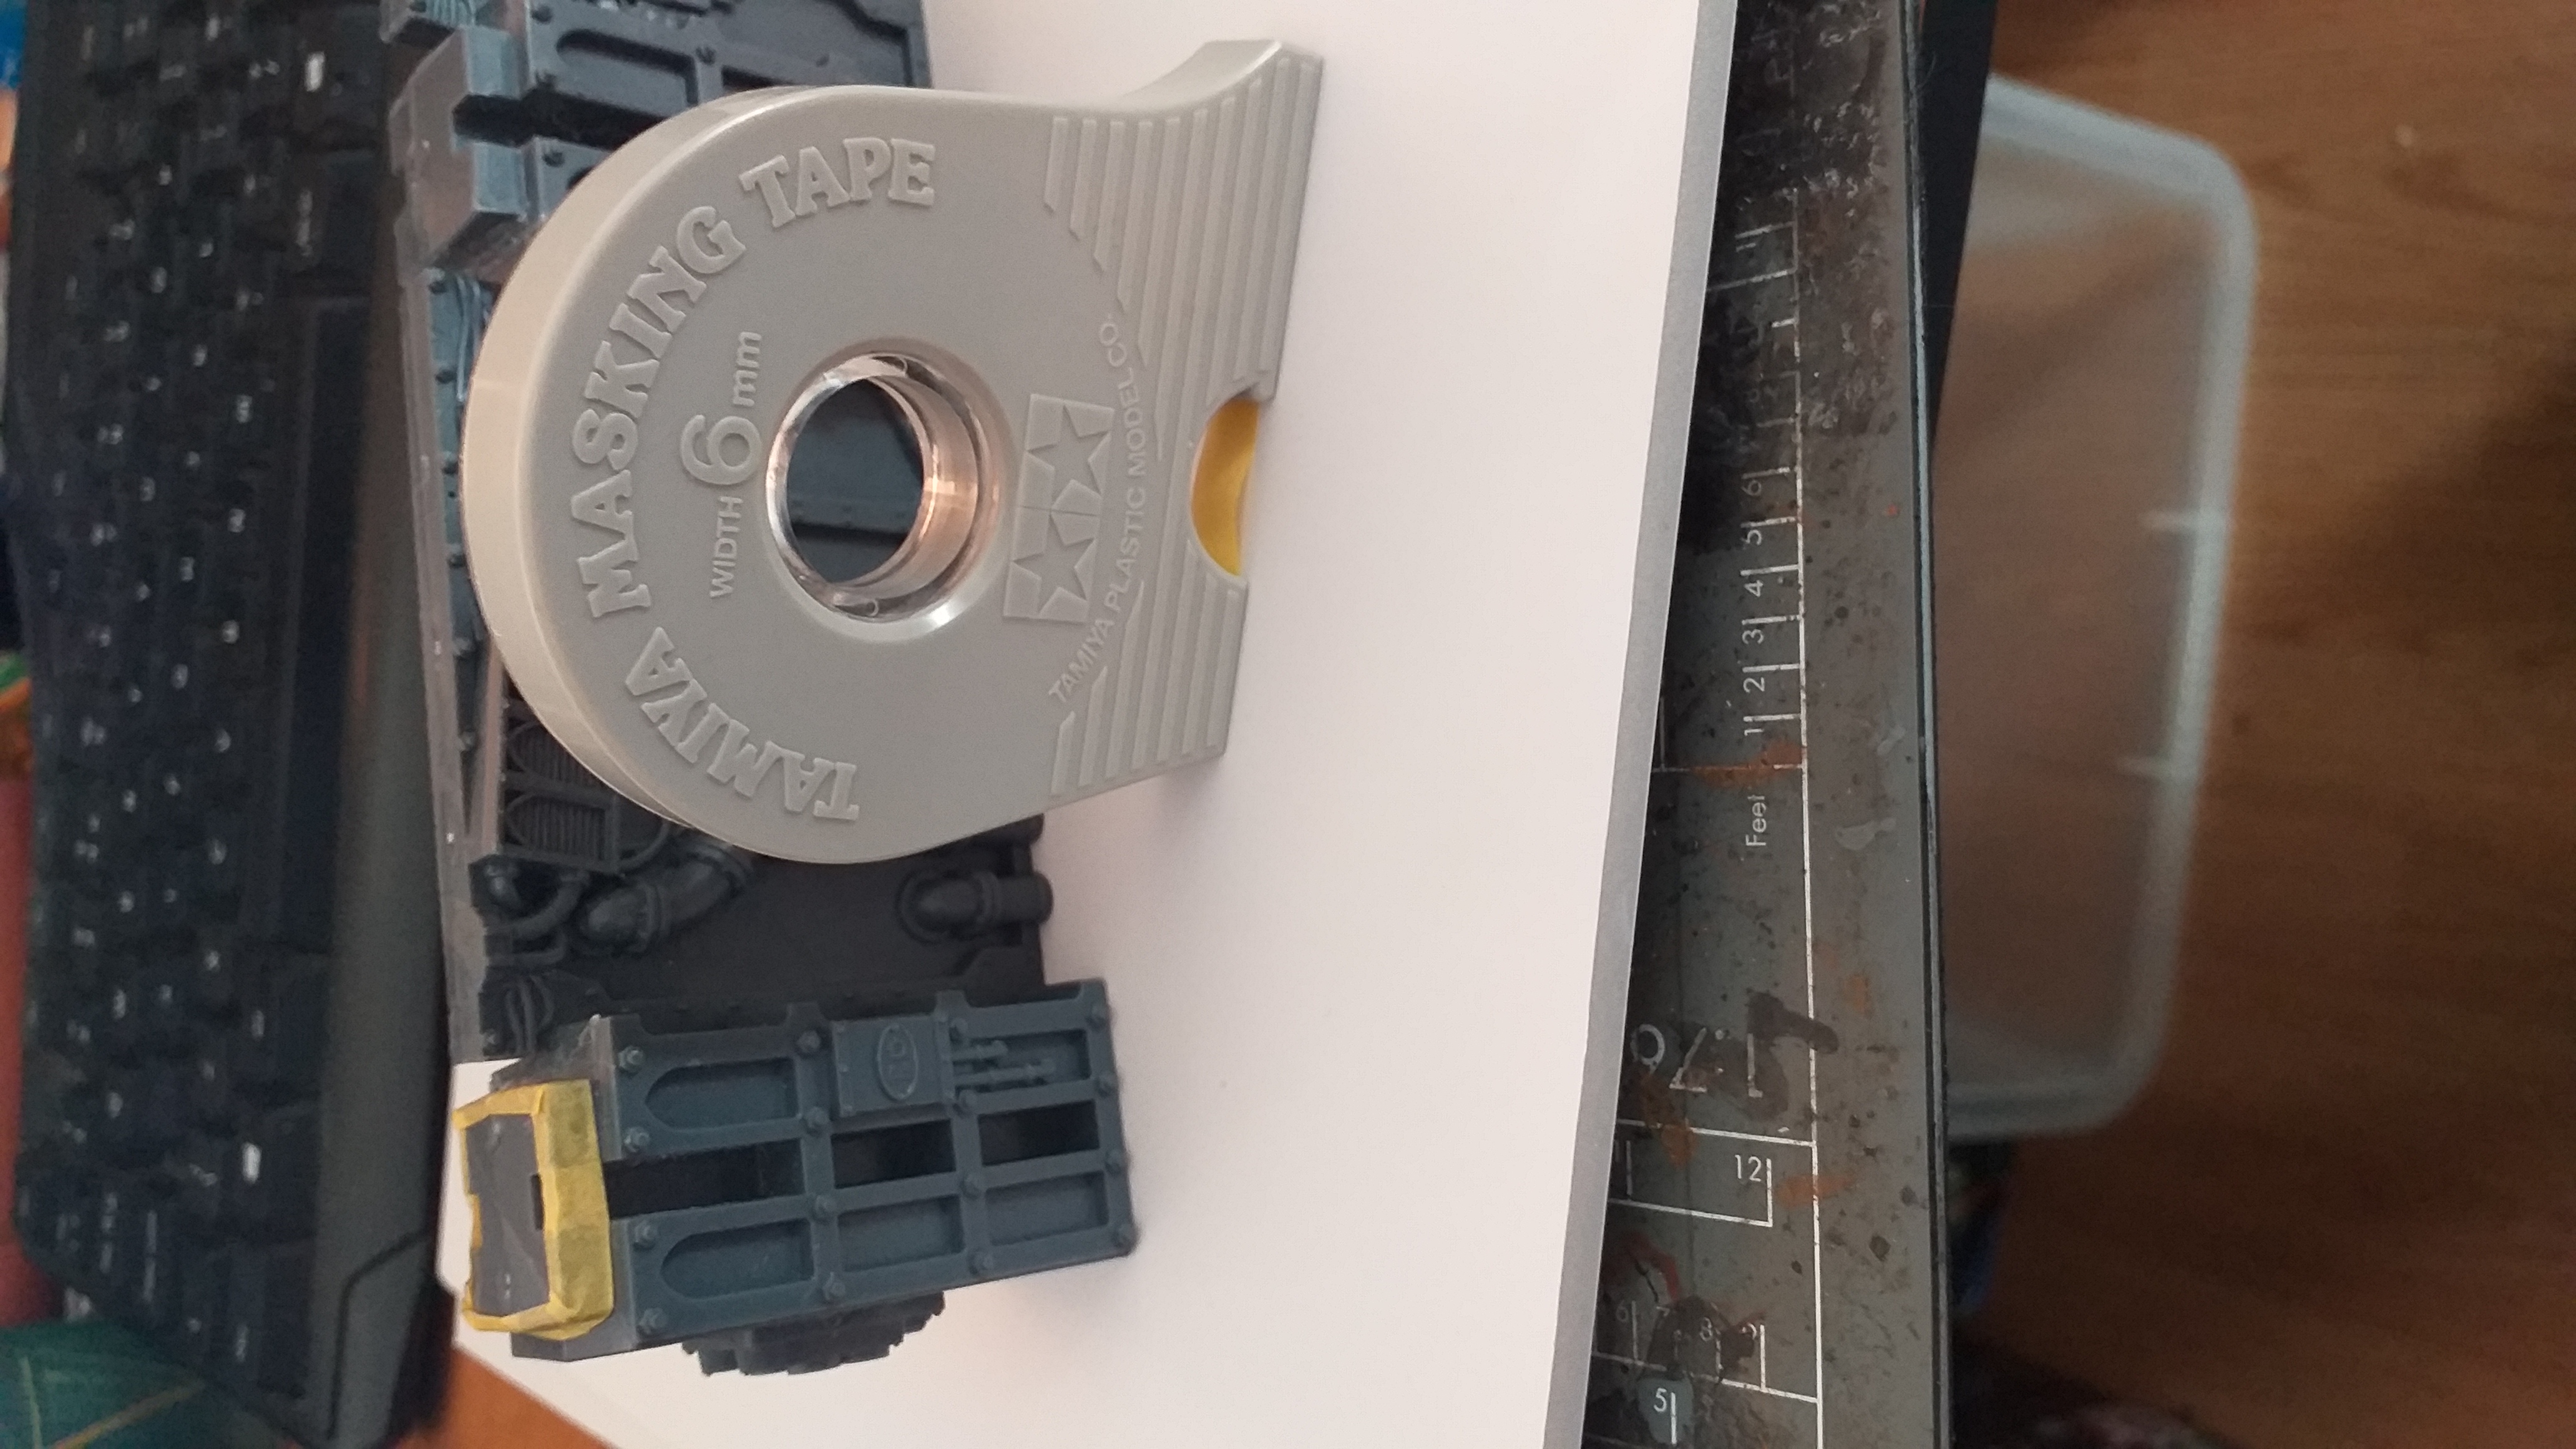
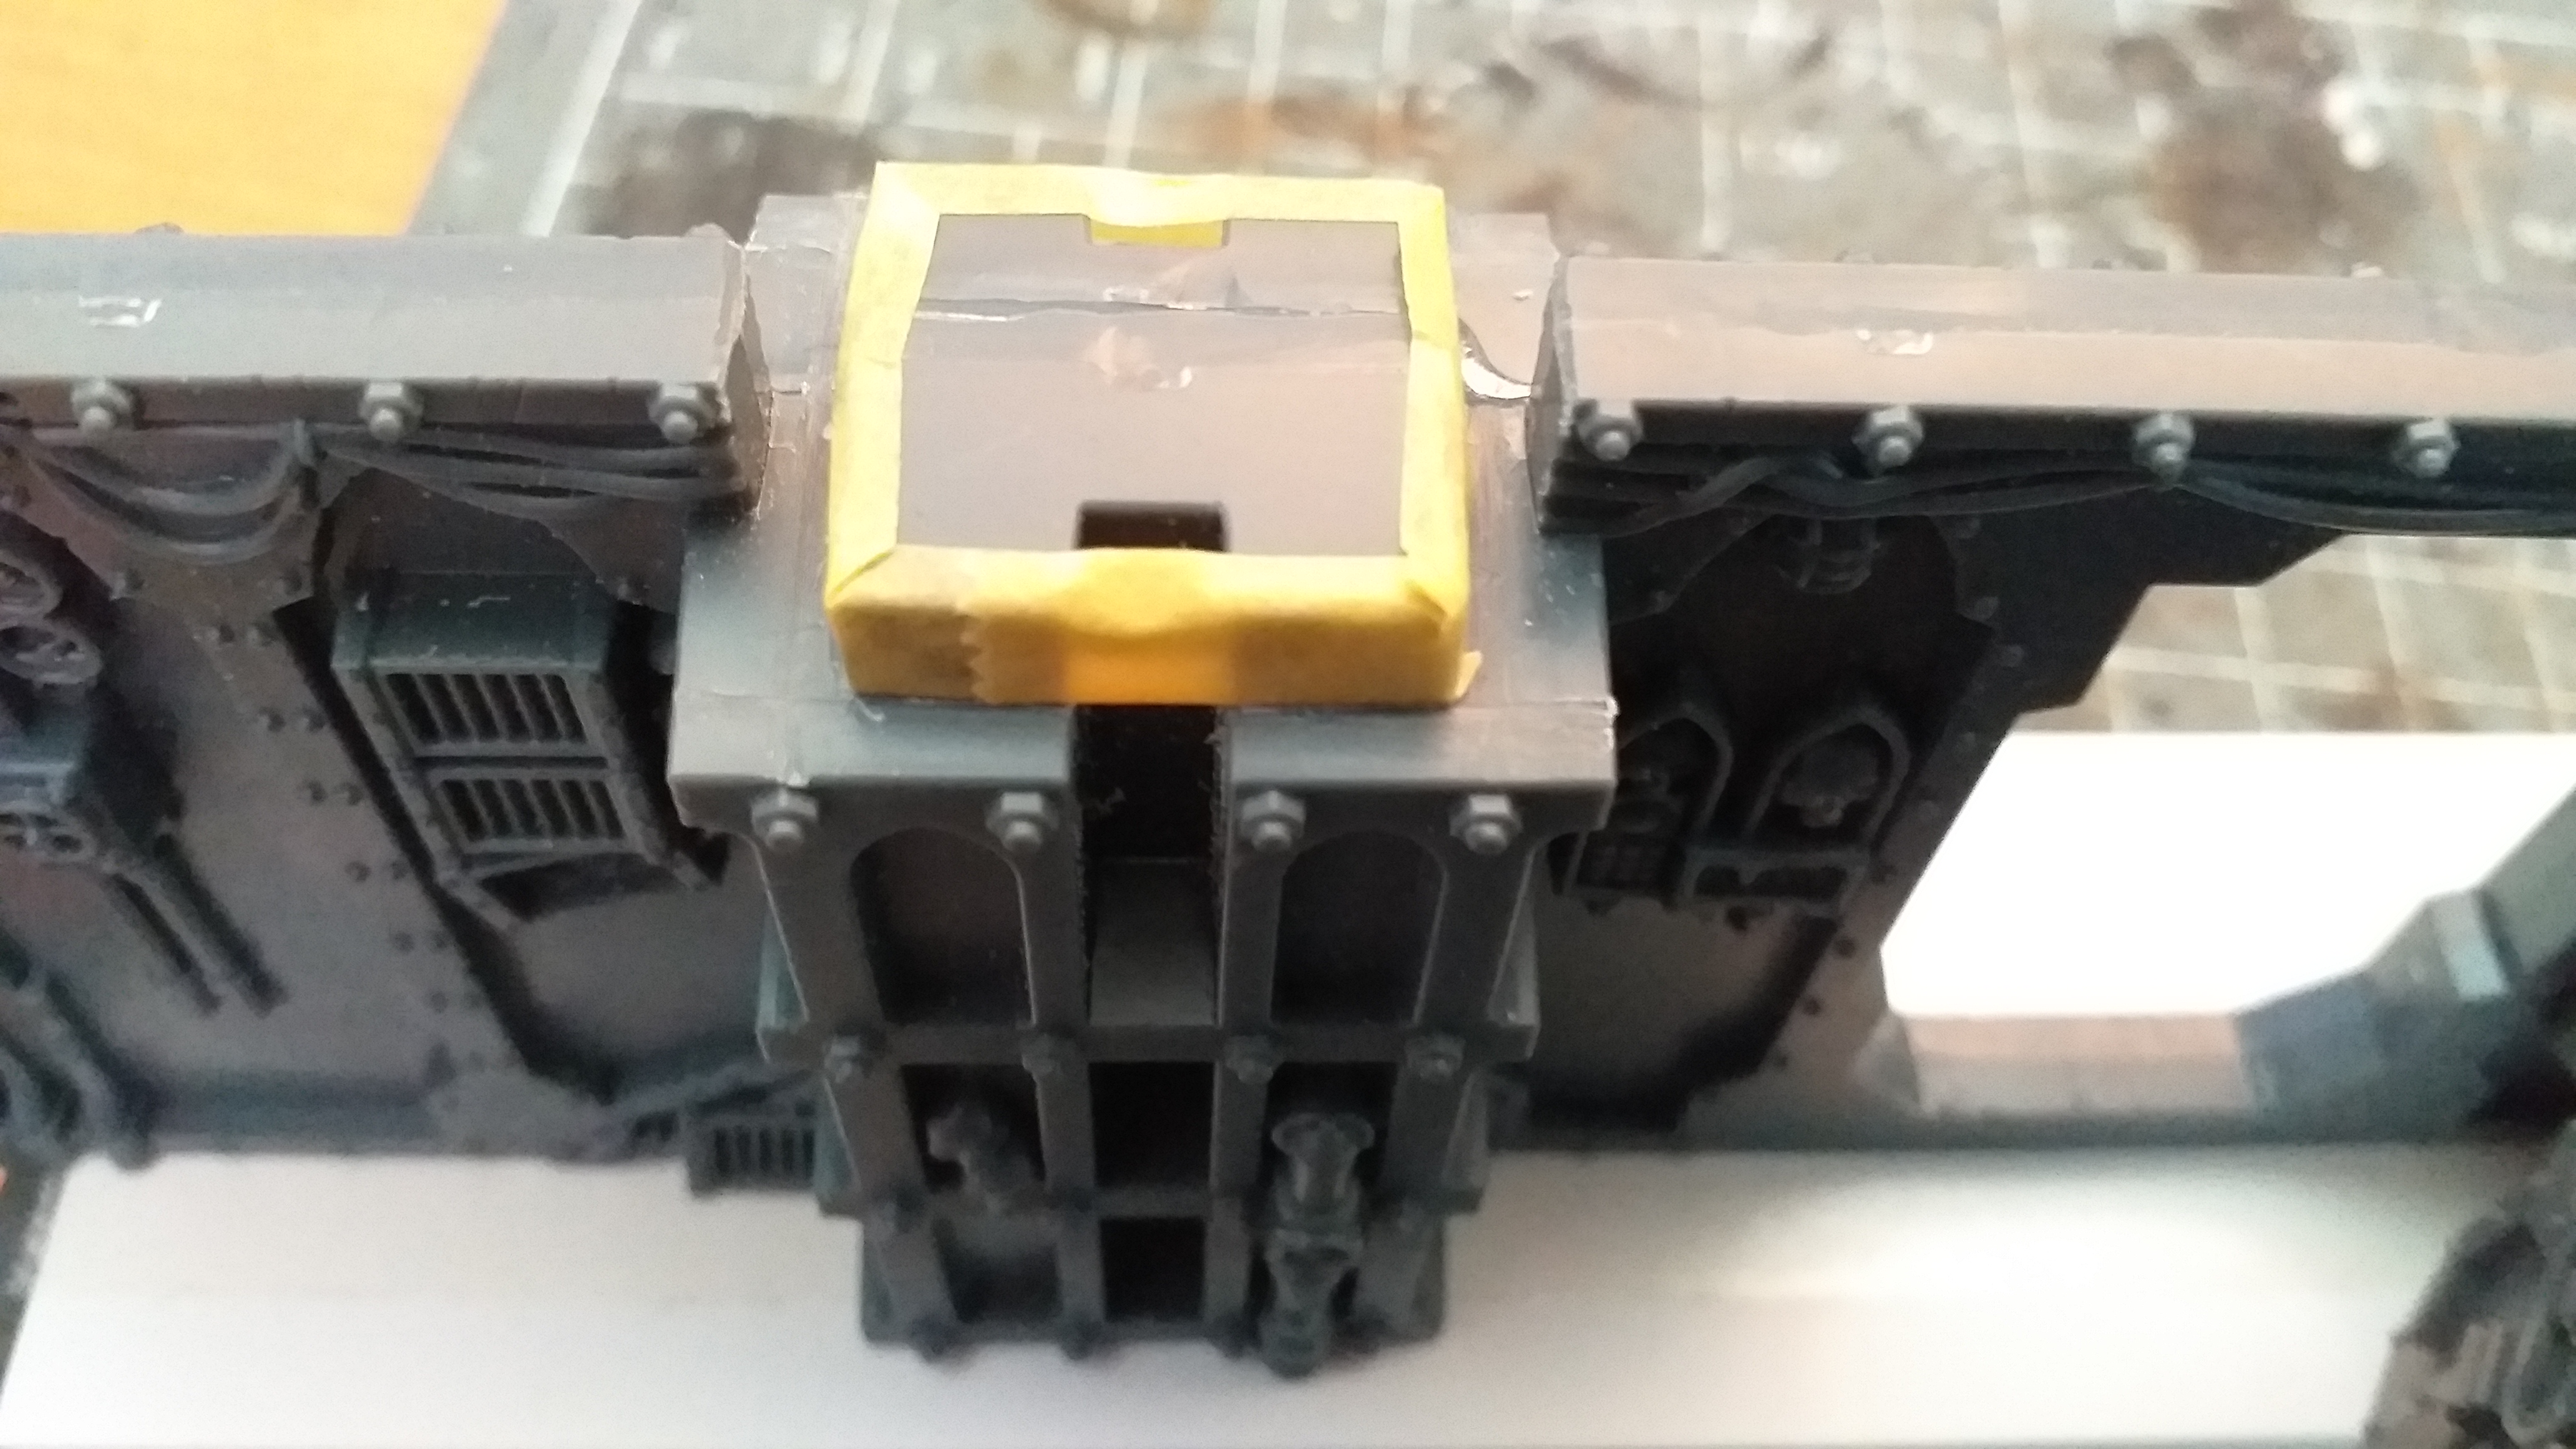
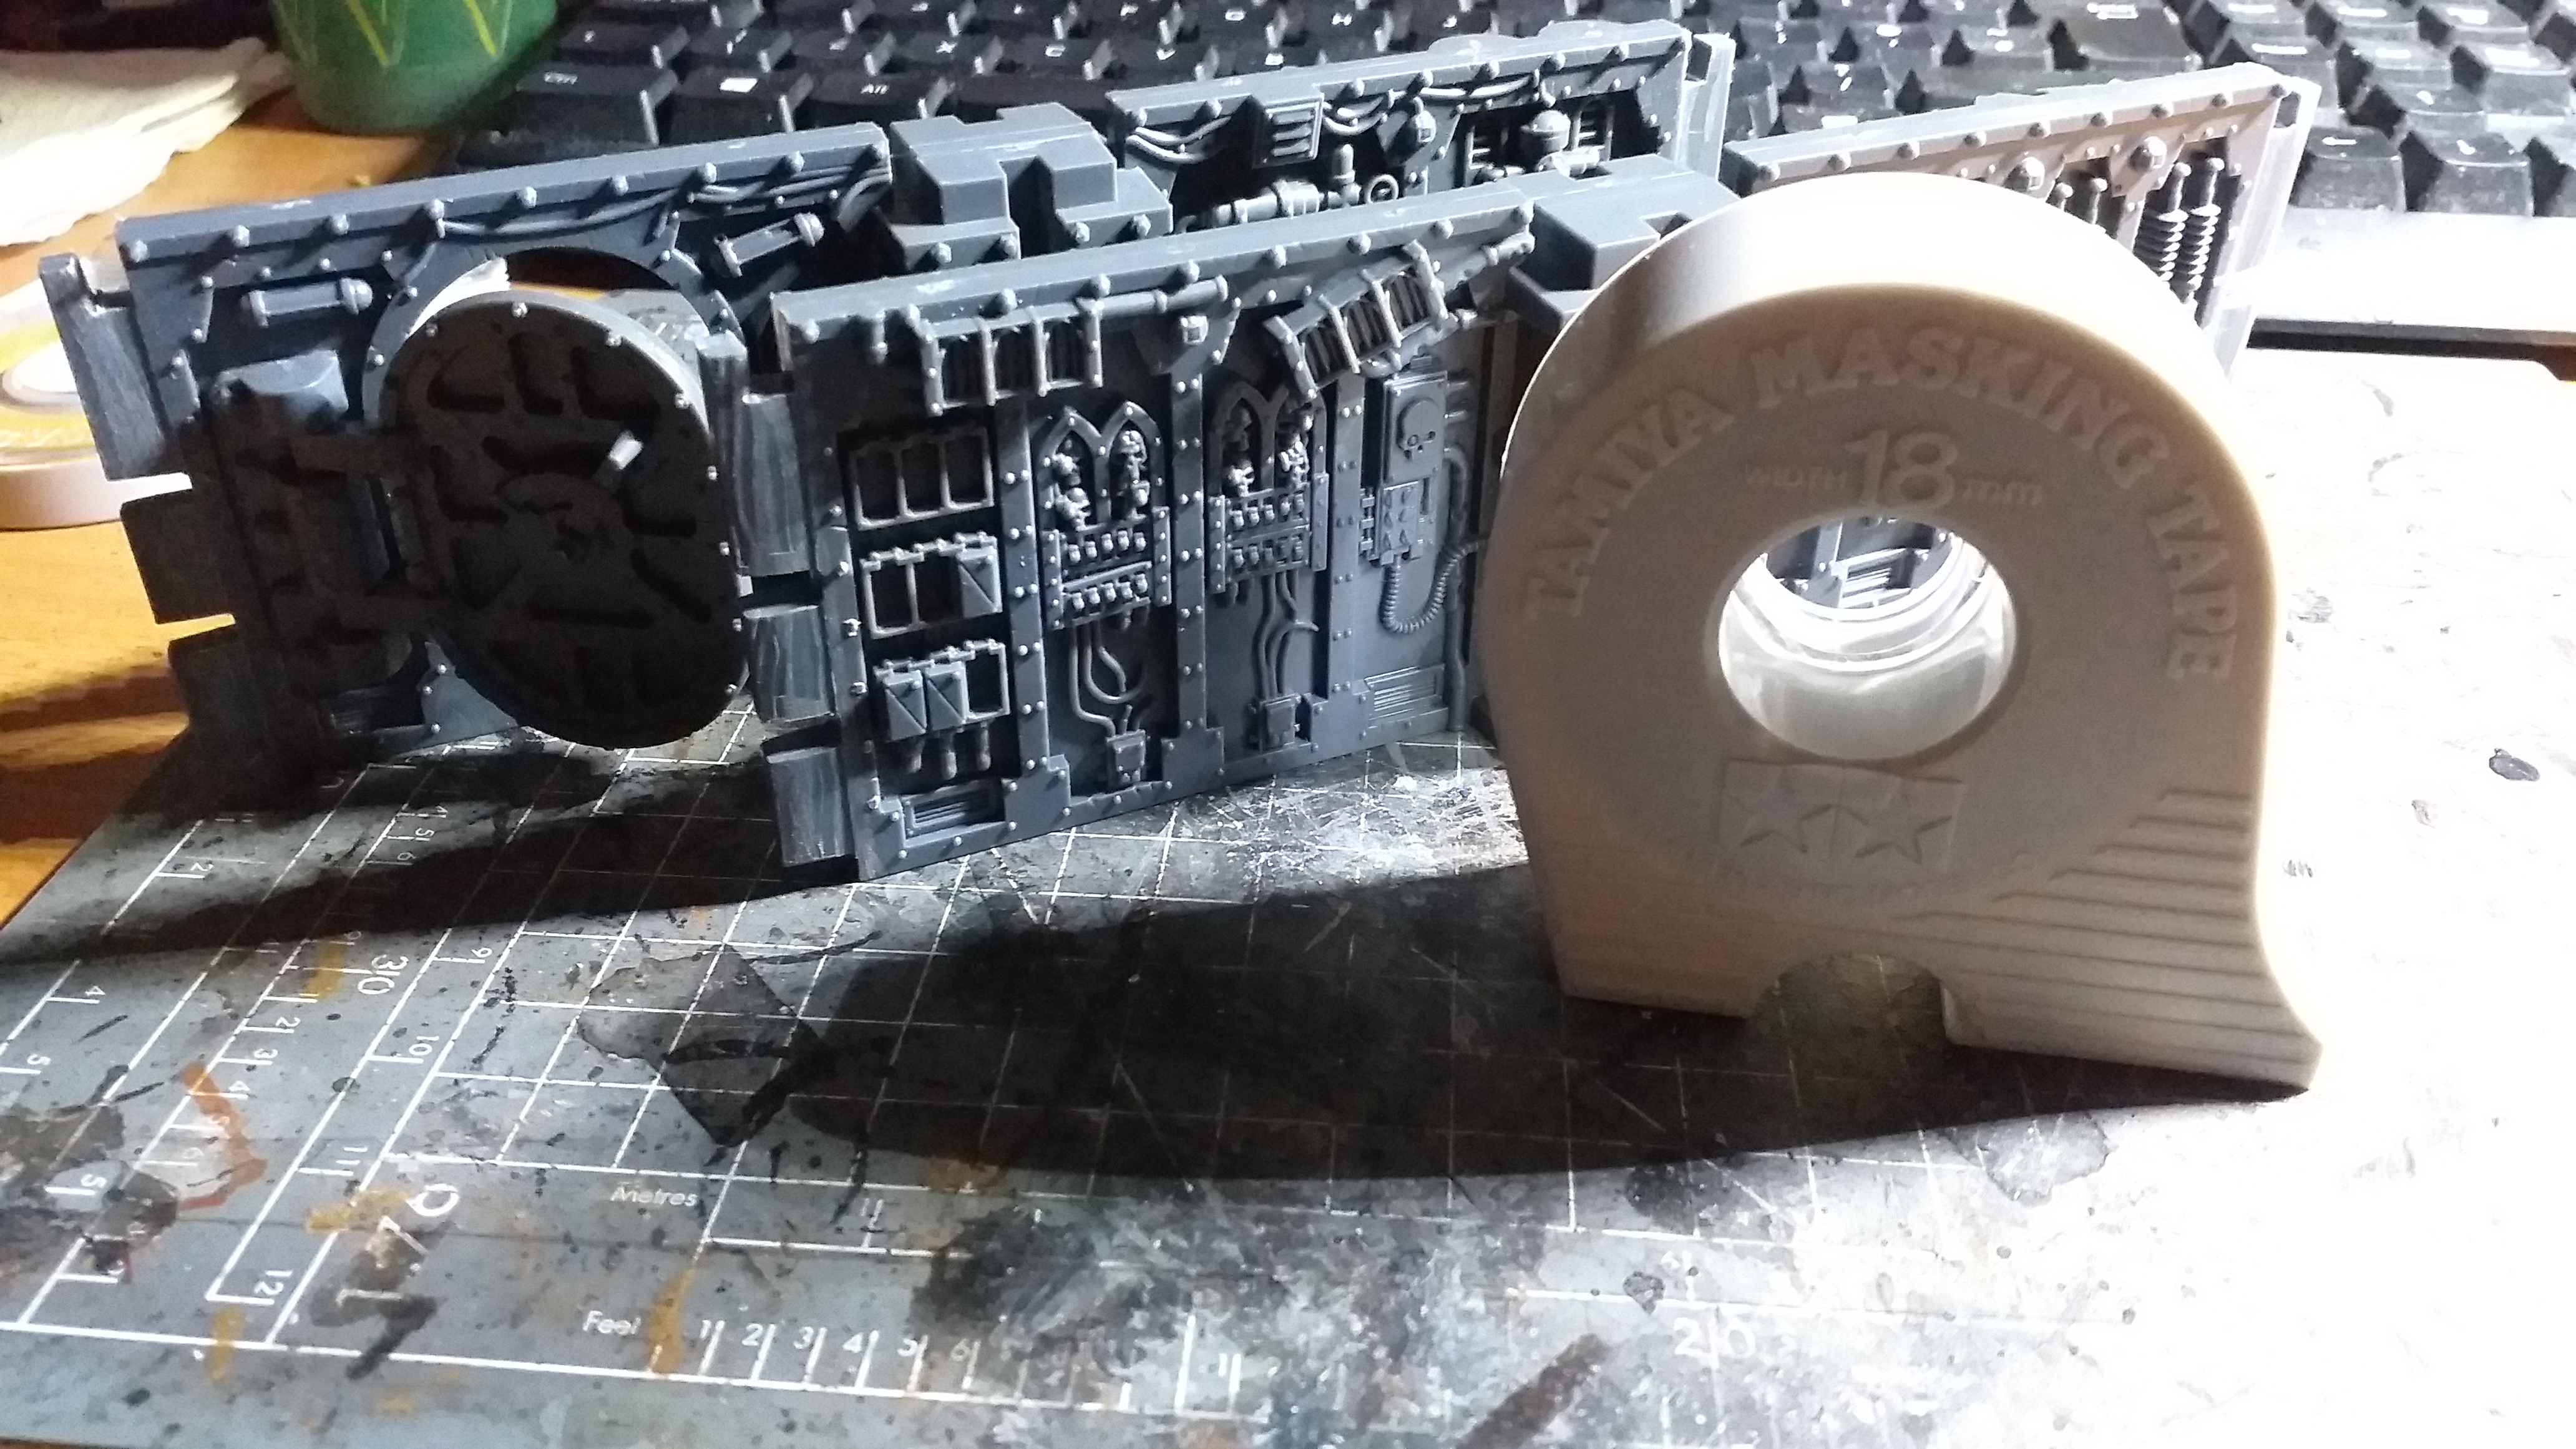
Next, I built the walls into 4 section lengths, using pillars and end pieces where needed. I basically made 4 identical sections out of all the pieces by three sets. I then masked off the tops of the pillar caps with 6mm Tamiya tape and attached them to the foamcore strips.
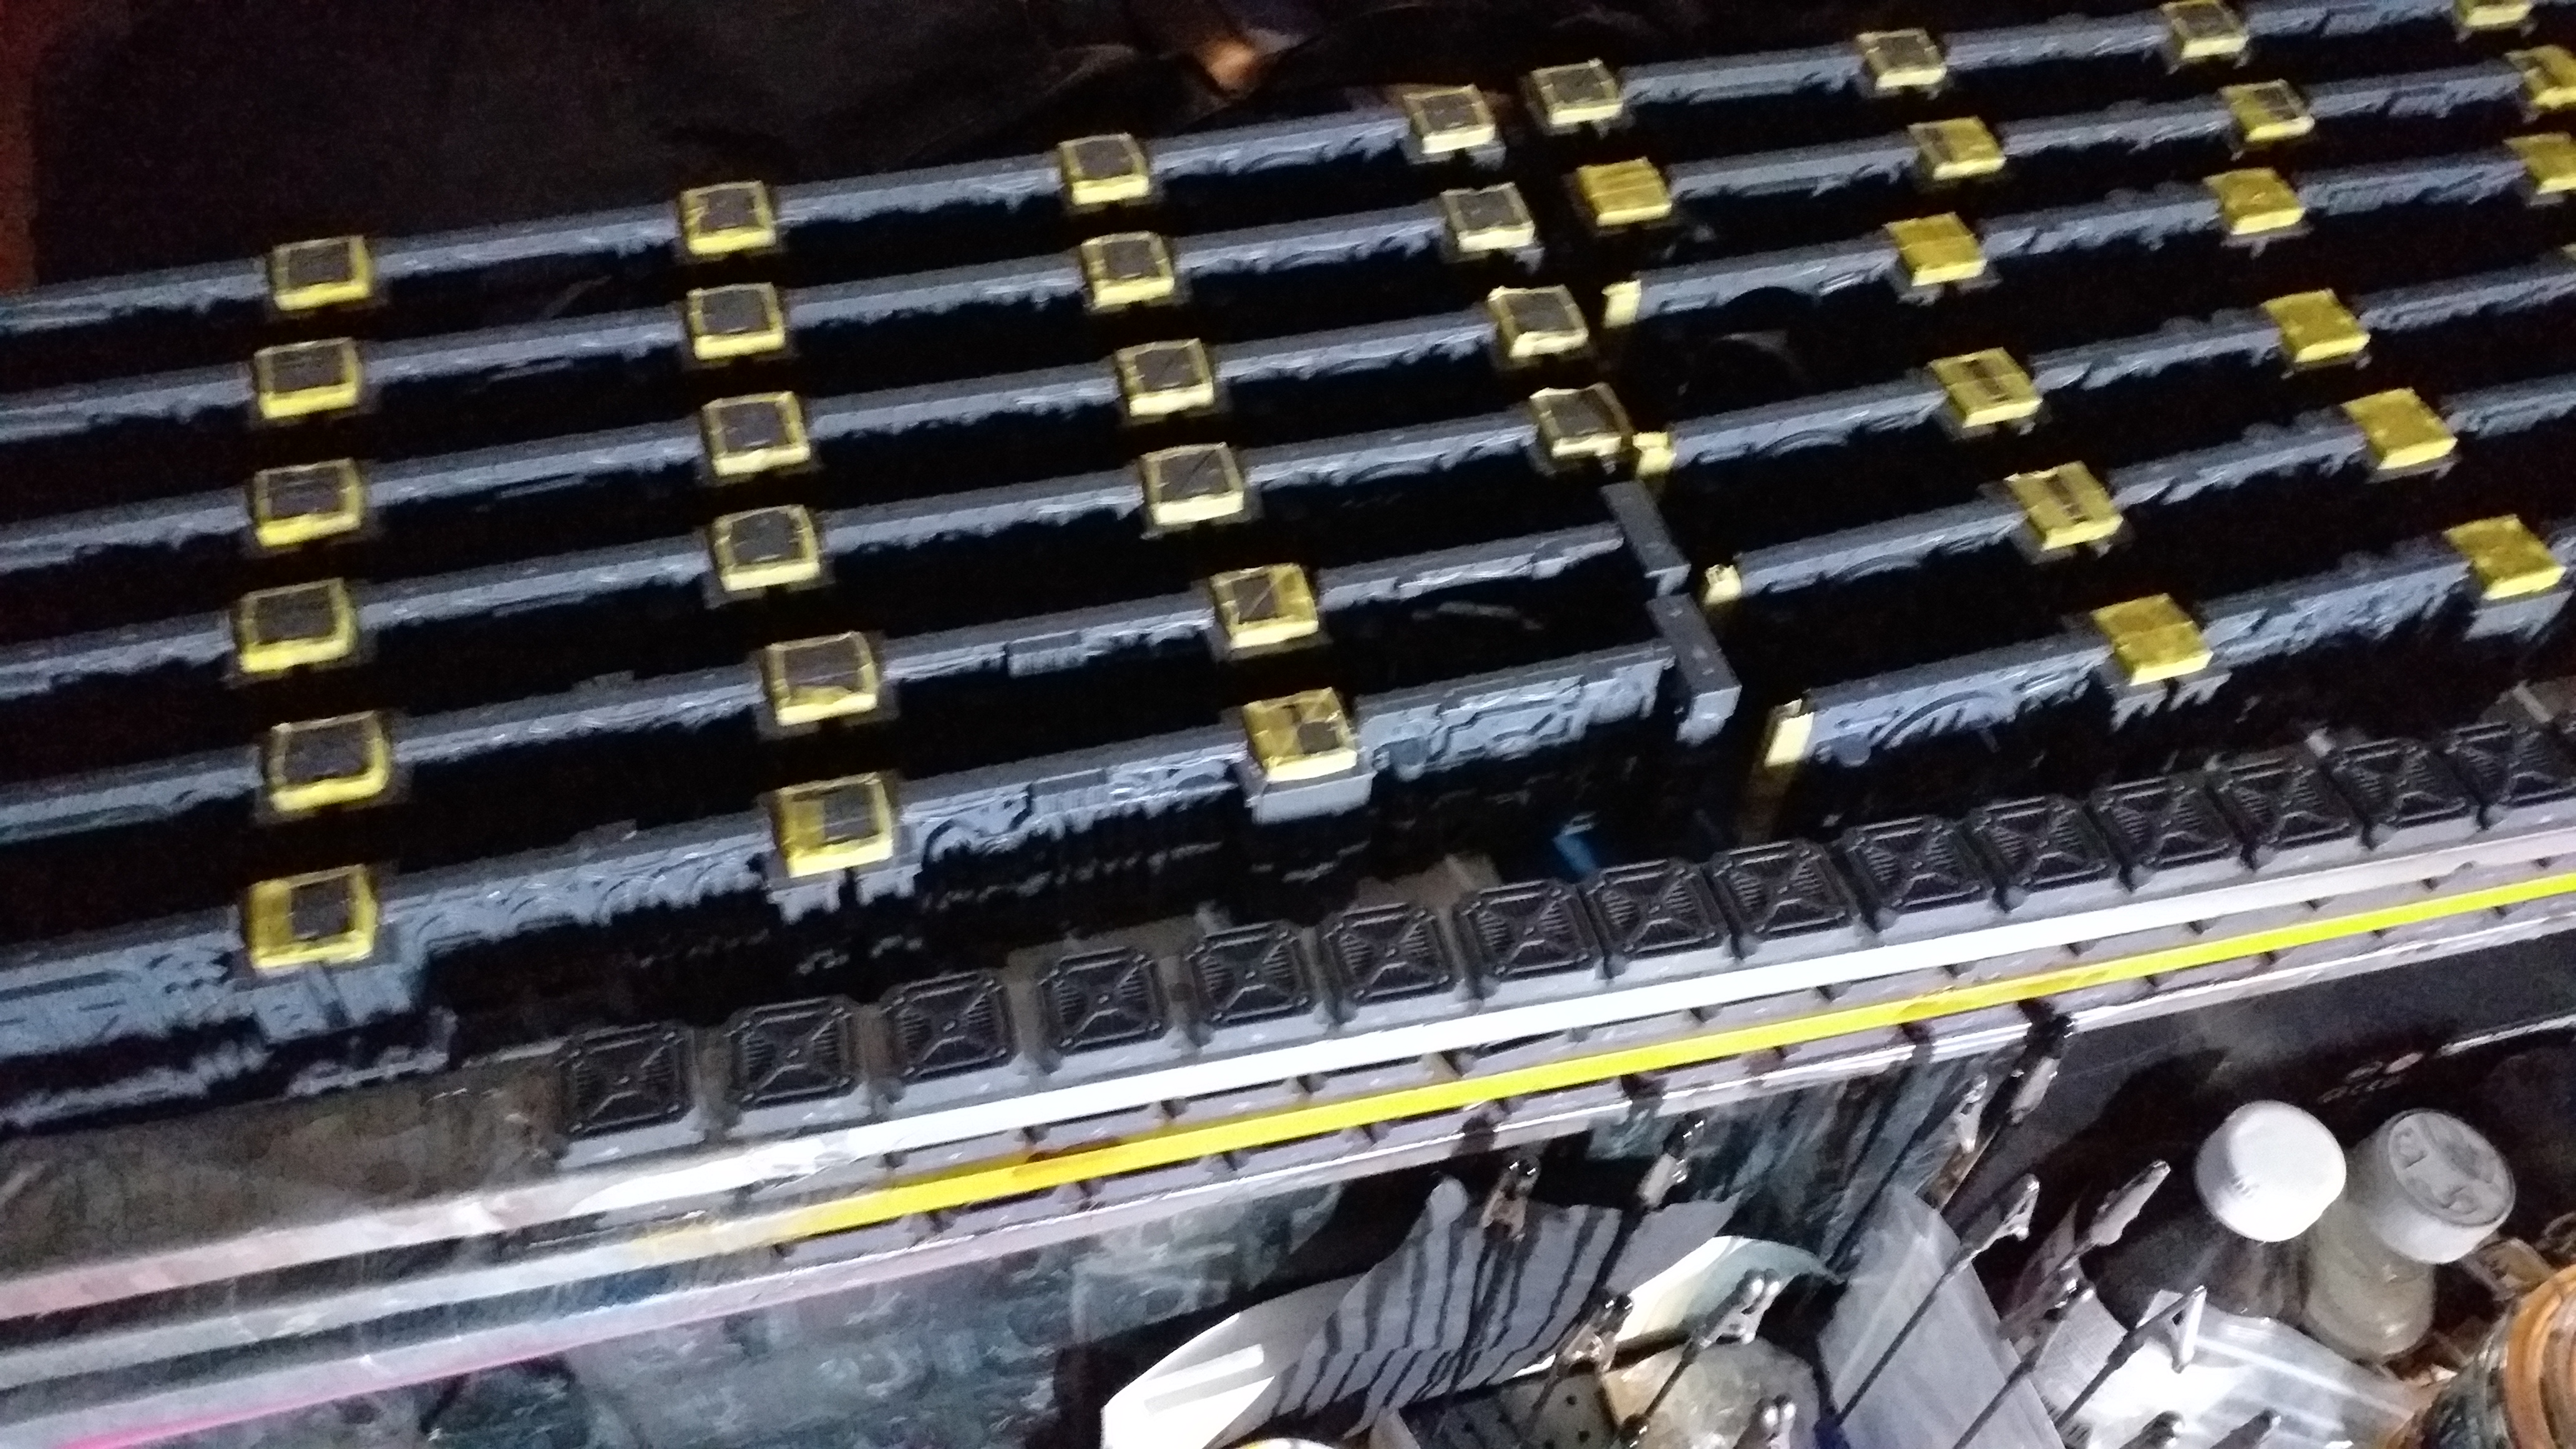
On the pieces with exposed teeth, I masked them with 18mm tamiya tape. It is nearly the perfect width to wrap around both sides. All are then attached to the foamcore.
Finally, the pillar caps have been stuck to painting sticks with double sided tape. All is now ready for a day with good weather for priming.
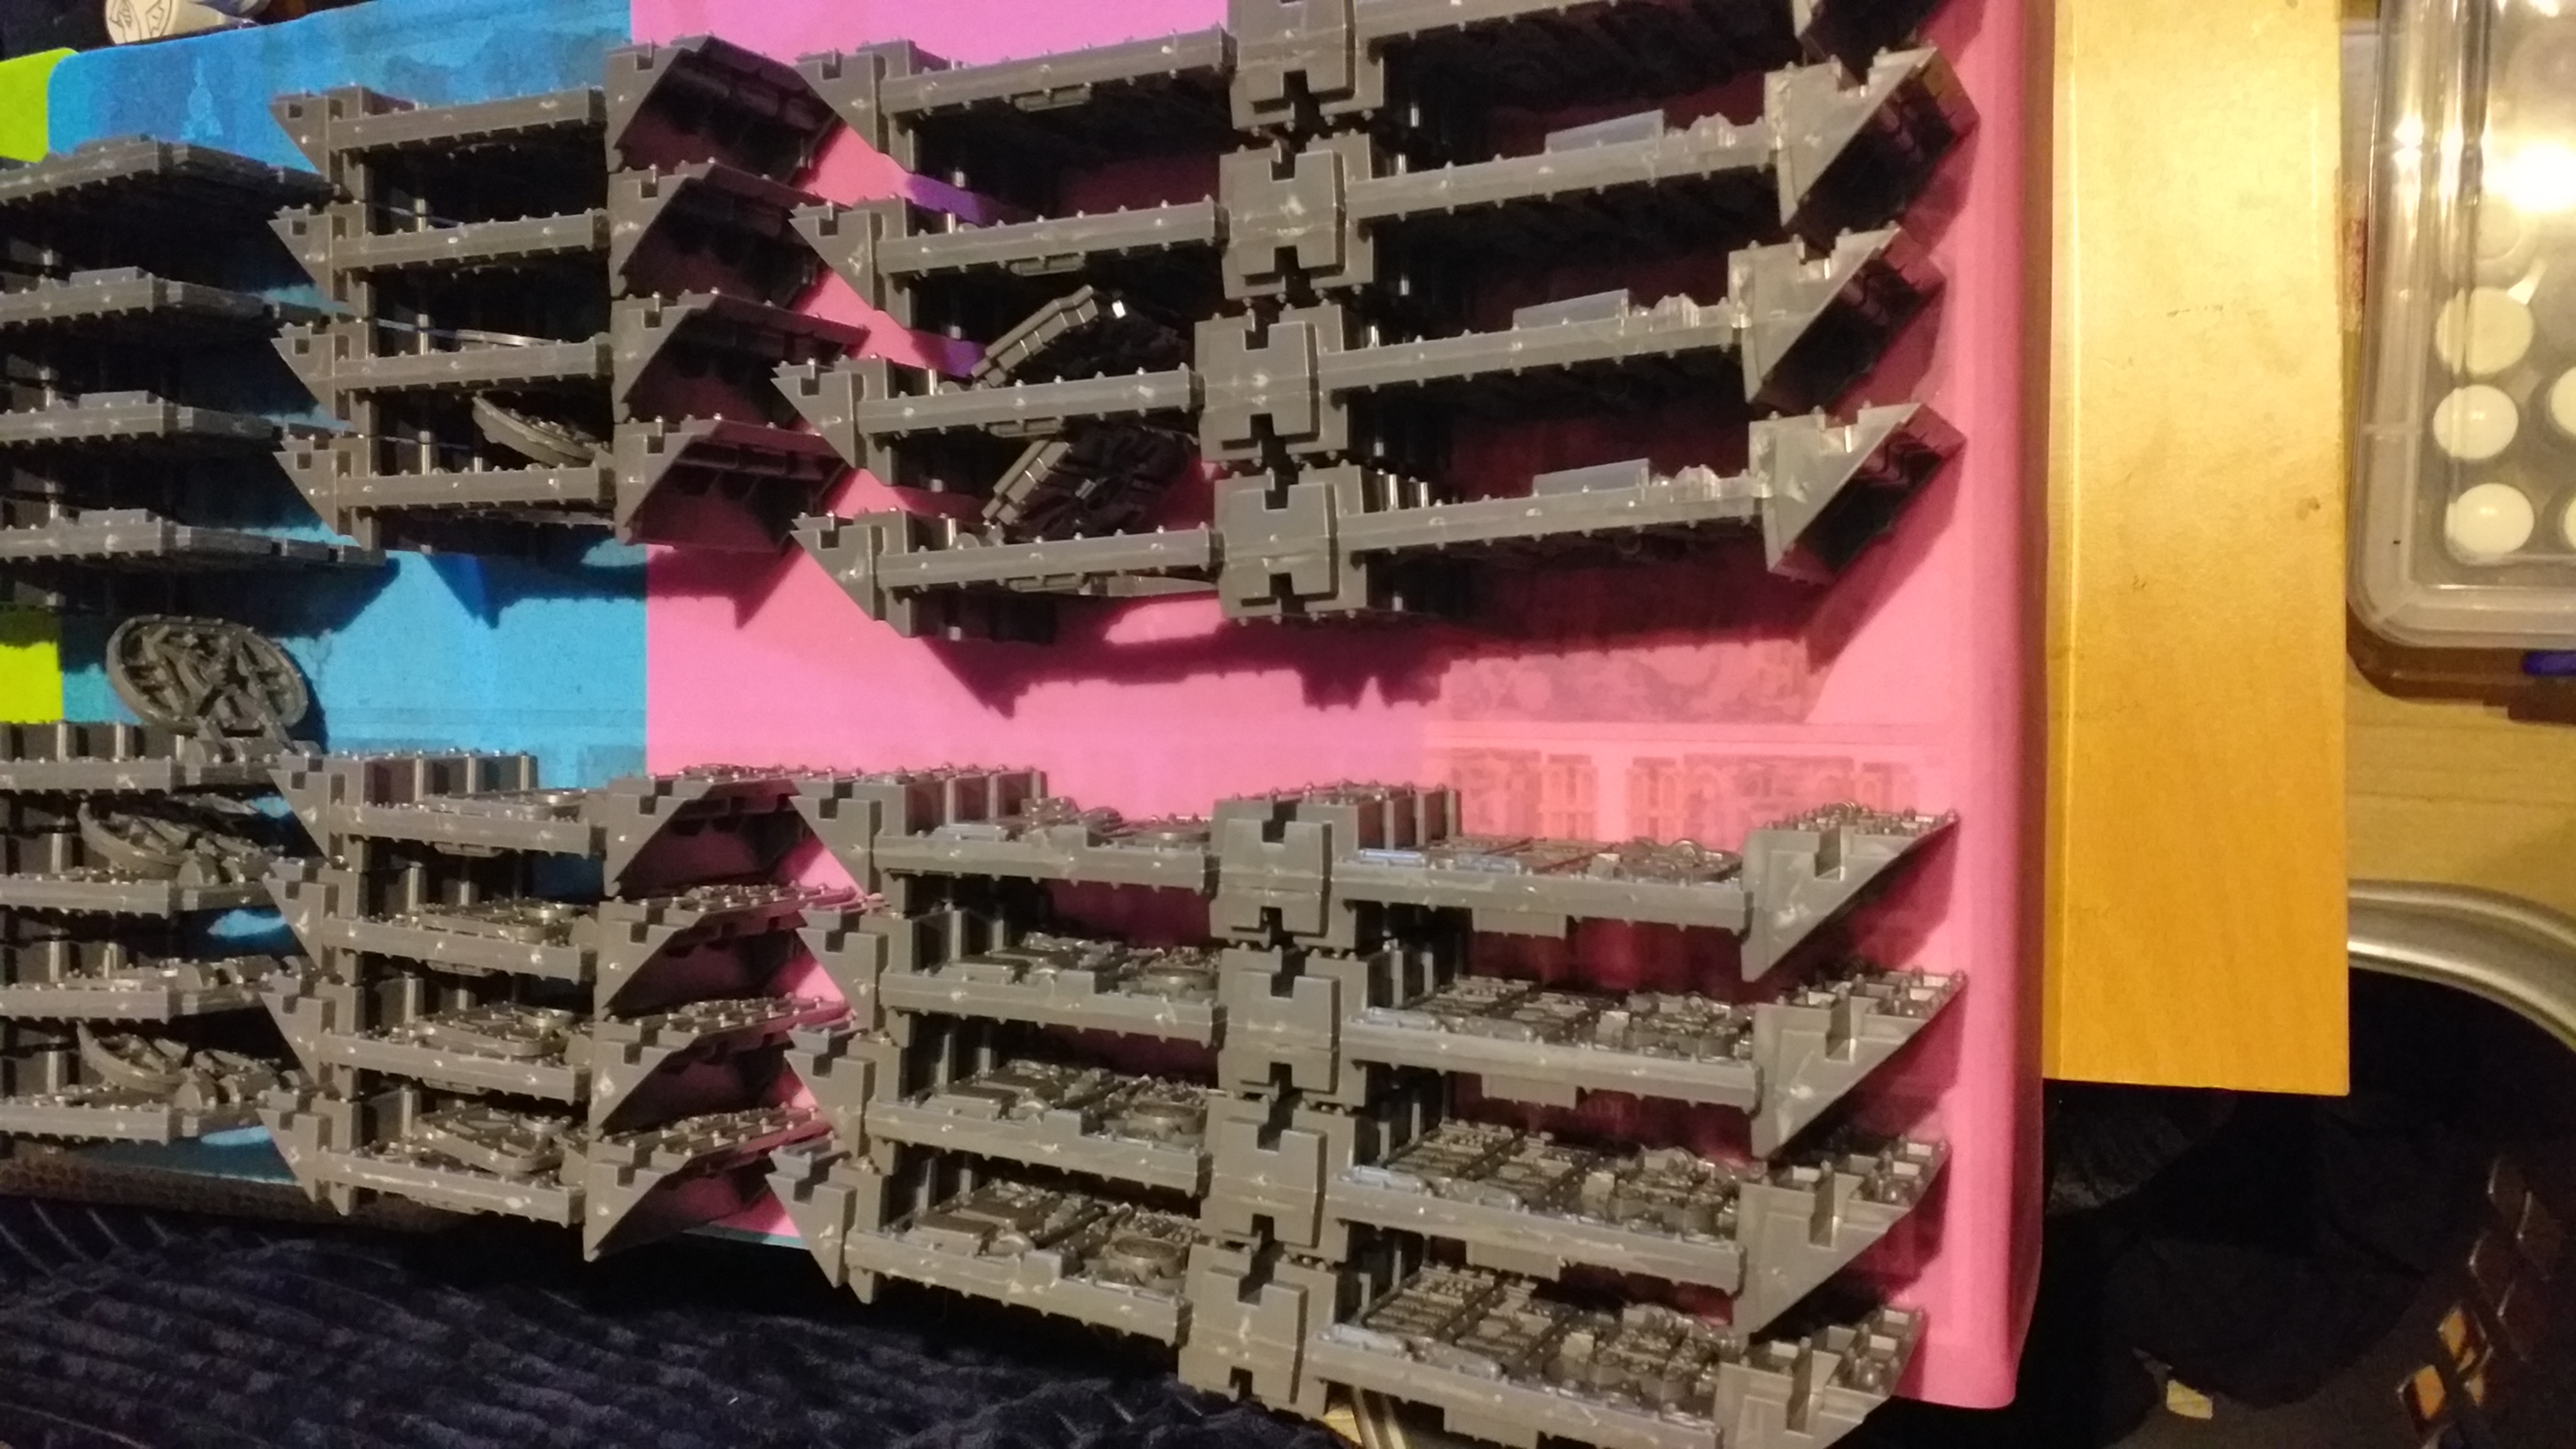
Sanding. So much sanding!
With everything organised, I started sanding. In GWs wisdom, they made the male connectors too thick for the female ports. The tops of the pillars are also too thick for the caps. So! Sanding.
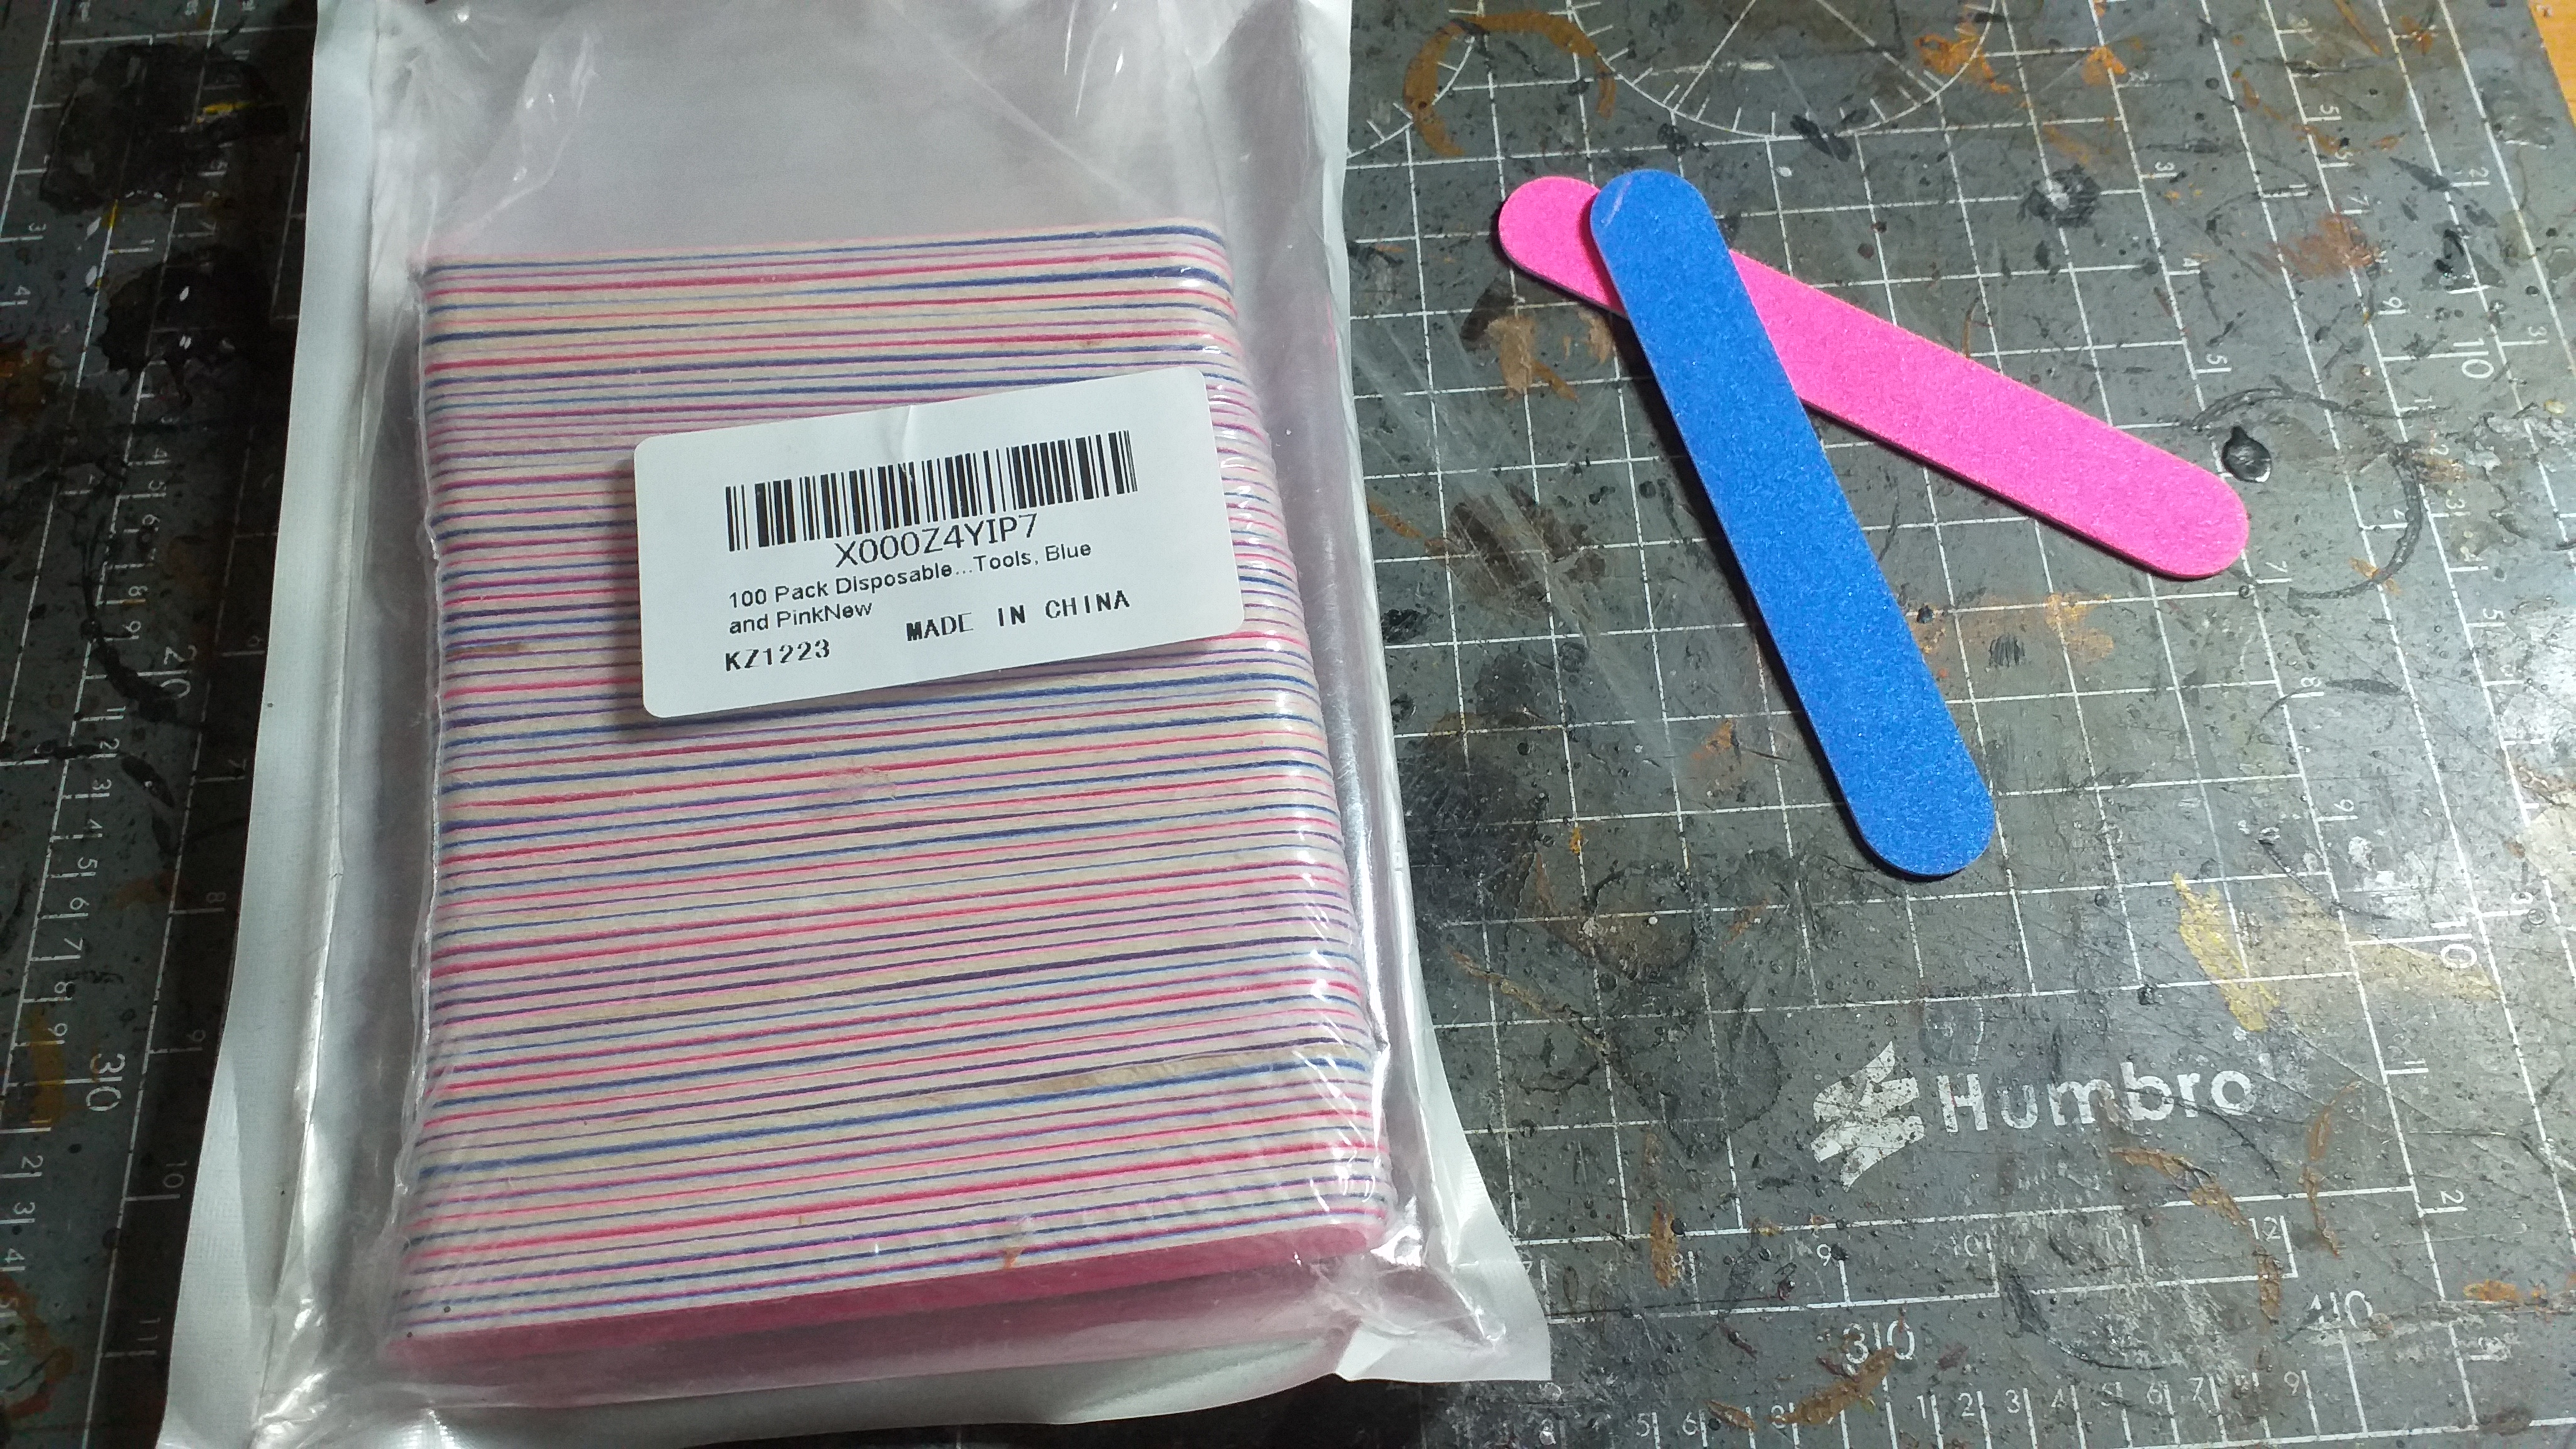
First thing to bear in mind, you are gonna do a LOT of sanding. Do NOT use your good modelling files. I buy cheap nail files from amazon. Decent grit and completely disposable.
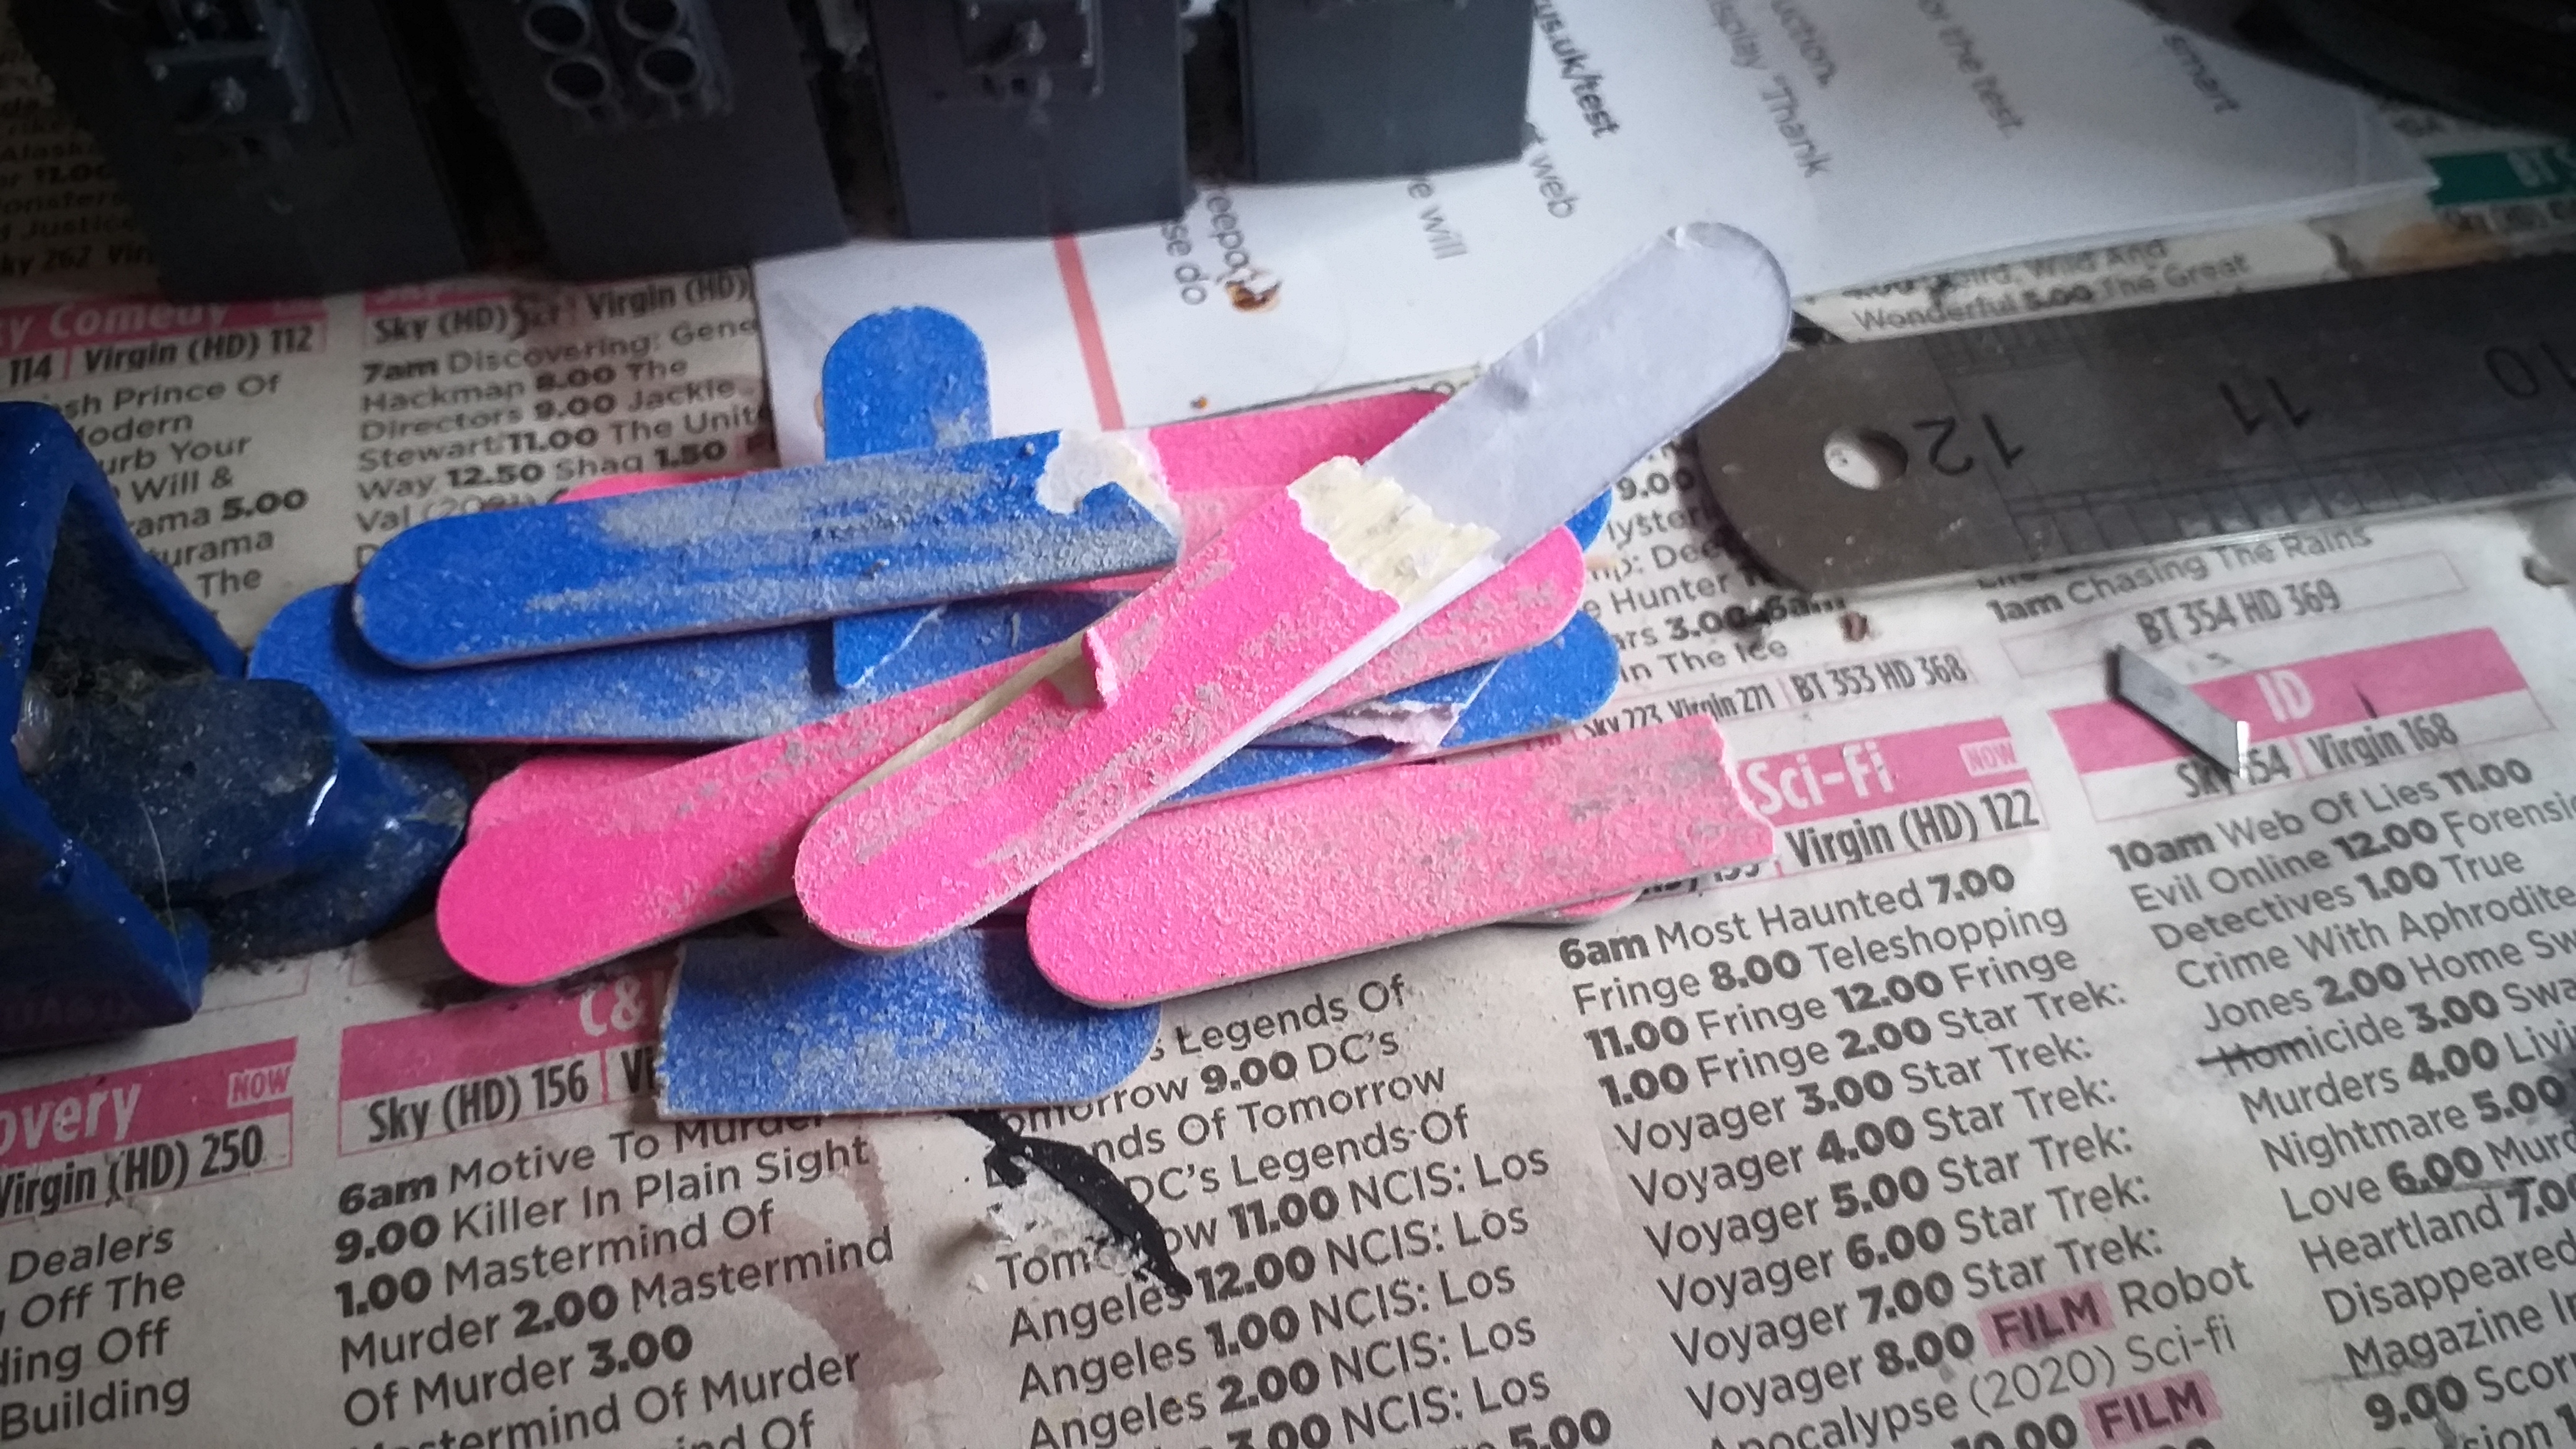
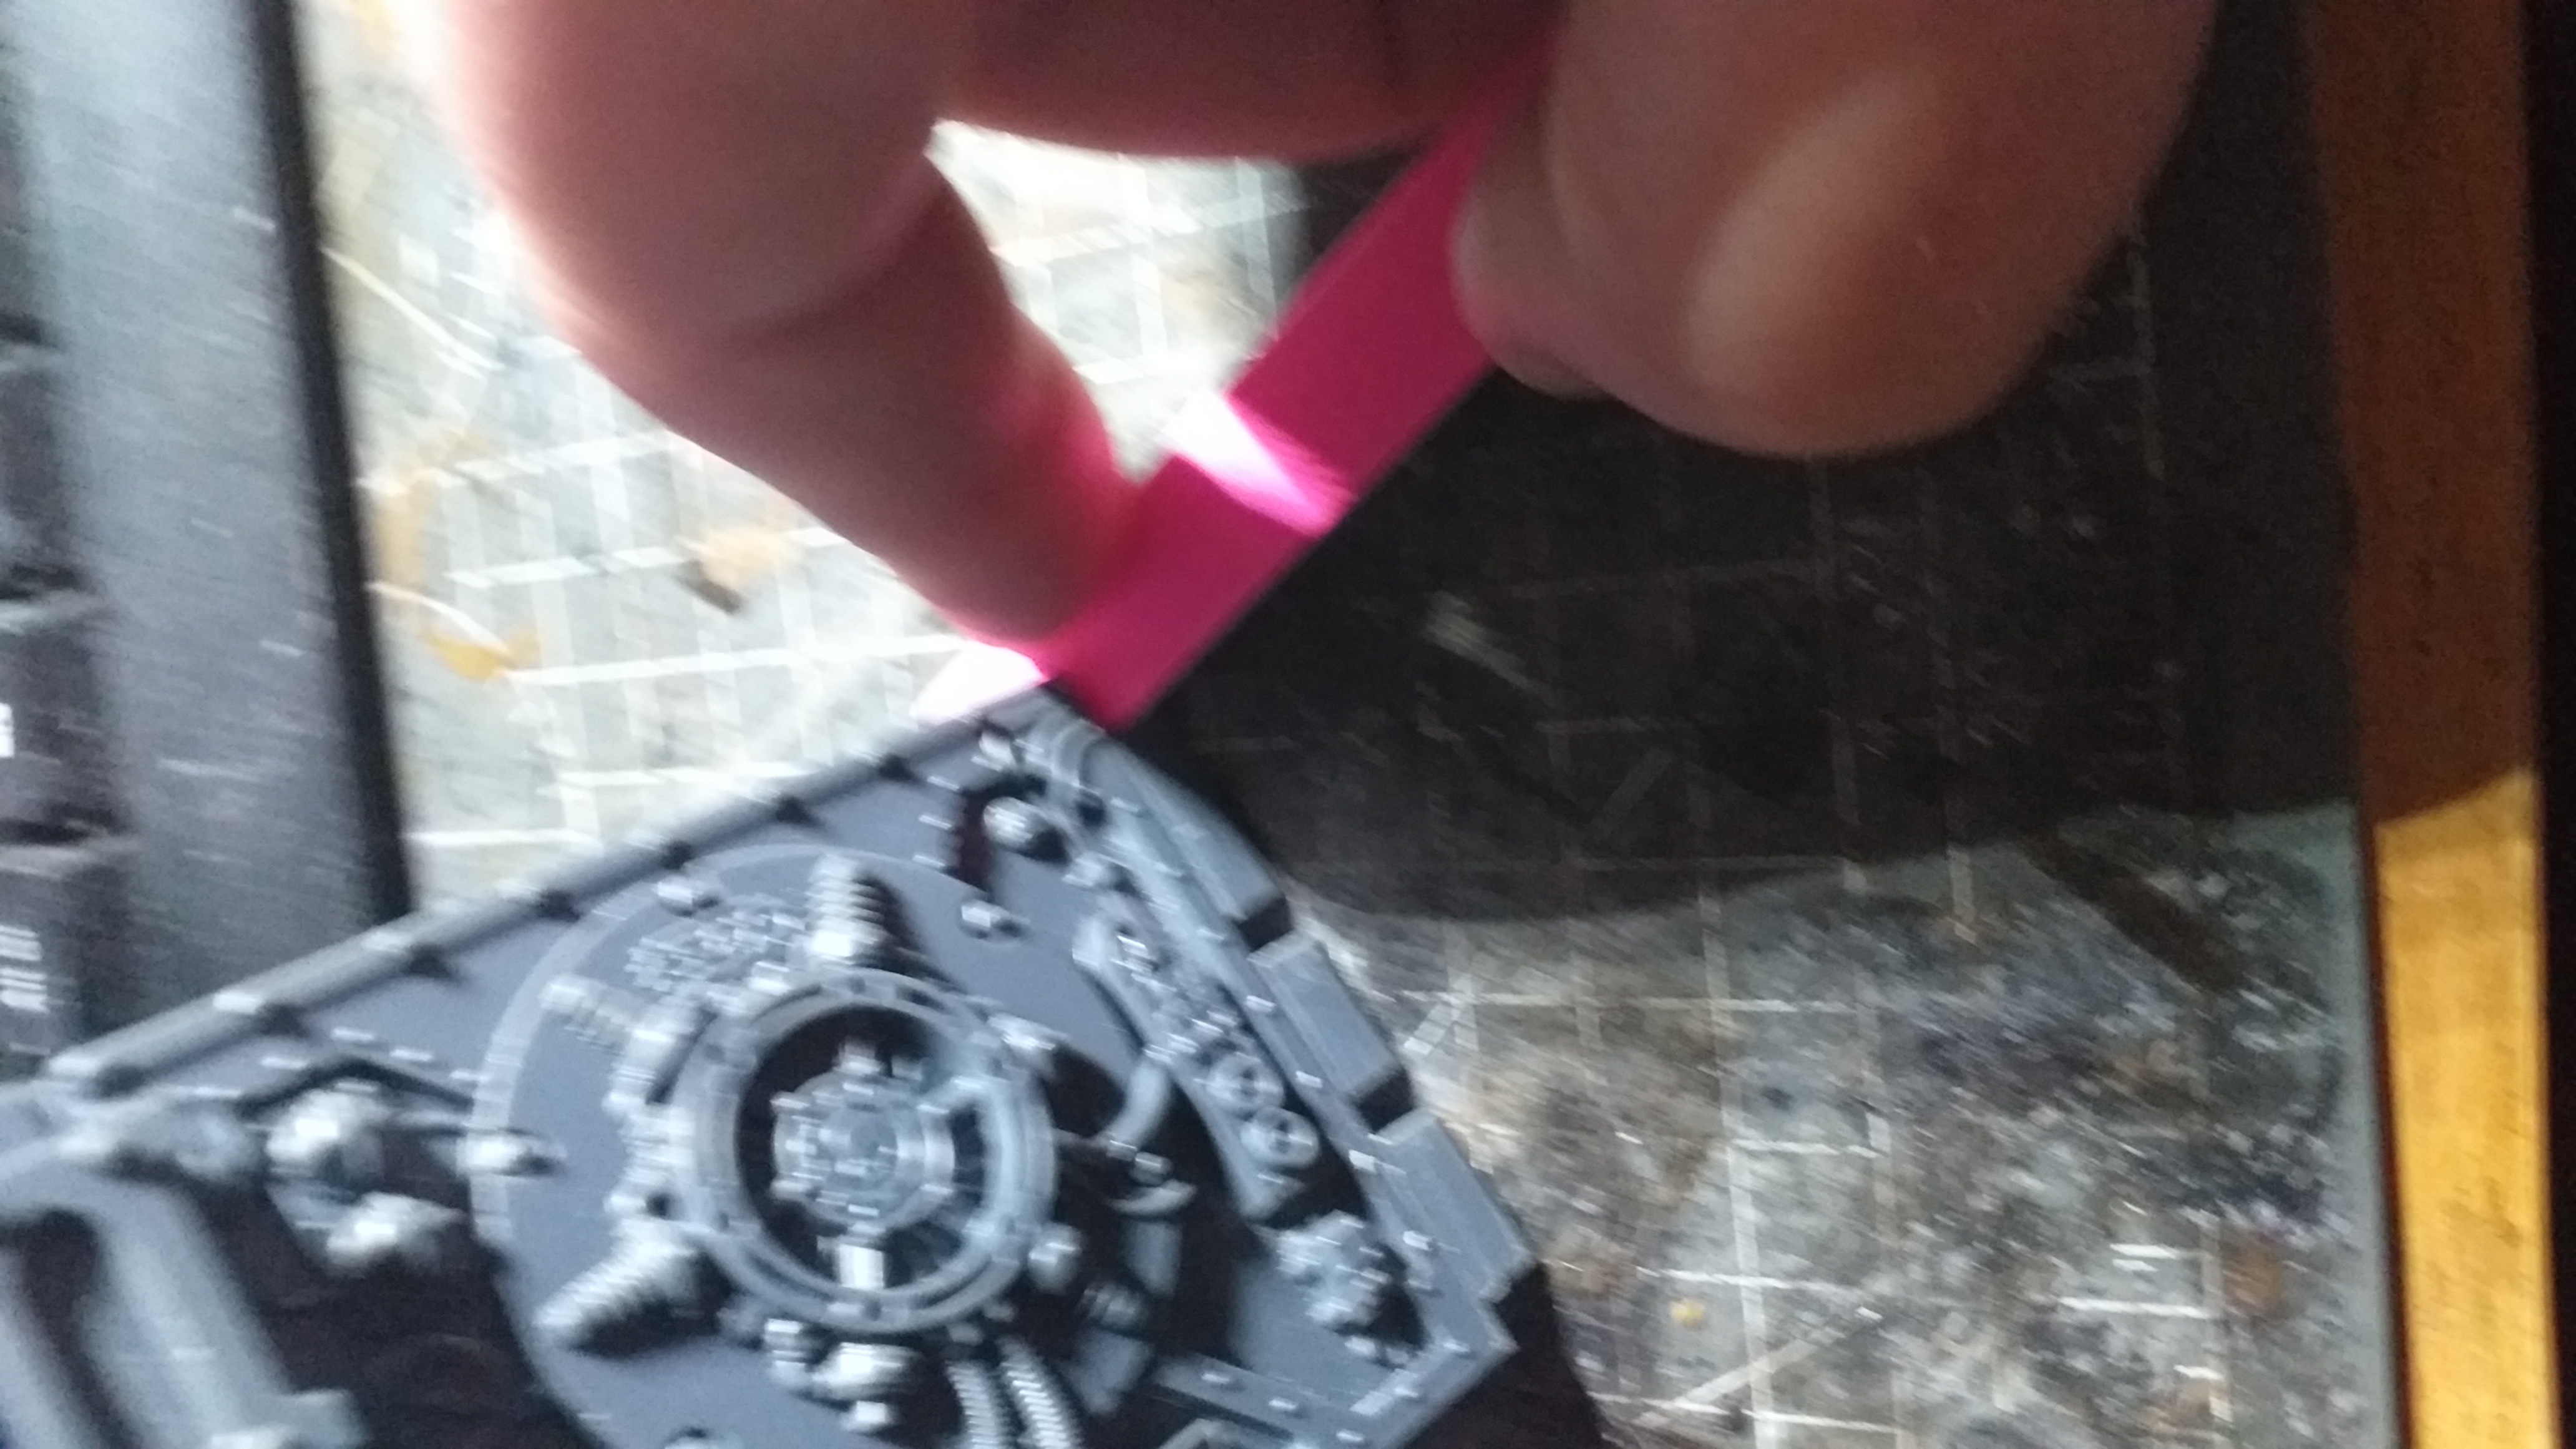
For the male connectors I sand both sides and the inside of the upper “tooth”. This allows the walls and pillars to slide together easier and the filing of the tooth allows the cap to slip on the top without getting stuck. Additionally, I filed on every side of the pillars plug. It’s a lot of work but it’s worth it to make the set easier to use.
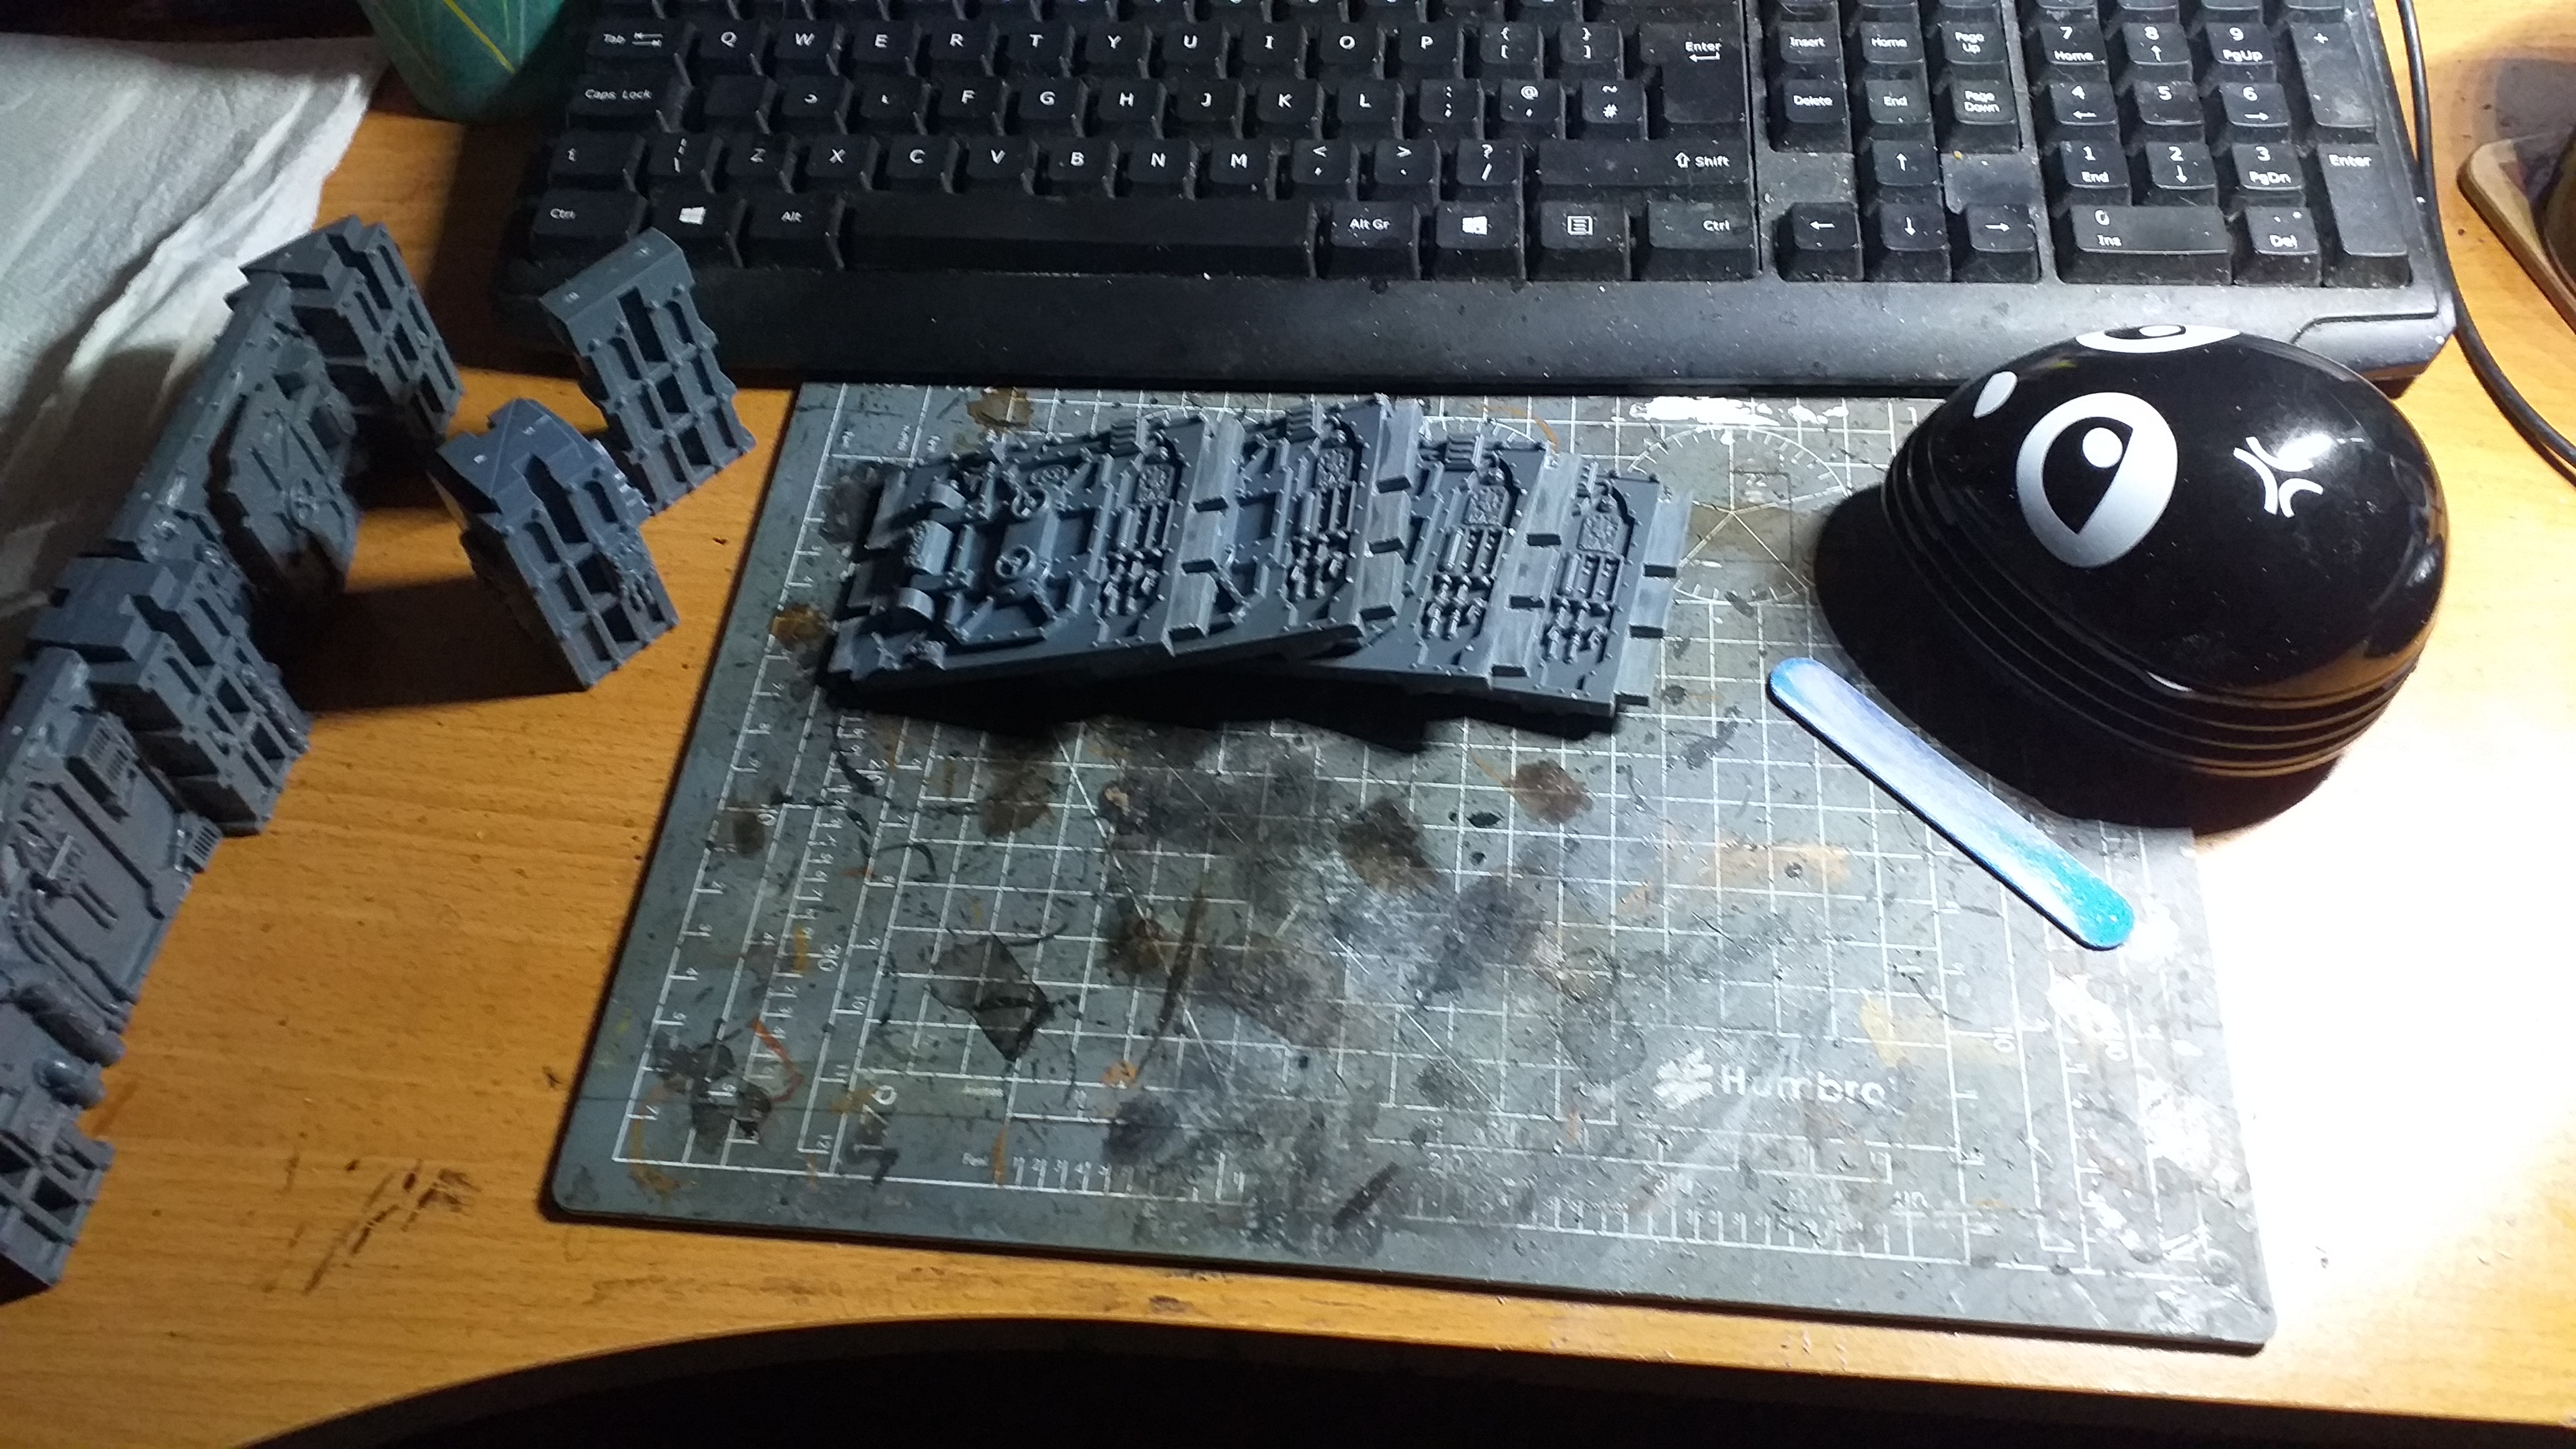
This also generates a lot of plastic dust. The wee black thing in the second pic below is a little hand vacuum. Bought off amazon and rather useful for keeping yer work place clean. Indeed, when I was done, I emptied the waste area and pulled out the filter frame, which I washed out. Left it to air dry overnight.
Here’s a link if you want one for your own desk.
Next, I’ll be looking at masking the exposed plugs and male connectors and mounting lengths of wall on strips of foam core.
Once more into the breach!
So. I’ve worked on the first of my own Boarding Action sets. I learned quite a bit about the required prep work to make it work better.
My Friendly Local Store, The Pop Shop, has bought a set for themselves and asked if I’d paint it, having done a table for them already. I said yes. This project log is here to document the work I do on it, so I can link it on the stores Discord. This will be of use to others who buy into this fantastic game mode.
First prep work once basic building is complete is organising and preparing to sand.