![Wild Australia Wargaming? 28mm Ned Kelly Gang & Victorian Police Review [7 Days Early Access]](https://images.beastsofwar.com/2026/01/unboxing-traders-galaxy-australiana-ned-kelly-gang-_-victorian-police-coverimage-225-127.jpg)


Necromunda: The Halls of Hive Primus


Recommendations: 607
About the Project
Way back in the mists of time games workshop released a small little game called Necromunda, maybe you've heard of it? The idea of gang wars in these massive hive cities immediately caught my attention and the vast diversity of gangs, bounty hunters, mutants and general lowlife scum opened the world up to all kinds of crazy and innovative ideas. After 2 decades of waiting GW finally release Necromunda again, but unlike its original release the initial box set was missing the cardboard and plastic 3D terrain and instead focused on a 2D warzone. Necromunda to me should be played in a 3D space so I started this project to try and create a modular terrain system to offer the choice of making maps from the underhive and to also allow customisation to build upwards and outwards to create something unique.
Related Game: Necromunda
Related Genre: Science Fiction
This Project is Active
Paint brings life.... the paint must flow.
With the test run complete it’s time to add some colour, as much as i love laser cut MDF i doubt it has much of a place in the hive cities of the 41st millennium, the colour scheme needed to be metal, grime, rust and decay but this is just scenery at the end of the day, i didn’t want to spend several weeks painting each cube and square with accurate metal shades and weathering….. so i entered the old “spray can” cheat code.
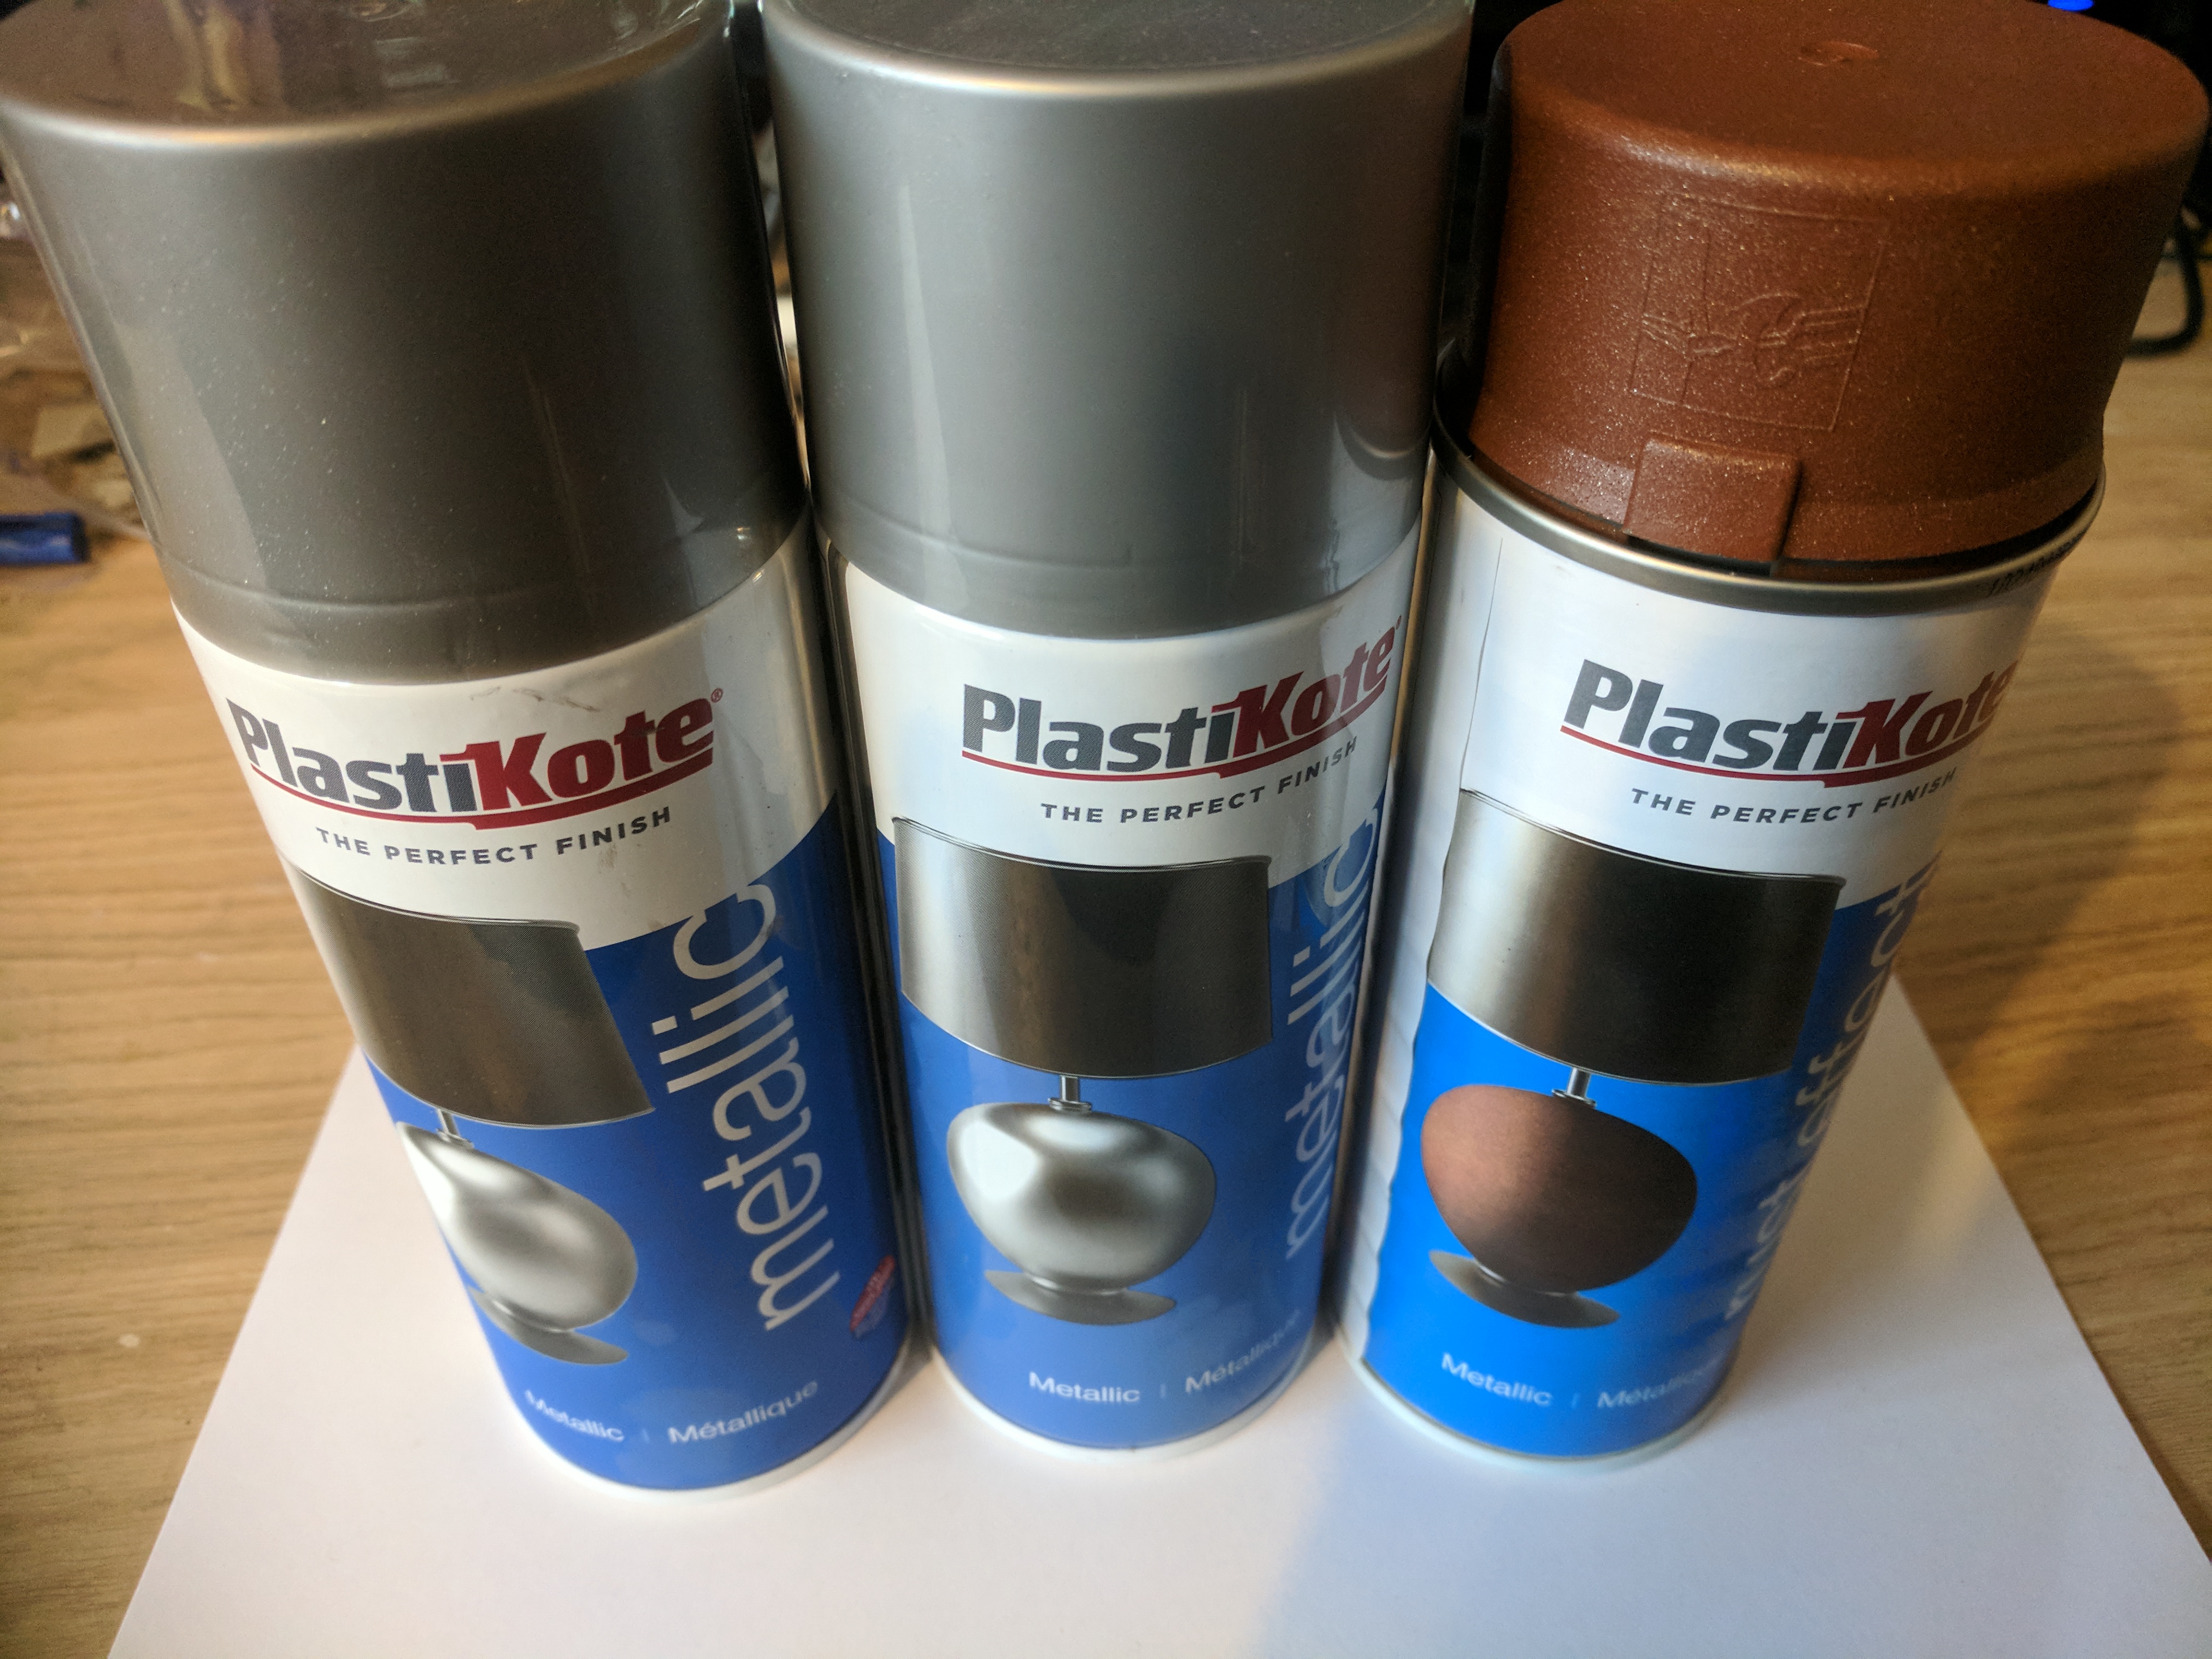 PlastiKote... not the best or worst spray on the market but for £8 a can it certainly does the job, one can of dark metal, one lighter shade and a can of their rusting effect.
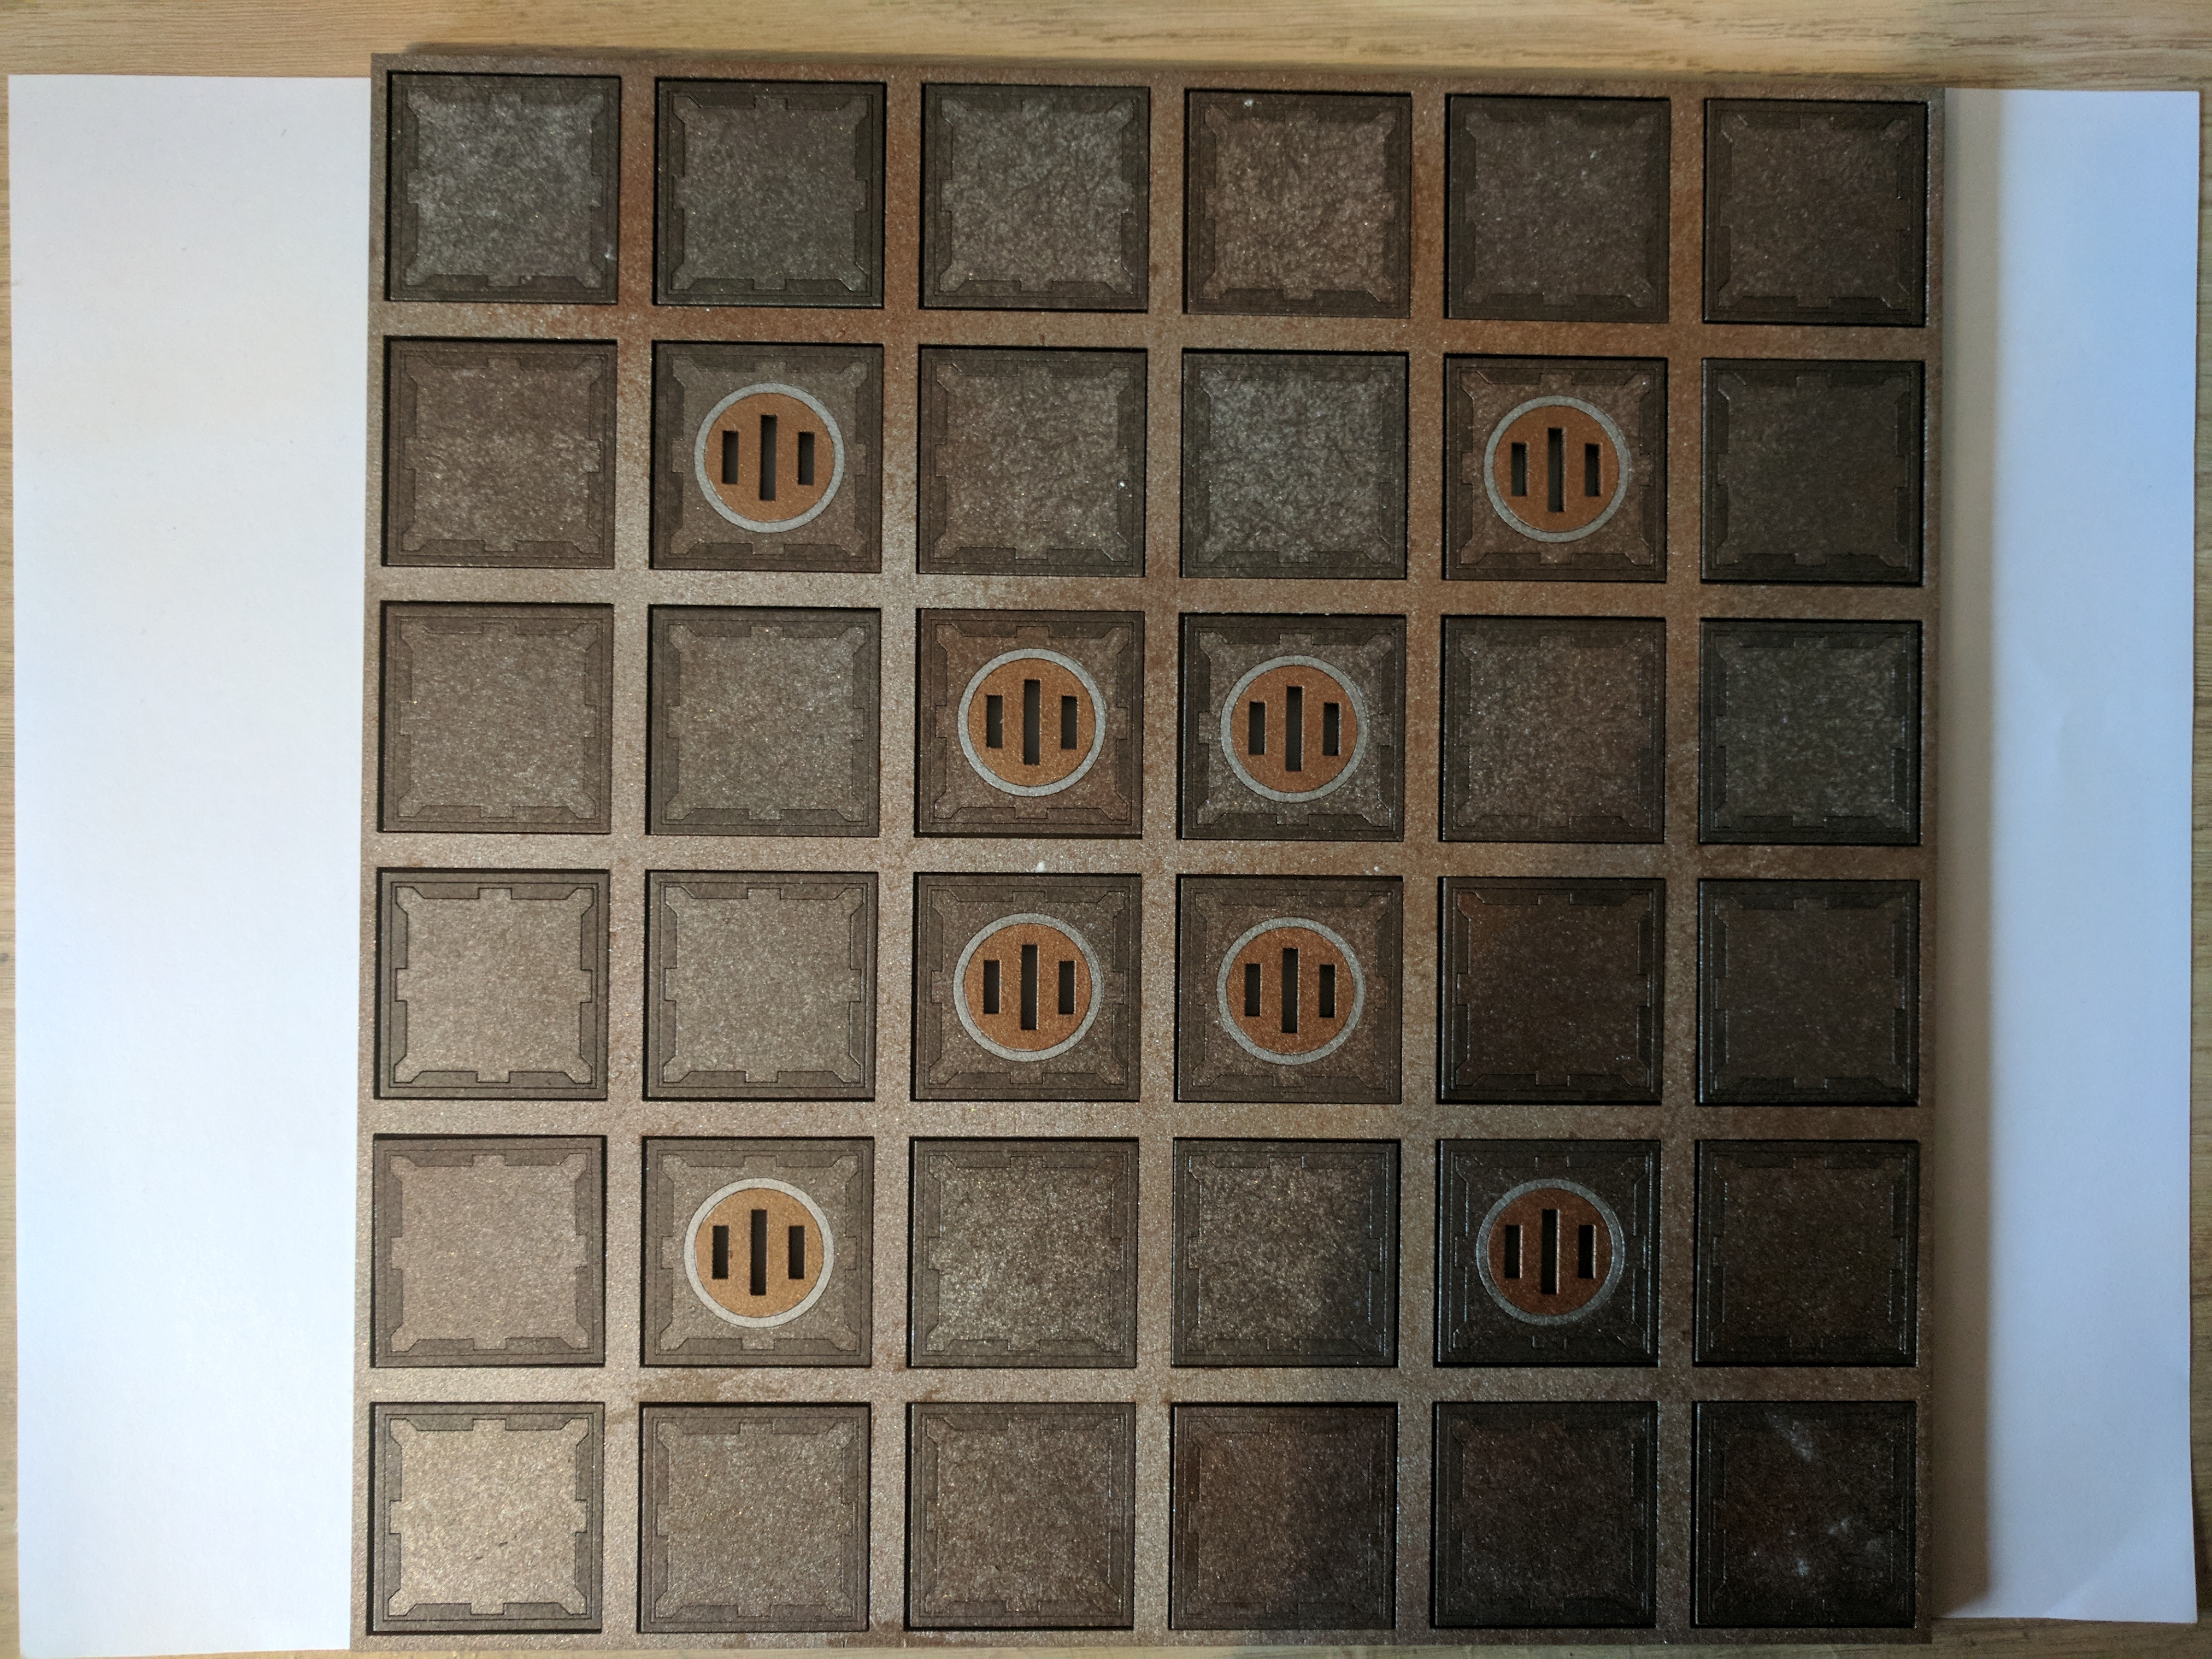 Gave each board and its tiles a blast with the darker shade then lightly dusted with the lighter shade and a small spray of the rust effect, each tile edge was shaded with some army painter ink Strong/Dark tone mixed and the drains were painted up with some rust/gold and silver paint... now we're looking a bit more like the underhive...
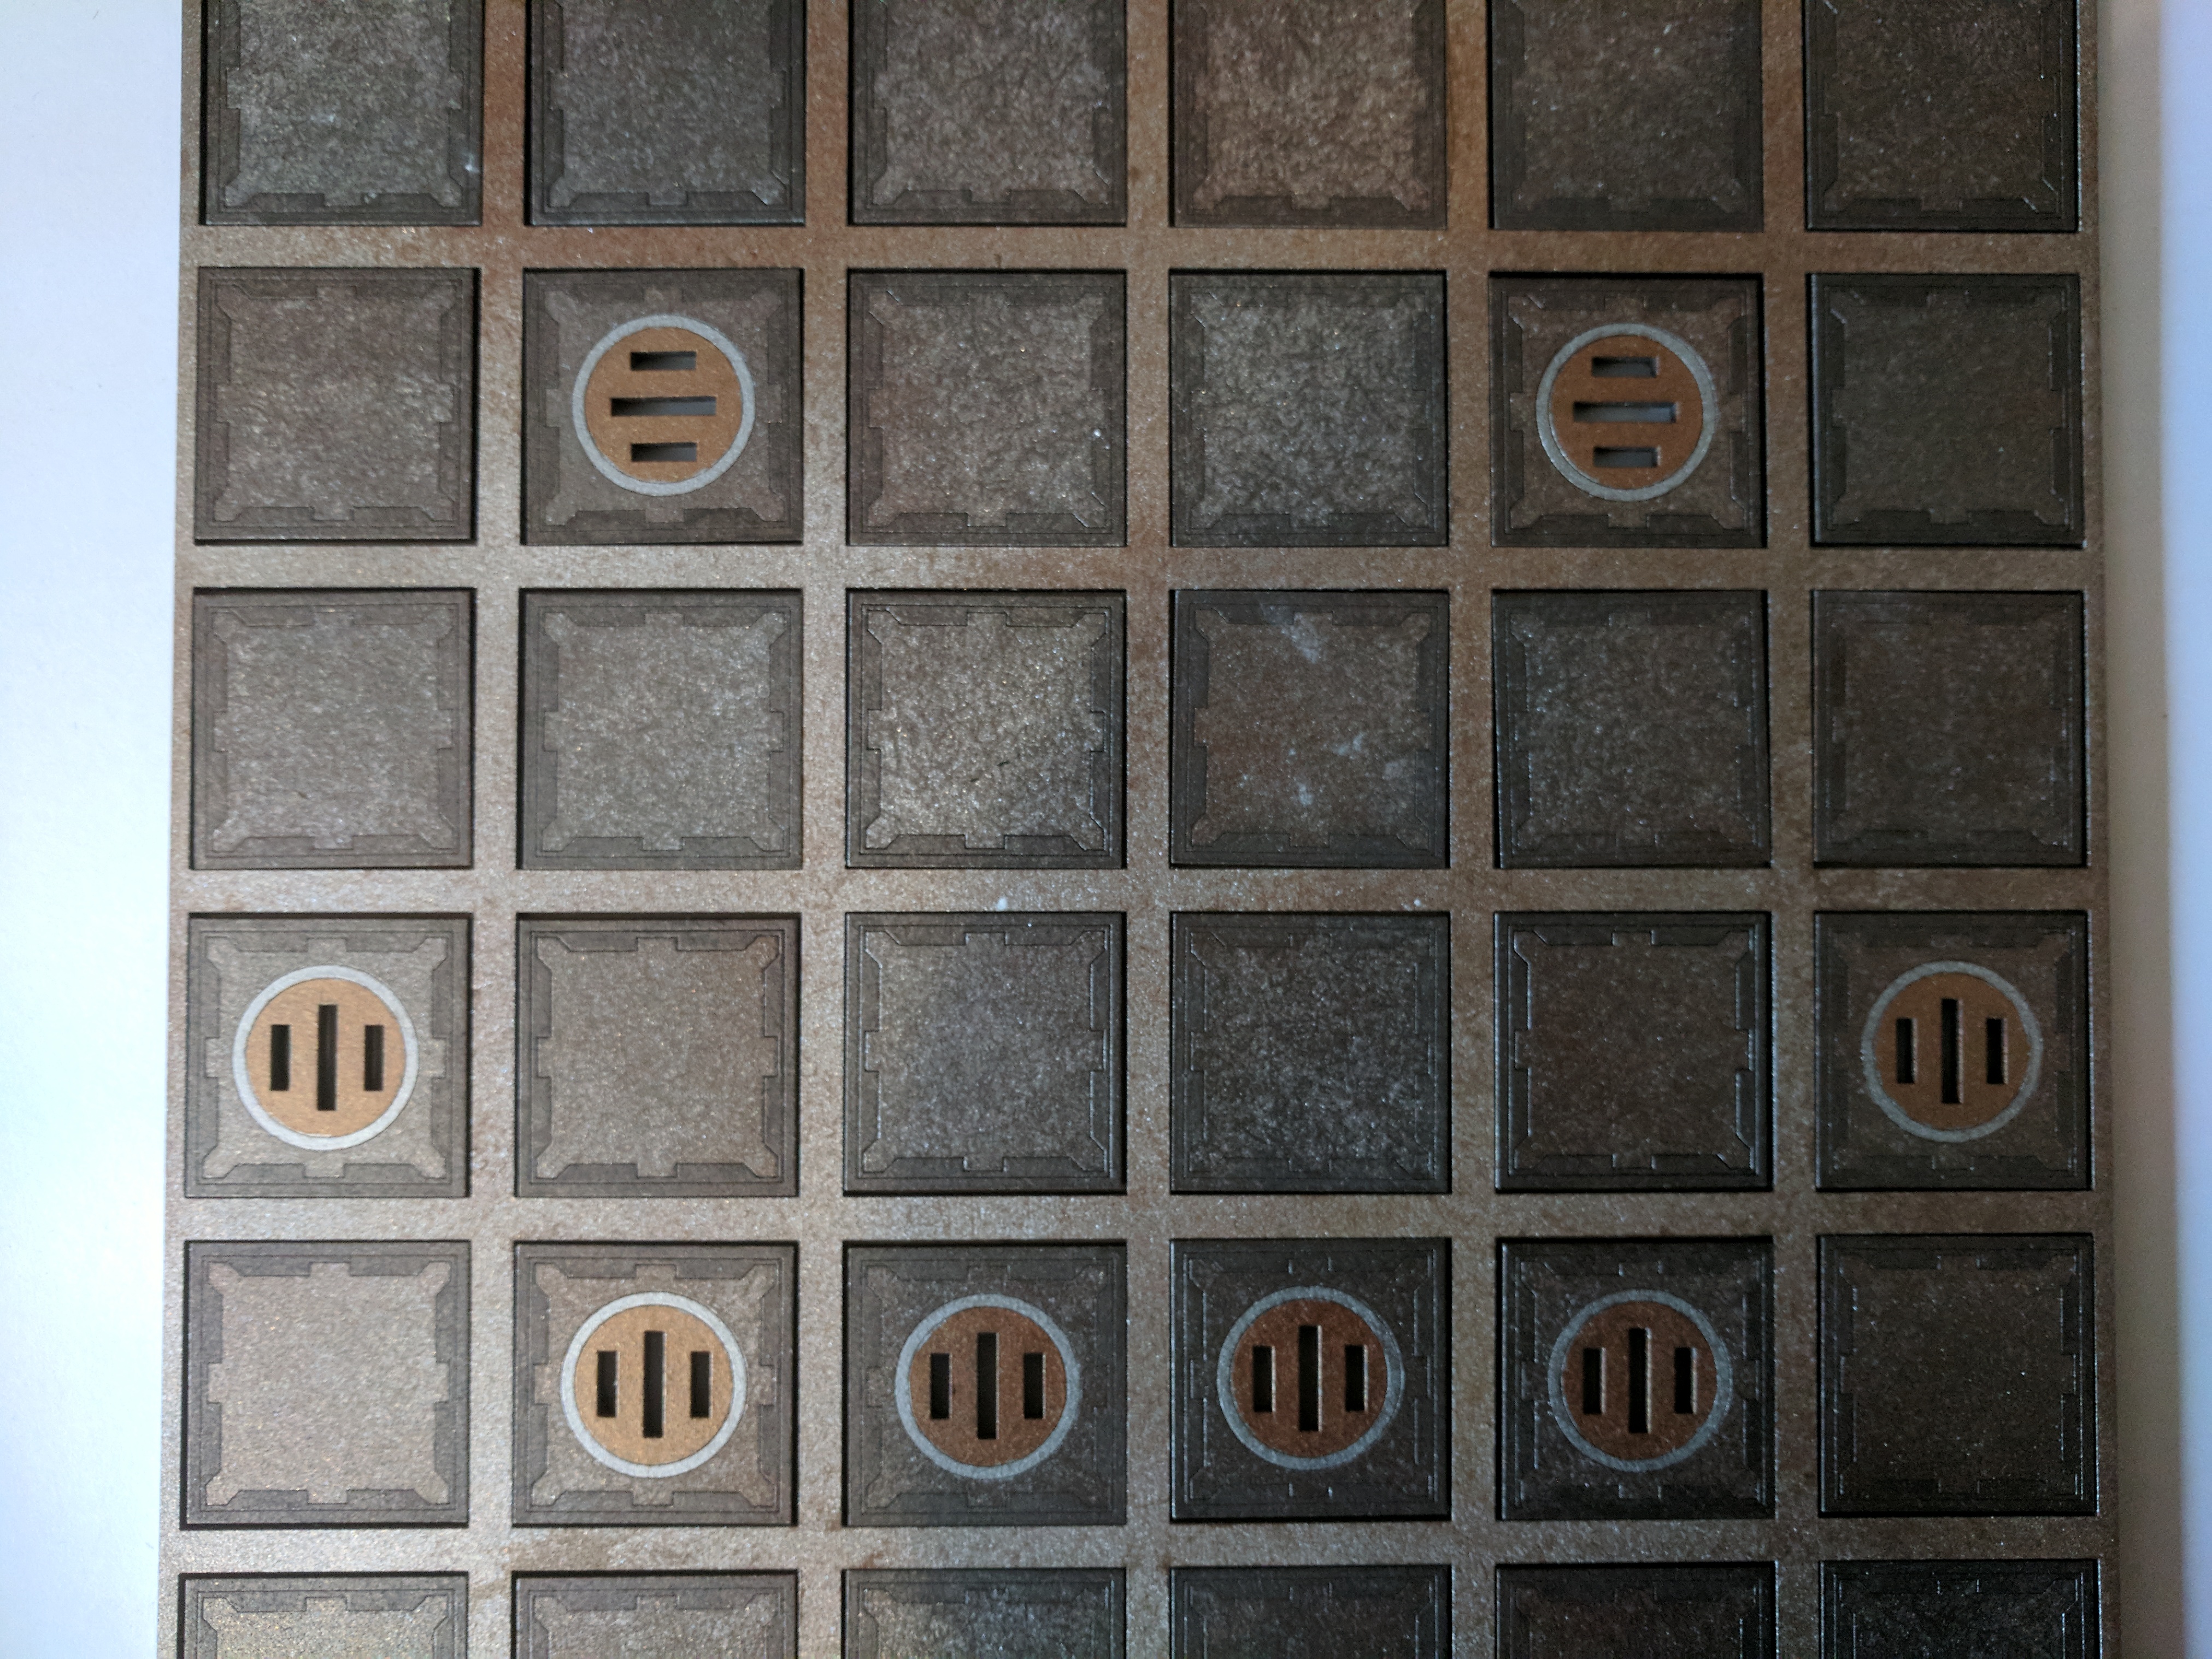 The tiles we're designed to be moved about so the different paint effects on each add another level of randomisation and of course set up in whatever configuration I wanted.
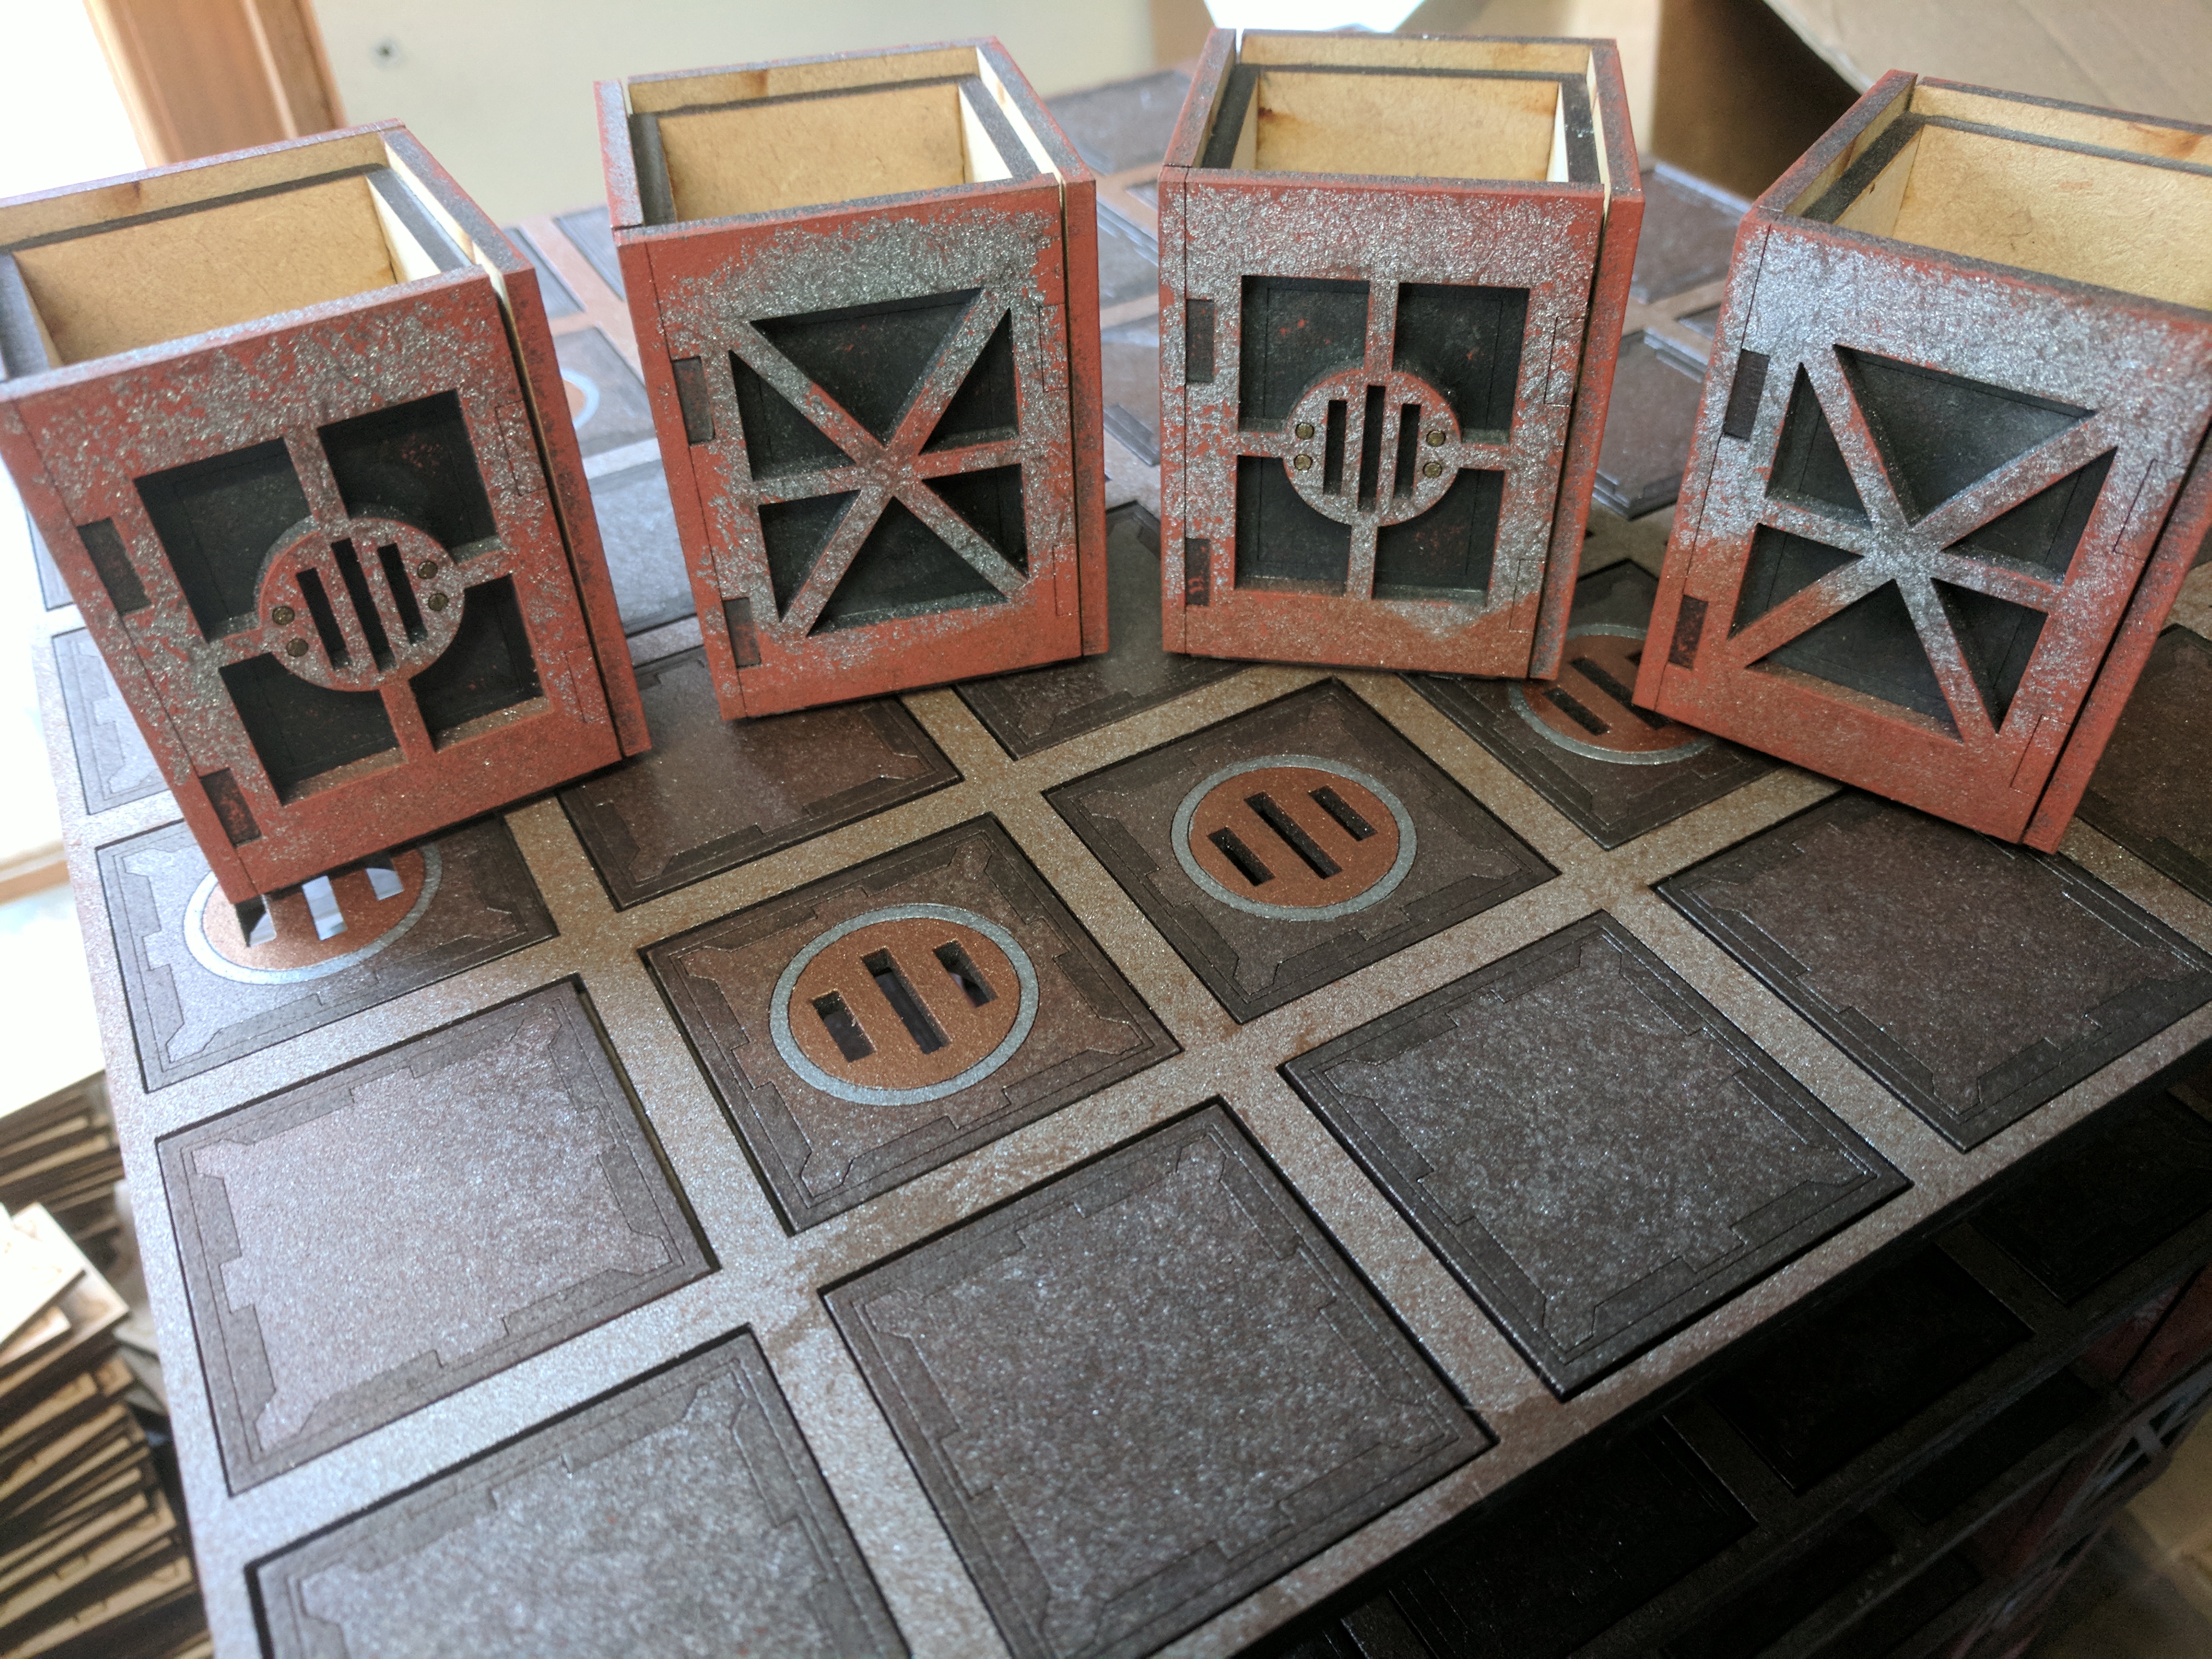 The last part was to paint up the construction cubes, one again nothing fancy, spray painted with the lighter metal colour and the bottom edge sprayed with the rust effect, as a final touch i just sponged on some weathering pigments and paints.
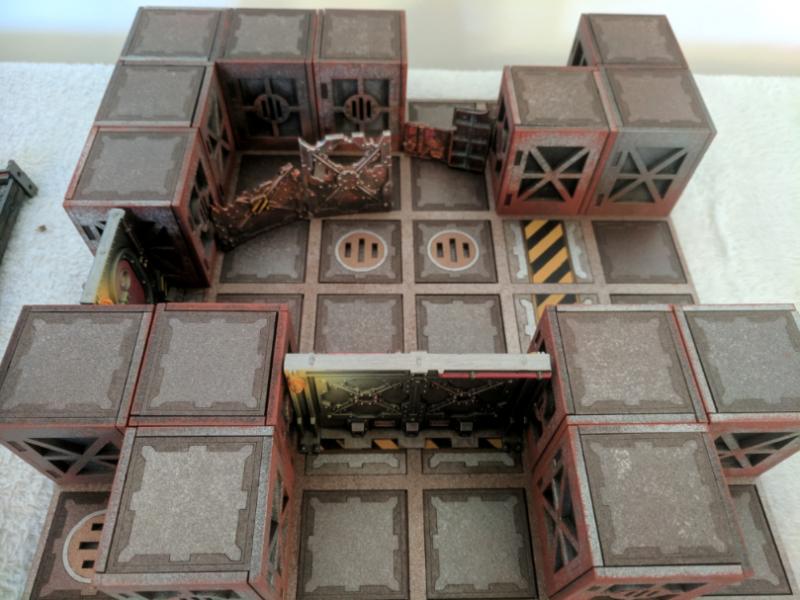 One board section set up complete with doors and scenery for effect.
The only way is up...down, left right... wherever.
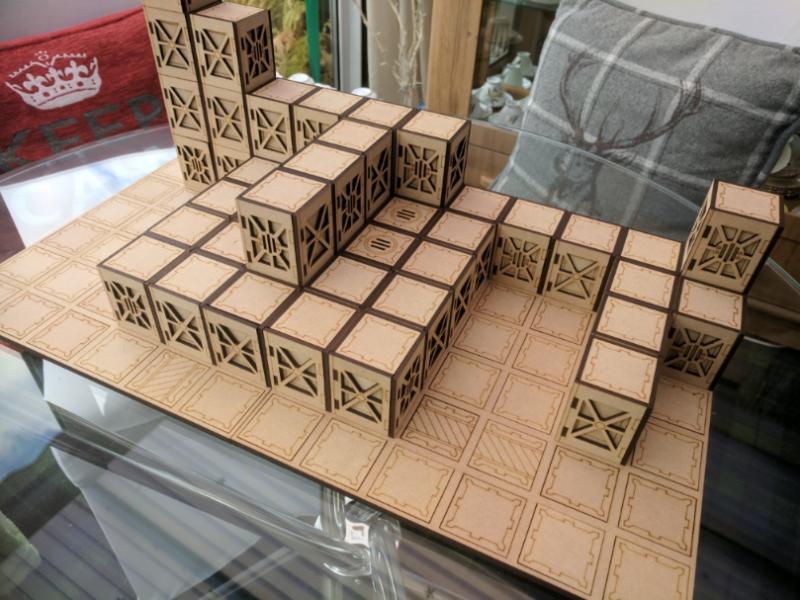
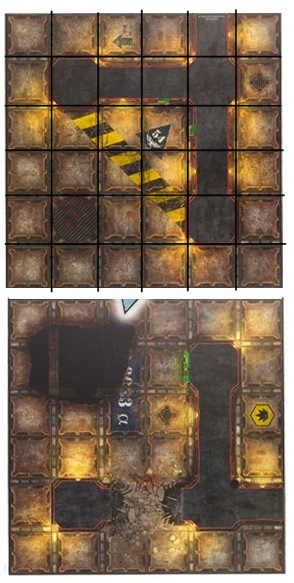
 With the boards and construction cubes created it was time to do a test run and see if one of the maps from Necroumnda: Underhive could be replicated with a few additions and changes, I used the scenario "Smash & Grab" as my test run.
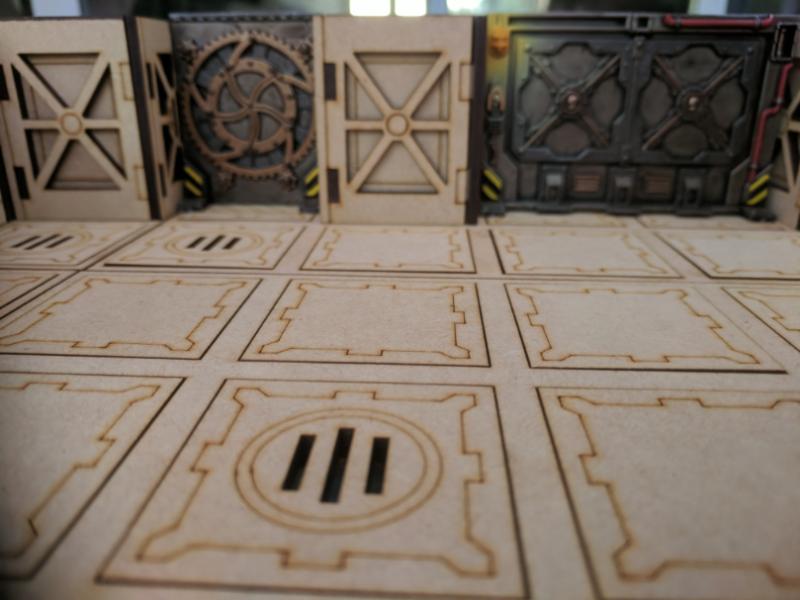 One of the scenery items provided in Necromunda: Underhive is the bulkhead doors, I wanted to make sure this scenery system worked with the scenery already provided so i needed to test the width between cubes to ensure that the doors could be inserted and removed smoothly, luckily they fit perfectly with only a small gap either side.
But the purpose of this project wasn’t to remake Underhive maps, it was to offer a choice of 2D or 3D playing areas…. and with that in mind…
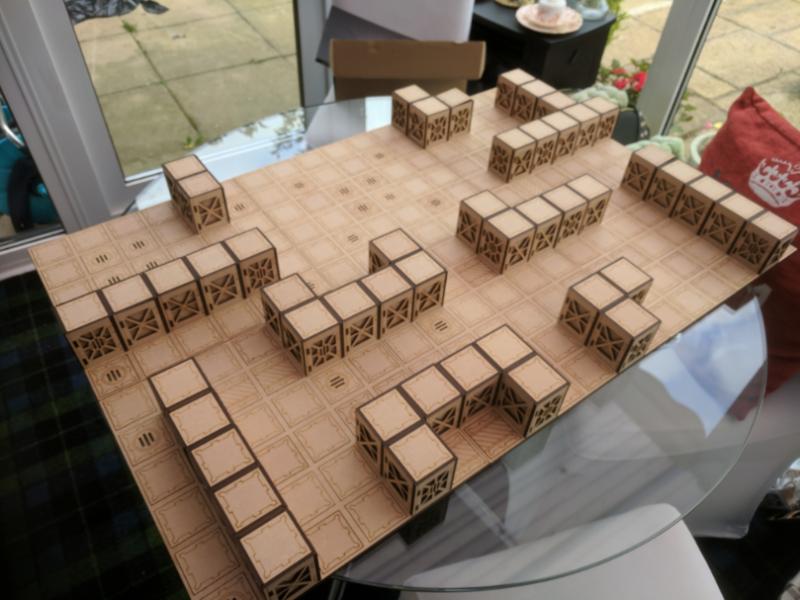
 I went up to the next level.... Time to get painting....
(some eagle eyed viewers may notice a small difference in the construction cube designs, the unpainted version shown in these pictures shows some of the amended designs but all painted versions in future posts will be the older versions)
It's Like minecraft only for 40k..
With base boards set up it was time to look at the next big component, the construction cubes.
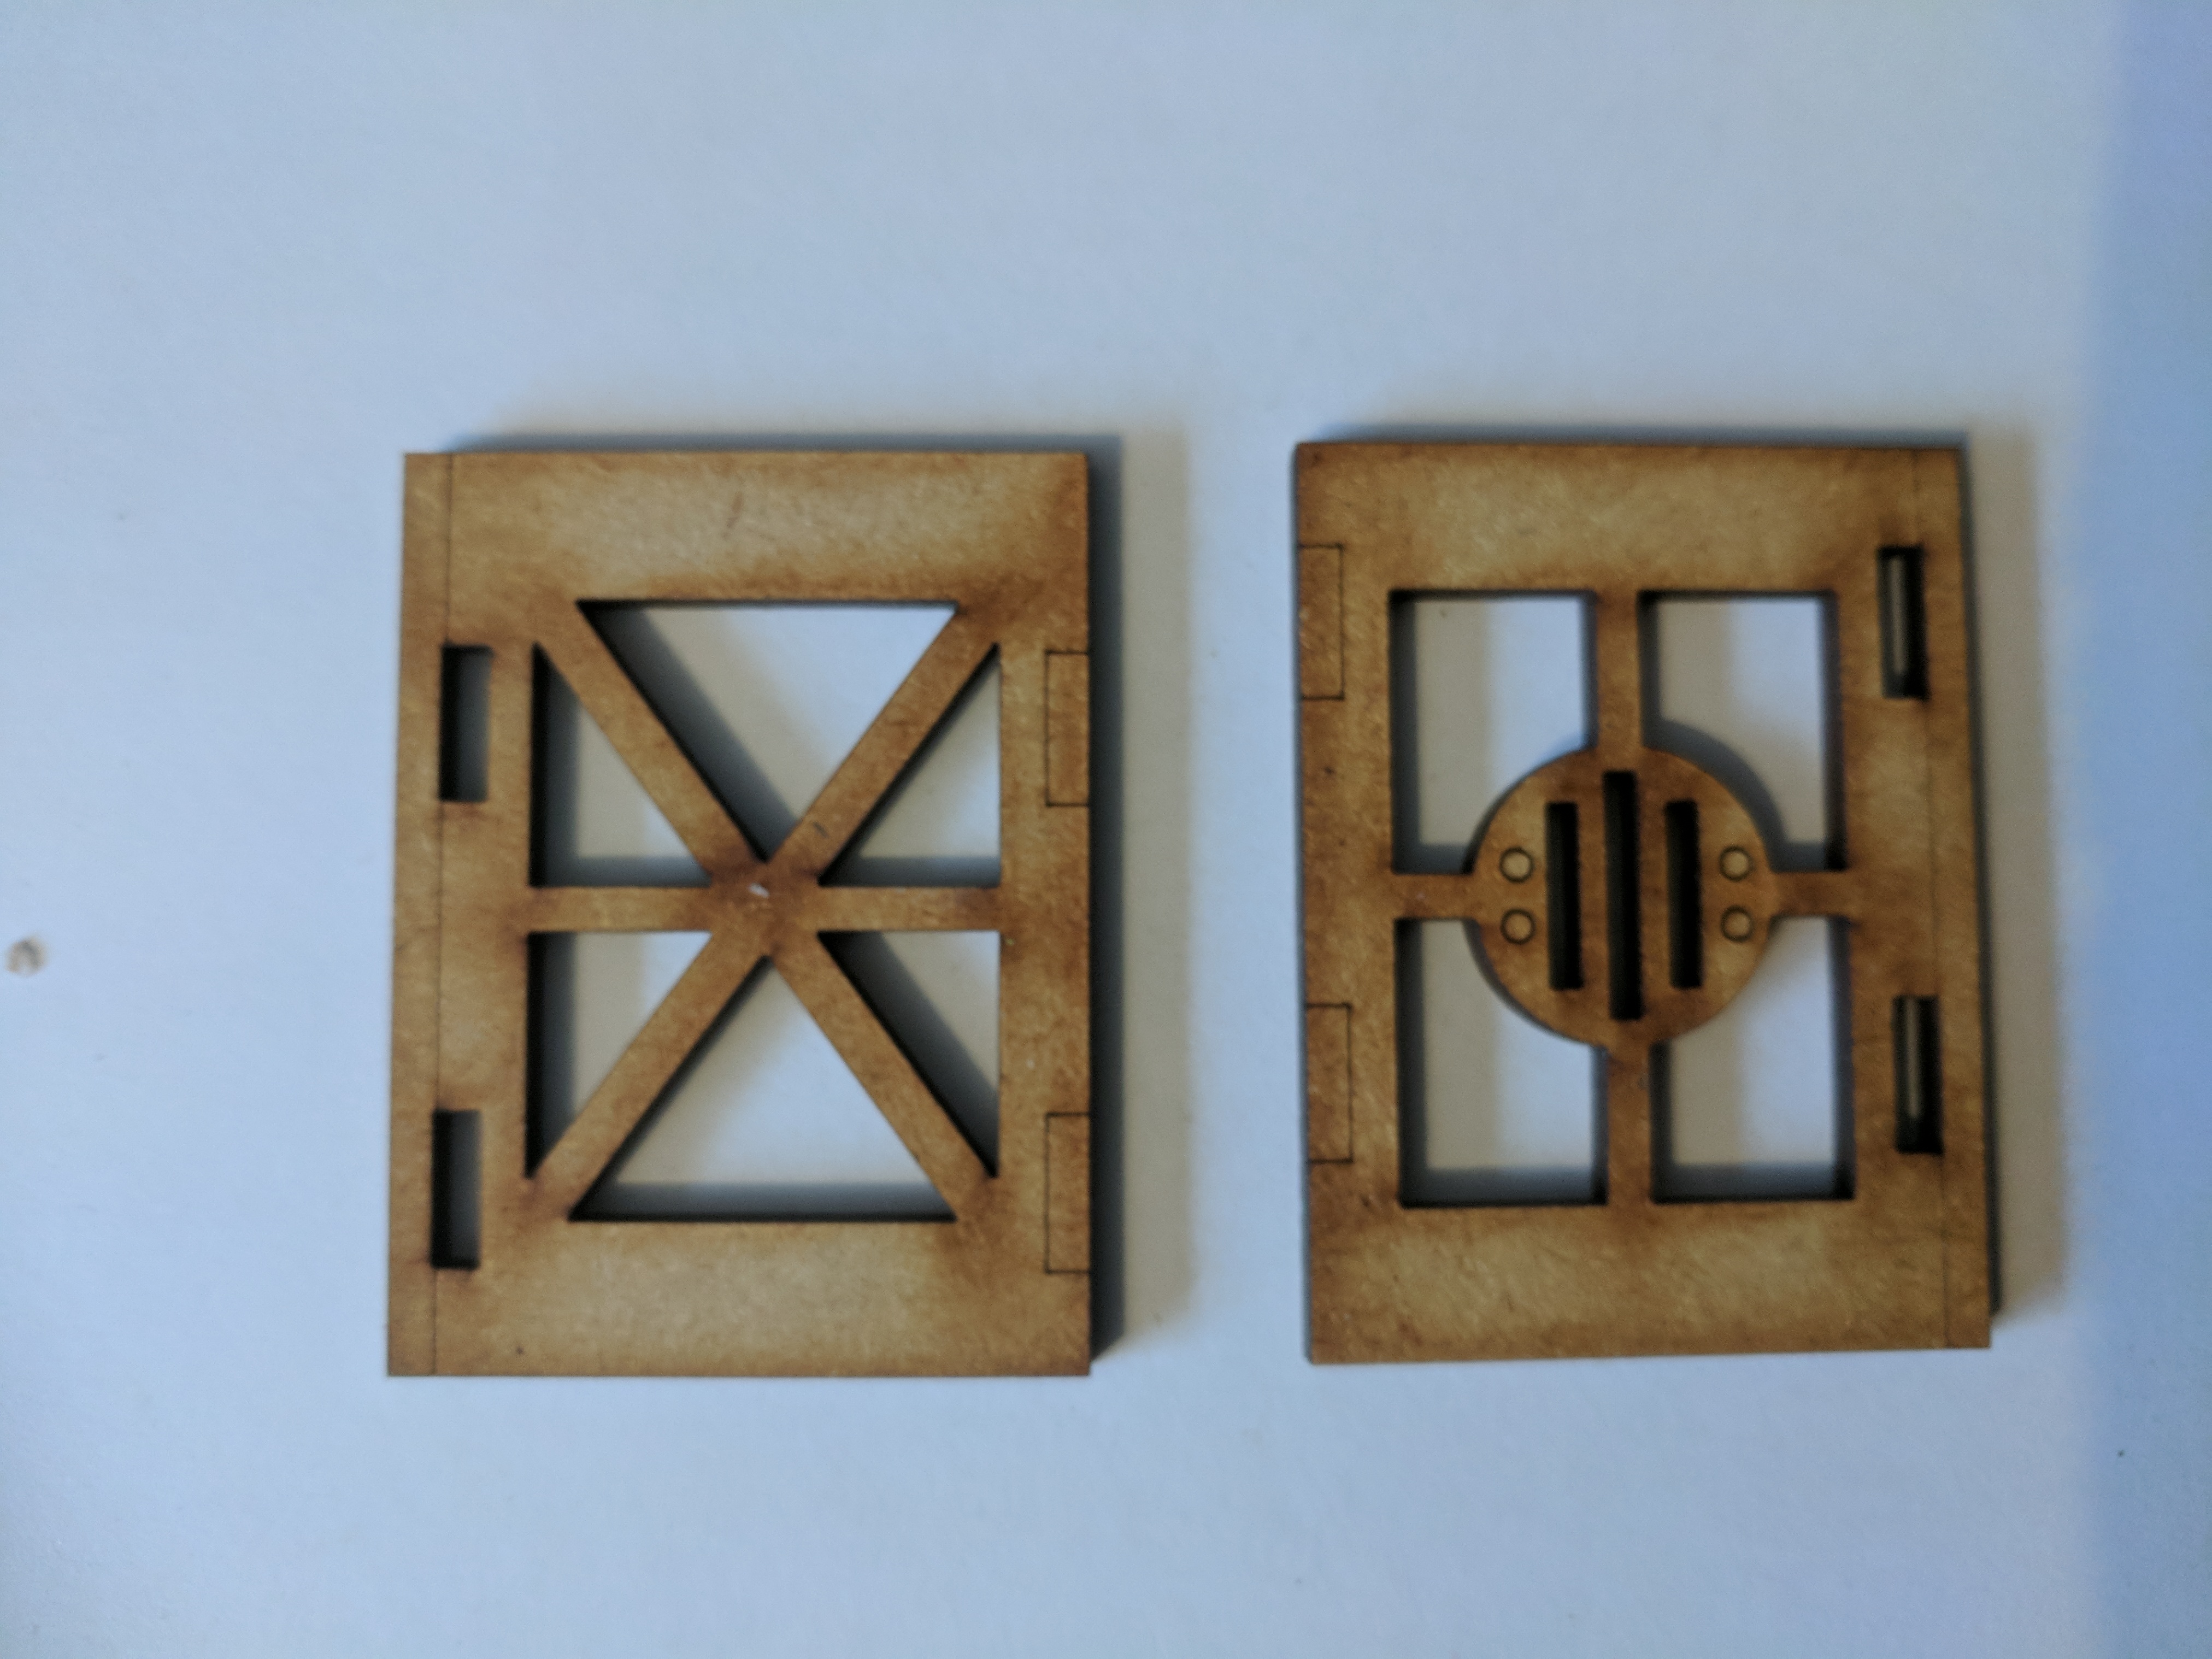 Each cube would consist of an inner layer which would fit into the squares on the base board and be offset around the top to provide a small shelf which one of the floor tiles could be rested on, the outer cladding consists of two designs, one standard bulkhead and the other cut to represent some form of air duct/ventilation shaft.
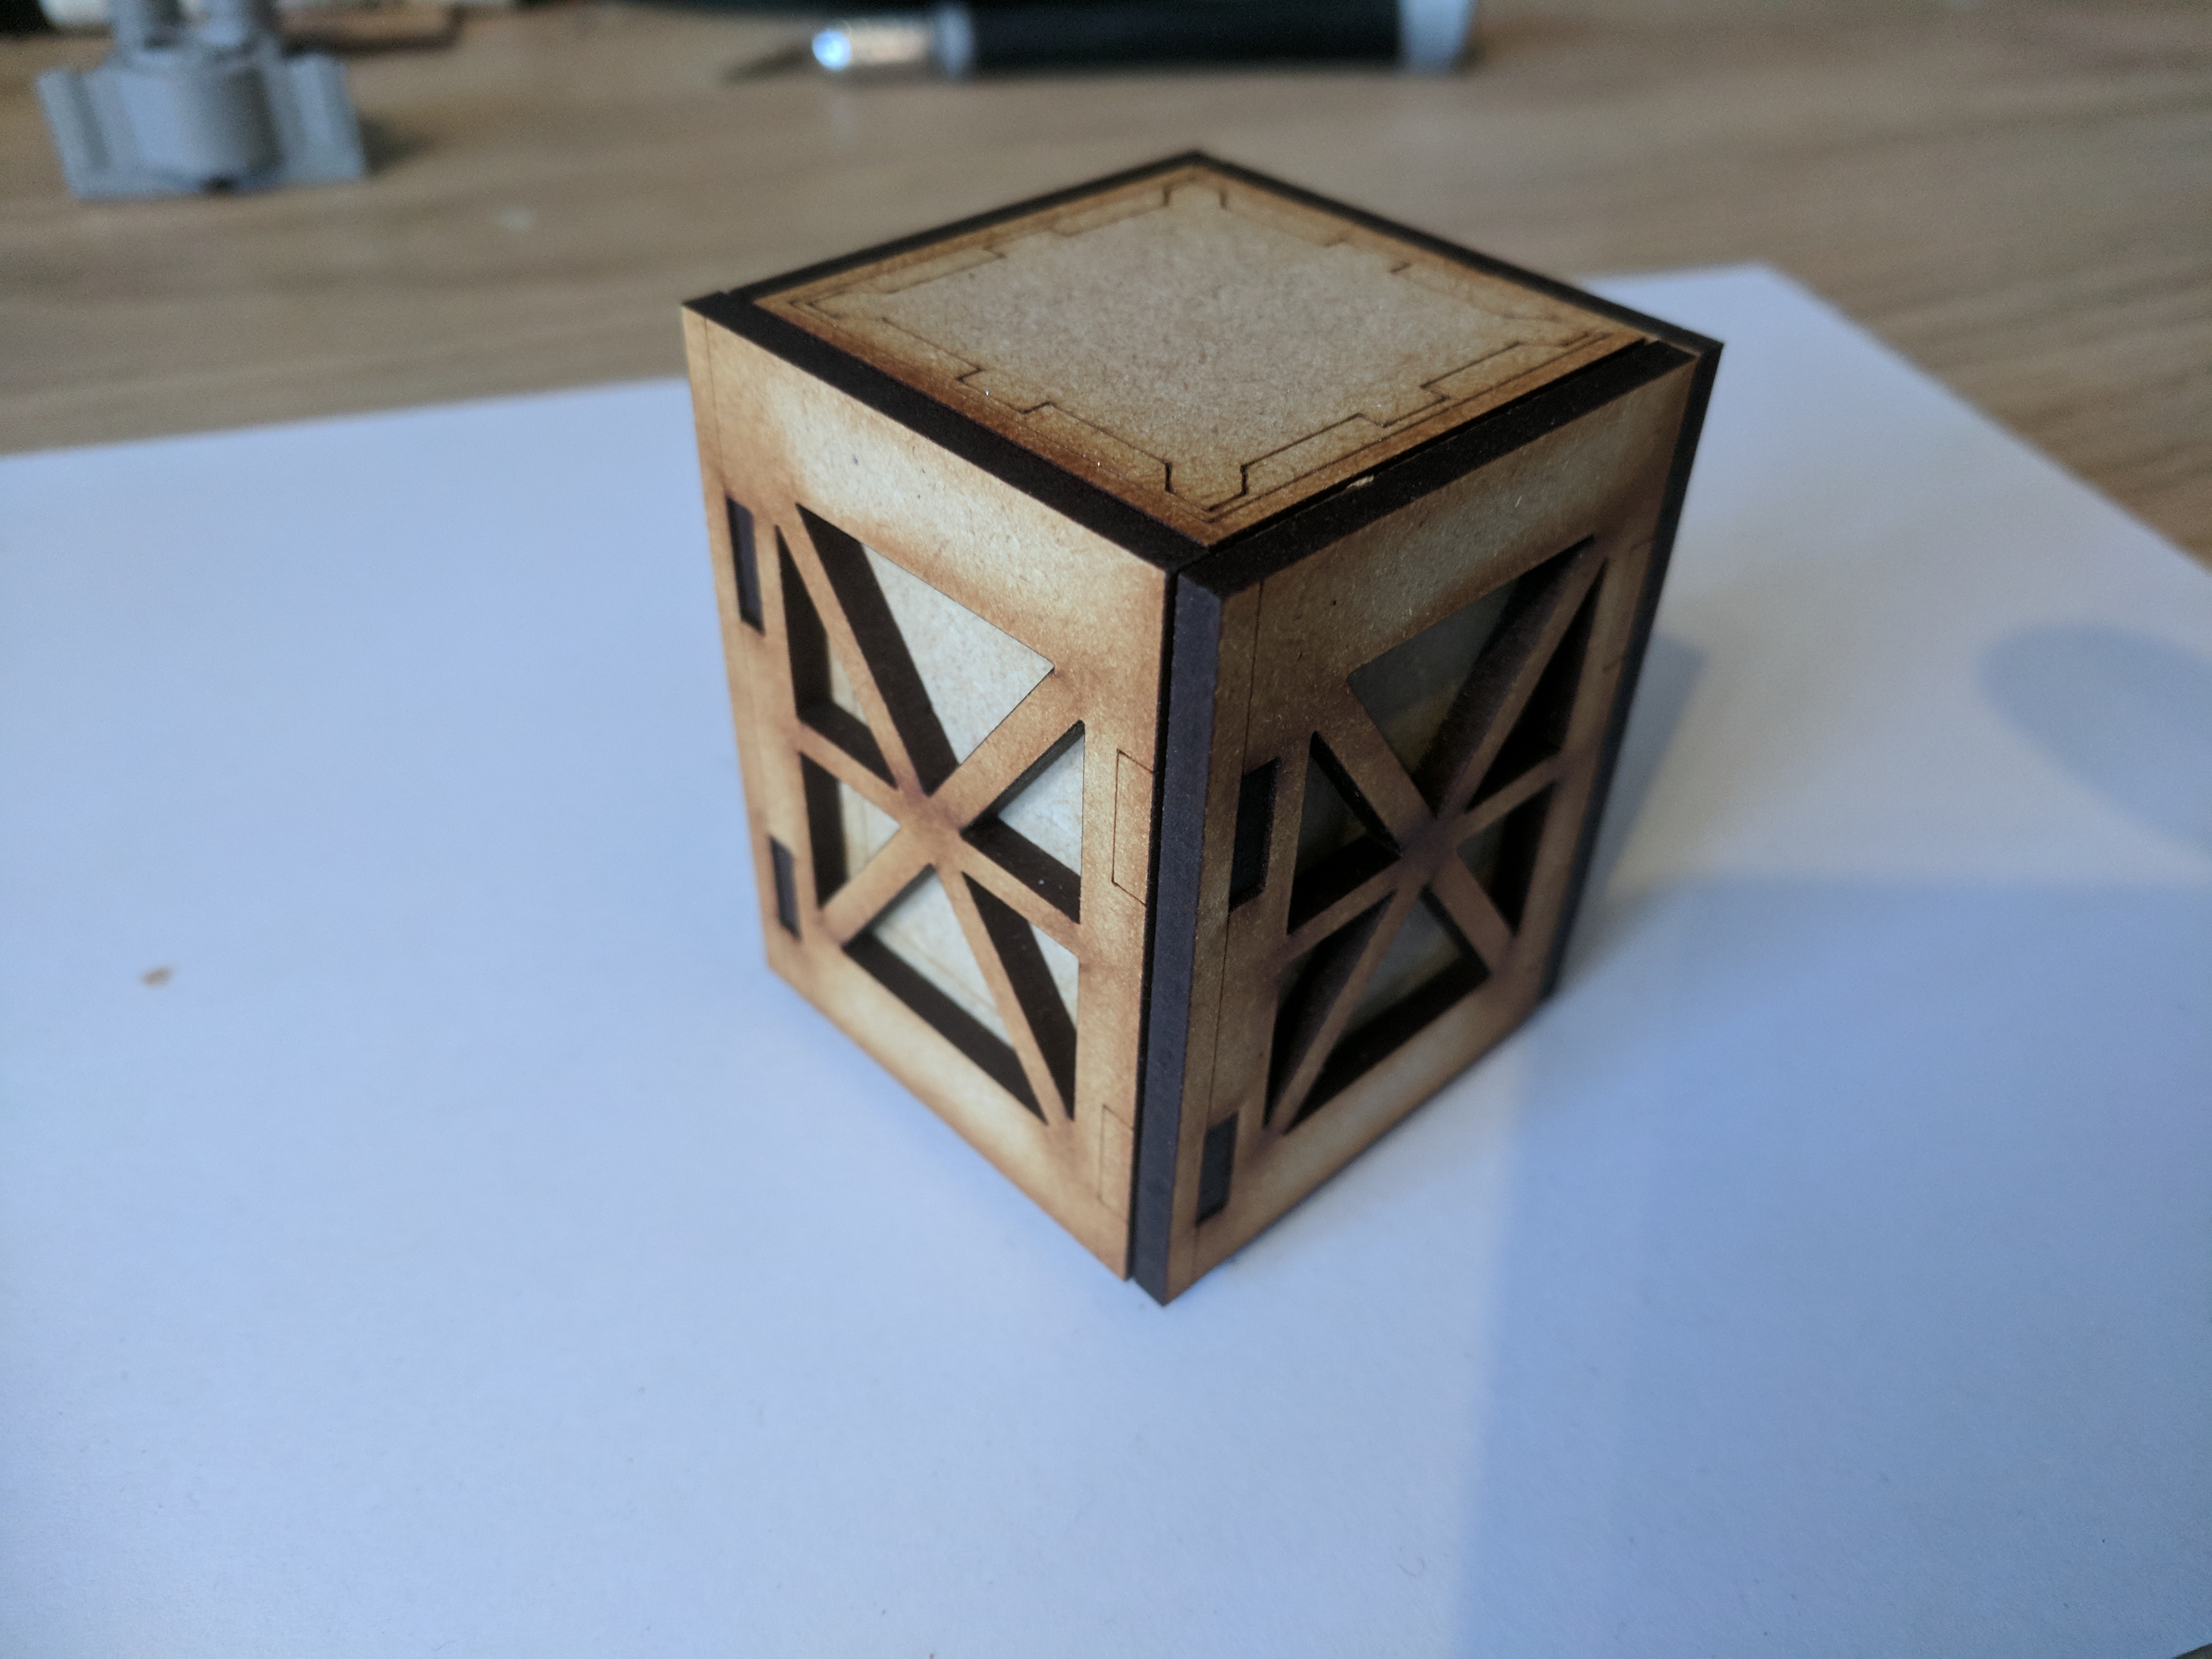 Once assembled these cubes will provide the base structure for walls and upper floors, cubes can be lined up next to each other or on top of each other meaning a board layout can be constructed in a similar fashion to the Minecraft system... 40K-Craft?
In the beginning there were cardboard tiles...
To start things off i needed to know what i was going to work with, since the underhive box set came with a selection of pre-printed board tiles i decided that it would be best to use them as my starting point.
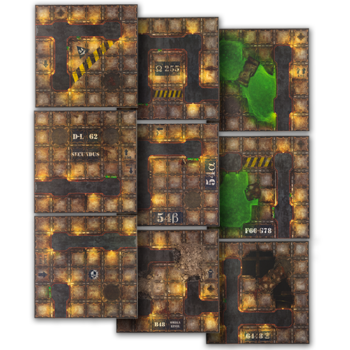
Luckily for me boards were already divided into quadrants 6 squares wide and 6 squares long.
 Using these dimensions I drafted up an idea, 2 square MDF boards, the upper layer being a grid with 36 holes and the lower layer being a standard flat board for everything to rest on and provide stability.
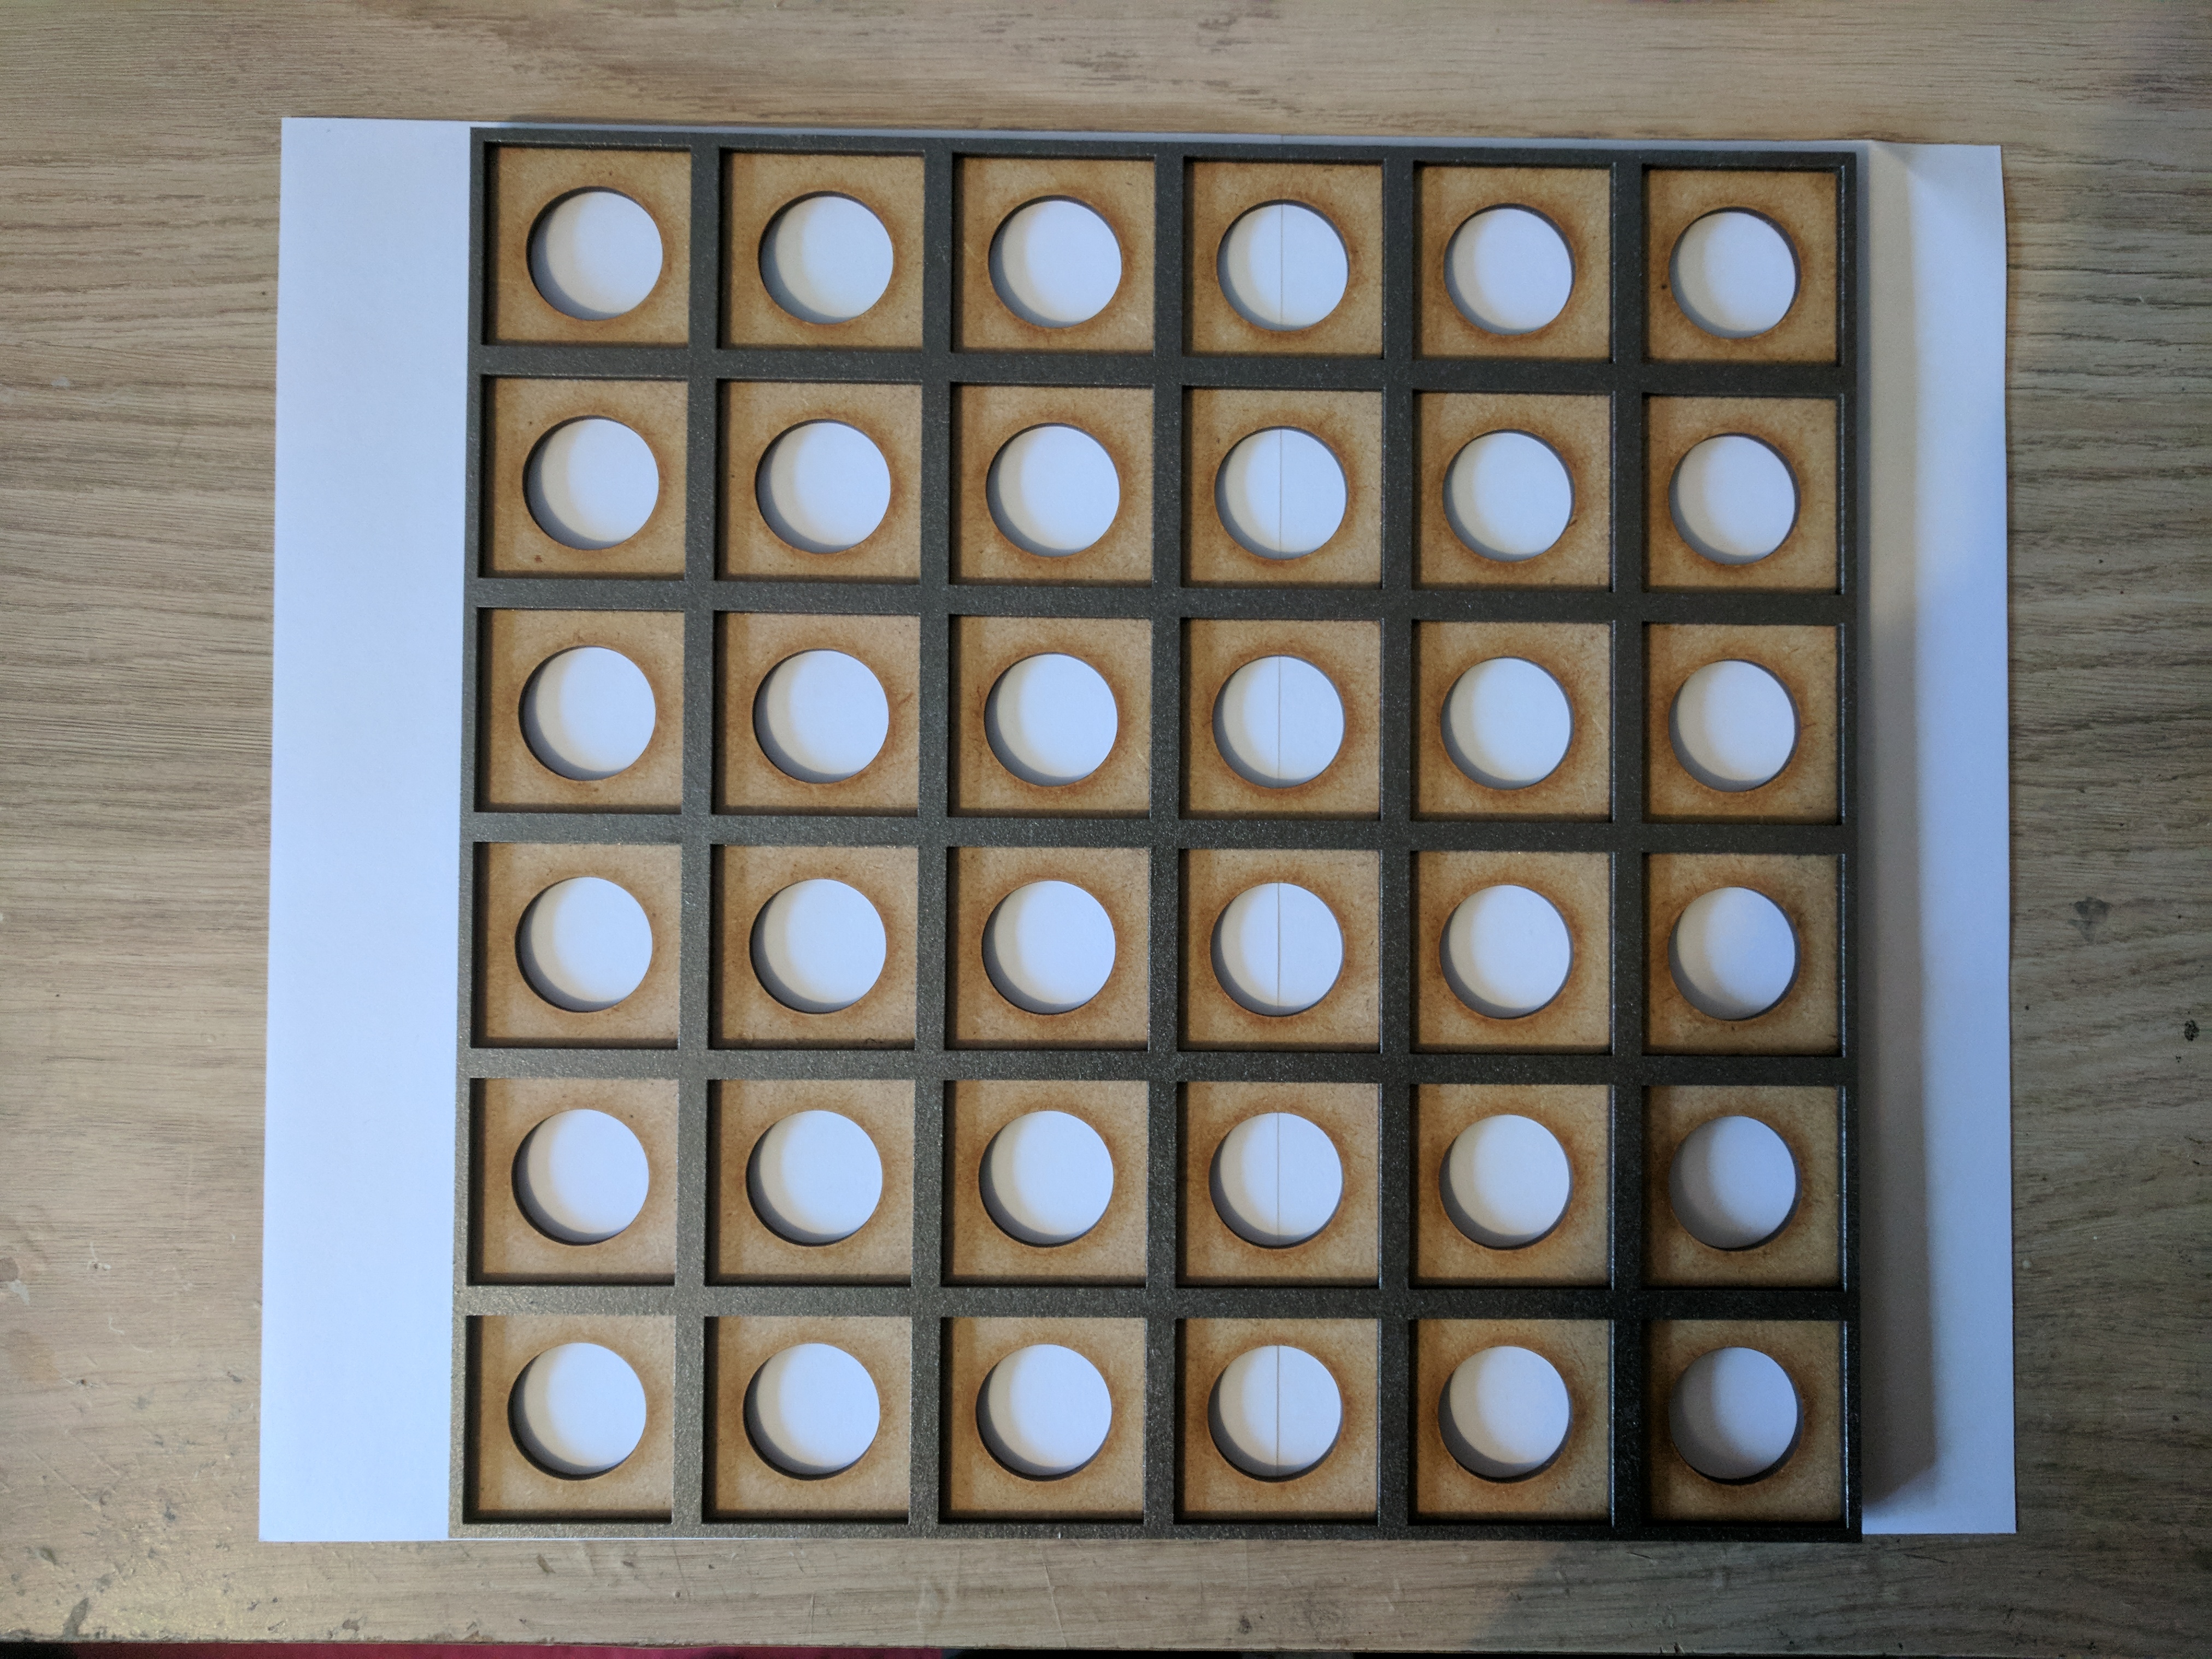 The initial board, the starting point for the rest of this project.
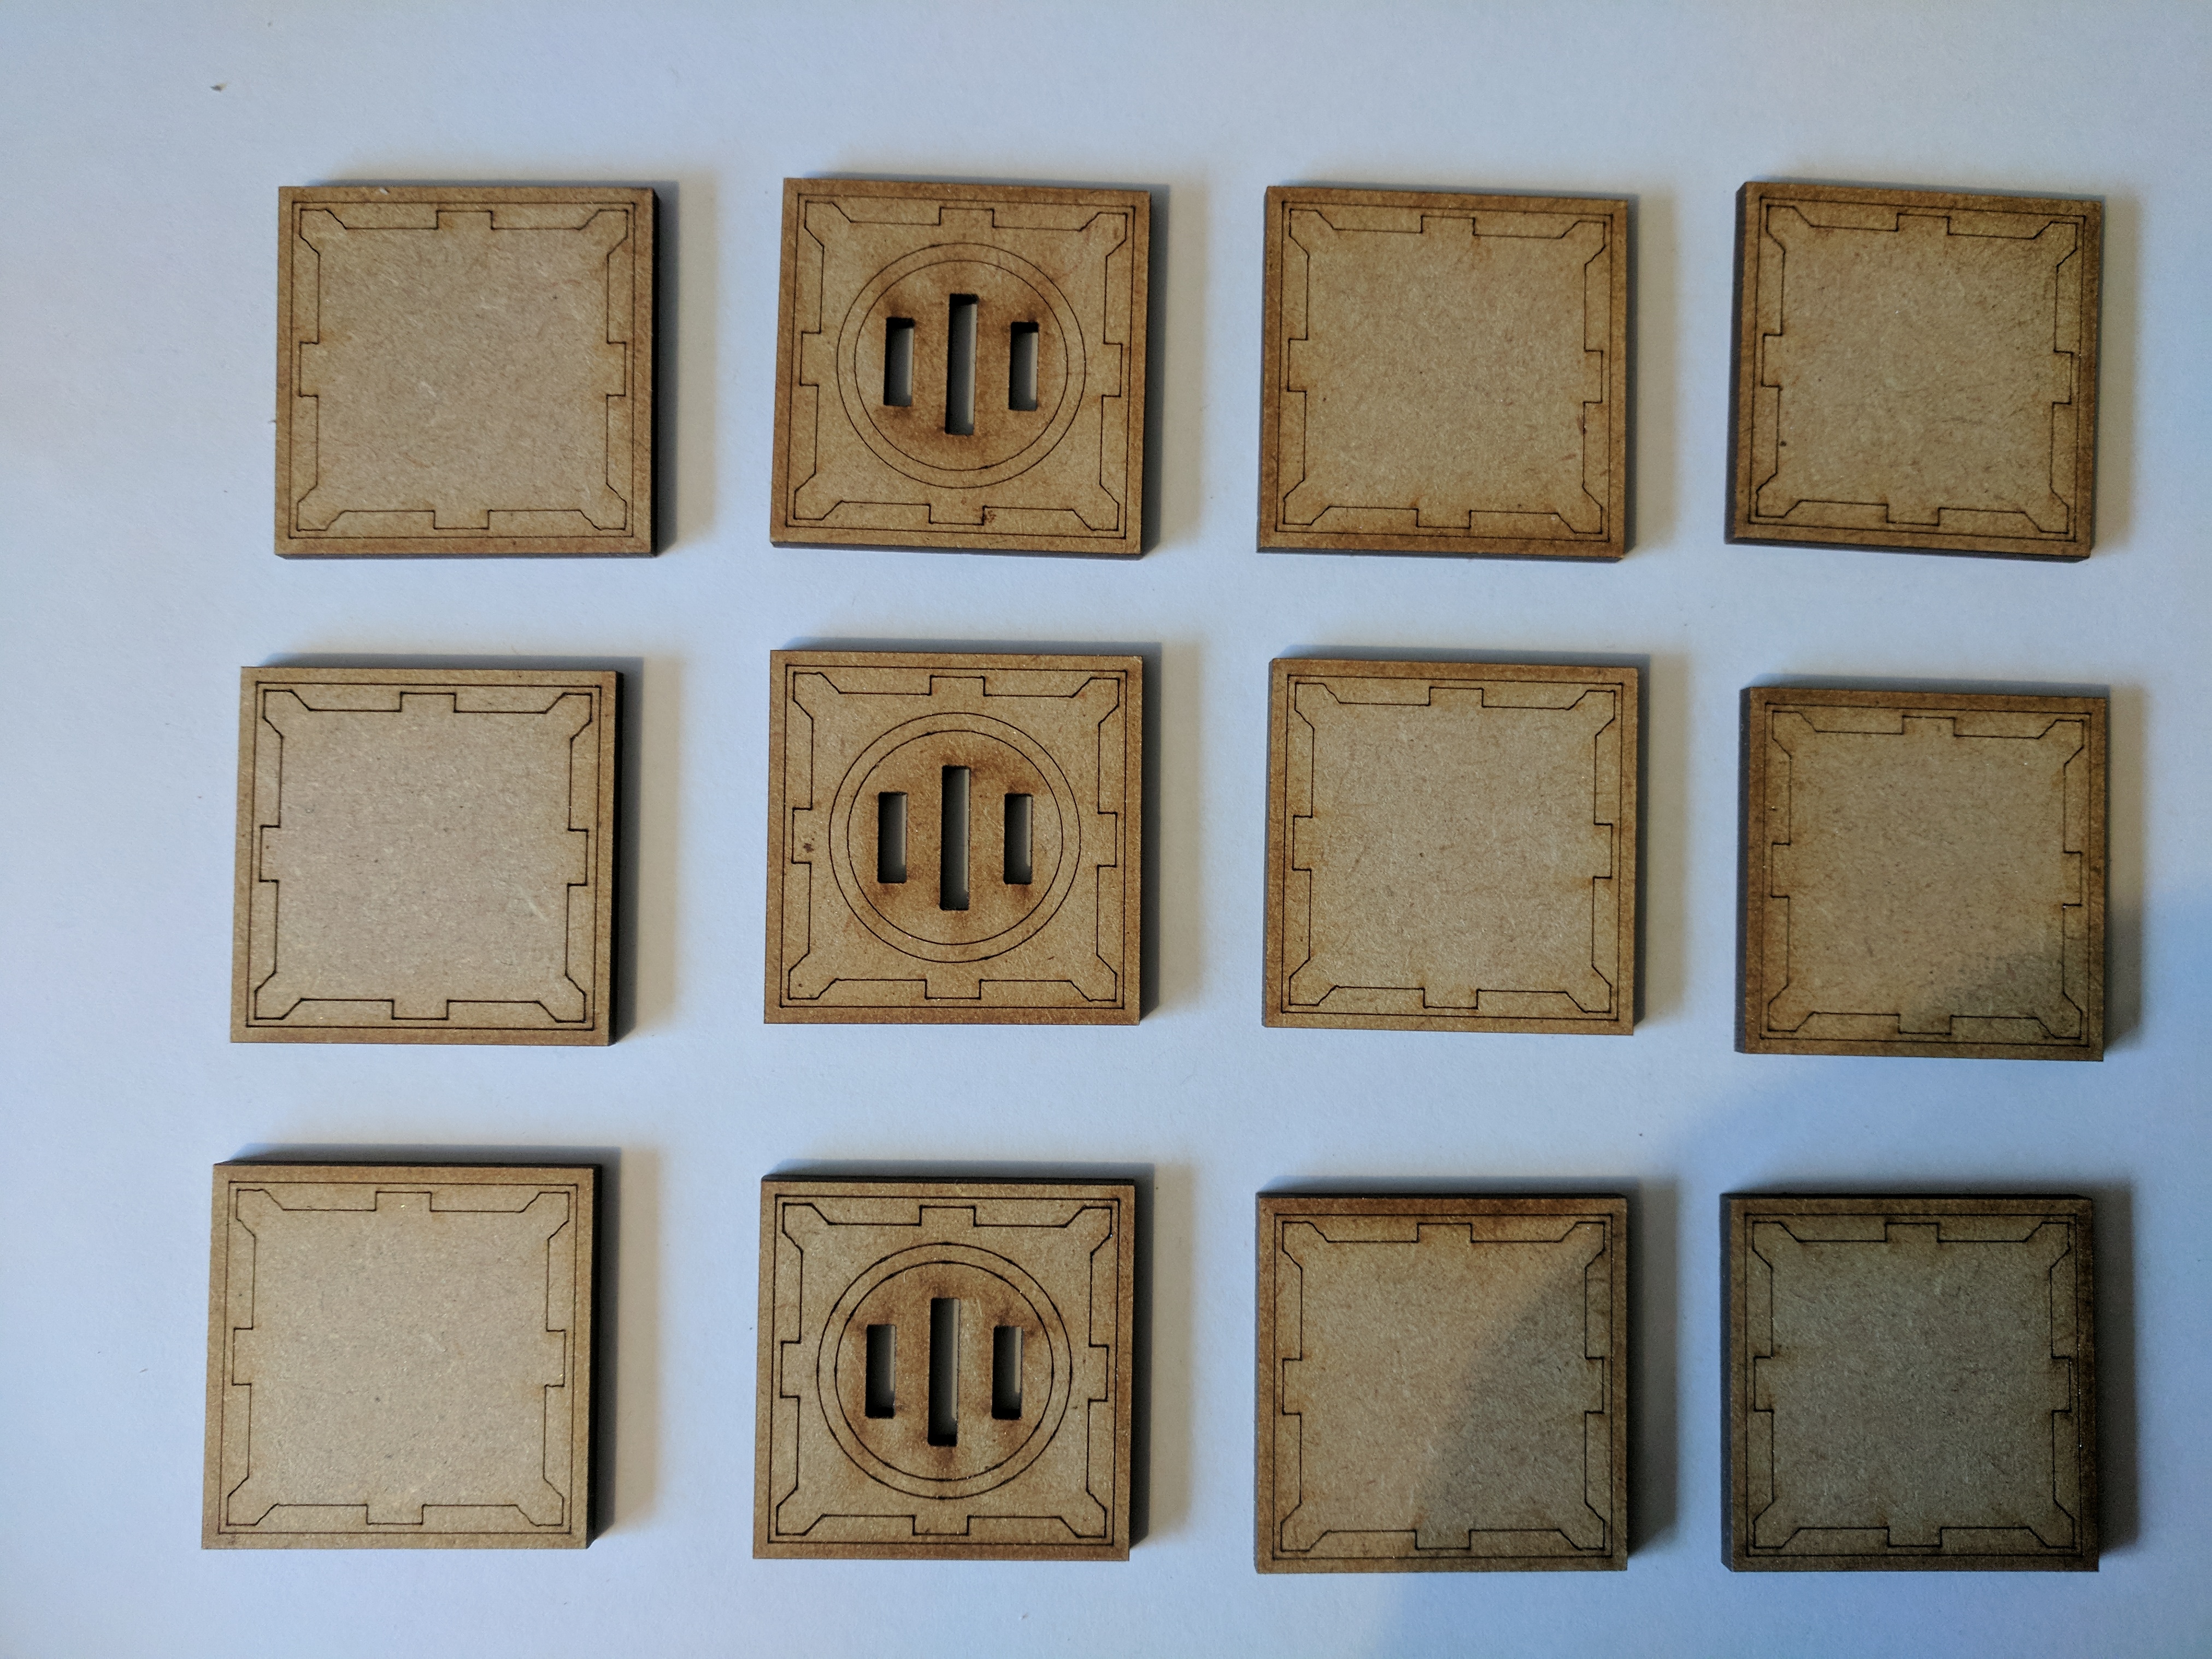 The last piece of the board would be the tiles, using the cut-outs from the upper layer each of the 36 tiles were engraved with a border or a drain to break up the flat areas and to make them a bit more interesting to look at.