


![1918 Spring Offensive Wargame | Full Rules Overview with John & Gerry (WW1 Tabletop Game) [7 Days Early Access]](https://images.beastsofwar.com/2026/03/unboxing-warfulcrum-games-1918-spring-offensive-review-coverimage1-225-127.jpeg)


Manda’s (Amachan) Gaming Table


Recommendations: 819
About the Project
This project is about my gaming table that I want to be able to set-up quickly for different types of games from different genres. This part will just cover the main table and the generic scenery pieces that will fit in most genres.
Related Genre: General
This Project is On Hold
Summoning Gate Progress
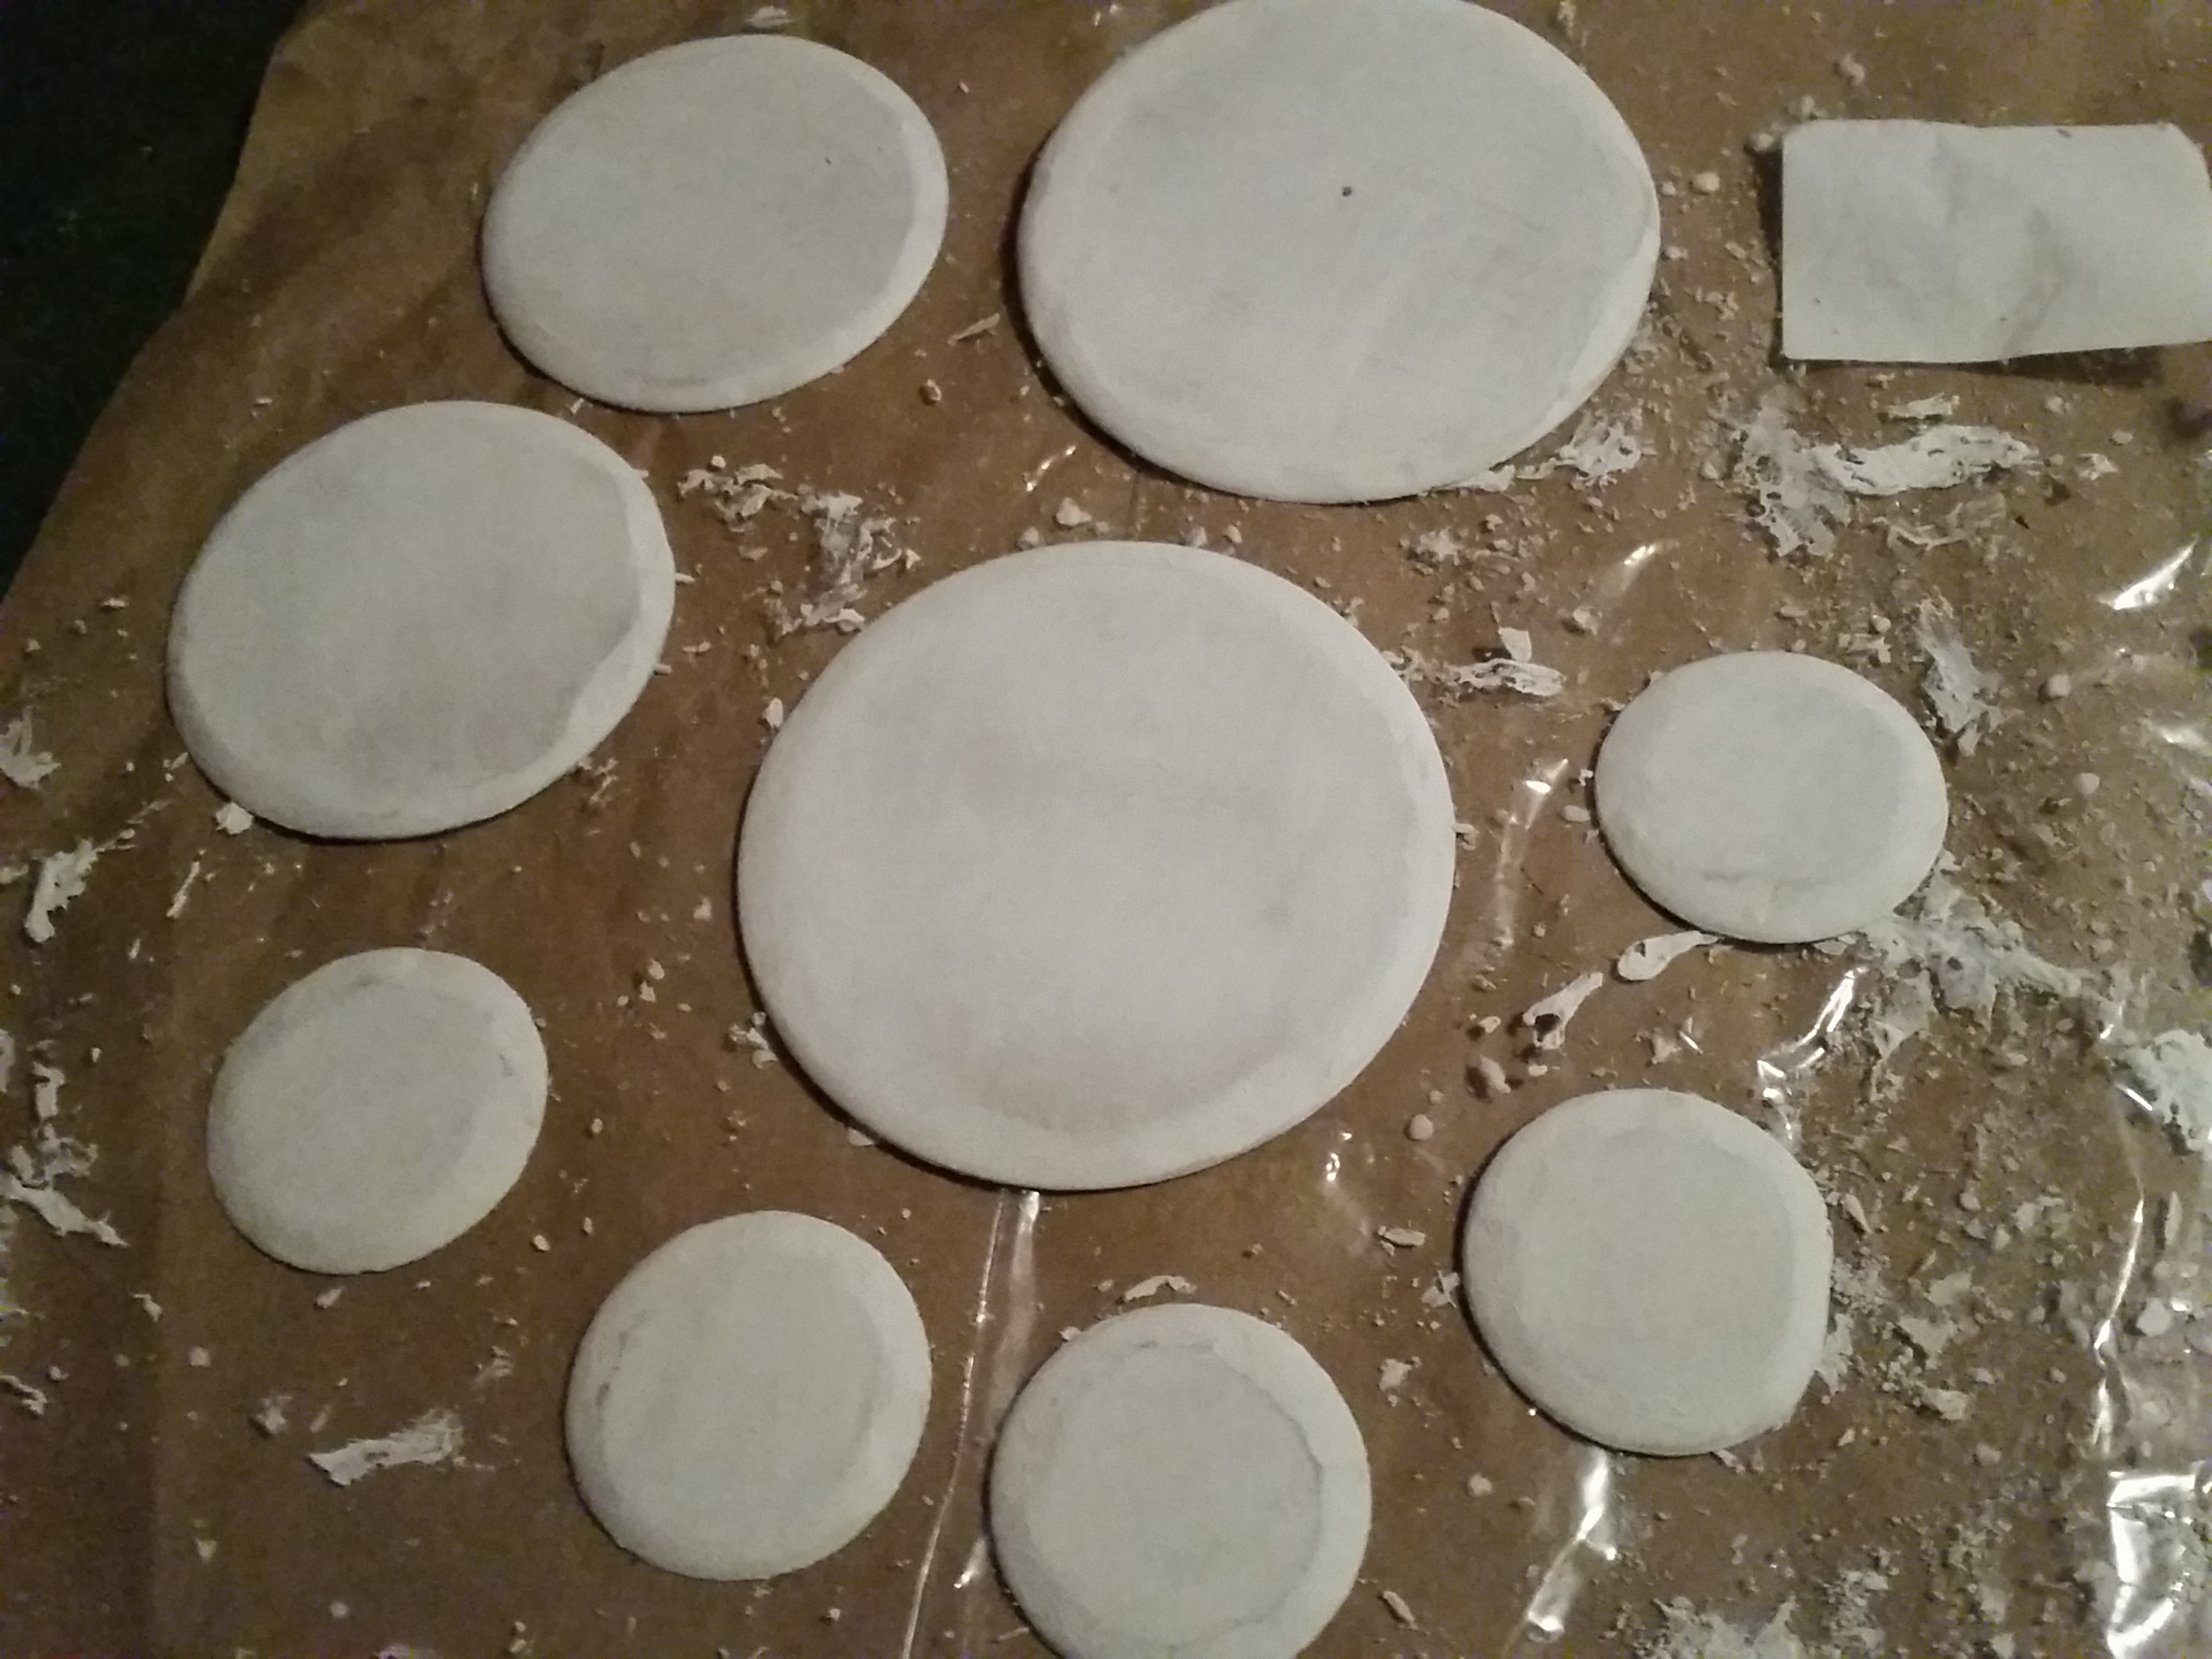
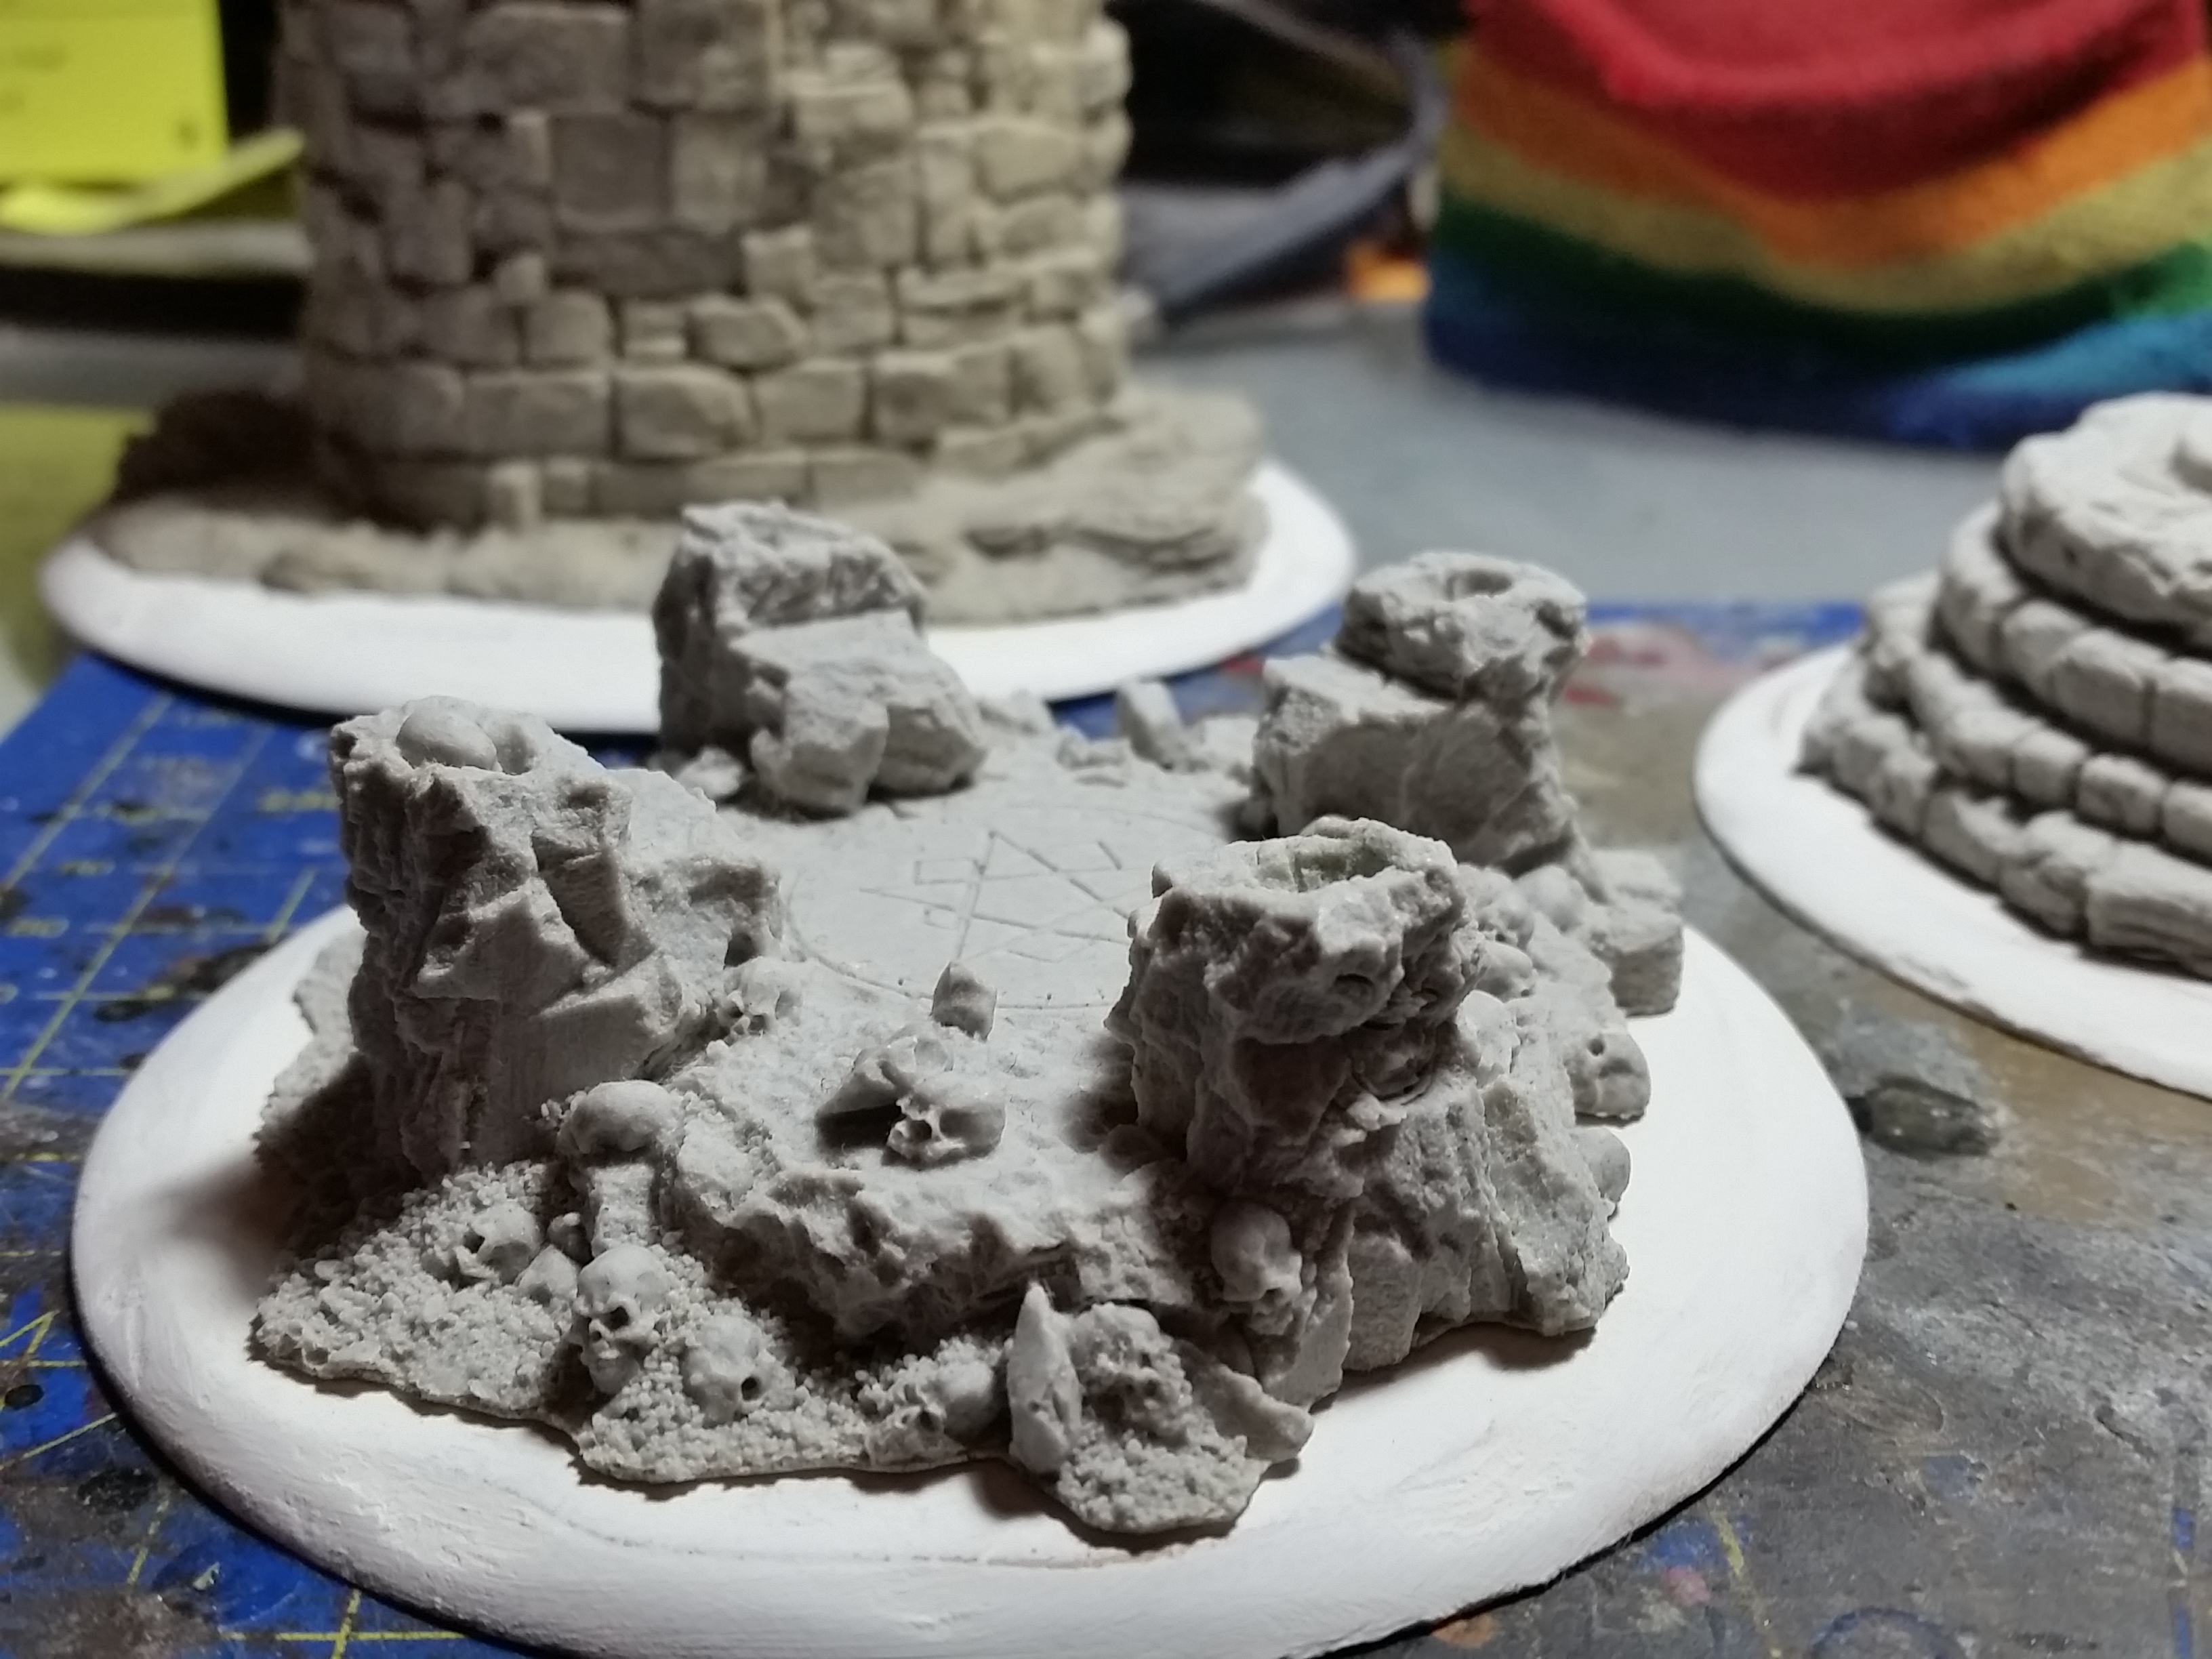
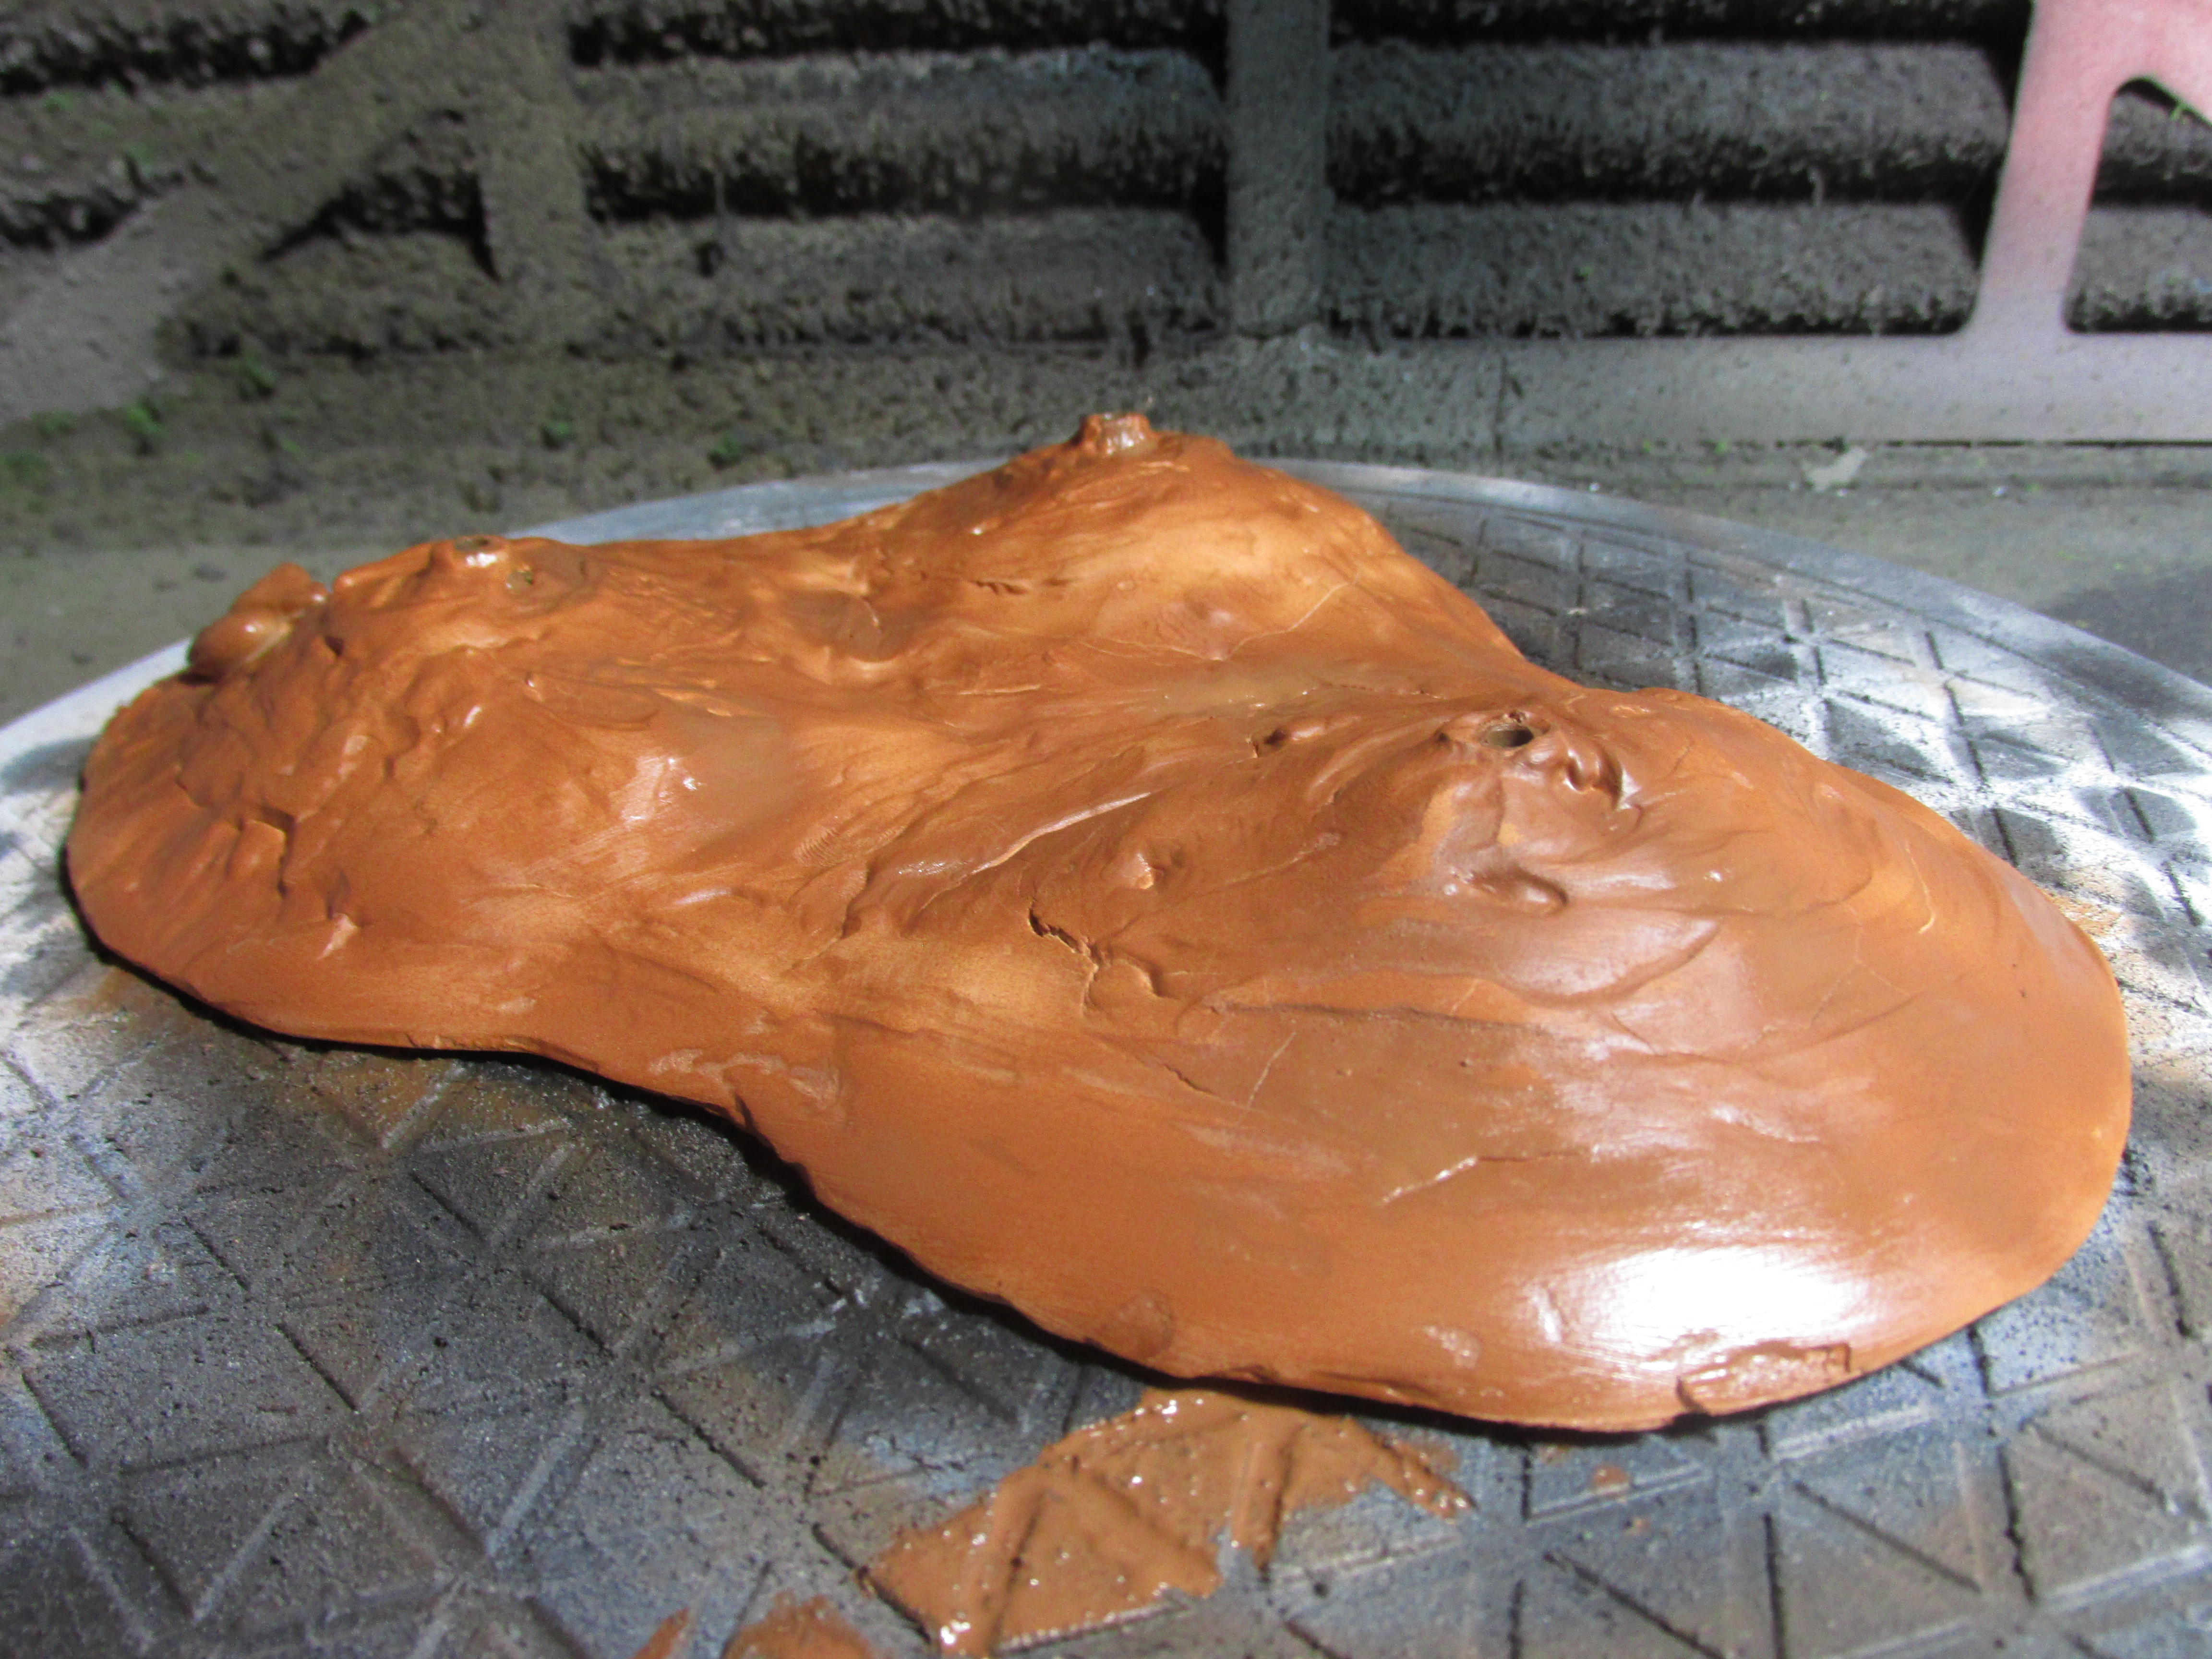
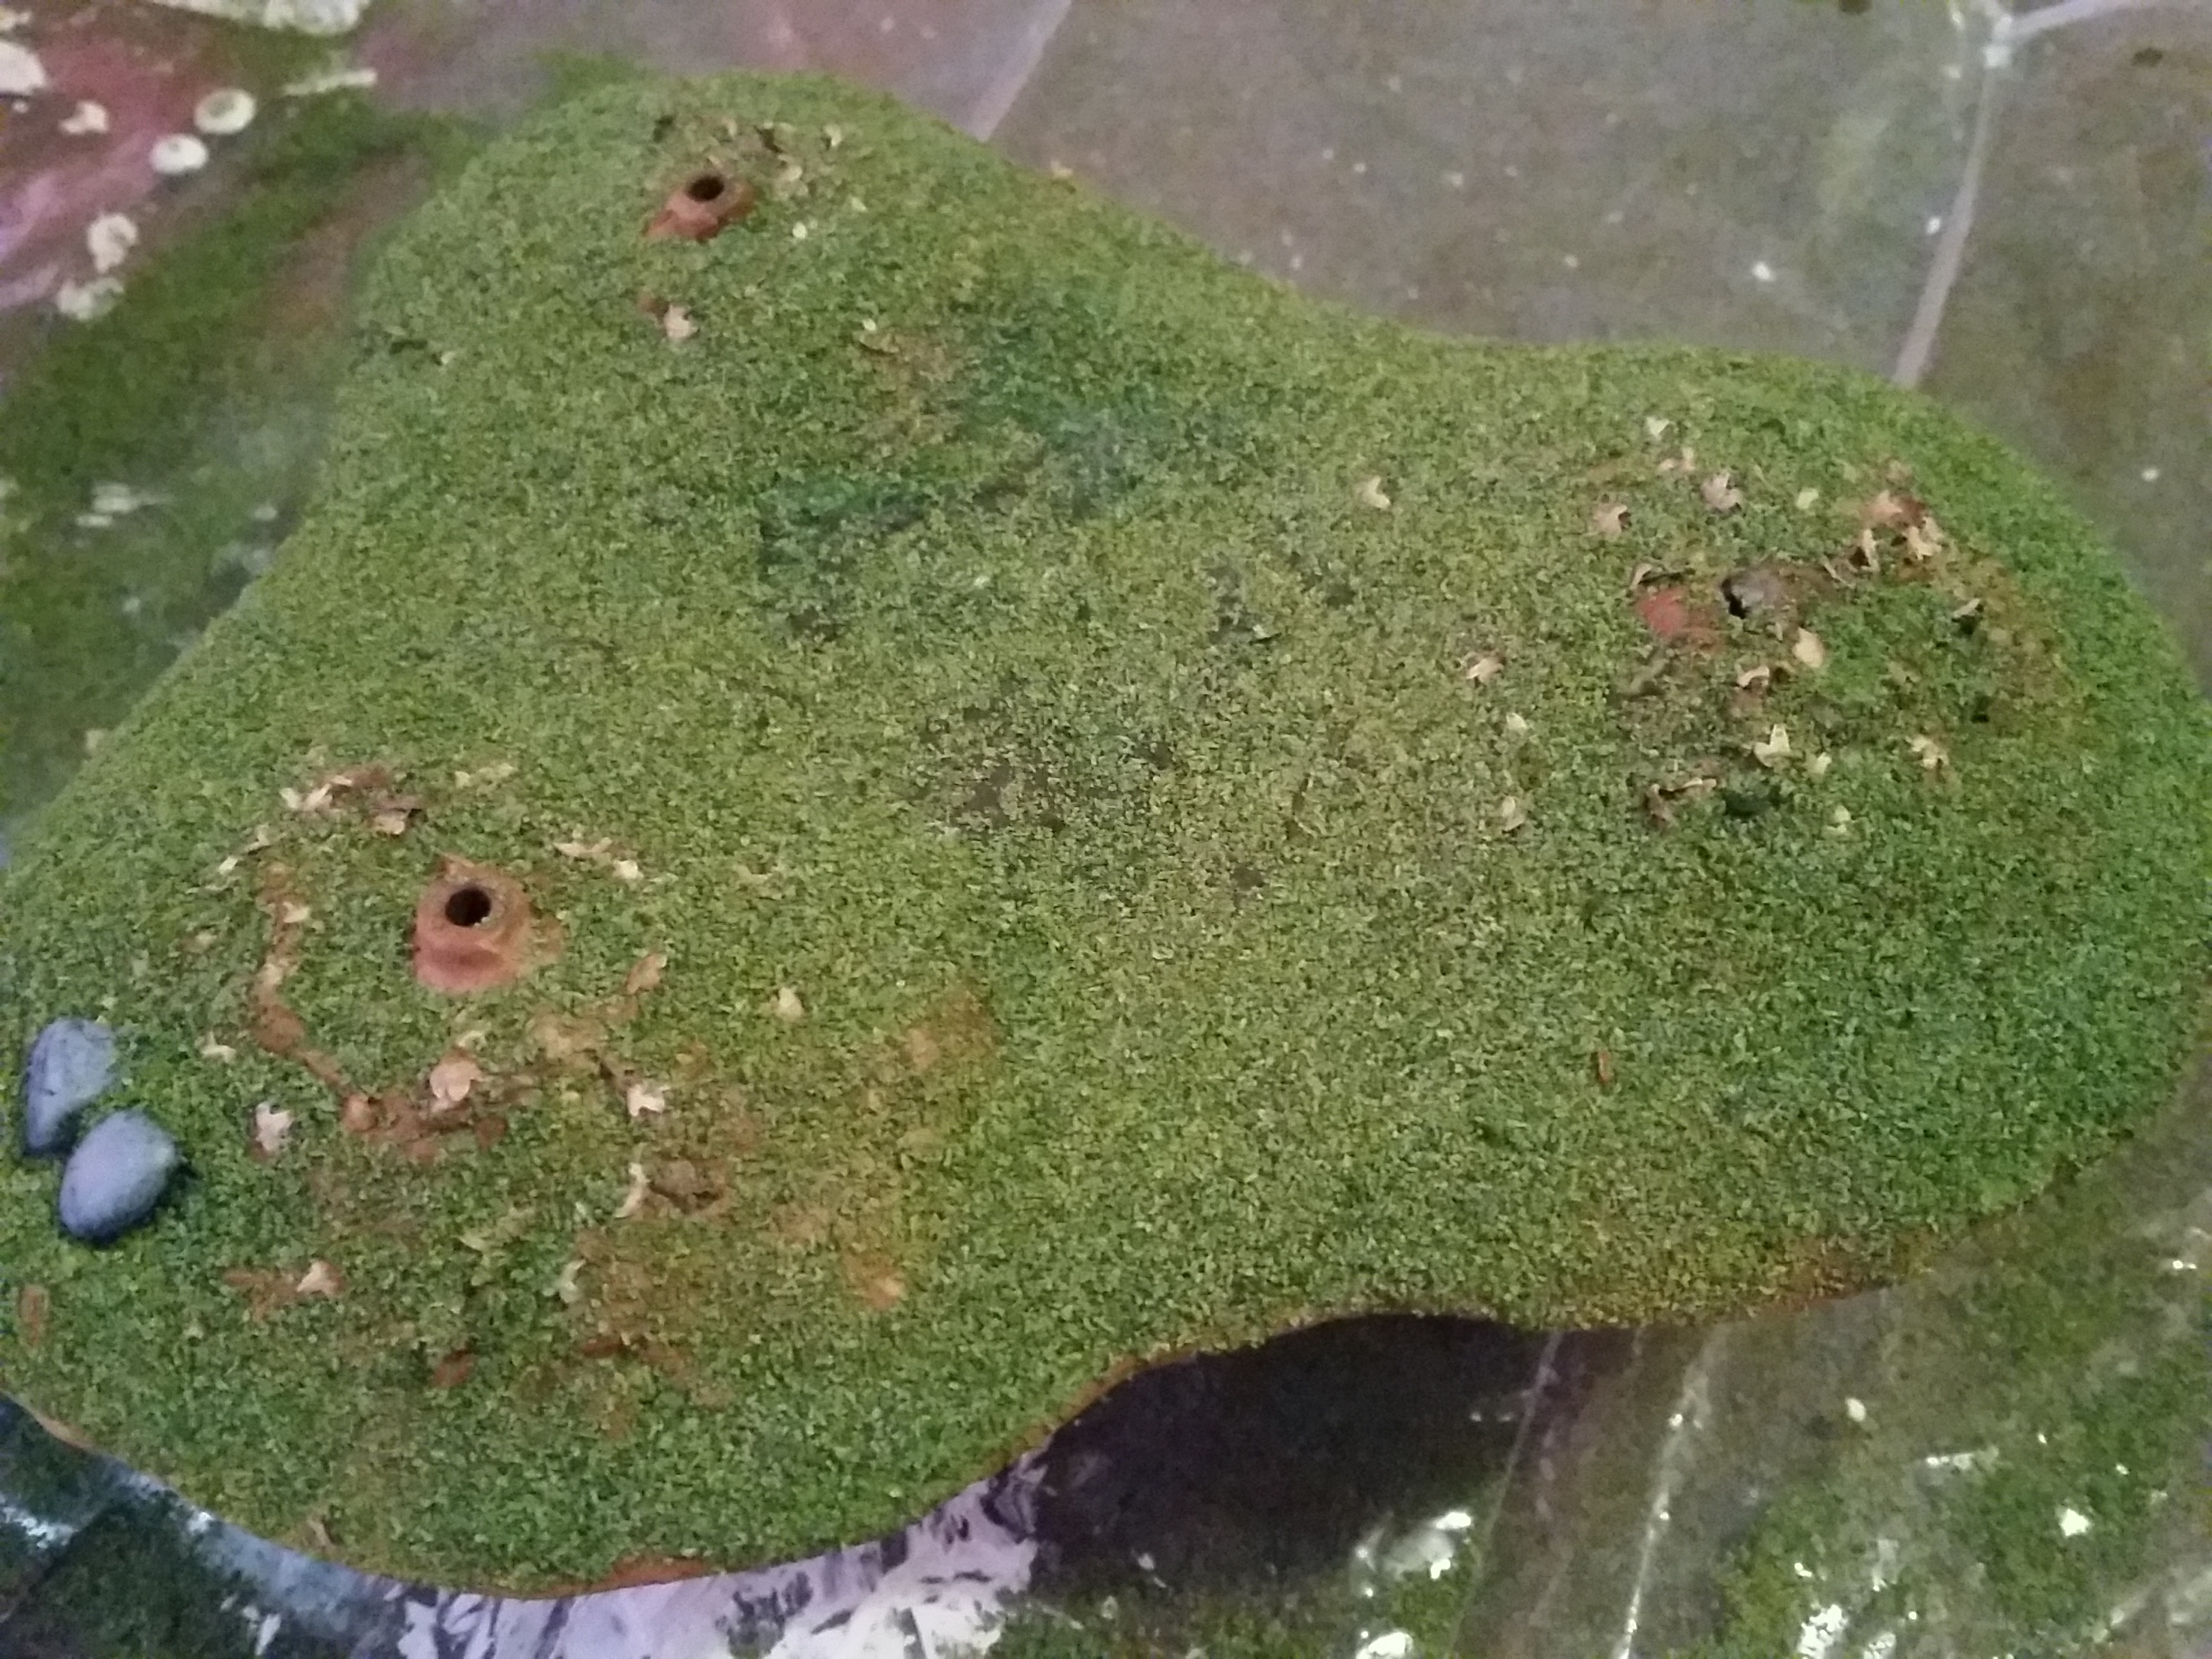
This is the Summoning Gate from Fenris Games. I started with a 100mm MDF base, I bevelled the edges and sealed it using filler. I then glued it to the base. I smoothed the transition between the resin piece and the base with some DAS modelling clay.

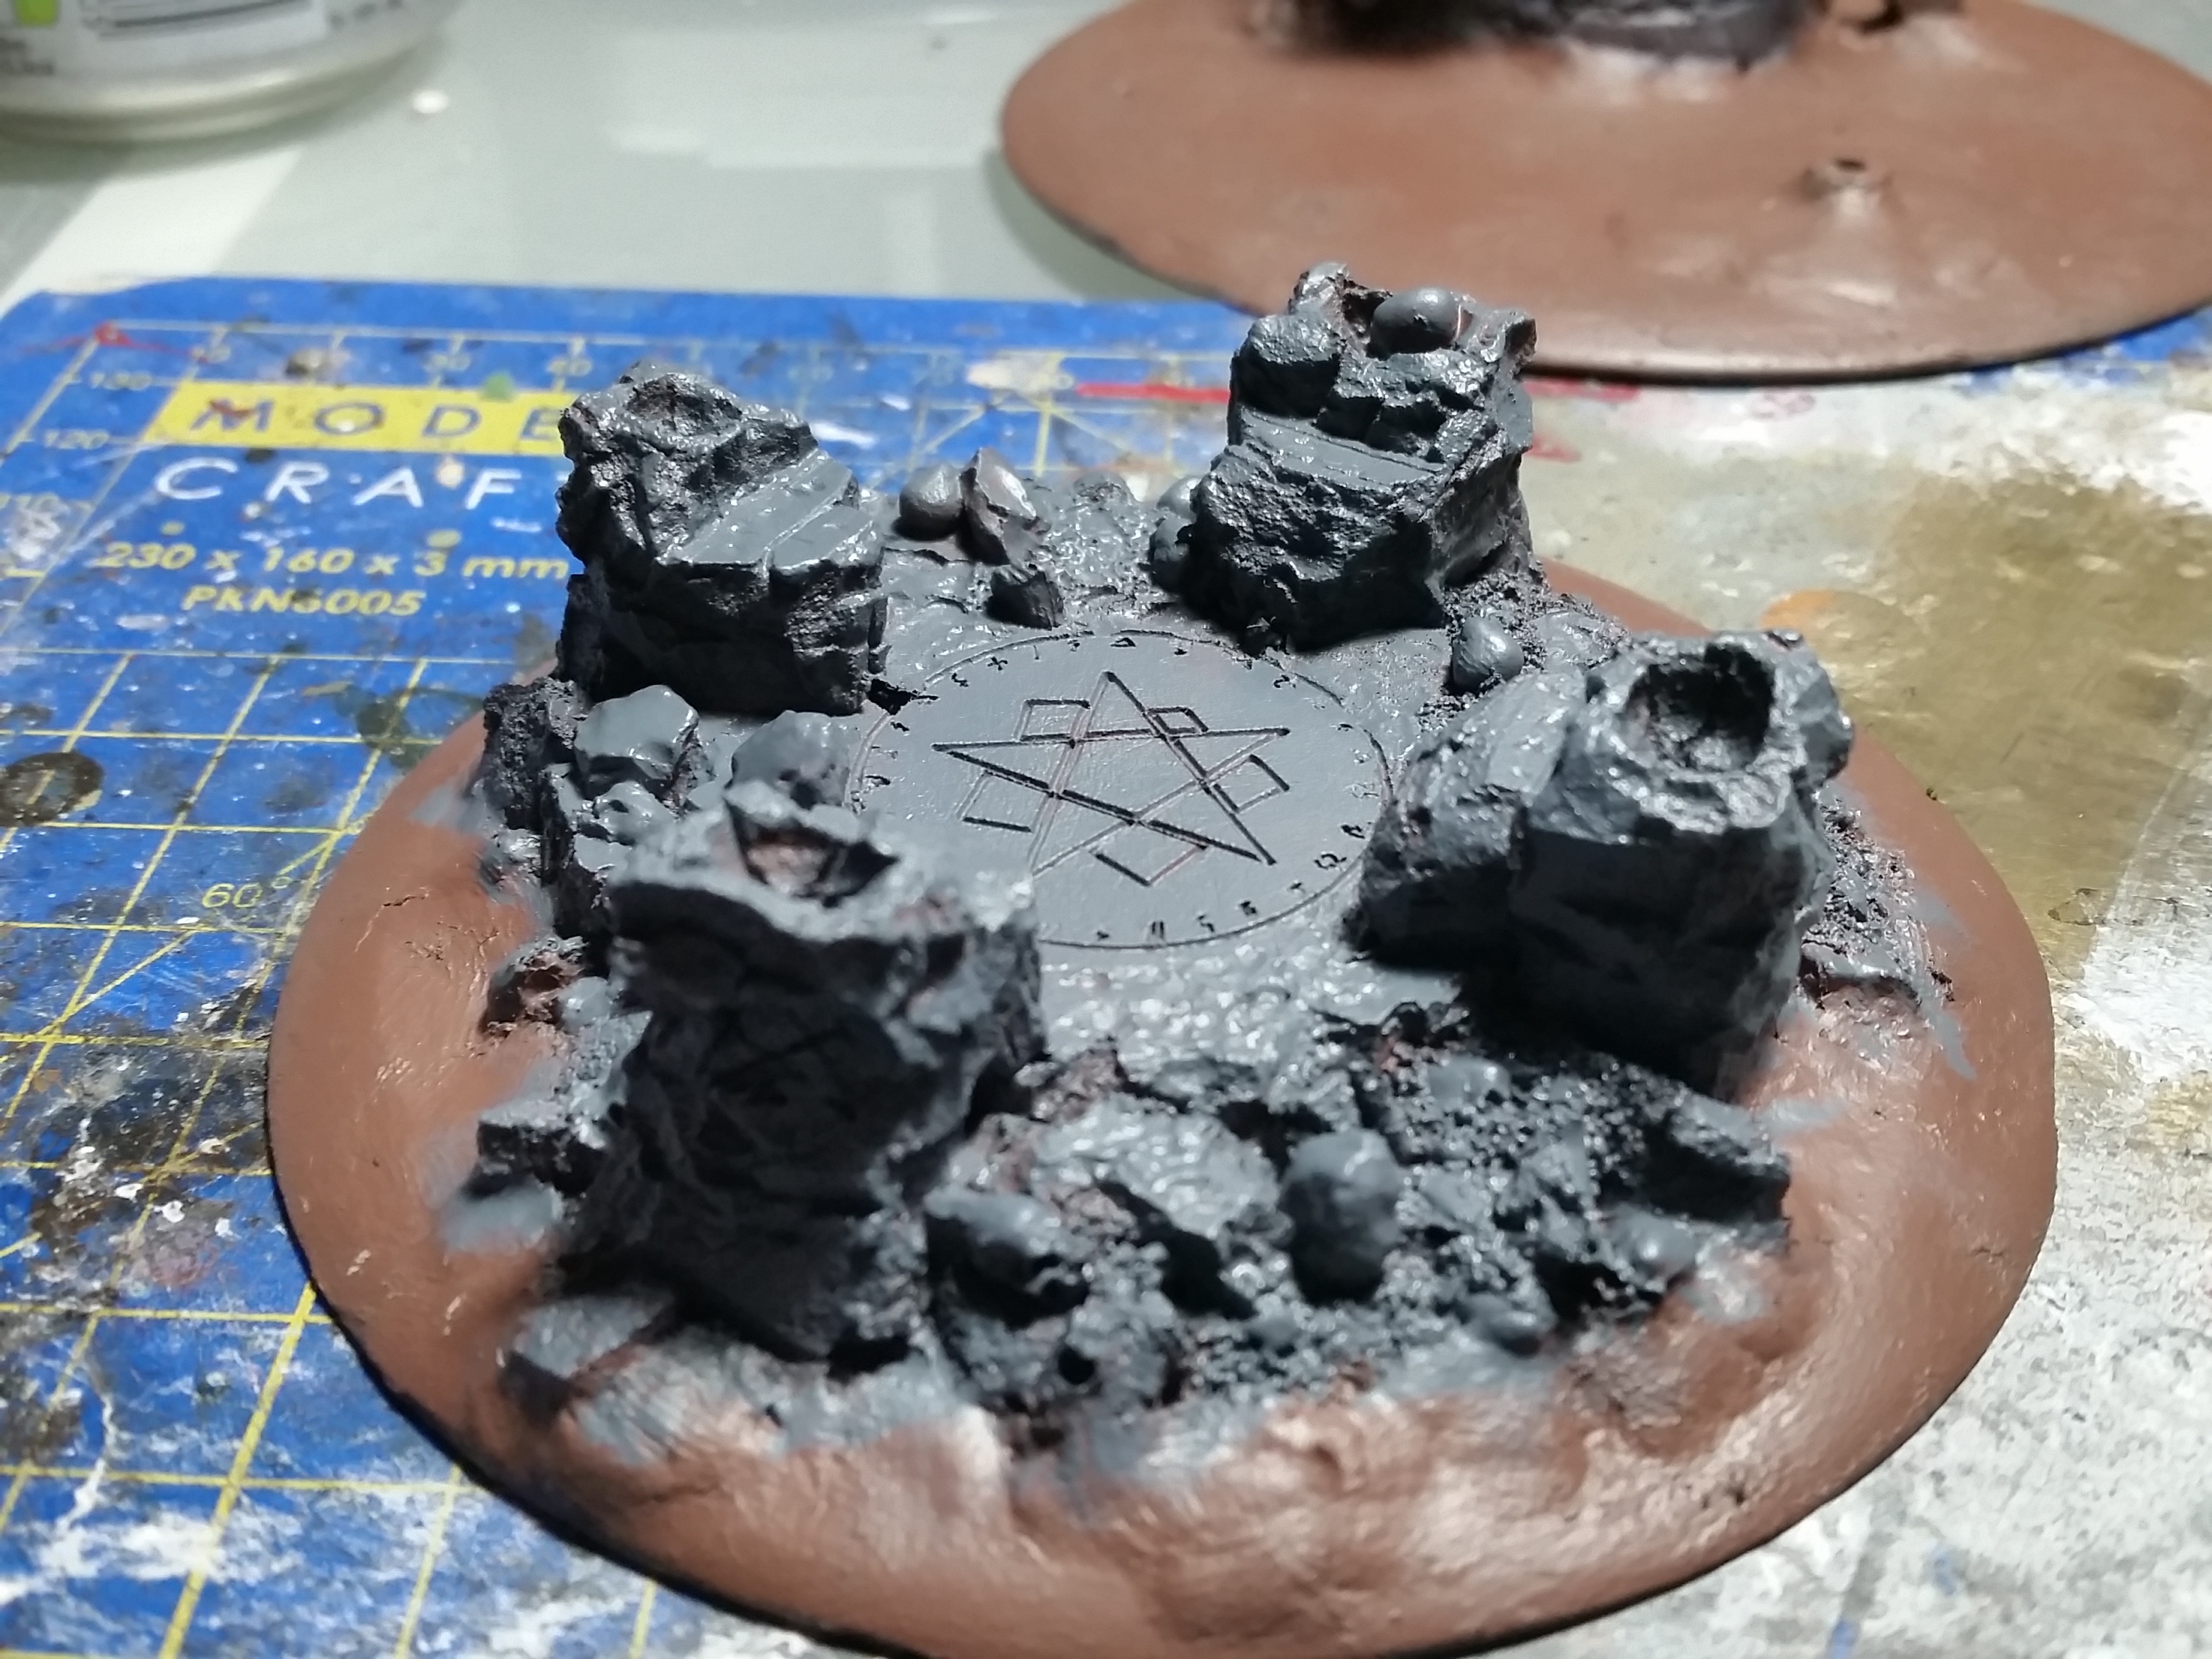
I primed the whole model in black and painted it with a coat of Vallejo Model Air Rust (71.080) with my airbrush.
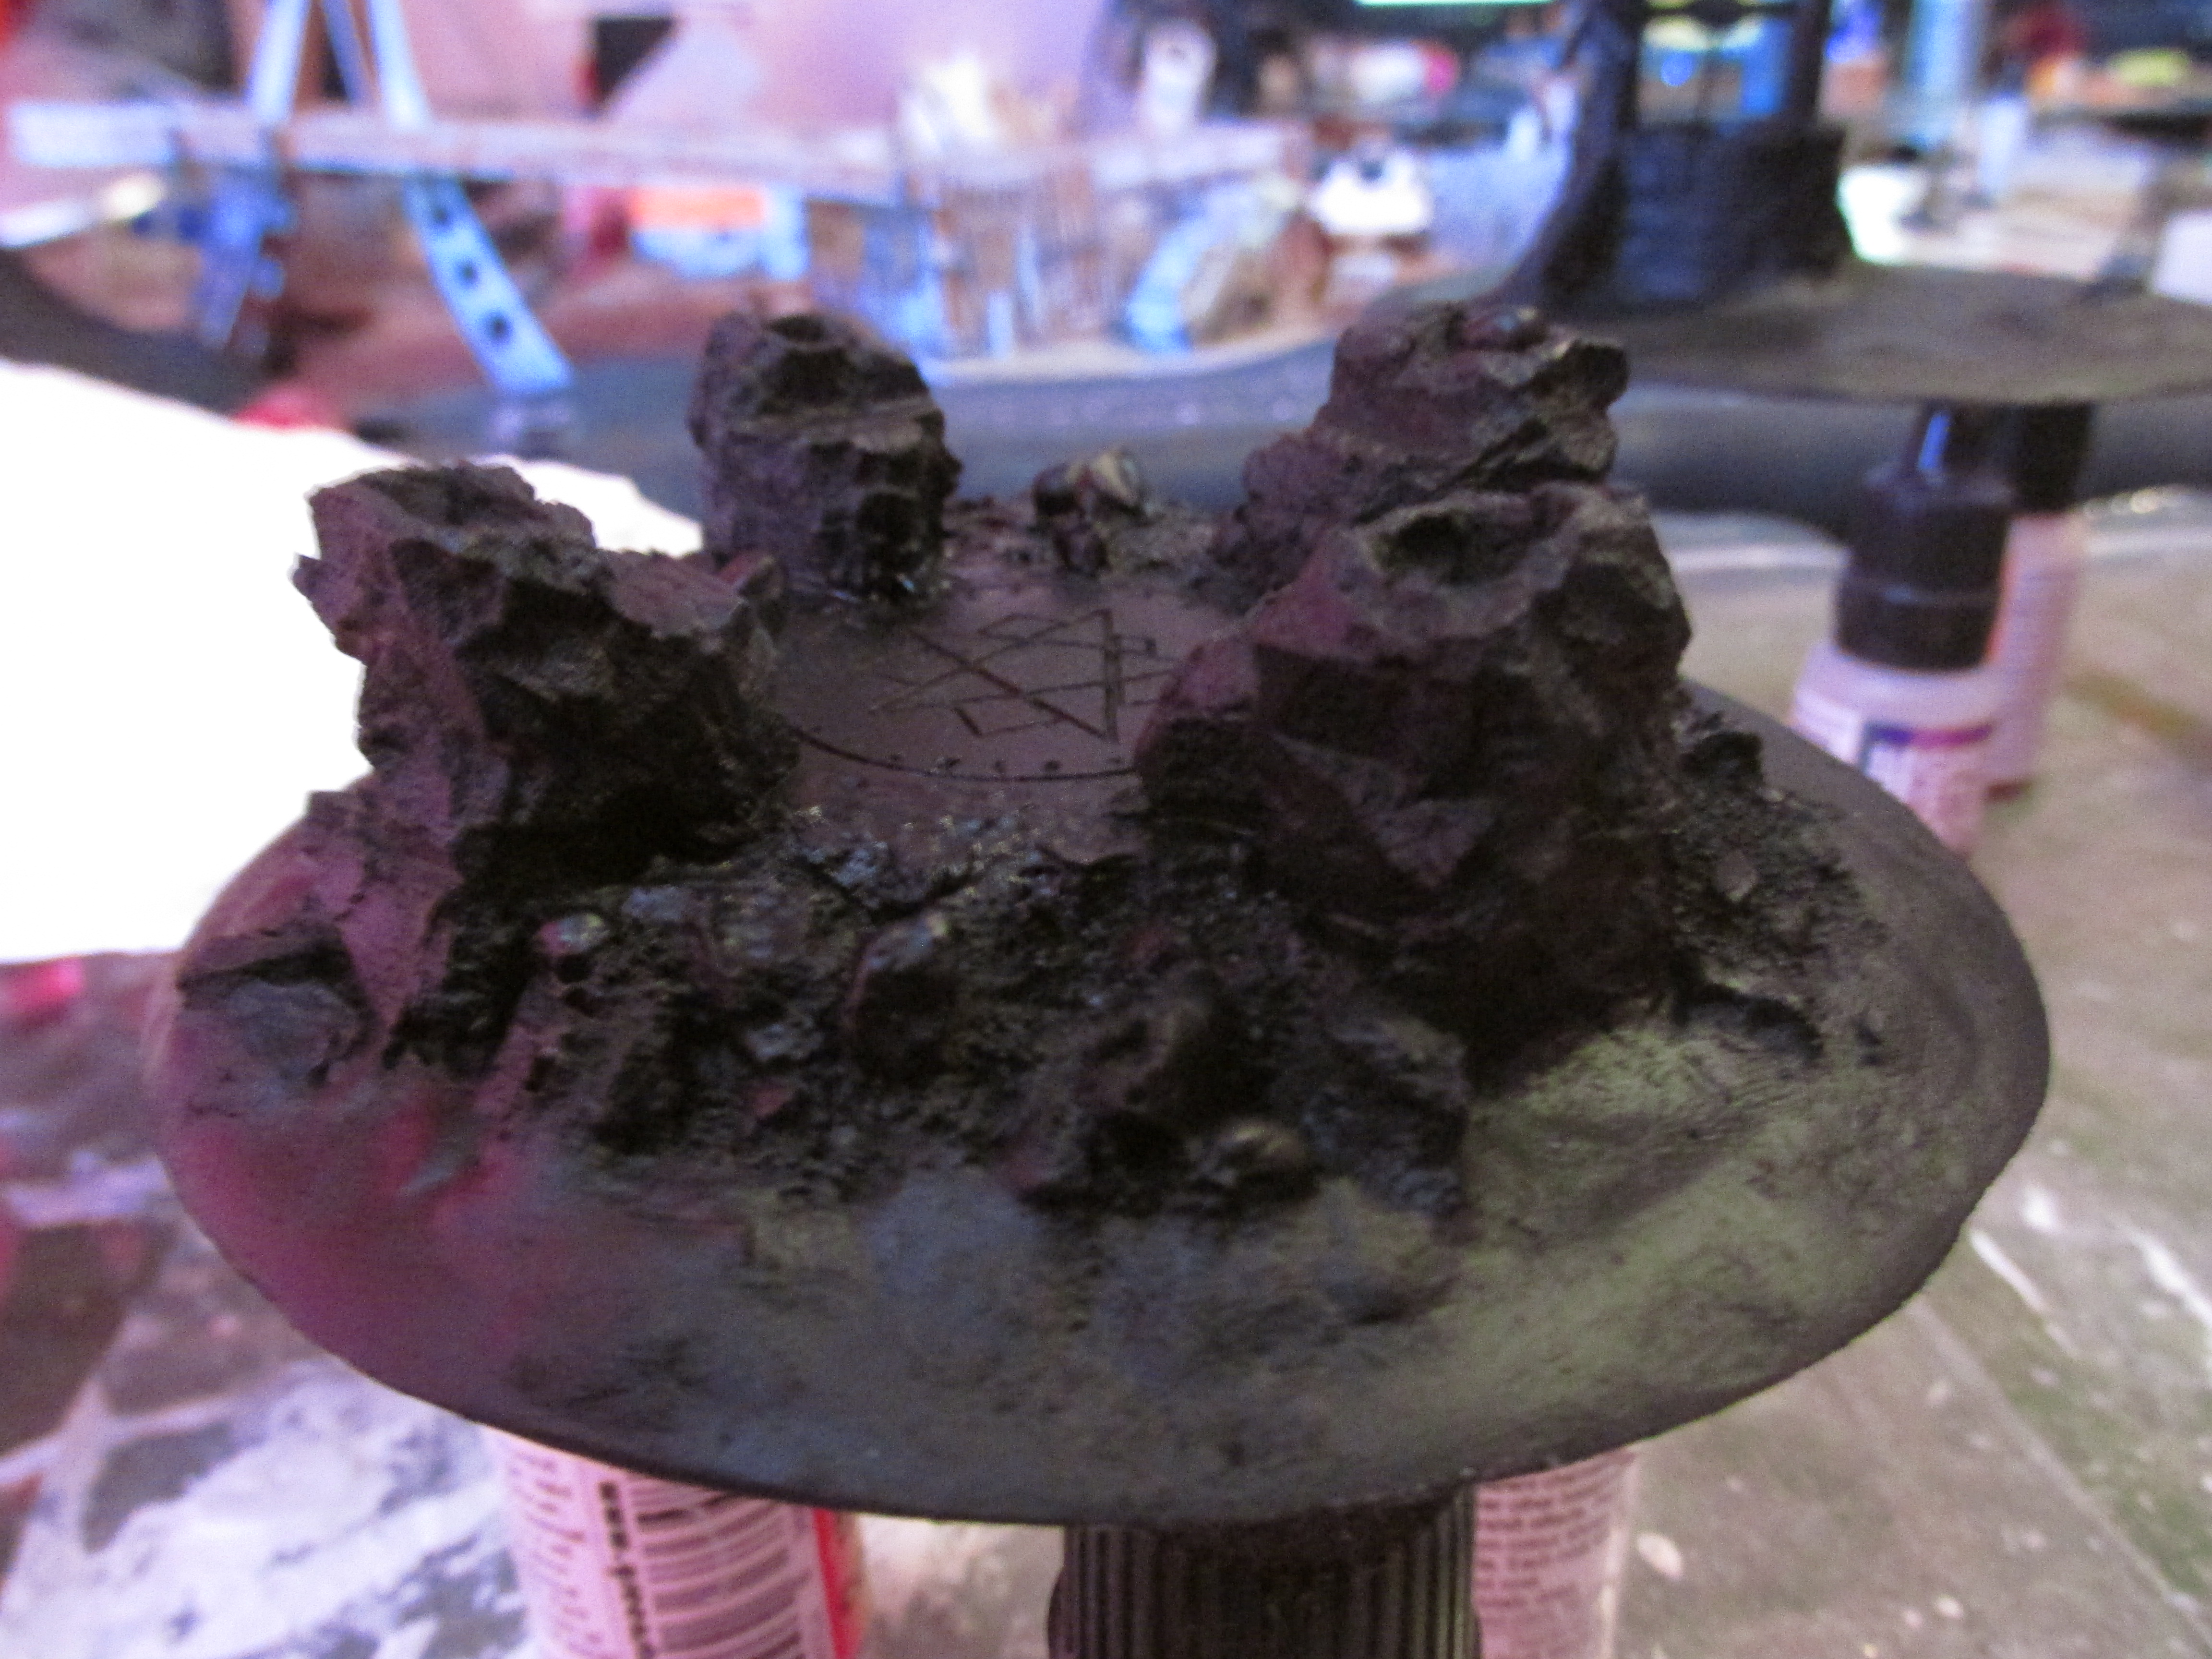

The stonework first got an overbrush coat of Vallejo Model Color Basalt Grey (70.869) and then a coat of Secret Weapon Wash Algea (W013). After this I applied a heavy drybrush of Vallejo Model Color Medium Sea Grey (70.870). In hindsight I should have waited longer for the wash to fully dry before doing this. I then applied a drybrush of Vallejo Model Air White Grey (71.119) over the stonework.

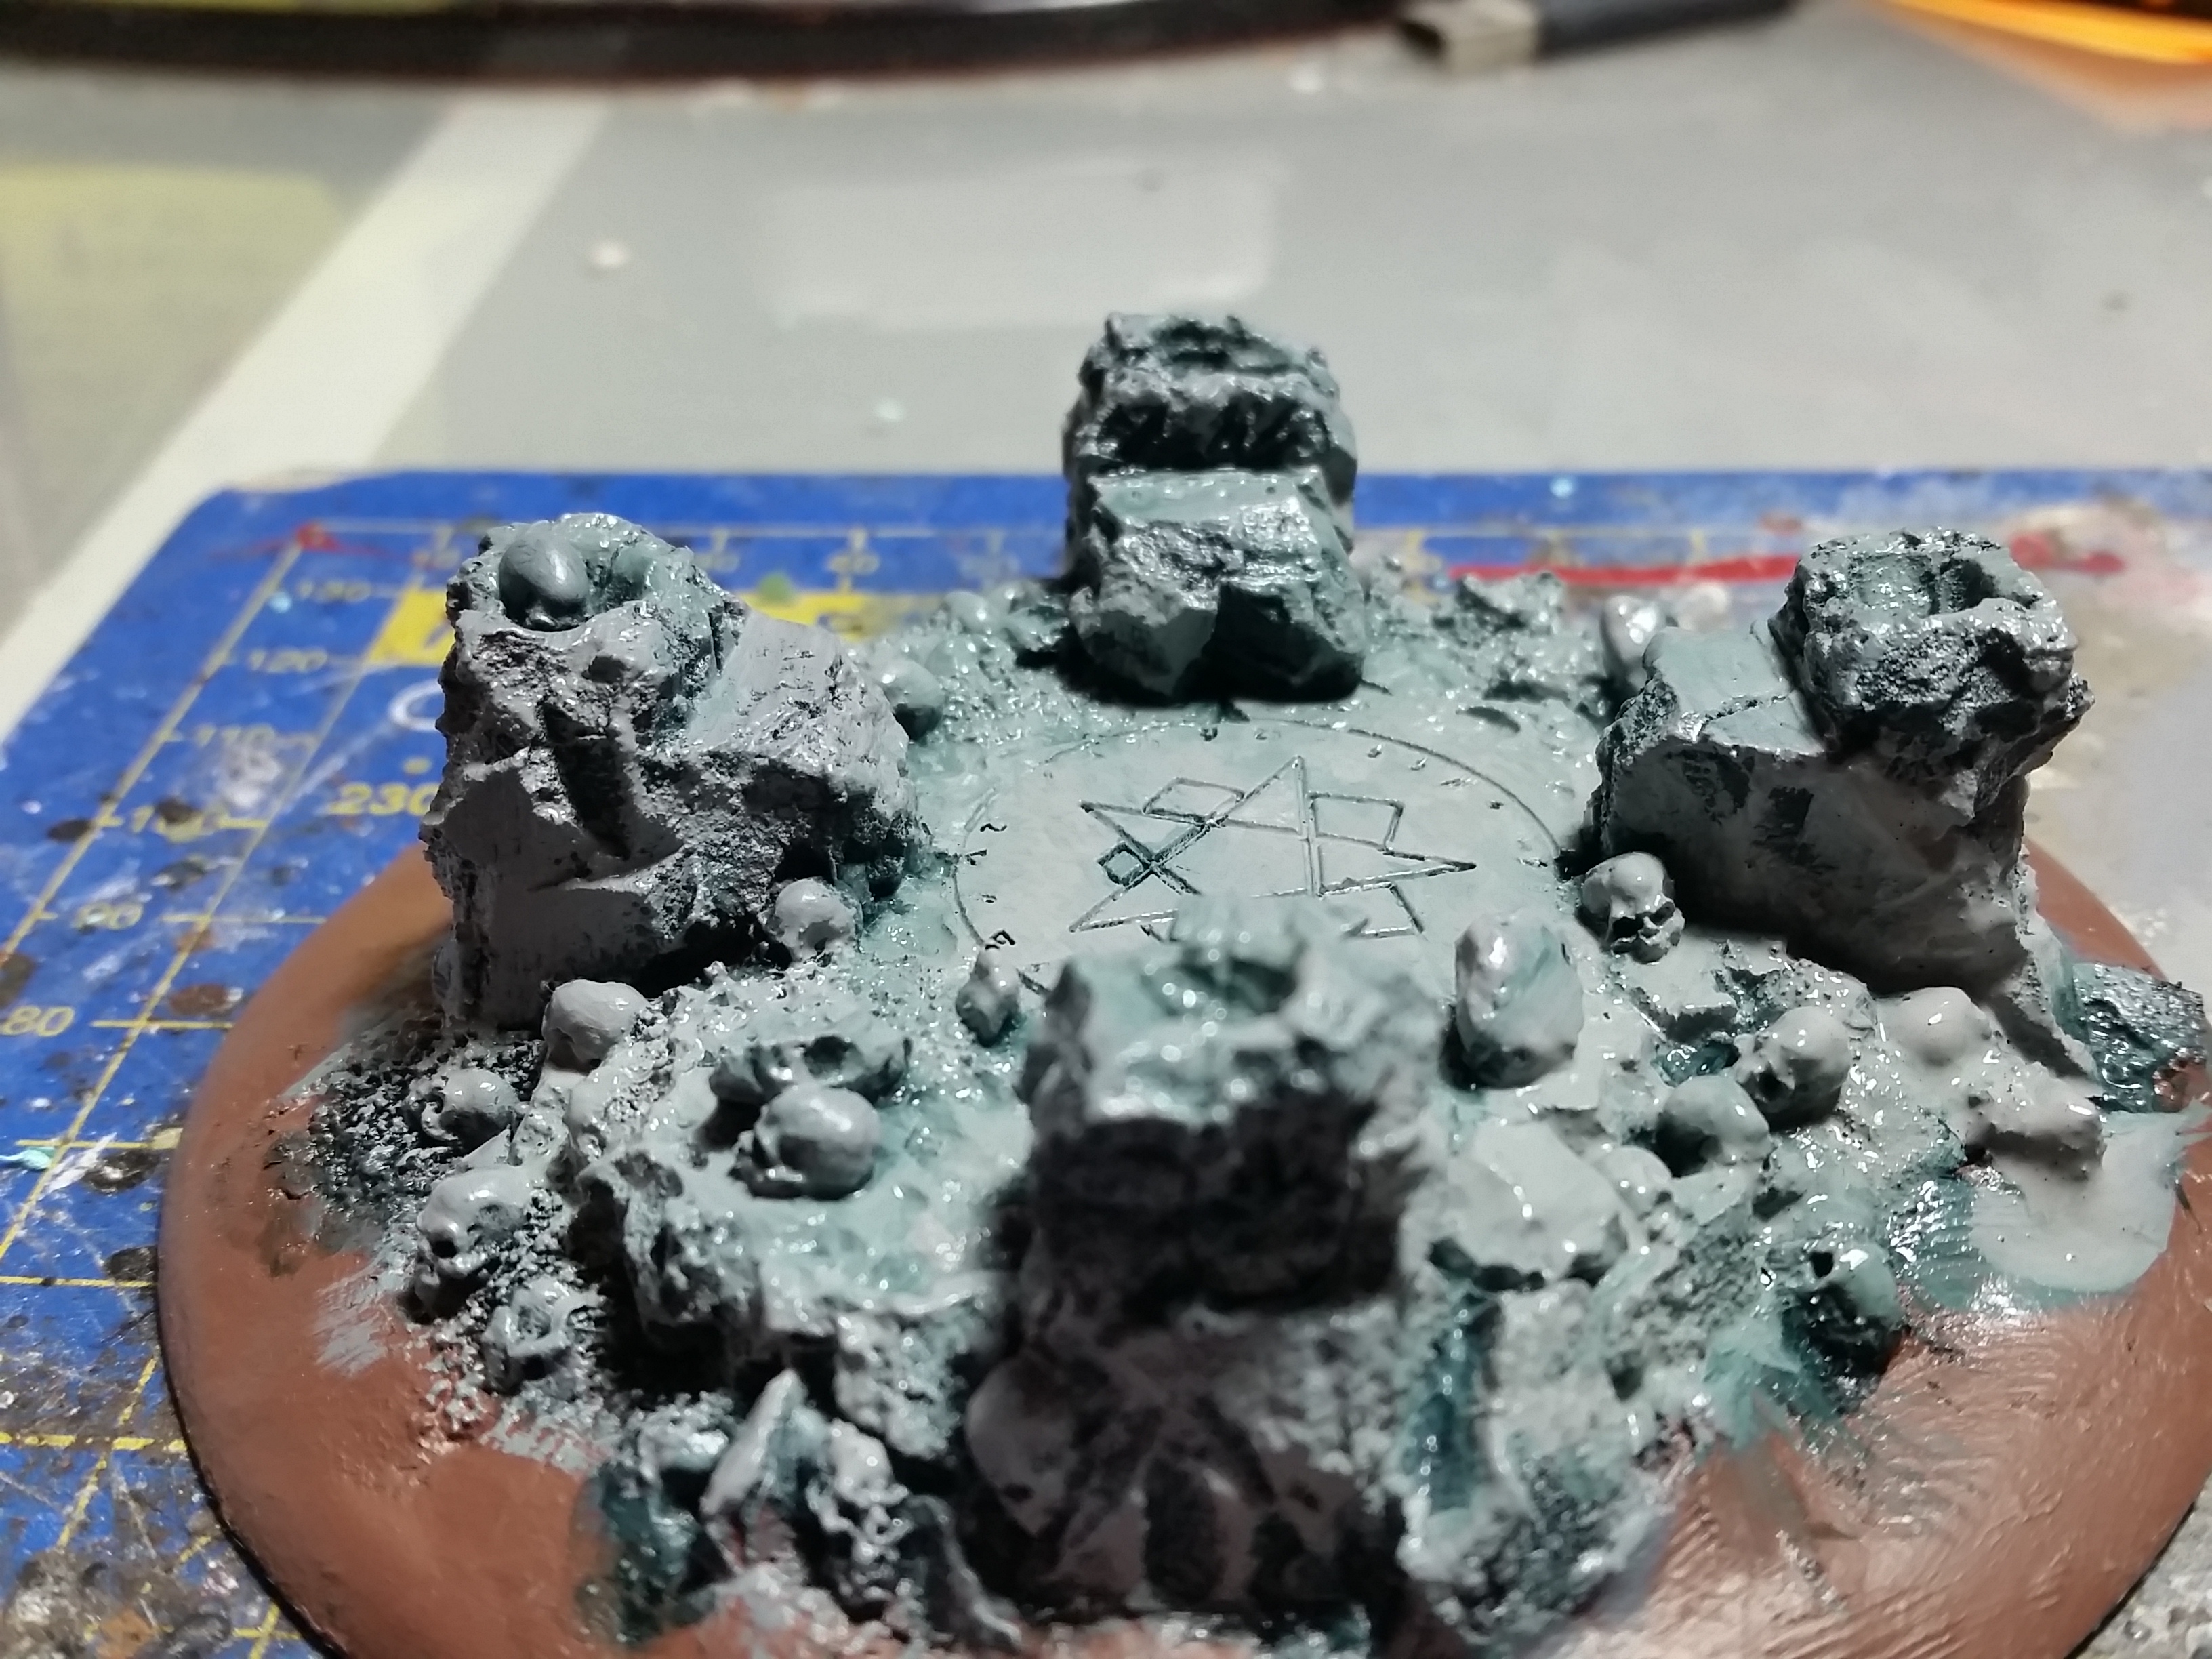
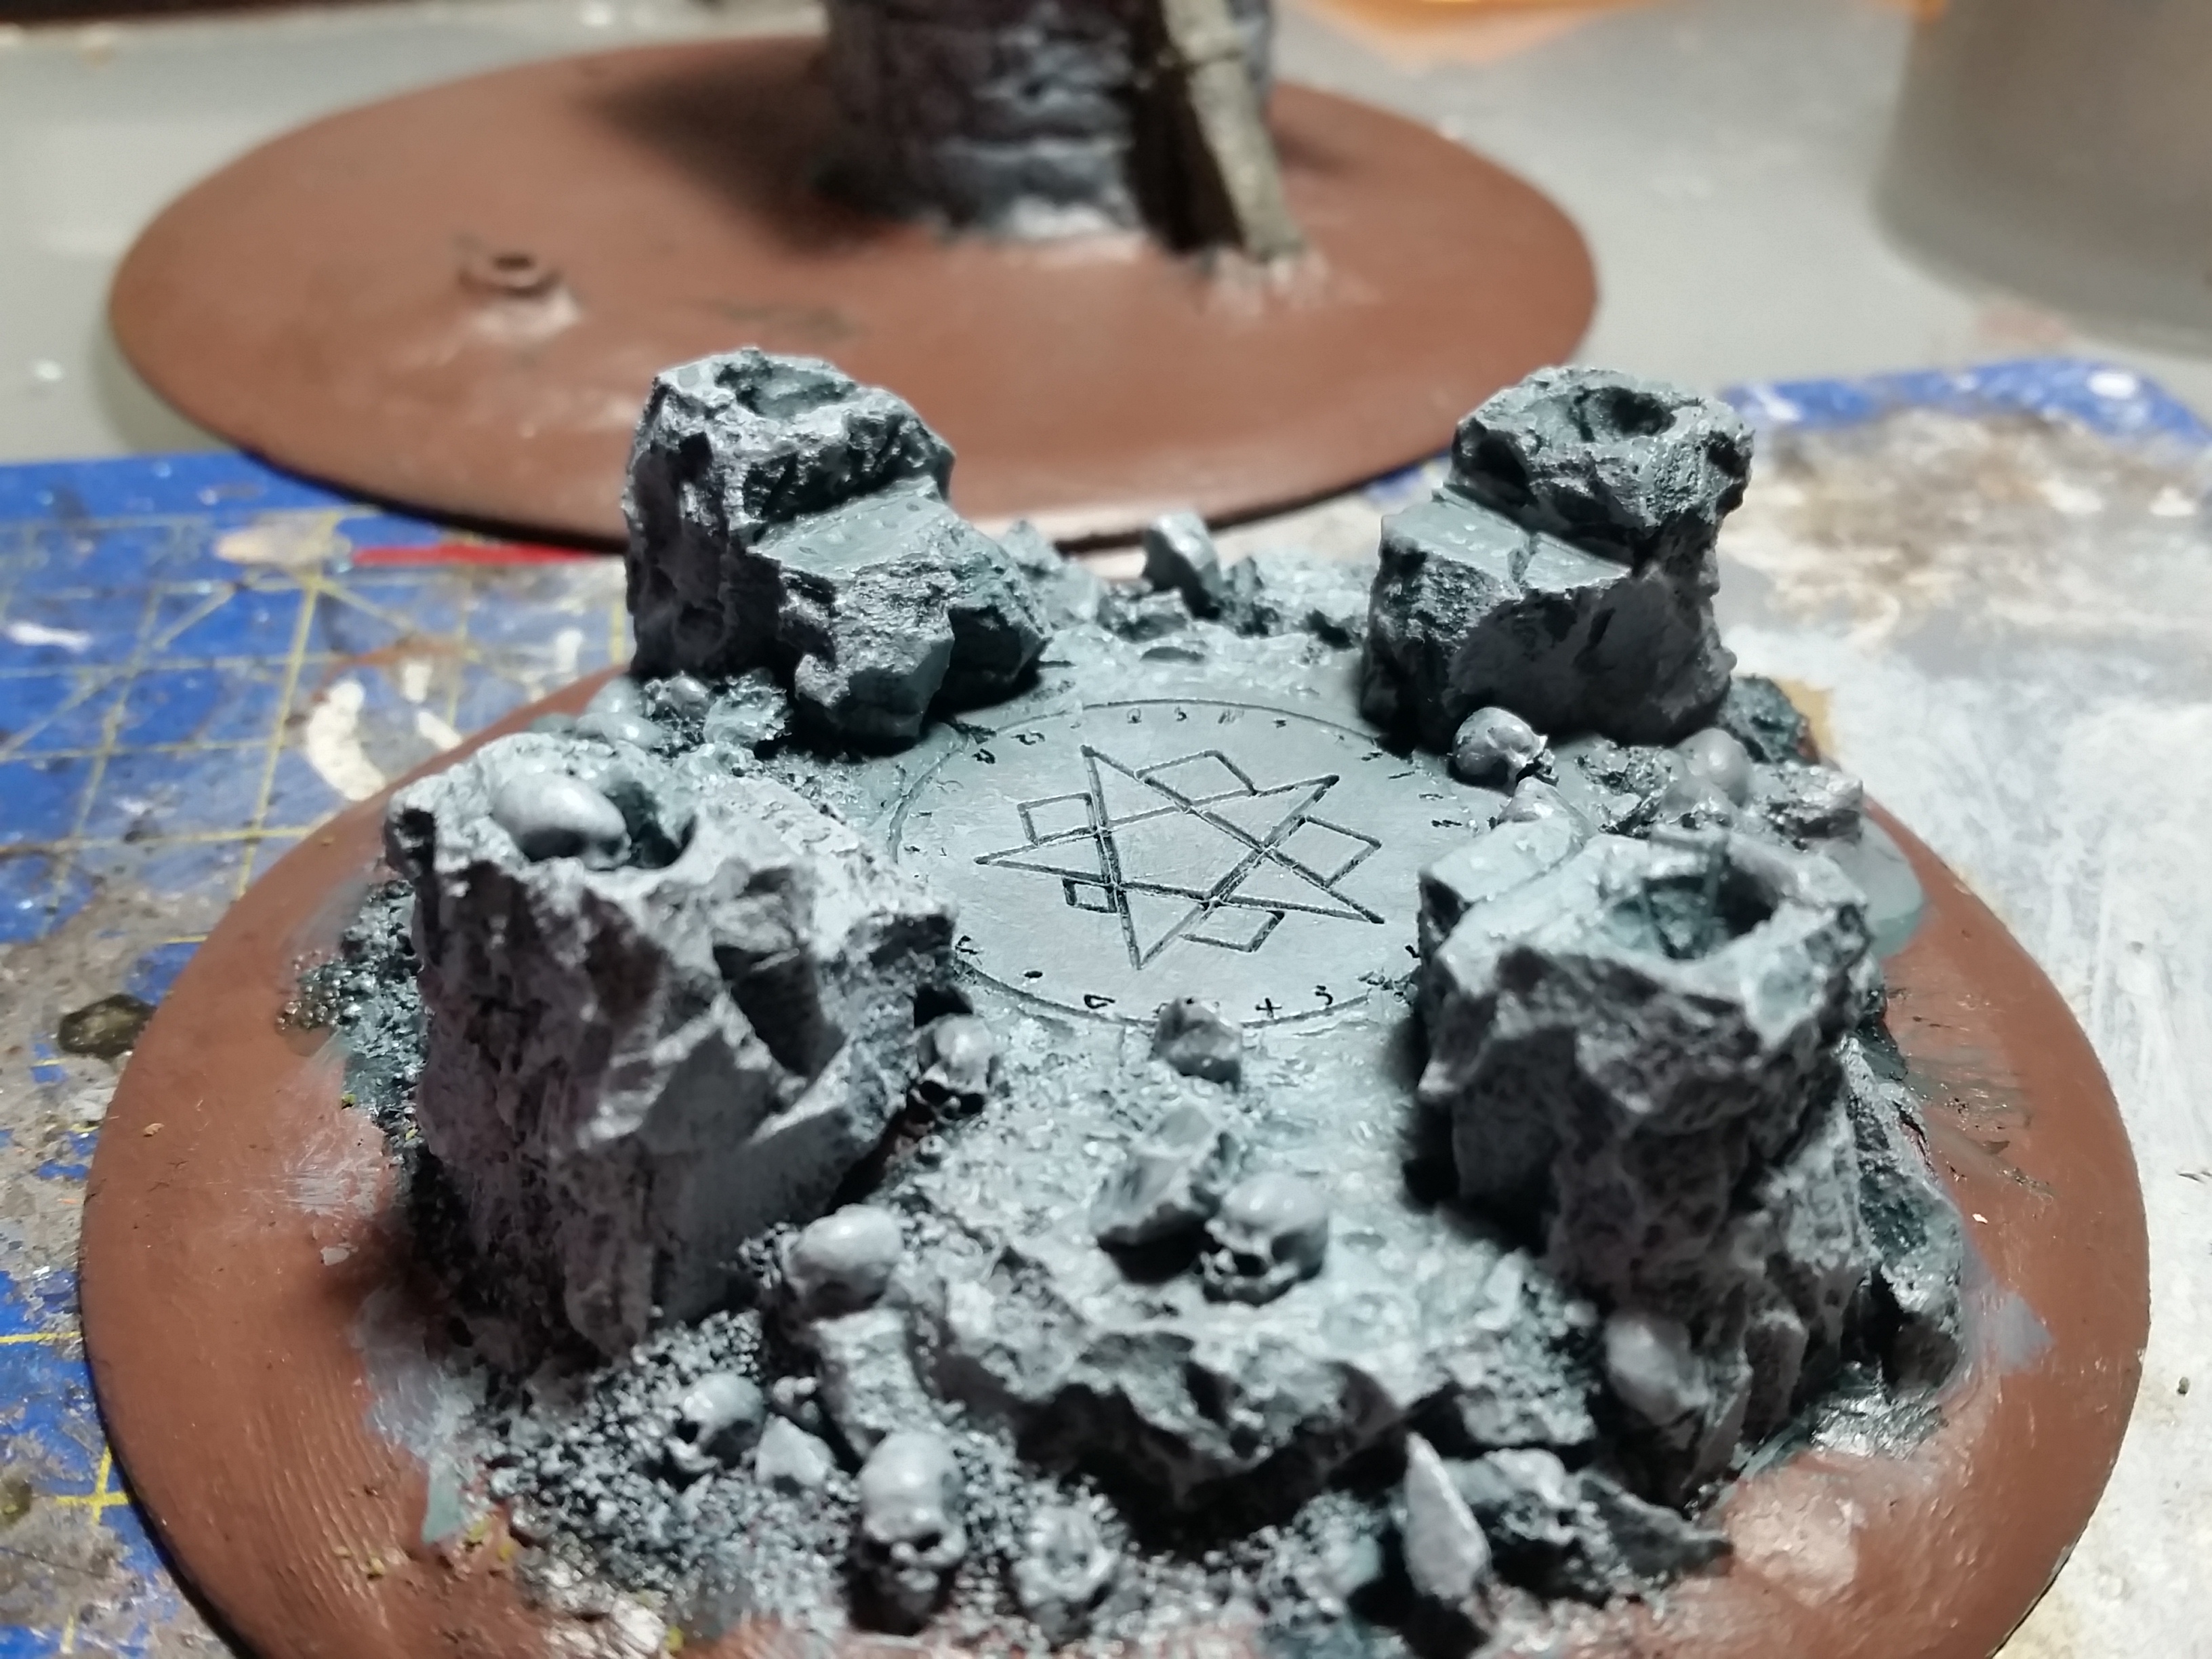
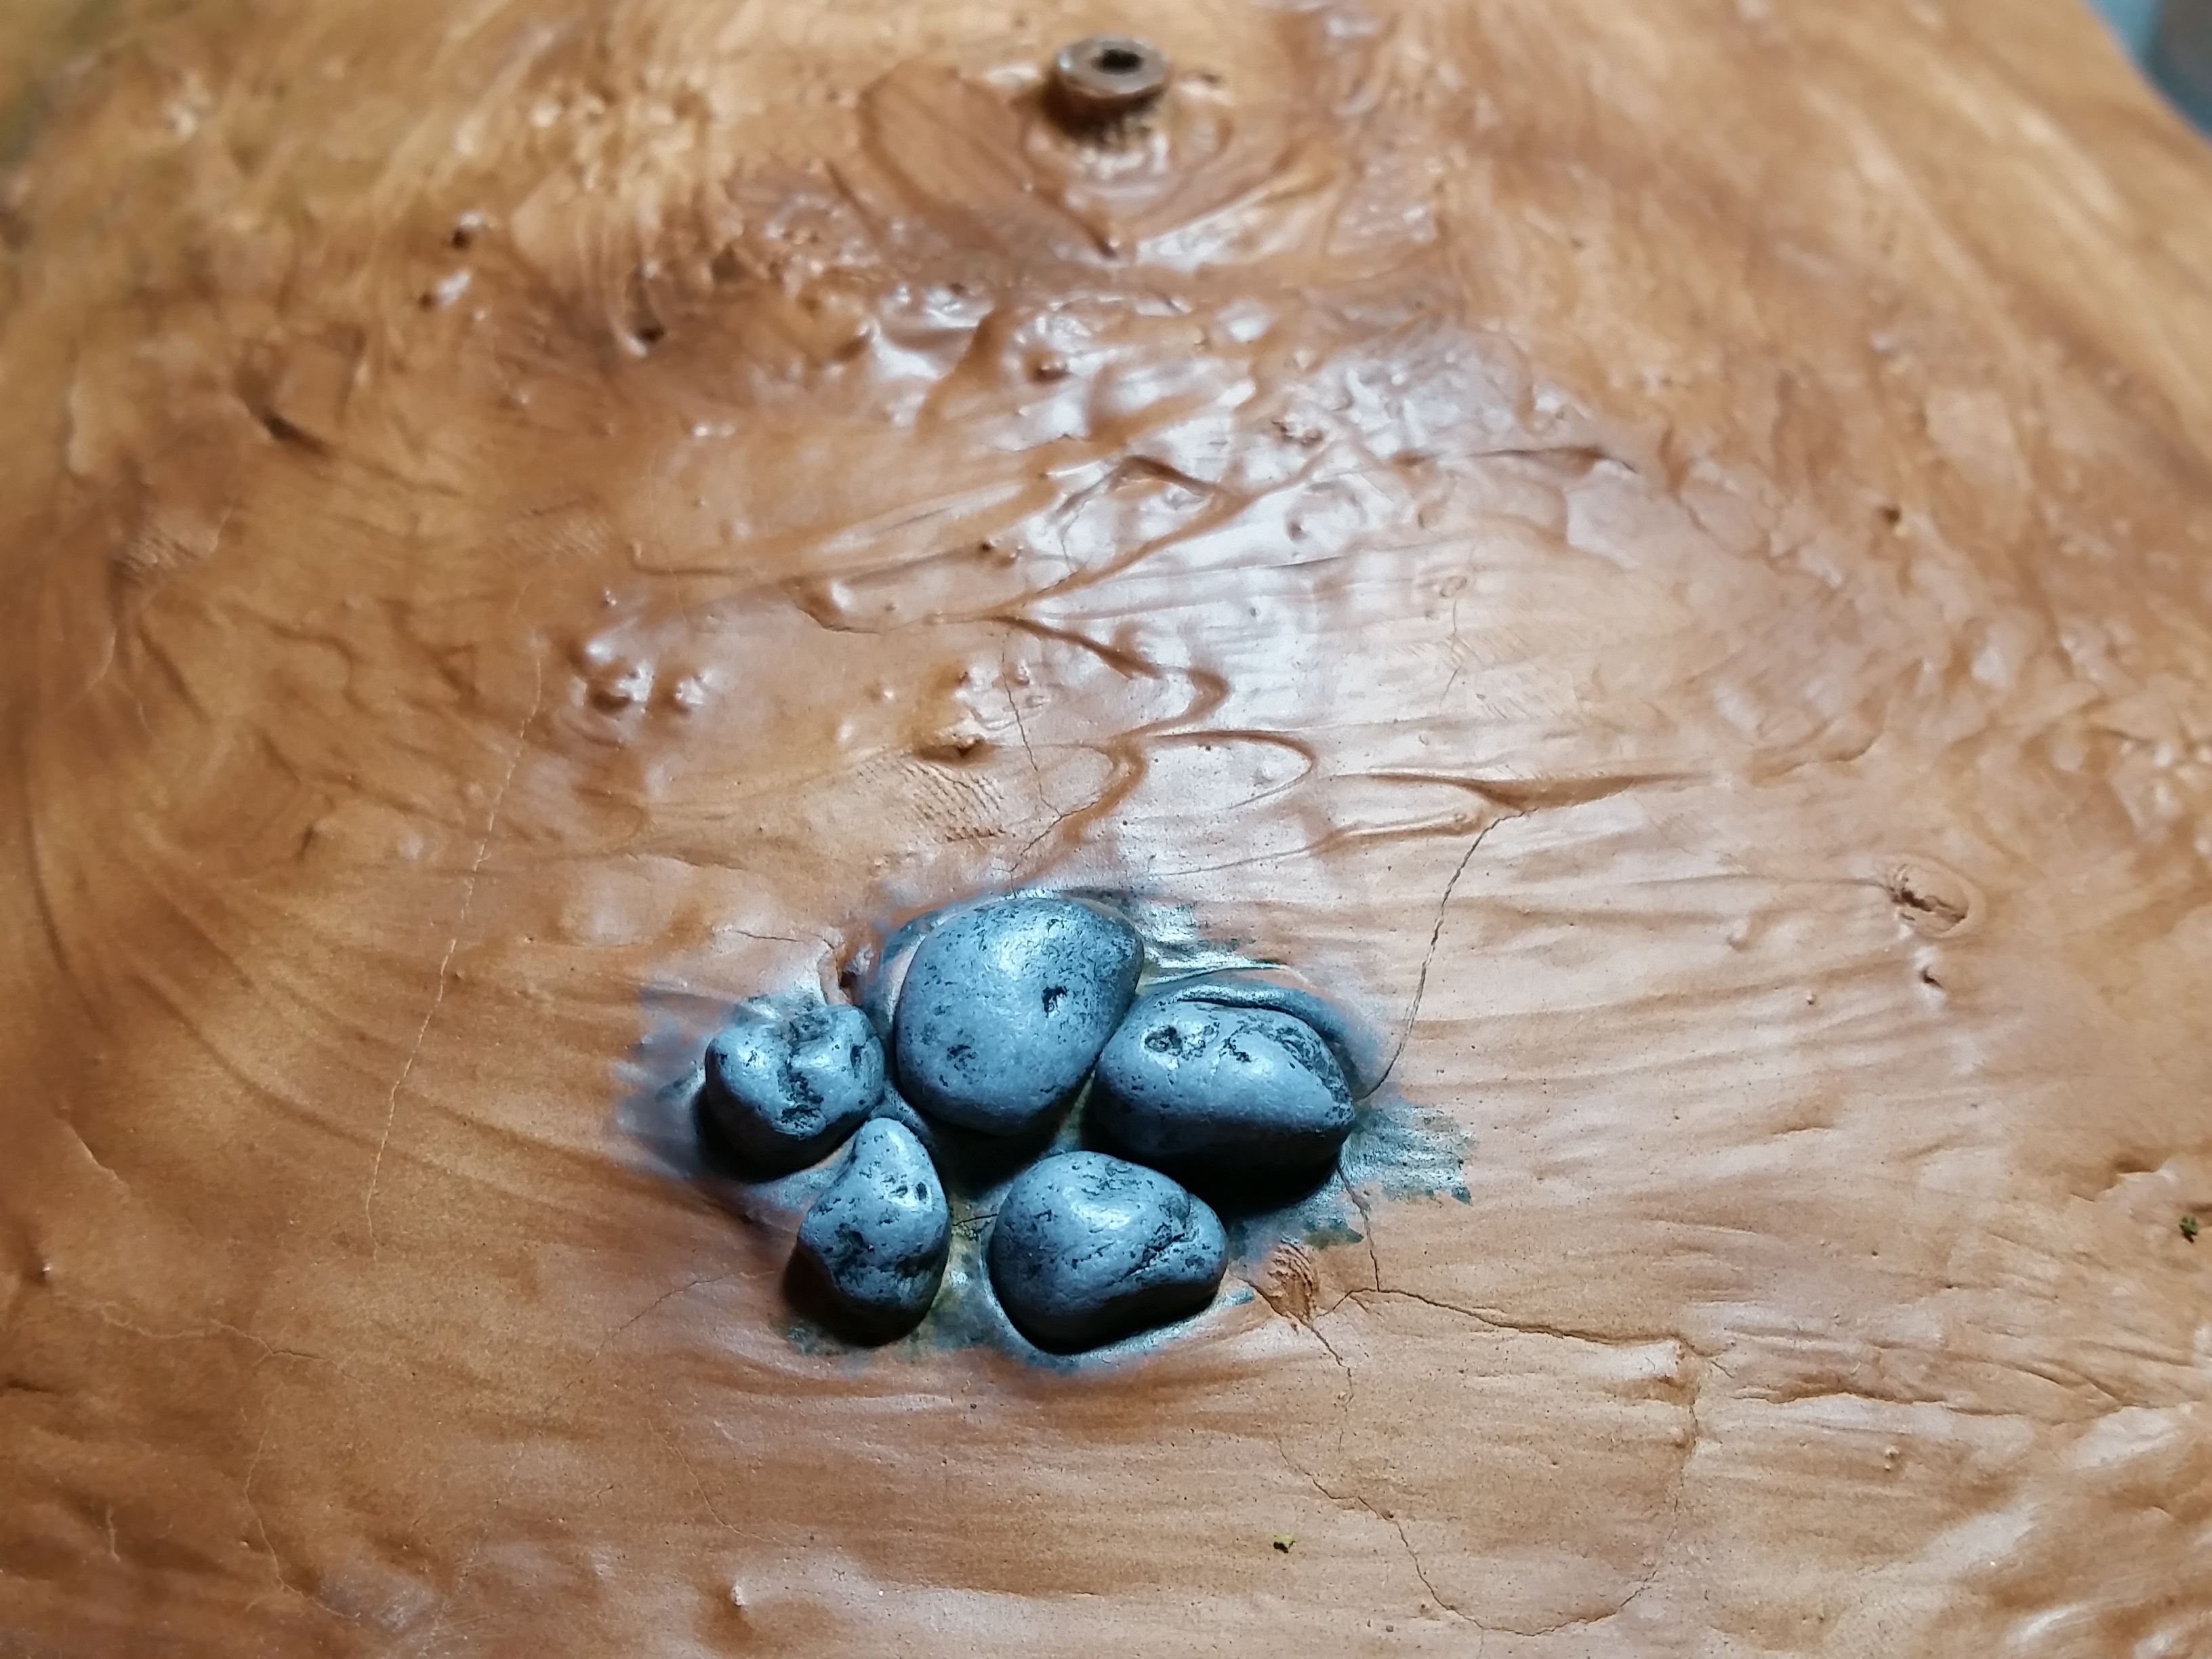
I basecoated the skulls in Vallejo Game Color Bonewhite (72.034) and then coated them with Vallejo Game Color Sepia Shade (73.200). After this was dry they received a drybrush of Vallejo Game Color Bonewhite (72.034). Now a coat of gloss varnish for protection and a coat of anti-shine to remove the shine of the gloss varnish.

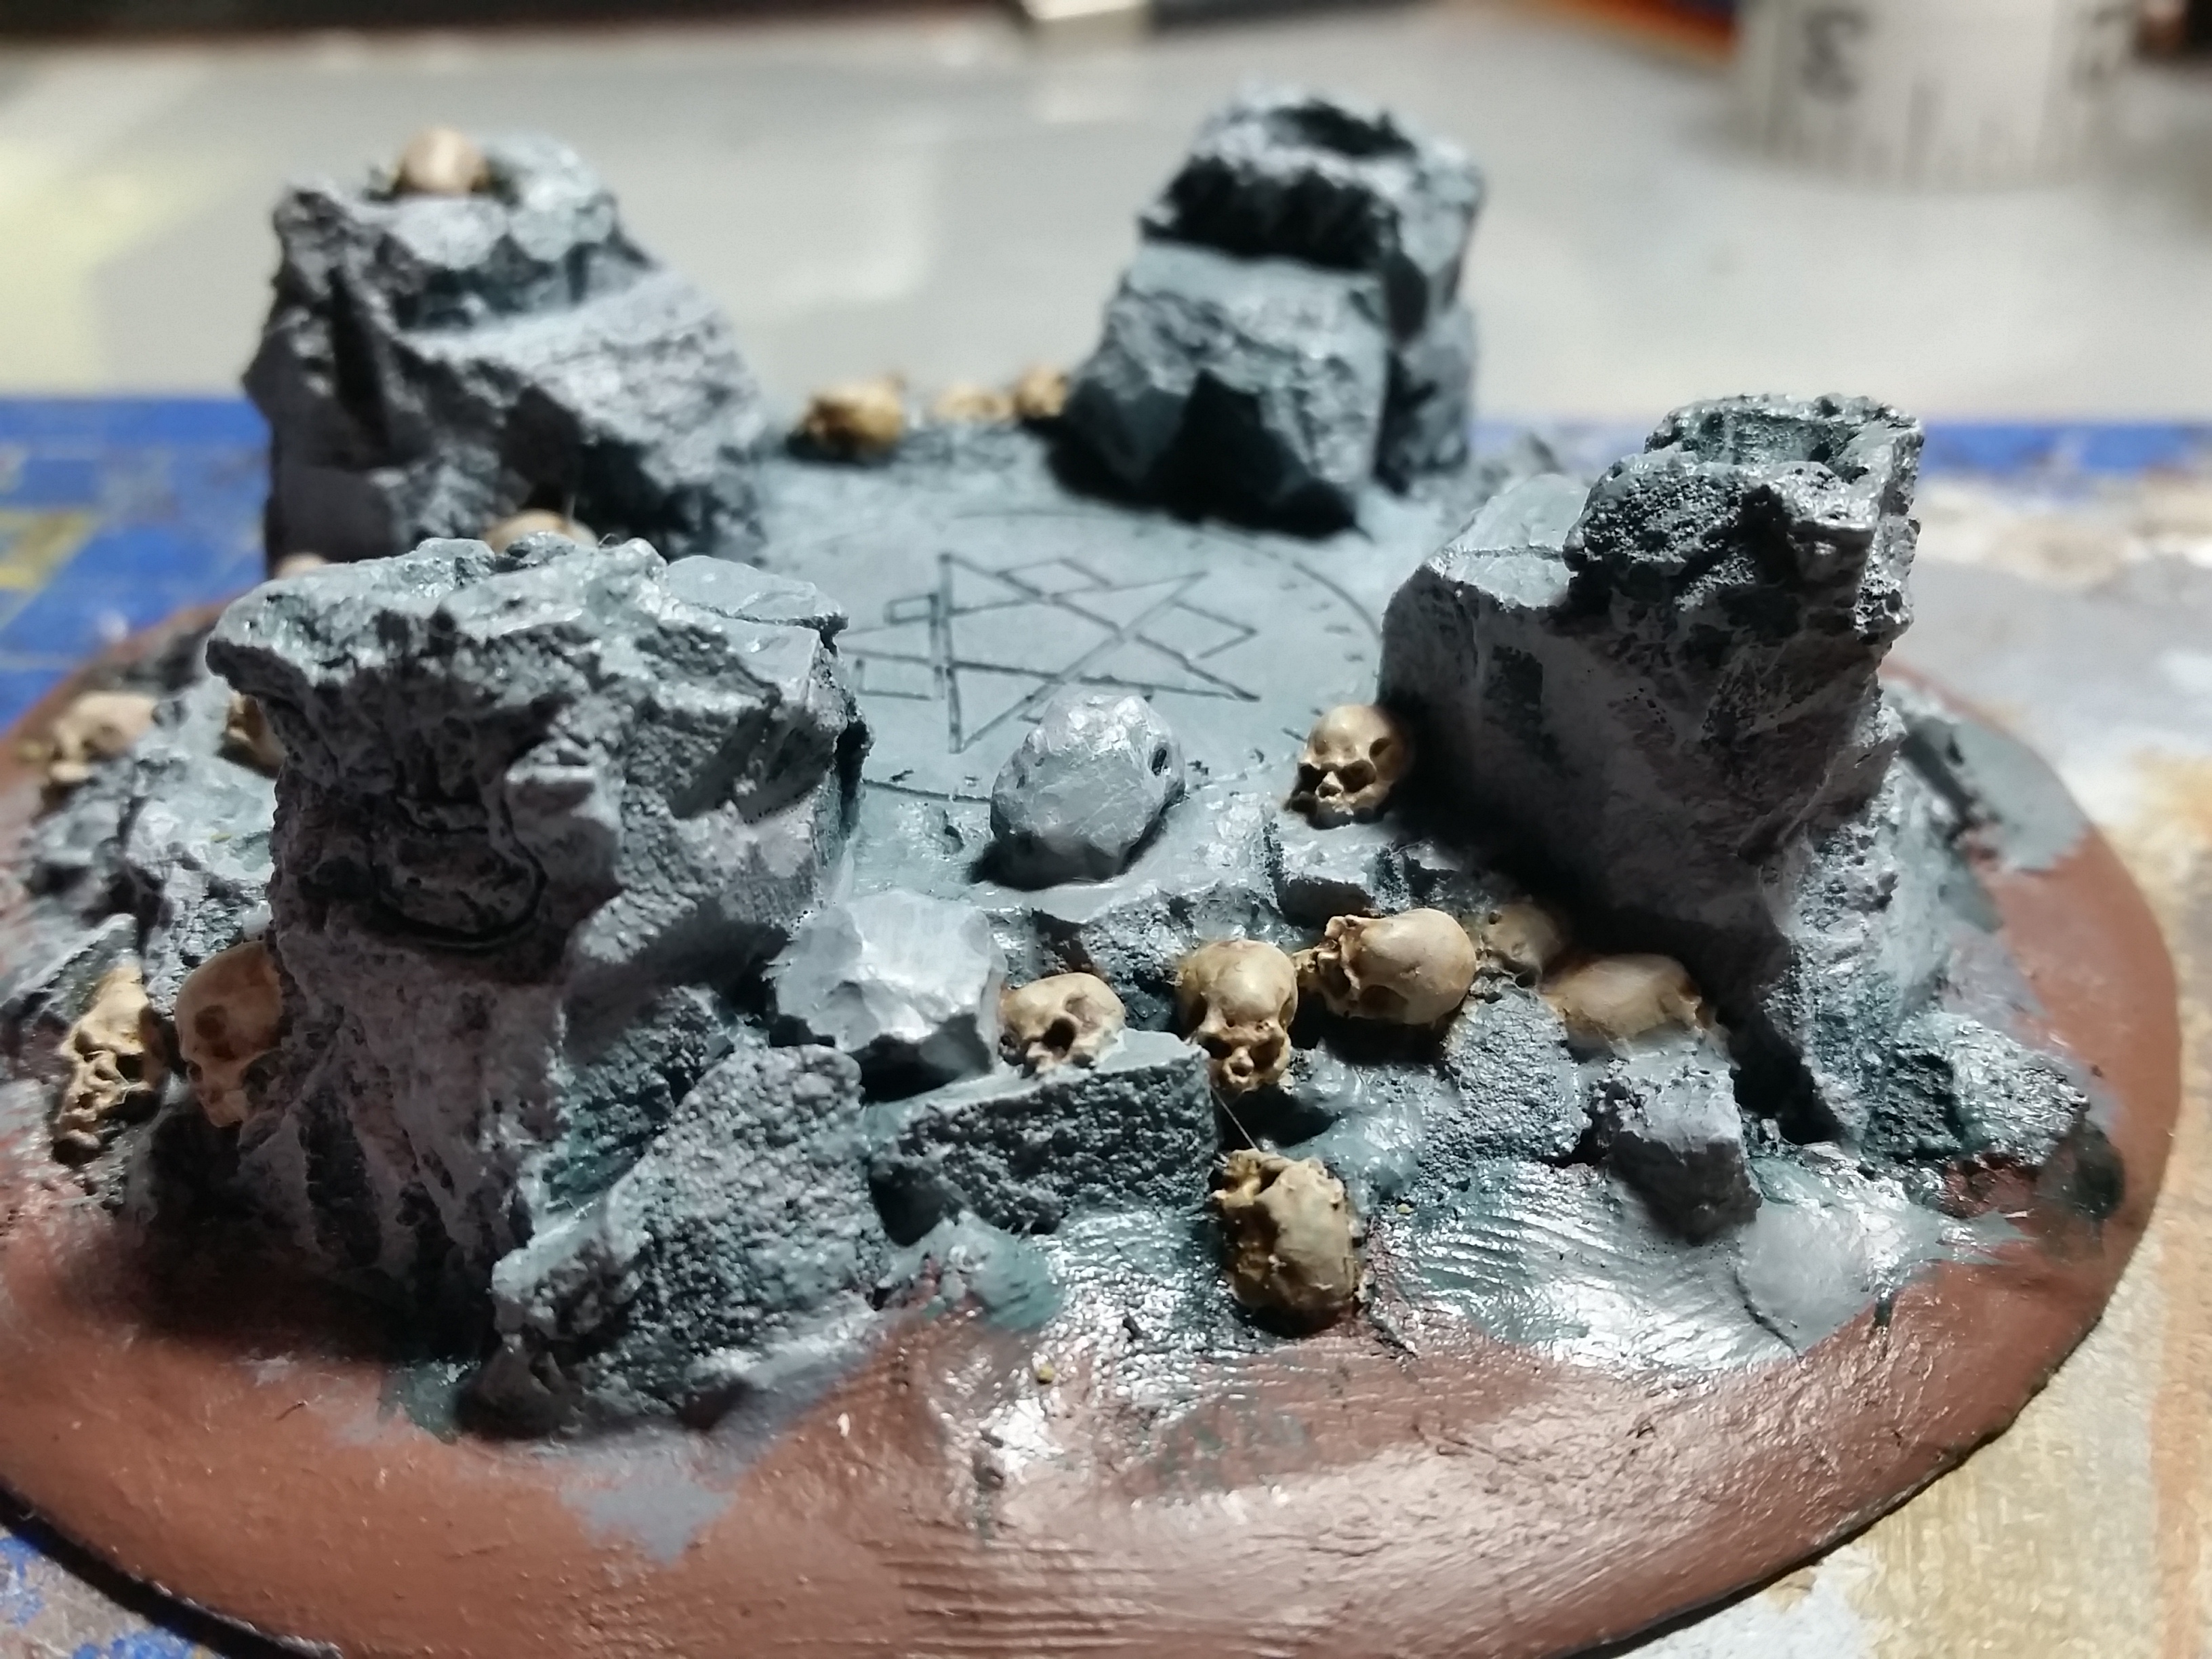
I covered most of the base, at least where I wanted flocking, in a watered down coat of PVA. I then followed up by flocking the base with the same 2 colours as I did my table. After the glue dried I shook off the excess and started adding tufts and little bits of clump foliage where the glue didn’t really take that well in order to fill up the gaps. I also added some tufts and clump foliage where I thought it would look good. I then added some light flock on places where I think moss would grow. After this is all dry I spray a bit of heavily diluted PVA over it all to seal in the scenery.
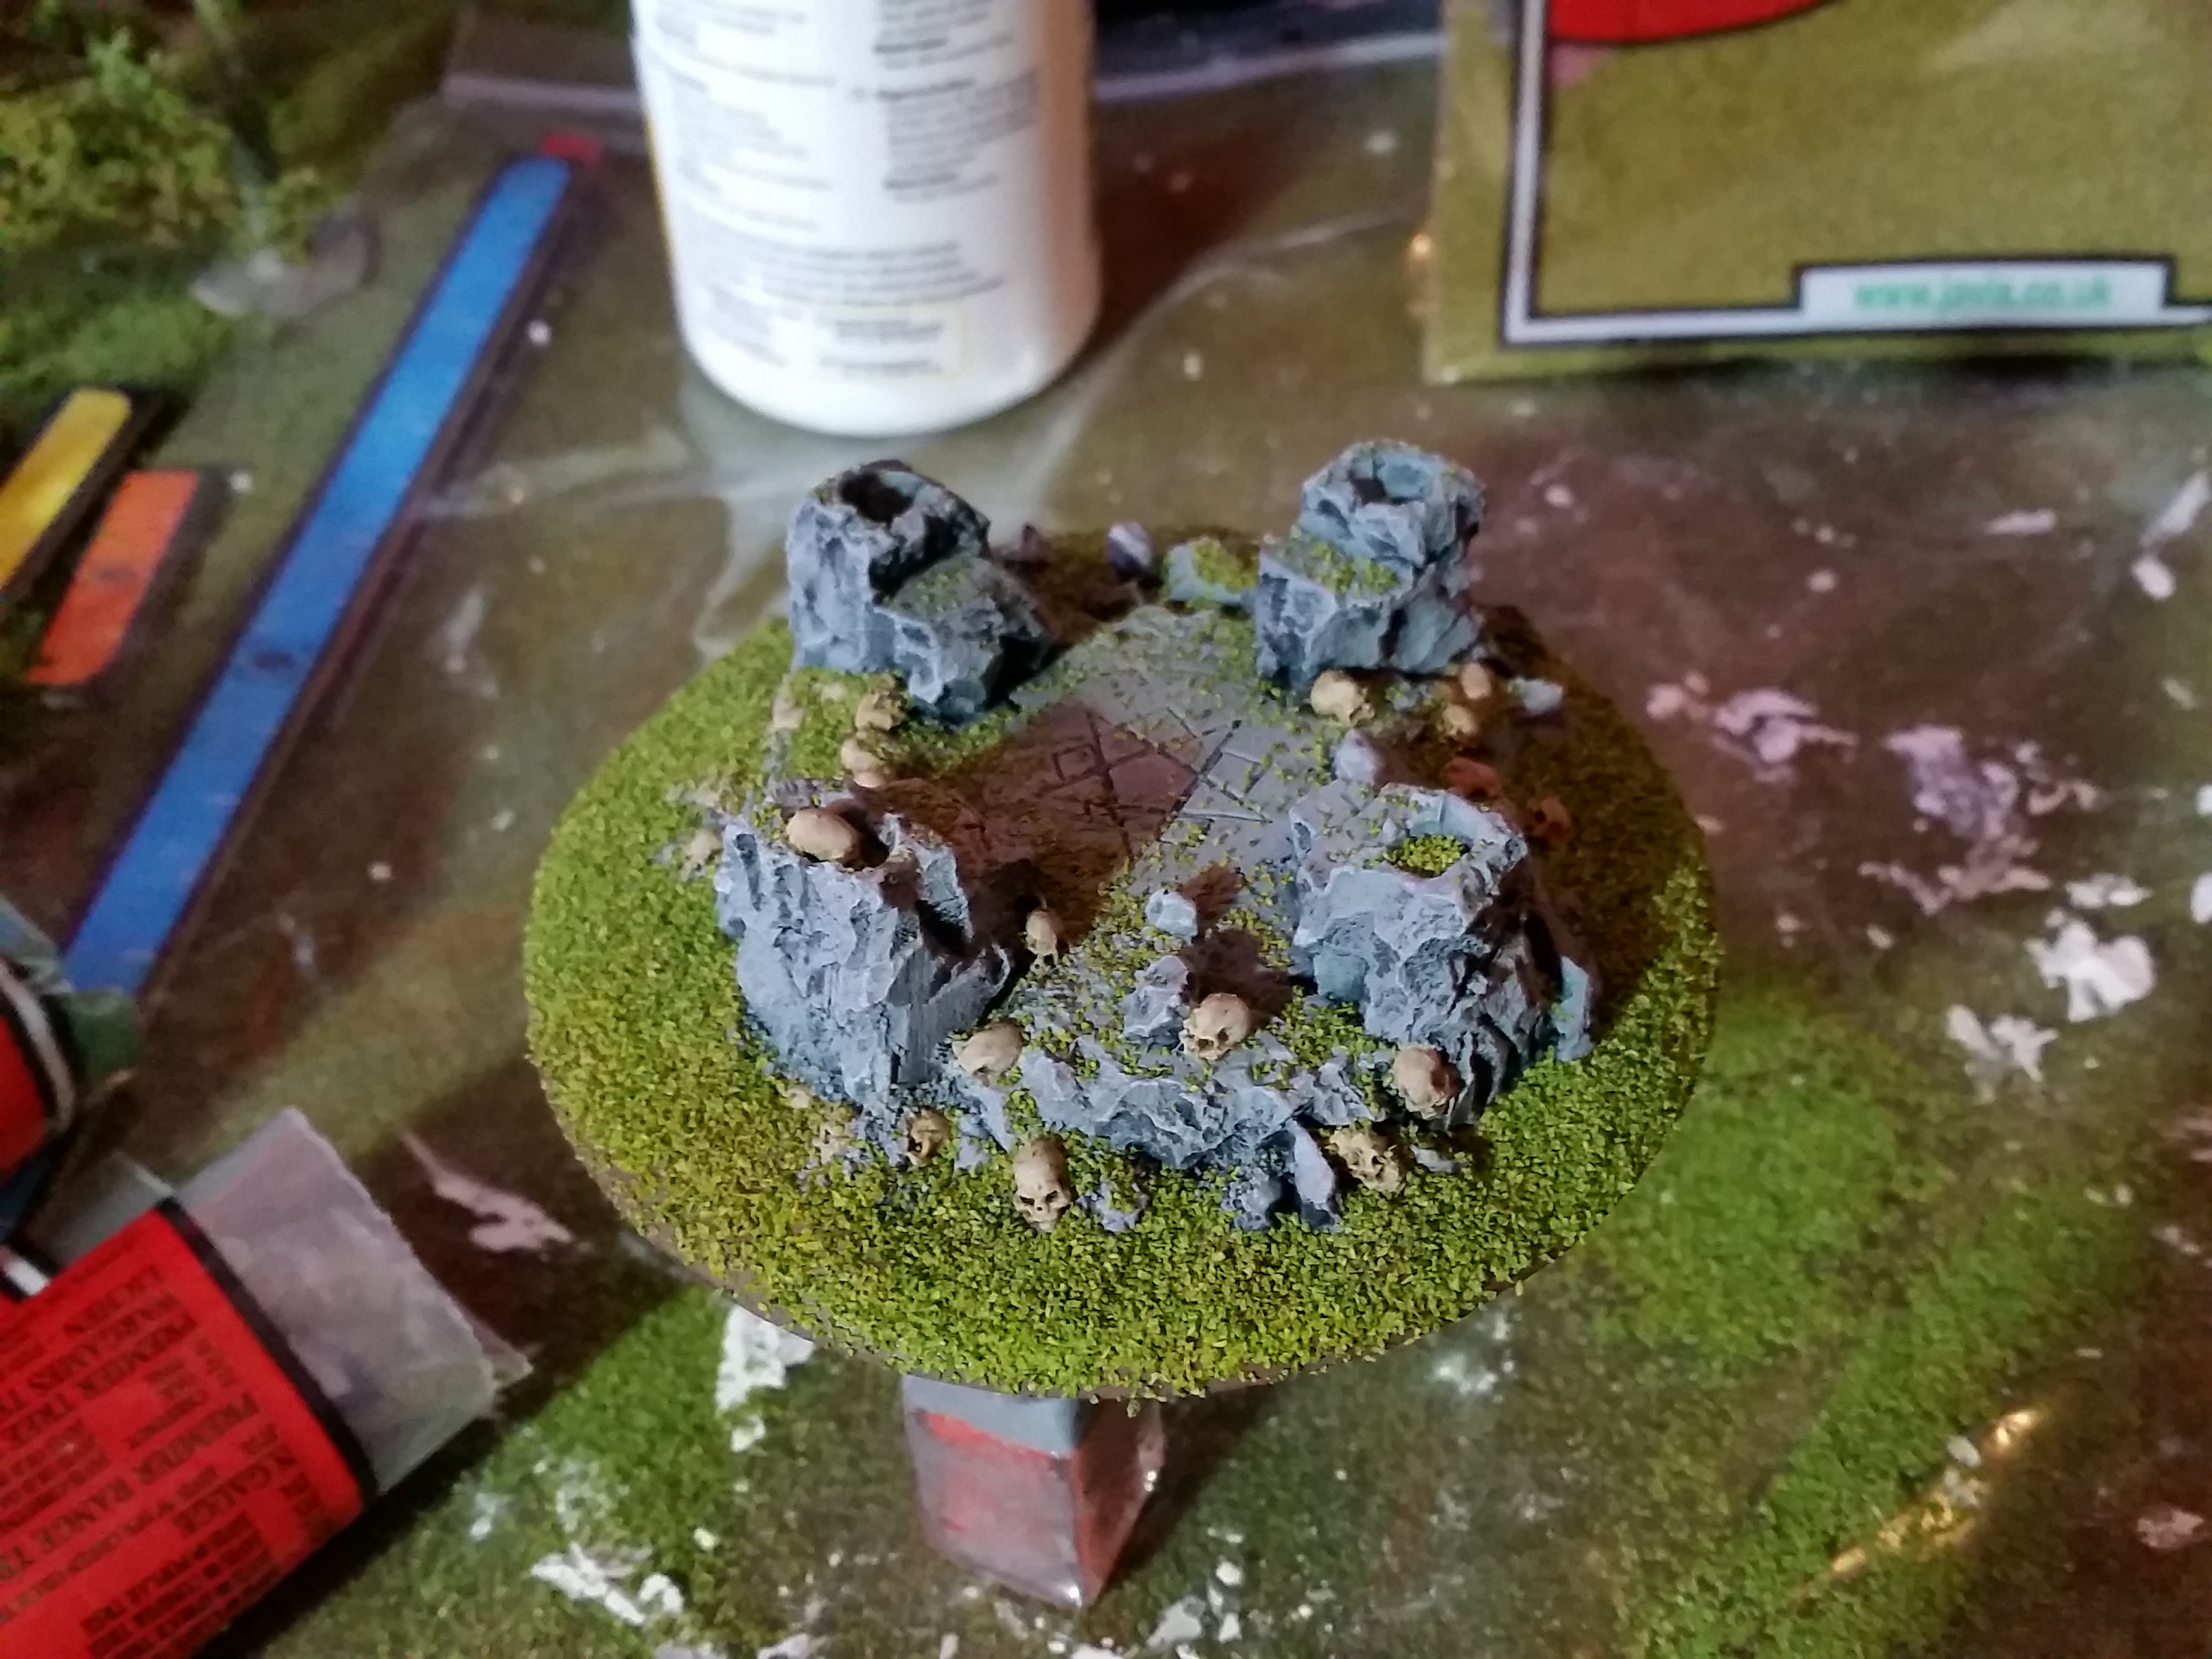
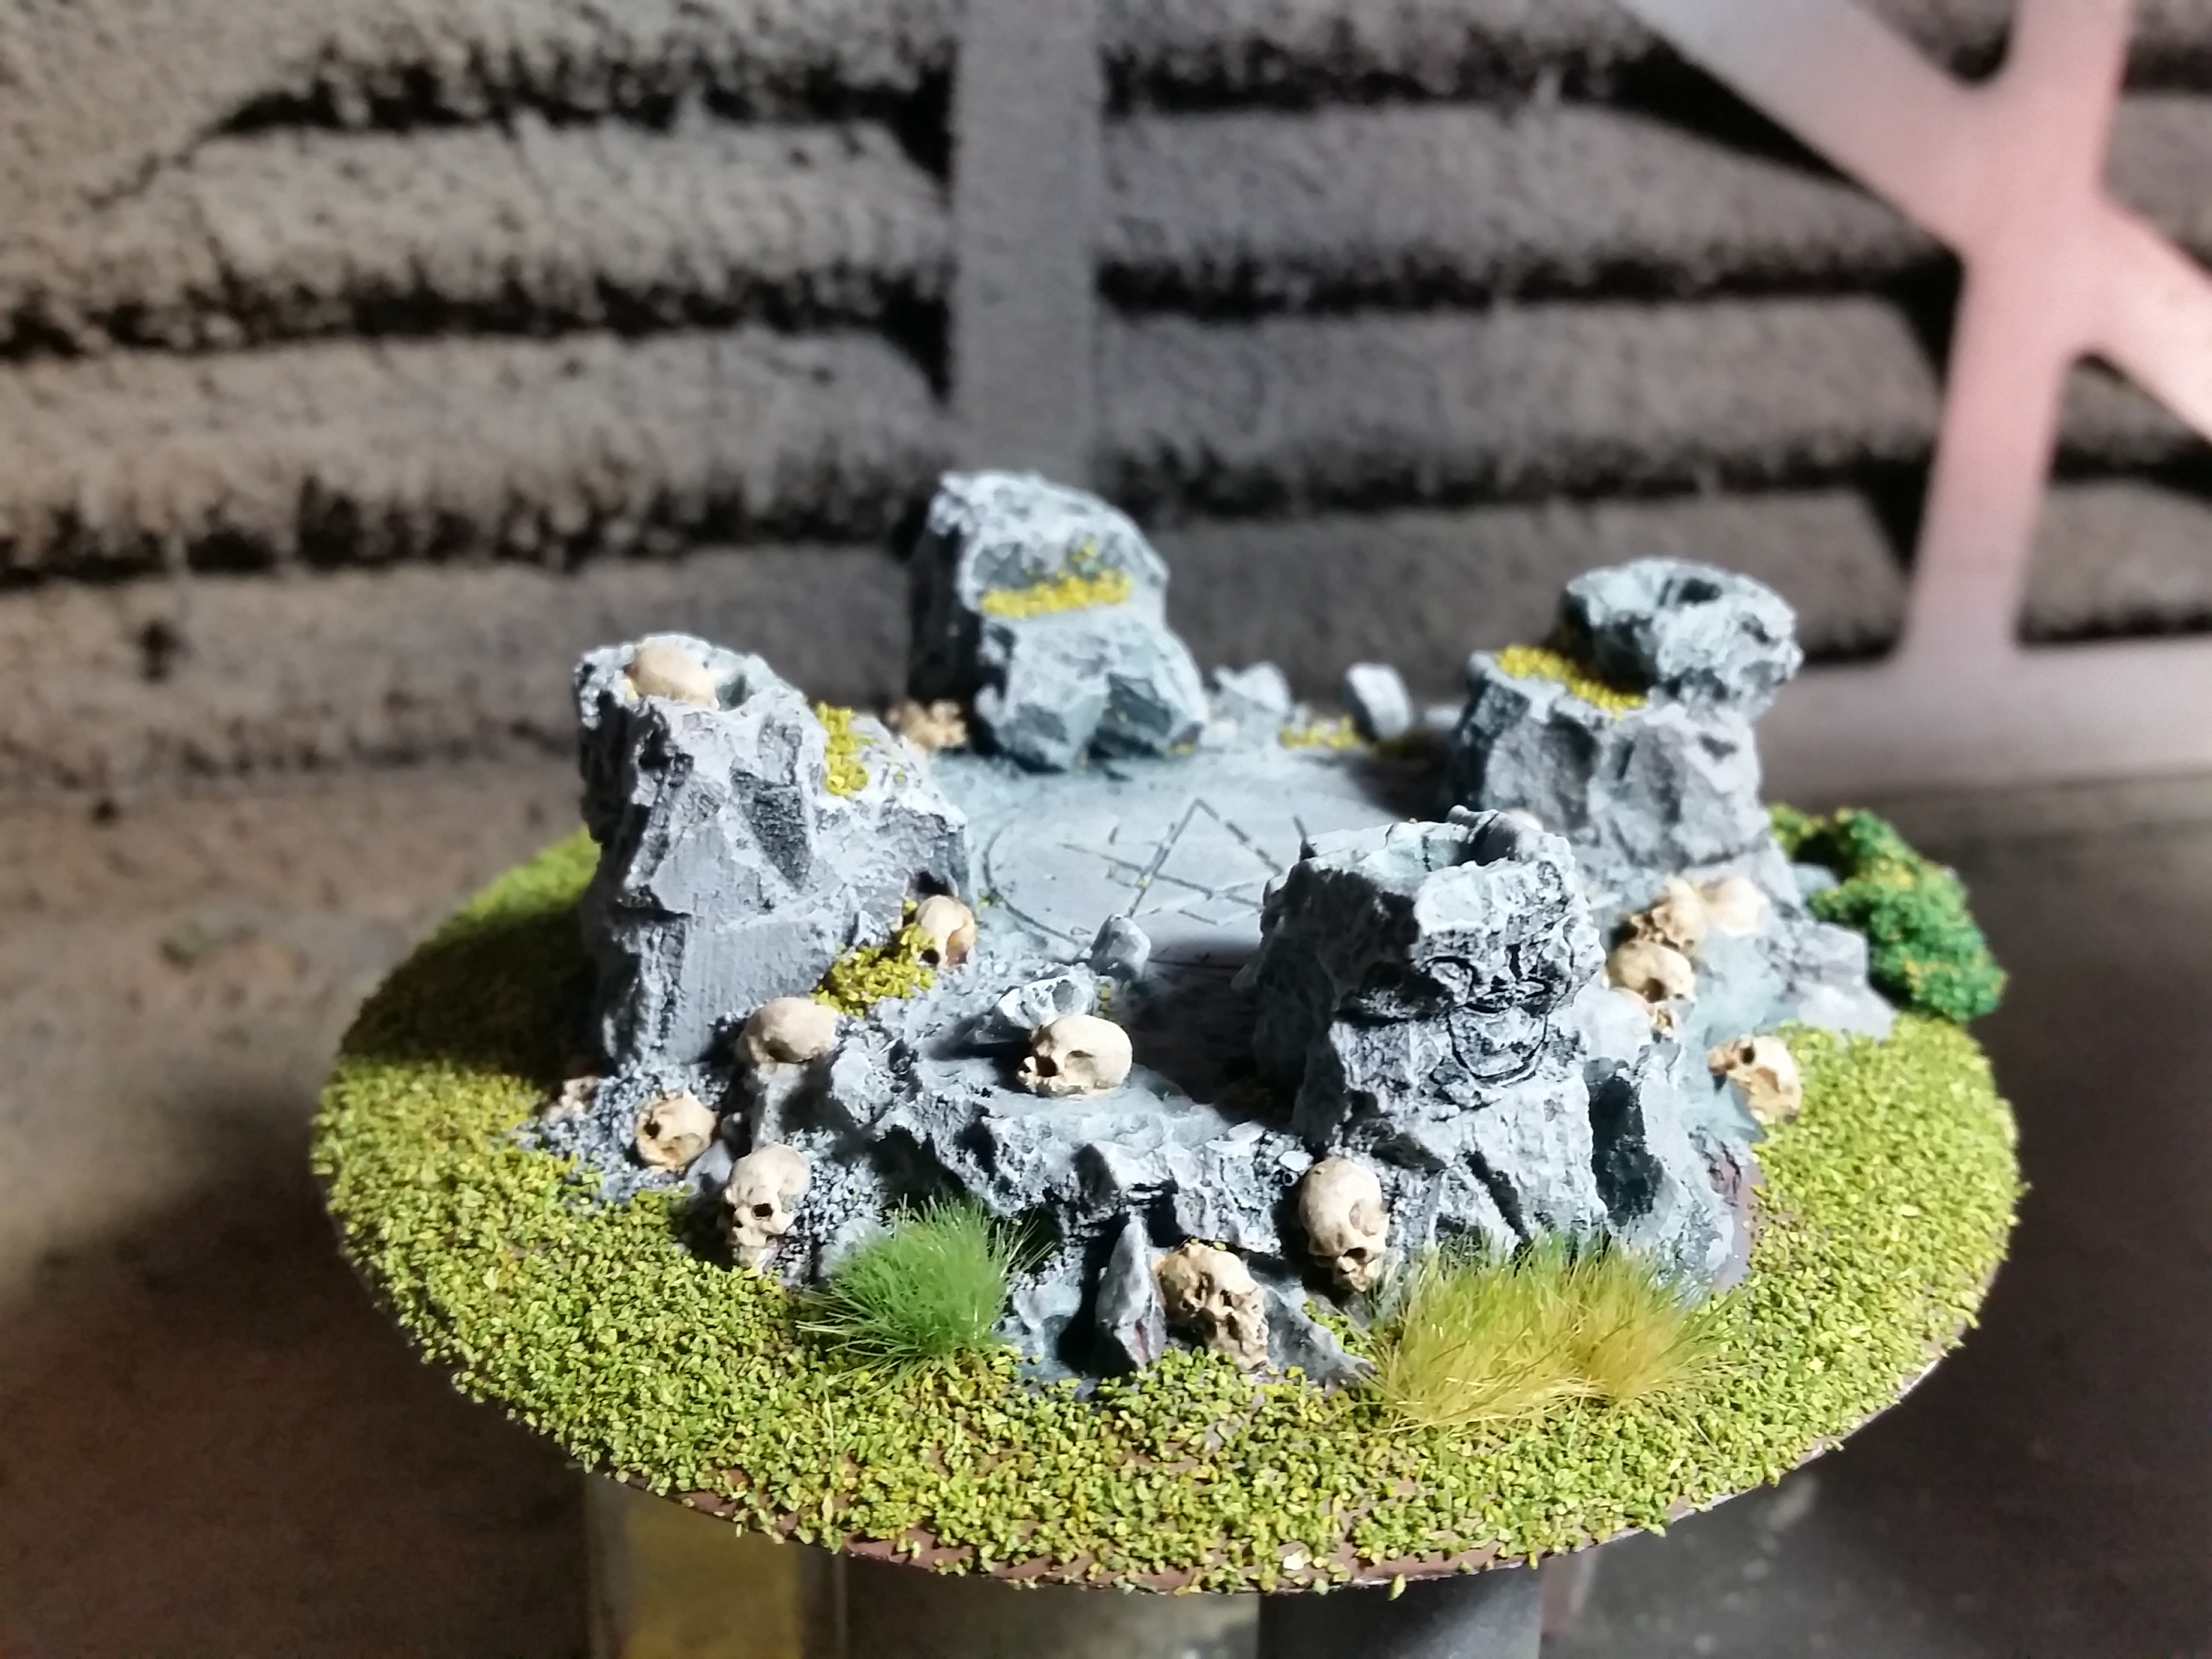
As a finishing touch I added some AK Interactive Diorama Puddles (AK8028) in the pits in the standing stone. Once this is dry it should be finished.


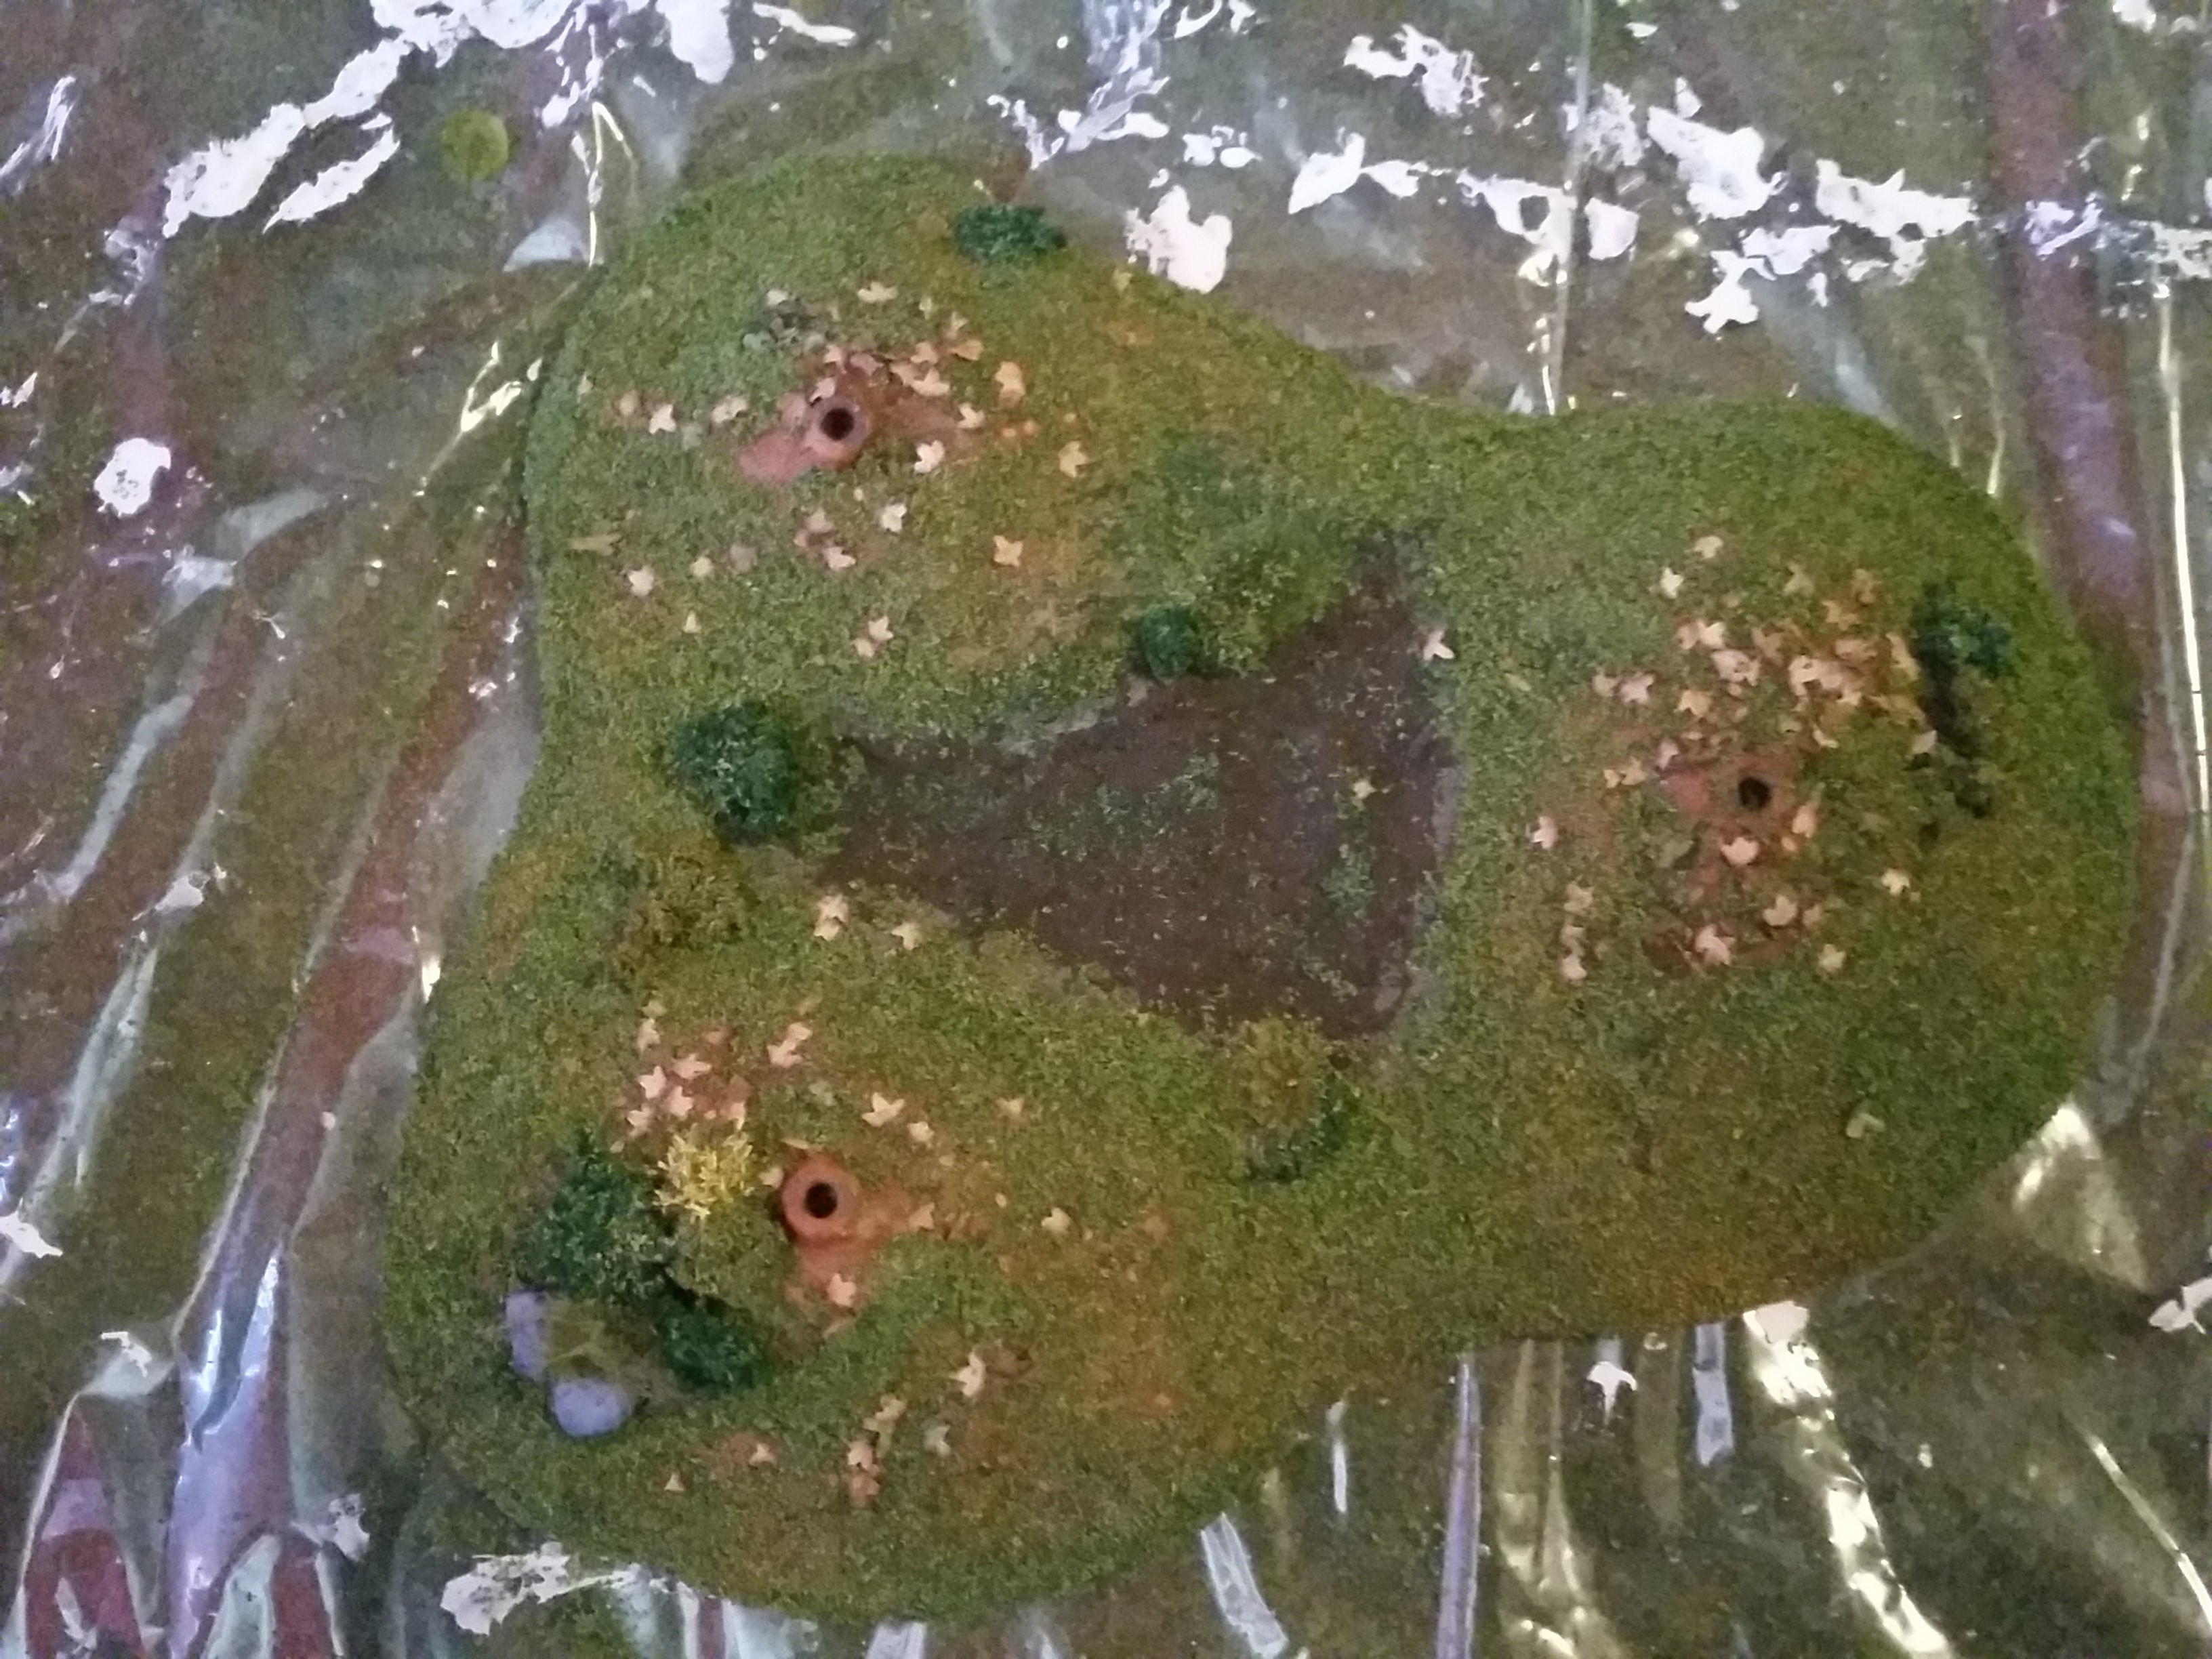
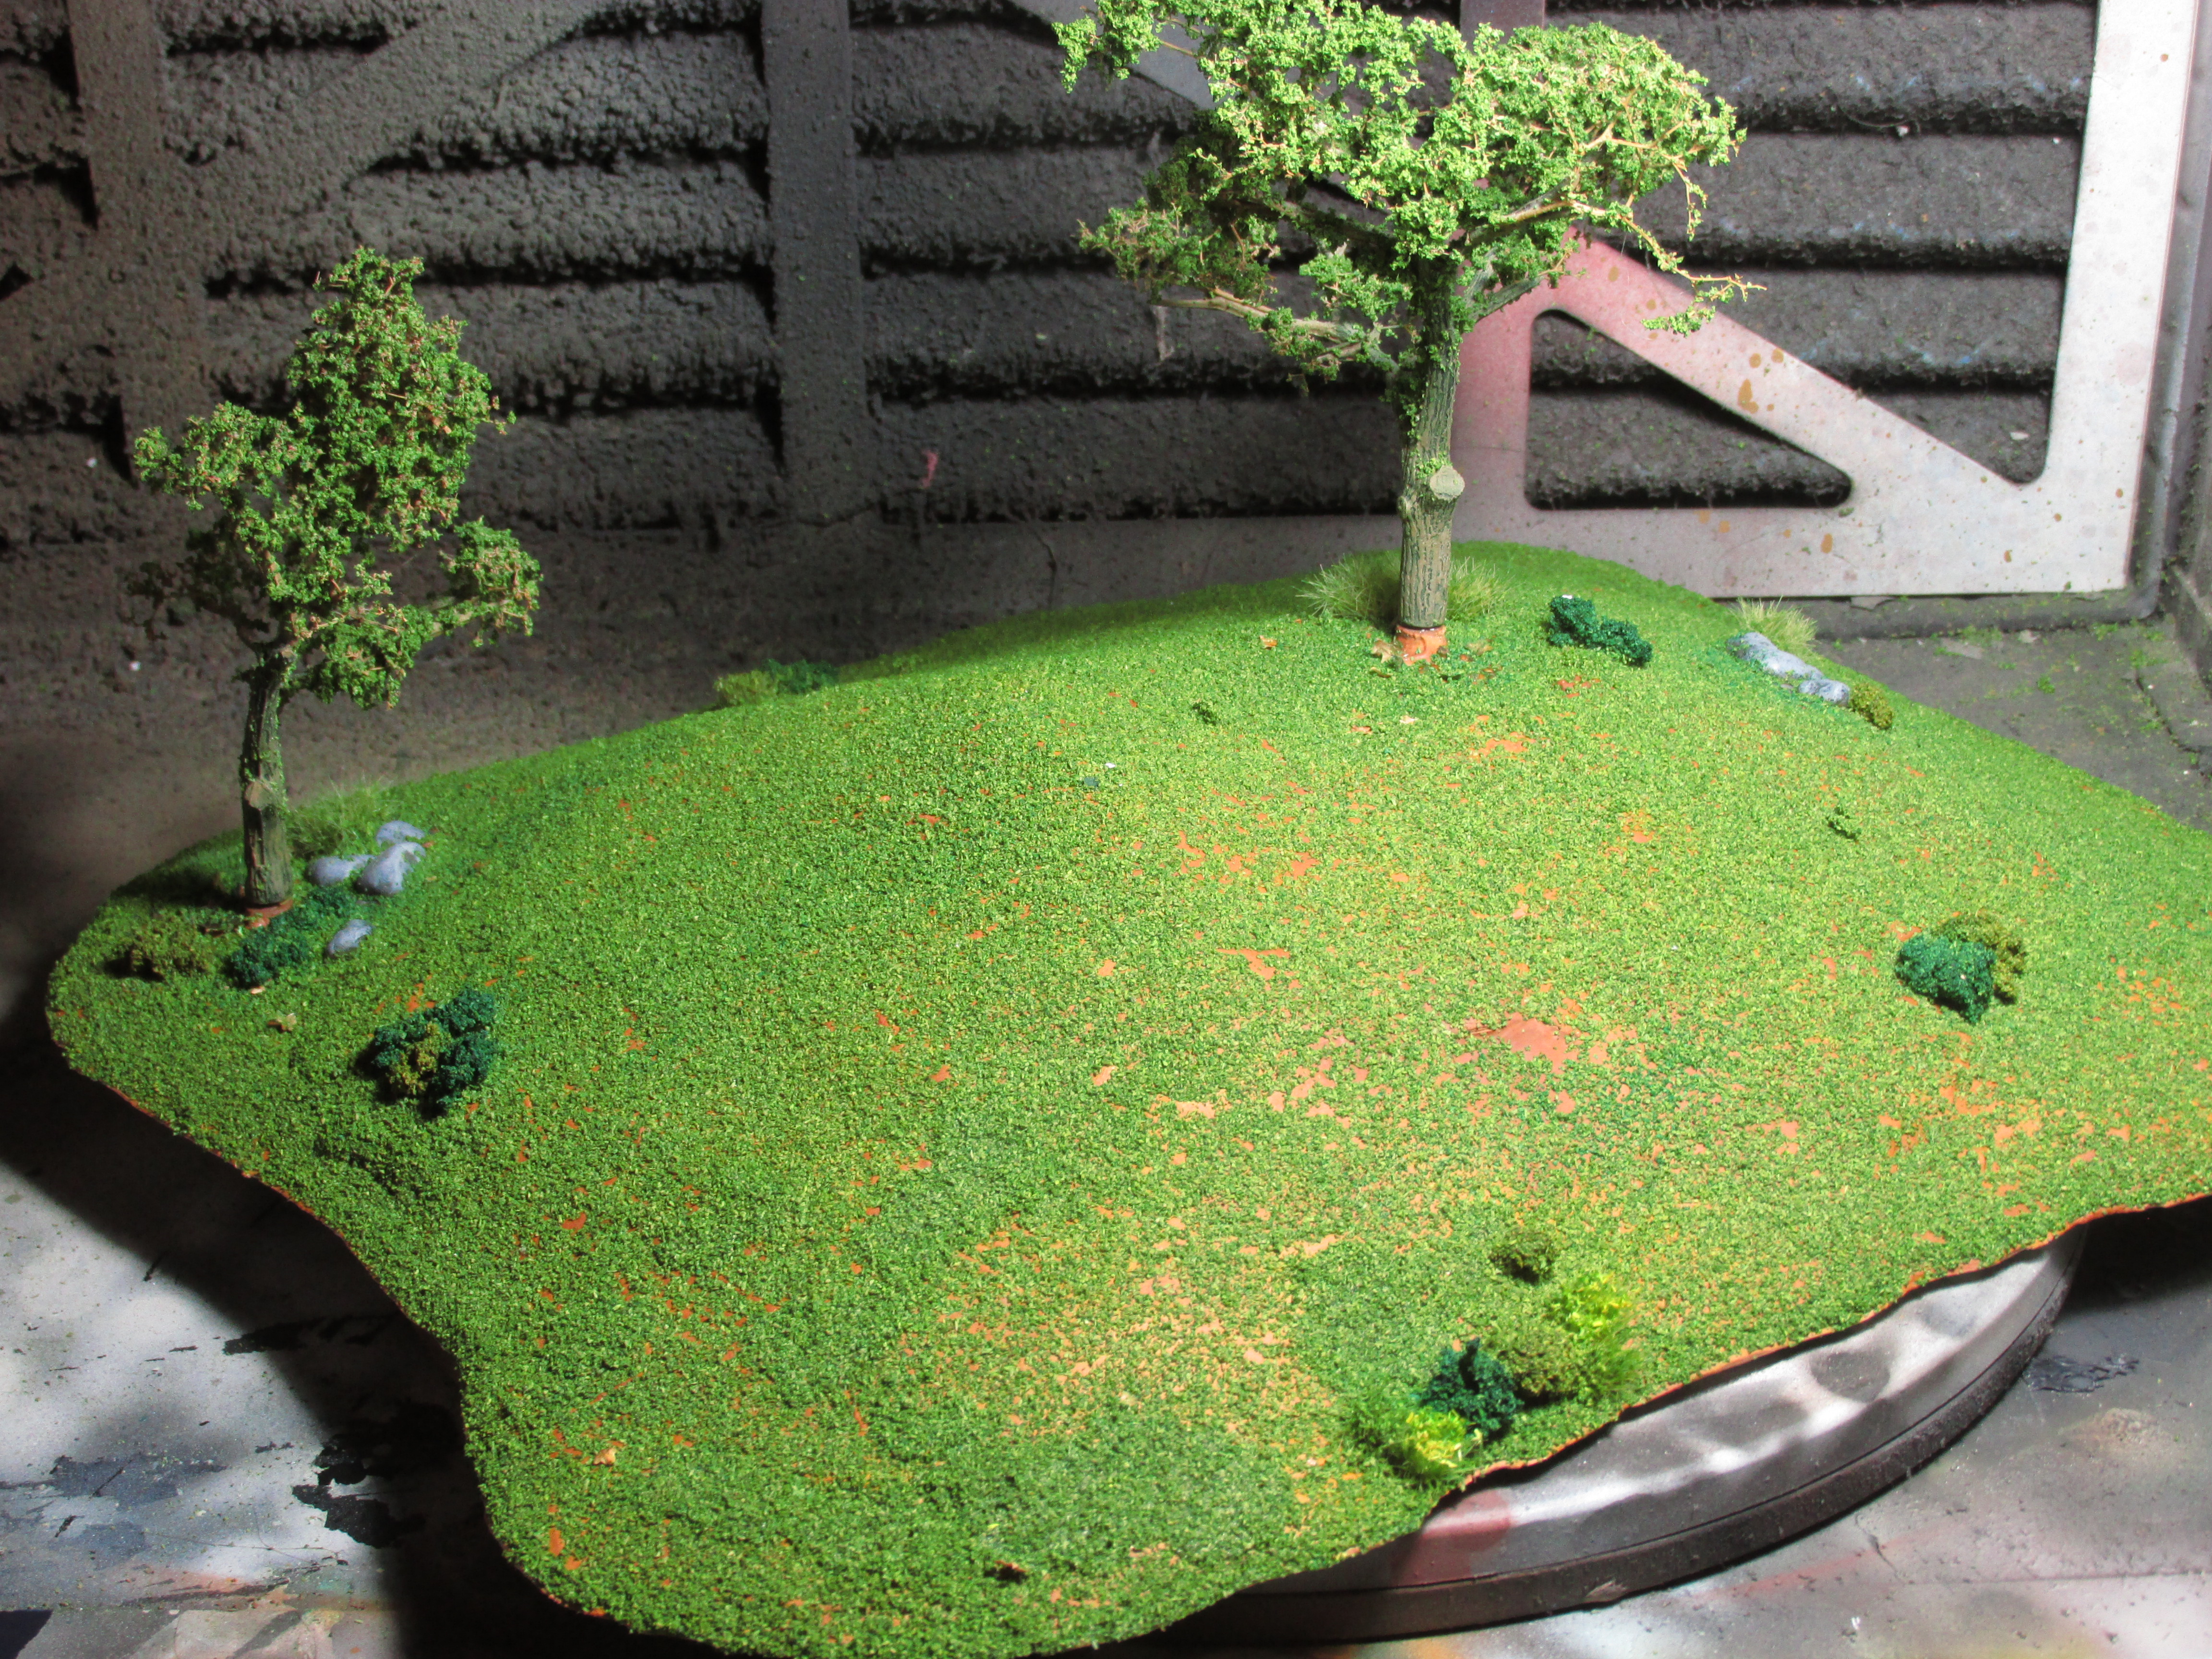
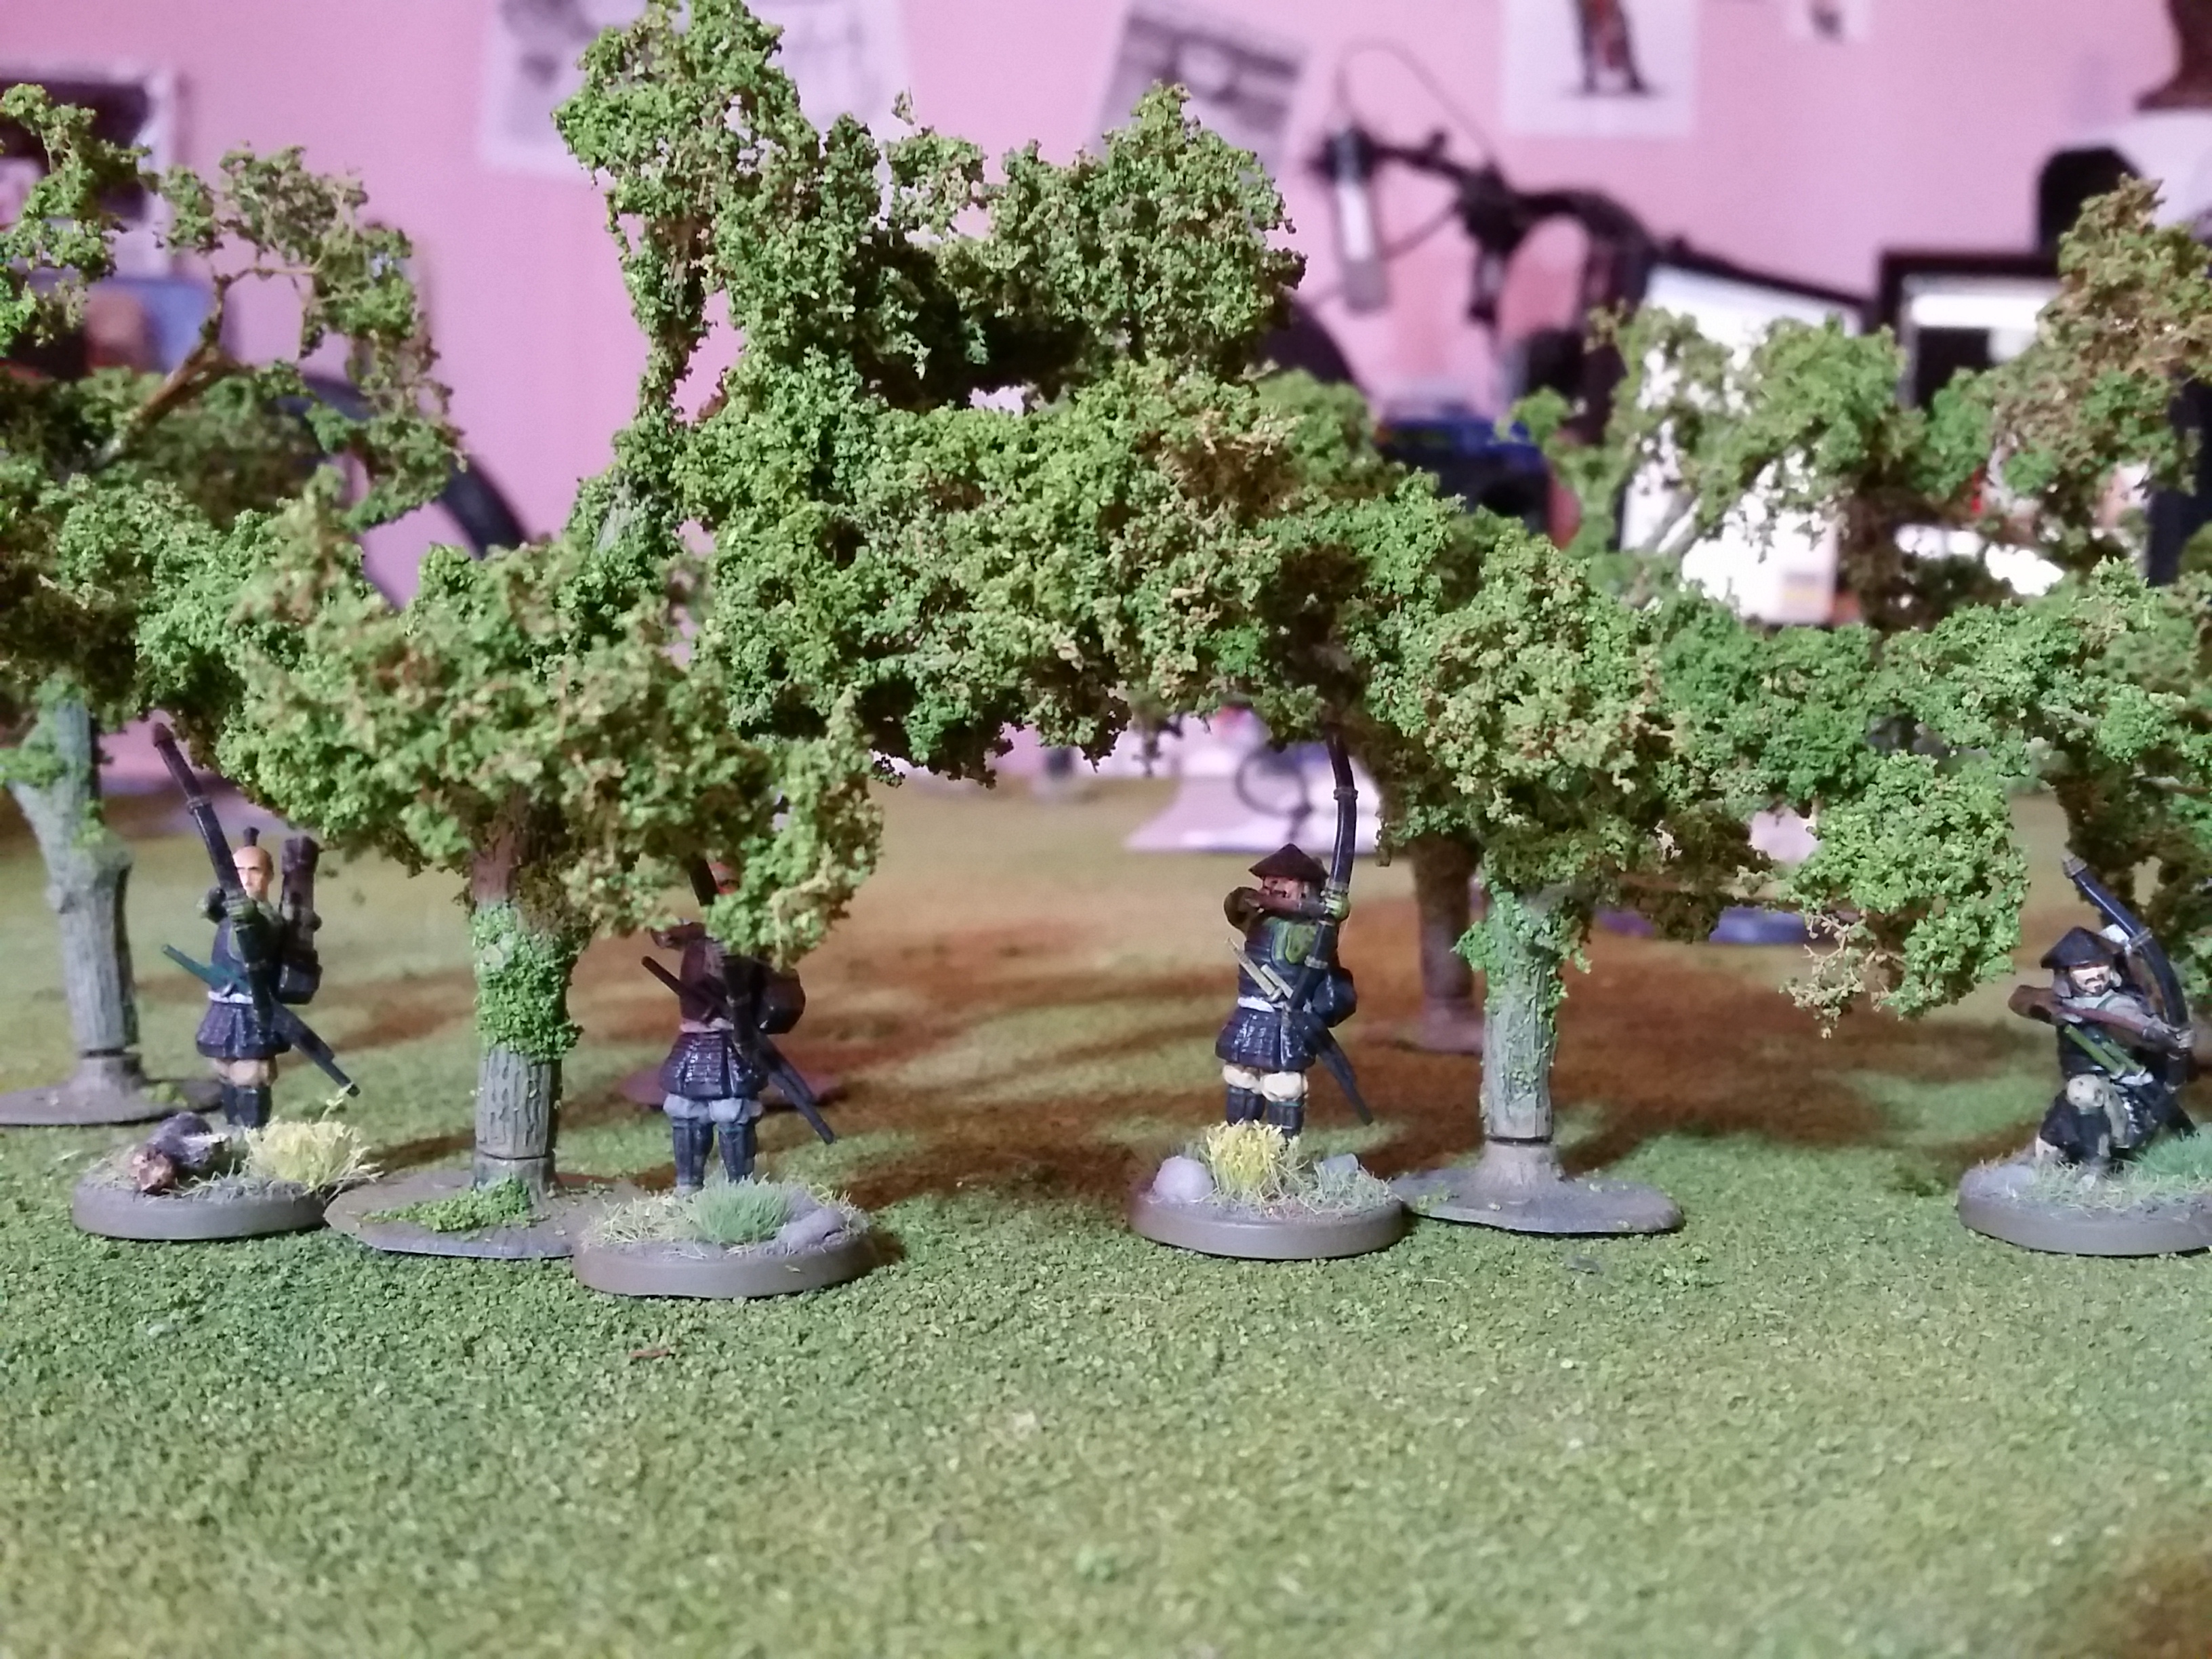
Small Woods #1 Progress
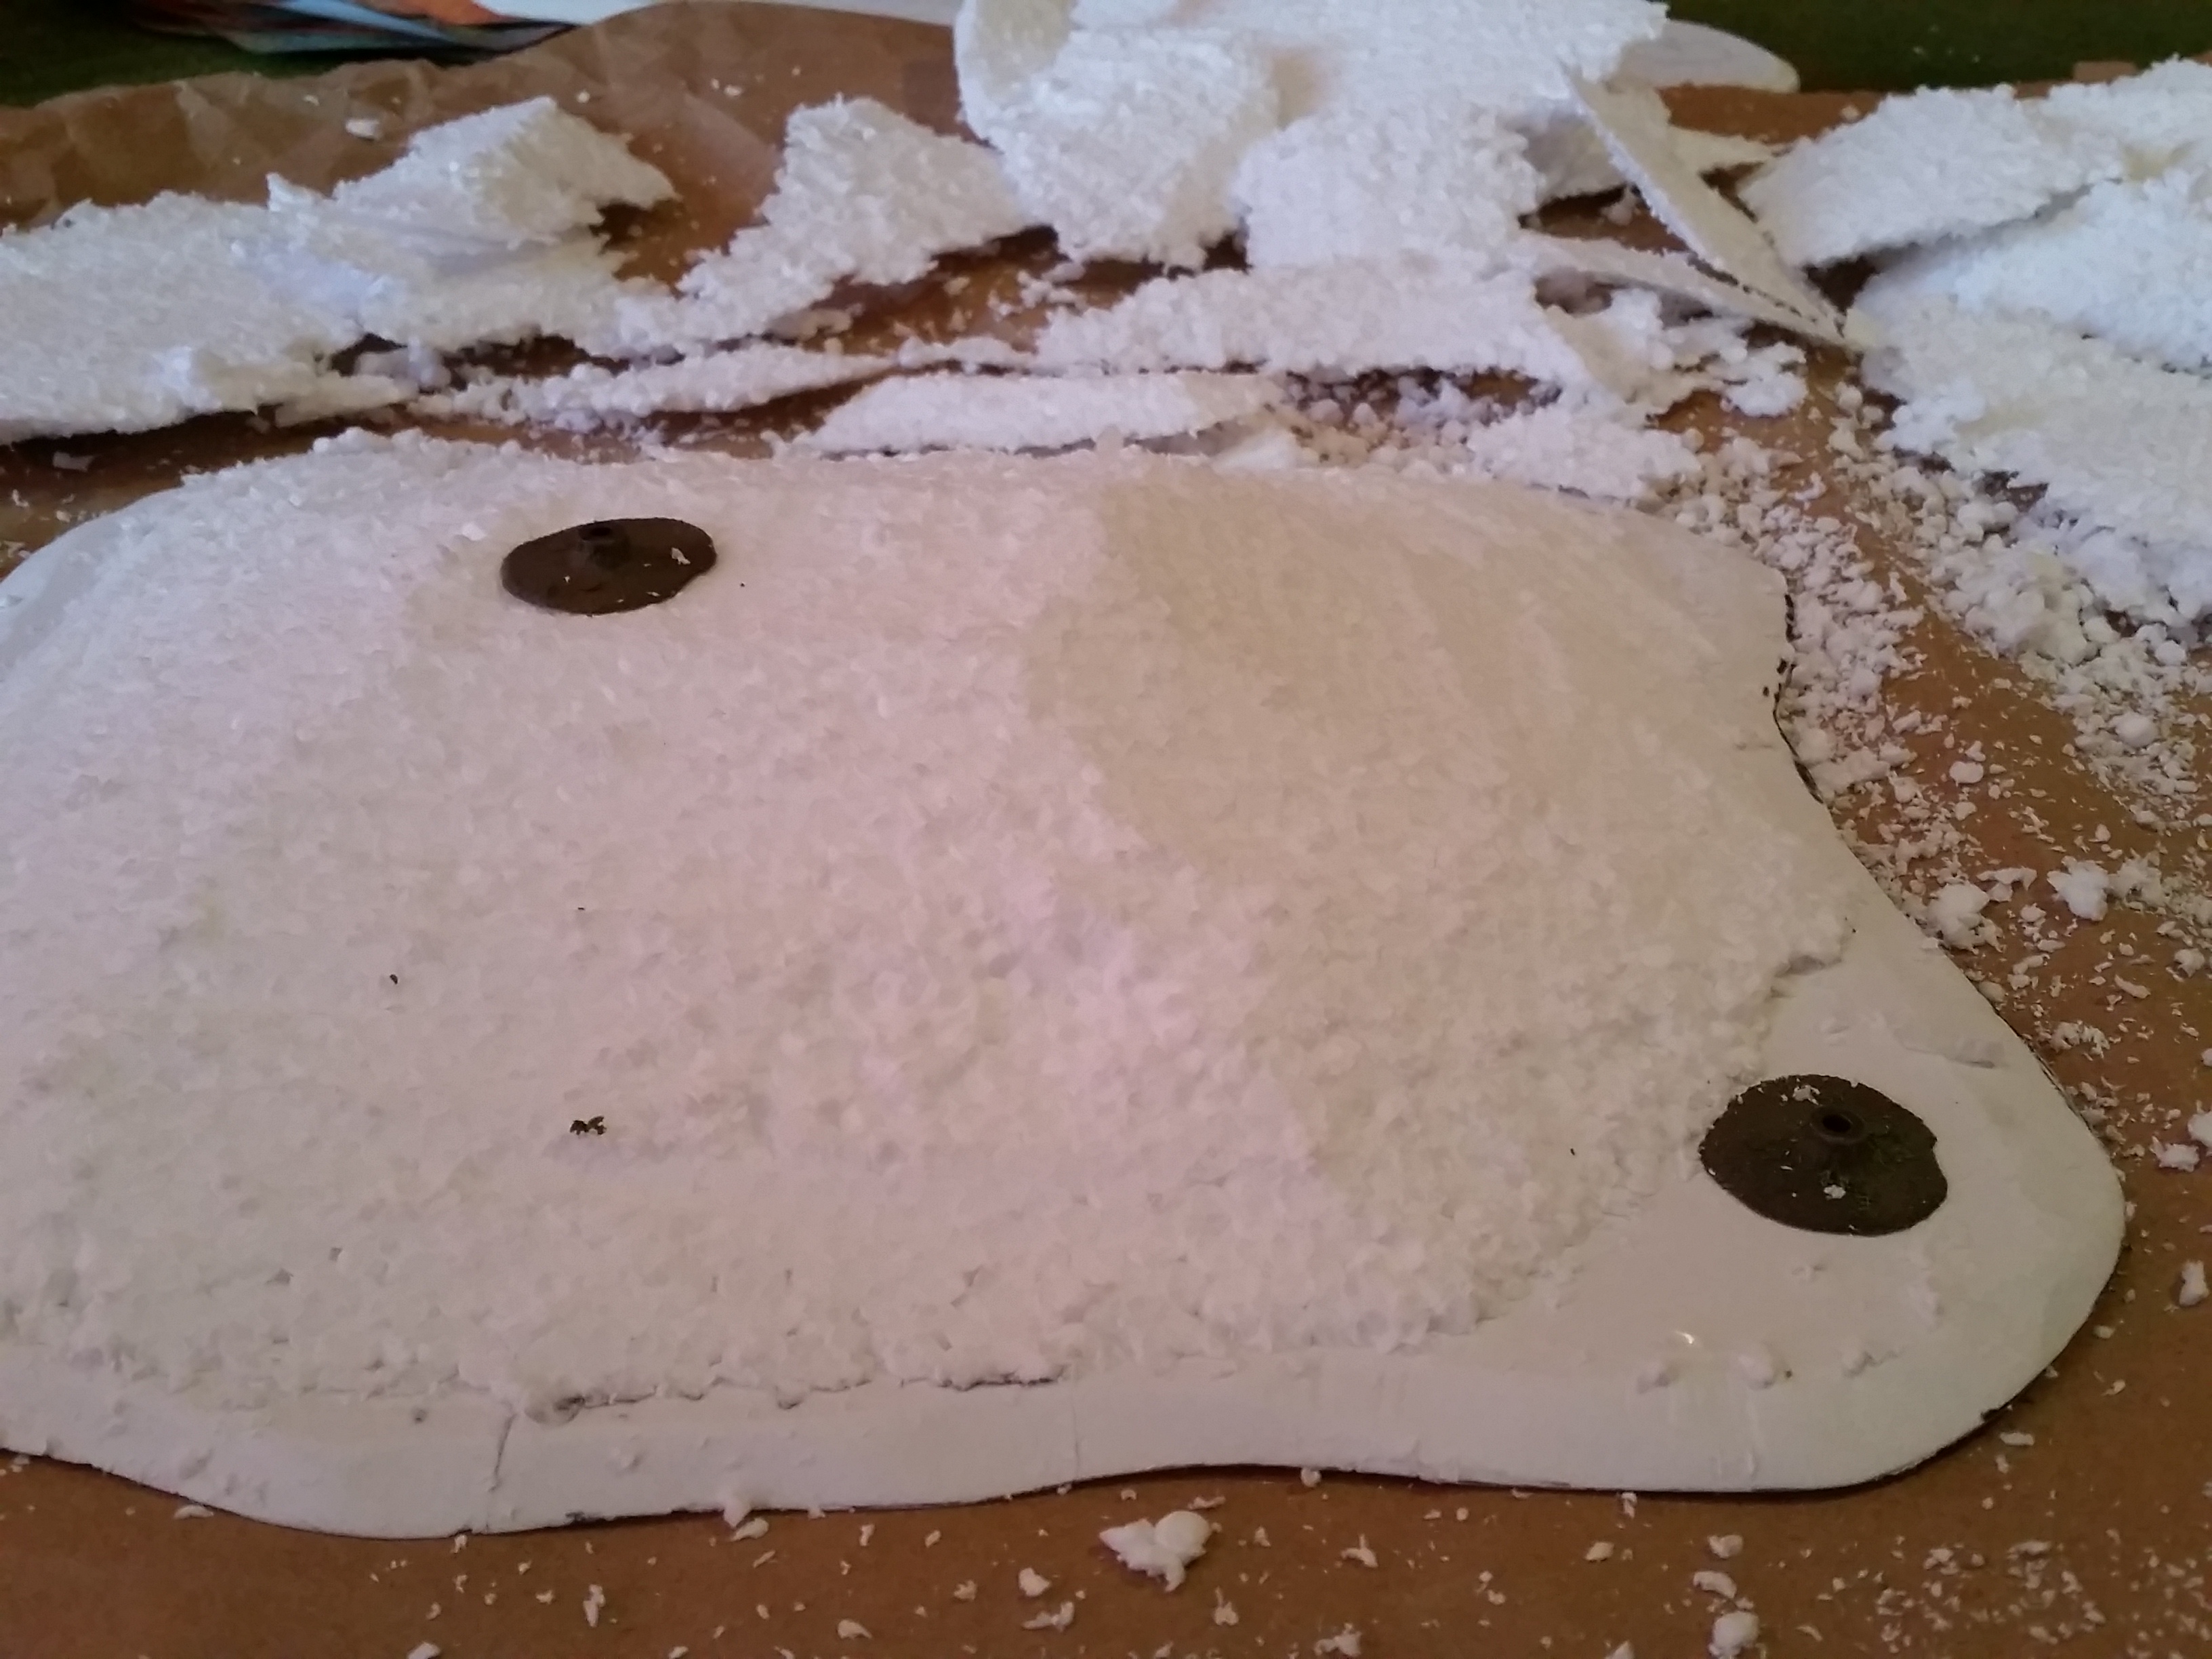
This is the first small woods piece for my table, I first cut and bevelled a base out of ePVC foamboard for it. I then started cutting and carving little bits of expanded polystyrene to create some elevations. On top of that I glued bases for trees to go in. I covered the woods in a layer of filler to smooth out the surface, now when it’s dry I can start painting.
I sanded the surface a little to get rid of any big anomalies. I then tried to paint the hill with my airbrush using the same paint I used to paint my table. Not a great success. I had to thin the paint which at that point was just tinted thinner before I was happy enough to put it through my airbrush. I need to either use a proper airbrush paint or go for cheap spray cans for this.
The rocks first got an overbrush coat of Vallejo Model Color Basalt Grey (70.869) and then coated the rocks with a coat of Secret Weapon Wash Algea (W013). After this I applied a heavy drybrush of Vallejo Model Color Medium Sea Grey (70.870) followed by a drybrush of Vallejo Model Air White Grey (71.119).
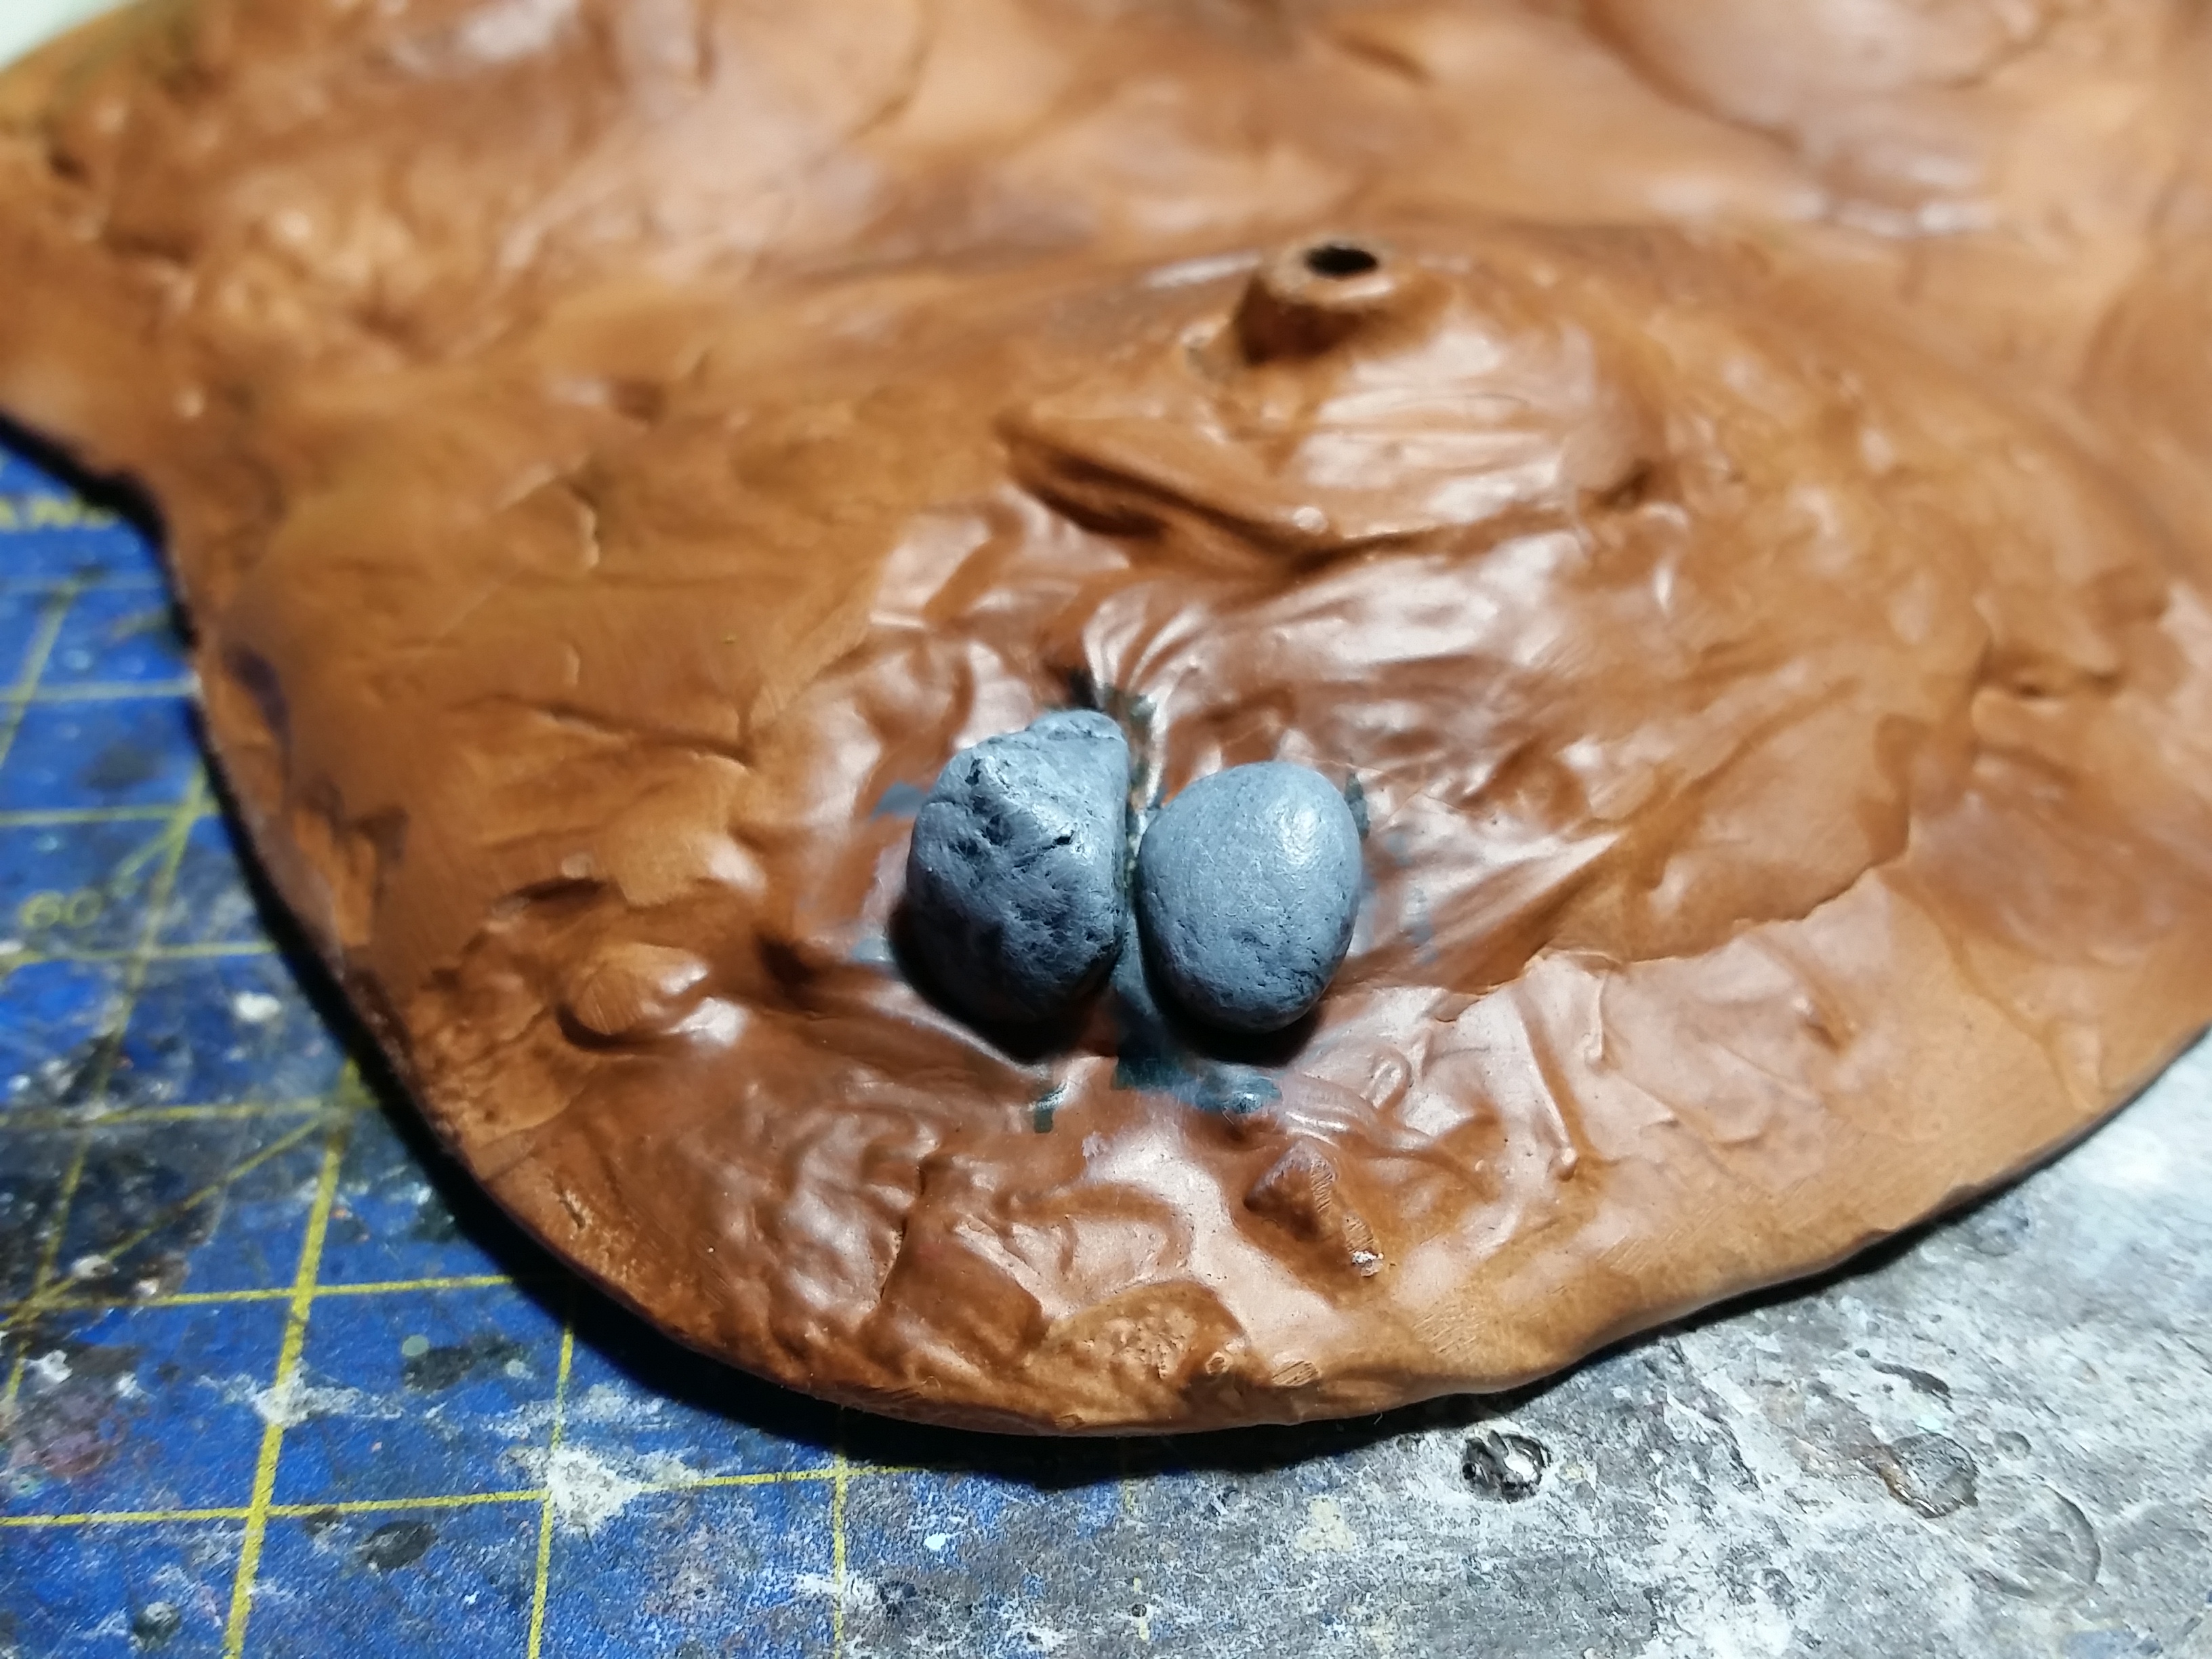
I added a bit of Vallejo Earth Texture Dark Earth (26.218) in the lowered centre area of the woods. After it dried I added a drybrush of Vallejo Panzer Aces Light Mud (70.315) over the earth and when that was dry I added a layer of AK Interactive Diorama Terrains Muddy Ground (AK8017) in the centre of the earth texture.

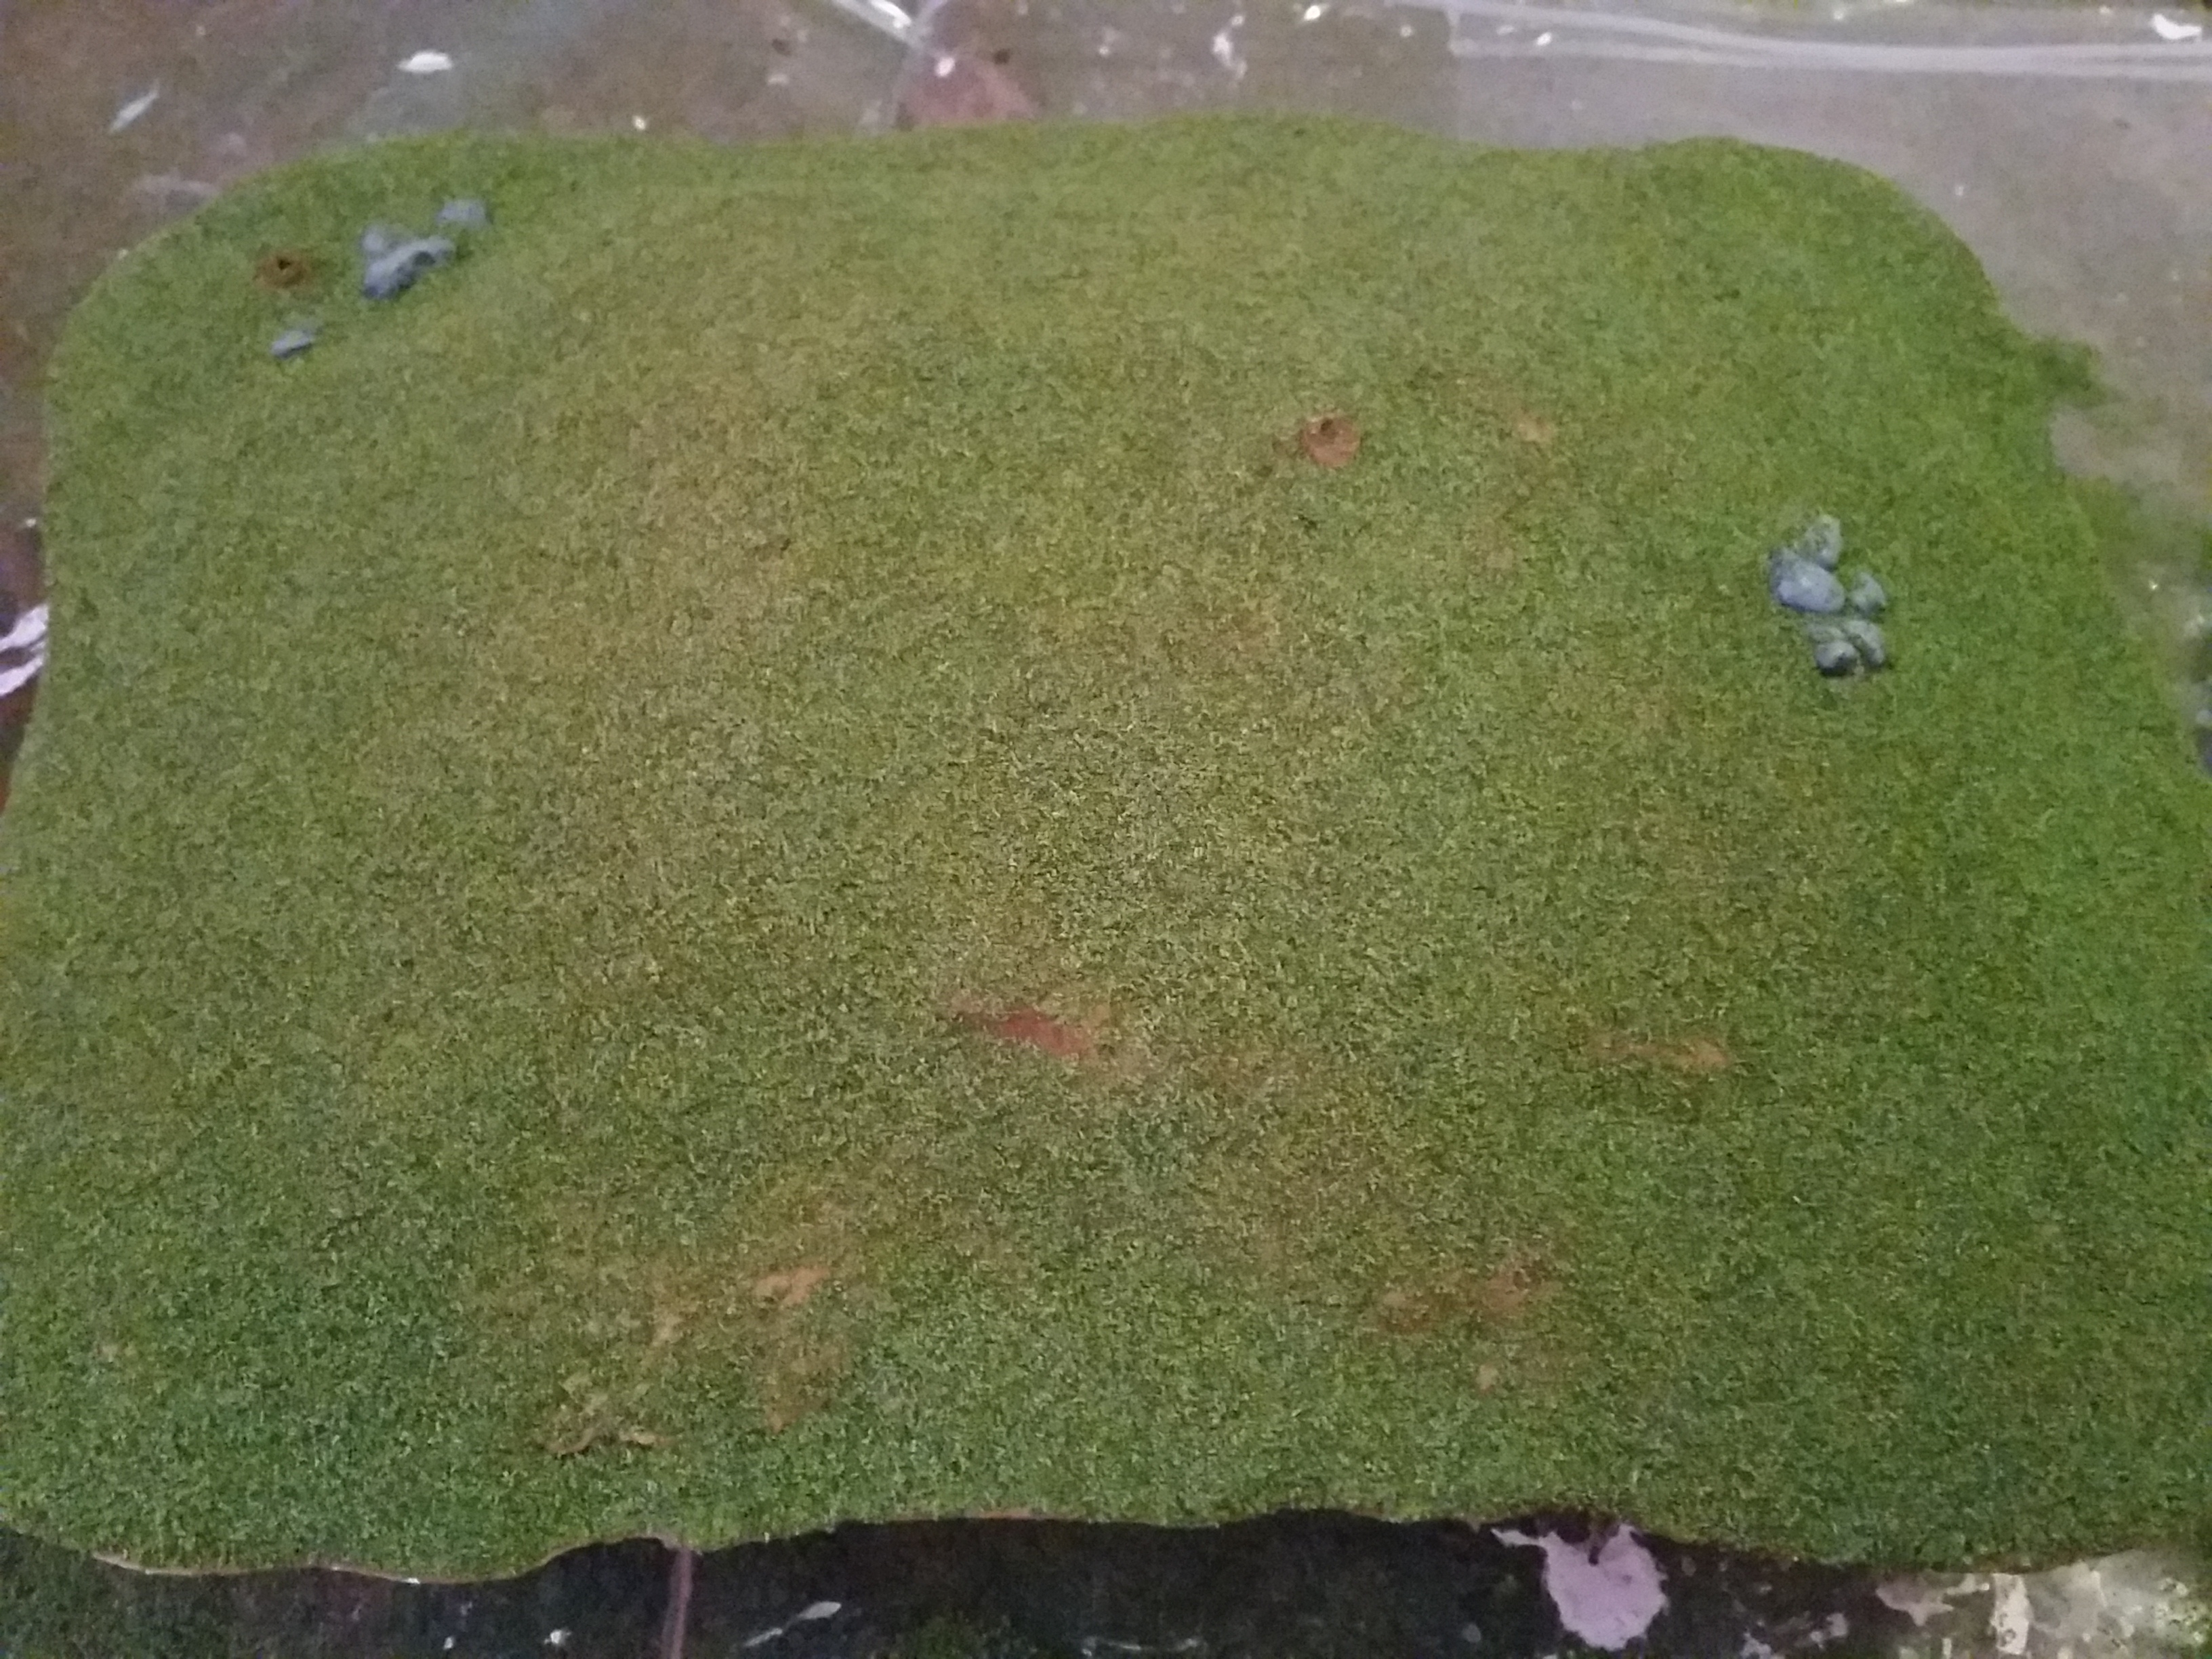
I covered most of the earth with some watered down PVA glue and I did the base layer of flock with the 3 tones. The darker in areas of shade, the lighter in areas of light and then a mid tone covering it all after that. Before the flock I did sprinkle a couple of leaves around the trees as well. When this was dry and the excess was shaken off I added some clump foliage and tufts around places to hide damages or just where I felt it would fit. After this has dried I sprayed it with watered down PVA to seal everything in and once that is dry I added a bit of AK Interactive Diorama Puddles (AK8028) on the ground in the centre to create some puddles. When this has dried the piece should be done.


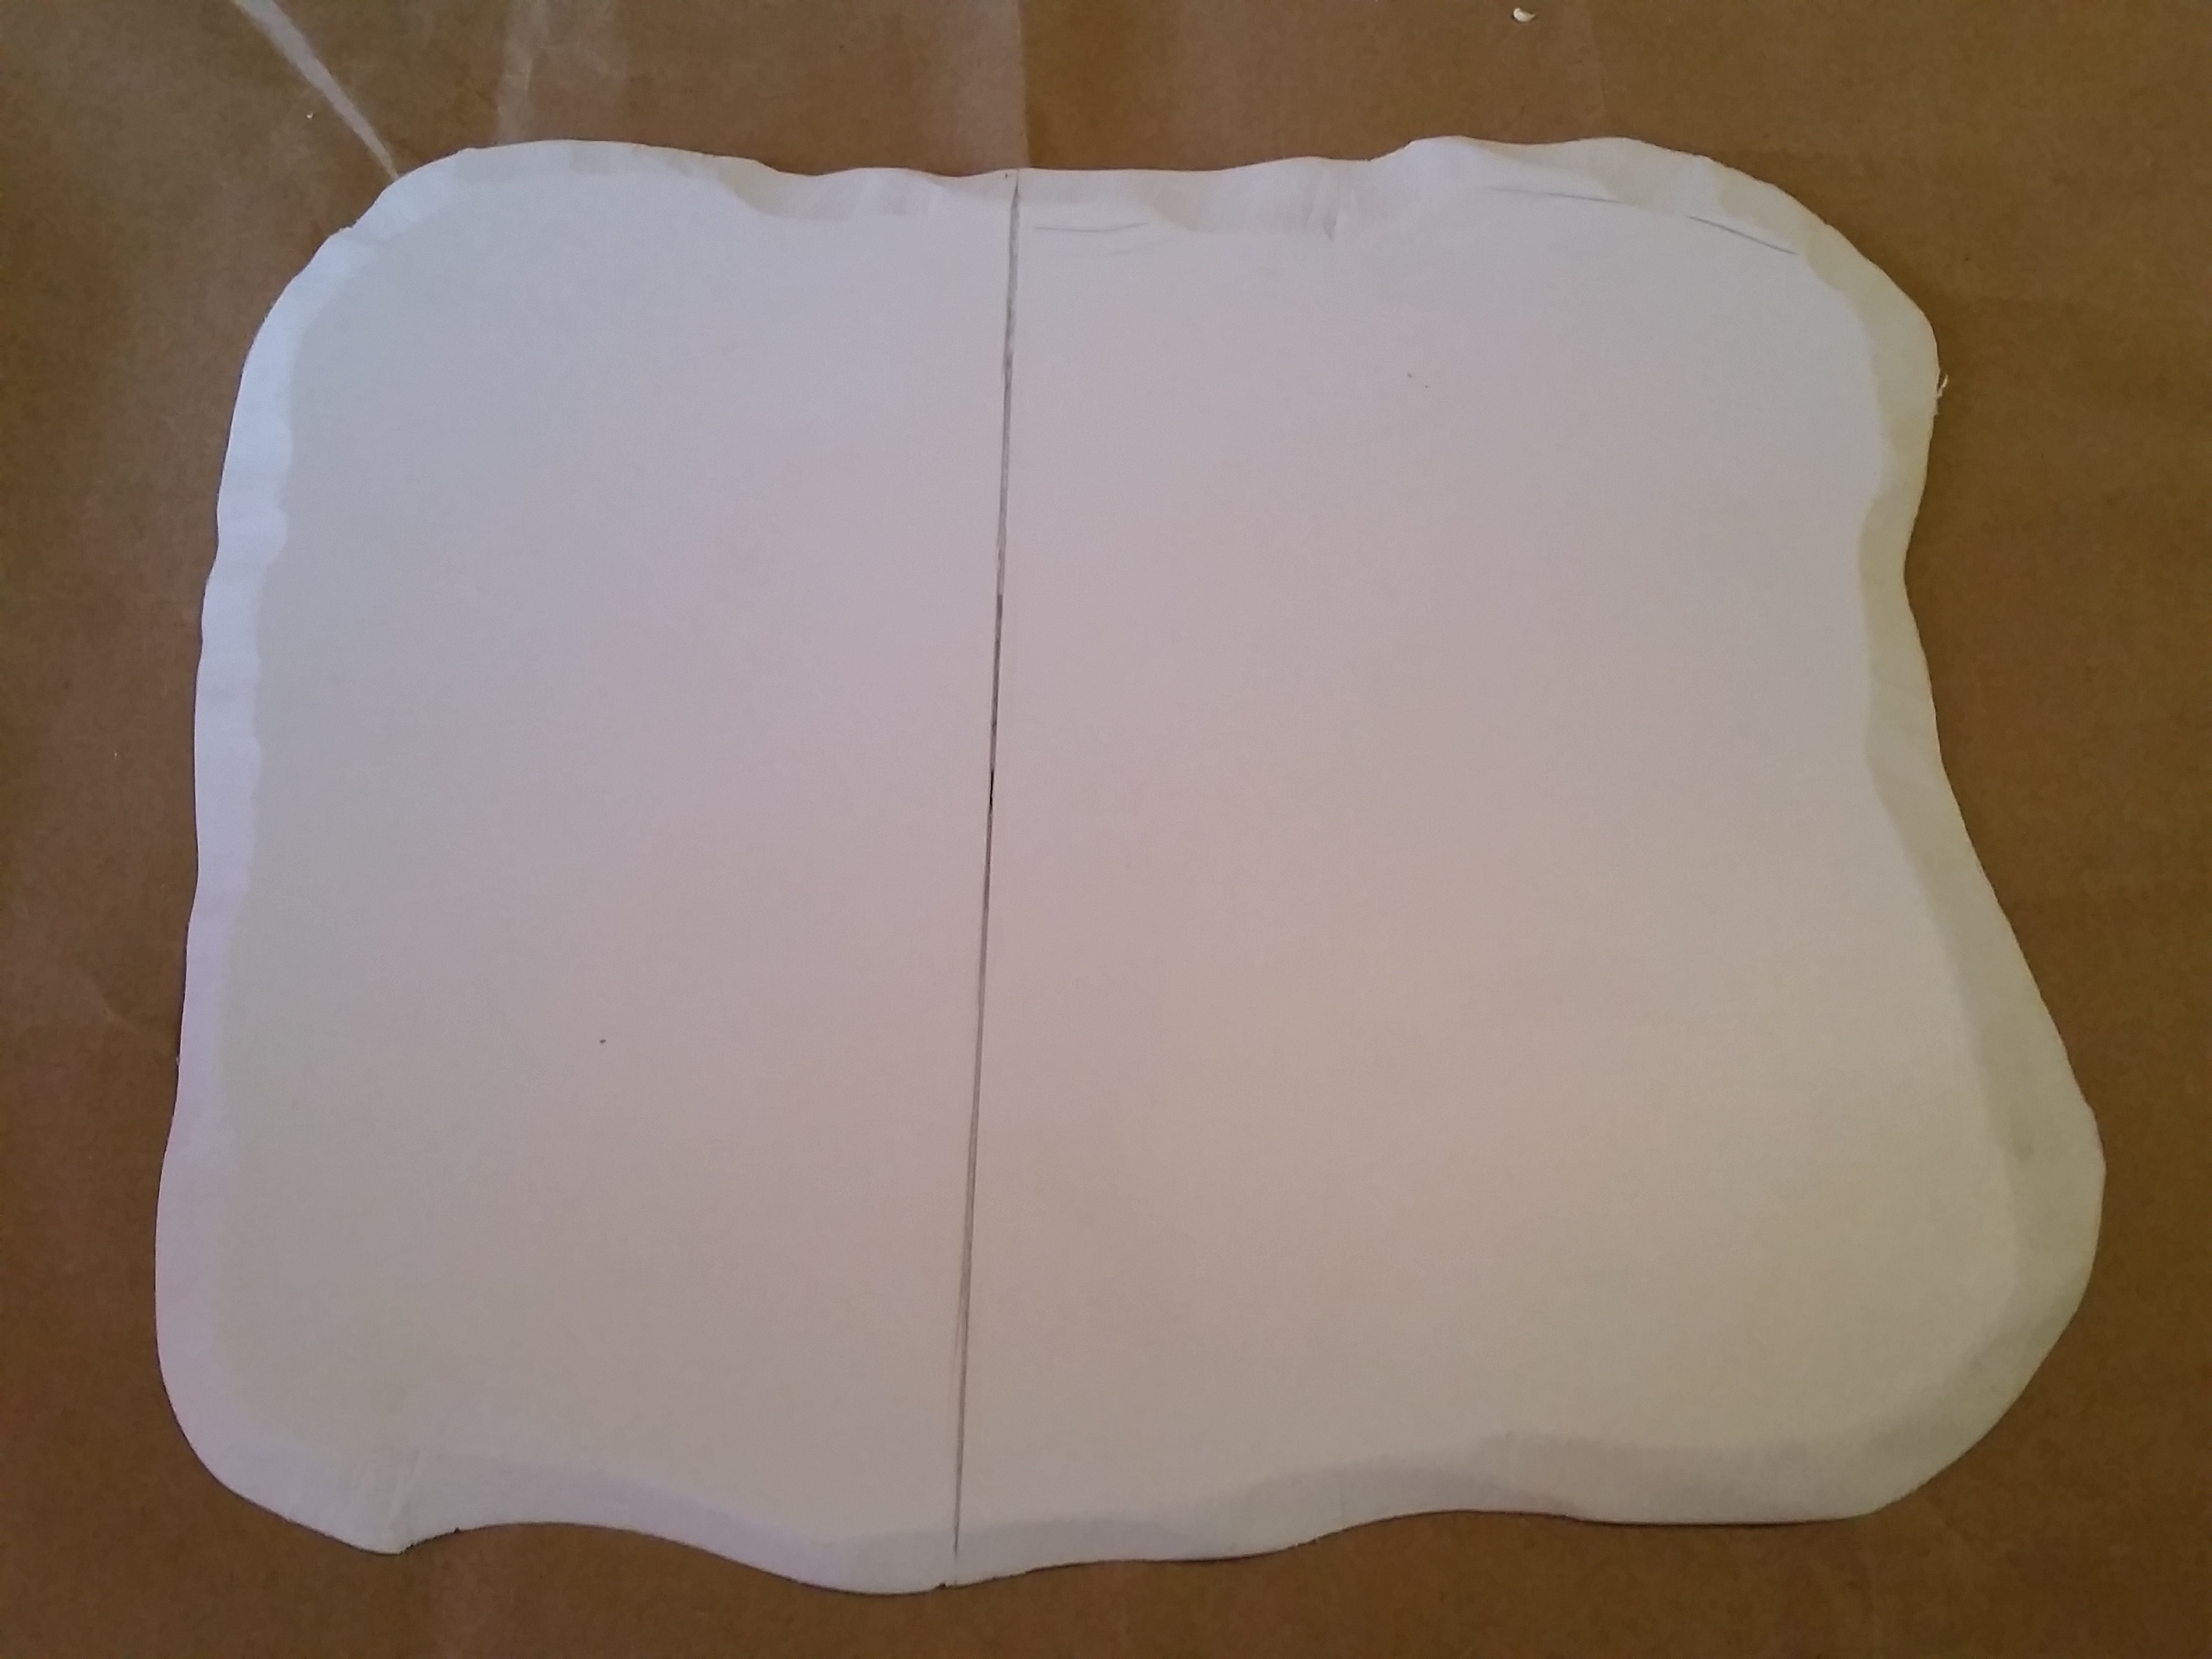
The Hill Progress
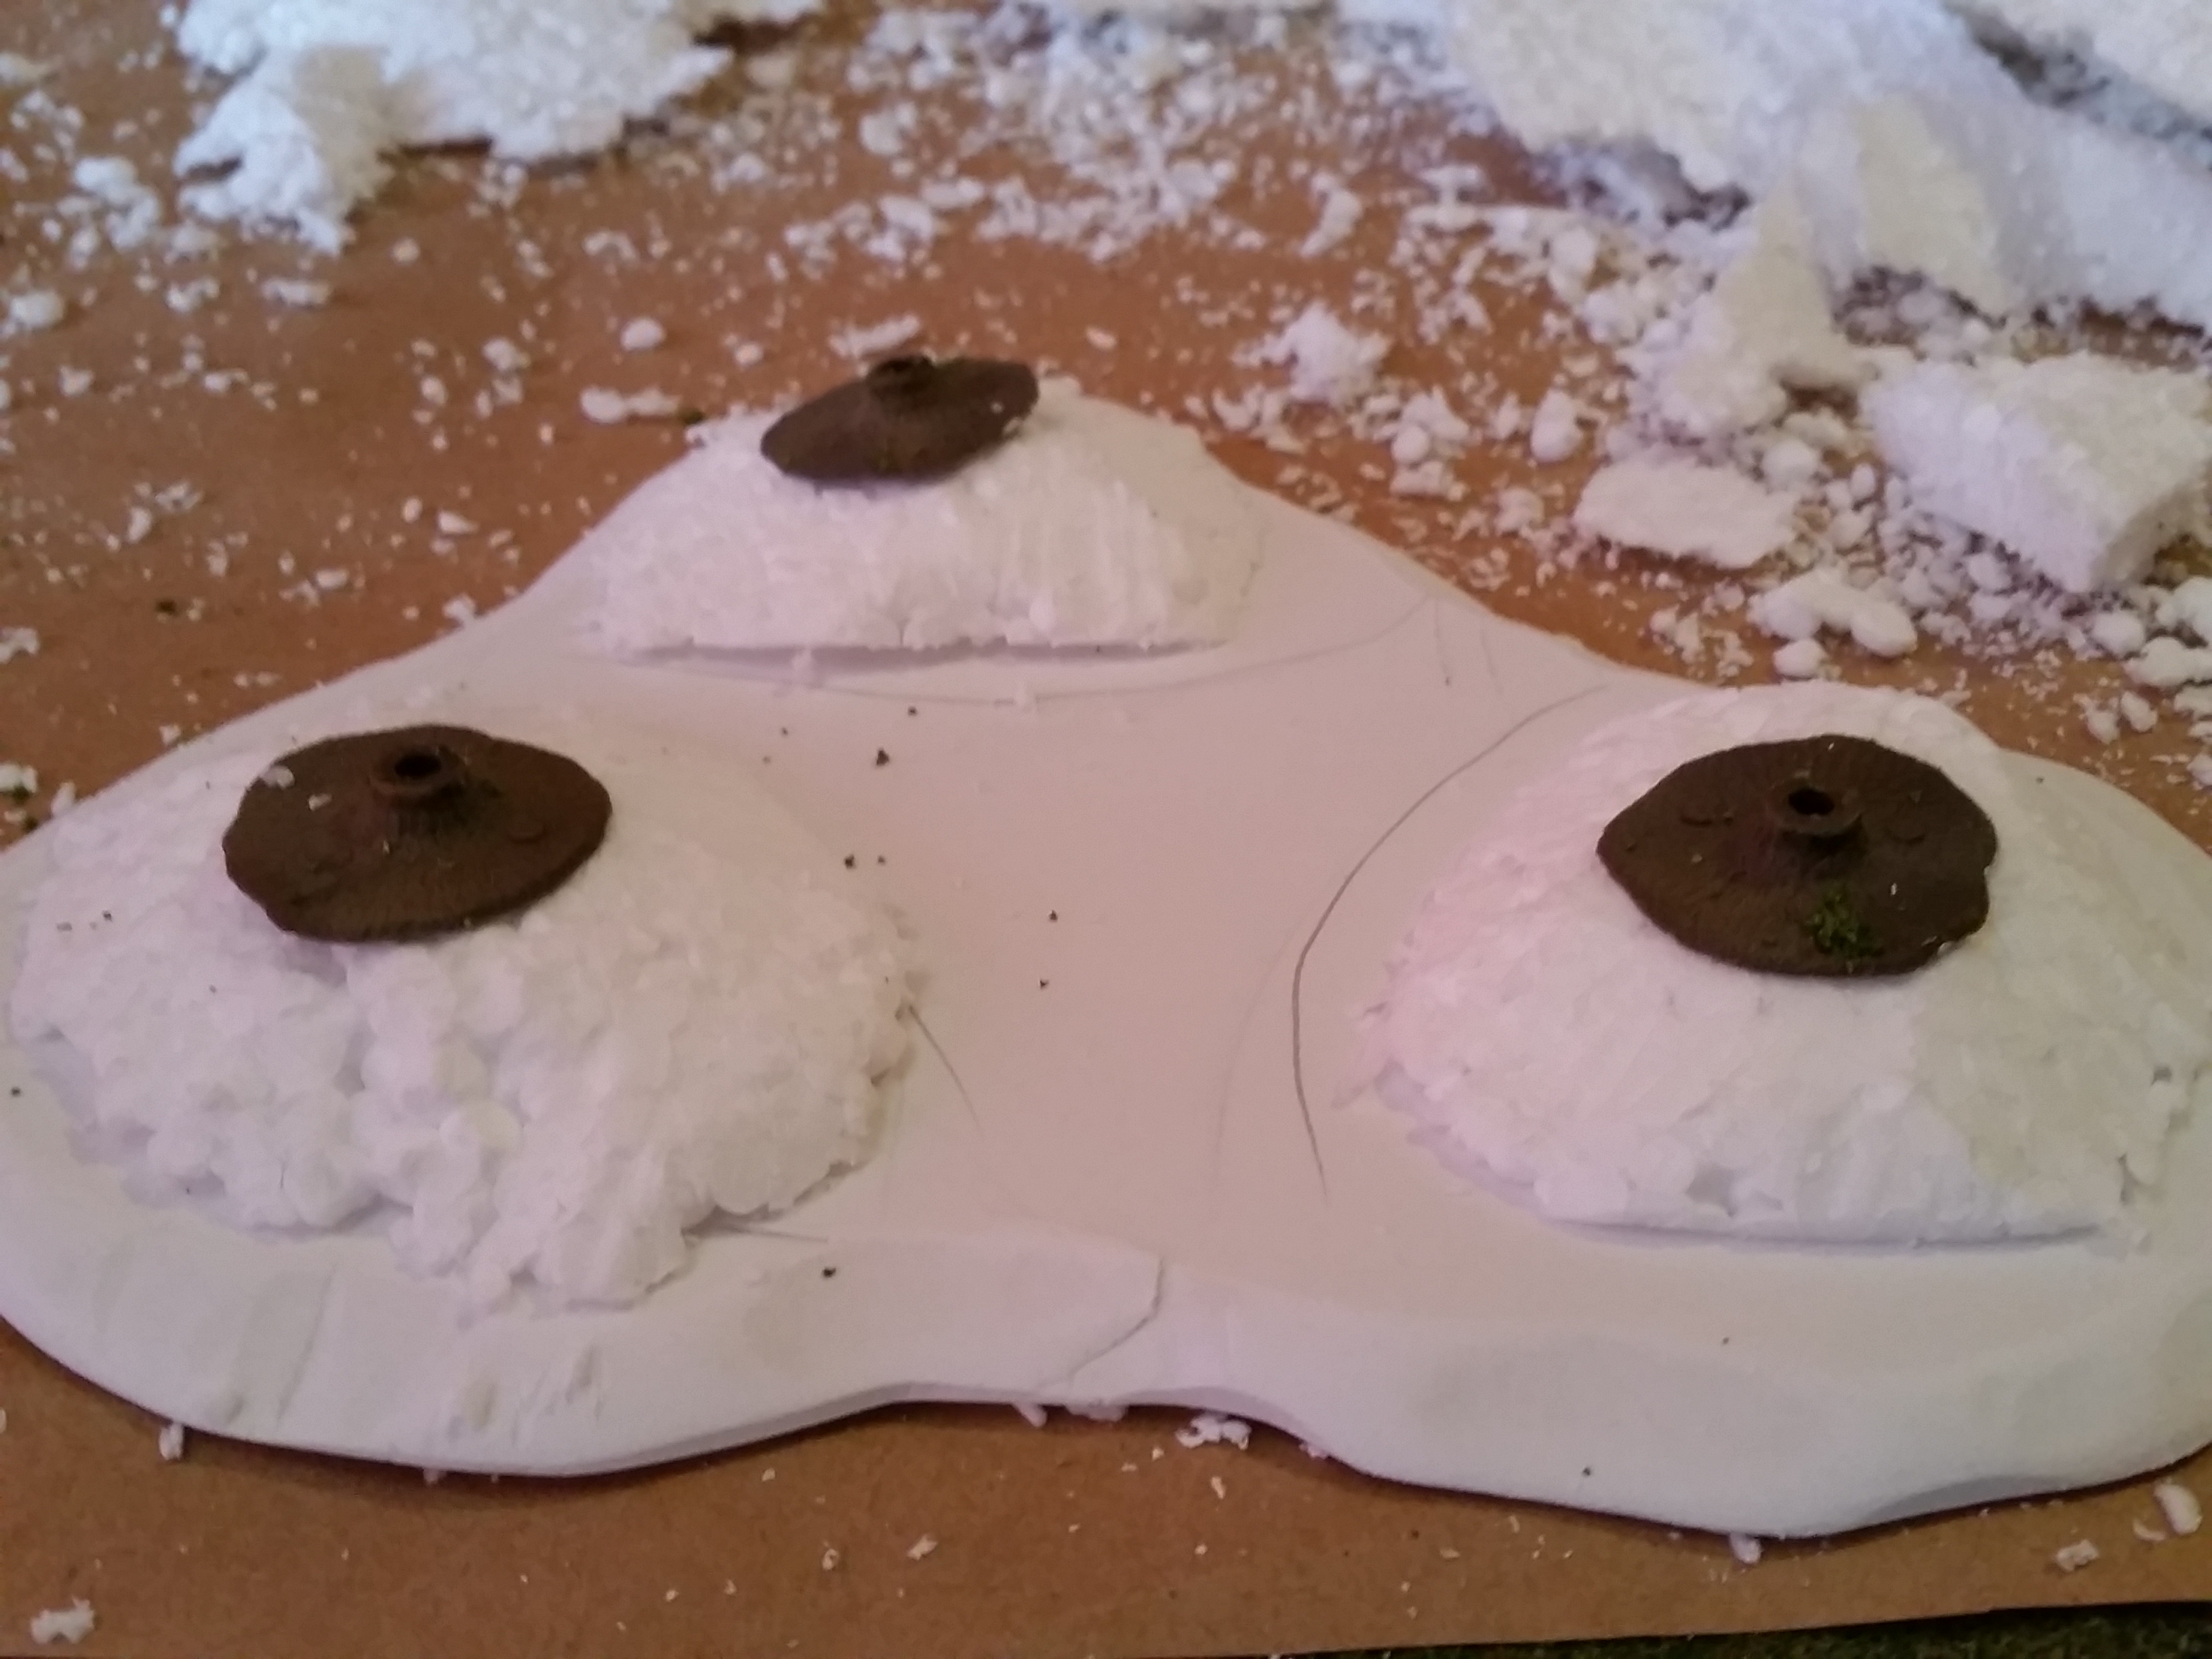
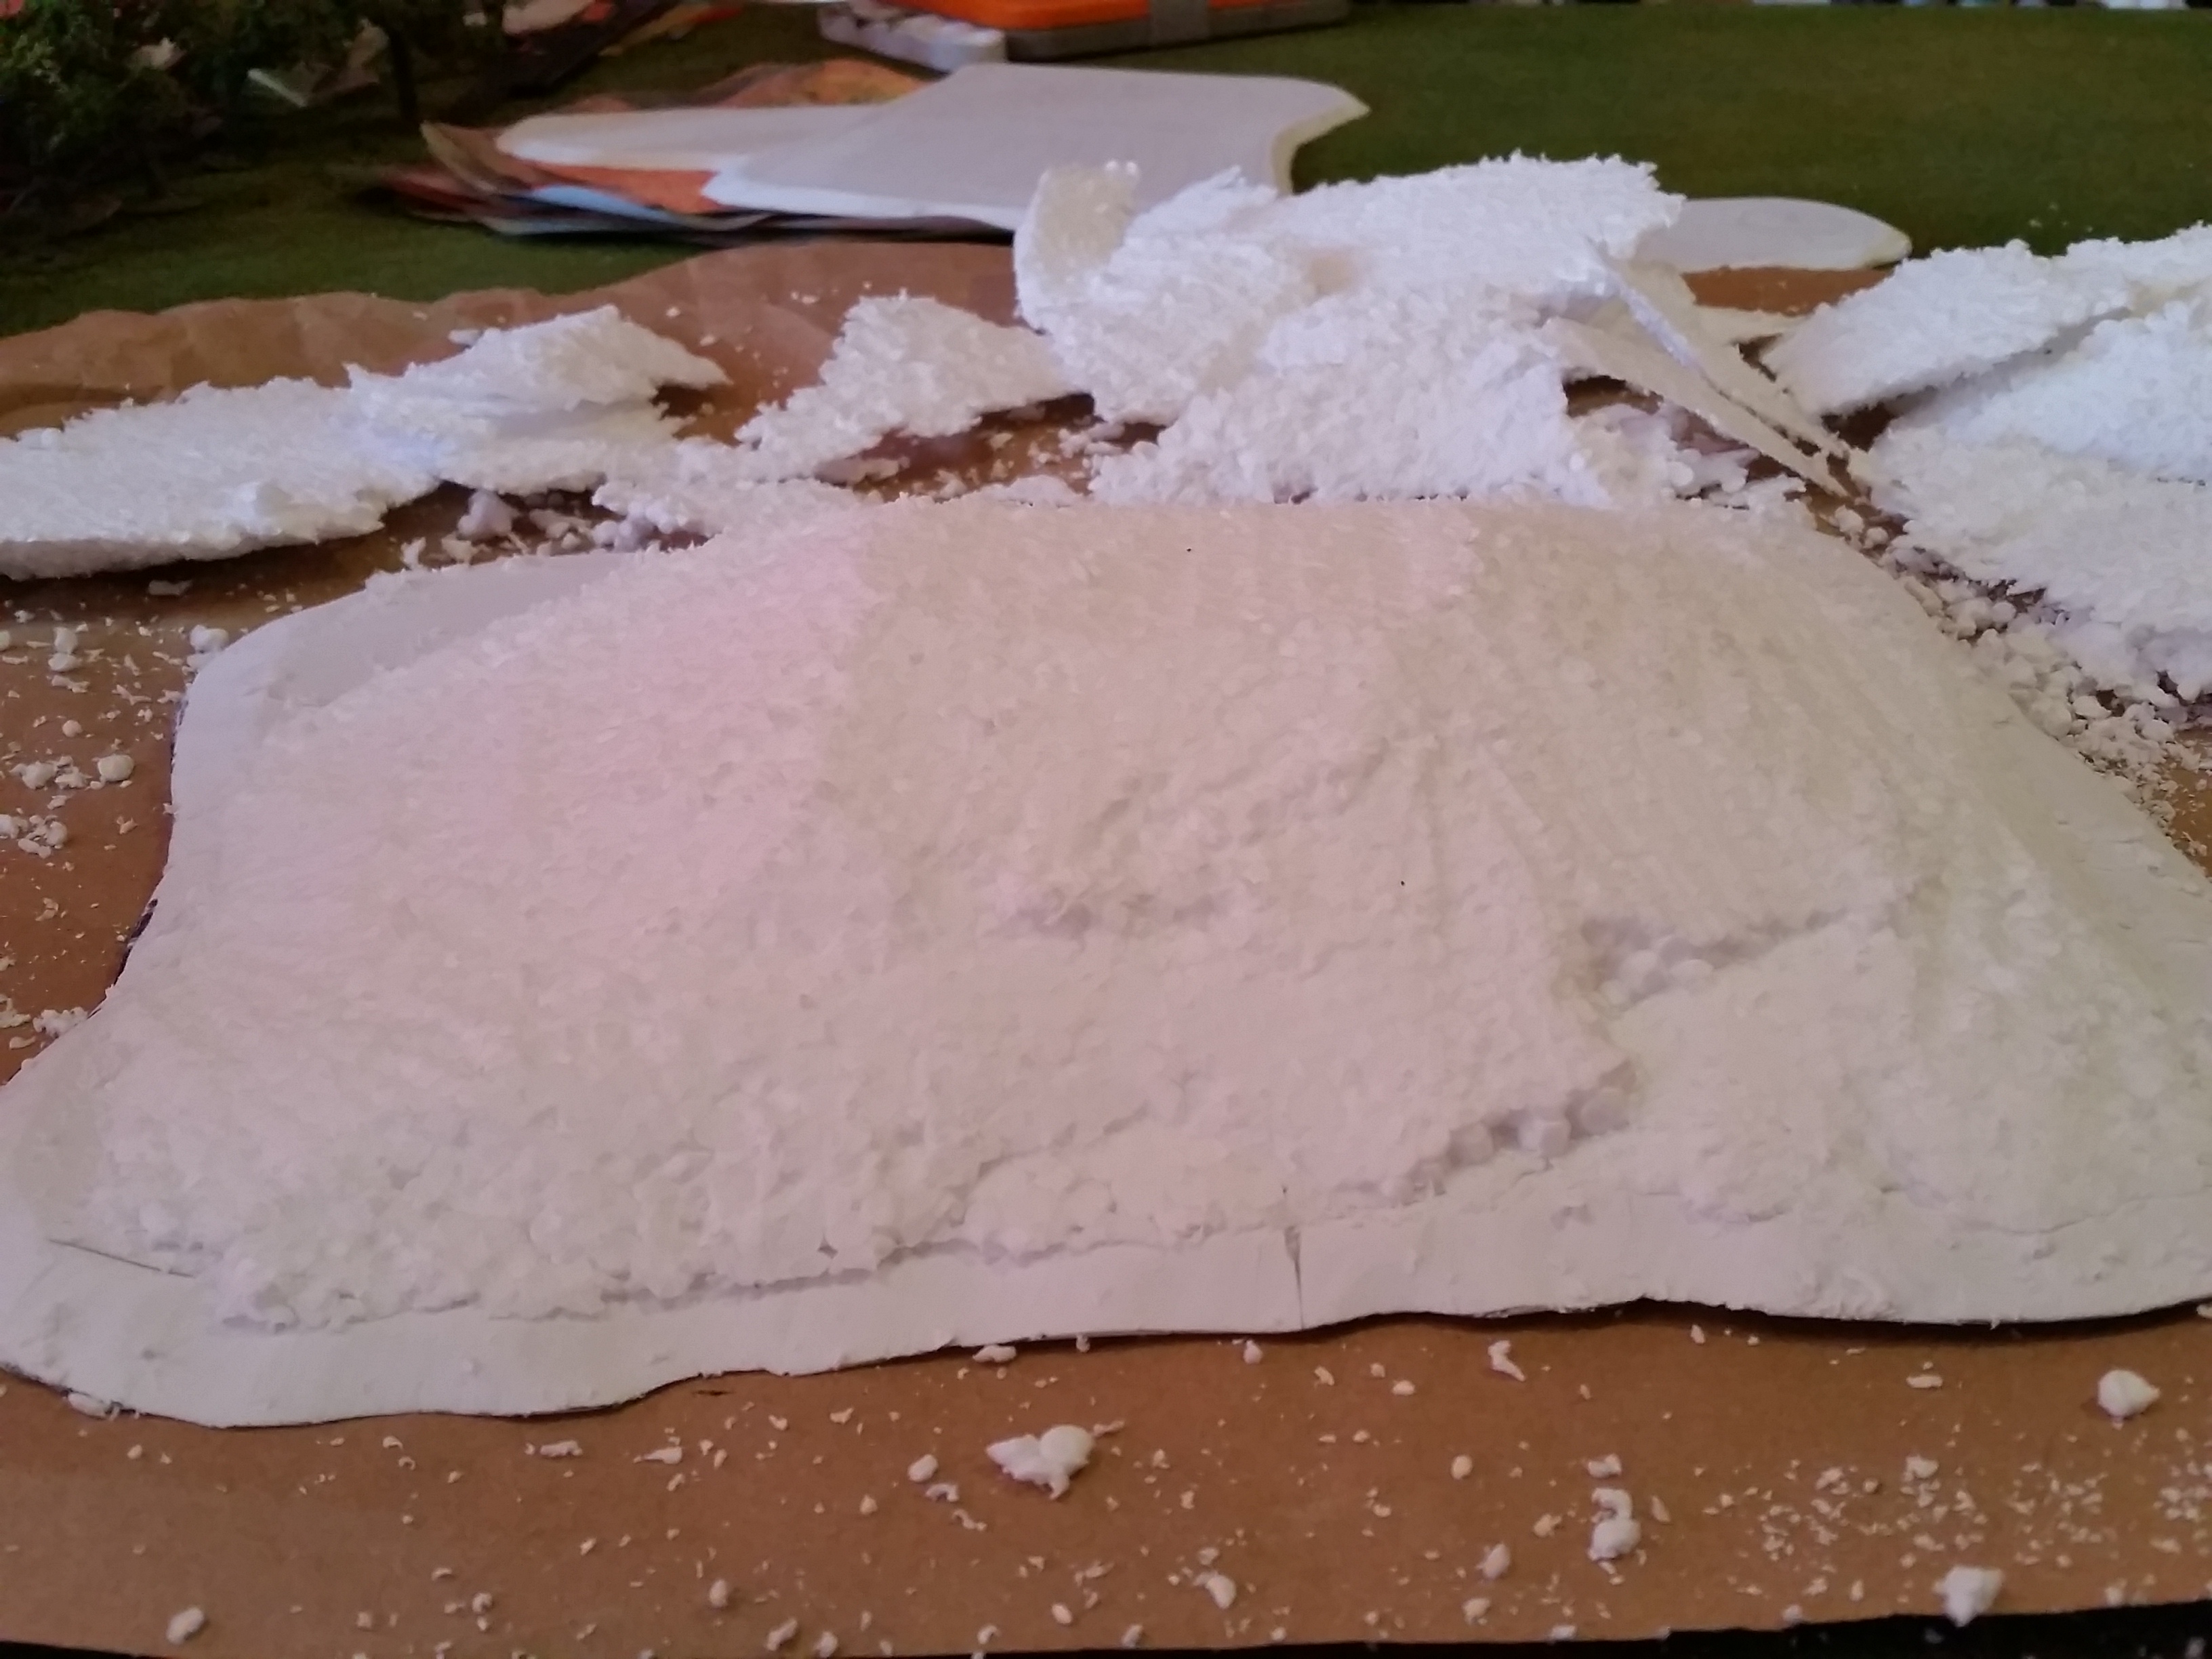
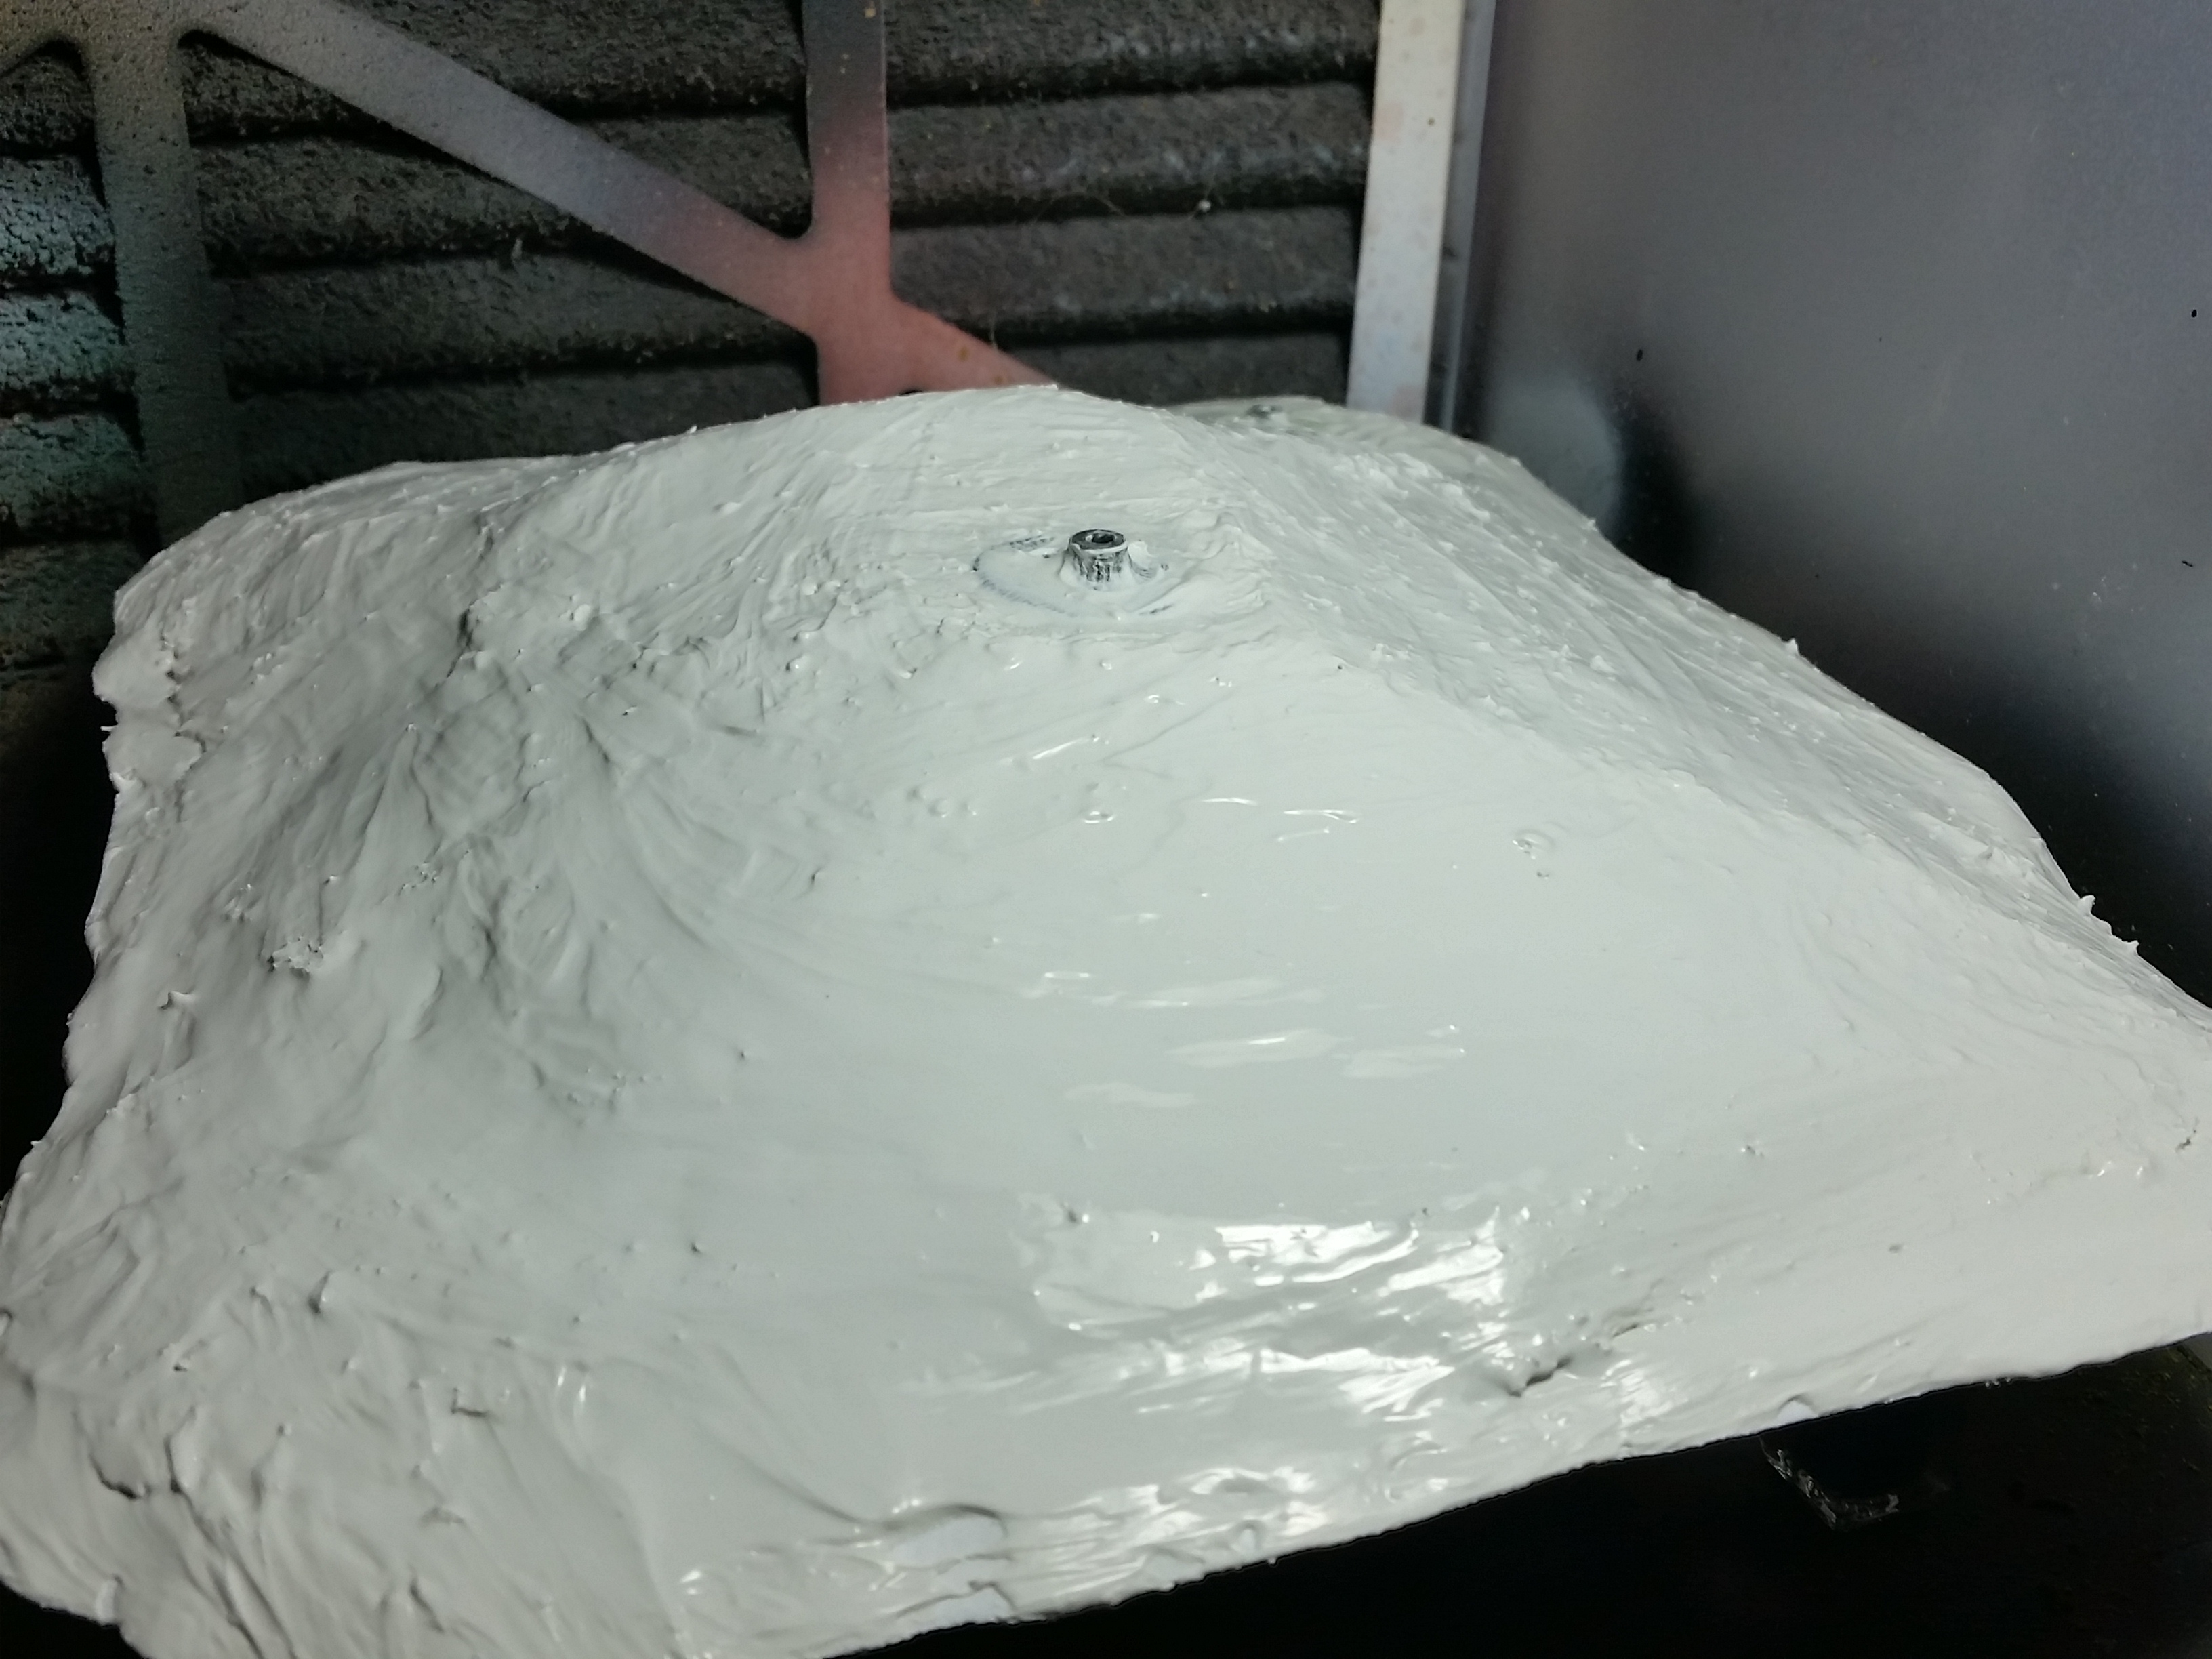
This is a hill for my gaming table. I started with a base for the hill. I cut it out 2 A4 sheets of ePVC foamboard. I then cut and shaped the core of the hill in the basic shape I want out of expanded polystyrene. I glued this to the base and waiting for it to dry and then I’ll shape the hill to fit perfectly to the base.
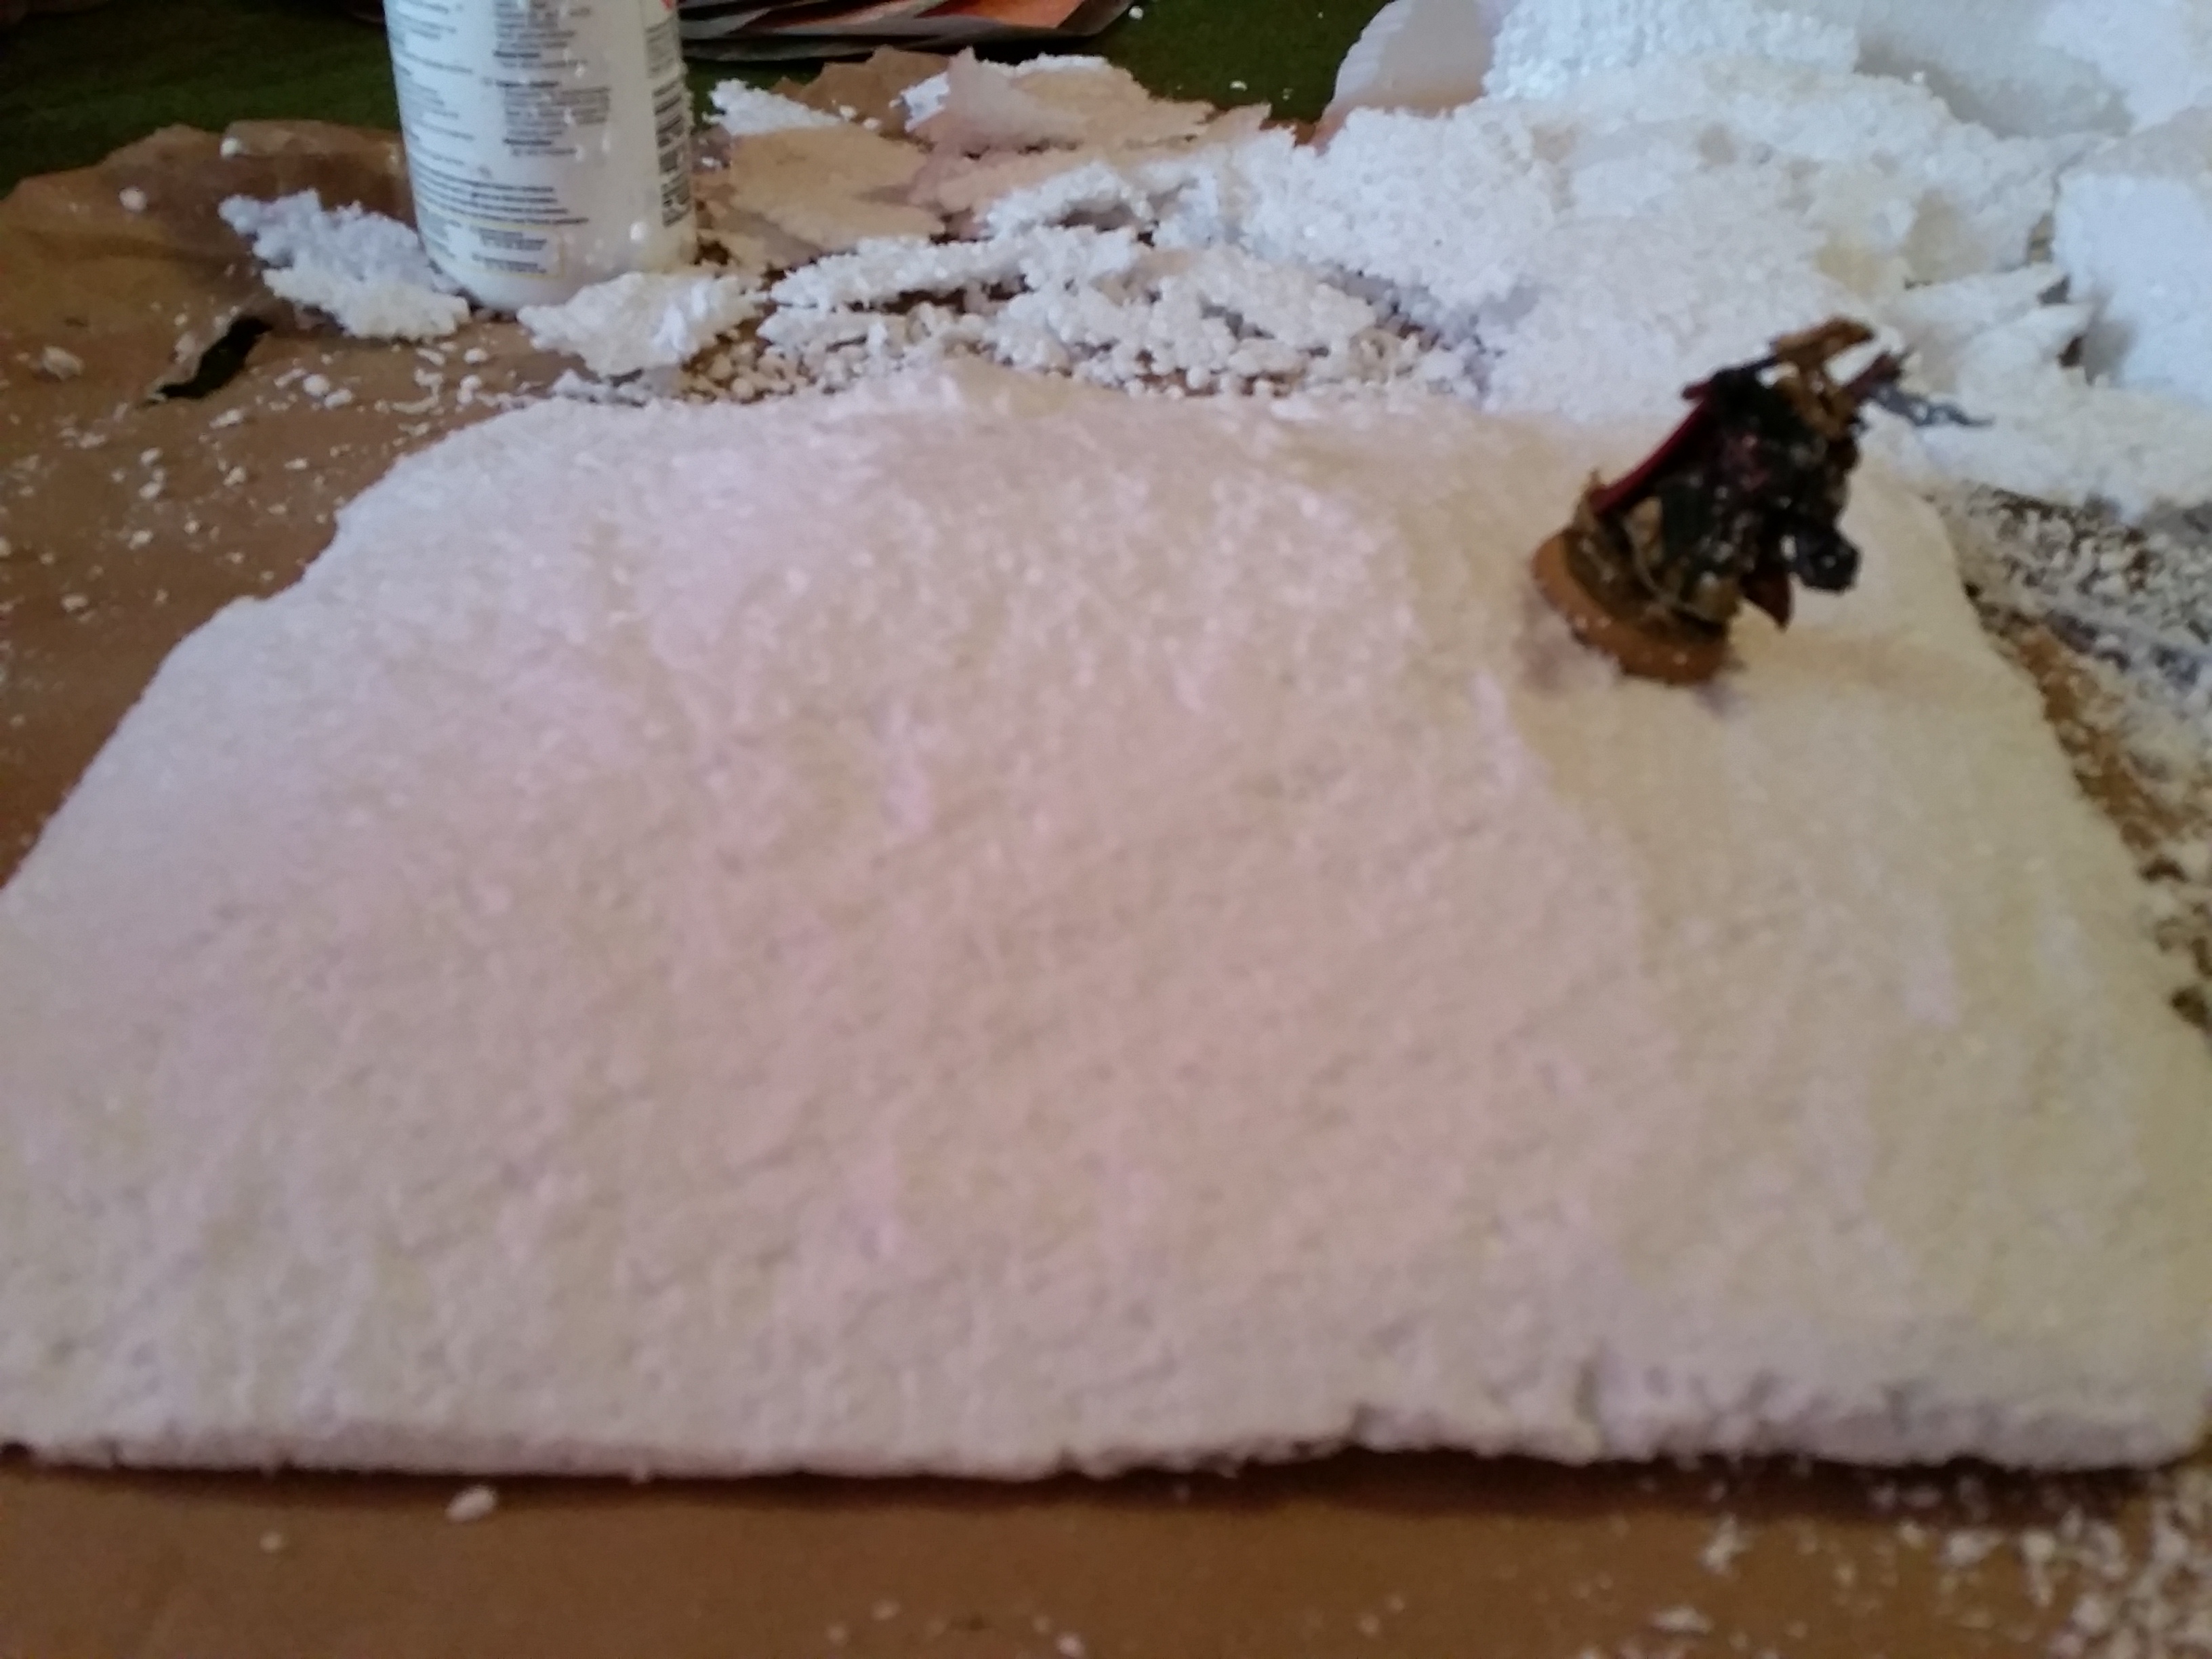
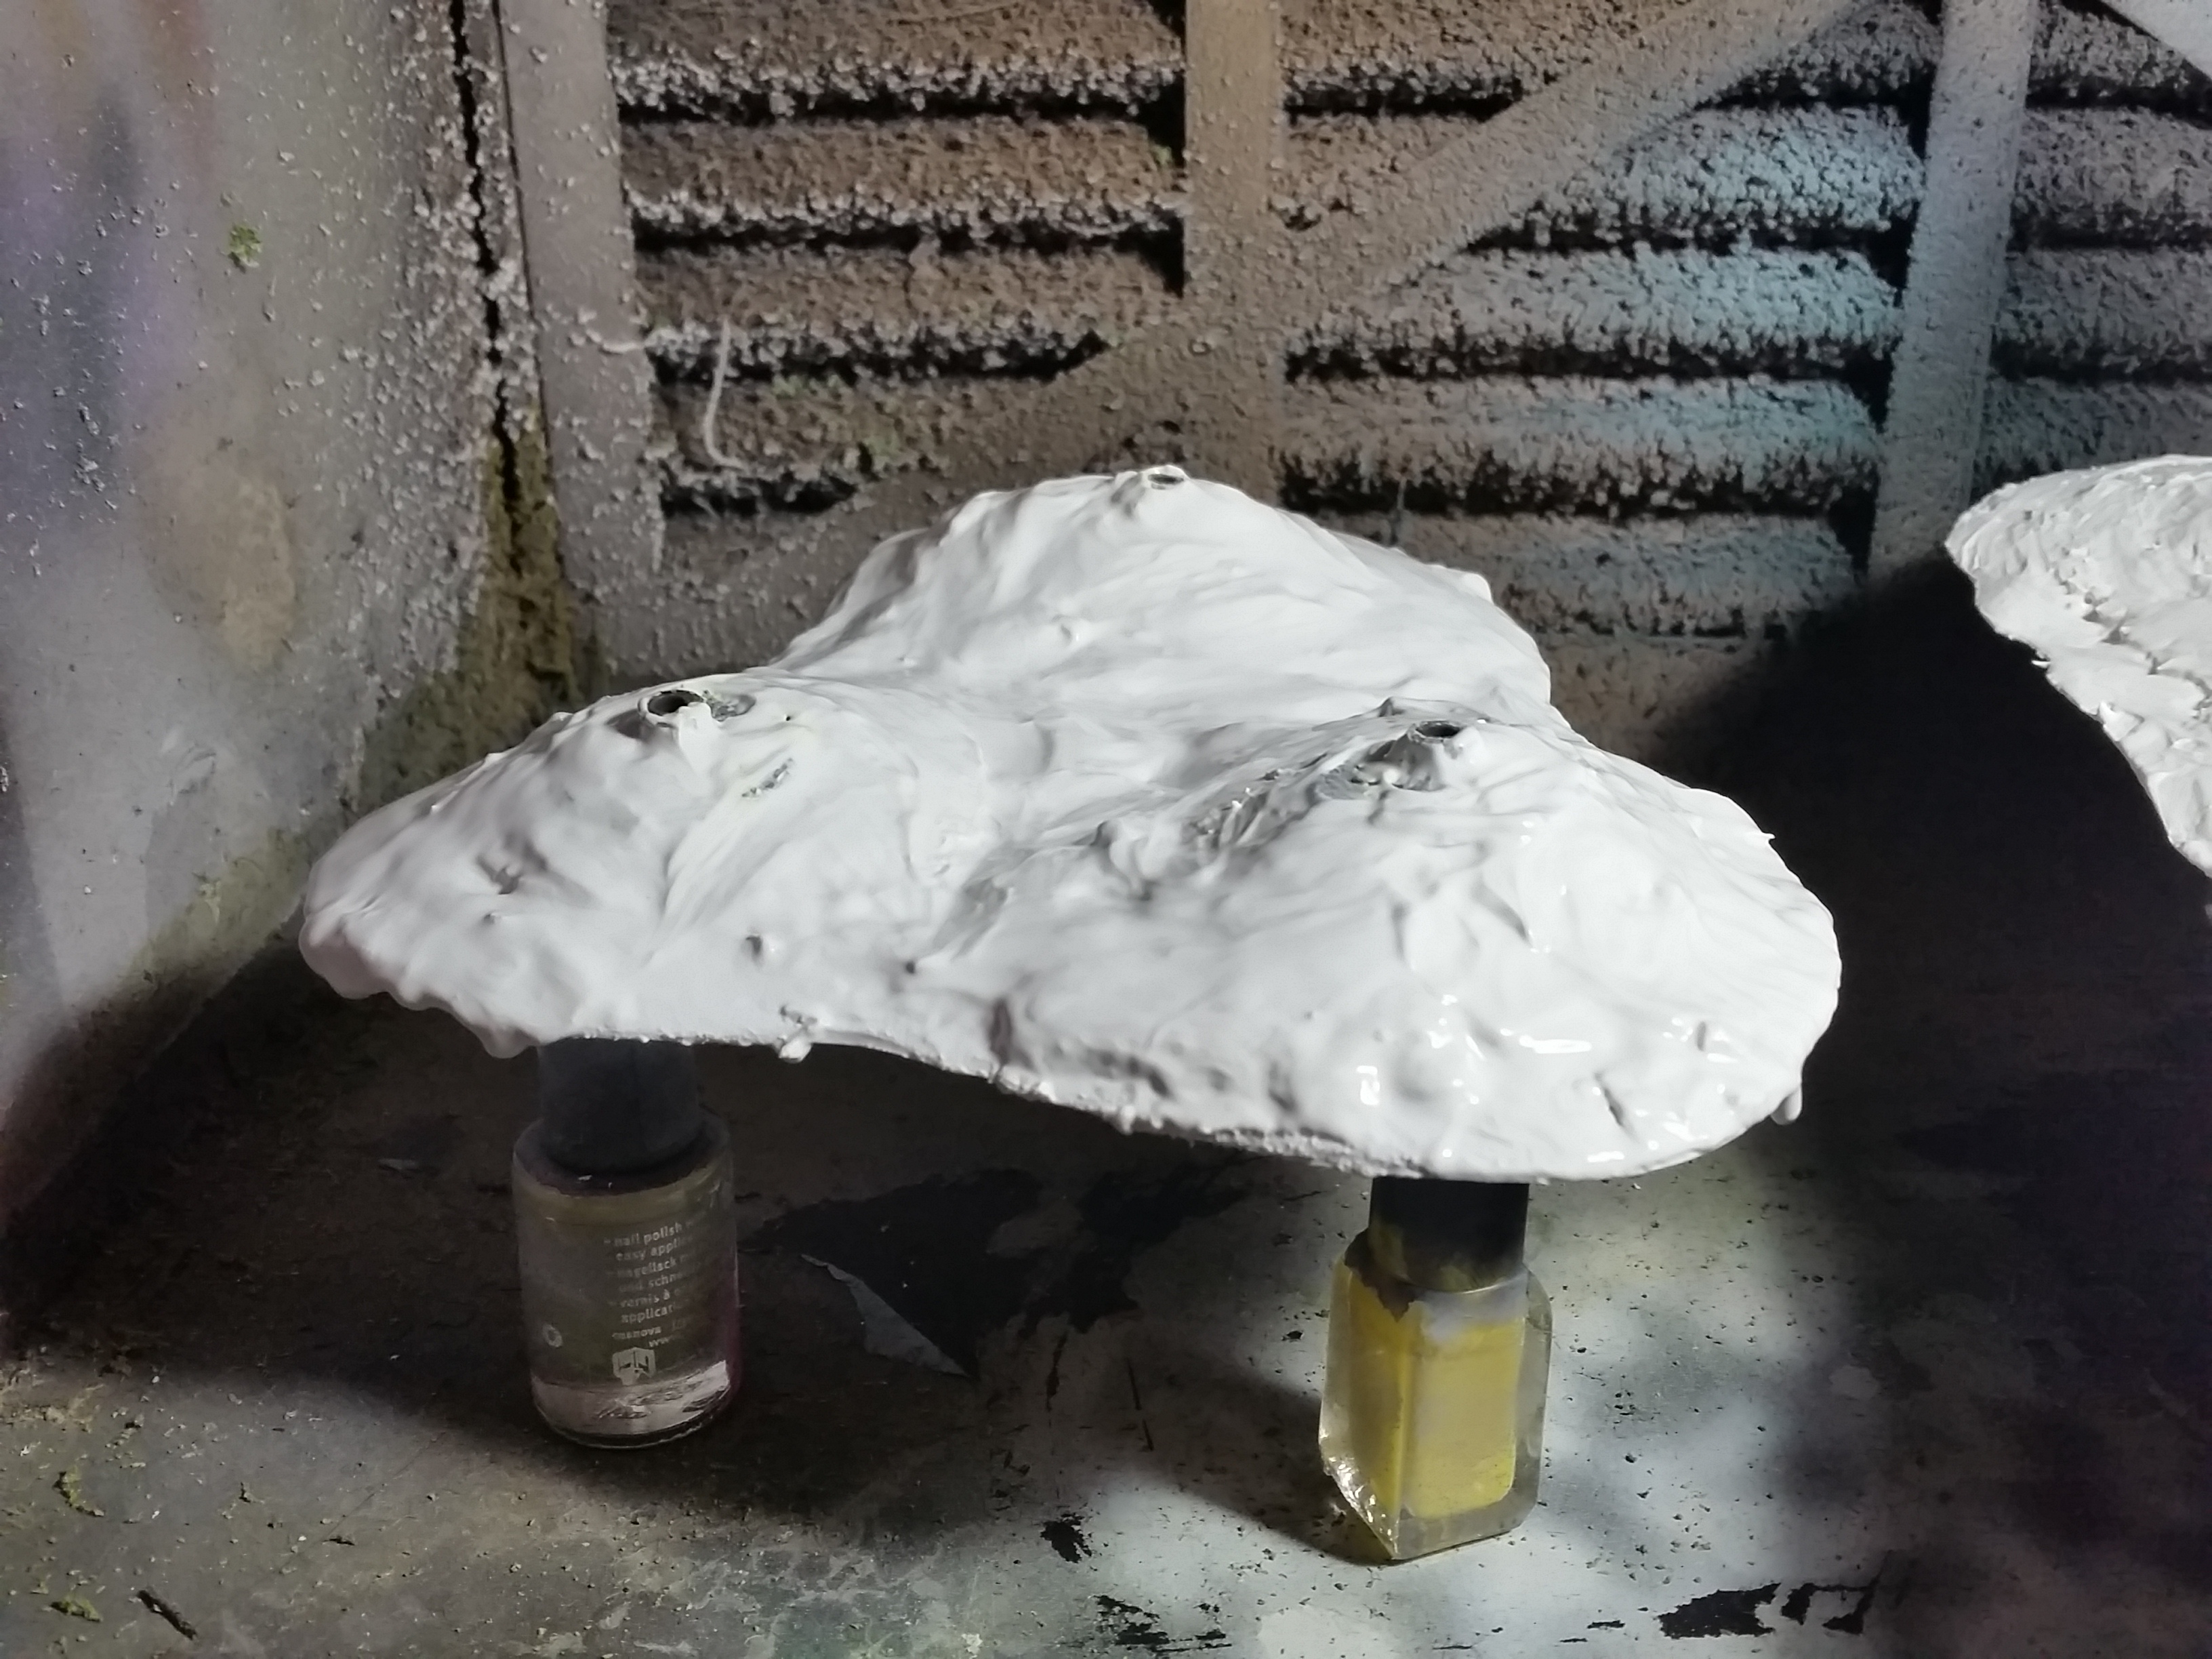
I shaped the hill down to the base and glued a couple of bases for trees on. Now when this is dry I can start smoothing it out with some filler. I covered the hill in a layer of filler to smooth out the surface, now when it’s dry I can start painting.
I sanded the surface a little to get rid of any big anomalies. I then tried to paint the hill with my airbrush using the same paint I used to paint my table. Not a great success. I had to thin the paint which at that point was just tinted thinner before I was happy enough to put it through my airbrush. I need to either use a proper airbrush paint or go for cheap spray cans for this.

The rocks first got an overbrush coat of Vallejo Model Color Basalt Grey (70.869) and then coated the rocks with a coat of Secret Weapon Wash Algea (W013). After this I applied a heavy drybrush of Vallejo Model Color Medium Sea Grey (70.870) followed by a drybrush of Vallejo Model Air White Grey (71.119).
I covered most of the earth with some watered down PVA glue and I did the base layer of flock with the 3 tones. The darker in areas of shade, the lighter in areas of light and then a mid tone covering it all after that. Before the flock I did sprinkle a couple of leaves around the trees as well. When this was dry and the excess was shaken off I added some clump foliage and tufts around places to hide damages or just where I felt it would fit. After this has dried I sprayed it with watered down PVA to seal everything in and once that is dry the piece should be done.
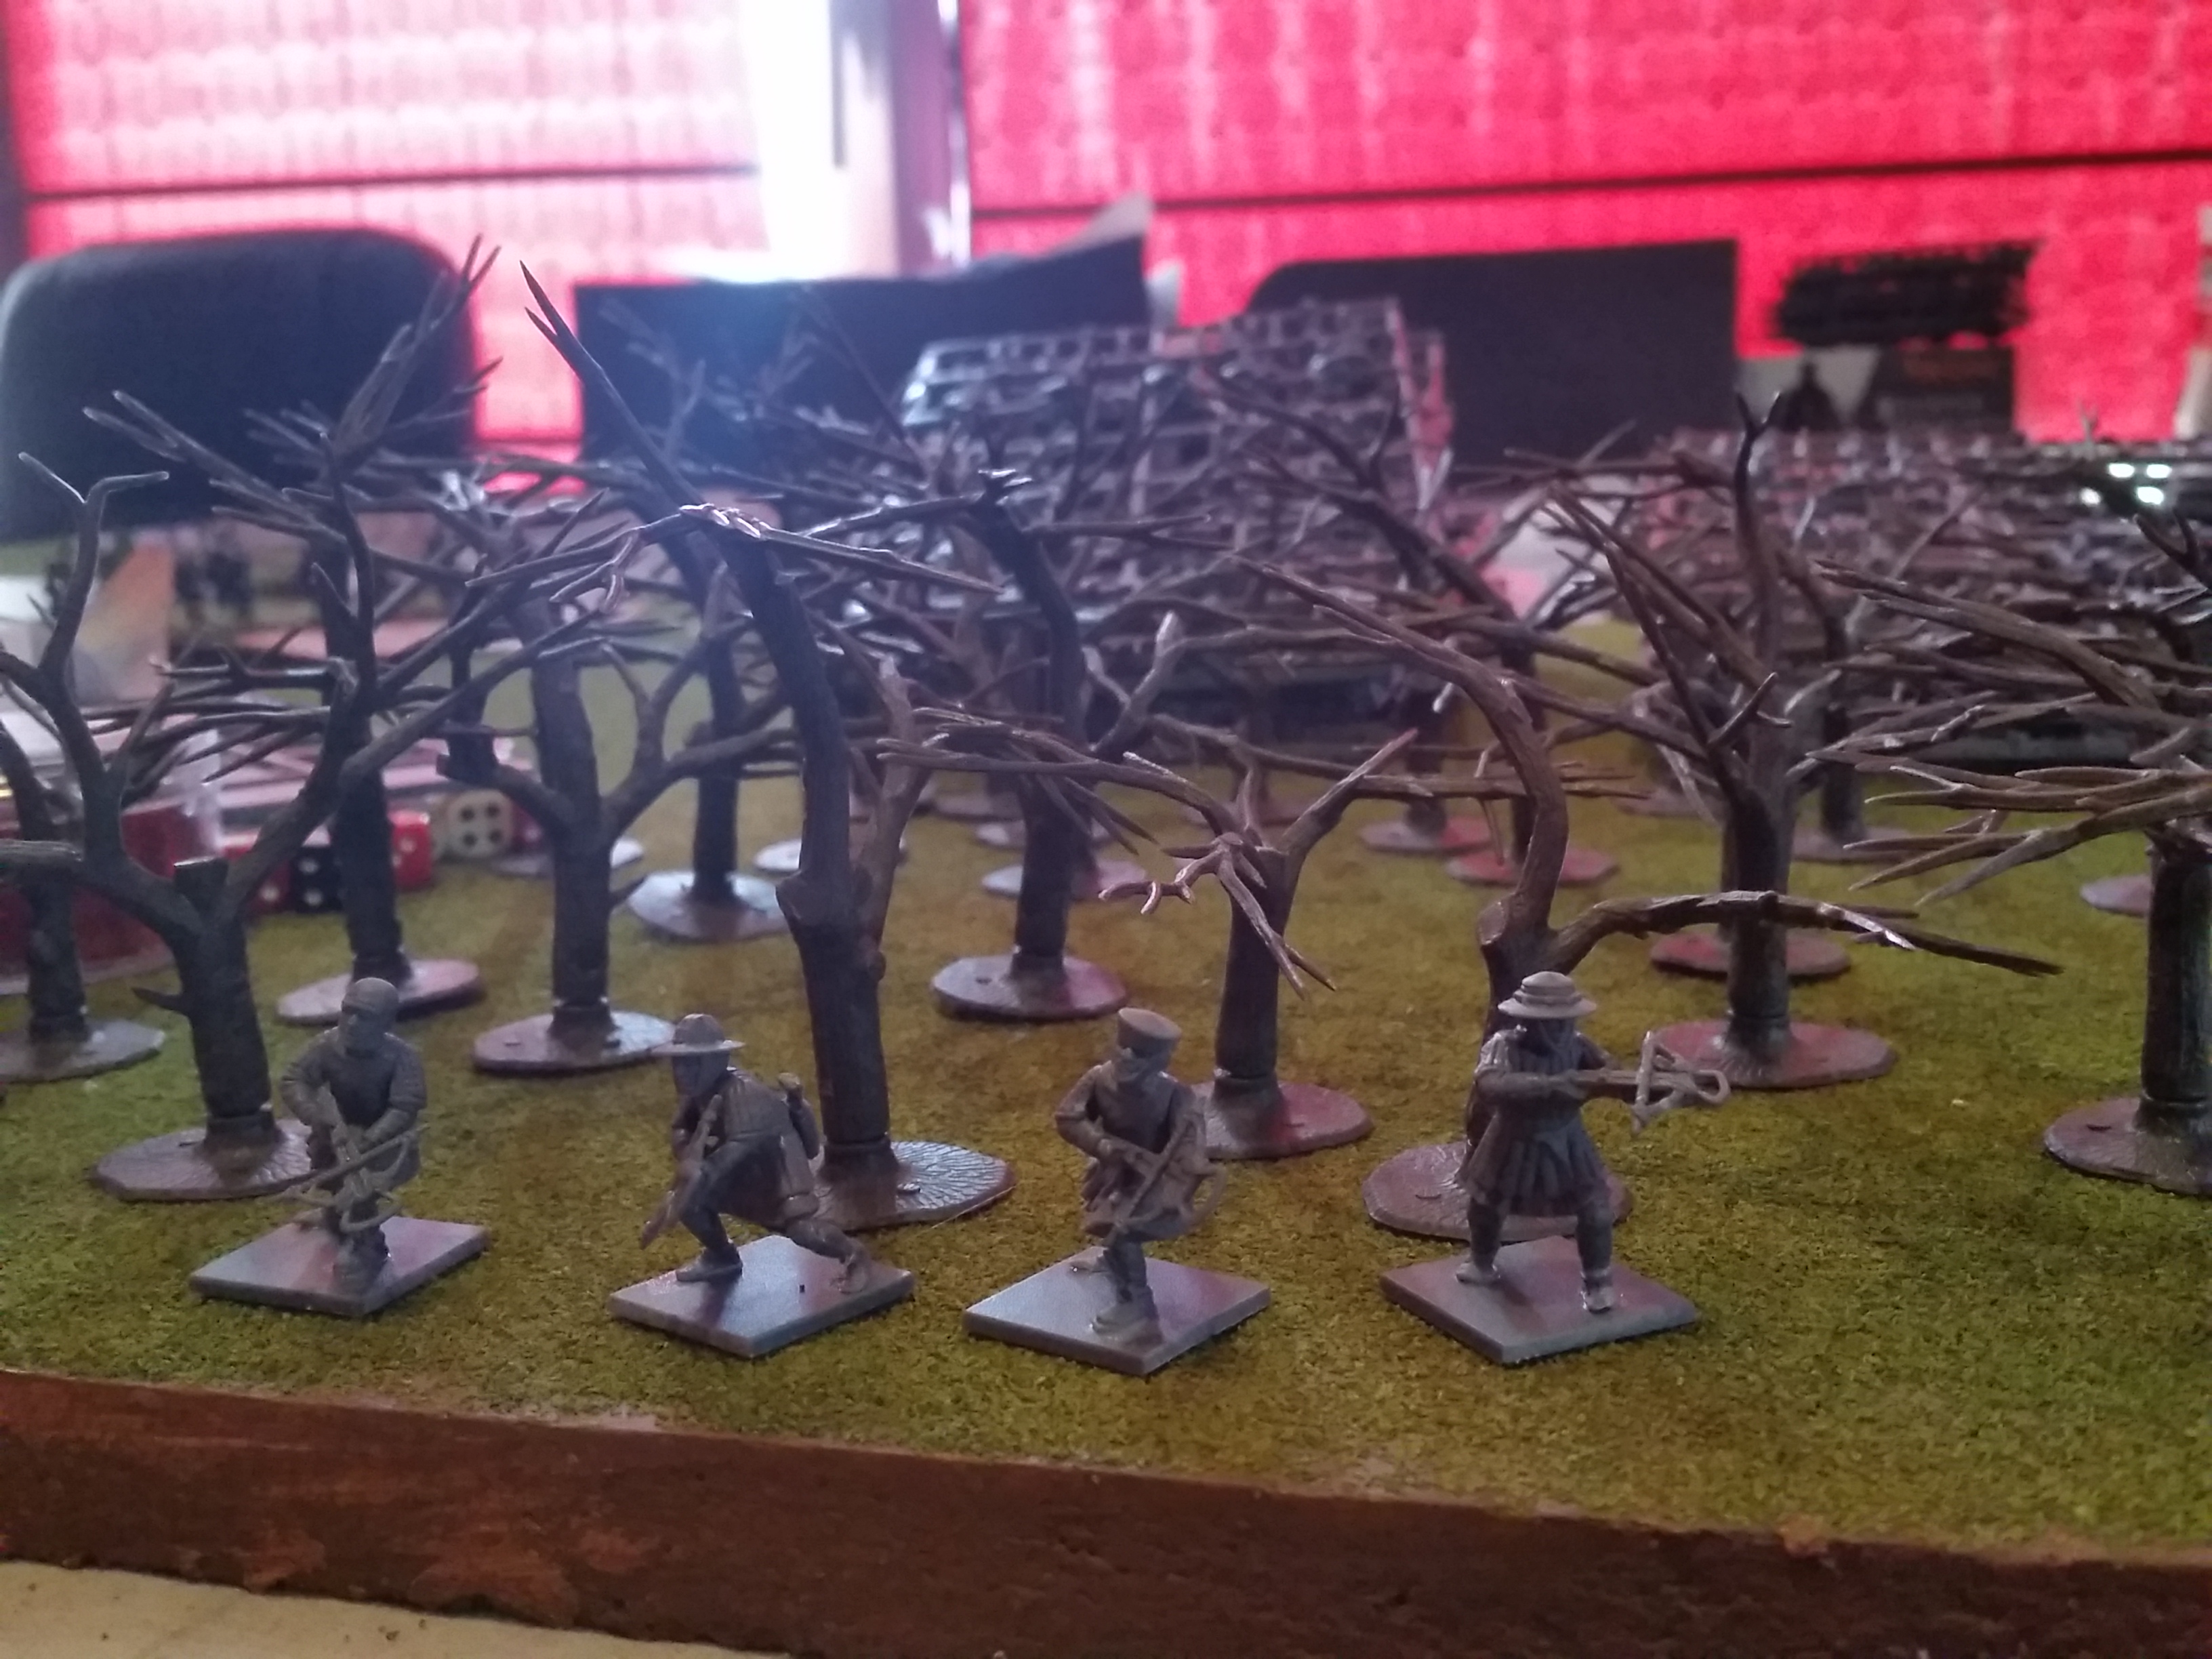
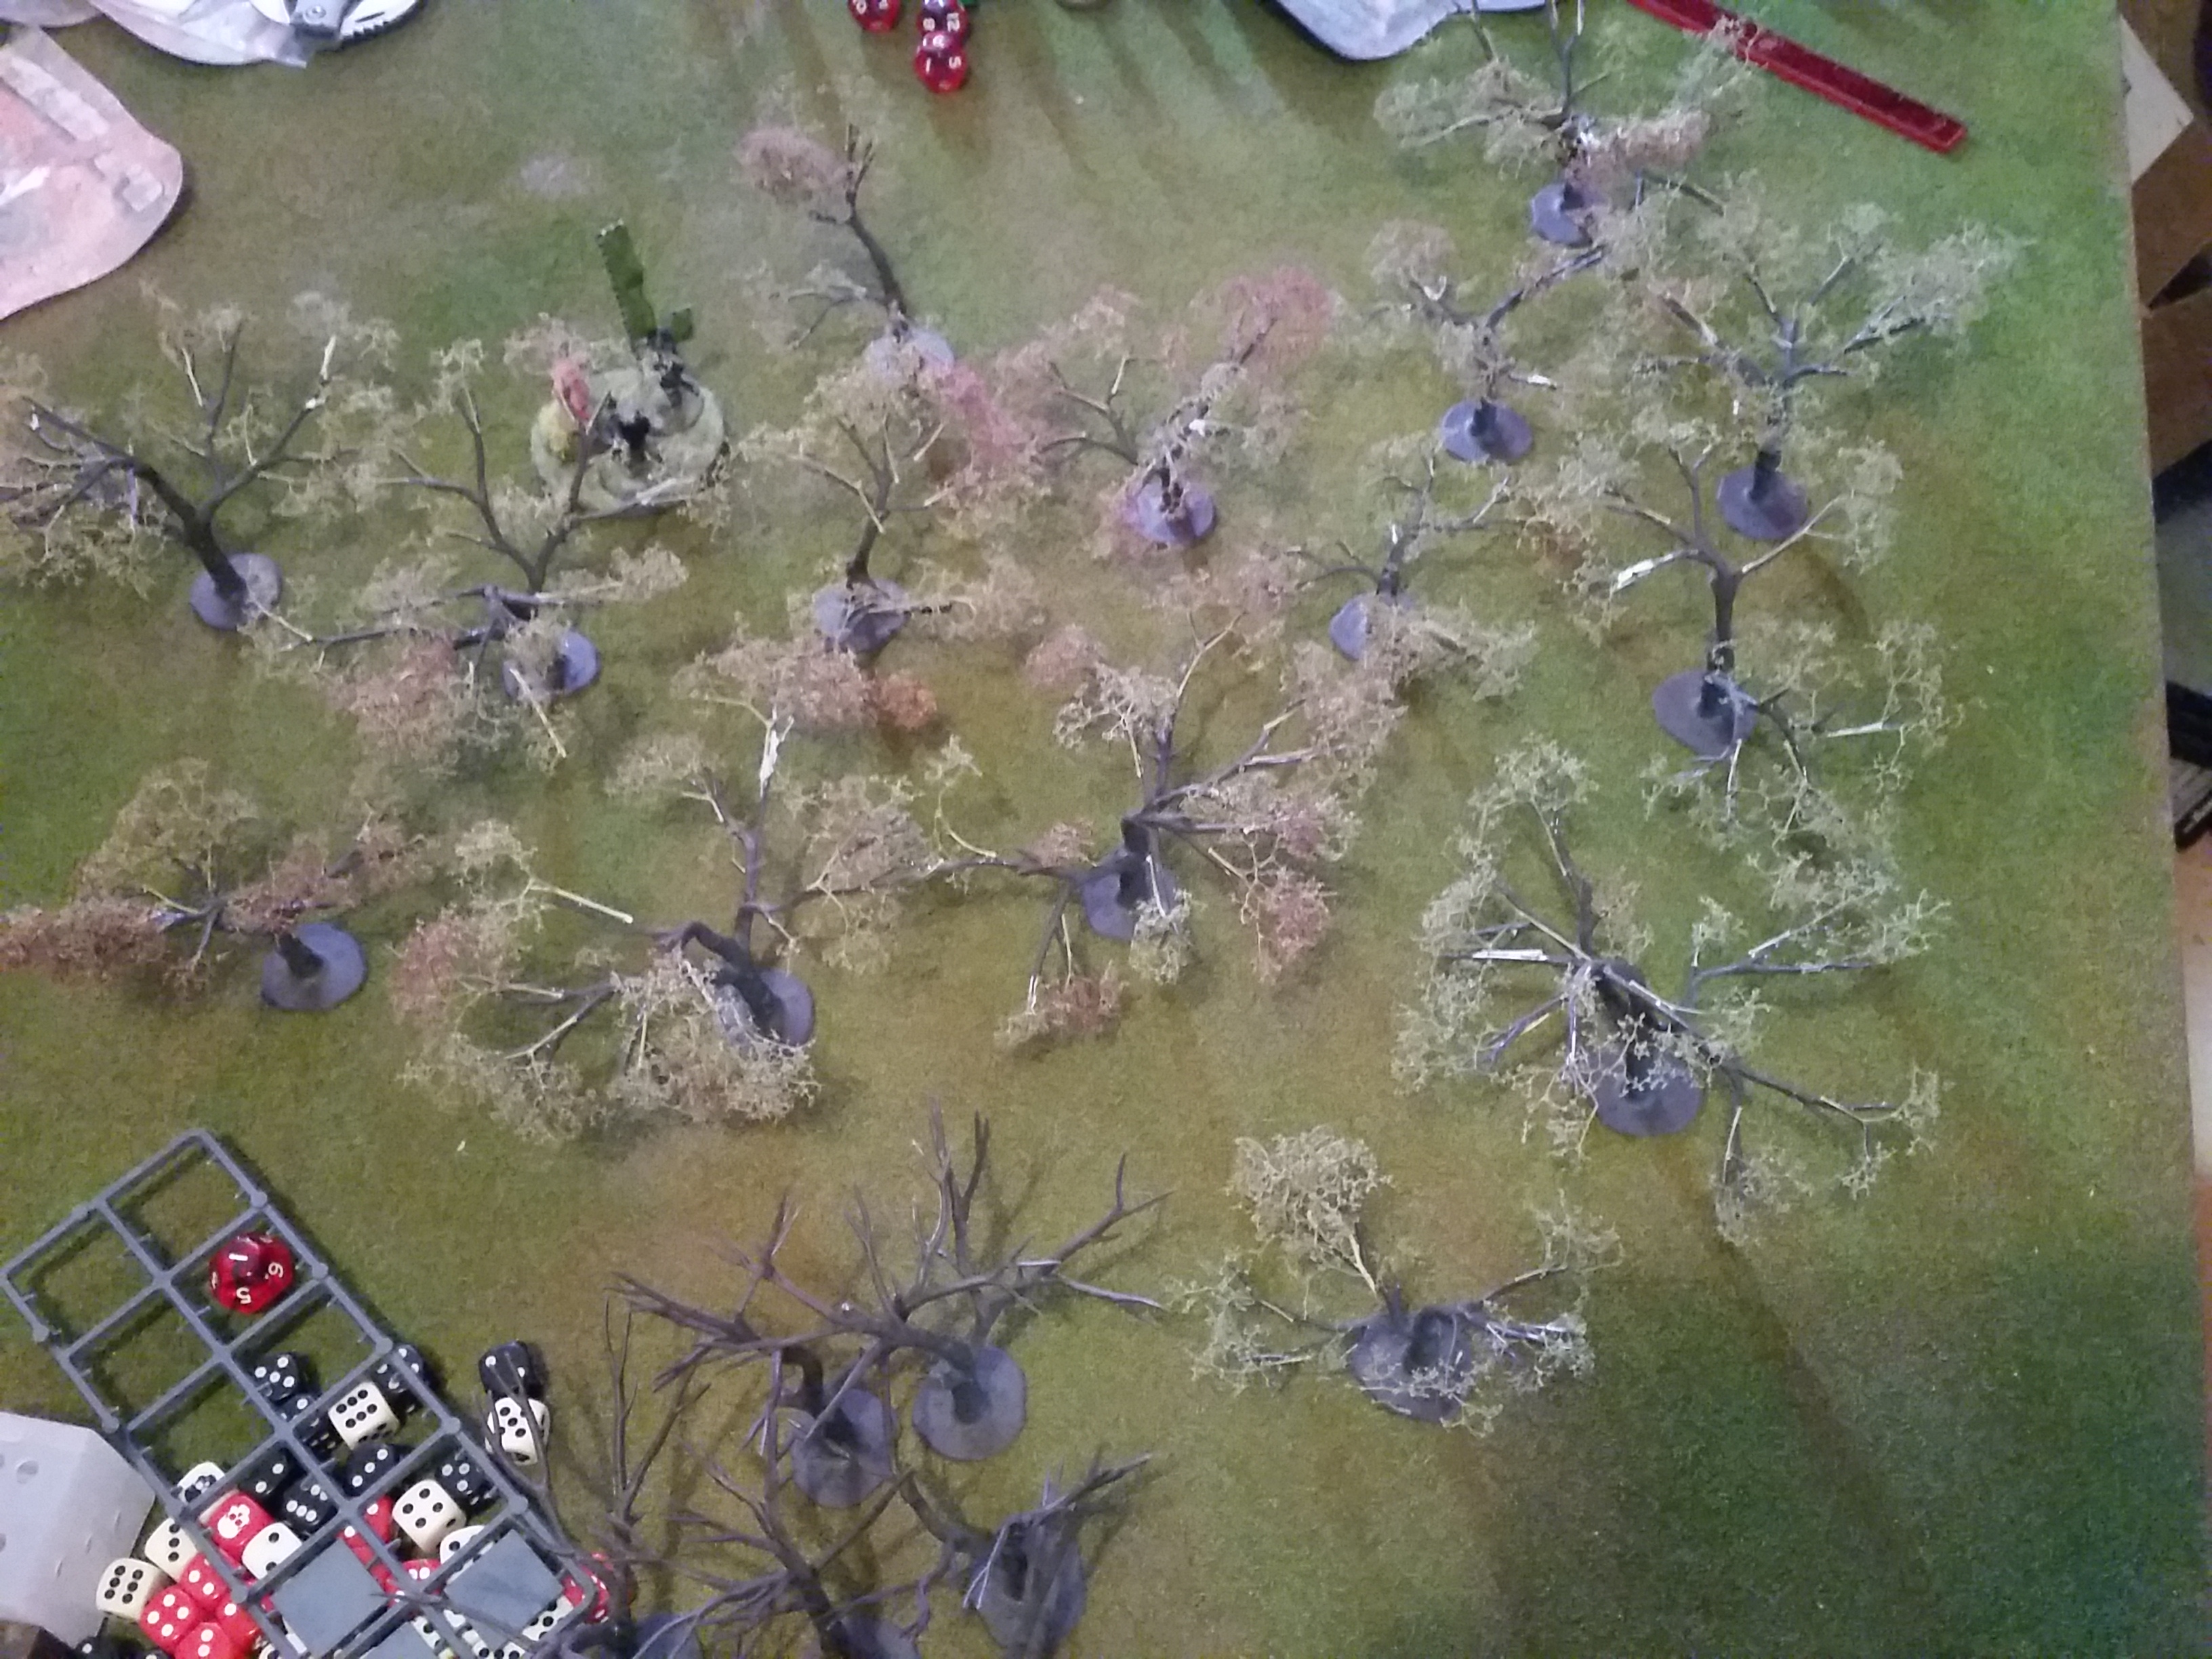
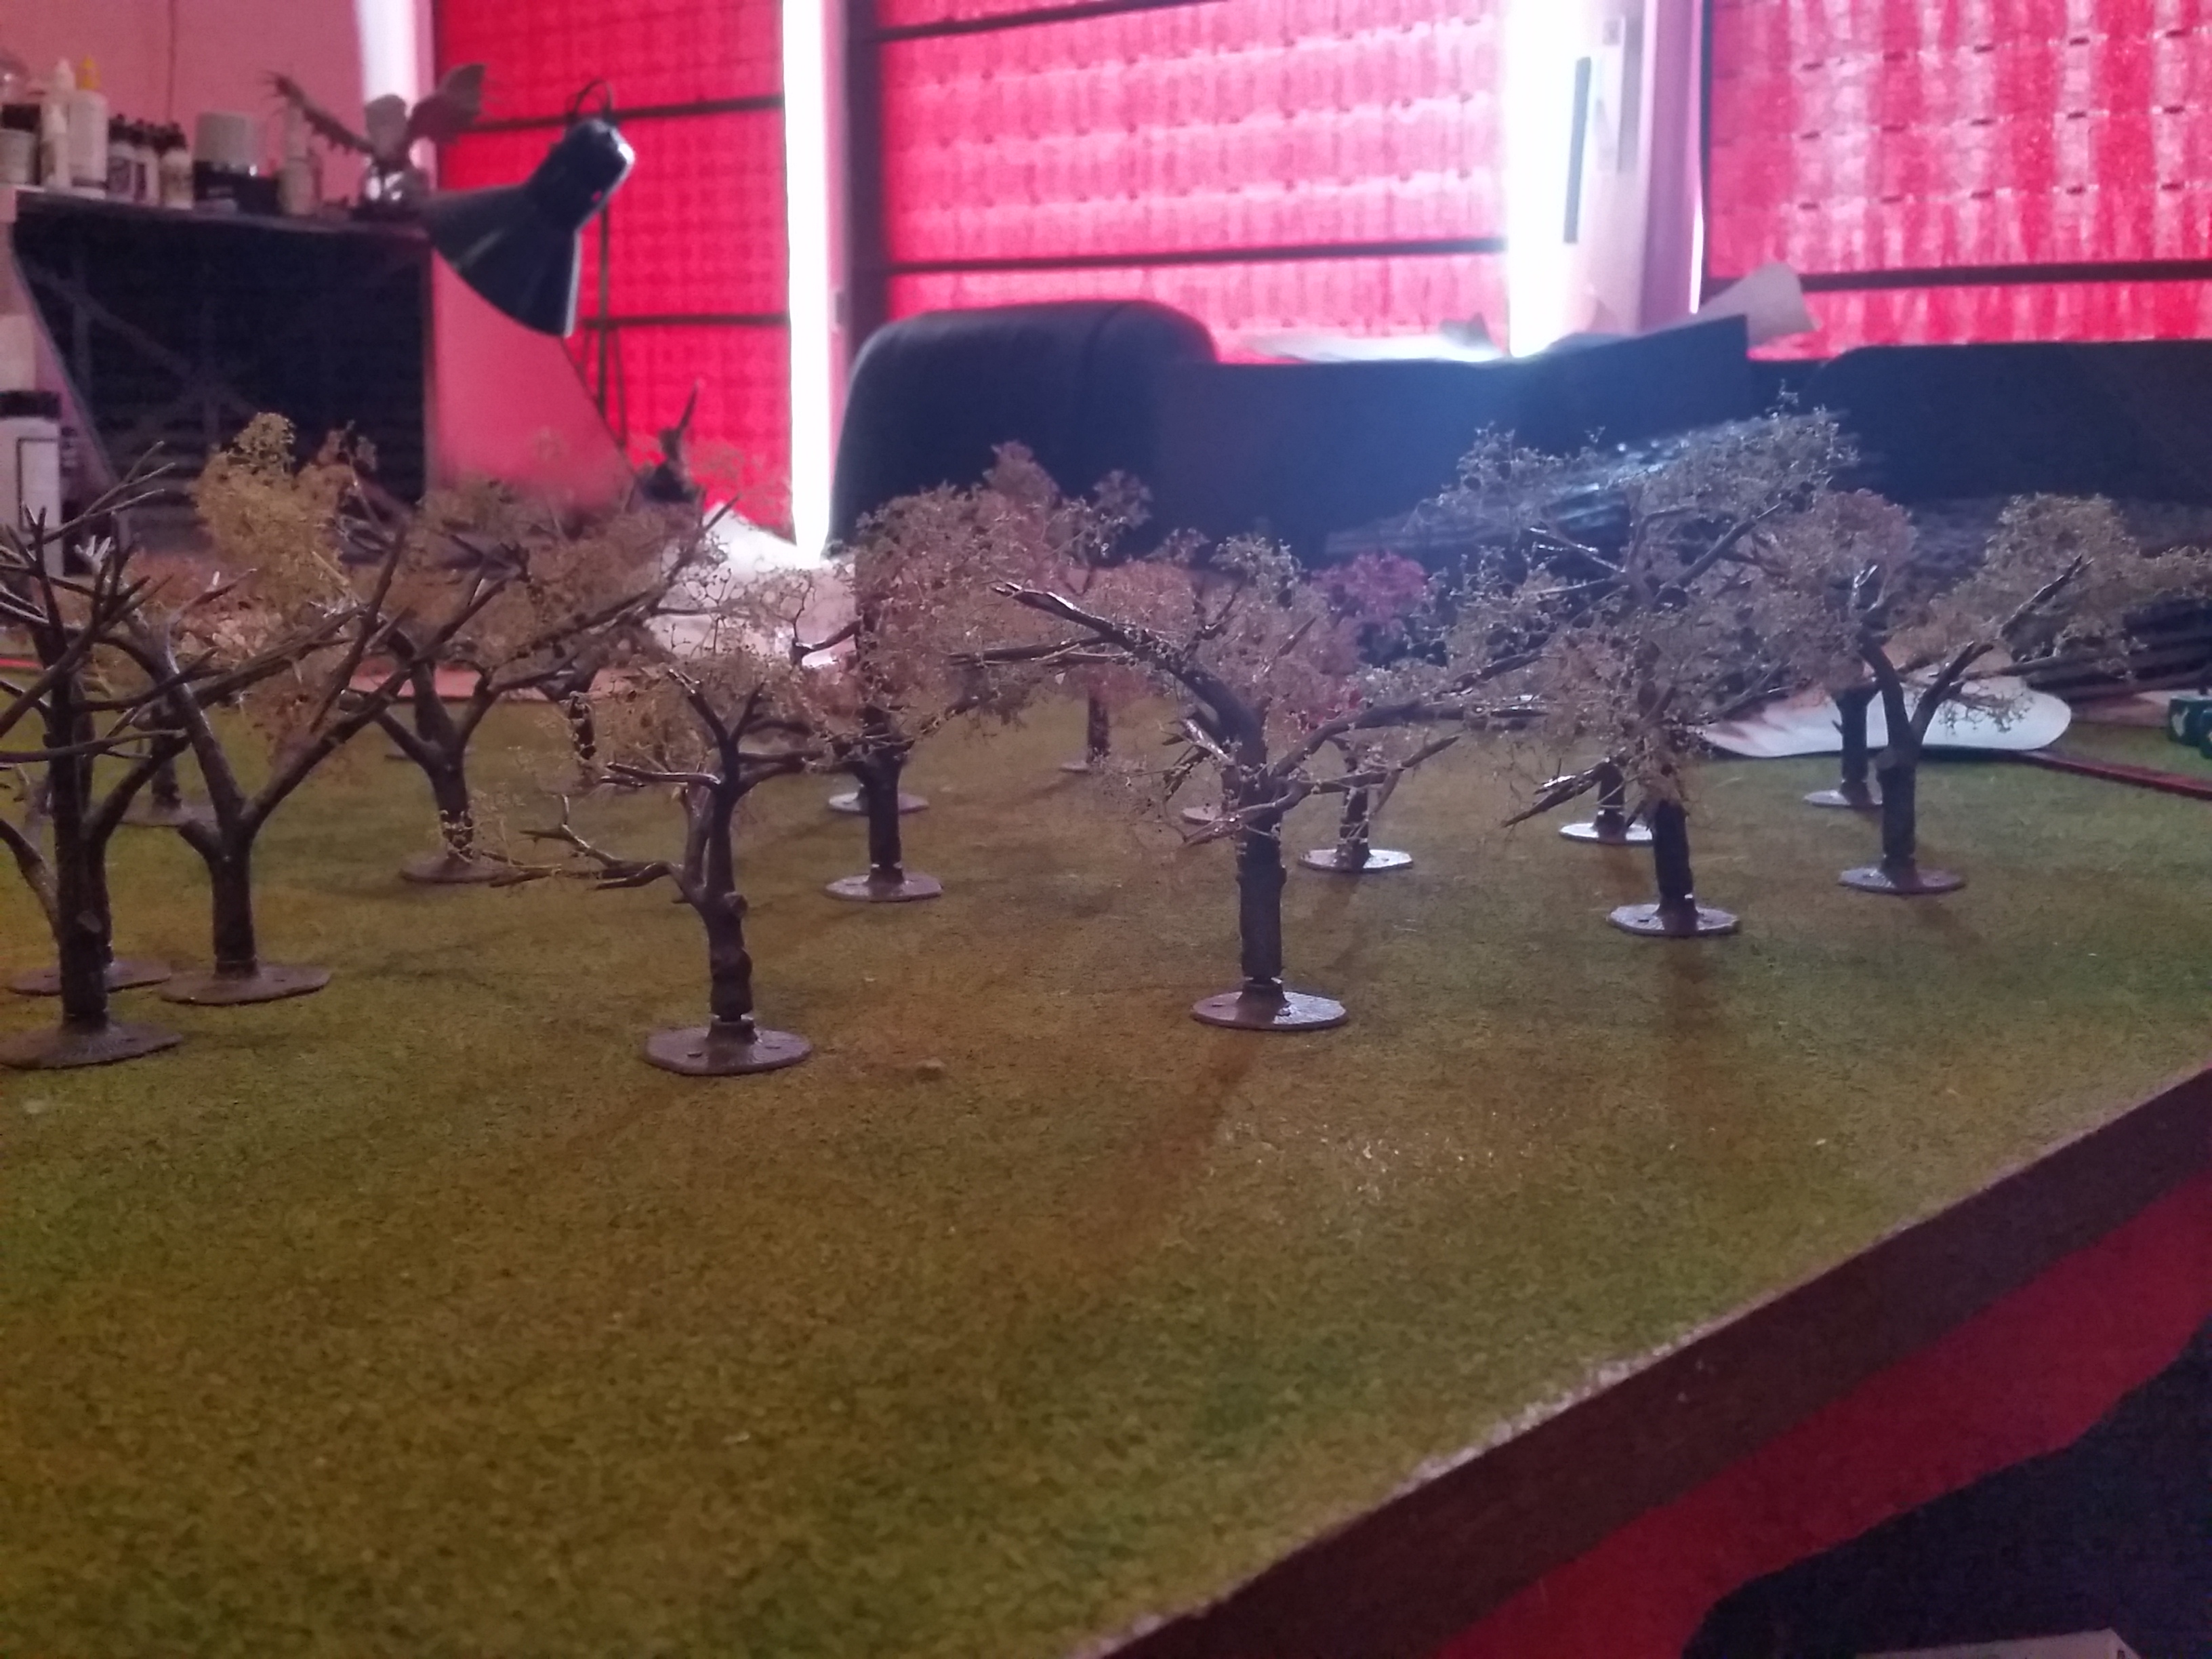
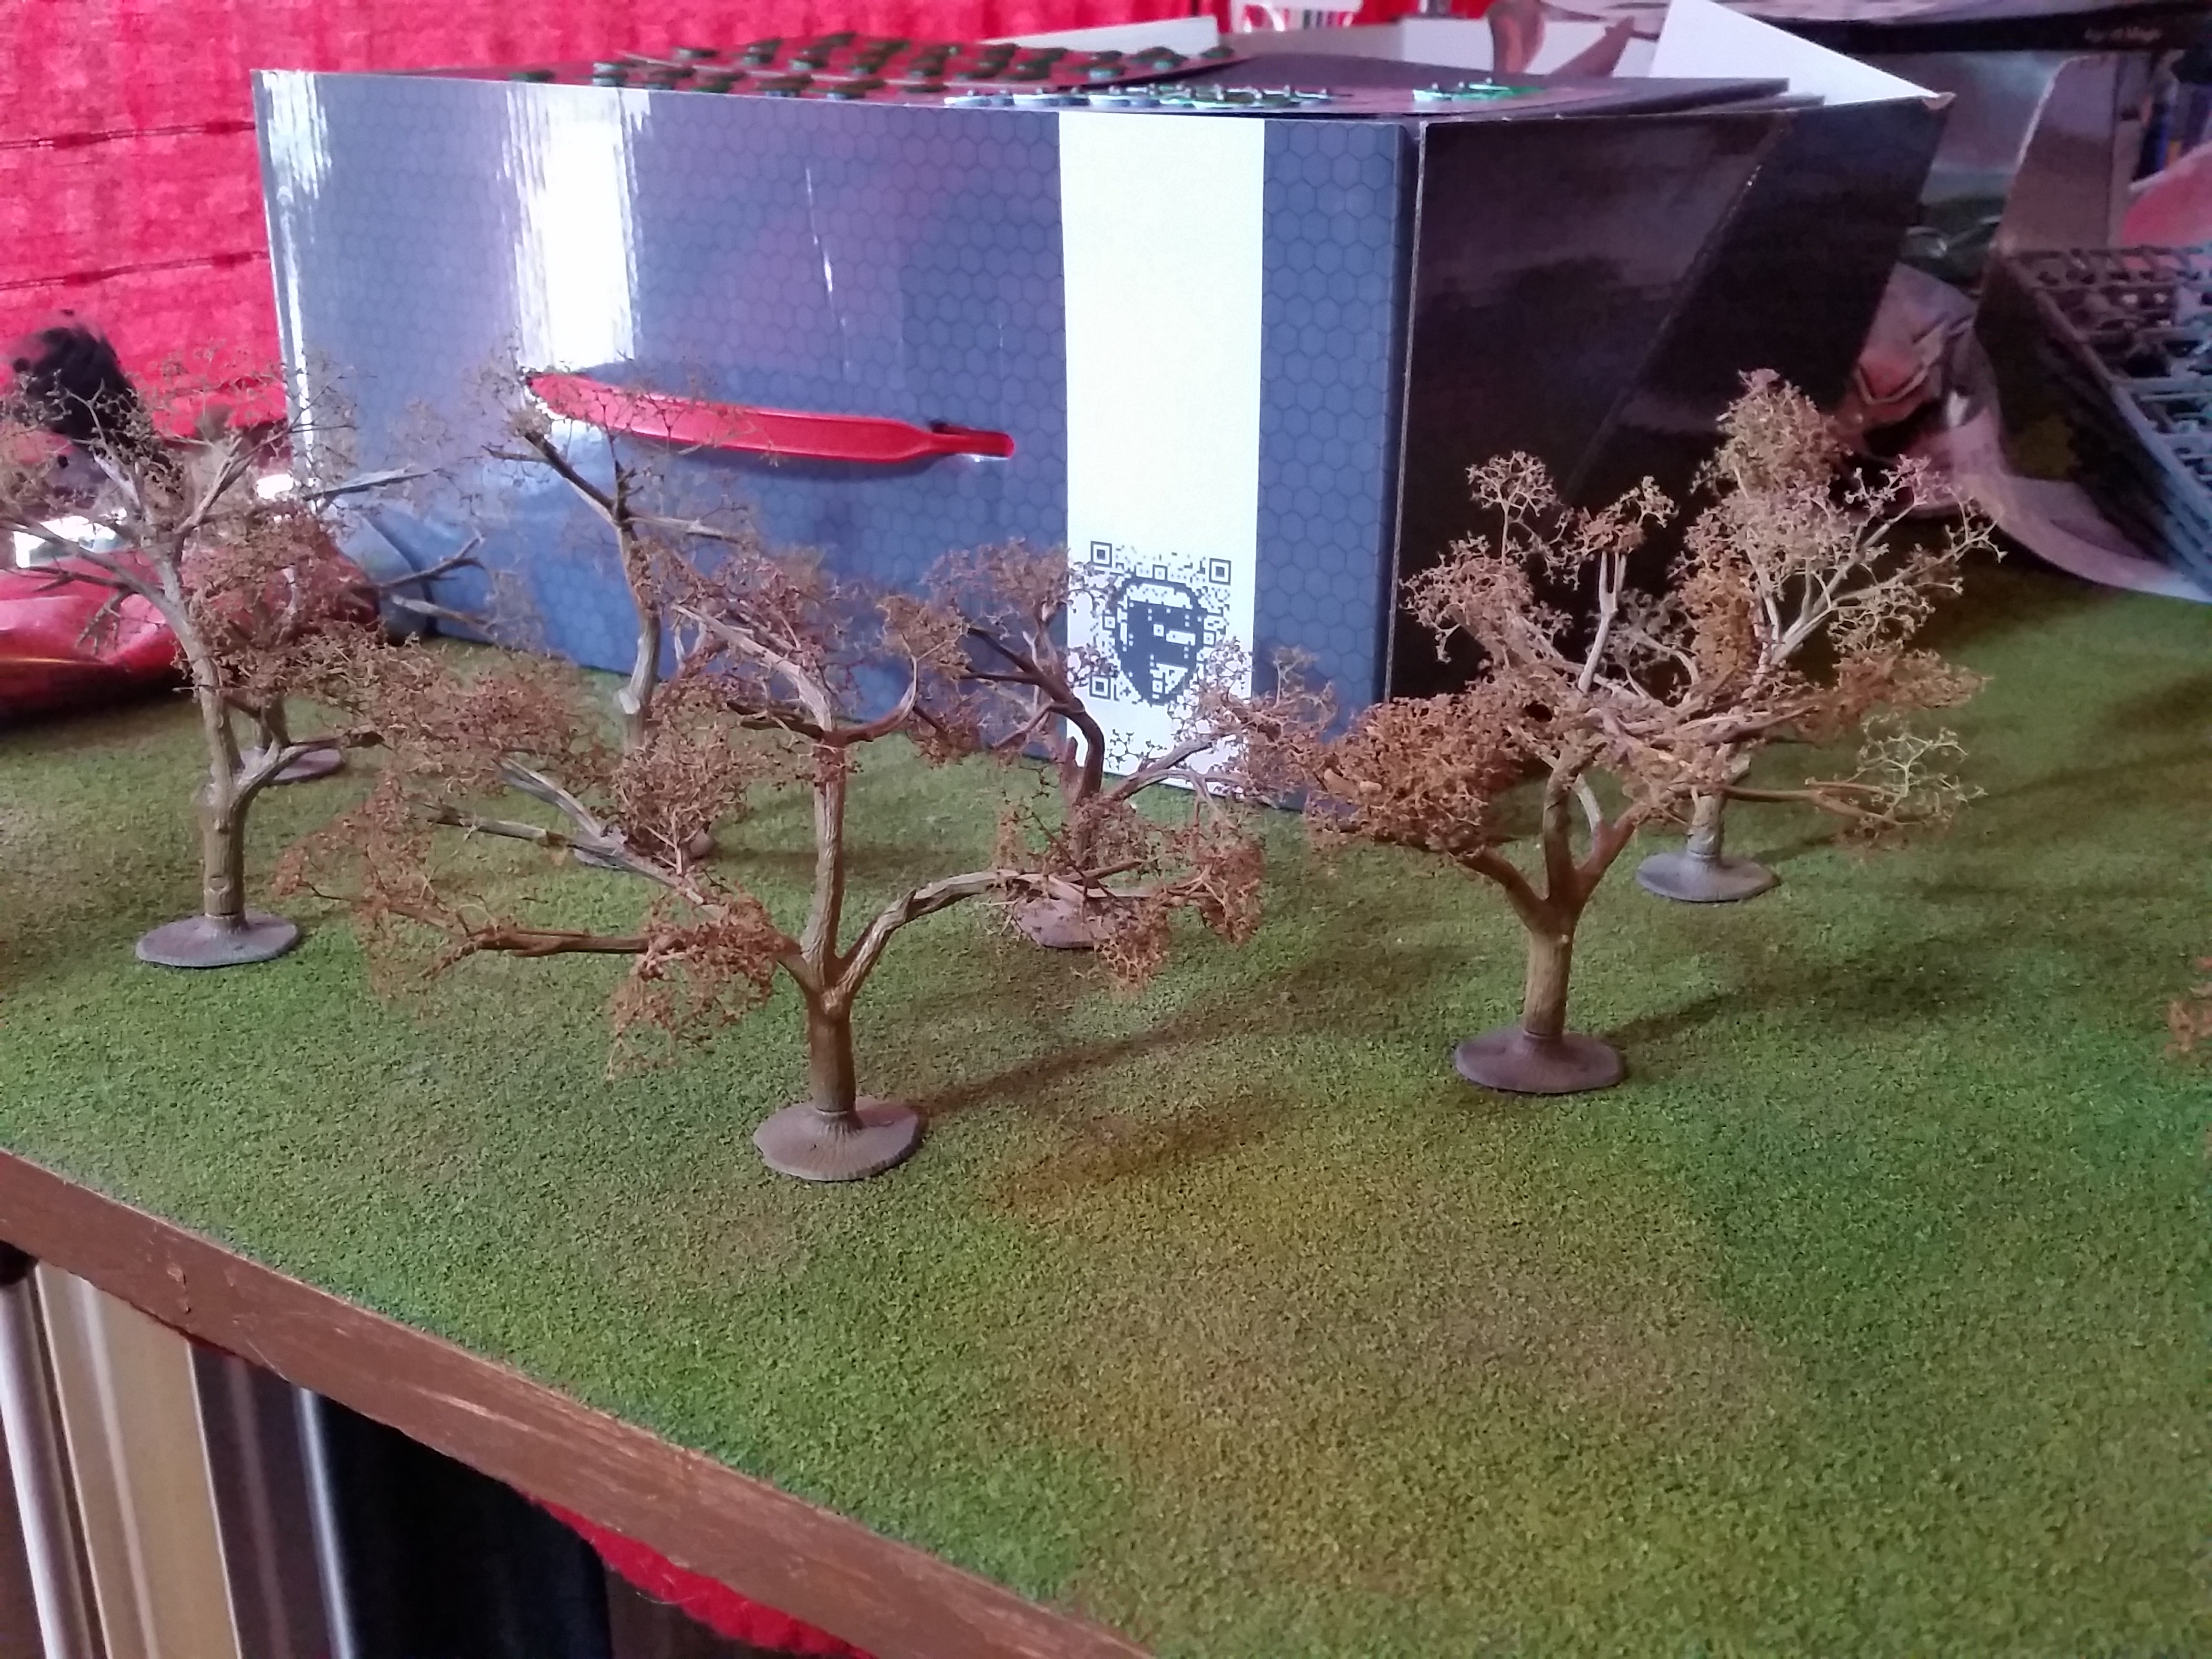
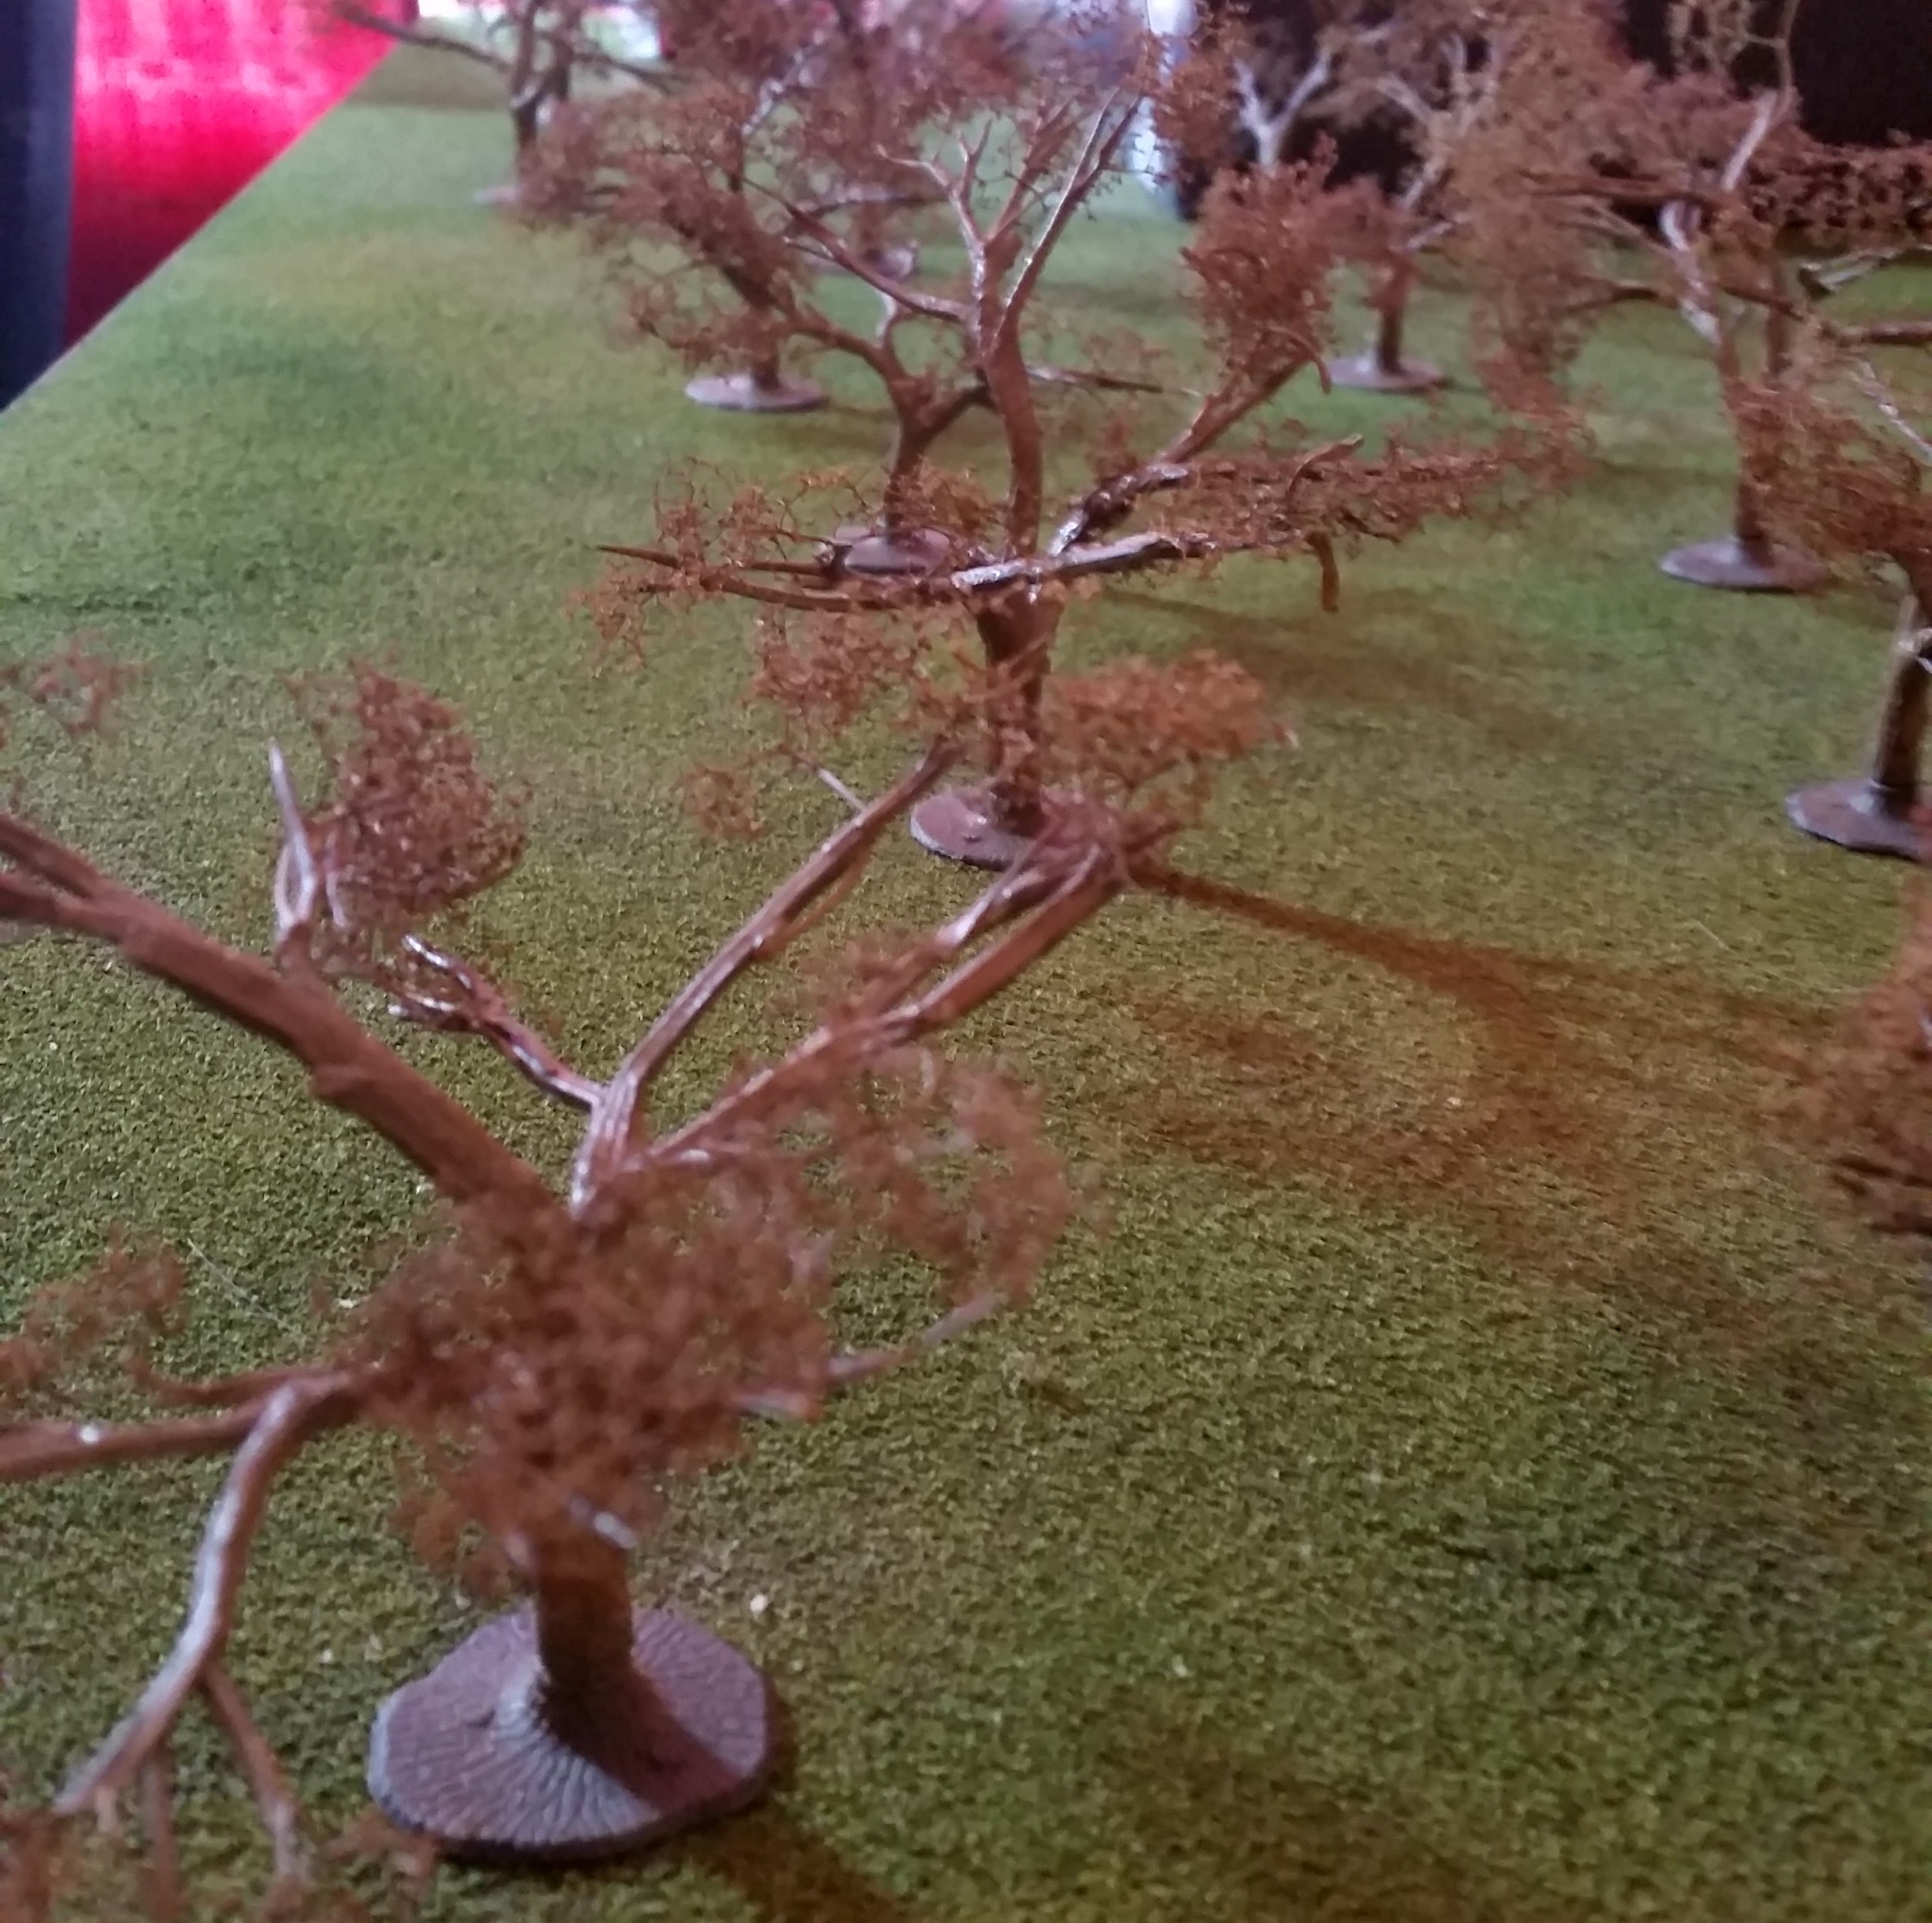
Trees Part 2
I got all the trees foliaged up. I sprayed them first with spray adhesive and then sprinkled on a coarse flock.
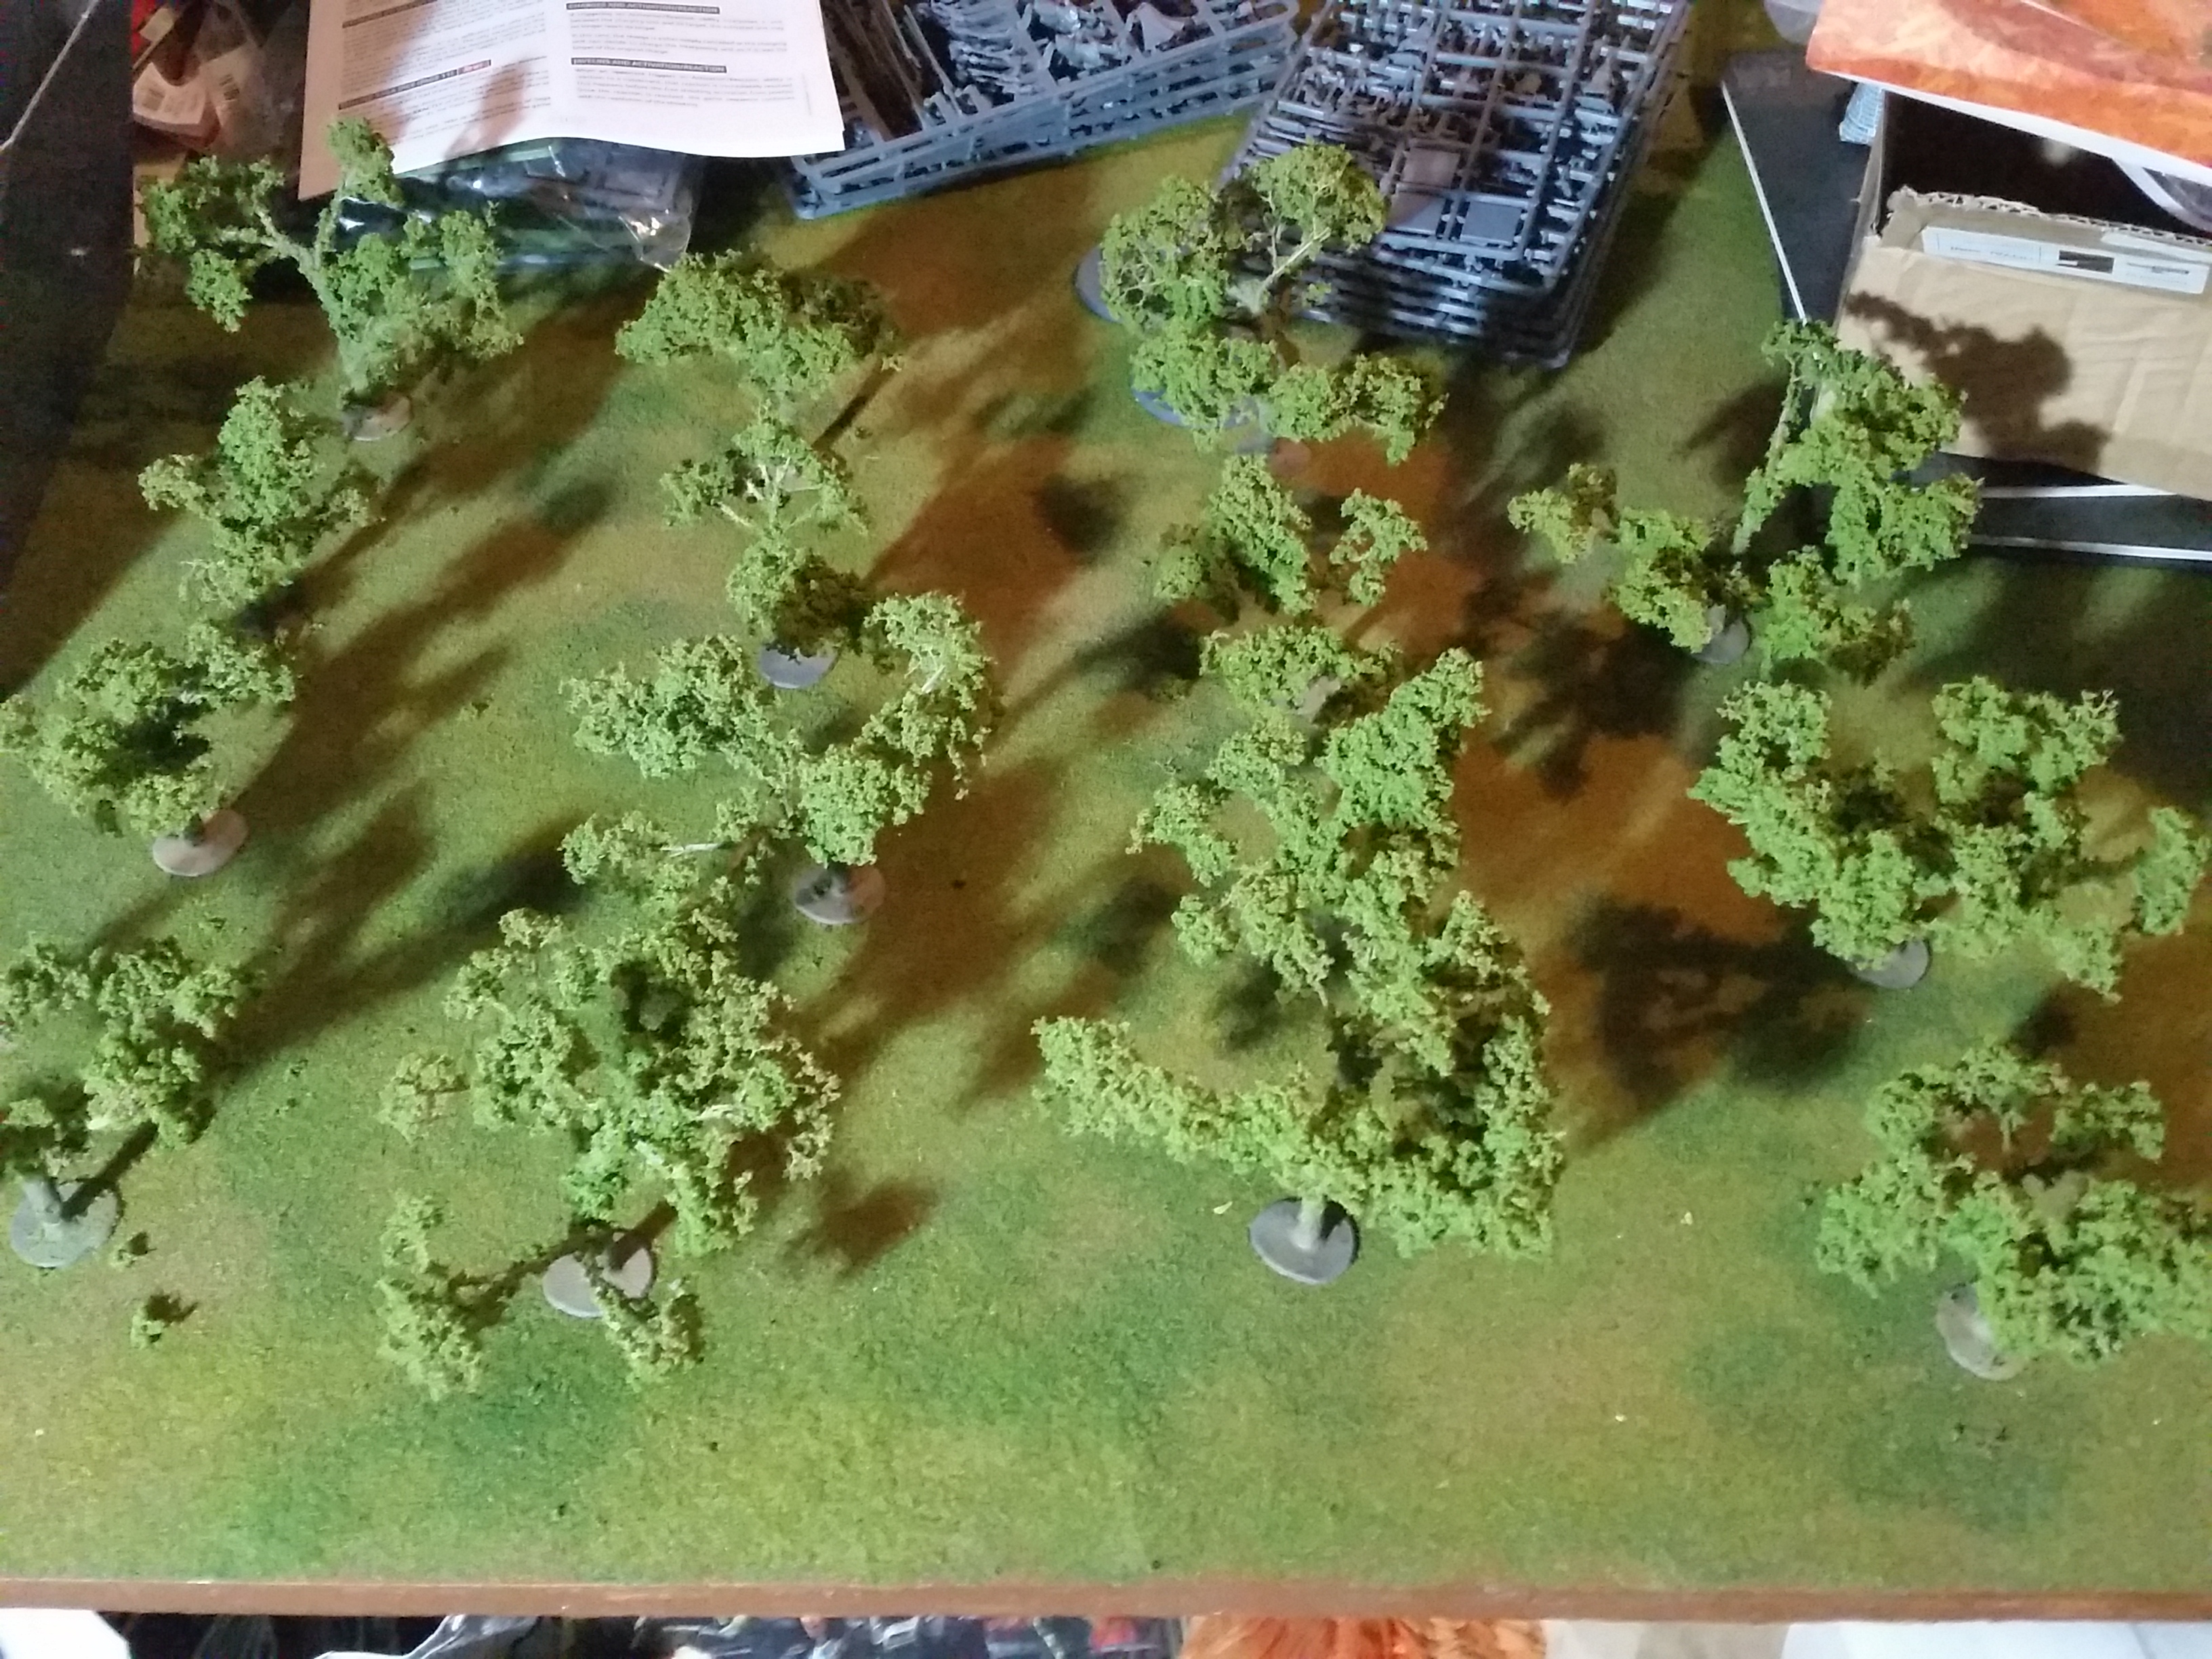

I sprayed a bit of watered down PVA over them to seal them in and toughen them up. Unfortunately some bits of the foliage did fall off, but overall I think they’re still great looking trees.

This was the first time for me making trees and I’m really happy with the results. I’ve learned quite a bit from doing these. Upcoming will be a part 3 where I will do some experiments to see if I can improve my technique.
I though I’d add the video that has inspired me to make the trees the way I do.
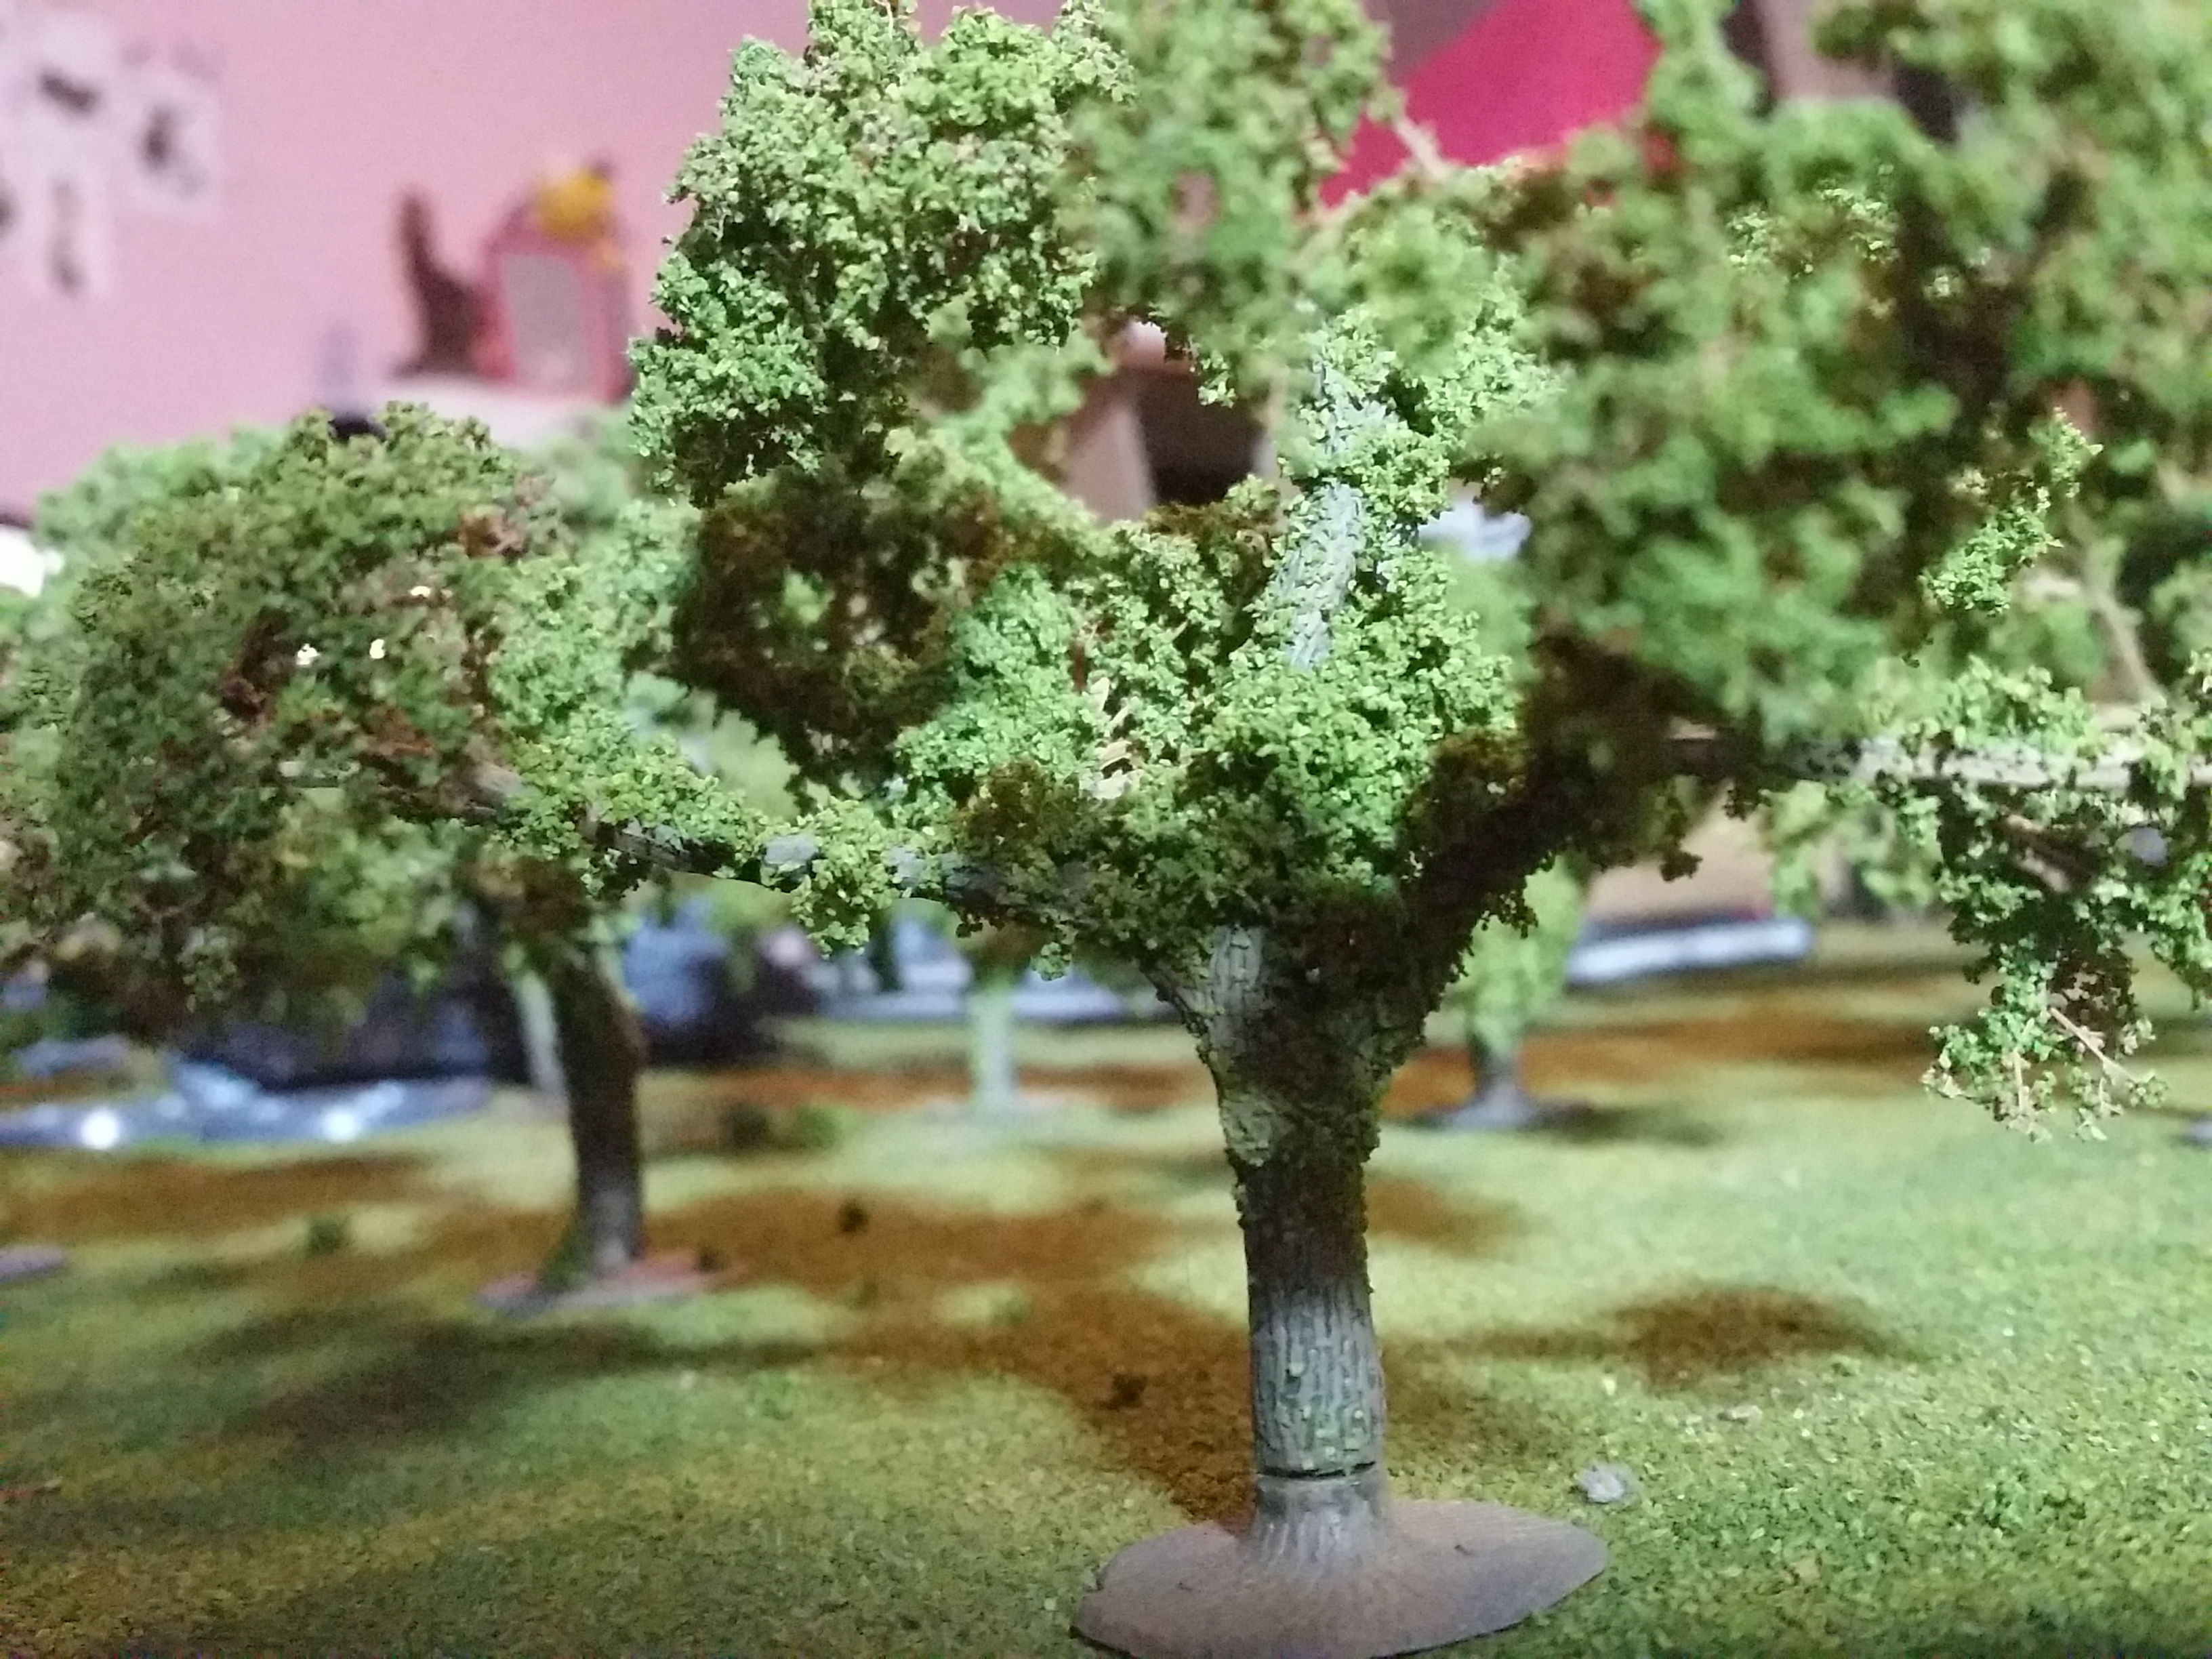
Trees Part 1
I got a pack of deciduous tree armatures from Woodland Scenics, Twisted them, snipped off some branches and stuck them in their base. I will not glue them in their base as I want them removable.
I then started the process of sticking bits of seafoam to the branches. I did not have enough seafoam, but I got enough done in order to at least work on the rest of the terrain.
I gave all the trees a base coat of Vallejo Model Air Brown Green (71.030) and then gave it a blast with my airbrush with Vallejo Model Air Sand (Ivory) (71.075) from the top for some shading.
The majority of the trunk of the trees got a coat of Secret Weapon Wash Algea (W013).
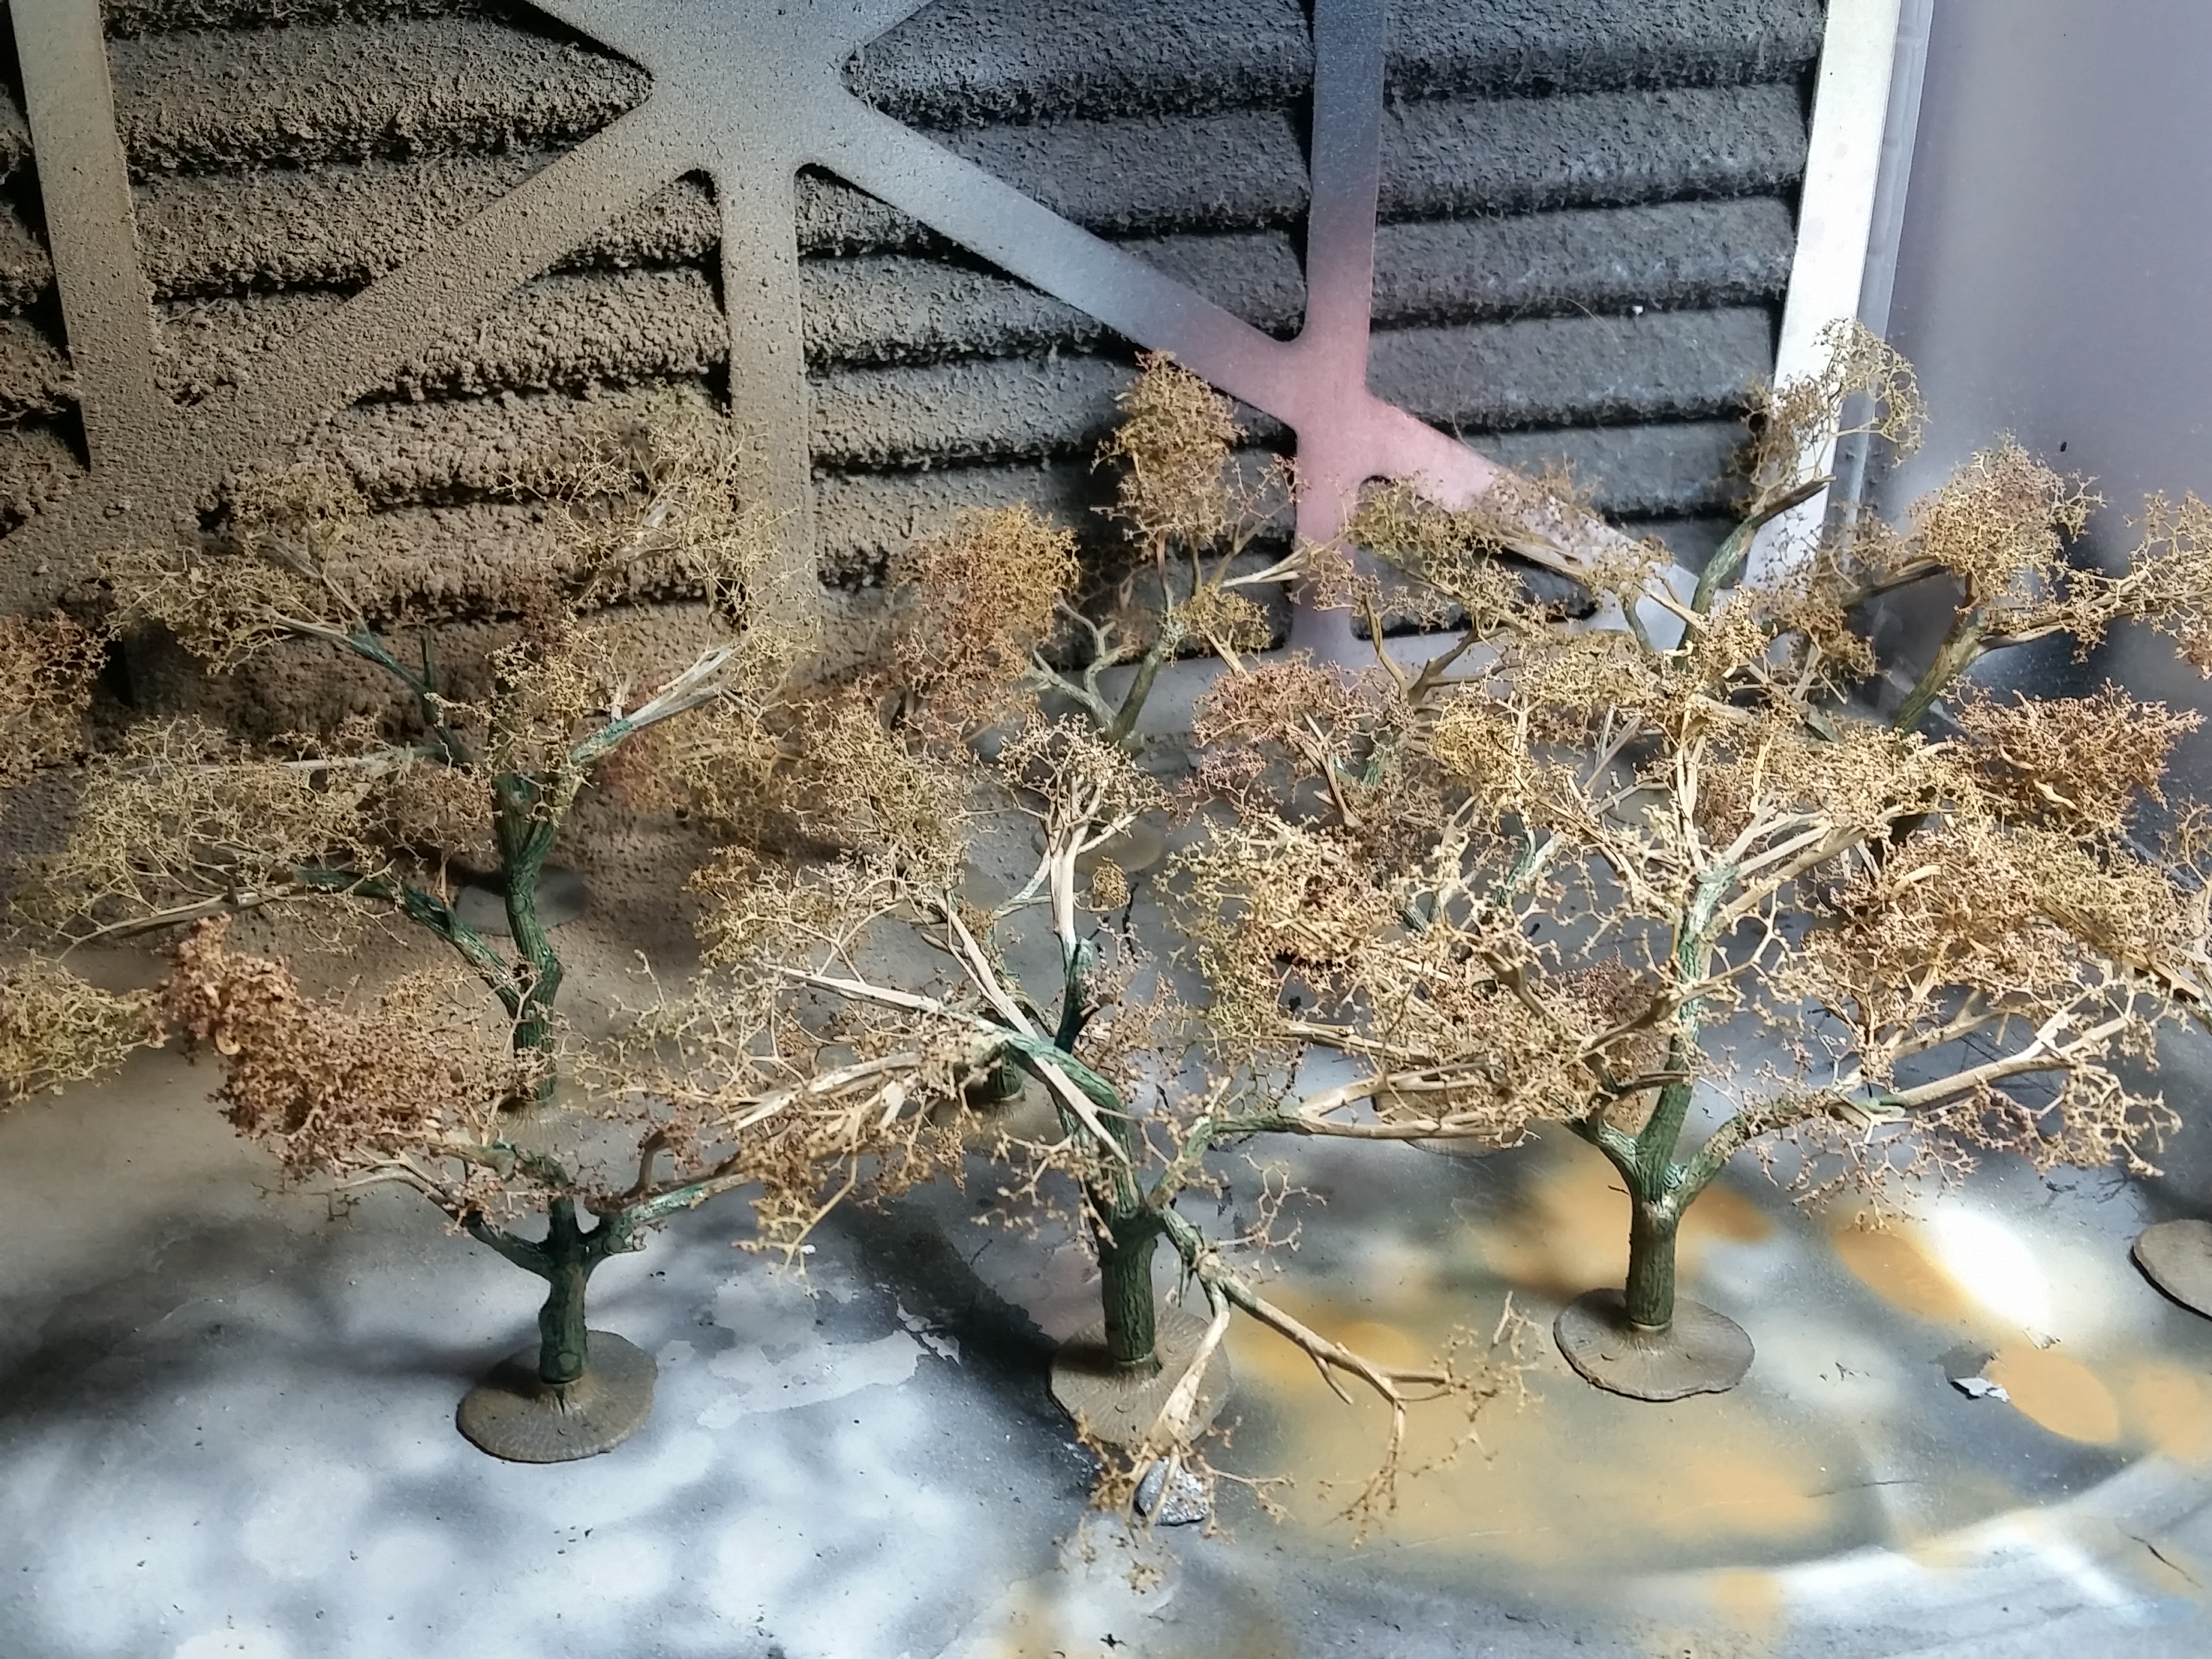
I was not happy with the result and had hoped the wash would settle more, maybe I need to thin it more next time. But to solve this I gave the trunks a dry brush of Vallejo Panzer Aces Old Wood (70.310) and am now happy with the results.

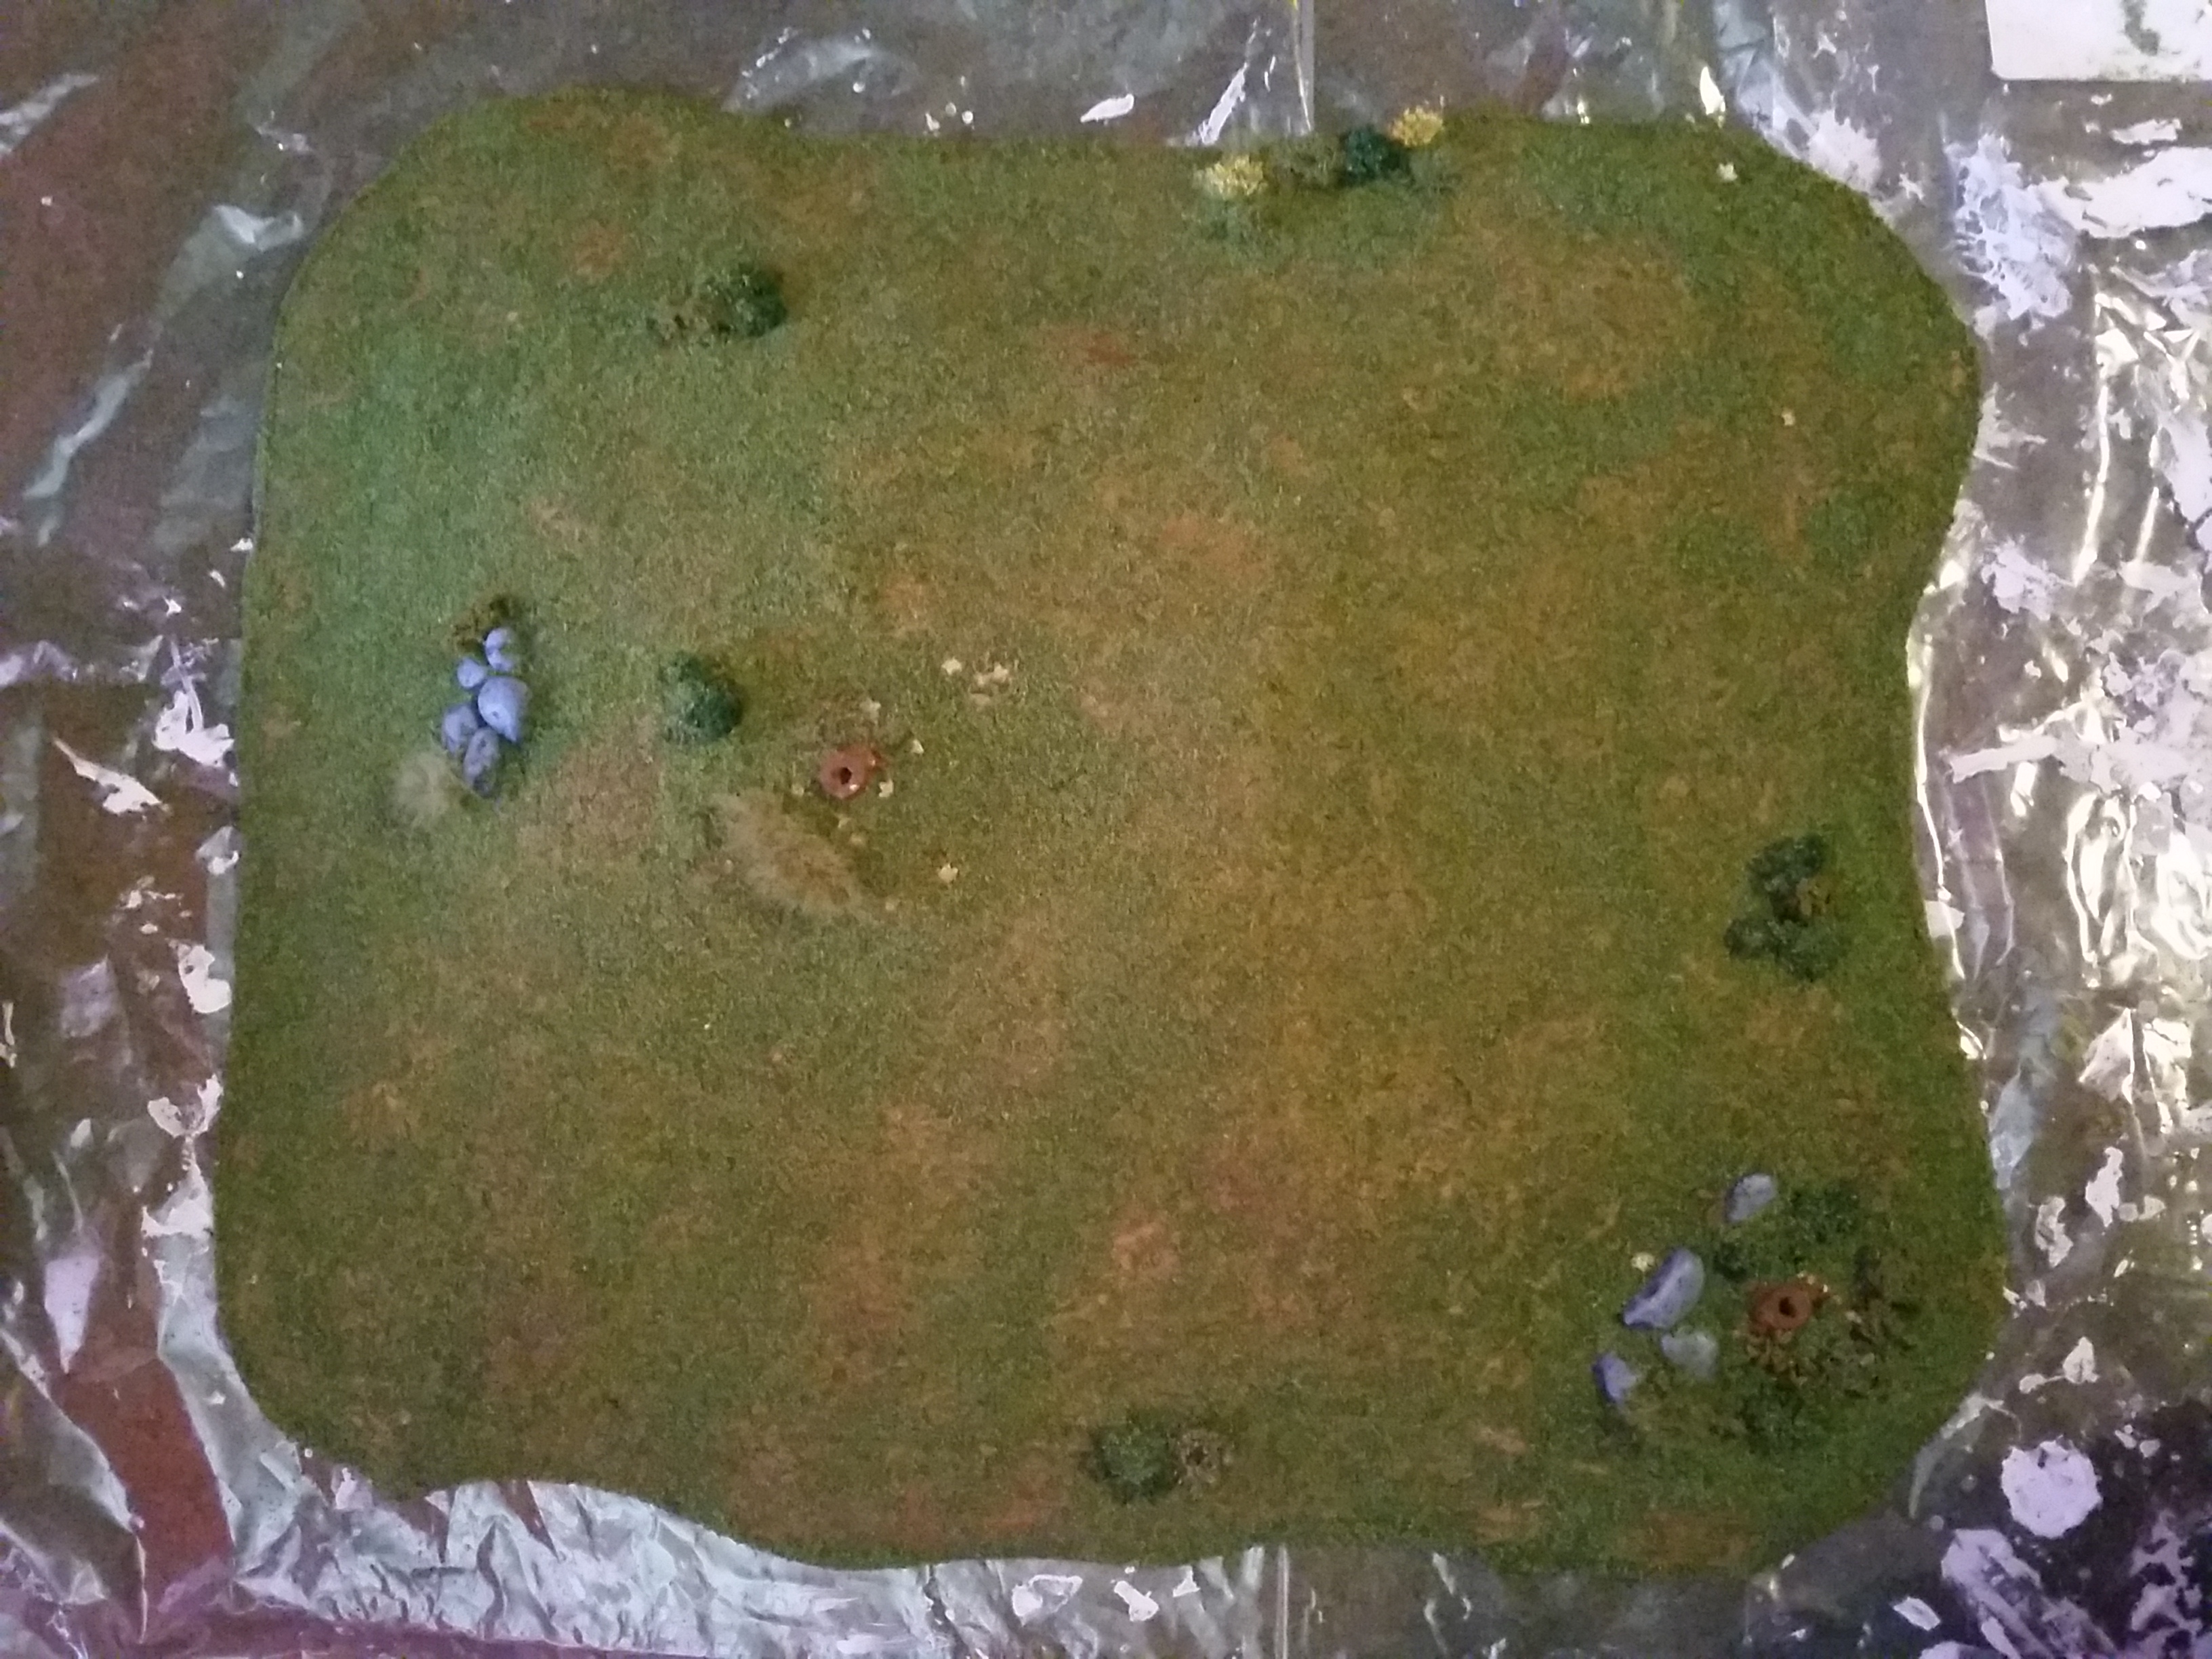
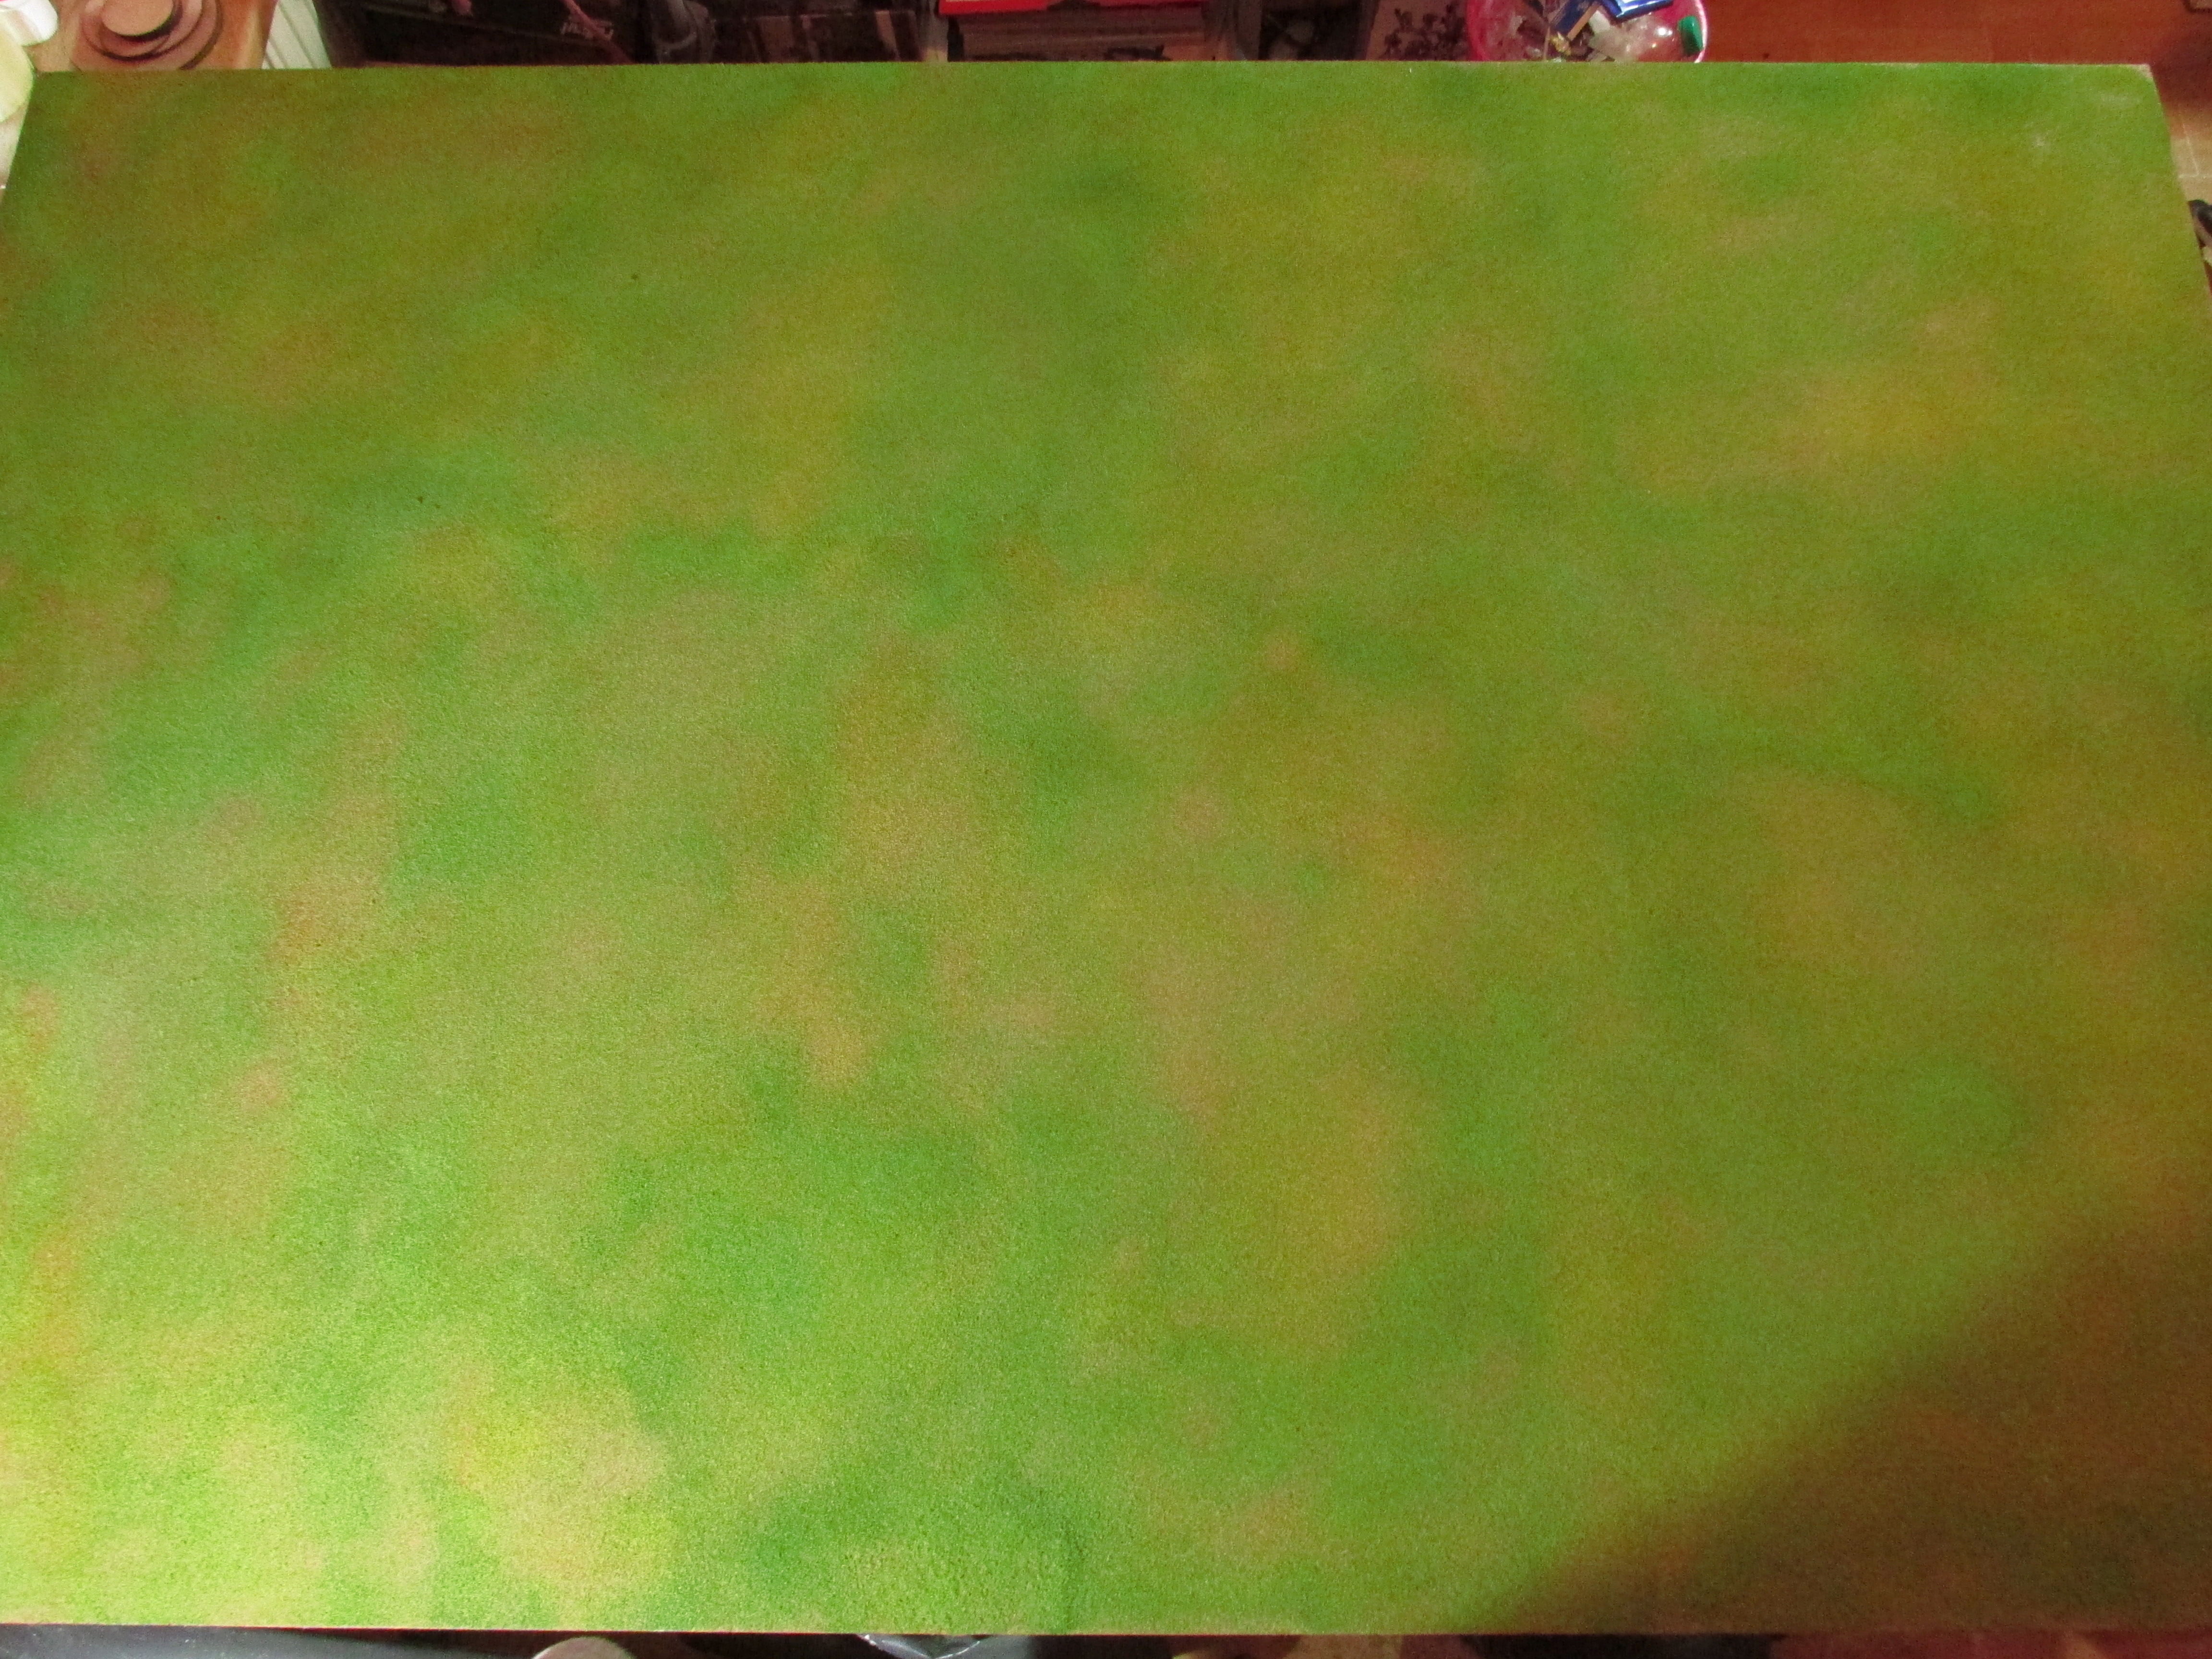
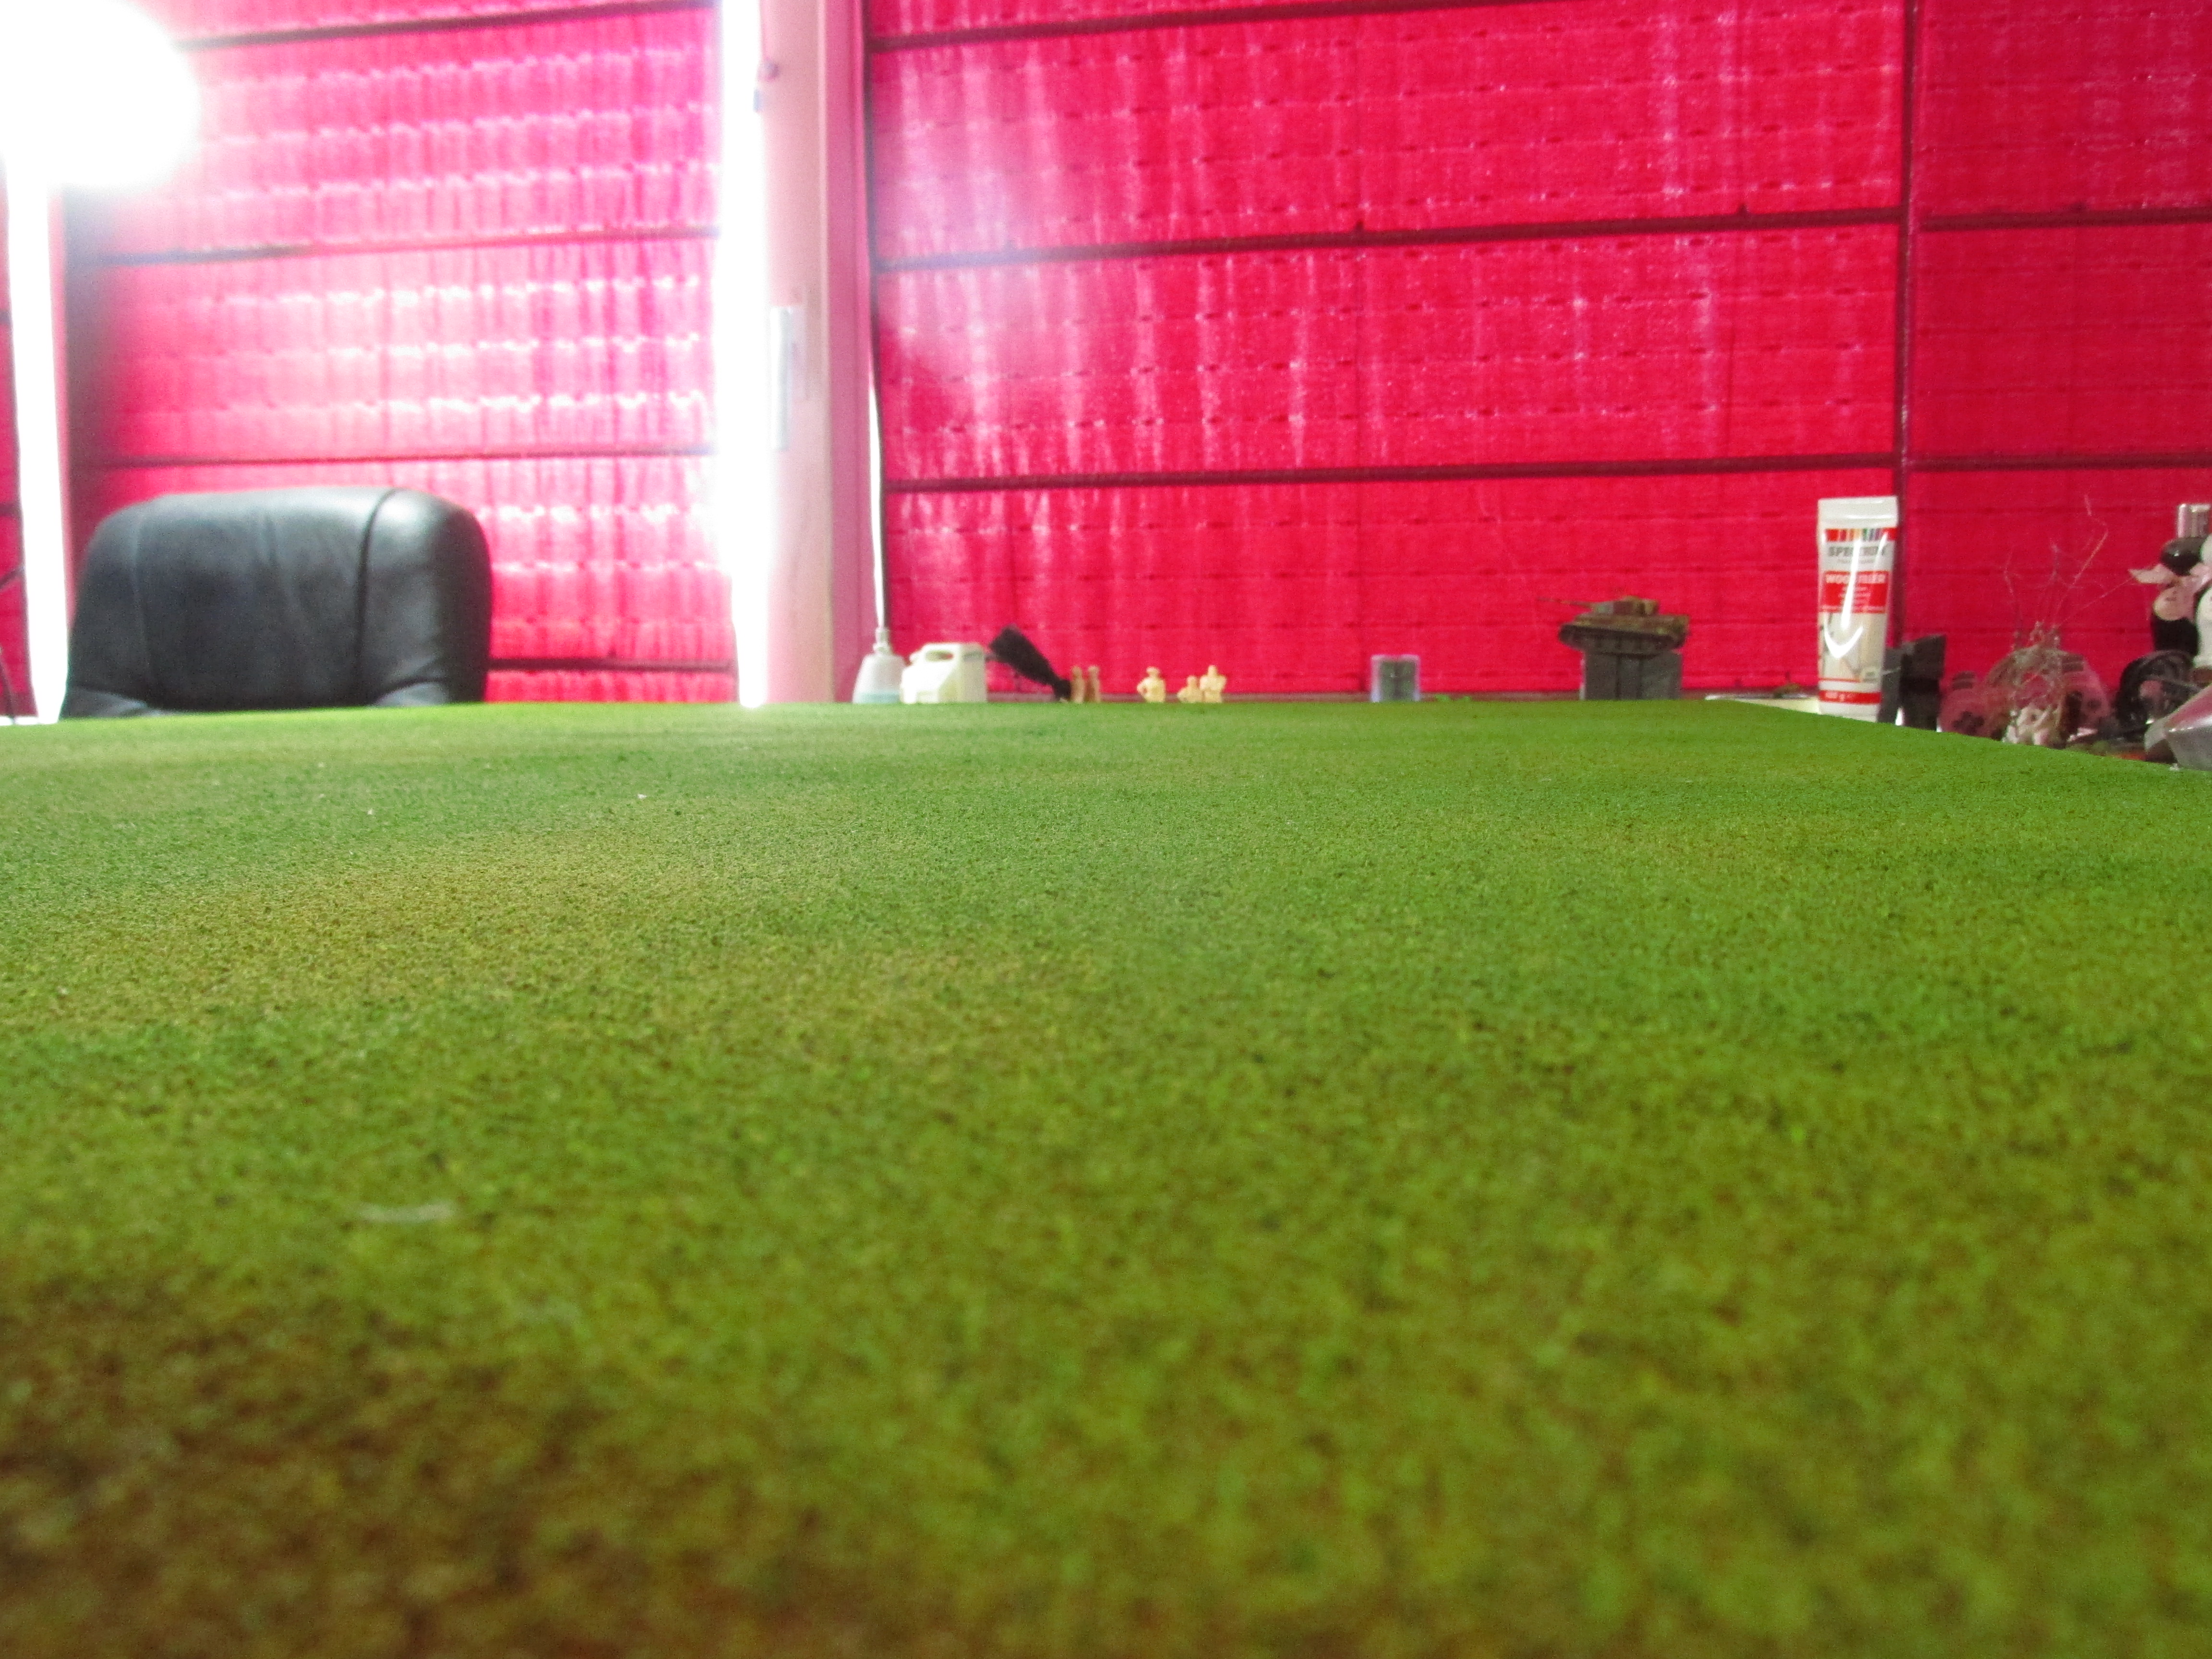
The Board is Finished!!!
So here are the final pictures of my gaming table. I’m really happy with the results and many thanks to everyone who has contributed with tips to get this to come together like this. Now I just need to wait for some supplies and then I’ll start on the scenery pieces.


![StarCraft Tabletop Miniatures Game Pre-Orders Live Now [Updated]](https://images.beastsofwar.com/2026/03/starcraft-tmg-news-cover-600-338.jpg)


![Mounted US Cavalry On Kickstarter For Dead Man’s Hand! [Updated]](https://images.beastsofwar.com/2026/03/us-cavalry-main-600-338.jpg)


