


Cyberpunk by Evilstu


Recommendations: 16
About the Project
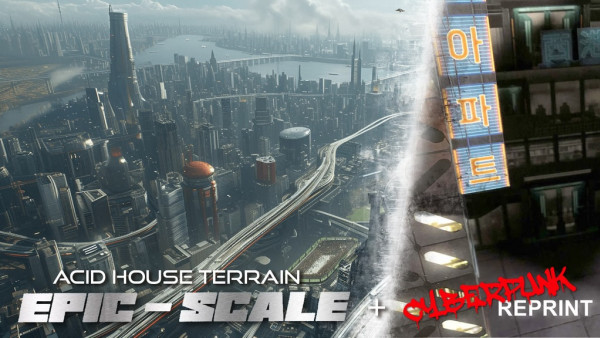
Putting together a Cyberpunk gaming table, as I feel the genre does not get enough love. Will use the fantastic Knights of Dice terrain as the initial starting point. This will be intended for use with the game Afterlife by Anvil Industries but should work well for other modern and near future games.
Related Game: AFTERLIFE: The Shards of Liberty
Related Company: Knights Of Dice
Related Genre: Cyberpunk
This Project is Active
A Bit More Idle Tinkering...
Been focusing on painting Fantasy minis of late so not much progress on this project. Then again, am anticipating this one will be more of a ‘slow burn’ type affair anyhow.
I did remember I had a test 3d print of a sci-fi building from a KS I backed a while ago so tracked that down and took a comparison shot next to the KoD building. Scale looked not too bad but think I will upscale the 3d prints by about 12%-15% just to give them a little more height. These buildings are high, have no interiors and have a small footprint so should be easy to churn out once I’m back up and running on the printer front and will hopefully work well on the gaming table to fill in any areas of free space and mix up the skyline a little. I’m hoping to have all the buildings on the table to be at least 3 stories high to try and create the impression of not much available ground space, noting that no gamer wants the problem of packing away and storing 50 floor skyscrapers…
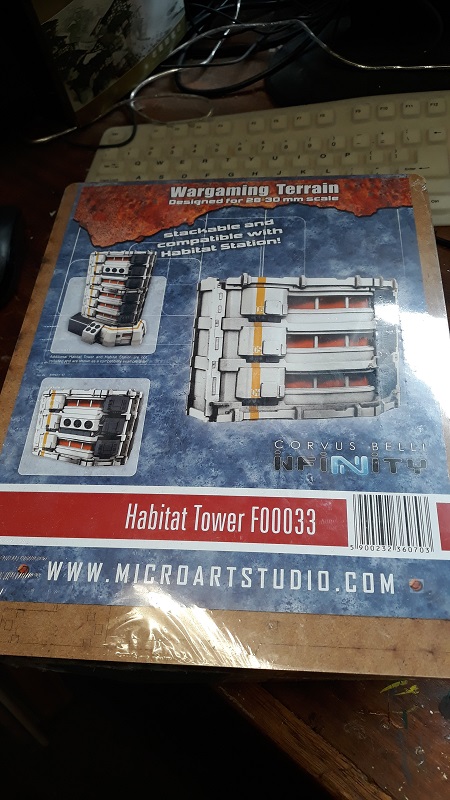
I also picked up a couple of Micro Art Studios ‘Habitat Tower’ kit in the Black Friday sales. as one of them arrived with the packaging shrink-wrap split it seems best to build it rather than risking any parts going missing 😉
Kit is 2 sections of hard foam with 2 sheets of MDF to form a base, roof and 2 sides. Instructions are fairly straight forward, although again no parts numbering and I did have to play with the roof railings for a bit to get them to reflect what was done in the instruction image (but that might just be my spatial awareness failing due to sleepiness…).
The two foam sections did not align for me as they were slightly different sizes. If you pick this kit up and this happens to you don’t panic, the way the kit is designed they don’t need to align precisely, the MDF hides the connections so all should be well.
Kit once finished looks like a skewed hexagon, and should once again be a nice looking LOS blocker. Will need to give this a prime with my airbrush as spraying directly onto foam with a rattle can doesn’t always end well…
 The kit
 Finished shot from the side
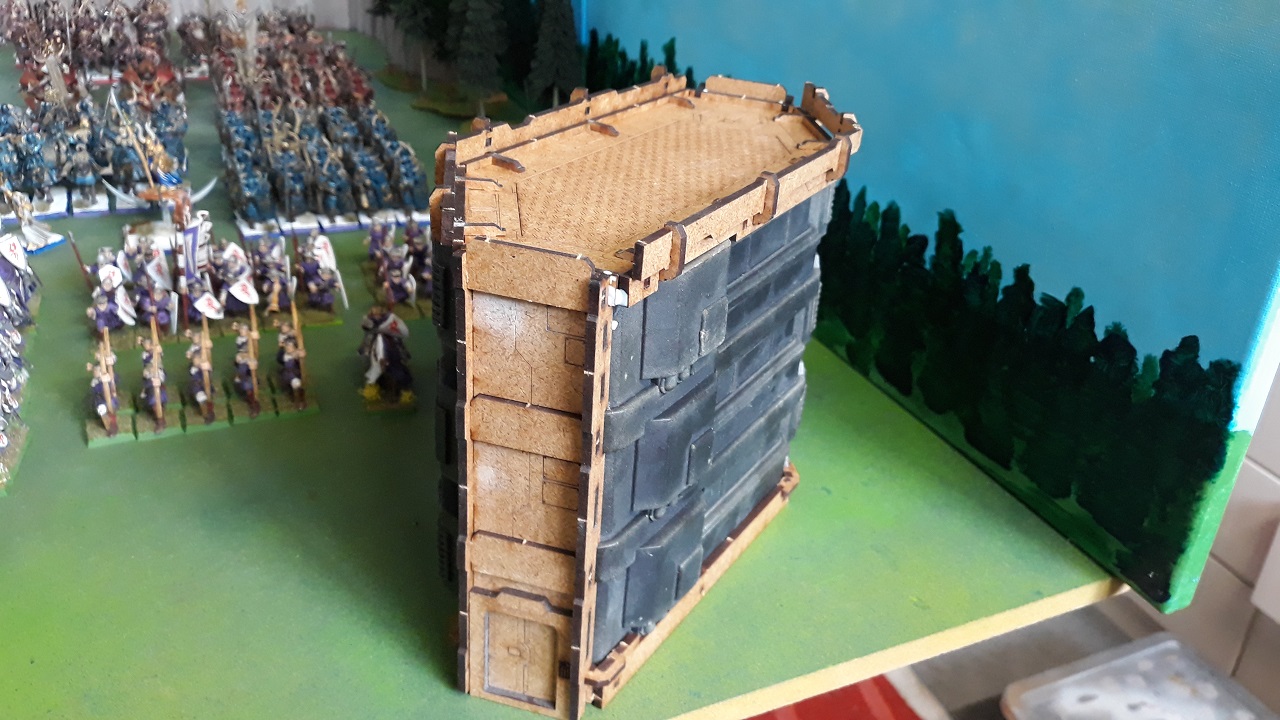 Side shot showing how the join between he two foam sections is concealed on each side.
Inventory and Initial Build
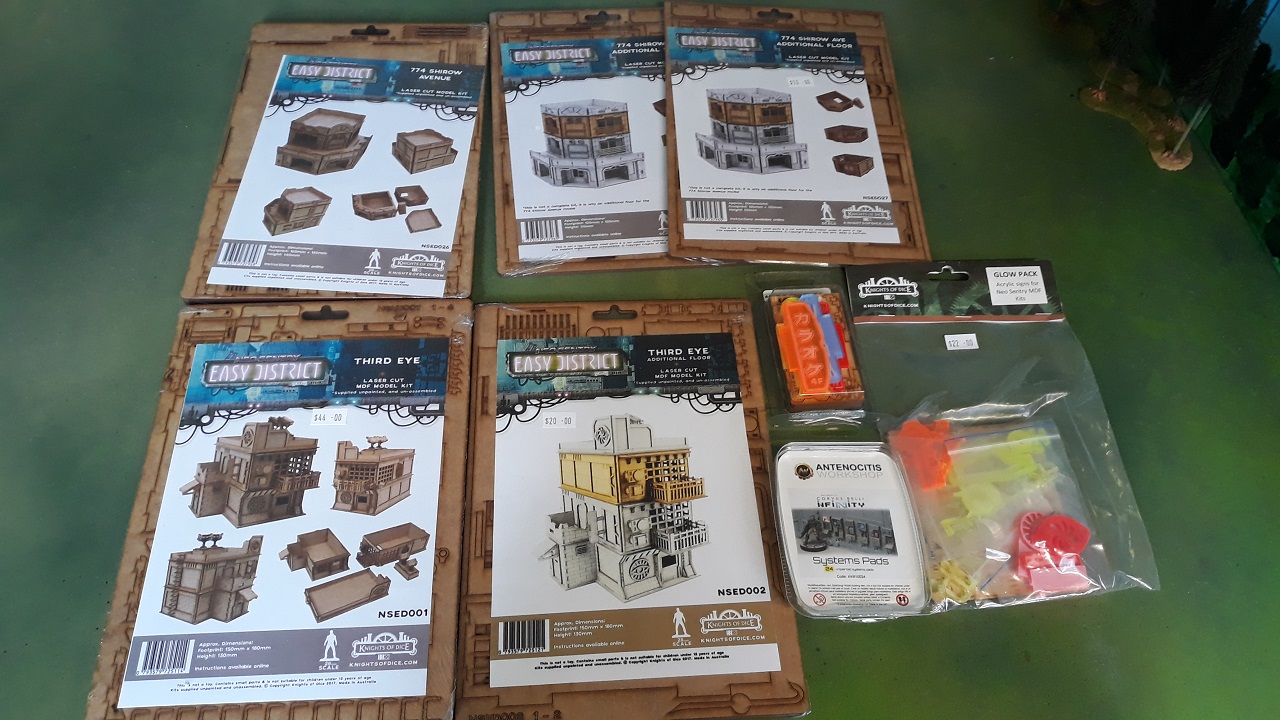
A quick rummage through some boxes and I found my bag of MDF that I had picked a couple of years ago with the idea of commencing some cyberpunk, but then apparently got distracted by a shiny thing…
Two buildings and a few extra floors, some neon signs and some resin keypads from Antioch that I had apparently picked up for a bit of detail addition. Keen to get an idea of scale, and to gain some familiarity with the Knights of Dice kits, I opened up the ‘774 Shirow Avenue’ base set to have a look.
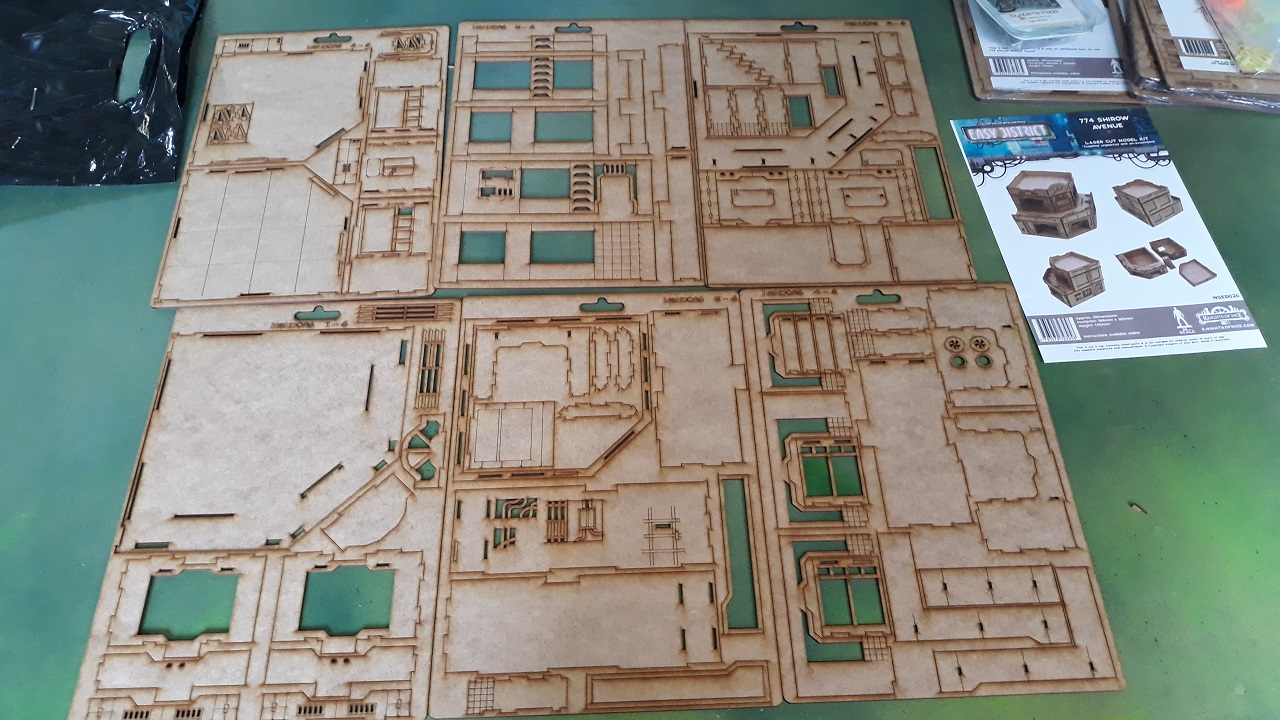
From the size of the packaging I was assuming 3 or 4 sprues of MDF, but this one held six. the MDF used felt thinner than the one used by 4ground (I don’t have calipers and didn’t want to fish out a 4ground kit for comparison) but that was my impression anyhow. No instructions included, they are all downloadable from their website (so you can check out how the build goes prior to purchasing if so inclined I guess). Having reviewed the instructions and had a closer look at the sprues, I noticed none of the parts were numbered (although the sprues were), and the instructions didn’t have any labelling or parts callout. I had about 12 seconds of stress and then pretty quickly worked out you don’t actually need parts callouts or numbering – every piece is easily identifiable from the instruction, and if there are multiple identical parts used then it doesn’t matter which one of these you pick up. As with all MDF, dry-fit first to make sure you have the thing the right way round, but beyond that no issues.
Next thing I noticed – no spare space on any of the sprues. They had crammed in as much as possible detail-wise.
Parts all came away from the sprue just fine, with one exception where the laser hadn’t burned through completely at one point. Application of a box cutter resolved this without any drama. Parts all fitted with surgical precision, build was really easy once I was up and running. went with brushing on PVA to the relevant areas. Kit was built up with facade layers over an internal wall, so it was reasonably easy to hide most of the damage with the glue by applying it to surfaces that would be hidden form view once affixed.
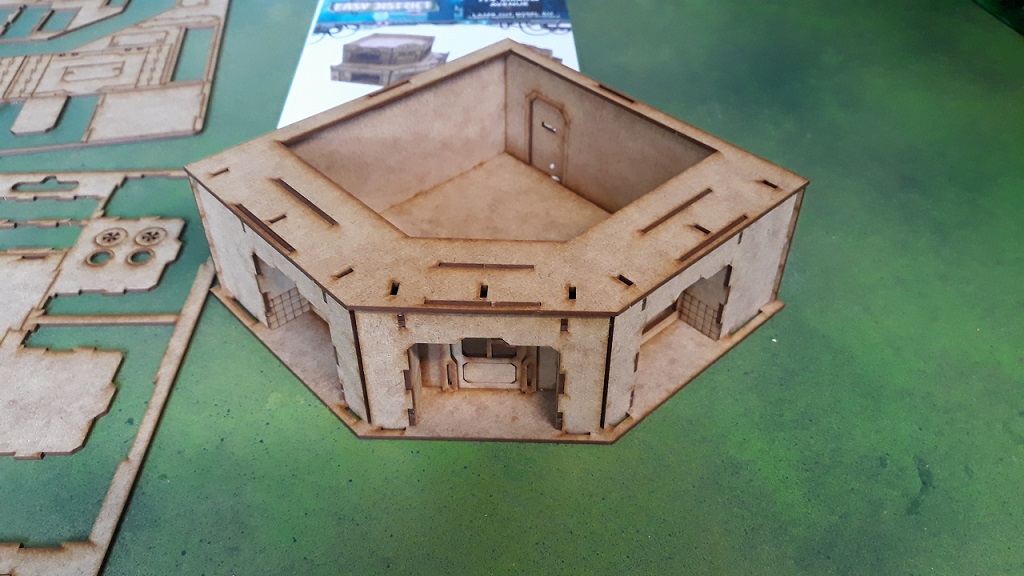 Ground Floor Structure
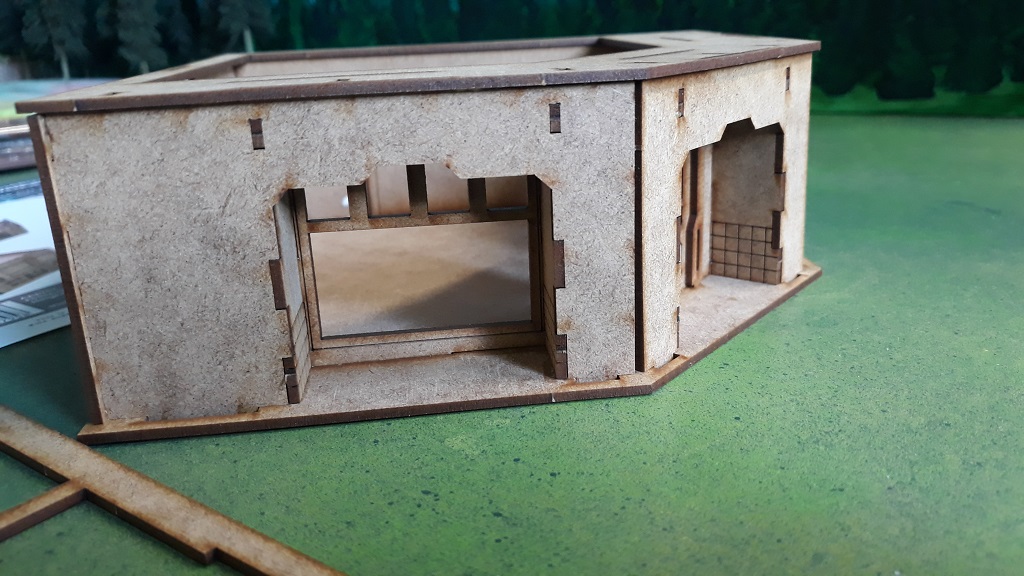 Side shot. You can see the tile detail burned into the surface of the entrance to the right of the shot indicating that this section will not be covered over.
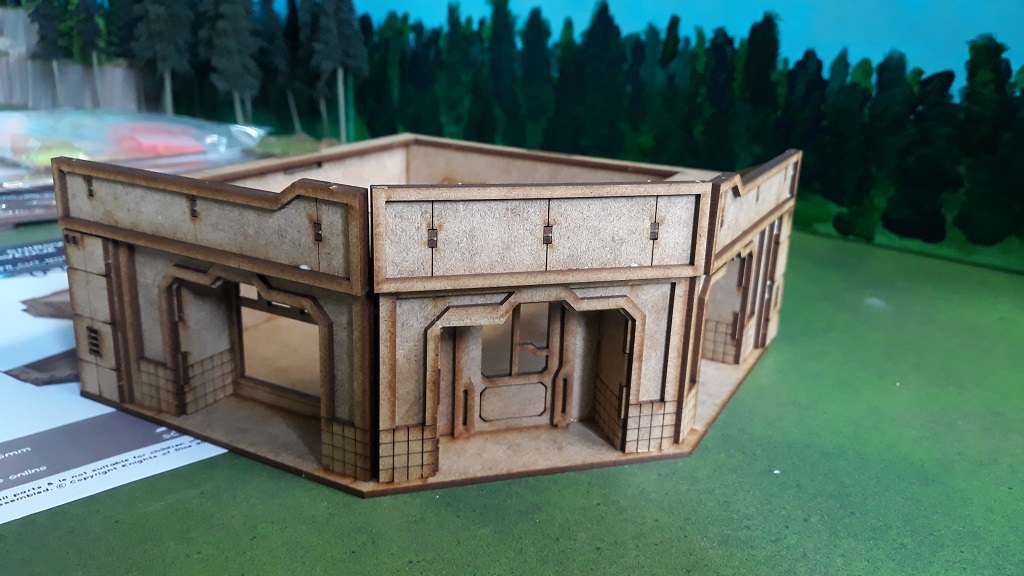 Ground floor with the various layers of facade all applied.
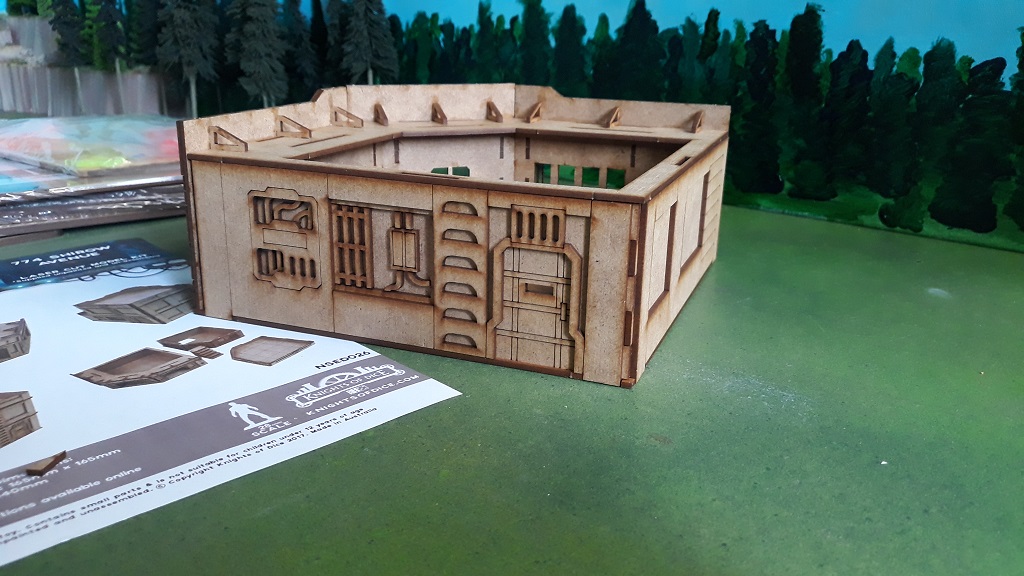 Ground Floor. Lloyd shot... Note the standard-issue in-built ladder to the left of door for rooftop sniping goodness.
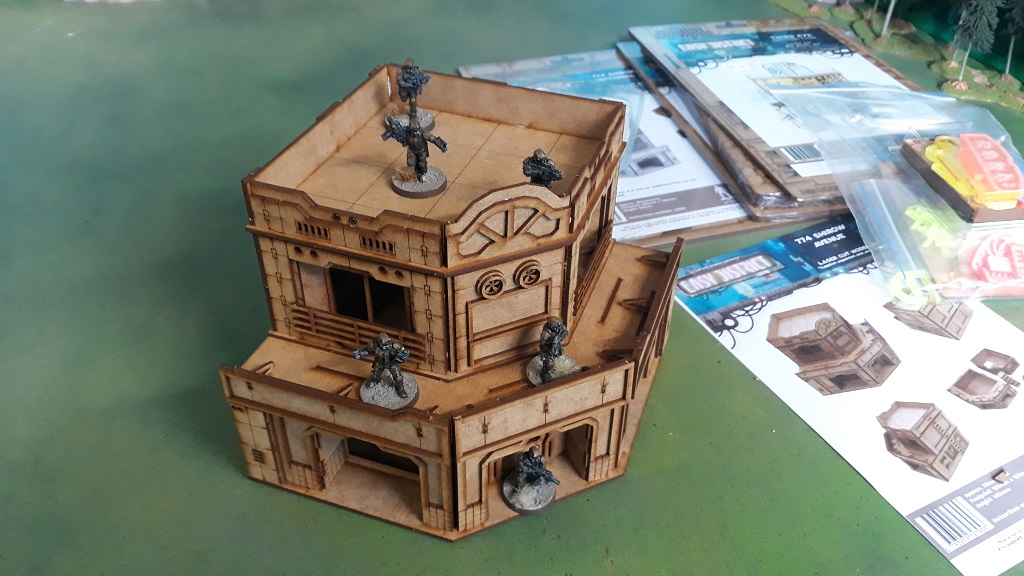 Completed build, which was quickly occupied by Afterlife minis for scale comparison purposes...
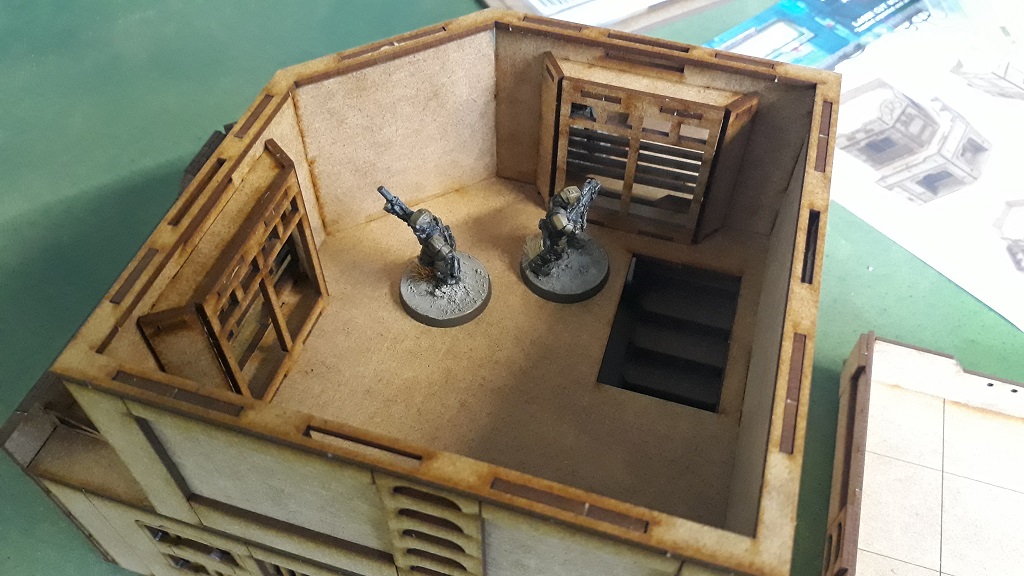 Interior shot - all the floors and roofs seem to be removable but are sturdy once placed in. Still weighing up the pros and cons of interior detailing...
Really happy with the end result. Took exactly one XLBS to build, will probably be able to smash out the two extra floors much faster now that I have my eye in and know how the kits have been designed. I’m planning to do as much of the painting on this project with an airbrush and weathering pigments (not simultaneously, don’t panic 😉 ) as I can.
Scale-wise this is ideal for what I’m after. I’m already eyeing off a few of their other kits…
Gameplan
Let’s see, where to begin…
OK, I have read Neuromancer, watched Altered Carbon, yelled at the live action version of Ghost in the Shell (which, just quietly, I did actually enjoy once I stopped comparing it to the anime…) and have even sort of convinced myself I know what’s going on in Blade Runner. So combining all of that, here is a list of everything I know for sure about our dystopian near-future:
- Everyone will live in claustrophobic, crowded, tightly compressed cities. This is apparently because all the land will begin to disappear in the next 20 years. The more vertical nature of cities will mean cars will not have to travel as far, so flying cars will be invented to assist commuters in vertical relocation.
- Everybody’s favourite colour is all the neon. All billboards will be animated, some may be holograms (and may or may not stalk you).
- The entire economy is based on ramen, sleazy strip clubs, cybernetic enhancements and industrial espionage. Despite this, corporations will grow to industrial behemoths, and the chairs of such corporations will wield almost godlike power. Which I guess they deserve for apparently getting in at ground level and locking in a slice of the lucrative ramen cart franchise market before anybody else saw that business opportunity opening up…
- It is perpetually raining. It is also perpetually 10pm on a Saturday night. I’m still trying to work through that bit mentally, and I’ll admit, it’s taking some doing…
- Music gets cooler.
- Should-be-prohibited narcotics and high calibre firearms are apparently readily available, perhaps from vending machines?
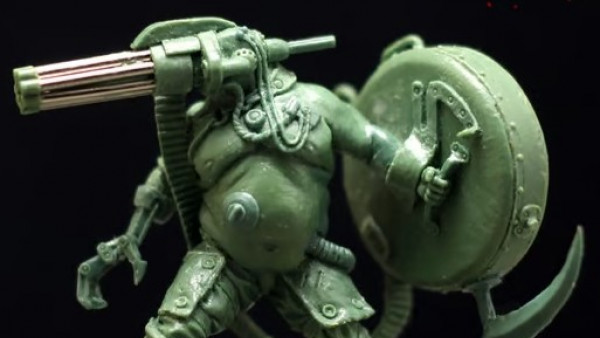
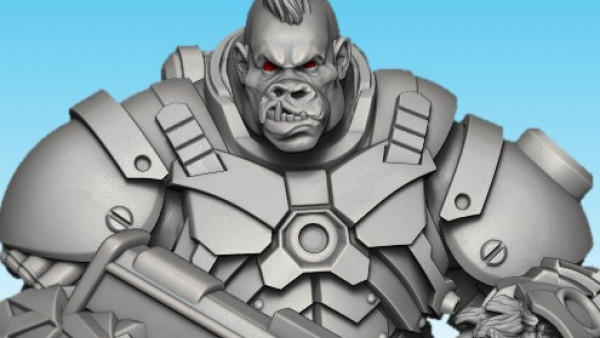
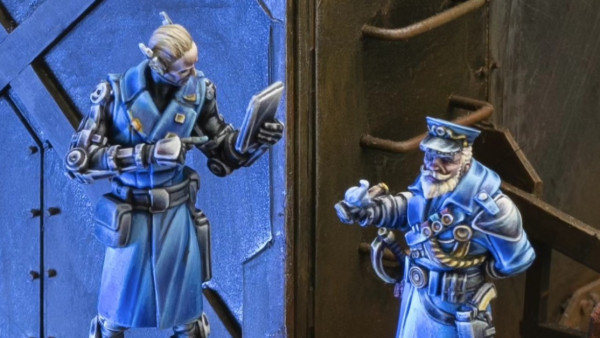
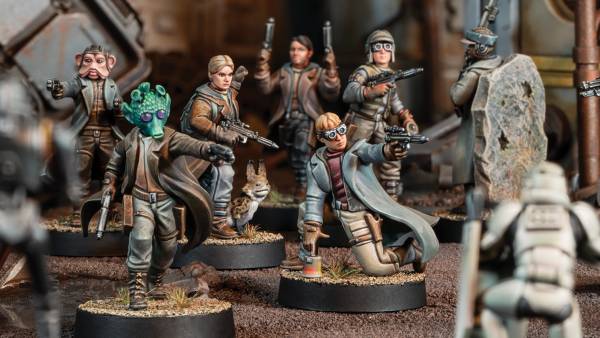
So with all that in mind, I’m going to set out to build a cyberpunk gaming table. I’ll admit that while I have a few ideas I have no real fixed plan at present. I do have a couple of buildings form Knights of Dice’s Neo Sentry range which I have had for a few years, so they should form a nice starting point to work from. I backed the Afterlife kickstarter game from Anvil Industries a few years ago and have only painted up one squad of the minis, so this should be a nice way of encouraging me to move forward with that project too.
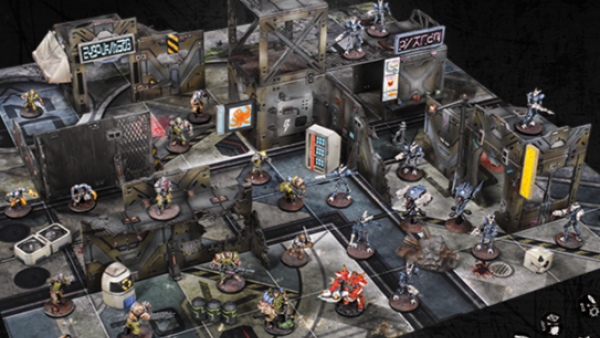
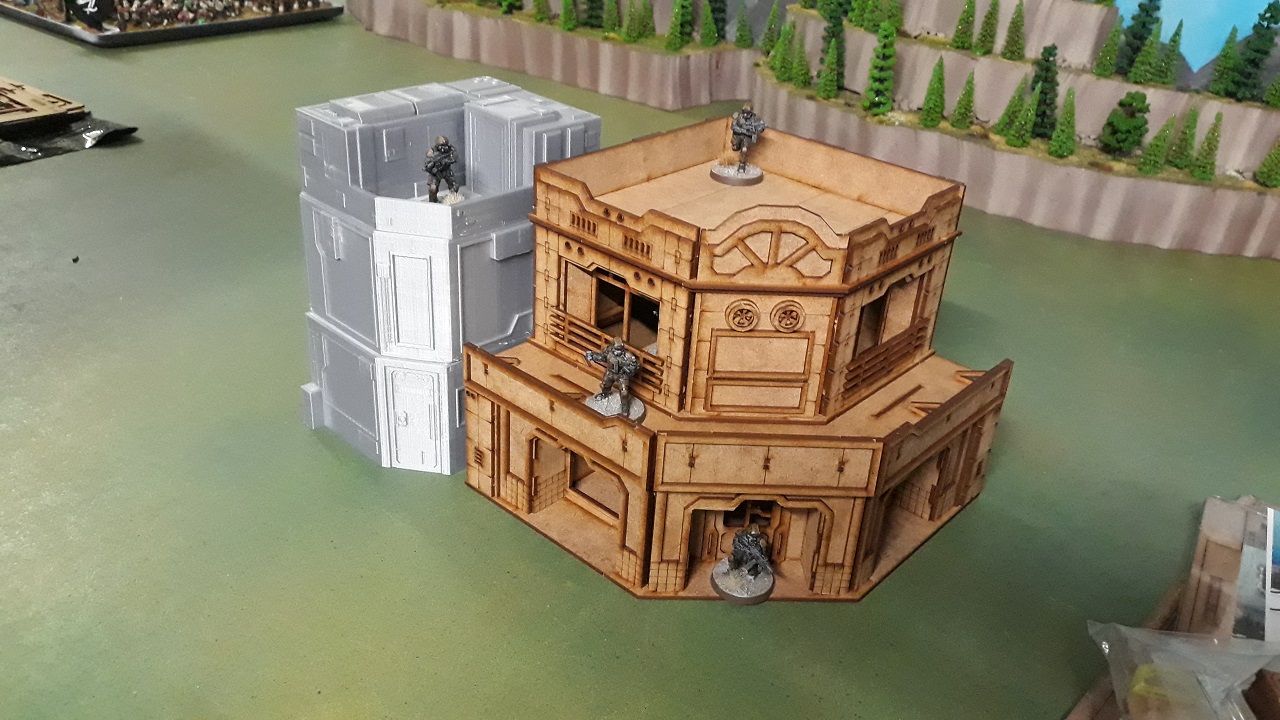
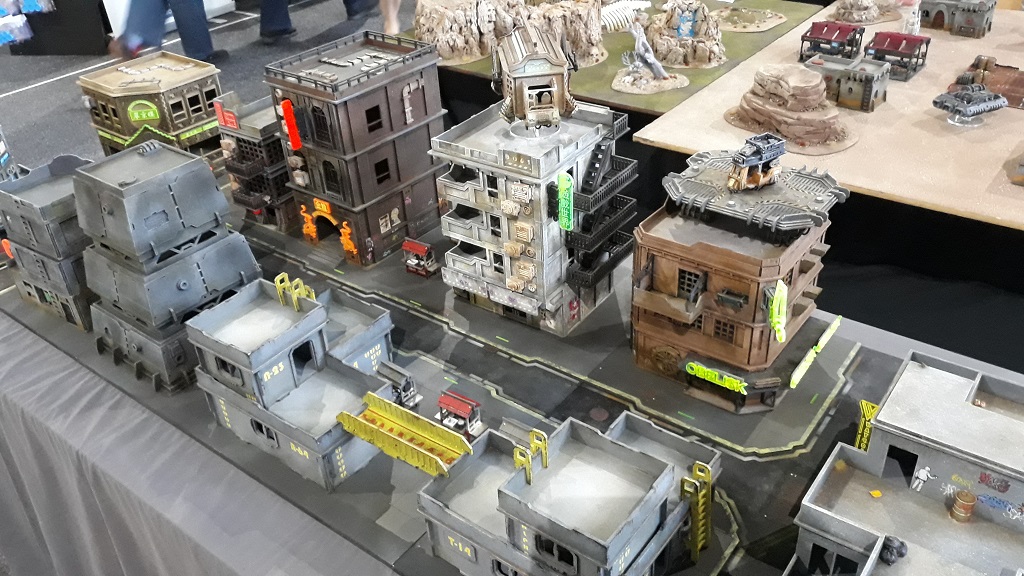 A table setup at the Knights of Dice stand form Cancon 2019 - I'll be aiming for something a little more compressed but this is sort of where I'm looking to land.