Infinity Red Veil Box
Recommendations: 95
About the Project
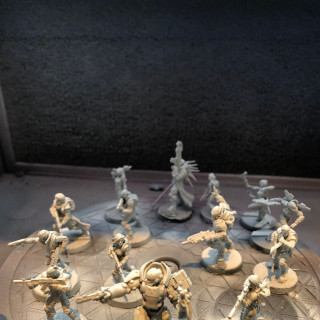
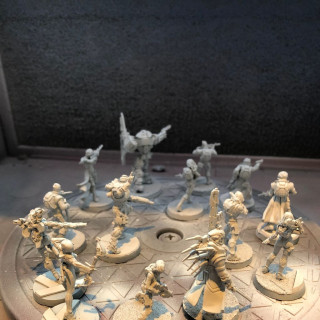
Inspired by the Spring Clean idea, I explored deep in to the man cave and discovered a forgotten purchase, the Red Veil box for Infinity. I've looked at this game so many times in the past, but never actually played it. Figured now is the perfect time to get a couple of squads sorted out and painted, ready to play once things get back to normal.
Related Game: Infinity
Related Company: Corvus Belli
Related Genre: Science Fiction
Related Contest: Spring Clean Hobby Challenge (Old)
This Project is Active
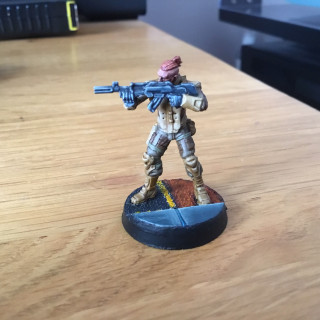
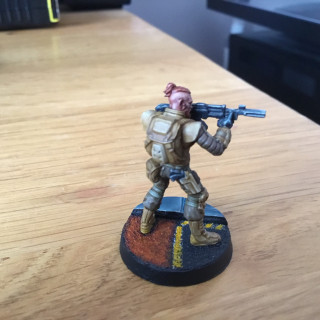
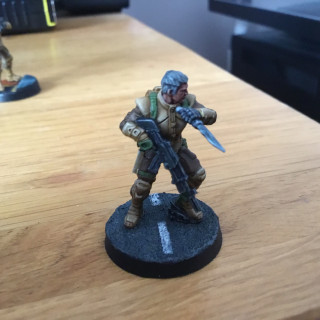
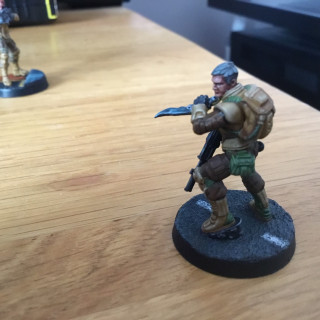
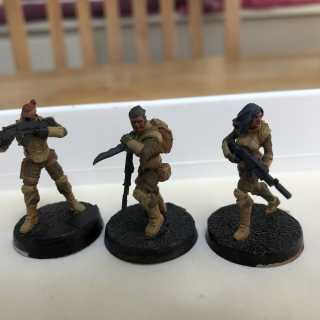
Ghulam progress
Quick update on my progress. It’s been slow, I’ve not been able to spend a huge amount of time over the last couple of weeks.
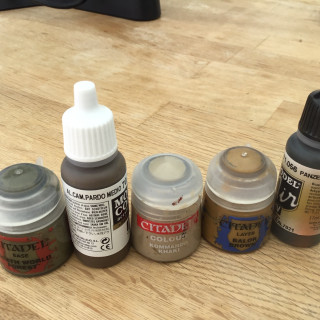
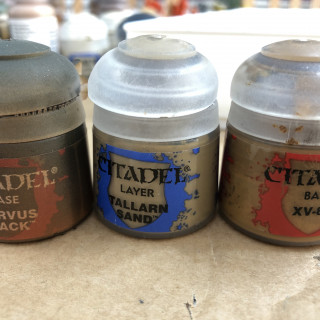
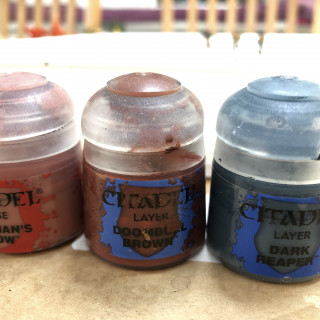
I made a couple of changes to the colours used and am now happy with my choices. I’ve added an image of some of the base colours used, for reference.
I think the bases worked out okay, although a finer sandpaper would have worked better. I am sticking with the theme of them being at street / road level.
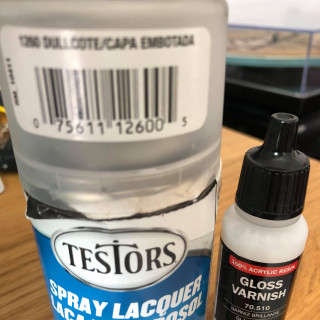
Not sure what everyone does in terms of protecting your paint jobs. I find that a coat of Vallejo Gloss varnish followed by Testors Dullcote works well. Gloss varnish is typically harder waring than matt so gives extra protection. The Dullcote is applied once the gloss varnish is dry so the model has a matt finish.
Thanks for reading
More progress yesterday
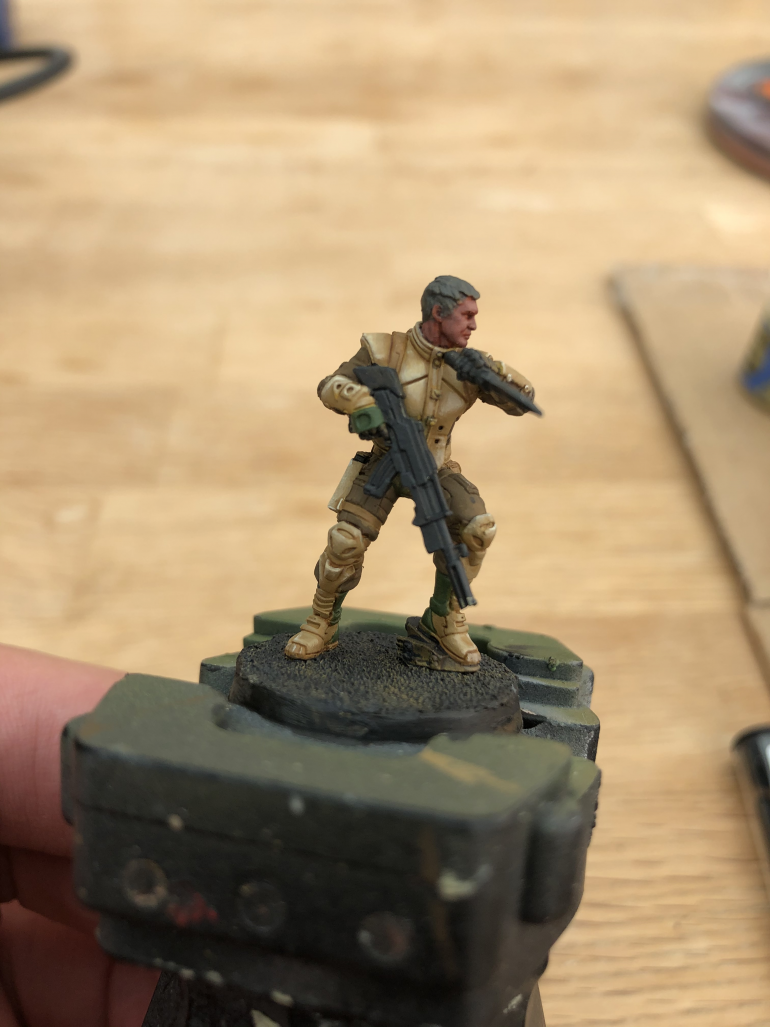
I’ve decided to paint the Haggislam miniatures first starting with the 3 Ghulam. I’ve added images of the colours used for reference.
I started by applying the base colours. I like to do this on a few miniatures at a time and then focus on the detail and highlights individually.
I’ve laid down the initial highlights on the armour one of the Ghulam and need to smooth the transition. I’m not overly happy with the colours so plan to try something else. I was planning a leather look to the belts, straps, pouches and backpack, but think that’s where the problem lies. Think I’ll take the same approach as Corvus Belli’s and paint these a shade of green. Also not sure on the colour of trousers and sleave so might review these.
Thanks for reading
Priming and Base Colour
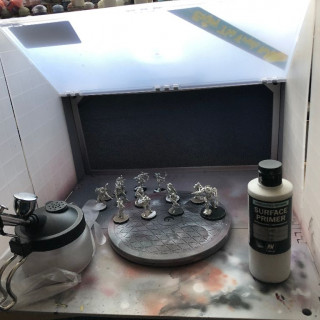
More activity this evening getting the miniatures primed. There’s nothing too exciting in this post other than documenting the process, tools and base colours.
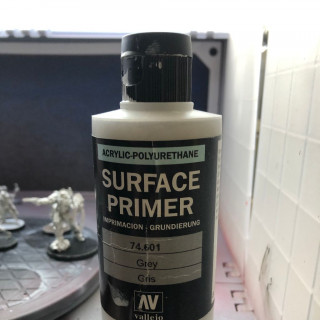
I own an airbrush which comes in handy for this step. I use Vallejo Surface Primer applied to all the miniatures through the airbrush.
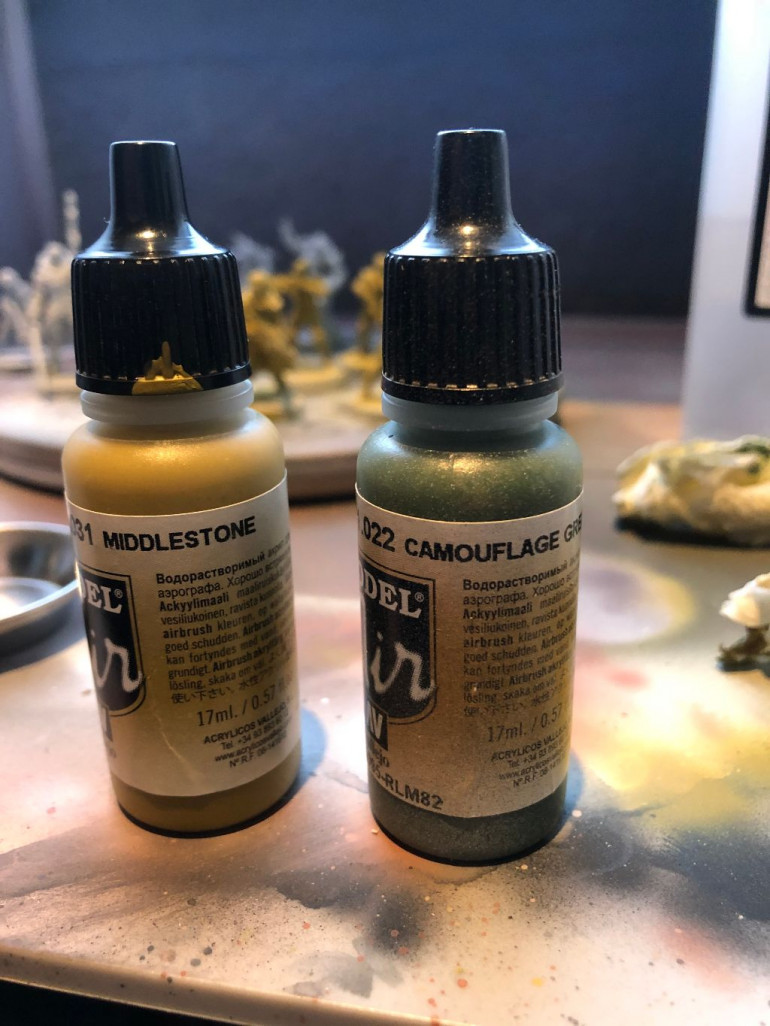
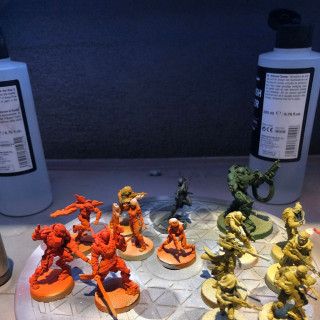
A base colour of Vallejo Air Middlestone was then applied to the Haggislam miniatures. I figured this was a good mid-tone as I’ll be using mainly browns on these models.
The Haggislam Al Fasid was given a healthy coat of Vallejo Air Camouflage Green.
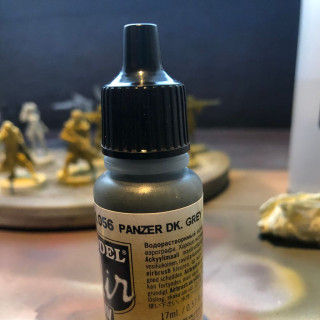
The Assasin was primed and then coated in Vallejo Air Panzer DK Grey. This model has a lot of black so it made sense to start with a dark grey.
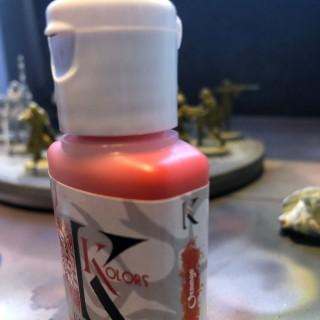
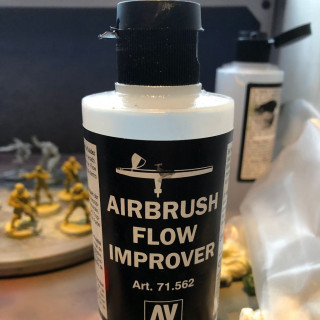
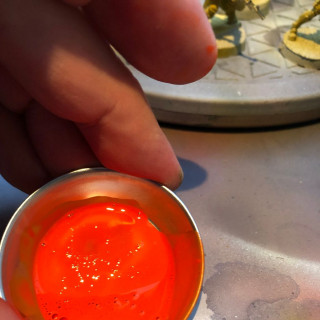
I use Kimera Kolors Orange for the armor of the Yu Jing models. These paints are amazing, they have high pigment concentration so are very bright and perfect to dilute down and apply through an airbrush. They are also perfect when it comes to brush work and applying glazes. I thin the paint down with a few drops of Vallejo Airbrush Flow Improver and water.
The orange looks weird at the moment but it should be a good starting point. airbrush control’s obviously difficult with this size of model so its a bit messy.
Final step is to clean the airbrush.
I run Vallejo Air Brush cleaner through the brush after every stage. This obviously avoids unwanted colour contamination, and also makes the final clean down at the end of the session very easy.
That’s it for the airbrush and this post. All future work will be done with the brush, I’ll update the project after the next stage.
Thanks for reading 🙂
Yu Jing Cleaning and Assembly
I used the same tools, material and process to clean, assemble and base the Yu Jing models. Everything went together really well with a minimal amount of filling needed.
Basing tip
No doubt many of you do this or have a better approach but I thought it would be worth sharing.
When basing metal miniatures, I like to cut the block of metal that runs across the bottom of the base, just so it leaves some below the parts that will touch the base.
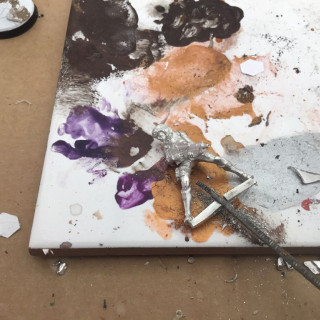
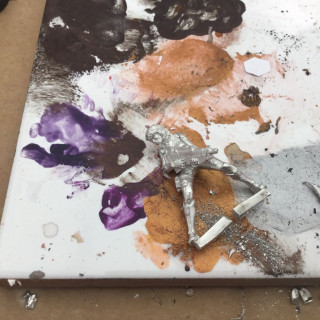
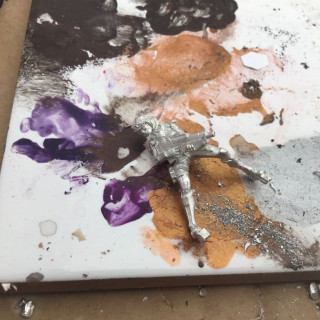
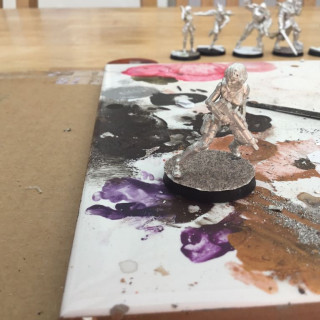
The one problem with this is that you can end up unintentionally pushing the legs apart while using clippers. A way around this, is to file through the centre to provide some relief. Images speak loader than words so I’ve also added a few pics of the steps.
- File through the metal bar
- Clip off either side with a slight tapper, this will give a robust fit to the base. I recommend doing it as tight as possible to reduce the impact when cutting out the base
- Offer the model to the base aligning the remaining metal with the grove below the base and mark it. Carefully cut through the base and then glue the miniature in place
Model cleaning, assembly and basing
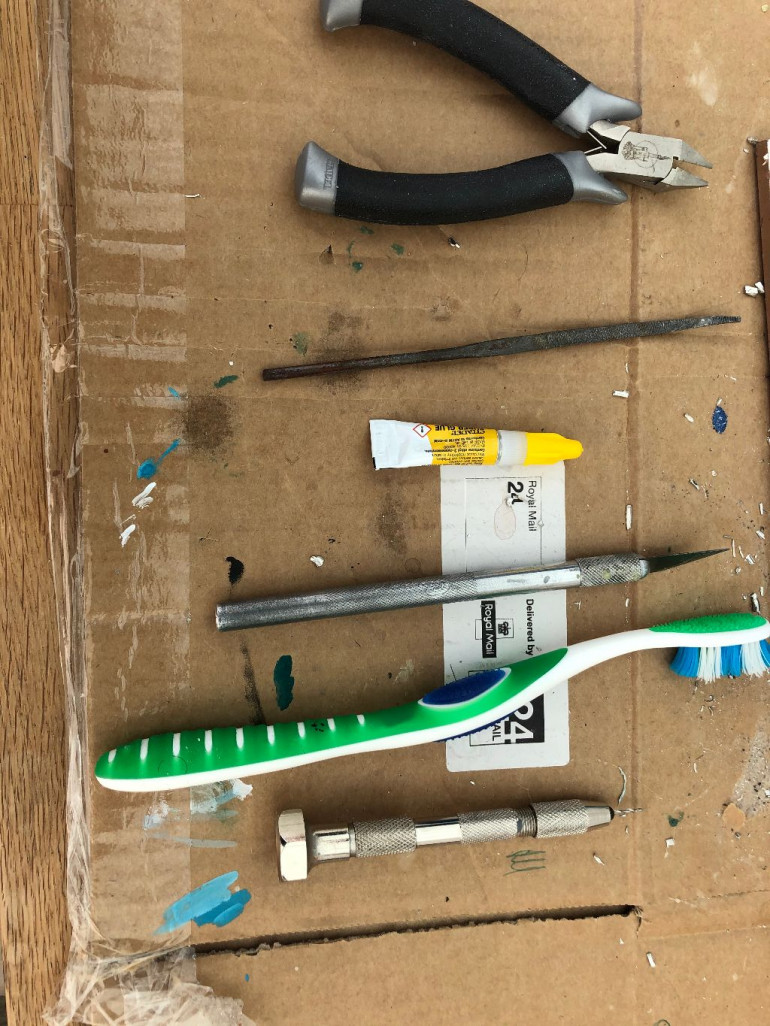
Cleaning tools
Metal files, hobby knife, clippers, hobby drill and tooth brush
Used the file, hobby knife and clippers to remove any metal flashing and clean up the mold lines.
As always with metal miniatures, you need to clean the parts in washing up liquid and warm water before assembly. This is where a tooth brush comes in handy.
Basing materials
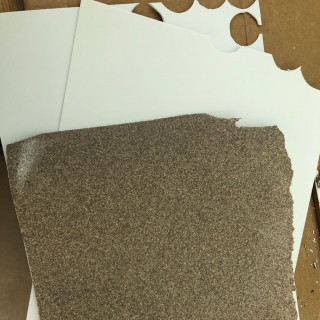
Plasticard and sand paper
I want to the represent the the Hagislam models being at street level. A fine grade sandpaper is ideal where you want a flat road surface finish. The pasticard is used to form curbs and pathways.
Assembly
Now they’re cleaned and washed its time to put the model together.
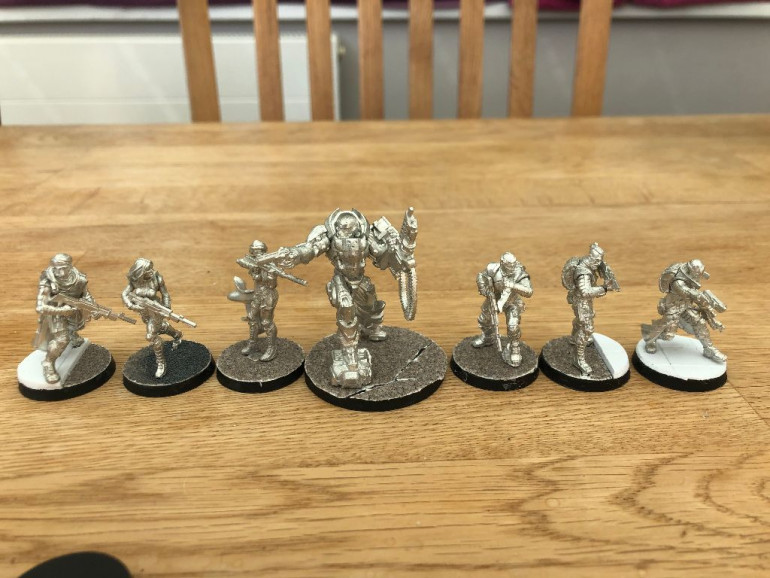
I haven’t worked with metal model for some time and forgot how much I prefer them to plastic. All the model went together brilliantly, they needed a bit of care in places and the joints needed a small amount of addition filing to assure a snug fit.
I cut out the sand paper and plastic for the bases. I thought it would be quite neat to represent the squad forming a line across a road when stood next to each other in the right order.
Now on to the Yu Jing force, my personal favorites.


![How To Paint Moonstone’s Nanny | Goblin King Games [7 Days Early Access]](https://images.beastsofwar.com/2024/12/3CU-Gobin-King-Games-Moonstone-Shades-Nanny-coverimage-225-127.jpg)


