


Bot War Painting Challenge 2020


Recommendations: 666
About the Project
Bot War Painting Challenge 2020..... Paint for 31 minutes for 31 days. Complete a minimum of 7 figures from the Bot War game by Traders Galaxy
Related Game: Bot War
Related Company: Traders Galaxy
Related Genre: Science Fiction
This Project is Completed
Day 18....
Very short swift update as last night I really struggled due to a hammering headache. Couldn’t finish layering up the green. 31 minutes a day is the minimum required so I took full advantage of this and didn’t spend any longer than necessary so I could go rest. Will have a bigger update tonight for day 19 as I plan to have a decent paint session after I finish work to catch up.
Day 19....
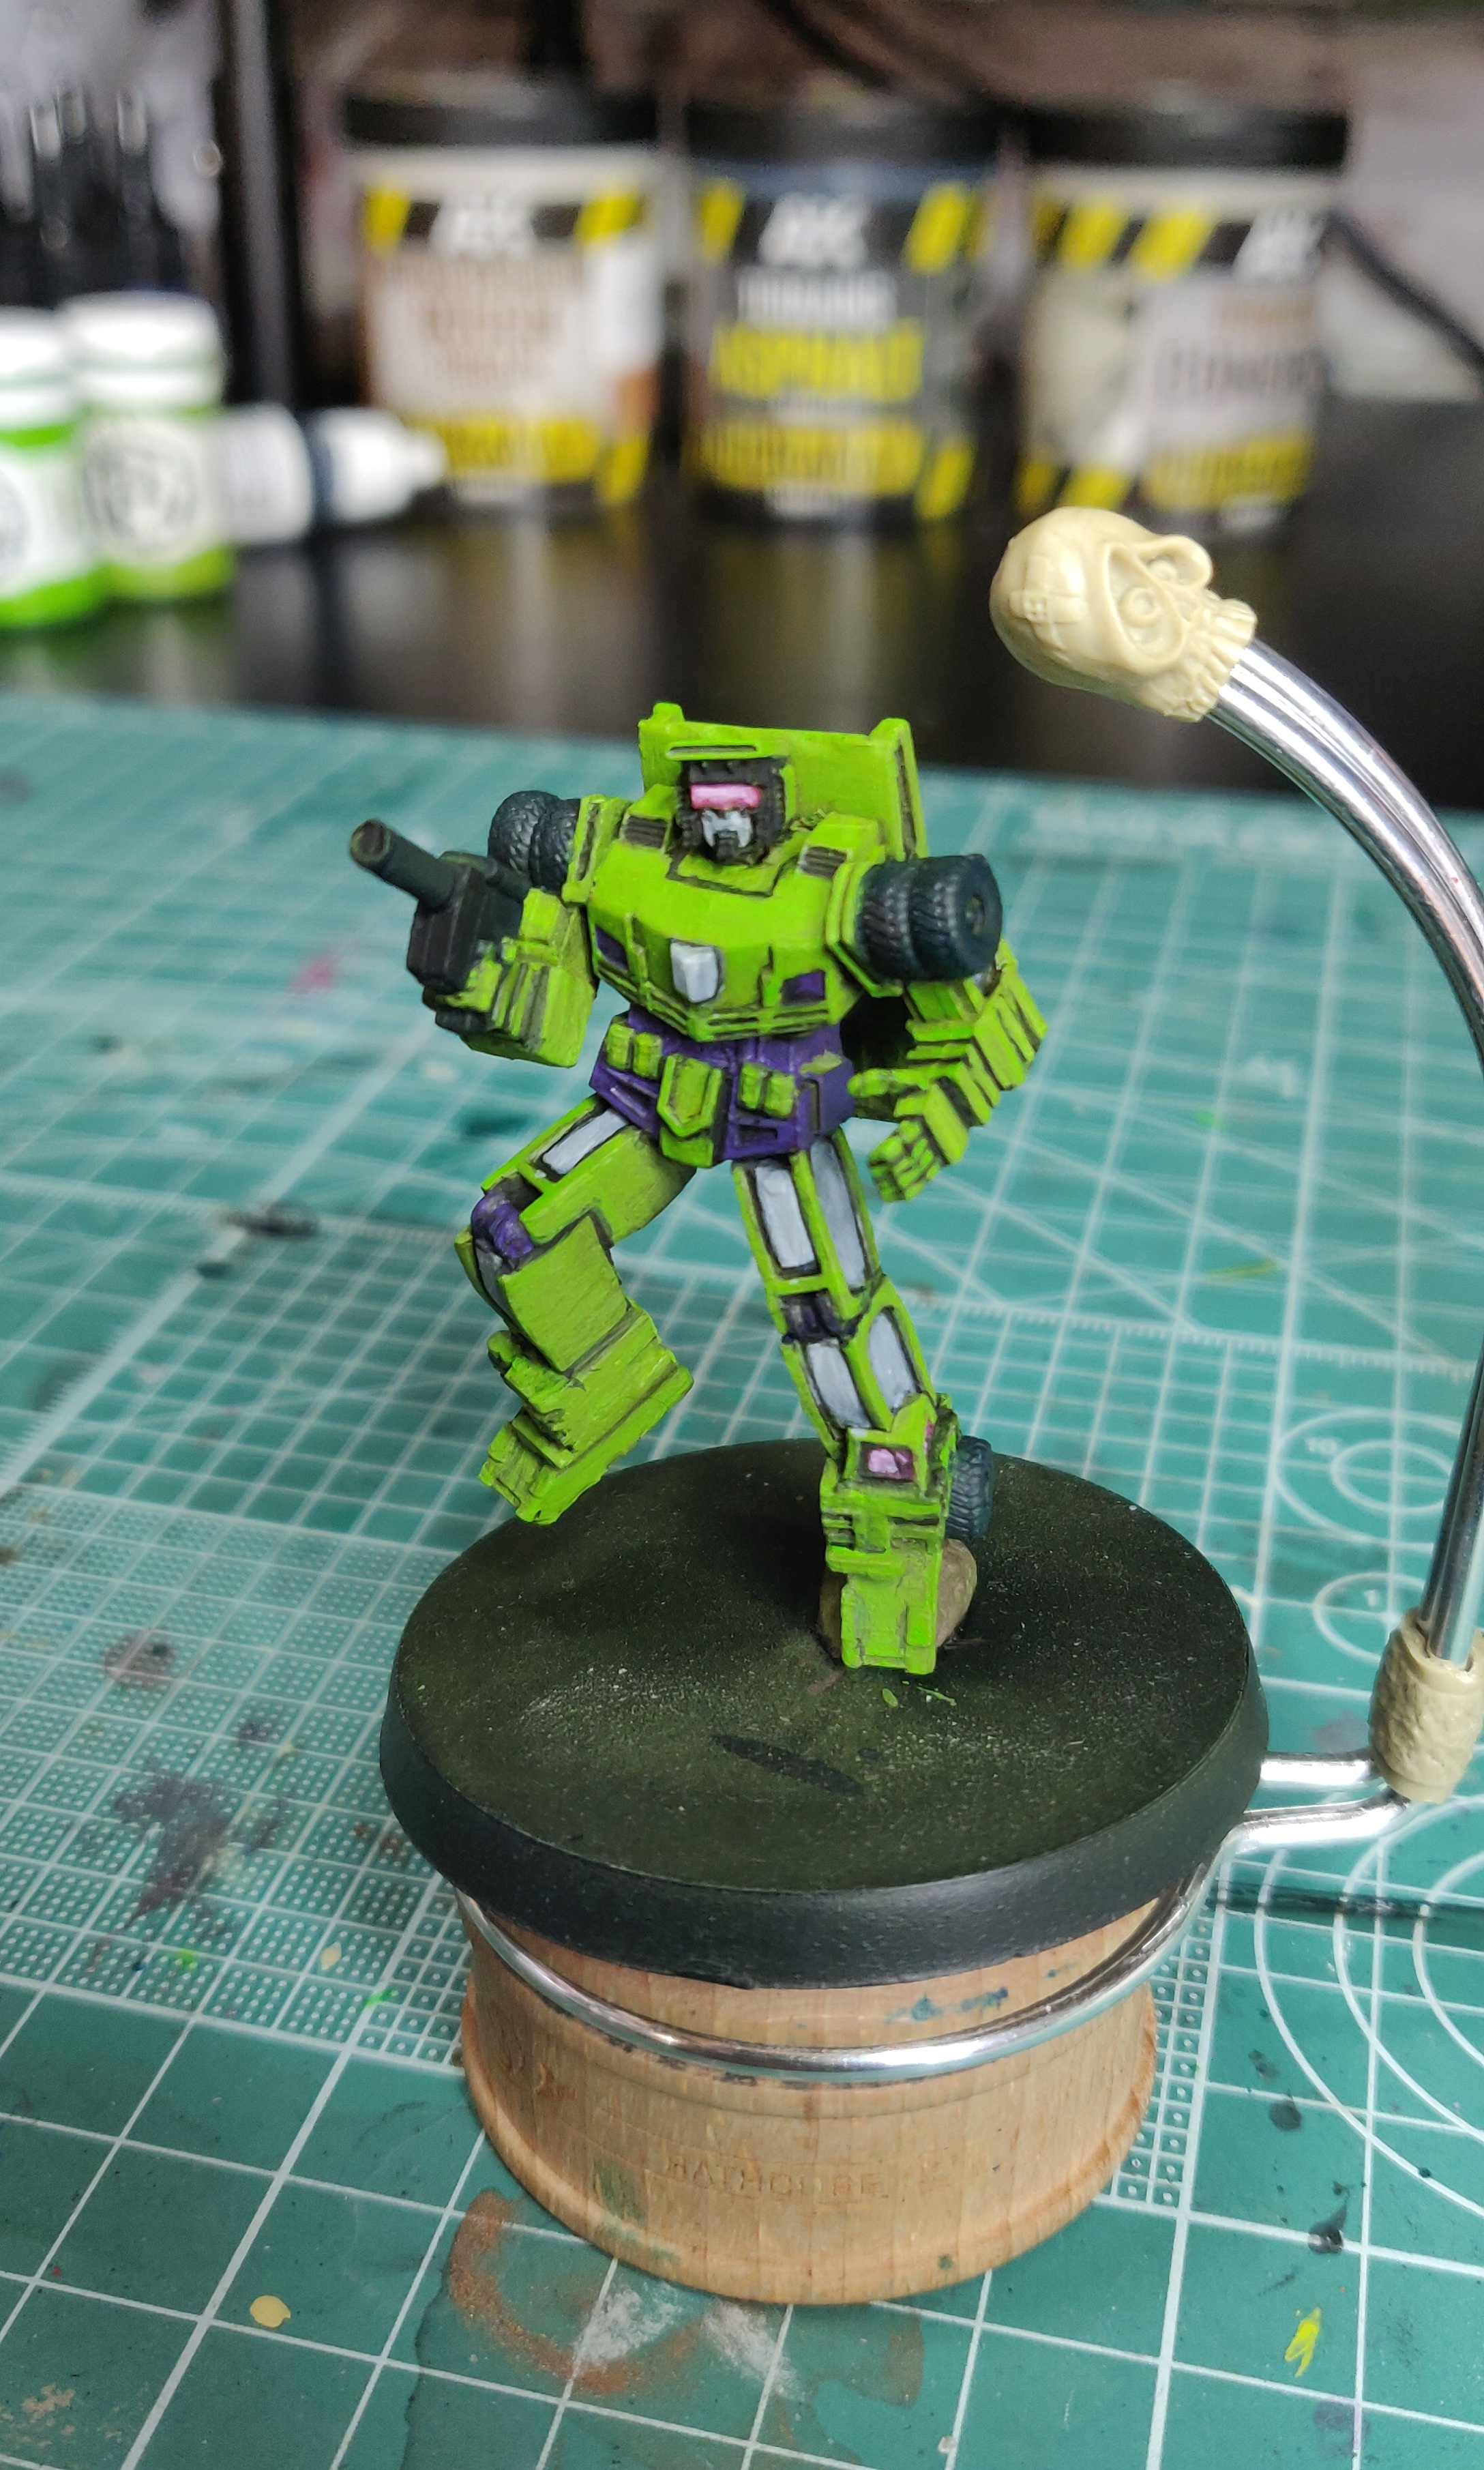
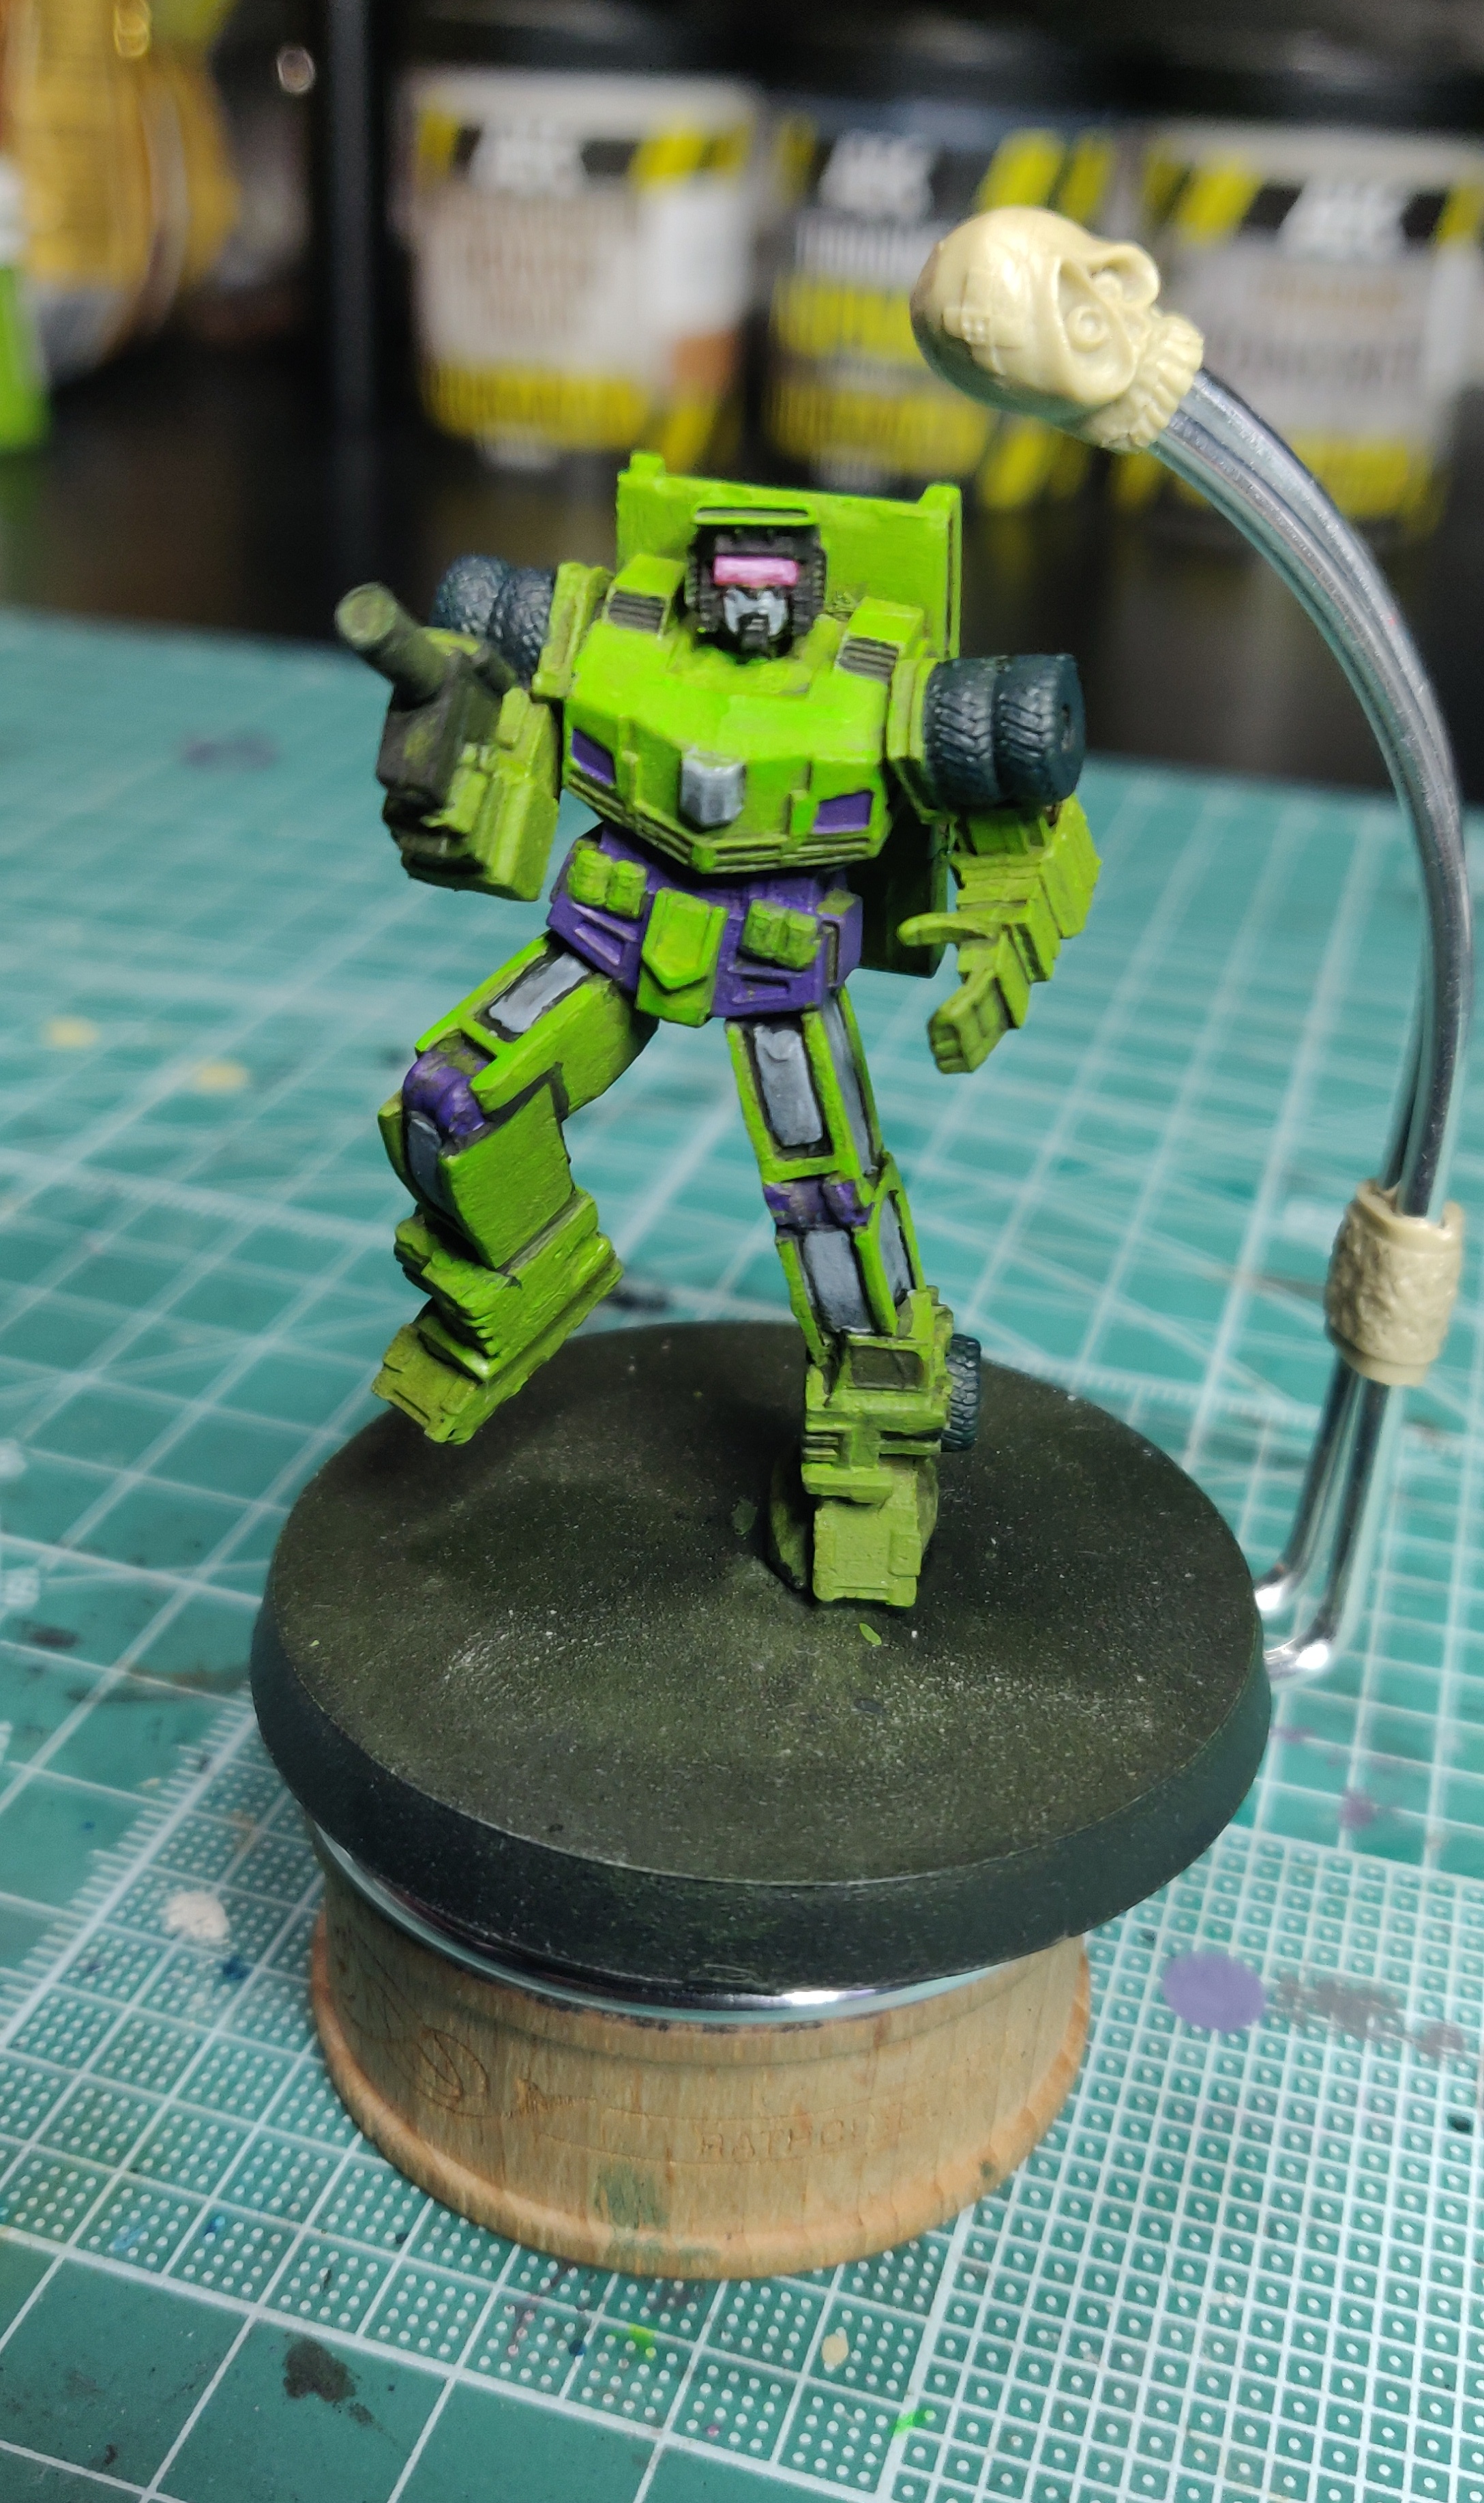
Day 3 of Dumptruck, usually I would be finished by now but yesterday was a bit of a difficult day for me and so I didn’t manage to get more than 31 minutes painting done.
Today though I finished up the layers and black lining. I also added in some glass to the left foot similar to the visor using a workup of vallejo Game colour extra opaque heavy red (not the shortest name around) as the base, then layering in vallejo model colour magenta, and whilst still wet dab in some reaper Foggy Grey.
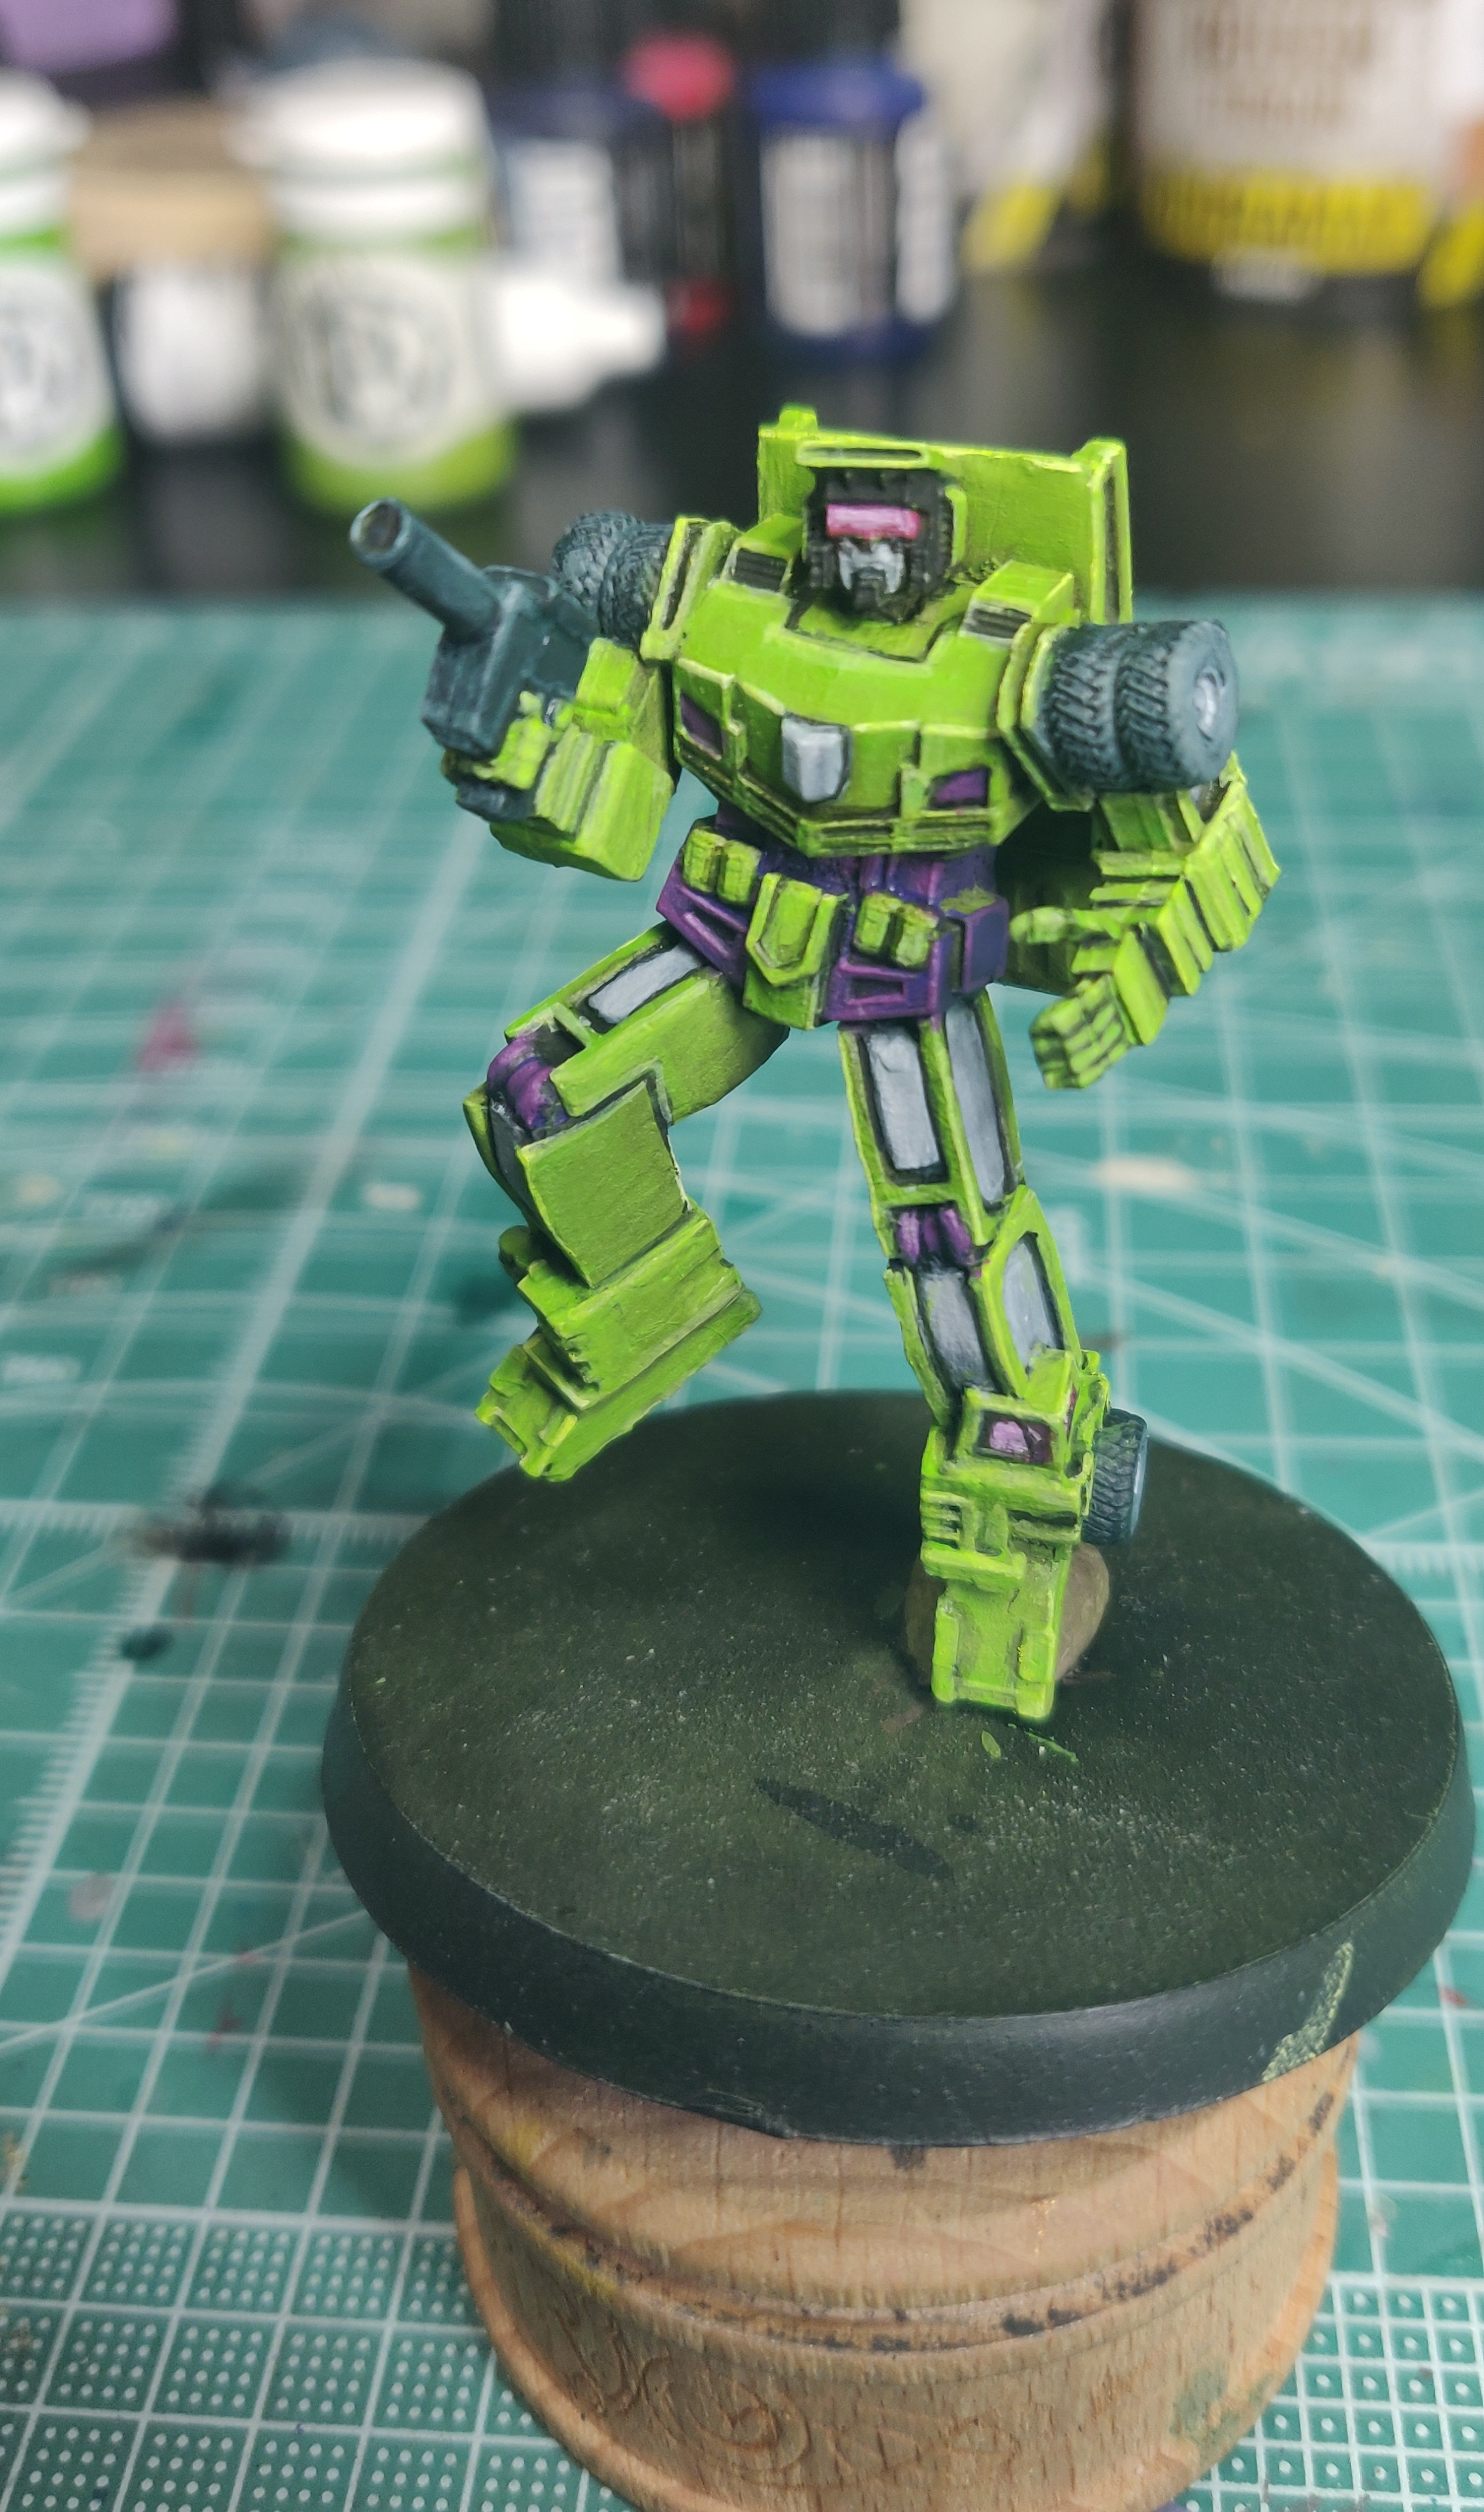
Tomorrow will see the end of this bot as I plan to carry out all of the edge highlights, I may try to dull down the green a touch as it is quite bright.
Day 21....
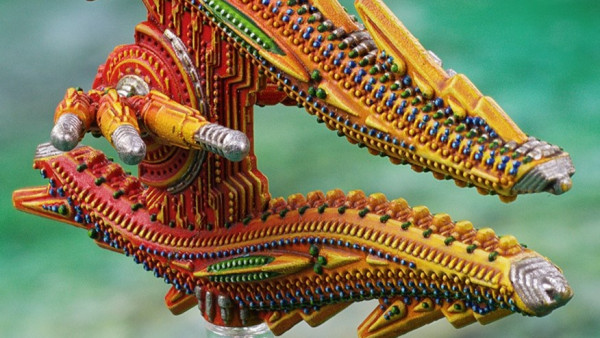
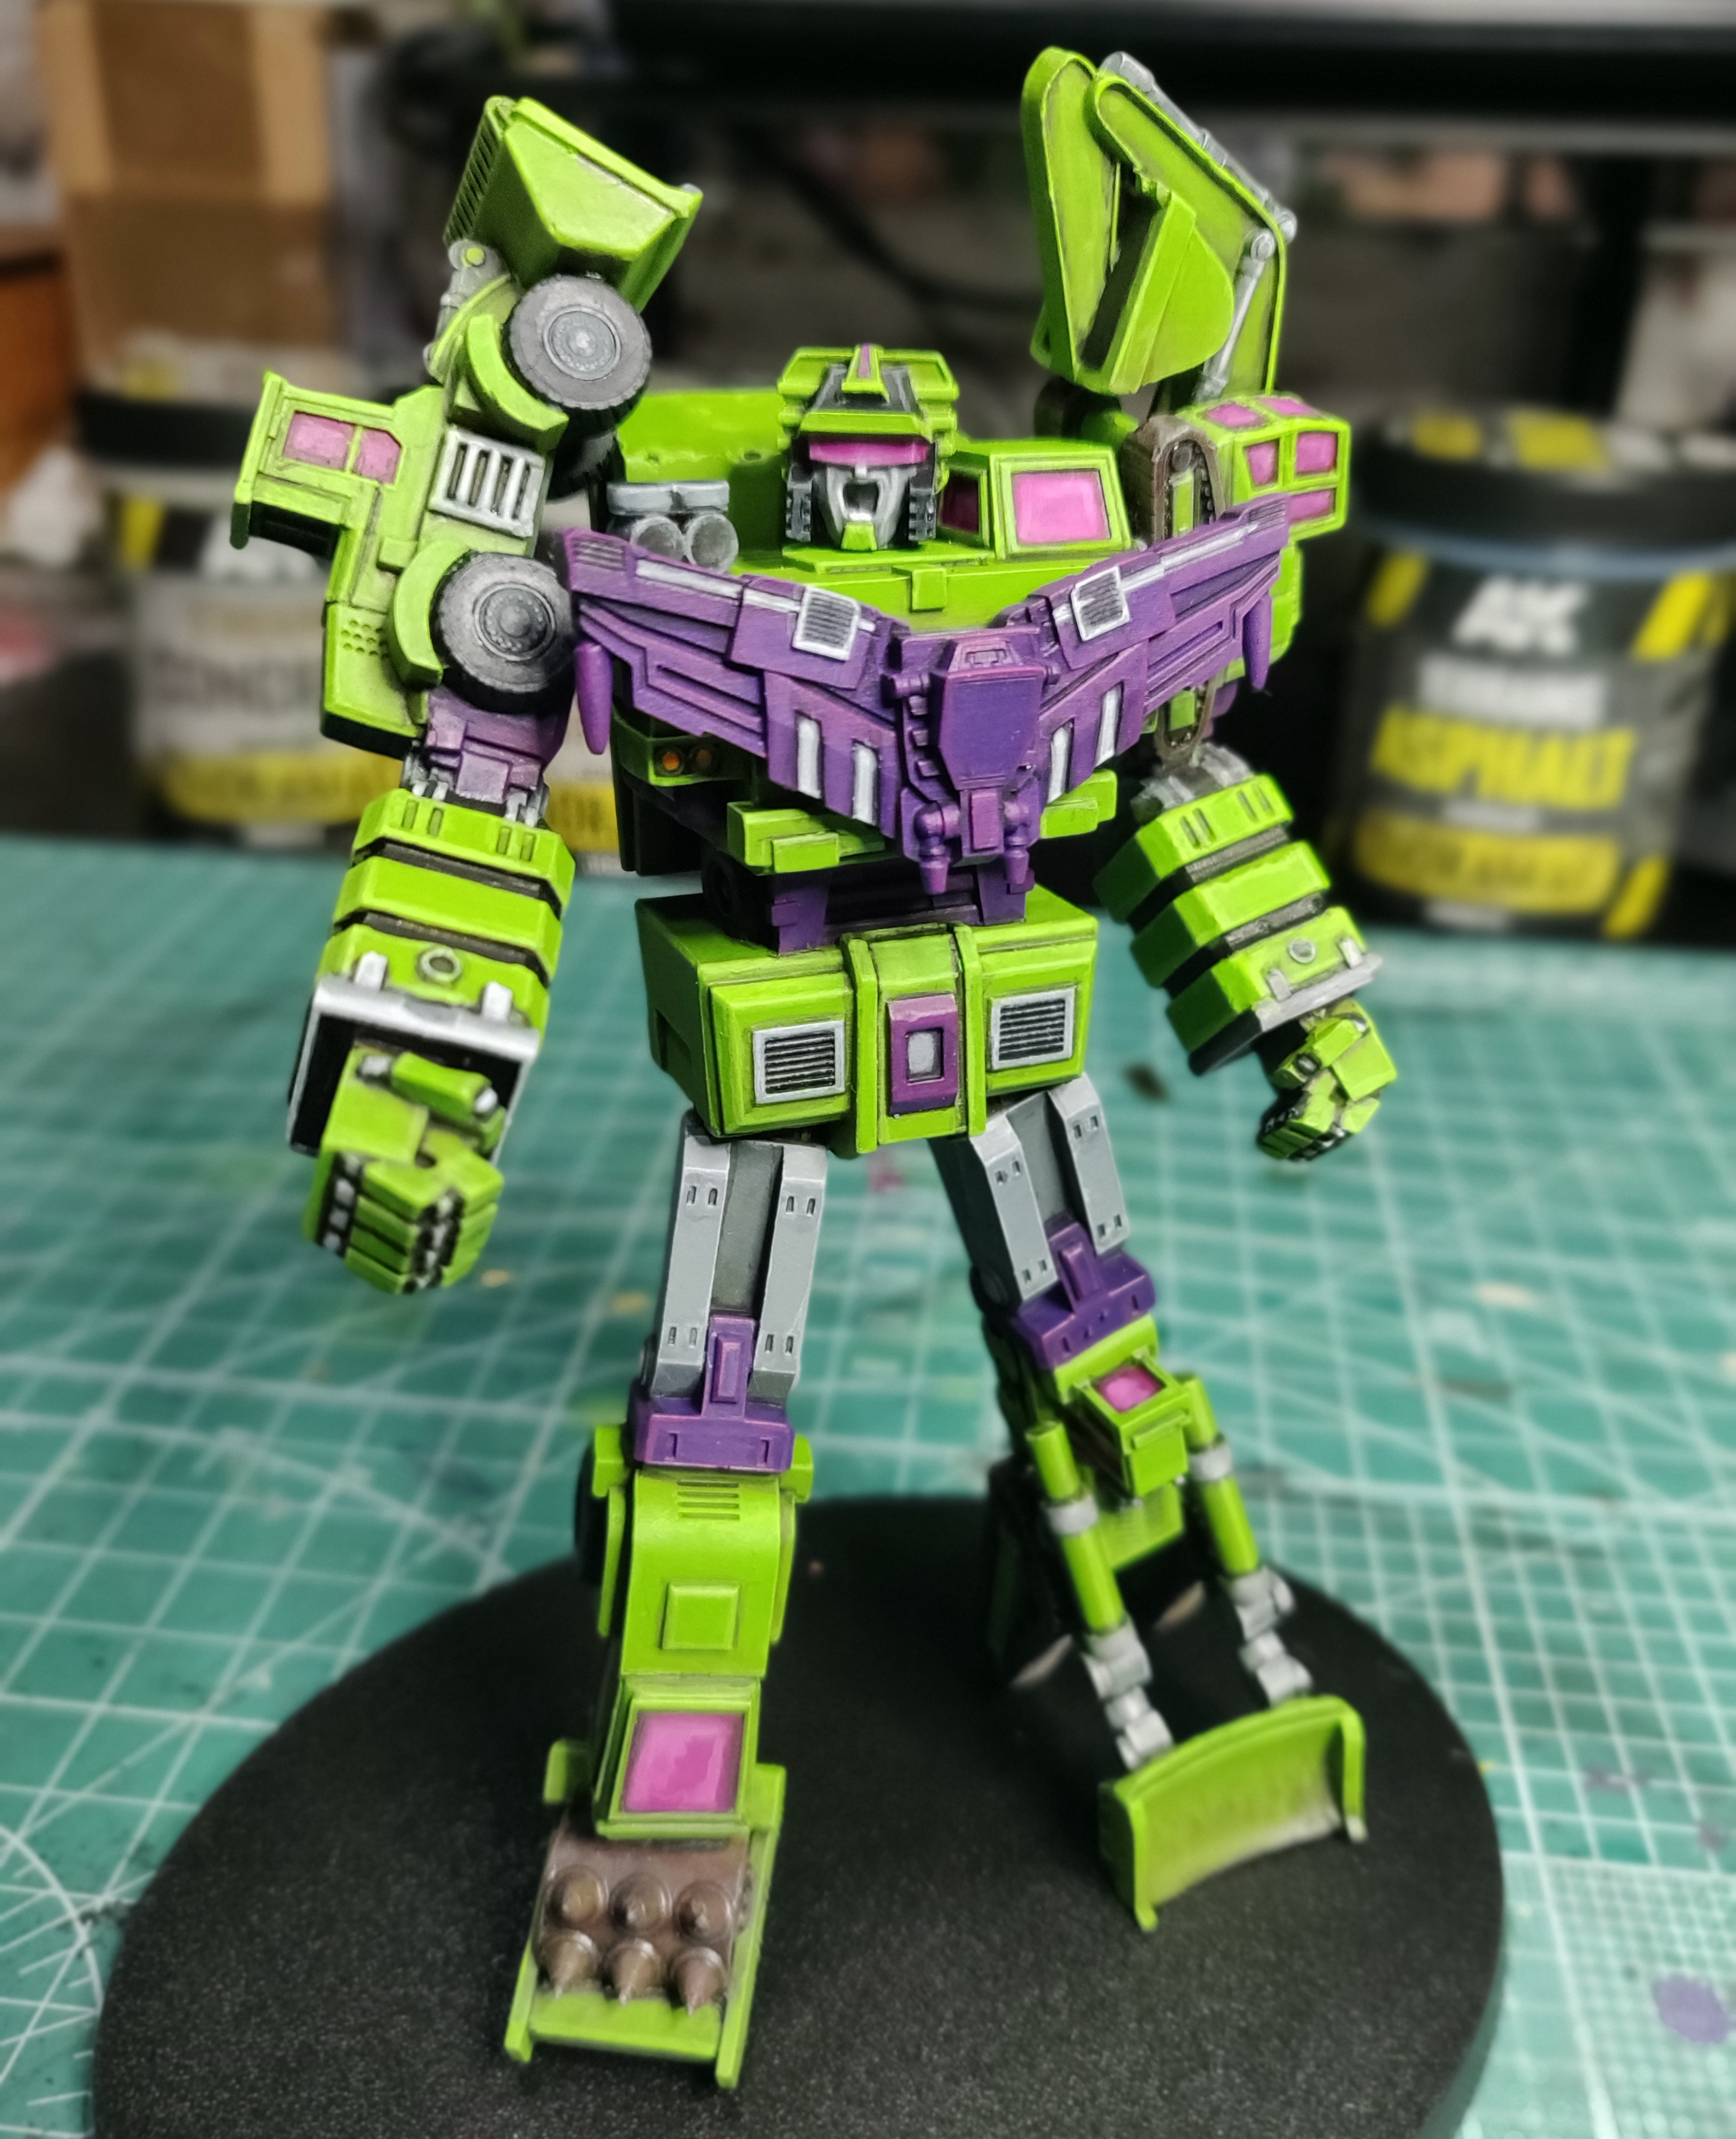
Destroyer!!!
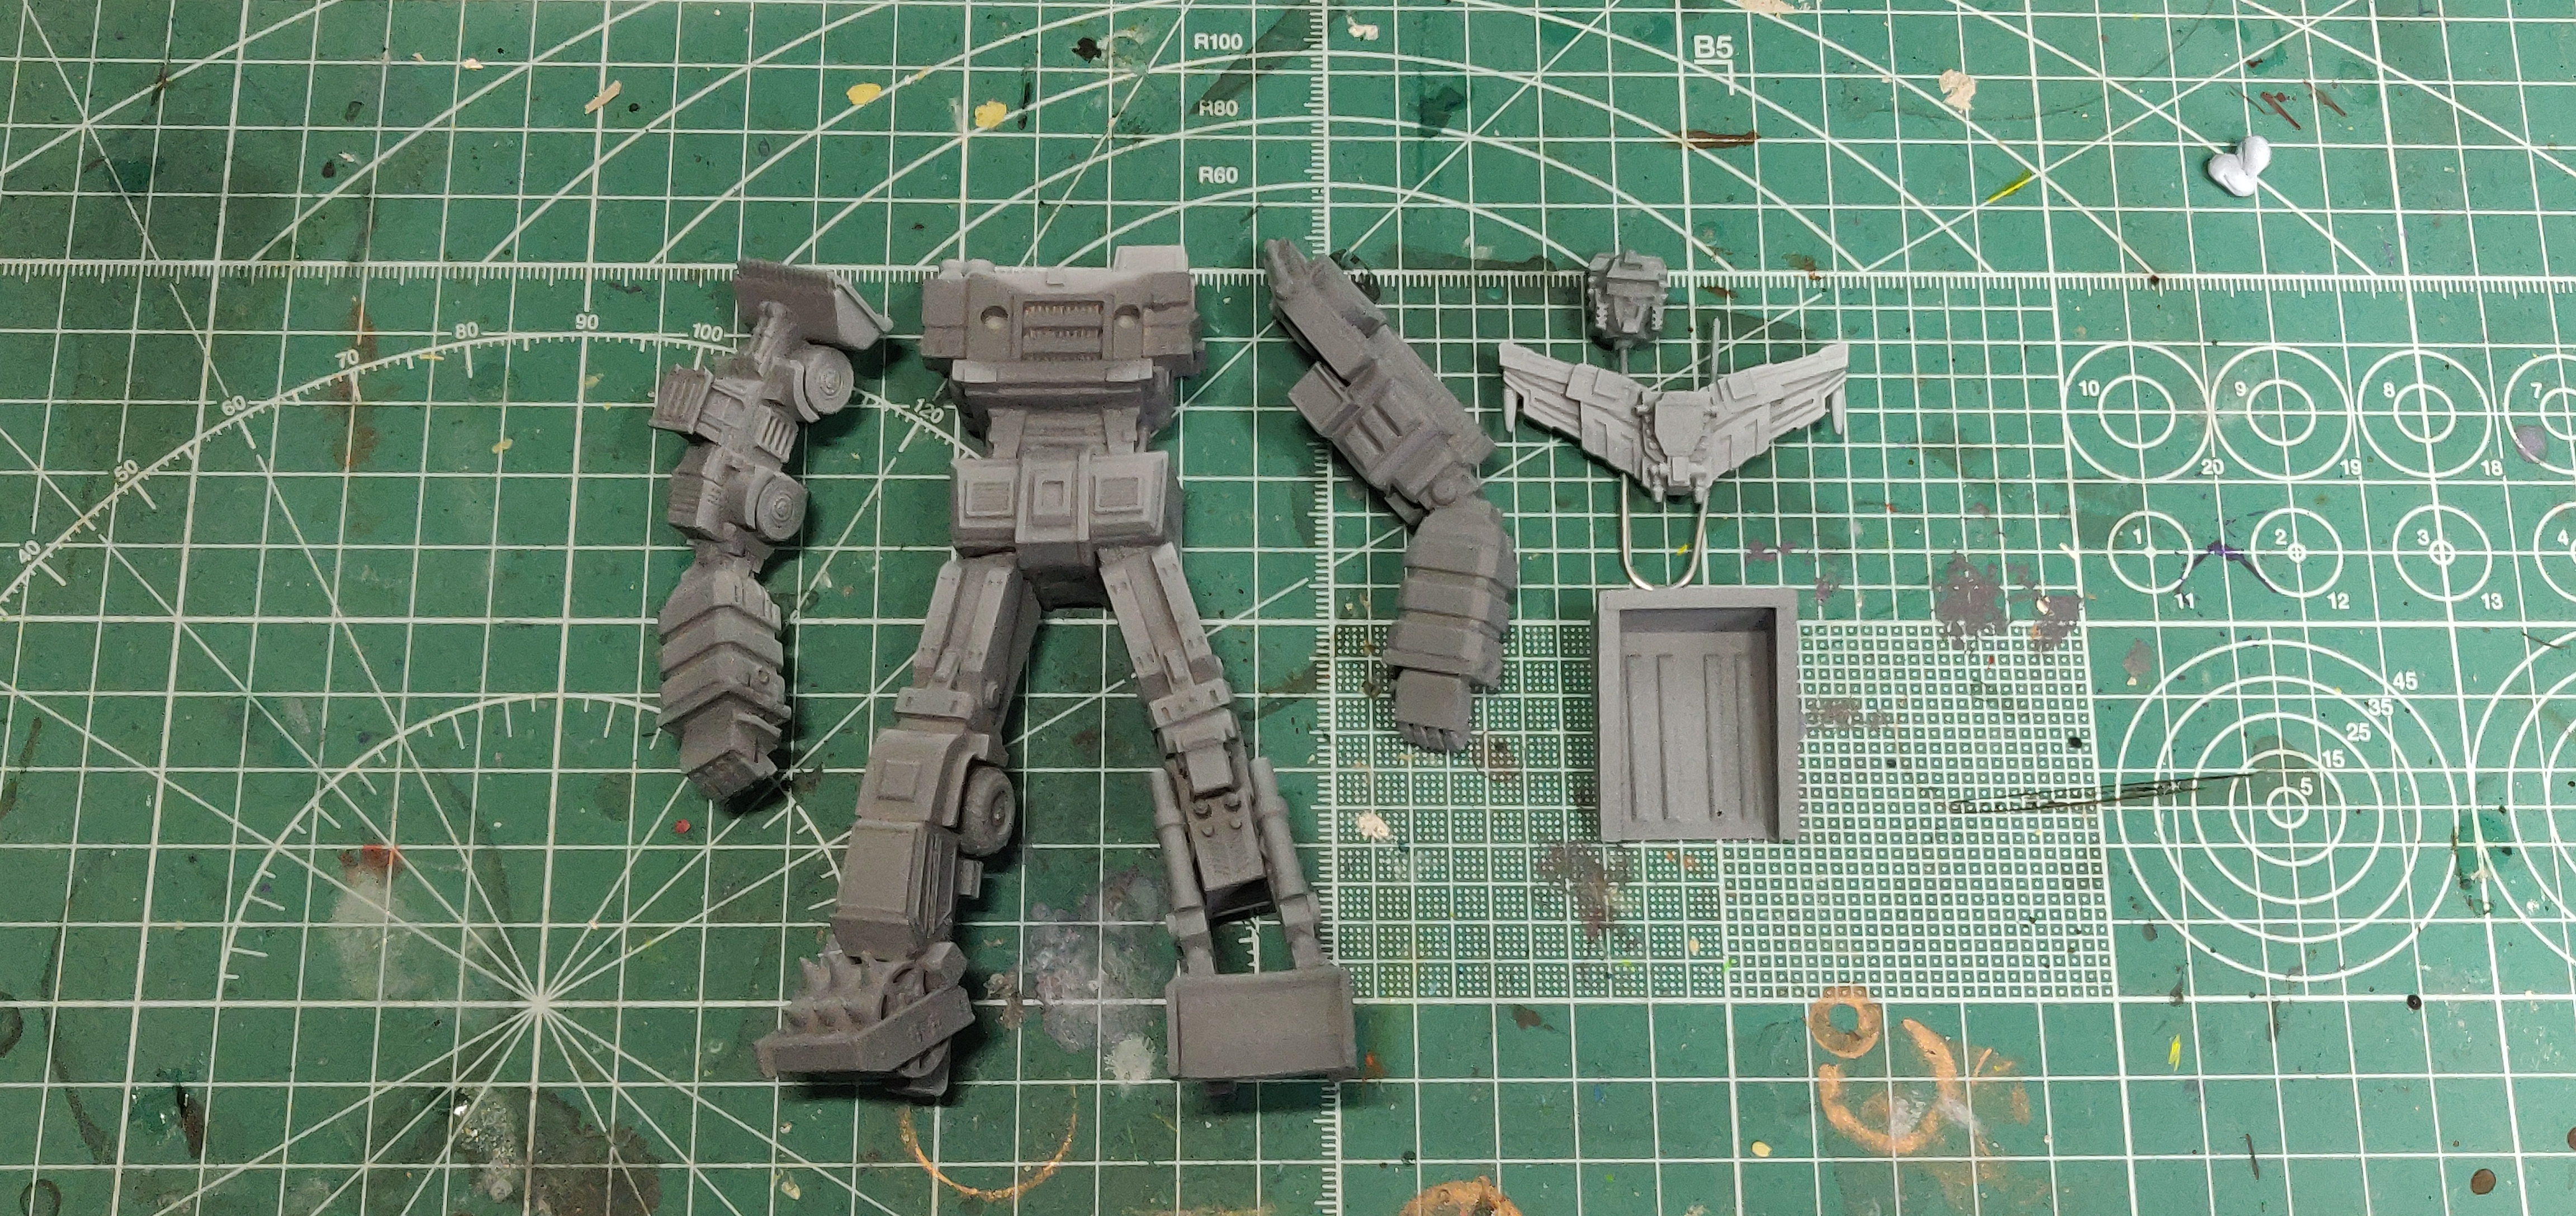 Resin big bot in his sub assemblies, grey/white primed
< Coming Soon >

< Coming Soon >
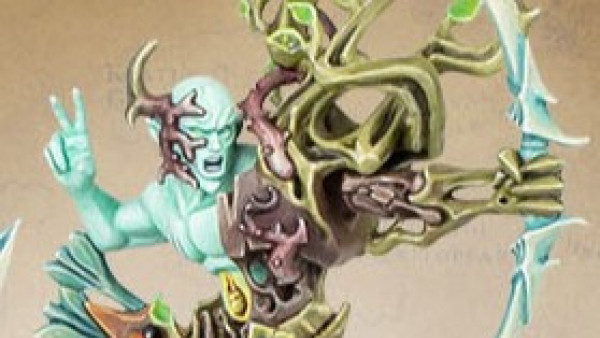
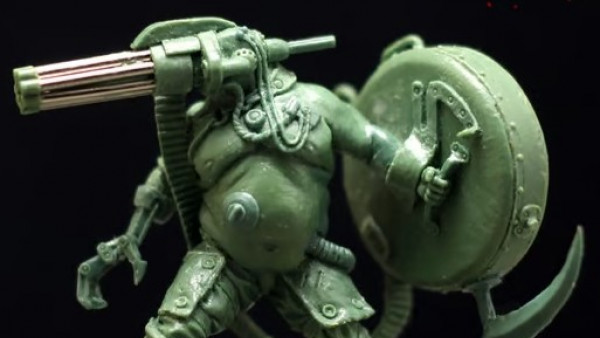
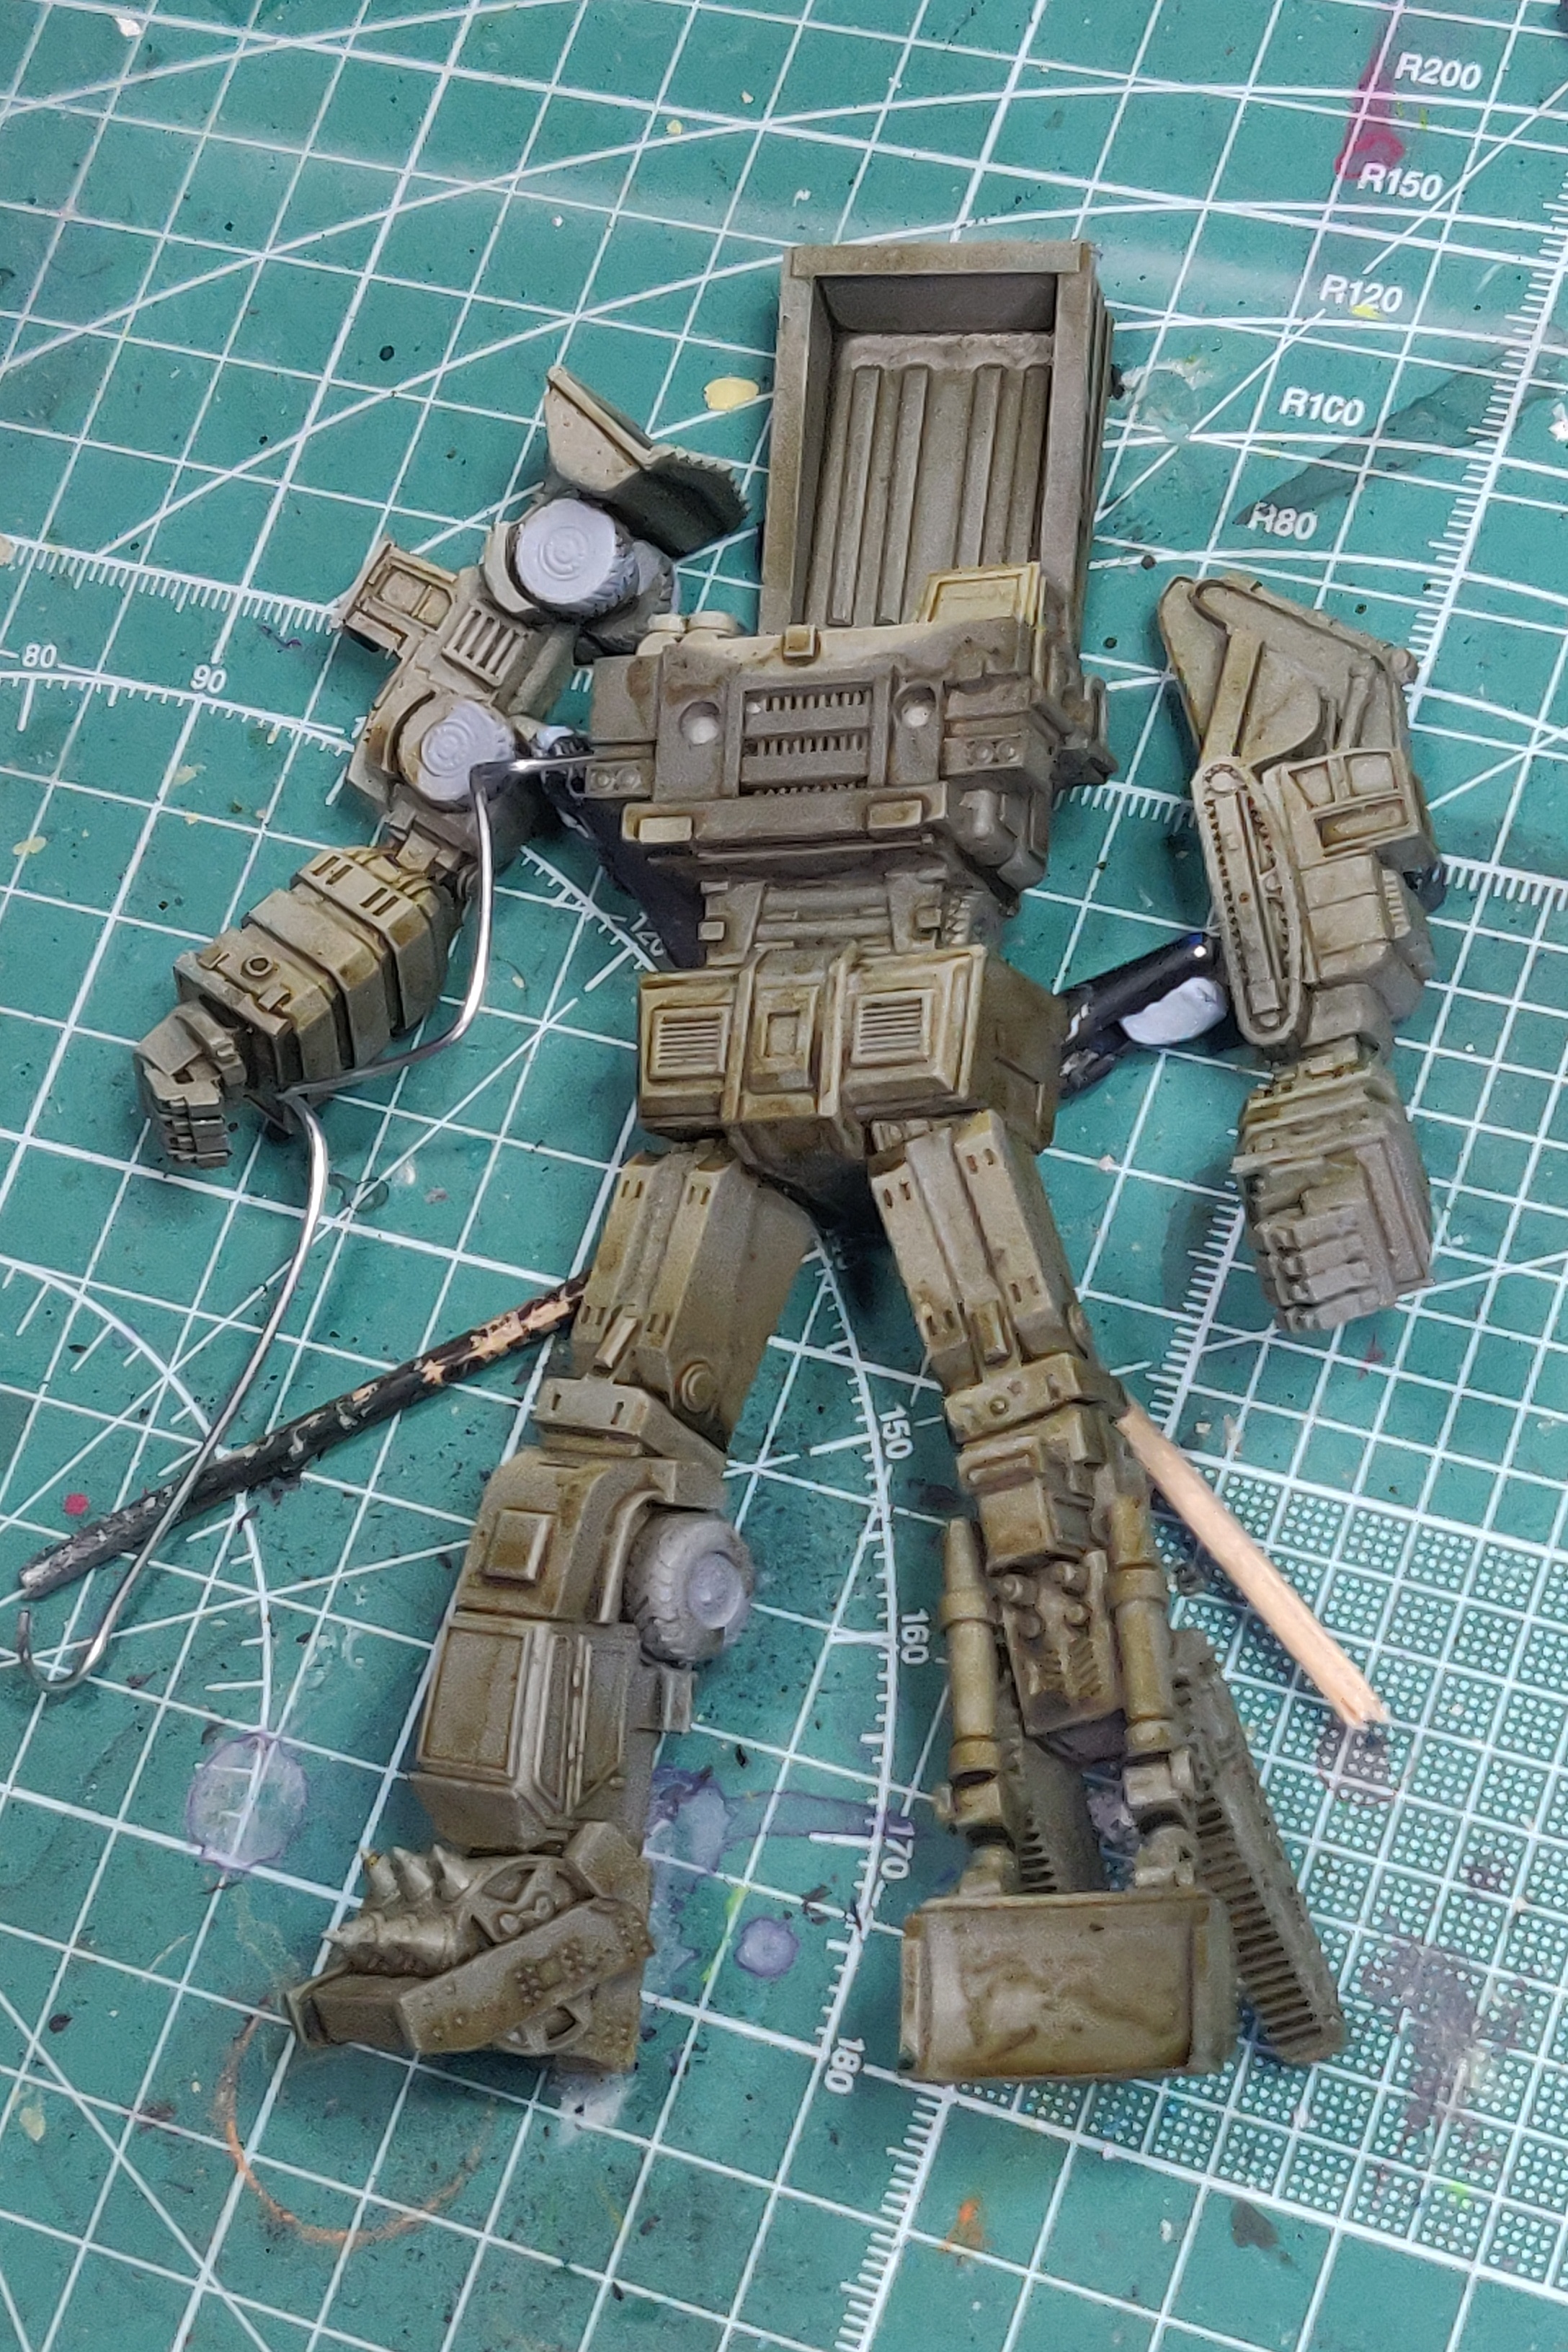
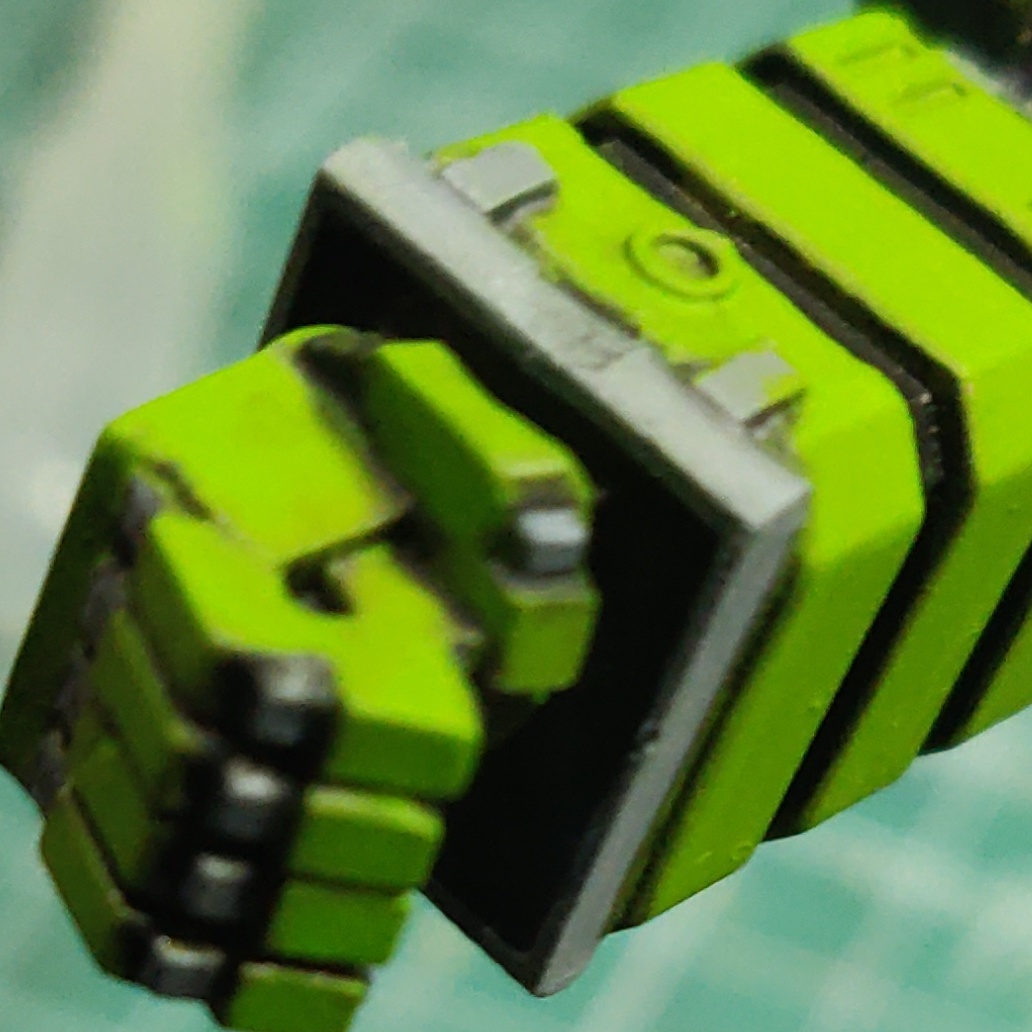
 He's feeling a bit green
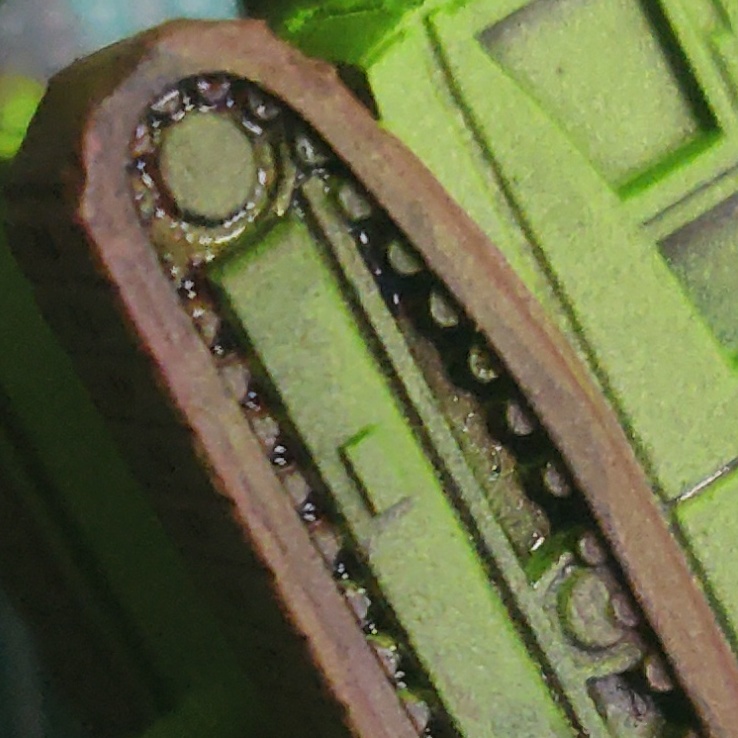

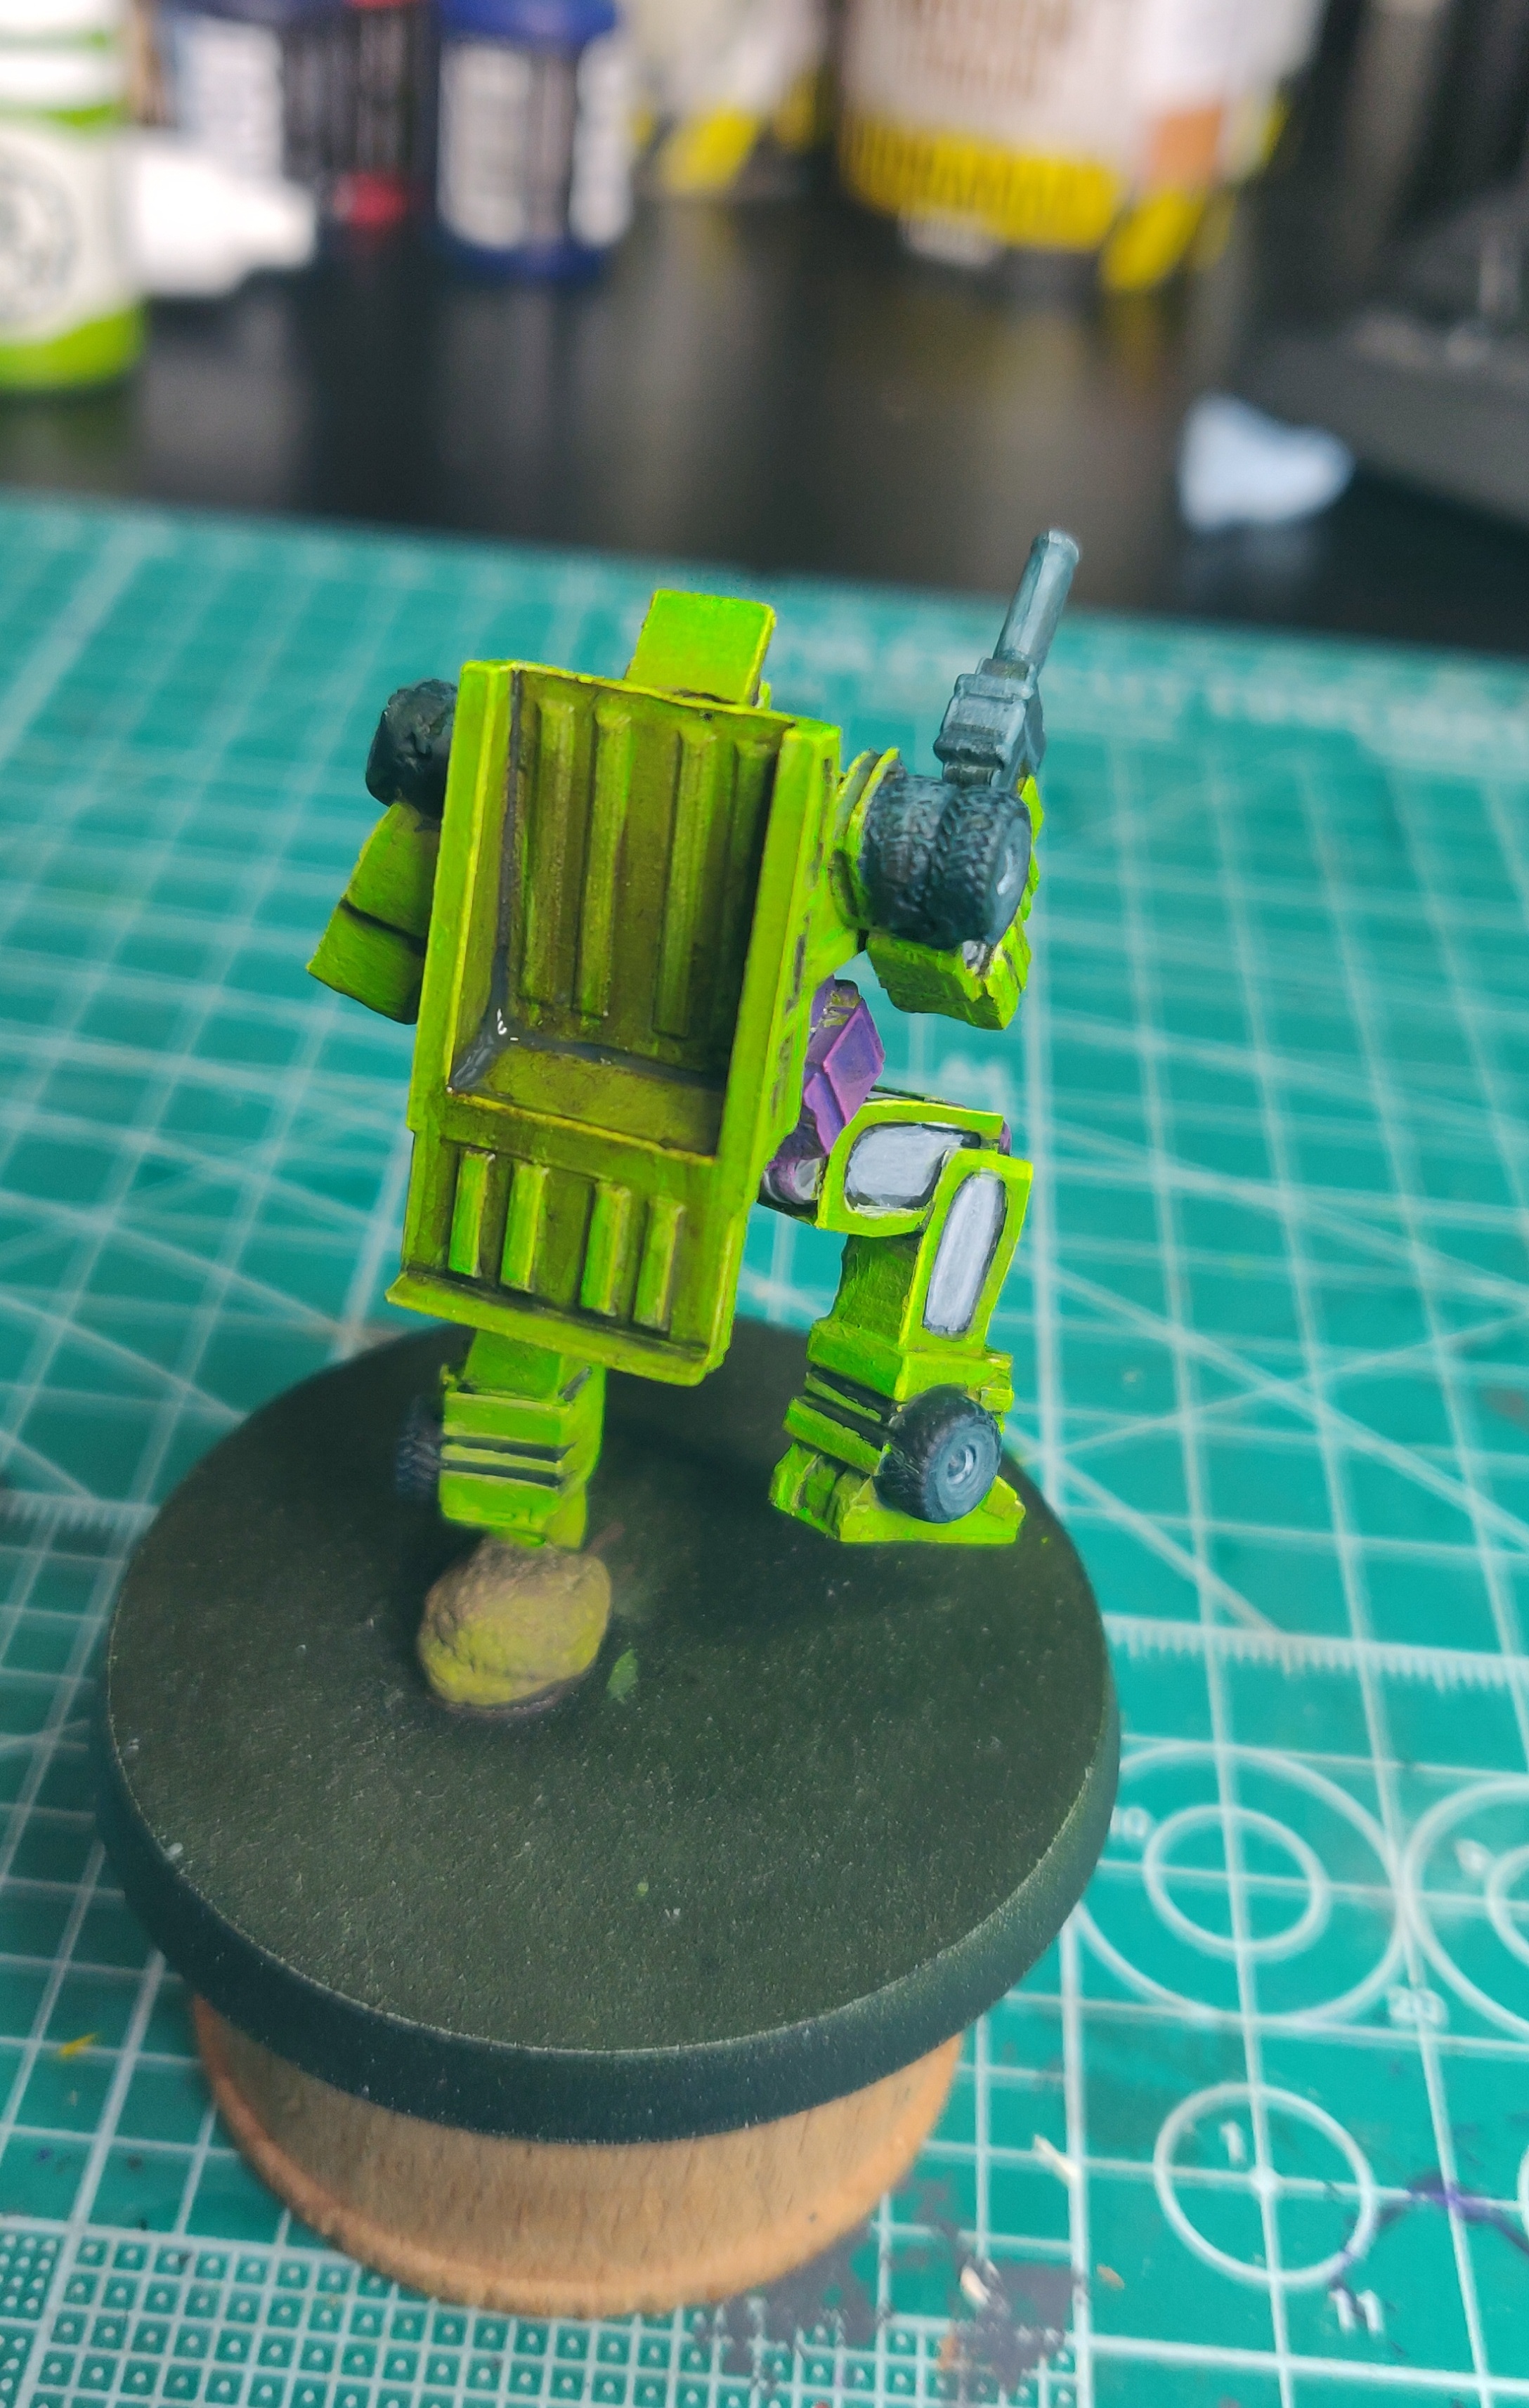
Day 23....
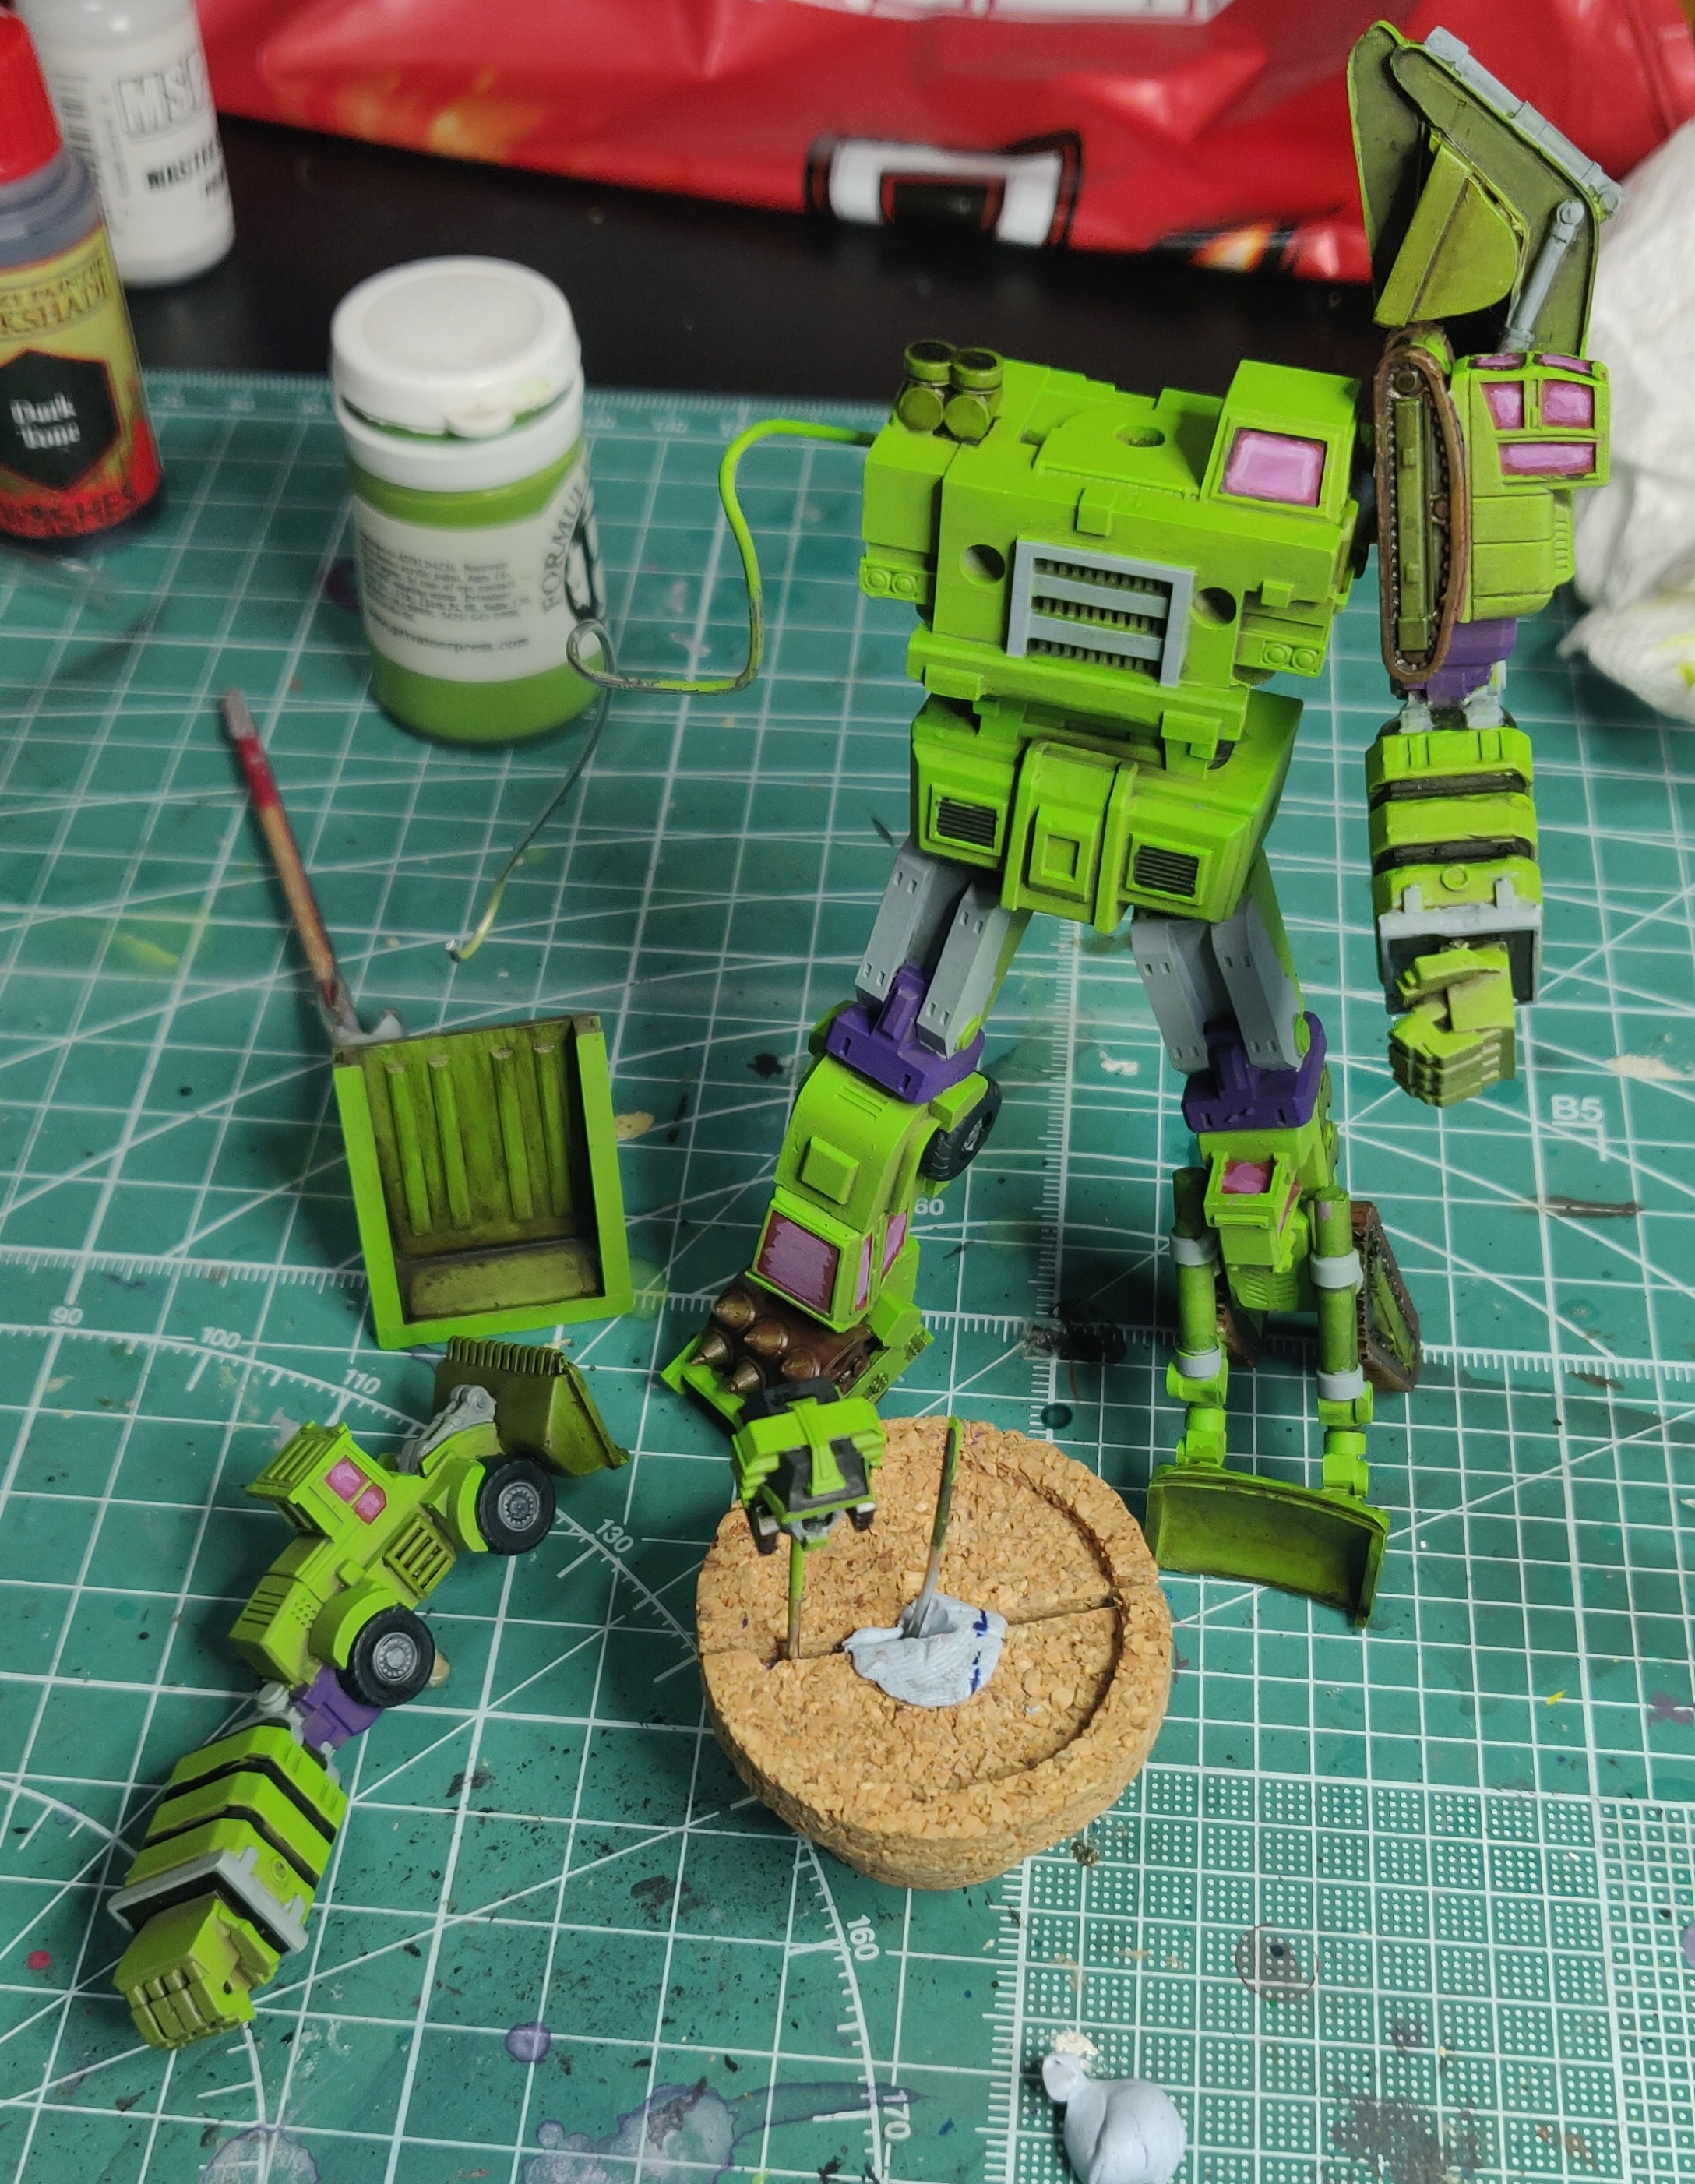
Destroyer day 3


Today I started to block in base coats for the windows and metal work.
I also painted the tyres using Secret Weapon Tyre Black and Rubber paints. I love these colours as the blue tone really helps to make them stand out against the green whereas a blacker colour tyre would just get lost I think.
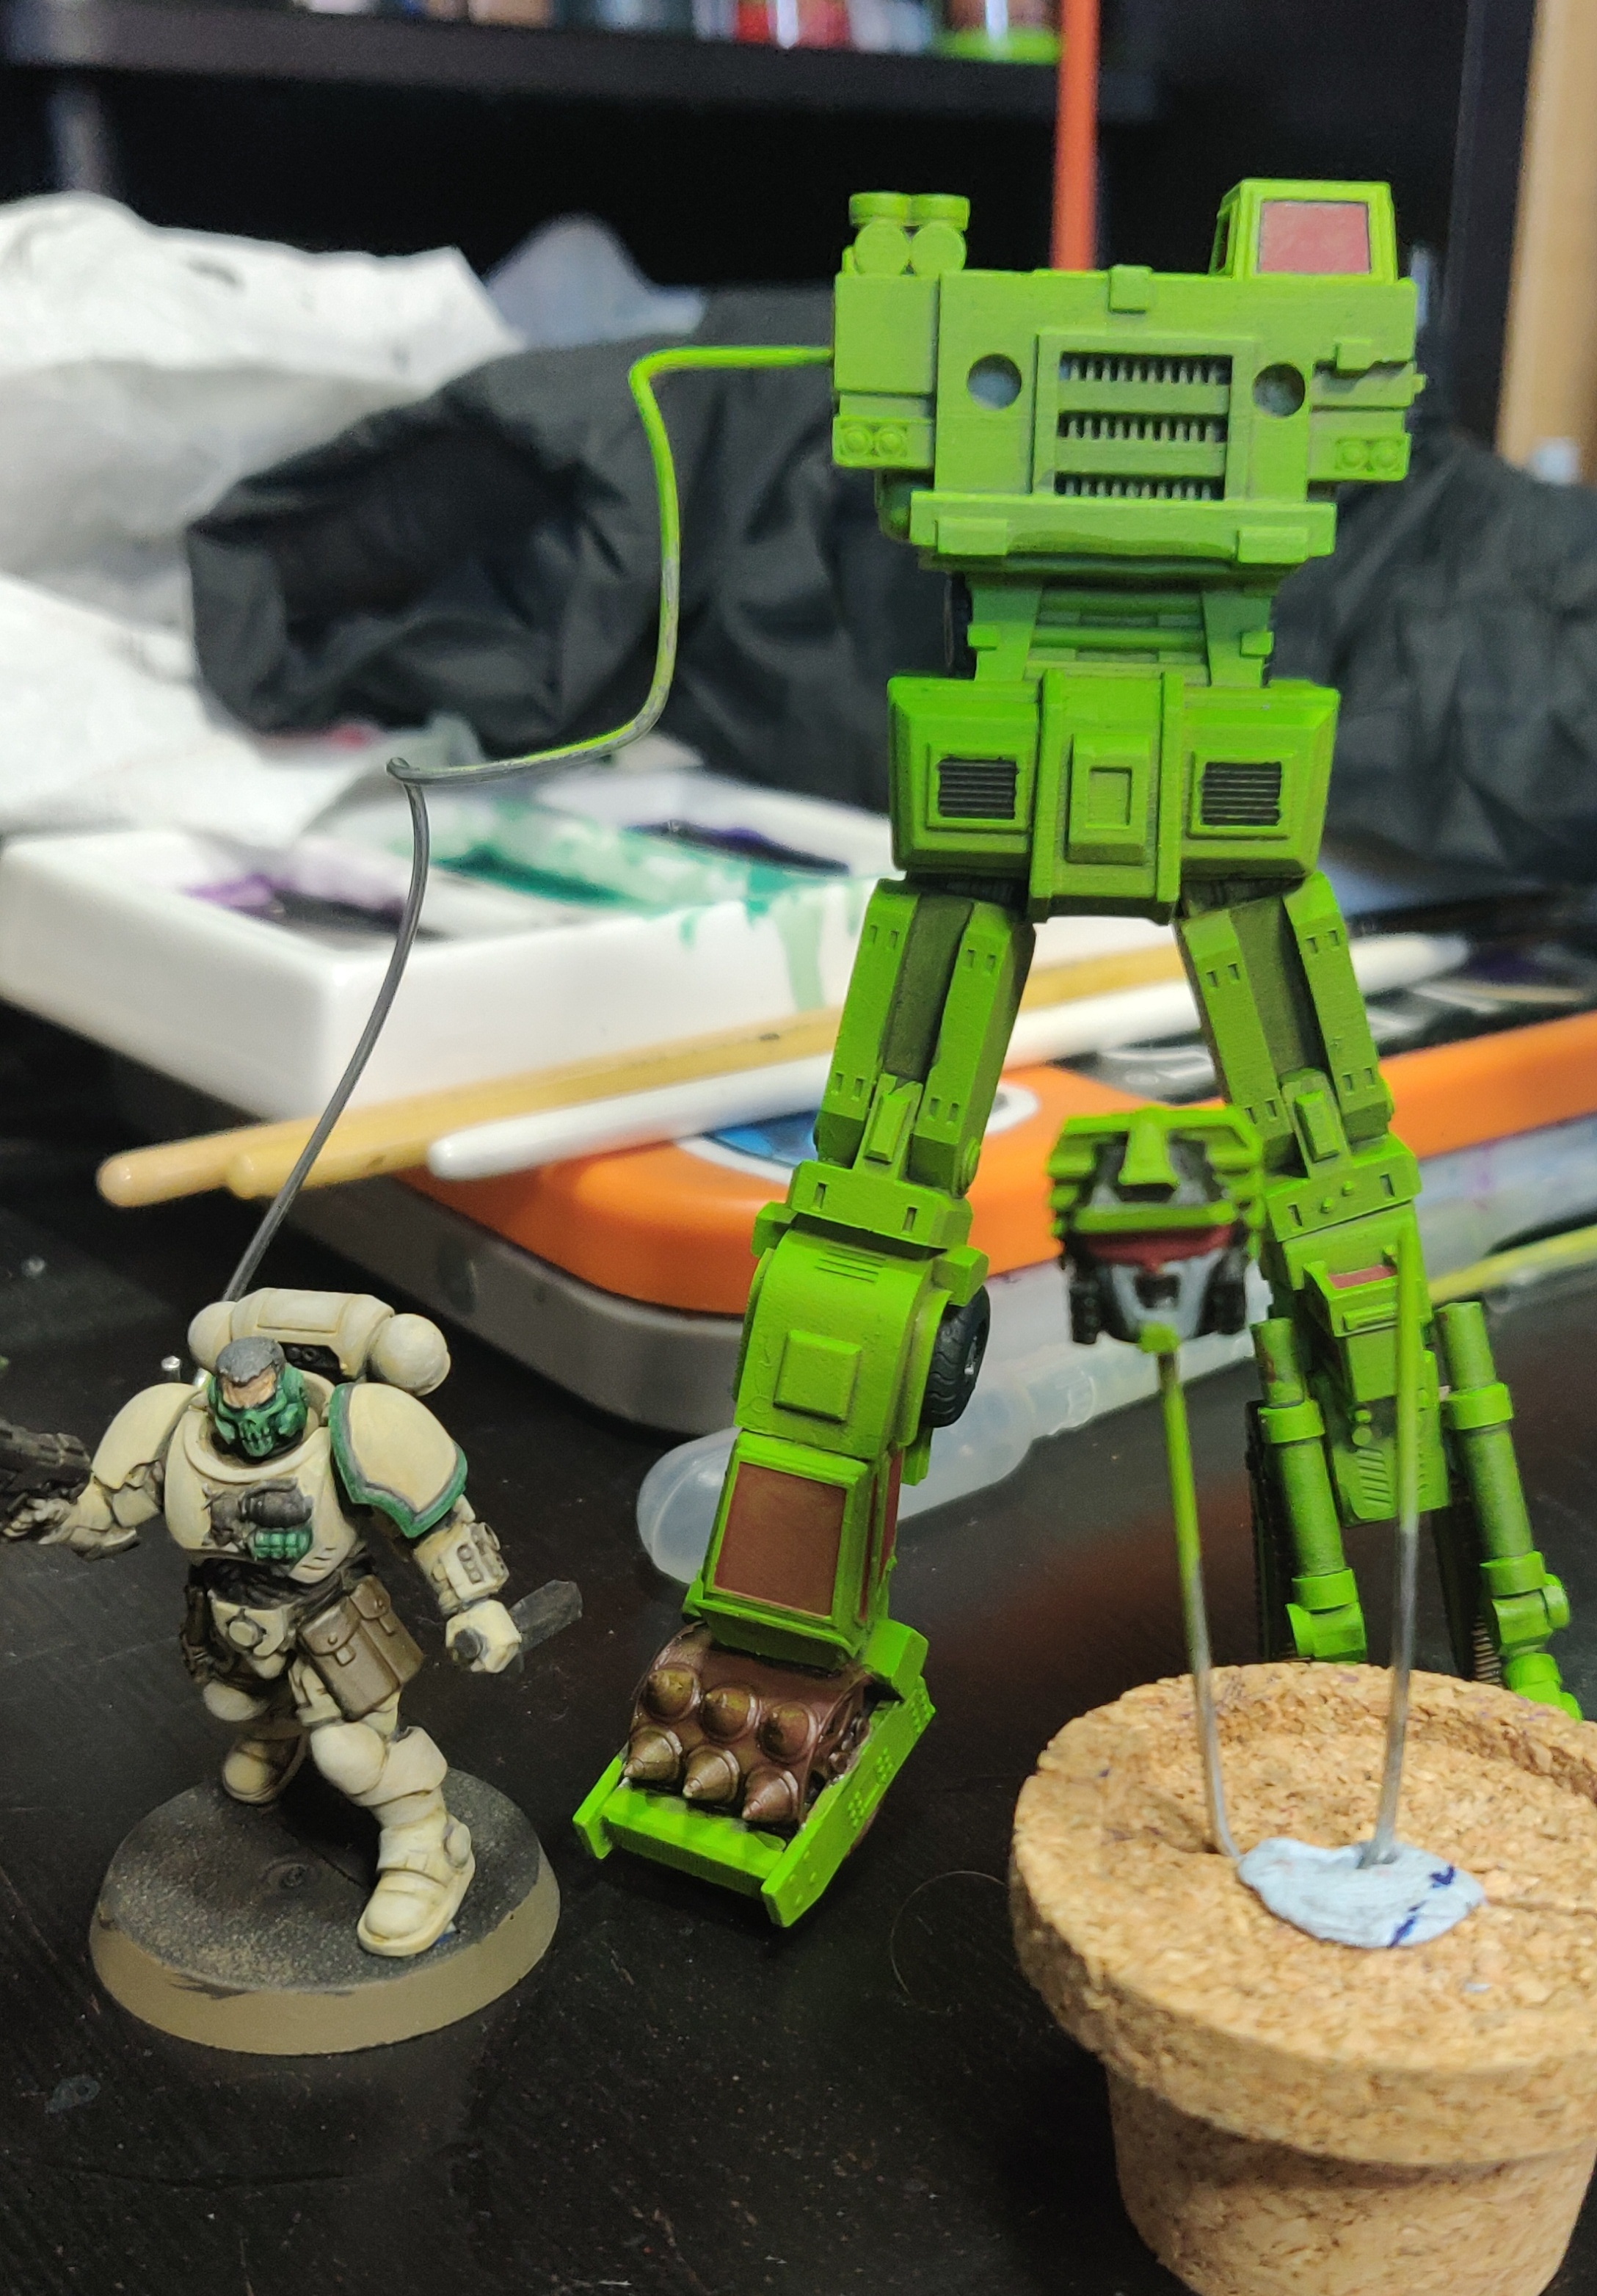 Size comparison with a standard Imperium measurement
 DAY 24....
Destroyer day 4
More blocking in base coat colours.
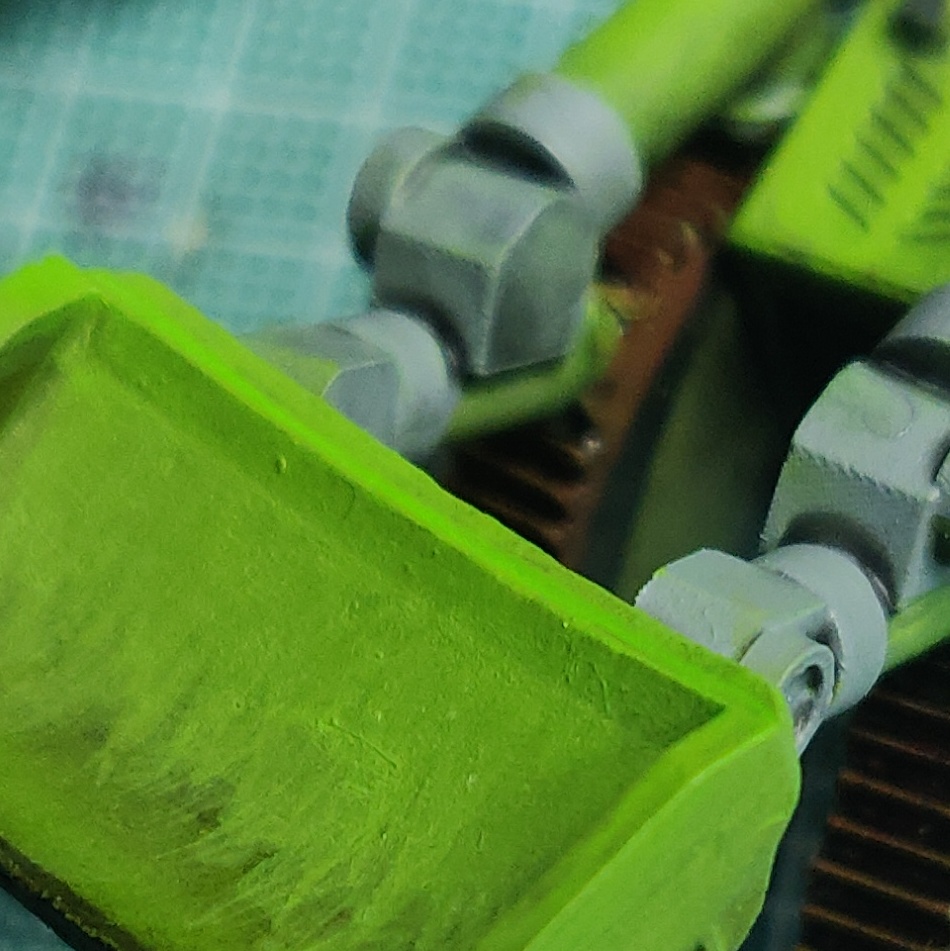
I also decided to add some weathering to the bucket that would be on the back of Destroyer. This was achieved by layering up streaks of Secret Weapon Sewer Water and Army Painter soft tone. I would like to have applied this to more of the model but I was happy with how bright everything was looking that I decided to limit the dirtyness to just this one piece. Maybe at some point i may come back and weather the whole thing.
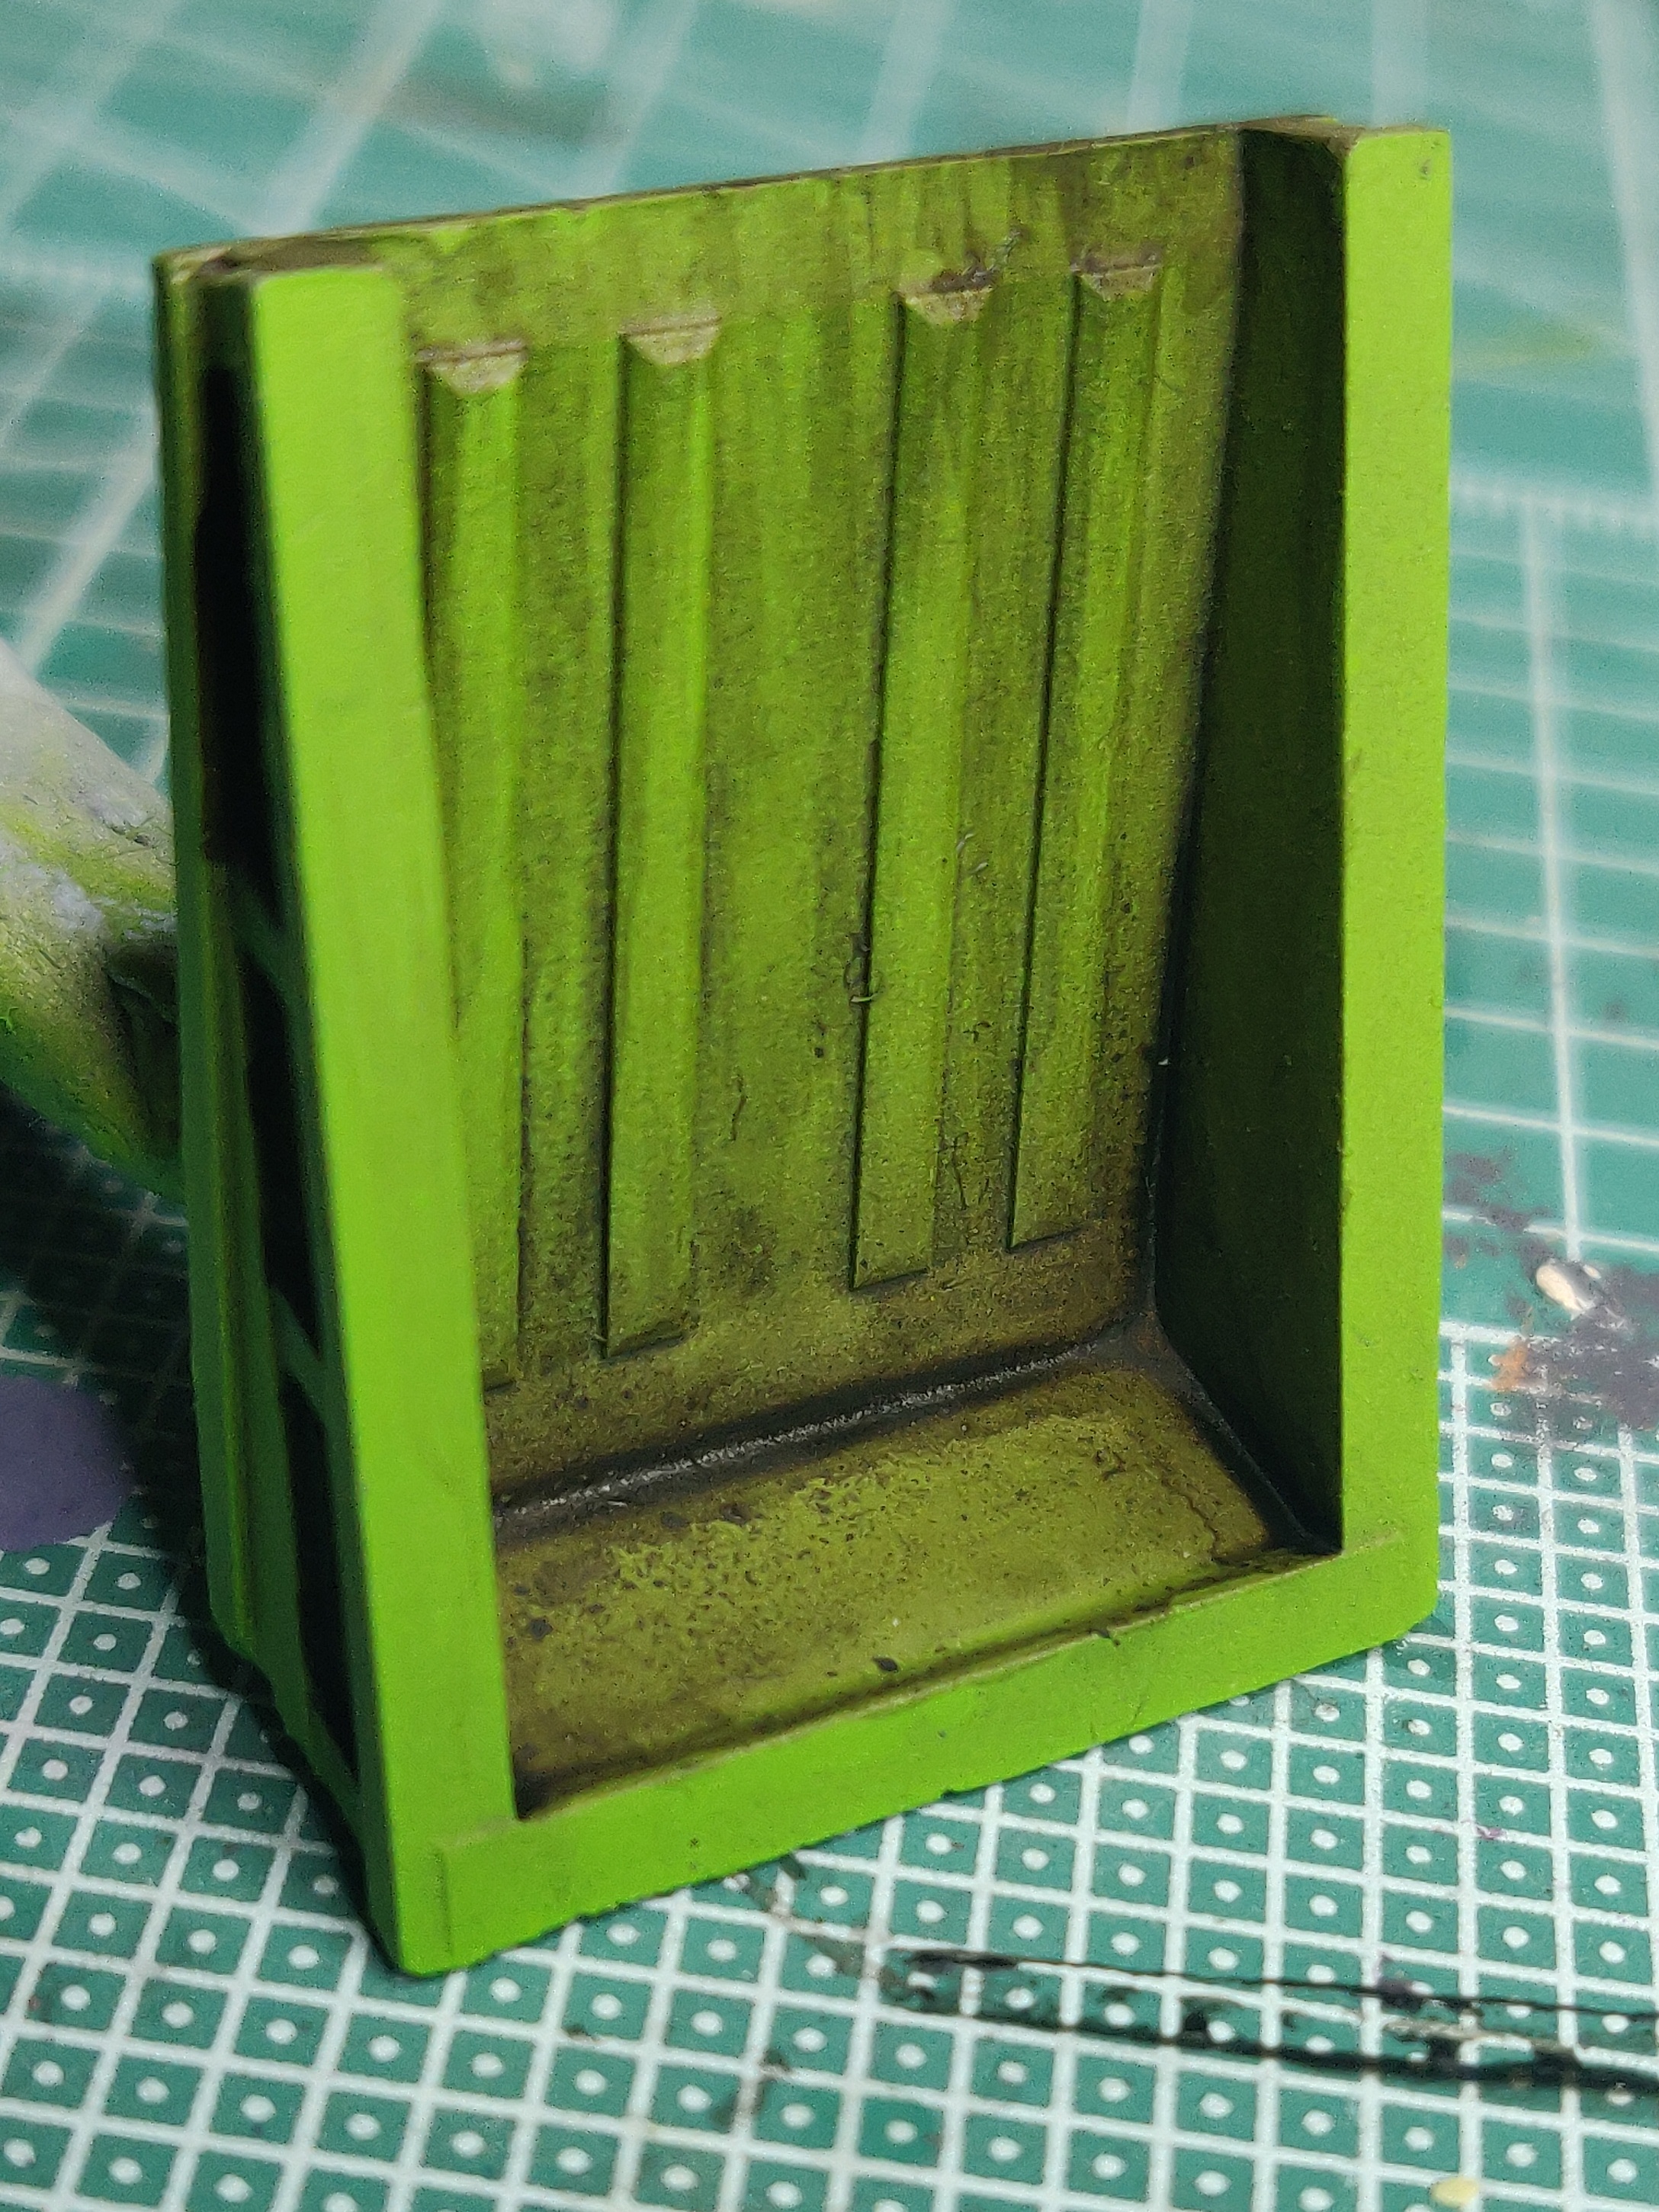 I really love Sewer Water from Secret Weapon
Day 25....
Destroyer day 5


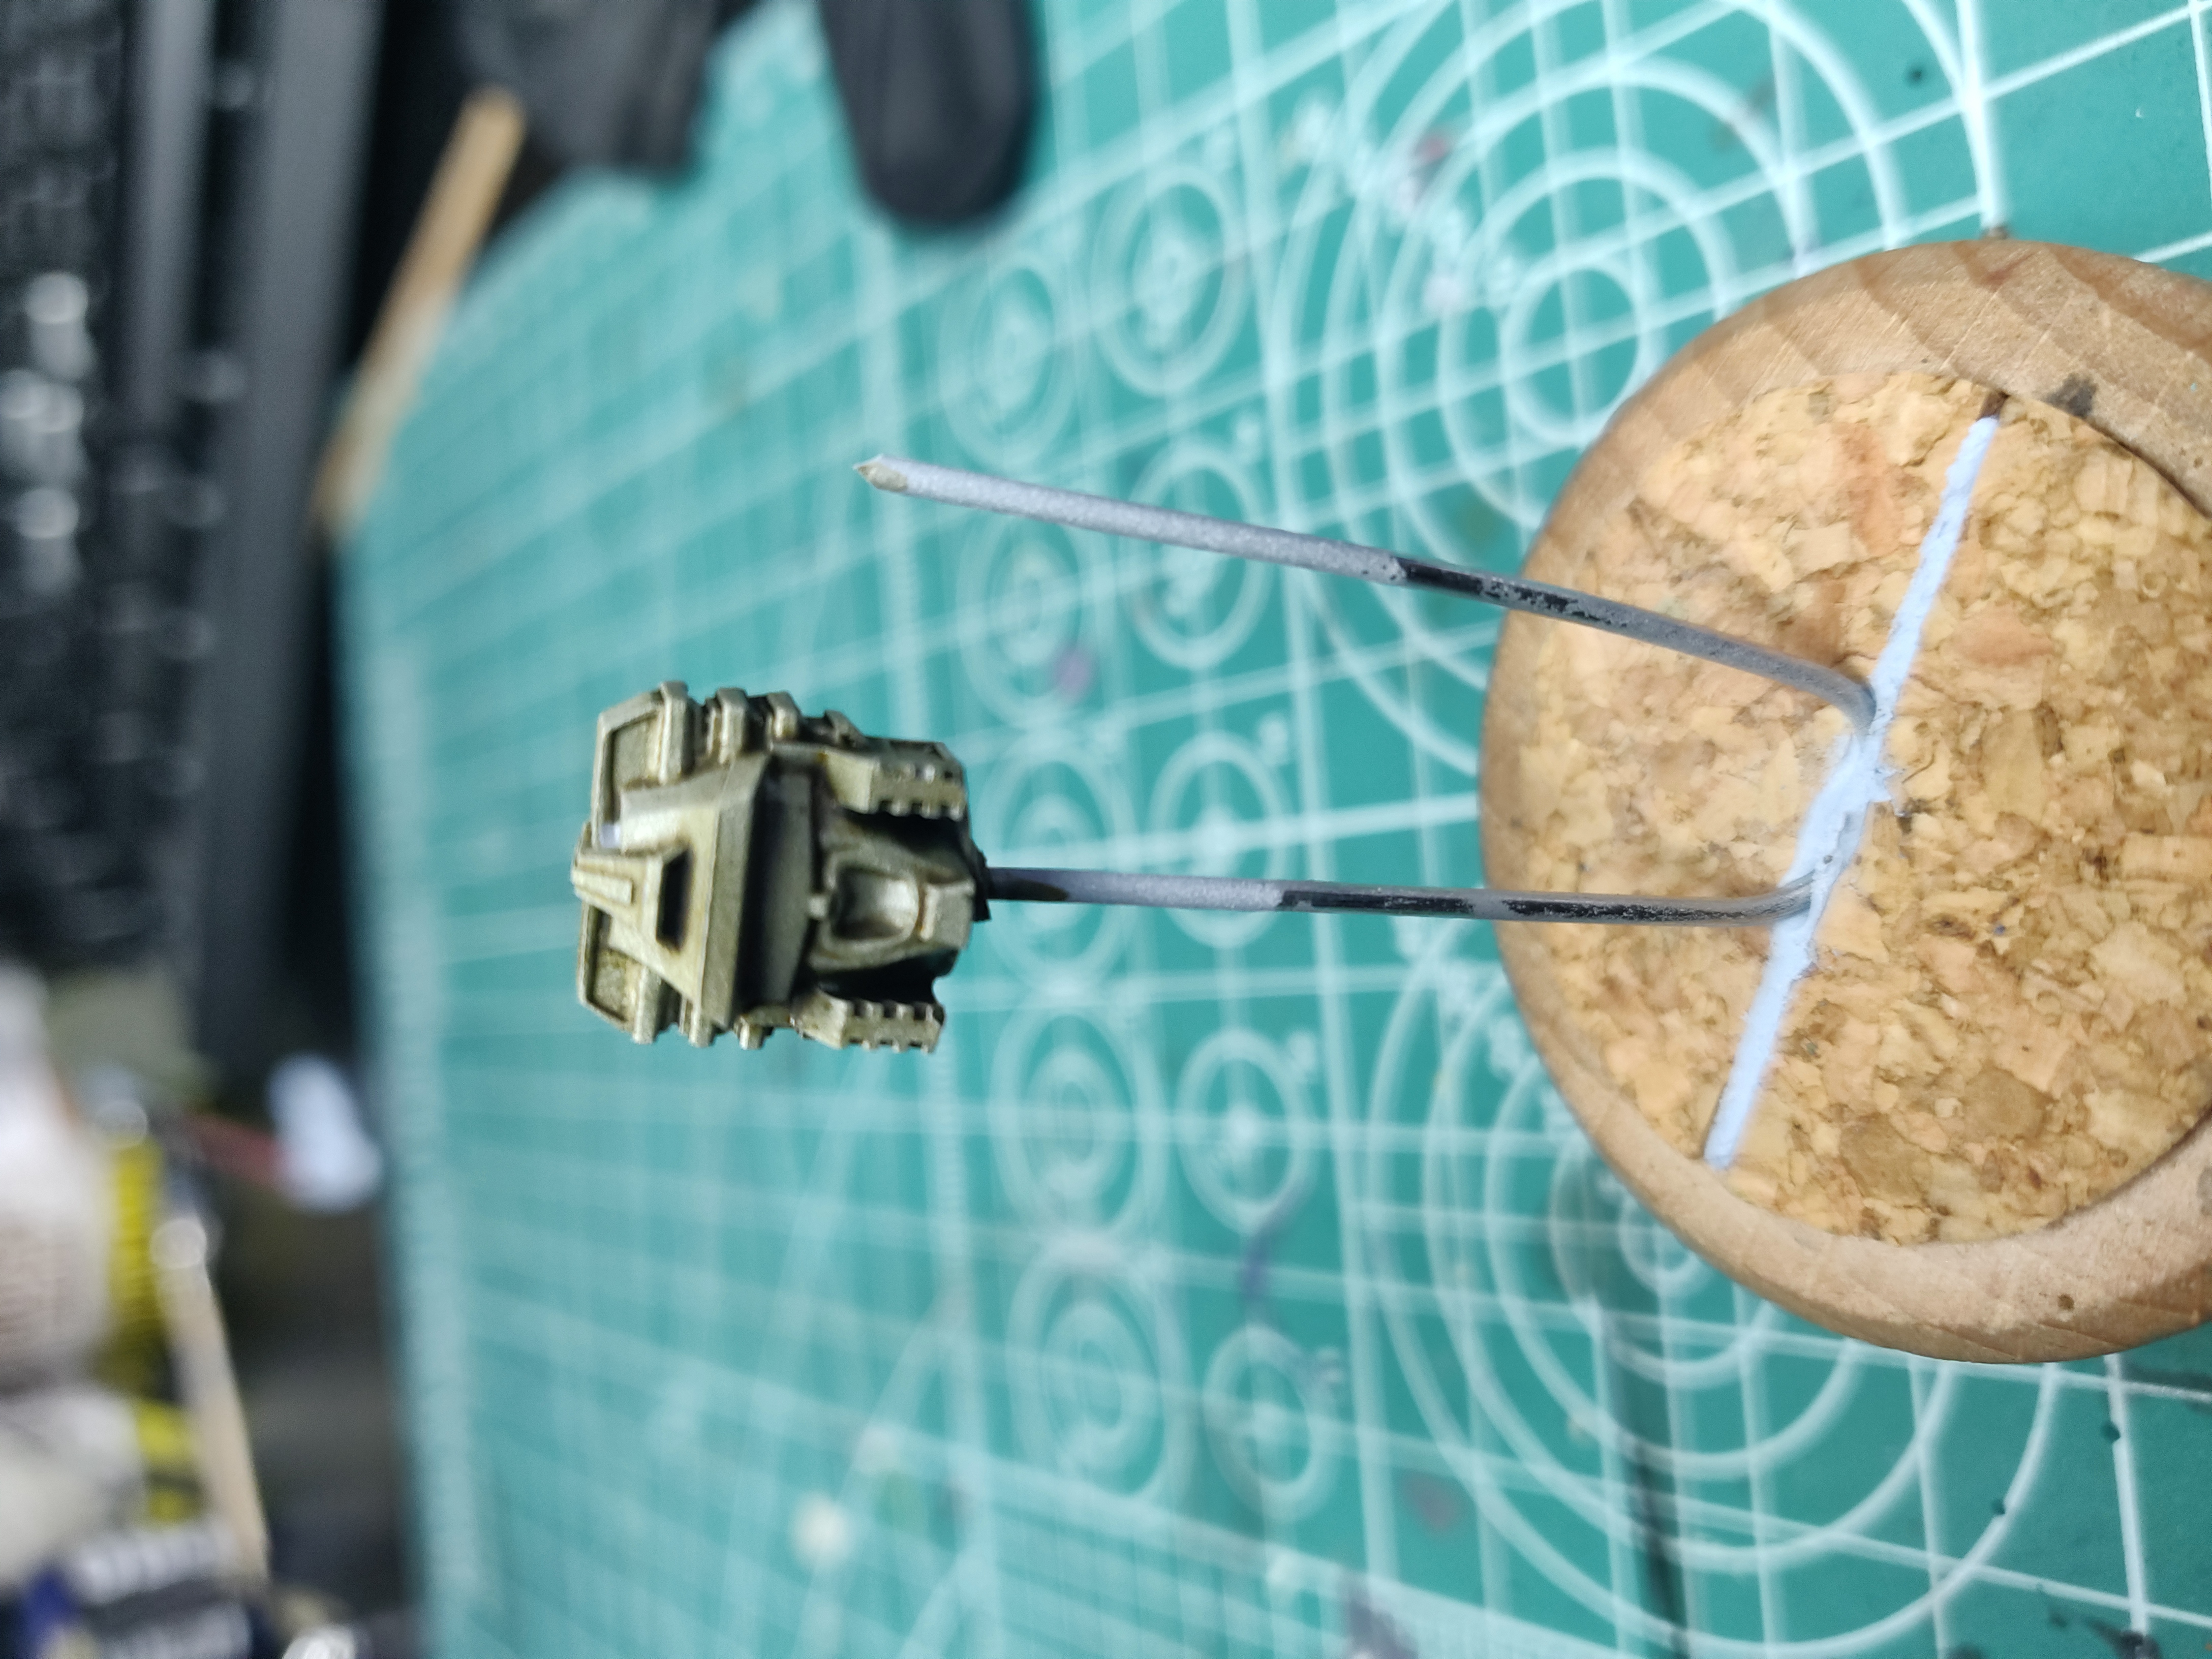
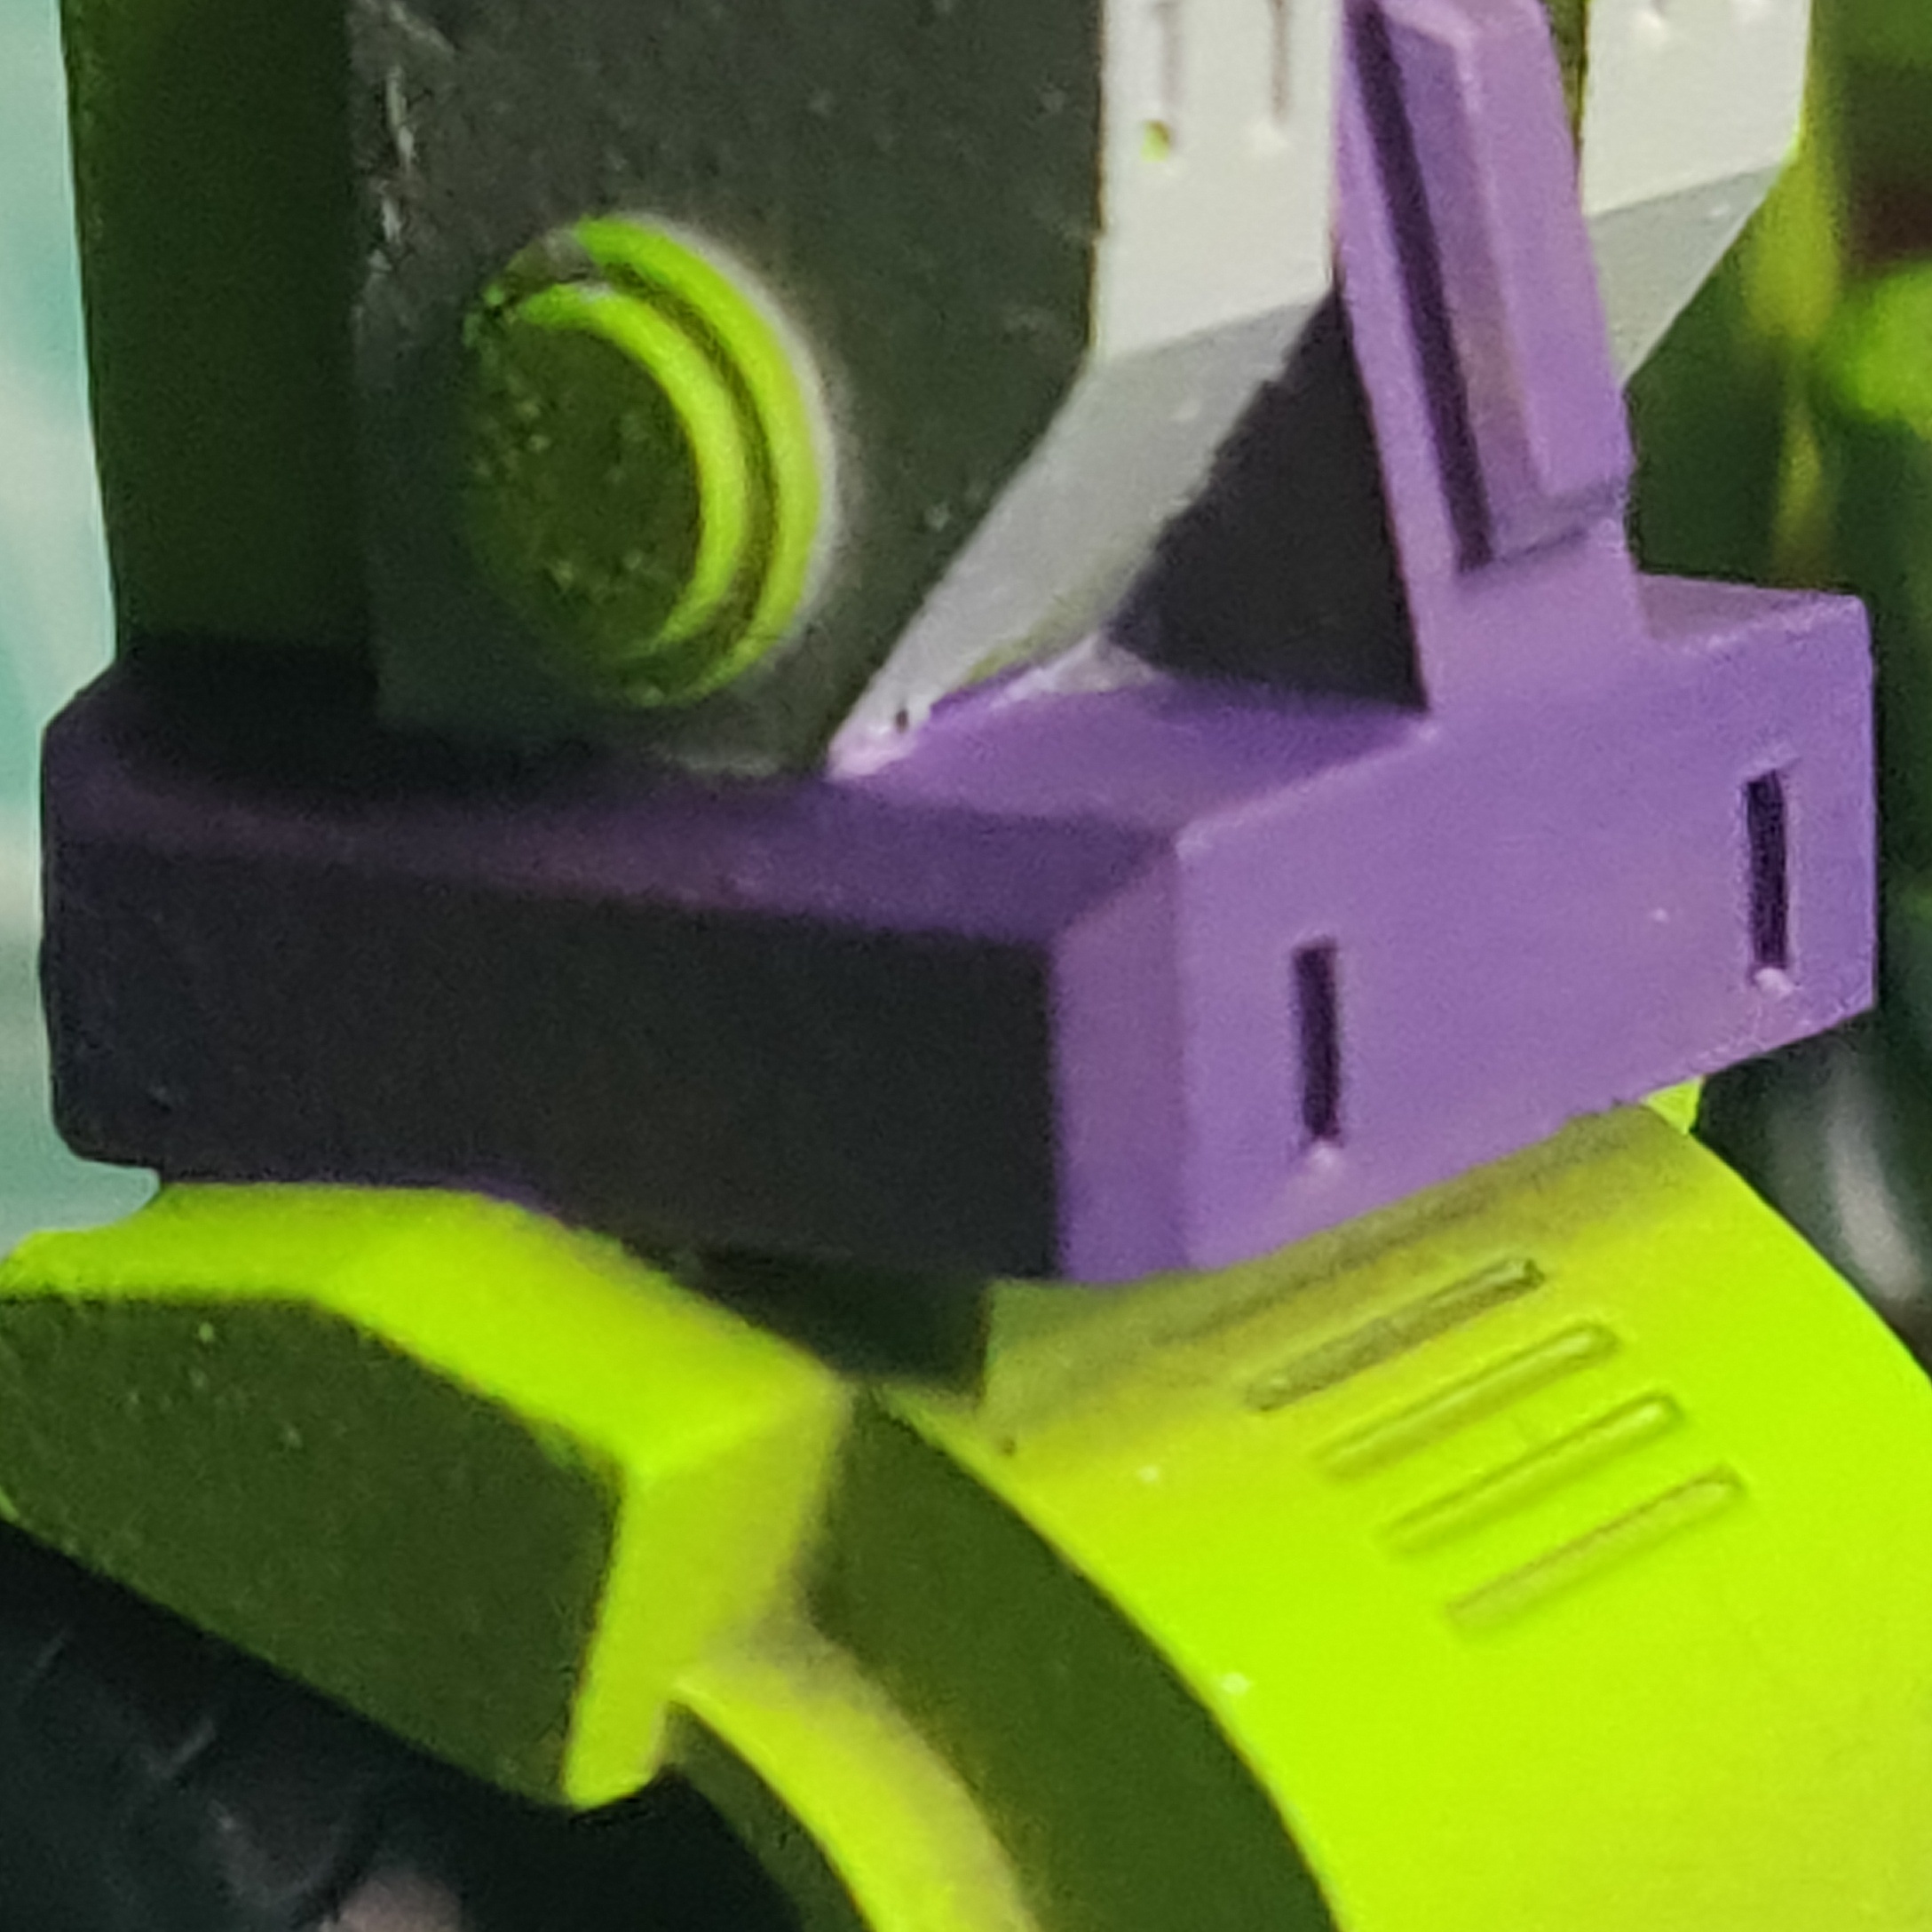
Painted in the windows and the visor using my magenta workup.
Also began to work in some of the P3 Noctite Green ahead of a big push tomorrow
 Sneak peak
 Day 26....
Destroyer day 6
Long day of painting today, glazing on layers of the P3 Noctite Green using vallejo model black for black lining and p3 Wurm green to tidy and control the brightness of the Noctite.
Day 27....
Destroyer day 7
Today consisted of edge highlighting.
Lots of edge highlighting
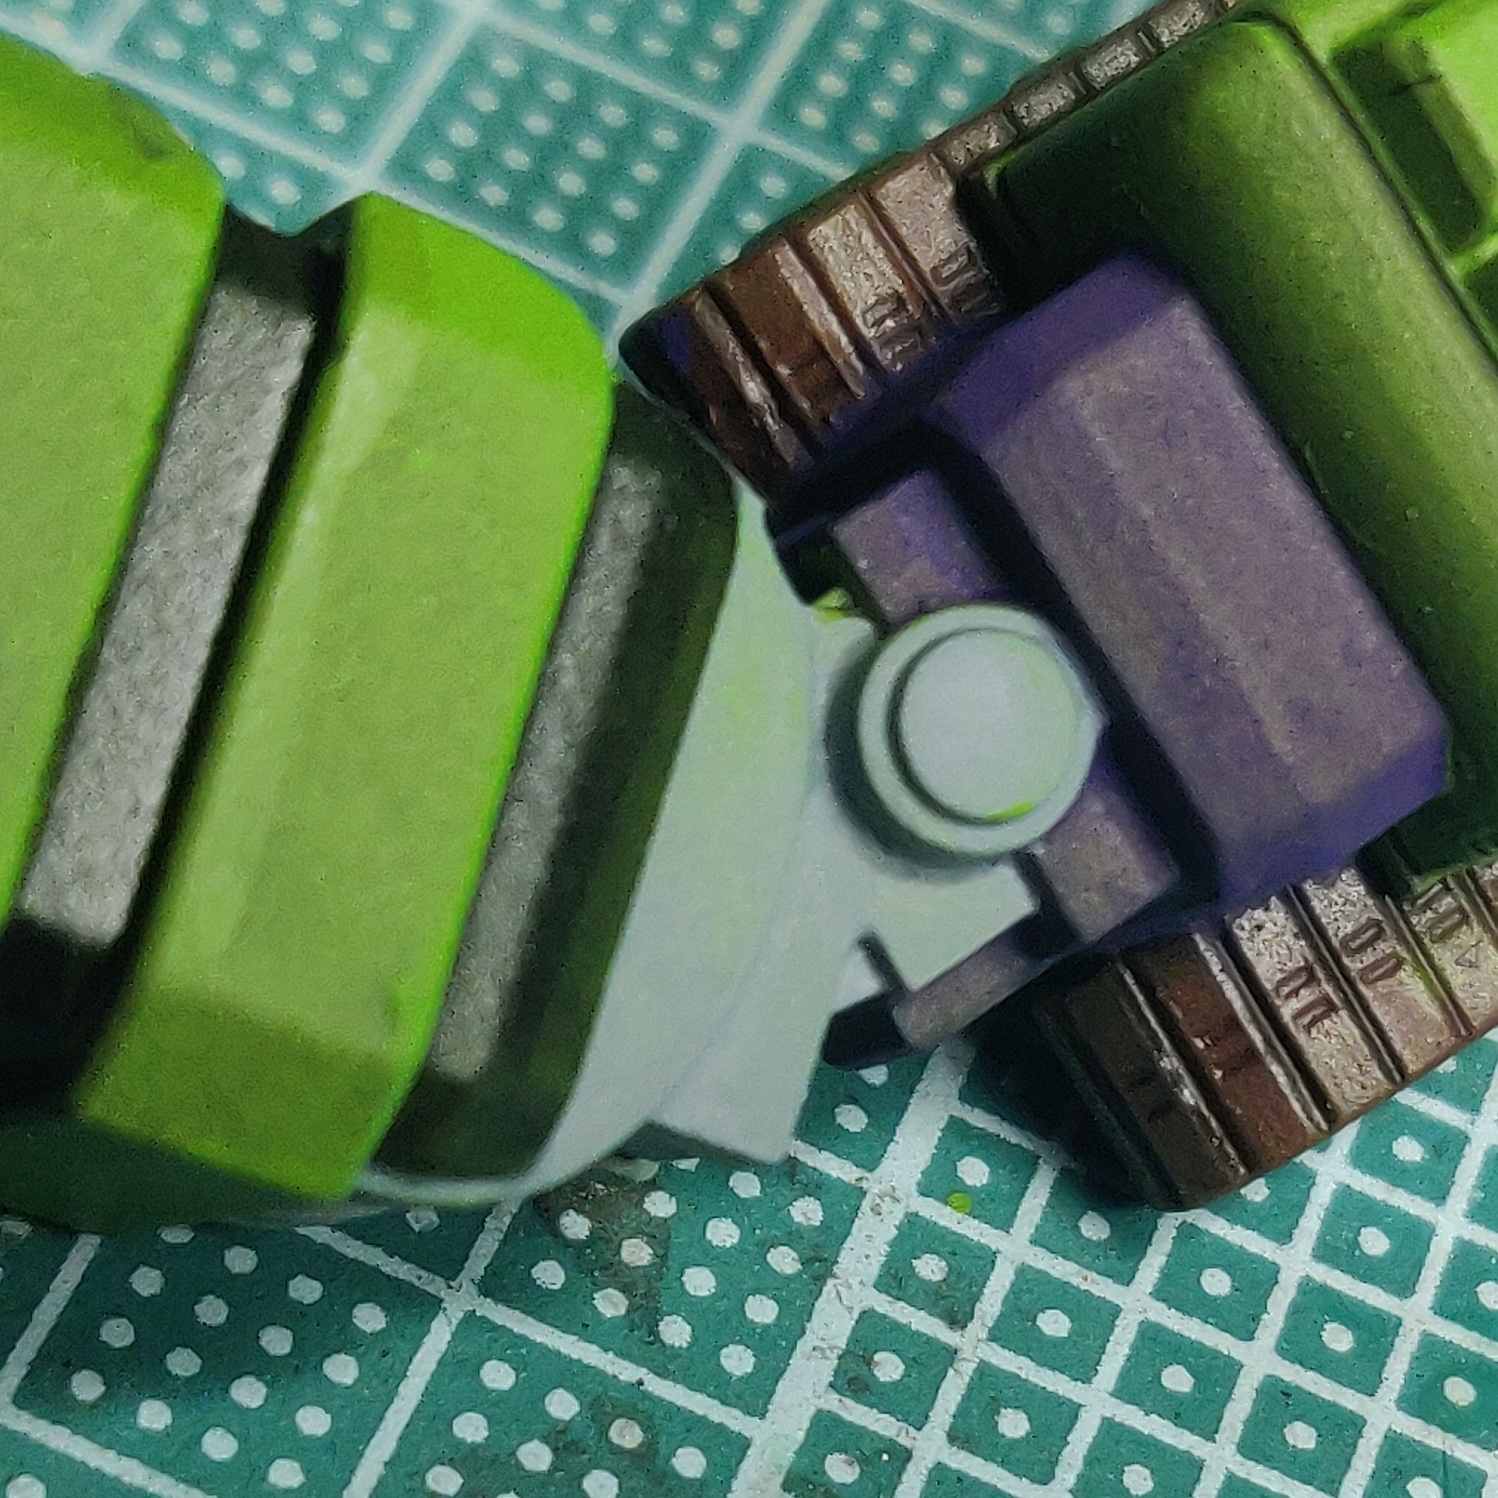
All of the purple, most of the grey, starting on the green.
Too much in fact, so I’m leaving this update short. There’s a lot to do and it was all accomplished using the same workups I have used on the previous bots.
 Some of the edge highlights showing for the green and grey areas
Day 28...
Destroyer day 8 - DONE!
 I'm just gonna leave him here
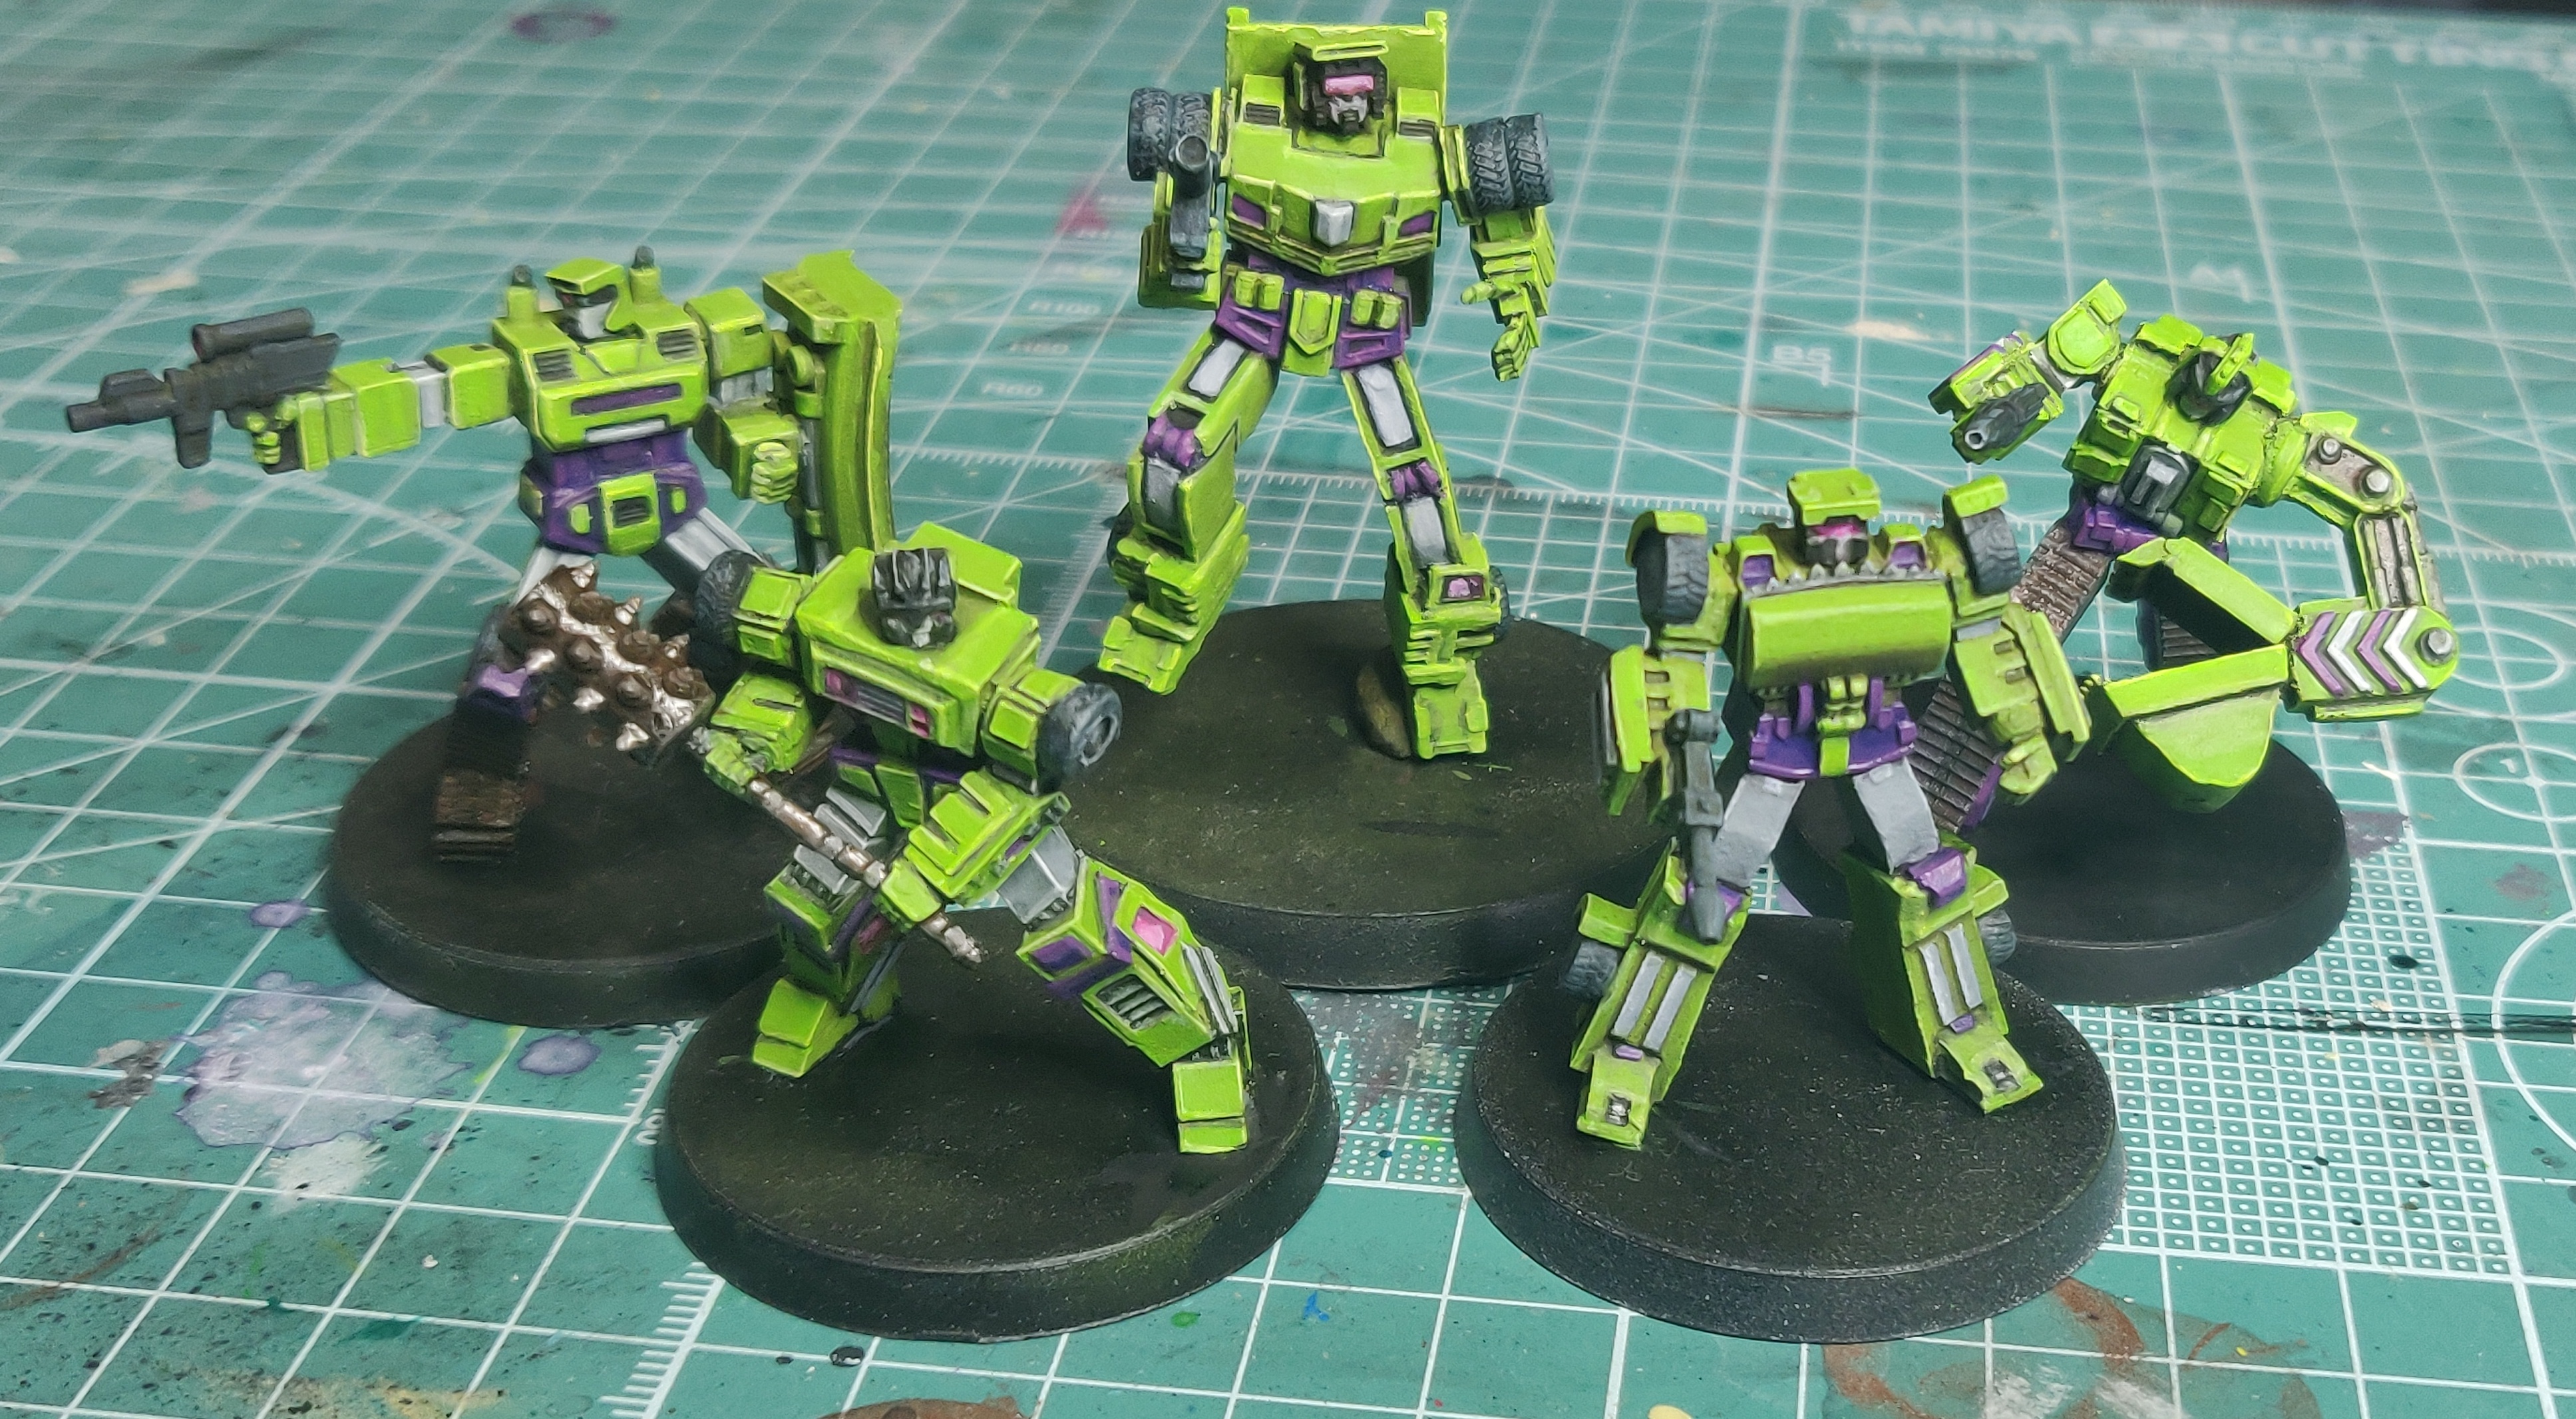
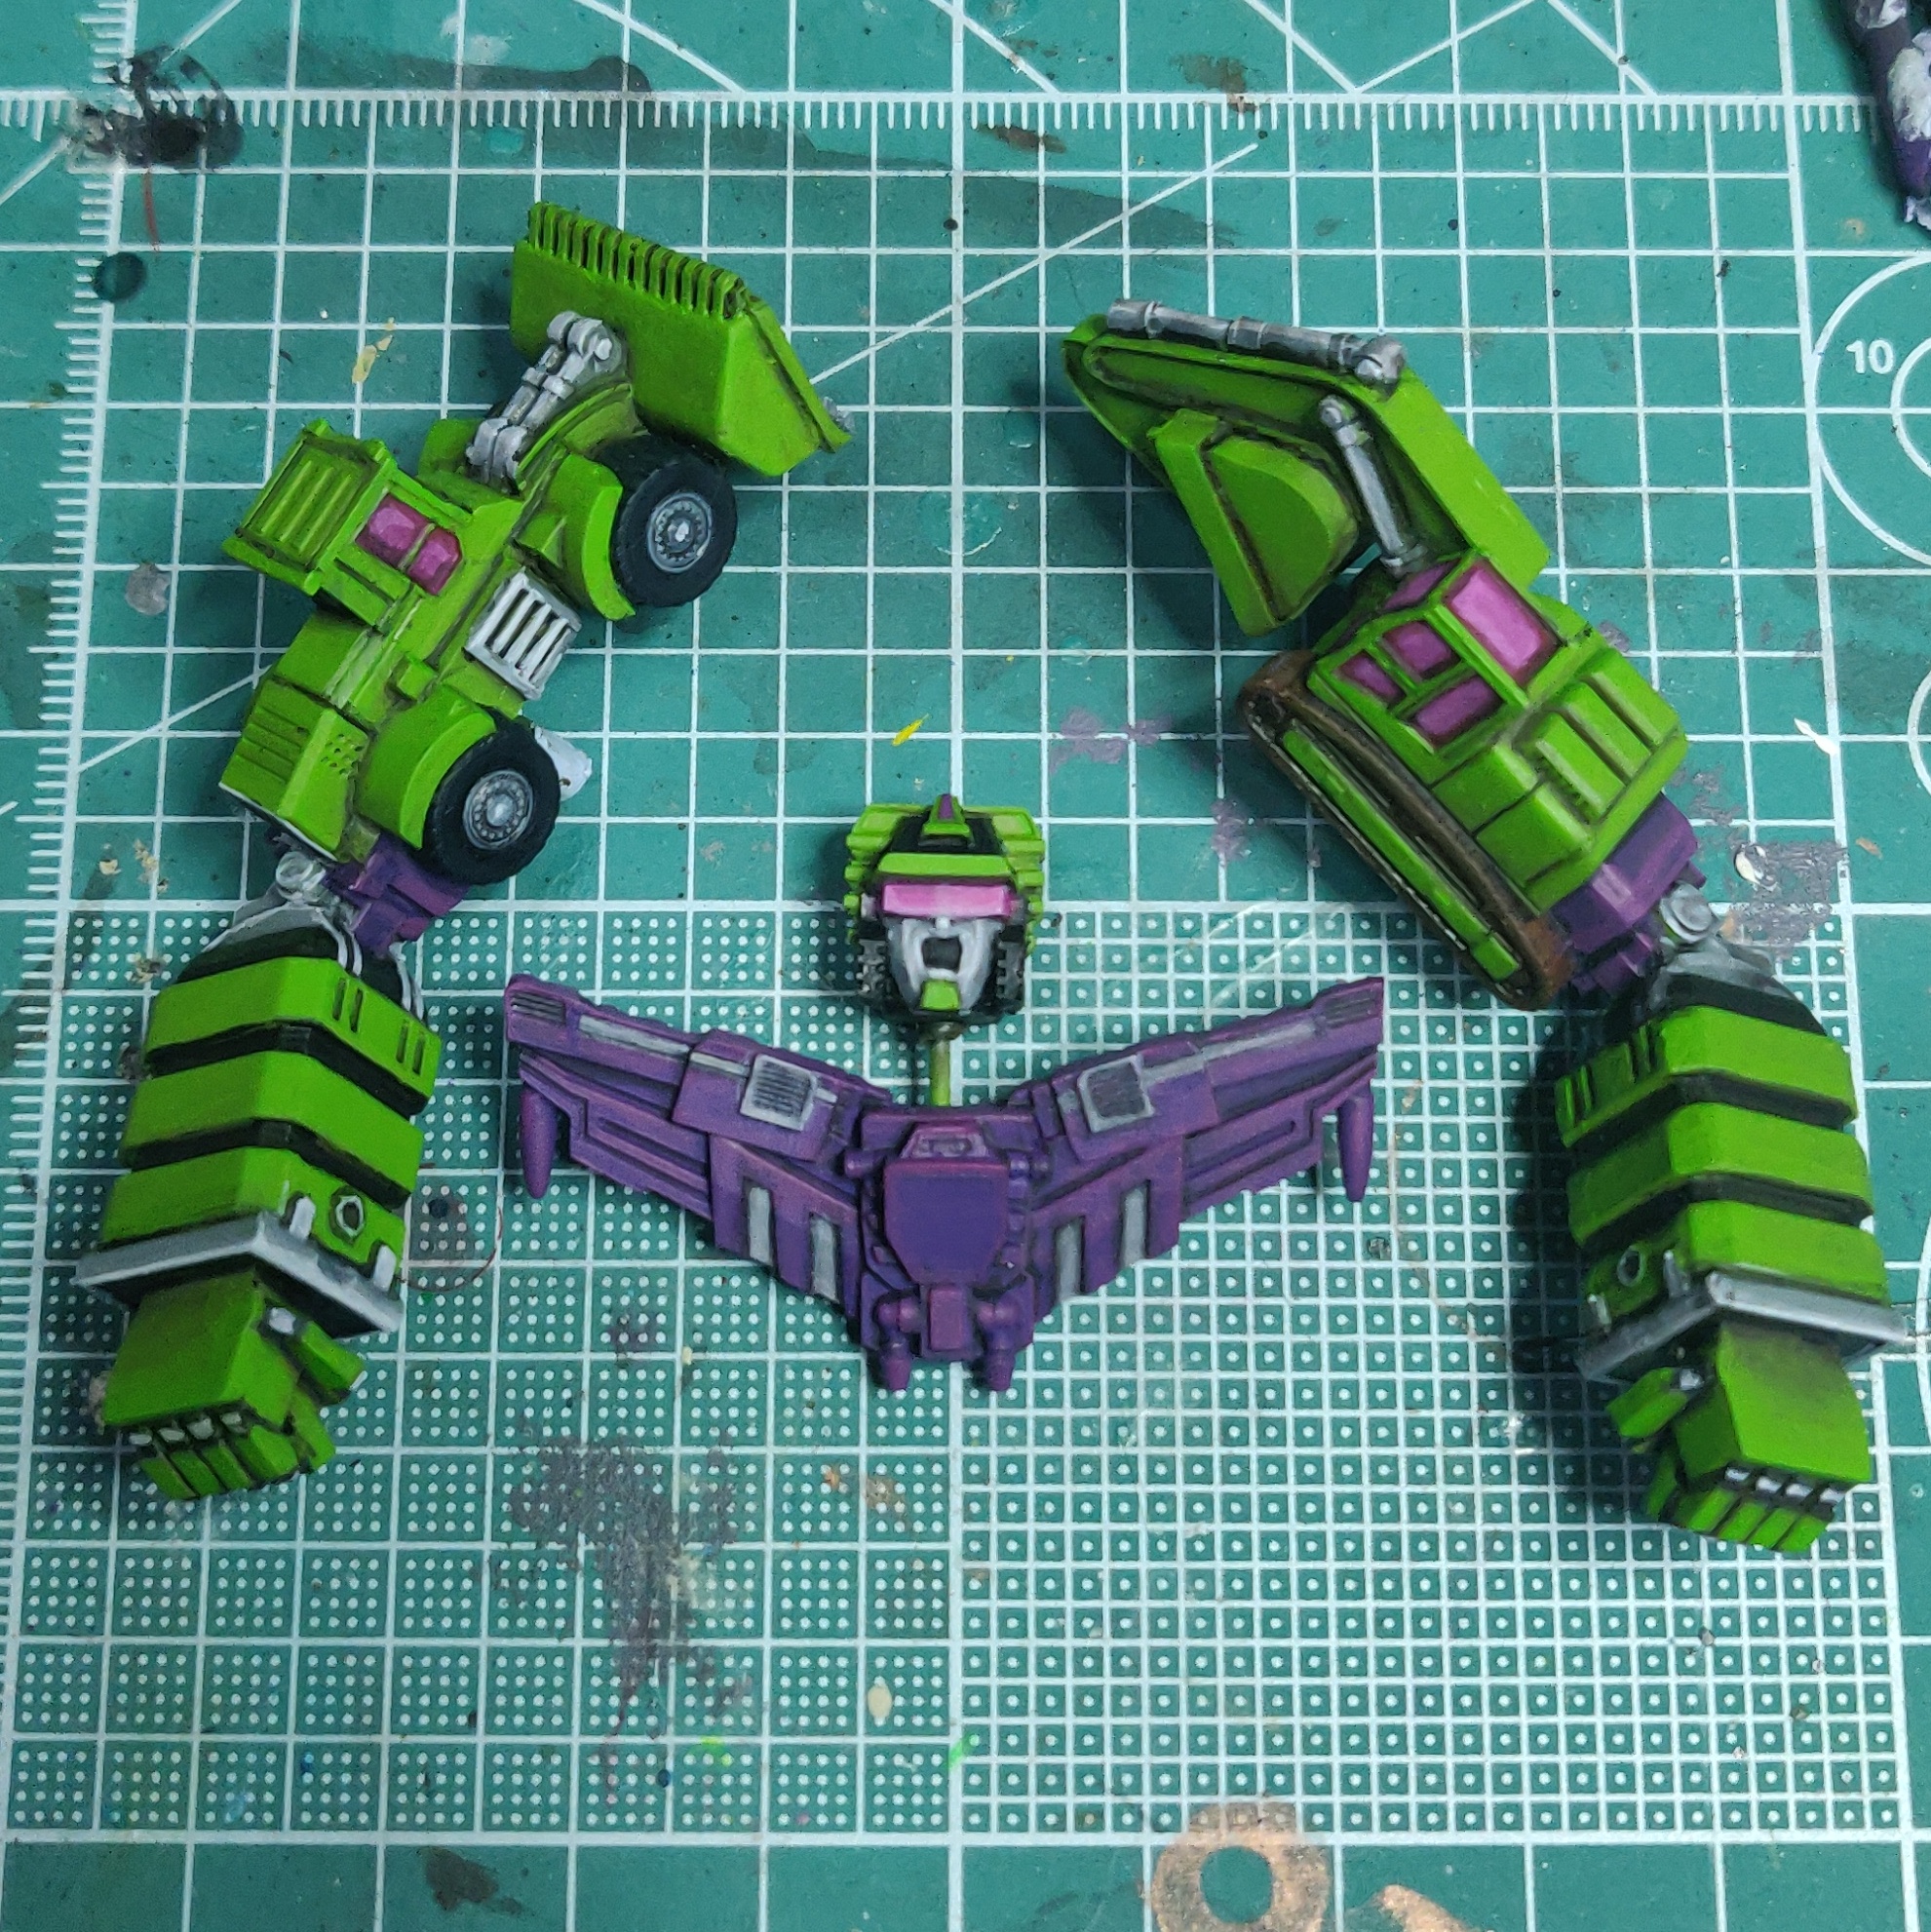
.... But that's only 6 bots?
 Faultline enters the paint queue
Day 29....
Faultline rumbles into the challenge
7 bots were required for the painting challenge as a minimum, and whilst I never like to do the lowest bar I feel I made up for it by painting Destroyer which technically is 5 bots in one, so to finish off the requirement I went with the smallest bot I own which also happens to be inspired by my online avatar, Rumble.
For Faultline I wanted him to be a purple bot (like Rumble) but not the same purple as I used on the other bots, he should be more lilac and purple than indigo and purple. To achieve this I first primed the little guy black, then a top down coat of white. Due to his small size I sued Badger Stynelrez primers which are self levelling and give a solid undercoat to work with. Next, for the first base coat I simple Airbrushed Secret Weapon Purple wash over the whole model, letting the pre-shaded undercoat do its work and starting off my highlights.
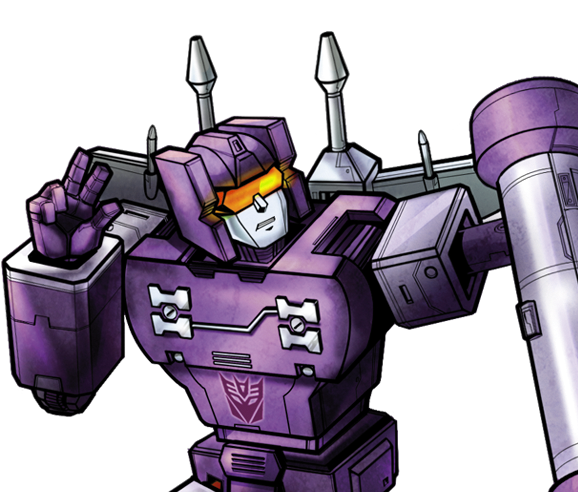 Rumble, from the Transformers cartoon
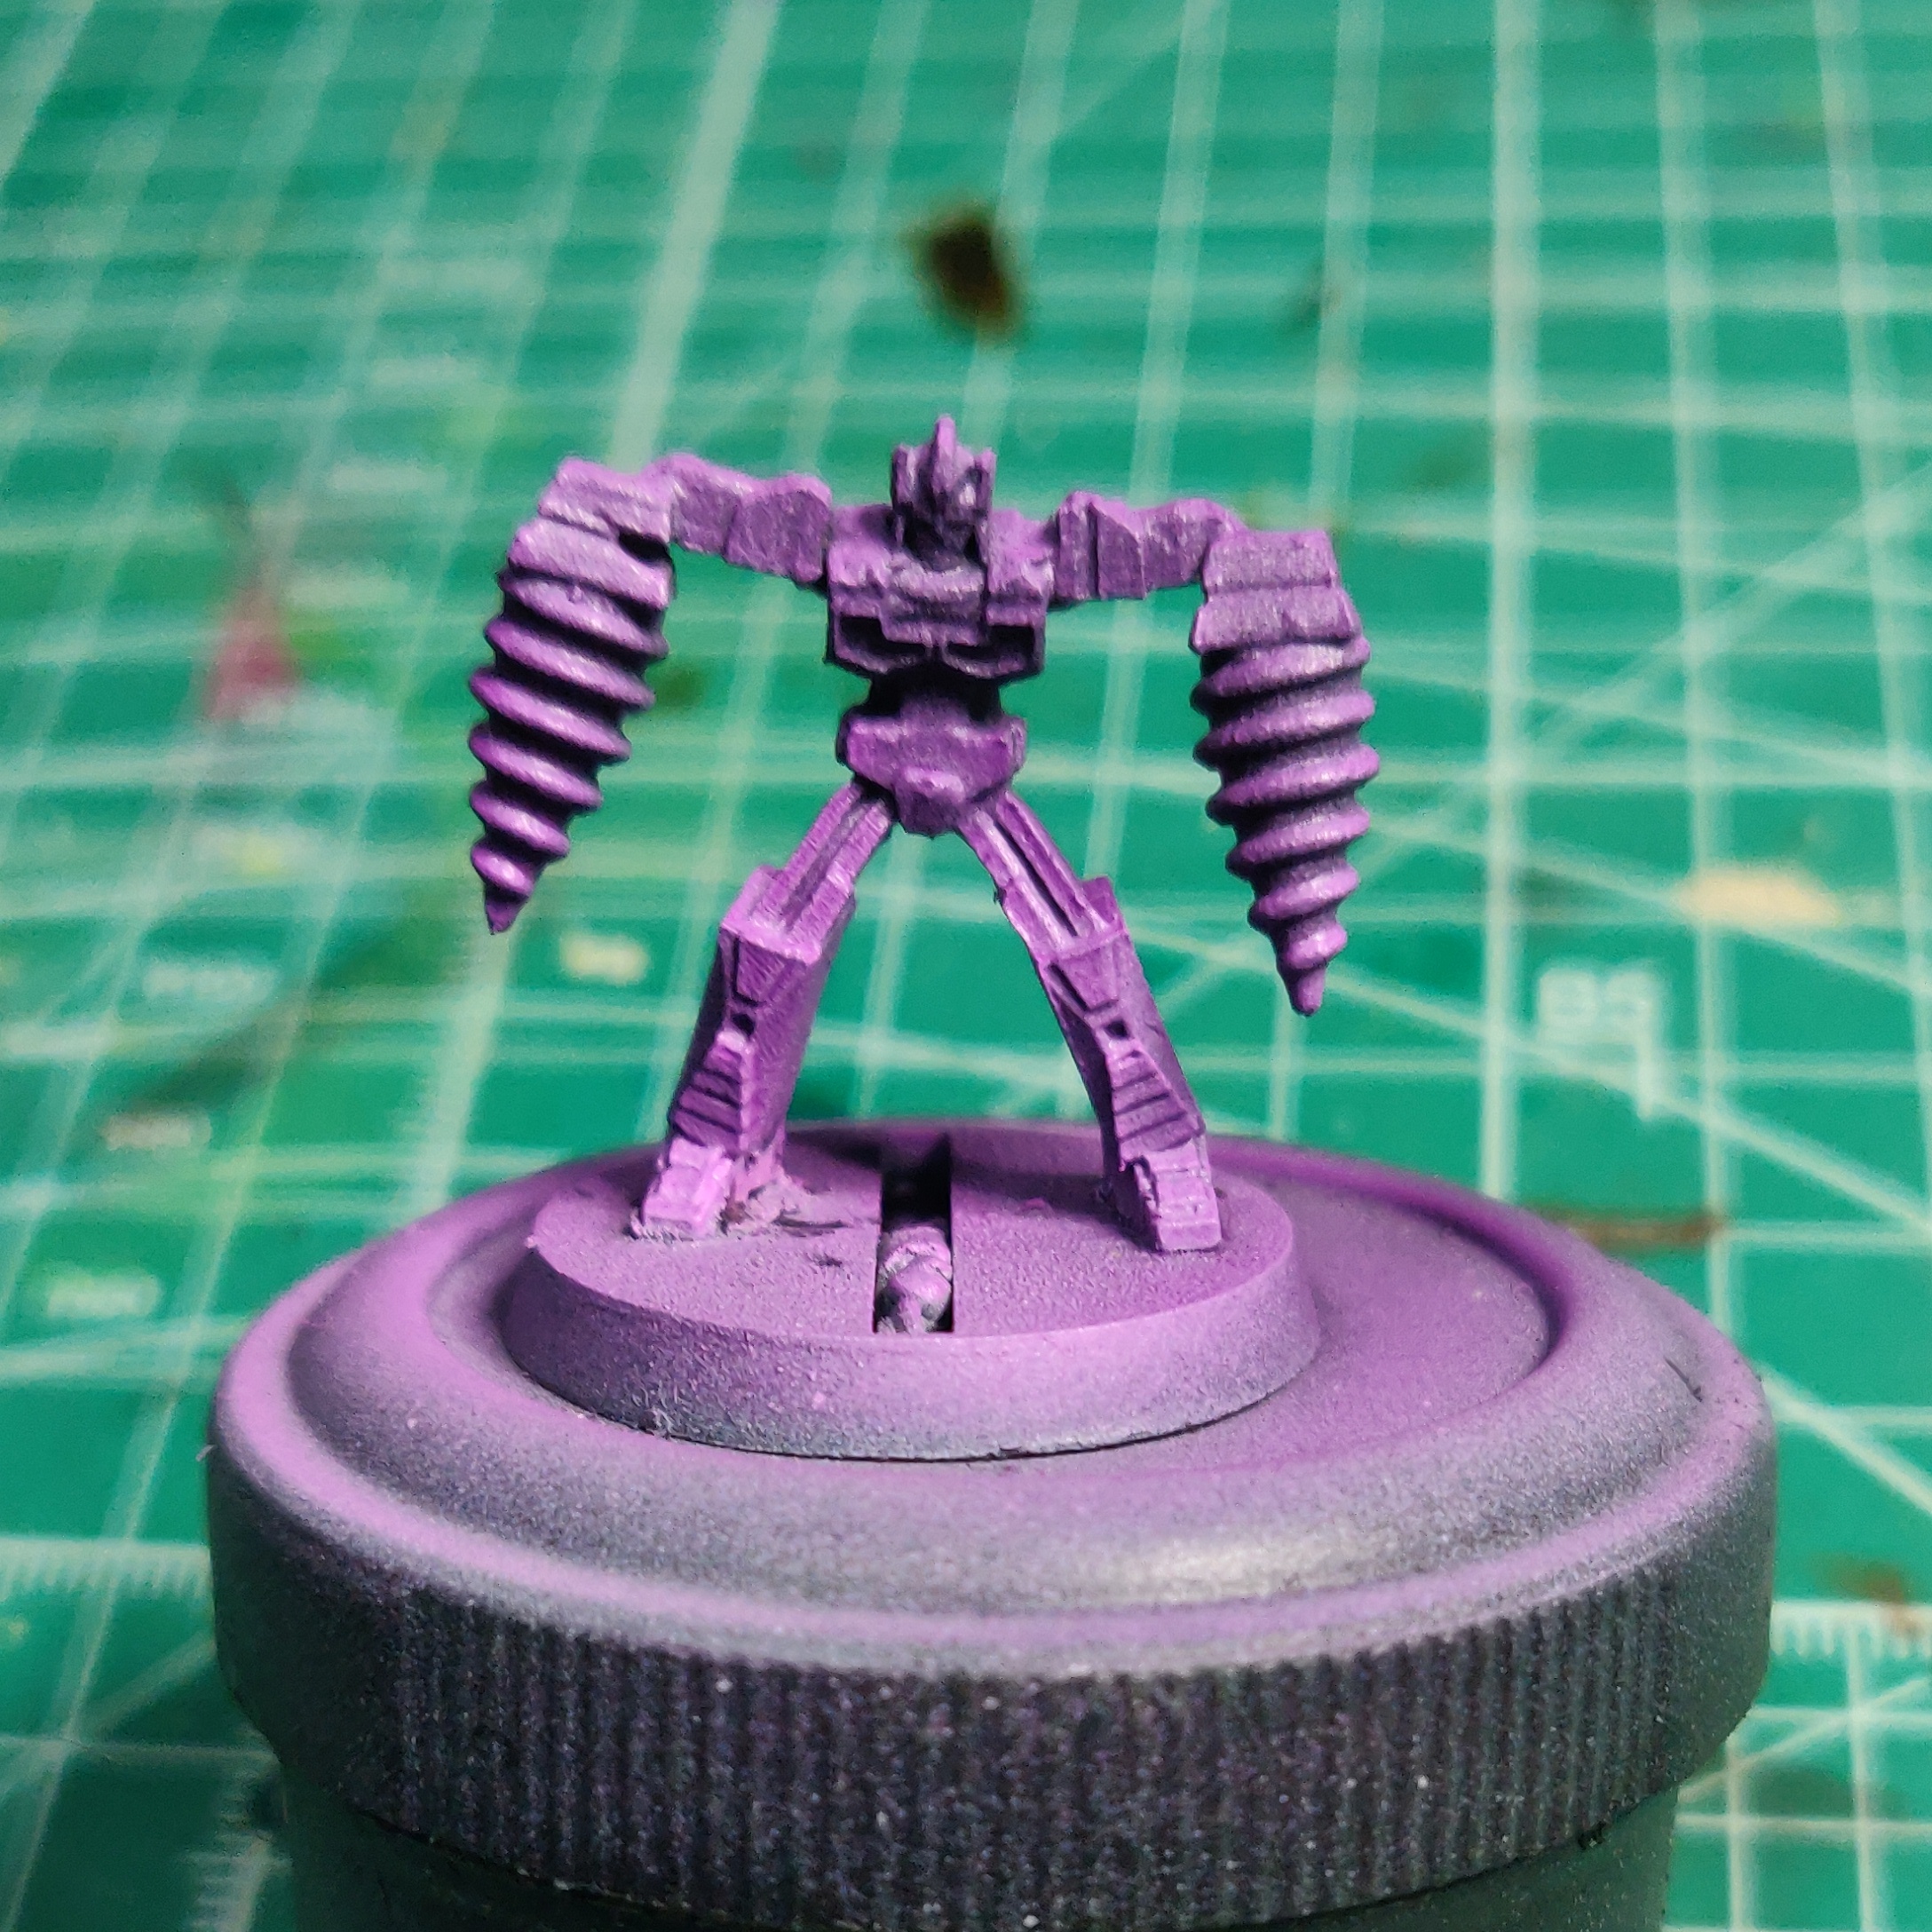 Secret Weapon purple wash Airbrushed over a black & white prime
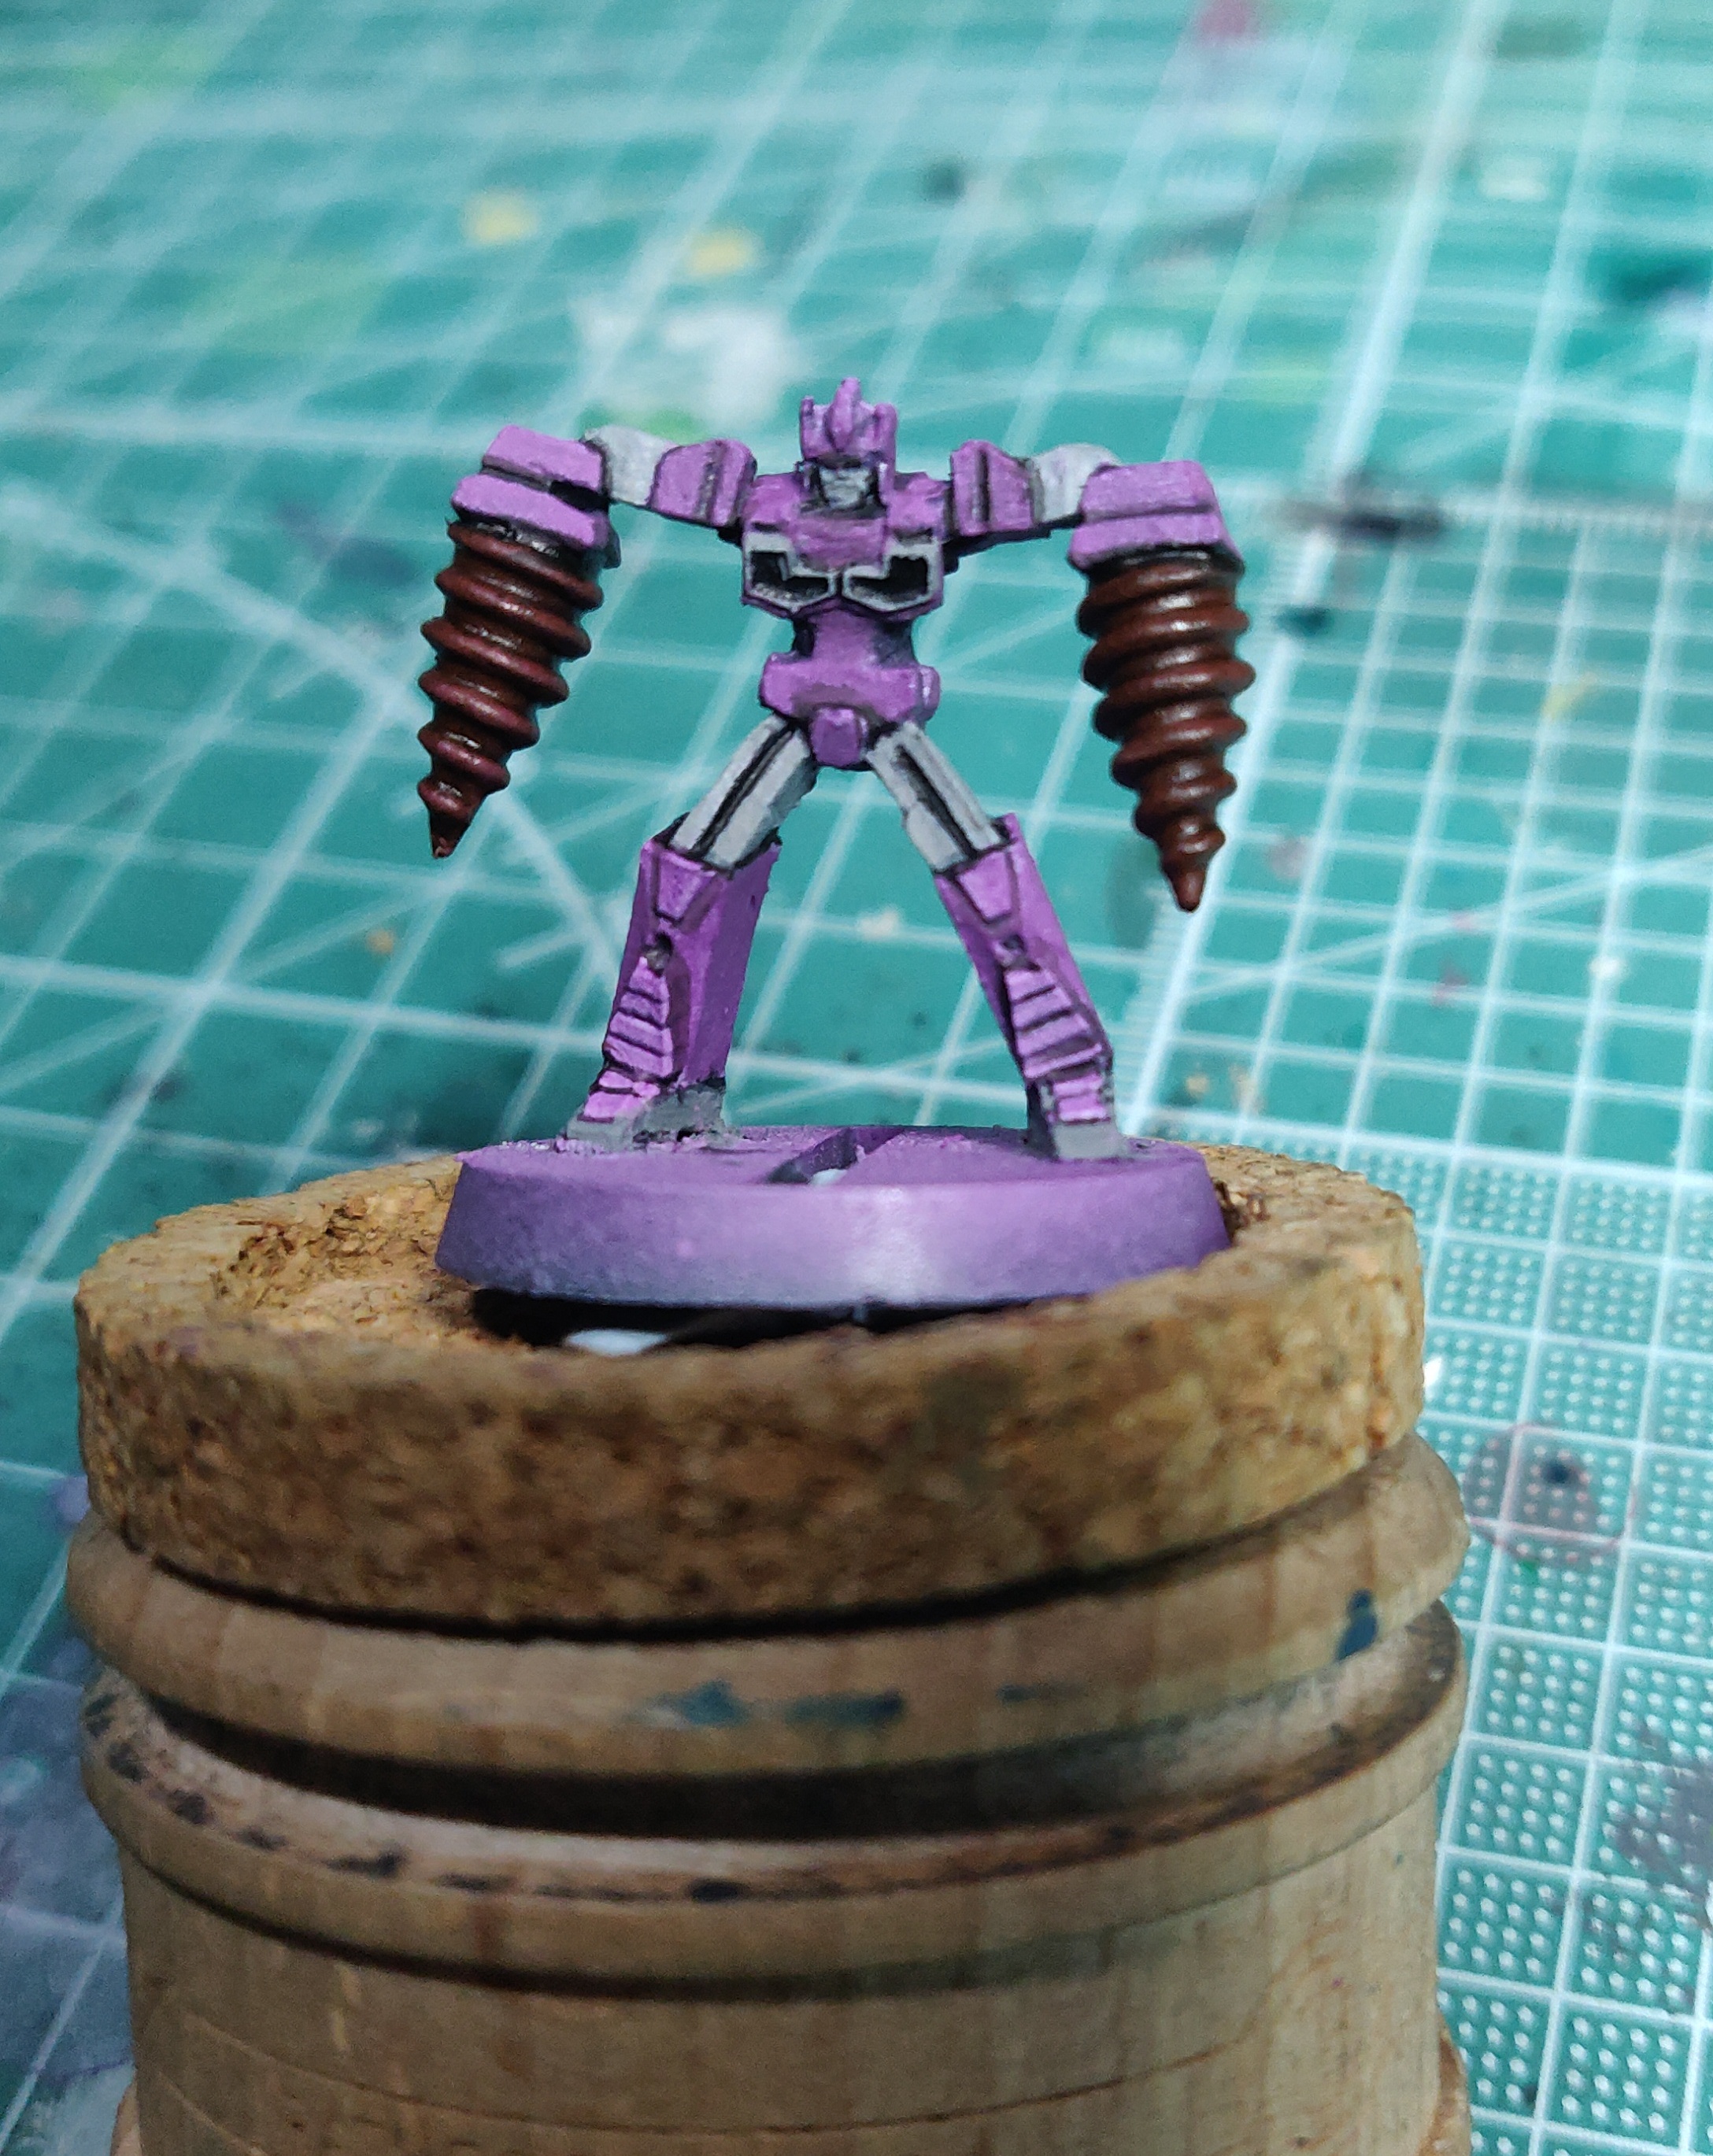
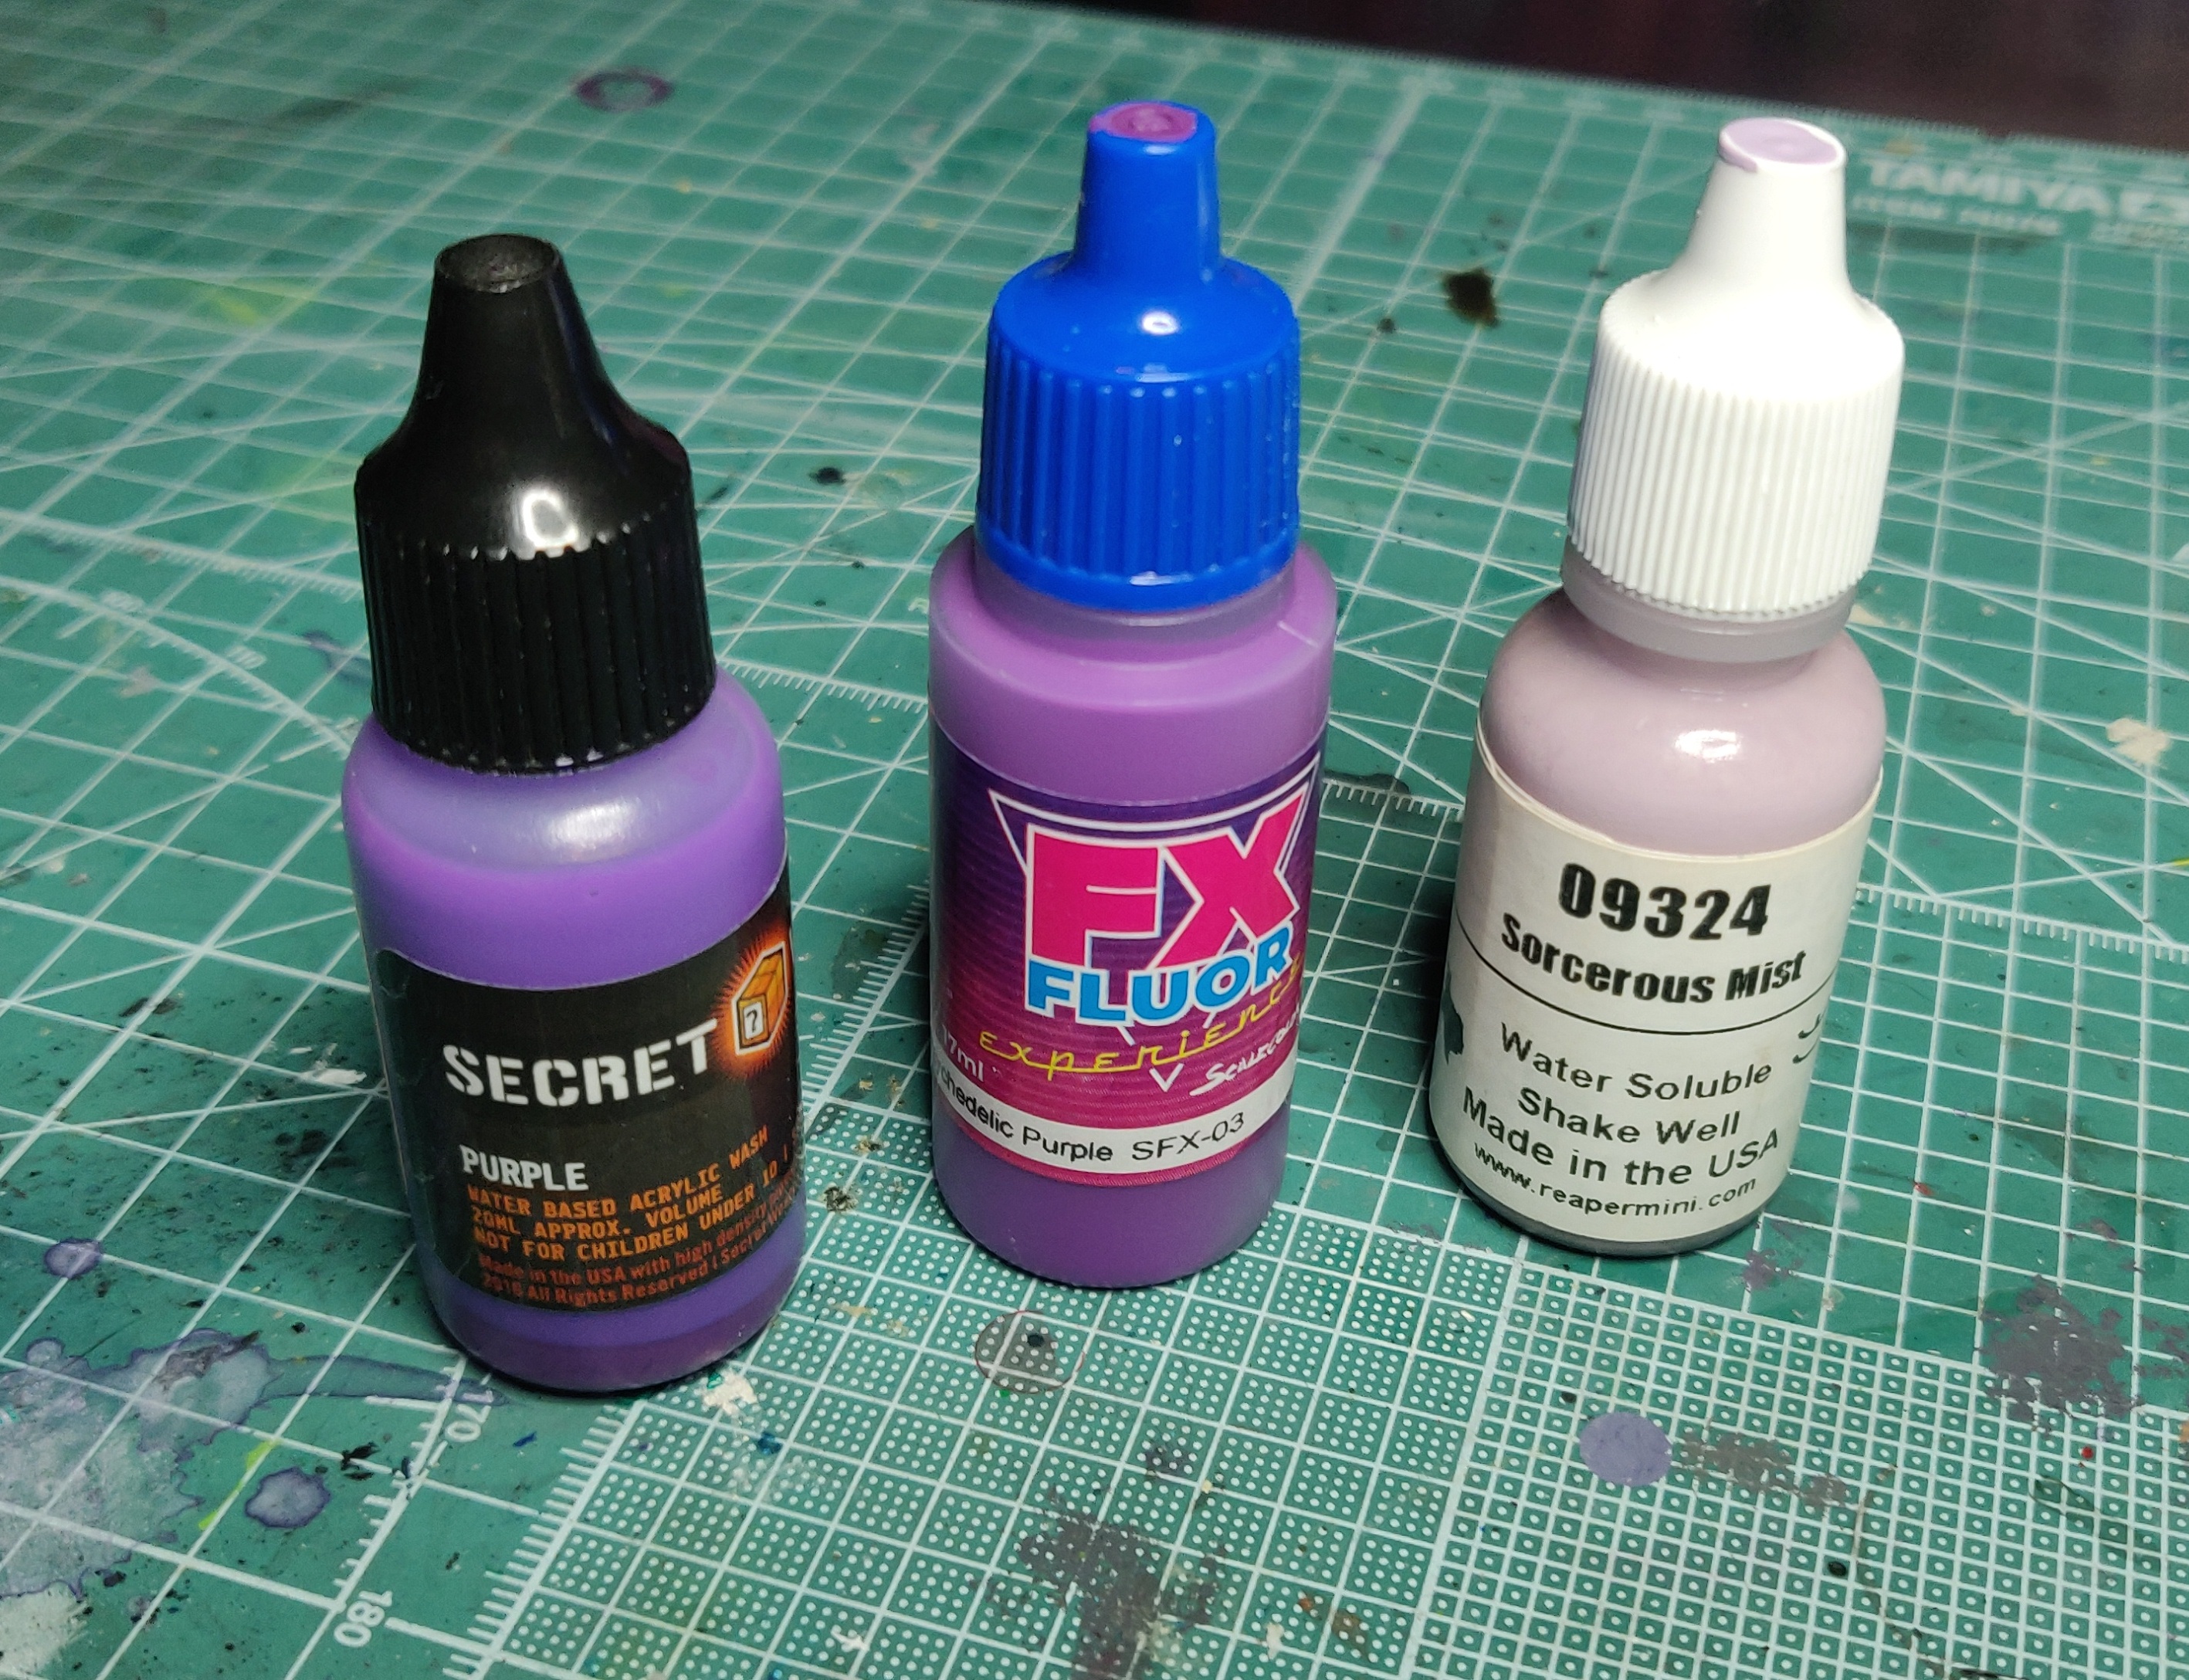 Base coat, Layer Edge Highlight
 - The next stage was to blackline all the crevasses with vallejo model back to make the joints pop, then all purple surfaces were given a coat of Scale75 Psychedelic Purple (which actually reacts under UV). The edges were then highlighted with Reaper Sorcerous Mist before all purple panels getting a thin coat of Secret Weapon purple wash diluted with citadel lahmian medium to smooth out the highlights.
The grey portions used my standard workup of Vallejo Game colour extra opaque heavy grey, which was the. Edge highlighted with Reaper Arctic Fog.
The drill arms were first based in vallejo Game color extra opaque heavy sienna, then highlighted on the edge of the drills with Reaper Arctic Fog and then washed with secret weapon Sewer Water.
For the visor I wanted something different to the other builders’ magenta, so went with a base of Extra Opaque Heavy Orange, then a highlight of Reaper Candlelight Yellow
 Layer coats and blacking before final edges and washes
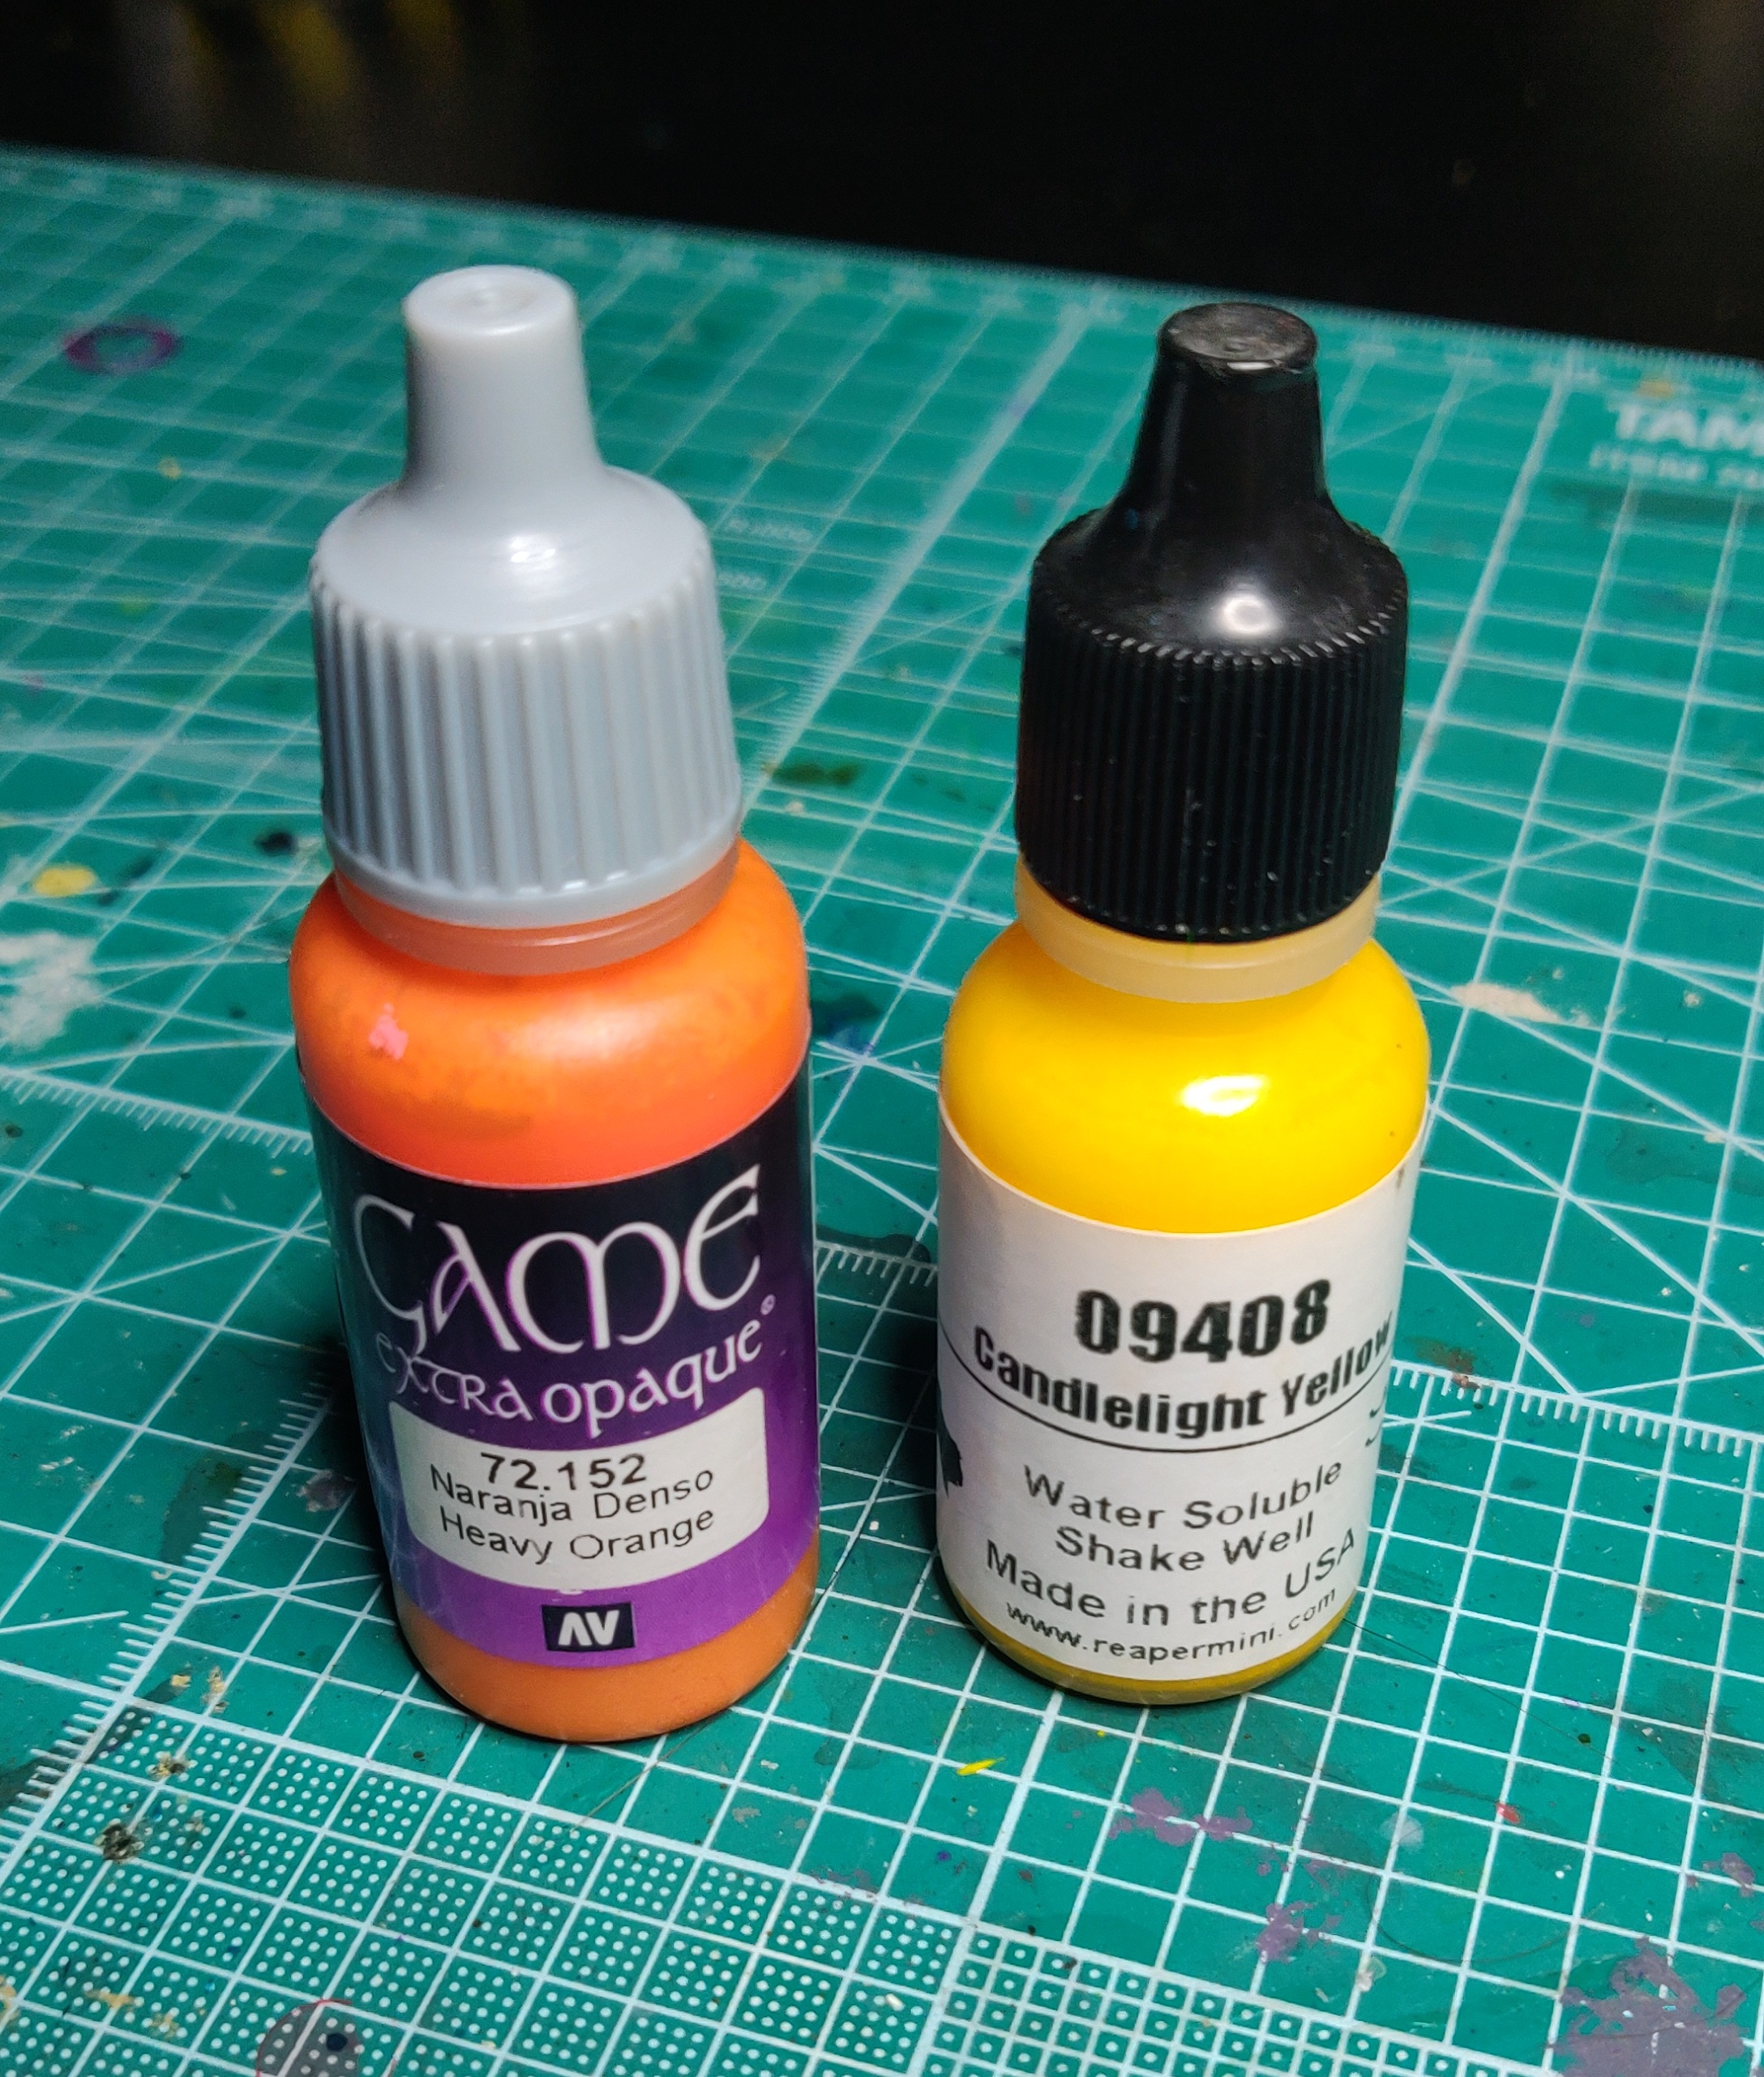 Base coat and highlight for the visor
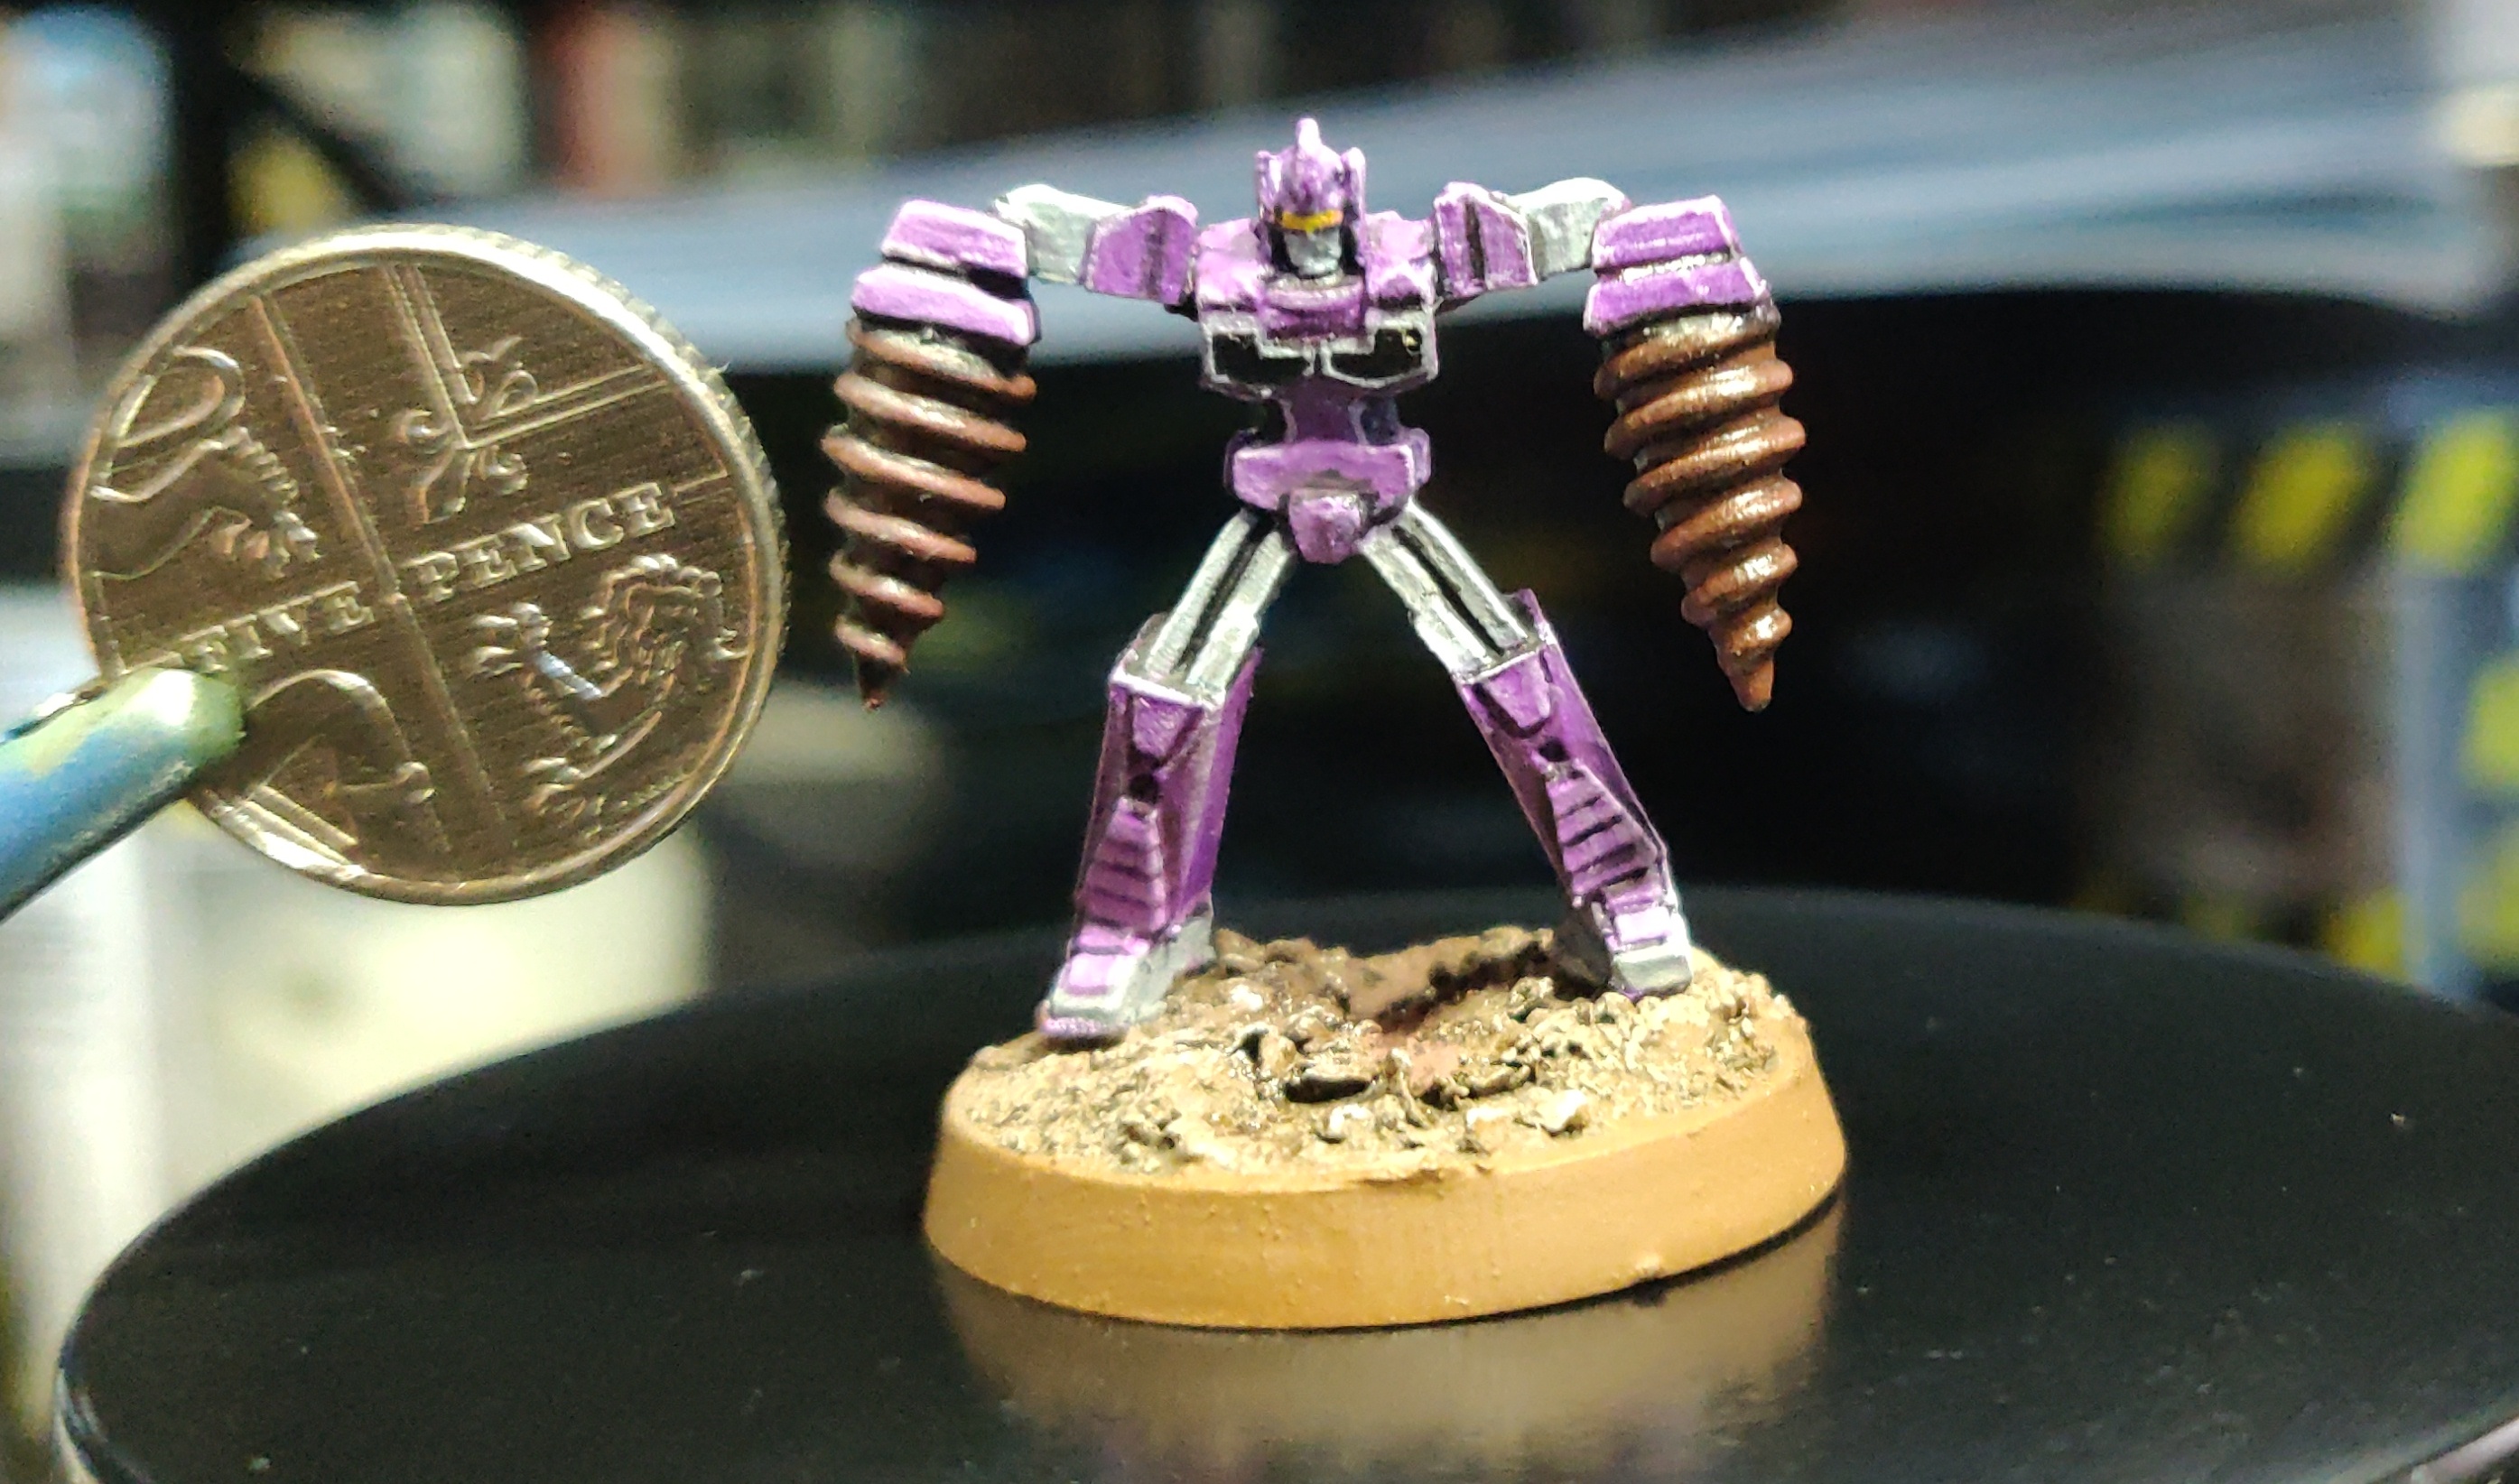 Final shot, he is very small
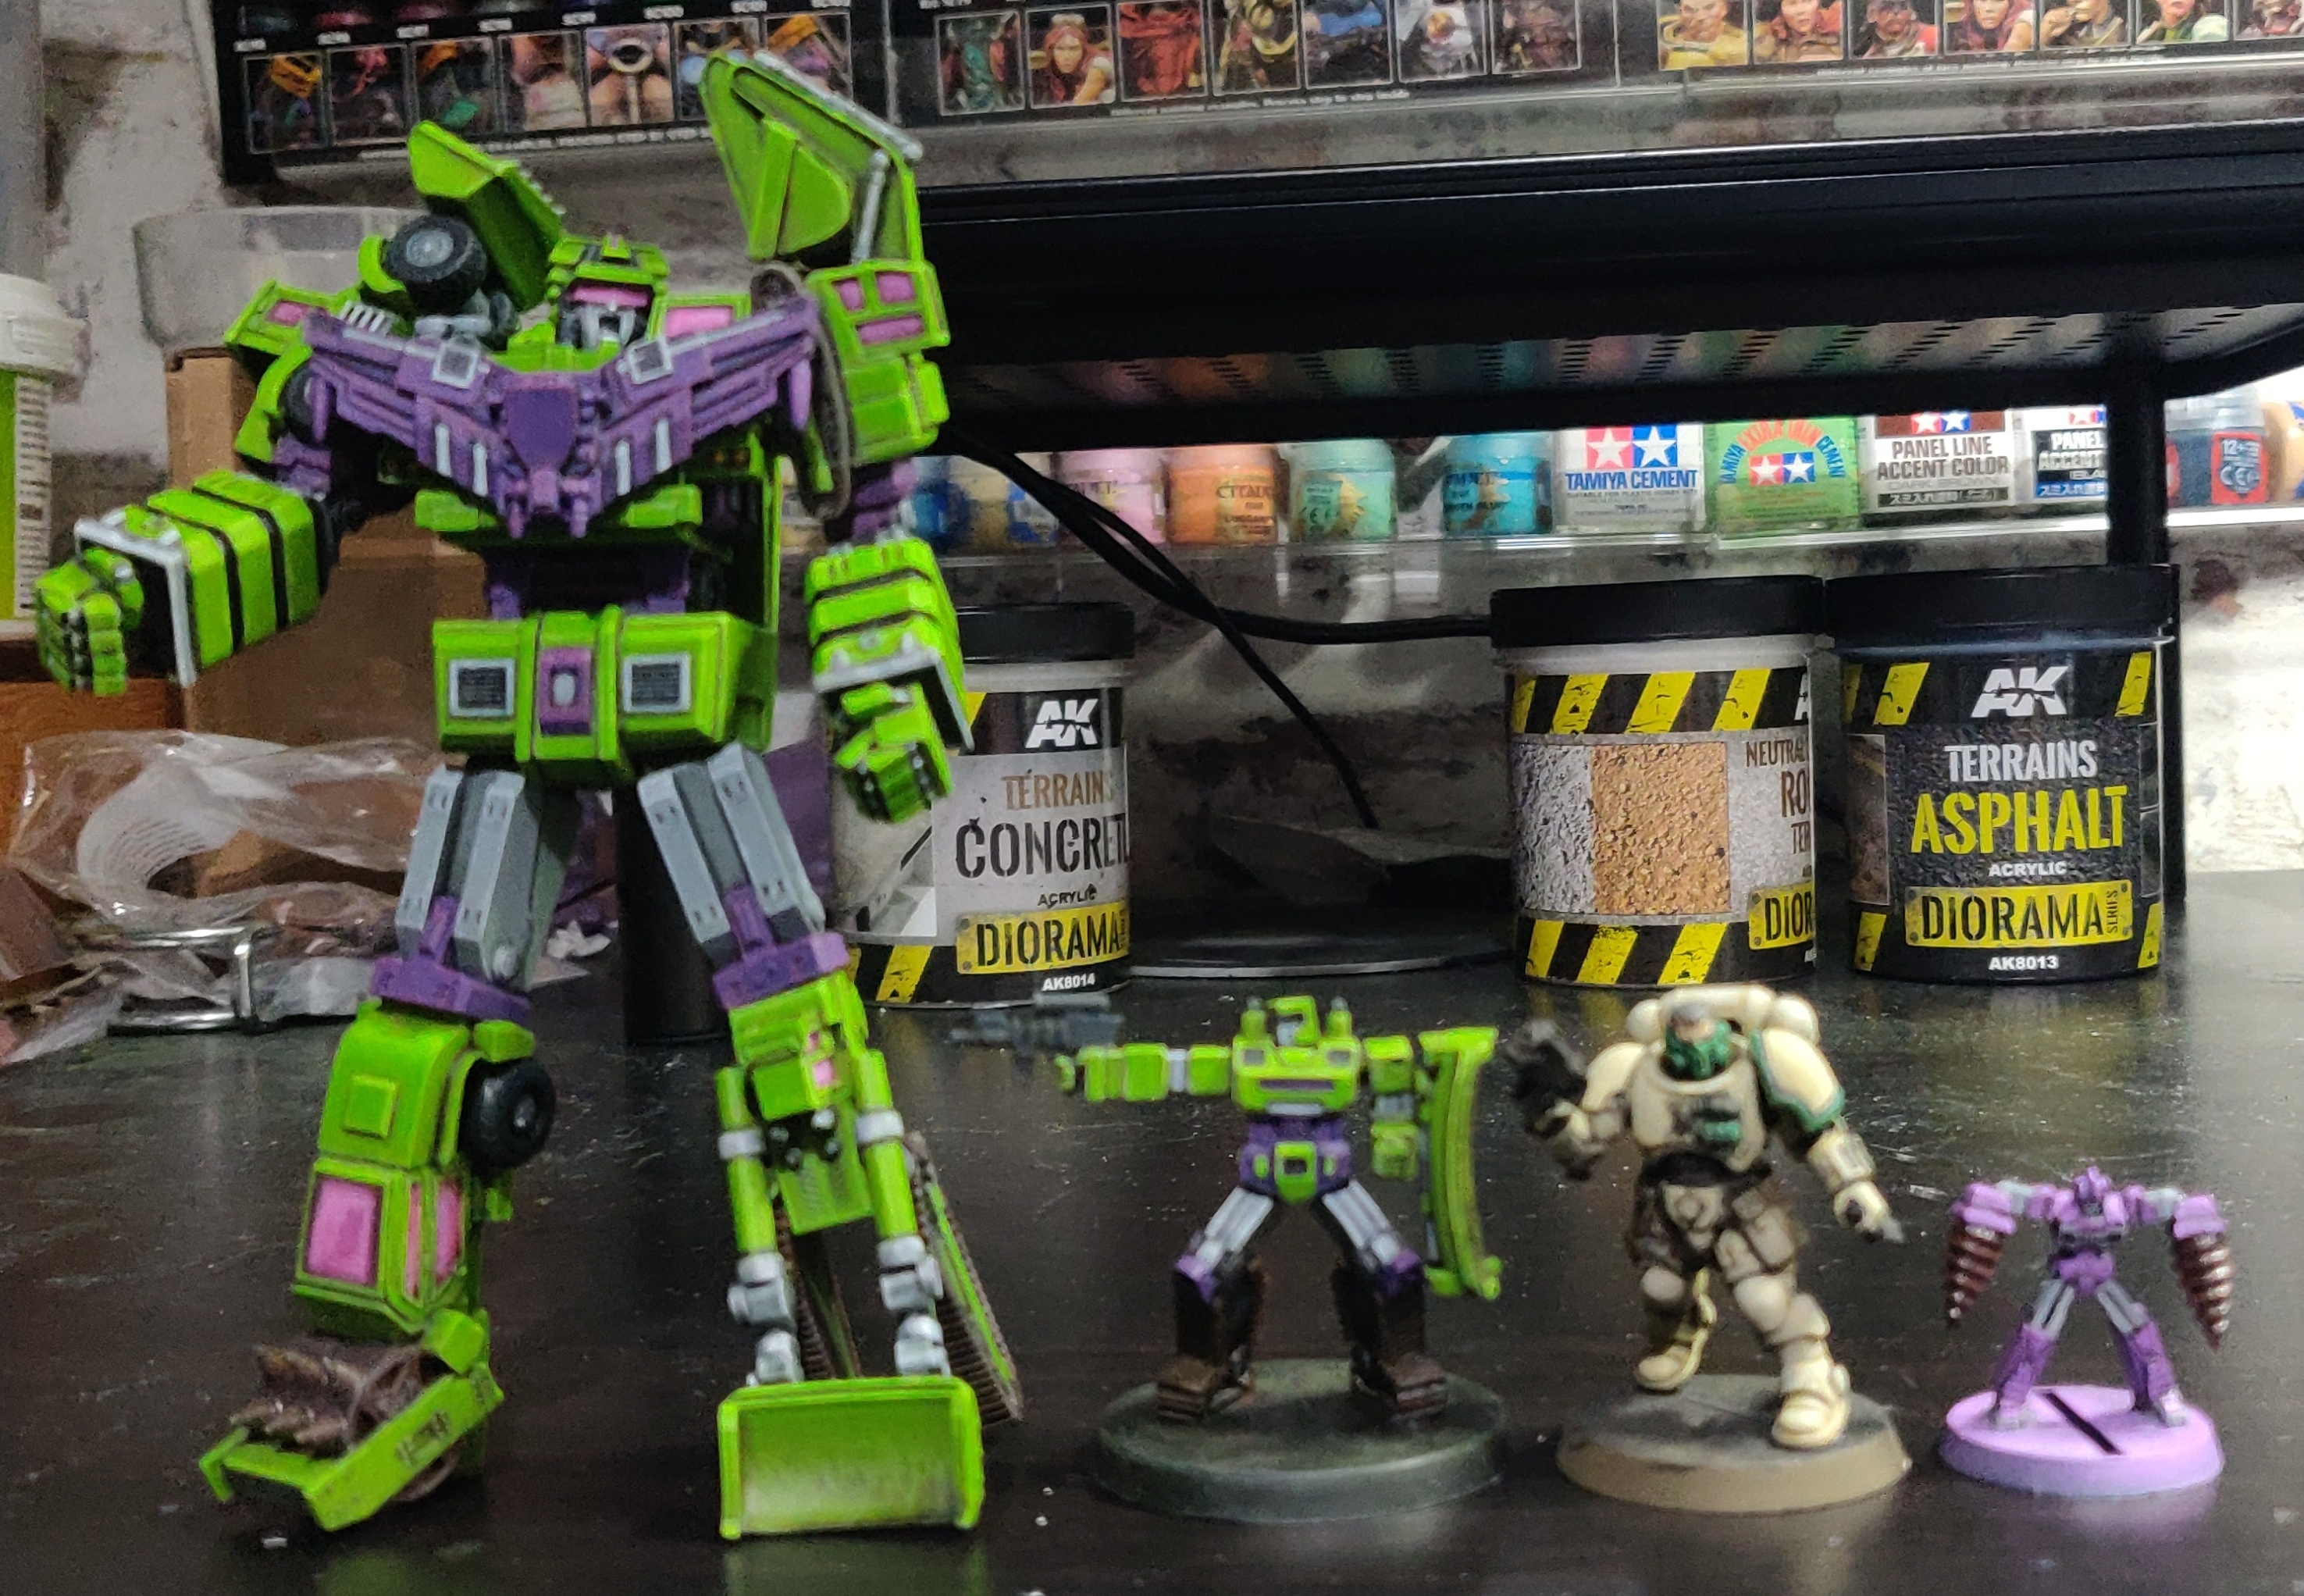 From the biggest bot to the smallest bot
Day 30....
Building the bases
I have left the bases until the very end as I wanted to try out some new ideas, and if they didn’t work out as planned I would still have the original bases the models were attached to as a fallback option. In hindsight I should have built the bases up from the start when assembling the models so I could have gotten a better adhesion of Bot to base, and more realistic imprinting of the feet in the texture (they wouldn’t realistically be lightweight), but like I said I wanted to experiment.
Materials
- AK-Interactive Rough Terrain
- Dried Coffee Grounds
- Small volcanic rocks
- Sand
- Kromlech resin slate basing kit
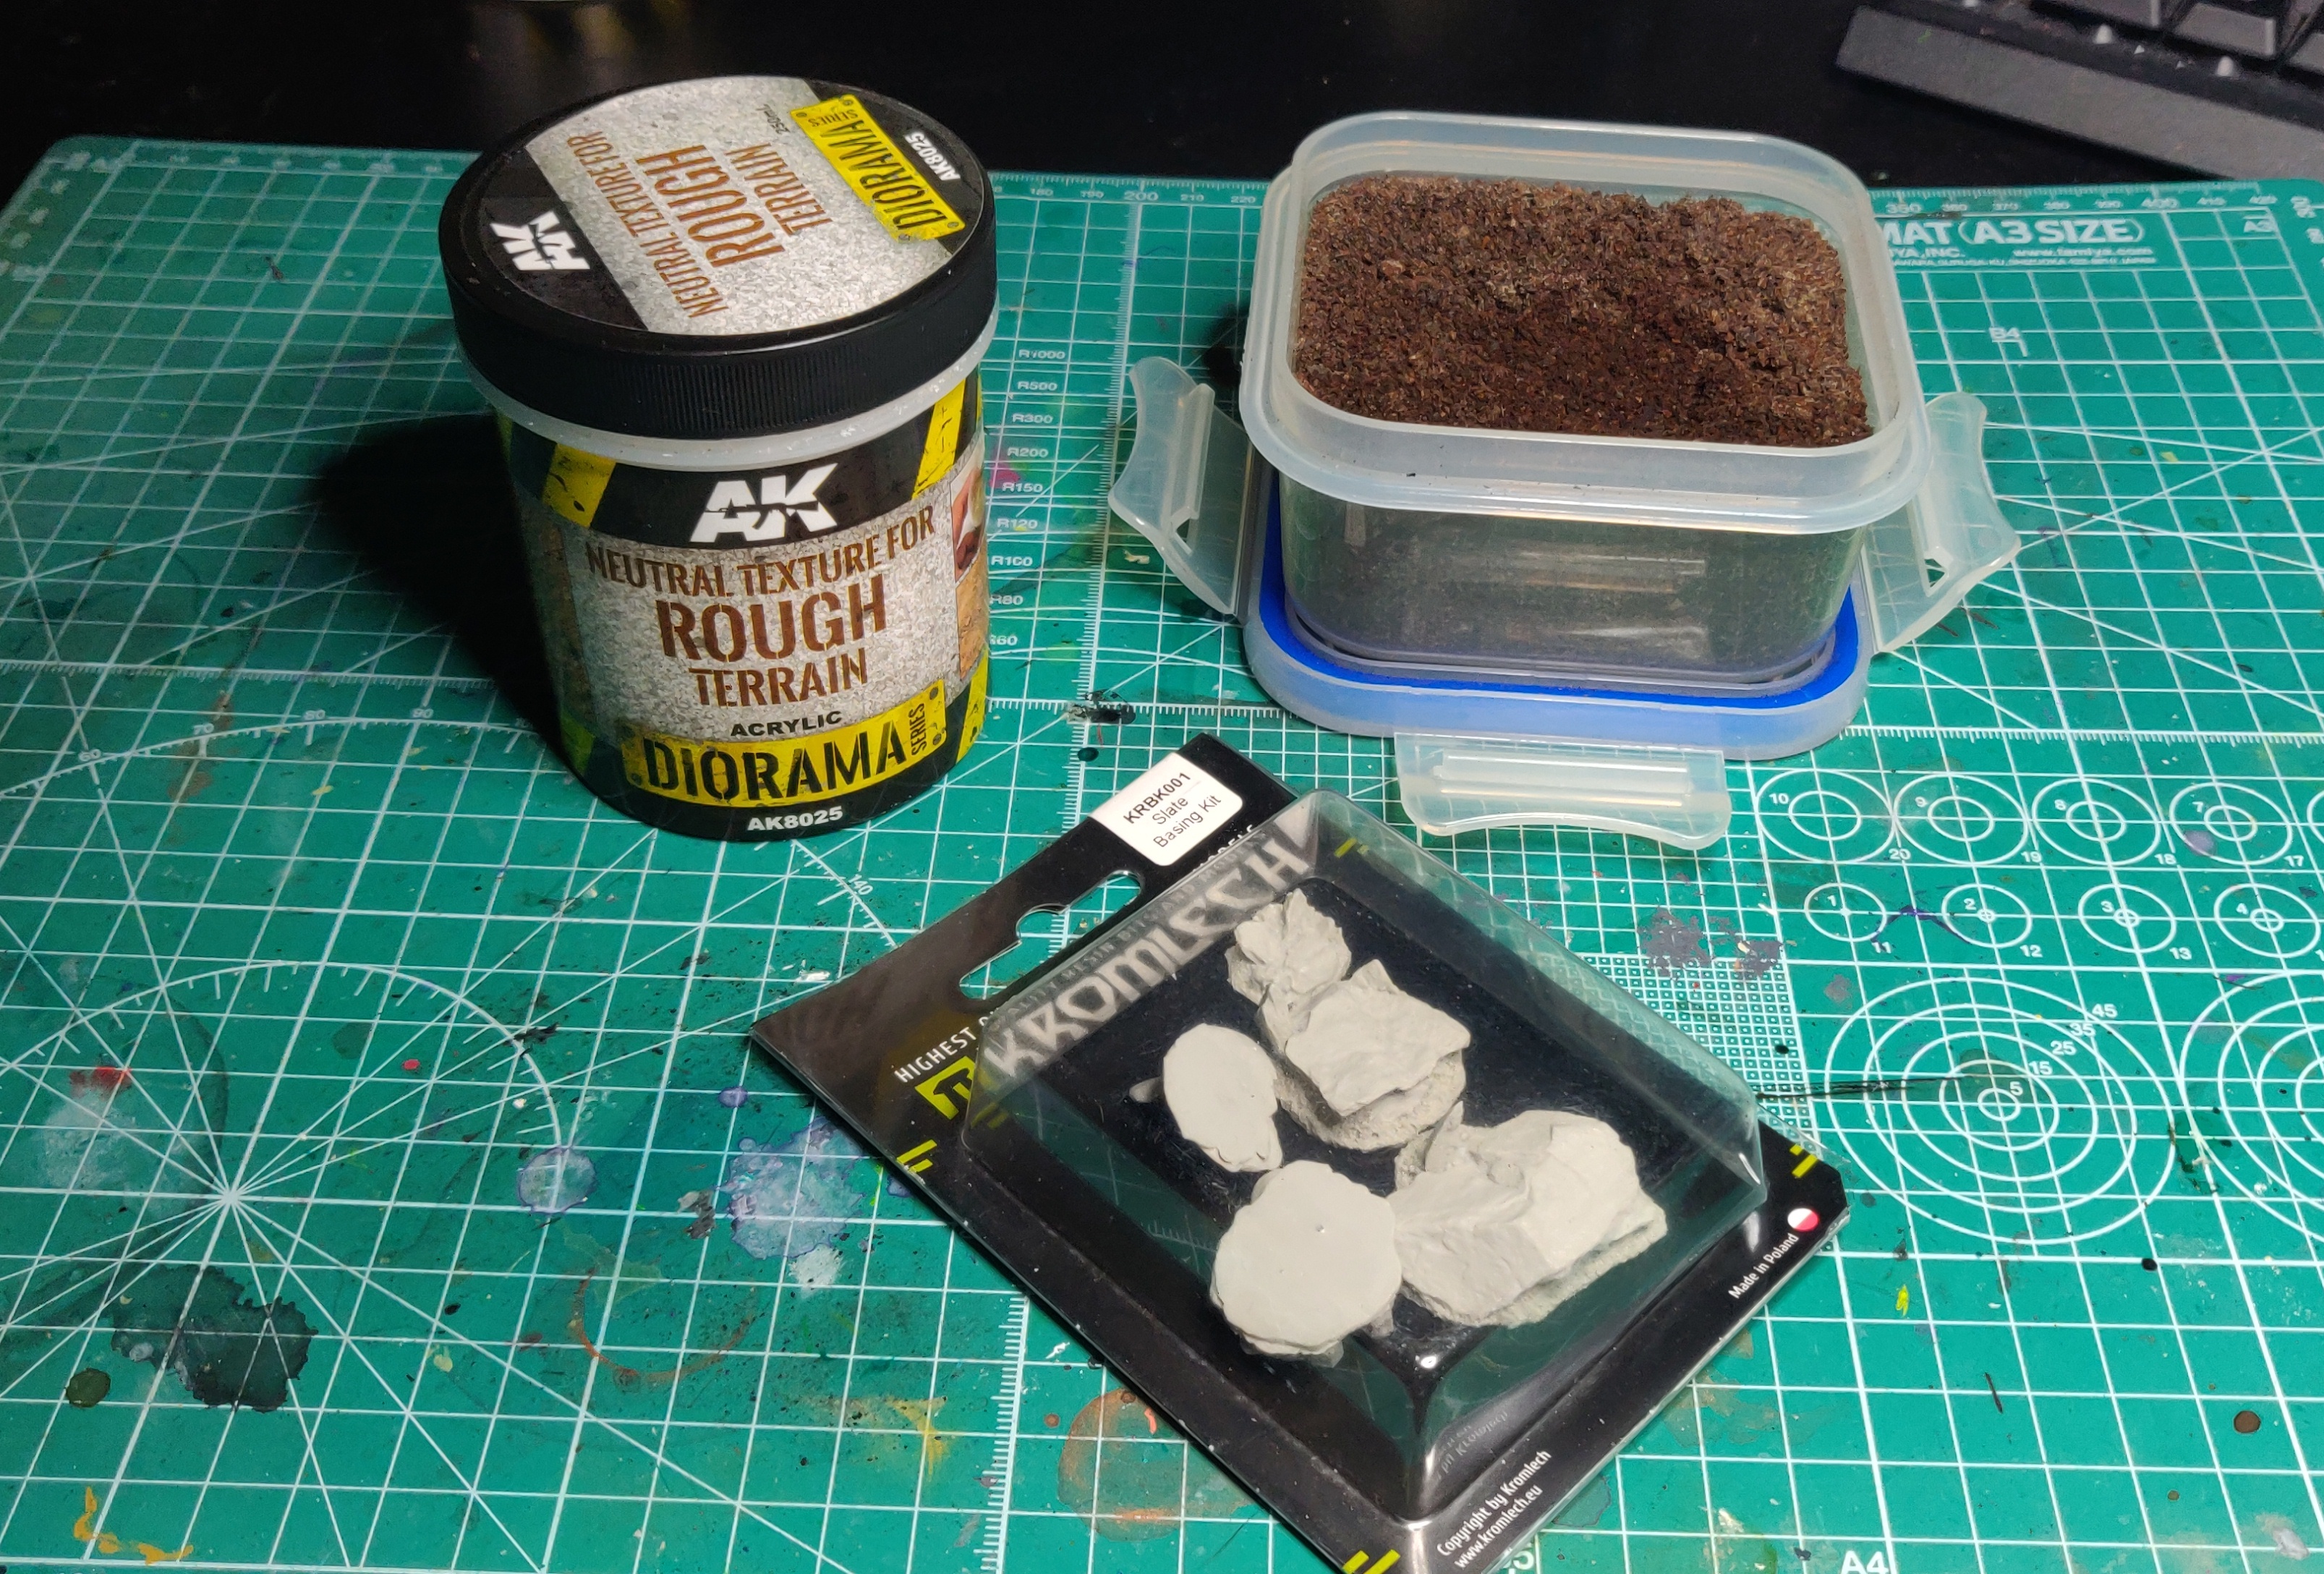 Most of the materials
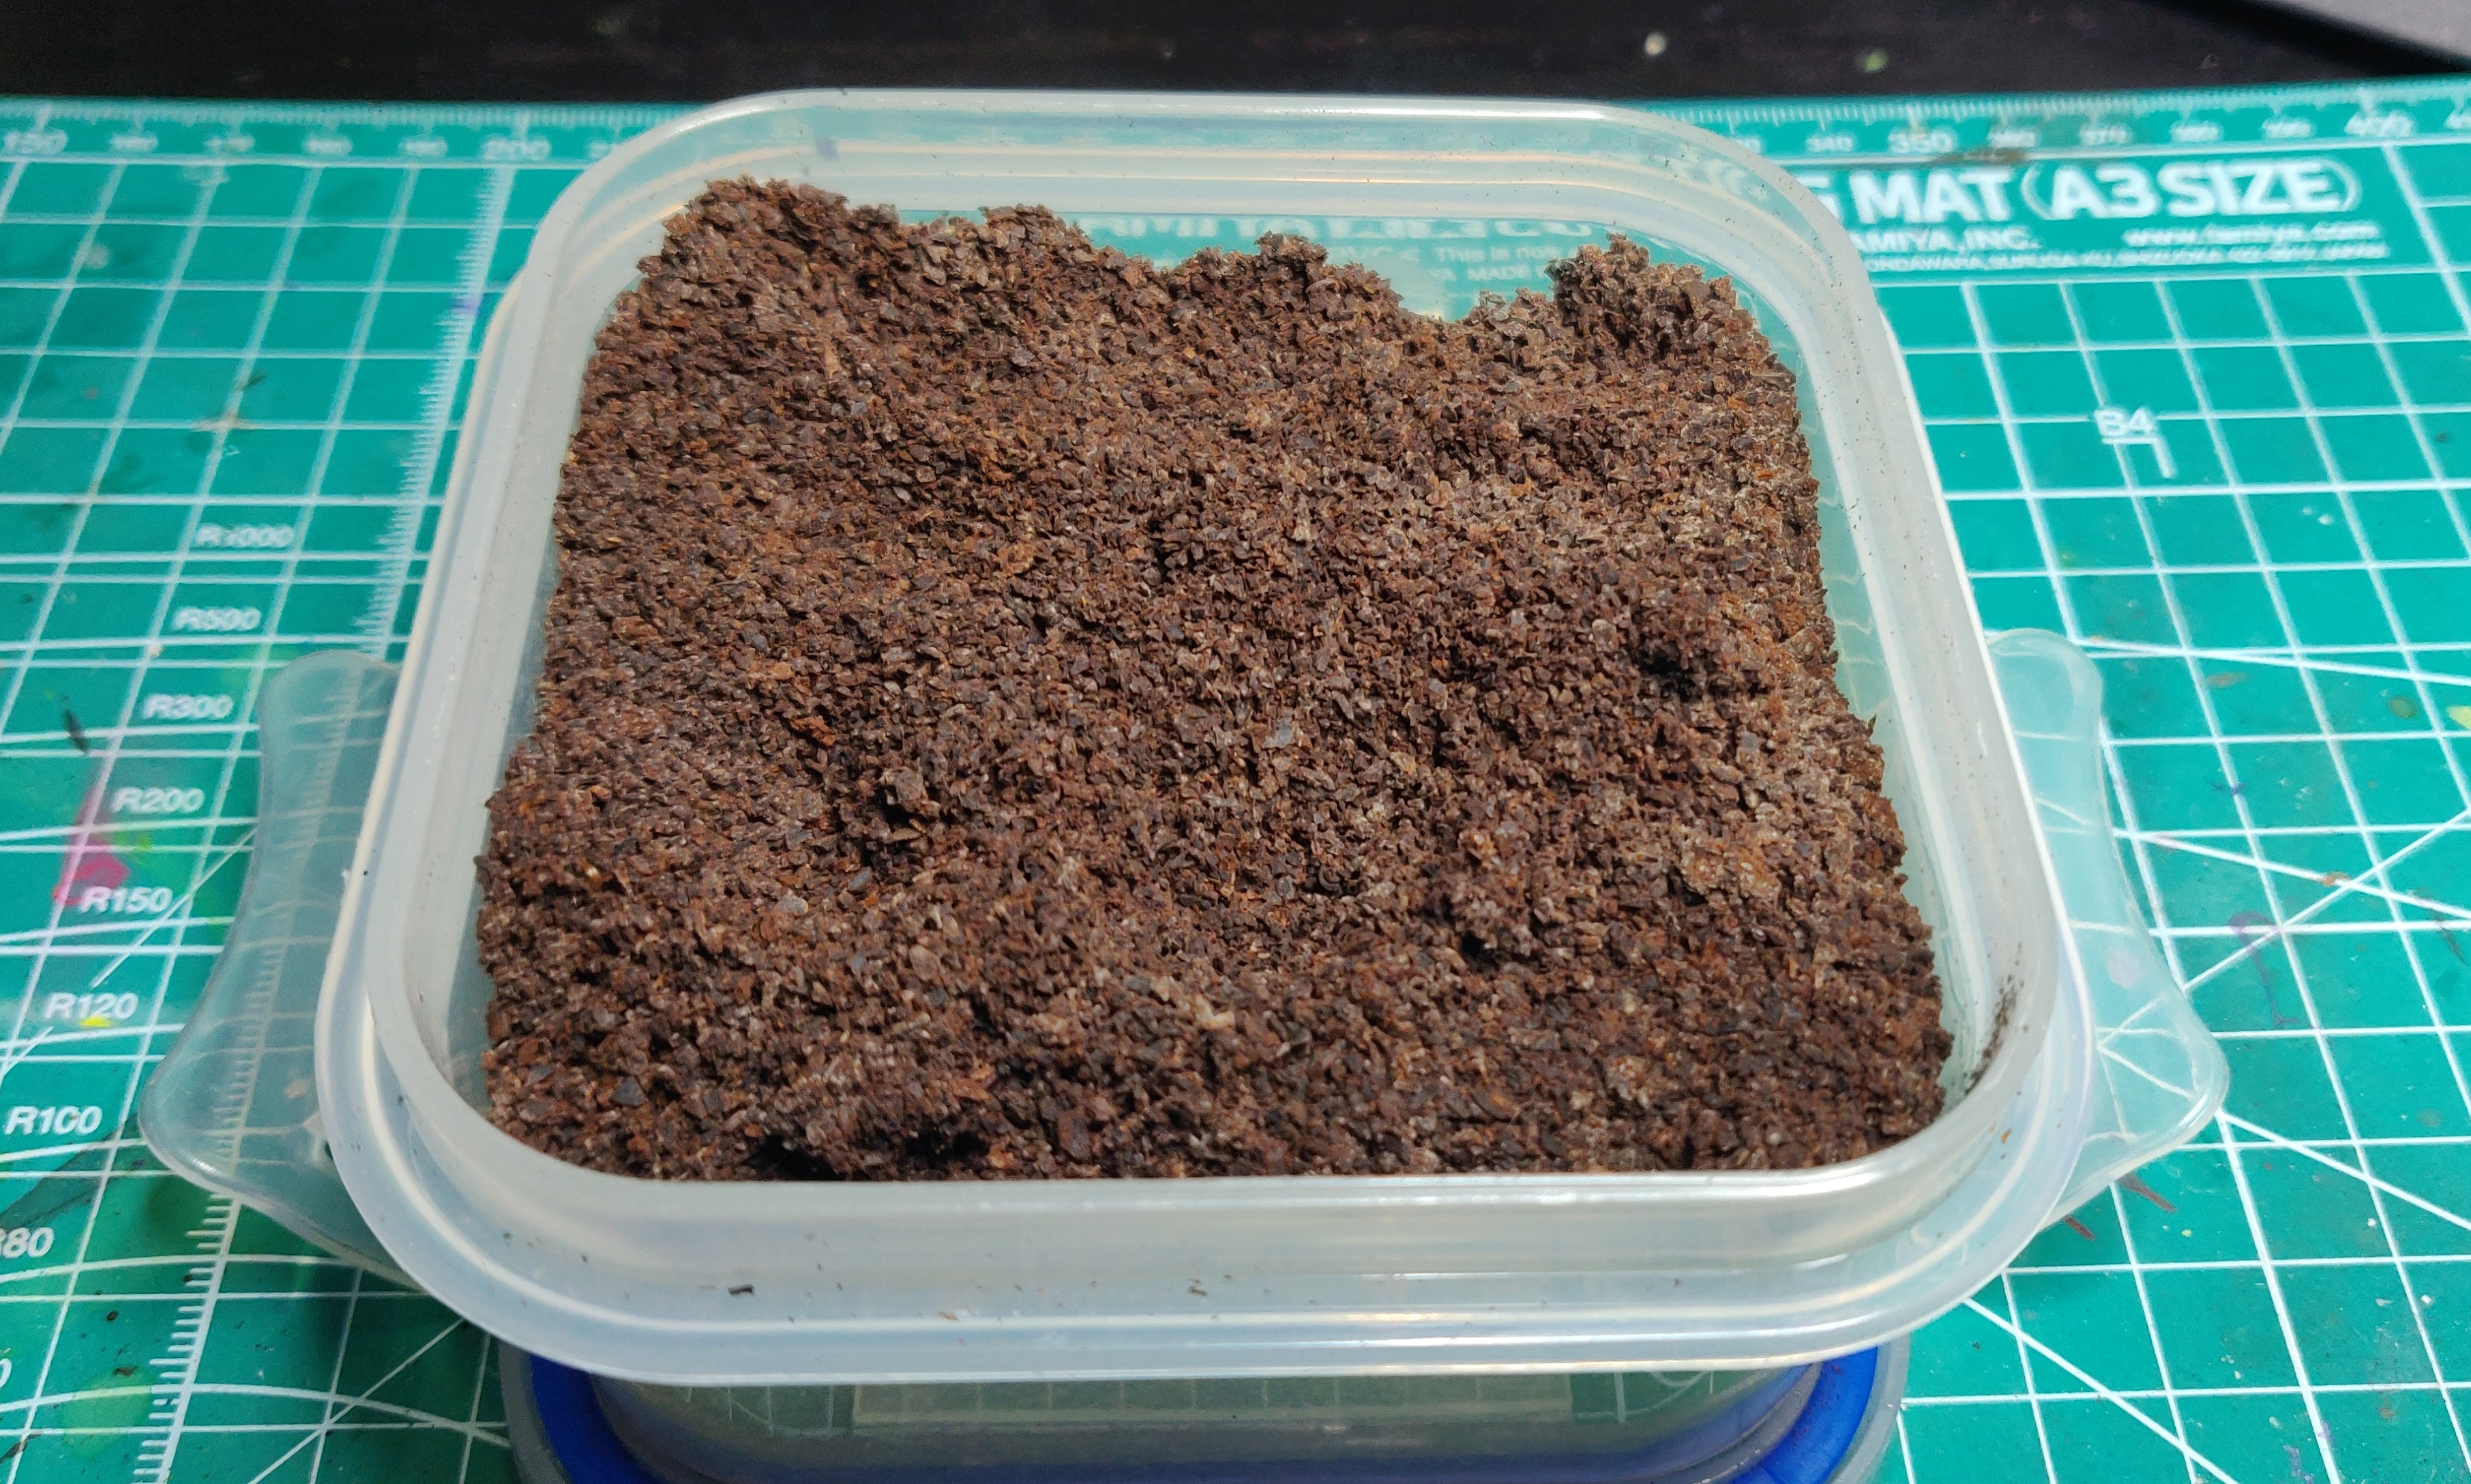 Dried out coffee grounds, make your coffee as usual, then save the grounds, spread on a baking sheet and dry thoroughly in a low temperature oven for about 45 minutes. Then spread onto kitchen towel to absorb any remaining moisture, store in a sealed tub
To start with I took the bases (4x40mm, 1x50mm, 1x 25mm, 1x 100mm elliptical) and superglued on some of the resin slate pieces, one or two per base. These were mostly scatter randomly, however the team leader (Dumptruck) has his right leg lifted in the air, this is a good pose, but not very stable, so i used one of the largest skate pieces on his 50mm base to provide a support and as with any significant leader, he would then have his foot on a rock.
Next, I gave all bases a nice thick coat of AK Interactive Rough Terrain. Working up to and blending the edge of the slate pieces so that they would look like a natural formation poking through. Whilst this was wet I then dotted some small pieces of natural volcanic rock (for variety) on a couple of bases. Its key not to overdo this or they become too cluttered and not look natural, it could also cause issue when actually mounting the bots. With the Rough Terrain still in a wet state I then sprinkled over some dried coffee grounds for added texture, and scattered a light amount of sand for further texture. This was then left overnight to fully dry out and set.
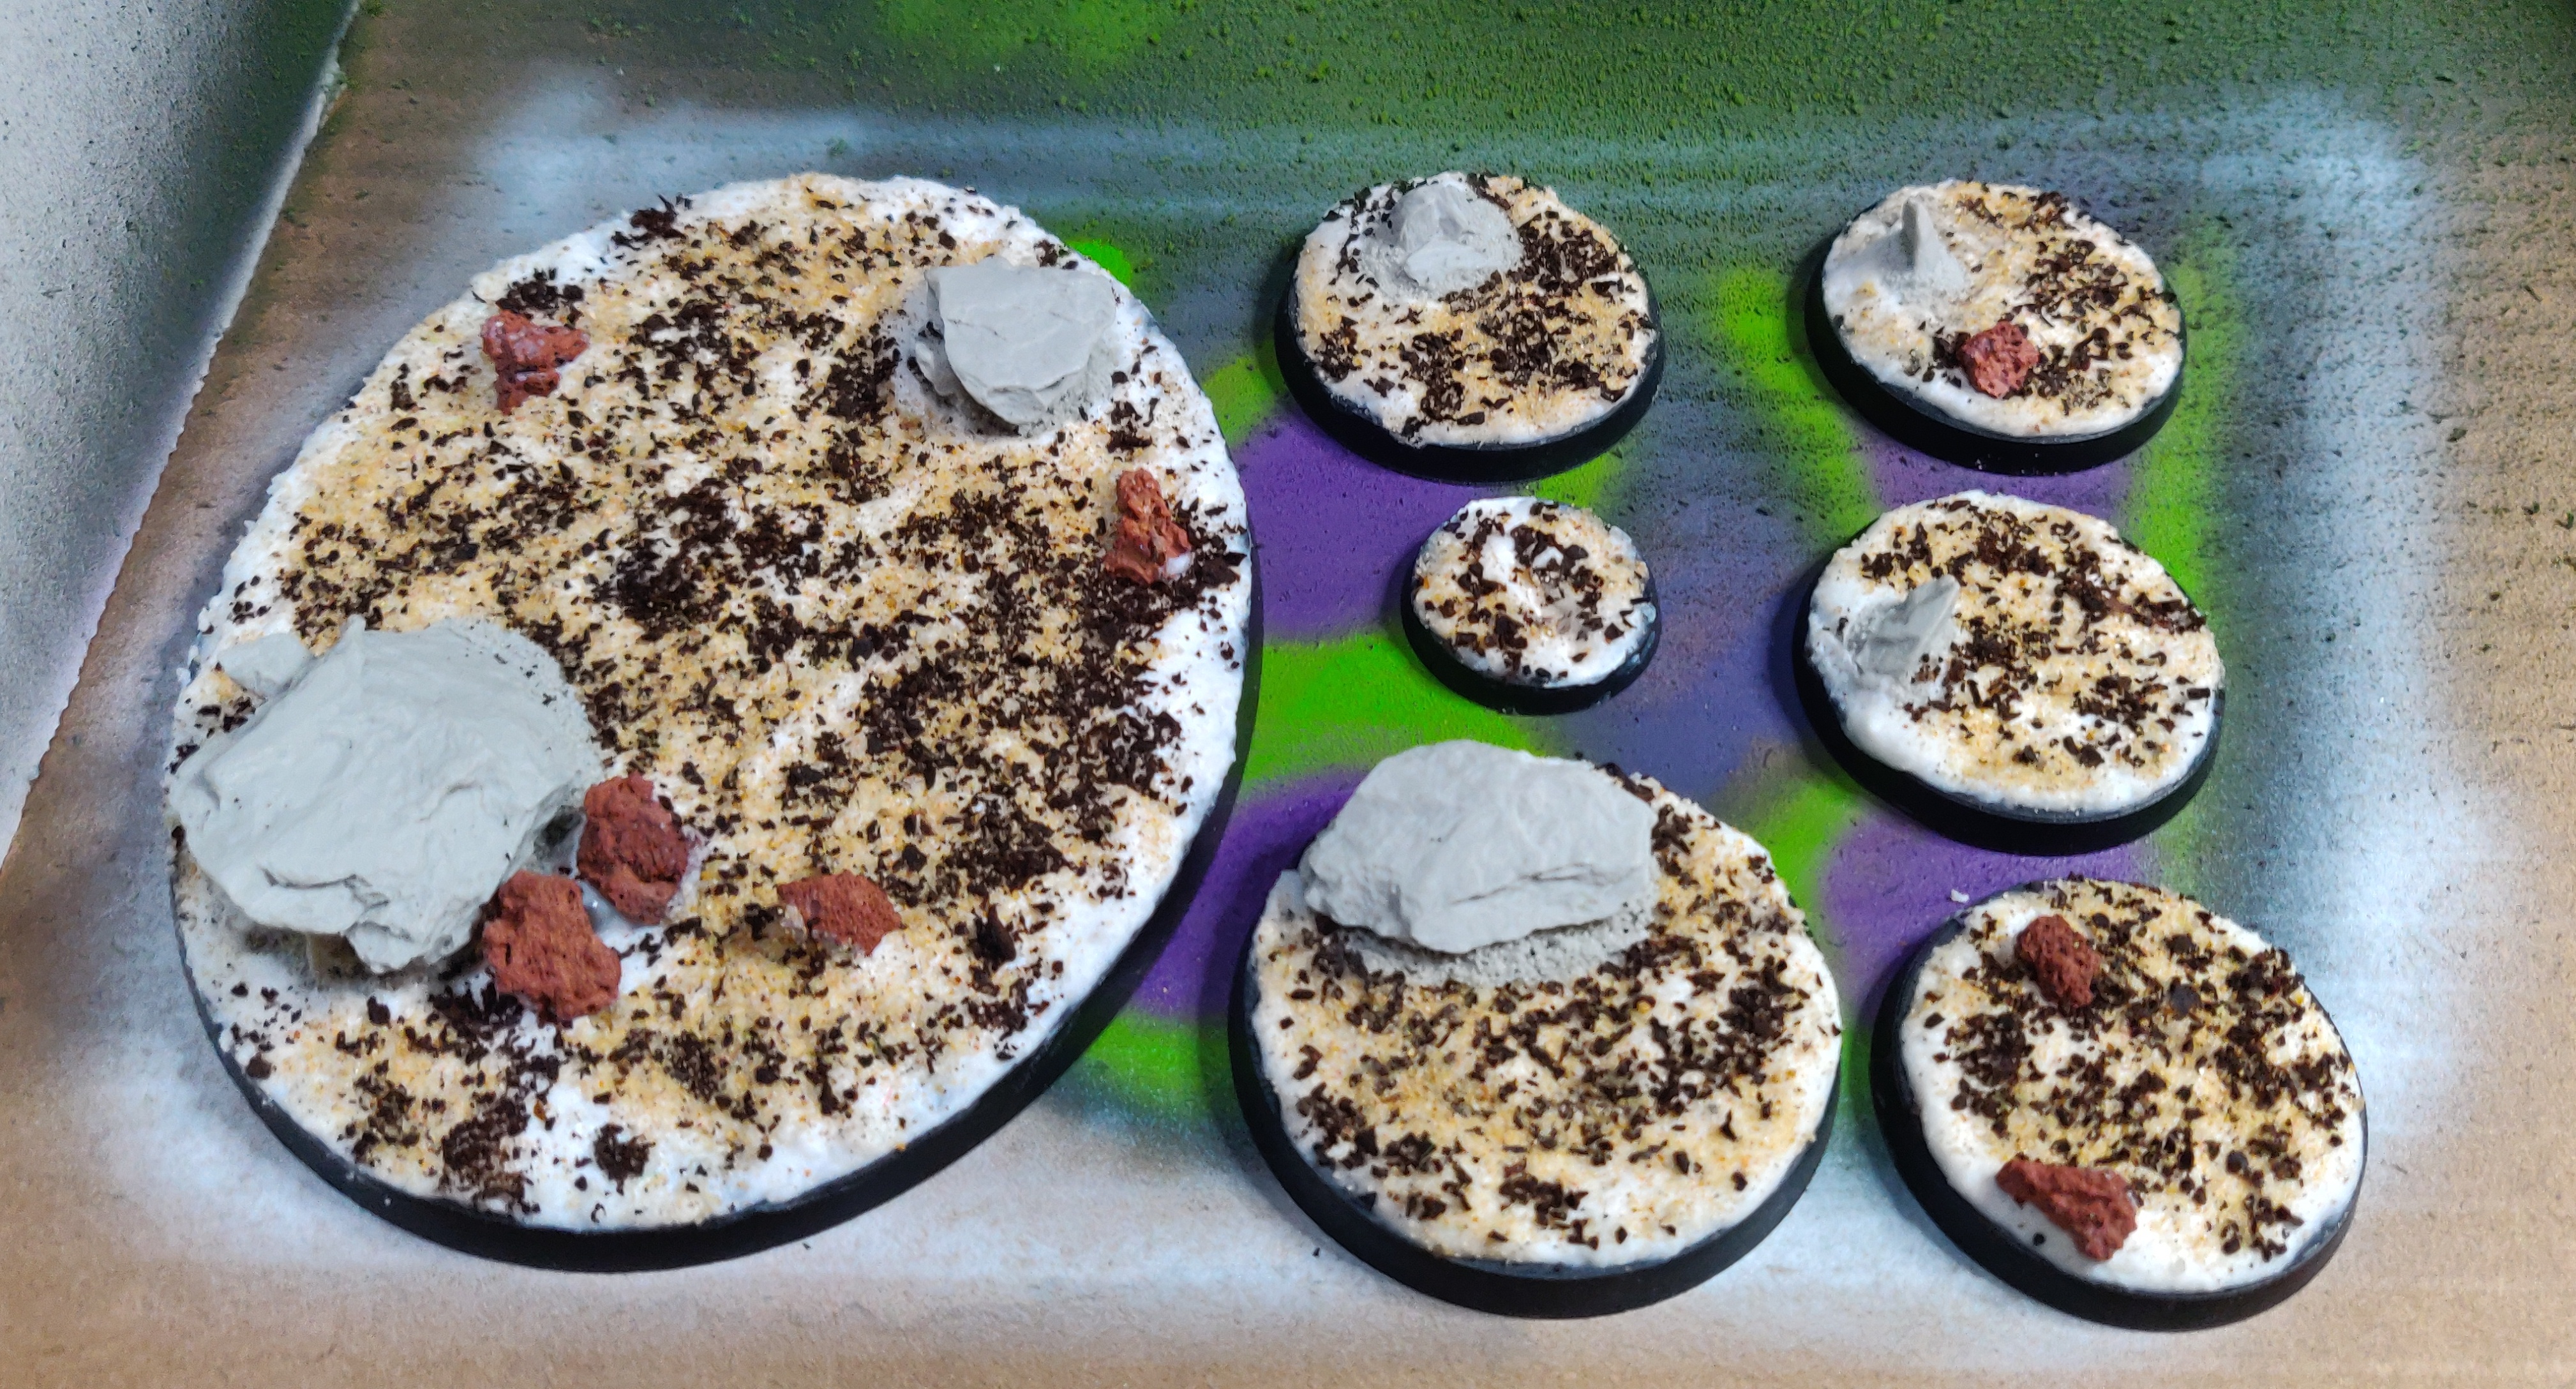 OK so I actually made these the night before so that they could set overnight
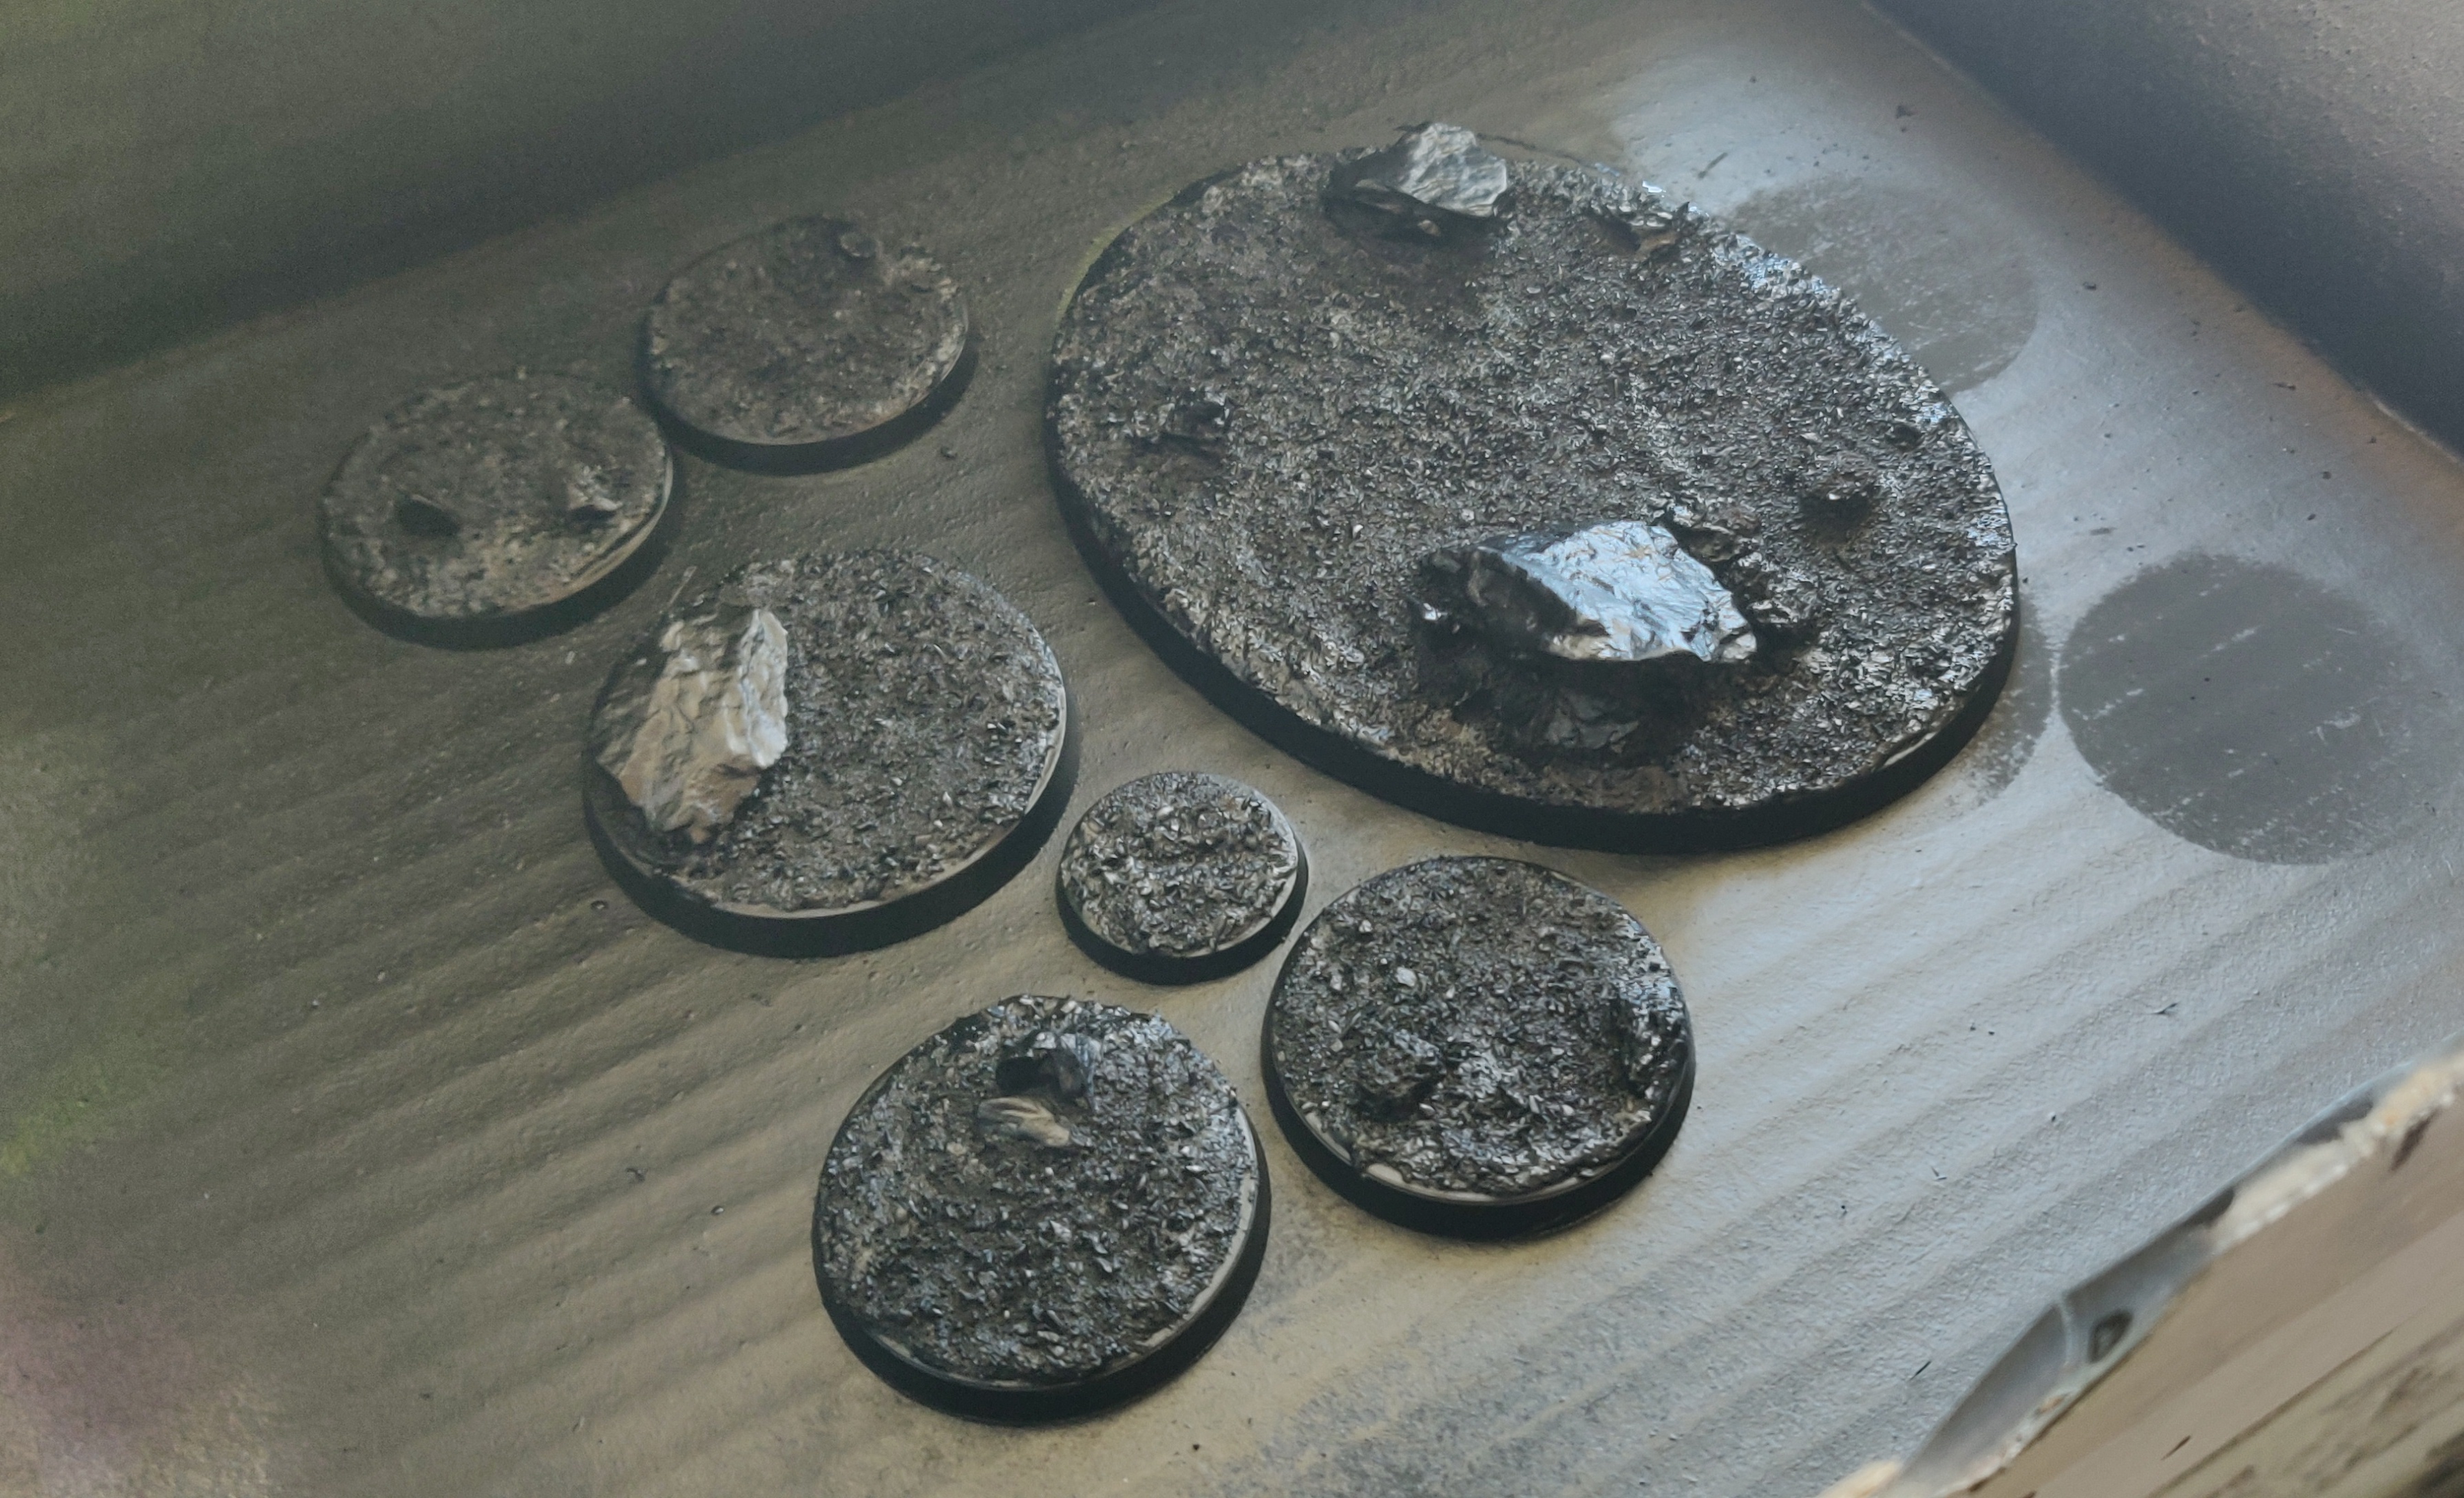
With the bases textured and dry I gave them a quick spray of army painter matte varnish to fully seal any loose pieces of sand or coffee grounds, and to also give a standard surface for all pieces on the base for the primer to adhere to in the next step. This was then left for a few hours (in a well ventilated area) to again dry.
WEAR A MASK WHEN SPRAYING VARNISH!
With the varnished bases now ready for priming, these were given a good coat with citadel black rattle-can.
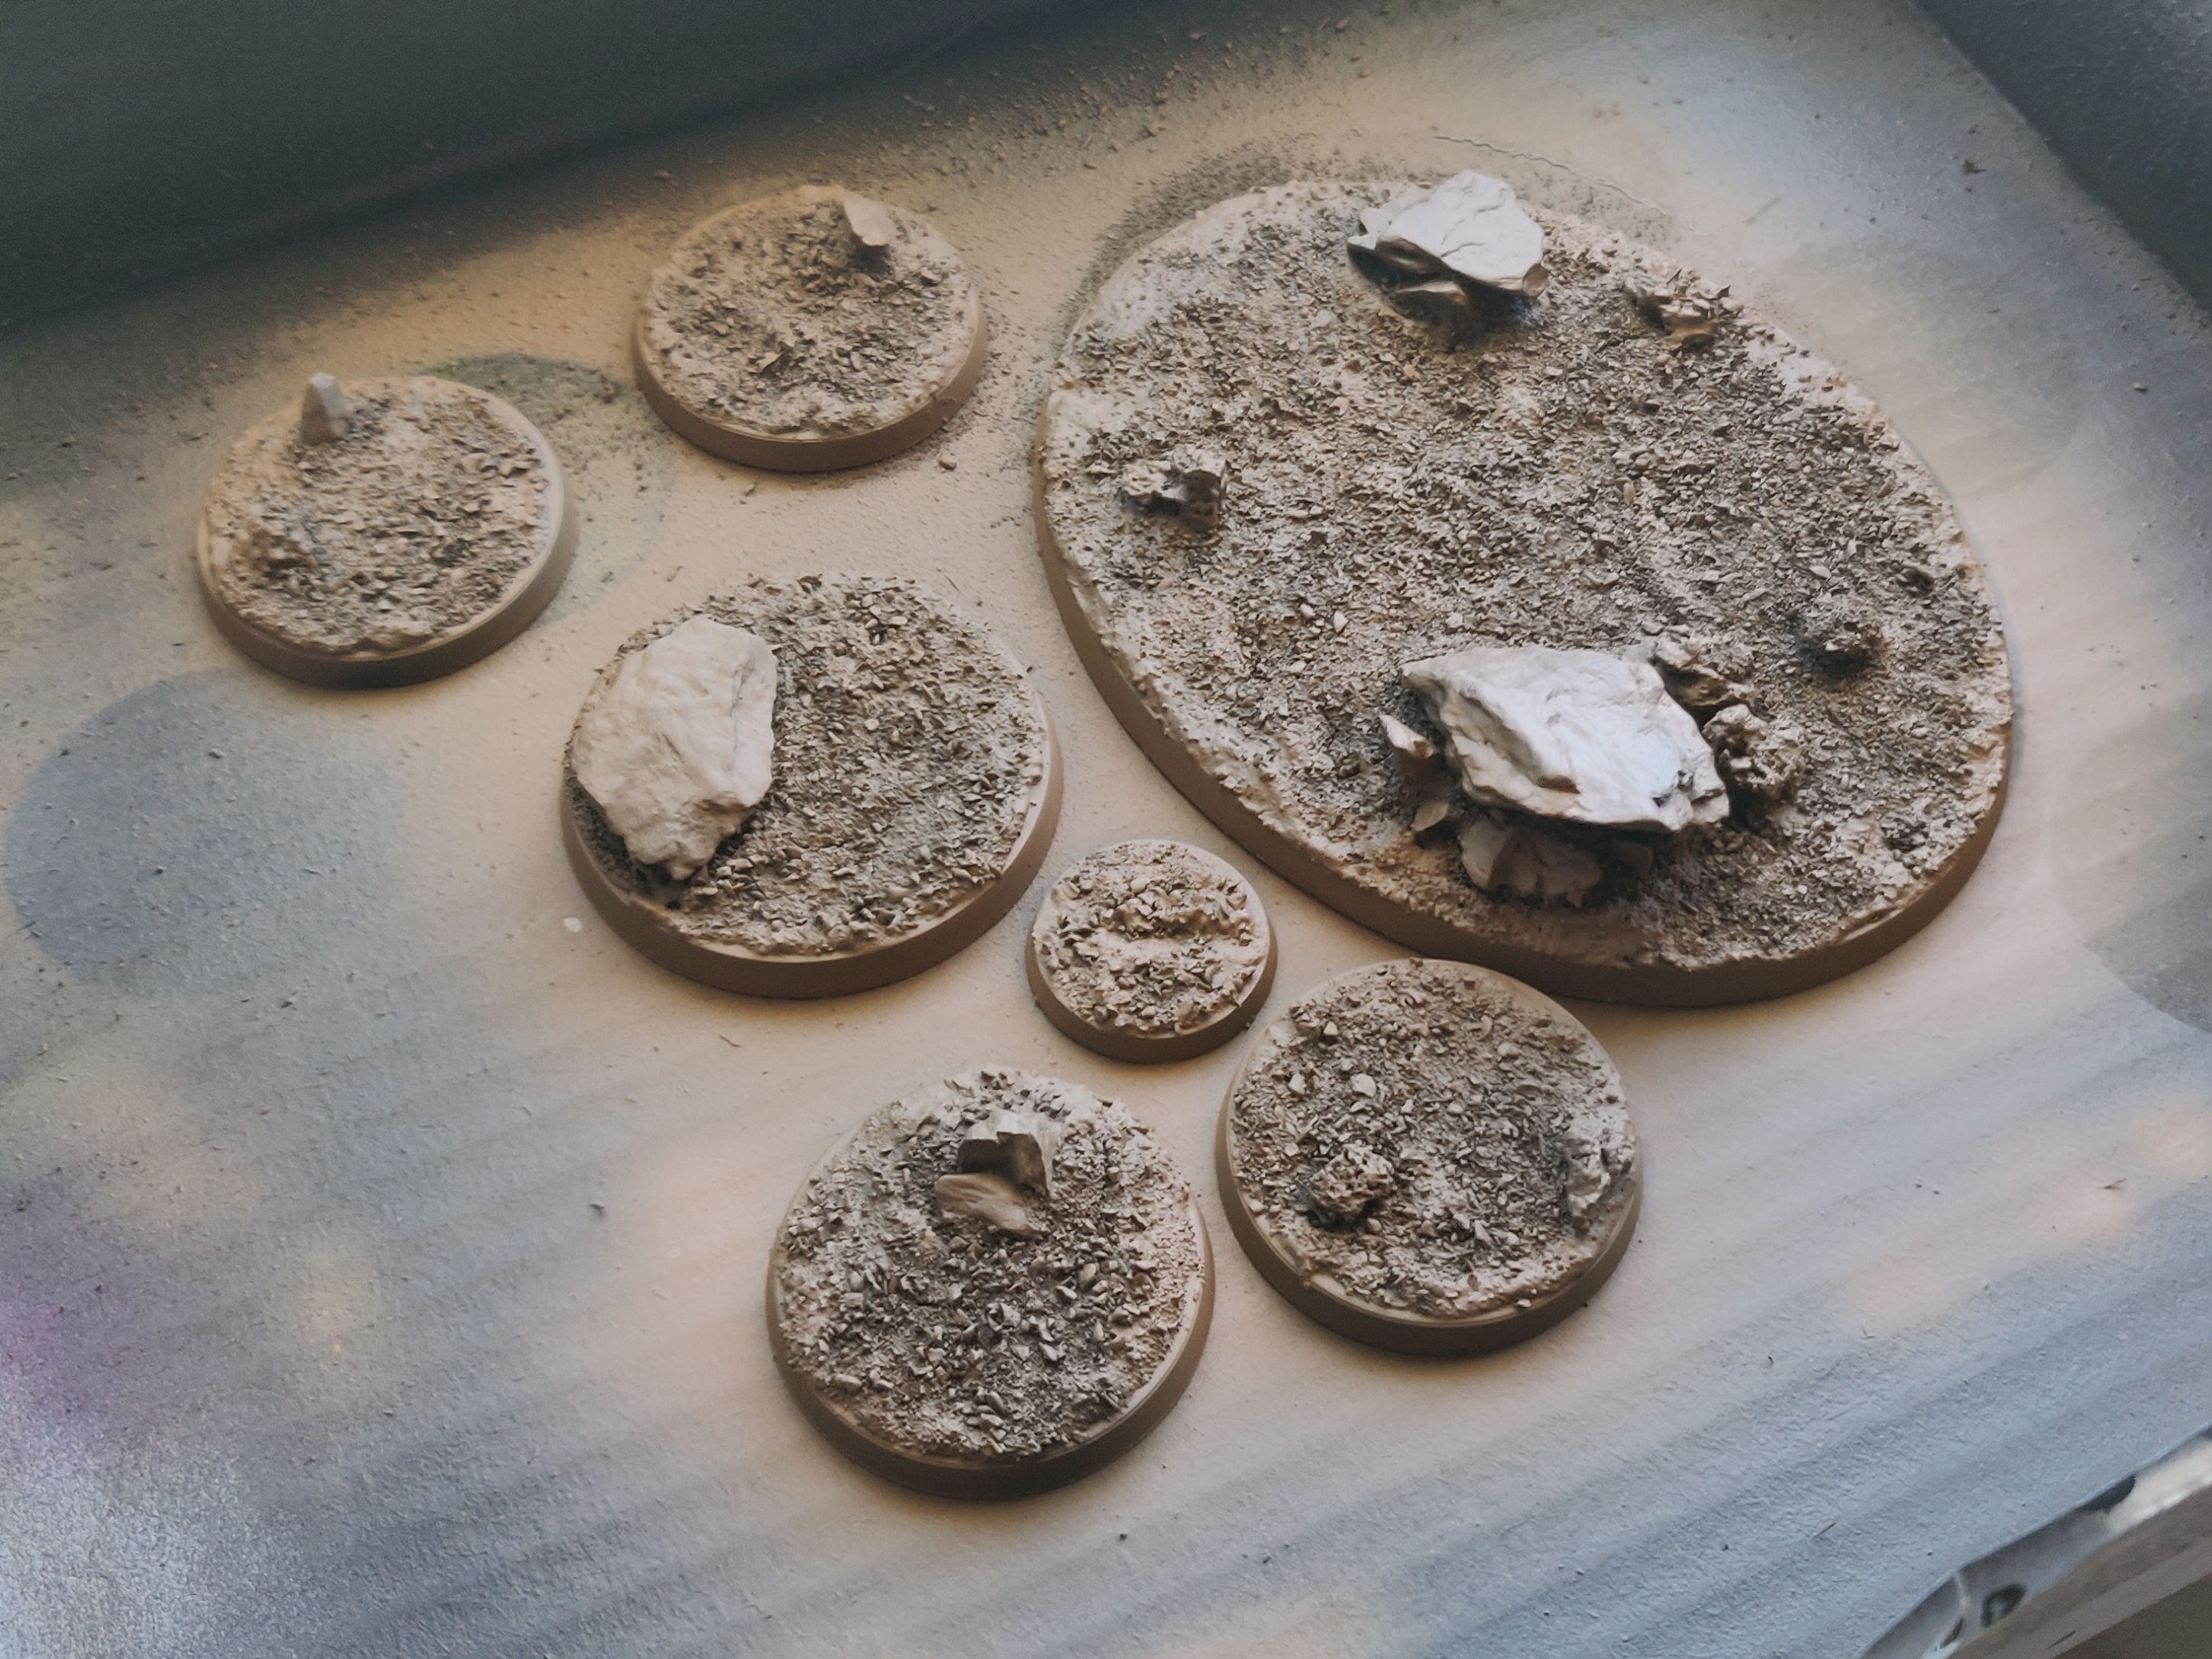
 Spot wash, base coat mix, highlight, final dry rush highkight
With a back primer base coat to work up from, I made an airbrushable mix of Citadel XV88 and Scale75 Gobi Brown, and sprayed this over all bases (keep some spare for rimming later).
Next, I overbrushed (drybrushing with a bit more paint on the brush) Citadel Baneblade brown across the main floor and on the edges of the rock formations. It helps to have a slightly damp bit of kitchen roll nearby to help keep the brush slightly moist as I find this provides an smoother coat and less of the dry rush texturing you get from a dry paint.
The final pass of paint was with Citadel Longbeard, and this was dry brushed lightly over the very edges of the rocks and in random patches of the floor.
Where there were shadows or naturally formed indents I used a small amount of thinned Army Painter Strong Tone to create patches of damp/wet/darkened floor, this was only in a couple of spots and added to the randomness of nature.
Finally, a few tufts of gamers grass were dotted to add interest, using the Strong Tone to help blend in the tufts to the base.
And that’s the bases done, all that was then needed was to re-rim the edge of the bases with the XV88 and Gobi Brown mix, this works best as 2-3 thinned coats to create a smooth opaque finish
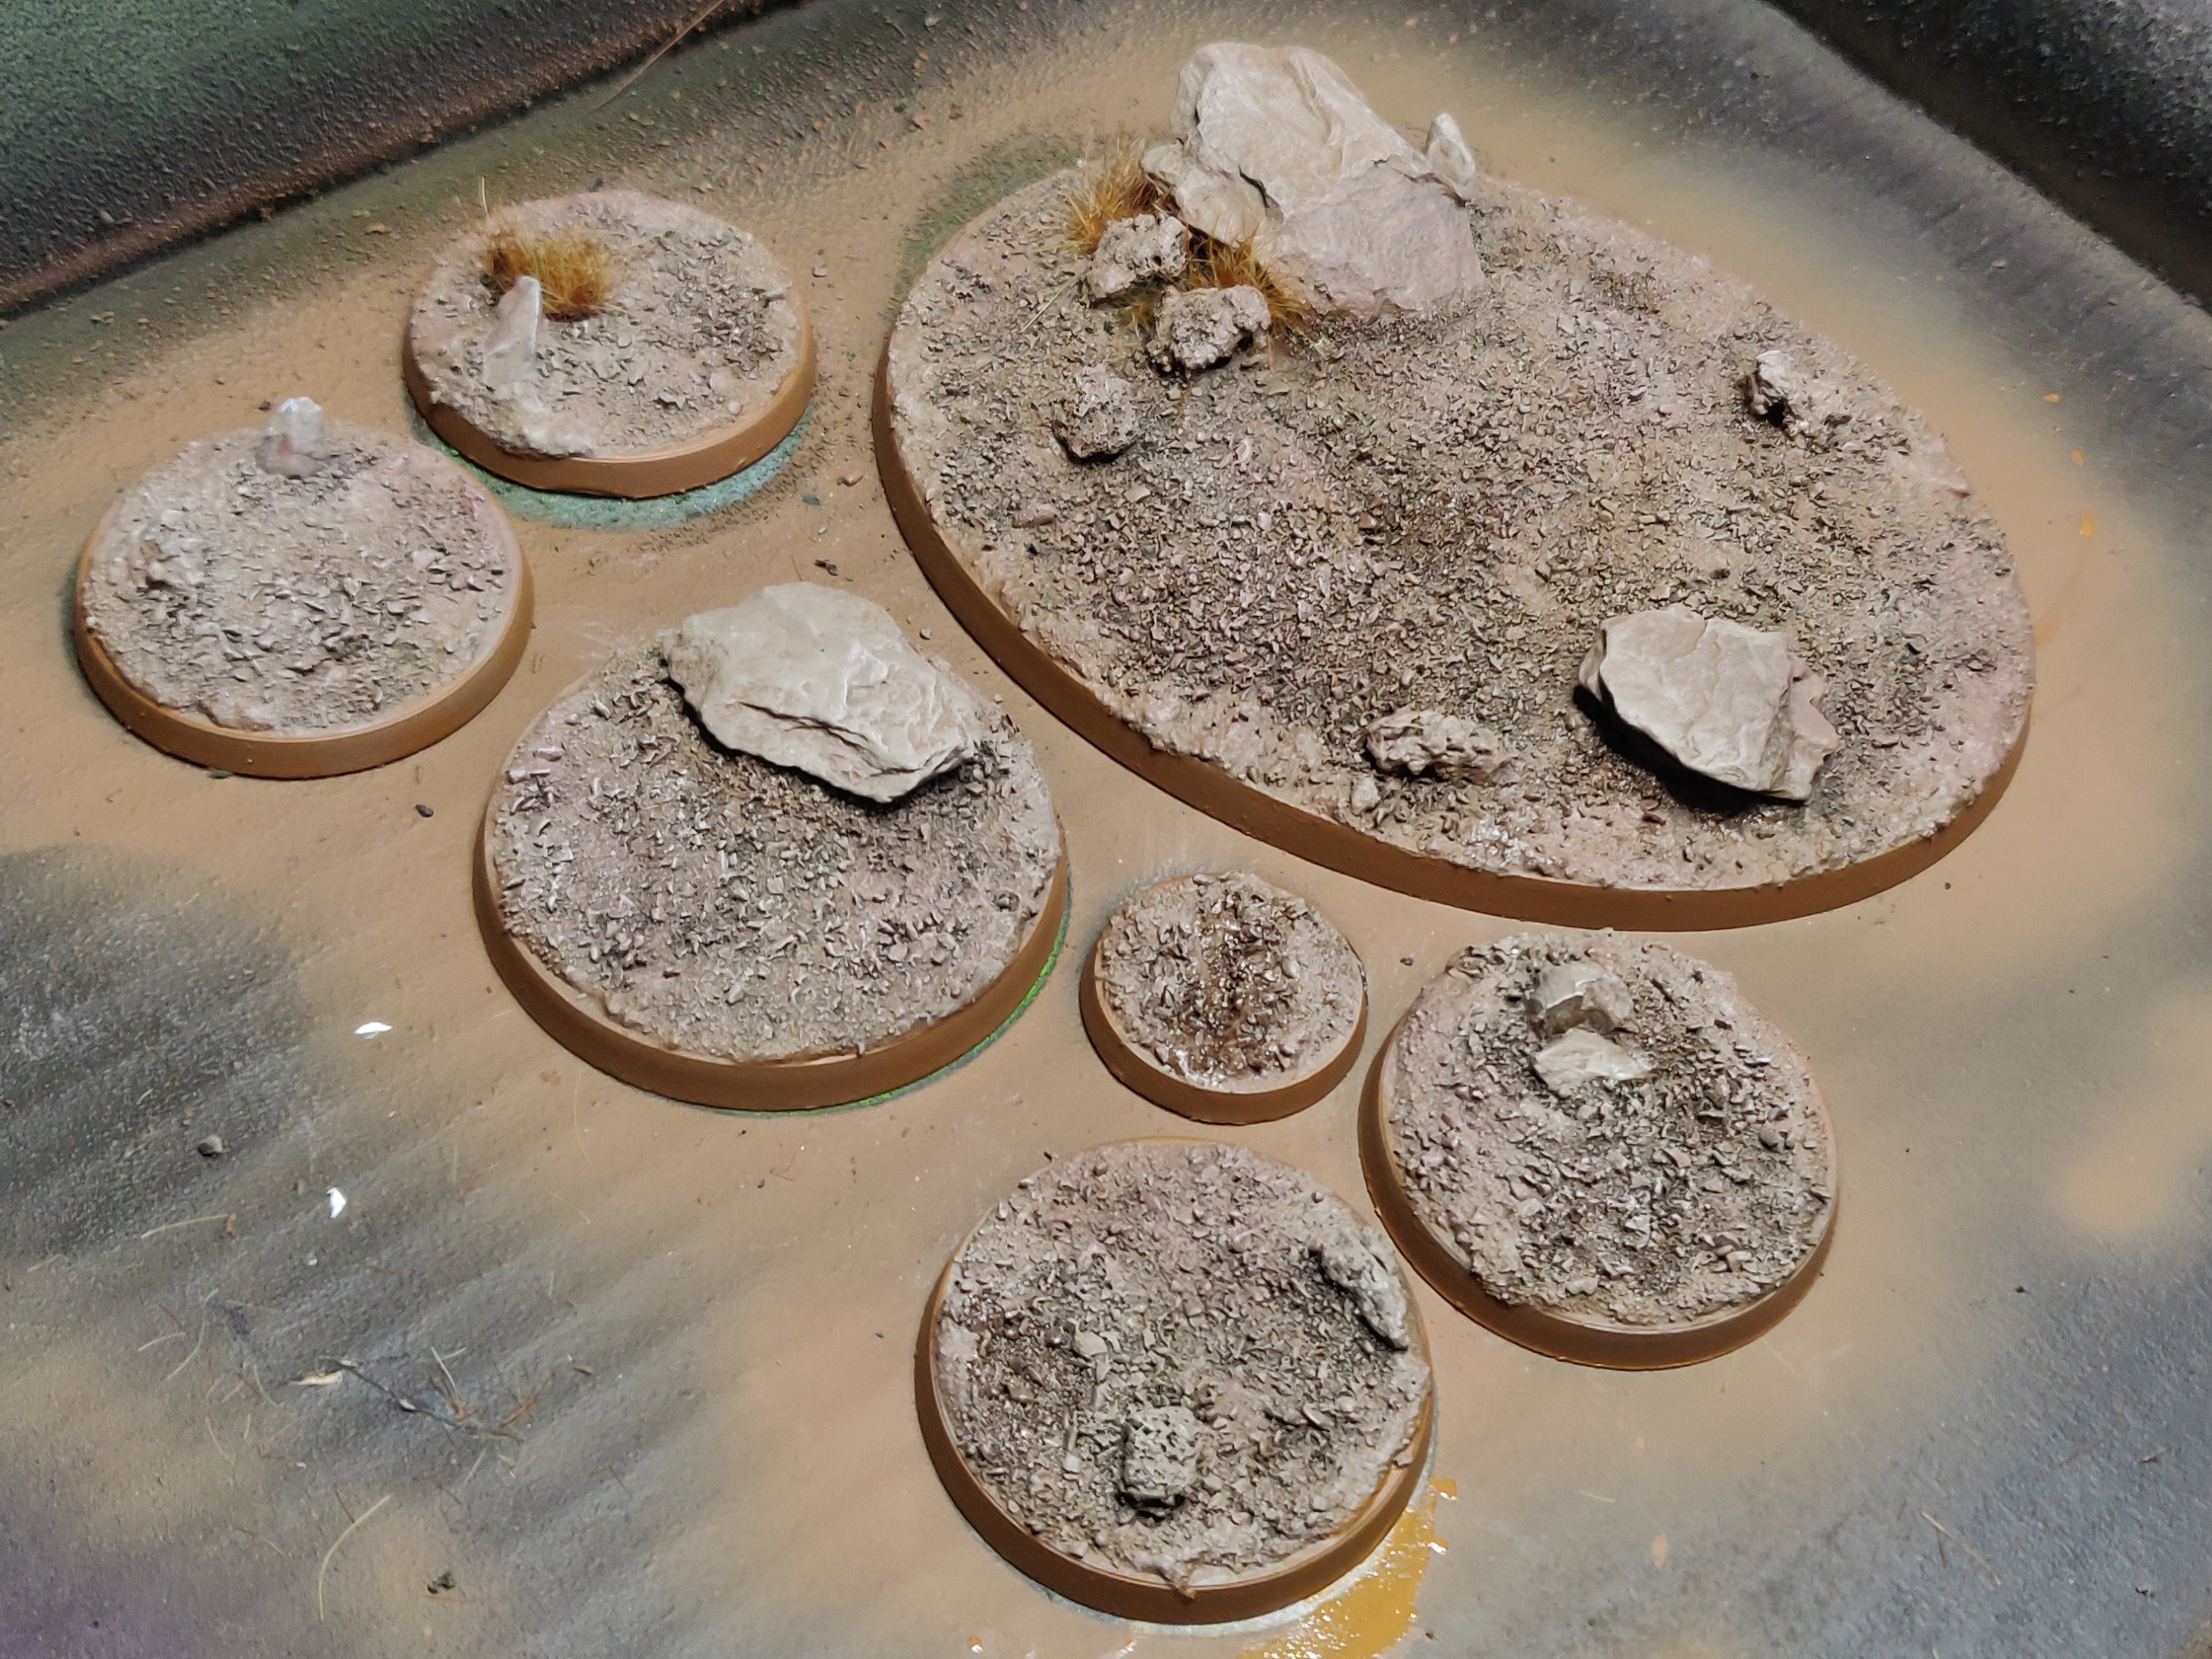 Bases ready for the models to be superglued on
Day 31....
Challenge completed !!!
After 31 consecutive days of painting, my challenge is over and I have 7 bots finished.
I certainly spent more than 31 minutes on some days (I’m glad for that bank holiday weekend!) and I didn’t use my one free pass day either (I wouldn’t have had time).
In this current situation we all have all found ourselves in, I was kind of glad to have structure in my day being provided by my hobby. I would finish work (I have been working from home since mid-March) move my laptop to the side and turn my office desk back into my hobby desk in a matter of seconds. Pop a film or some YouTube video on, and unwind for a bit by painting, before fully downing tools and spending time with my family. It helped me get through tough working days at times, knowing I had my models just to my side and I would get to work on them later that day. This is definitely something I will do again.
Anyway, below you will find a number of photos of the final results, these have been taken with a Canon 100mm f2.8L on an EOS 6D body, with 4 lamps in a photo booth. All images are out of camera (aside for some cropping) so you can see them as they really are.
Enjoy
 Builders Group Shot
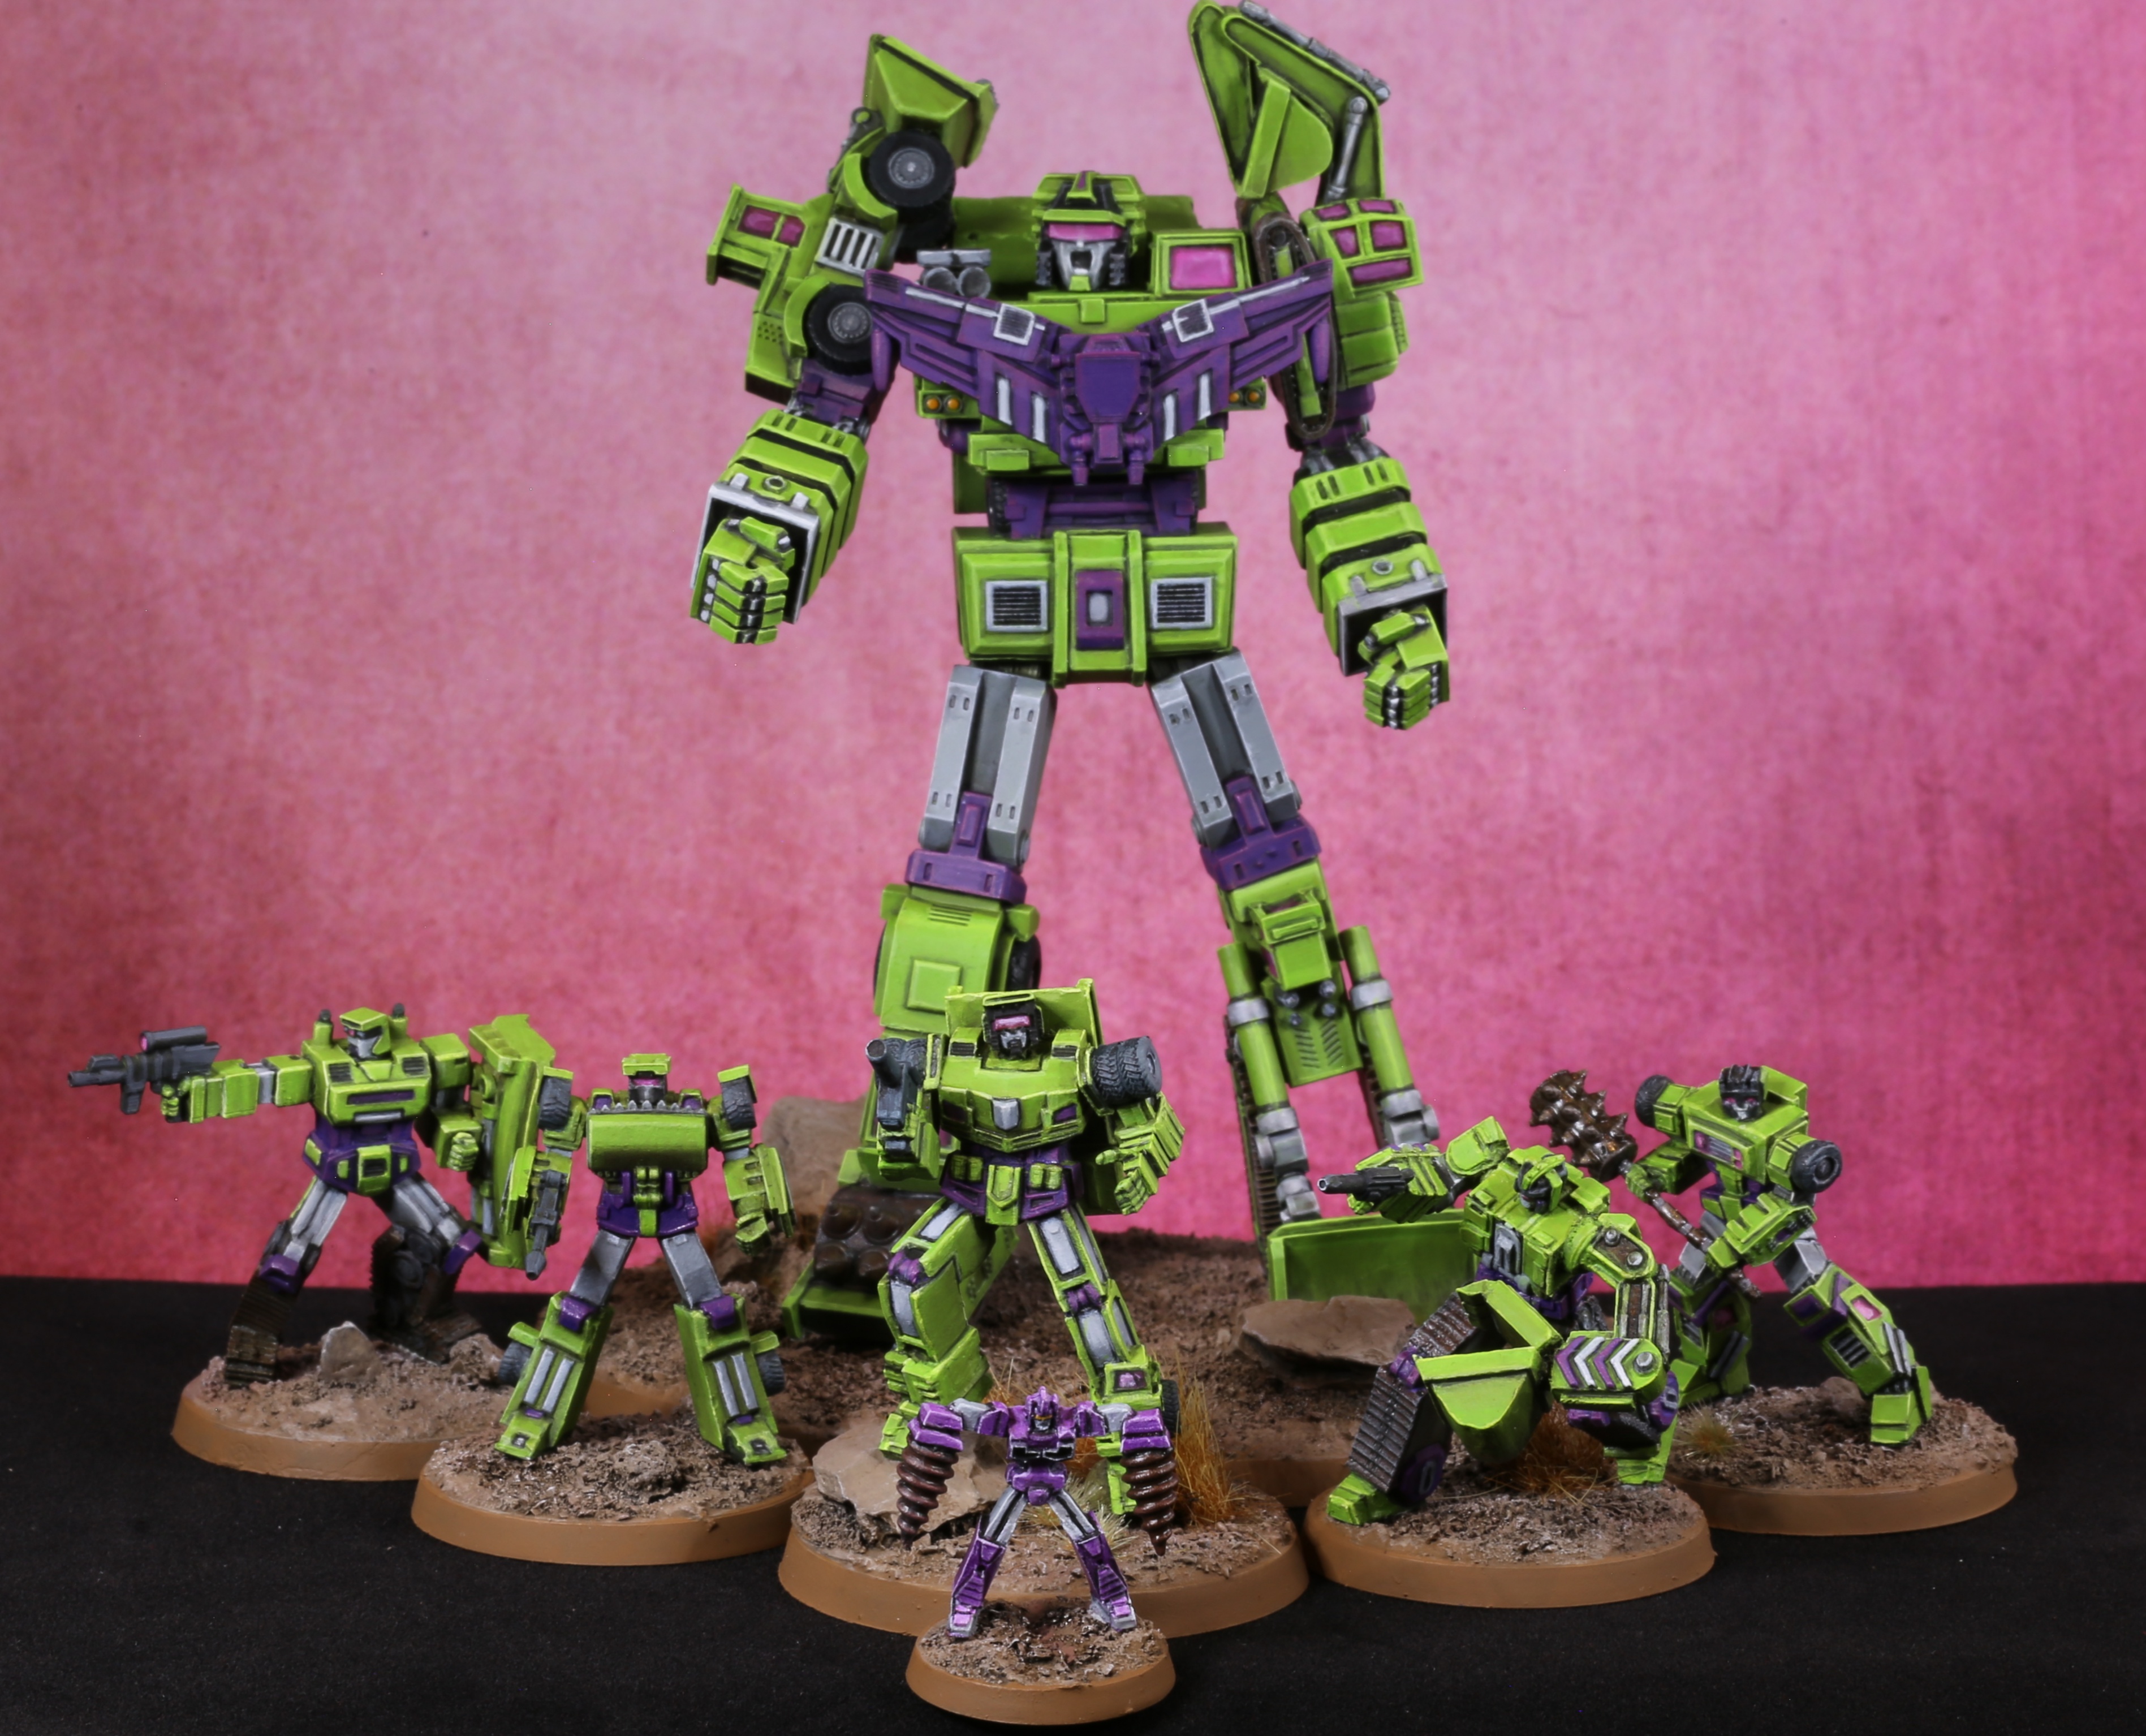 Builders, with their combined form Destroyer, and Faultline at the front
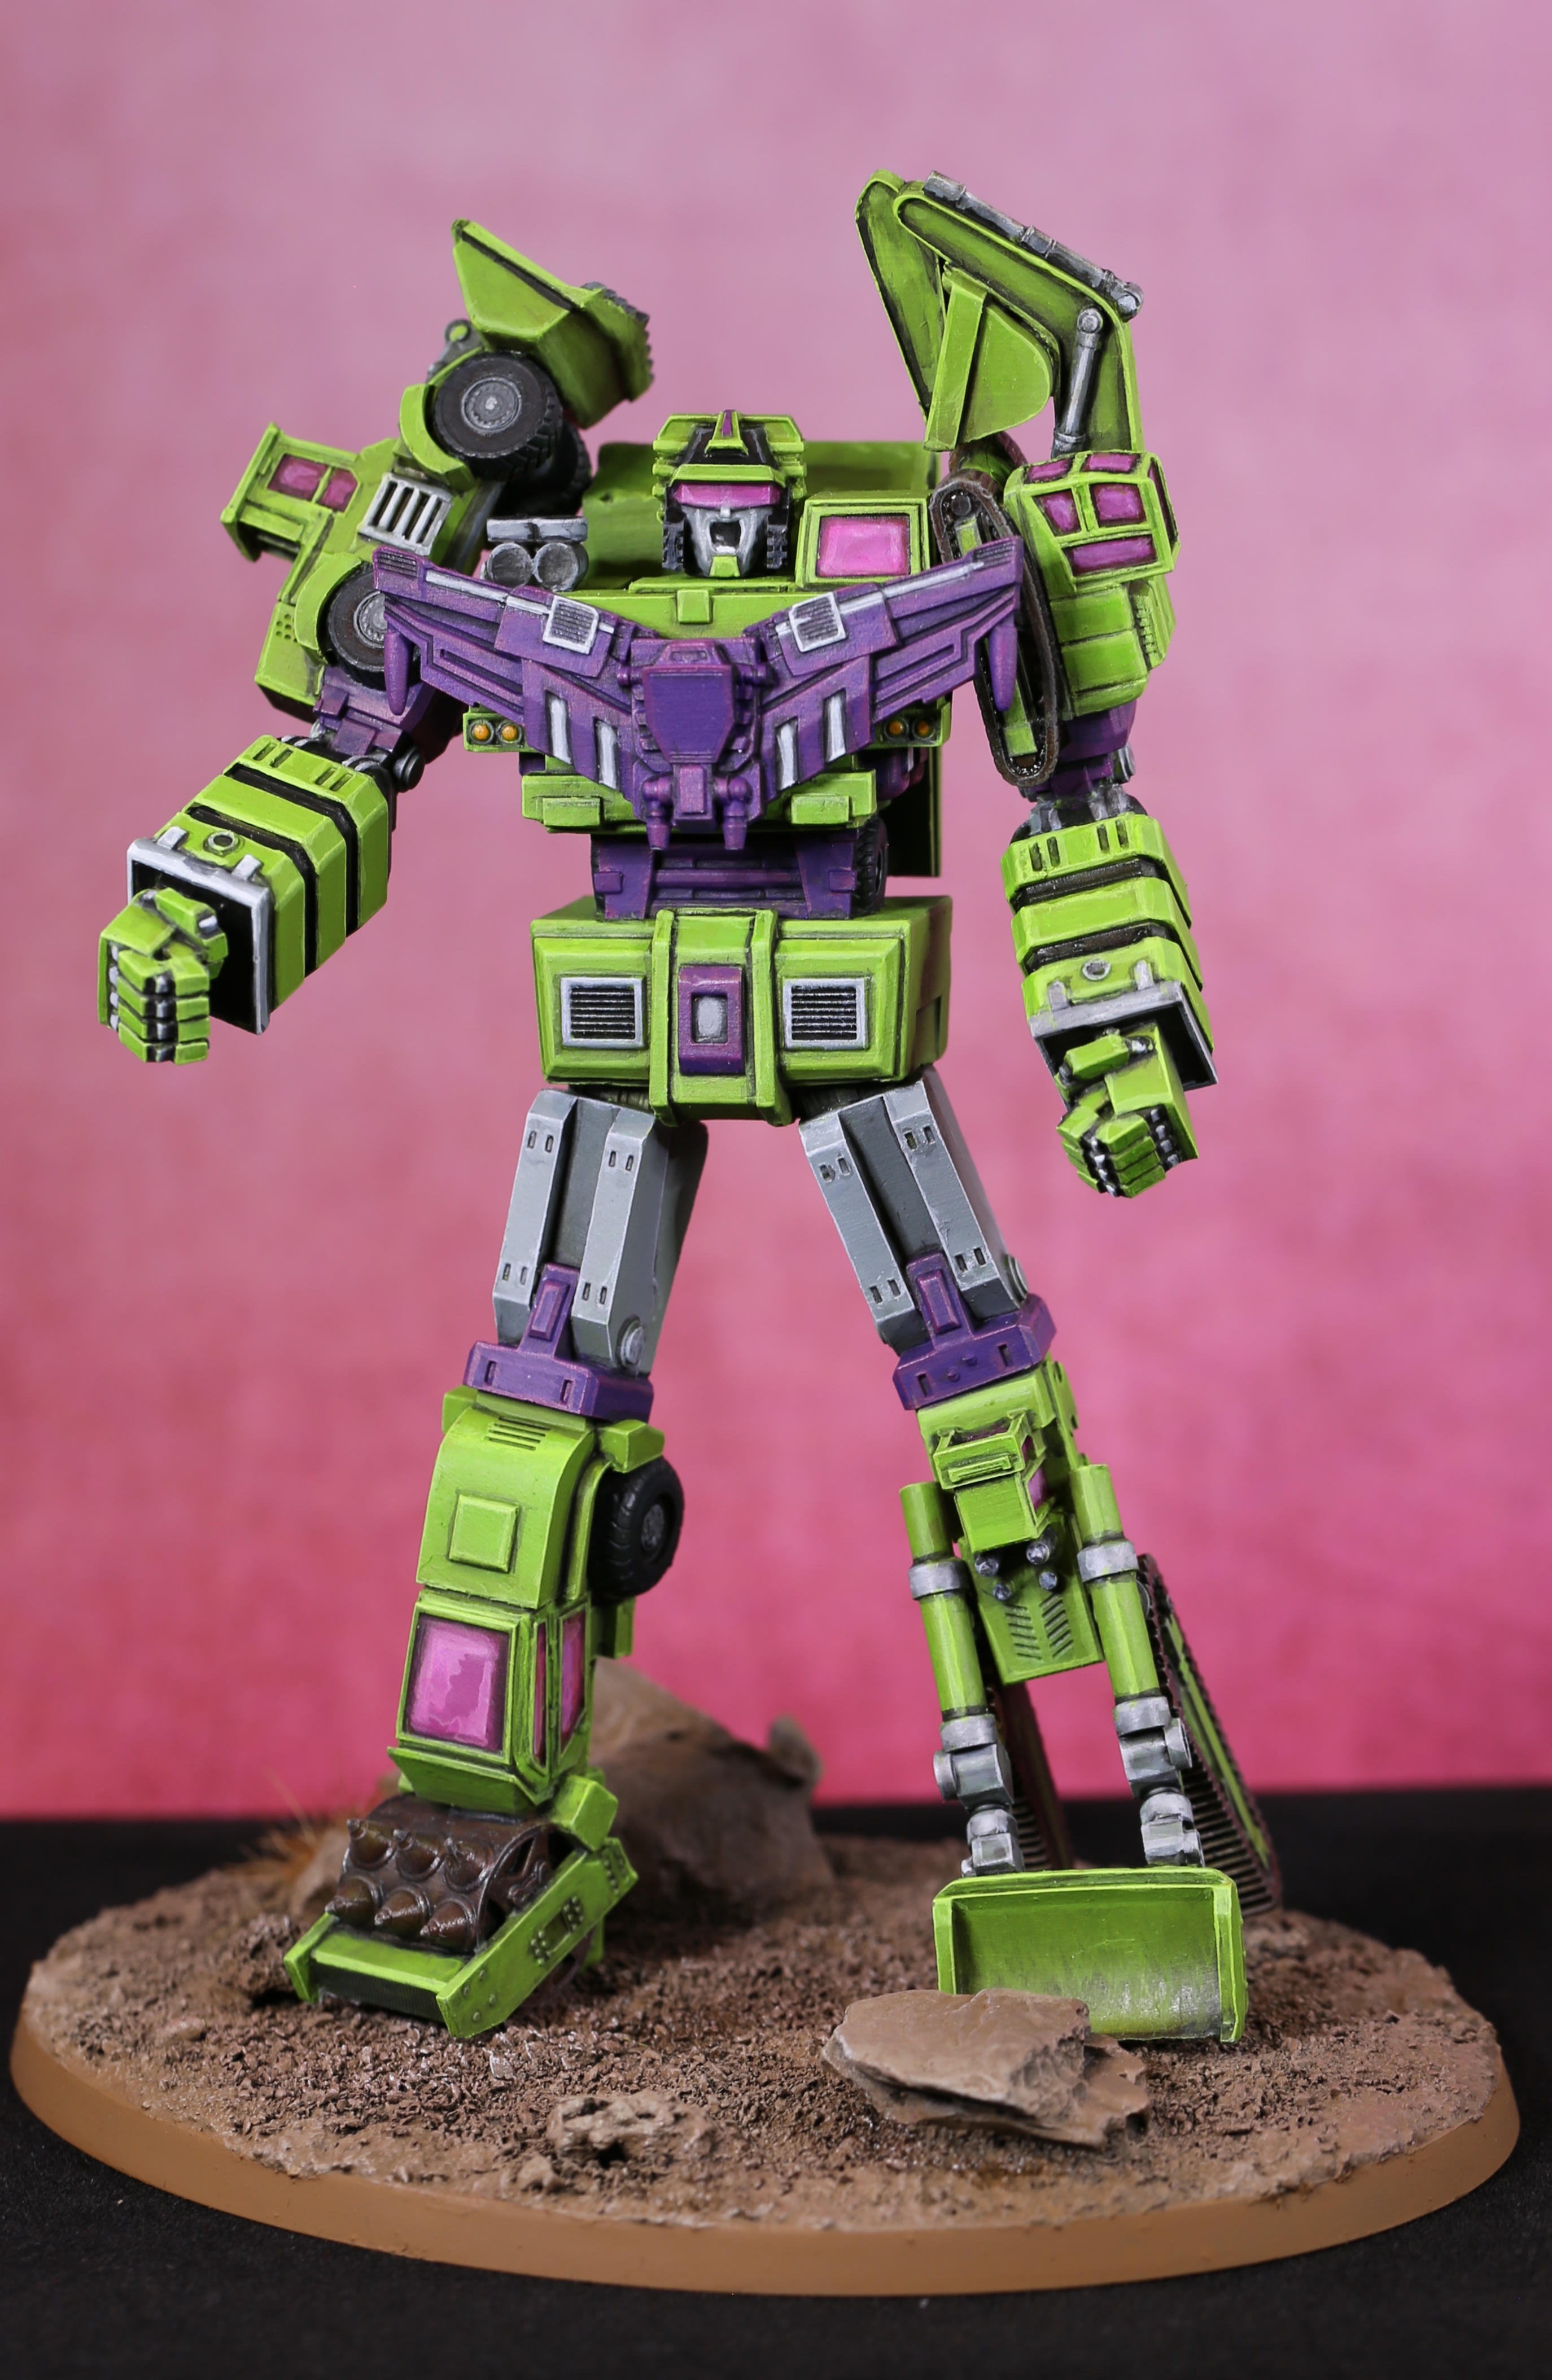 The towering combined form of Destroyer
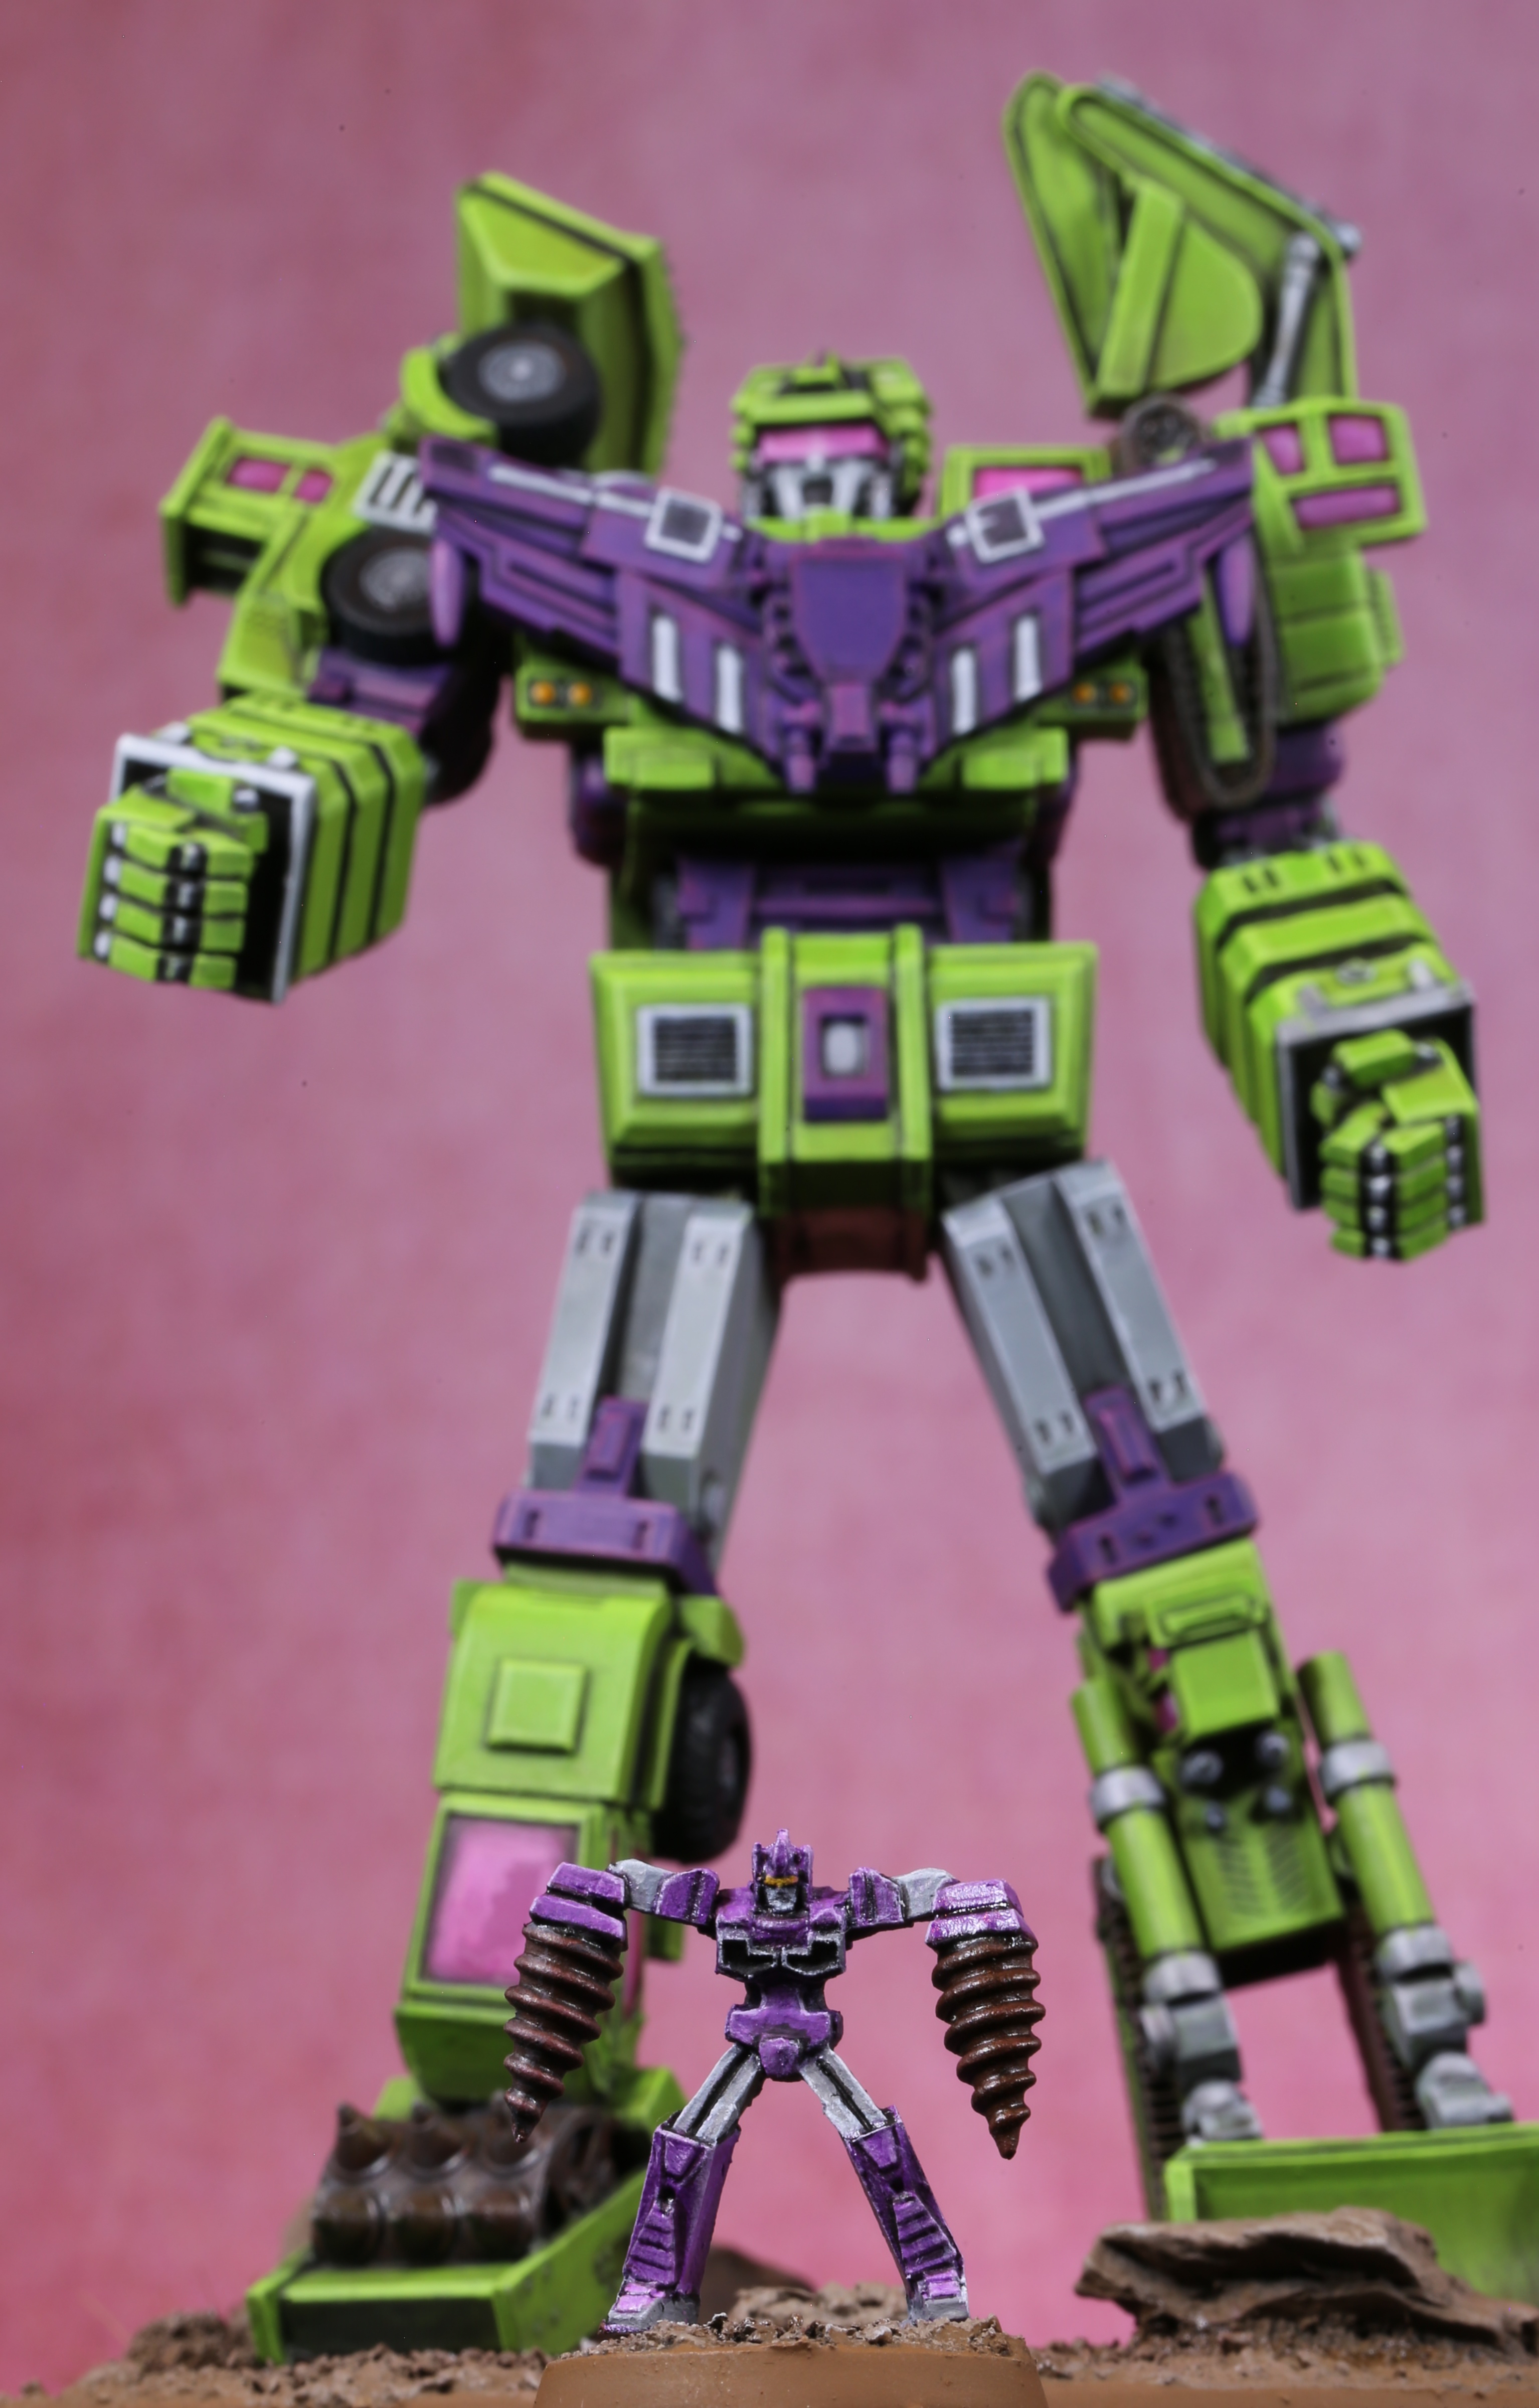 Faultline, his mates have his back