Anglo Danes for SAGA


Recommendations: 397
About the Project
SAGA has started to gain some traction in my local gaming group. So I'm starting out building an Anglo Dane force and and some terrain.
Related Game: SAGA
Related Company: Studio Tomahawk
Related Genre: Fantasy
This Project is On Hold
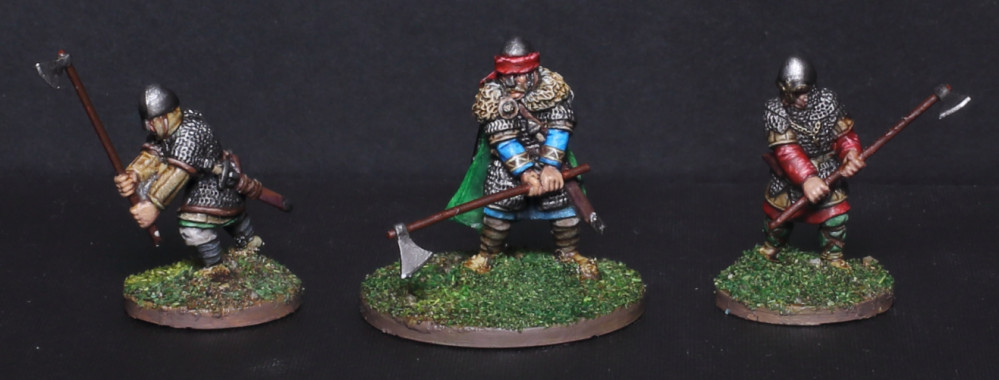
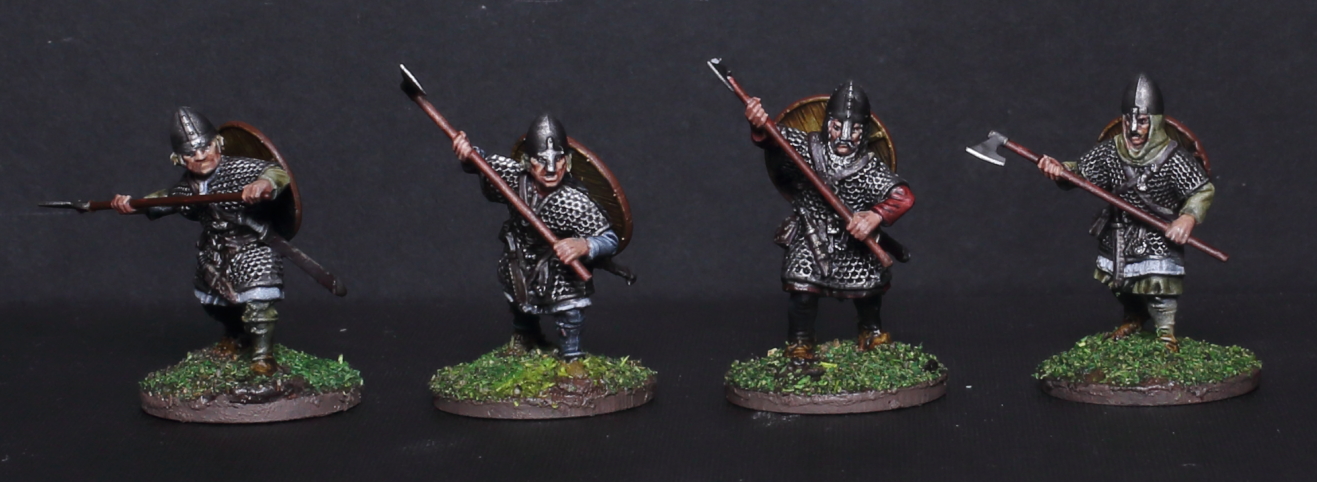
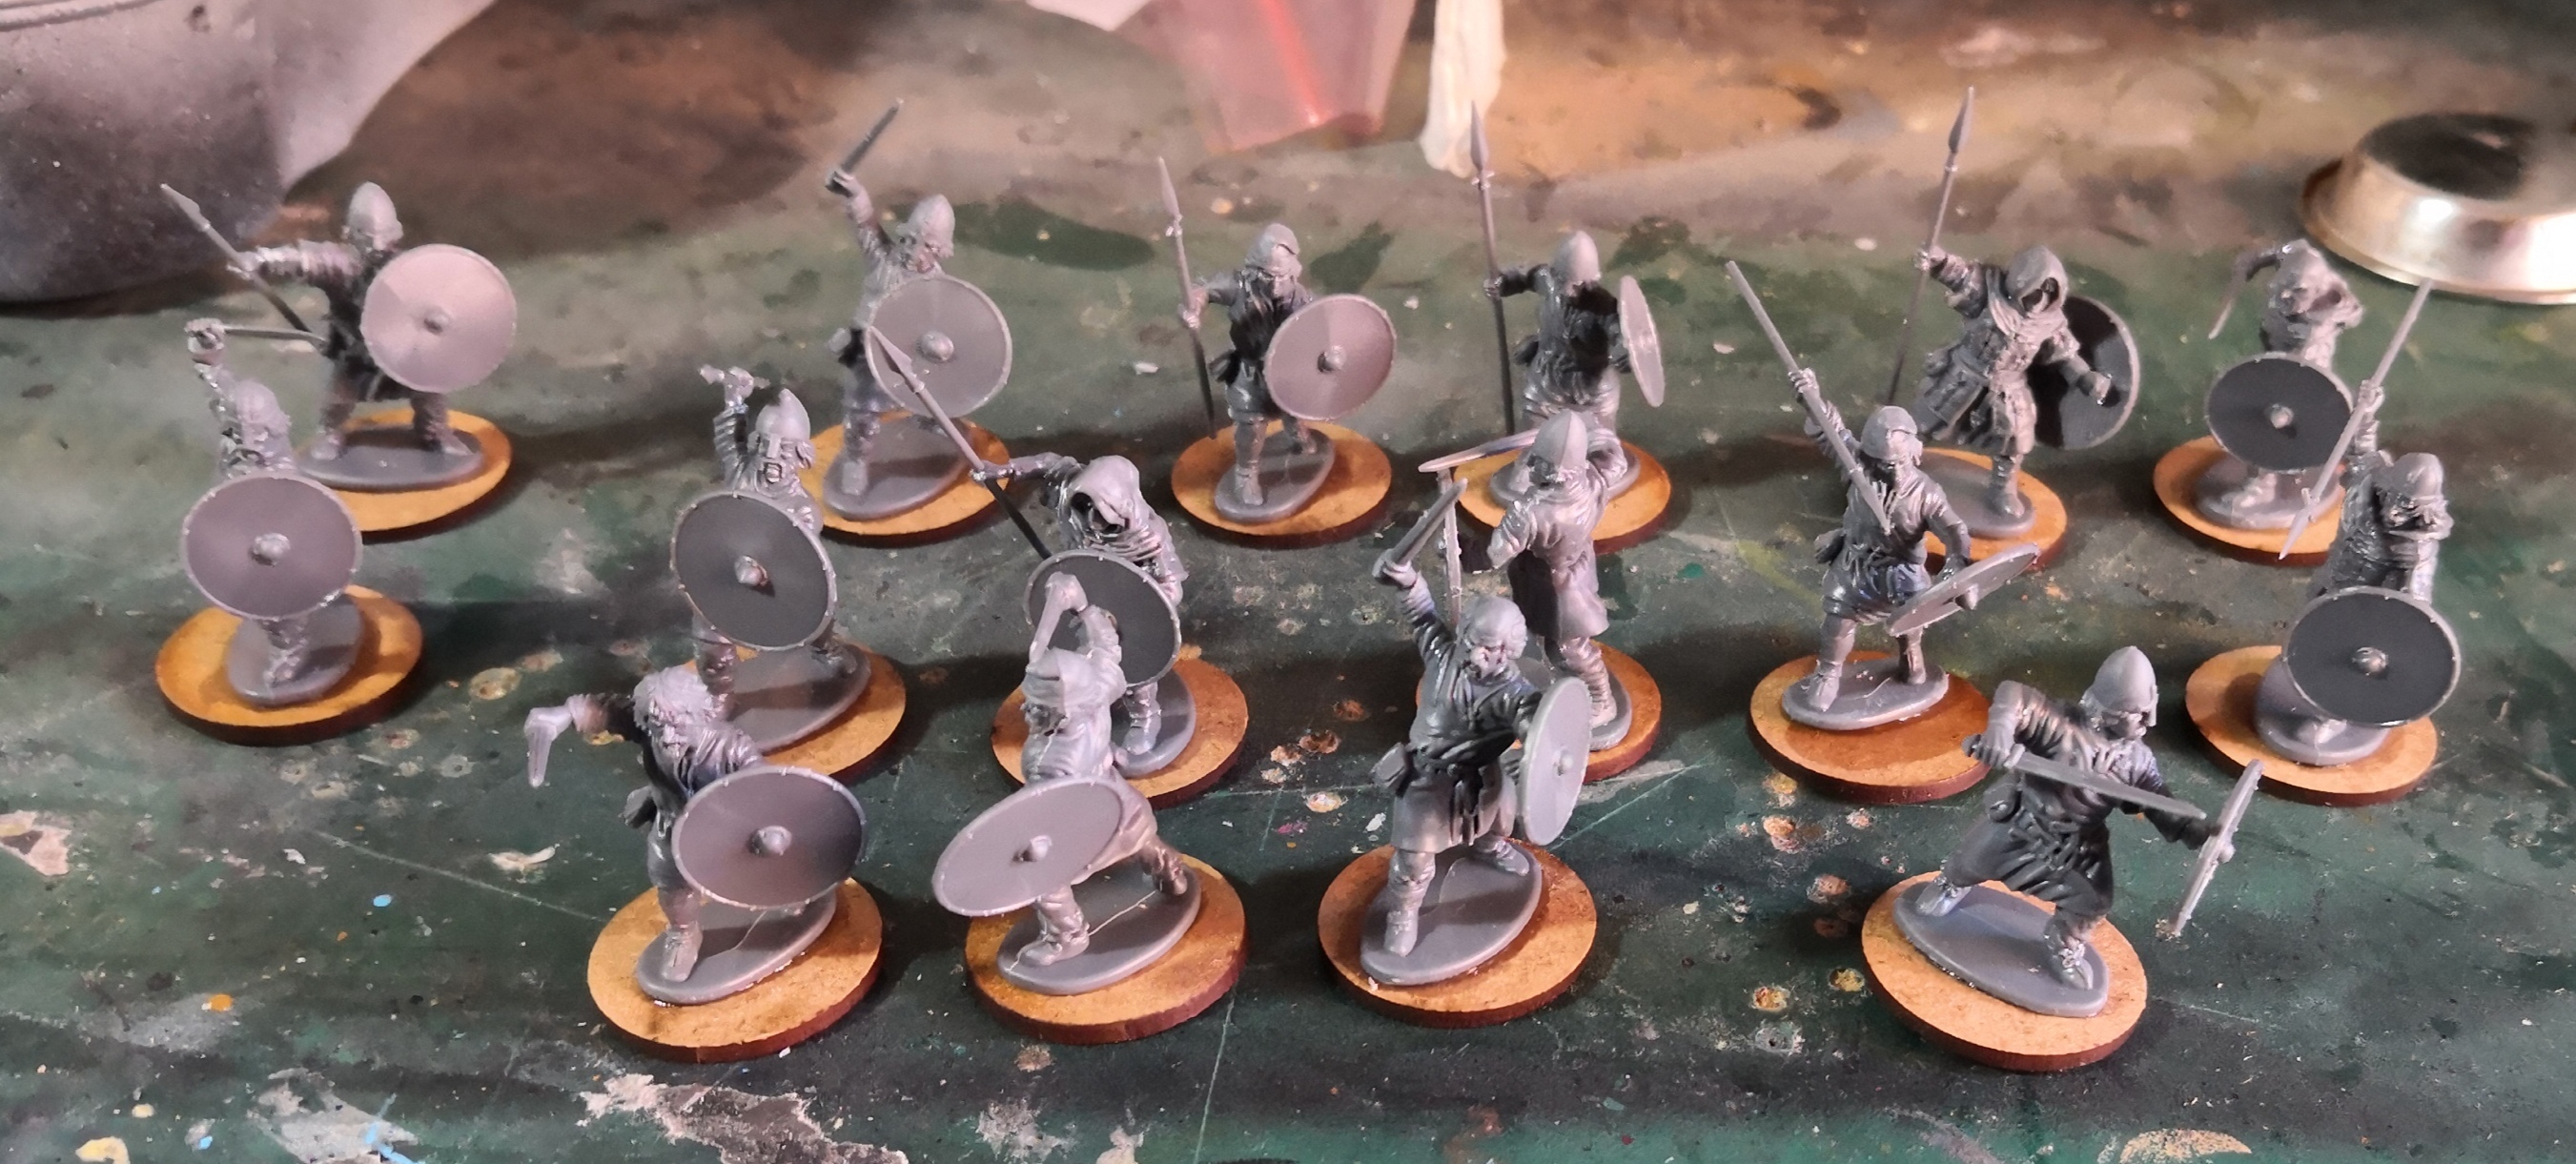
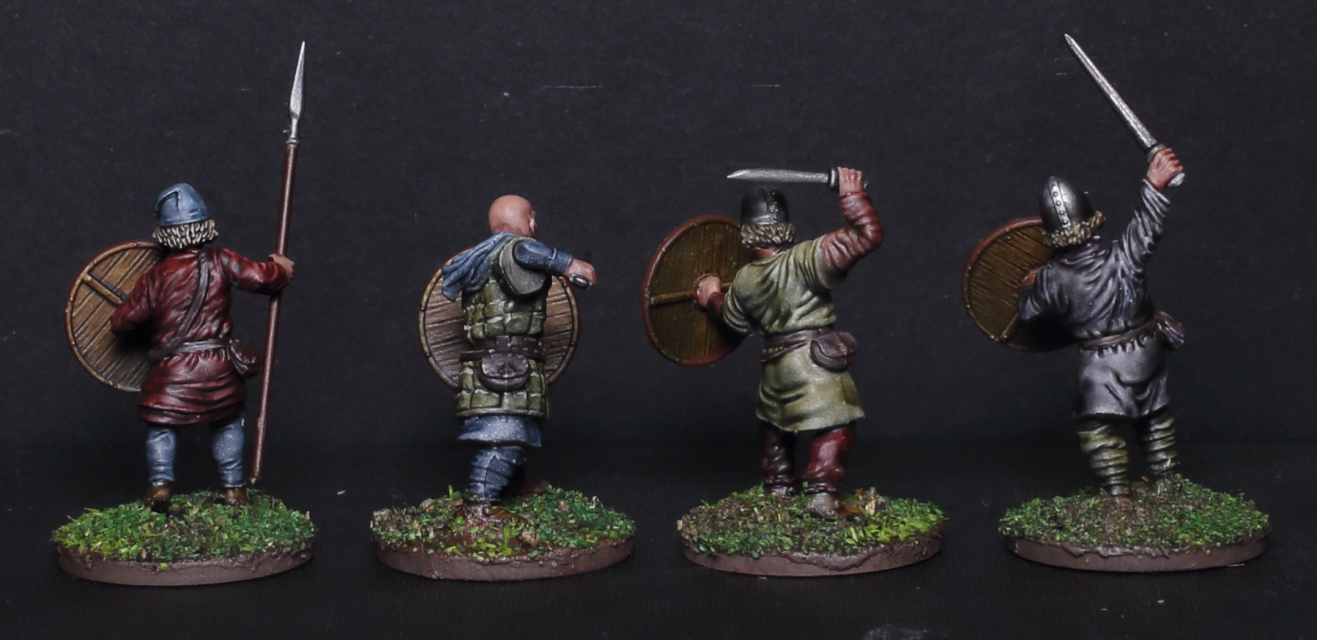
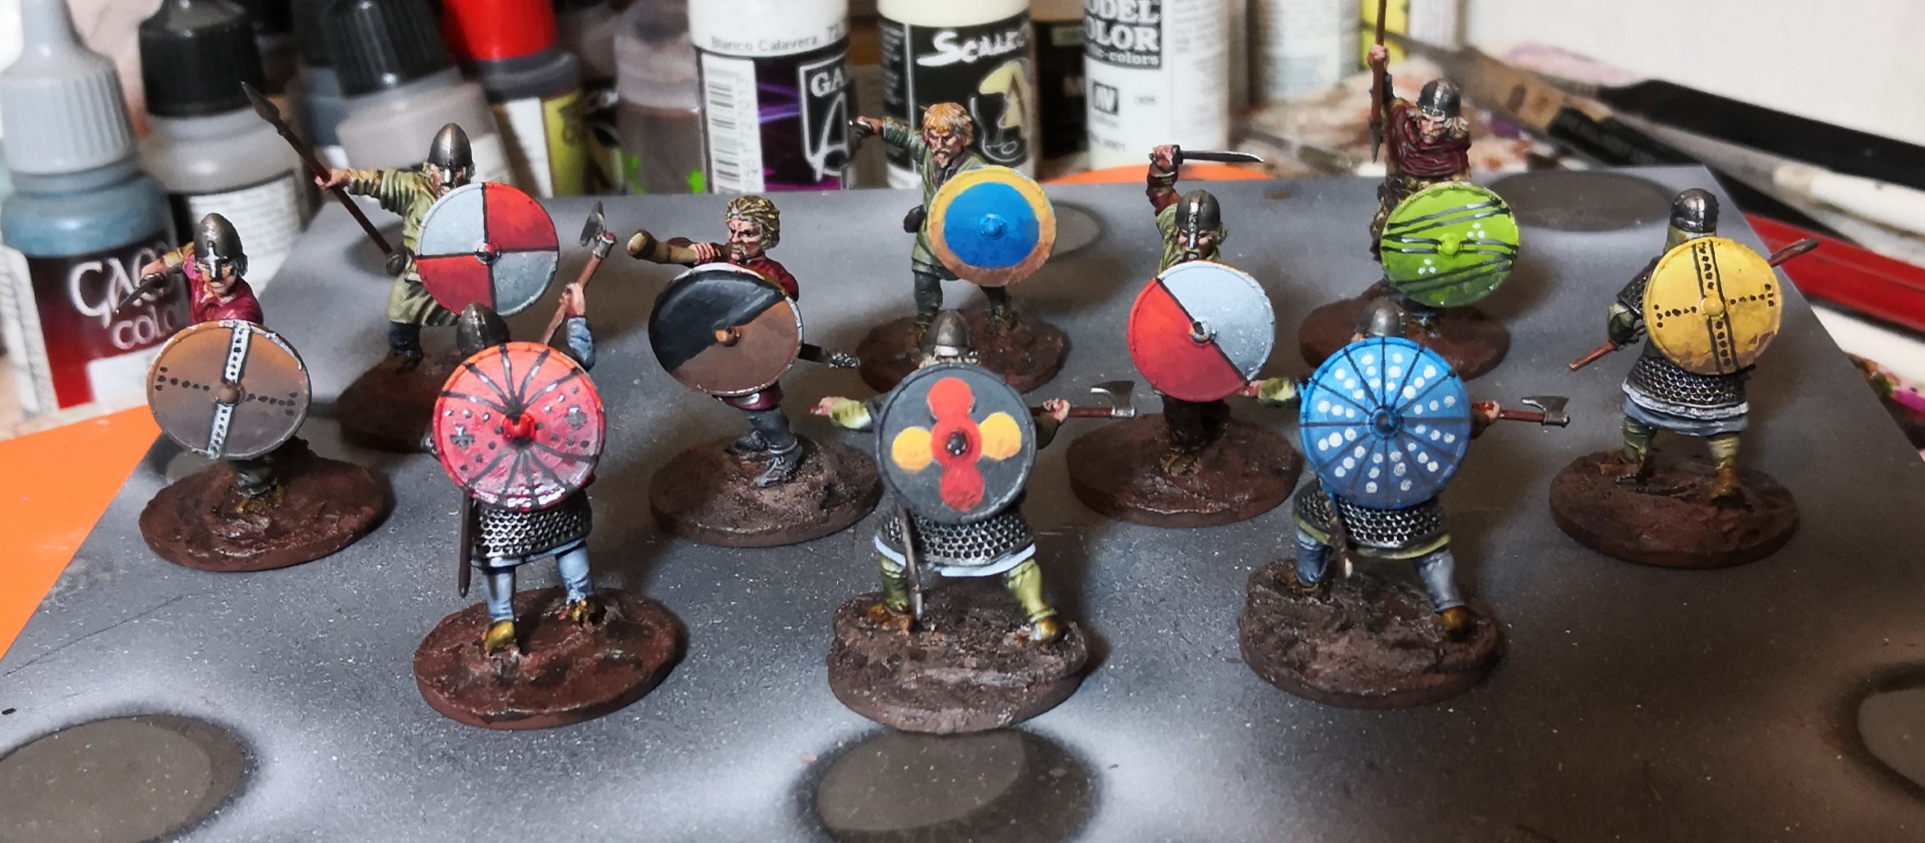
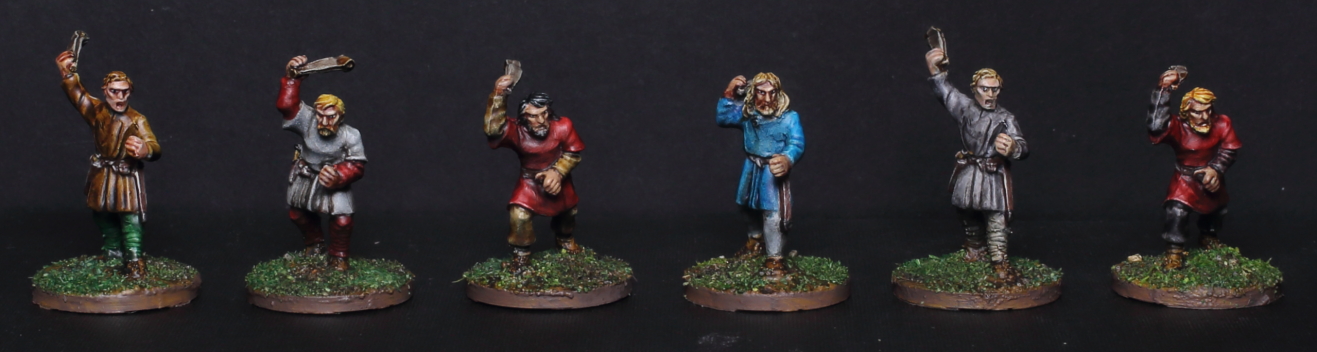
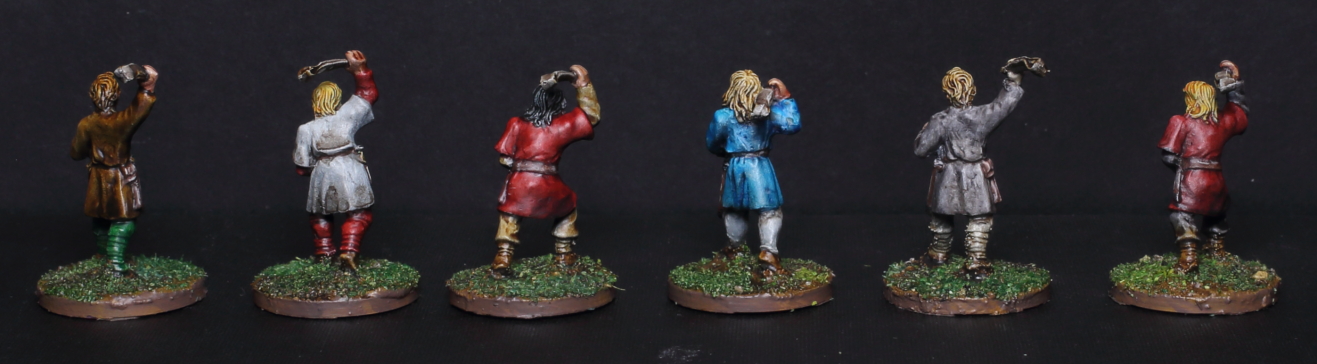
Huscarls
The Huscarl figures from Victrix pulled me towards their range. Victrix make some lovely stuff.
Huscarls (Late Saxons/Anglo Danes)
You can likely get enough for a base army in the pack I mentioned in the Warriors section.
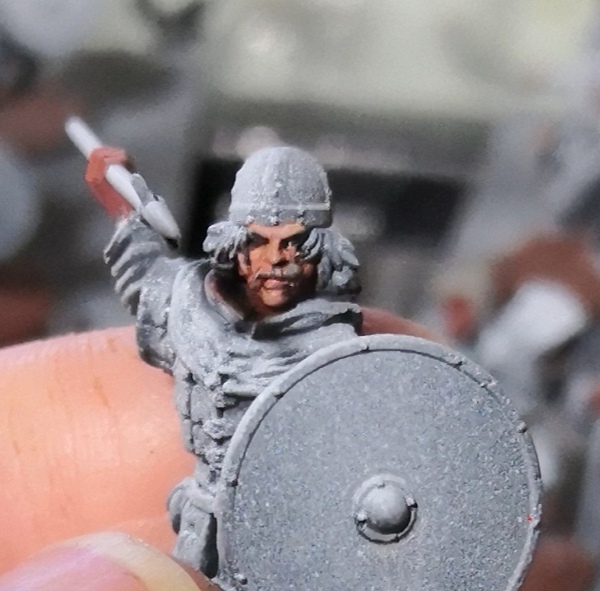
General painting and basing approach was the same as for the warriors. The chainmail was painted with metallics and shaded before a few drybrush marks to hit the upper faces.
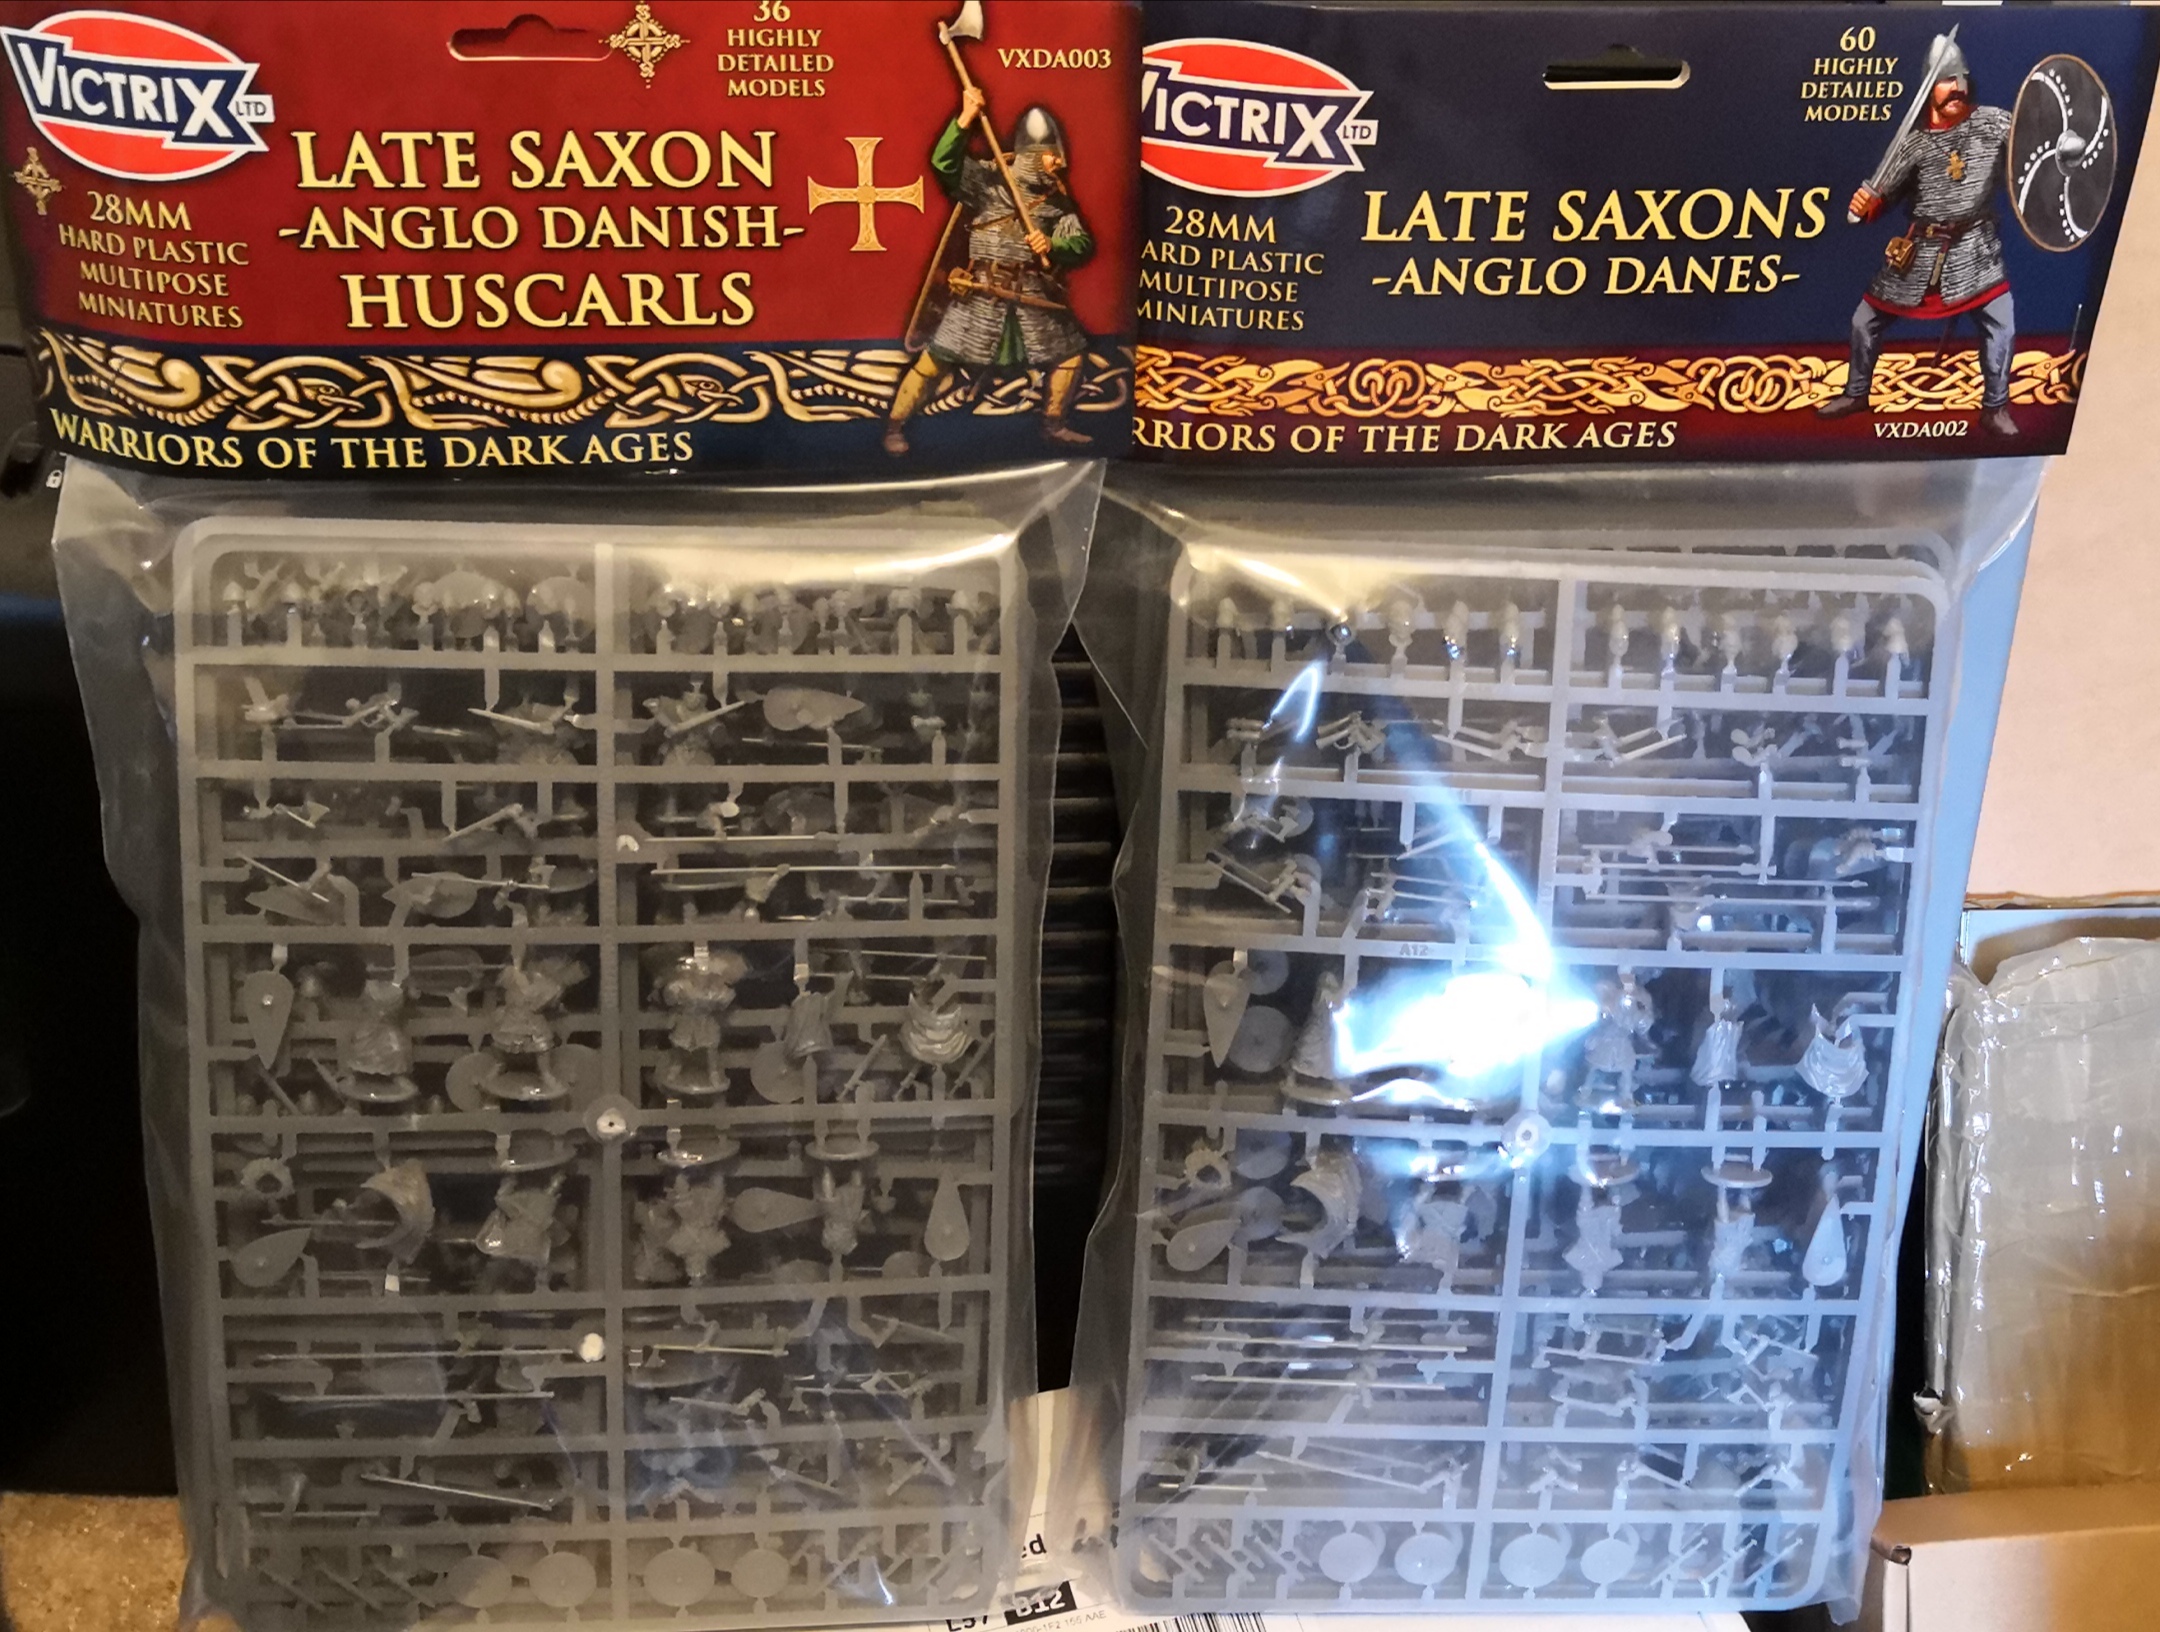
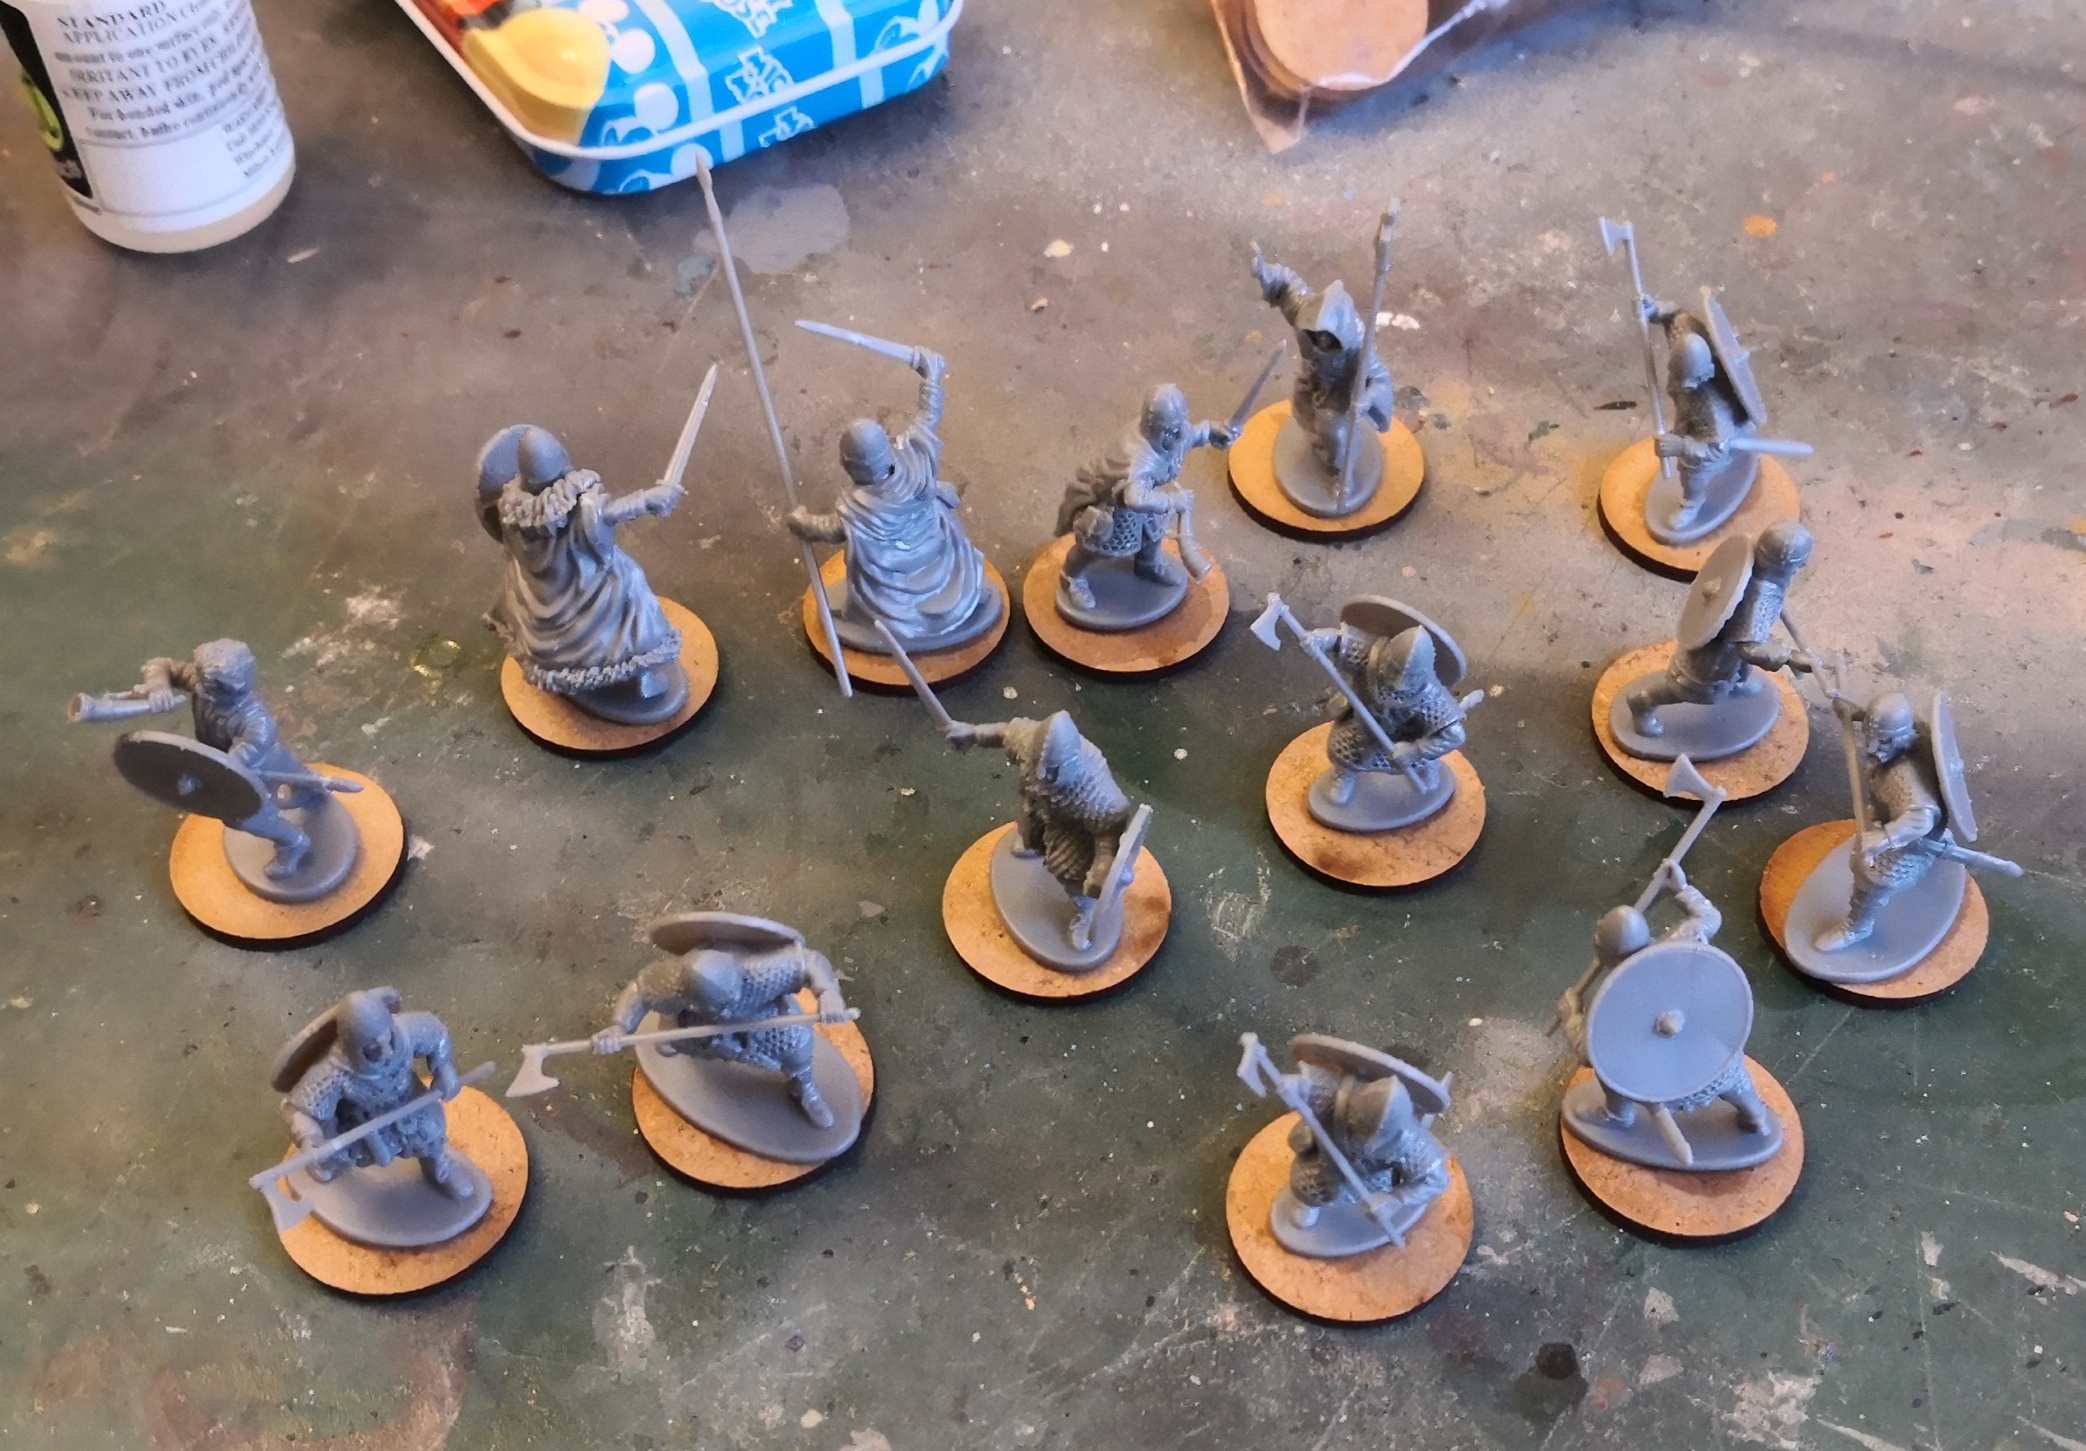
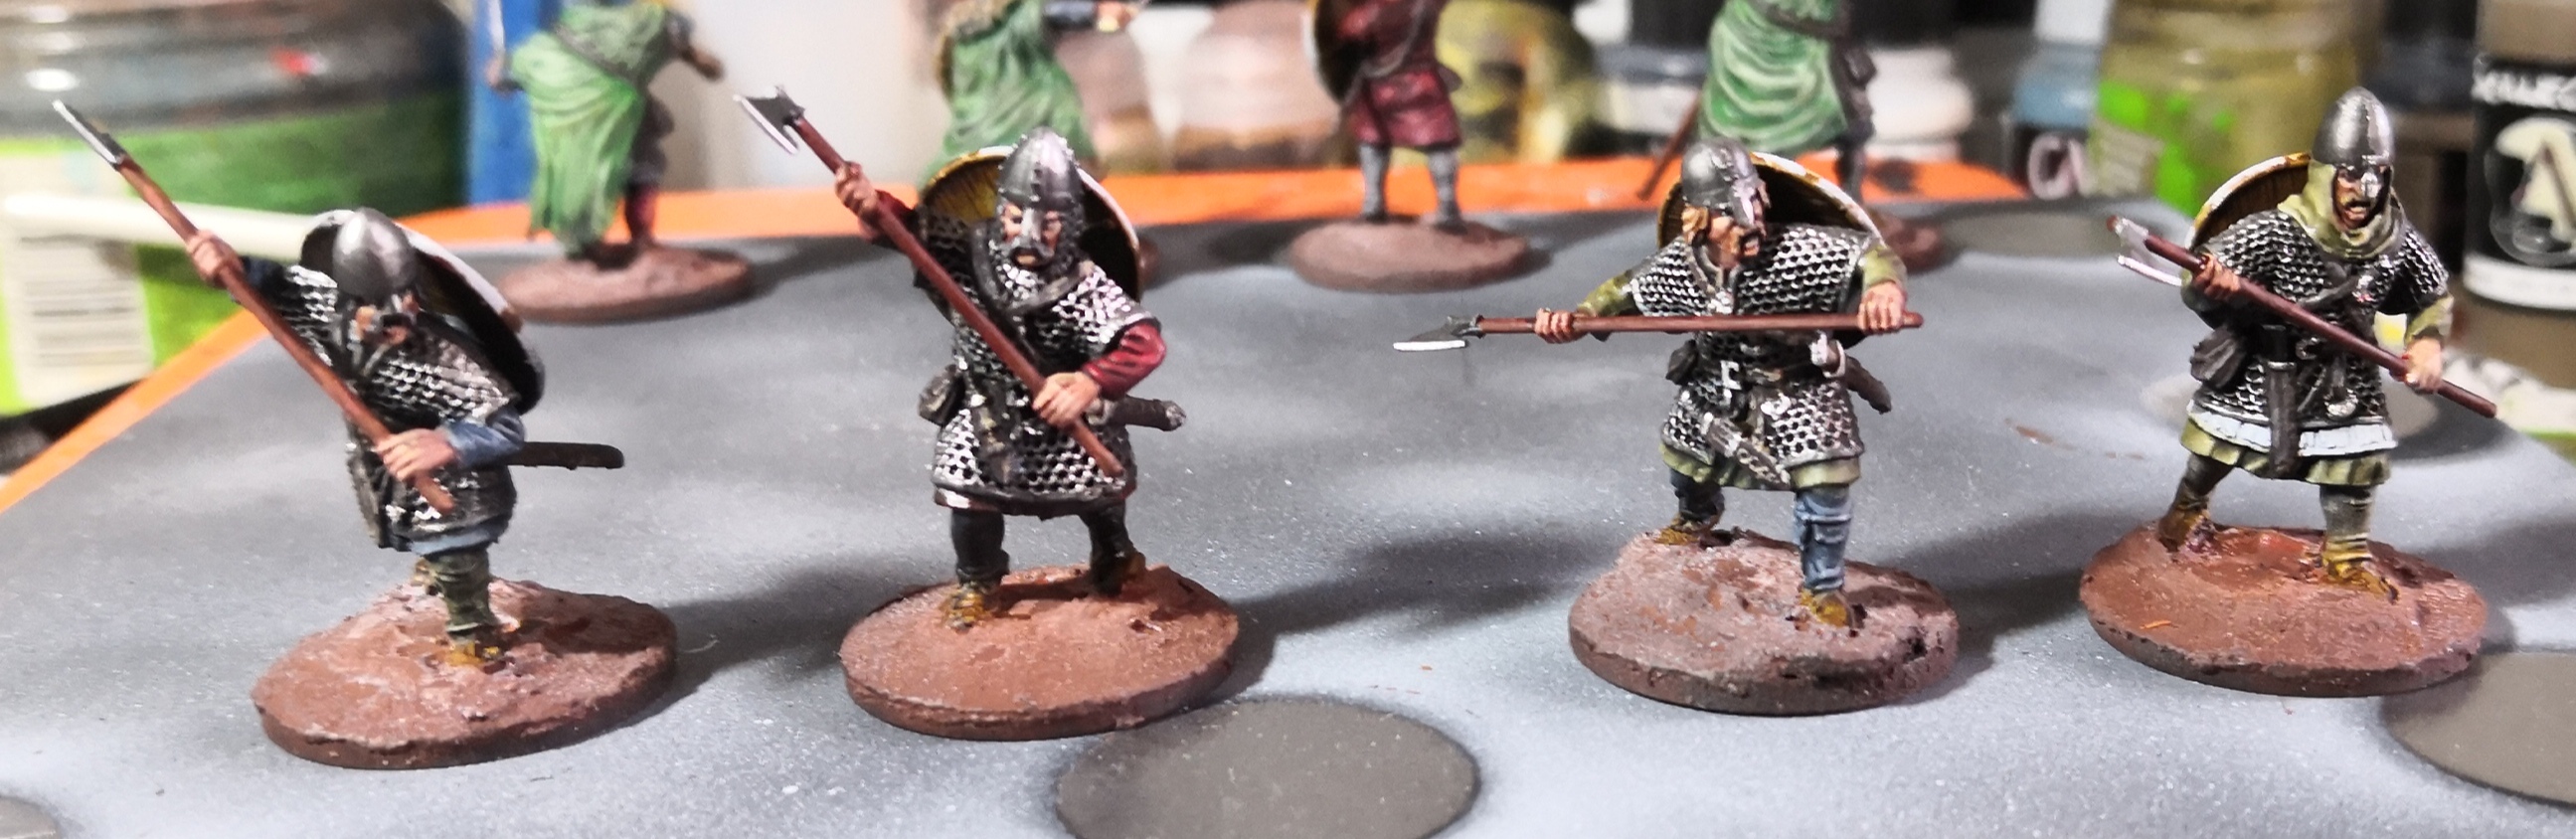
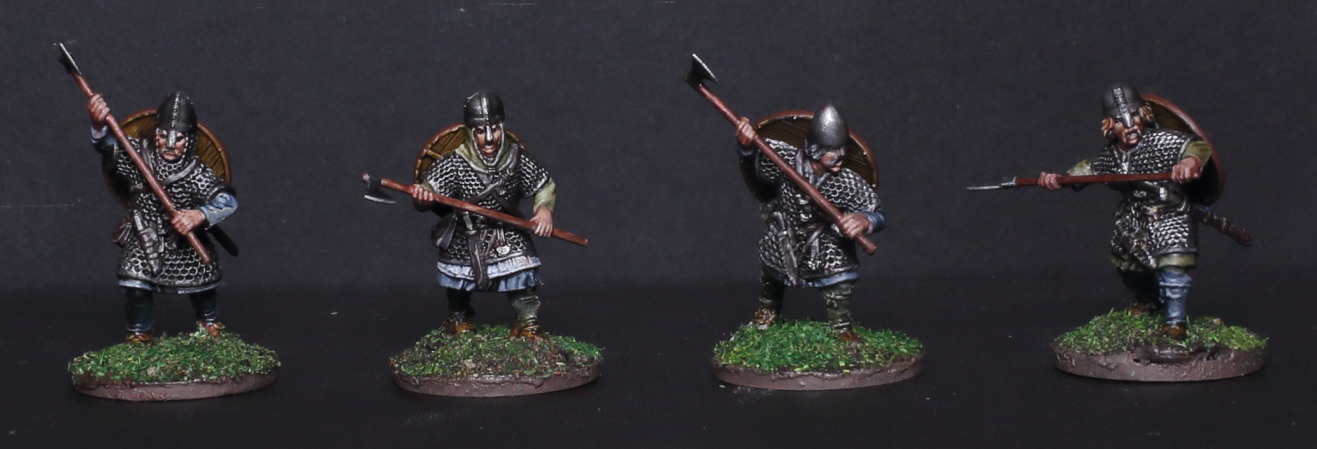
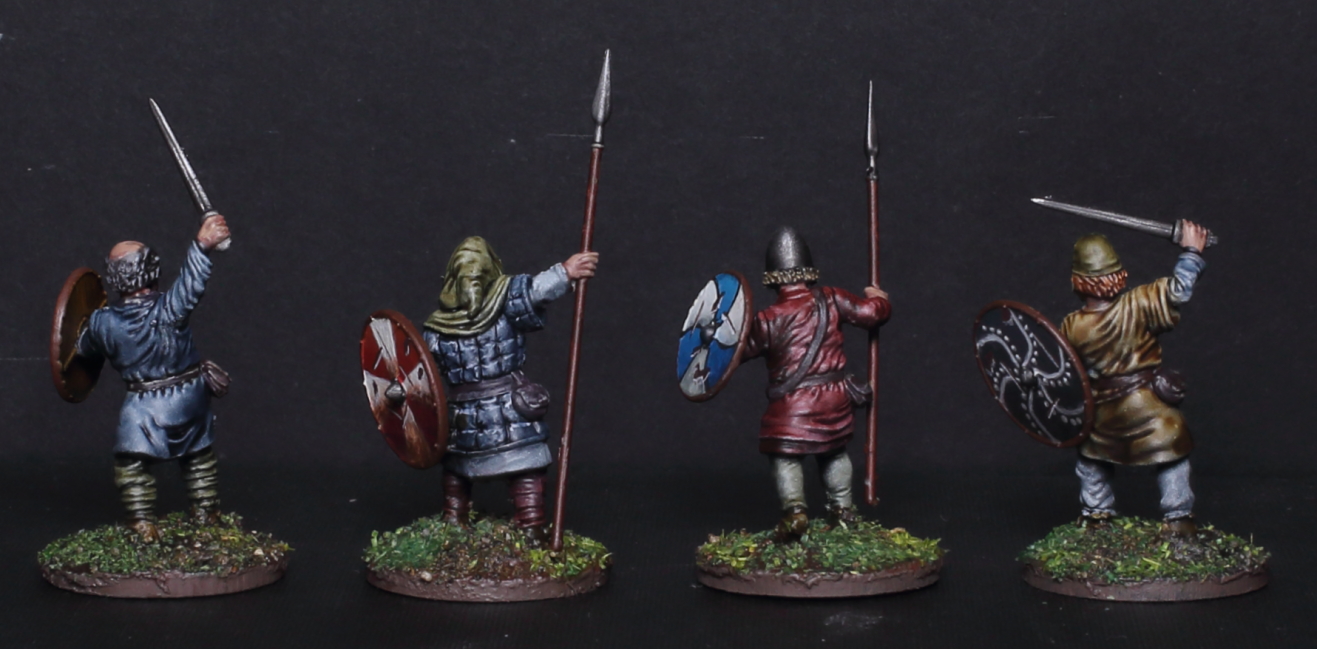
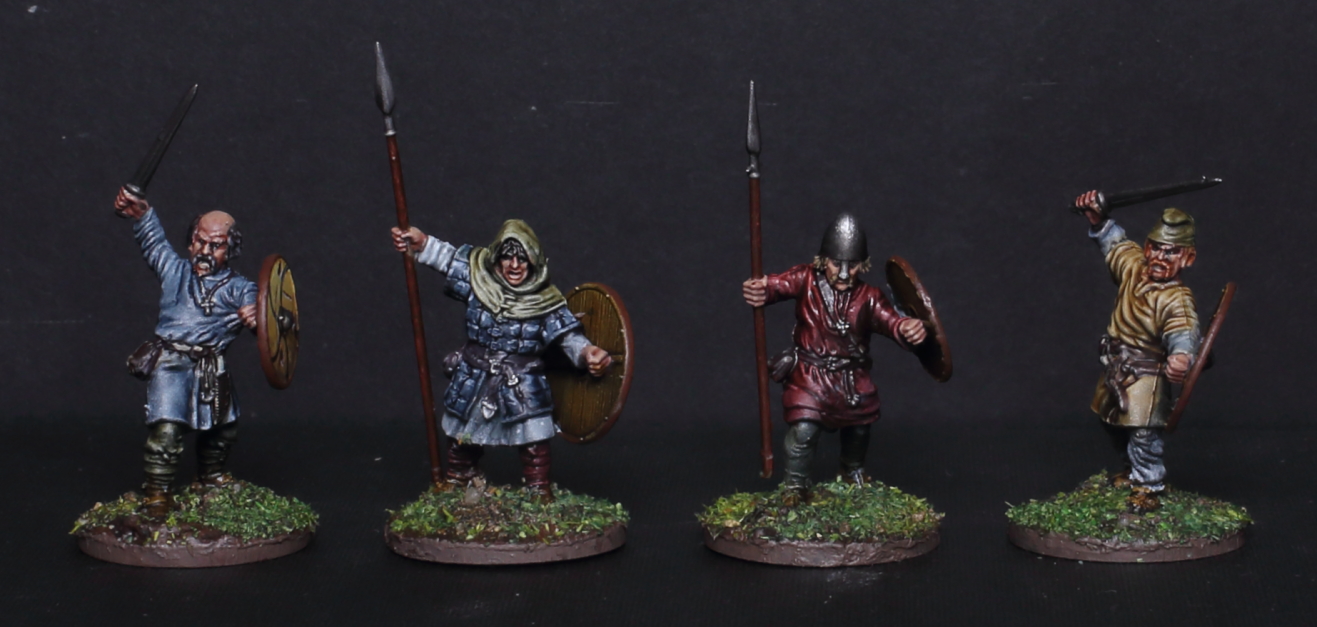
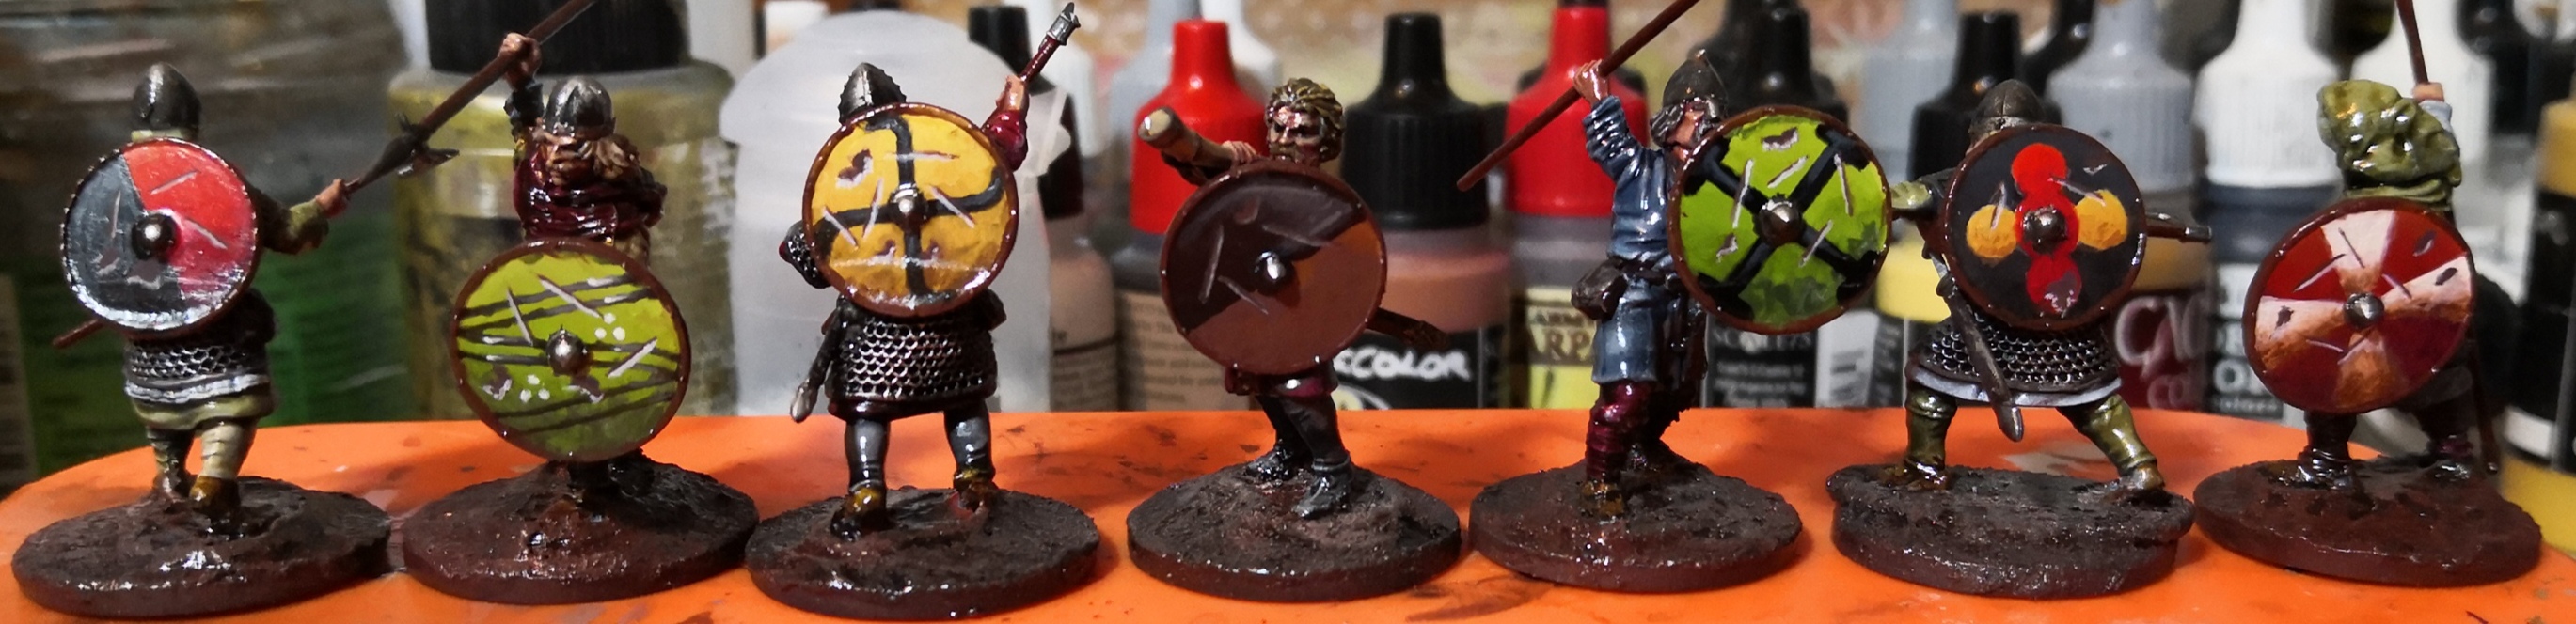
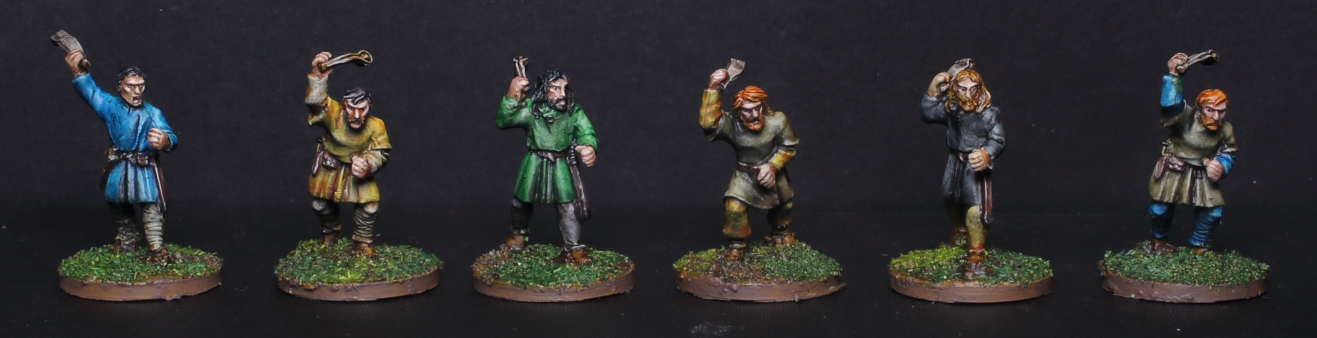
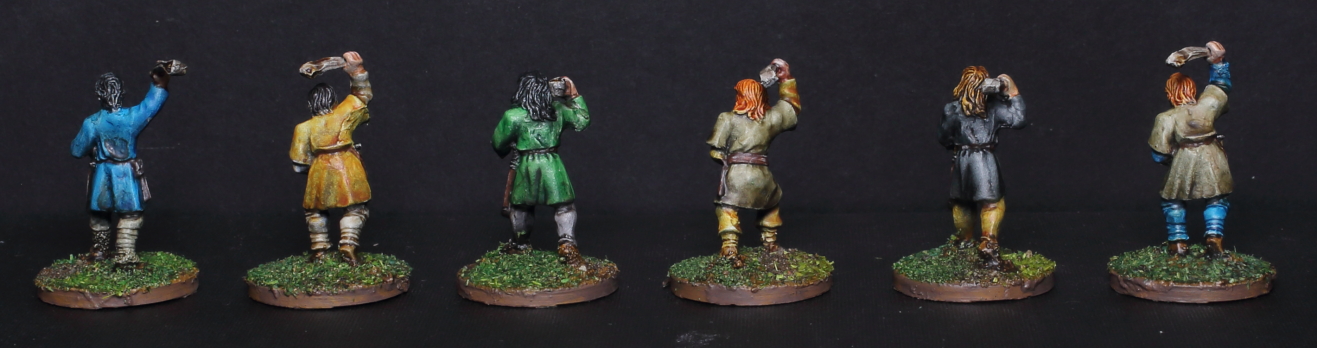
Warriors
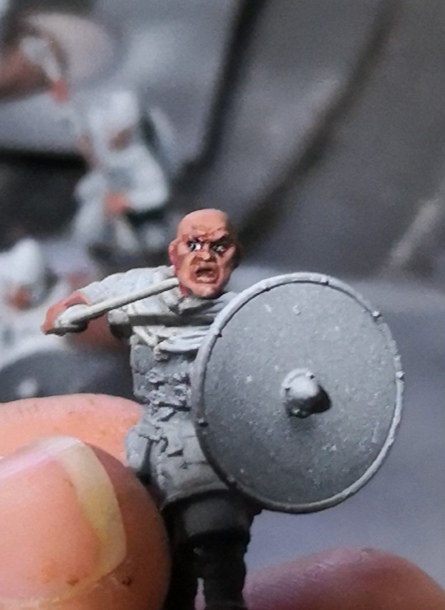
The warriors were largely preshaded with contrast colours for their clothes. I took my time painting the faces and shields. Basing was the same as the Geburs.
The figures are from Victrix.
Late Saxons/Anglo Danes
I have around 2 points.
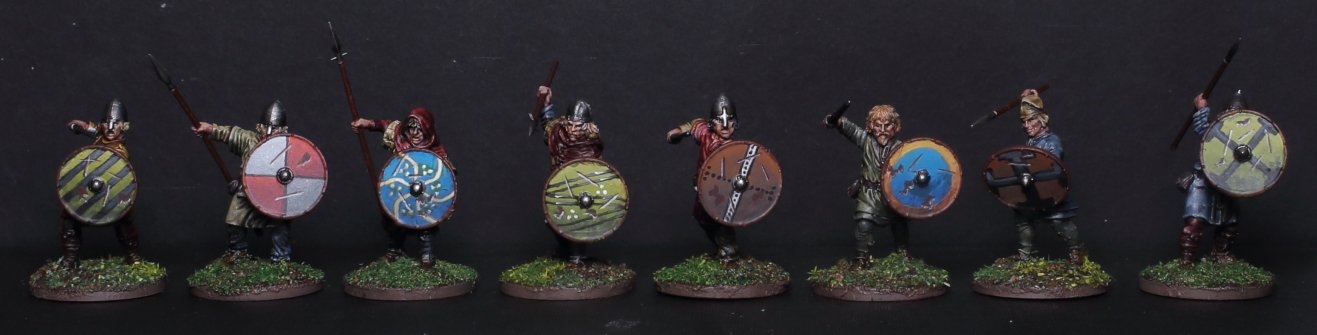
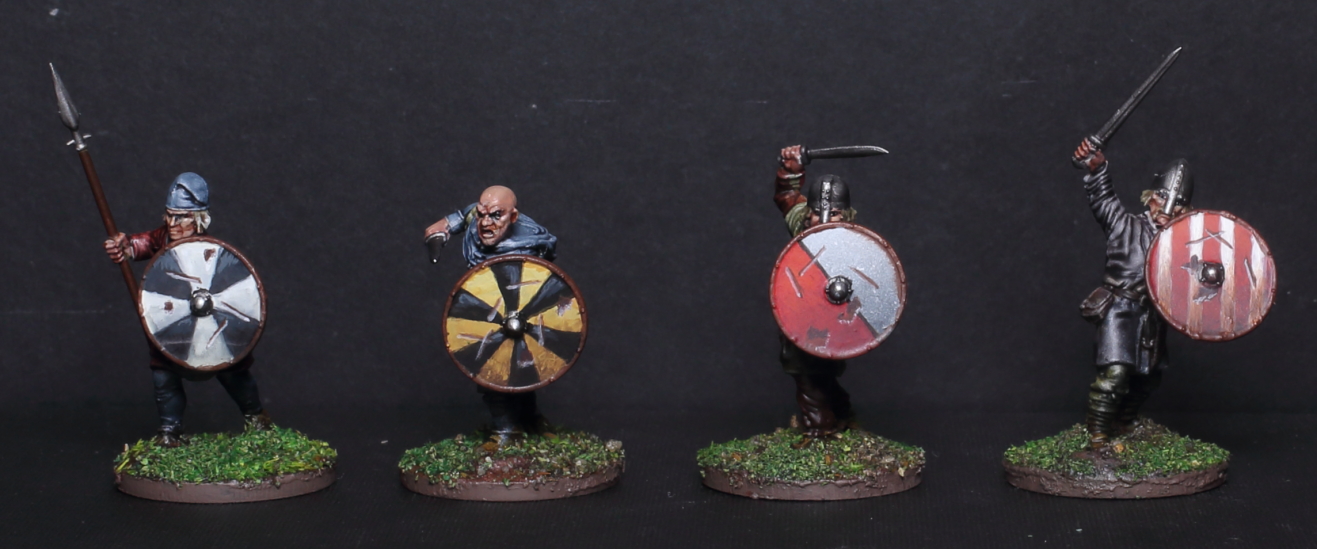
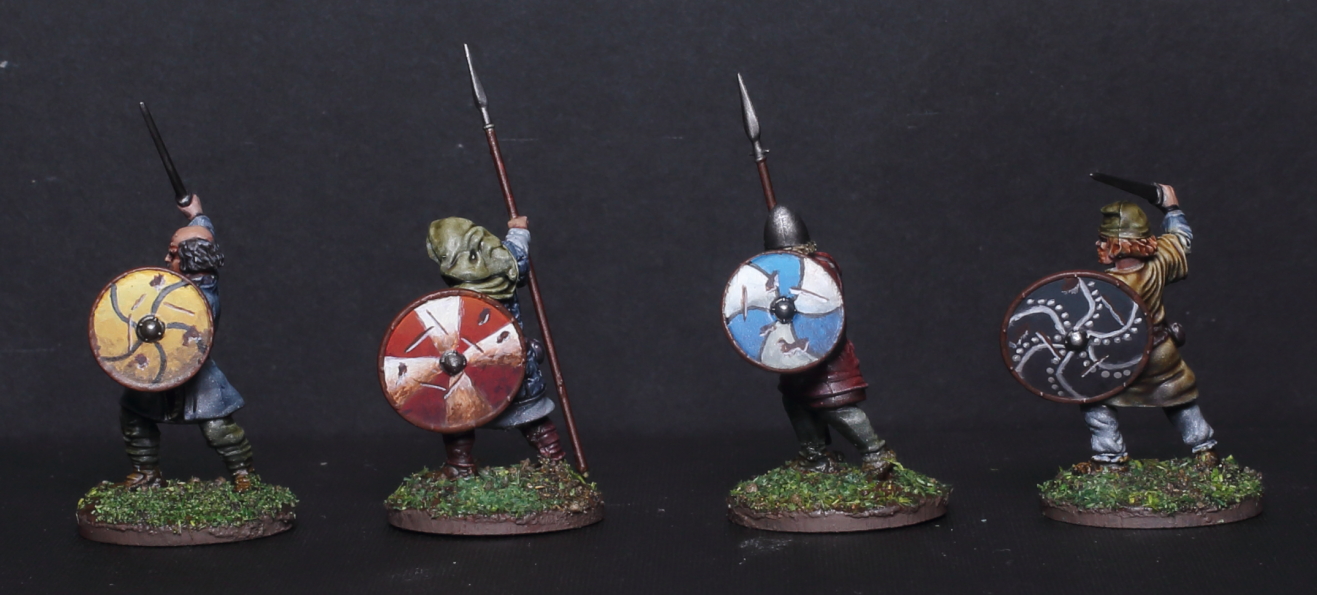
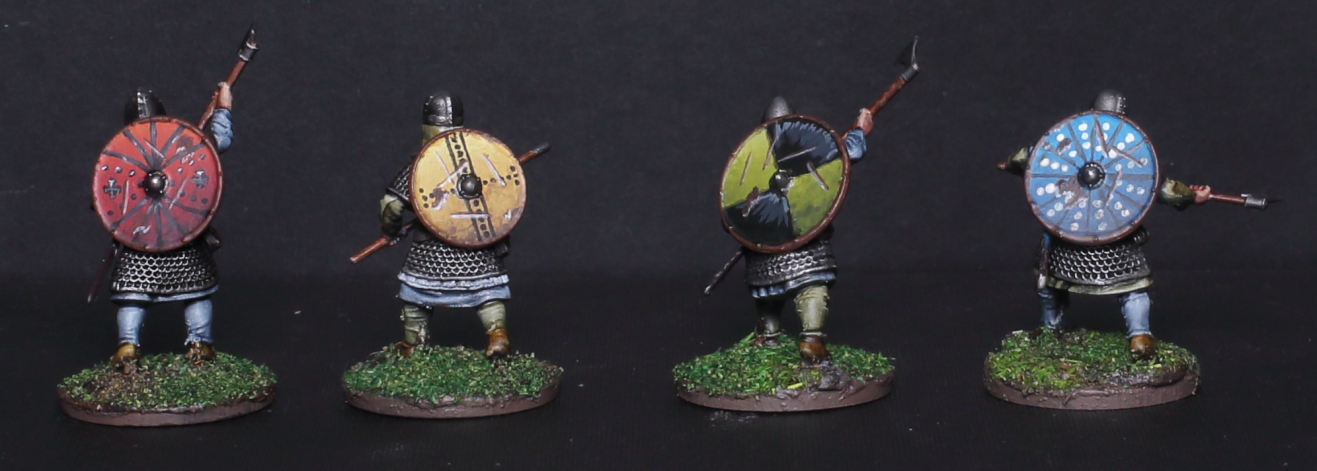
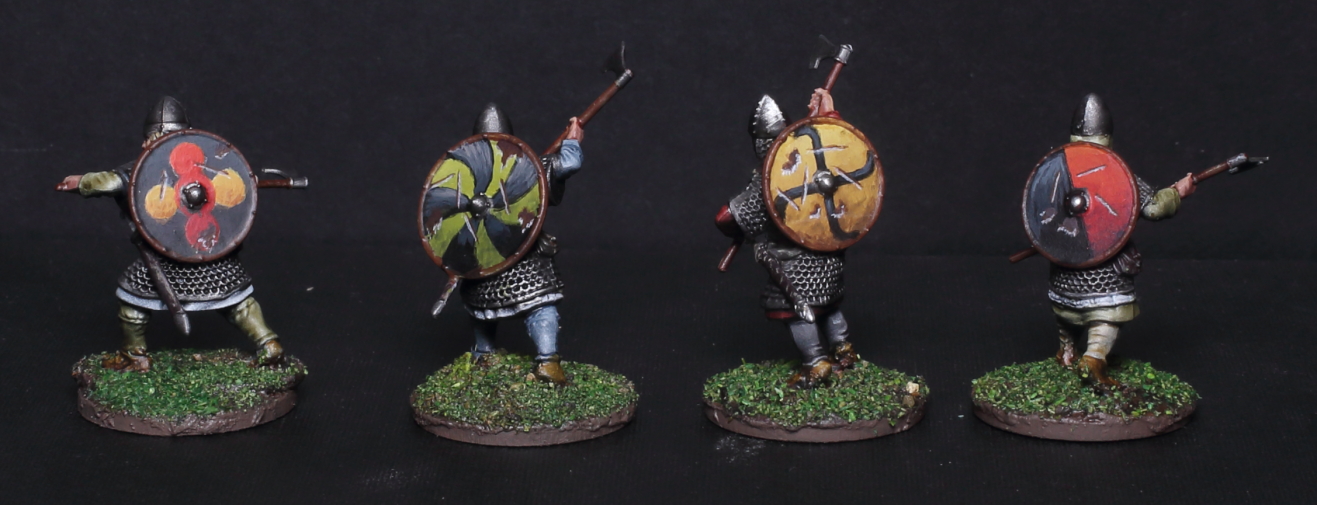
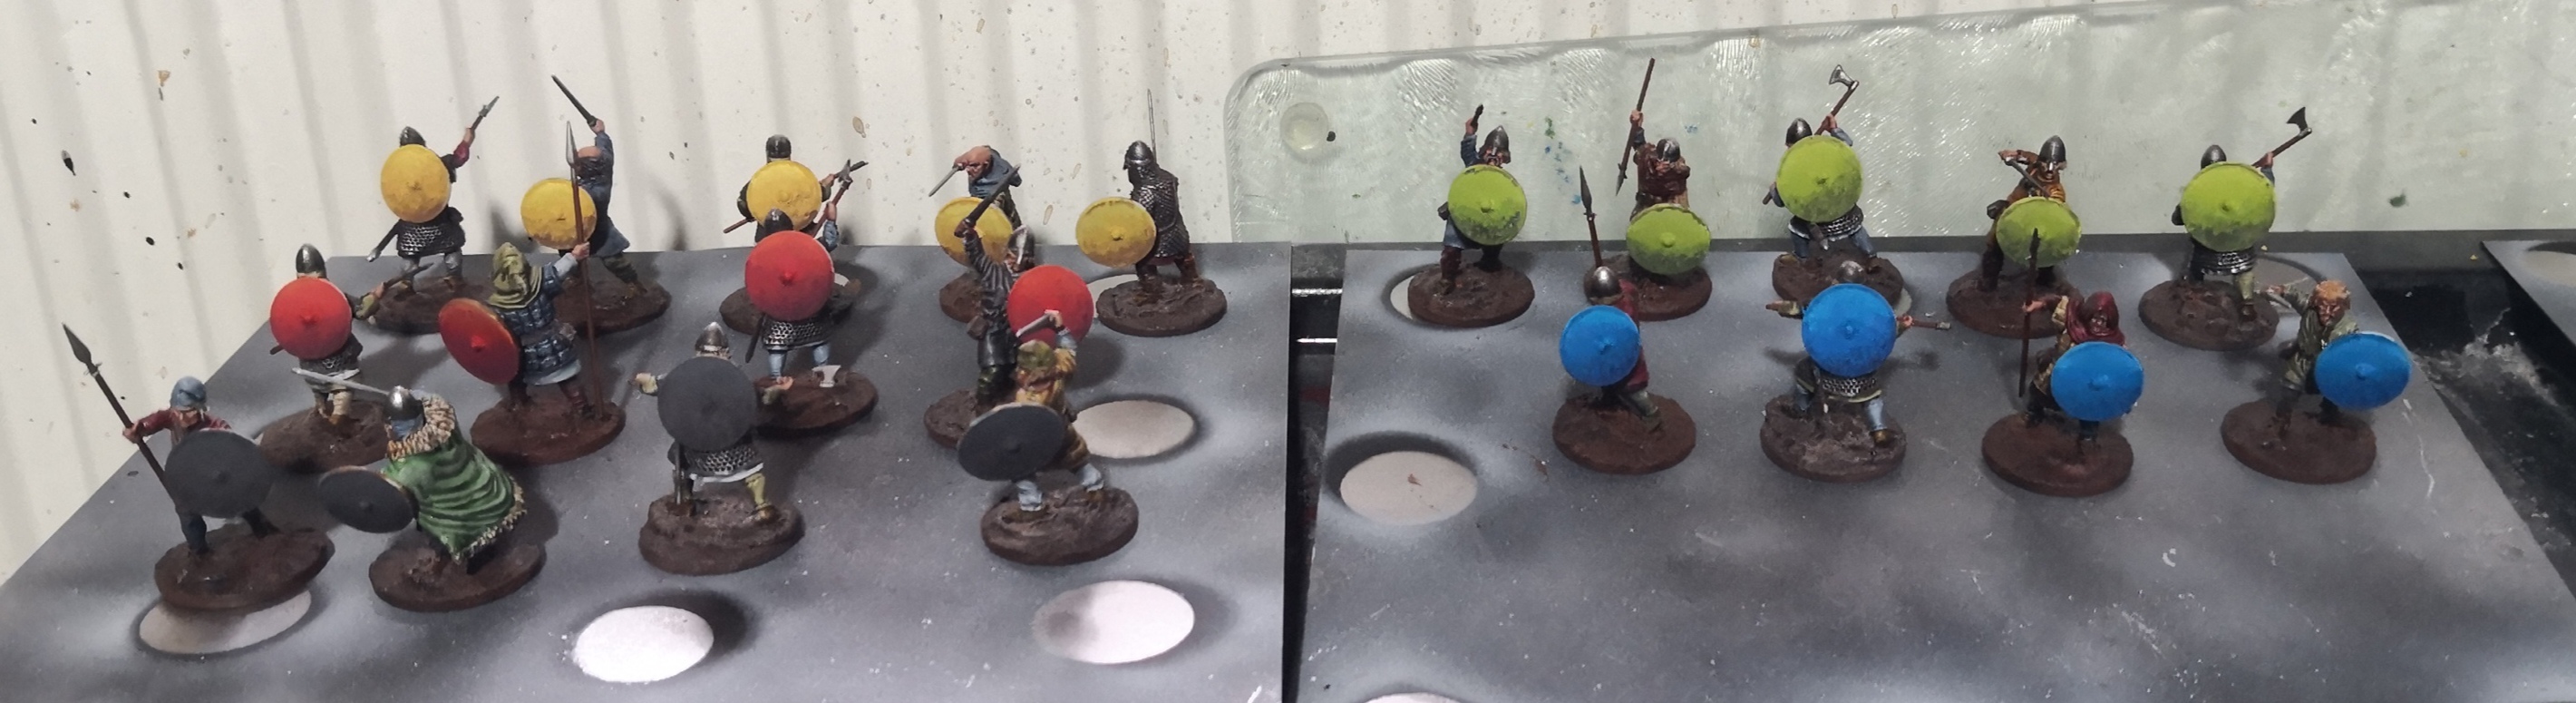
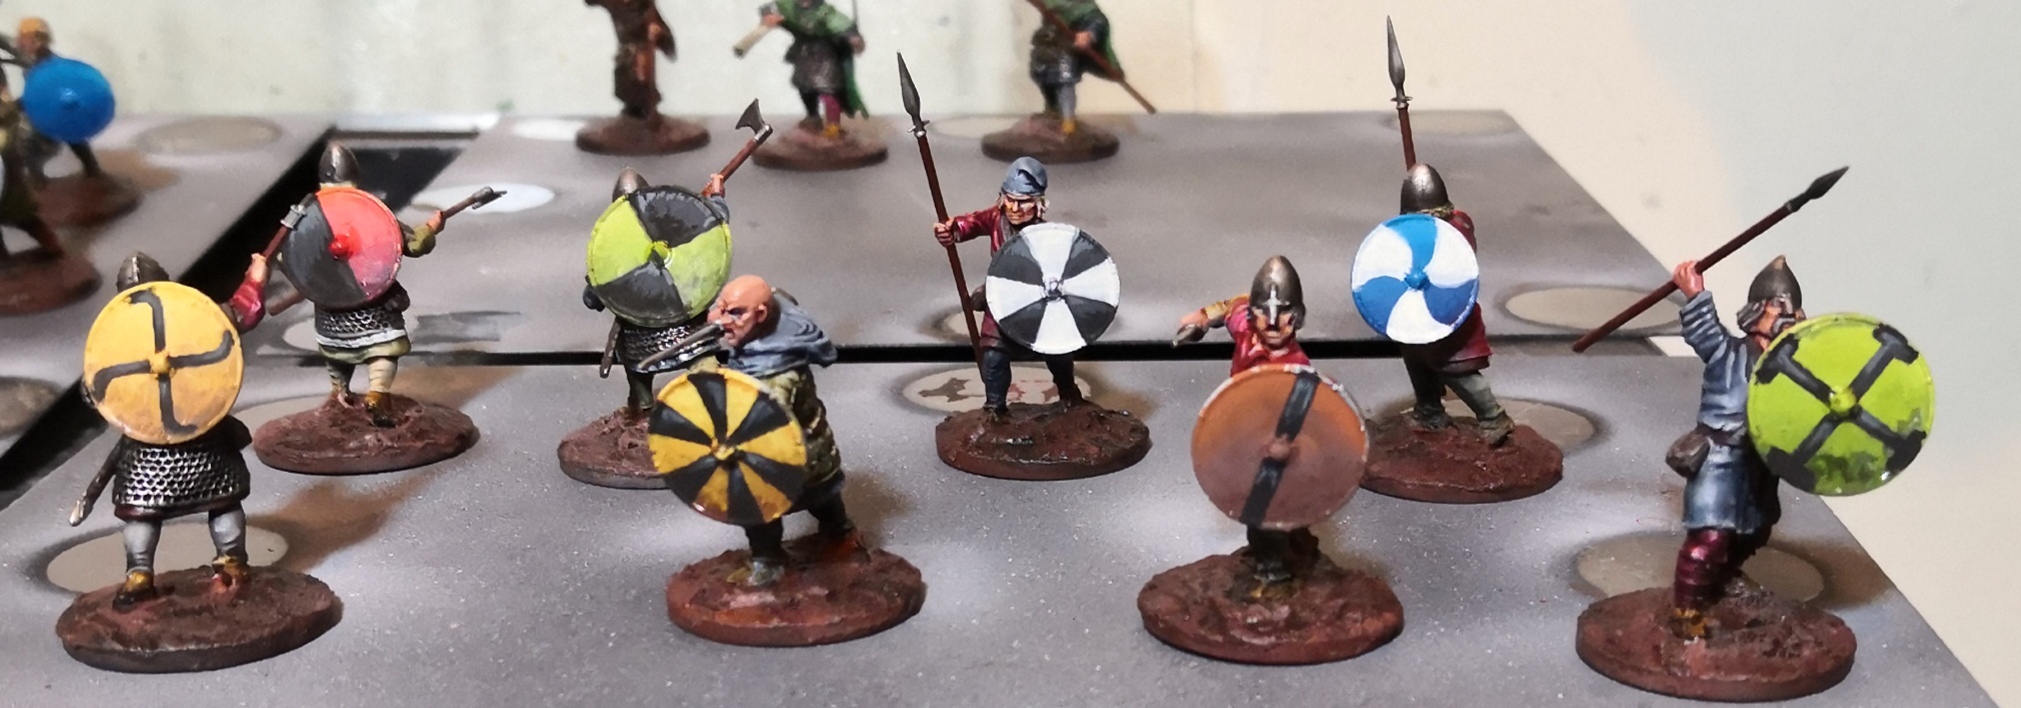
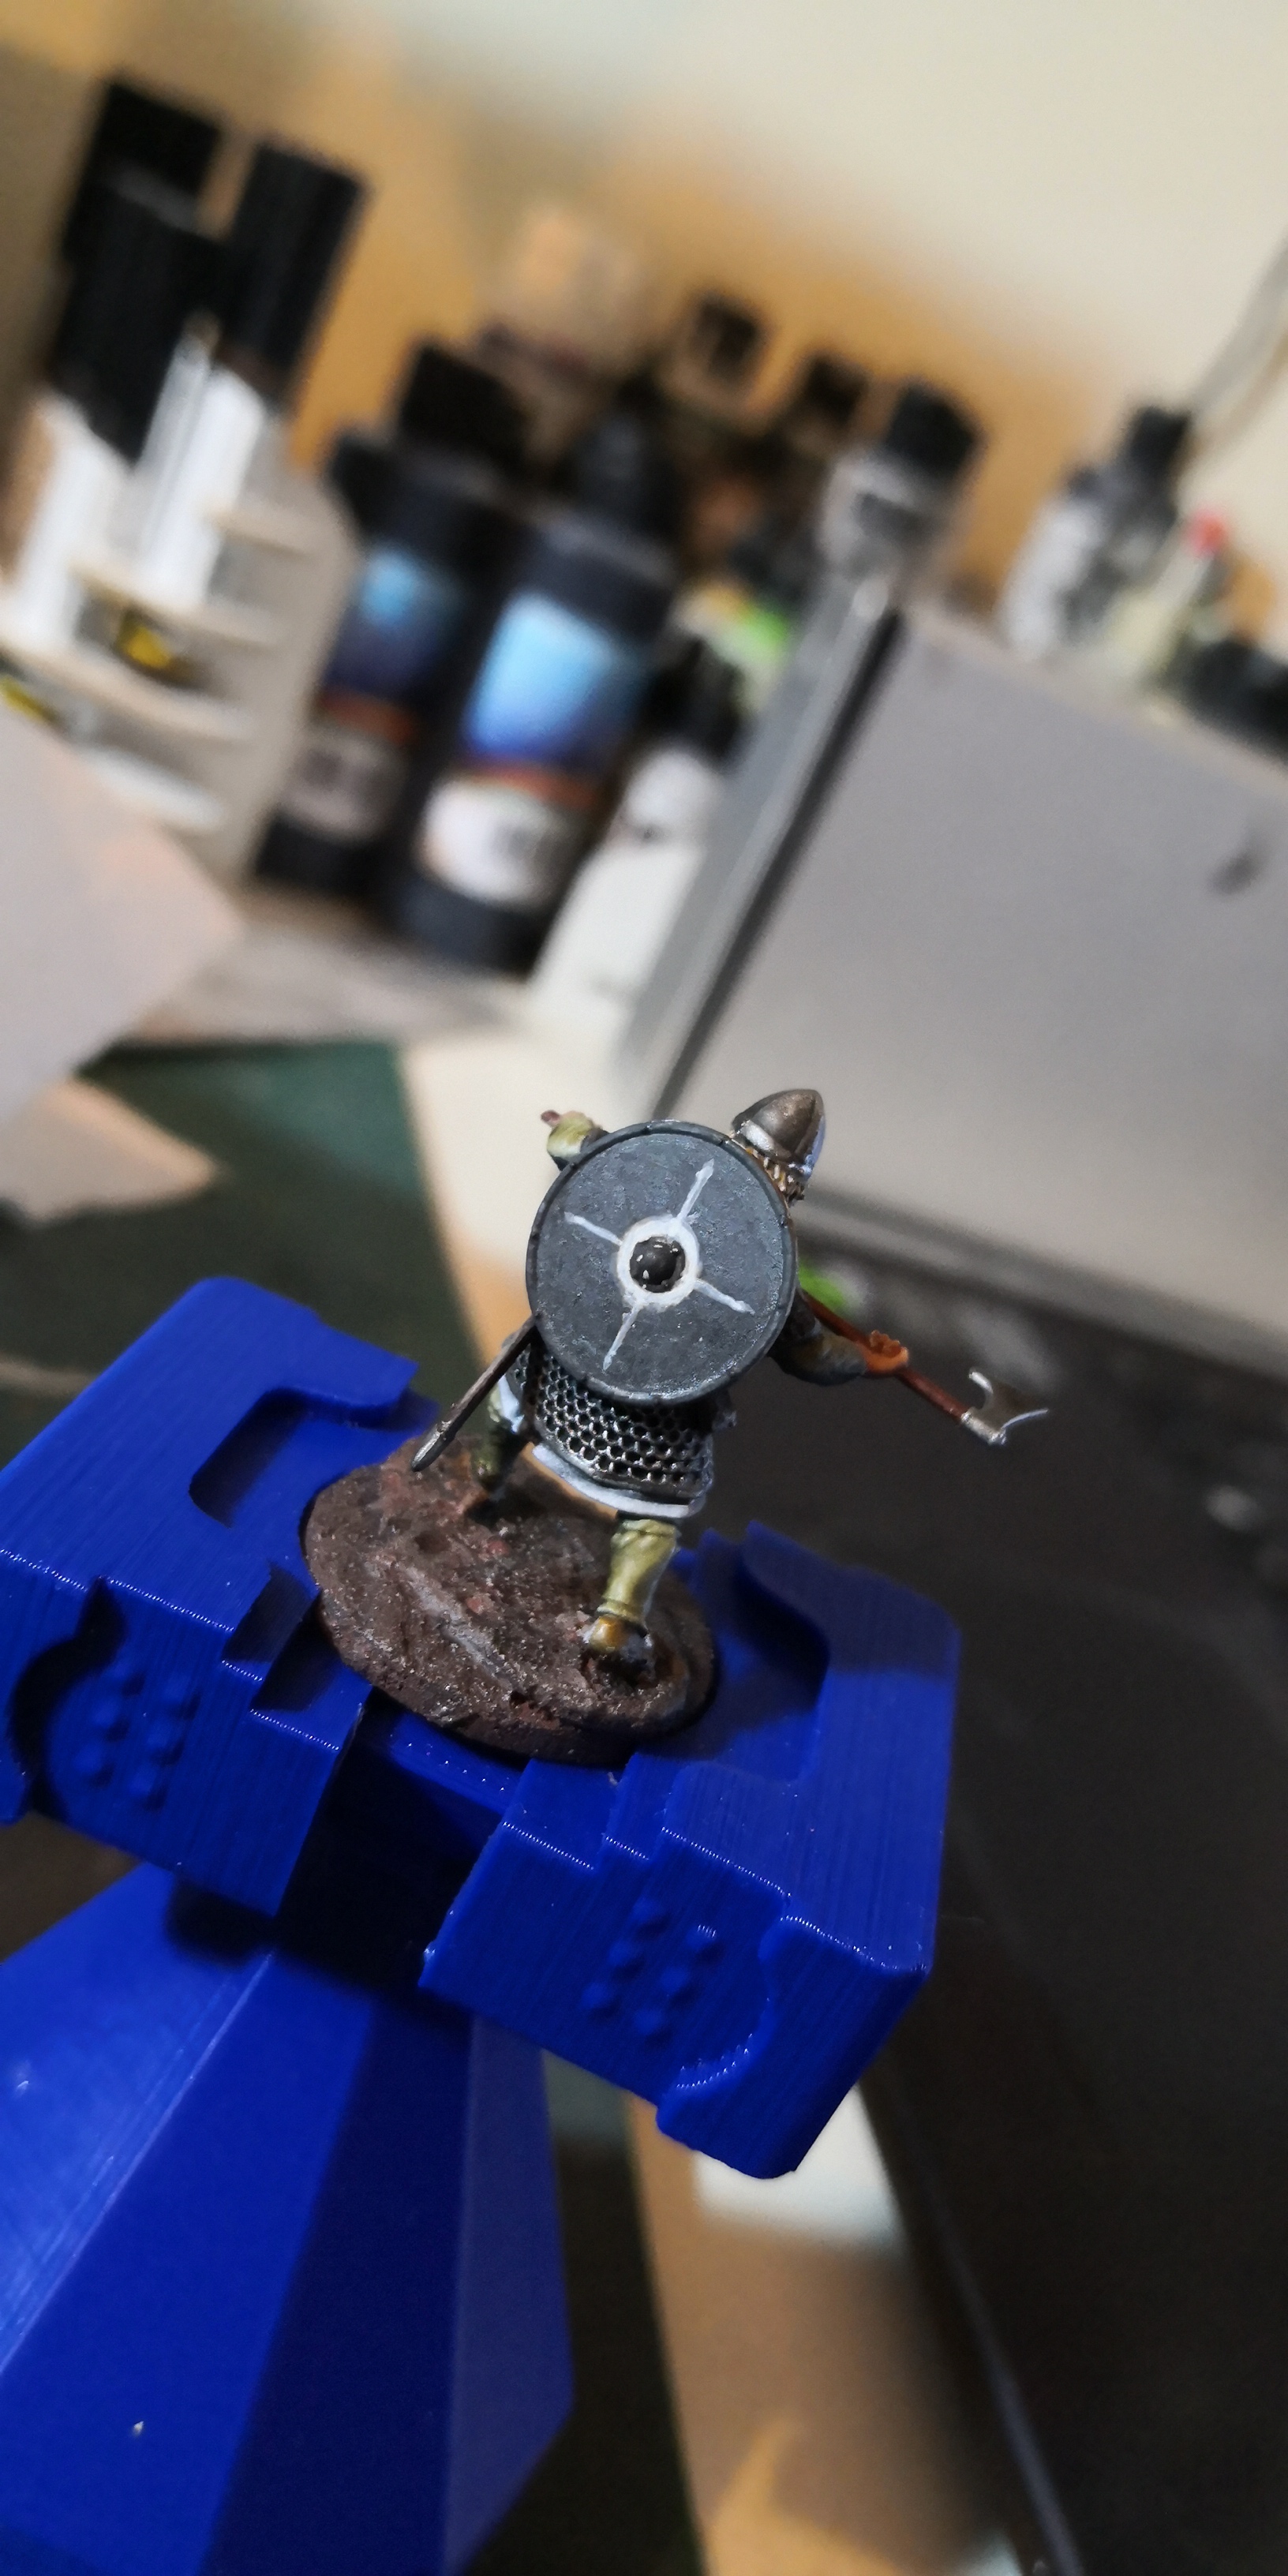
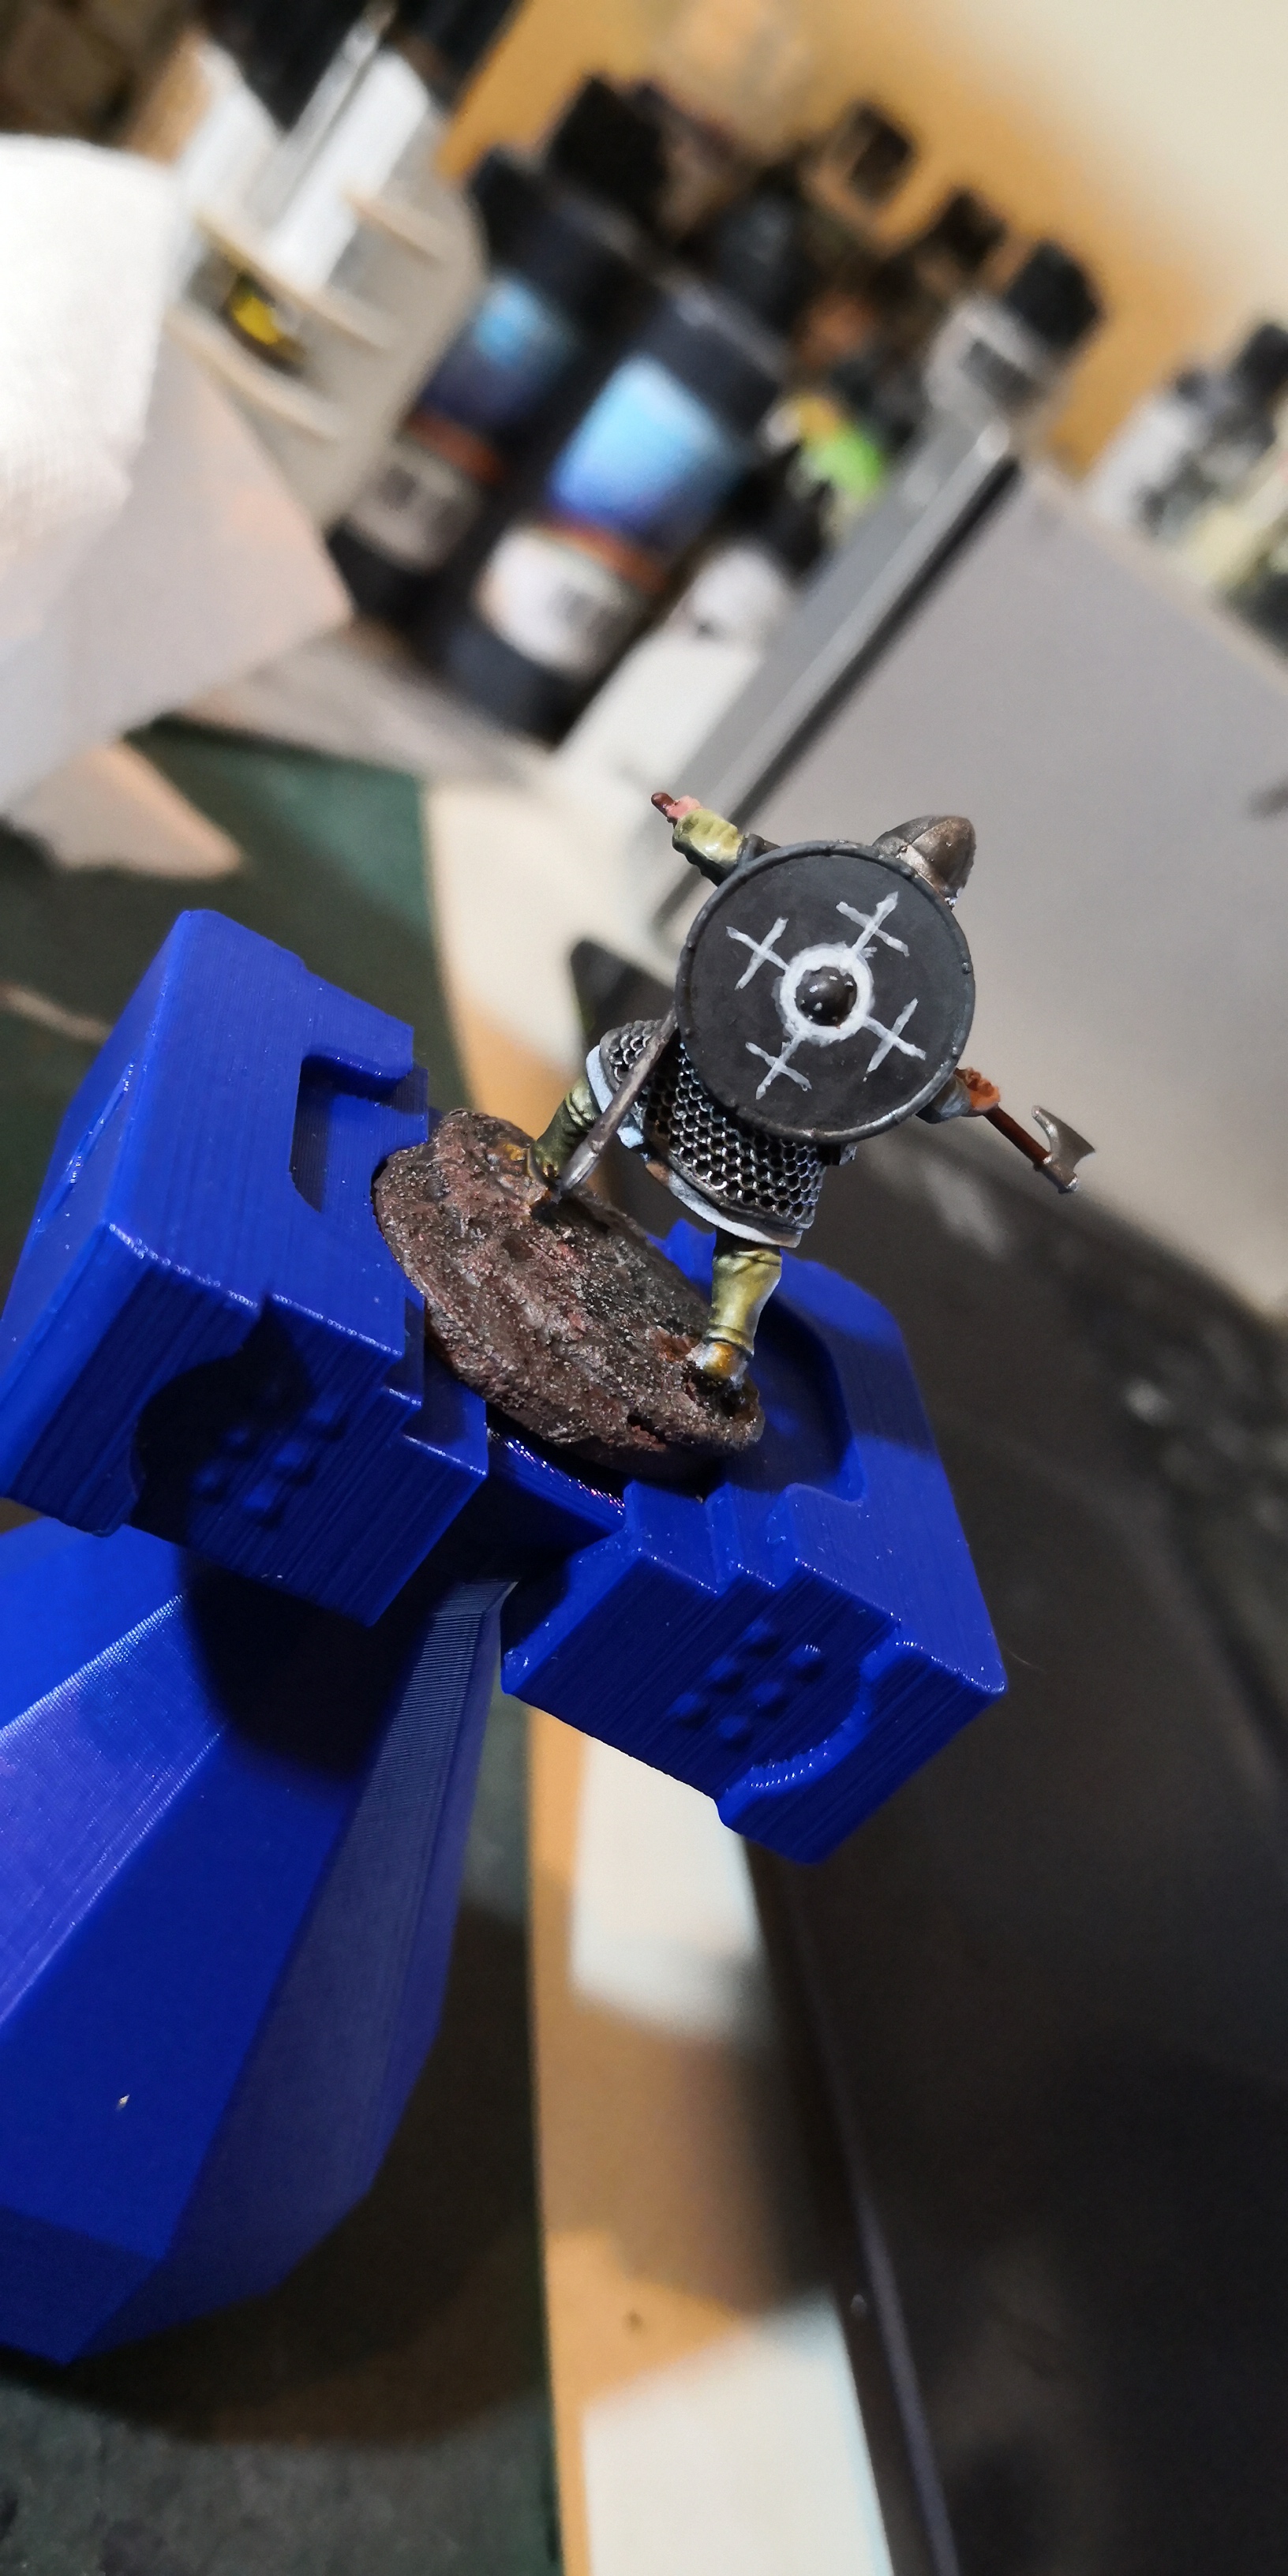
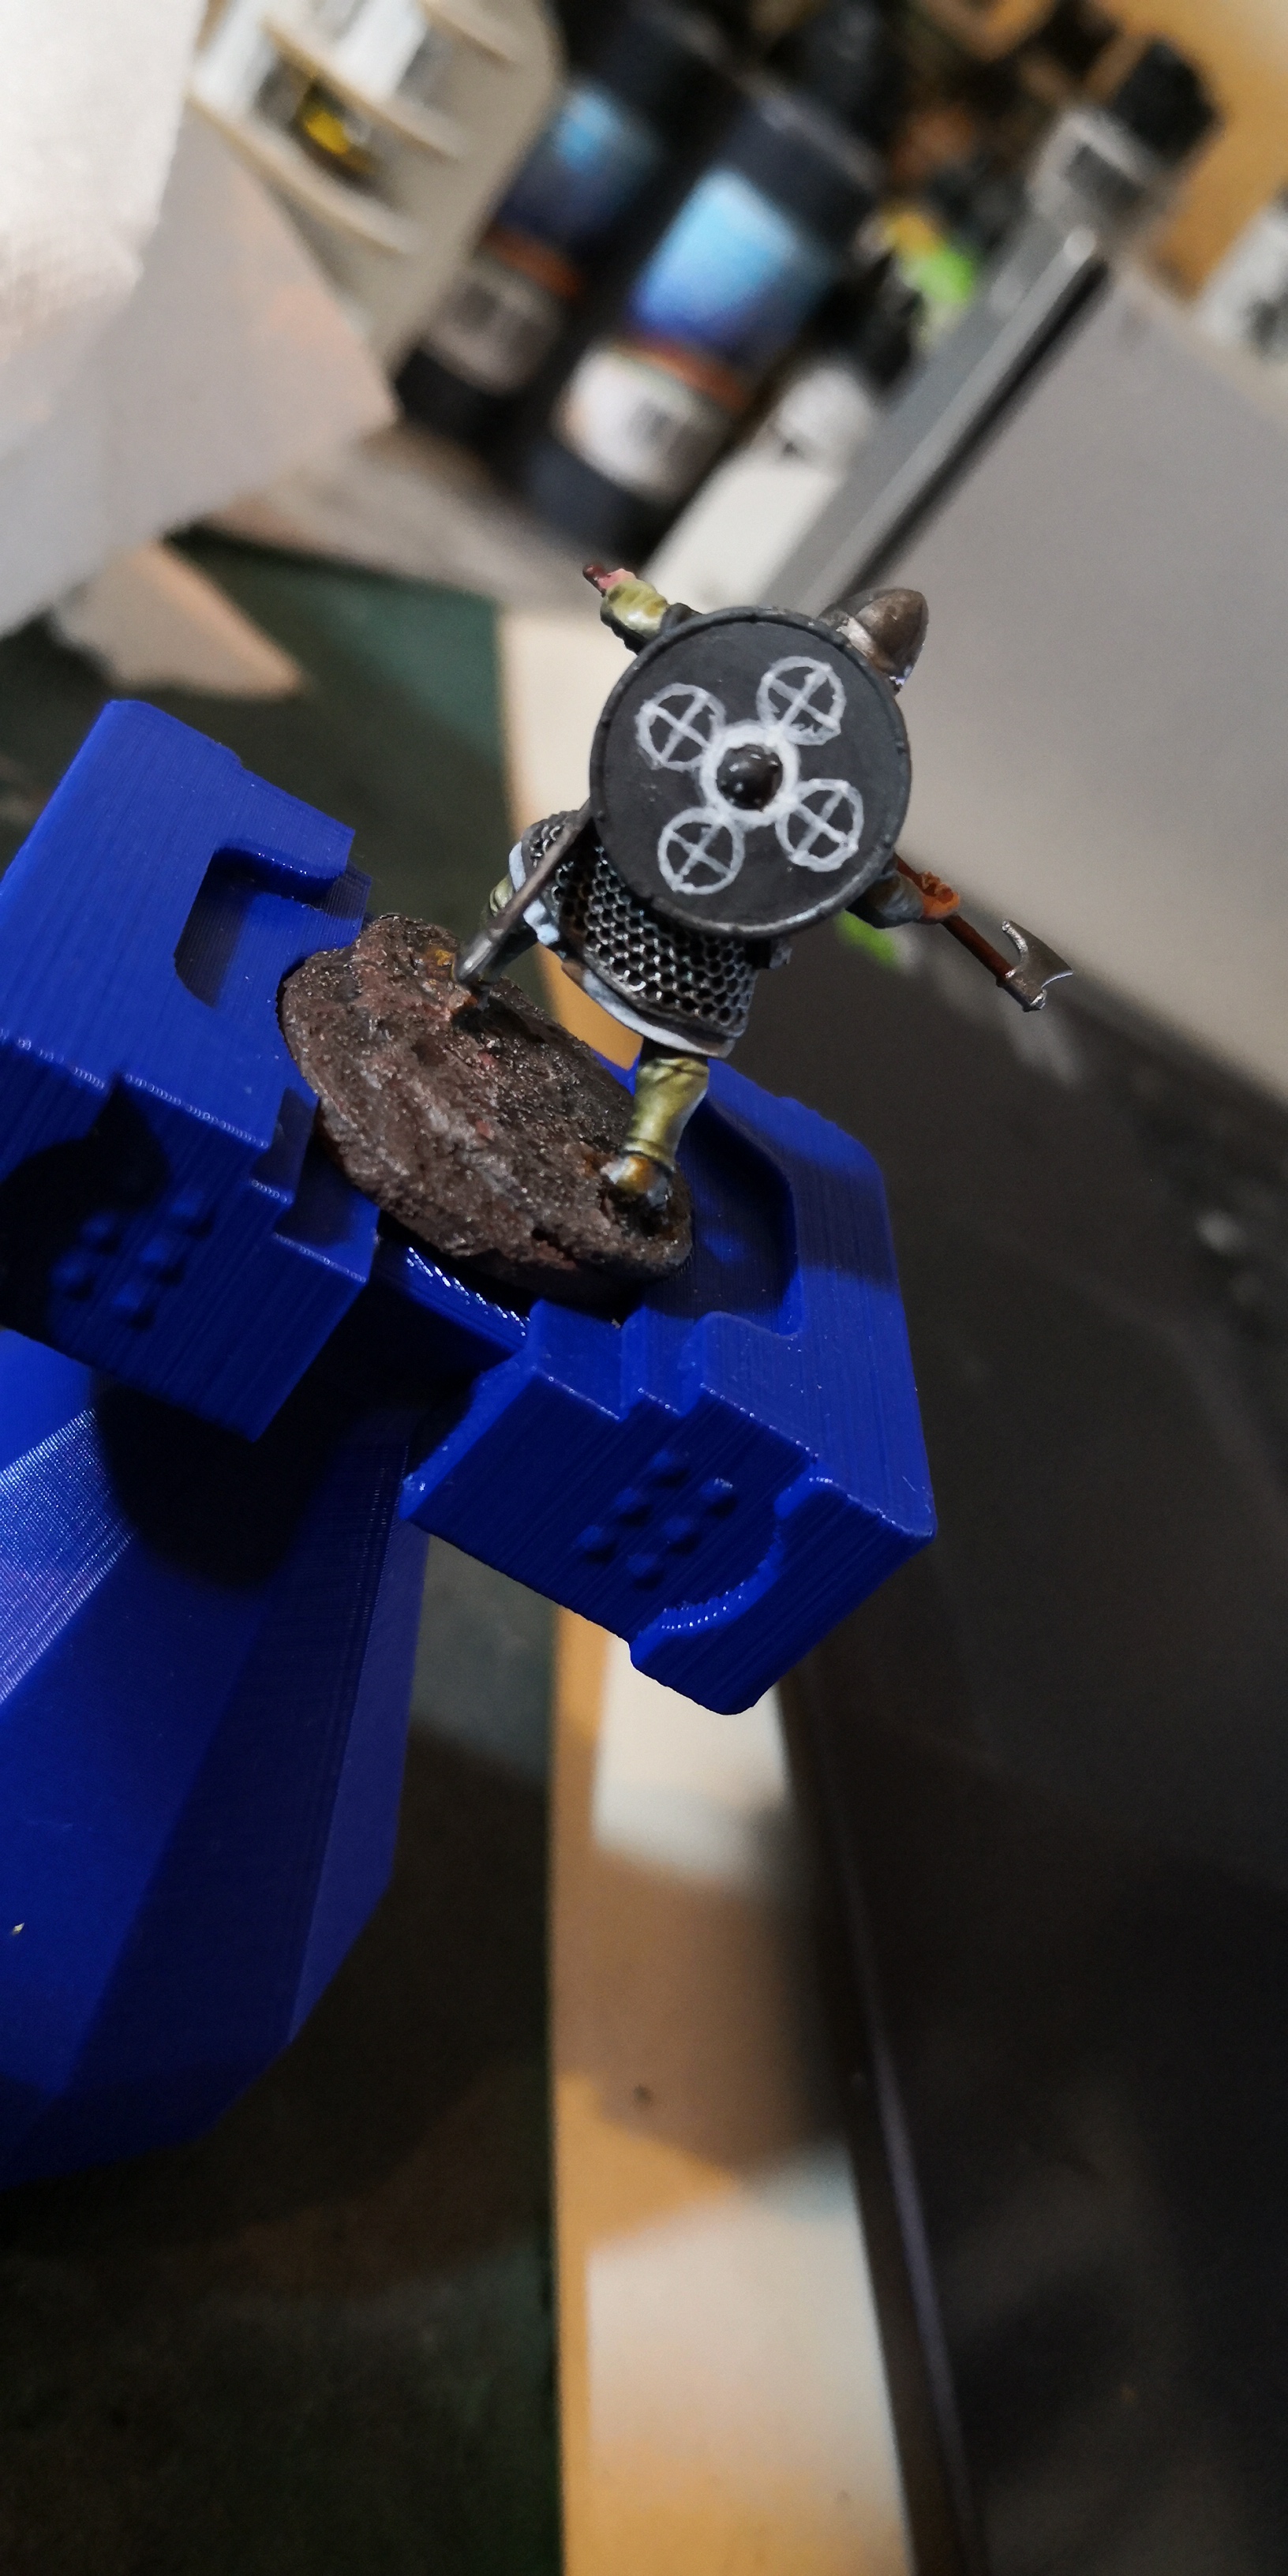
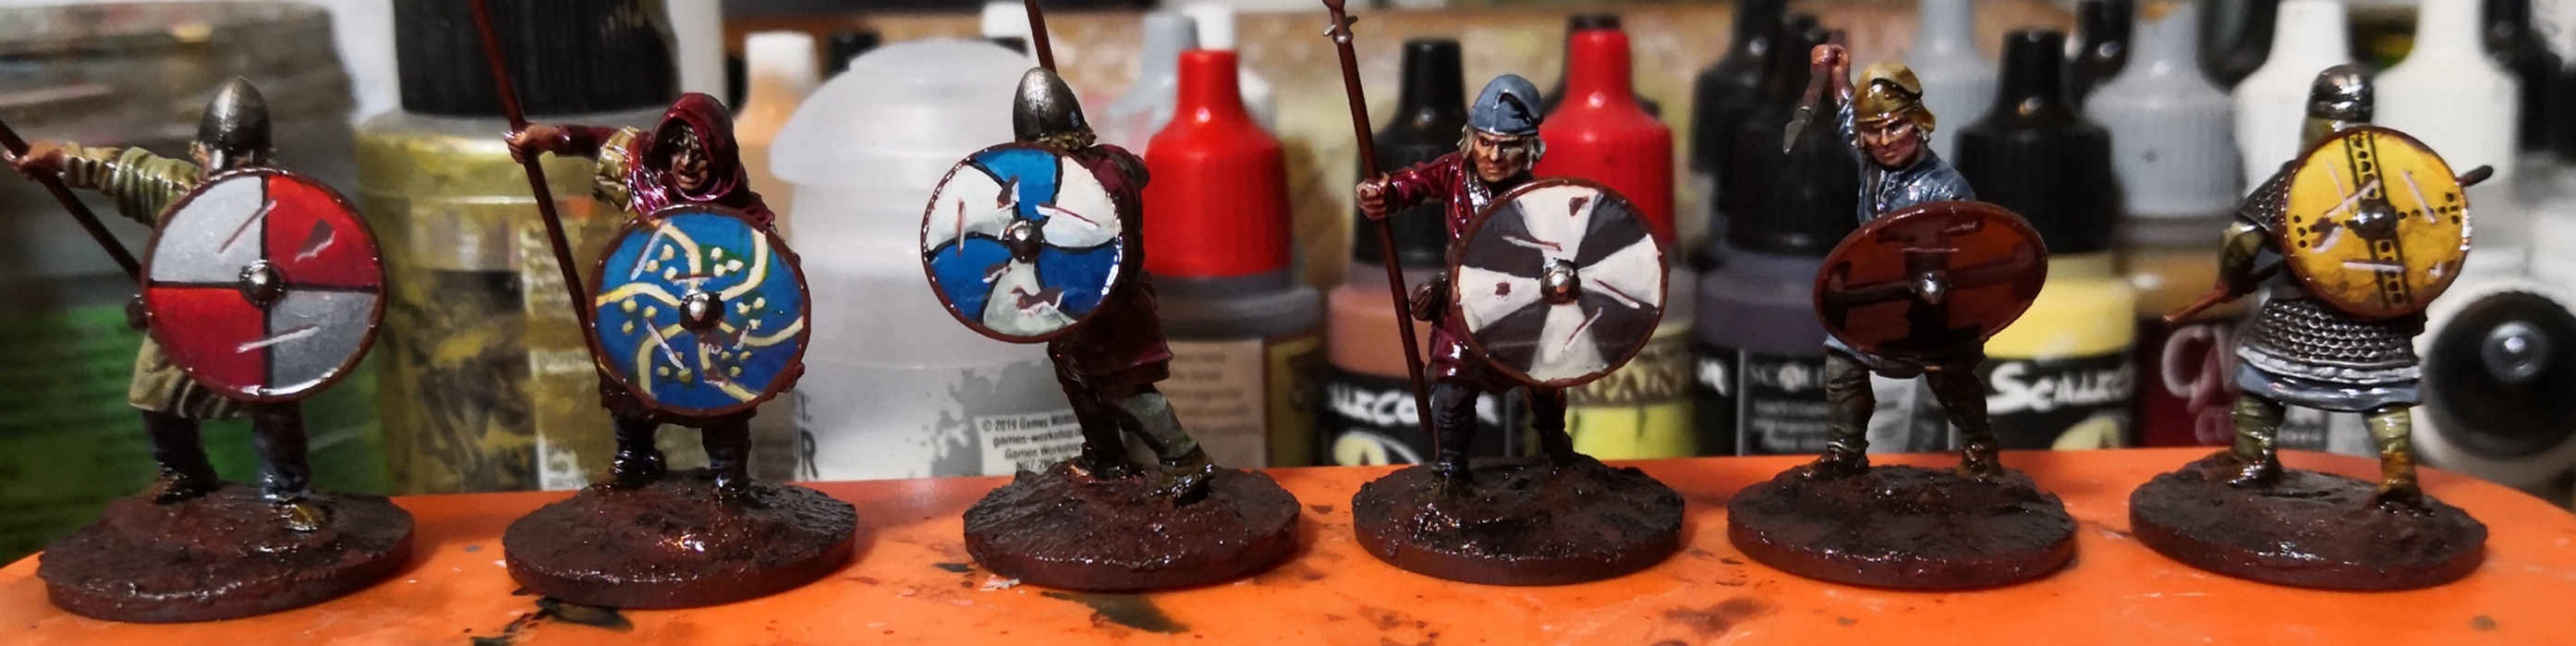
Shields
I didn’t want to take too long painting my figures but I decided to spend some time on the shields. I’m not a big fan of decals. They strike me as being a little too good.
I found a set of designs that looked straightforward and would be a good introduction to freehand.
https://www.pinterest.com.au/pin/161566705365392088/
As far as I know Anglo Saxon shields were red and yellow in all the images we have of them from contemporary artists. I decided I’d use a variety of colours because I wanted to.
The shield’s base colours were largely wet blended. I found that I could layer colour pretty roughly and it still looked ok from a distance.
The freehand designs I largely eyeballed. Painting the outline with a thin colour near the base meant that when you went over with the stronger colour the original outline almost disappeared.
Finally I added some damaged marks by adding a white highlight to brown marks.
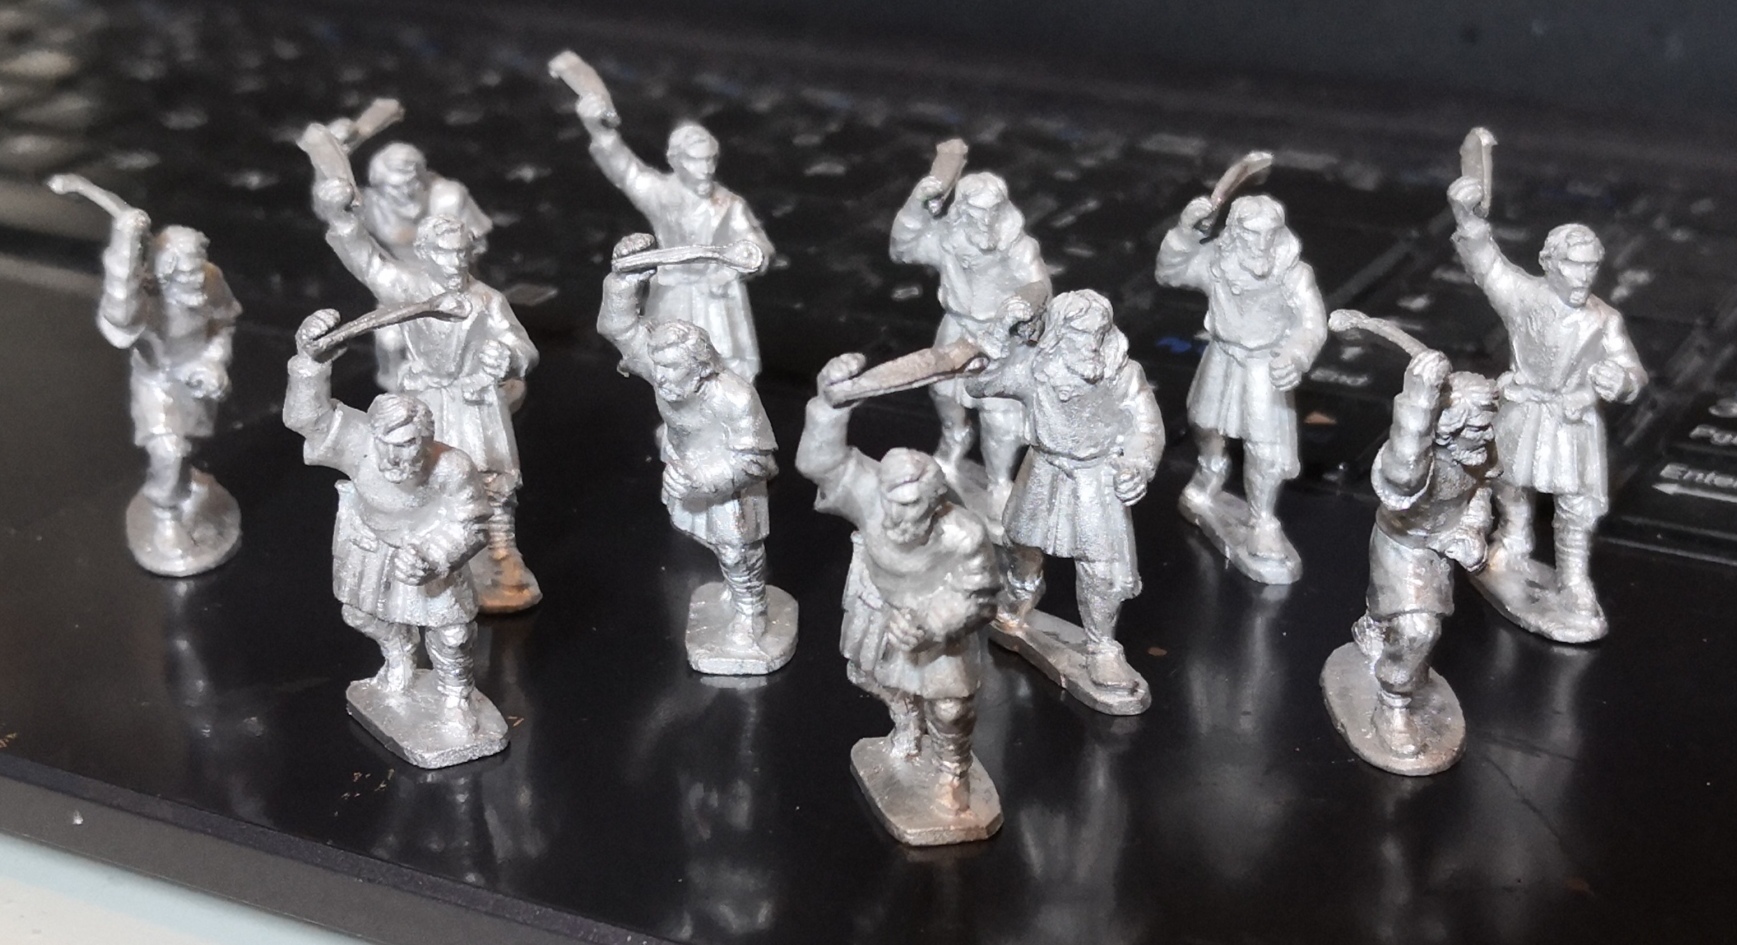
Levy
I got some Geburs with slings from Gripping Beast. I wasn’t a big fan of the models but they were good value.
https://www.grippingbeast.co.uk/SA05_AngloDanish_Geburs_12_Levy_1_pt_SLINGS–product–2769.html
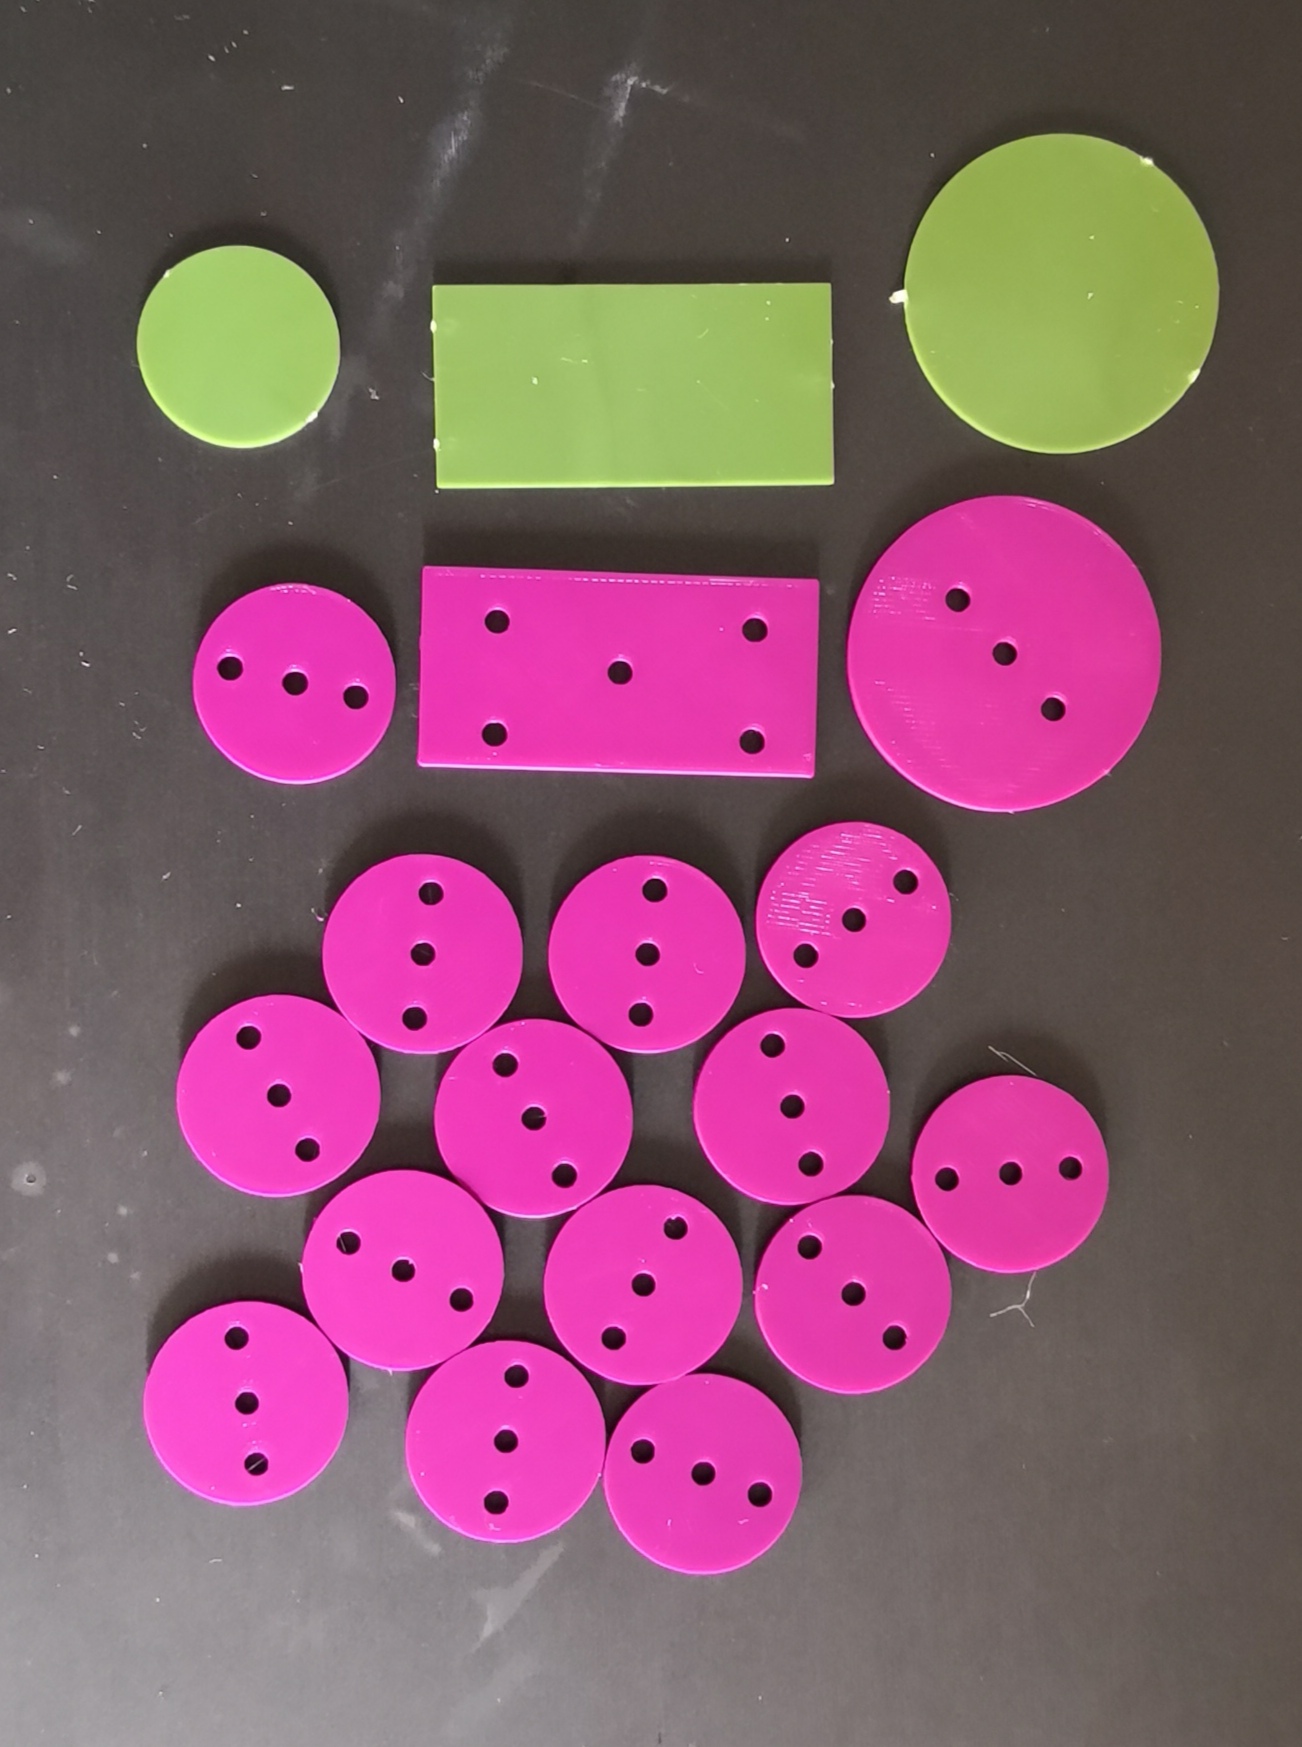
Since these were metal and I plan to store them magnetically I wanted several magnets on each base. I 3d printed some bases with the needed holes.
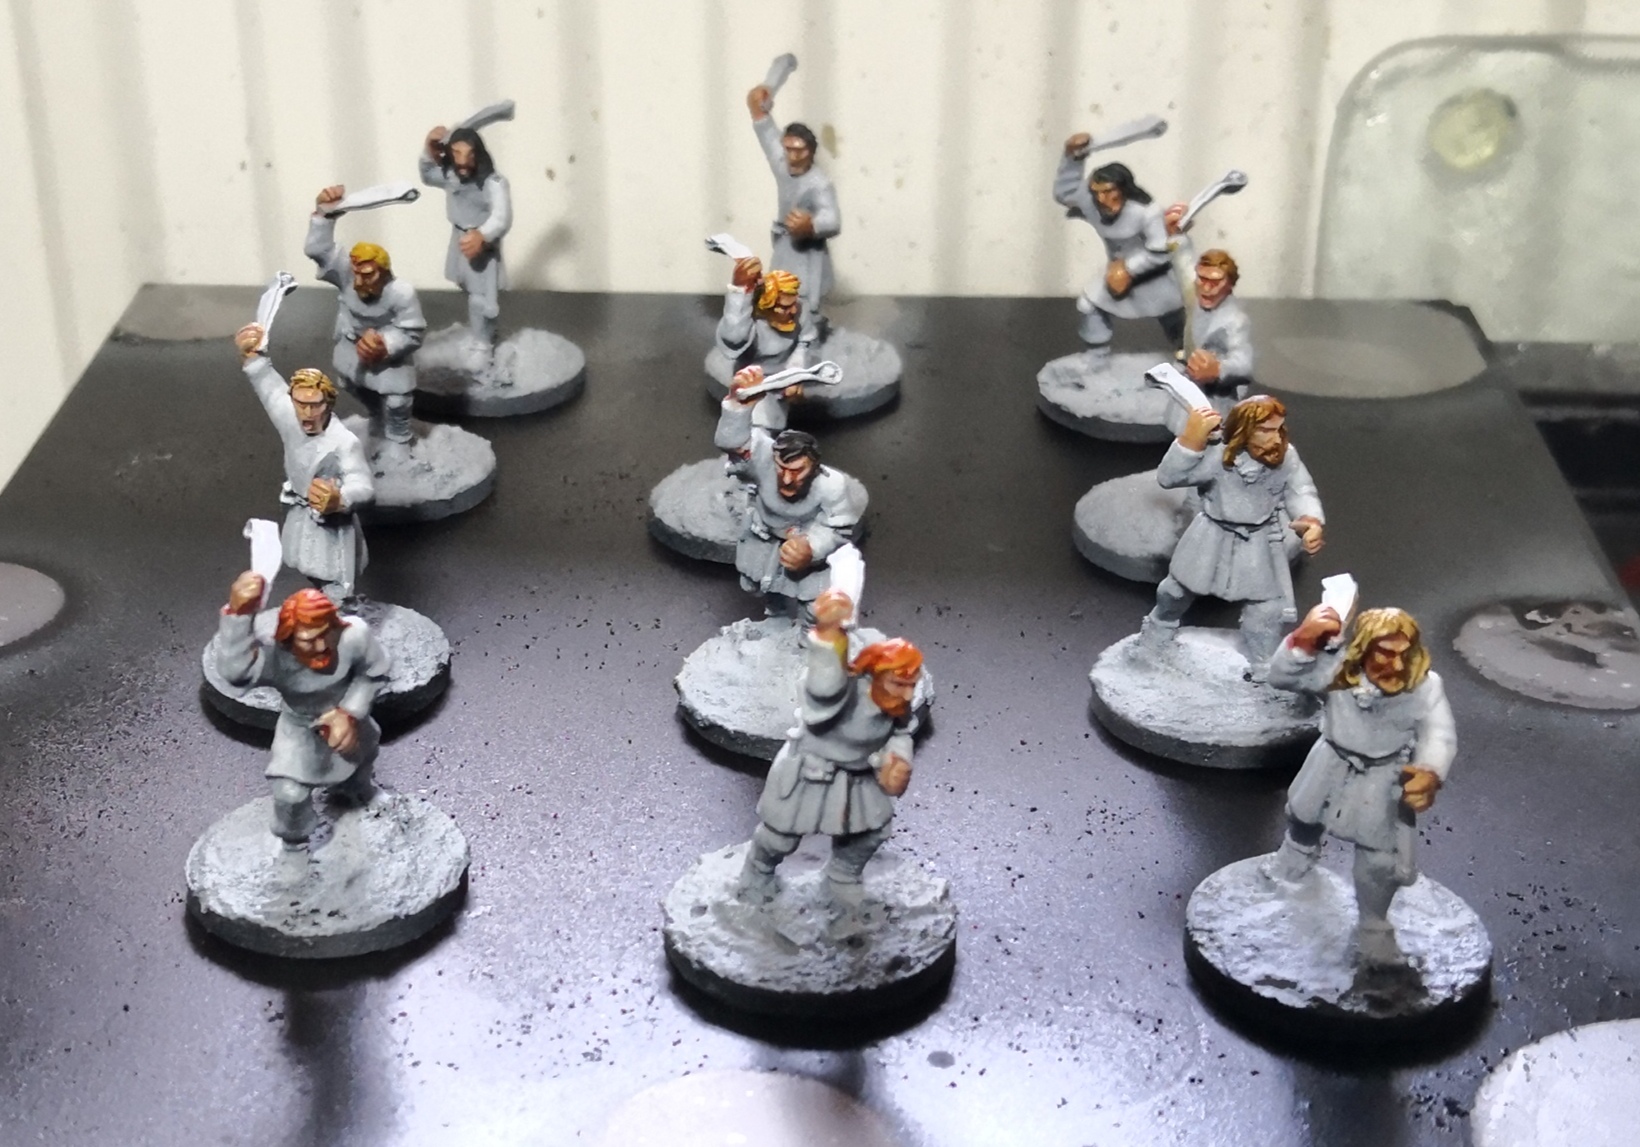
I didn’t take a lot of time over these. Preshade and contrast paint sorted the bulk of this job. I took a bit more time on the skintones.
The bases were a mid brown with a wash. Then I flocked them heavily with three progressivly lighter shades of green and a dirt colour.
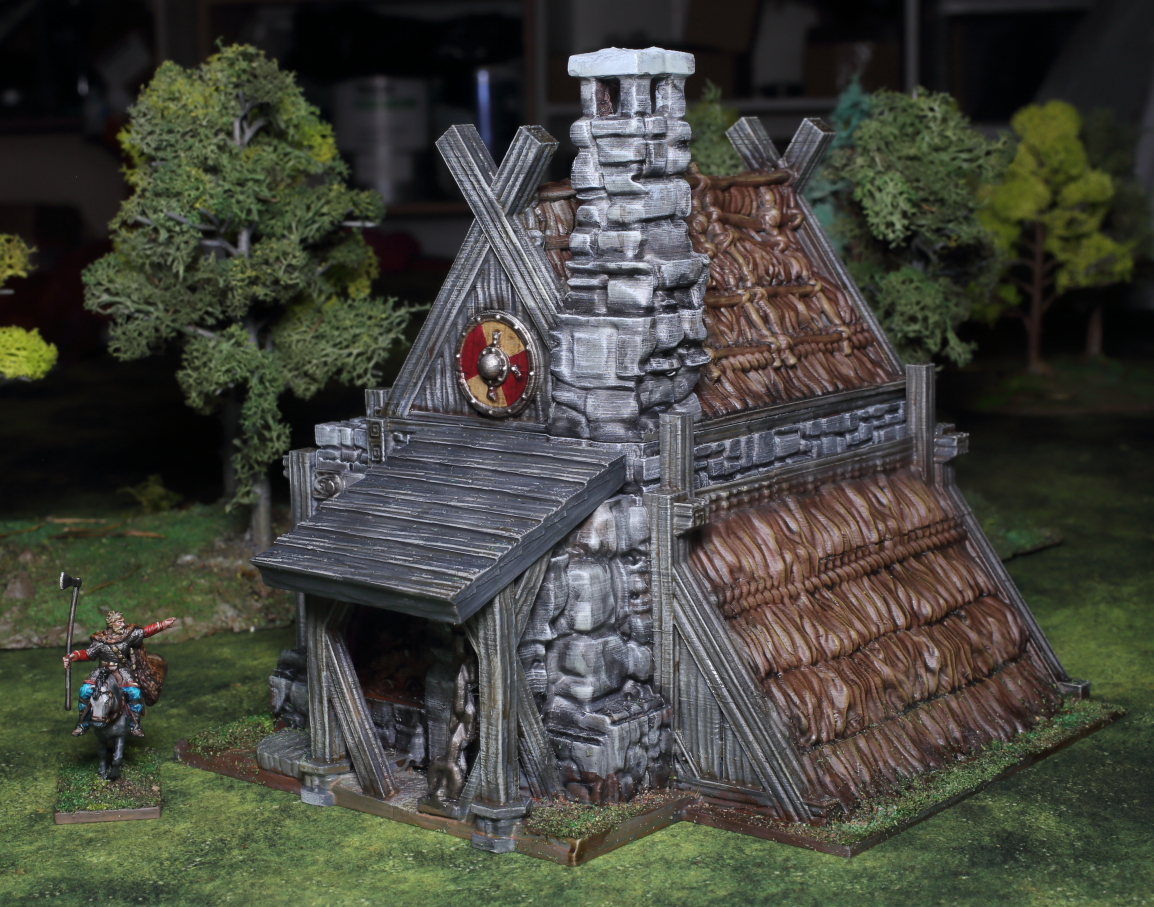
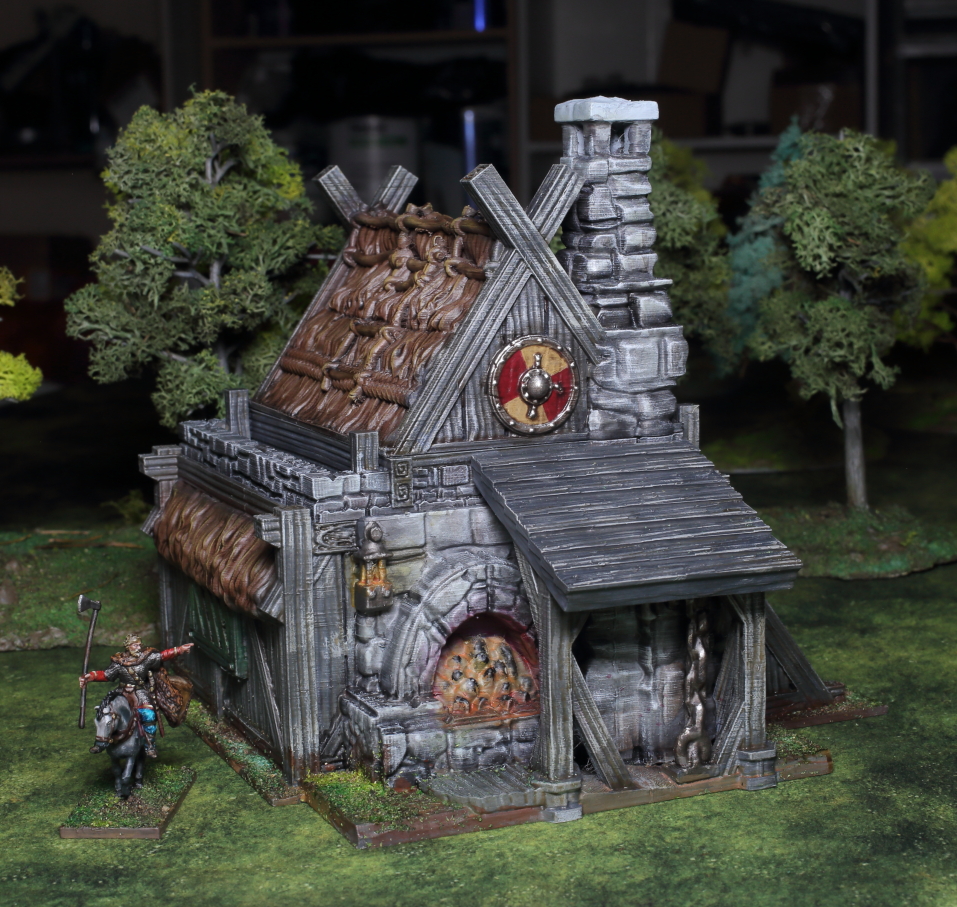
Painted Smithy
The final building was a smithy. I took the same approach as the other houses. For the lamp and the hot coals I just wet blended to firey colours. The coals then had a touch dark grey and black on their tops.
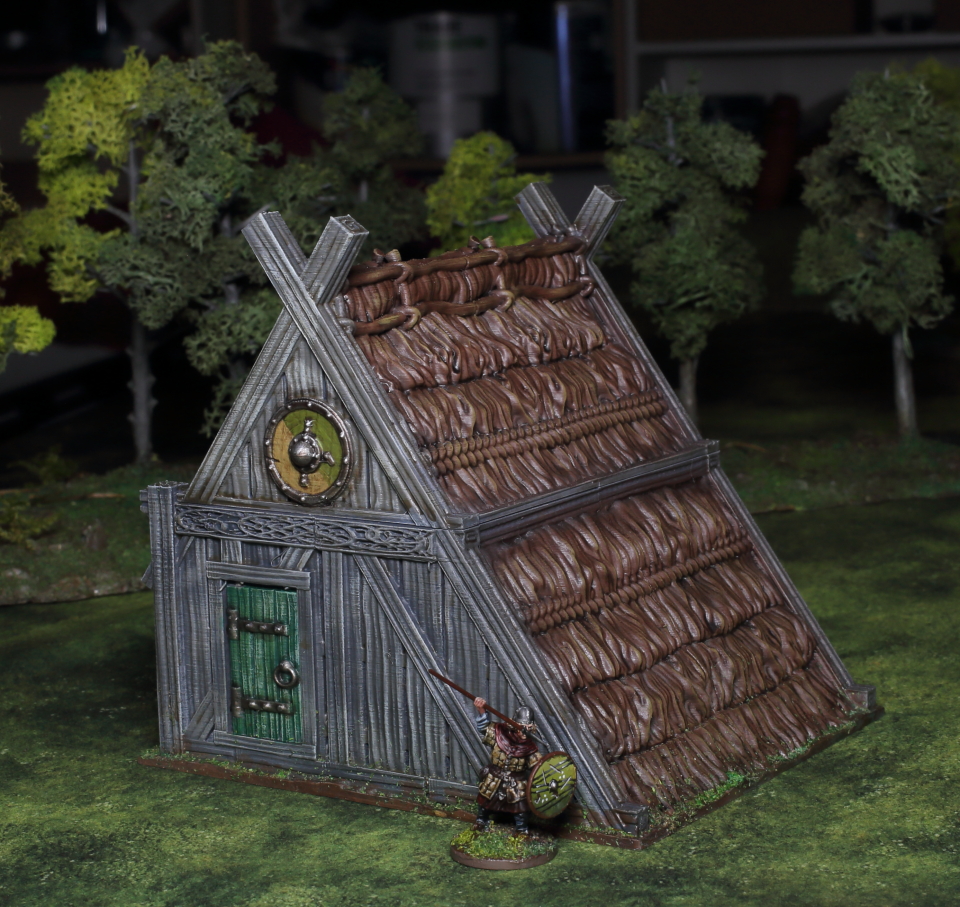
The house generally looks a bit large compared to my 28mm miniatures but the door seems the right size.
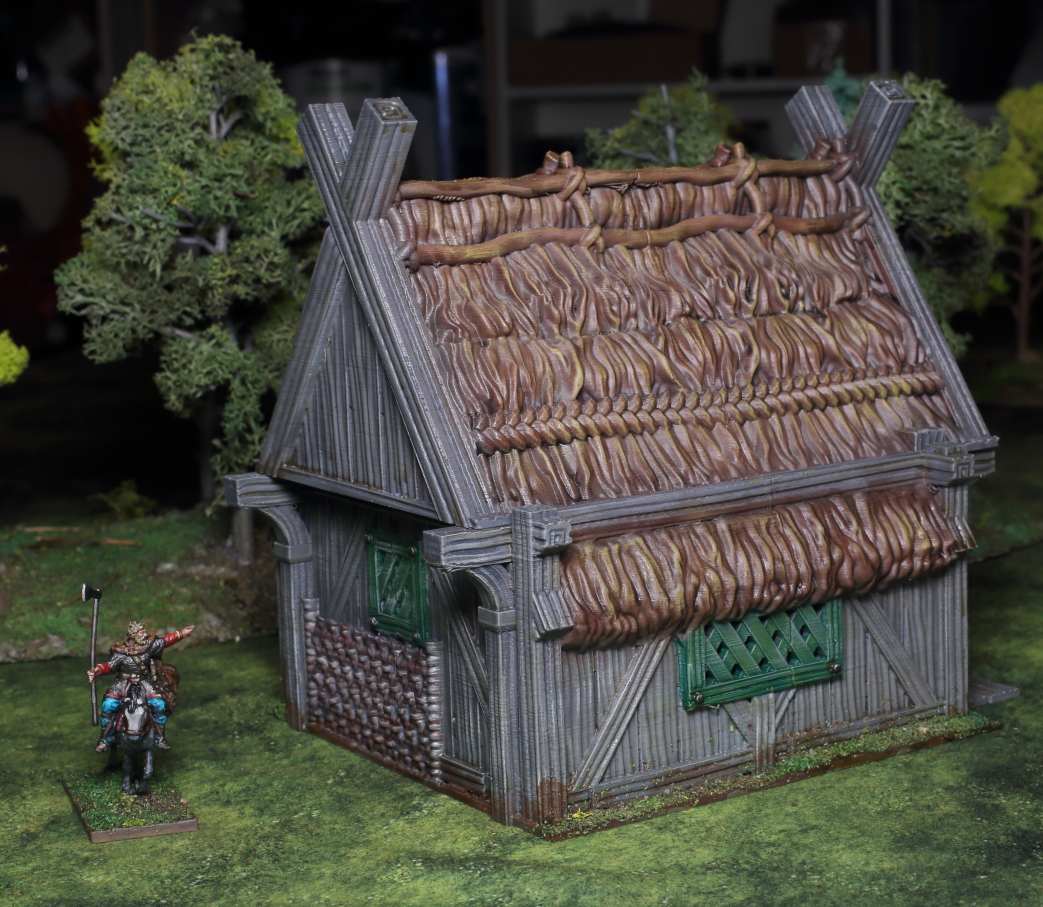
Painted Houses
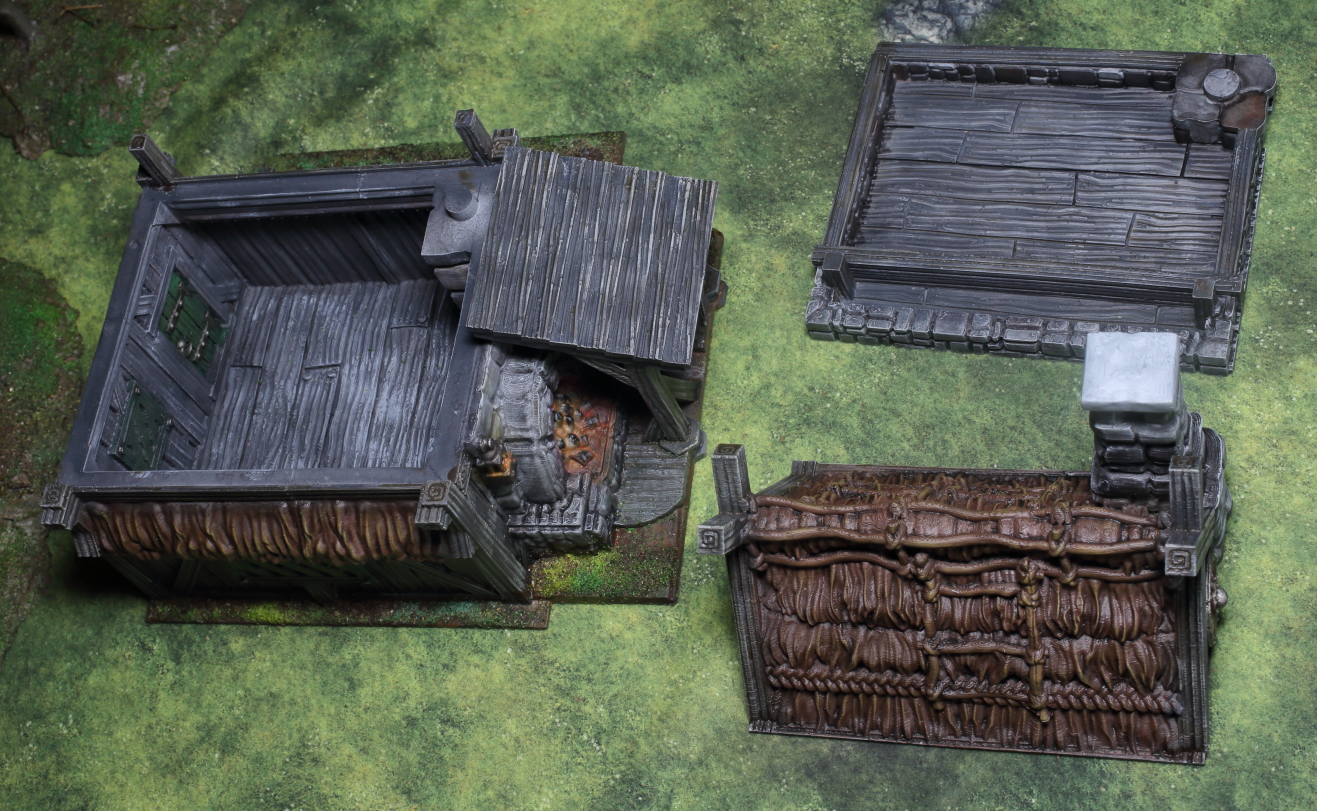
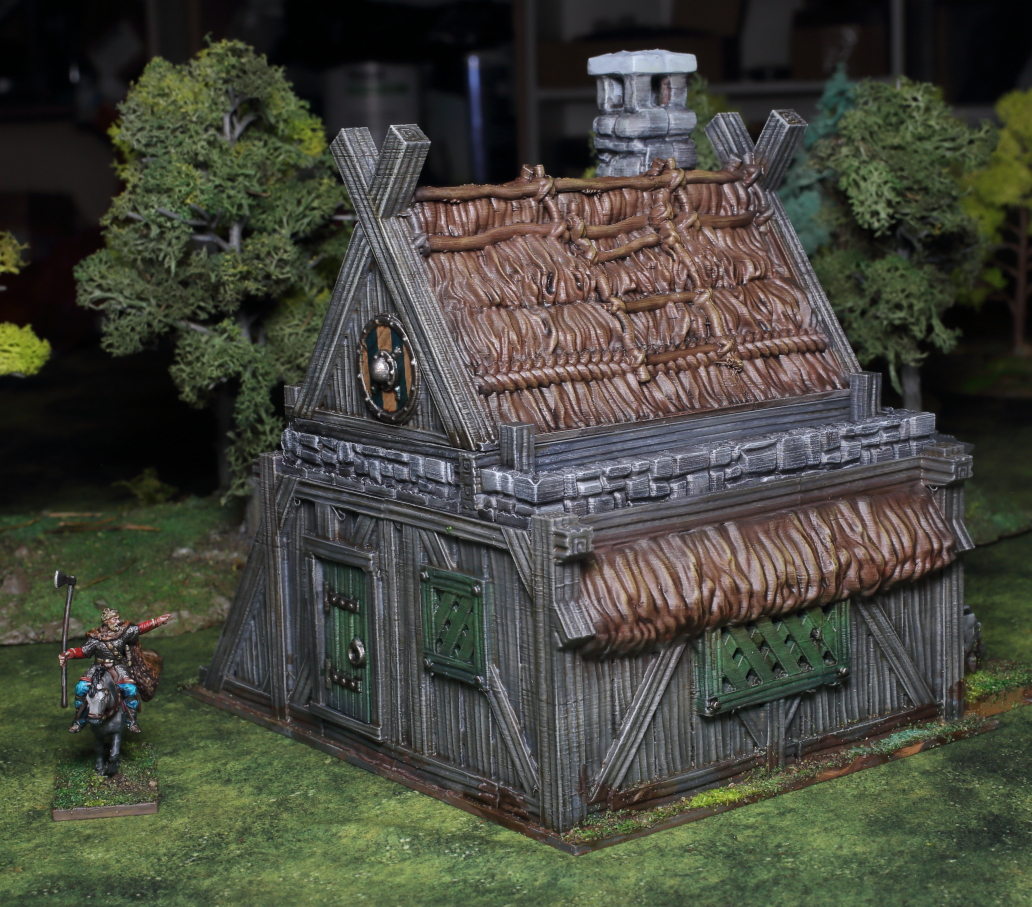
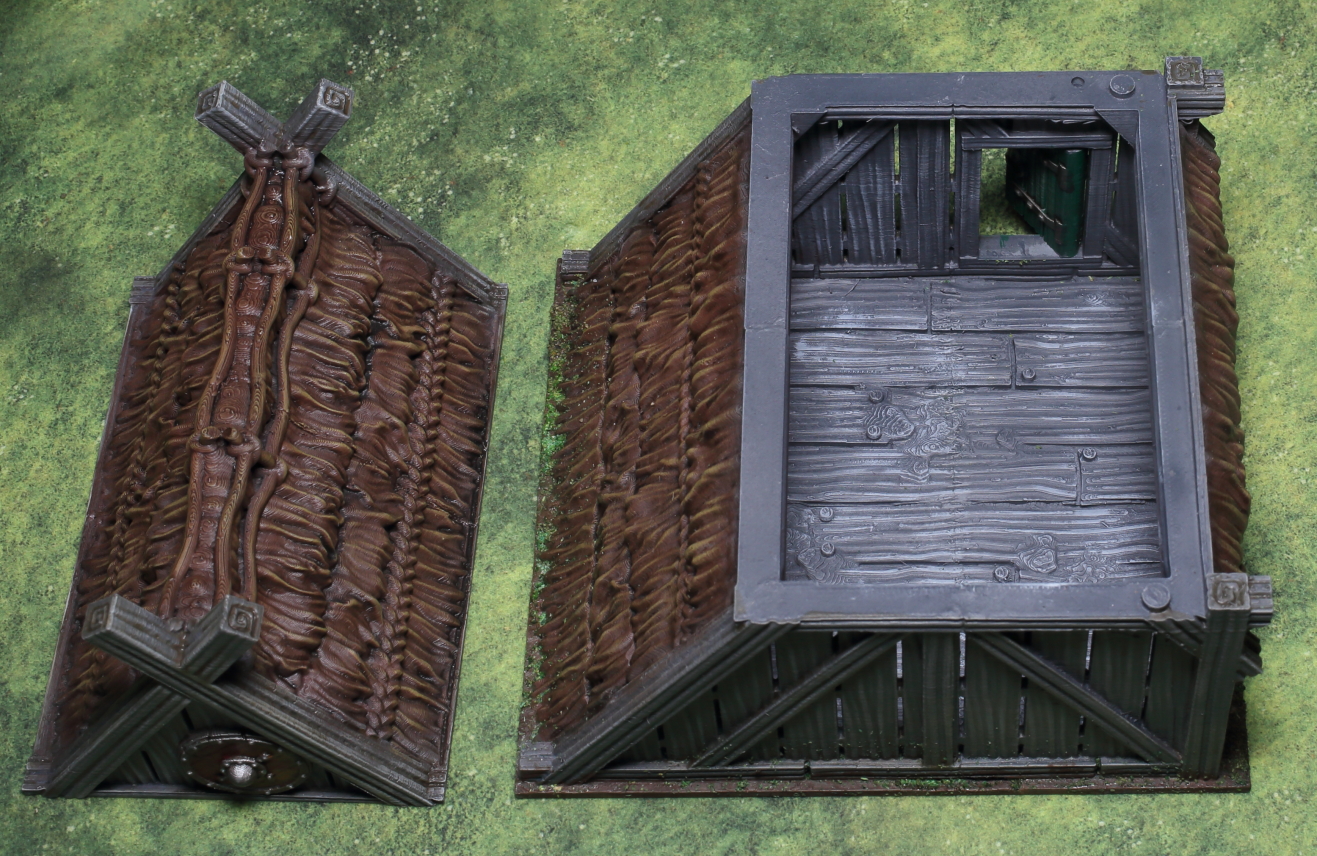
The houses were primed grey. The plan was to use a grey base to look like weathered wood and do a simple drybrush up from there. I ended up using some different greys and some watered down washes just to give a bit more weathering.
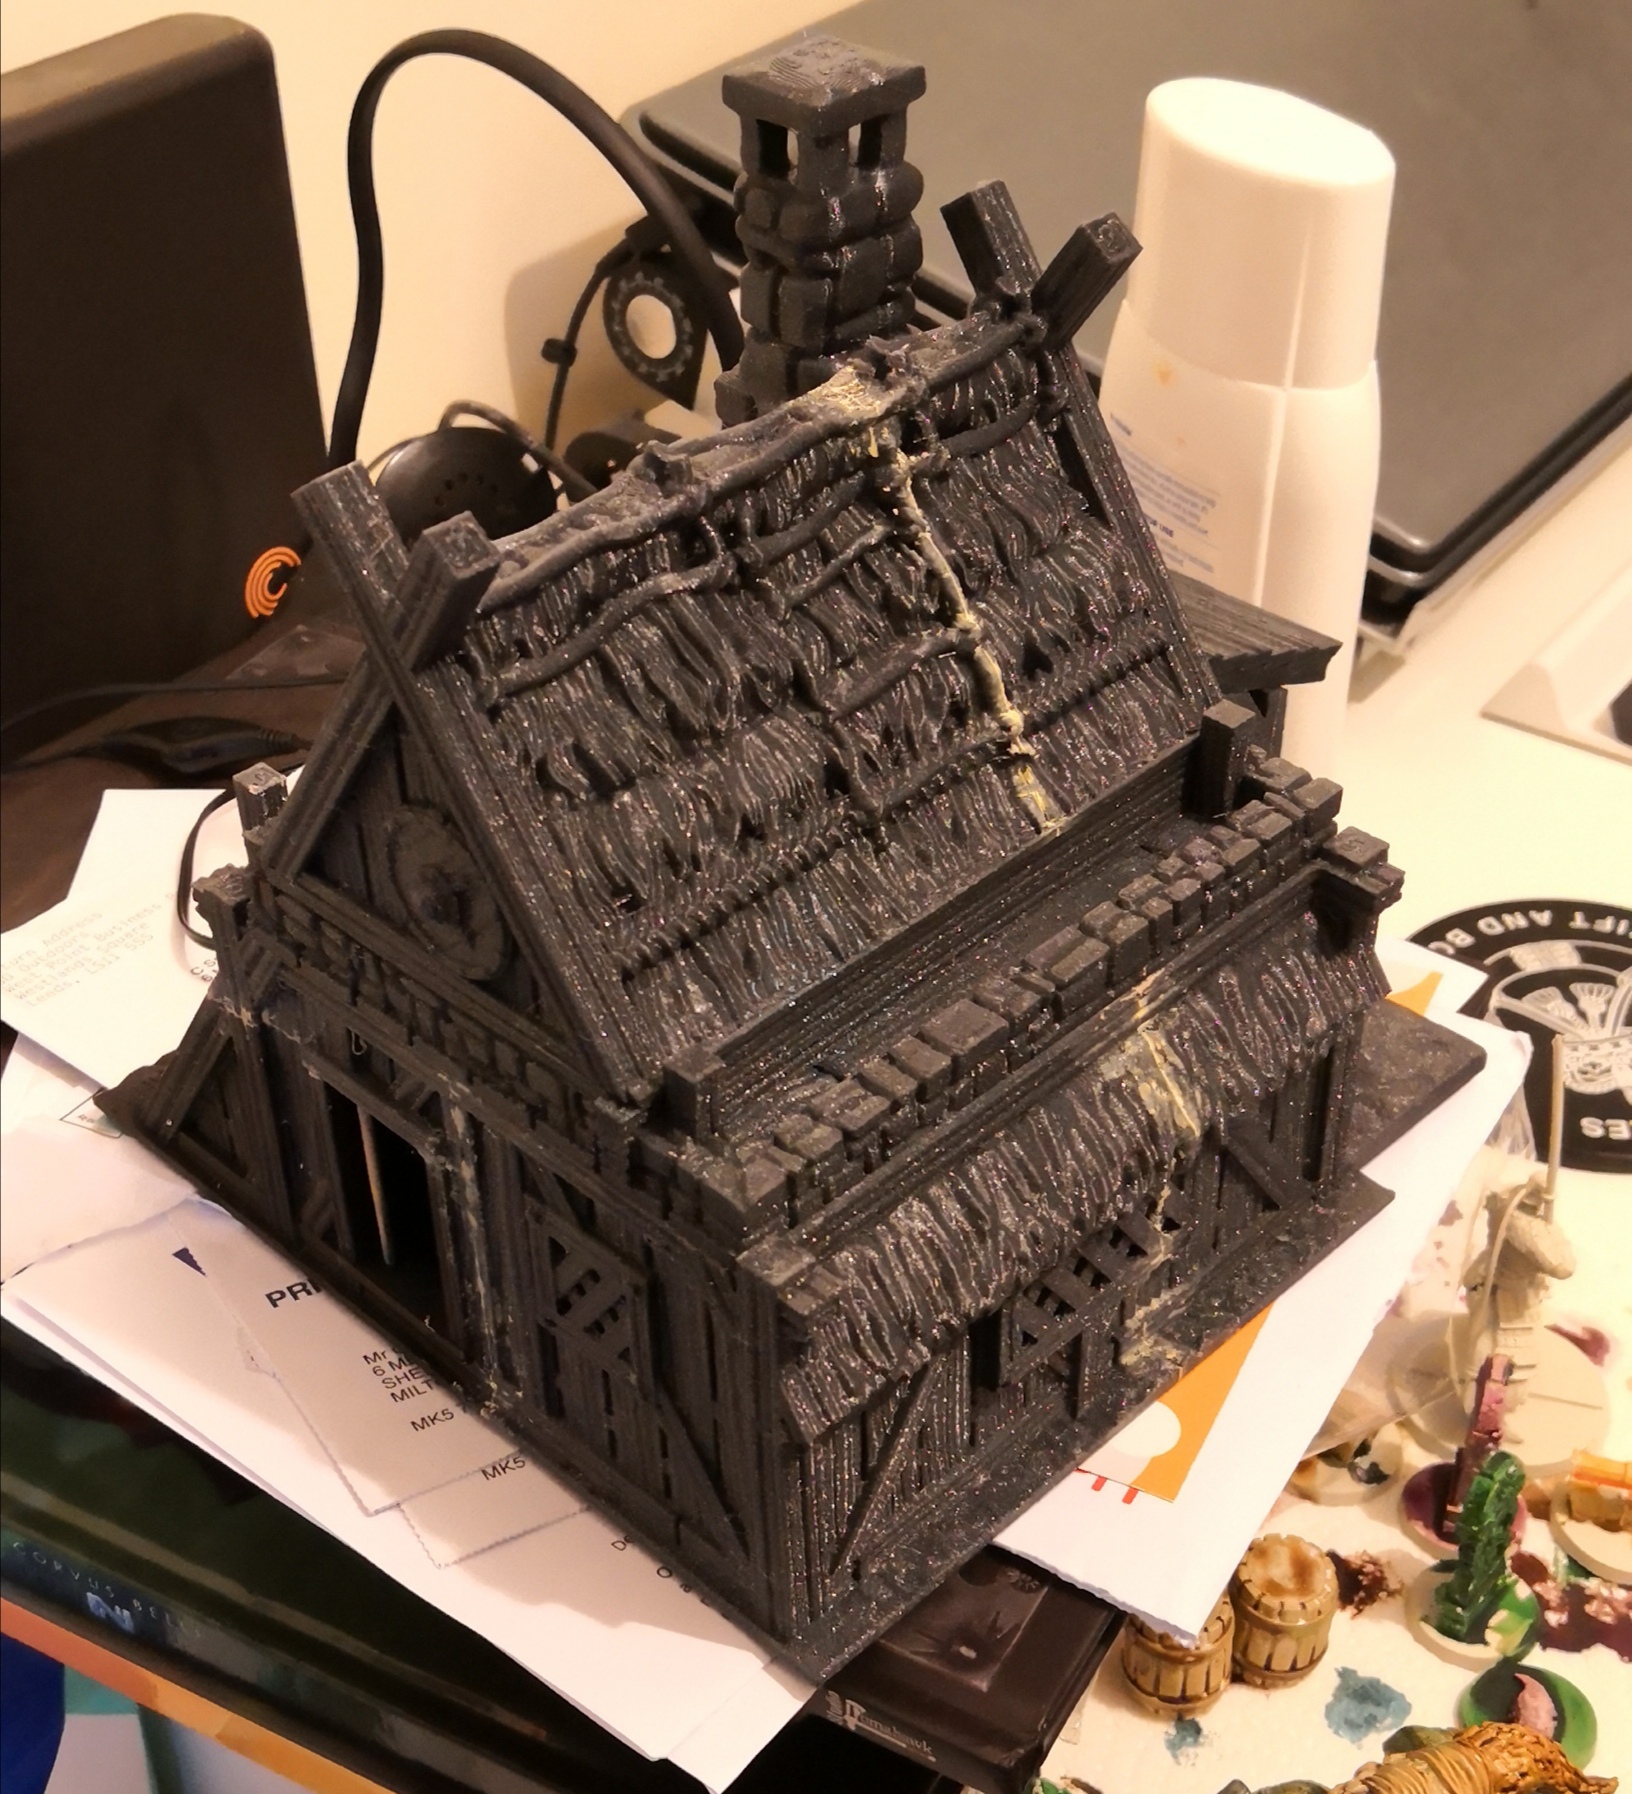
The thatch was another simple scheme. Dark brown base drybrushed up through lighter colours up to a mid yellow. I hadn’t figured out adaptive layer heights when I made these prints so the top parts of my buildings had obvious layer lines. So I had to a little easy on the drybrushing and try to use washes to darken the recesses.
Areas of solid colour like the doors were just basecoated and drybrushed. Metallic parts were painted a steel grey and washed with a brown mixed with Typhus corrosion.


Houses
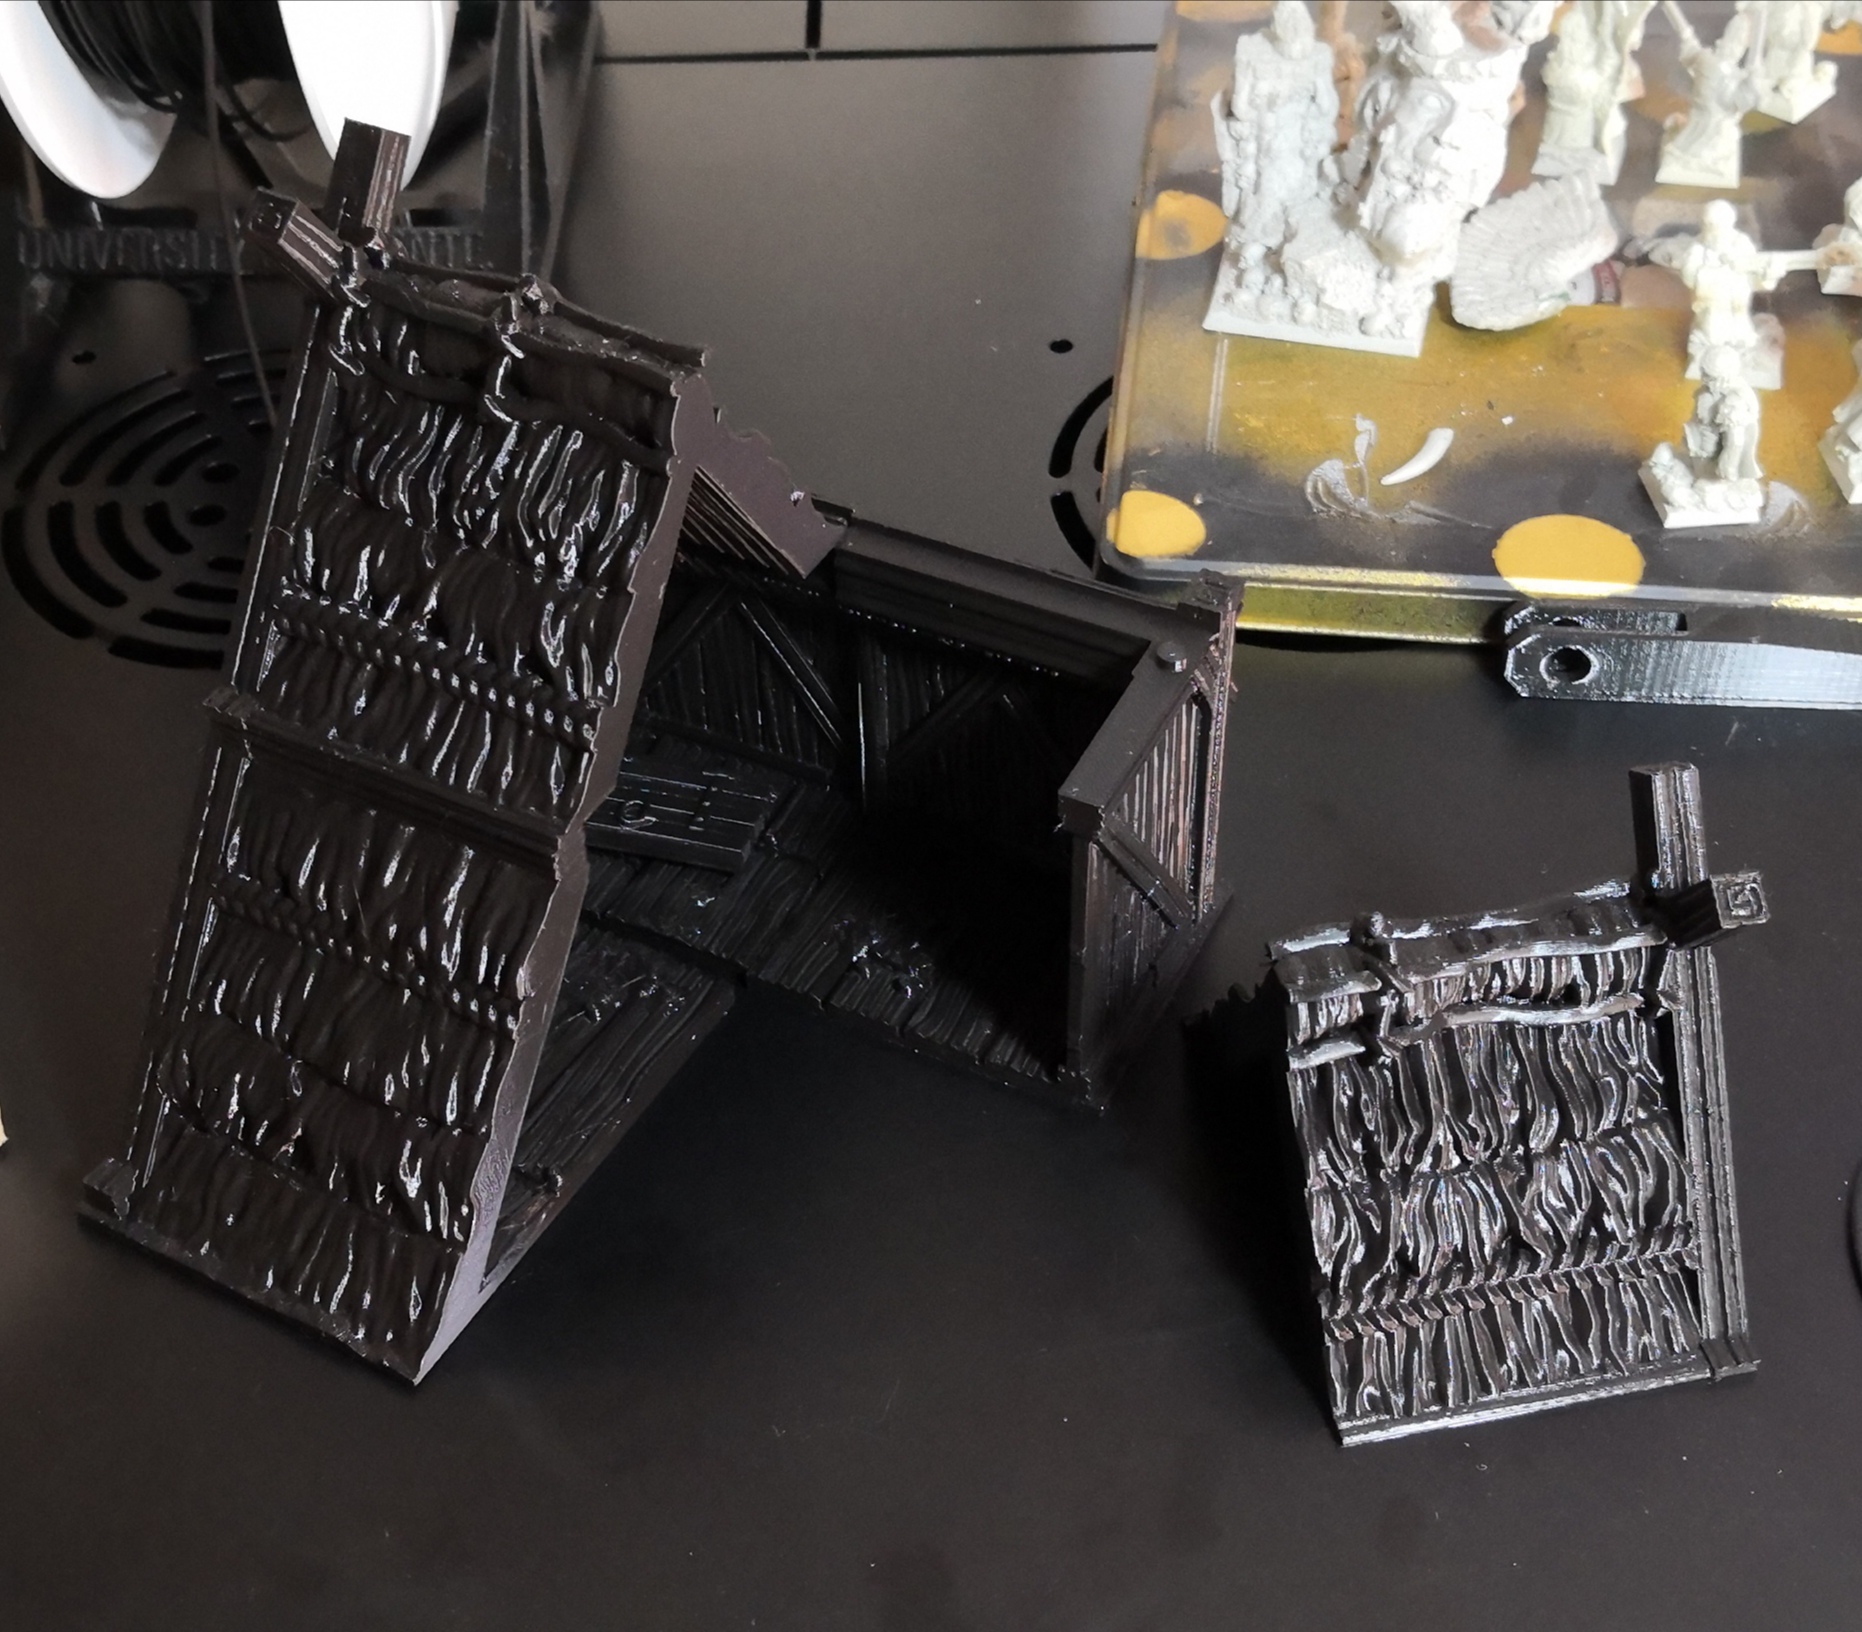
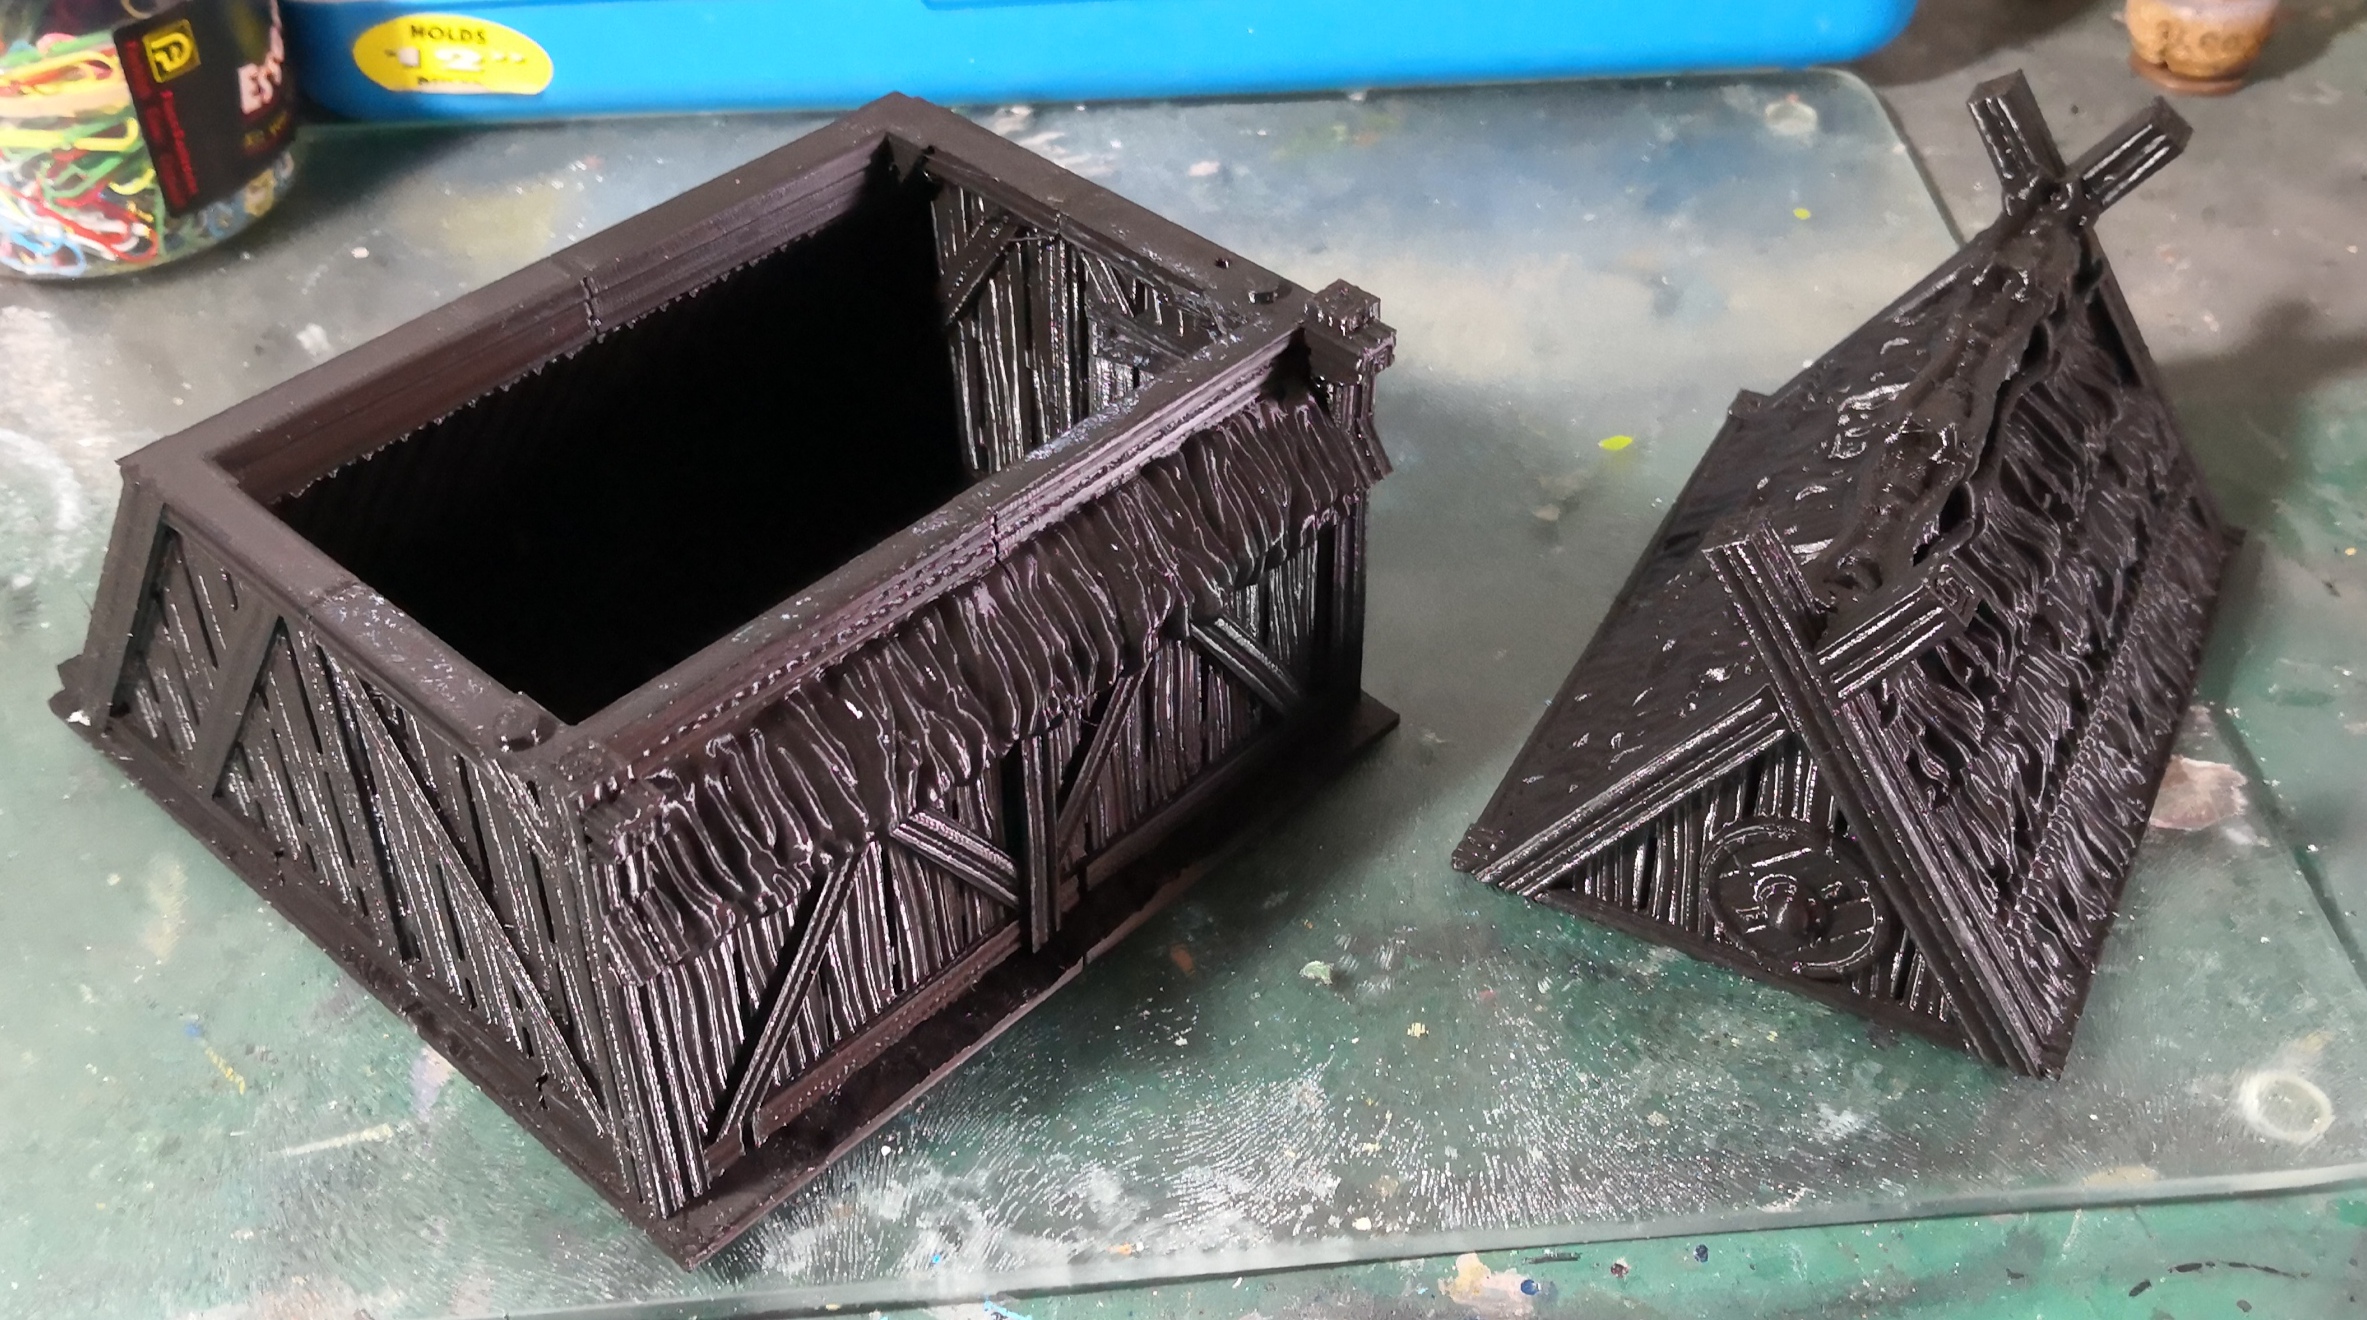
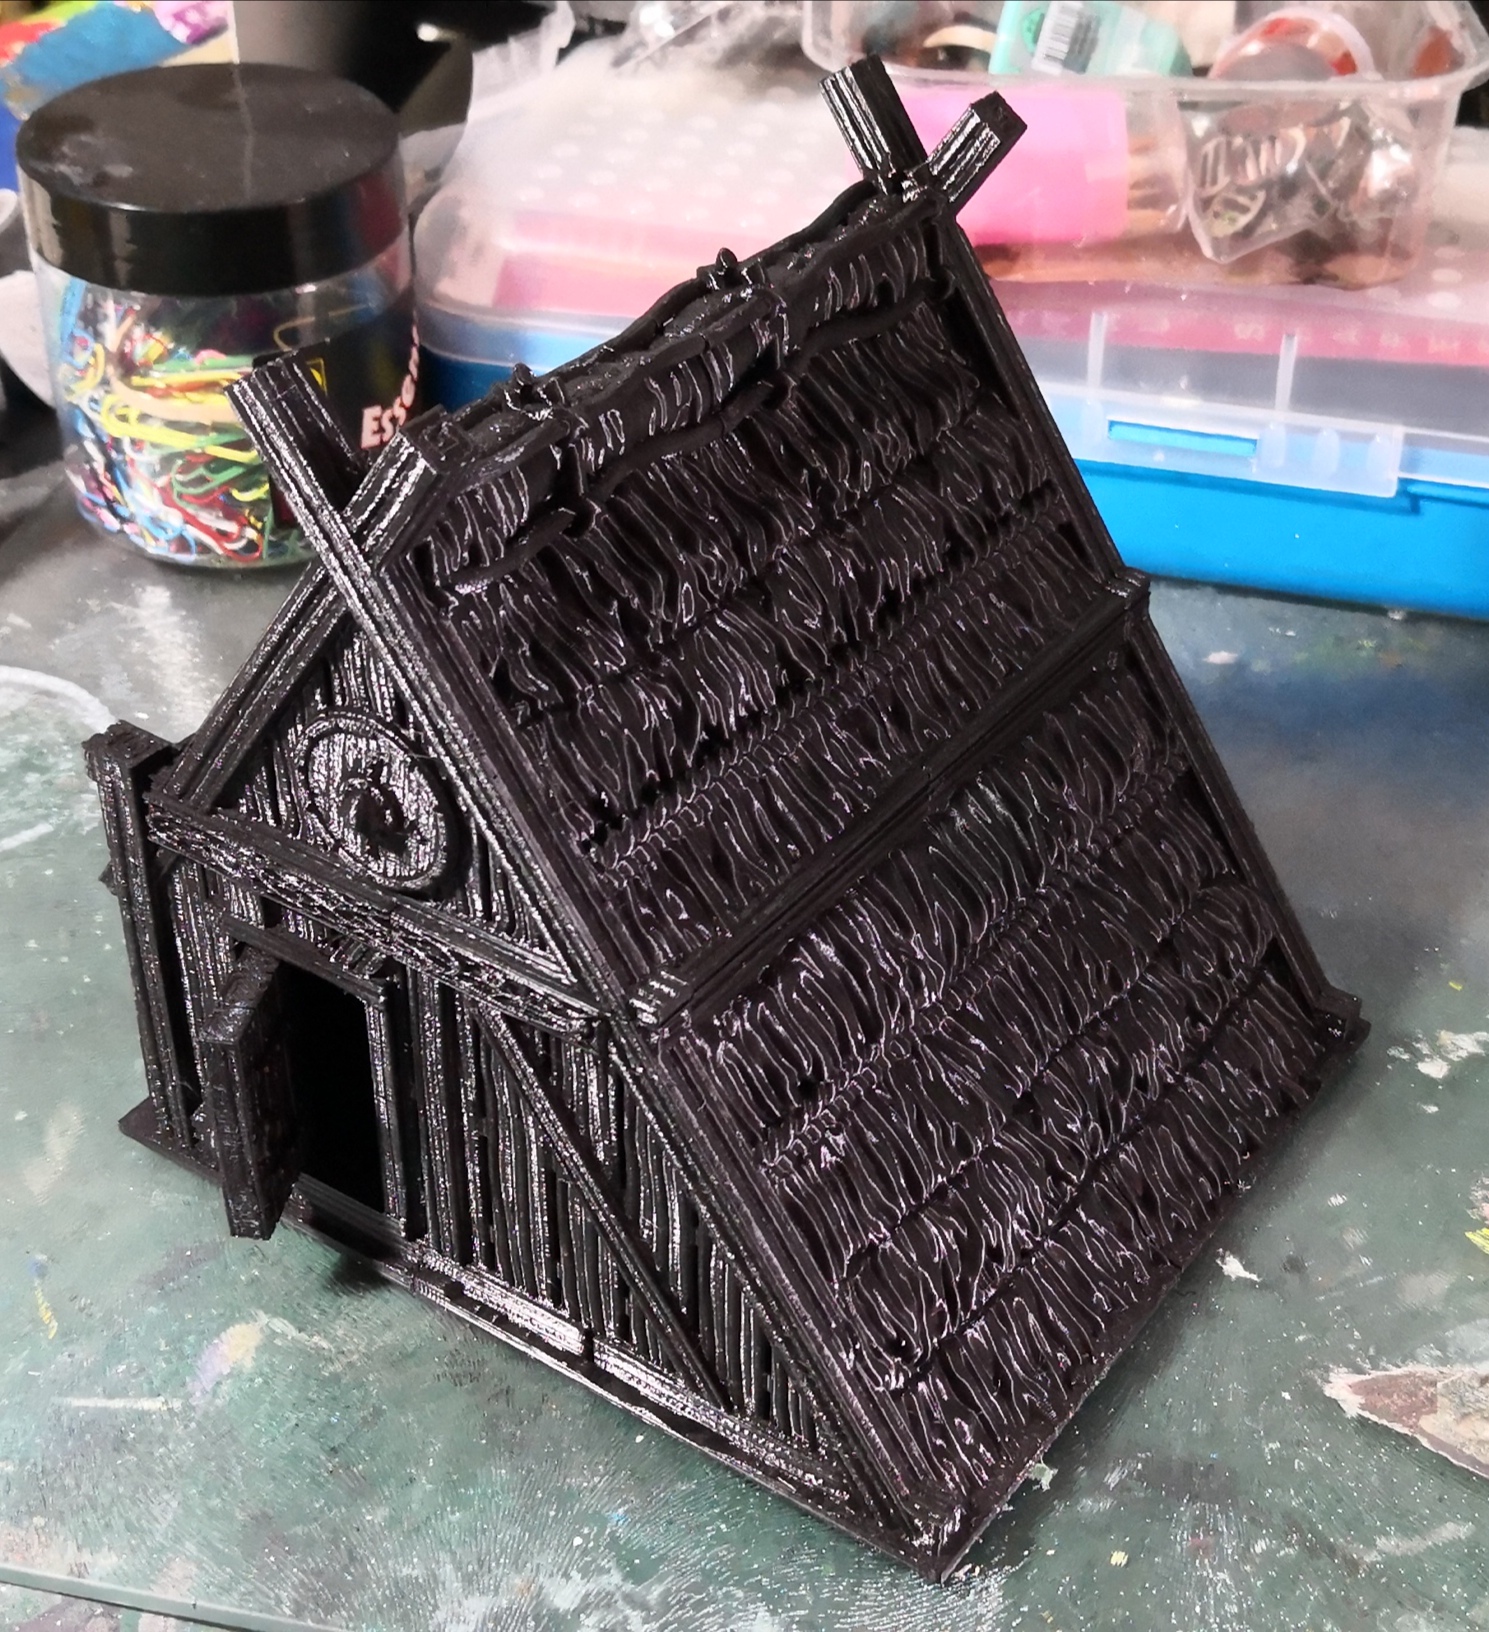
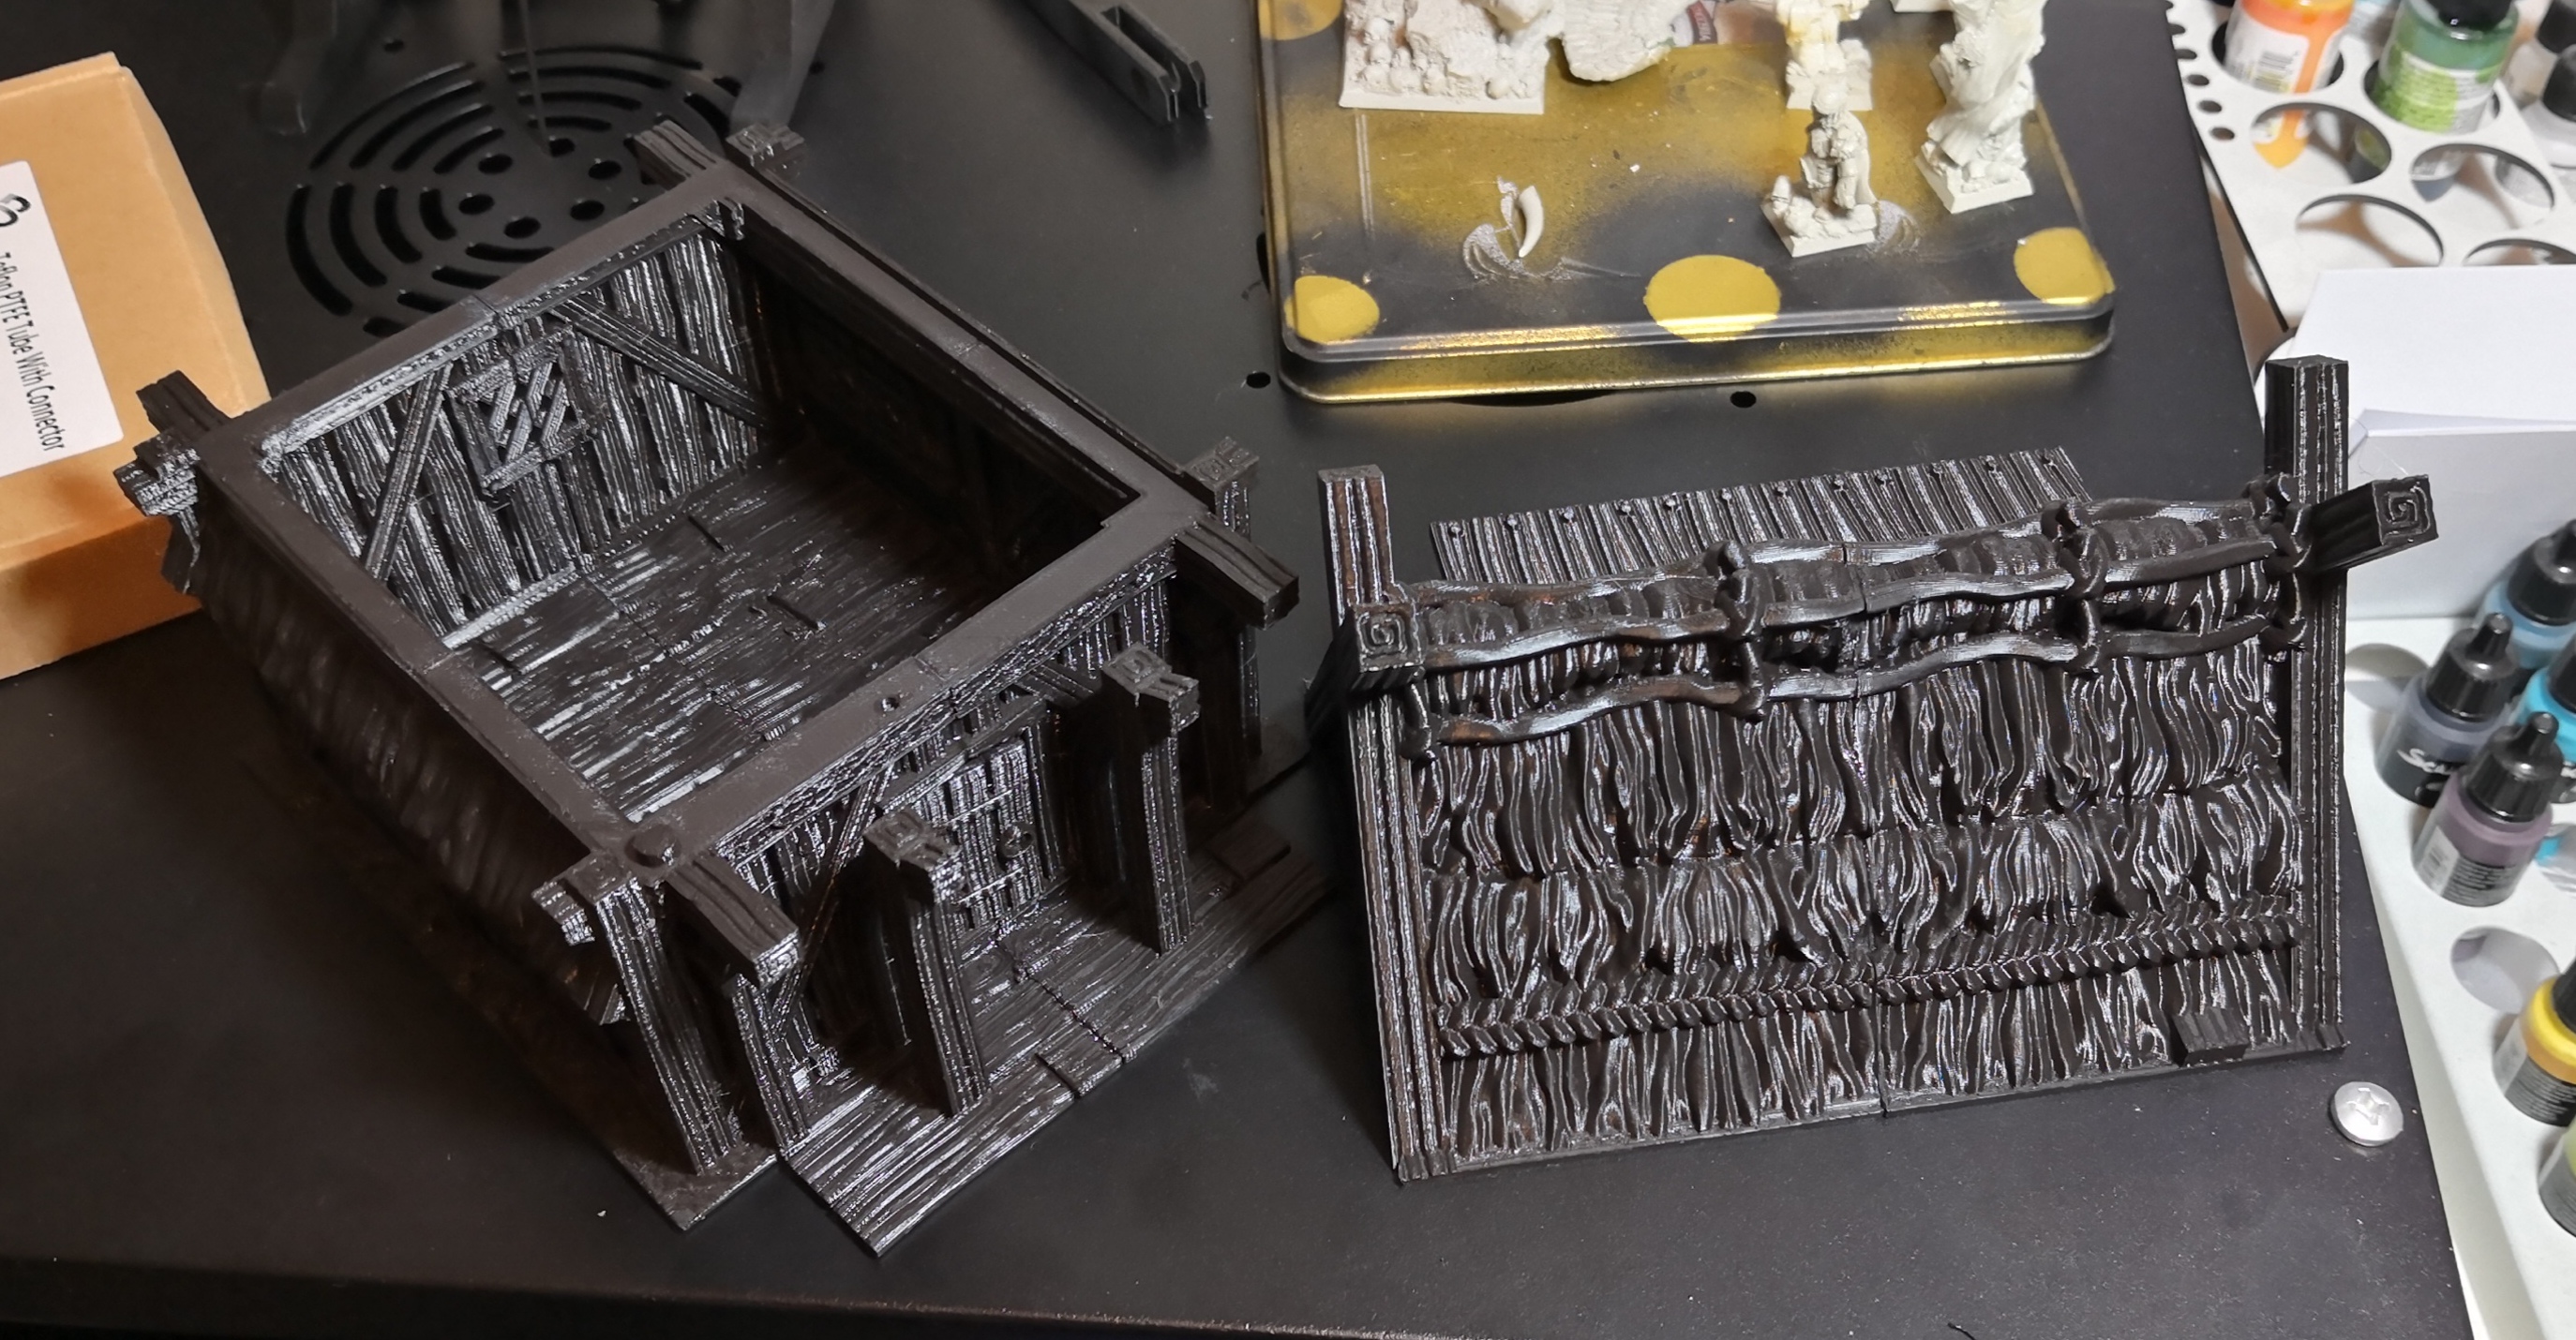
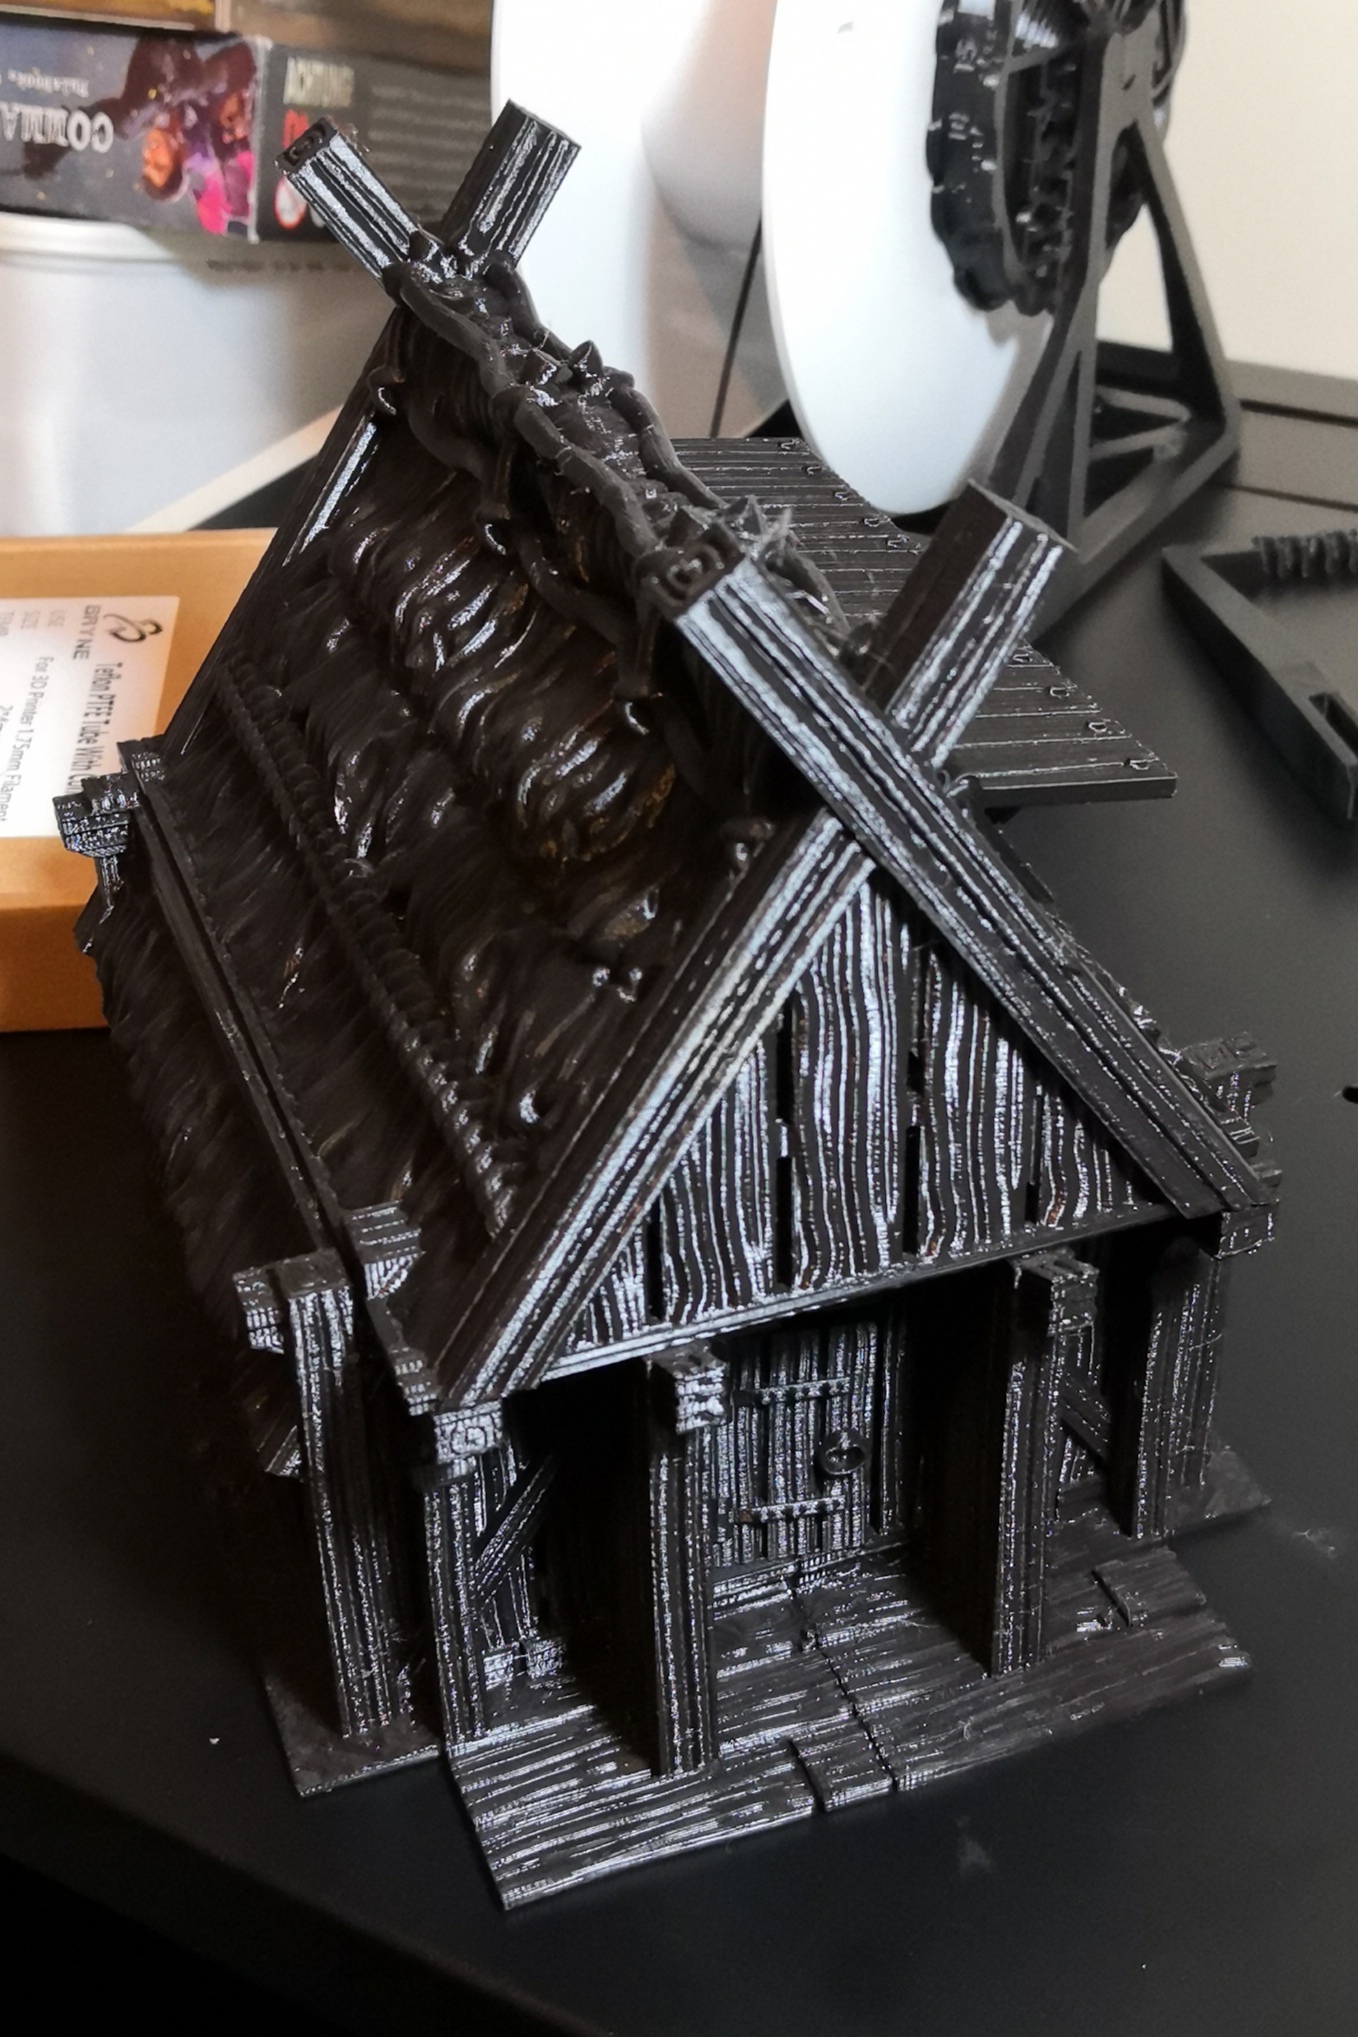
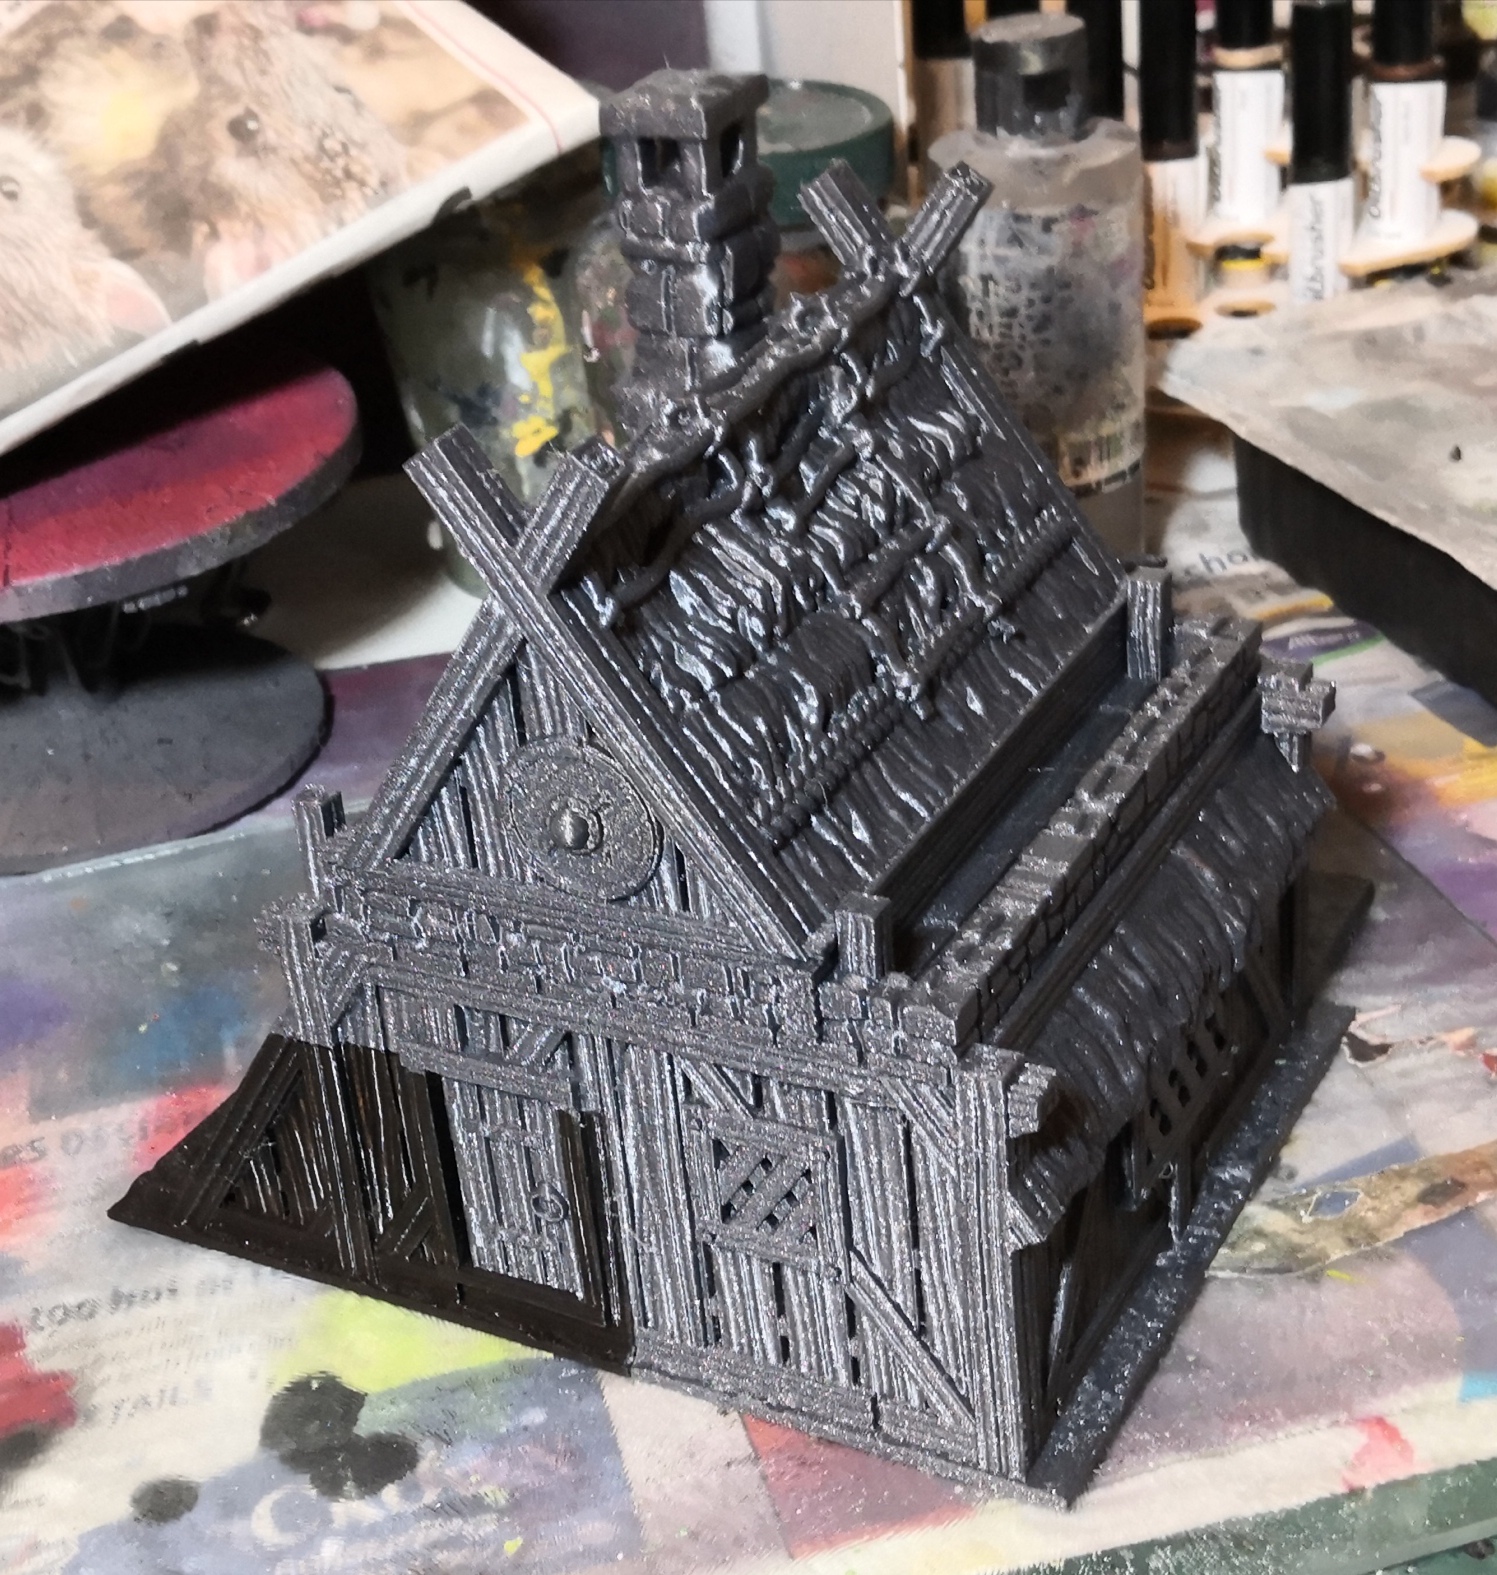
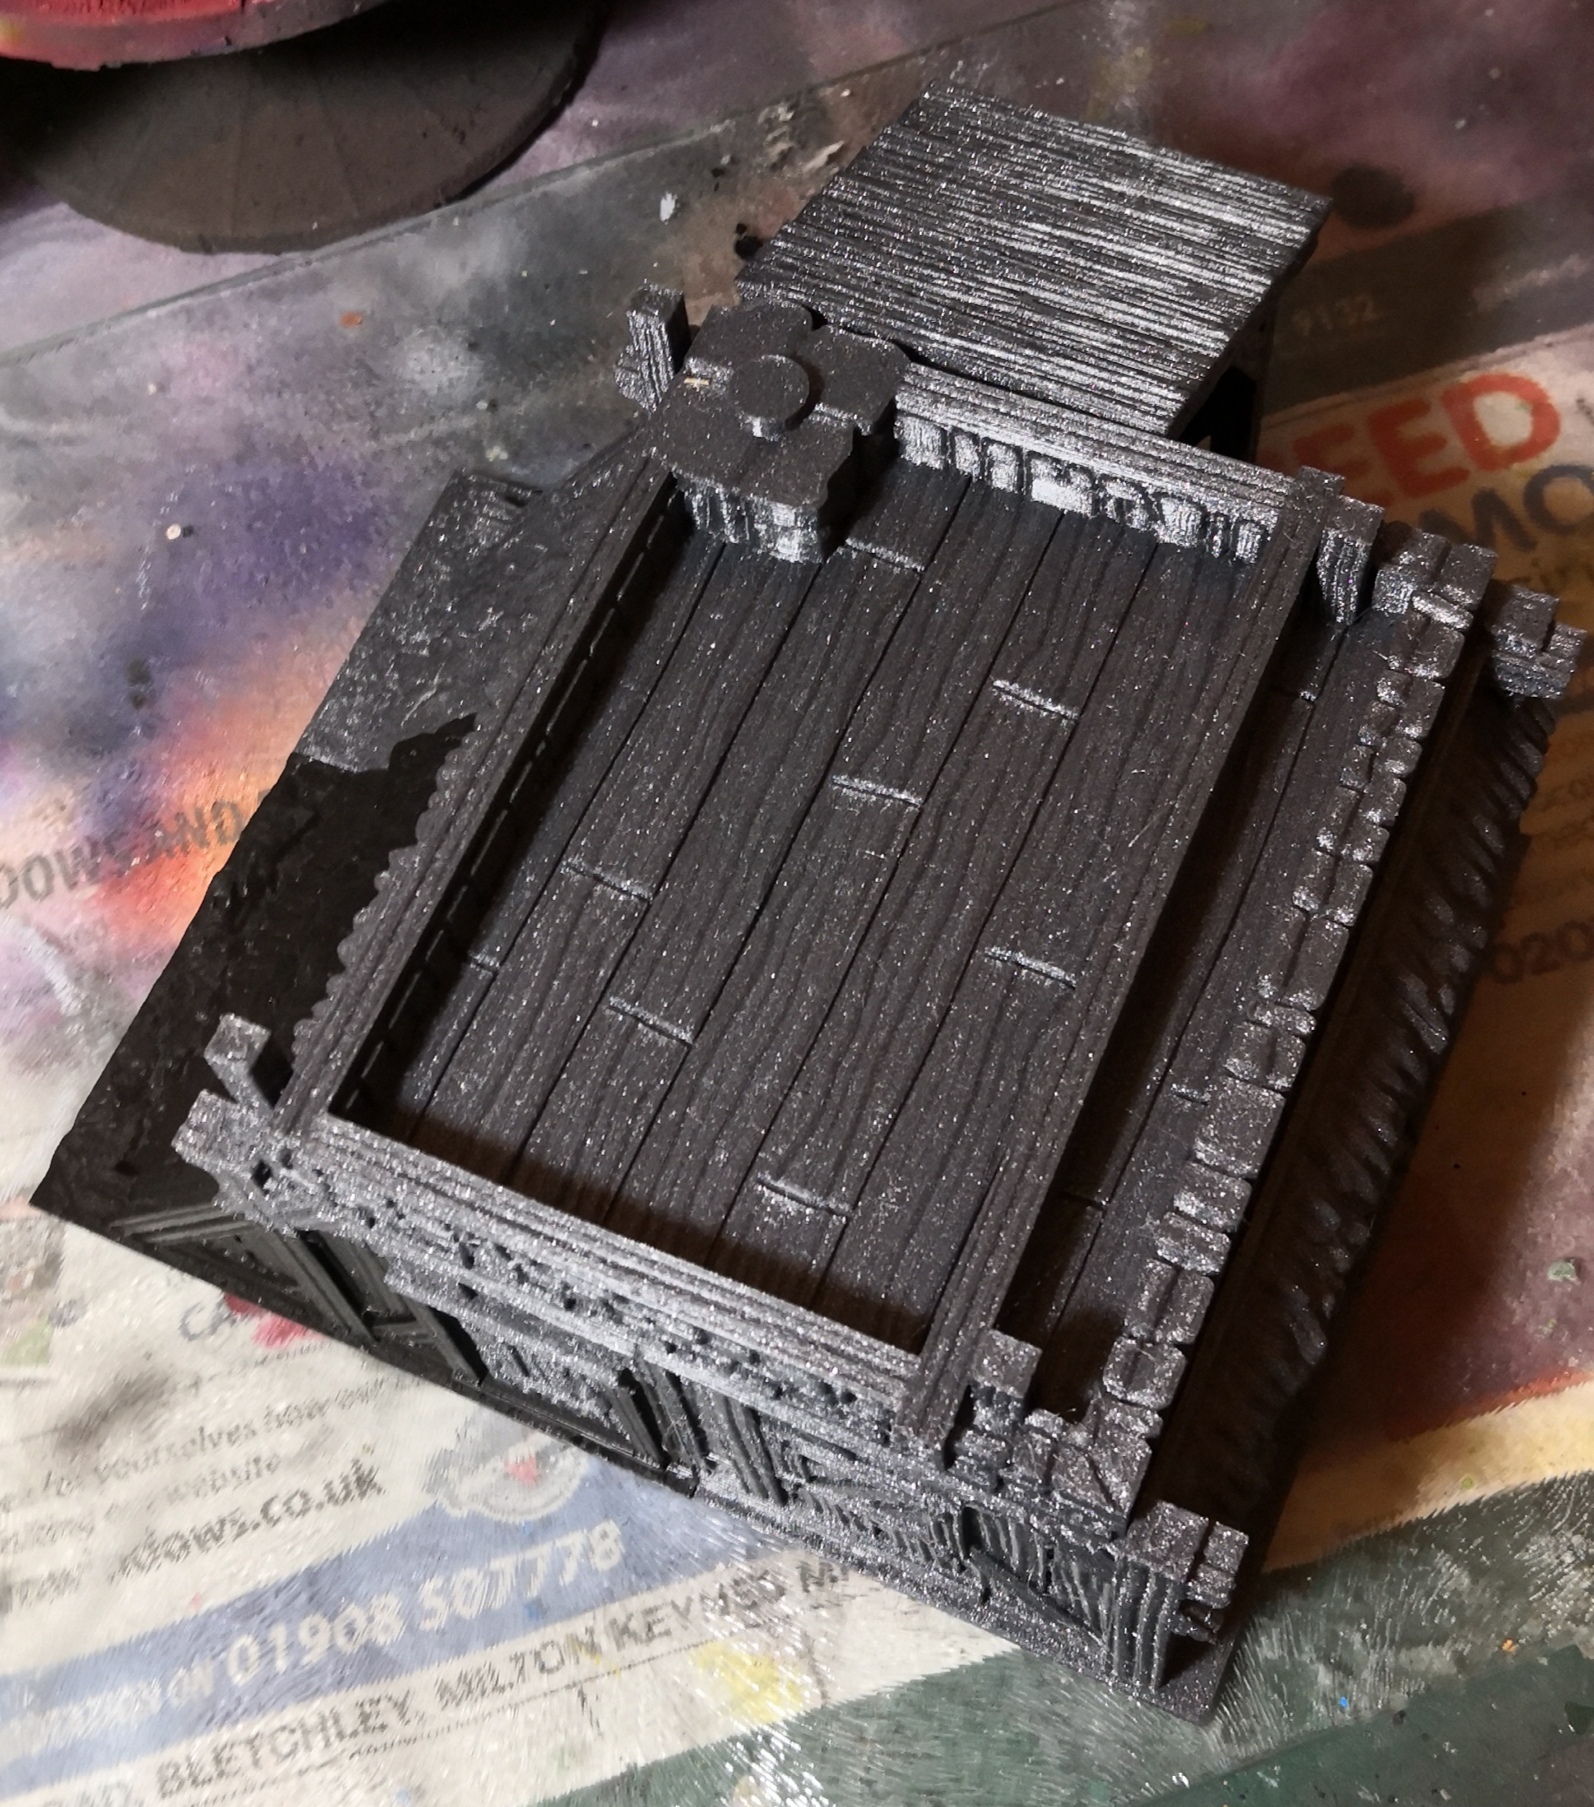
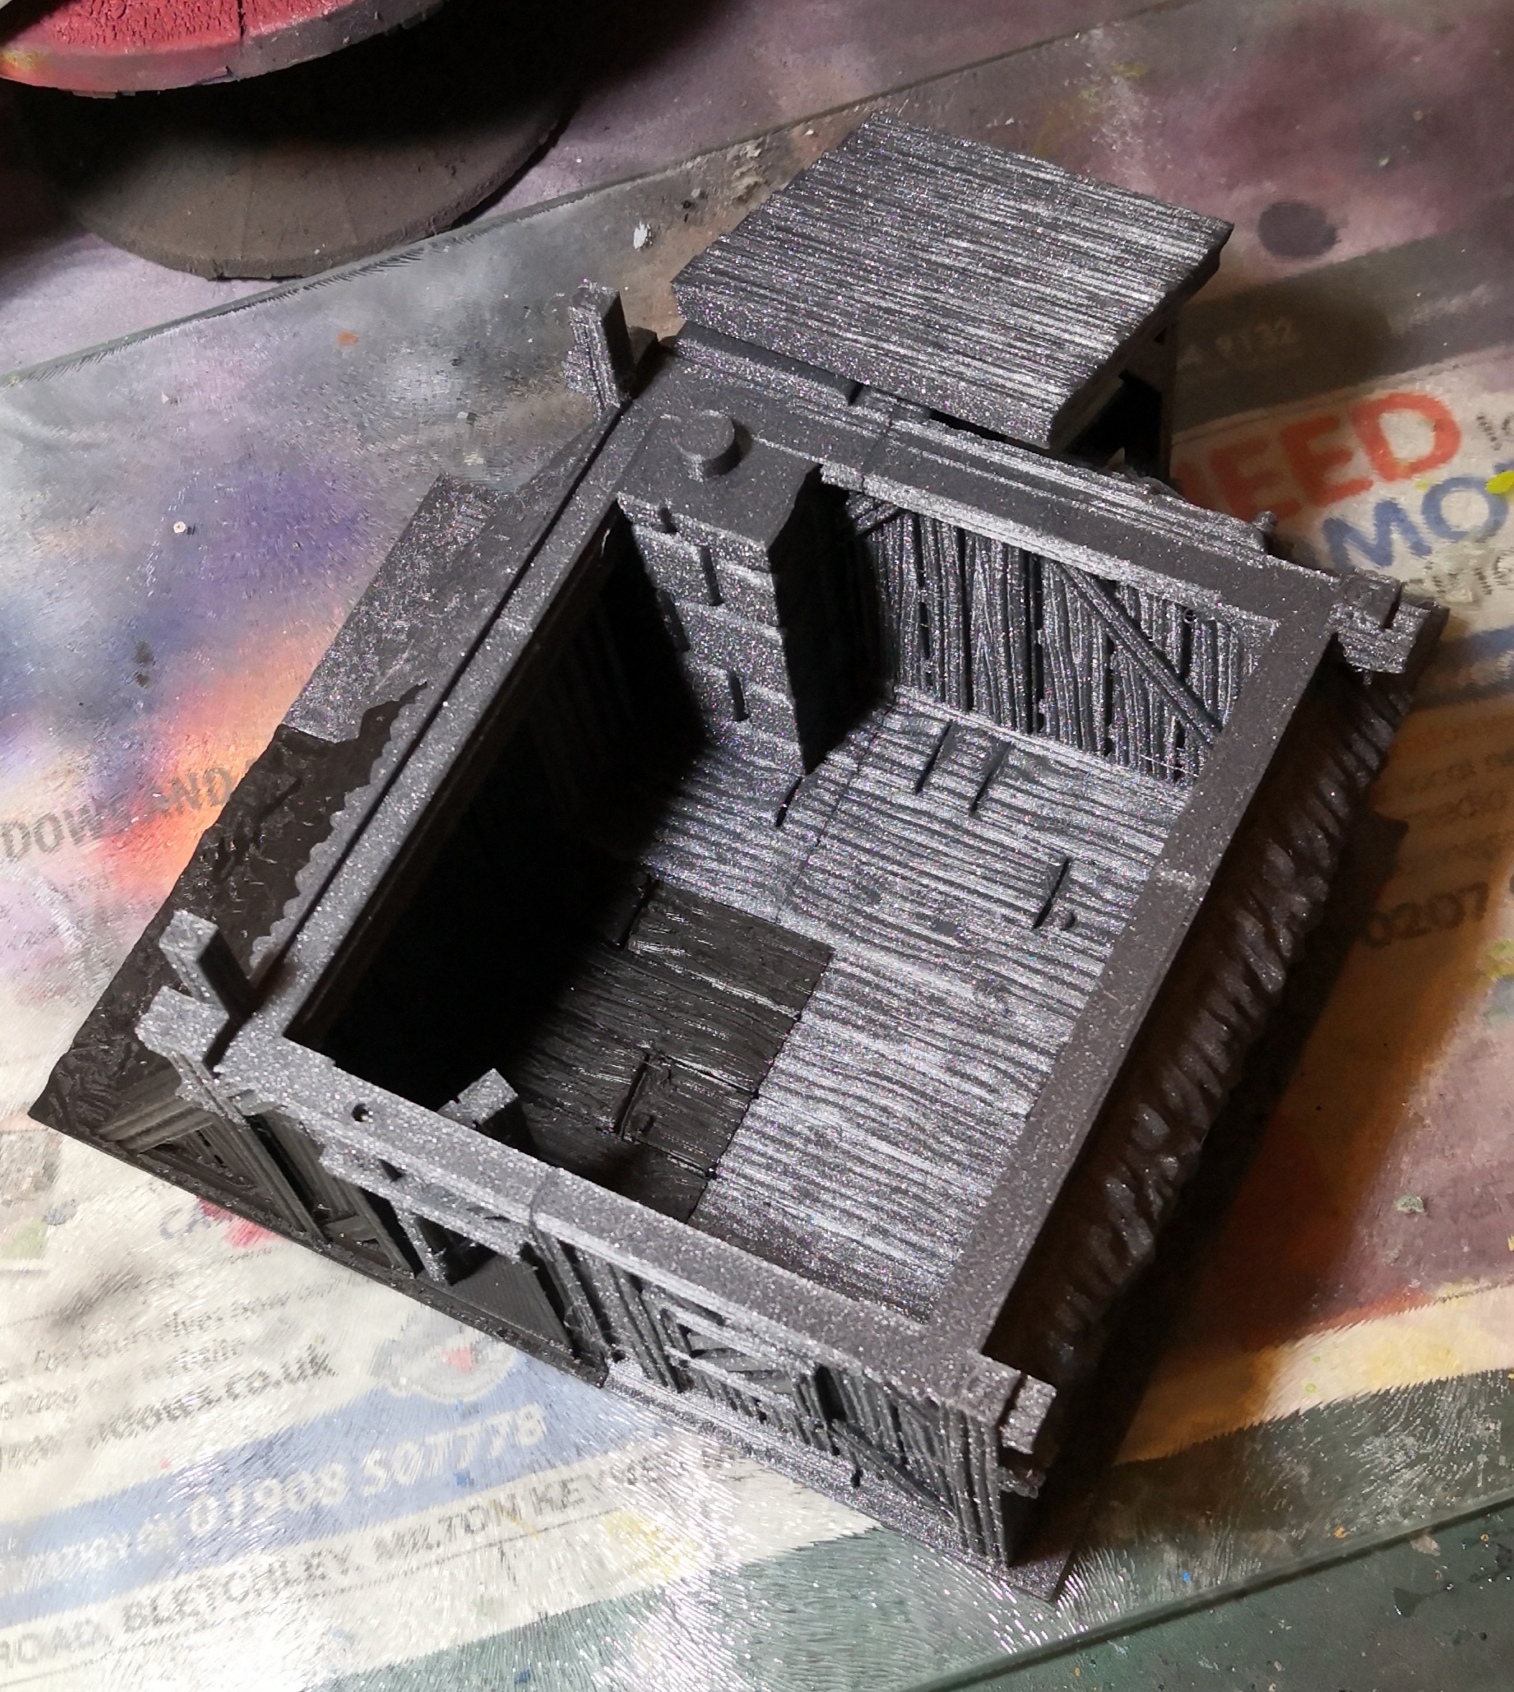
I wanted some houses for my table and had some viking style house stl files. Not quite Anglo Saxon but I struggled to find anything to print for them. So stuff it, they’ll do. The prints are from the Viking Legends kickstarter. The creator has just announced a new kickstarter with links to his other projects. So I’ll link to the new one here. I’ve backed it.
The Frost
I printed them using PLA. I don’t like leaving the printer running overnight so I cut the prints into several parts. After I glued and filled the gaps with milliput.
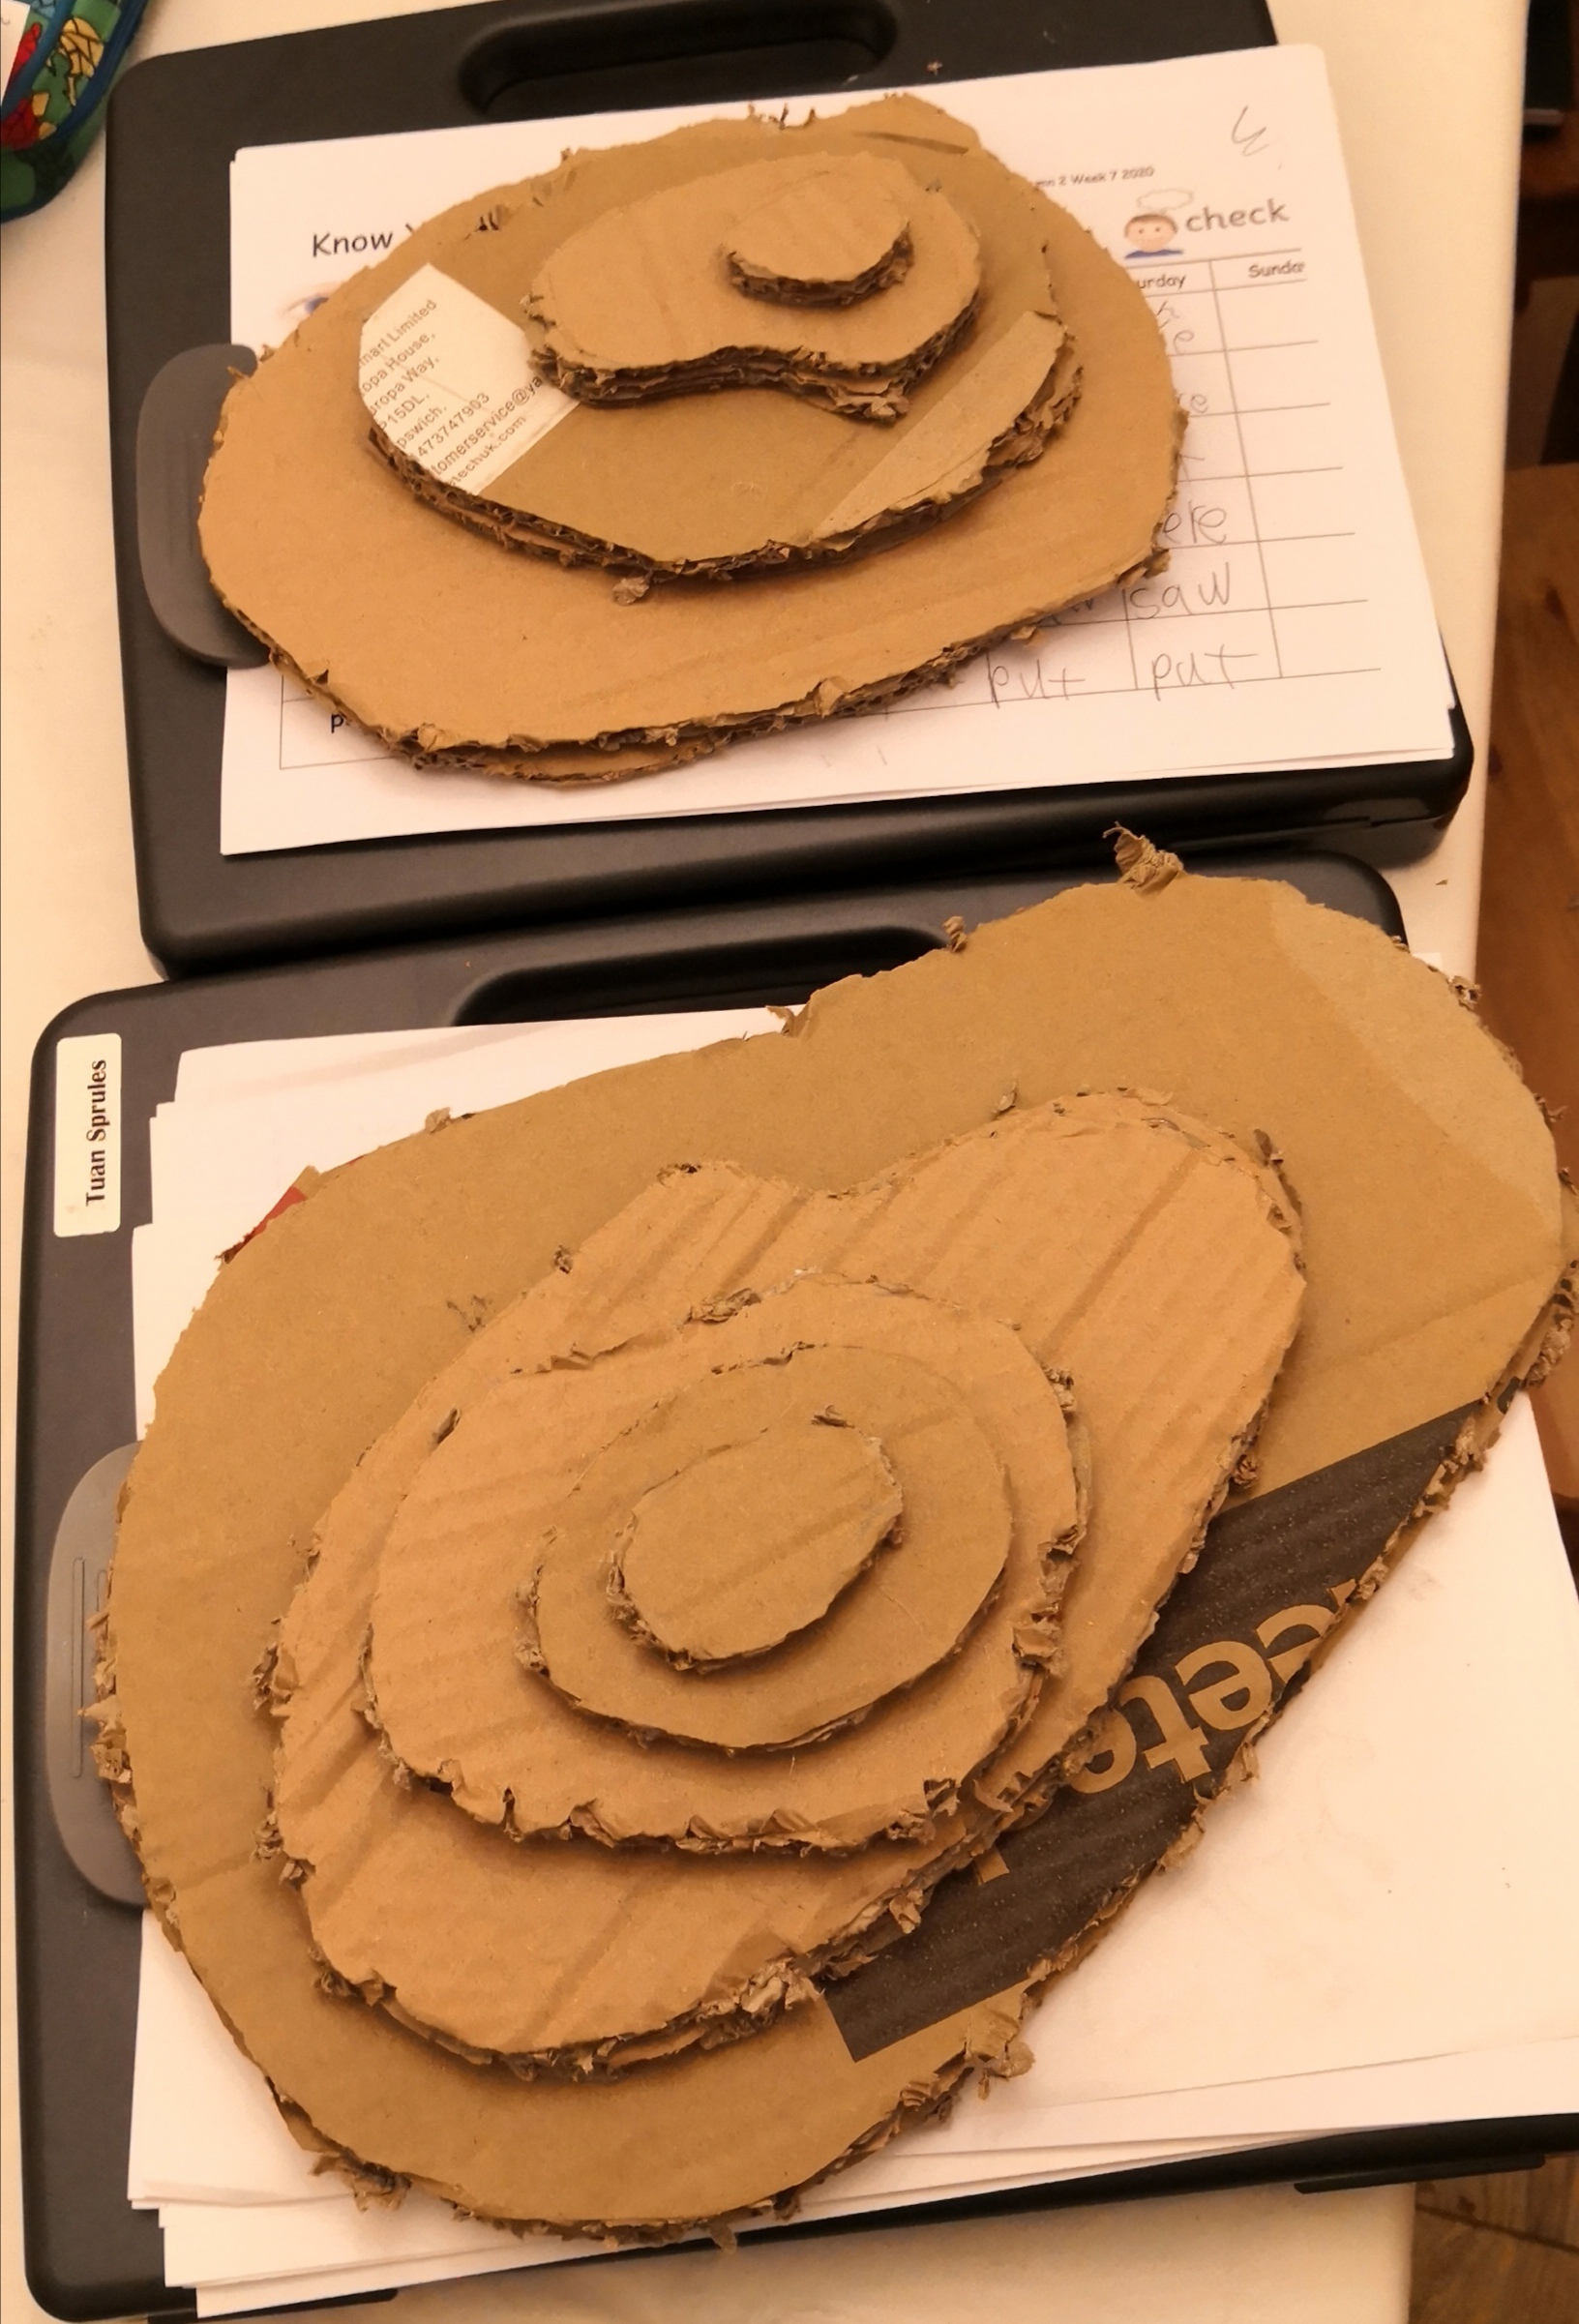
Hills
A bought a fleece mat Warren had praised on a Weekender. He gave it a proper good rub so I figured it must be good. I’d not tried cloth or fleece before and I was pretty impressed. It’s easy to kink unlike mousemat material but otherwise the detail was very good indeed.
I thought this would let me place hills underneath for some easy terrain. I made some hills from cardboard to see if it worked. It creased the mat too much for my liking. So I decided to find another way to make hills.
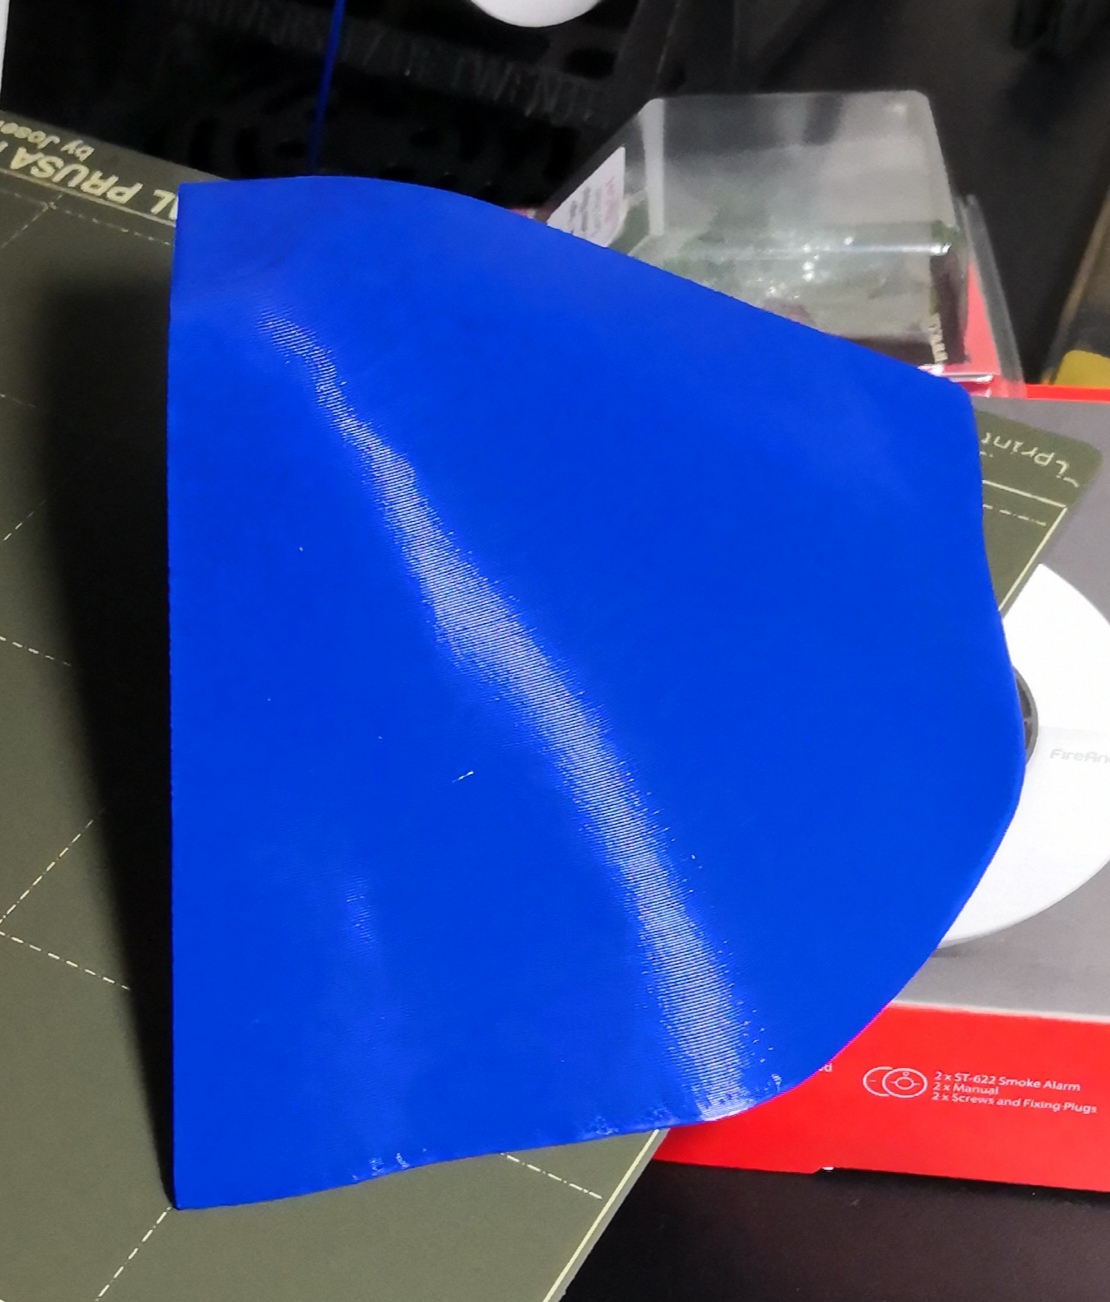
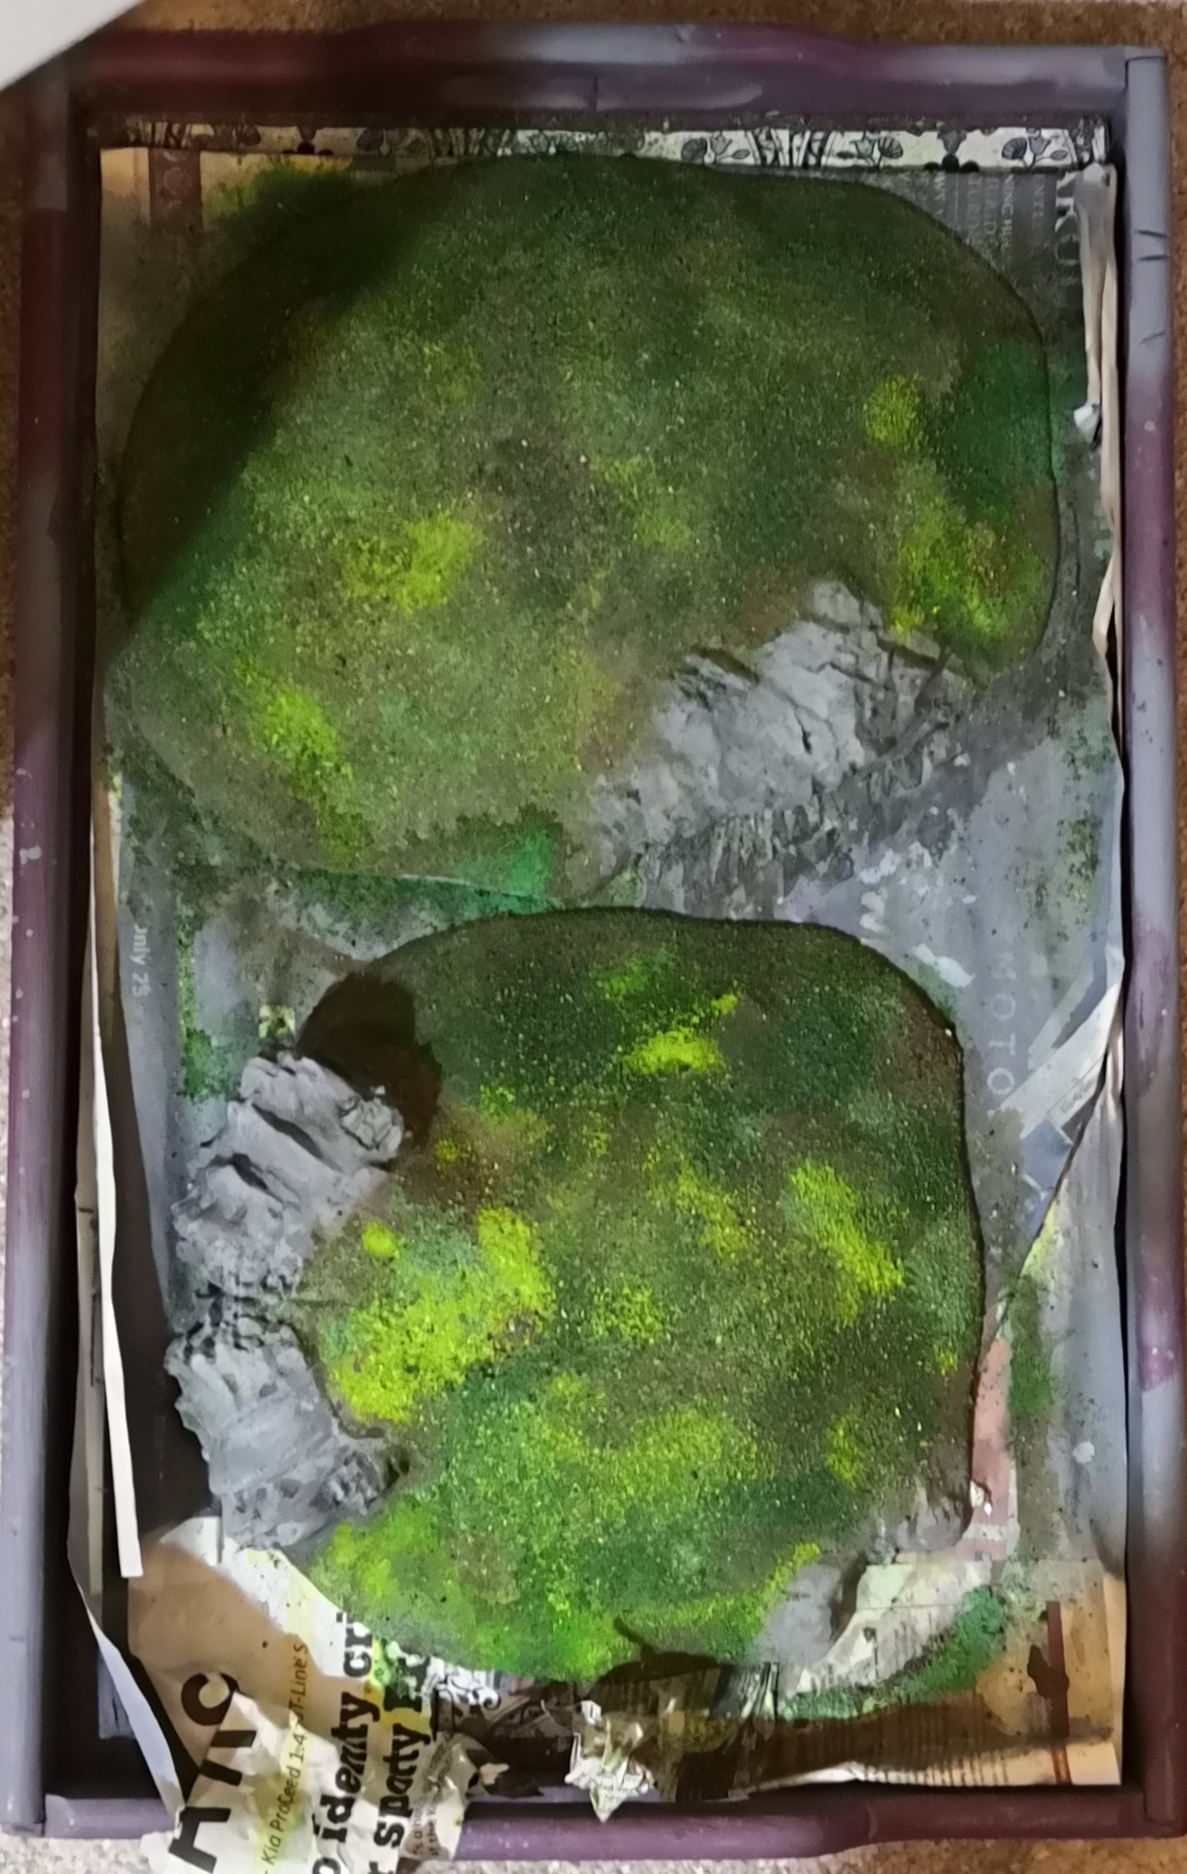
I found some stl files for hills for my FDM printer. They were a bit akward to match up but I got there. Each hill is in 4 parts connected by OpenLock clips.
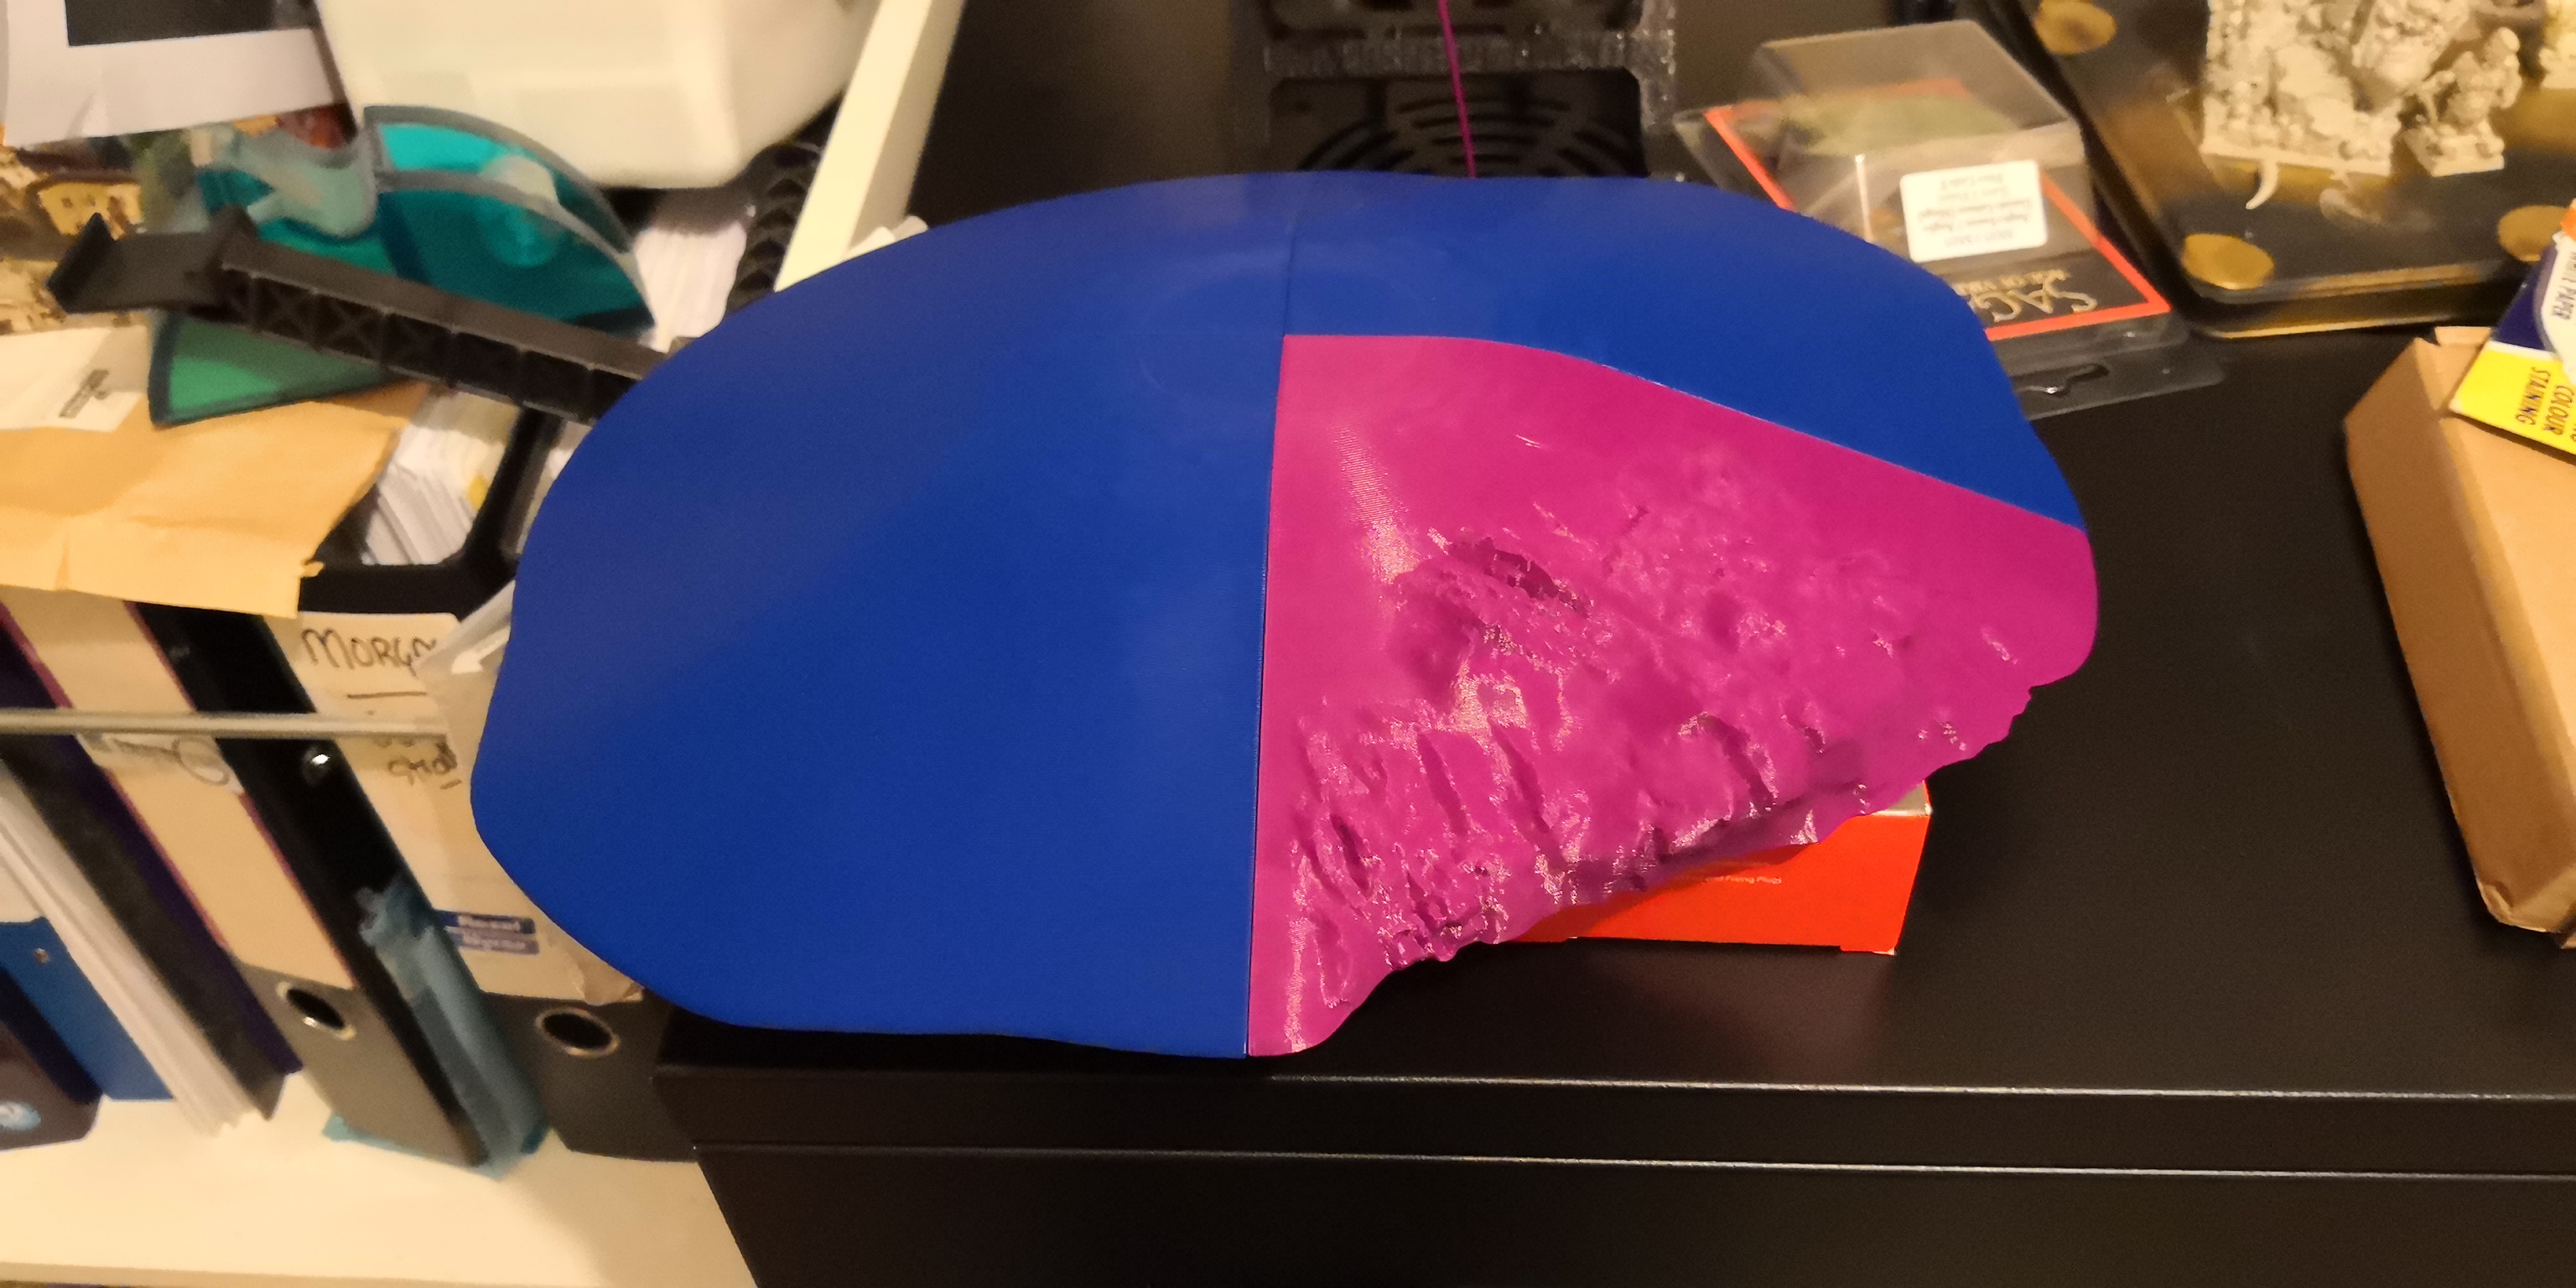
I wasn’t bothered about lines showing on the hill ‘cos I could split them and use parts on a board edge.
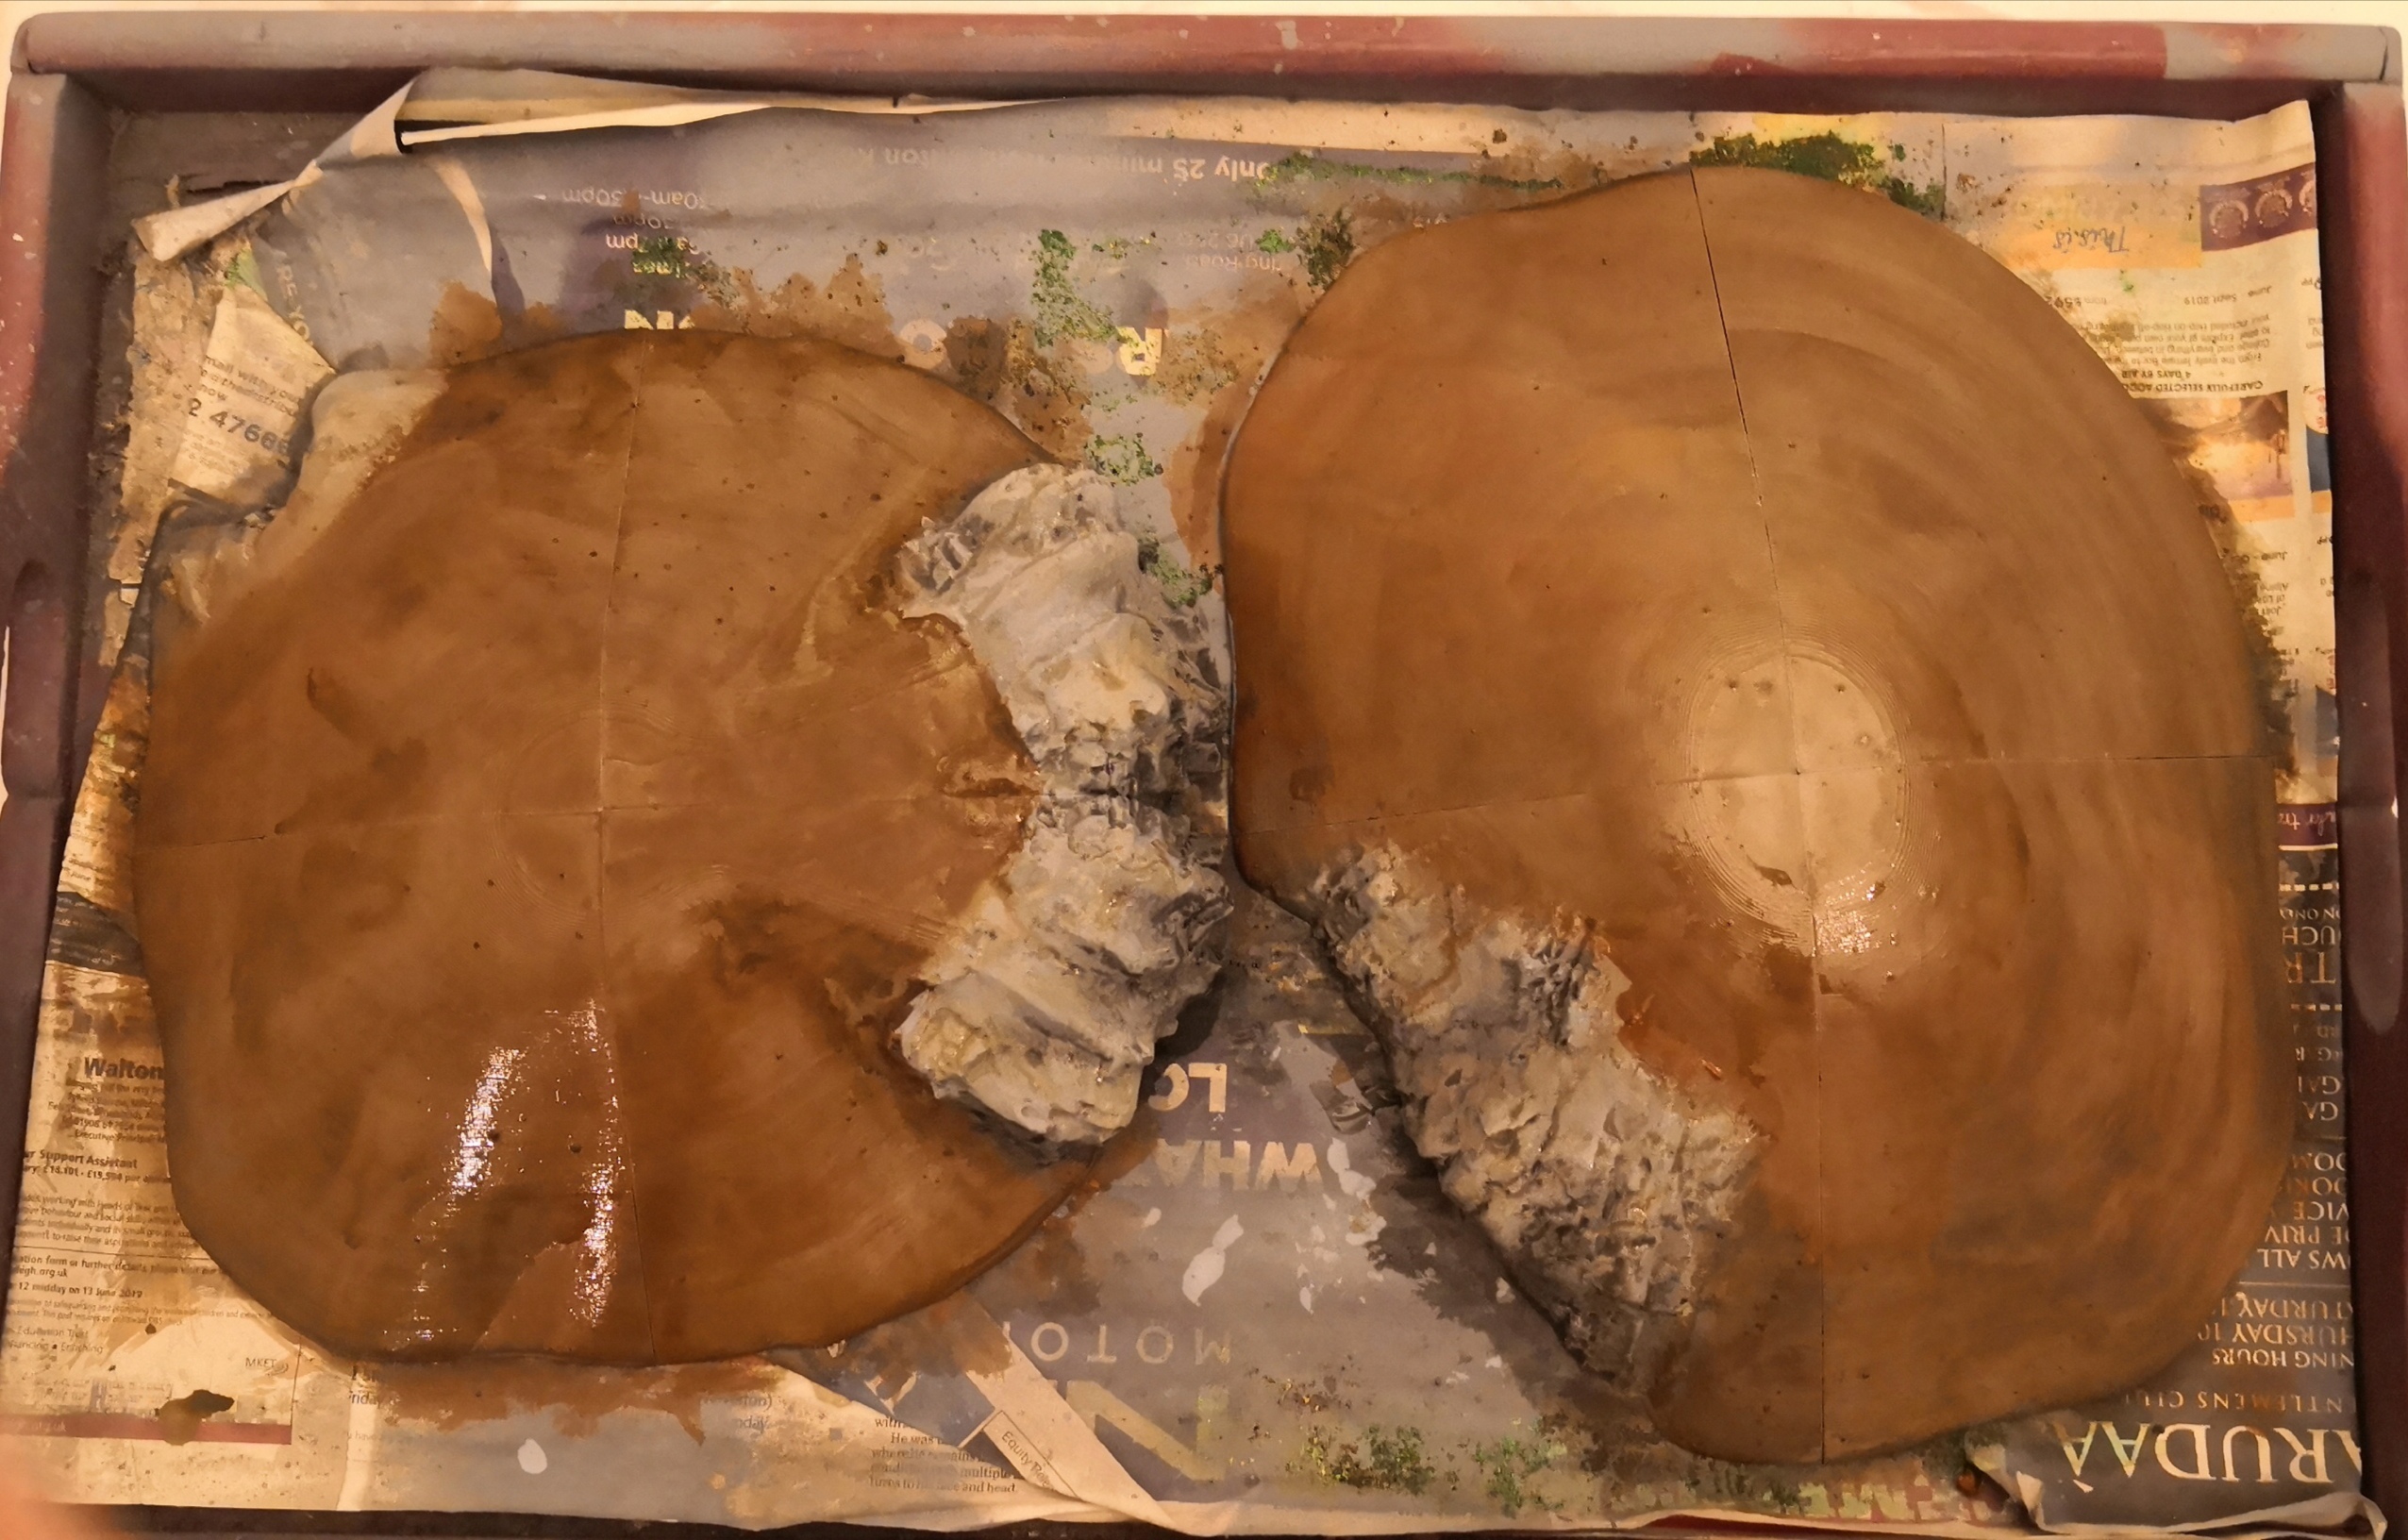
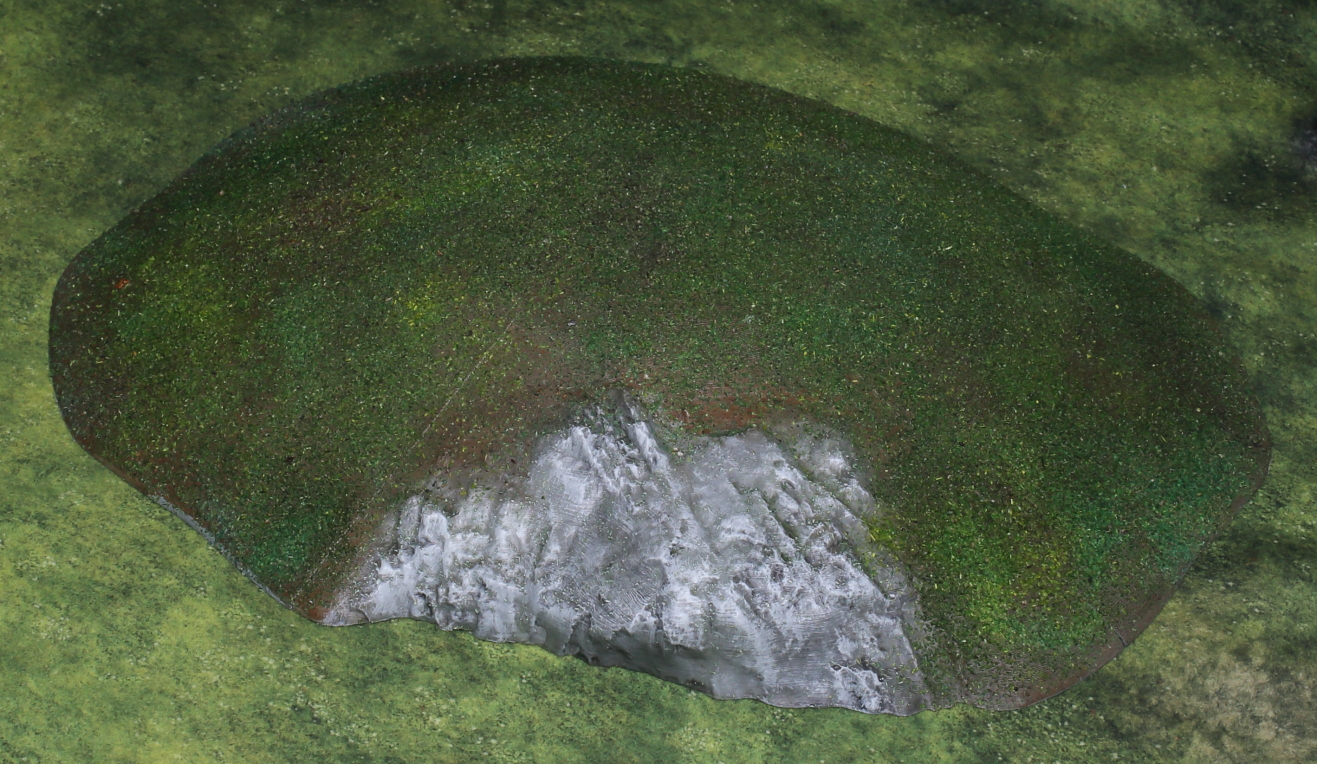
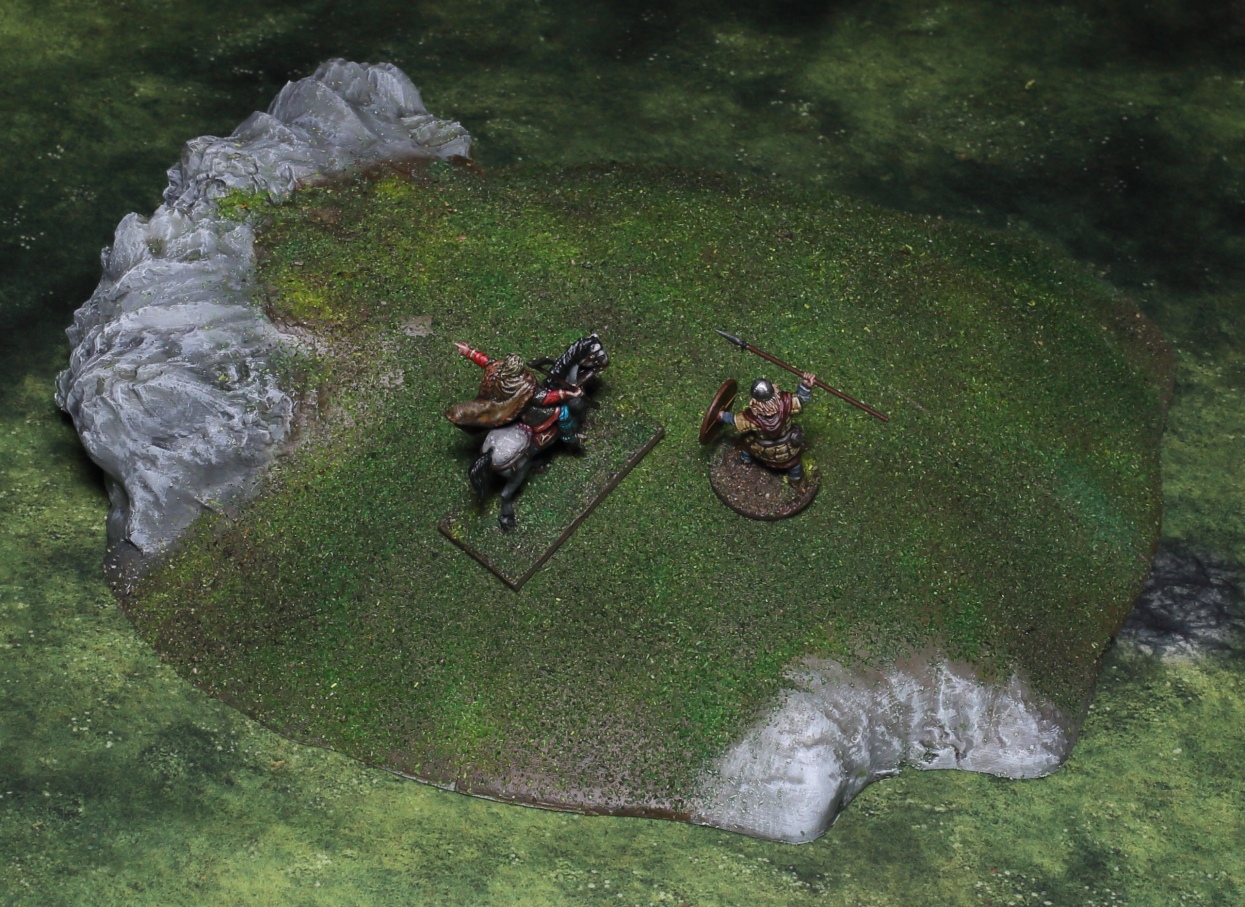
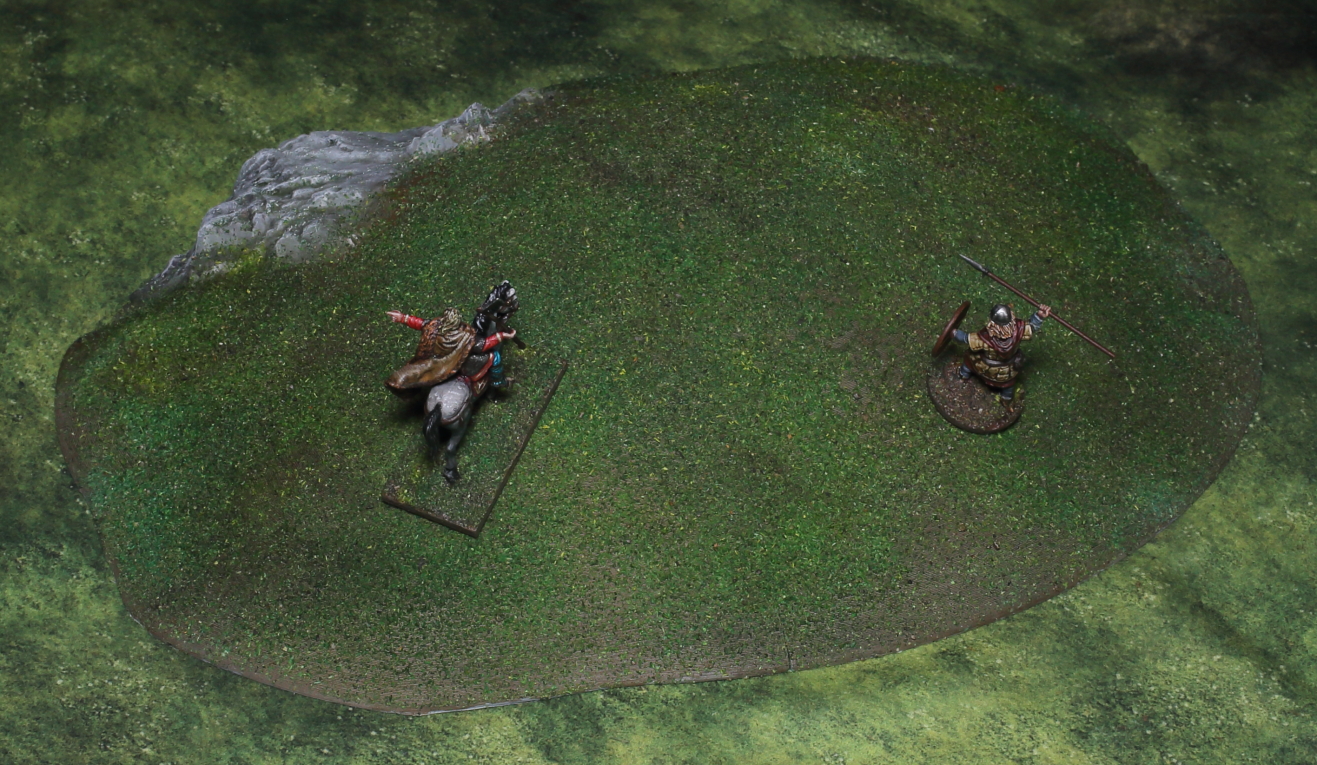
After I printed them it was a simple process of priming, a mess of paints for a base colour then back to the flock mix I used on the tree vases. The rocky areas were a quick paint job.
I liked the result. More importantly my miniatures can stand on them though they’re a little precarious in places.