


![A Perfect Zombie Apocalypse Starter Set? Civilians & Survivors Review | Wargames Atlantic [7 Days Early Access]](https://images.beastsofwar.com/2026/01/unboxing-wargames-atlantic-civilians-_-survivors-1_2-coverimage-225-127.jpg)
![Wild Australia Wargaming? 28mm Ned Kelly Gang & Victorian Police Review [7 Days Early Access]](https://images.beastsofwar.com/2026/01/unboxing-traders-galaxy-australiana-ned-kelly-gang-_-victorian-police-coverimage-225-127.jpg)


Collins Doesn’t do Savage Frontier


Recommendations: 1009
About the Project
The Kickstarter isn't even over but my mind has been getting super excited over it and wants to build a table ahead of time!
Related Genre: Historical
This Project is Active
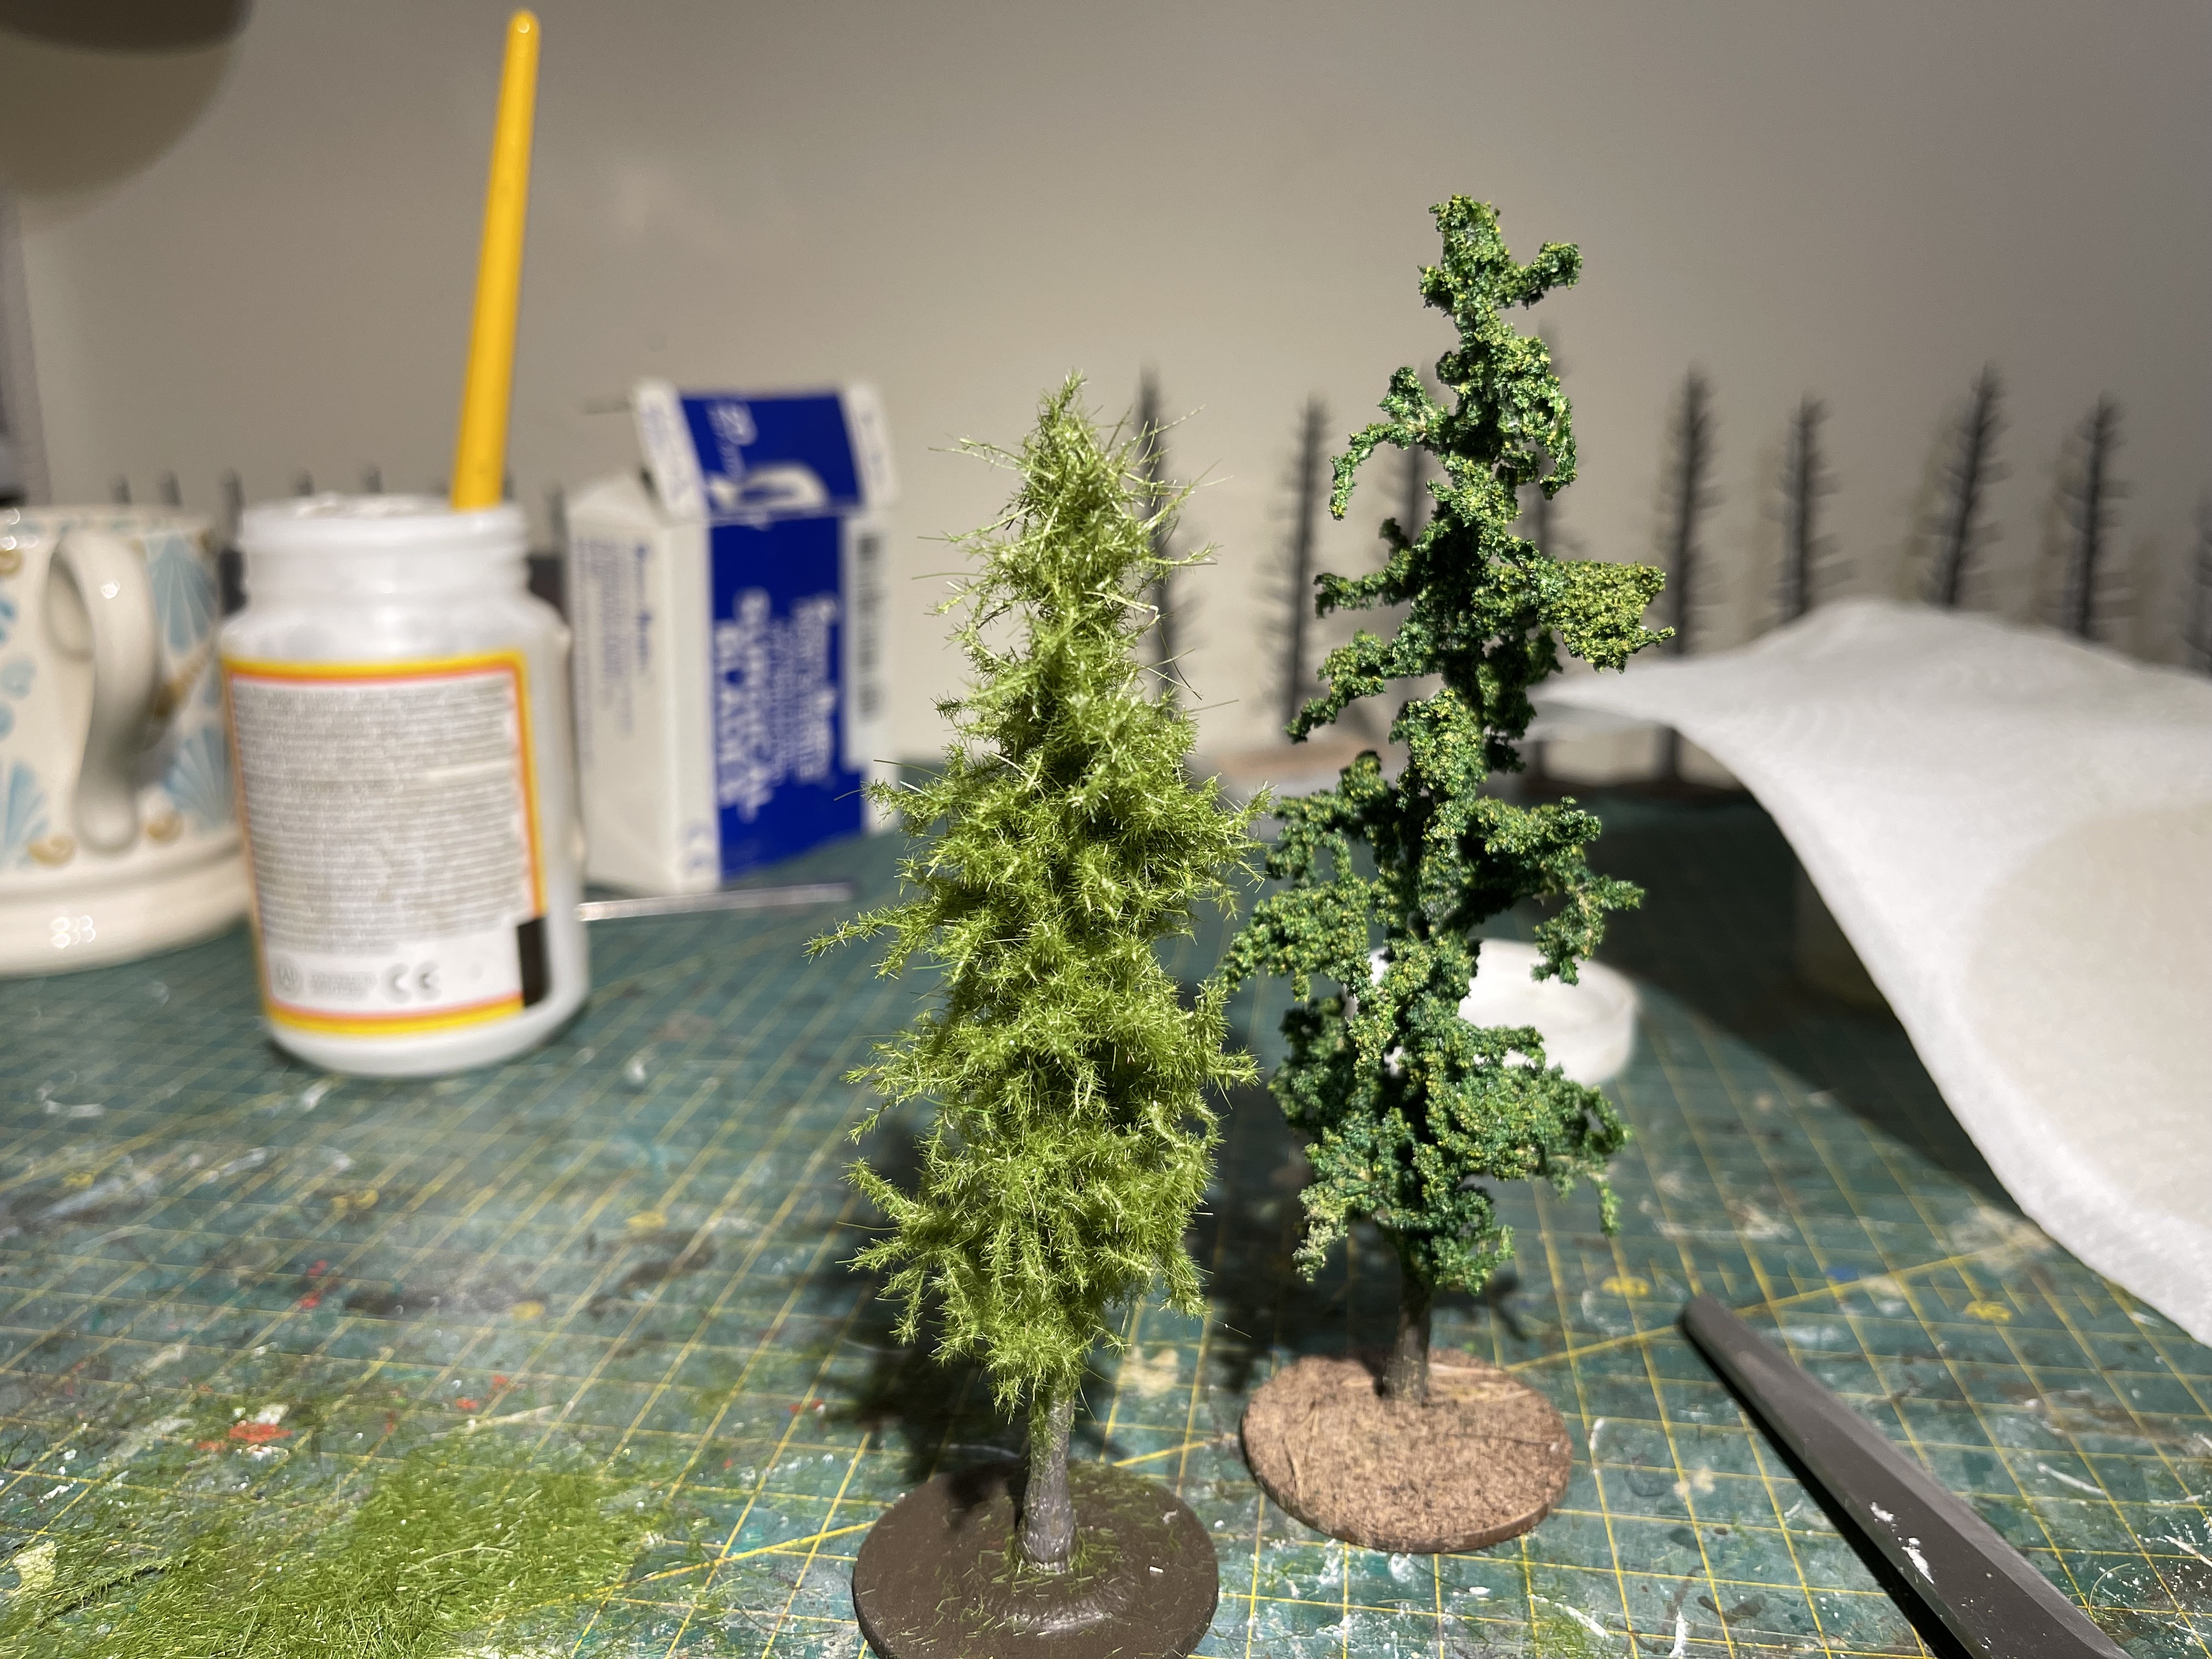
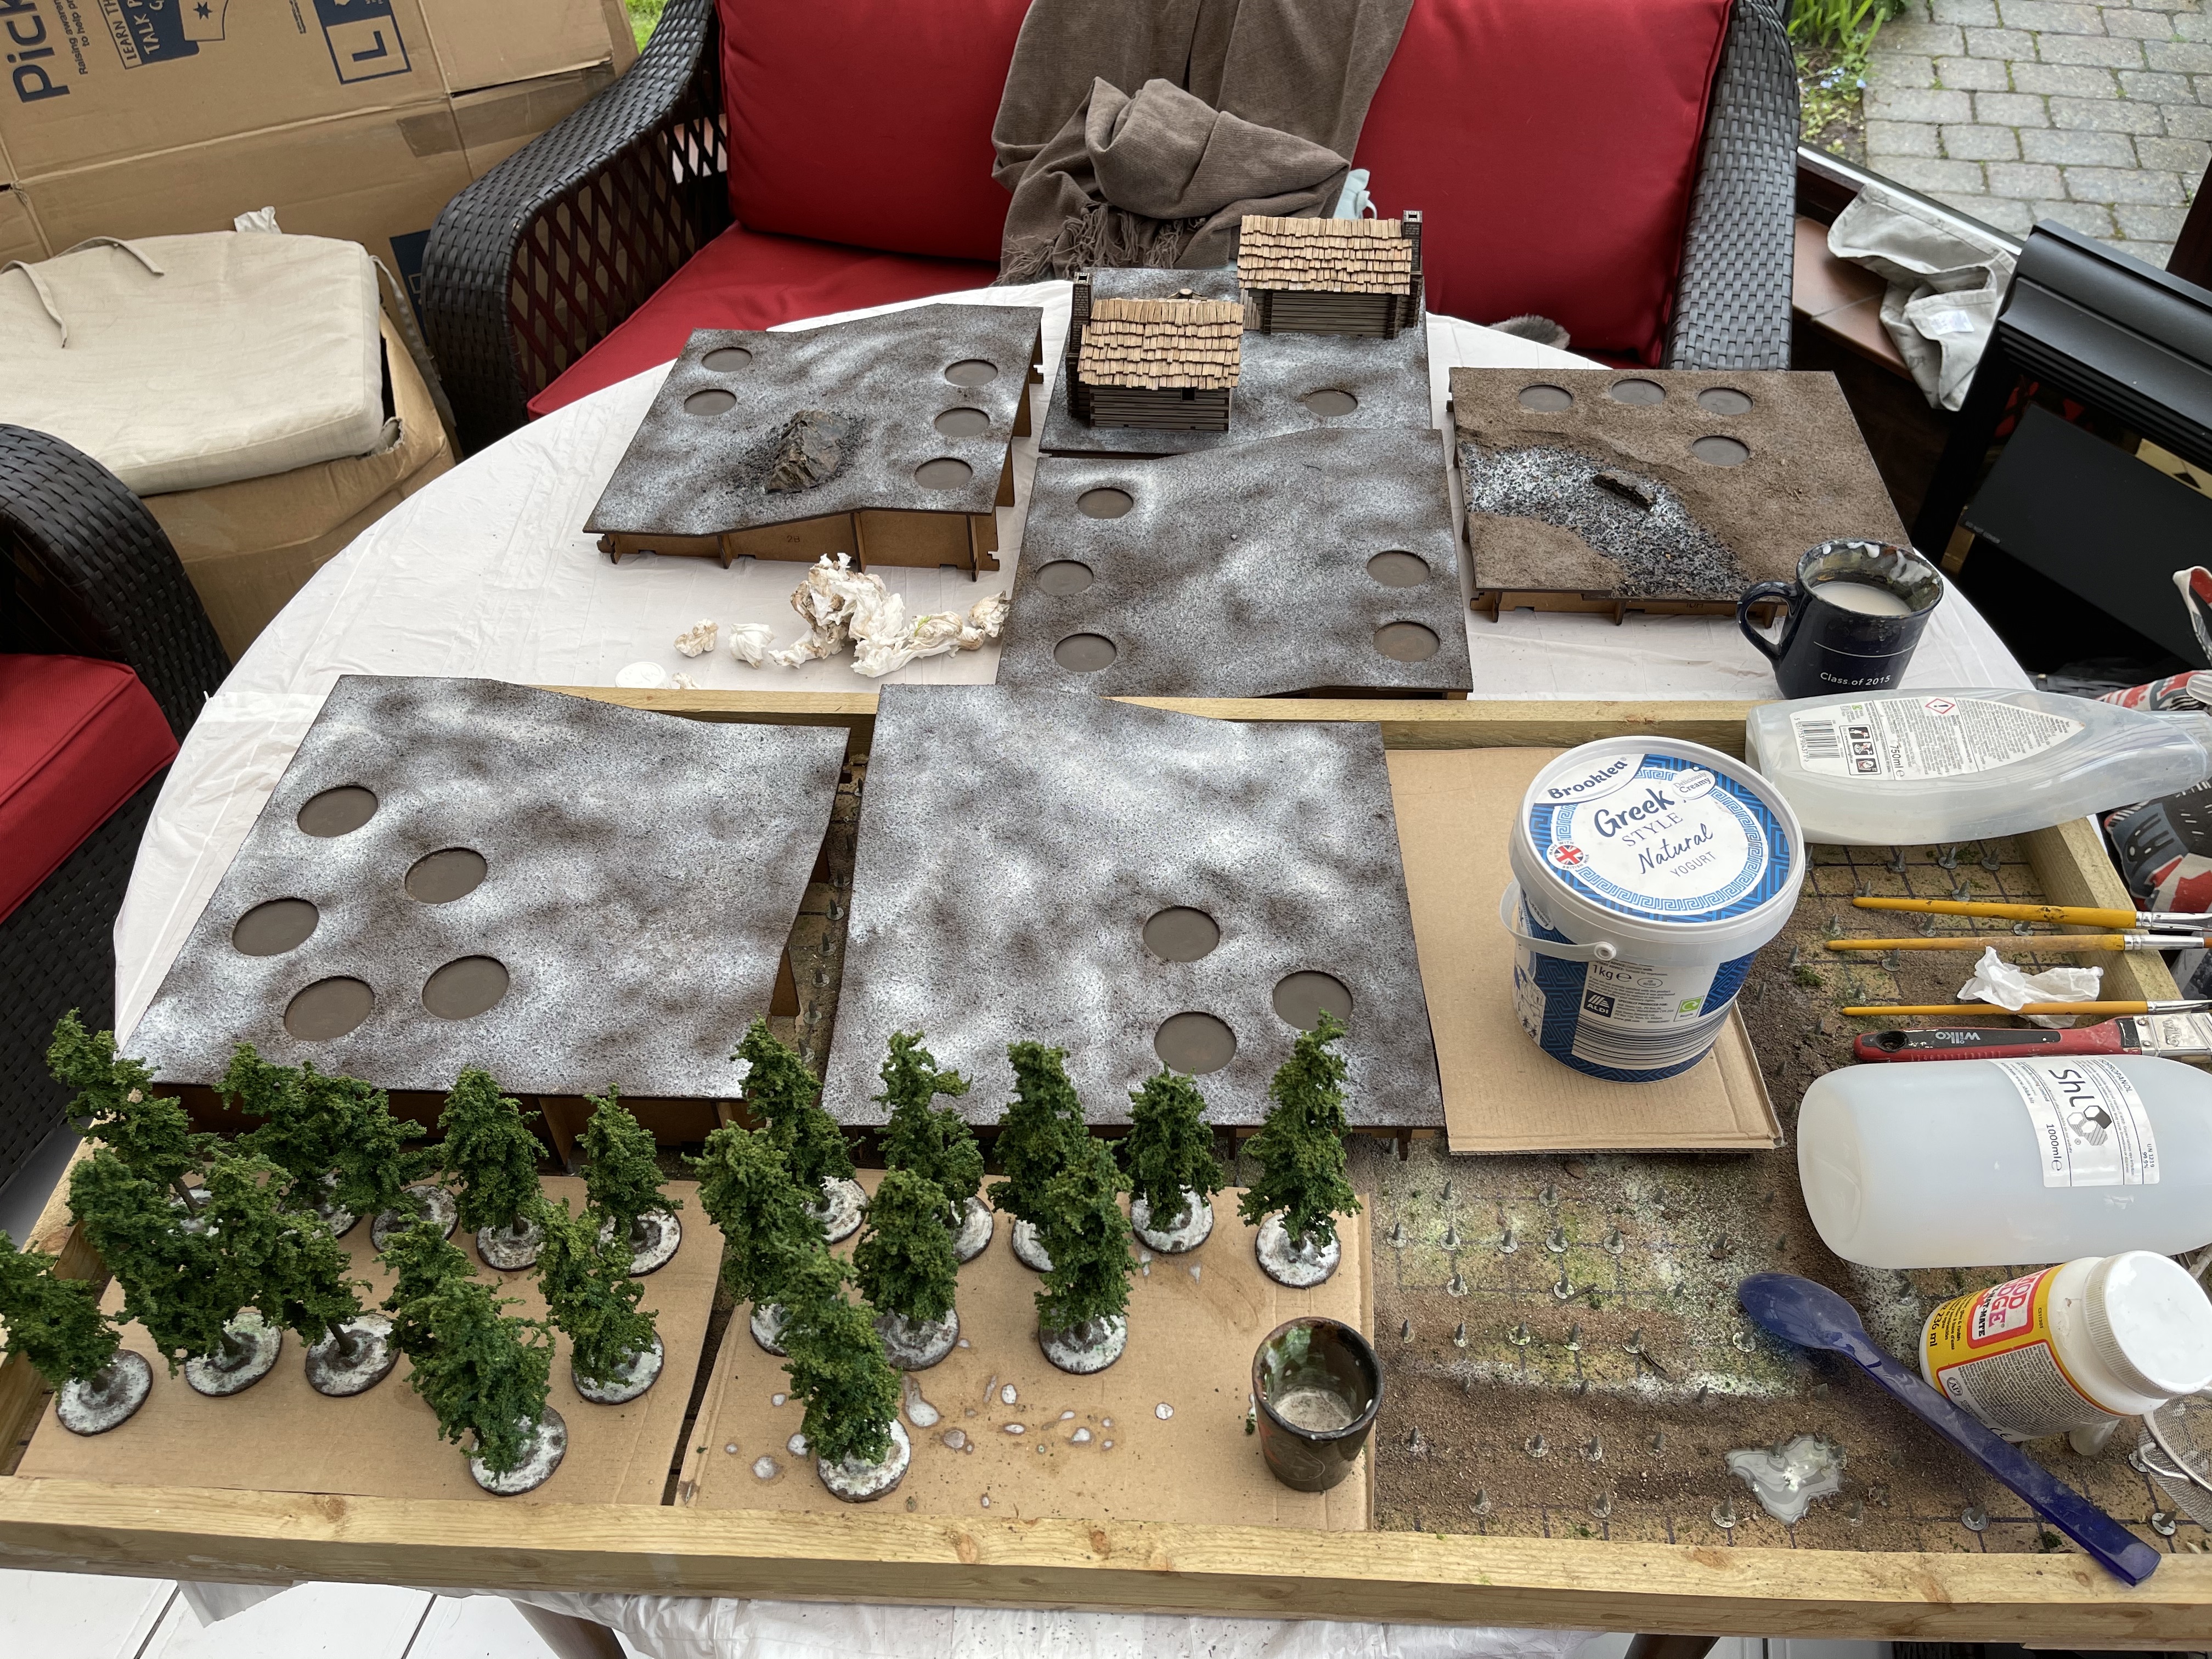
POLL: how many tree types
Dammit OTT! why is there no poll option here… there really should be, oh well!
In the comments tell me:
Should I have static grass and foam flock fir trees or just foam flock?
Picture below, but be aware they both need to be able to hold some snow on them to tie in with the rest of the table build.

Resin Pouring the River
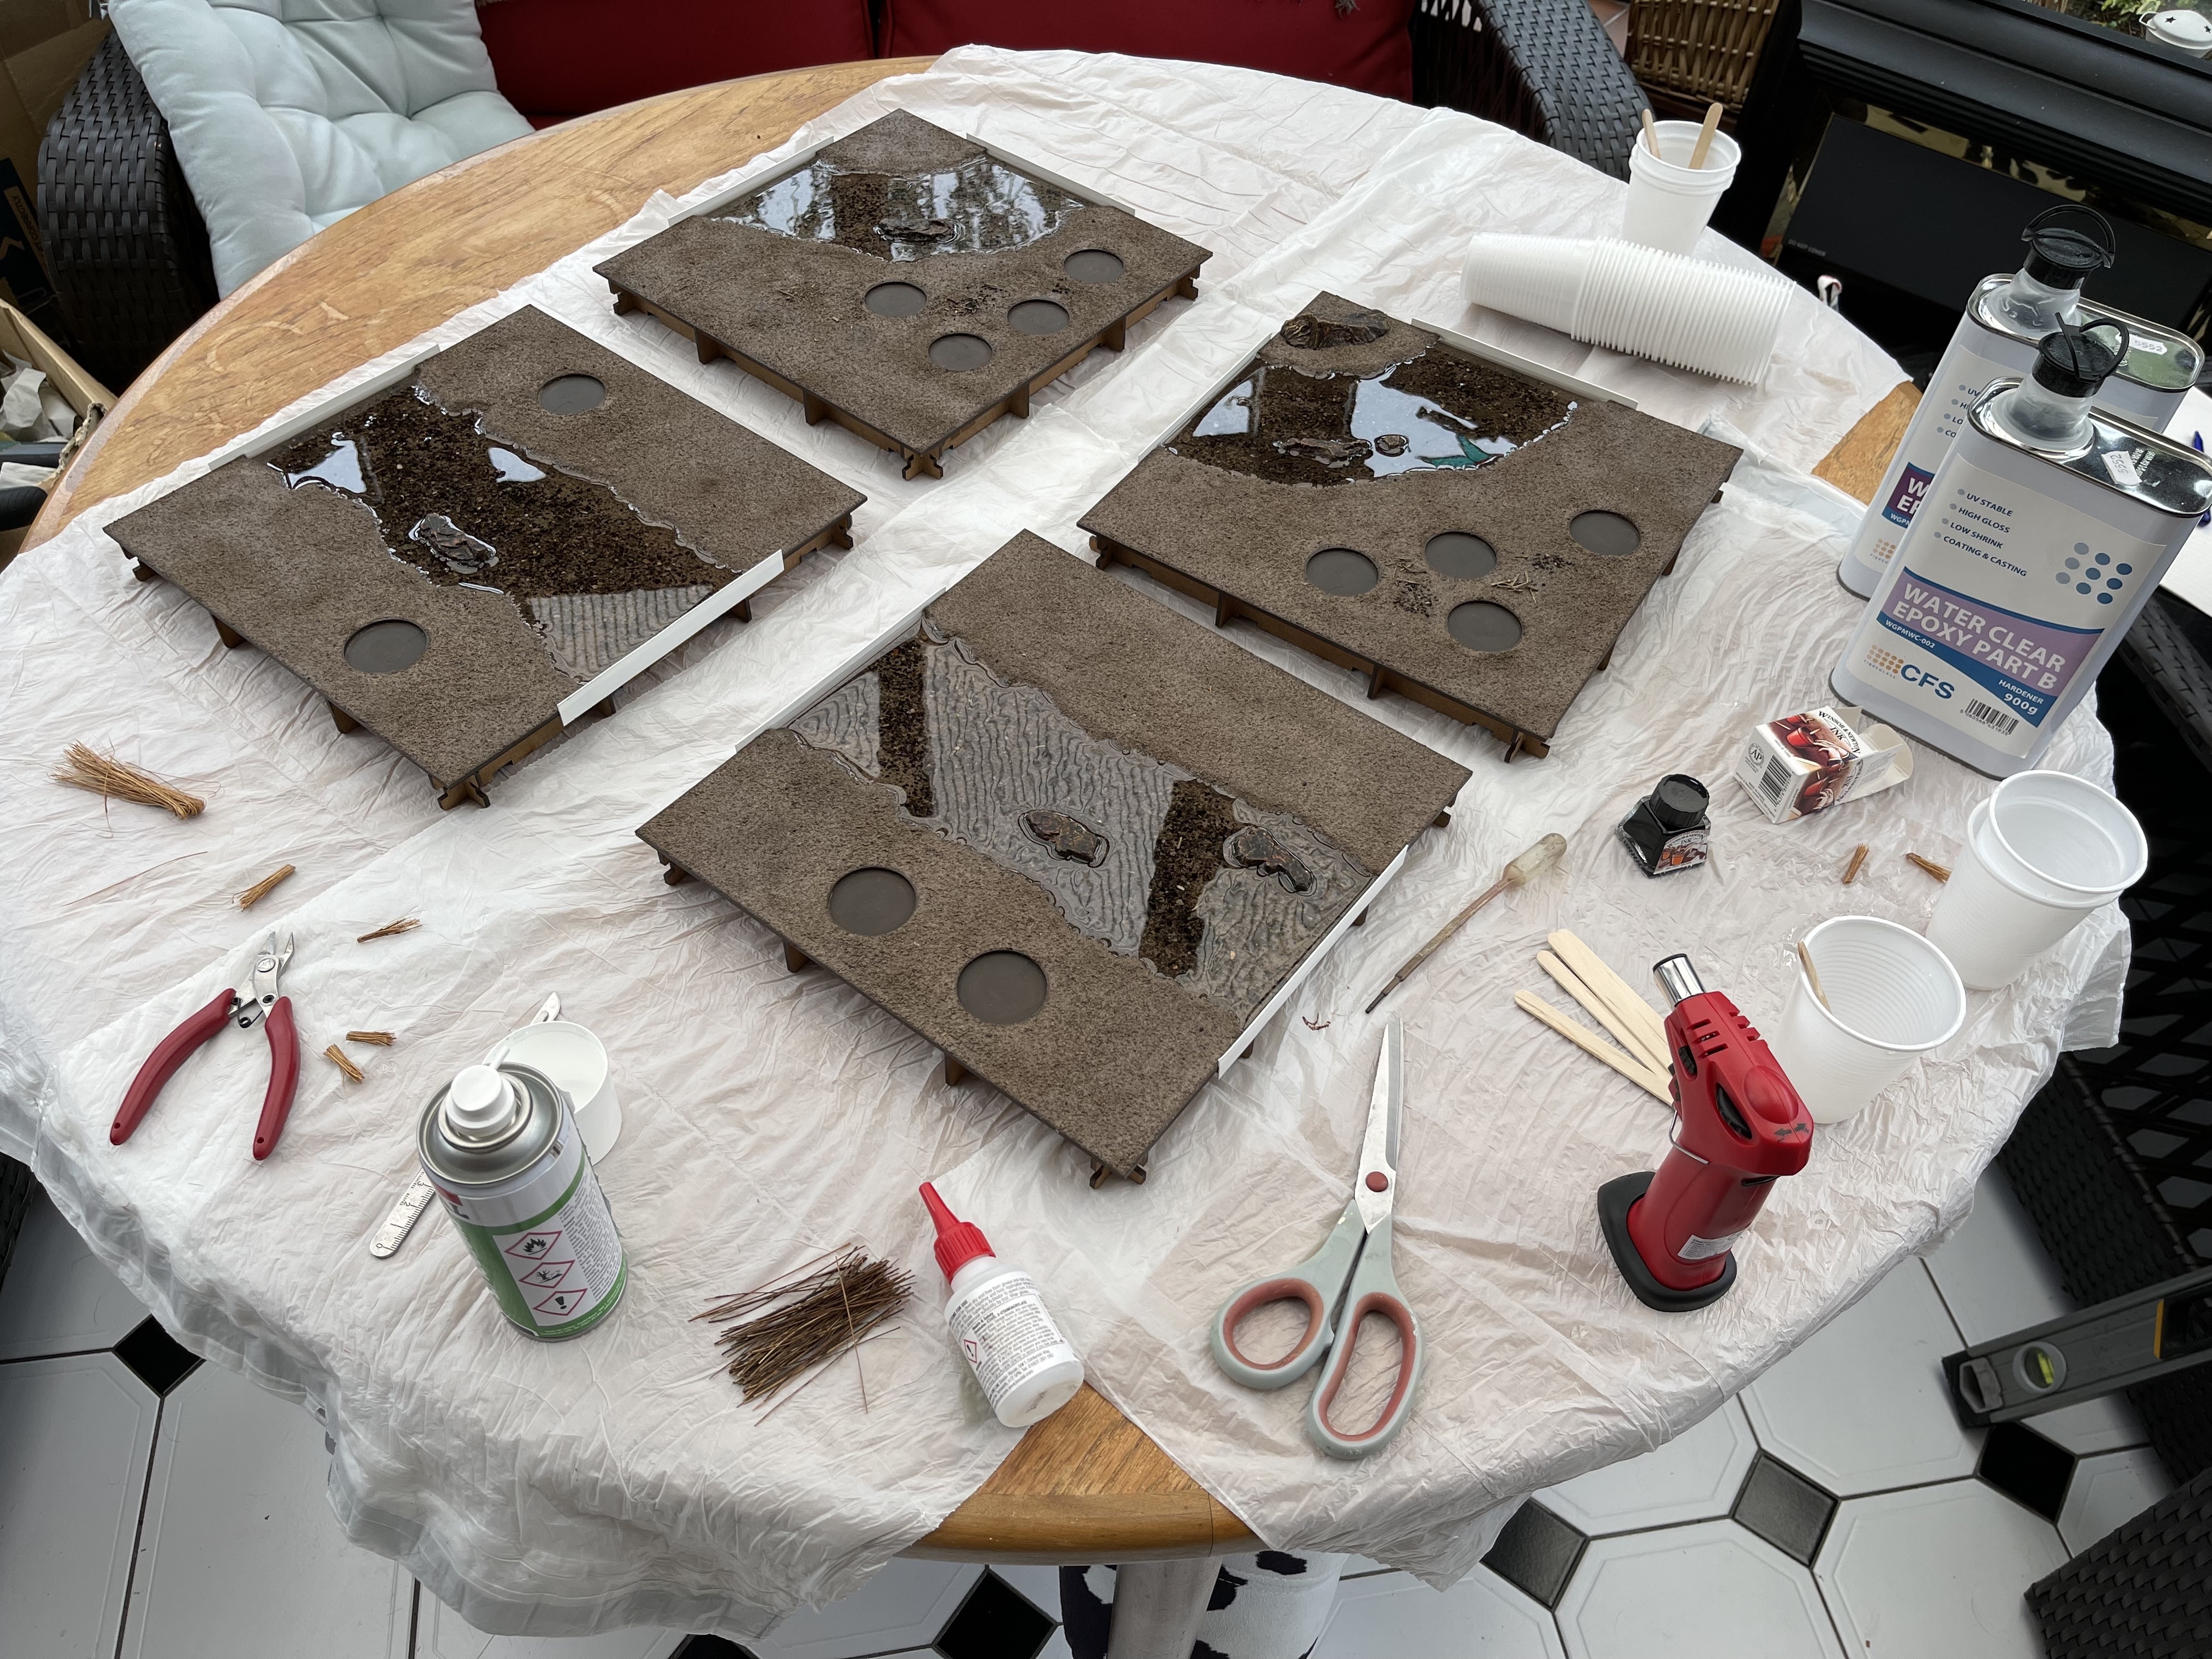
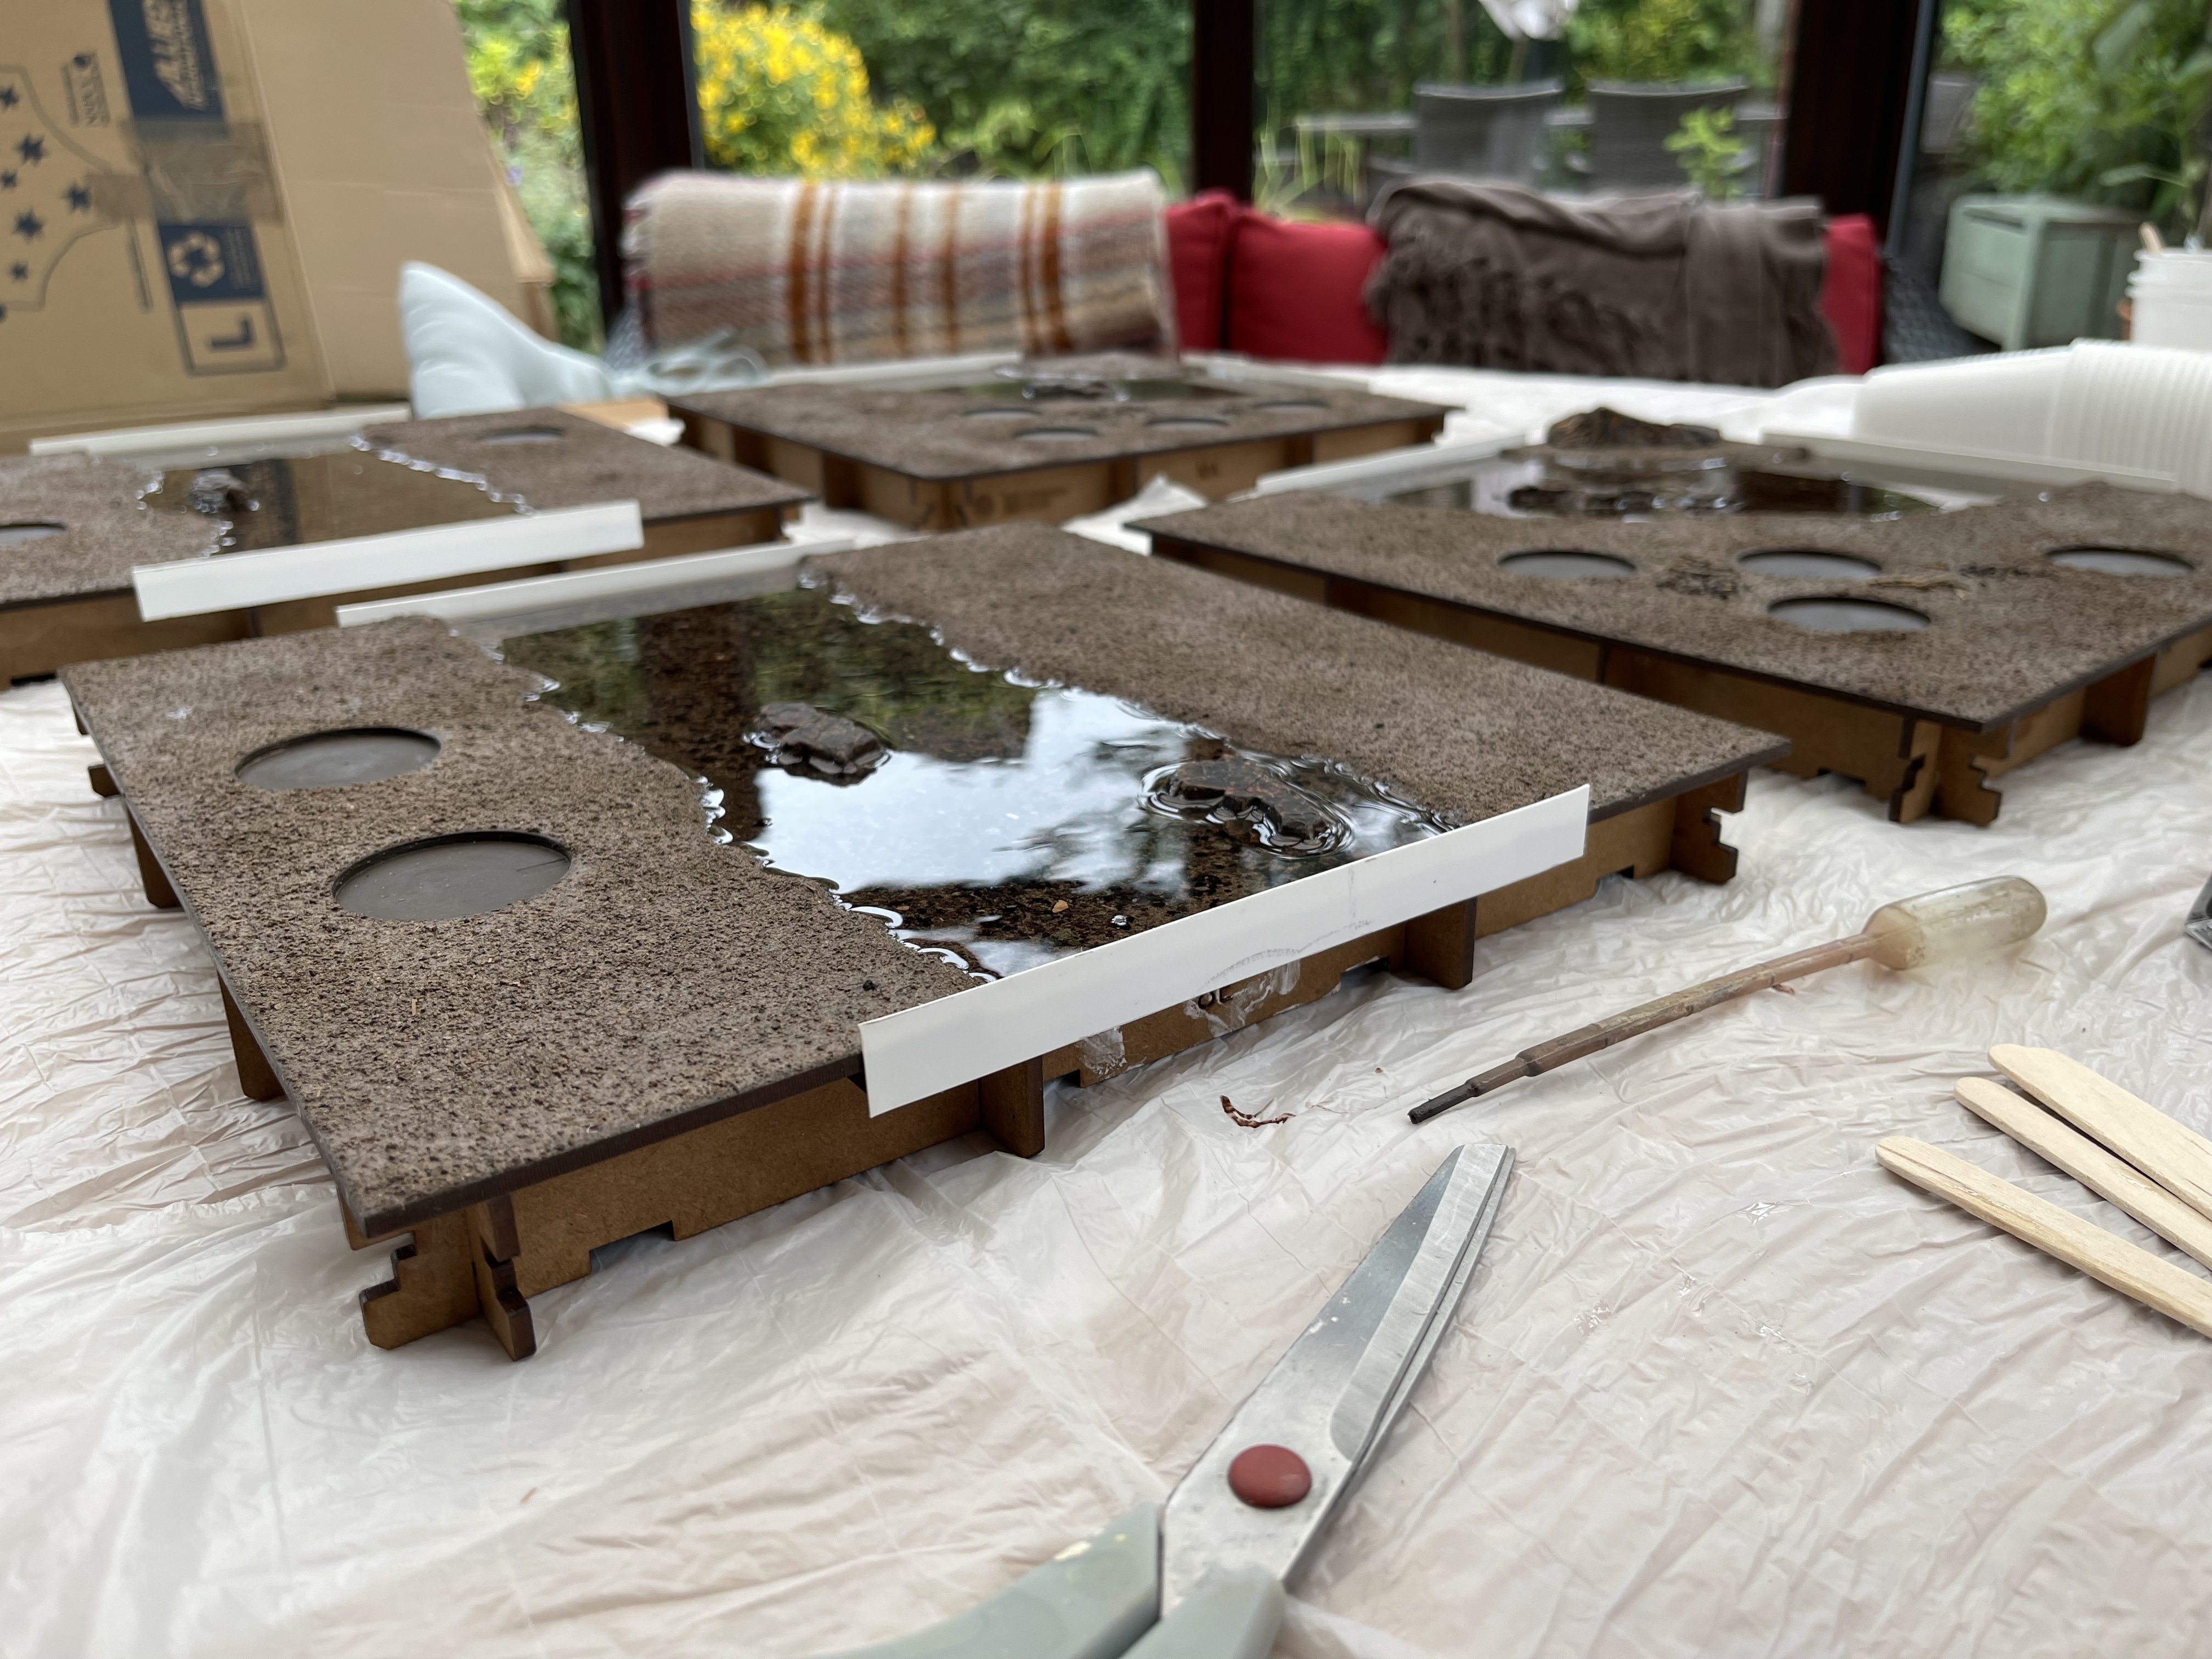
Using CFS Water Clear 2 part Epoxy resin and a tiny bit of peat brown ink from Windsor and newton I added some much needed depth the river.
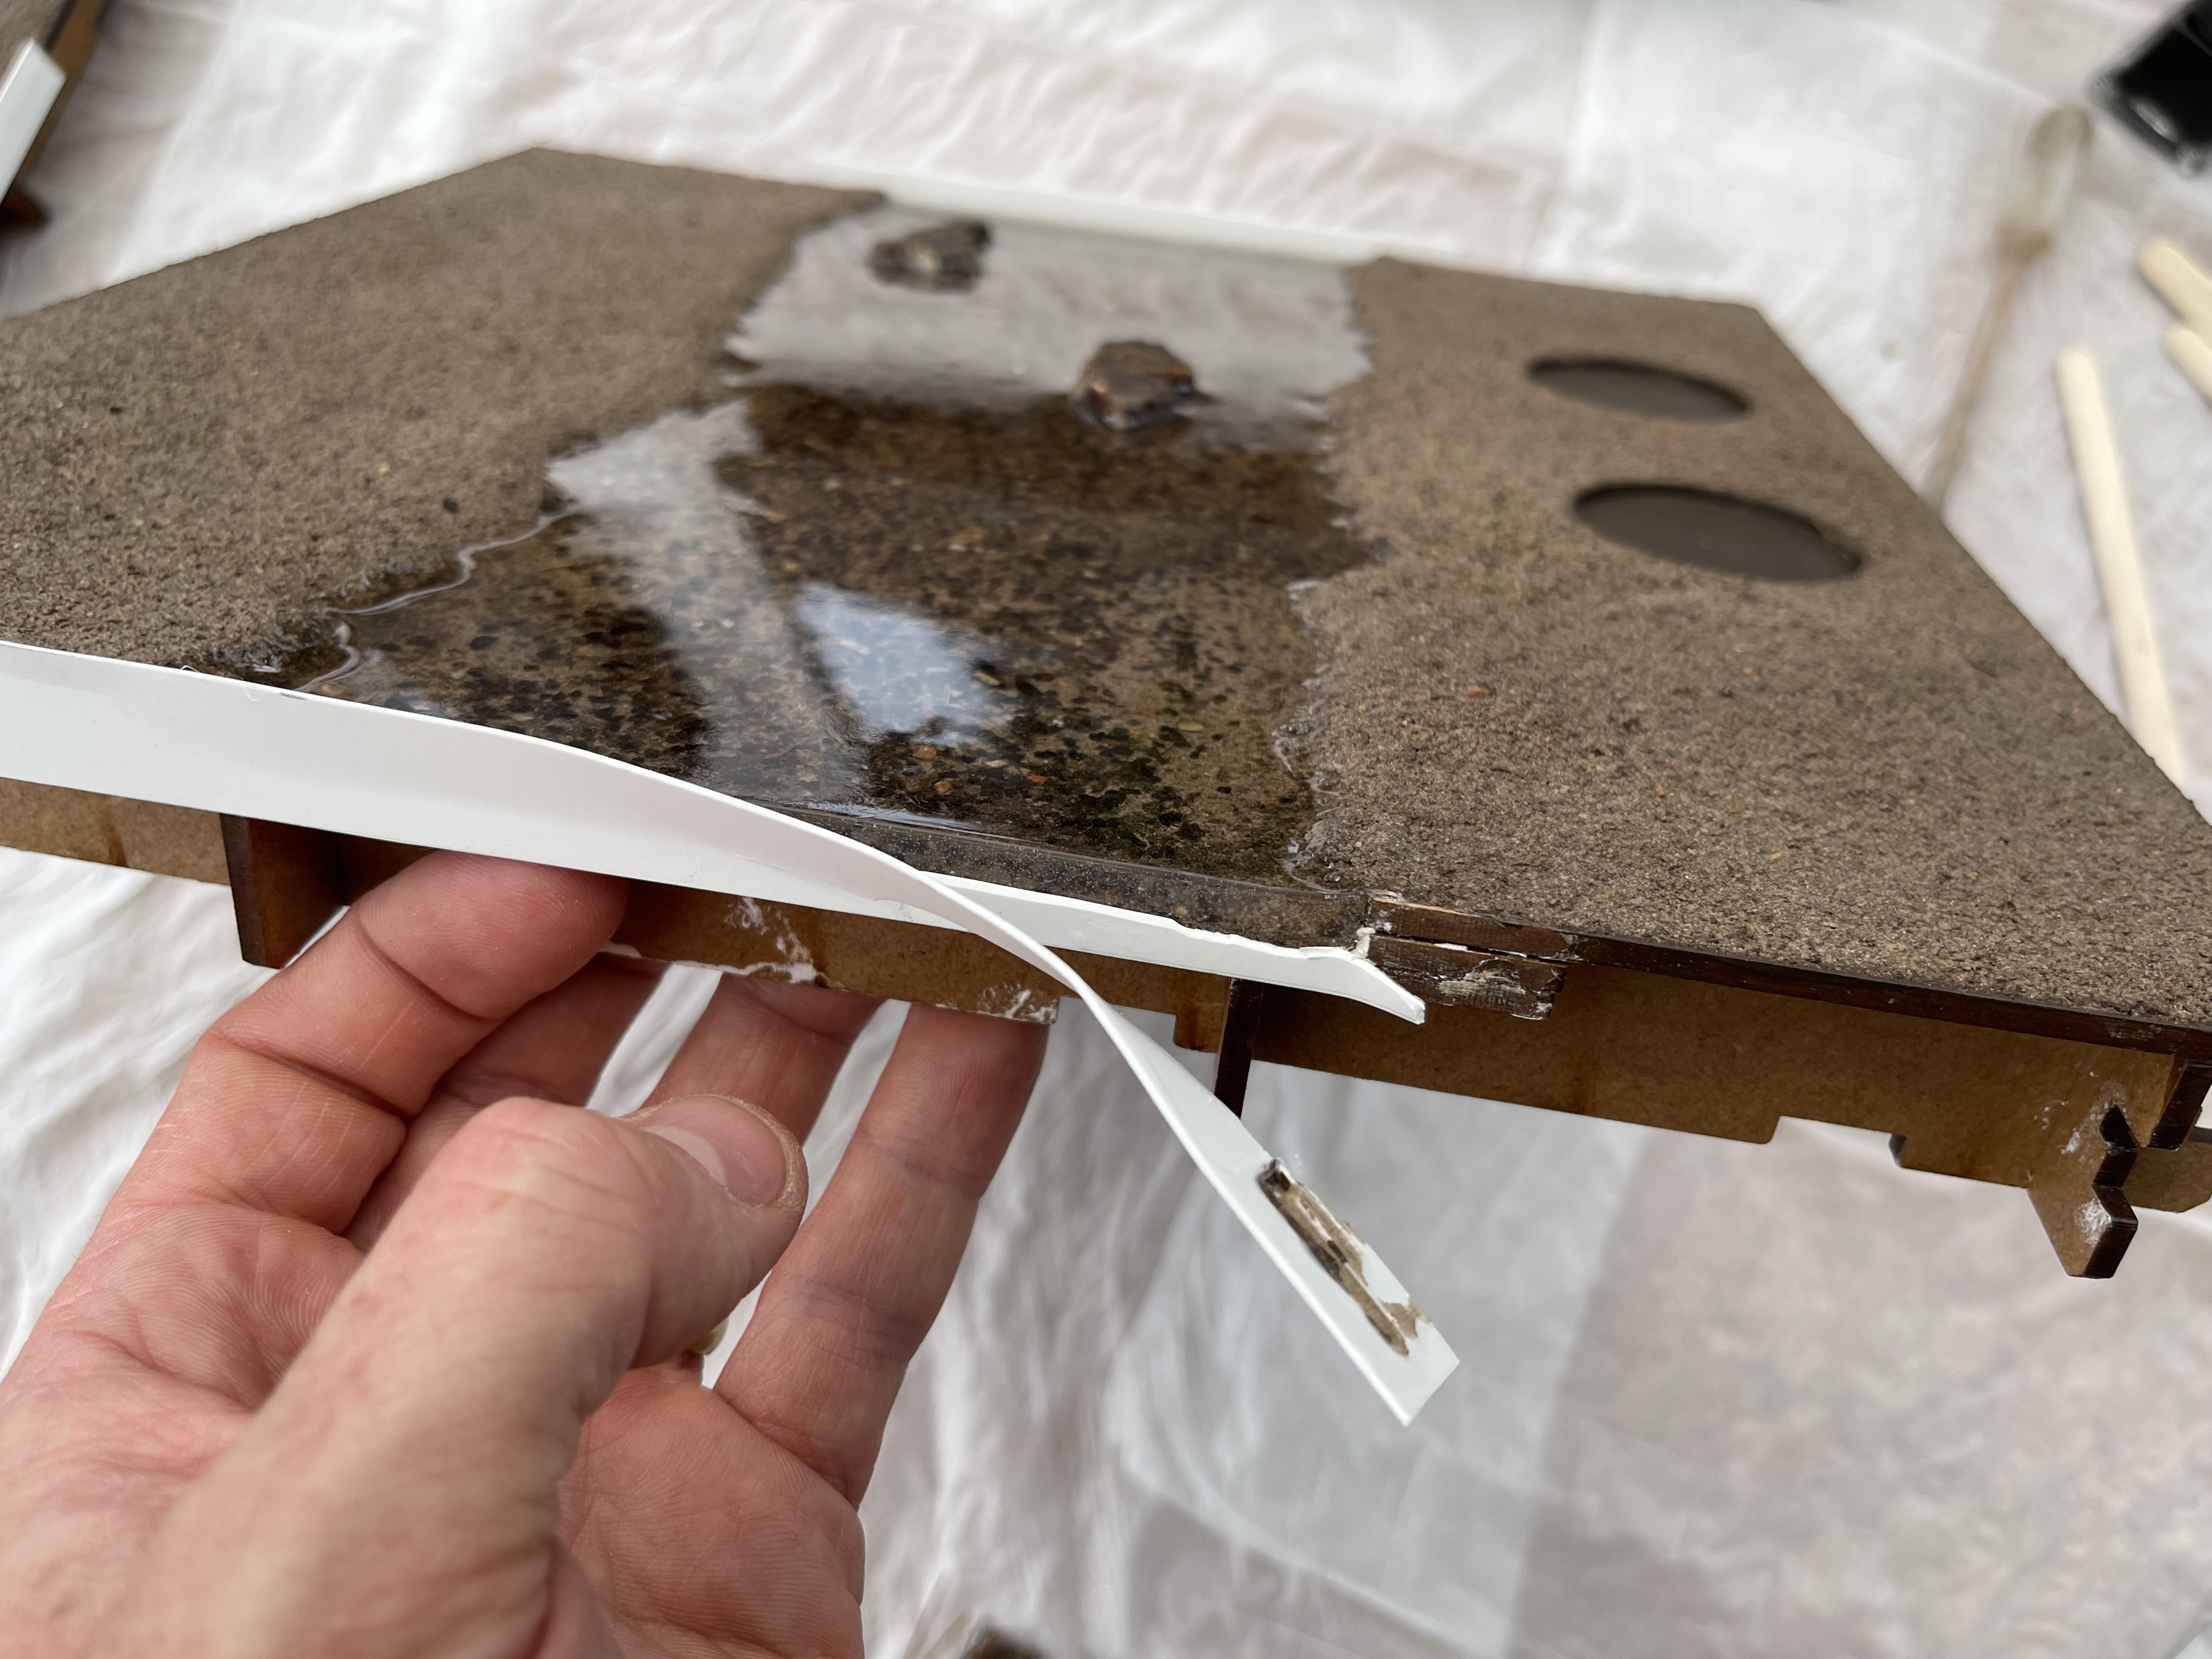
First I dammed the ends by using some plasticard and superglue. I intended this to be a temporary bond but clearly I should have used a different glue. that sucker is stuck hard to it now! Nothing a knife and some brown paint won’t fix later though.
Important to mention that I made sure the table was perfectly flat using a spirit level before working on this. the last time I did resin pouring (see Star Wars project) I didn’t and it was a tad lopsided.
snow look test
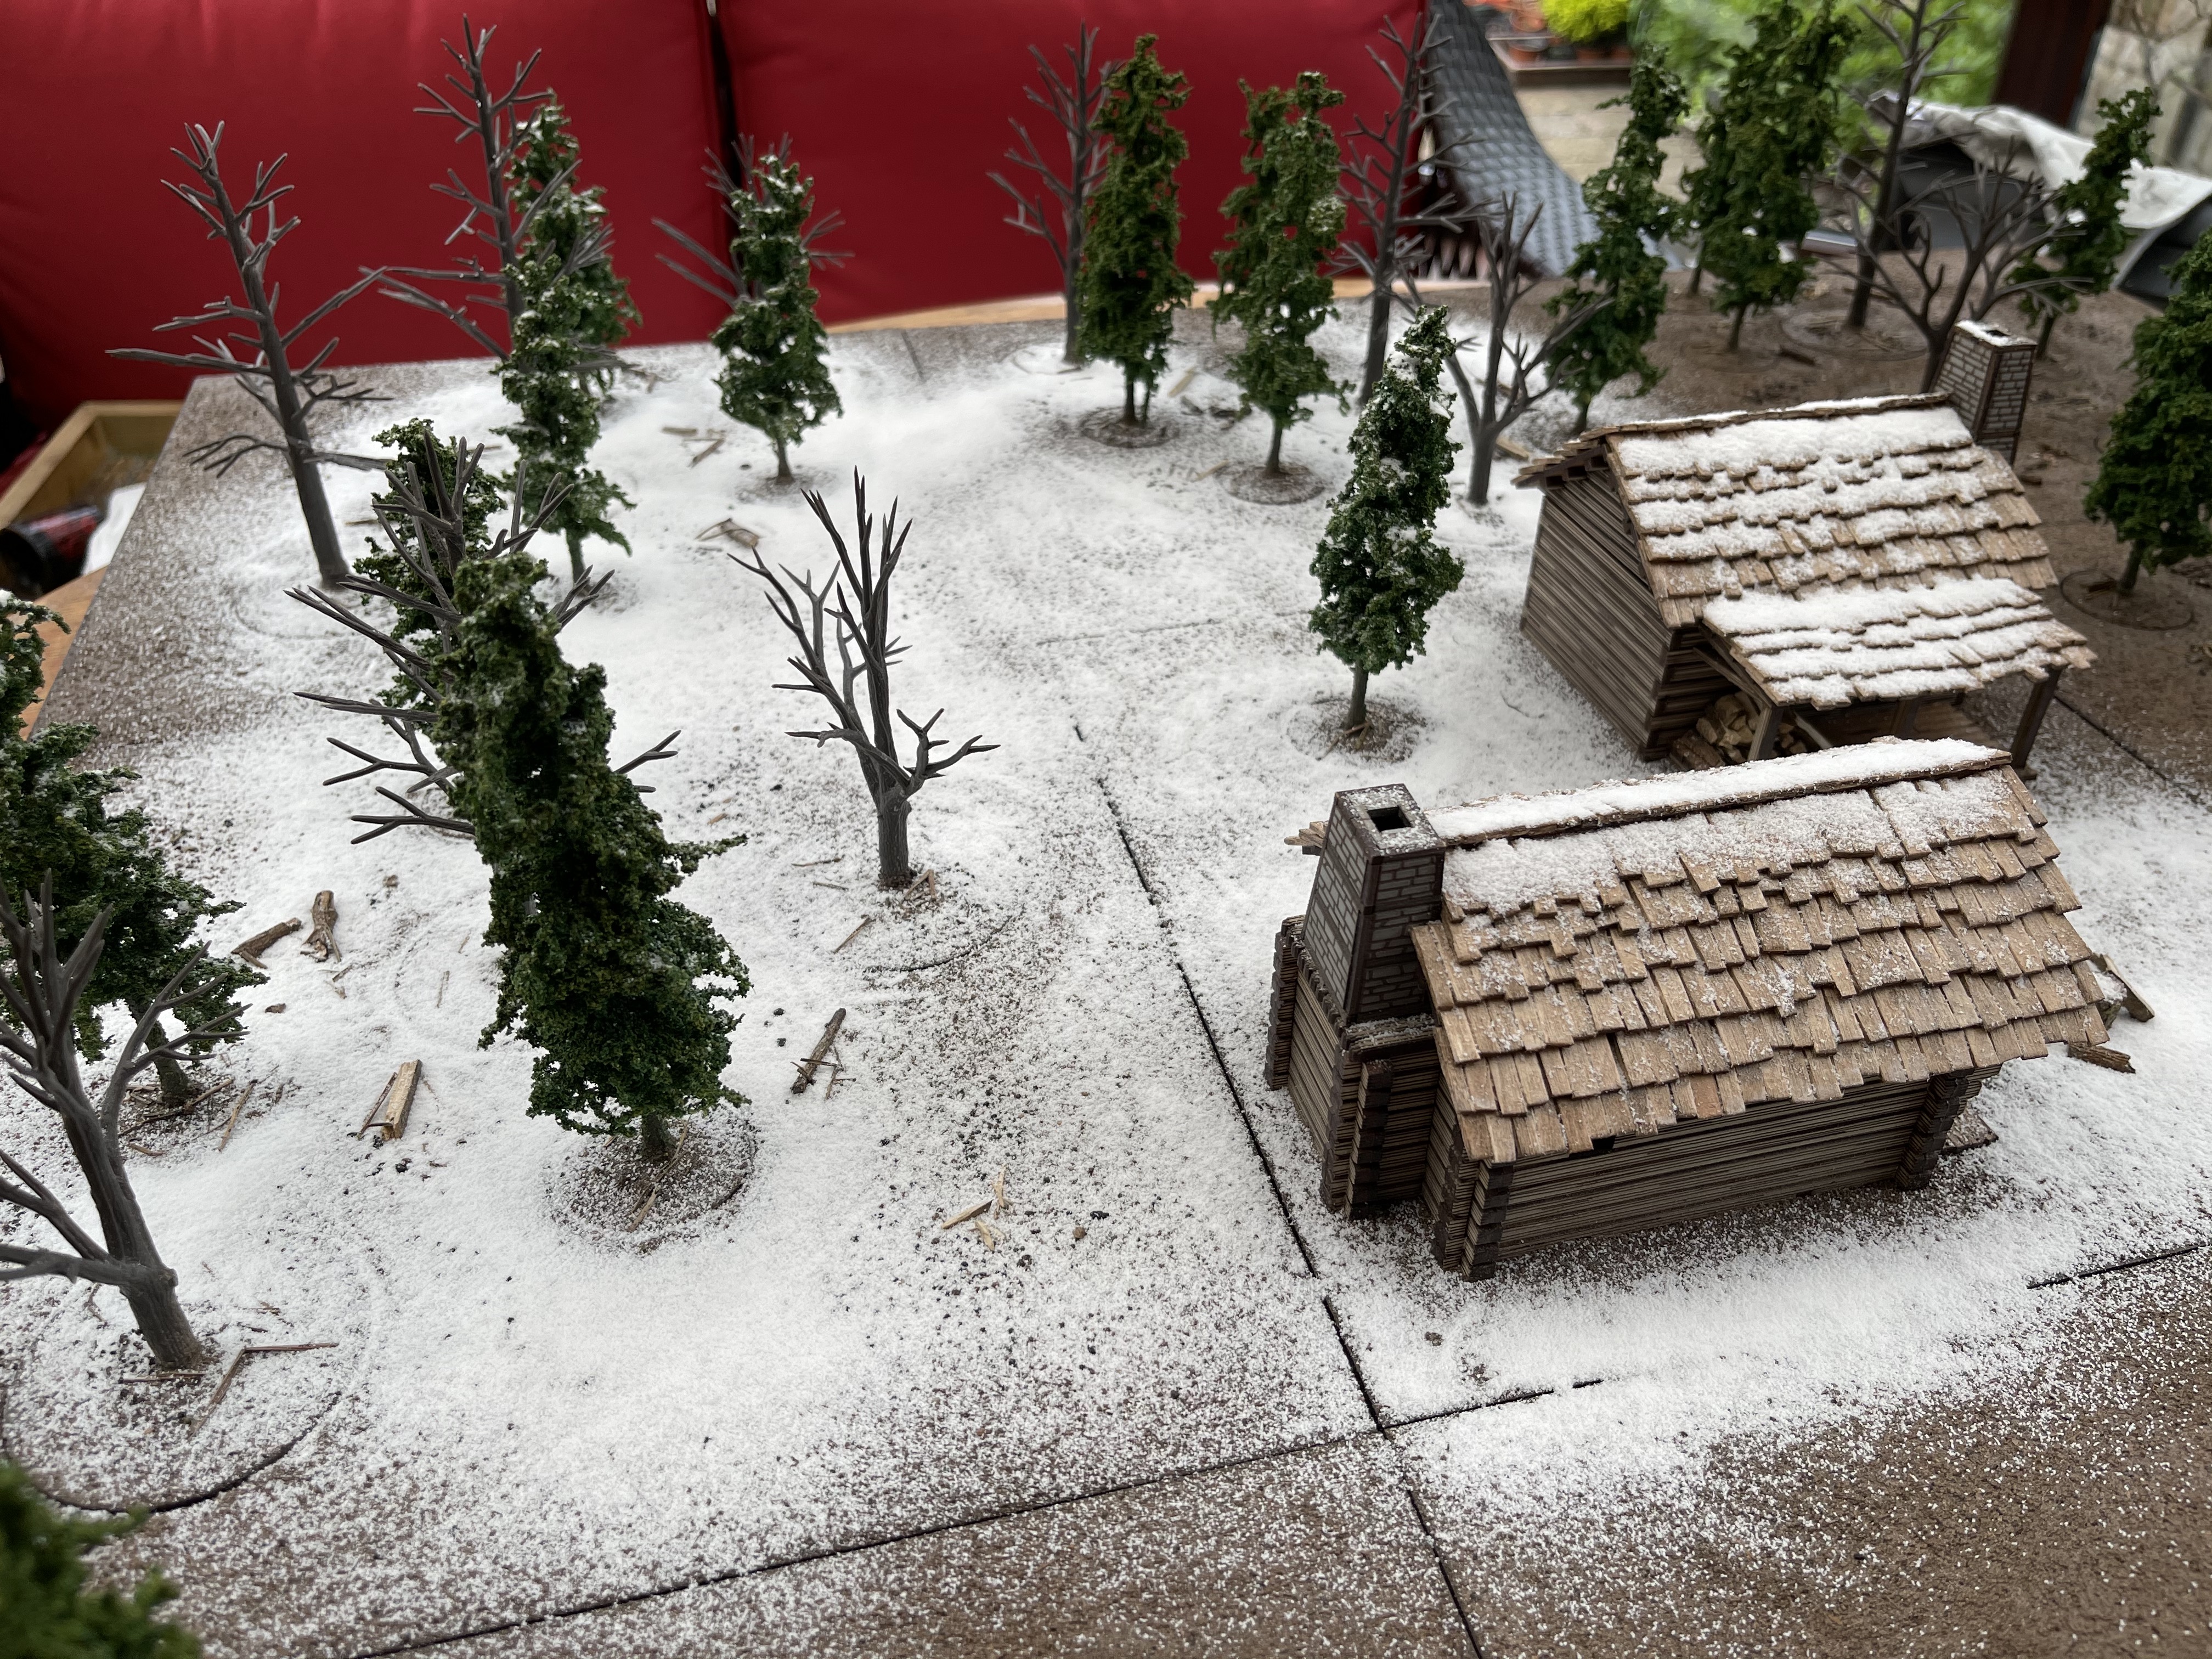
 note the light snow inside the tree
In the last week I couldn’t bring myself to make any more trees….thats a long process so instead I played with snow flock to see whether I should bother putting green down on the base boards first.
I think I’ll go for the lightly snowed effect rather than really deep heavy snow as it will make it more versatile in the future… and if I change my mind I can always add more snow later anyway.
what that means is I will need to make bushes and other leaf litter to go down before the snow effect. not an issue!
Back to the tree making game...
 All dried and looking good! now back to making more fir trees
Lessons Learned
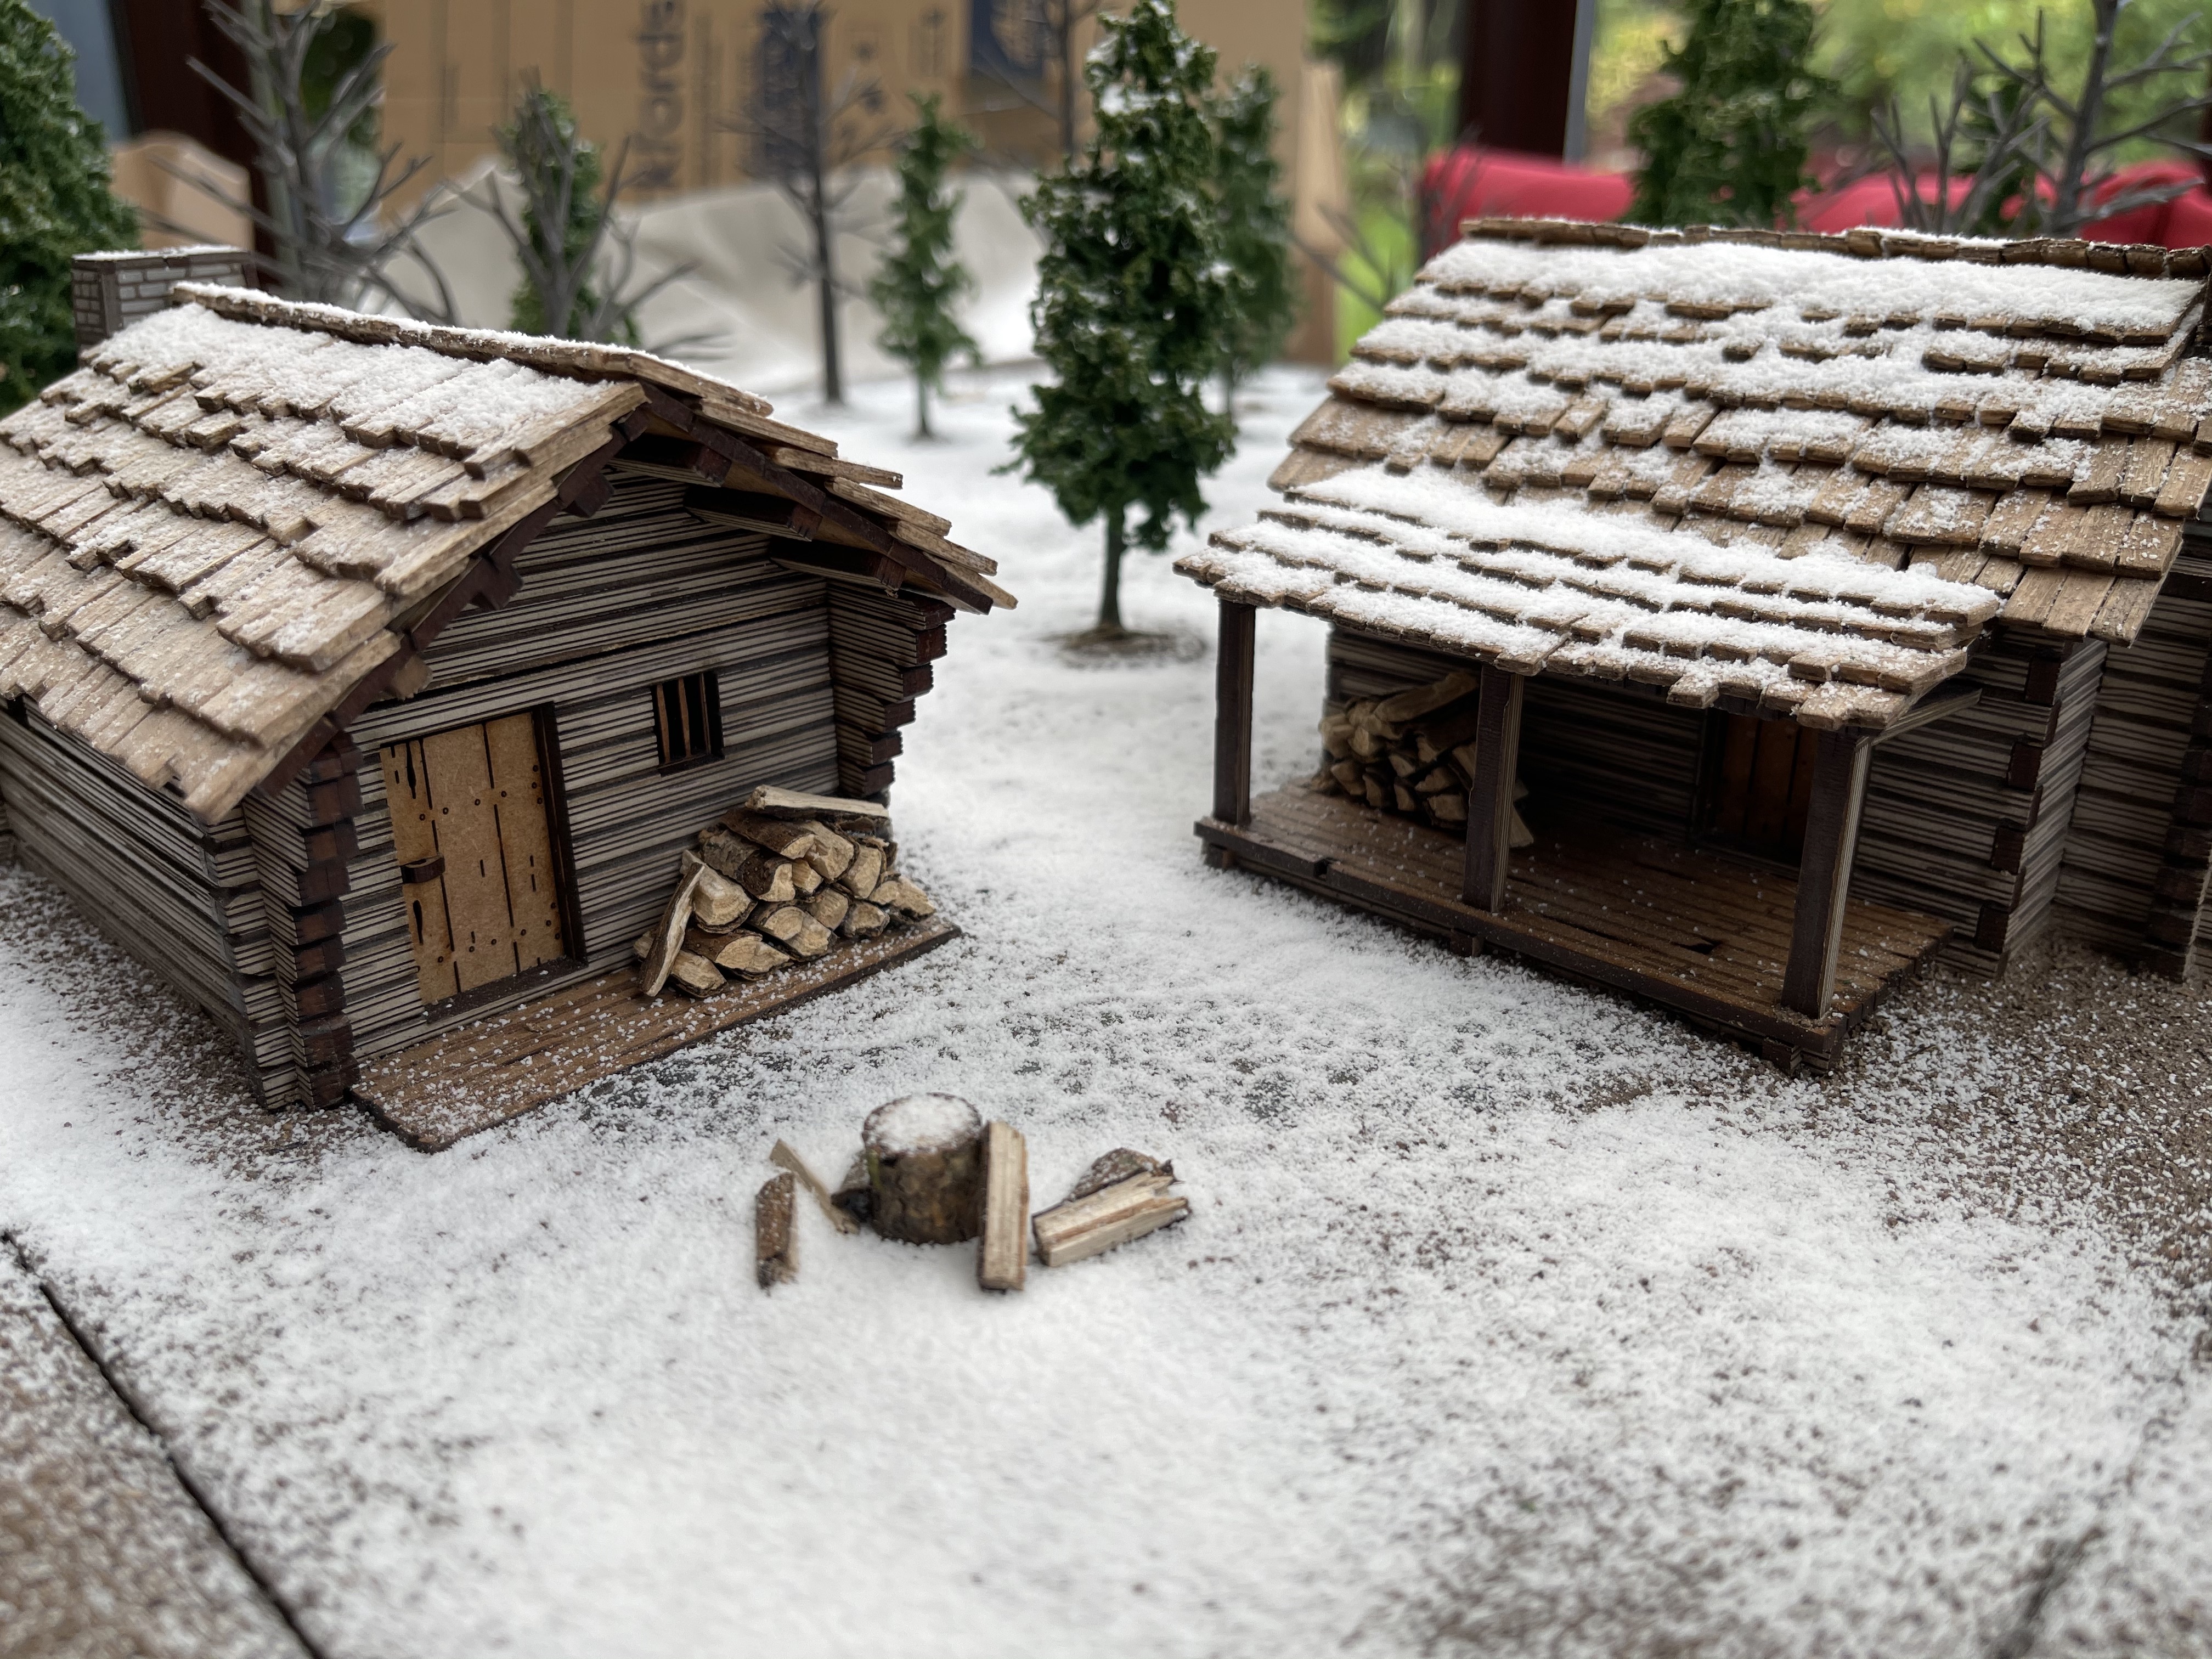
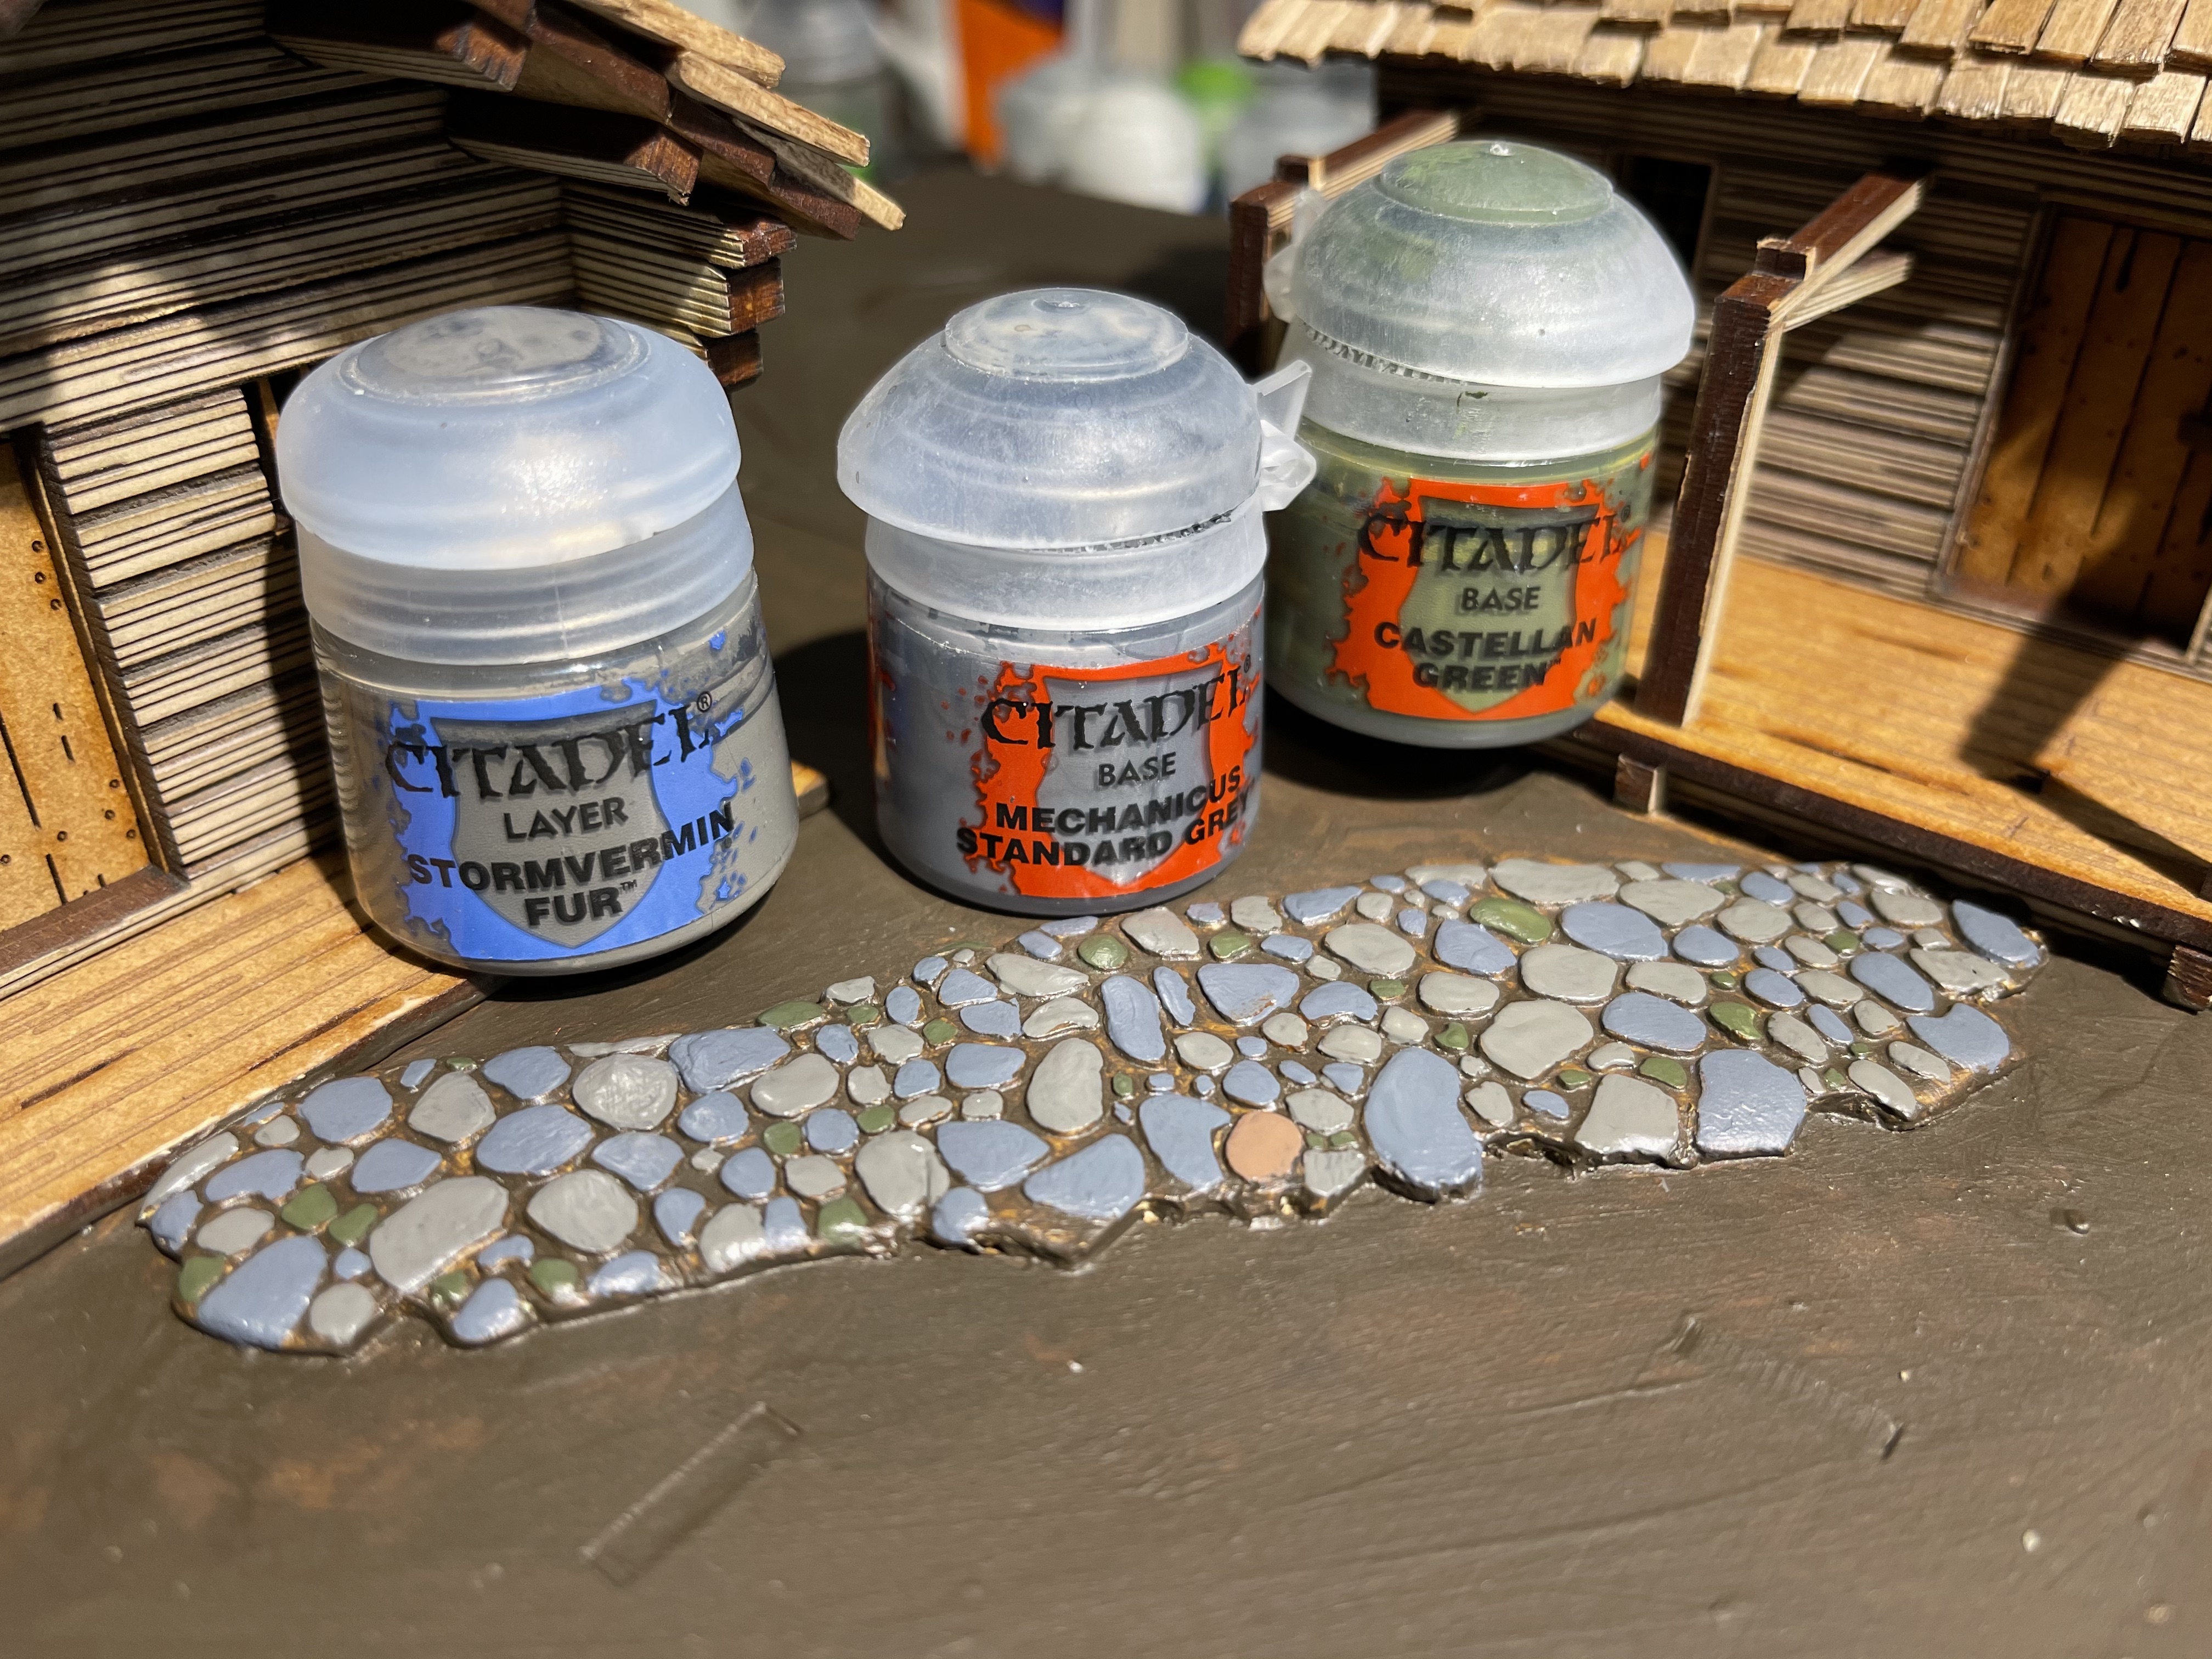
 amazing cobblestone and wood chopping block, very happy with this
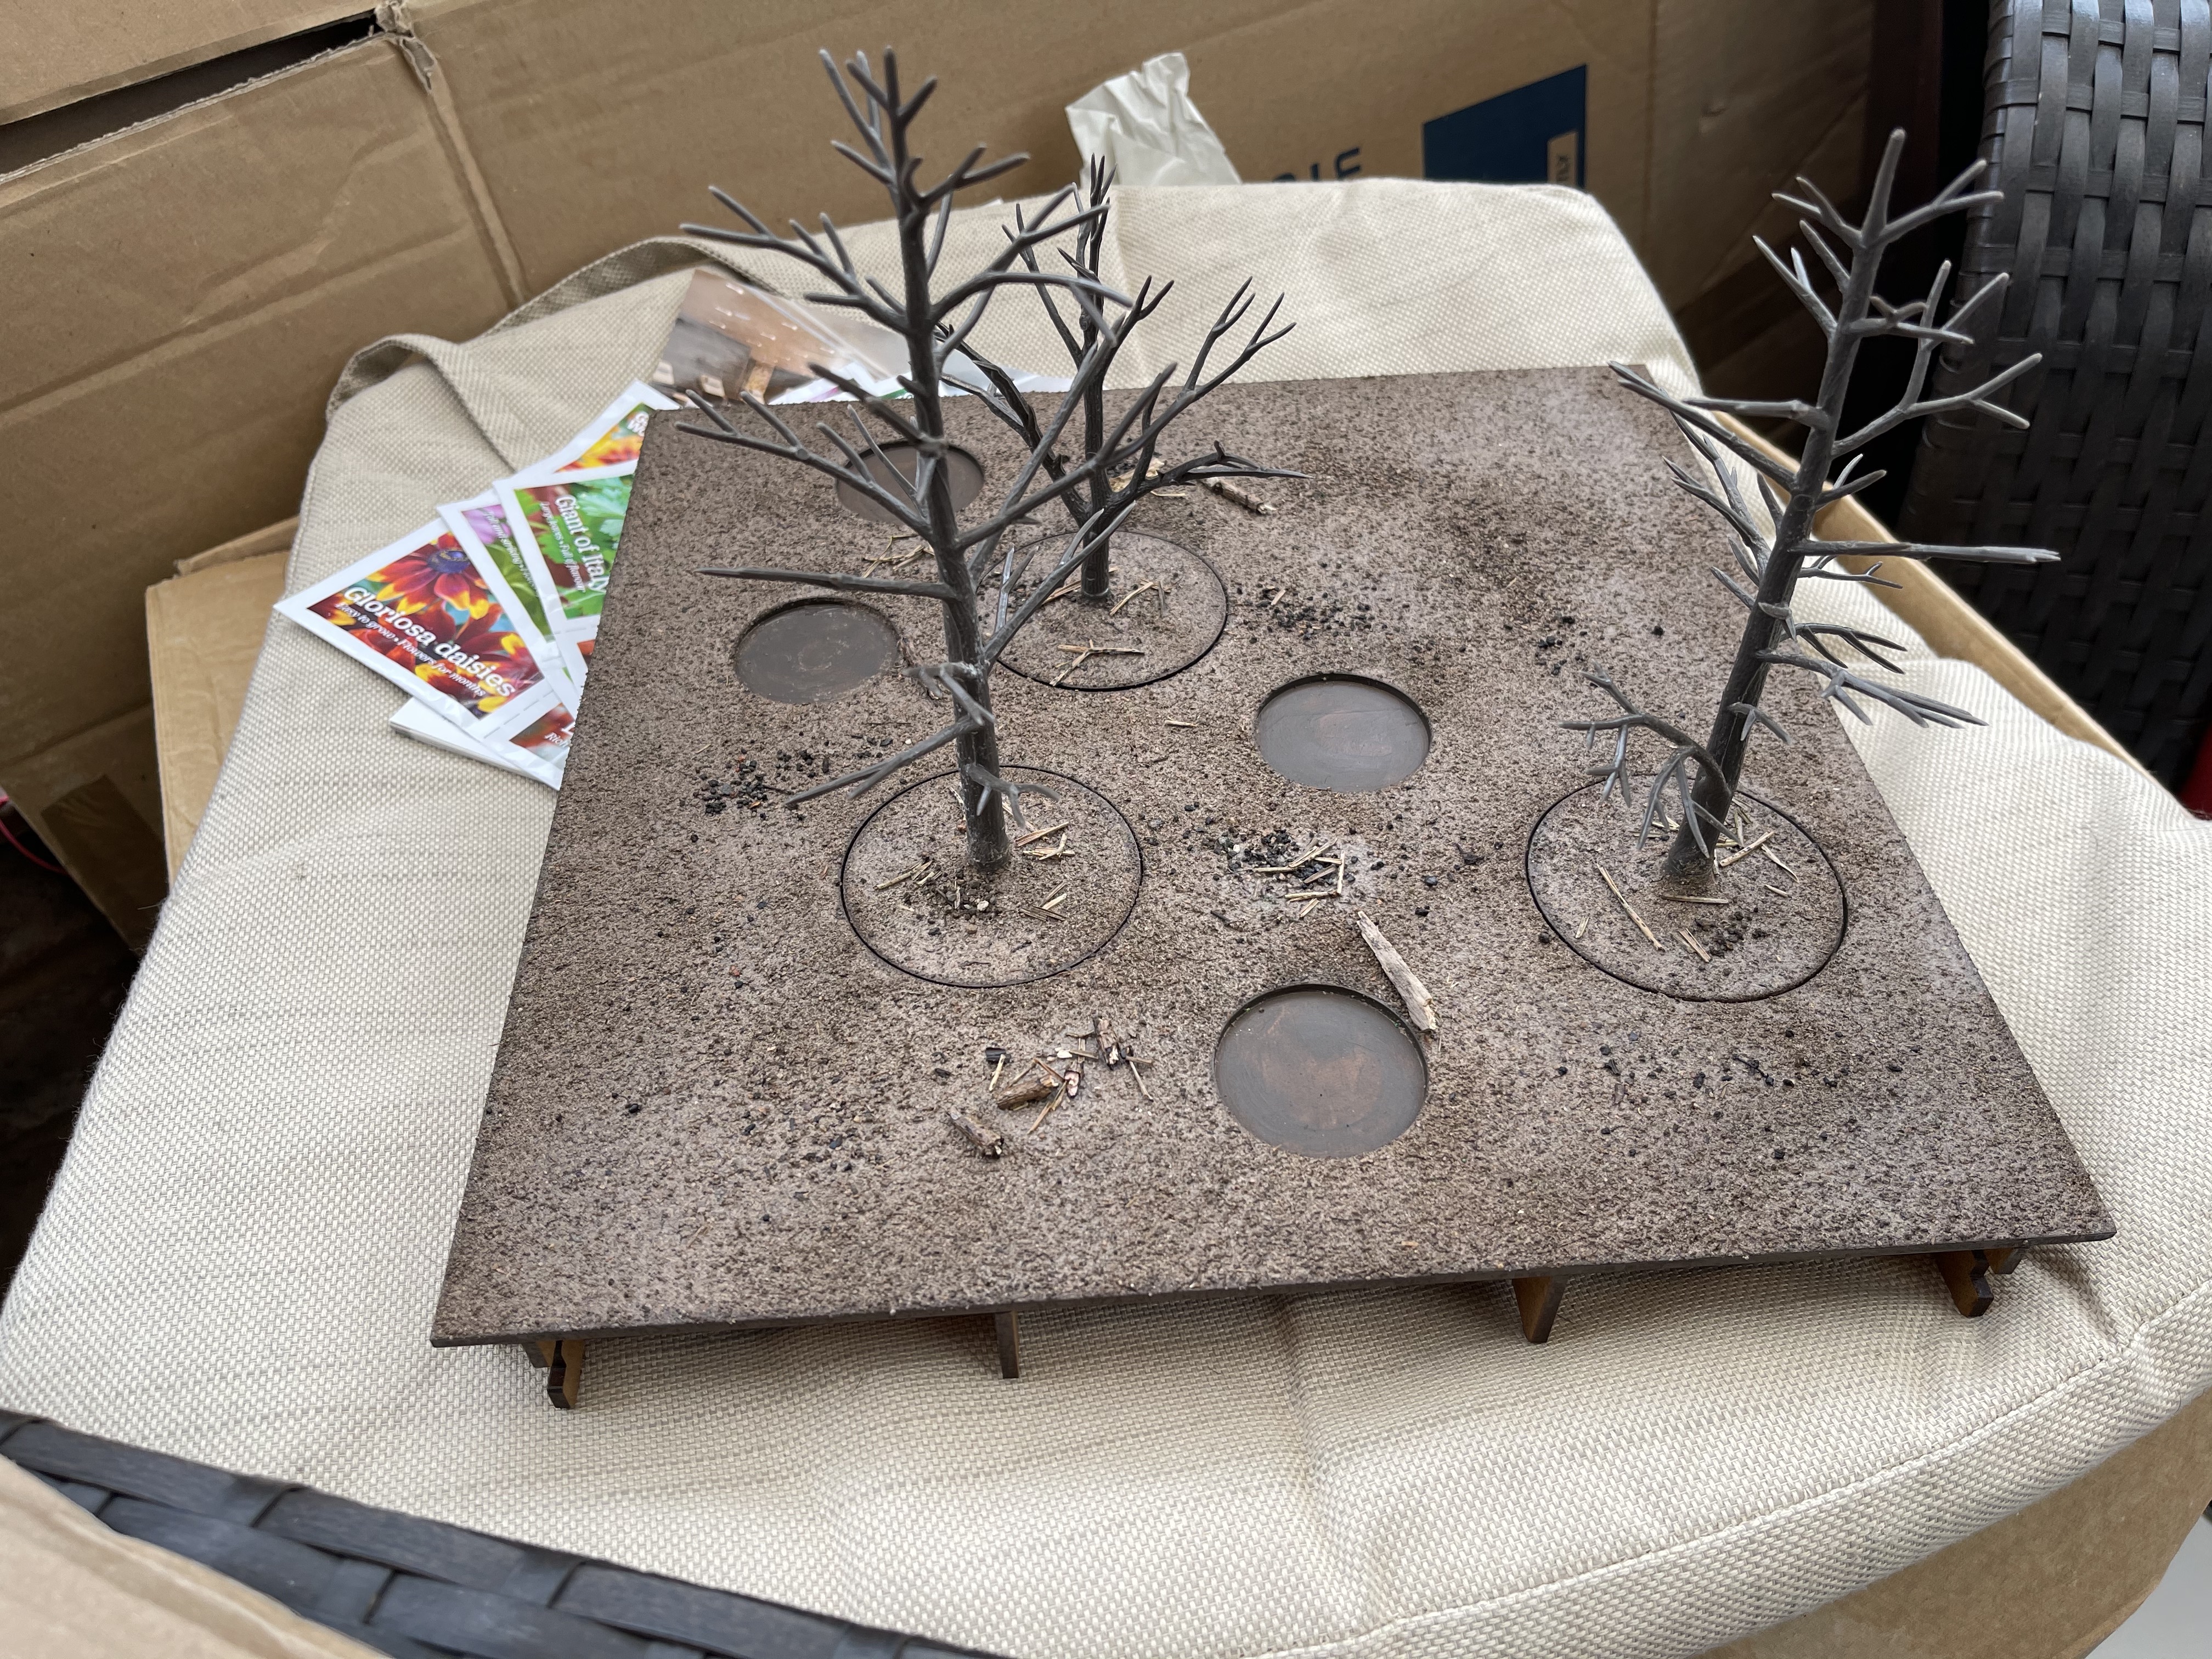 the forest/woodland tiles get the soil treatment
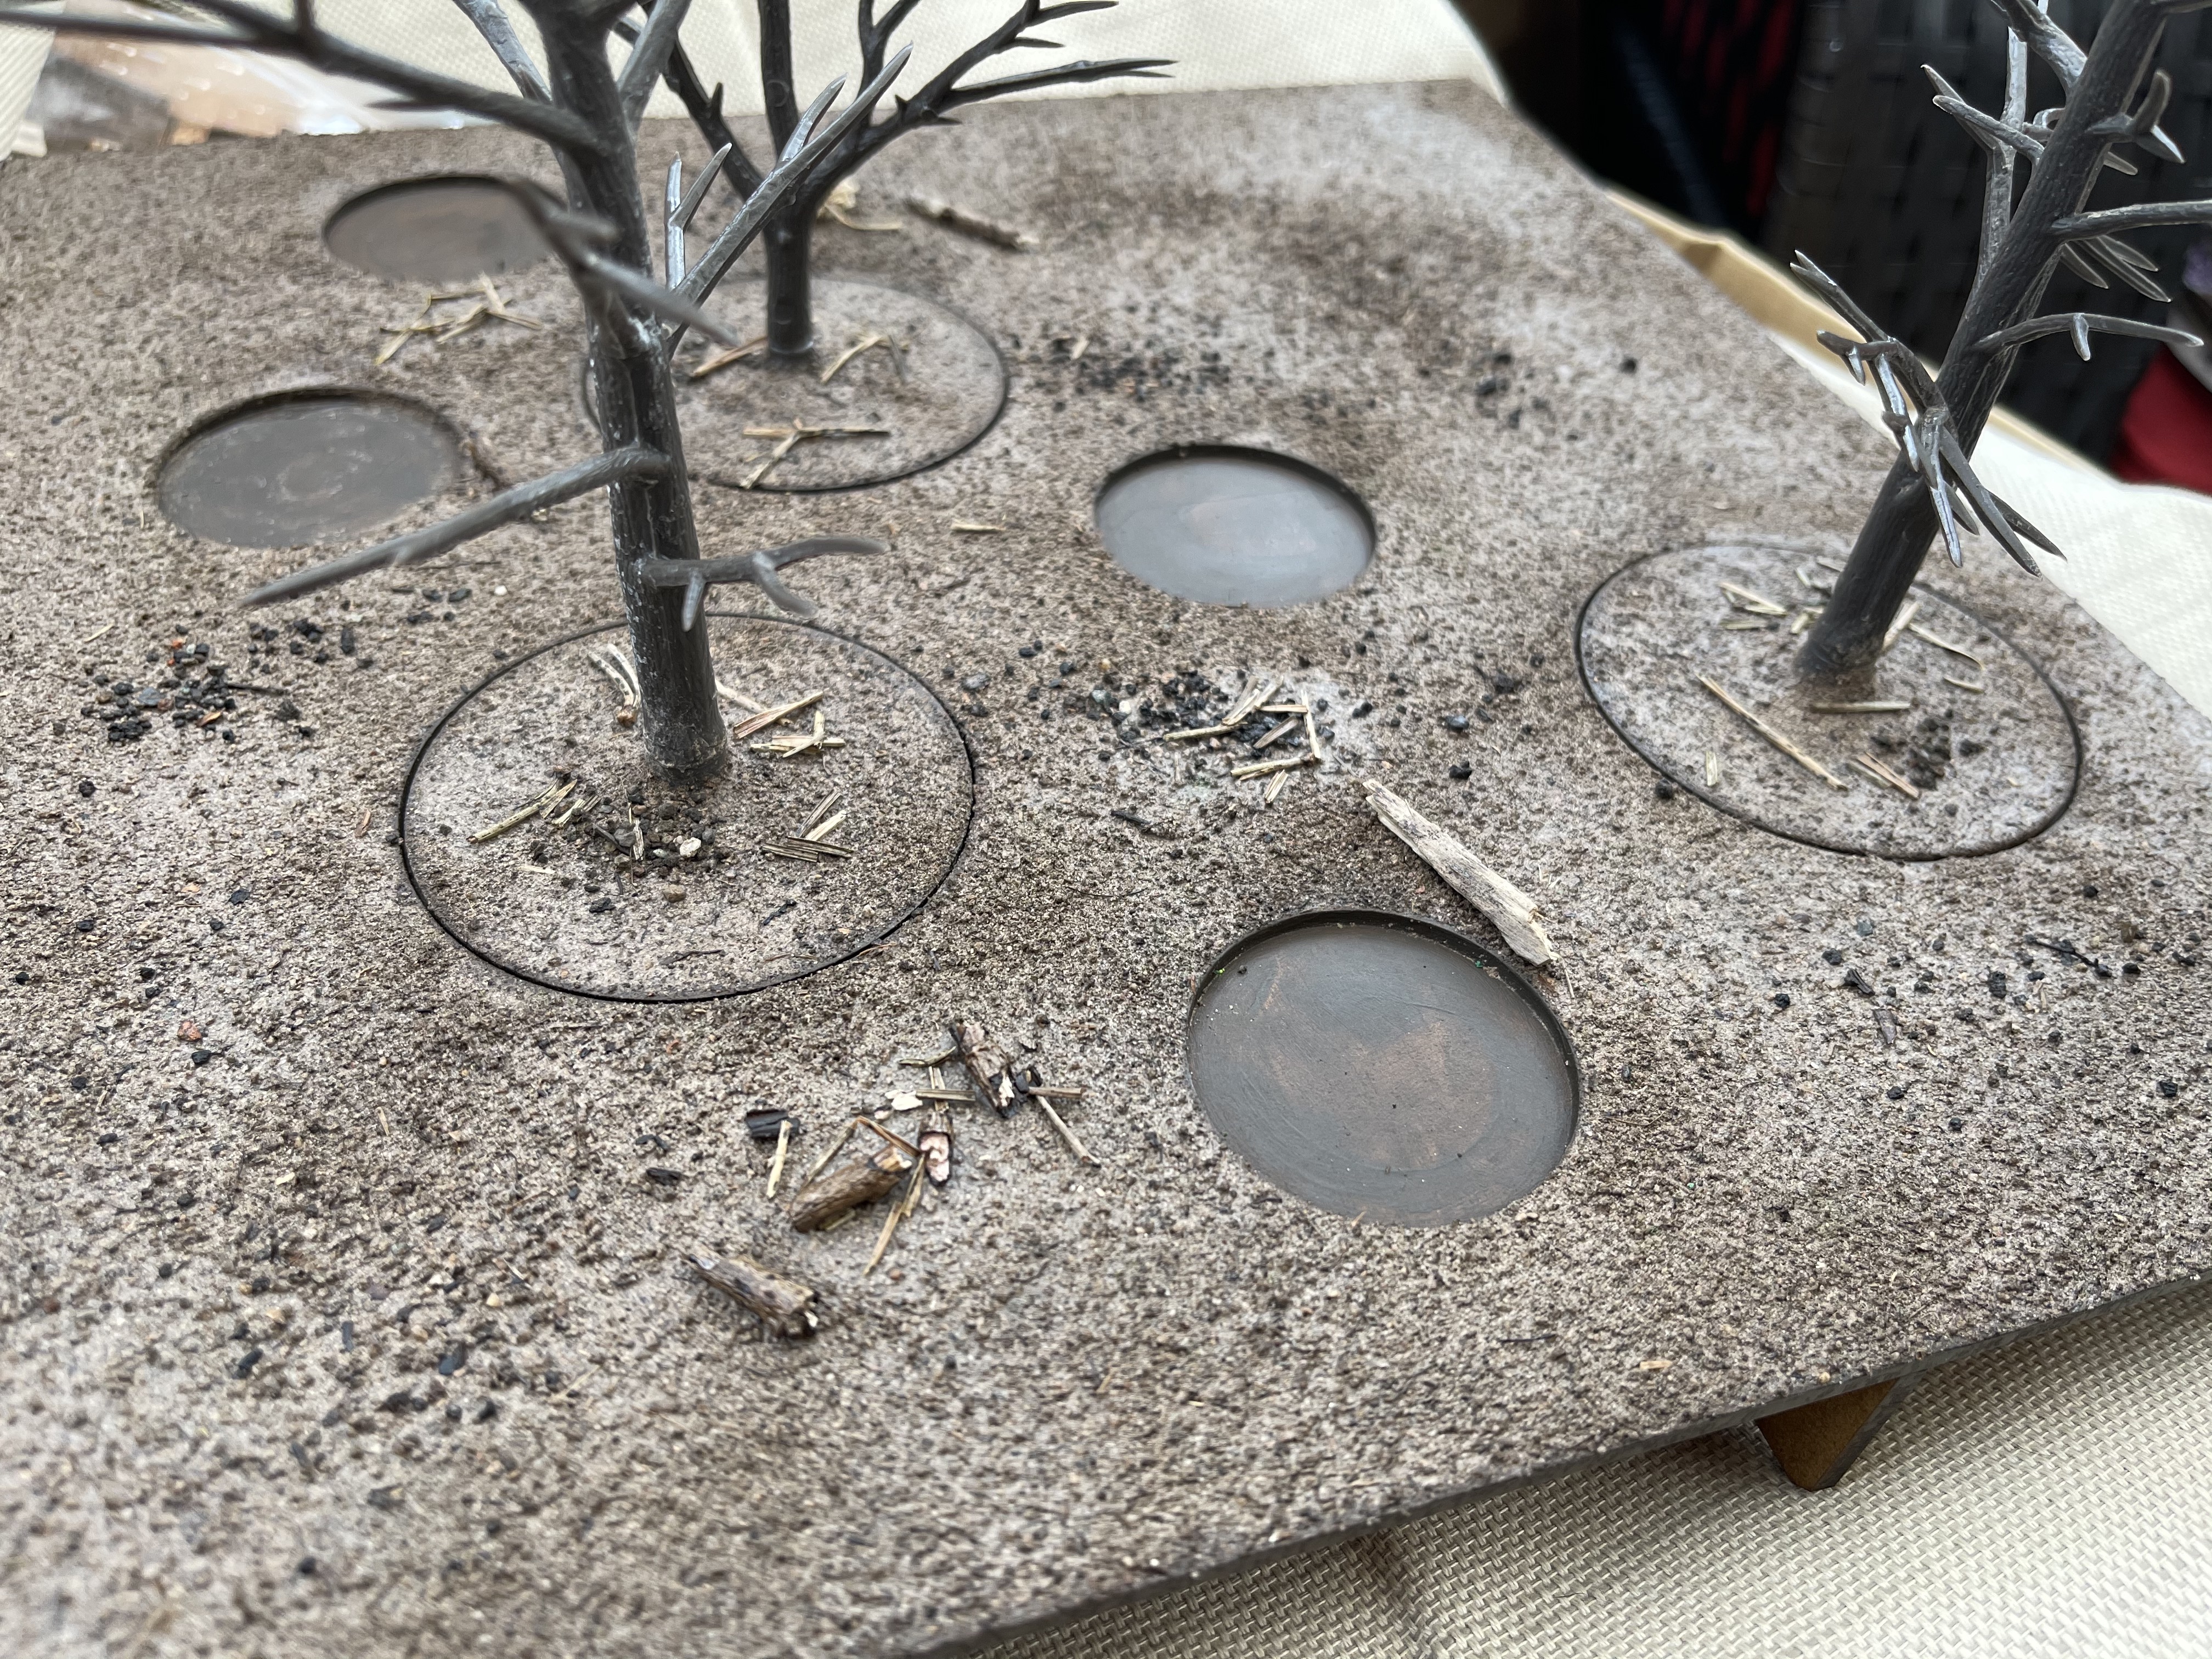 matchy matchy
And this is where it all went a bit awry…
 no matchy matchy
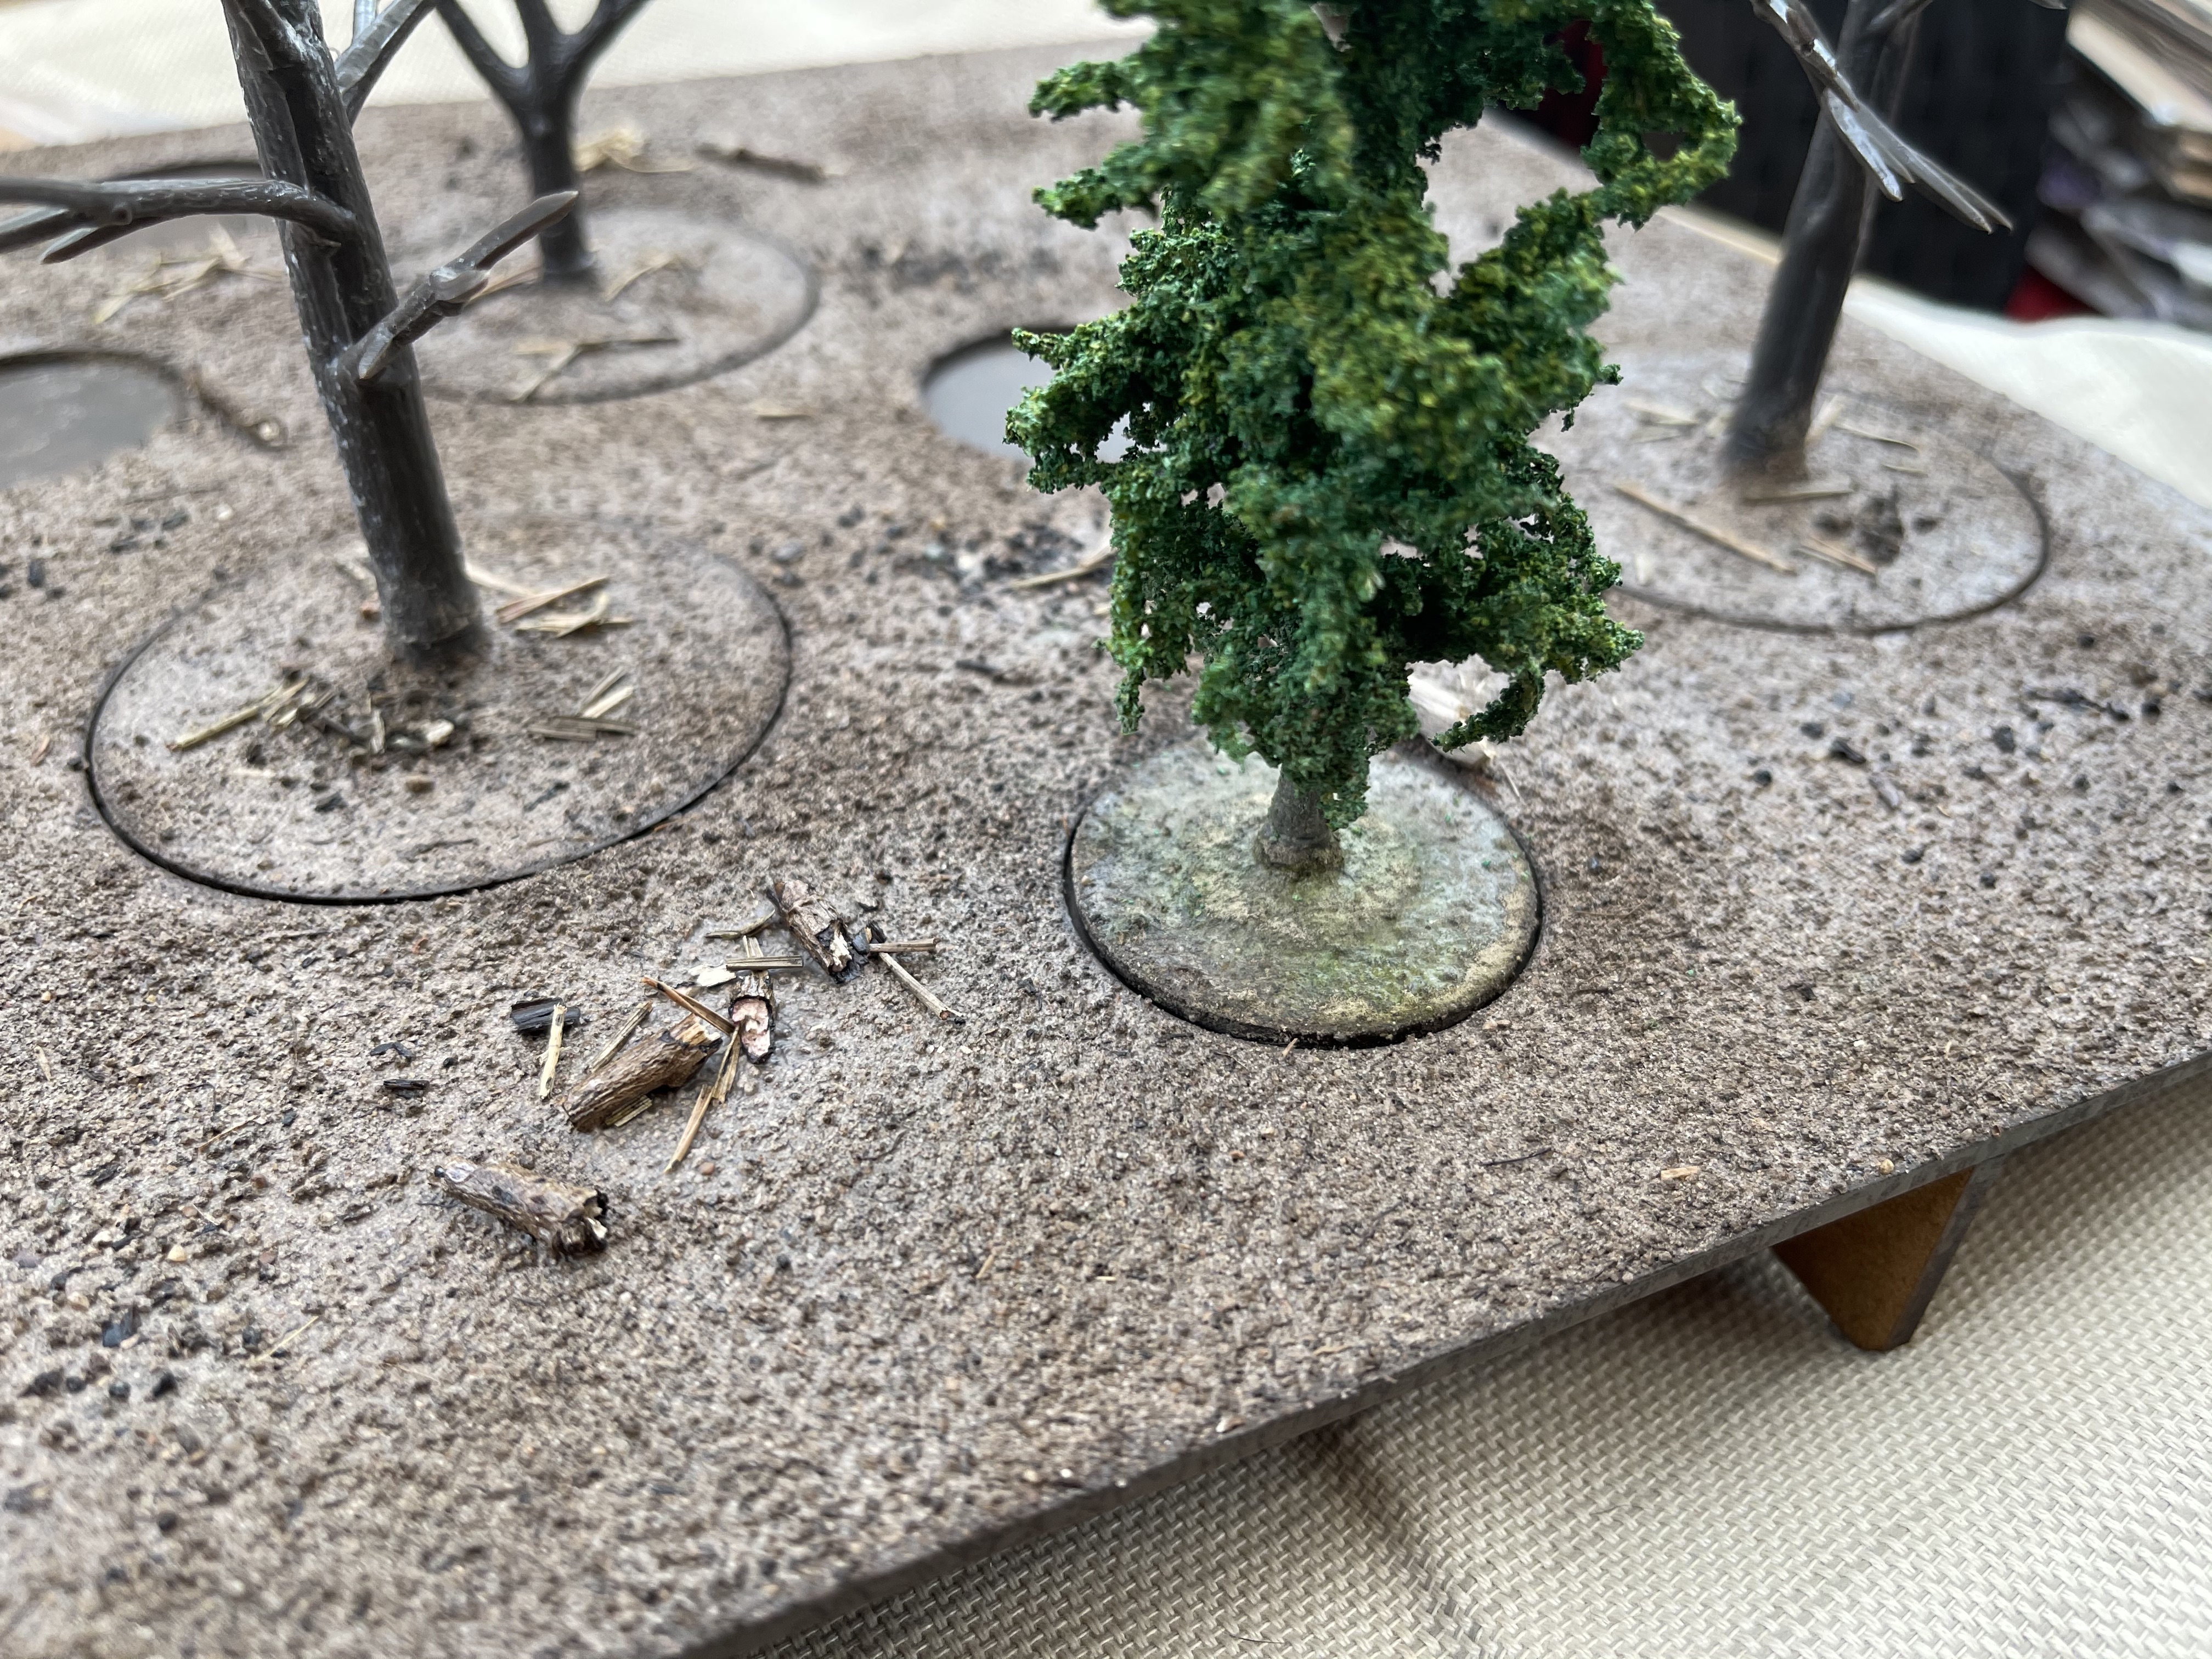
I used a different technique to seal the bottom of the green fir trees (because the foliage is not colour set!) from the tiles.
the tiles and barren trees were spray bottle sealed where as the fir trees were pipetted and effectively flooded.
this lead to green ink soaking up, through, round and about.
It doesn’t mix in with the rest of the tiles so I have had to try and go back and rectify it using the normal PVA, Soil/Grout, spray seal. but this time being super careful on the overspray so not to reactivate the foliage.
The forest litter on the floor of the tile is sticks cut up and broken into tiny chunks but also really long dead pine needles that have been crunched up and sprinkled about to look like fallen branches. Looks really effective as a middle ground between trunks and branches I feel.
Rainy Afternoon
I elected to redo the one river bottom, simple enough, sprinkle more small rocks and add more sealing varnish/glue mix
Then moved onto the hills and village tile.
So long as the 4ground building doesn’t get too tainted by the glue and varnish mix (am concerned about the shingles but they have been spray varnished to be fair) I am going to be really happy with the little scene I’ve got going on there and how I’ve managed to blend in the footpath.
spot the deliberate mistake
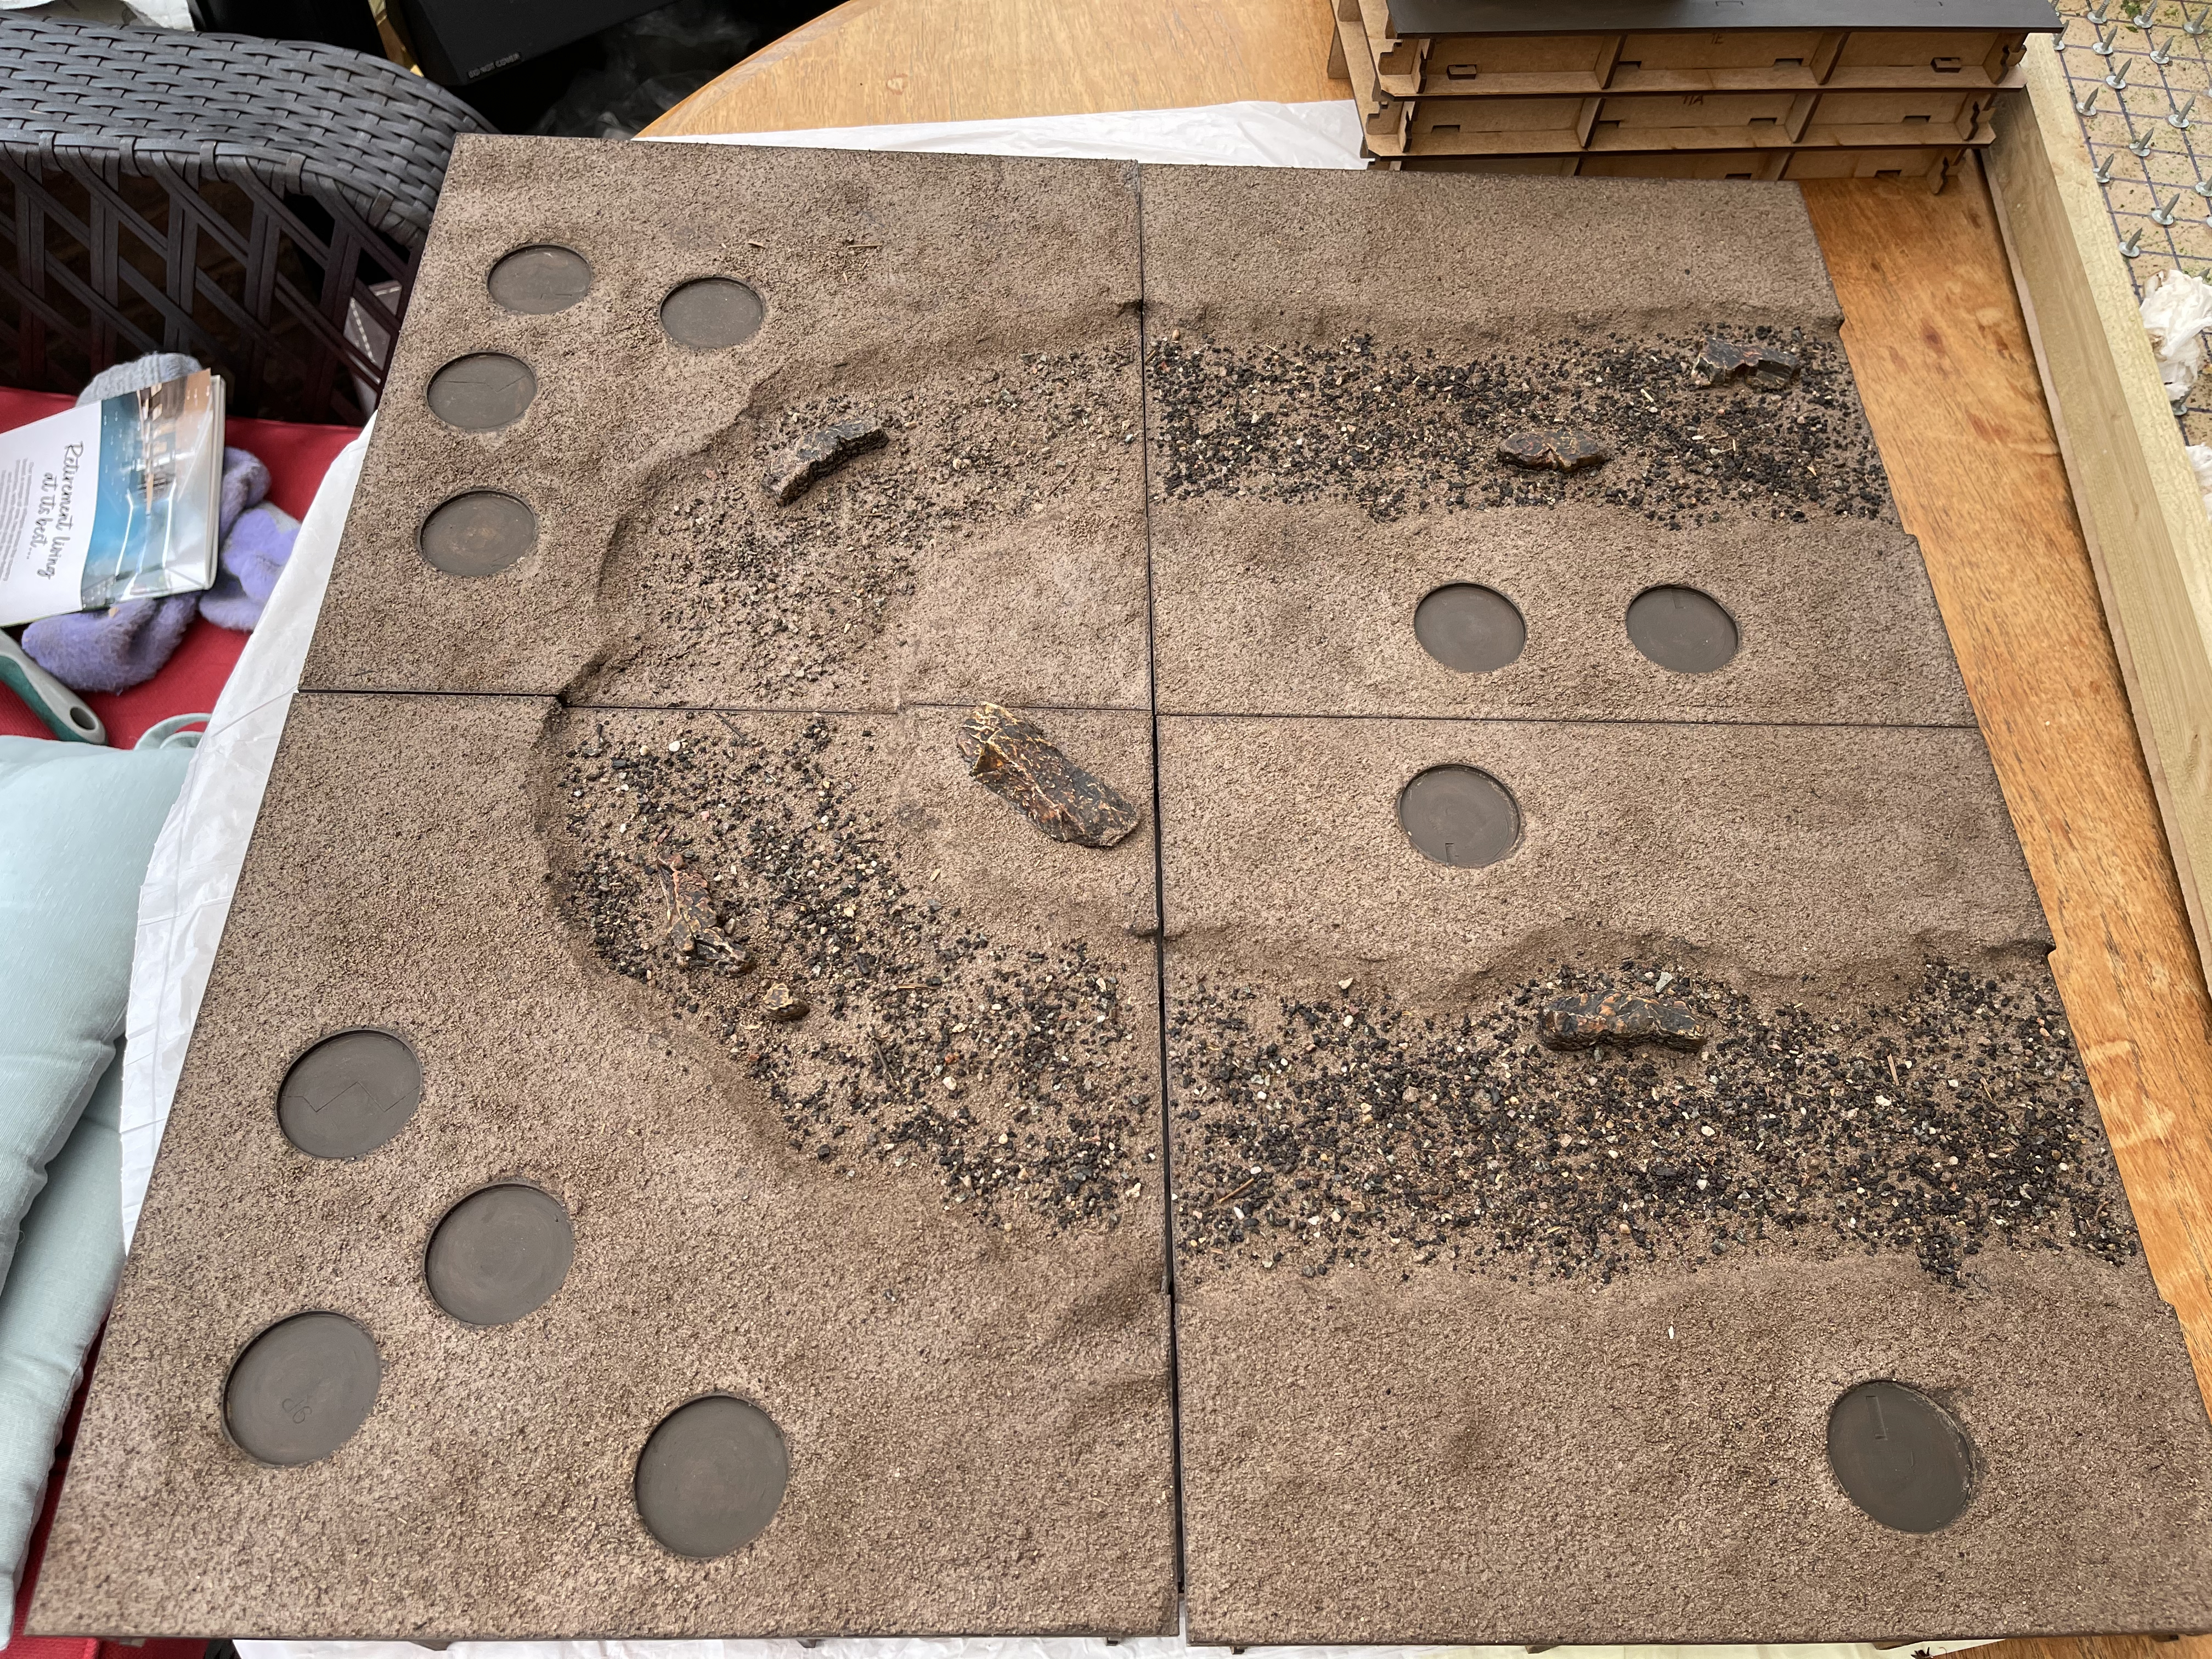 can you spot the wholly deliberate mistake??
Did you spot it?
Top left… the river bed looks different doesn’t it.
What did I do differently without thinking?
I laid down the river bed rocks/pebbles before sieving the grout on where as the other 3 the river bed was all added afterwards. this means that the 3 river beds are crisp and highly coloured but the top left one is muted and dusty, which it wouldn’t look under the water… the dust settles or gets washed away.
I shall mull over whether I want to fix it now or not.
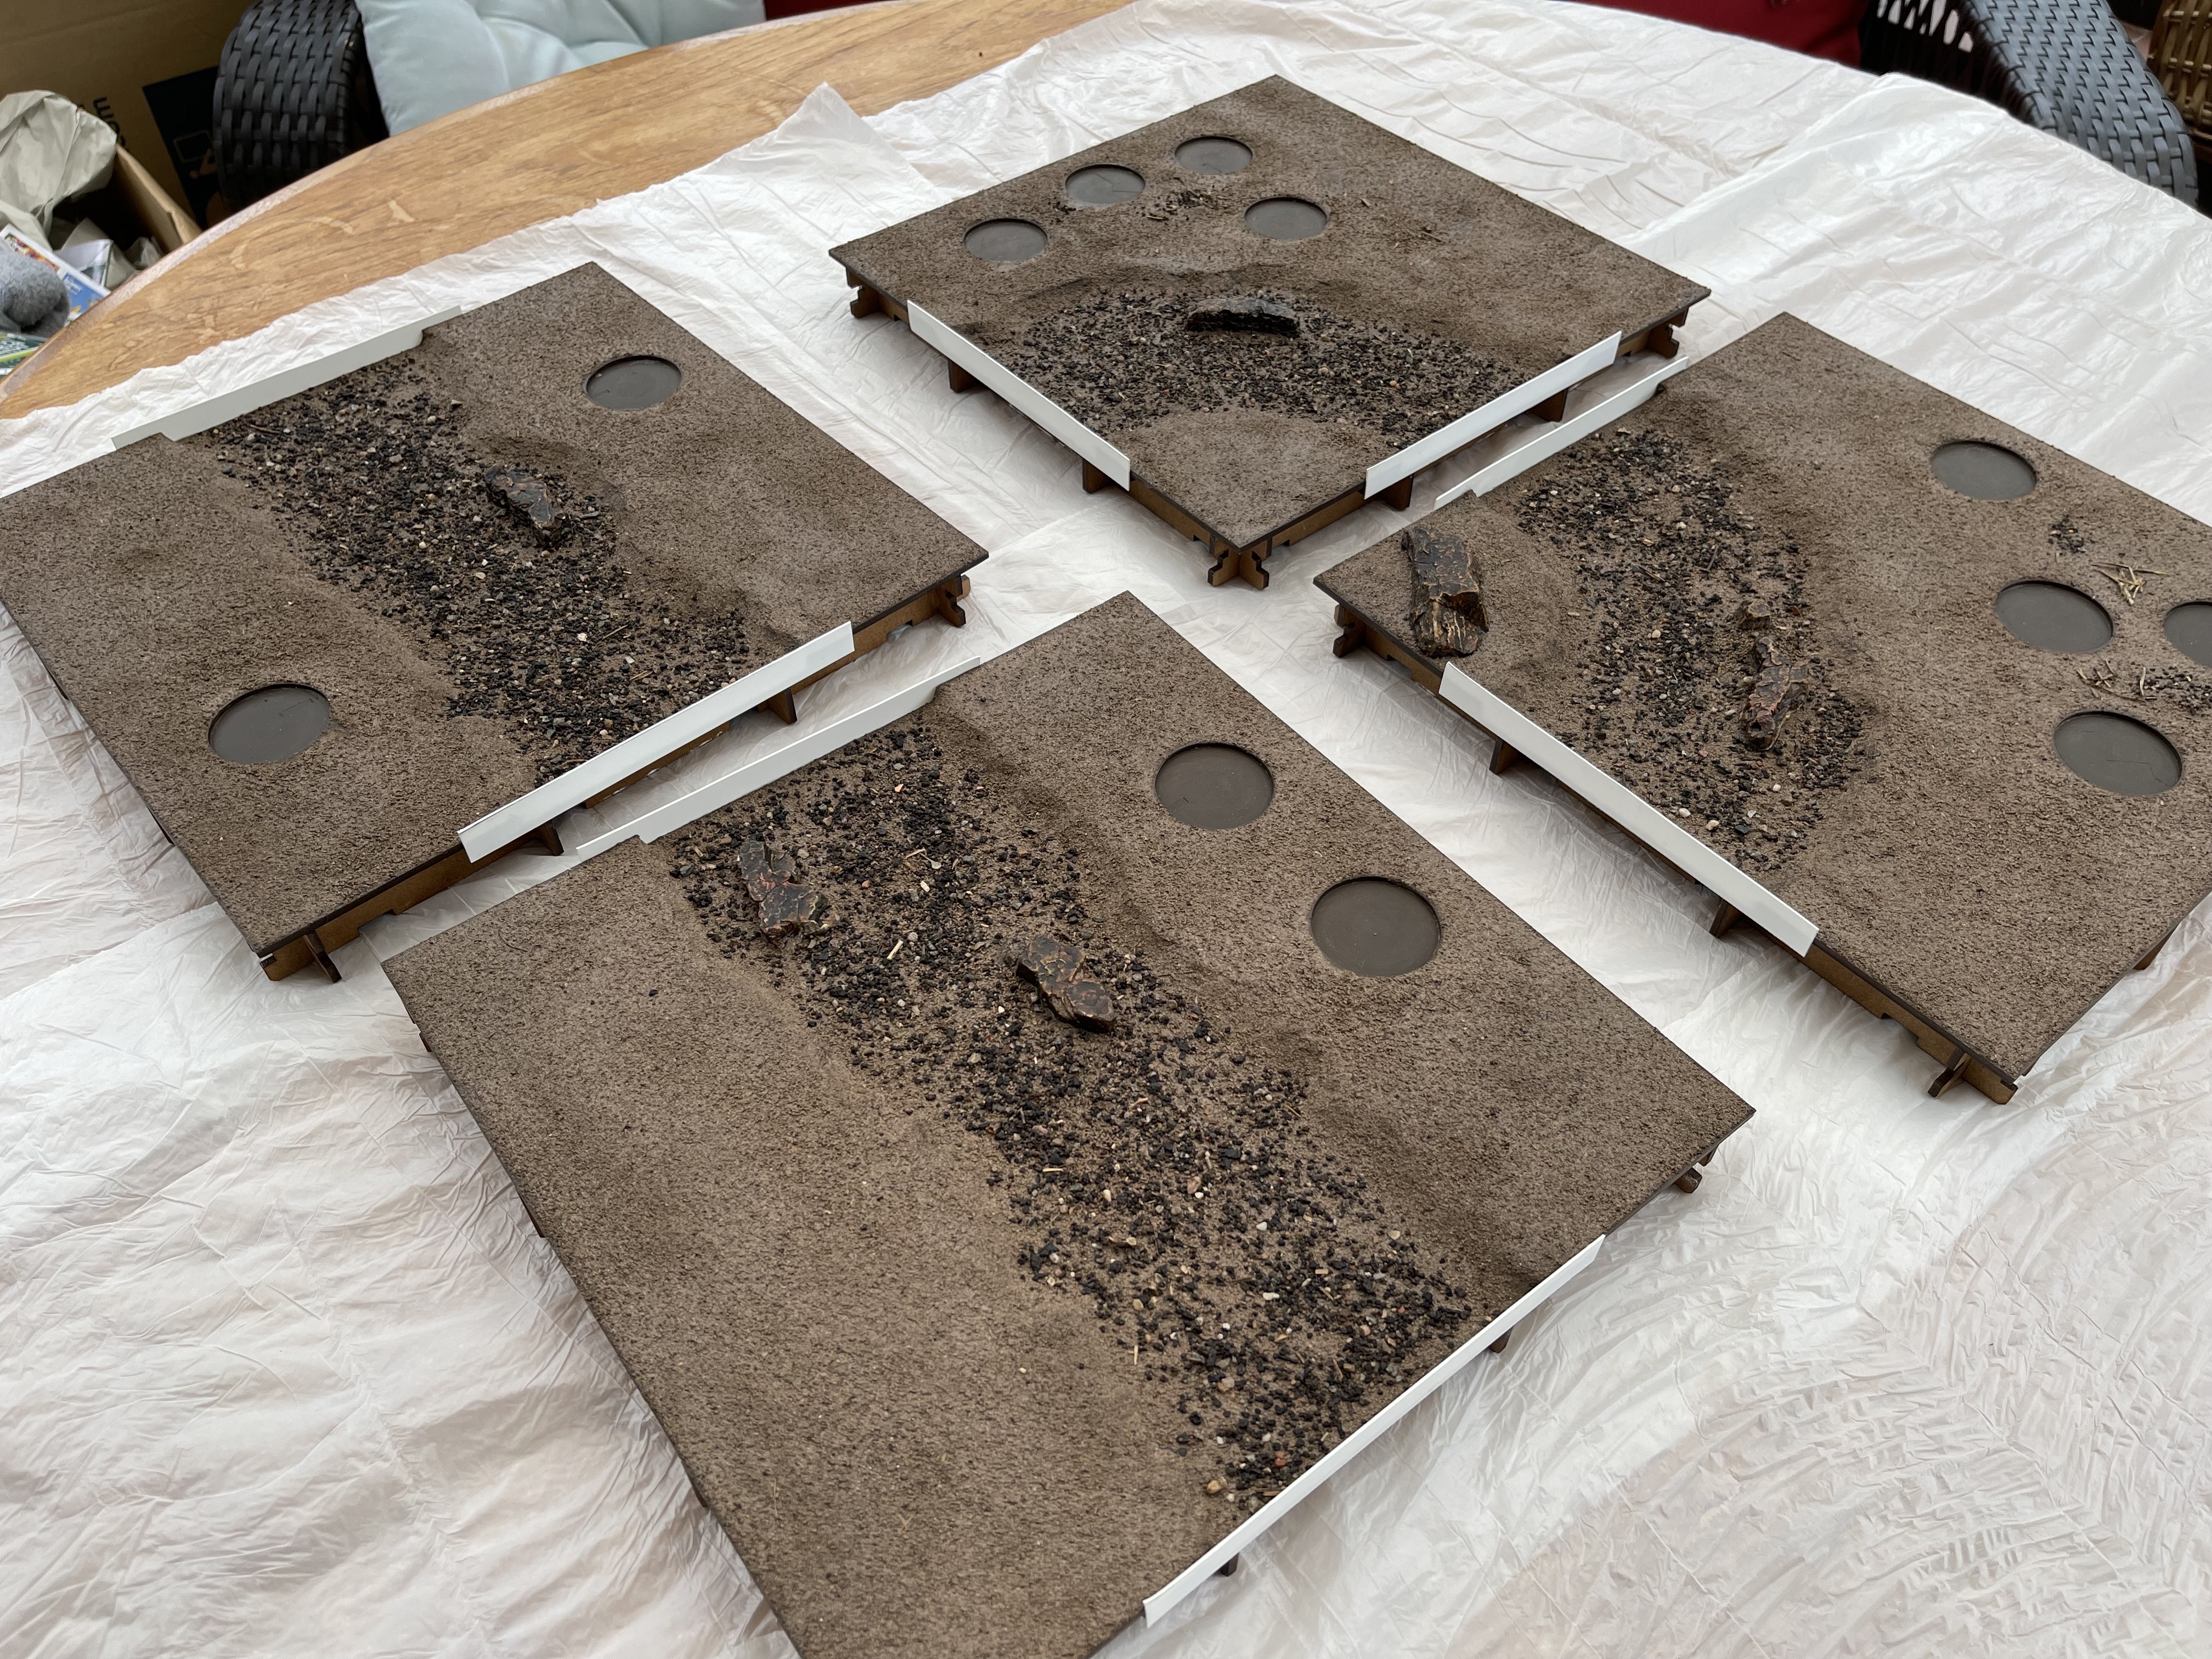
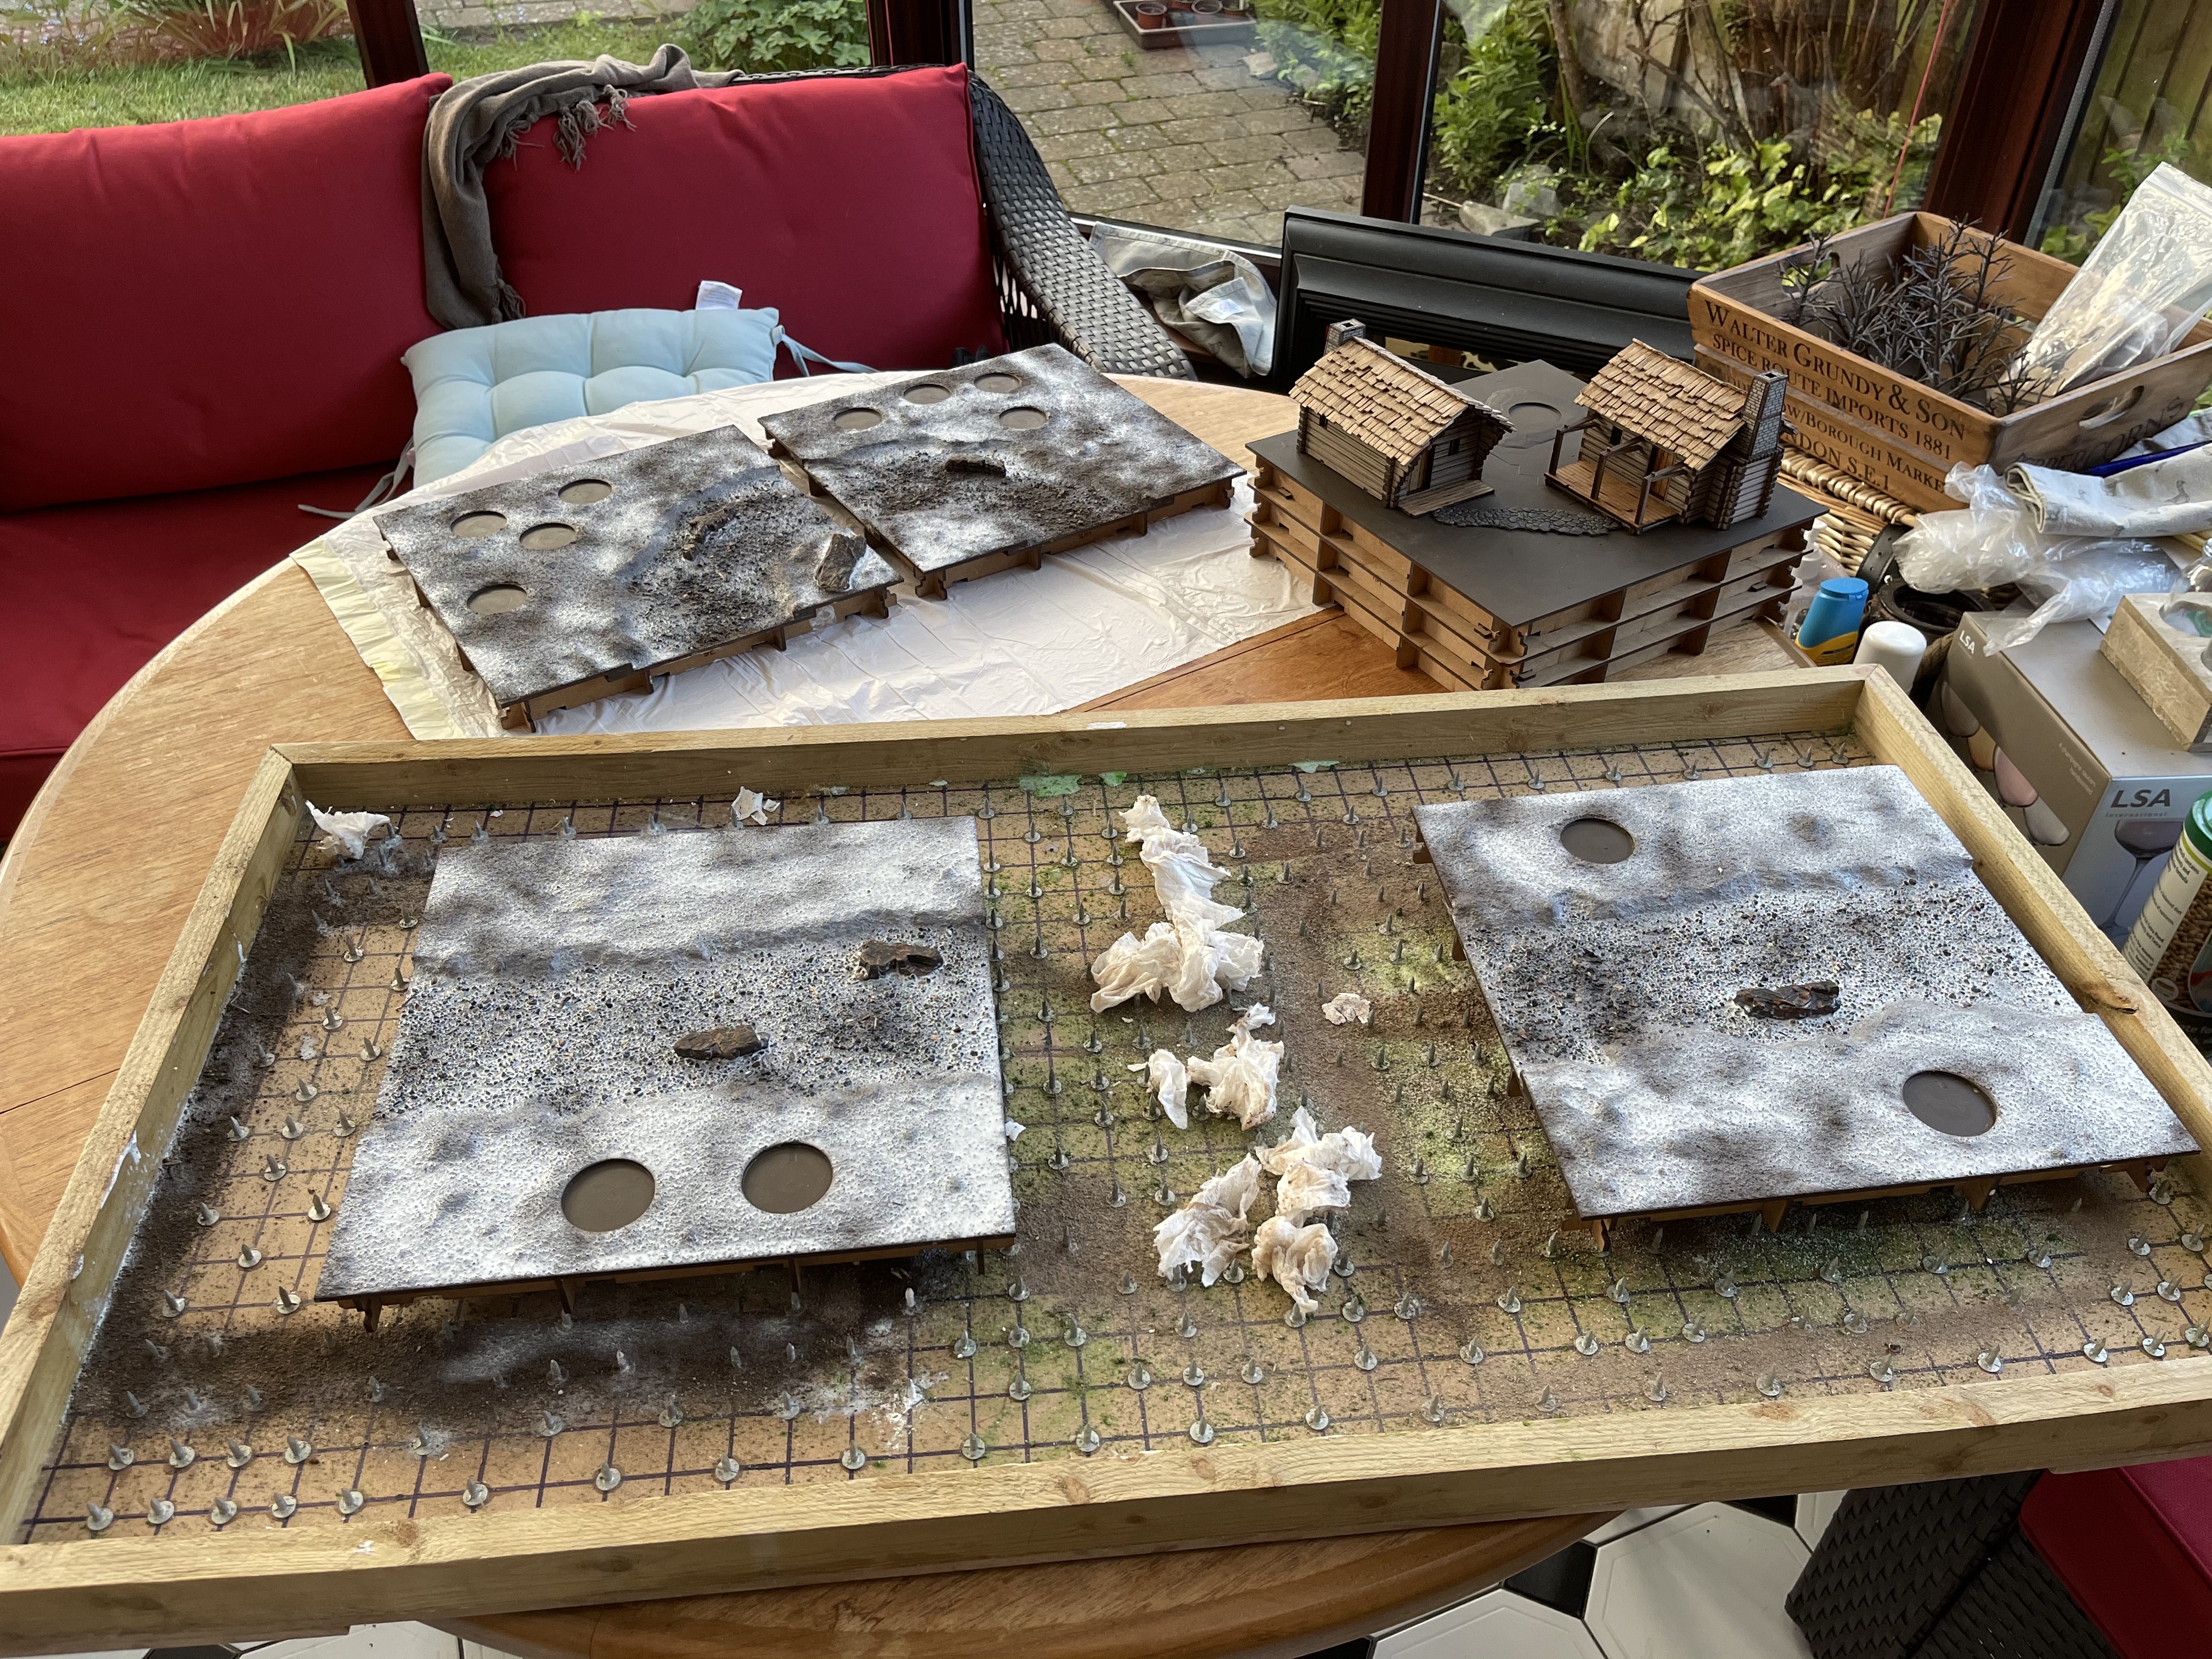
all in an evenings work
Tonight I elected to just go for it with 4 of the tiles.
As there doesn’t seem to be an issue with laying down the soil and tile grout layer separate from the greenery layer I just went with it.
I also finished working on the cobblestone path between the two houses and came to the realisation that mechanicus standard grey is basically a blue grey…. who knew!
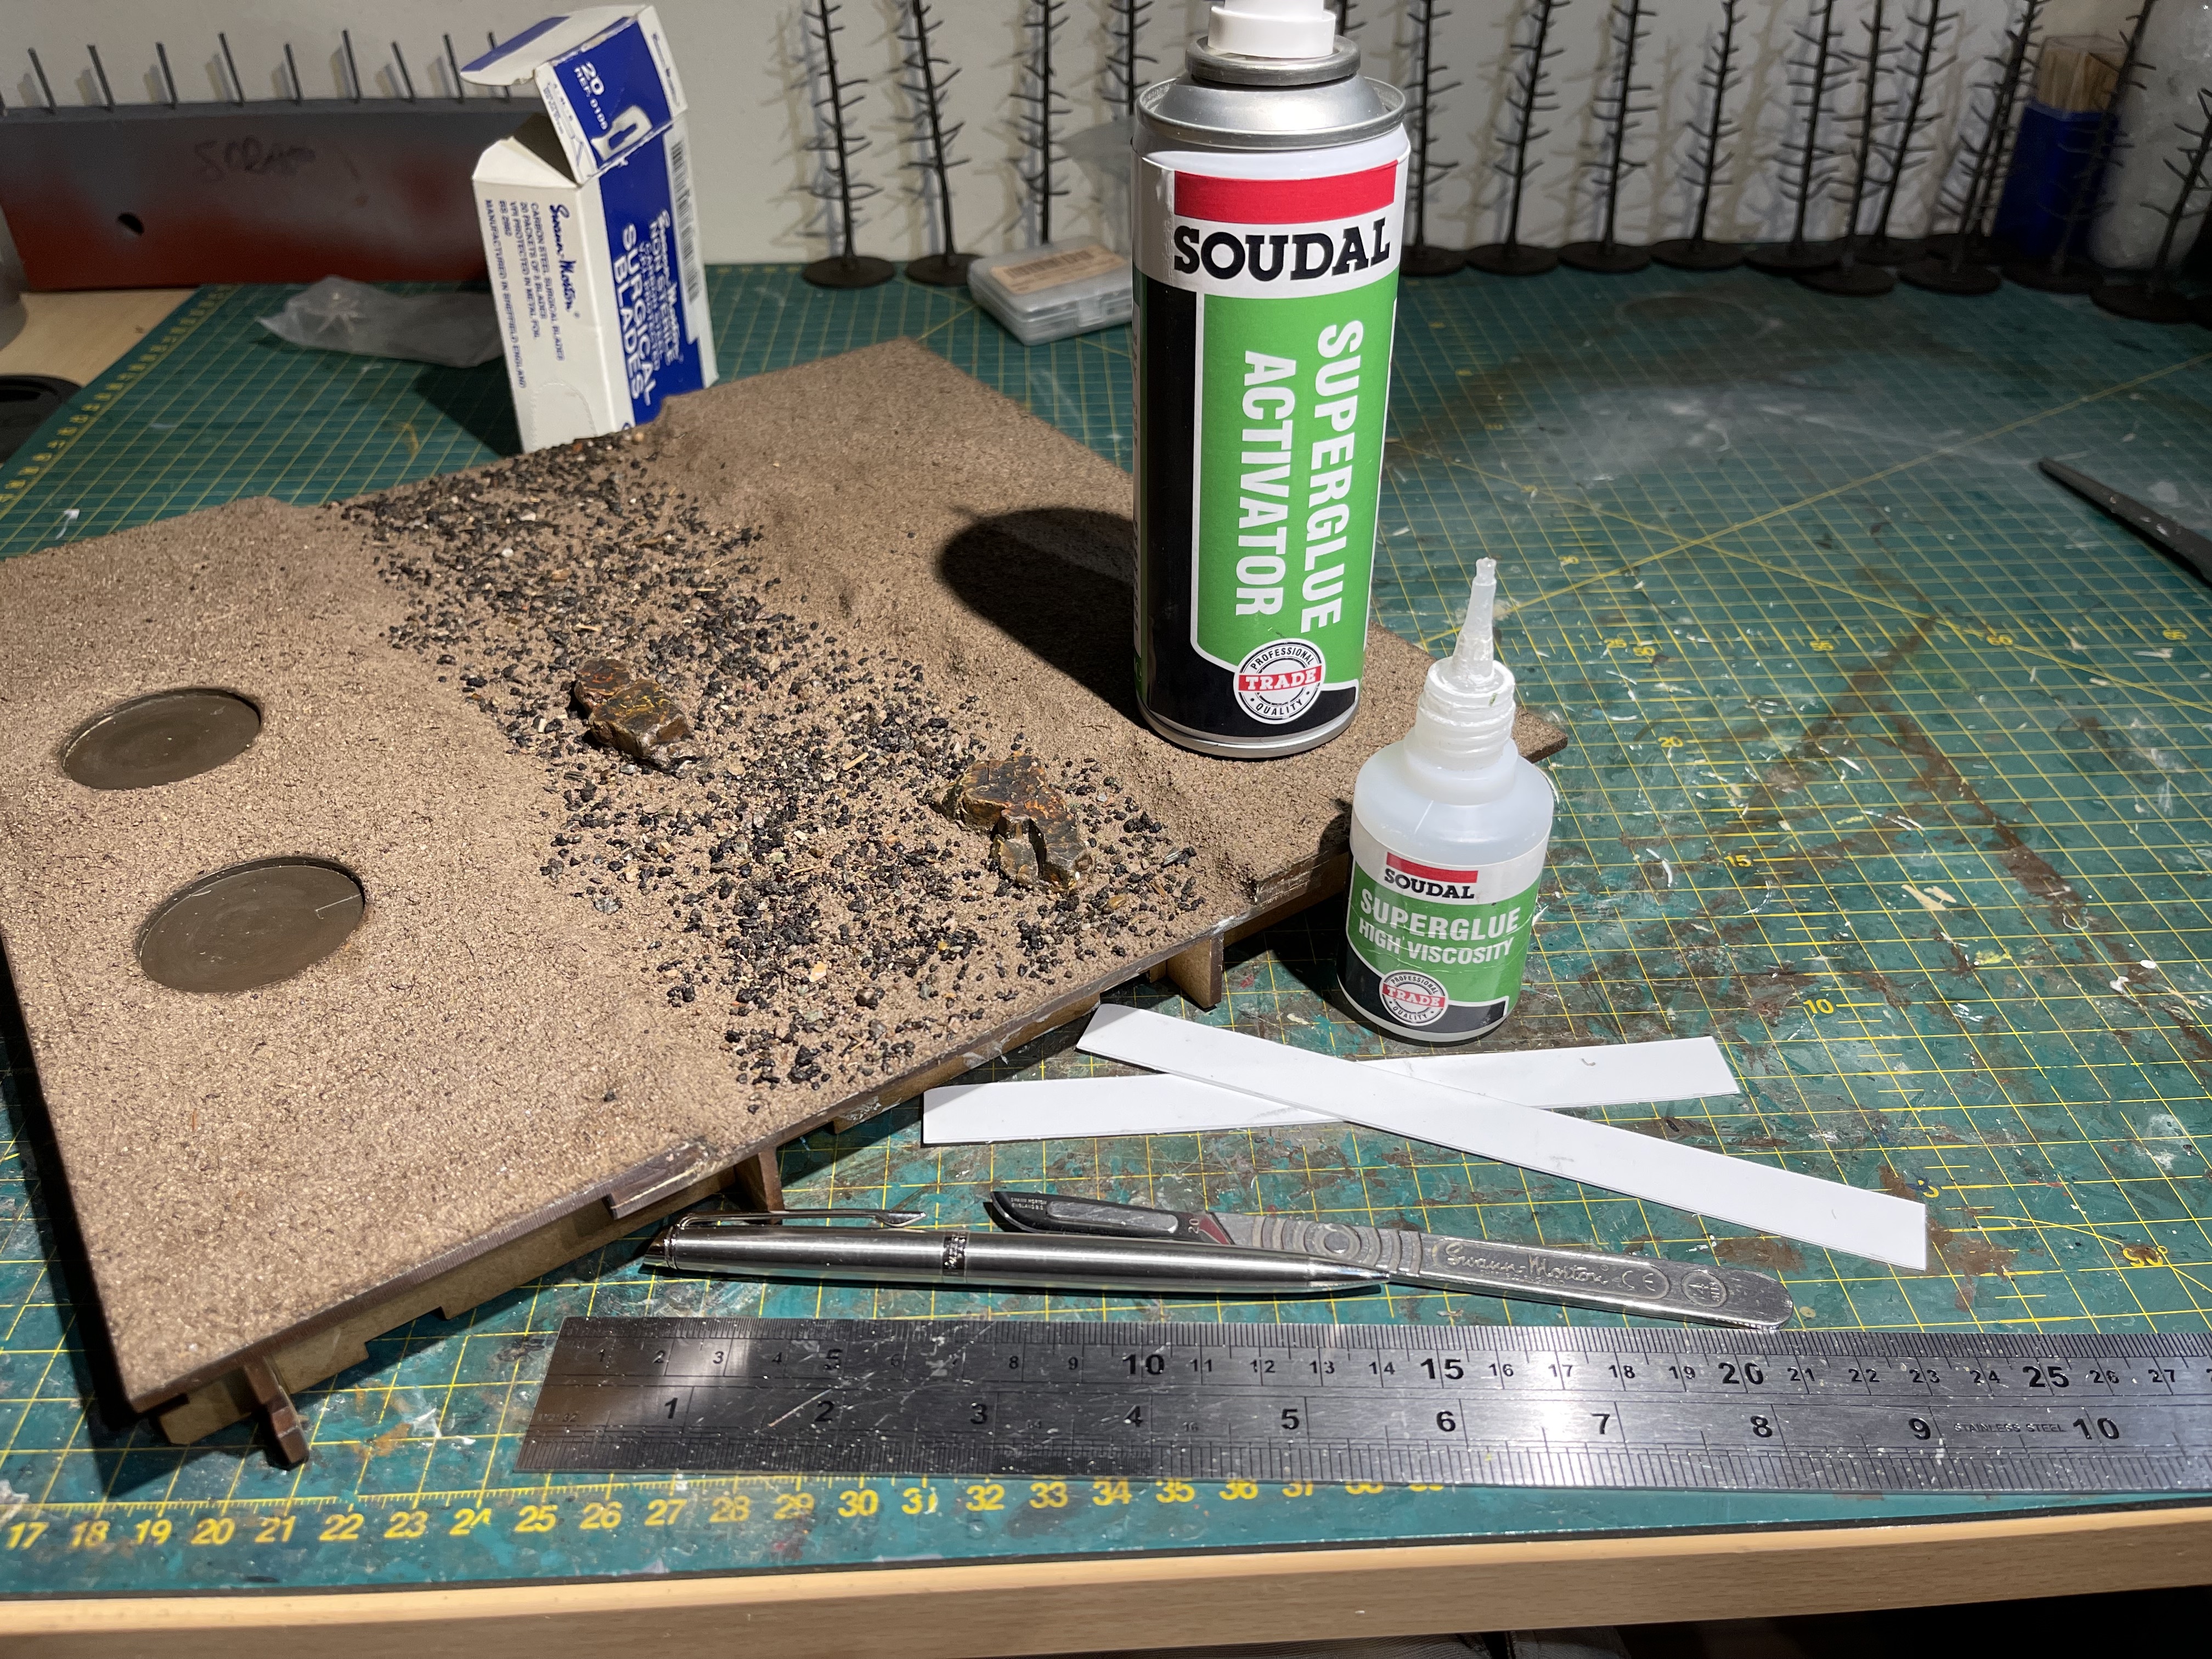
 basic agrax brown wash
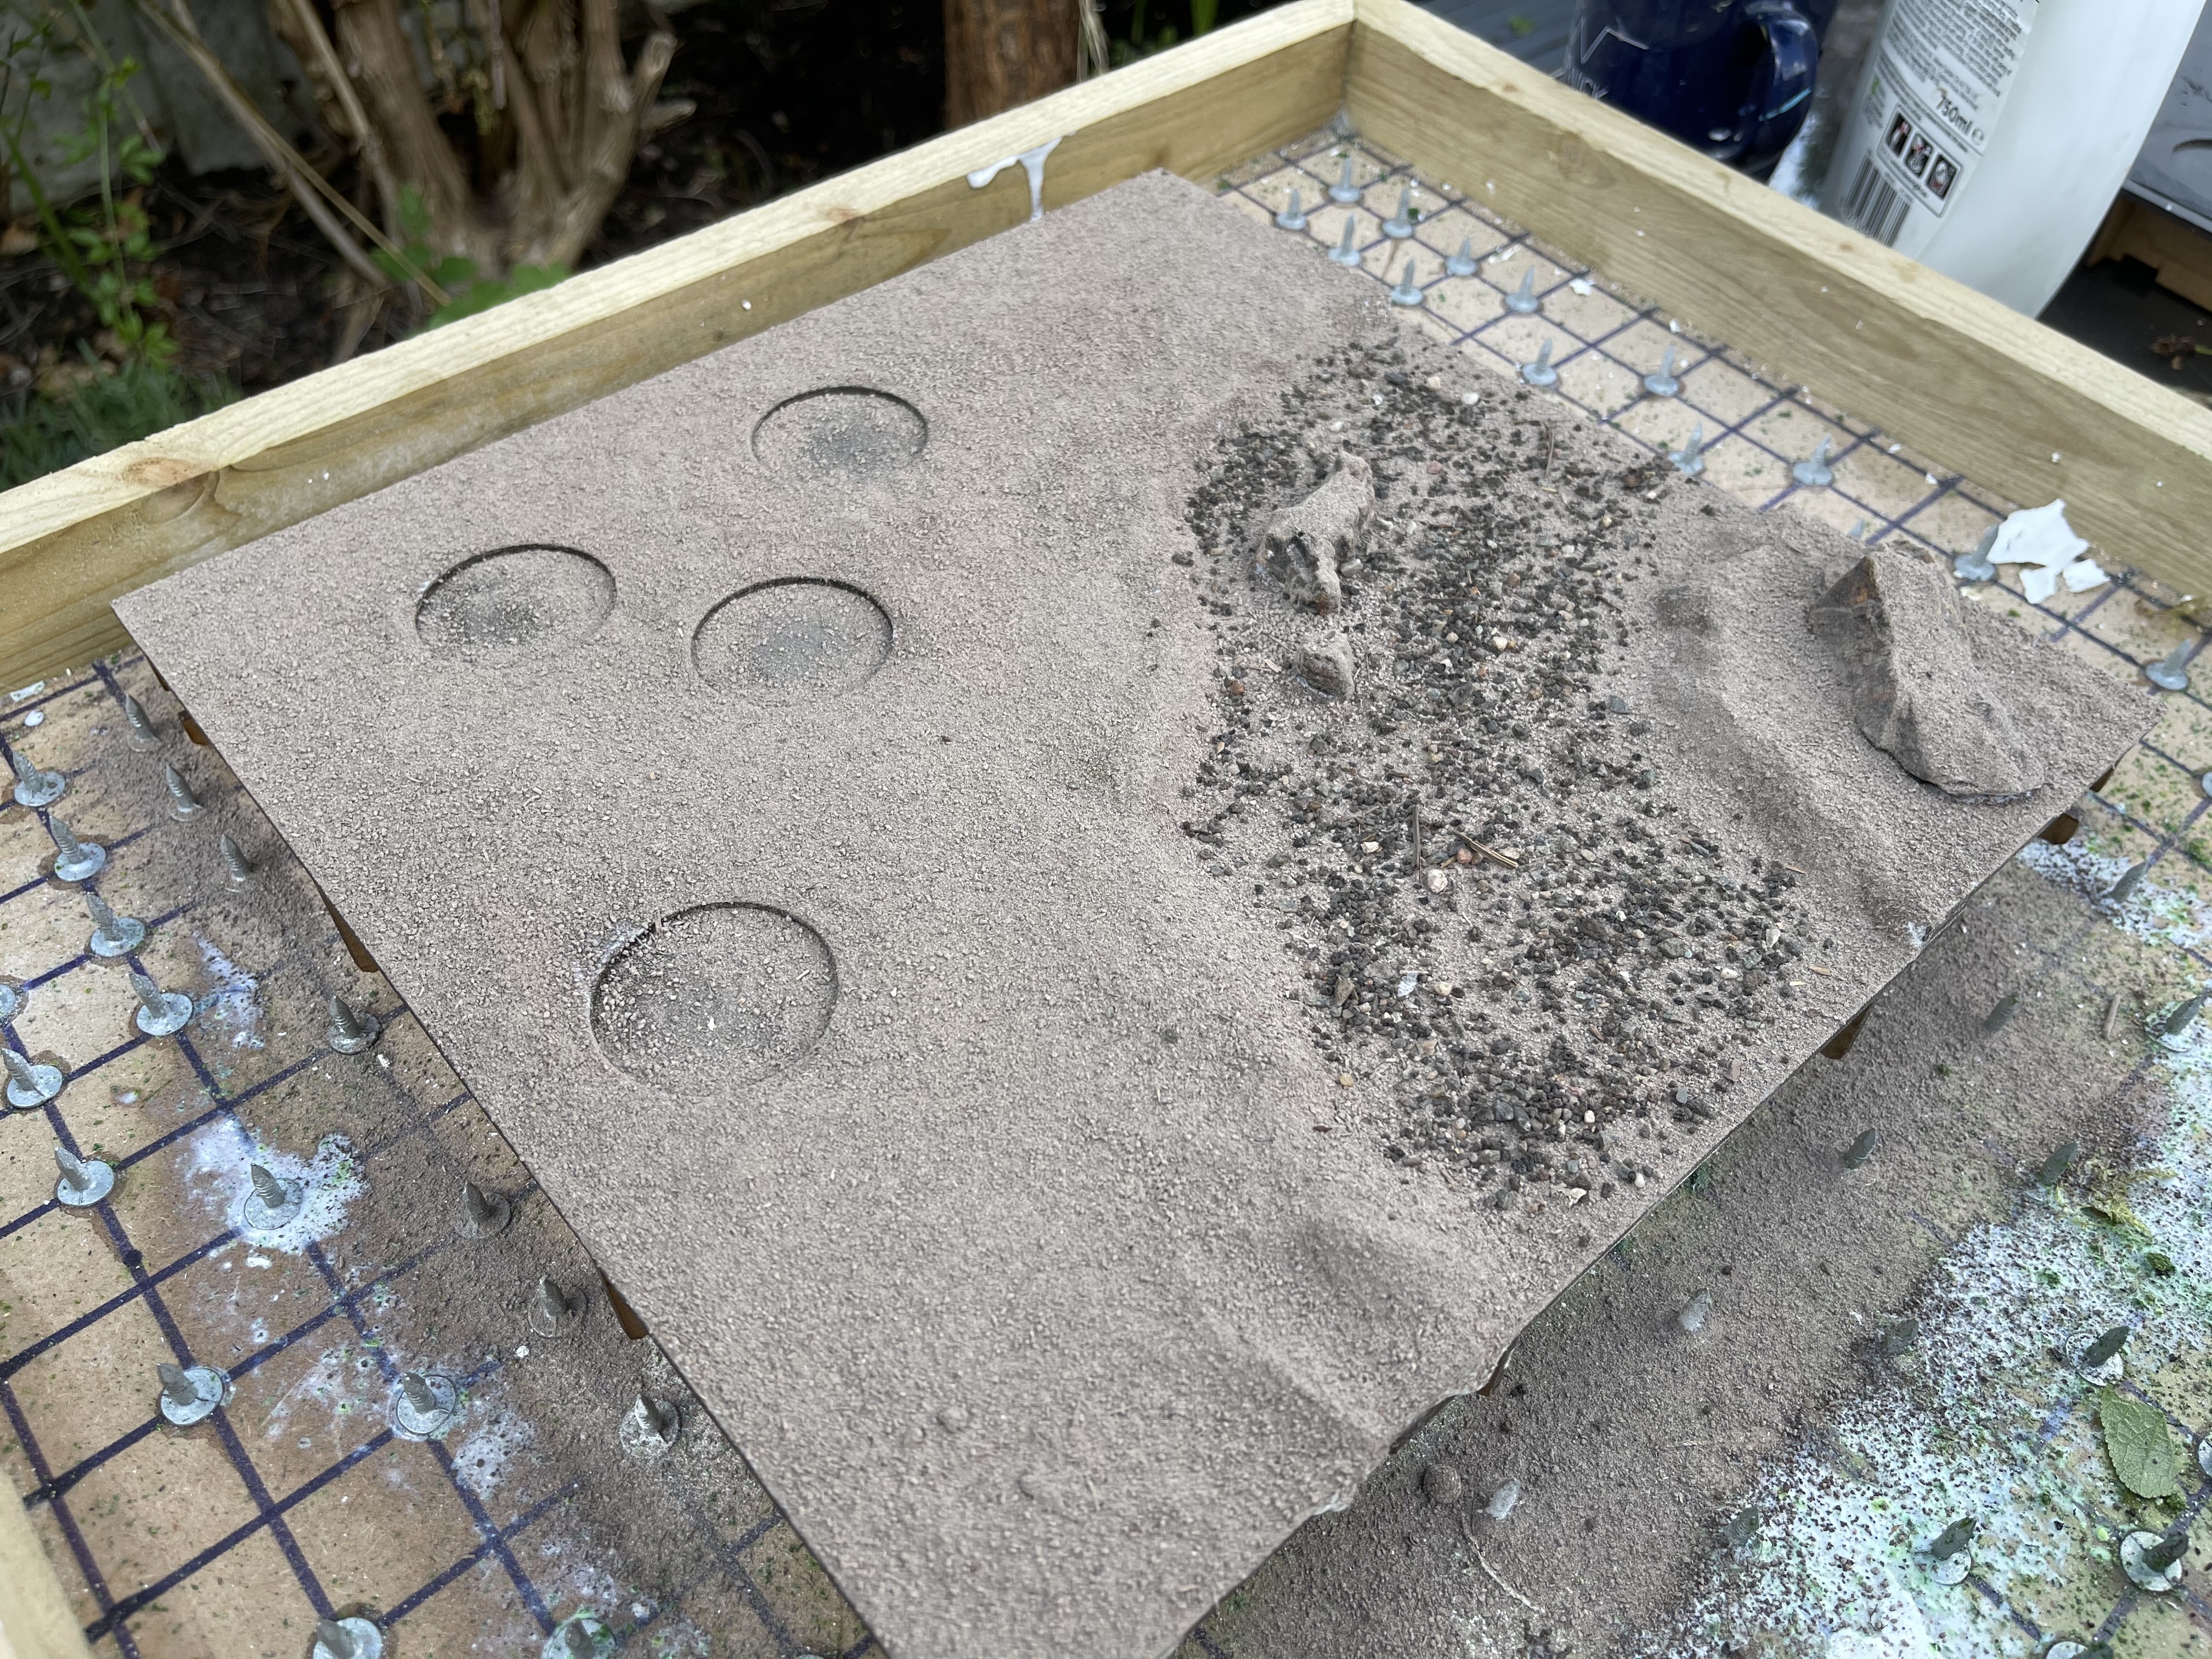
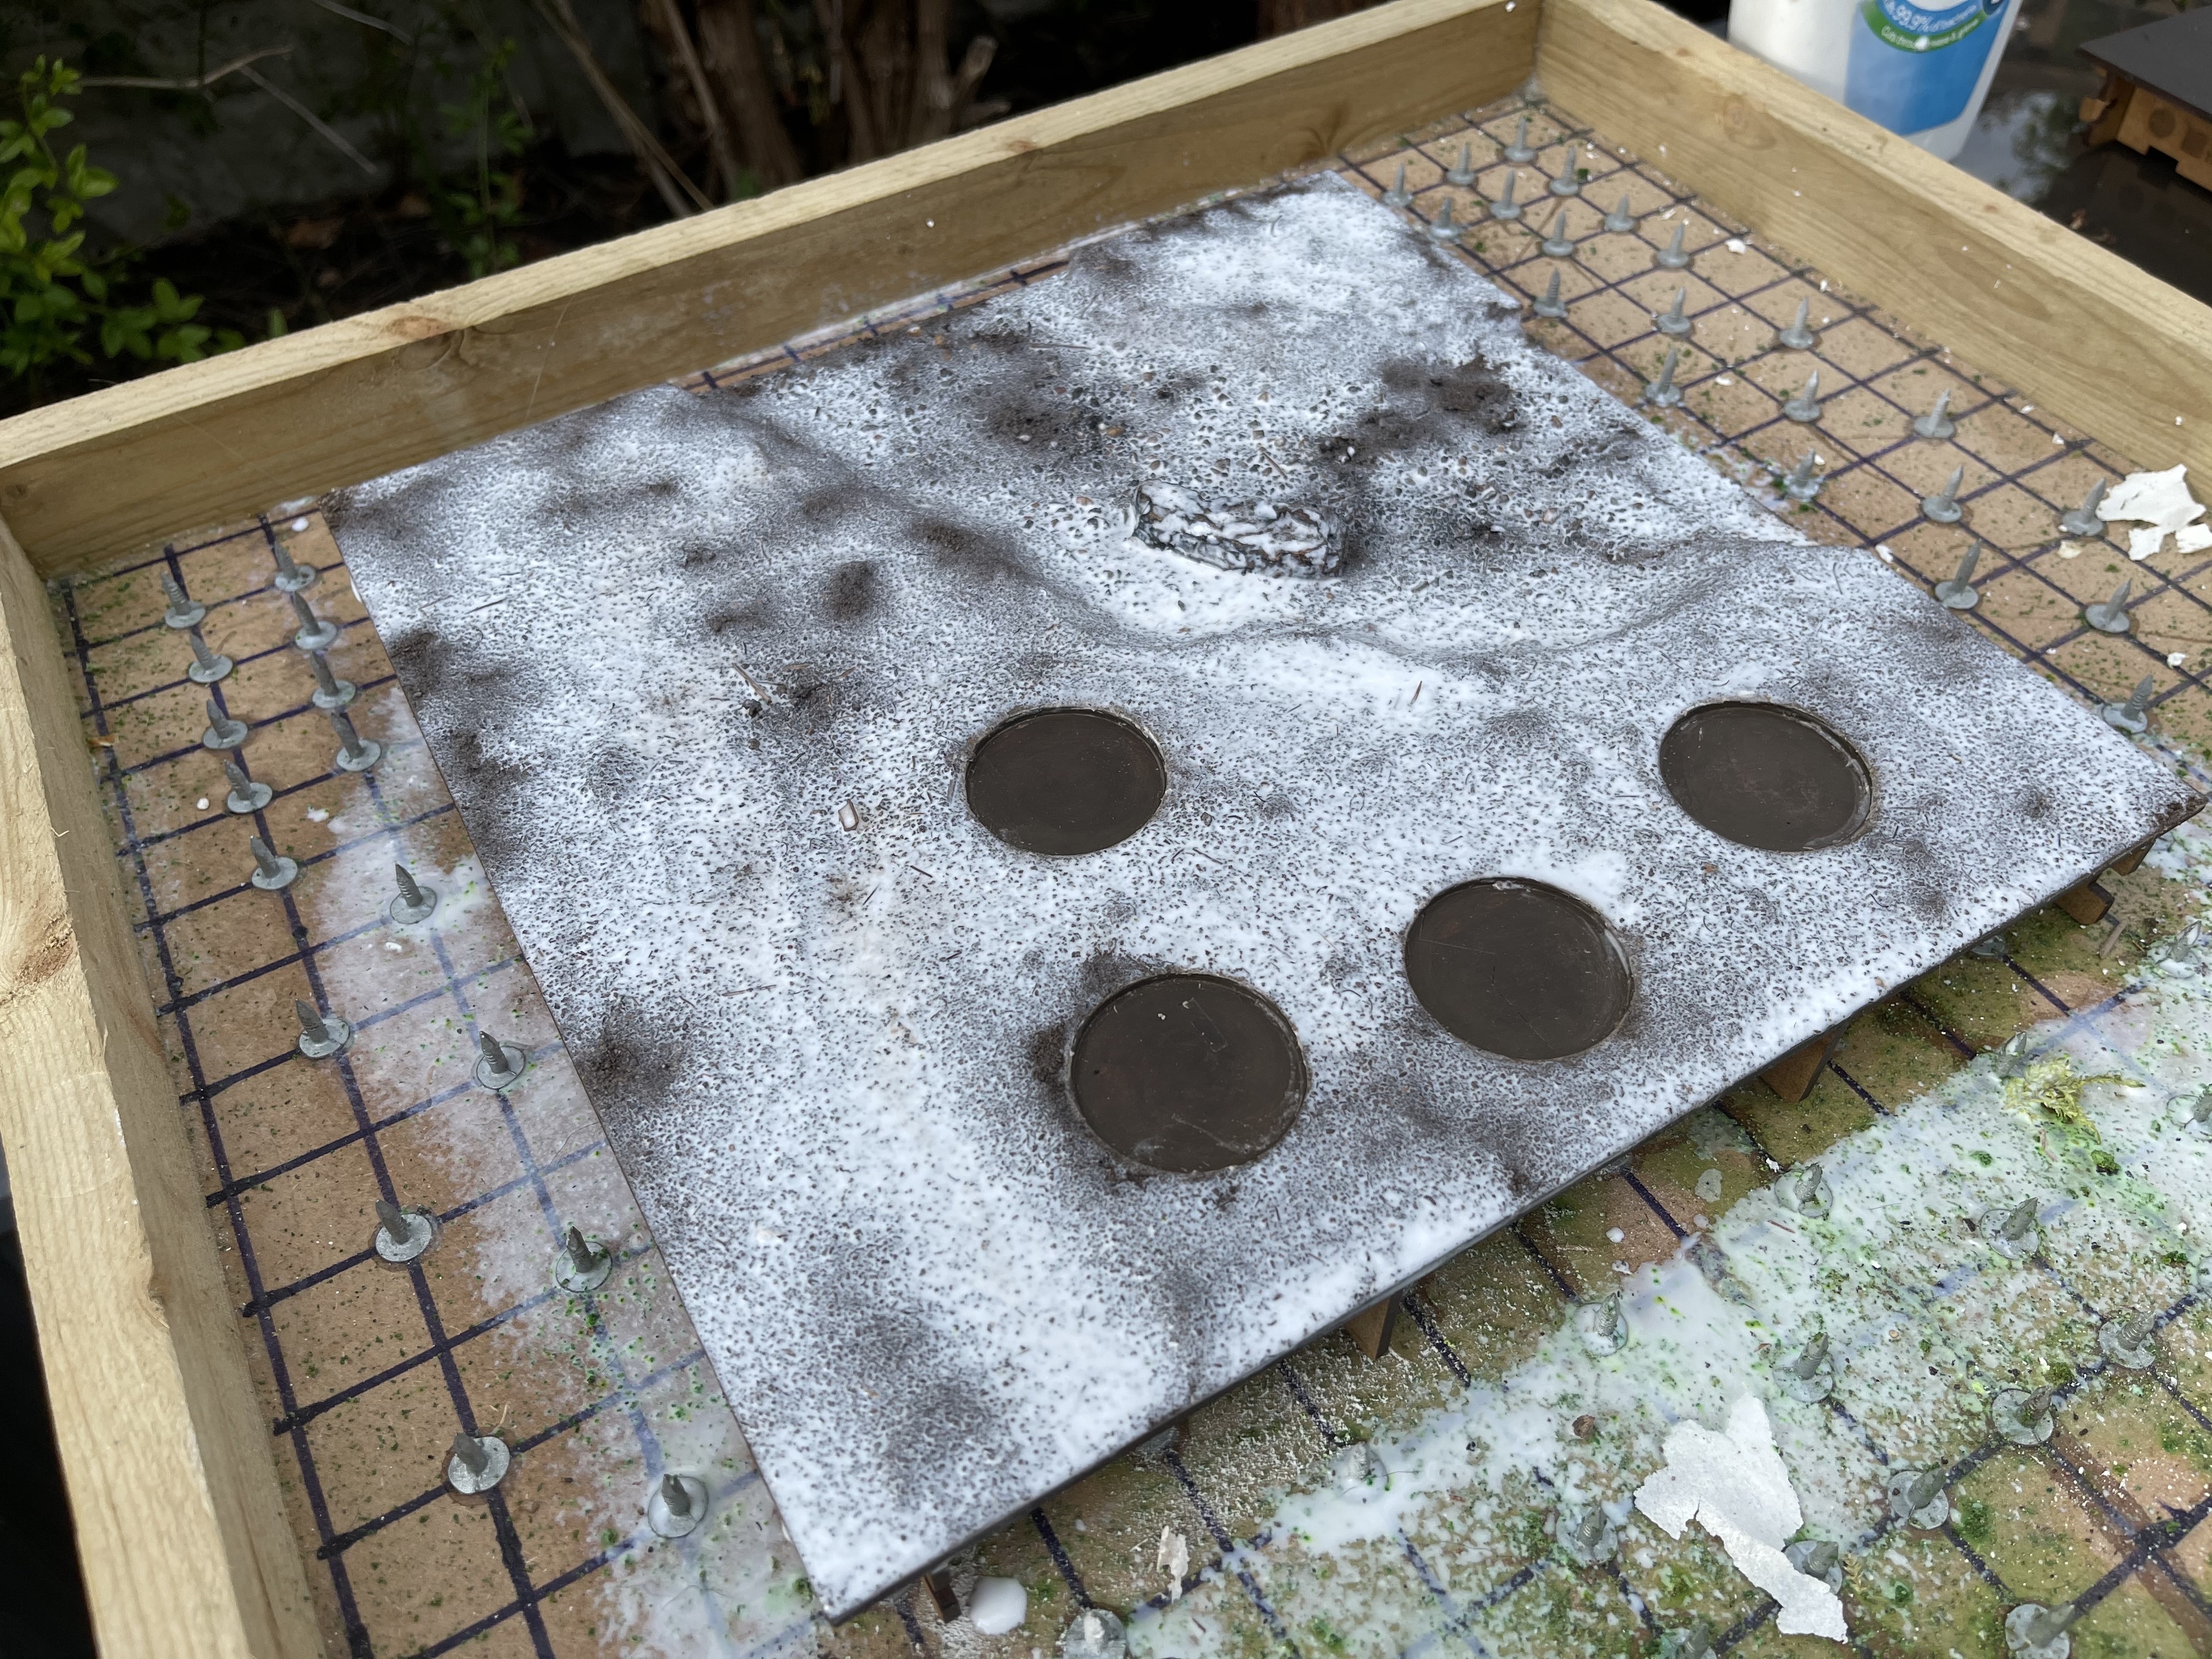
I PVA’d the base boards and then sieved and sprinkled the 2 types of ground material on the piece. First was soil and tile grout mix (2:1 ratio) and then mildly larger pebbles were scattered in the river bed to try and bring additional realism to it when I break out the epoxy resin.
I cleaned out all the ‘tree holes’ with a dry brush so they still fit in there well.
when it was all laid out I then sprayed with 99.9% ISO as a flow aid and then with a 50:50 mix of matt varnish and PVA watered down so it would spray through an old anti bacterial atomiser/spray bottle.
I used kitchen roll to clean out the excess from the tree holes and off the areas I didn’t want it sitting on (tops of rocks).
I will leave it overnight to dry. Hope it doesn’t warp!
 here's hoping it all drys ok!


