


![A Perfect Zombie Apocalypse Starter Set? Civilians & Survivors Review | Wargames Atlantic [7 Days Early Access]](https://images.beastsofwar.com/2026/01/unboxing-wargames-atlantic-civilians-_-survivors-1_2-coverimage-225-127.jpg)
![Wild Australia Wargaming? 28mm Ned Kelly Gang & Victorian Police Review [7 Days Early Access]](https://images.beastsofwar.com/2026/01/unboxing-traders-galaxy-australiana-ned-kelly-gang-_-victorian-police-coverimage-225-127.jpg)


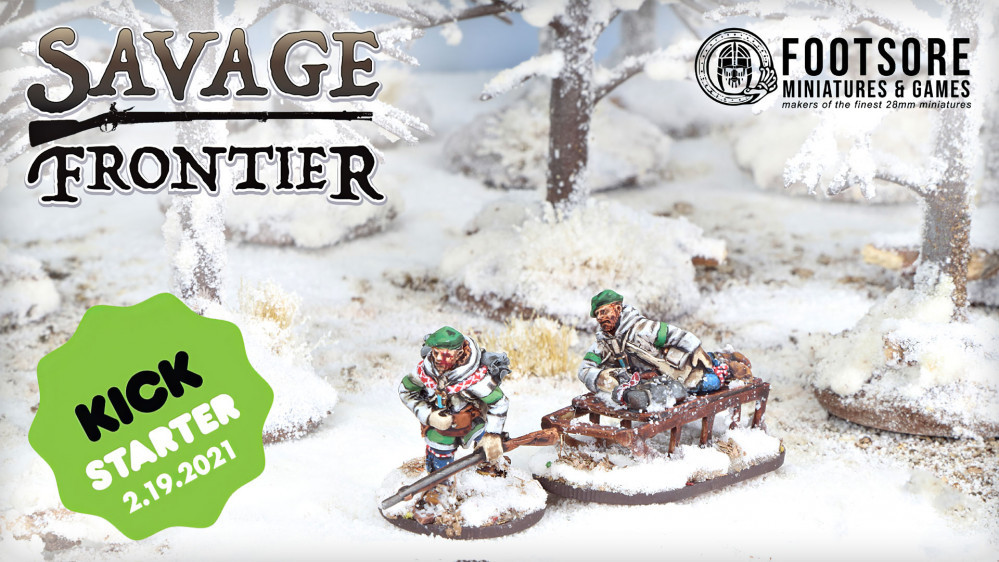
Collins Doesn’t do Savage Frontier


Recommendations: 1009
About the Project
The Kickstarter isn't even over but my mind has been getting super excited over it and wants to build a table ahead of time!
Related Genre: Historical
This Project is Active
Base Colour and river prep done

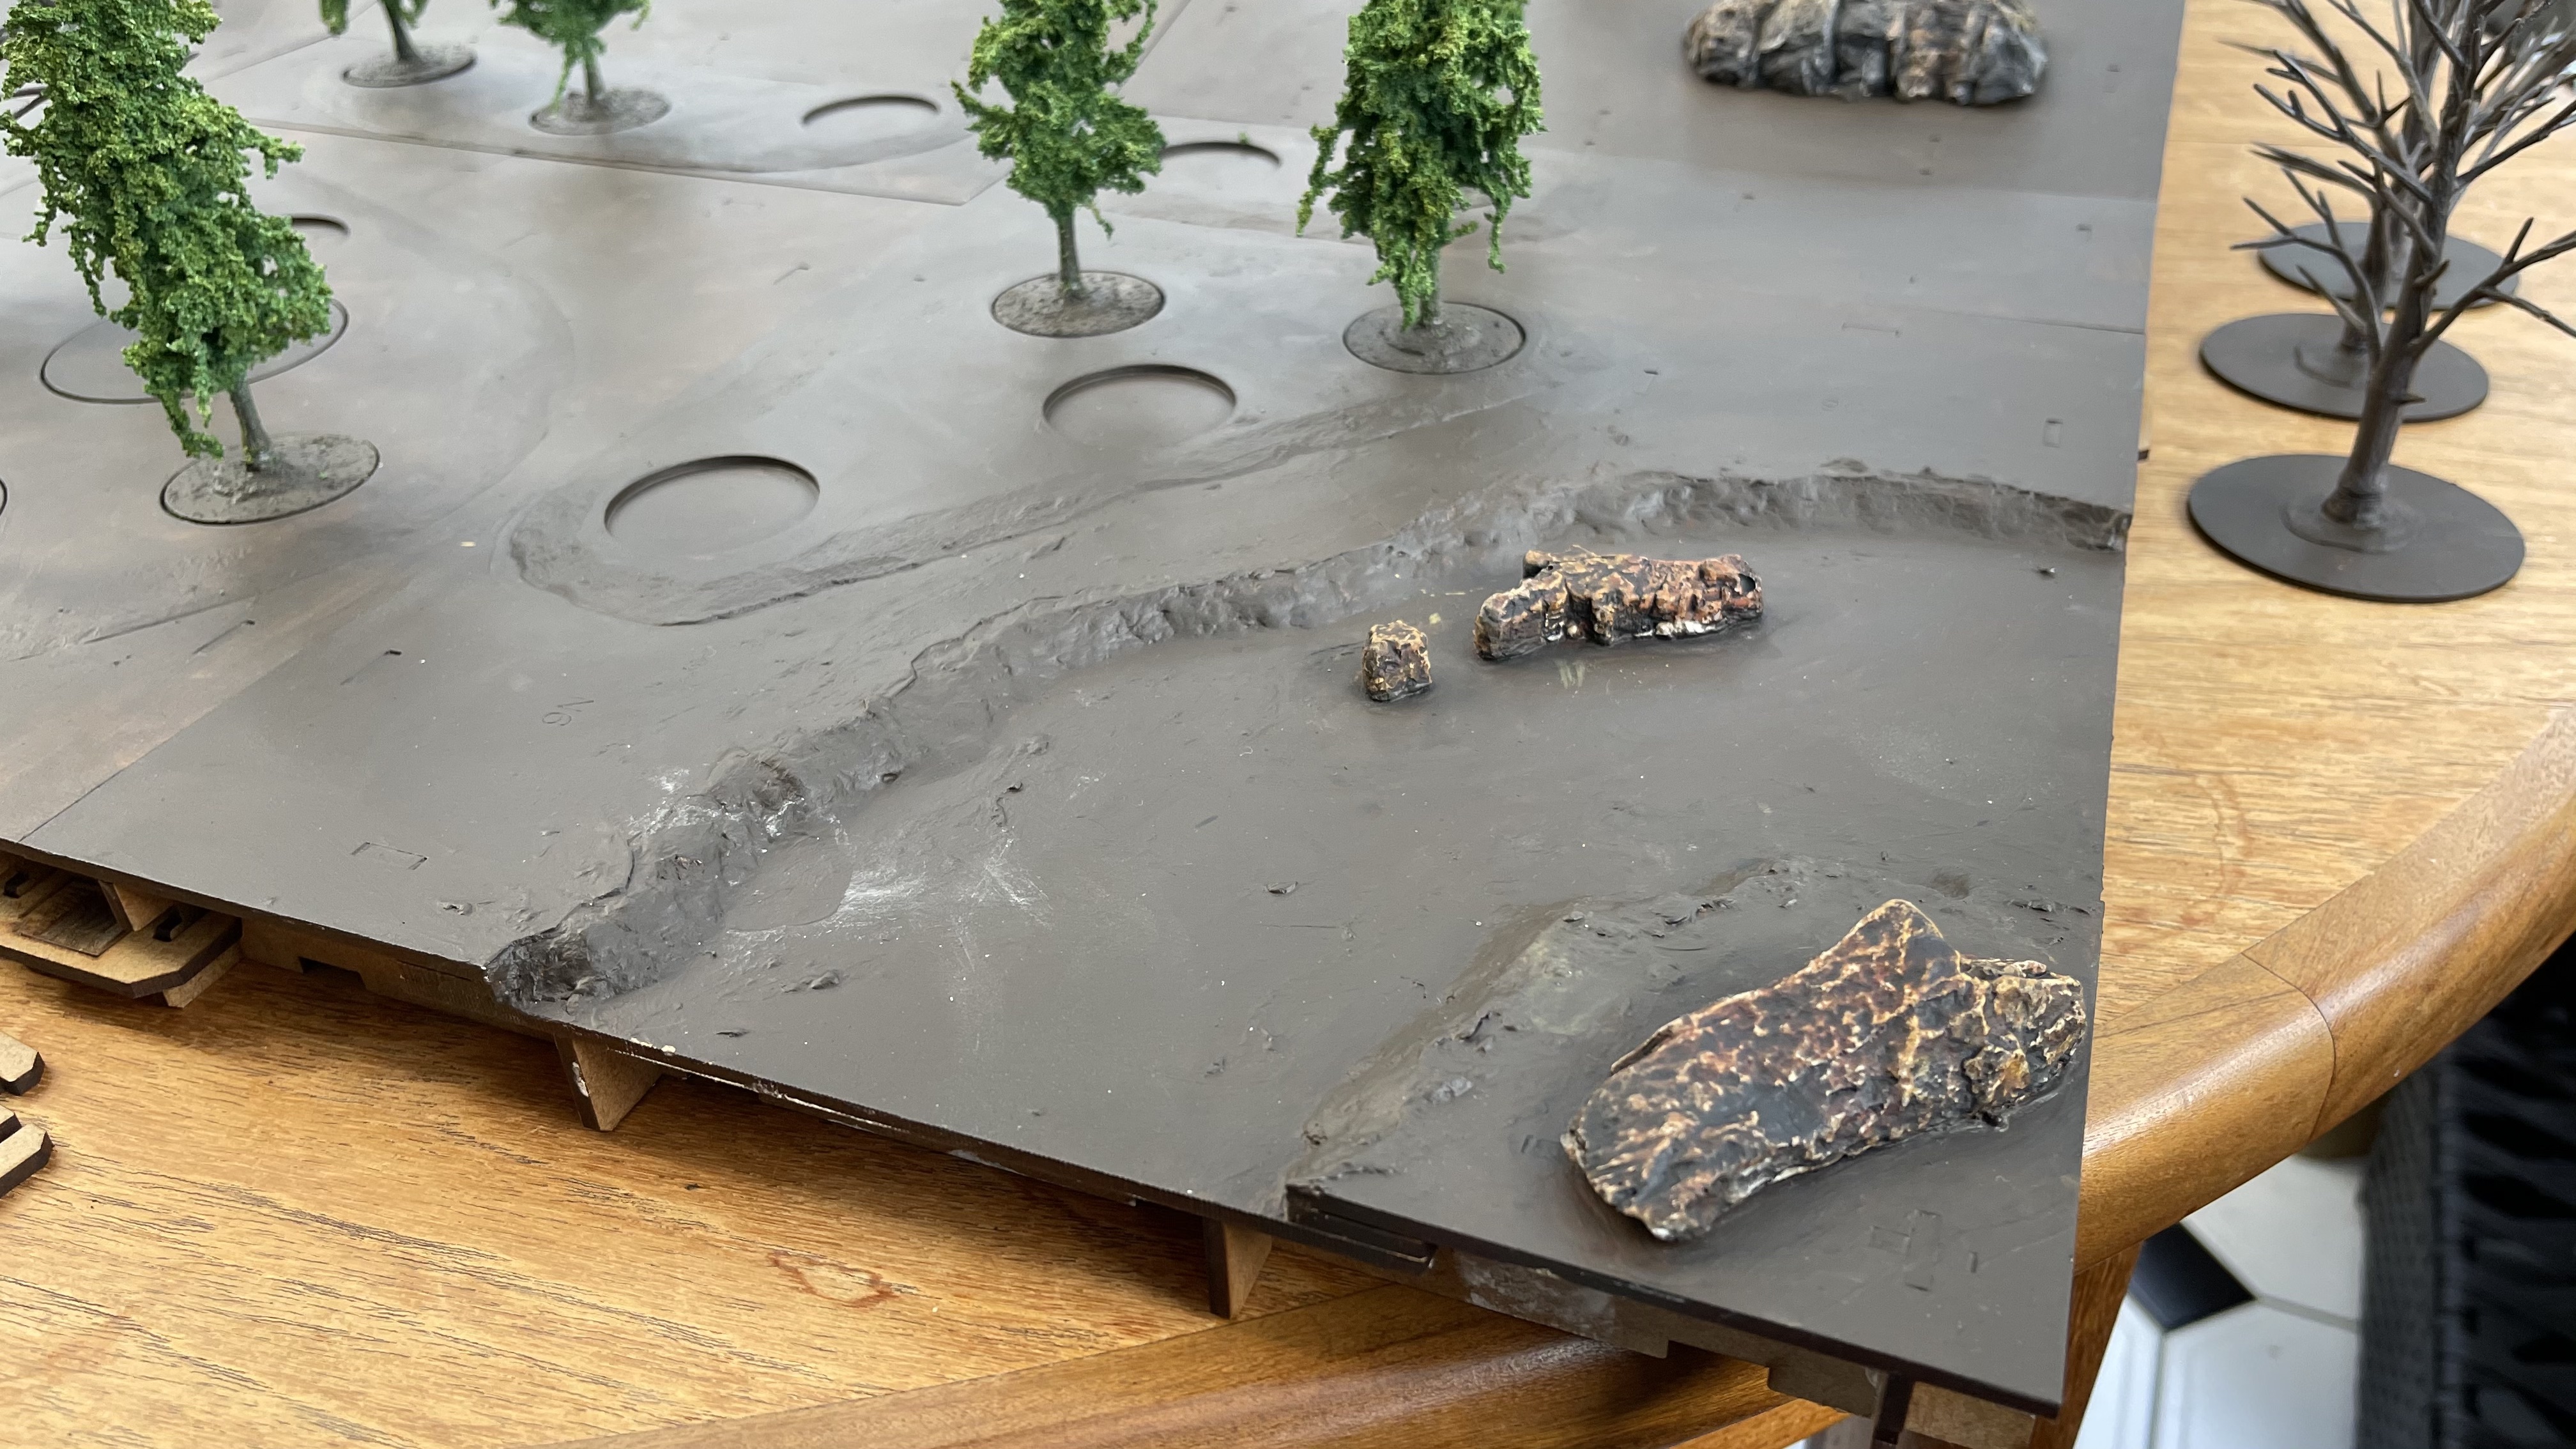
Using scupltamold and woodland scenics rock molds I went to work making a more natural bank on the river tiles.
This took ages to dry. I don’t know what’s in scupltamold but it isn’t fast drying that’s for sure.
I then went to town on the painting of the rocks trying my hand at the leopard spot technique… I went far too heavy with the black wash. the only way to rectify it is to remove them and start again. I can’t be bothered and ill simply put snow on them later anyway so im just going to chalk it up to a learning experience.
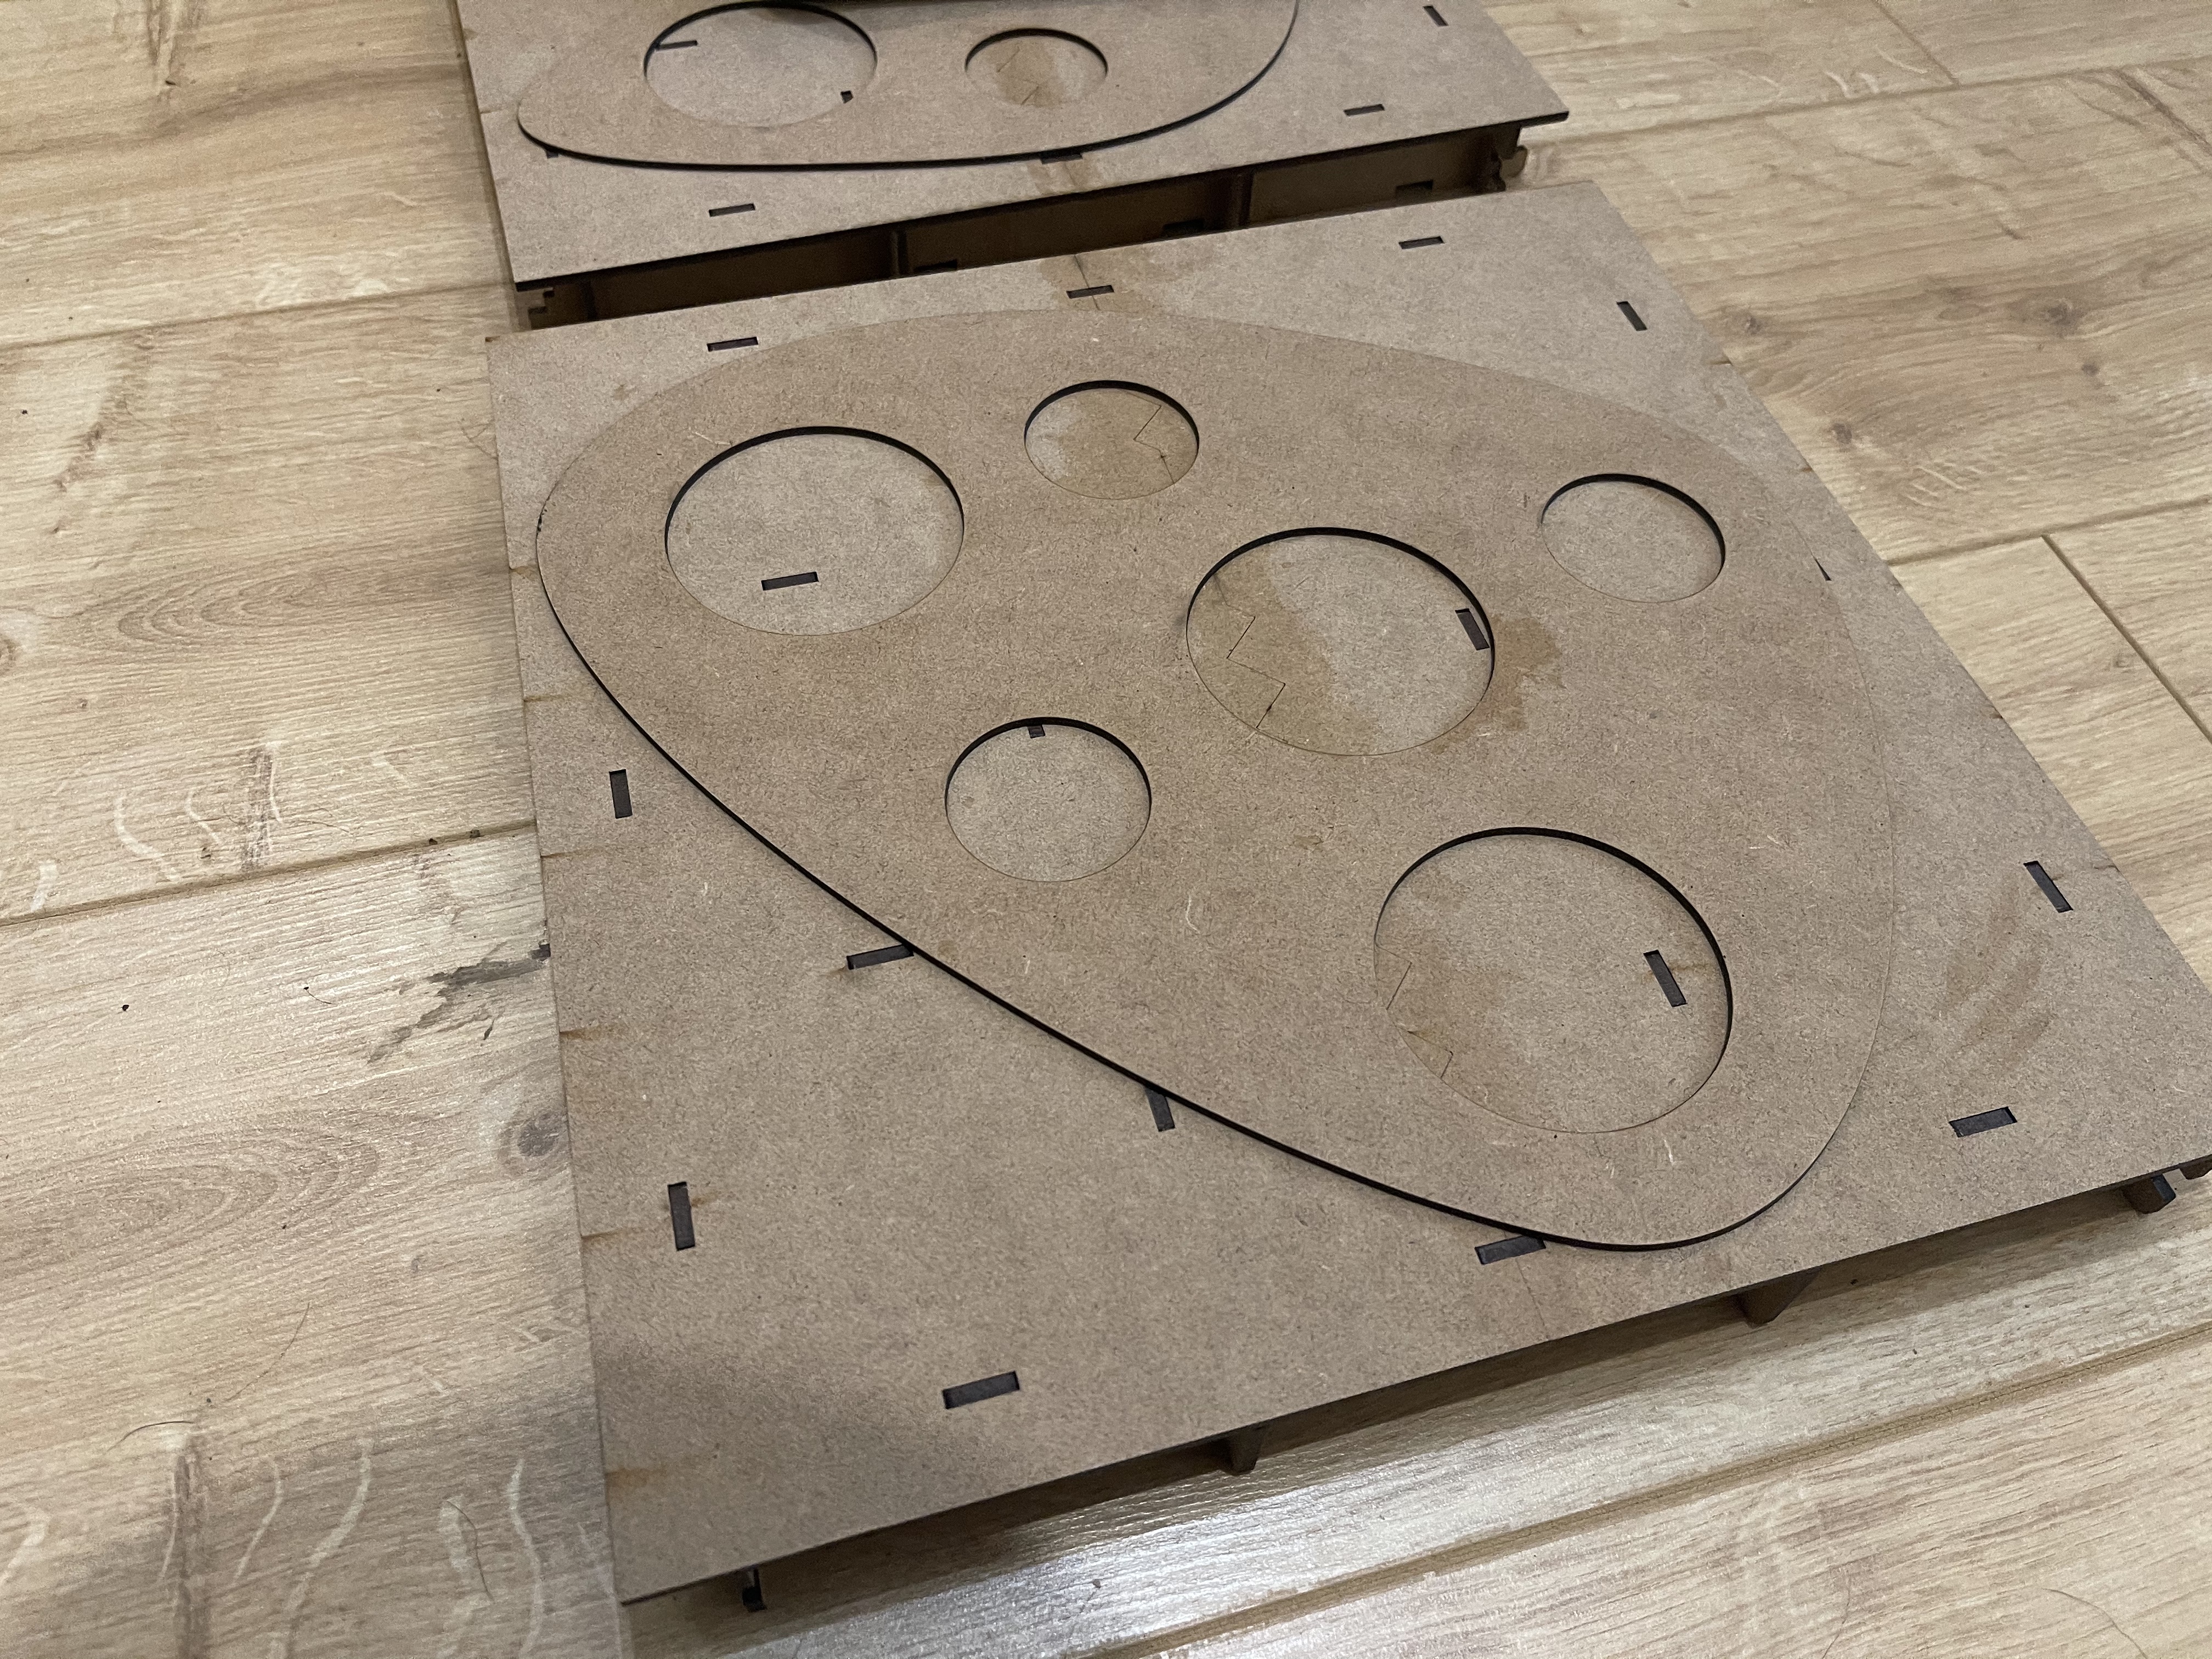
 general view so far
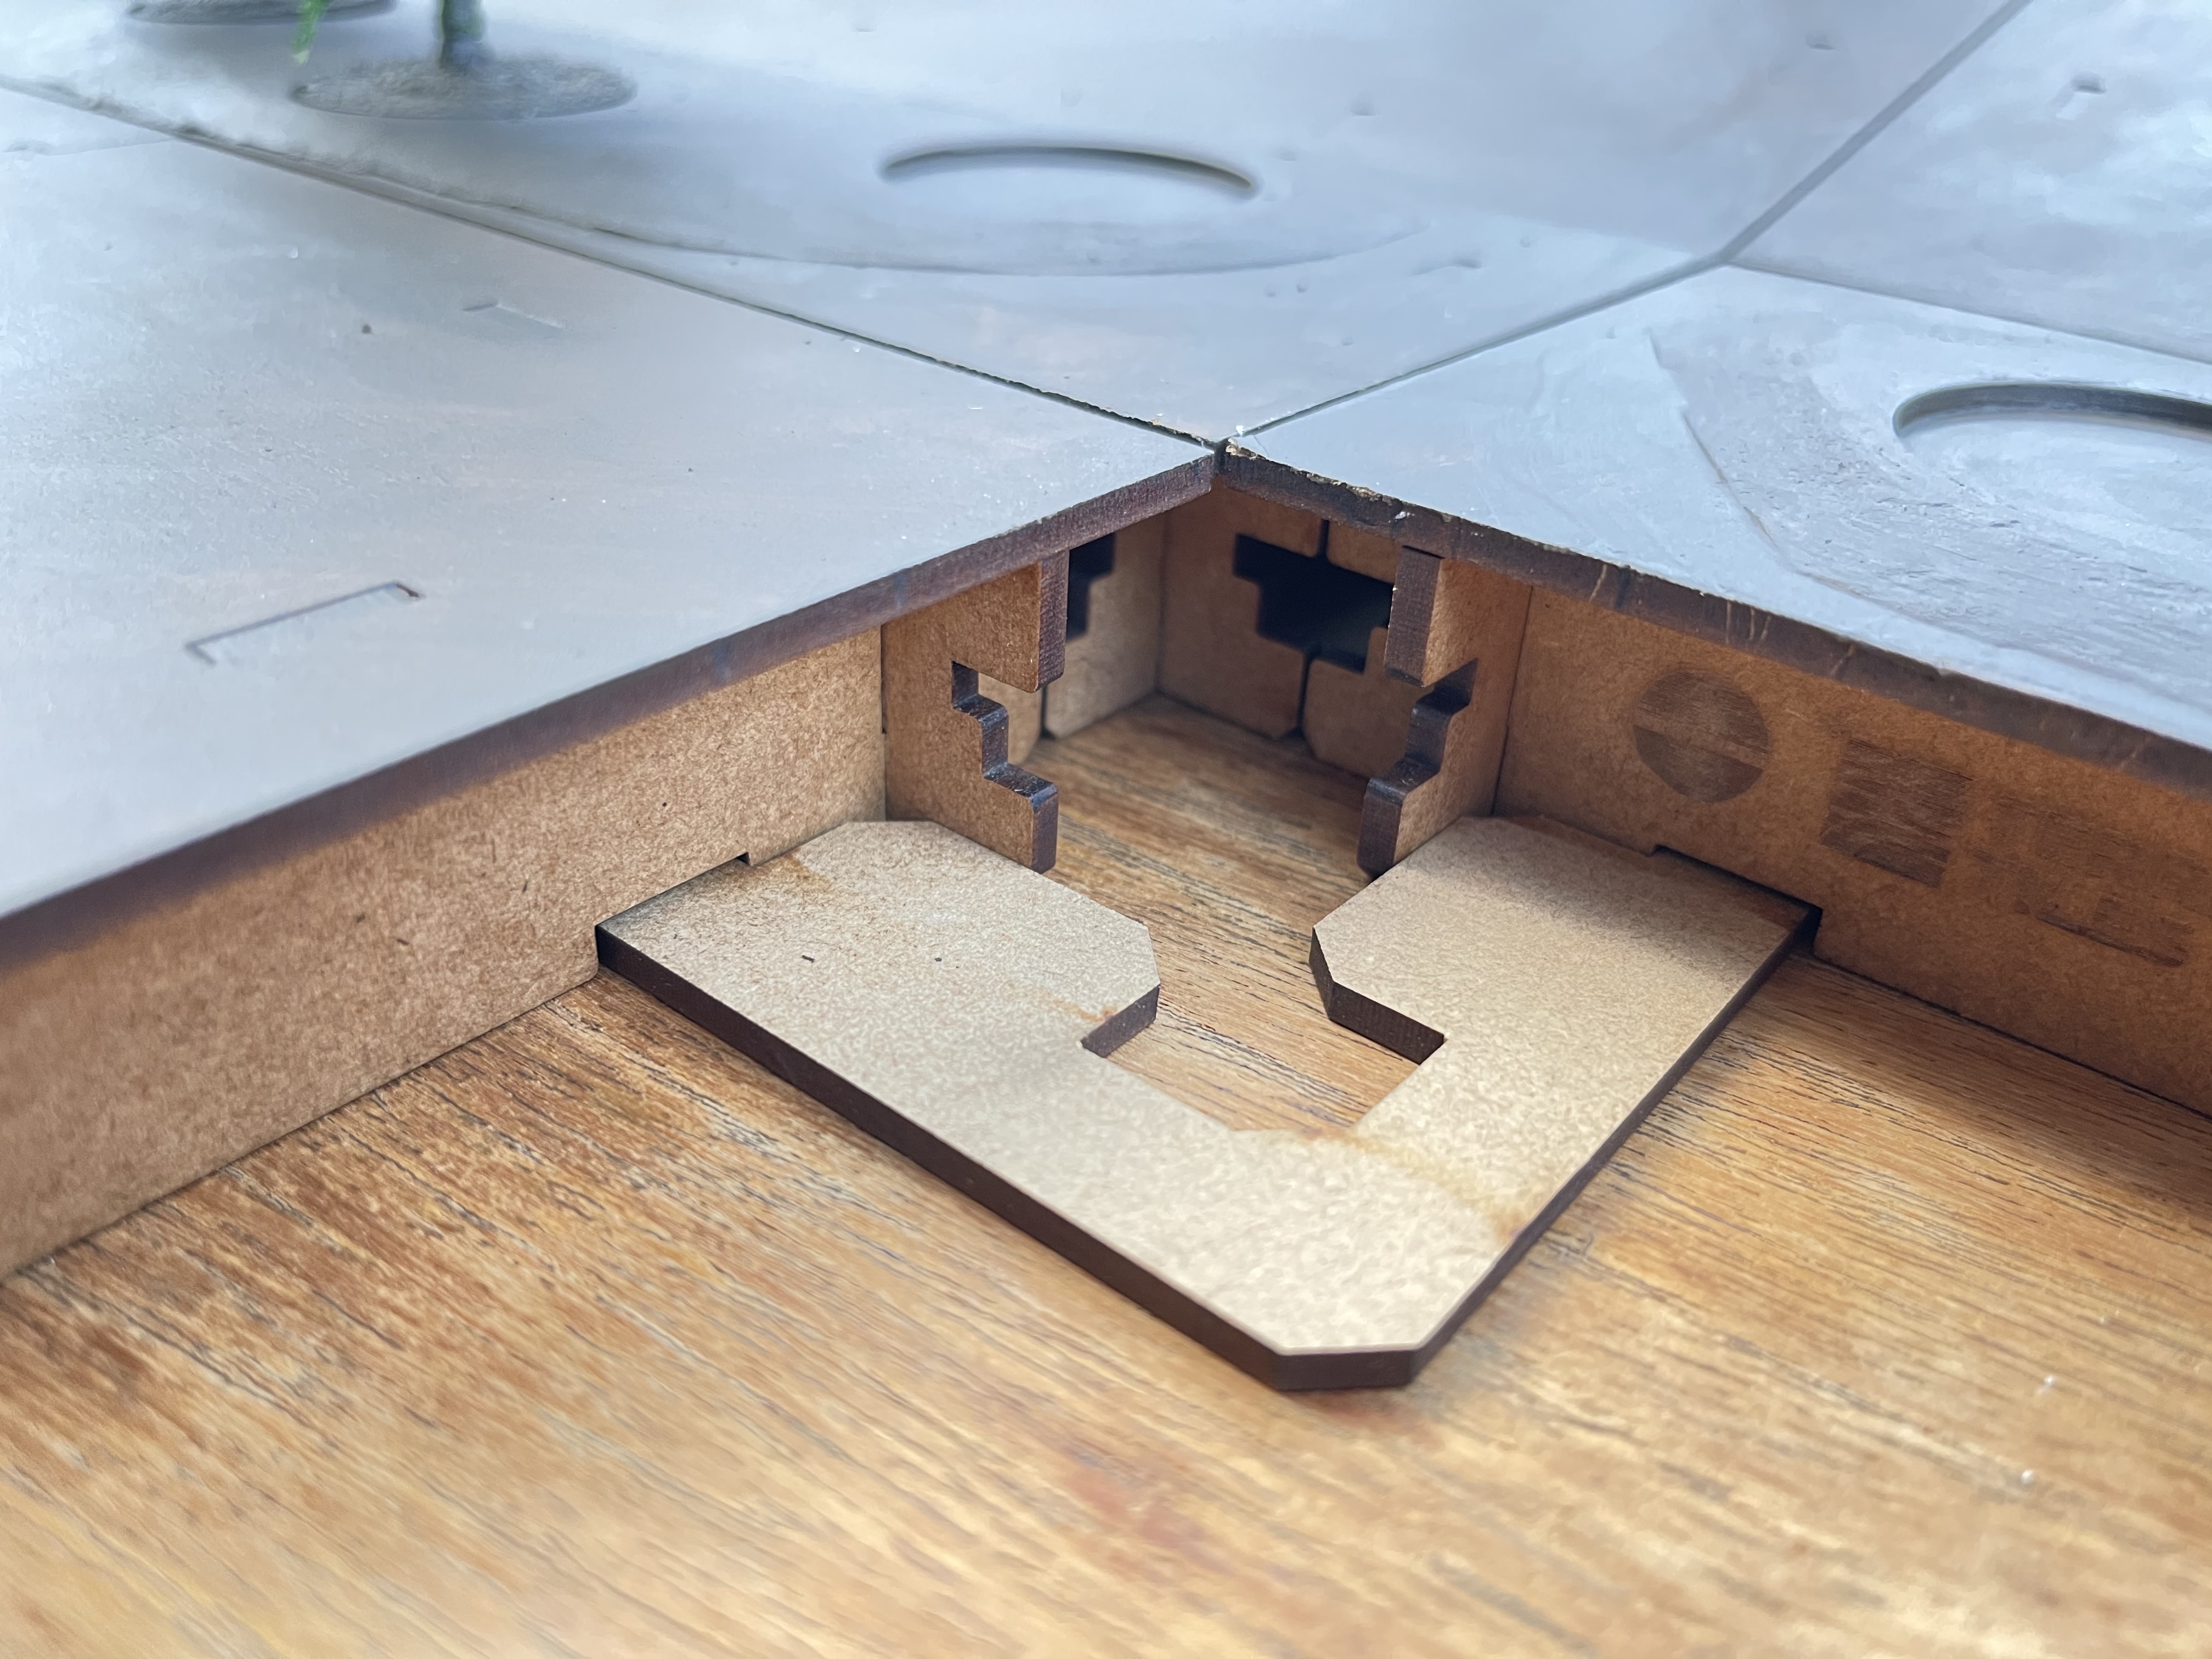 this is a central clip to keep 4 tiles together from the middle
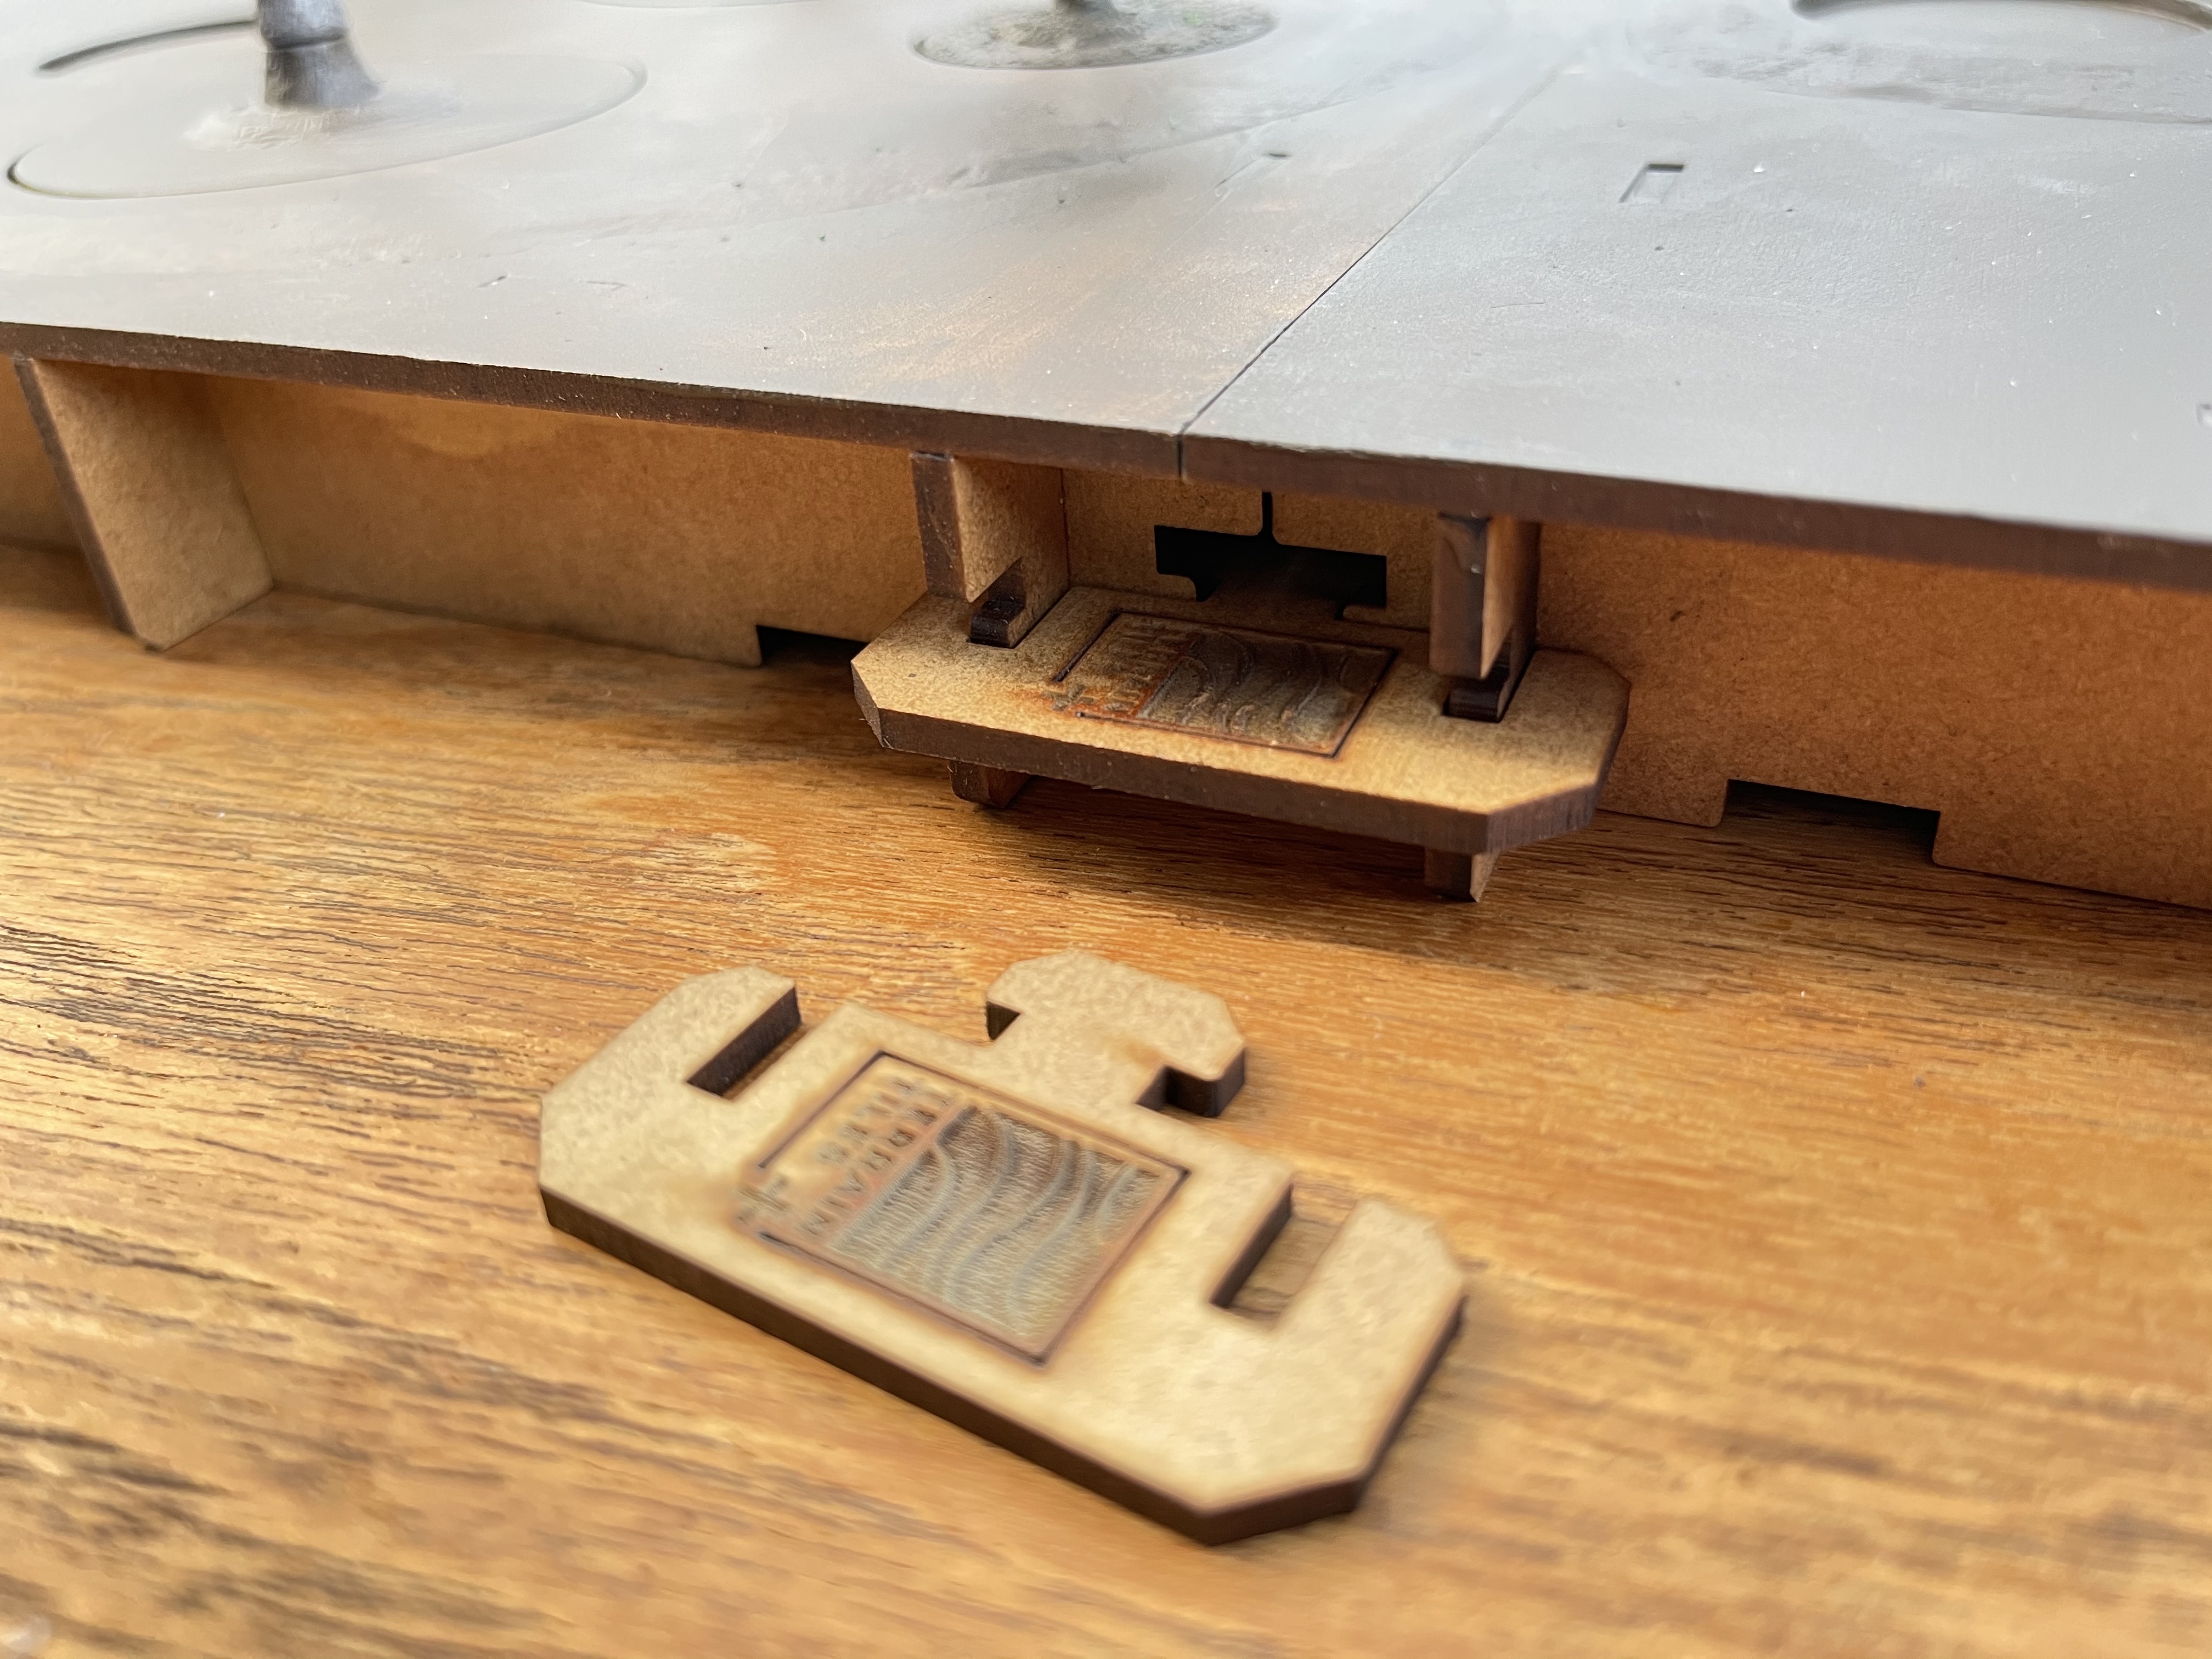 an edge clip top keep 2 tiles together on the edge of the table.
Colourising
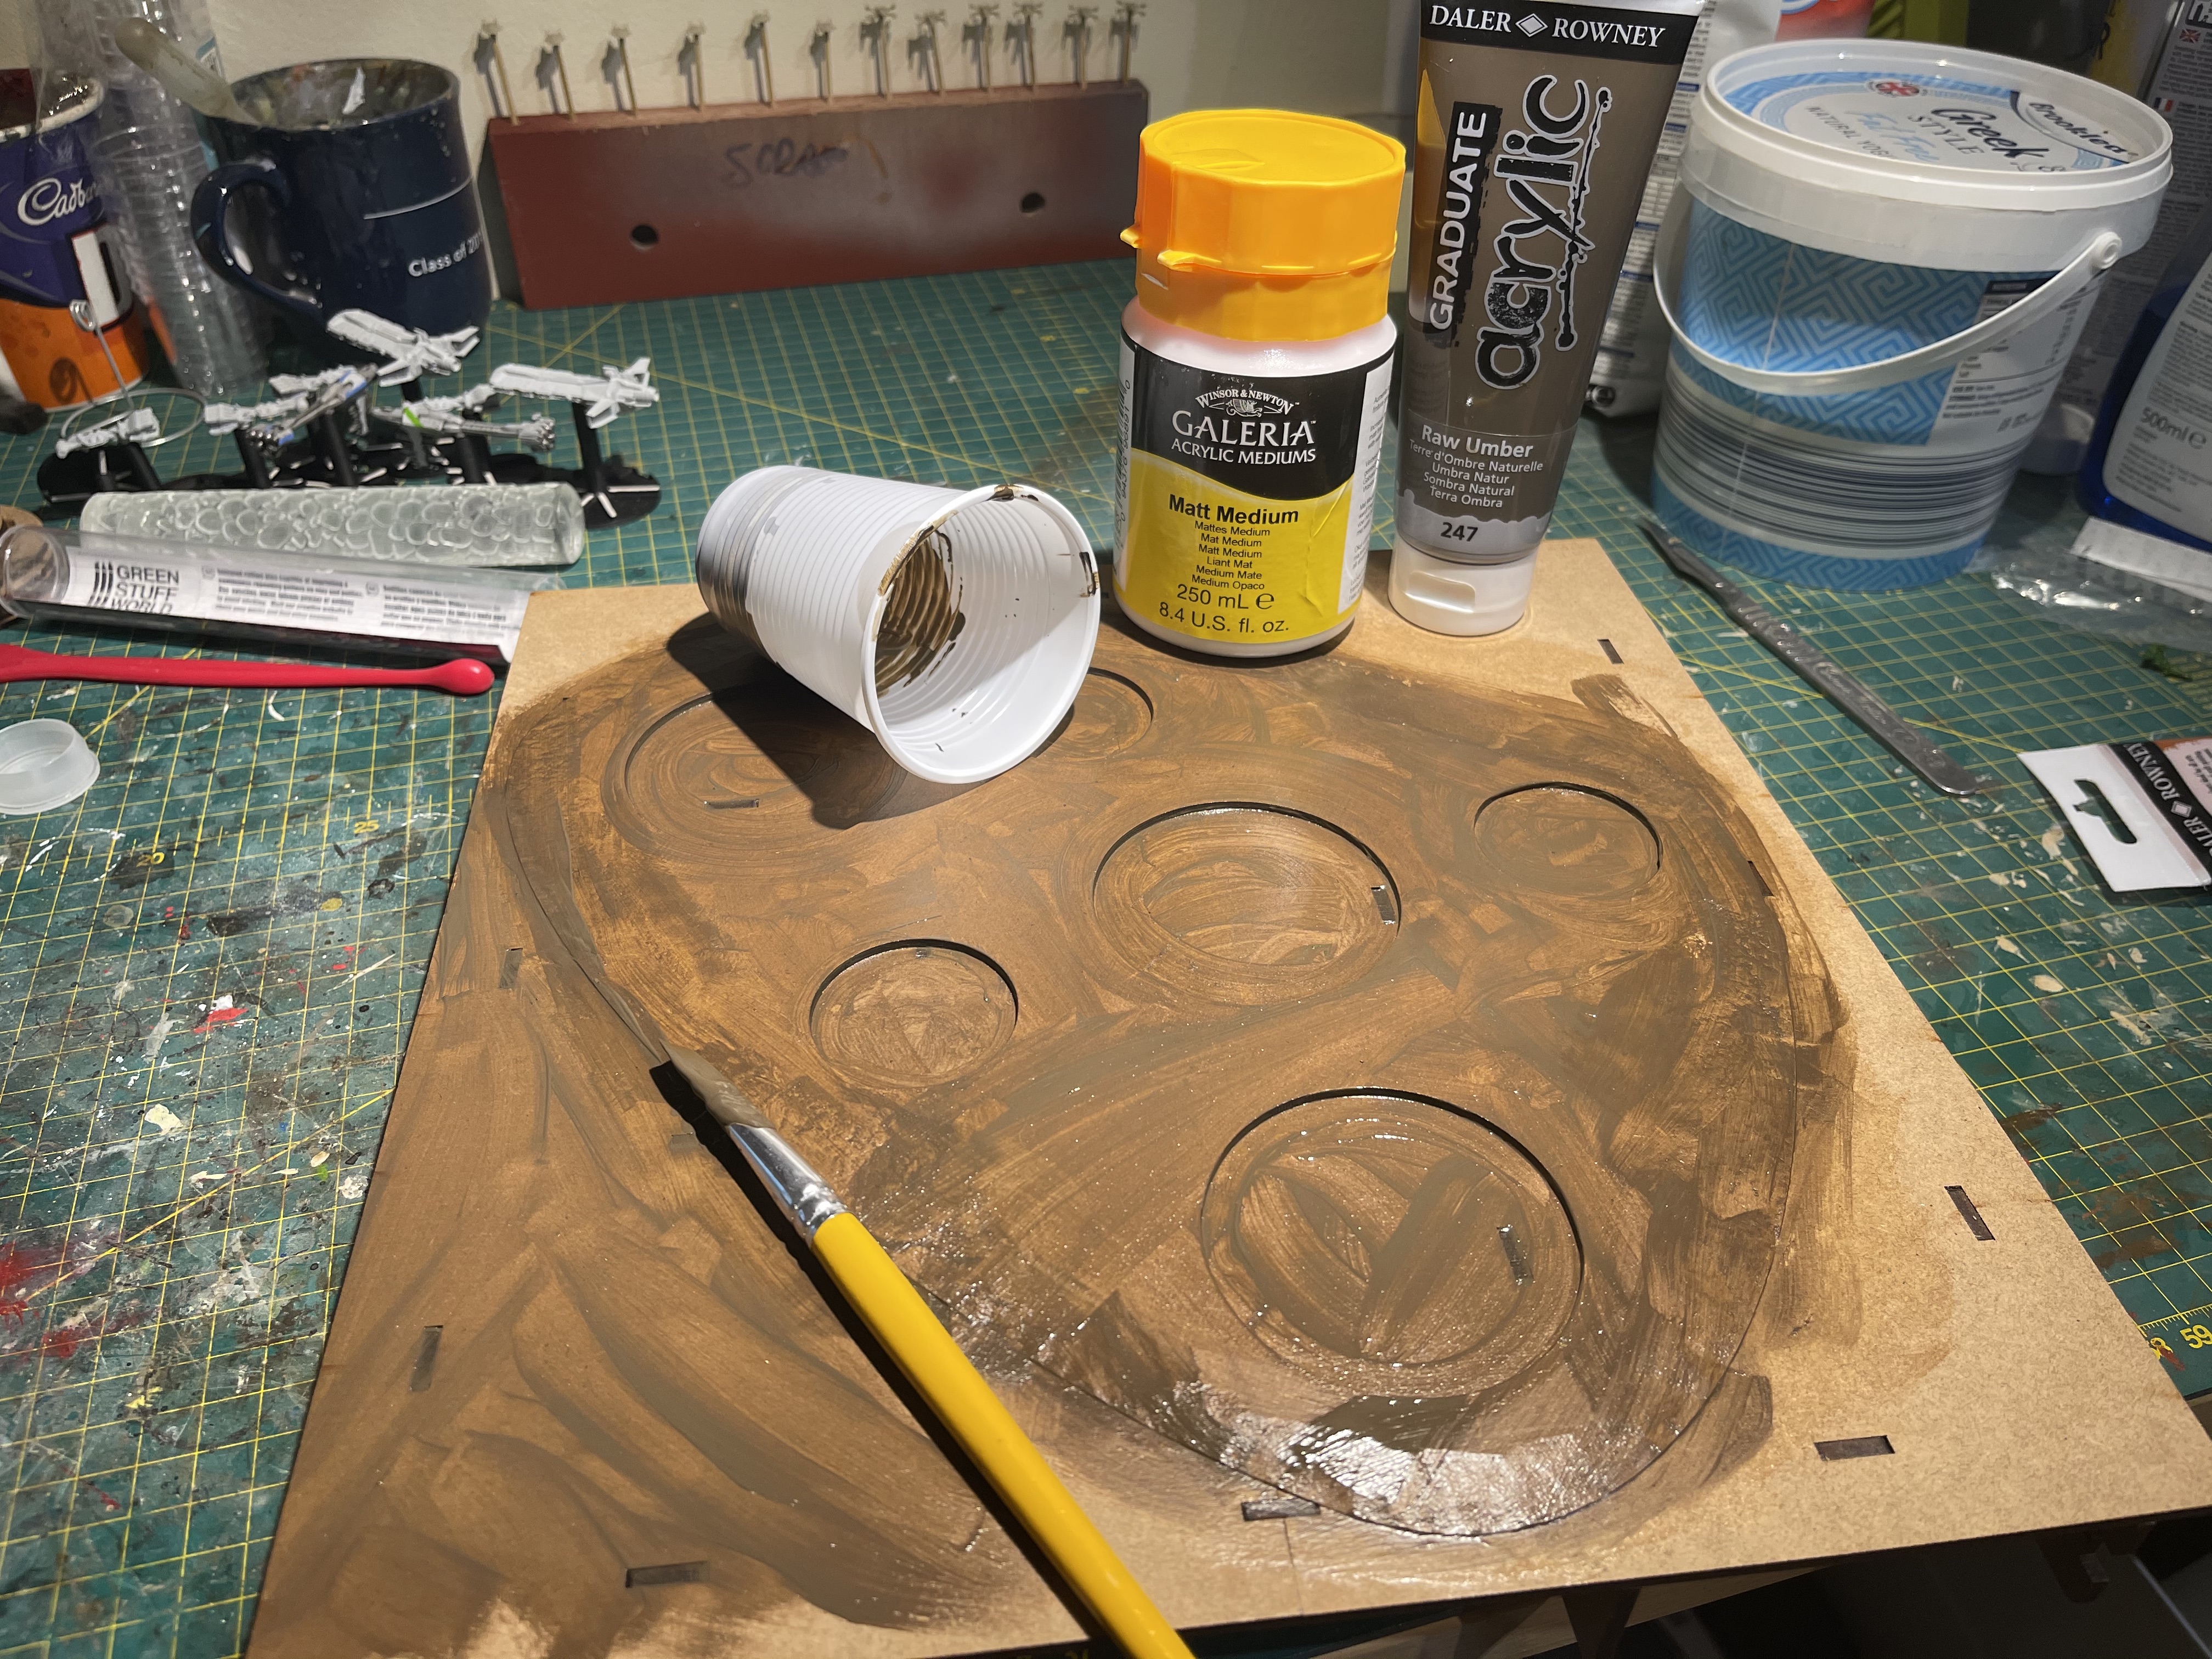 Raw umber is the brown of choice
 1 part miliput standard yellow, 1 part miliput standard grey and 1 part plastercine
 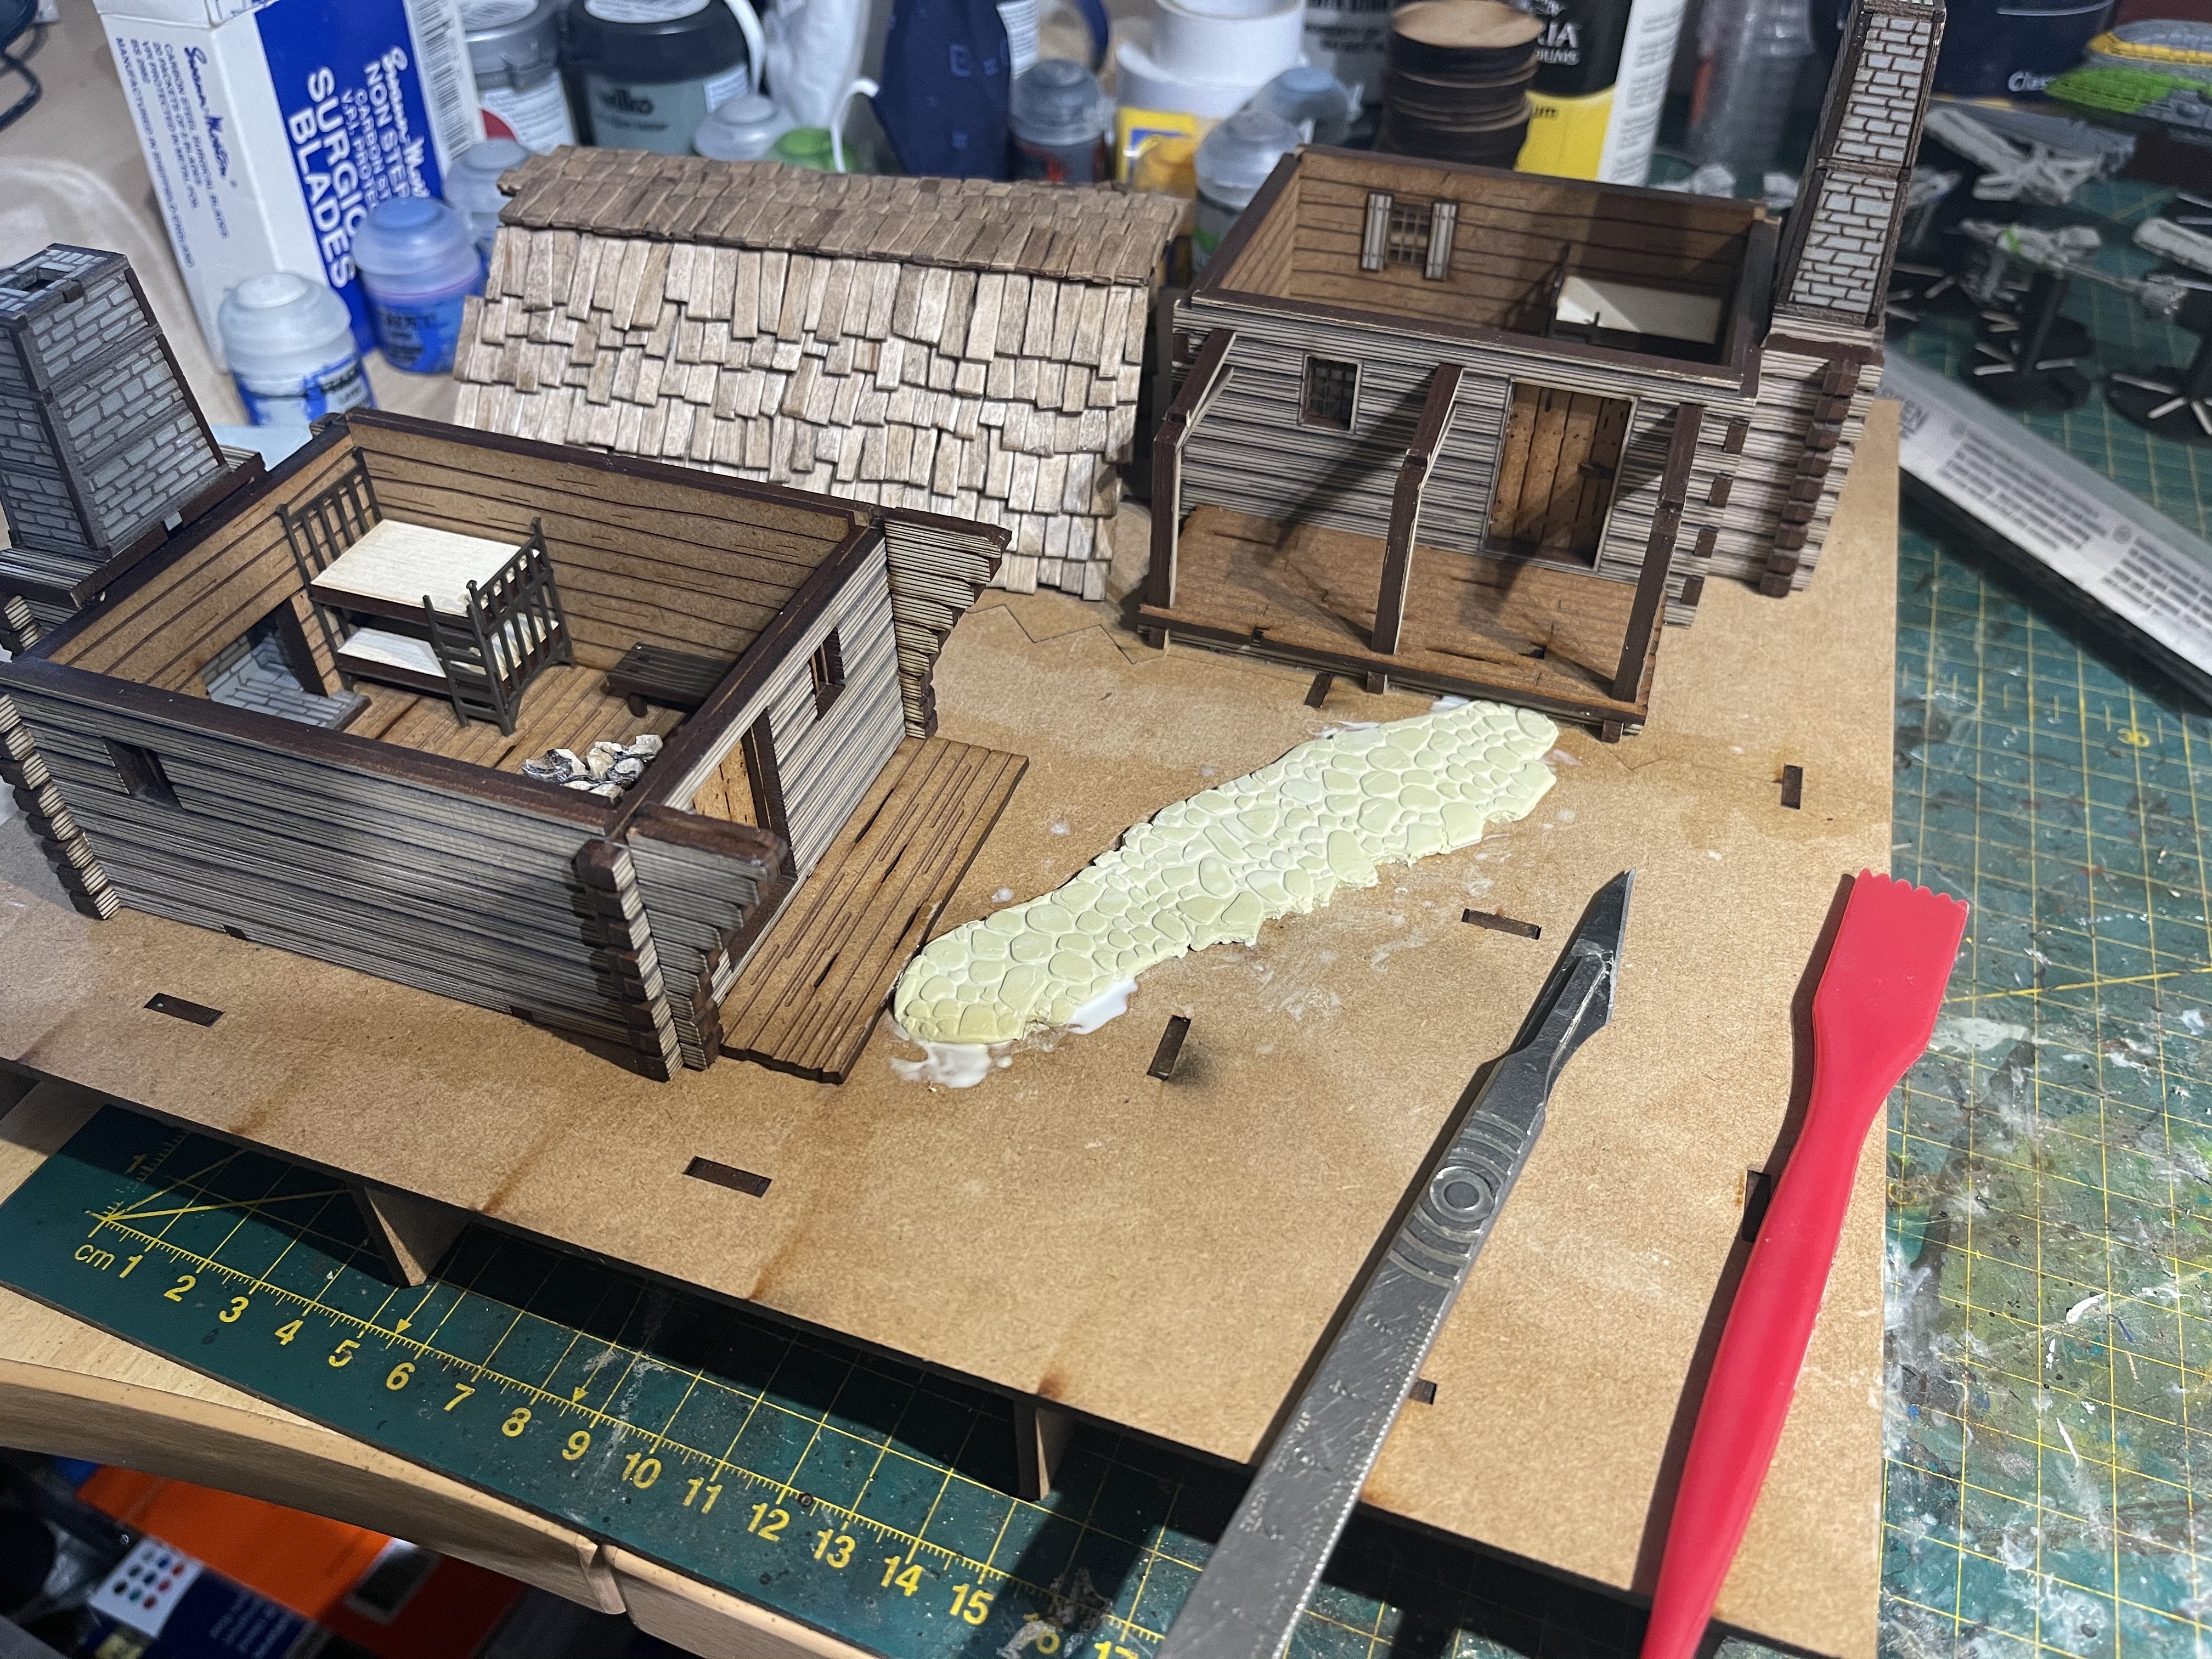 greenstuffworld cobblestone roller
 IKEA Trip!
In this time of pandemic you have to queue up outside shops before being let in. I decided as an experiment to see how much time it would take me to get in and get out.
42 minutes. most of that was stood outside.
I found the back way to skip the show room, I knew I wanted the cheapest 80cm wide billy and extra shelves. Sadly they only had 3 extra shelves so I will have to brave it again another time to get more.
 moved the other shelf to somewhere else
 can clearly see that the extra shelves get used up fast
Lets talk storage
As with everything in this glorious hobby of ours you need a way to make it disappear!
Most people who buy anomalia tiles apparently store them in Ikea kalax bins stacked one on top of the other. If it works, great. I think however I can do one better.
Billy bookcases with many additional shelves. I have one for half my boardgame collection (the other half being hidden in the living room in a kalax).
 rate my boardgames...
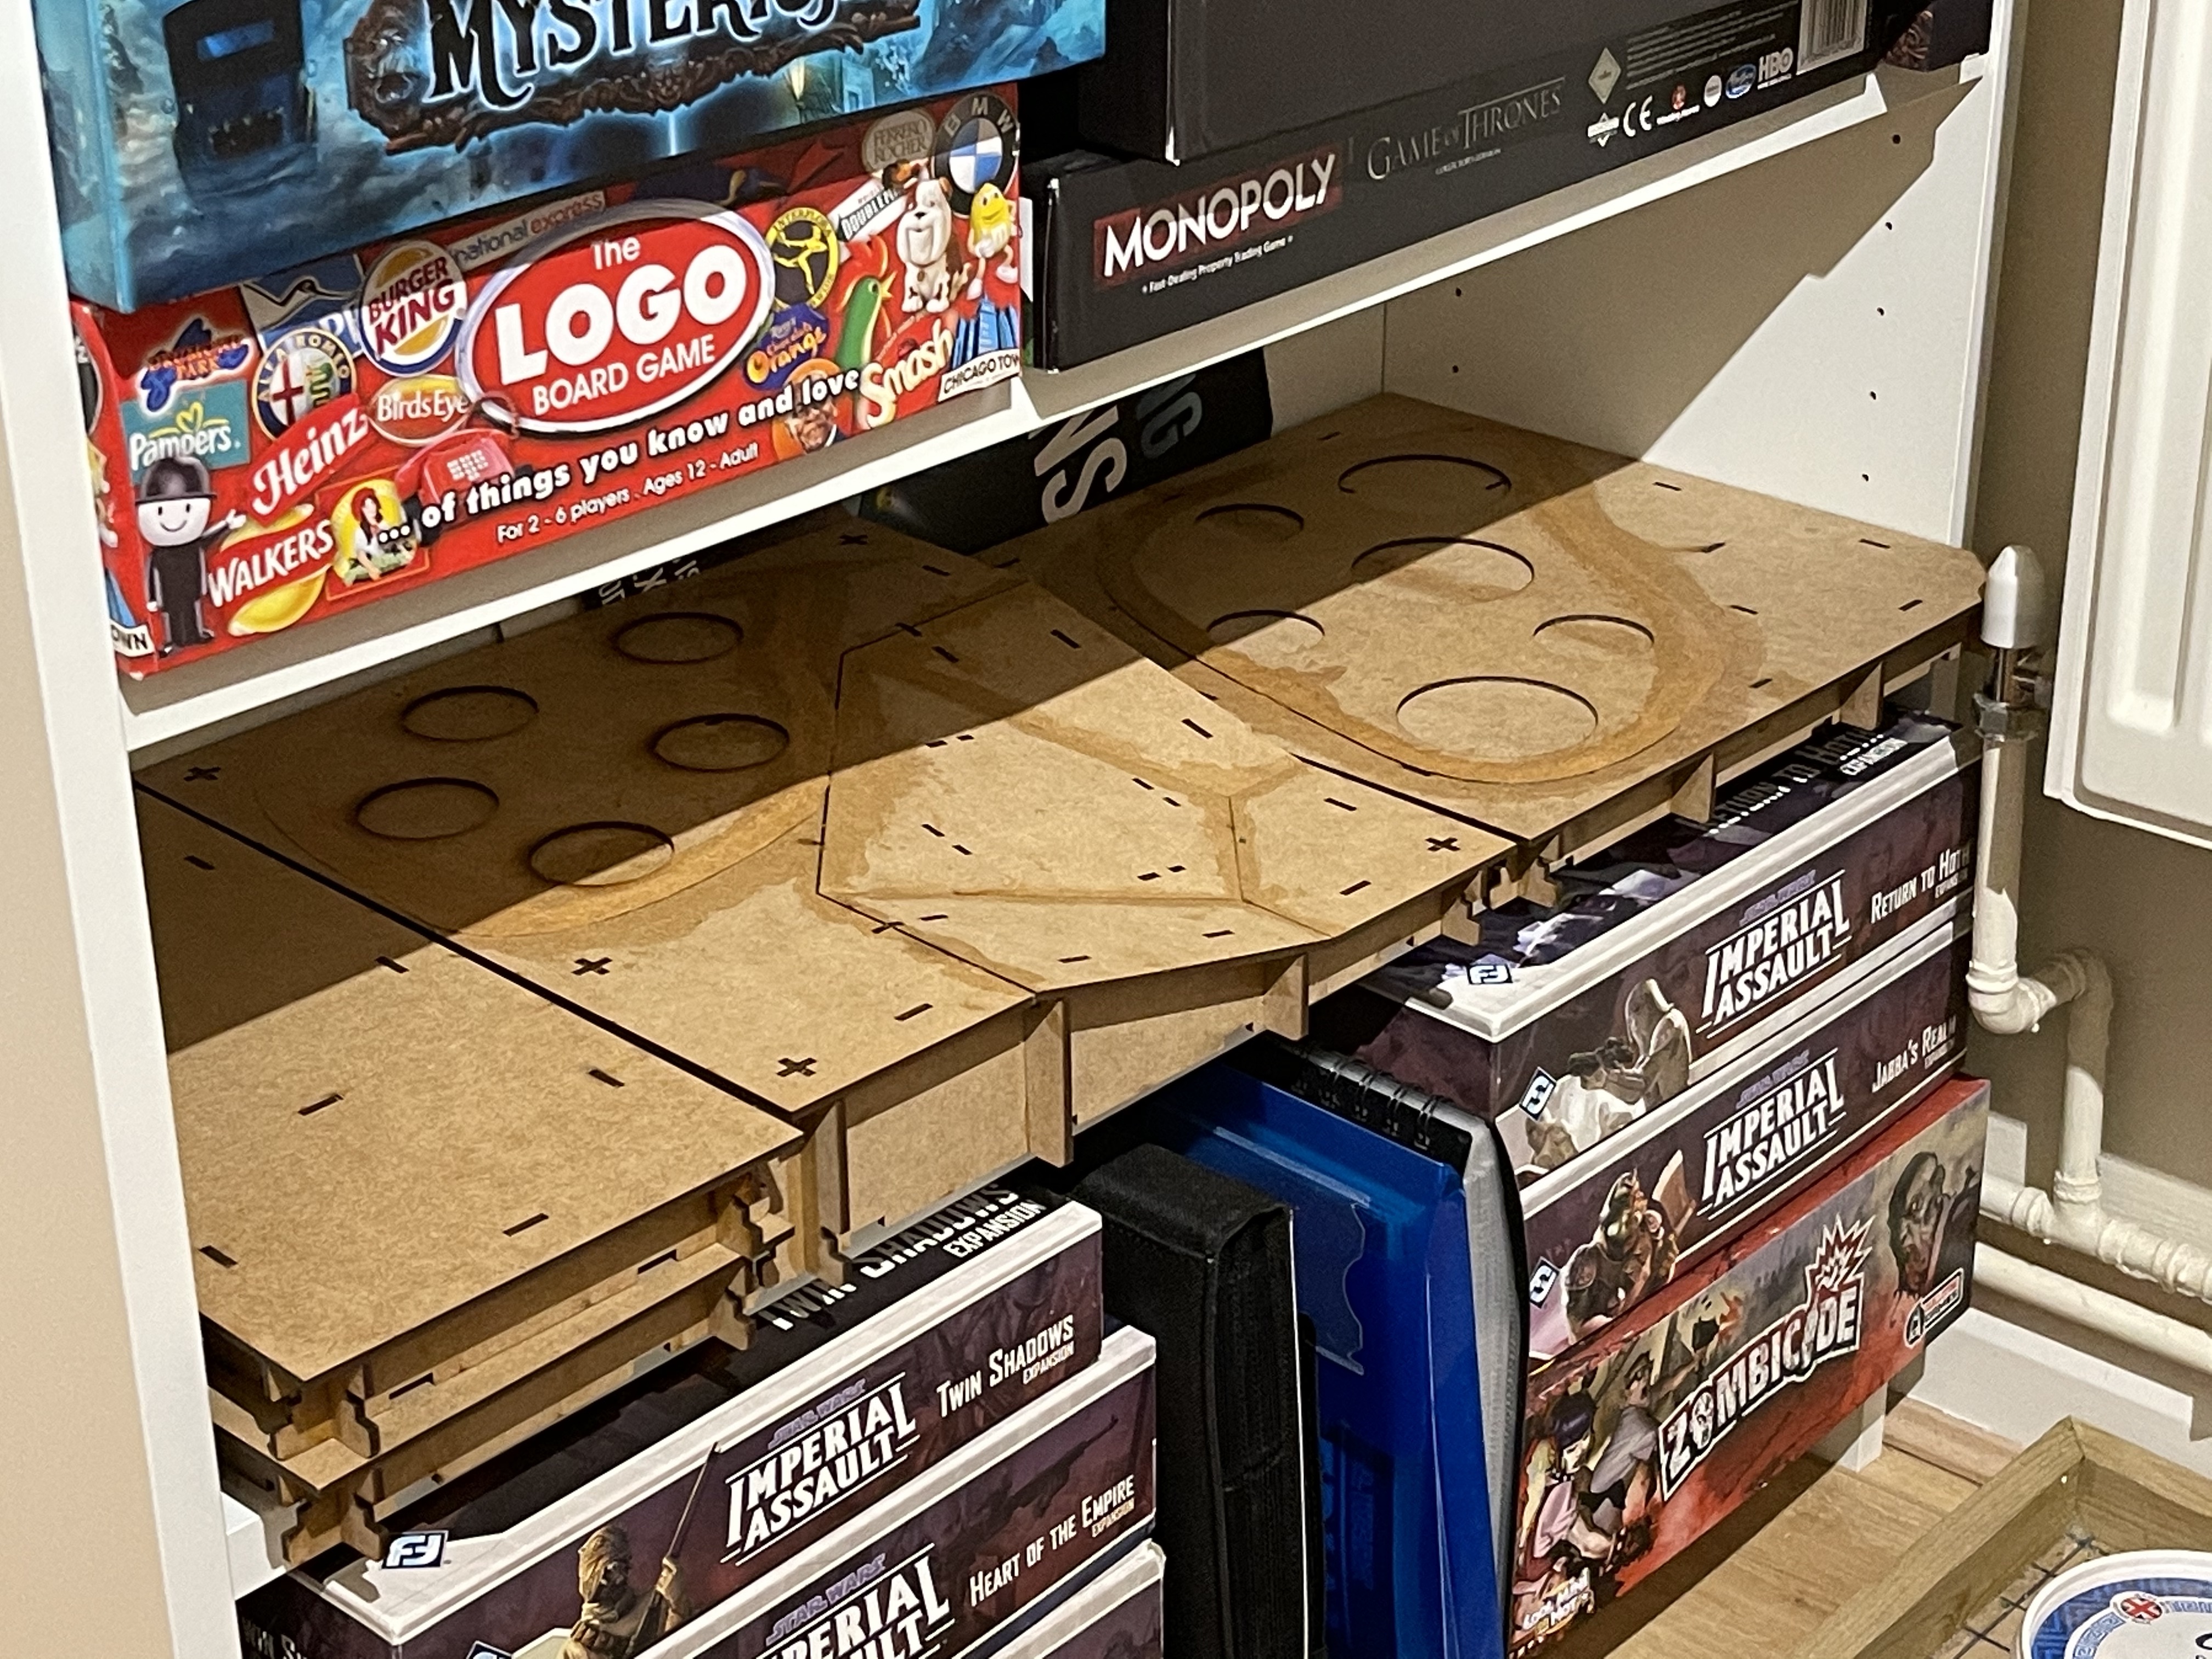 2 and half tiles width is perfect!
3x4 table done (with one spare)
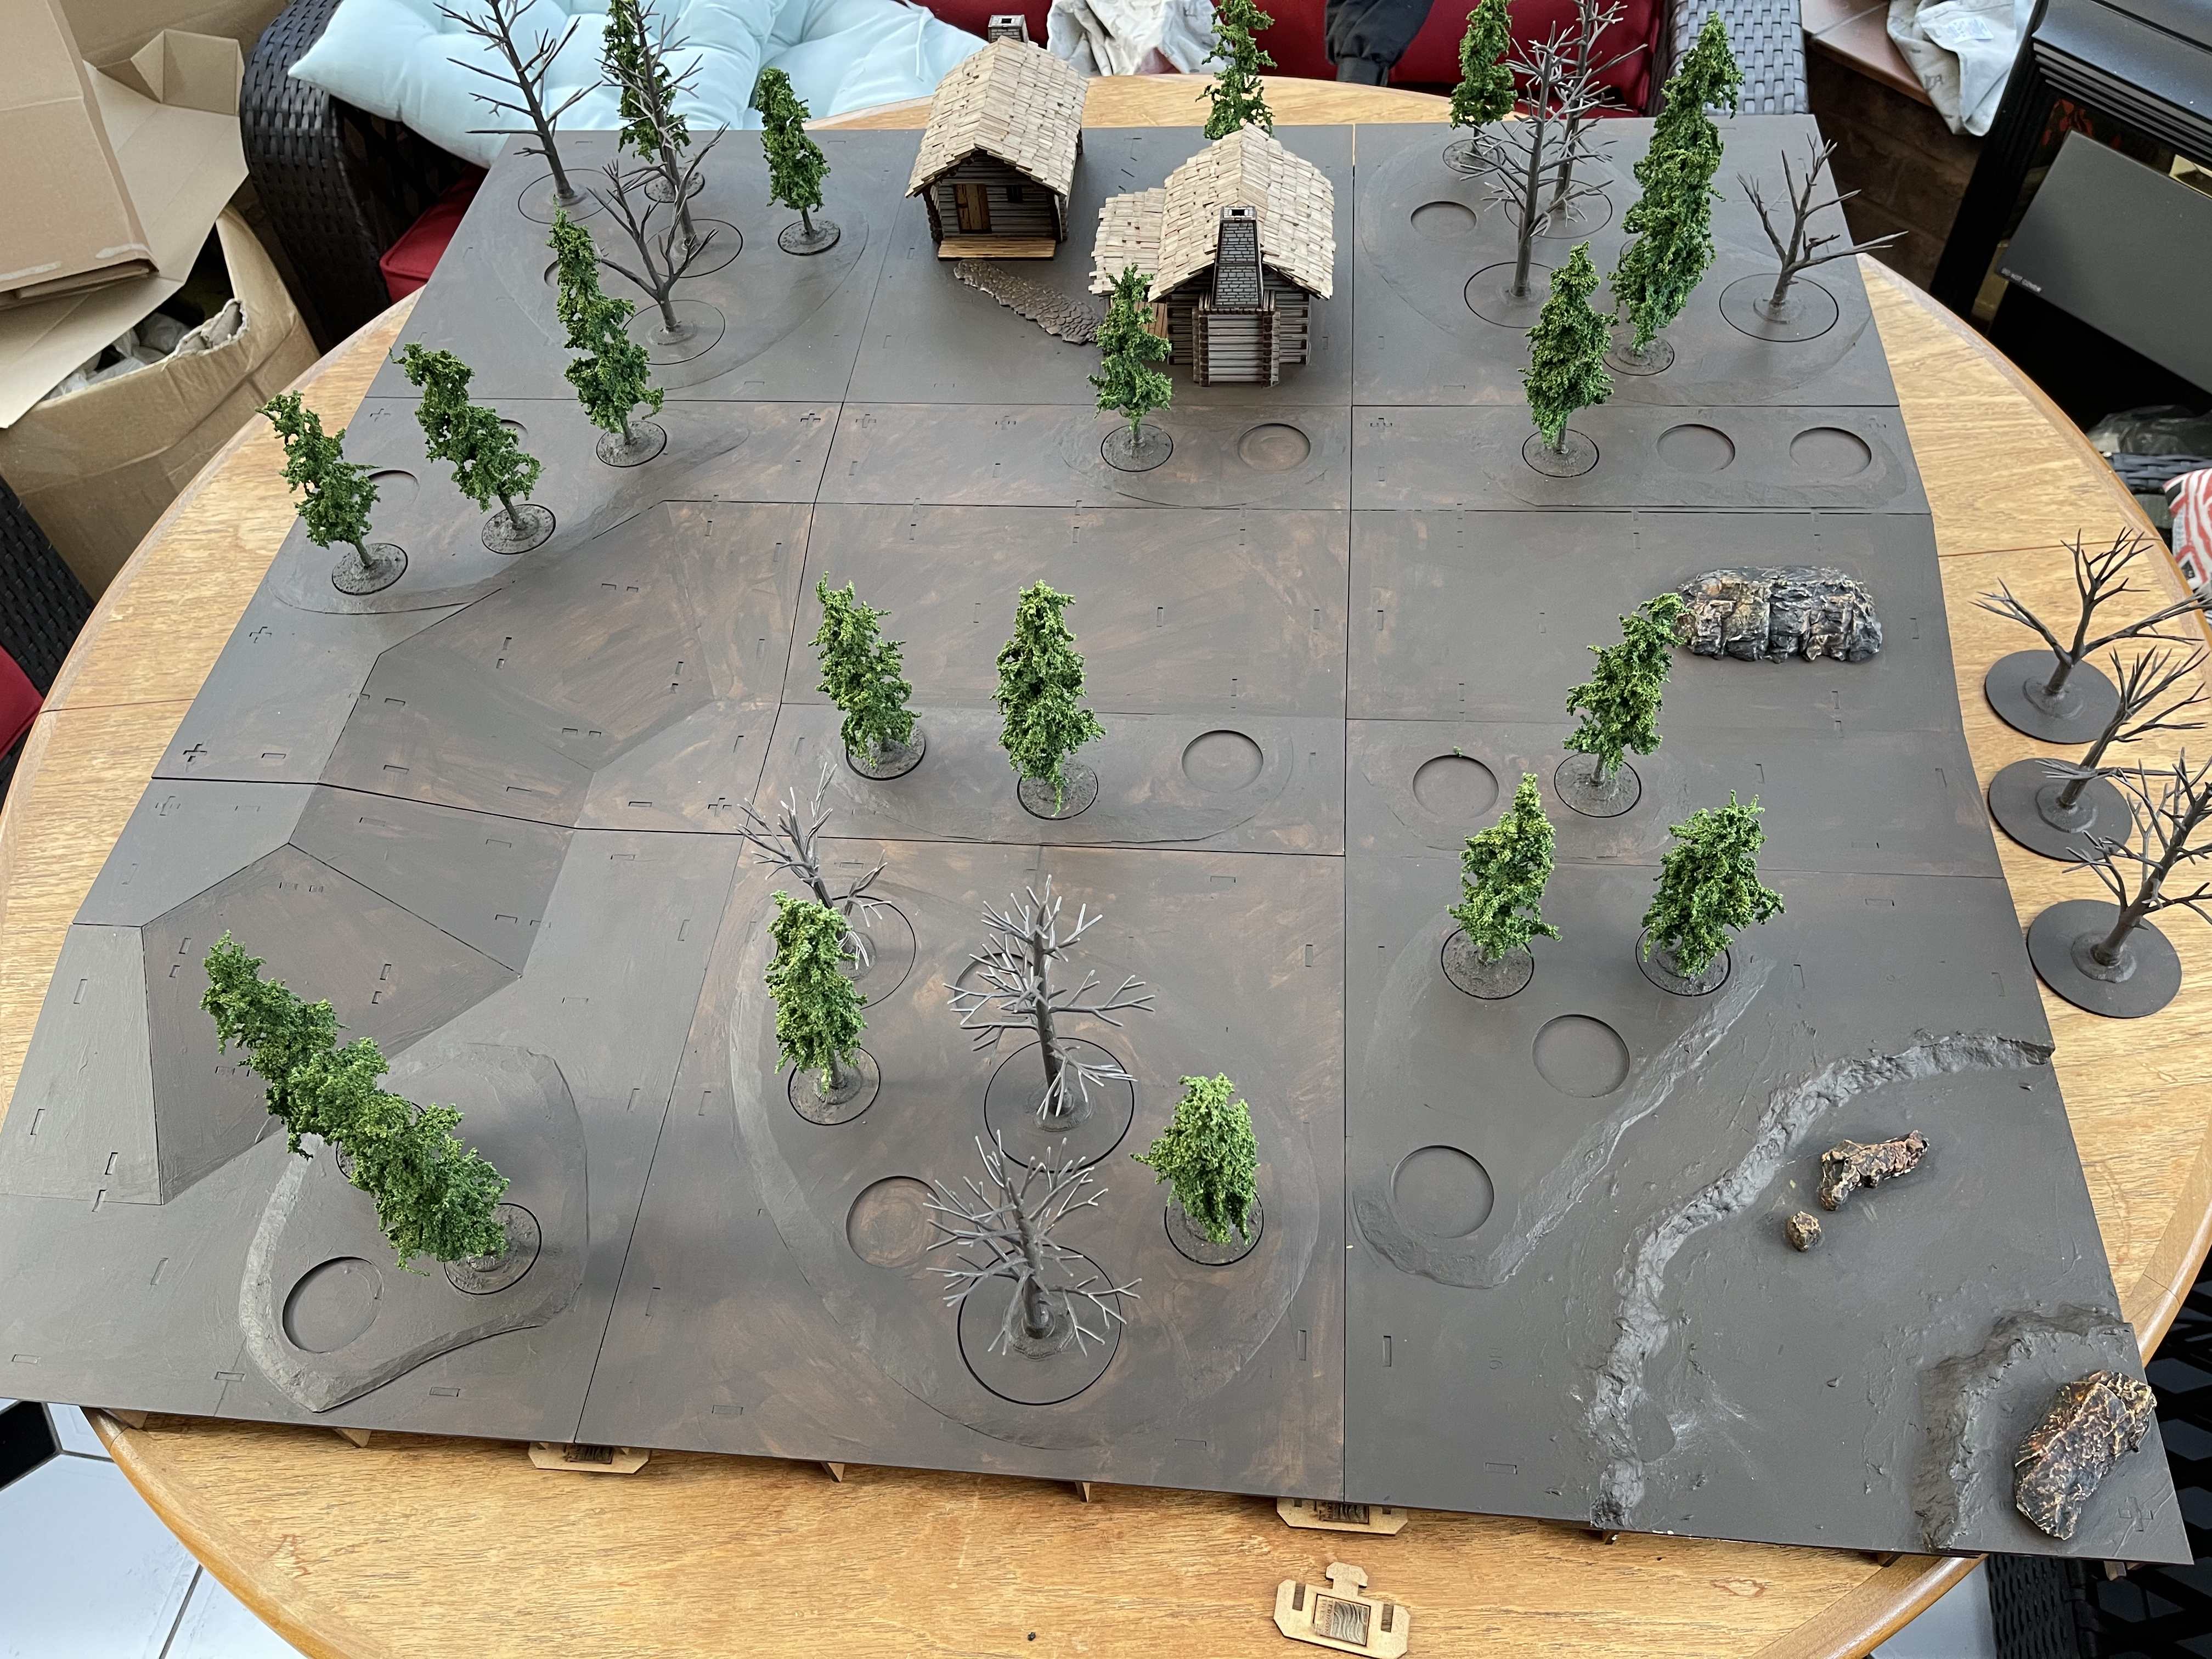
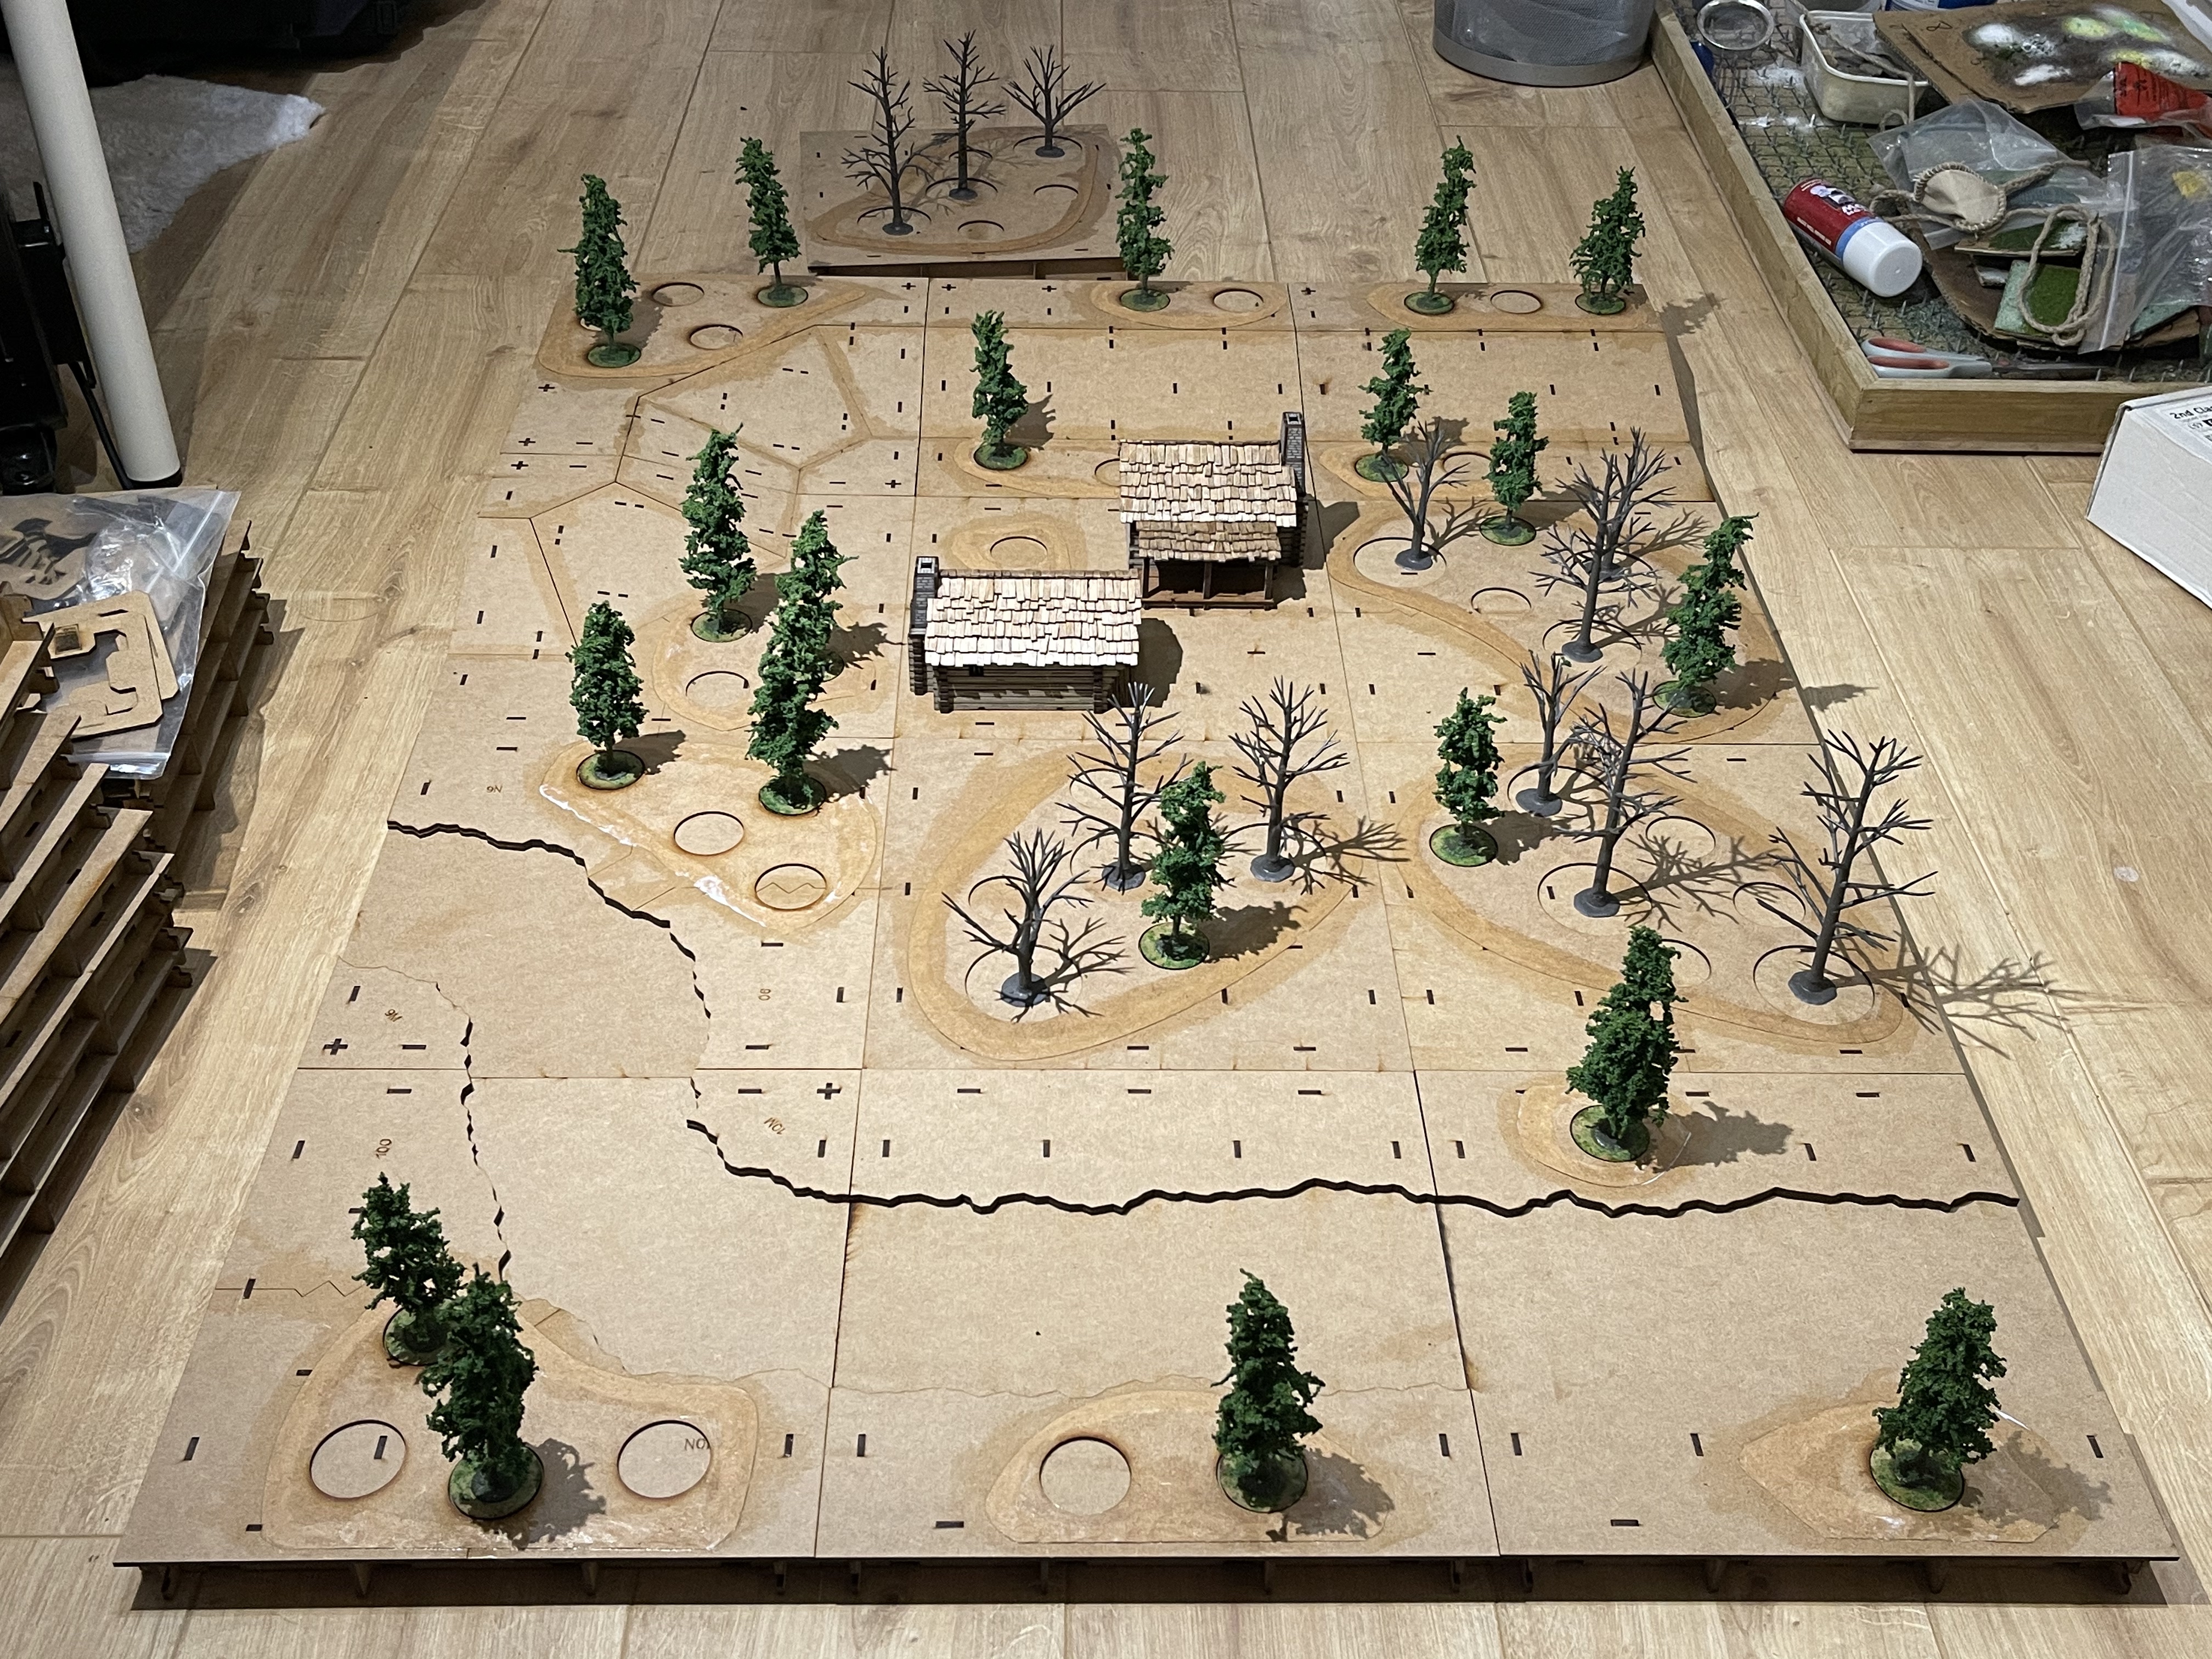 Spread of trees
After two nights of carving and self harming (right thumb and left index have ouchies on them) I have a good sized skirmish table (3×4) with many features.
I have a small hill (or incline). a tiny fur trappers outpost (ready for raiding) and the all important highway to get the furs in and out (the river).
I’ve spread the trees out here so we can try and get an idea of how wooded the table will look and its safe to say, very.
I do need to make another…. 25 trees… and I only have 23 pine tree armatures left … ratbag!
It’s ok though as I plan to make some plugs with rocks and objectives (fur bundles) on them so that I can change the woods up a bit otherwise they can be a bit dense all the time.
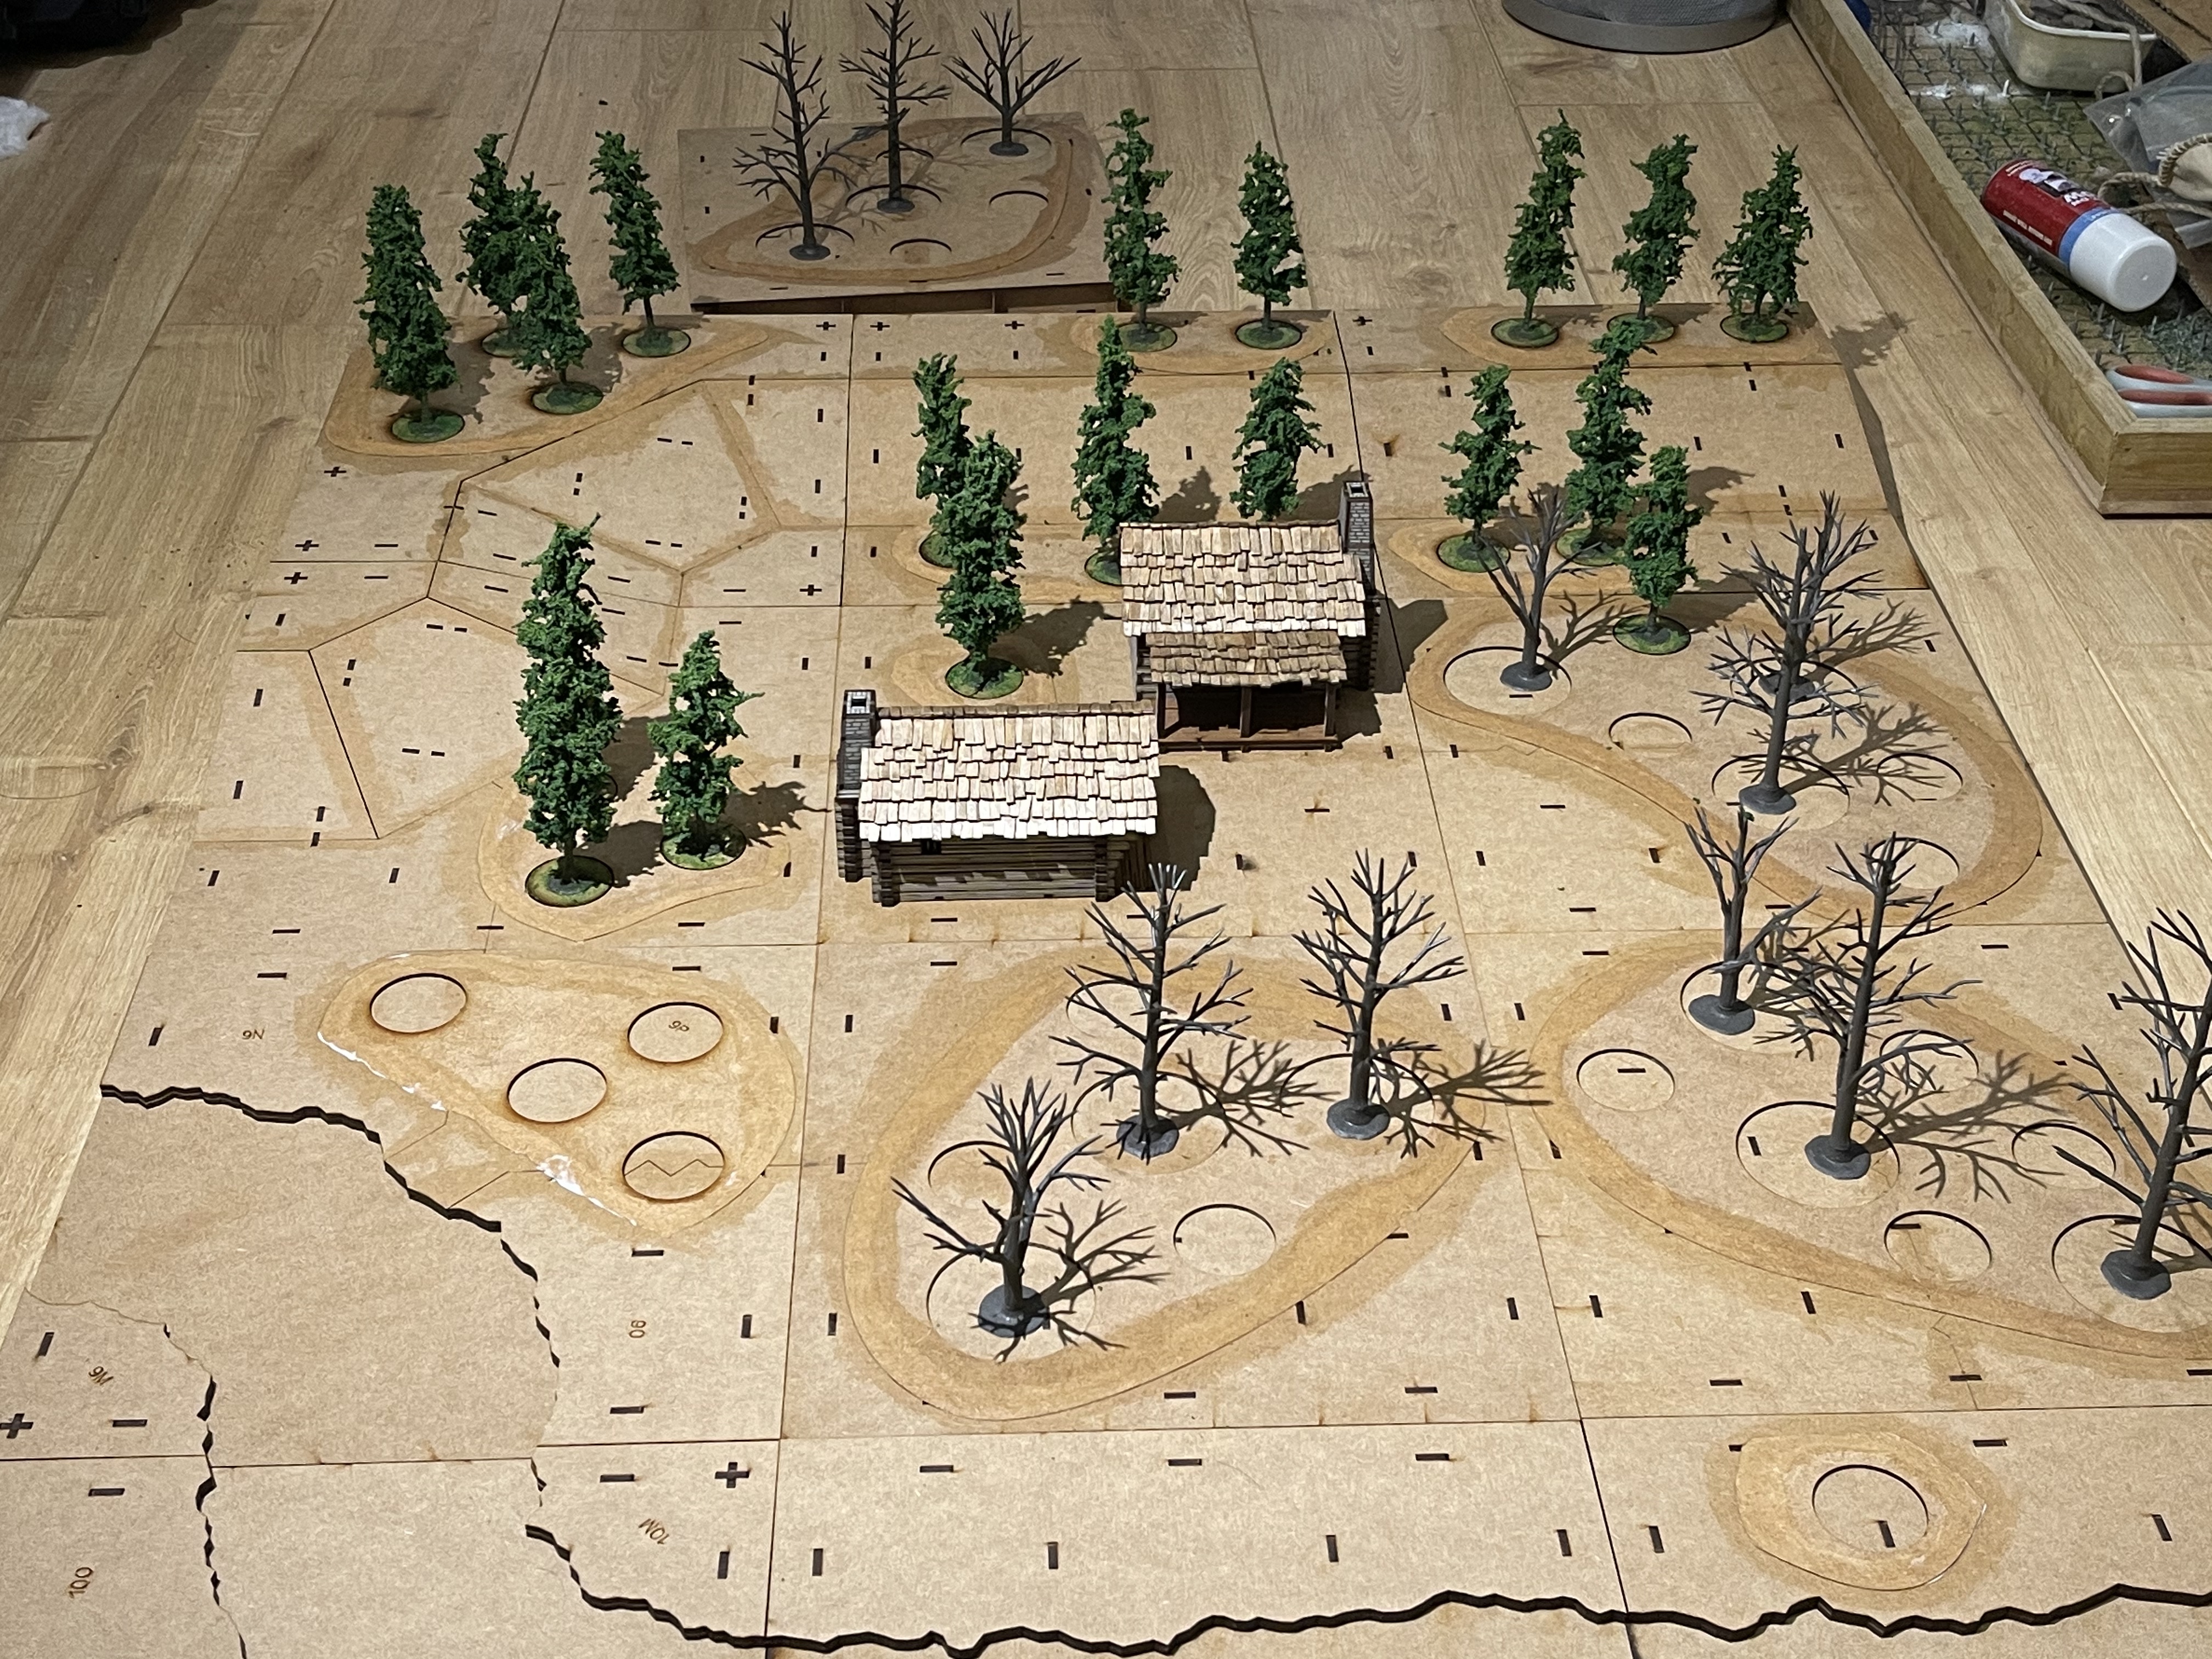 some very busy and samey looking pine forests
Starting the board... needing more trees!
 place forrest layout on board
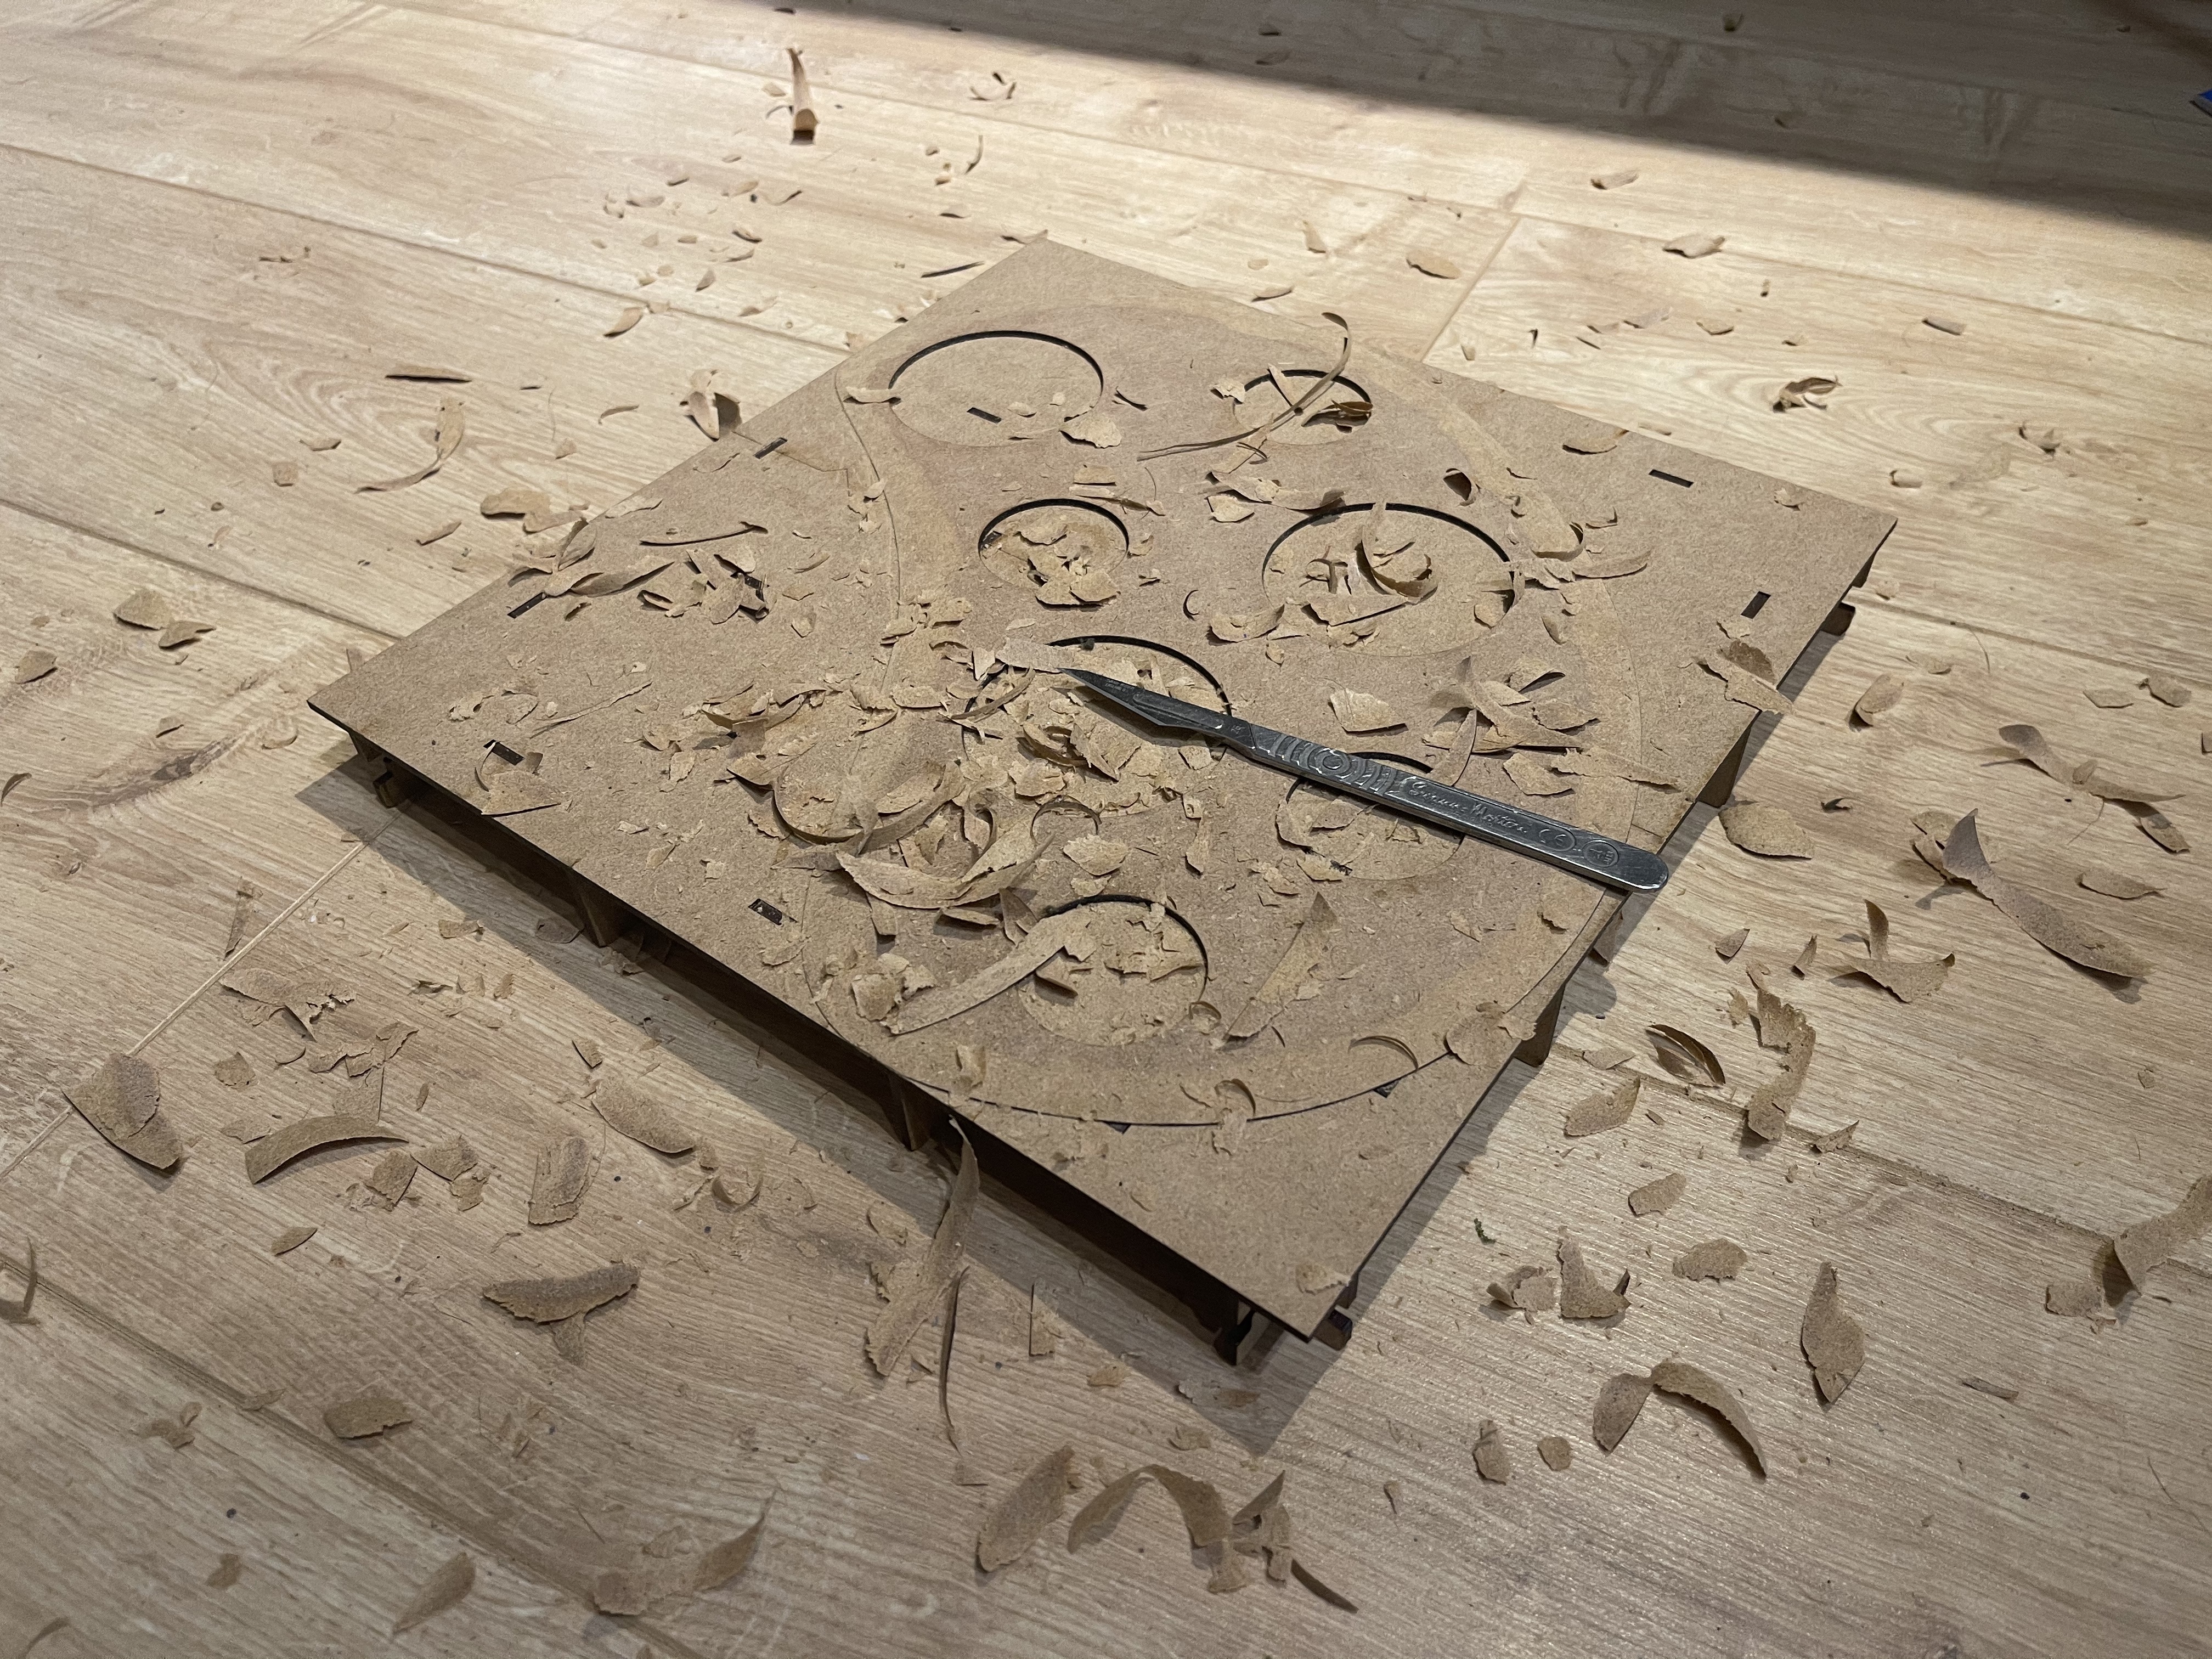 take a scalpel and carefully bevel the edges to remove the step
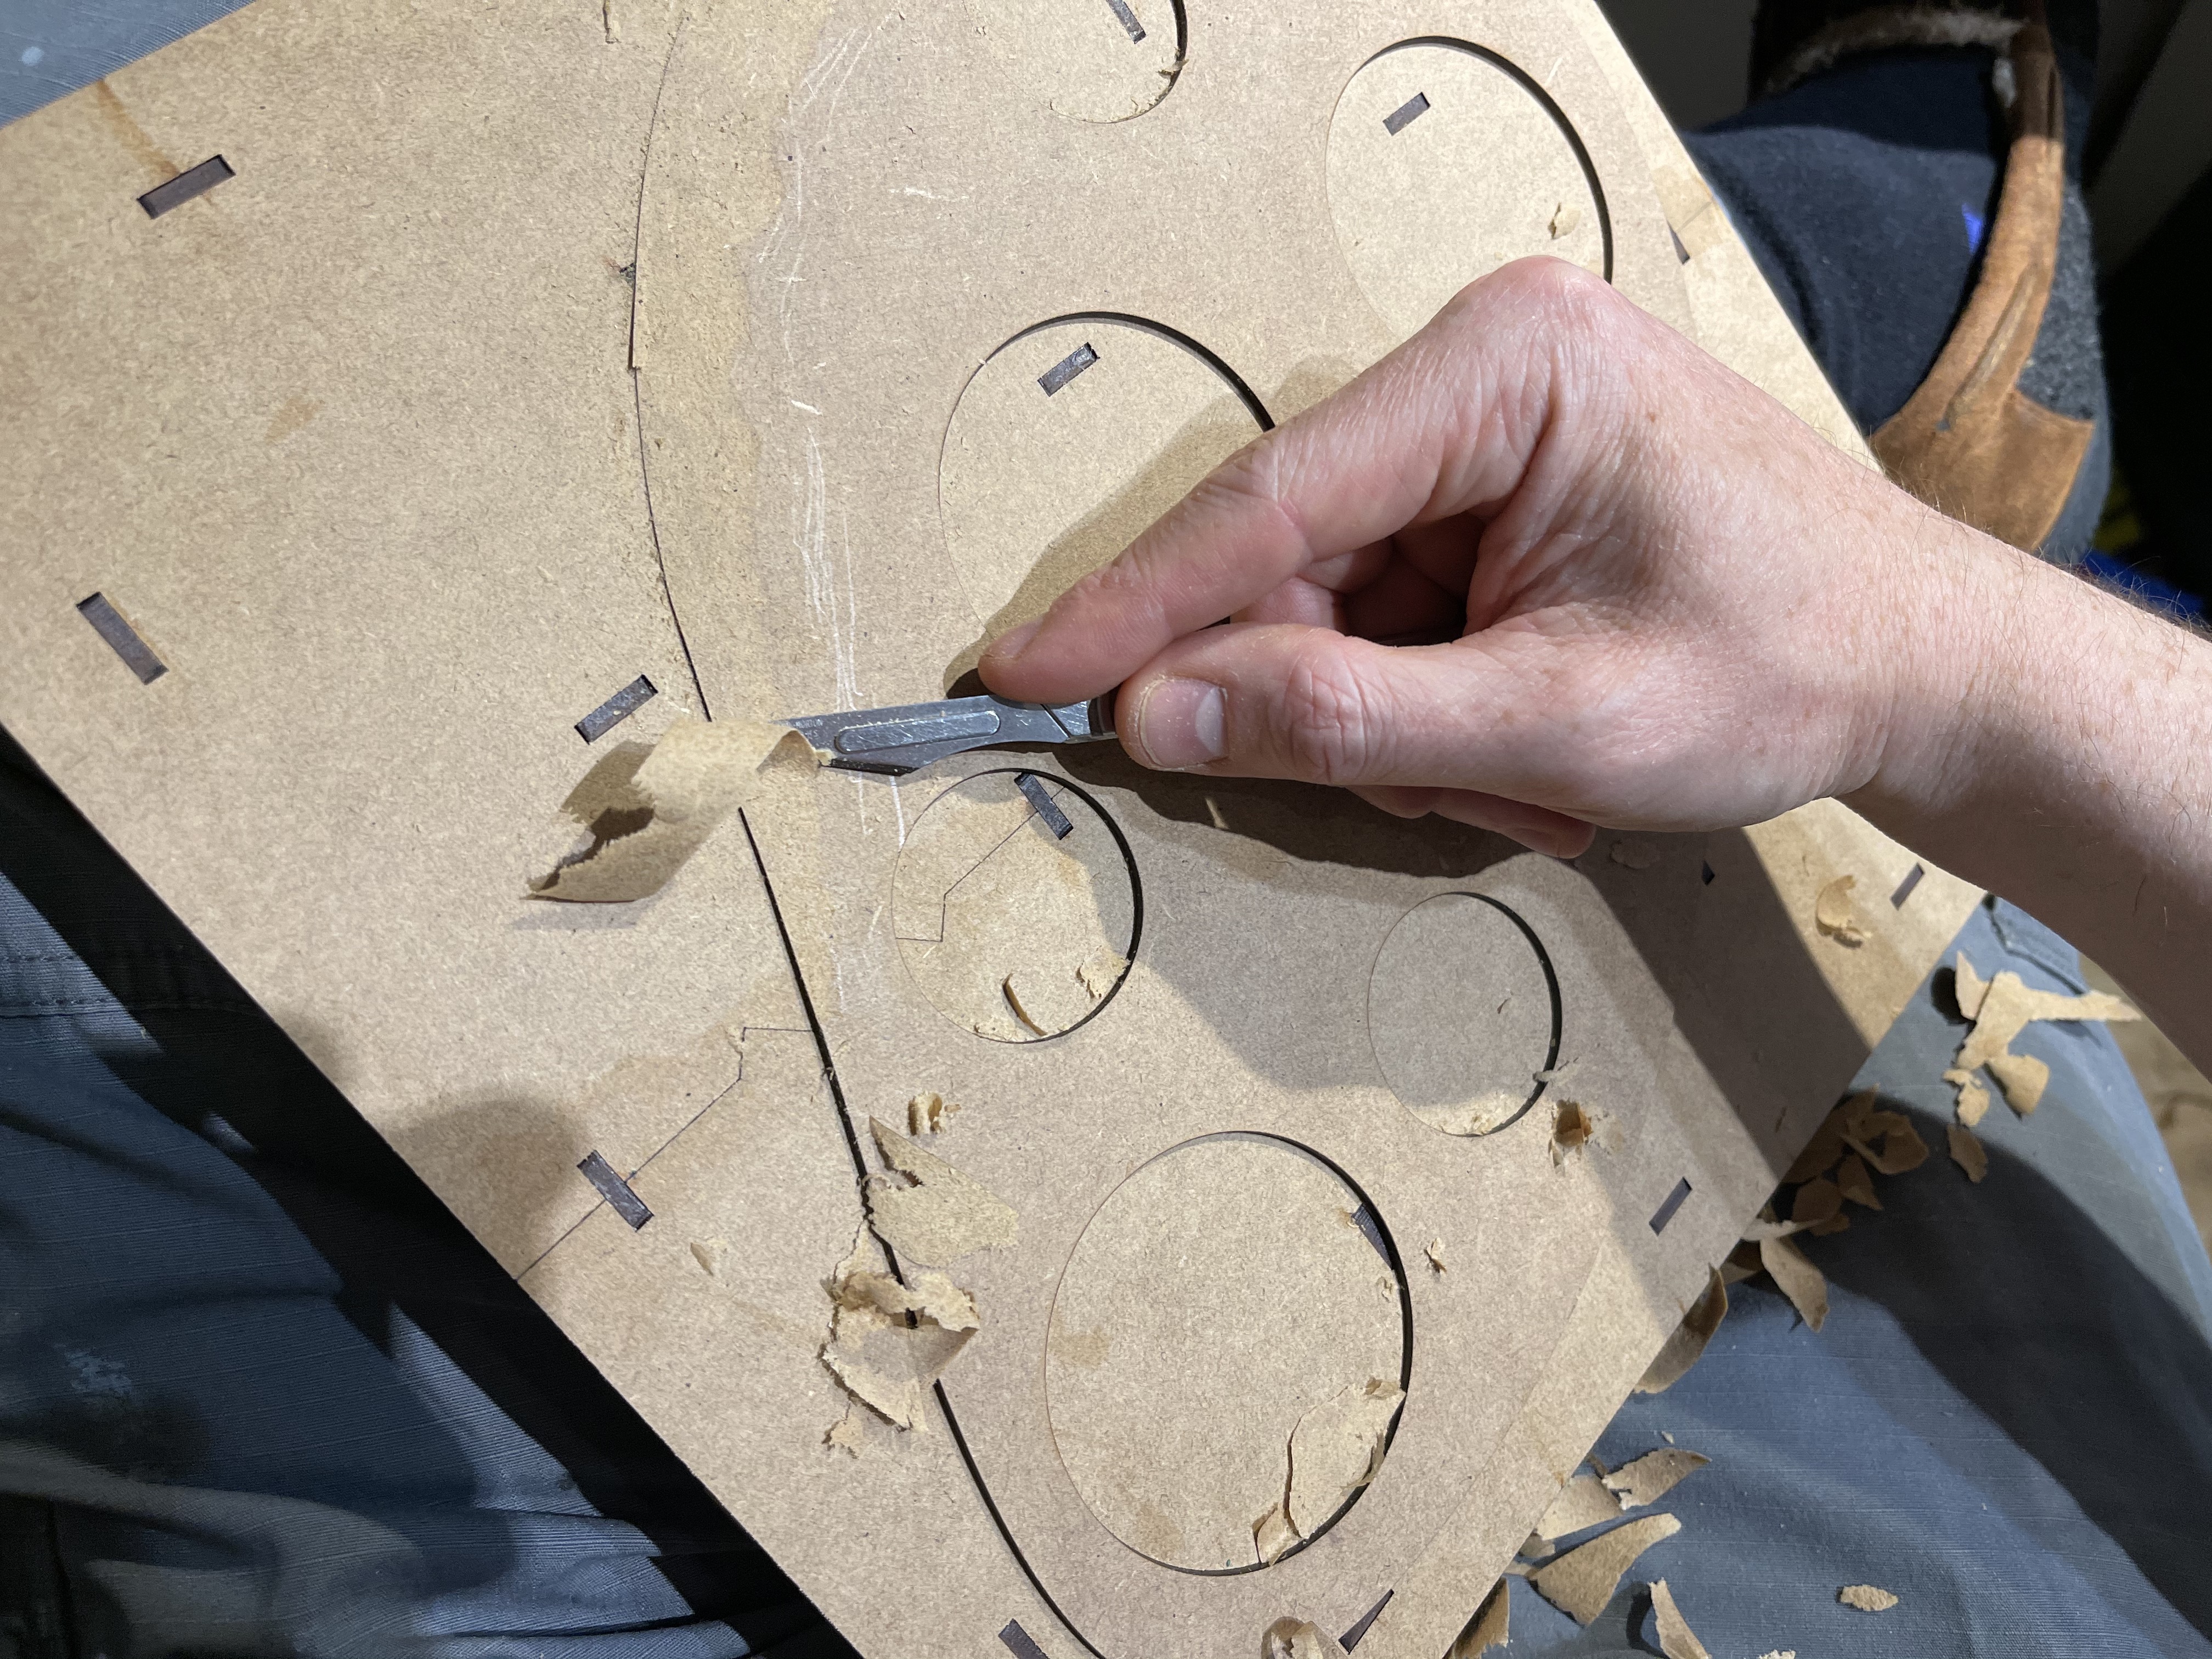 be very careful not to cut yourself.
  the initial layout after one nights carving
In one night I managed to carve, prep and PVA glue 7 of the board pieces.
Ive taken the woodland tiles from Wargames tournaments and bevelled the edges to remove the 2mm step that would be unsightly on the board when done.
this was messy and time consuming but I think worth it for the aesthetic. I have elected to go for these removable trees so that I can store them a lot more easily. the trees can be thrown in a box and the boards will remain stackable.
The 4ground houses were glued down, took the storage space hit on them so that I can properly embed them in the scene rather than have the floating on top.
I thought that prepping 20 pine trees would be enough but clearly I was mistaken! I see more tree prep in my future. but having said that, it currently really does give the impression of a North American Forest for me right now so i’m happy its looking like its going in the right direction.
Testing - part 6 - the night after
 seems ok...
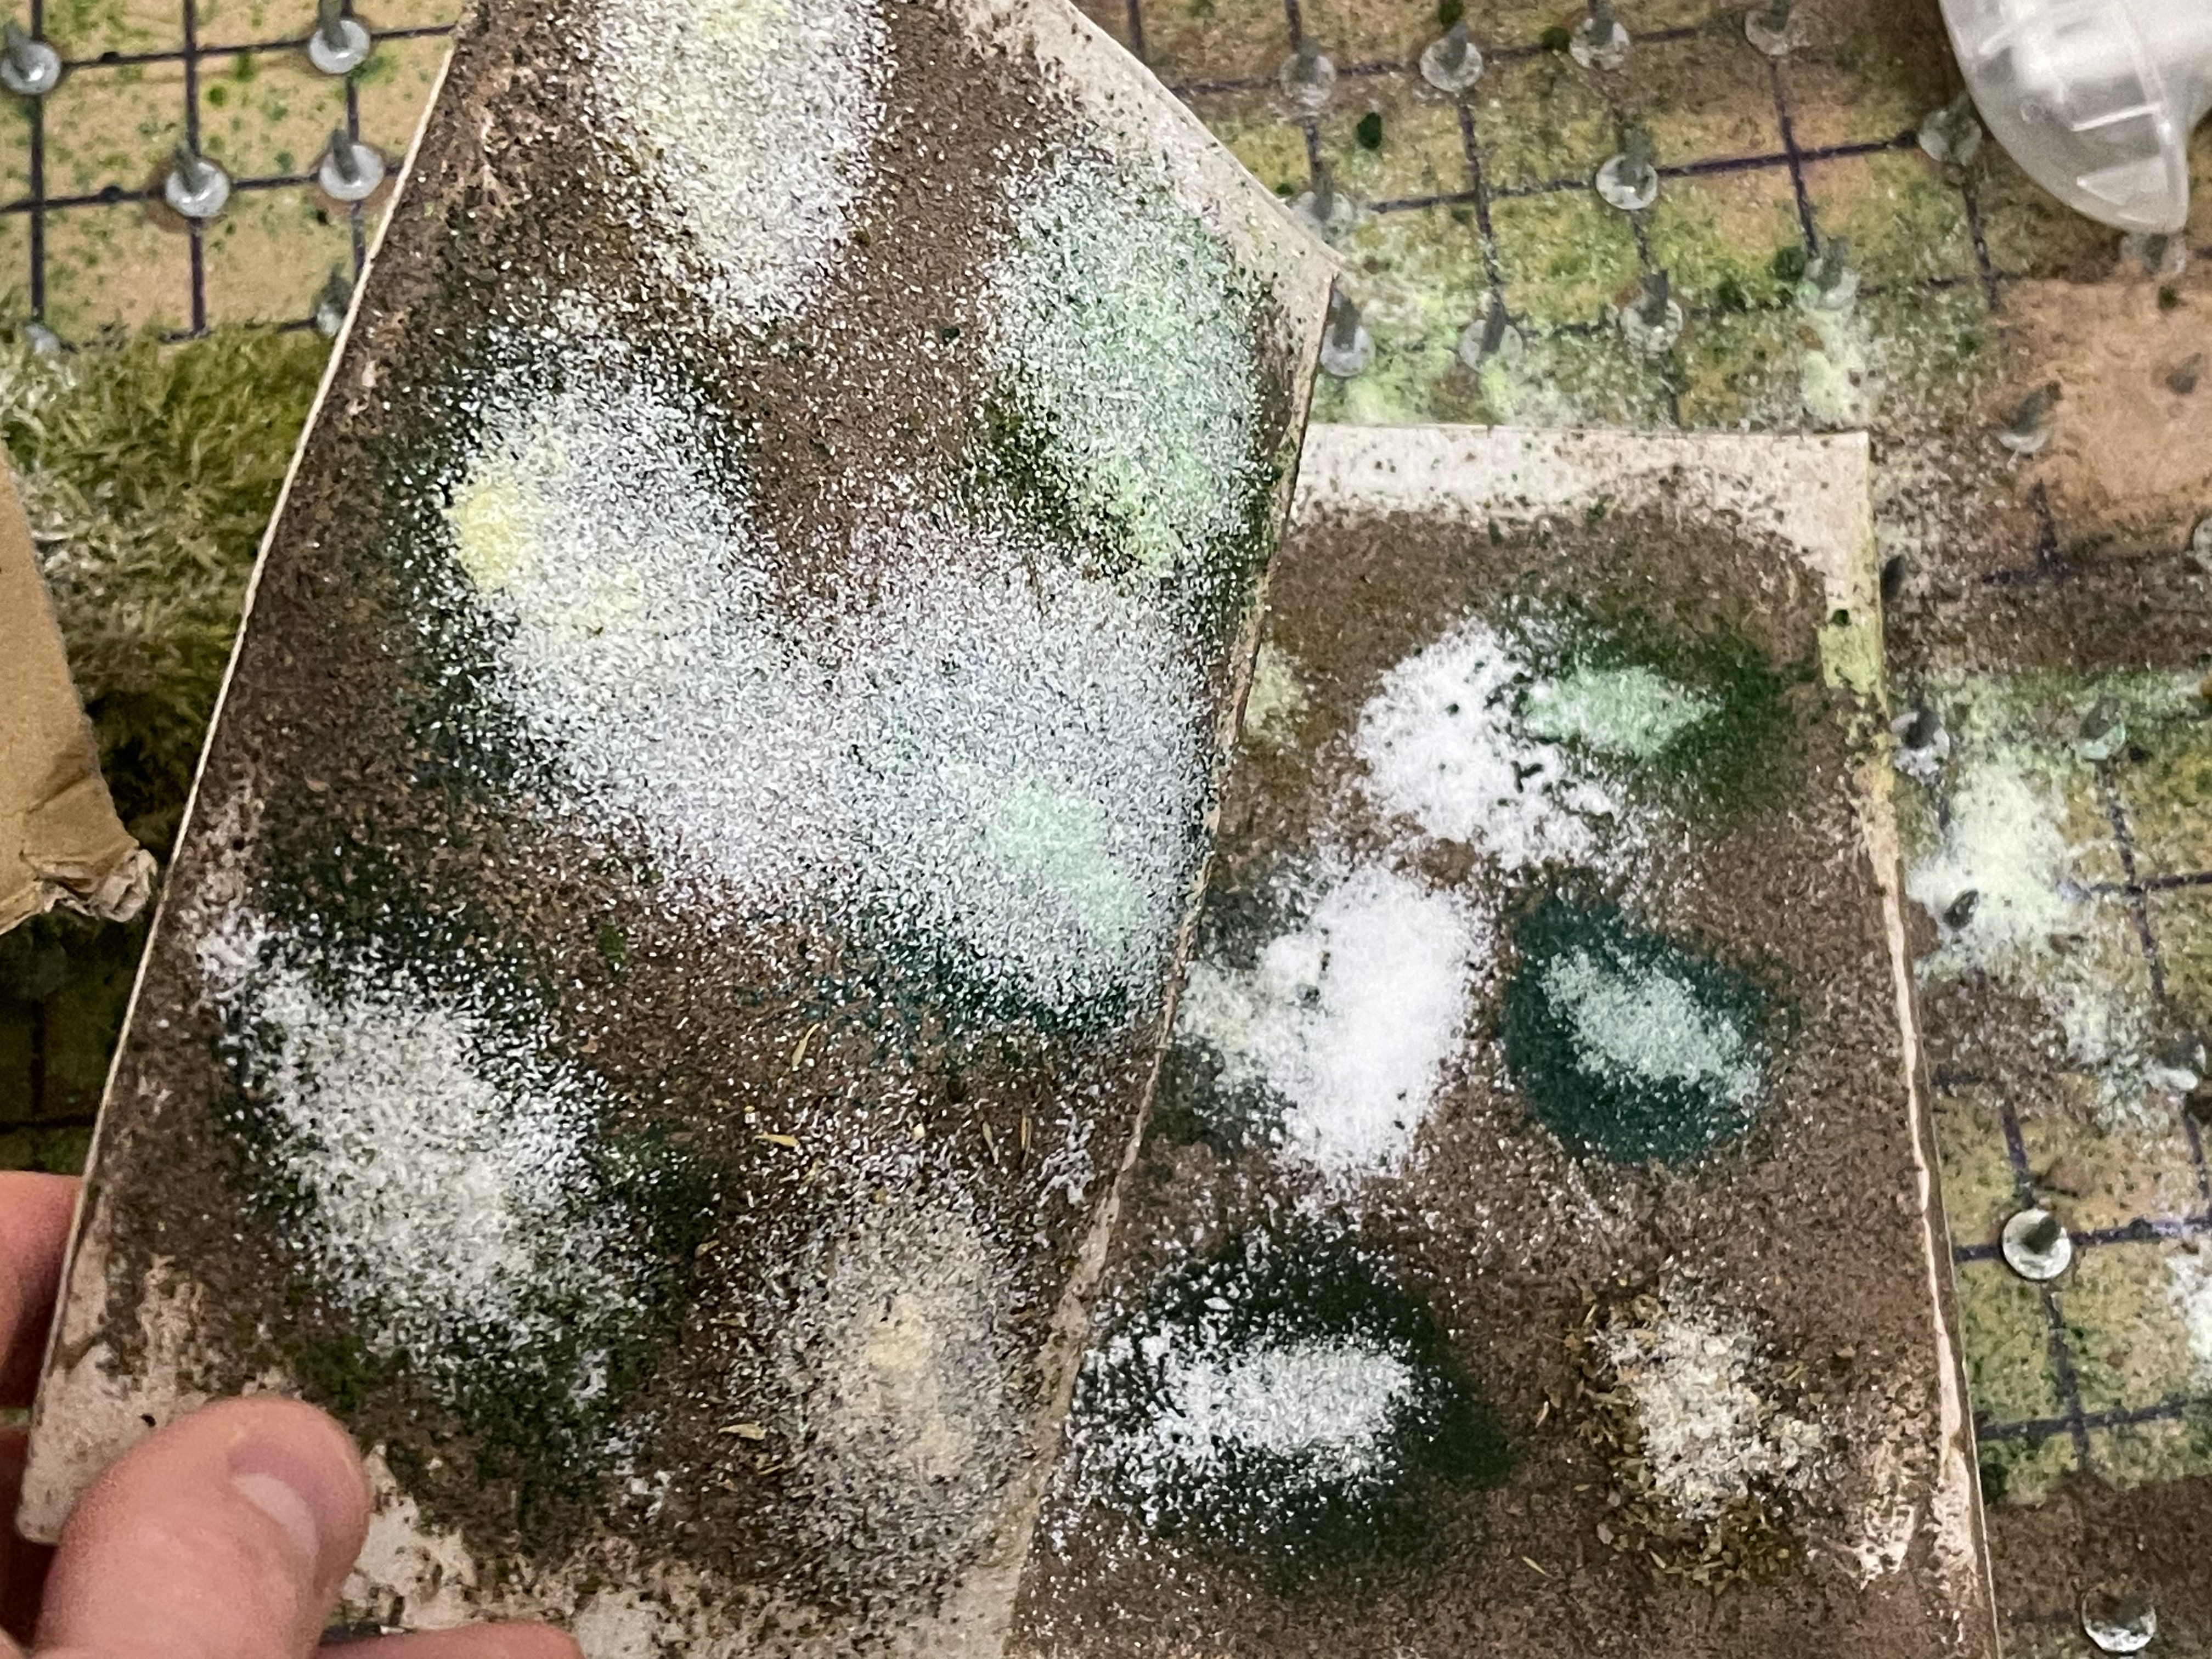 tipped off the excess... appears ok... does it pass the abuse test?
No… no it didn’t pass the abuse test…
it definitely needs sealing down. that means I am left with using flocks that don’t leach dye.
well conveniently I now have a few so I think we can move on with the project to the next stage. choosing base paints… and maybe playing with static grass properly.
Testing - part 5 - the lunch time run to the shop
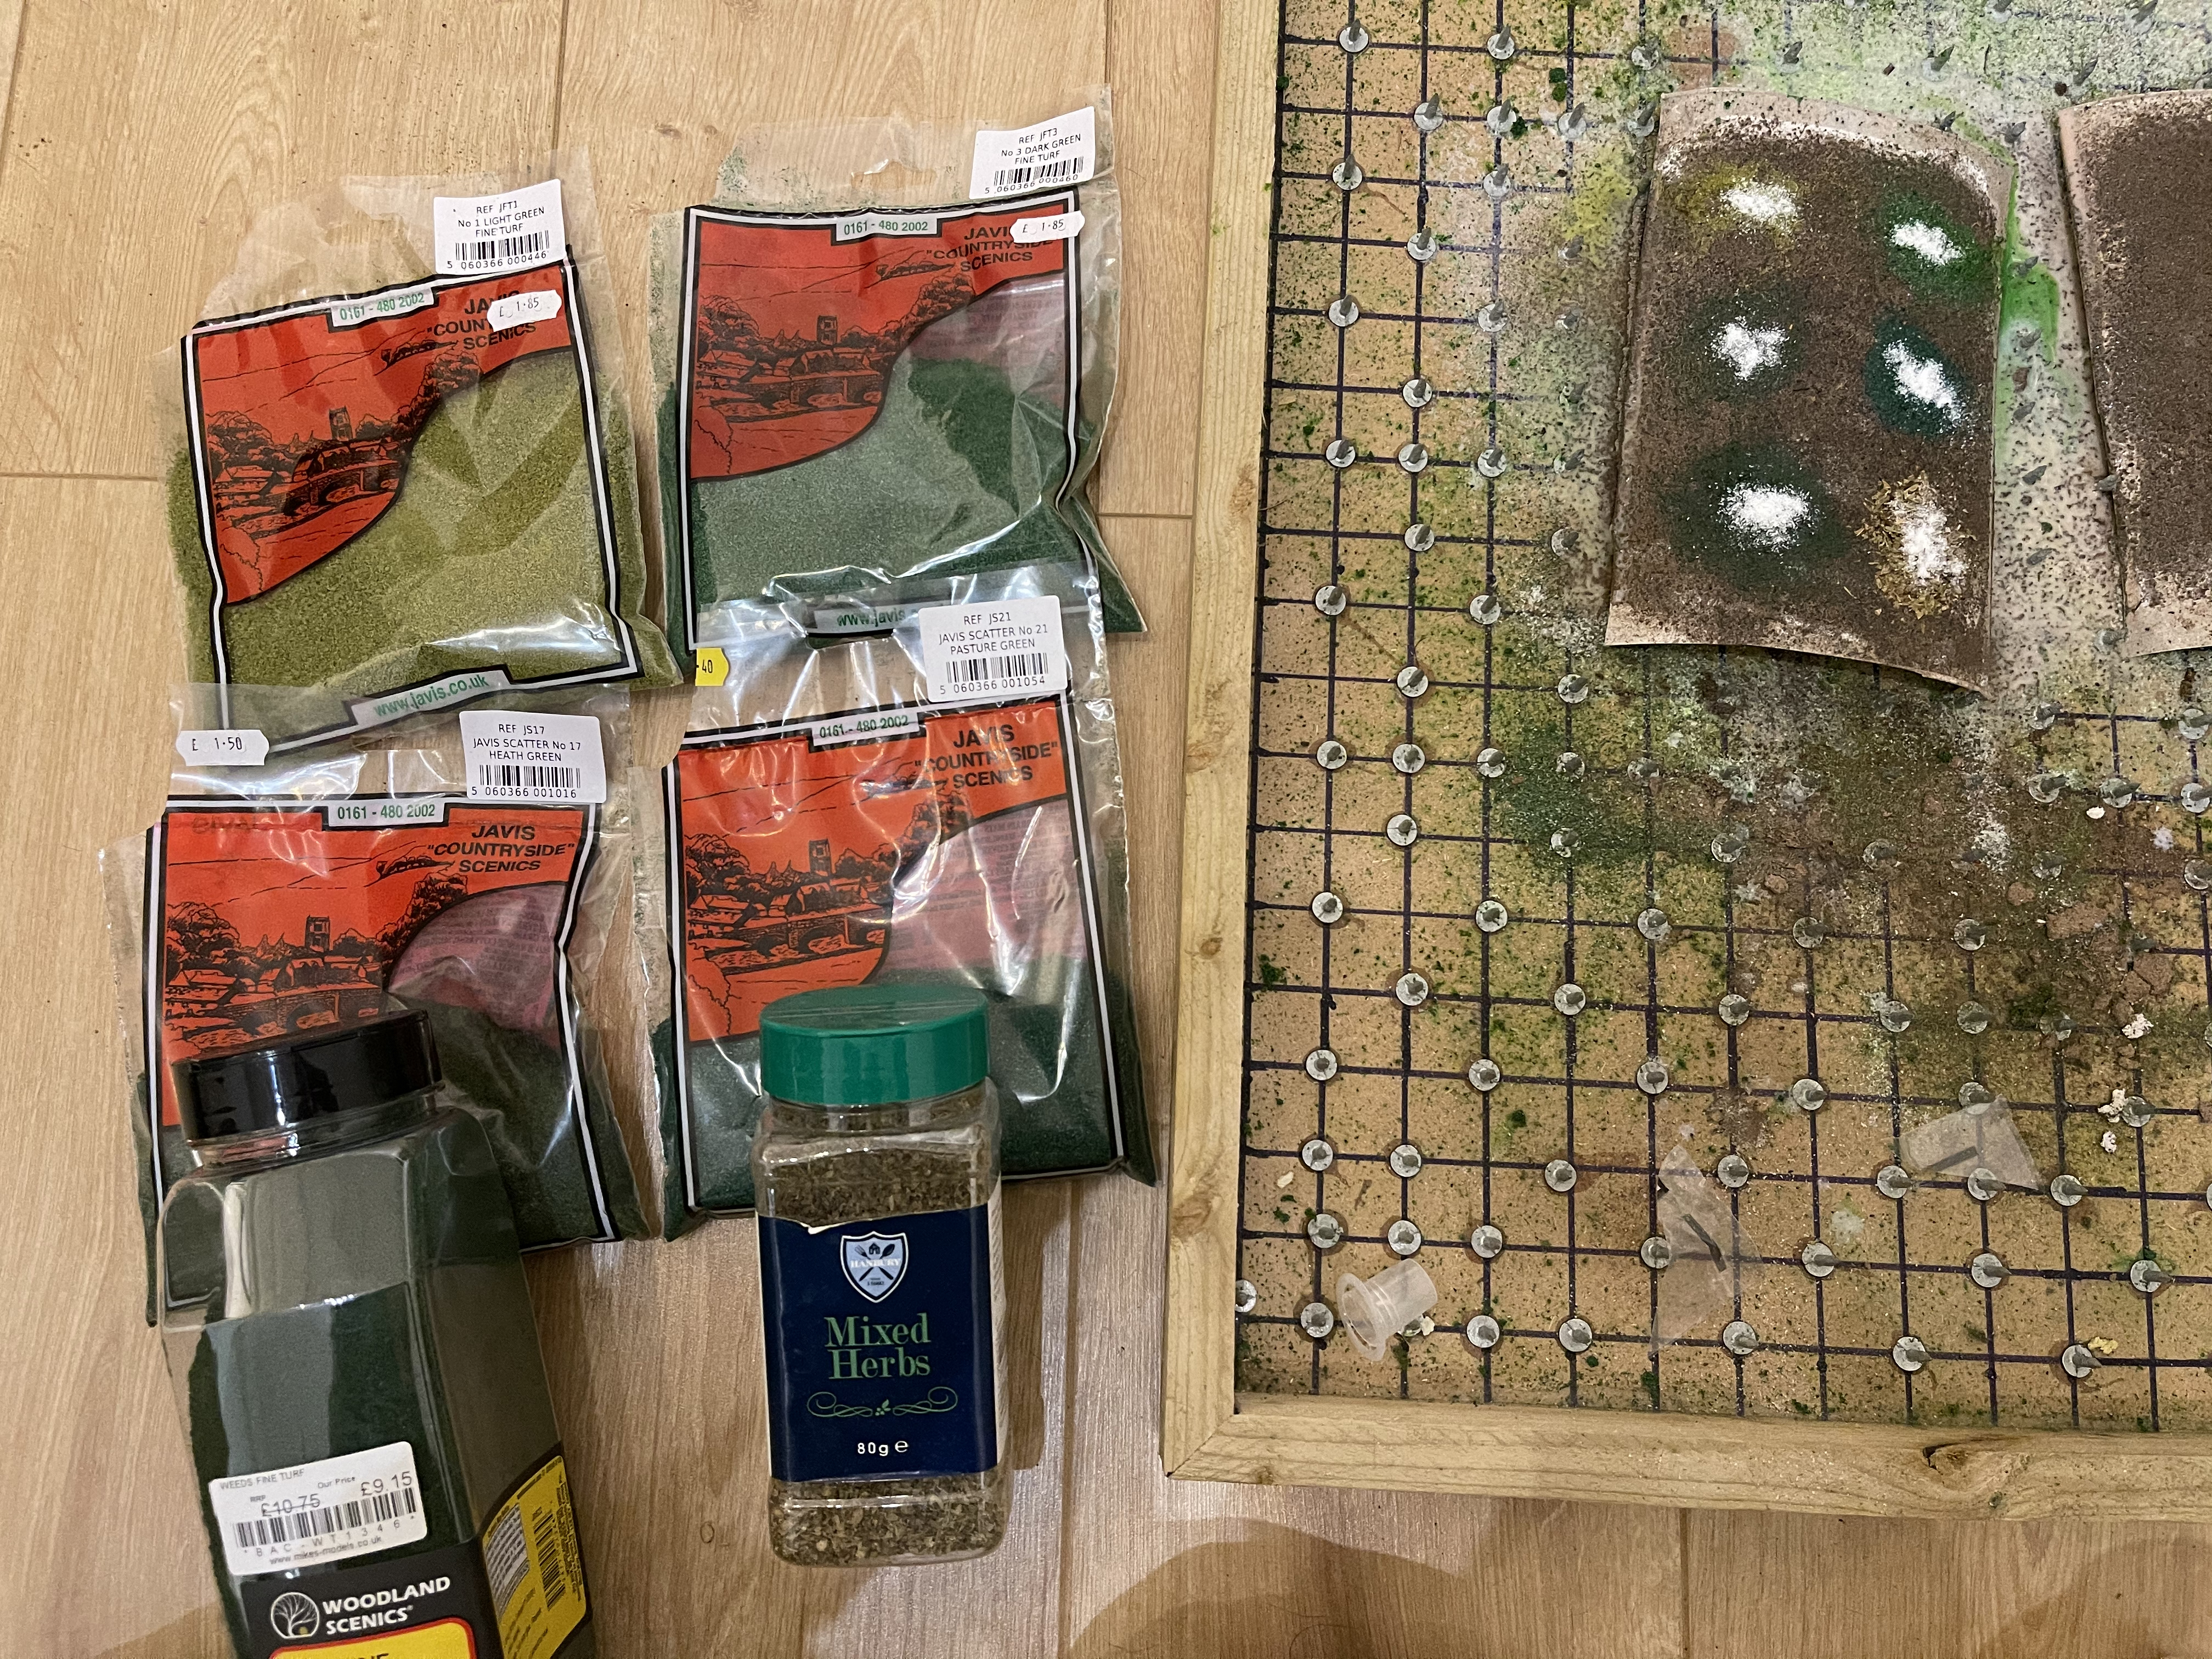
I ran to the shop at lunch and picked up 5 more flocks and realised that I also had a big tub of mixed herbs too.
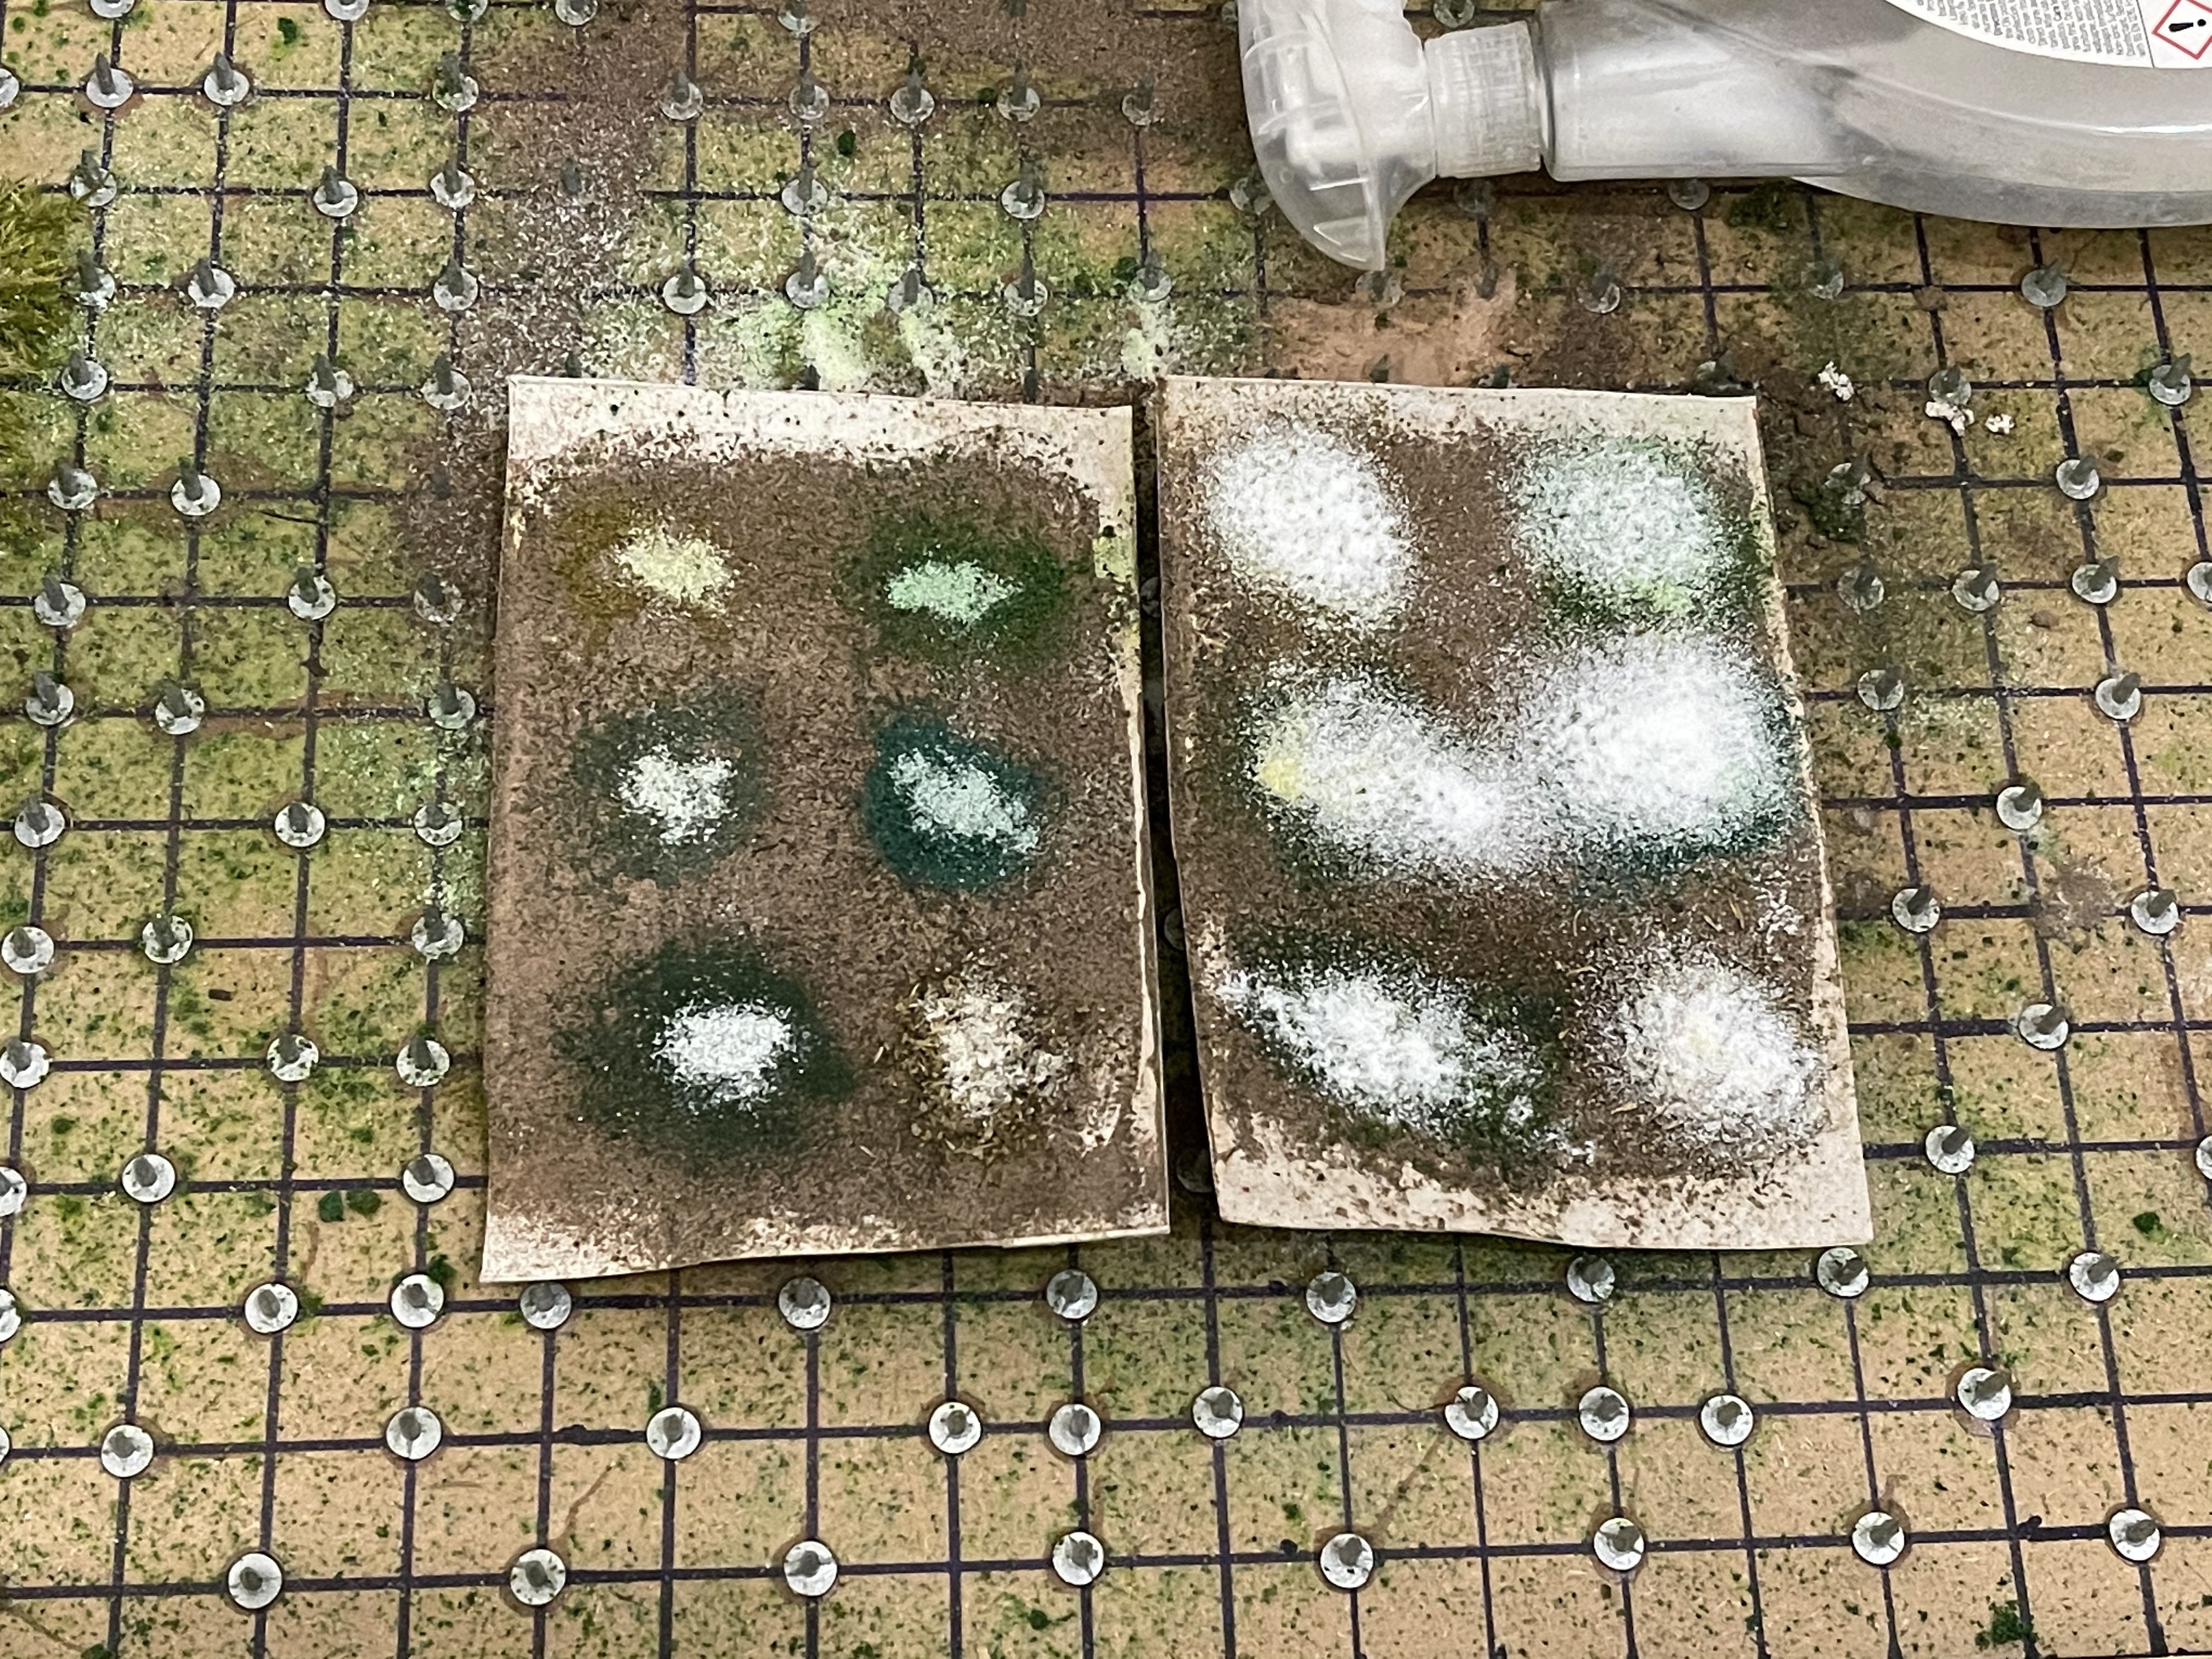
picked up a mixture of everything they had available.
top left = javis no1 light fine turf (foam)
top right = javis no3 dark green fine turf (foam)
middle left = javis scatter no17 heath green (sawdust)
middle right = javis scatter no21 pasture green (sawdust)
bottom left = woodland scenics weeds fine turf (sponge foam)
bottom right = mixed herbs
As you can see, originally before final sealing the snow looked alright! it was sprinkled on when wet so was kinda stuck down but not really…. not enough for gaming on or safe storage anyway.

the left side was done as
- pva
- soil
- flocks
- seal with pva
- sprinkle snow and allow to dry
- seal with pva
it went well until I sealed it with pva. some snow flock came away before I sealed it though. not great for a table that will end up being stored.
the right side was done
- pva
- soil
- seal with pva
- flocks and snow
- seal with pva
immediately the colour started to leach from the foam flocks. I am also wondering whether geek gaming and javis foam scatter flocks are actually the same product. they look the same, act the same, taste the same (I expect they do anyway) so they could well be the same.

as the right hand side became apparent immediately I then decided to dump a load of snow flock on top of the watered down pva sealing layer just to see what happens… will update tomorrow!
place your bets… I bet it doesn’t all stick


