
![A Perfect Zombie Apocalypse Starter Set? Civilians & Survivors Review | Wargames Atlantic [7 Days Early Access]](https://images.beastsofwar.com/2026/01/unboxing-wargames-atlantic-civilians-_-survivors-1_2-coverimage-225-127.jpg)
![Wild Australia Wargaming? 28mm Ned Kelly Gang & Victorian Police Review [7 Days Early Access]](https://images.beastsofwar.com/2026/01/unboxing-traders-galaxy-australiana-ned-kelly-gang-_-victorian-police-coverimage-225-127.jpg)


How to be an Armoured Farmer, building Hobart’s Funnies in Glorious 15mm (and maybe 28mm if they arrive in time!)


Recommendations: 2233
About the Project
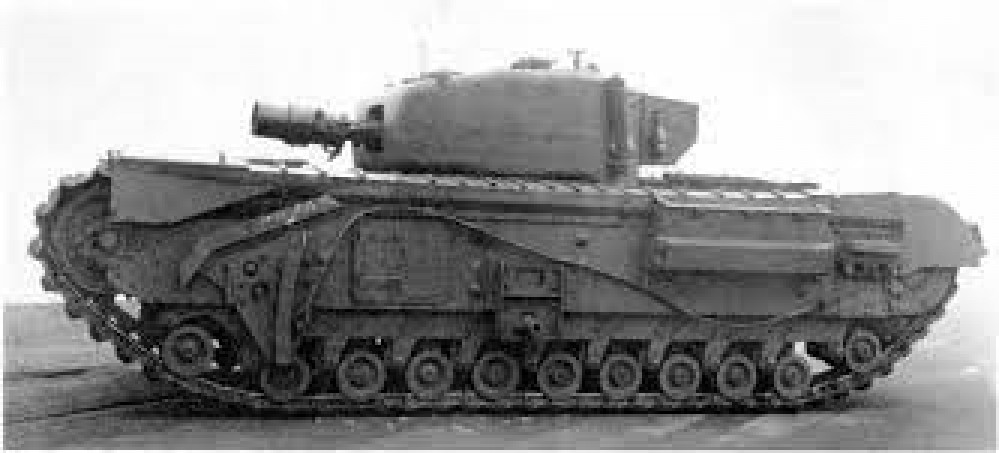
Right then, having avoided any sort of Spring cleaning challenge in the past, I have decided to use this year's one to get something done that I have been gathering bits for over the past few years and finally finish and assemble all of my Hobart's Funnies. To get technical these are Armoured Vehicle Royal Engineers (AVRE) tanks, using the Churchill chassis as a base. I will also throw in some Sherman Crabs (Flail tanks). I have gathered a few books for reference so that I can paint and mark them up for one of the Armoured Assault Squadrons Royal Engineer (either 77, or 79) that landed ashore at Sword Beach and were the very first to see action on that beach; Plus the Sherman Crabs of A Squadron 22nd Dragoons. Whilst I want to be able to use the finished tanks in games depicting the D Day Landings (in Flames of War and Chain of Command at 15mm) I also want then to be versatile enough to be able to be used in later engagements that the 79th Armoured Division took part in (which is pretty much everything!). I hope you will find this of interest if you ever want to branch out into what the modern day Royal Engineers affectionately call being an armoured farmer.
Related Game: Flames of War: The World War II Miniatures Game
Related Company: Battlefront Miniatures
Related Genre: Historical
Related Contest: Spring Clean Hobby Challenge (Old)
This Project is Active
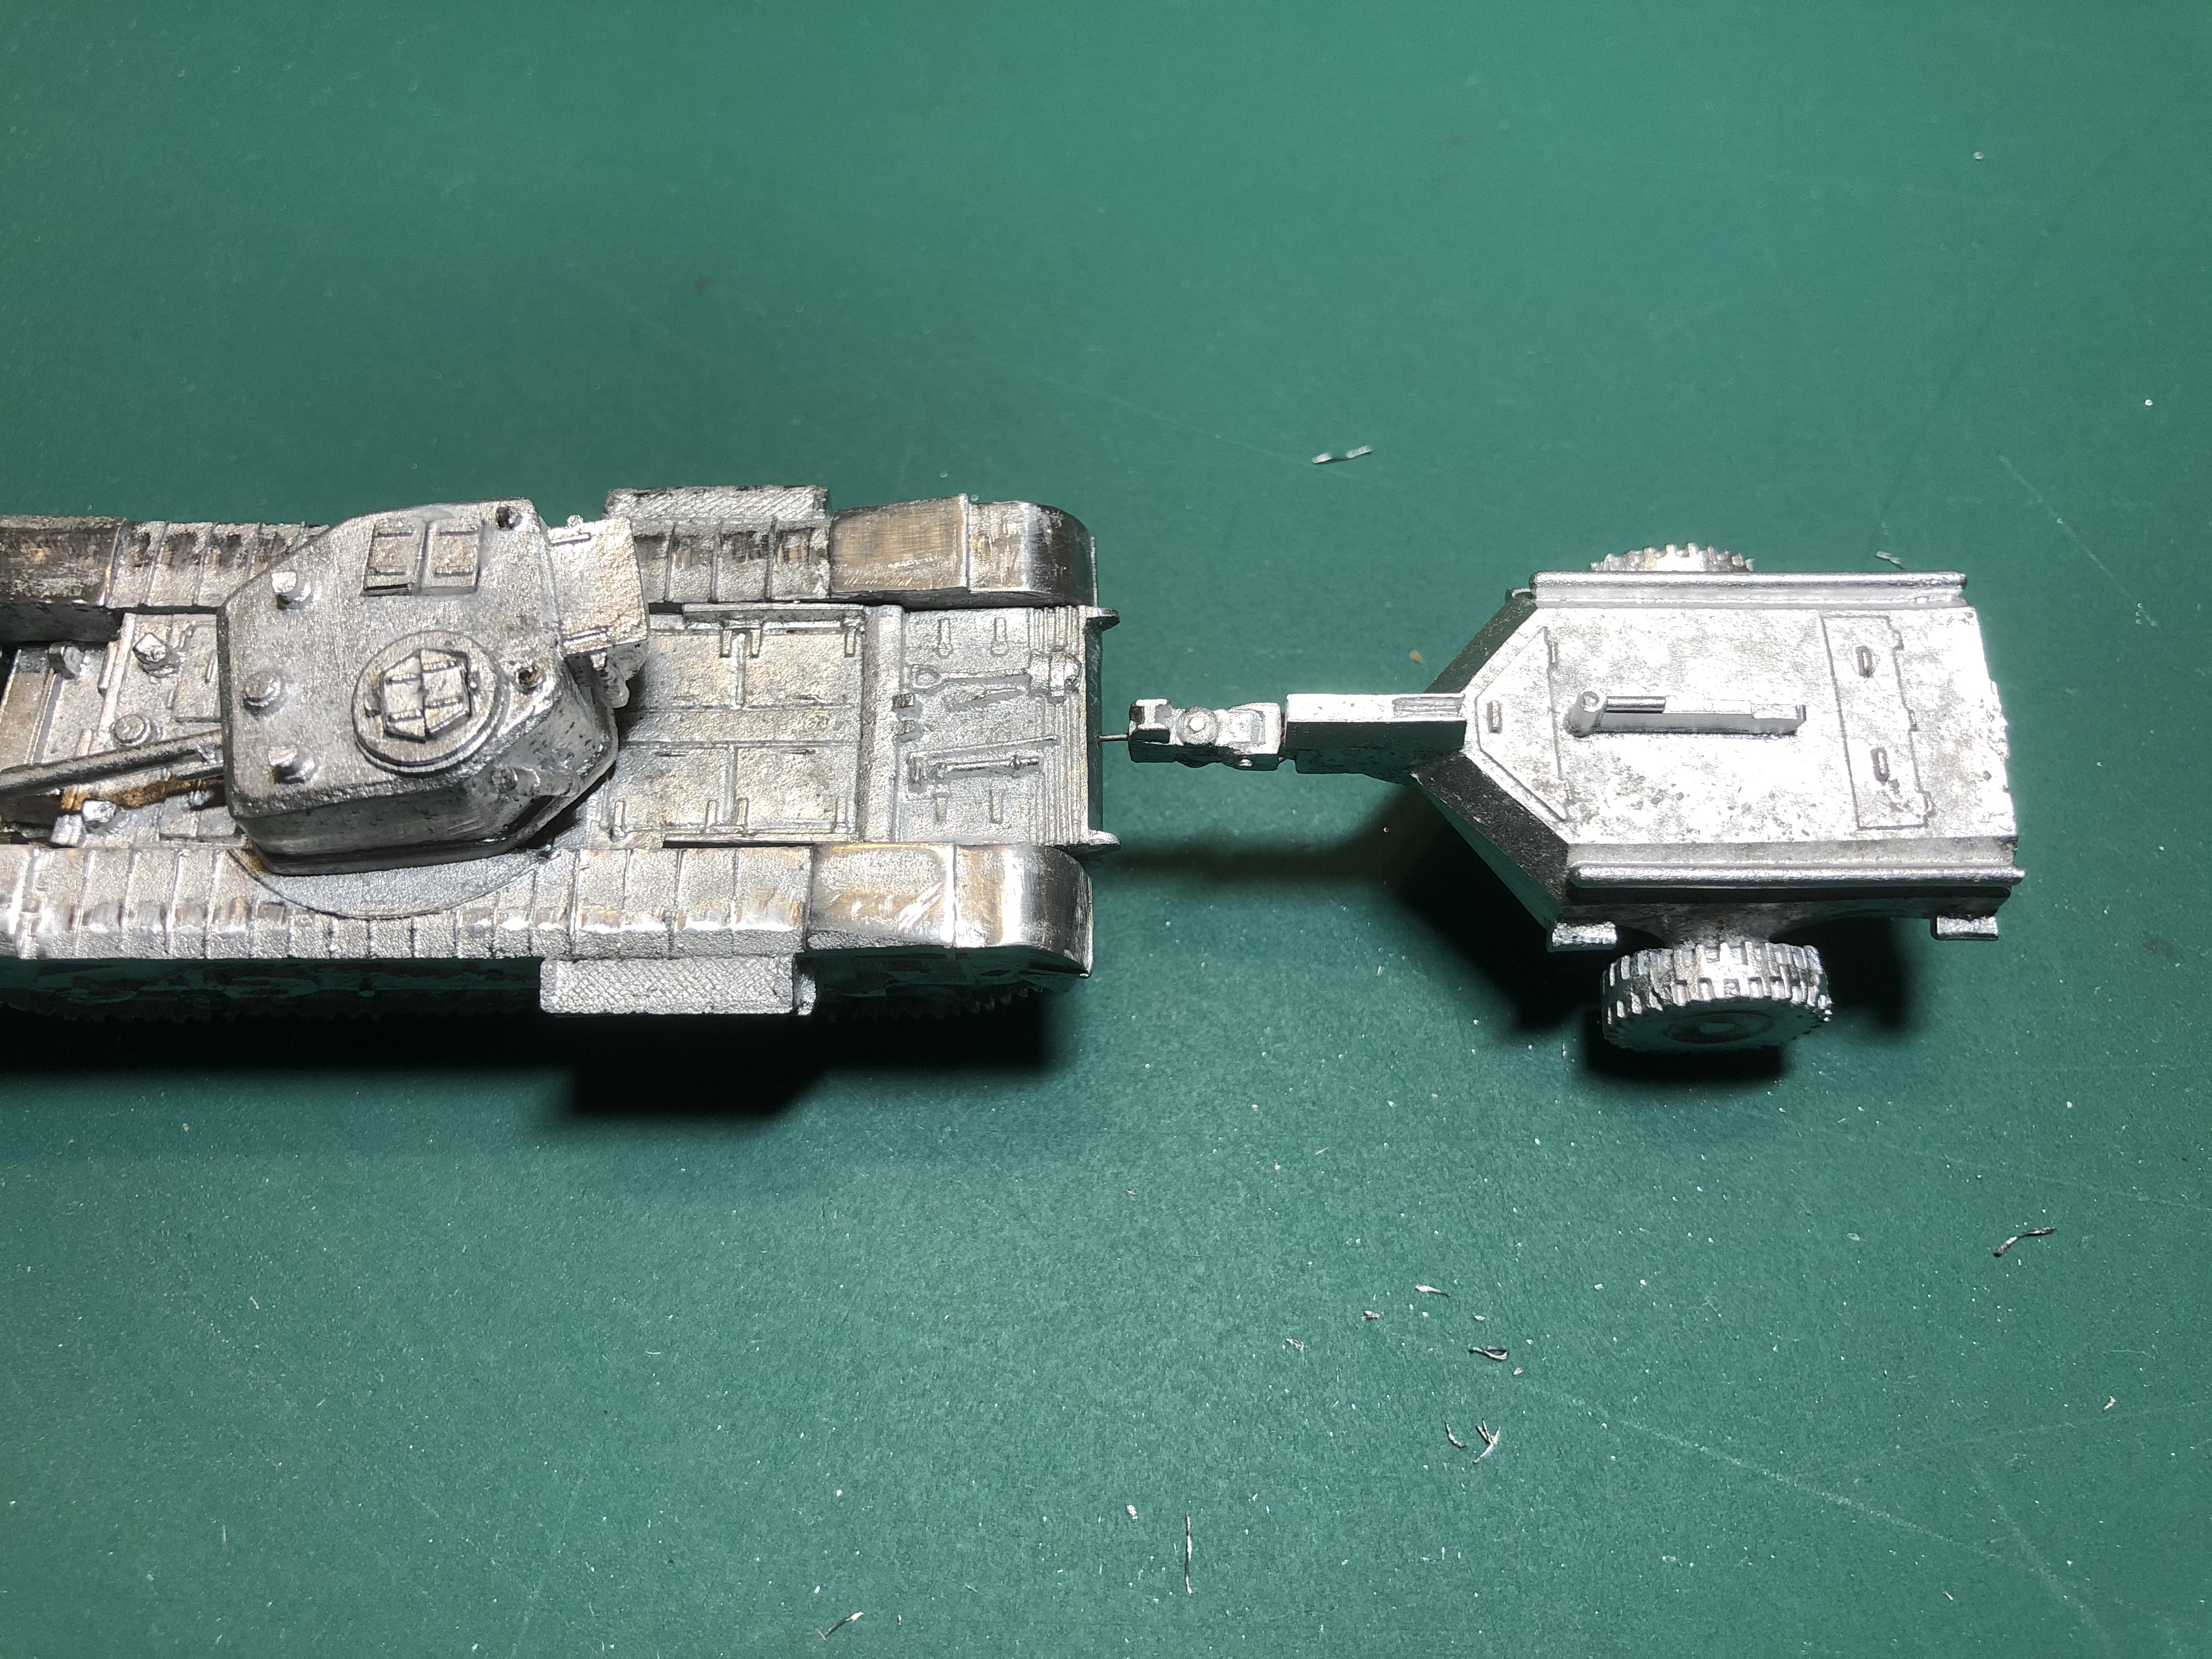
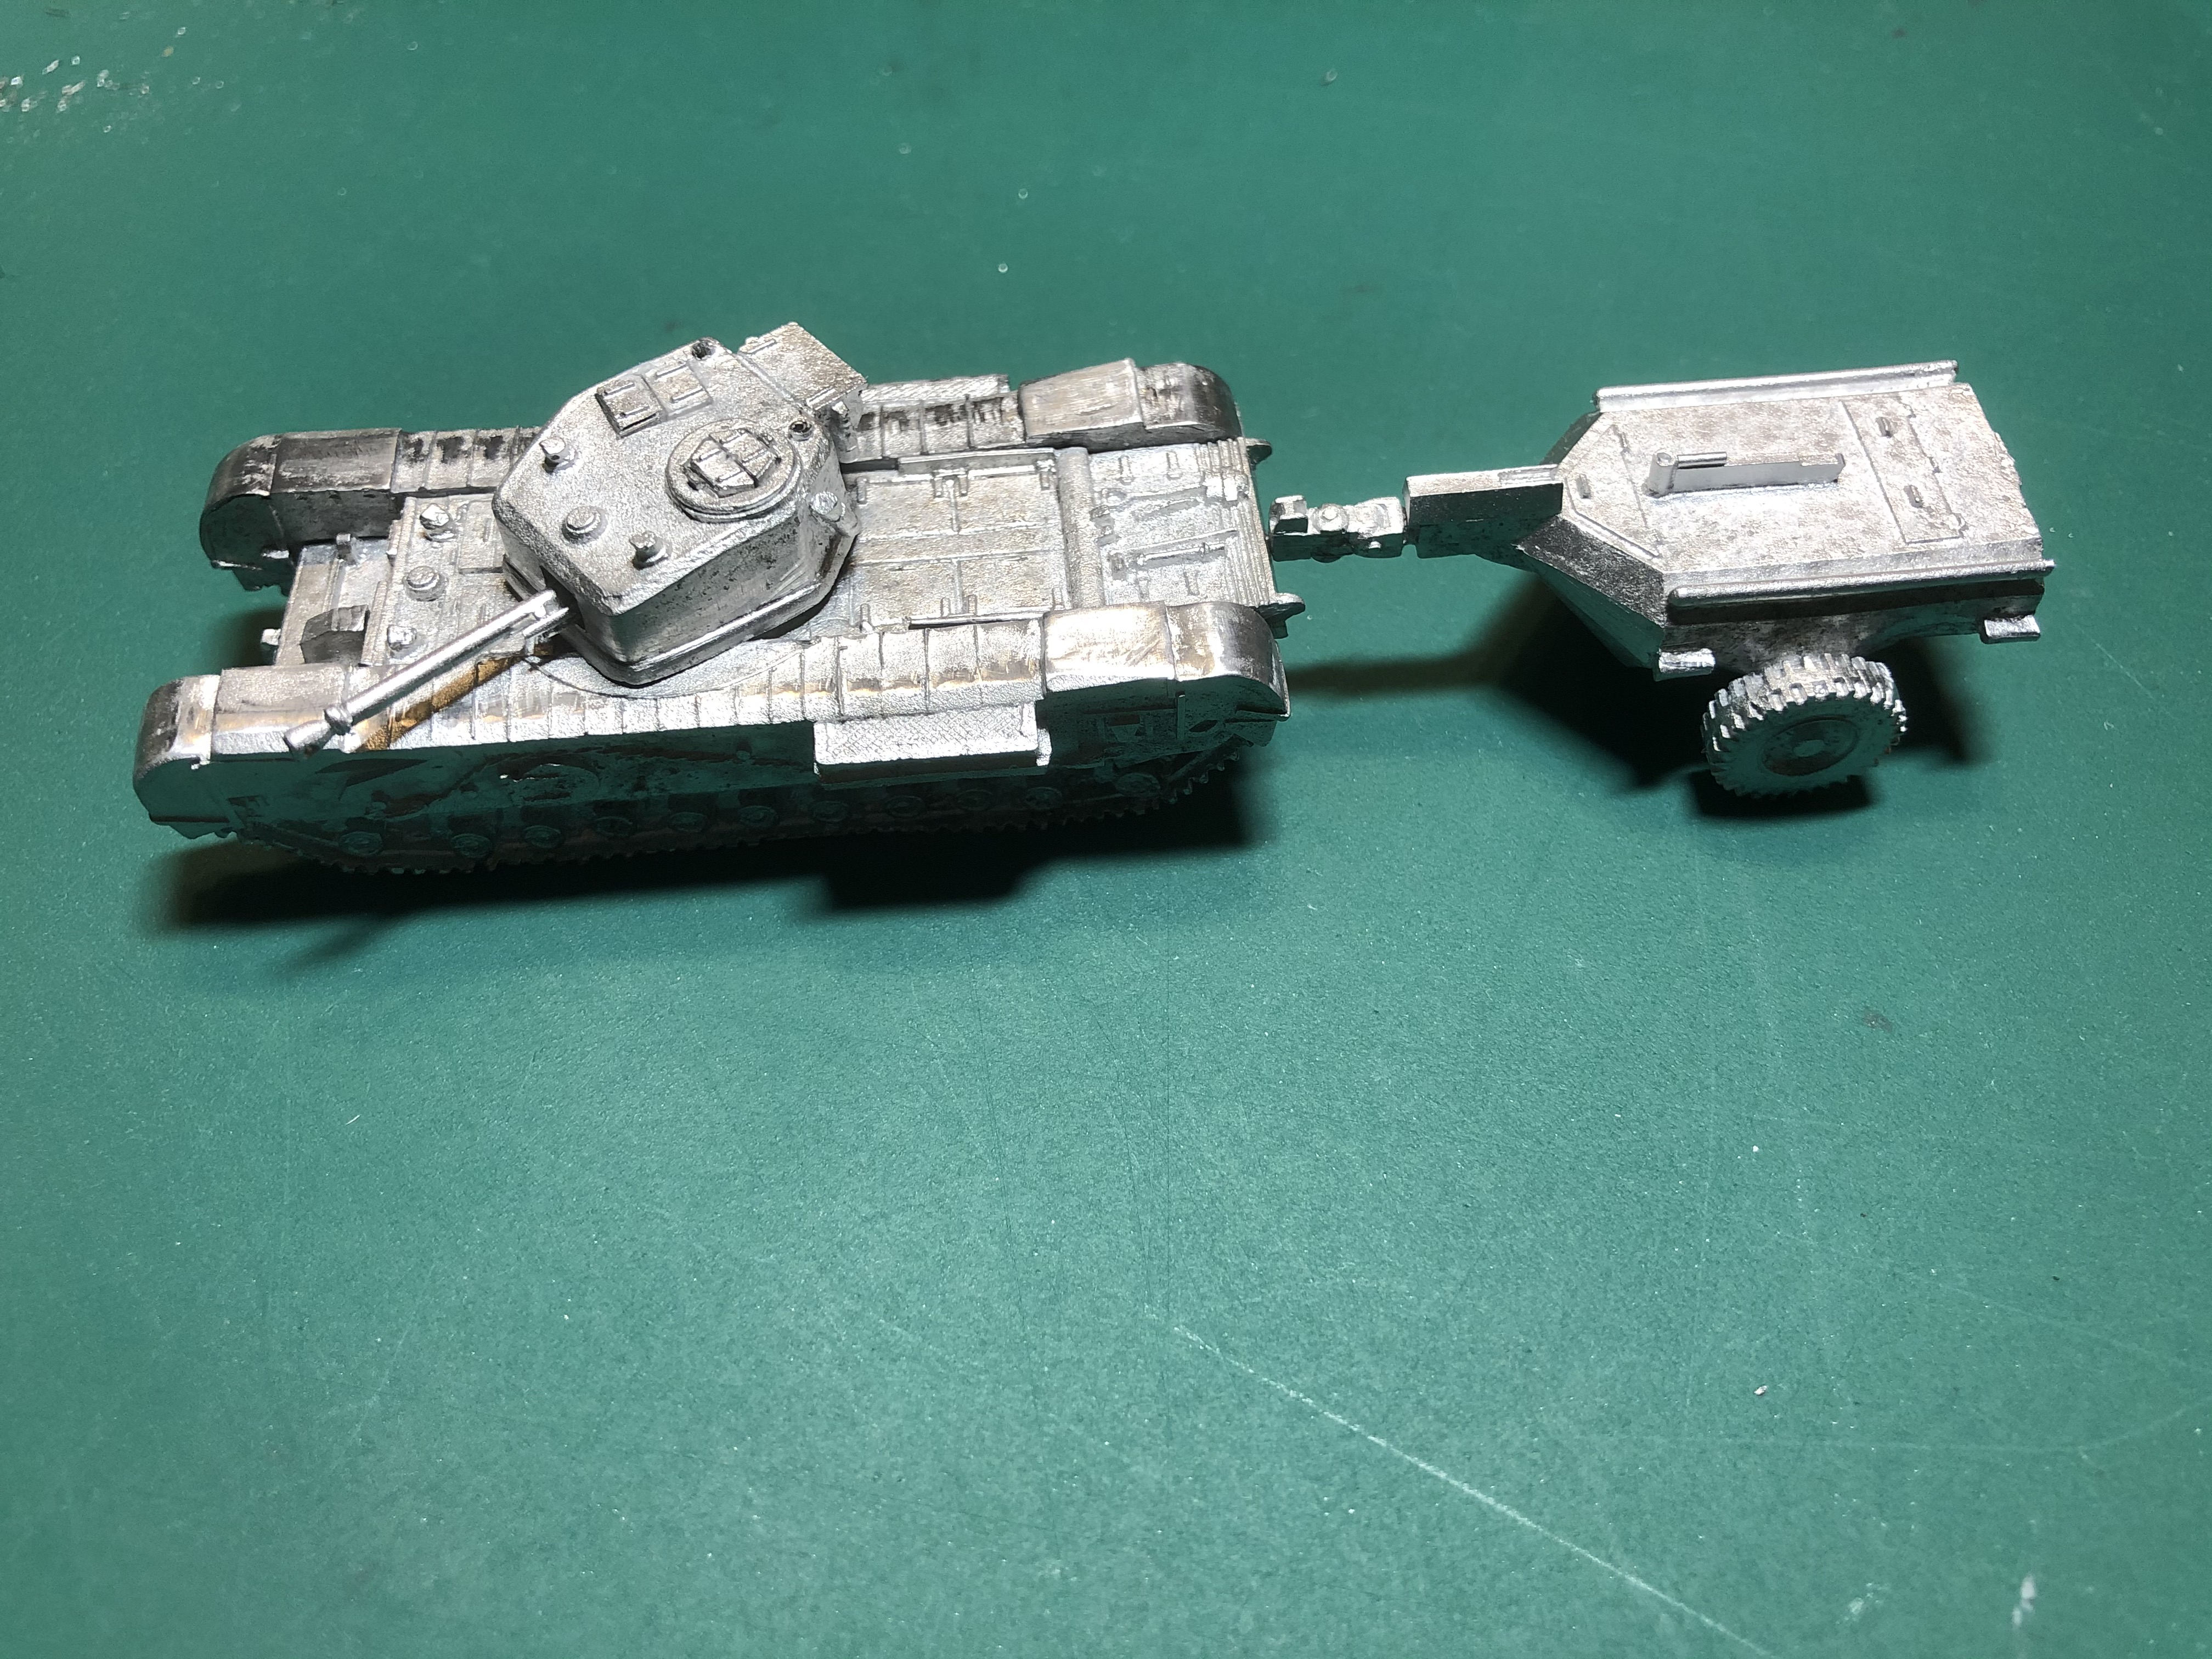
SkyTrex Churchill Crocodile
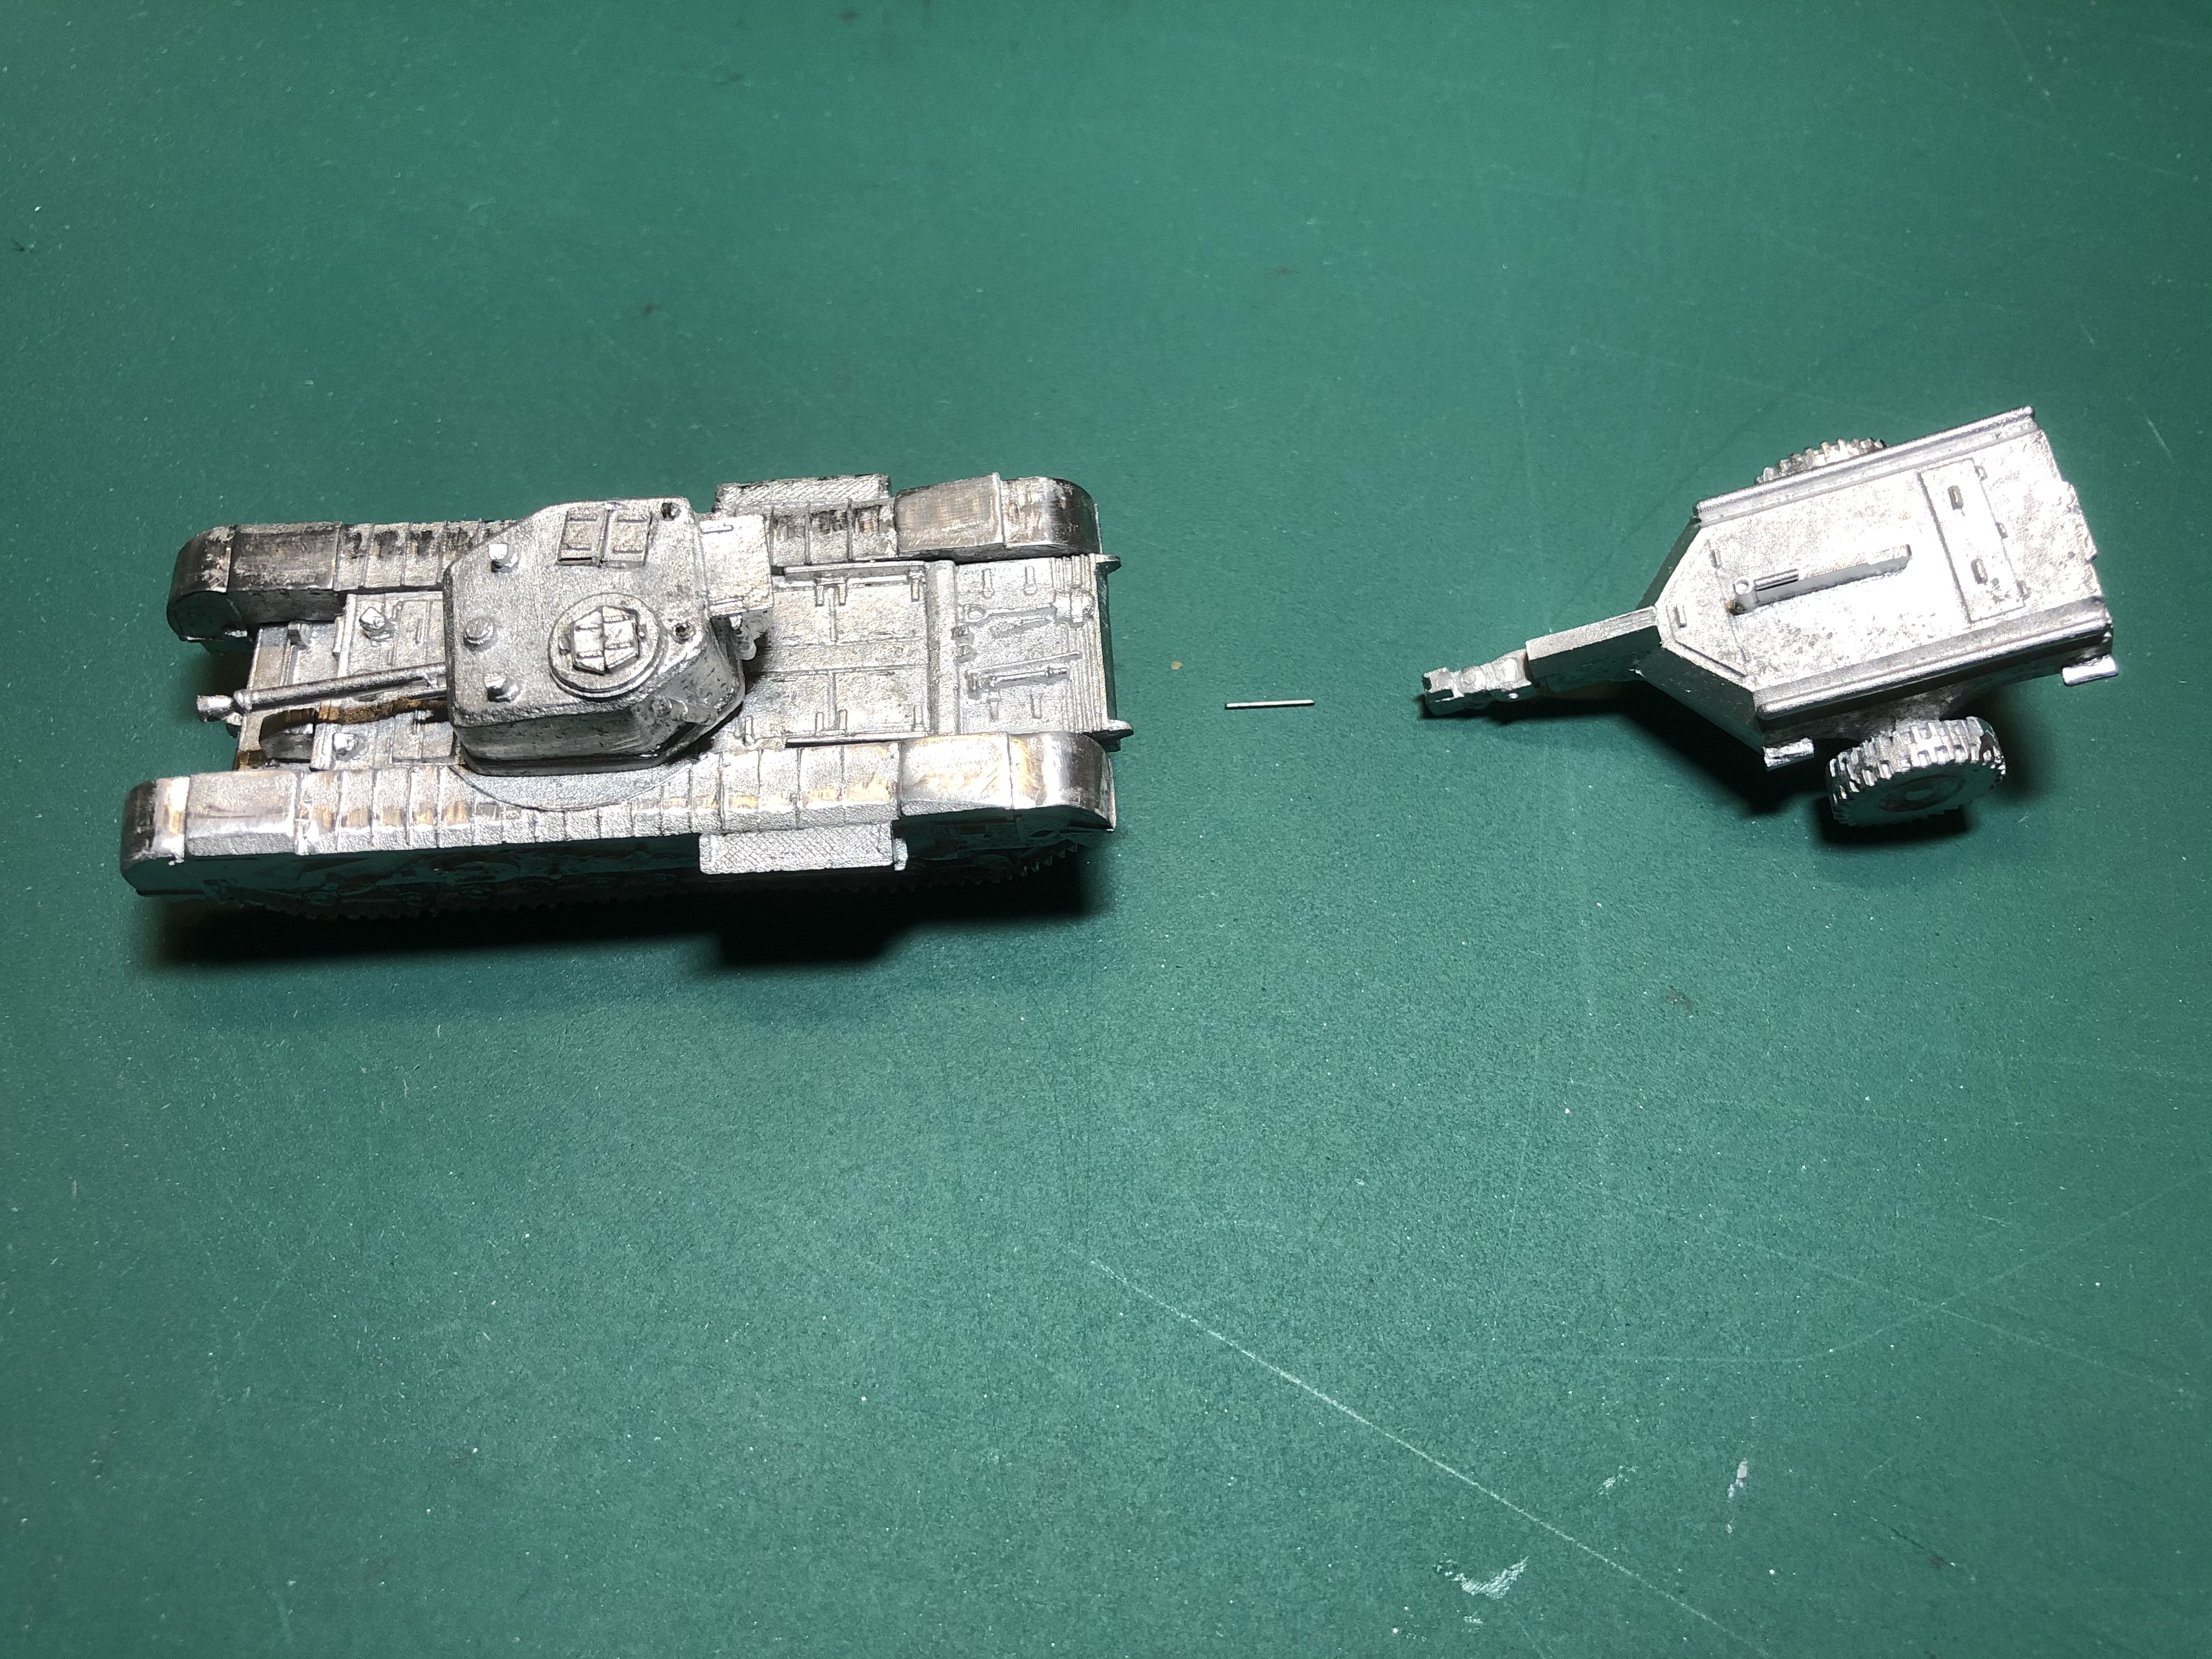
The Churchill crocodile was virtually the same in terms of preparation and build. the only real difference was how to fix the fuel trailer to the tank, as i didn’t want to glue it on permanently.
I decided to therefore drill the towing point with a 0.6mm drill and pinned it with a 0.5mm dia stainless steel wire. This wire is used on model airplanes as a control wire as it is light, strong and doesn’t deflect. The downside is that you MUST (and I mean MUST!!) use heavy duty cutters/pliers to cut this stuff as it will destroy your model sprue cutters. Also make sure you have hold other the bit being cut off, as it will go flying otherwise and can damage your eyes. The end s are sharp, so if you want to push it in to a hole, don’t use your fingers (unless you want to have it in your finger) use pliers instead.
I only glued the trailer end of the pin and drilled the tank side at 0.5mm (same as the wire) so that I would have an interference fit that hold the pin in place.
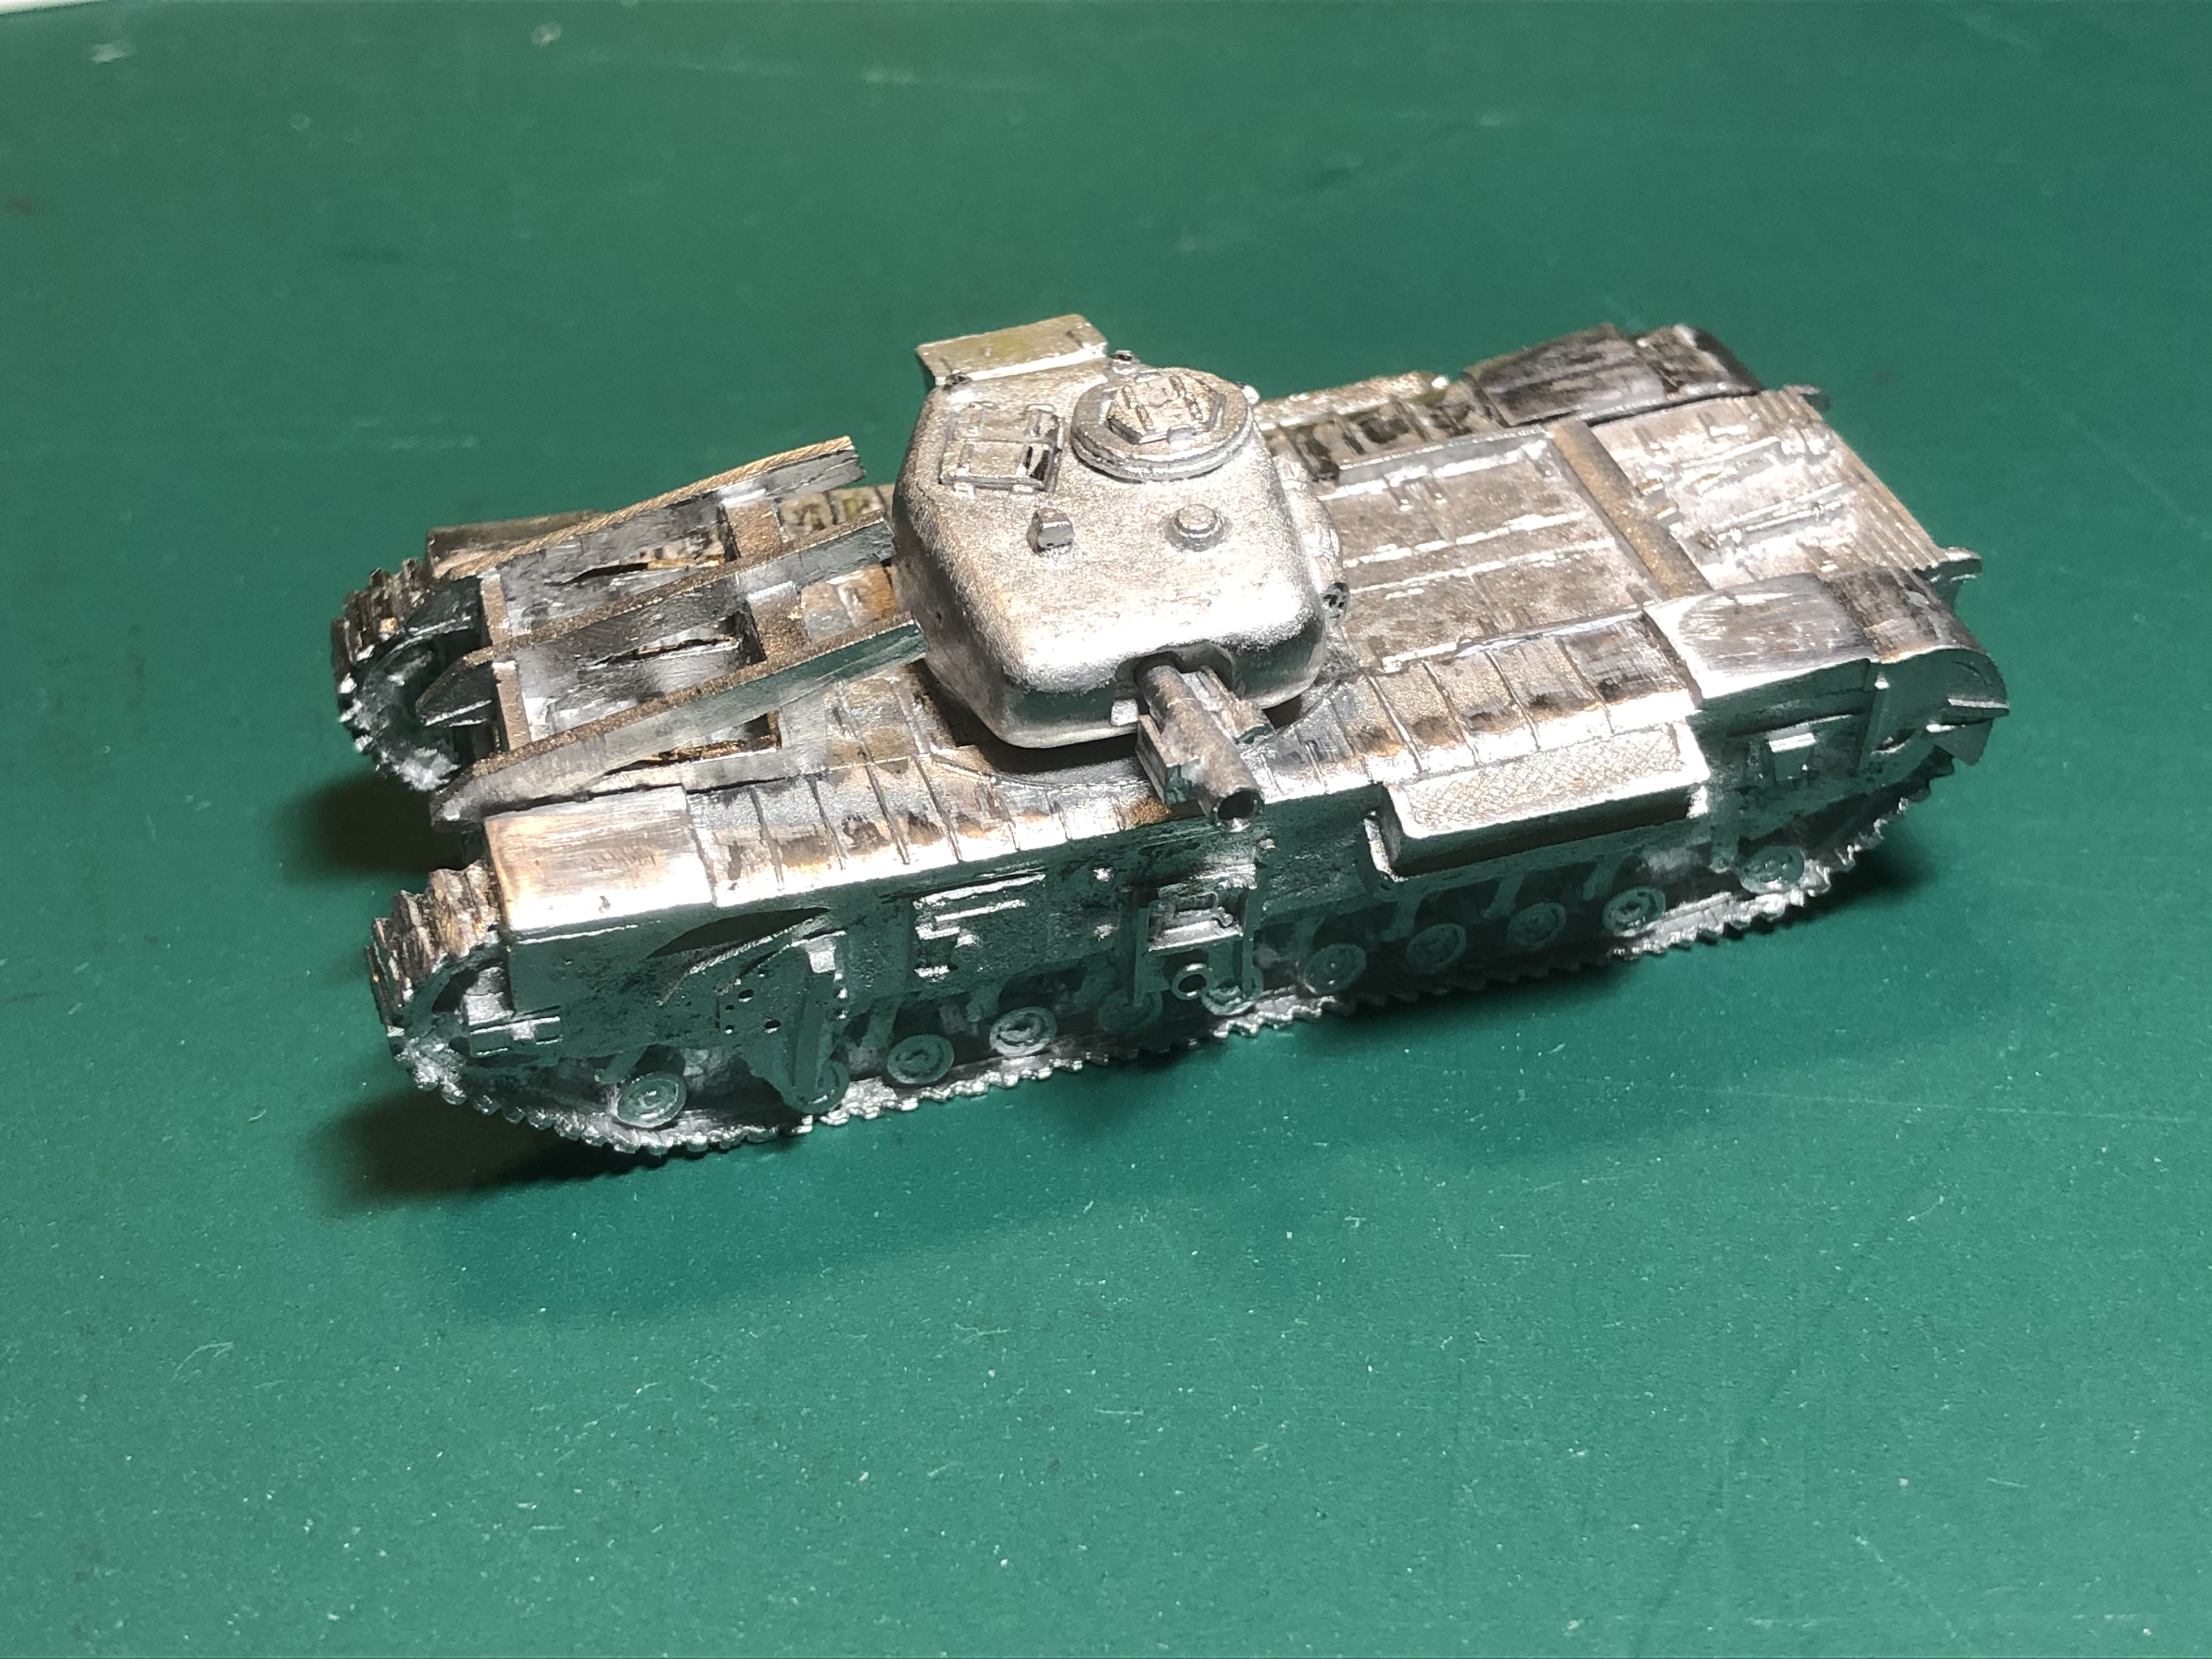
SkyTrex Fascine AVRE Turret
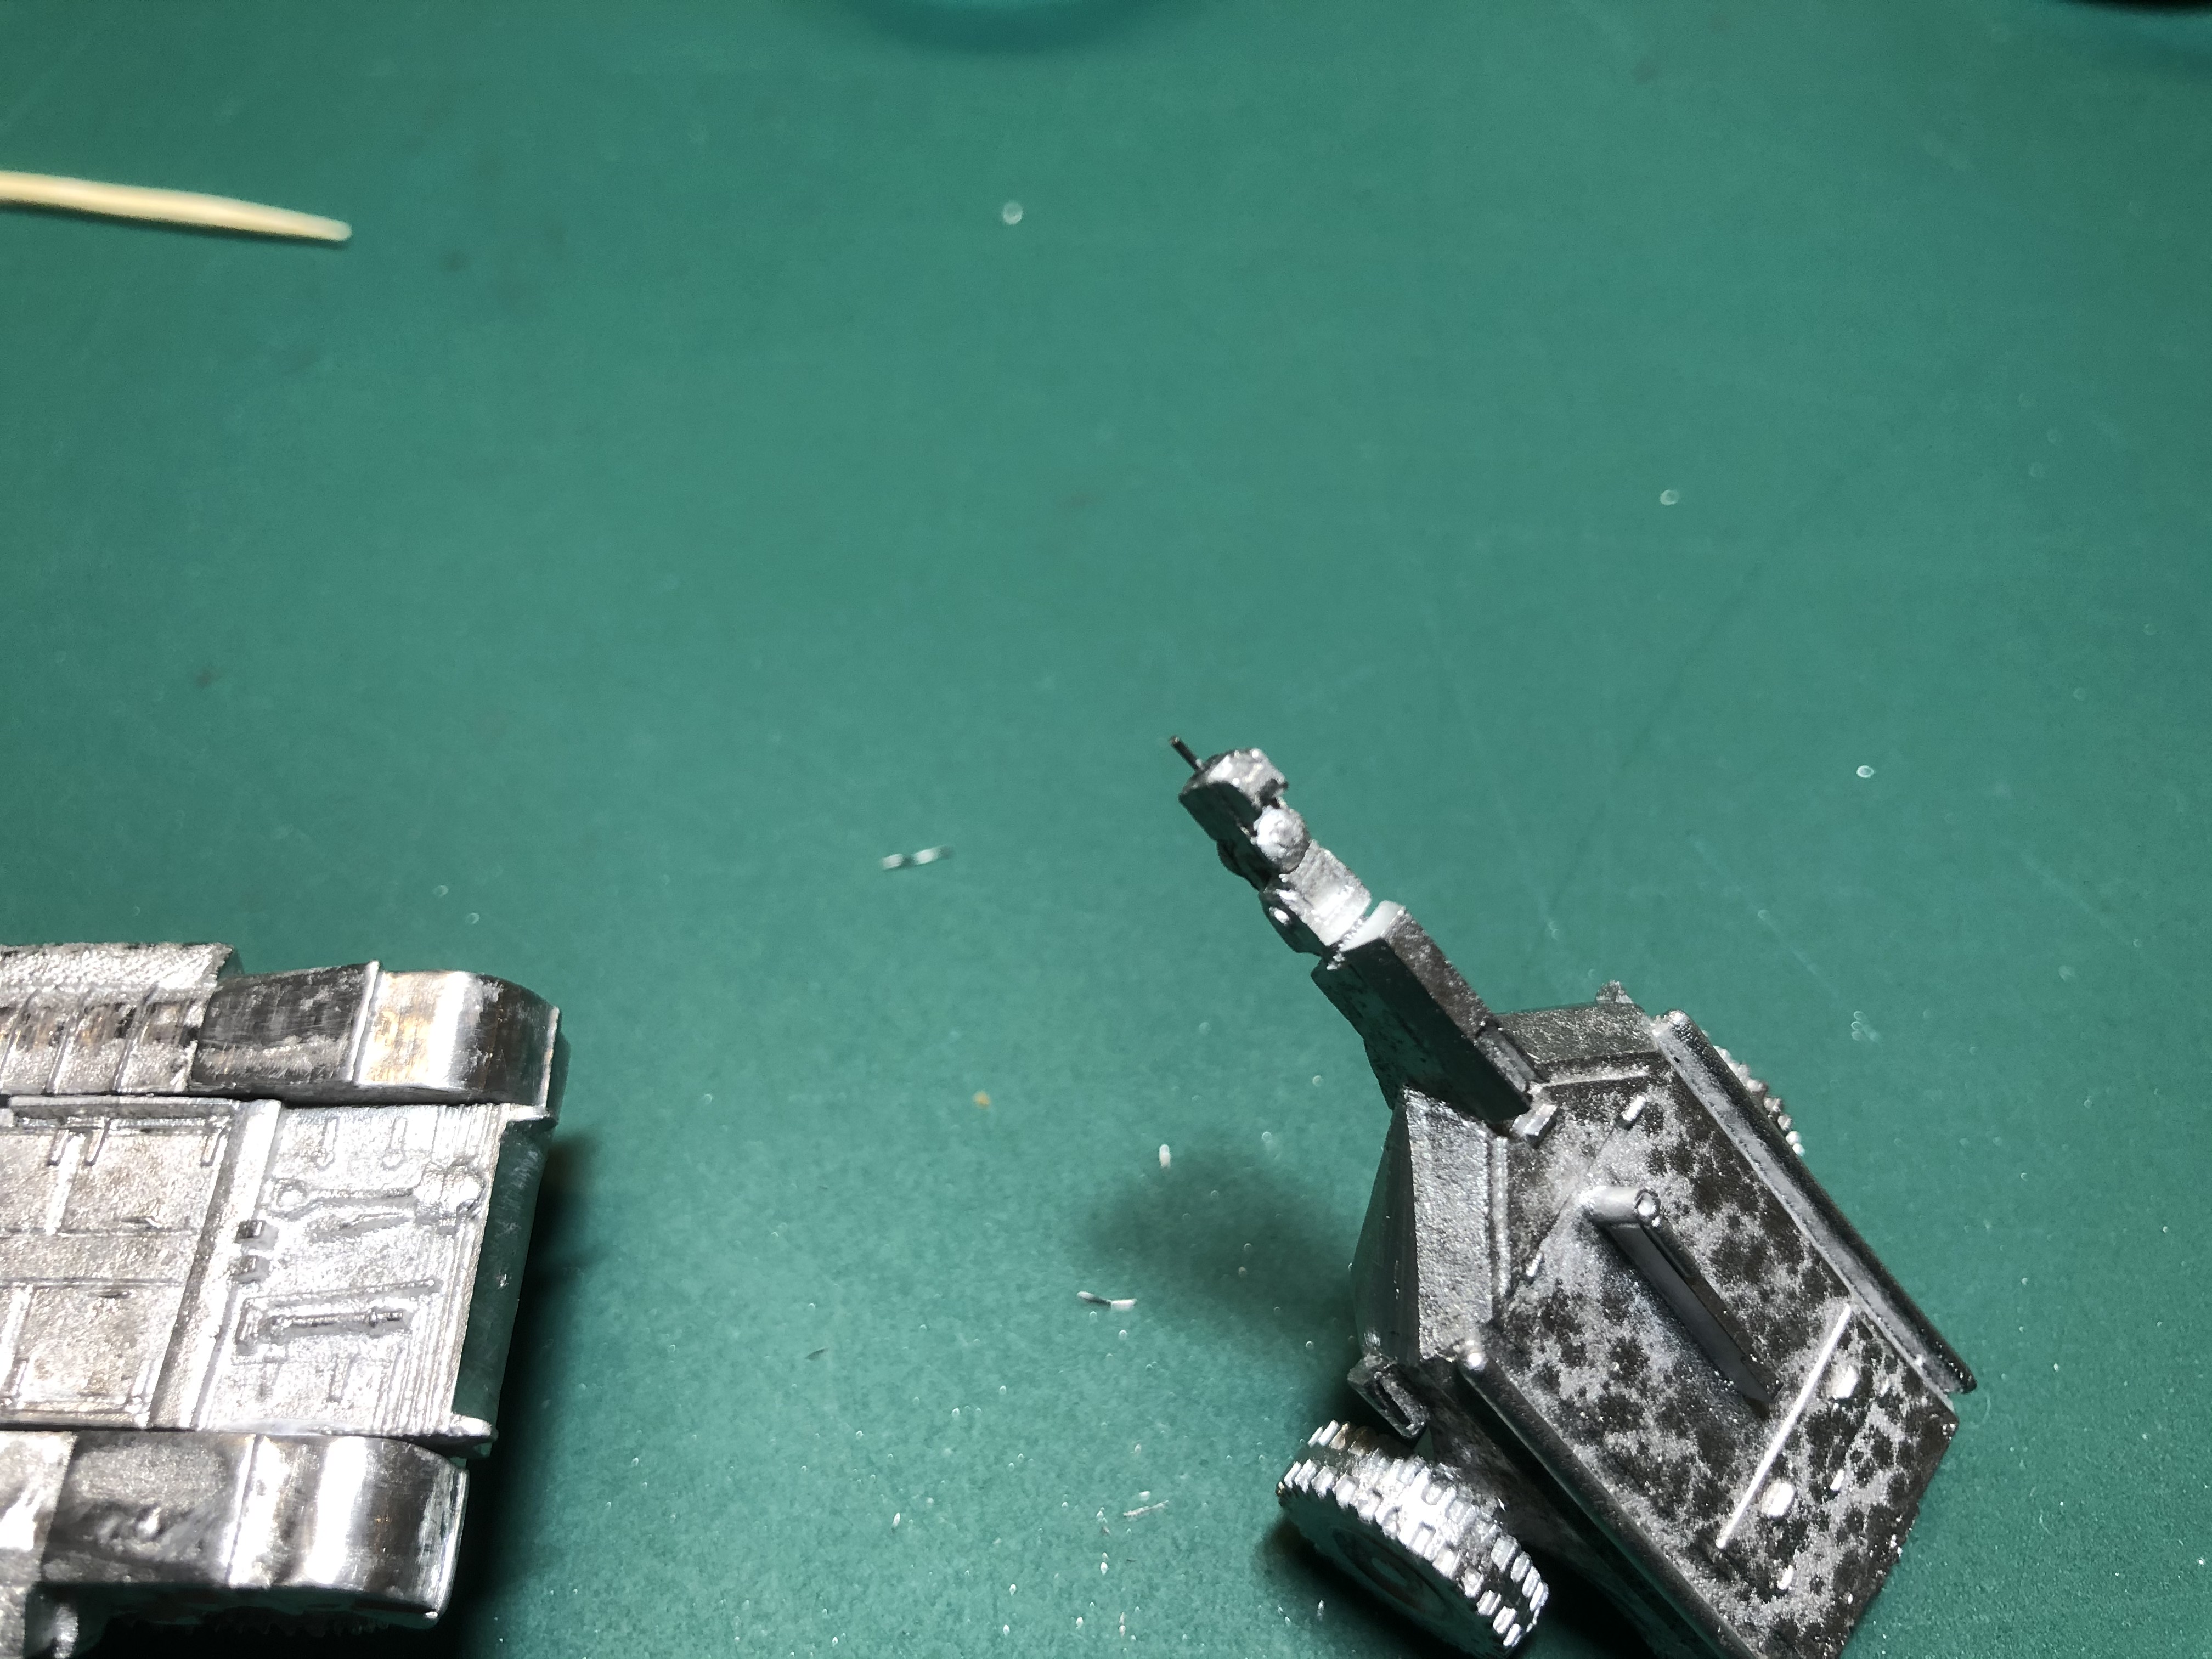
The turret was very easy to do, the hatches fitted really nicely and I cut off the moulded aerials and drilled 0.5mm dia holes ready to accept plastic alternatives. The only difficult bit was figuring out how much to cut off the petard mortar so that it sat right in the turret. As you can see from the attached cut-off from the barrel it does look like it should be part of it but having looked at the other plastic models and reference photos I did cut a bit more off until I was happy with the comparisons.
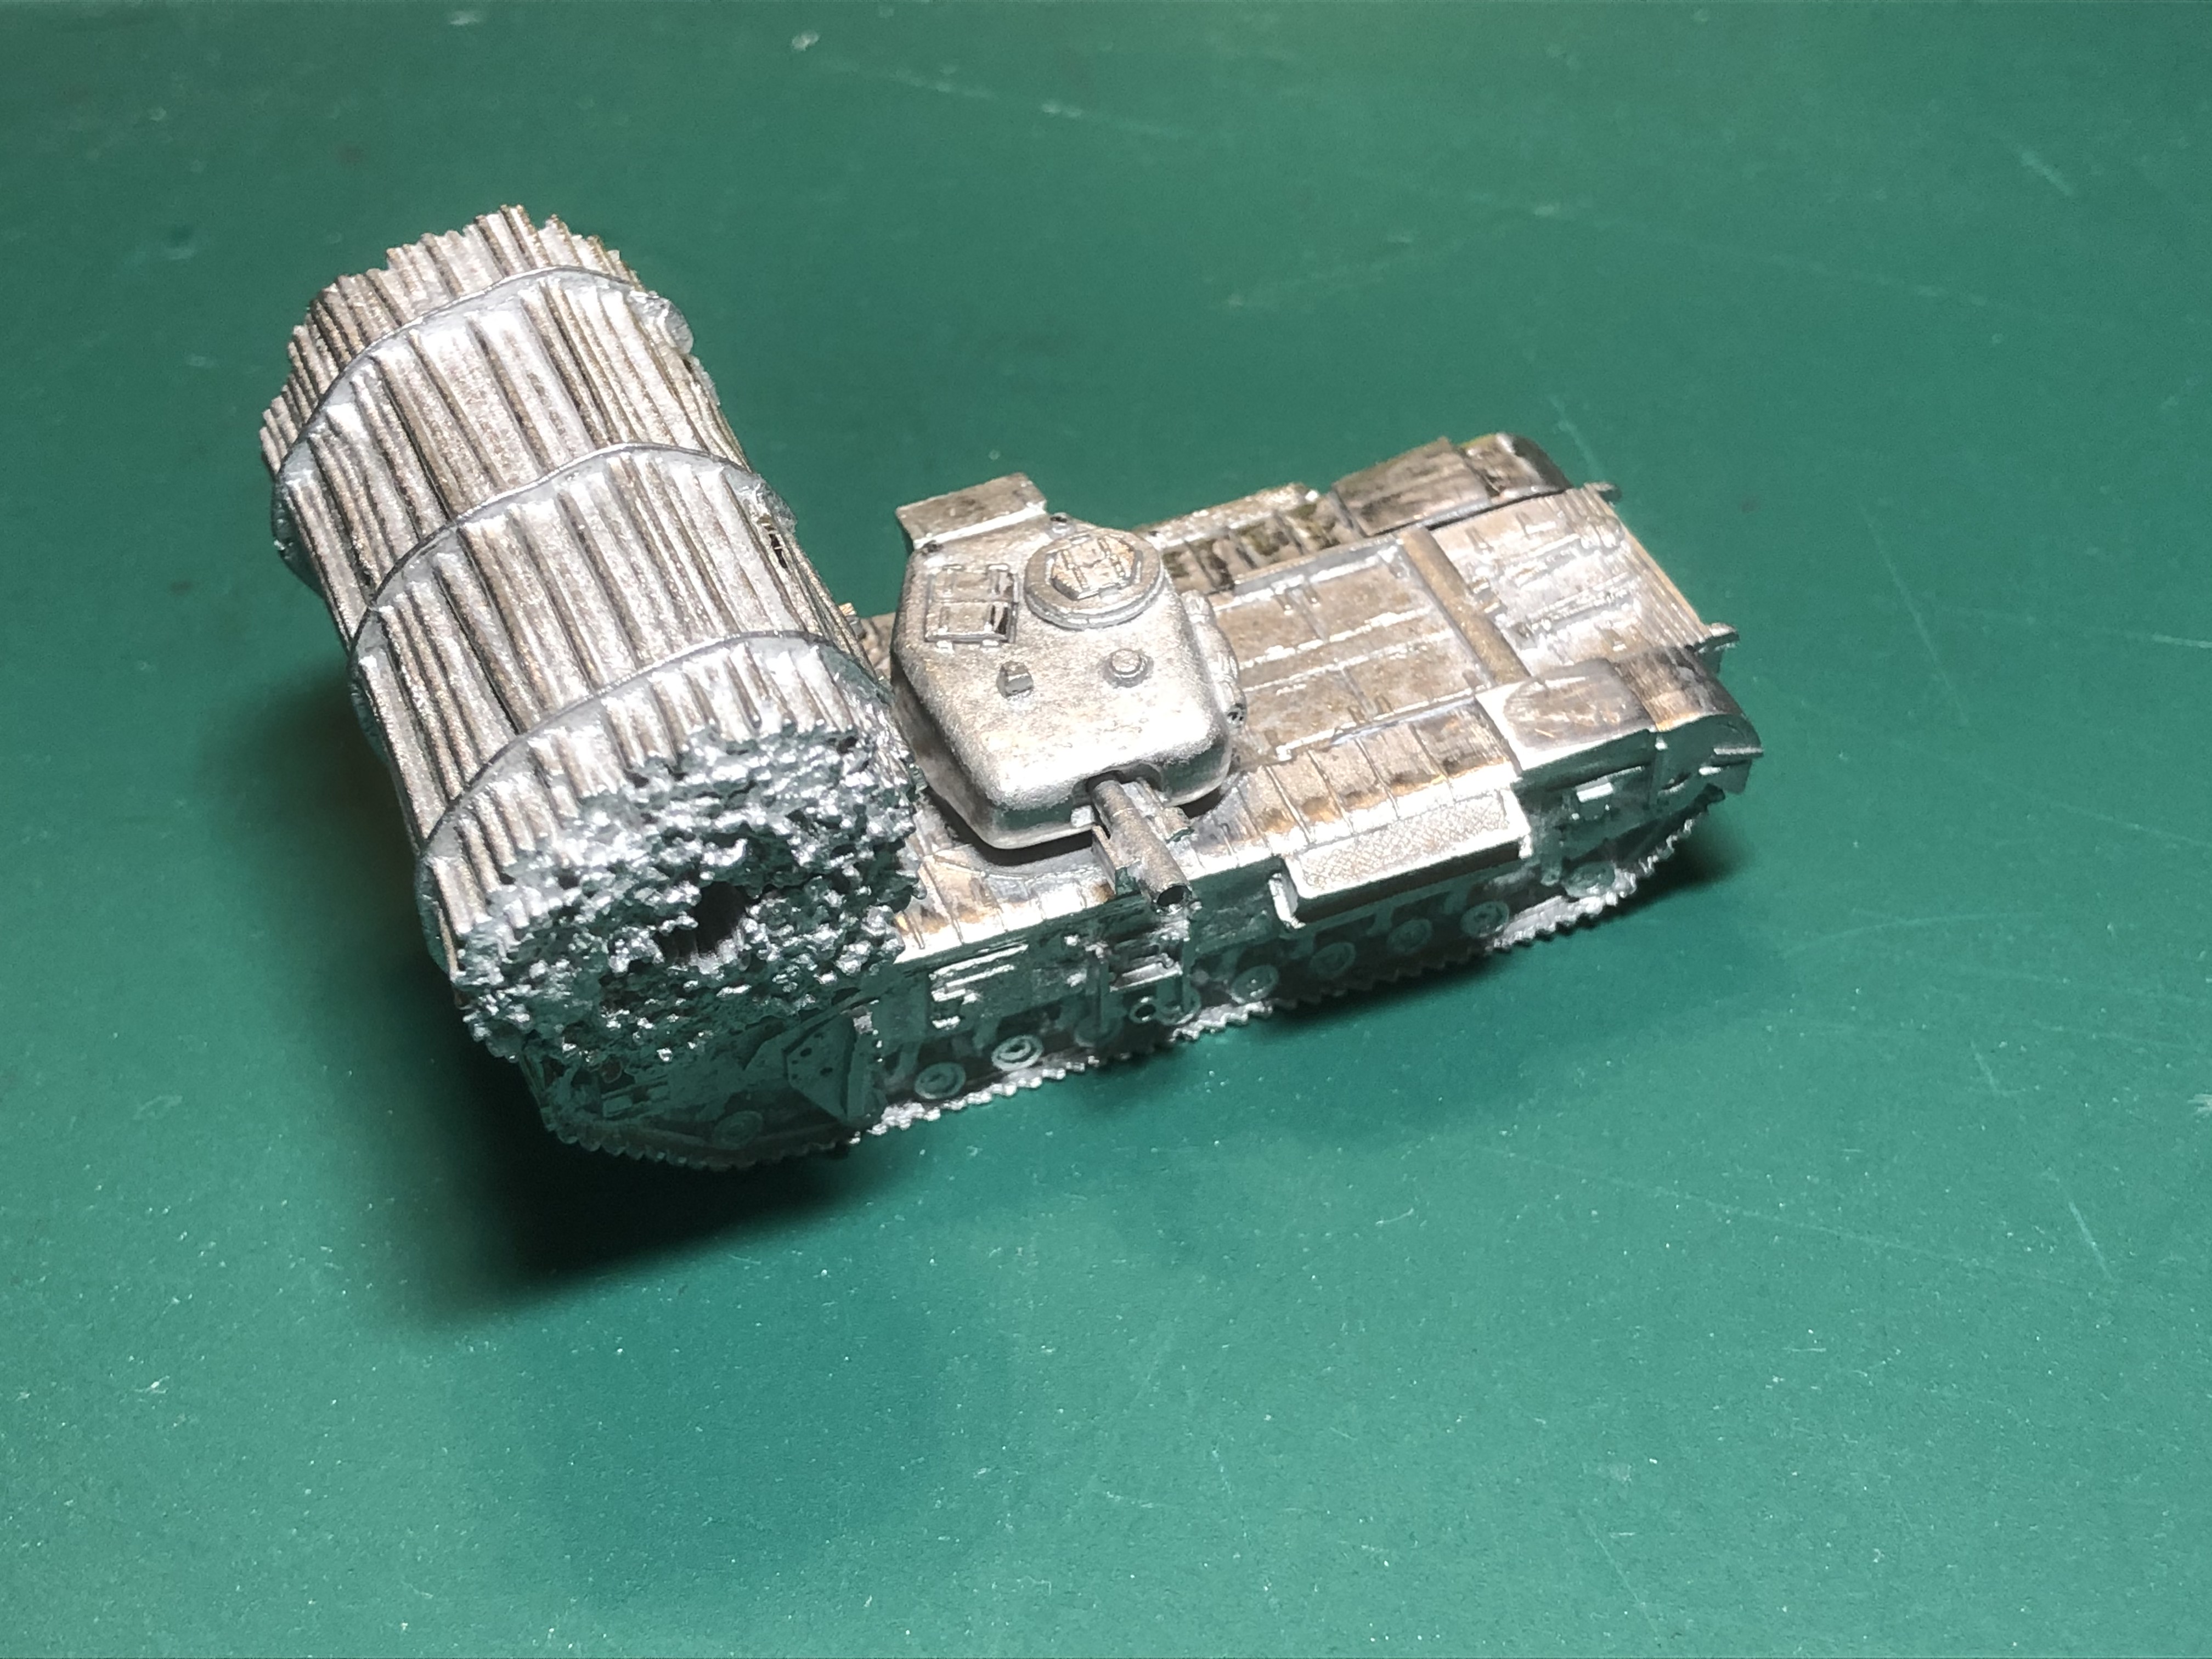
SkyTrex Fascine AVRE
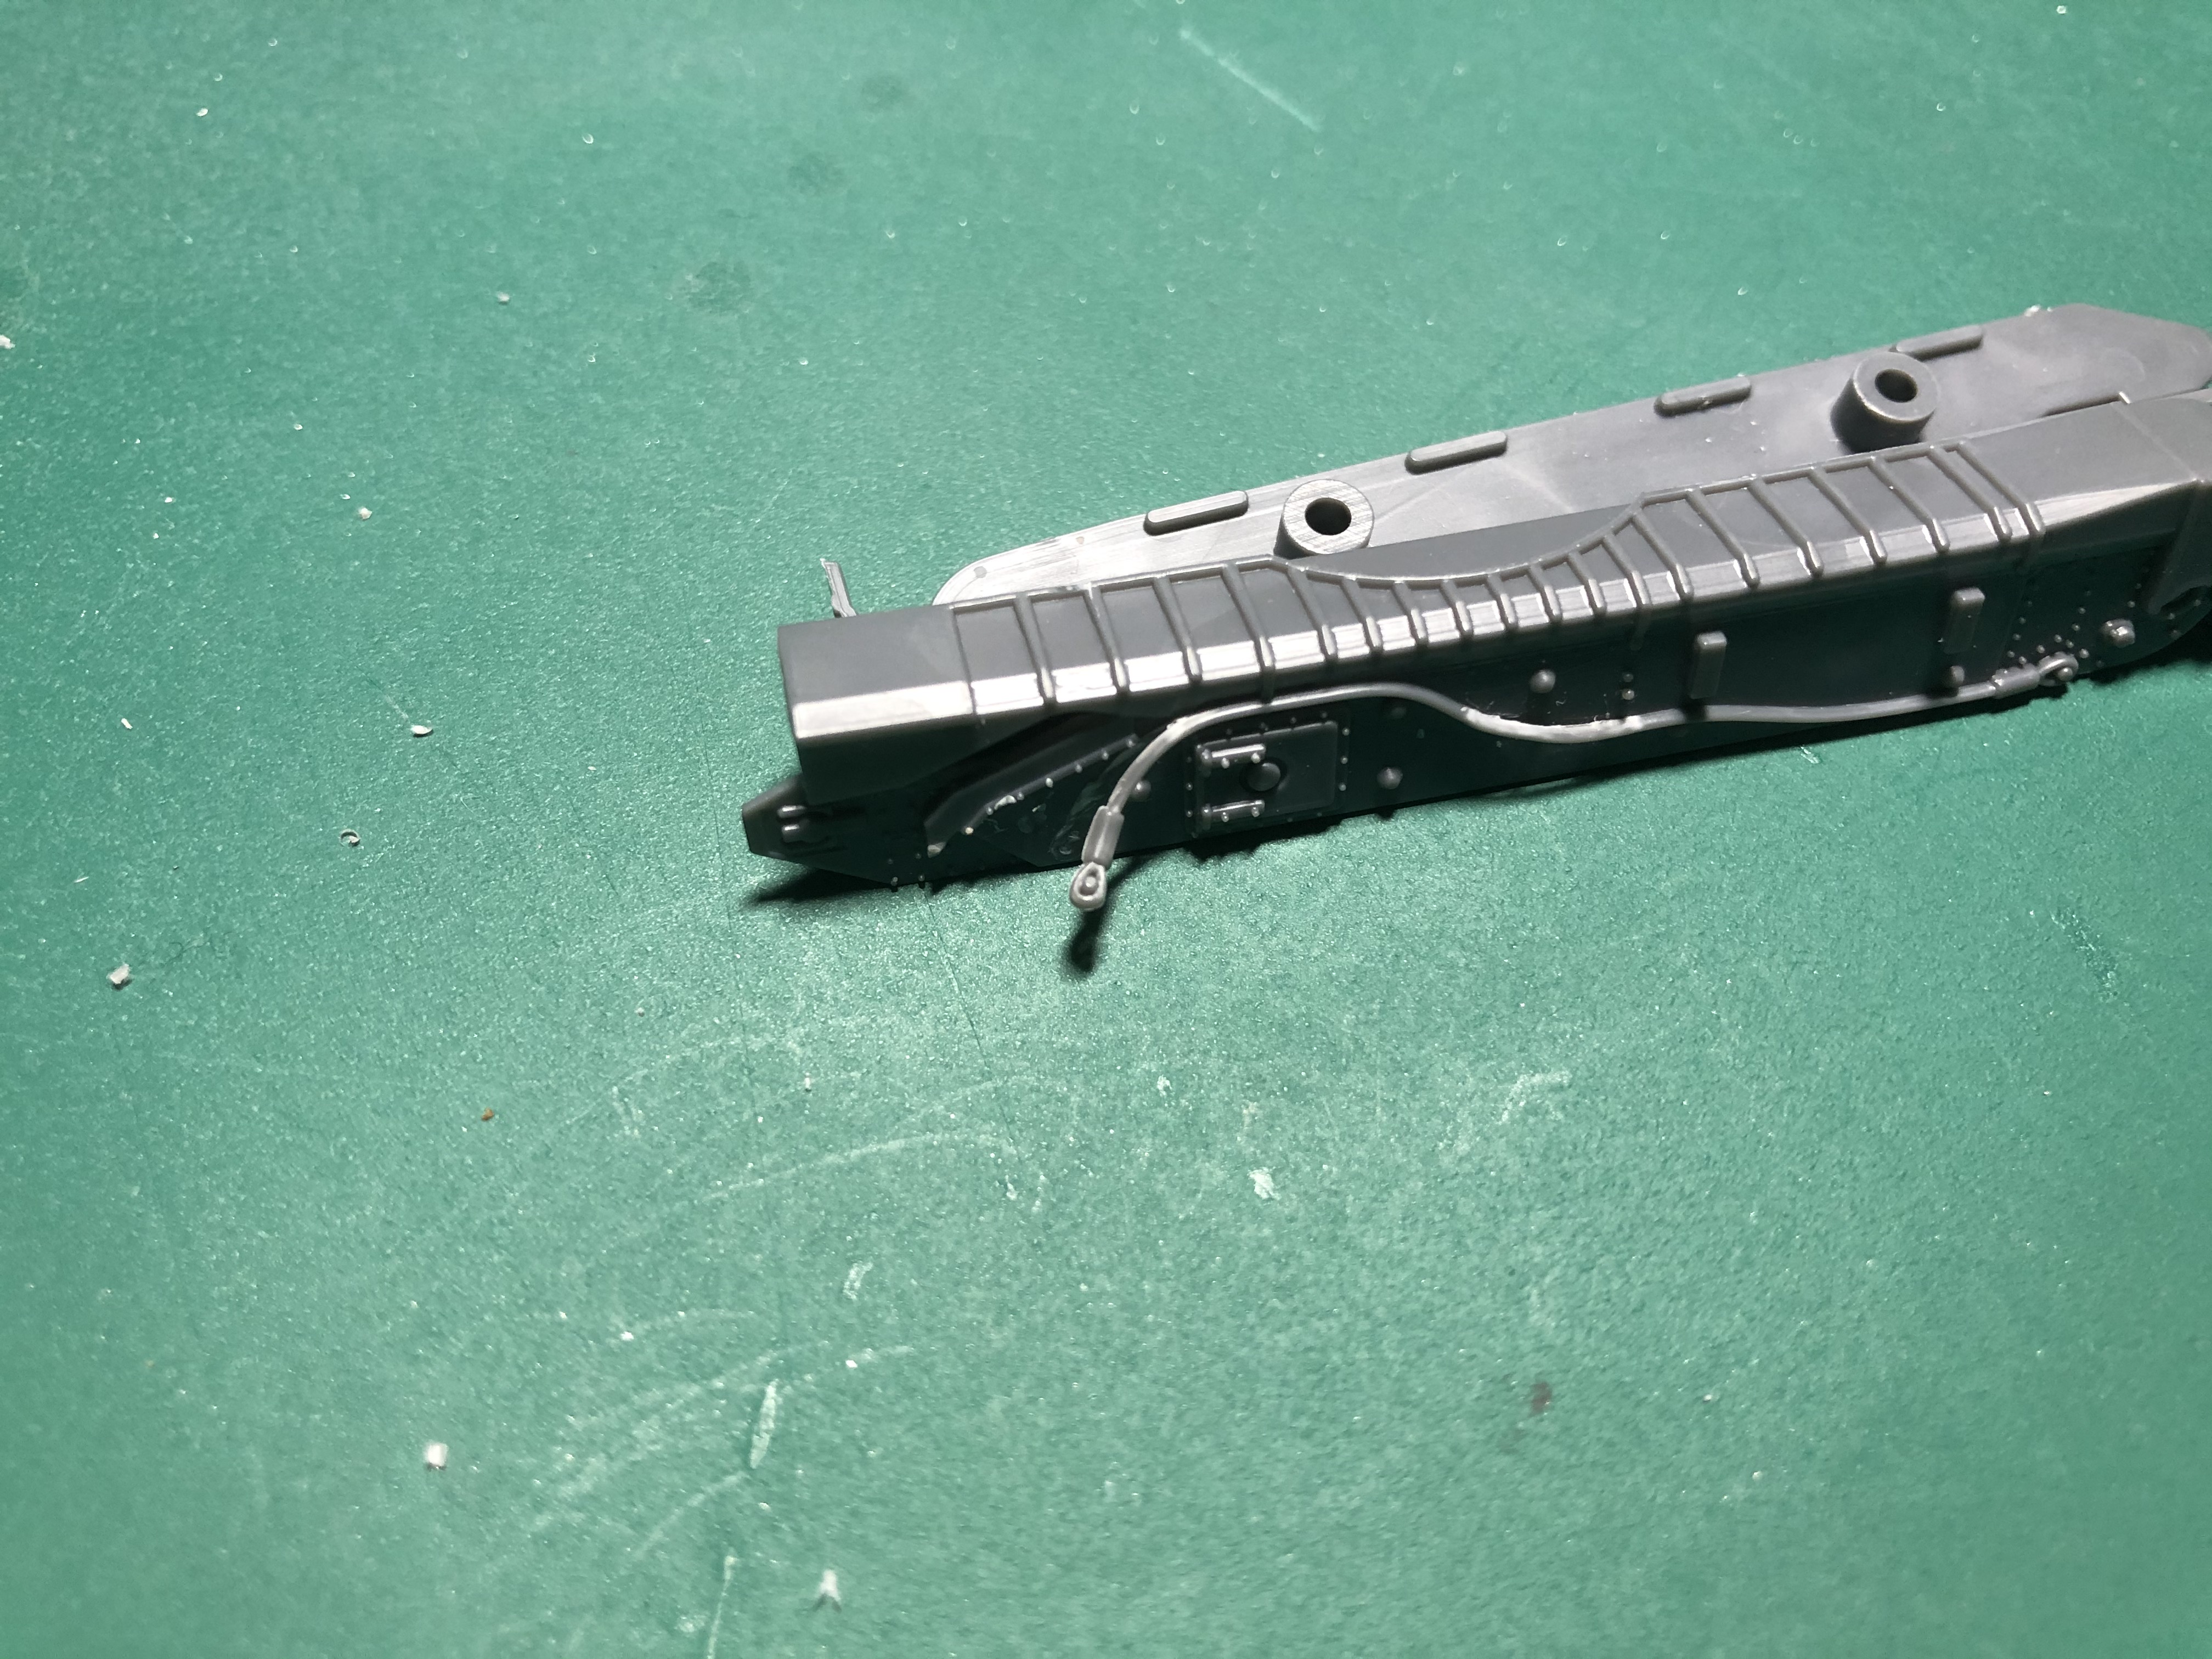
After clearing the flash off and a fair bit of filing the parts of the hull went together very easily.
 With the help of a big file!!
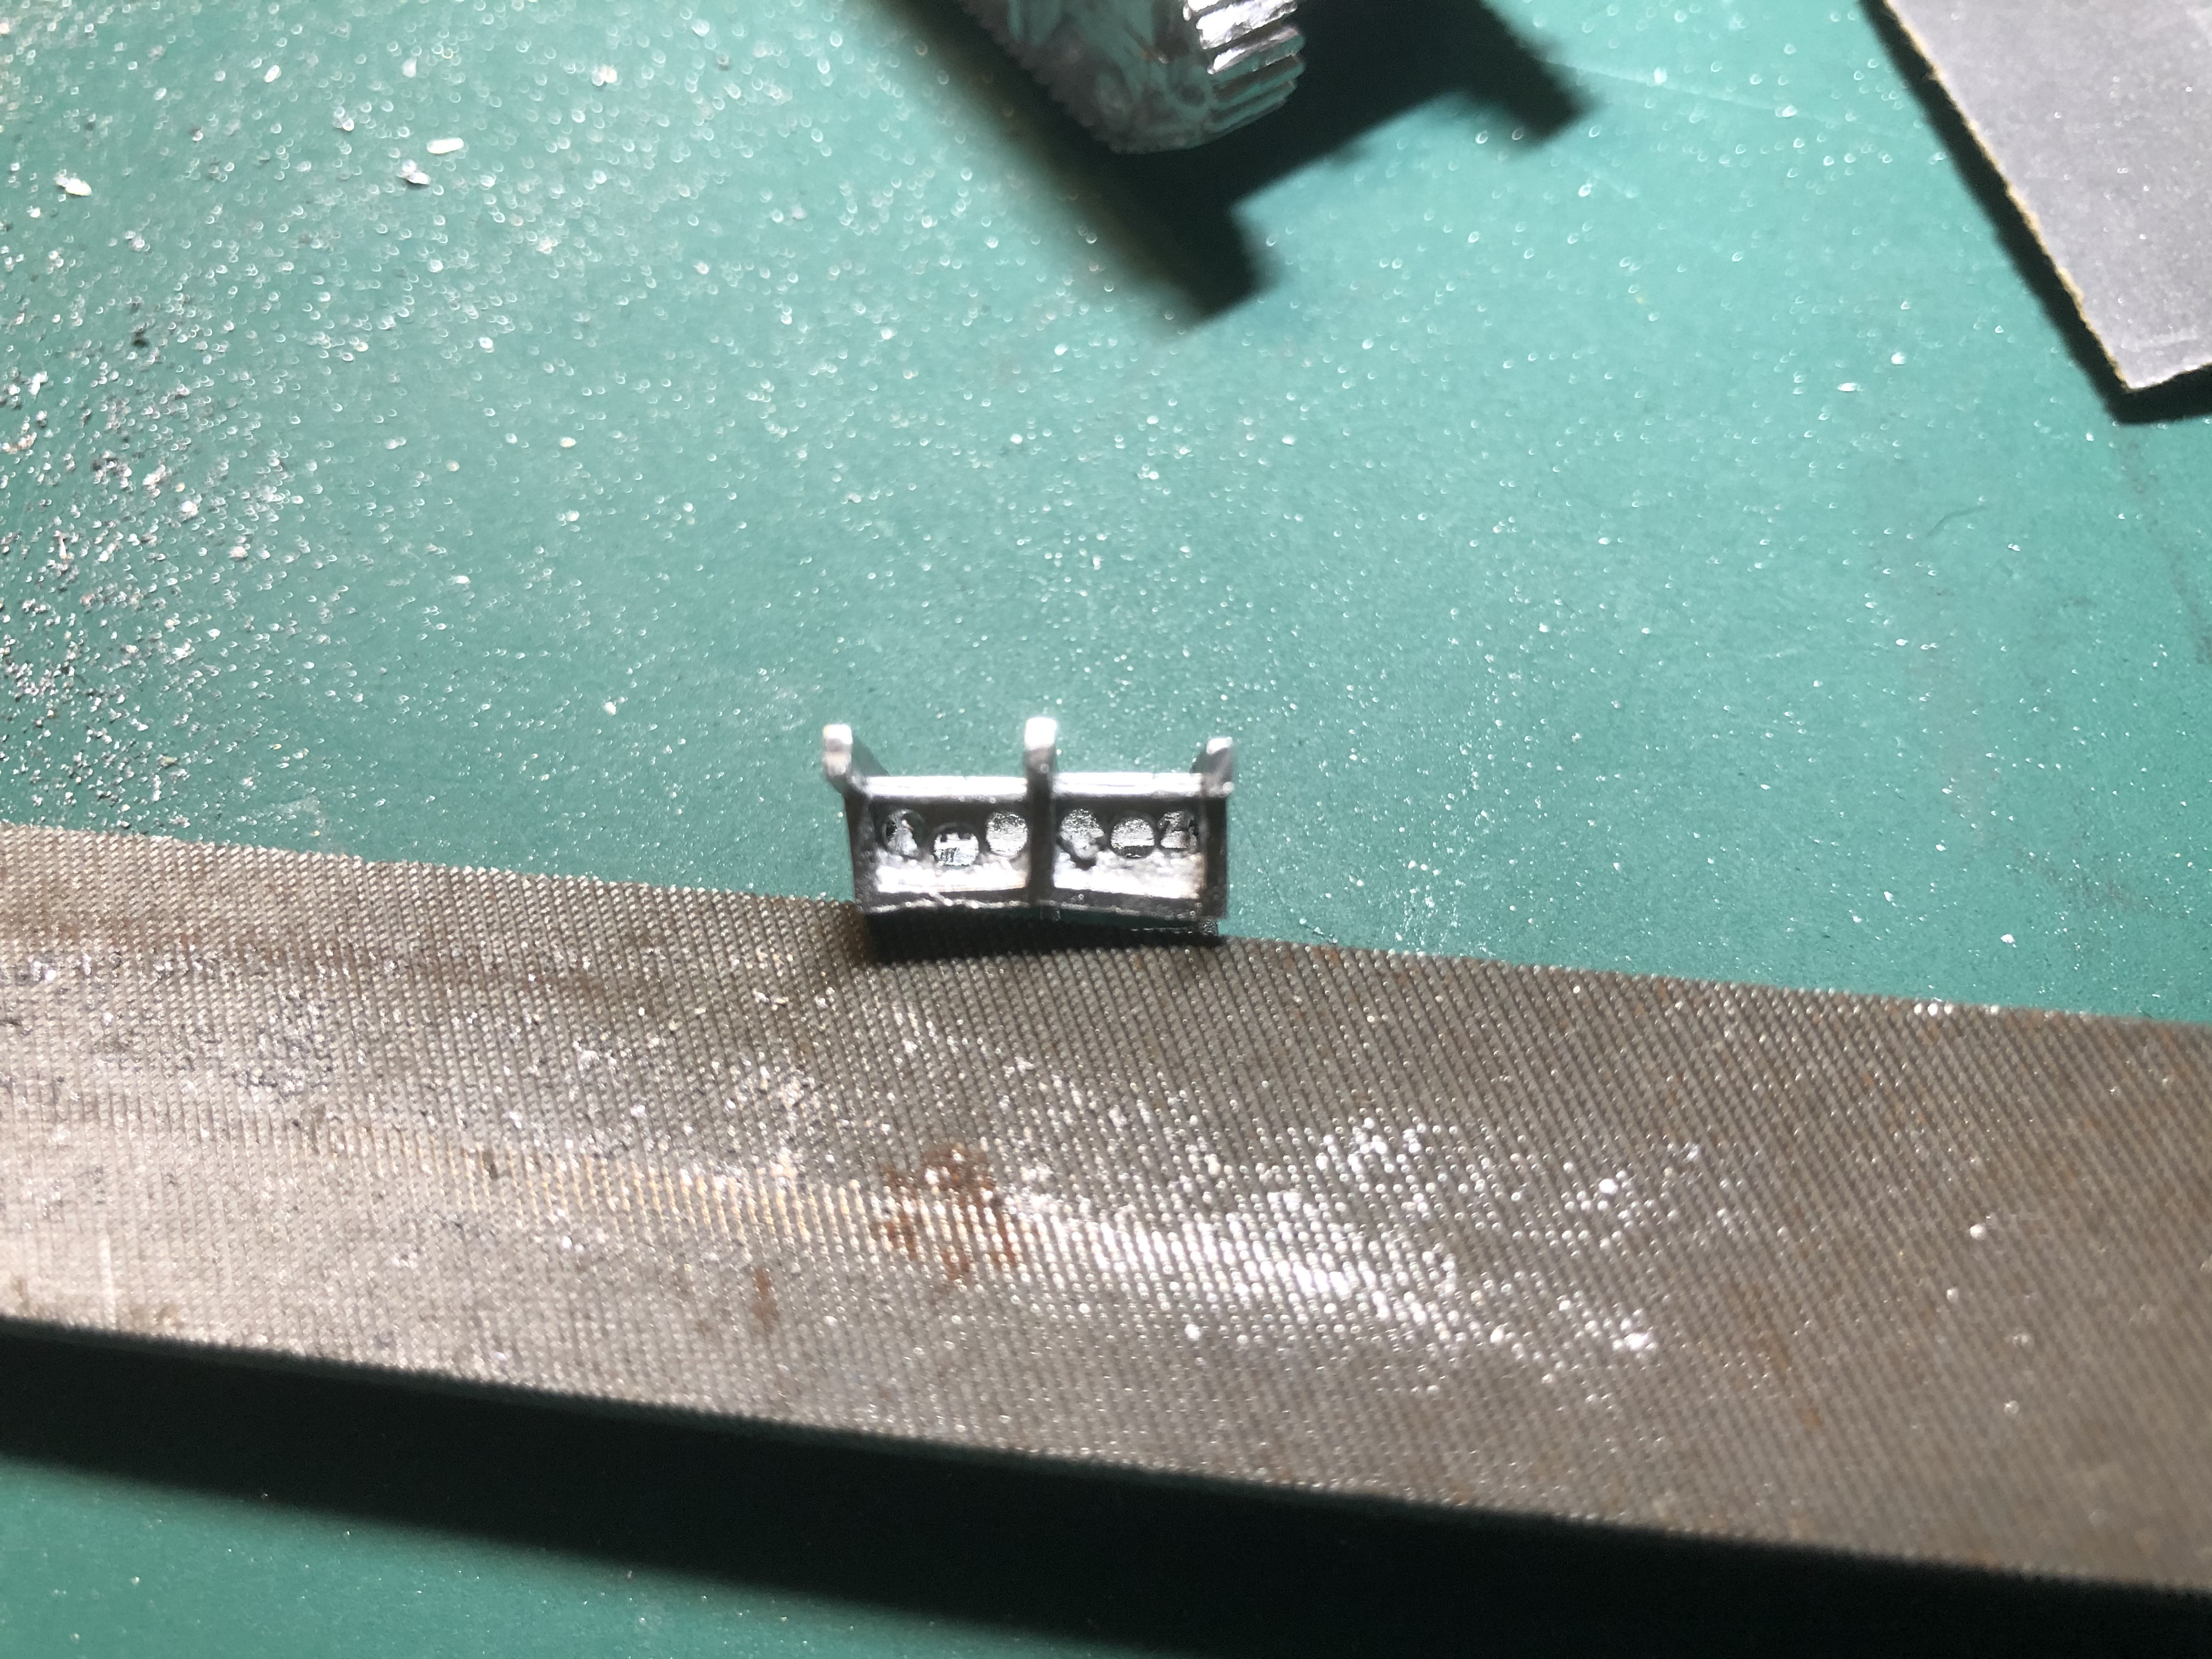 The cradle had metal infills that I wanted to remove, so to do this I drilled out as large as I could and then cut the rest out with a craft knife, with a needle file to get to the correct lines.
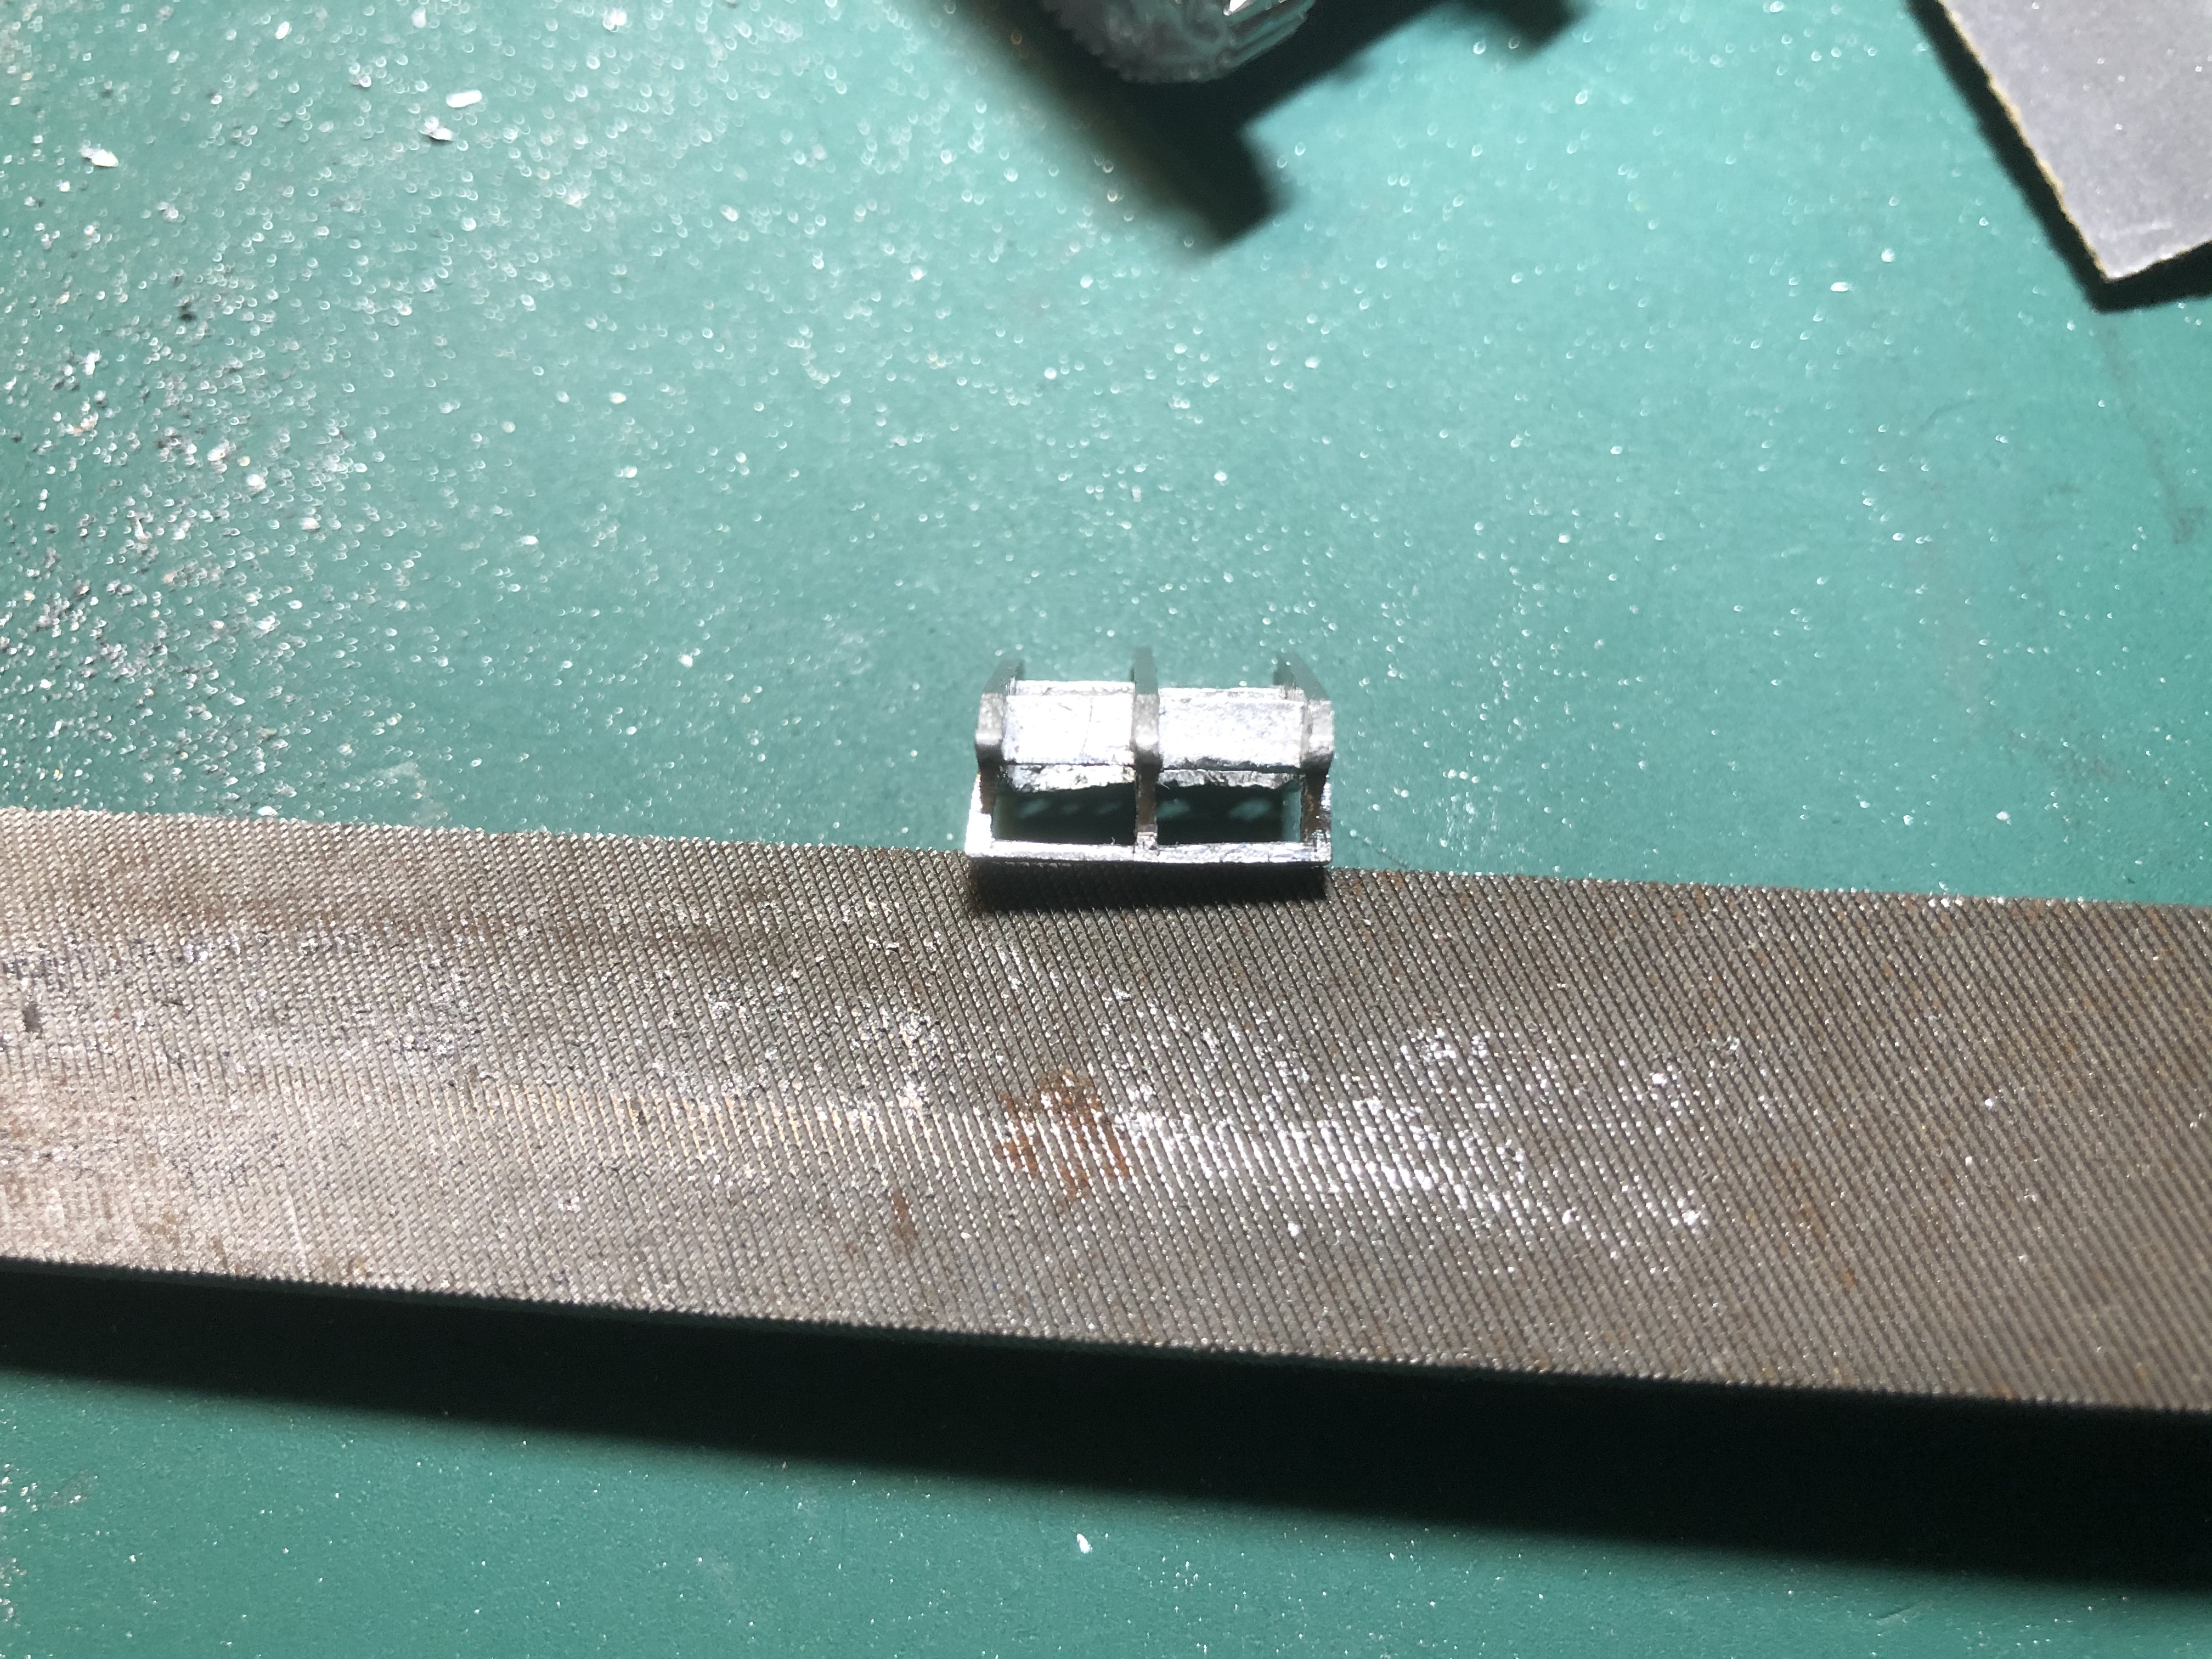 The cleaned out infills.
Episode Four - 'Eavy Metal!
Some people say that metal models are a pain in the butt, and do you know what, they are right!….to some extent anyway.
The key thing again is the 7 P’s, metal models normally have bigger issues with flash and mould lines; they can warp and fit issues are common. Also because the parts tend to be heavy it is sometimes very difficult to fix them together and when they get knocked they will fall apart more easy than a plastic version. there is no getting away from the fact that you are going to rely on a chemical reaction to hold the parts together using superglue, where plastic models physically melt and then harden the plastic into one part.
However, trial fitting and a lot of filing, drilling and pinning if necessary will make the models more robust and looking good. For the SkyTrex ones I bought there were all the usual issues but luckily I didn’t need to pin anything, as there were sufficient surface area on the joints to be able to support the weight of the parts. I did have to bring out the big guns filing wise and bought some 2,000grit wet and dry emery paper to get a smooth finish.
Glue wise I stuck (get it?!) with gorilla gel superglue and then used a cheap activator spray from a local hardware store to ensure the glue went off quickly, so I didn’t have to hold the parts together for ages.
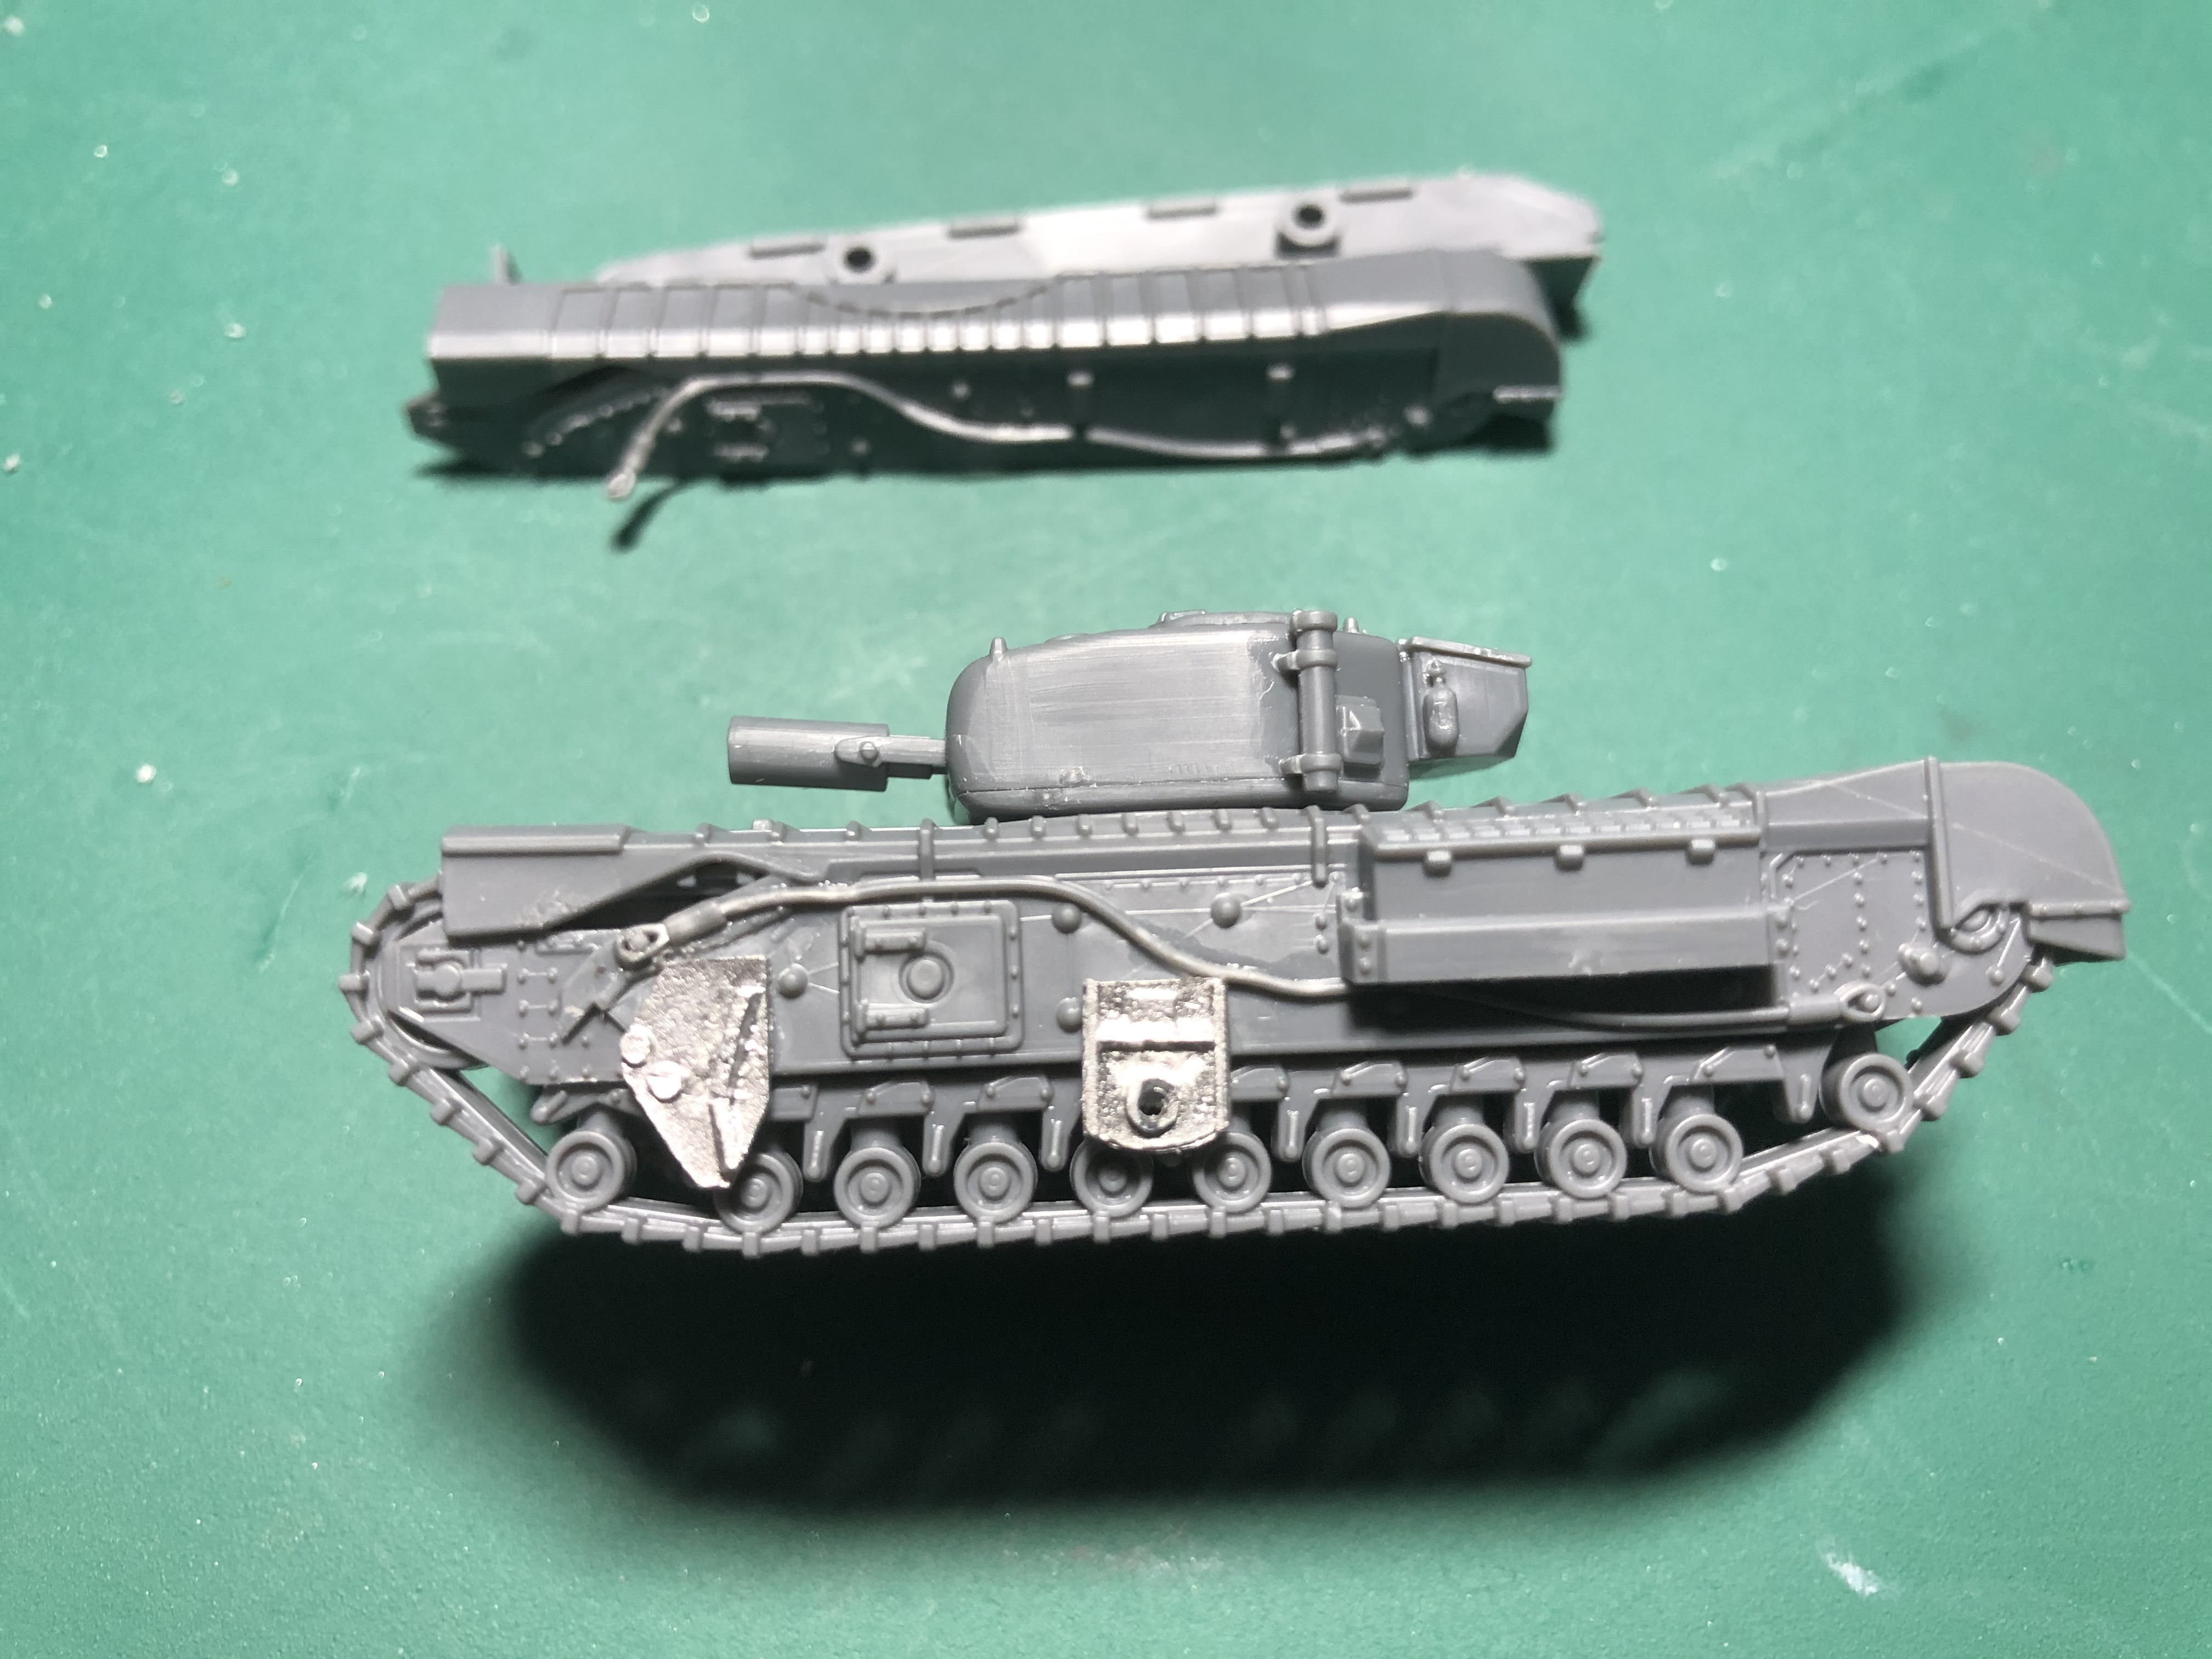
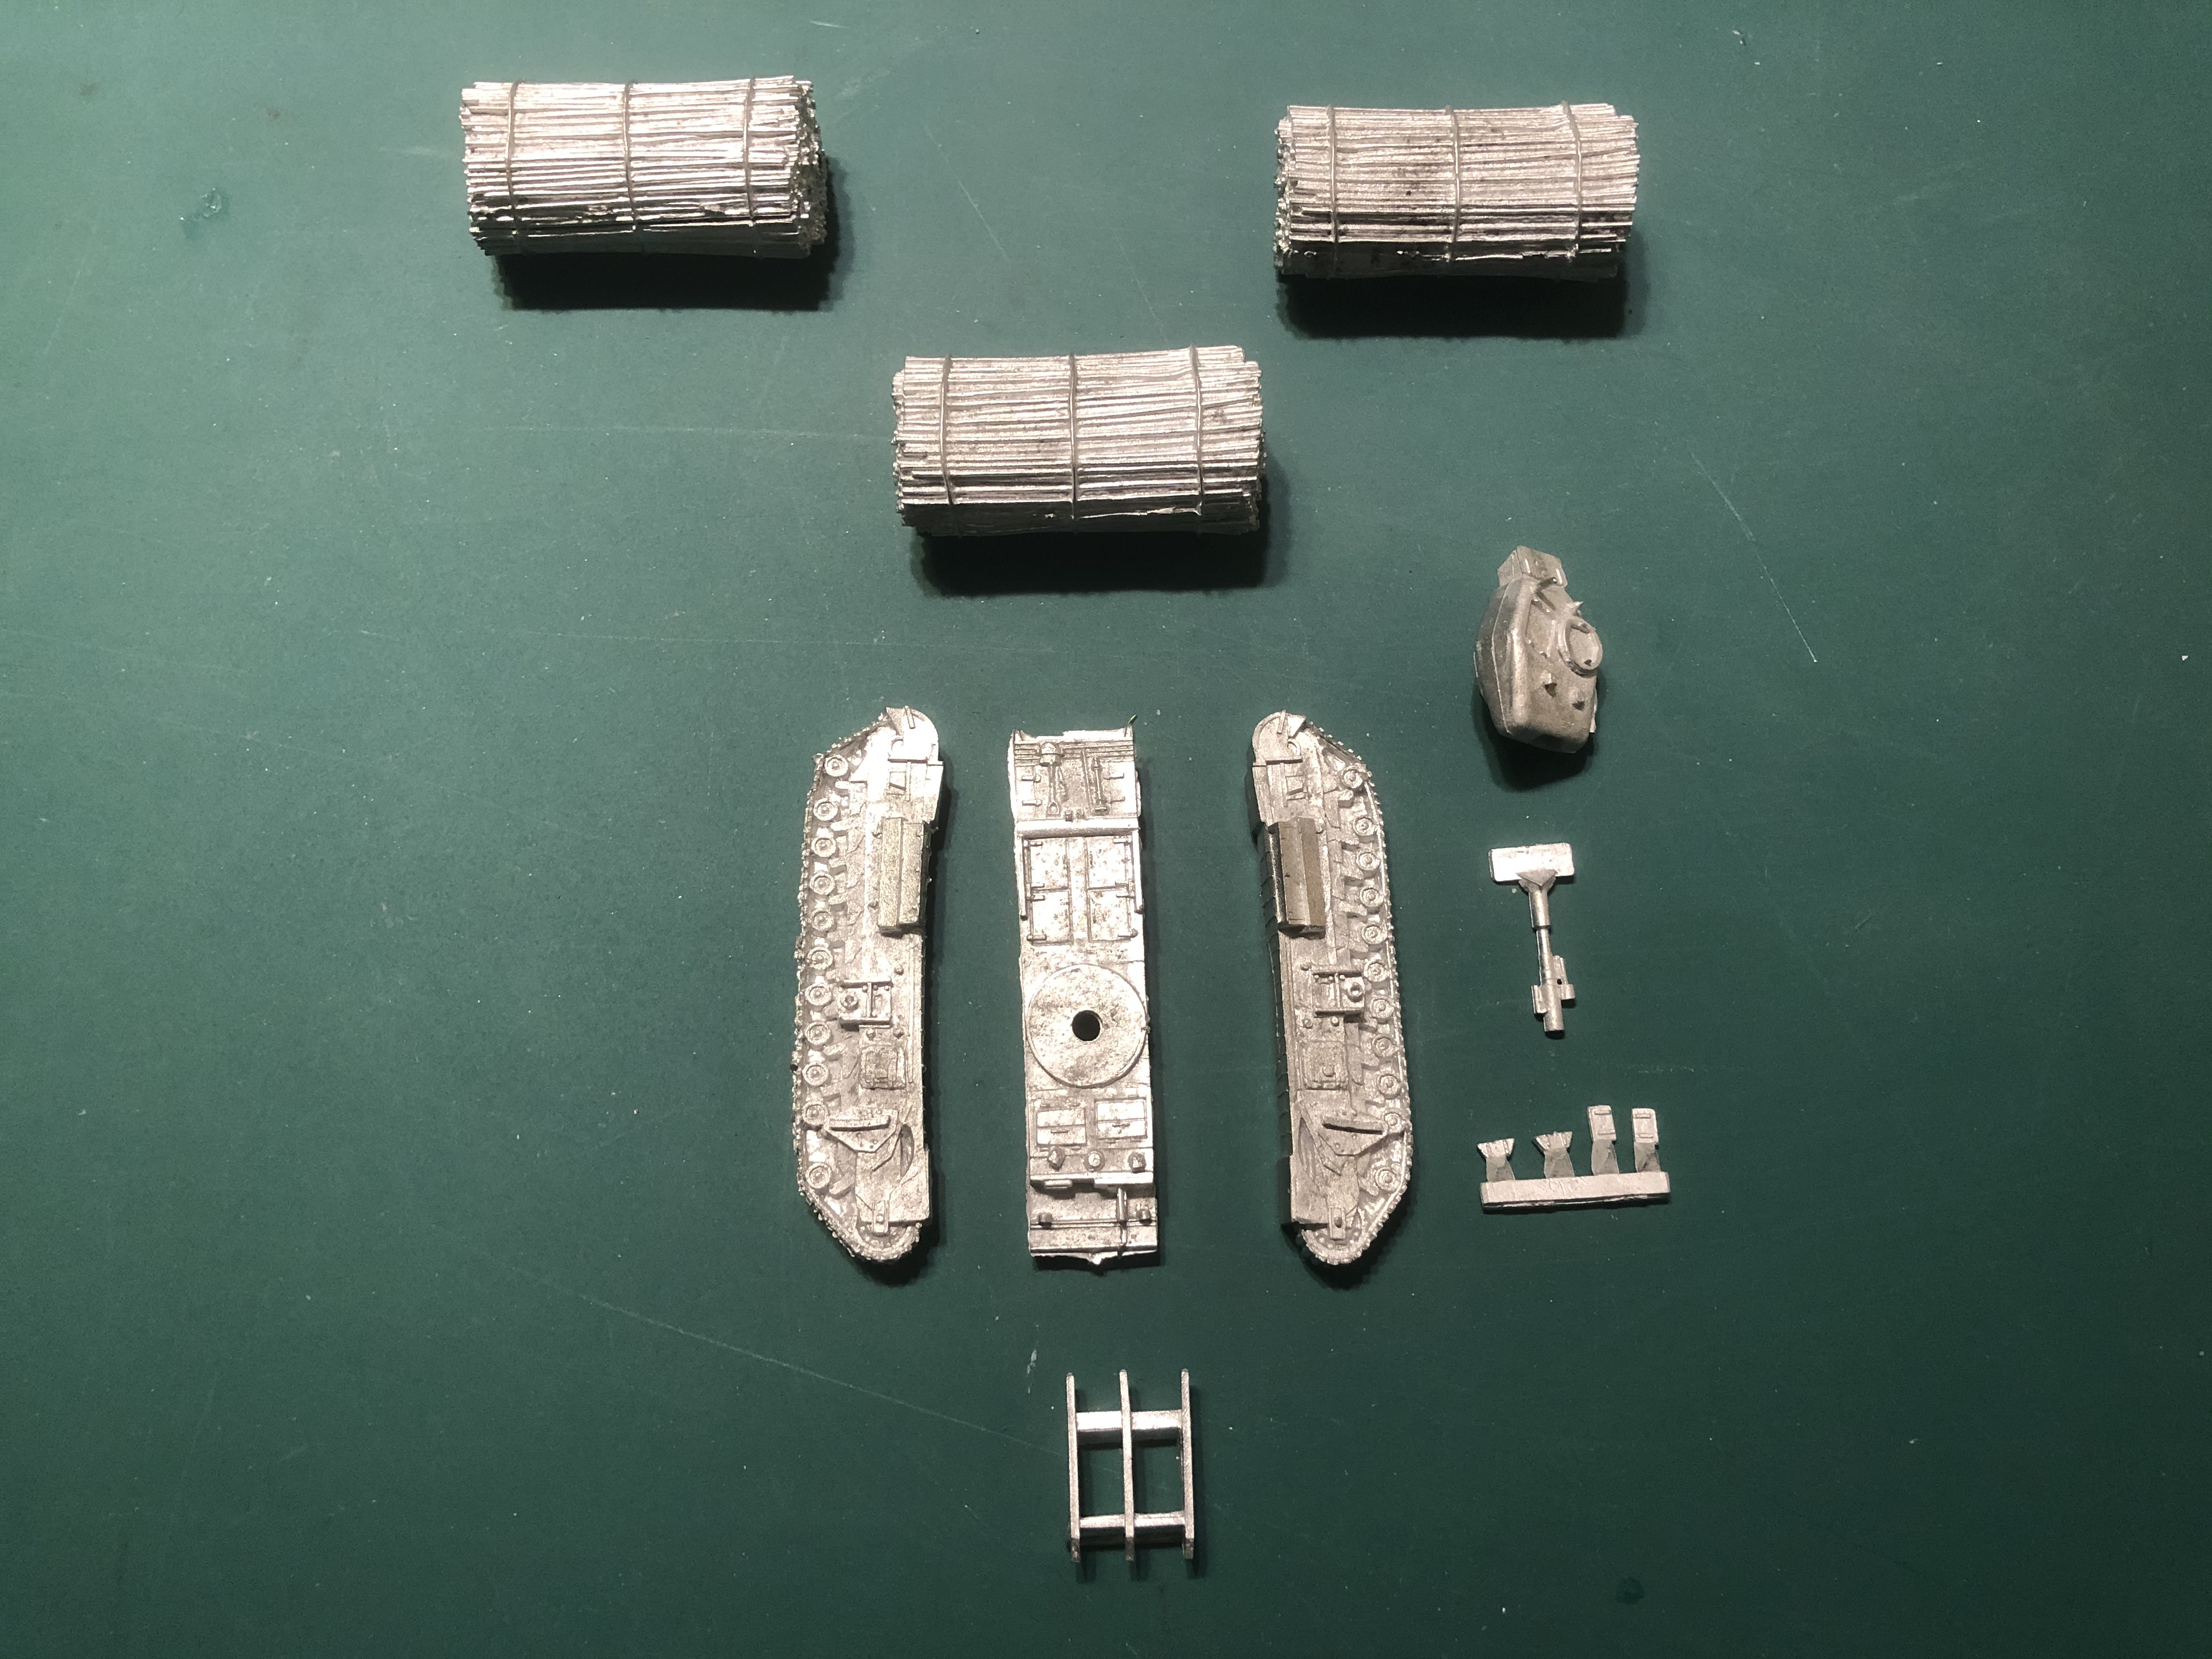 First off I thought I'd look at the Fascine laying AVRE, here are the parts, plus the three Fascines I purchased. They were simply cleared of flash, mated up and then glued. I then did a little bit of trimming, they will still need a bit of filling before they can be painted.
The assembled PSC AVREs
So here are the assembled PSC AVREs, with and without their attachments. There is still a fair bit of conversion work to be done to them but it is a good start. Now on to the metal SkyTrex ones in the next Episode.
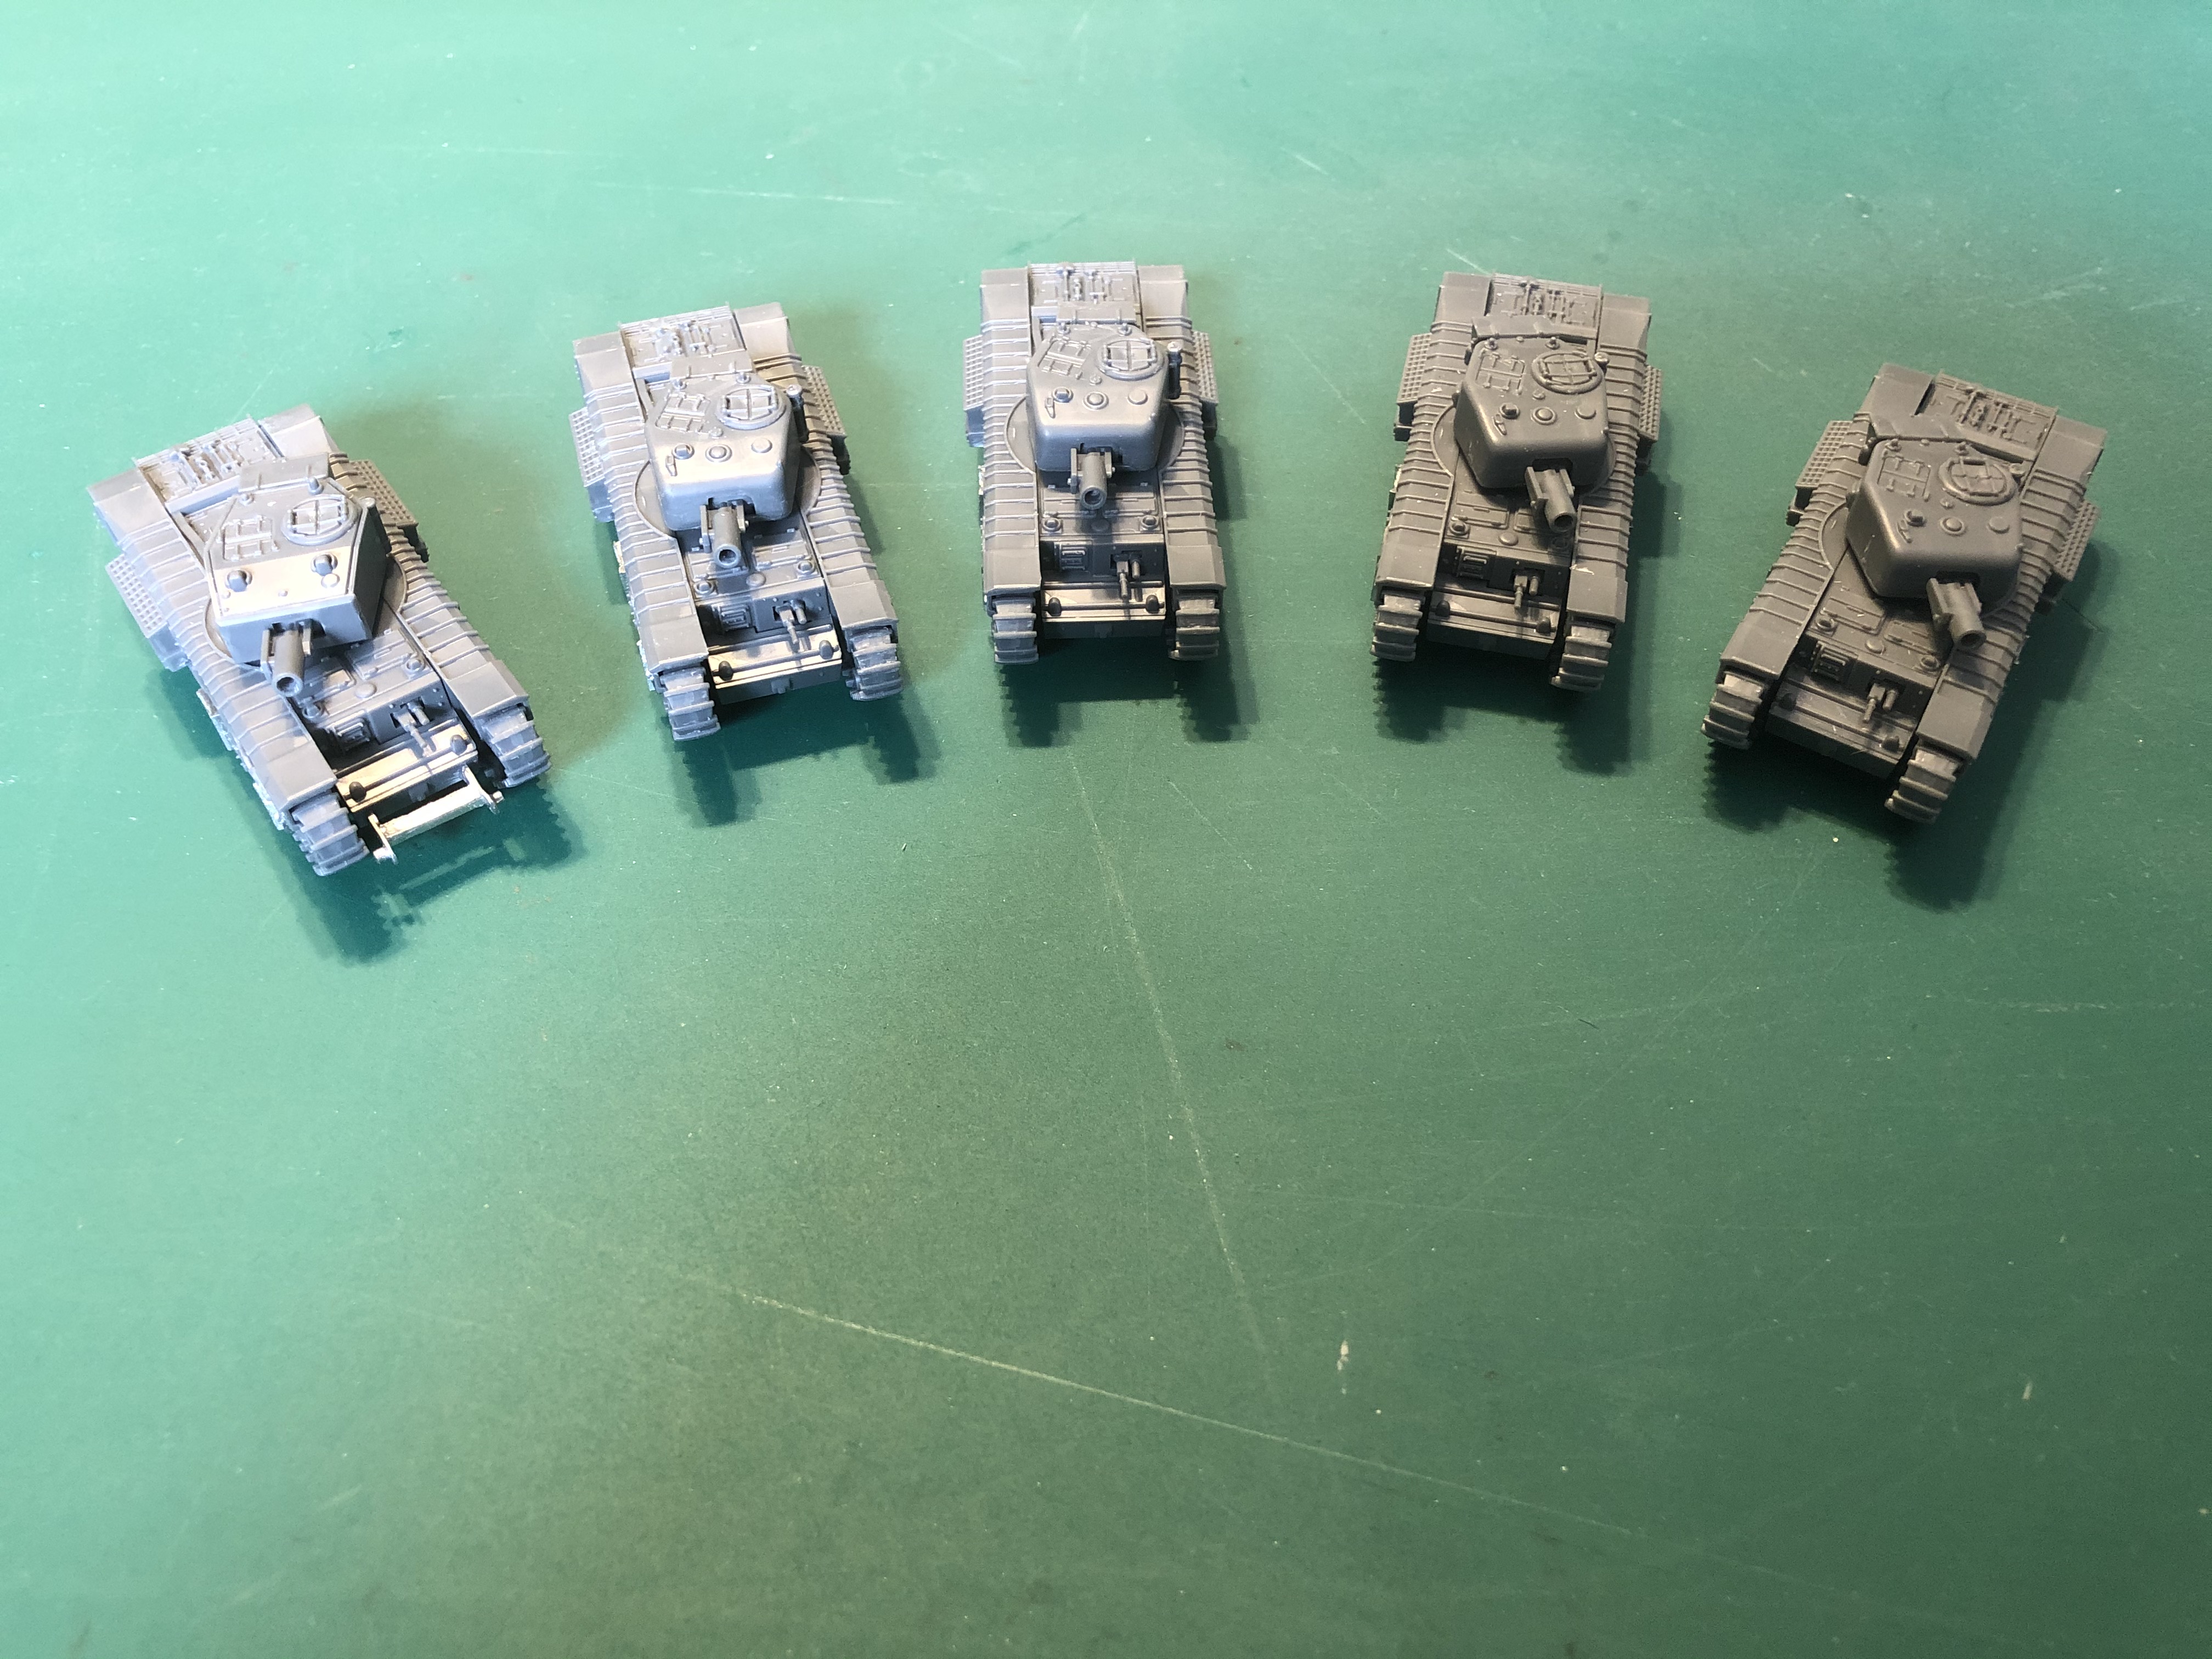 Five more to add.
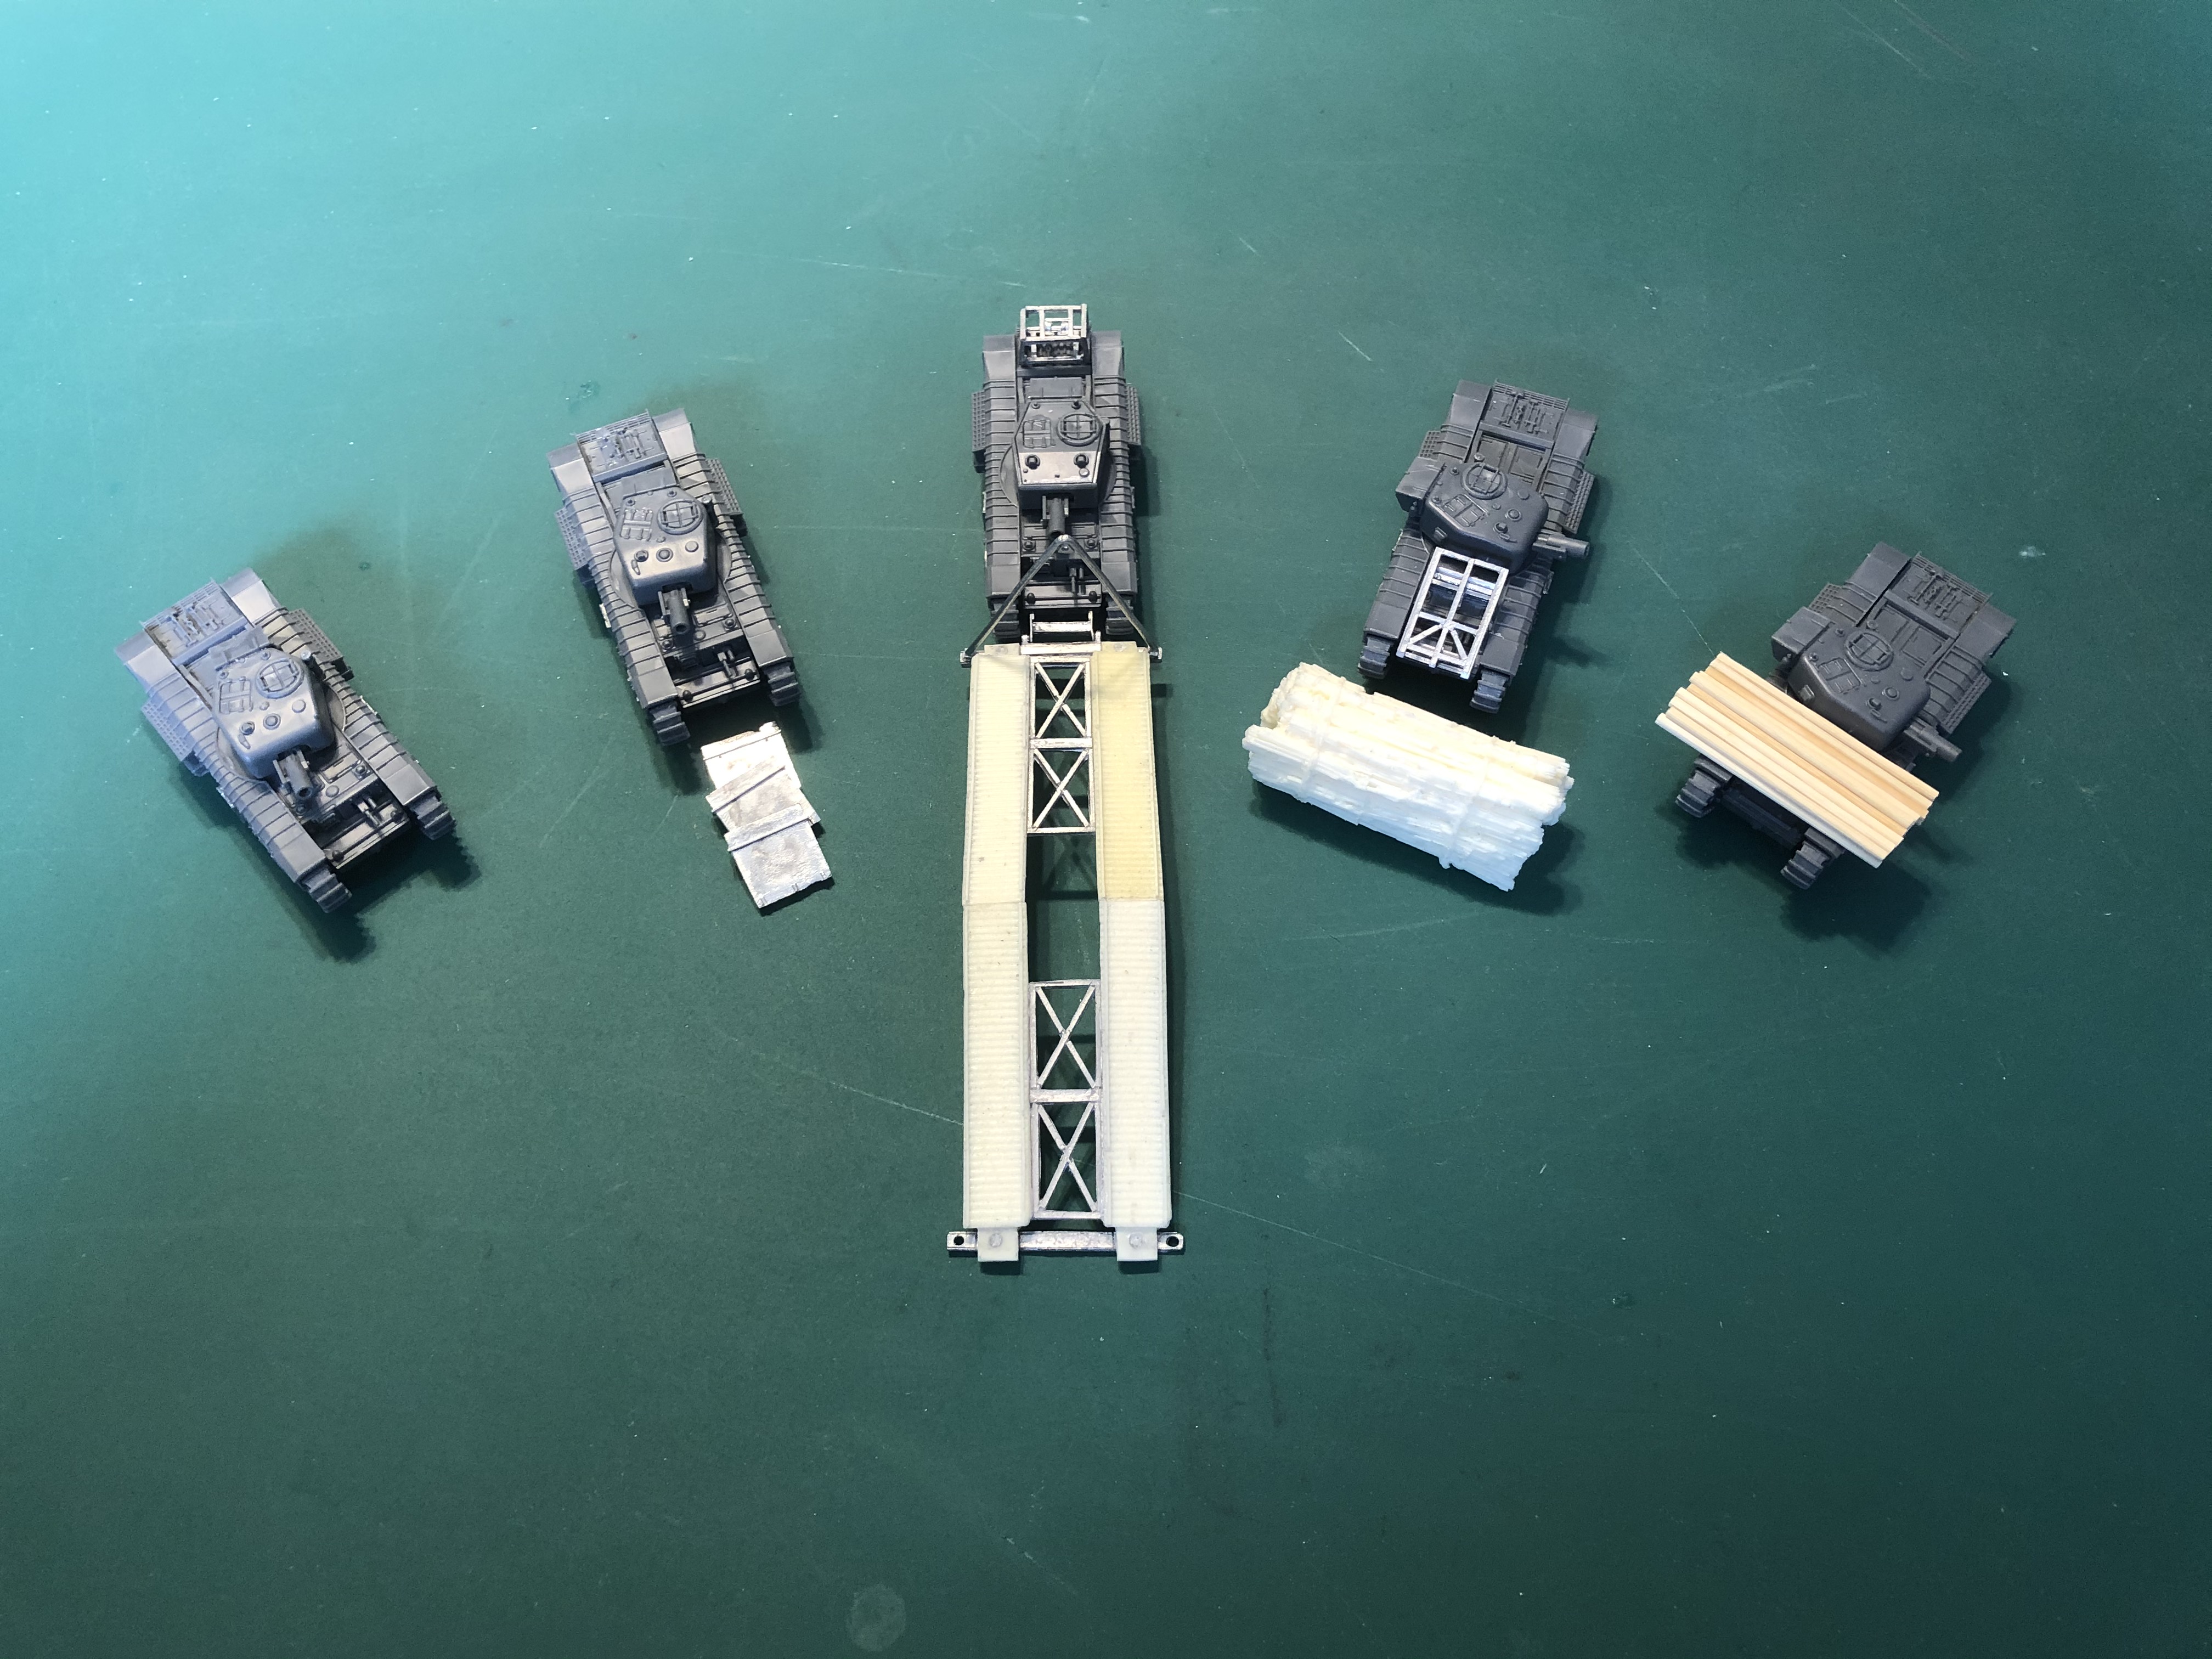 With Attachments
Alternate way to do tow cable conversion
I mentioned before that I had been cutting off the tow cables in order to reposition them out of the way. I found that with the careful use of an new blade in my craft knife, I could cut away the cable without cutting it off completely. It is then a simple case of moving it to the new location and gluing it in place. the finished cable looks far better than my earlier attempts. When doing this, remember to take your time with minimal pressure and let the blade do the work.


Alternate way to do tow cable conversion
As I mentioned before, I initially cut off the tow cable front sections and then re-glued them in place and tried to hide the joint. However, if you have a new blade in your craft knife and are very careful you can cut it back to the point you need without cutting it off and then it is simply a case of repositioning it into the new location. in the photos below you can see this has been done to both an end and also at a mid point to good effect. Just take your time and don’t apply too much pressure, let the blade do the work.