


![A Perfect Zombie Apocalypse Starter Set? Civilians & Survivors Review | Wargames Atlantic [7 Days Early Access]](https://images.beastsofwar.com/2026/01/unboxing-wargames-atlantic-civilians-_-survivors-1_2-coverimage-225-127.jpg)
![Wild Australia Wargaming? 28mm Ned Kelly Gang & Victorian Police Review [7 Days Early Access]](https://images.beastsofwar.com/2026/01/unboxing-traders-galaxy-australiana-ned-kelly-gang-_-victorian-police-coverimage-225-127.jpg)


How to be an Armoured Farmer, building Hobart’s Funnies in Glorious 15mm (and maybe 28mm if they arrive in time!)


Recommendations: 2233
About the Project
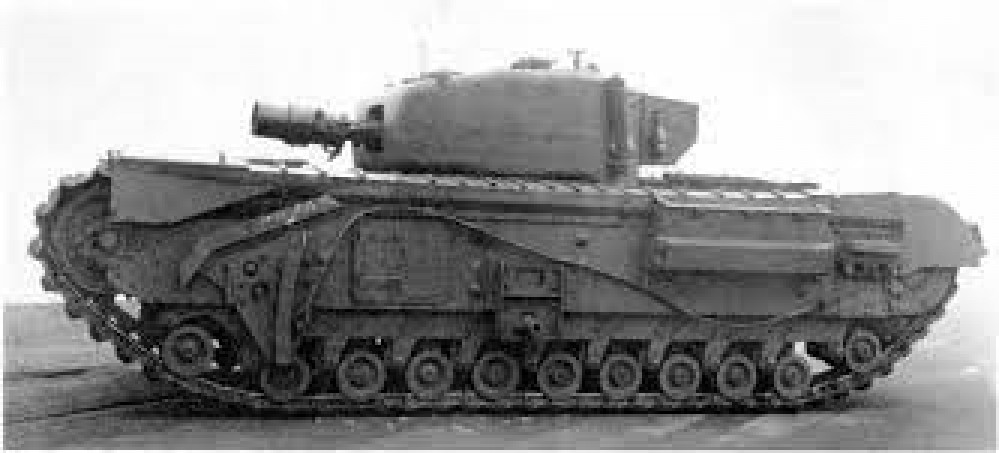
Right then, having avoided any sort of Spring cleaning challenge in the past, I have decided to use this year's one to get something done that I have been gathering bits for over the past few years and finally finish and assemble all of my Hobart's Funnies. To get technical these are Armoured Vehicle Royal Engineers (AVRE) tanks, using the Churchill chassis as a base. I will also throw in some Sherman Crabs (Flail tanks). I have gathered a few books for reference so that I can paint and mark them up for one of the Armoured Assault Squadrons Royal Engineer (either 77, or 79) that landed ashore at Sword Beach and were the very first to see action on that beach; Plus the Sherman Crabs of A Squadron 22nd Dragoons. Whilst I want to be able to use the finished tanks in games depicting the D Day Landings (in Flames of War and Chain of Command at 15mm) I also want then to be versatile enough to be able to be used in later engagements that the 79th Armoured Division took part in (which is pretty much everything!). I hope you will find this of interest if you ever want to branch out into what the modern day Royal Engineers affectionately call being an armoured farmer.
Related Game: Flames of War: The World War II Miniatures Game
Related Company: Battlefront Miniatures
Related Genre: Historical
Related Contest: Spring Clean Hobby Challenge (Old)
This Project is Active
A tidy...ish work space
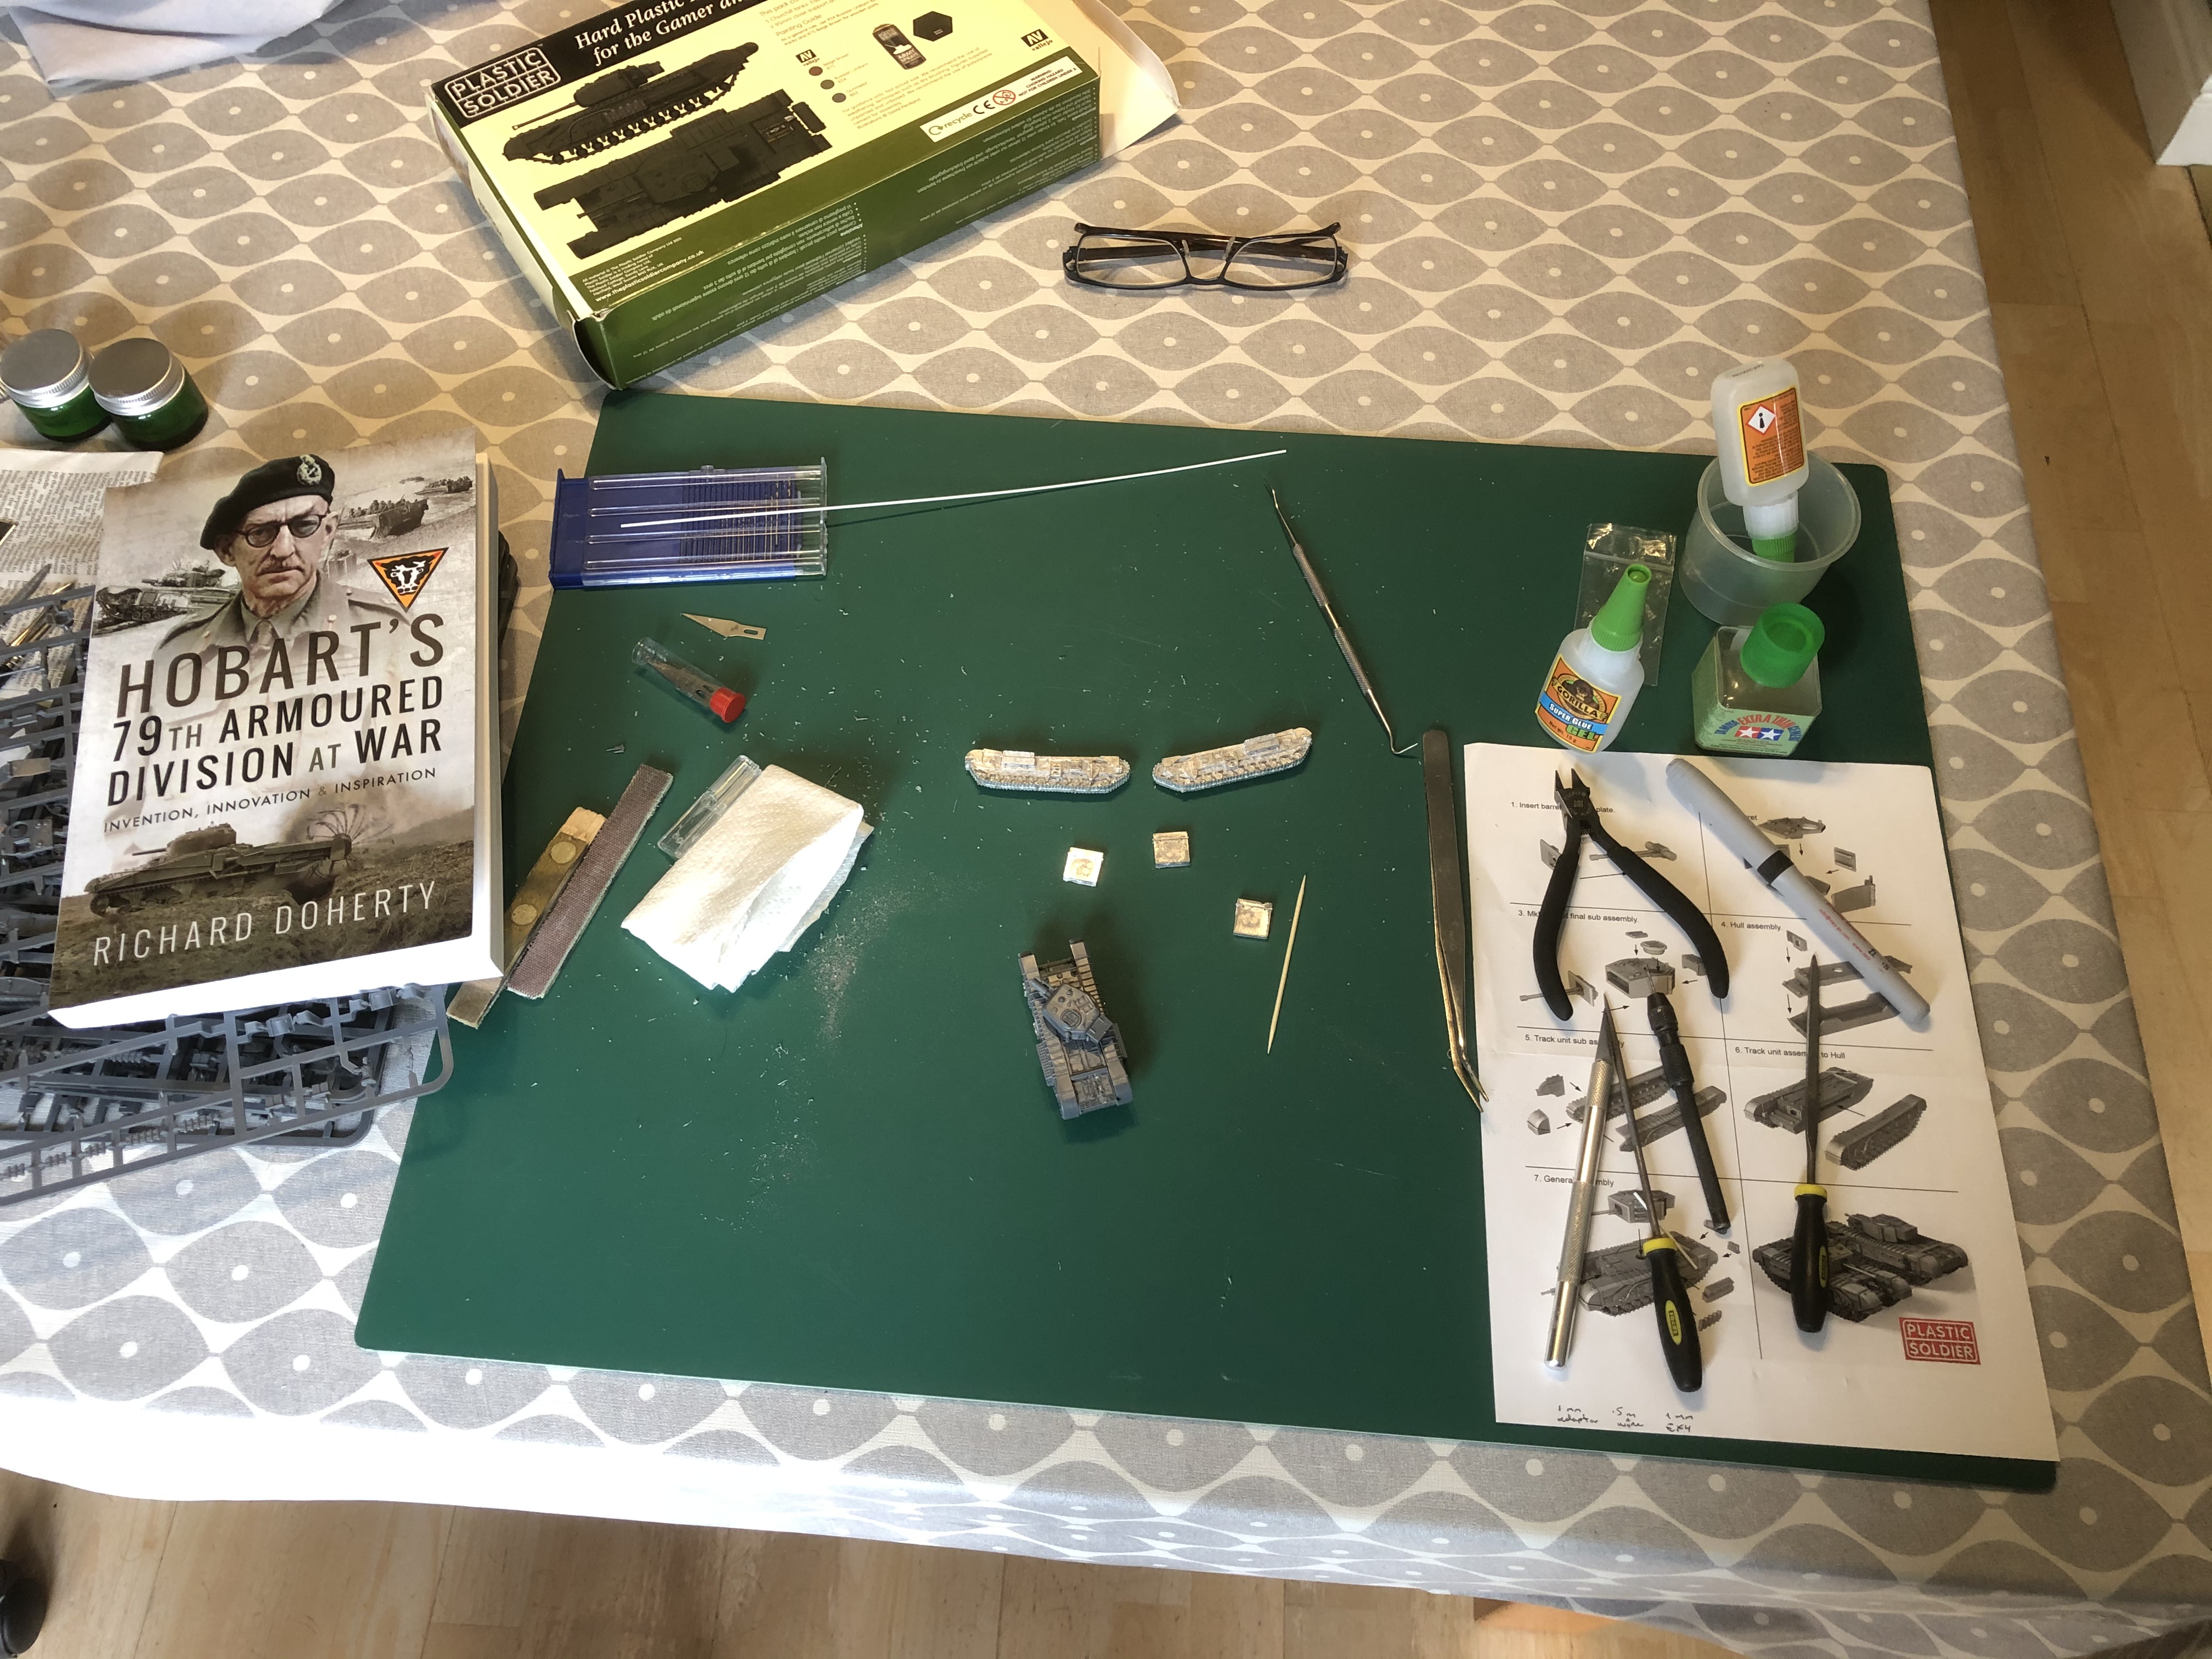 For the first off model I tried to keep my workspace as tidy as possible. As you will see, I try to keep reference material on hand and also have a number of old photos of D Day AVRE's on my phone to keep looking back at as well. Trust me, it got a LOT more messy as this phase of the build went on!
Final touches
 With the sides glued into place, I added the engine air intakes on the sides.
 Again, prepping for the wading ducts to be added later I drilled four holes for the wire stays. These are one for each of the side air intakes and then two for the rear duct. The eagle eyed will see that they are located in the middle of the engine deck. I drilled them using a 0.5mm dia drill. I also drilled out two 1mm dia holes in the exhaust manifold in order to take the specially adapted exhausts that were added to the the wading tanks. This is a good indicator for what AVRE's were fitted with wading ducts when looking at reference photos, as the duct wires were fitted with small explosive charges so the duct would drop away once ashore. the exhaust however required unbolting, something which, in the heat of battle, one was not in a rush to do!
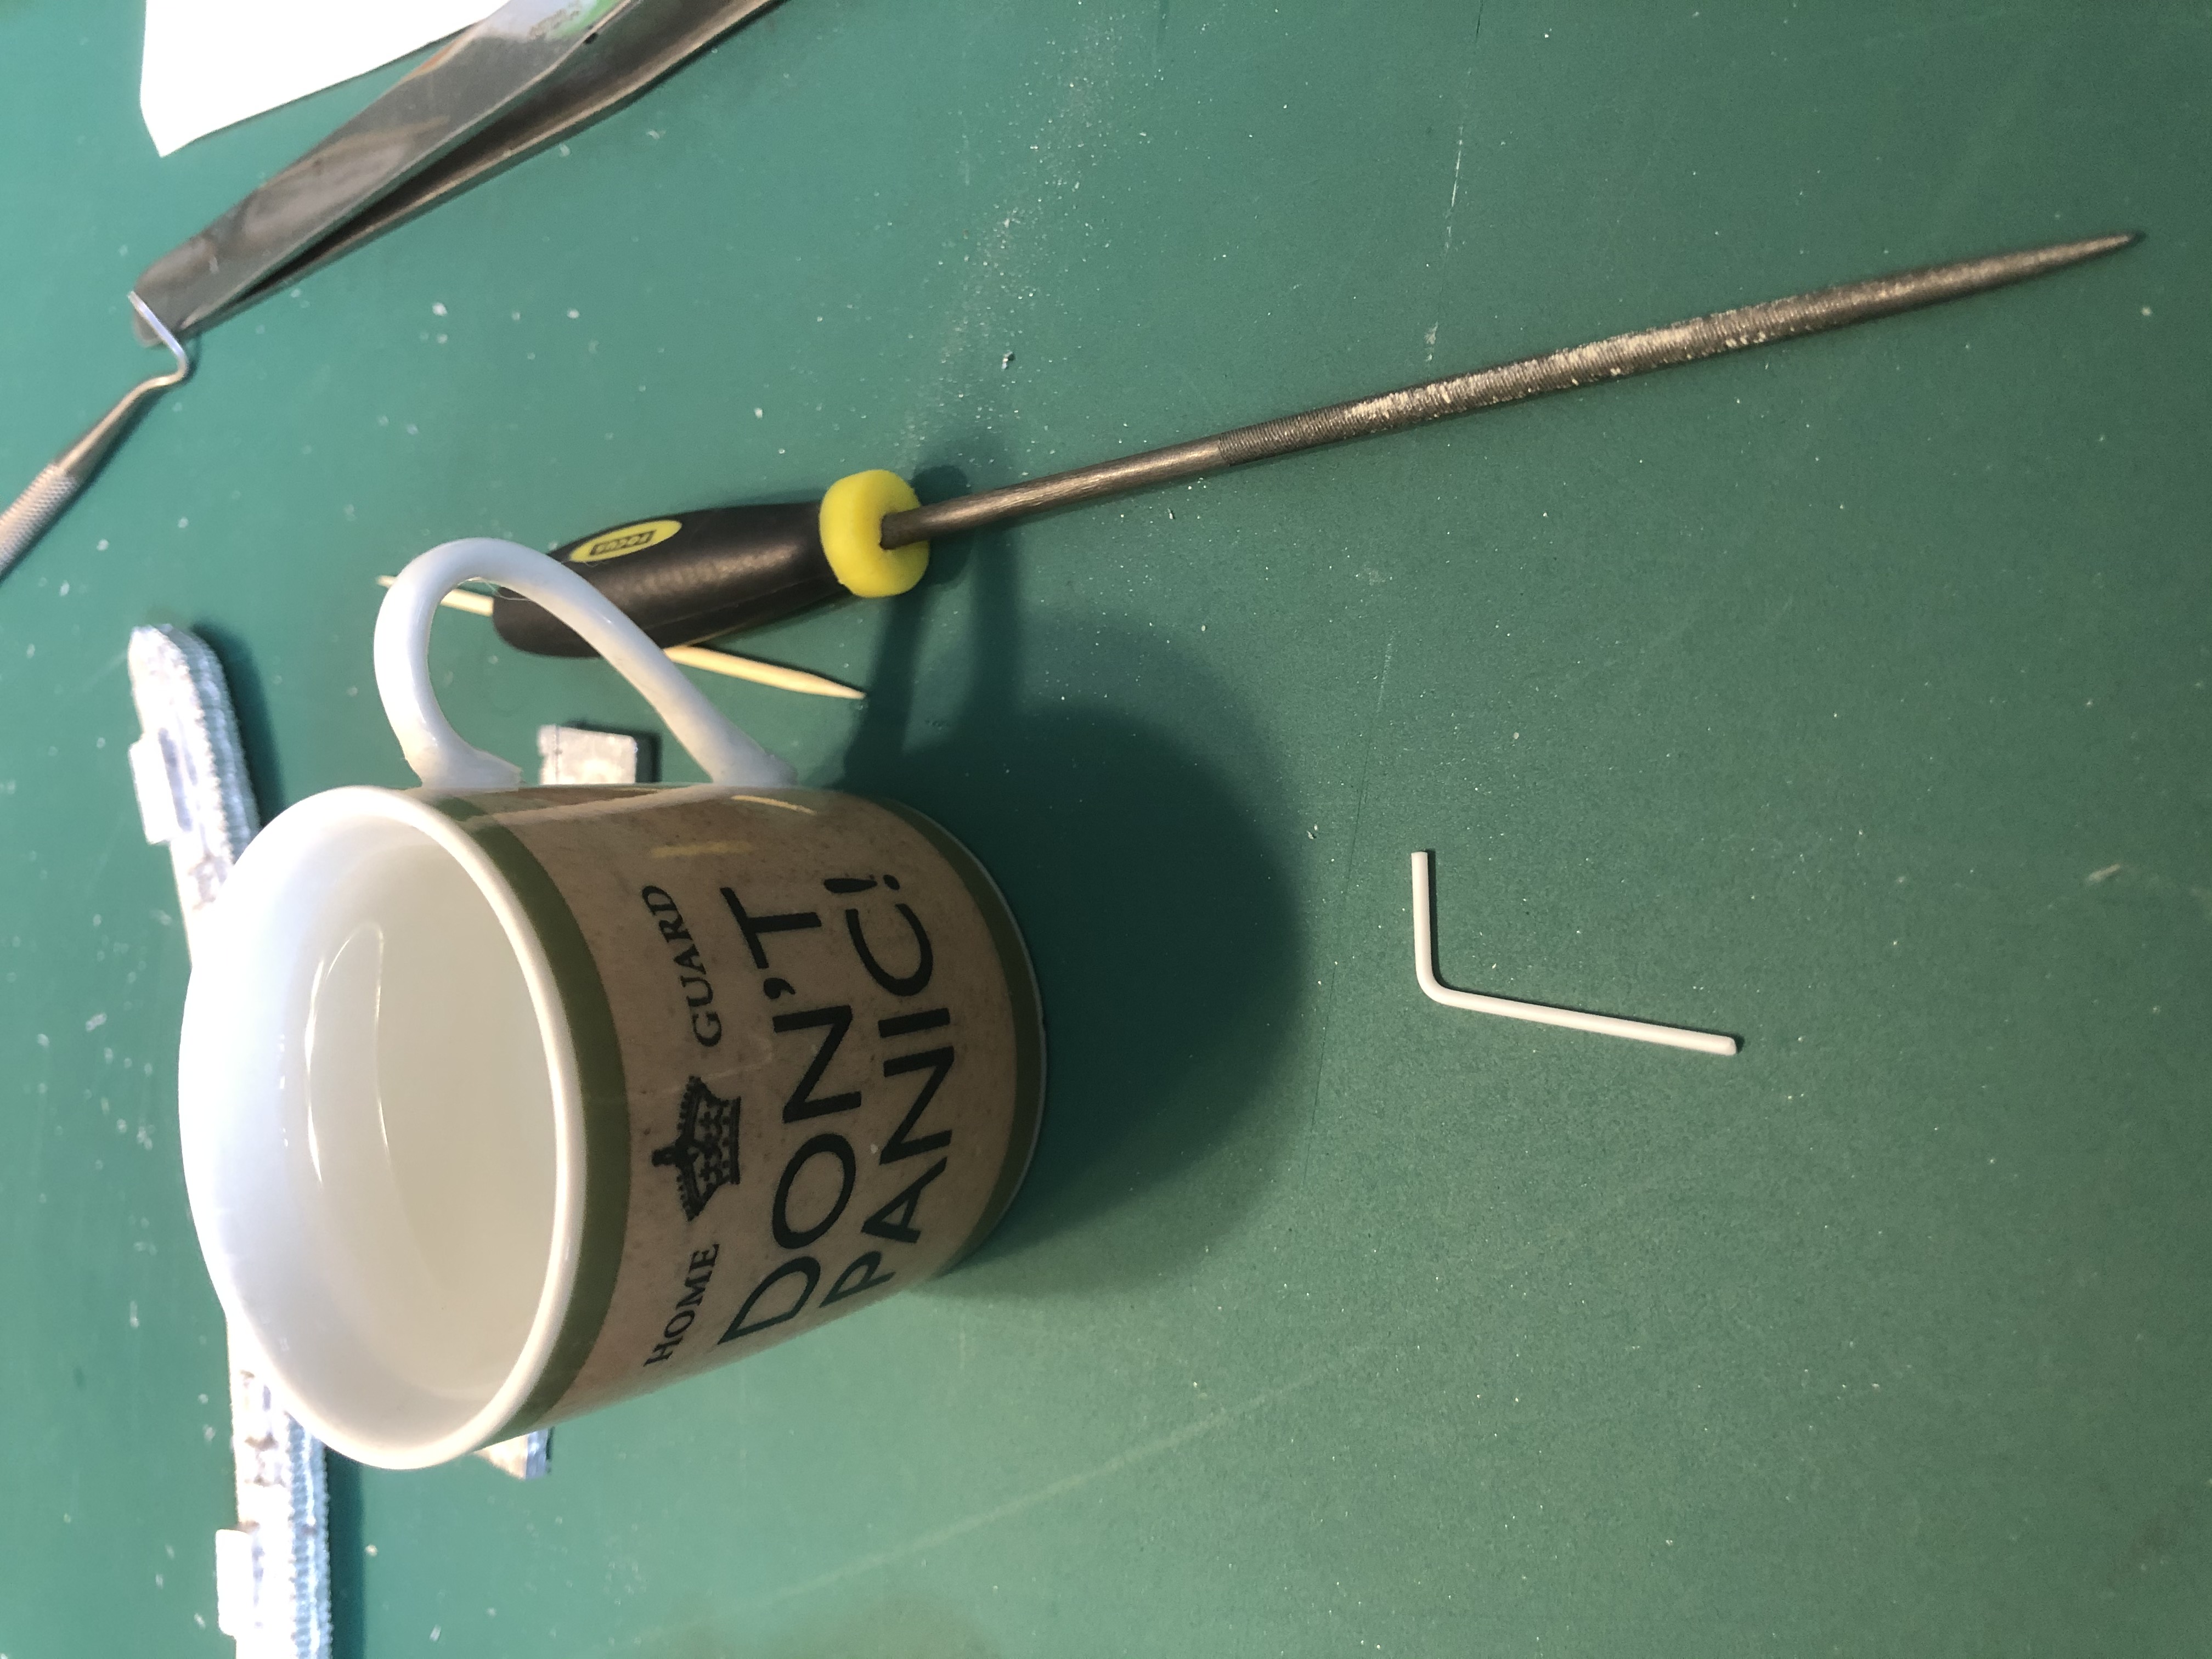 As a practice I tried to bend some styrene rod into the shape of the exhausts. whilst it worked ok using boiling water, there was a tendency for it to straighten out again and lose the 90 degree bends. I have therefore decided on 1mm brass rod instead and shall nick the wife's jewellery pliers, as they are specially made for bending radii.
And now to add the gribbly bits!
As all of the D Day version will have the hard points for the various funnies attached to them I needed to do some extremely careful scalpel work. The first to the rear hardpoint was to cut a tiny notch out of the tow cable so that the S&S model piece would sit down properly and also remove one of the larger rivet heads. I also filed down the white metal to make it a bit thinner and to make that sit better. The last little bit I did was to note where it sat and remove the plastic bolt heads underneath it, again to ensure it sat down properly. Later on I found that with a very new scalpel, I could cut underneath the tow cable all together at this point and simply push it out of the way and then glue it back down once the hardpoint was fixed in place.
The forward hardpoint was a bit more difficult, as not only did I need to cut away the bolt and rivet heads in the way, I also had to move the end of the tow cable. In my first attempt, I cut it off completely and repositioned it down the side of the side hatch. This matched the reference photos I had but was a bit of a faff, as I had to hide the joint where I cut off the cable. I then found another reference photo of the cable running over the top of the forward hard point and with some very careful cutting I managed to cut away the cable without have to remove it, it was then just a case of bending it to suit the new location and gluing it in place. The last bits to do was to file down the white metal as before and also take a small nick out of a bit of detail in the top left hand corner so that it would locate in the correct position (again as per the reference photos).
 The gribbly bits and the annoying tow cable!
 Locating the hard points and comparing it to the SkyTrex version.
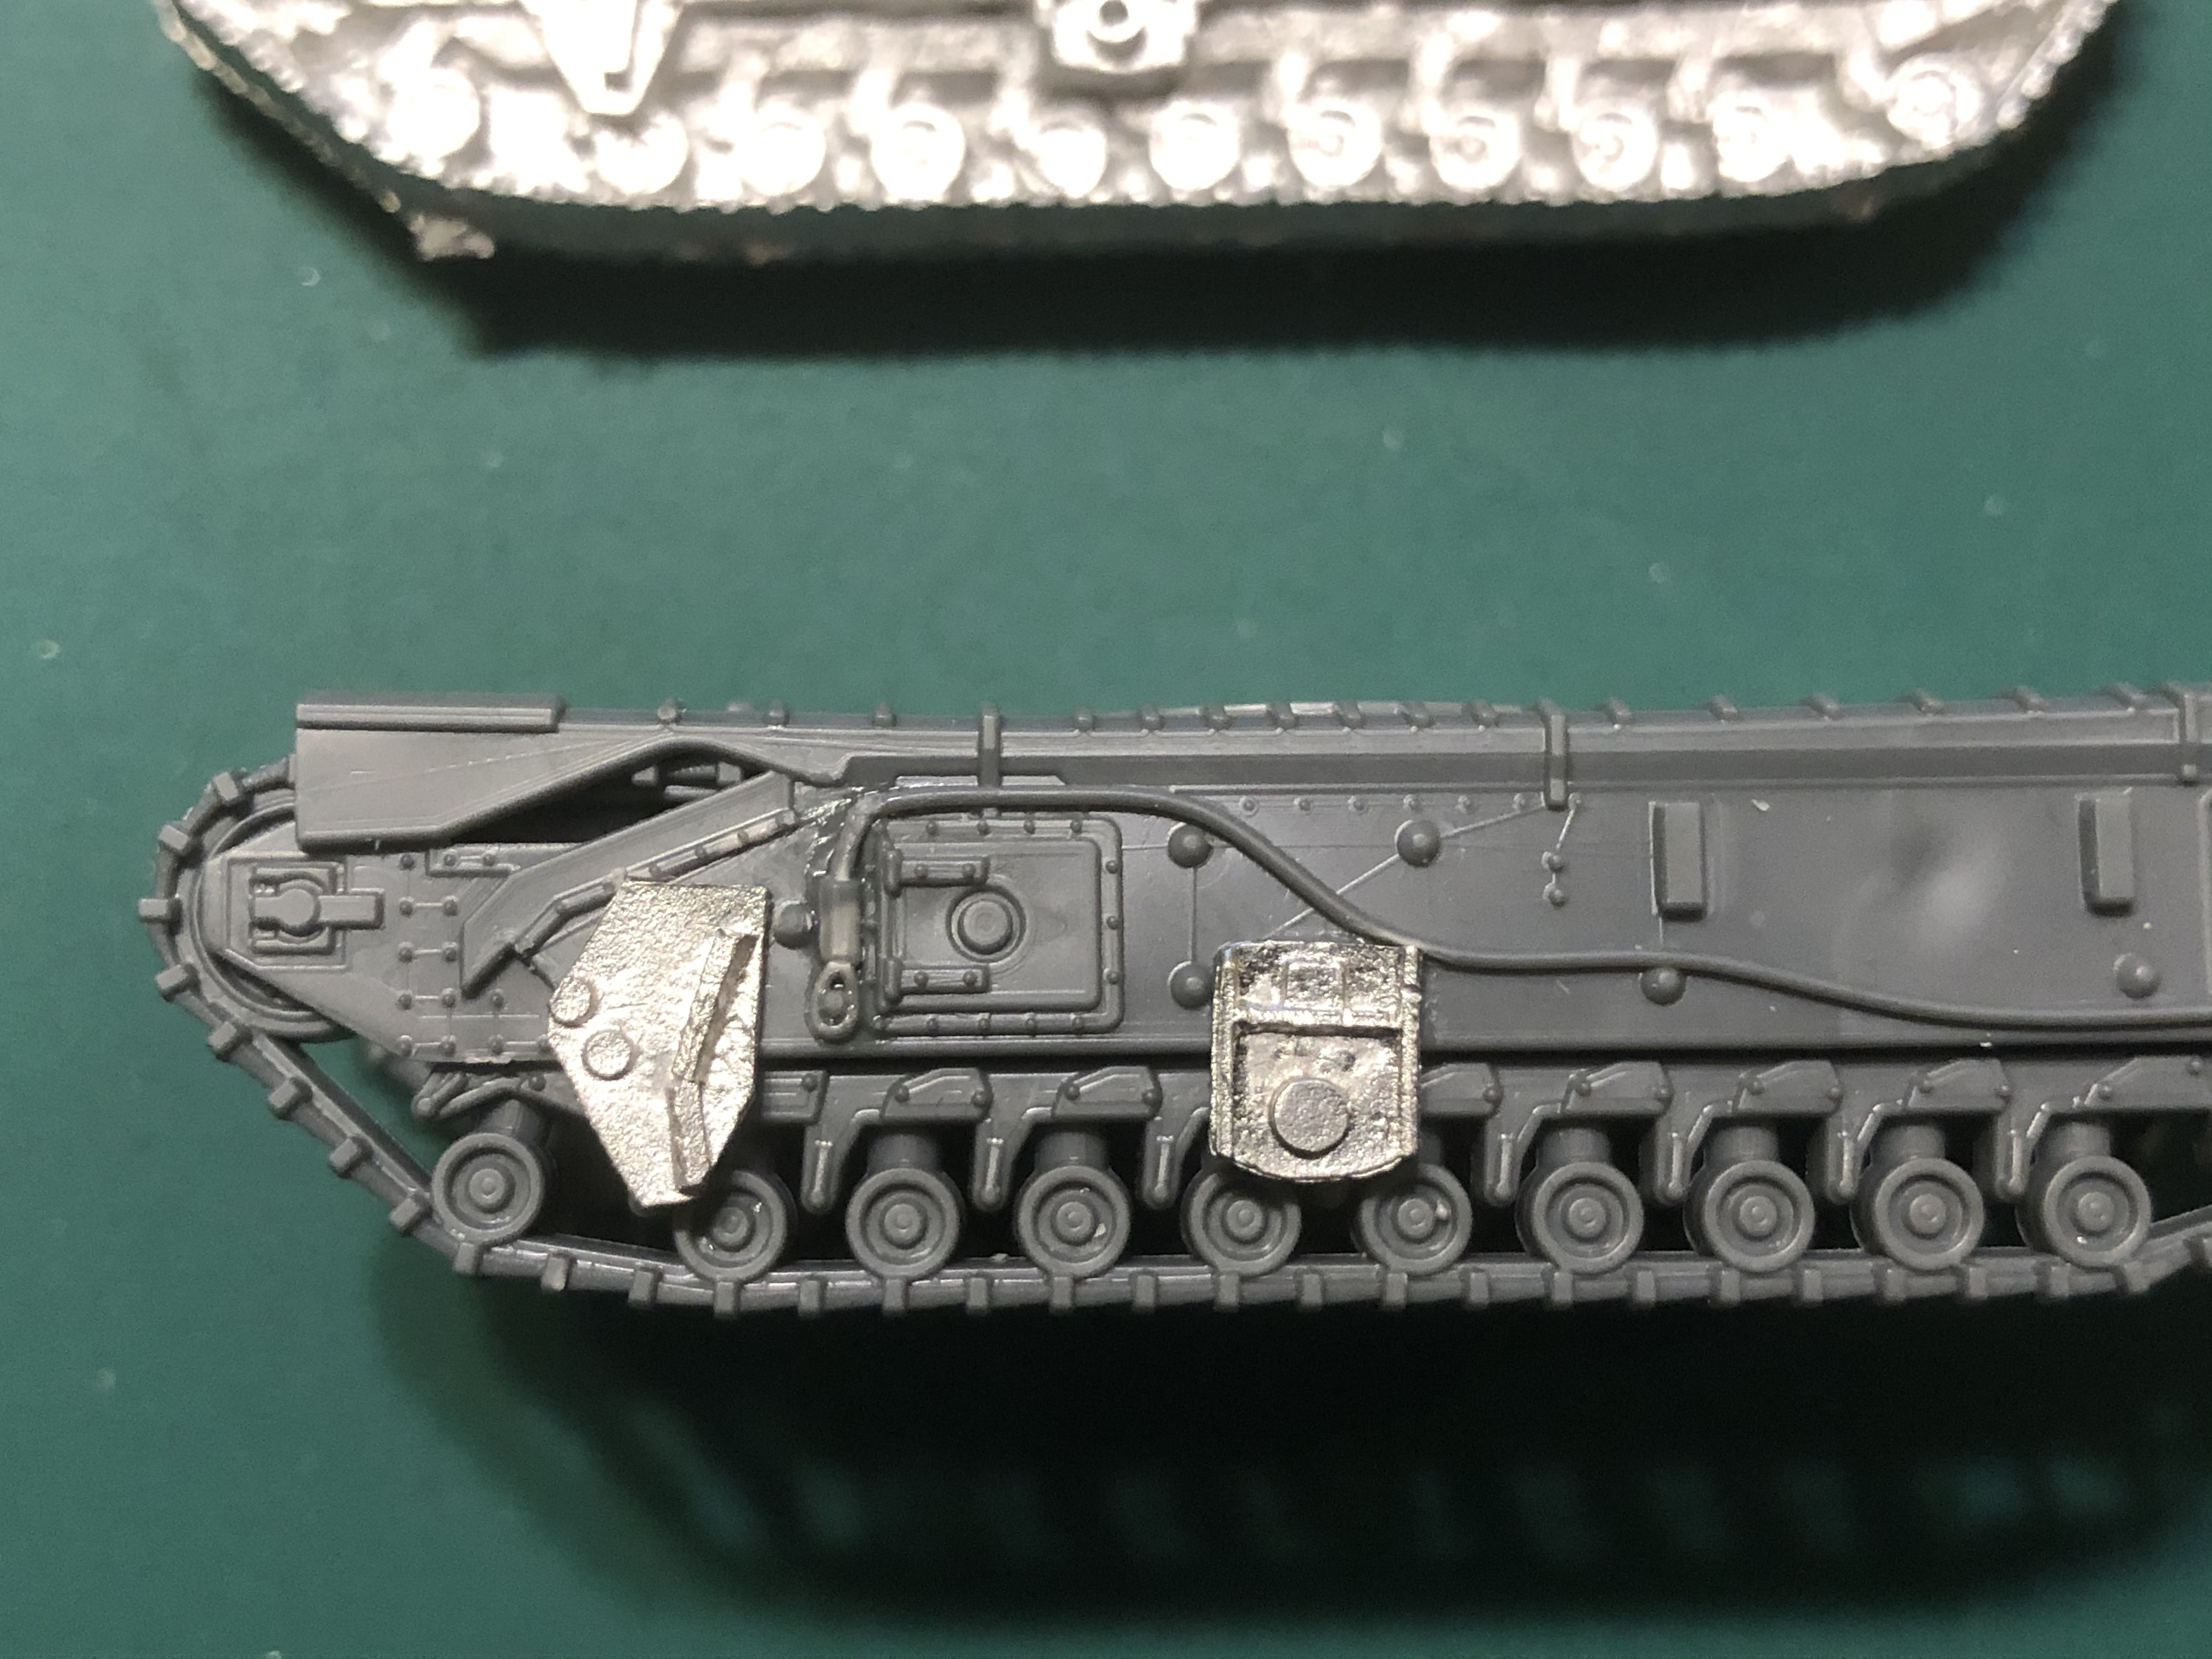 Close up time! note where I had to cut the detail and cable to get them to fit properly.
Basic PSC AVRE Hull cont'd
 The hull was filled with plasticine using an sculpting tool to press it into the corners. Keep checking the fit of the hull top to make sure it fits properly for gluing in place.
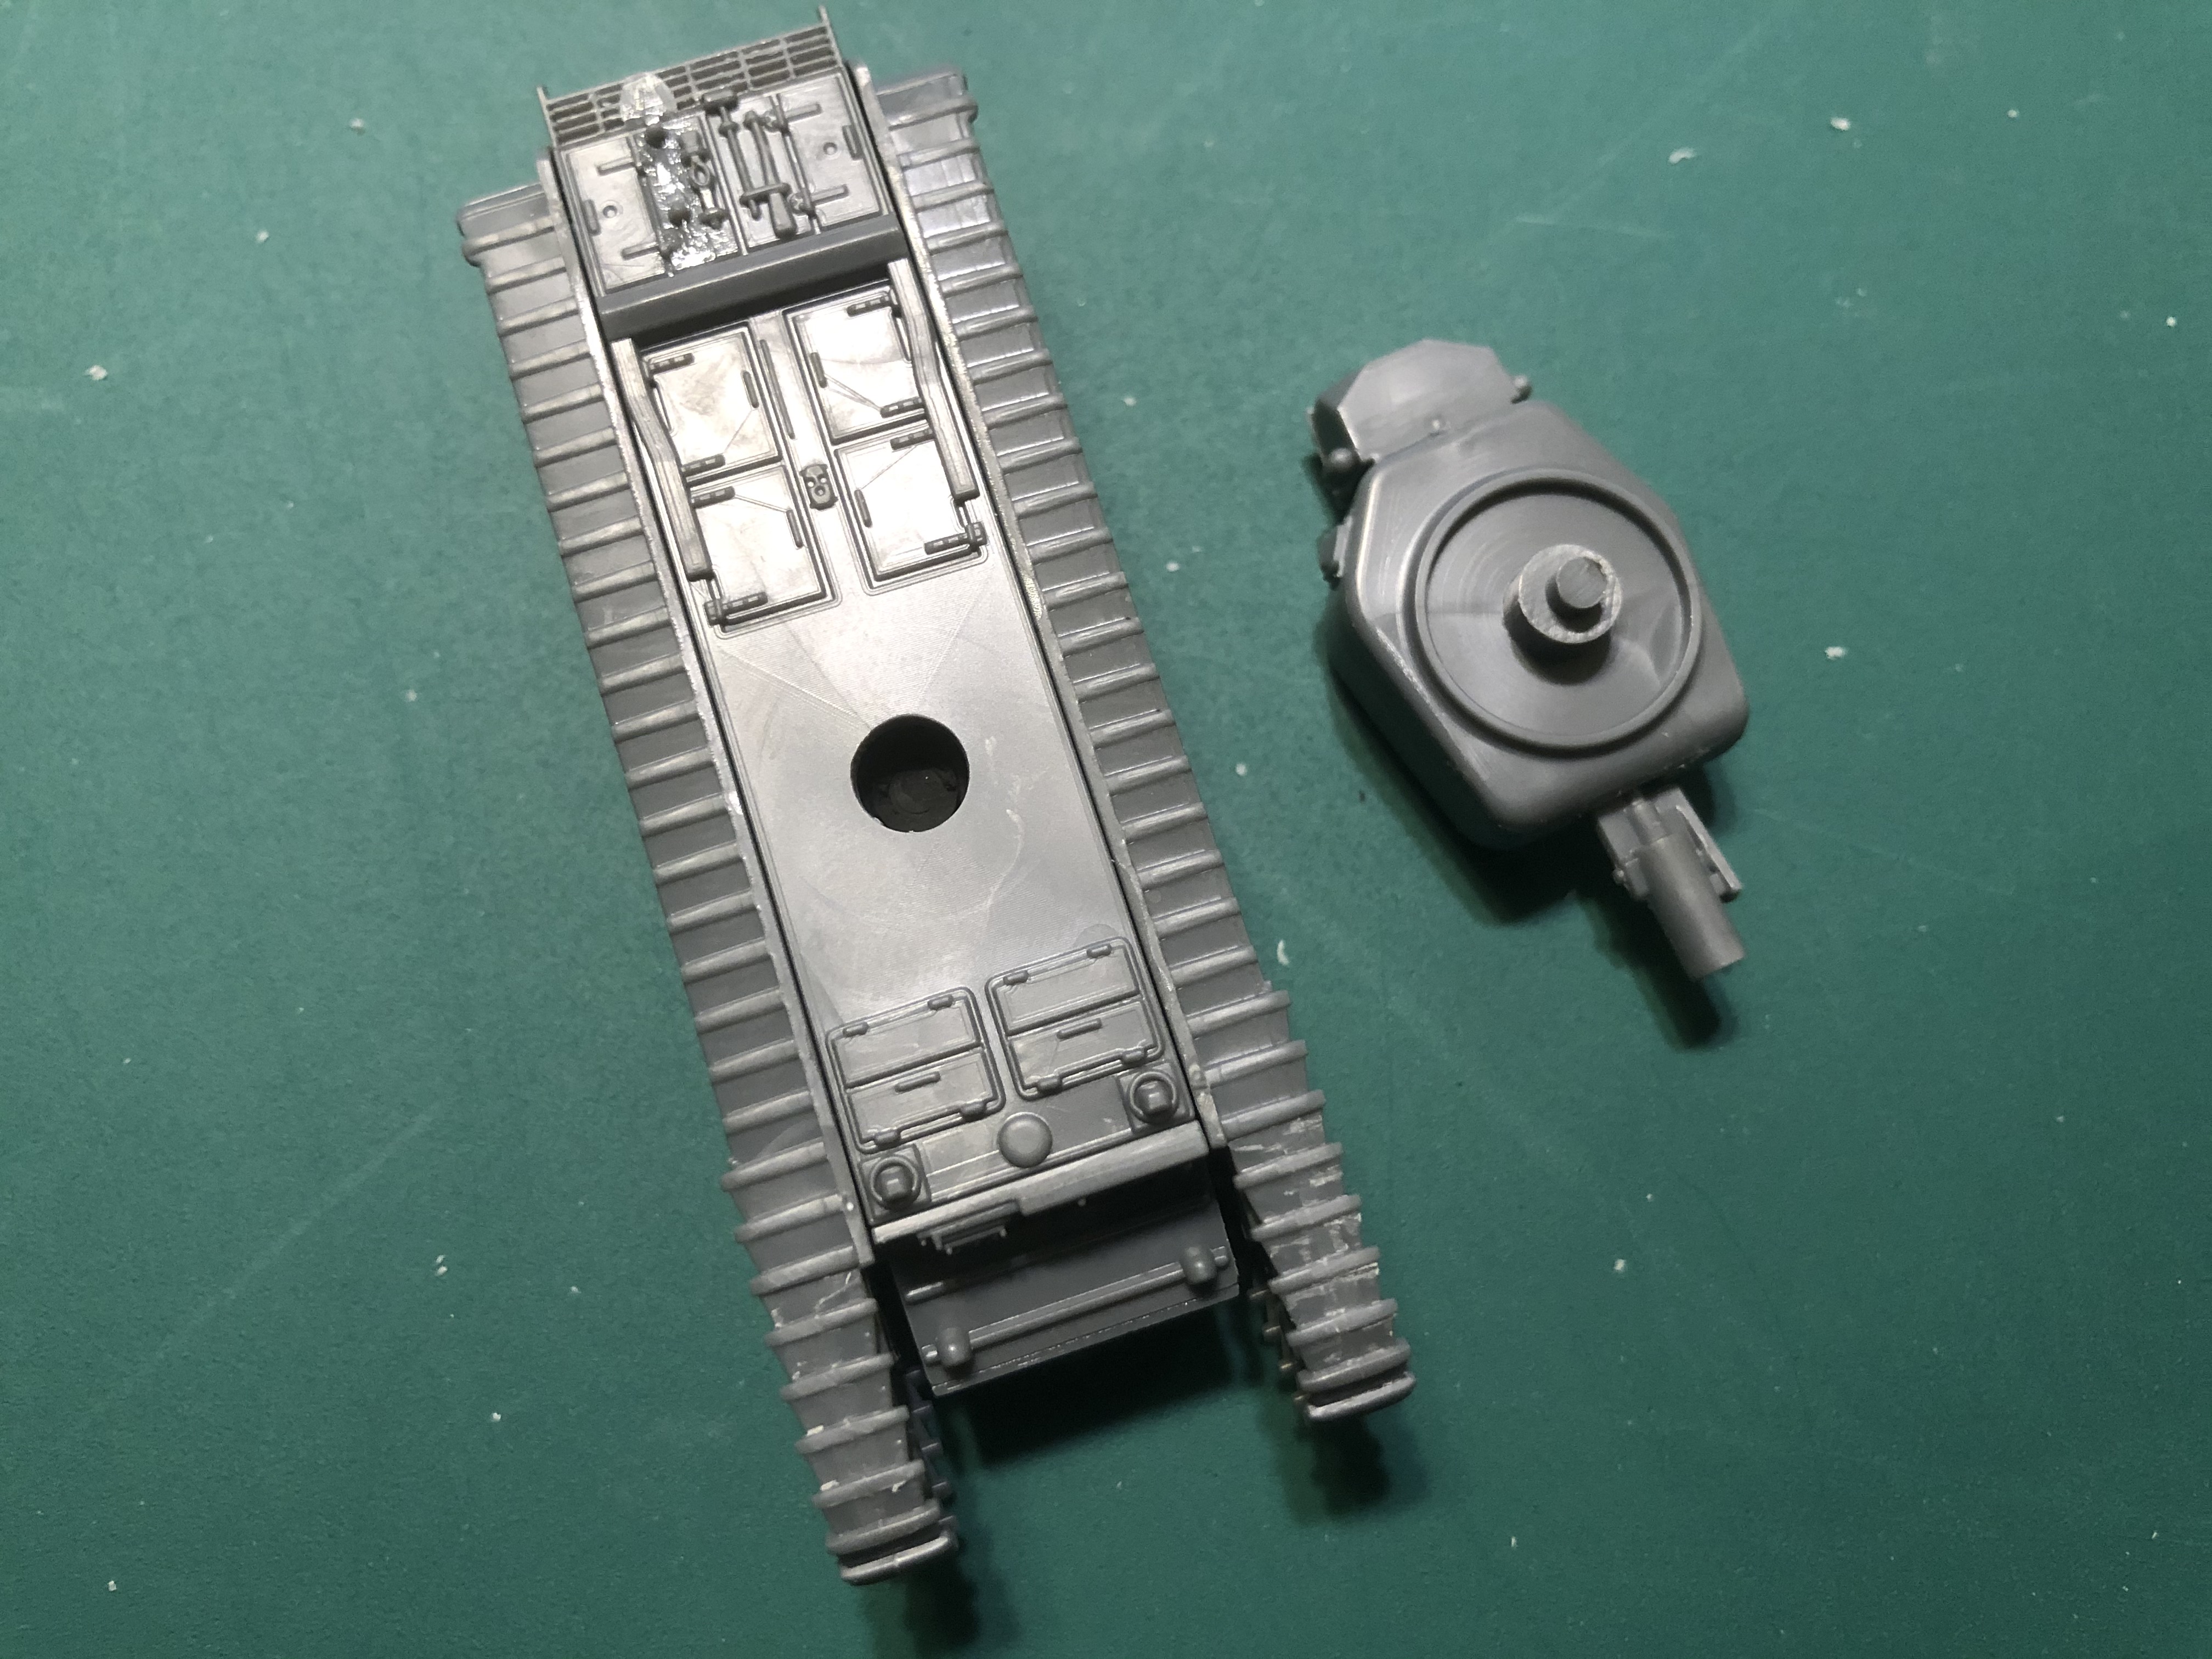 With the hull top glued in place I widened the hole for the turret slightly to allow for any paint that will inevitable get on the turret post and in the hole.
 It's starting to look something like it should.
Basic PSC AVRE Hull
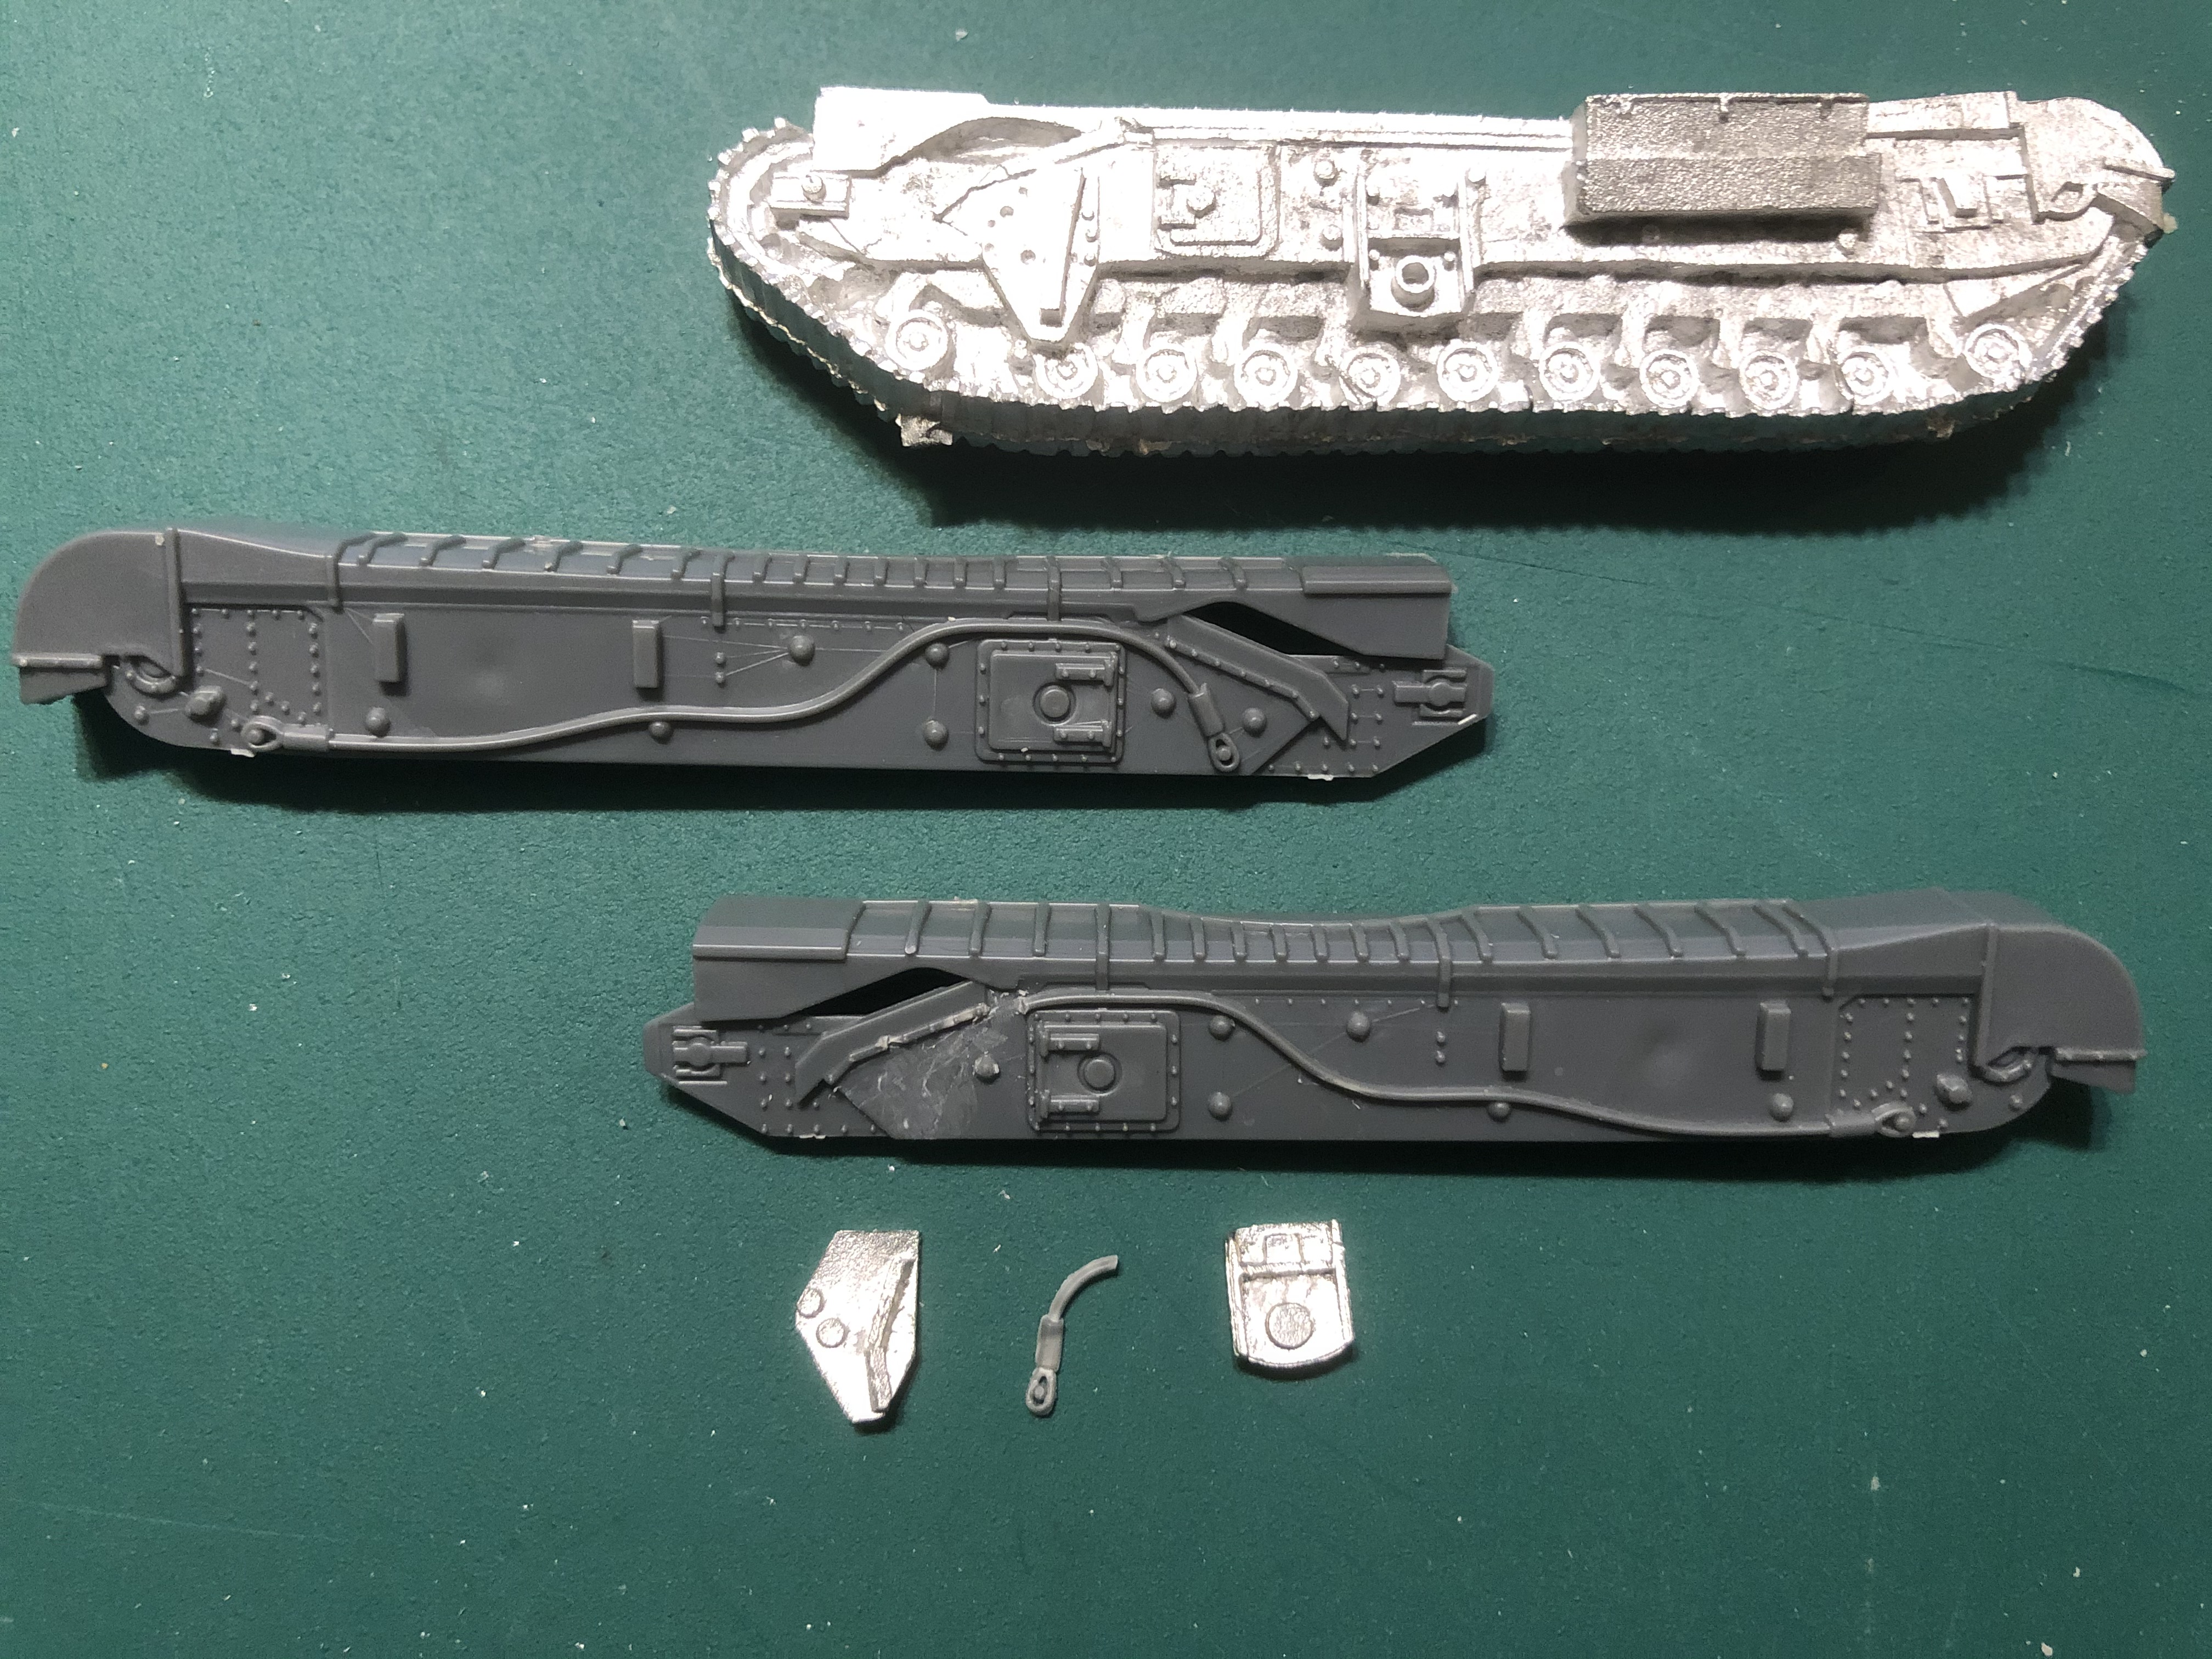
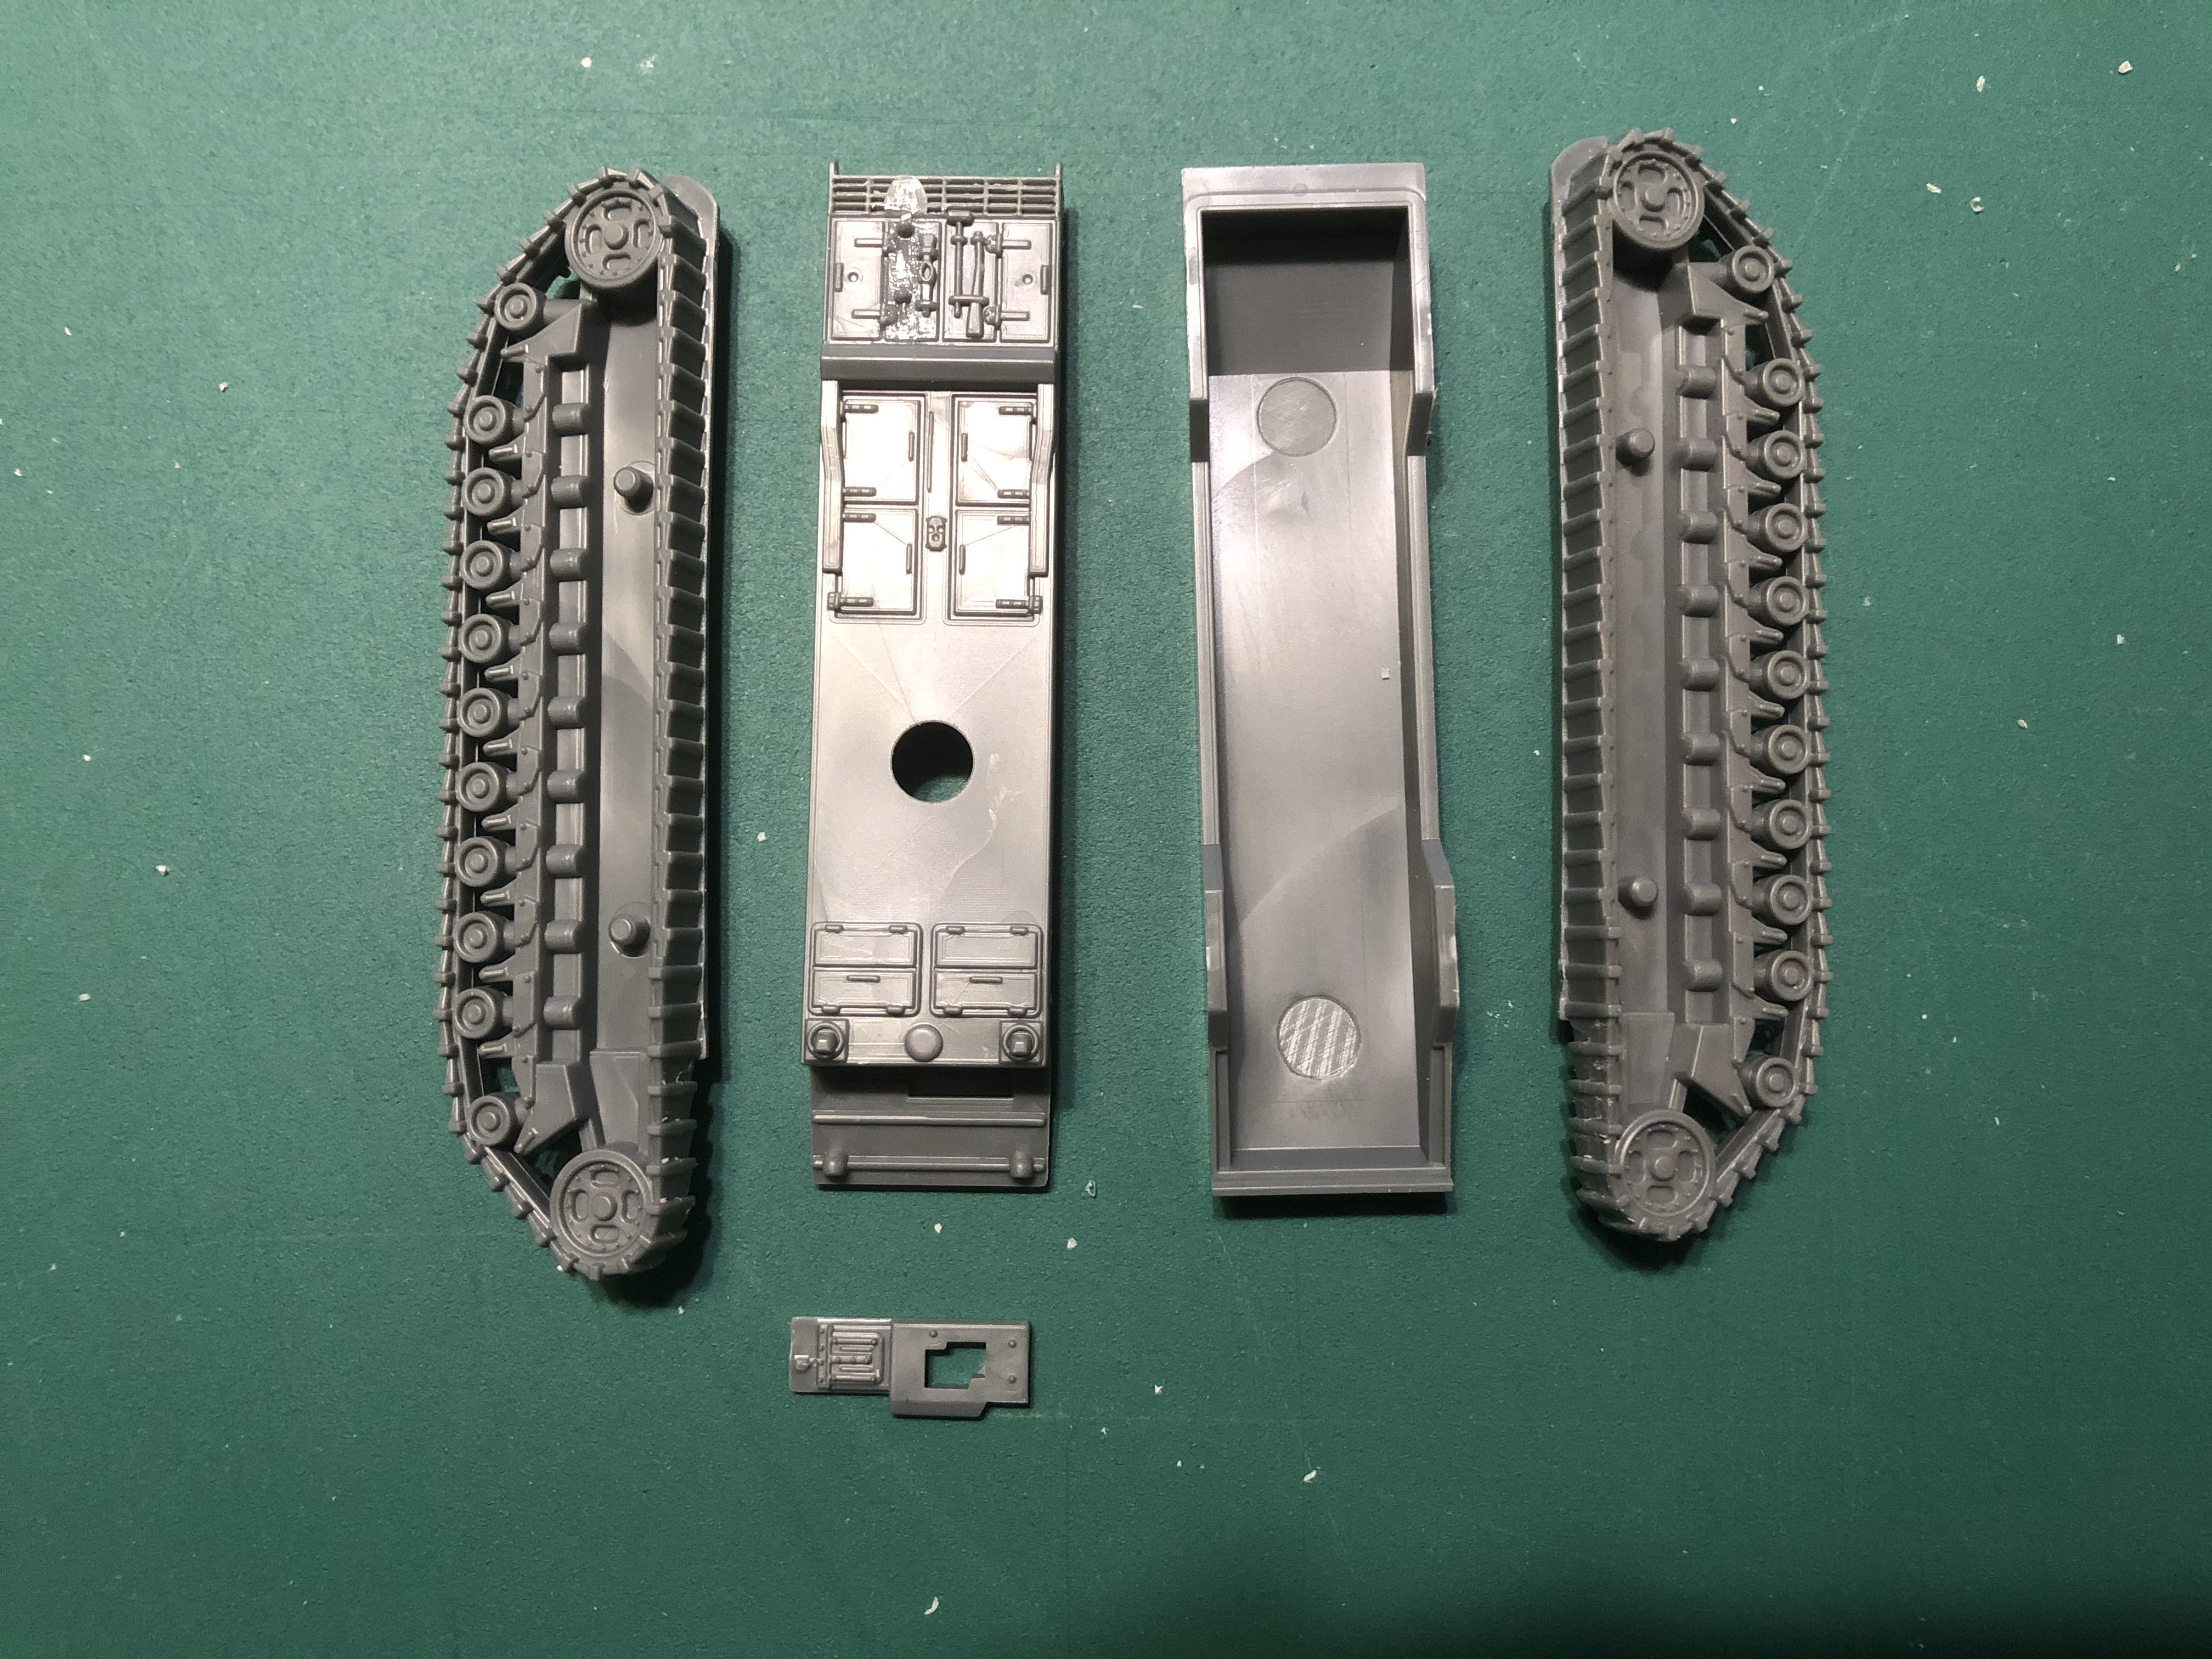 Parts of the Hull
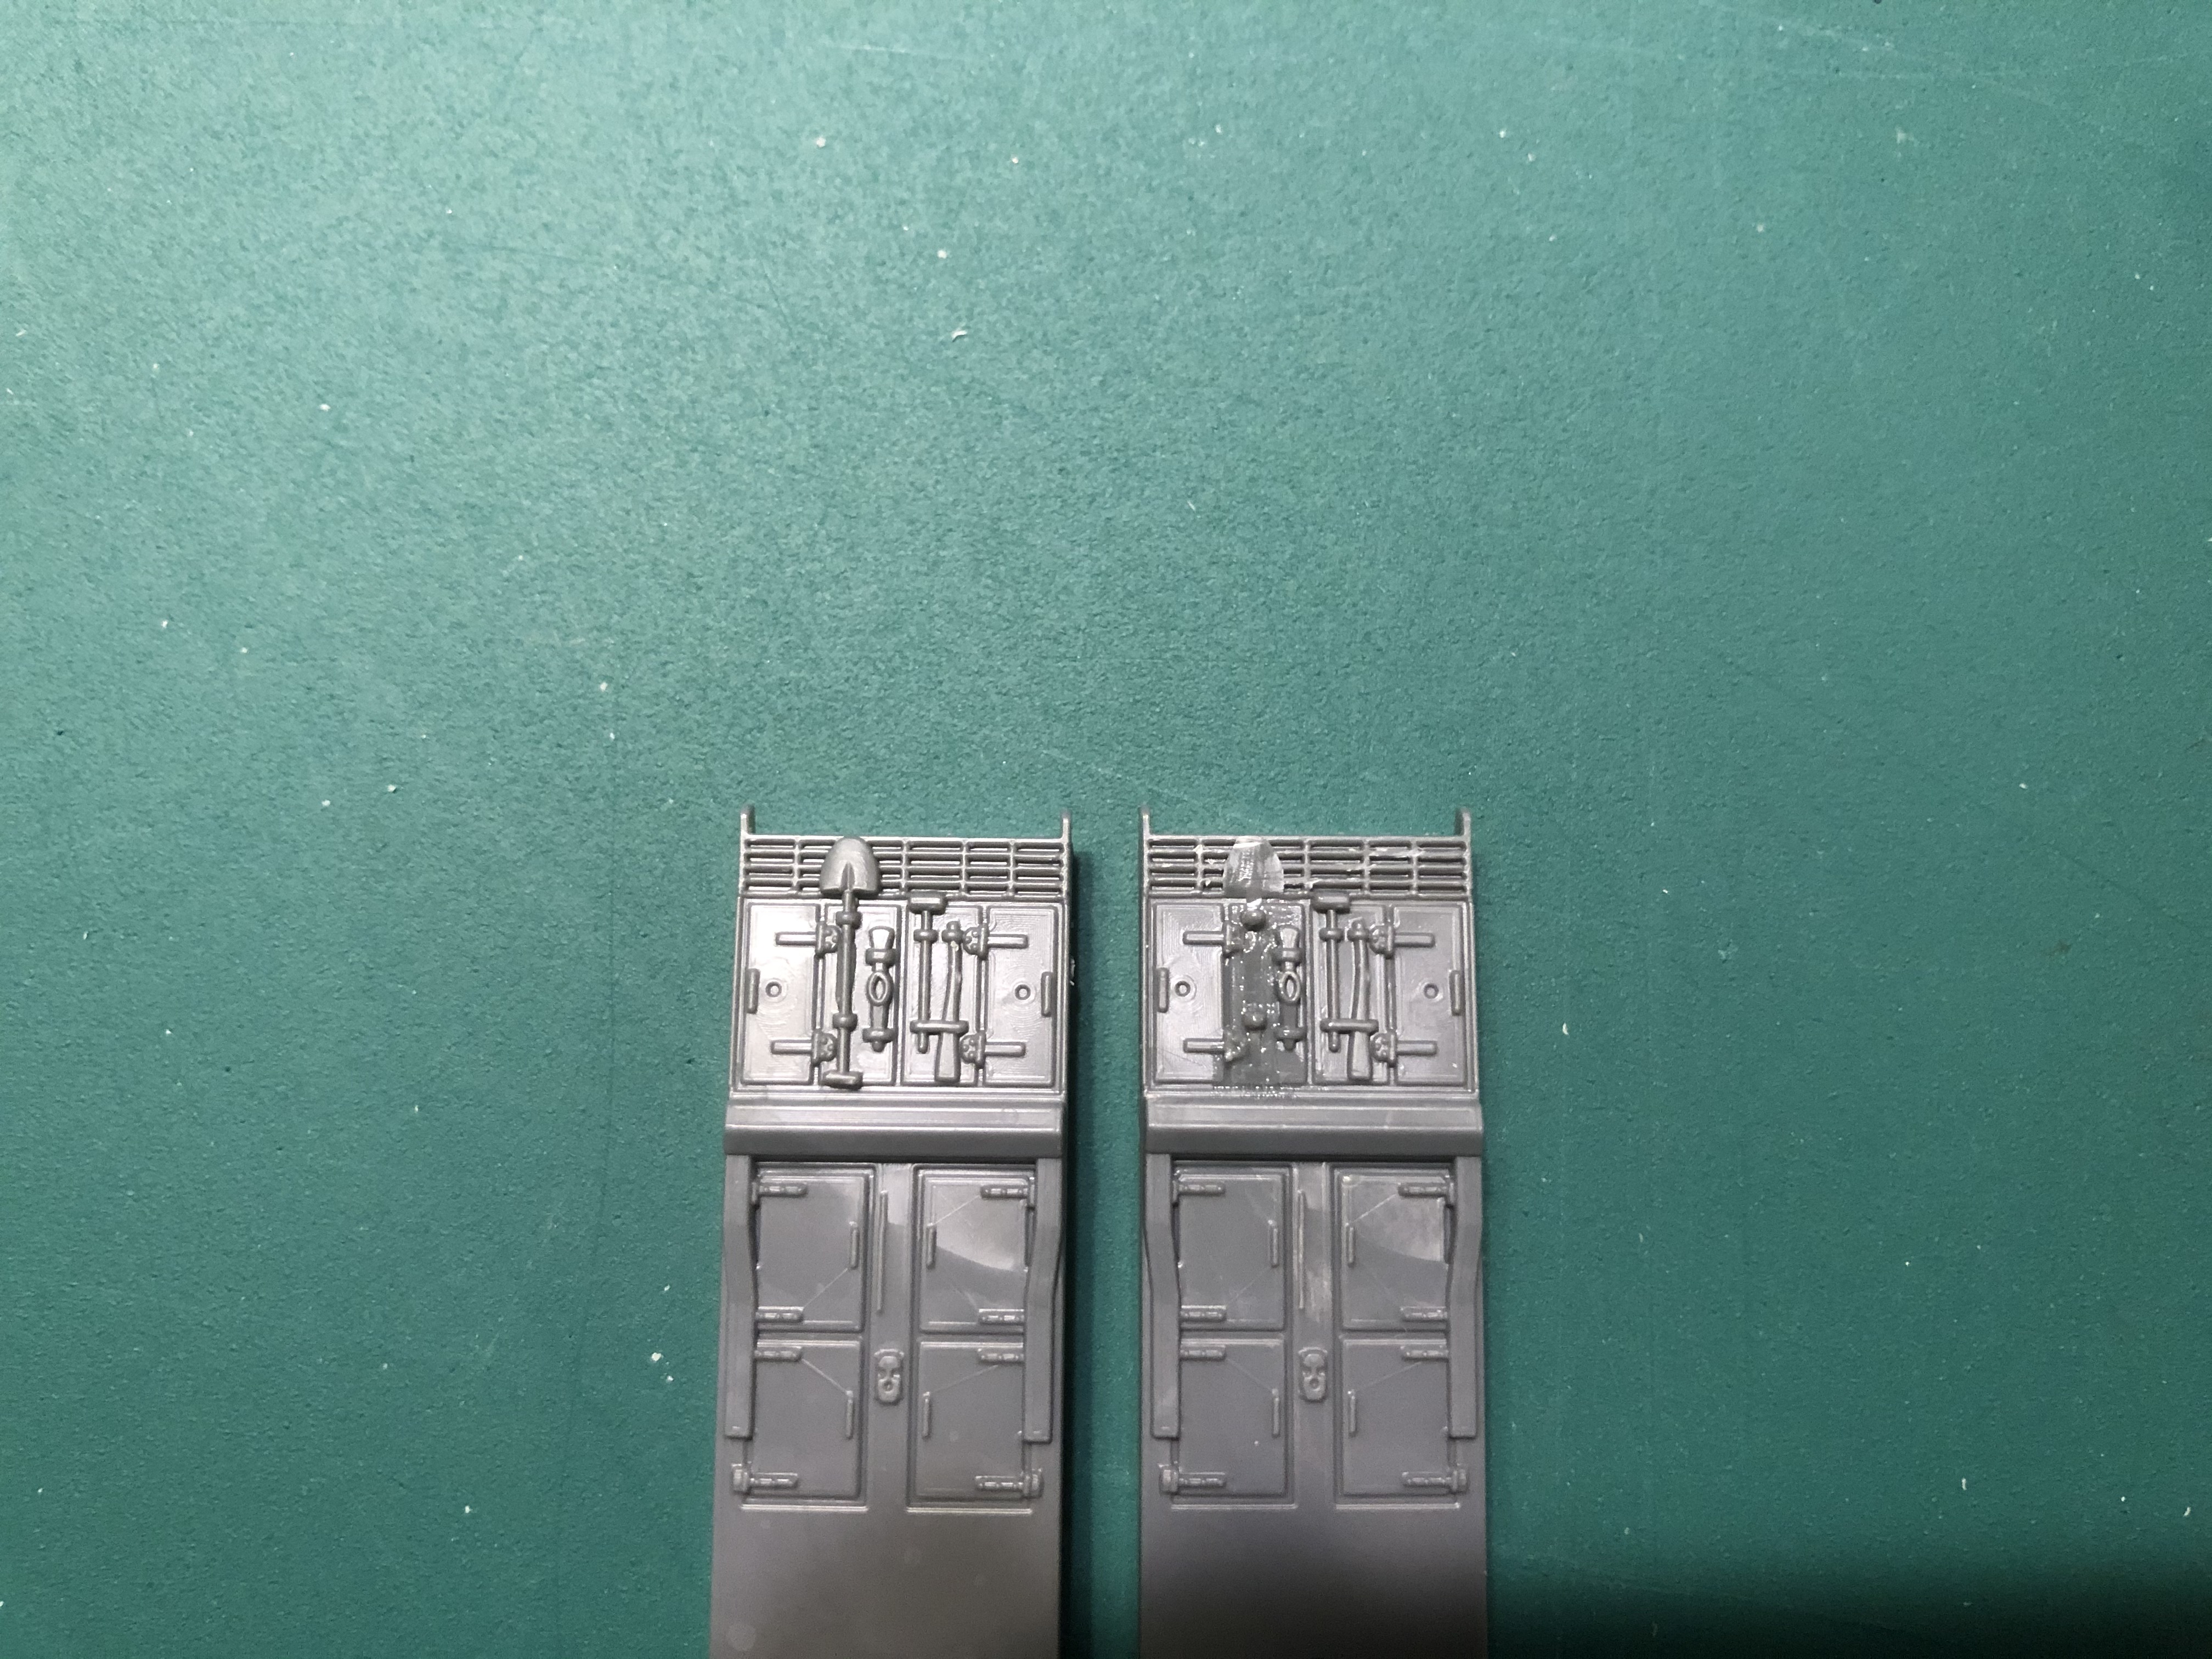 As this AVRE will be fitted with the wading ducts I cut away the shovel with a scalpel so that the rear engine grill was clear. once scraped back I brushed the area with Tamiya glue to blend it down.
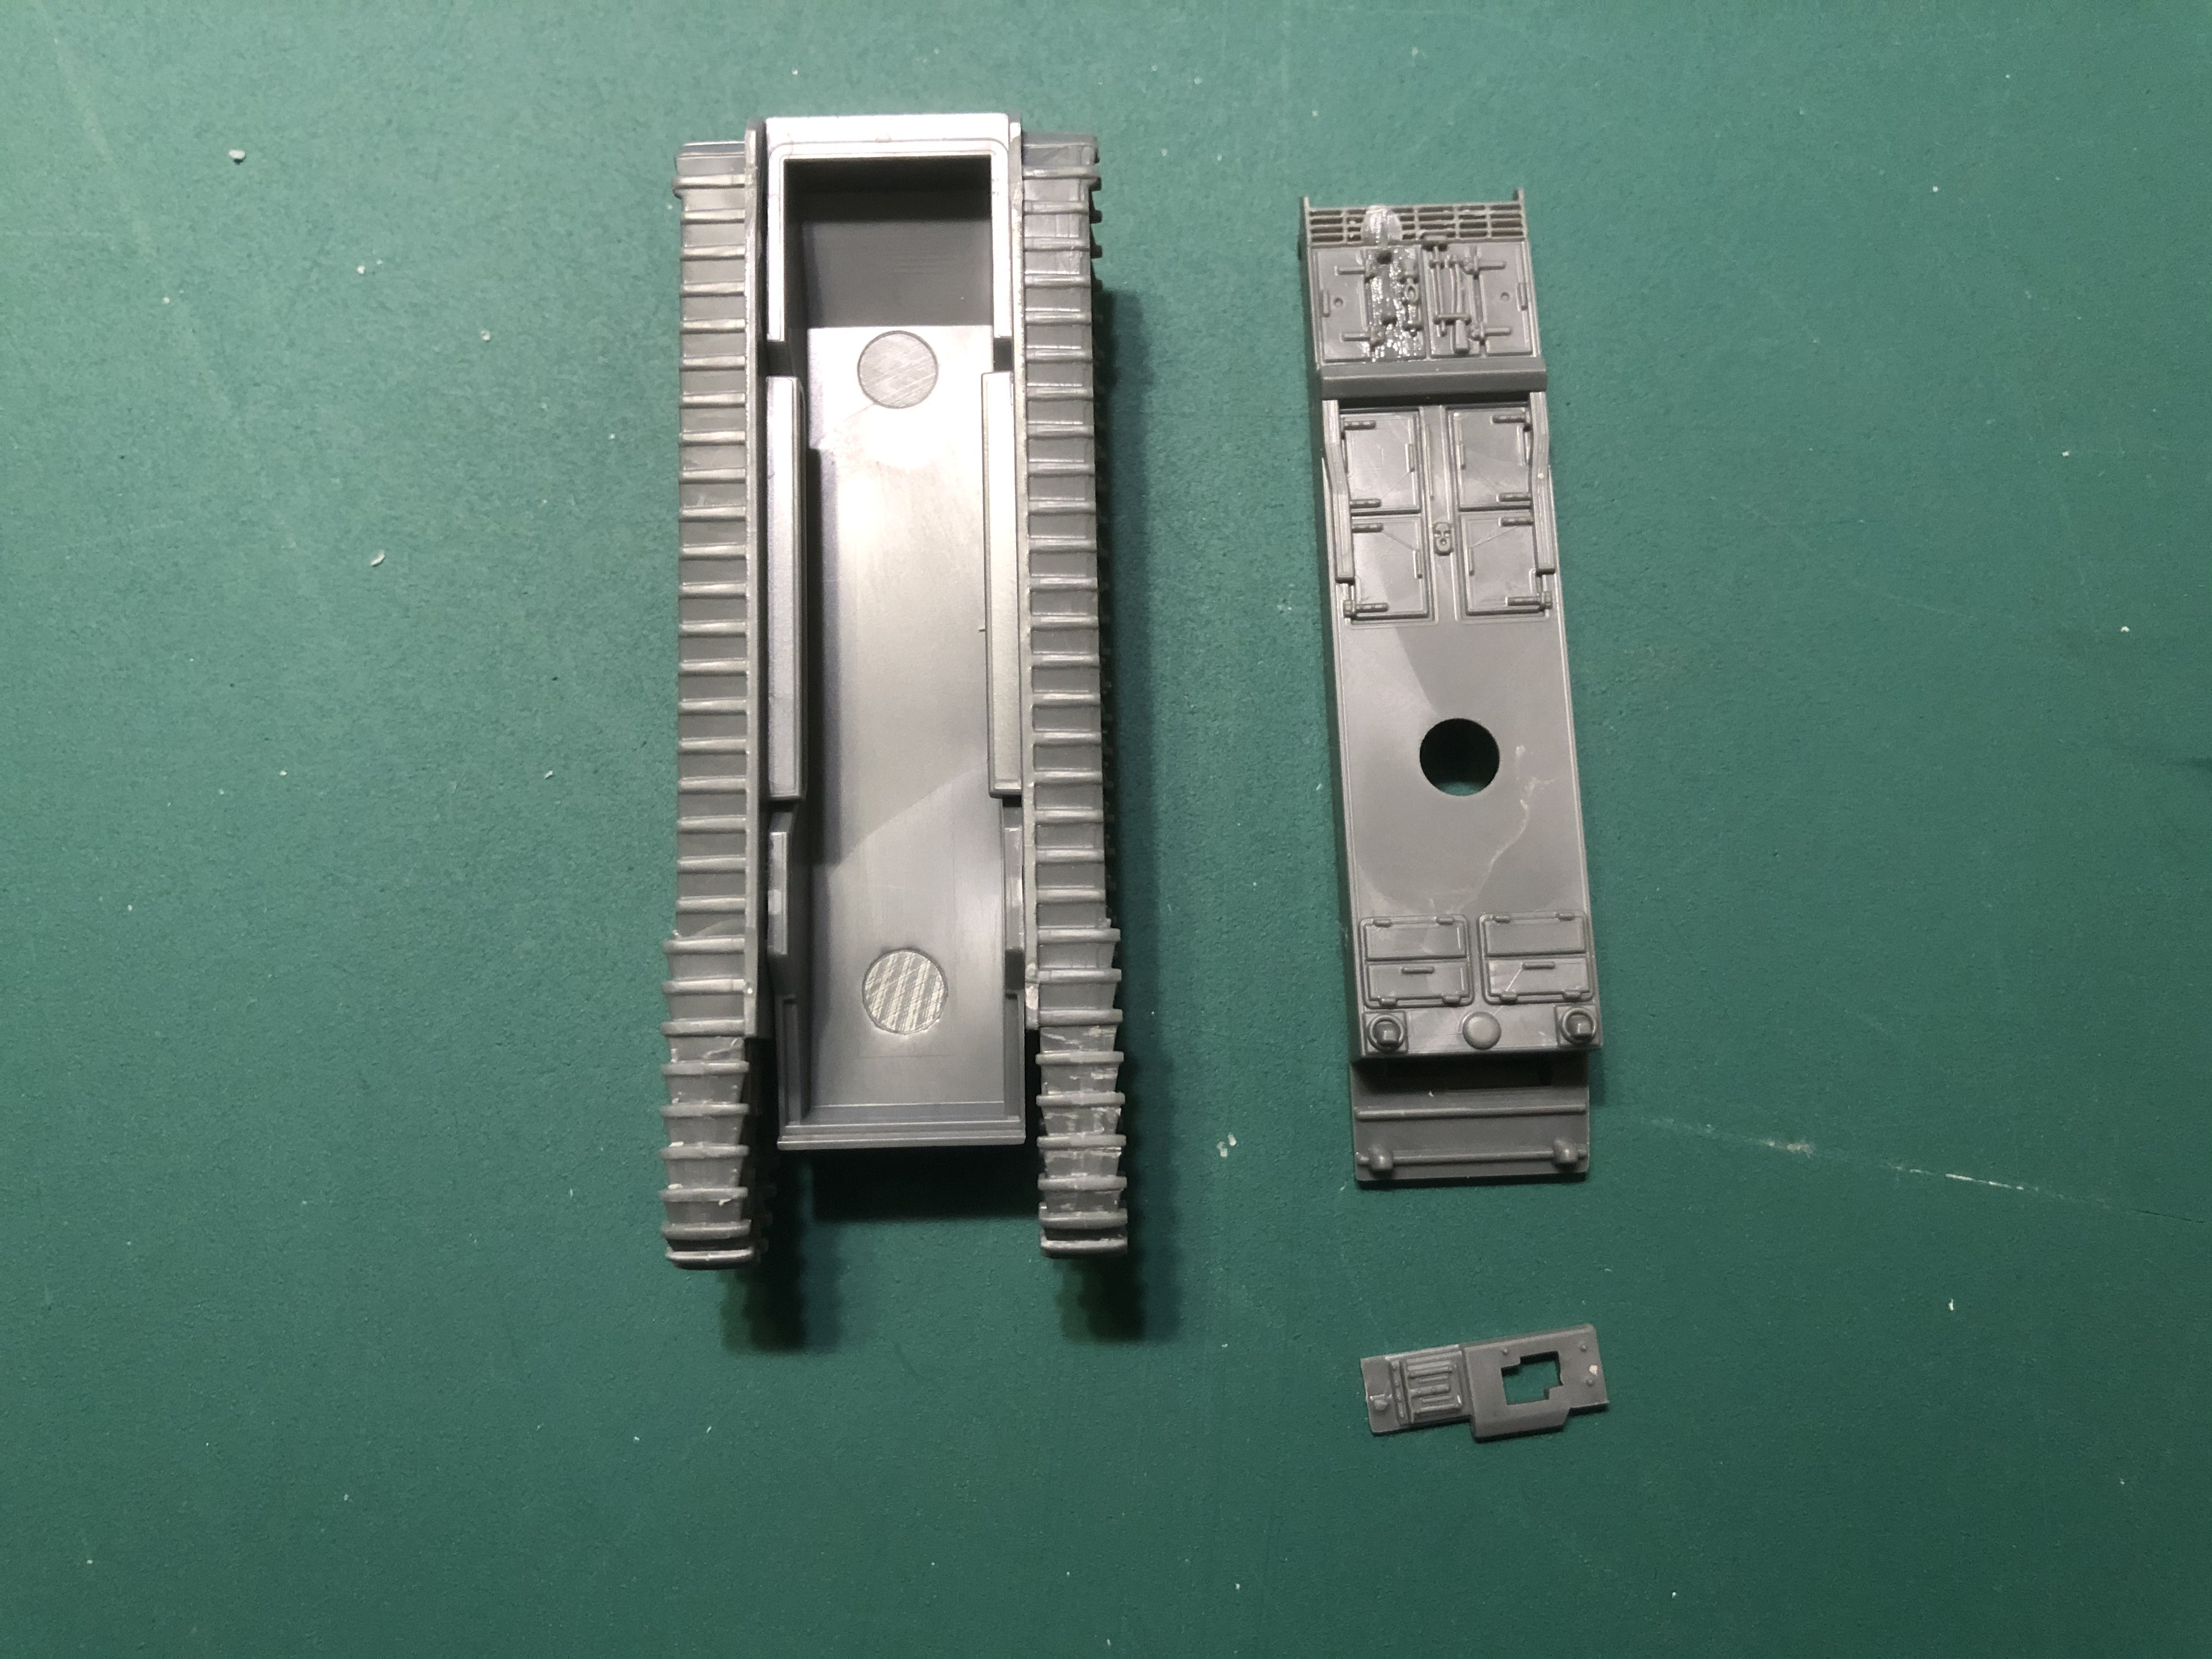 I built the hull out of sequence to the instructions so that I can fill it with plasticine to weight it down.
Basic PSC AVRE
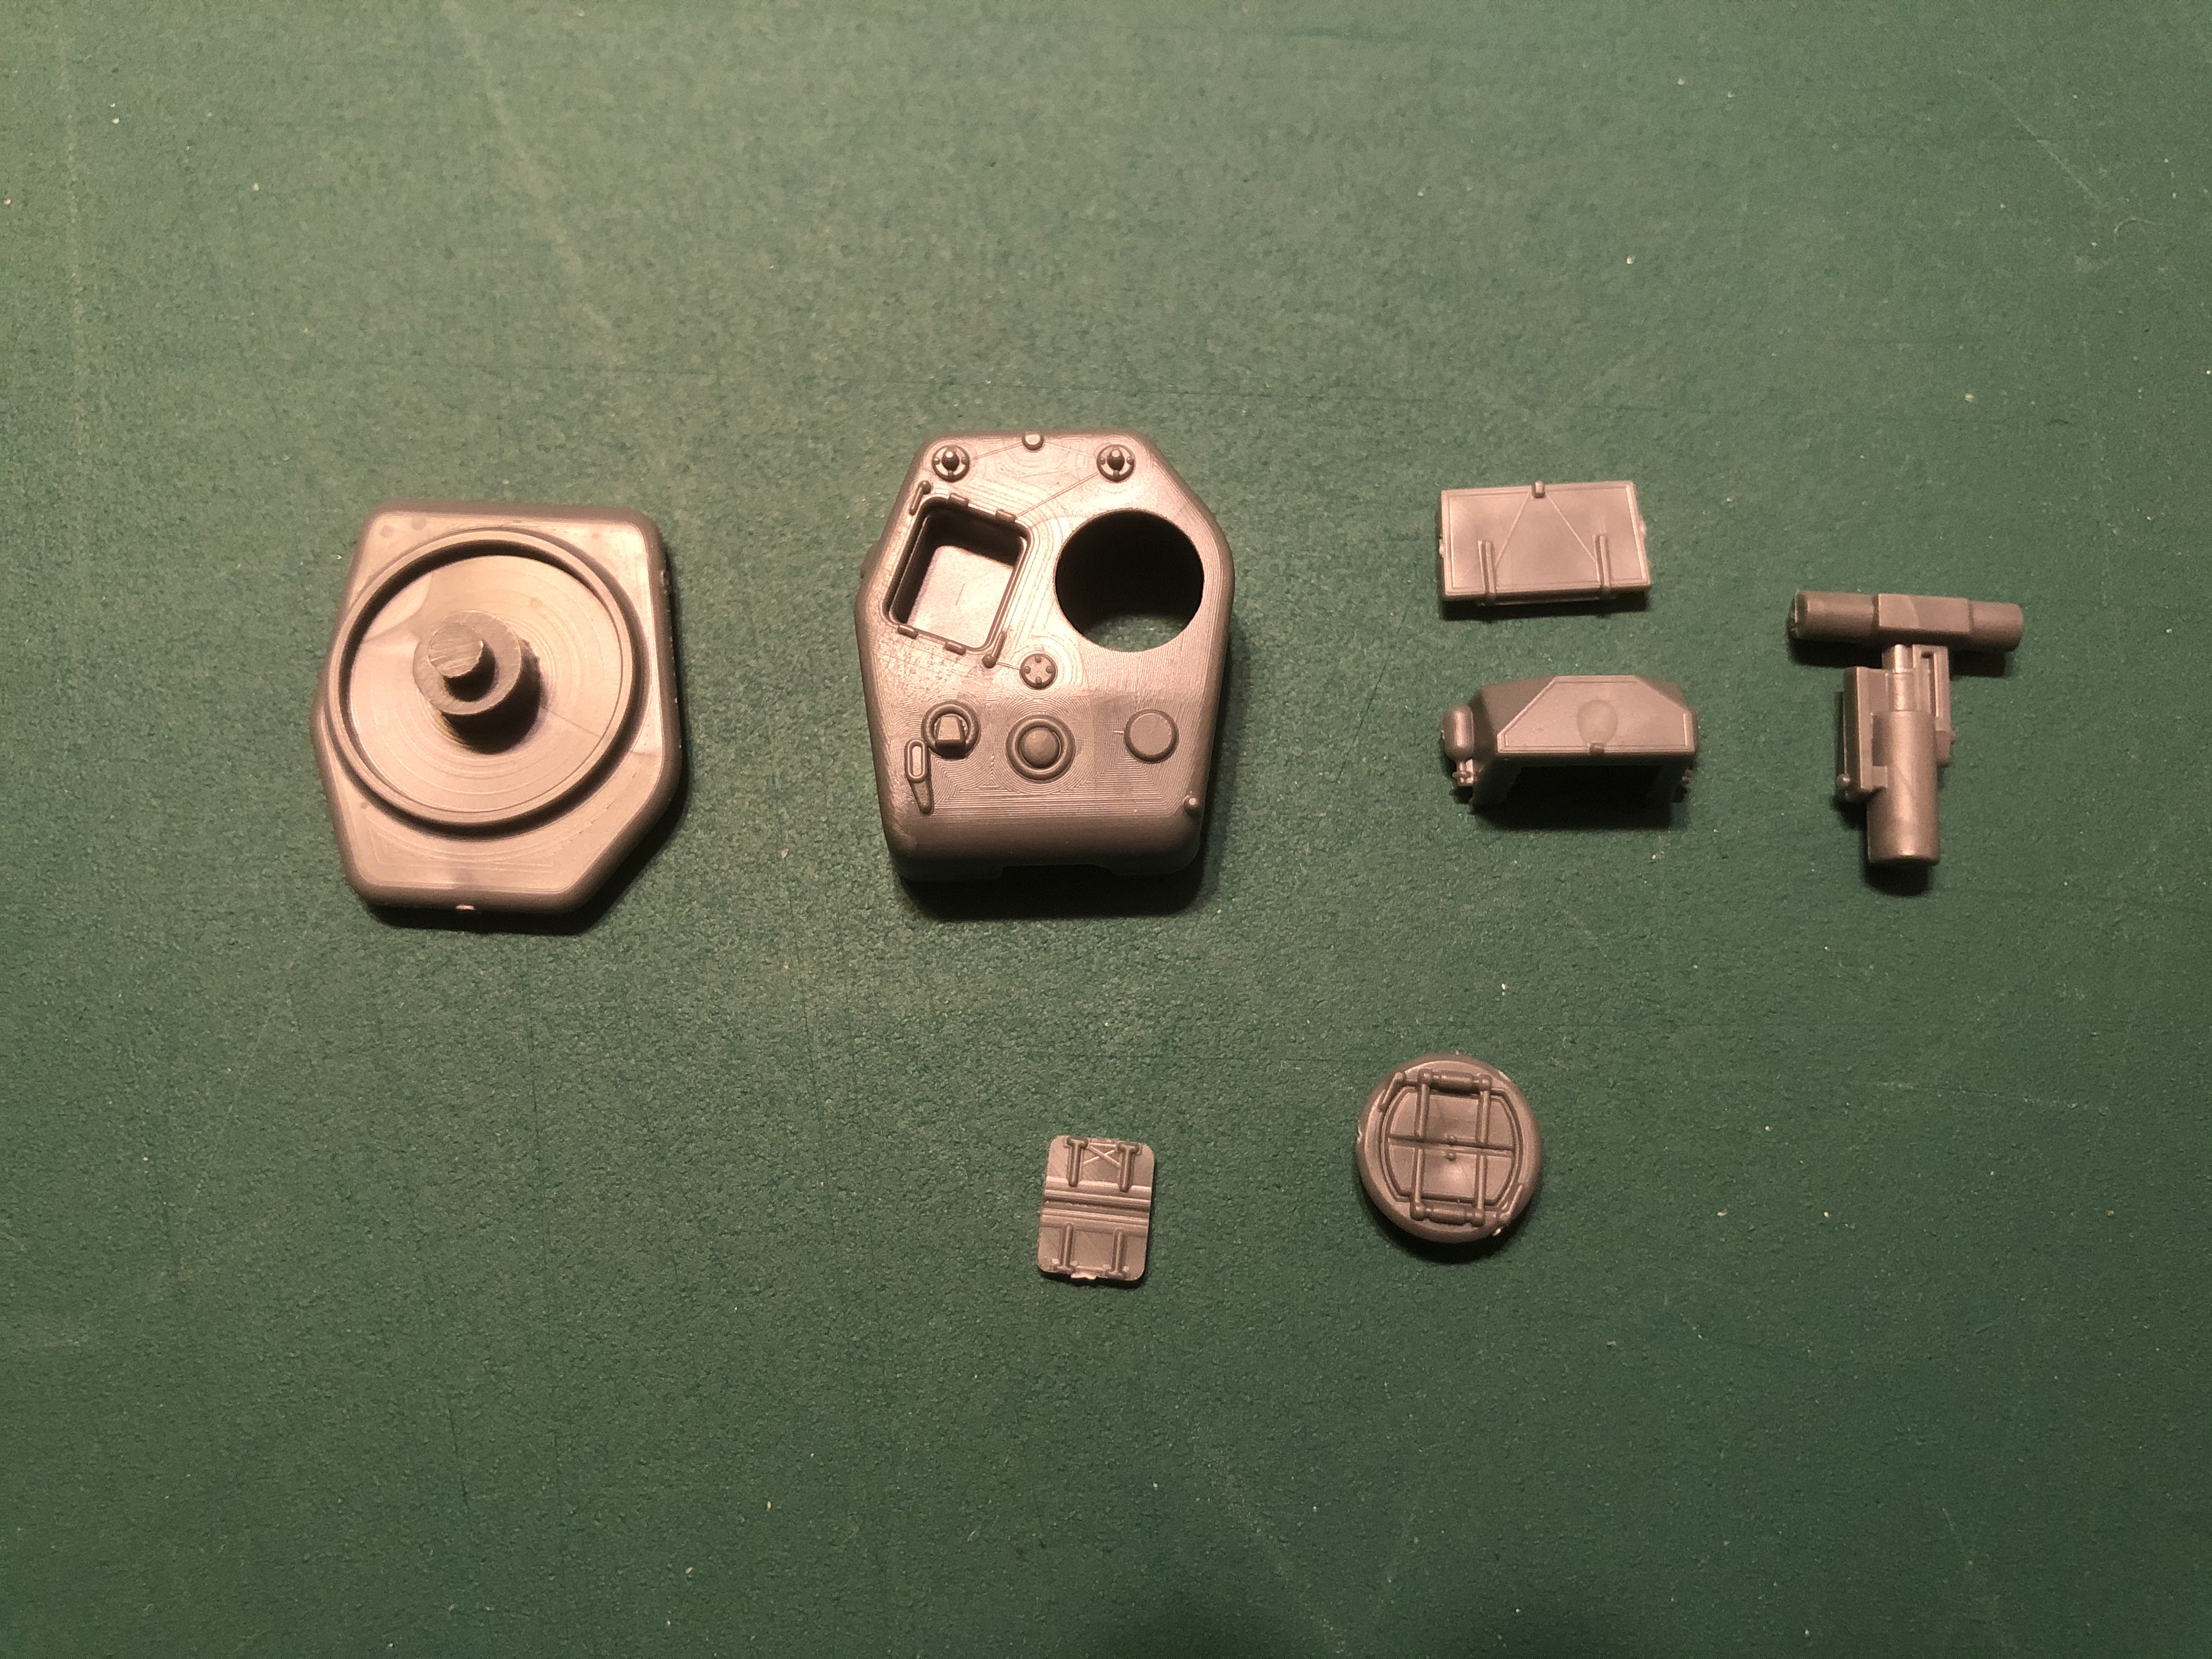 Parts of the MkIV cast turret
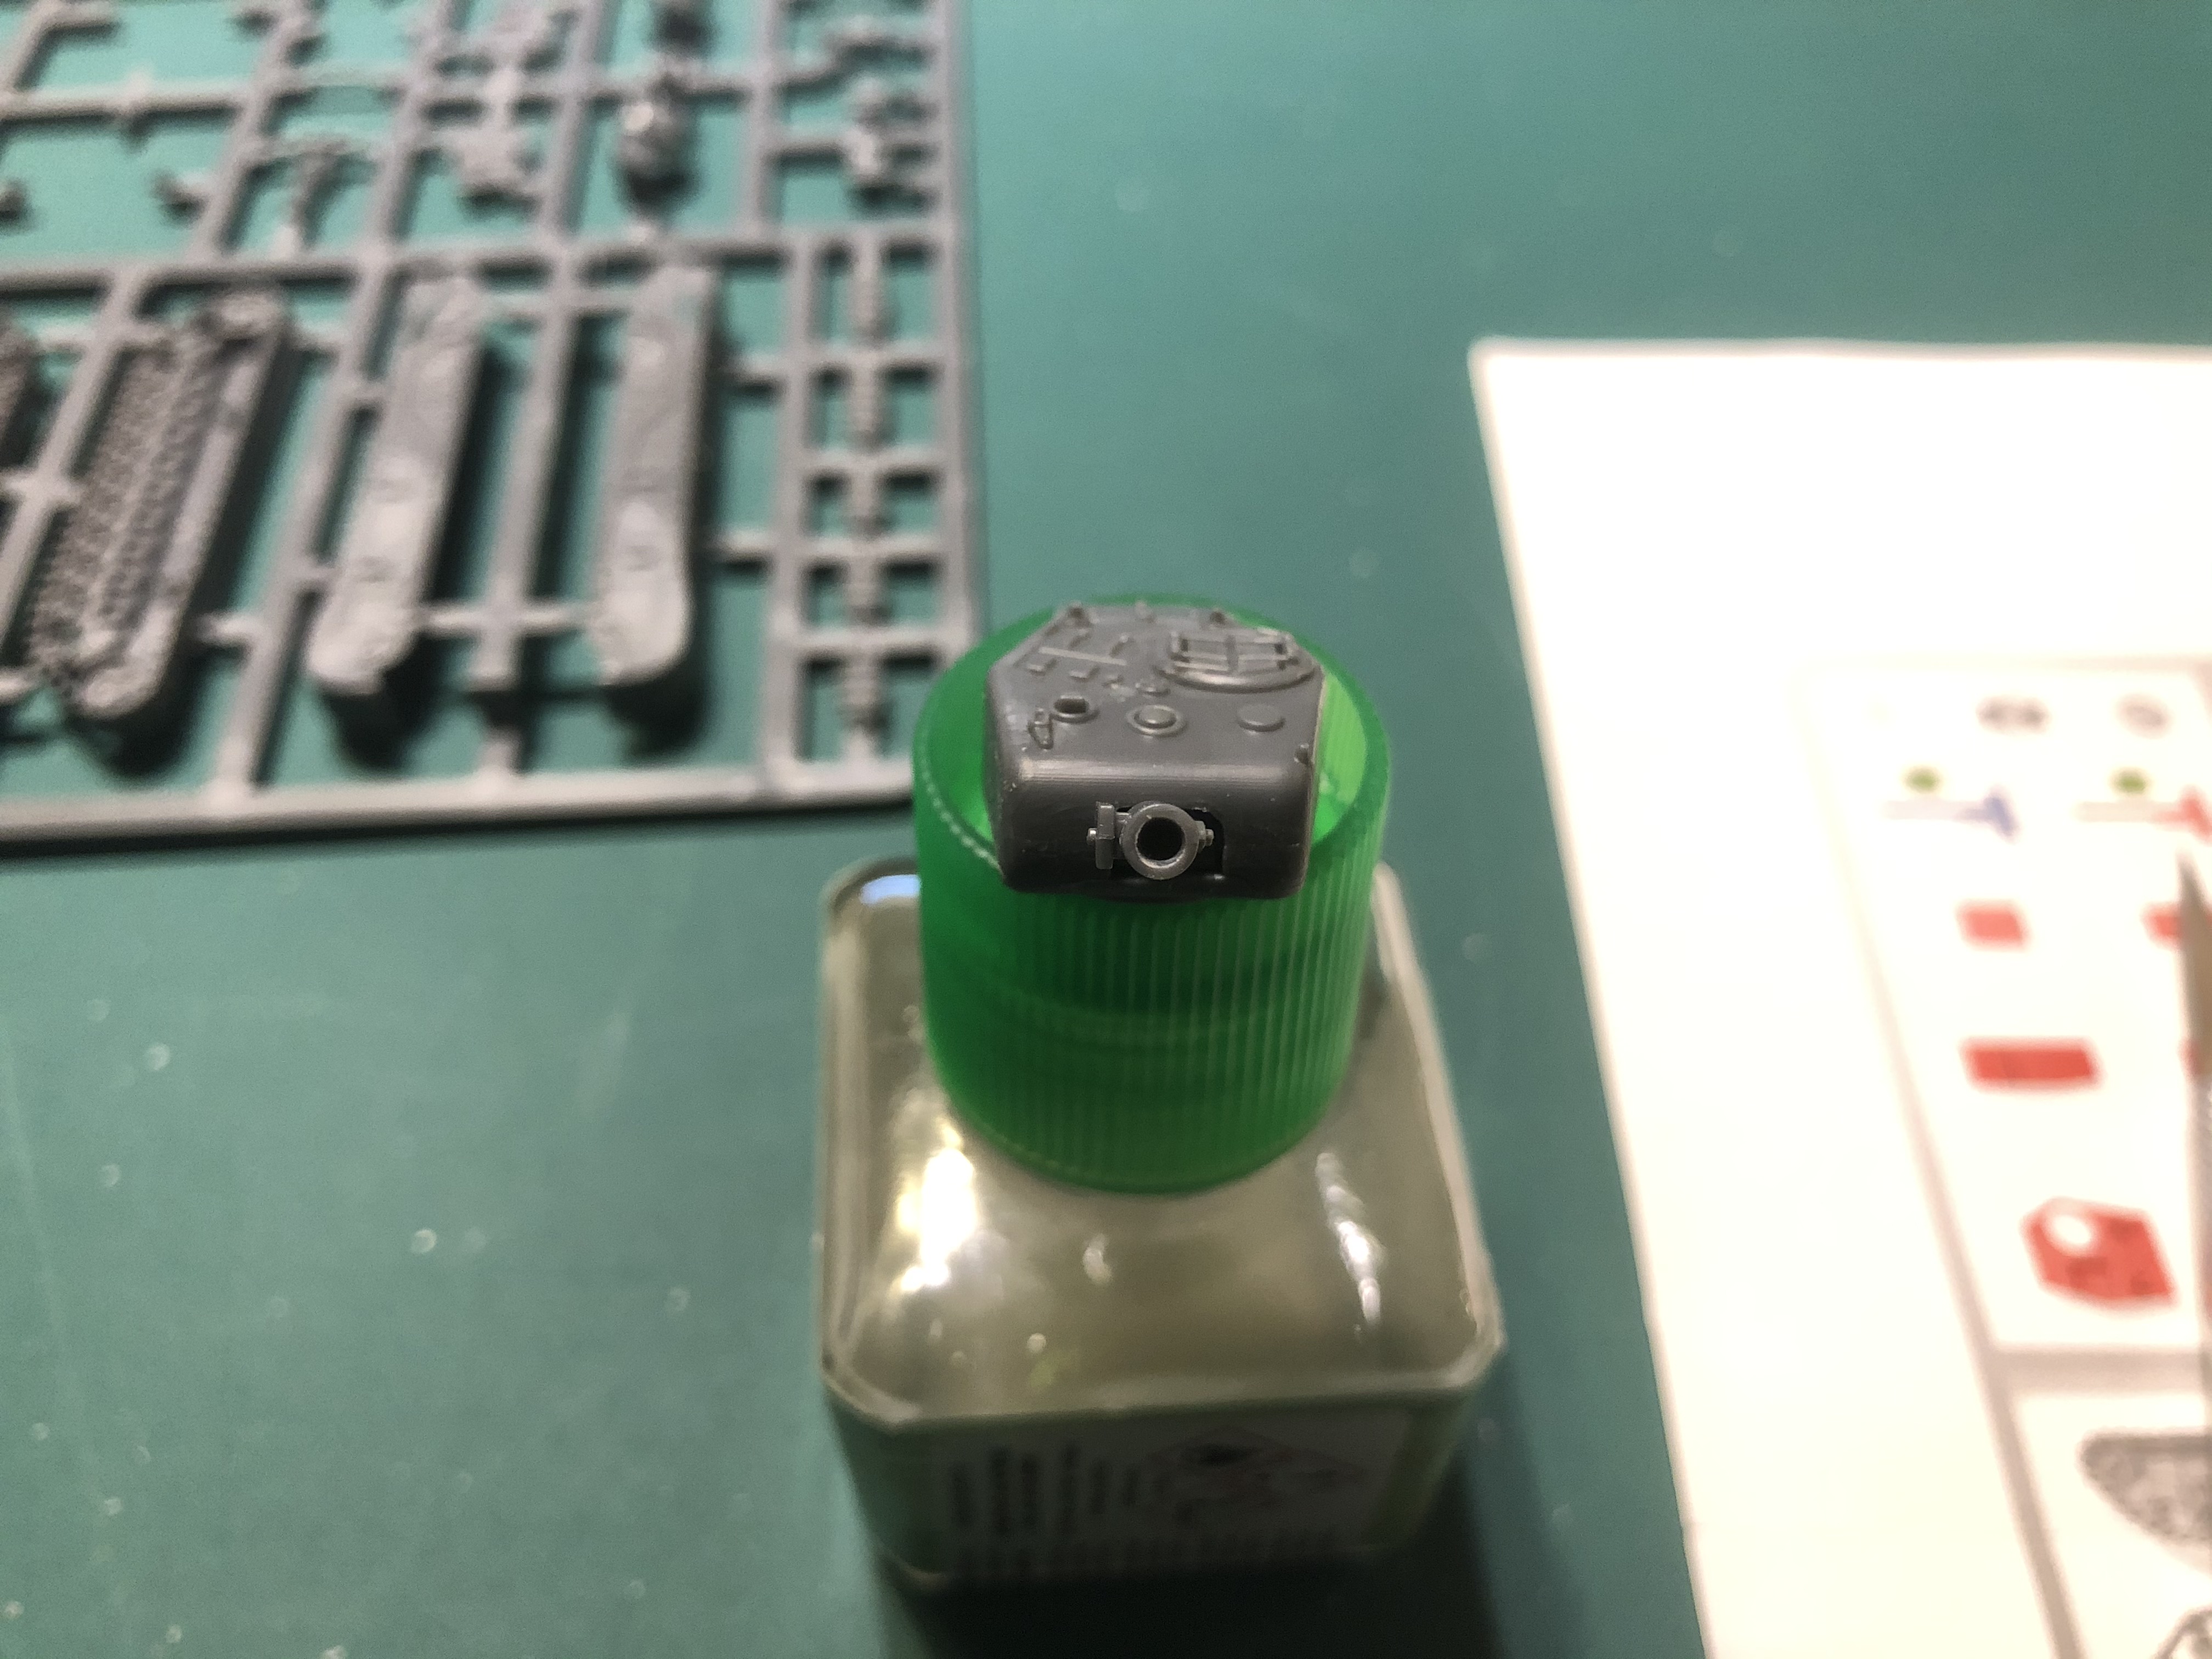 After removing the mould lines and sprue gates with a scalpel I found it very easy to glue together with the Tamiya glue. I drilled out the barrel with a 1.6mm dia bit
Brucey Top Tip
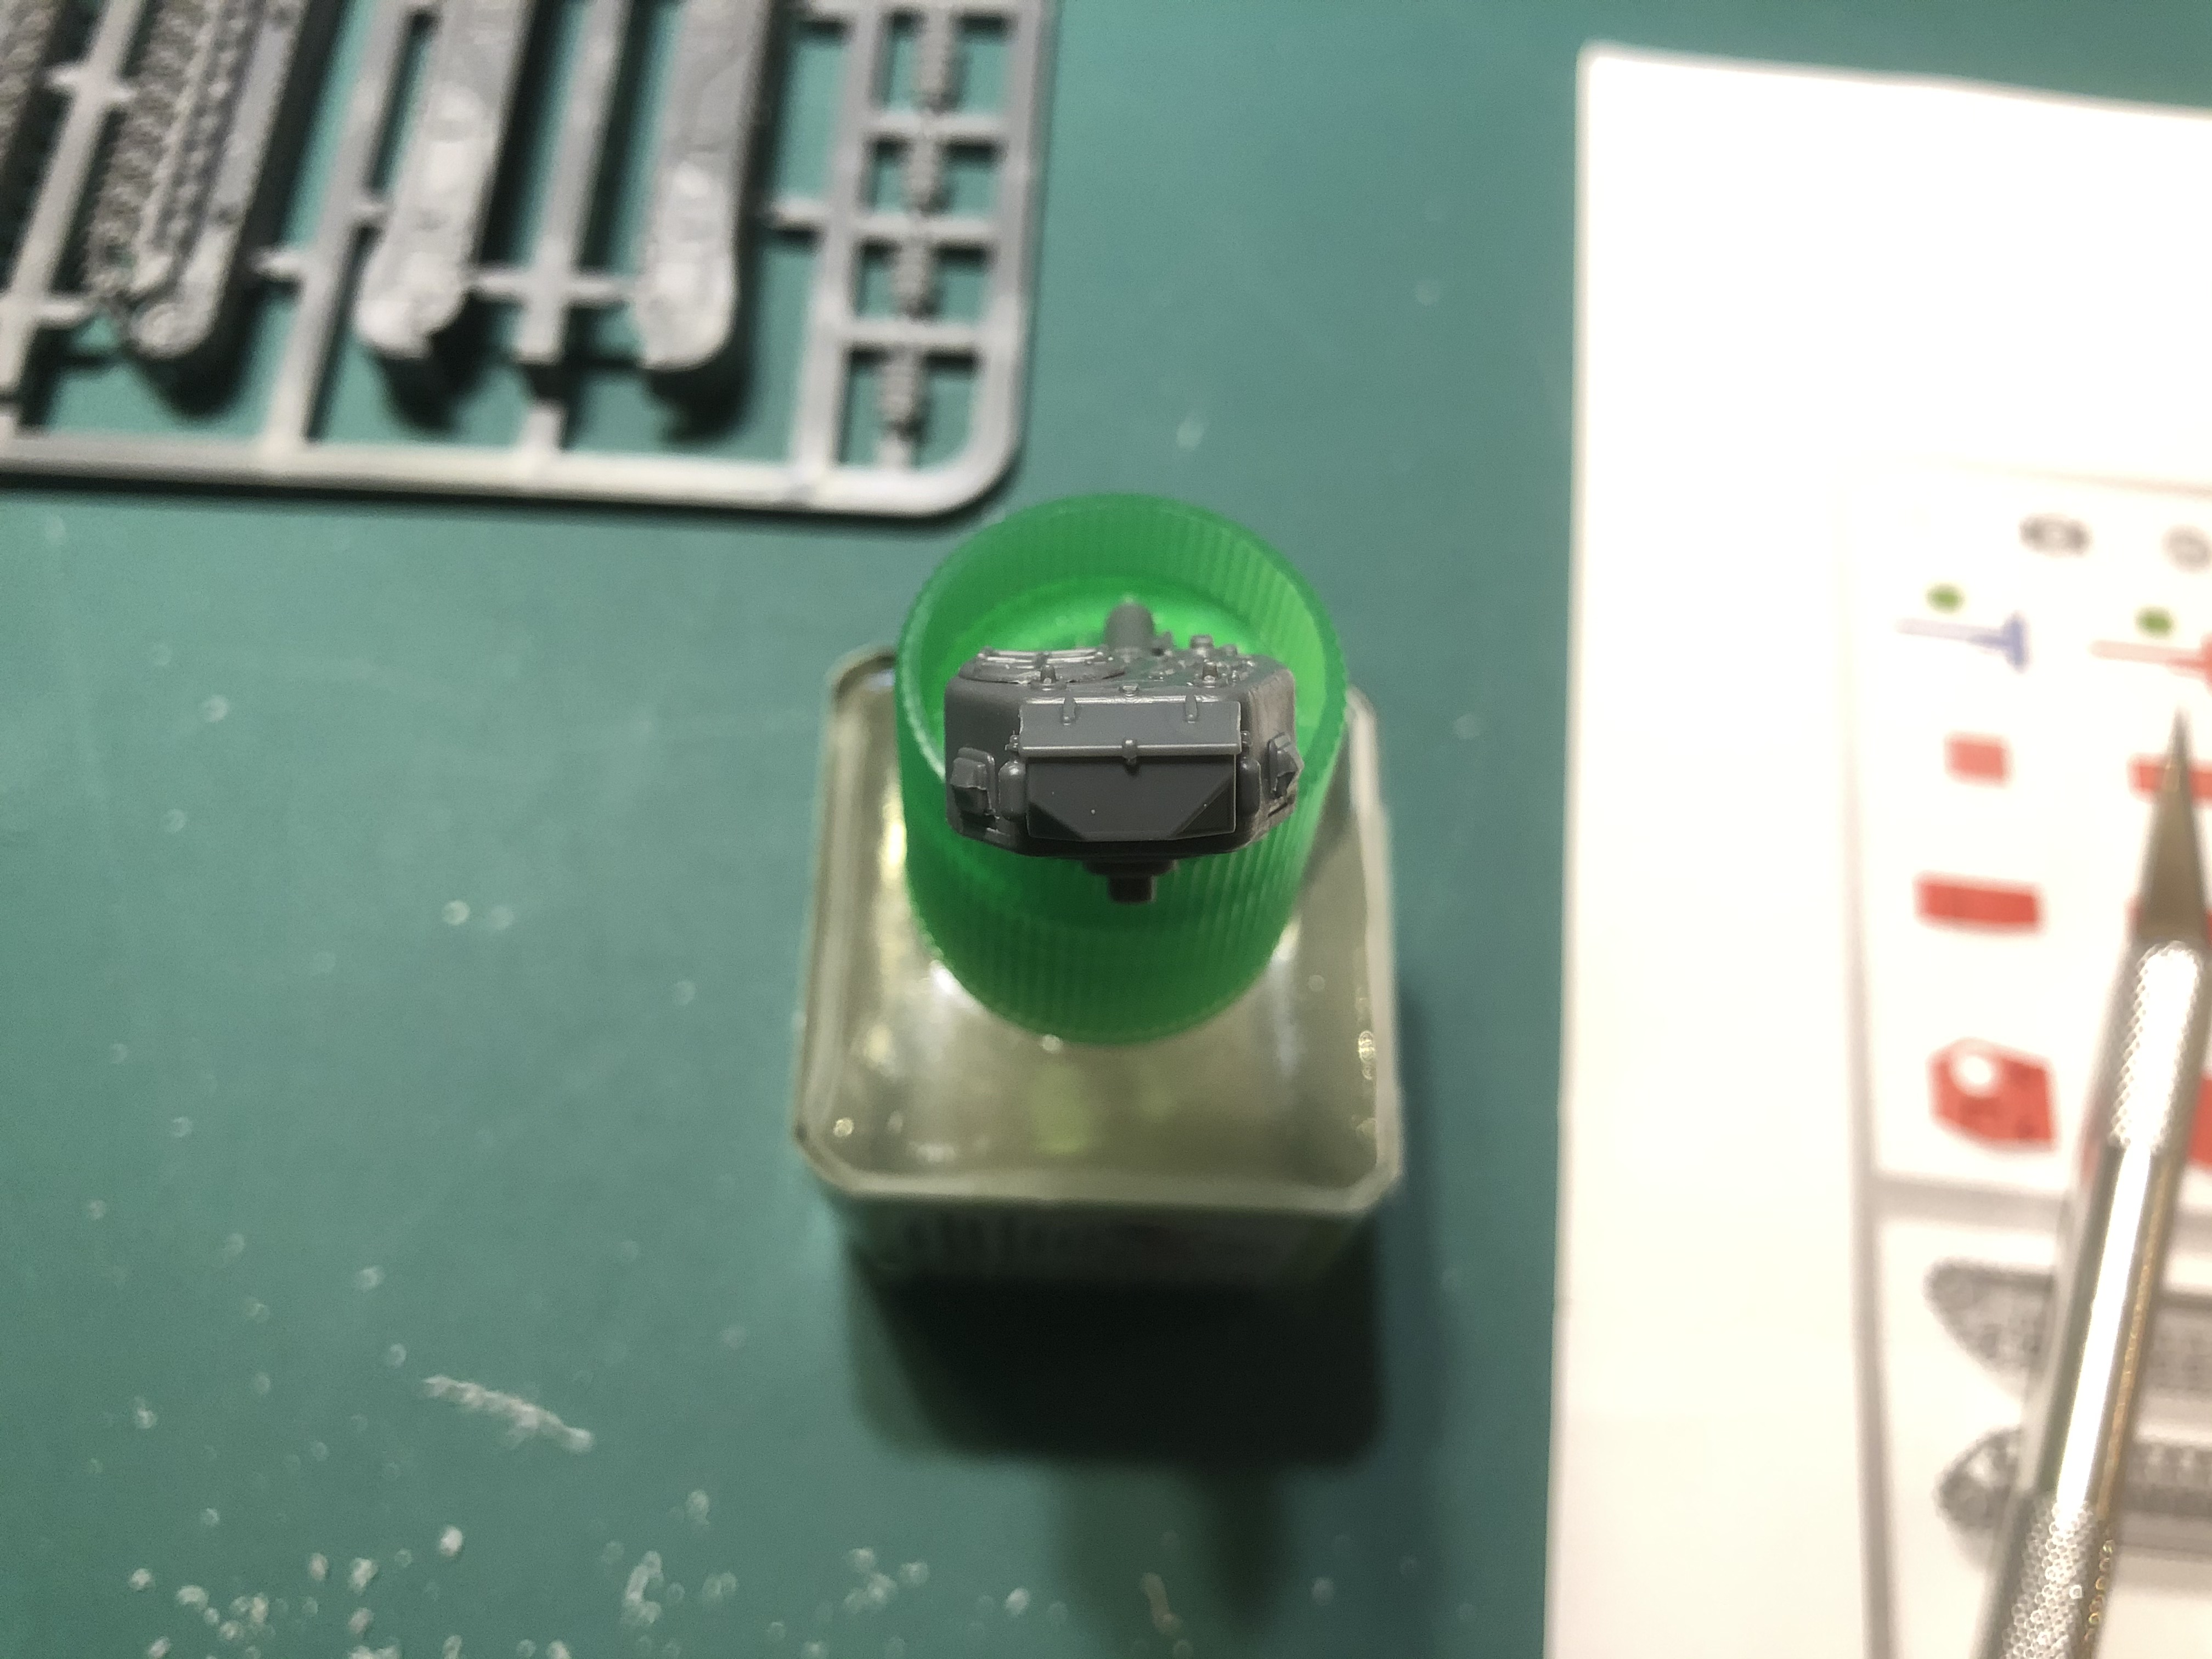
When drilling out barrels, it is always good to drill a pilot hole first. I always mark the centre with the tip of a scalpel, drill a couple of turns only, check that the hole is central and then continue to drill down to the desired depth. if it isn’t central, then cut a small groove with the scalpel to get back to the centre and then carefully drill again. This is an old machinist’s trick for when you centre punch incorrectly. once done, go through your drills, getting larger and larger until you get to the desired diameter hole.
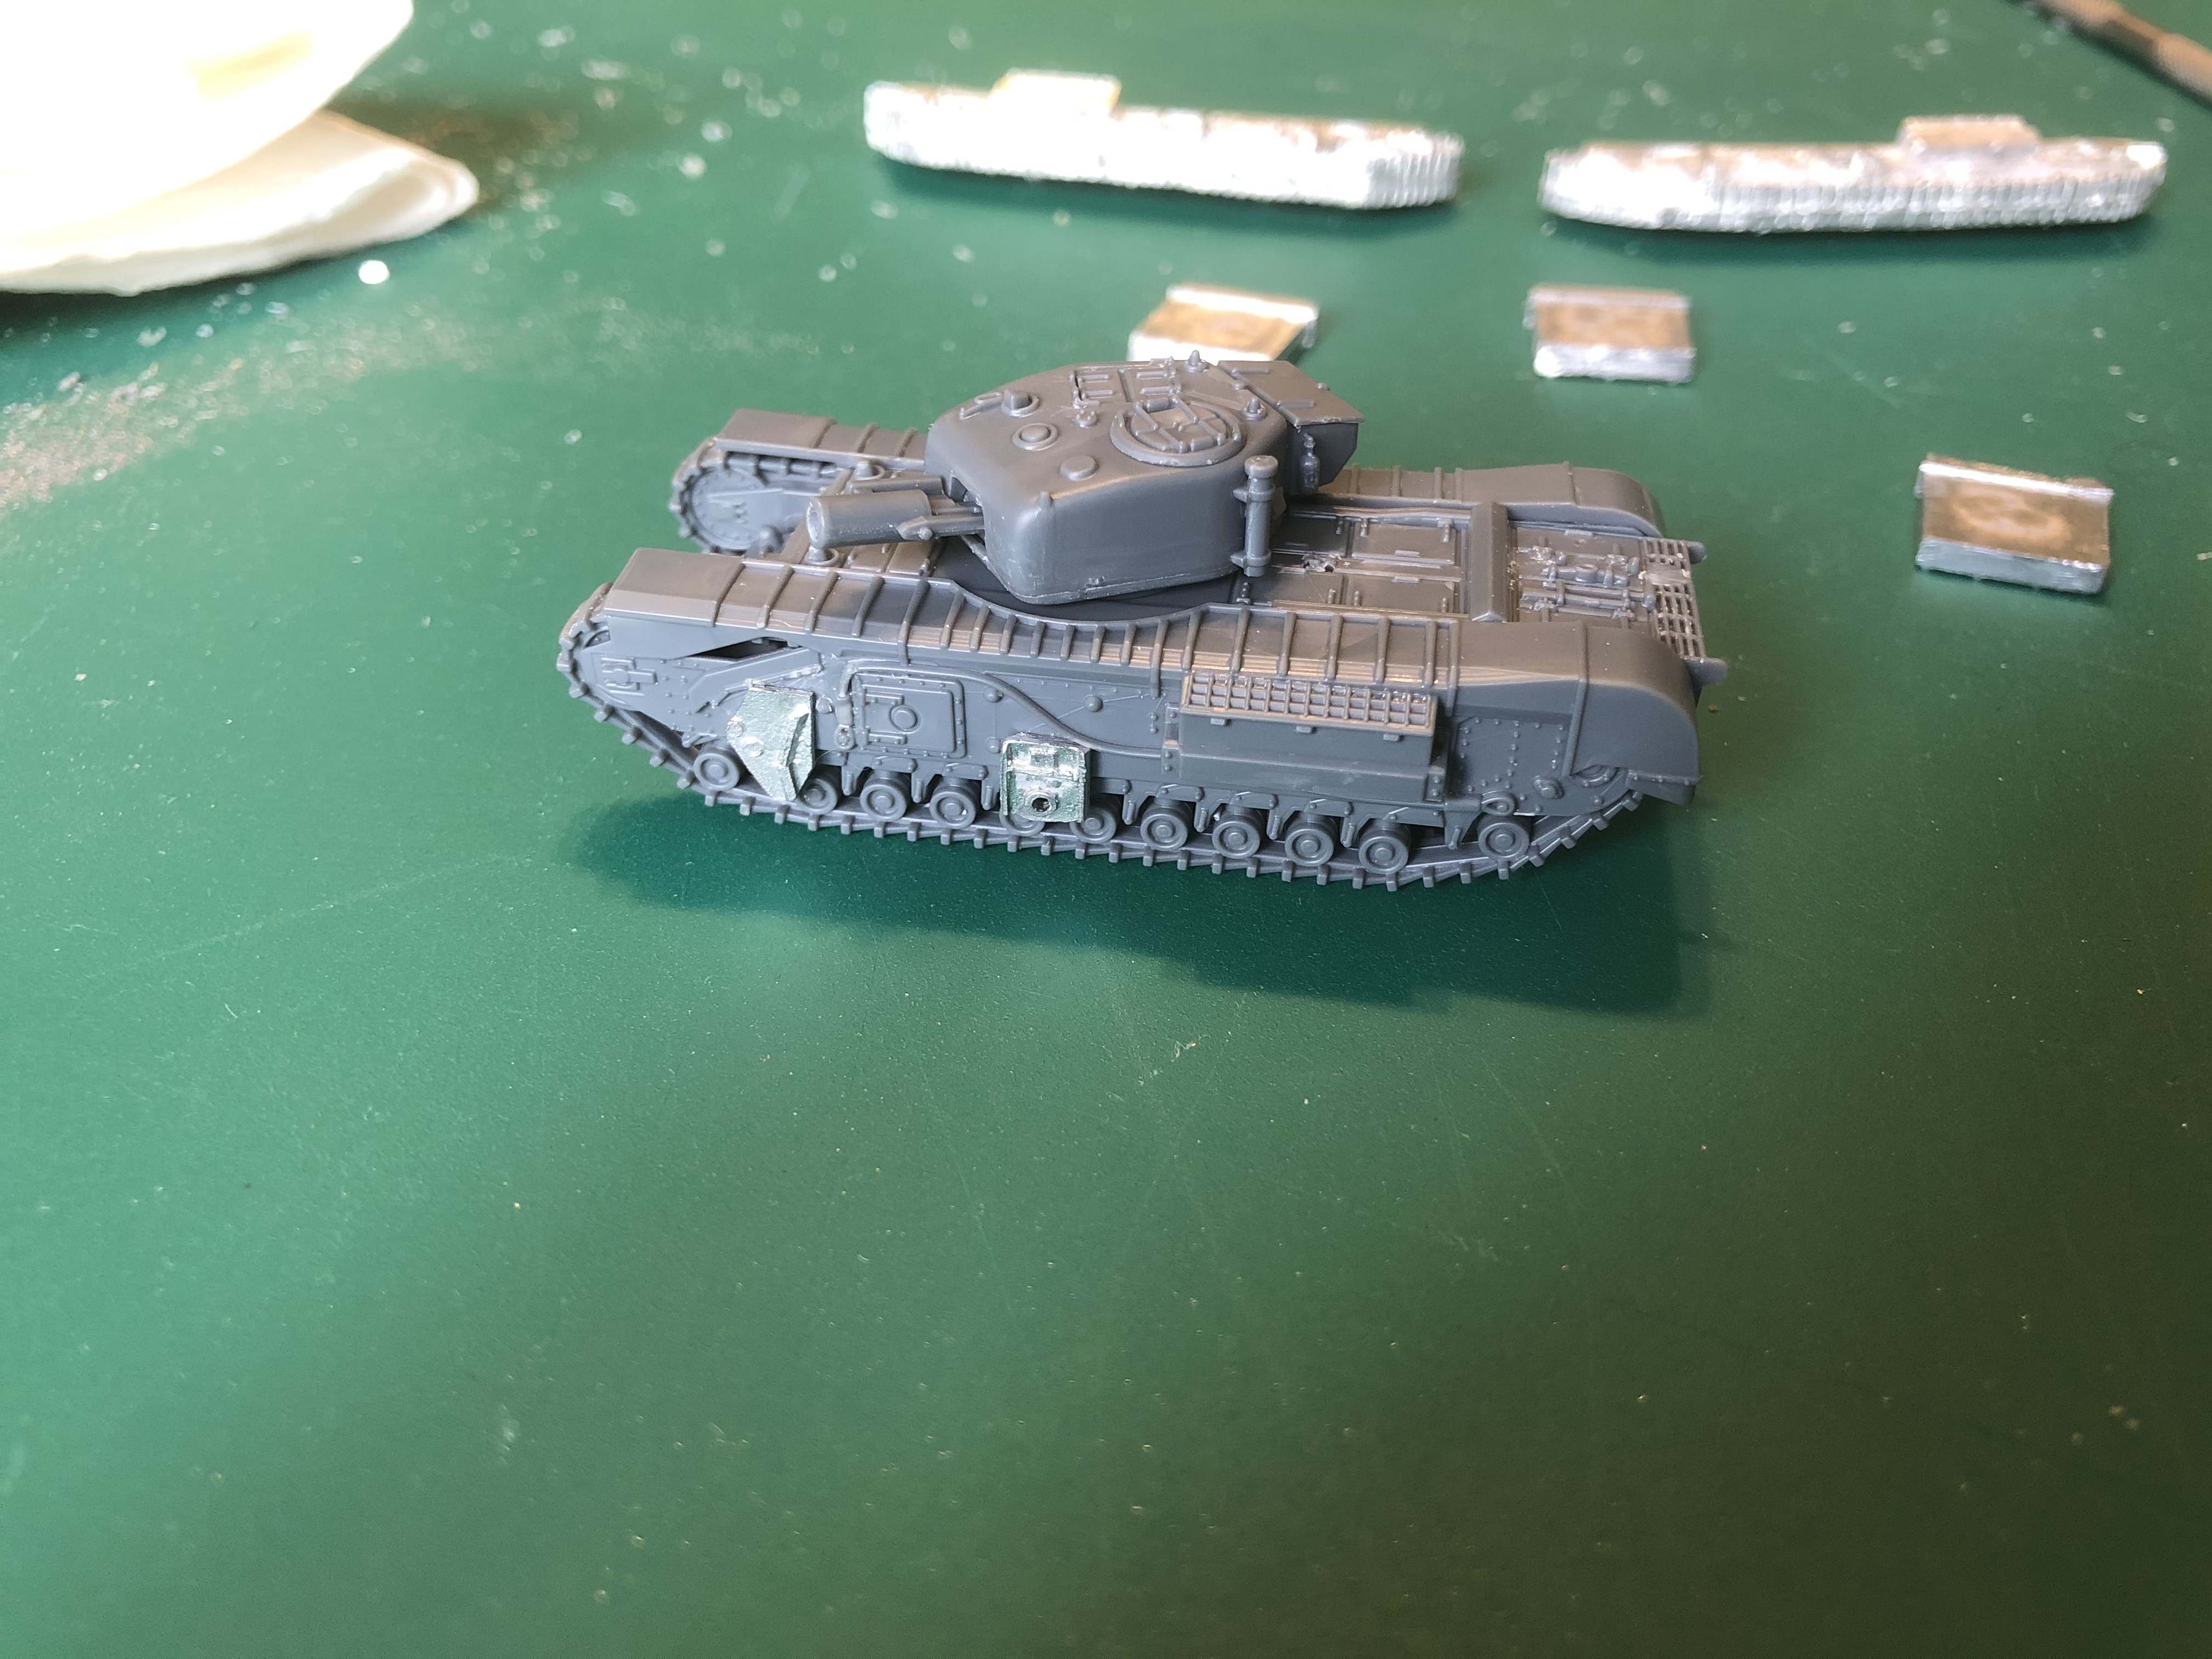
 Another reason I think the cast turret is more in keeping with D Day is because the tank bin at the rear of the turret has been altered to accommodate the retaining wires that would have held the wading ducts in place and still allow the turret to rotate.
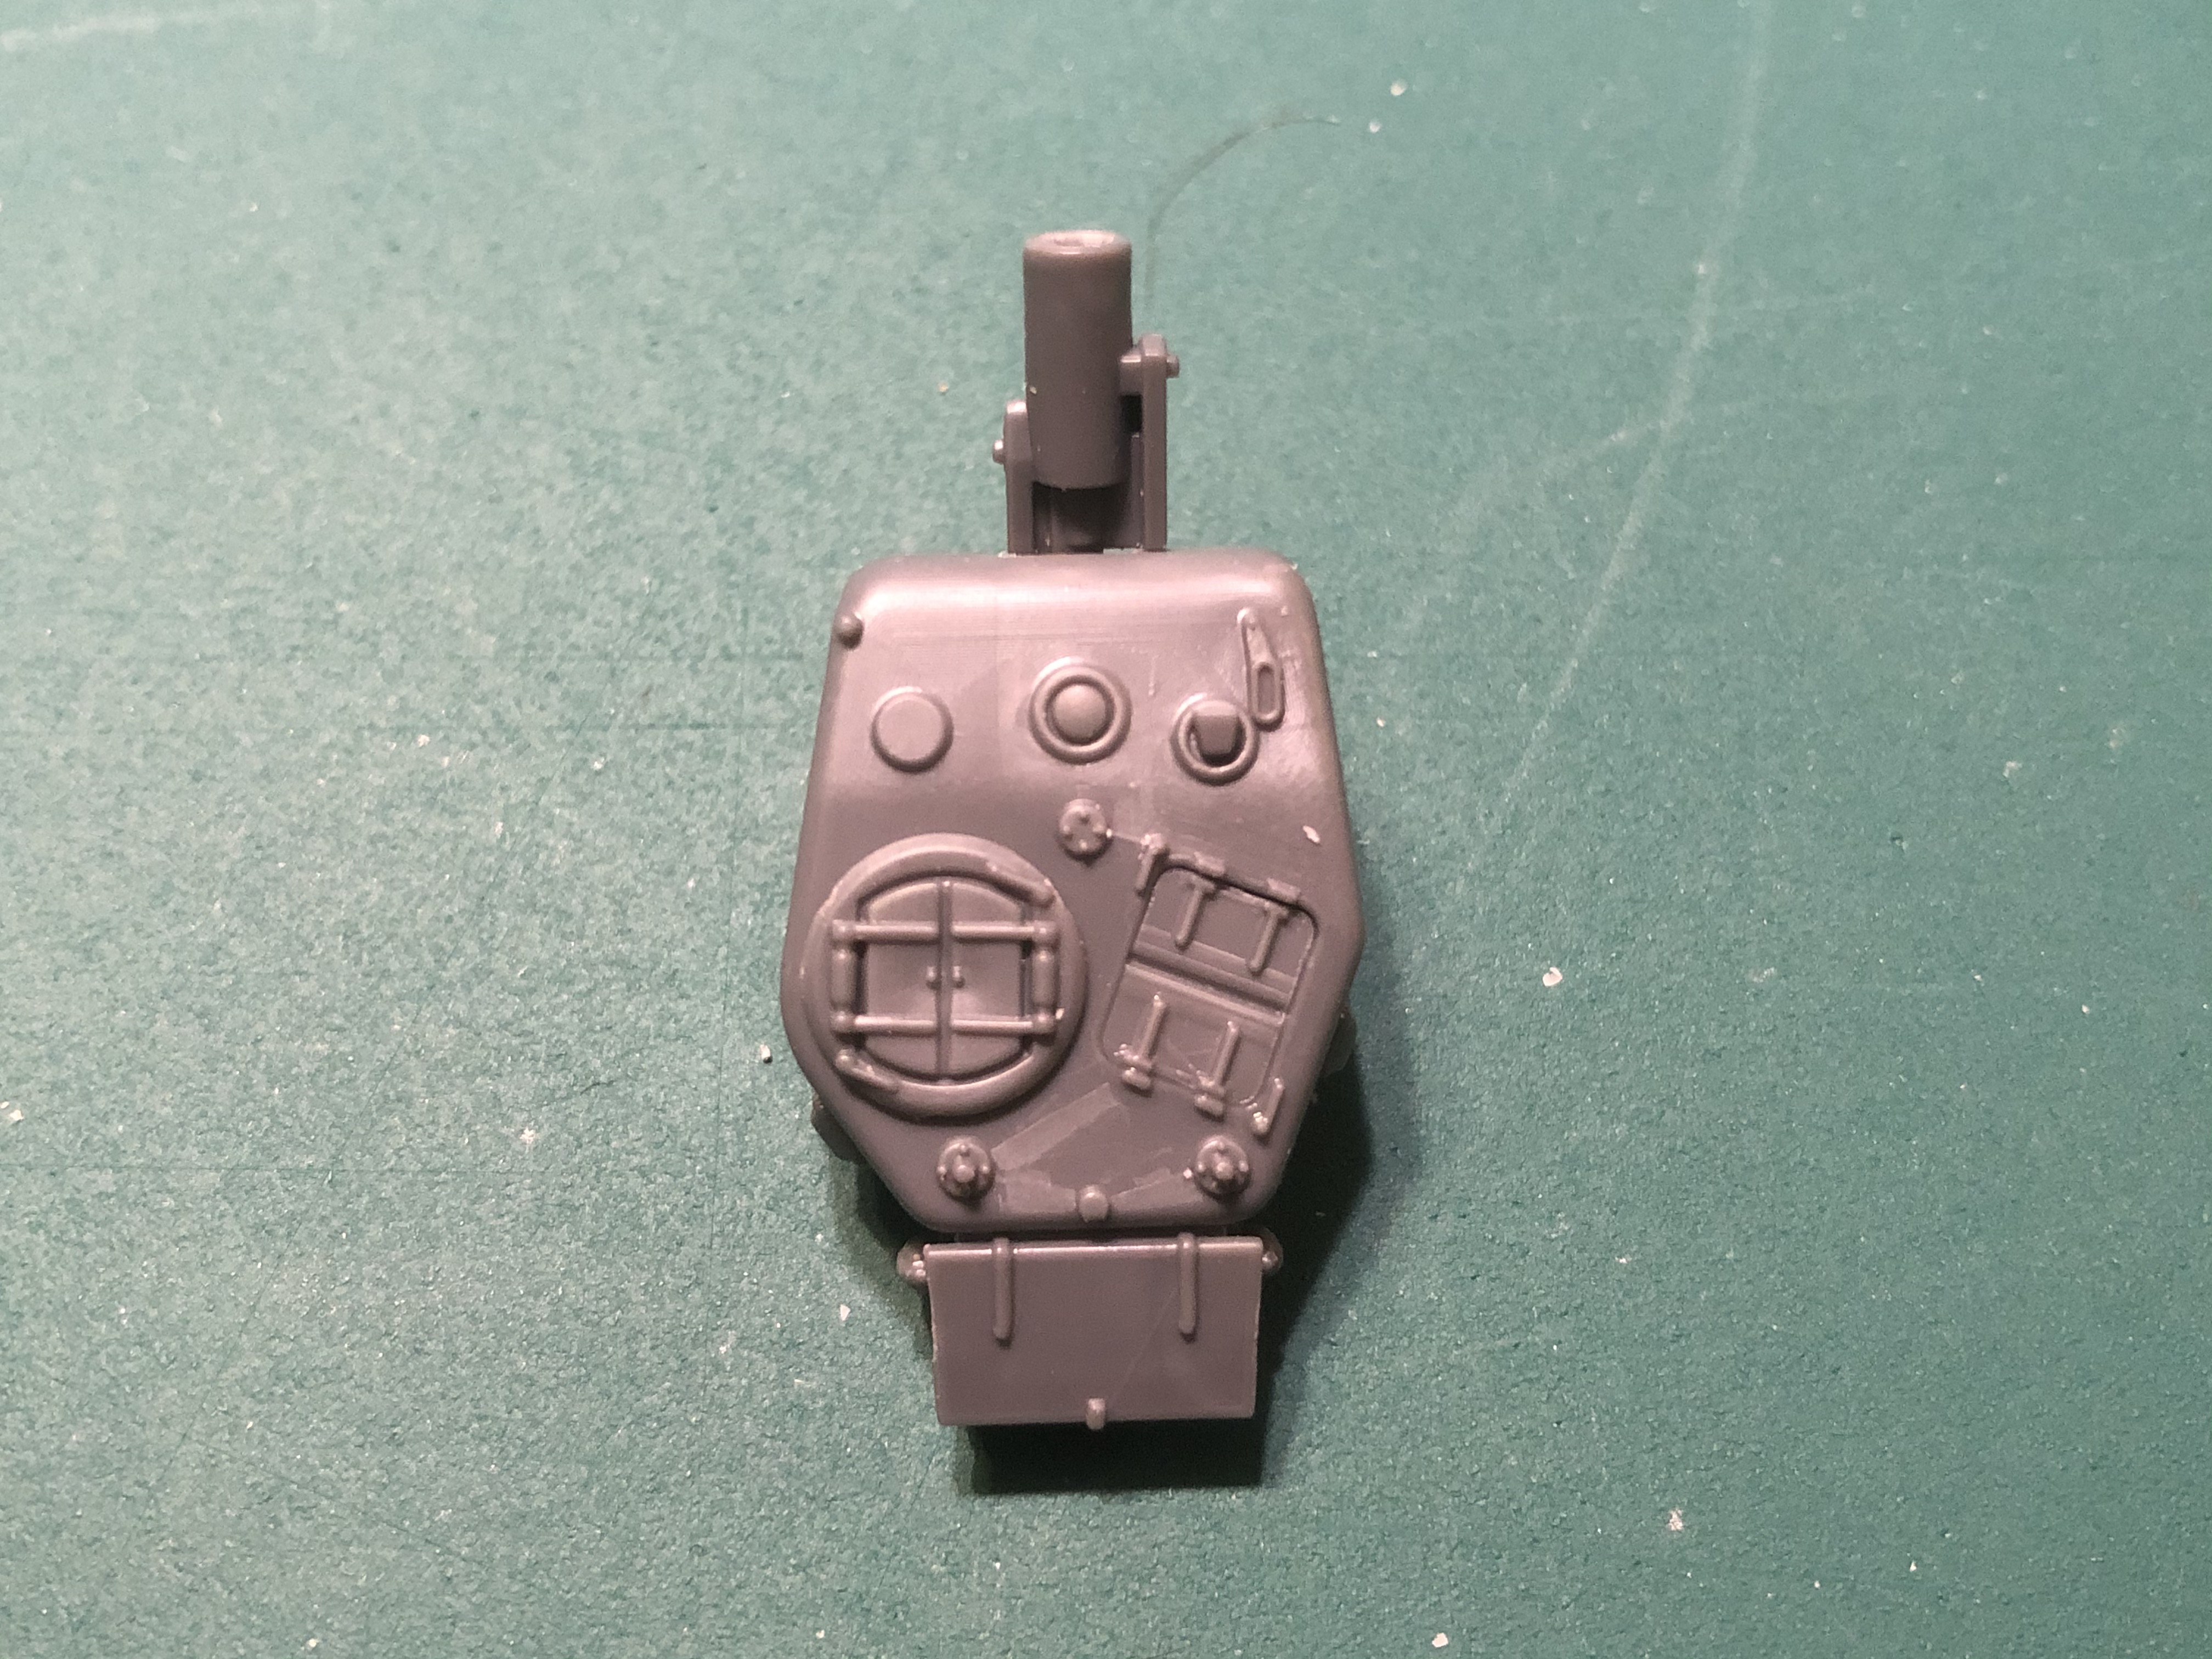 Final turret
Episode Three - Plastic fantastic
Now that the initial preparation has been done, I thought I’d tackle the easiest of the kits, the AVREs’ from the Plastic Soldier Company. Well I say easy, as at least there are some basic build instructions, but the one thing with instructions is that they are never as simple as they first appear!
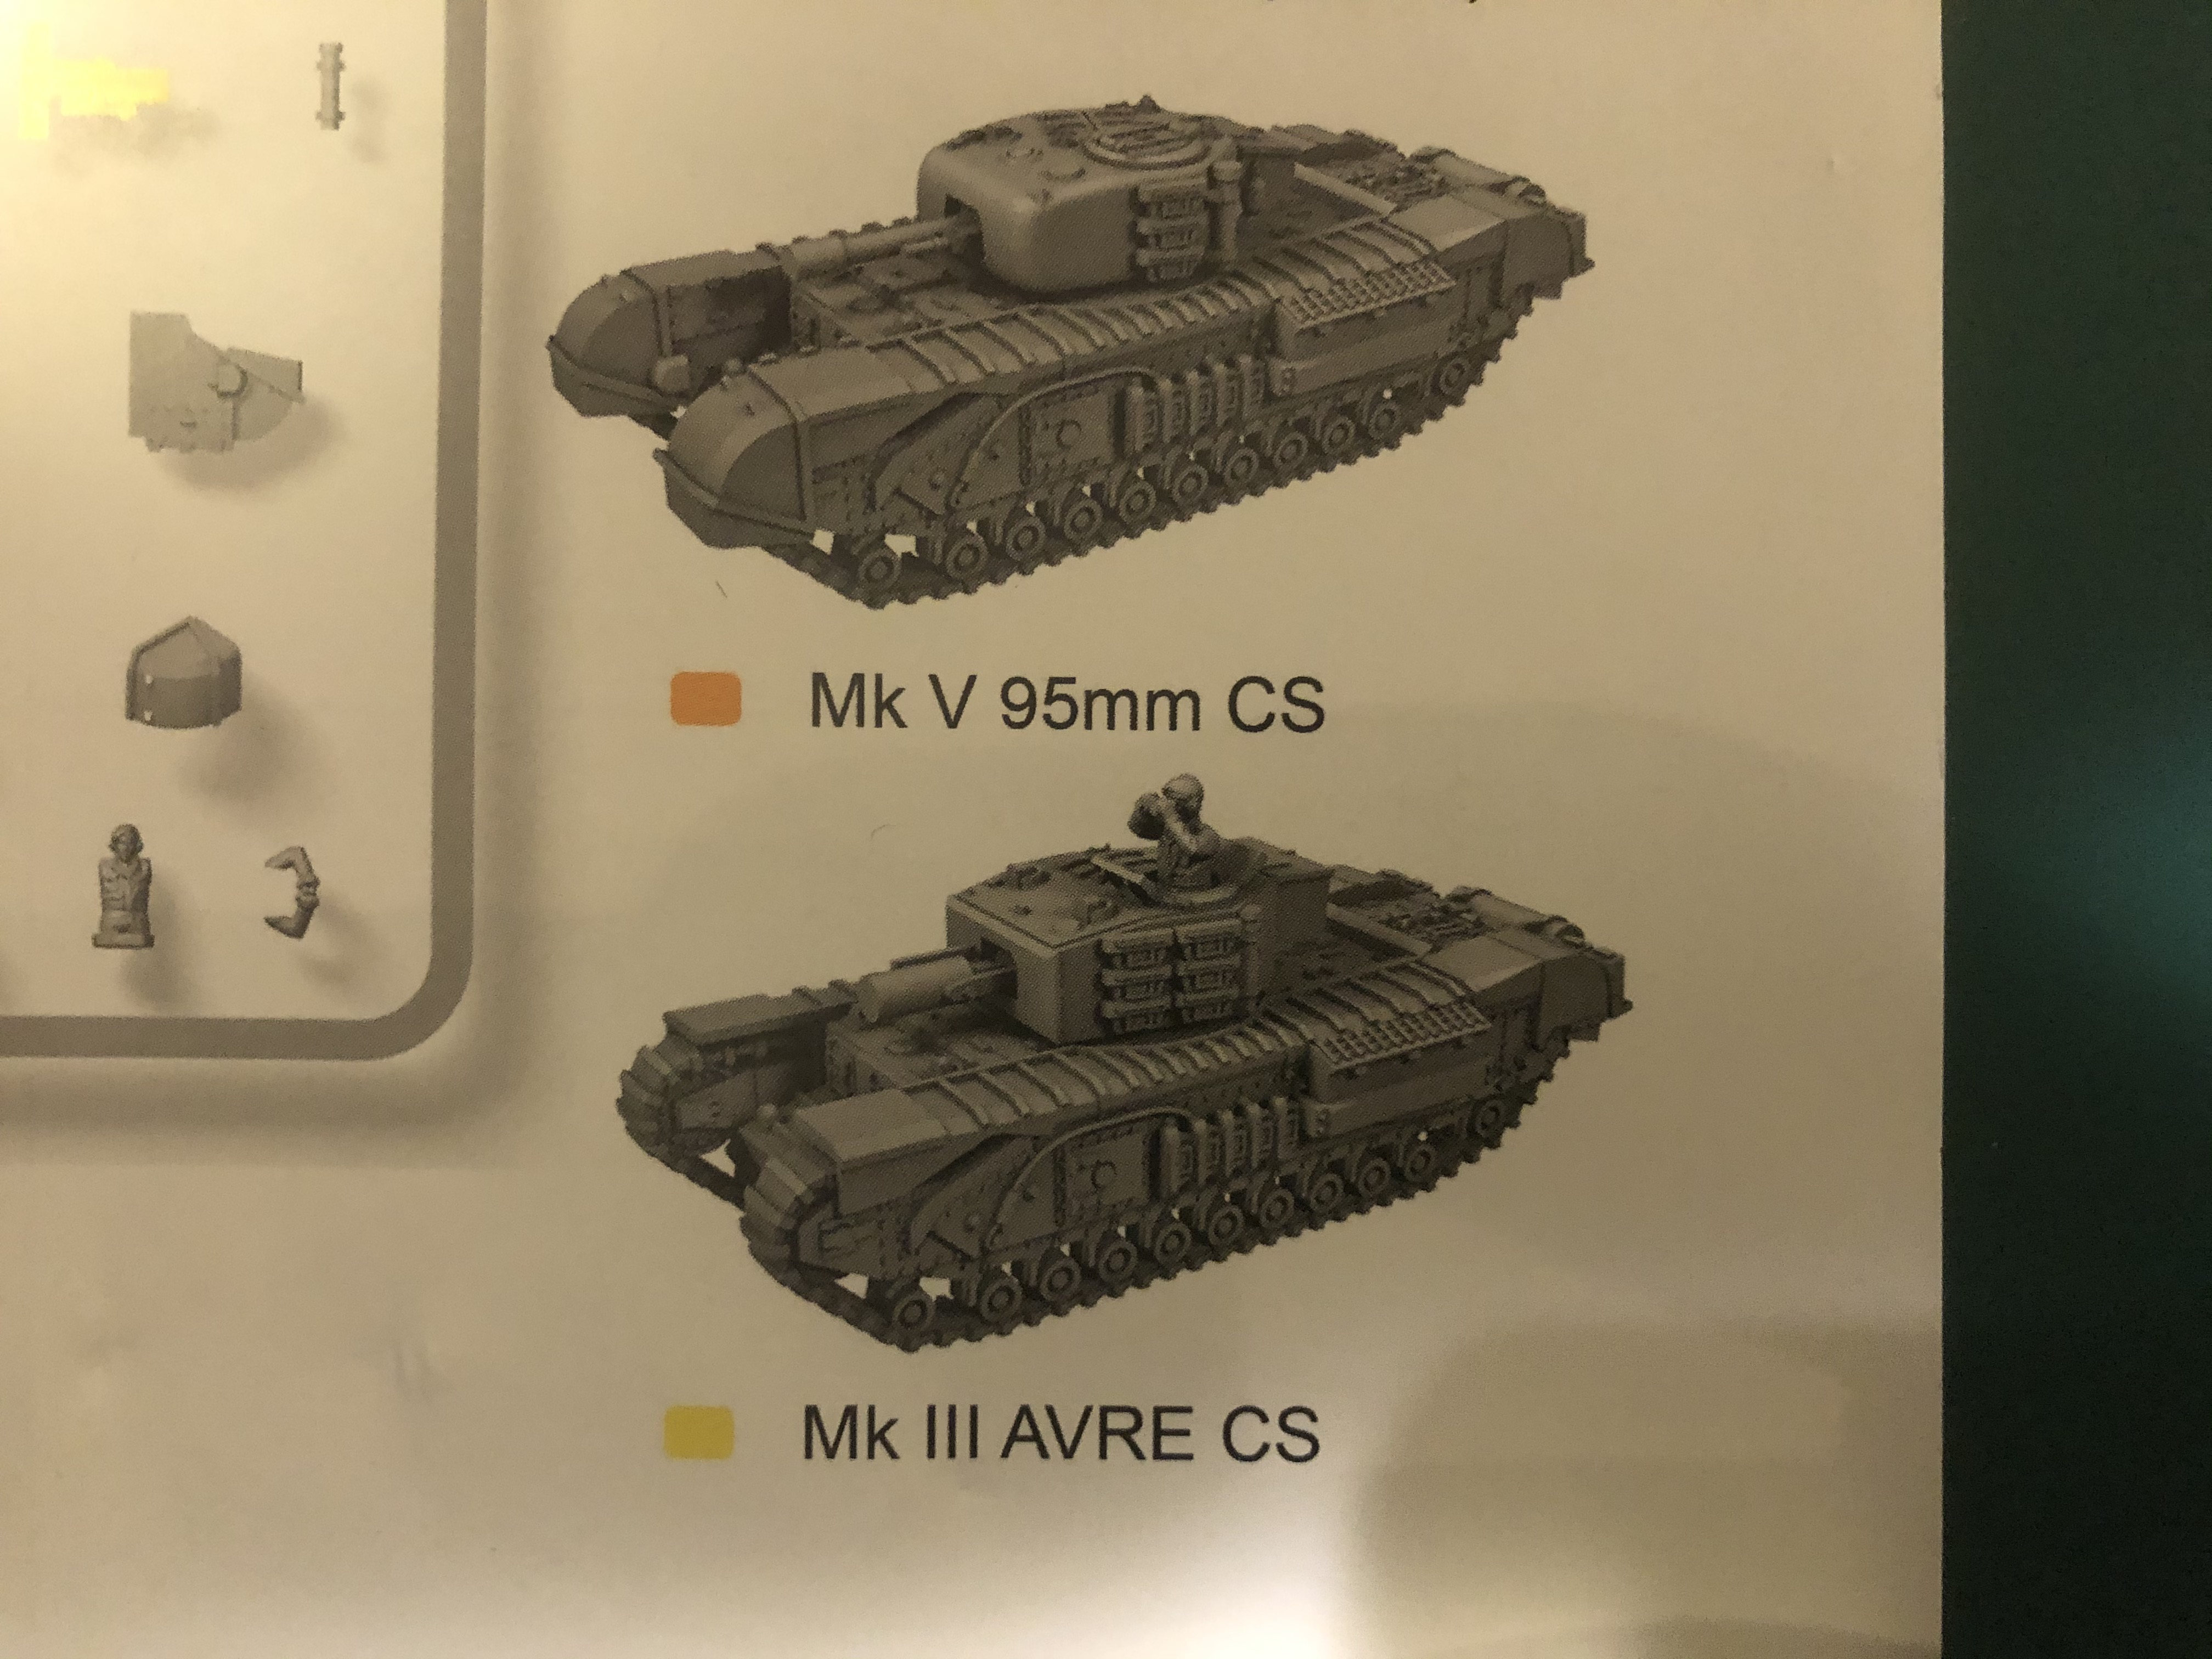
So from the research I have done most of the AVREs’ on D Day were Mark IV/Vs with a cast turret but the PSC ones are all MKIIIs (with welded turrets). Therefore I completely ignored this and built four as Mk IV’s and one as a MKIII (as I had a photo of a bridge layer that shows a MKIII turret).
I also looked at the conversion bits from S&S models and assigned them to a separate tank. I did this as I knew that there would be some work to be done before sticking them together. I had meant to do each version separately for you but then I got carried away and built them all!! I will go back over each one with some historical photos, so you can see why I did what I did.
Anyway on with the build:
 PSC AVRE Variant (welded) and the cast version that I feel it should have been
Brucey Top Tip
 Before you chuck out your water, check your sprues for any missing bits
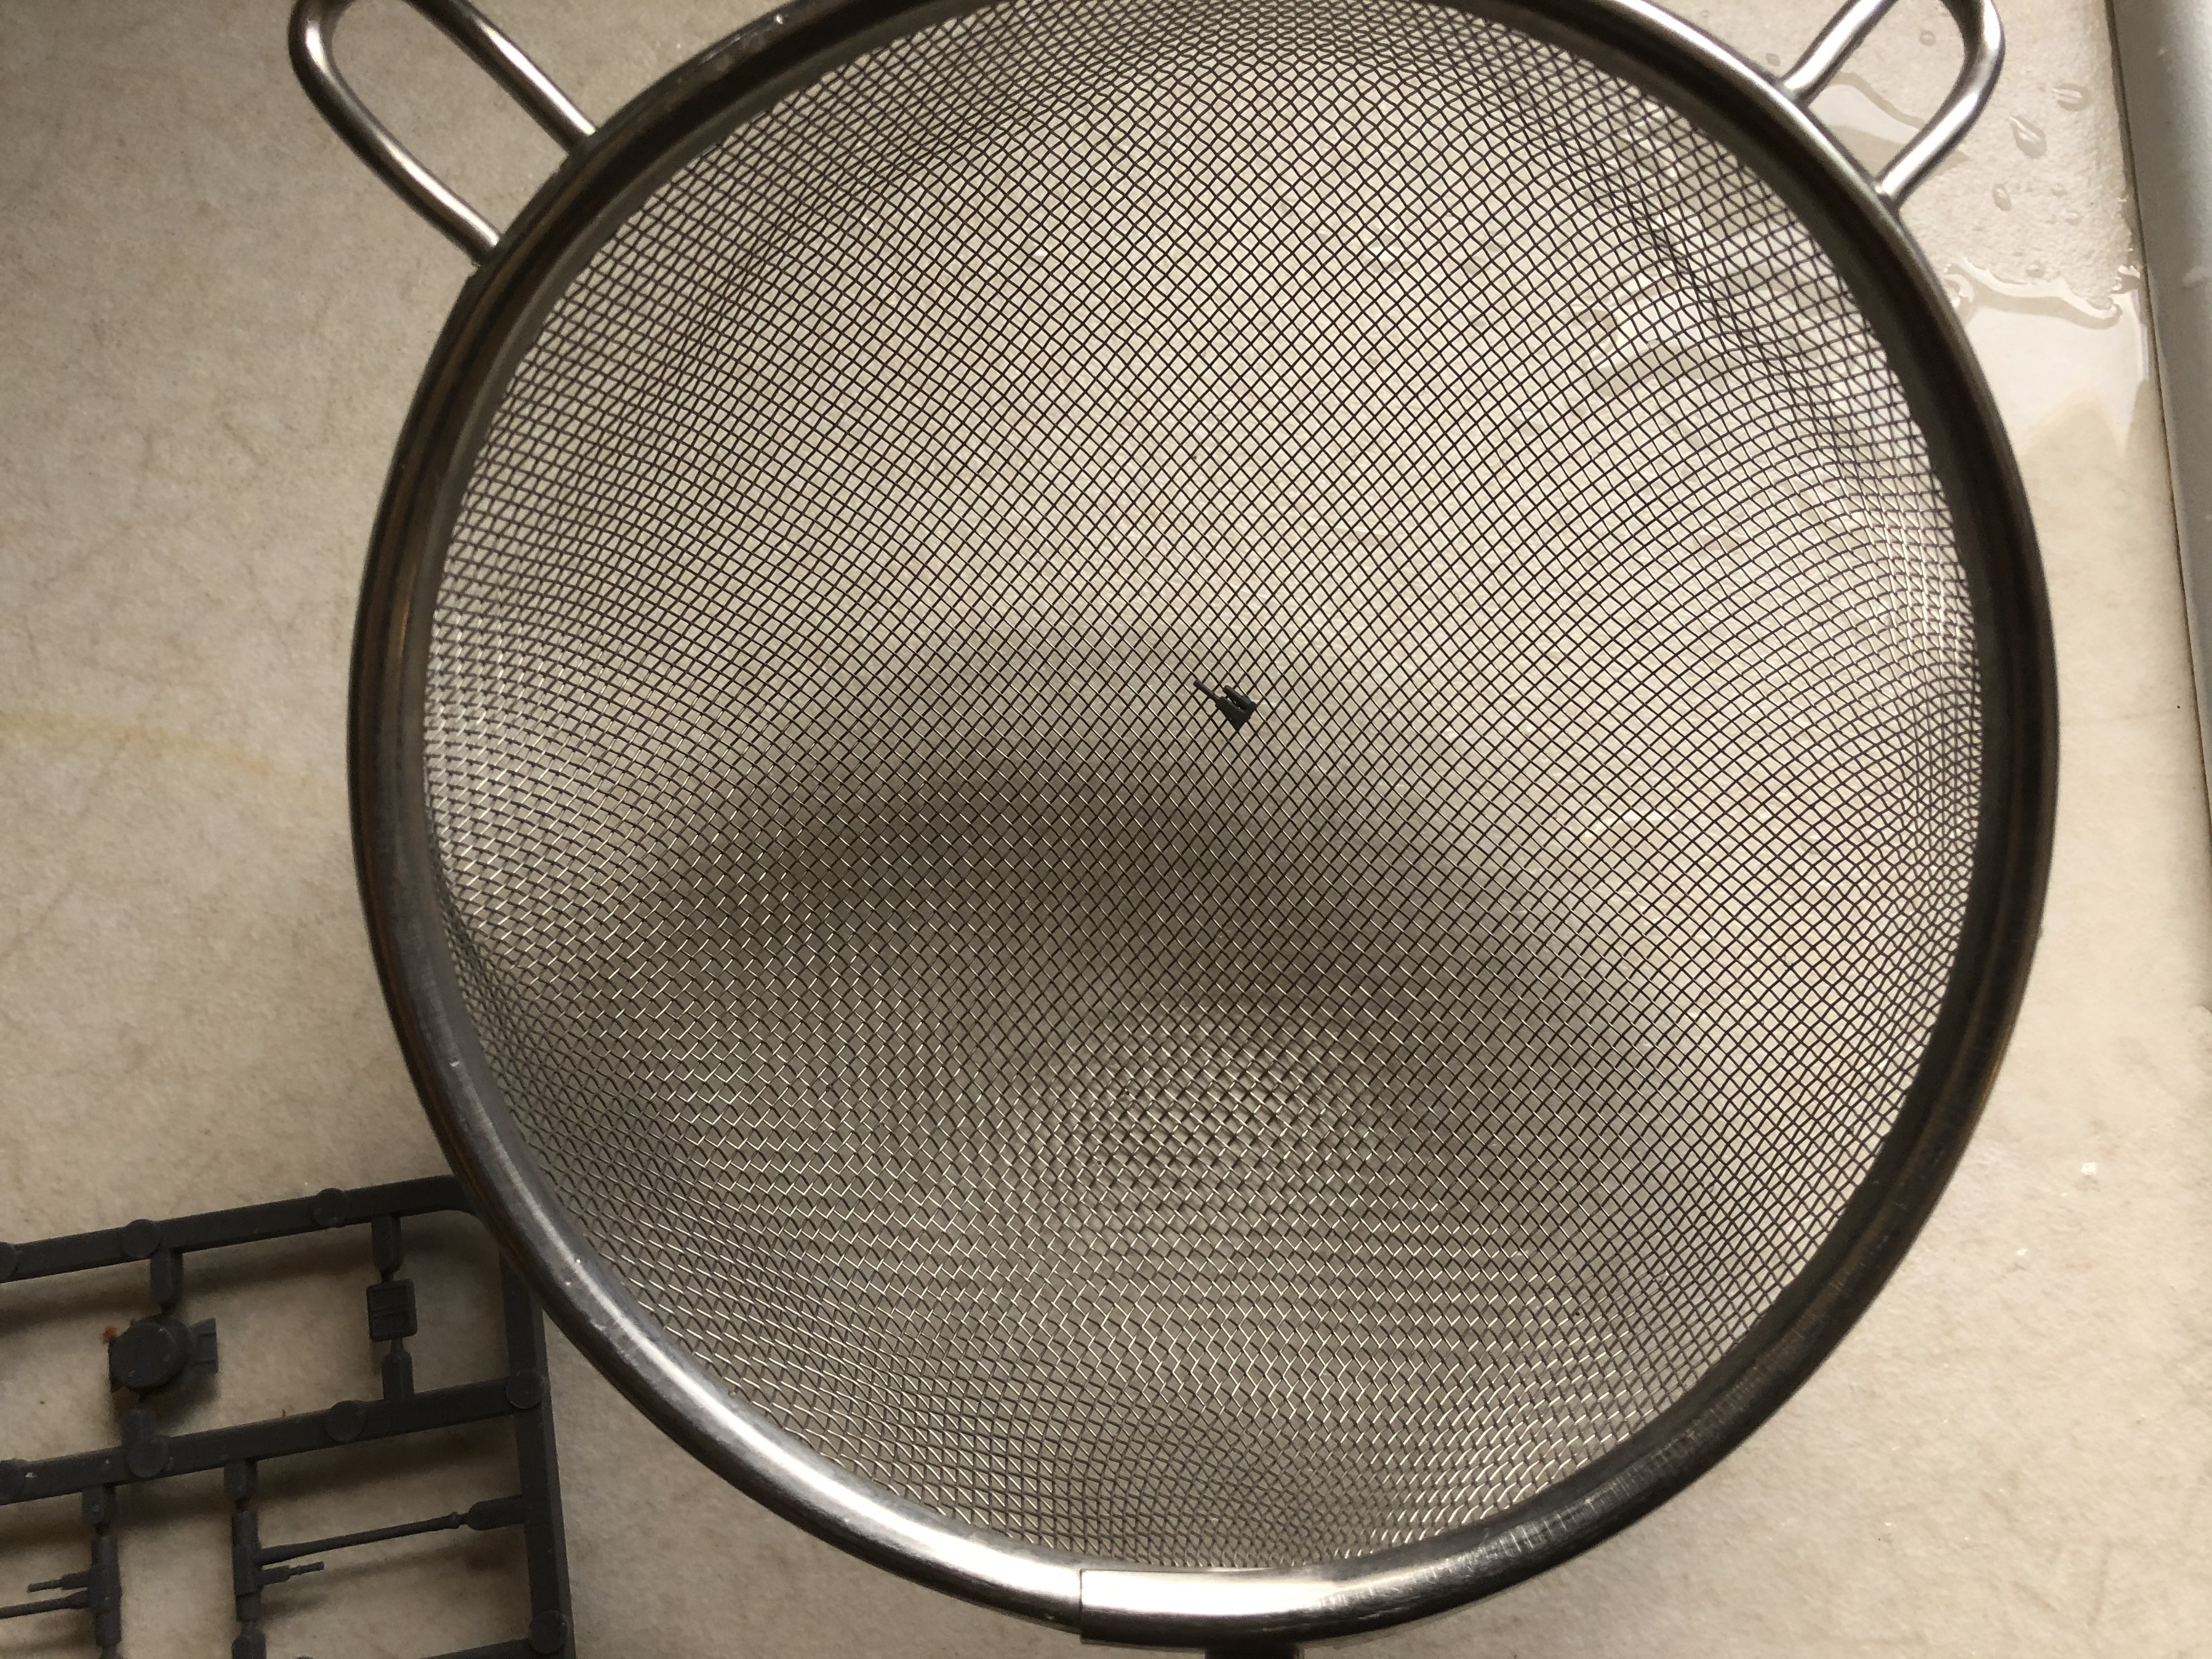 If something is missing, don't pour it down the plughole and curse yourself for days. Instead, pour it through a strainer to catch it.


