
![A Perfect Zombie Apocalypse Starter Set? Civilians & Survivors Review | Wargames Atlantic [7 Days Early Access]](https://images.beastsofwar.com/2026/01/unboxing-wargames-atlantic-civilians-_-survivors-1_2-coverimage-225-127.jpg)
![Wild Australia Wargaming? 28mm Ned Kelly Gang & Victorian Police Review [7 Days Early Access]](https://images.beastsofwar.com/2026/01/unboxing-traders-galaxy-australiana-ned-kelly-gang-_-victorian-police-coverimage-225-127.jpg)


On The Waterfront: Spring Clean Challenge


Recommendations: 1151
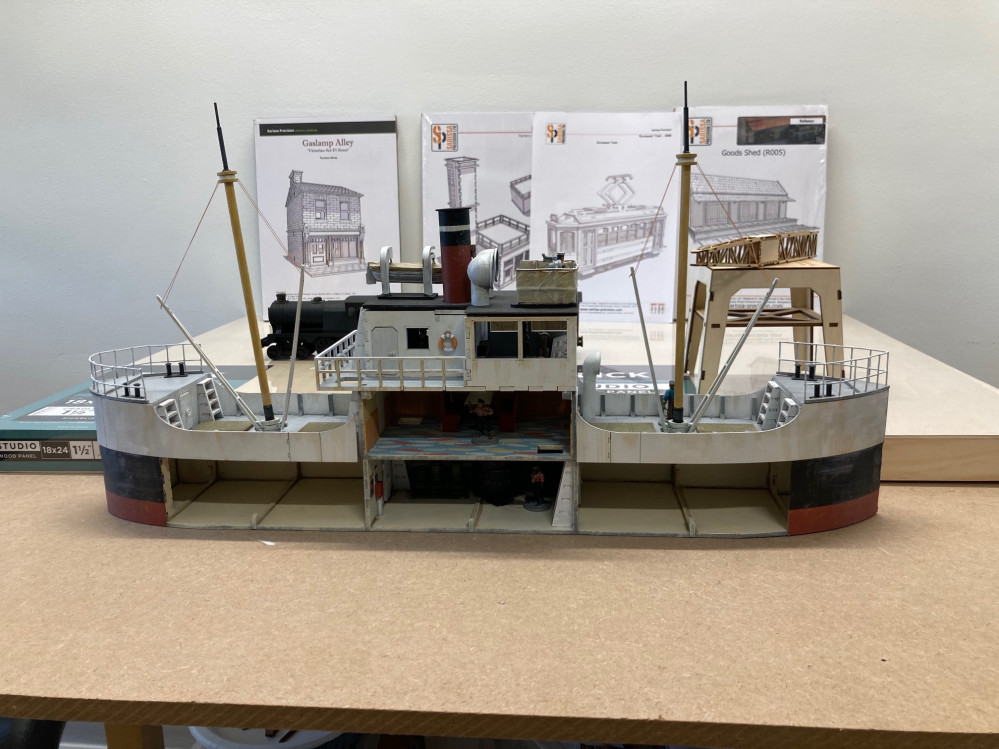
About the Project
During the 2020 Spring Clean Challenge I converted and finished the Sally 4th "Tramp Steamer". In 2021 I plan to build a 3x3 Waterfront Pulp gaming board. With a 1x3 water area or dock for the Tramp Steamer and 2x3 of land for offloading cranes, sheds, trains, trams, buildings etc. I plan to use what I have, a lot of unfinished or unopened SP kits that I have collected in the past 6 years.
Related Game: Pulp Alley
Related Company: Sarissa Precision
Related Genre: Pulp
Related Contest: Spring Clean Hobby Challenge (Old)
This Project is Completed
Modularity Part 3
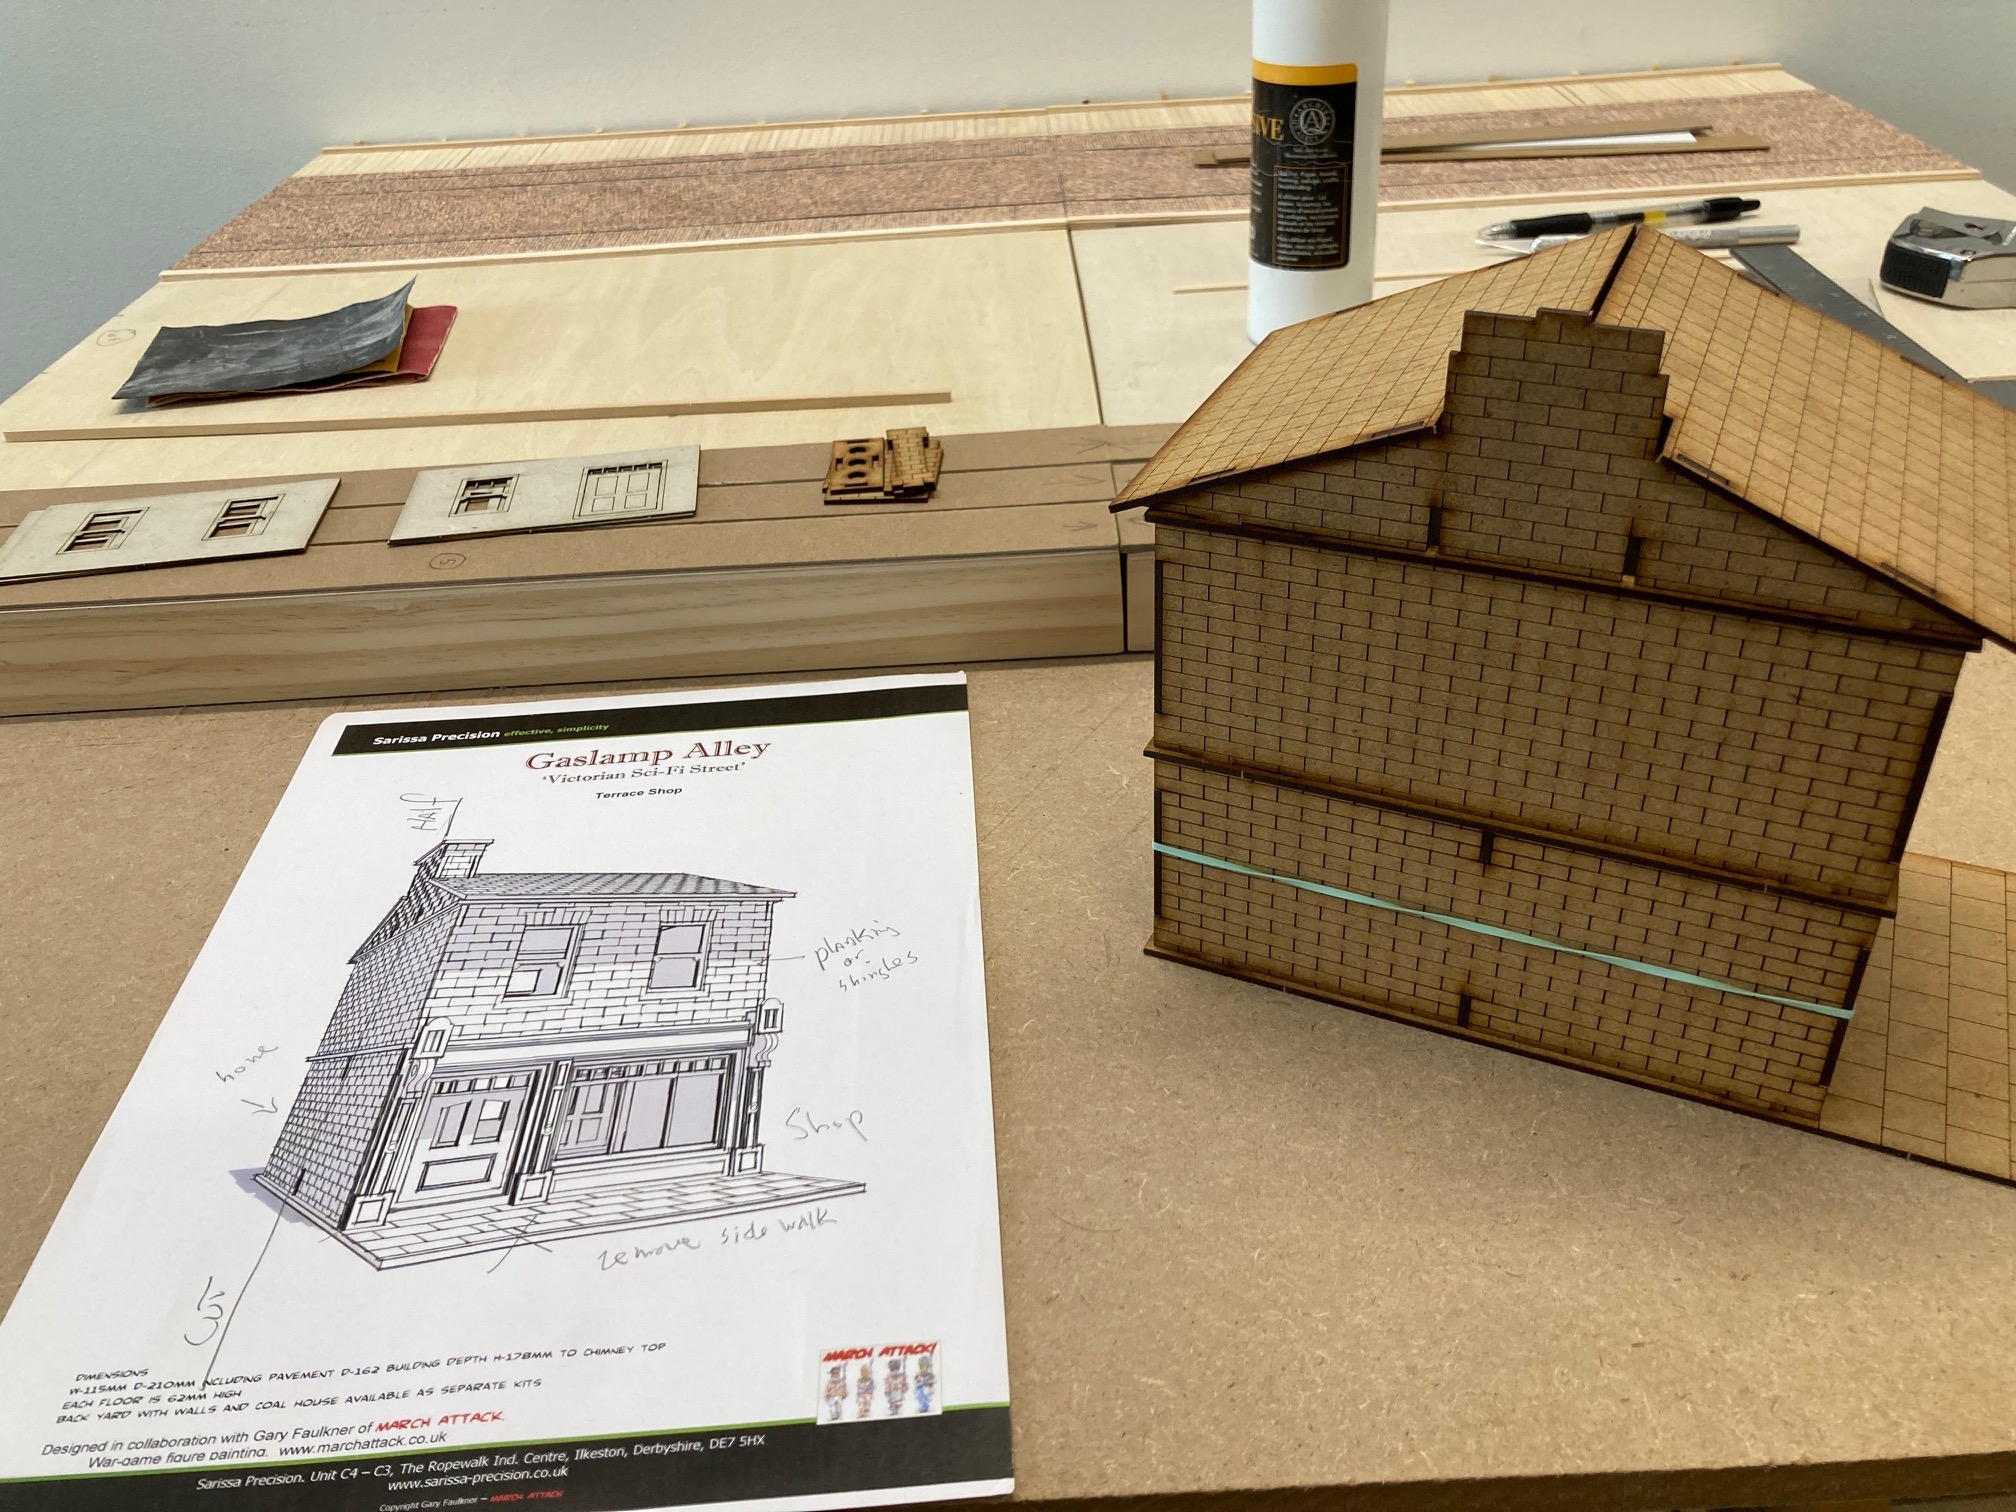
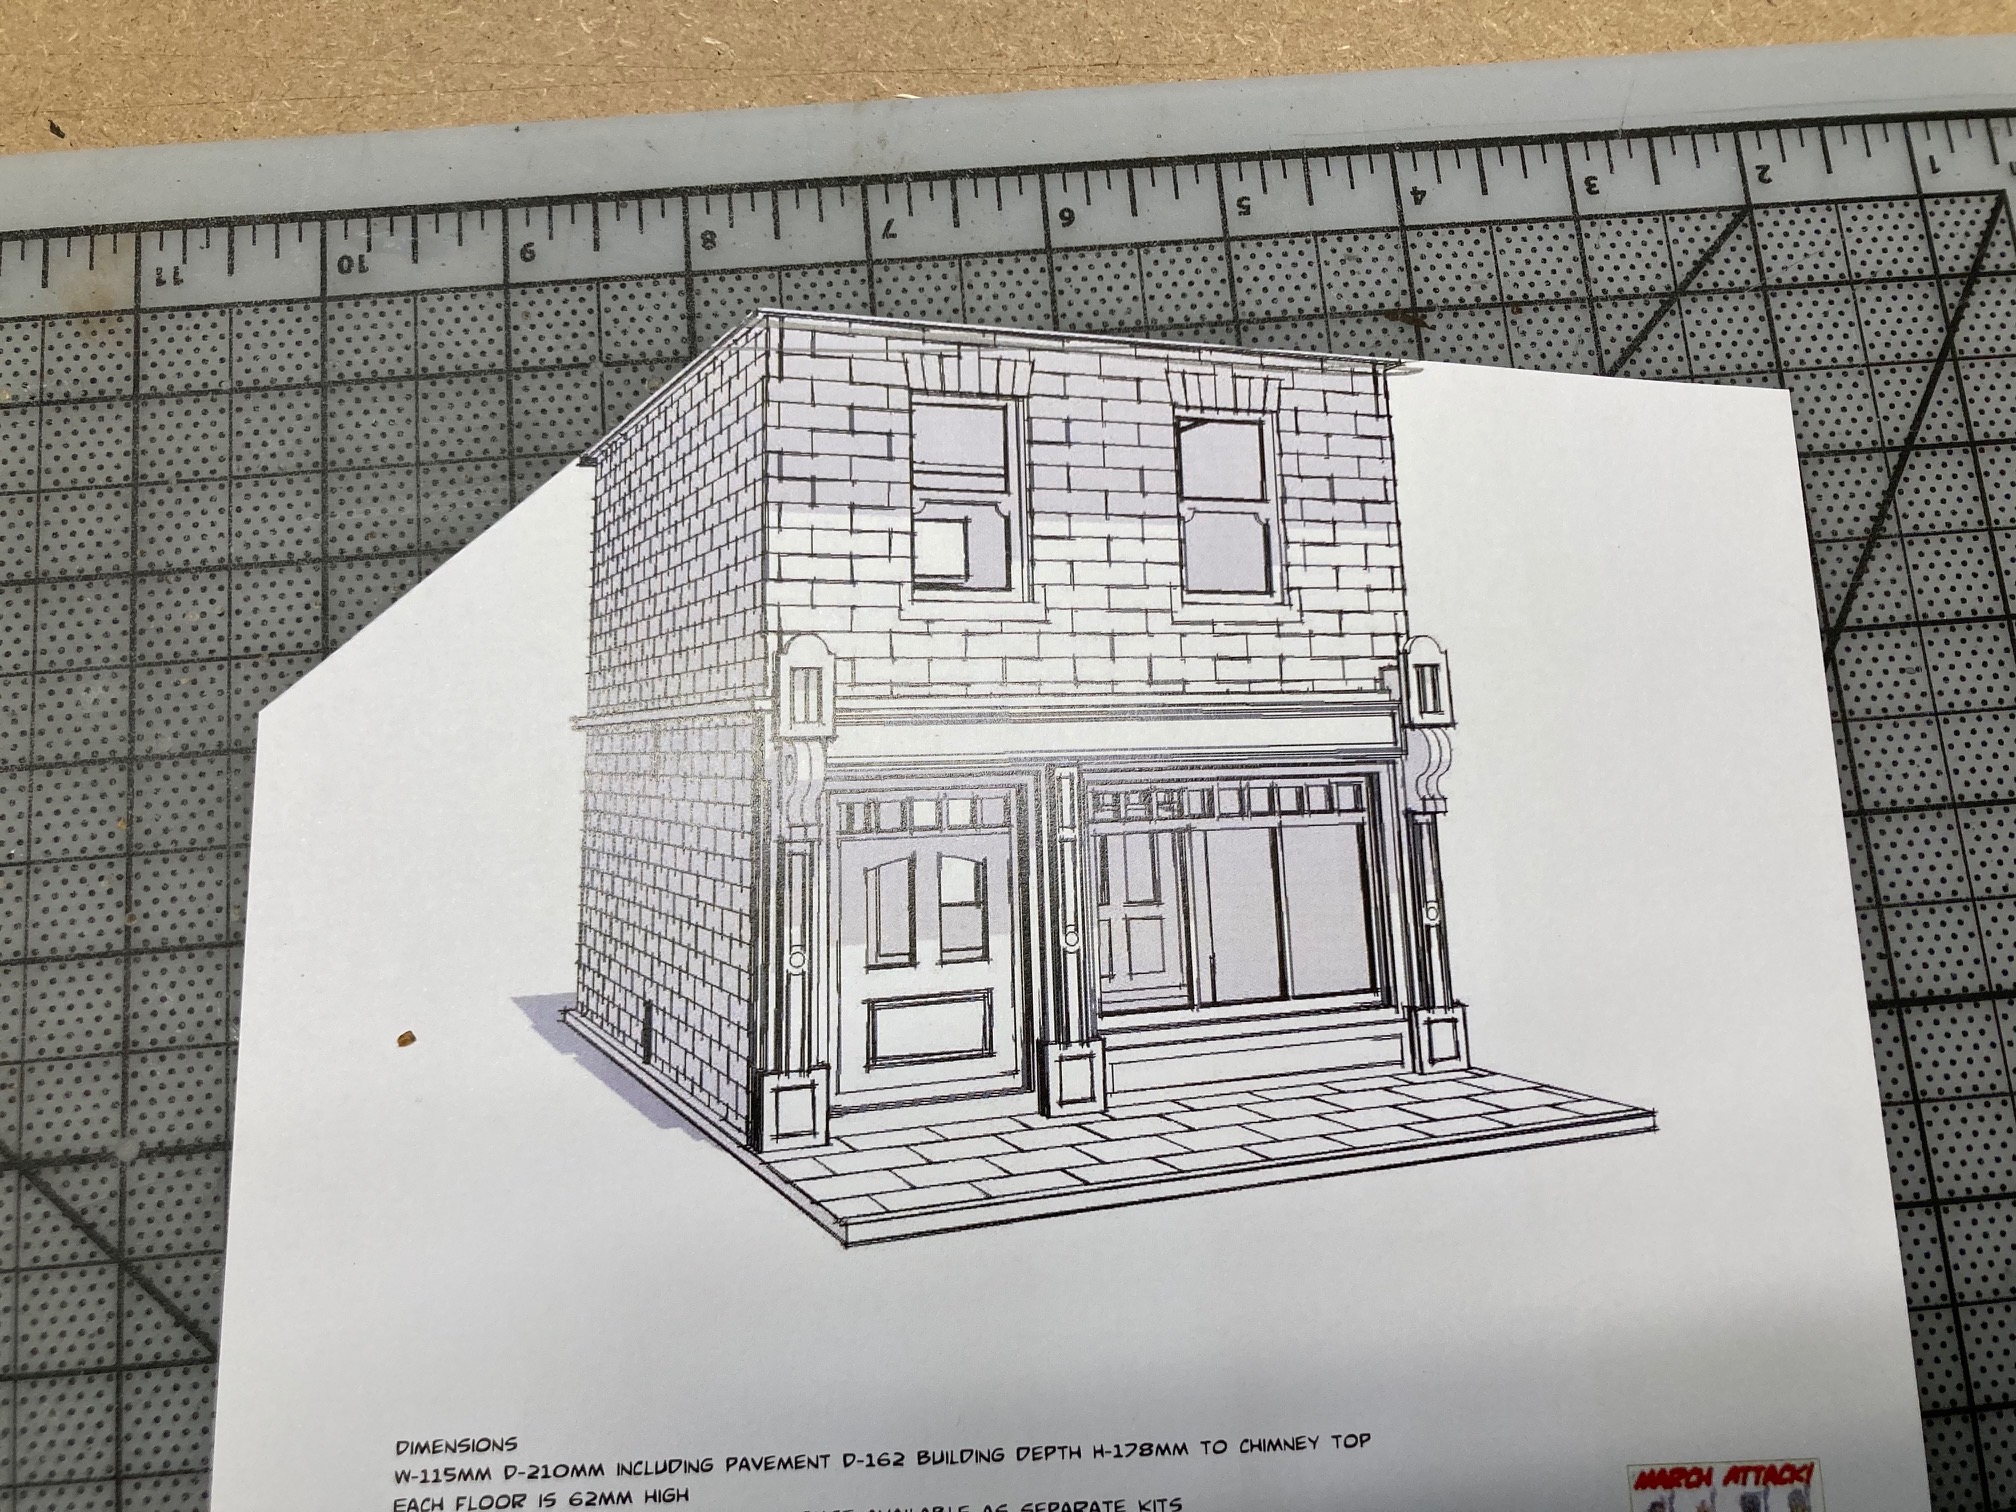
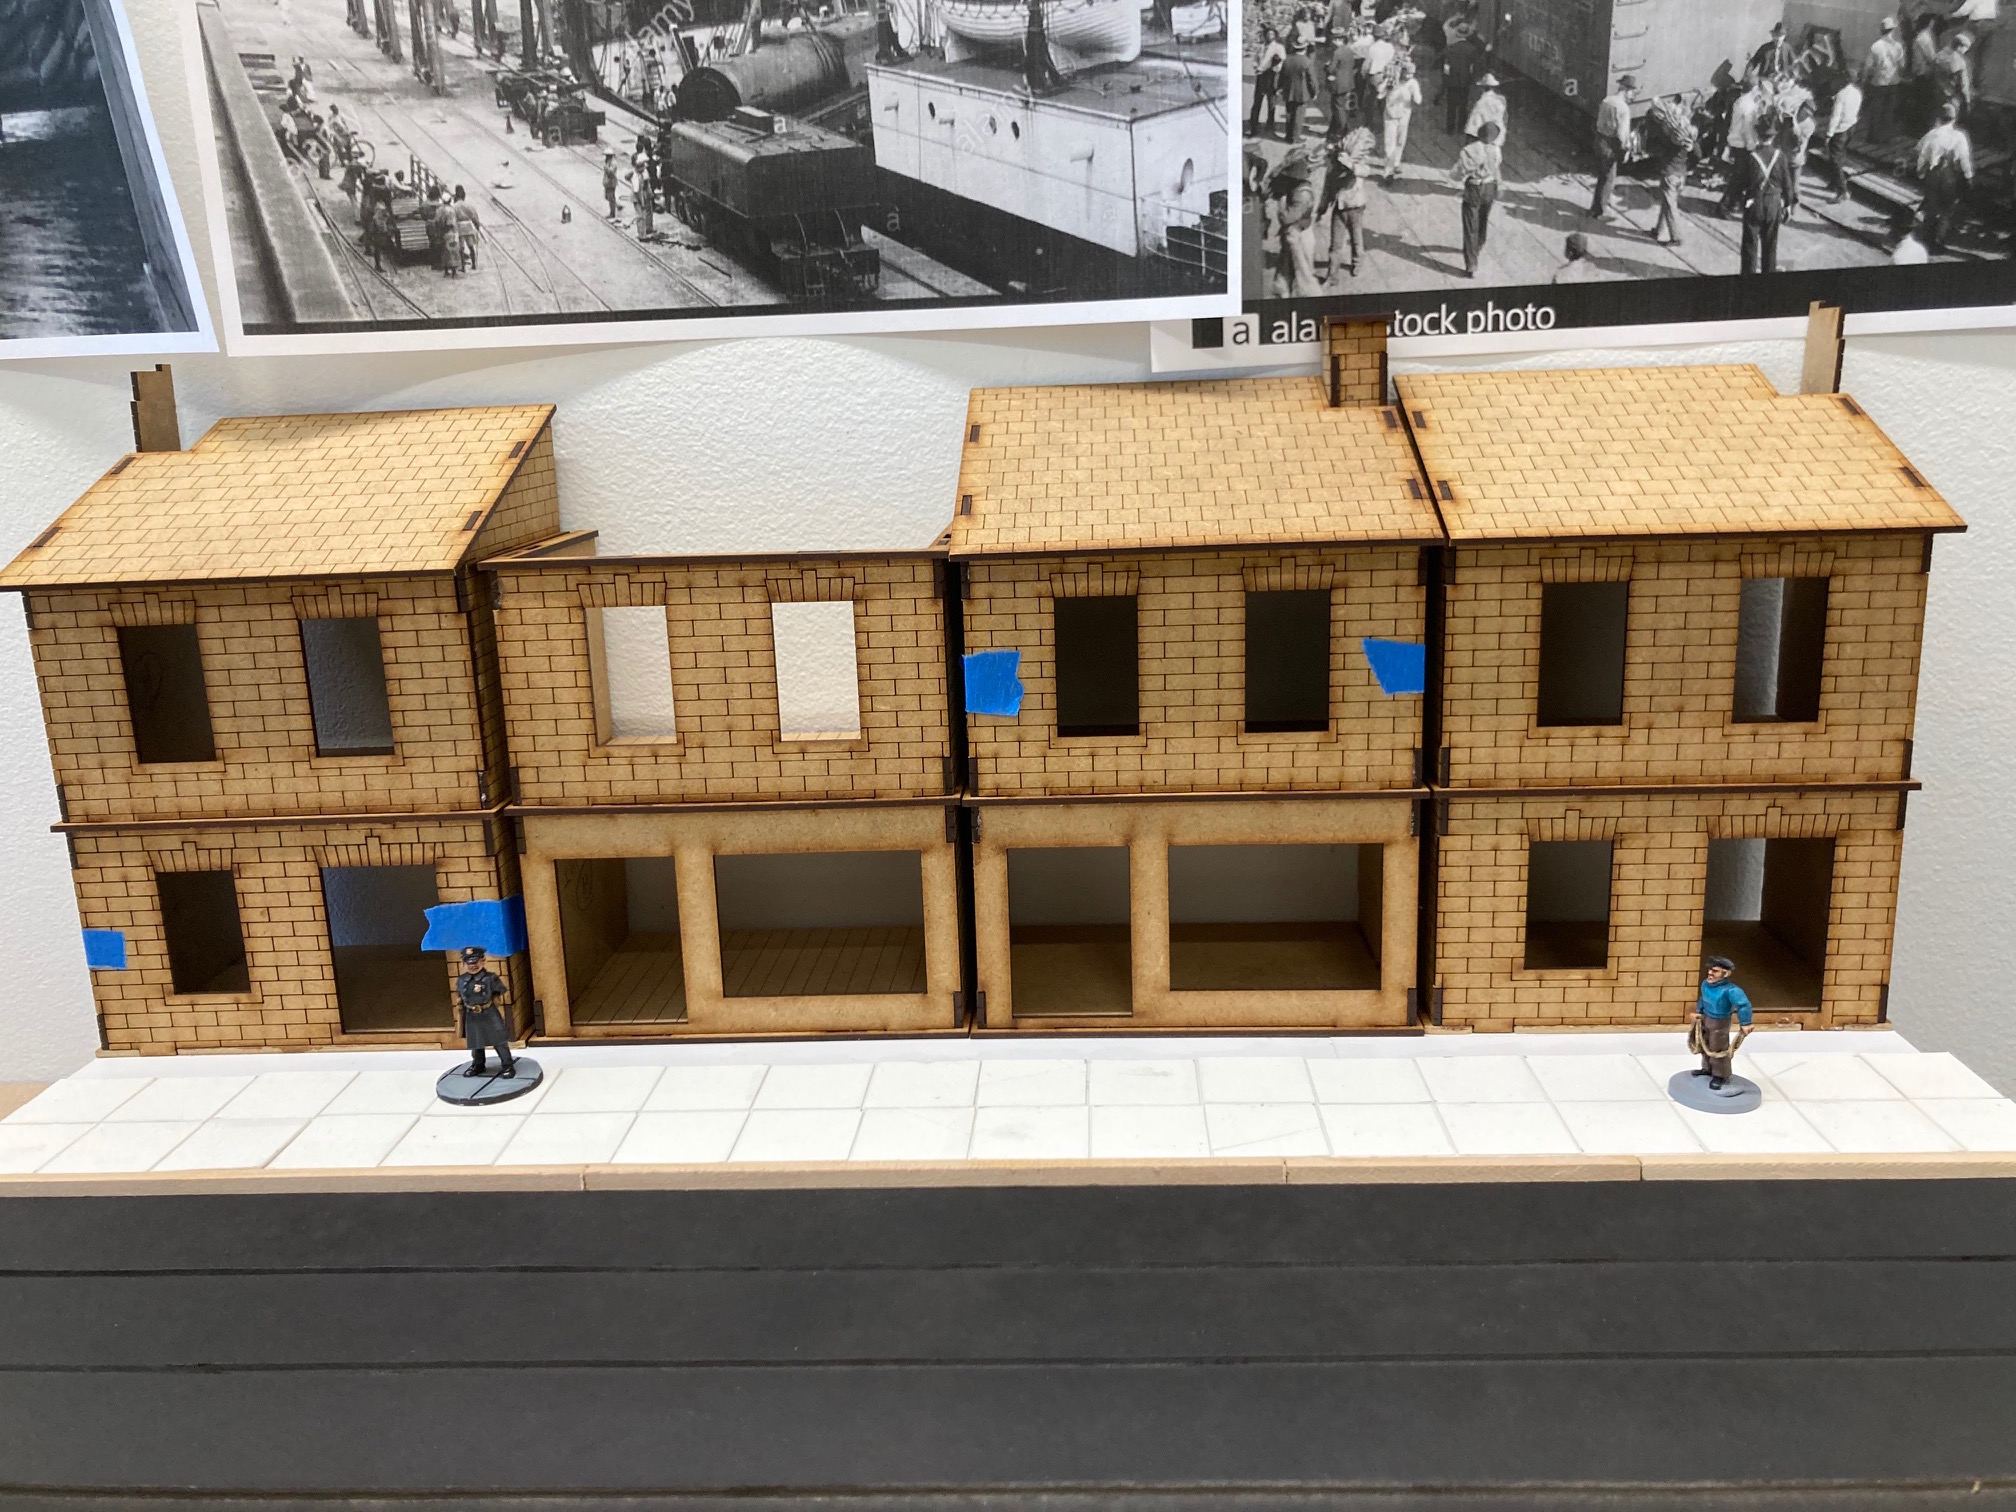
I’ve had two Sarissa “Gaslamp Alley” shop sets for four years now. I was probably going to build a village for WWII gaming. The cool thing about this set is that from the side it is symmetrical. The other side has a back door and window. So if I cut the buildings in half I will have four buildings to work with.
On the right side panel I’m planing a permanent low relief layout. It will always be at the table edge. Static, action will happen in front of it rather then around or in it.
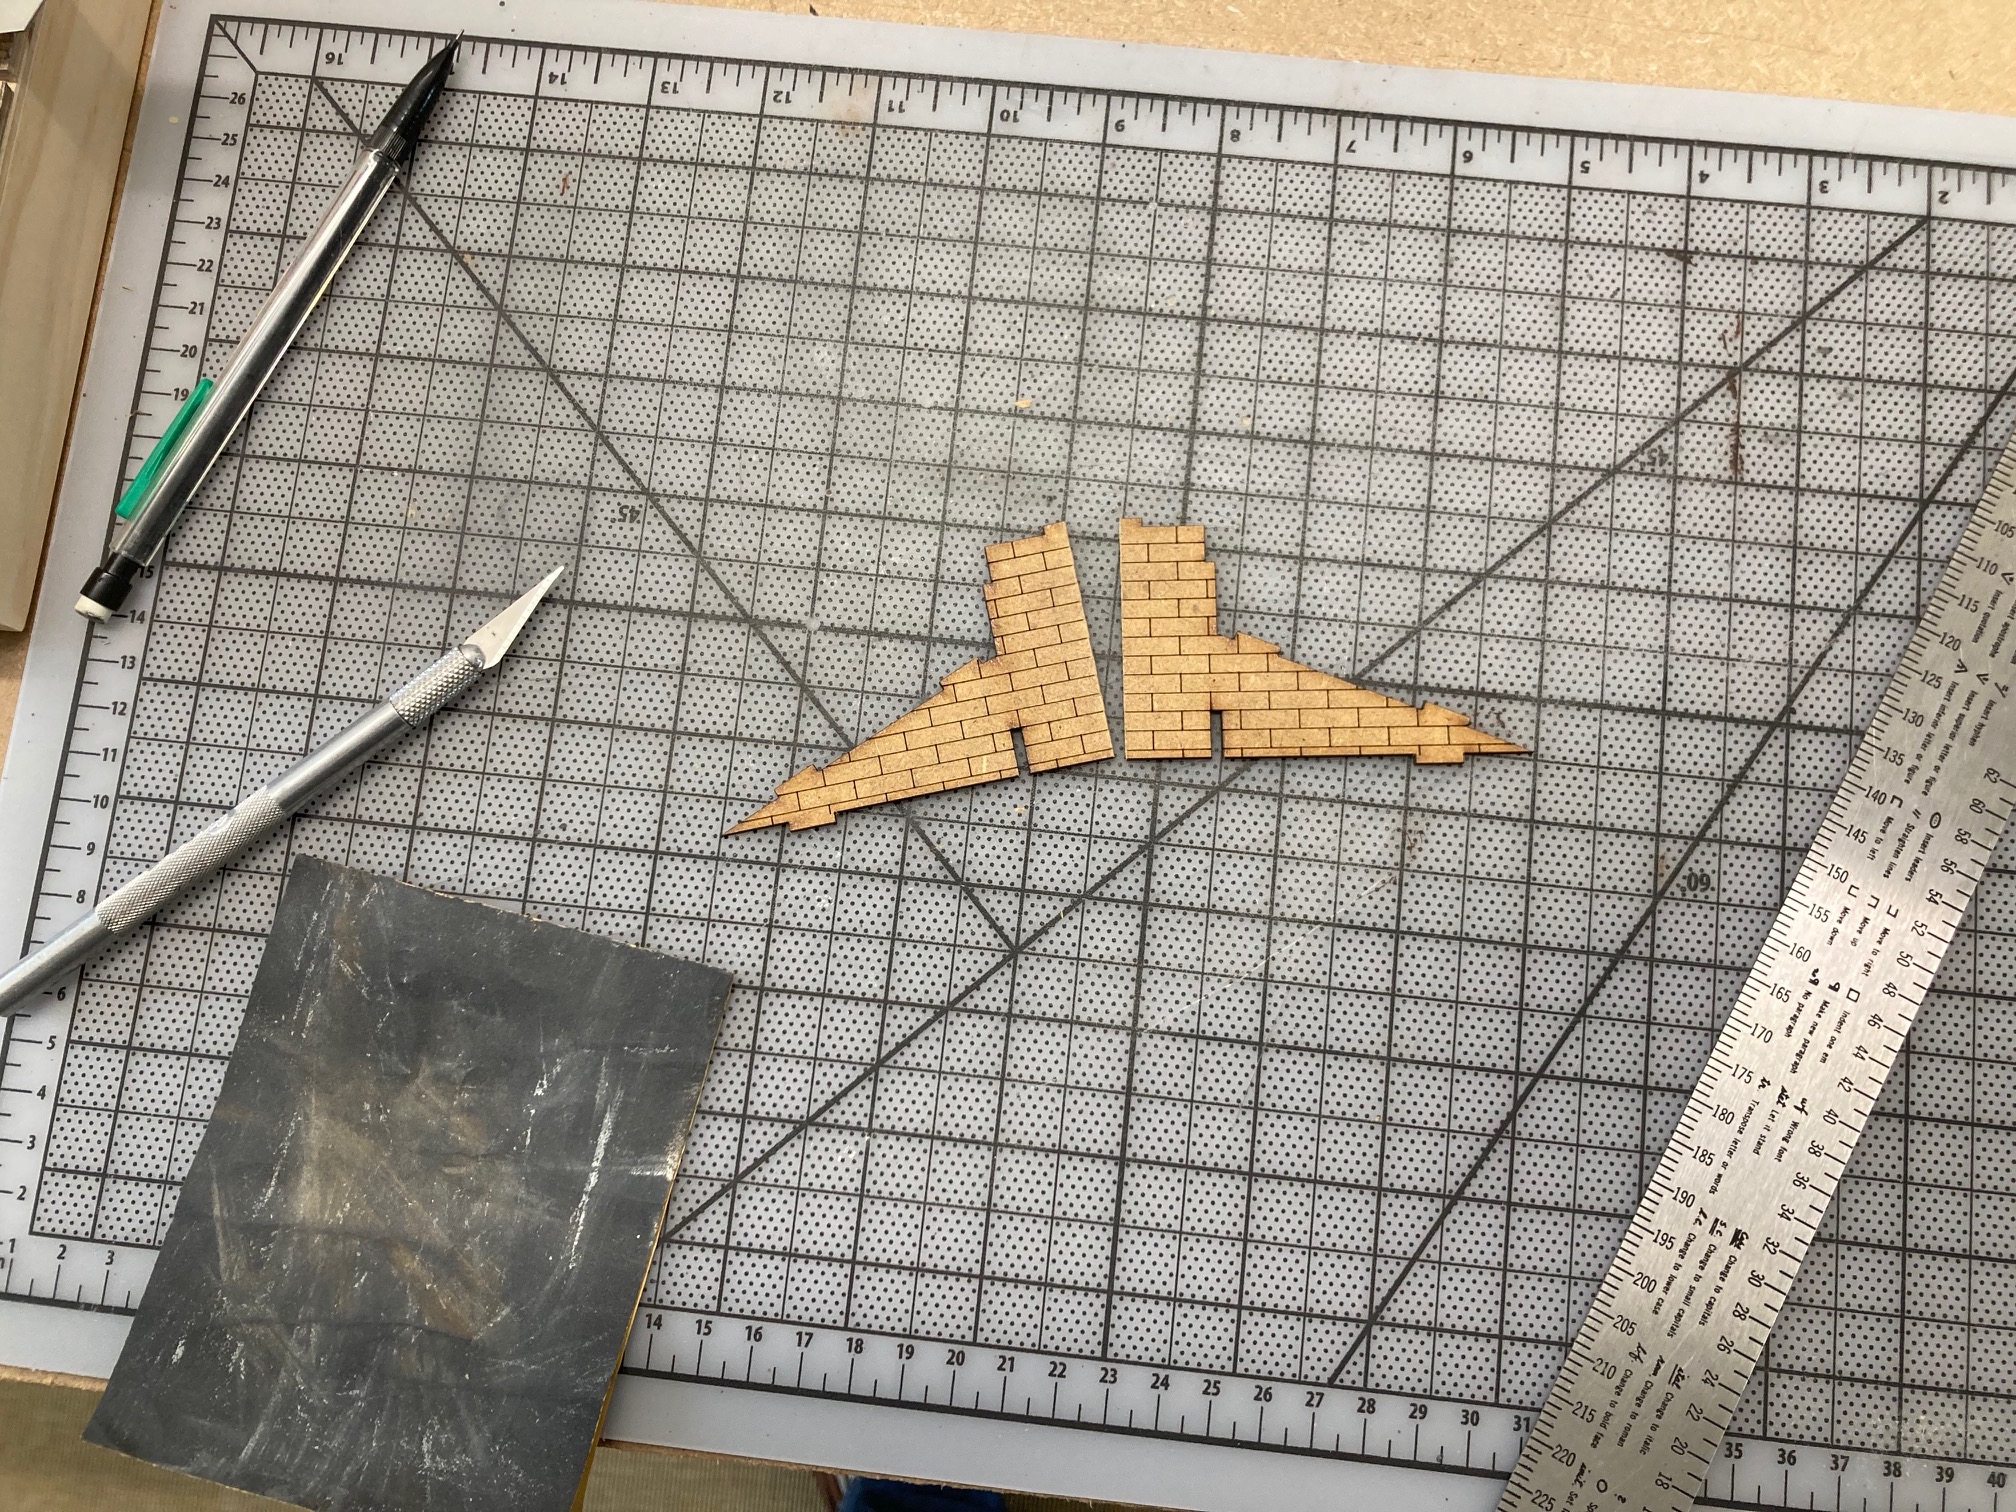
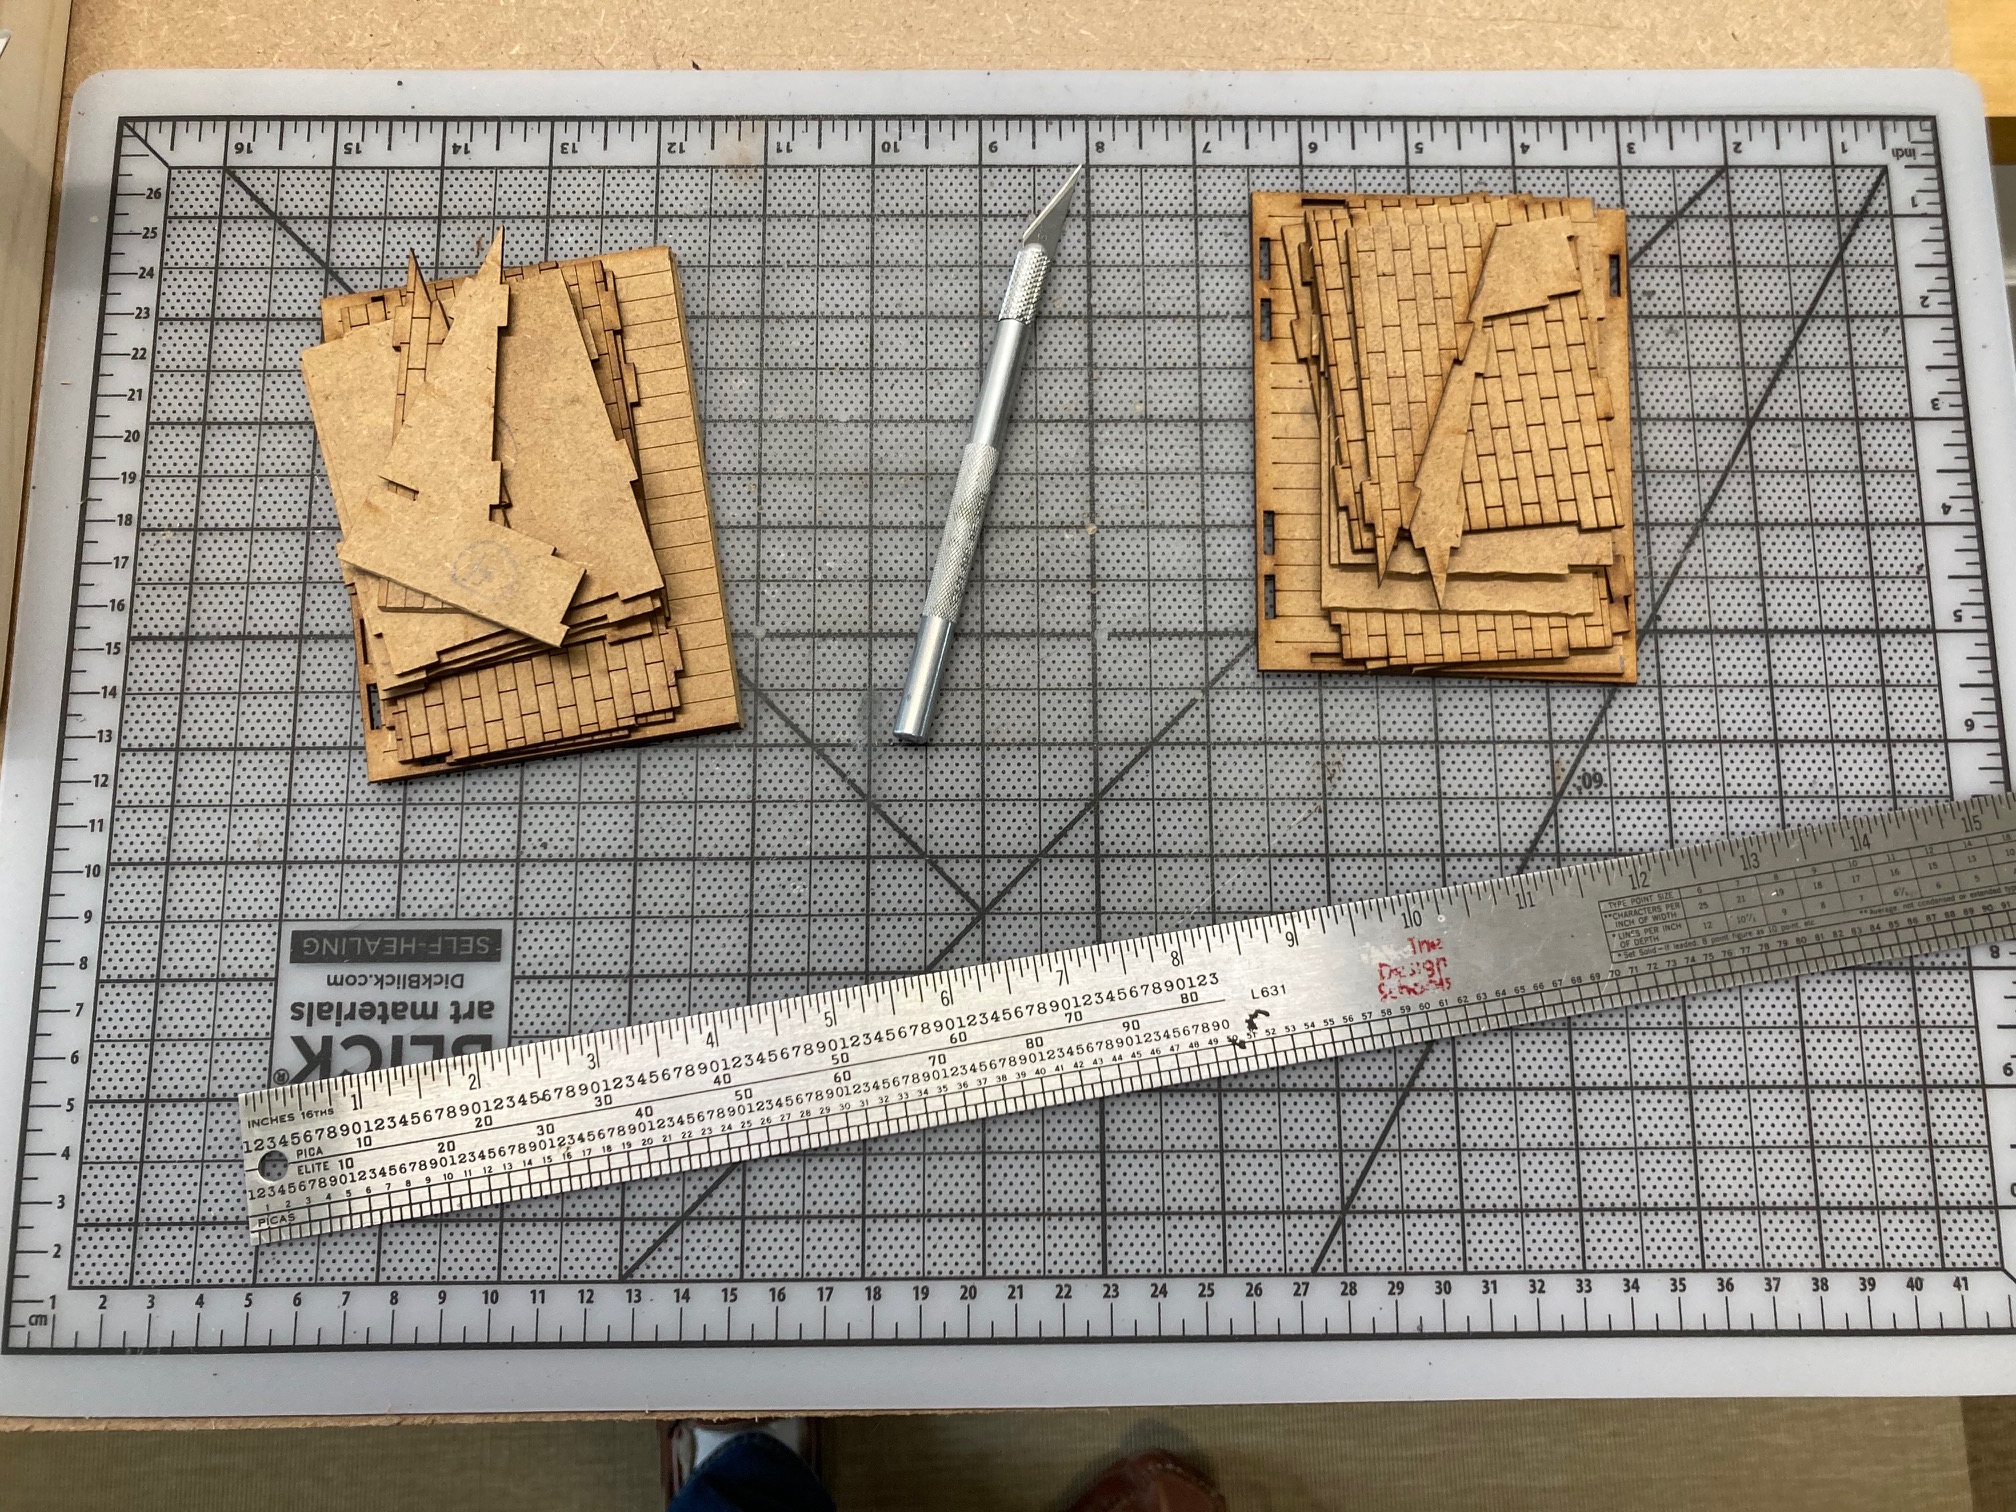
I simply cut every side piece in half and set aside. I plan to have a flat roof on one of the shops to break up the lines and give me a place to put a sniper.
Allot still to do but this is turning into my favorite part of the boards.
Till next time,
Cheers!

Crane, Train and Automobiles?
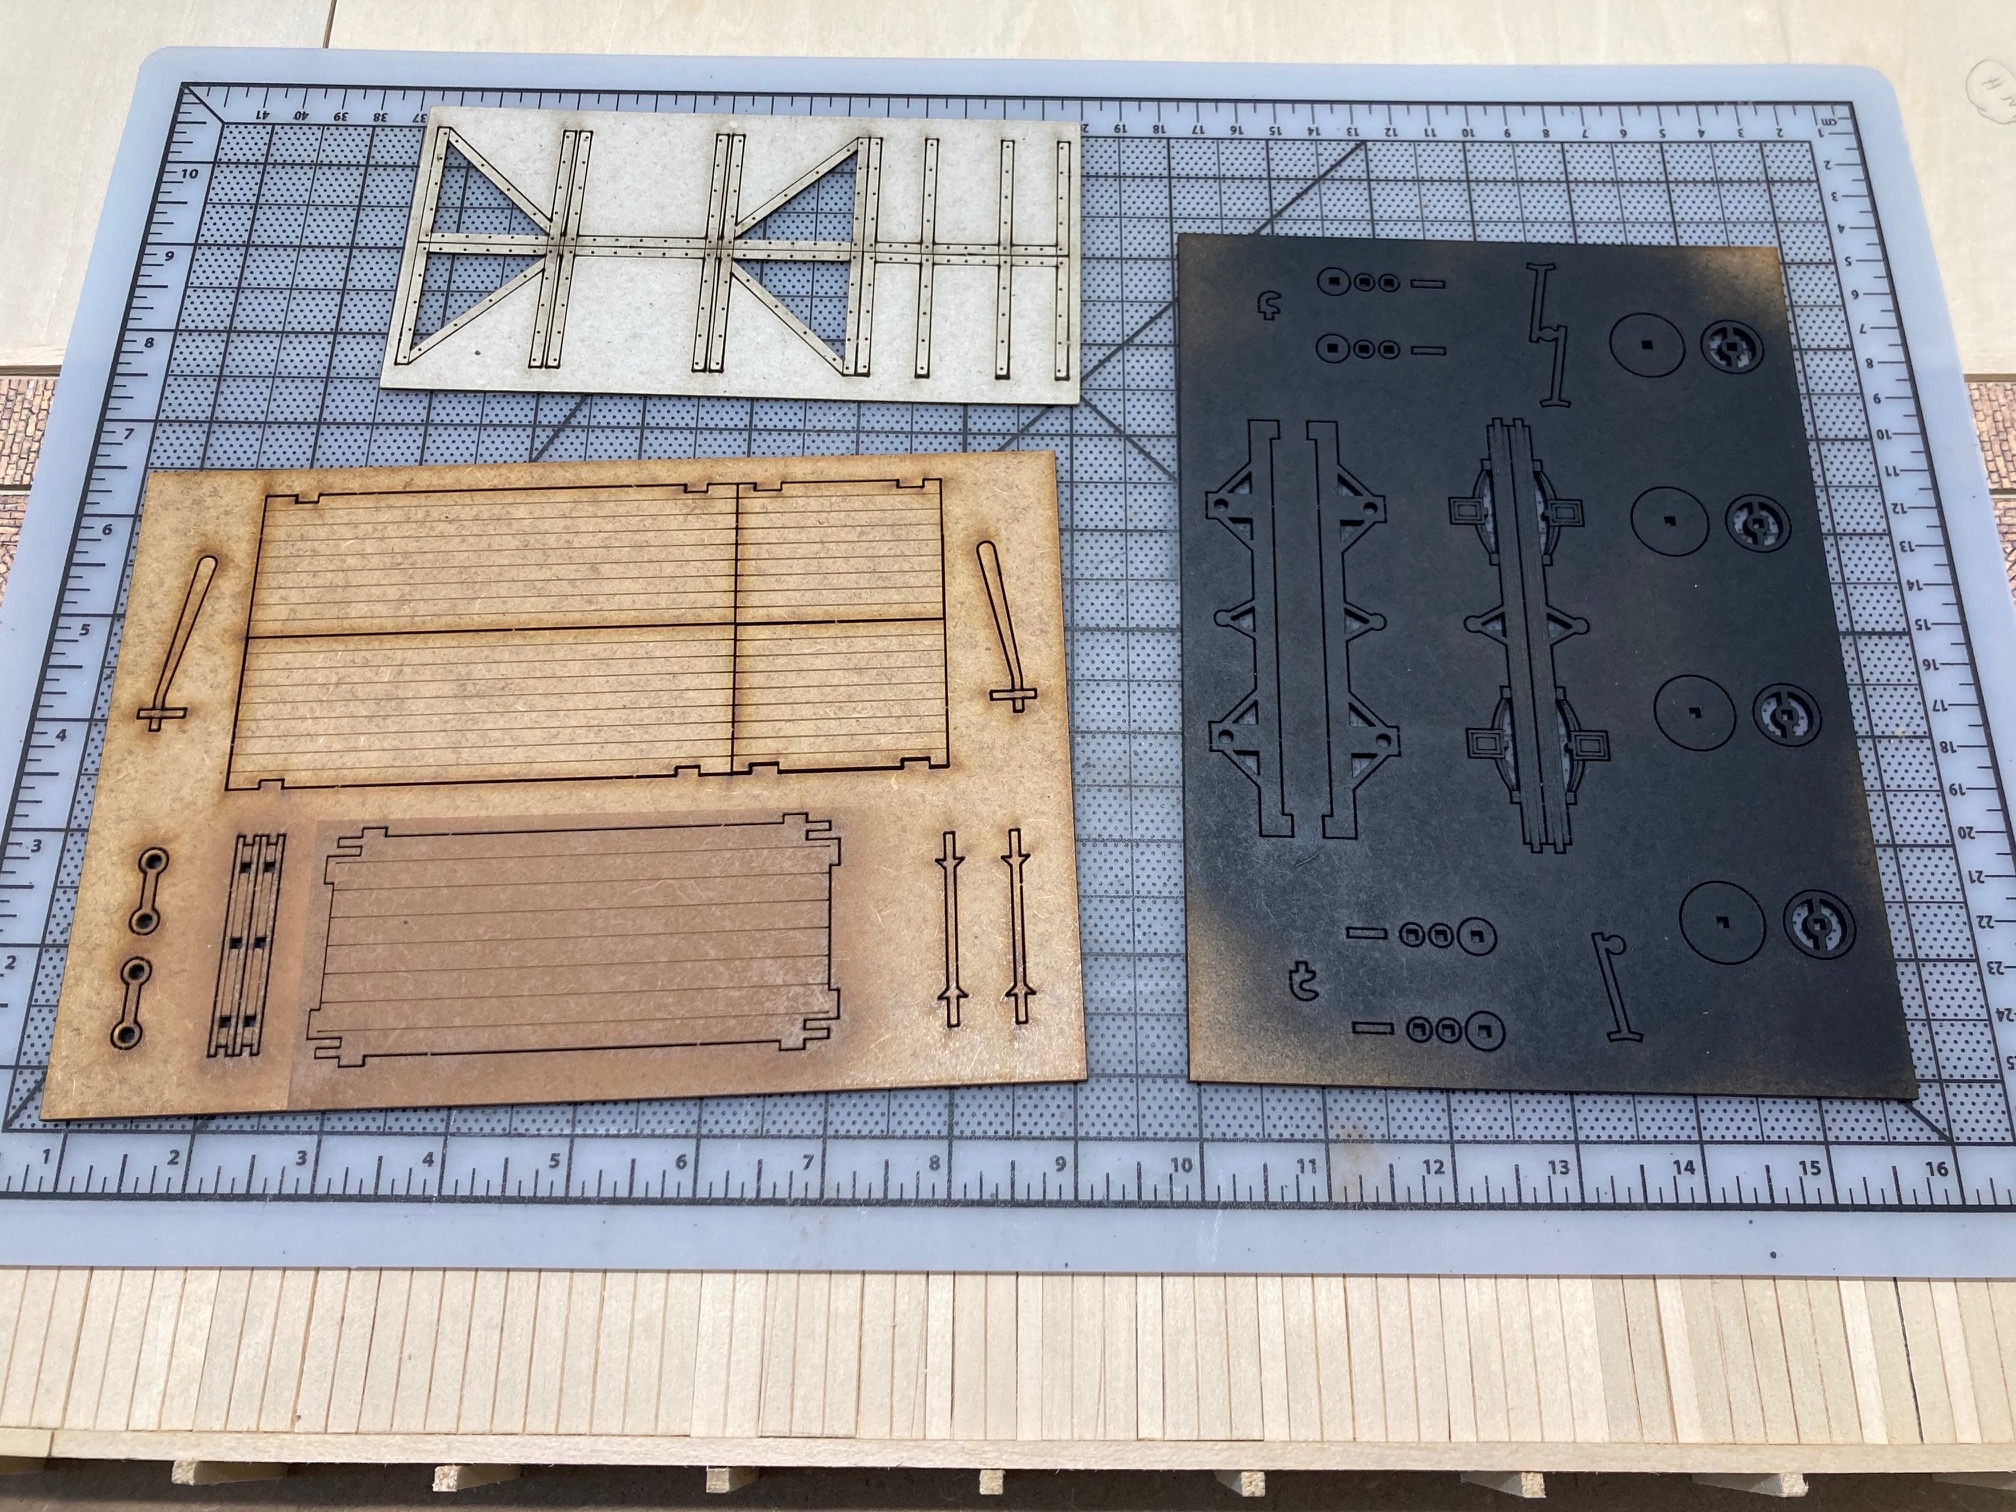
It’s a mild spring day here, perfect weather for spay painting. First up this Feris Games Dockside Crane. It’s not for beginners. It’s laser cut wood. Some pieces have 10mm uncut spacing. You will need to finish cutting out every piece. But if you use a new blade and take your time, there should be no problems.
After CA gluing the parts together into the main three sections. I primed all three with Black Chalkboard. After drying the legs got Army Painter Grey Primer and the cab and crane arm got NC-Acrylic Mt. Fuji.

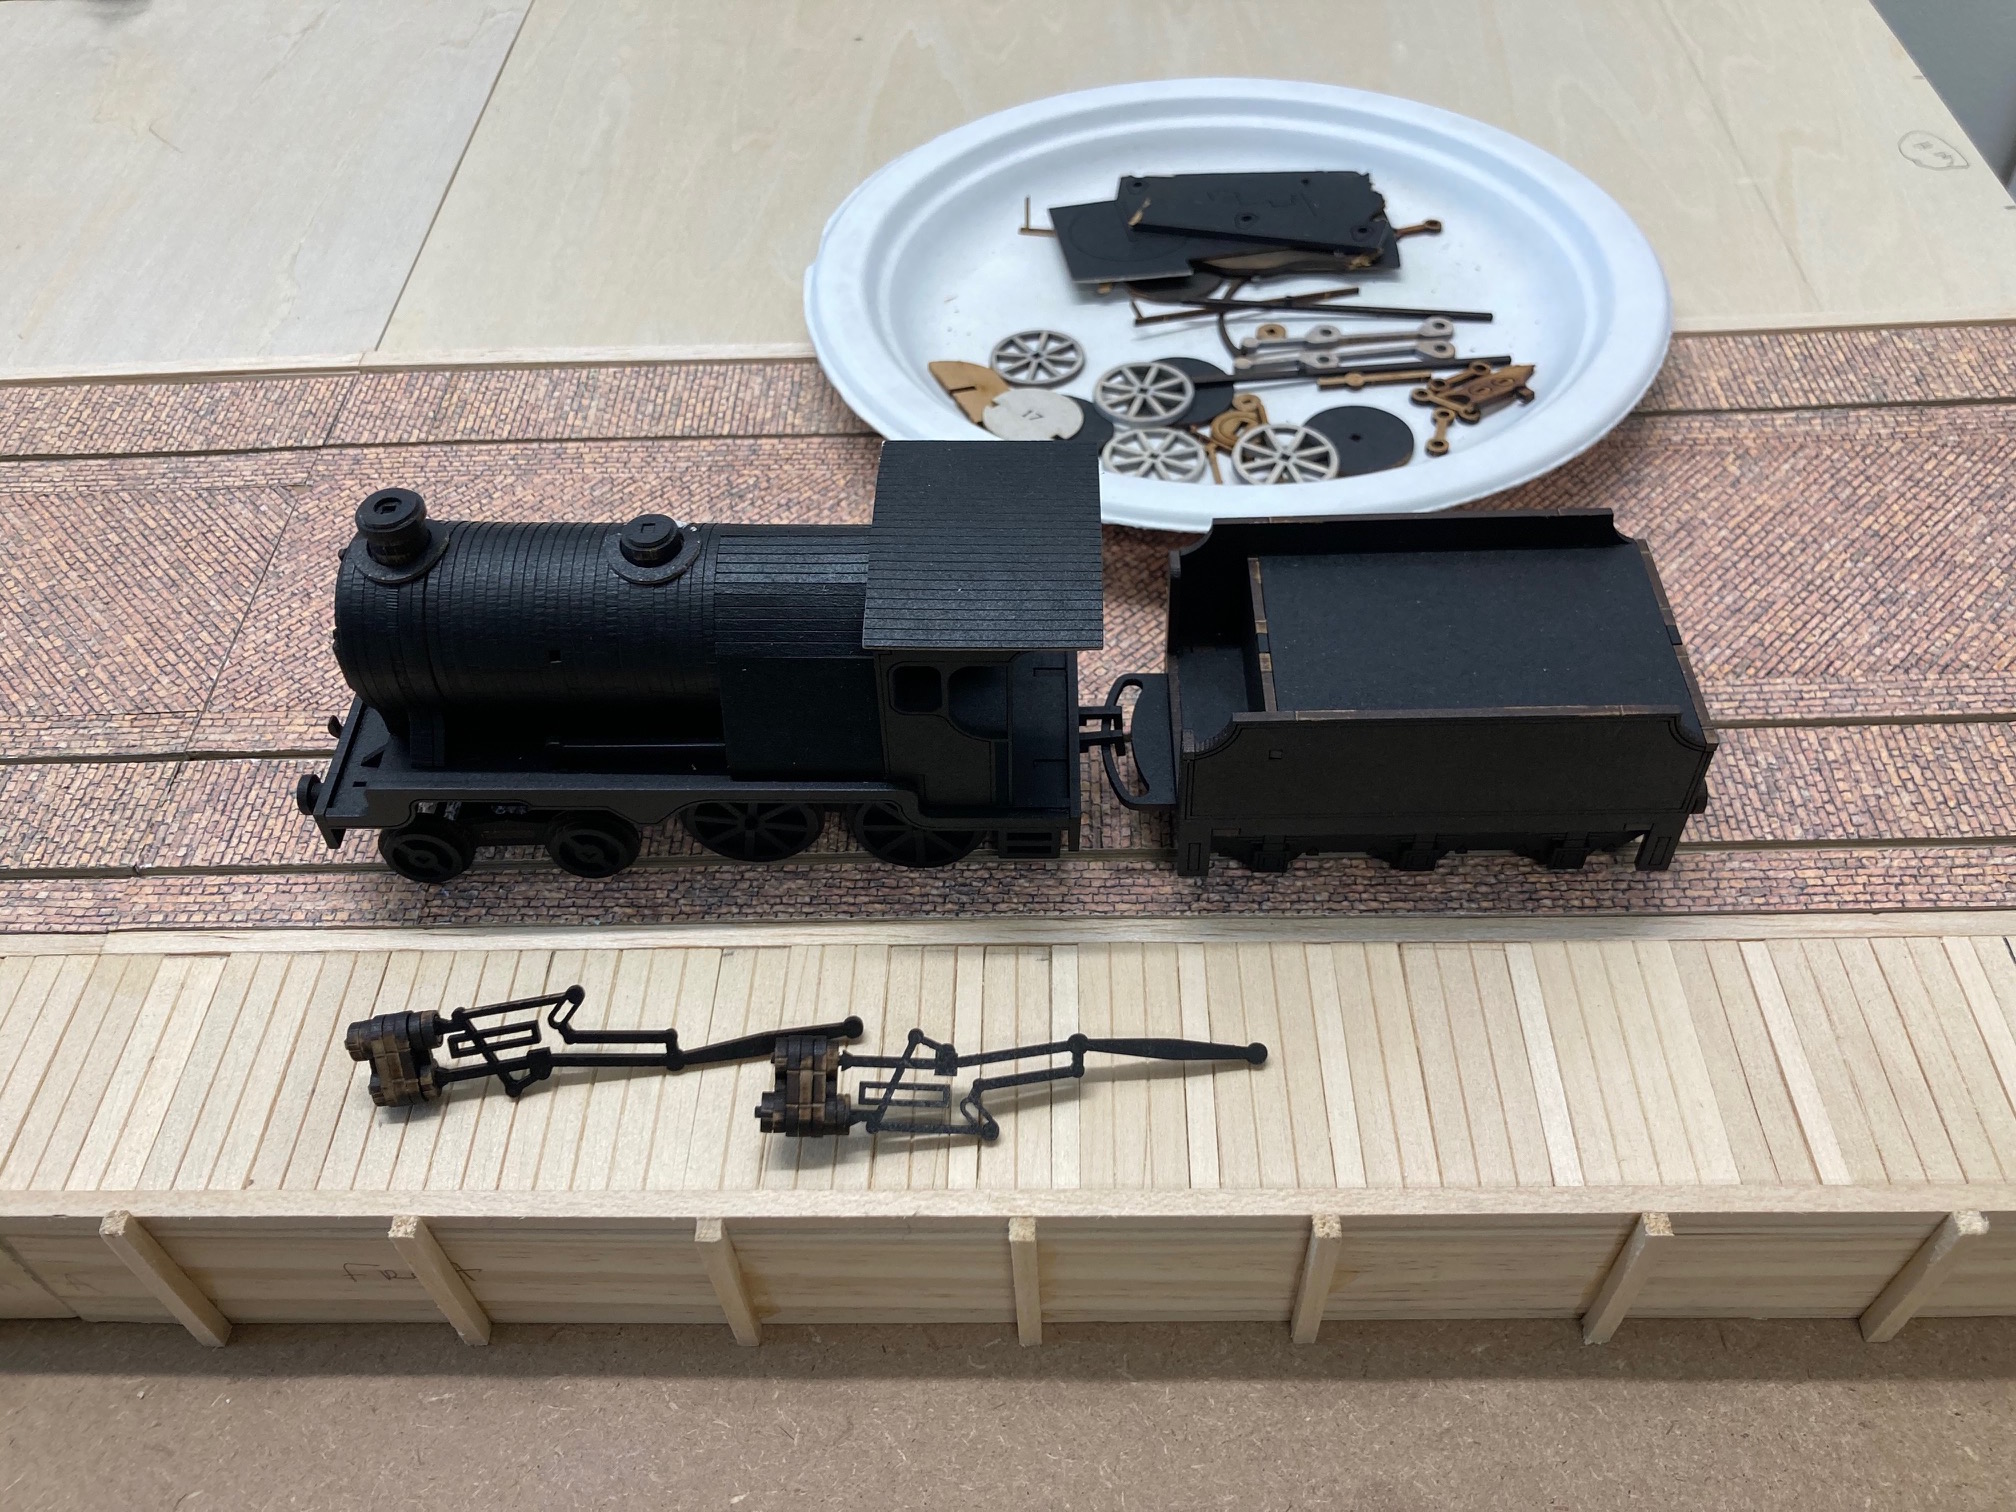
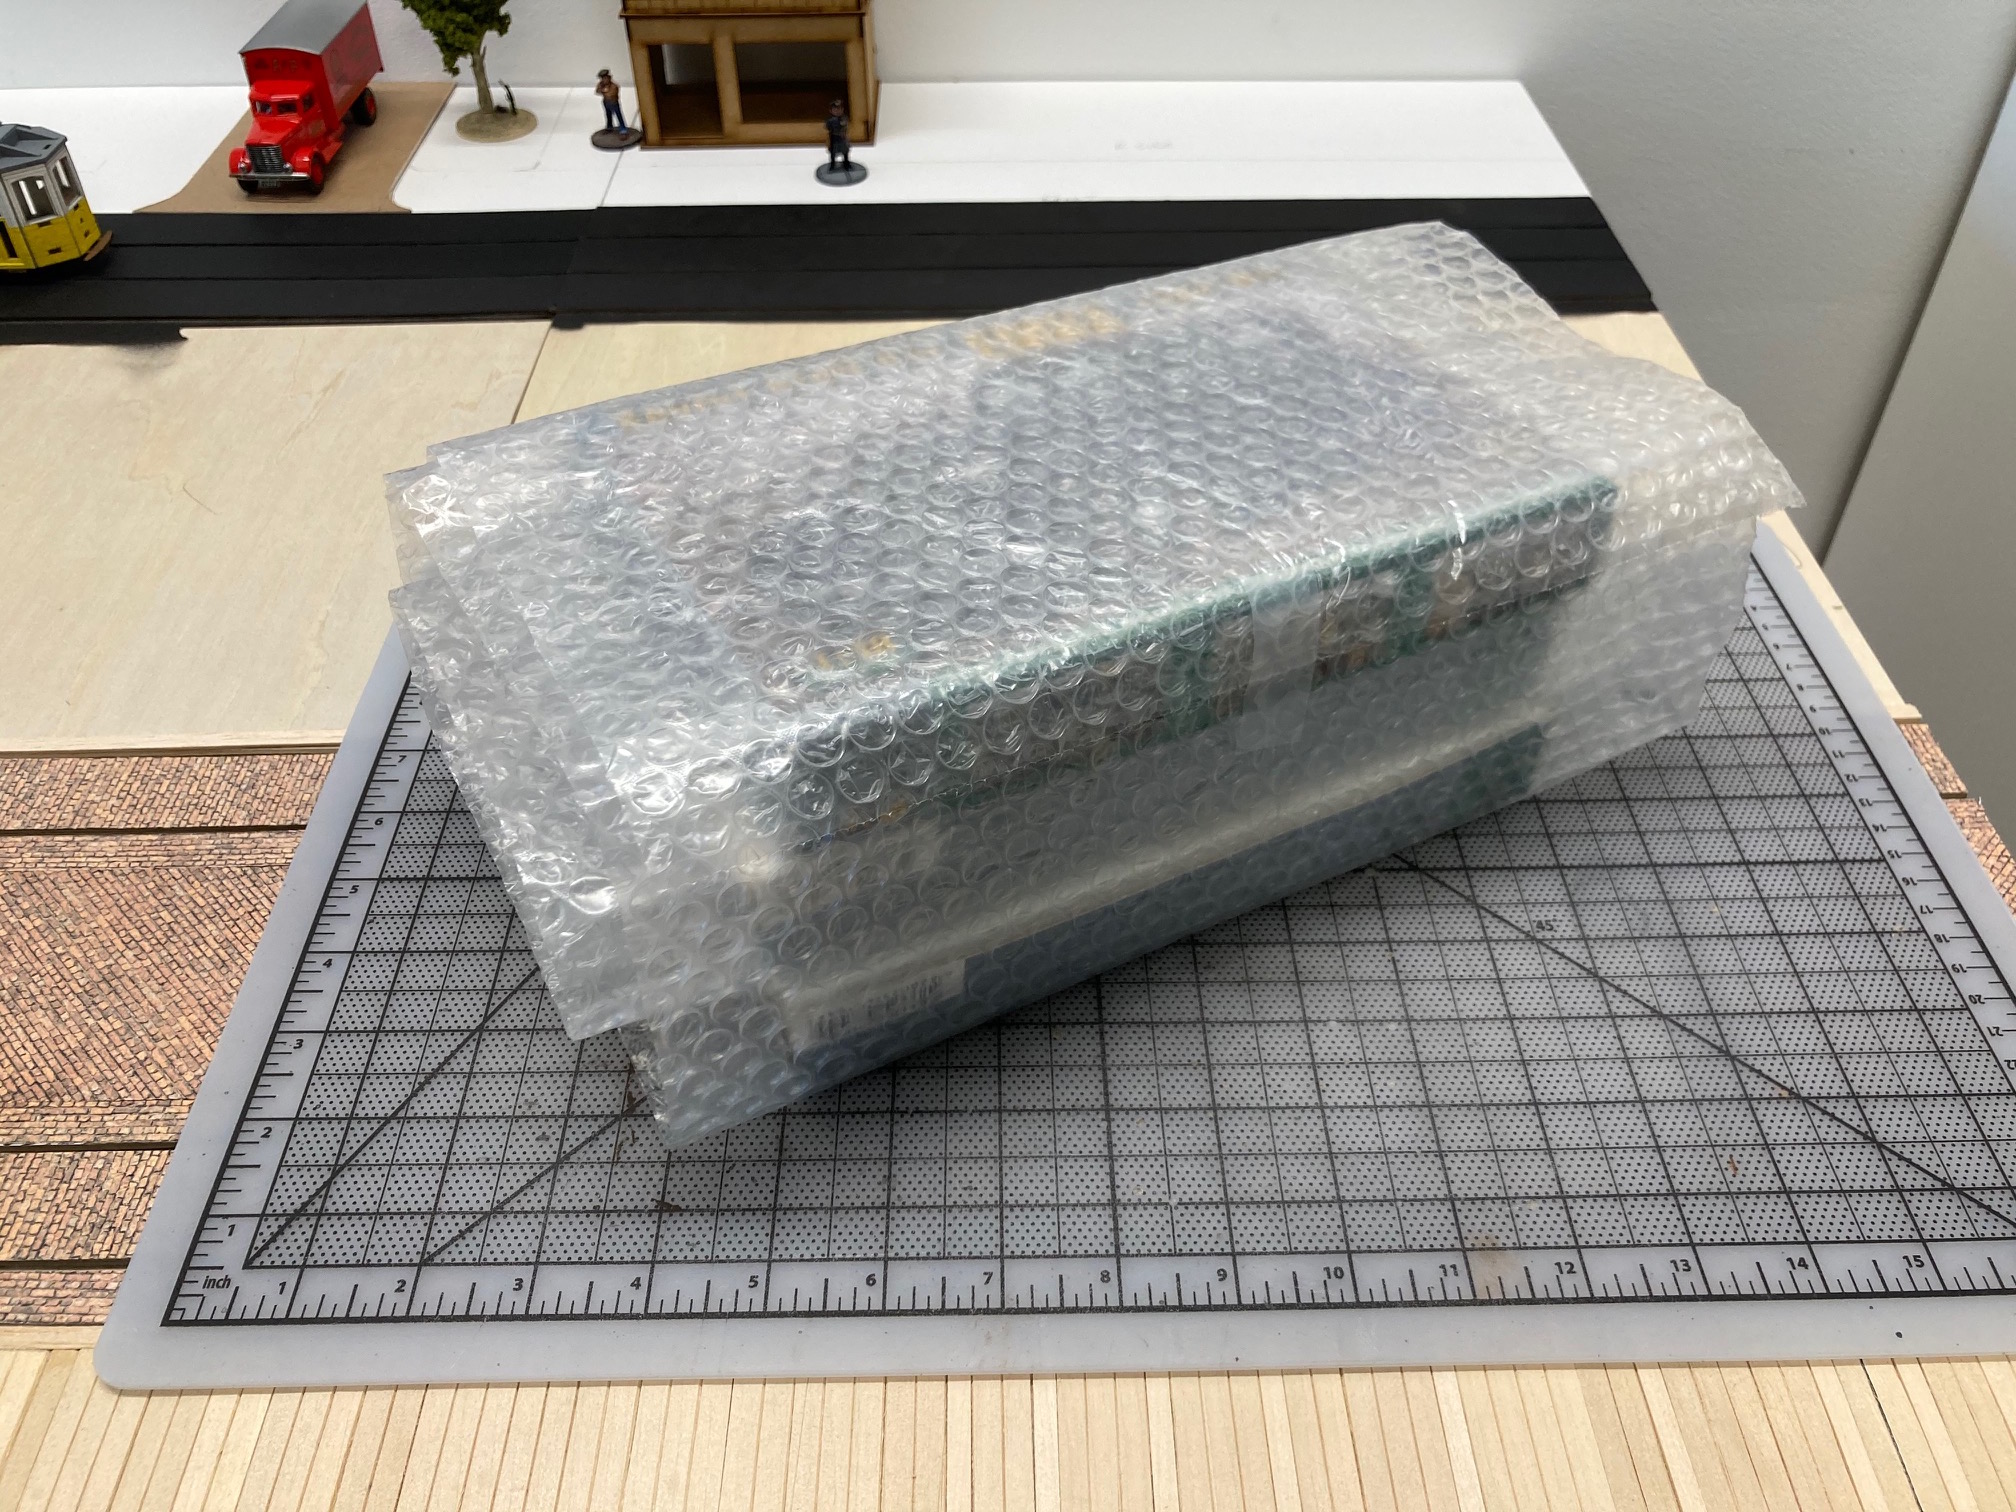
After some time rummaging every corner of the studio looking for missing parts to finish the European Engine I found this unassuming box. Inside I found the parts I was looking for and more! Just goes to show that you should label everything.

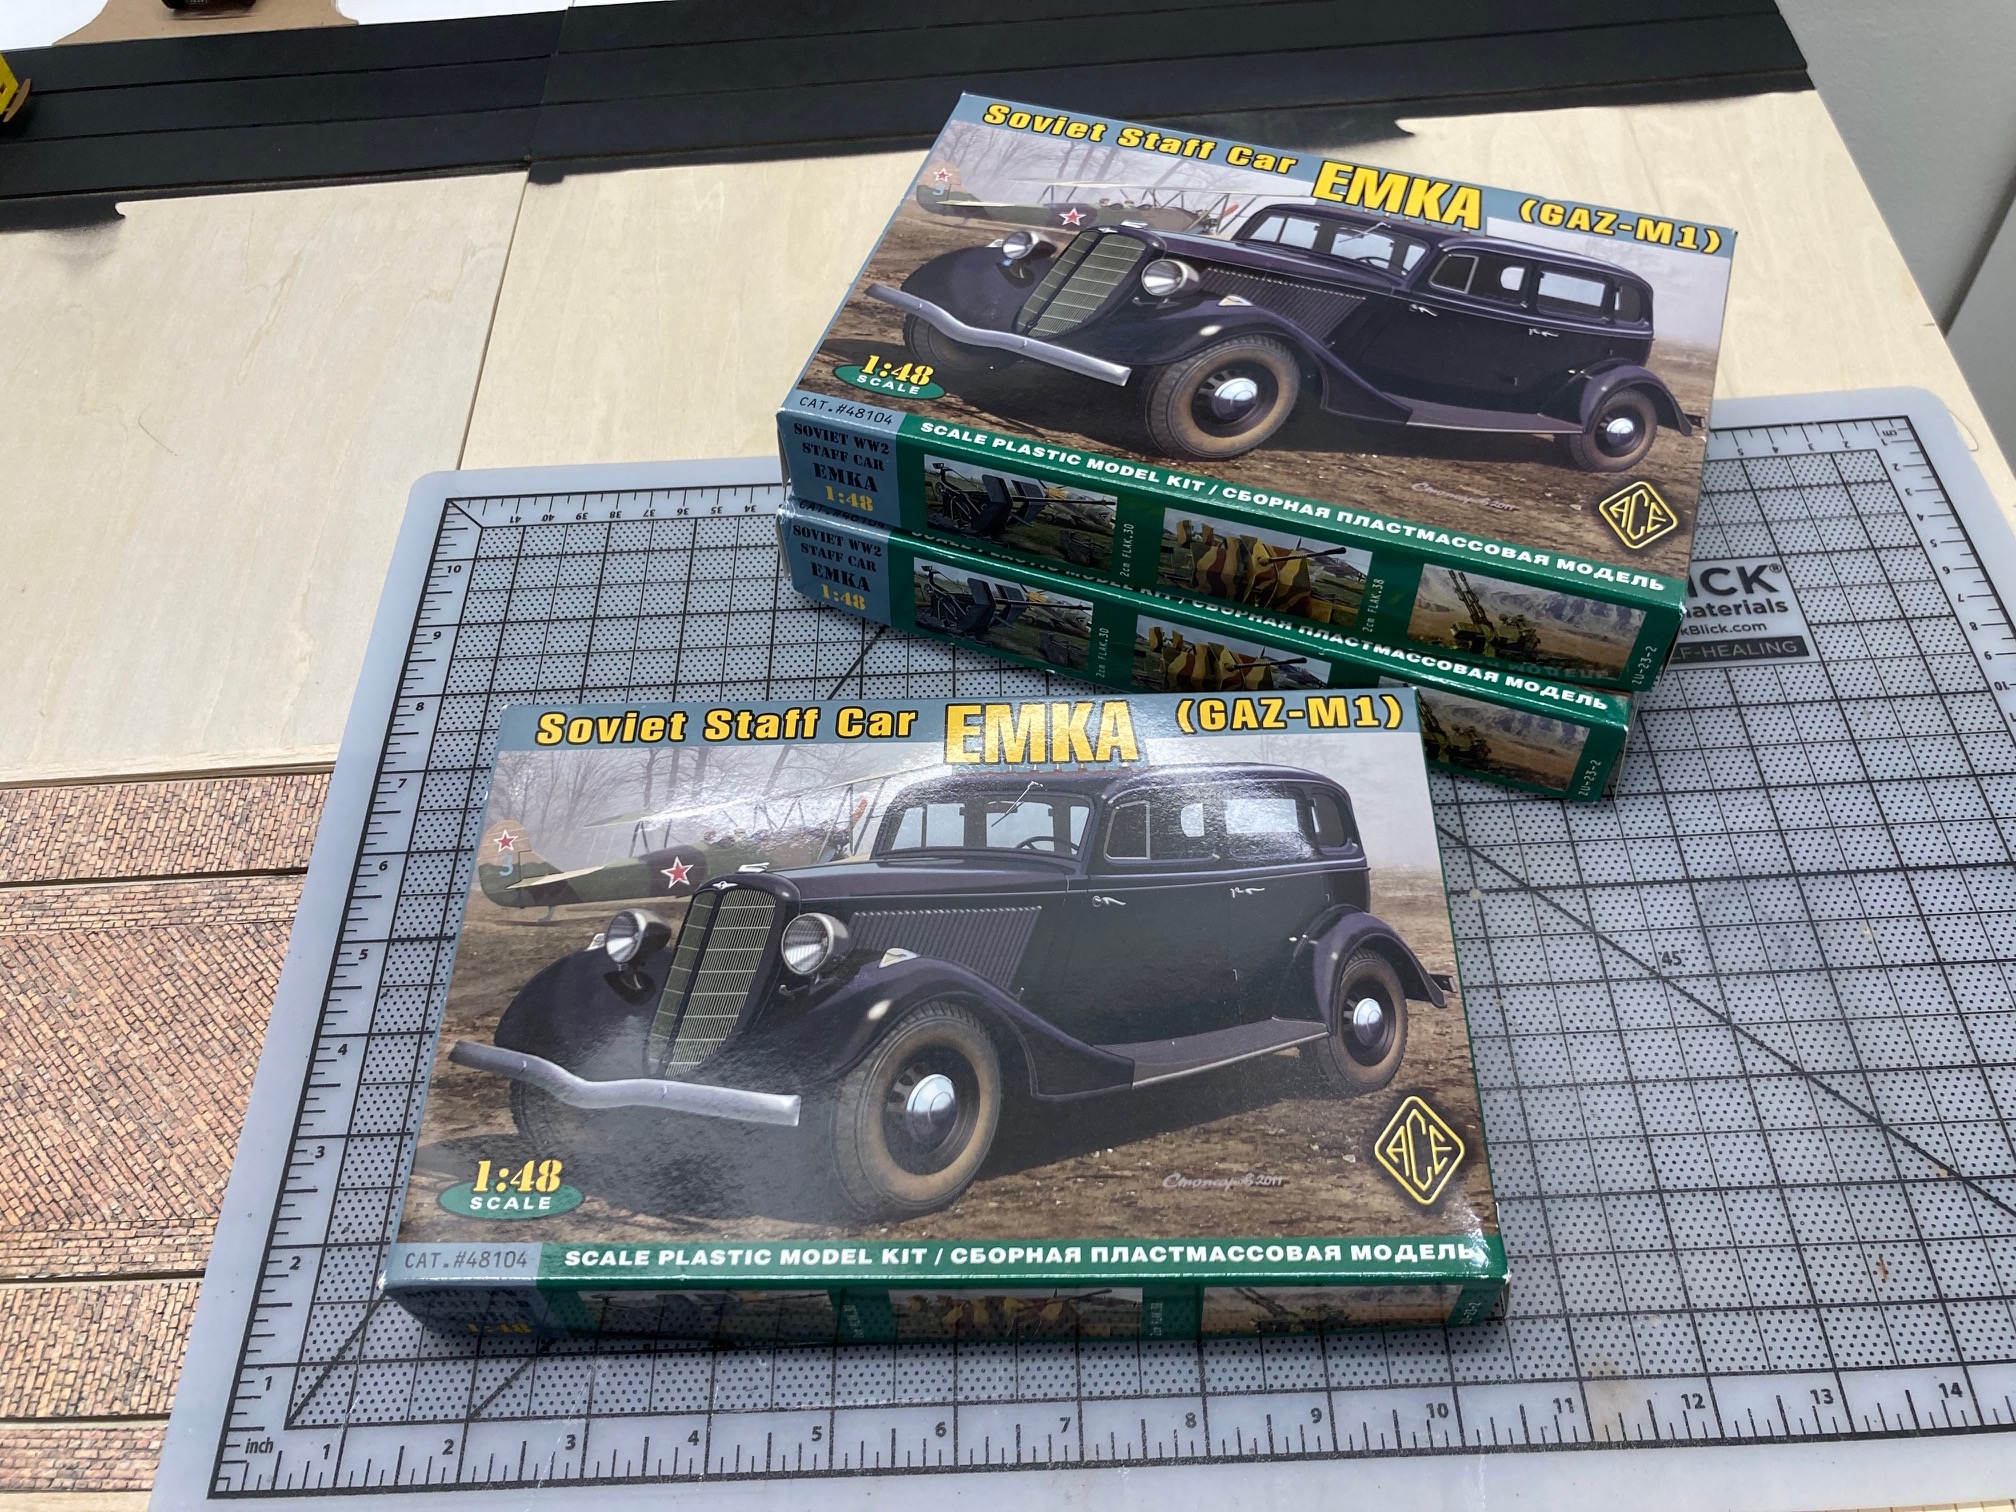
While rummaging I found this!? When did I buy these?
I’ve heard this kit is a pain to build; probably got a deal on FleeBay. I will convert them into two Police cars and a Yellow Taxi.
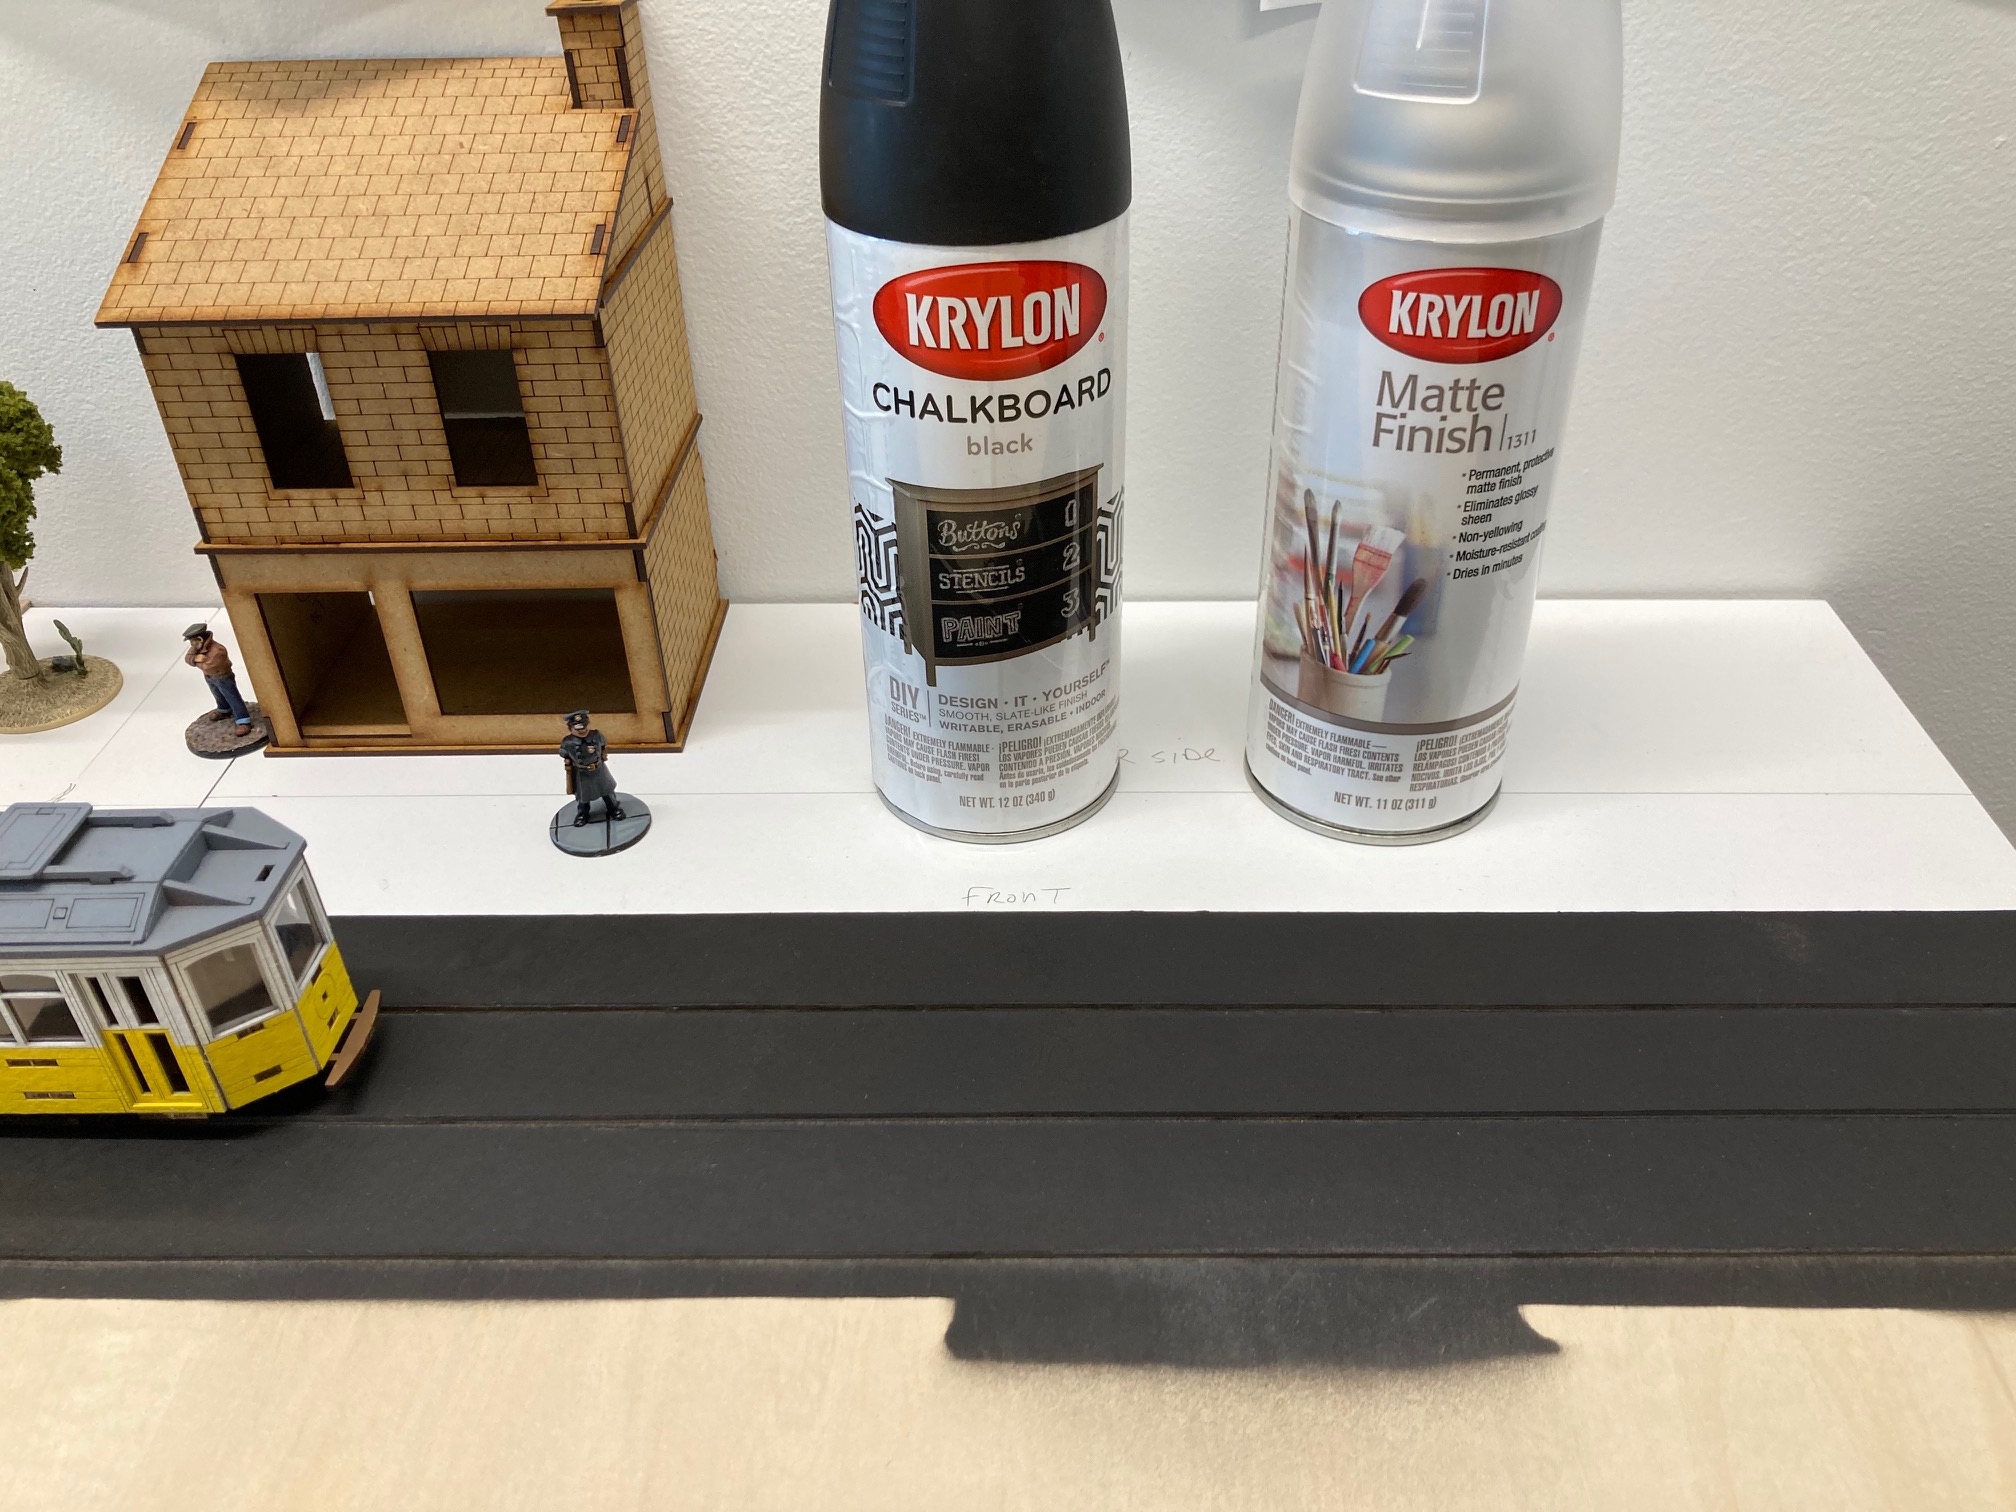
Finally I sprayed the road part of the Waterfront boards with Black Chalkboard. I like the Matt finish it gives. After drying I gave it a couple of coats of Matte Finish to protect the paint.
A good Base layer day I think.
Cheers!
Street Car Fin
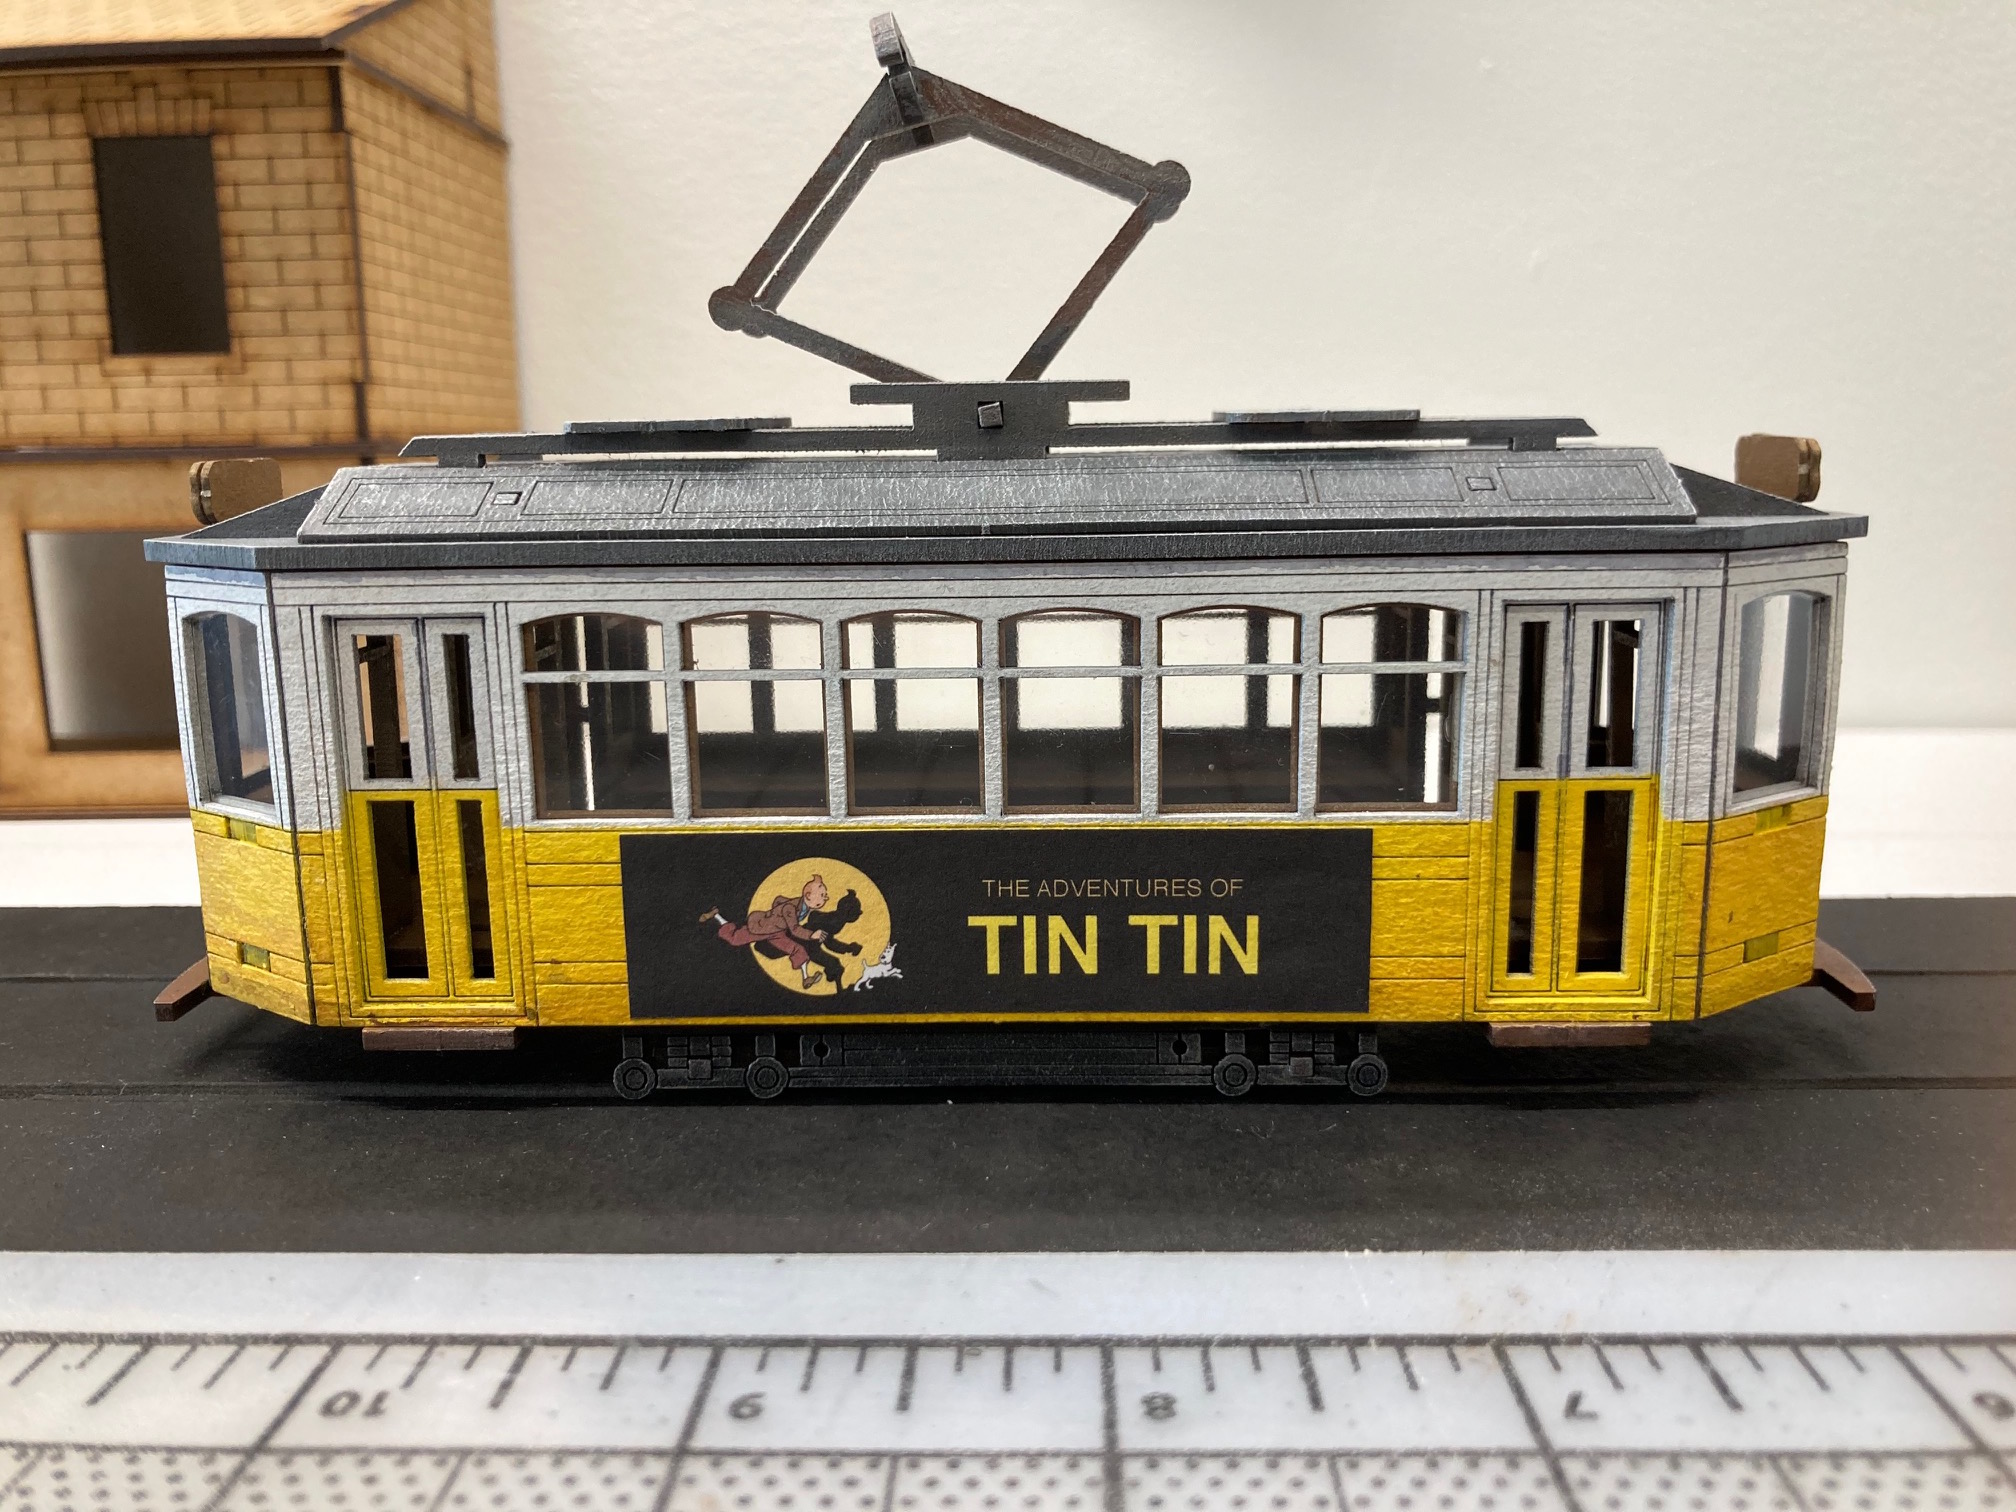
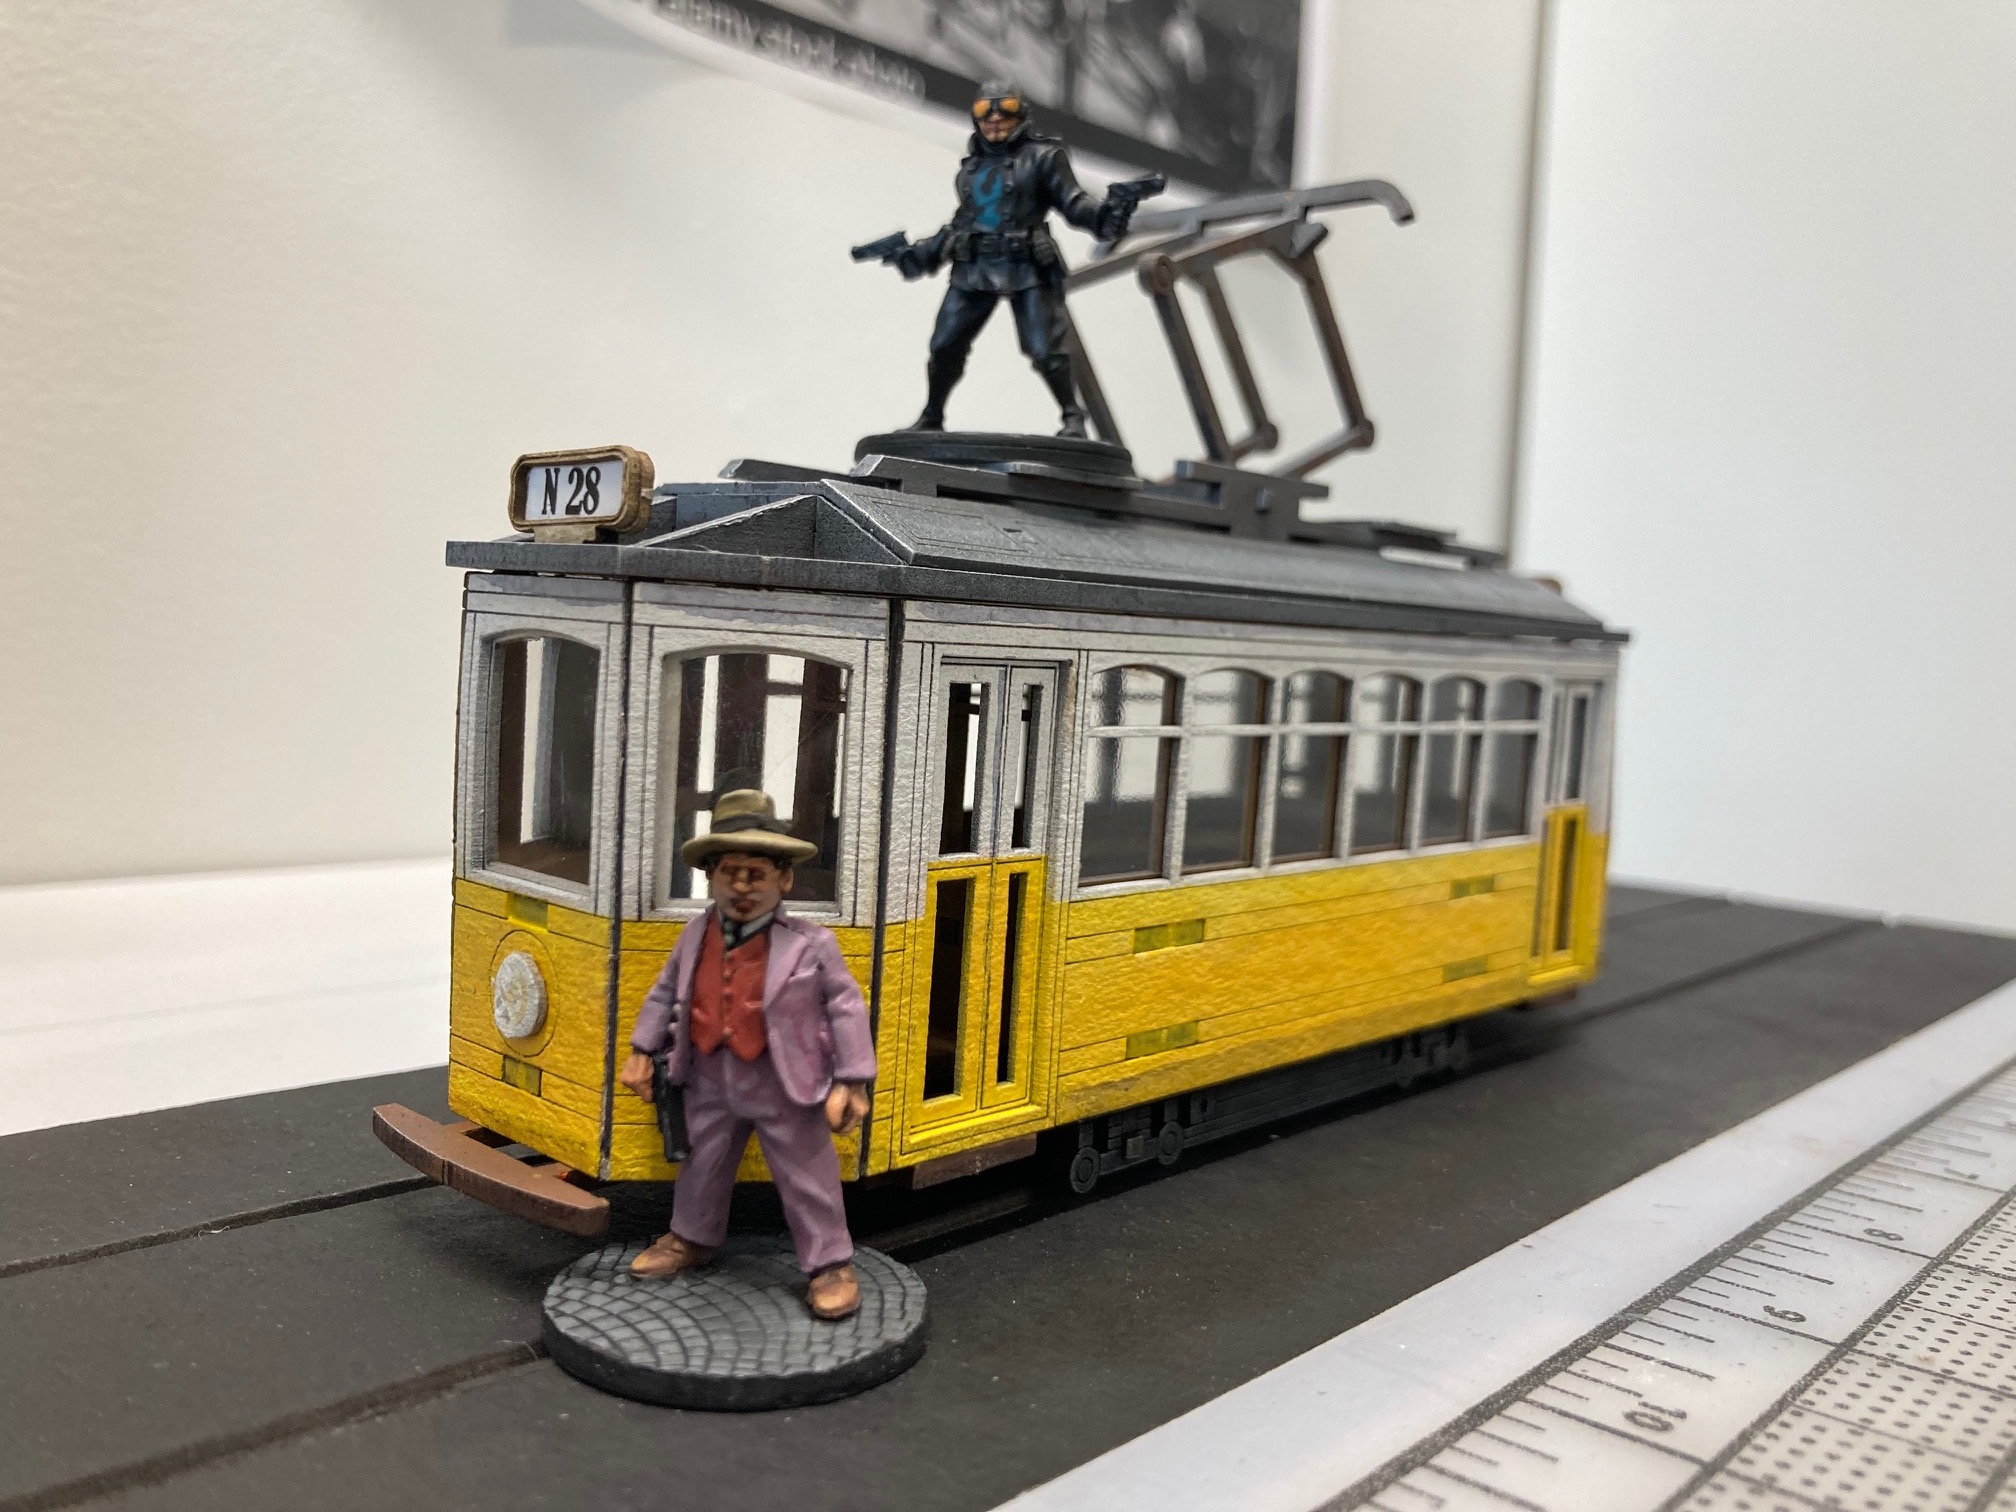
This member of the waterfront Board is finished. I GW washes to weather the trolley. I then gave the top a very light dry brush. I made the Tin Tin poster (couldn’t resist). I see using it as a exit point or where to find a plot point/MacGuffin.
Cheers!
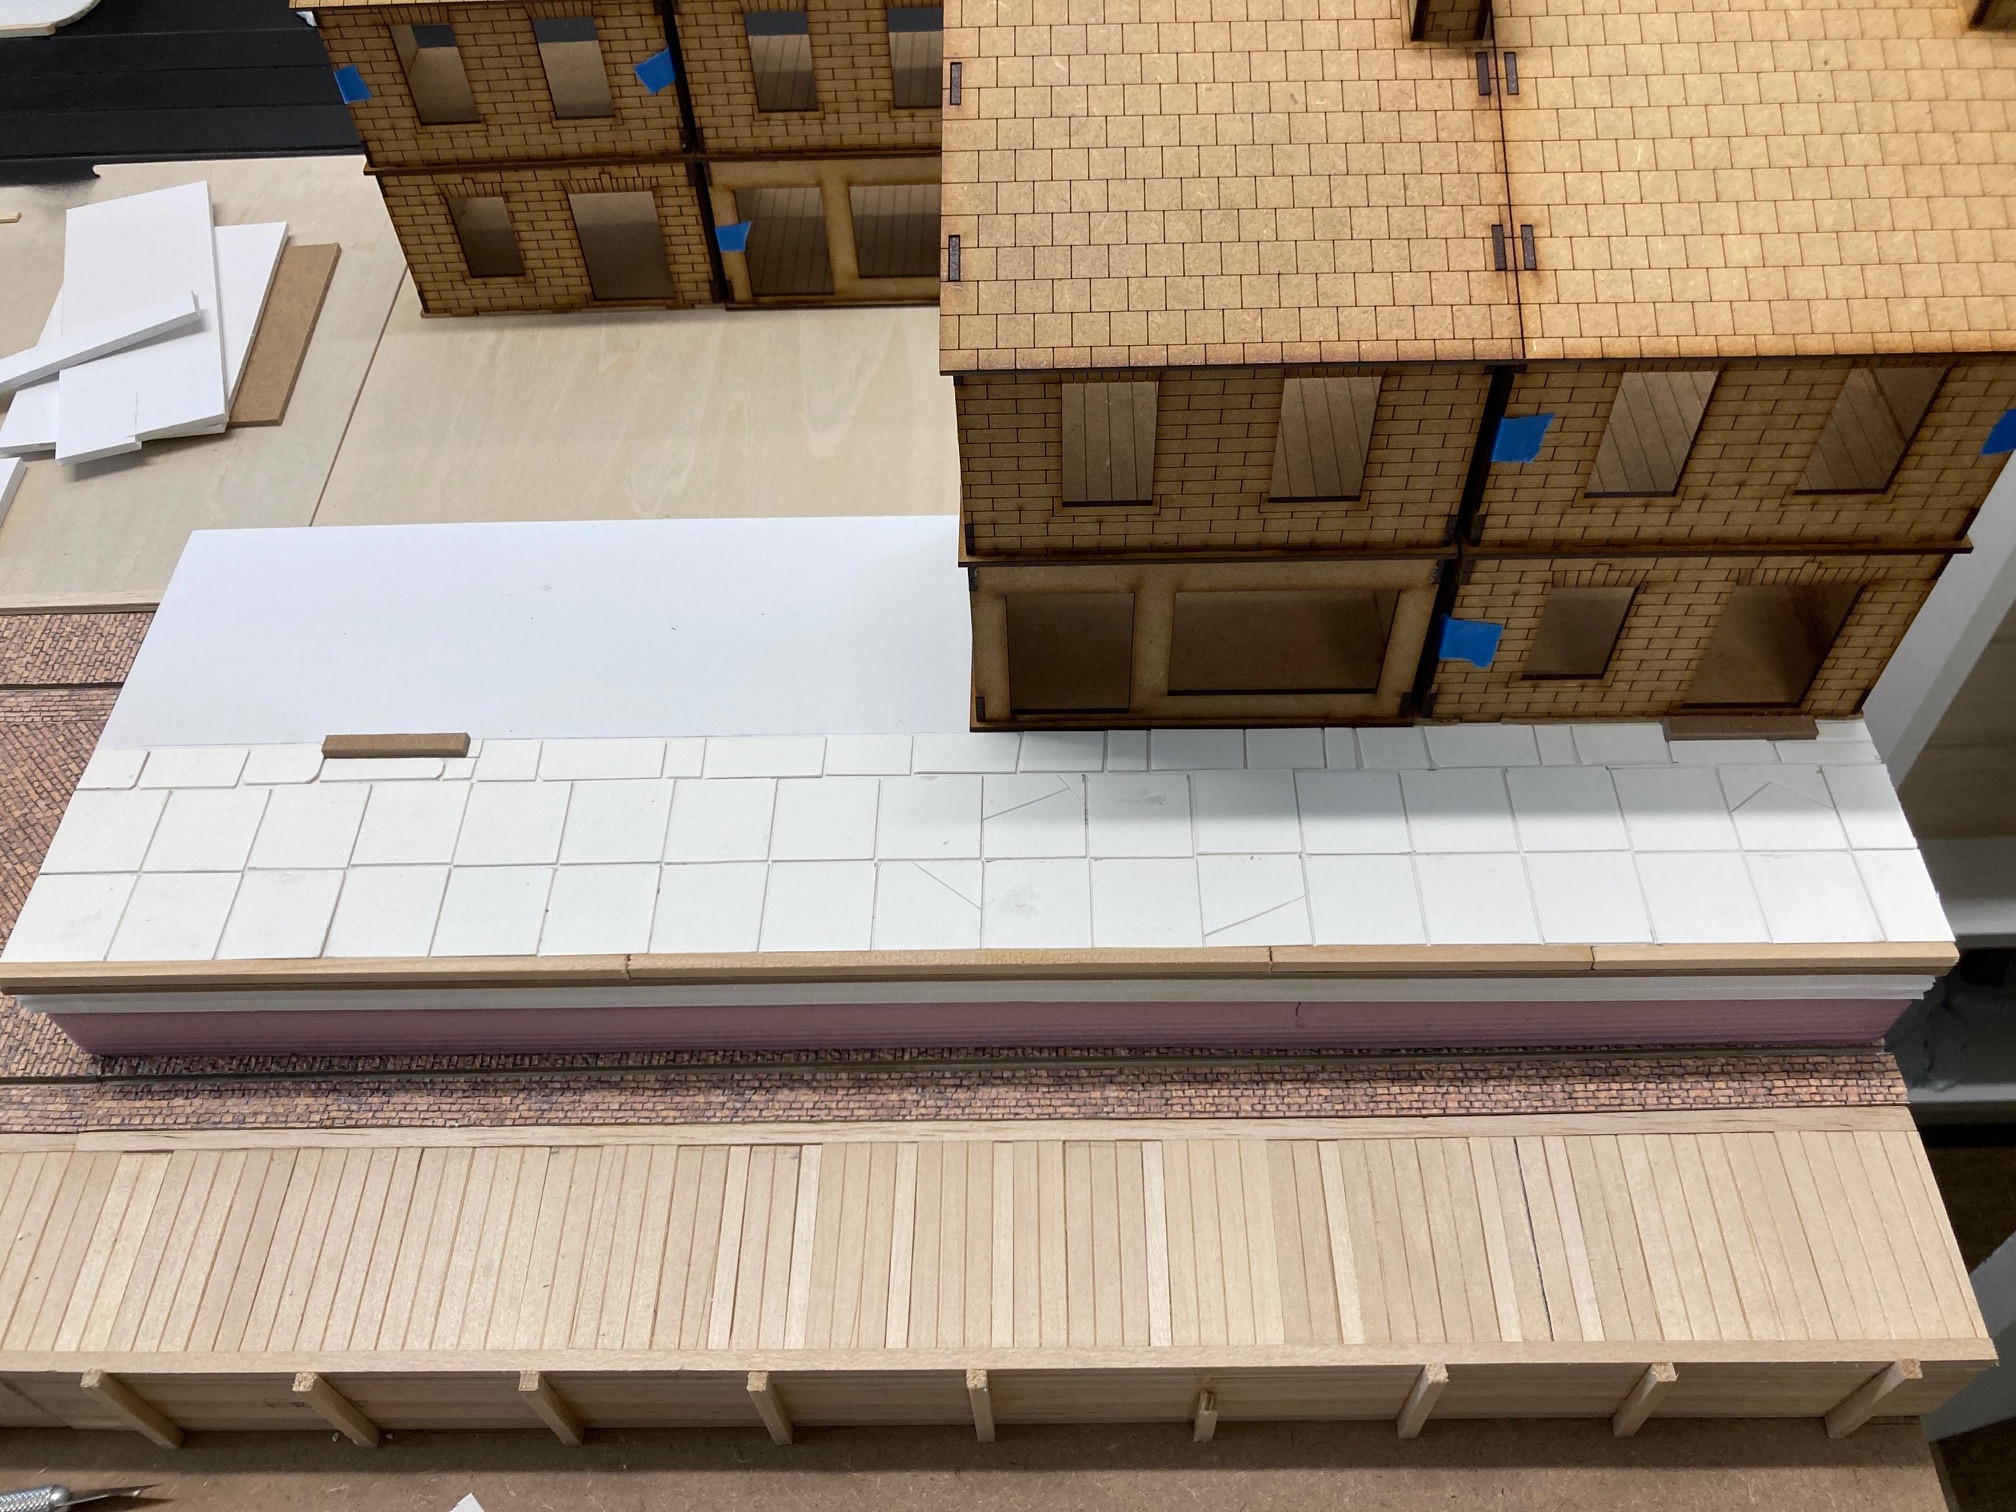
Low Relief City Block-Modularity Part 4
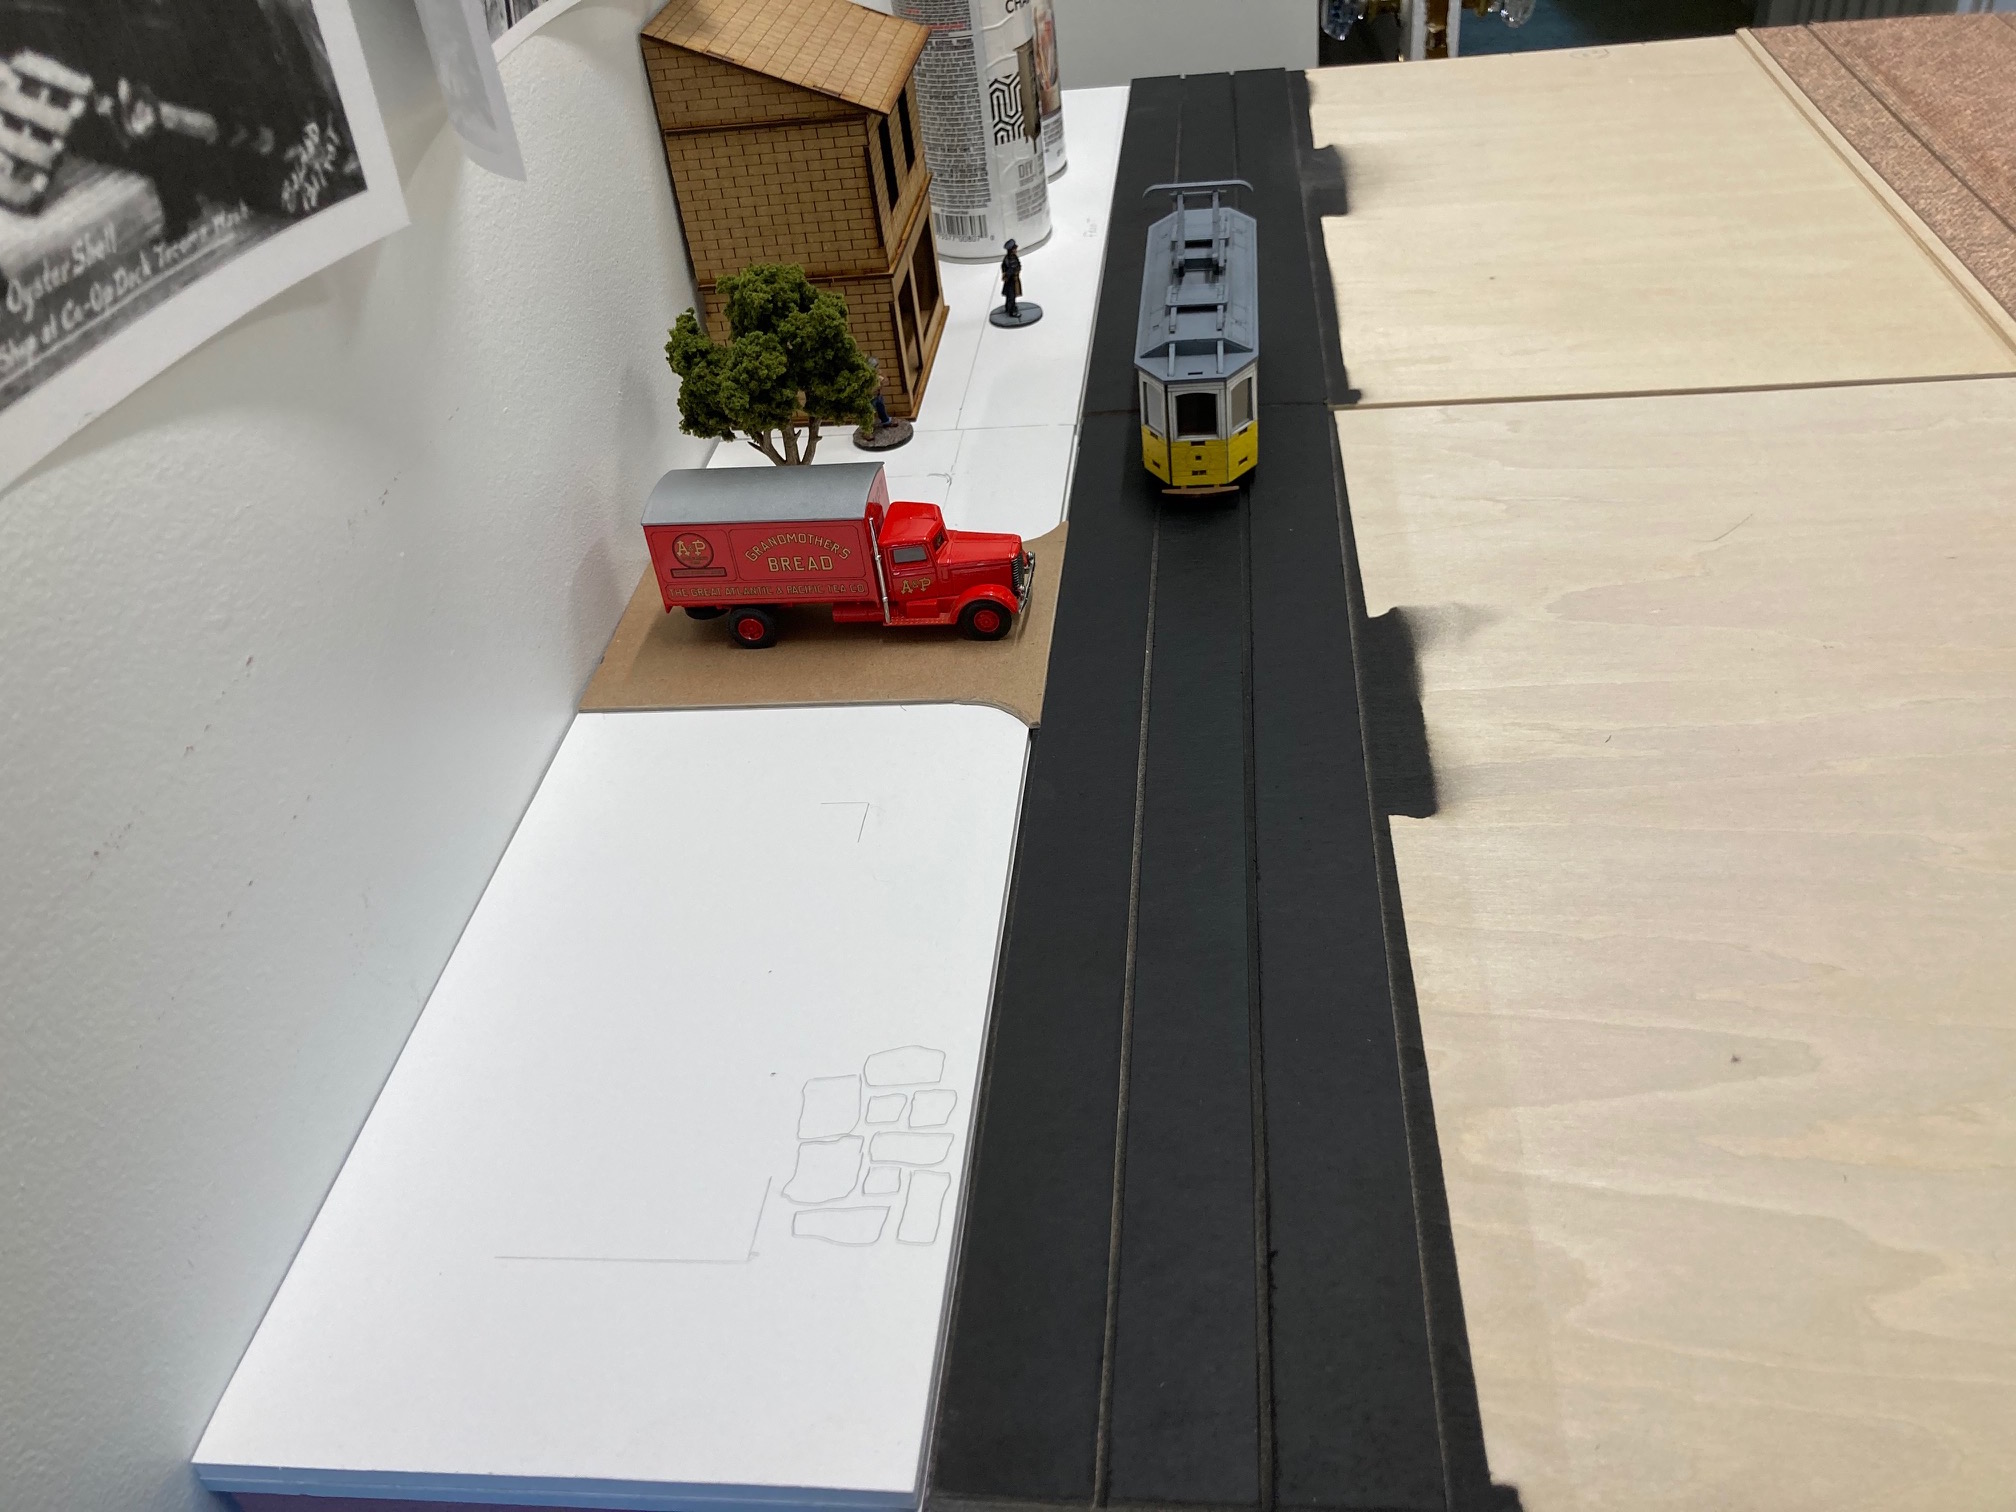
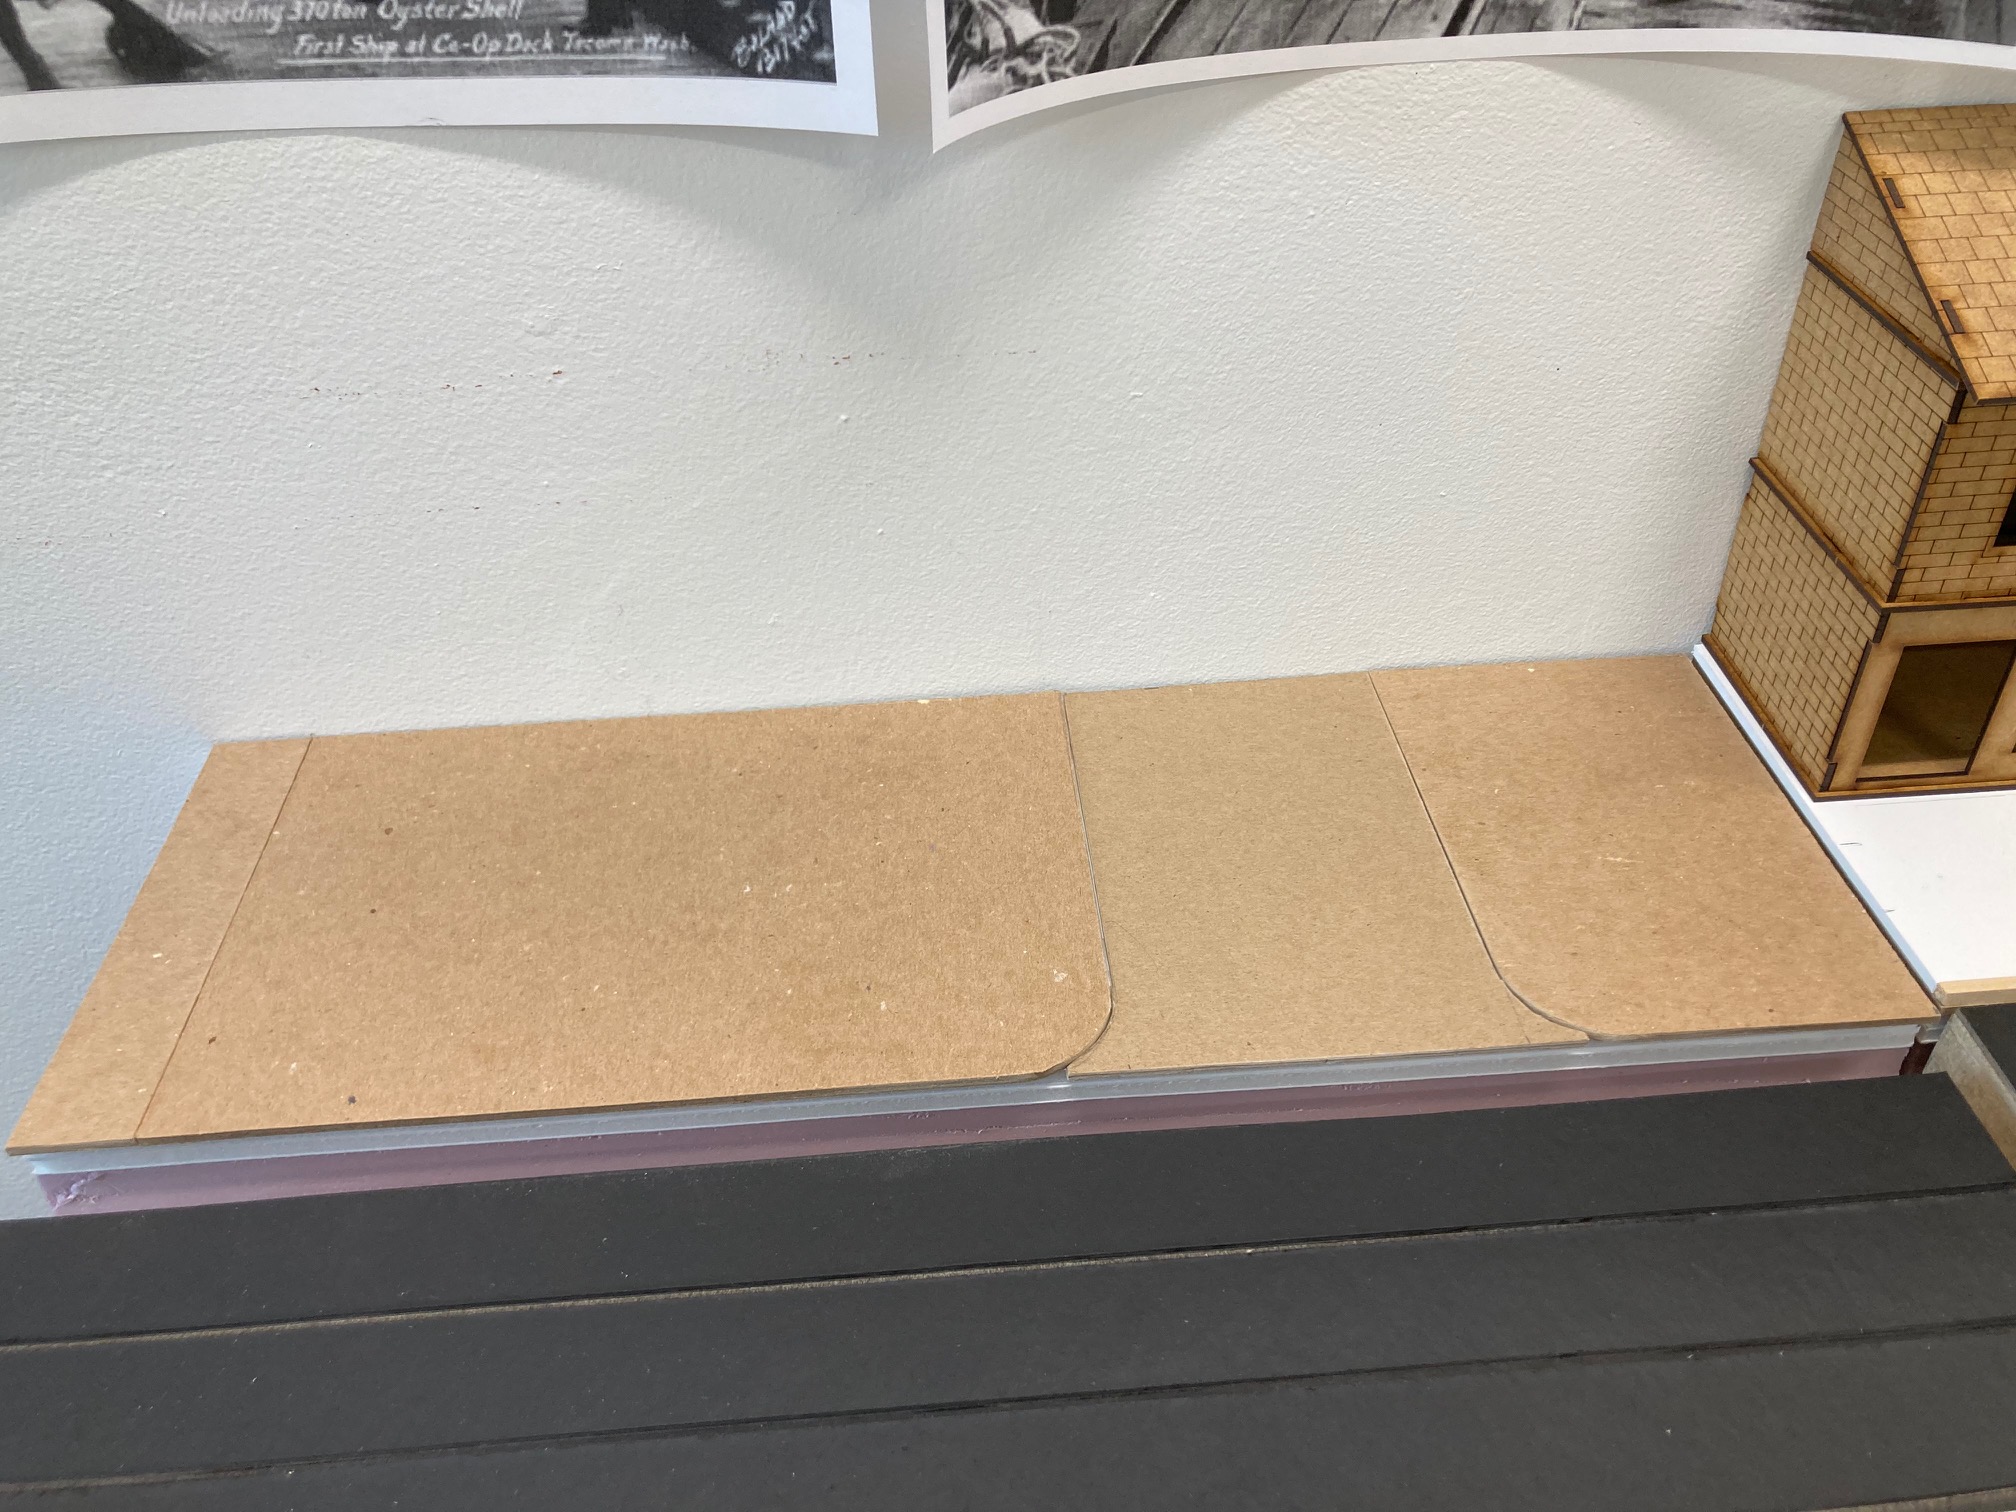
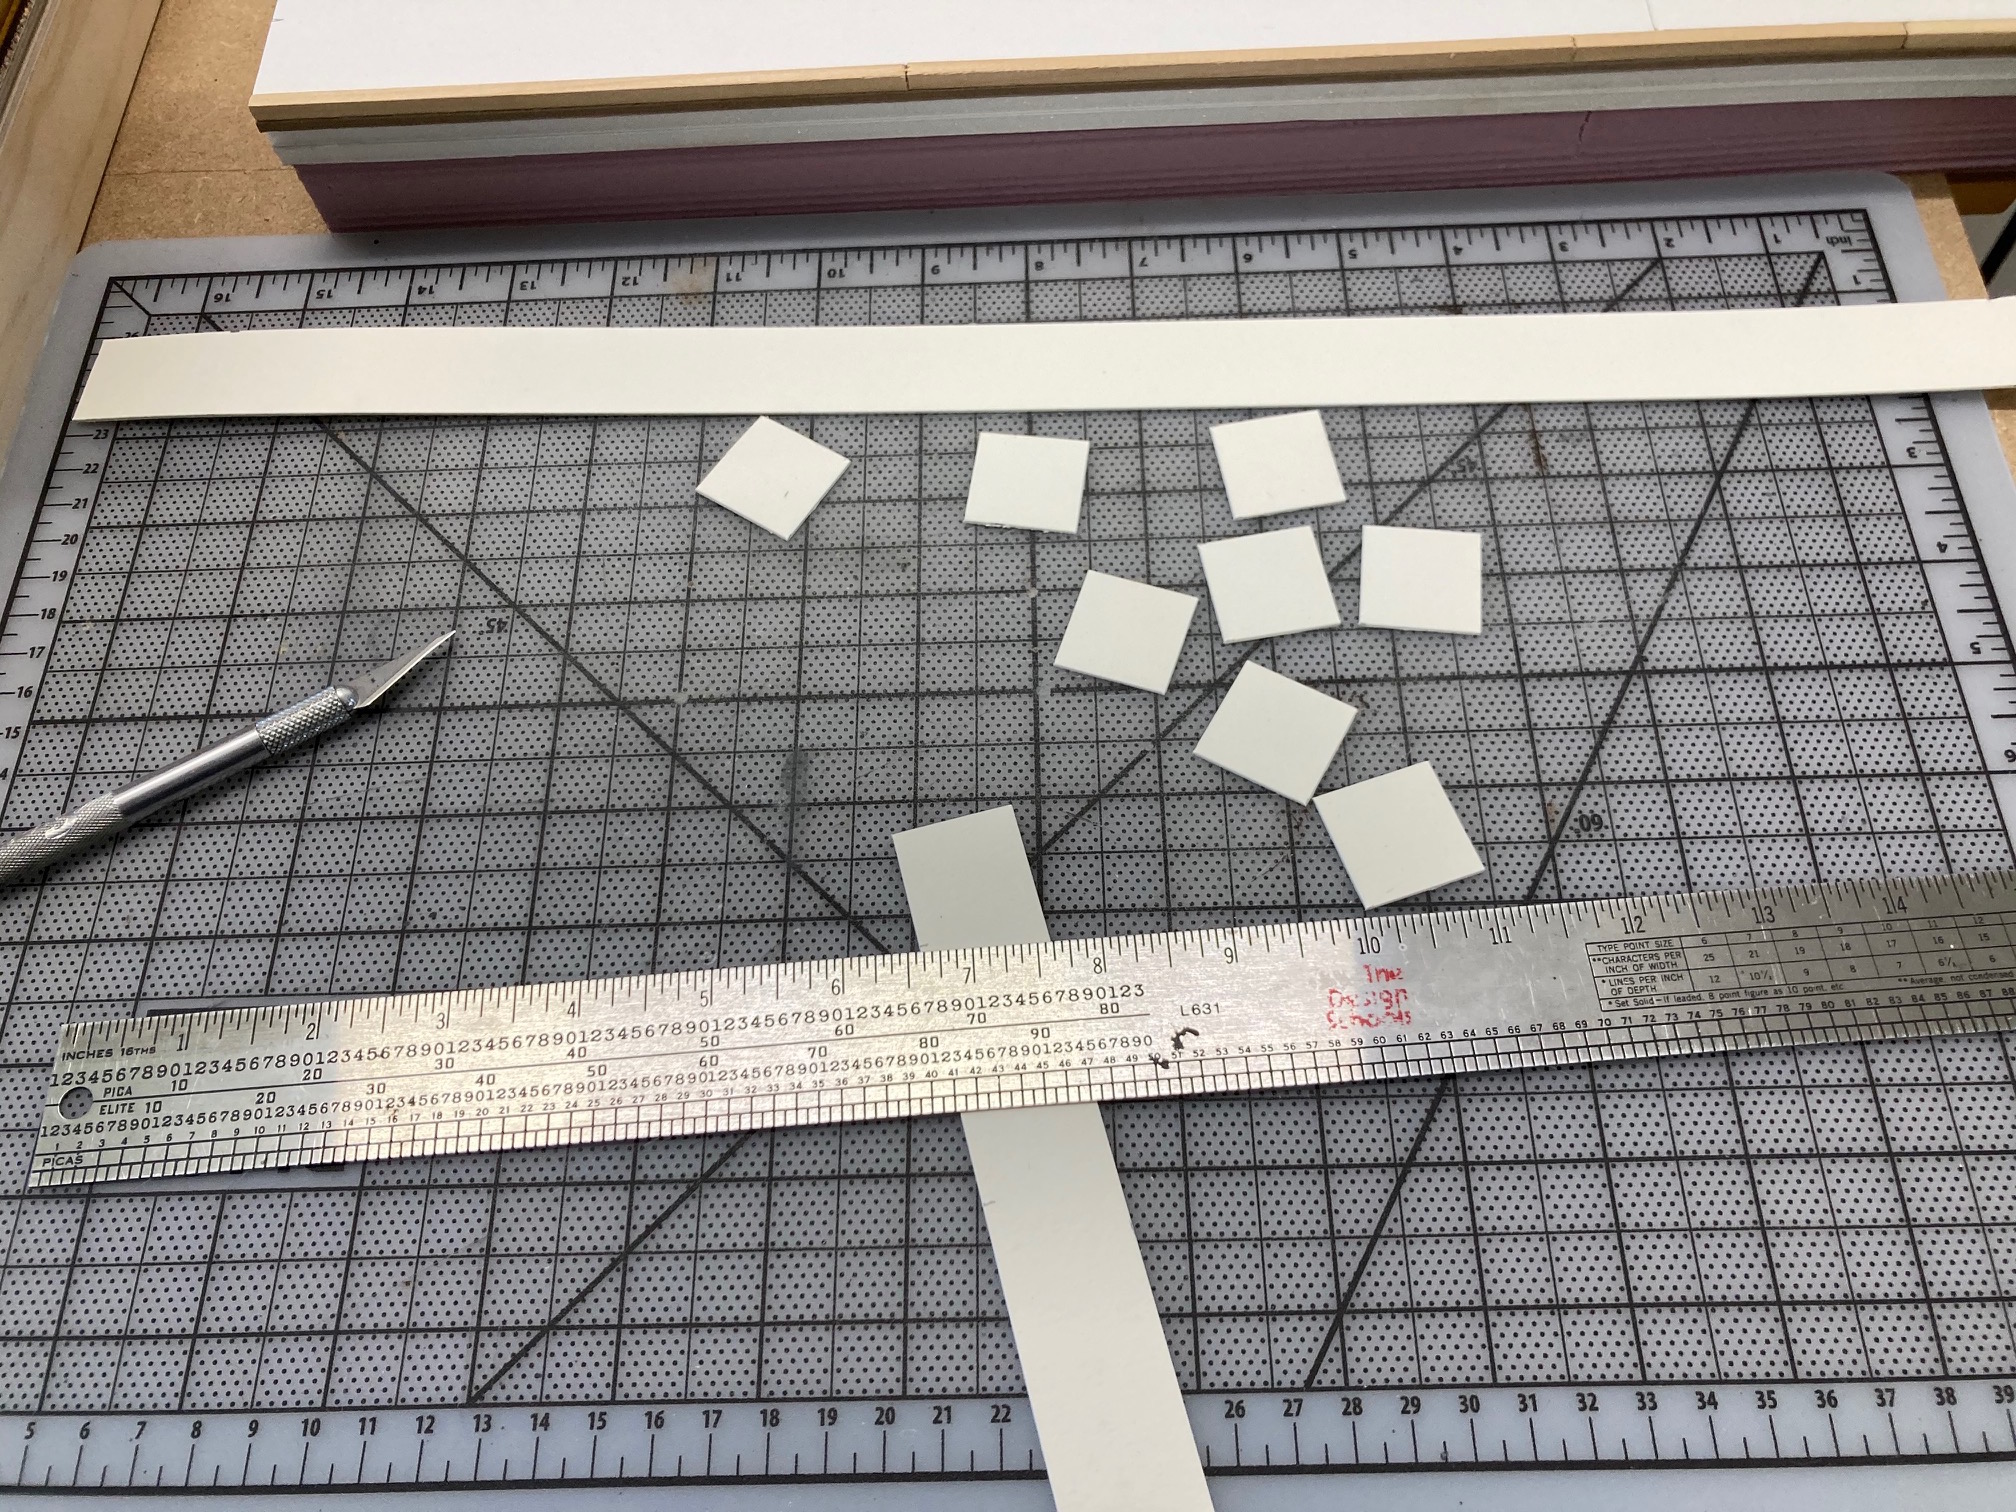
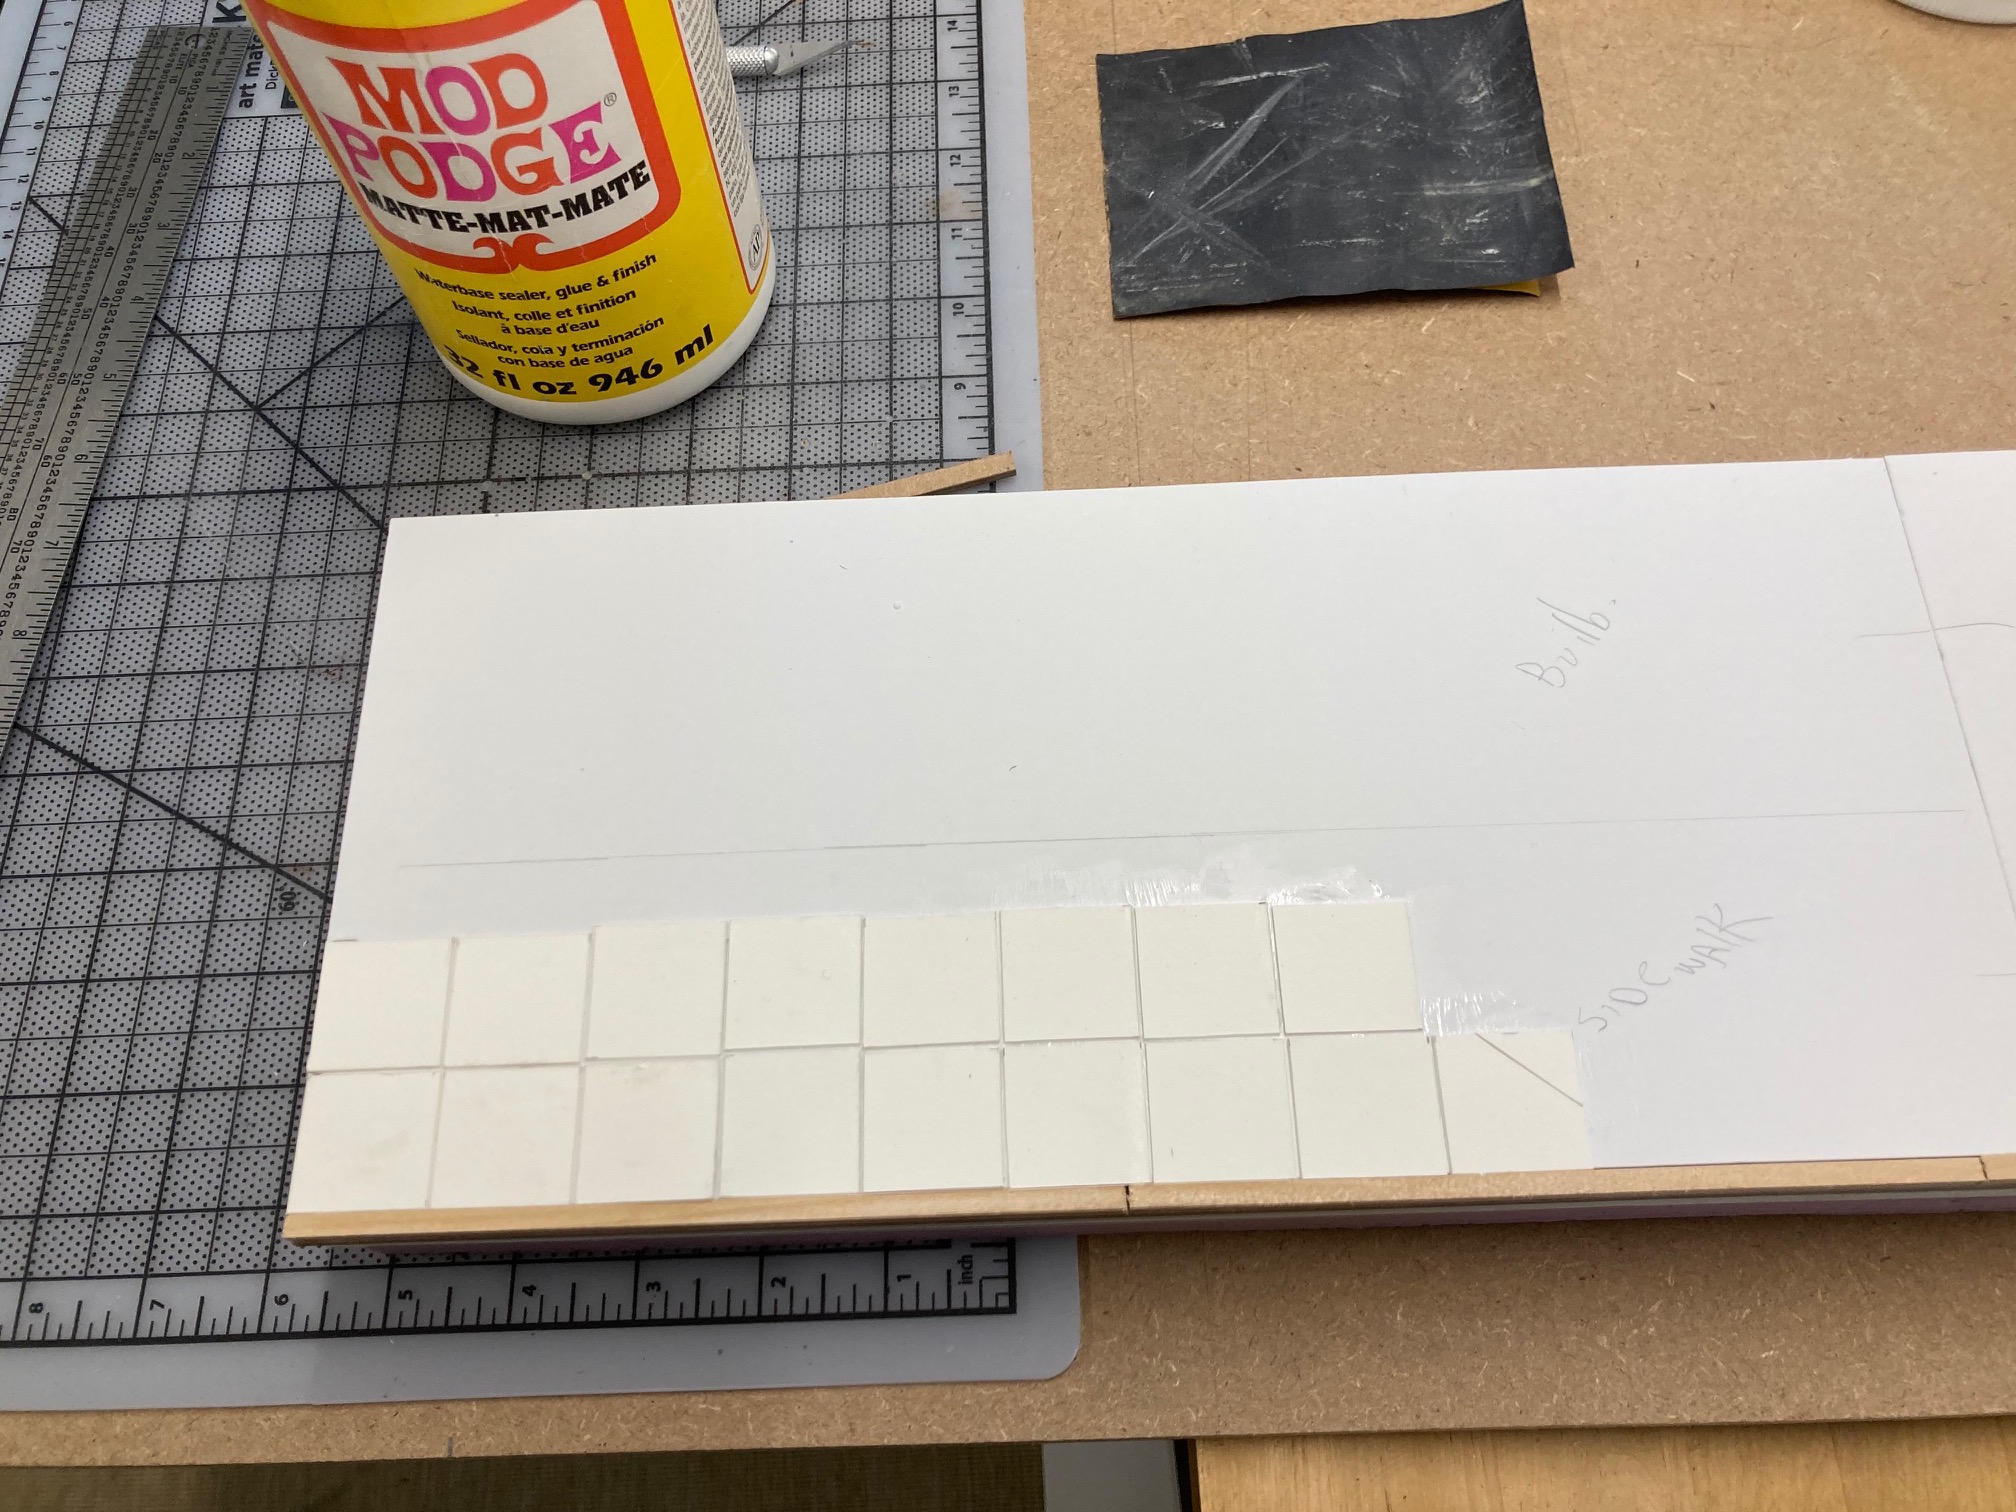
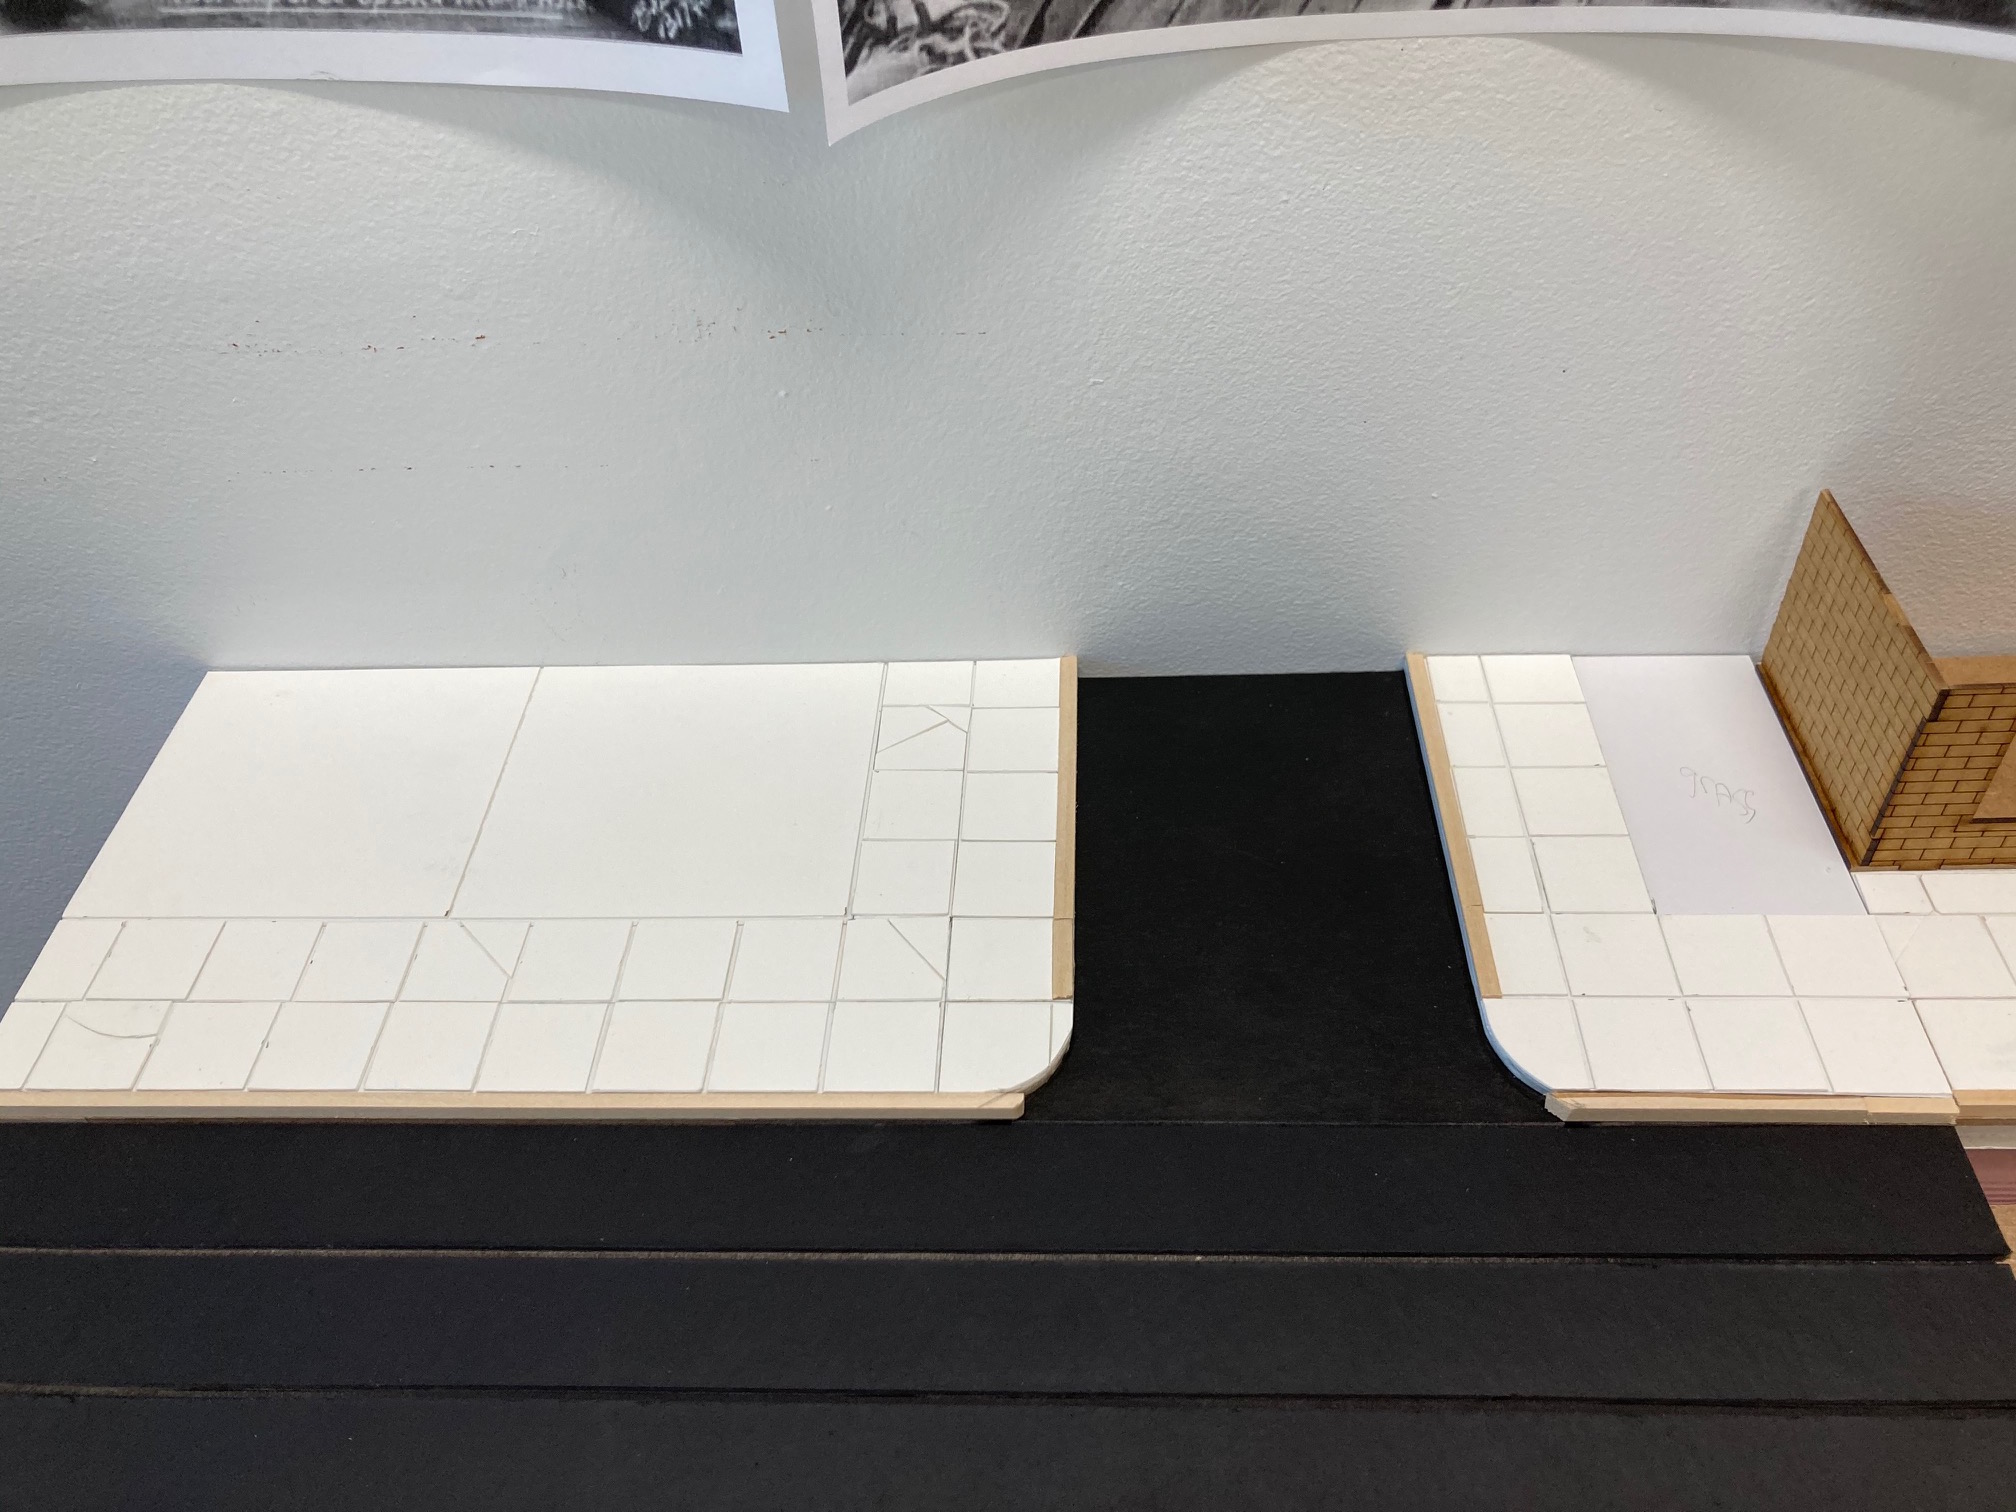
For the low relief modular add-on I dry fitted the building in place to give me an idea of how much sidewalk I would have. I want enough space to have encounters with models without feeling cramped. I used 3mm card board to raise everything off street level. To match the hight of the curve. I then cut to shape 2mm styrofoam to level up to the curve. On this I glued .5mm squares to represent sidewalk. I cut some to represent broken sidewalk. (Mind your mothers back!)
On the other side I did pretty much the same thing so that the sidewalk would continue. The only difference is that the space for buildings or not, is left generic.
All most done,
Cheers
Center Bit - Finished Build
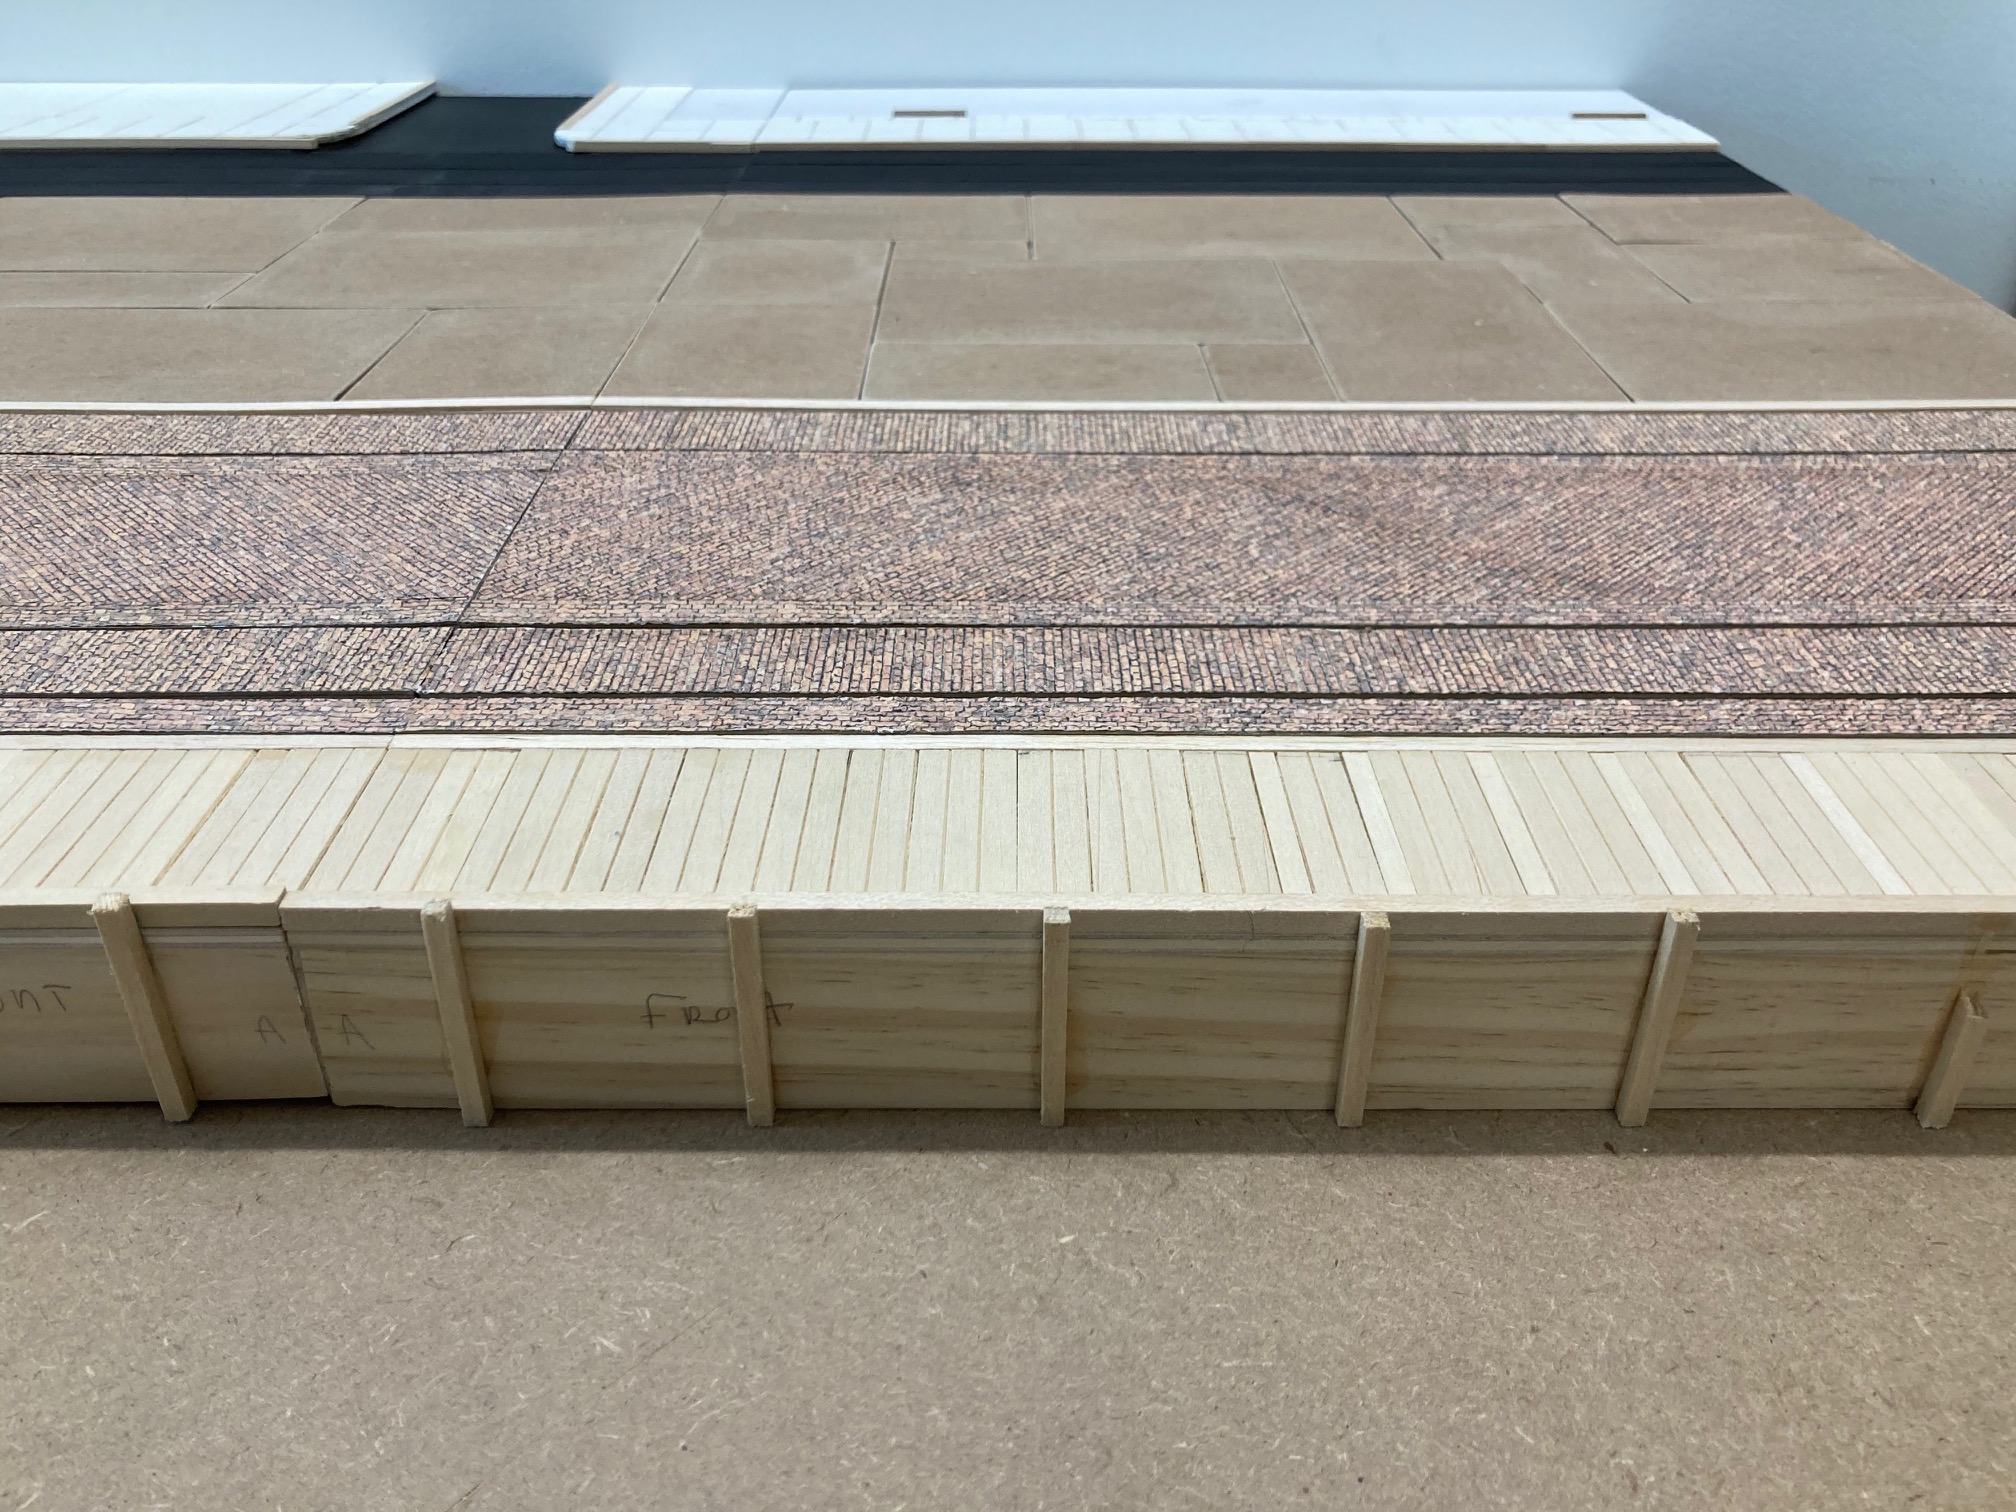
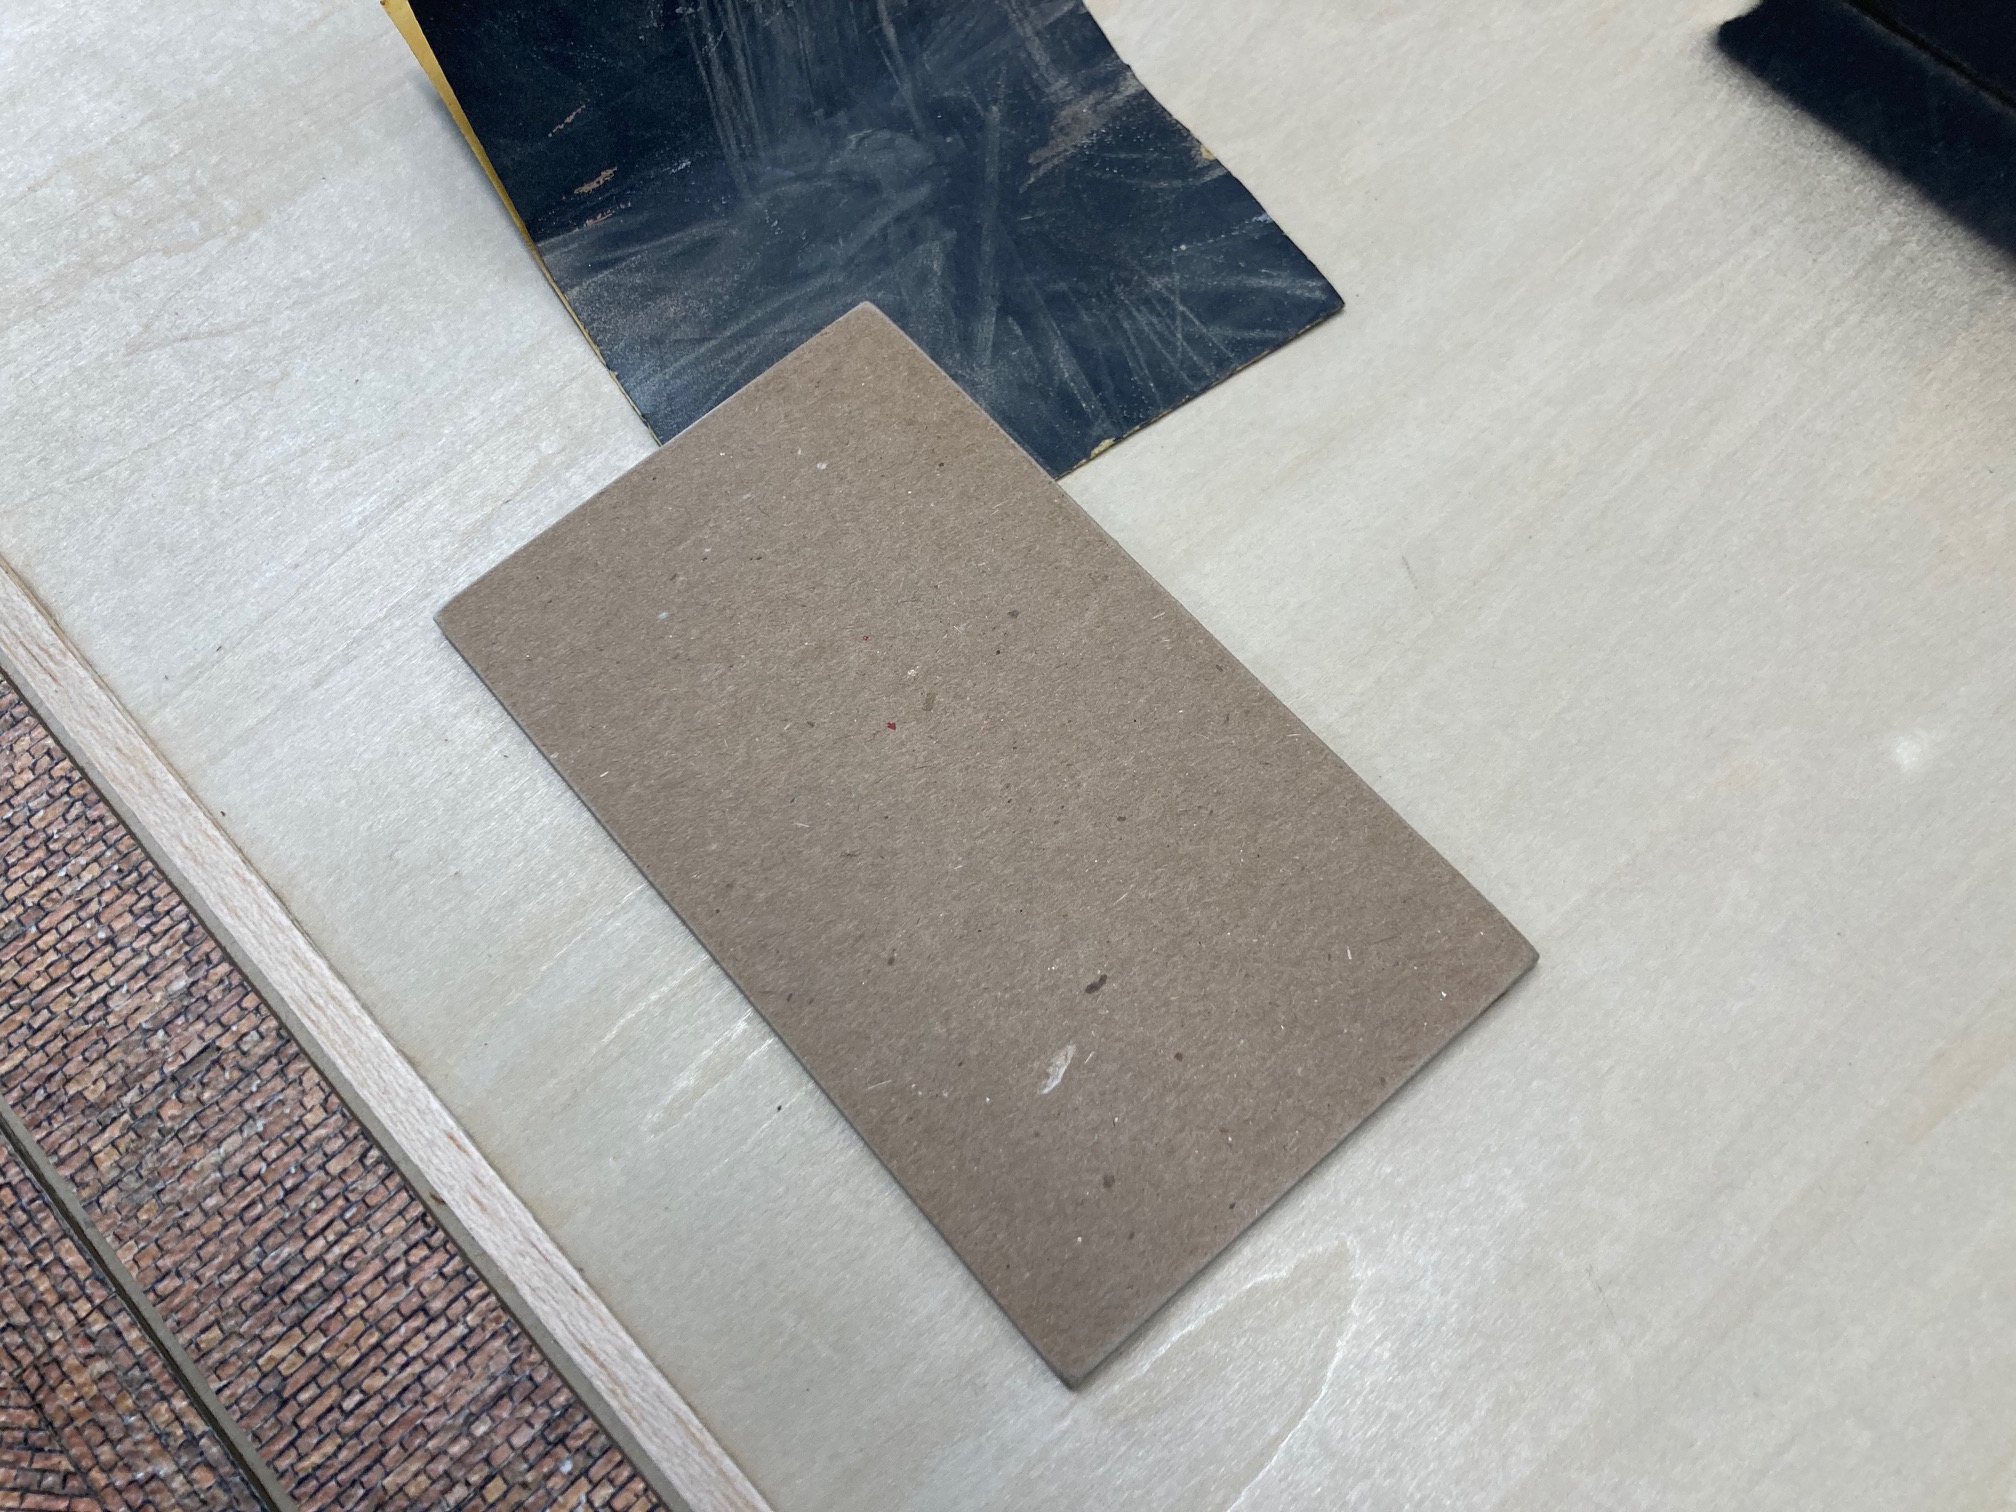
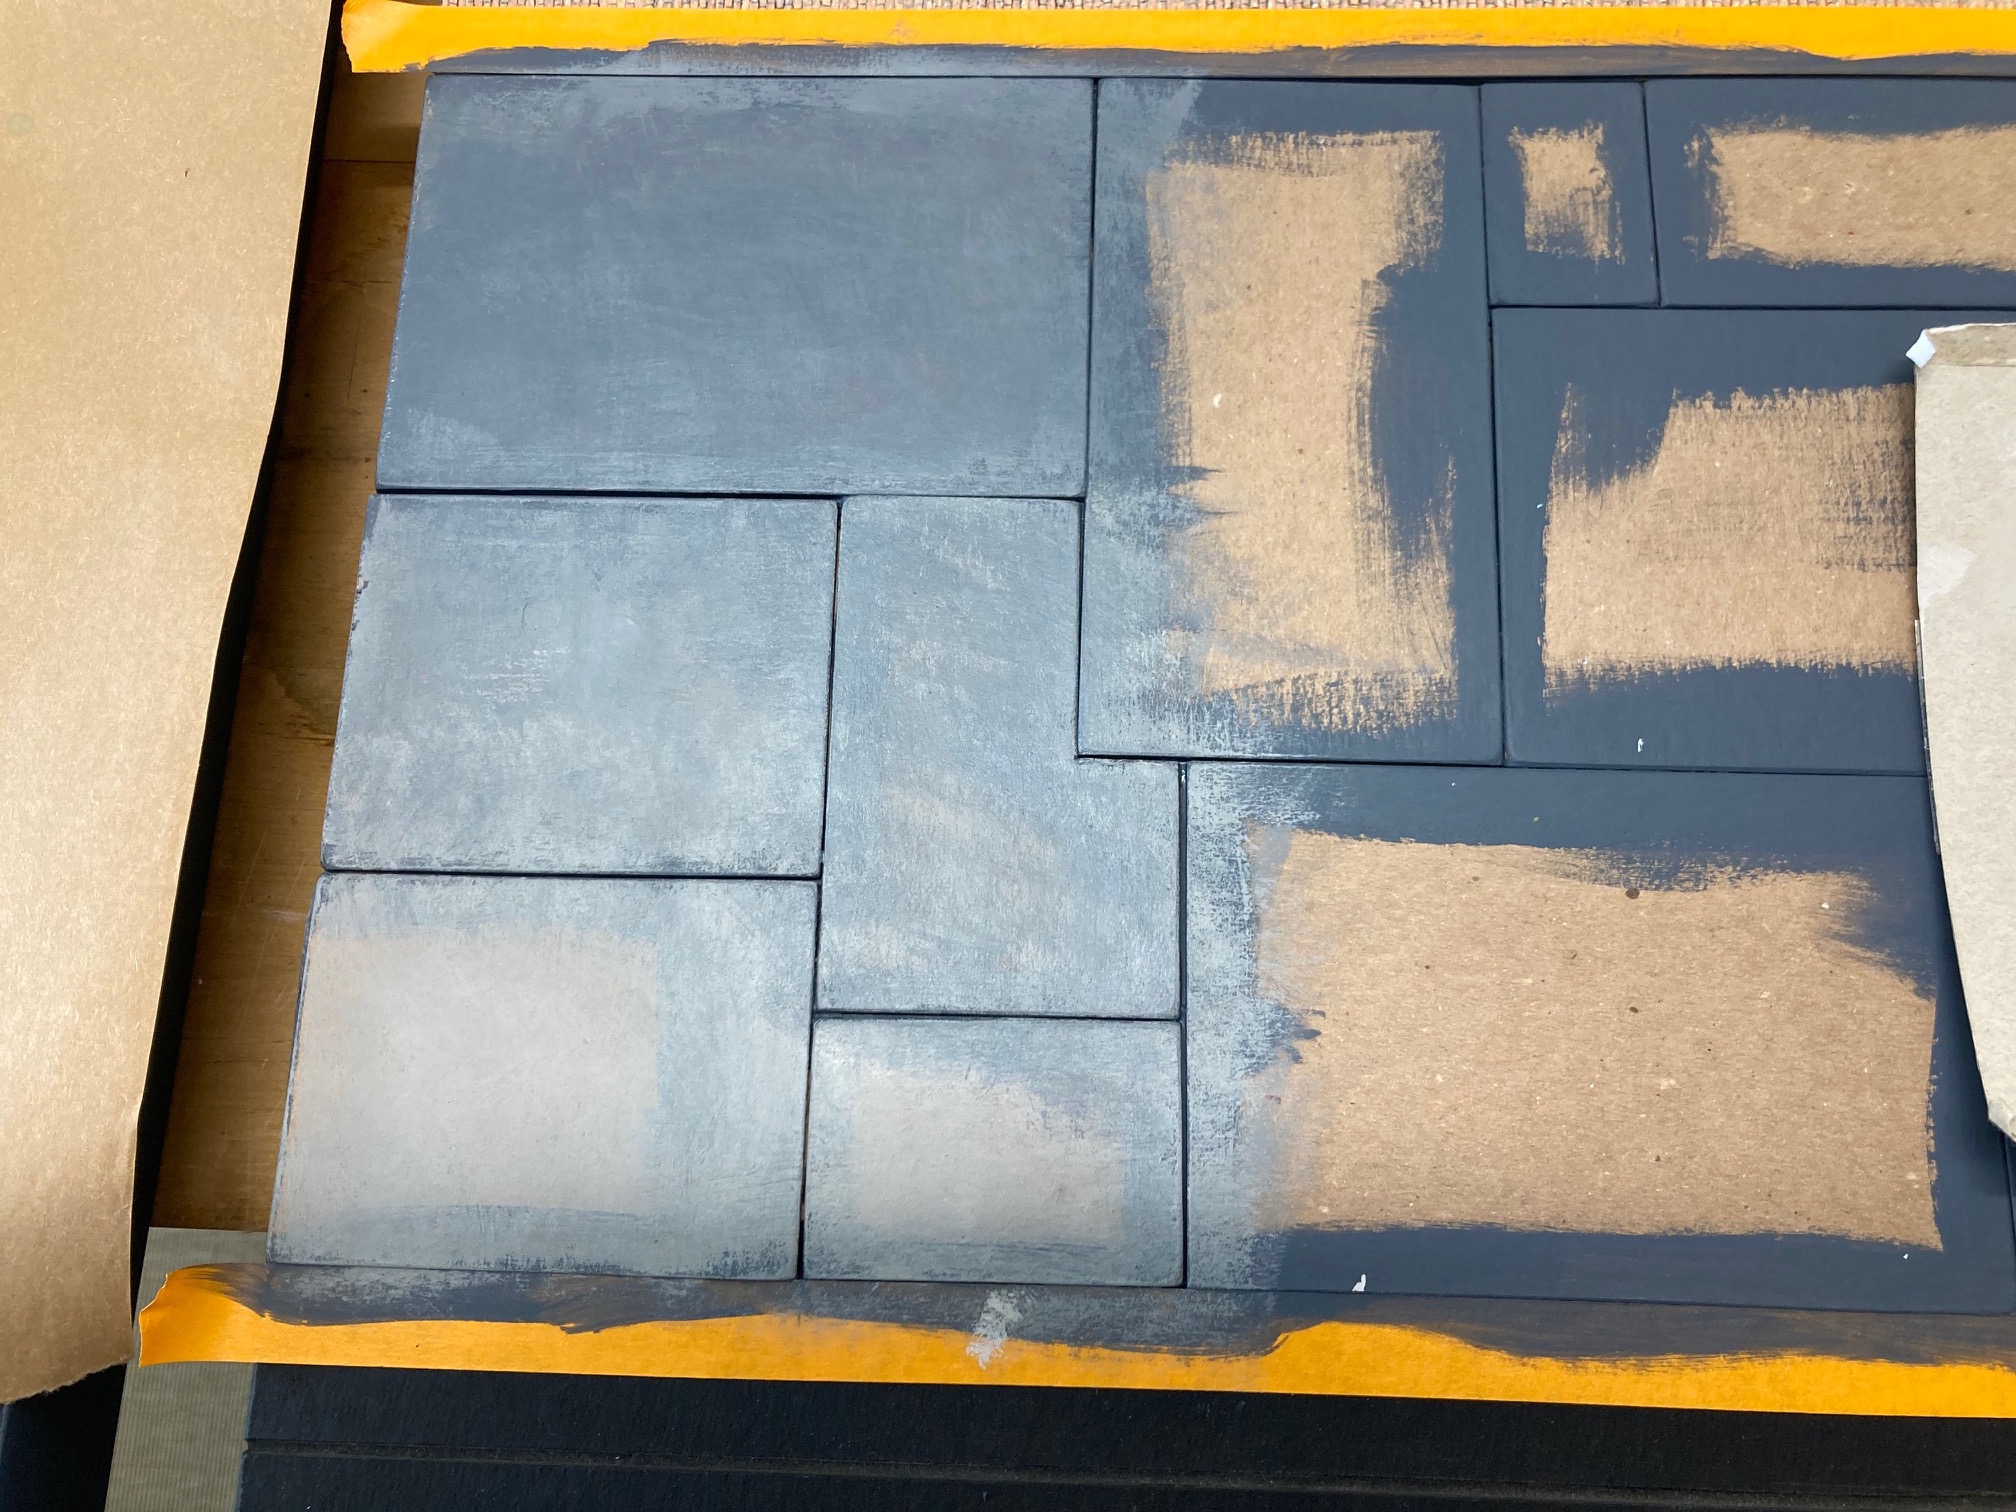
I set out to fill the center area of the boards with “slabs” of concrete. I had some scrap rectangle bits of 3mm cardboard. I sanded a bevel to all sides of each peace and glued them on to the board in a random pattern. Then when I was out of scrap pieces, I measured and cut the remaining pieces out of more 3mm card.
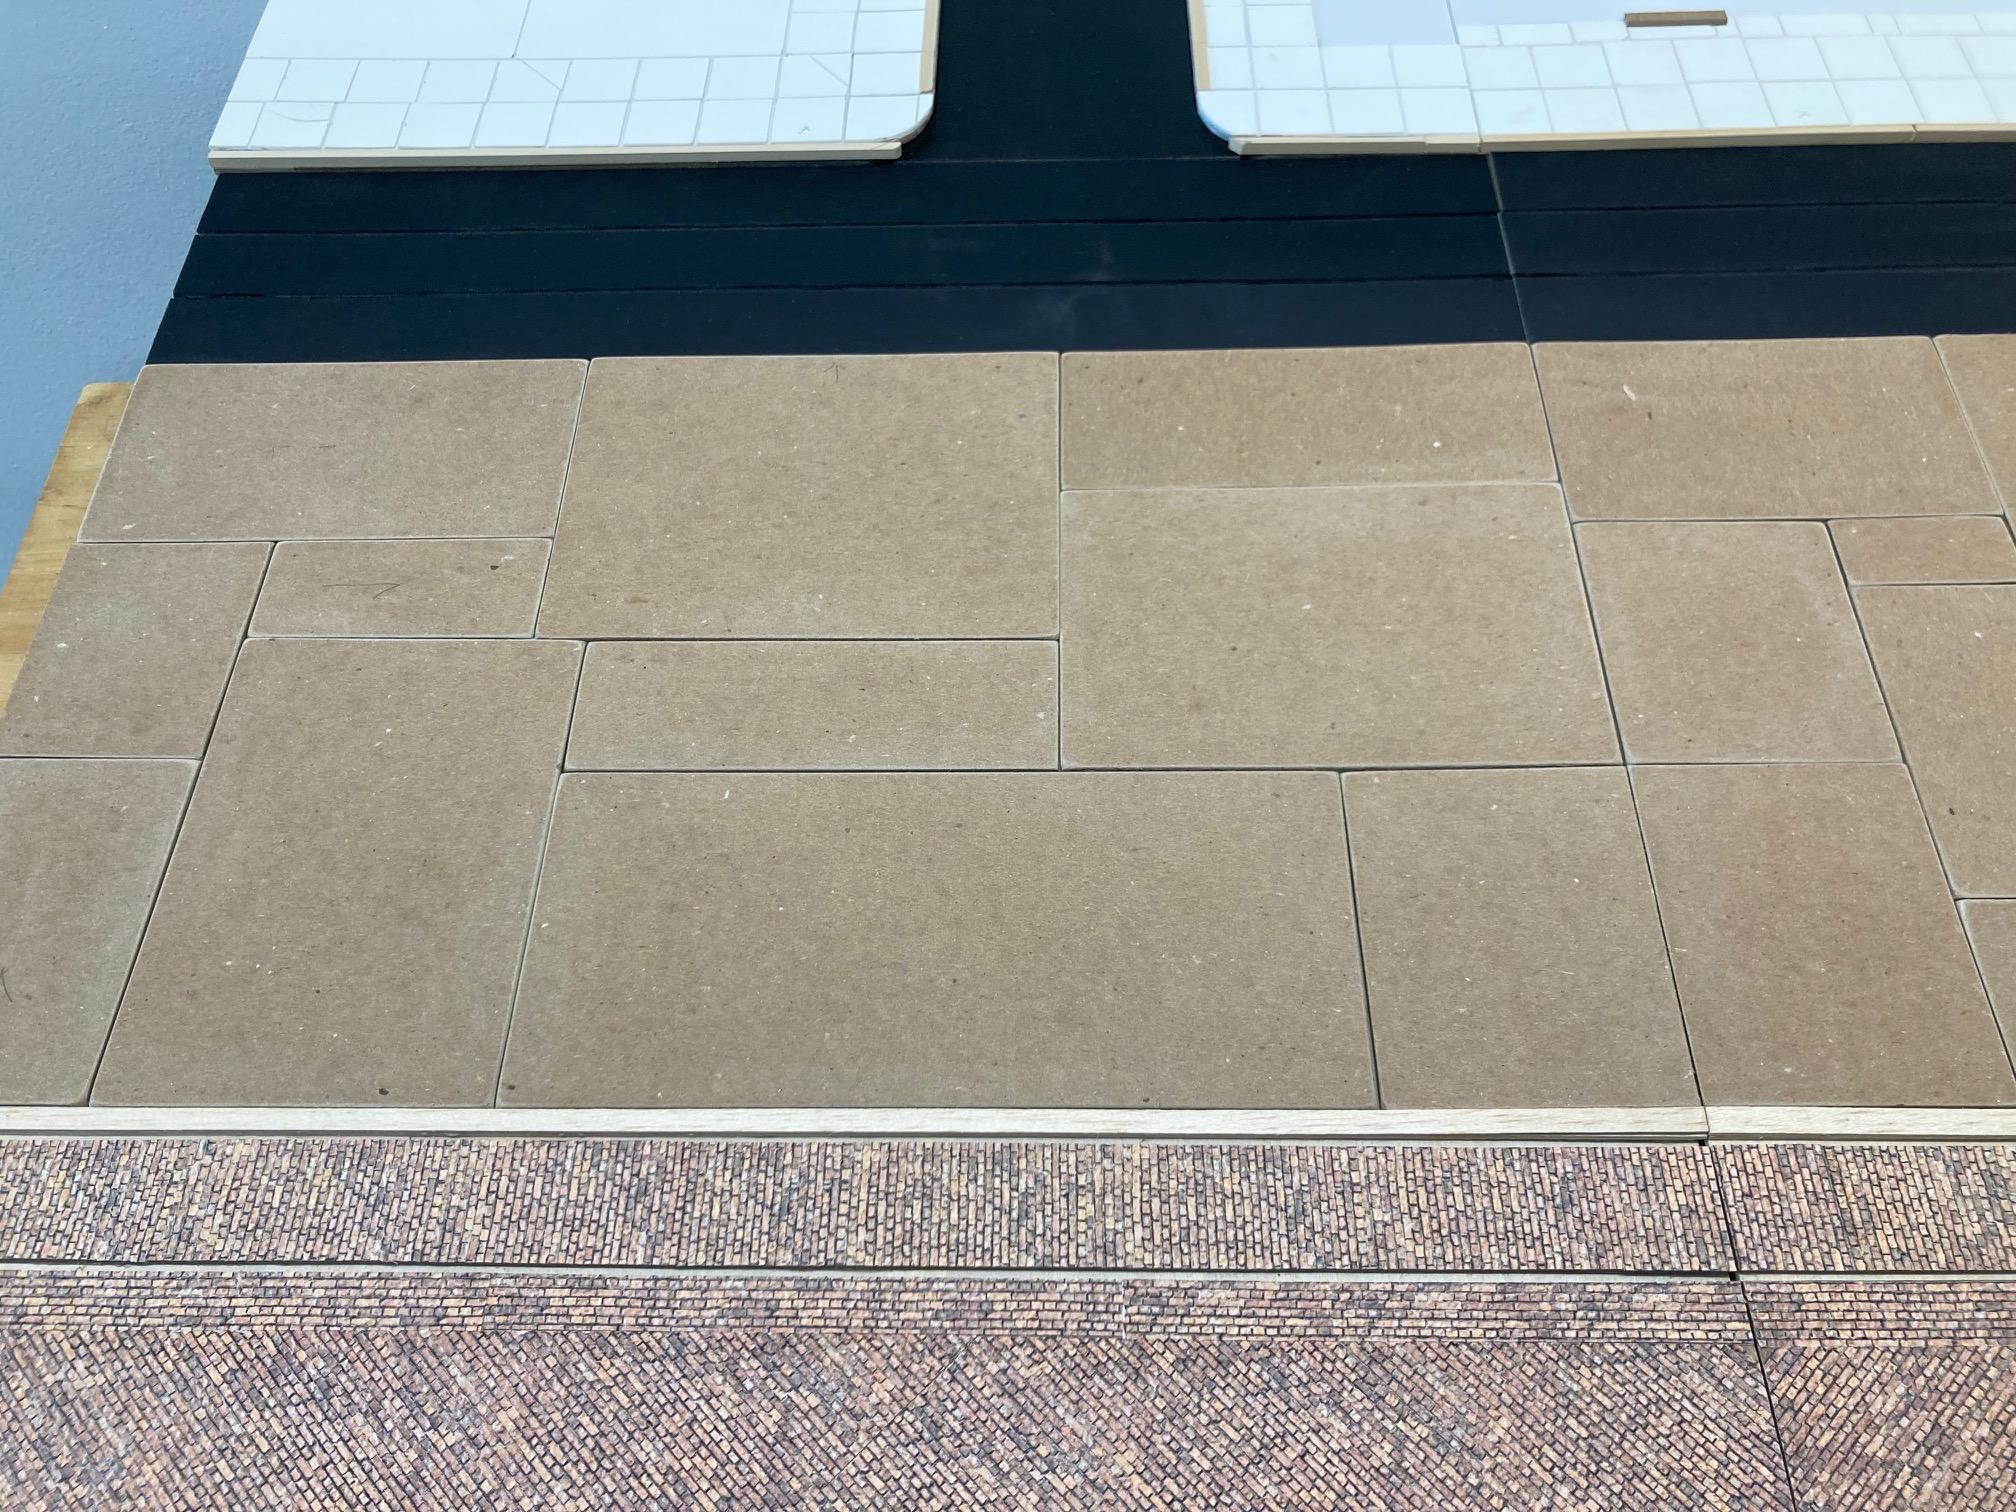
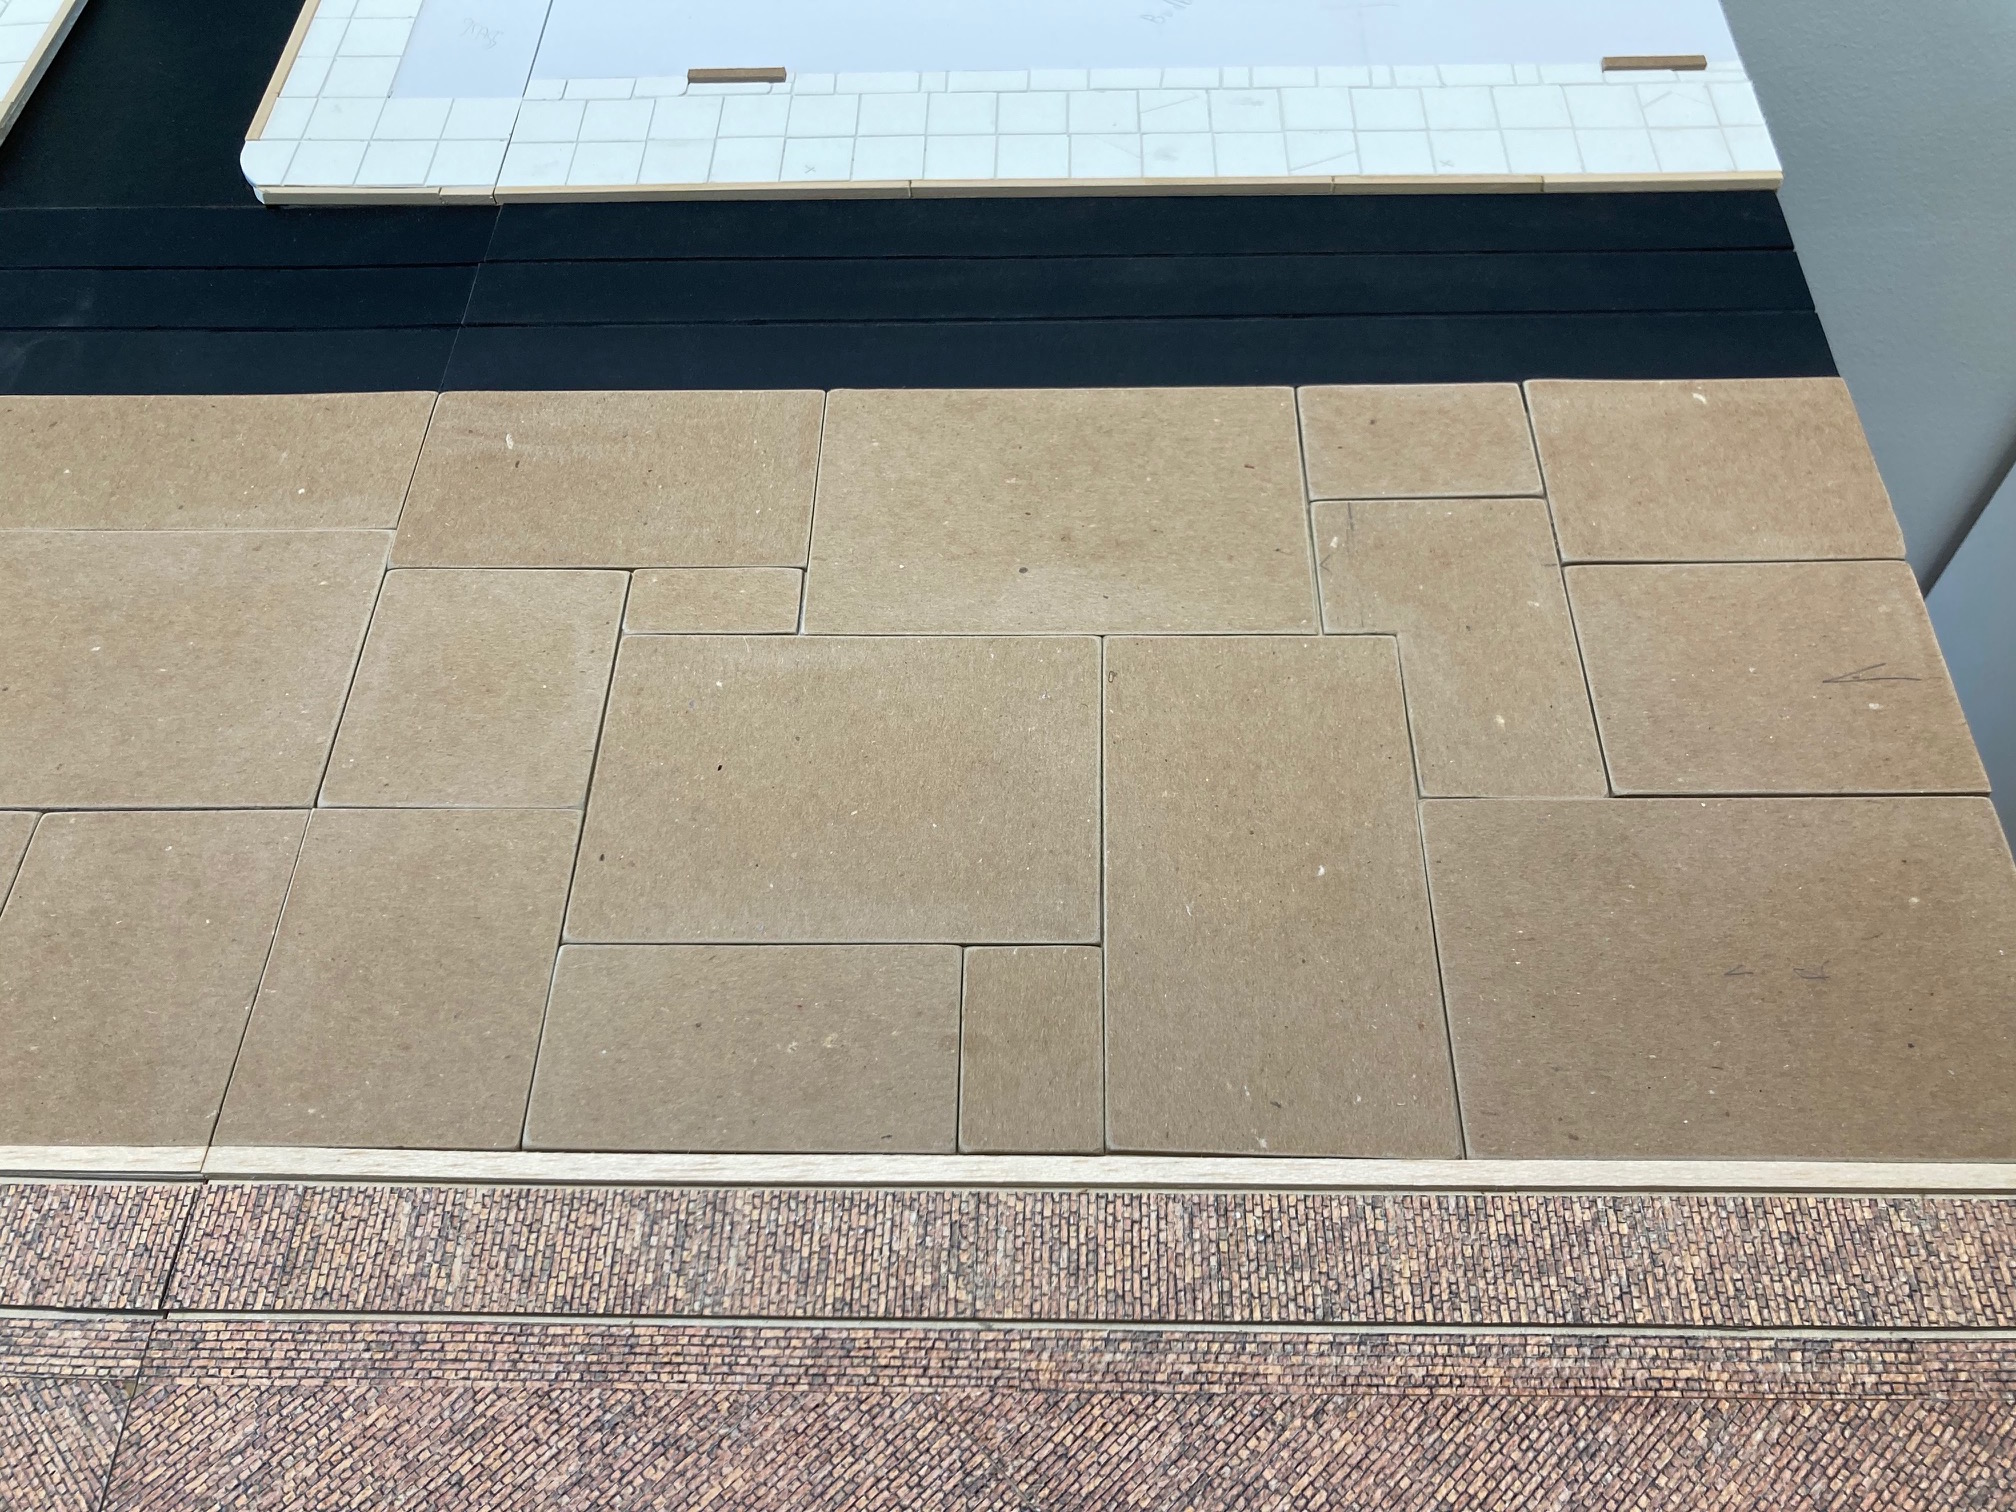
 2'x3' Quay board with 6"x18" add on.
  2'x3' Quay board with 1'x3' water front.
Dry Rub Concrete

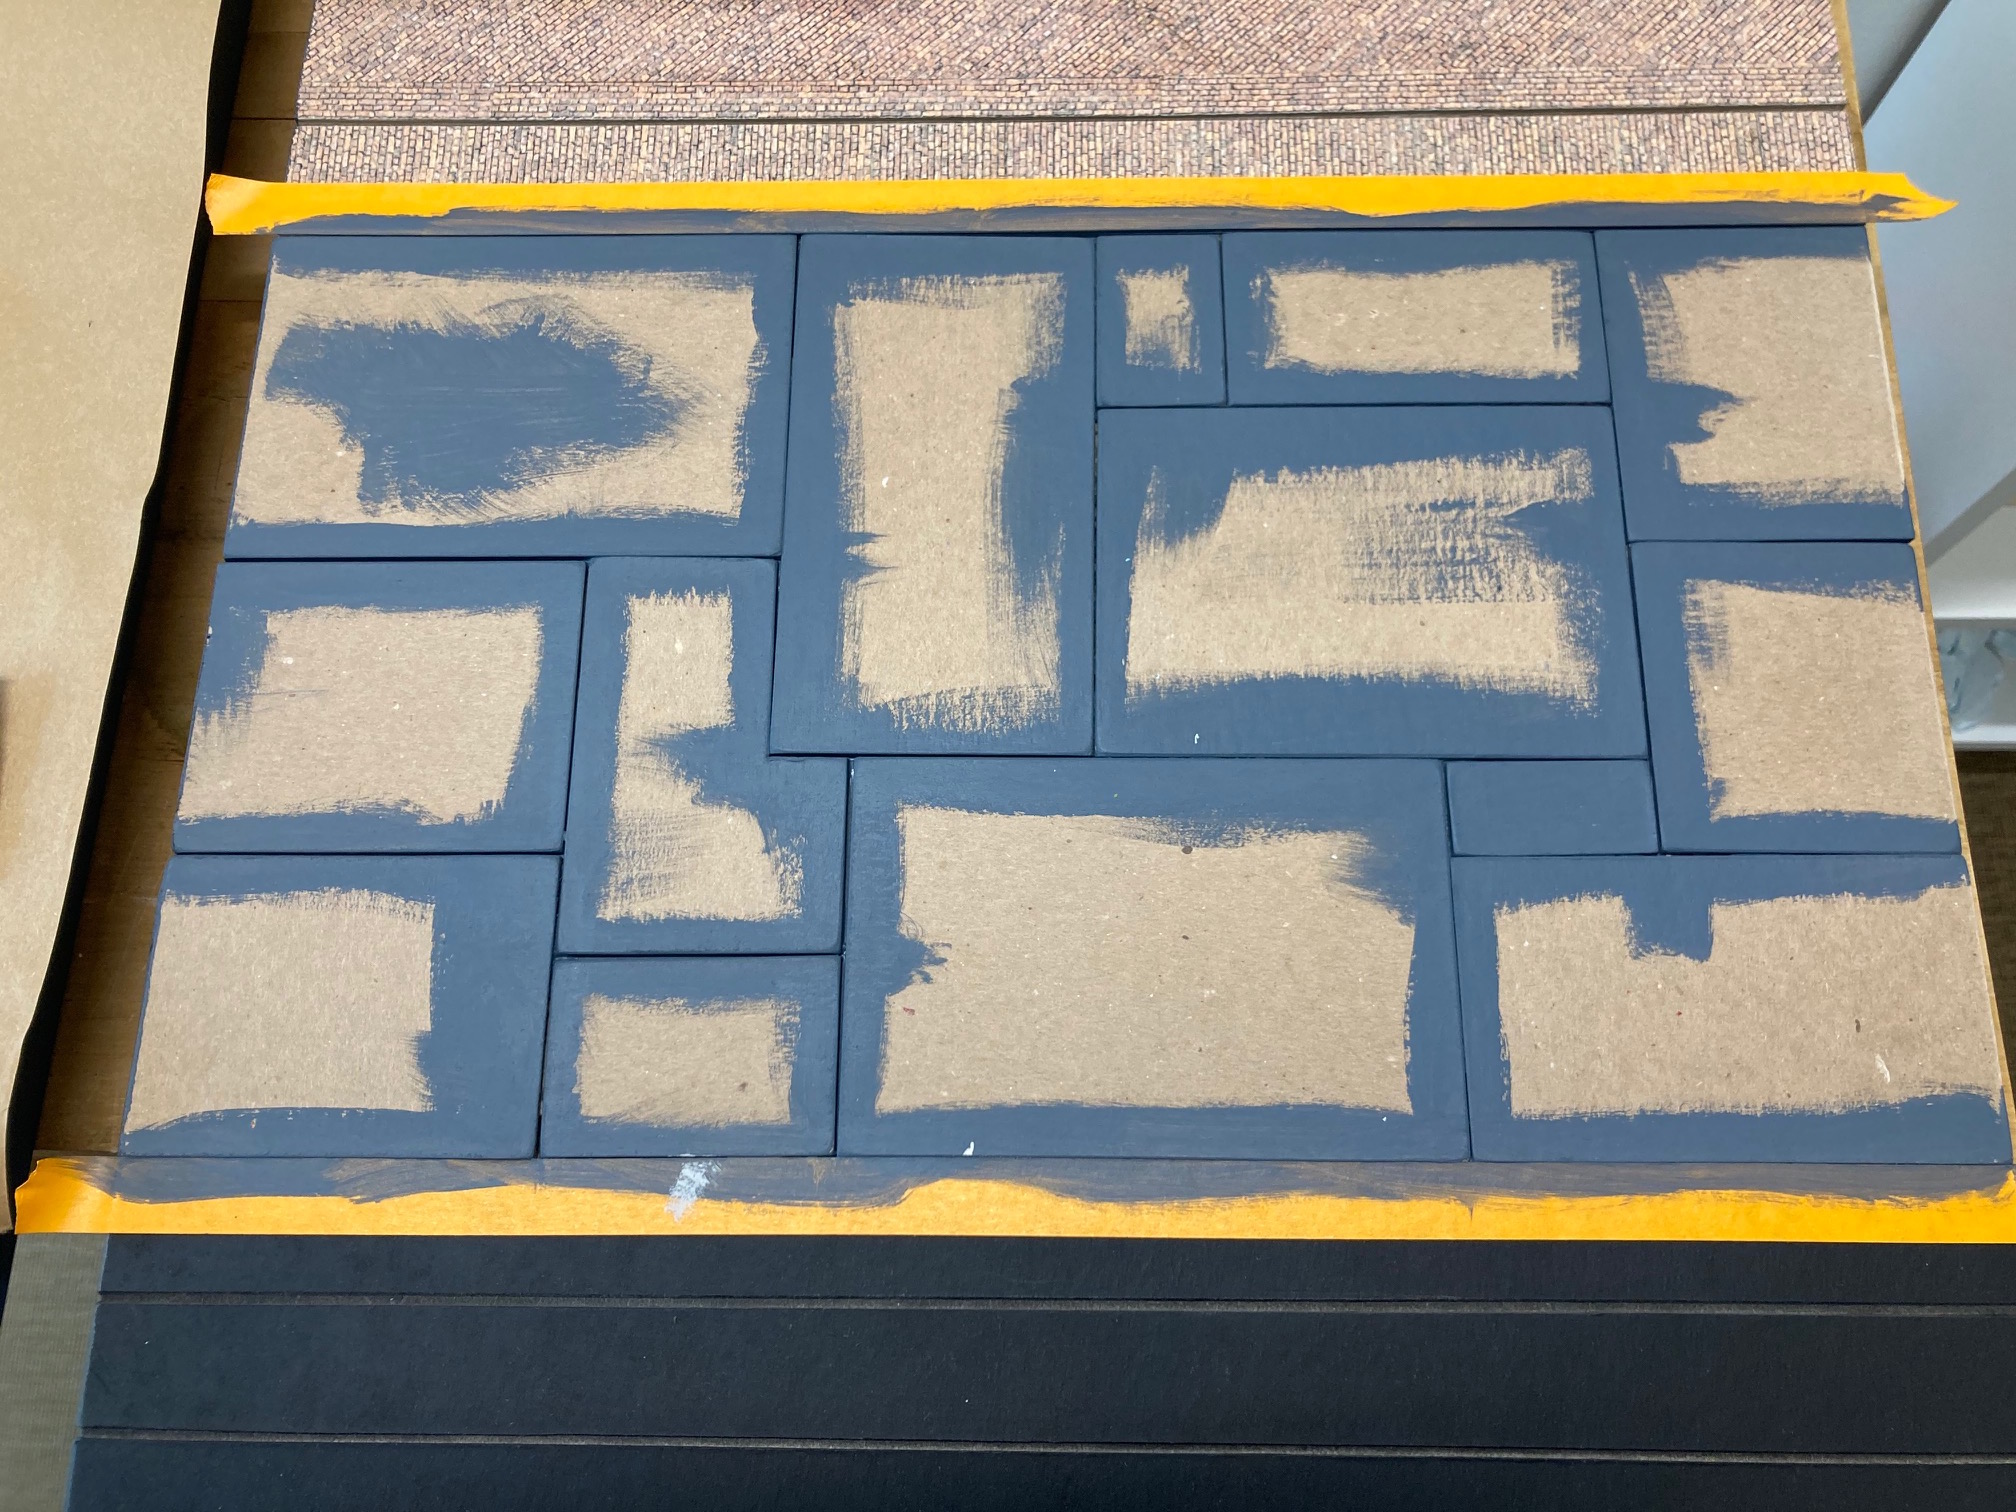
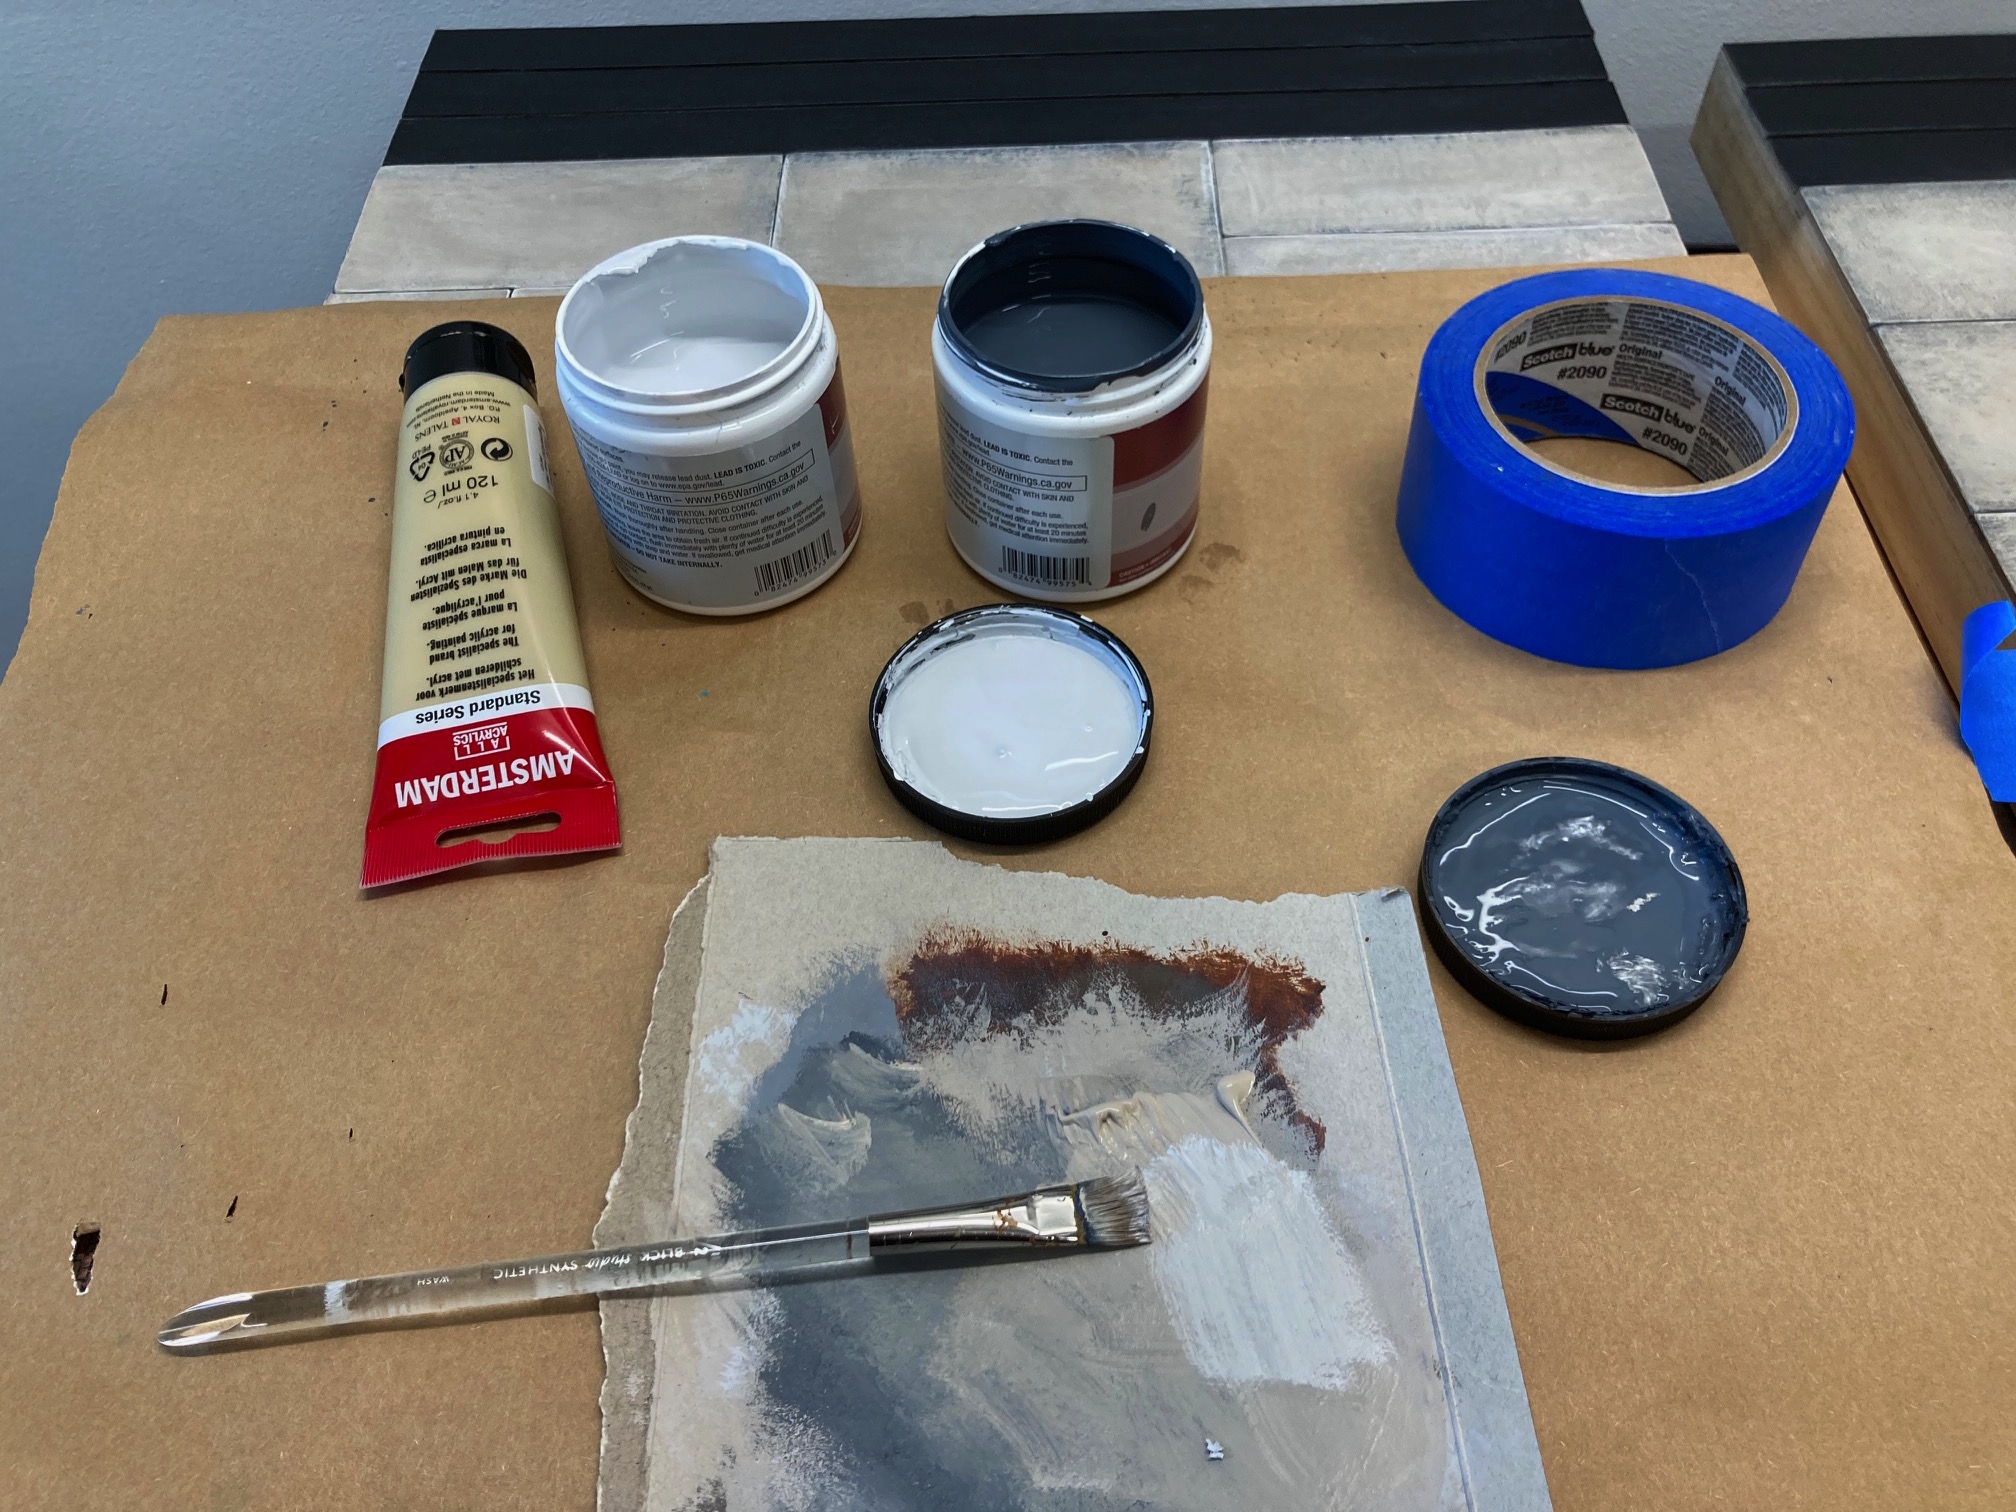
All the paint I used I had in stock. Some are sample pots that I got from HomeDepot when we were trying to decide what color to paint our dining room.
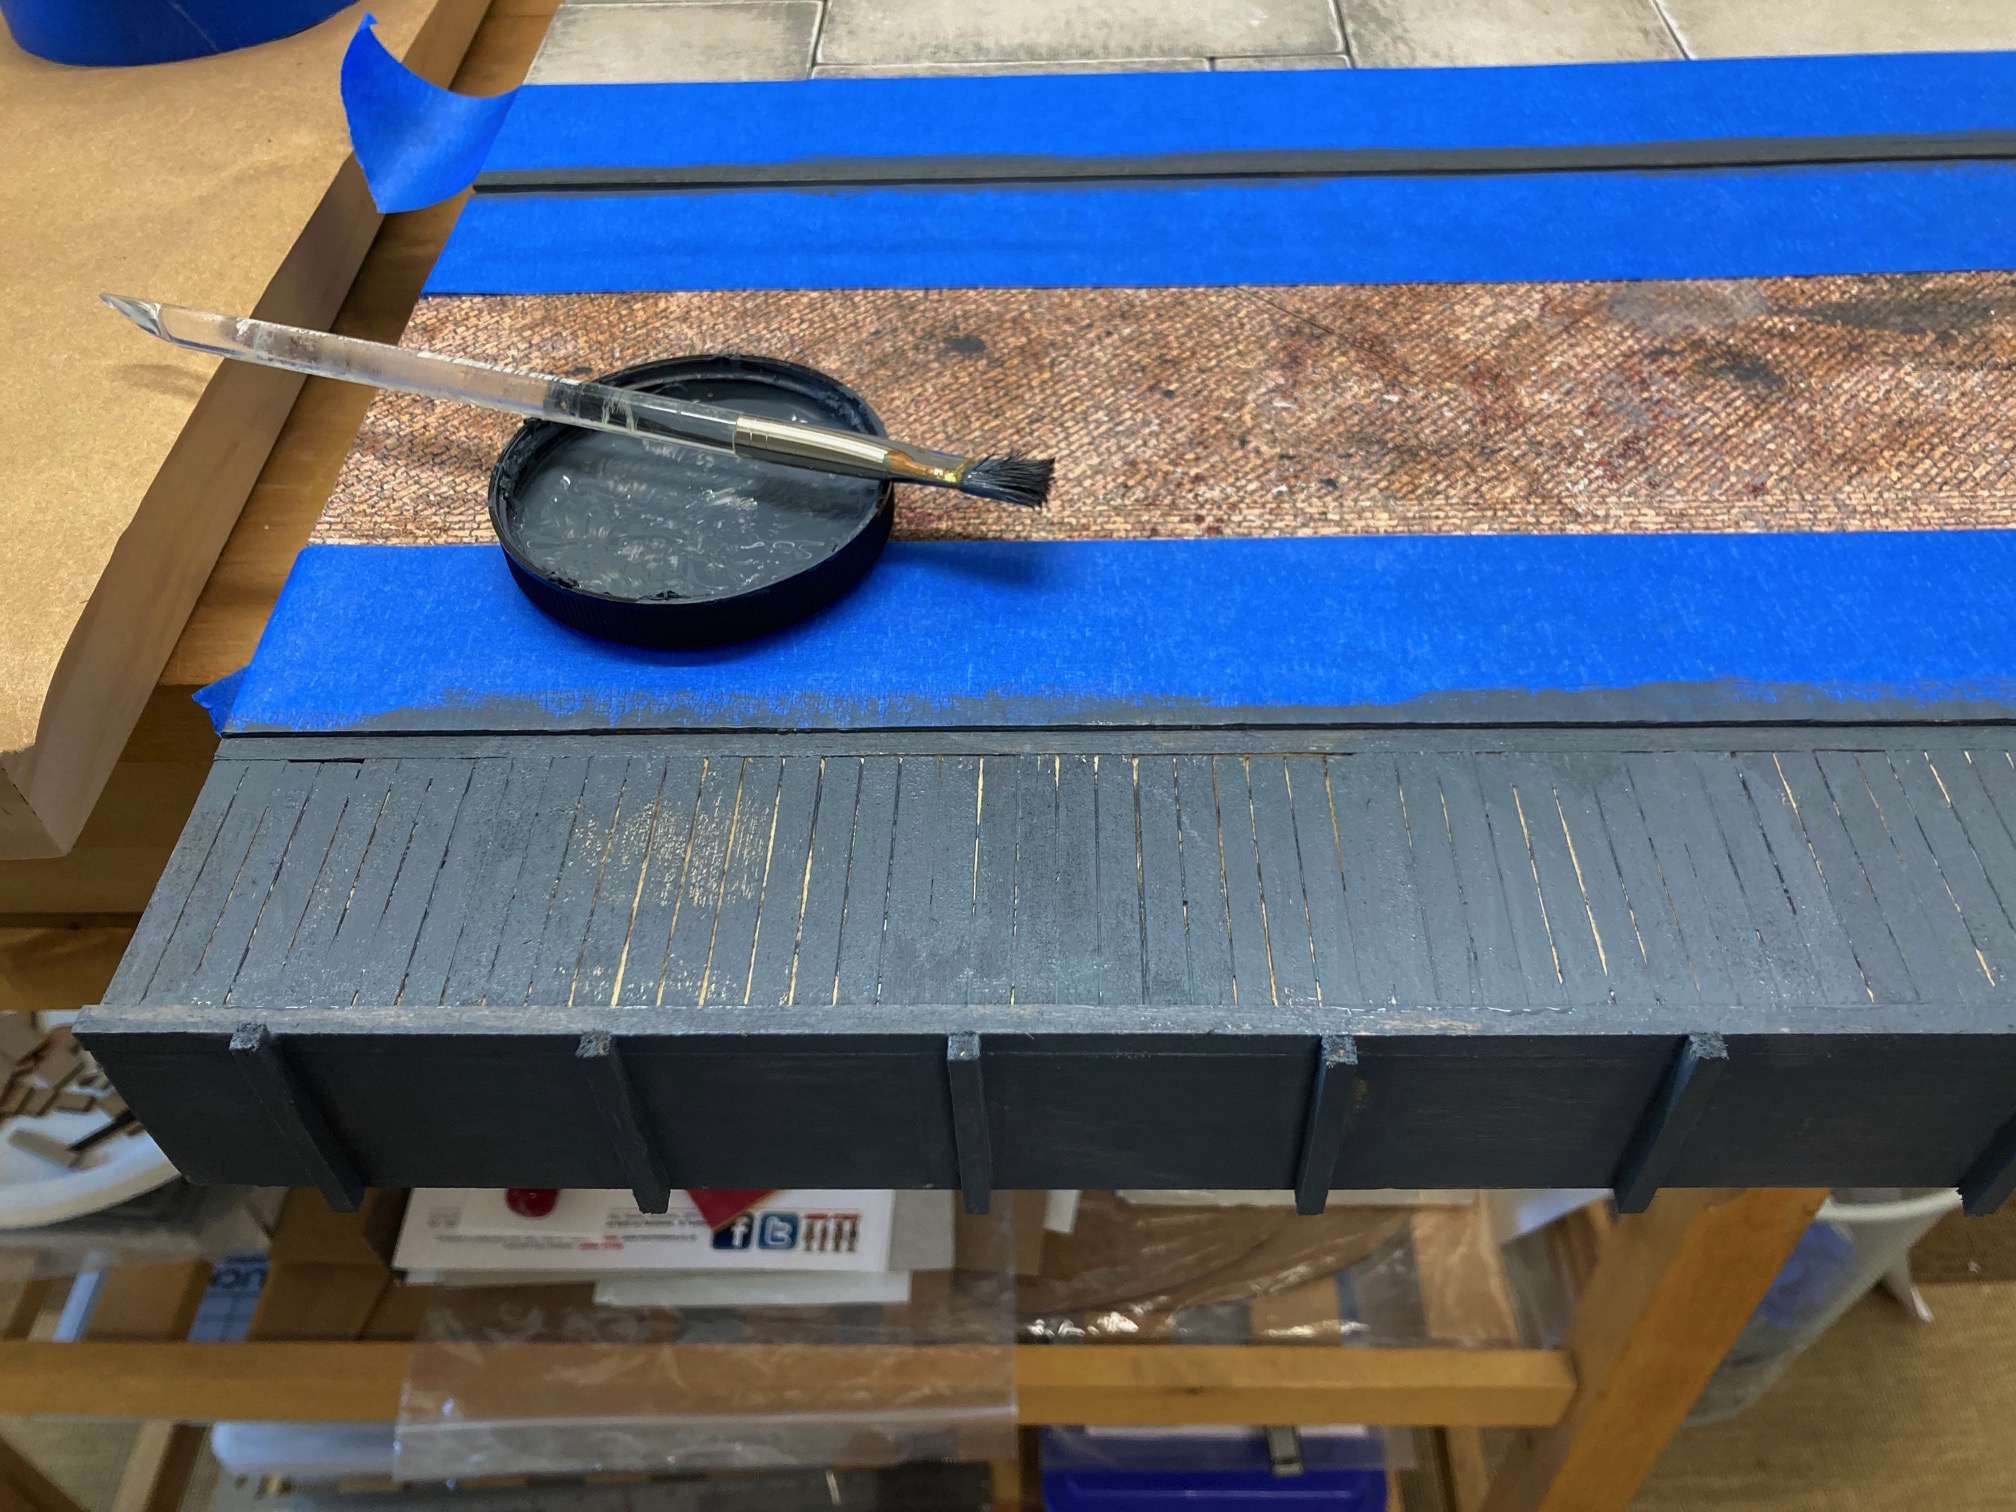
To give the center bit of the board a concrete look I started by brushing the groove edges with a dark grey. Making sure to get the paint deep into the grooves.
Next without adding paint to the brush I rubbed the brush around each piece starting from the outside into the center.
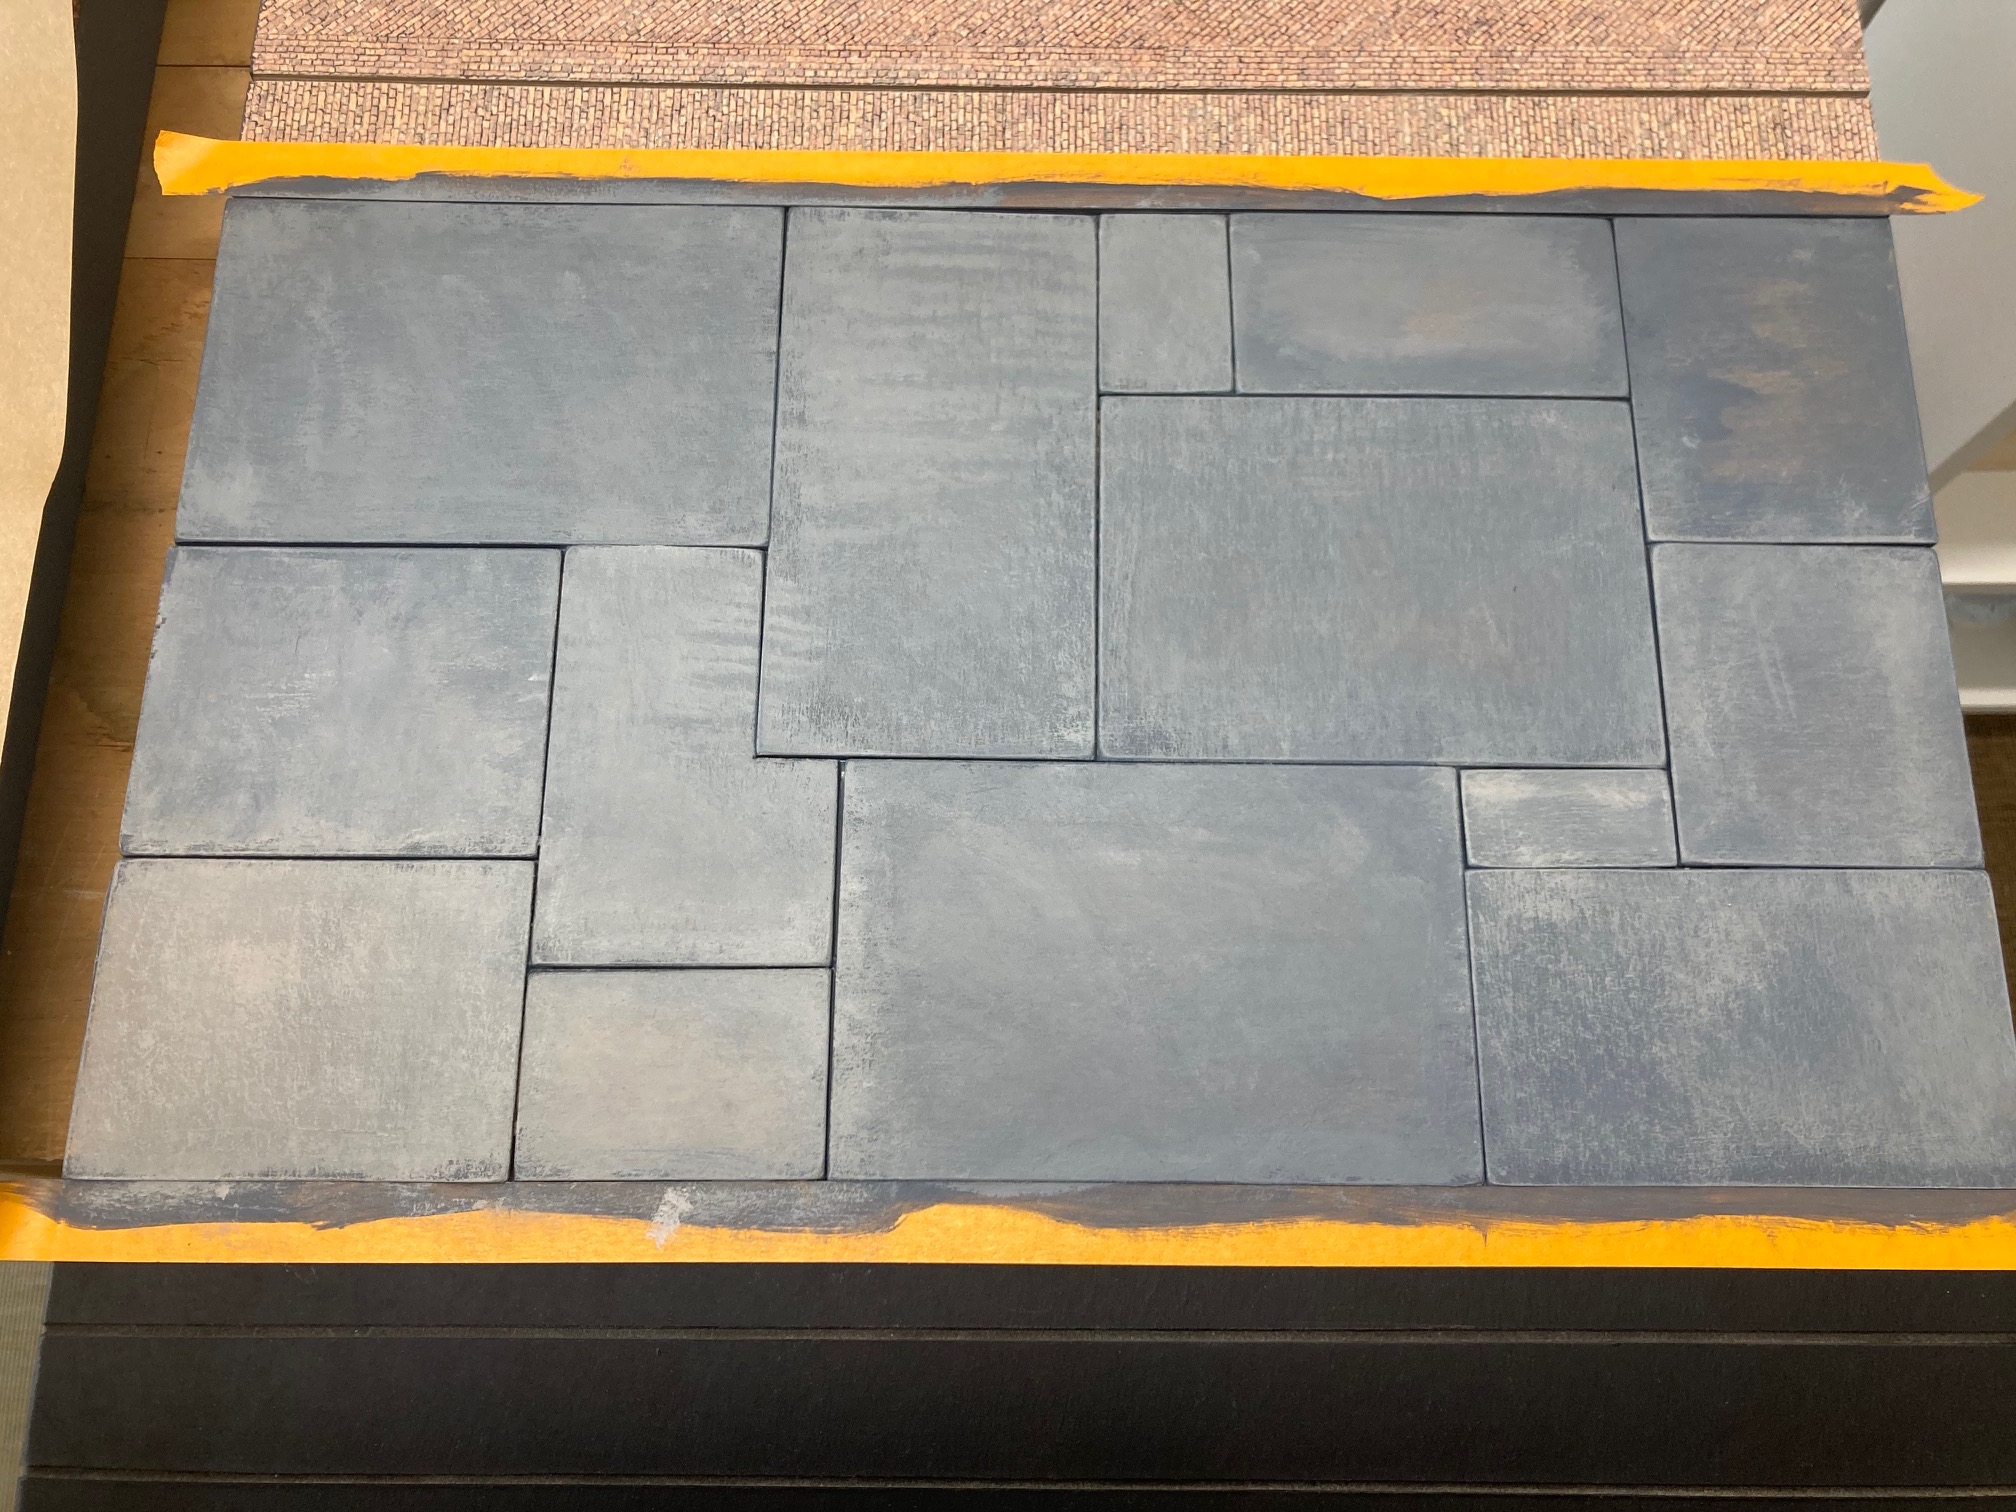
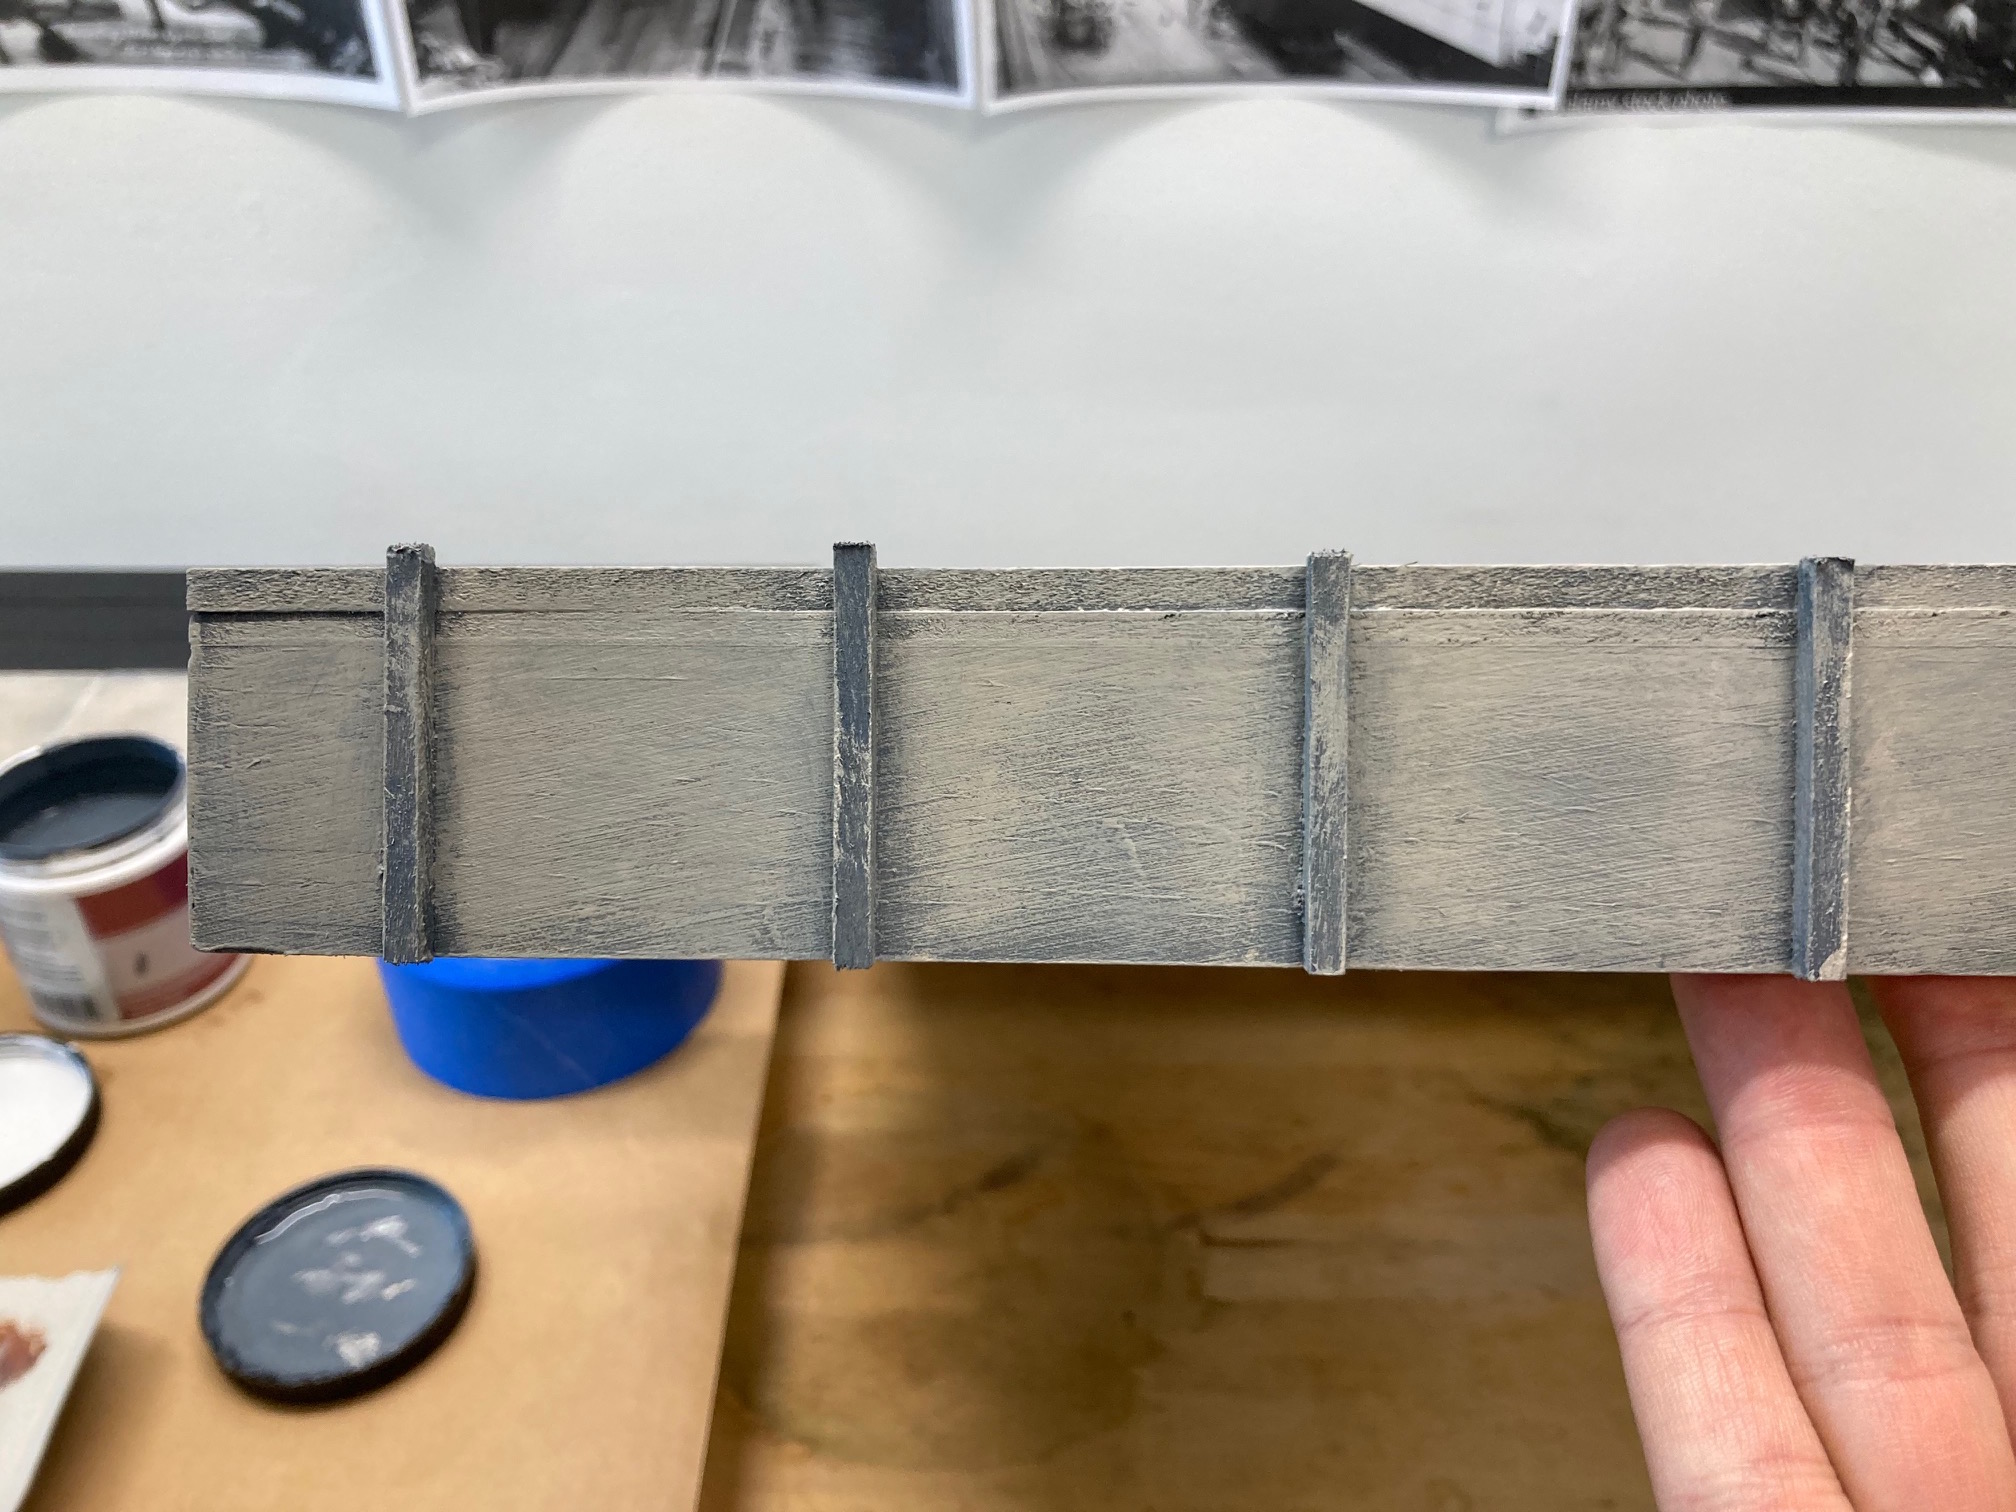
I then added Tan to the palette and rubbed Tan and Dark Grey around, sideways on an angle.
I continued to add more tan to the mix each layer.
I then added Lite Grey to the Tan dry mix and did the same stroke technic.
Remember to keep the paint light on the brush. Do the mixing of paint on the board by rubbing in multiple directions.
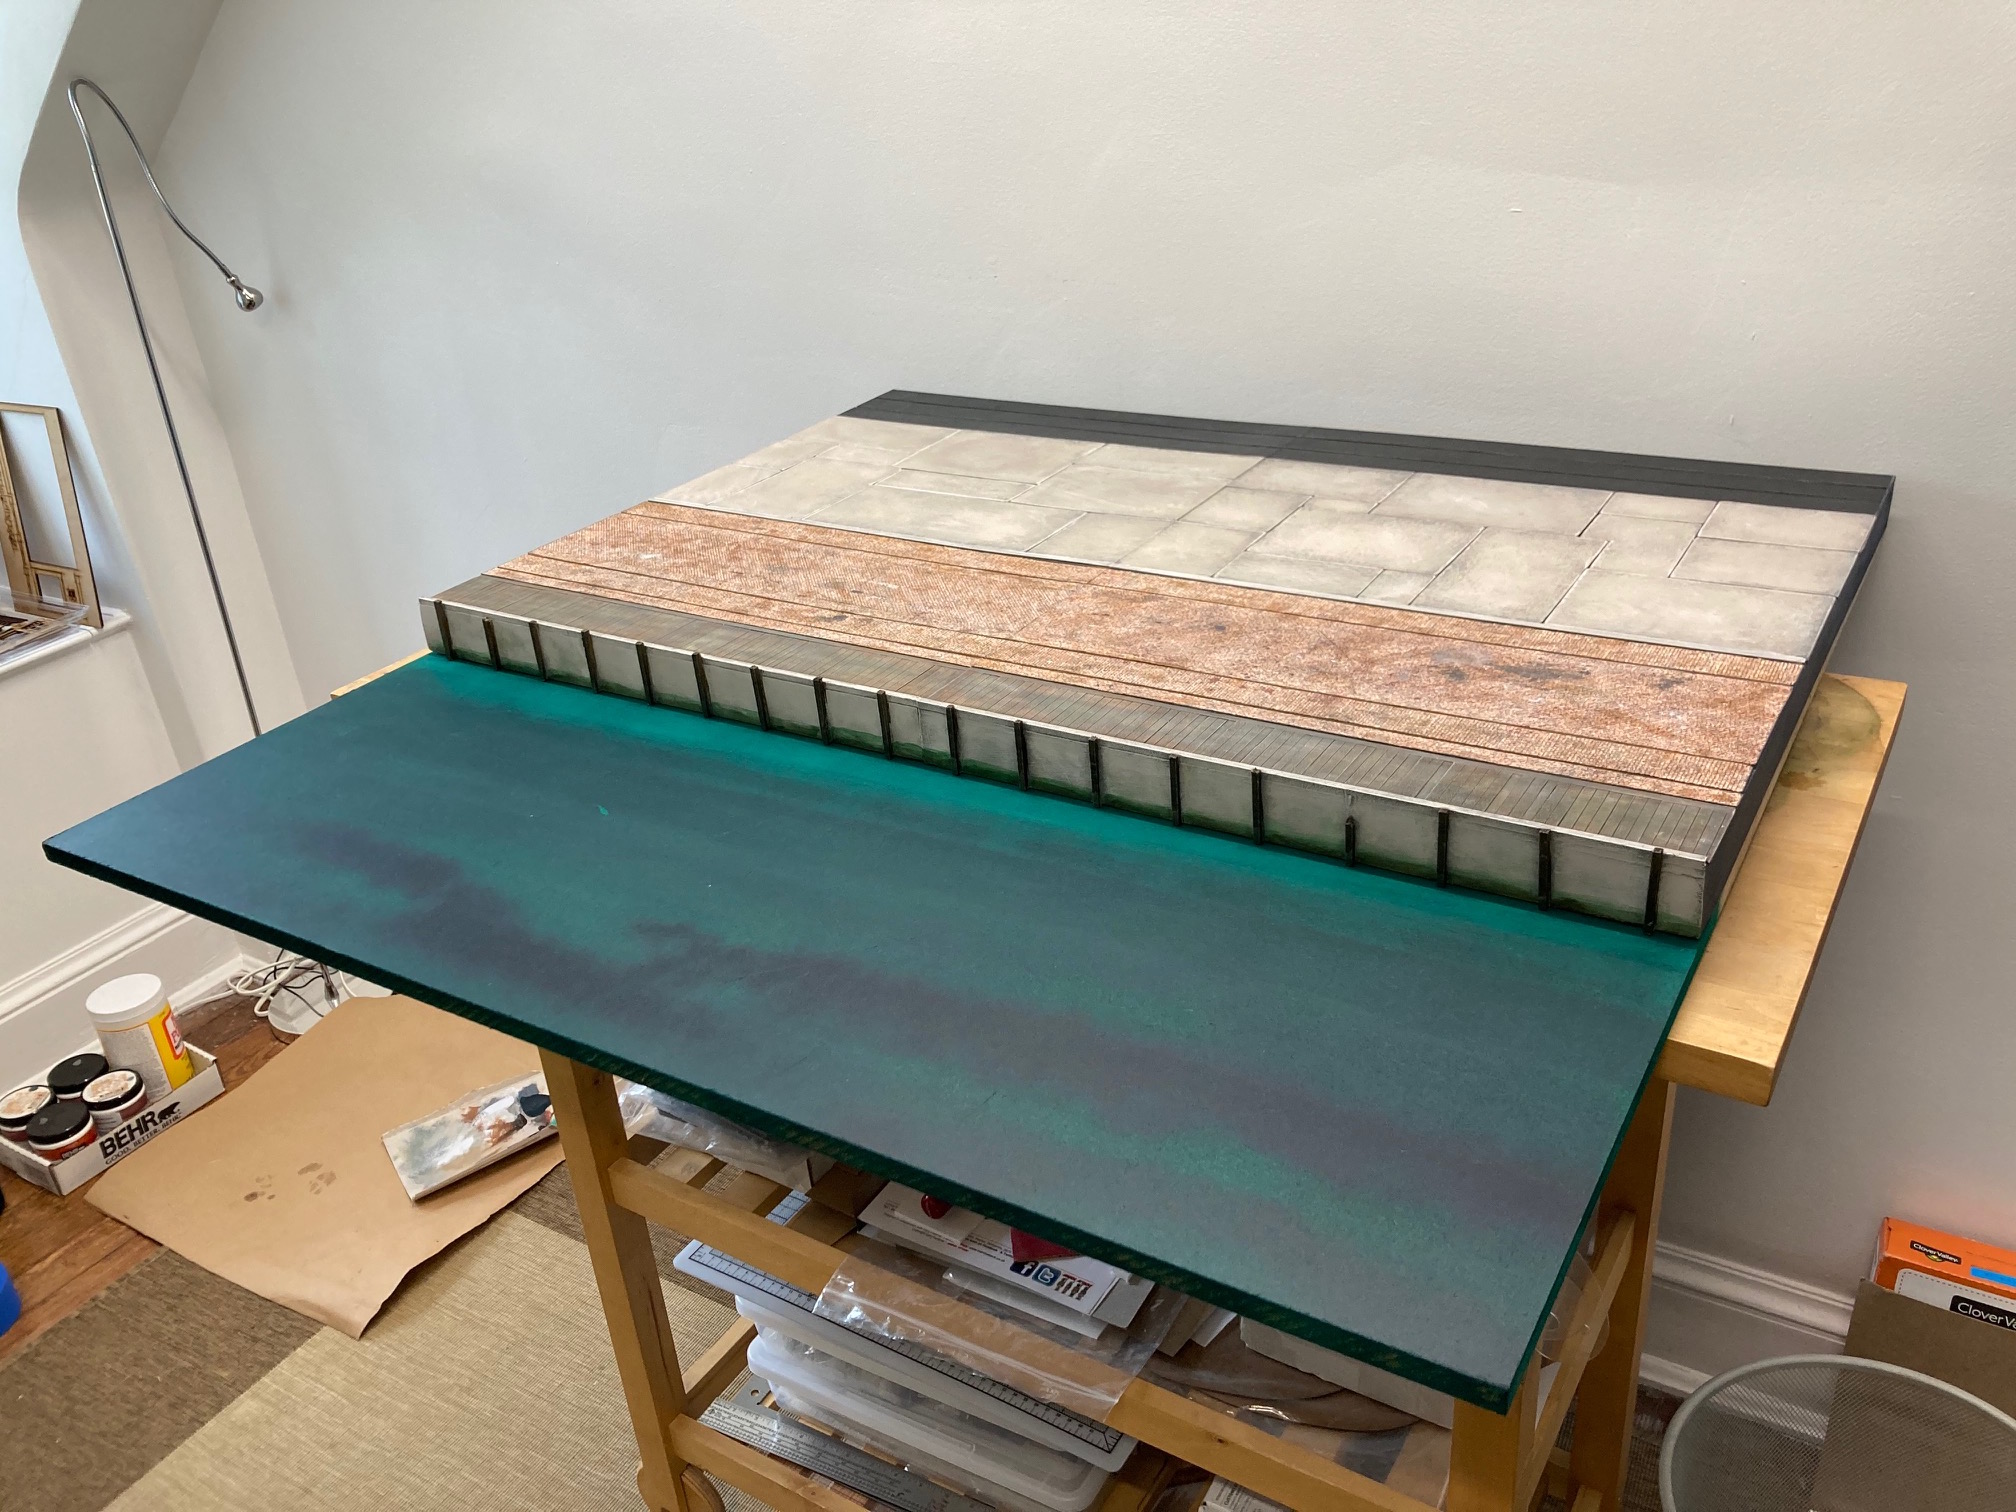
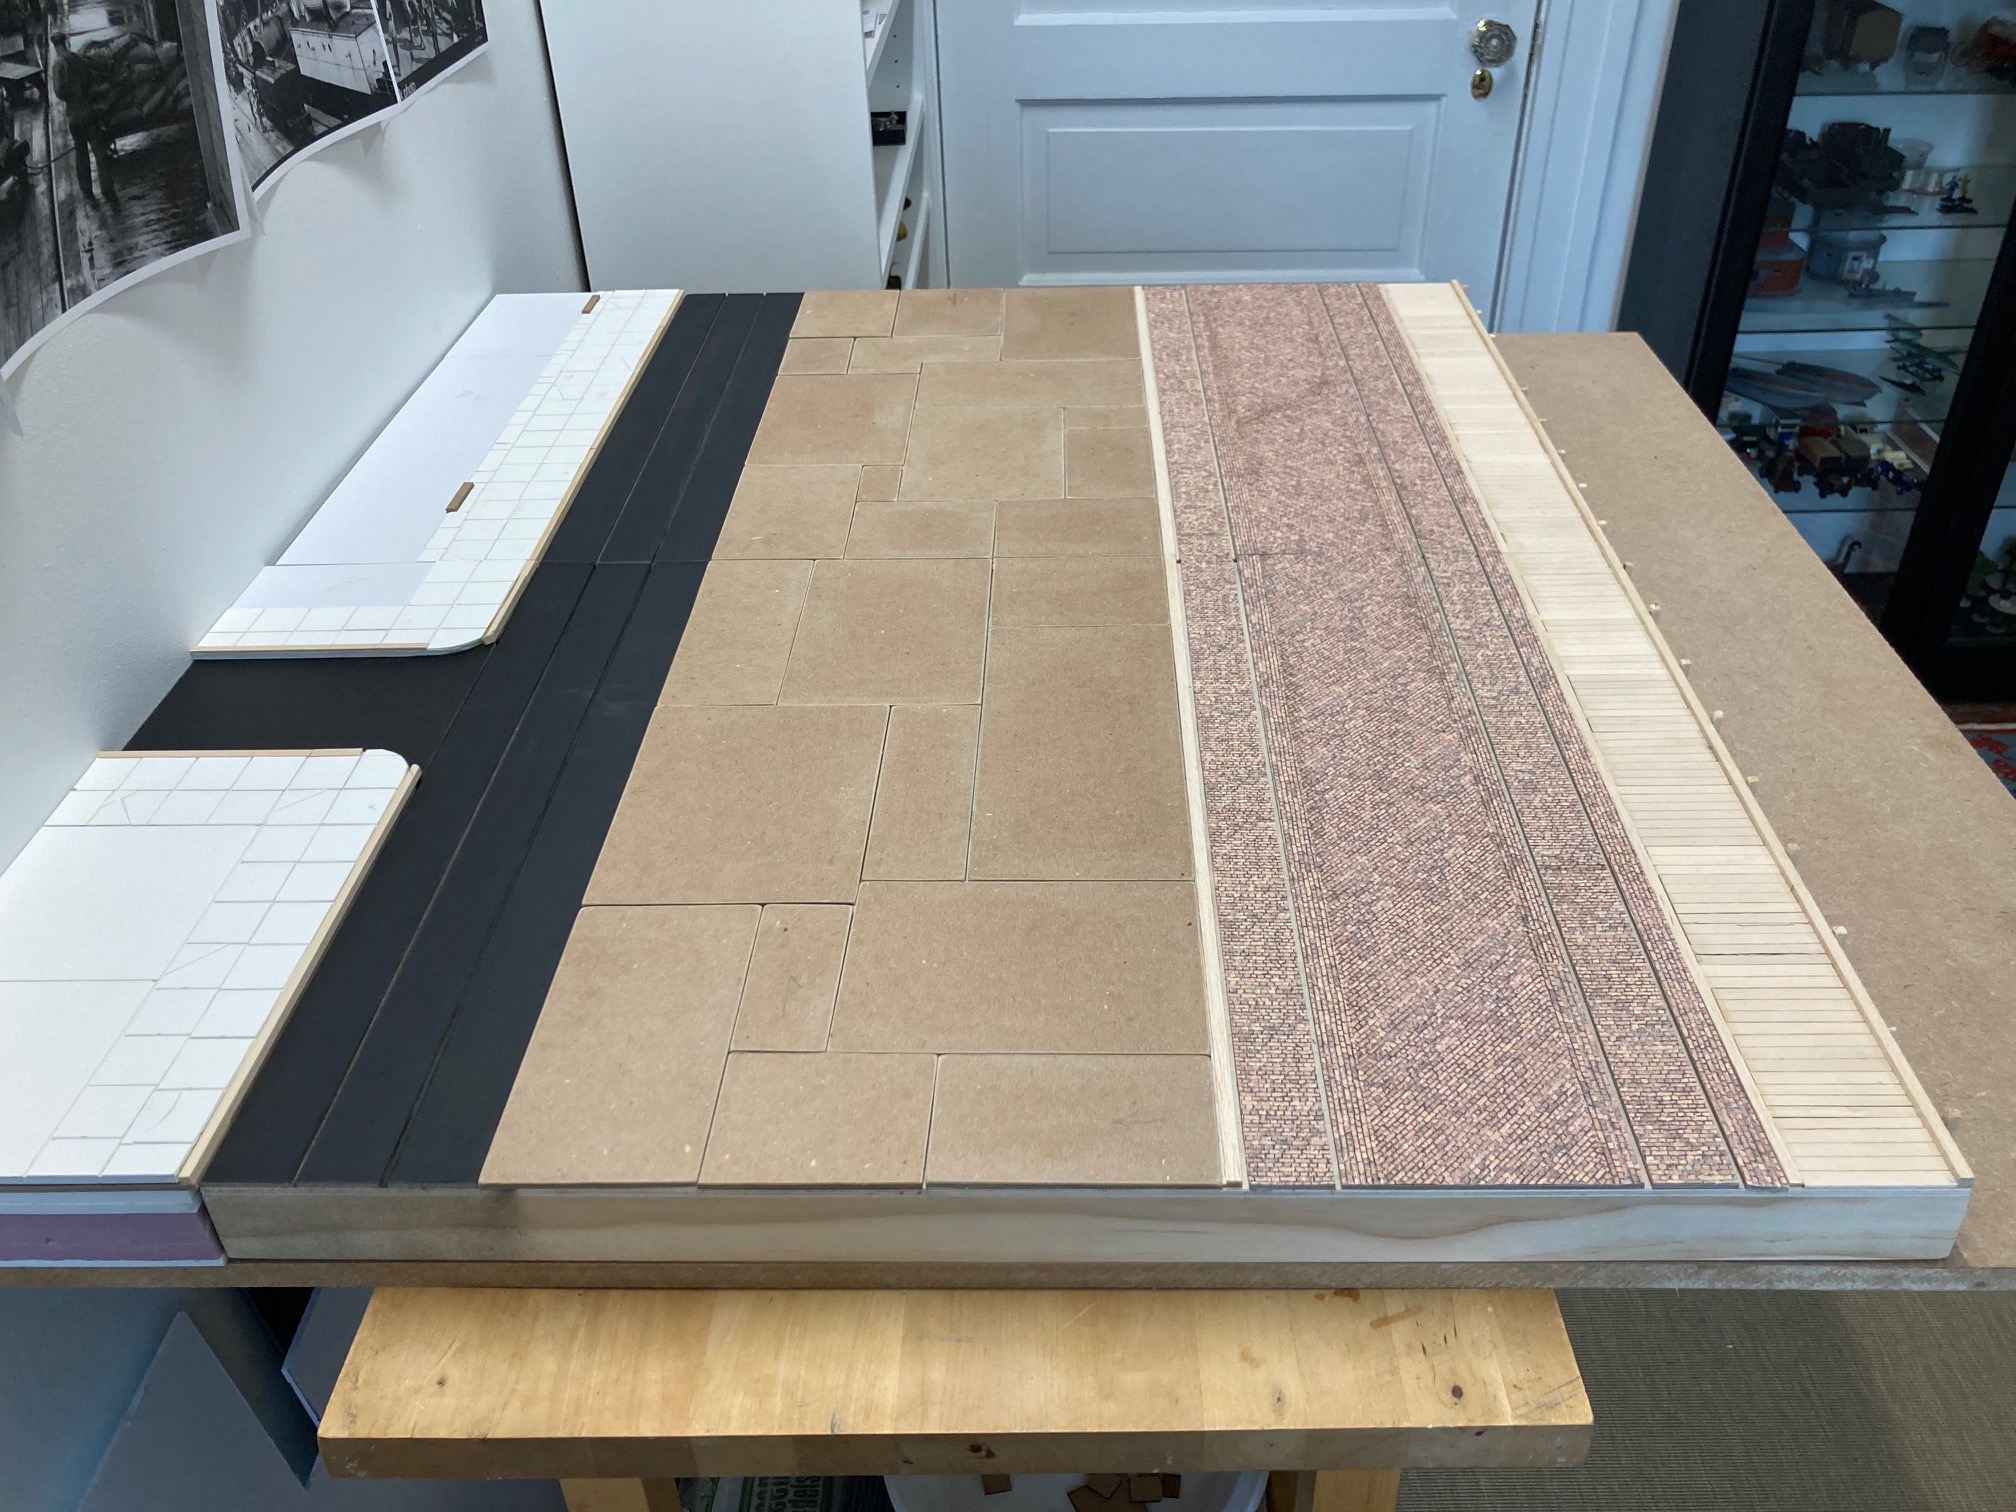
Final Paint Job
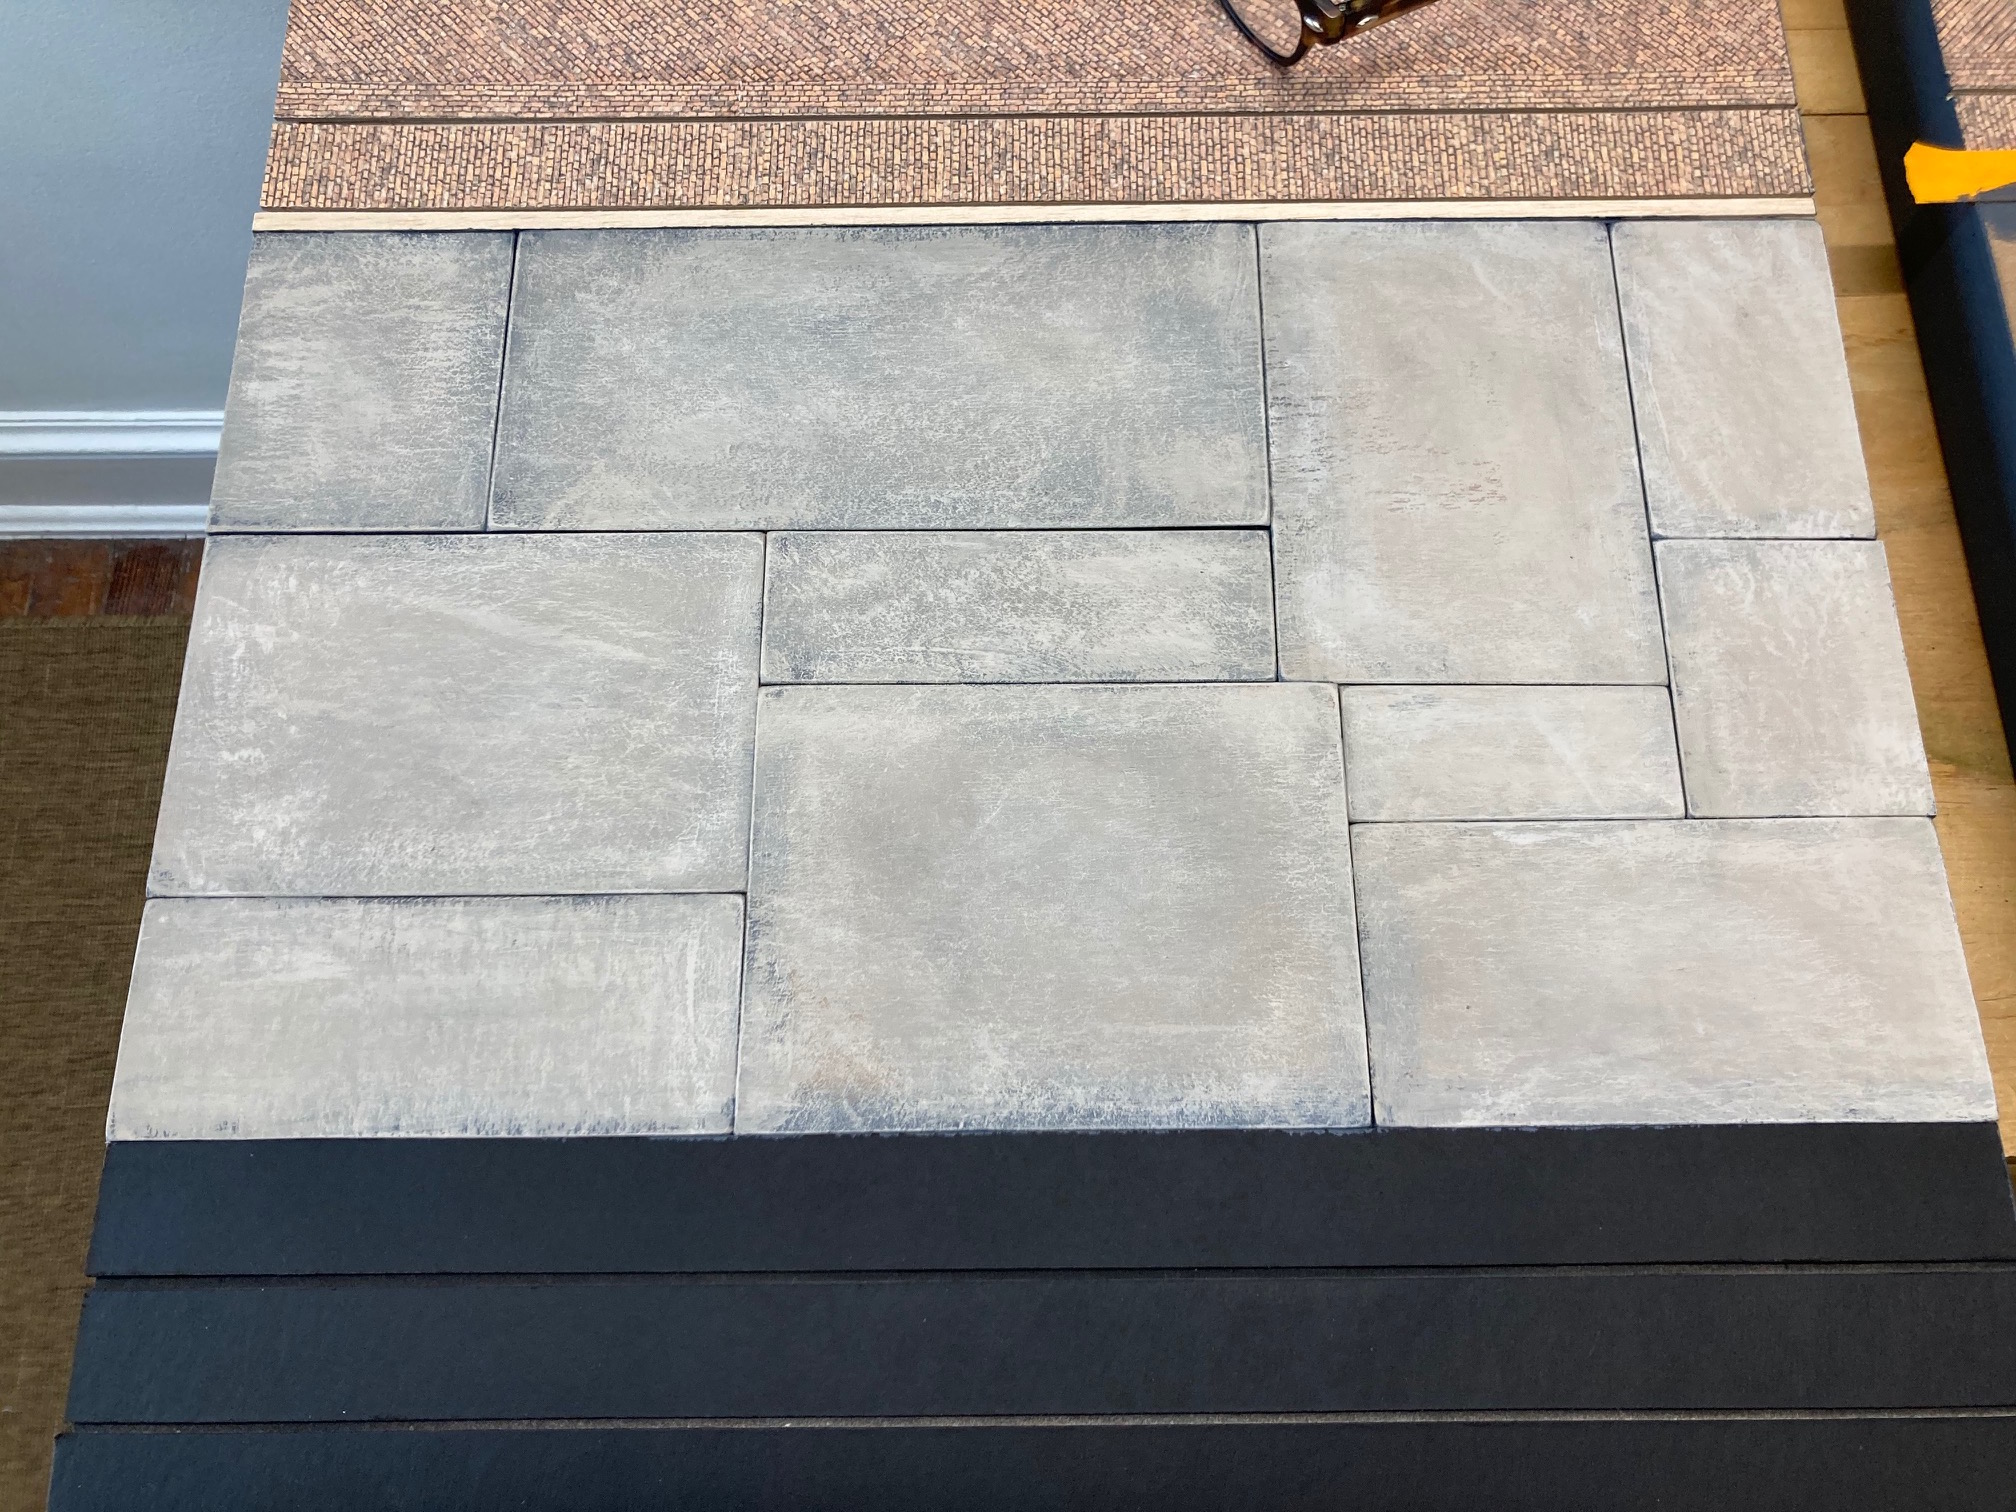
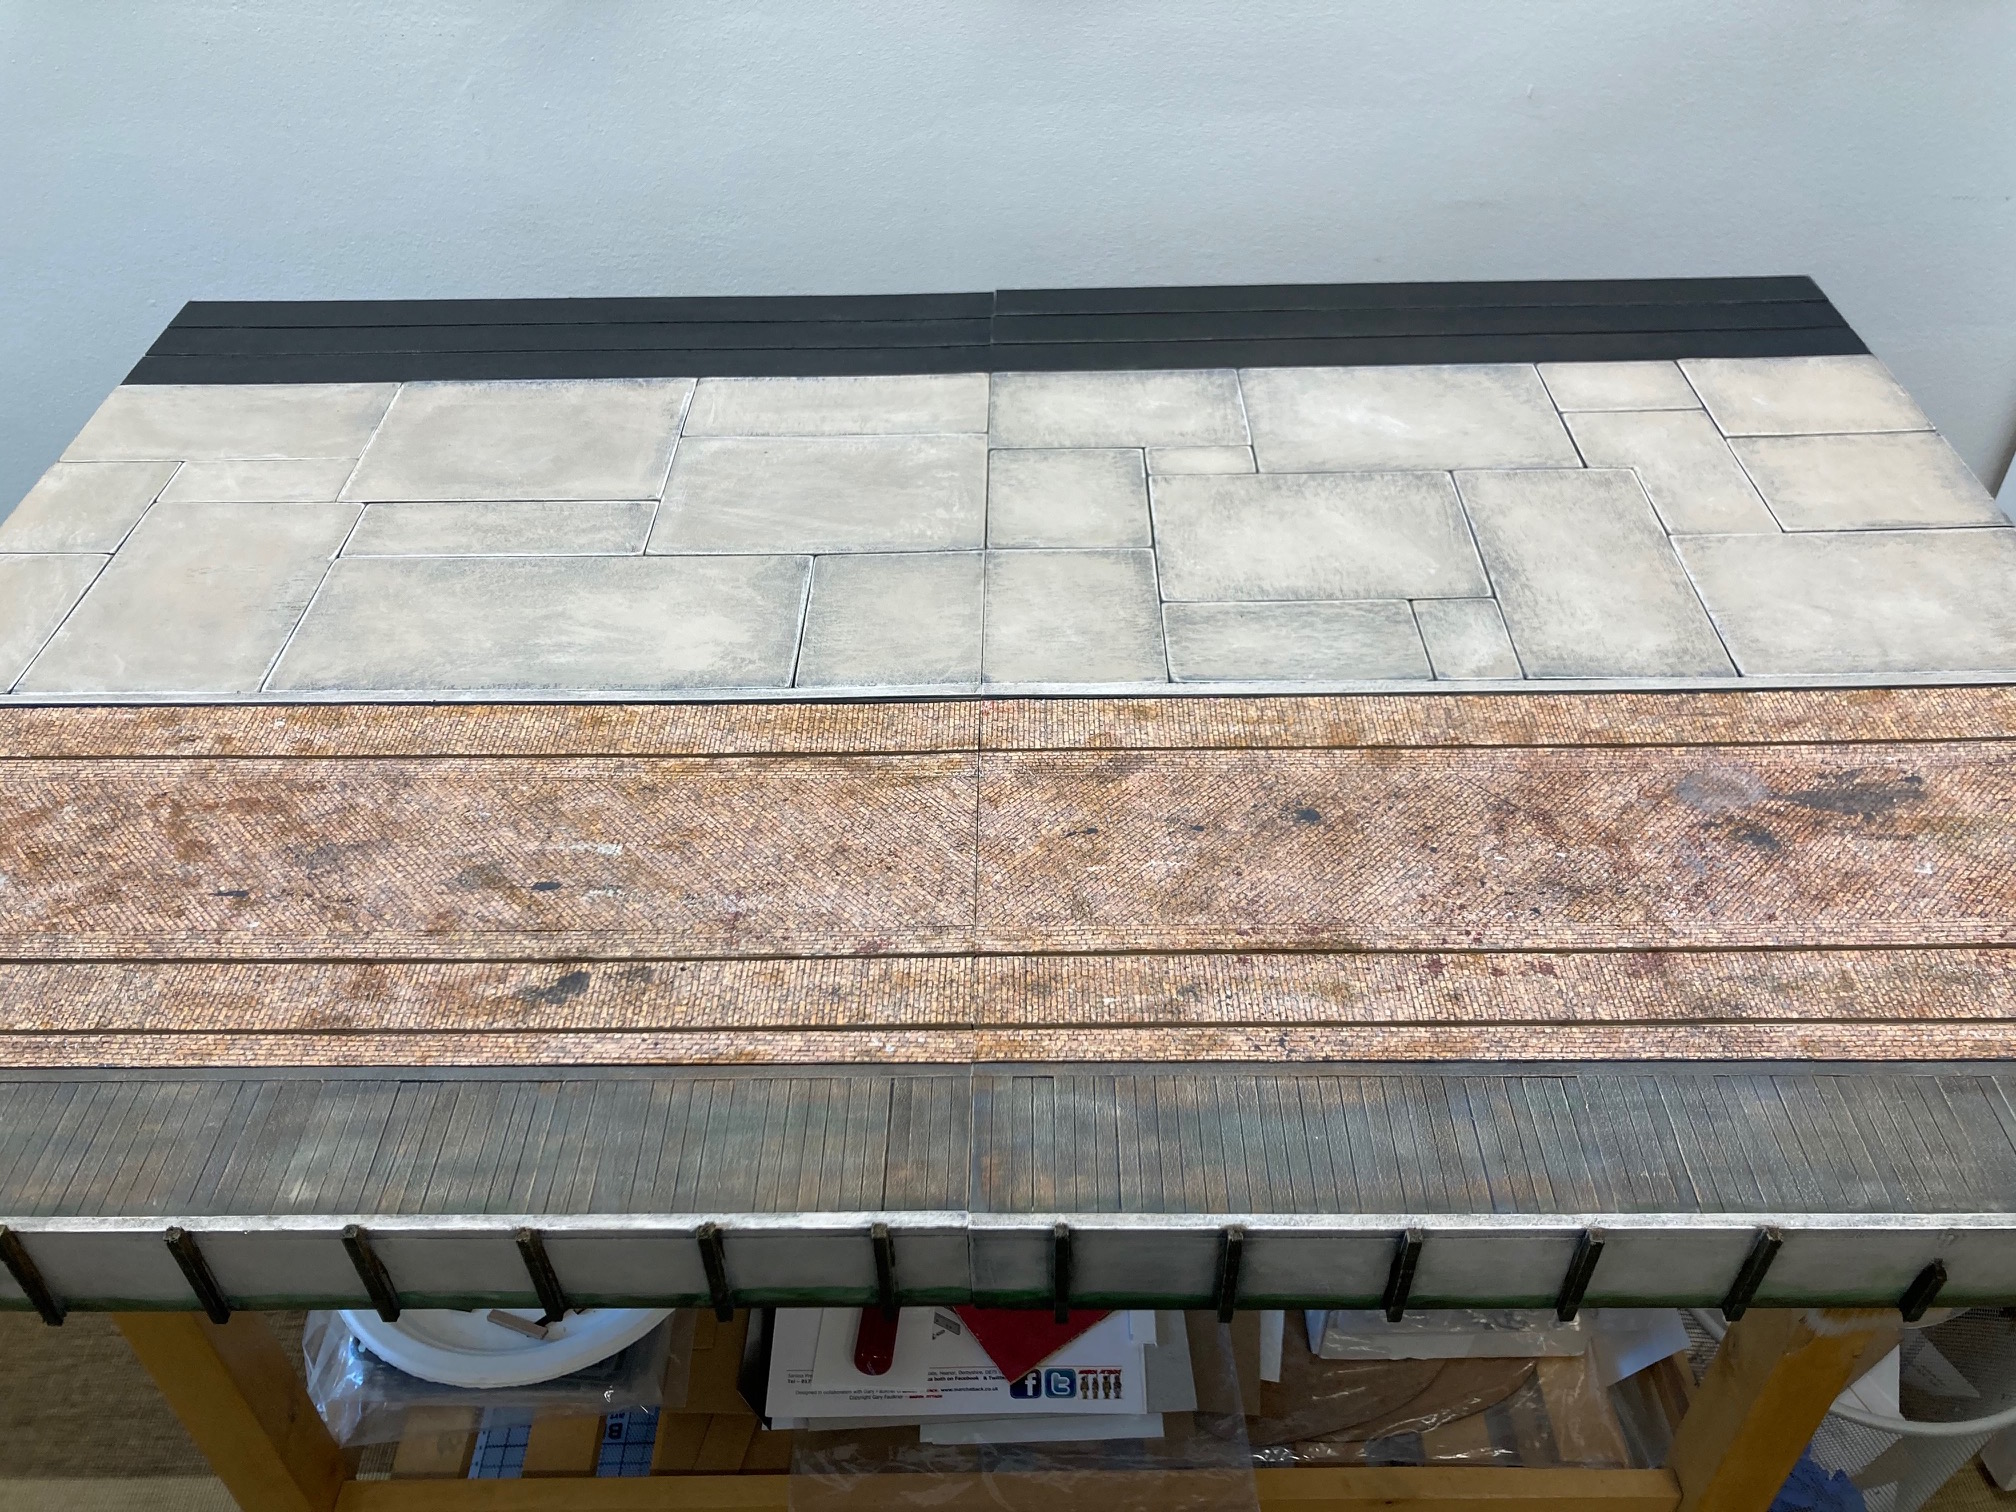 3'x2' of Waterfront Boards
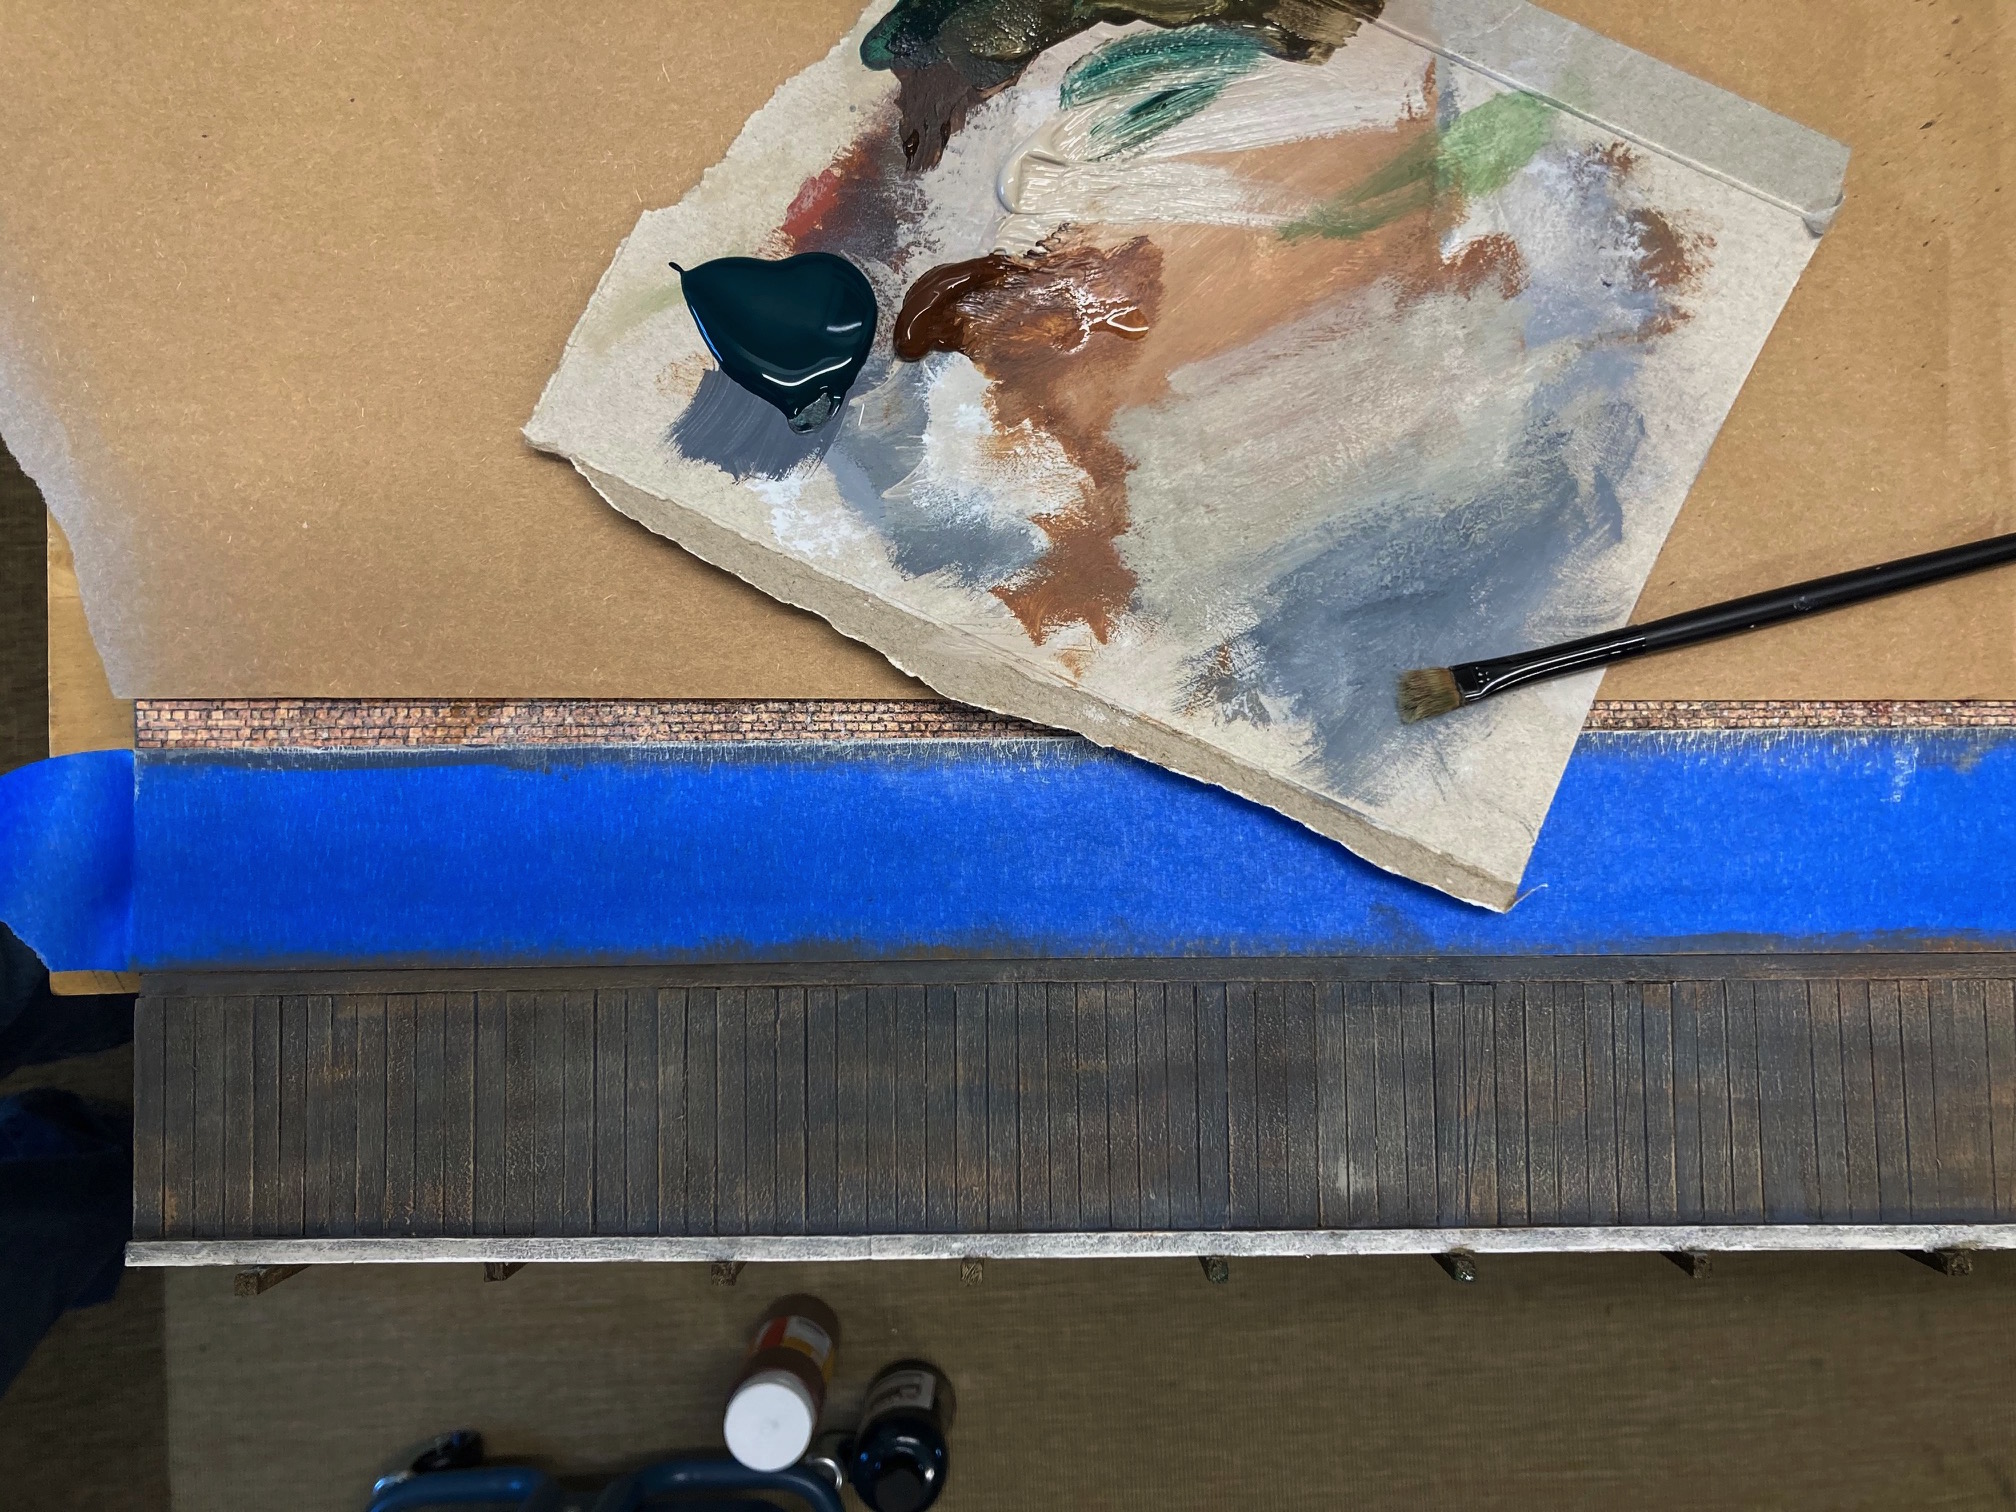
For the brick/track area I added some dabs of furniture stain that I had around and GW washes to create depth and the look of years of use and abuse to the area.
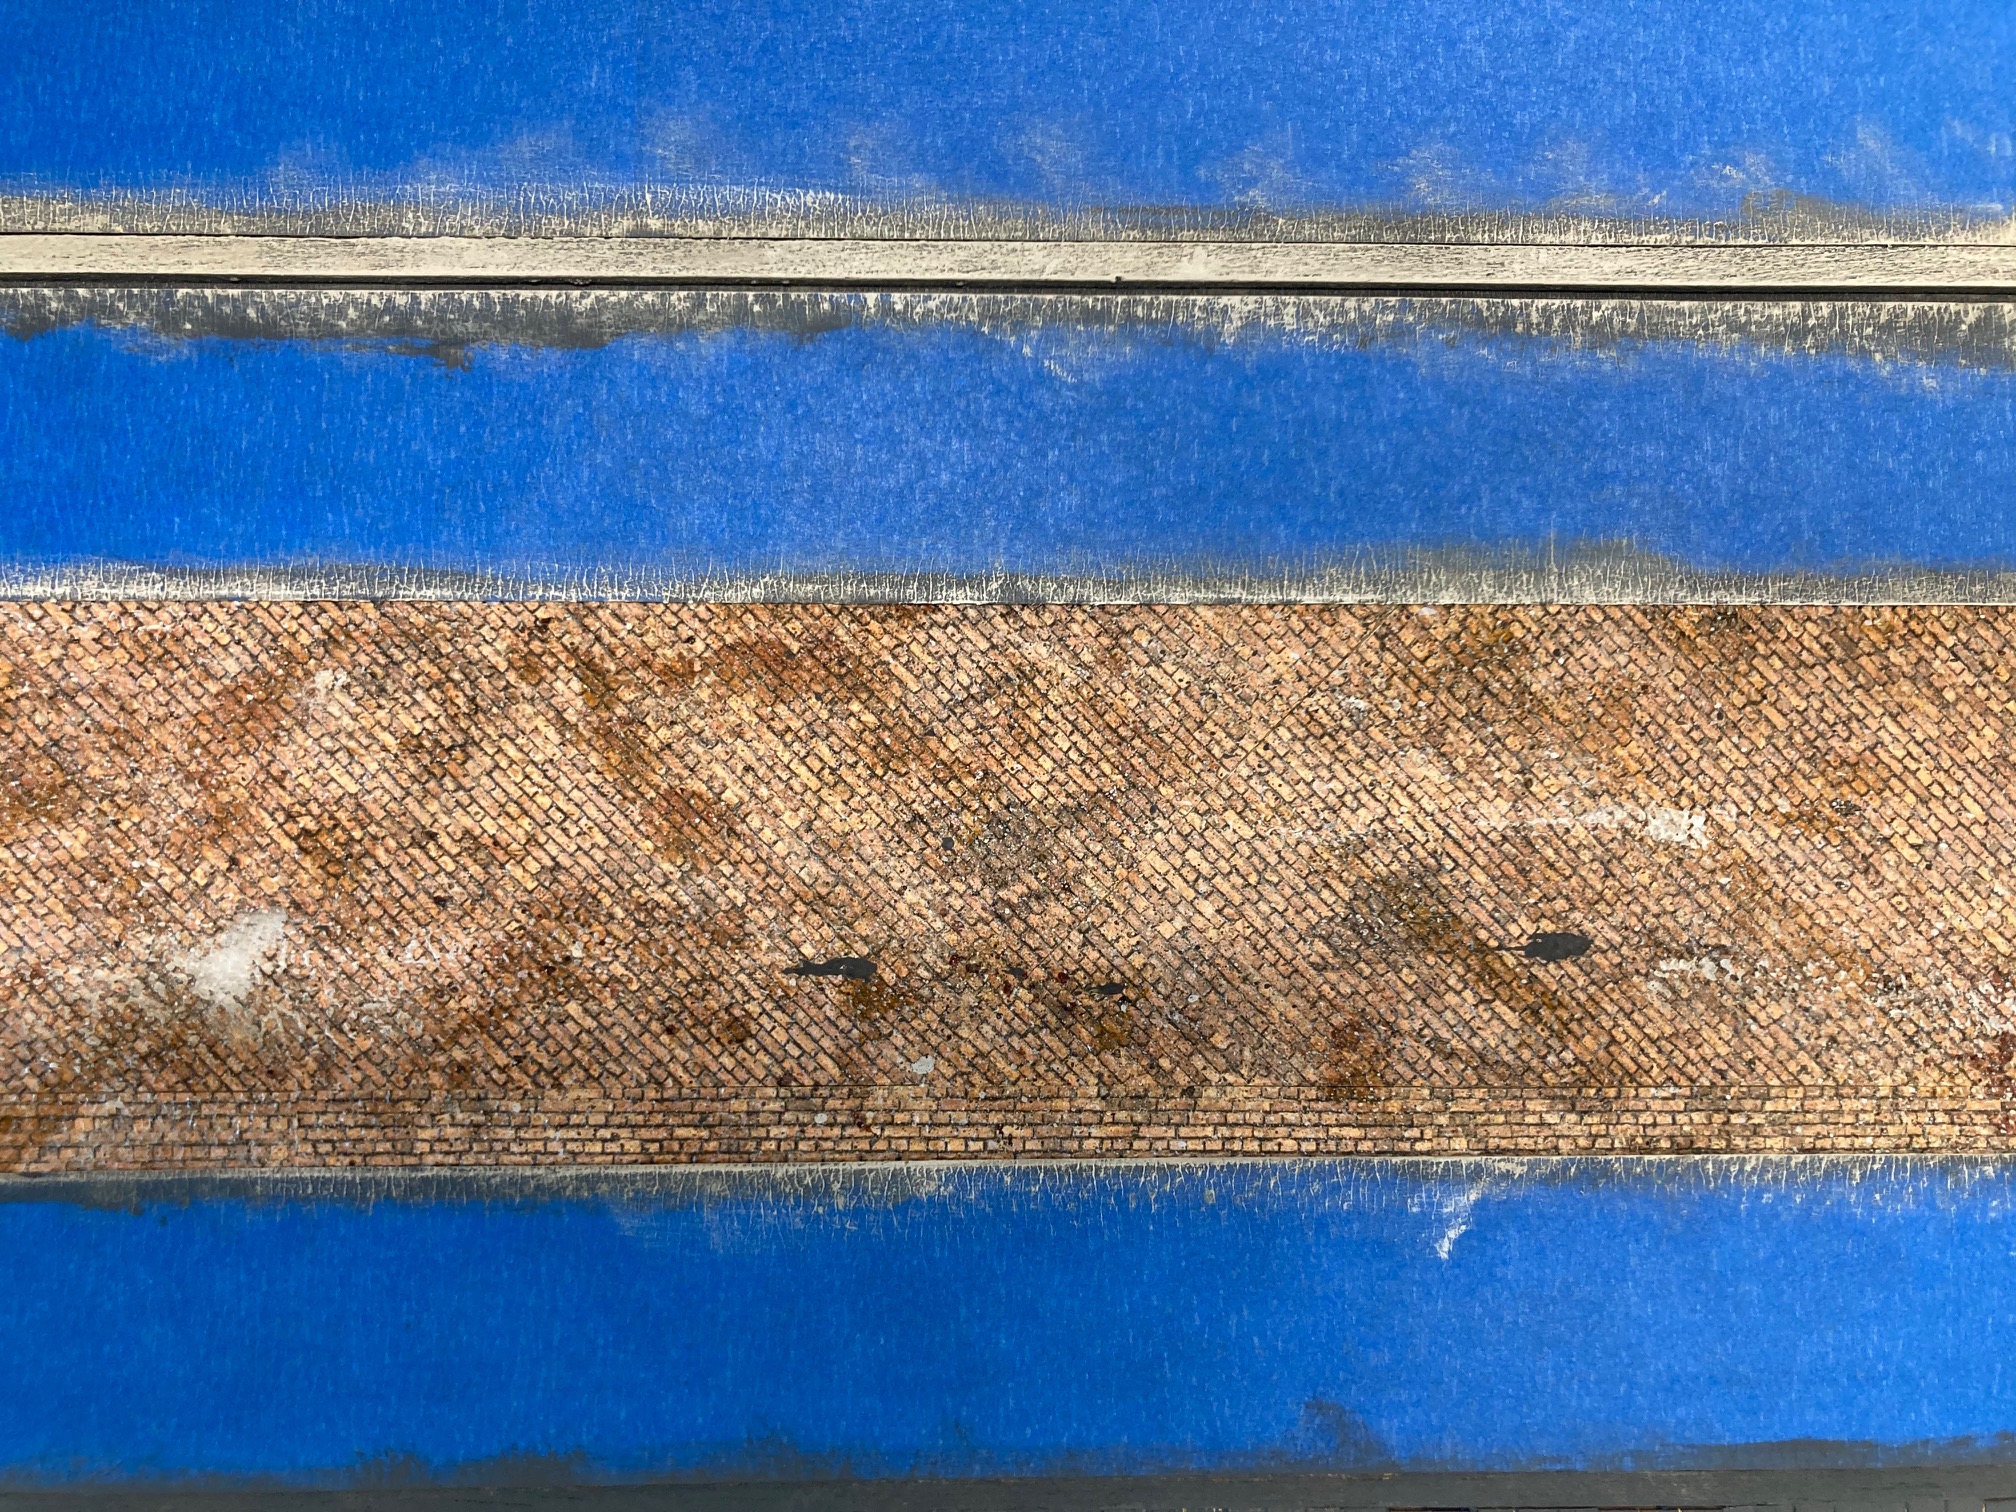
To the concrete area I highlighted the edge of each piece with a white Pastel pencil.
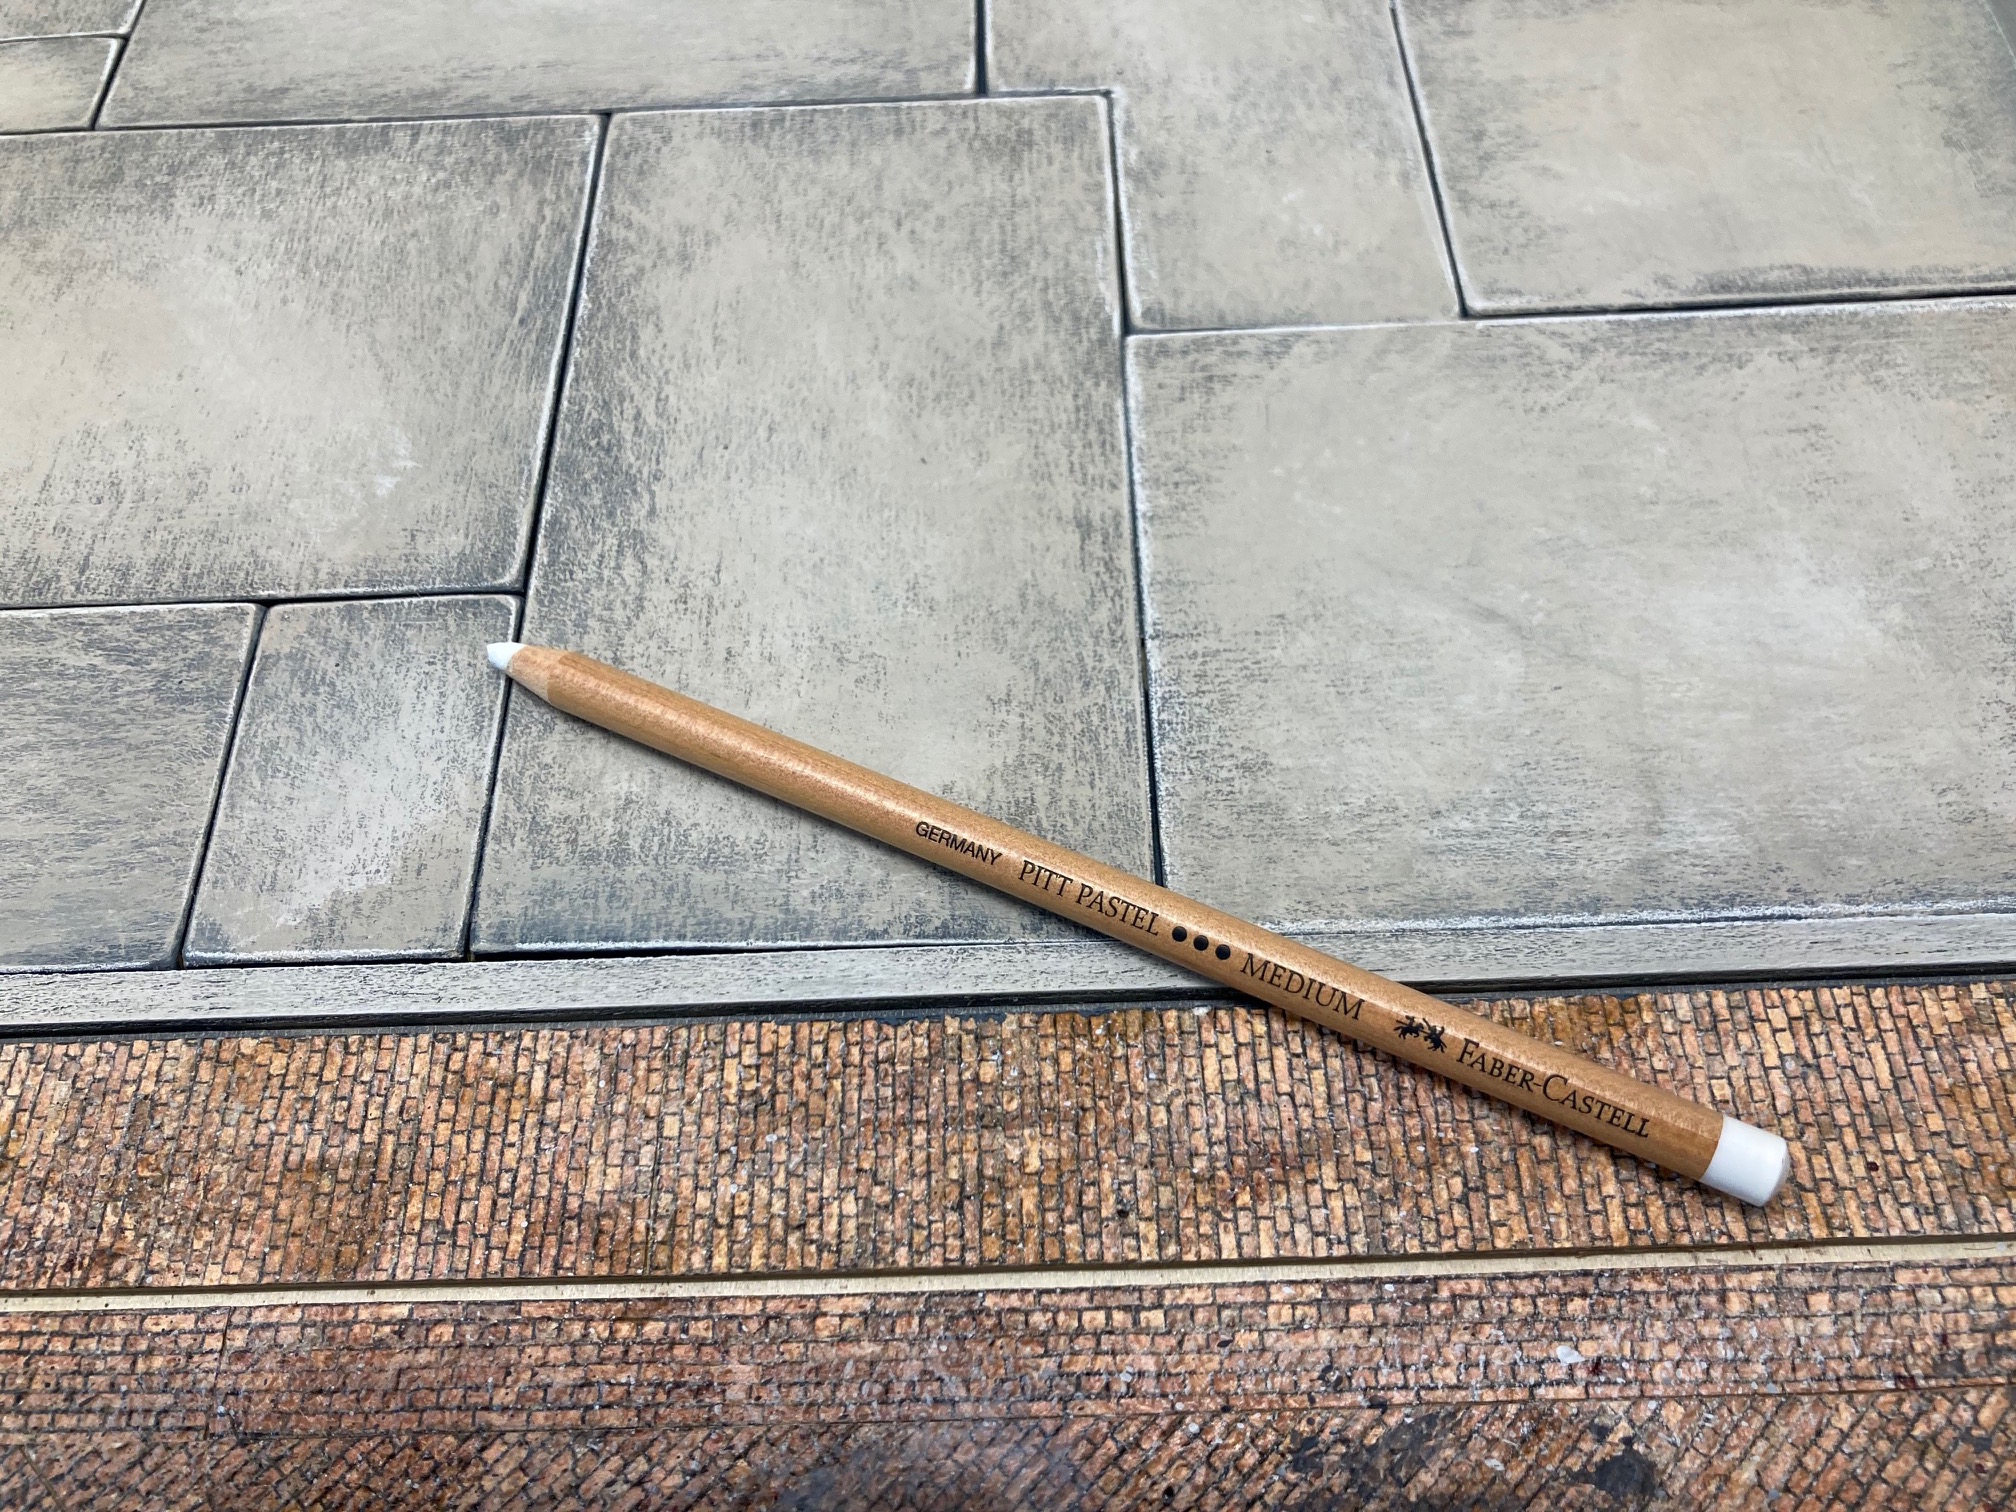
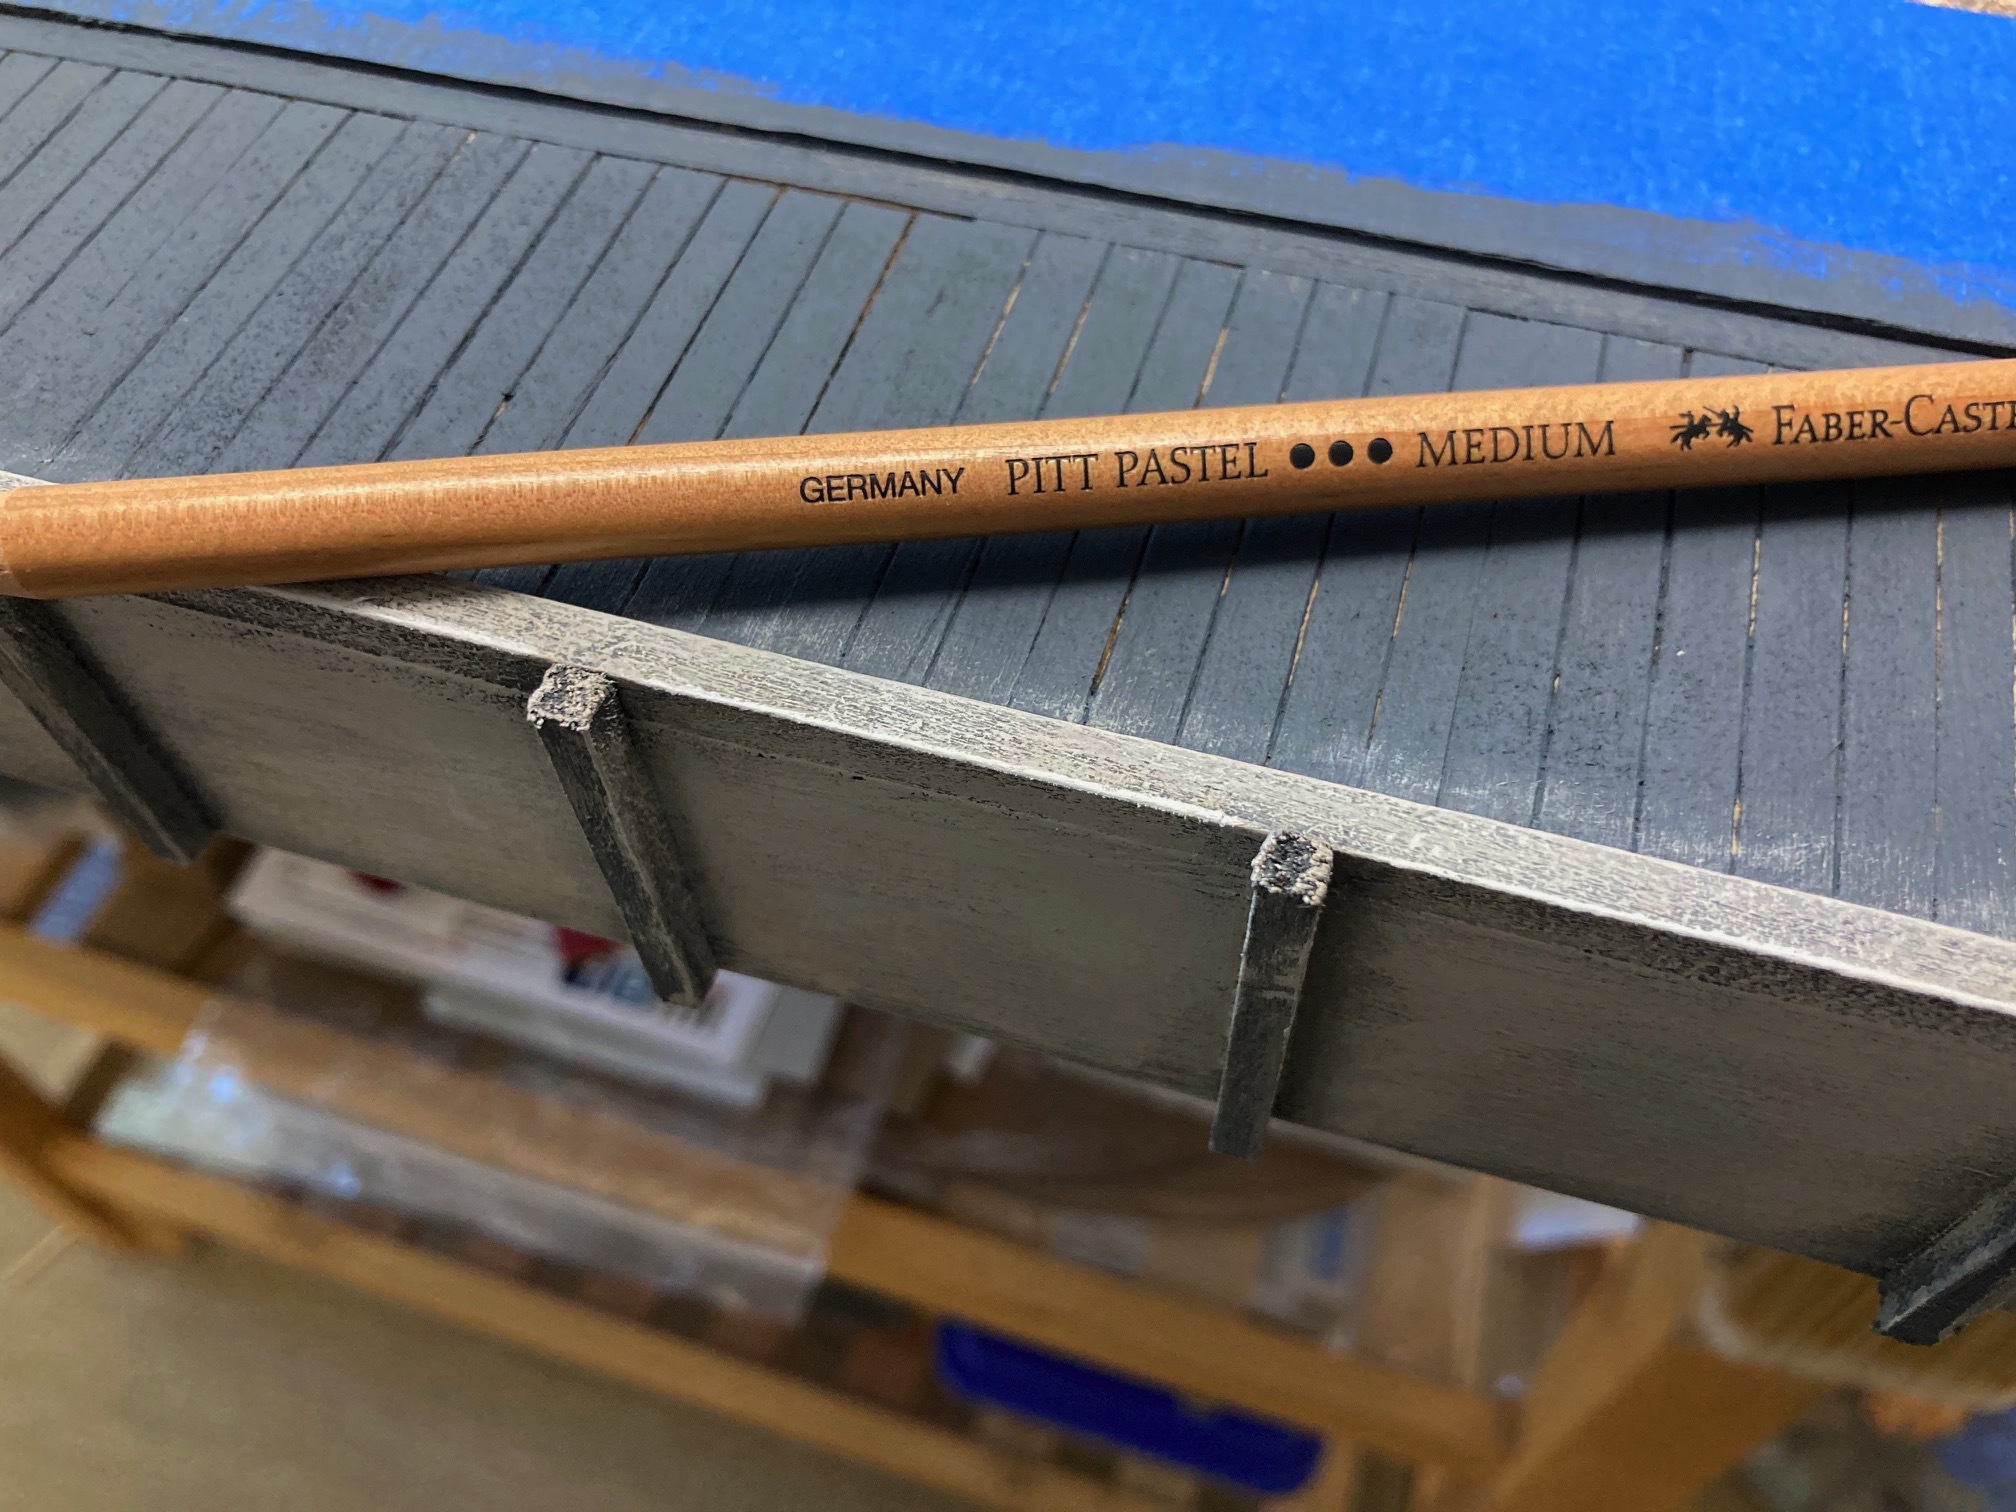
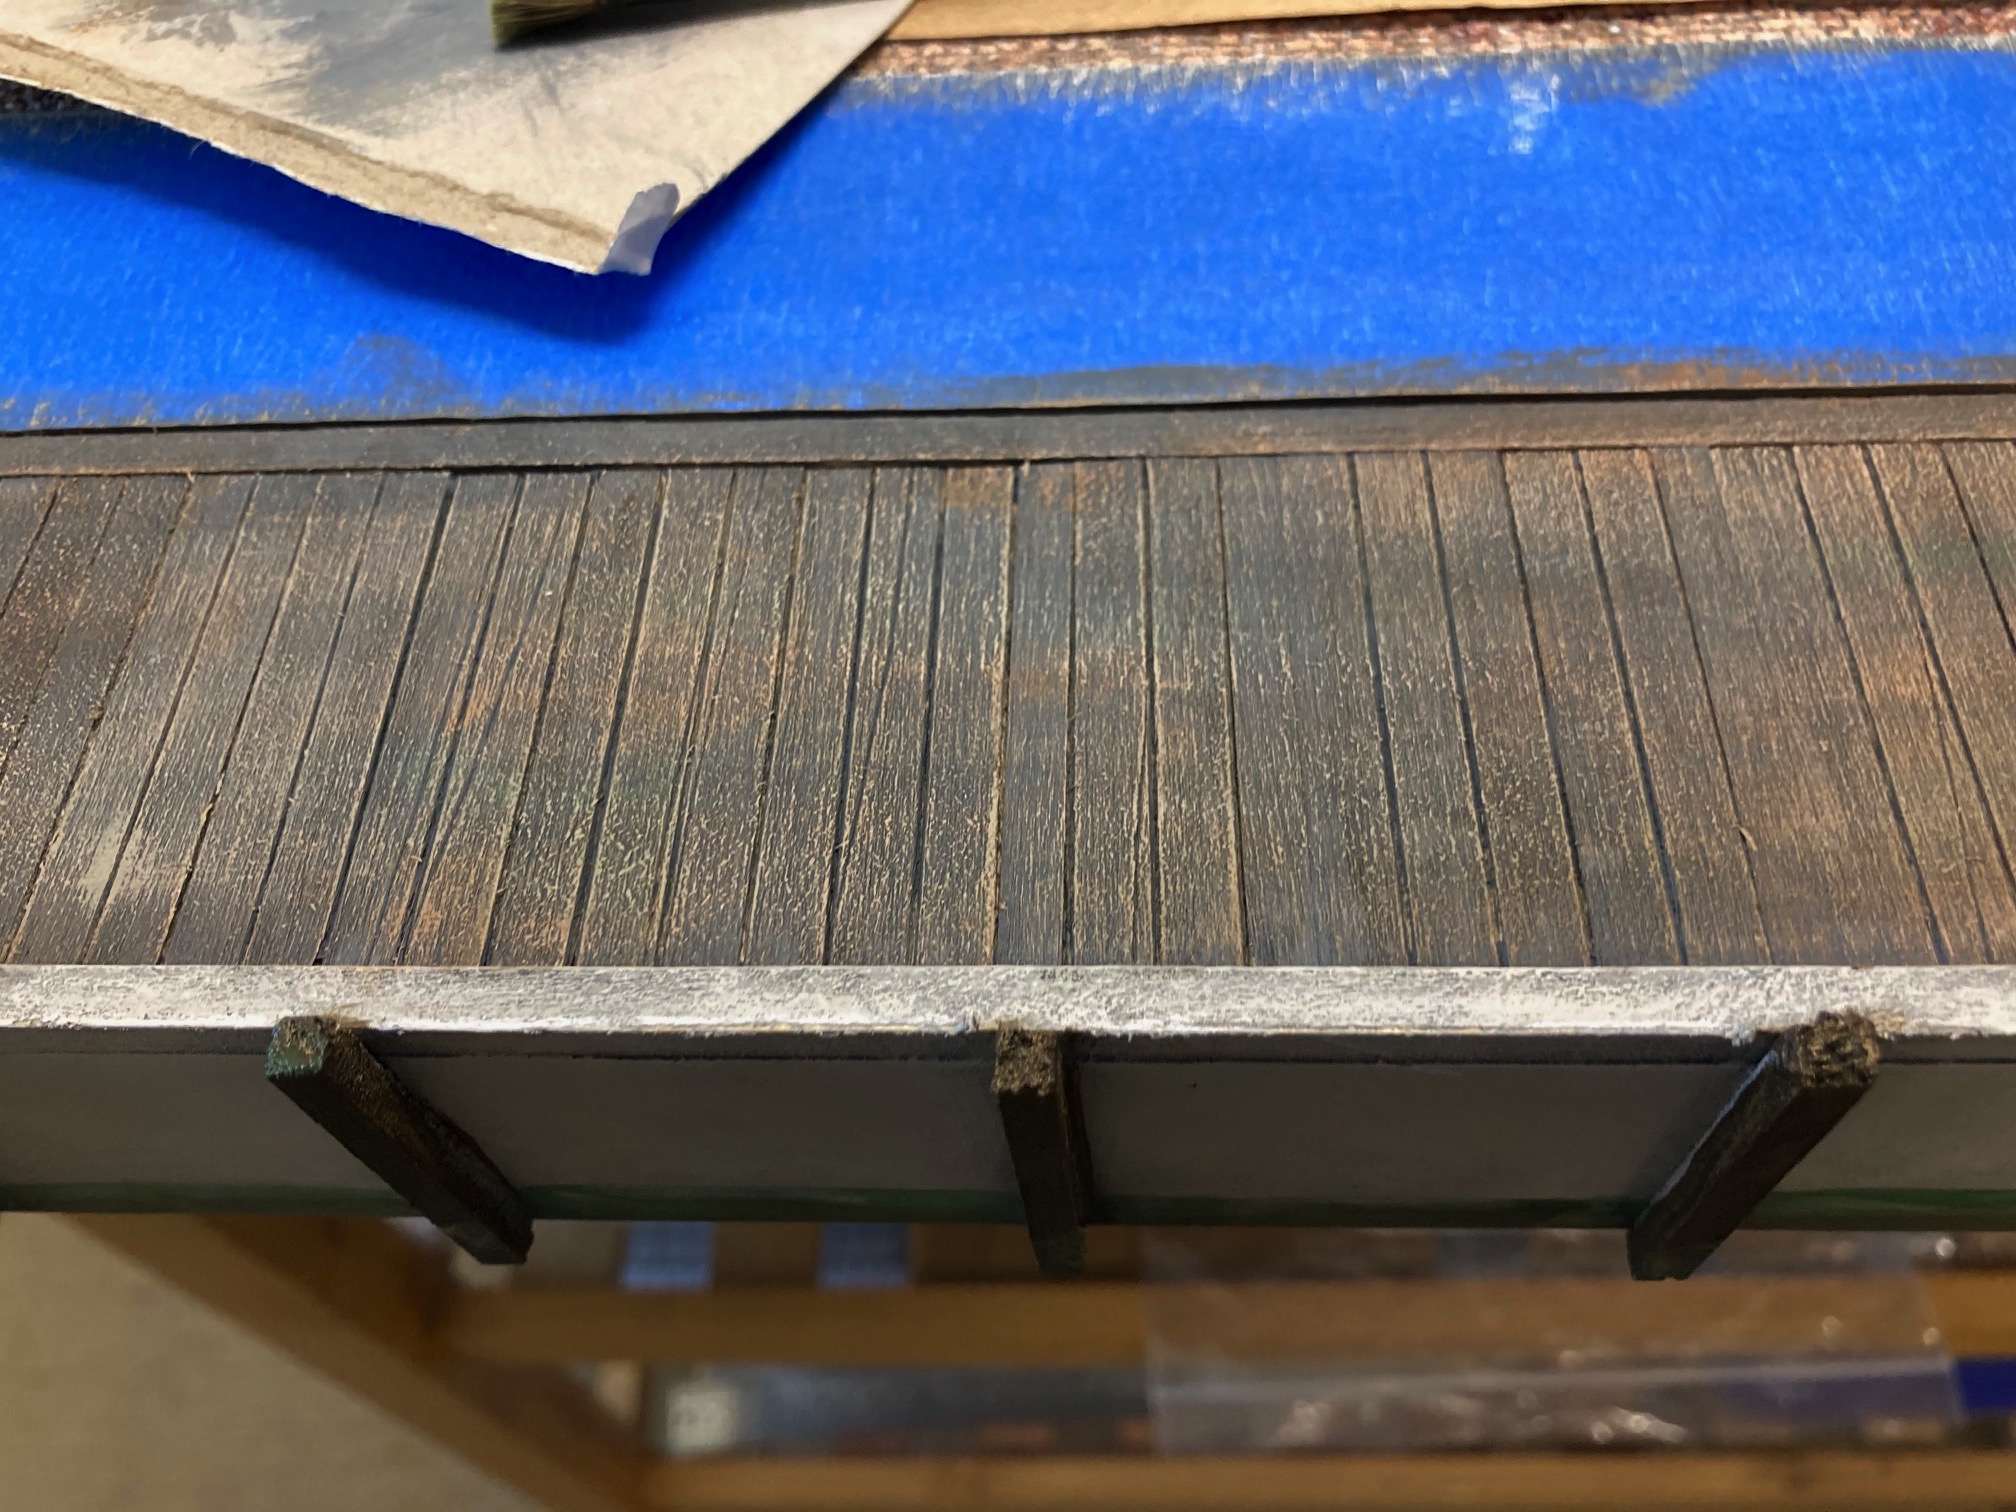
For the Boardwalk I used the same colors and technic that I used for the concrete area. I then highlighted the edges with white pastel pencil.
Cheers
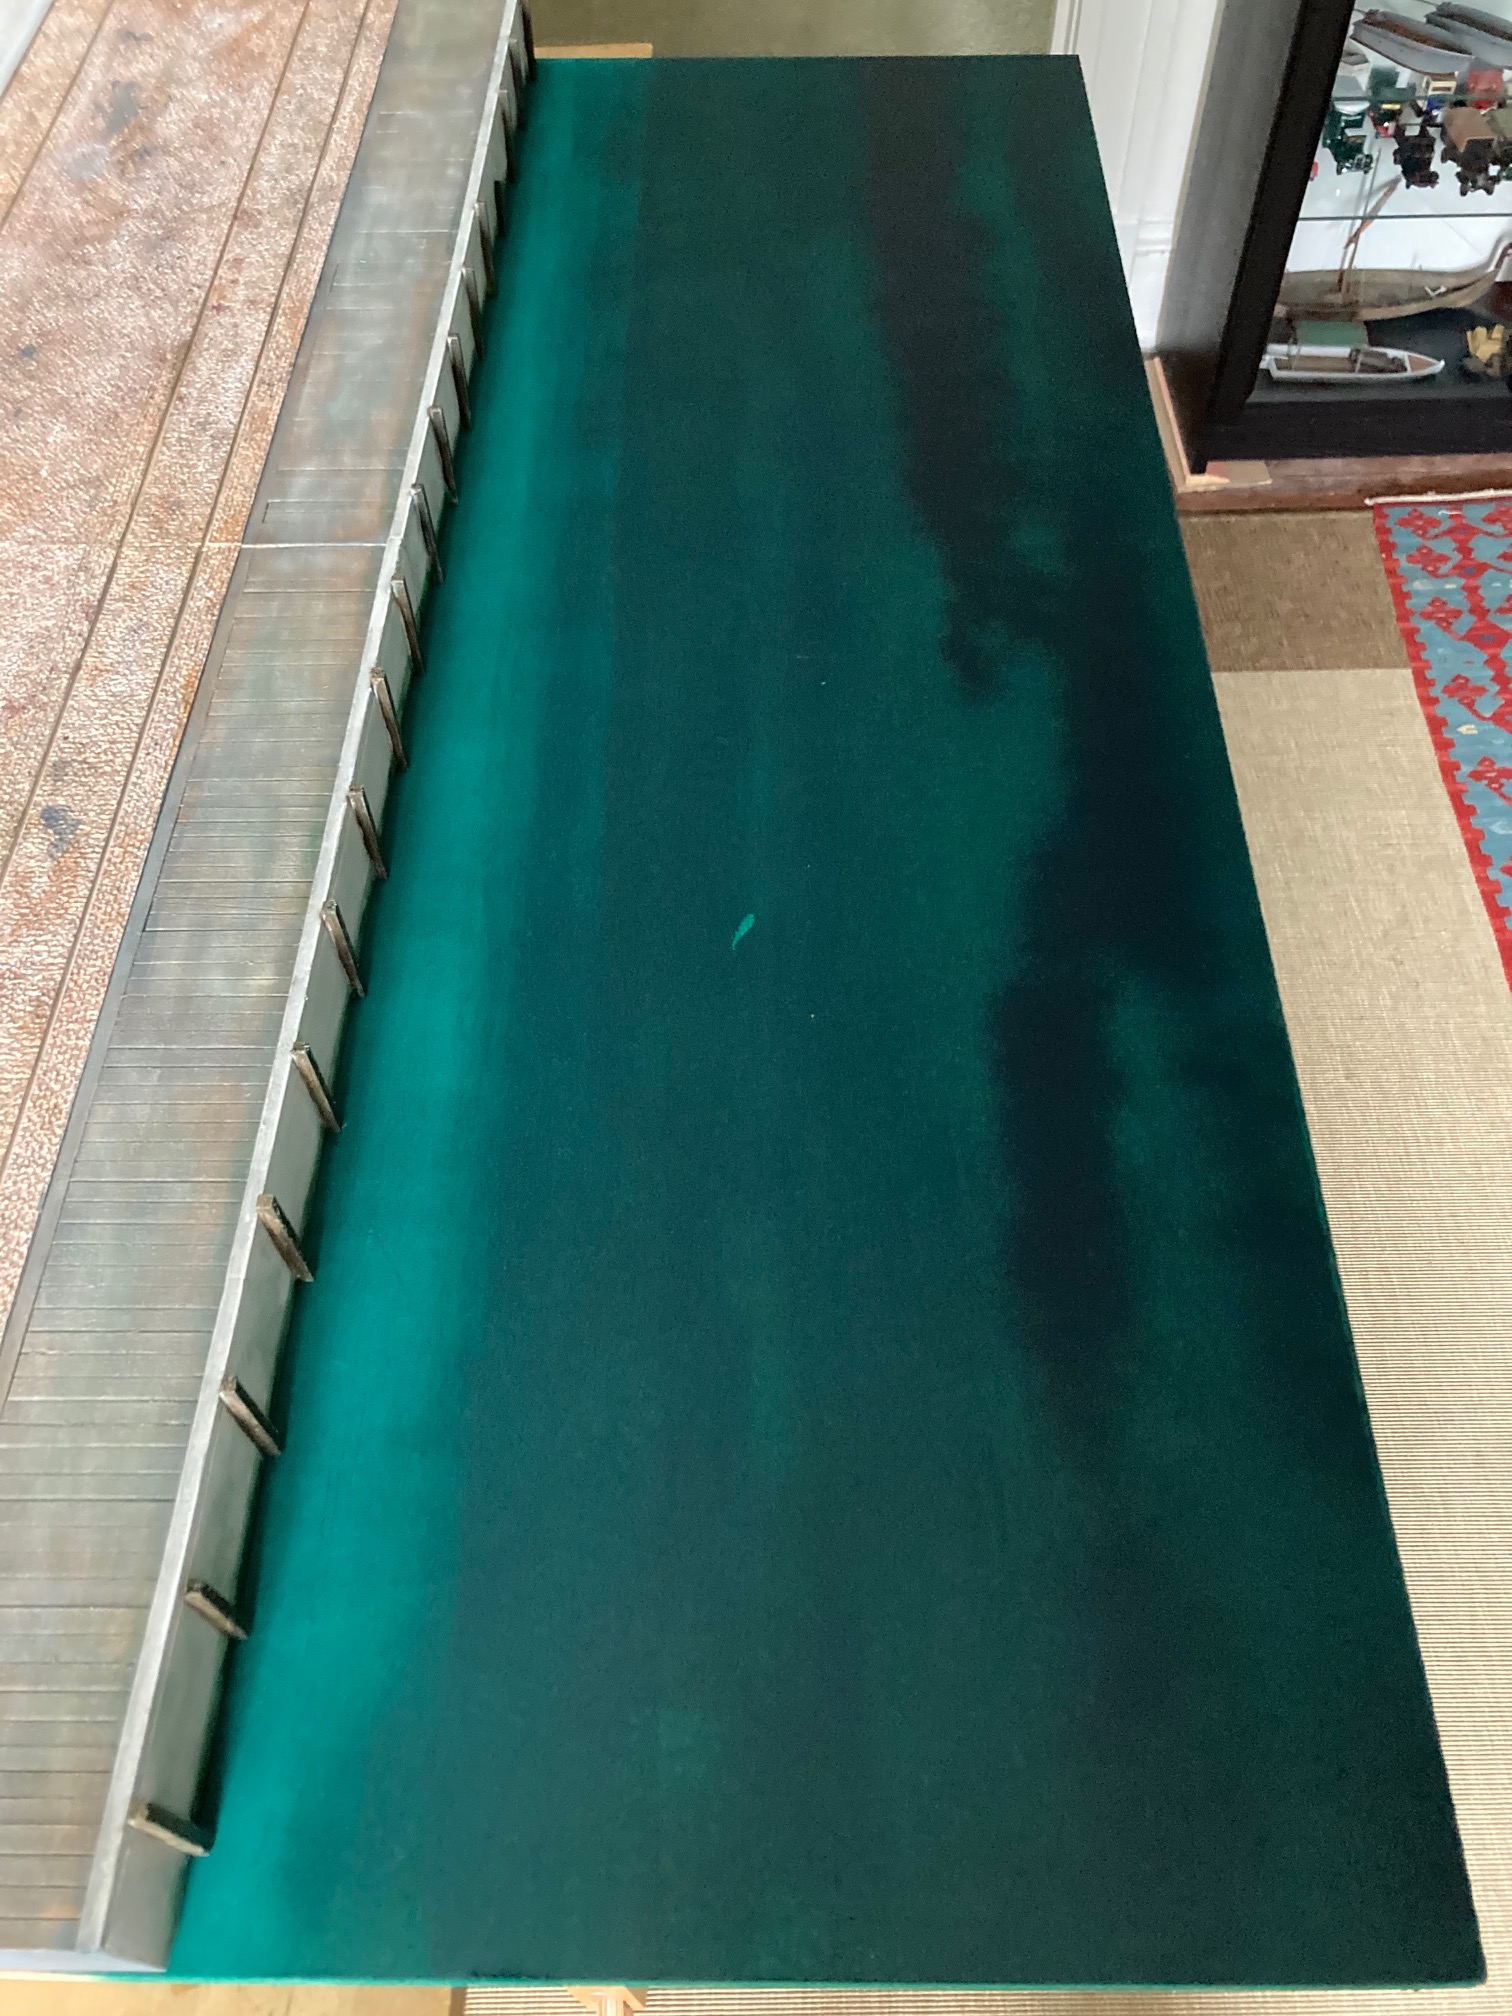
Water Board

Apologies for not having in progress photos.
I started by spraying thin black lines along the length of the board to represent deep water. I then squeezed dark green paint onto the board and rolled over it with a 4” roller. I then just used the roller on the backside so I would get a light green color. This representing the quay part under water.
I may gloss the water area if the finish I have hasn’t spoiled. This 3′ x 3′ MDF board IS my gaming table. The other times I roll a gaming Mat on top and add terrane. My Studio/Gaming room is only 11′ x 9′ so everything is a multiple use piece. It’s small but I love it and it keeps me sane.
Cheers