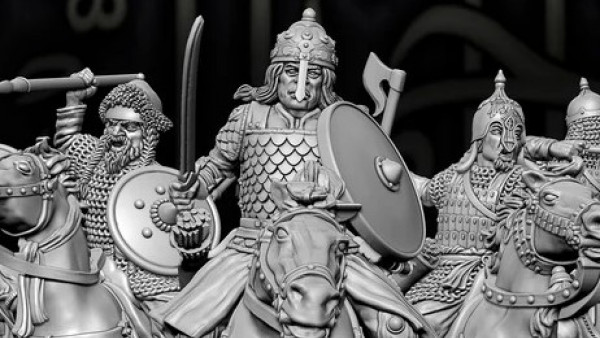


Wild West Exodus – Global Gunslinger League – MCM


Recommendations: 115
About the Project
This is my first look into Wild West Exodus and the new Showdown at Retribution Two Player Starter Set. I plan to build and paint up some miniatures. I still have to decide if I am Enlightened or the Union. Right now, I am leaning towards the Enlightened faction as my slow grow army.
Related Game: Wild West Exodus
Related Company: Warcradle Studios
Related Genre: Steampunk
Related Contest: Global Gunslinger League
Unlocked Achievements: A Dystopian Age BeginsPioneer
This Project is Active
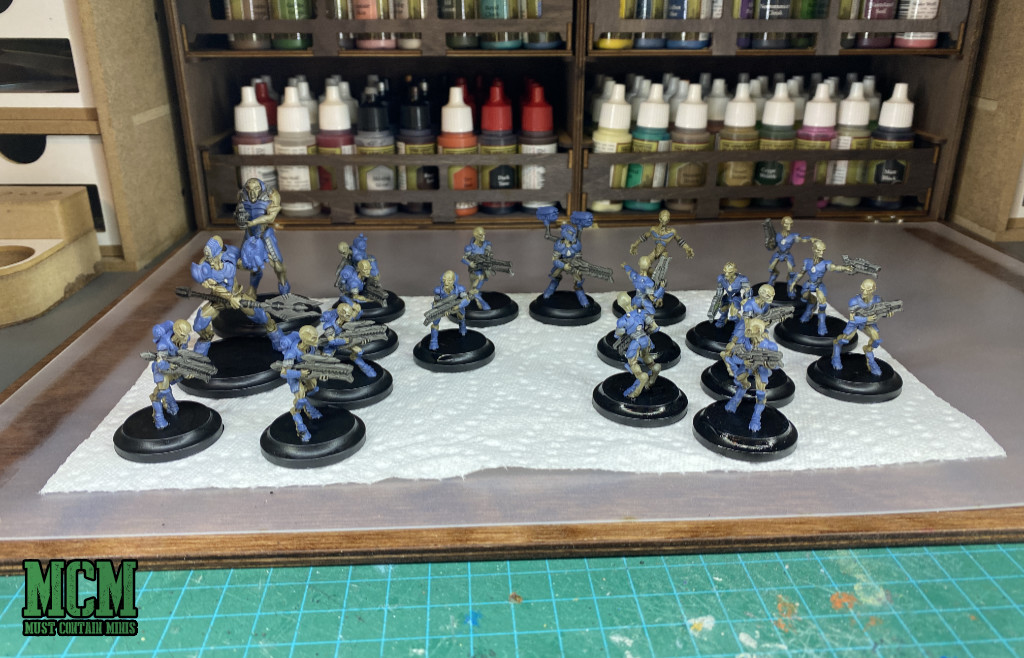
The Finished Watcher Miniatures
My Watcher Miniatures for Wild West Exodus are now complete. Below are some pictures of them. For more, check out my personal site, Must Contain Minis, and also check out Bell of Lost Souls too. I write for both websites.
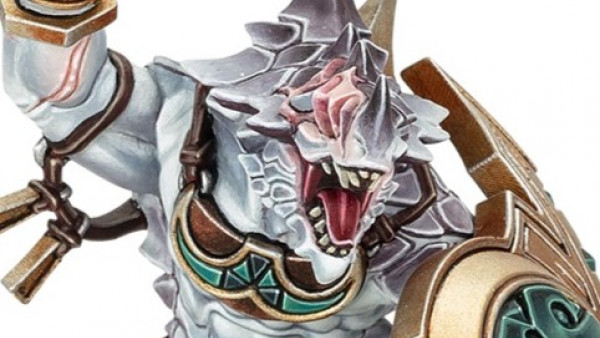
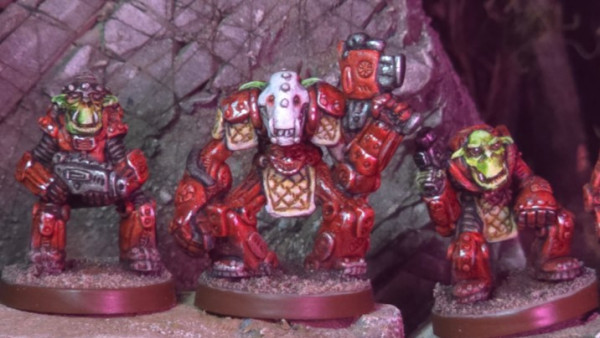
 This Alien looks so great!
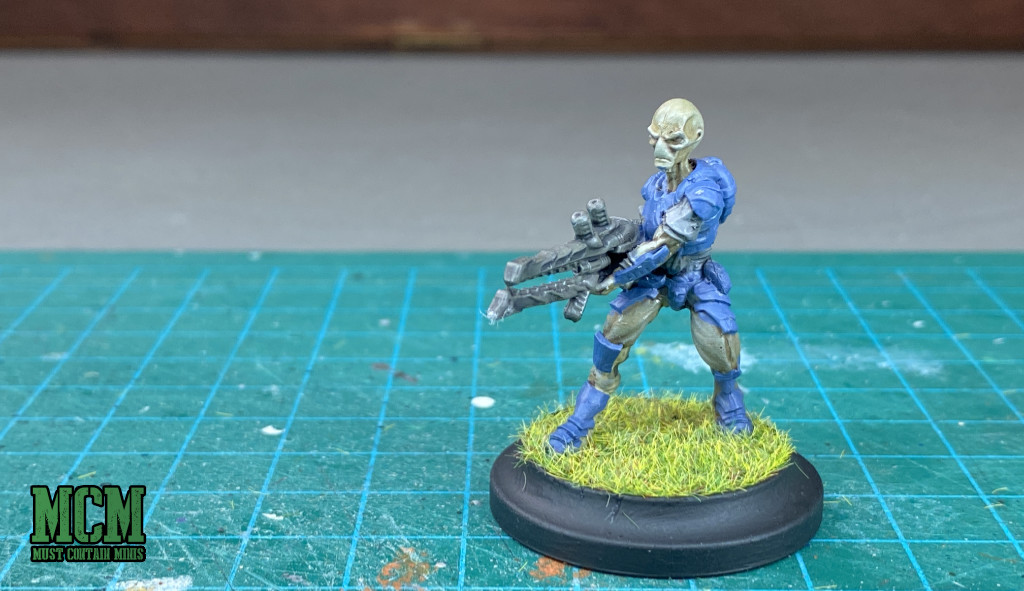 An Alien with a long ranged weapon.
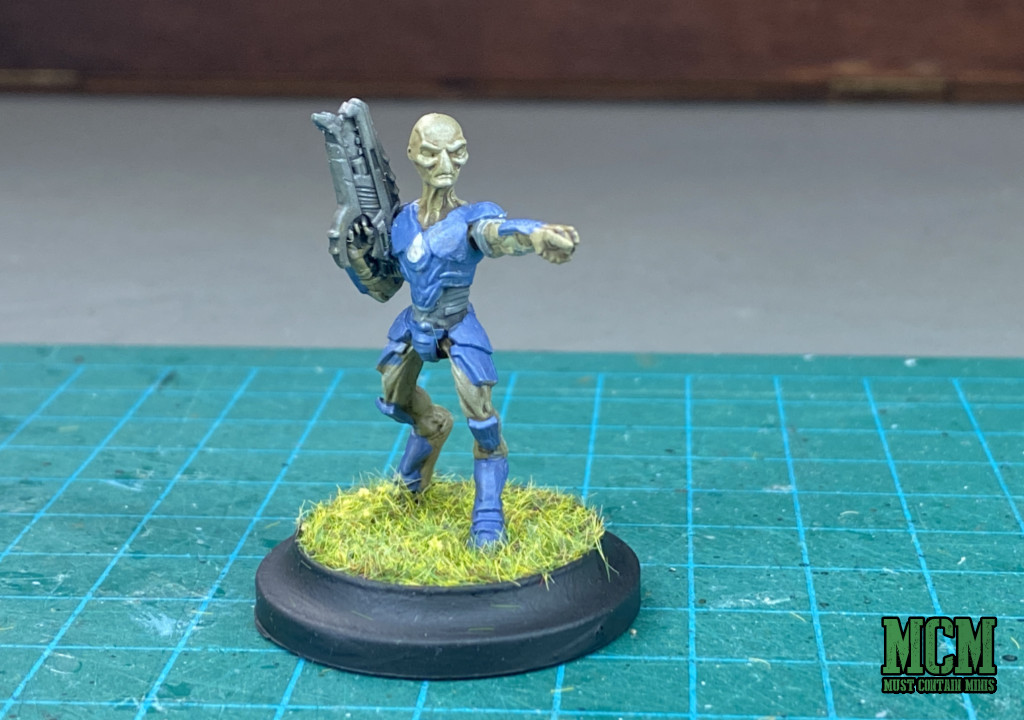 You might think this alien is the leader...
 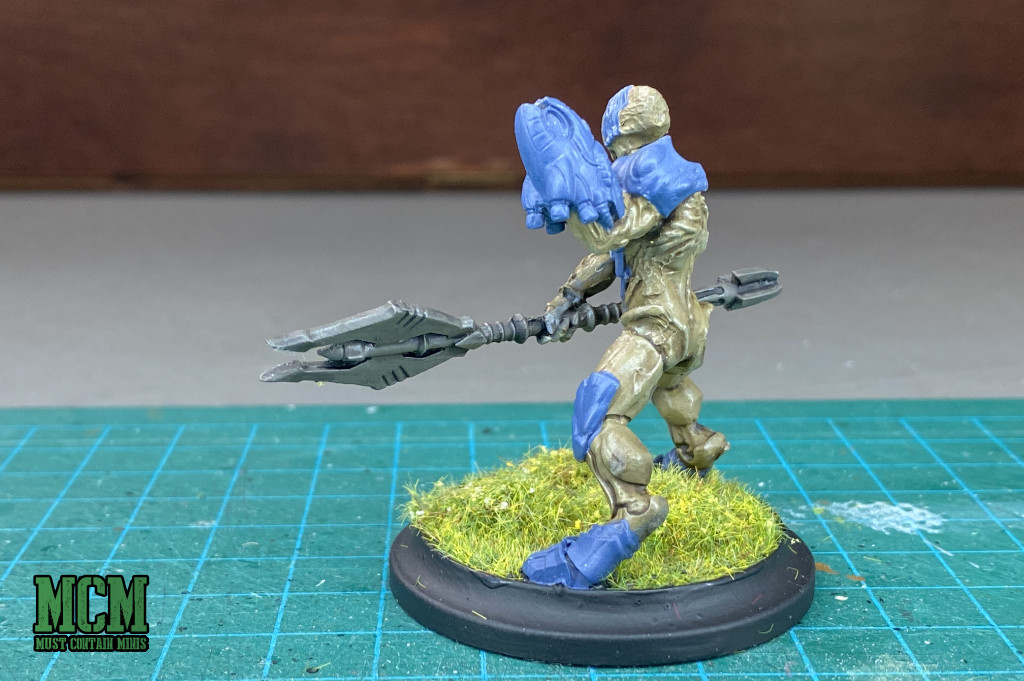 But this is the one in charge. They grey only acts like the boss when the Alpha is not looking!
For more pictures, be sure to check out the related post on my personal site. The earlier link to BoLS also contains images not seen elsewhere.
Between this post on OnTableTop and the other two sites, you will get a really good look at this collection!
Saving Minis With Blood YouTube Video
There is now a video version of my article about how to hide missing miniature parts with Glistening Blood Effects. Come give it a watch!
Rescuing Minis With Blood!
Upon further inspection of my new-to-me used Watcher minis, I noticed that one was missing a leg. To hide the issue, I used The Army Painter Glistening Blood Effects. I have more about that on my personal site.
Below are some pictures of the finished Alien.
 The blood effect makes short work of the missing leg.
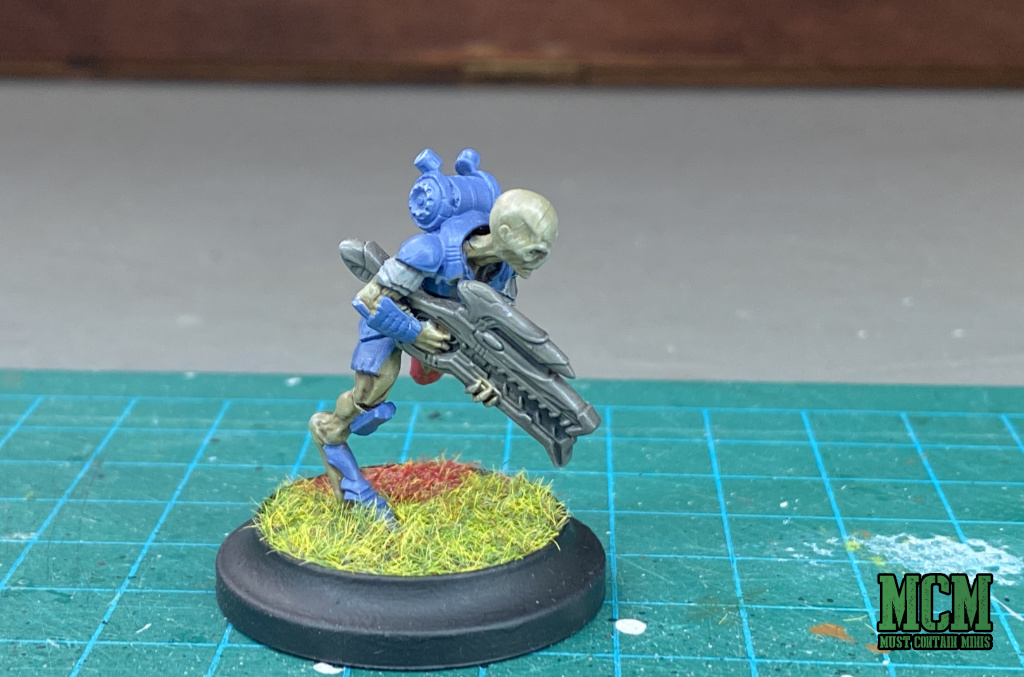 Where is the limb? I am not sure, but there is a trail of blood!
 For more on blood effects, I talk about how I use it on other minis midway through my How to Paint the Enlightened article.
Working on my Watchers
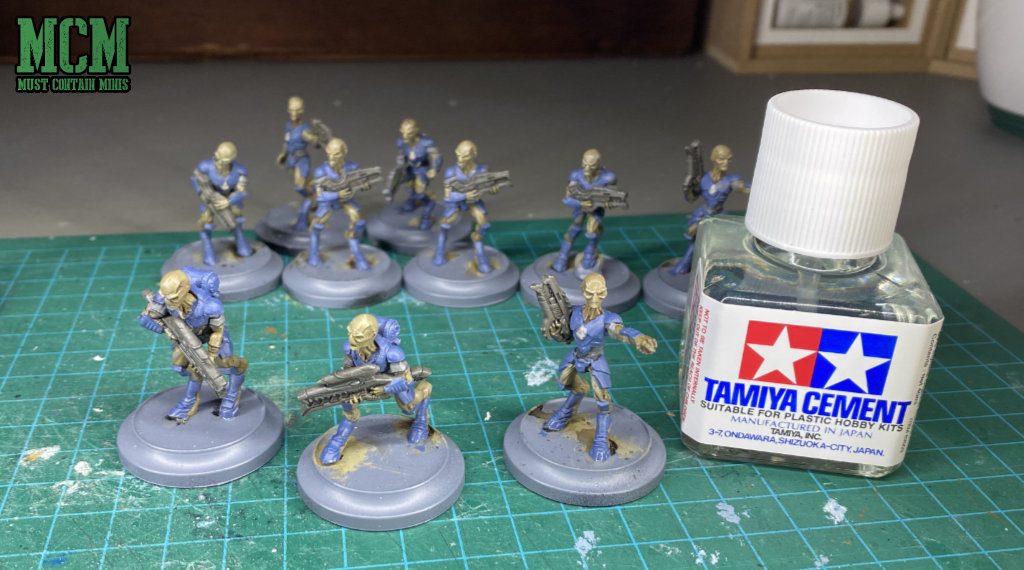
In addition to the Enlightened, I also got my hands on some Watcher Greys as a second faction. Today I worked on painting their bases black. Next step is adding in the basing materials.
 Here are the aliens after I painted their bases. I already like them!
How to use brush on primer for WWX - Written Tutorial
For those who prefer written content, I posted up a tutorial on my site on how to use brush on primer. For this post, I used the minis of Wild West Exodus: Showdown at Retribution.
Check it out!!! How to Use Brush-On Primer for Miniatures on MCM.
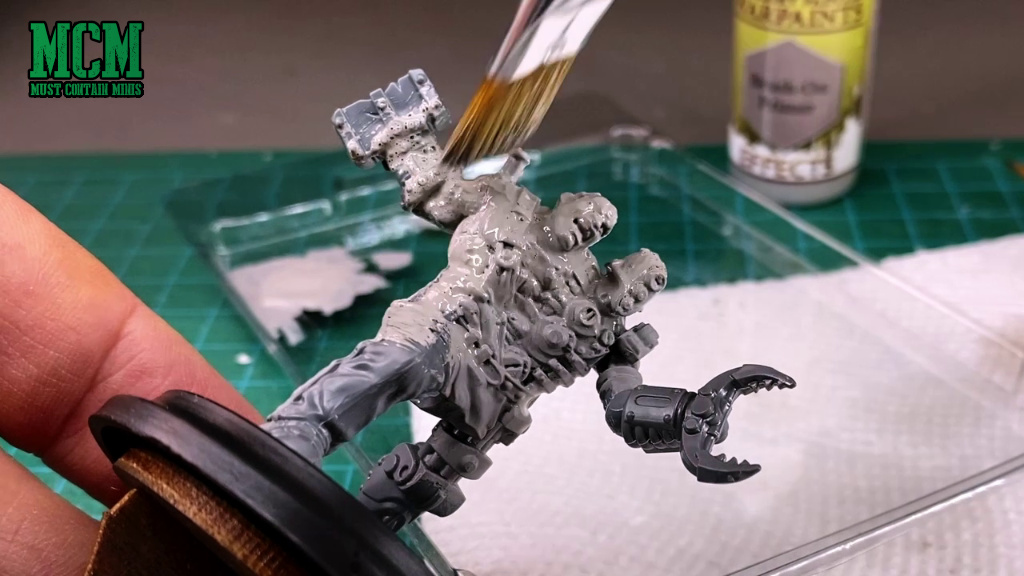 Here I ran into some issues with the primer. I explain it in the article and in the video that I shared earlier.
 When the weather does not agree with you, brush on primer is a great solution.
How to Prime Miniatures
In my latest YouTube video, I teach people how to prime miniatures using brush on primer. Specifically, I am using The Army Painter, but these techniques should work with any brand of primer.
The miniatures that I used for this video all come from the new two player starter set for Wild West Exodus.
Please give it a watch. A lot of production went into this short video.
Tutorial on How to Paint the Enlightened in the new Wild West Exodus Two Player Starter Set
With my Enlightened painted, I decided to write a complete tutorial on how I painted them. That tutorial is available on my personal website. You can visit the article here.
The quick of it is that I used a 5 step process in painting the miniatures.
- Prime the miniature
- Base coat the mini
- Shade the miniature
- Highlights and effects
- Basing materials
It is a quick way to paint good looking miniatures.
 My painted Enlightened force from Wild West Exodus.
If you are interested in more, make sure to take a look at my tutorial article on how to paint miniatures using The Army Painter Paints.
Until next time, Happy Gaming Everyone!!!
Adding to My Watchers Forces
With my Enlightened Posse complete, I decided to focus on my Watchers again. This time, I acquired a bunch of Greys and a couple of higher level minis too.
Check these guys out.
 The collection of Greys that I acquired in a trade with a friend.
The first thing I had to do was fix those three minis off their bases.
 They were very easy to fix. Just need a little bit of glue.
 The next step is to paint their bases black and add some basing materials.
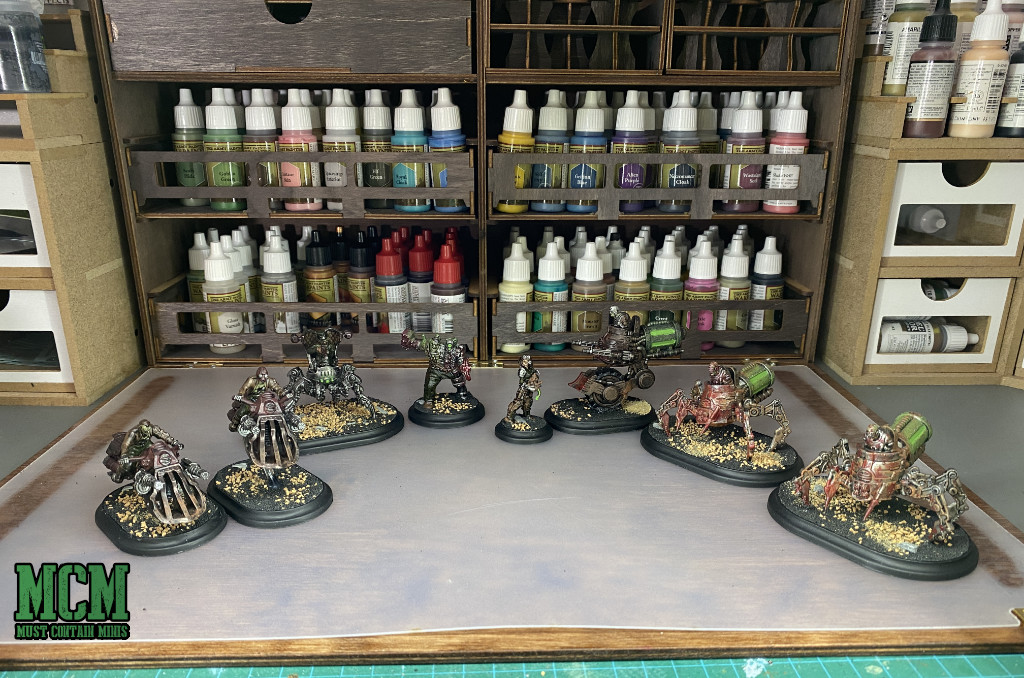
The Completed Minis
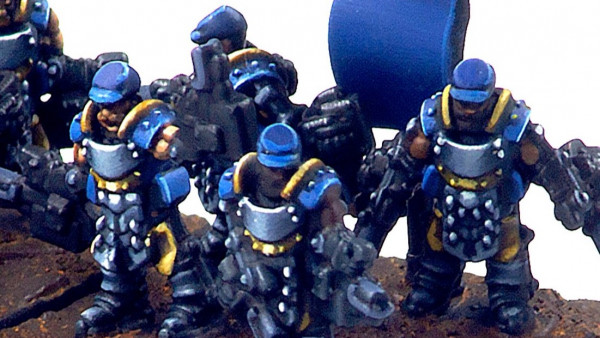
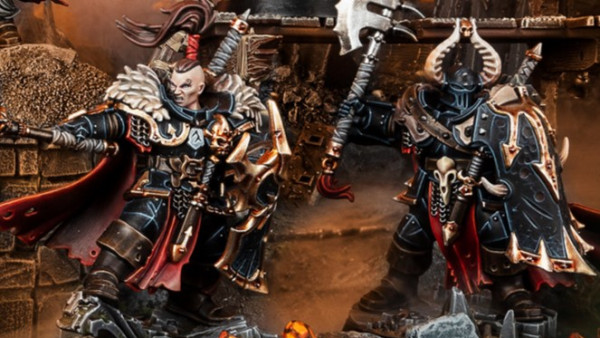
As part of the Global Gunslinger League, I finally finished up the Enlightened Miniatures of the Wild West Exodus: Showdown at Retribution two player starter set.
These minis are great and I had a lot of fun painting them. I hope you like the finished product. If you do, please give me a few votes under Skill, Idea or Tutoring on the posts within this project.
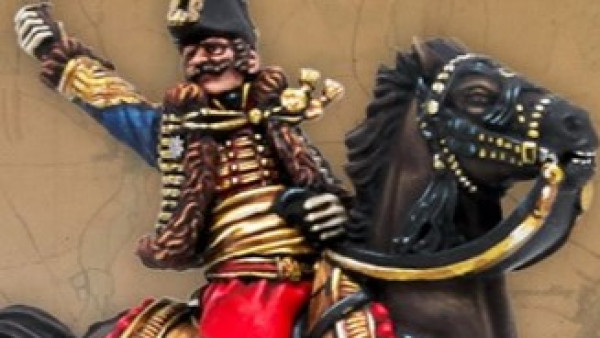
 This is the leader of the group.
 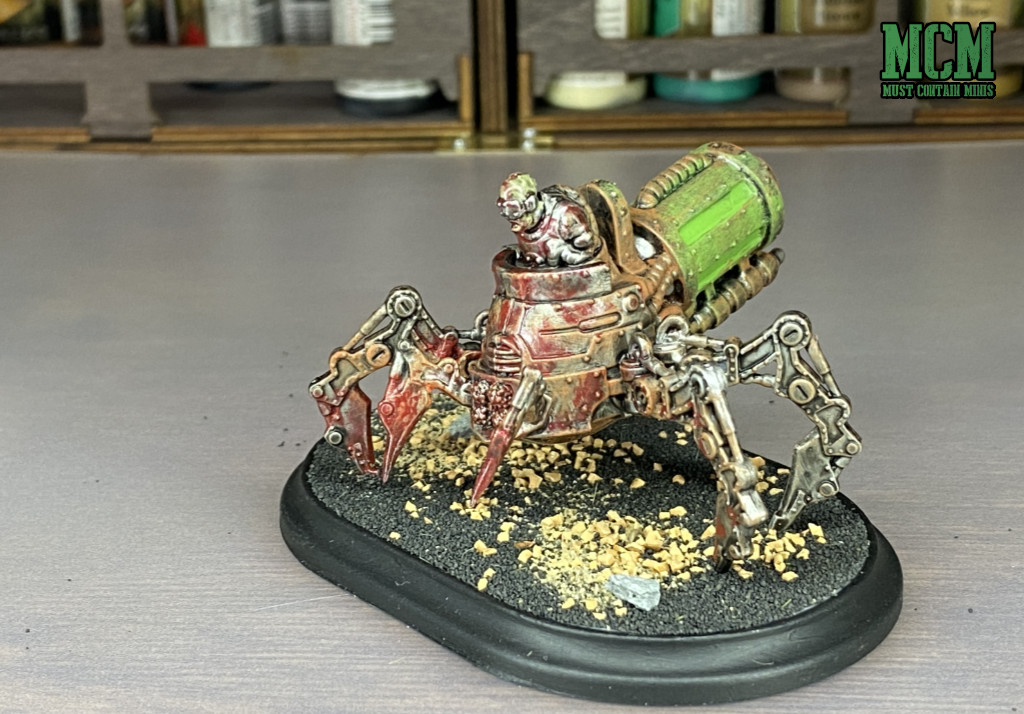 I really like these Spider Cav models. I made two of them.
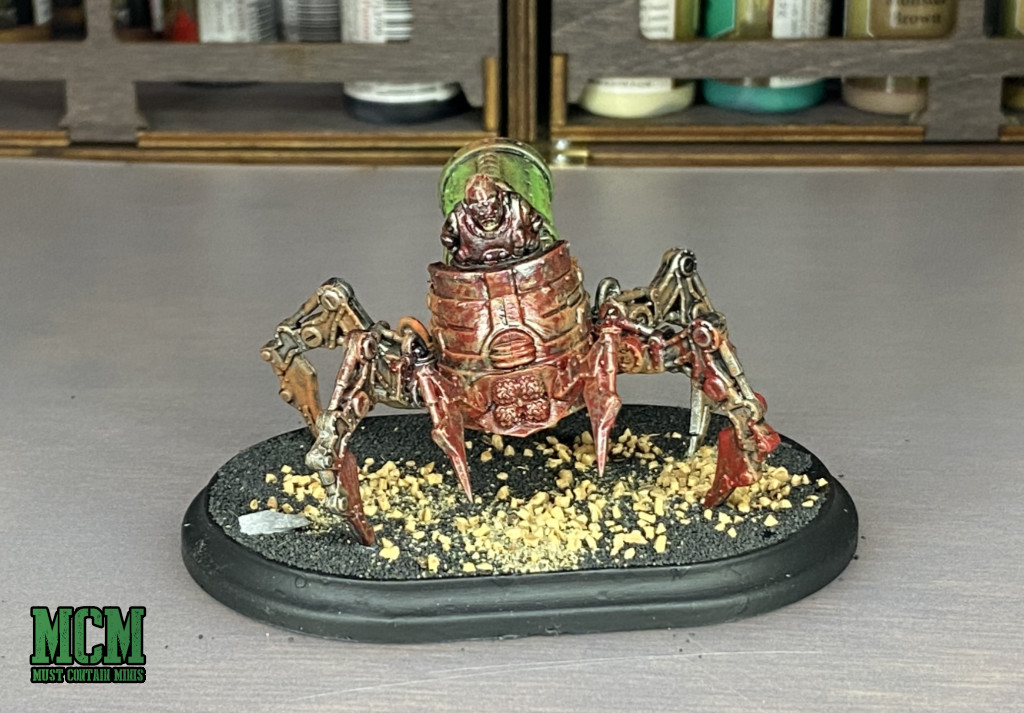 This is the second one that I made. I made them pretty much identically but painted extra blood on one versus the other.
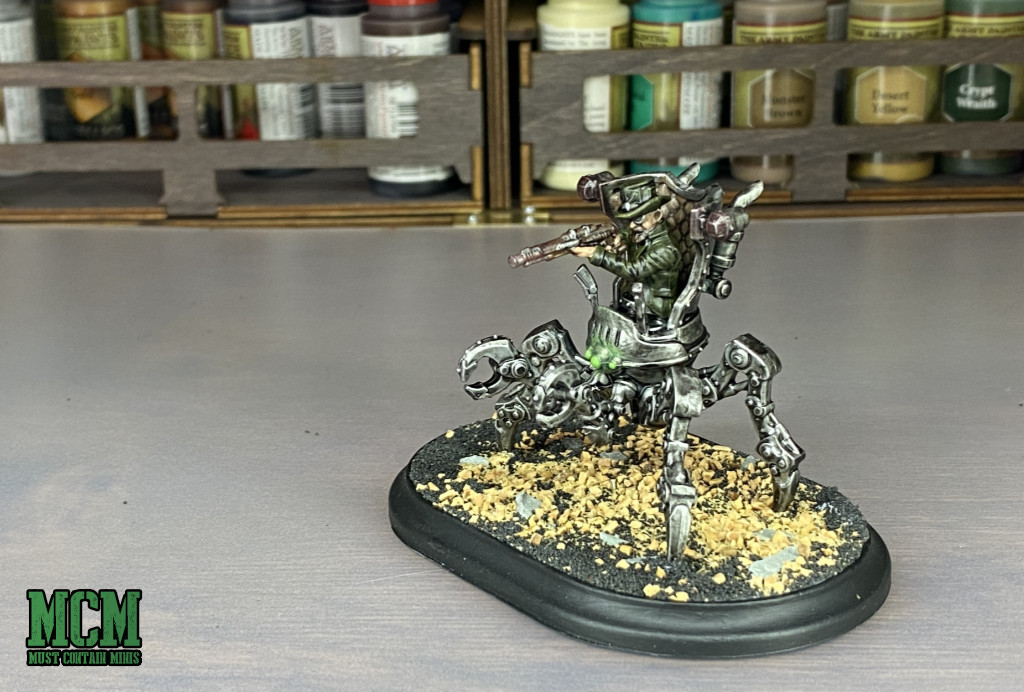
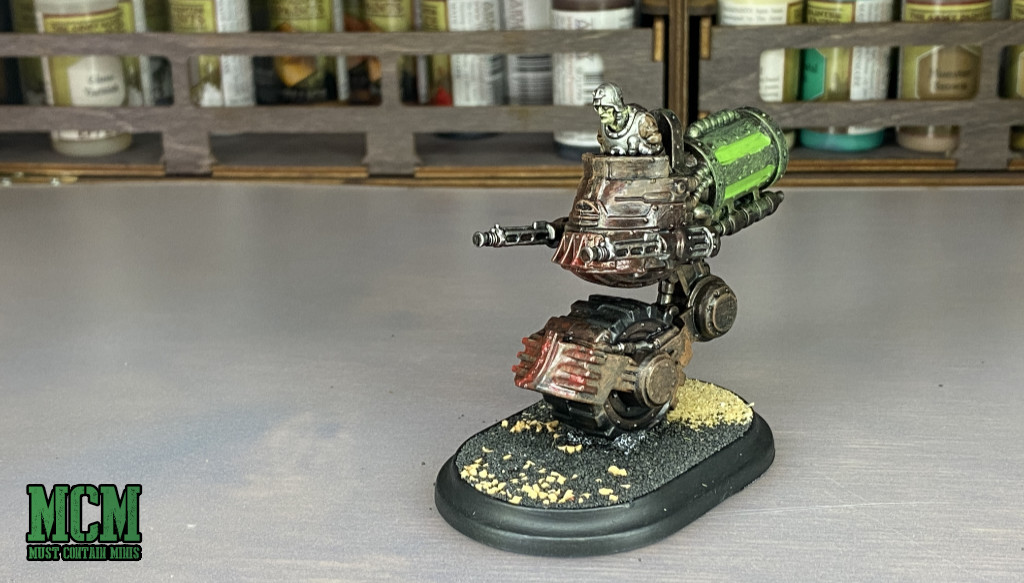 This is the Mono Cav that I featured in some of my earlier posts. So neat.
 Here we have some cavalry on an Iron Horse.
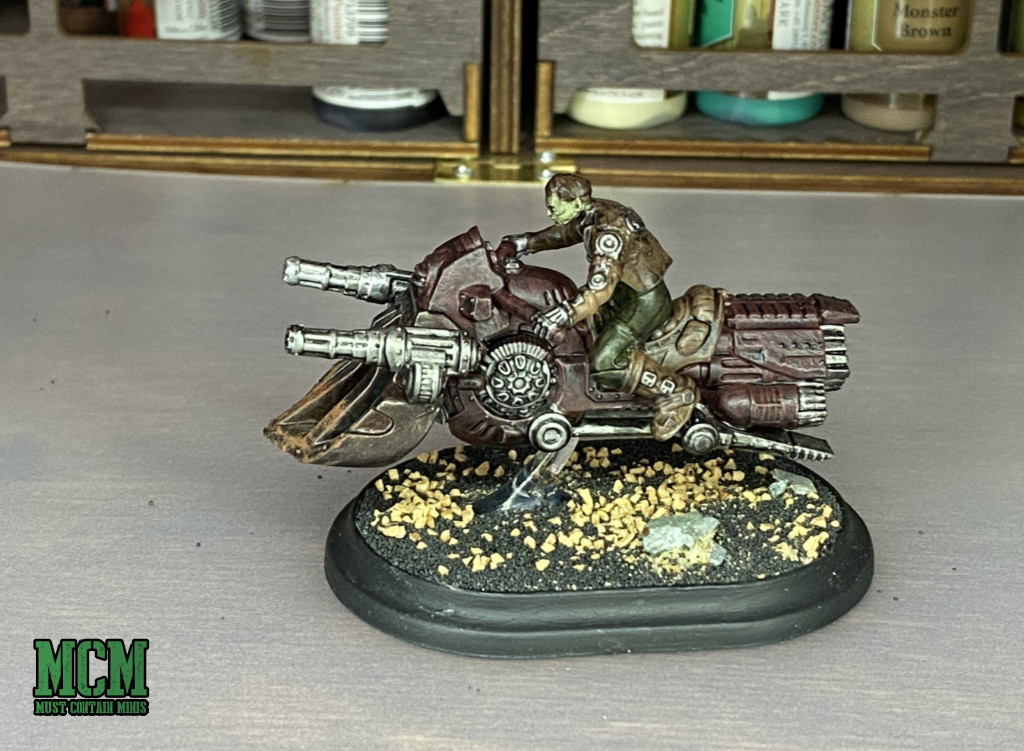 And another miniature on an Iron Horse.
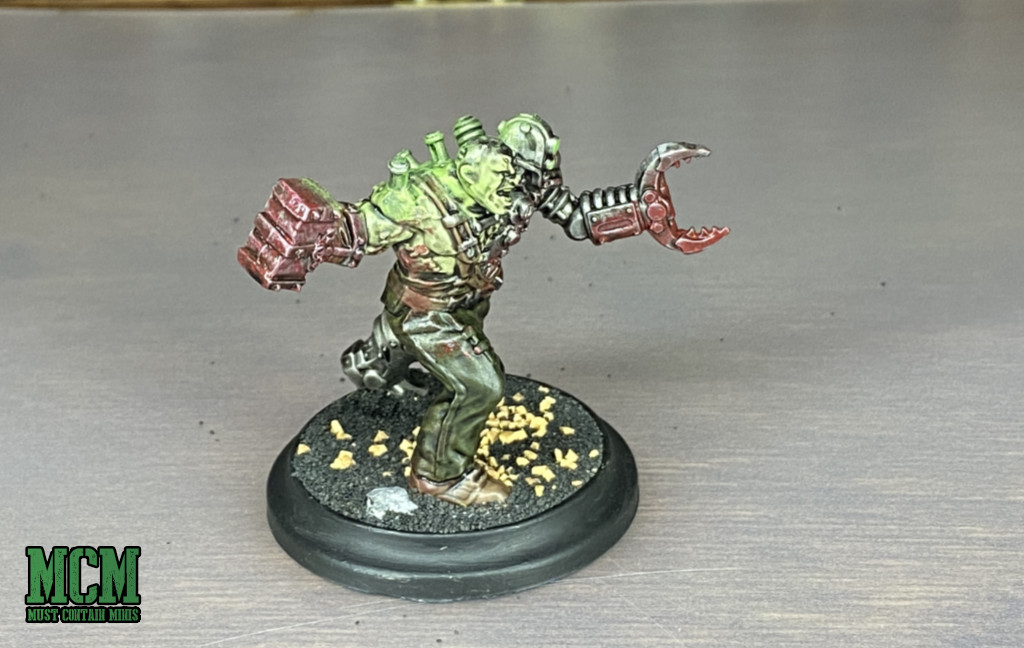 Here we have Smash and Grab. I enjoyed adding the blood and glowing effects to the mini.
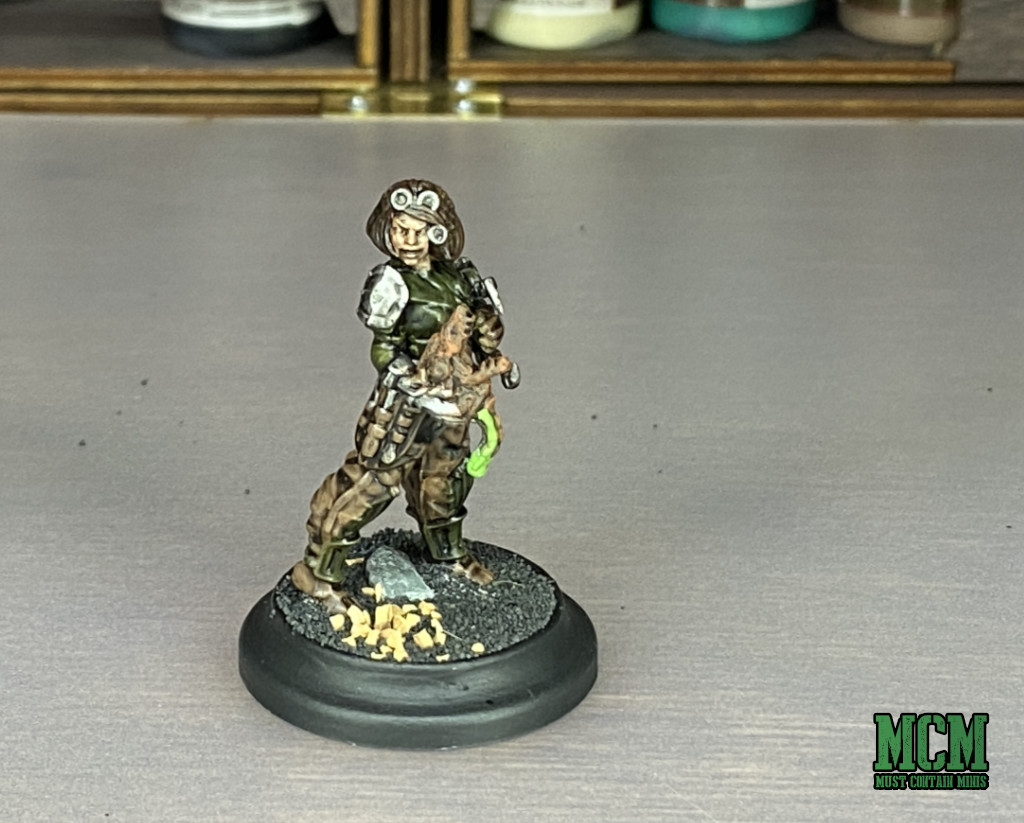 This is Emily. She fixes robots. I think I am going to have to pick up some K9 models for this group.
 Painting up the Enlightened side of the new Wild West Exodus two player starter set is now complete. I do have a few extra posts that I plan to add before closing up this project.
Come on back for a video tutorial on how to use brush on primer, and a video on how I painted these miniatures.
If you like my work, come on over and check out some of my other painted minis on my personal website.
Until next time, Happy Gaming Everyone!!!
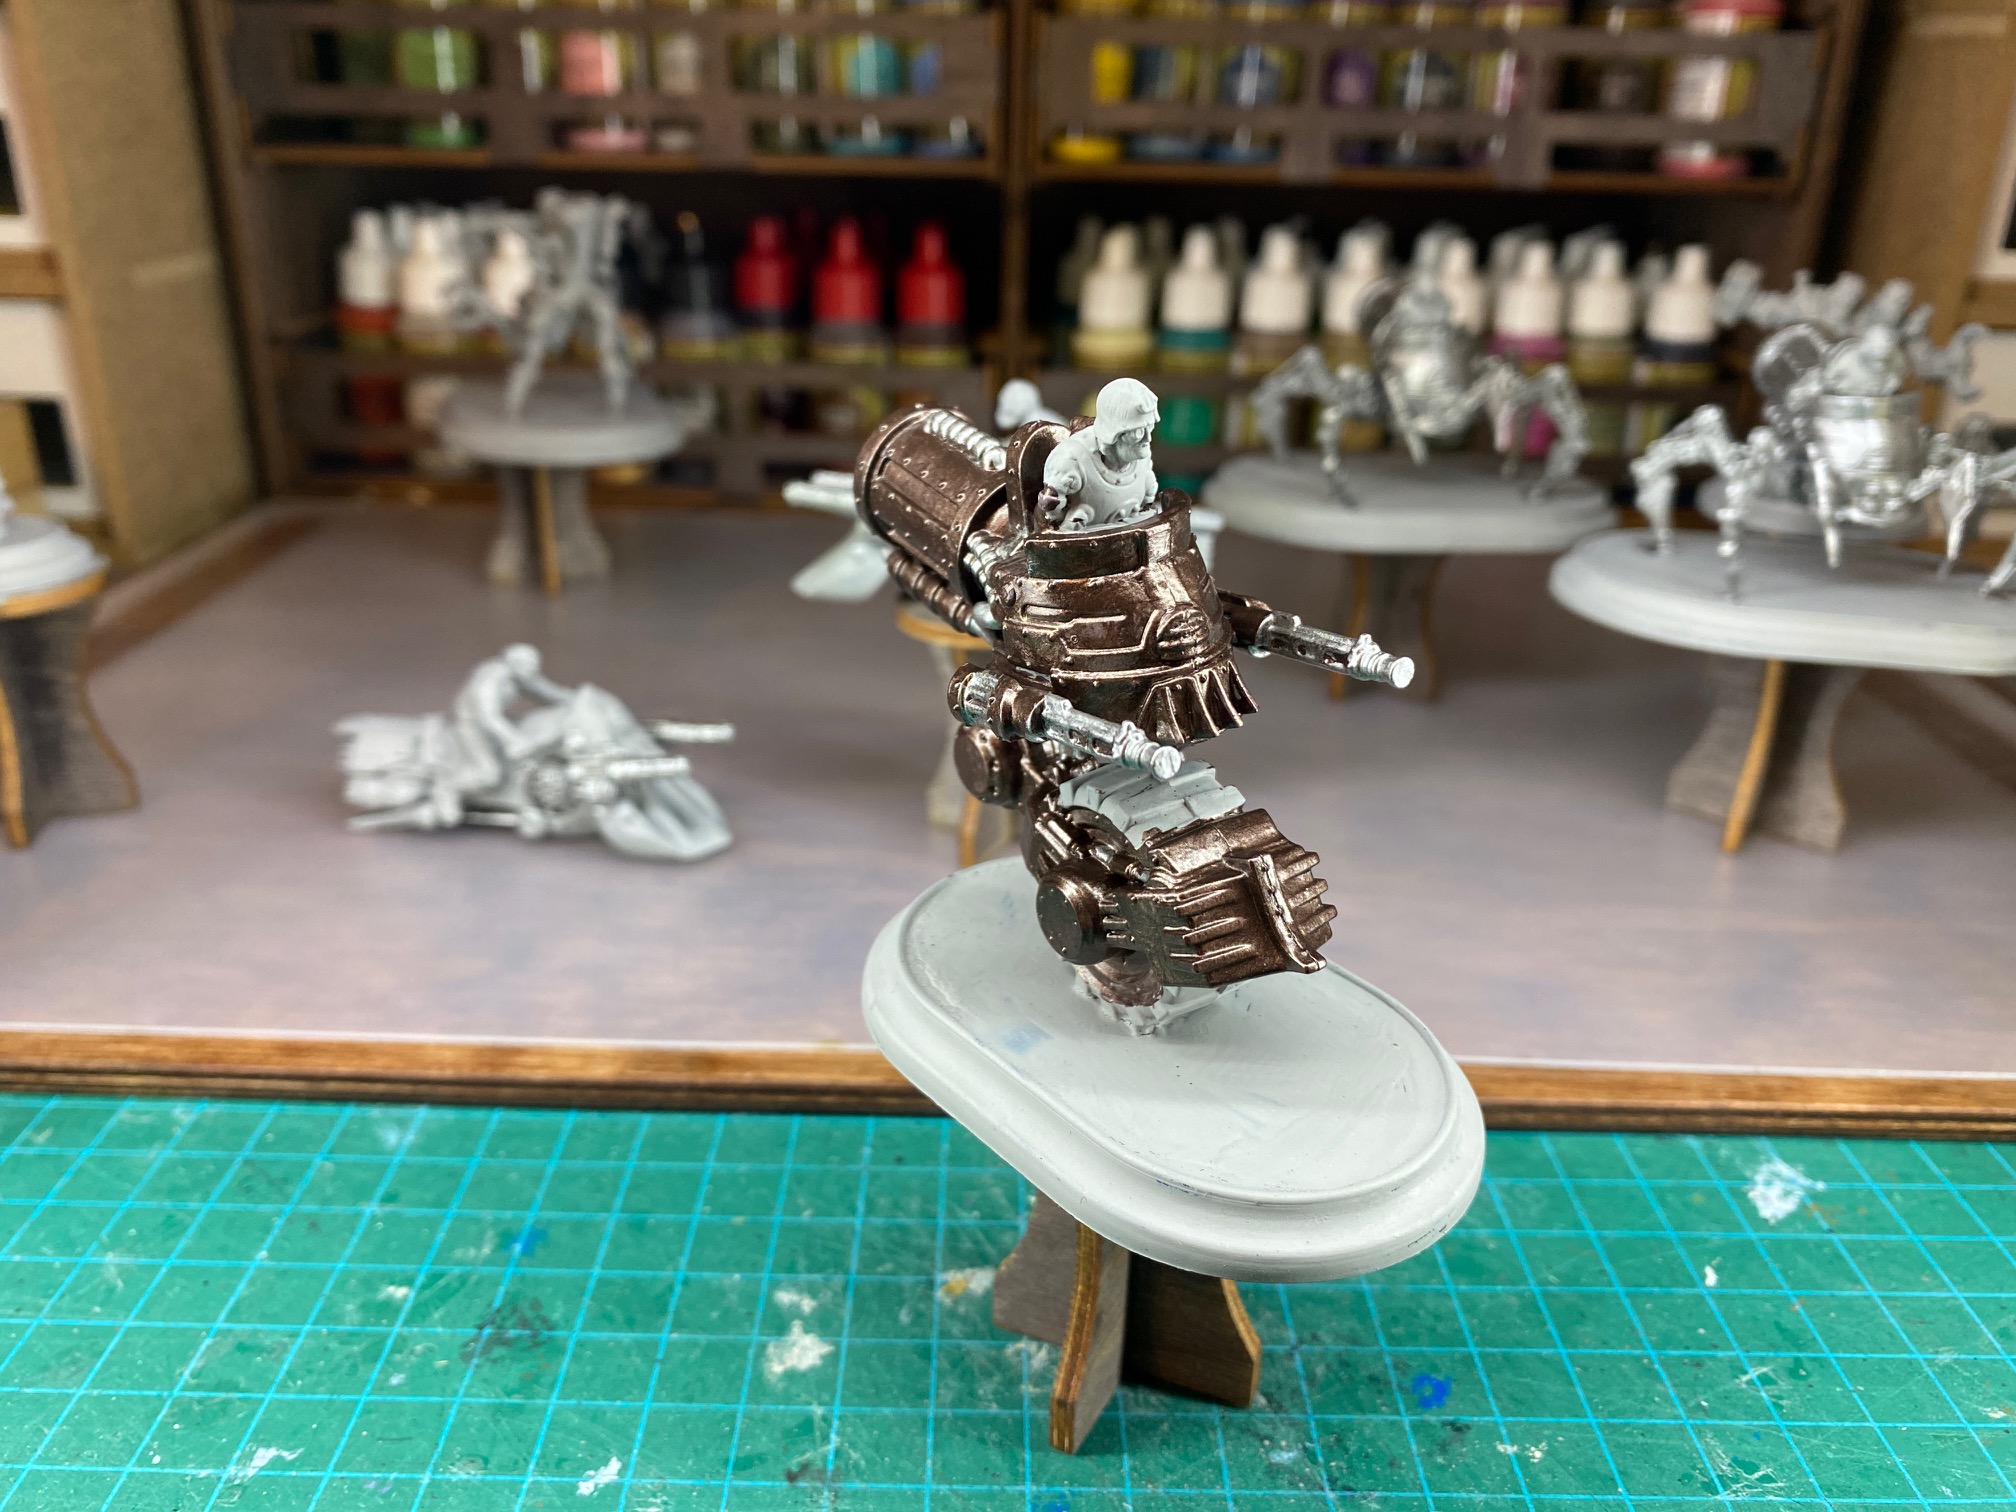
Adding the Highlights and Effects
Now I am almost done these miniatures. I used The Army Painter Paints, which make it really easy to quickly finish up your miniatures and have them look good.
Check these images out of the figures at this stage in the game.
 Emily all painted up. All that is left is to add basing materials to the mini.
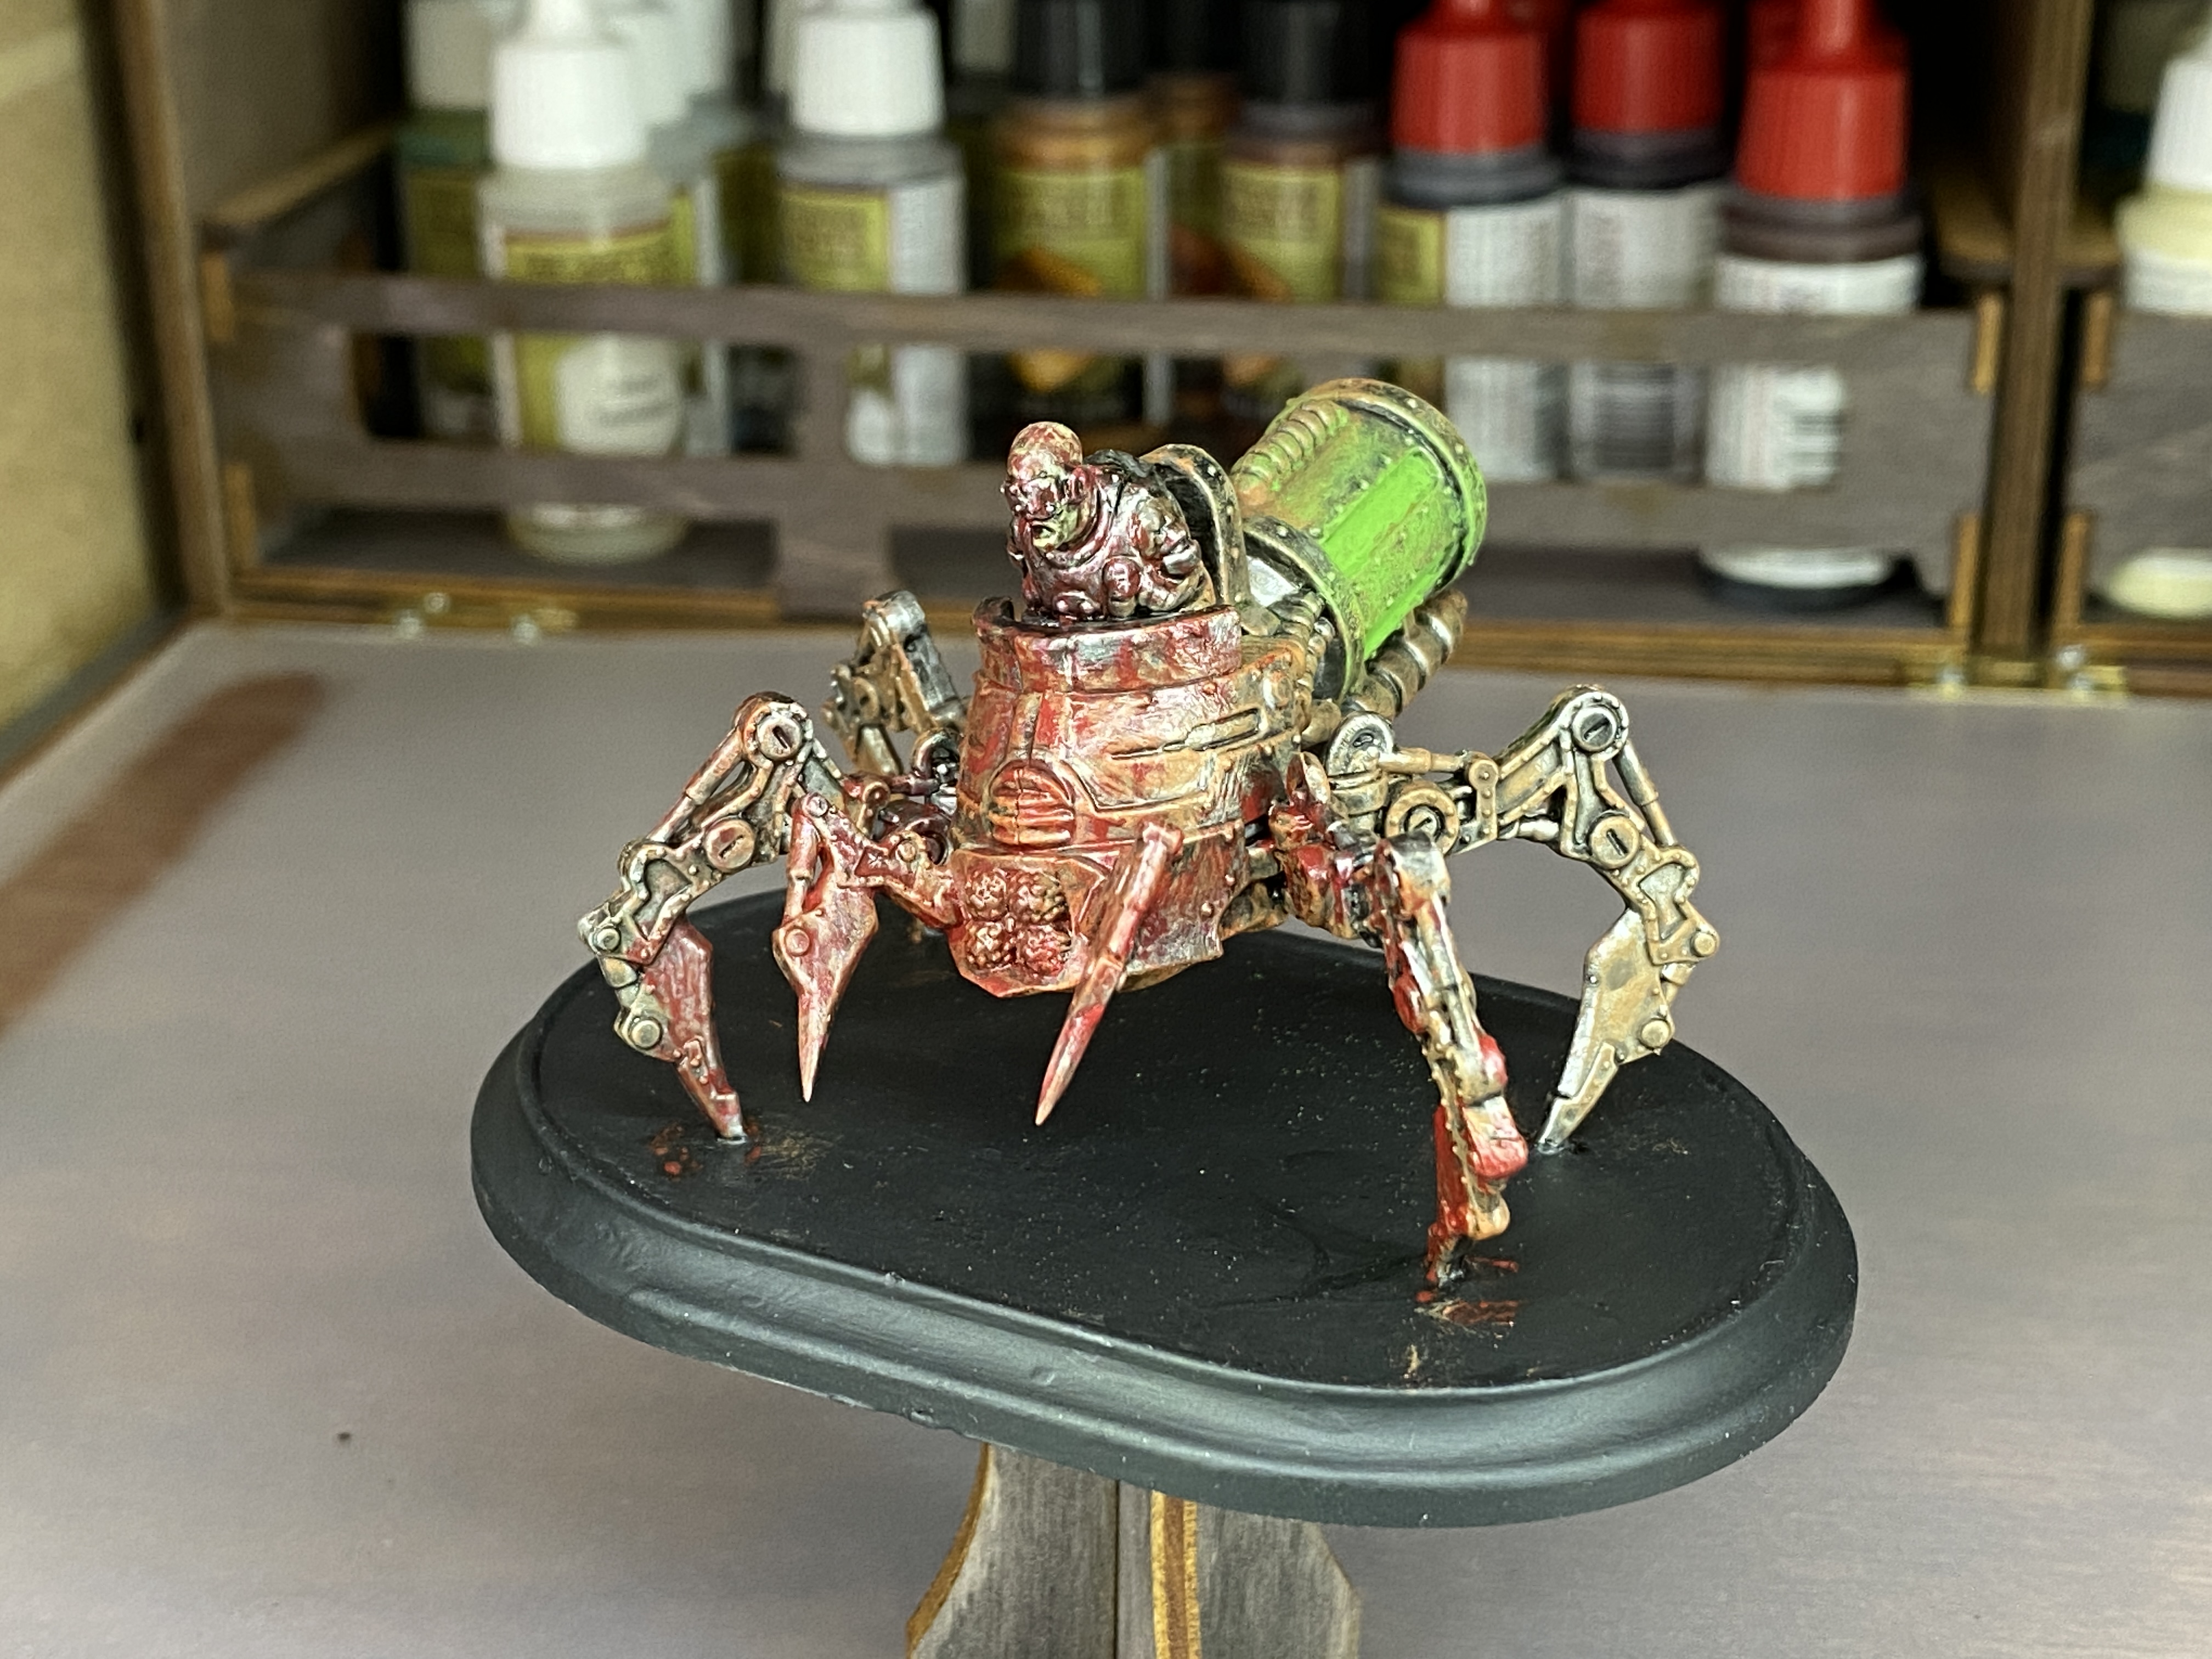 I went with a ton of gore on this one. Lots of blood effect on the front of the mini and a glowing green effect on the back of the figure.
 A side view of that same mini. I like how it turned out!
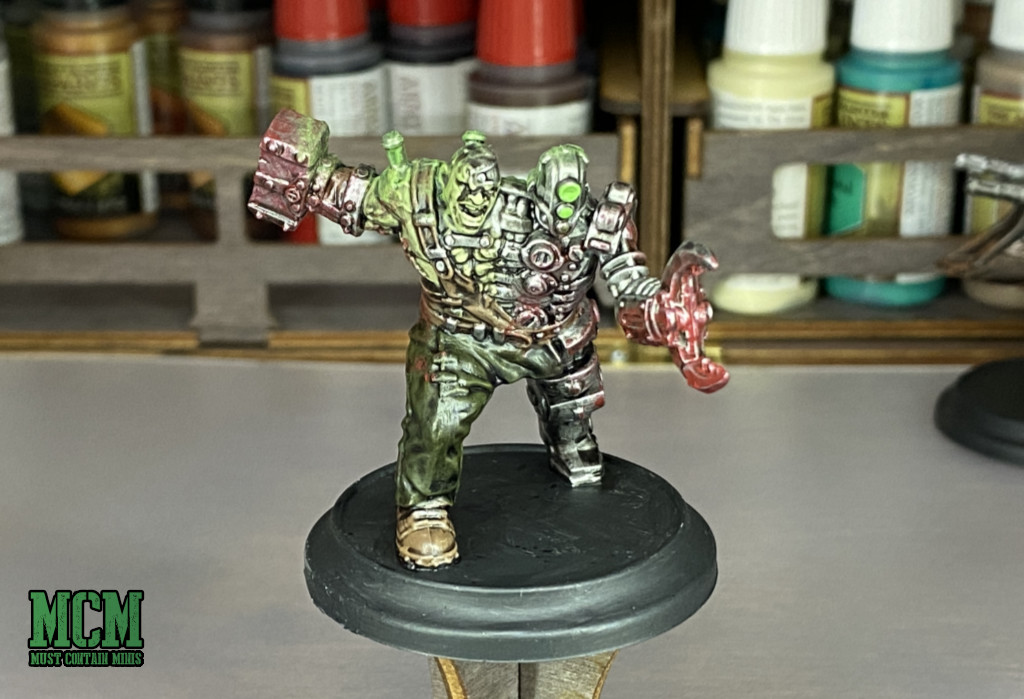 Here we have Smash and Grab. I did the same green glowing effect off of the cylinders that are inserted into his back.
 I have more images and a tutorial video coming. Be sure to keep checking in on my work. Hopefully I will get the video up before the end of the Global Gunslinger League.
Until next time, Happy Gaming Everyone!!!
After The Shading
My previous post was a bit of a tutorial and it outlines the process that I use to paint my miniatures. Well, I finished the shading step and take a look at how fantastic these minis look now. I could stop here, but I am going to take it another step yet.
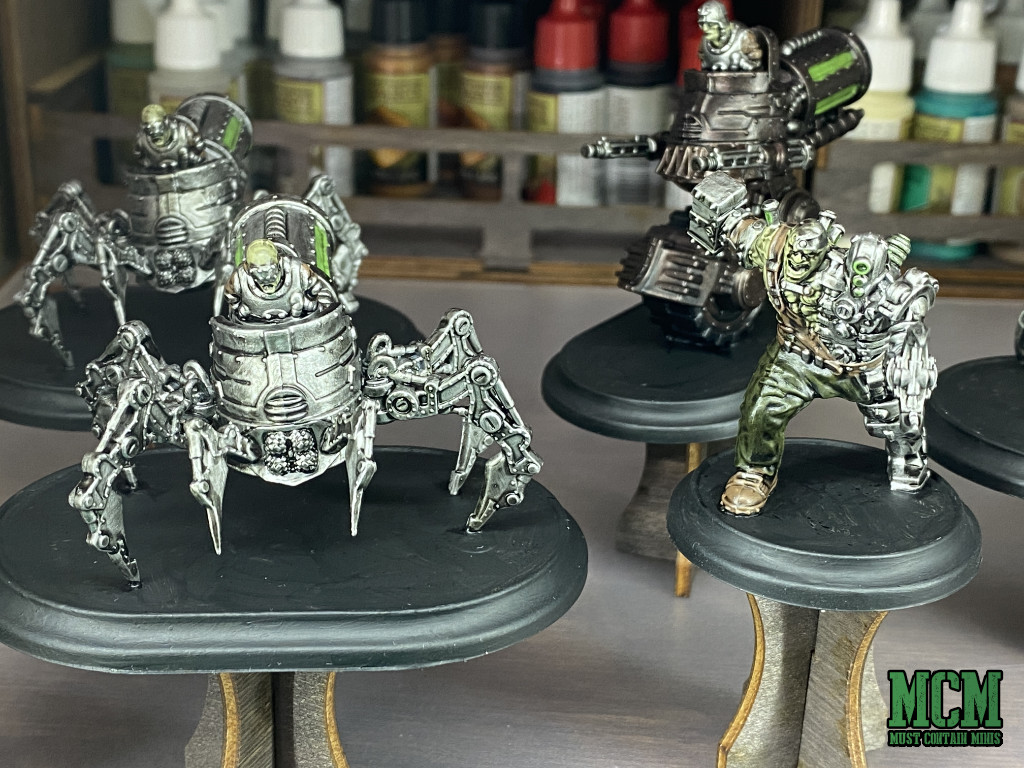 The Enlightened Cav Models along side Smash & Grab.
More Base Painting
When I paint, I use a five step process.
- Prime
- Base Coat
- Shade
- Highlight
- Effects and Basing
With these Enlightened miniatures for Wild West Exodus, I continued through that process and want to share with you some more pictures of my miniatures being base coated.
 Base Coating the Iron Horses
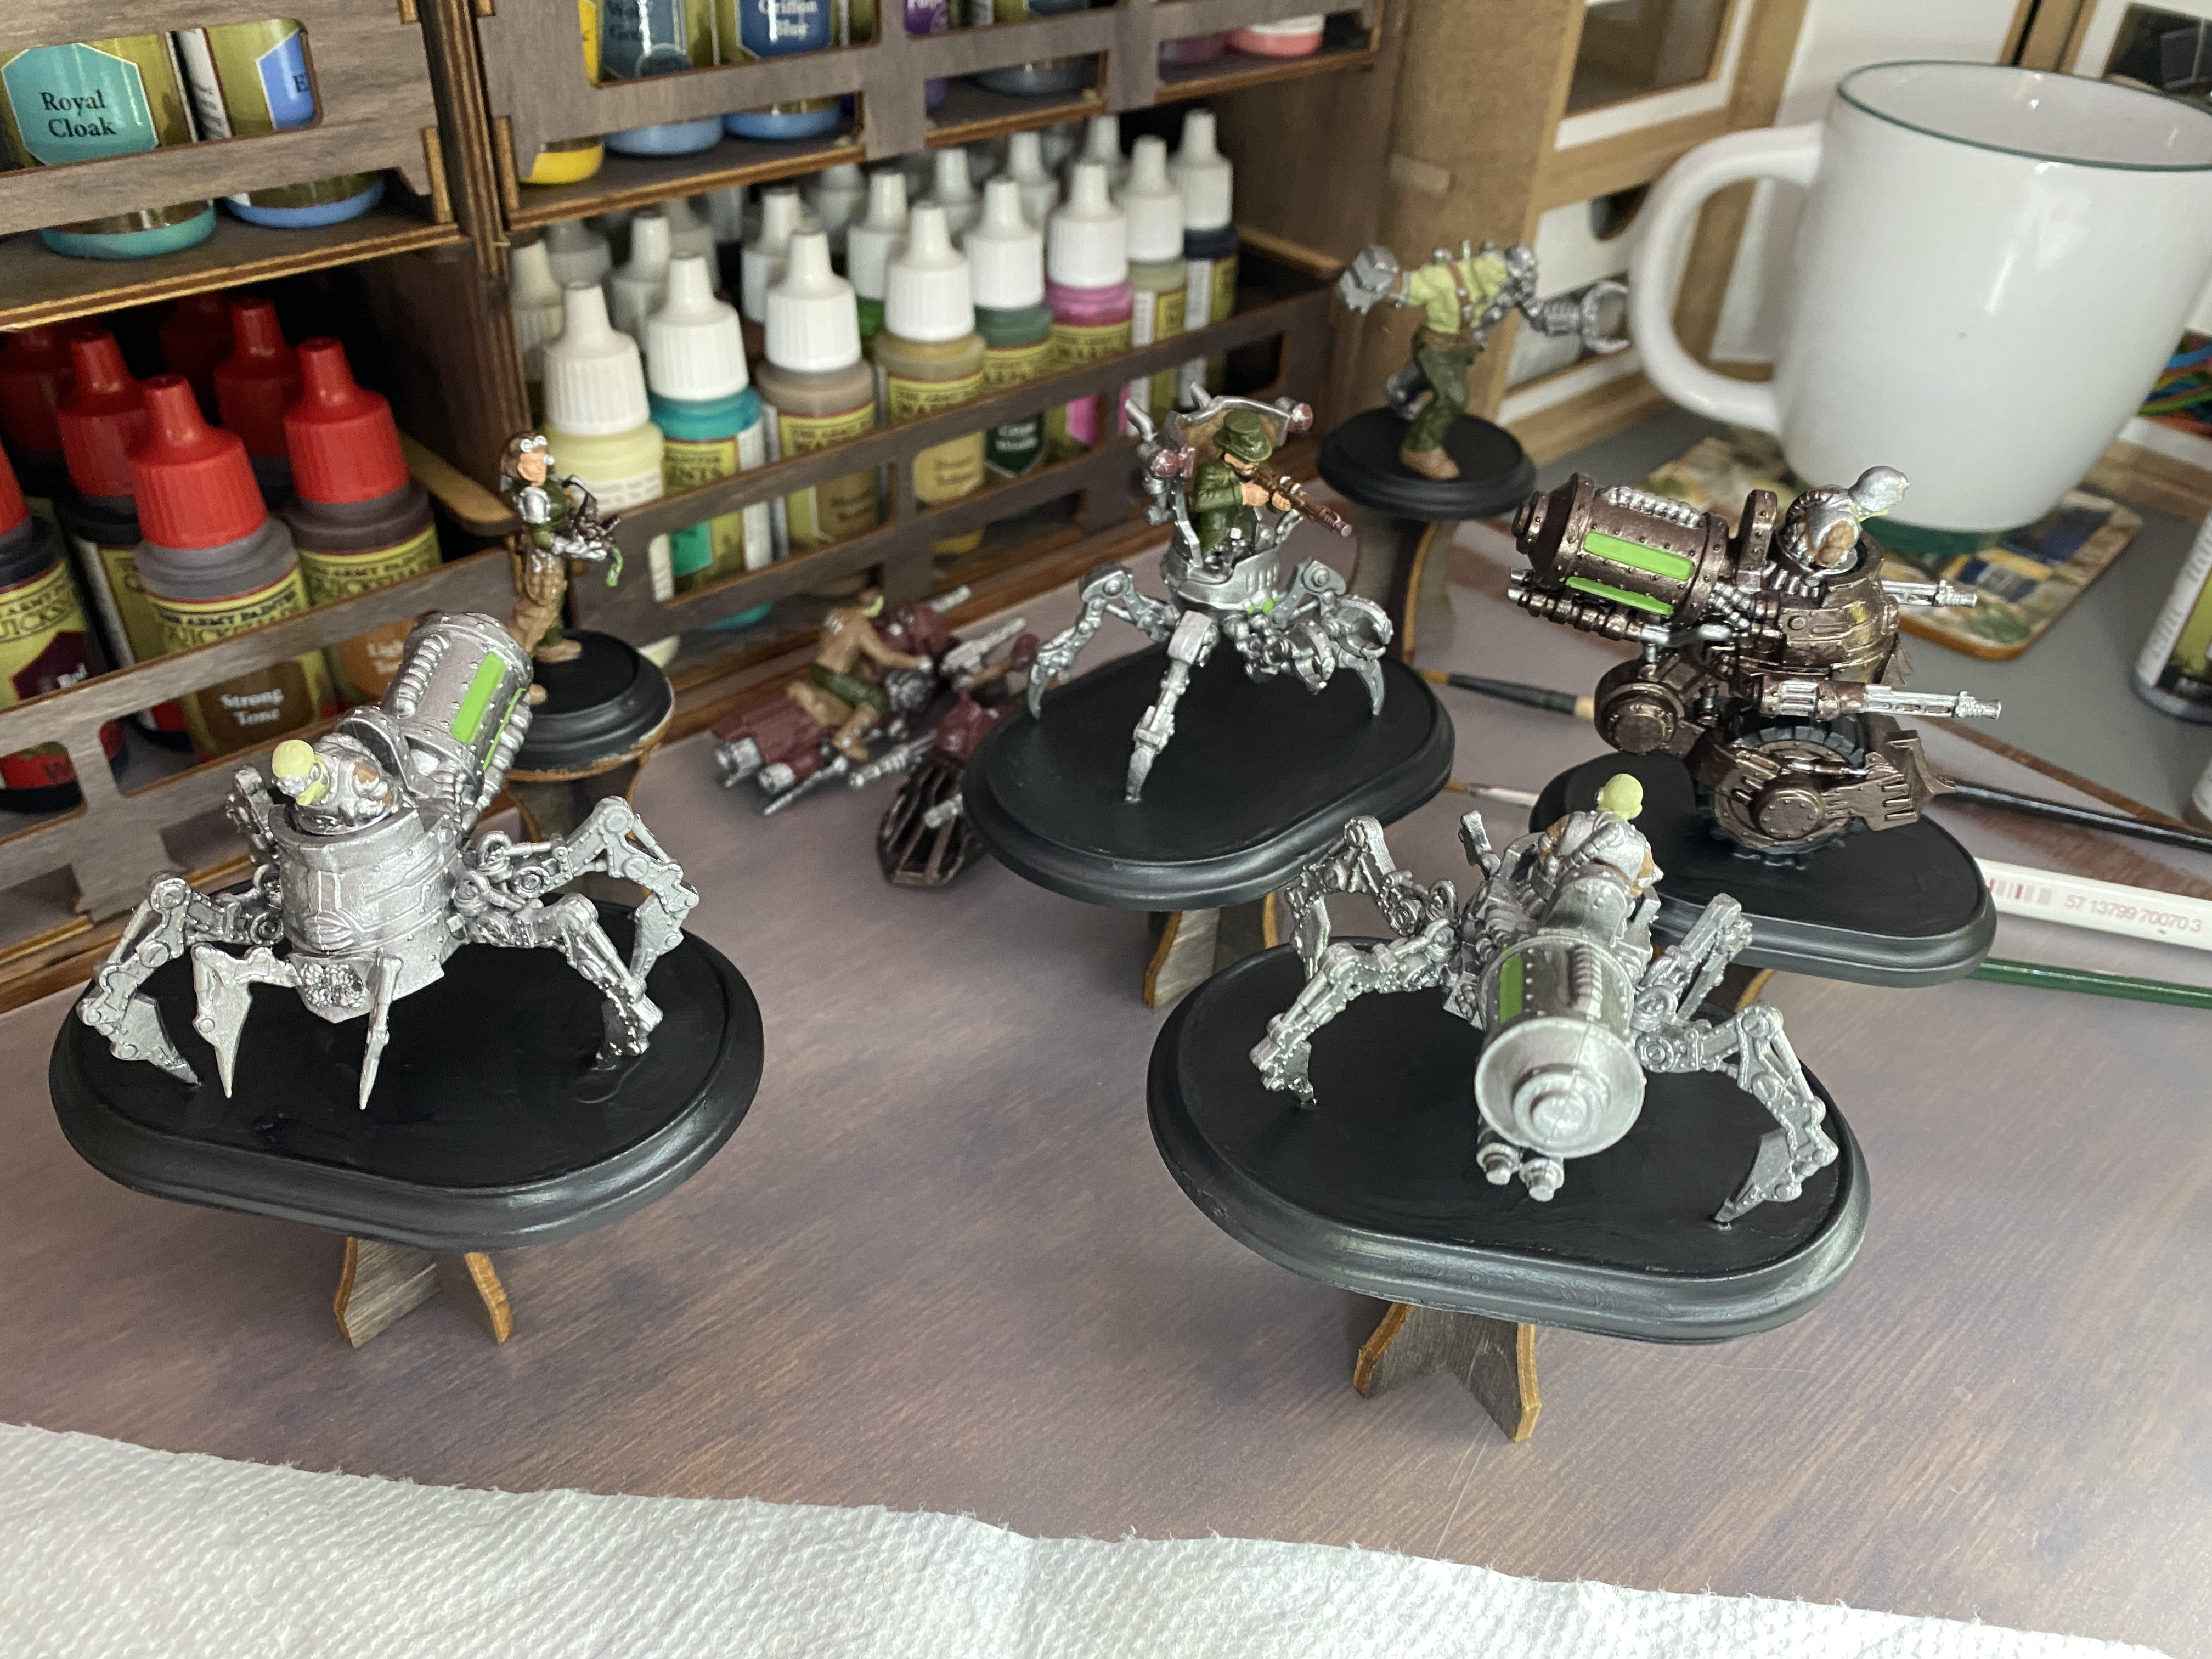 The other minis in the group.
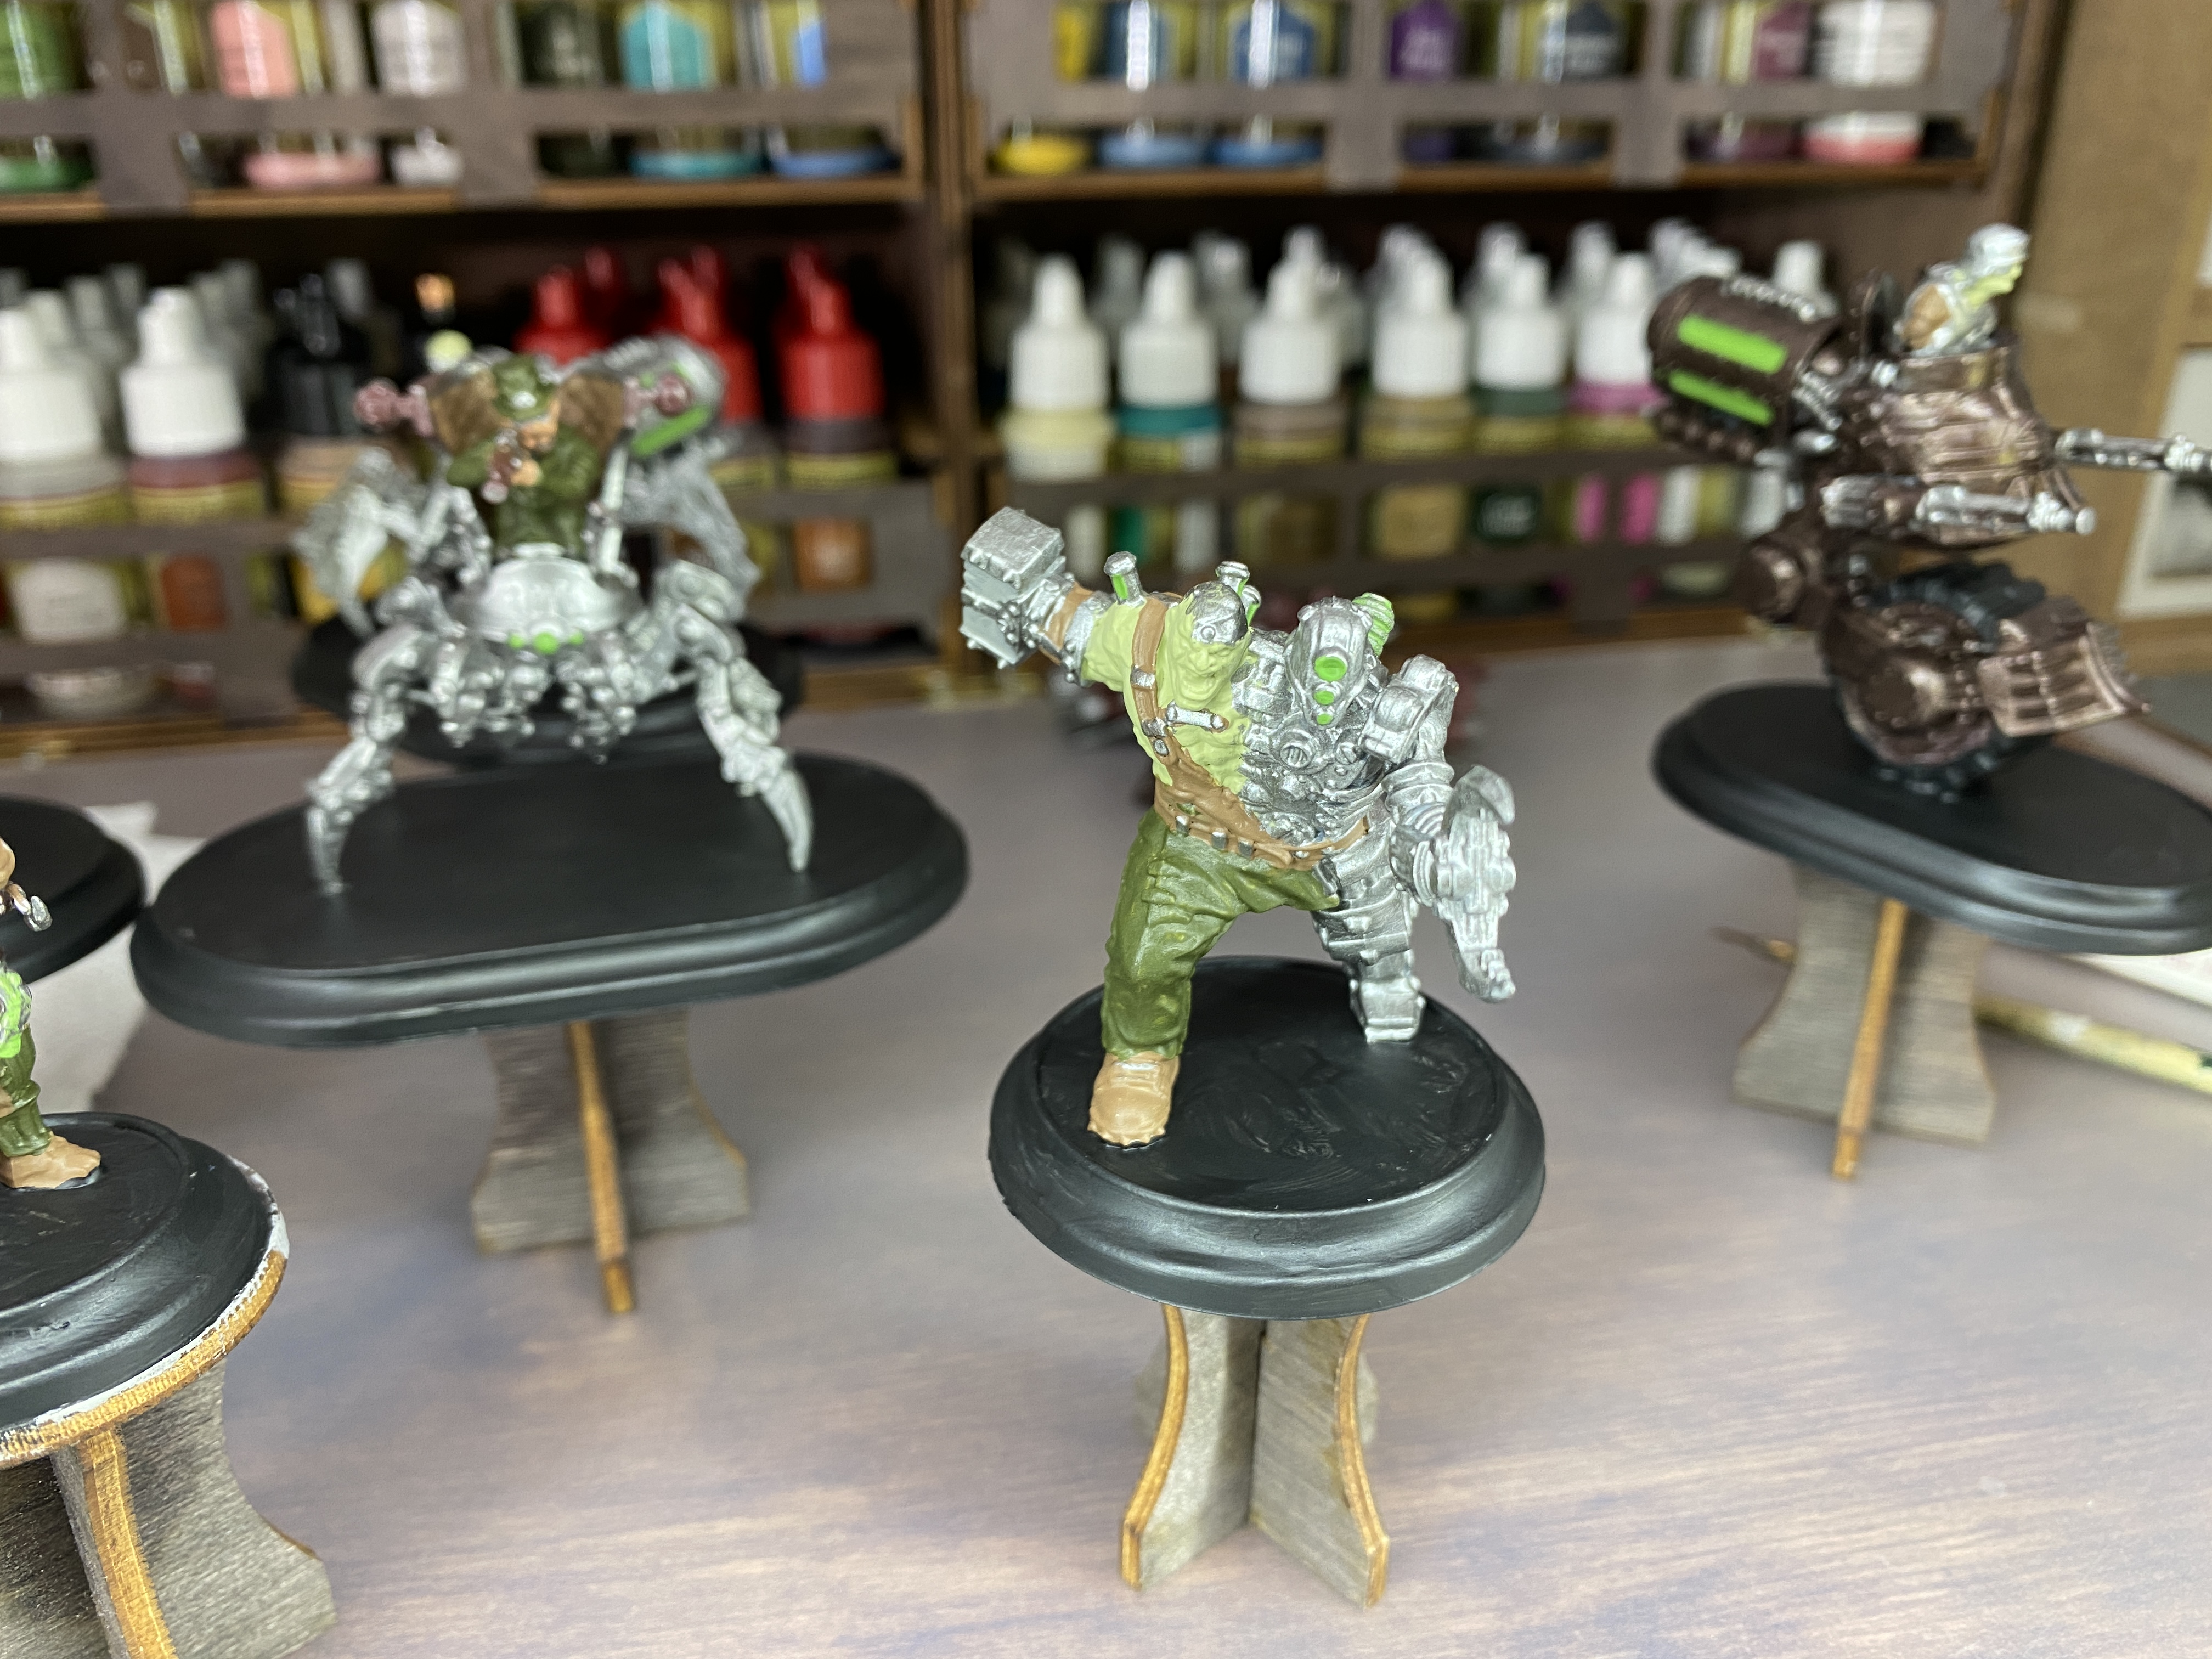 Smash and Grab
They might look simple now, but wait until I carry on to the next two steps of shading followed by effects and basing. They are going to look great!
More Progress
The work goes slow but steady. Here are some more images of my WIP.
 Getting some leather color on Emily.
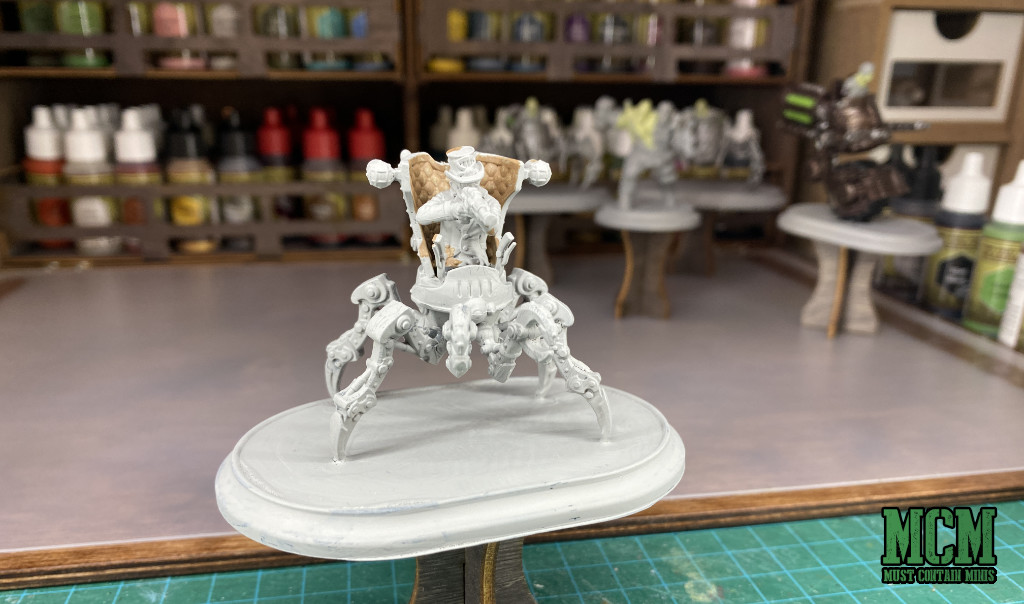 Carrying the brown onto the back of this chair.
 Getting some ugly skin tones on Smash and Grab
You can see more images of my work in progress on my personal website – Must Contain Minis.
Making a Little More Progress
I am still working on the base colours of these miniatures, but I have been making a little more progress and am happy with the look of the figures so far.
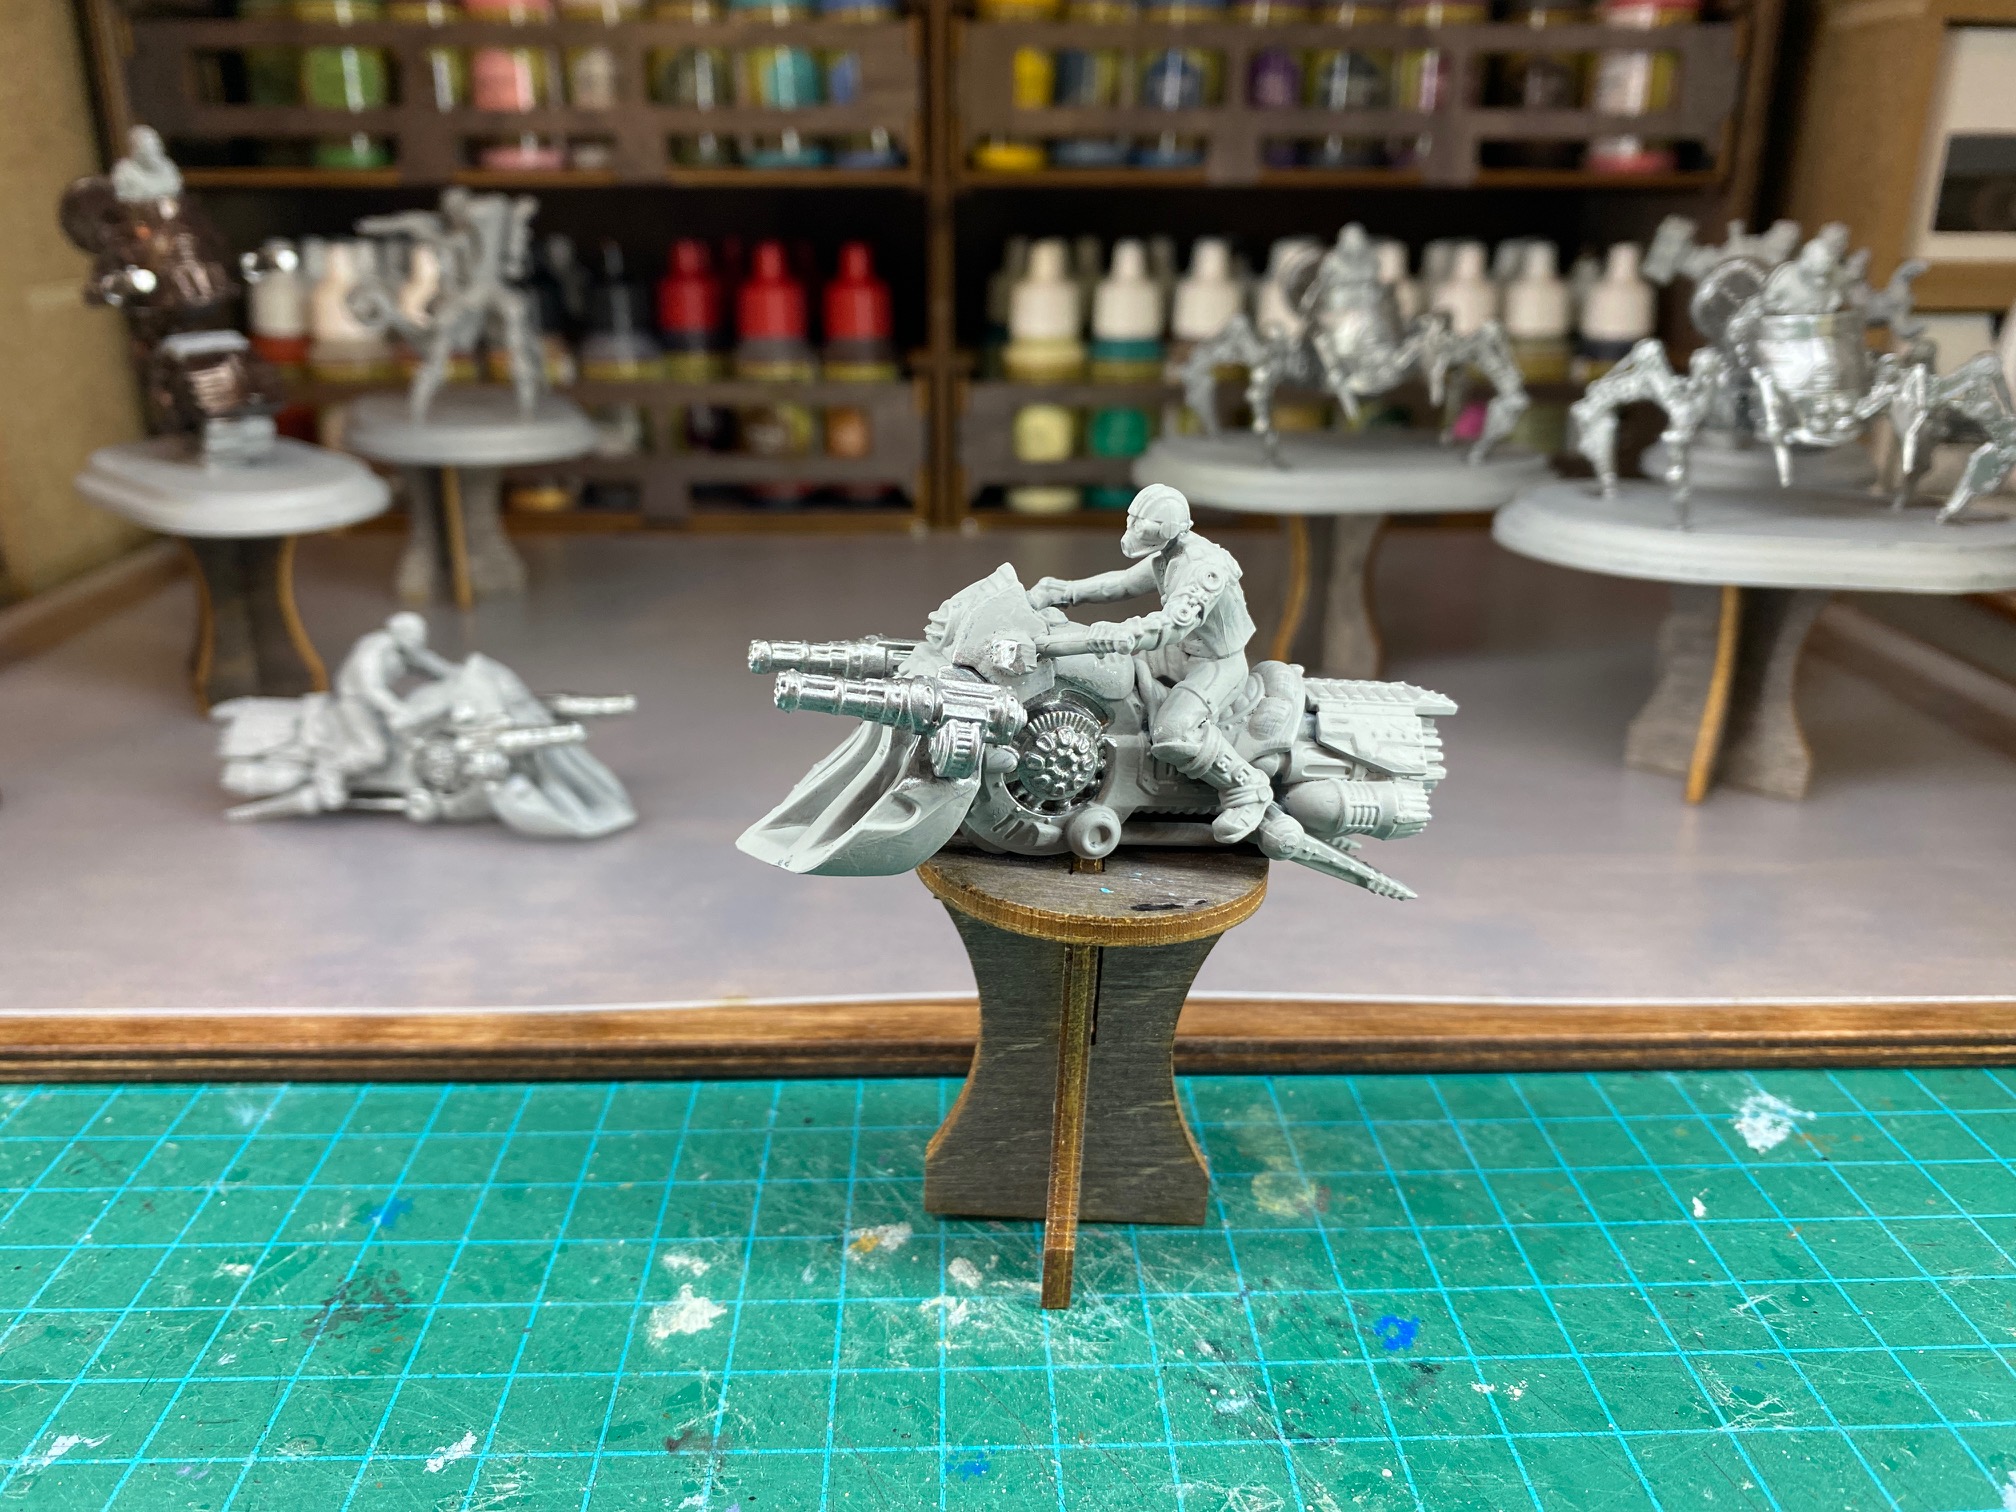
 A look at my hobby desk as I work on the figures.
 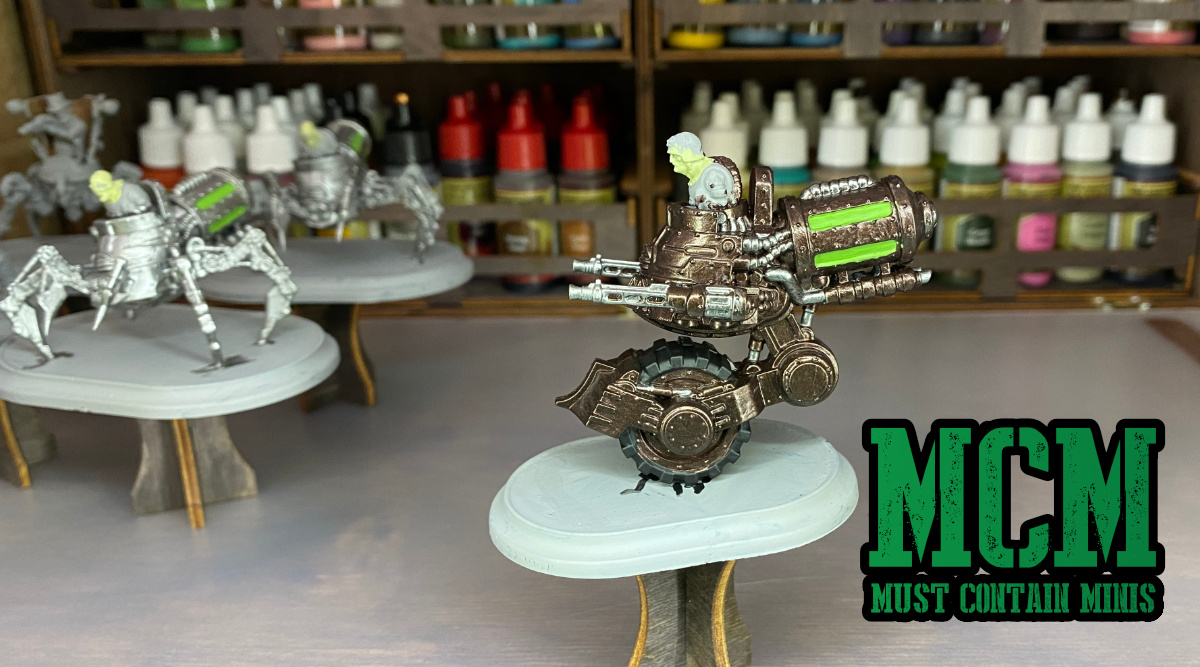 The Mono Cav mostly base painted.
 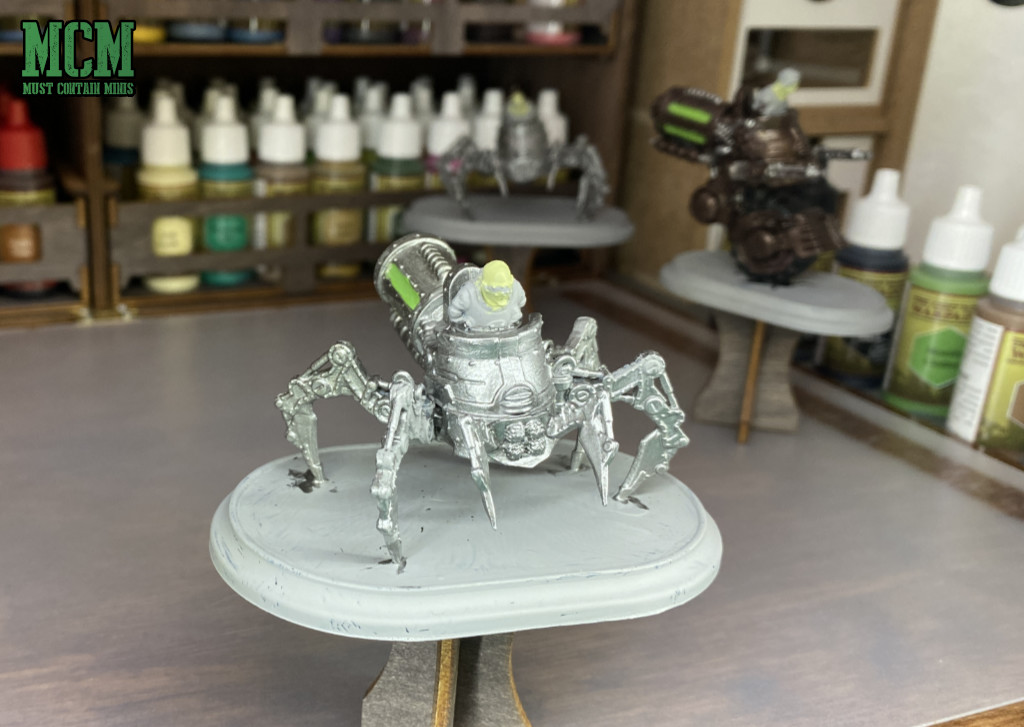 The Spider Cav. I really like these models.
Starting the Paint Job
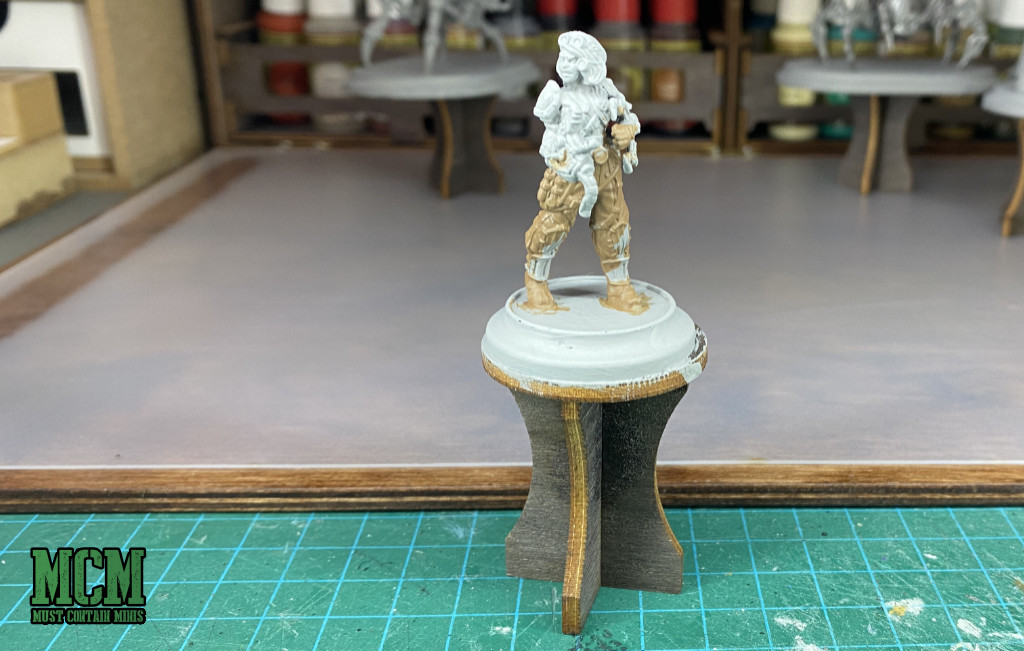
Once I built all the figures I primed them grey with The Army Painter brush on primer. Why brush on primer? I live in Canada and the snow is already flying. Spray painting season is over. Brush on primer is a great alternative that I can use in the comfort of my warm home.
 To prime the miniatures, I used The Army Painter brush on primer.
 I then started applying on my base layers. I started with metallic colours on my mono cav and spider cav minis.
 I started by painting the metallics onto my cav minis.
 For tonight, this is what I got done. Tomorrow is another day.
 It is looking good so far. Not sure why, but I gravitated to working on the Mono Cav model first.
 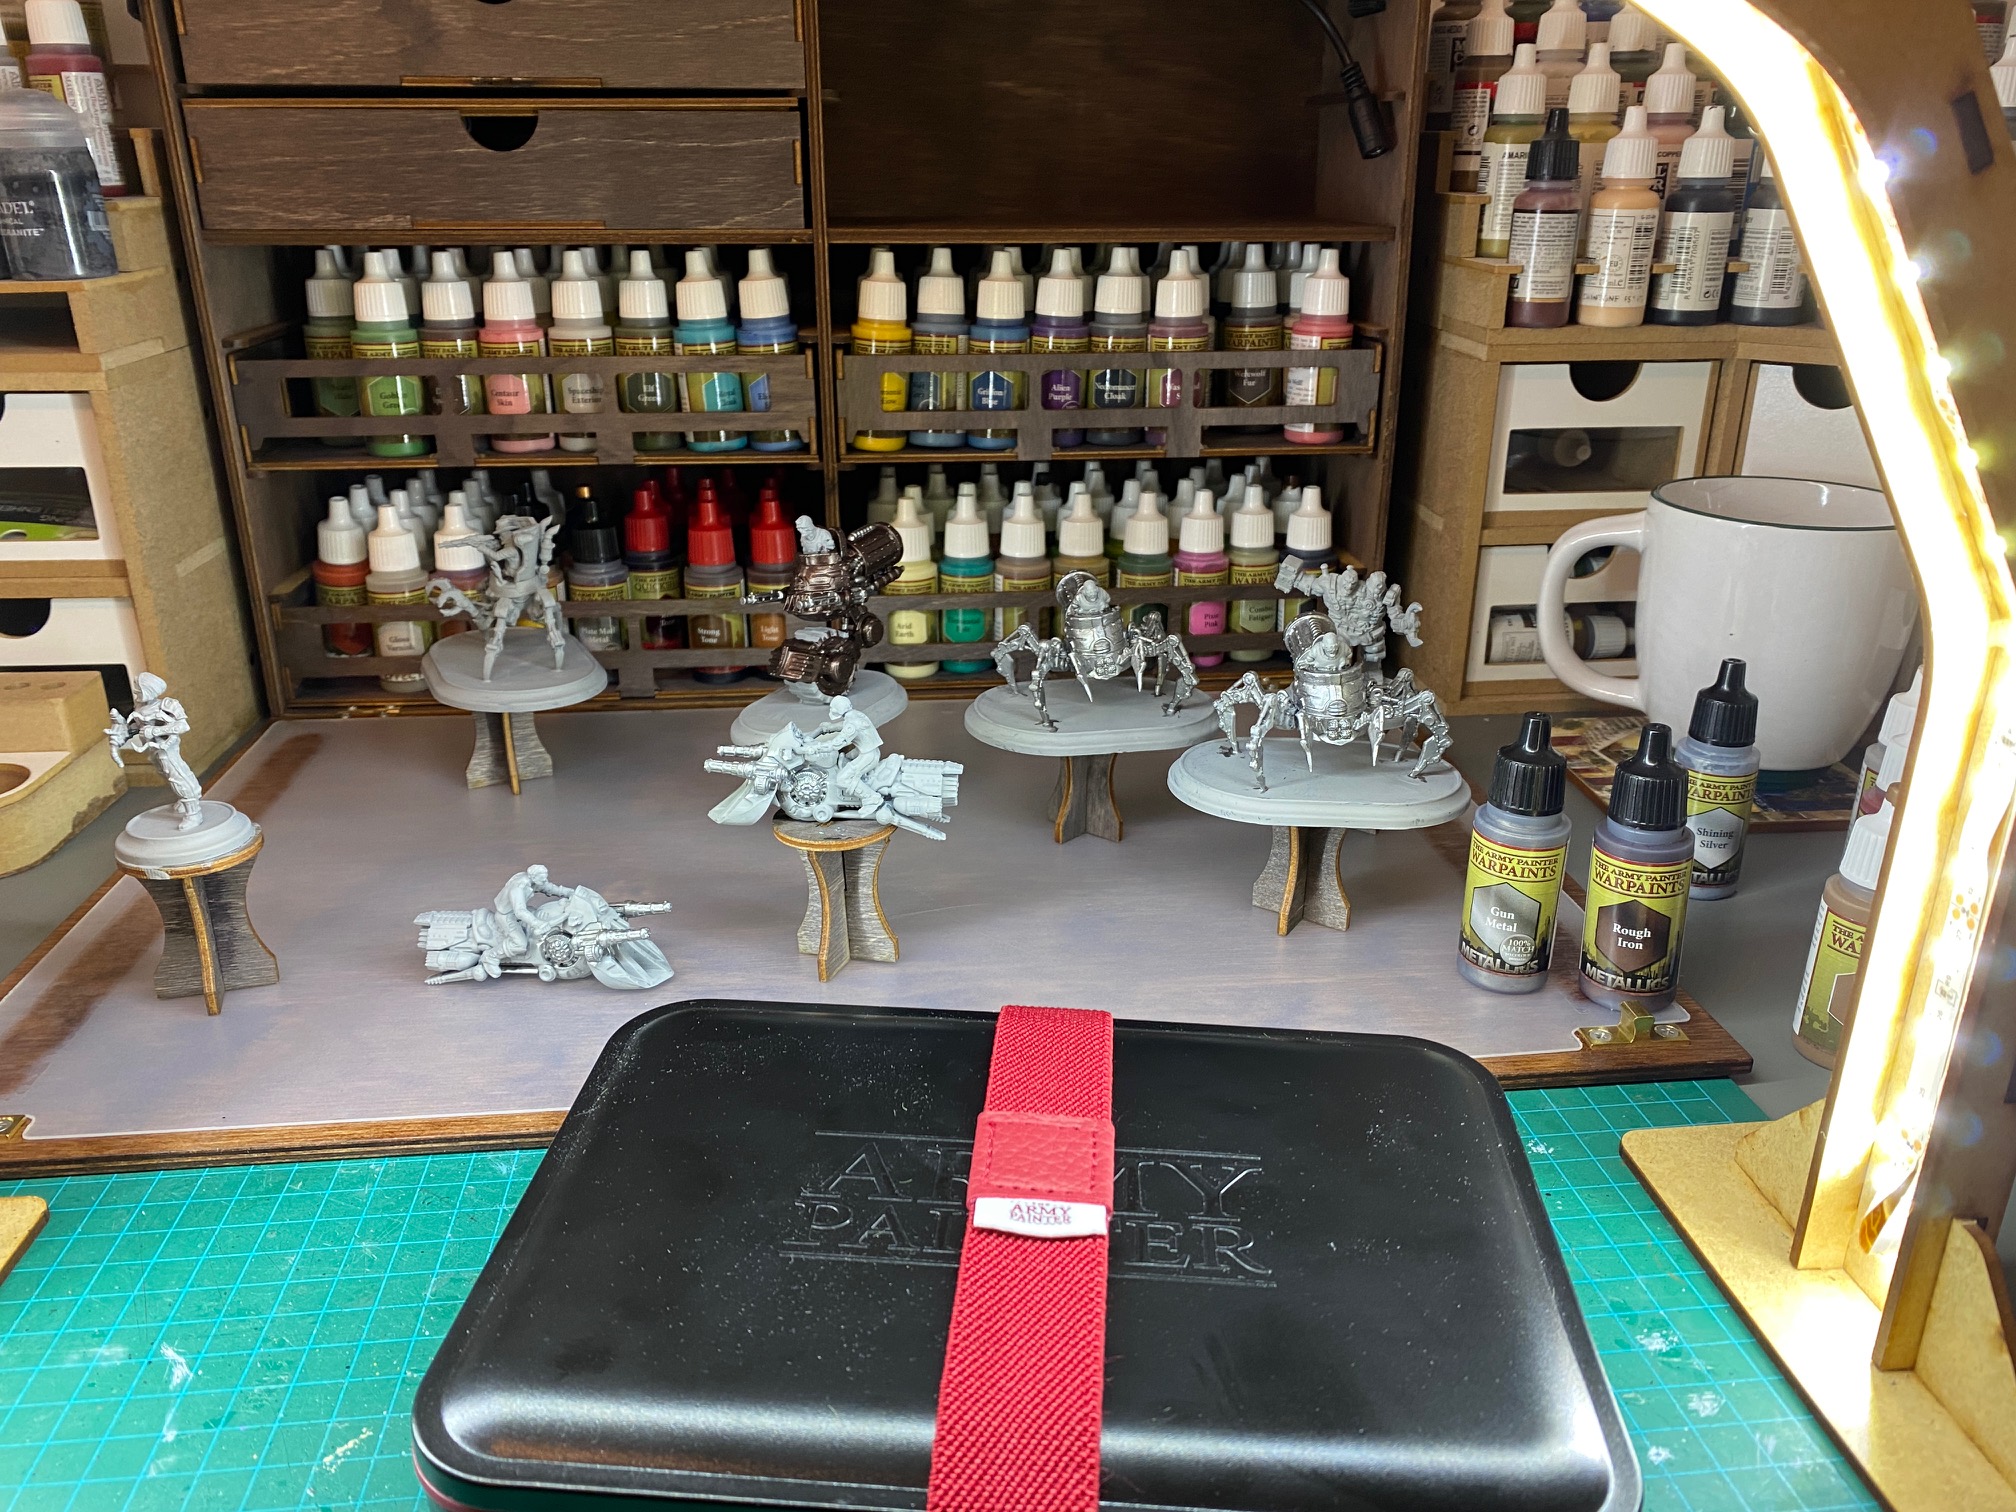 WWX in progress. Today I got the metallics down on all three of the cav models as well as some gun metal on the iron horse hovercycles. I will get more paint on them a few days from now.
 As you can tell, I am well supplied with Army Painter paints and am enjoying using them and the wet pallet on these figures.
Until next time, Happy Gaming Everyone!
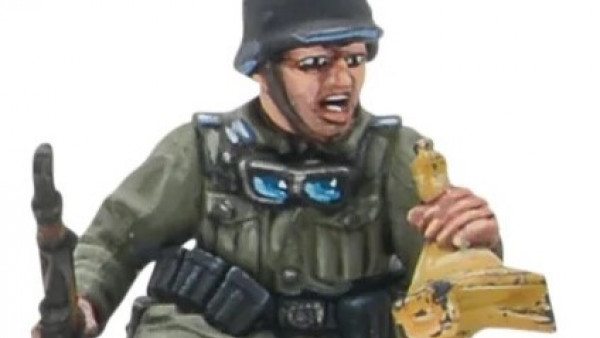
The Best Unboxing Wild West Exodus: Showdown at Retribution
In this video, I unbox and show the contents of Wild West Exodus: Showdown at Retribution. For this one, I had a video editor help me out. Come give it a watch!!!
This video was edited by Dave Mann of Highland Media. If you are interested in having him edit some of your videos, please email him at… [email protected]
How to Use the Bases in Wild West Exodus
I recently got my hands on Wild West Exodus: Showdown at Retribution, but it was not easy to figure out which bases go with which miniatures. After some research, I figured it all out and want to share with you my findings.
WWX from a few months back - Watchers
Back in August, I got my first taste of Wild West Exodus and I liked the miniatures. These ones are from the Watchers faction and I hope to collect more from this range. As far as factions that seem to appeal to me from WWX to collect as my main force I am interested in the Watchers, the Enlightened, and the Hex.
I guess I will be going with the Hex for the Showdown at Retribution starter set.
while you wait for more Showdown at Retribution content from me, please enjoy the video below.
Step One: Get the Starter Set
The first step for me with the Global Gunslinger League is simply to acquire the Two Player Starter Set. Now that I have it, I am going to have to choose out which faction to focus upon. I am thinking that might be the Enlightened.
For now, I am admiring the box. Hopefully I can start working on it early next week.
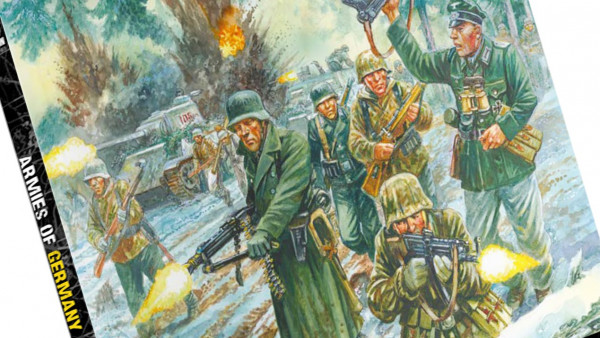
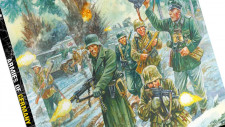
 The Cover Art of the Wild West Exodus Showdown at Retribution boxed set.
The artwork here is absolutely amazing. I love it!
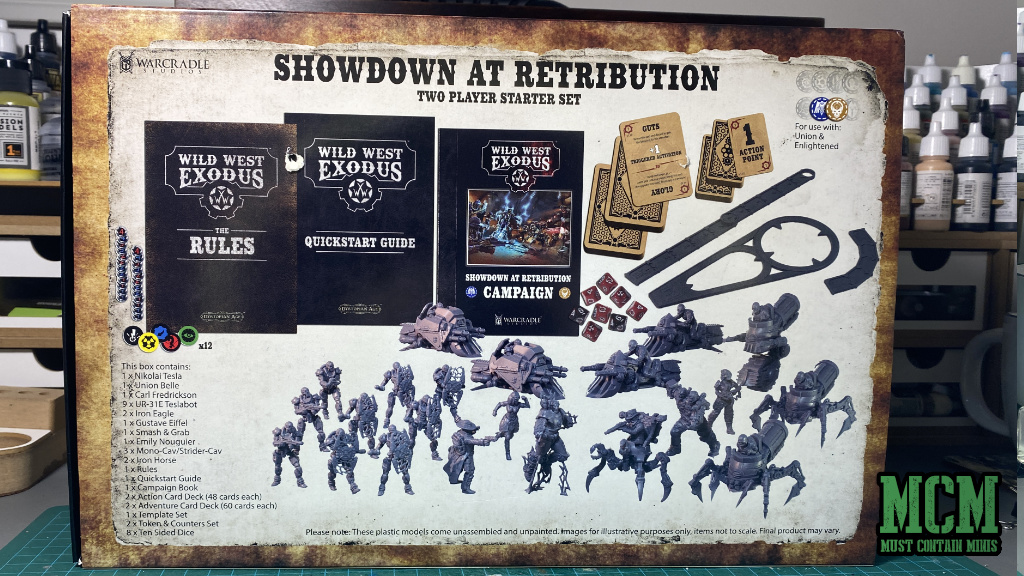 The Back of the Two Player Starter Set.
Not sure which I like better. Those Tesla Robots or the grungy characters of the Enlightened. I will decide by in my next post when I get started.