


Bob’s Black Bulls 11th Armoured Division.


Recommendations: 314
About the Project
I actually started this project numerous years ago, it got added too at the D-Day Bootcamp, and now with Bulge BriI can try and Finish it
Related Game: Flames of War: The World War II Miniatures Game
Related Company: Battlefront Miniatures
Related Genre: Historical
This Project is Active
The Table and Scenarion 2
Normally in the game you pull a random table mission set-up card, but chose the one that would best fit my narrative for 1st game, for subsequent games I will pick randomly as coupled with the scenario mod cards , they can allow for multiple different scenarios on a single table layout.
This card shows the base dpeloyment areas and where the objective markers are layed. Then a random mission objective card is placed face down on each of the objectives. These will be revealed on moves 1,2 &3 , , each may be a game objective, a dummy or a variable length or immediate effect objective which can be replaced as the game goes on..
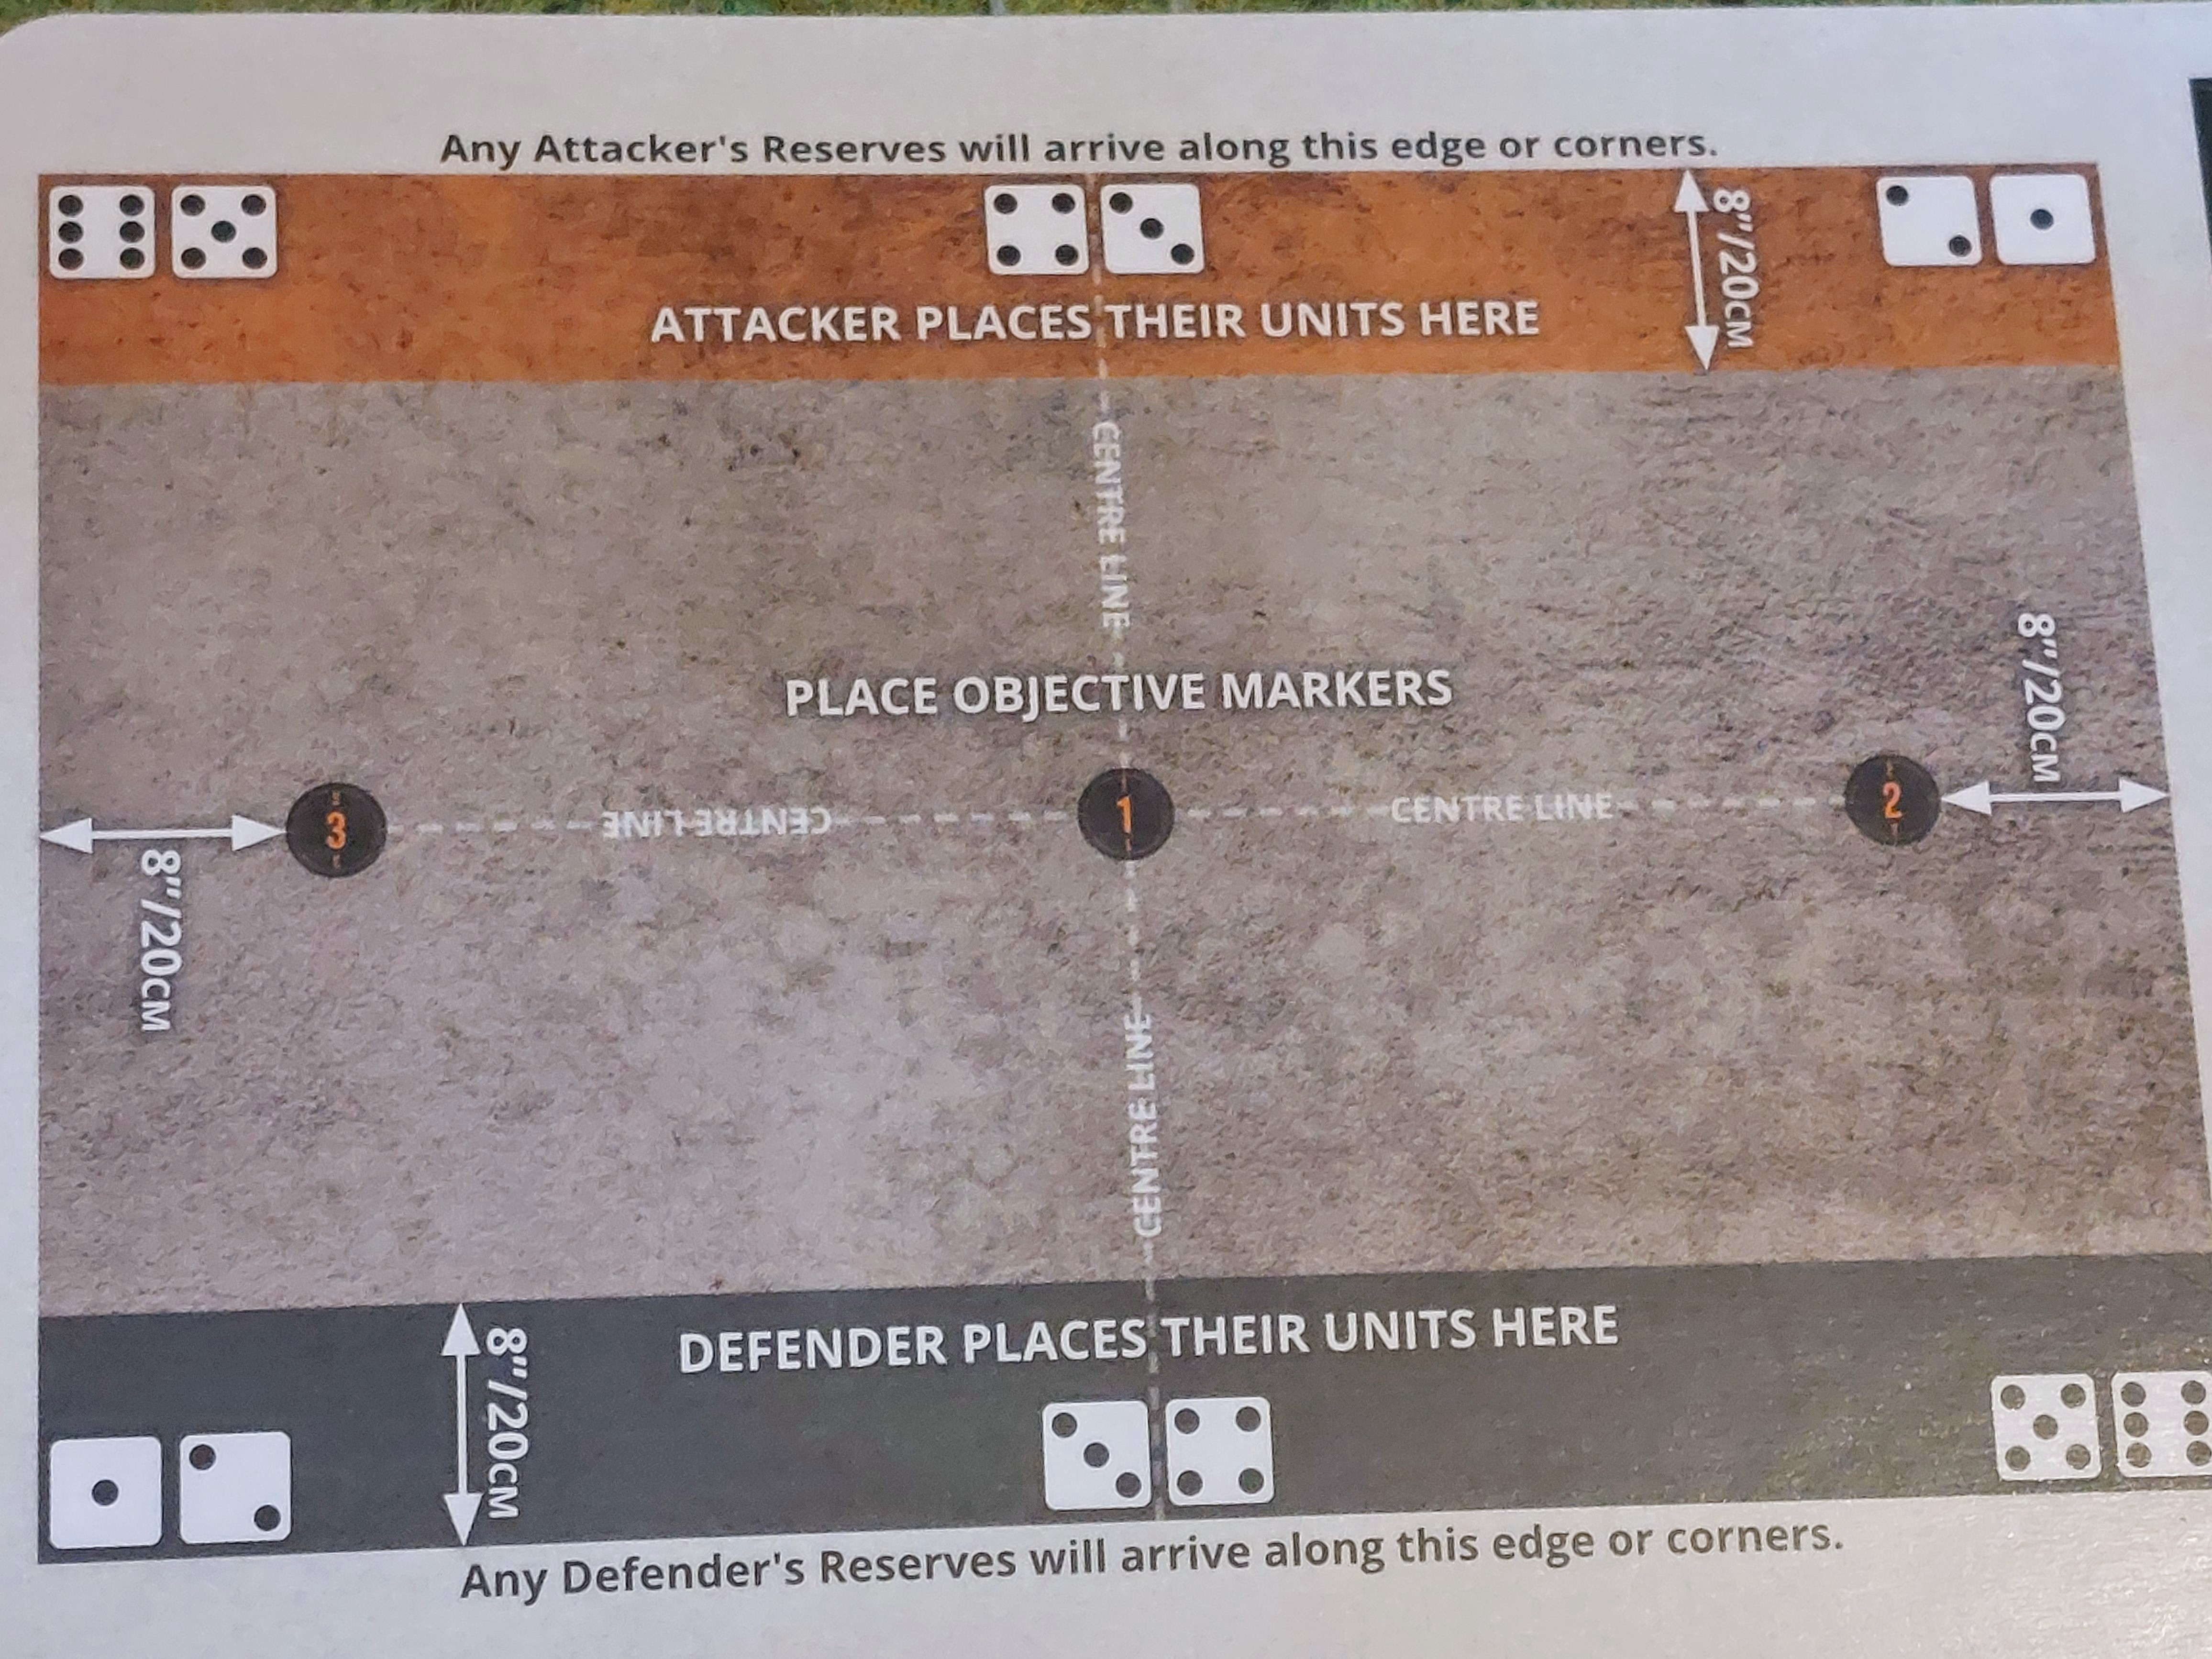
I still pulled out the mission card , which has the game length in turns, any special scenario rules and how much of forces are initially deployed .
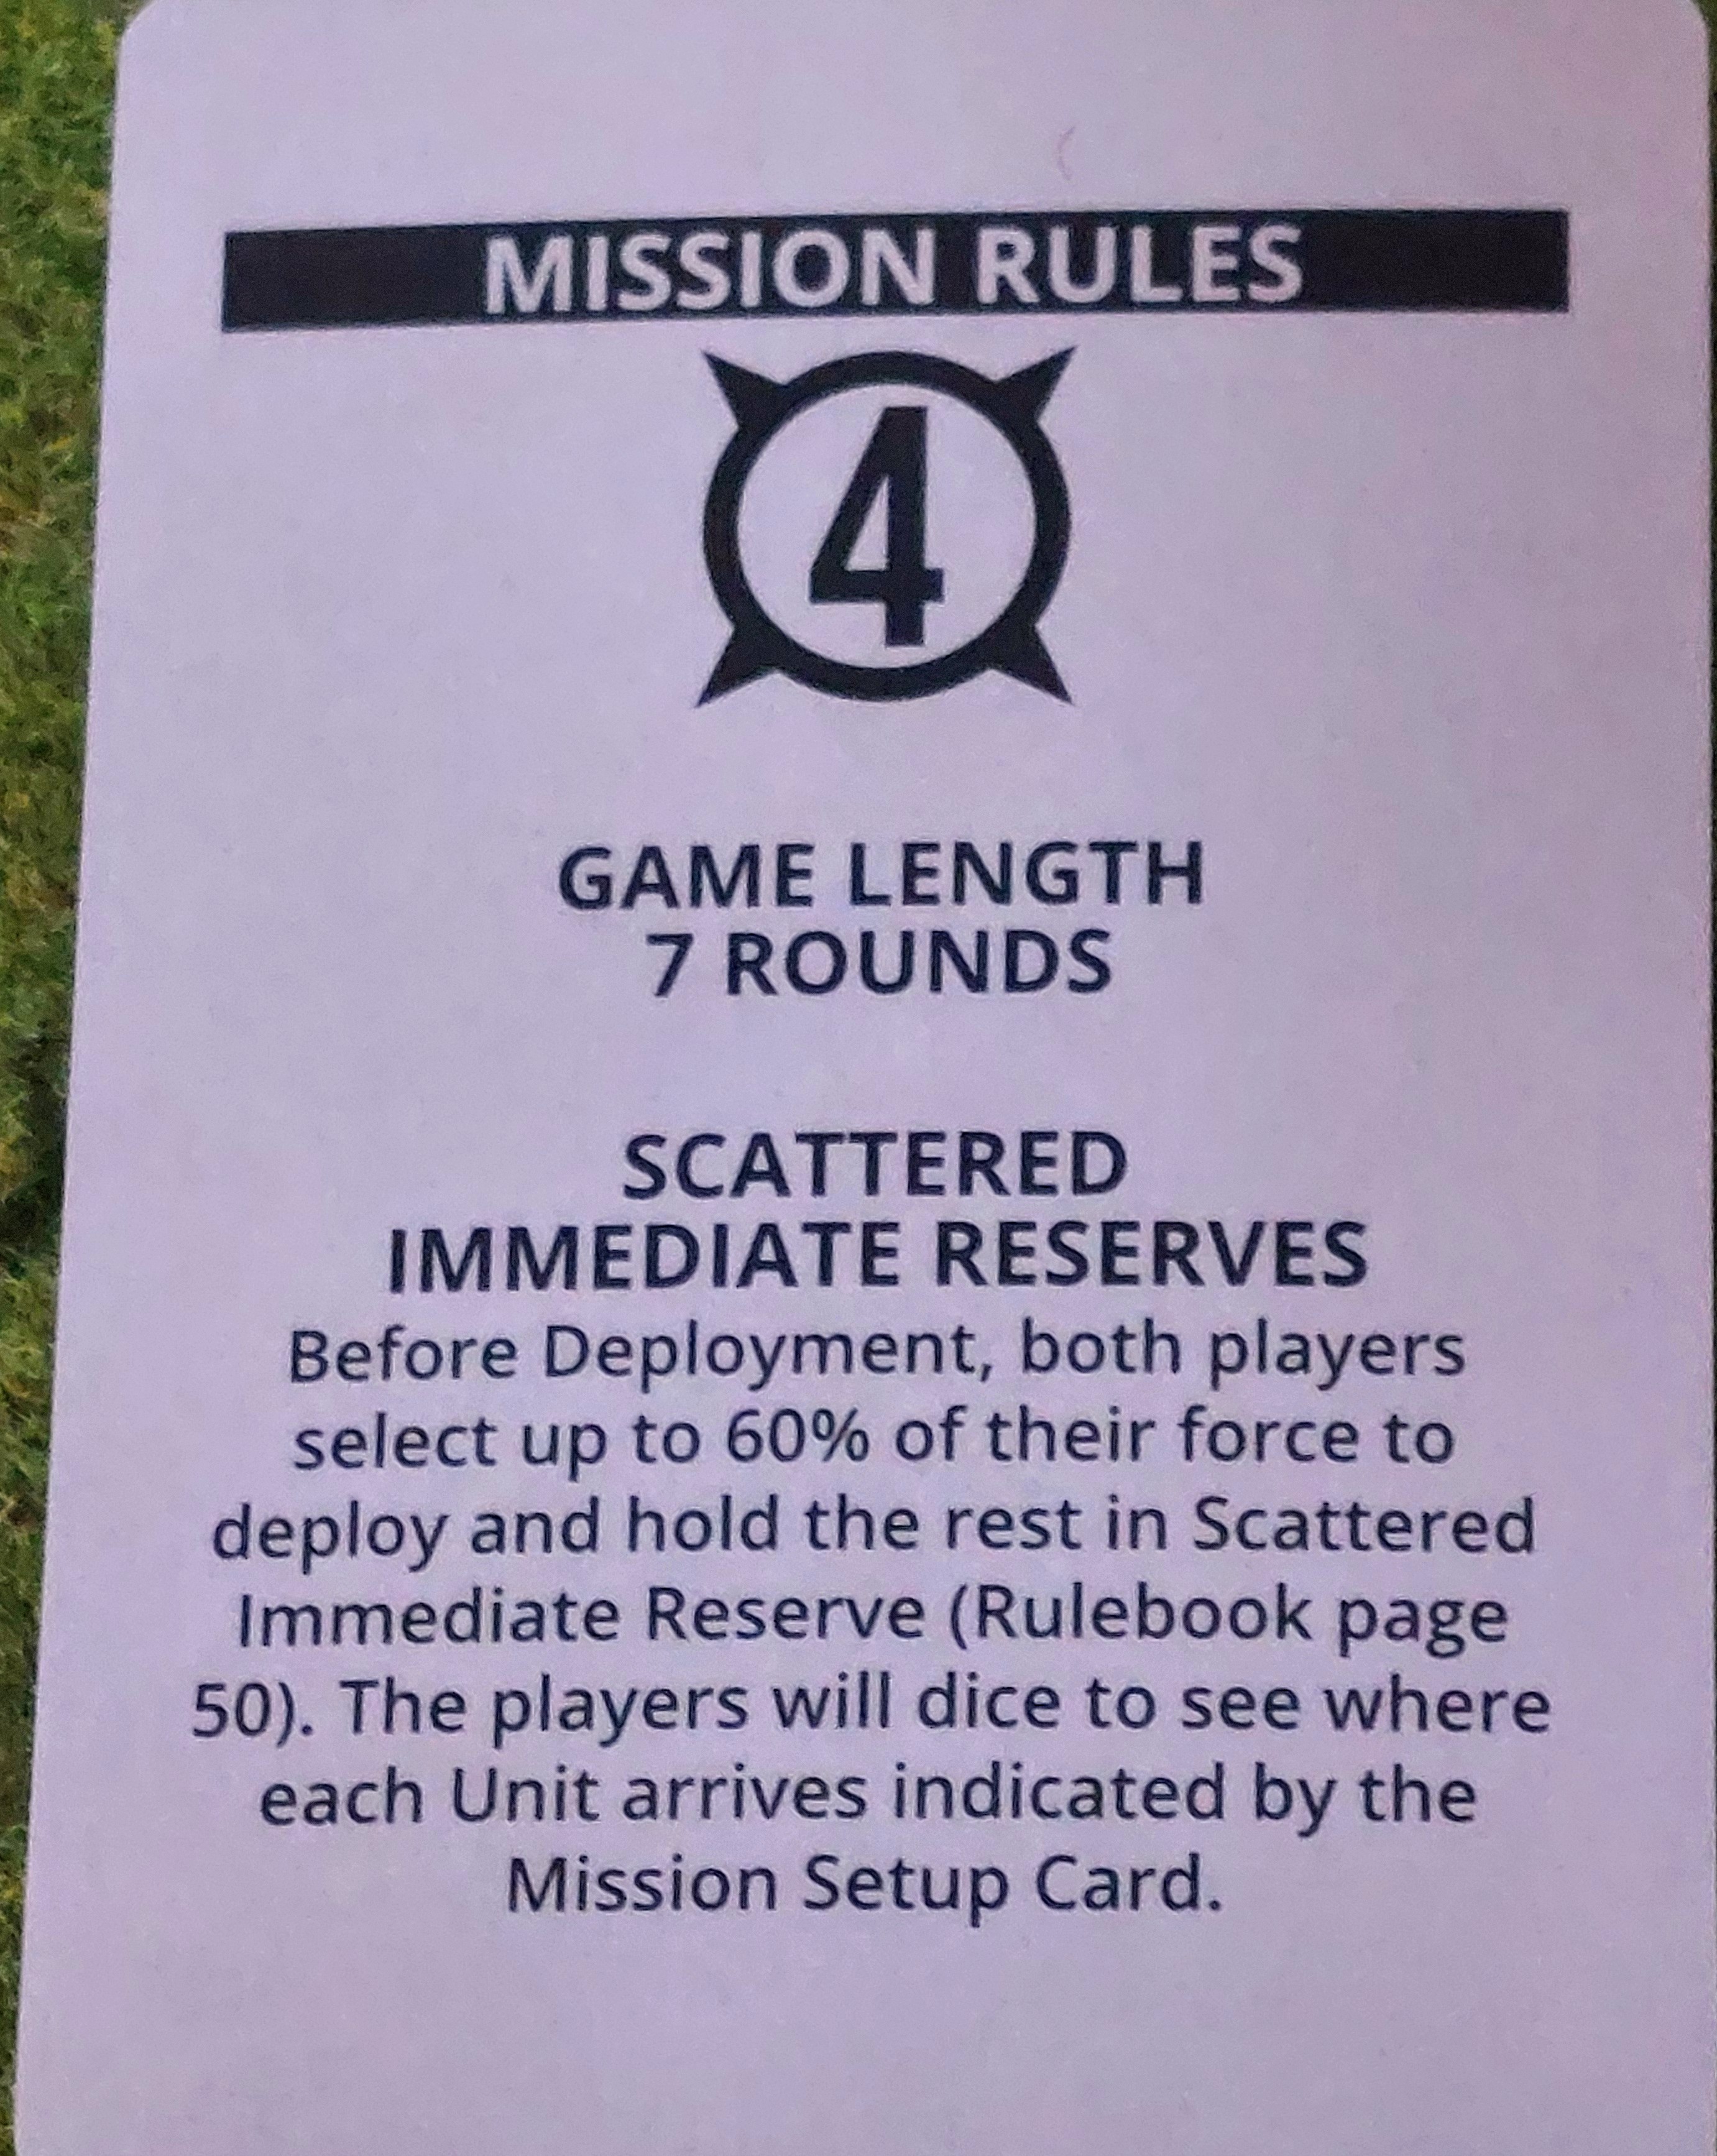
If I have read it right, above means I can deply up to 60% of my force as I want , the rest may arrive on 5+ die role in area shown by the die indicators on the mission layout card.
So I can deploy upto 42 pts initially and the rest is on dice, On bright side my bad dice luck should effect both.
The Table and Scenario
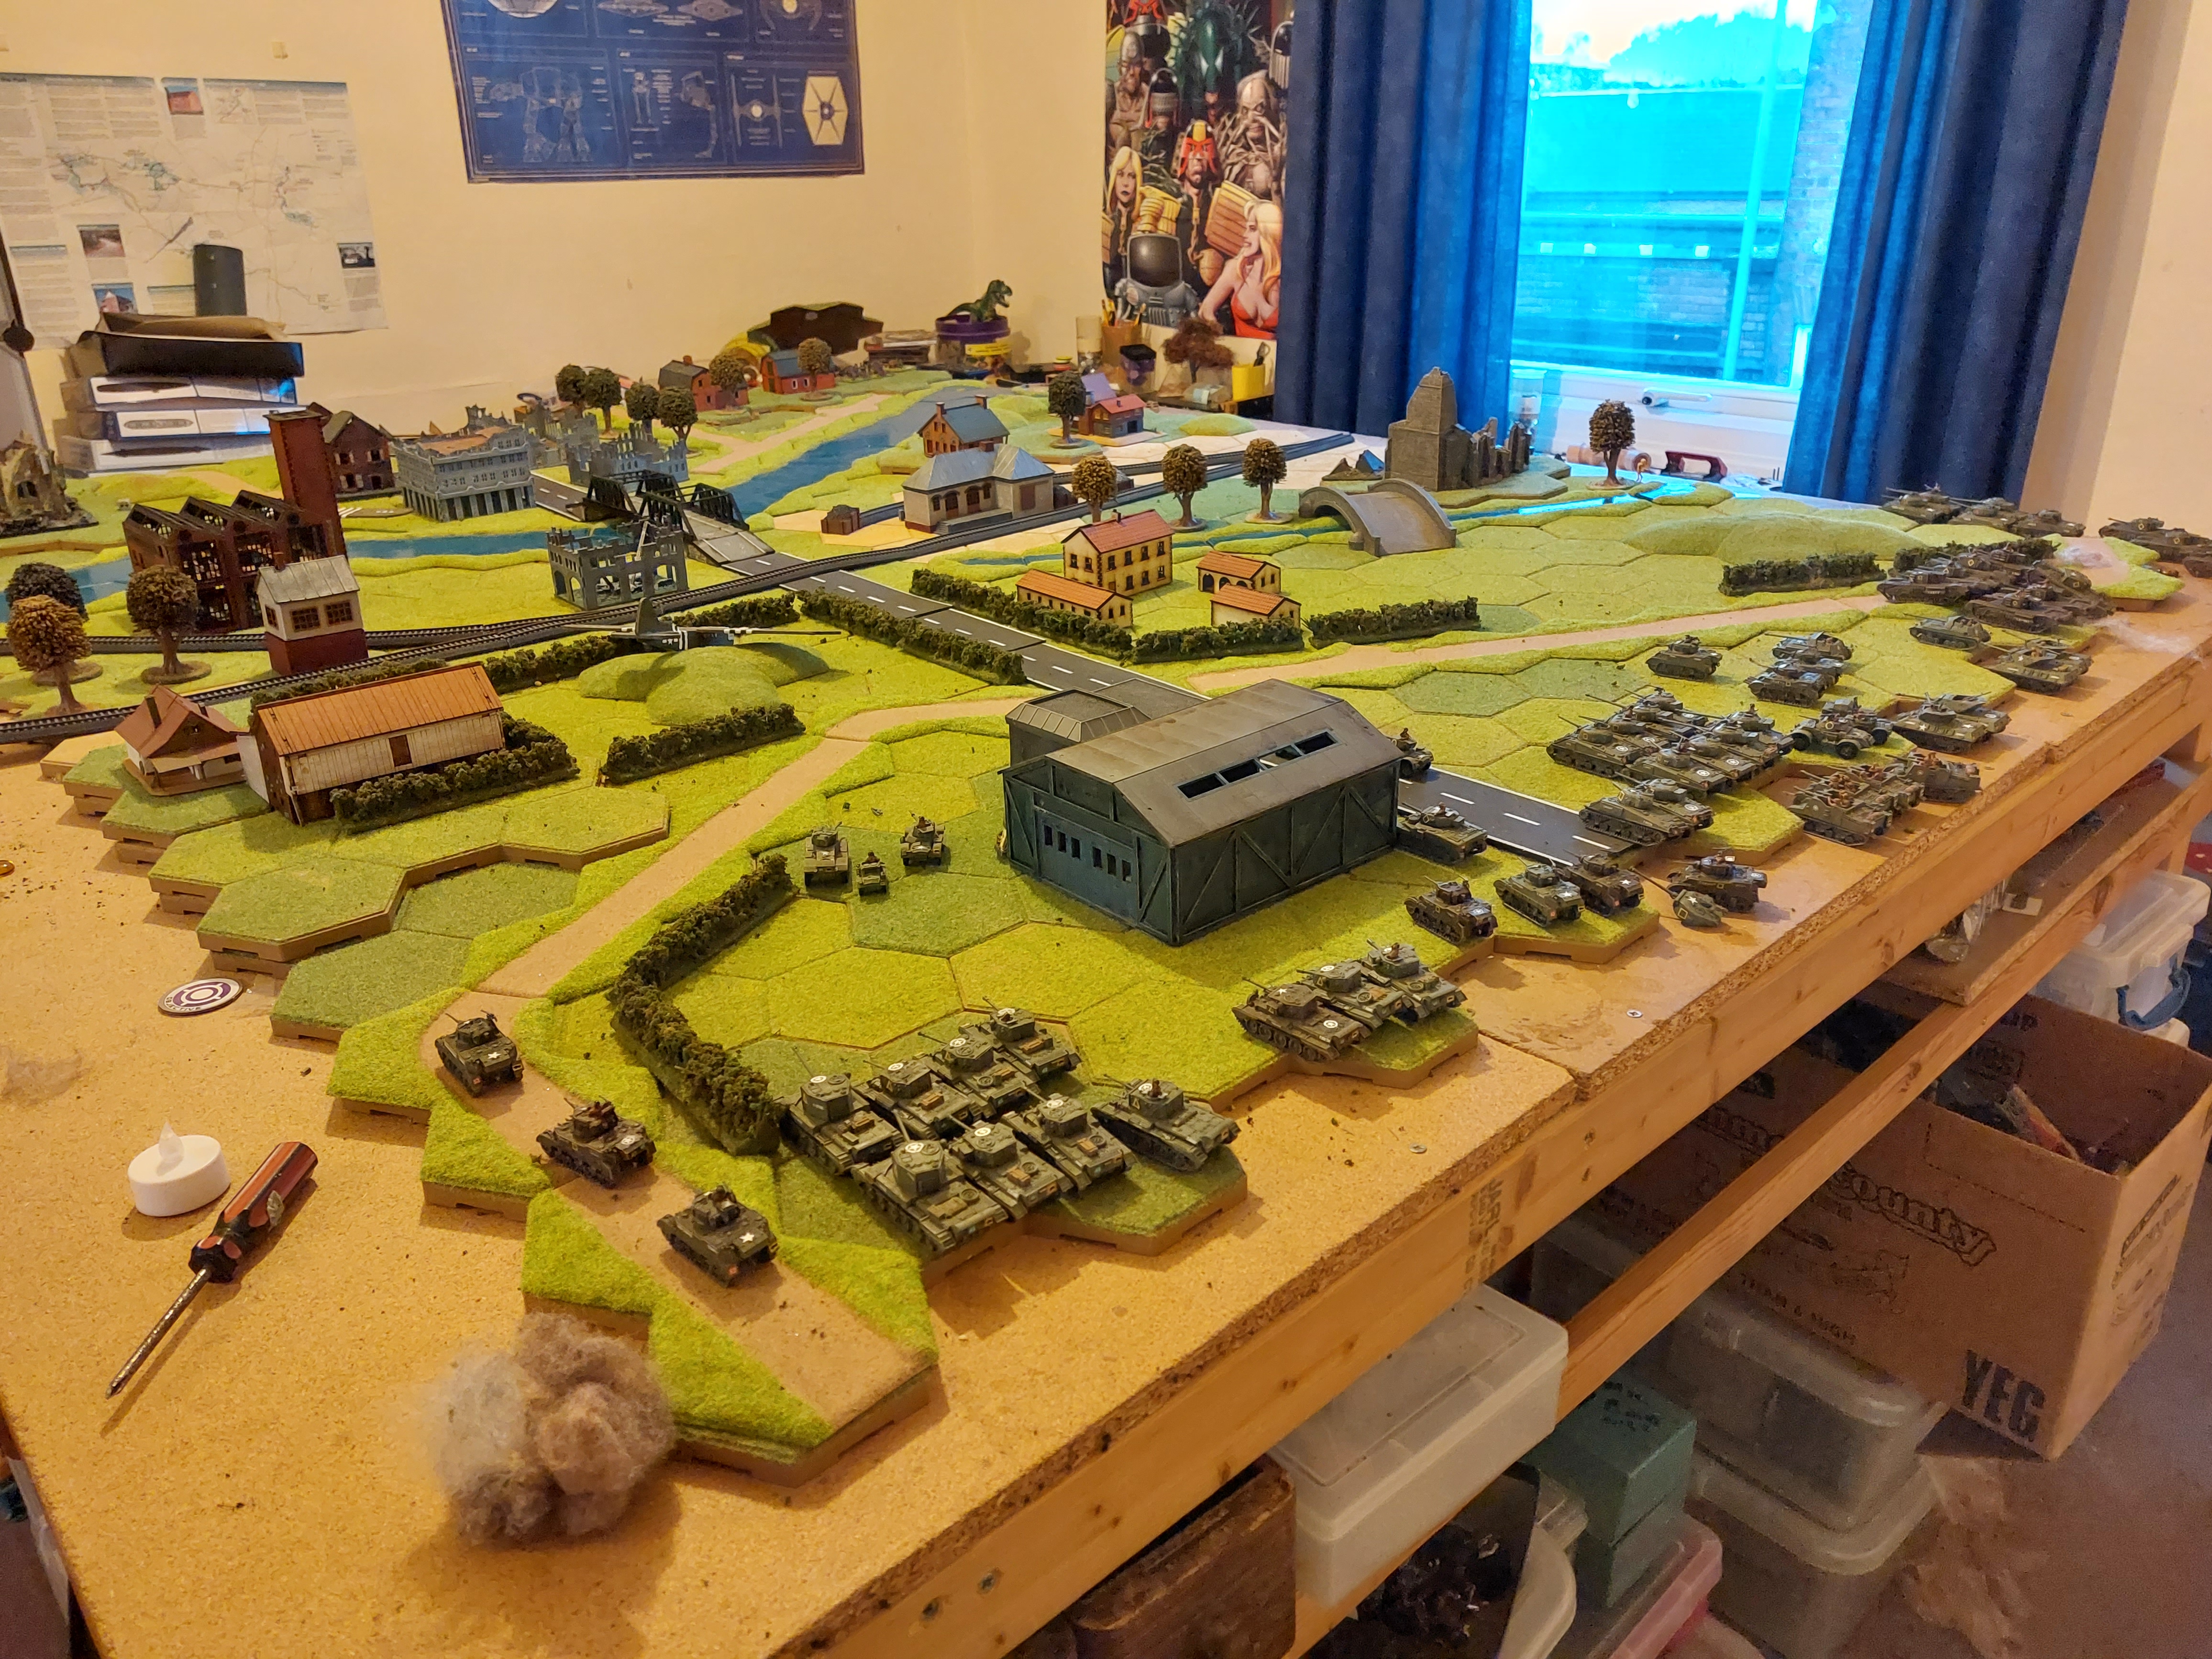
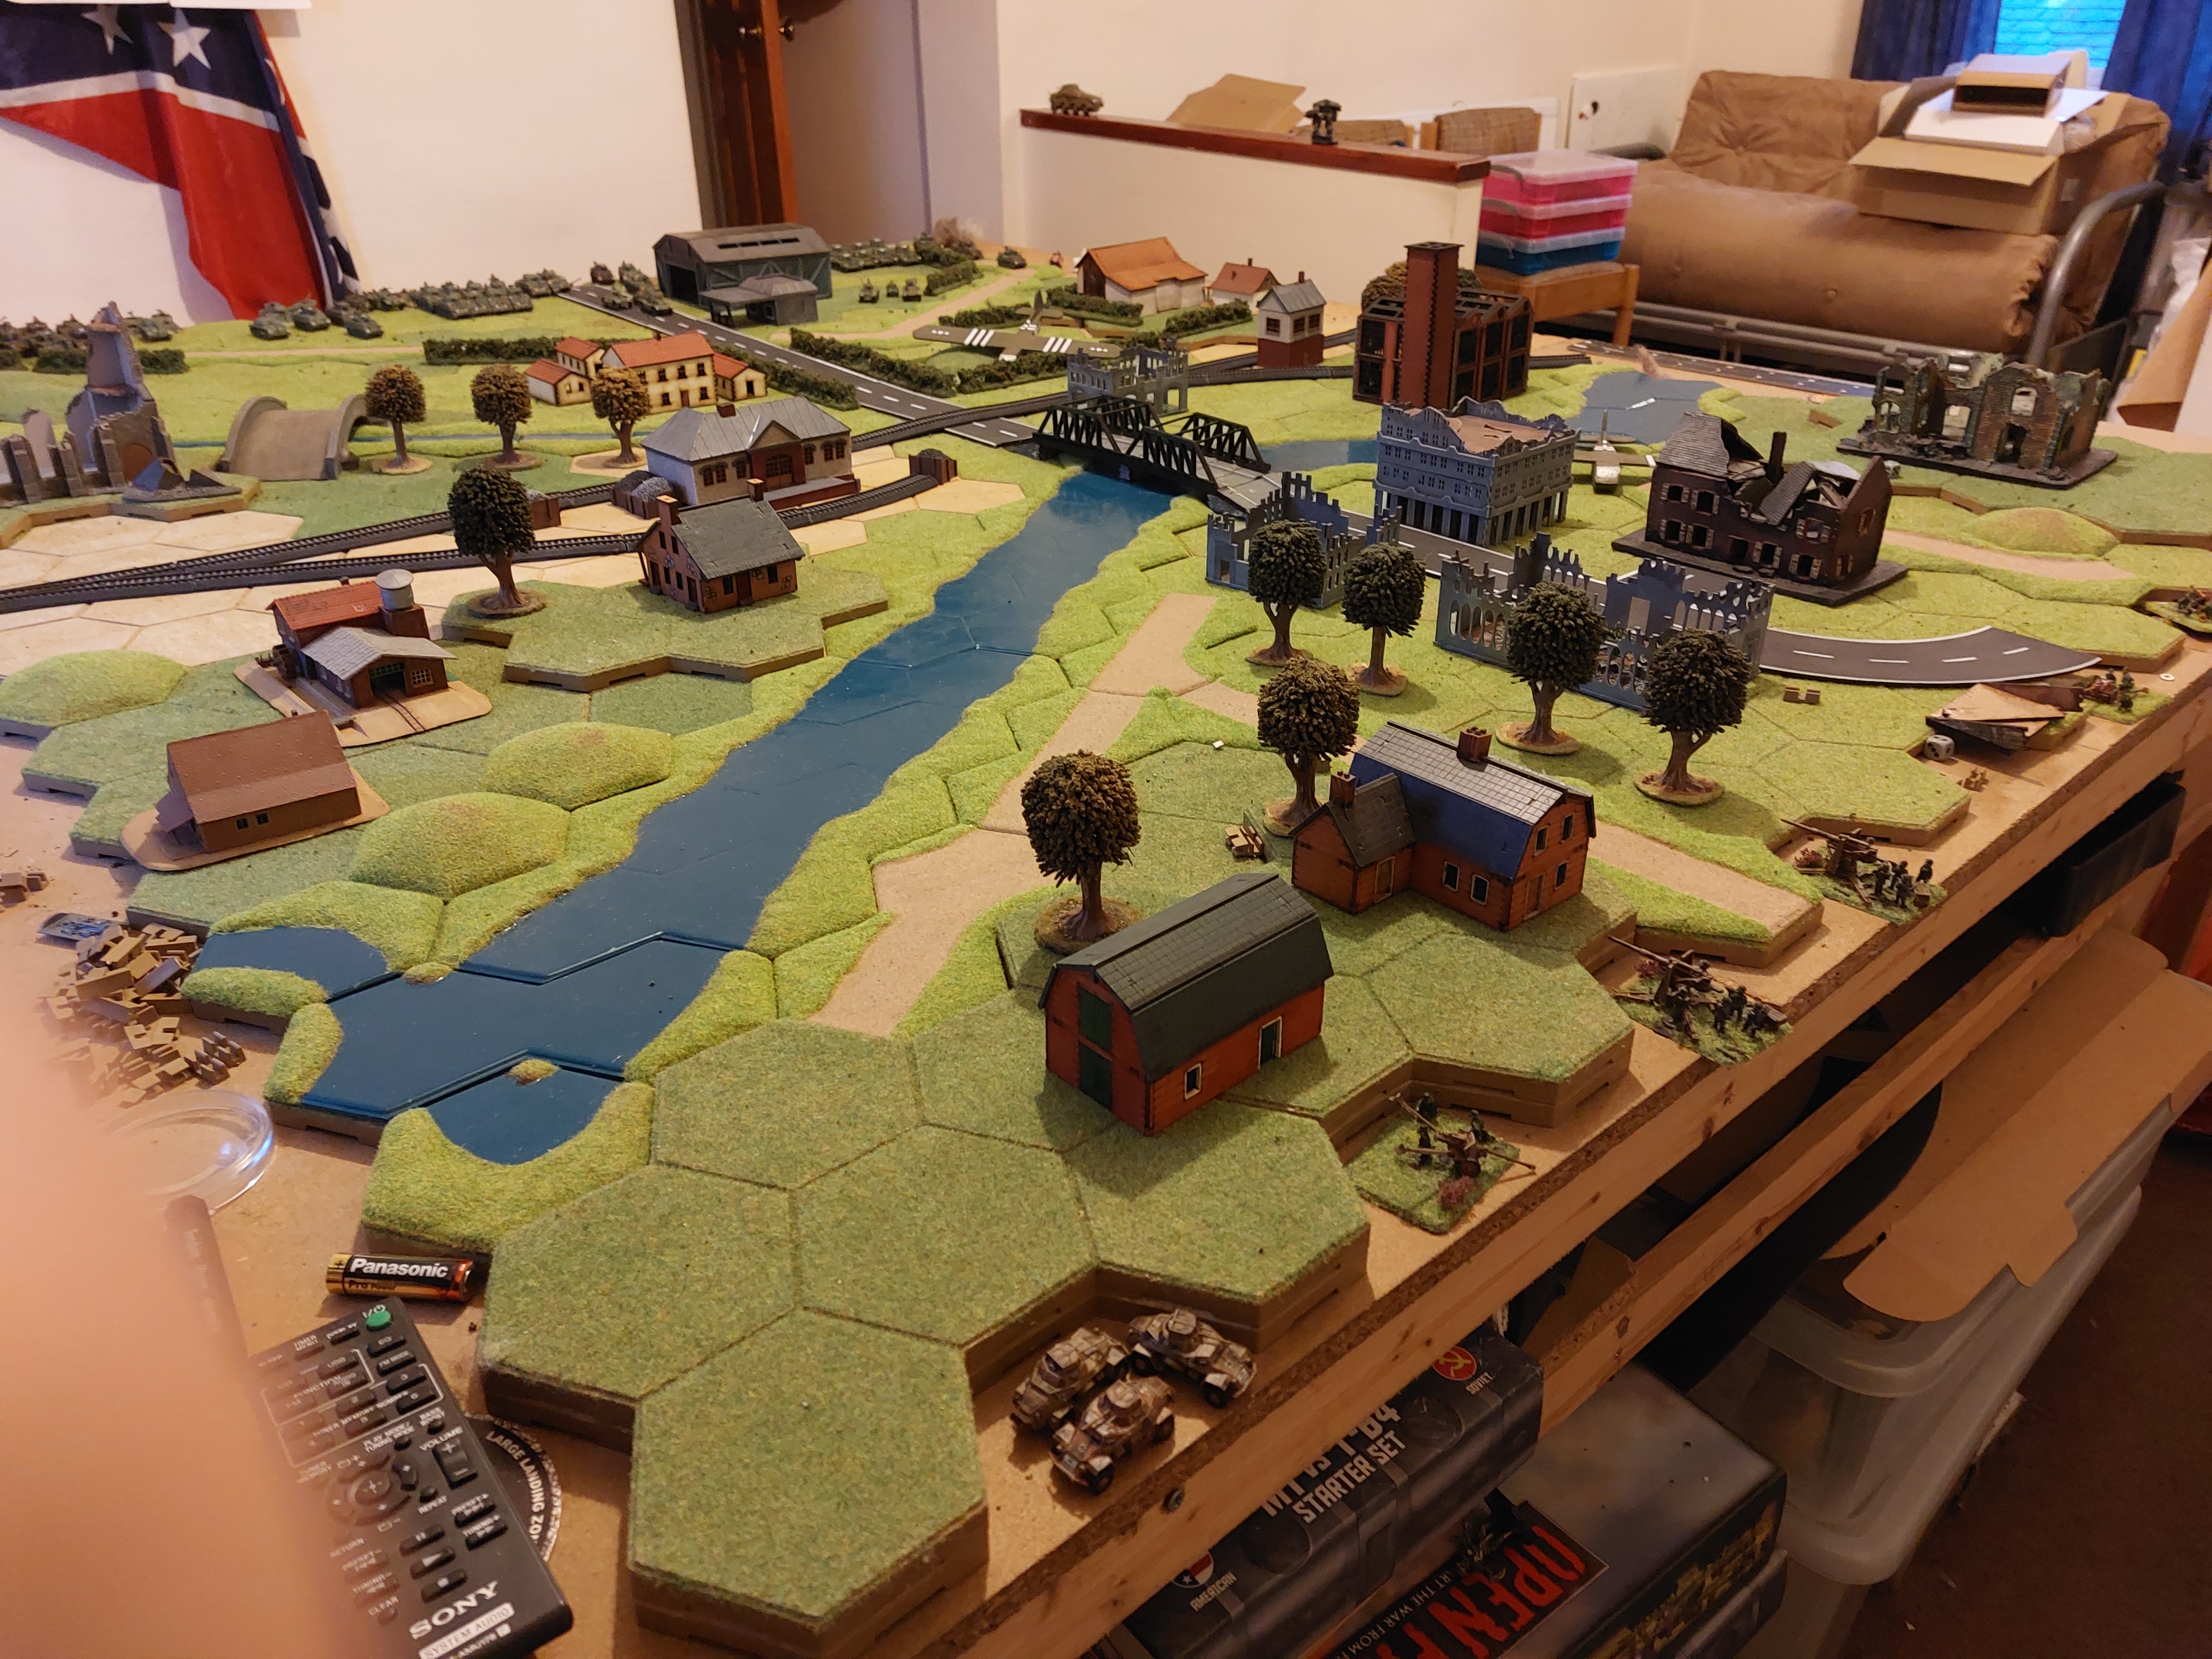
Well having had major re-organisation I added setting up a Generic table for the 1st Scenario.
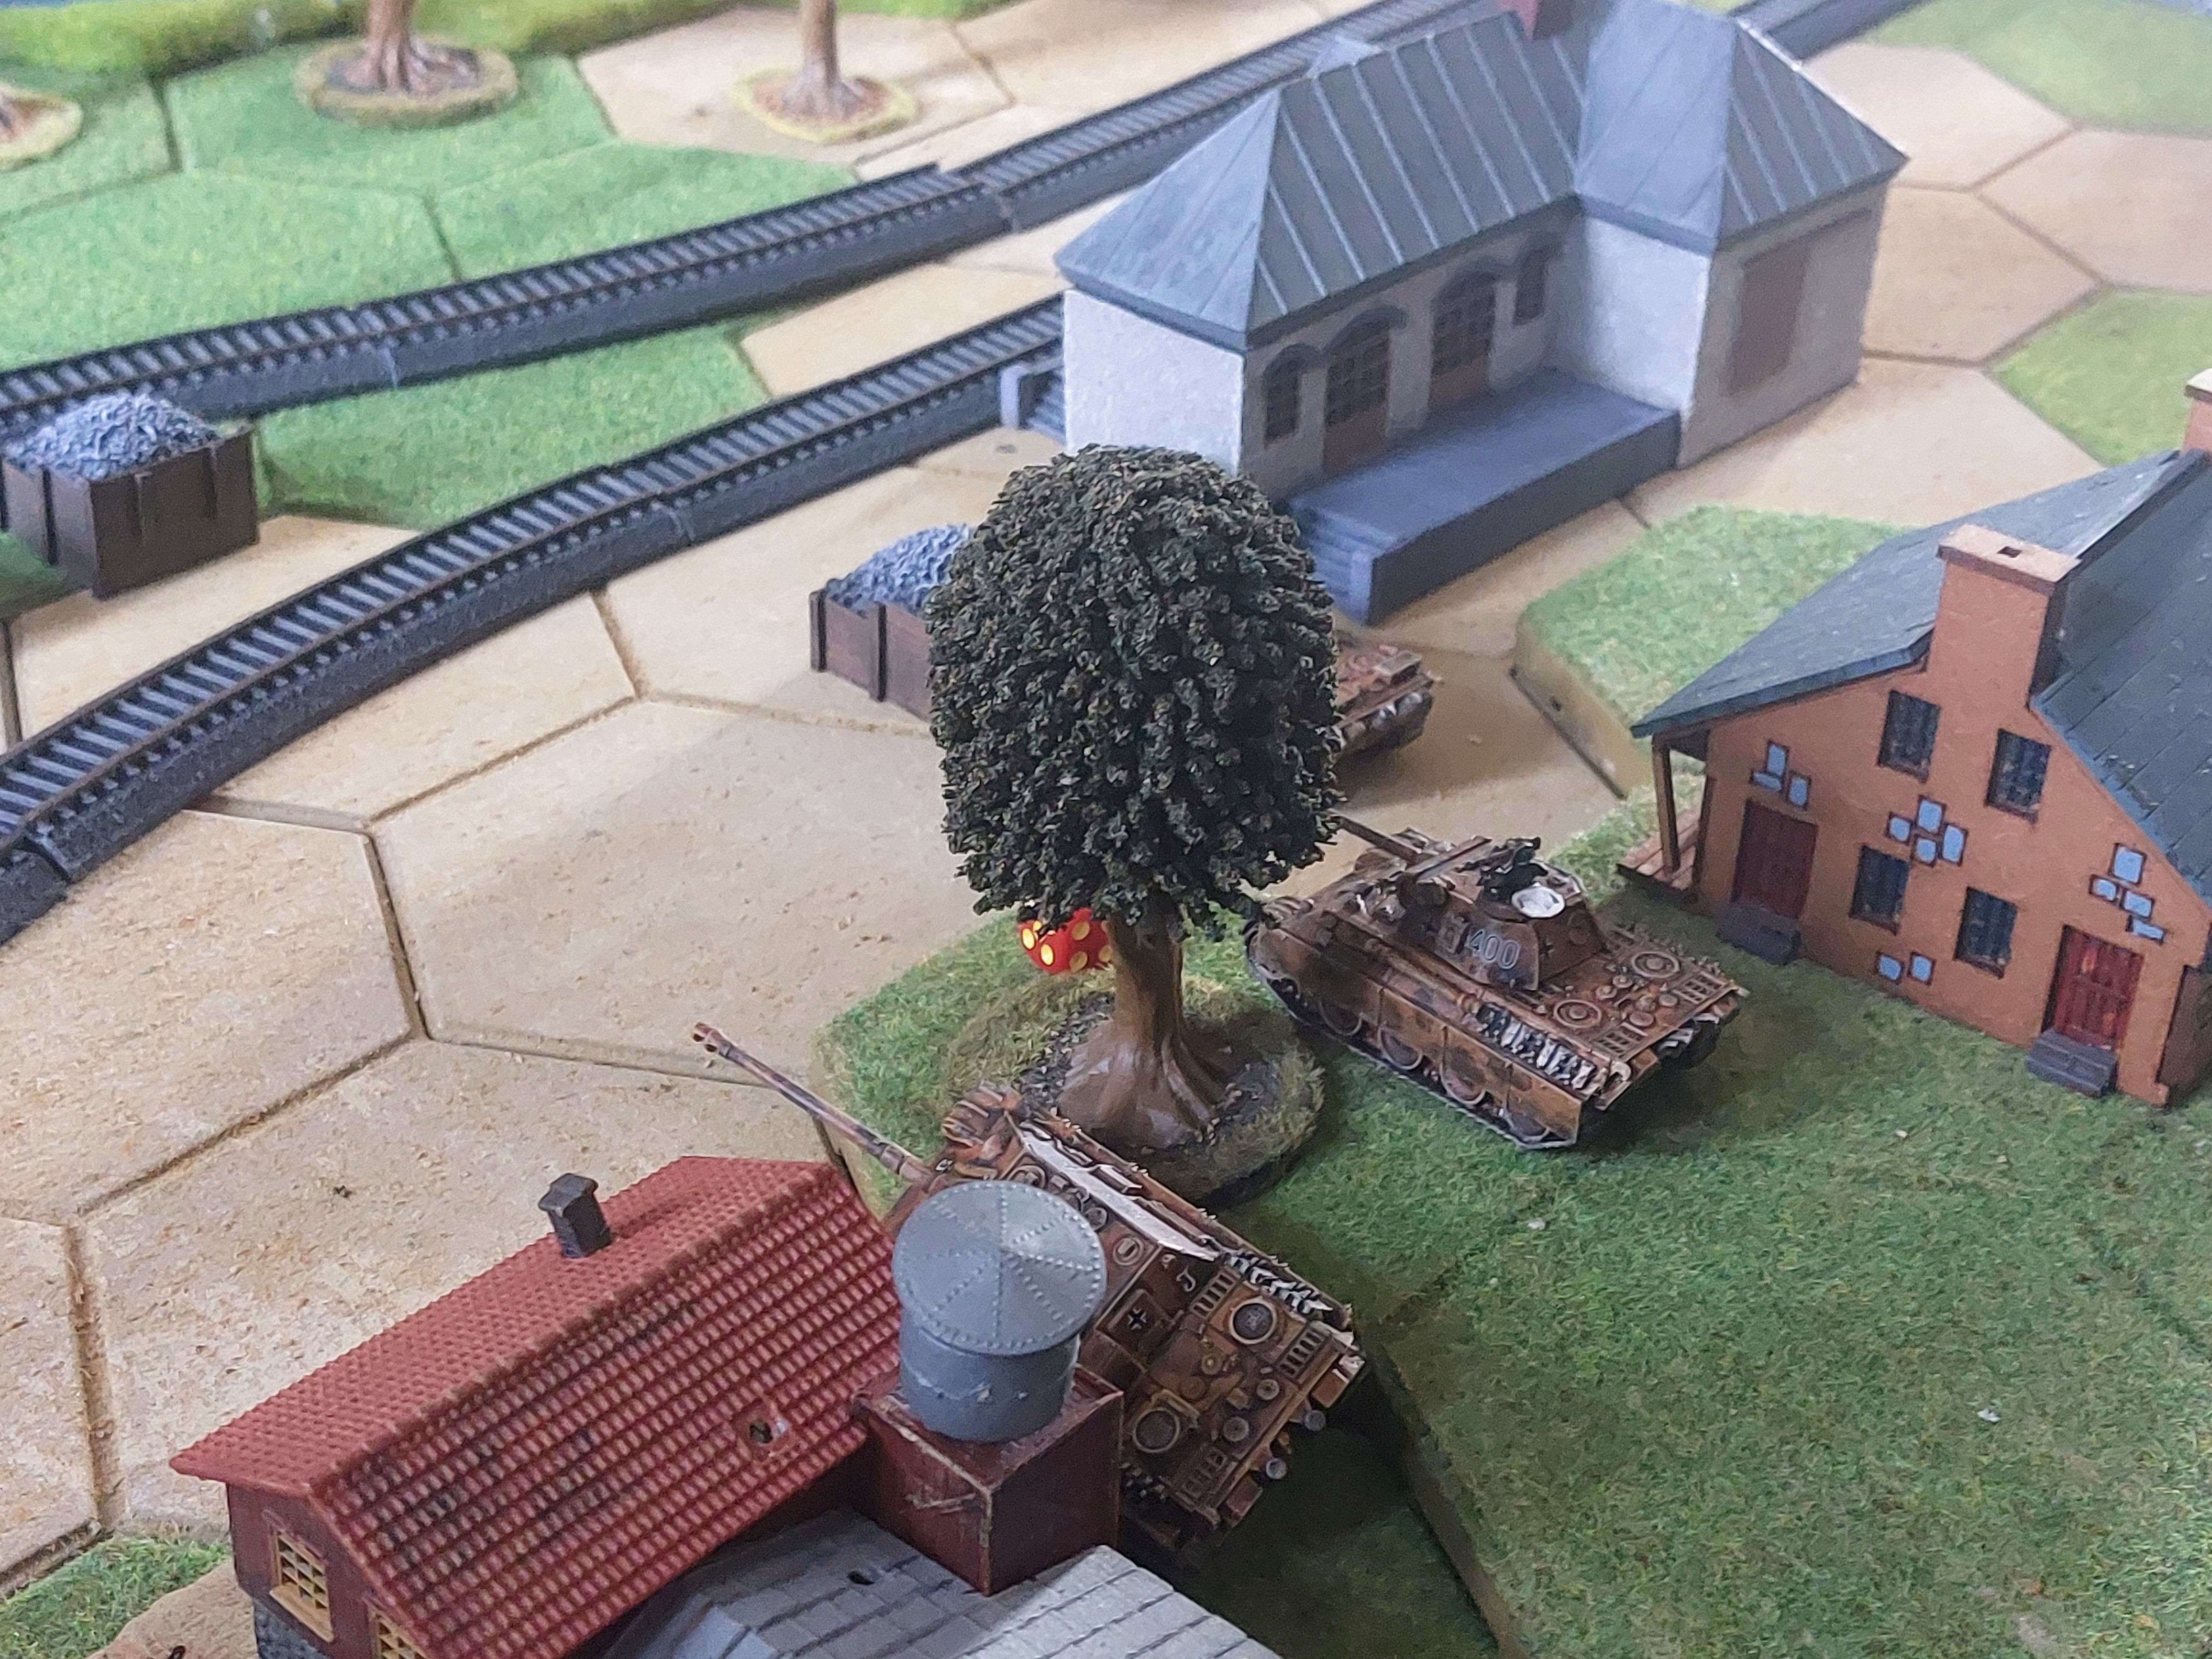
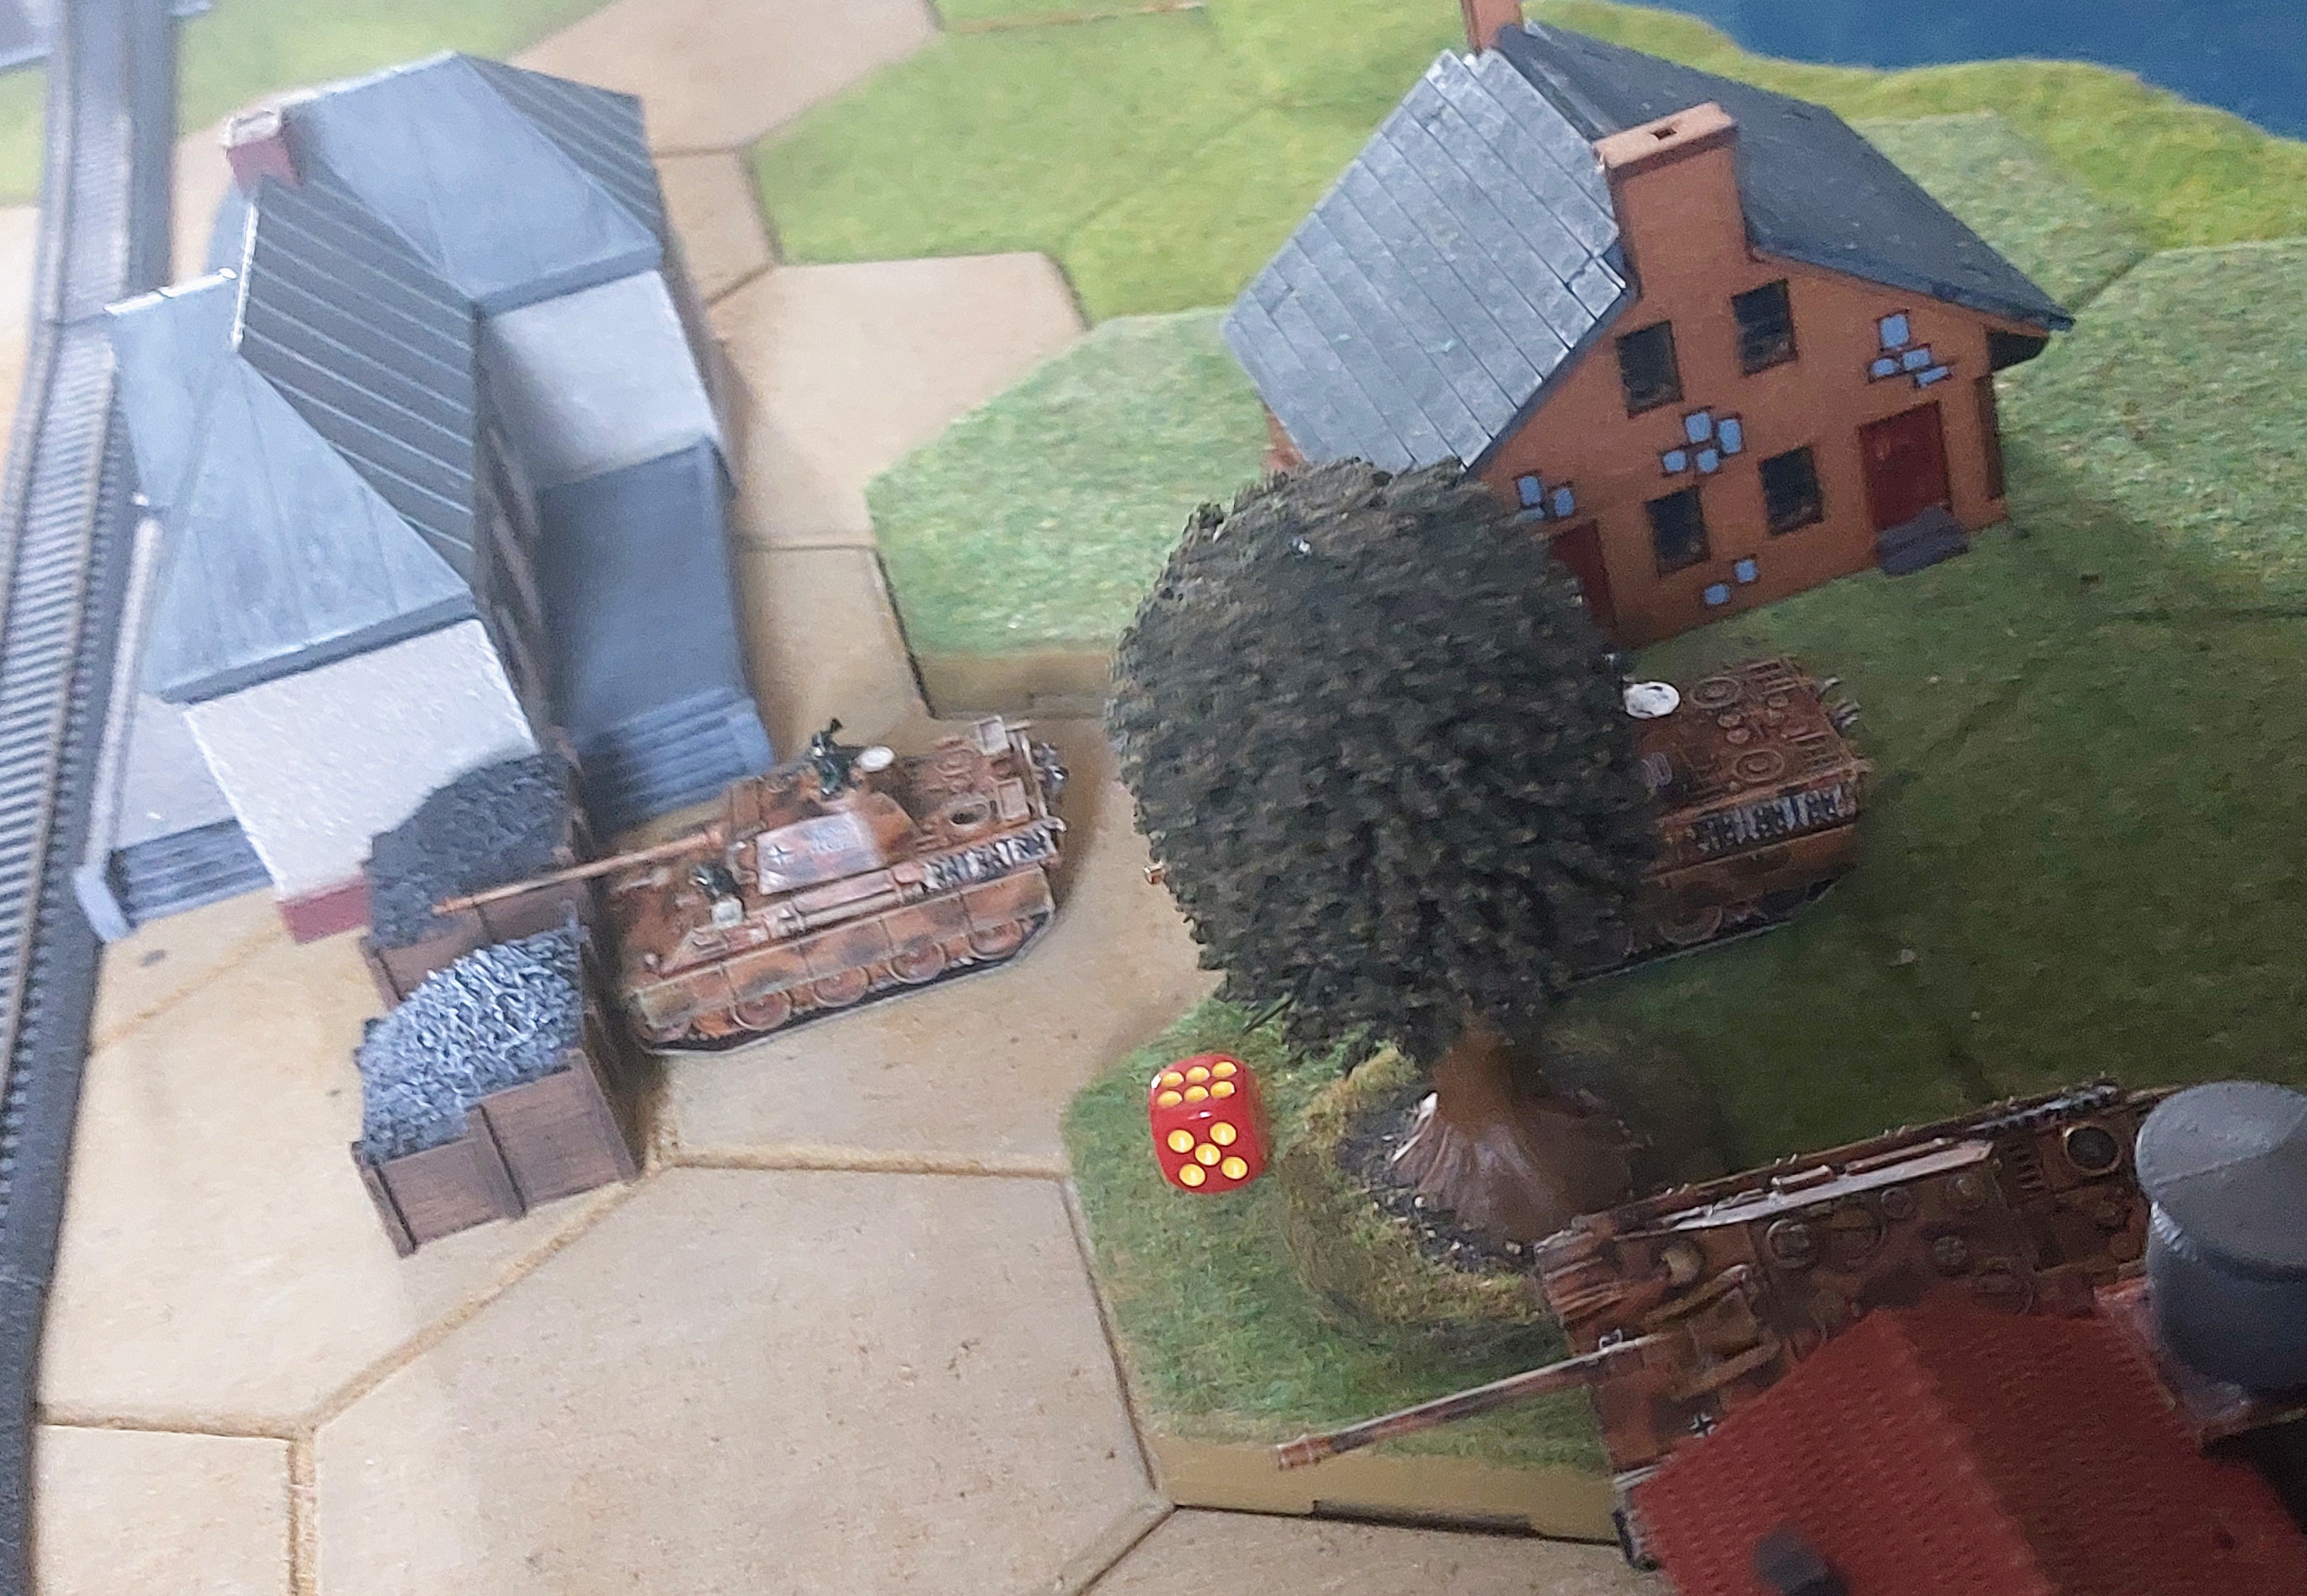
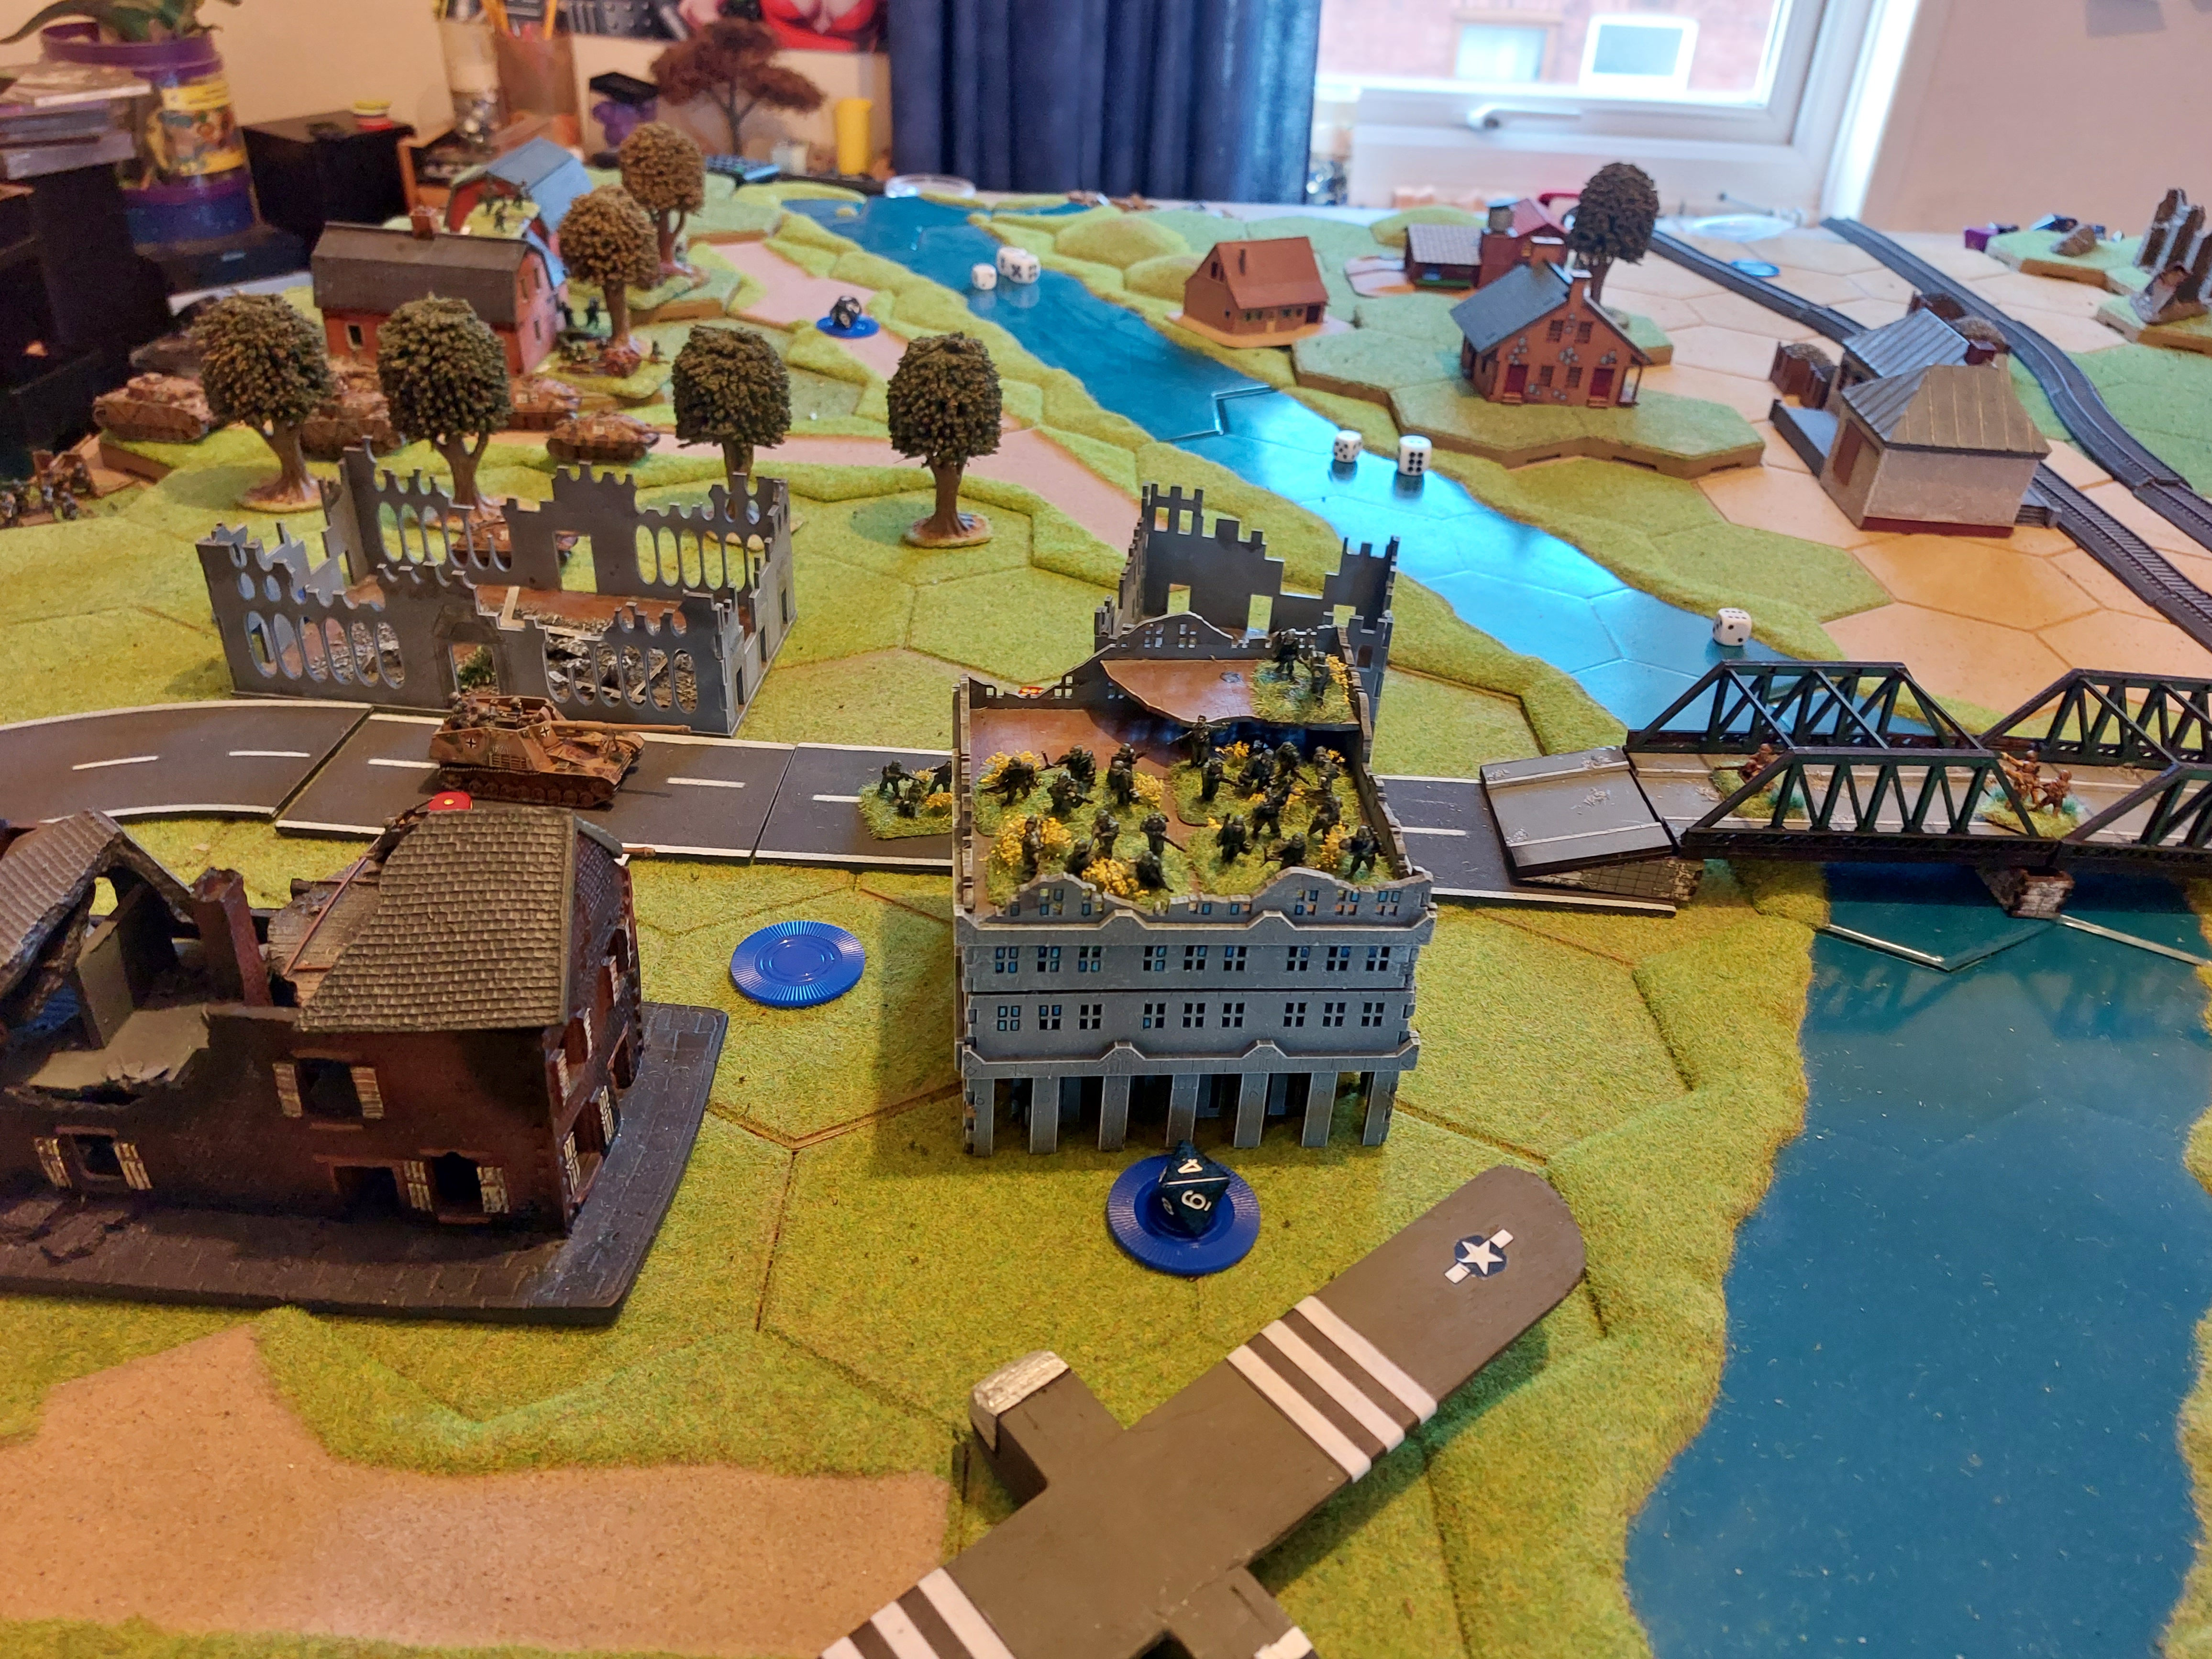
Down the centre is an industrial area and rail head, which still has damage from the end of the last war. A couple of farms and woods break up lines of sight.
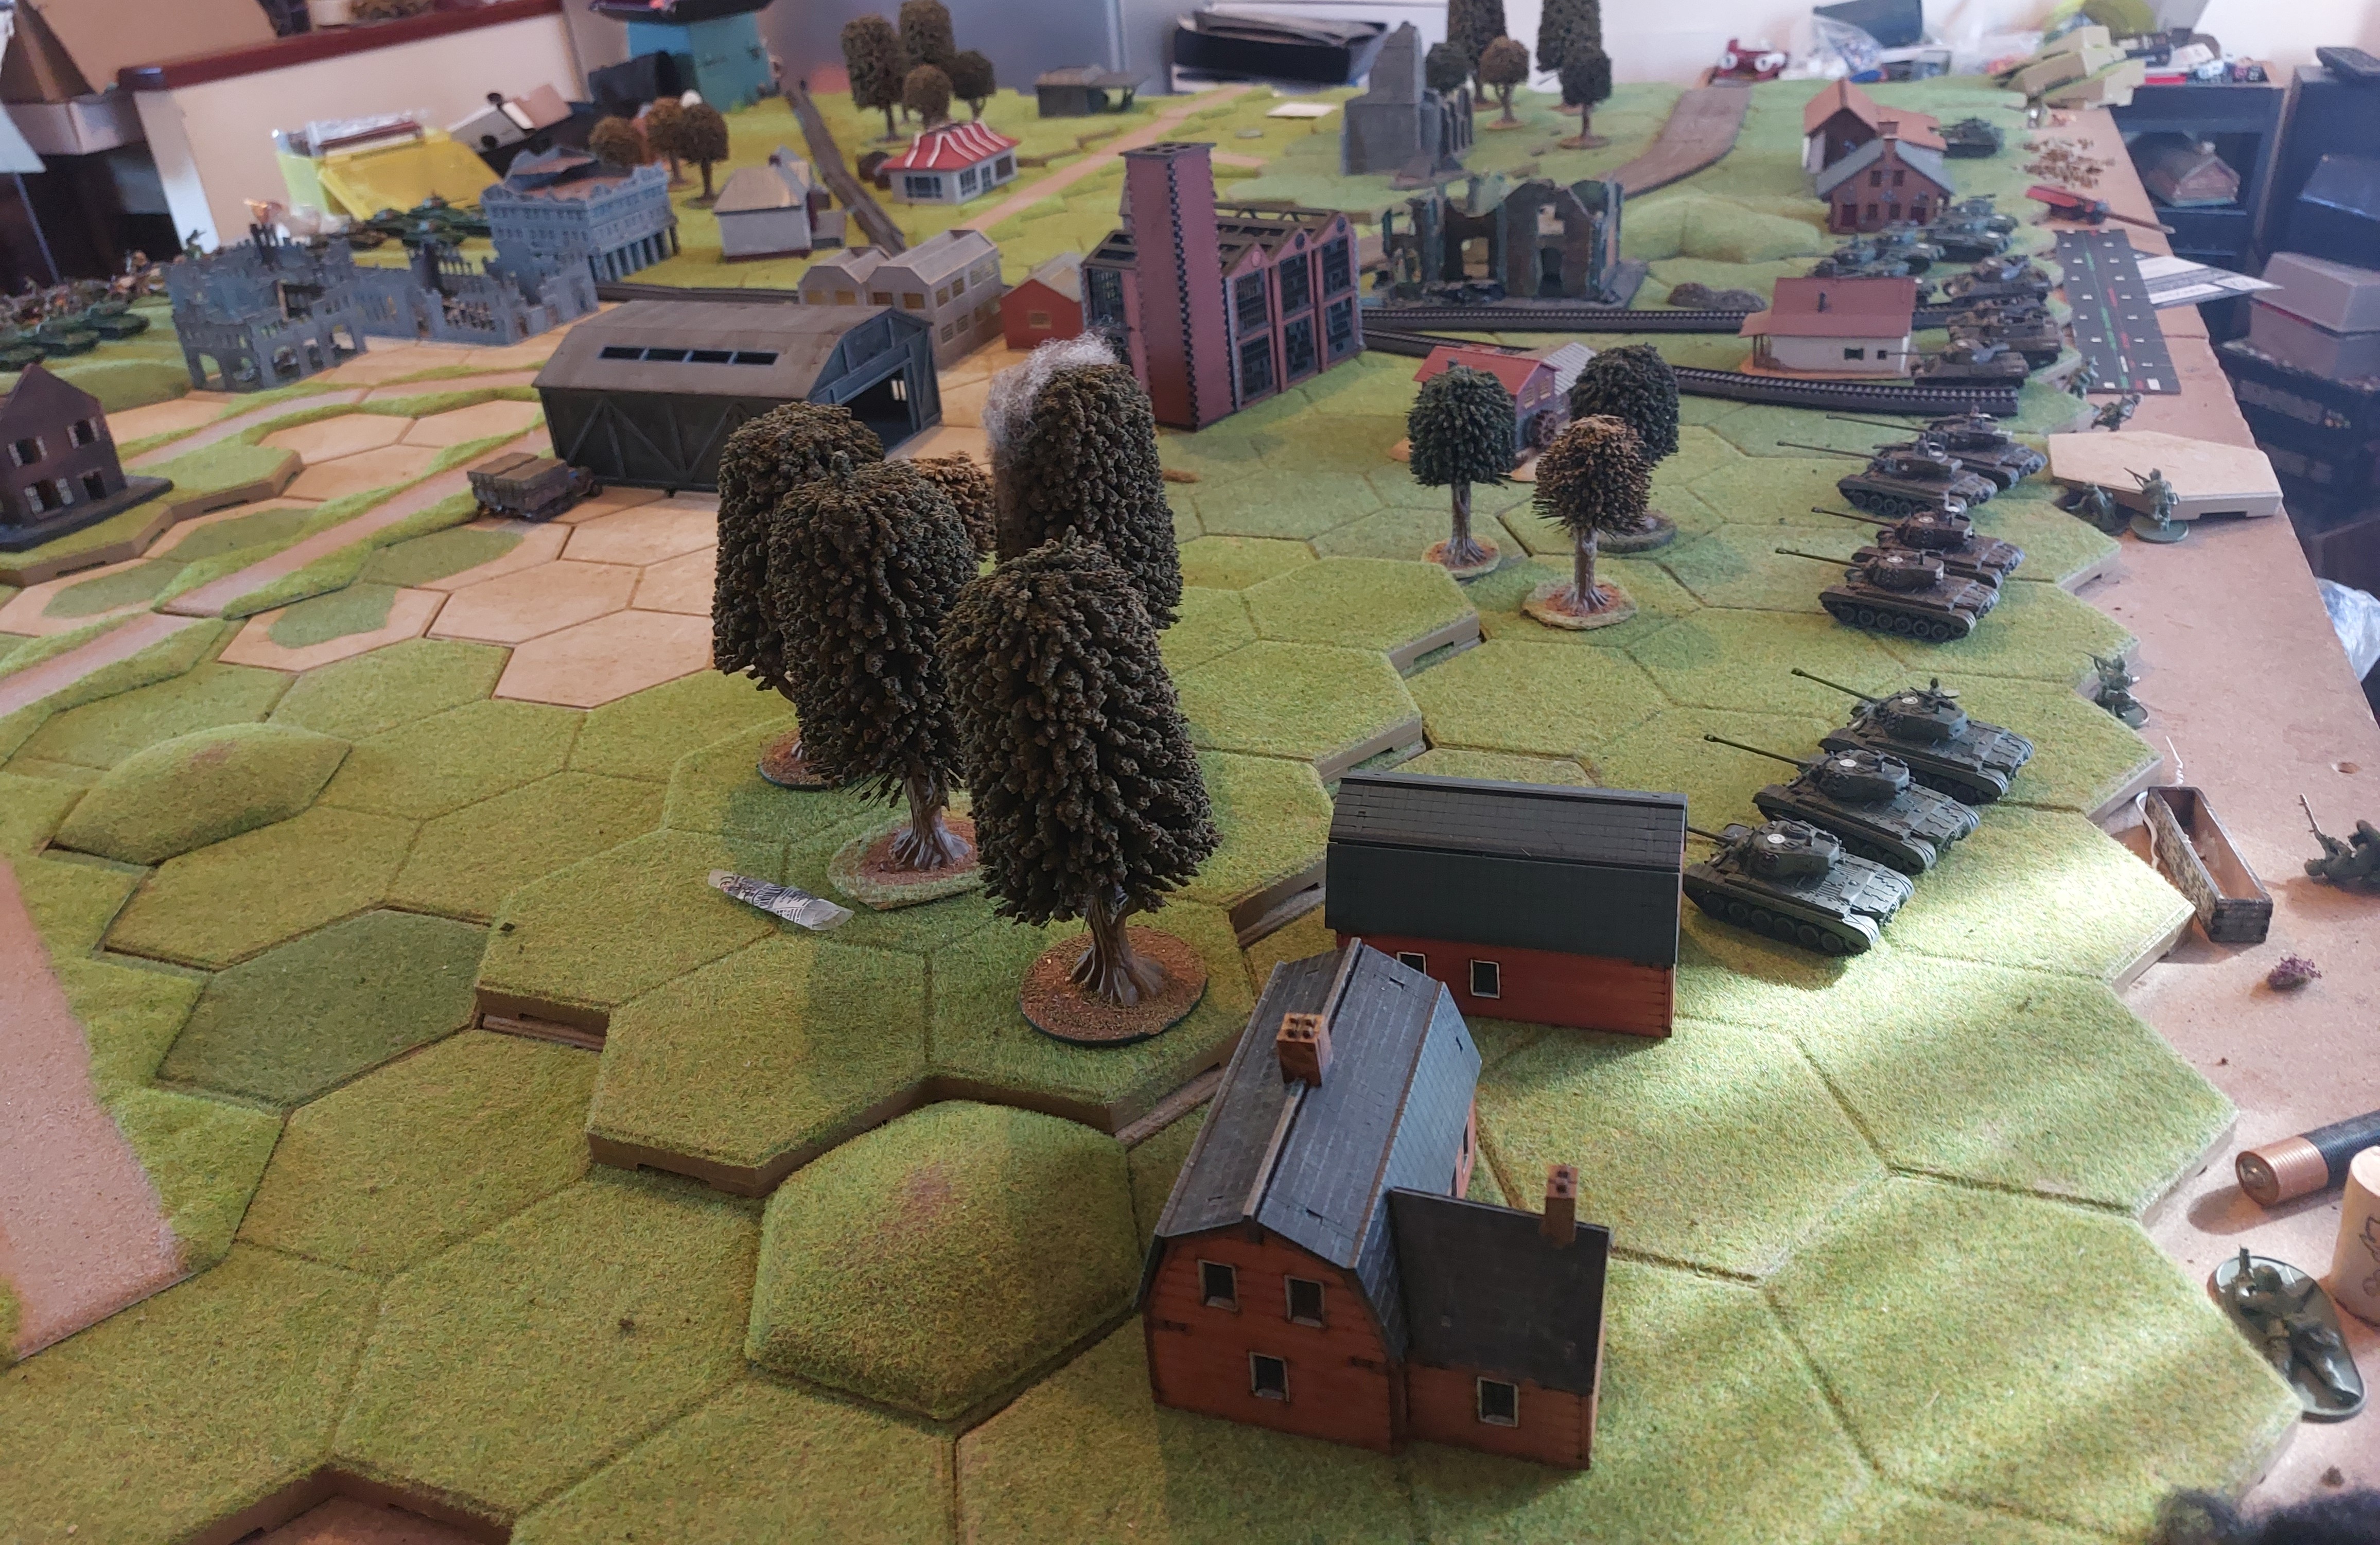
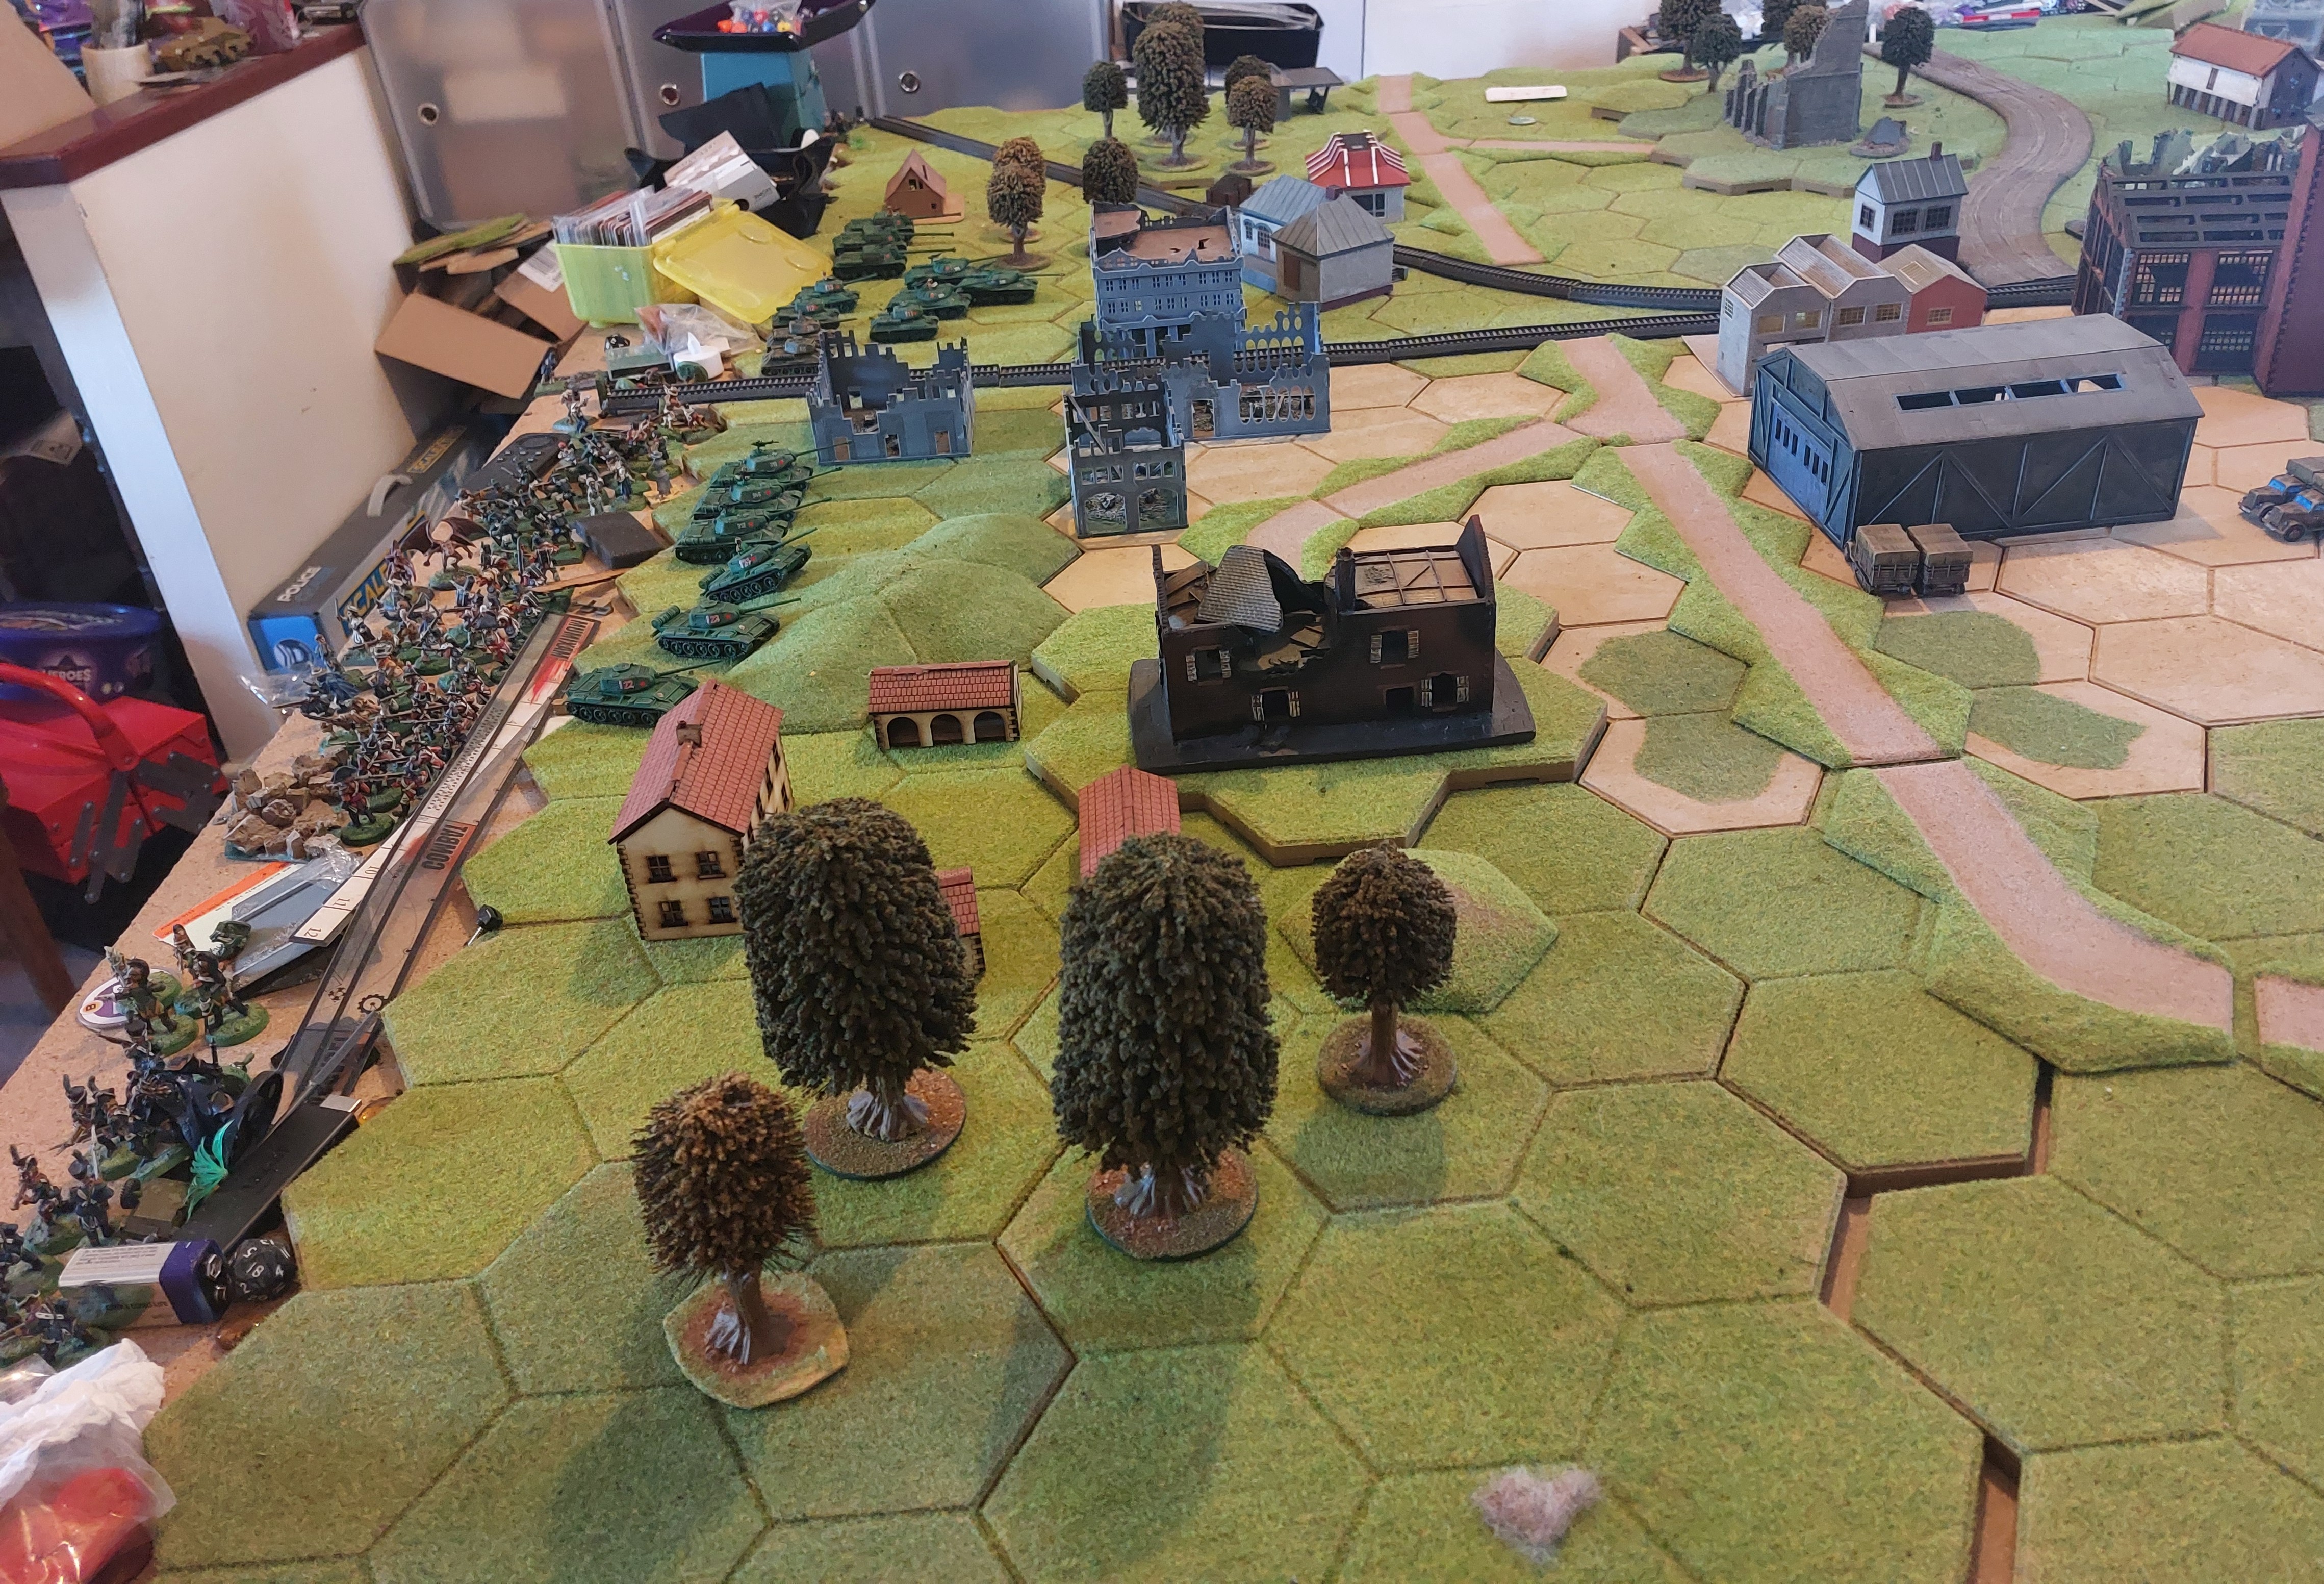
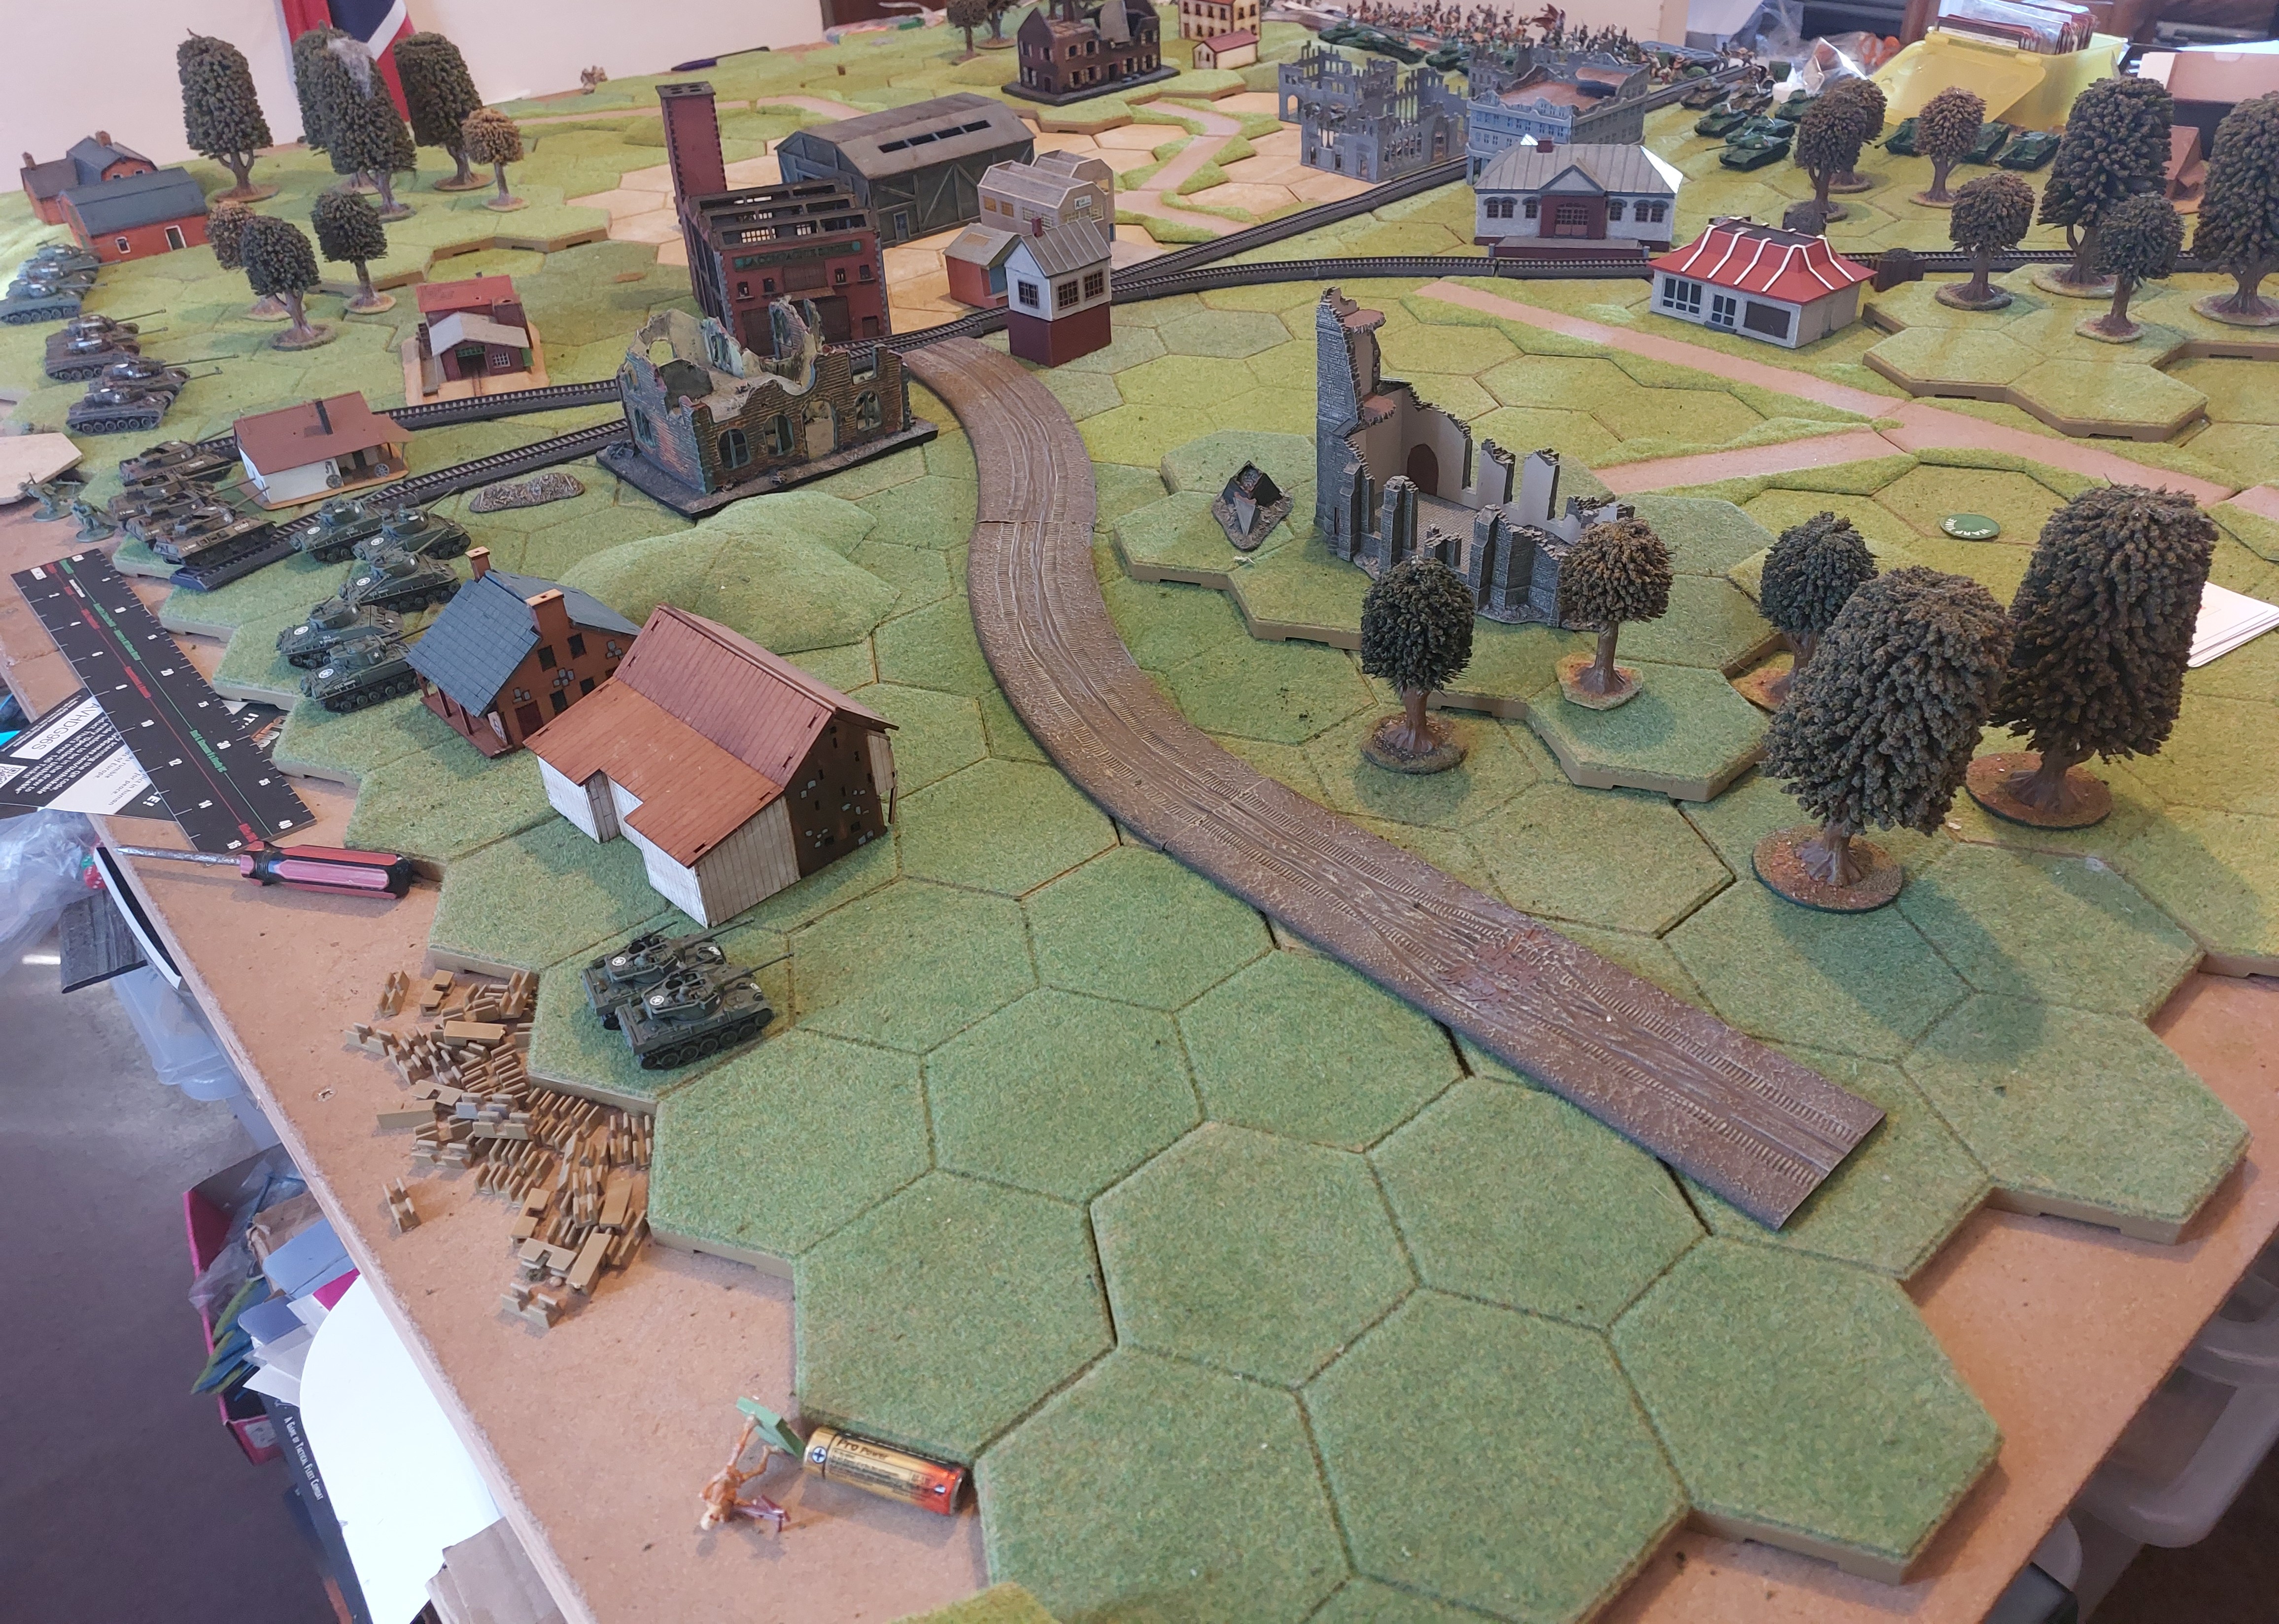
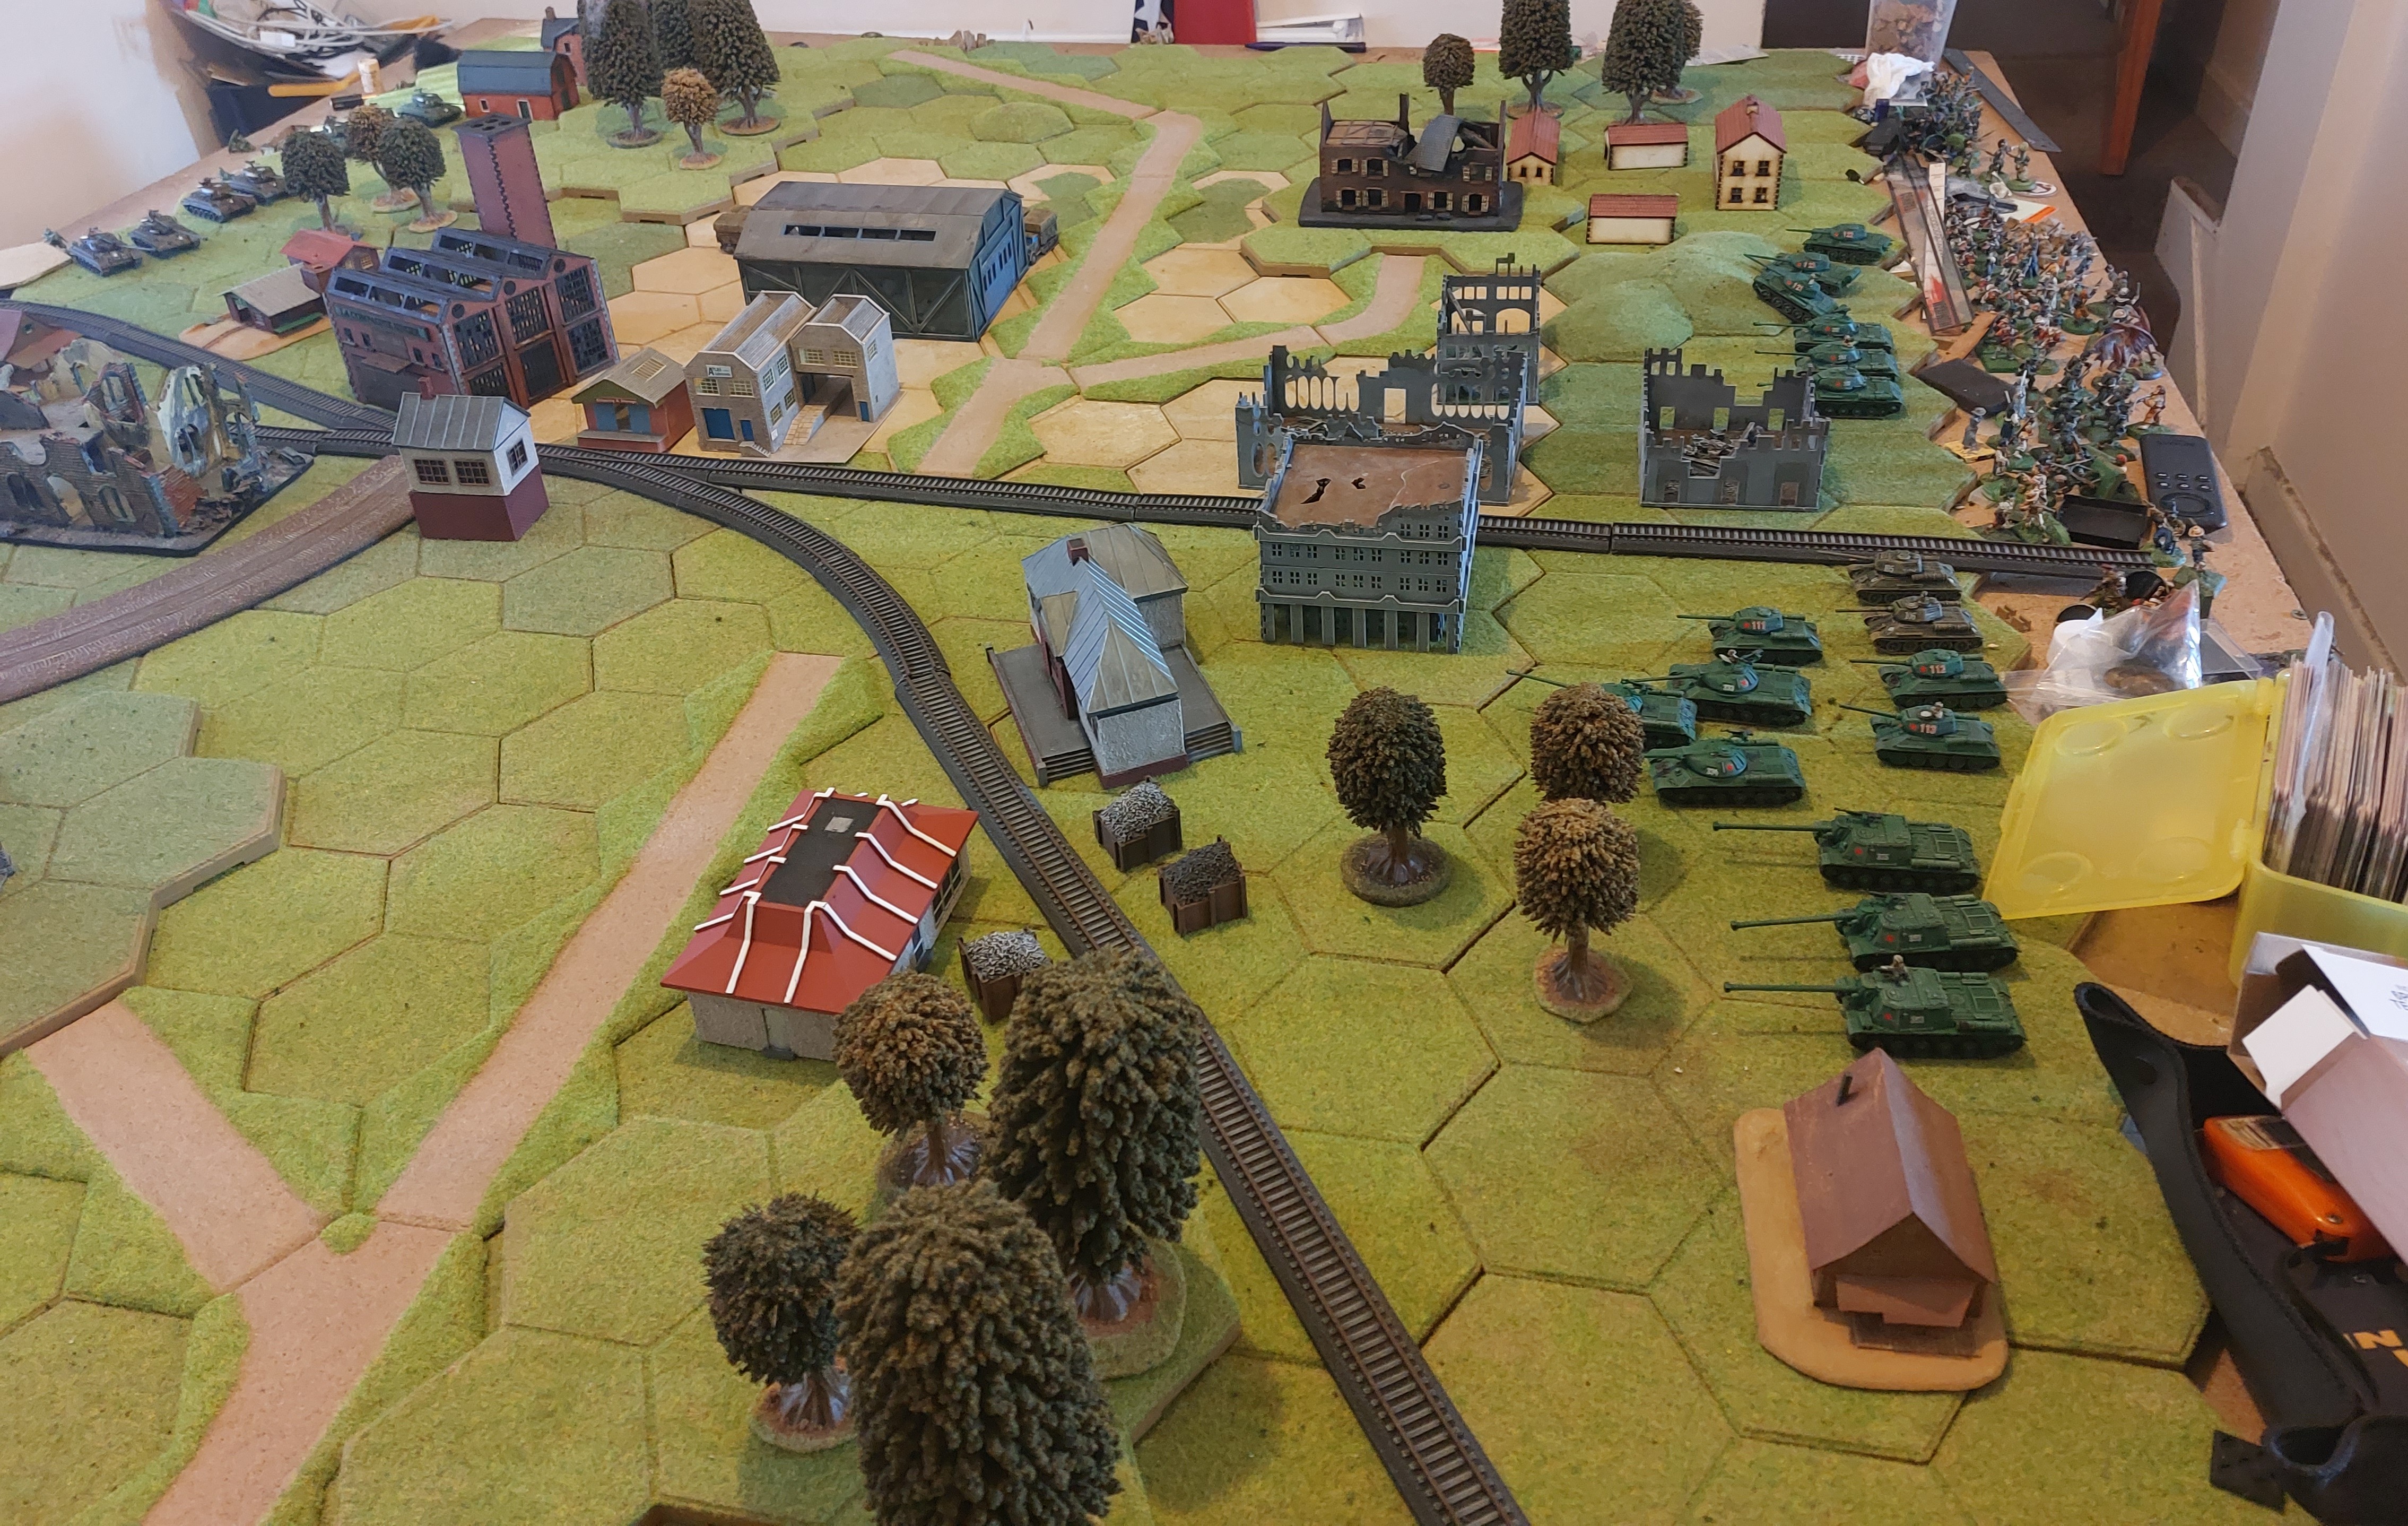
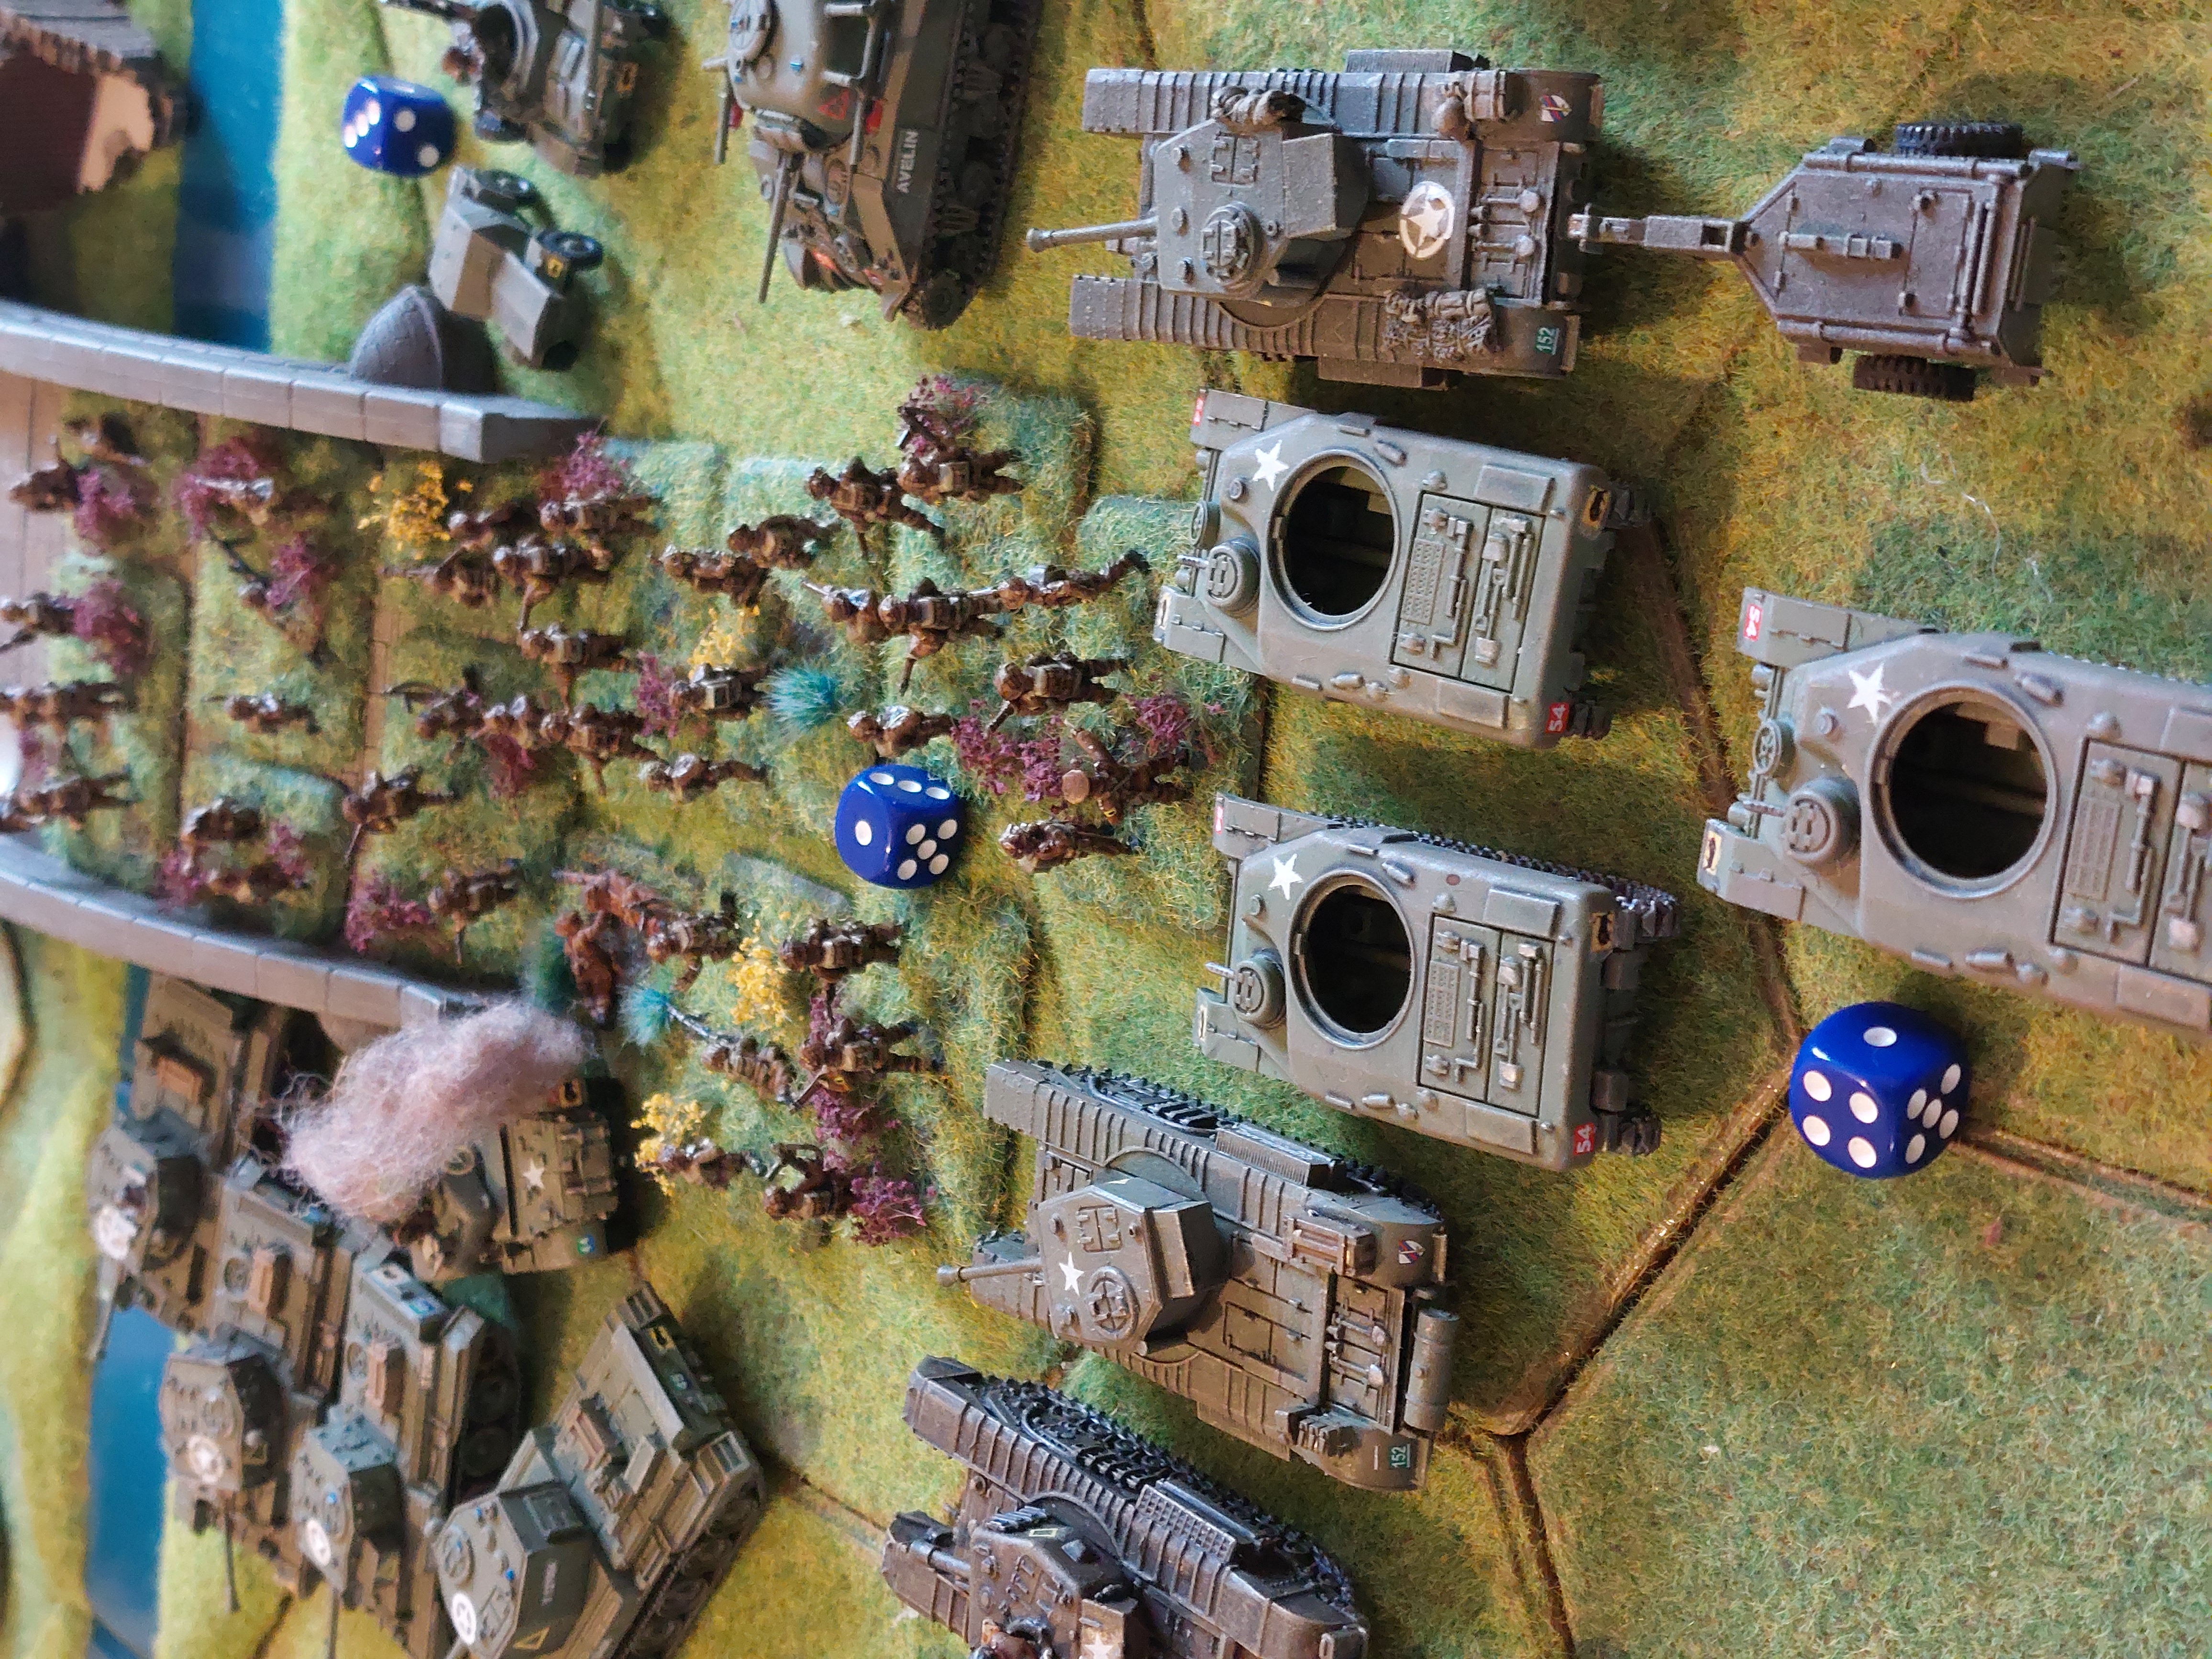
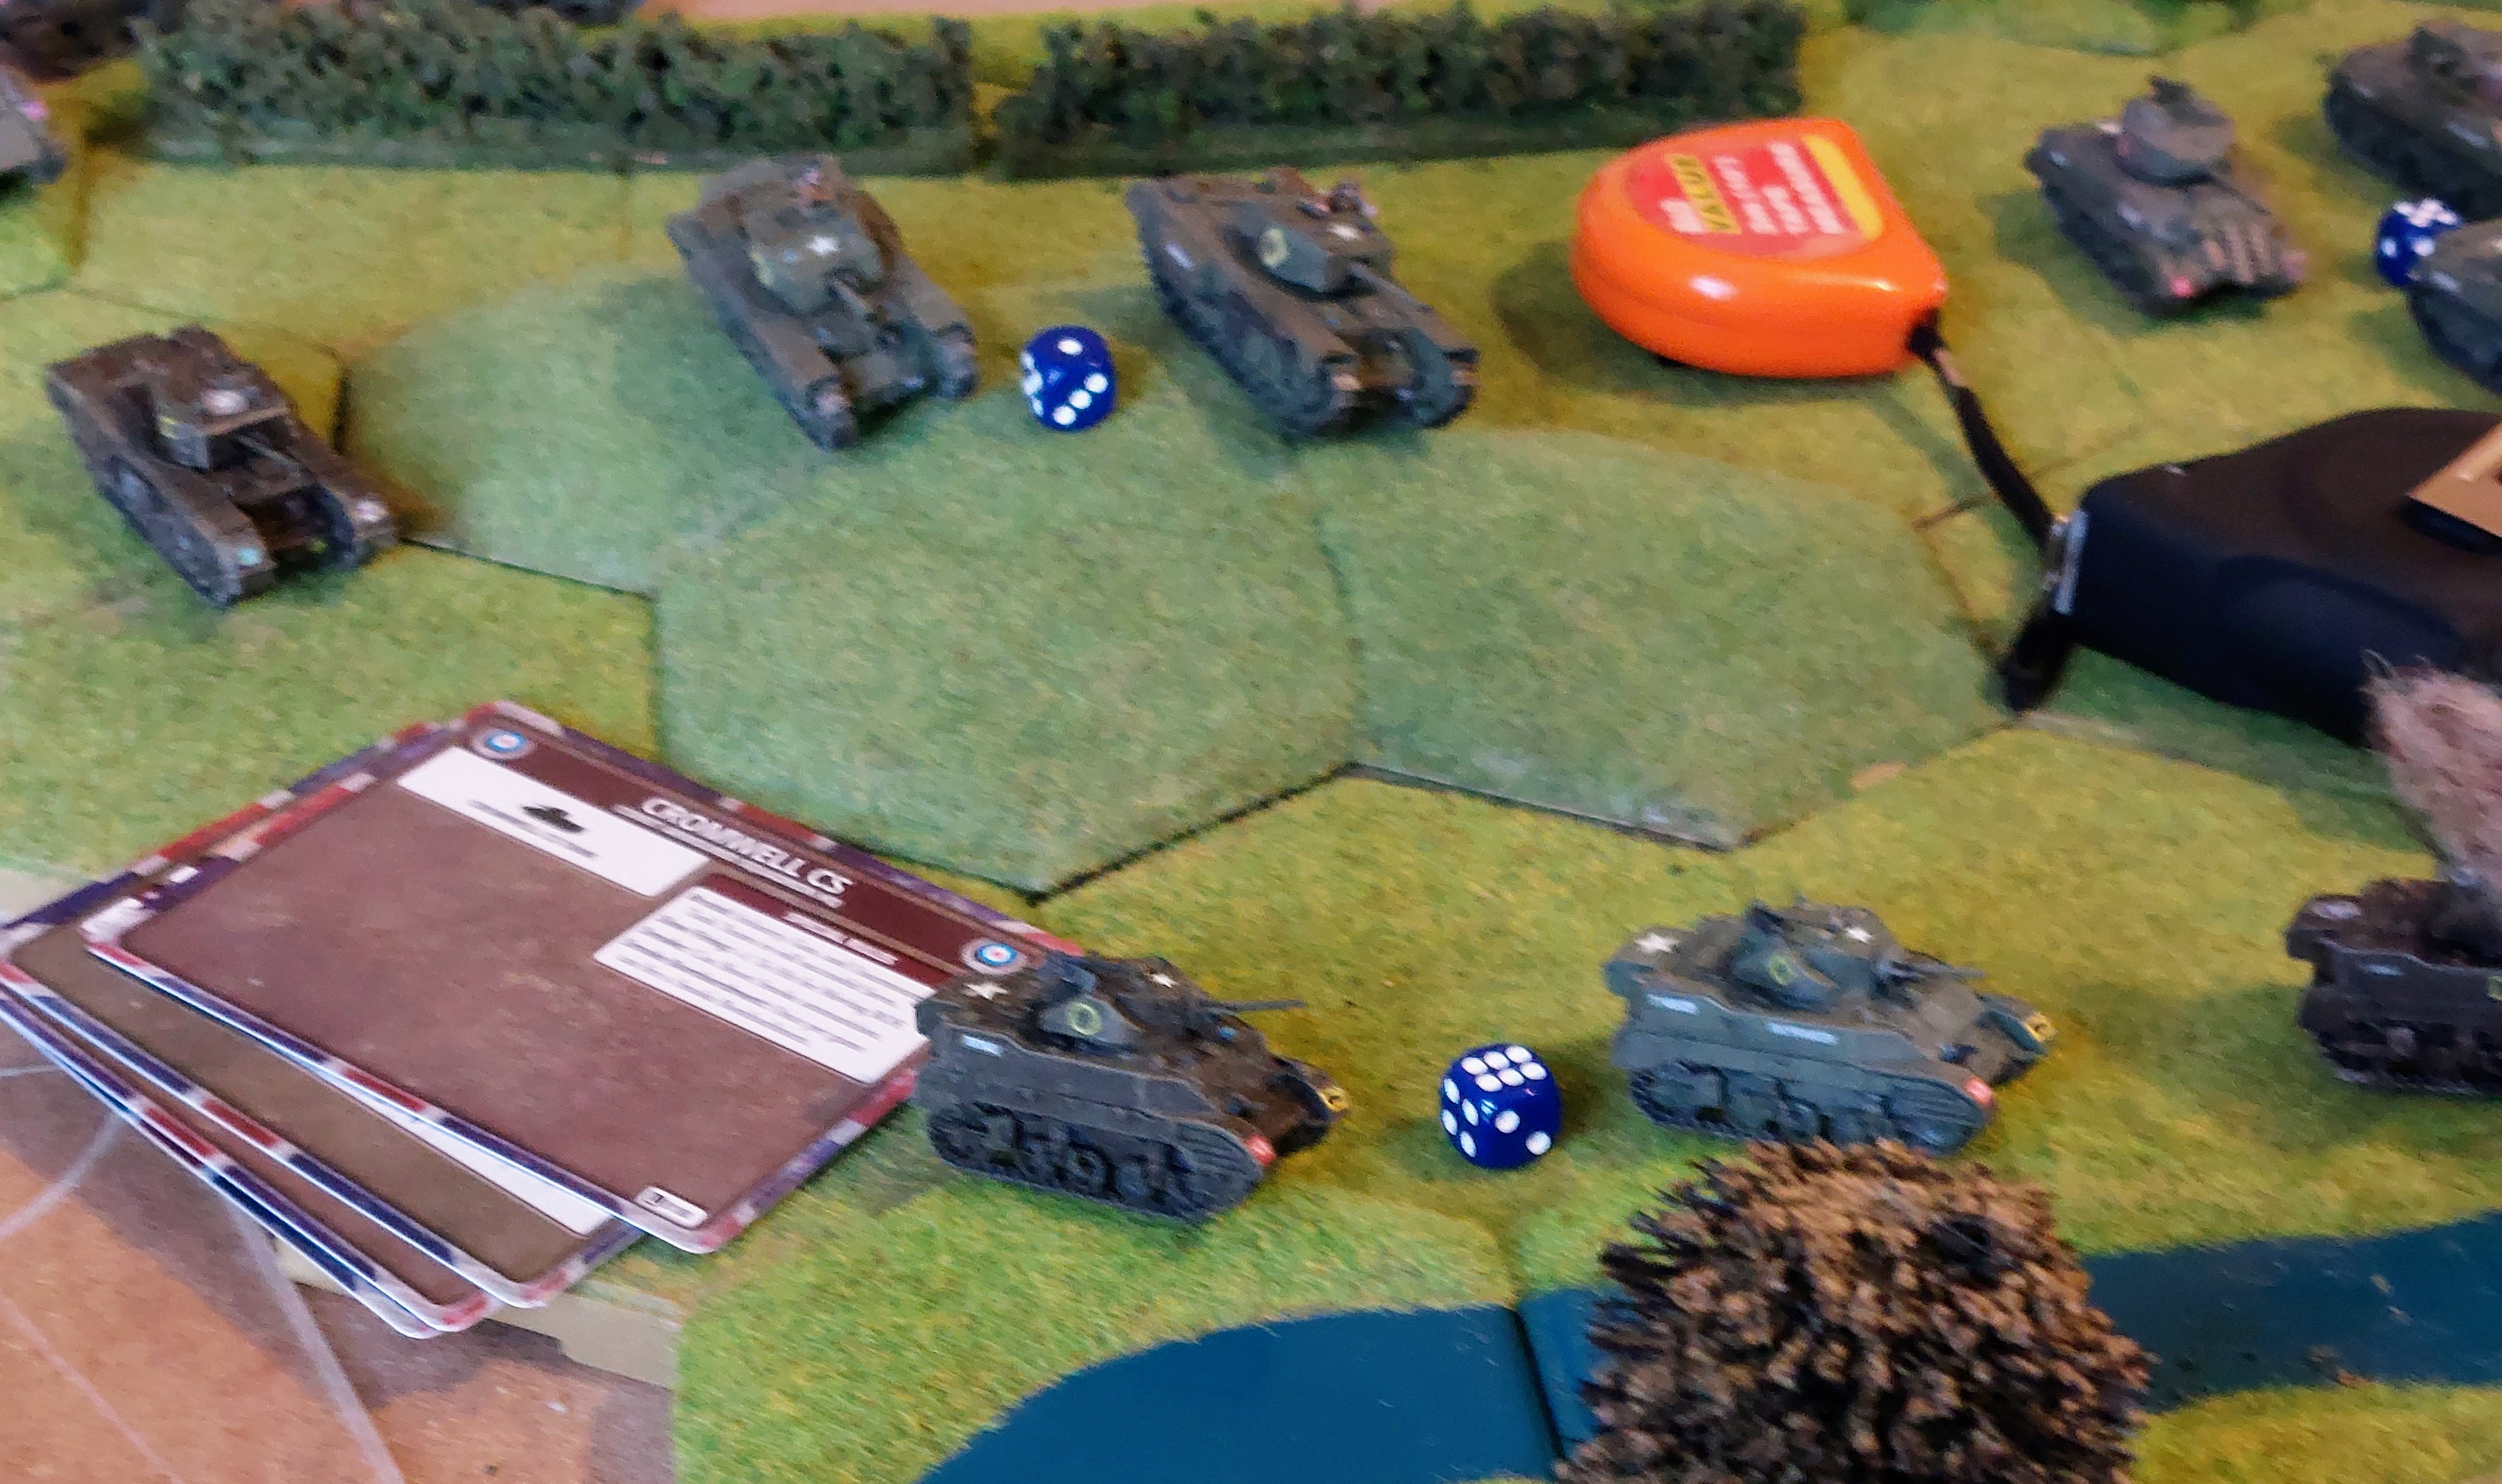
I have randomly picked each forces table side, the U.S are o the left and the Soviets are on the right ( sort of reverse of political spectrum) as can be seen by the models on table, though they have just been put down pre game and are not in their deployed positions.
The Scenario from the book
Protests in much of Eastern Europe particularly Warsaw have been crushed by Soviet Troops leaving many protesters dead on the Streets. The Western Allies demanded the Soviets responded by re-inforcing their occupation .Protests throughout the Soviet Zone of Germany and Poland saw further brutal suppression.
On 6 June 1948 British, U.S. and German troops cross the border under the pretext of protecting German and Polish Civilians.
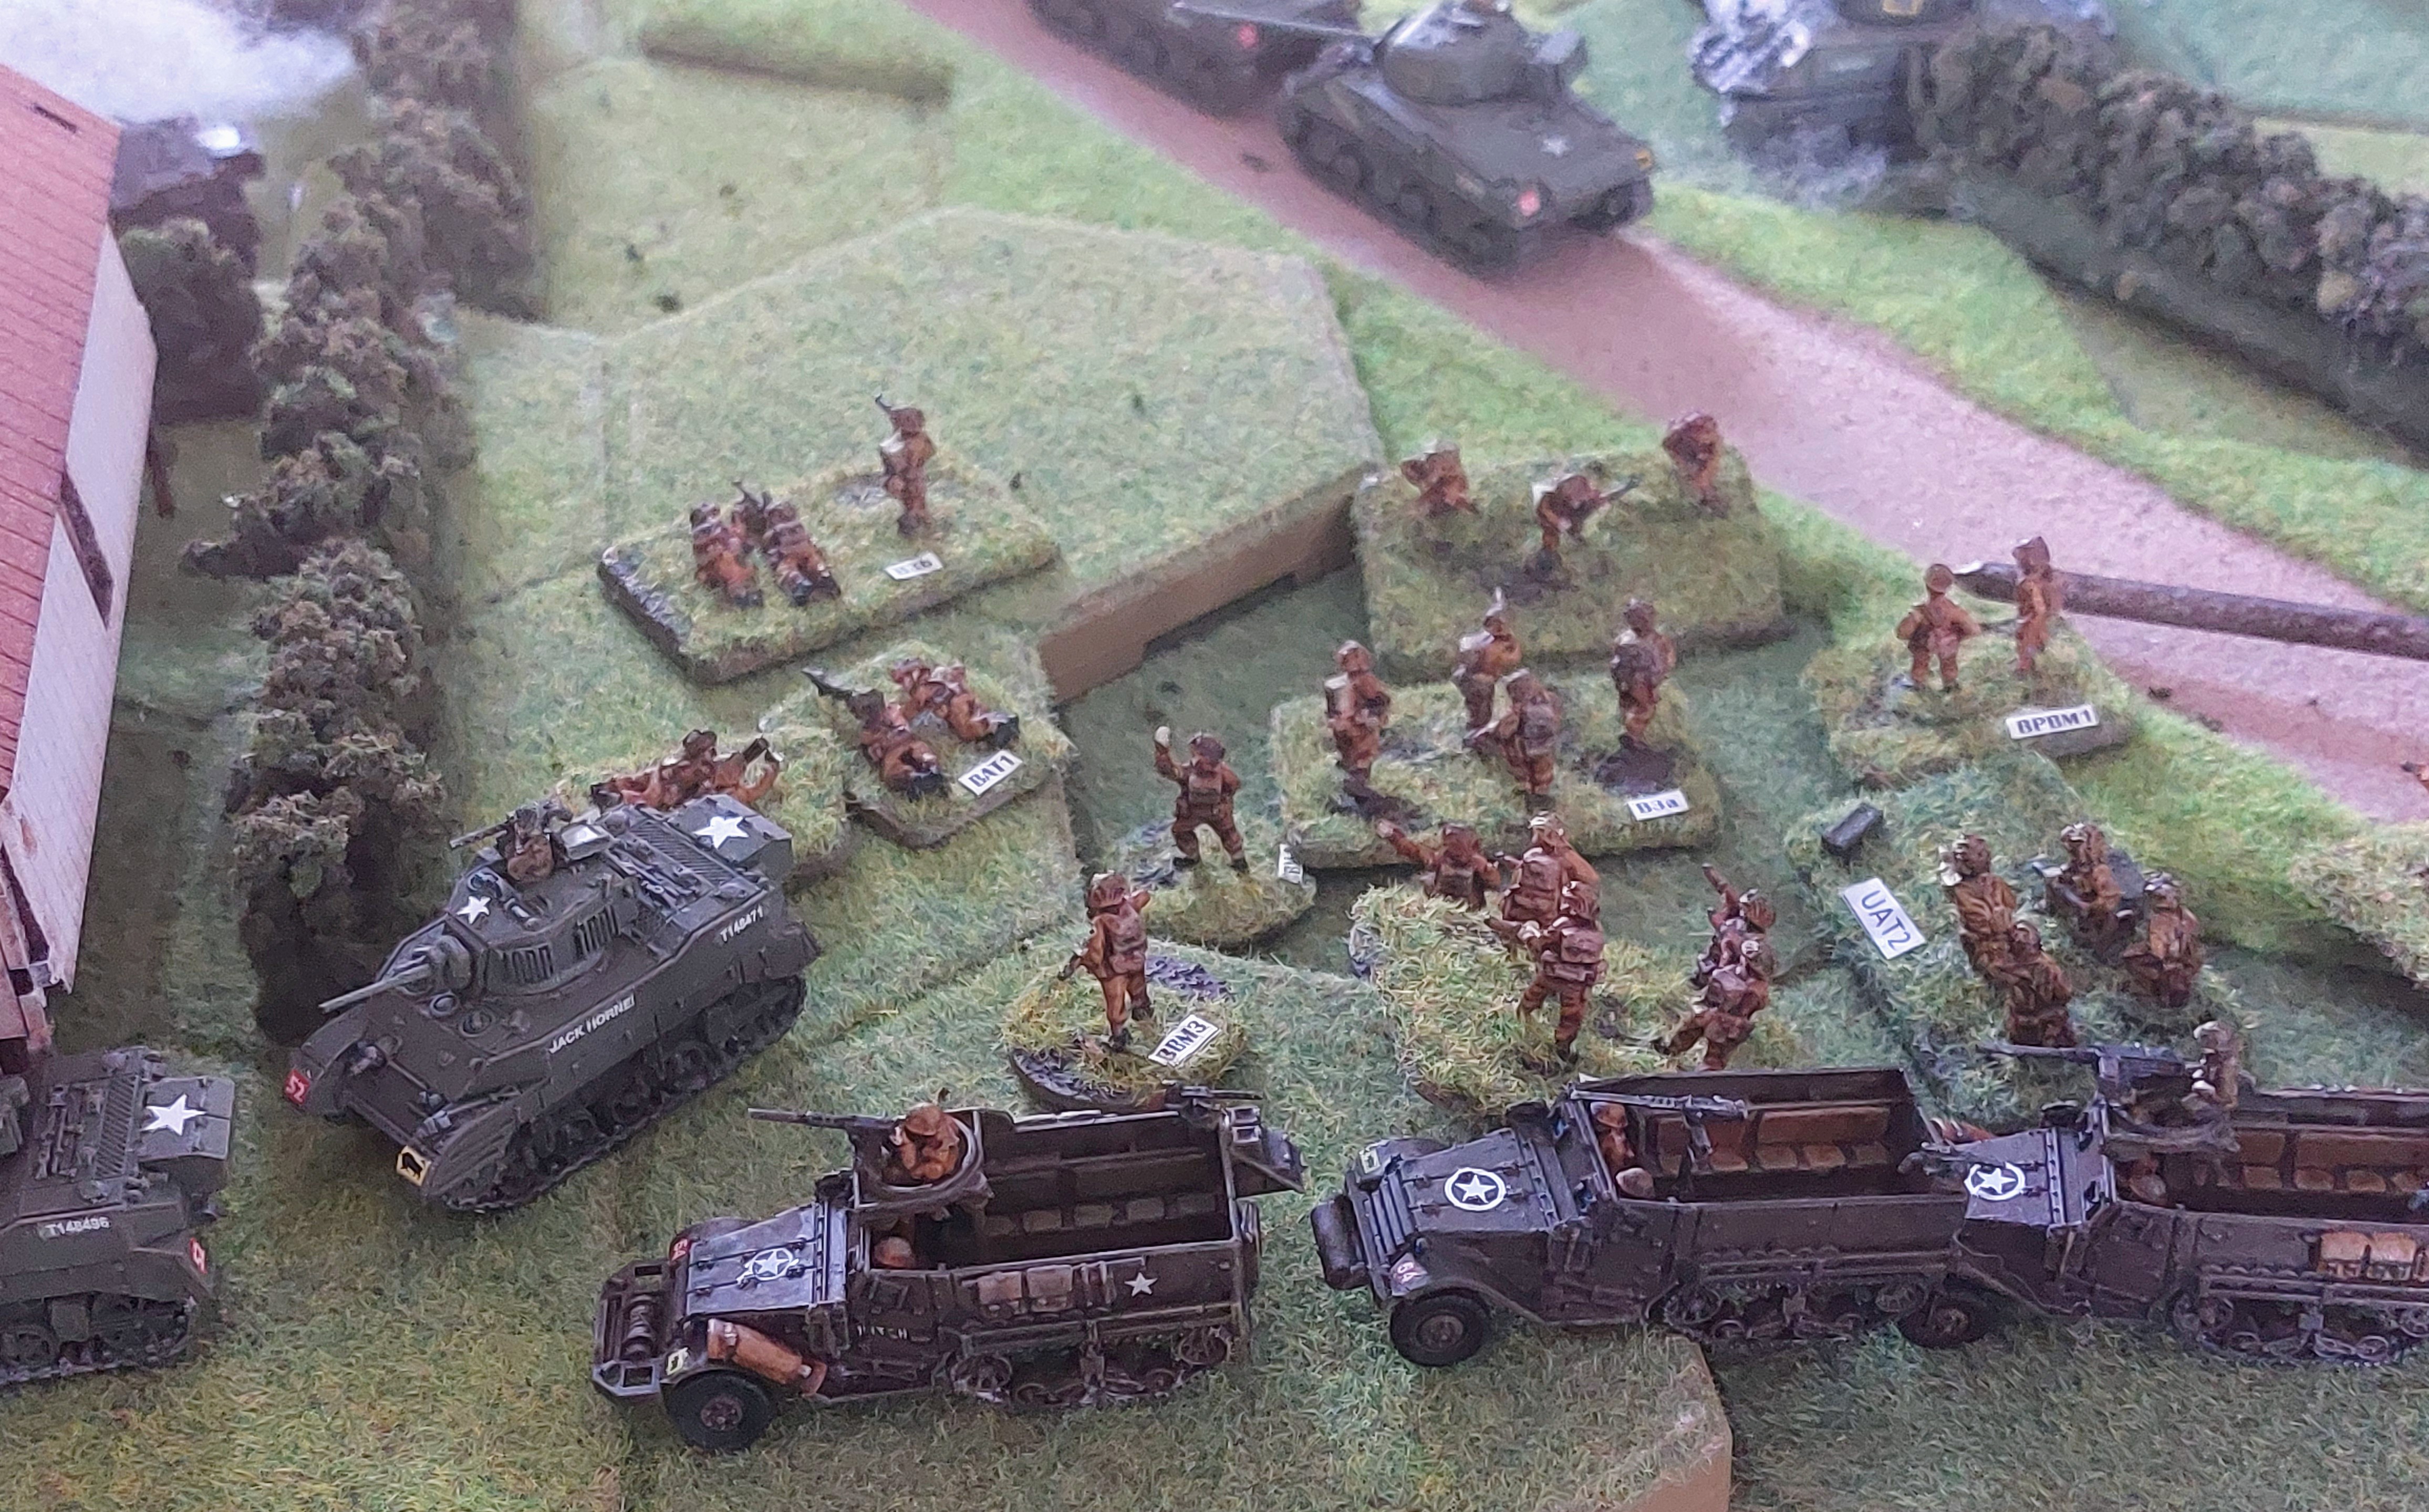
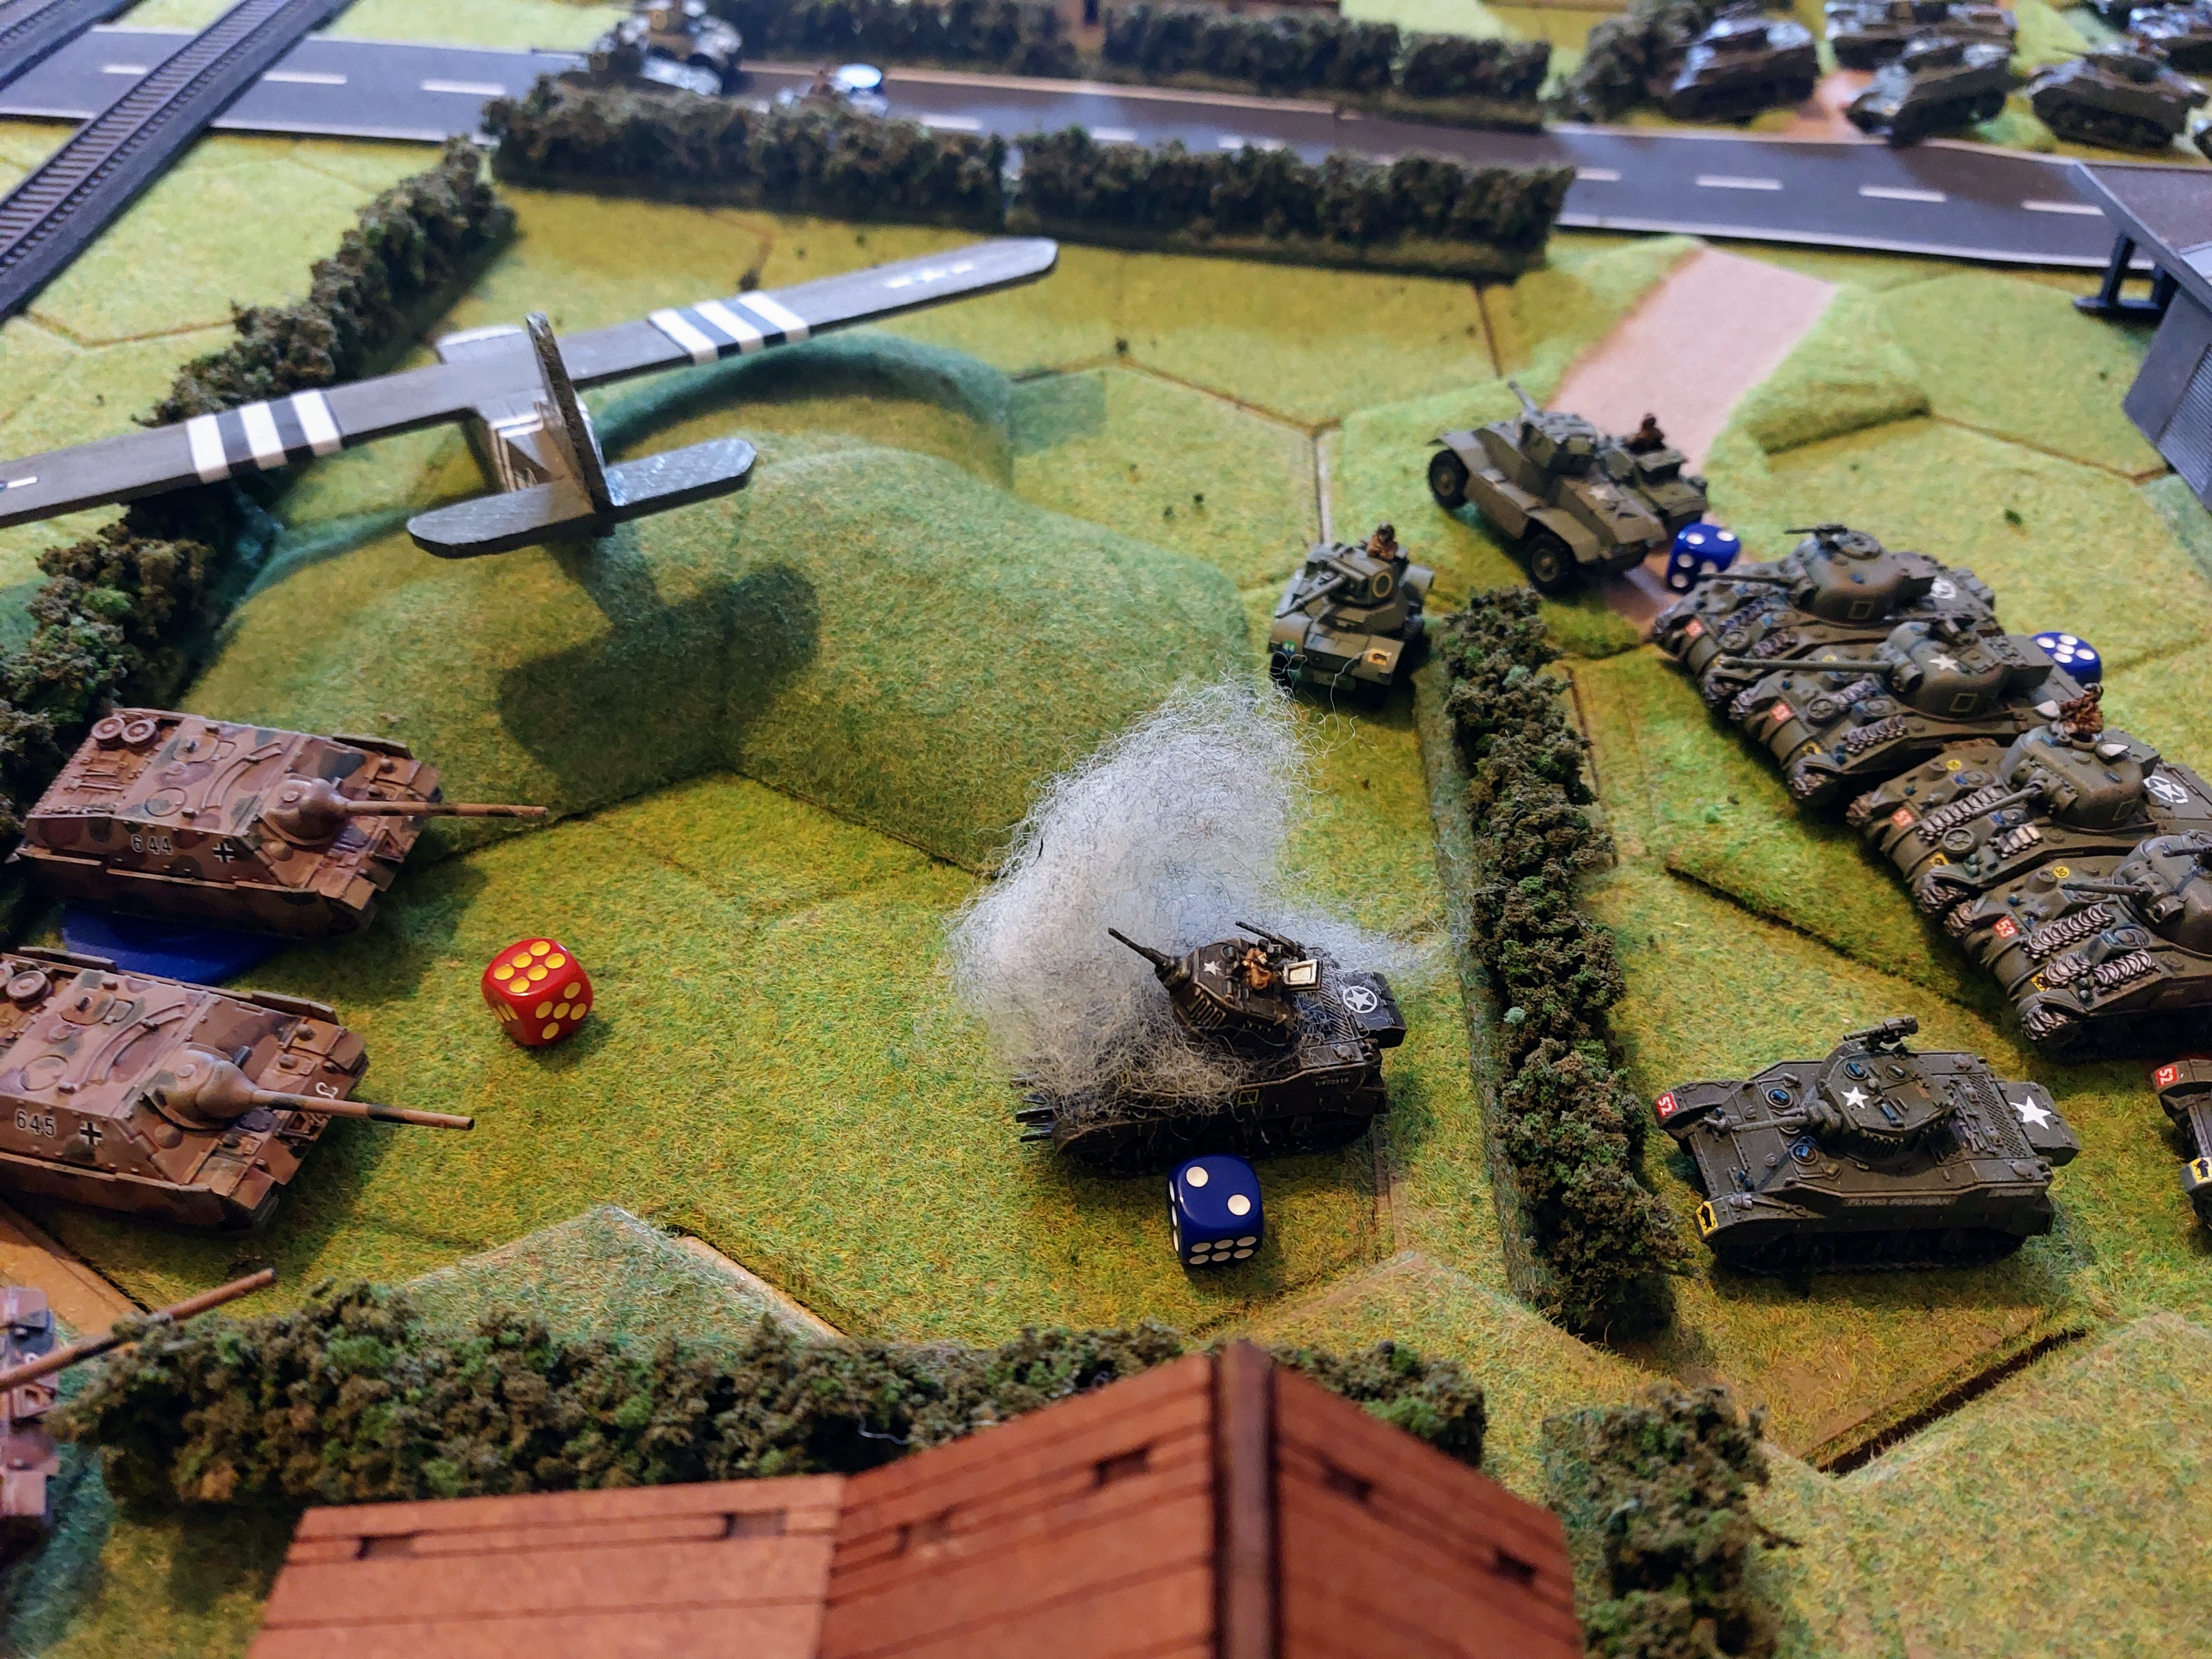
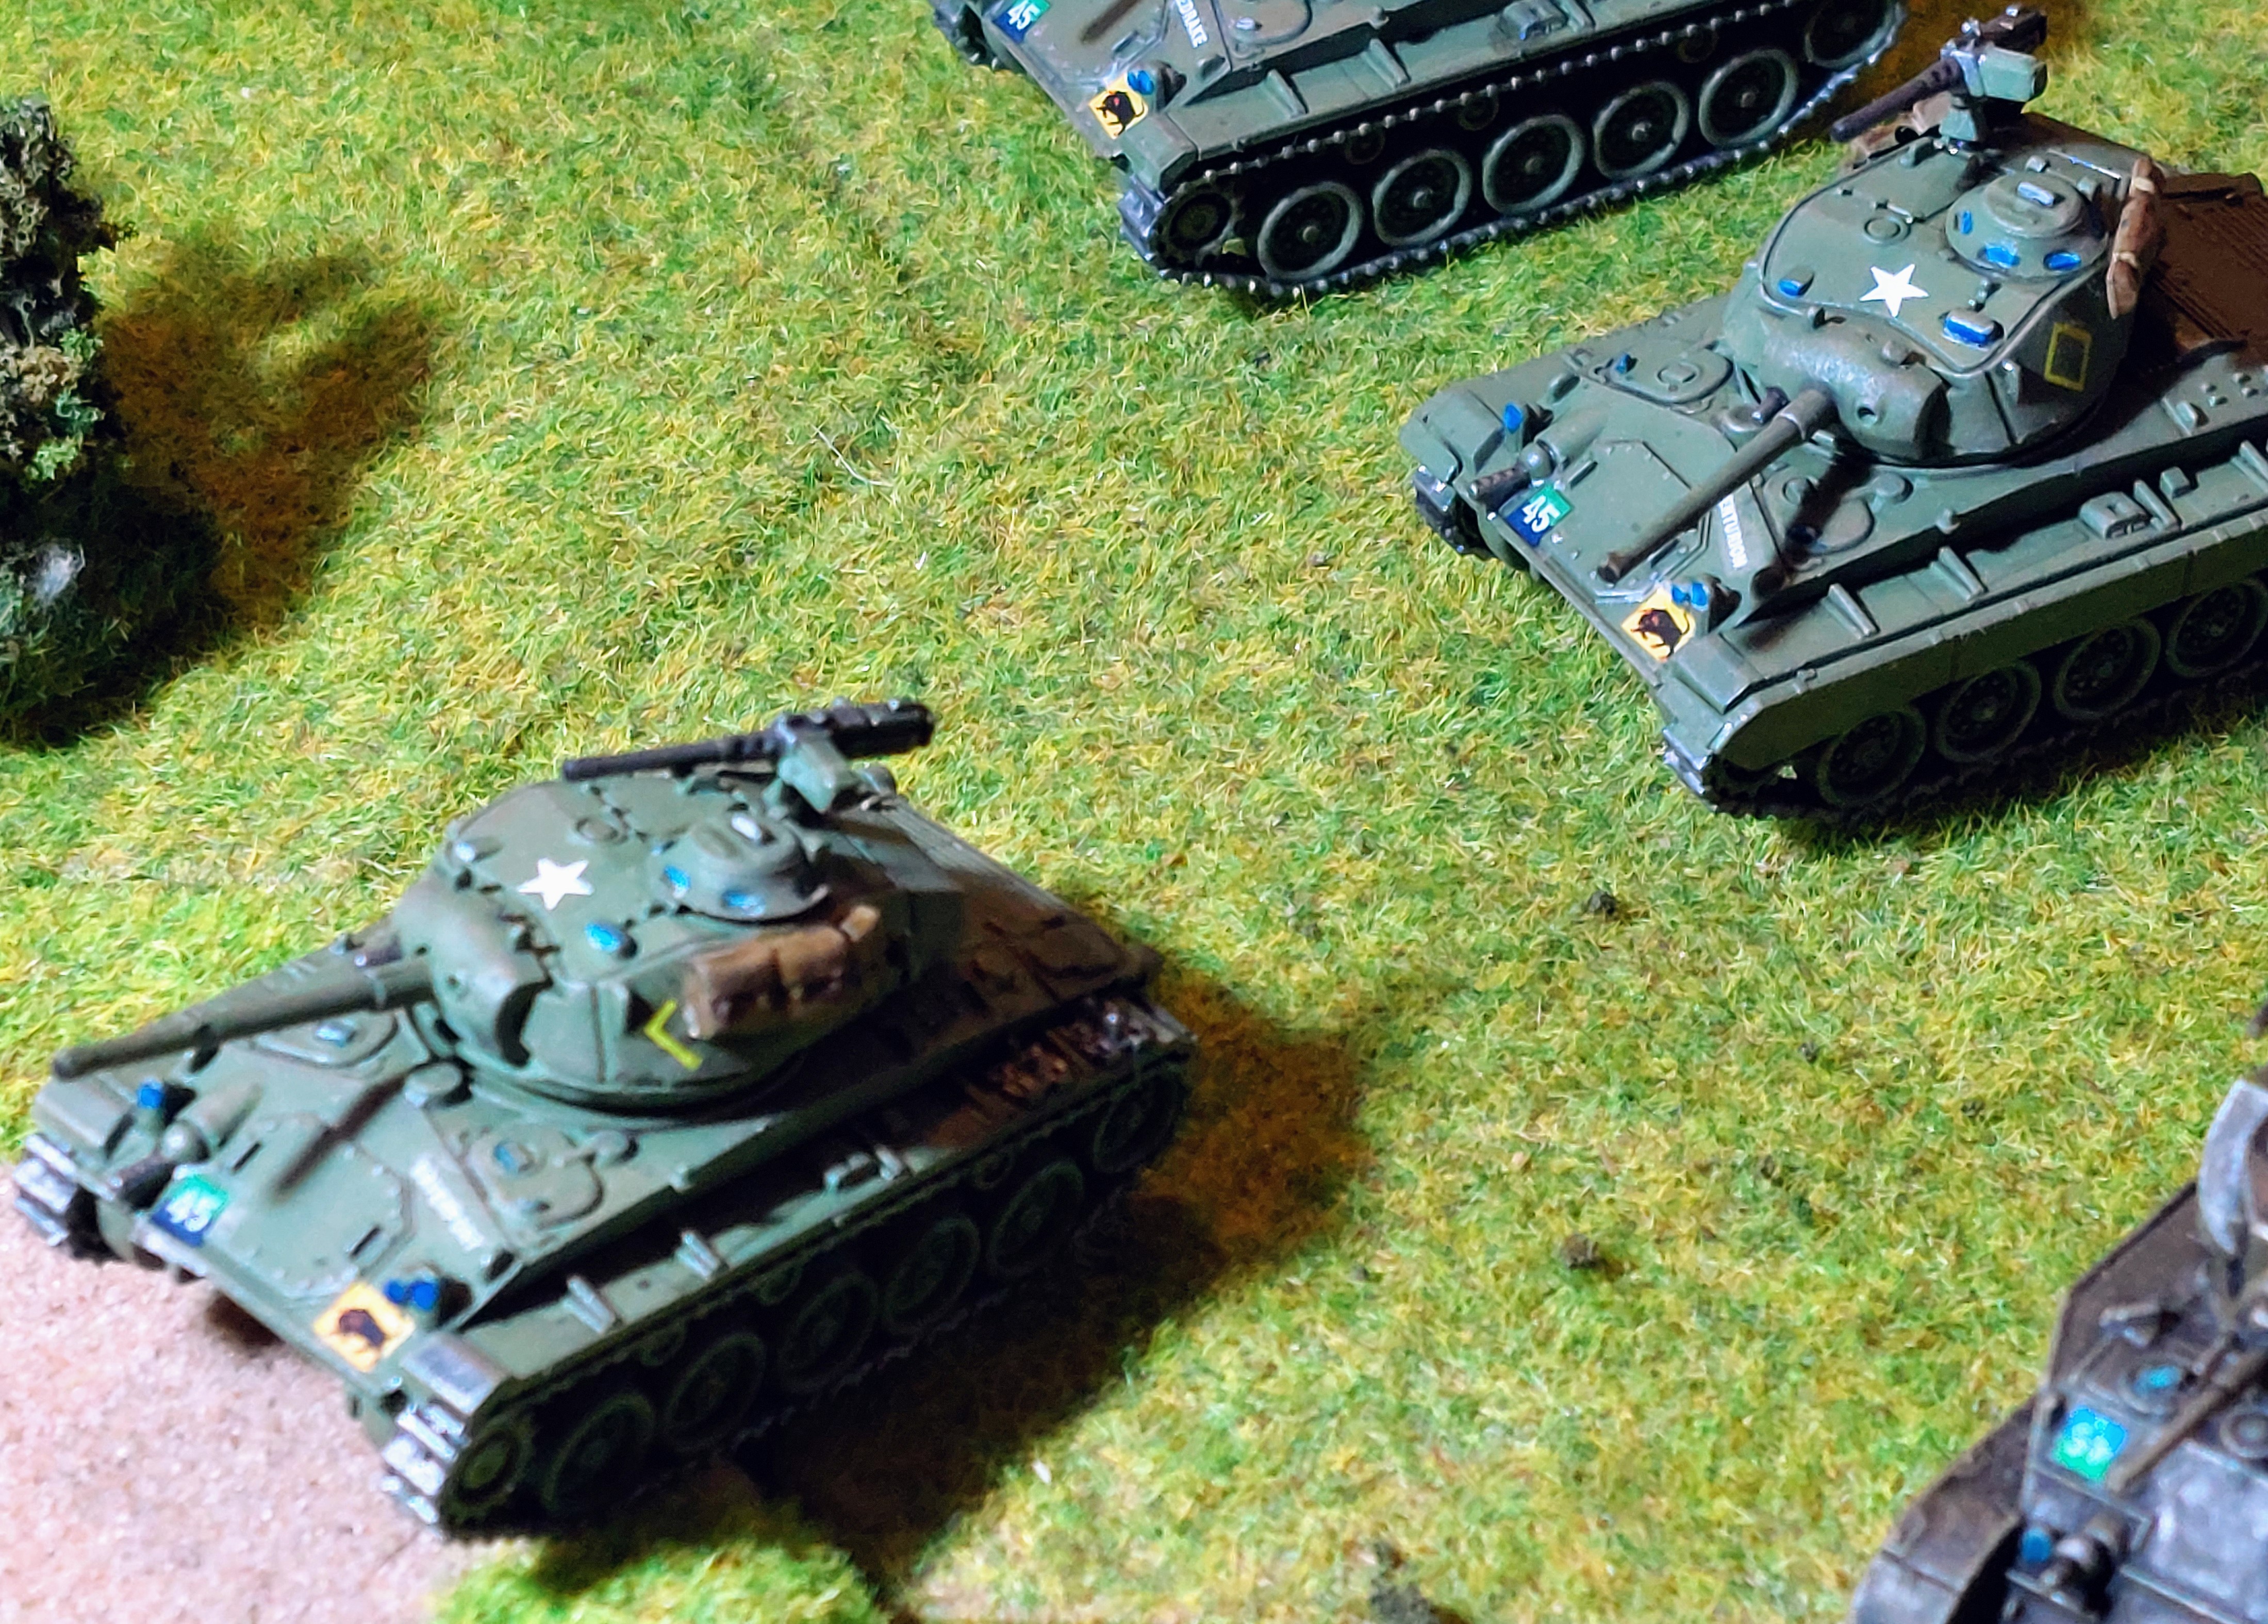
The lead Elements of the U.S forces crossed the Oder and Neisse rivers at various points , advancing in a West-East axis , quickly overrunning any token resistance and approached Wroclaw. Fast moving lighter Armoured columns ran into an advancing column of T44’s and unidentifiable tanks, and a savage firefight broke out.
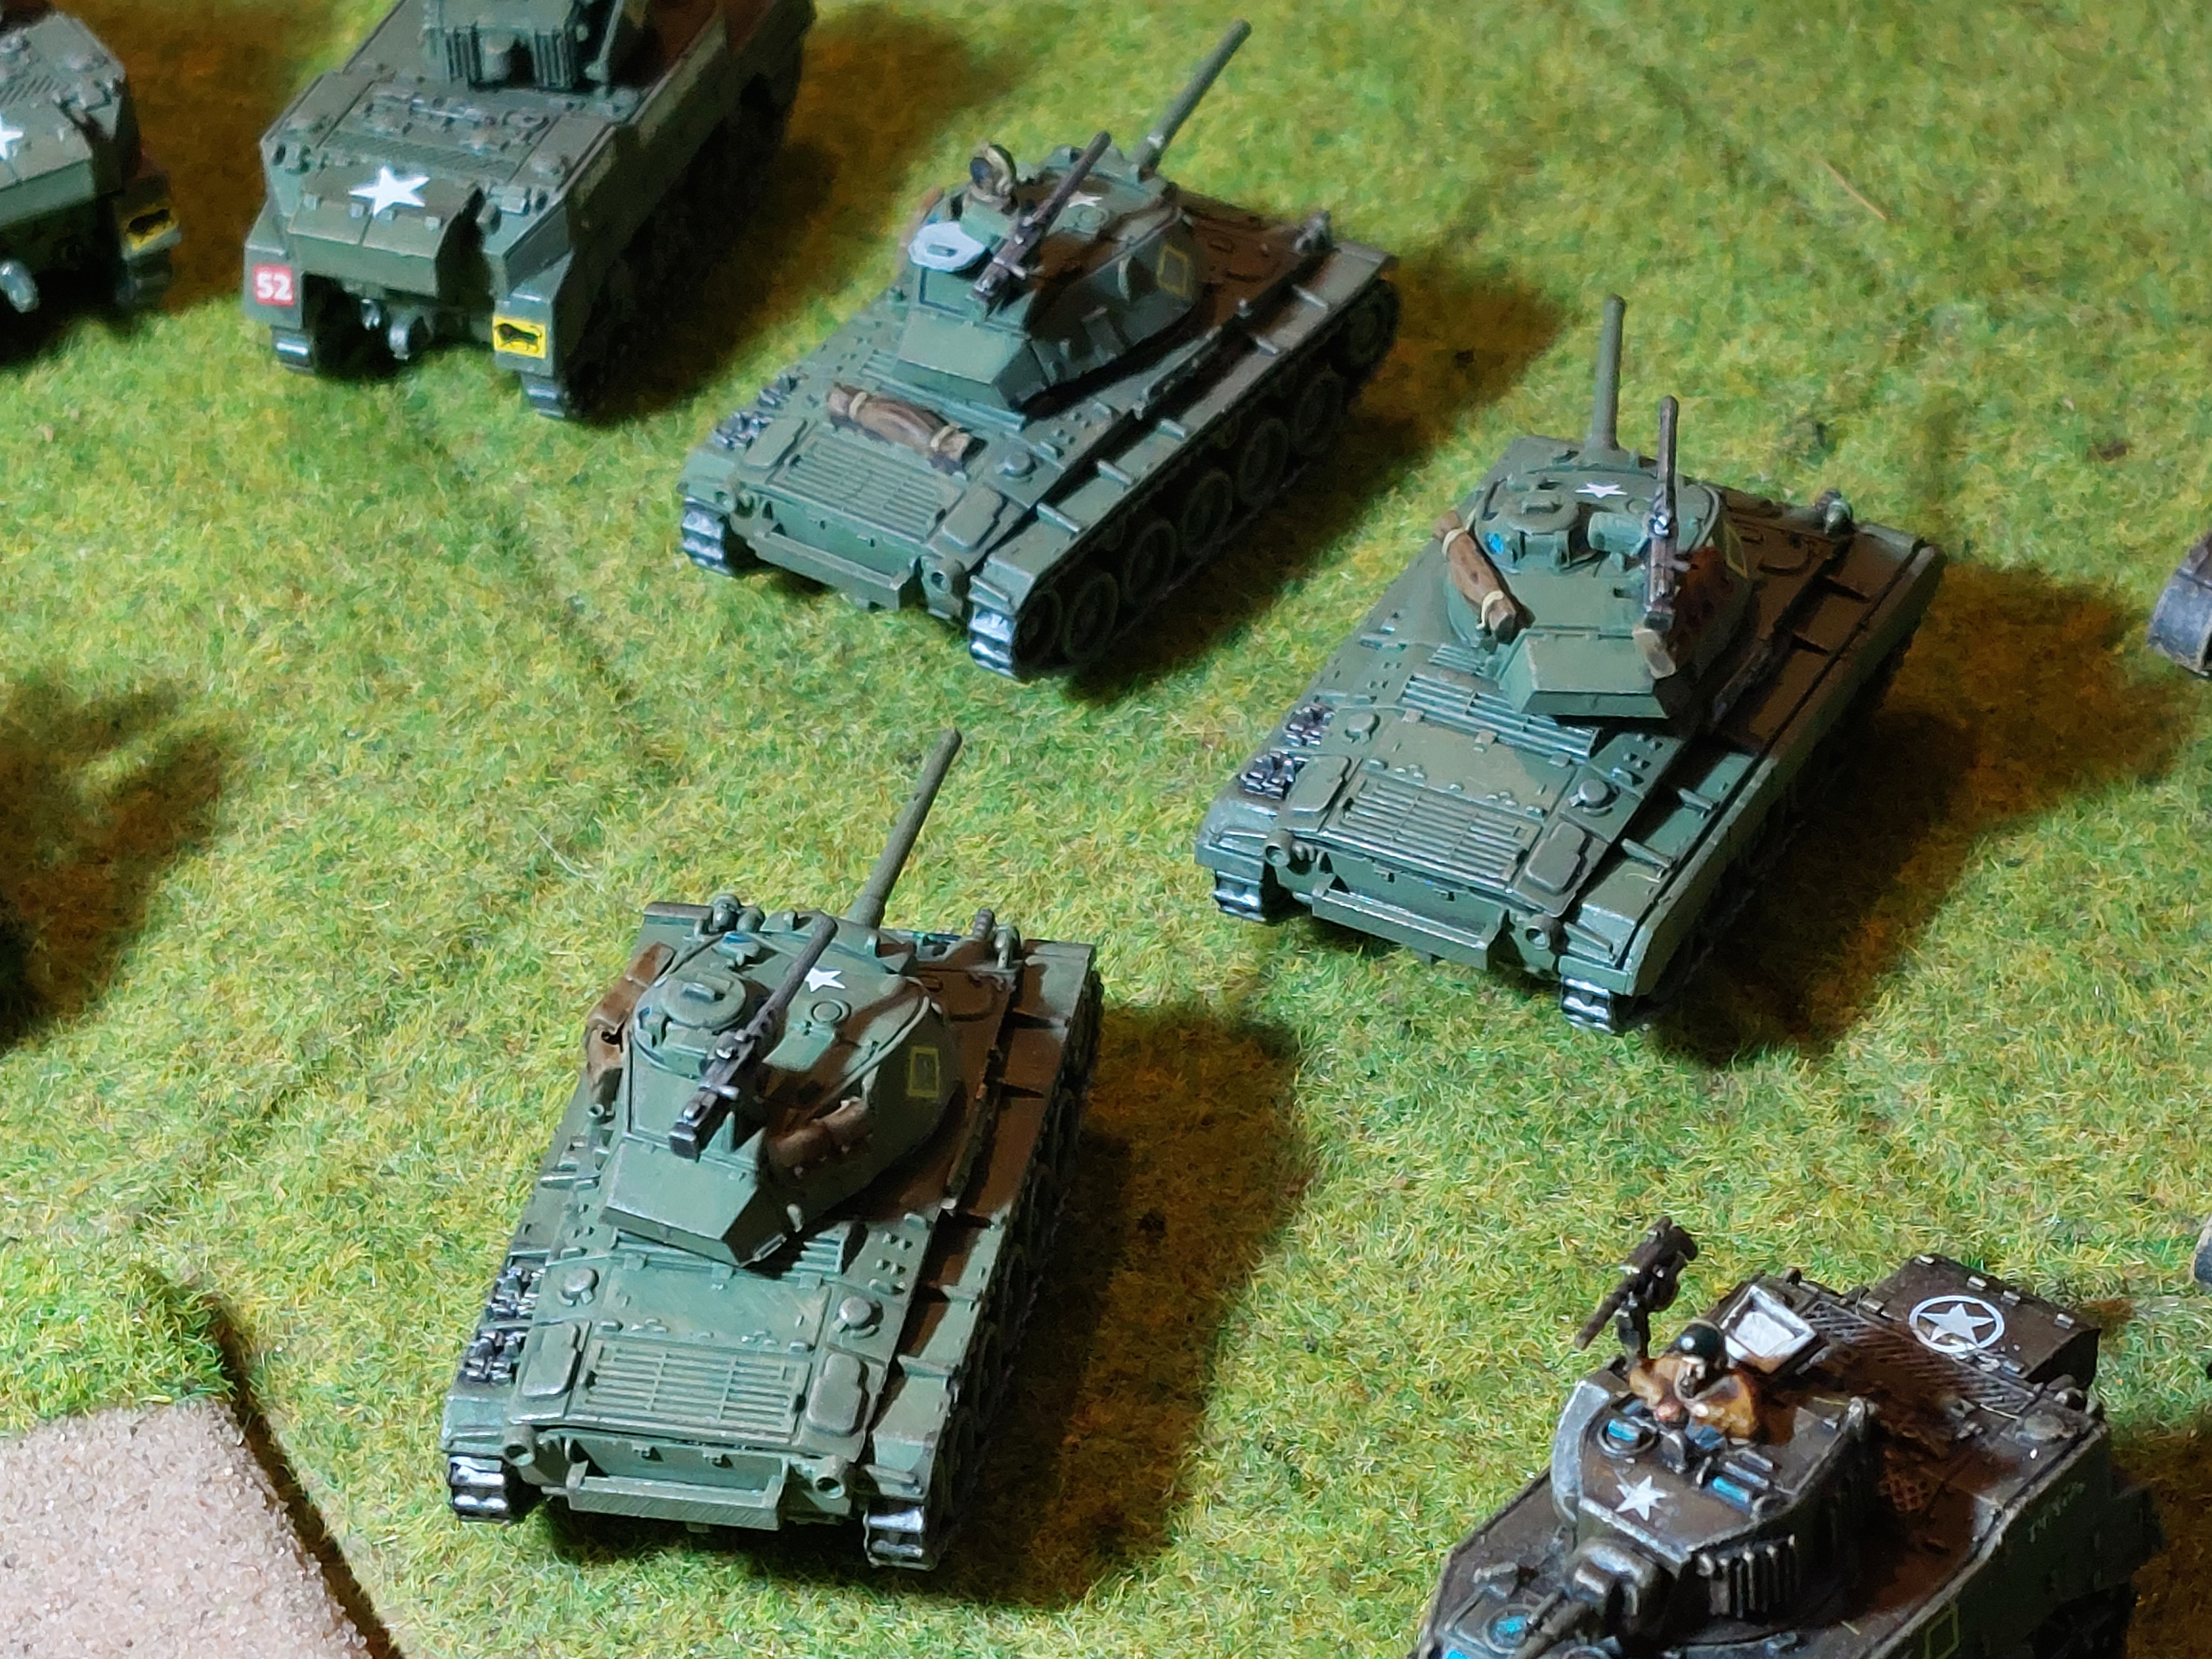
The army list for each side are provided from the forces booklets in the starter sets which detail what can be command , Core and Support units giving the max of each type:
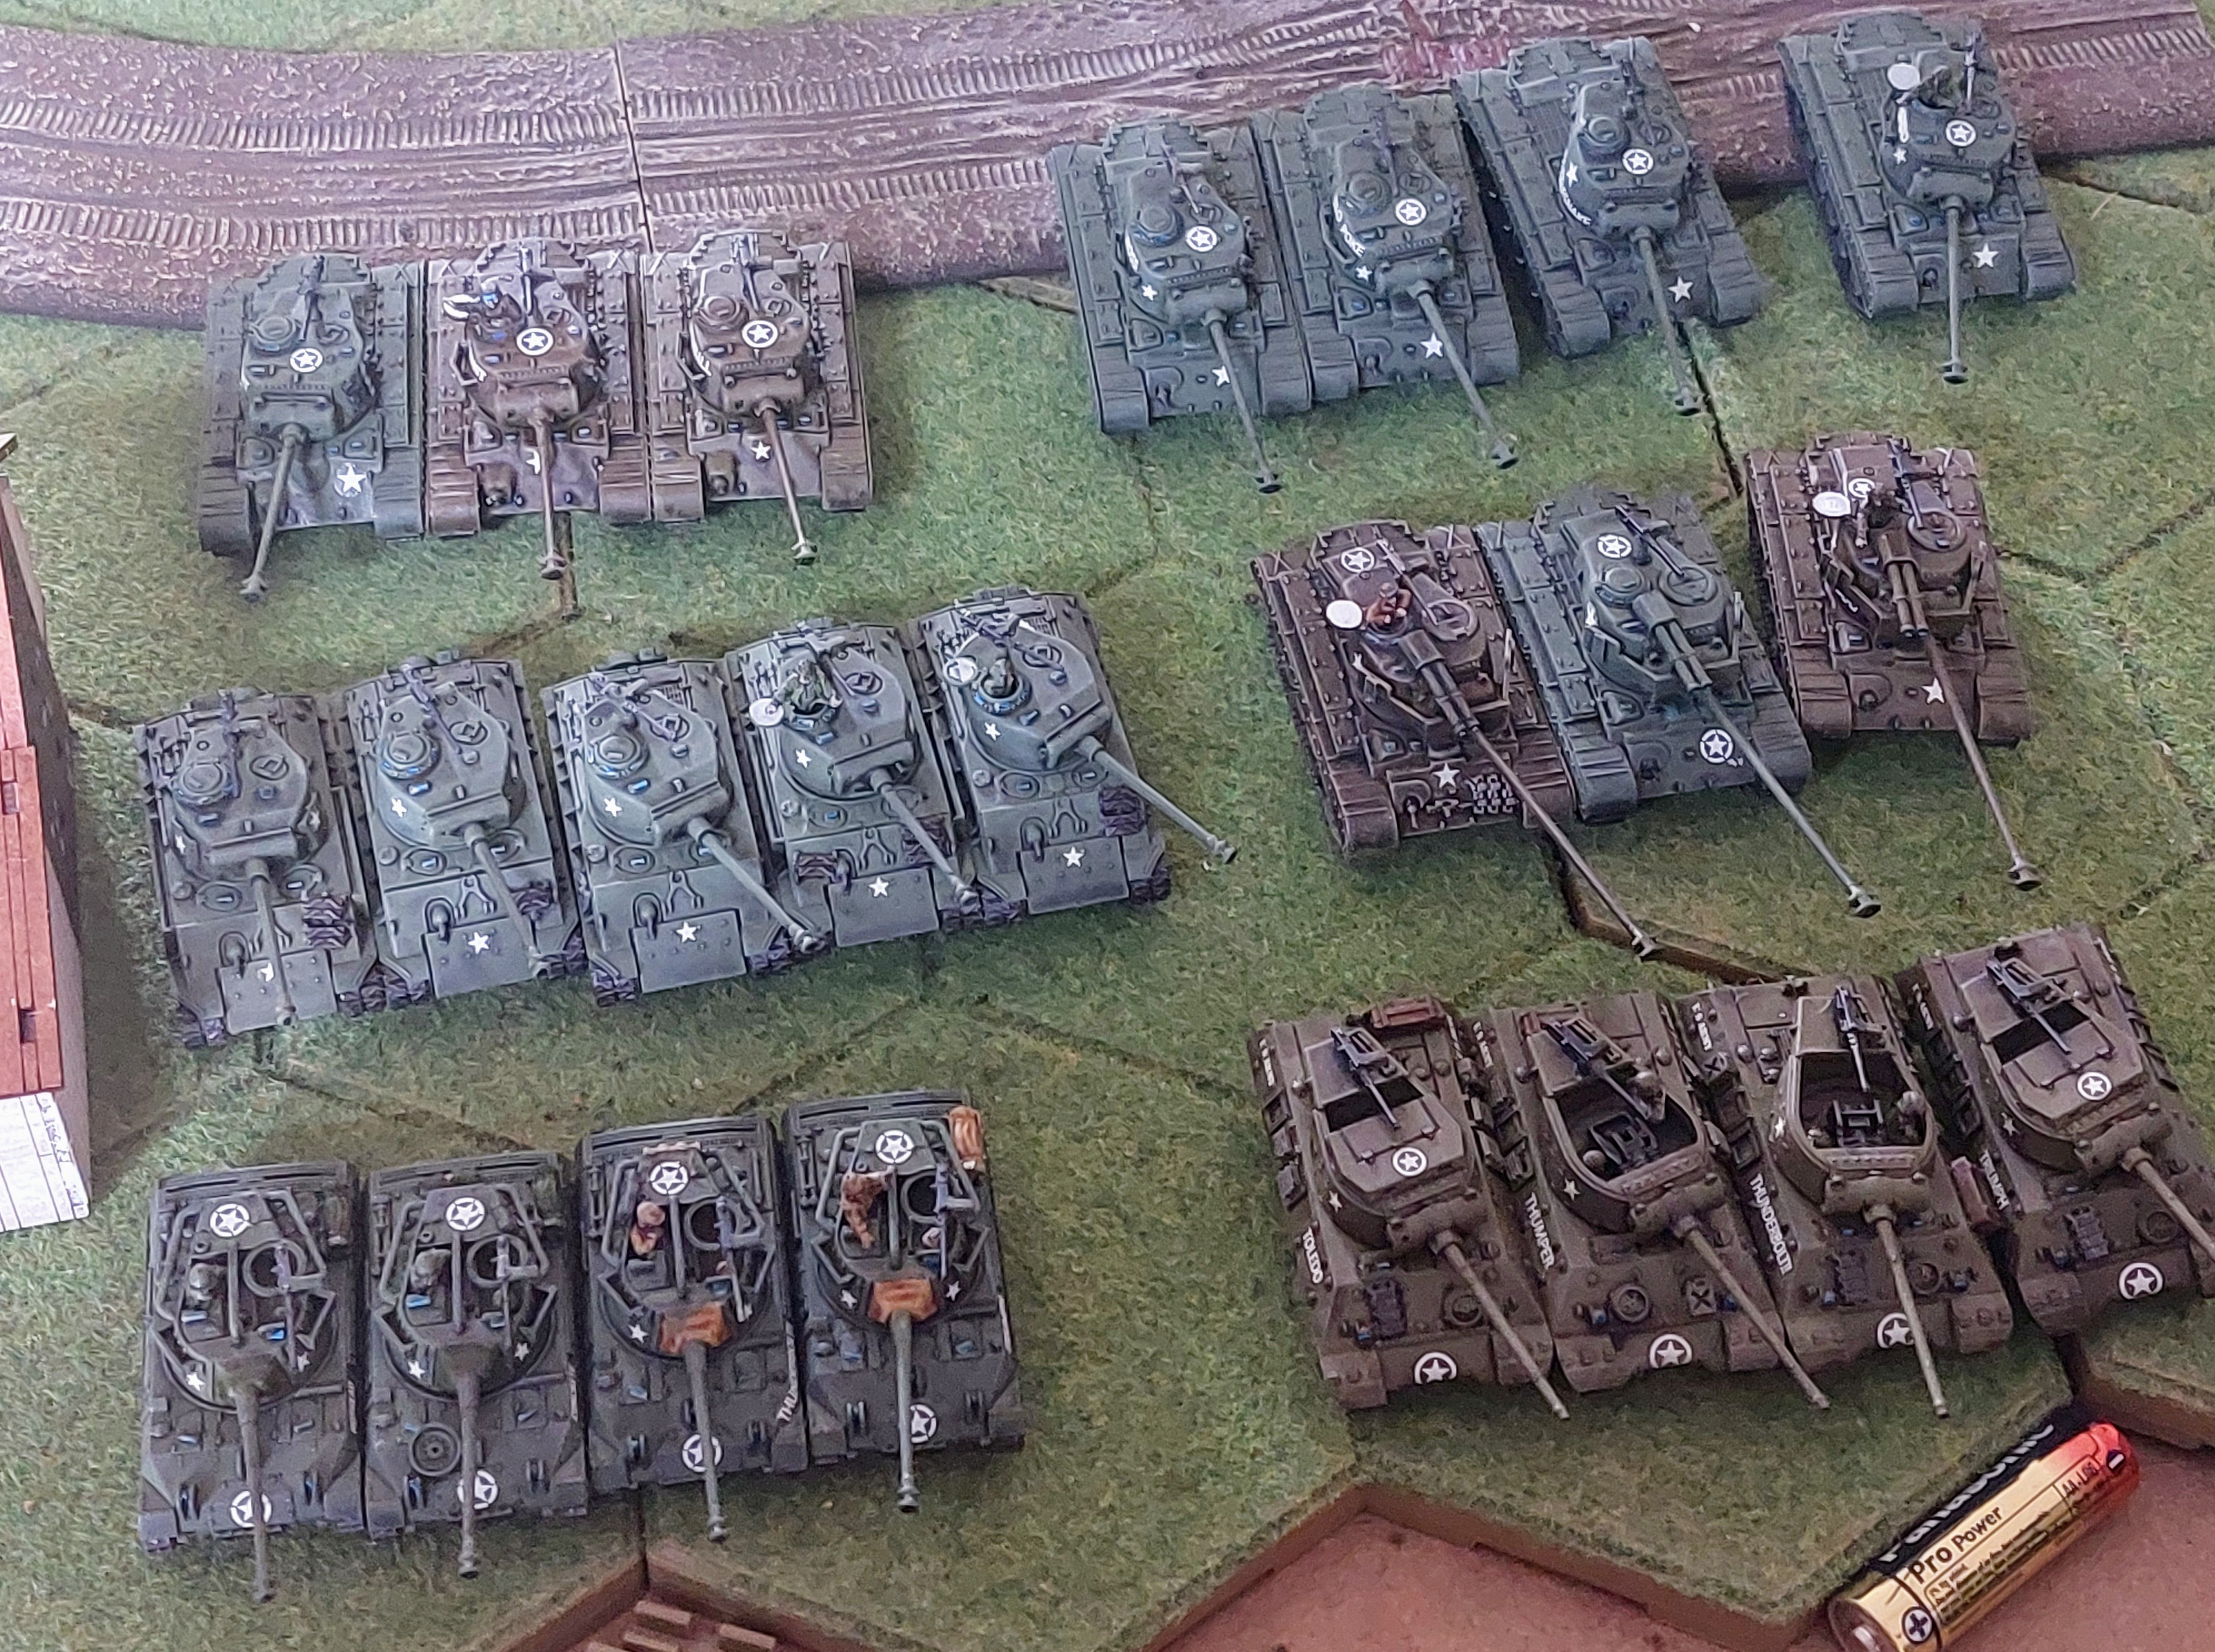
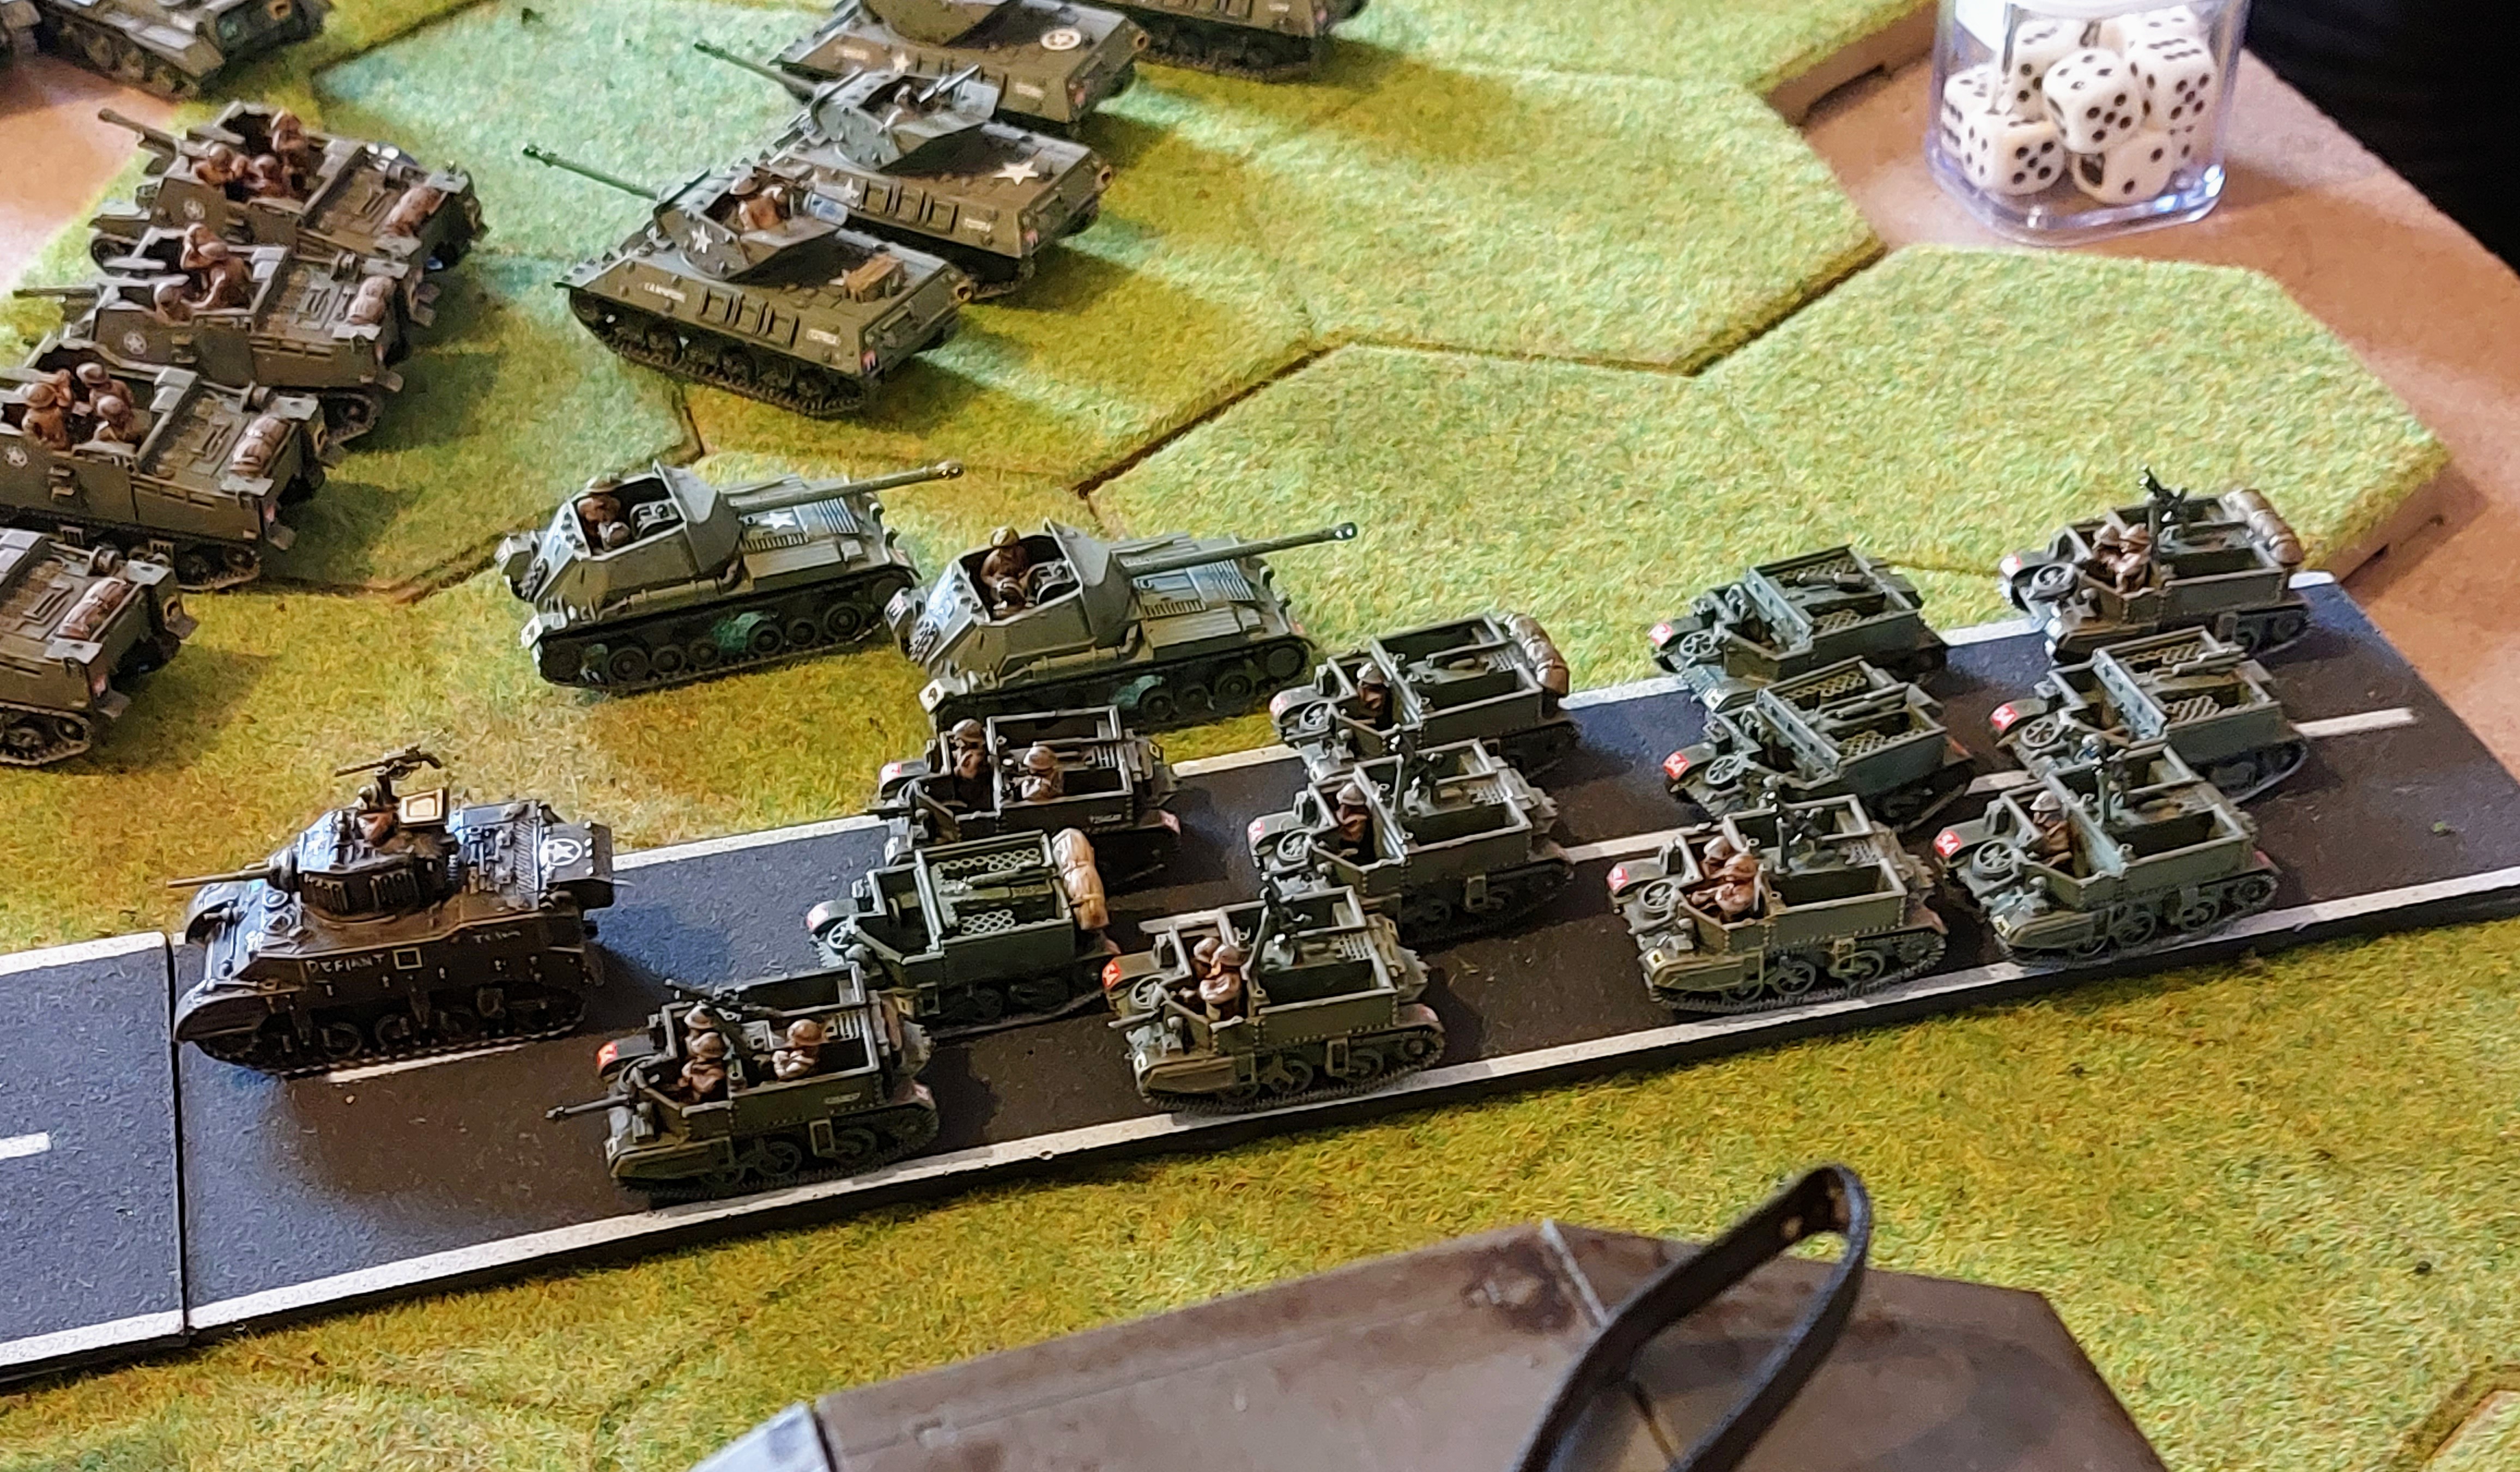
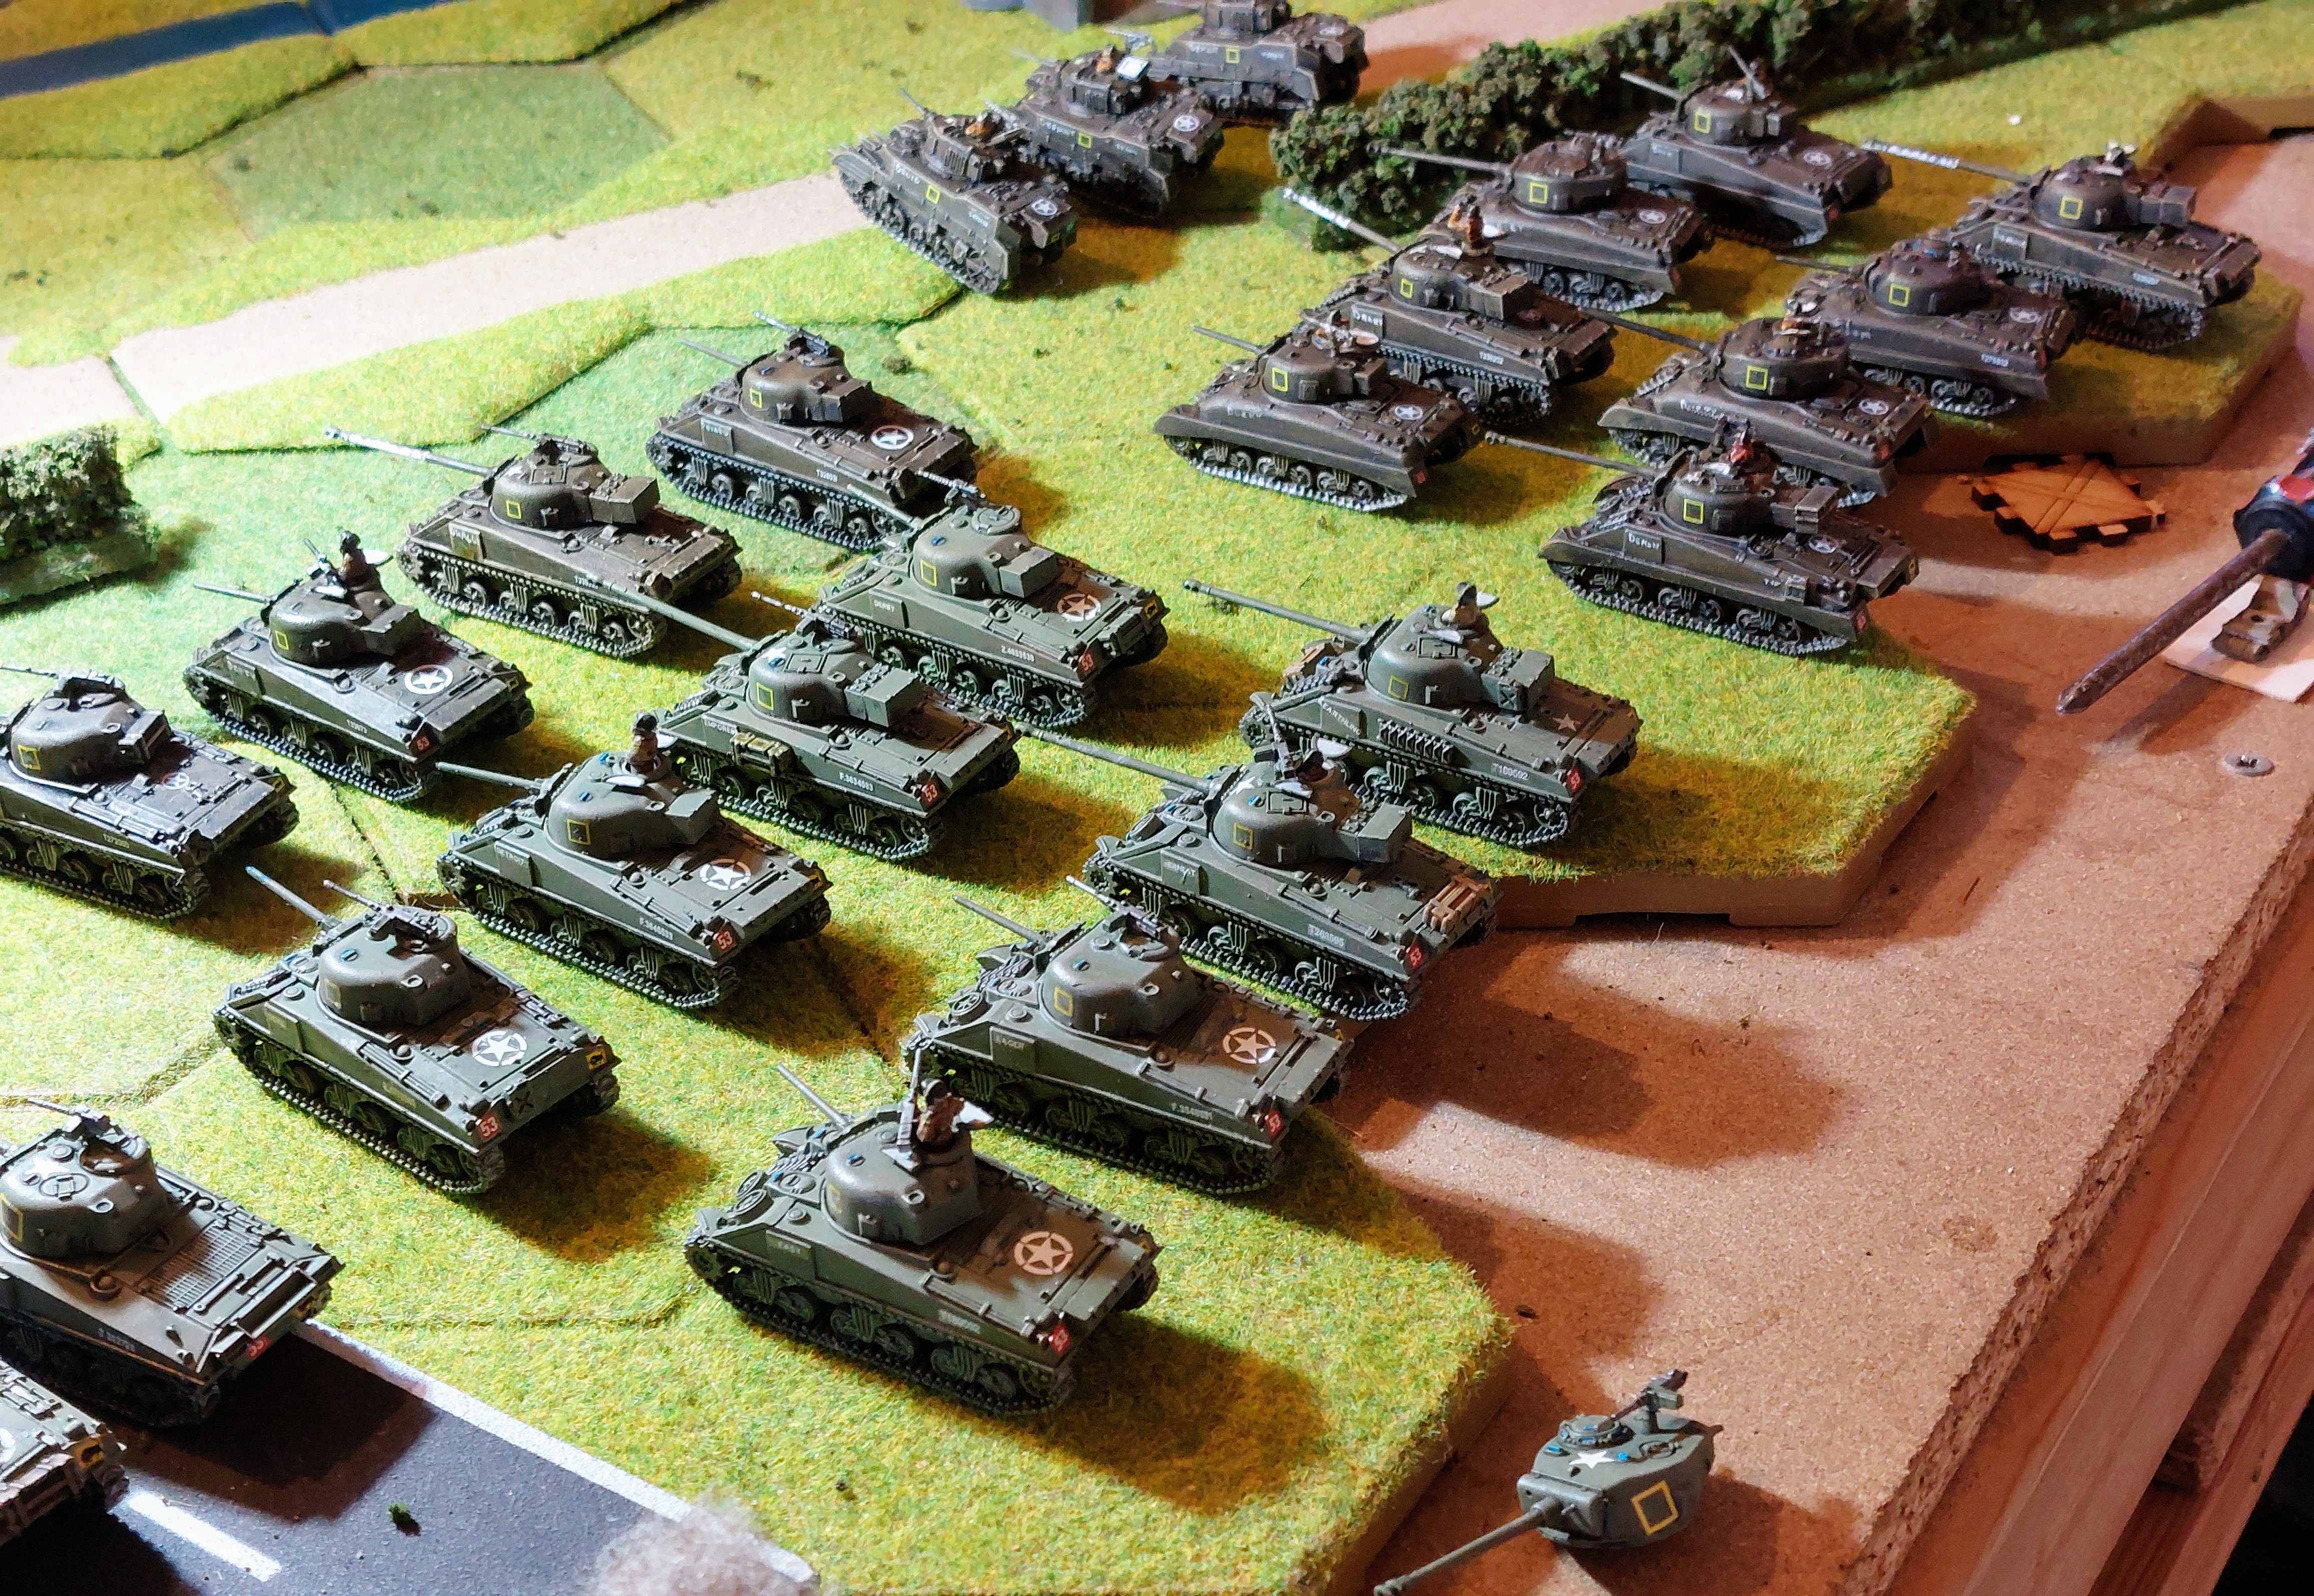
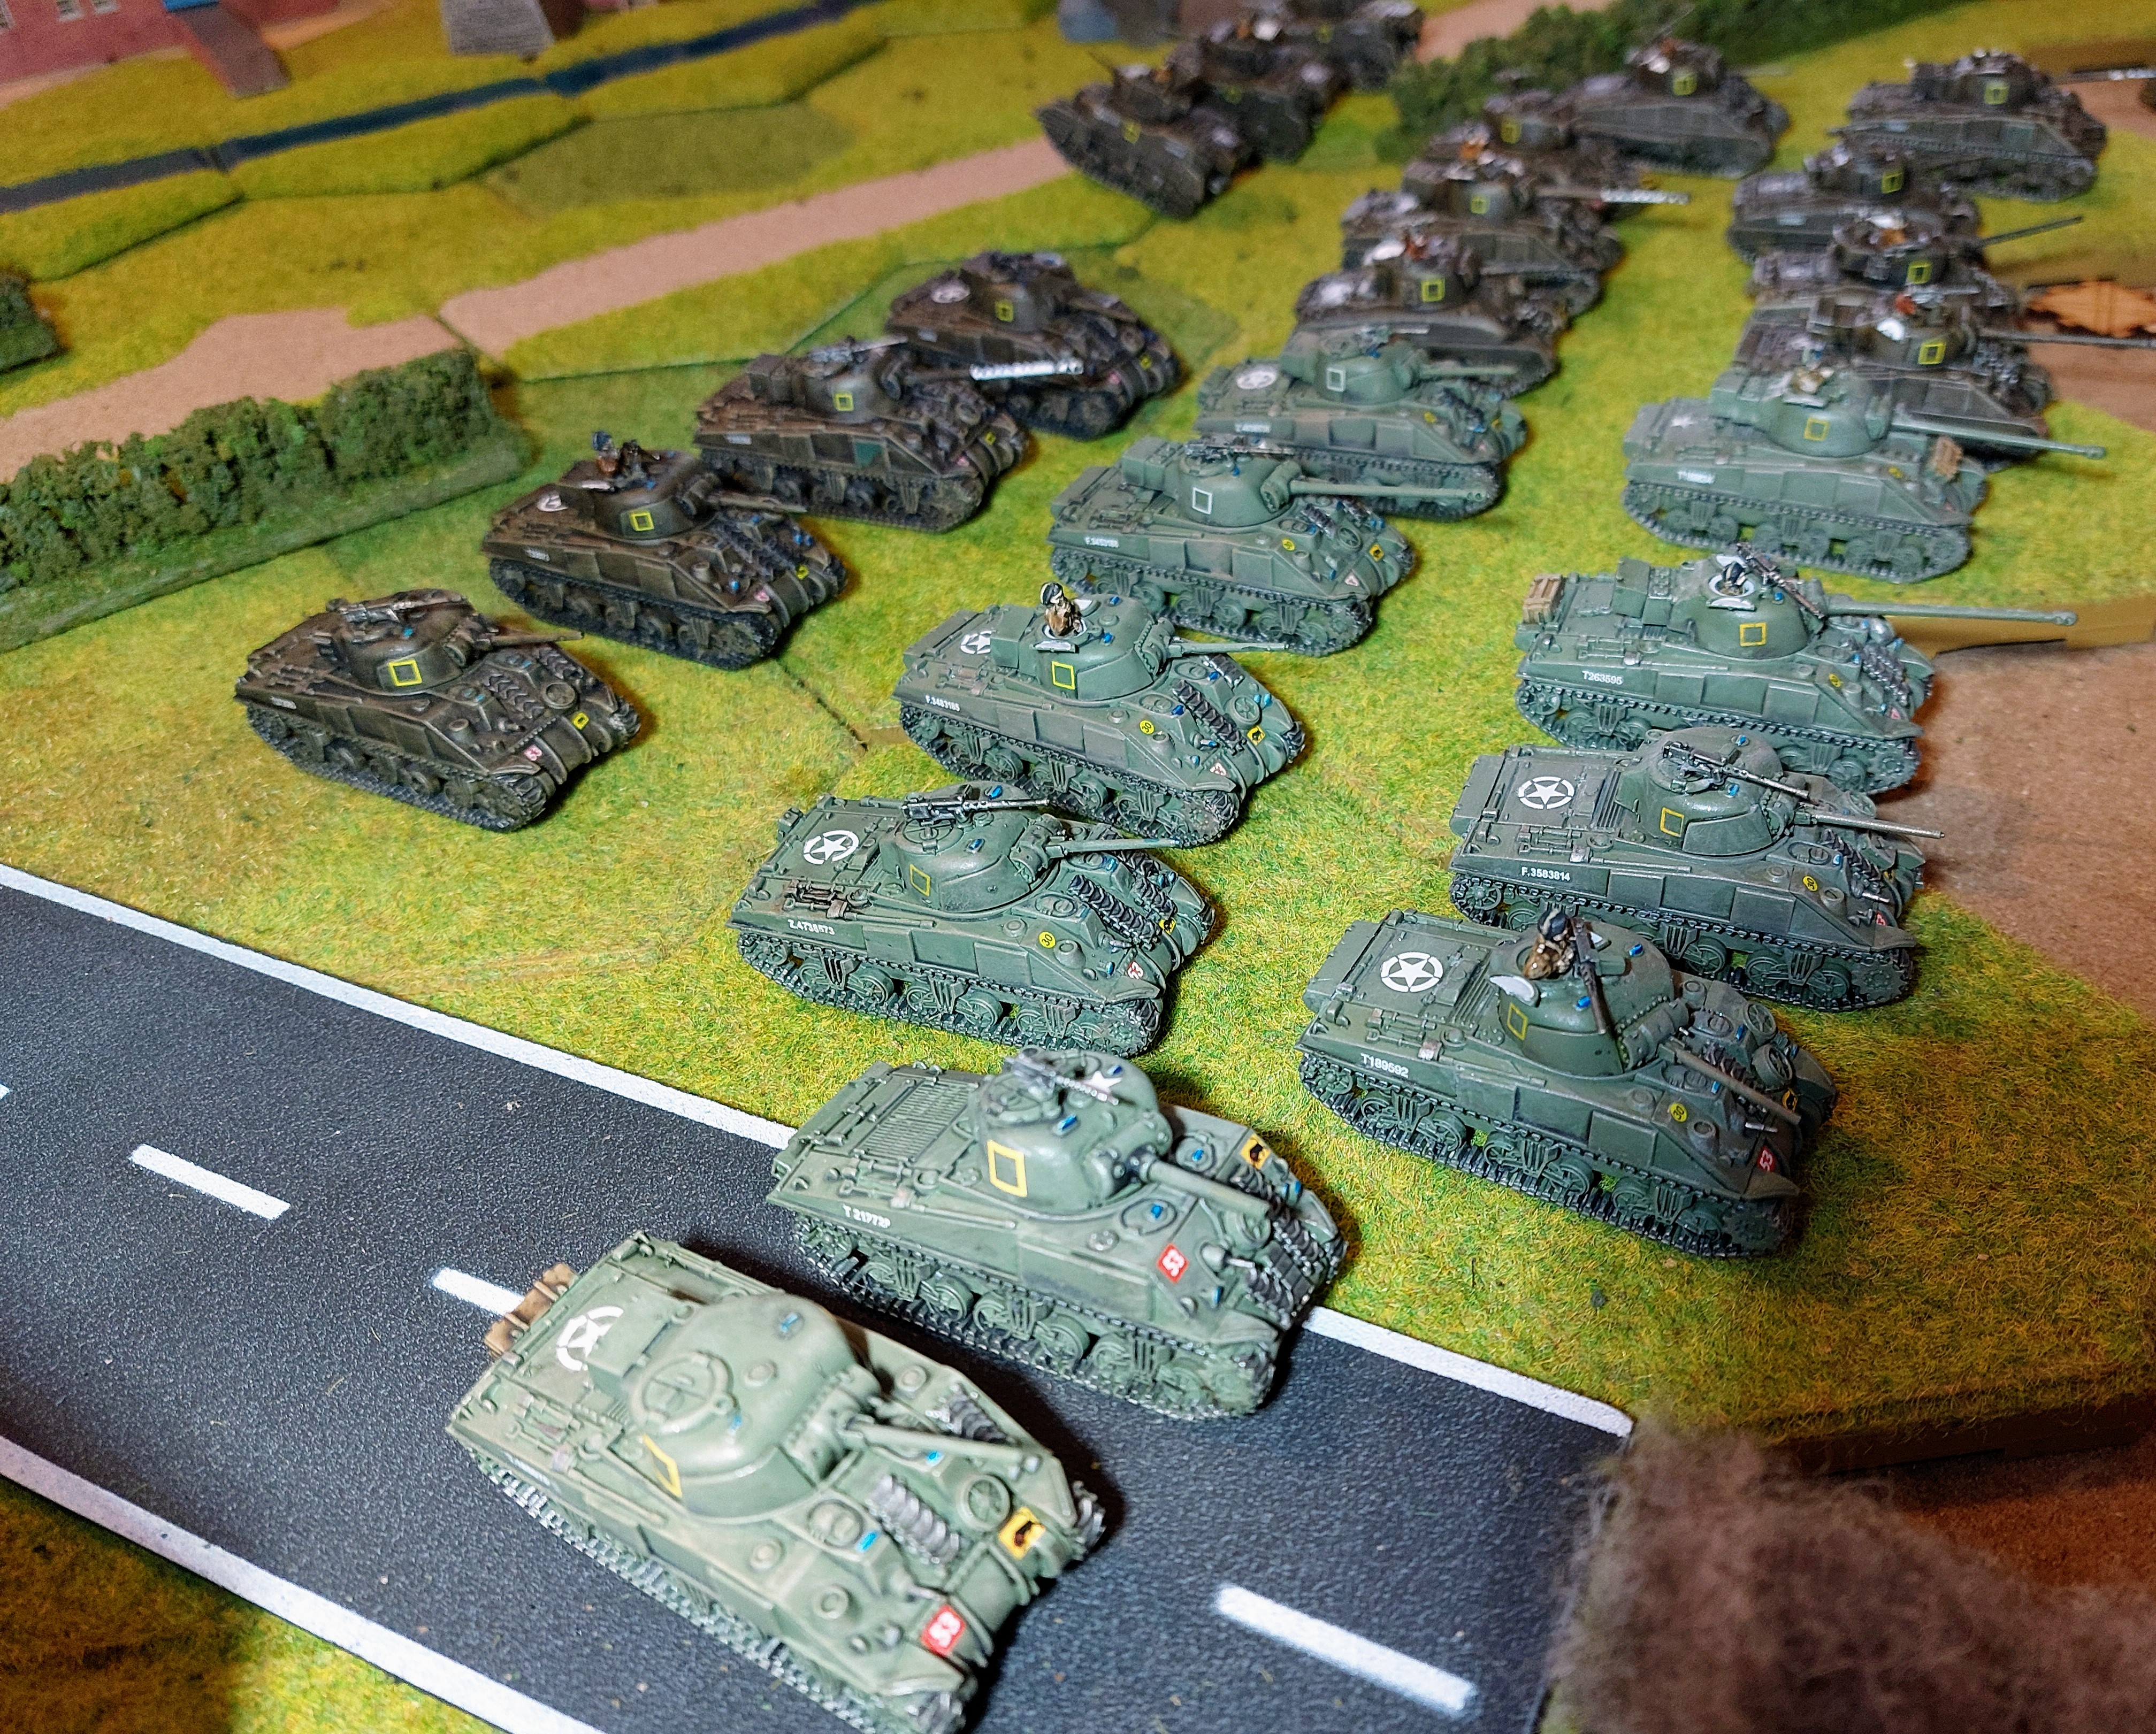
U.S Force
Command
1x T26E5 Assault Pershing 5pts Volley Fire Skill 3pts
Core Units
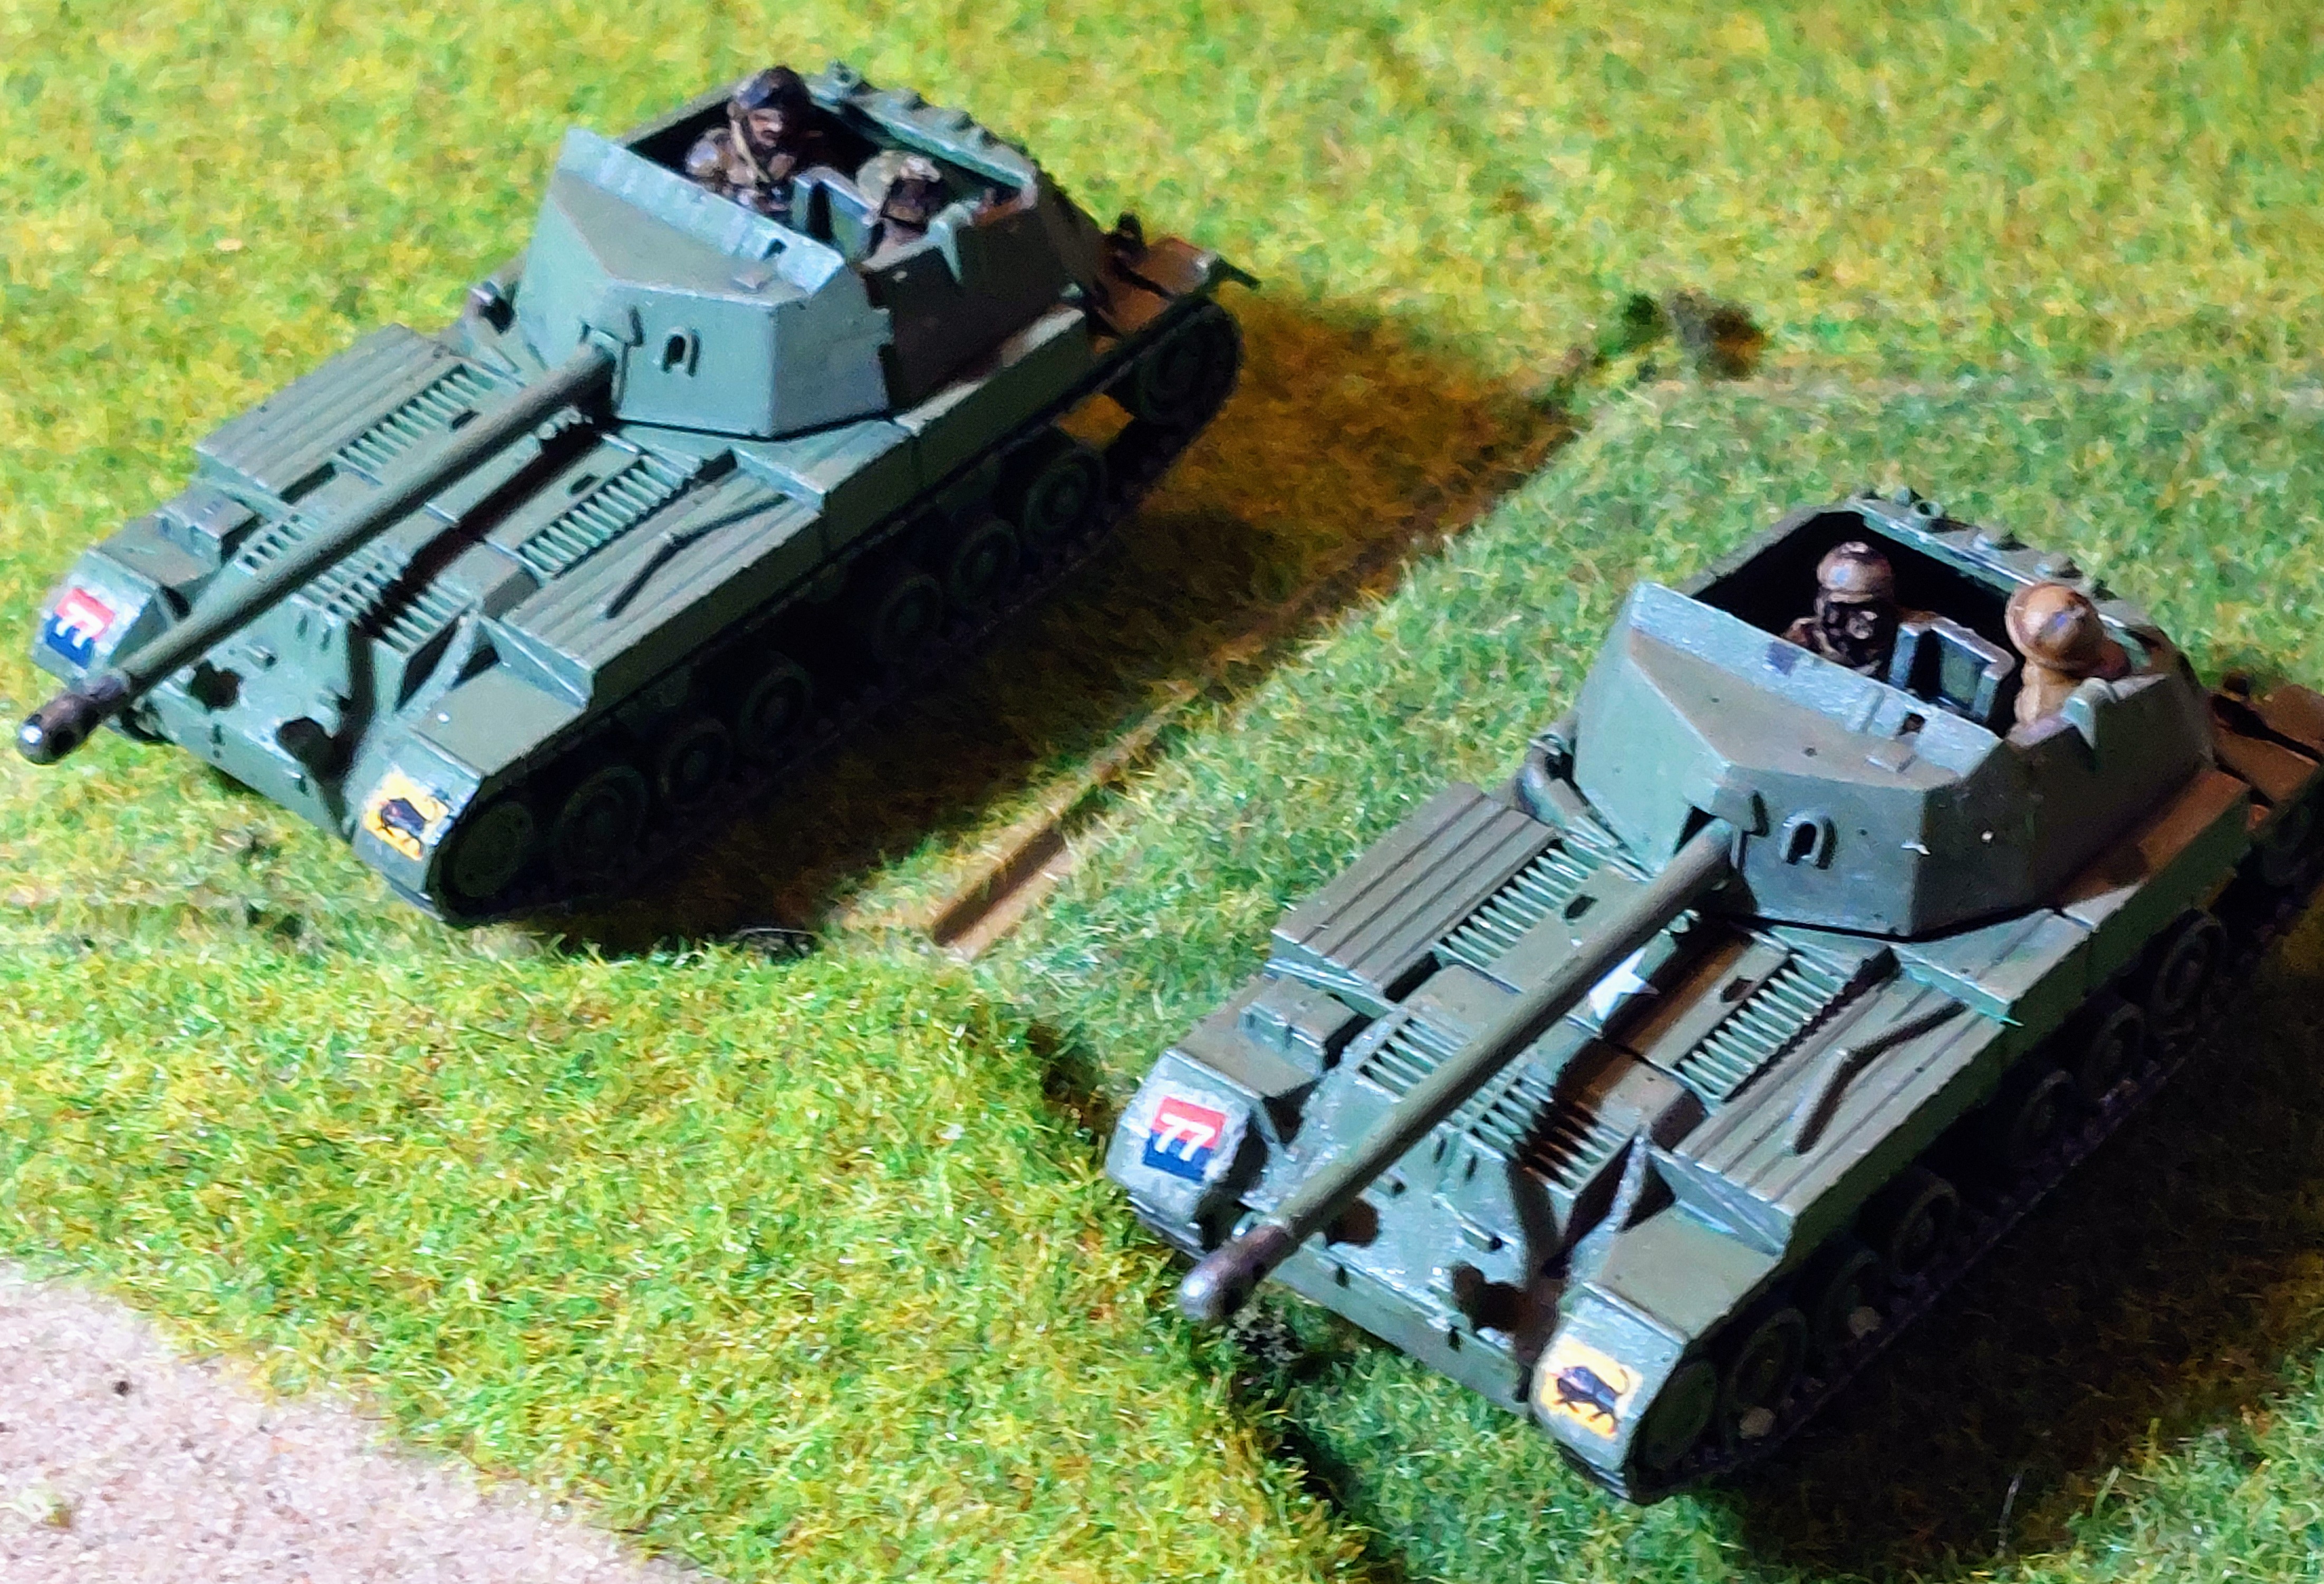
3x T26E5 Assault Pershings 16 pts
3x T26E4 Super Pershings 14pts
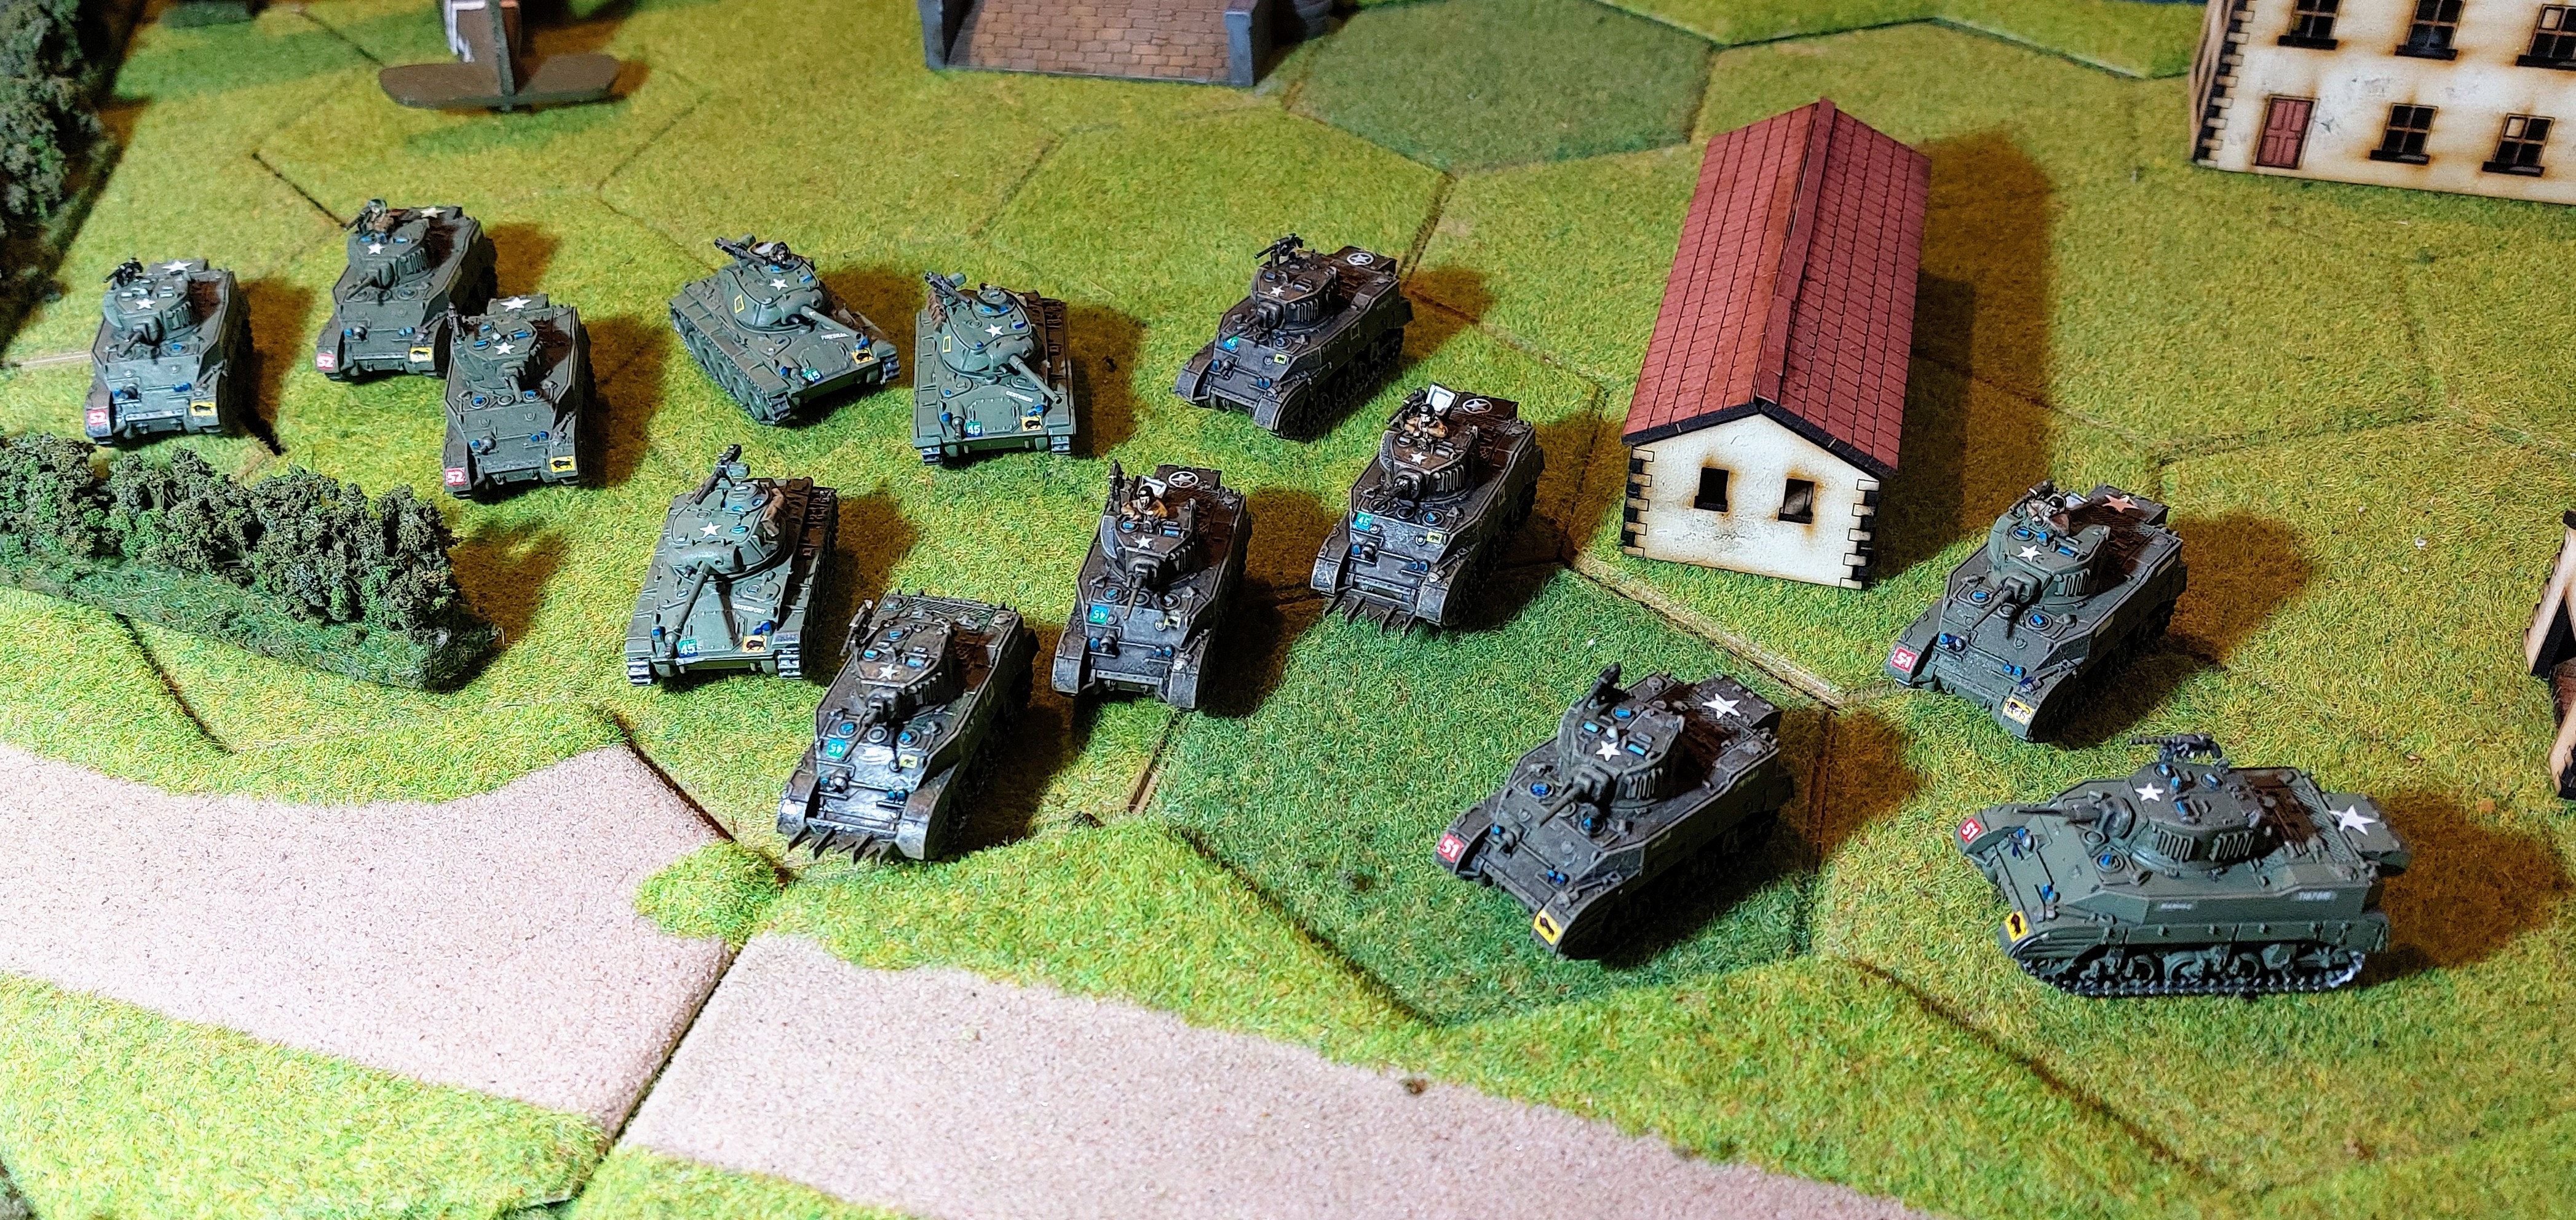
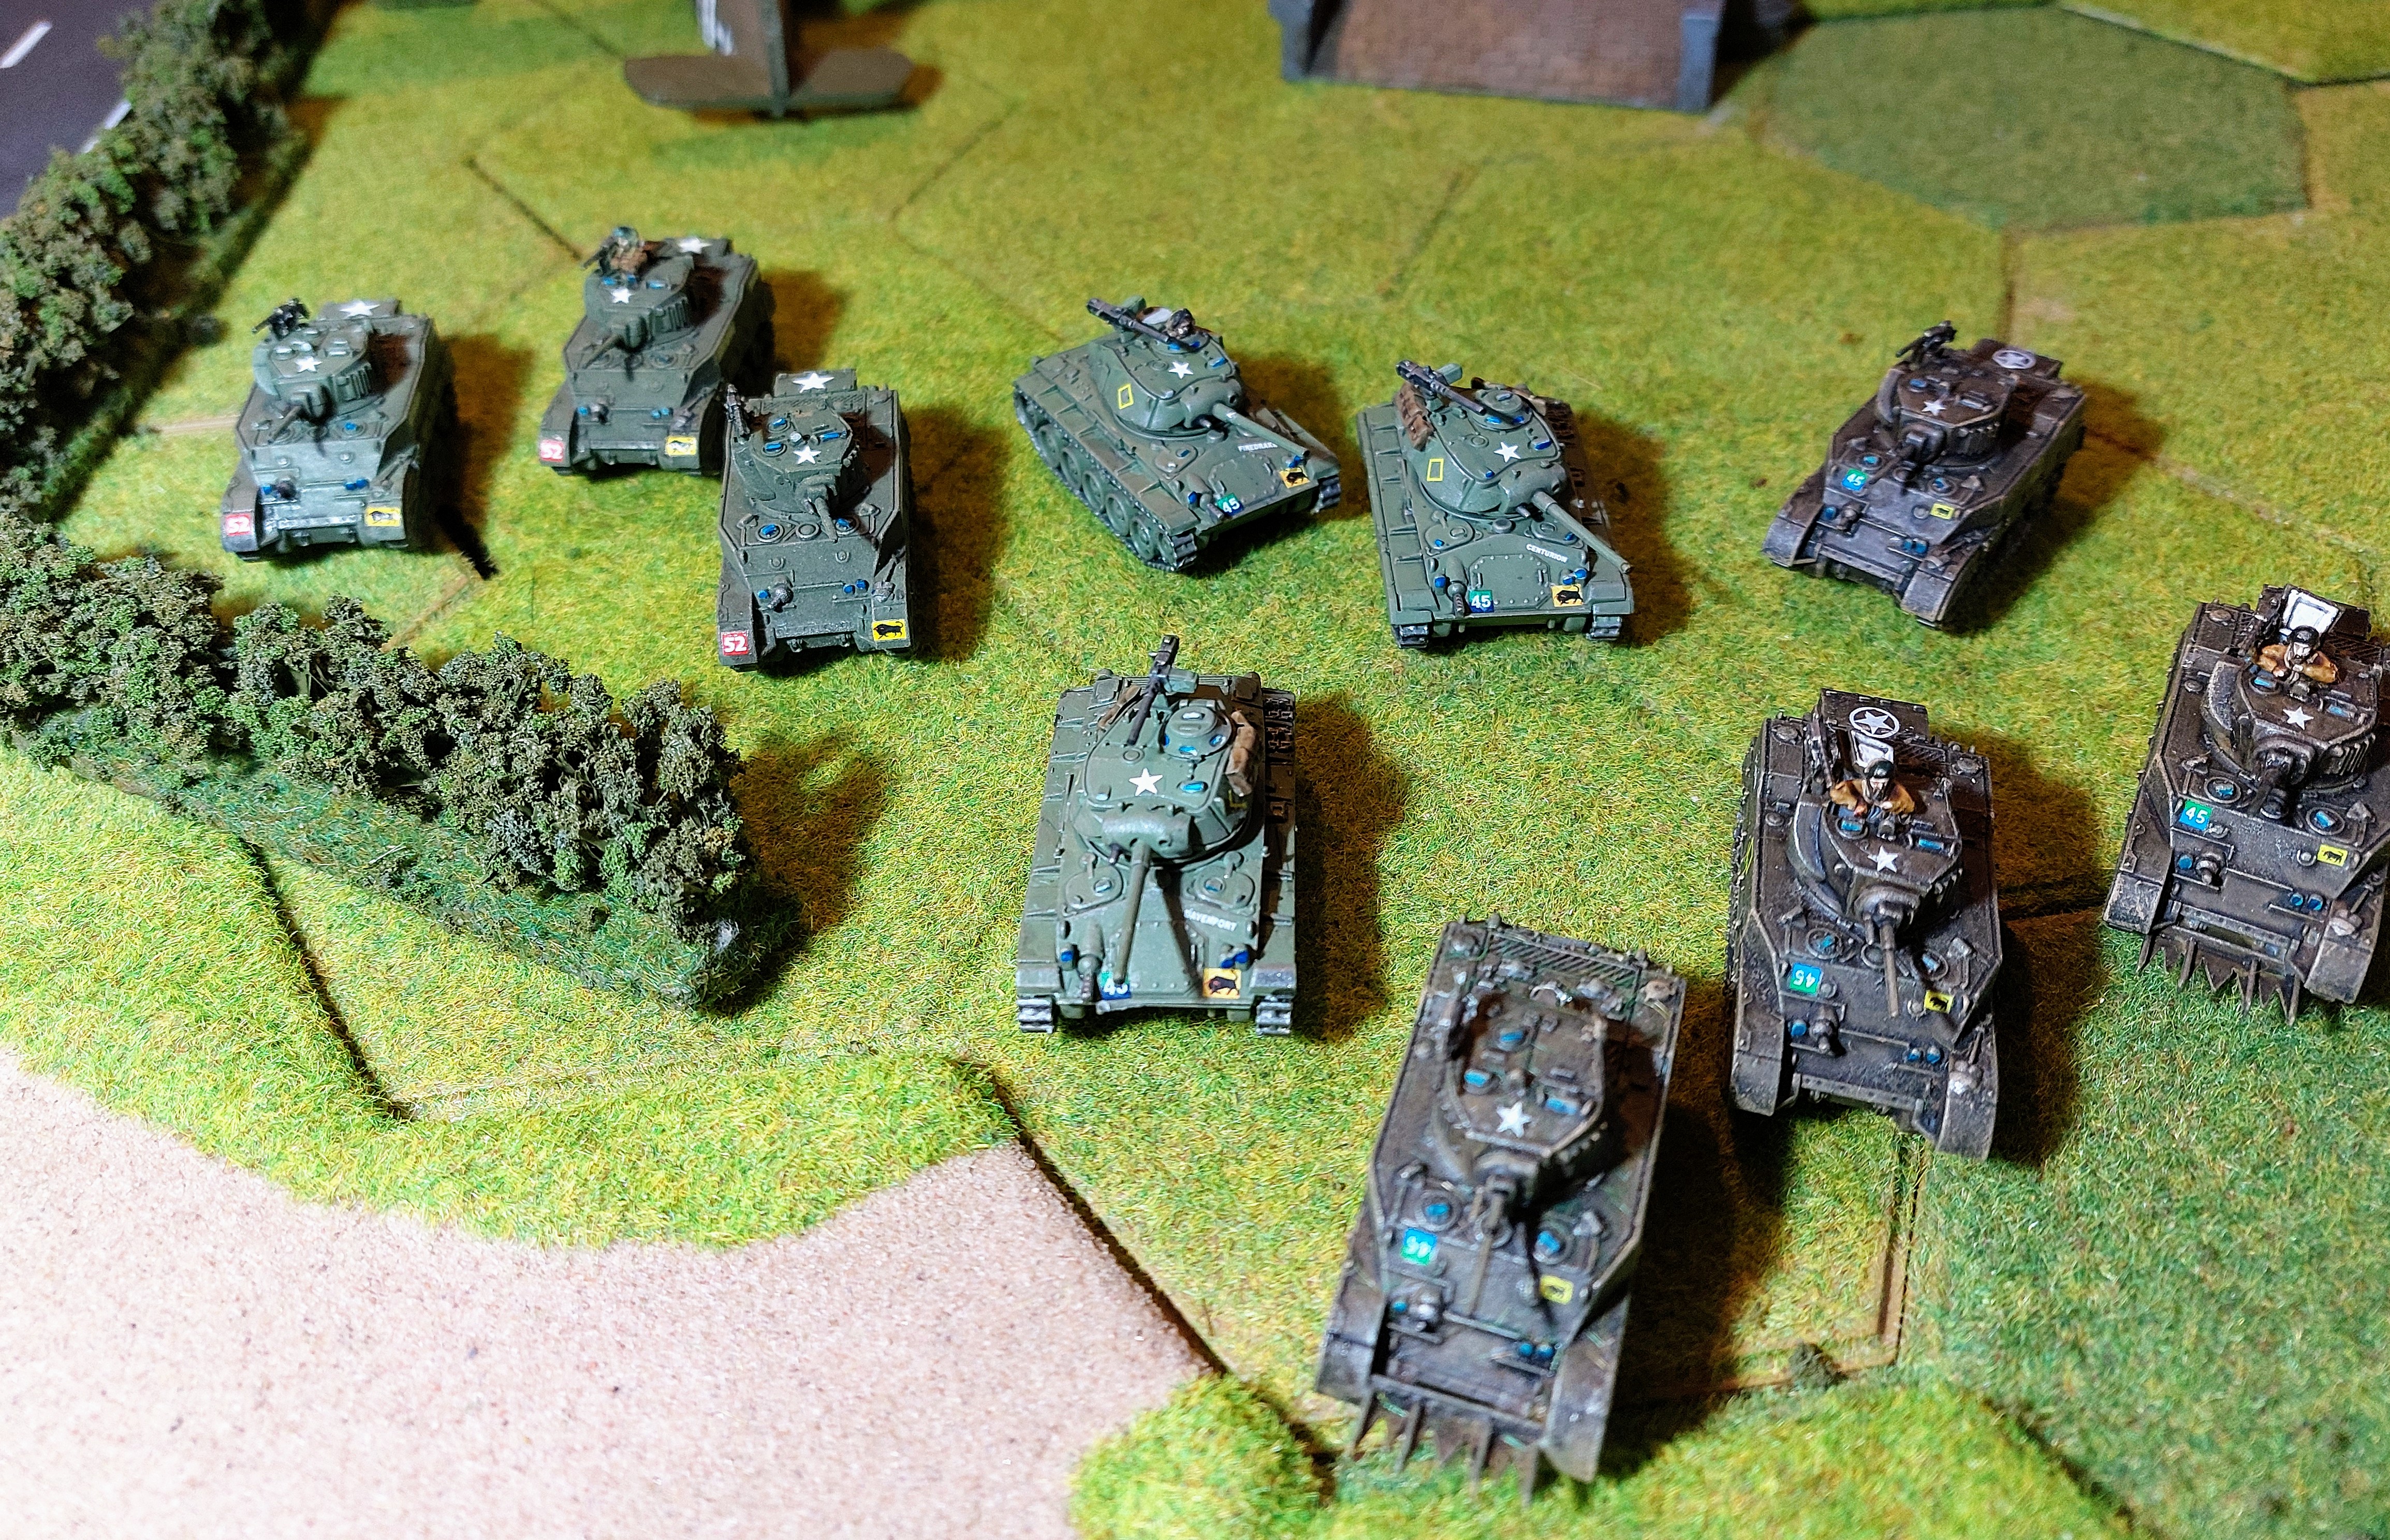
3x M26 Pershing 8 pts
5x M4A3 Easy Eight Shermans 10pts
Support Units
4x M36 Jackson Tank Destroyers 8pts
4x m18 Hellcat Tank Destroyers 6 pts
Total 70pts
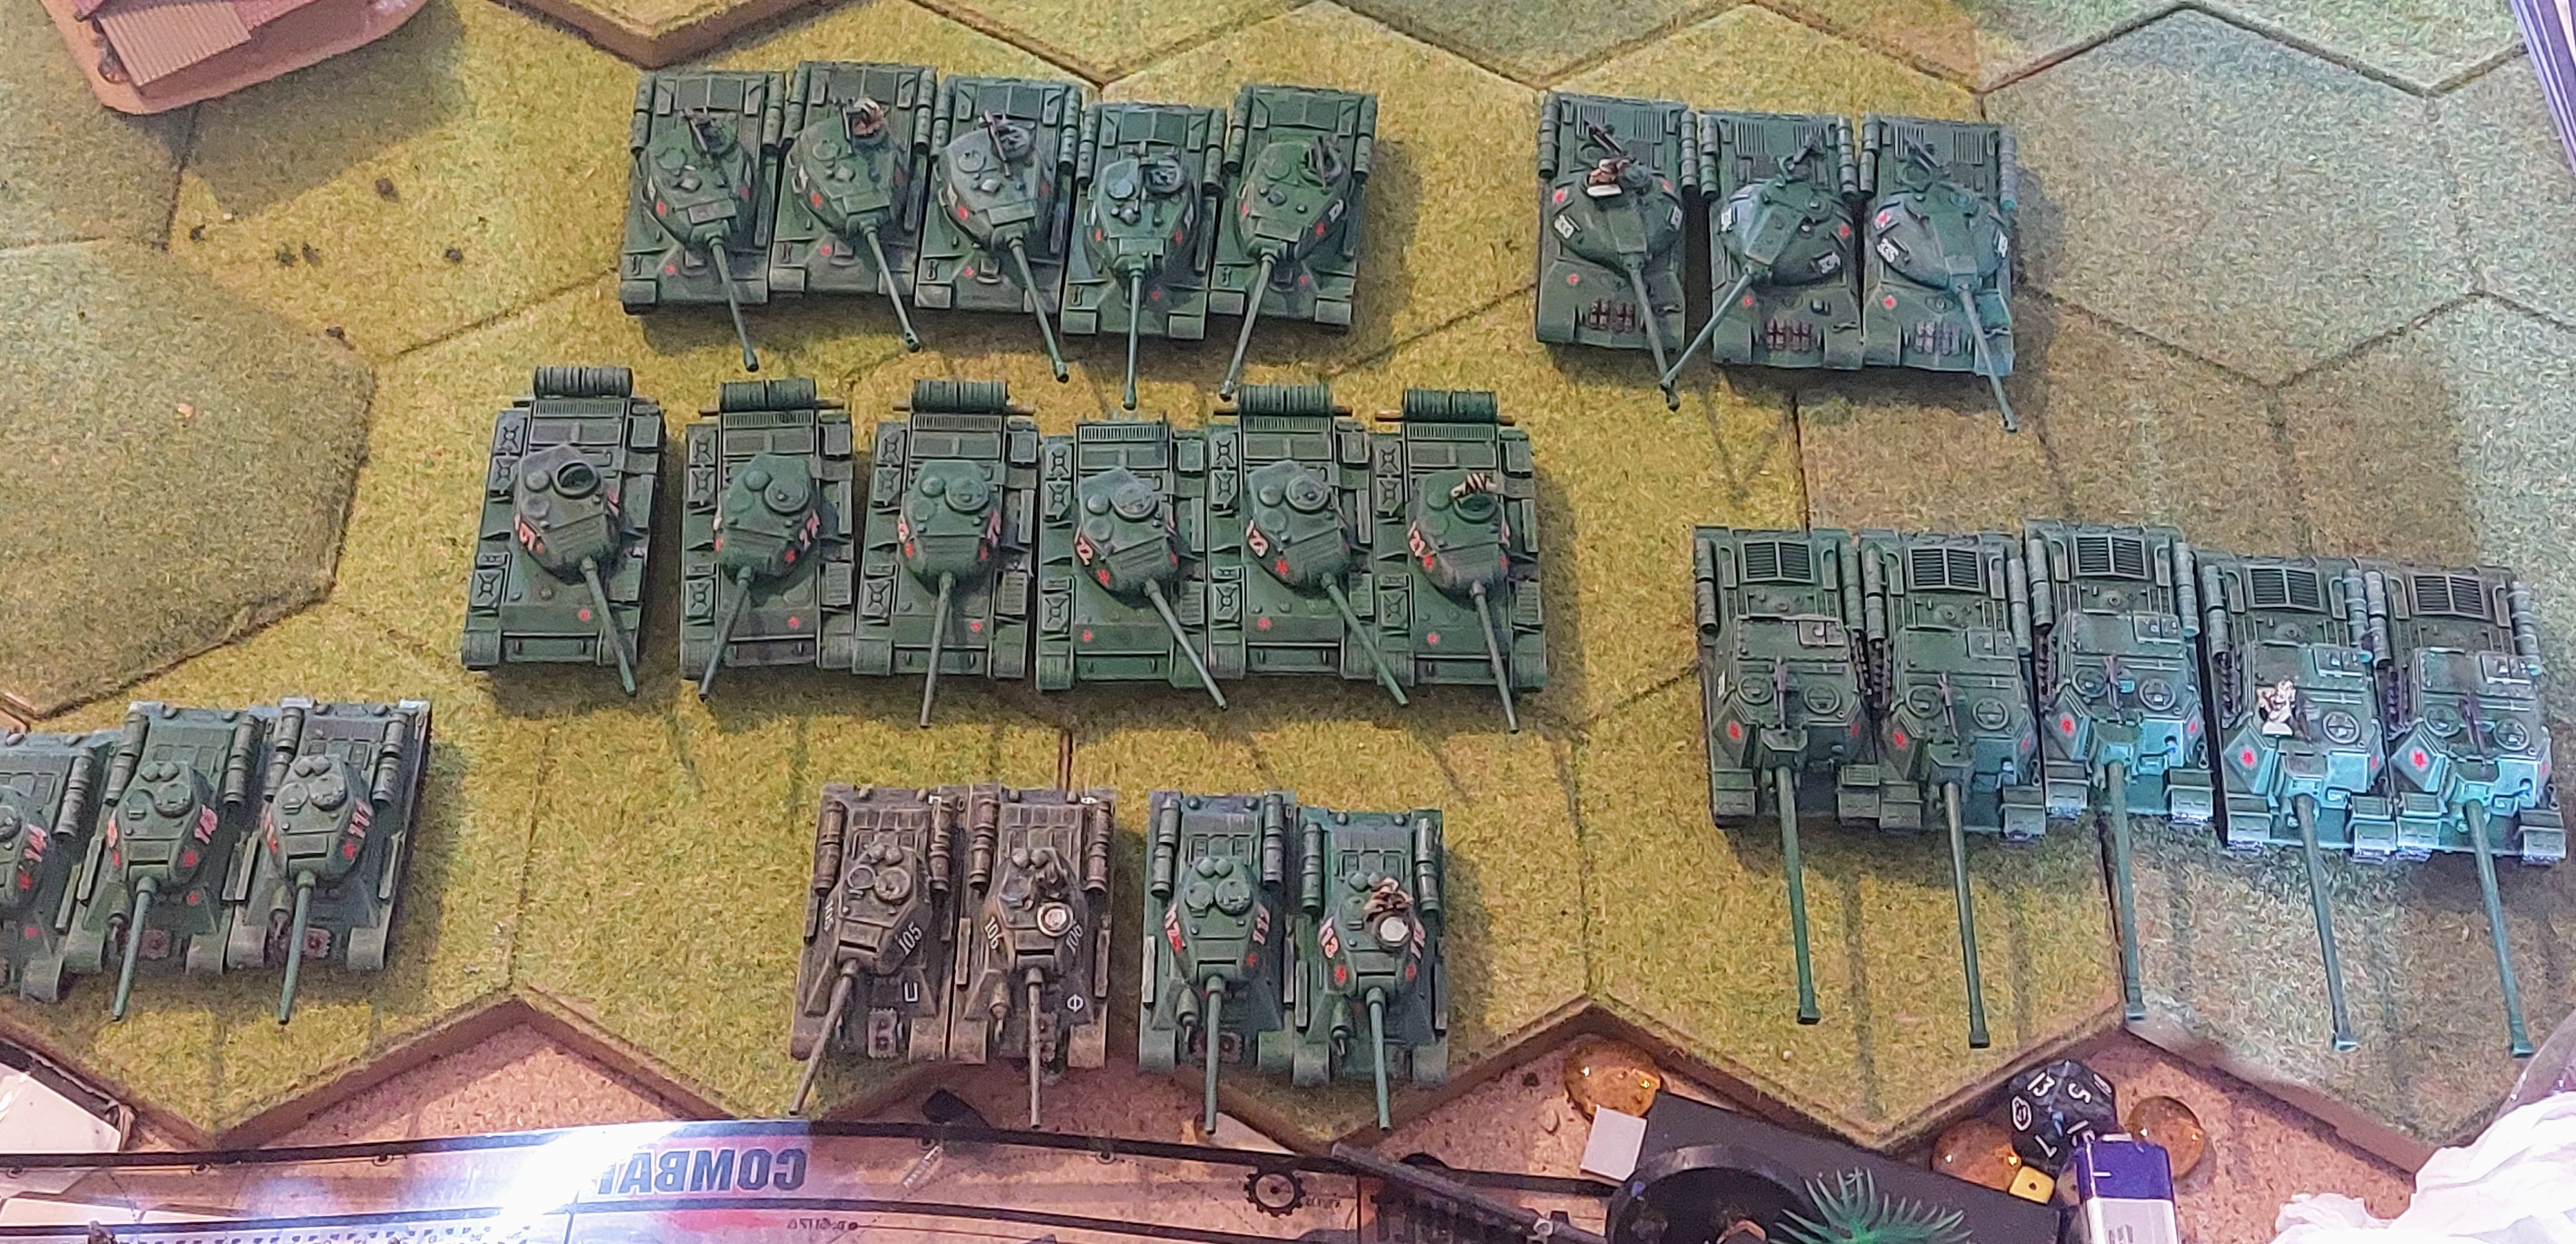
Soviets
Command
1x T44 3pts Punch it Ability 3 pts.
Core units
3x IS-3 10pts
5x IS-2 12pts
5x T44 11pts
5x ISU 130 15 pts
Support Units
4x T34/85 8 pts
3x T34/85 6 pts
70 pts total
A question to Readers
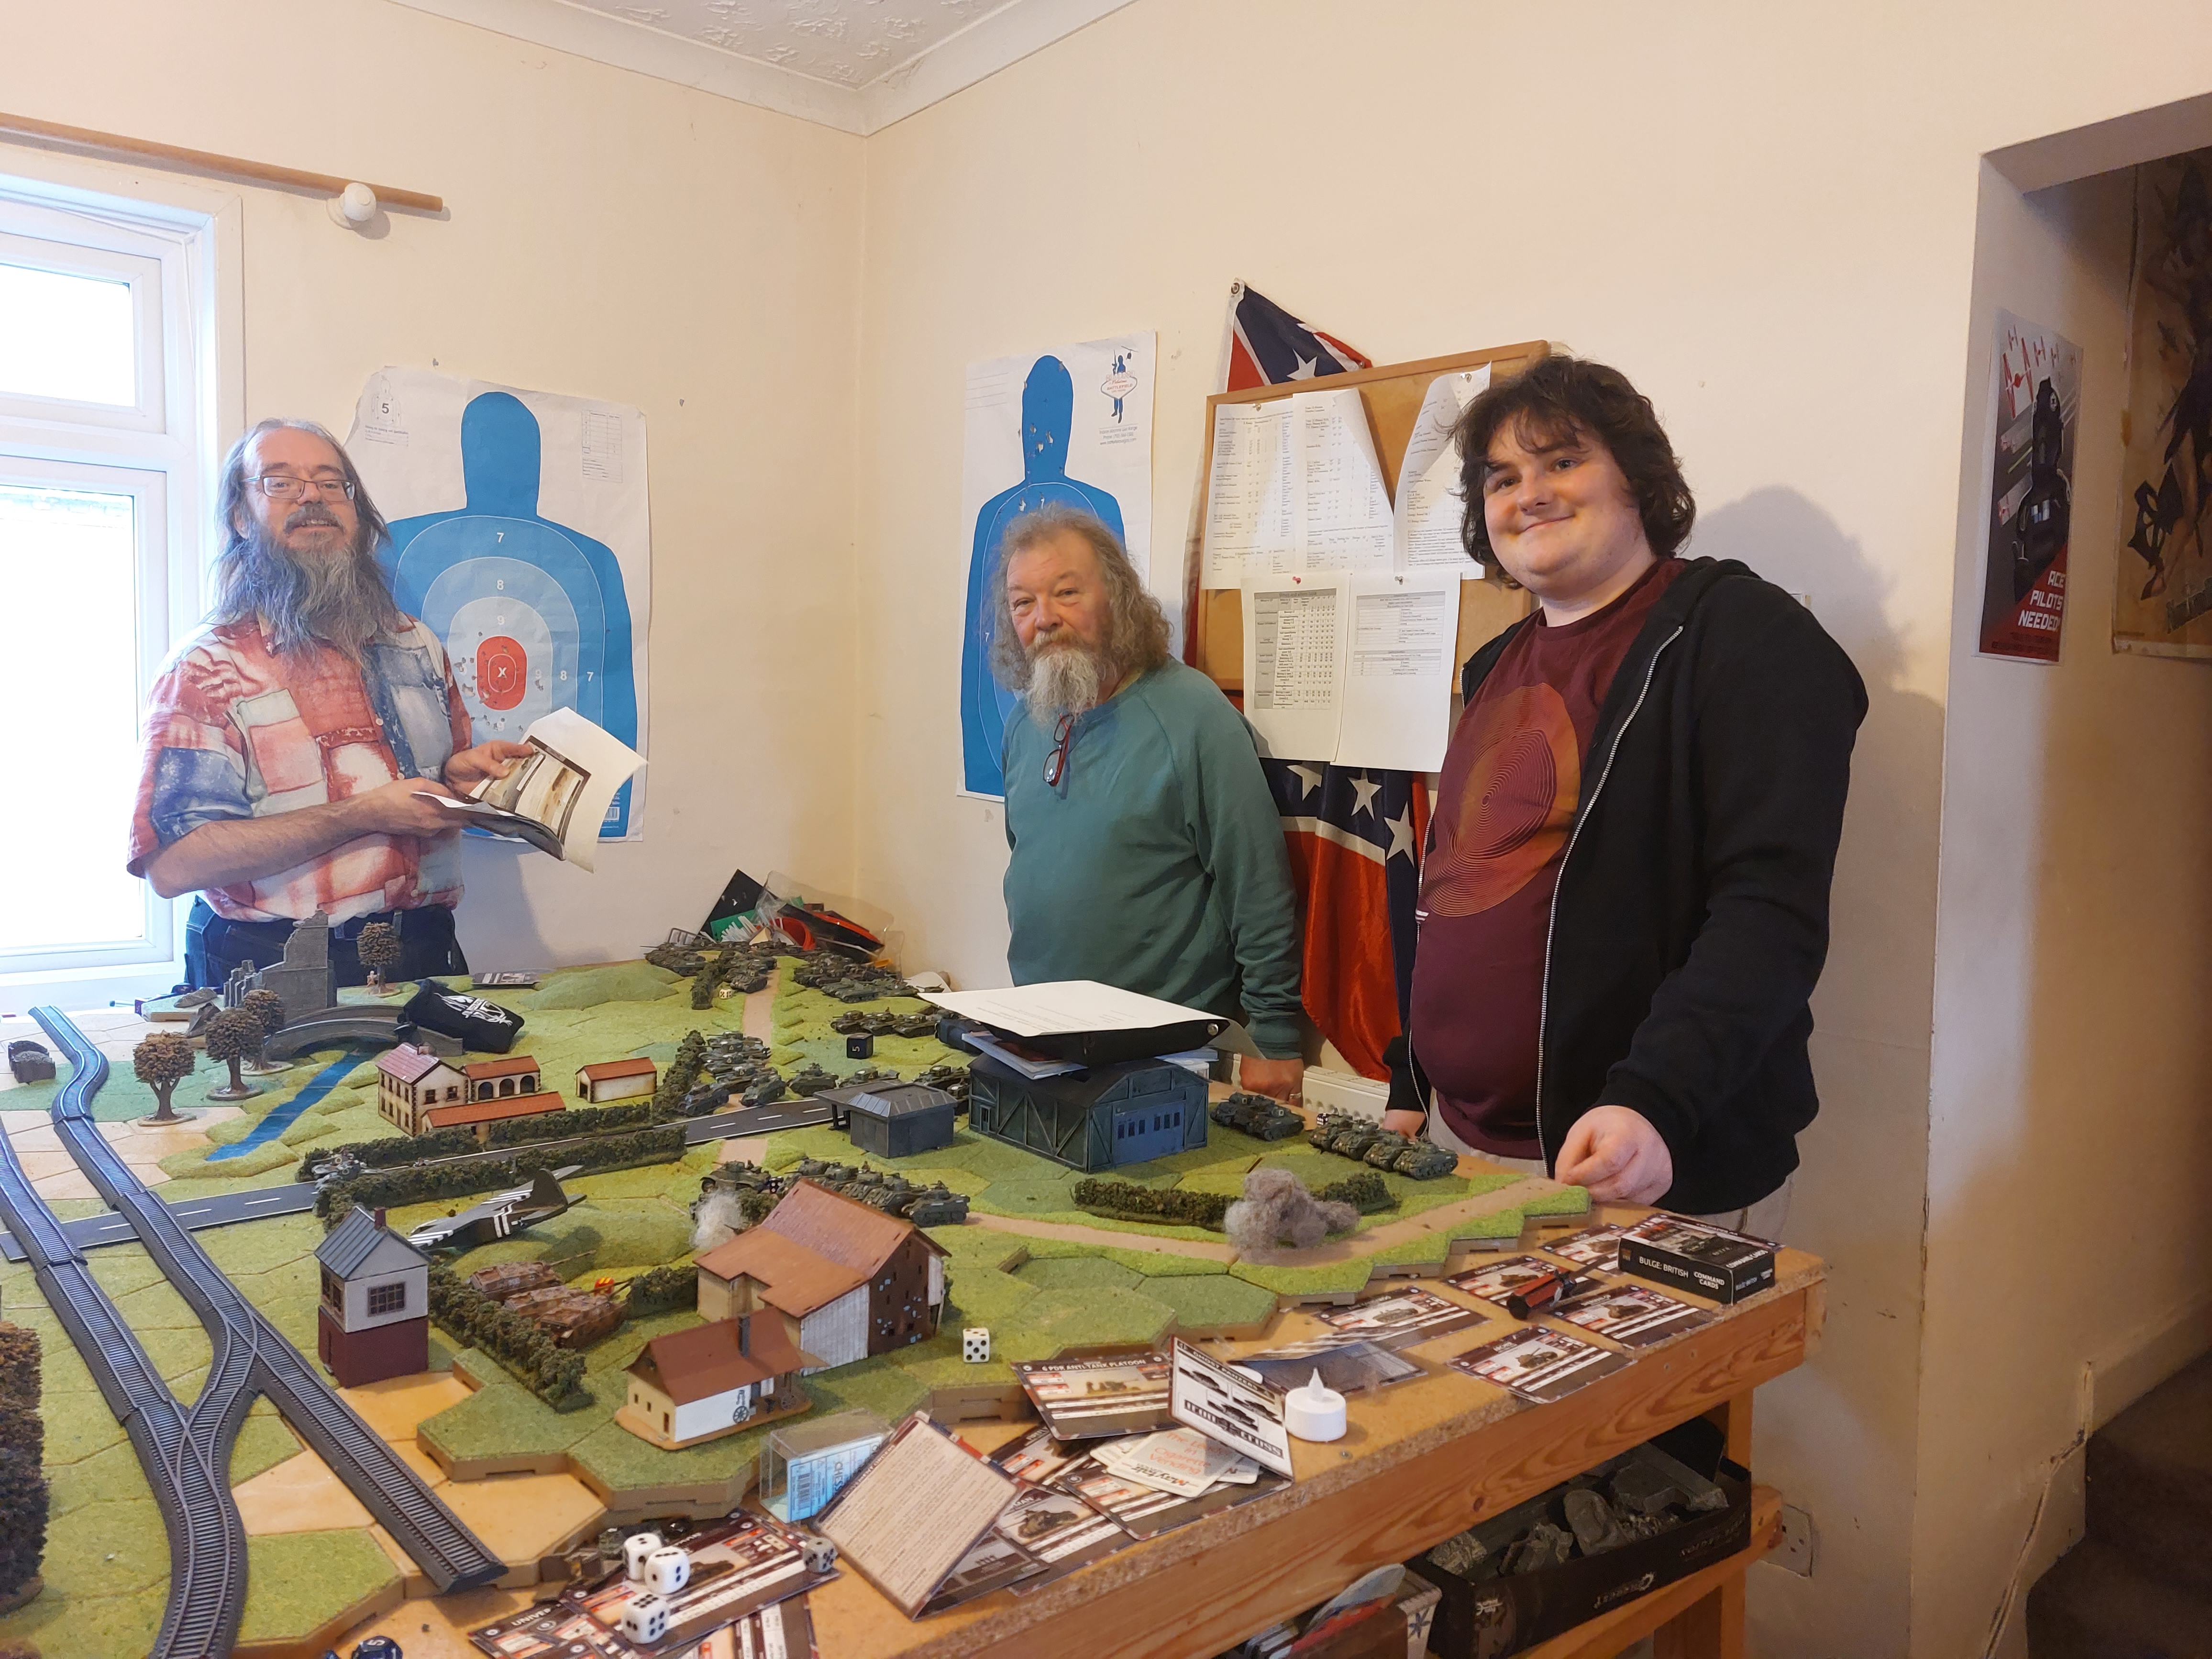
Well over the last few weeks I have beavering away painting up both the Starter sets for Clash of Steel and some other units to round out the Forces , and I’ve nearly enough U.S and Soviets to do 1st game.
(note I have had enough British and German to play for a couple of weeks but I’m being awkward reasons below)
But the question to the masses do you want me to go back over how I painted the various forces , or would you prefer I go straight to the battle report ?
Now those that know me will know I’ll tinker with the rules a bit, mainly in this case as intend to play it solo . The 1st 2 player will be rules as read. The reason for the amendment’s is partly :
1) I dont like I go you initiative
2) a more random initiative will make playing both sides easier and fairer
3) I will be amending the random scenario and objectives to fit in with the narrative I have for the 1st and possibly series of small games.
This comes to the reason I haven’t played with Brits and Germans so far, as the base narrative of the game is a Western Allies (plus a slowly recovering Germany) vs Soviets , and my plan is to play the initial clashs of the respective forces described in the background of the game.
Starting with the U.S and Soviets.
Not only that I’m initially leaving out the more exotic vehicles for the this initial clash where possible , and play a game with forces that could have dnd sid sometimes meet in Korea 2 years later.
Clash of Steel
As part of my current flit between period and Genres, I am now heading back to this one with the release of above.
I had said no new projects then I got into Legions Imperialis, but both this and the Western Gunfighters projects are not new. With this I’m just extending the time period my 11th Armoured is engaged in.
For a long time I’ve wanted to do a what if, had the war continued , without bloody Zombies, Mechs, Monsters of the I’d etc, and actually use some of the built and used post war kit, that in many cases were used in Korea. Funny in how in all the above weird wars , allied vehicle and air technology seems to be ignored in favour of even more exotic designs than some of the weird ones that were actually considered.
Apart from that who doesn’t want to play with Maus, Tortoise, and IS3?
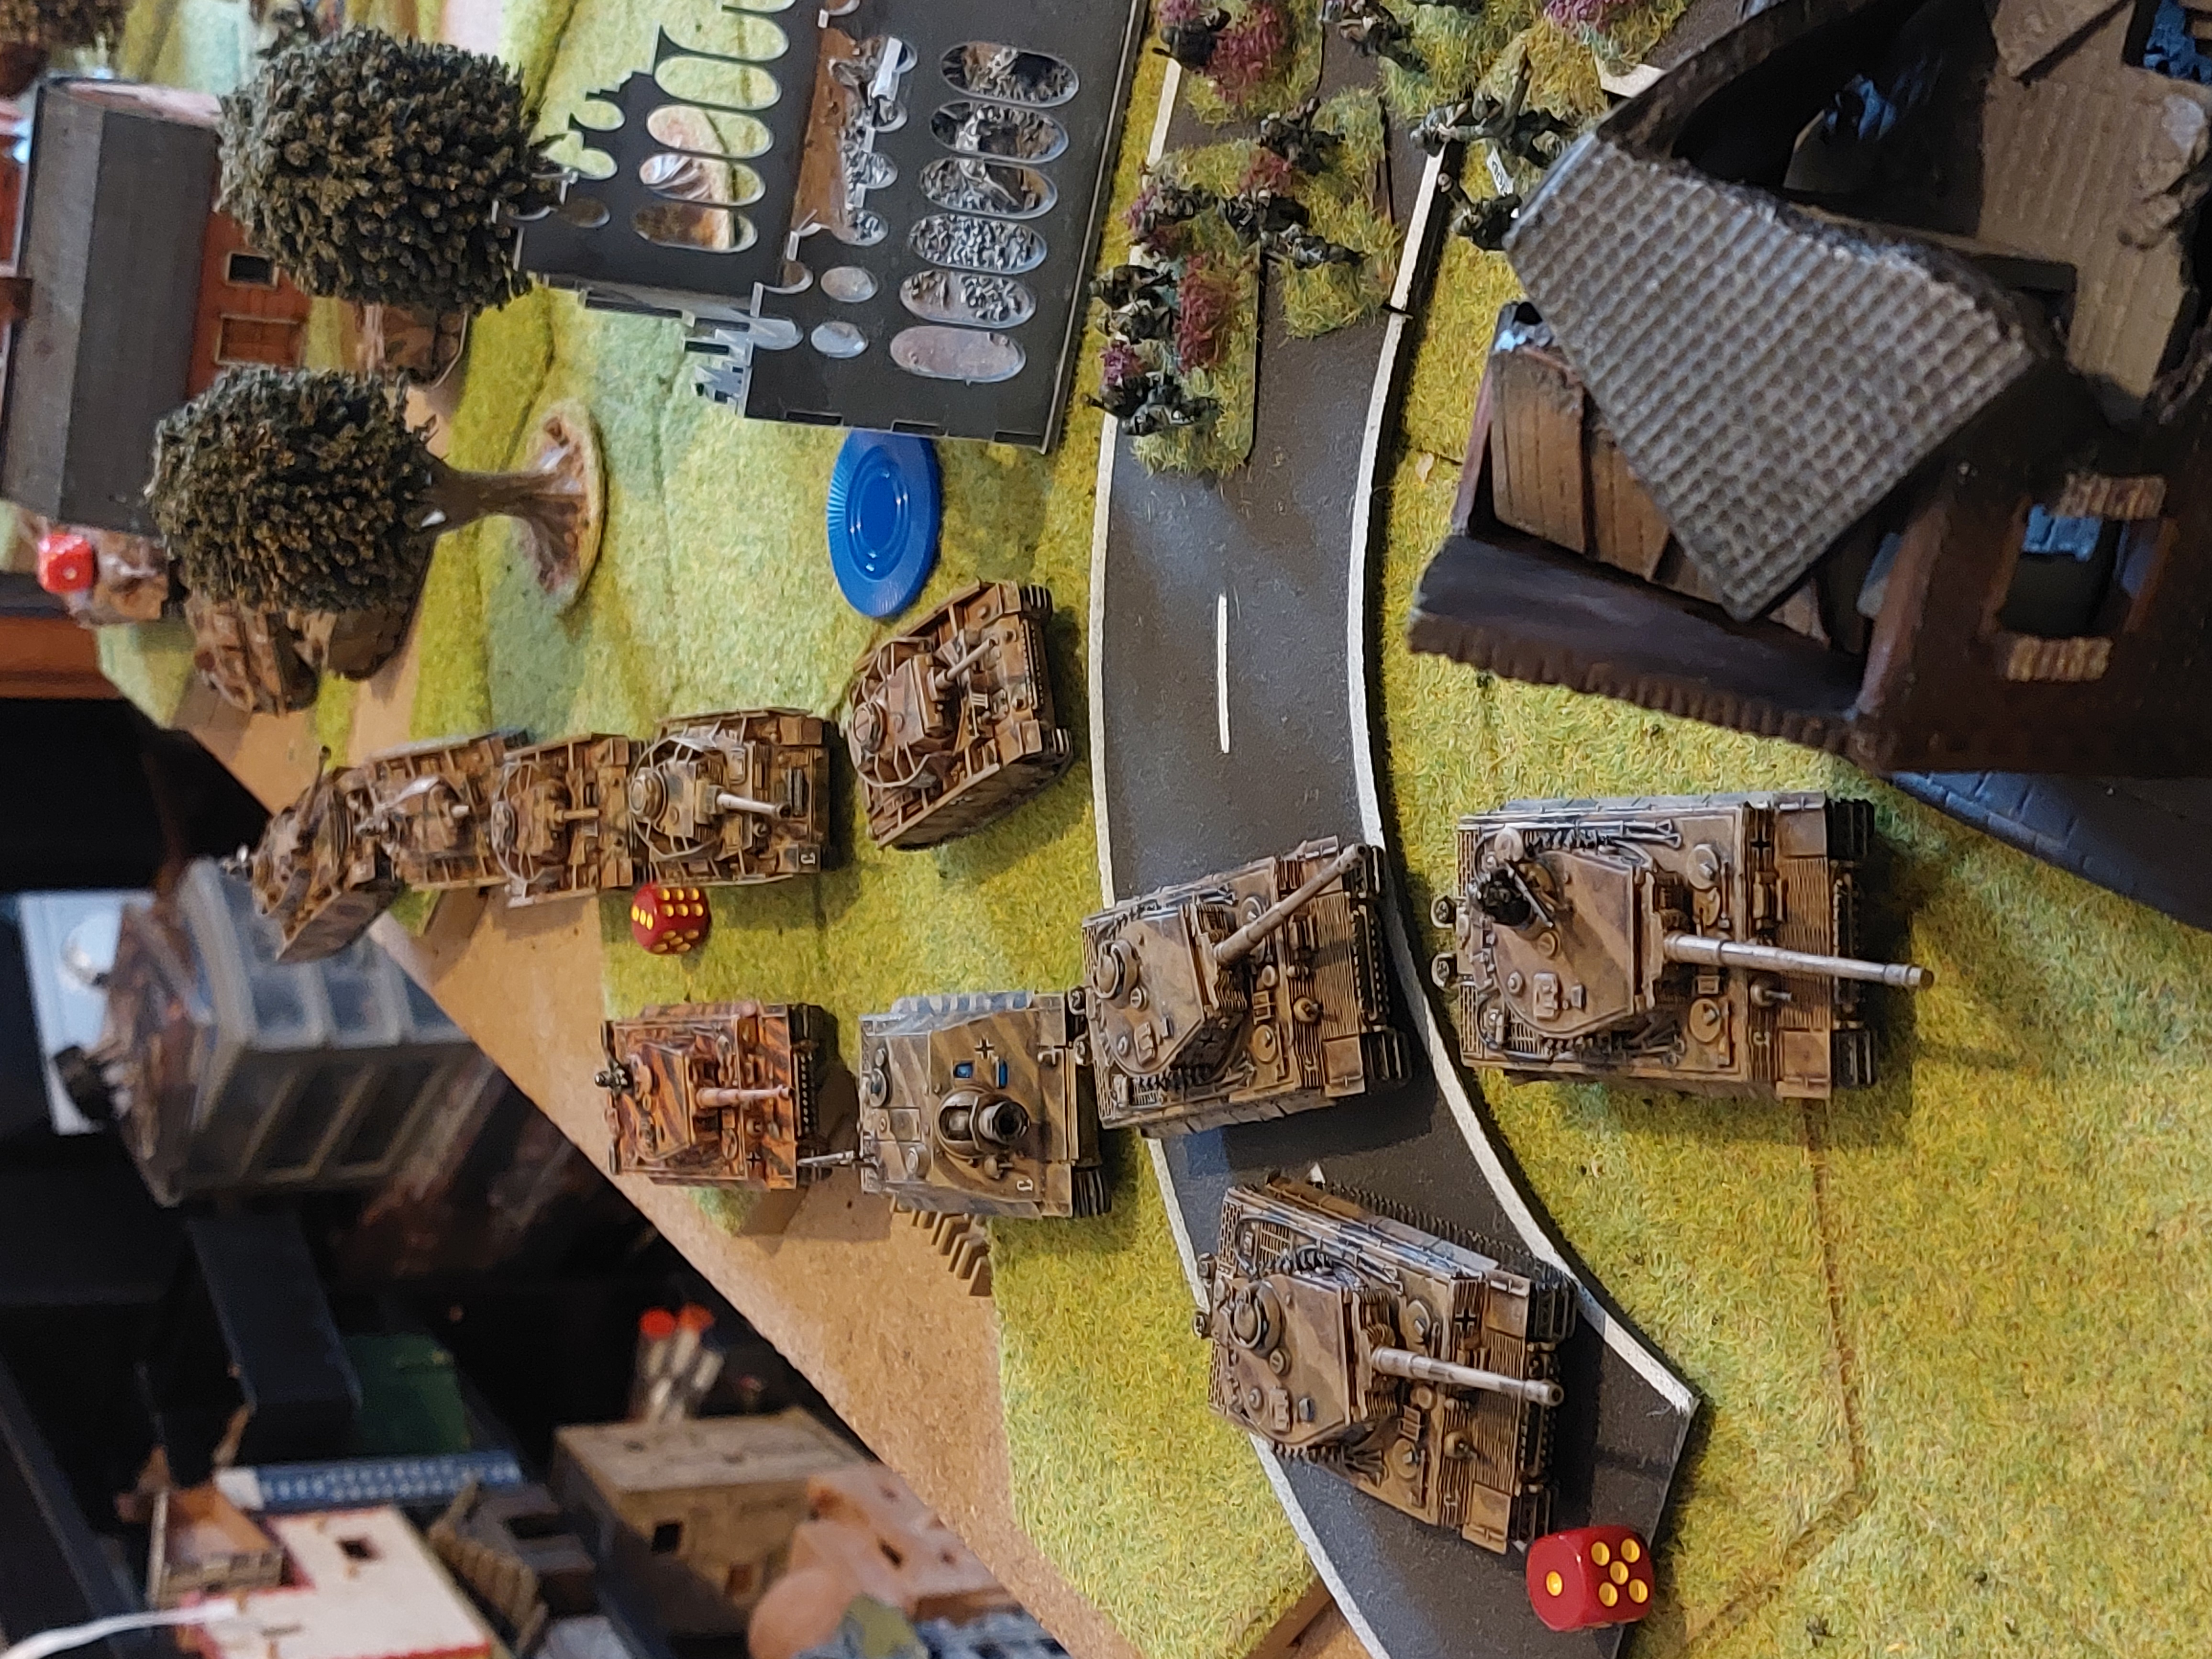
Plus it has actually got me to get around to finish the 6 King Tigers and Jagdtiger which have been sitting in a trap for over a year !
Oh and I forgot!
Sorry I forgot most Important part of move 2 after some considerable prompting from the umpire who had spent a week painting them, and wished he’d seen John’s Americans at weekend@!@@
The arrival of the Rifles Carrier Platoon (German should surrender and go home. Hurrah!)
Operation Cheltenham! Part 2. Still continues
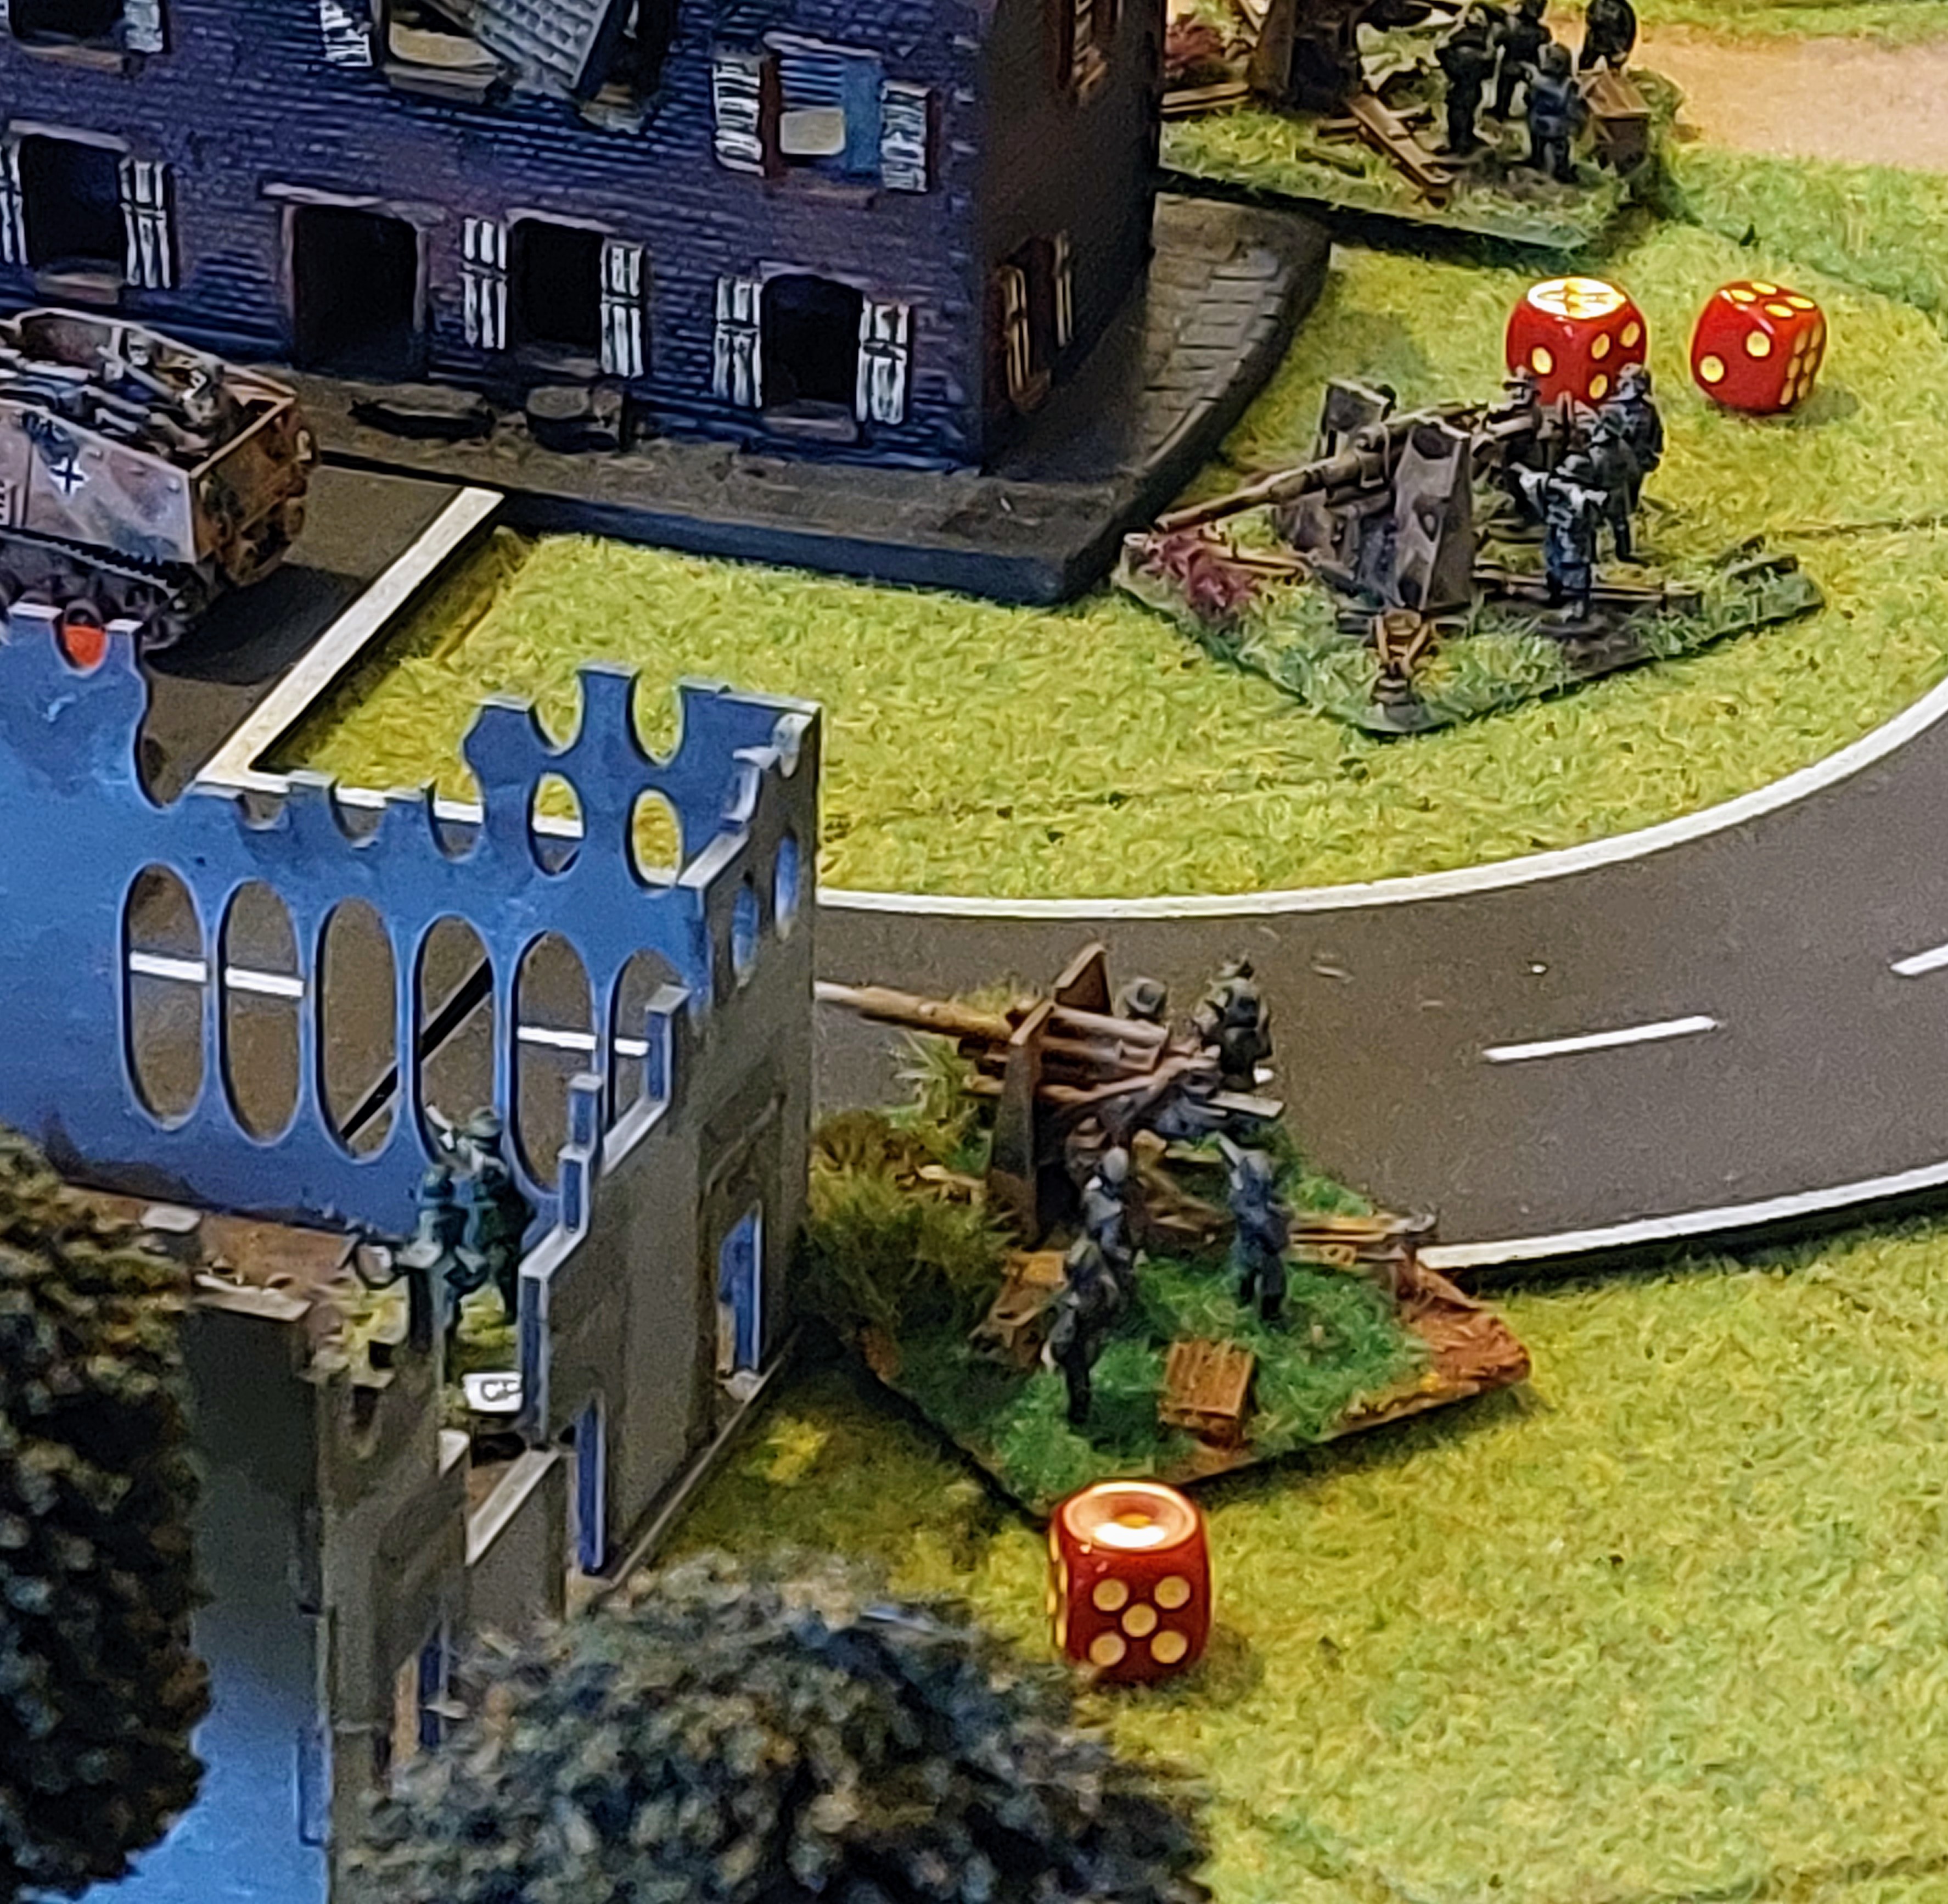
The assualt in the Bridge finally gave the British a sight on the lone Pak 75 that had despatched the Innes of Courts Staghound command vehicle (cheers from Gerry).
In a rather gutsy move Jo’s Scout troop sped round to put it under my fire quickly dispatching the crew..
This wasn’t as suicidal as 1st thought as on the 88mm on one of the JagdPanther on the far hill was in range, but it did manage to put a hole in the AEC armoured car forcing it to bail out.
That was pretty much all the excitement for move 2 as the British continued to jockey positions for an advance, and a steady flow of Germans arrived including Tigers.
Gerry as did I later has probably realised that the A.I Germans are actually winning at this point, having destroyed the American Airborne onthe Bridge and forming an increasingly strong defensive line around the bridge. This is also slowly dawning on the players who are beginning to realise this has been helped by their reluctance to push units forward.
Although we only got 2 moves it was a good social event , Everyone again enjoyed themselves , the FOW rules worked the mechanics well and didn’t get in way of playing the game. Plan is to carry on in a month due to various commitments, plus we found Sunday lack of pu lic transport put back the start by an hour, so back to Saturdays.
Operation Cheltenham! Part 2 continues
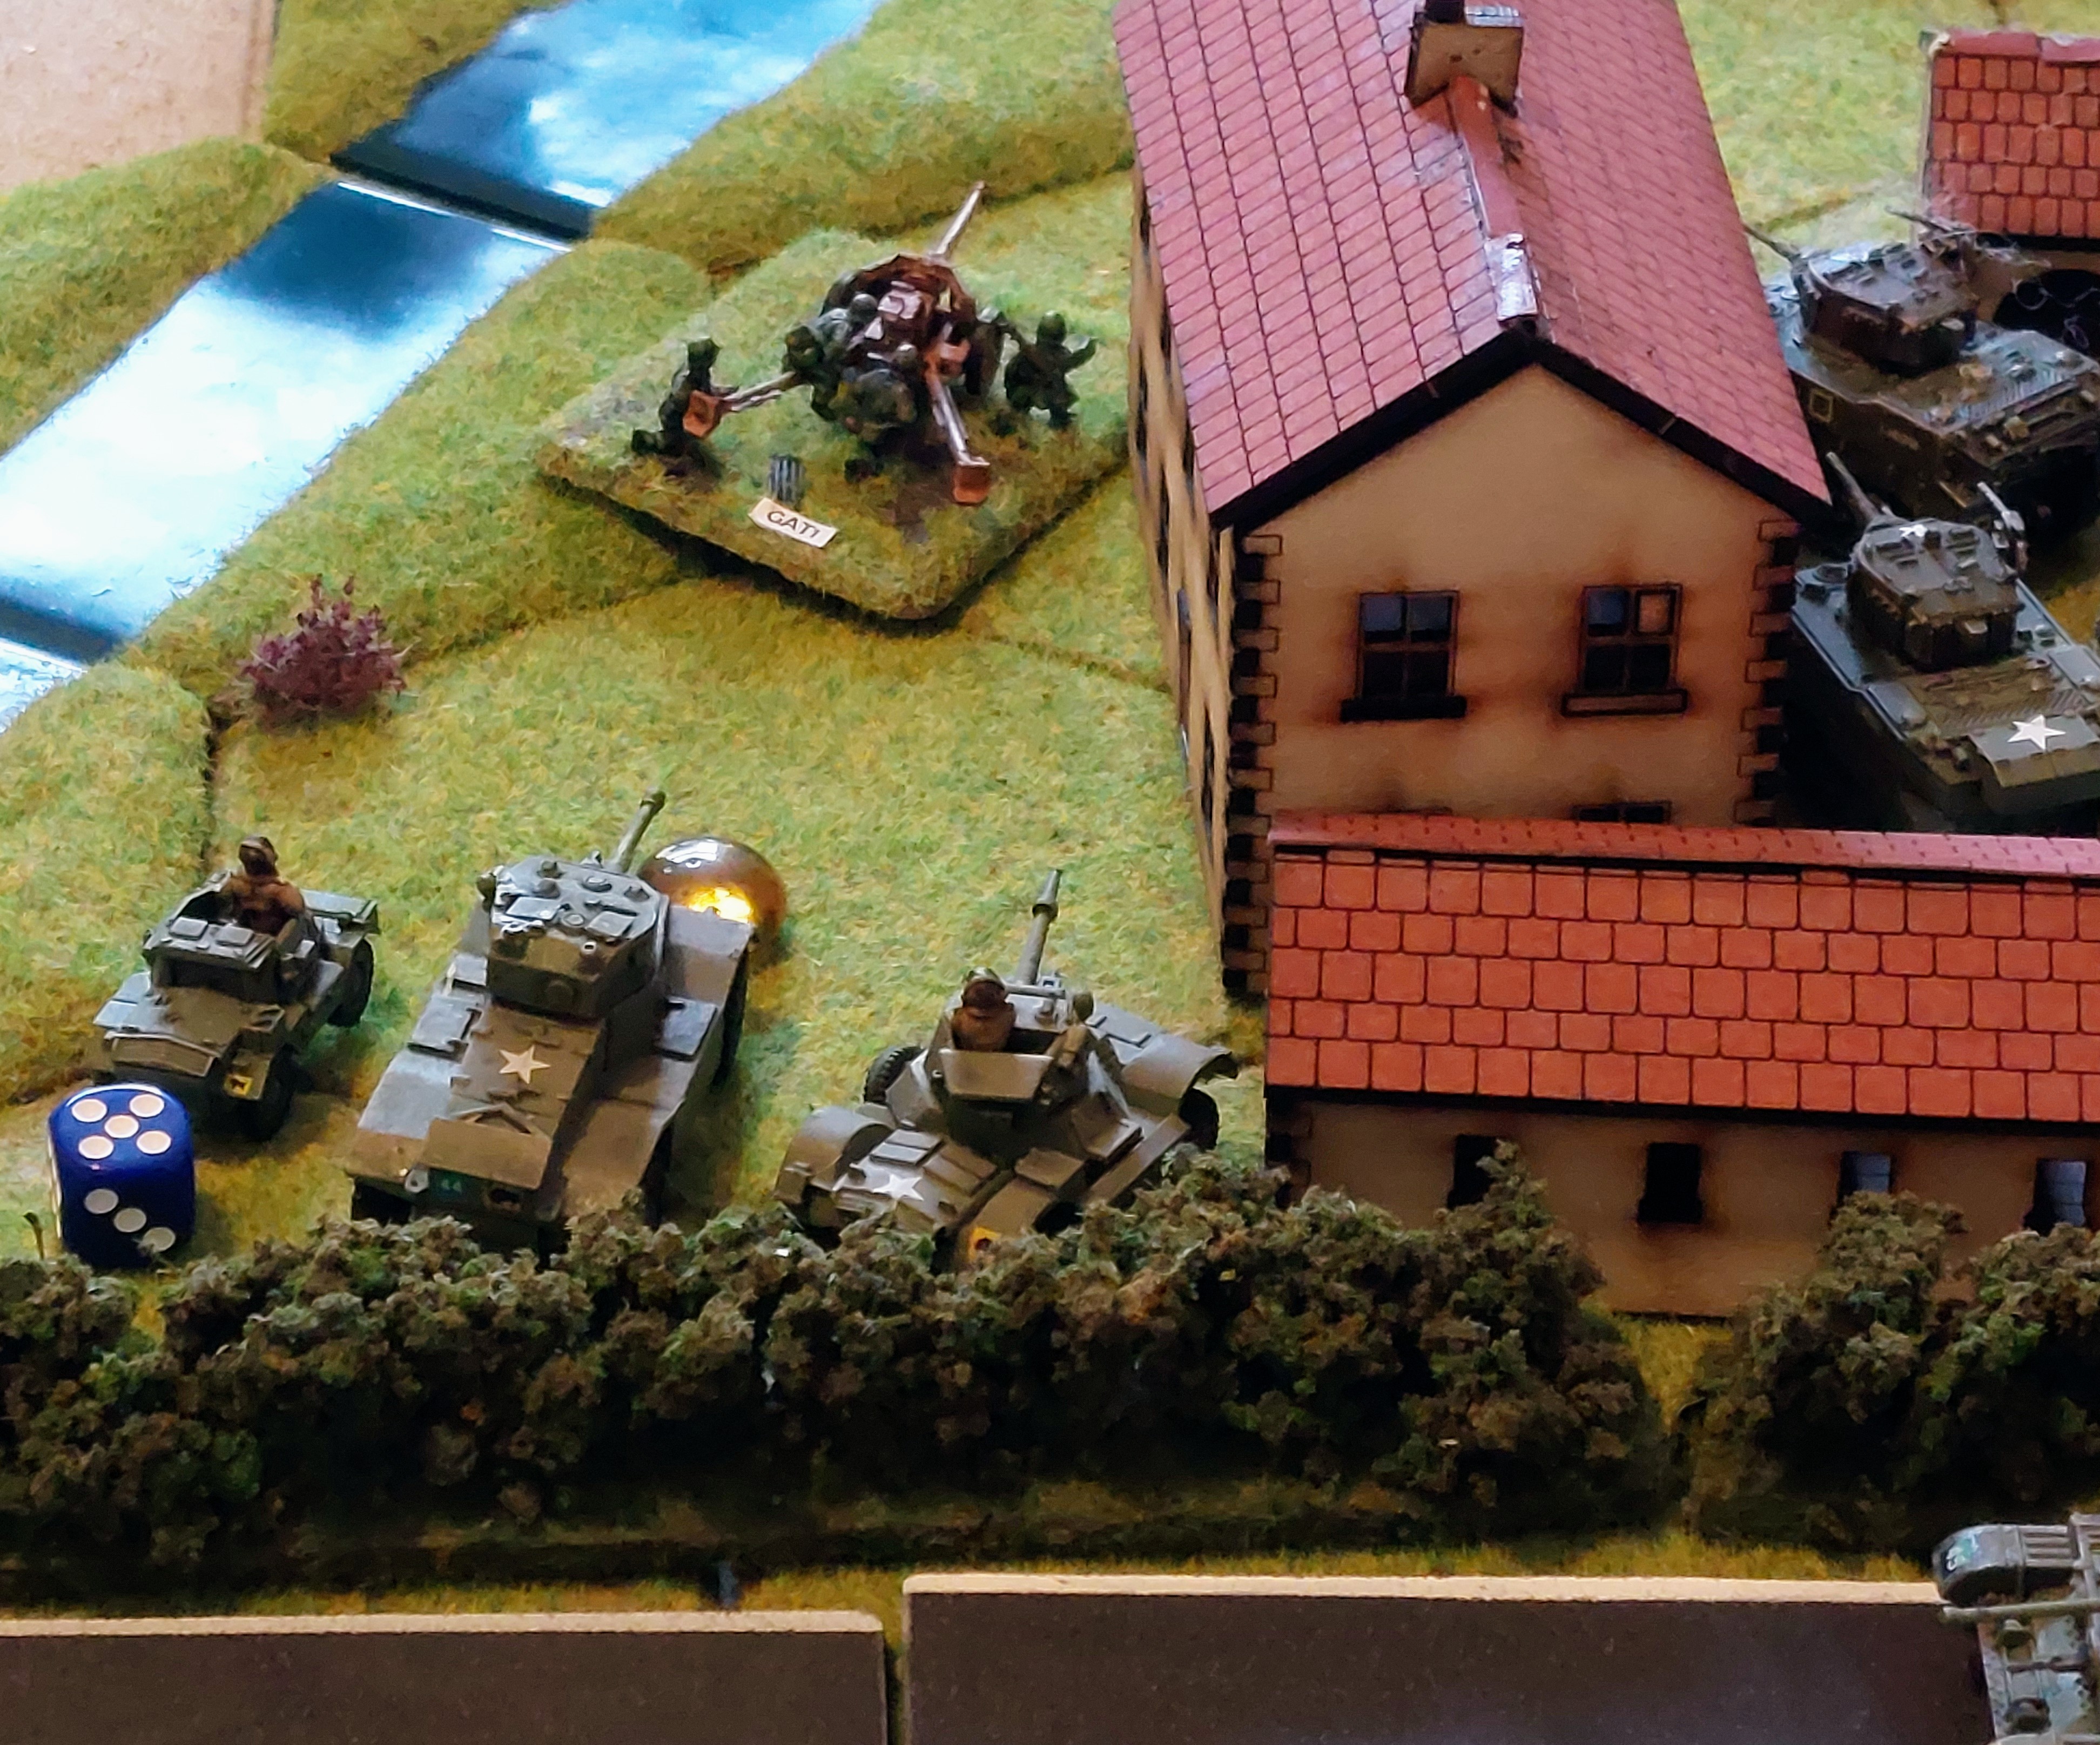
In the meantime the Guards on the Right flank, having lost a Stuart to a Panzershrek , began to give the Germans a dose of the same medicine, Pulling back the Stuart out of range, just about every tank troop I range began to pound the building into even more rubble, and reduced the defenders to only 4 bases who unable to respond bugged out.
This is were during the interlude lull Kevin realised he had done part of it wrong, most of the 95mm Howitzer tanks had been using the Artillery rules and he had hadn’t realised that they don’t get the brutal trait if use that way, Has nobody could remember how much difference it had made we let it stand.
That pretty much wrapped up move one, The British tried to sort out the traffic jam to be able to breakout of the hedgerows , and by now the main force of the Panzer Lear had begun to arrive but were having the same problem as the British as they were all atlrriving down the one side road.
Keith kept rolling for the same deployment marker. Purely random but it was if the dice gods had git into the narrative spirit!
Move 2. All the dice in the bag plus extras for new arrival s bag was getting packed, need a bigger bag! Keith has got one but forgot it.
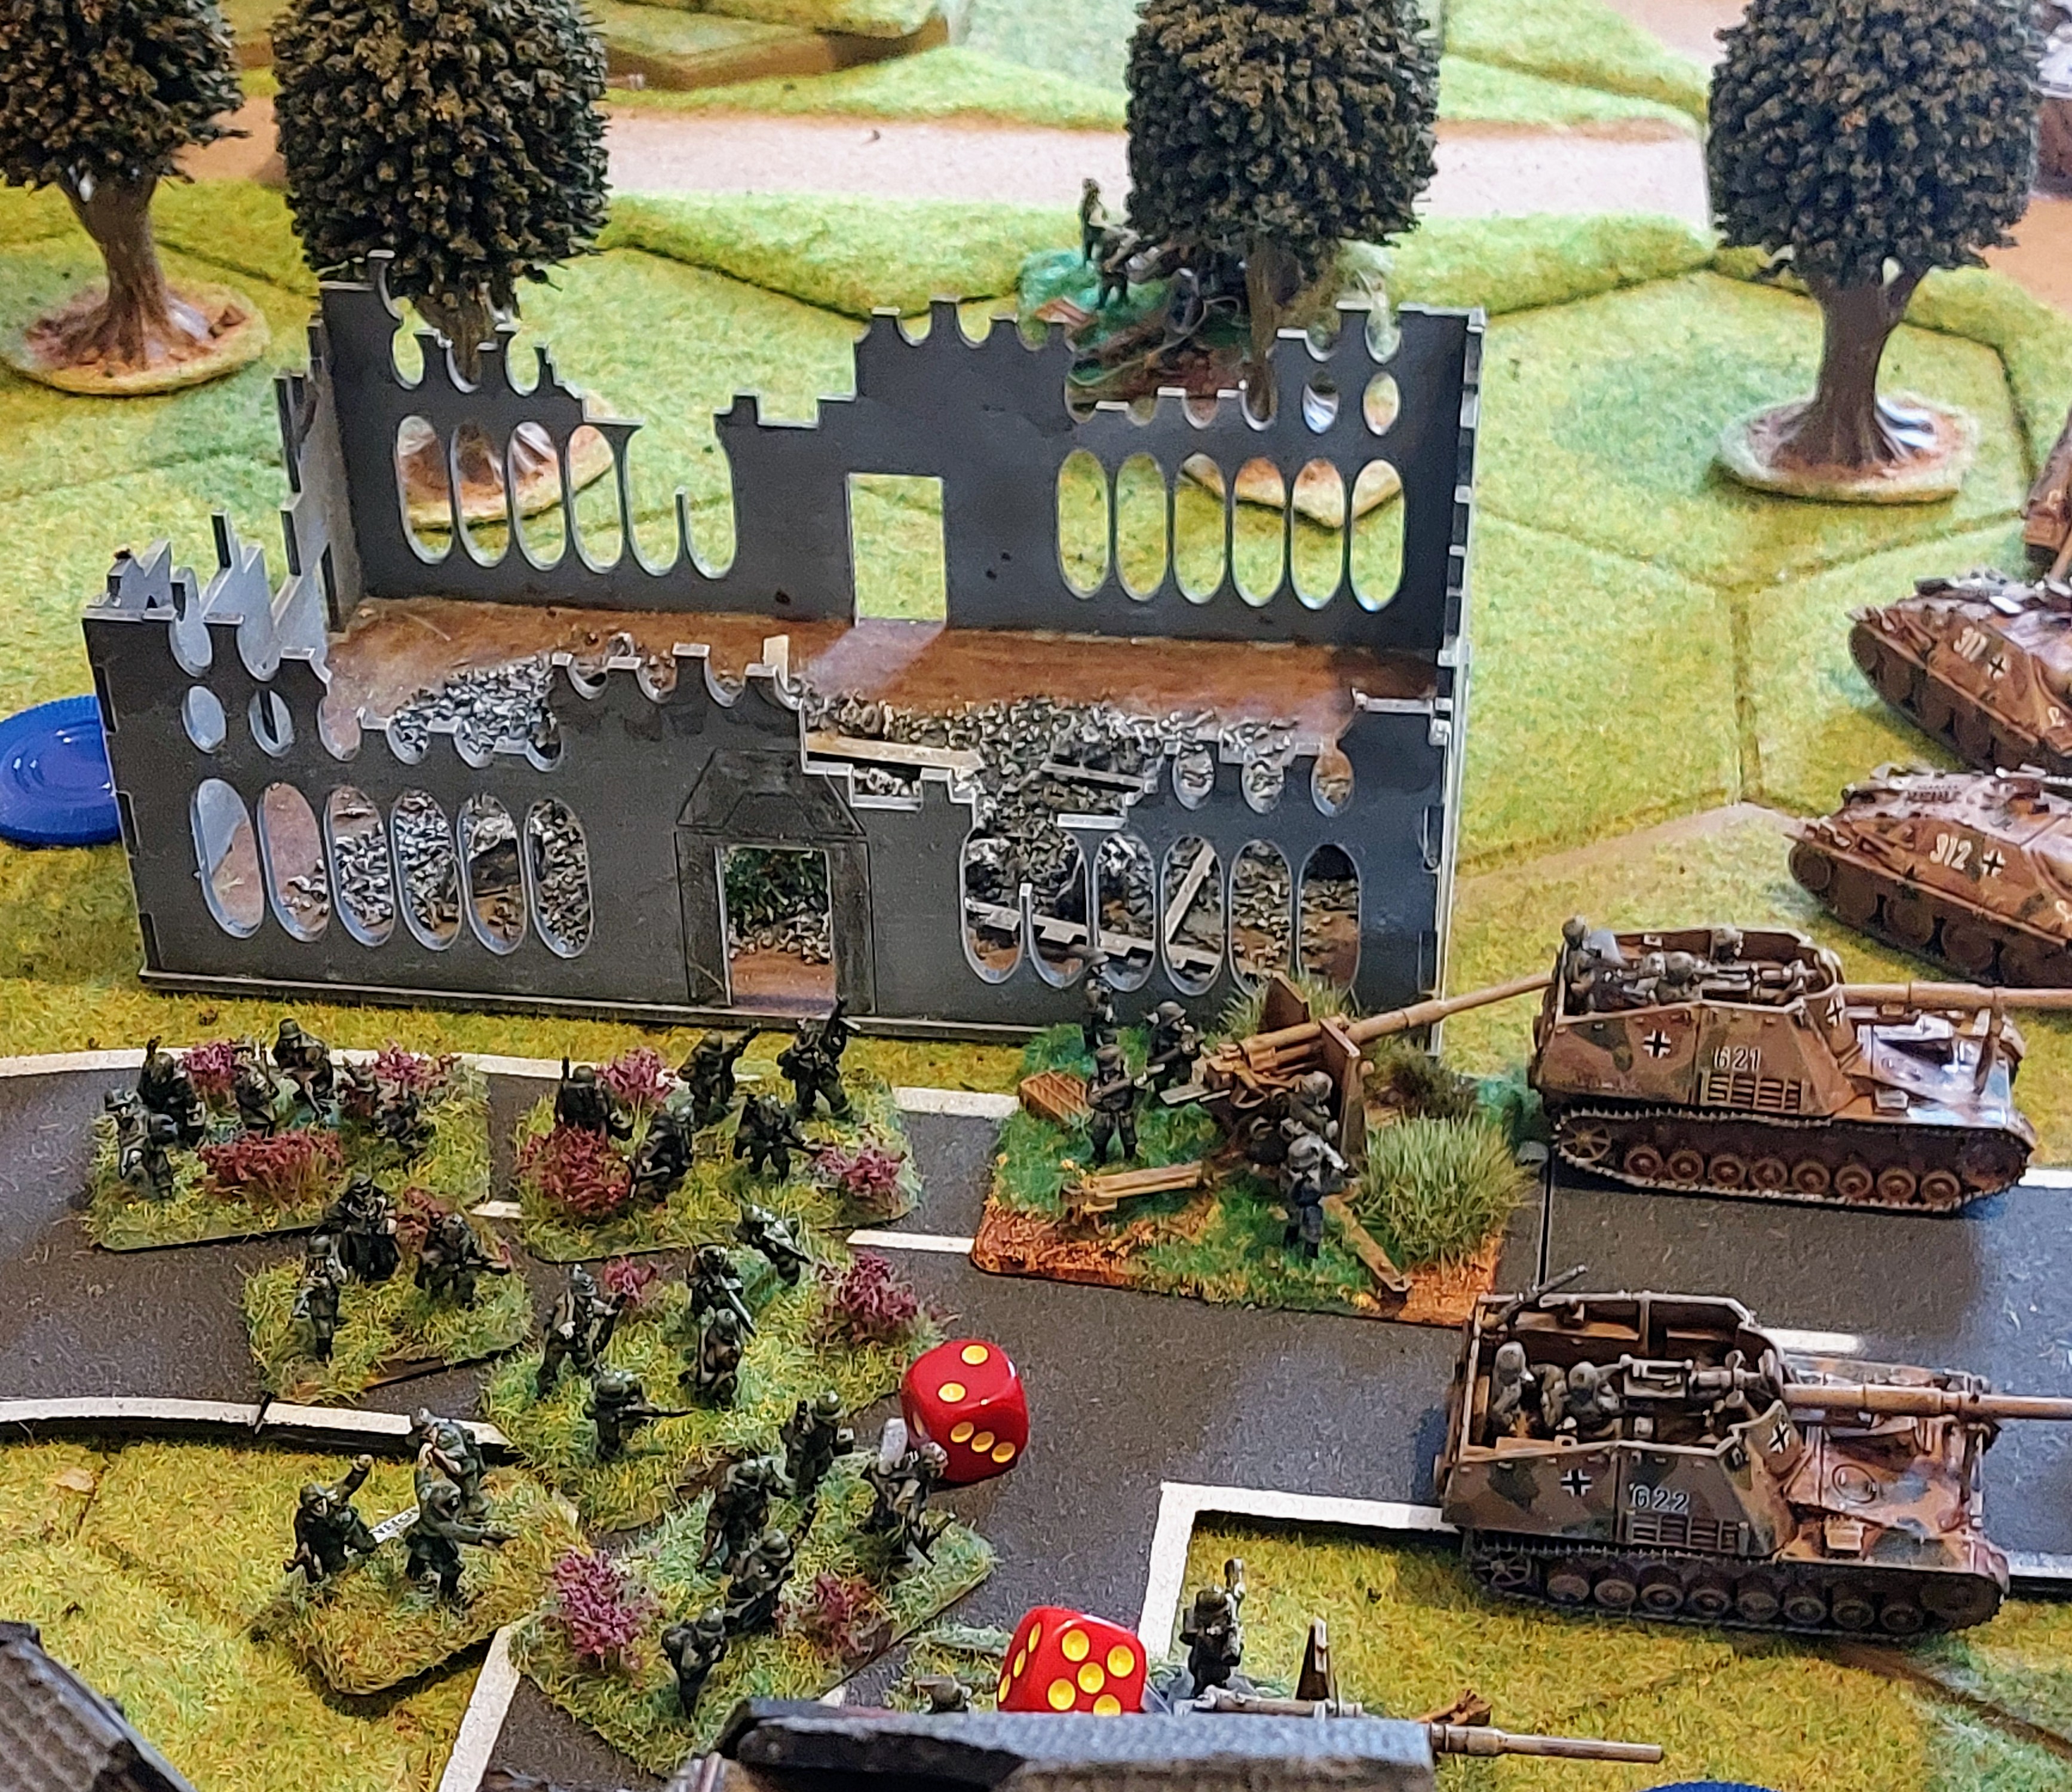
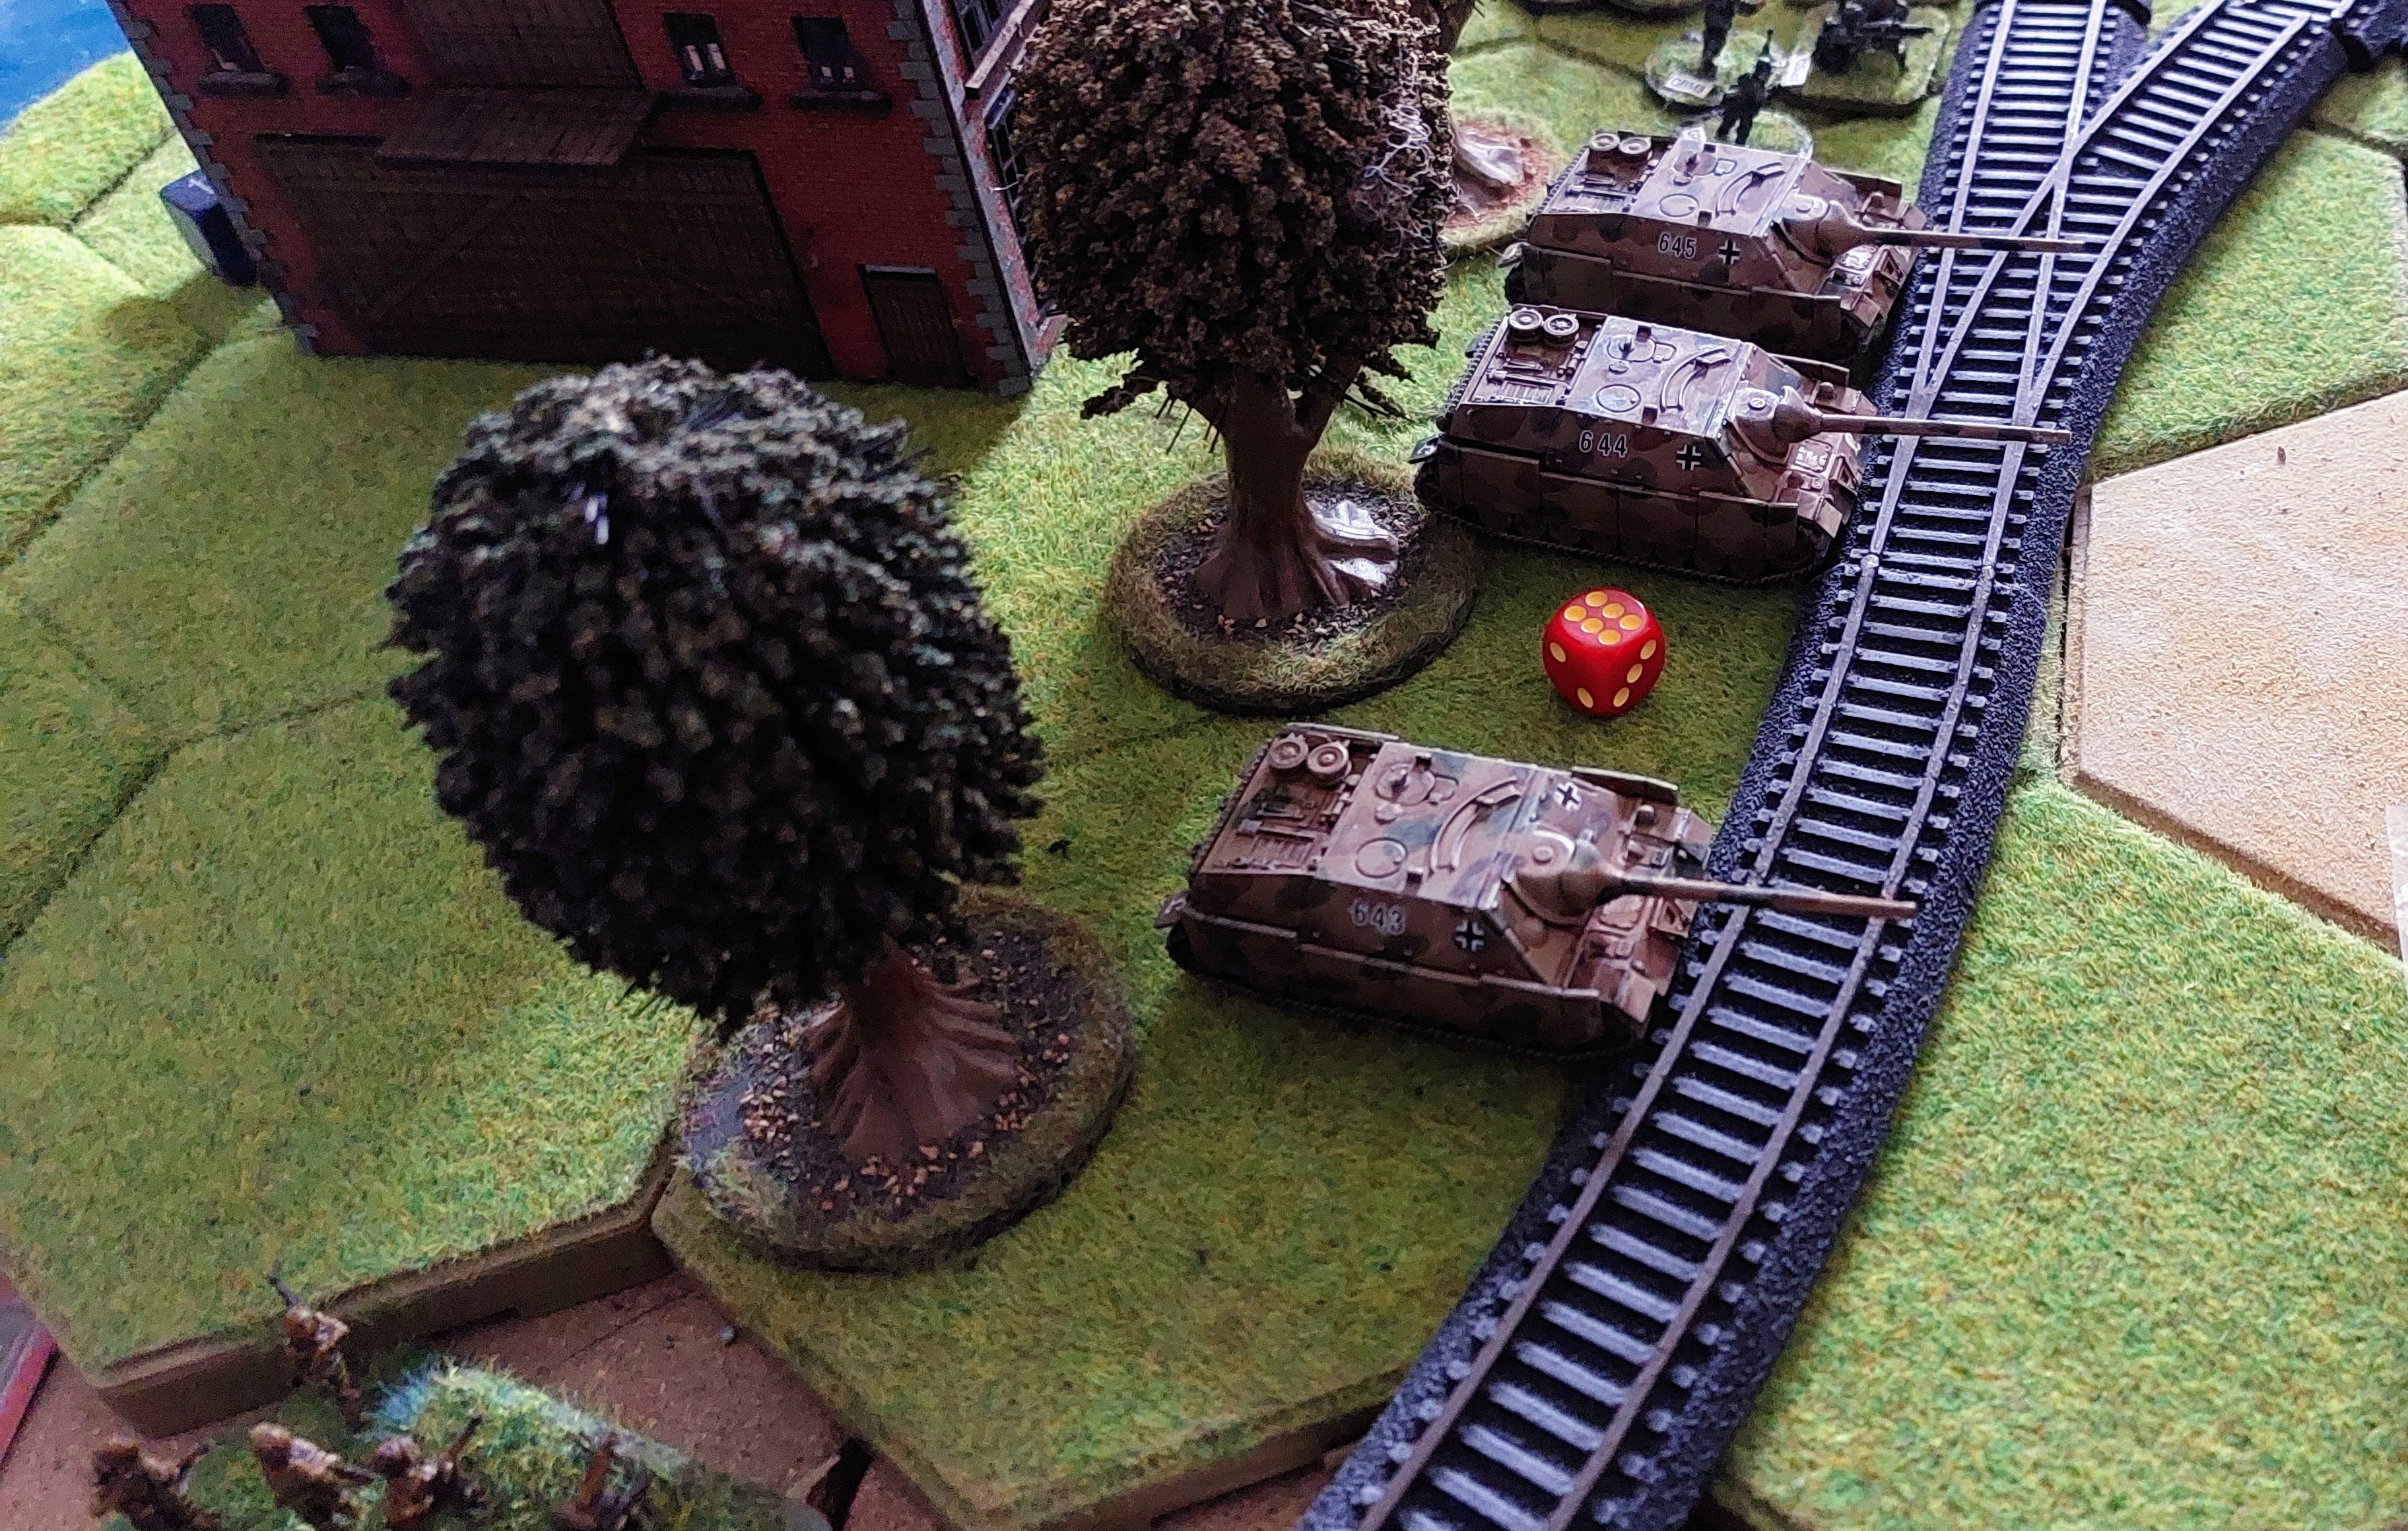
With the end of the Bridge now bereft of Americans , the German Infantry in the are consolidated their hold by forming a defence line on the railway line, with a company of Stugs moving in Support.

Unfortunately this was spotted by one of the British scout units who were able to bring down Artillery fire from the newly arrived Battery of Sextons, and a few casualties resulted.
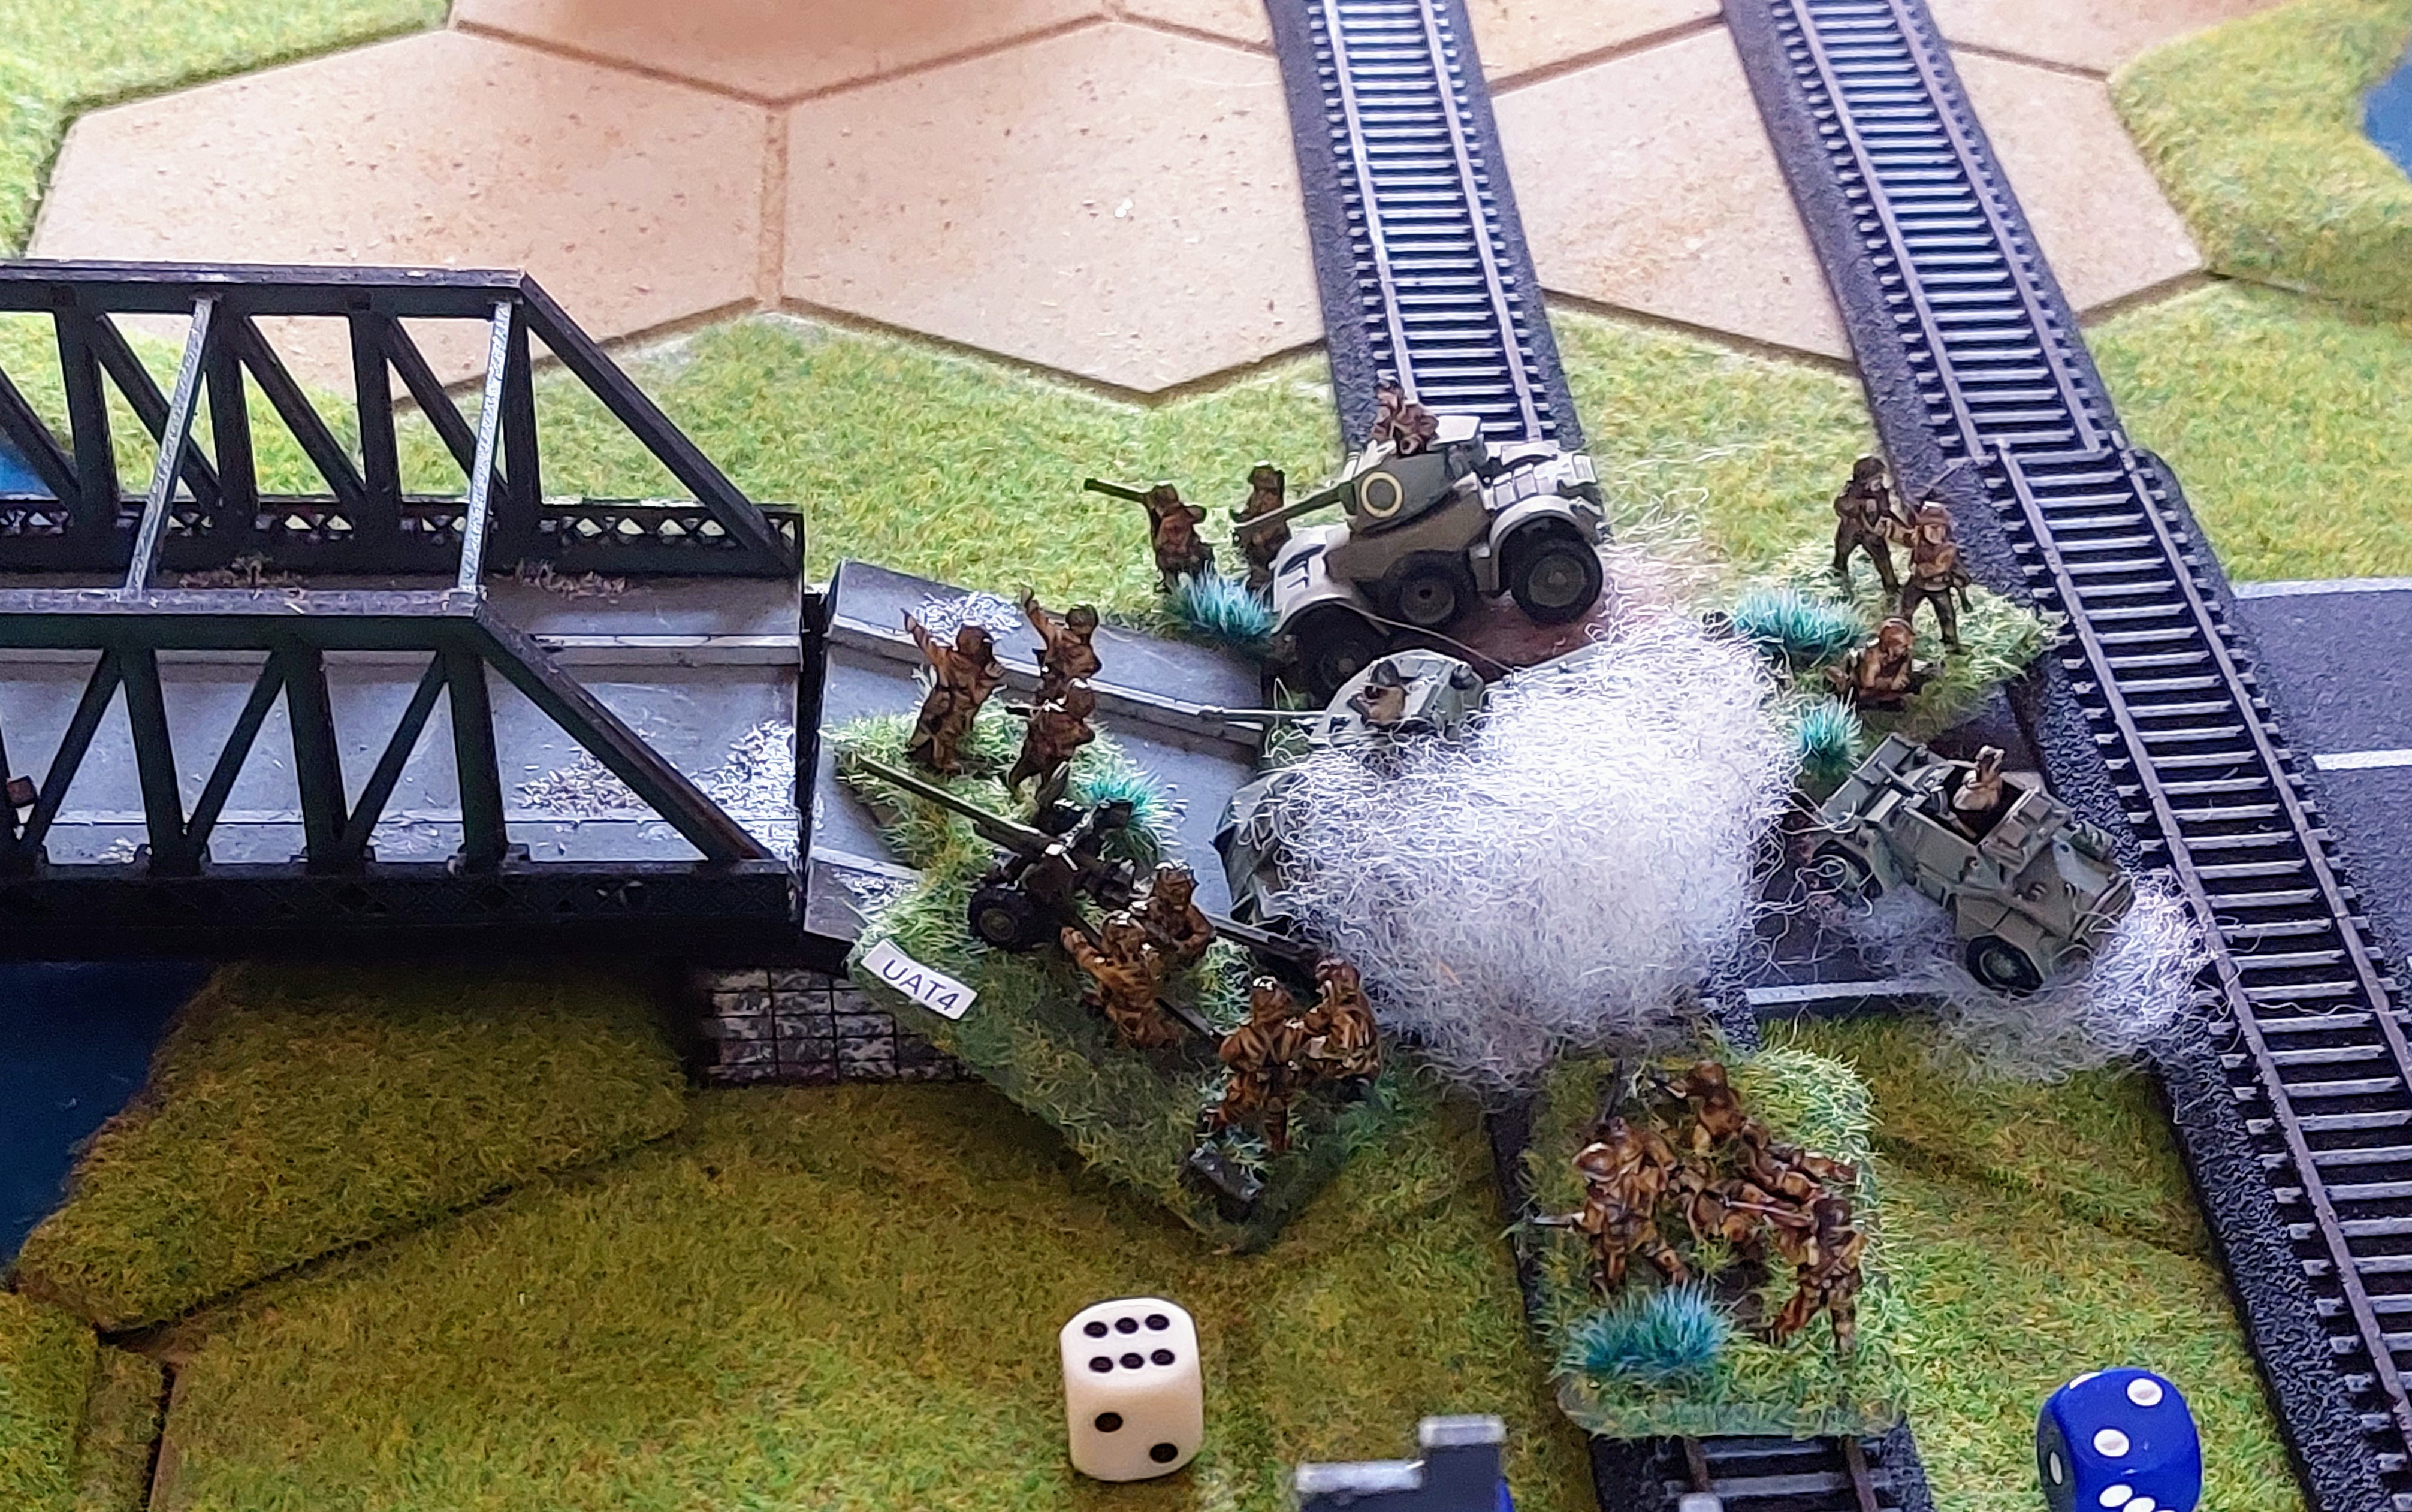
In the meantime the other 2 platoons of the Rifle Brigade in Sextons arrived and began to deploy into the Farmhouse and on attempted to cross the canal Bridge
Operation Cheltenham! Part 2.
Well not quite bright ans Early on Sunday morning we reassembled for dat 2 of game. Now it seems we have settled into a 2 move day, move and beer and Doughnuts break , 2nd Move and Pub. But we are pushing the envelope on the initiative on this, It may be an idea to drop the number if dice to just command units and move whole Squadrons and company’s on drawing of dice.
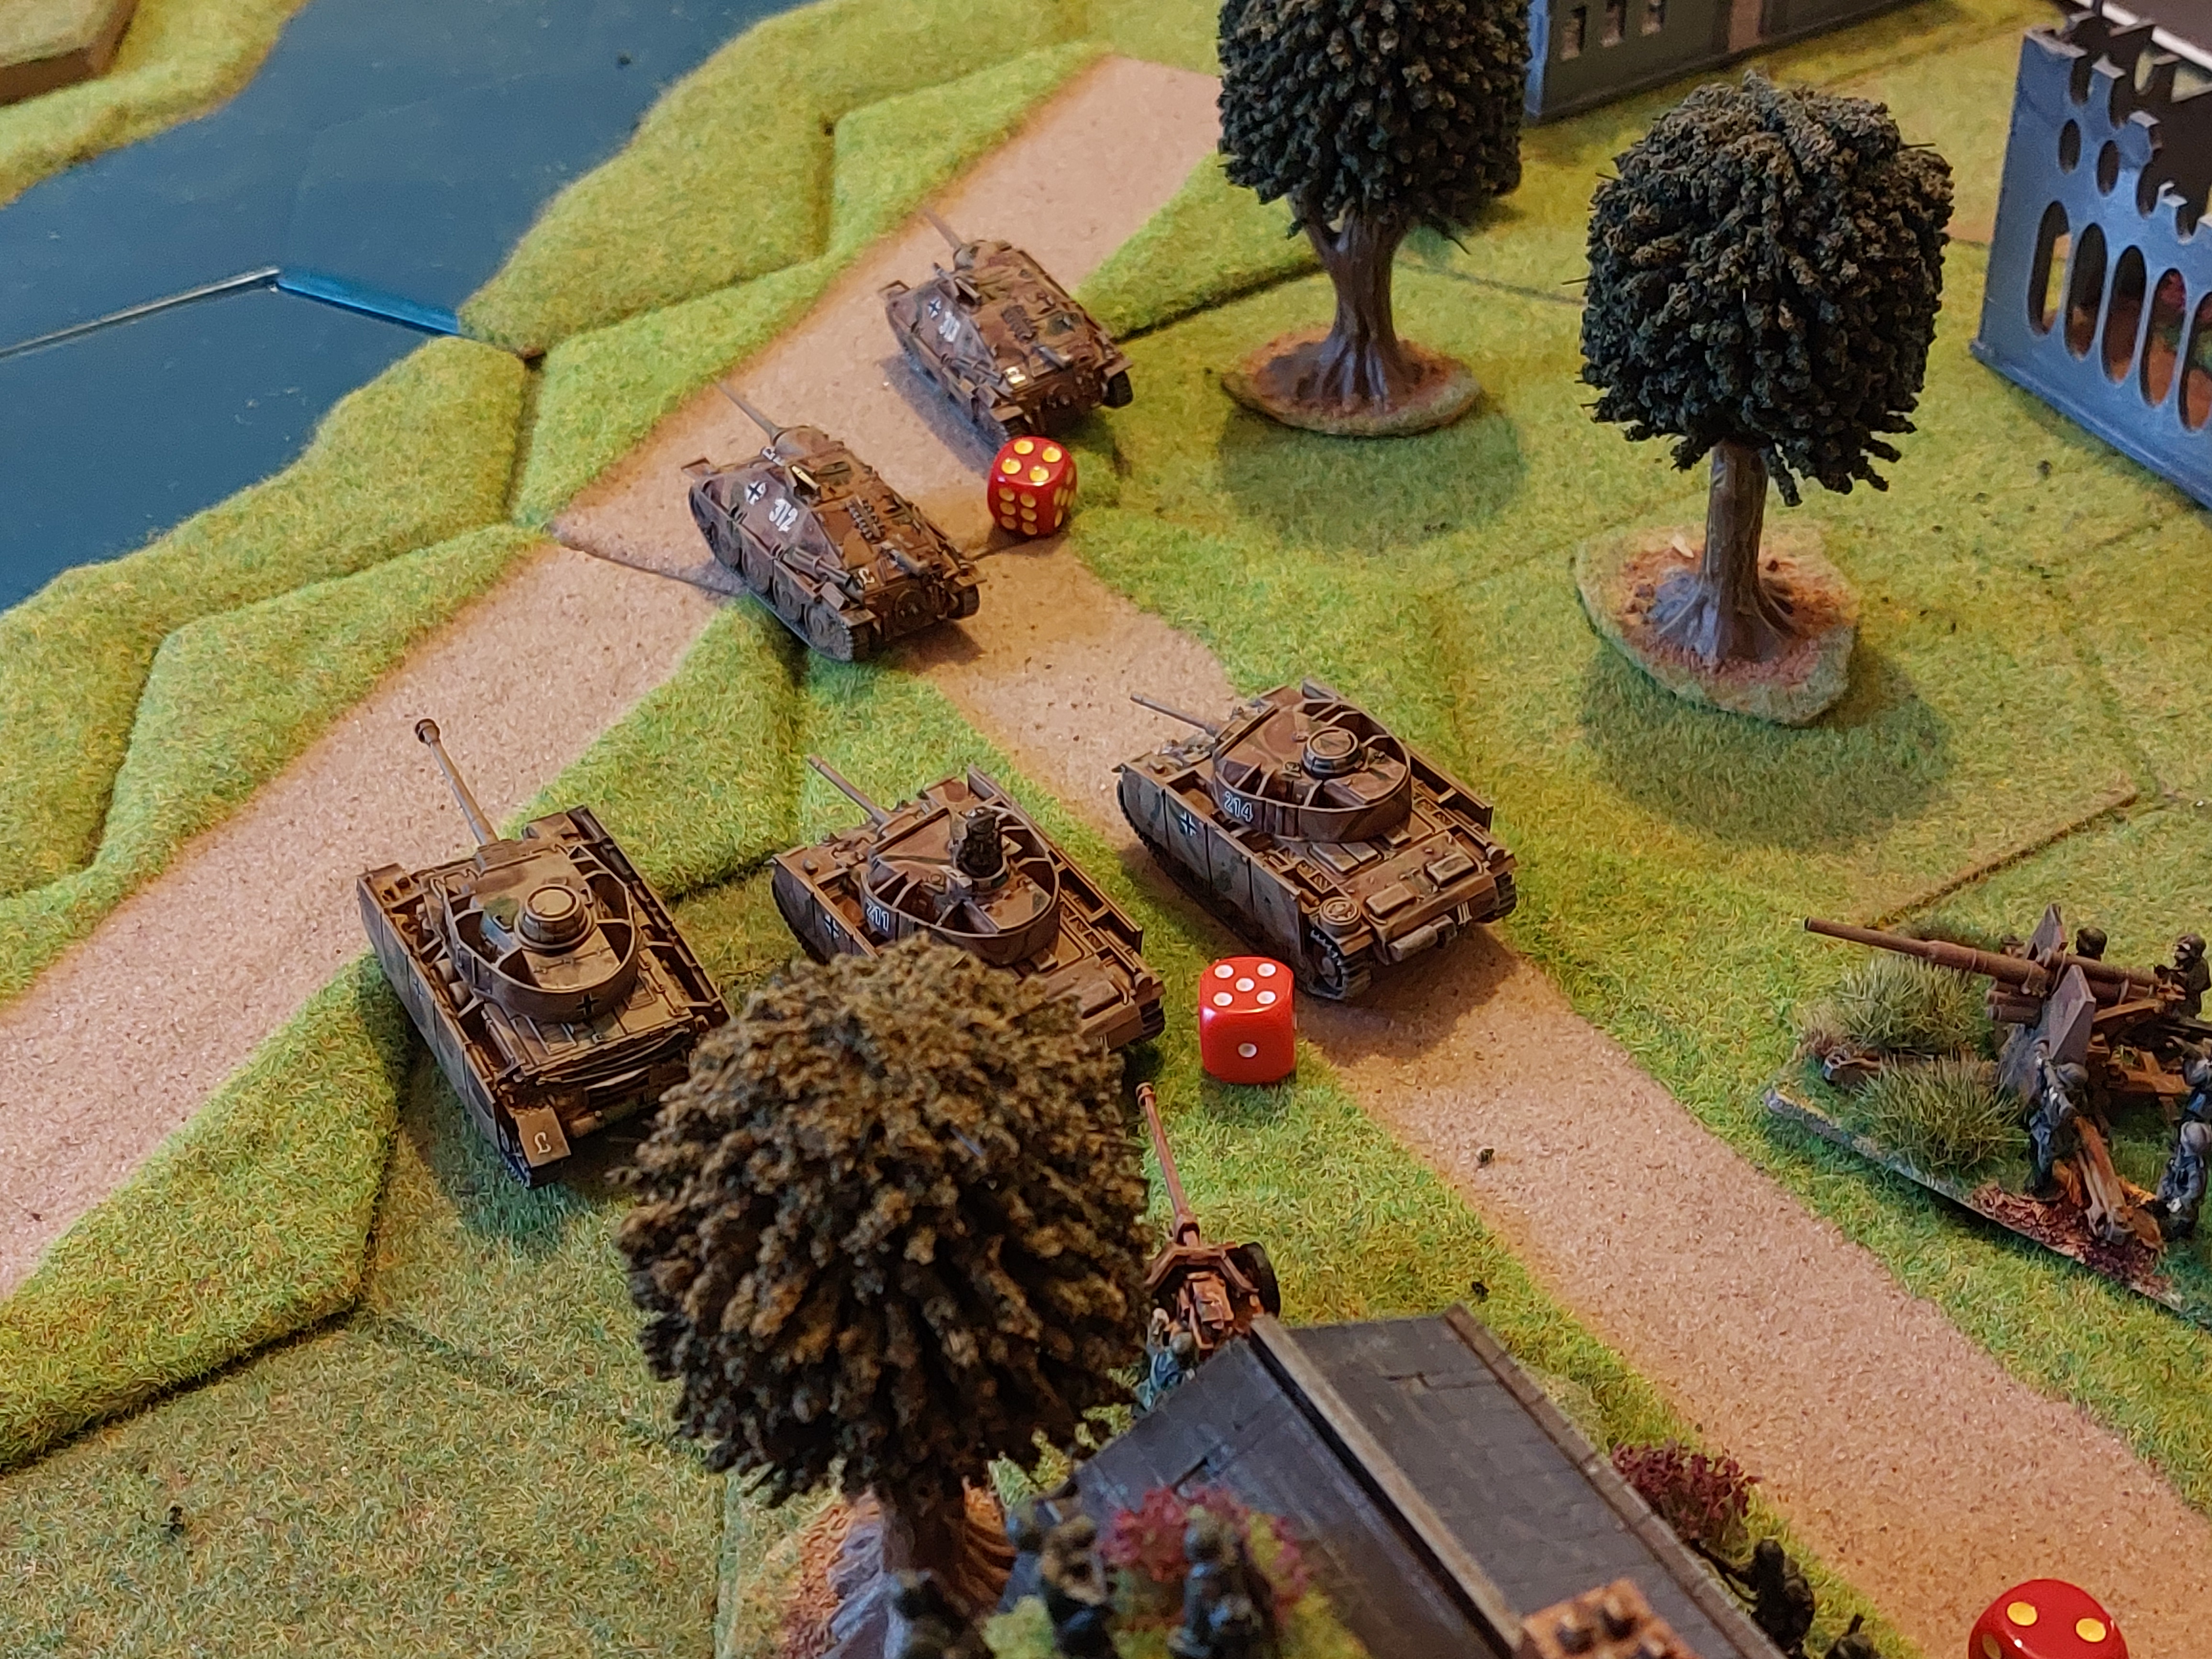
The Germans quickly decided to move their unit of exposed Panthers , which in theory could have been caught side on by Shermans and Cromwells crossing the Bridge.
They had two options move into treeline by canal, but this would stiil leave flank over from flank, or take up position in high ground behind station.
On a die roll favouring the later option they chose the latter.
On the whole the British Armored Advance seemed stalled at the Headrows with no one wanting to advance .
So itcwas decided to bring on the Infantry with Jo debusing his Infantry Platoon to seize the farmhouse on the left flank, in an attempt to get sight of and shoot at the Jagdpanzers in the court yard.
Being a little wary of this possibility and with no Infantry support, heard the Infantry assault on the empty farmhouse plus the known Sherman force to the front and promptly fell back across the railway line to the line of trees.
What was left of the American Airborne decided to make a last stand at the British end of the bridge, digging in and hiding amongst the vehicle wrecks.
This unfortunately was spotted by virtually all the German Forces, who began to pound them with all the available gun in sight, until they and the anti tank gun with them were wiped out.
Operation Cheltenham intelude
Above is some appropriate music to keep you all going:
But have to give you quote of weekend during game
Kevin…… Keep the German Reinforcements to what you have built and avaibalble!
Keith ……Bob has an awful lot of Germans in those Boxes
Some fun for those who want to point it some are already deployed
5 Platoons Panzer Grenediers with 4x MG42 on Tripod
4x Hannomags
2 x 222 Armoured Cars
2x Pumas
4x Pak 75
4x 88m pak 30 flack
2x Hornisse
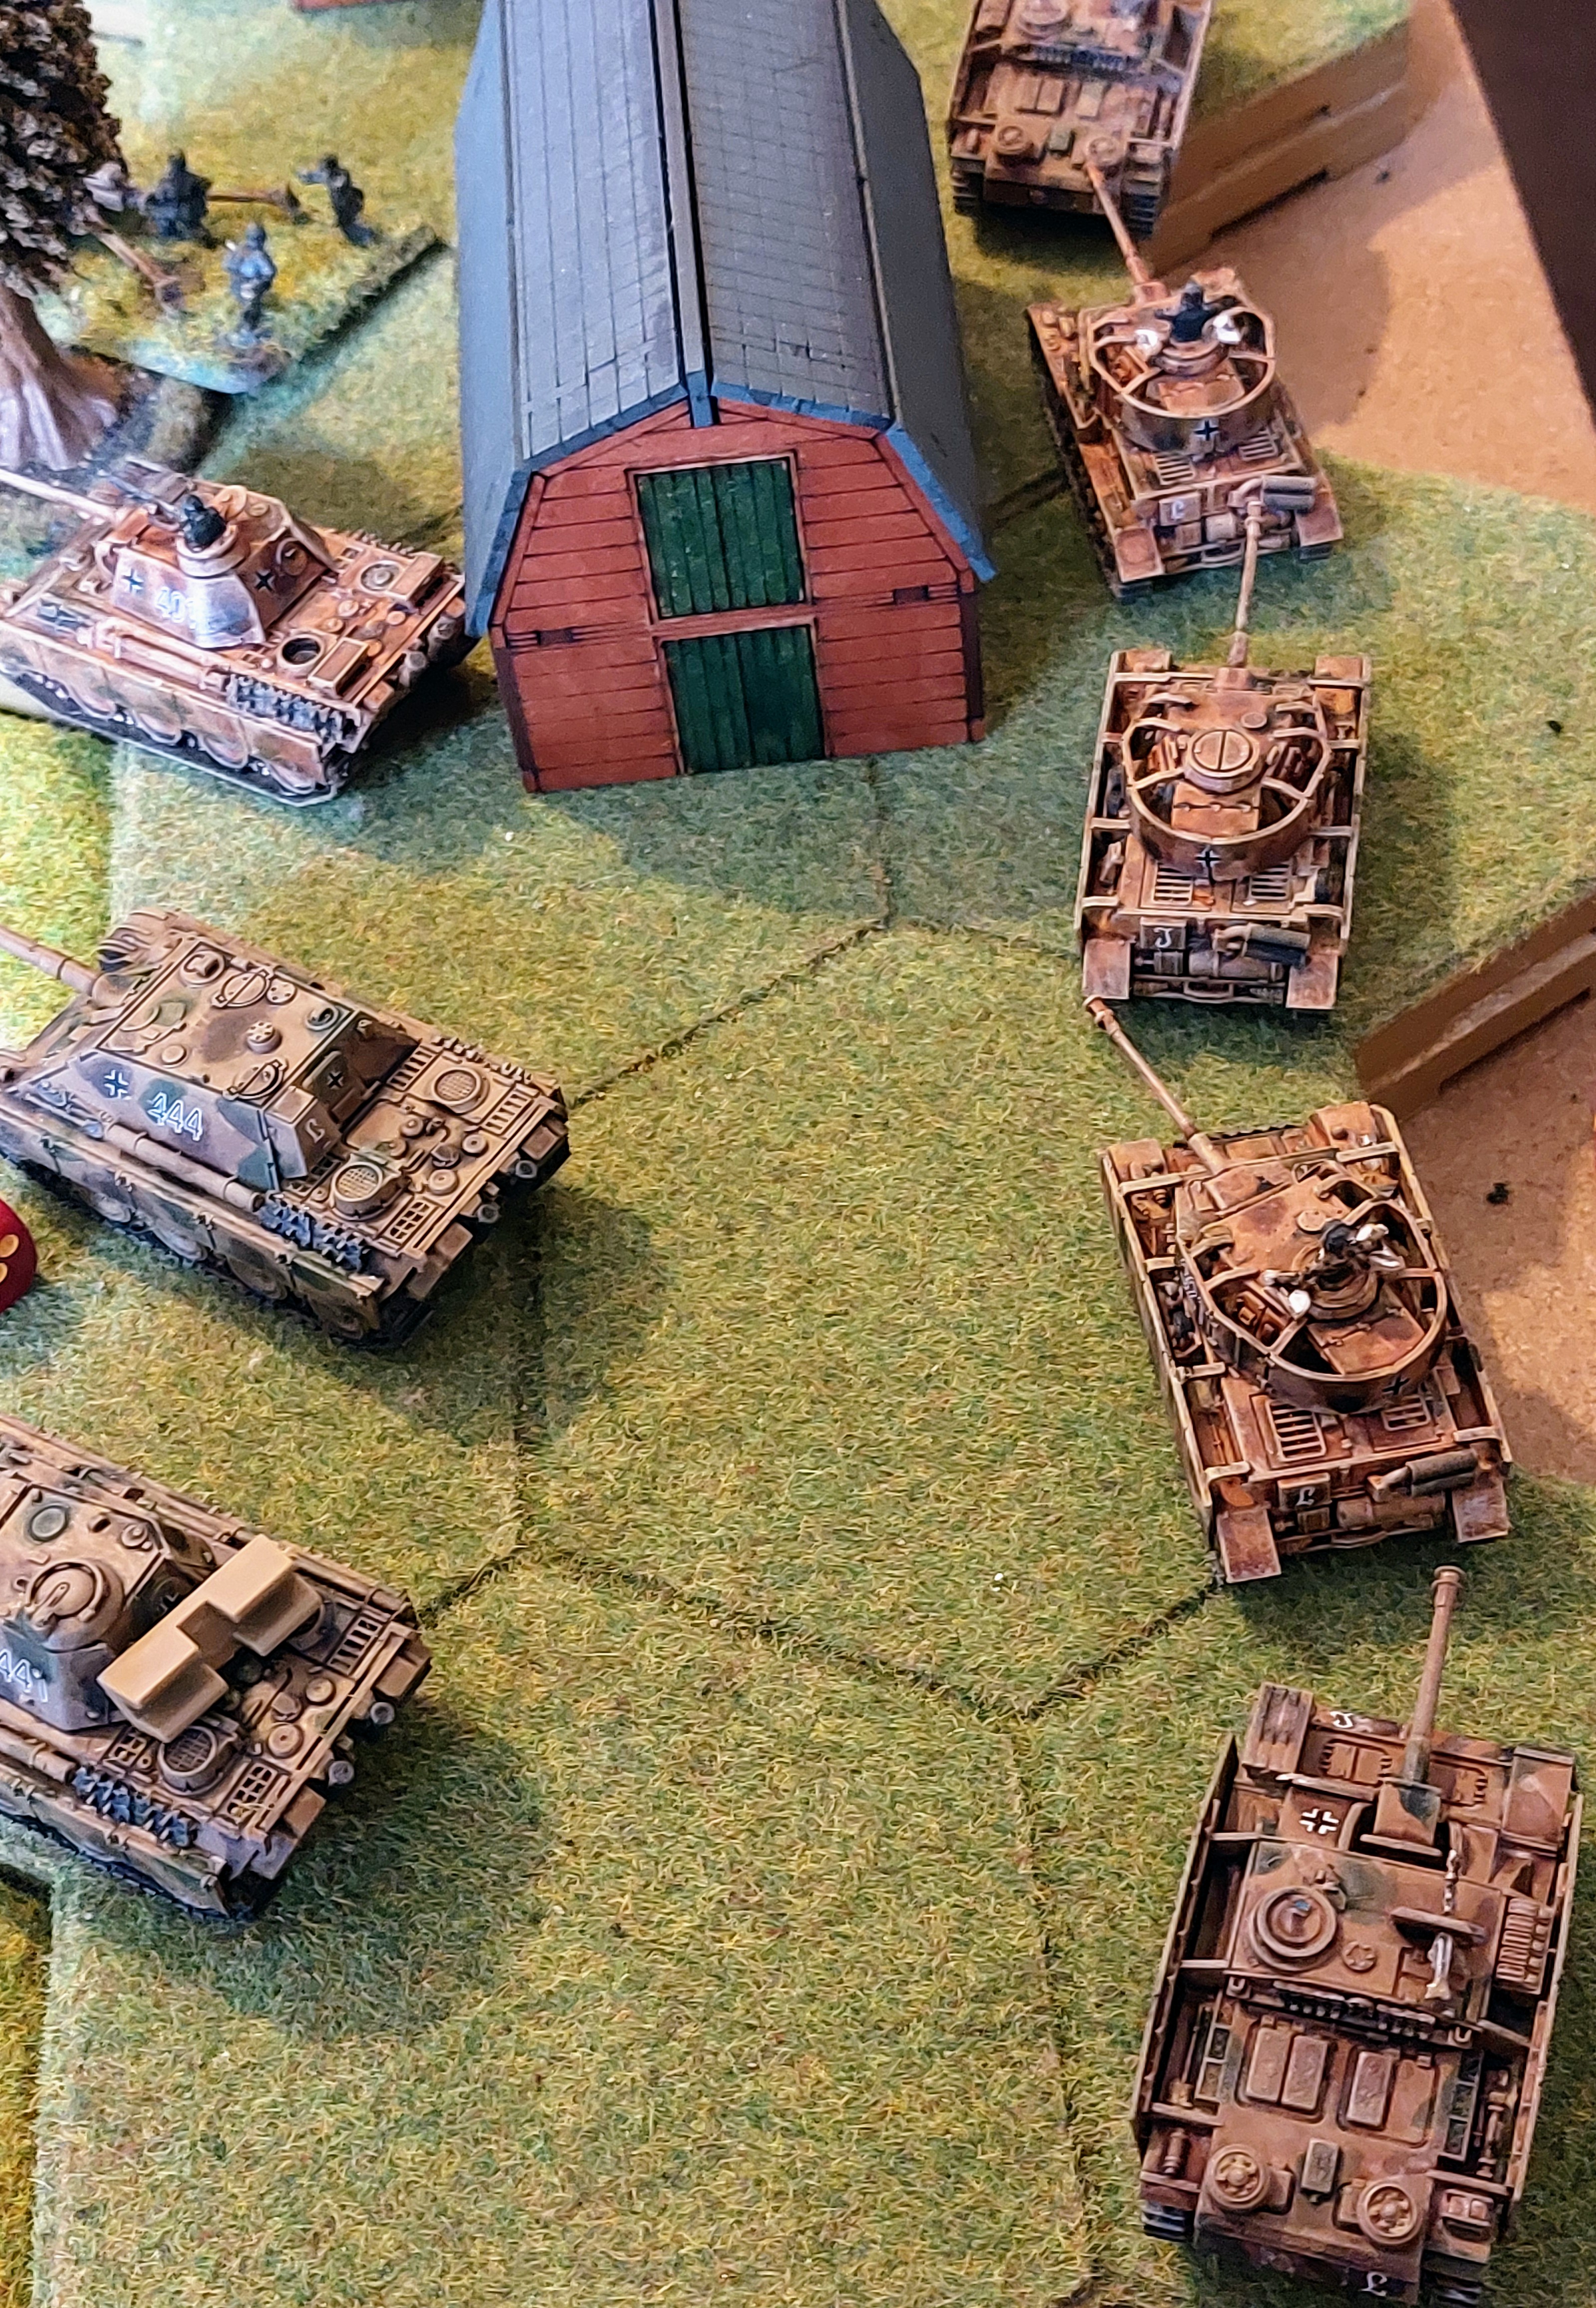
5x Panxer III
3x Hetzer
5 x Stug 75mm
2x Stug 105mm
6 x Panzer IV
5x JagdPanzer
4x Panther
2x JagdPanther
4x Tiger 1
Not Gerrys 12,000 pts but should keep them occupied for a bit.
Oh and interesting point forgot how much I like Glen Miller , the one thing missing from D-day bootcamp…..
2nd oh! dont forget to check out all the D-day boot camp Content specially the how they built it blogs .
Operation Cheltenham! 1st moves continues
The AEC was destroyed outright, both the Daimlers had to bail out and completely destroyed by Geman armored units arriving on both flanks. The armoured cars had hoped to be able to reach the top of the Bridge with a tactical move I order to fire on the Hornisses but dropped short.

In the meantime the Guards recon troop on the right flank had attempted to scout the Church of the Fallen Madonna and had lost Stuart to well placed PanzerShrek team in Church.
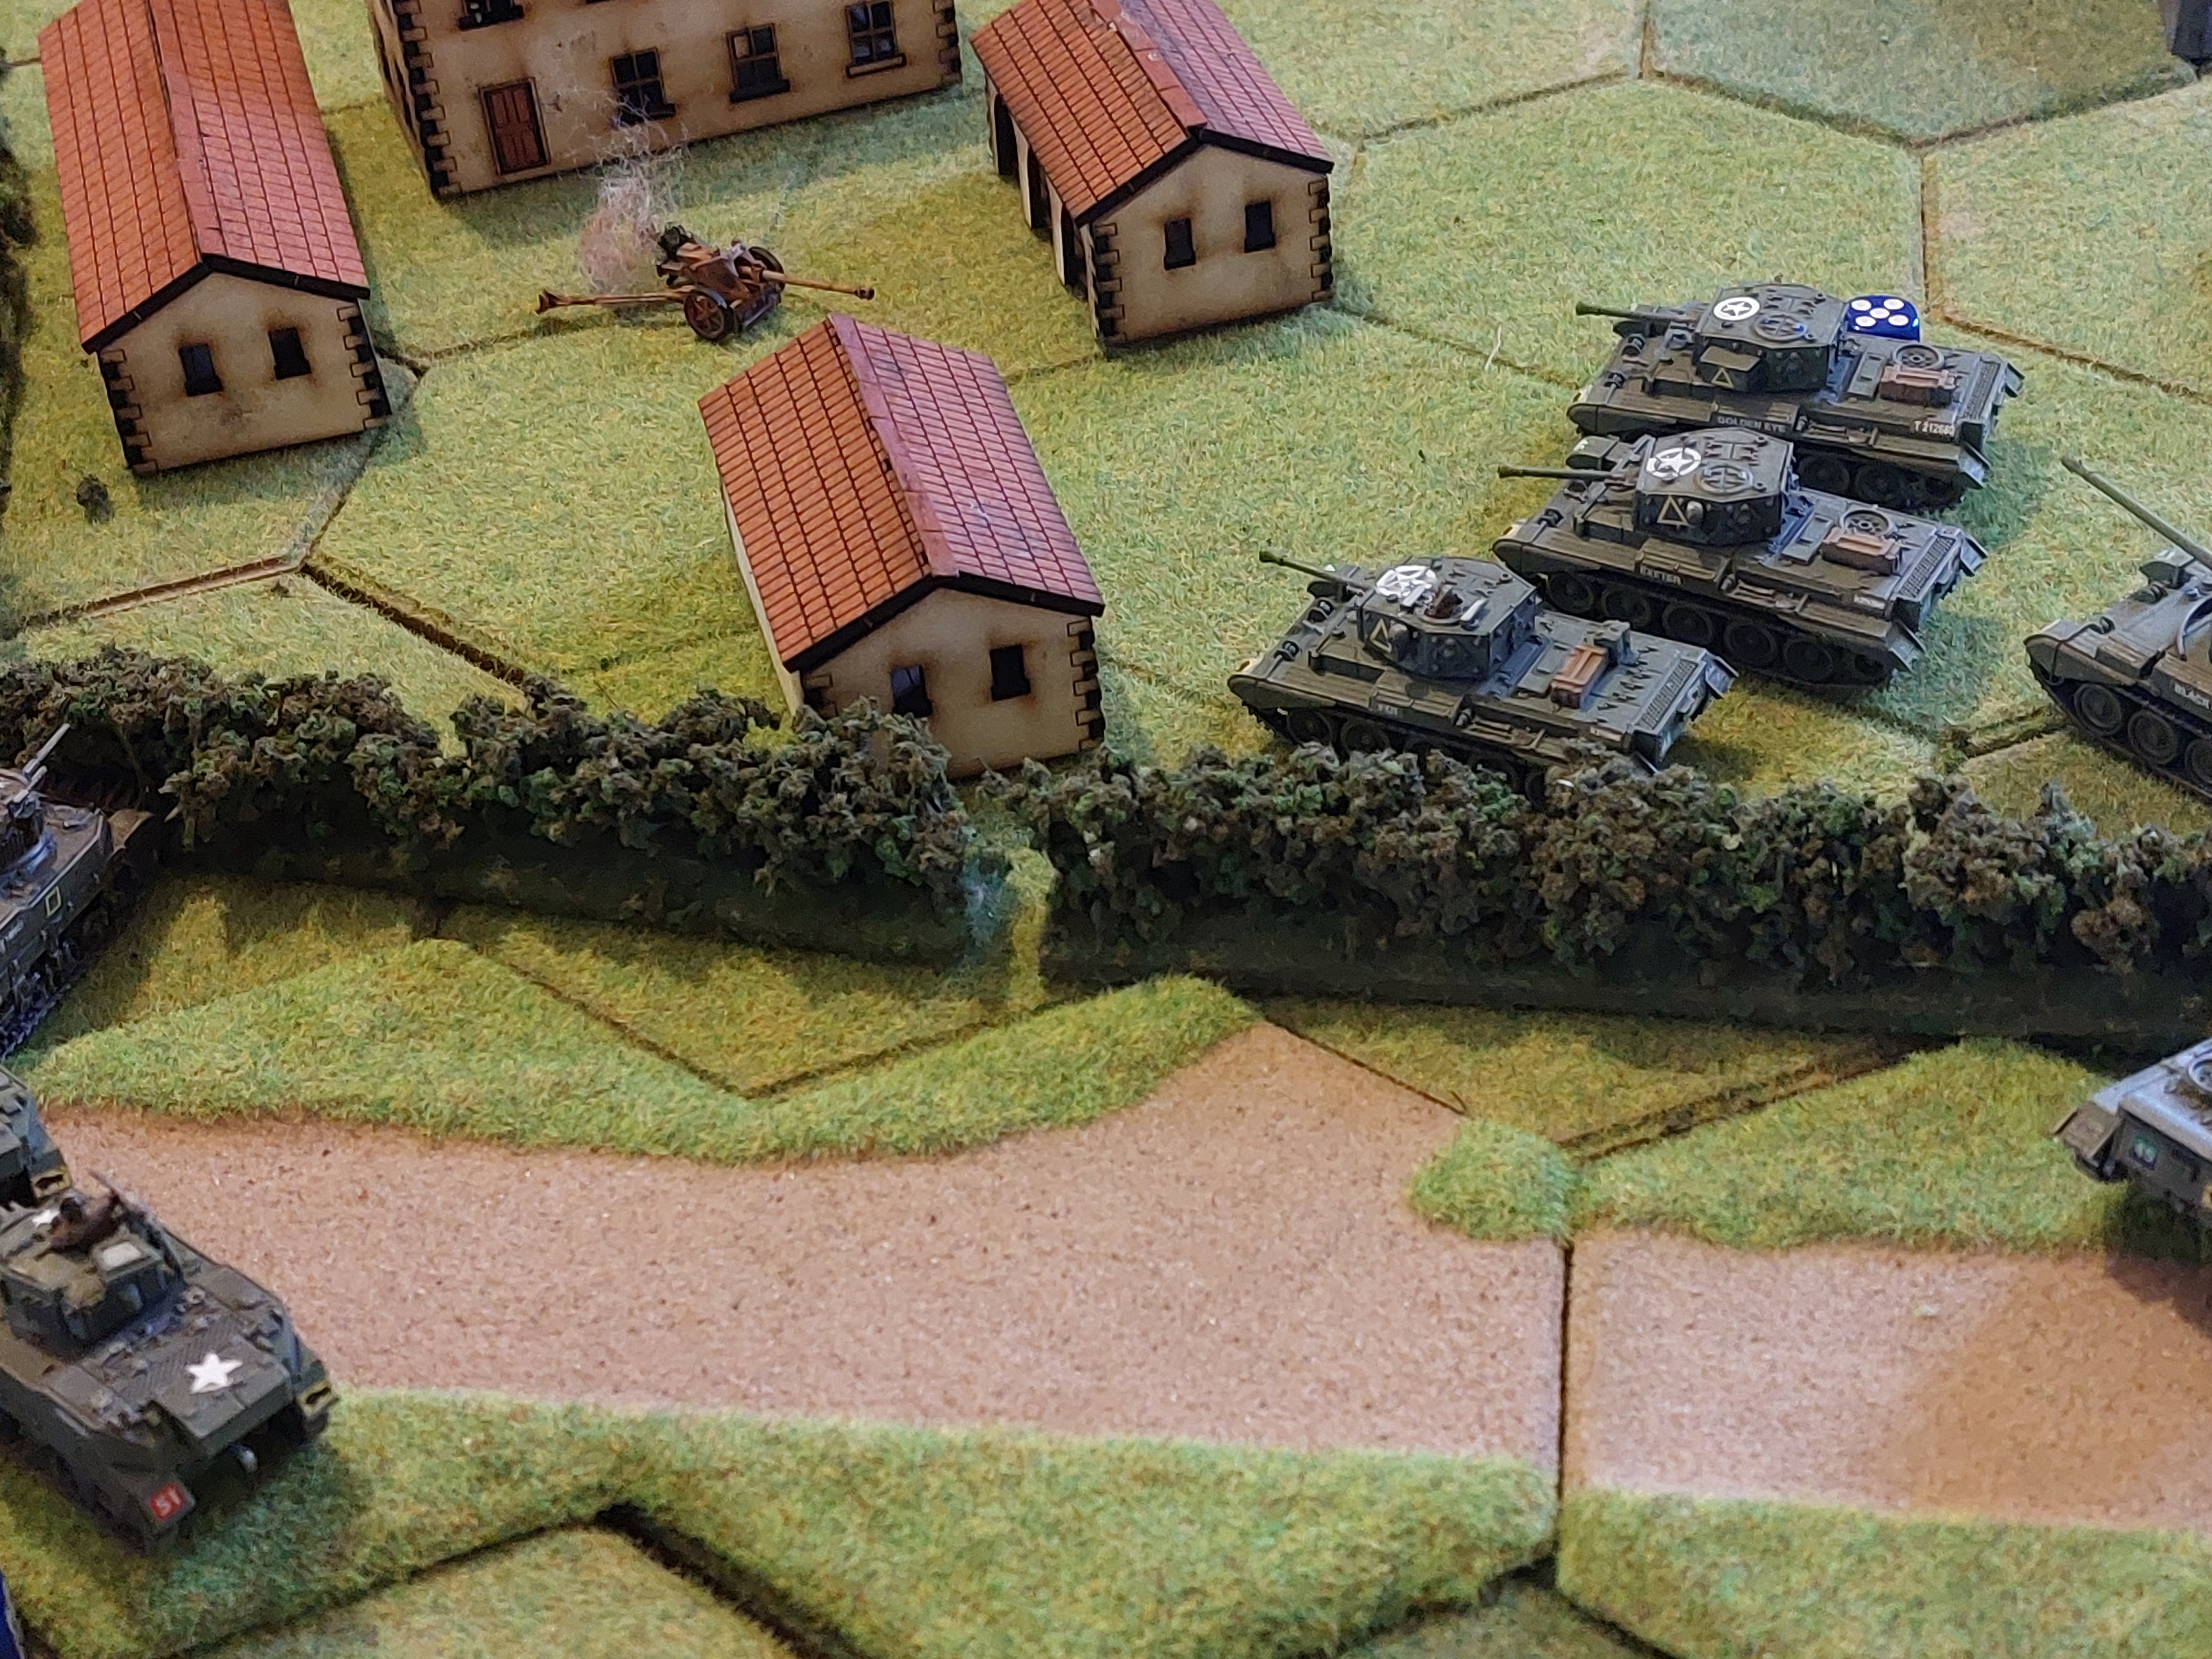
A troop of Churchills was quickly ( well as quickly as Churchill’s can sent in support , who quickly put the chuch under fire including one Churchill CS.
In the meantime the 1st Troop of 15th/18th Hussars attached the central farm buildings , suprising a pak 40 which had changing its facing from the bridge, it managed a snap shot at the approaching tanks but blasted to oblivion by thr returning fire.
We allowed revealed Geman units reaction or opportunity fire o a skill role ans a -1 to the too hit role.
All being well the 2nd part of Operation Cheltenham will continue on 29th Jan.
At this point the remaining dice were drawn, which allowed sone Jockeying of British units but allowed German Reinforcements to arrive. Pre Game we had maneuvered German deployment markes in similar manner to those used in The Lardies ‘Chain of Command’ Infantry and guns could deply within 8″ of marker, preferably in any available co er, and vehicles at the nearest table edge.
Operation Cheltenham, 1st Moves
Despite an all day game, a combination of the initiative, learning or relearning rules , and devising realistic A.I for Germans meant we only got 2 moves completed. The upside is that all the players had fun and want to continue I a couple of weeks ,which isn’t a problem with my permanent Games room.
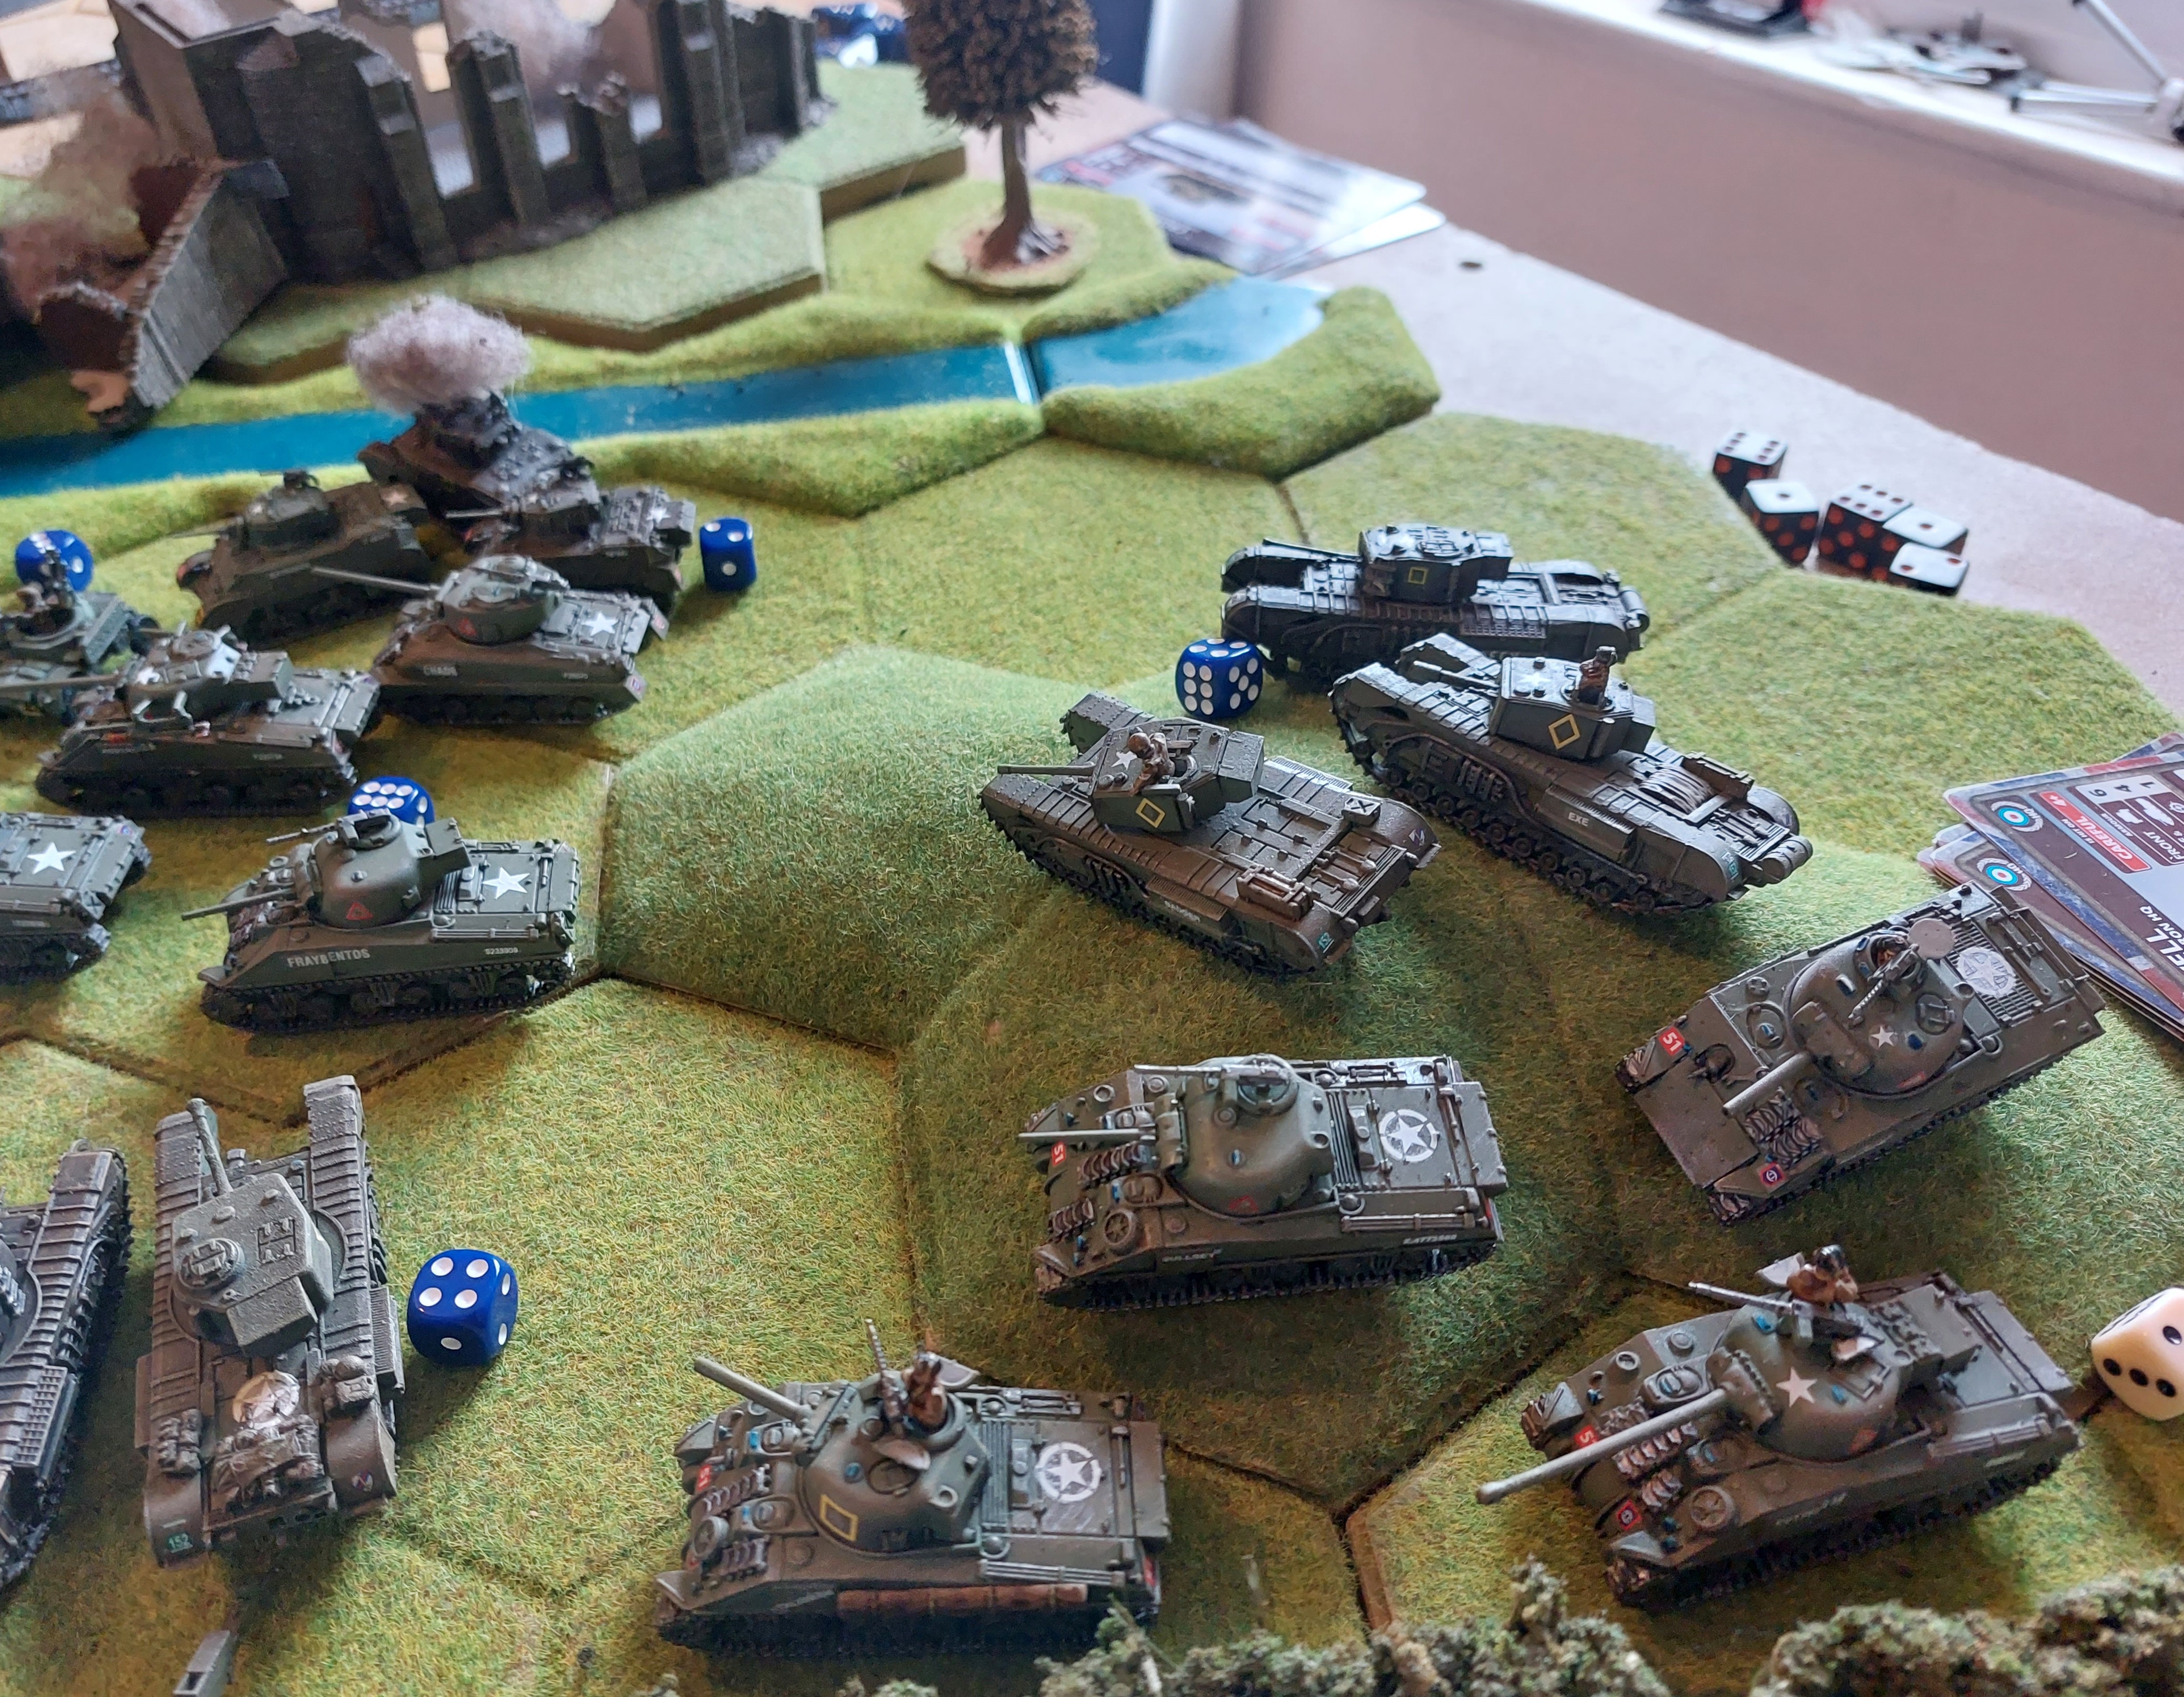
 The Redoubtable Players , left Kevin 15th/18th Hussars ,Keith 2nd Genedier Guards, Jo 2nd Fife and Forfar Yeomanry
 Morning Dawned on the 16th June with the Surviving members 504th Glider company (fictional) of the 101st Airborne , set too.
Now little more than a Rifle platoon in strength the company had held the bridge over the River, after being totally mis dropped after hitting heavy flak as they crossed the French coast.
They had survived initial disorganised German attacks , but these were becoming increasingly more intense with the arrival of the Elite Panzer Lear Division.
Their only hope was the news that British Forces were closing in.
They would be Heartened to hear that 3 armoured Suadrons were closing on their position. Led by Majors Keith ‘Tudor’ Prossett 2nd Grenedier Guards, Kevin ‘By the Book’ Broomhill 15/18th Hussars, and Jo Leftbridge 2nd Fyfe and Forfar Yeomanry , who had advance had the Bridge in Site,
The Guards were to advance on thr Right flank led by the attached 6th Guards Churchill Troops, to secure the high ground at the Church of the Fallen Madona and provide flanking cover on the advance to the Bridge. Likewise the 2nd Fife and Forfar were to advance on the left flank . The 15th/18th were to advance as quickly as possible to relieve the American Airborne boys and secure the Bridge crossing.
The advance started slowly as rhe Recon units threaded the way through the bocage, and were almost immediately slowed when o e of the leading Stuarts was brewed by an unseen anti tank gun. ( actually by a Jagdpanzer the only one ever covering the rear , most had been deployed to attack the Bridge.)
 1st blood.
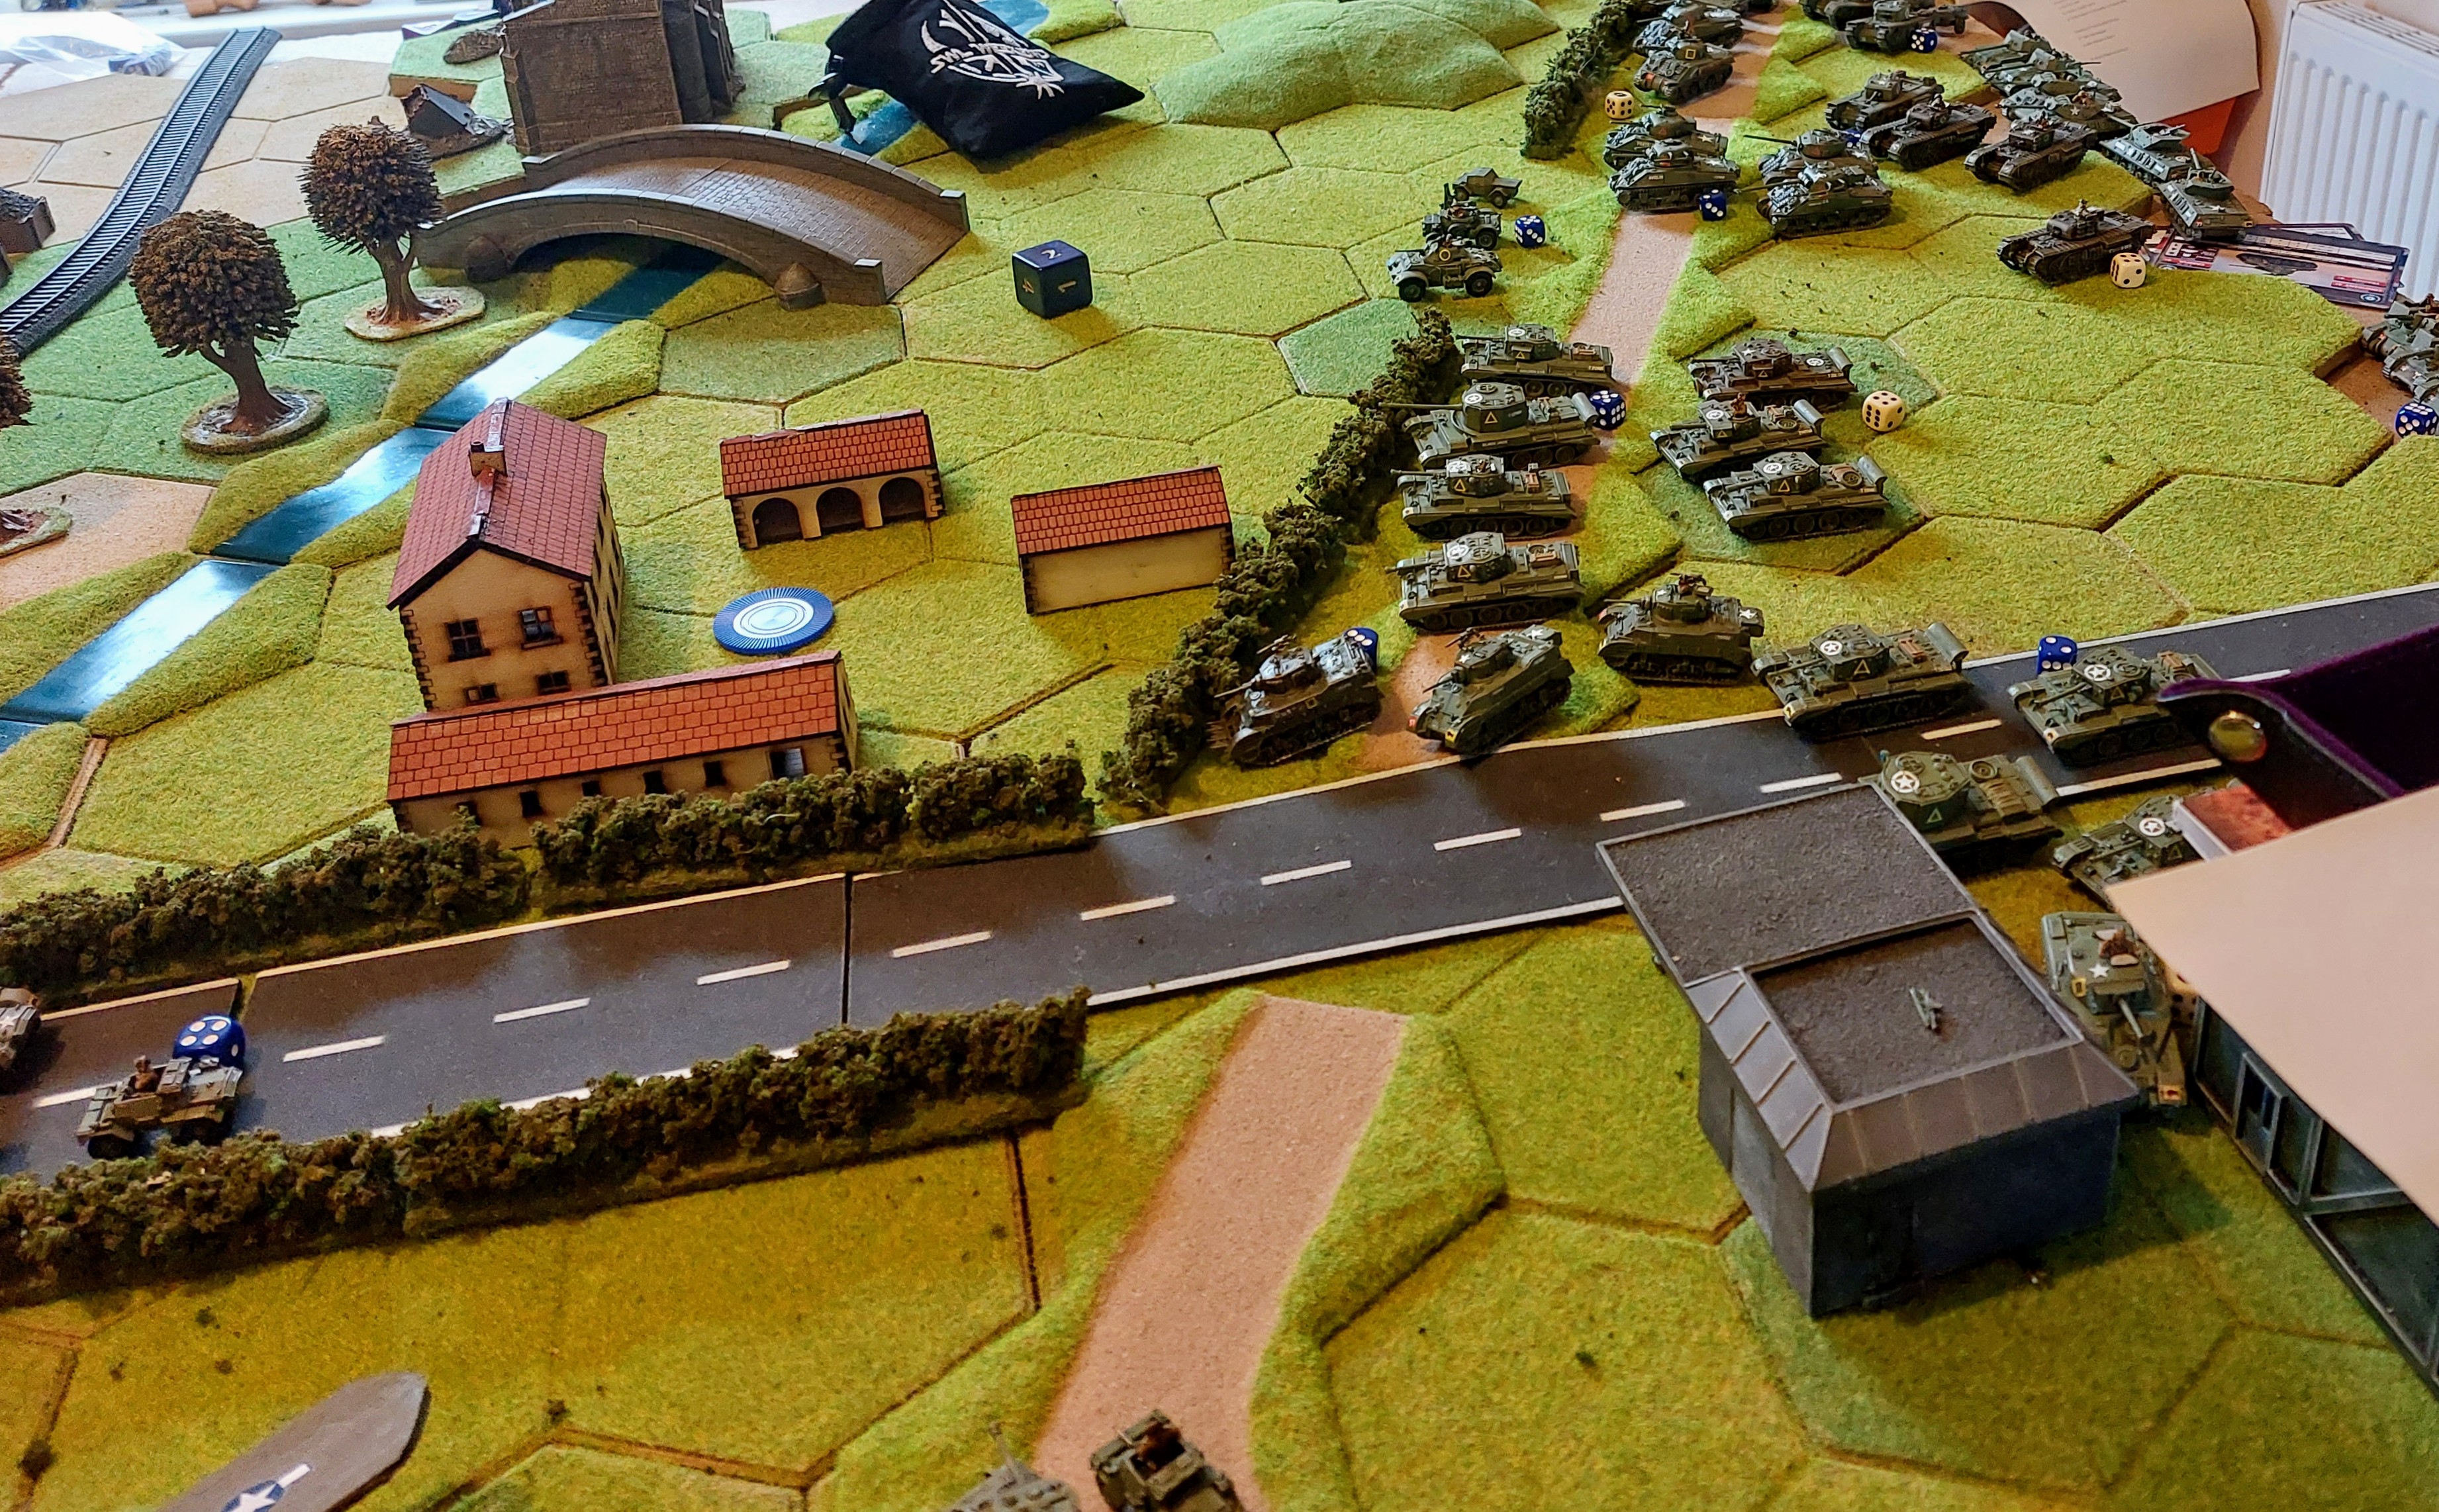
All the players got into the narrative of the game. Although we kept fairly strictly to Historical formations for the British, we allowed the Germans much more free flow in both formations and command, to as ”Keith put it having been action fairy continously for sone 9 days.
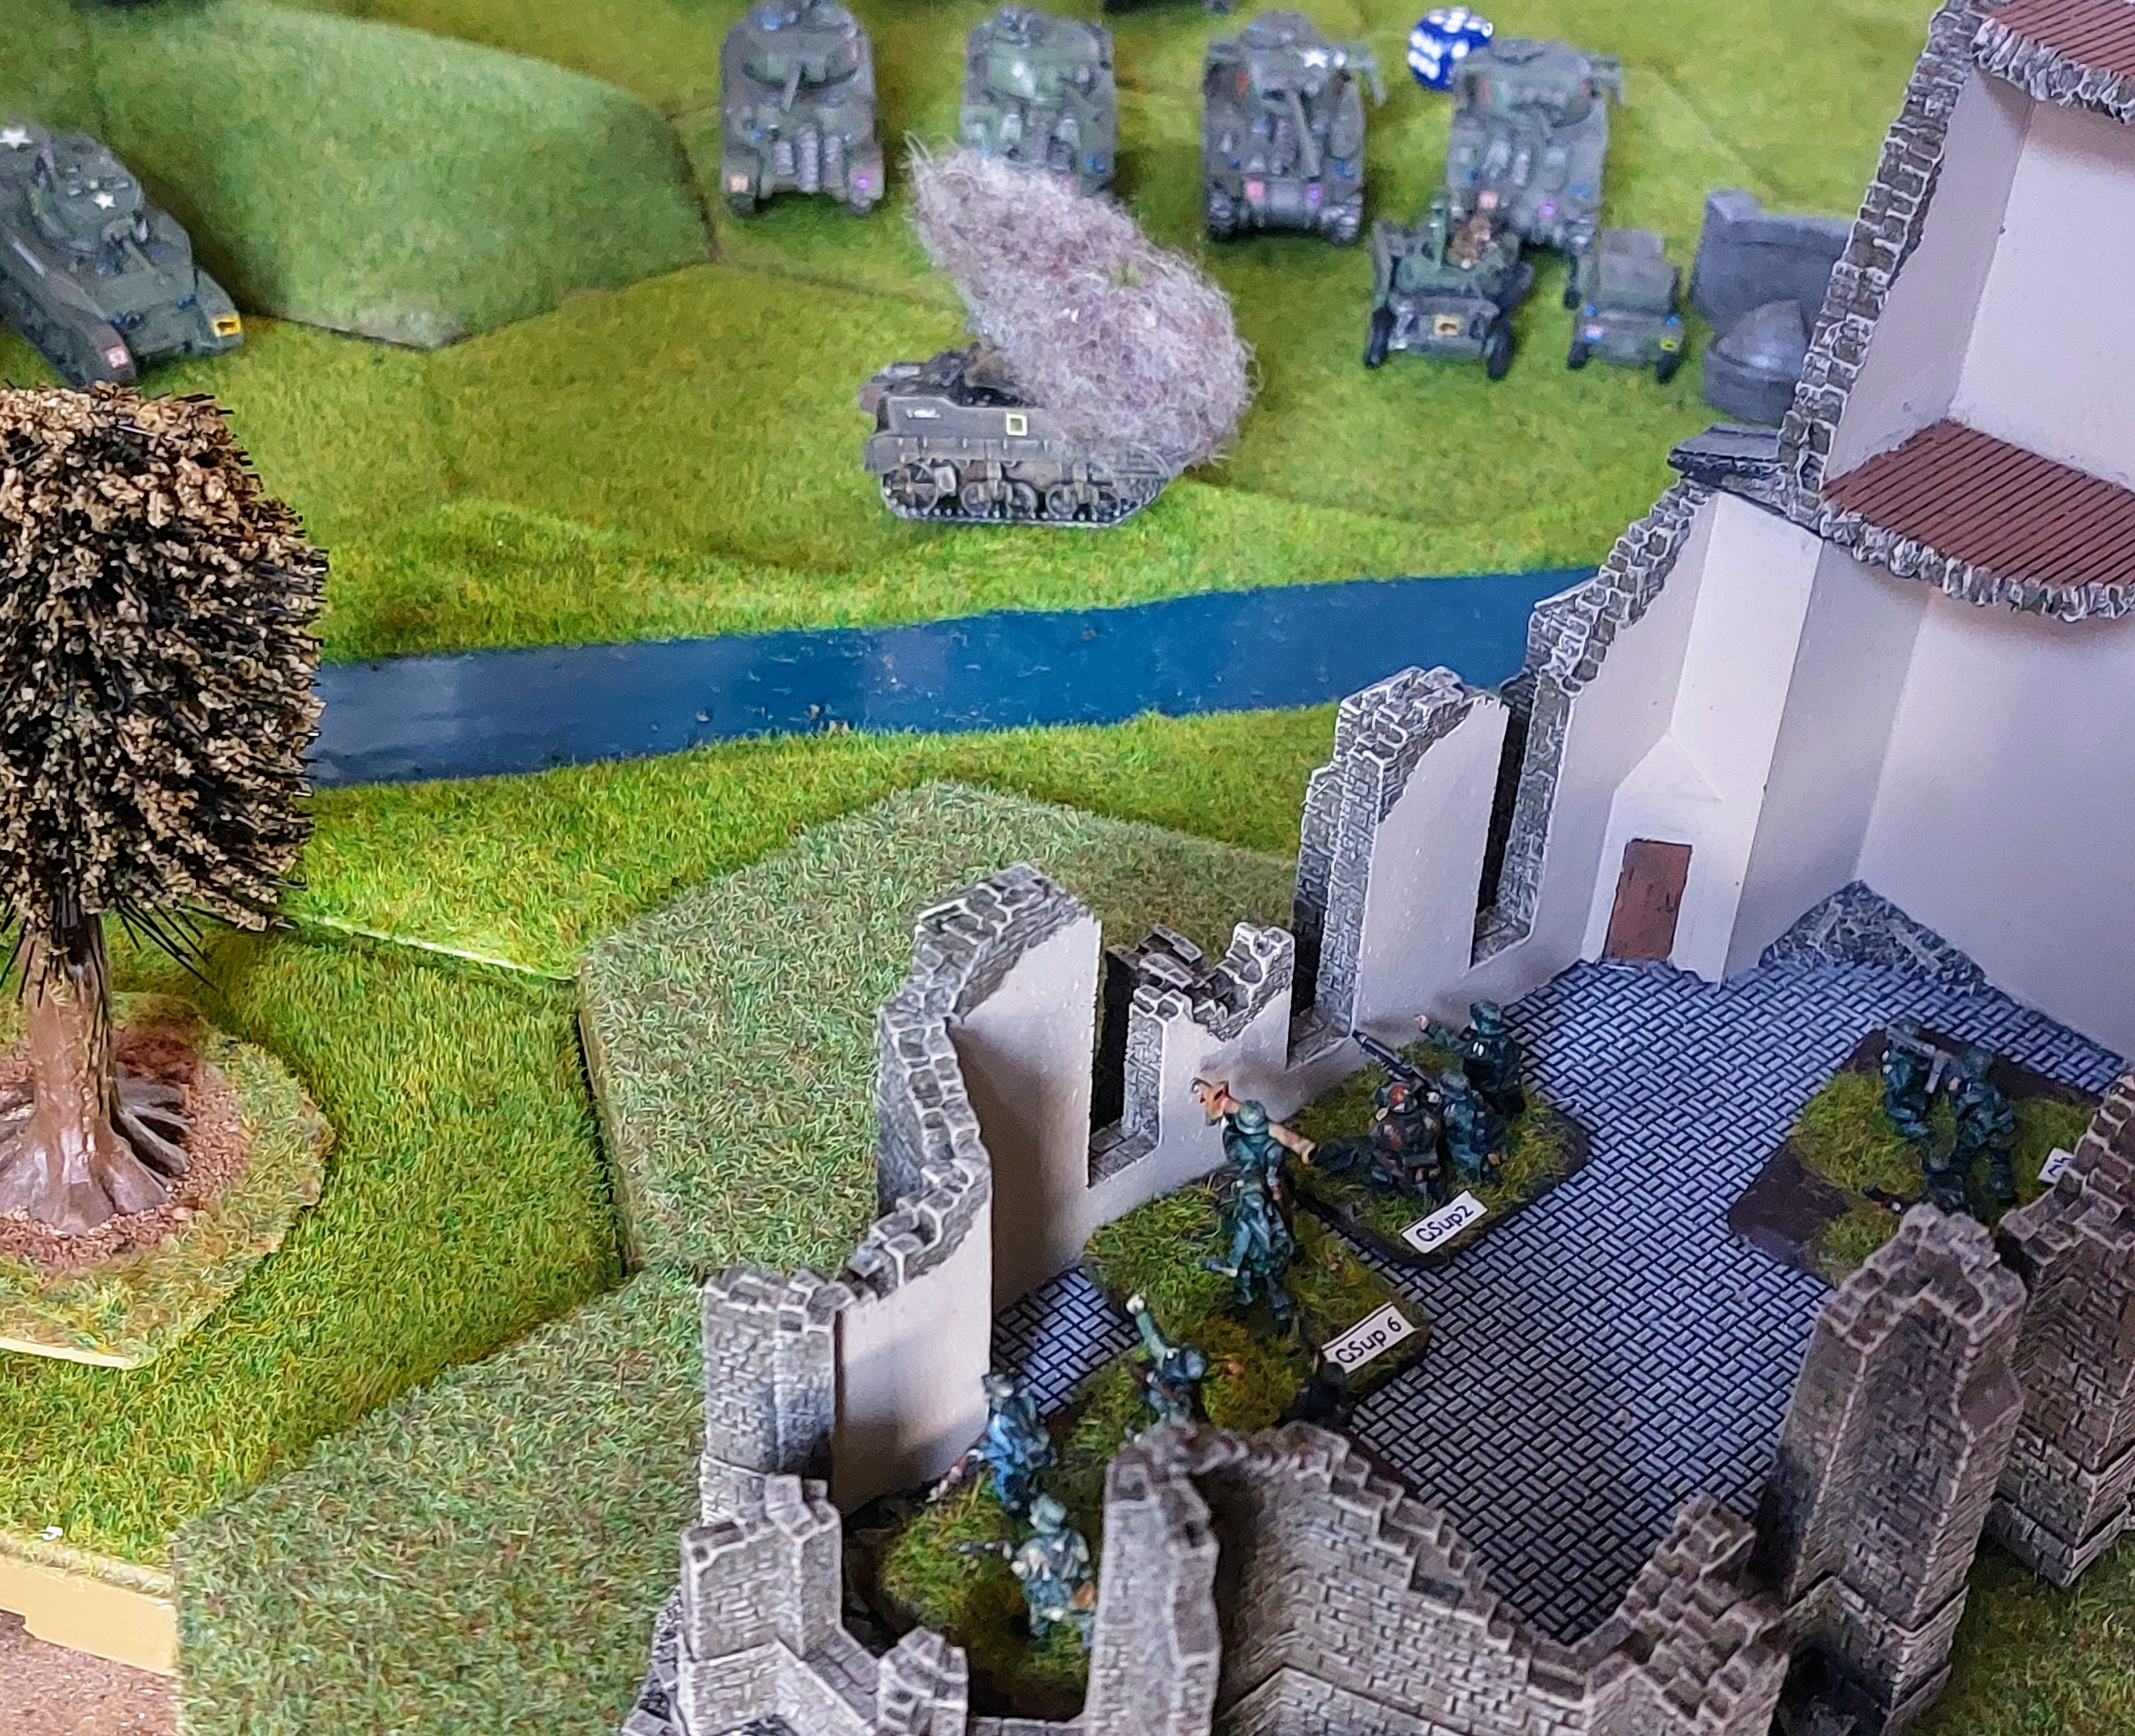
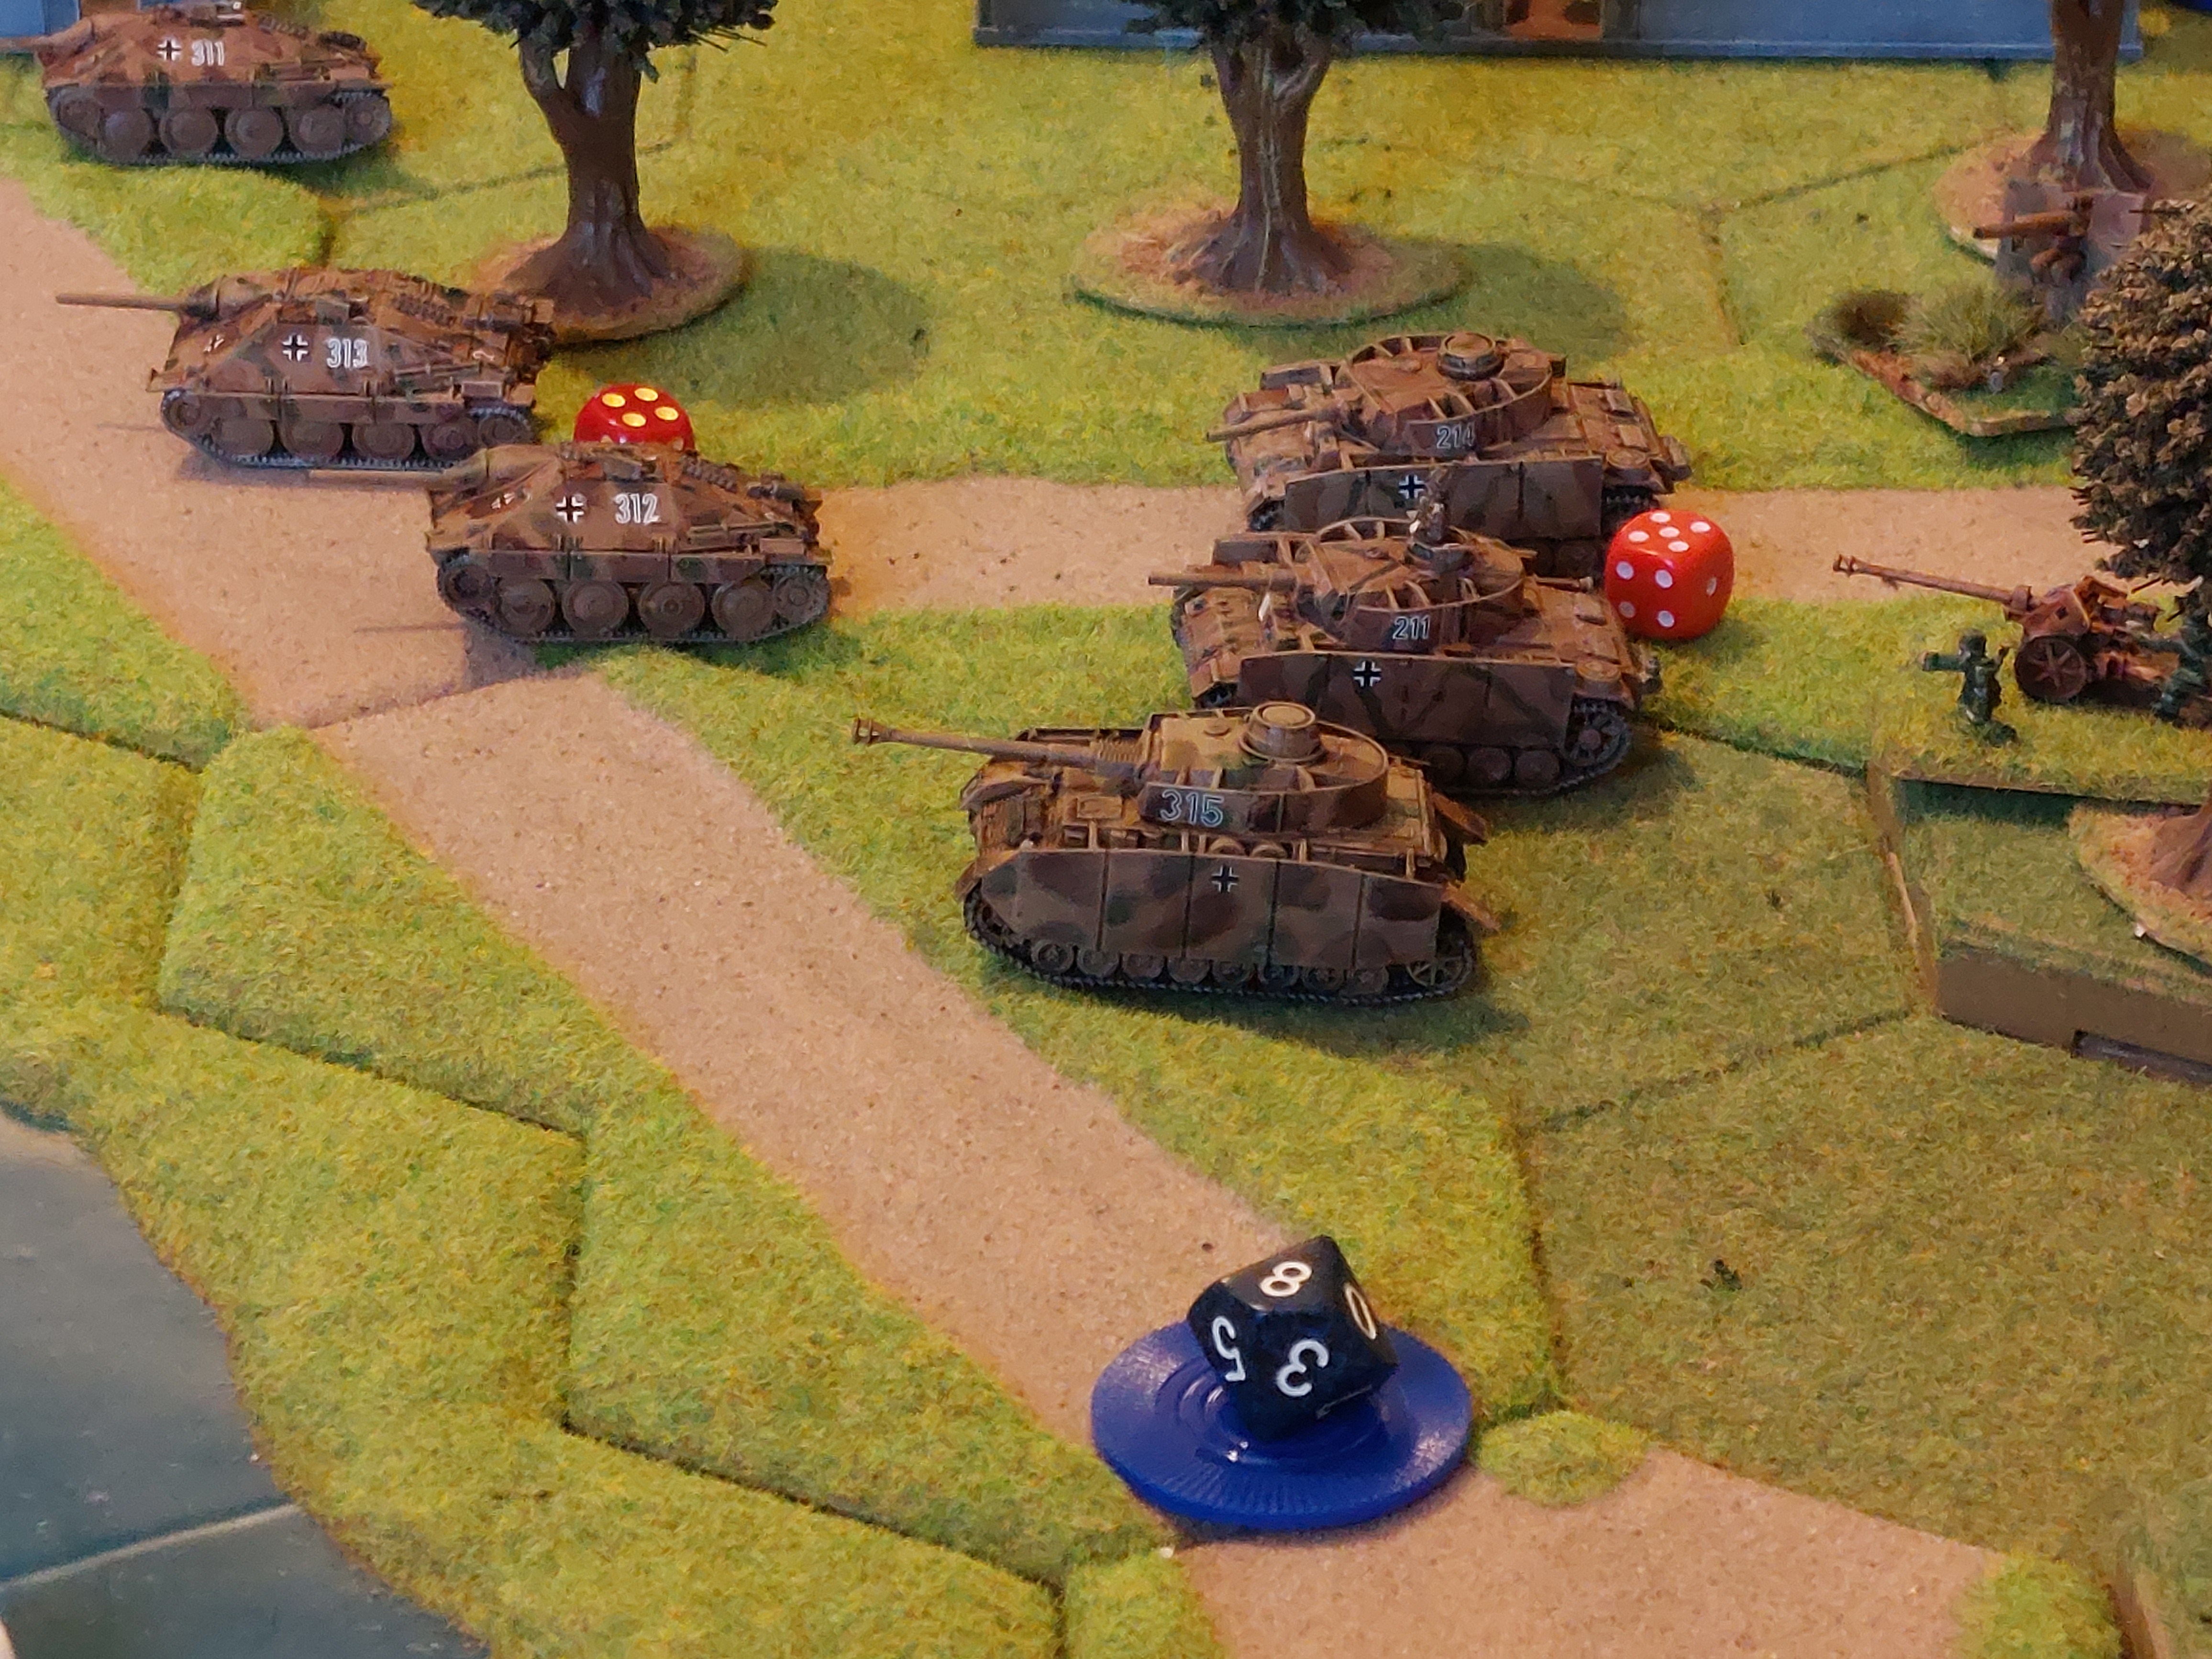
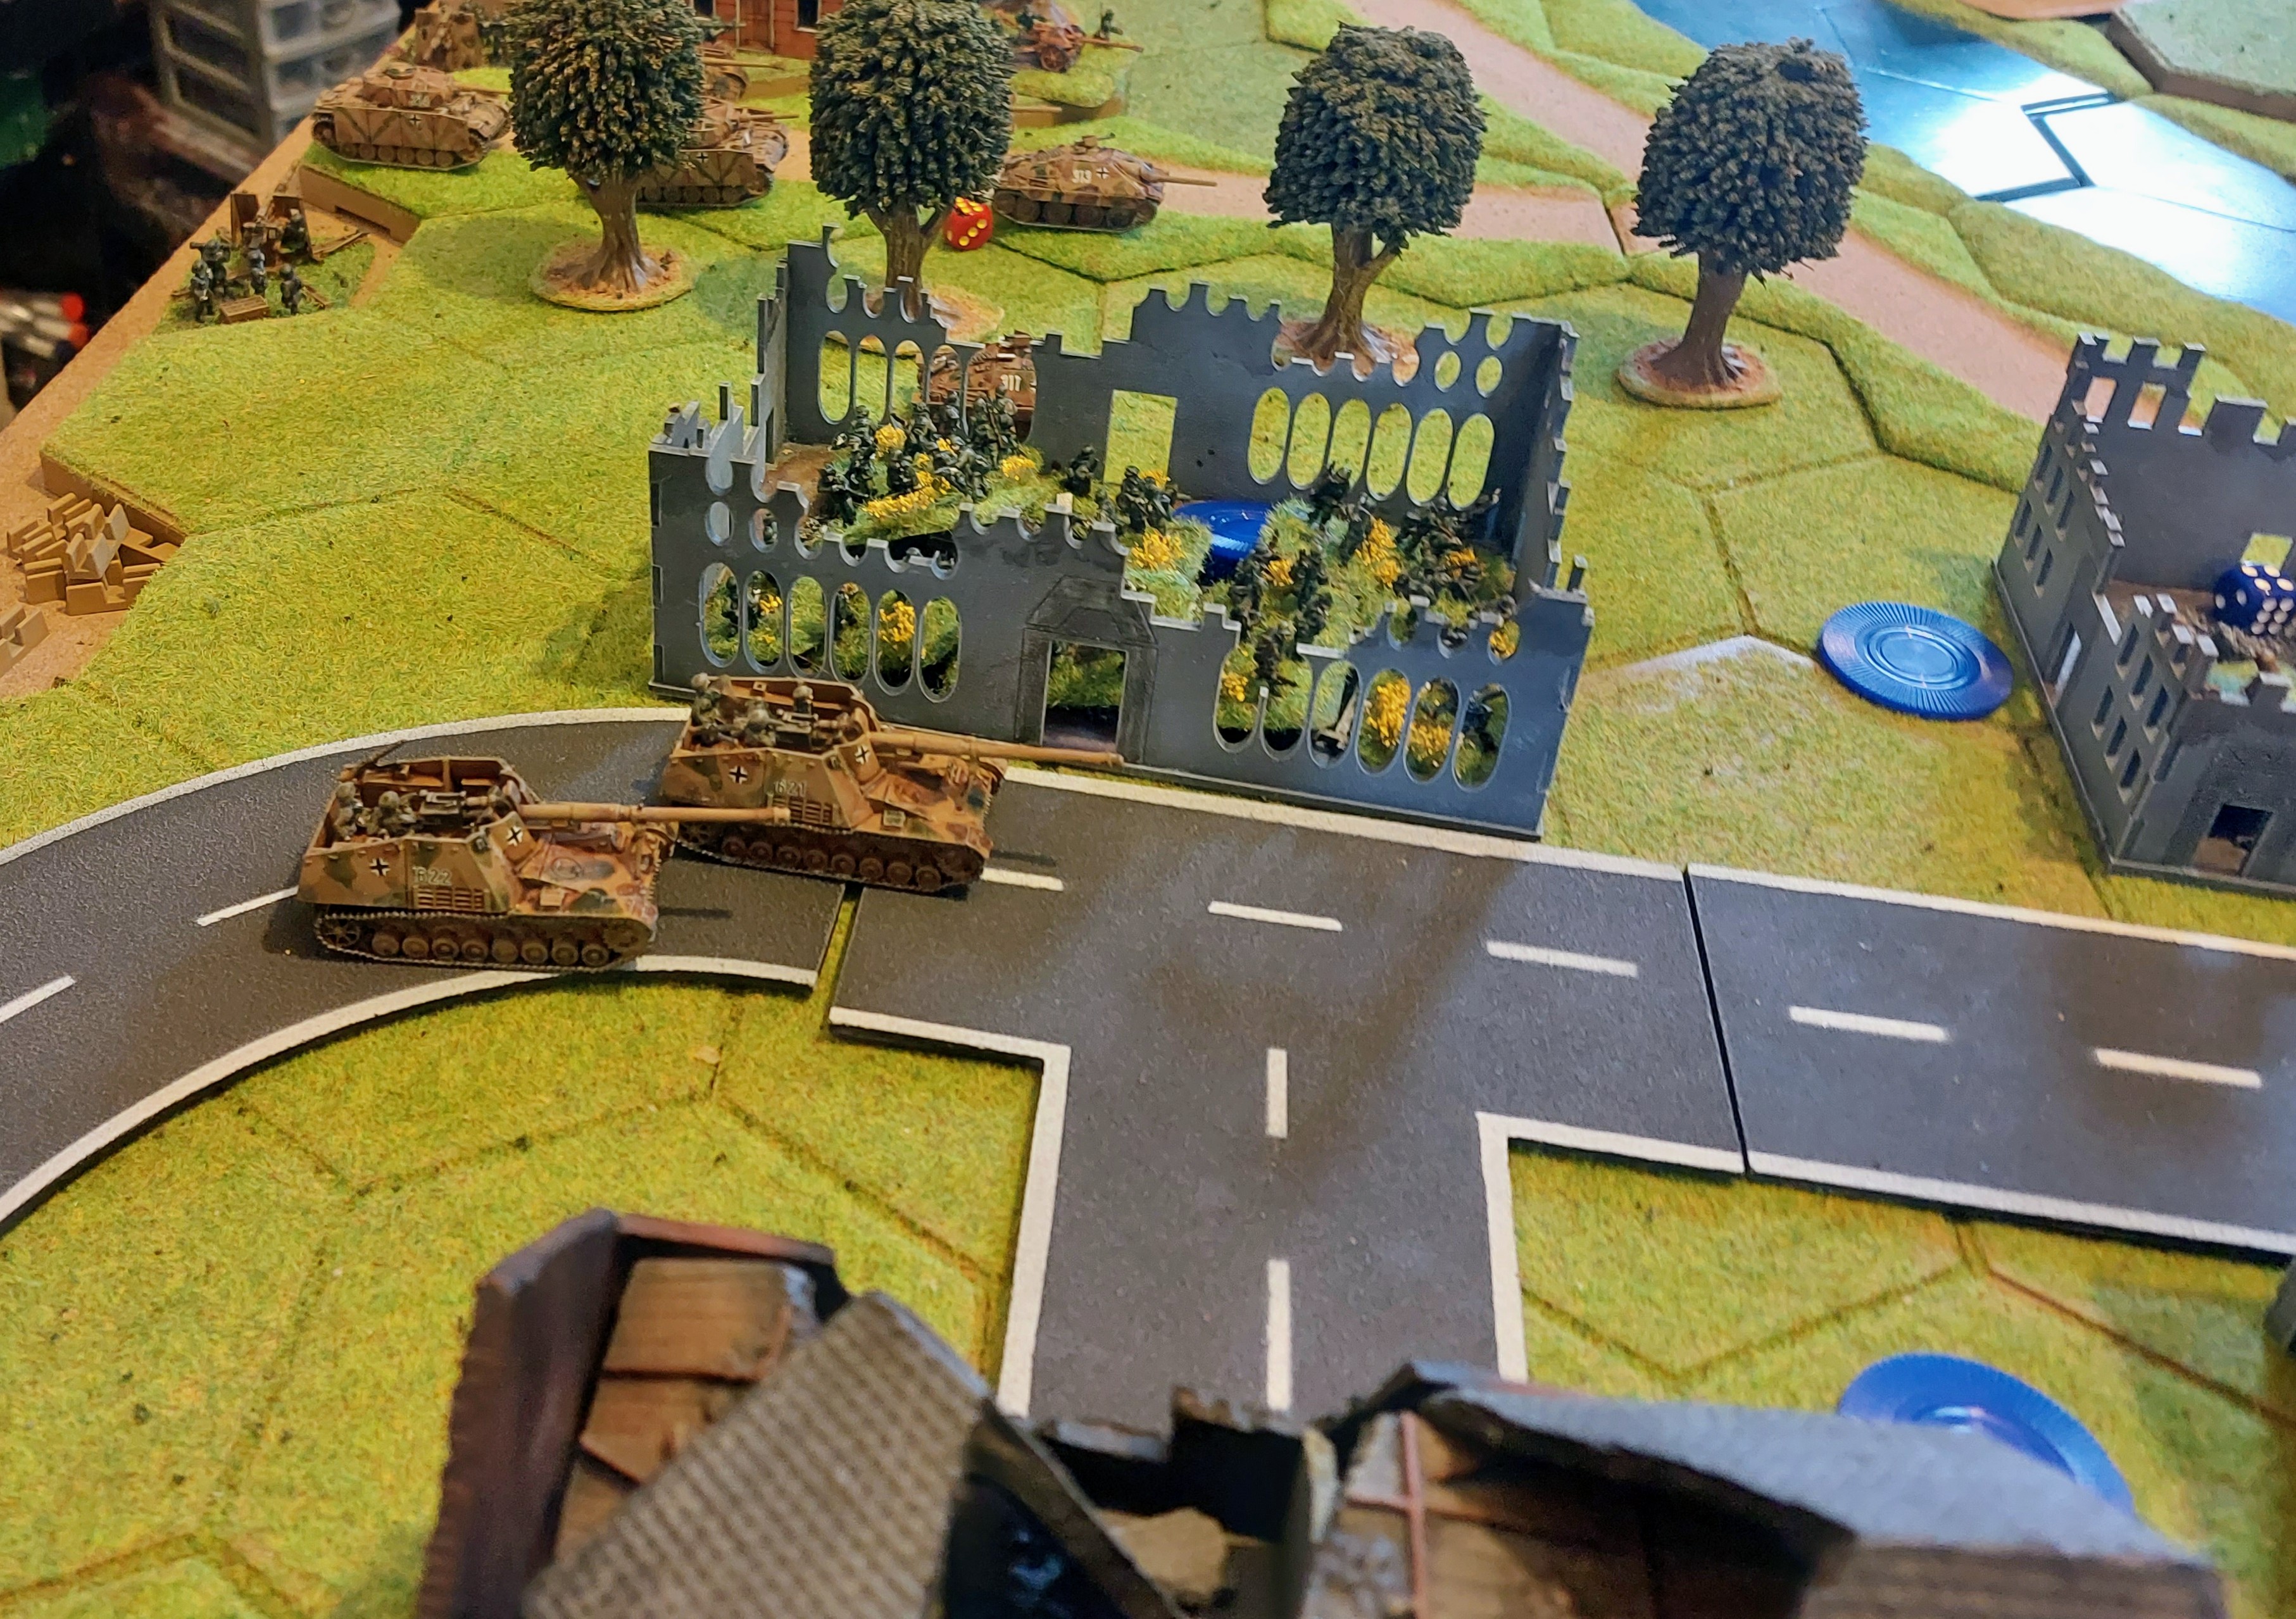
To make matters worse a platoon of Panzergrendiers had managed to quietly manoever into one of the buildings close to the Glider troops holding the Southern side of the Bridge. And prepared to launch an assualt, assisted by covering fire from 2 recently arrived Hornisses, who managed to severely maul the American defenders with accurate shell fire.
This was achieved by each side having a command dice for company/squadron commanders. In this case a unit dice was put on hold for the Panzergrenadirs , when the Command dice was drawn it was rolled with the number of units it could activate. In this case the Hornisse’s were activated by the Infantry’ Co commander to fire followed by a close Assualt by the full platoon of grenadiers.
The Grenidiers charge hone into the lone squad of Glider Troops and despite covering fire from the Americans on the adjacent building , the squad was overrun.
In attempt to provide some relief to the Americans, a troop of Inns of Court armored cars raced for the Bridge, but were quickly shot to pieces on the edge of the bridge , by a combination of AT tank gun on the ridge looking over the Southern approach to the Bridge, and Reinforcements of German Assult guns and Panthers.
Operation Cheltenham part duex the Mechanics and ammendments
This bit is very much for Garry who is curious on the mechanics of the game:
1 This game is going to use modified Flames of War rules:
Why , FOW has all those nice cards that do most of the rule work for the player, so they don’t have to wait while the Umpire etc searchs for the rules bit ,once they have had a brief breakdown of the card layout
2 Modifications I will be using a different initiative system:
Why
a)… Im not a big fan of I go you go , never have never will
b) its not a standard 2 player game, as the sides are asymmetrical, the majority of players will be playing British , Who will have to work round the inequality in armour , but will have to use numbers and tactics to prevail. The Germans will be an Umpire controlled A.I,
The ideas is to use a modified Bolt Action initiative system , I could have gone down the ‘I aint been shot down method of cards, but that is a bit cumbersome and takes time to organise. So the plan is it to put a dice in for each unit – Green for British – Grey for German as an example but also put in a different coloured dice for their command units. On drawing the dice the player can decide whether to activate on its draw or hold it back (place on unit ) till a command dice is drawn. The command dice will be activate a no of units up to its level , either from units with dice or not . The idea is a commander can then launch co-ordinated attacks , which he would not be able to do with just random dice drawing , but without the card sorting of IABSM, and should be a bit more freeflow.
Spotting
Most of the German units will begin concealed in position and not not on table till they open fire , to give more of the for of war, But the British will need to use their Scout units as well Scouts. to spot concealed Germans
Dont want to make it complicated, but will get players to role for spotting and will probably work out as to hit with modifiers
-1 light vehicle-Towed gun /Large vehicle partical cover
-2 Infantry -light Vehicle/Towed gun patial cover
-3 Infantry partical cover
-1 to above if buttoned up tank etc
As its umpire led above can be modified as req:
A.I
I have a reaction table that I originally developed from the old Pony Wars for use in my Hammers Slammers games which I will use.
German reinforcements will be rolled for each move, still some kinks to be sorted on this but, quikc idea is use two d6, with any double rolled mean that reinforcements are not immediately deployed but ars stacked up until another double is rolled and then they arrive on next move:
More modifiaction will appear as req on day , one advantage of umpire led game, will post on post game report.
Operation Cheltenham!
Well all this effort ( plus Pnzer Lear to come) had a purpose, the 1st attempt at Big all Saturday Game, so here is Operation Cheltenham, a mix of Goodwood and a Bridge to far.
A bad miss jump has put elements of the 101st Airborne including Glider Borne 57mm guns , right on top of the main bridge that crosses the La Pugh River at the small town of Cesse Piett. It is now D+10 , and the original company of 101st is down to little more than 1 platoon of effectives and 1 sole 57mm gun after repeated attacks from the Pazer Lear Division. Ammo and rations are running out.
Luckily they are in the avenue of advance on elements of Both 11th and Guards Armoured Divisions who are within a mile of relieving the hard pressed Americans. But battle hardened Elements of the Panzer Lear lie between them and embattled Americans, with Reinforcements expected at any moment
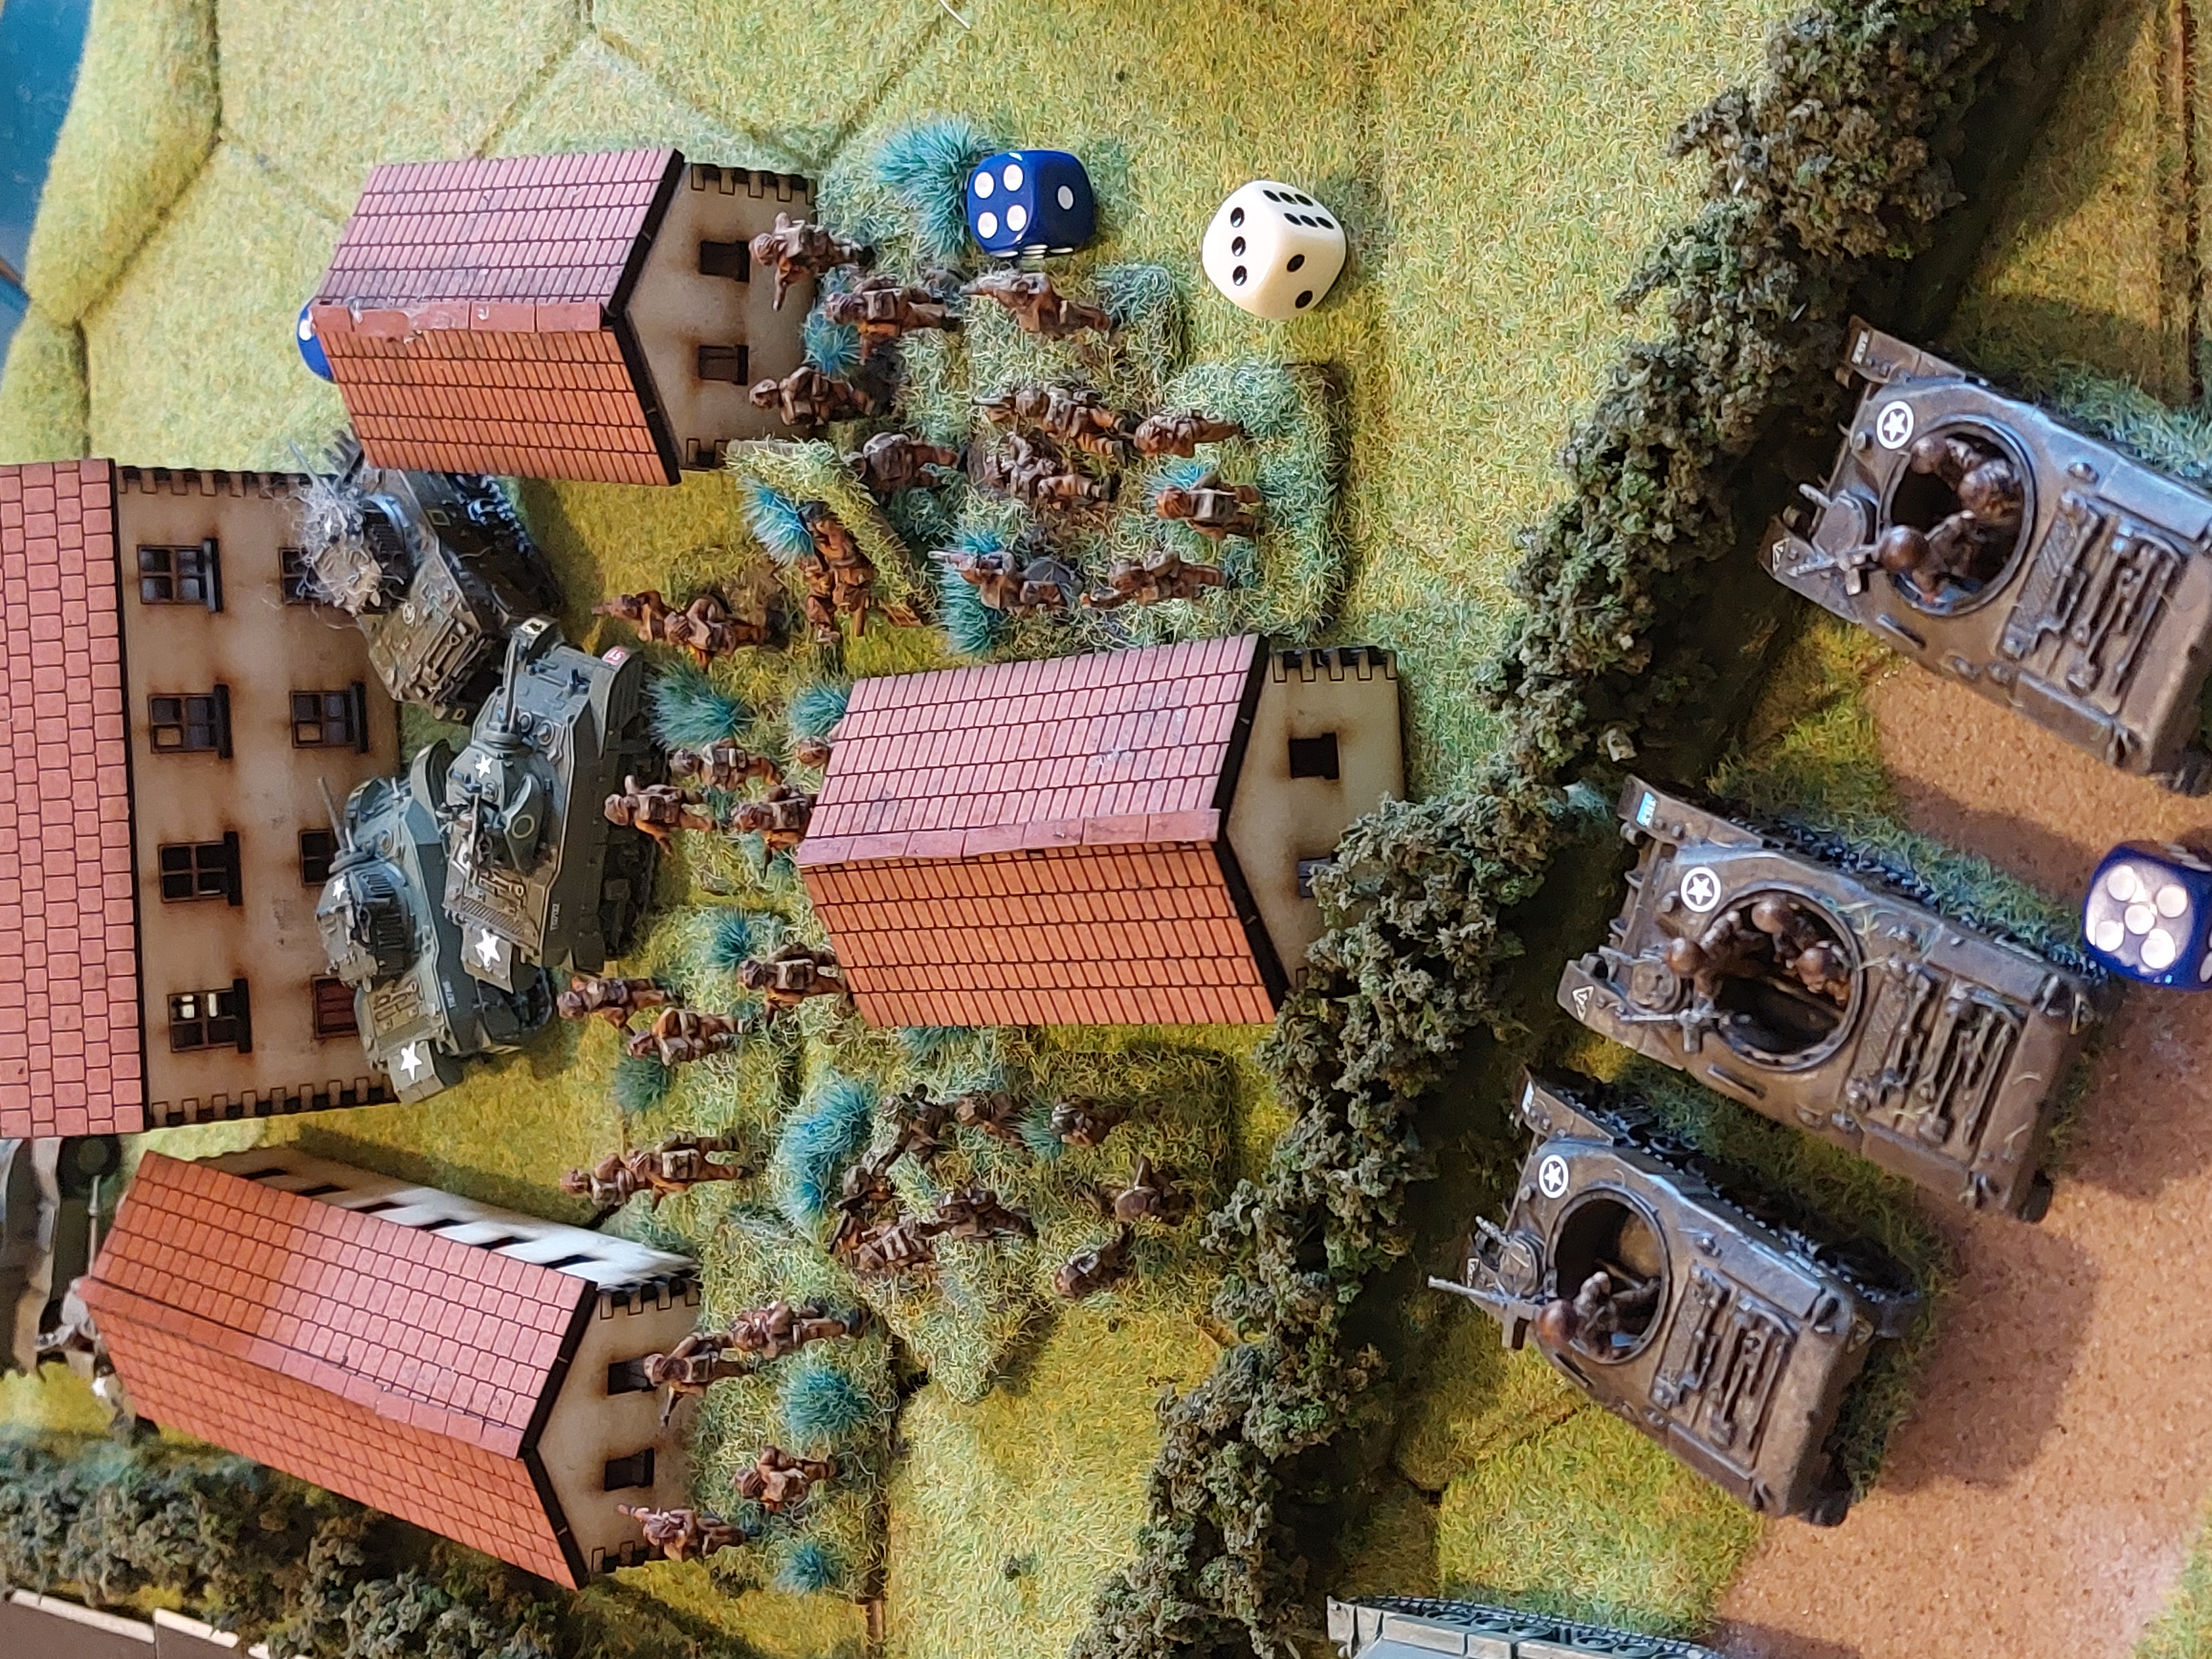
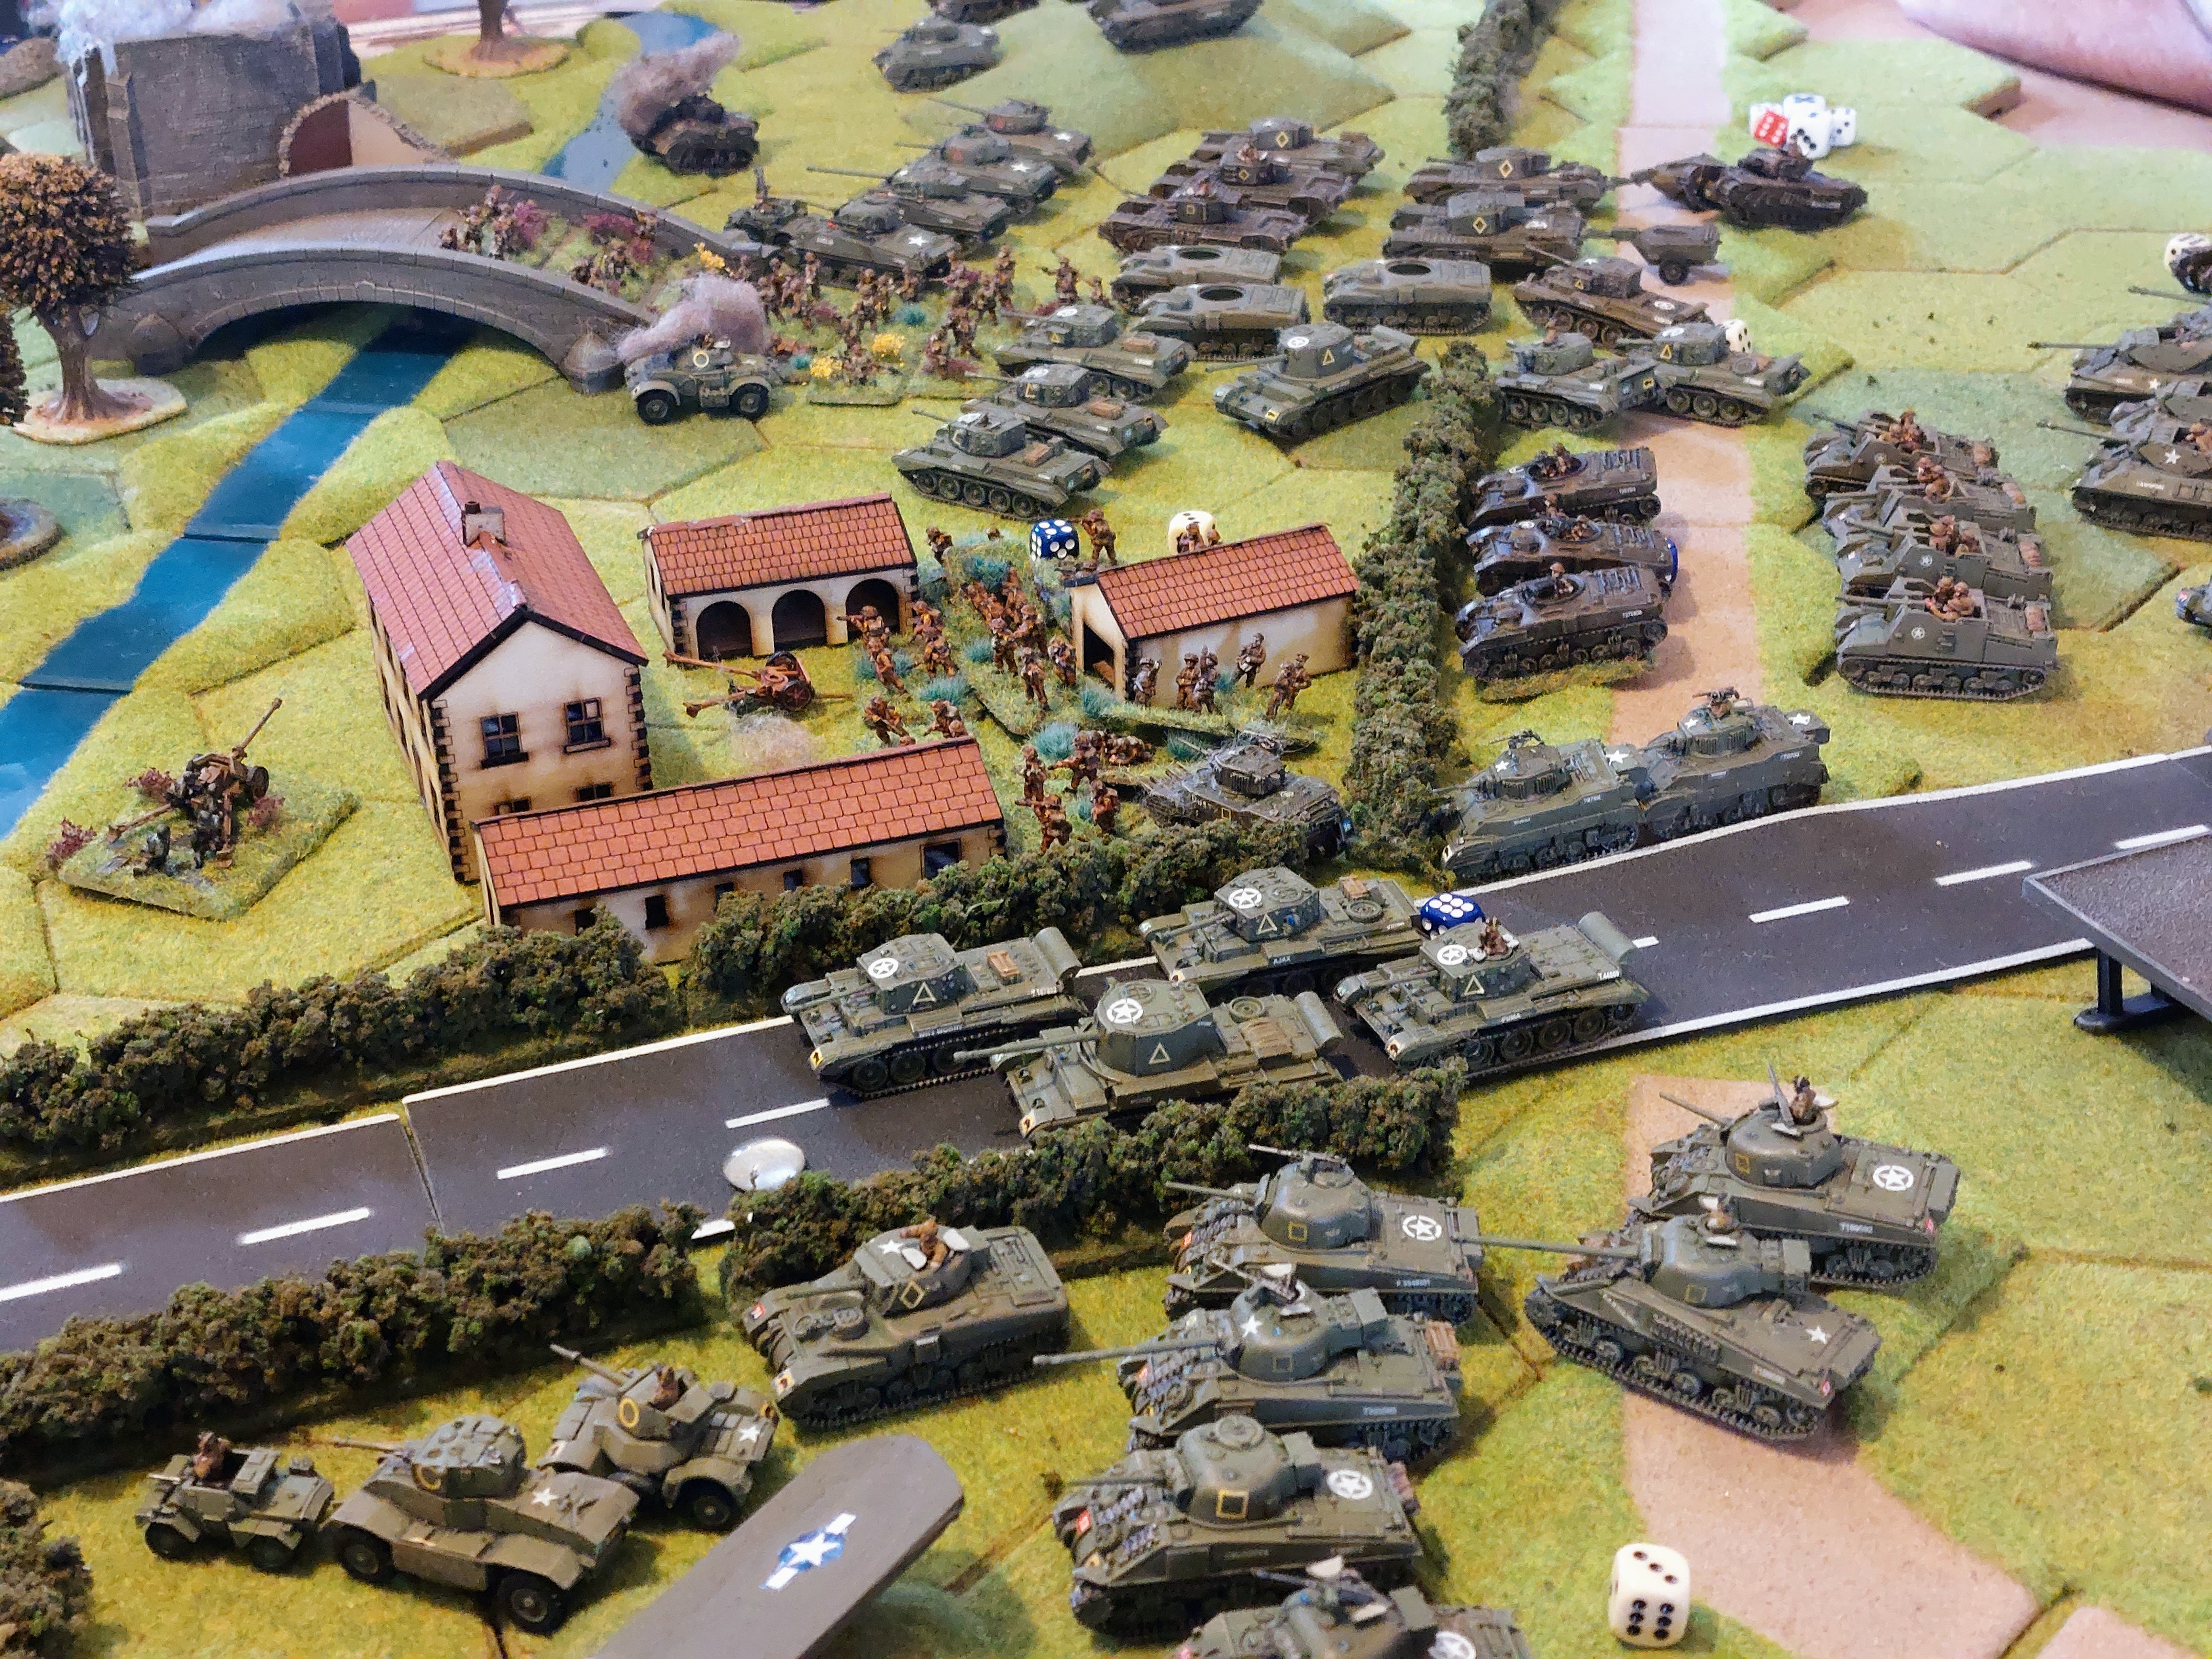
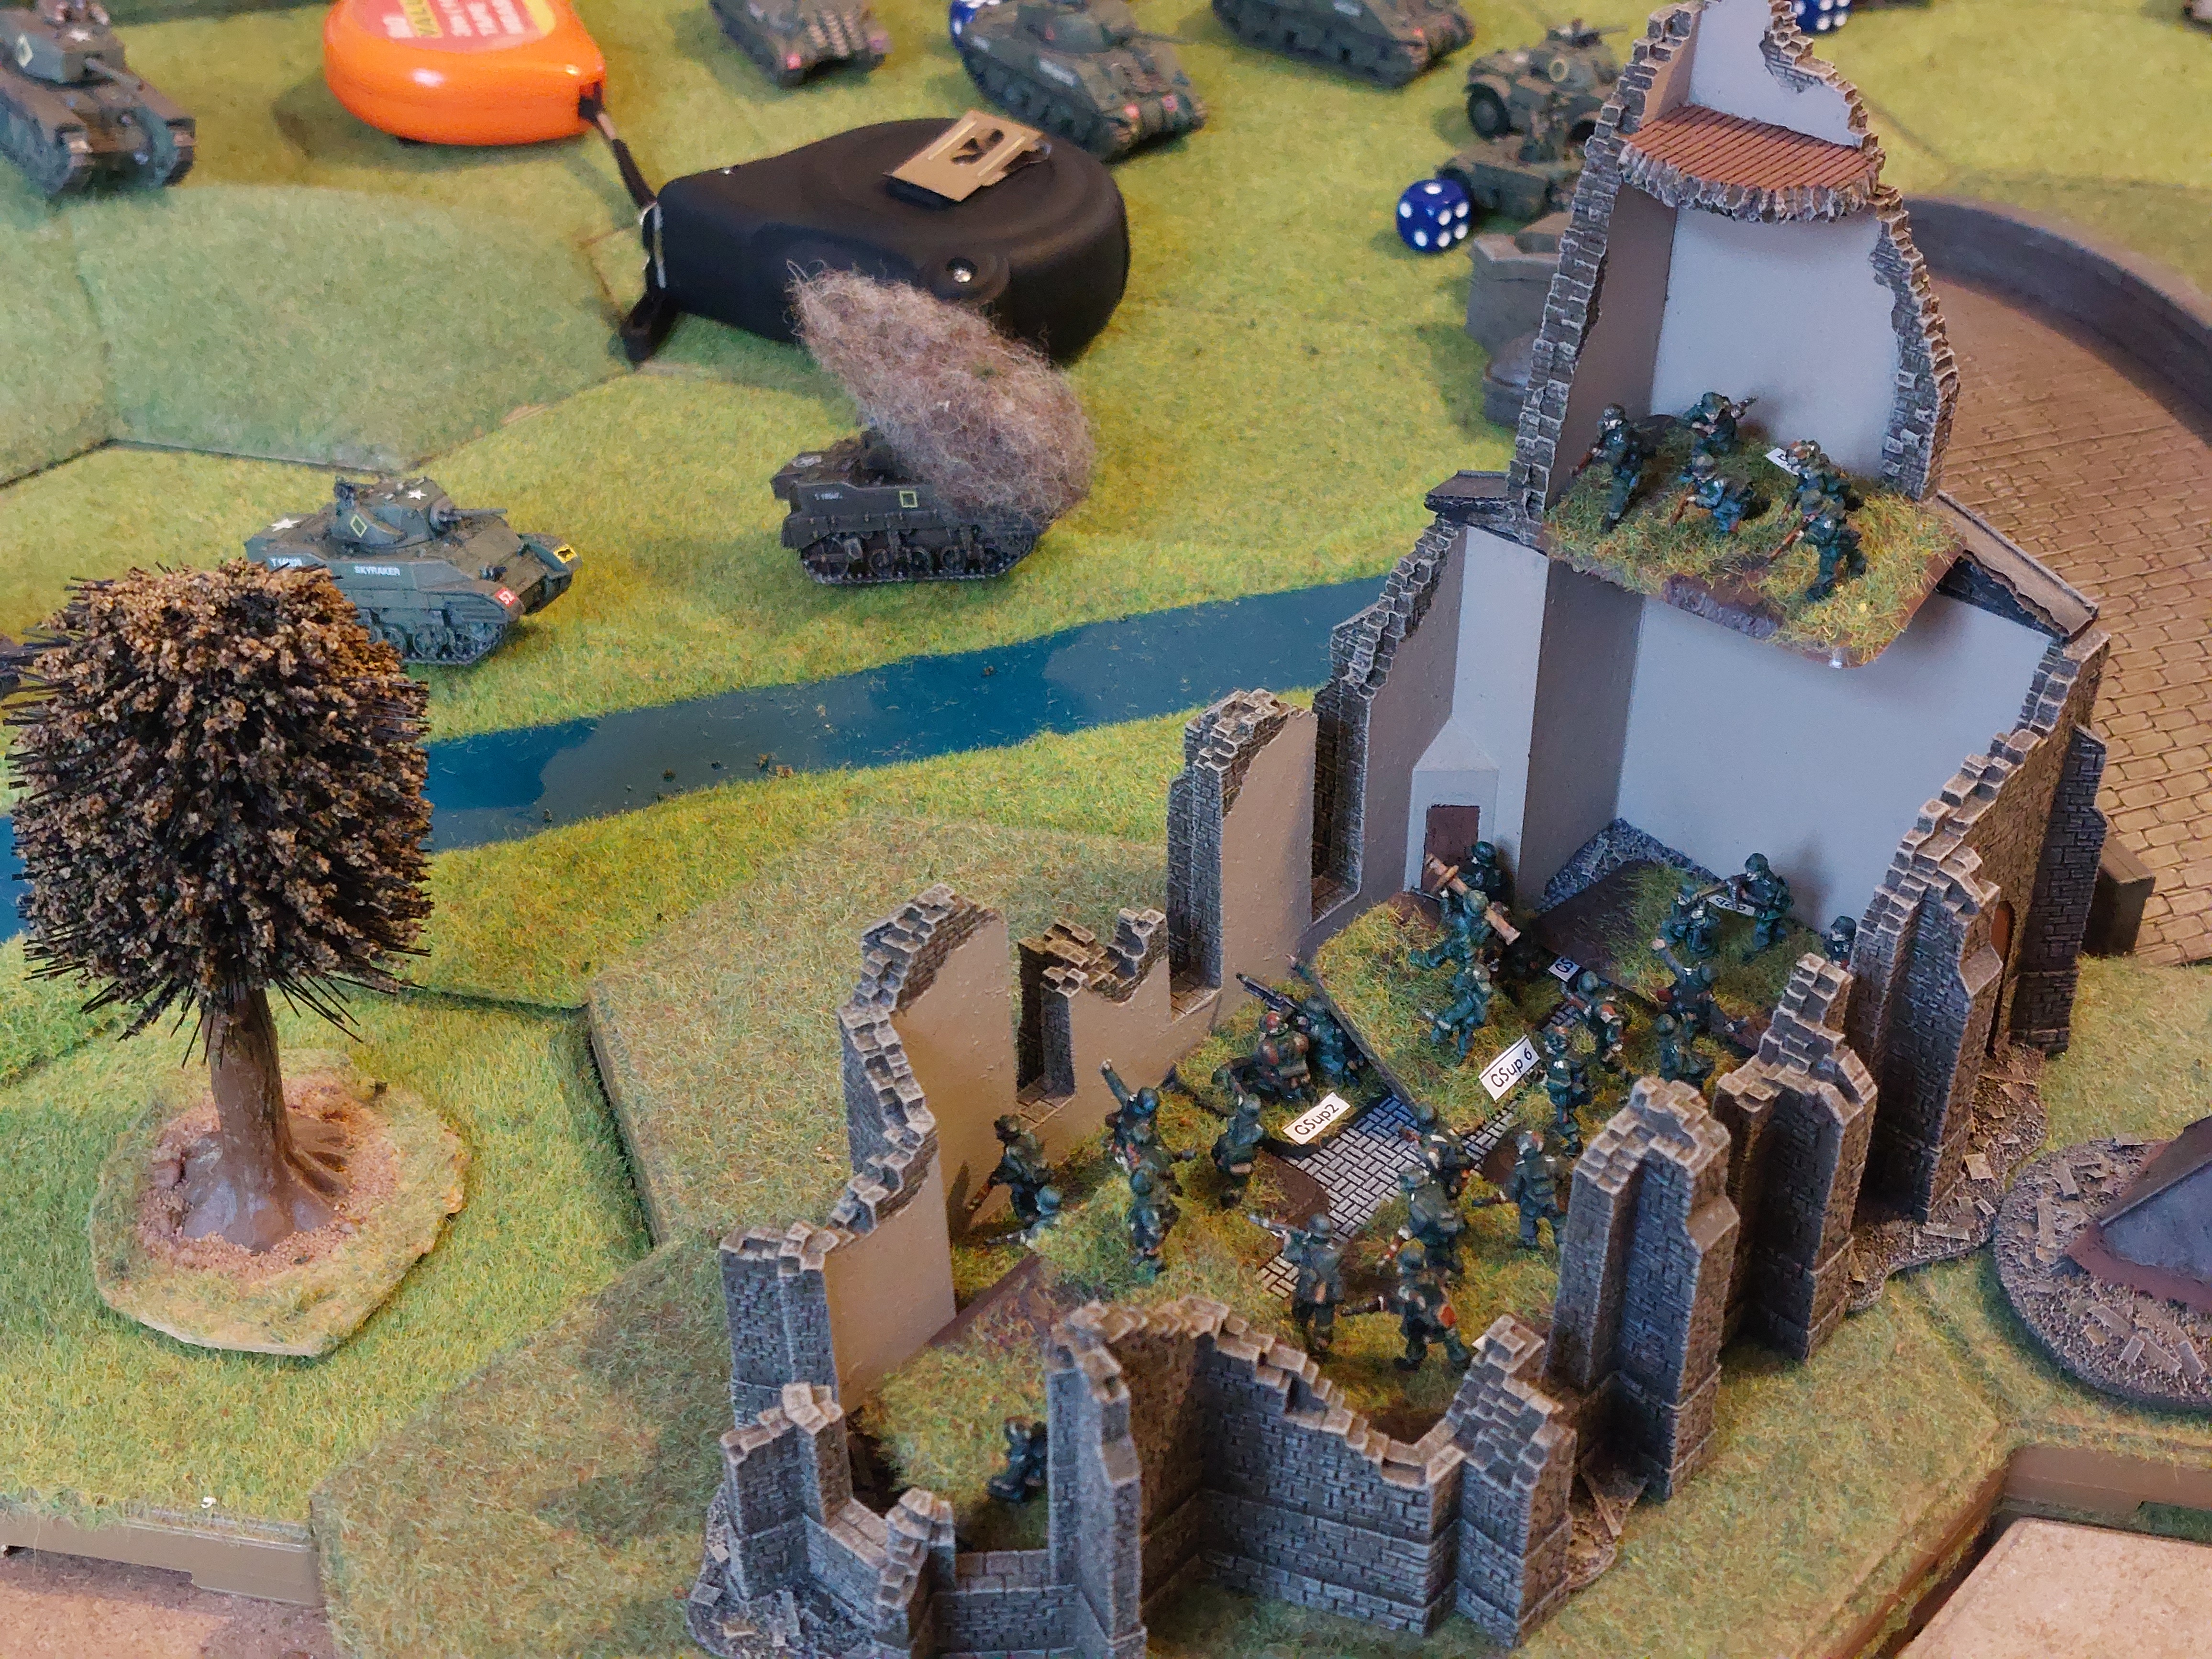
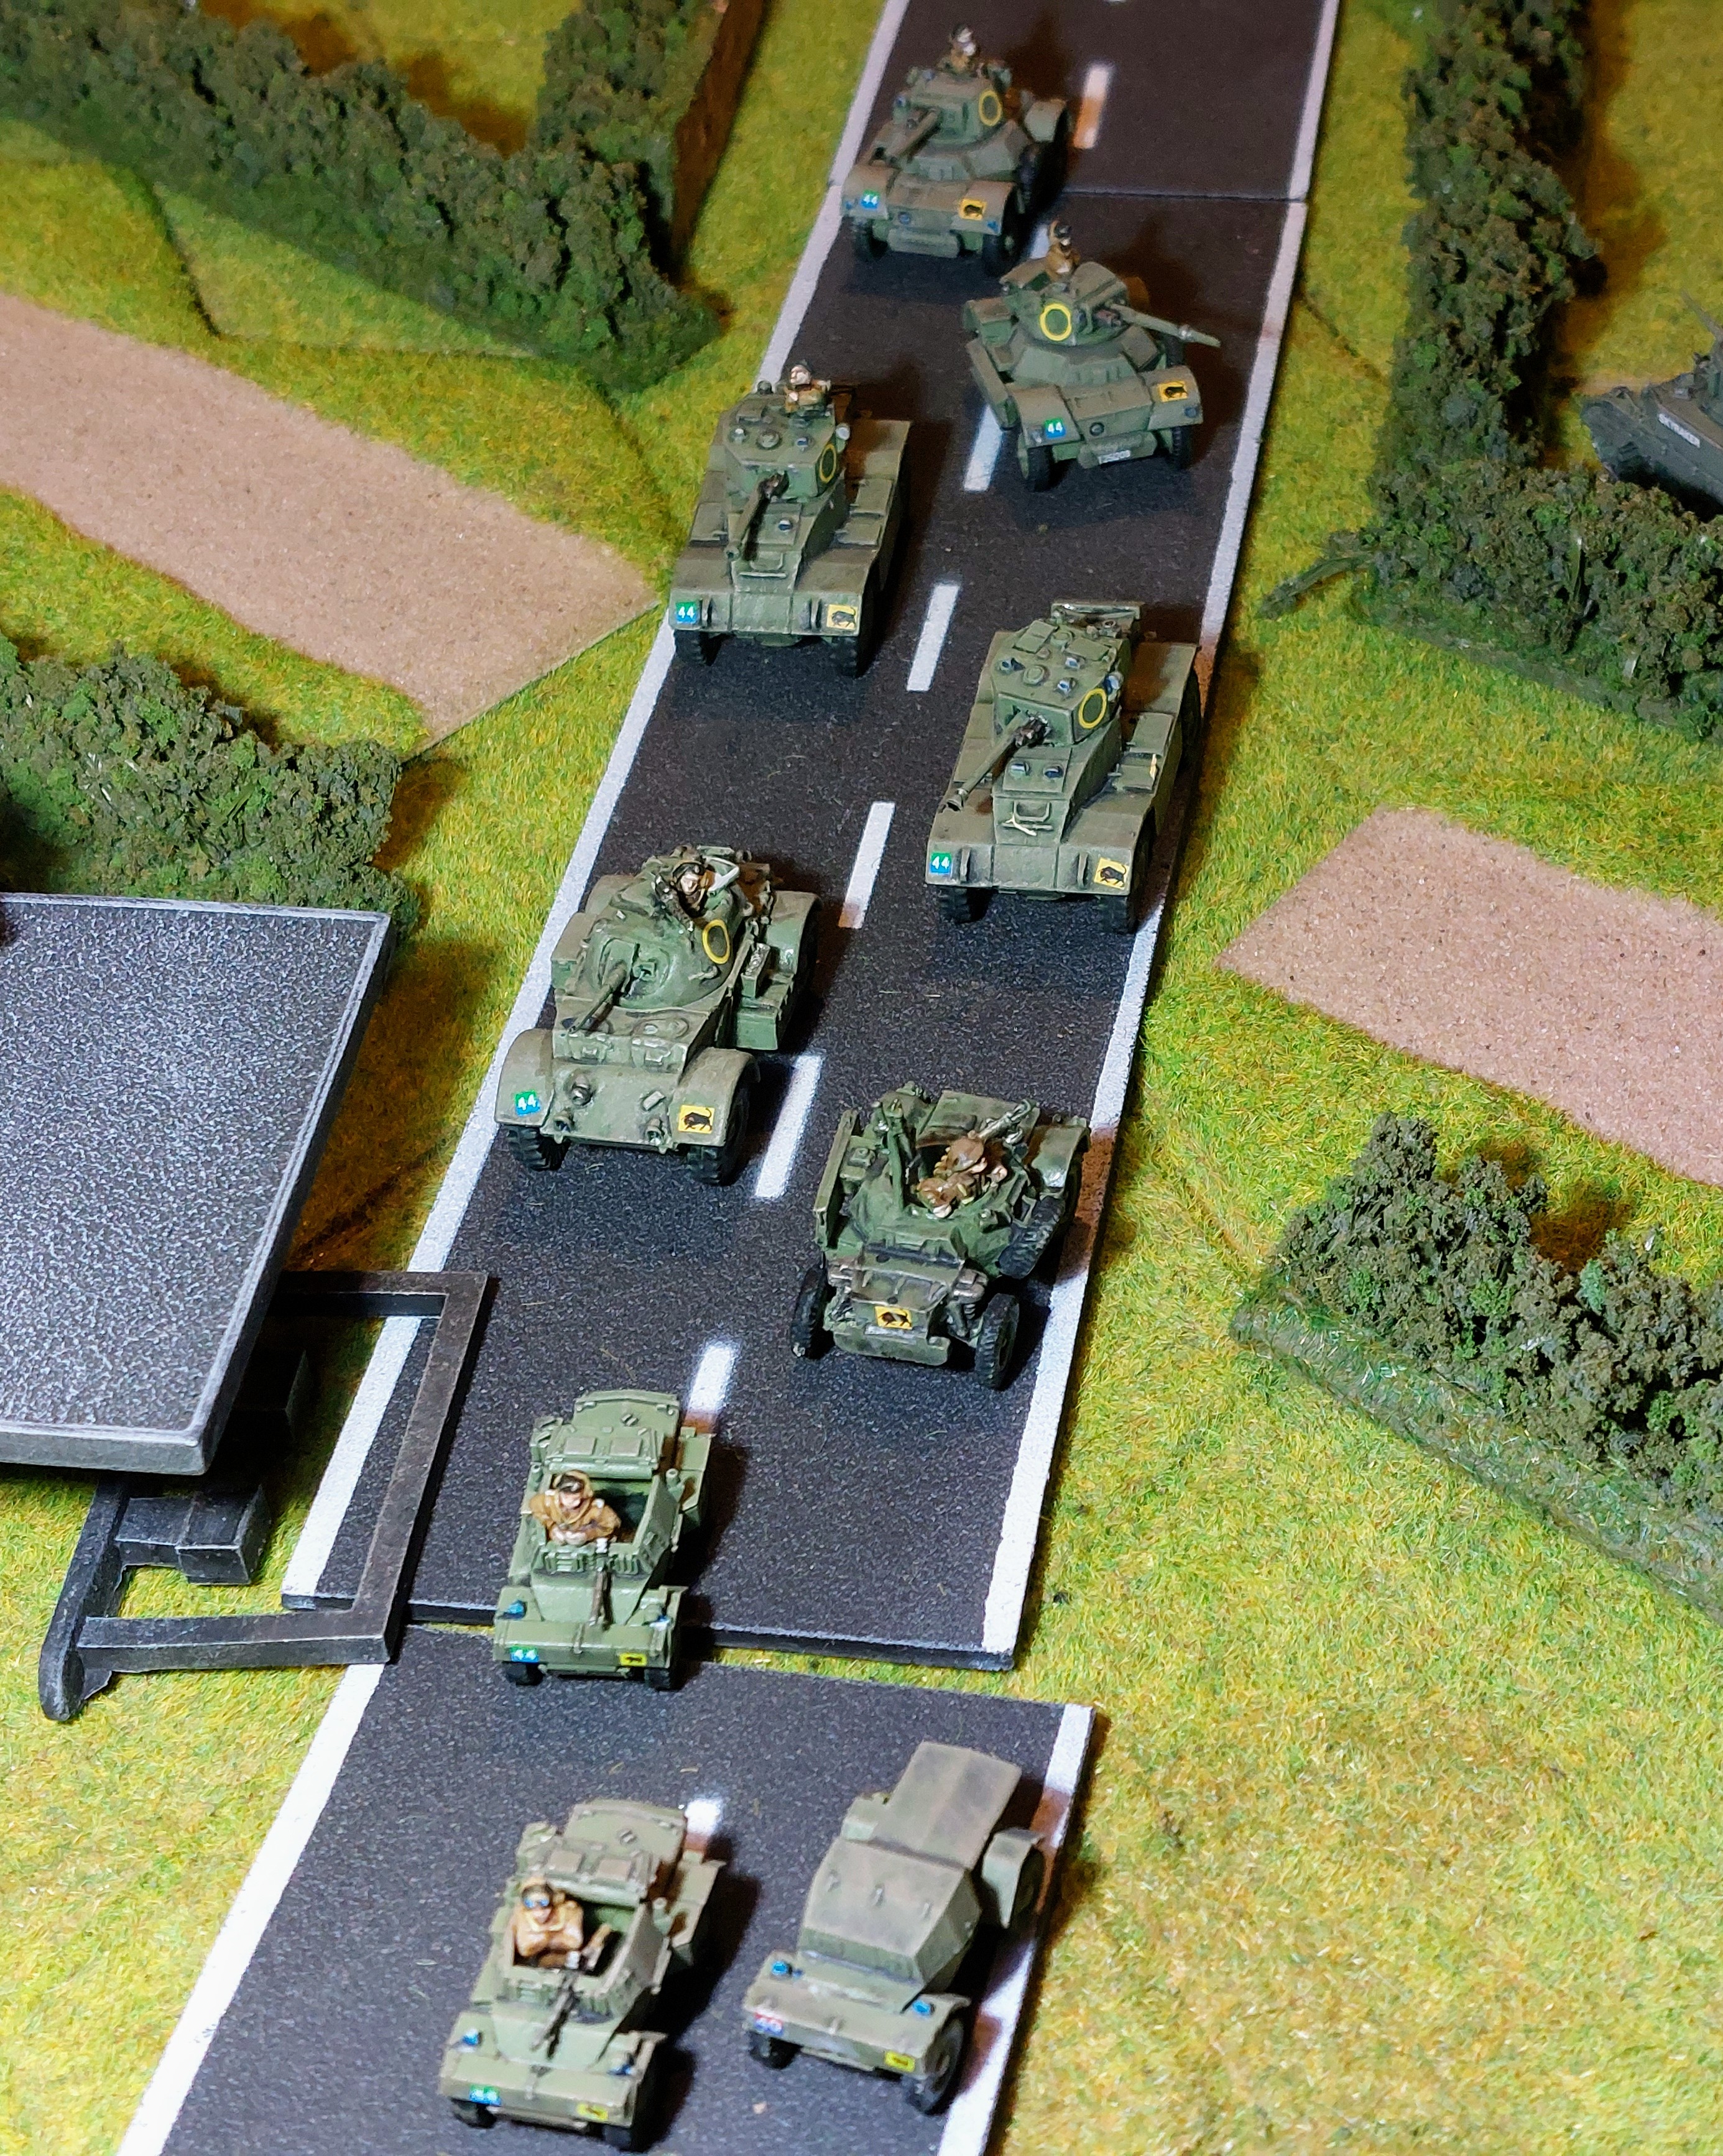
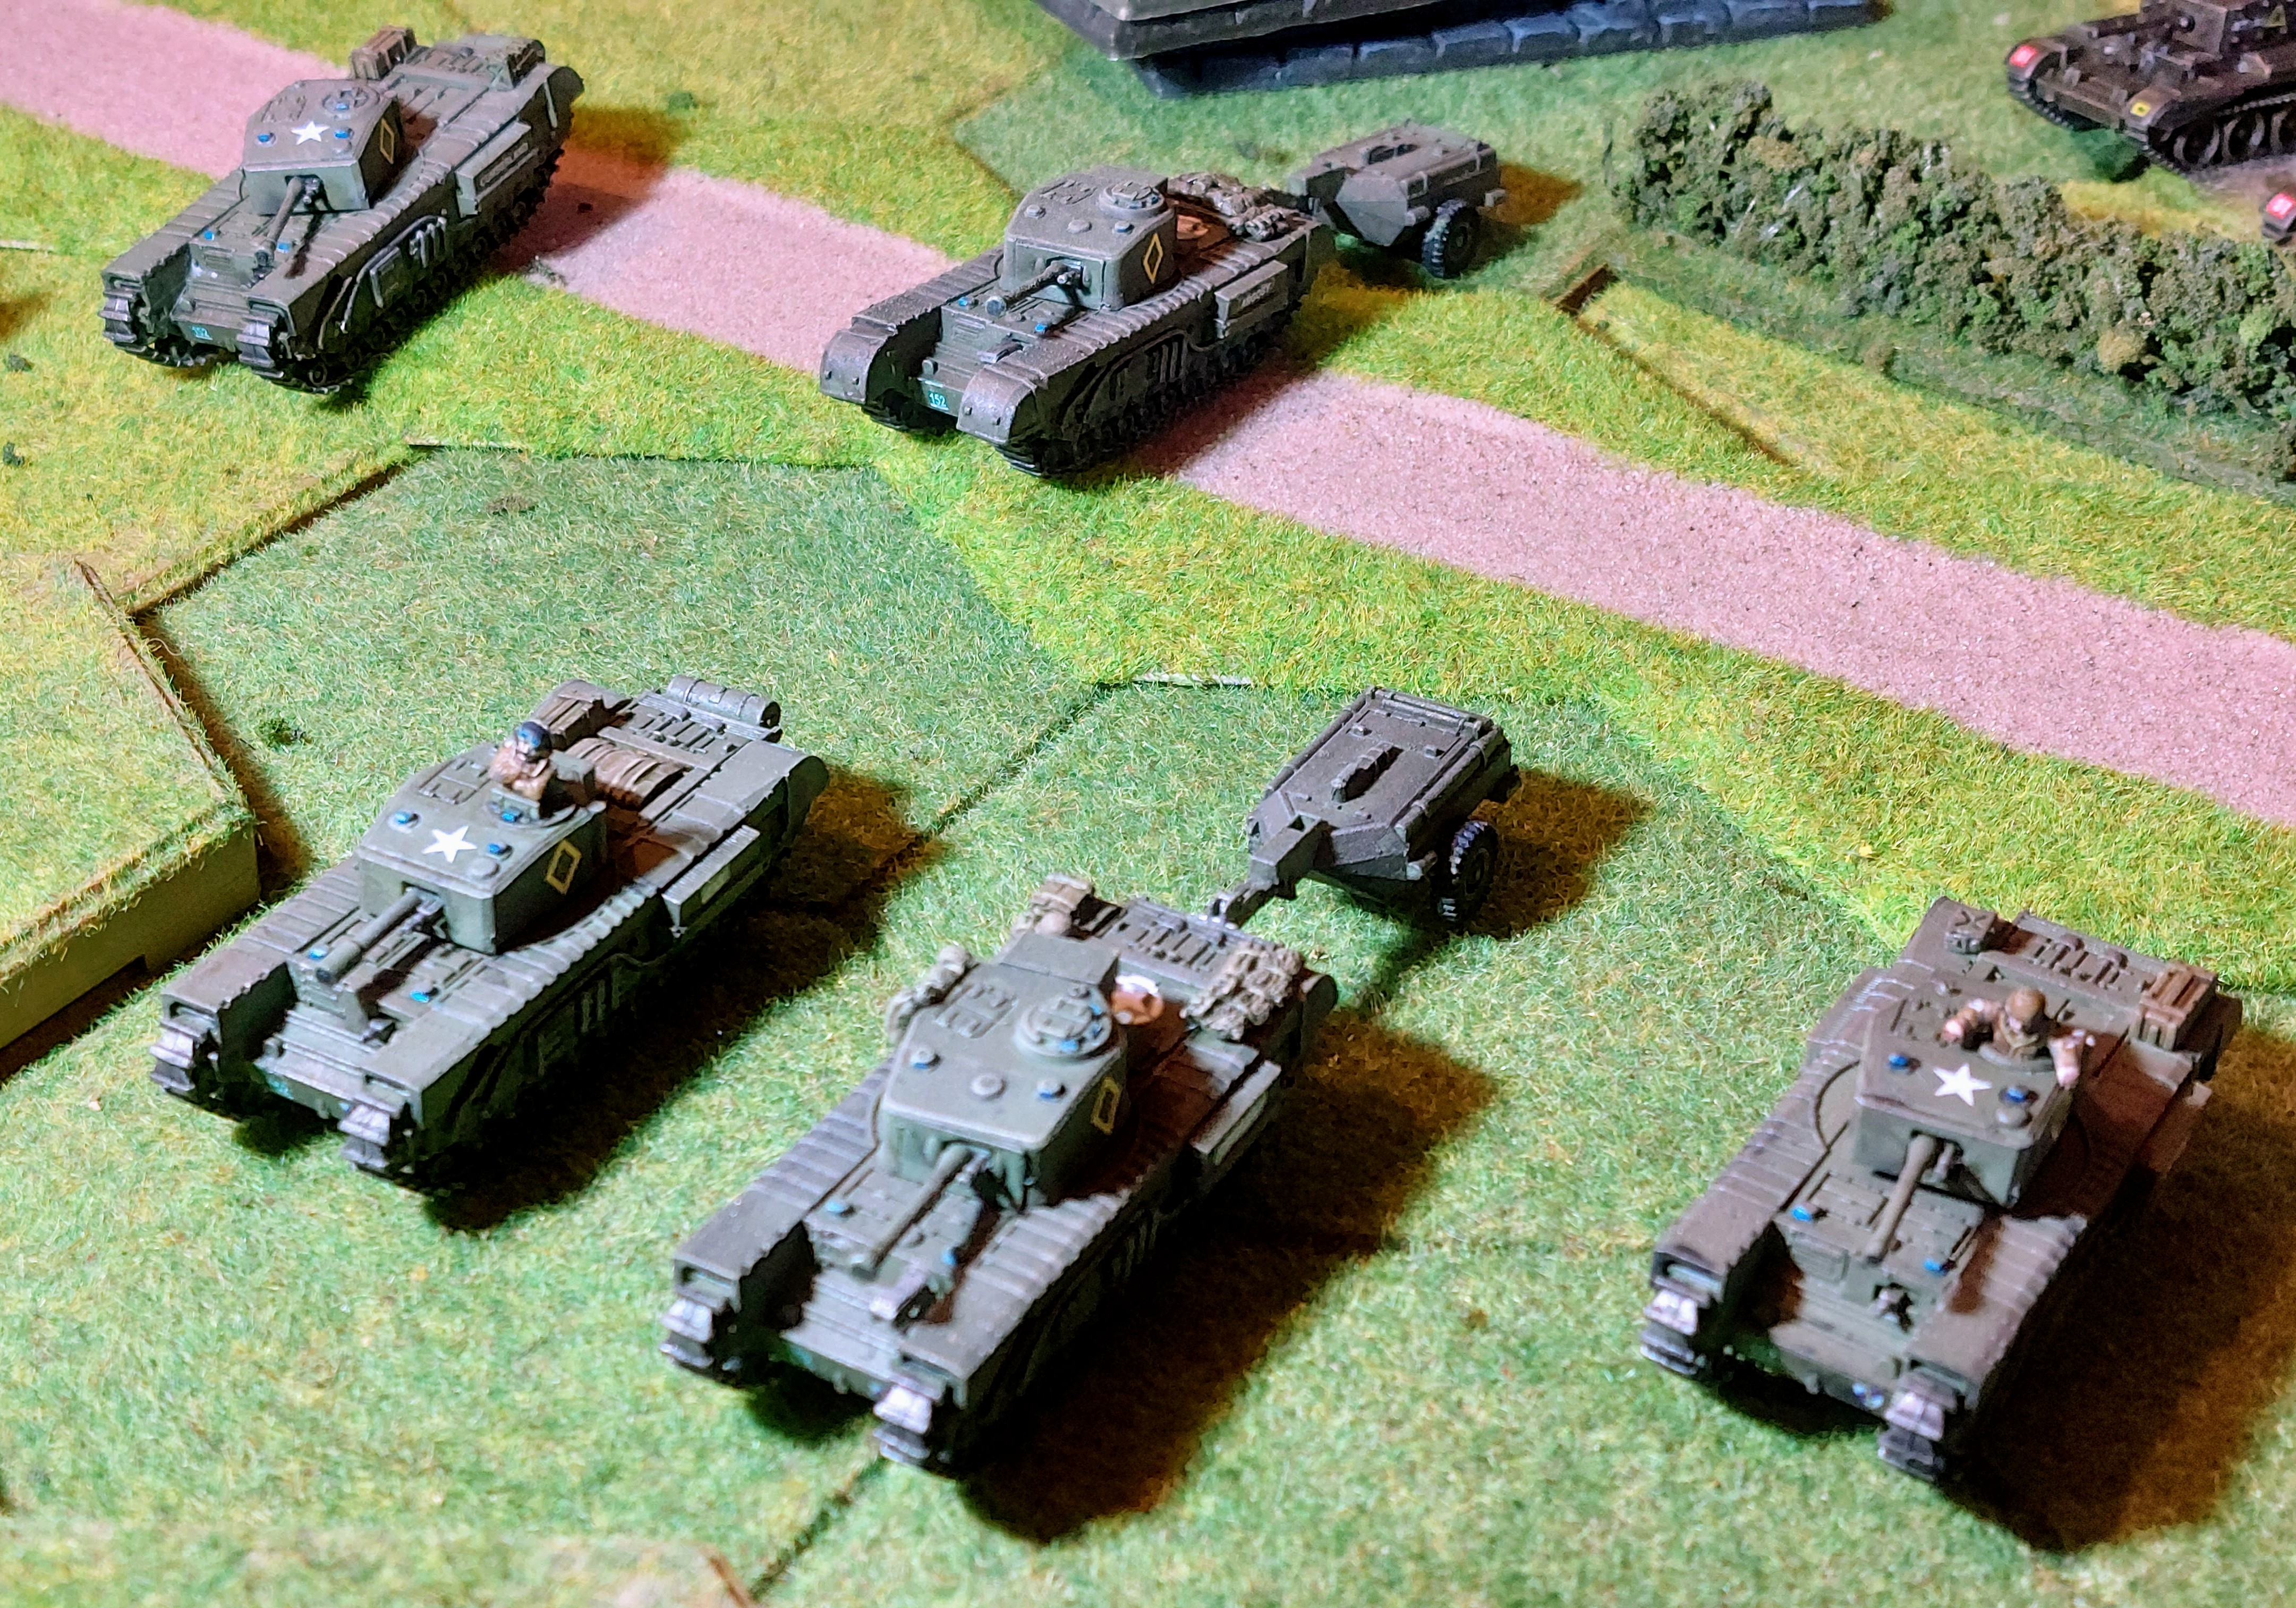
 View of table from 11th Armoured positions
Photo shows initial deployment of 15th/19th Hussars on the Left in Cromwells, 2nd Fife &Forfars in Center with Sherman, 1st & 2nd Grenedier Guards on Right with mixture of Churchills ( 6th Guards Tank Brigade) and Shermans ( Guards Armoured Division)
 View from Panzer Lear edge
Recon Troop and Innes of Court
Not forgetting the Recon, I have done most of a Recon Squadeon, mainly M5 Stuart’s but also a few of the new Chaffee’s for really late War.
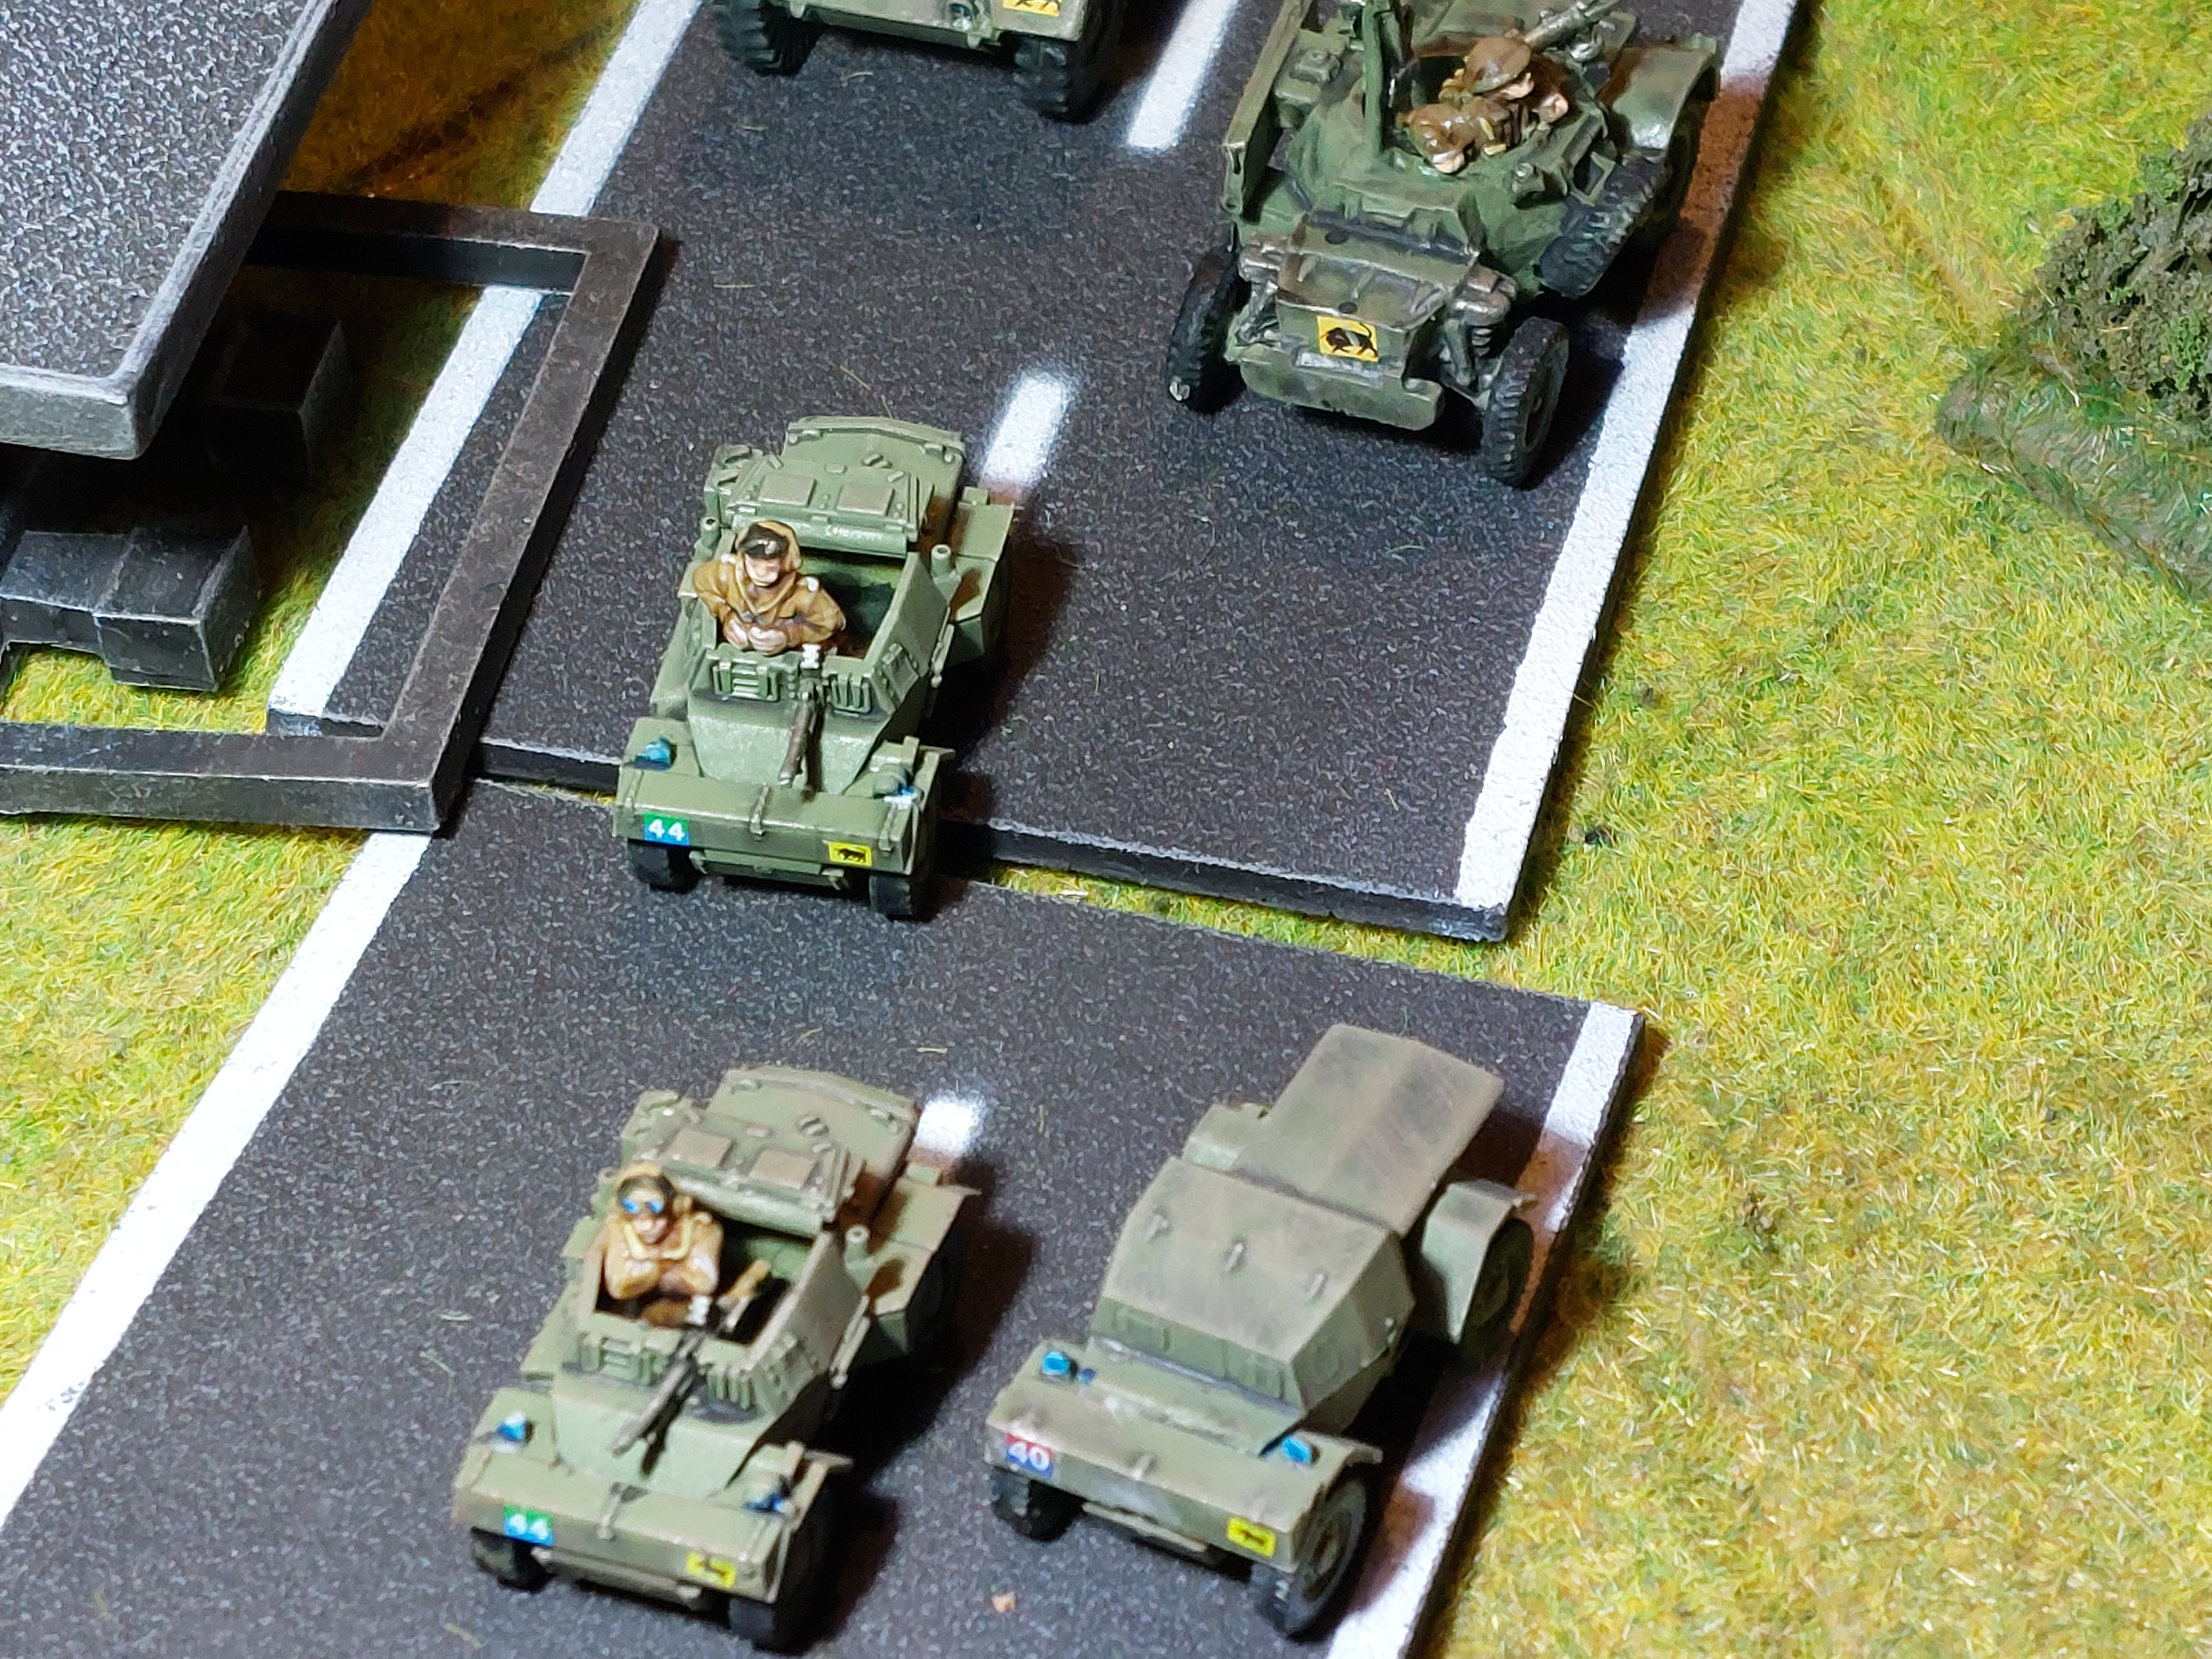
The armoured car Regiment is not forgotten, either units of the Inns of Court Regiment, consisting of Daimler Scout Cars and Armored cars beefed up by sone of the Battlefront exclusives with a staghound and AEC’s.
Apologies for the slipped road, it moved when I was moving the lighting lamp and didn’t notice till.I was editing photos.
Hopefully be another update tomorrow with my Carrier &MMg Platoons
Divisional Support
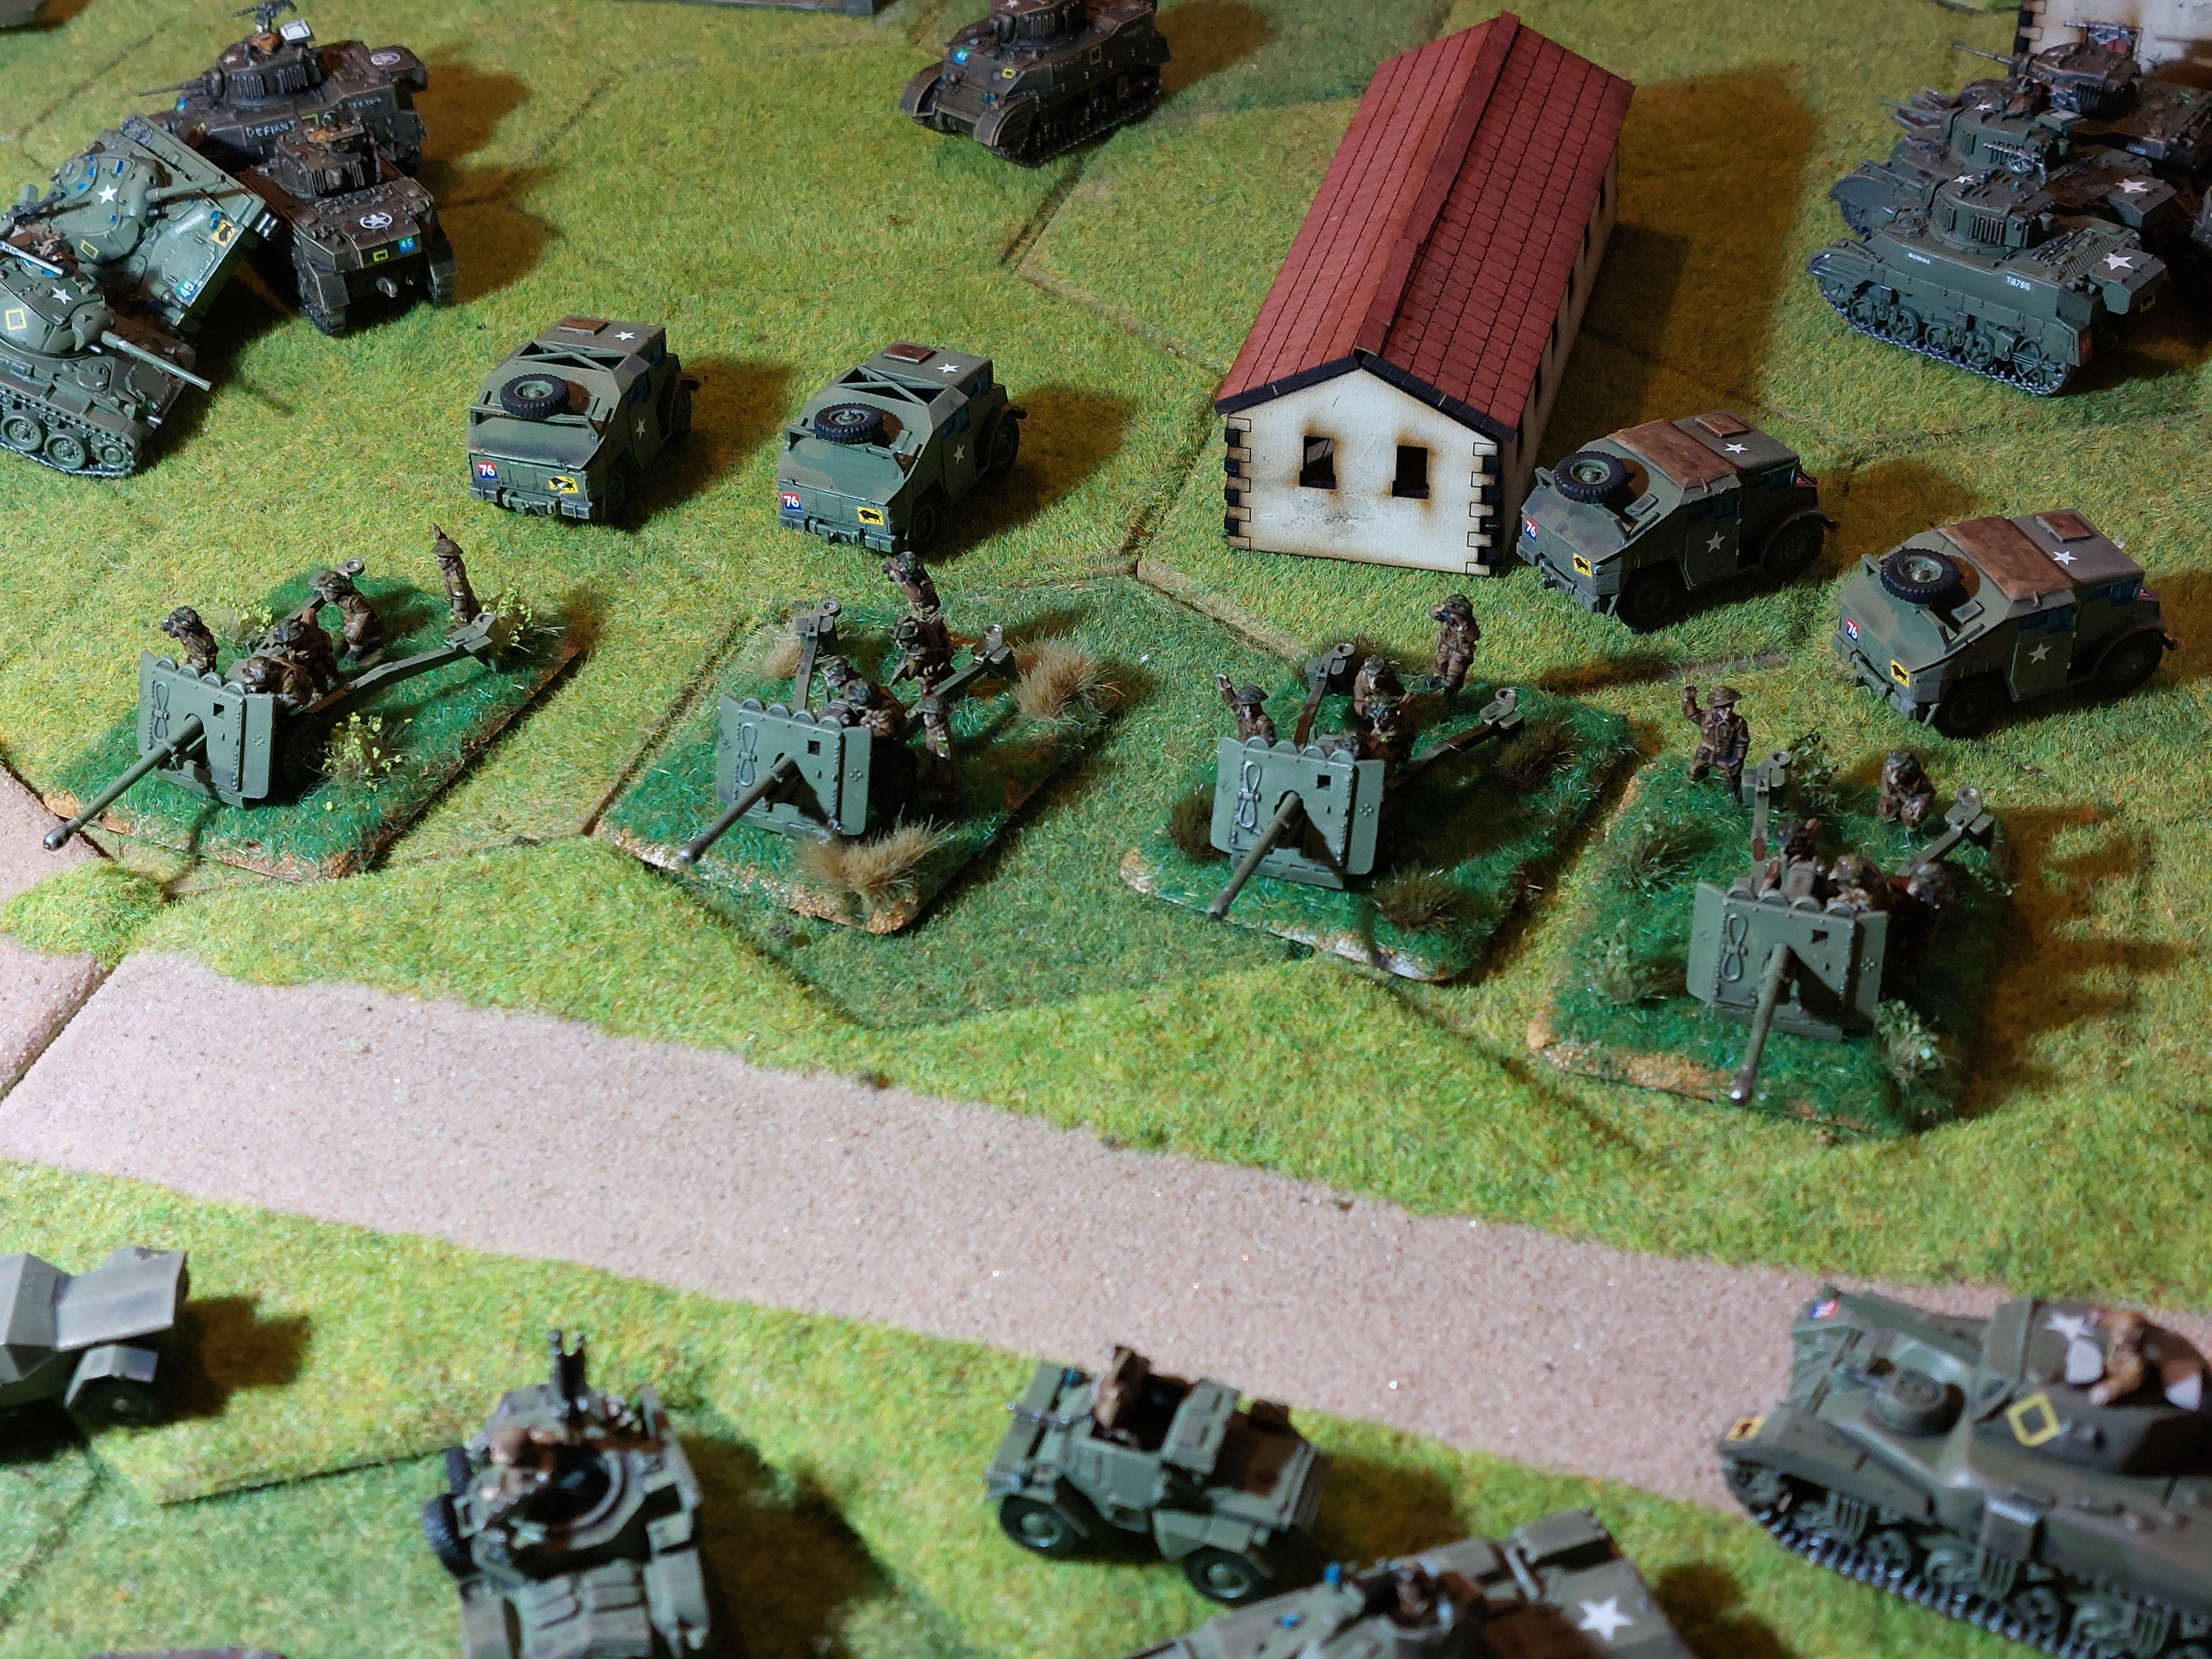
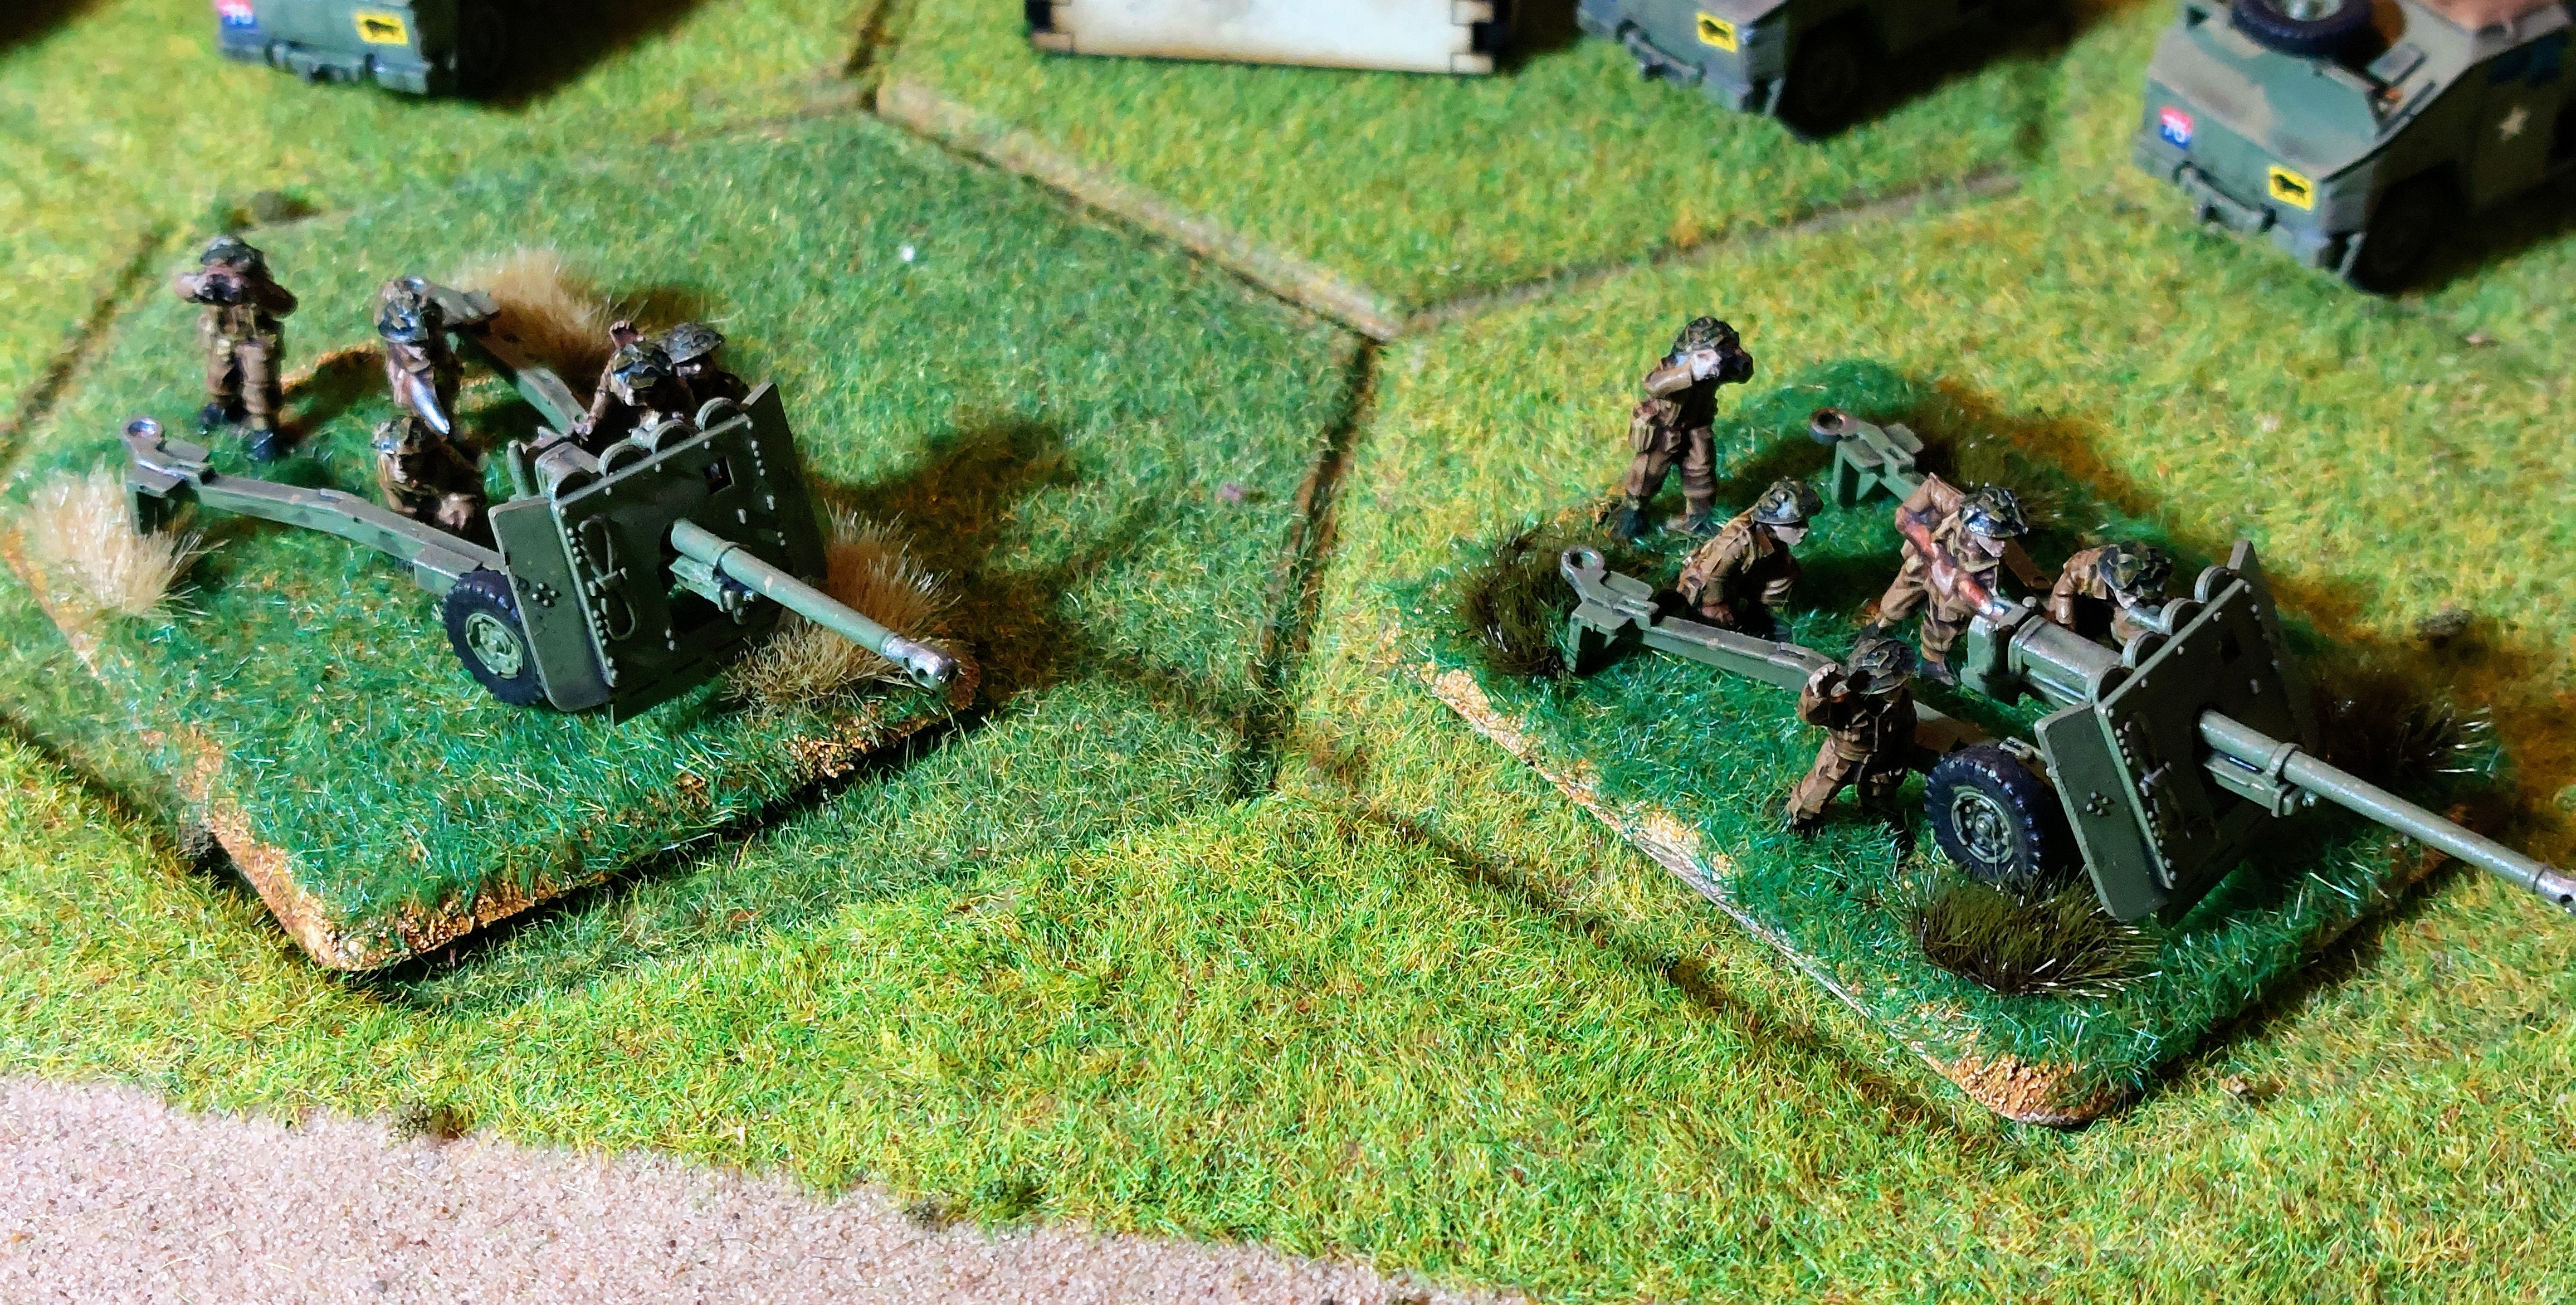
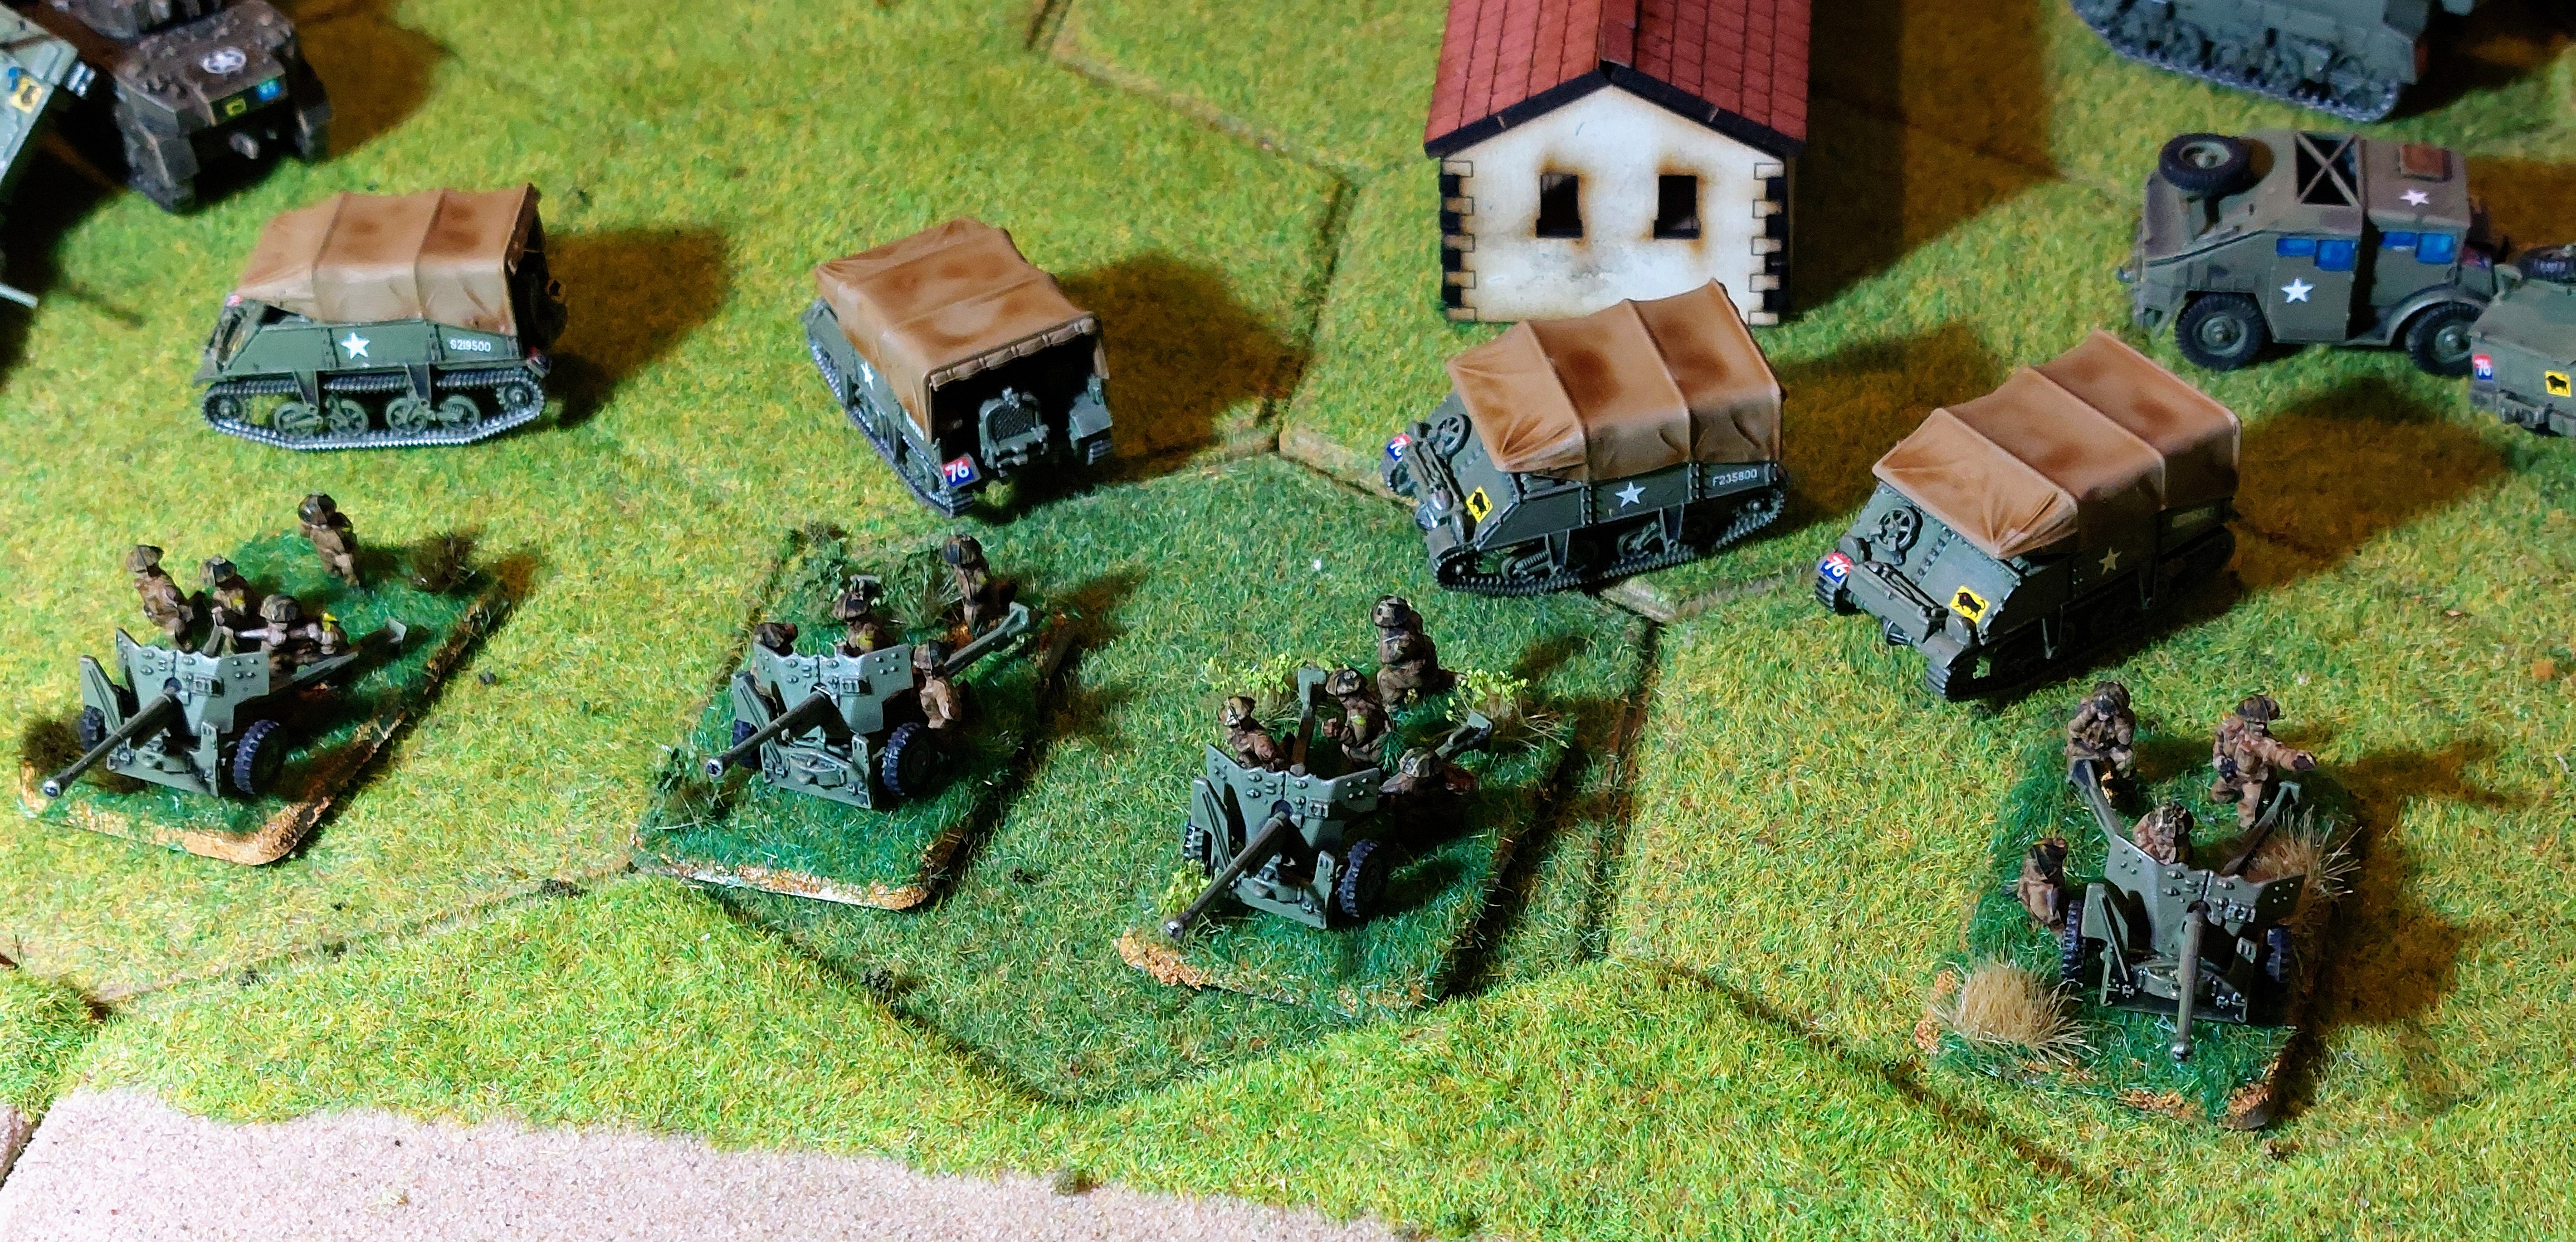
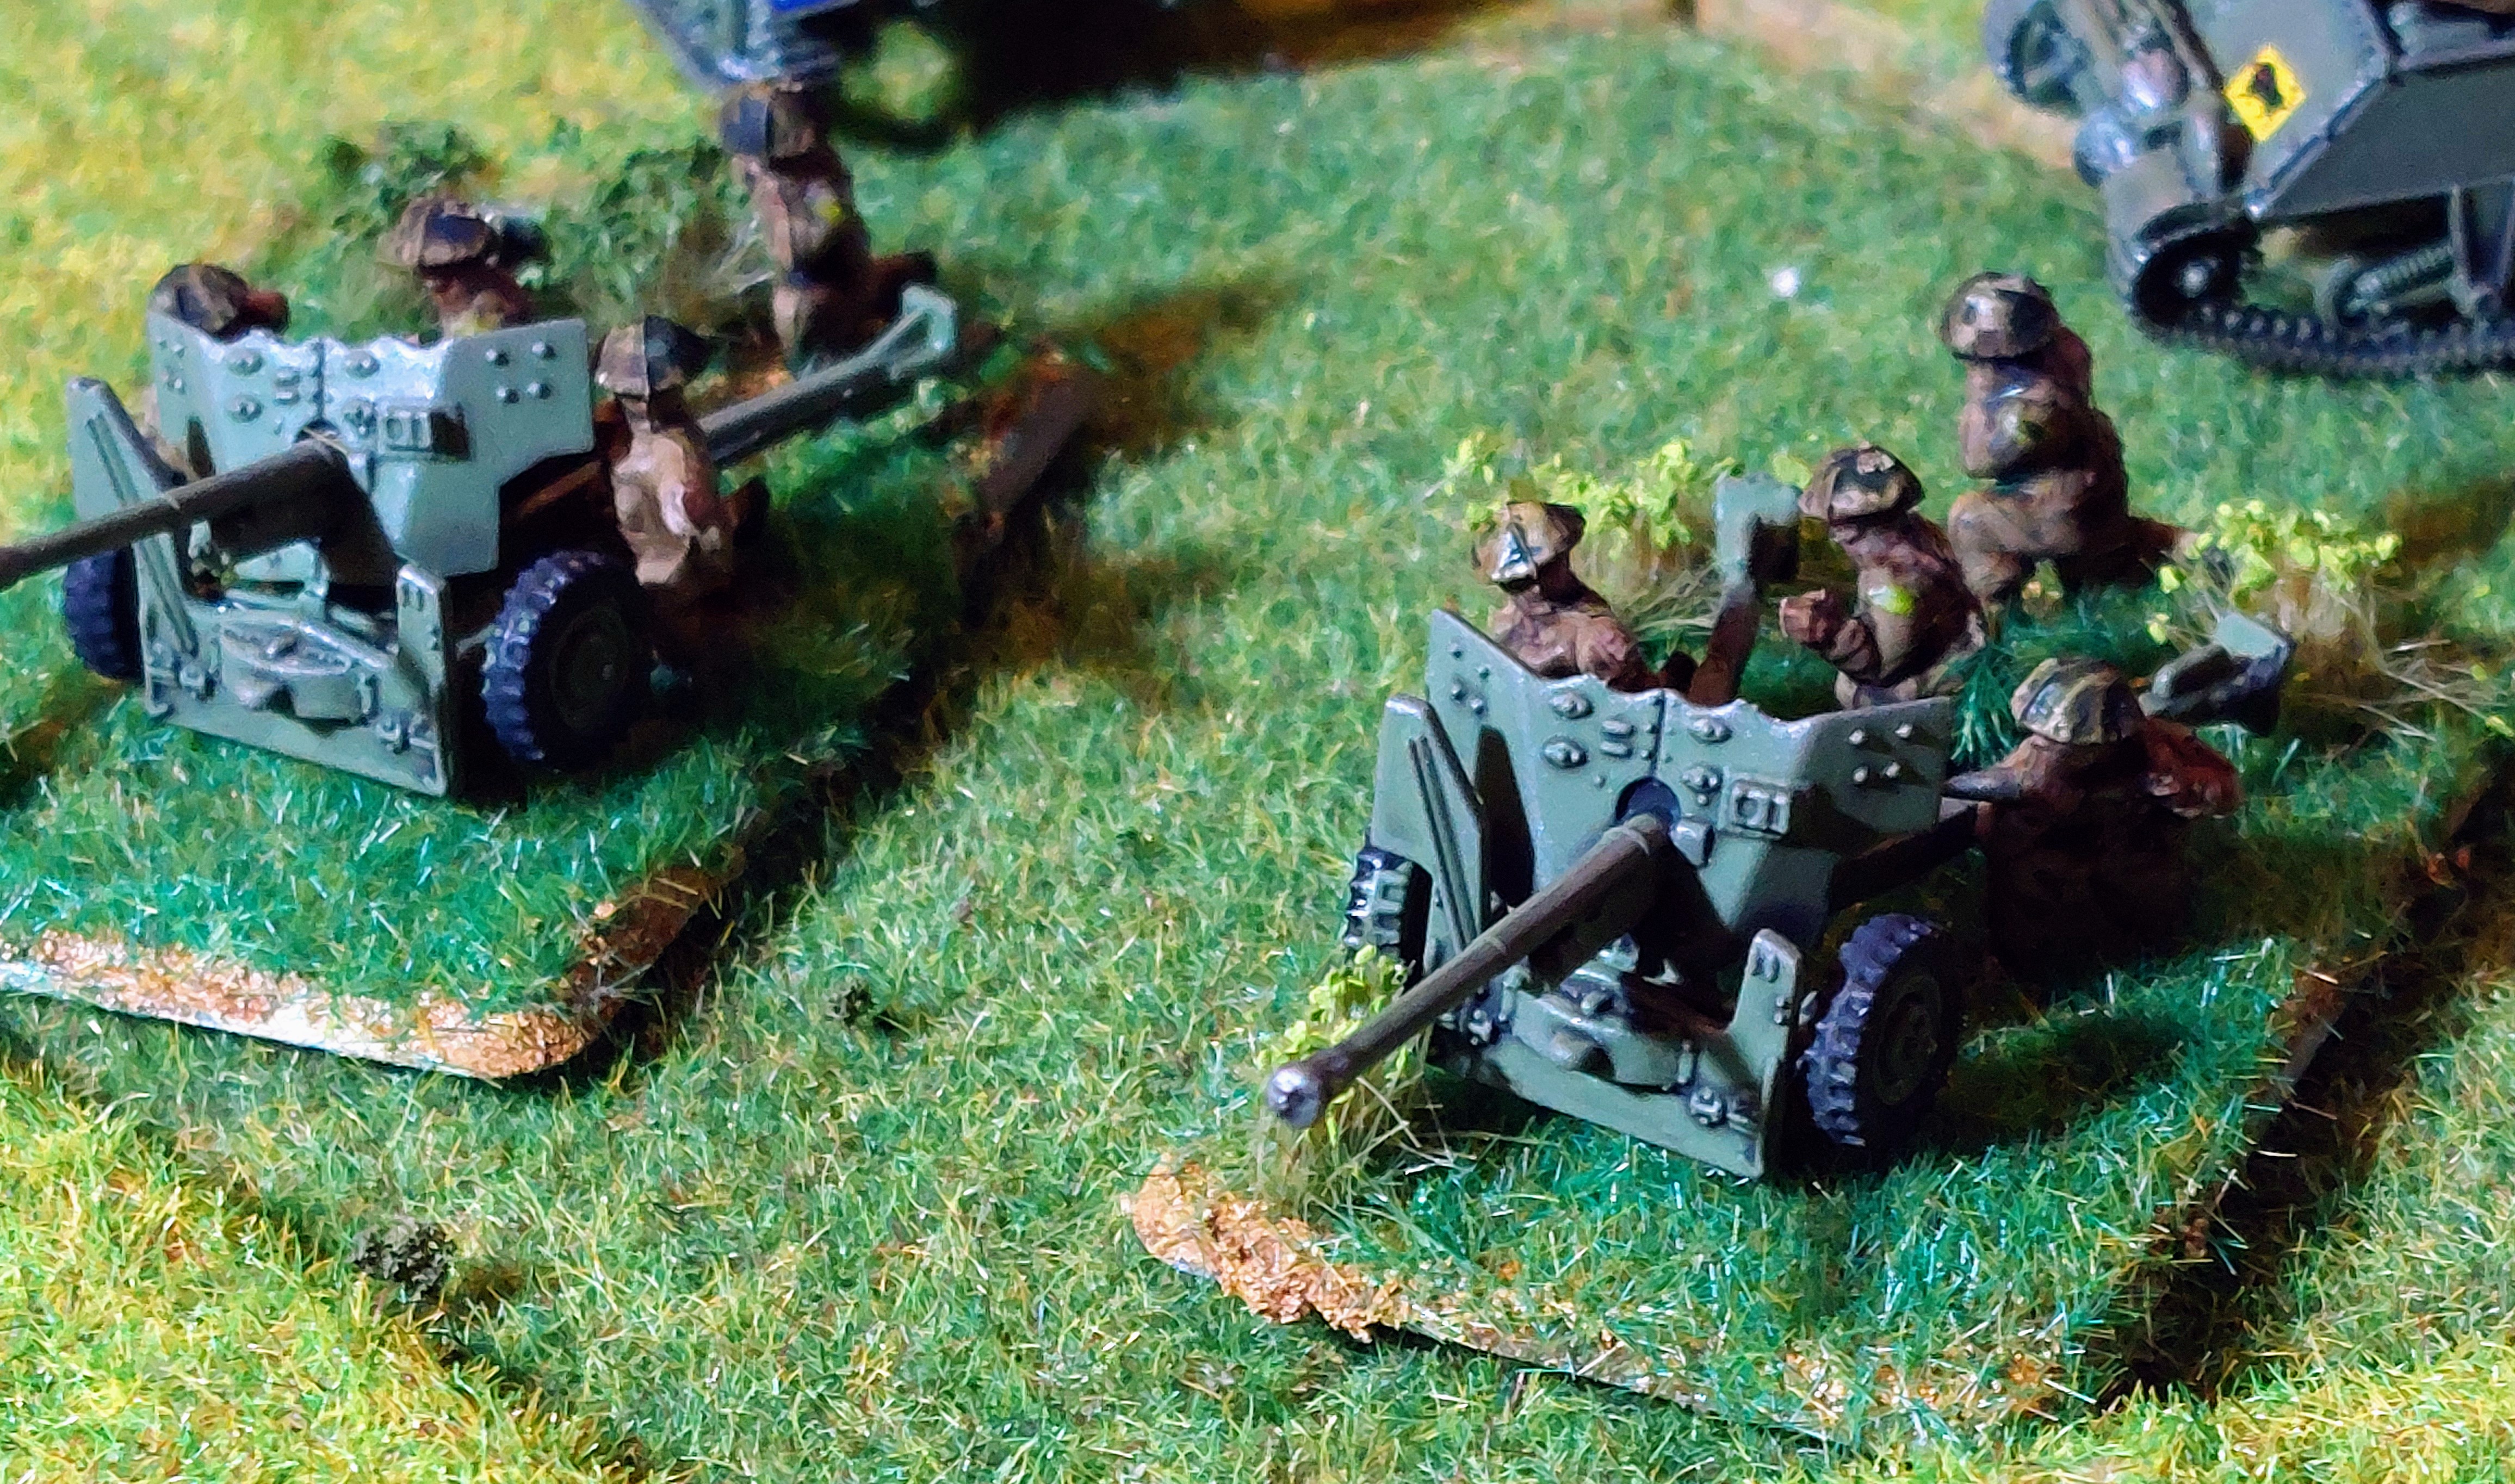
The part of project that has taken the longest so far. Beginning with the 75th Anti Tank Regiment.
Firstly the Self propelled guns in the form of Achilles M10’s and Archers.
The Towed Anti tank gun are a mixture of Battlefront and PSC models, the 17pdrs are Battlefront but the Morris Towing vehicles are PSC,.I do like to have the TOWs for my guns and had these in the PSC 25pdr set.
The 6pdrs are PSC as they came with the Lloyd Carrier.
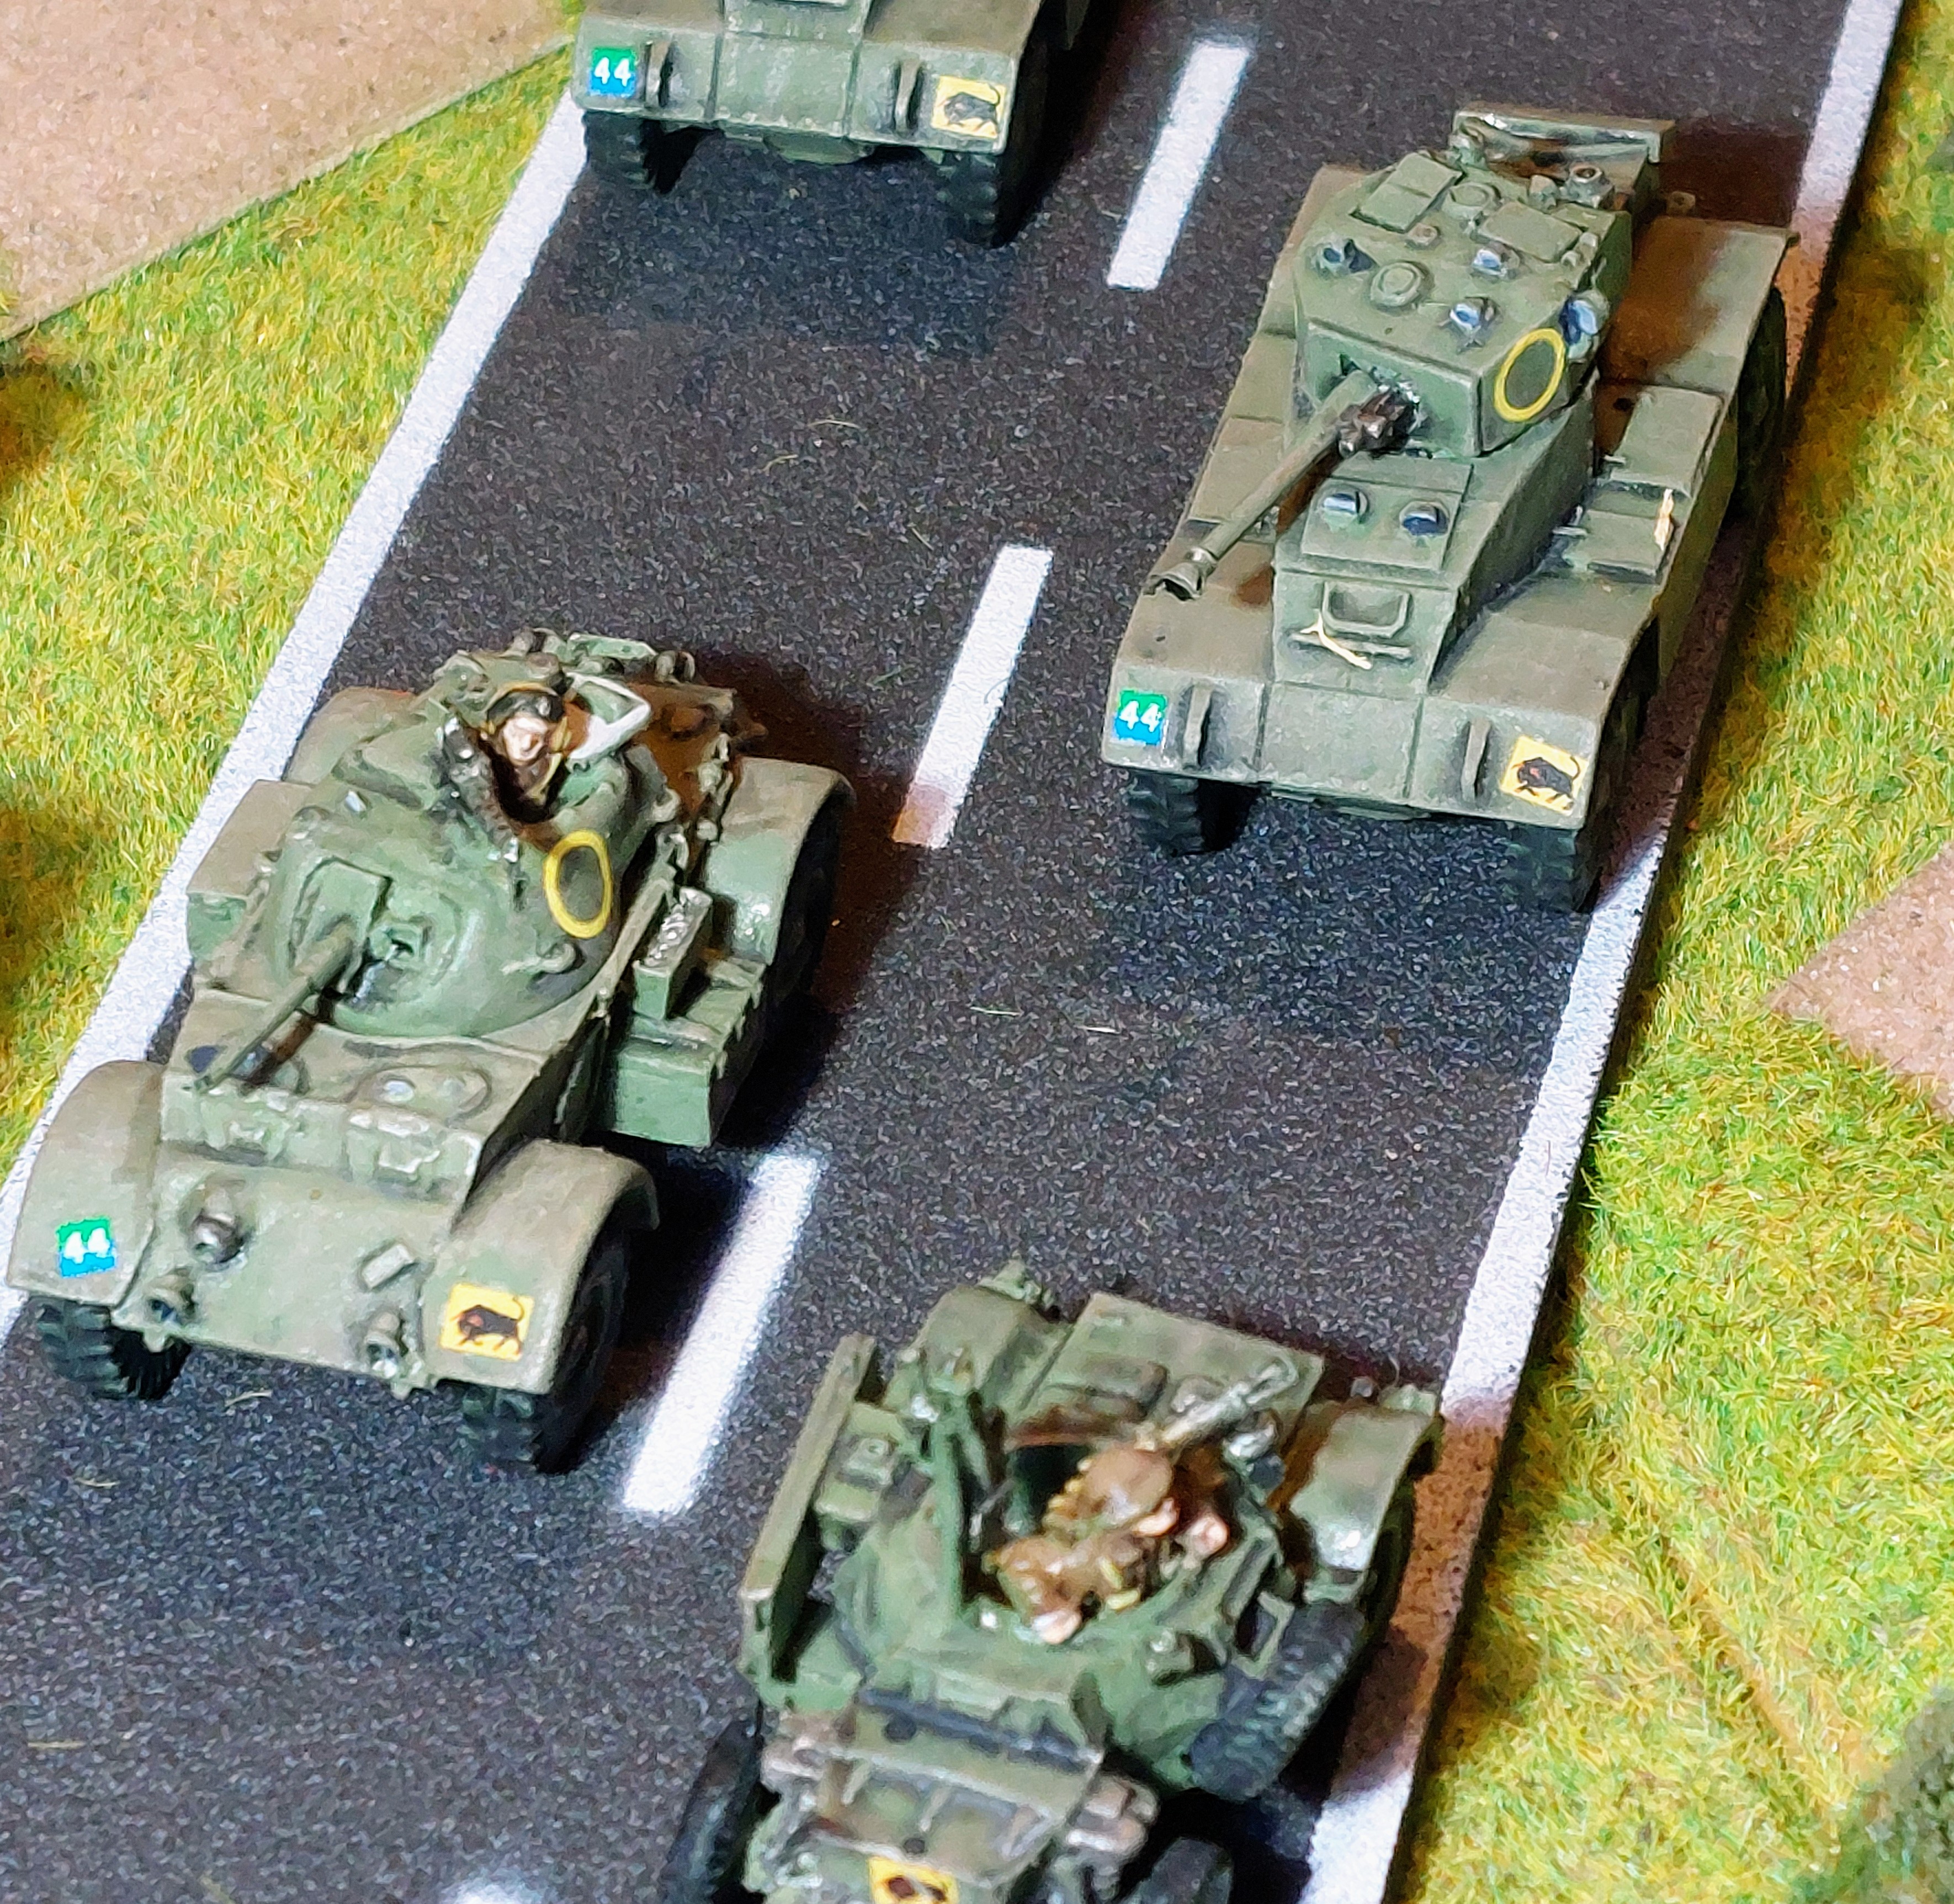
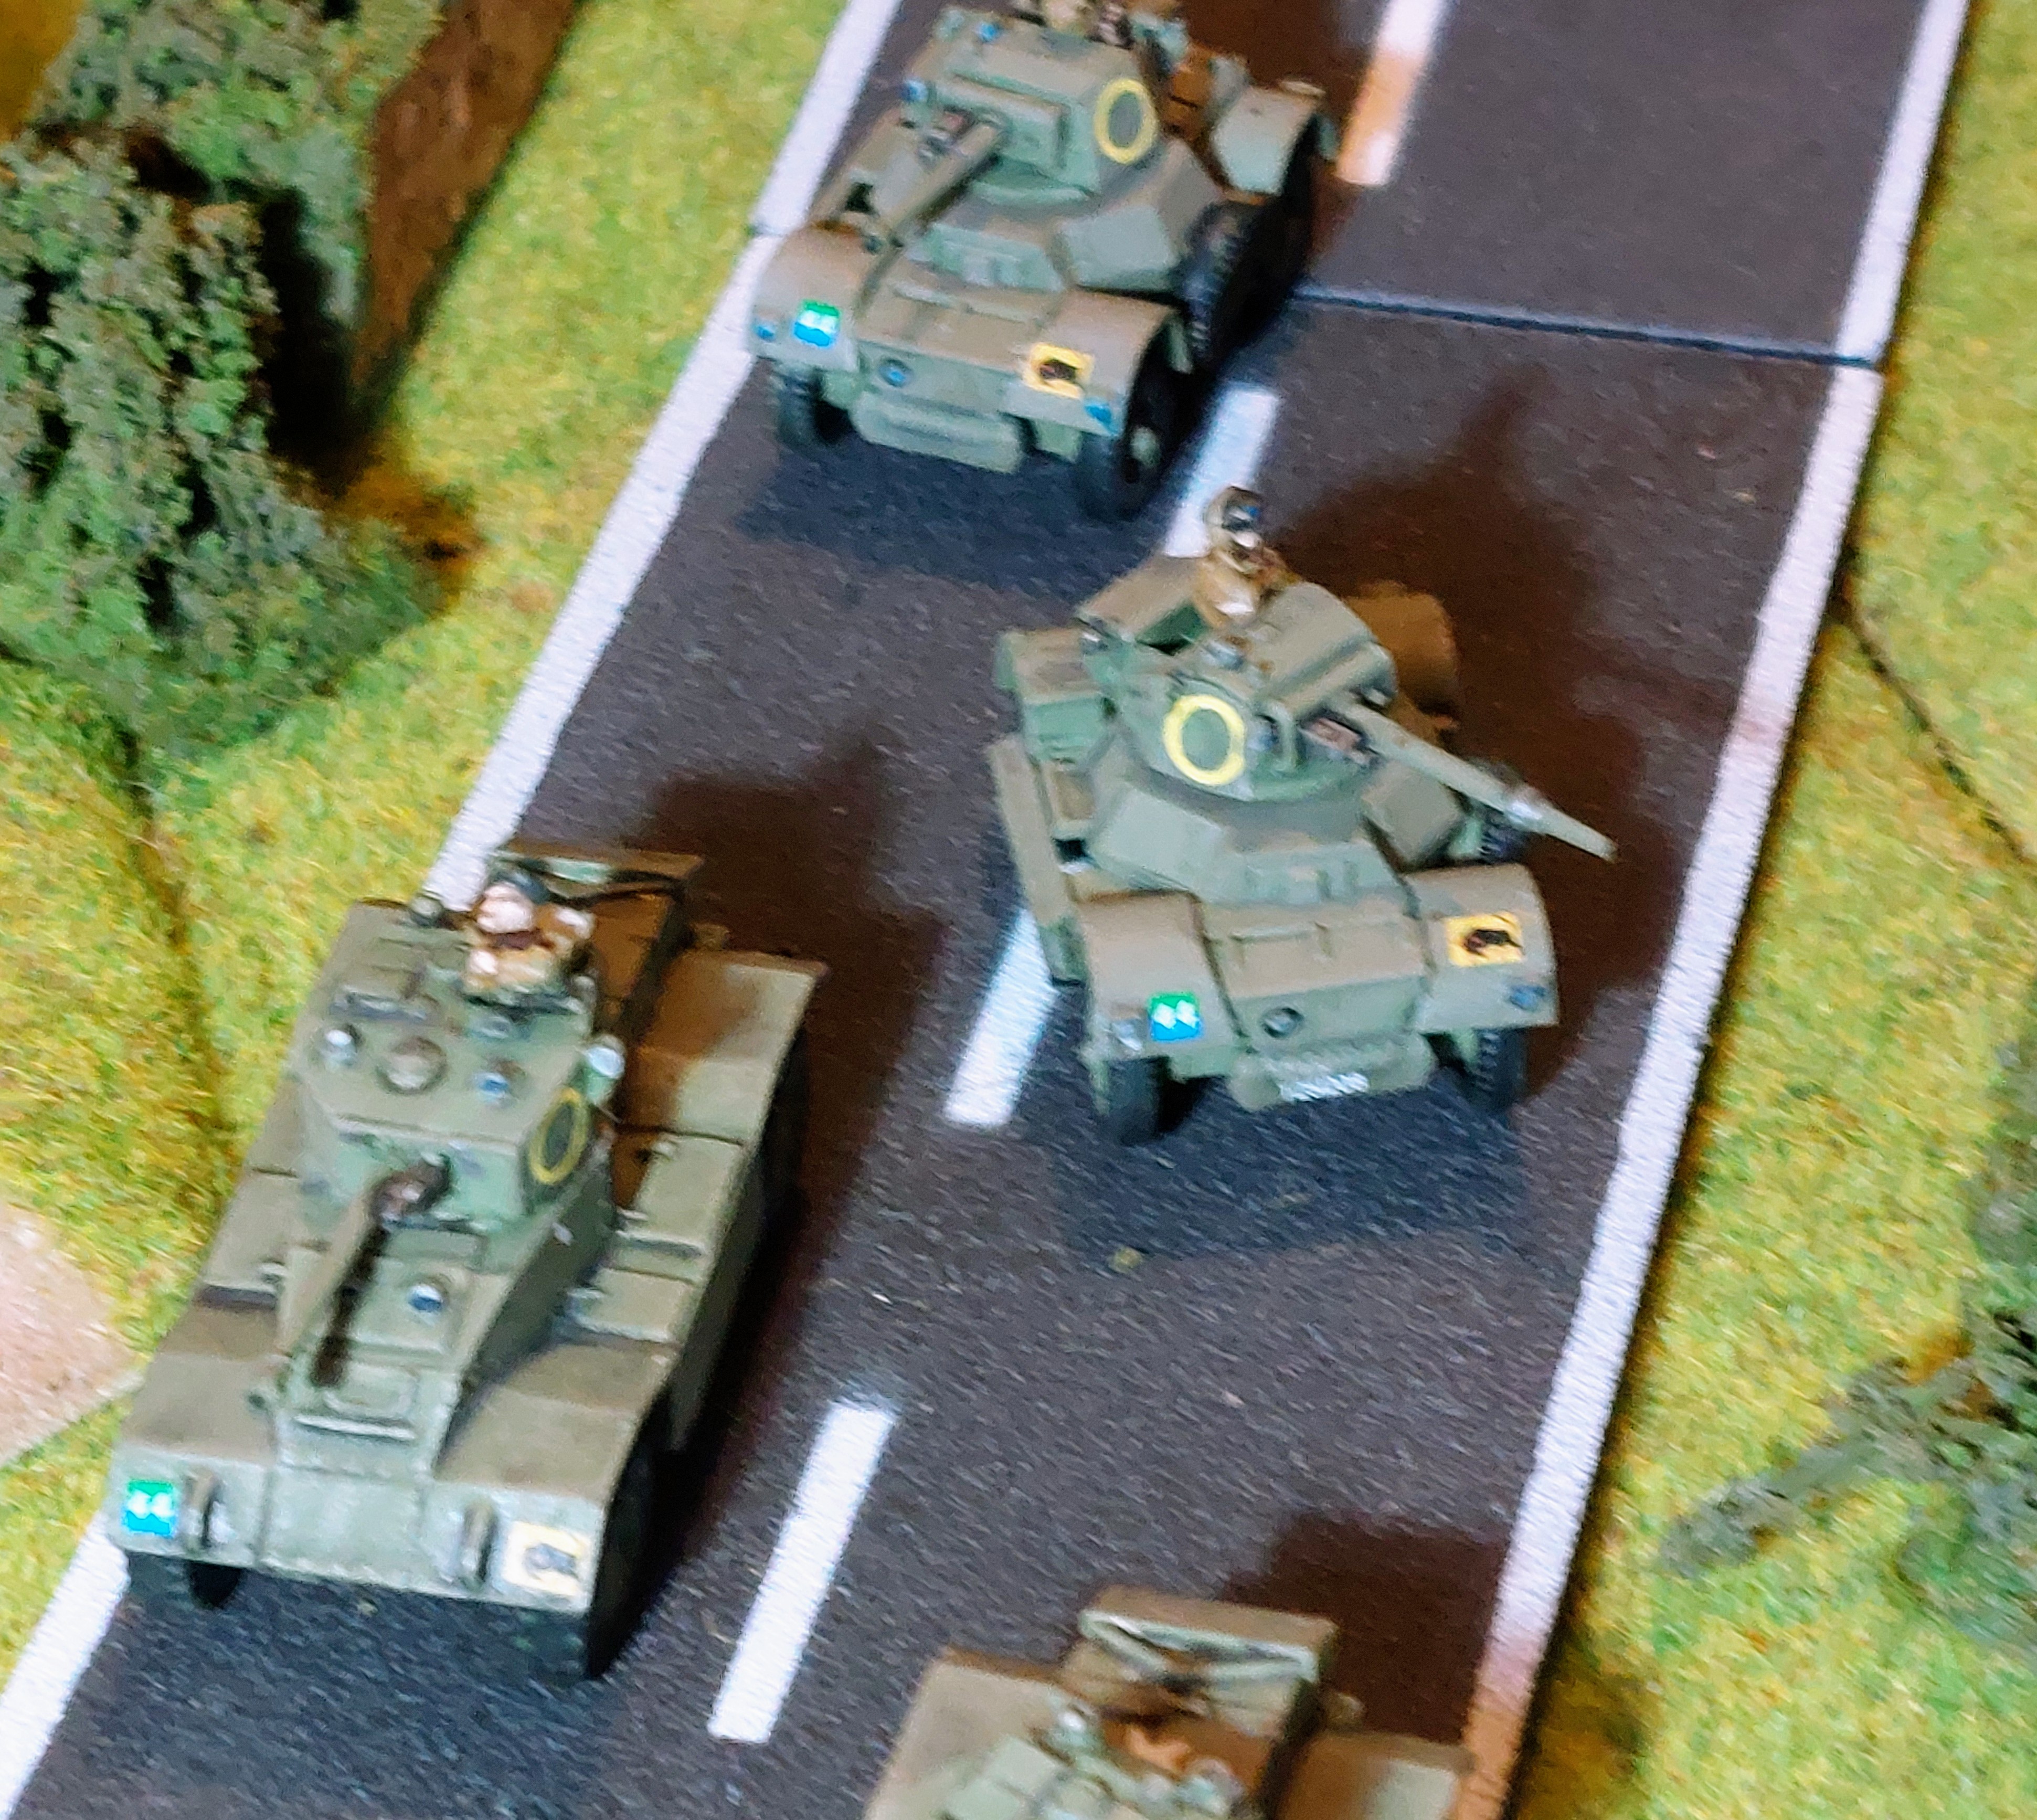
3rd Milestone 15/19th Hussars
Been a few weeks since last update, but I have Been Beavering away at this project. I have been motoring through painting stages but have been slowed down by applying decals which seems to have taken for ever.
Anyway I finished another Milestone for the 11th Armoured, my 15th/19th Hussars Squadron is now Finished.
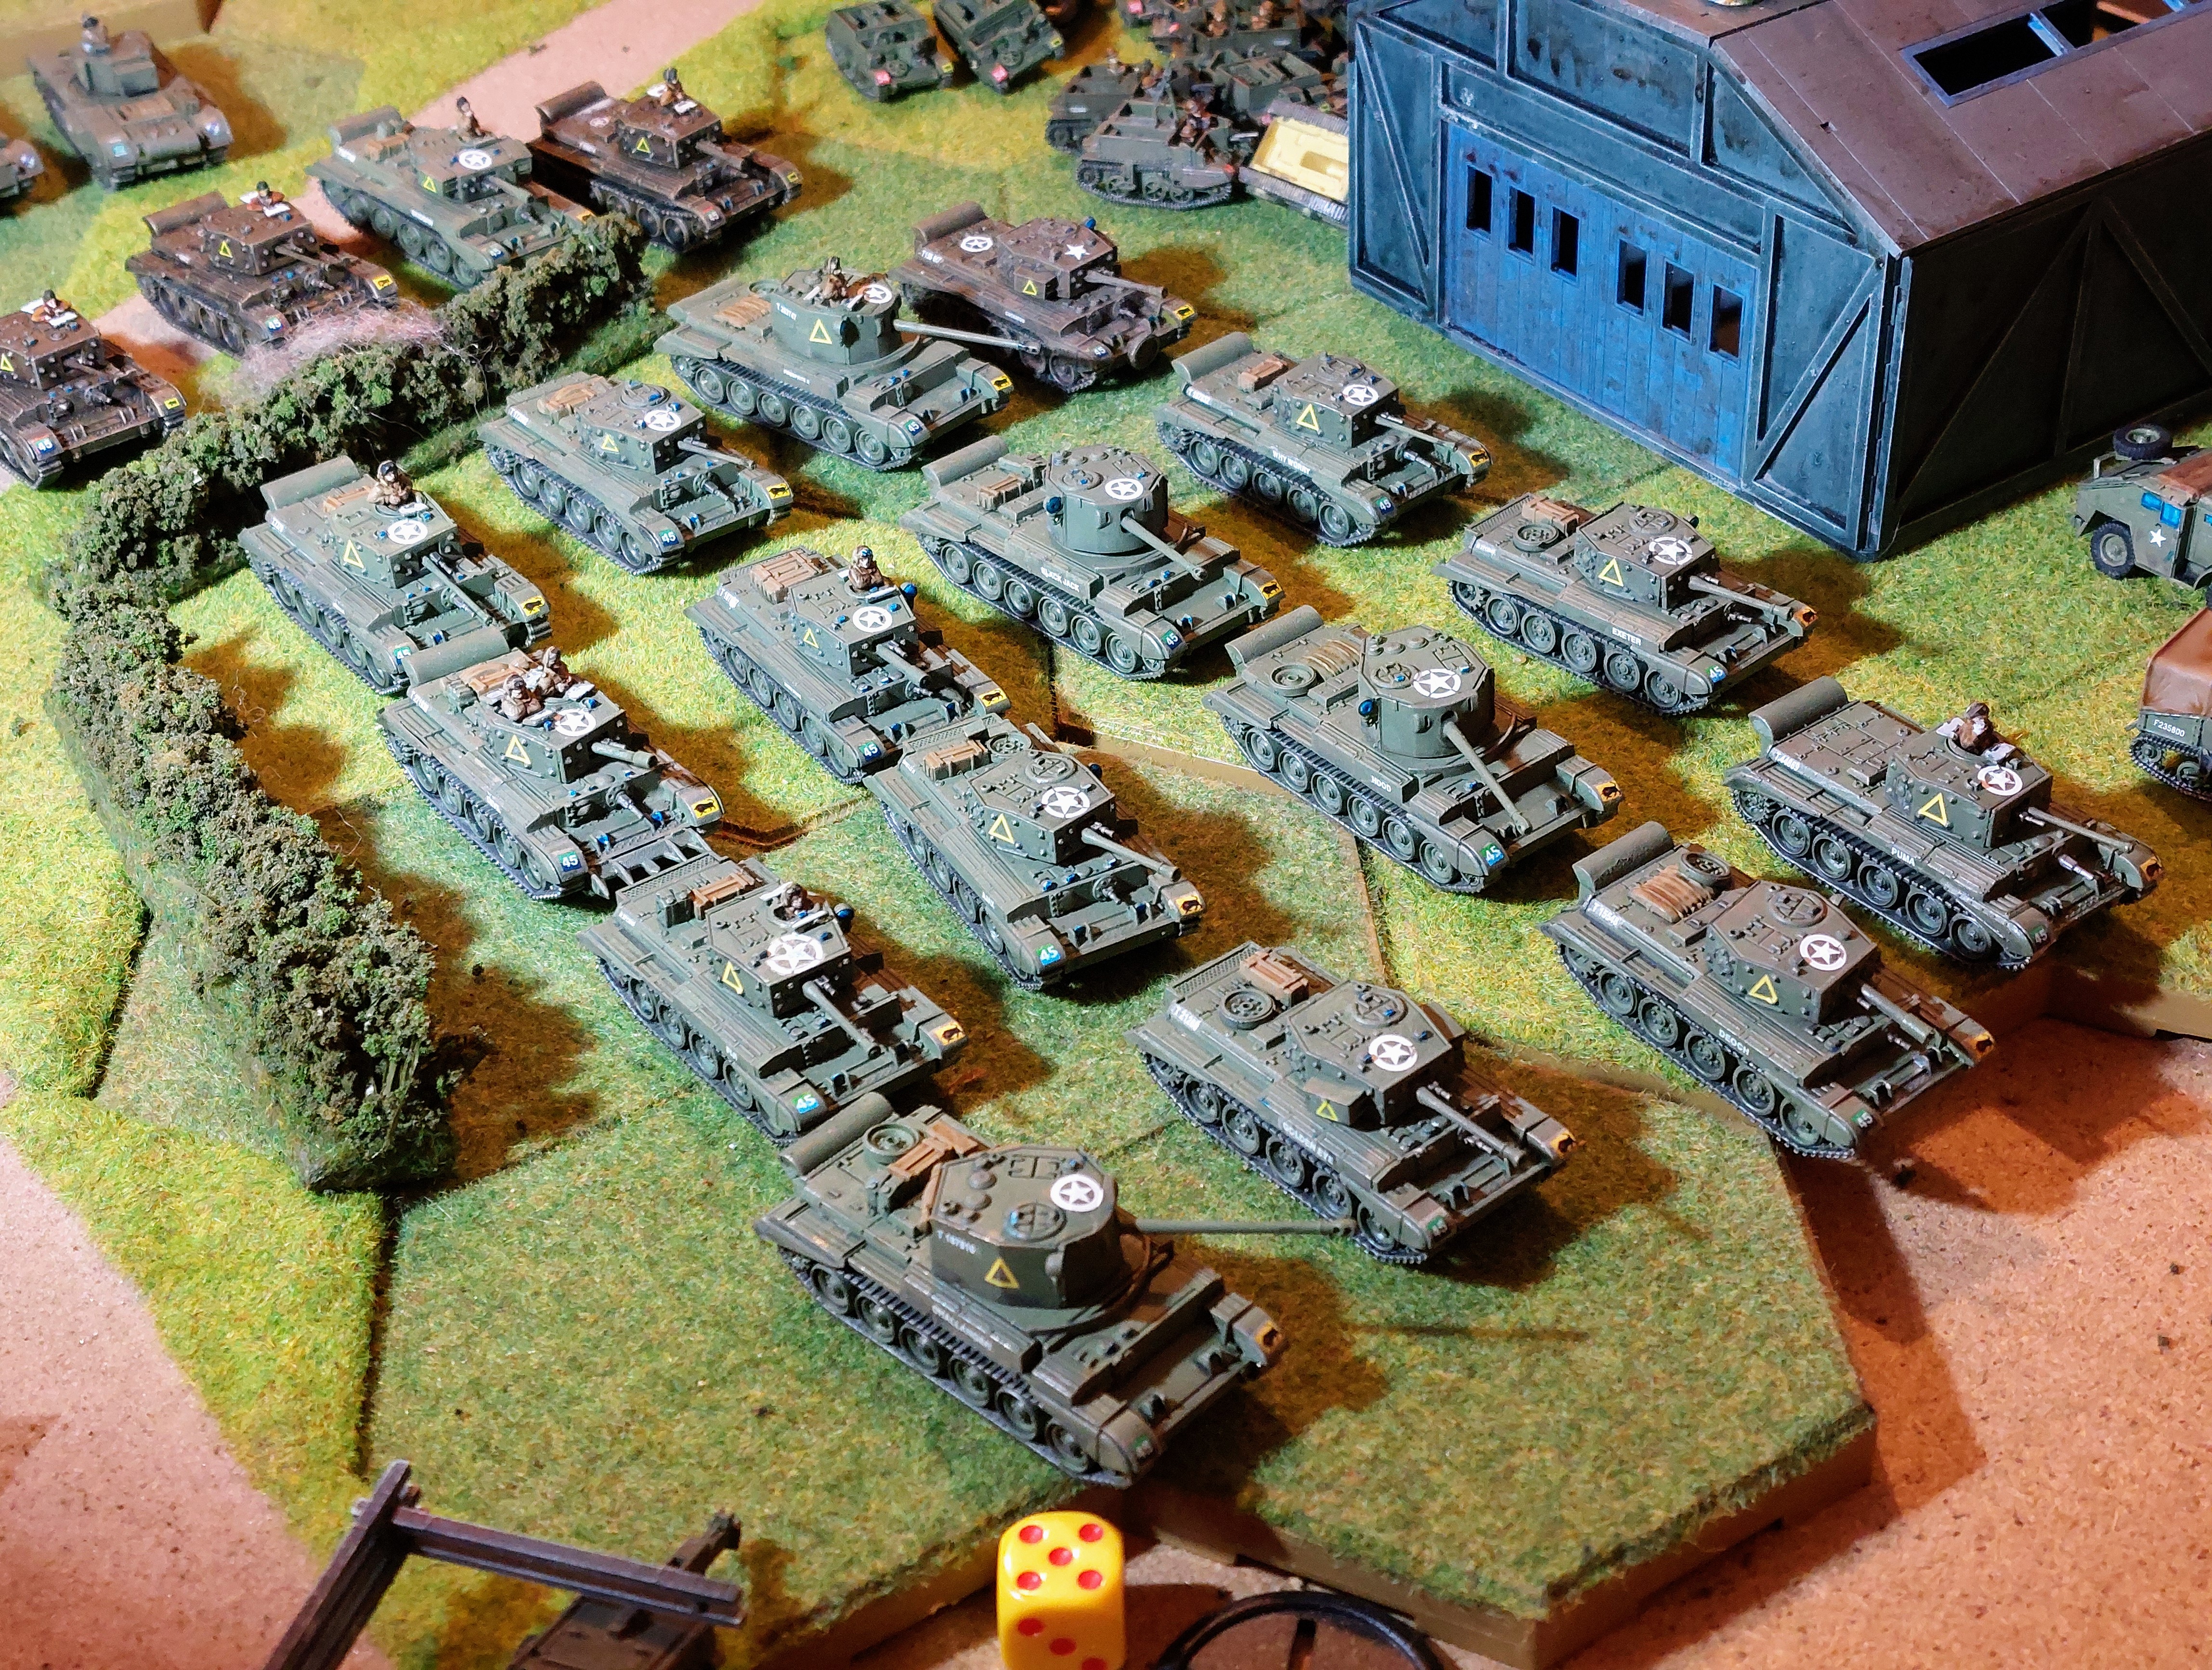 Full Squadron
 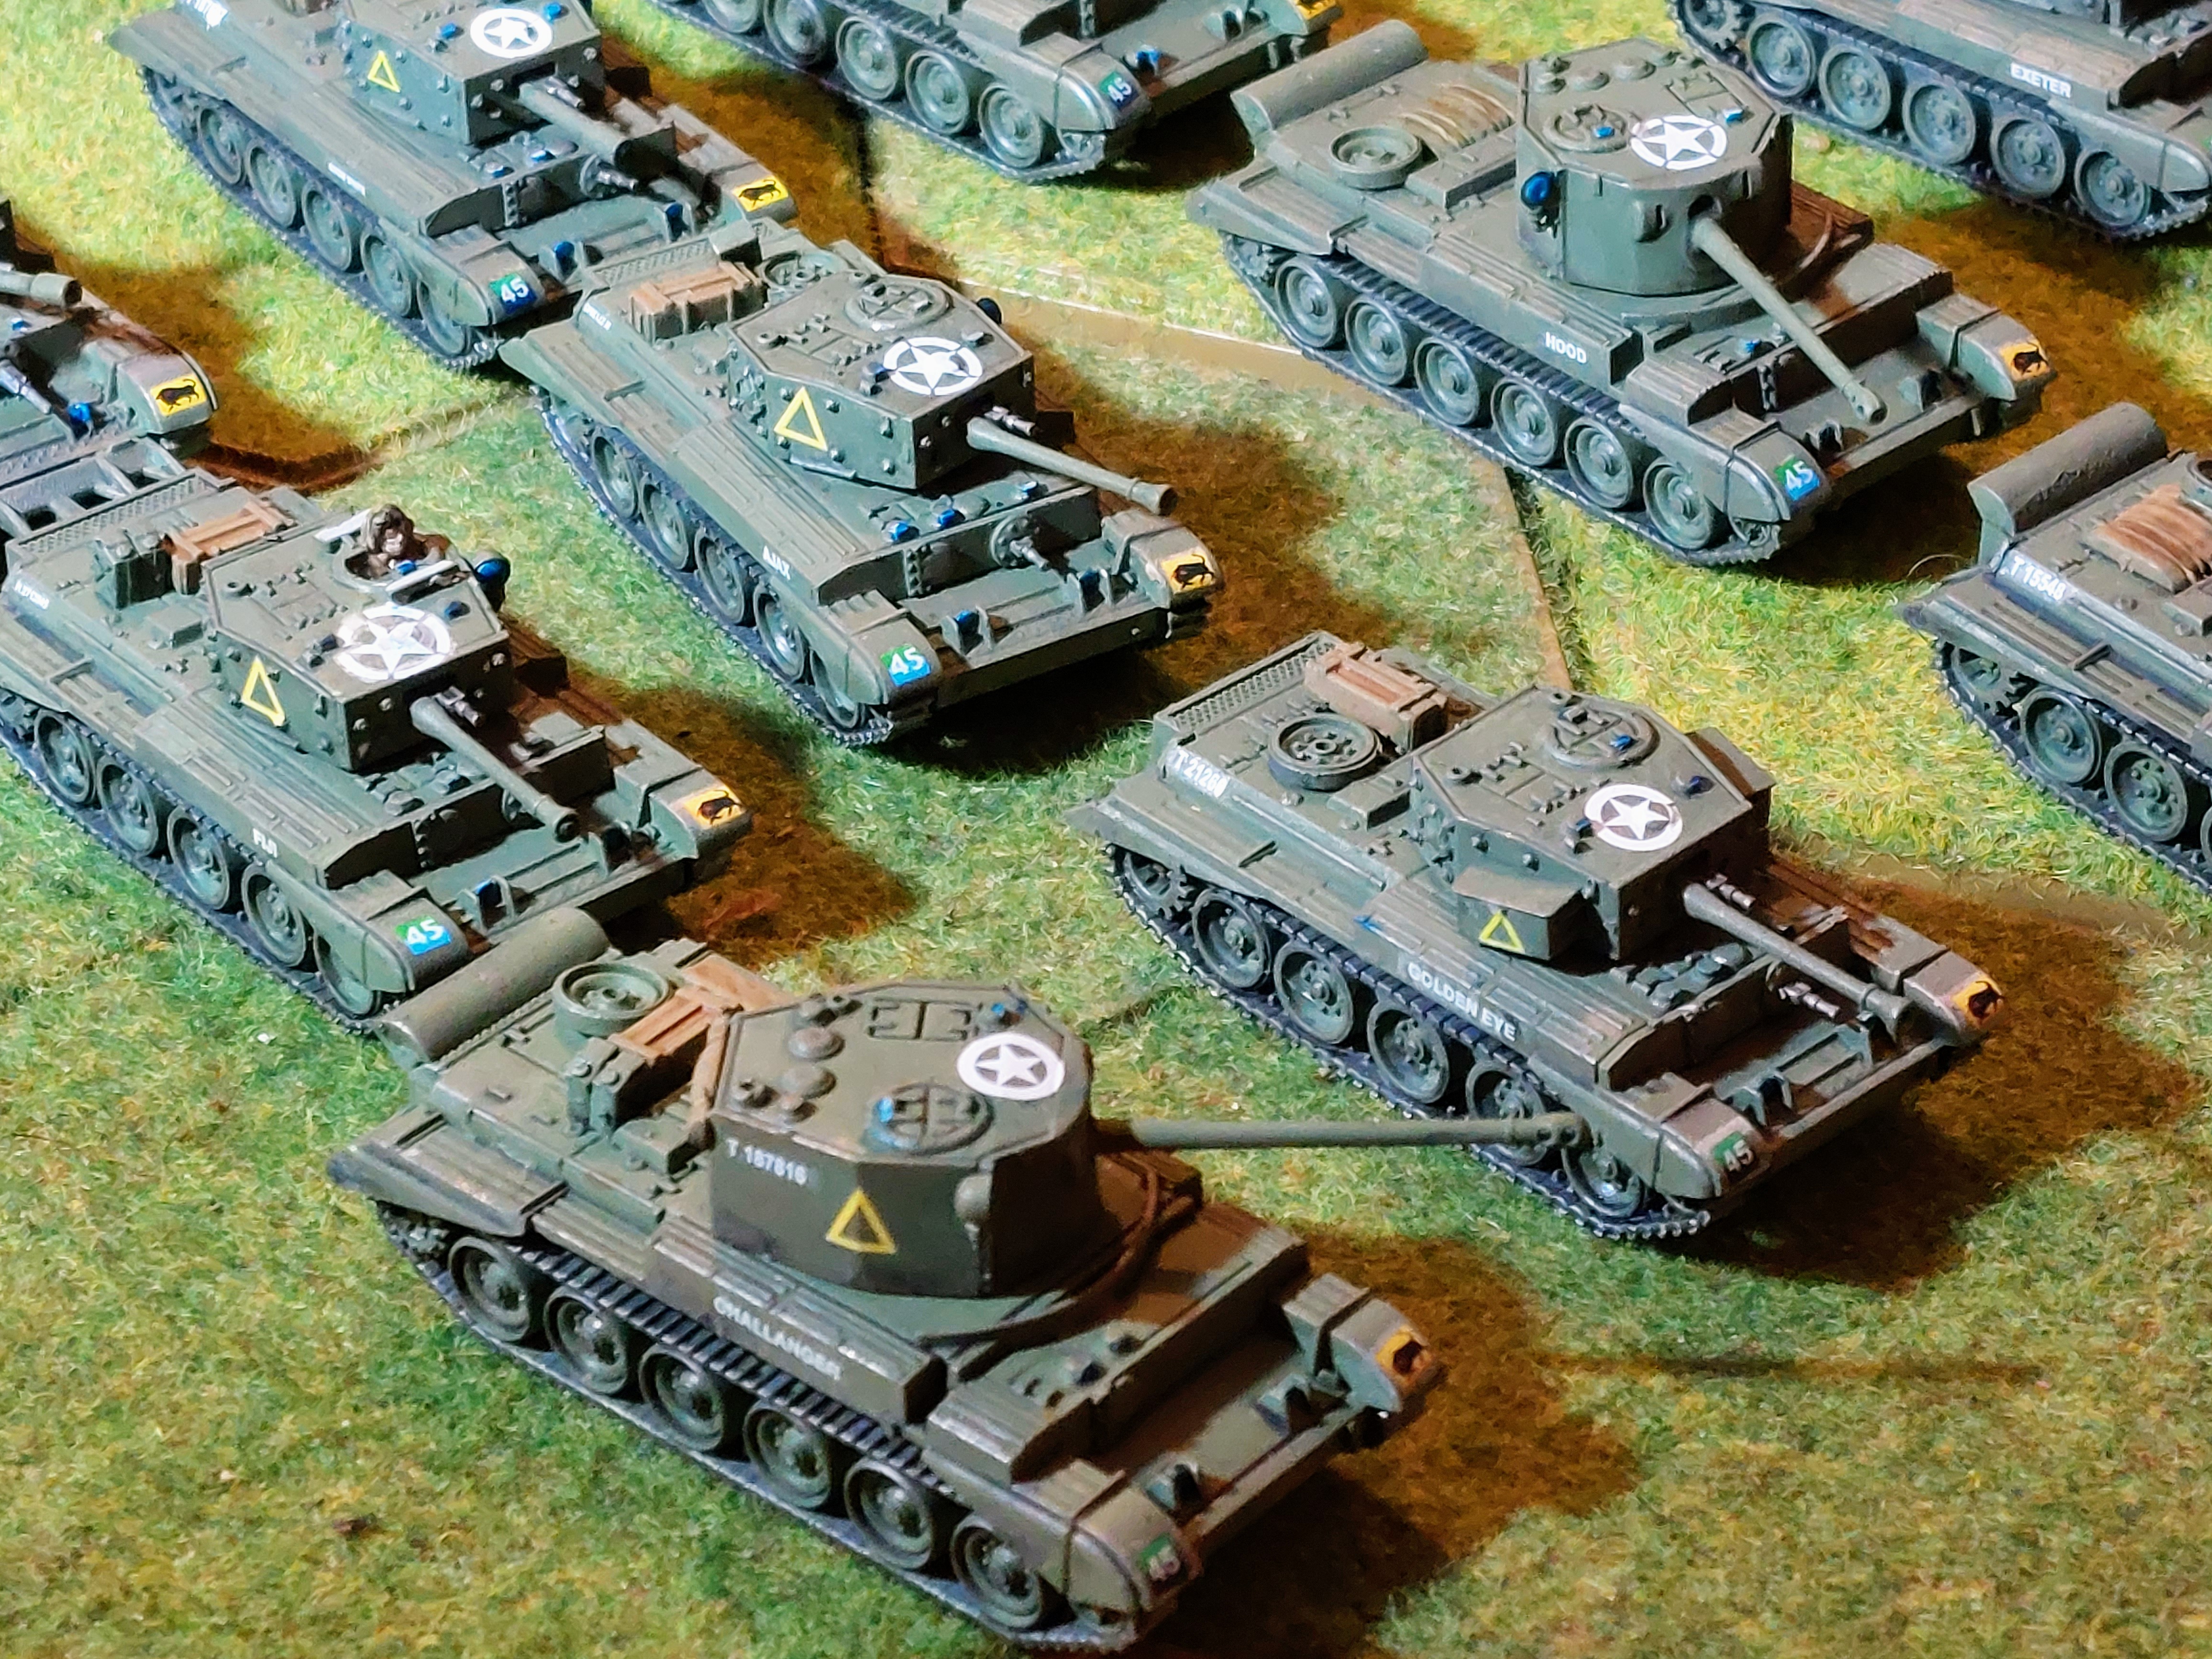 In detail including new Challenger's
2 Milestones Completed!
Been a bit since I updated, though been beavering away on this. I Actually have virtually all the armour painted, and I am currently working on Anti-tank units, but putting the Decals on is a slow process, as I have to do them in stages ,as my ability to put my finger or thumb on a newly applied decal is legendary.
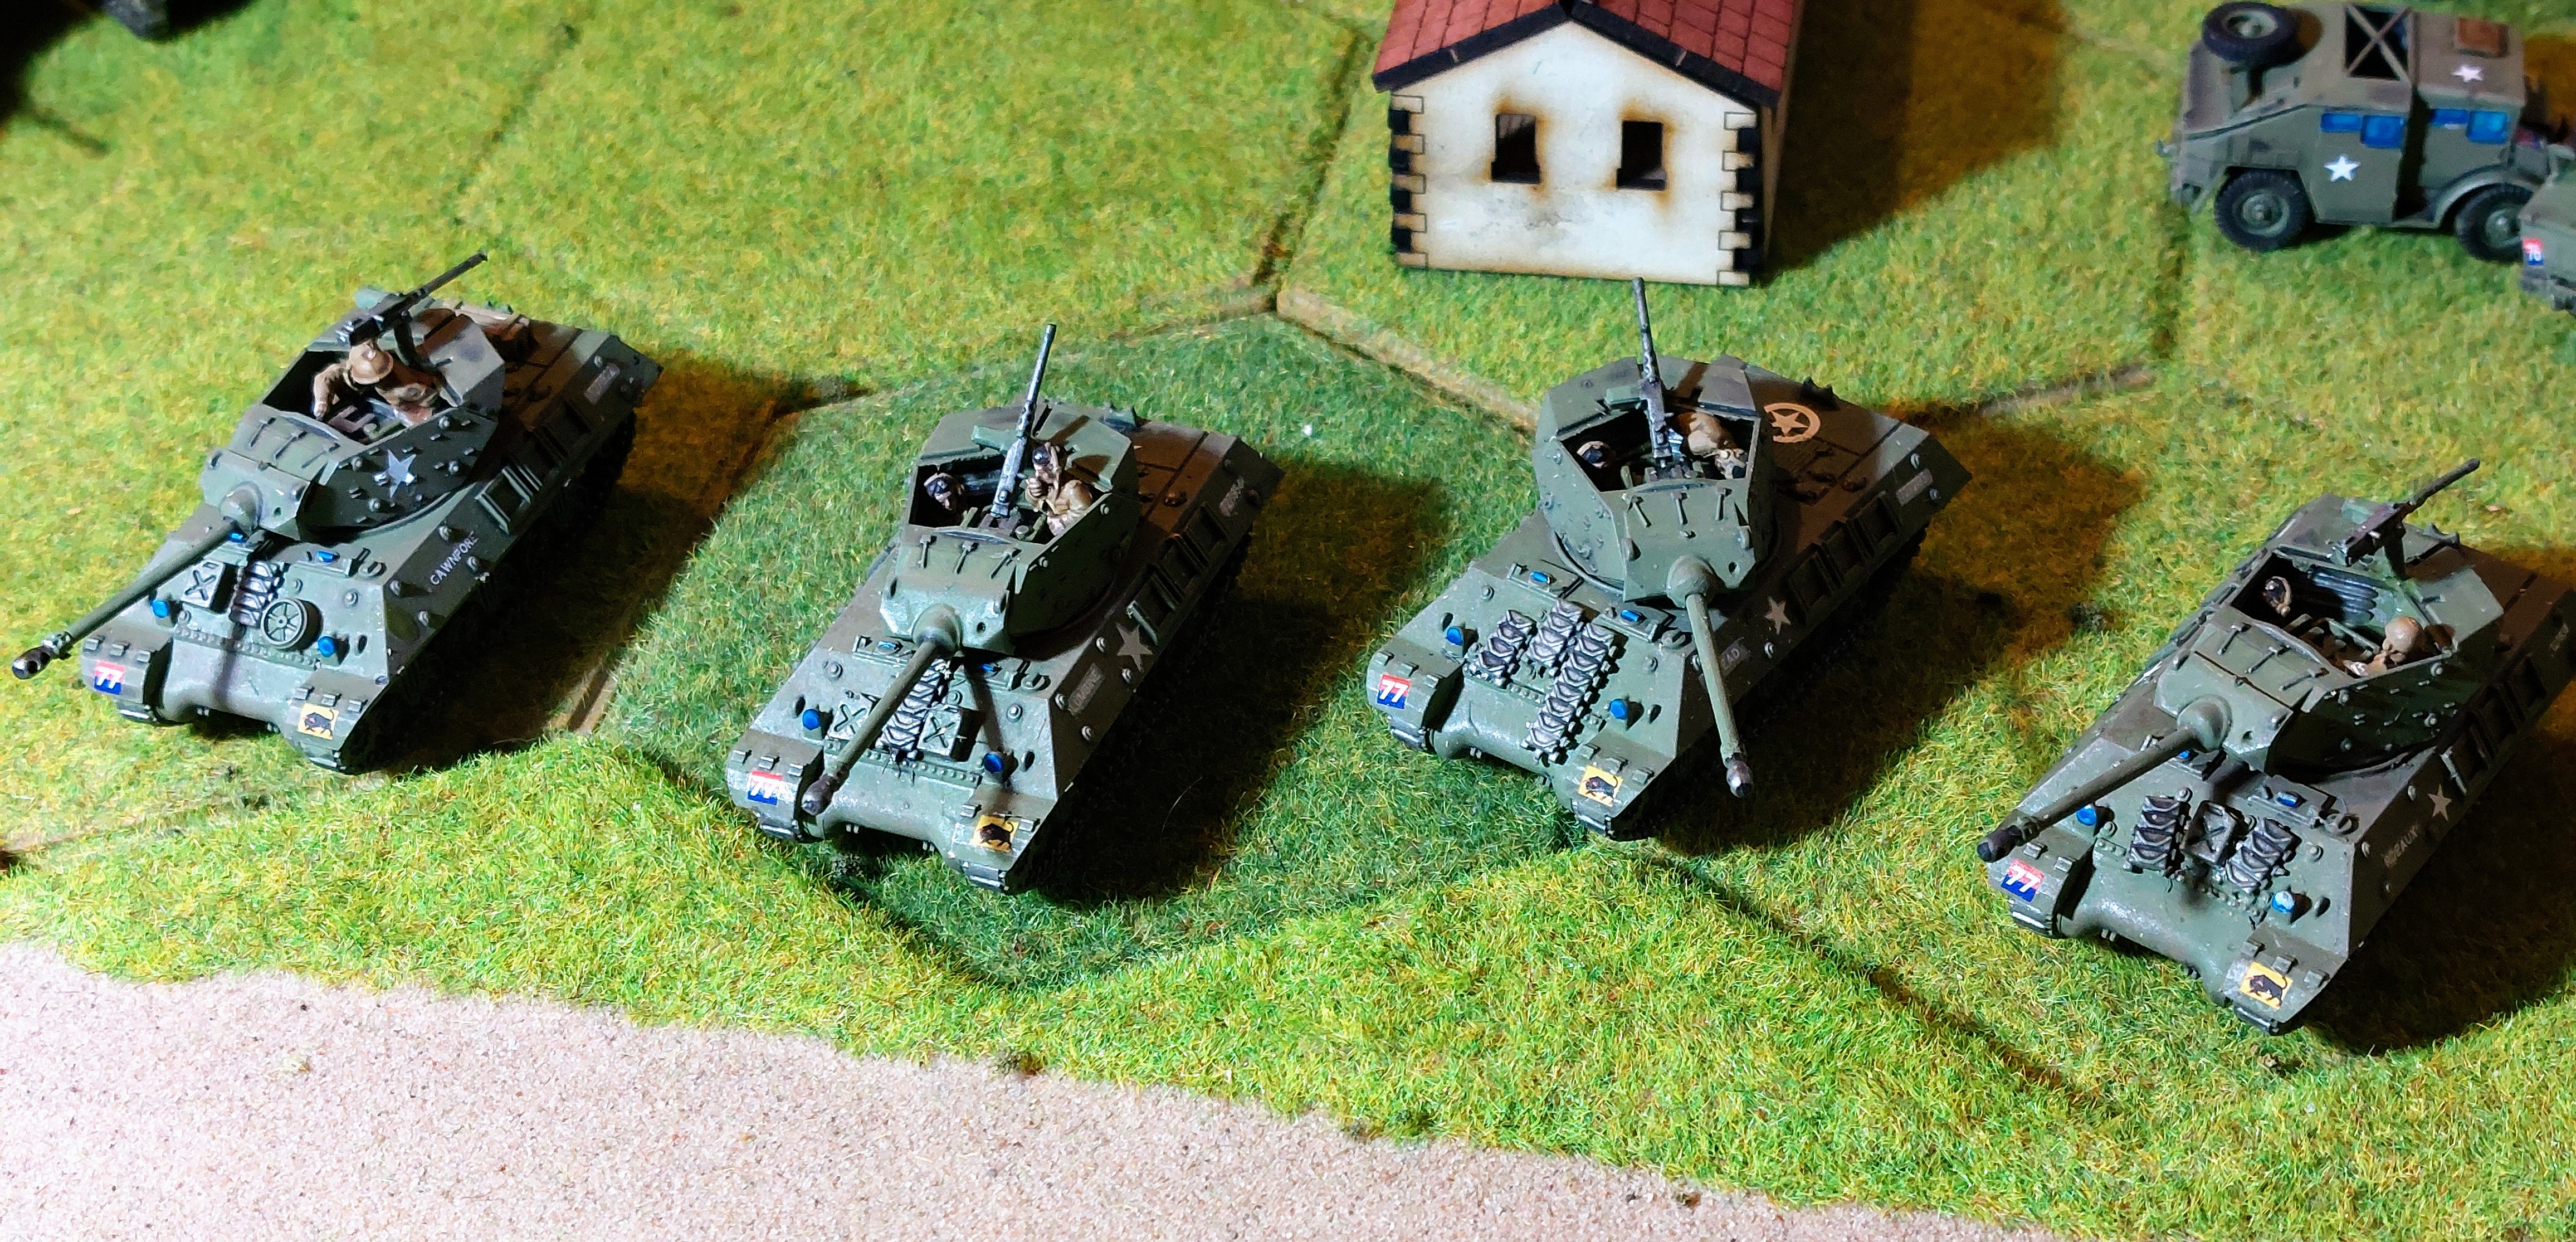
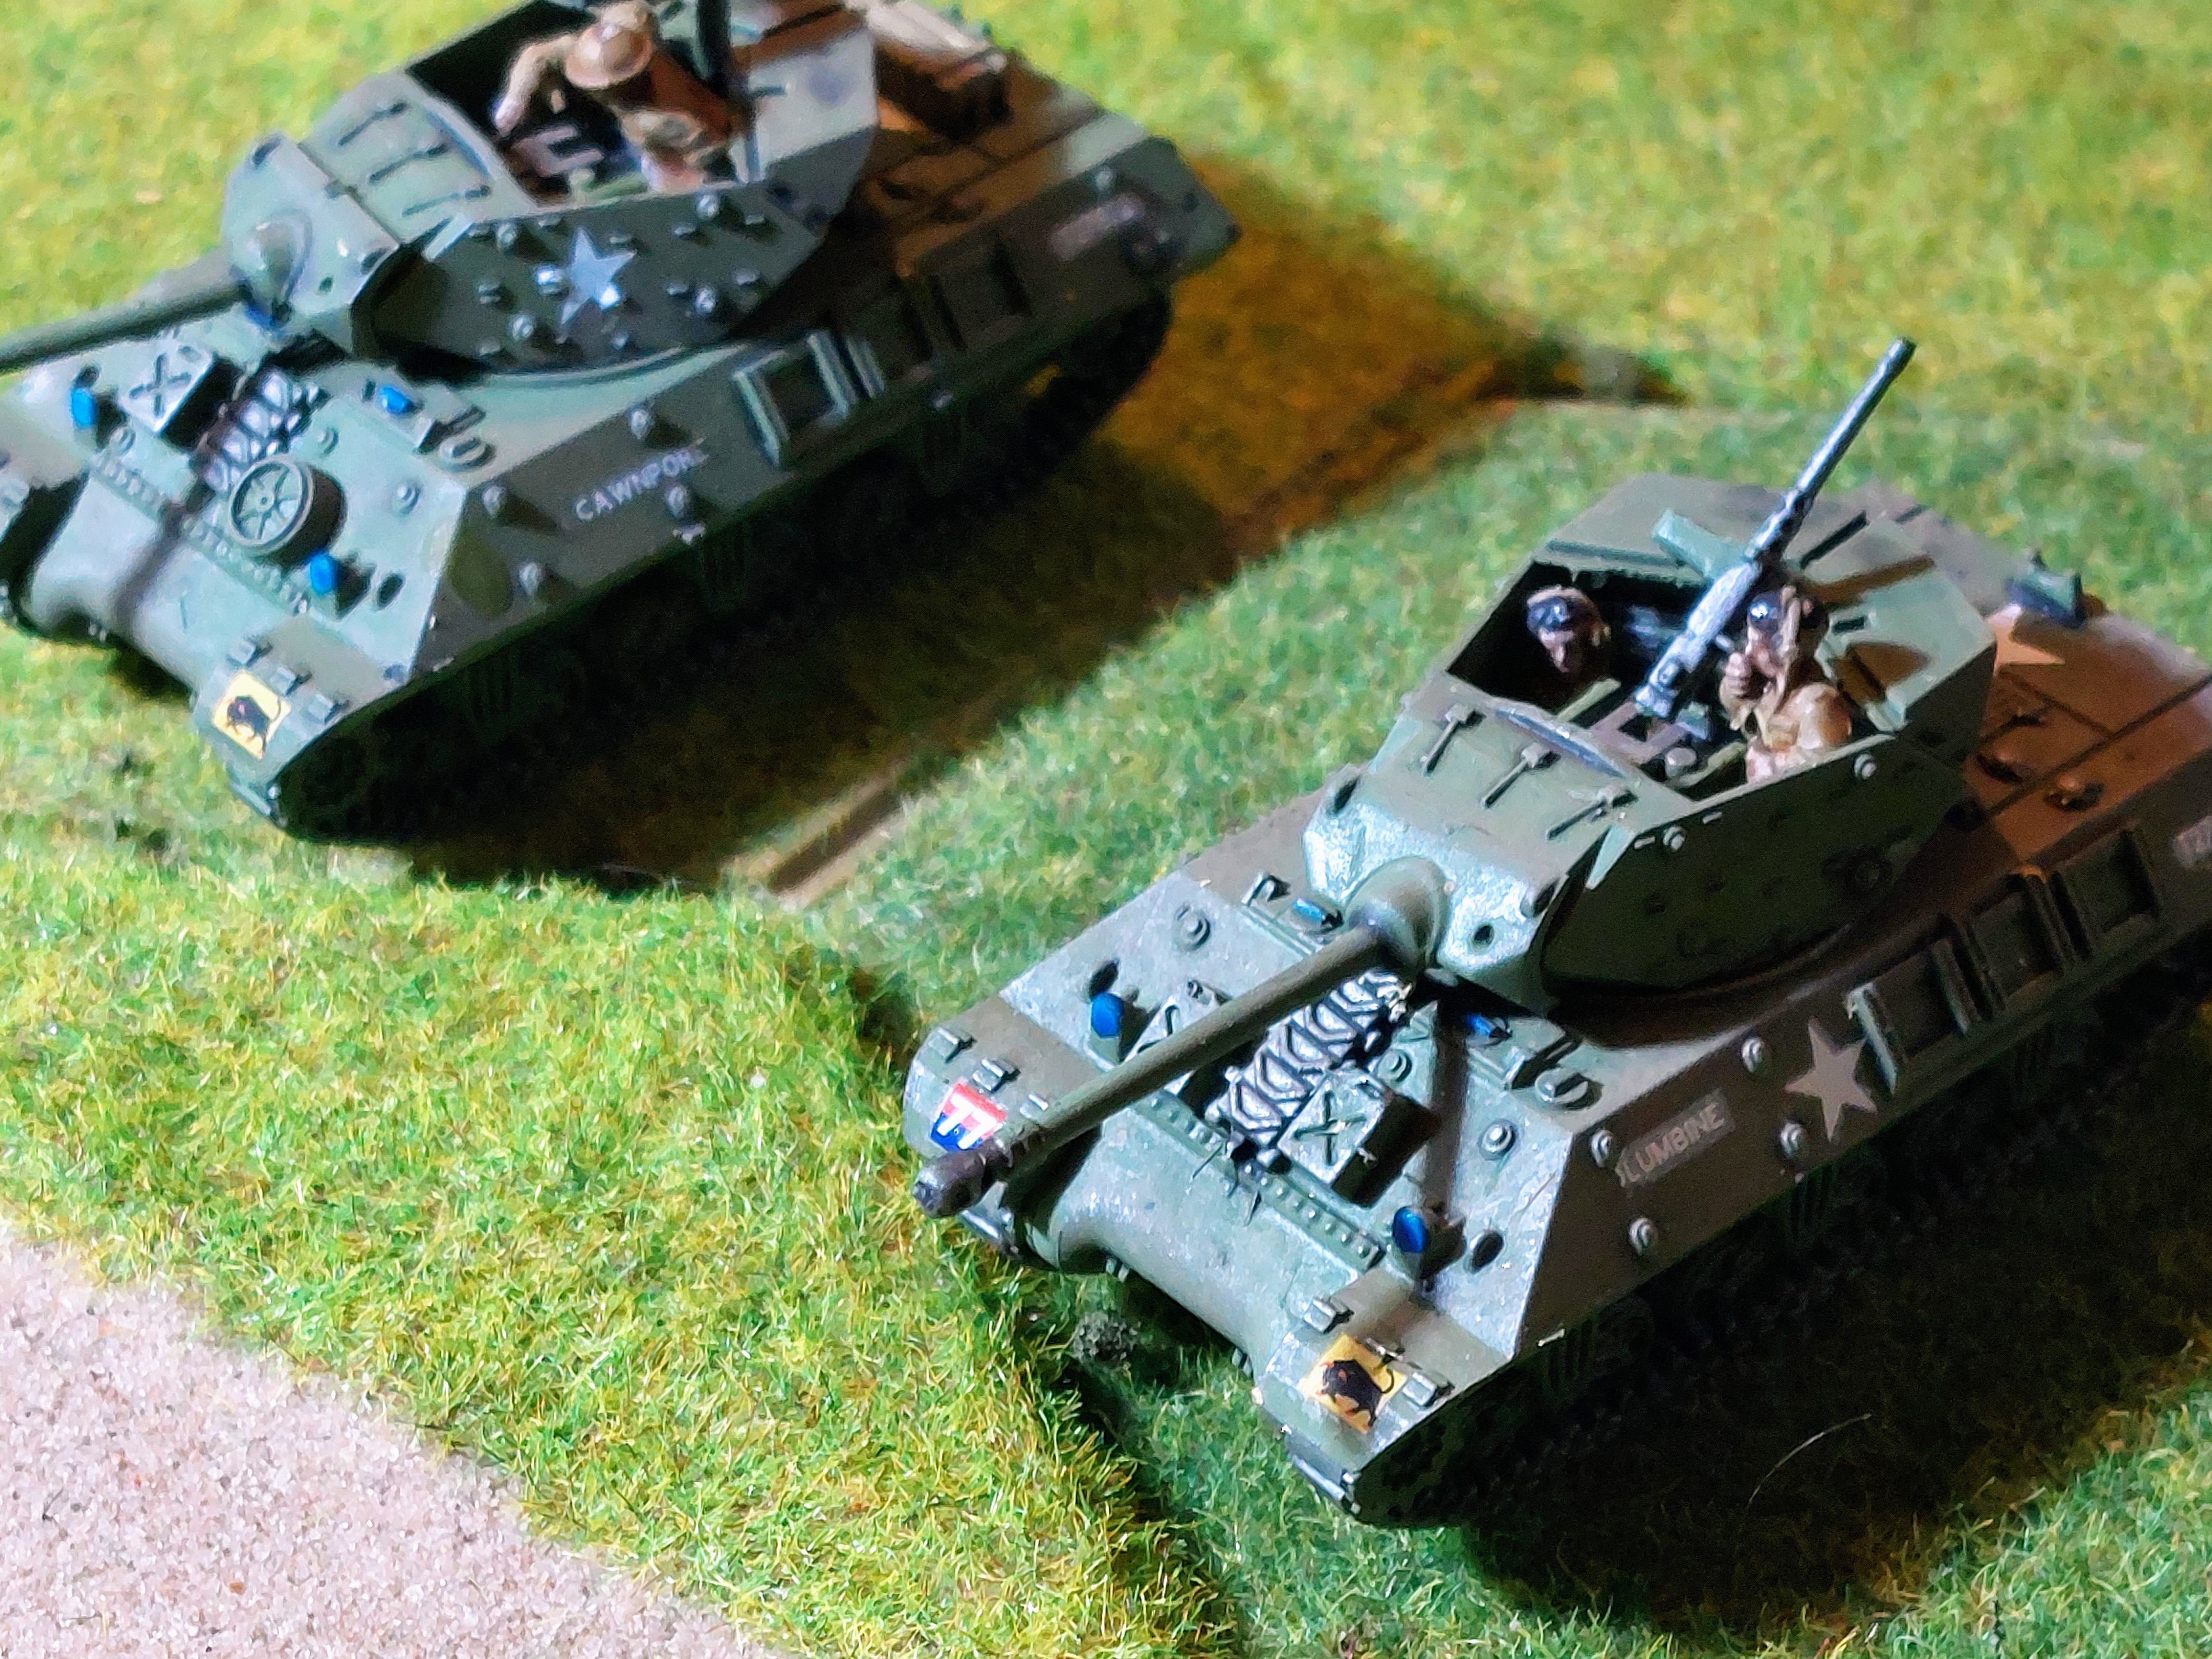
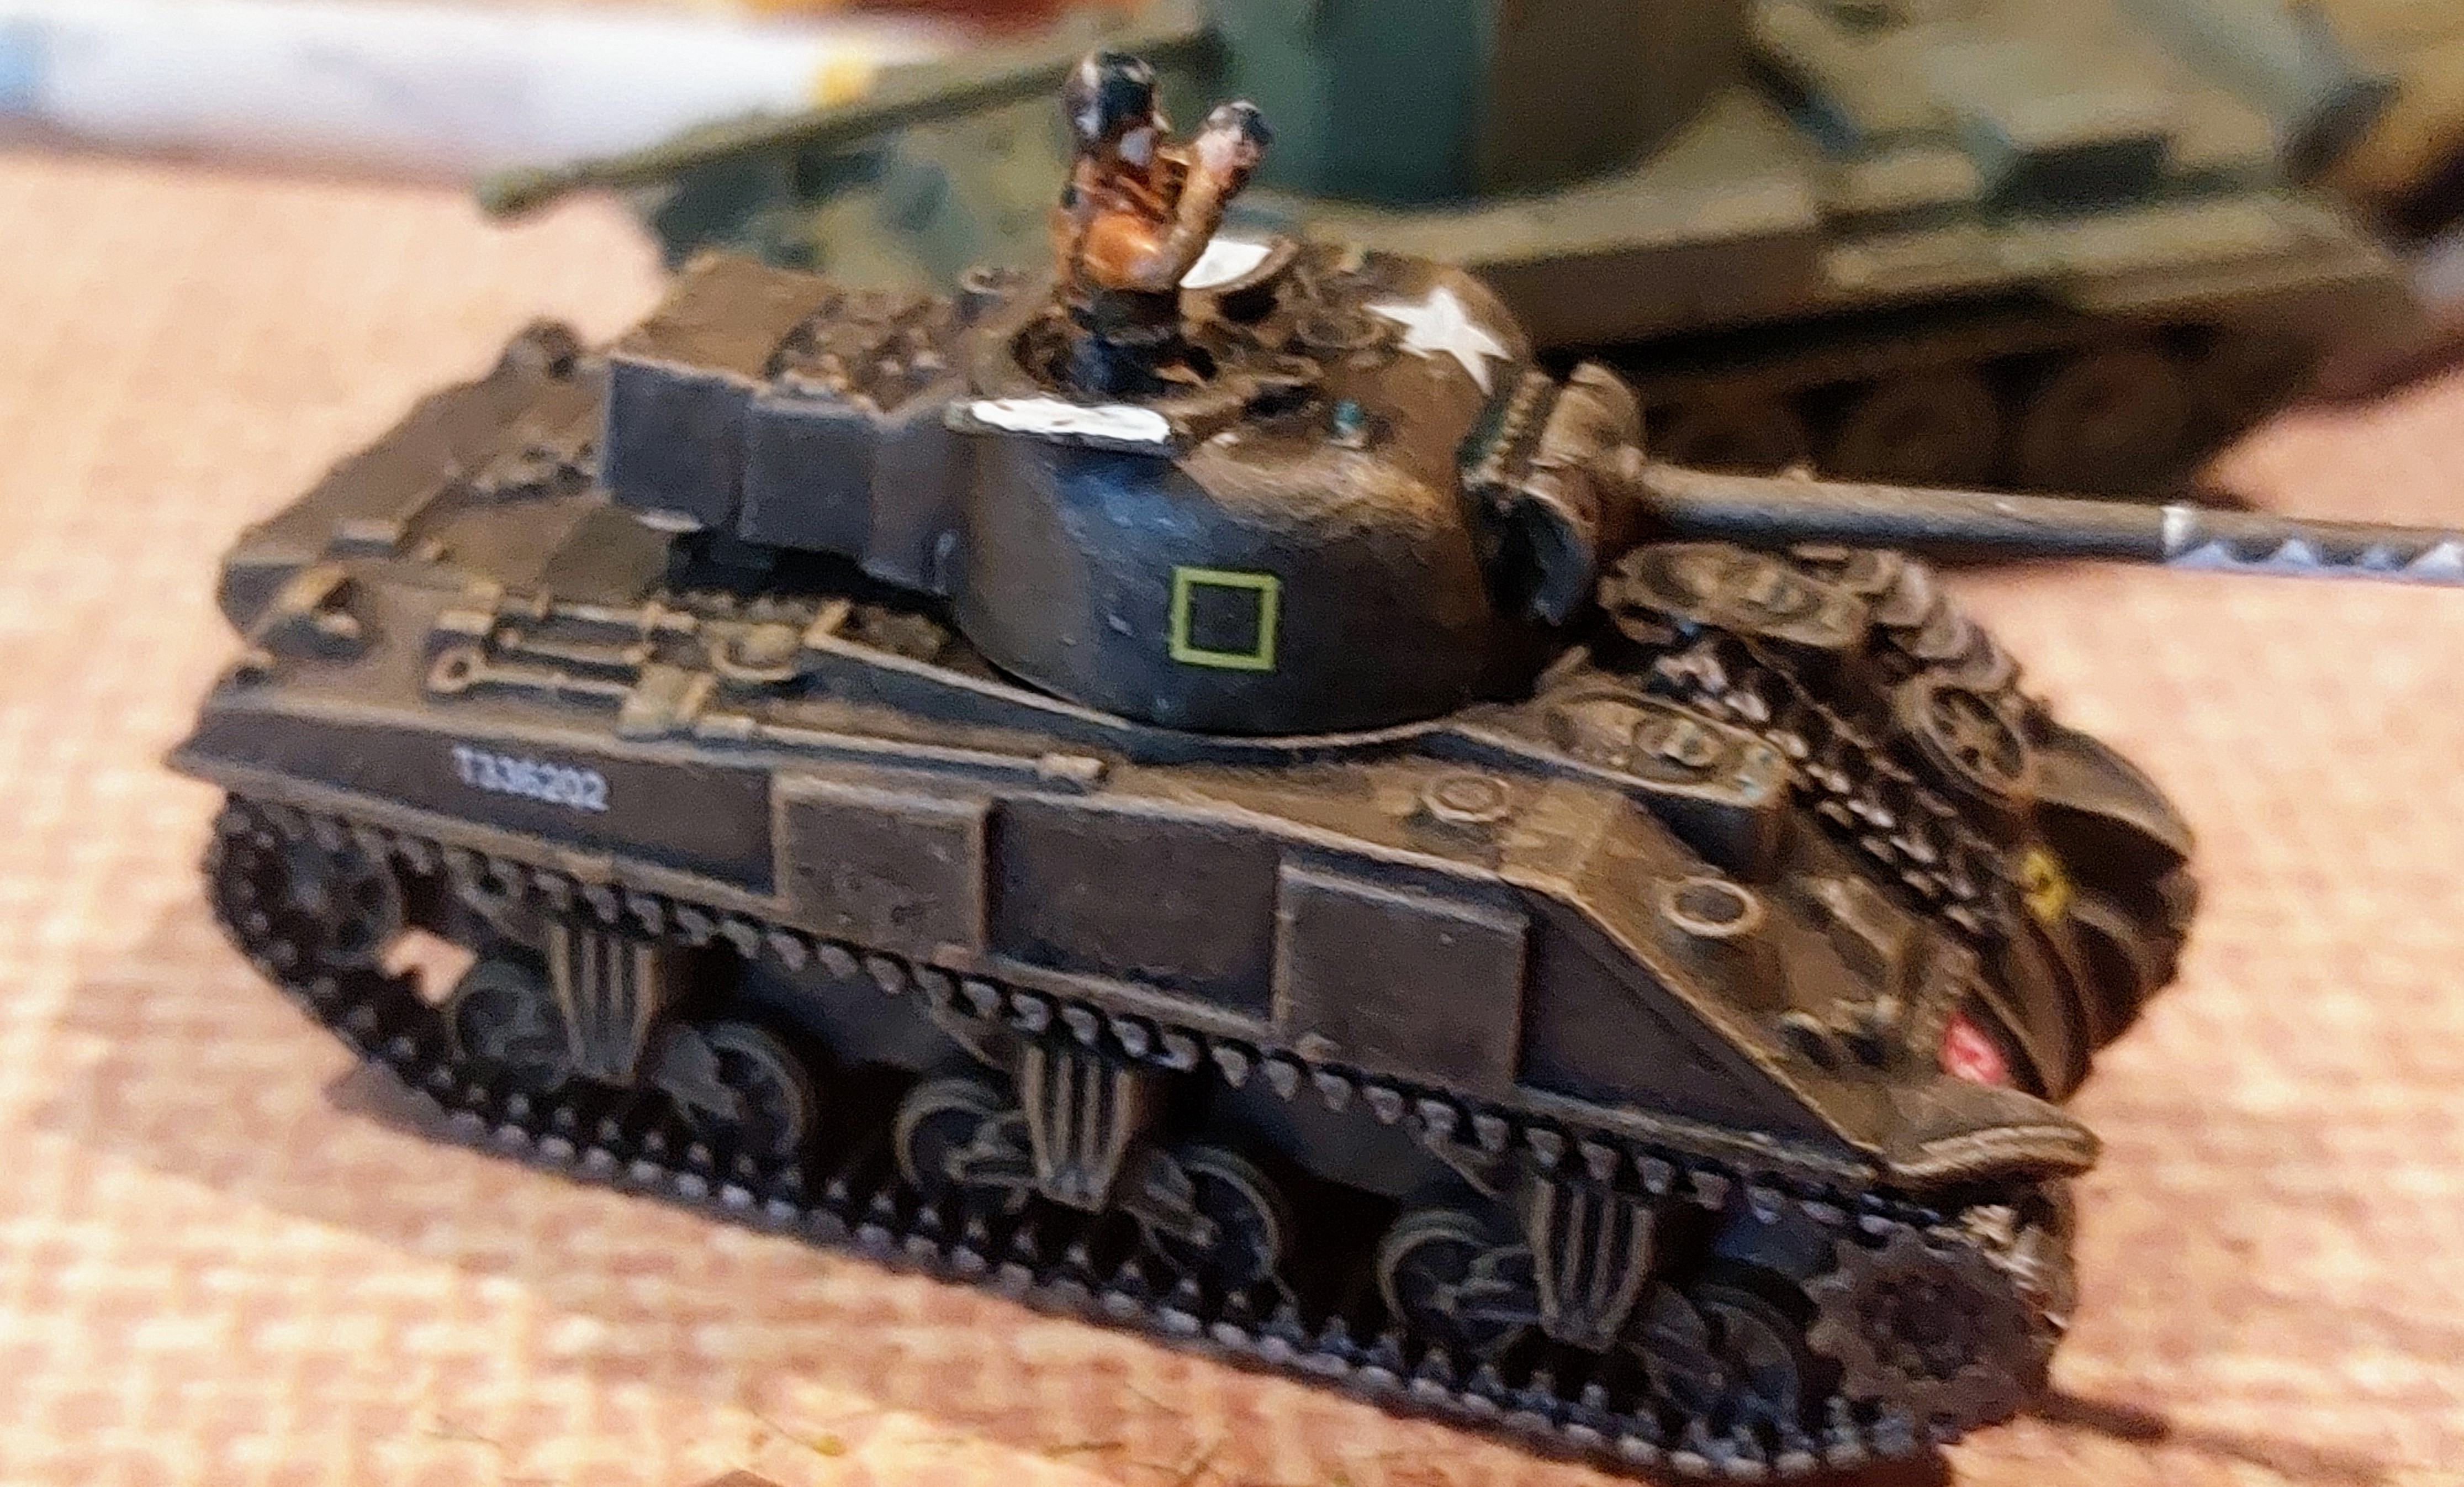
Anyway I have made one Milestone, I have Completed my 1st Squadron of Shermans, only took me about 5 years.
So here is B Squadron 2nd Fife & Forfar Yeomanry. When I began this project the initial models came out quite dark , the Blue Squadron marking of the Regiment didn’t pop so I used Yellow, which should be for 3rd Tank Regiment.
Here are the newer lighter models from recent paint.

And here are the earlier versions, some of my 1st attempts at using undiluted washs
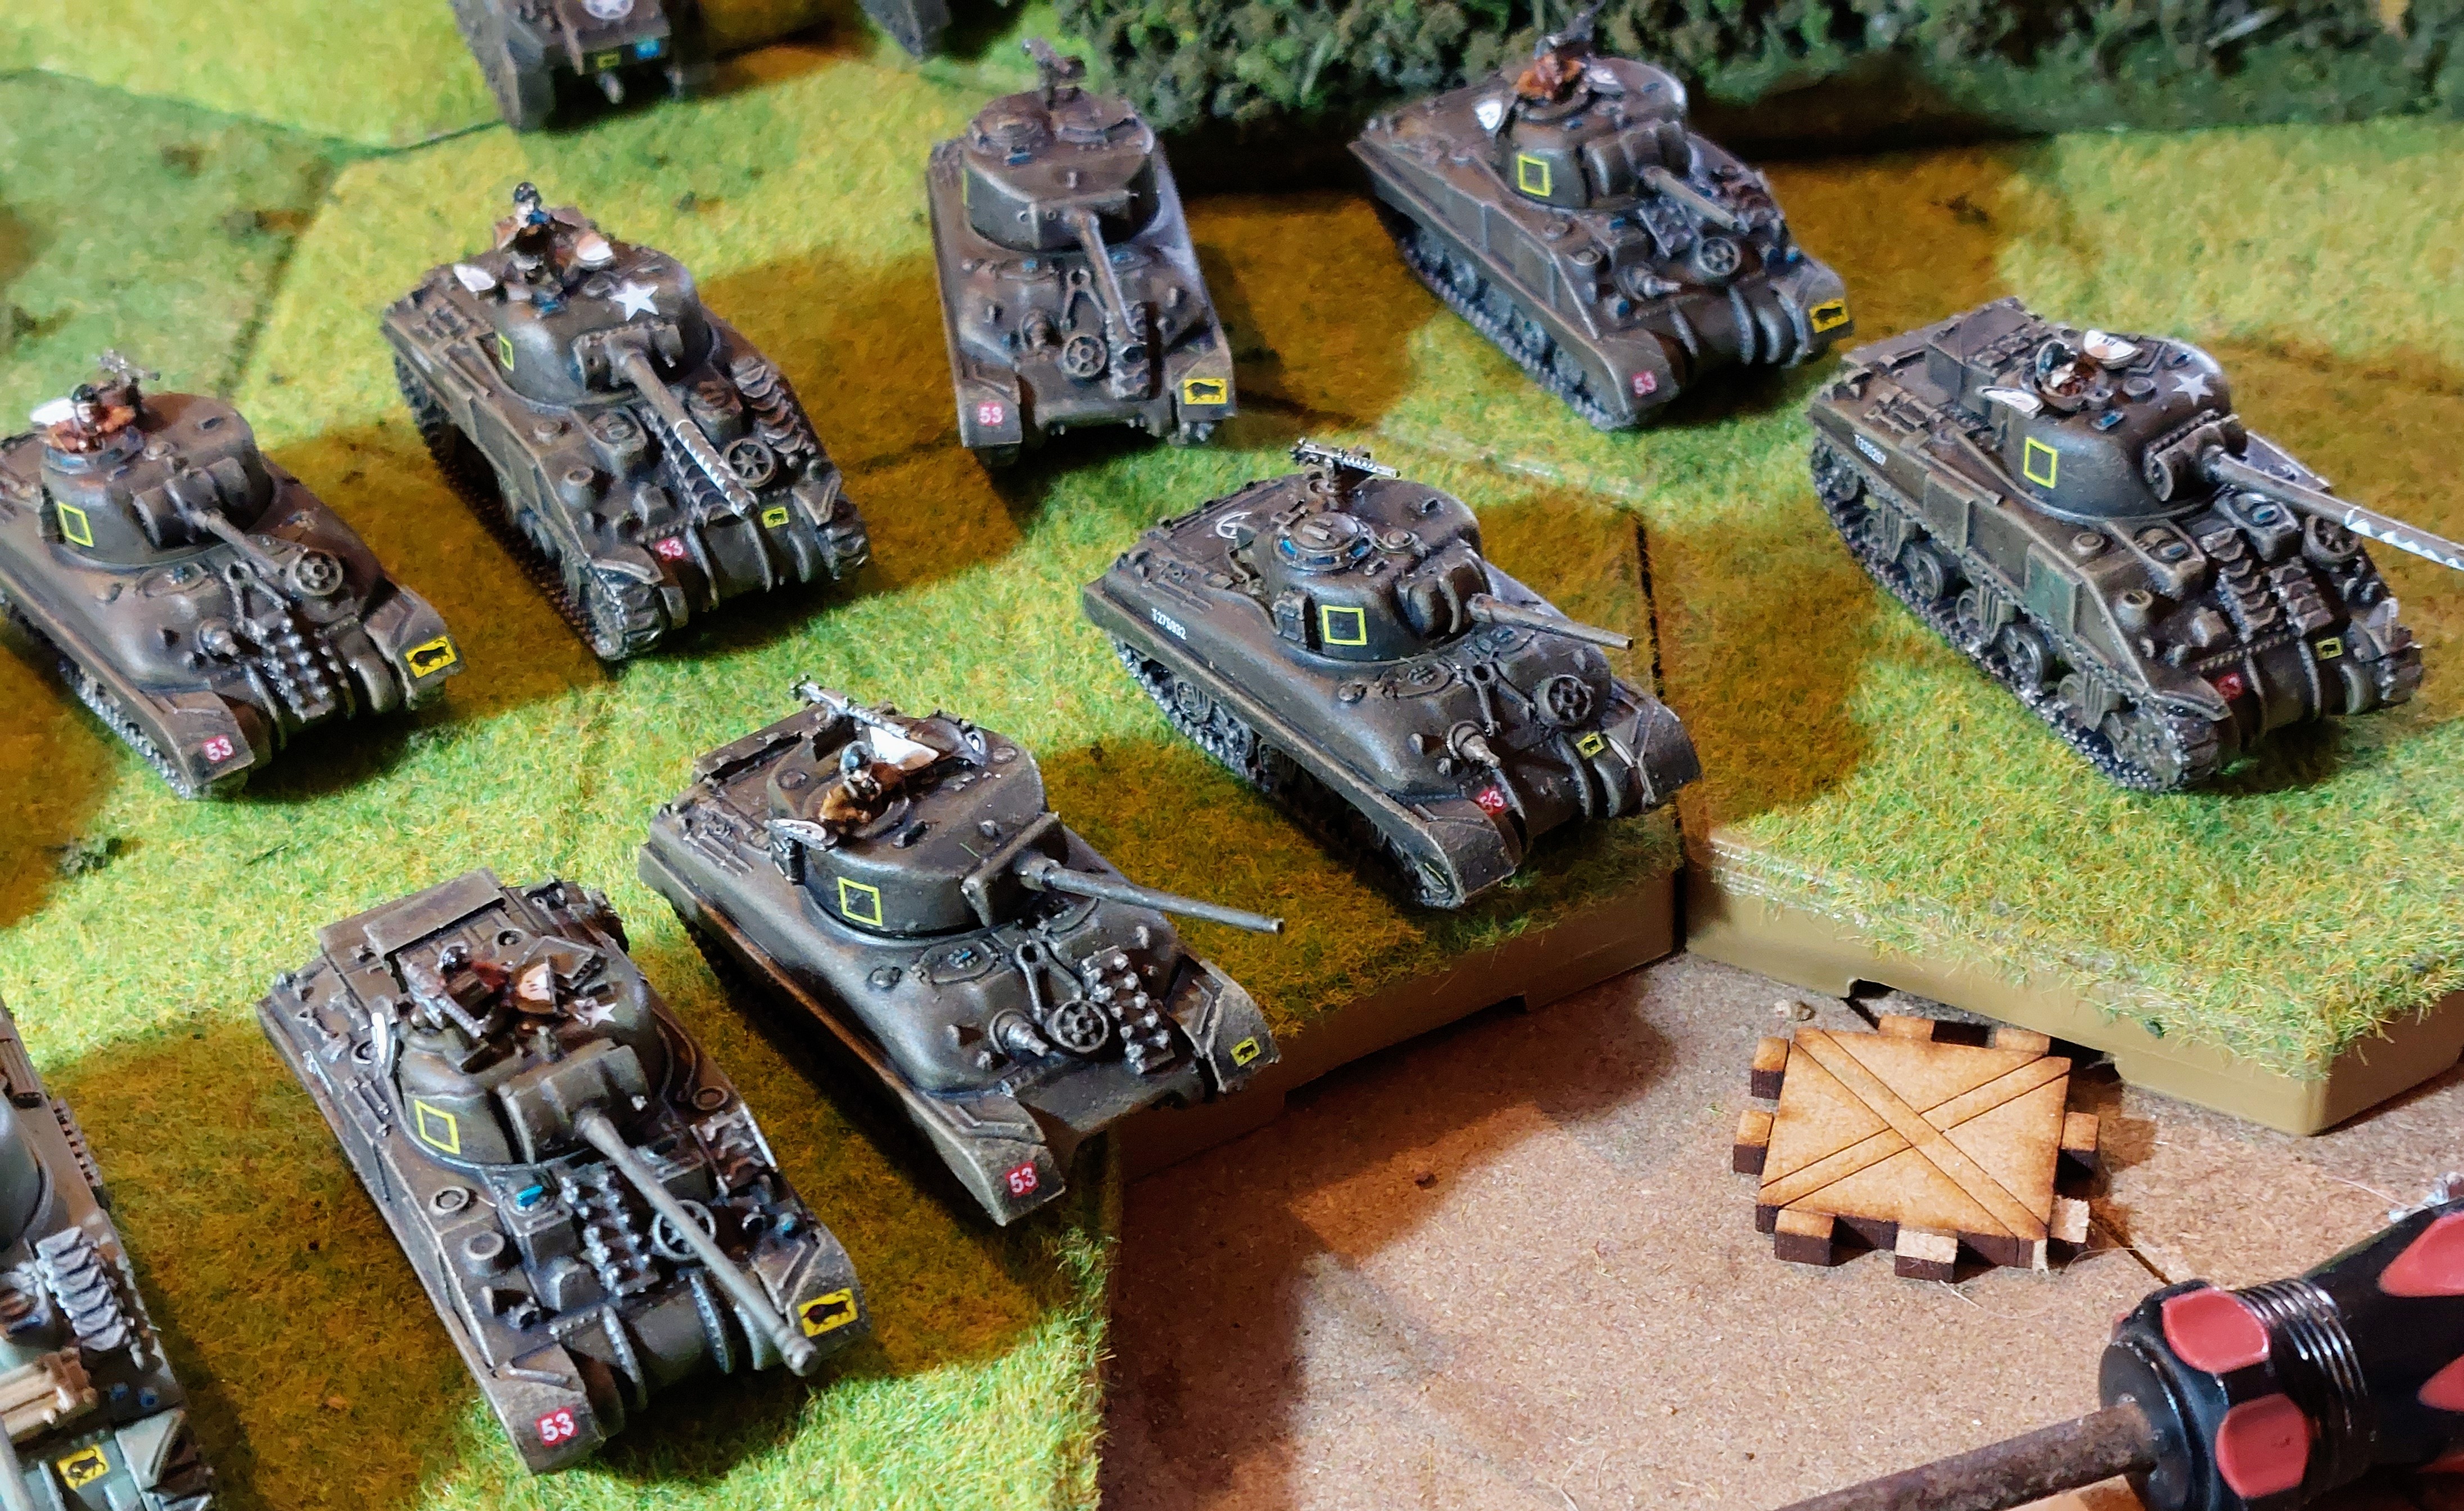
 And here they are all again.
I also have finished not only the two Churchill Crocodiles, I started post the D Day bootcamp but also the 3 from the Desert Box.

The Basics part deux
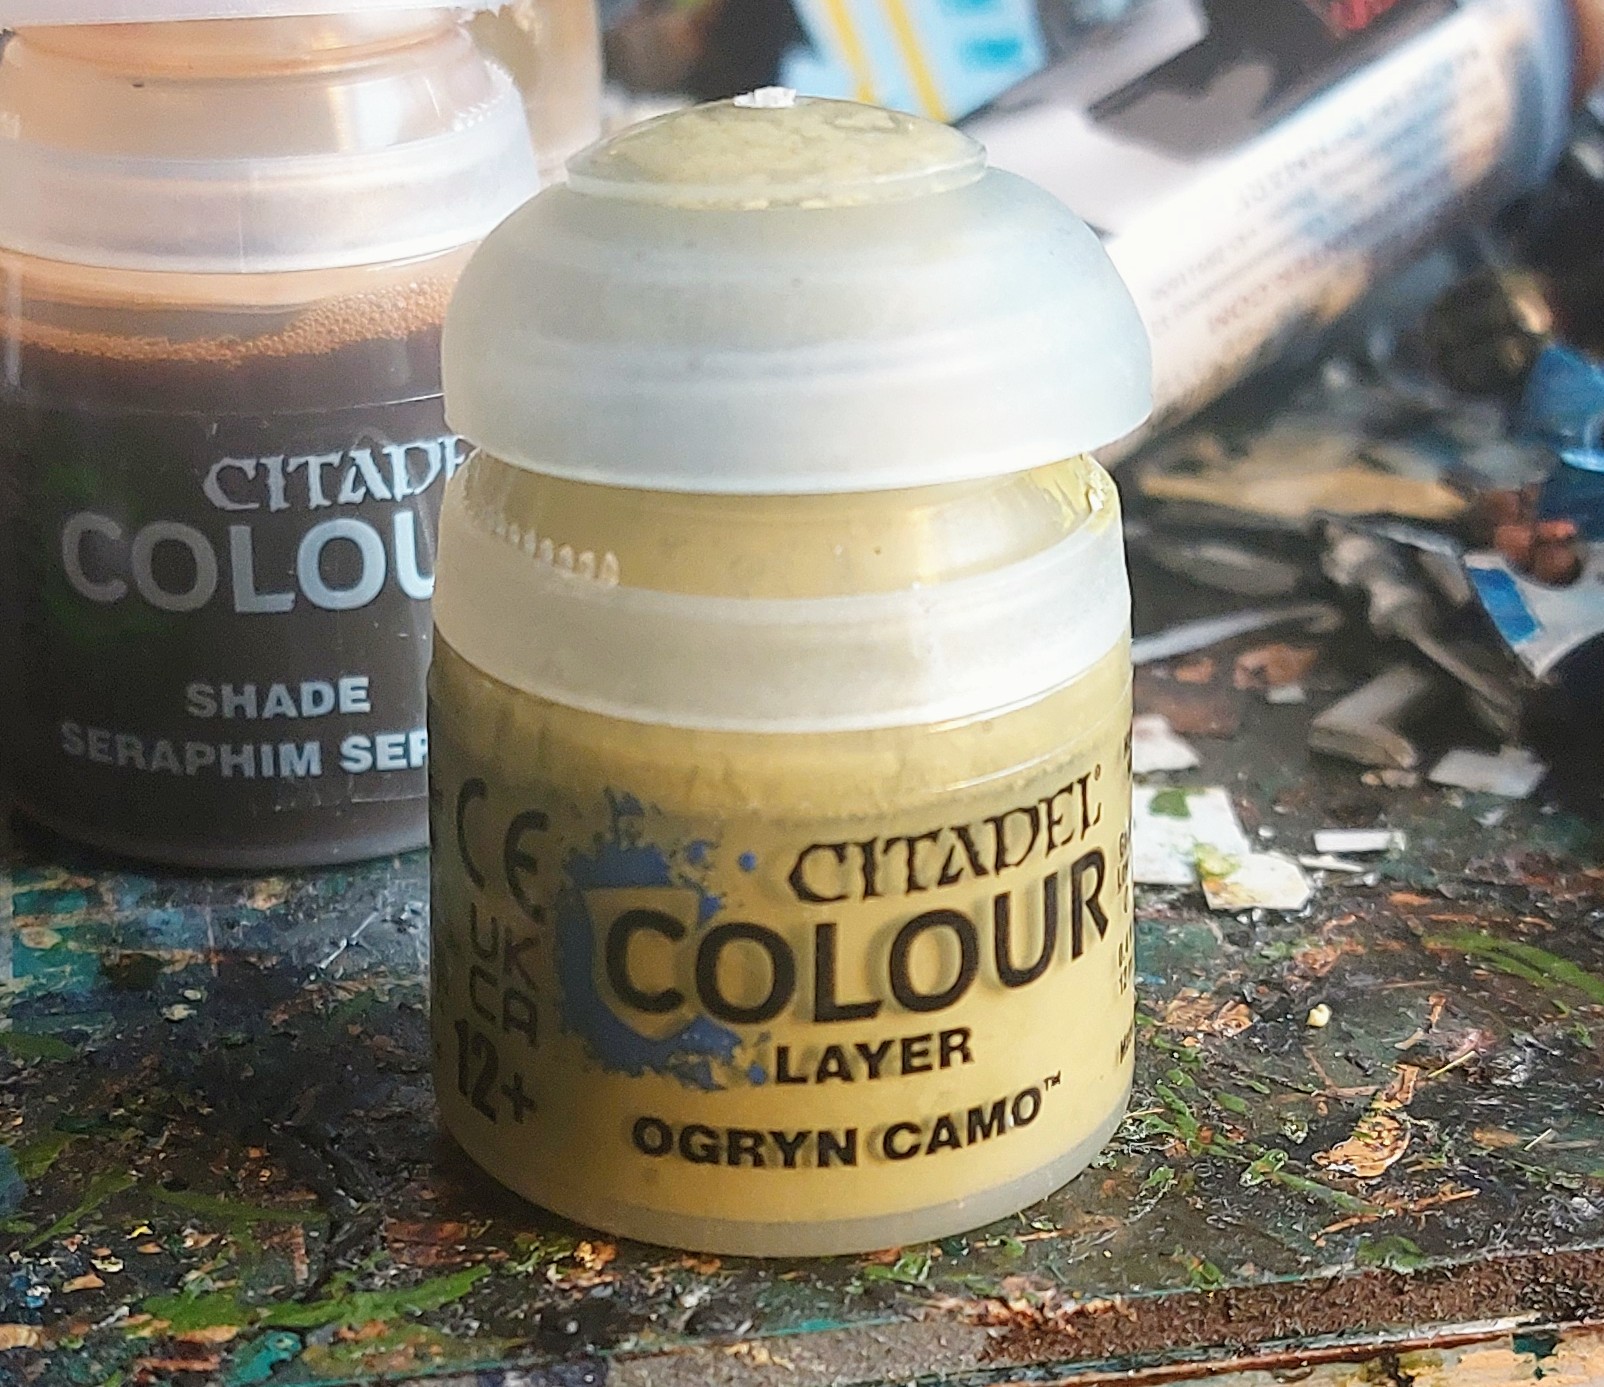
It was after I had nearly finished a troop of Shermans and Churchills I thought there isn’t enough contrast in the base armour colour shading, so decided a light dry brush Dusting was required so I tried GW Layer Ogryn Camo.
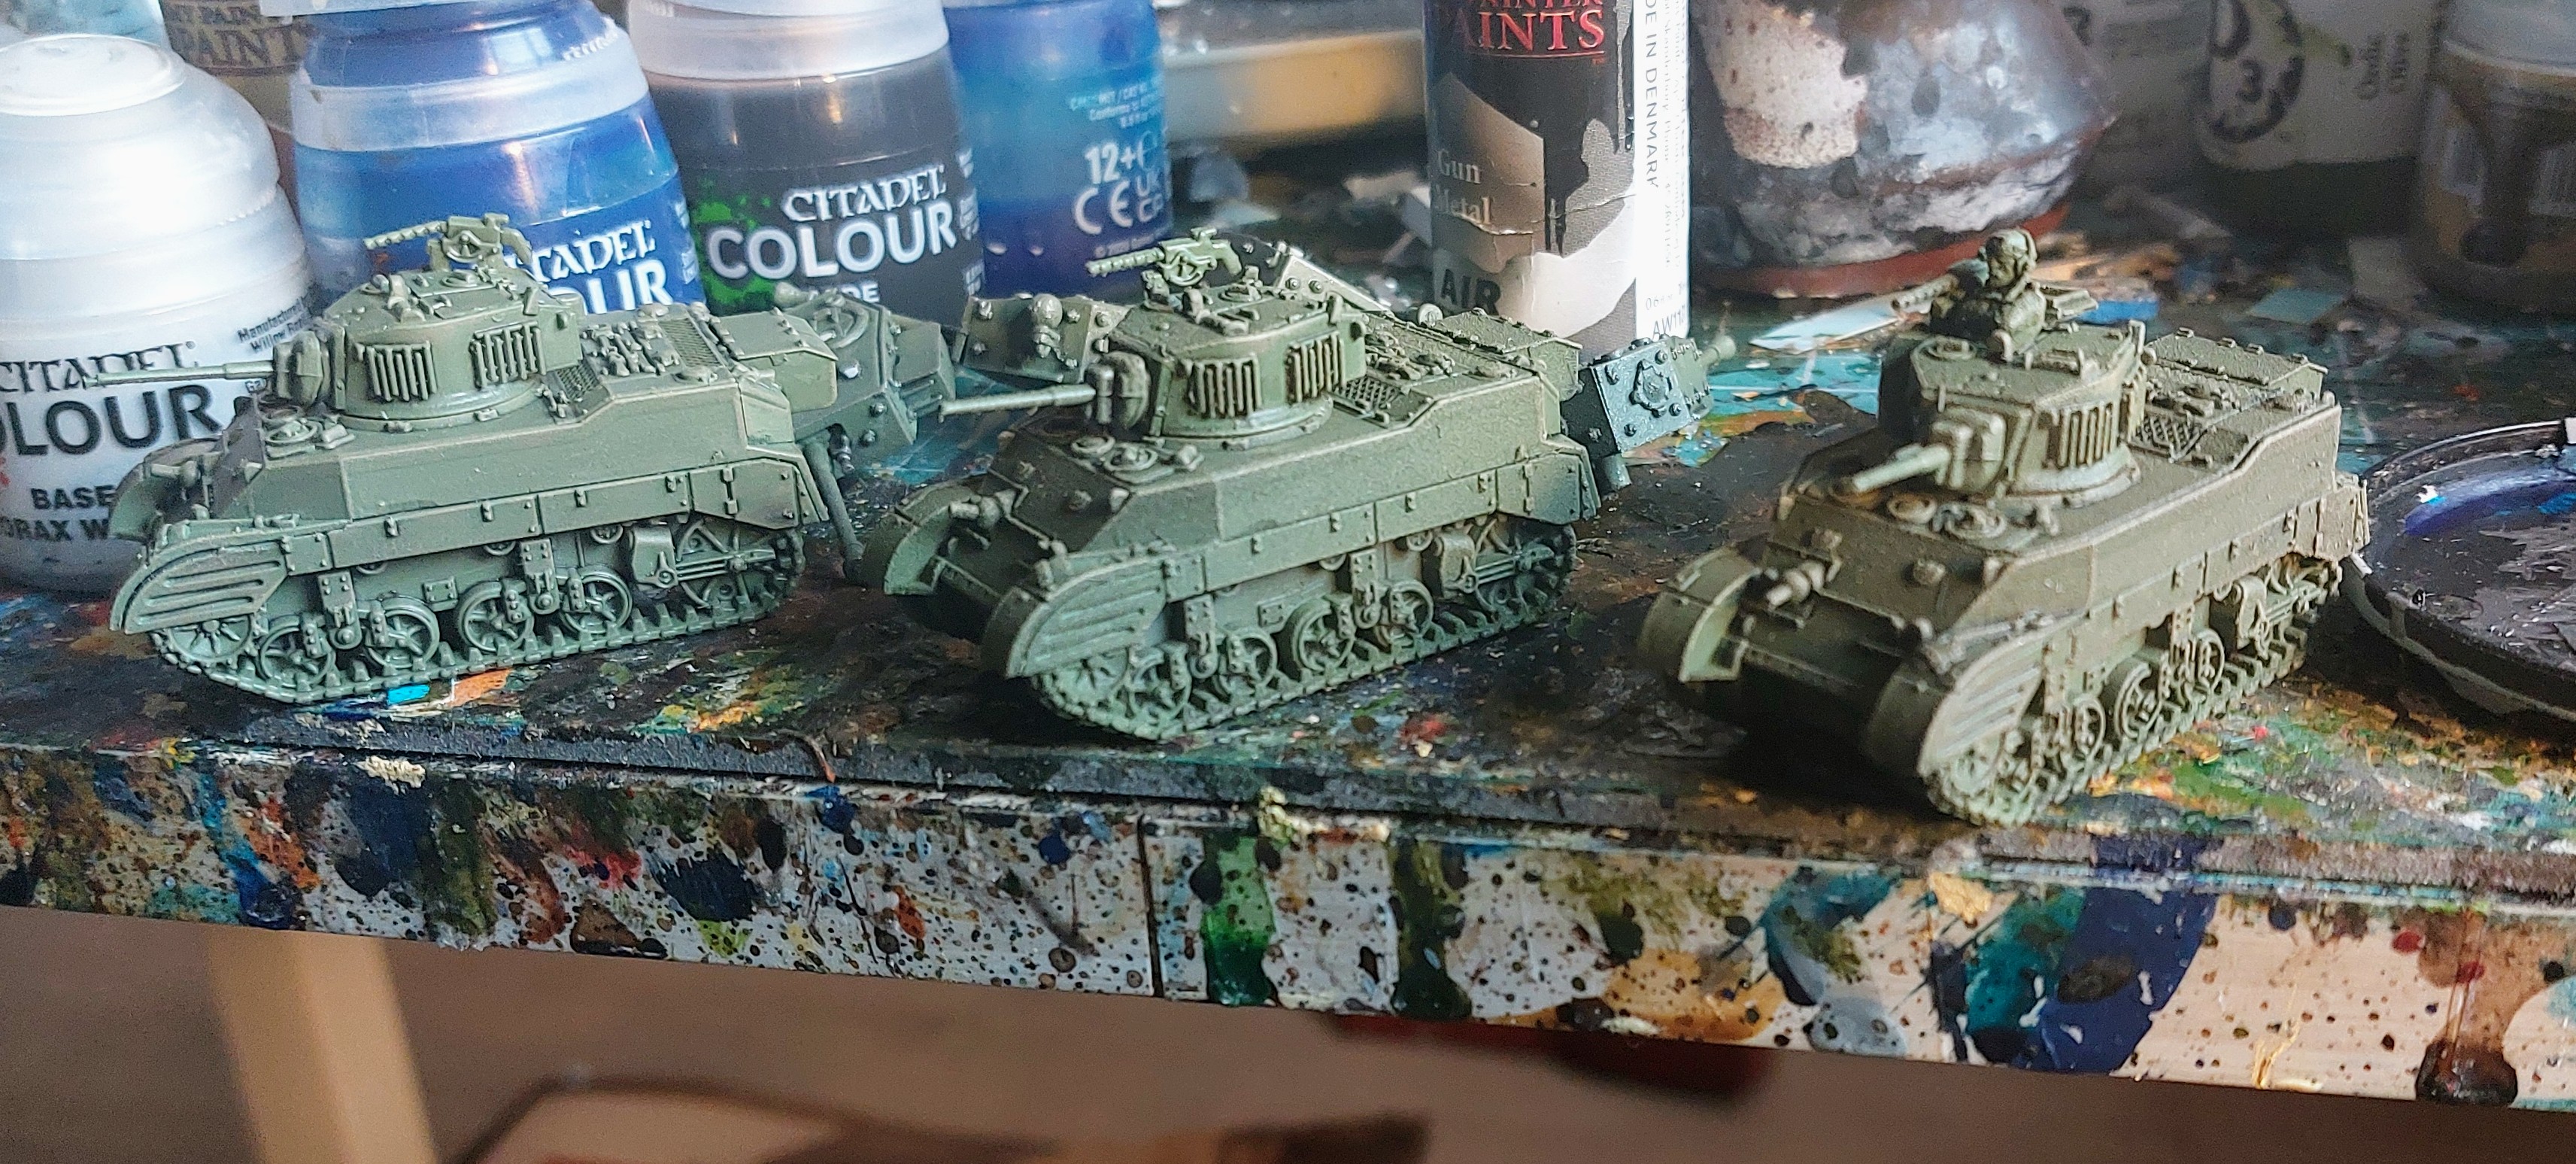
Then it was the tedious task of painting Tracks and mg barrels tec Metallics, and for no other reason than I actually had a bottle used Vallejo Army Painter Gun Metal. I then started a bit if weathering the model by dry brushing with the same to pick out were paint may have worn off.

The basics painting
My last spurt on the 11th was during the follow up to the D-day bootcamp, although new tanks were added I did finish the Infantry and some Kangaroo’s from various sources on ebay. AS previously said painting a company of British Infantry. an additional Company of Germans, the 2nd platoon of U.S. paras plus a U.S. mechanized platoon had killed my enthusiasm at the time.
The Bulge starter pushed me to try and finish some long forgotten models, I had completed in the day before BOW’s , basically when the original Tanks game came out, 3 troops of Sharman’s for the 11ths, so to begin with I dusted out the built and not painted and un built and painted up the rest of the troop . Problem was without our glorious project system I had only a vague idea how I had done them plus some of the ranges of paints particularly wash’s have changed since then, I know it involved wash’s/inks and dry brushing and…..
The final result didn;t come out bad but wanted a lot simpler method , that was similar to the method I used for the Americans I did, but would not make them identical to Americans.
- Now depending on sources above is probably accurate, but always looks a bit dark plus you get the grainy effect of dry brushing. To be honest if the new ones are a ligher shade of Olive green or the British Equivent it is liveable as the shade probably changed depending on batch of paint , its age time is sun etc, plus touch ups etc. Kevin probably summed it up that only a Wargamer’s army would have everything the same shade.
So this time I bagan with a spray can or Army Painters , Army Green . mainly as it was darker and a bit whiter green than GW’s Catachan Green .
Now to add insult to injury , GW have just changed the formula of the old Standard Nuln Oil, so was a bit wary, think originally put it on neat hence the dark nature, plus I heard reports that it was more patchy now than originally.
I intially tried mixing it with medium , but that seemd to grey it a bit, so went back to diluting it with water.
This seemed to work, and then I dry brushed for highlights off GW Steel Legion Drab.
Here are some Challengers at the above stage.
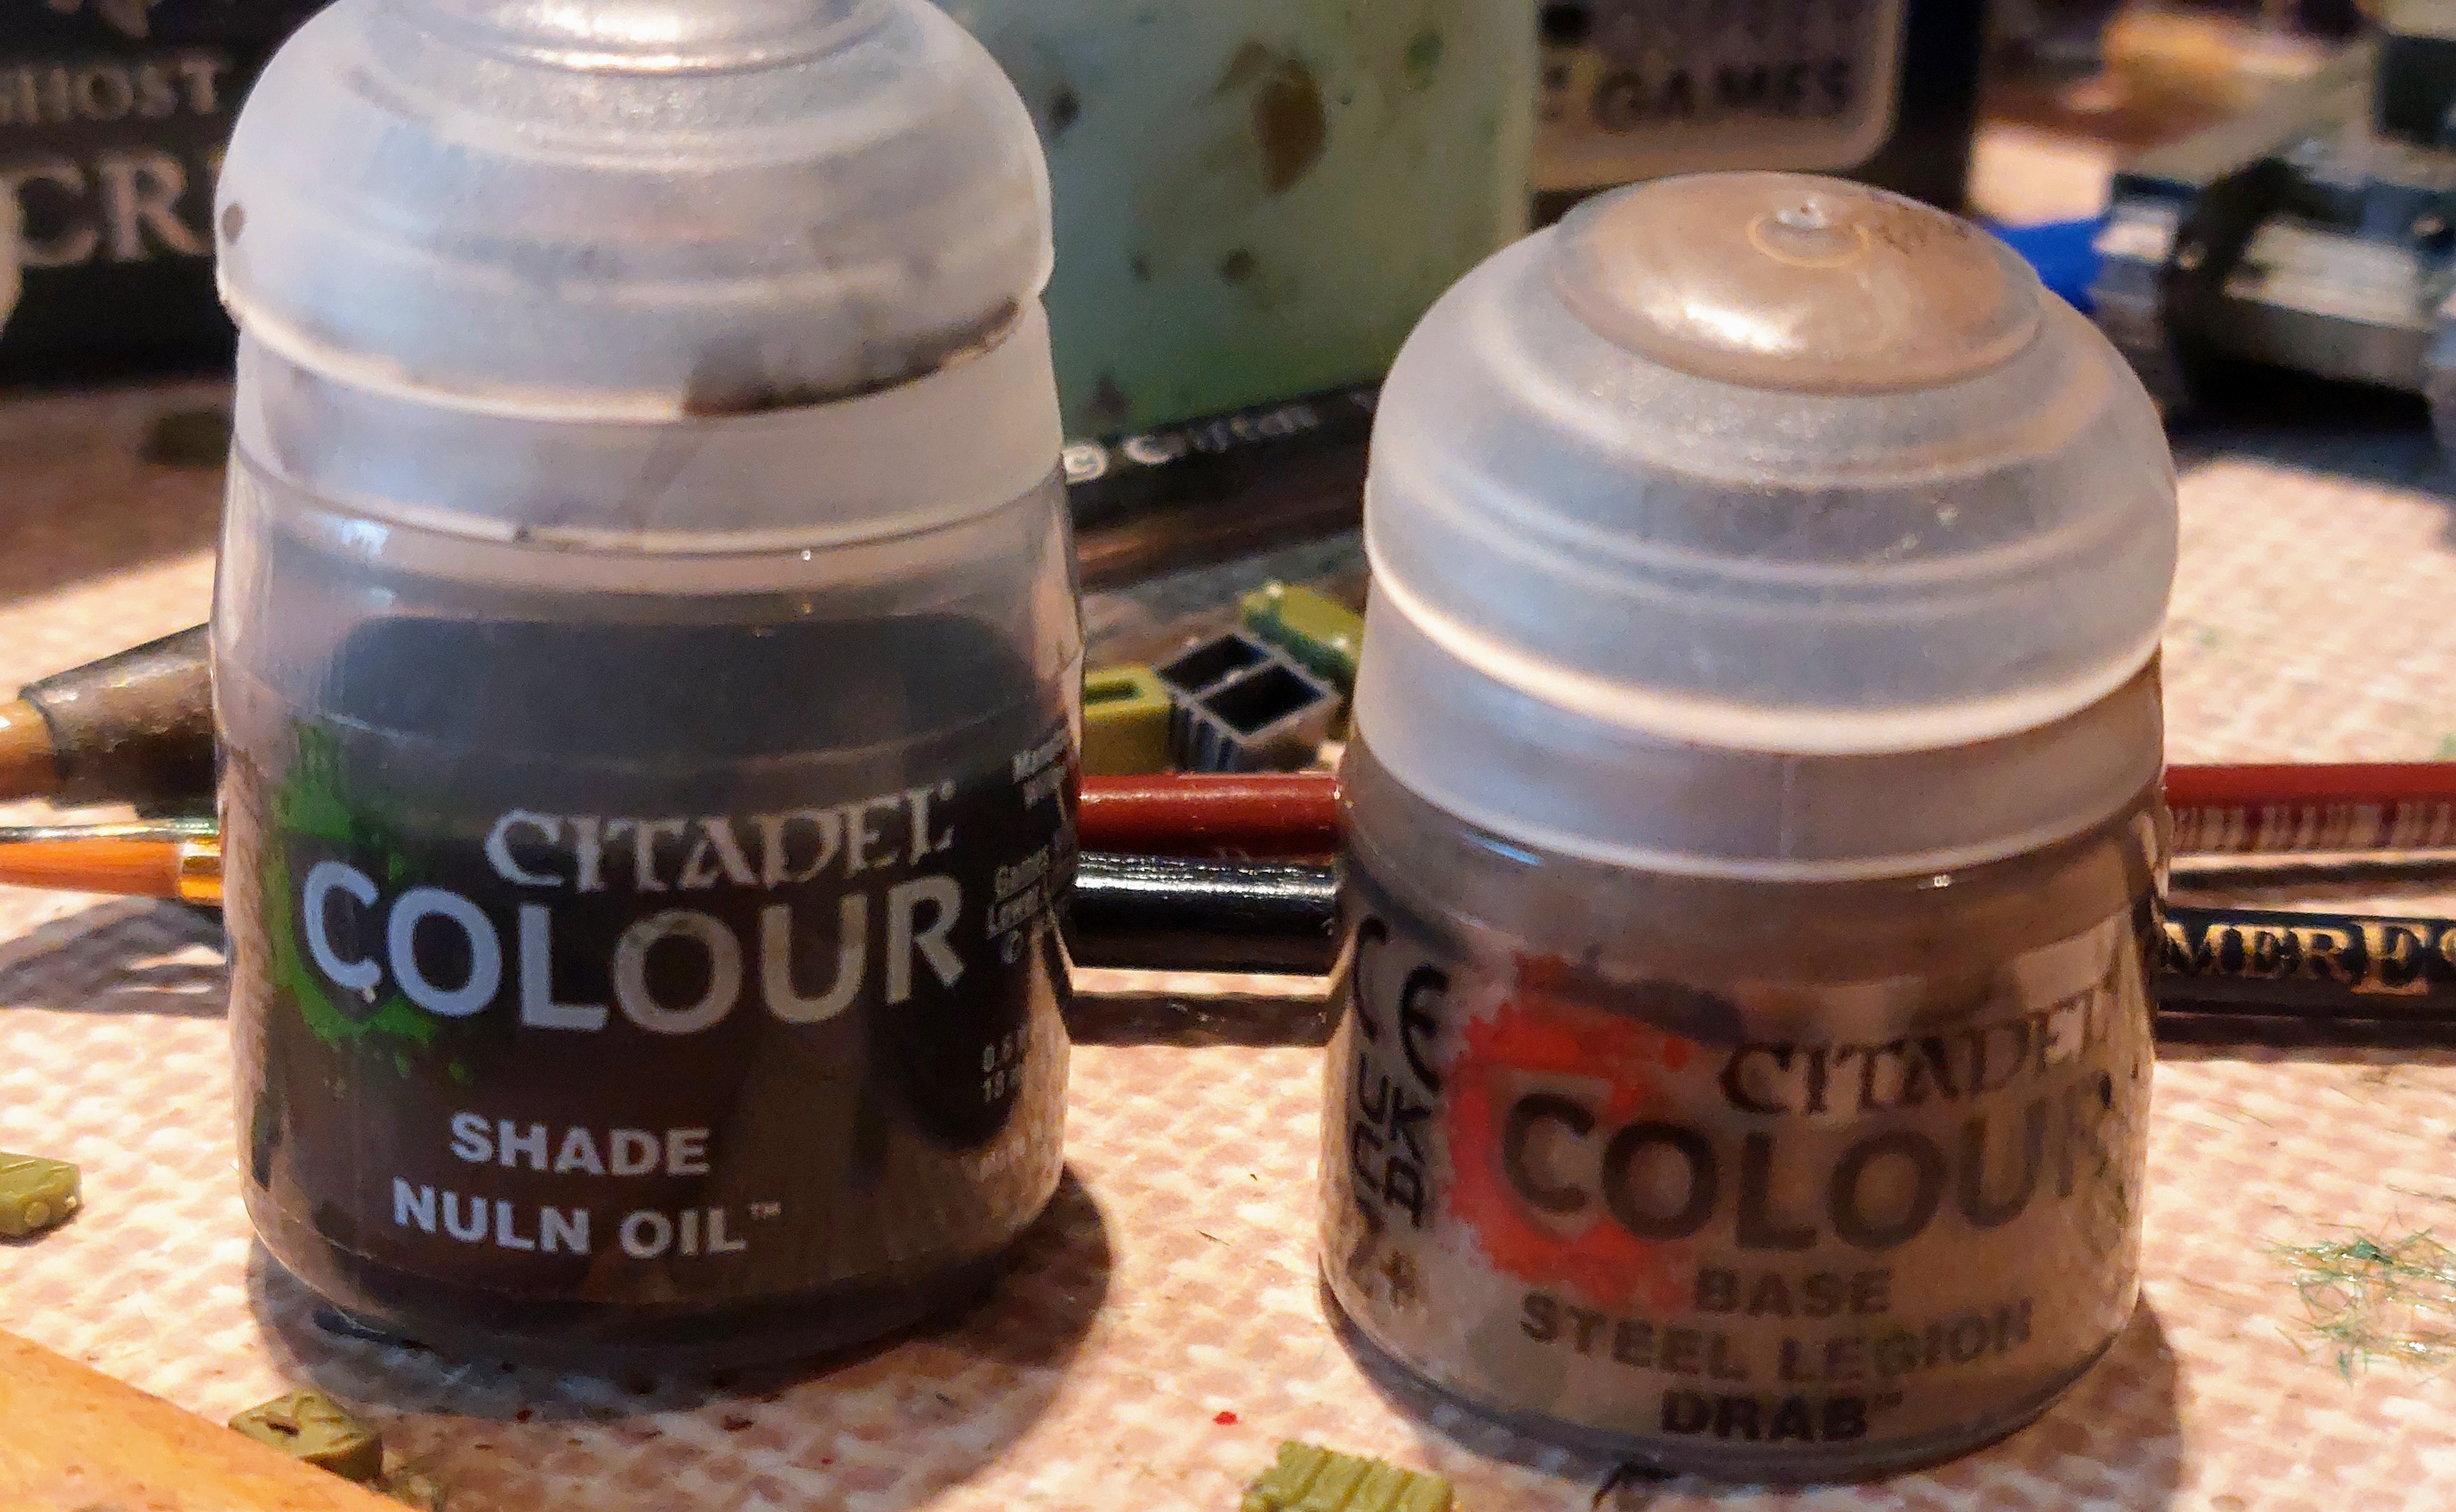 The paints used.