![A Perfect Zombie Apocalypse Starter Set? Civilians & Survivors Review | Wargames Atlantic [7 Days Early Access]](https://images.beastsofwar.com/2026/01/unboxing-wargames-atlantic-civilians-_-survivors-1_2-coverimage-225-127.jpg)

![Wild Australia Wargaming? 28mm Ned Kelly Gang & Victorian Police Review [7 Days Early Access]](https://images.beastsofwar.com/2026/01/unboxing-traders-galaxy-australiana-ned-kelly-gang-_-victorian-police-coverimage-225-127.jpg)


Legions Imperialis


Recommendations: 108
About the Project
Building some Terrain ready for the release of Legions Imperialis
Related Game: Warhammer: The Horus Heresy - Legions Imperialis
Related Company: Games Workshop
Related Genre: Science Fiction
This Project is Active
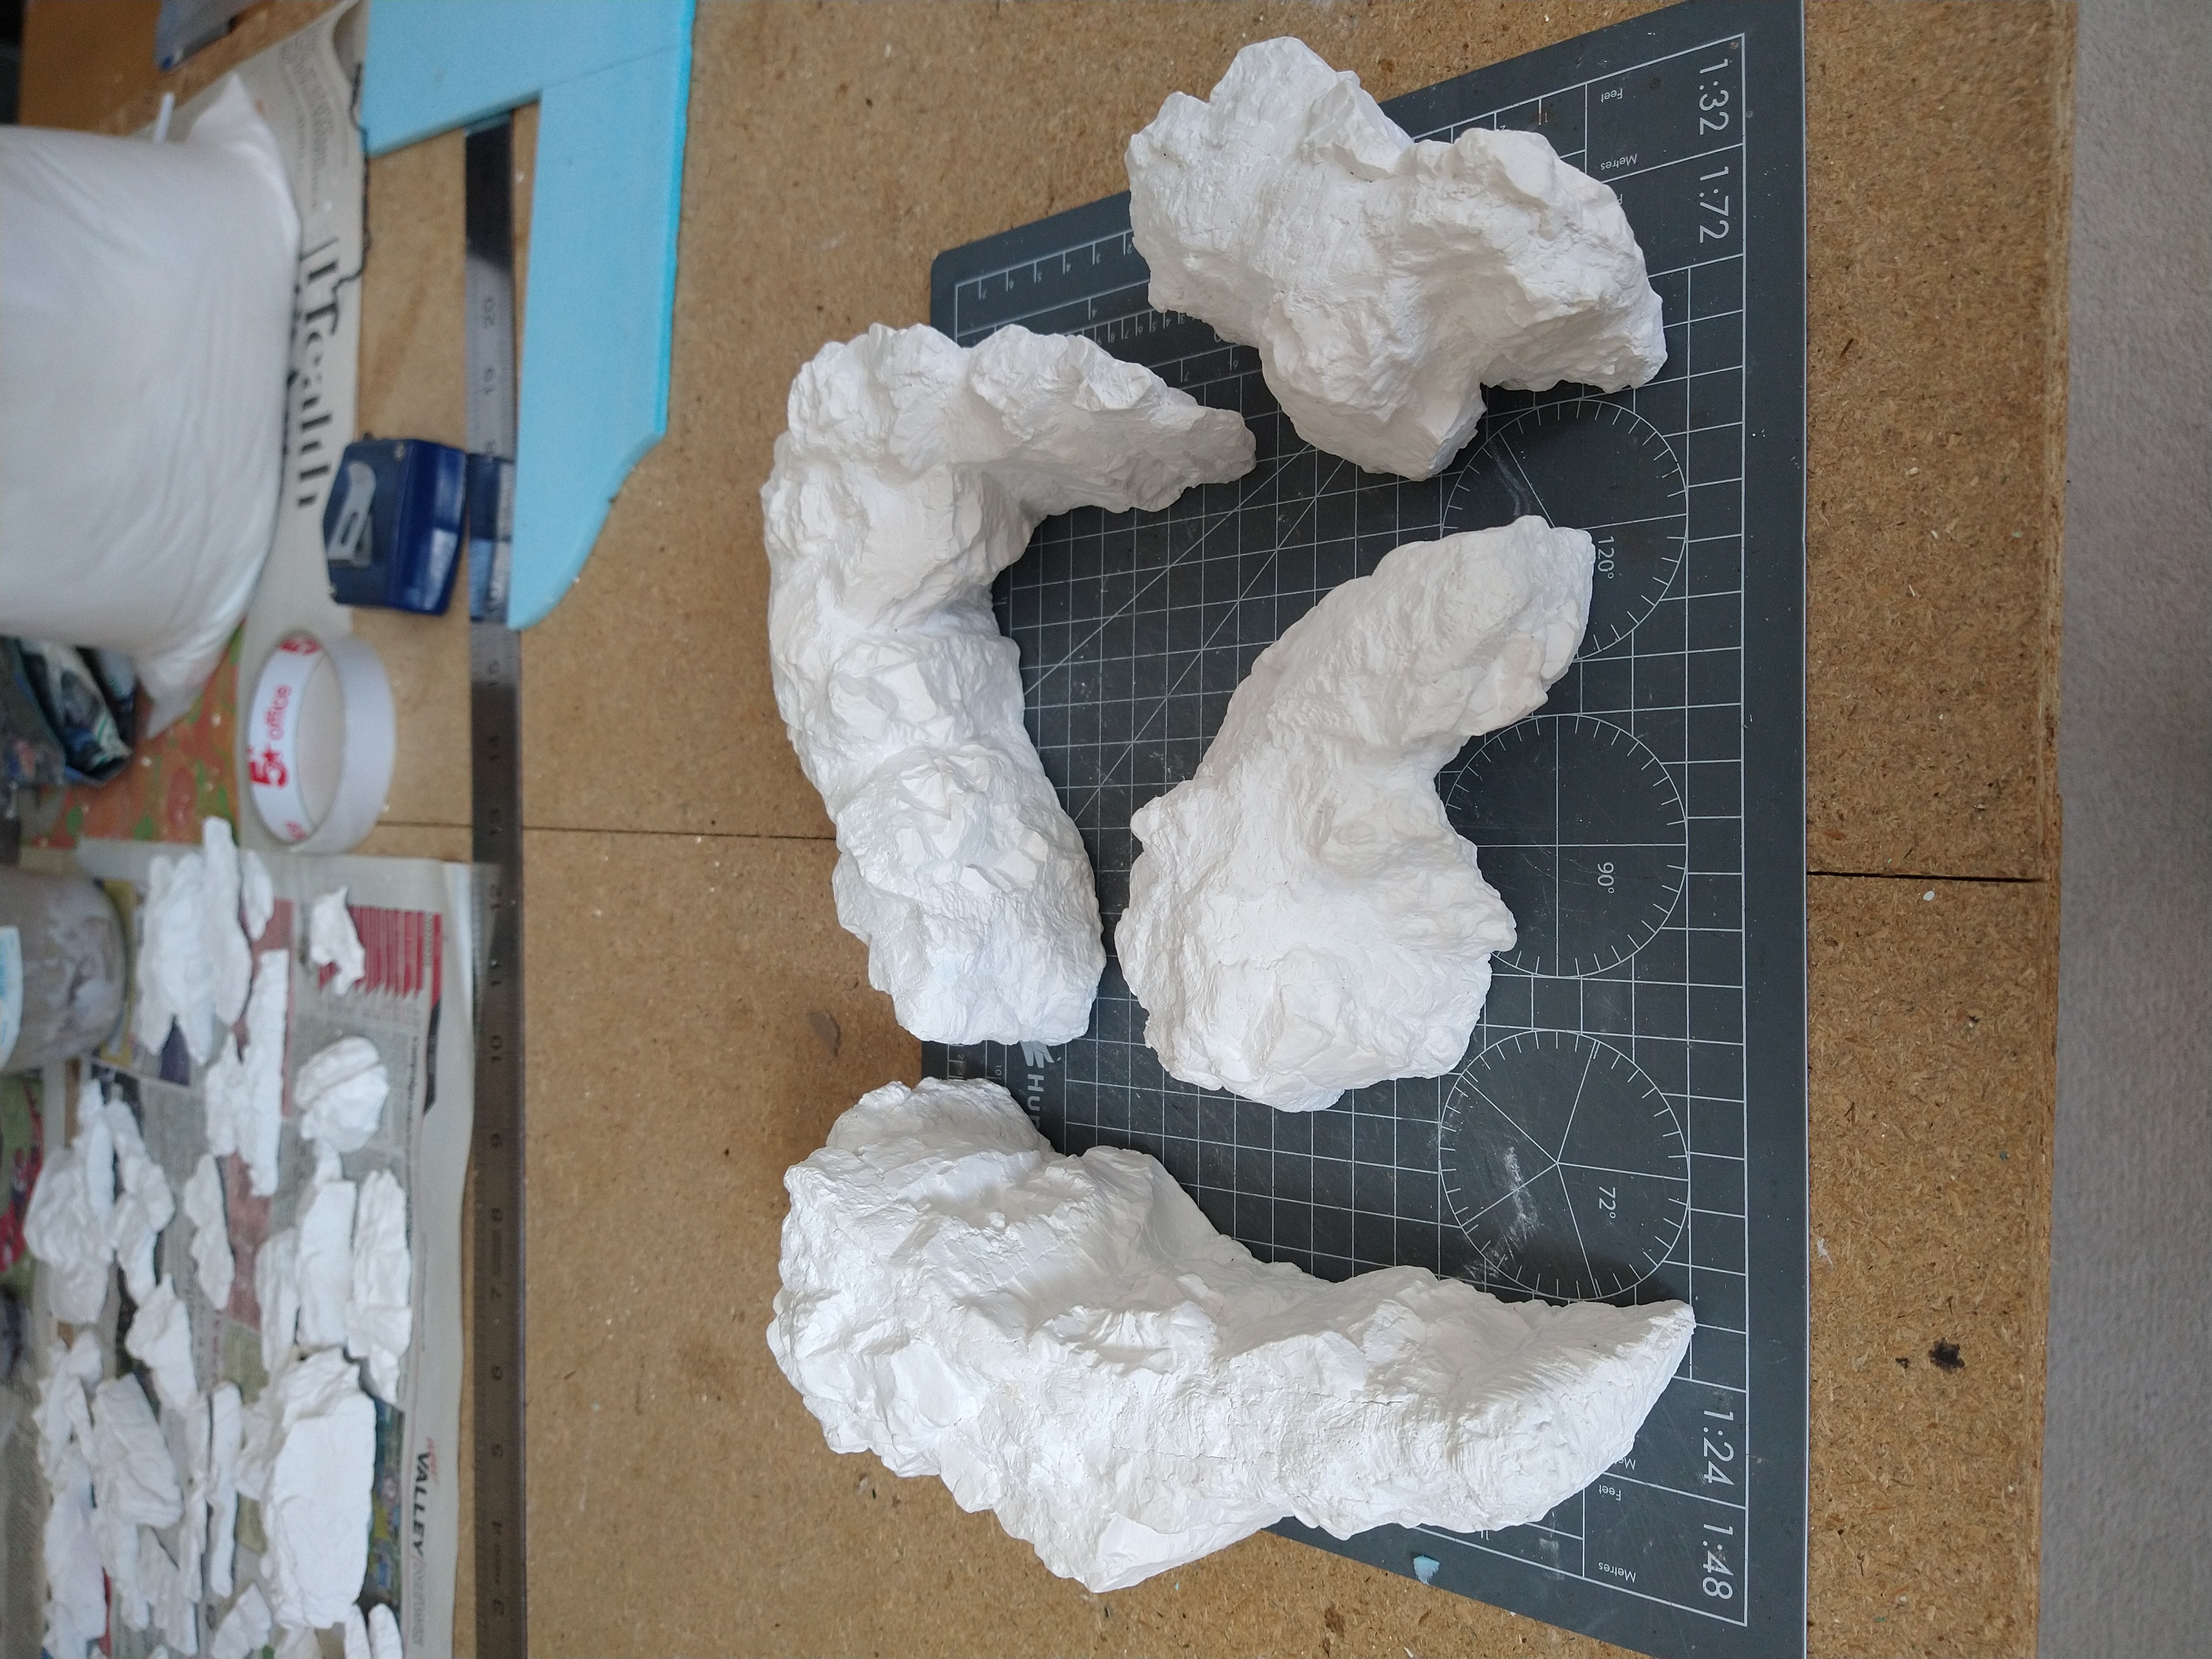
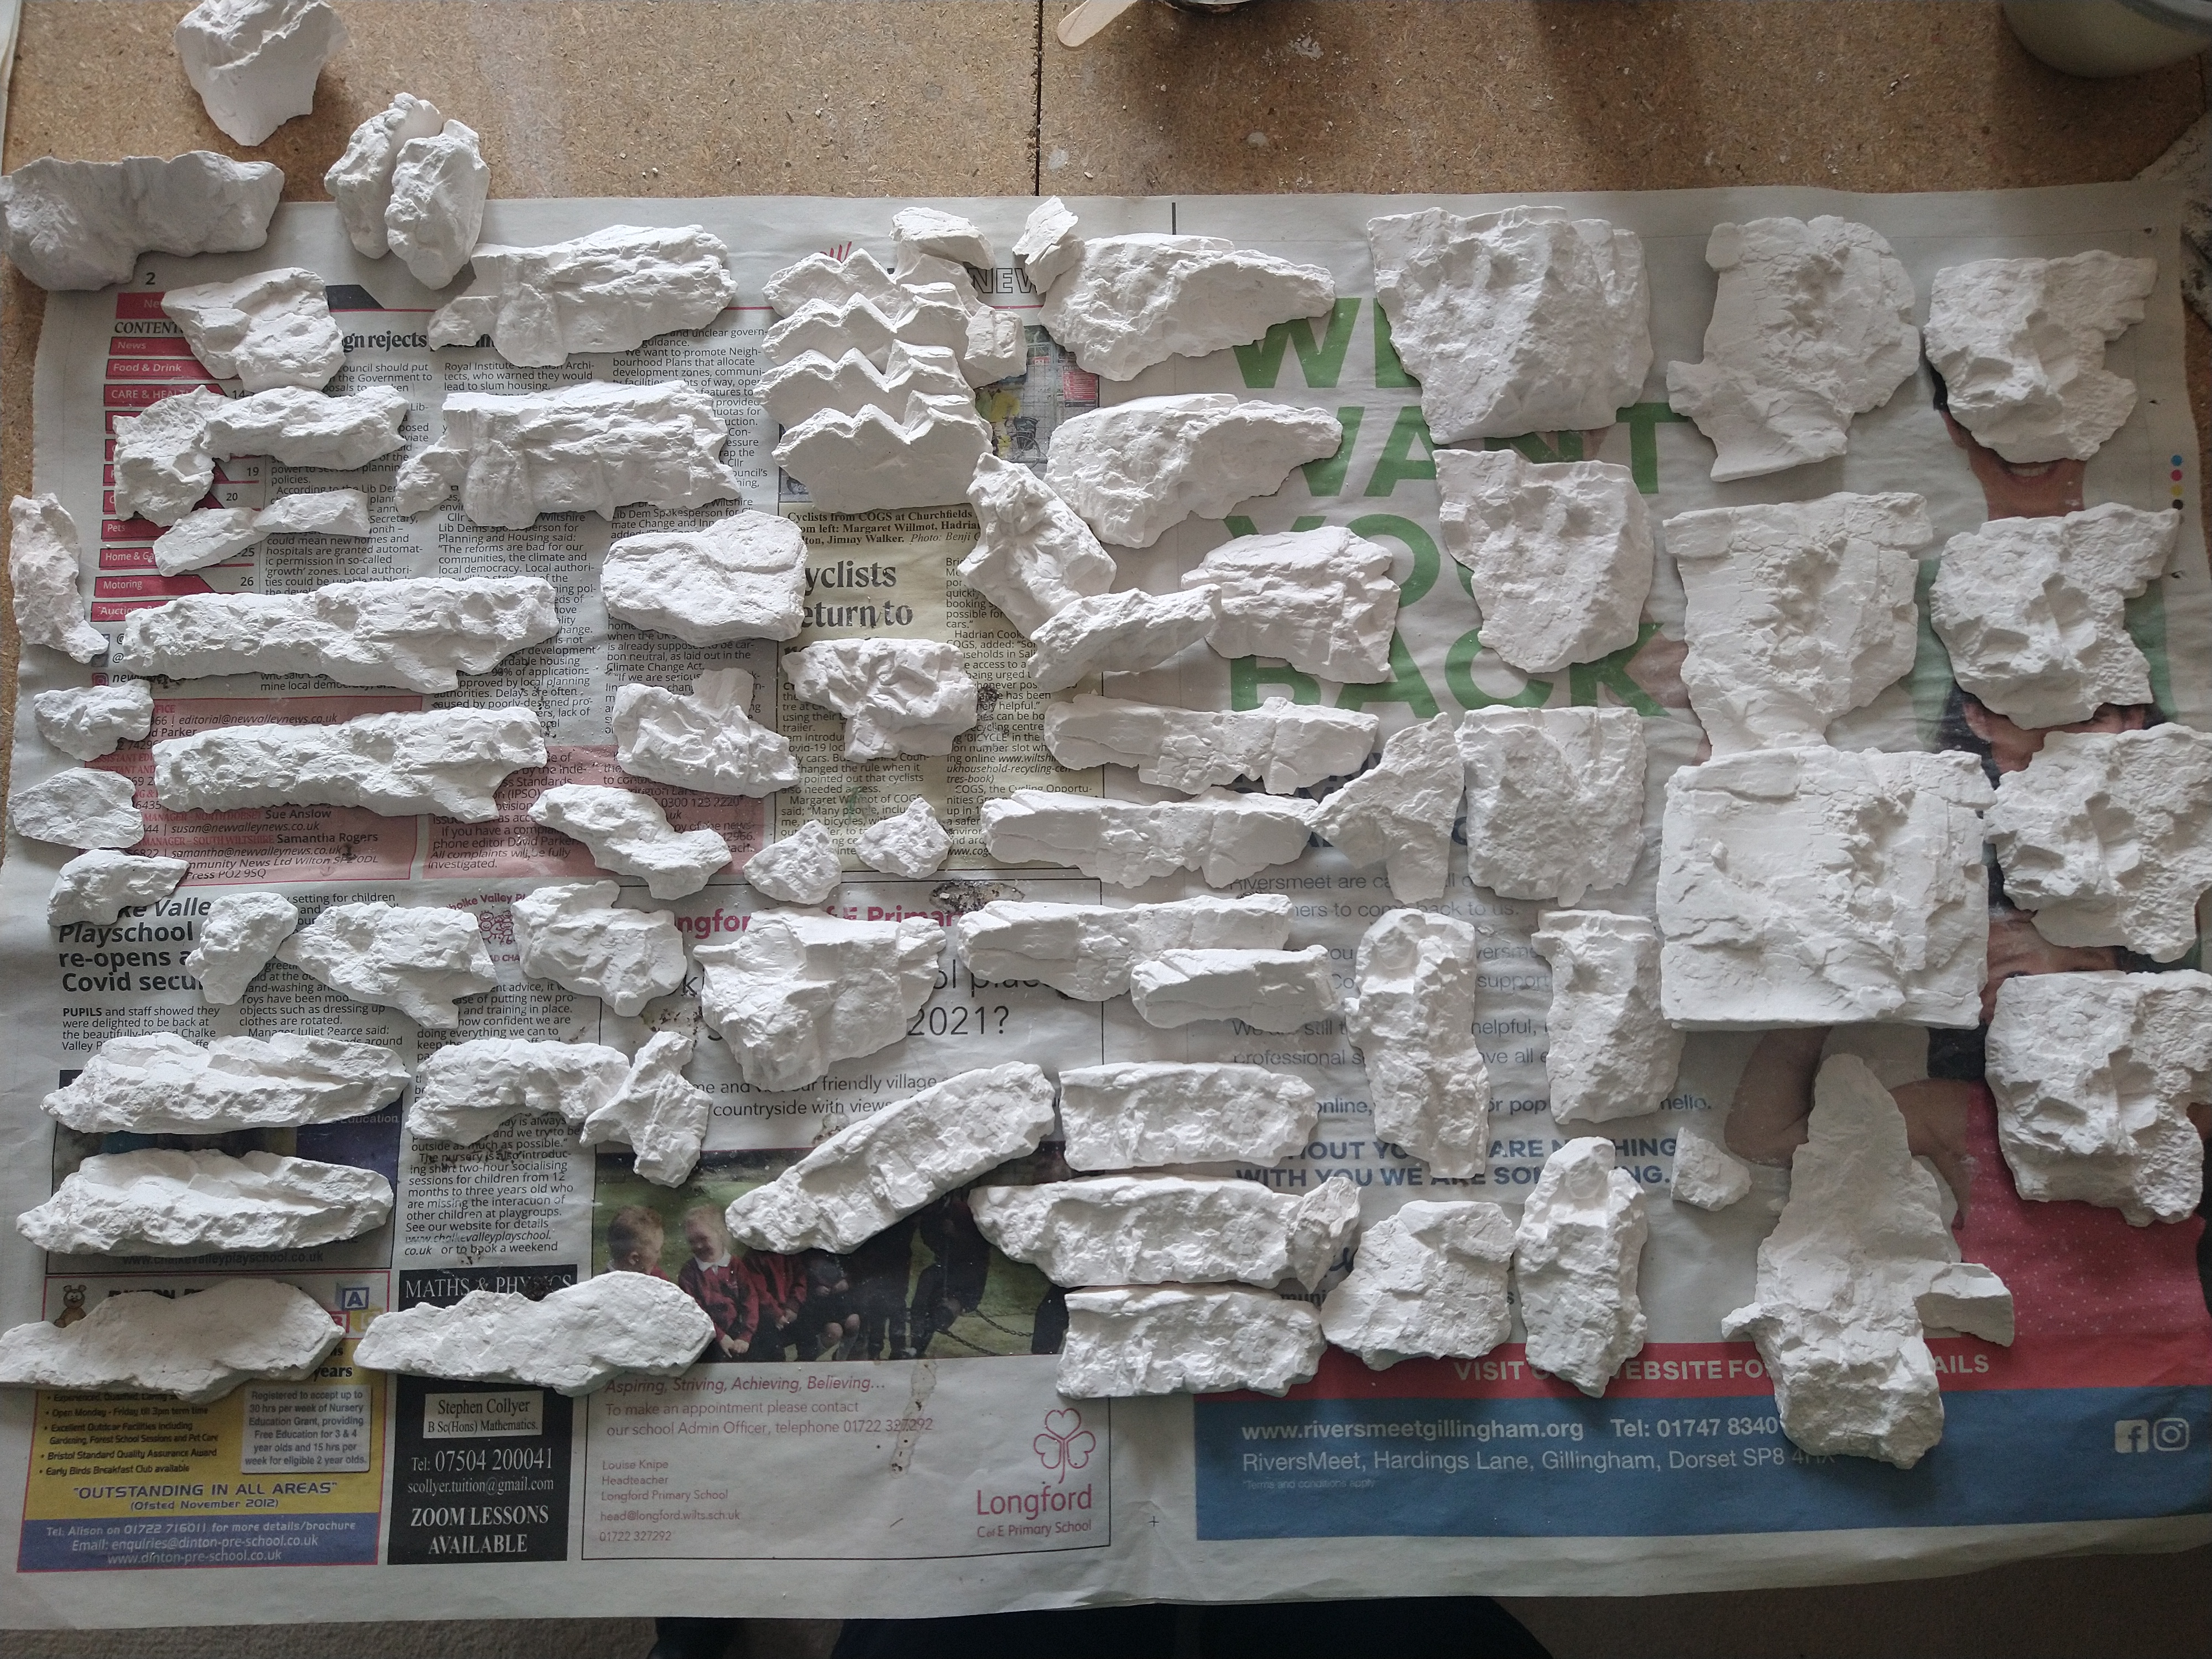
And after a week of casting and carving ....
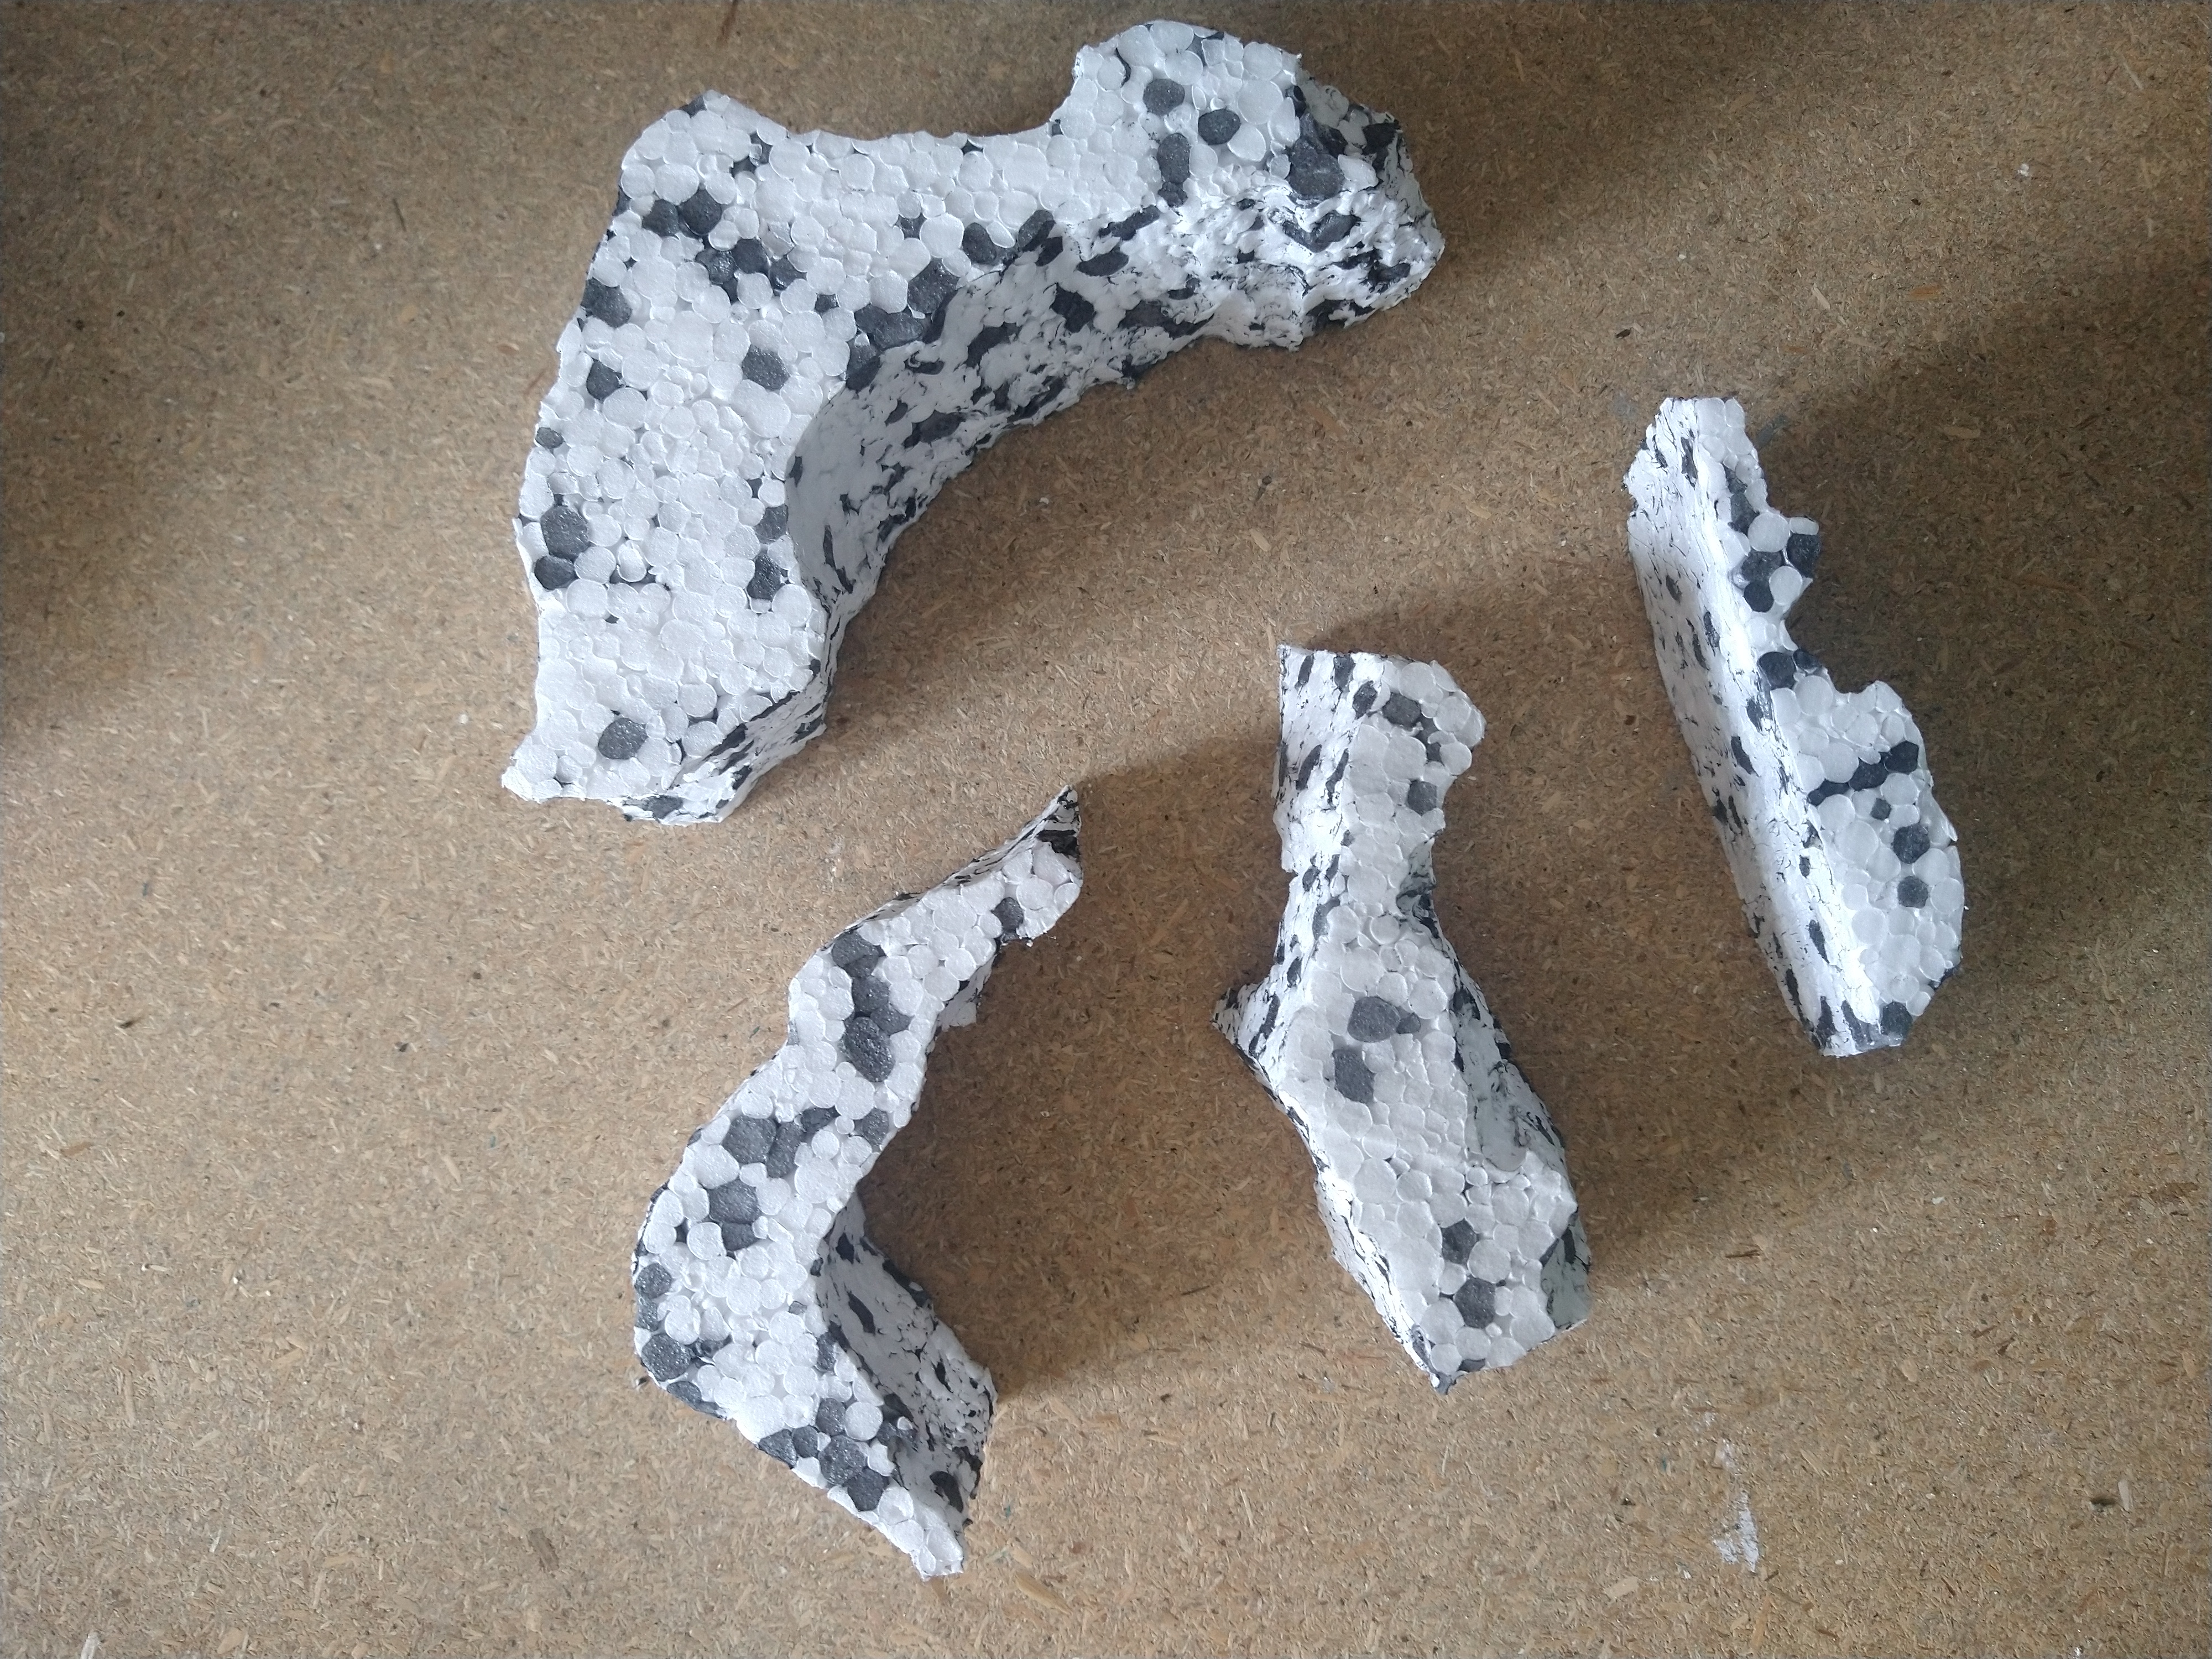
The End of the first week of work gave me 5 seperate pieces (I can count! – there are only 4 in the photo though)
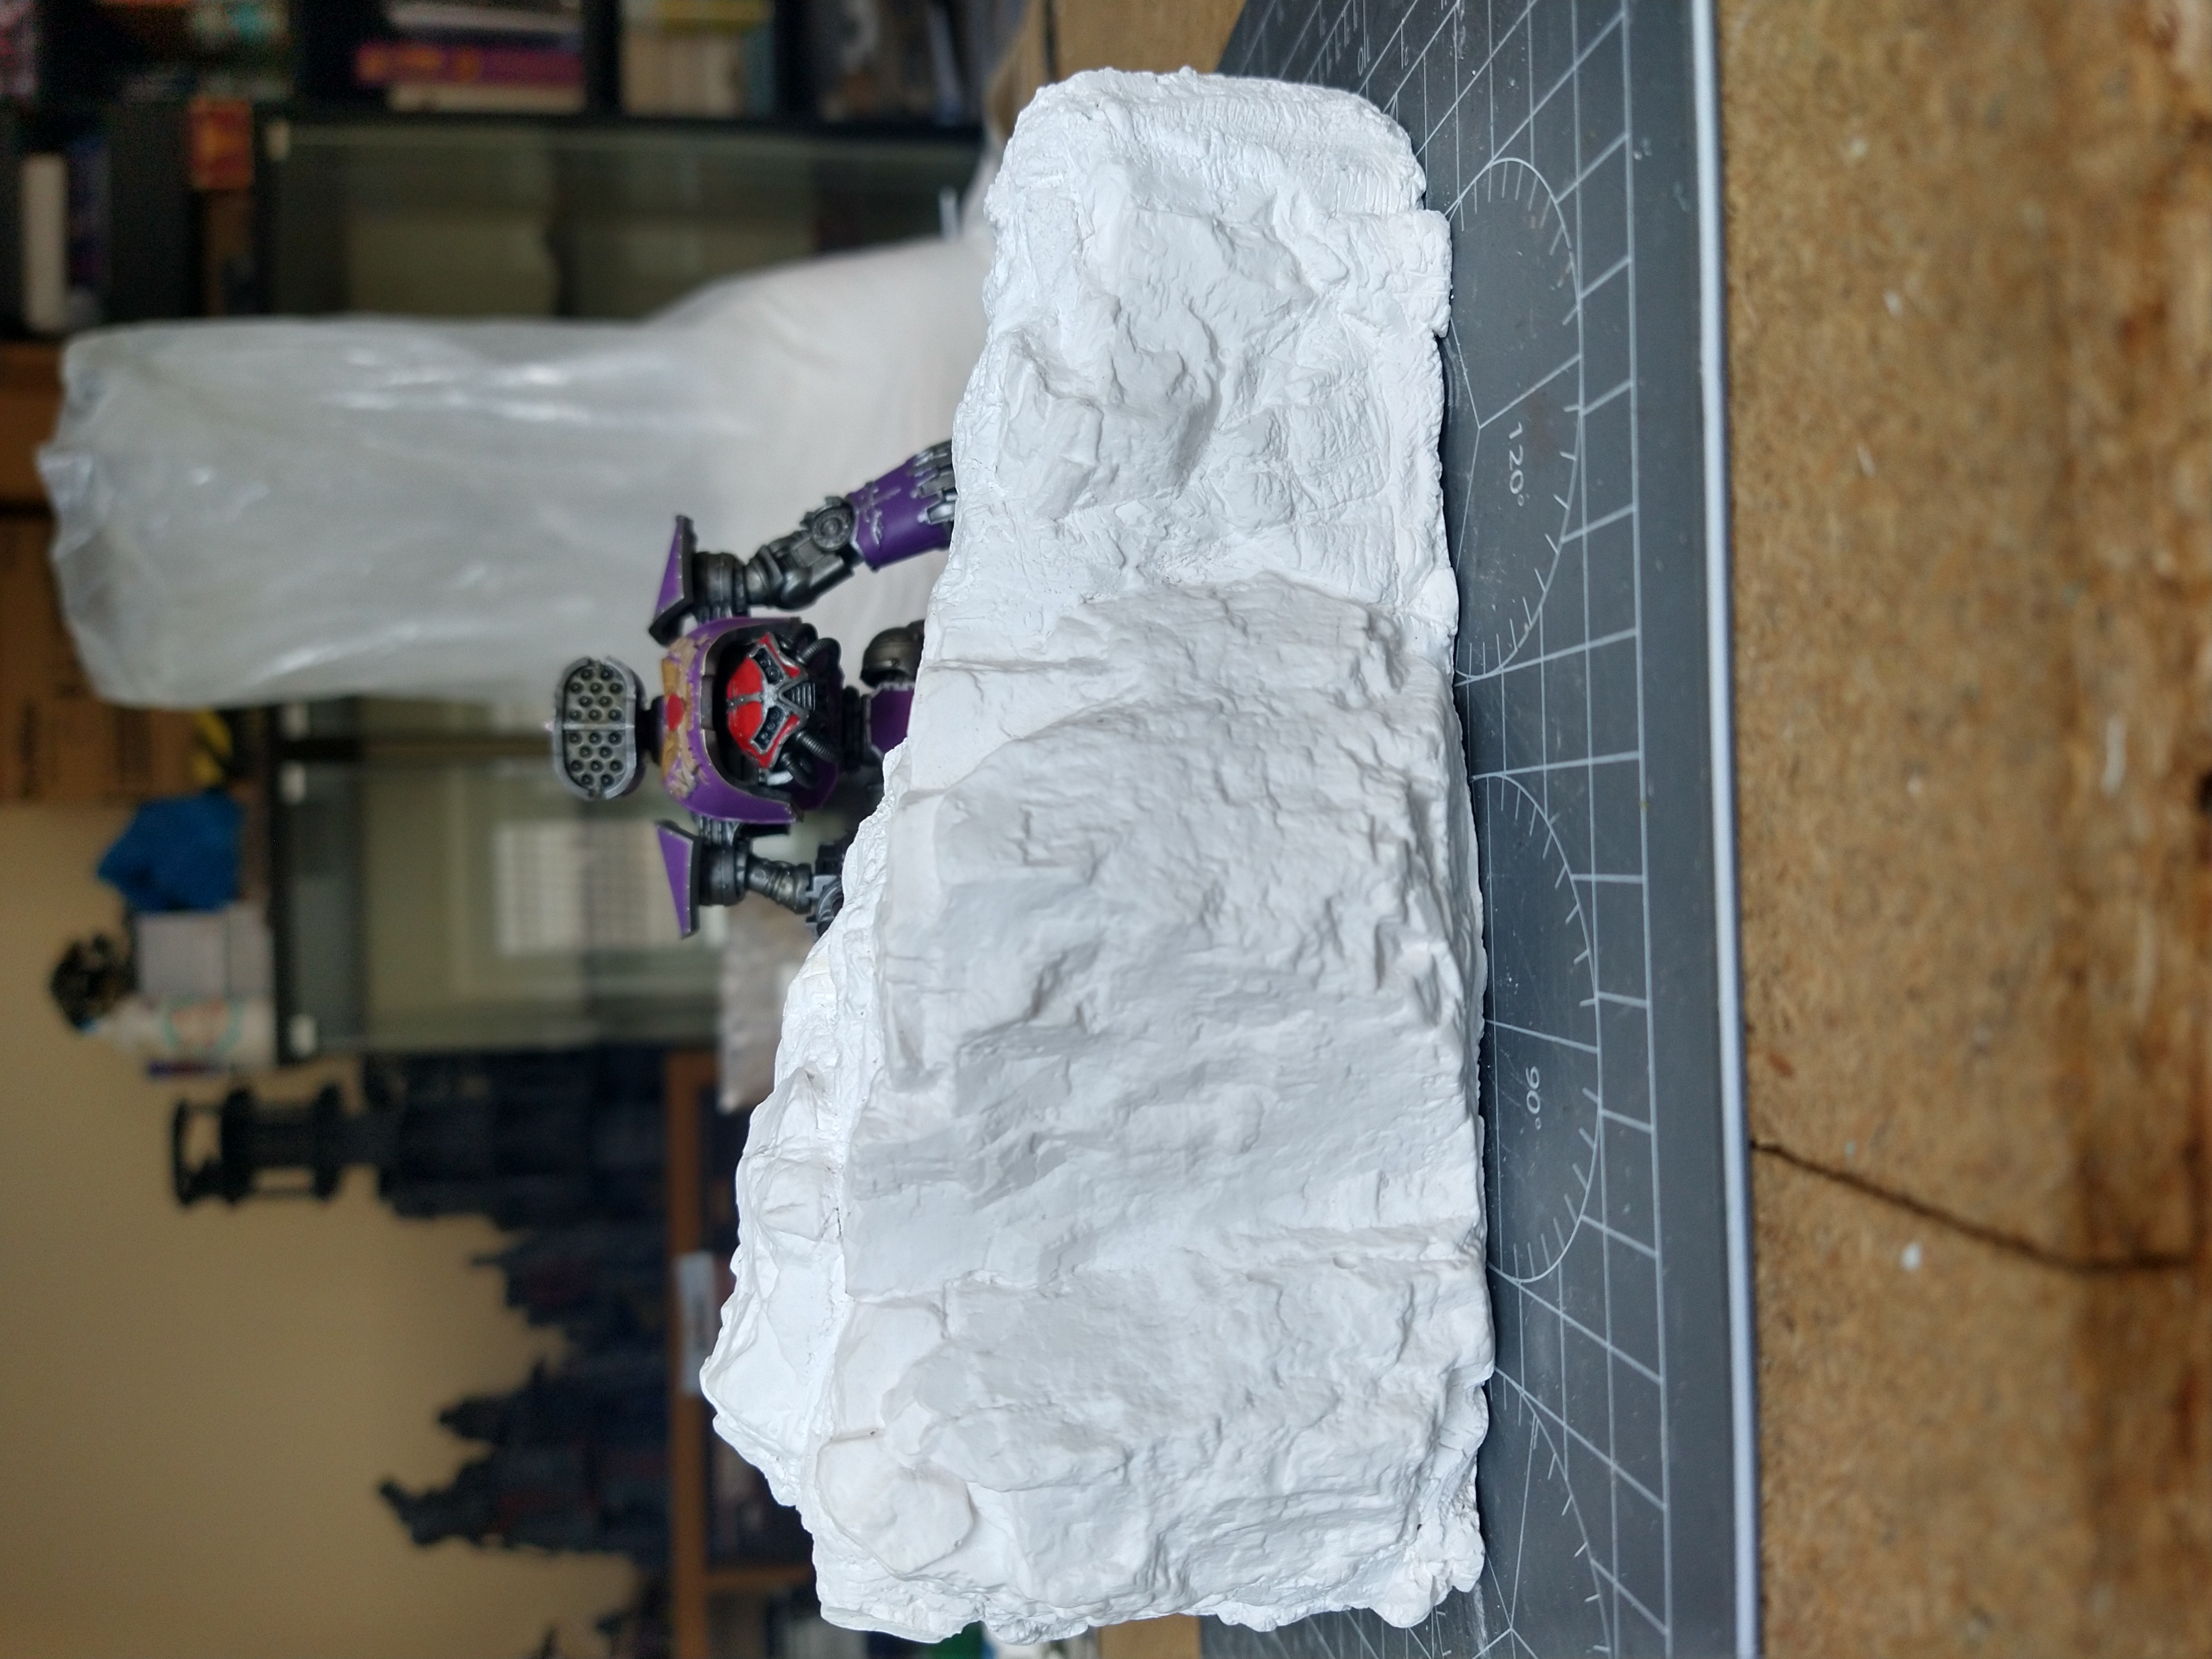
And the second photo is to give an idea of scale with a Reaver Titan stod up behind the rock.
completing the rock face
Once the plaster castings have dried, you can then start to fill in the gaps / exposed polystyrene.
There are plenty of videos on Youtube that would show you how to do this in detail, but the steps are pretty simple….
- add wet plaster
- blend into the rock face
- hit/sculpt with a tool
- scratch with a wire brush
- press in some slate shingles to give texture
- stipple with a brush
To avoid annoying balls of plaster forming and being left behind, keep just brushing off with a soft brush. This also helps take away any sharpe edges that may have formed.
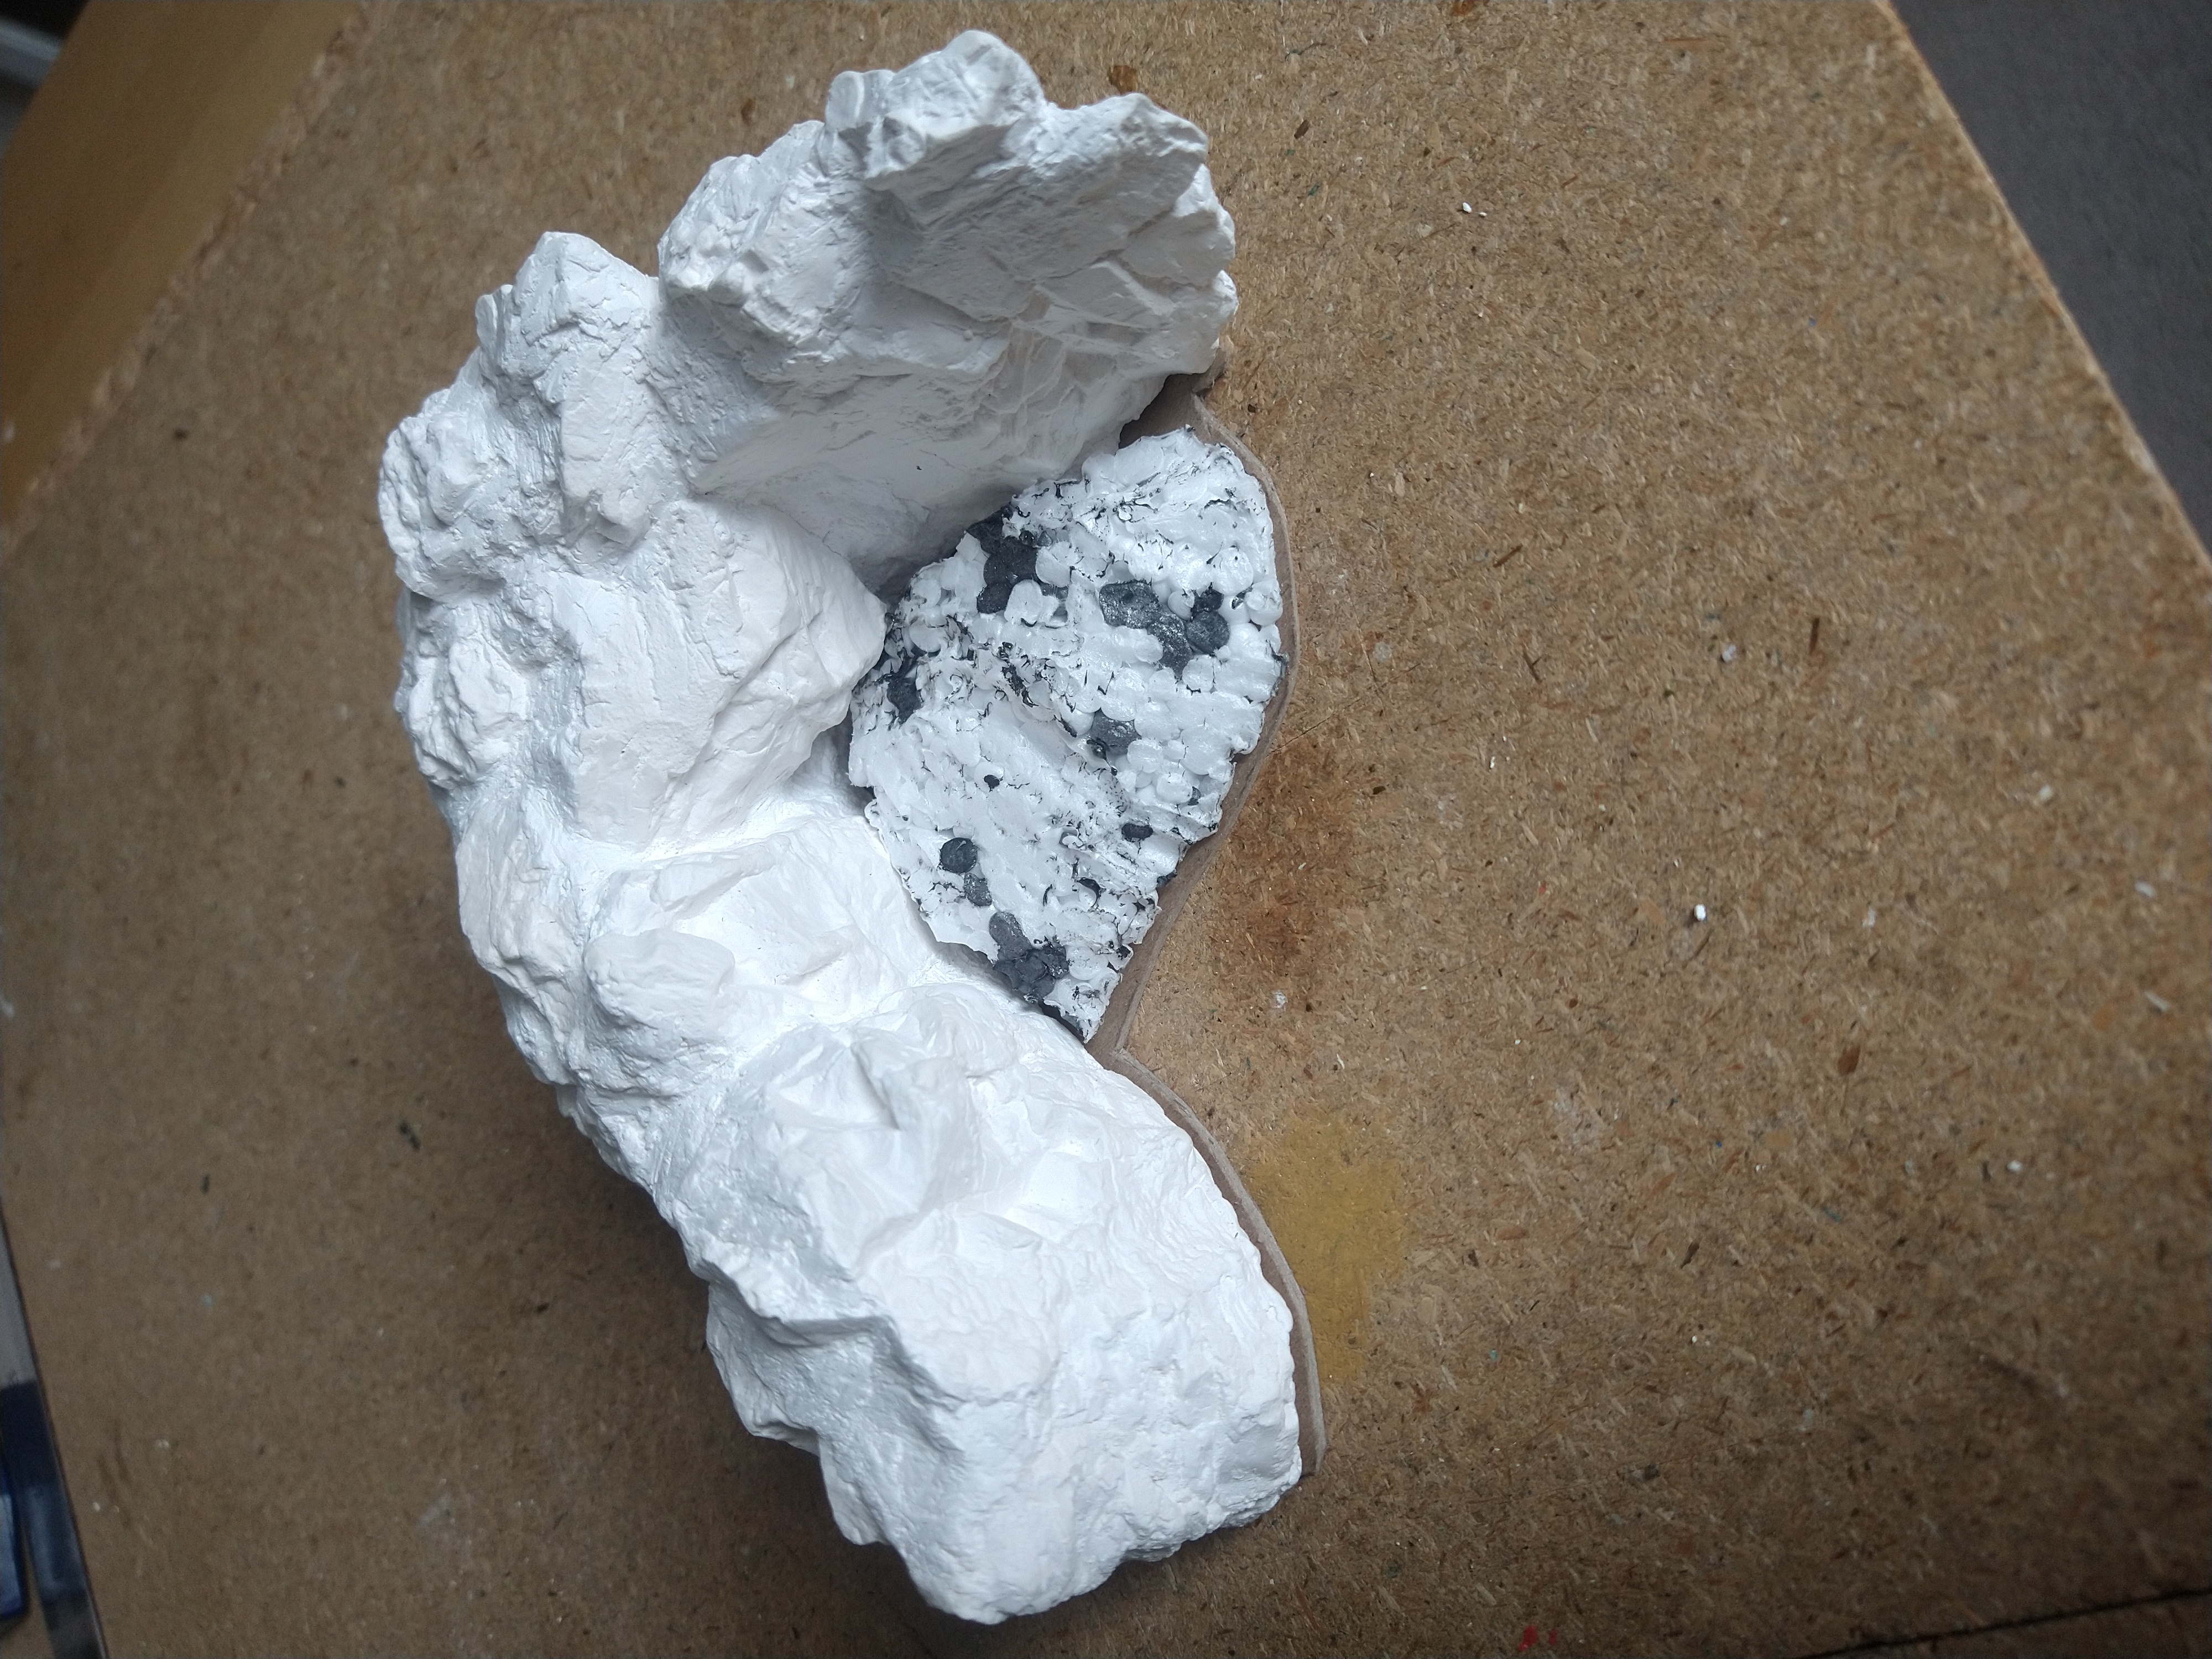
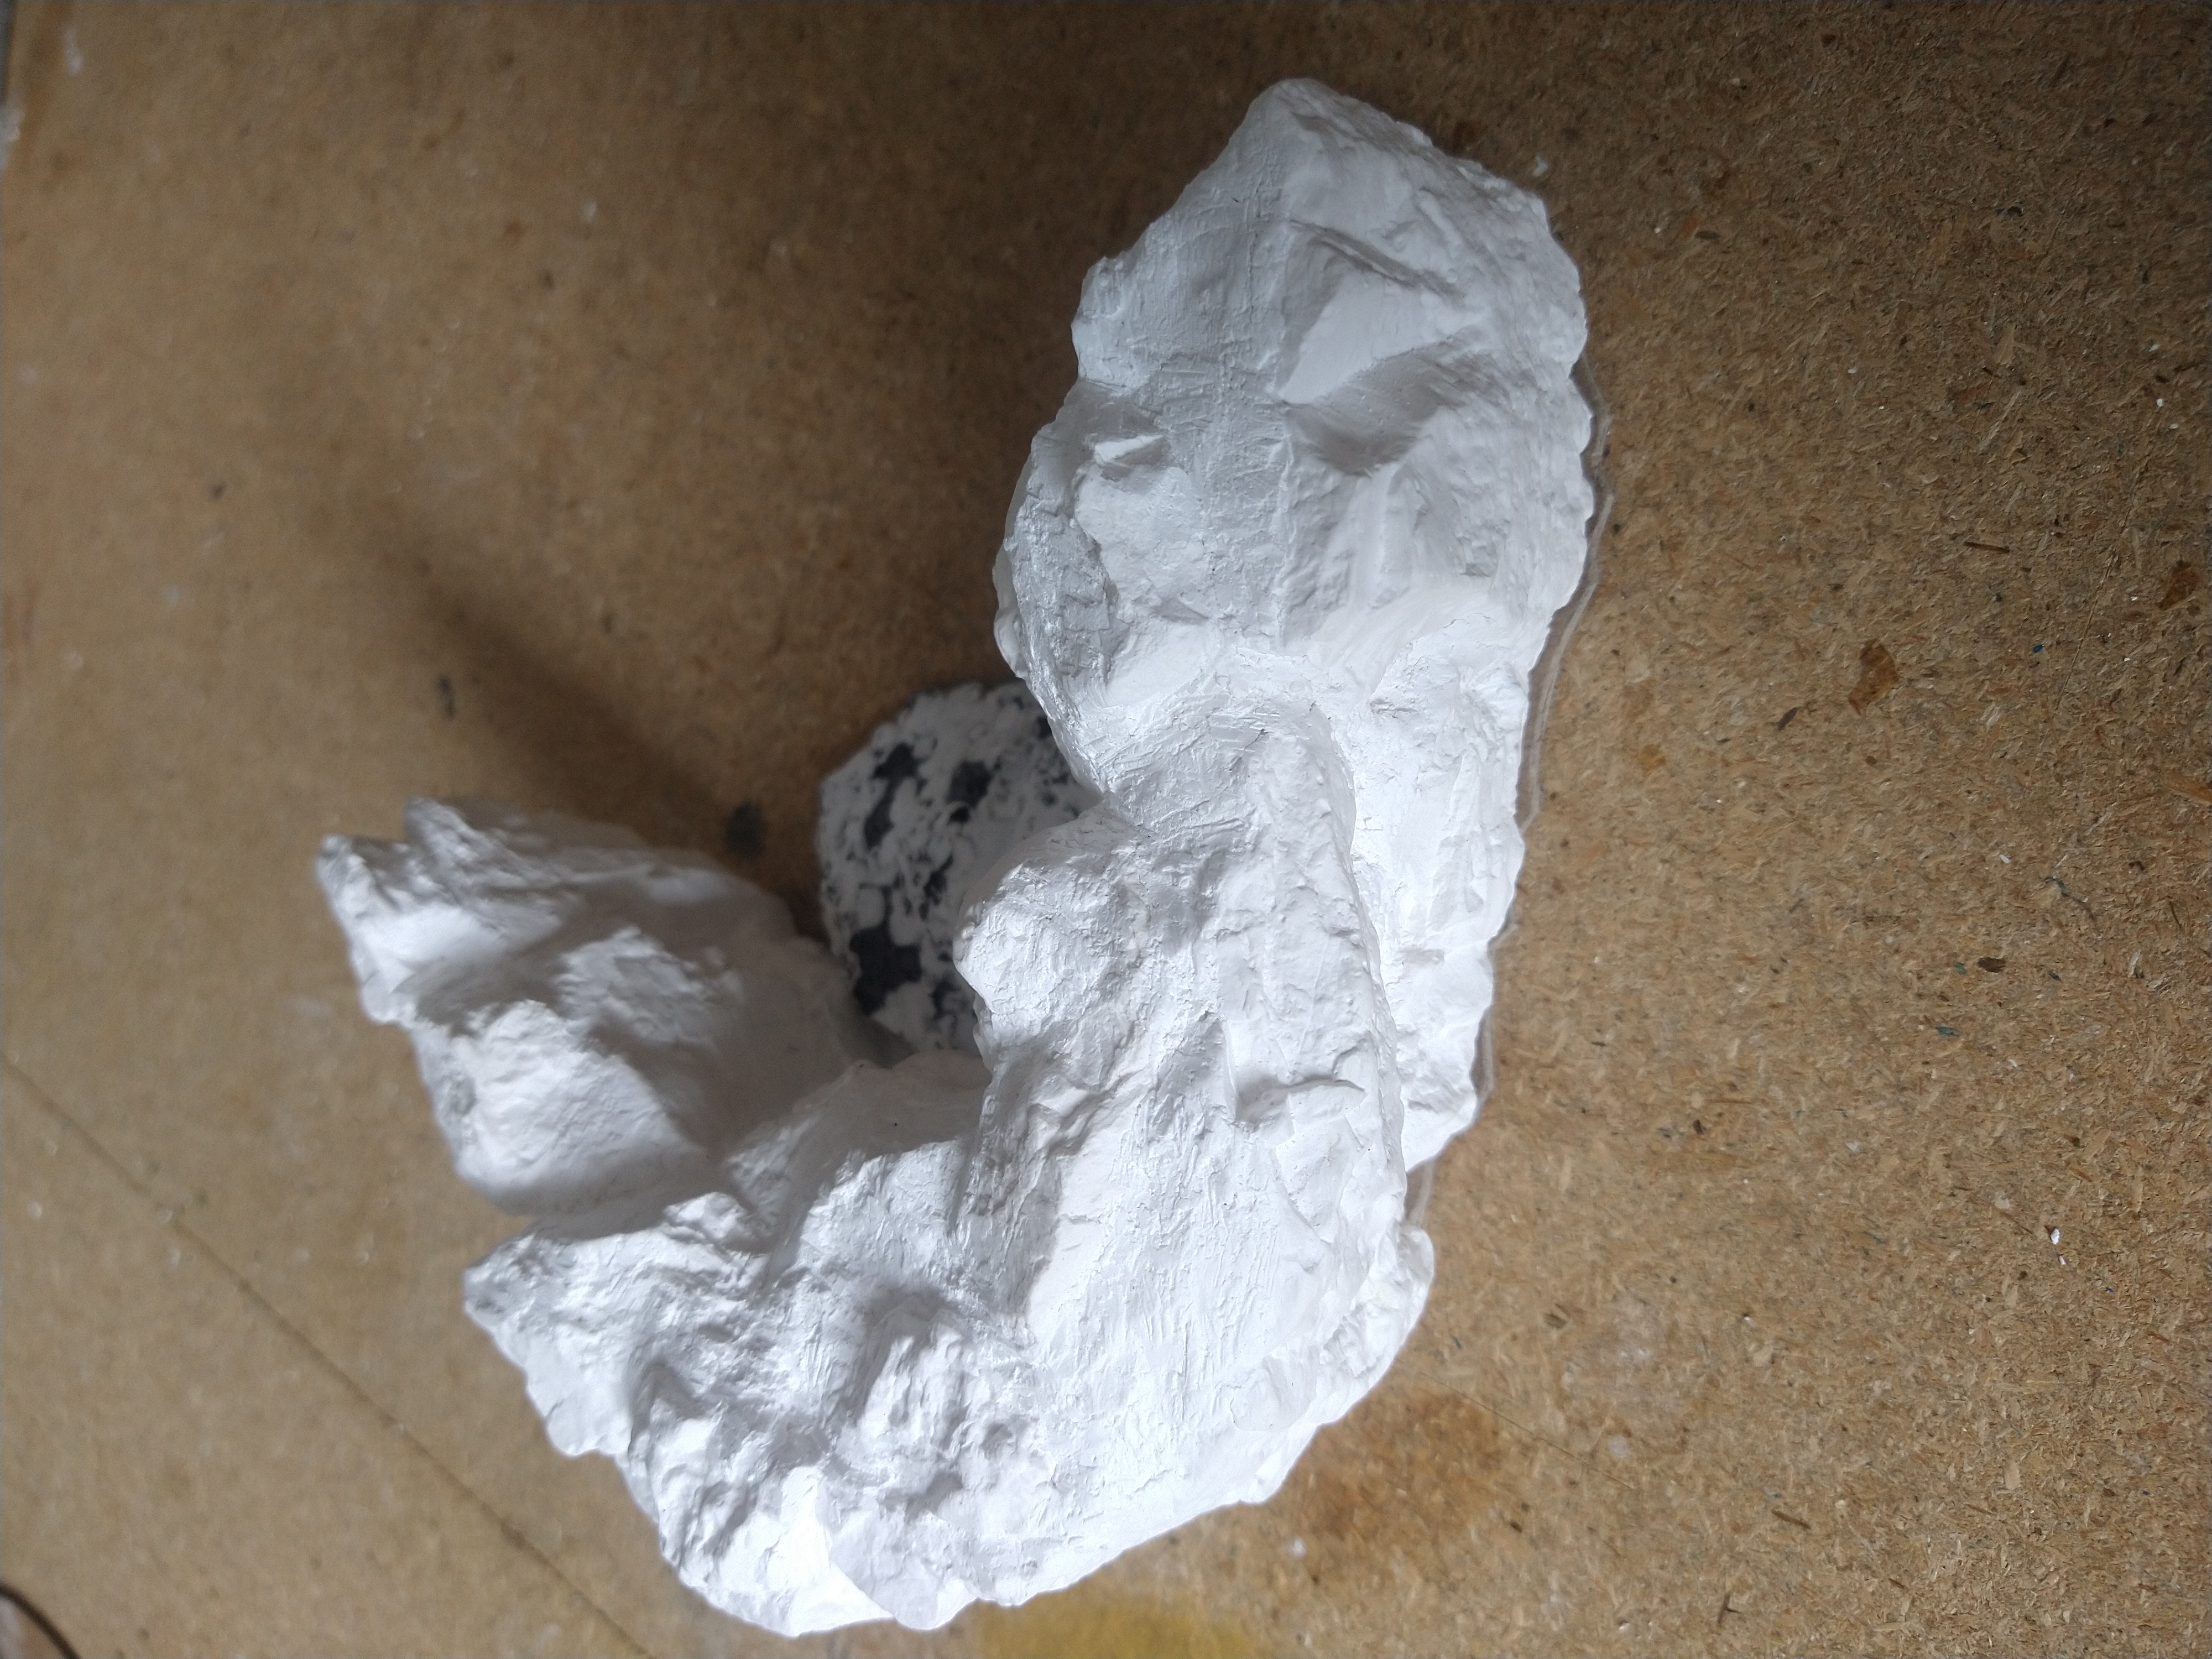
And eventually you will end up with something like this.
- the top of the rock face is created in the exact same way but gives it a more jaggedy appearence rather than a flat top.
- The polystyrene in the photo will be a slope to either simulate a previous rock slide or be made into a foresty copse on the slopes of the mountain. (or a combination of the two)
building the rock face
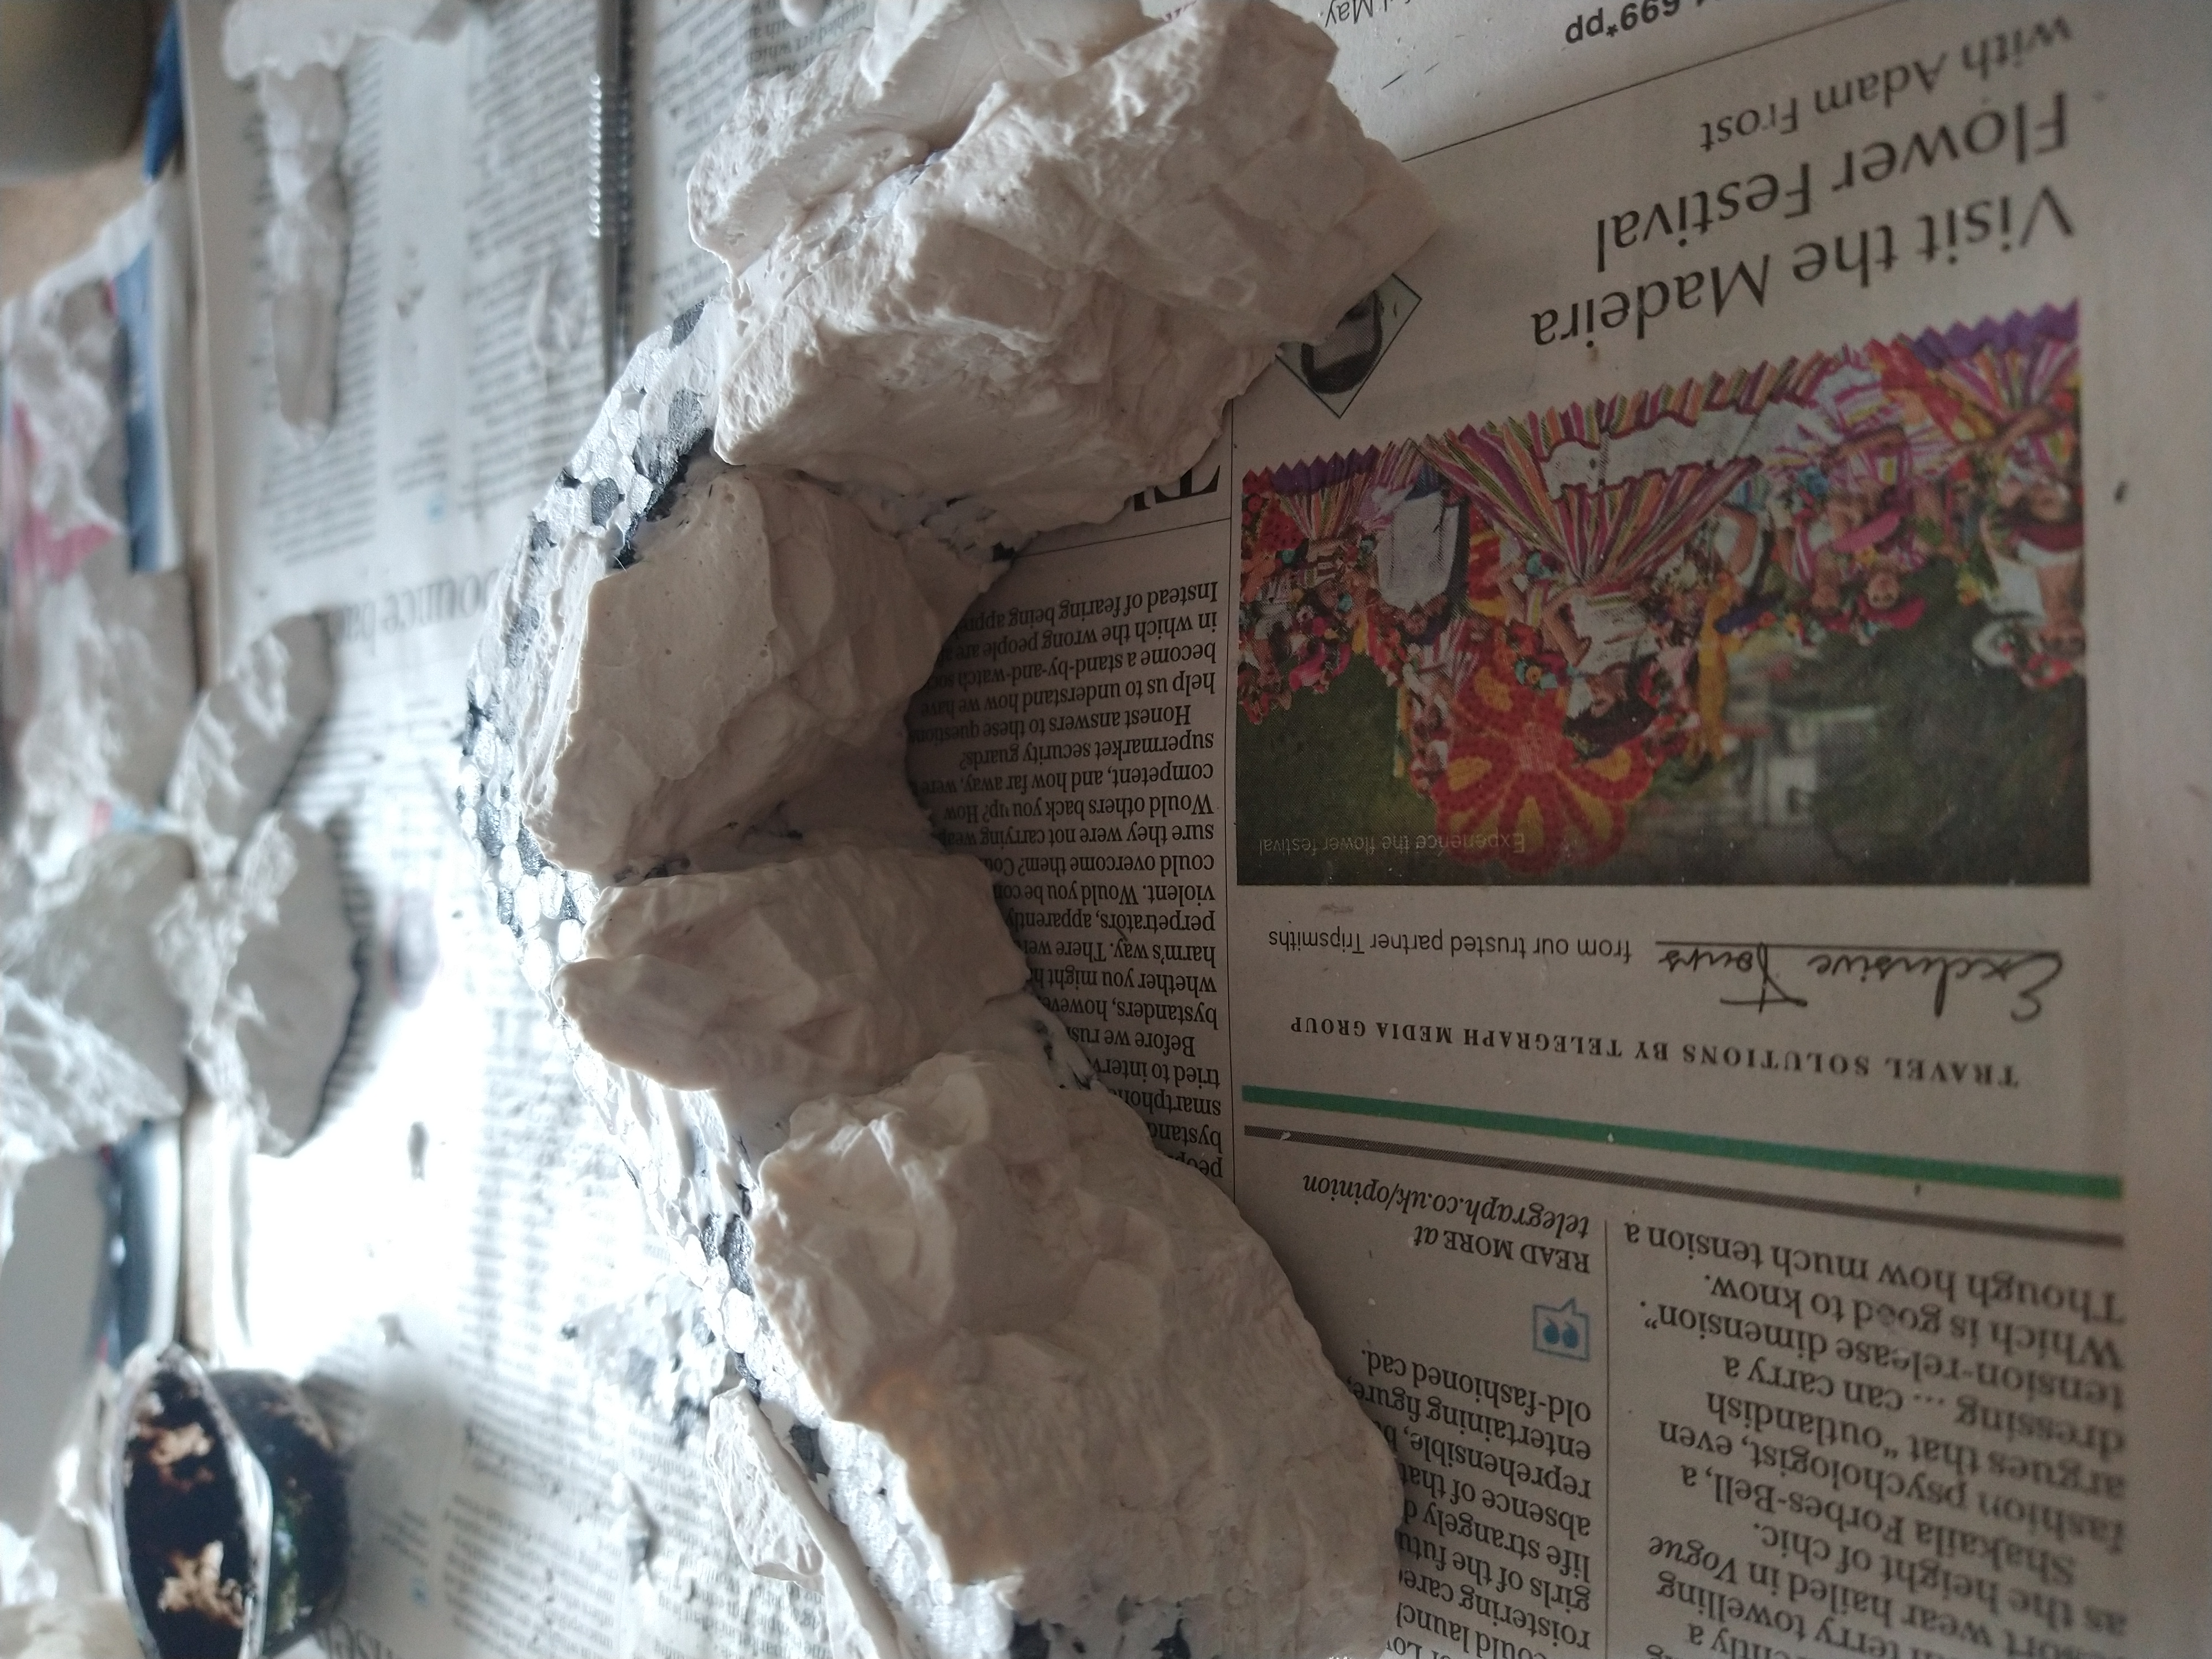
To build hte rock face, The first step I follow is to add in the cast pieces.
I score the back of the castings, and then attach them to the polystyrene frame with plaster. (wet the back of the casting first otherwise it wont adhere properly as the cast will suck out all the moisture from the wet plaster).
Eventually you will end up with something like this.
It doesnt matter is the casting rise up above the polystyrene frame (as you can see in the photo) – they can always be clipped and chipped back down to size, or you use that as the basis for adding additional detail to the top of the rock later.
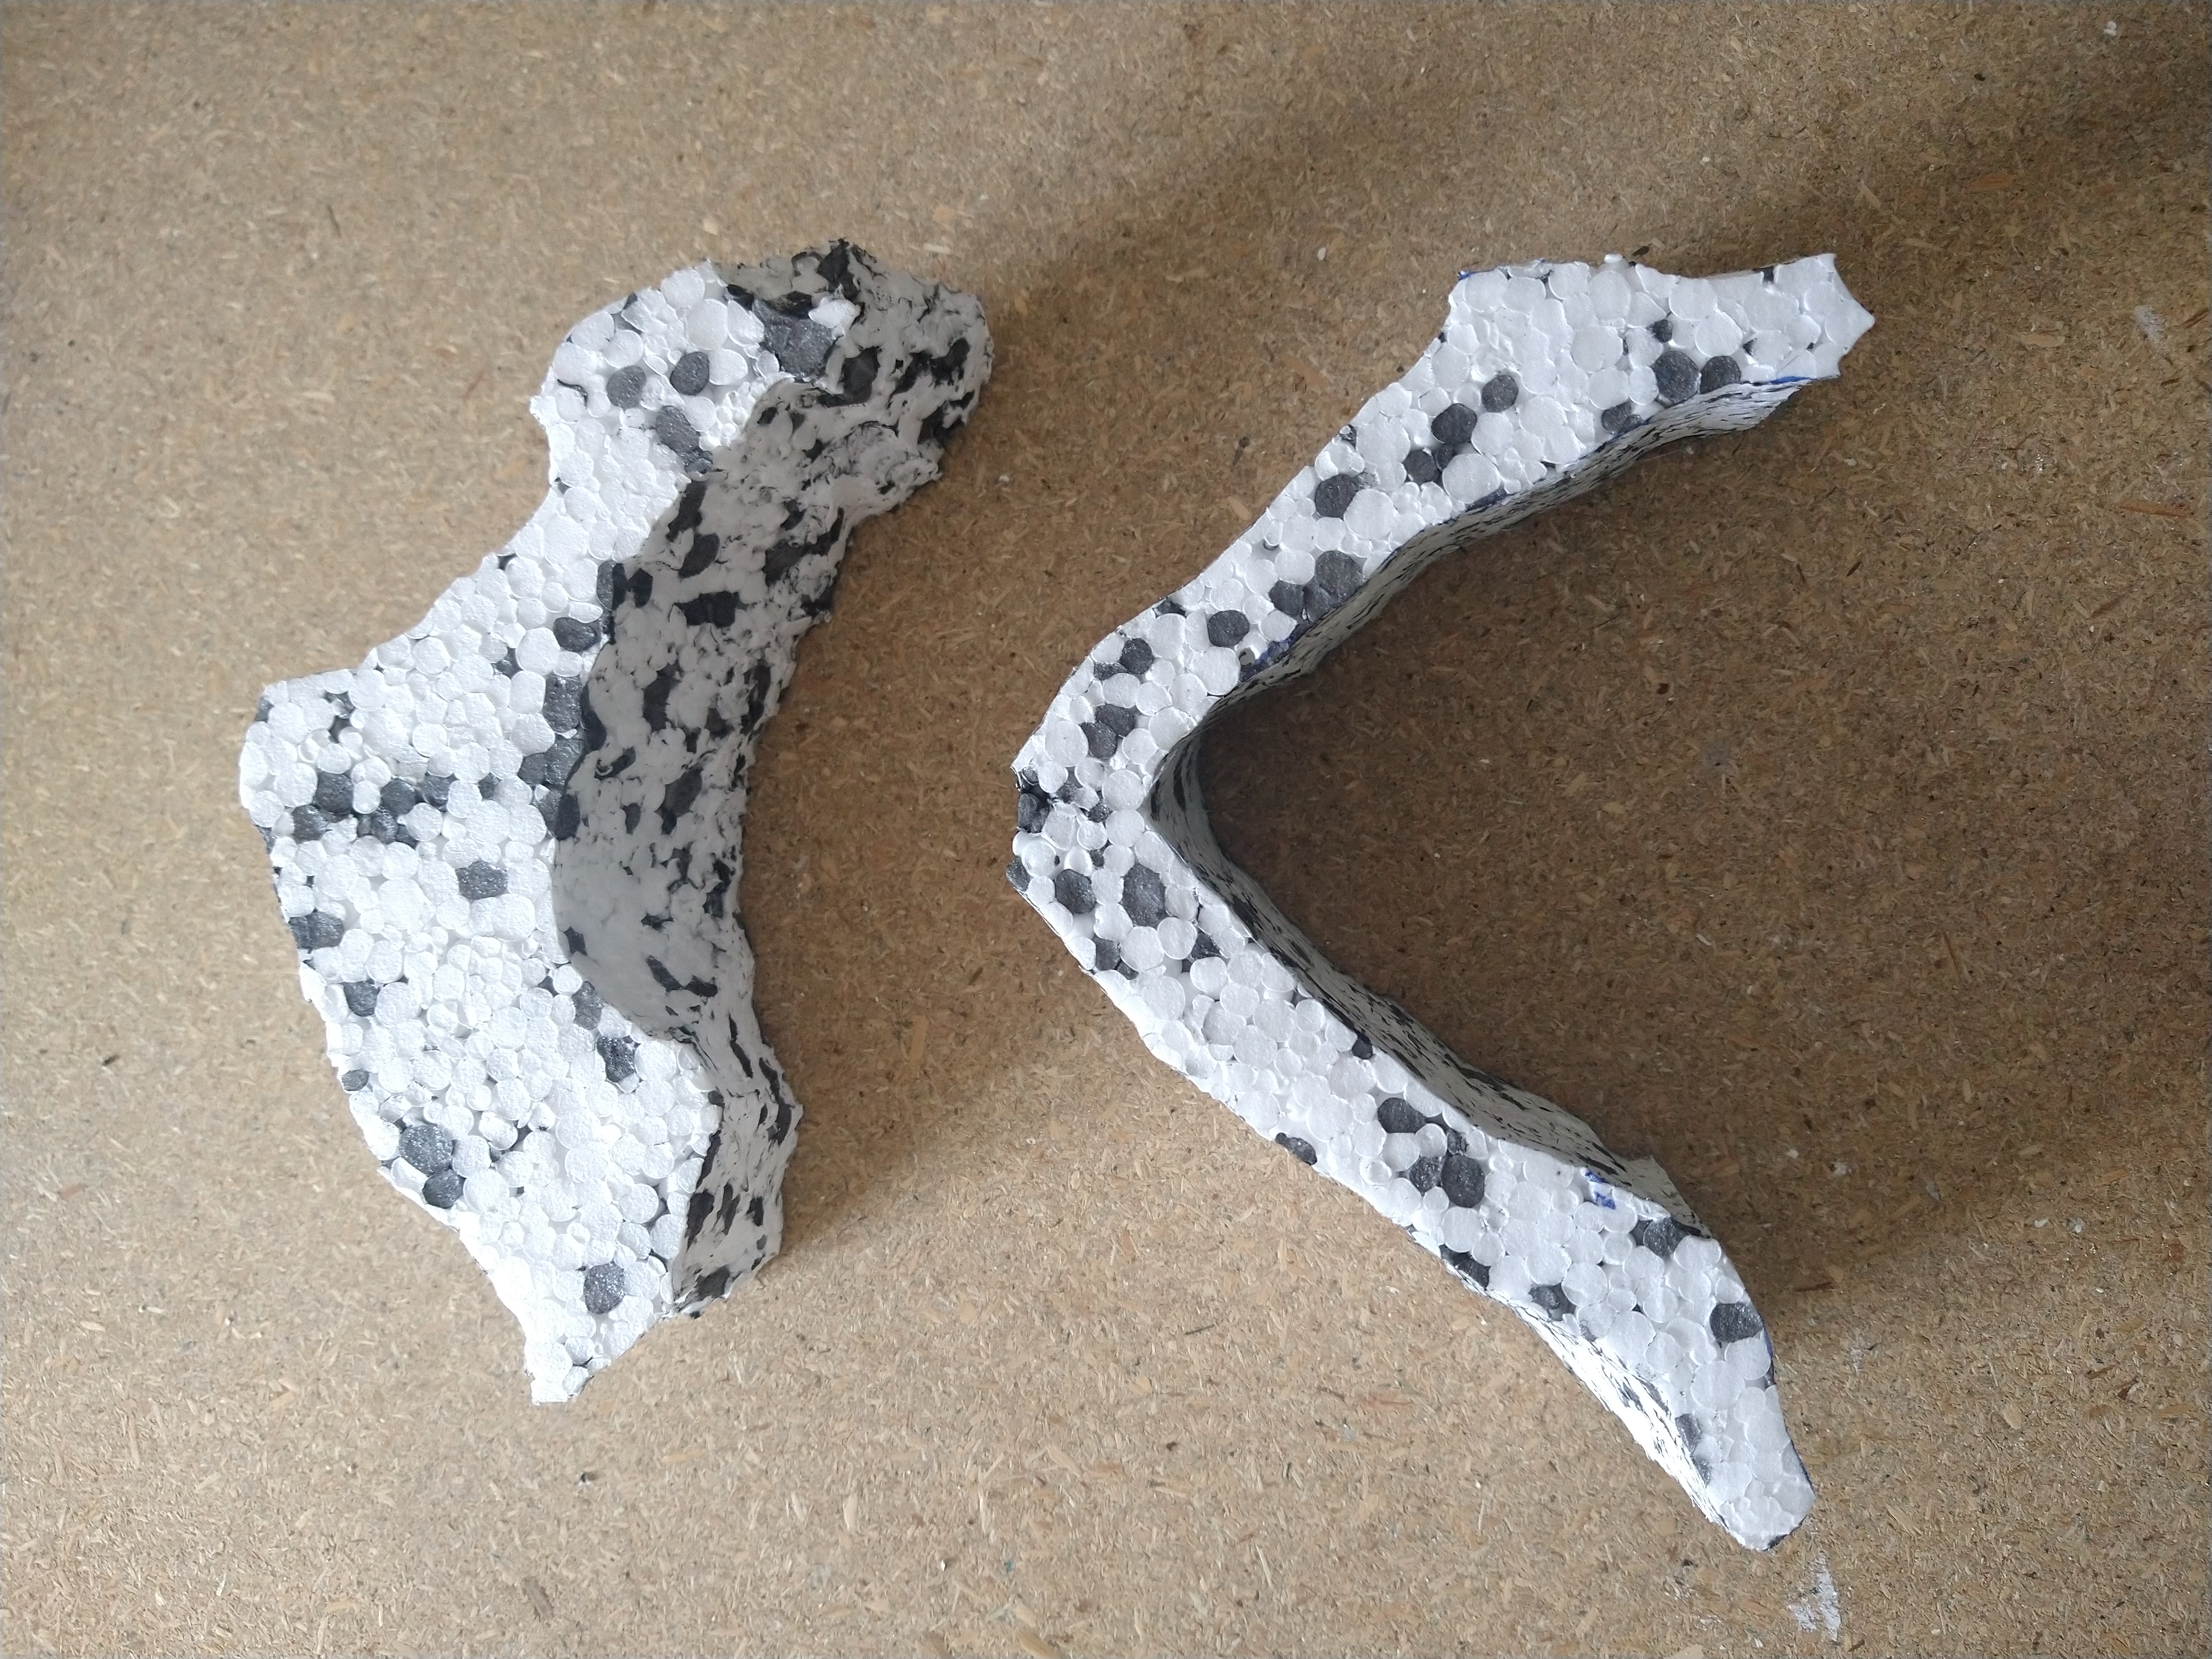
Rough Shapes
While the rock castings were drying, I cut rough shapes from 2 inch thick dense polystyrene.
To make as little mess as possible I was using a hot foam knife. Ive found actually (in the past) that keeping the initial shapes with straight lines where possible does make the following steps easier when adding in the pre-cast rocks and you can then cut /sand away as you need to create the final shape of the piece.
Testing
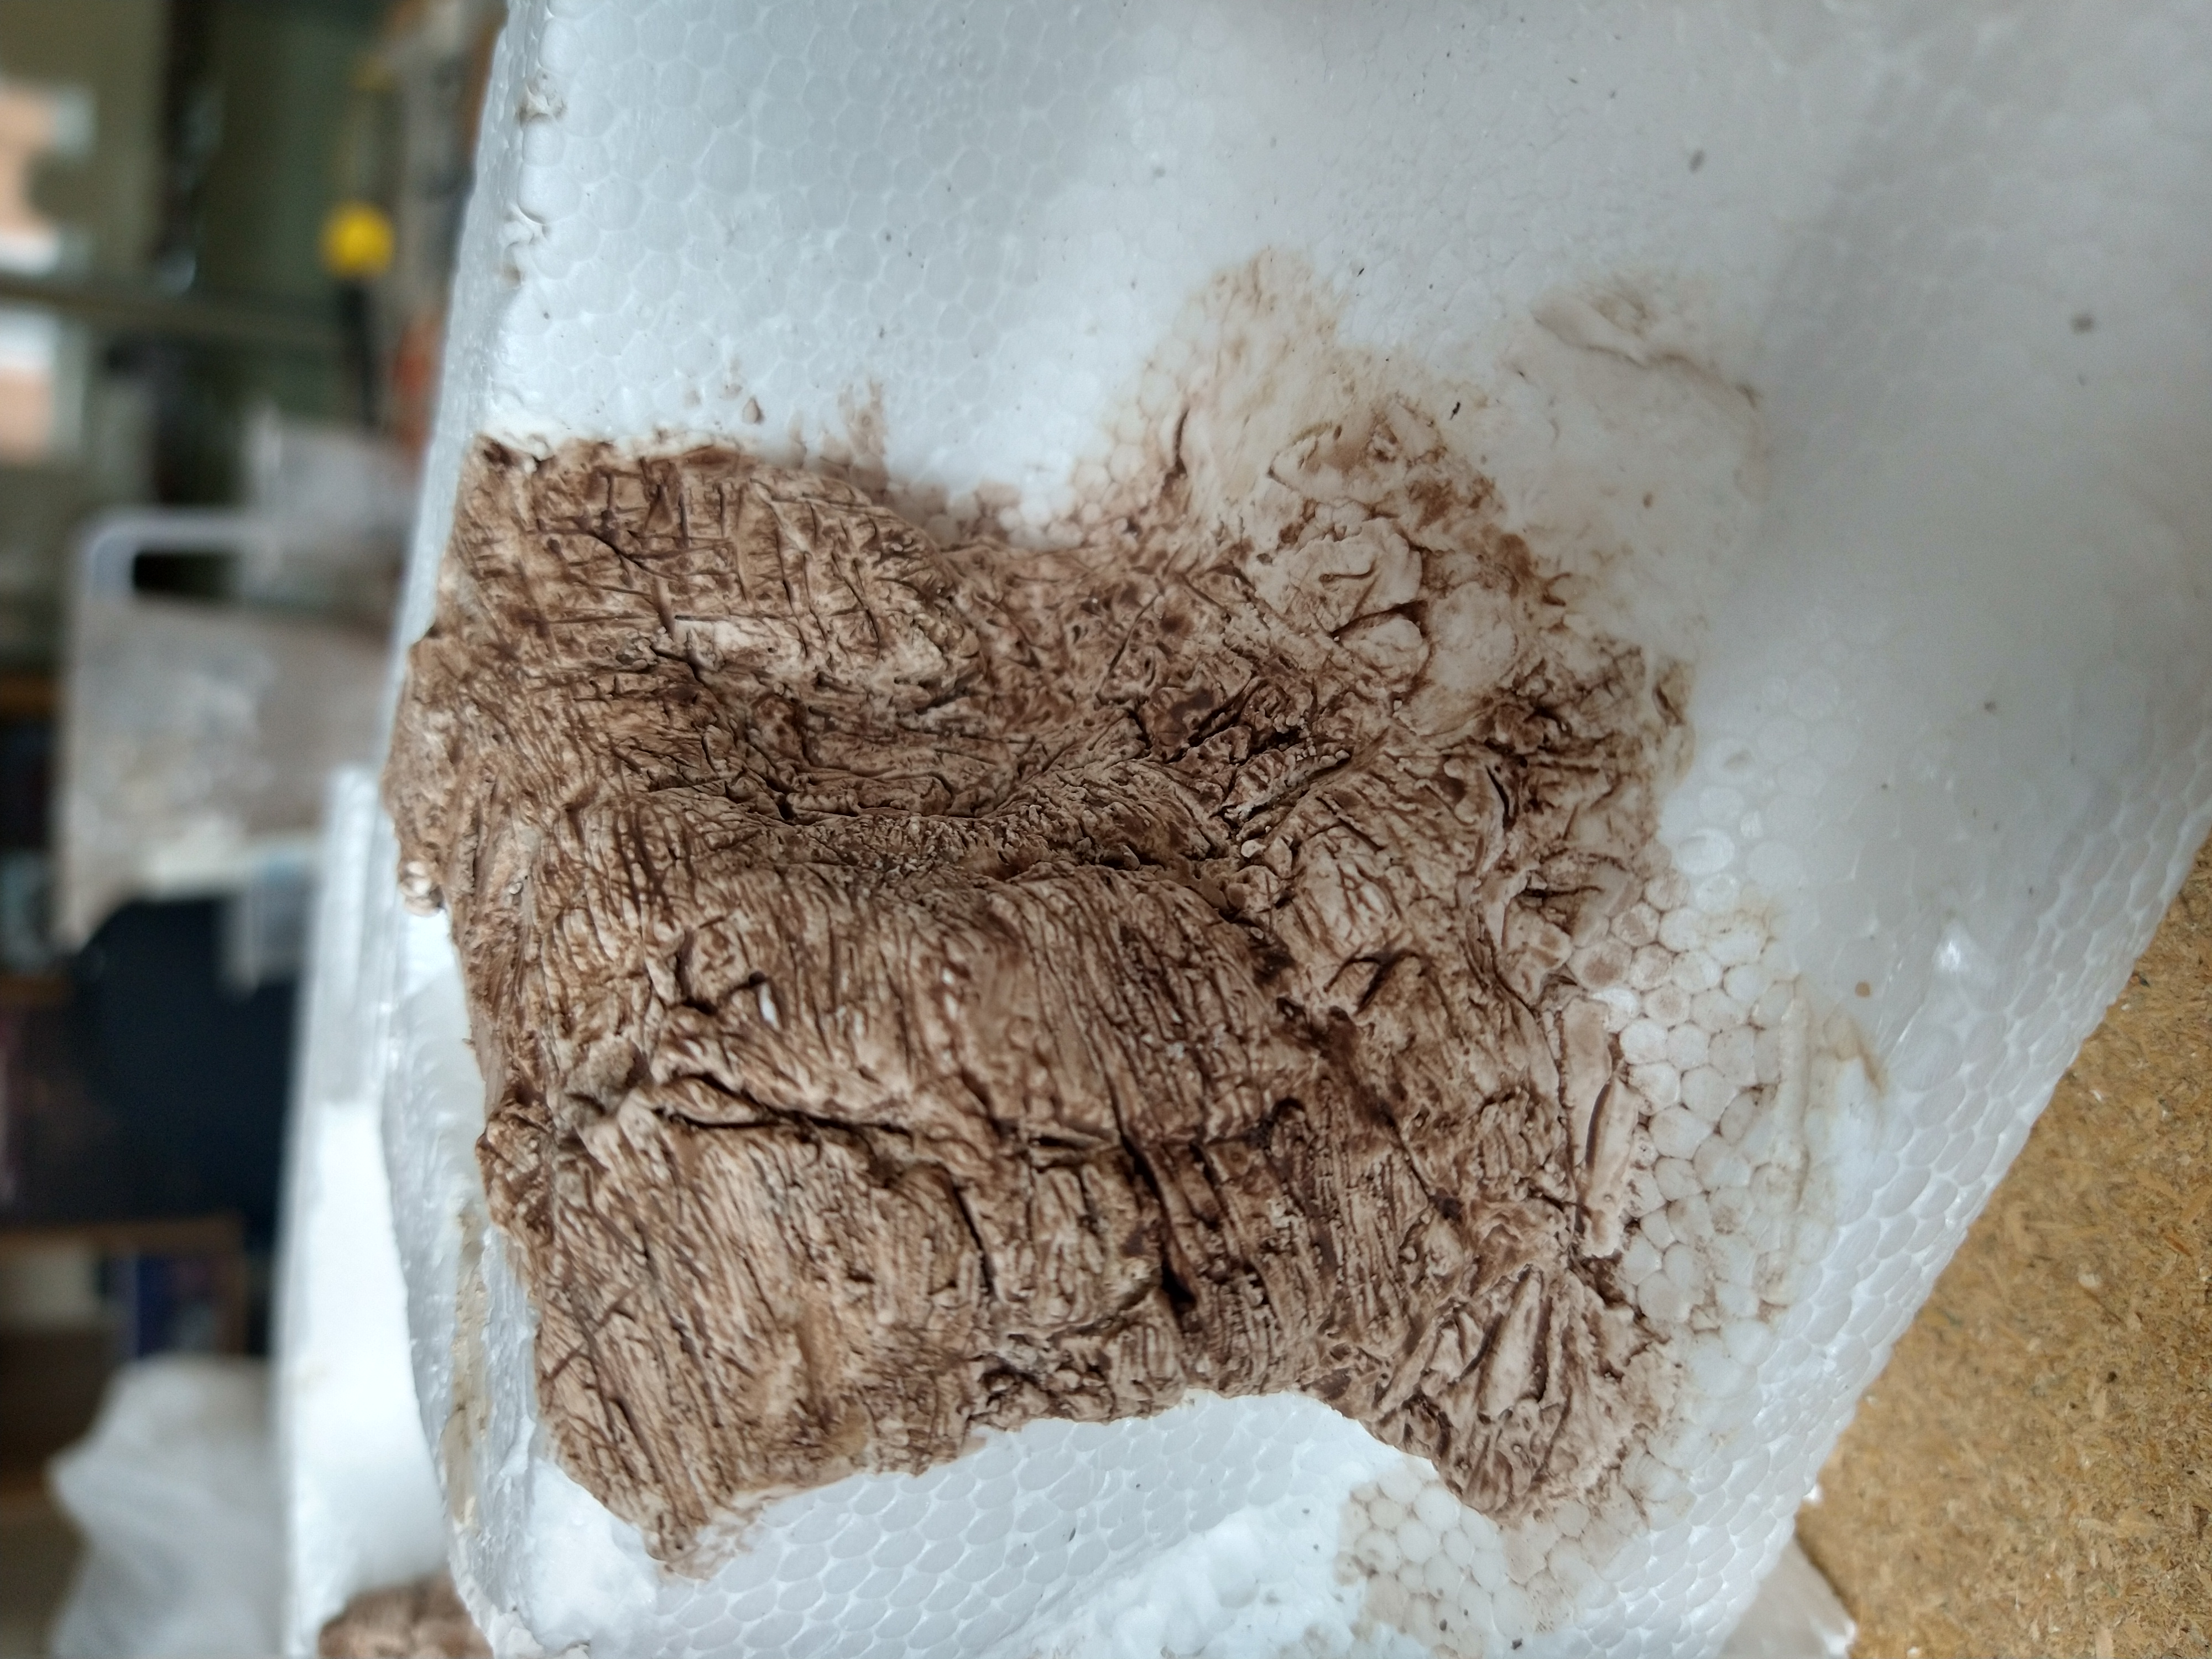
Before diving to far into things, I decided to do a test of some rock carving using plaster.
I cut up a piece of packaging polystyrene and then threw on the plaster and cut, carved away the plaster as it started to go off.
I used a combination of a sculting tool, wire brush and also pressed some slate tiles in to give some different definations on the rock face.
The pictures below are from pure carving. I plan on using rock mold castings as well for this project (and hopefully be able to blend them in without it being too obvious).

The Plan
Having been away for work, and having to put my Necromunda project on hold, and the announcement while I was away of the release of Legions Imperialis ….. a combination of fond memories of Epic and too much time to kill in a hotel has resulted in a plan to build some terrain for Legions as its almost inevitable that ill be jumping into it (even though it would probably be much cheaper to buy a 3d printer and print off a couple of armies for Full Spectrum Dominance!)
That said, I aim to make my terrain generic so that it can be used for all type of small scale gaming.
I dont like the idea of being soley city based, and so decided that I wanted to make some mountainous terrain, maybe with some forest elements to add some colour and visual appeal.
So ….. here goes ……