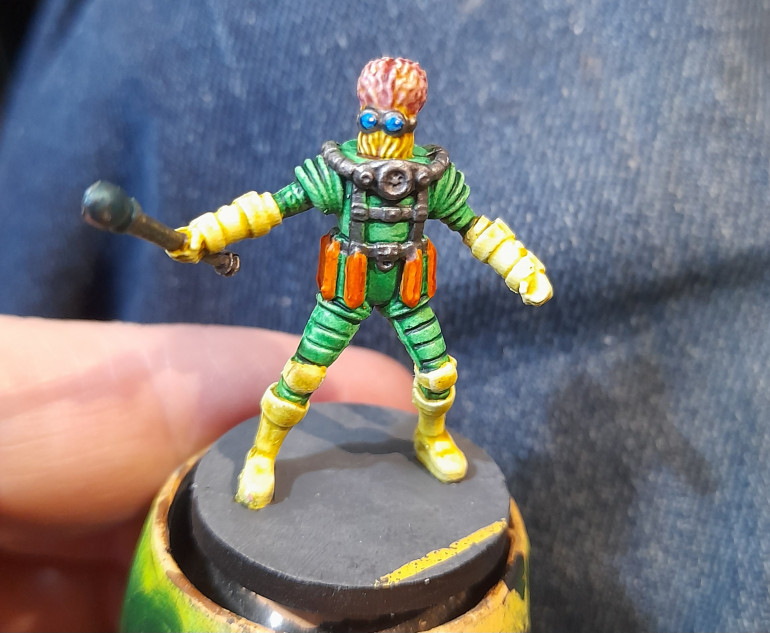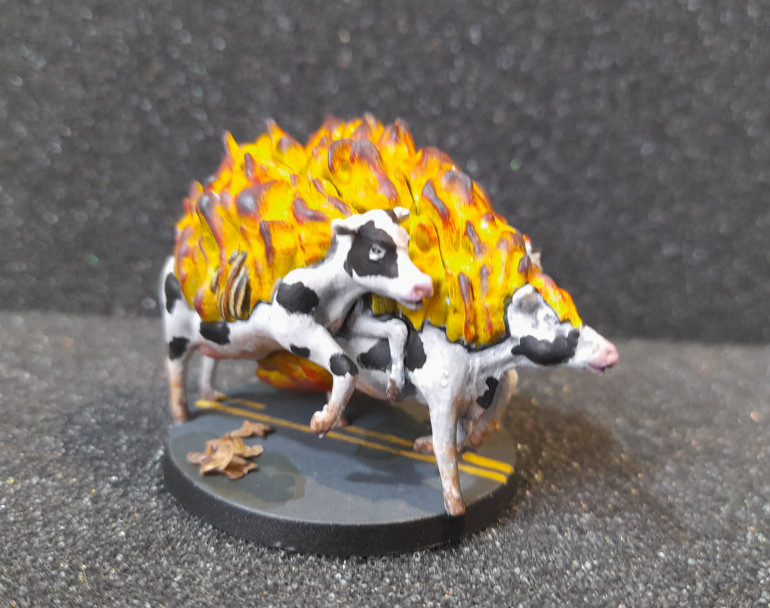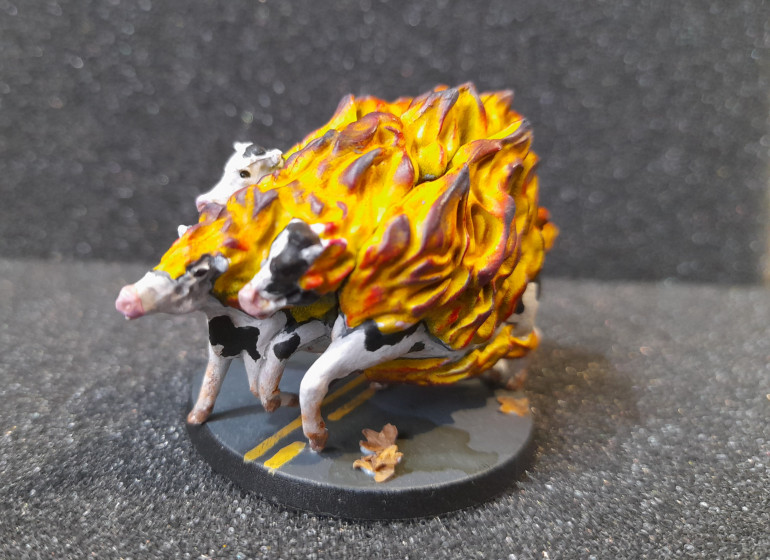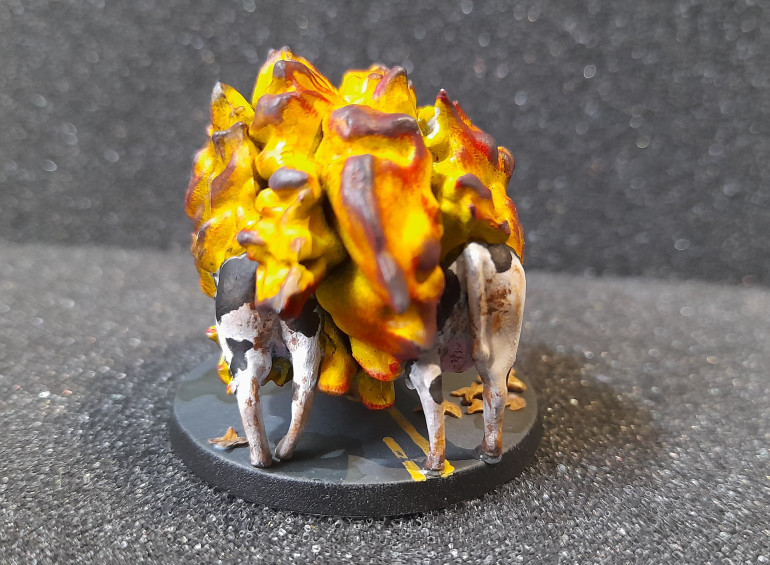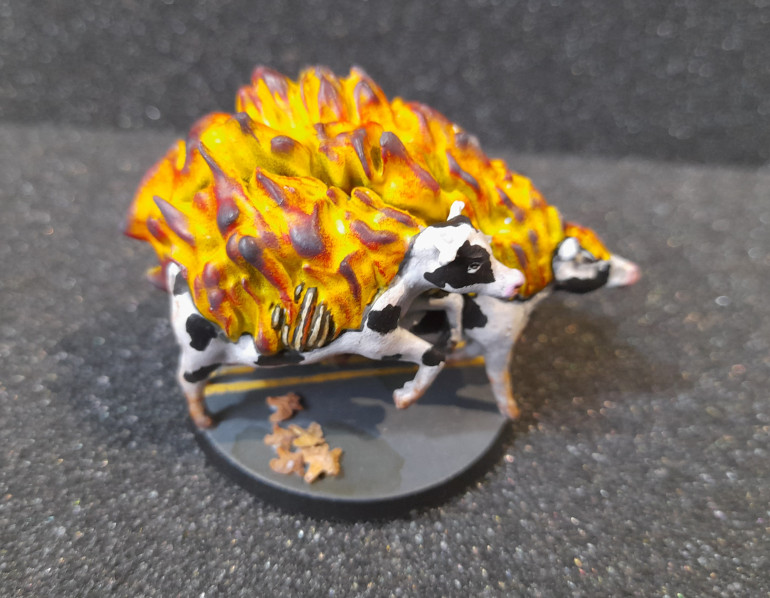
Draconis does…. Mars Attacks!
Recommendations: 144
About the Project
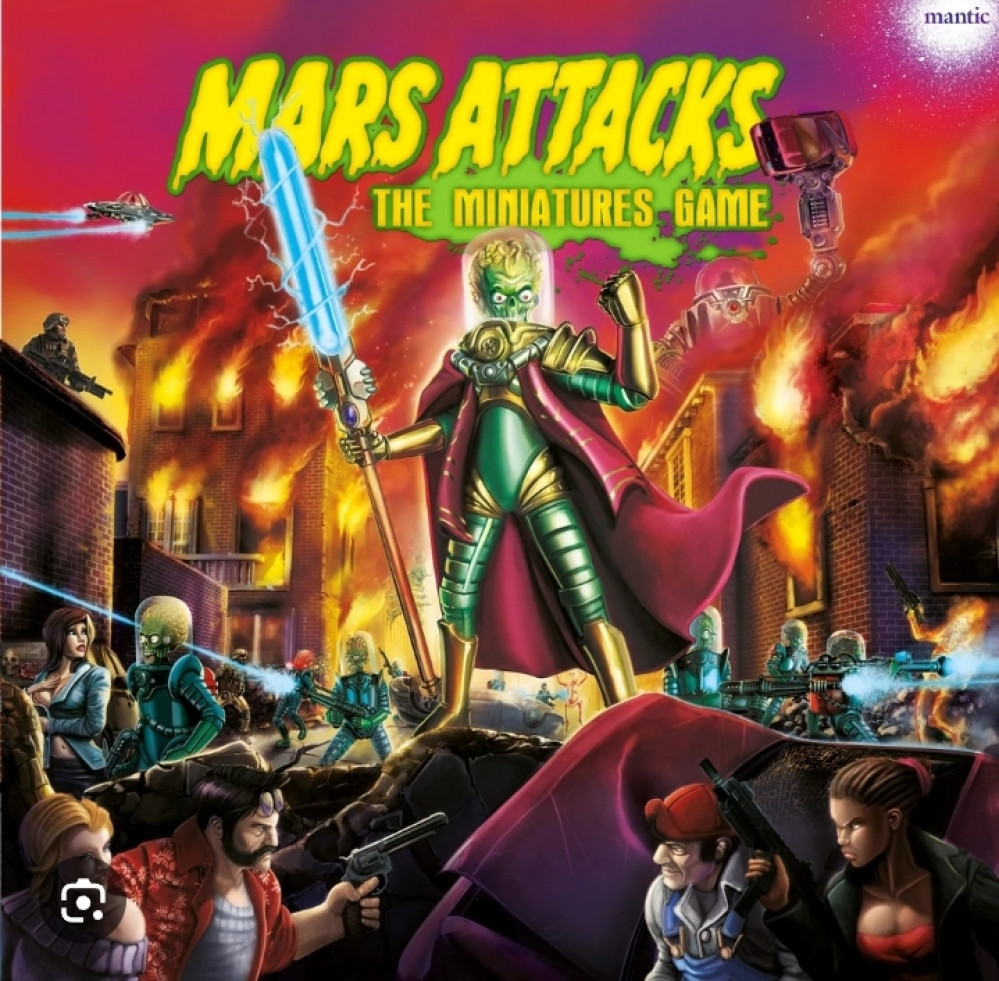
Next up for me then is Mars Attacks! from Mantic Games. I went in on the Kickstarter many years ago, played it a bit at the time then, like many things, it got shelved due to other distractions. The heroes did get painted up - a friend did them as a present for me. But the martians and soldiers were still their basic coloured plastic. I had fun playing it at the time and the rules were very close to Deadzone, but with new versions of DZ since that time the rules have a few significant differences now. Anyway, this project will be me aiming to just get the base set minis finished off at first. Then I will potentially extend it to cover some of the Kickstarter expansion elements. I was going to open up one of my other core boxes, to paint the heroes myself – but having seen on ebay that they seem to be selling quite well I will hold off on that for the moment and decide later what I may do with some of it.
Related Game: Mars Attacks: The Miniatures Game
Related Company: Mantic Games
Related Genre: Science Fiction
This Project is Active
Back to bases…..
30th July 2024
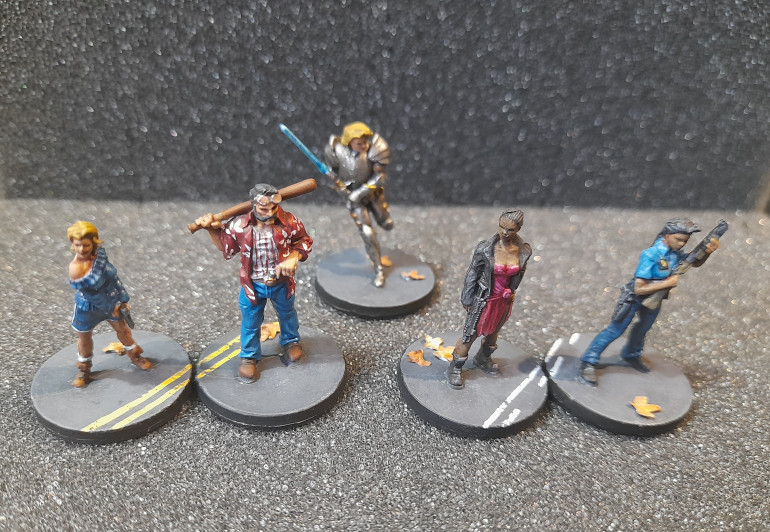
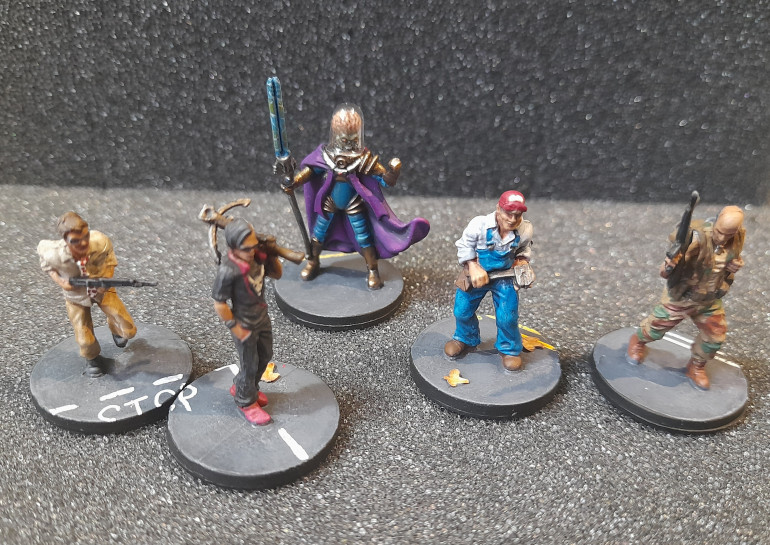
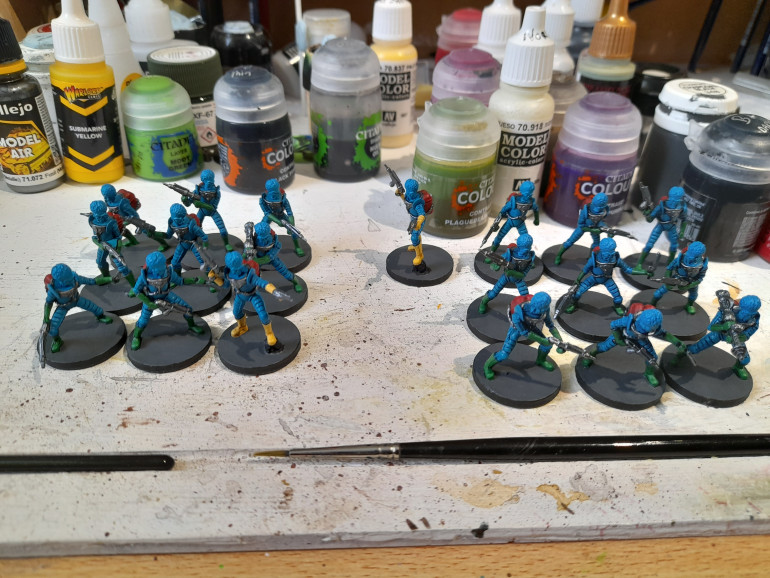
Now it was time to revisit the bases on the core set minis. I had 10 soldiers, 20 Martians plus 9 heroes and a Martian general (painted by a friend a few years back) to add just a bit more detail to.
Since these represent a time during the invasion I won’t be putting as much on as I have done for my Walking Dead minis which are post apocalypse.
Here the basing consists of stippling and drybrushing on some lighter grey, adding some white or yellow road markings, sponging over with a darker grey and then adding some leaves.
Pretty basic overall – but since they are fighting on streets, and none of the bases have kerb lines or detail on them, then it will mostly be streets ?
I’ll try to get a group shot set up soon.
Bug Handlers
28th July 2024
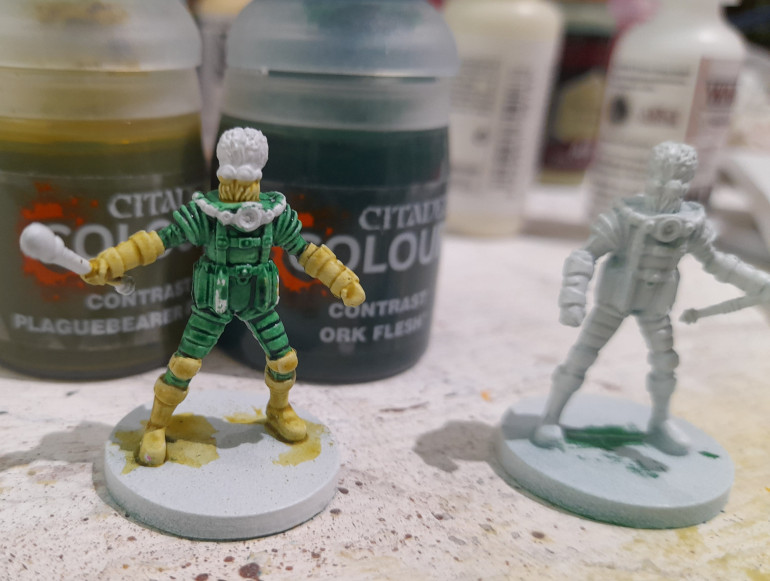
These are not part of the core, but they were in with each of the giant mutant bugs. So, I thought I would just paint them too.
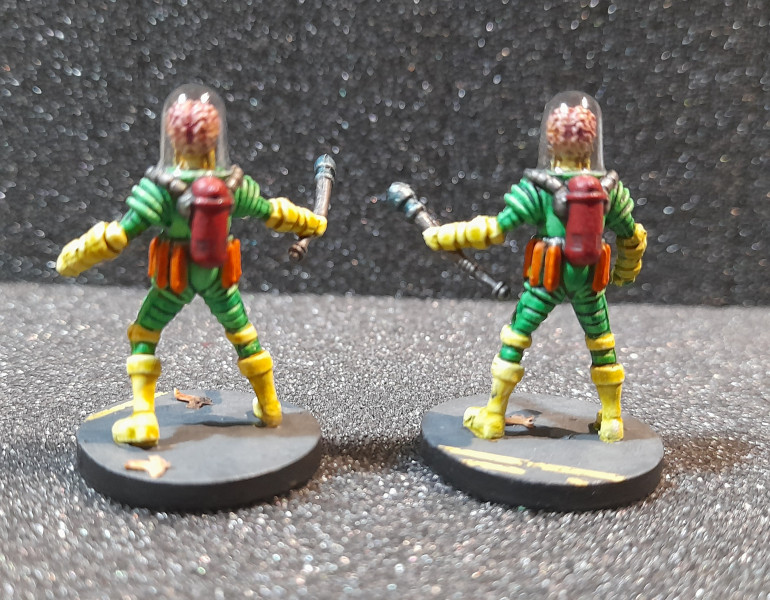
From the prime I used a couple of contrast paints (ork flesh and plaguebearer flesh) to lay down the core of the green that seems to be the science division uniform in the rulebook.
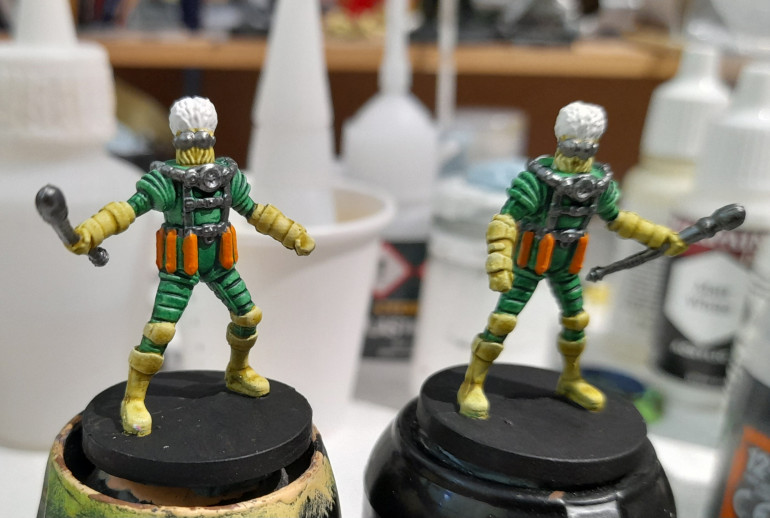
Next up I laid down the metallics for the piping, goggles, straps, belt and prod. Then orange for the tubes around their waists. The back tanks were painted in red.
Then it was a wash over the various bits (? ), some minor highlighting and painting up the brain in the same way as the other martians. The goggles were painted blue, with a lighter blue at the bottom and a spot of white at the top. Followed by a gloss varnish.
Finished off the bases, glued on the clear domes and they were done.
Wrecked Car
24th July 2024
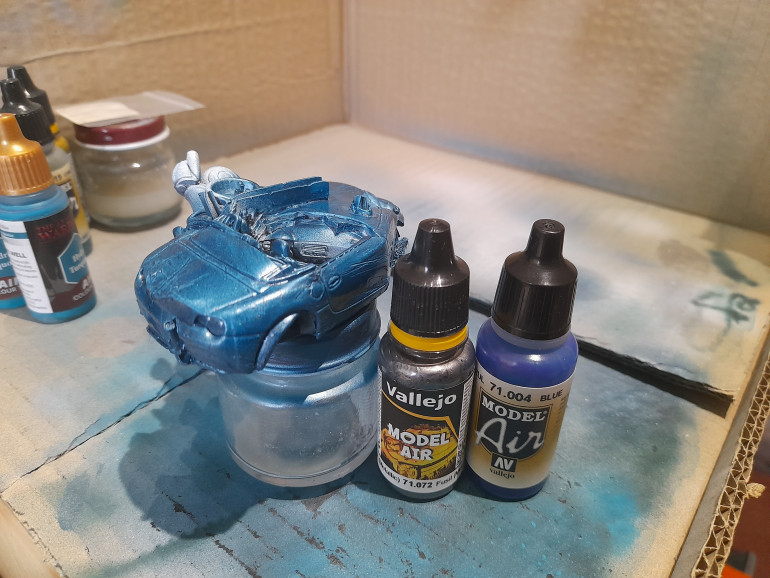
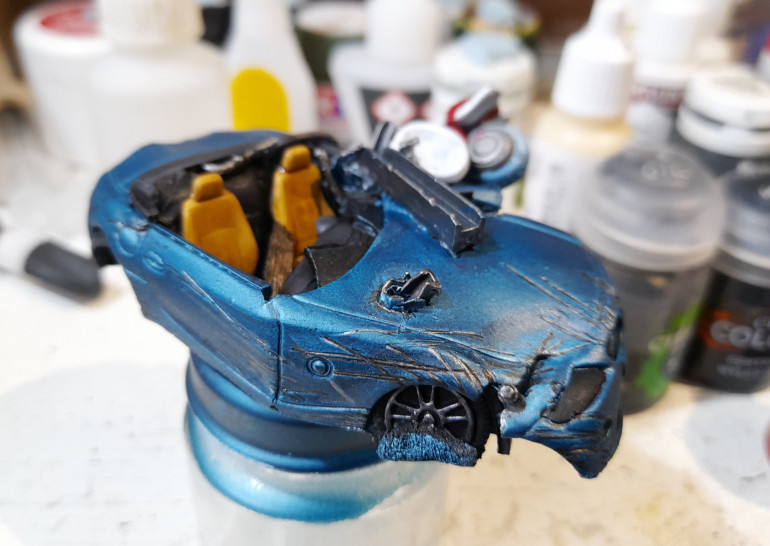
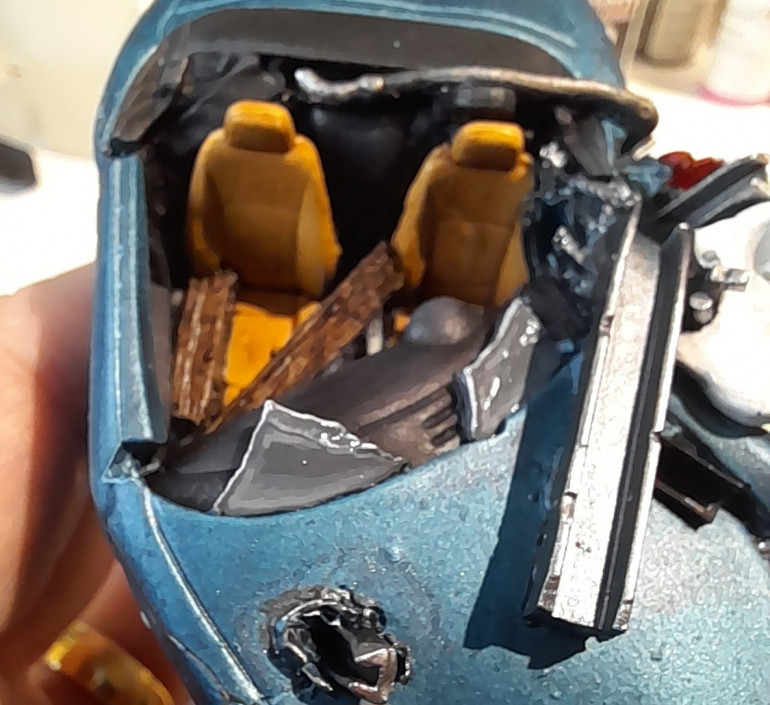
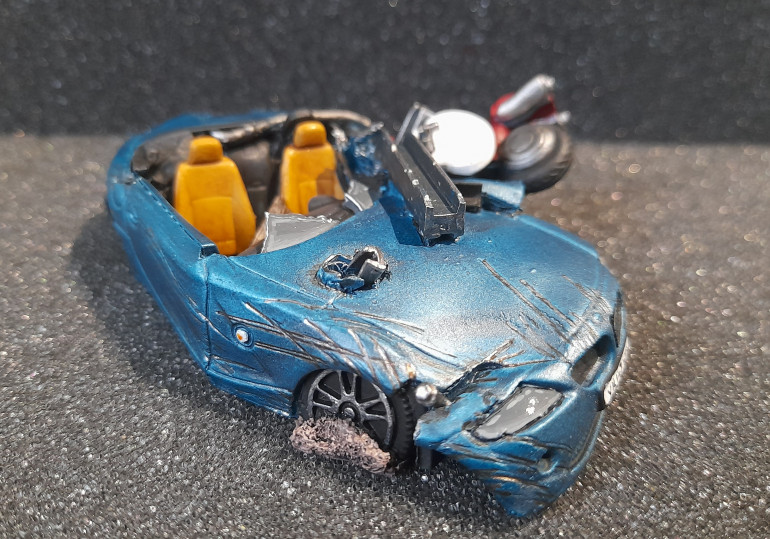
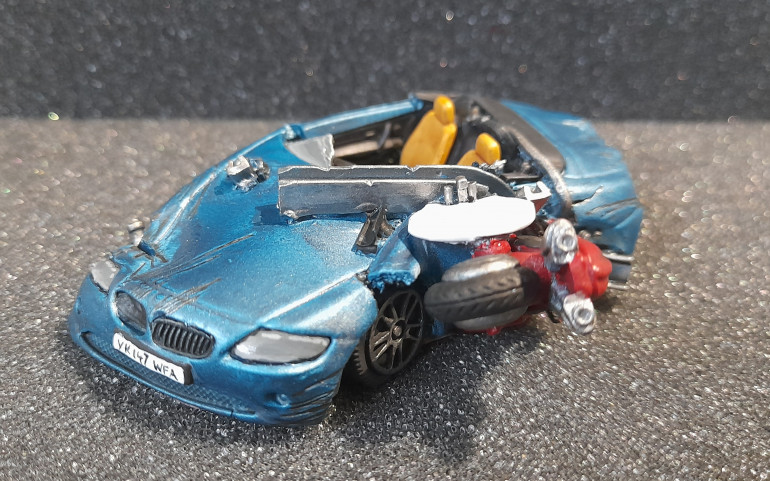
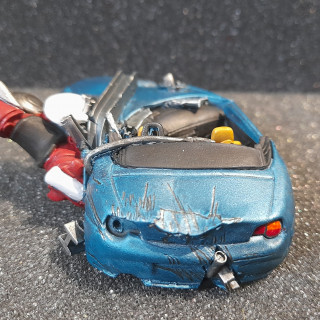
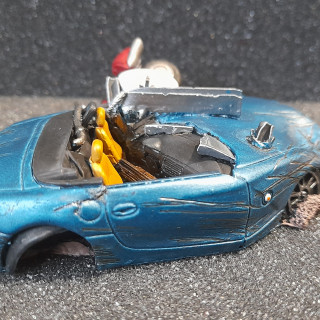
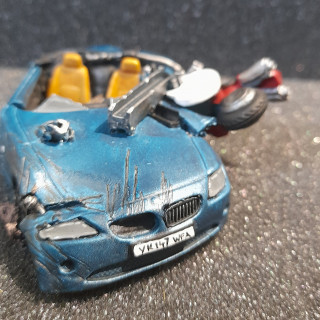
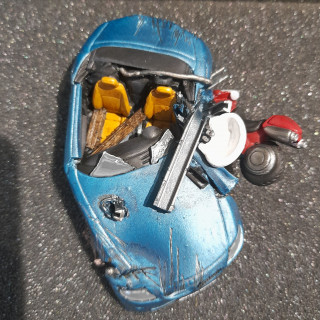
Next up was the resin wrecked car. I gave this a wash with warm soapy water prior to priming it with the rest of the minis. As usual I dithered somewhat on a colour, but ended up deciding that I wanted to go for metallic blue. As such I mixed up a colour using a gun metal and a blue air paint and applied it with my airbrush (not very experienced user).
I think I may have used a touch too much thinner on this. But luckily, with it being a wrecked car I can work around some of the blemishes.
So next I applied contrast black to the interior, wheels, wreckage parts etc. However, It wasn’t until I put down the first coat of leather onto the seats that it started to come together somewhat.
From there it was several stages of picking out the detail (which is pretty nice on this resin piece), scratches, girders, crashed bike and wash basin (…?), lights, windscreen and such.
I wasn’t sure how to approach the glass but in the end I used a technique similar to that for painting gems, but just in grey. Lightening at the bottom section, with a highlight across the top. With a gloss varnish I think it comes out ok.
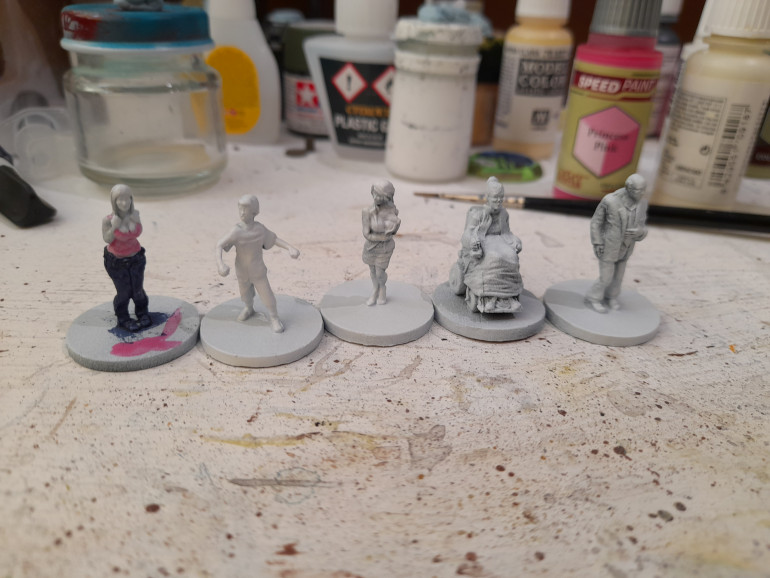
Civilians finished
22nd July 2024
After the bugs and flaming cows it was onto the civilians.
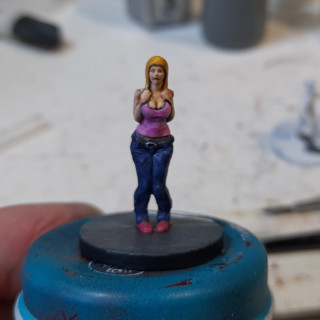
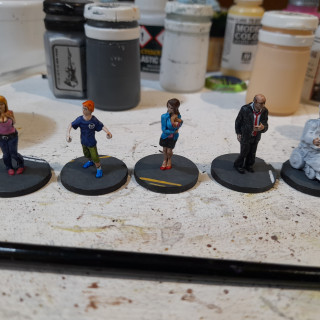
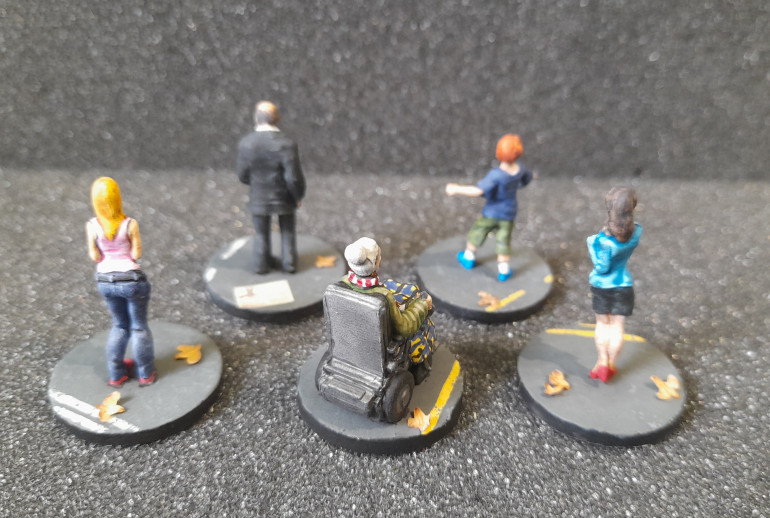
I wasn’t looking forward to these ones tbh. You can tell that they are old sculpts, and for board game pieces. The details are vague, particularly where hands are clasped across the body, and on the faces. I expect a prime coat doesn’t help with that still, but was needed. And on top of that I’m not good with faces….so what could go wrong ?
So, I decided to just concentrate on them having a clear visual identity of what they were, without having to look too closely.
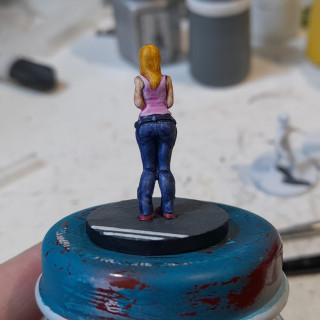
Laid down some colours on one of them first, and then just ended up finishing her off. I used some thinned black paint to try to add definition, and added some dark wash to the eye sockets and red wash around the lips.
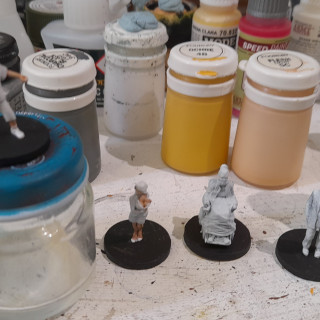
For the rest I worked on most of them at the same time, just leaving the wheelchair lady to the end, as I wasn’t sure on colours.
The boy is clearly an Otter-pup (hopefully the logo shows in some of the pics)…but don’t look at the eyes…. He’s seen too much! I should have just gone with wash only.
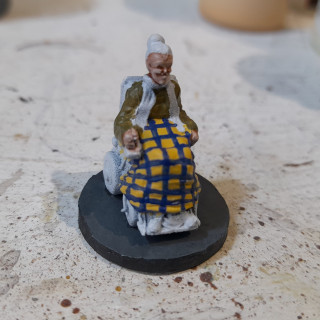
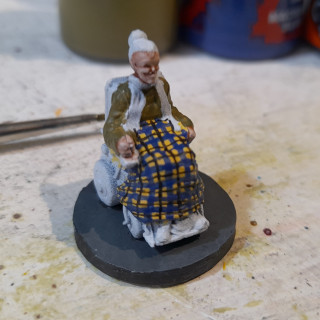
Finally it was the old lady. I opted to try a very basic pattern to emulate a Cornish tartan. Started out with a base of an off yellow, then laid down some blue lines, followed by black lines. I feel it came out ok really.
Then it was finishing the rest of her off, and adding detail to all the bases.
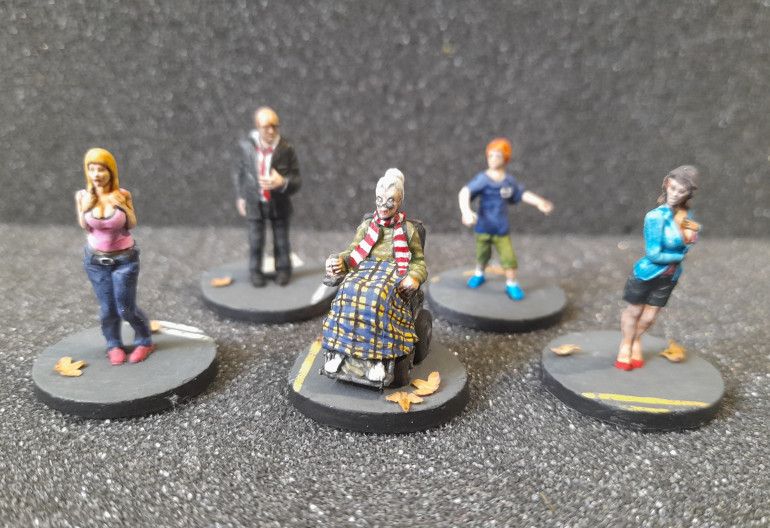
Here they all are:
I would say they are ‘adequate’, considering they are replacing cardboard tokens that are only used when certain event cards are drawn.
They represent what they are meant to, and can be identified on the tabletop.
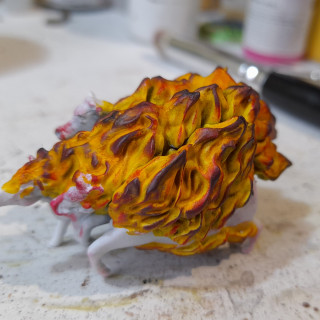
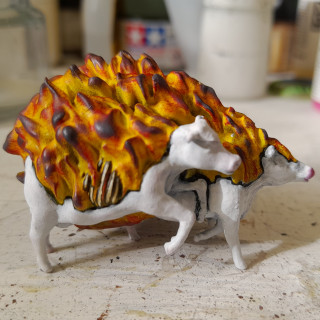
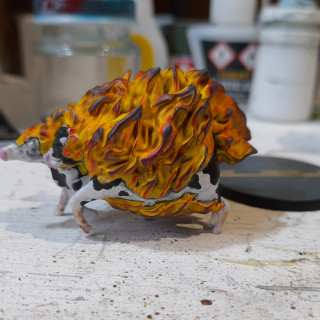
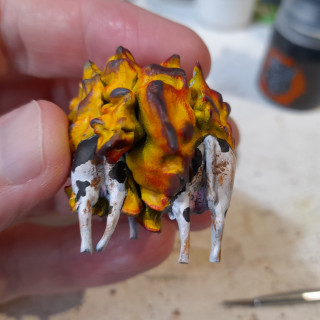
Flaming Cows arrive!
17th July 2024
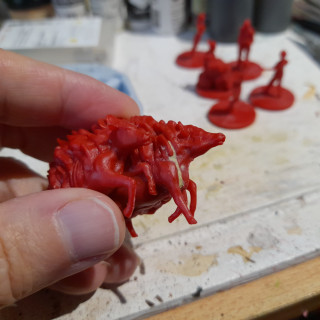
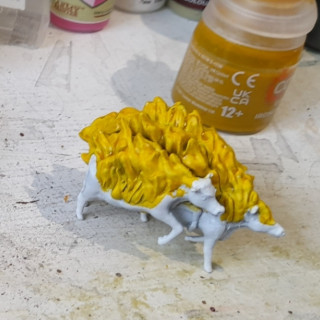
I had prepped the mini previously. Filling some of the larger gaps with milliput, cleaning the mould lines (that I could get to) and priming. For the flames I planned to paint them the same way that I painted my beacon flames in last year’s terrain fest project.
Again, didn’t take many pics during the process, as I was just on a roll. The flames started out as a basic yellow contrast. I followed this with a red drybrush on the higher areas, leaving a good amount of yellow showing. Next up was a drybrush of red mixed with black, but on smaller areas. Then it was black then grey on progressively smaller areas each time. I also picked out some ribs that had been burnt through to on one side.
The cows didn’t come on a base, so I decided that I would give them a basic round base, painted up in my standard ‘street’ fashion. I also tidied up the white on the cows, followed by picking out the black markings. Added pink for the noses and udders, then I stippled on some brown to represent mud, dirt and ‘other stuff’ on the cows….
Then it was on to some highlights, adding some details such as eyes etc, some leaves on the base….. and the flaming cows were done ?
Second bug down
16th July 2024
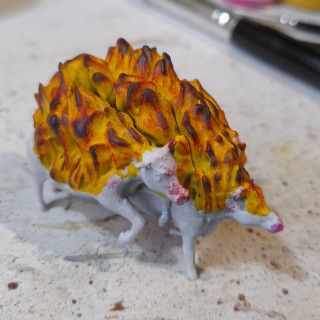
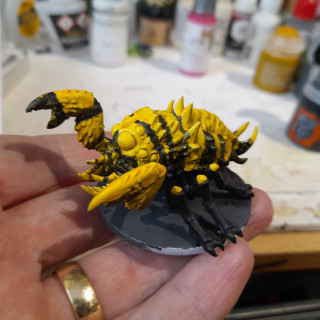
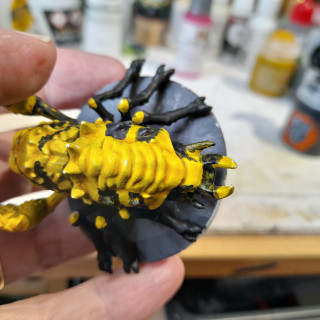
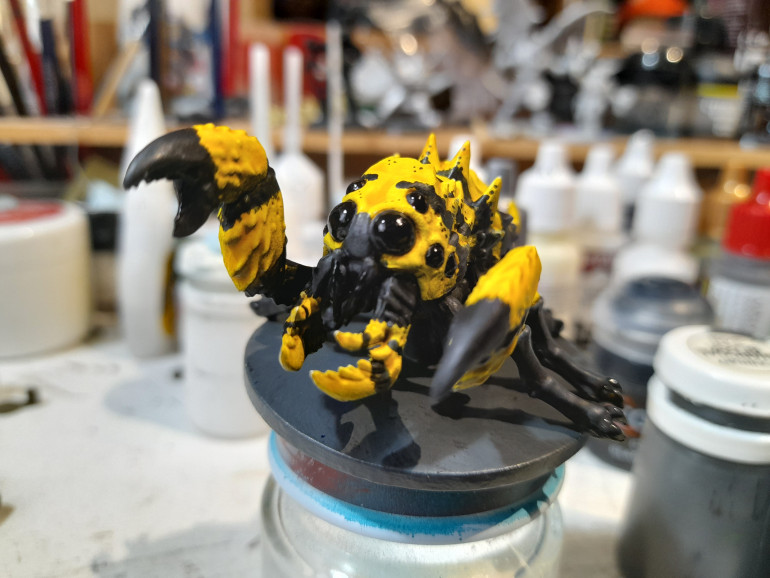
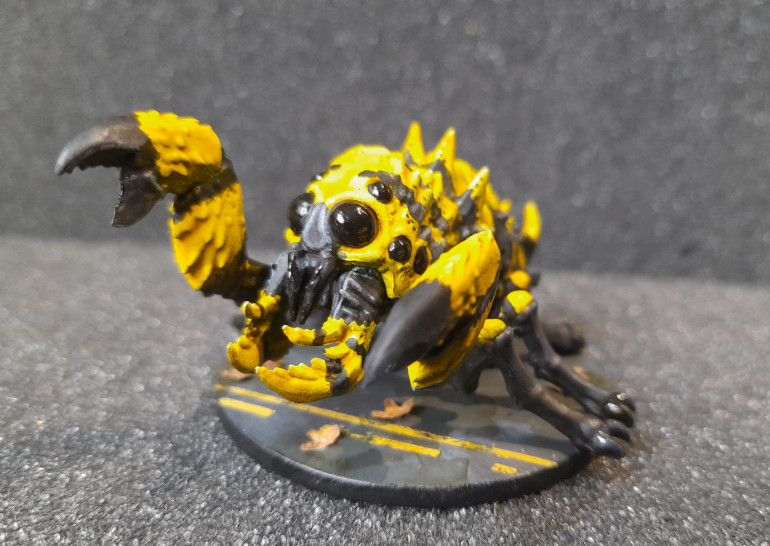
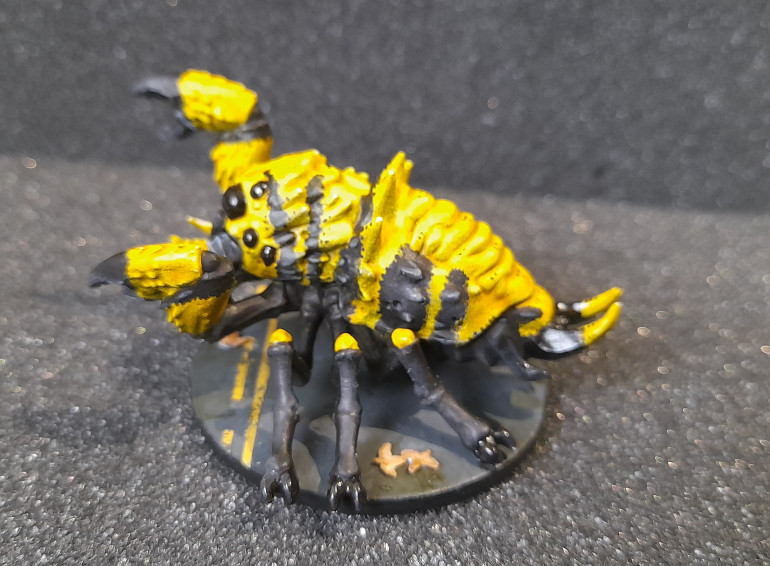
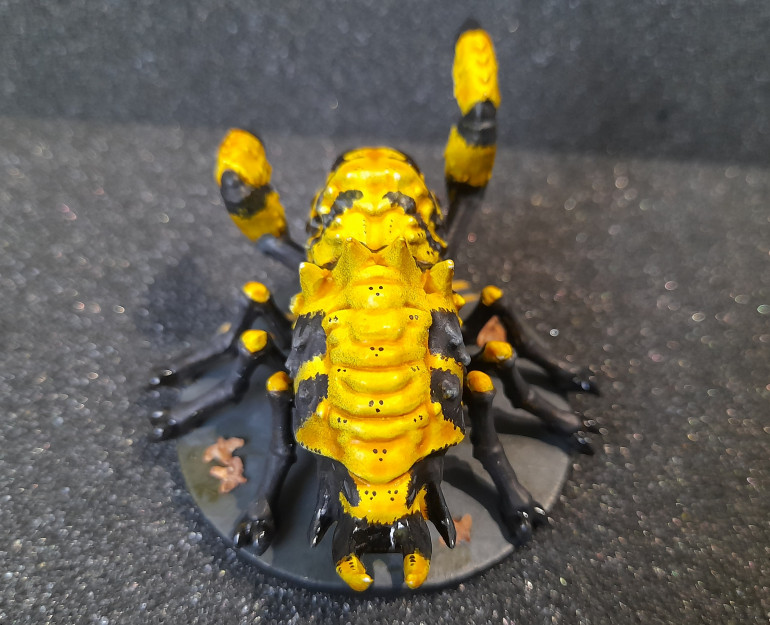
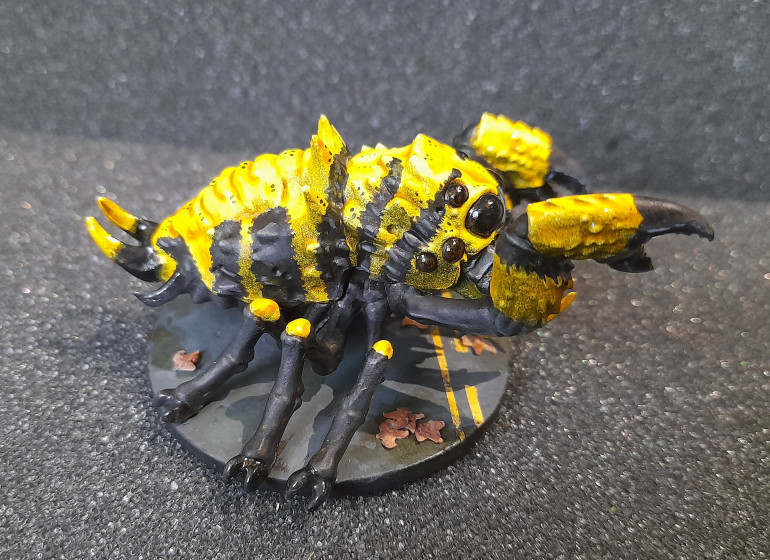
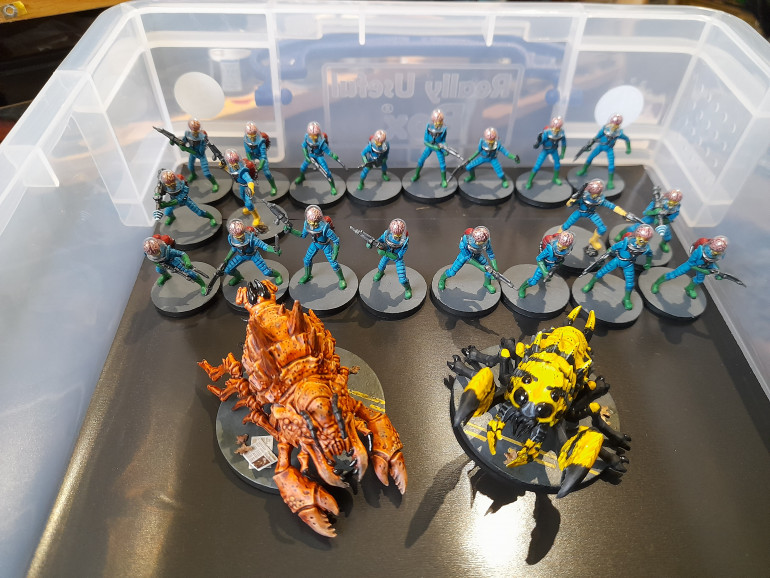
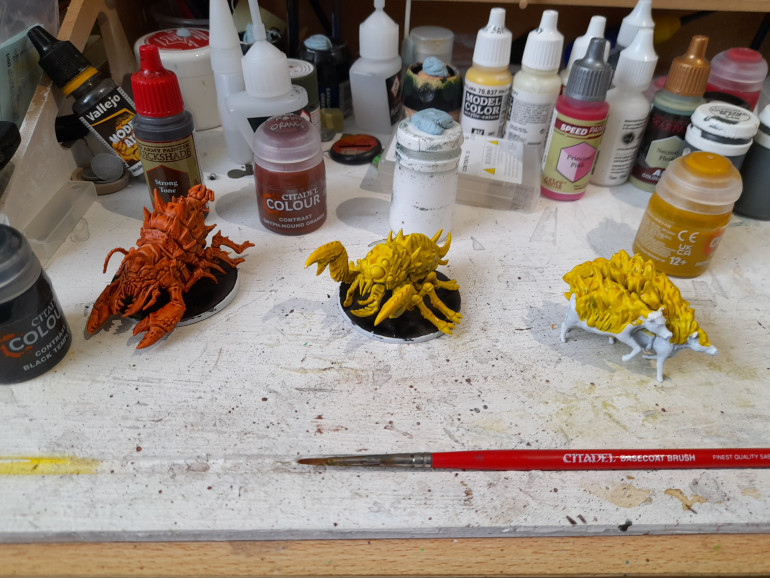
Onto the second giant mutant bug, this time the ‘spider’. I had already given it a basic yellow contrast over the whole thing. I Liked the studio example with black and yellow patterning, so wanted to do something akin to that.
I gave the yellow contrast a light drybrush with ivory. Then it was onto applying the black pattern elements using first contrast Black Templar, then the darker Black Legion to block it out.
I added the black eyes and foot claws, and gave them a coat of gloss varnish. The black sides were given and highlight of a couple of stages of grey, as were parts of the big claws. On parts of the carapace I added some dot patterns, like I had done on the other bug.
I found the yellow back a little plain, so decided to add some of the black dot patterns down that as well, which seemed to help. Then it was onto the basing, using the same method as for the other bug. Some stippling of a lighter grey, yellow road markings, some further stippling, streaking grime and leaves etc.
First Mutant Bug down
14th July 2024
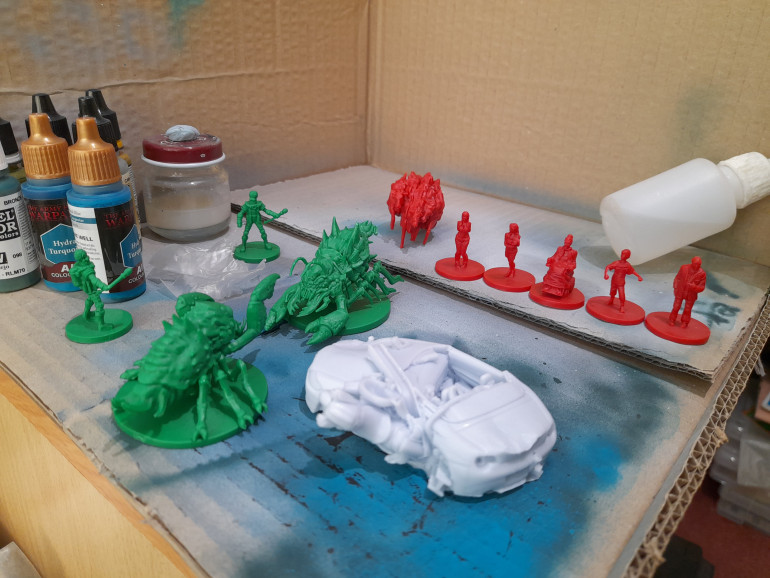
The token replacements all got a zenithal spray to prep them. However, the civilians ended up mostly white tbh though. I wasn’t sure how much time I would have, so I decided to lay down some basic colour on the larger pieces – the two mutant bugs and the flaming cows.
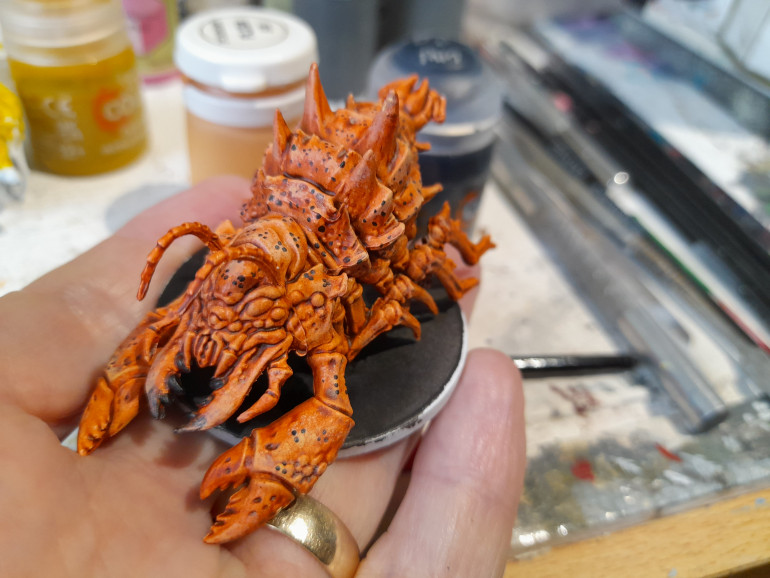
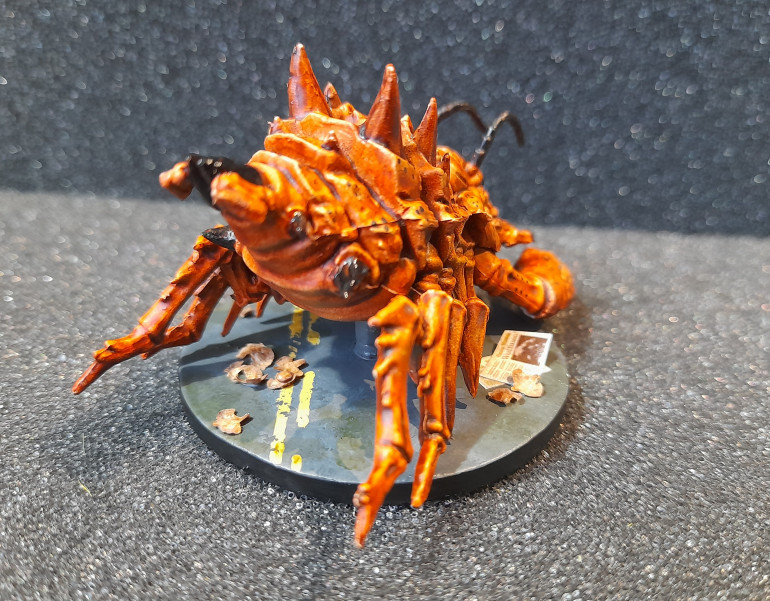
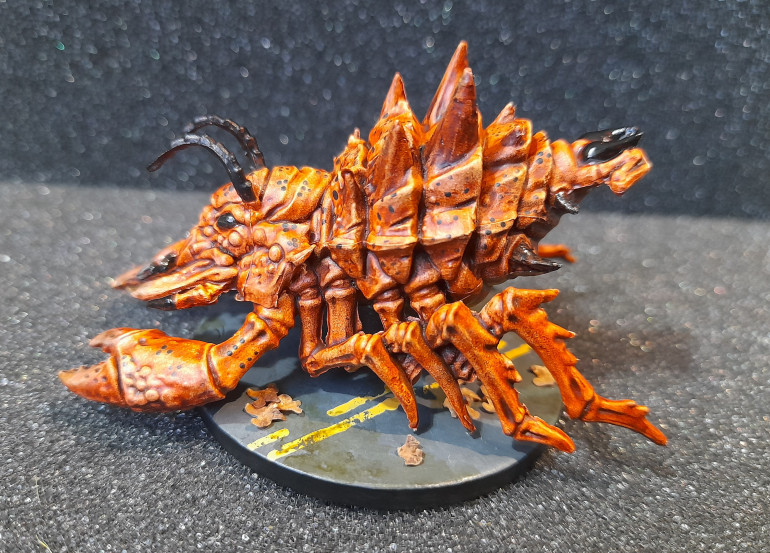
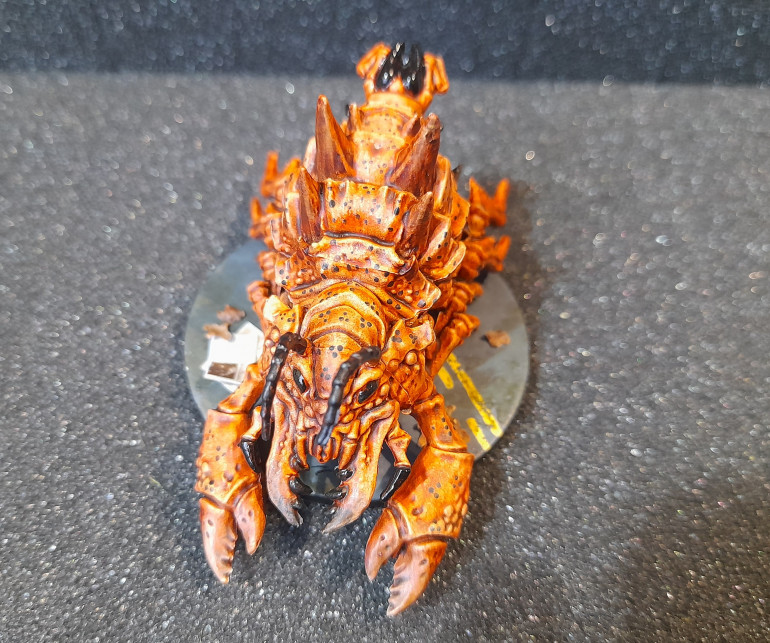
The ant type bug had an orange contrast base. I wanted to make the carapace look a bit more interesting, so I stippled over with a flesh colour, then gave a basic edge highlight to some of the back plates.
This was followed by using black contrast to cover all of the upper carapace with groupings of black spots to form some sort of pattern.
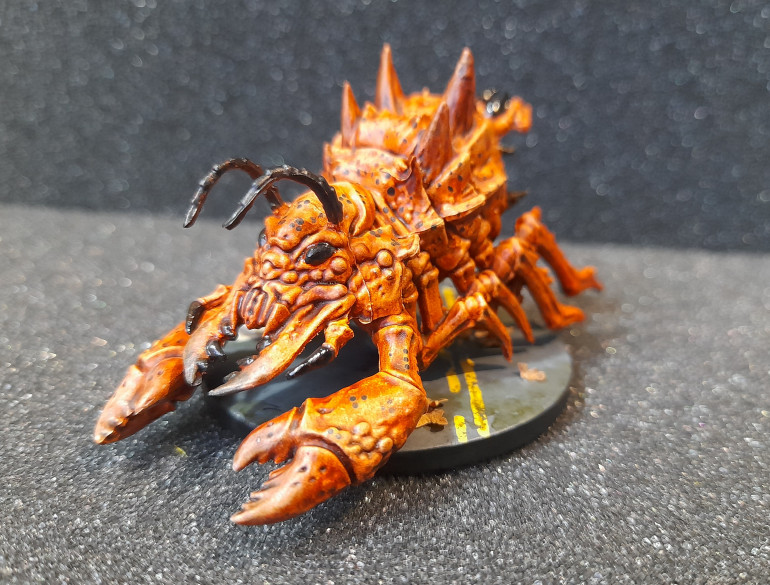
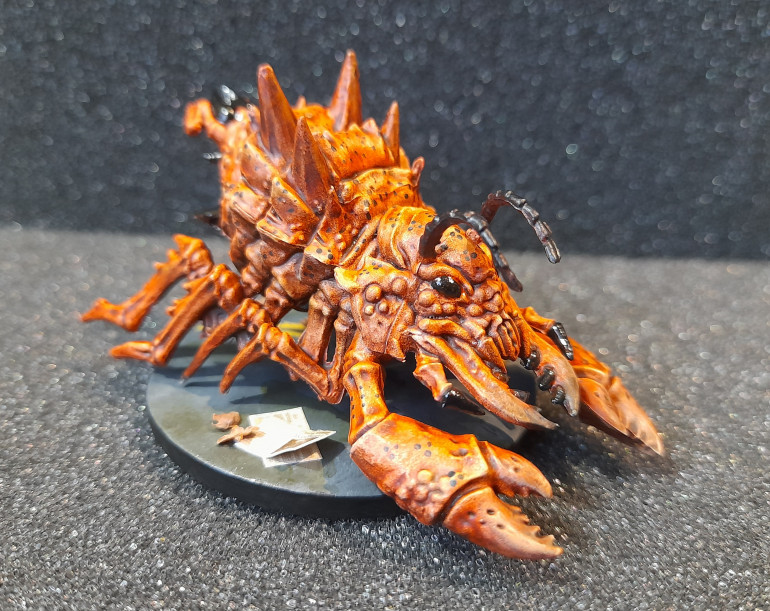
I got on a roll here so didn’t take many pics during the painting. I added black for the antennae and the ‘teeth’ in the jaws. The spikes on the back had a strong tone wash to differentiate them from the rest of the carapace. Then the front claws had a drybrush with a pale sand colour. Other parts were picked out with the black followed by a gloss varnish.
For the base I used my standard grey scheme. But I did actually go on to finish this base off. First stippling on a lighter grey. Then added yellow road markings followed with sponging on the original grey tone to break up the edges and imply wear. Next up a green streaking grime was used to add patches of colour variation, followed by adding some leaves and an old newspaper.
Martians finished
Trying this for a third time now….
11th July 2024
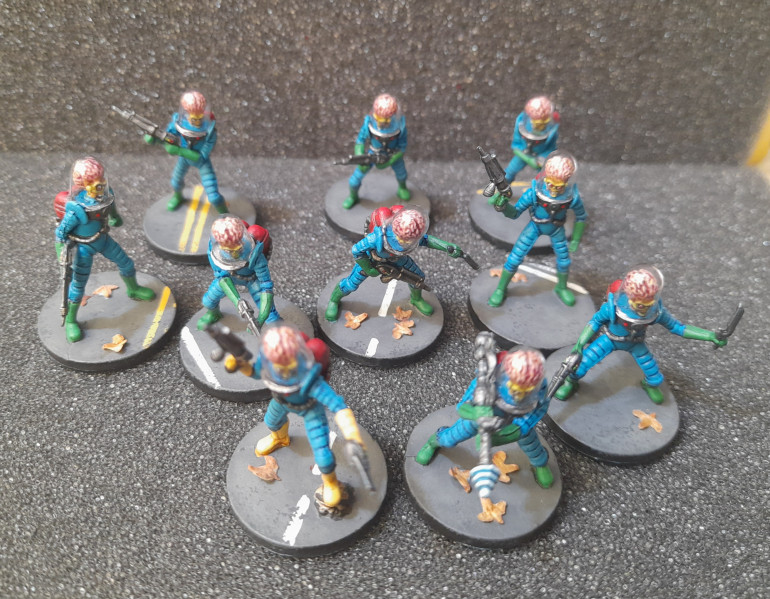
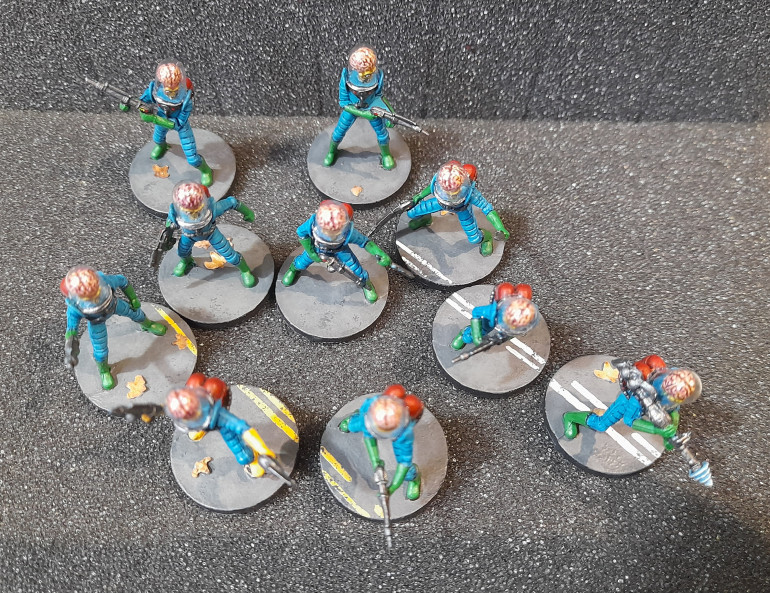
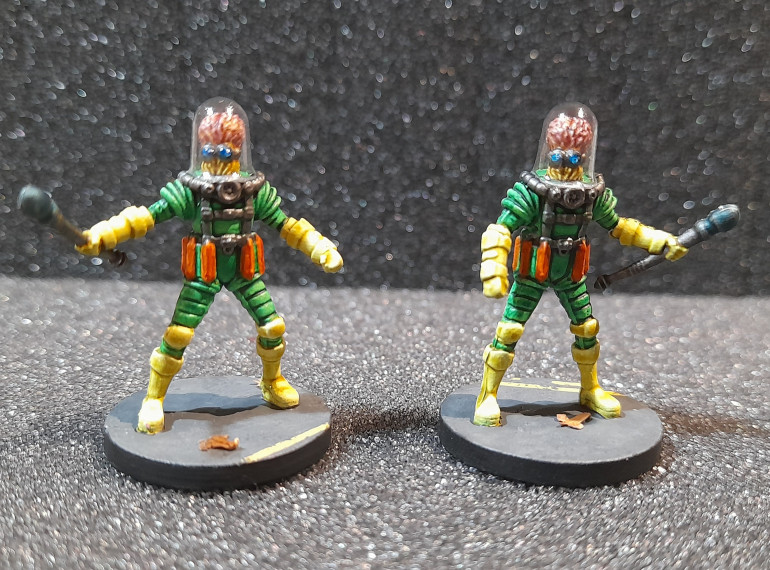
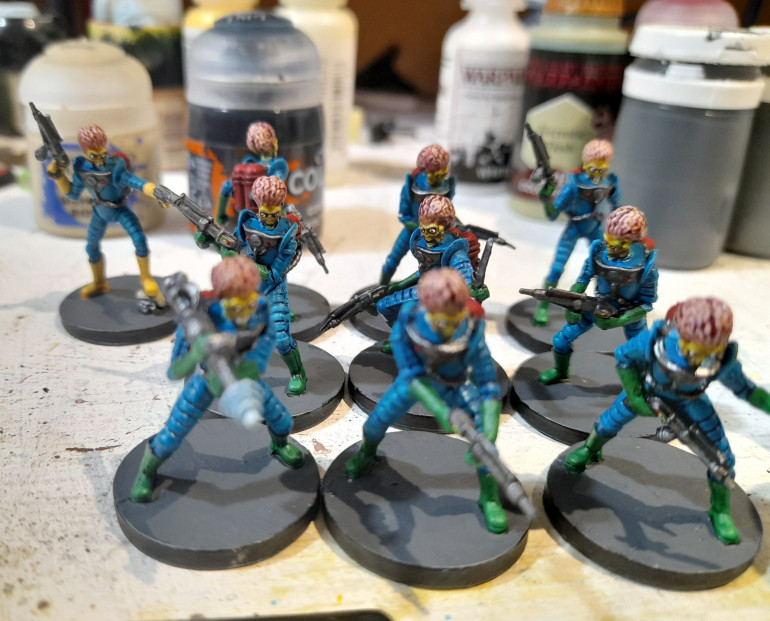
Well last night I managed to get the final parts done on the Martian squads (except basing).
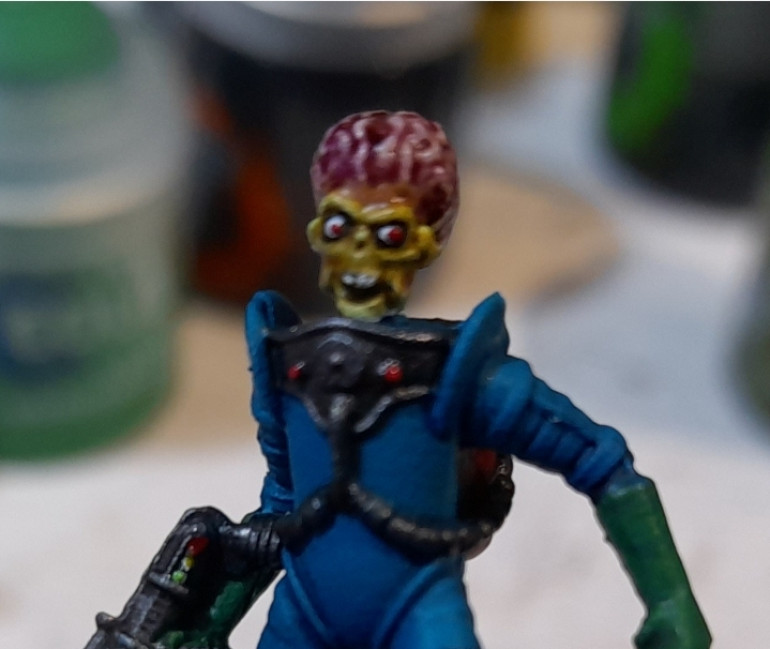
The heads went reasonably well overall. Using the same technique as on the test model, except I dropped the red wash stage as I feel that did not add much to the end result.
The eyes… well, some went ok and others not so okay….
I tried to paint the teeth on some of them, but a combination of aging eyes, aging hands, and general lack of precision meant that only a few came out at all reasonably ?
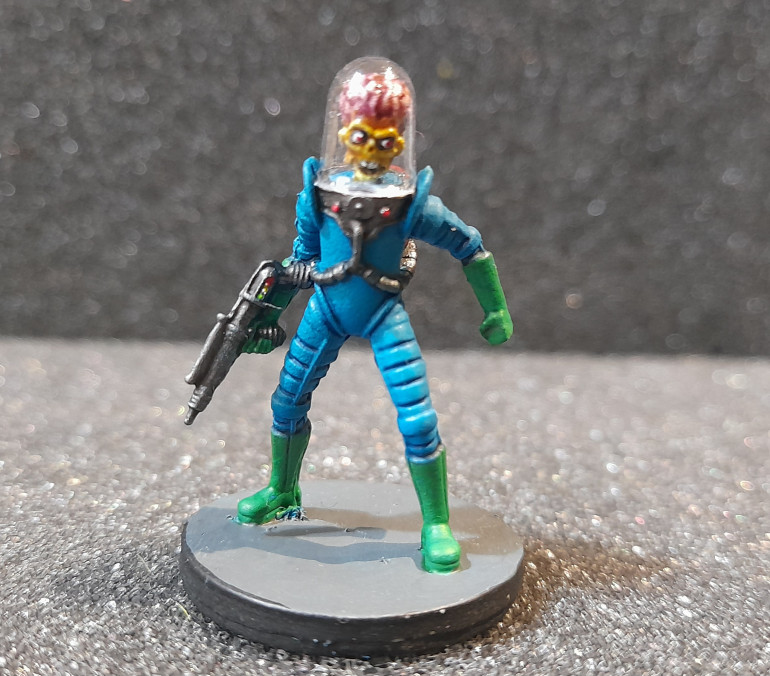
I also added the red ‘lights’ (maybe?) on the front of the armour, and green yellow and red lights to the handle end of all the guns.
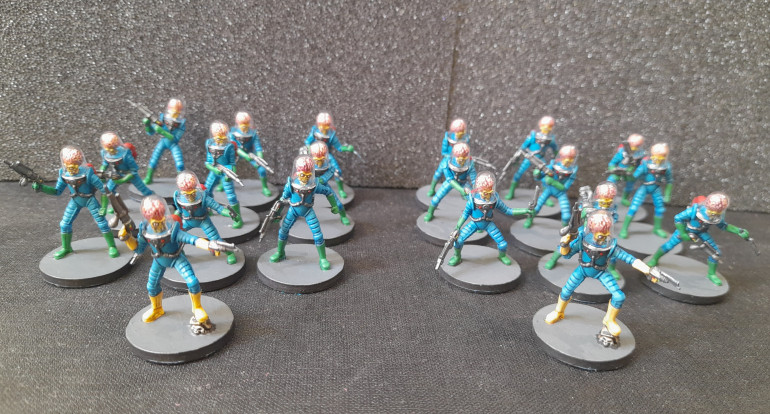
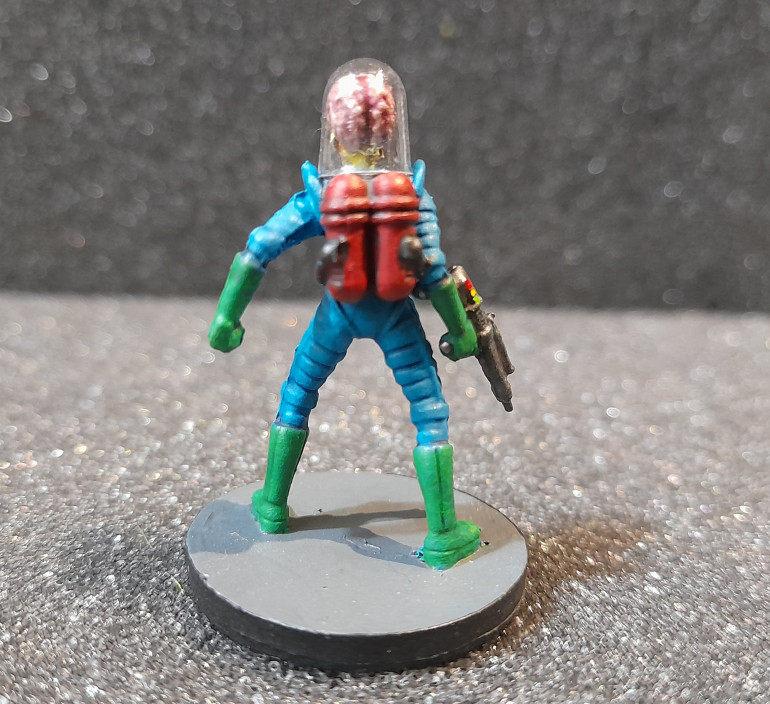
But, here are the two squads all finished up and with their plastic domes glued on.
Next up it will be the minis that will replace the tokens (for random events) in the core game. Civilians, some bugs, flaming cows and a wrecked car.
Duplicate due to system crash...
Duplicate due to project system crash – please ignore
Duplicate due to system crash...
Duplicate due to project system crash – please ignore
Martian progress update
8th July 2024
Its been a week since my last update, so thought it was time for another.
Working on 19 minis at once is quite laborious ?
I have been following the process for the test model, and applying it to the rest.
They all had the armour overspray with Hydra Turquoise followed by the same armour wash mix that I made up. Oddly though, the latter minis seem to have a somewhat gloss finish from the wash, but the earlier ones don’t….. not sure what happened there, as I kept the wash stirred.
Oh well, they will get a Matt spray at the end now to hopefully alleviate this.
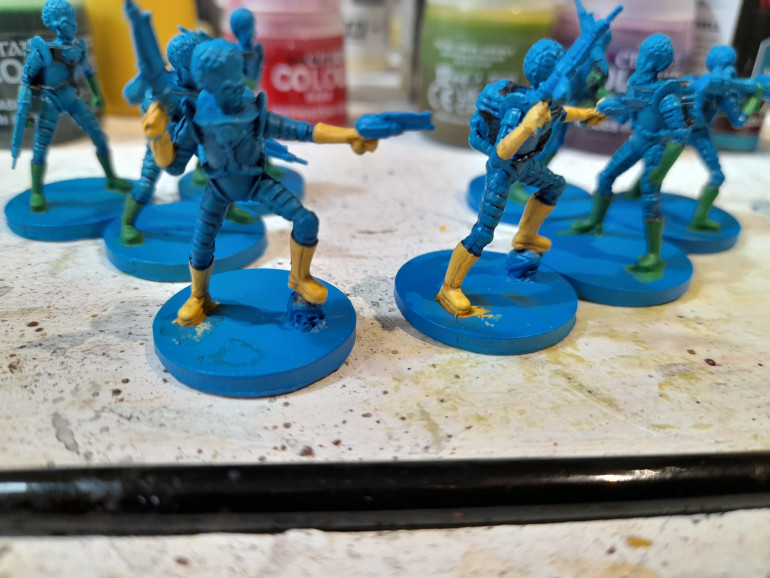
Next up it was painting the boot edges and glove edges with black Templar contrast. This was followed by painting all the boots and gloves – green for the grunts, and a yellow ochre for the two squad leaders.
Then it was onto black templar again for piping, guns, tank edges and mixed in was painting the bases black, followed by a basic dark grey layer.
The armour, piping and guns were then painted with Vallejo gunmetal.
After that I painted the tanks with mephiston red, and gave the tanks and gunmetal areas a nuln oil wash.
Martian Test Model
1st July 2024
Half the year gone already……
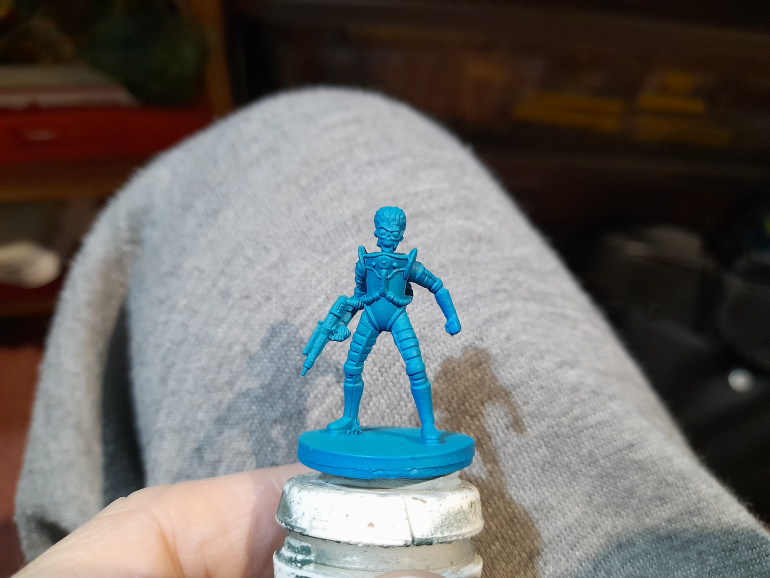
So, onto the test model for the Martian grunts. Since there are twenty of them I was looking for something that would be easy to repeat across so many, but still look reasonably striking from play distance.
I started out with a Crystal blue spray (Army painter) as shown in an earlier post.
This was followed up with an airbrush overspray of Hydra Turquoise (Army Painter air).
Next up was a blue wash. I only have an older wash (should have ordered a new one when I got my turquoise paints…) called Asurmen Blue. I put this as a 1:1 mix with Contrast Medium to thin it a little.
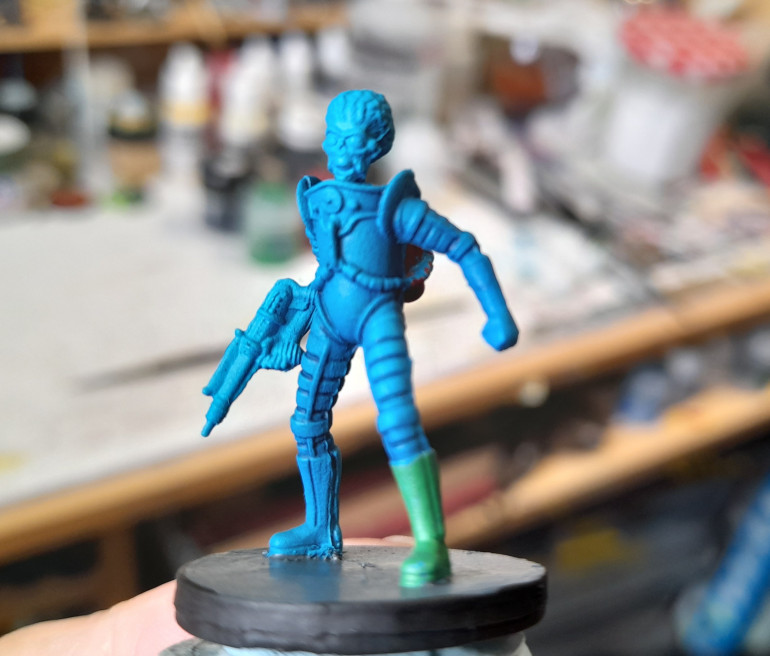
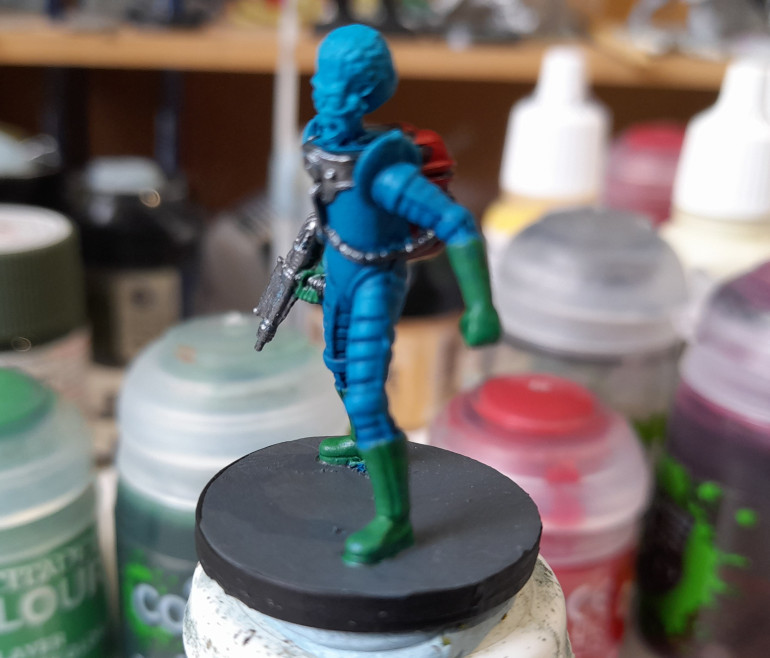
The boots and gloves were painted with Warpstone Glow, followed by a Biel Tan Wash. A few small highlights with the Warpstone again.
Armour was Vallejo Gunmetal air paint, with a Nuln oil wash.
Tanks on the back are Mephiston Red, nuln oil wash, then highlighted back up with Mephiston followed by Mephiston and a touch of orange.
For the head I started out with an ivory colour. Then I added a greenish wash onto the face and skeleton horde onto the brain. The brain then had Magos purple and Carroburg Crimson washes. Then I added skeleton horde and a few spots of Magos purple to the face as well.
The big eyes were picked out with red pupils. Accidentally made it look sideways on the first eye, but liked it, so did the same with the other eye.
Finally added the plastic dome (with some pva glue – have to see how that holds) and the test piece was done.
I think it works for the Martians. The head and face really add to the effect.
There are 19 (!) more to do, so I think it will take a while. But hopefully the process will be manageable.
Then it will be time for bases, and maybe some of the kickstarter civilians…
Human Soldier Squad
30th June 2024
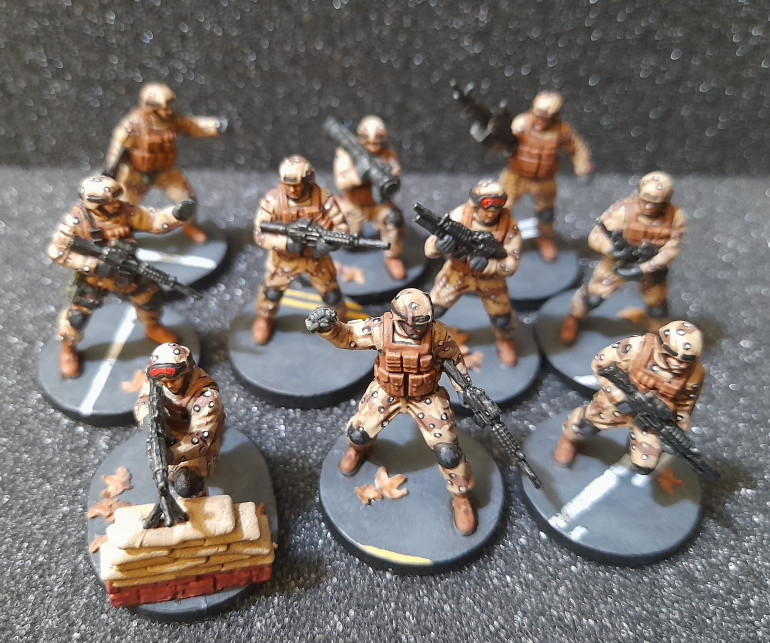
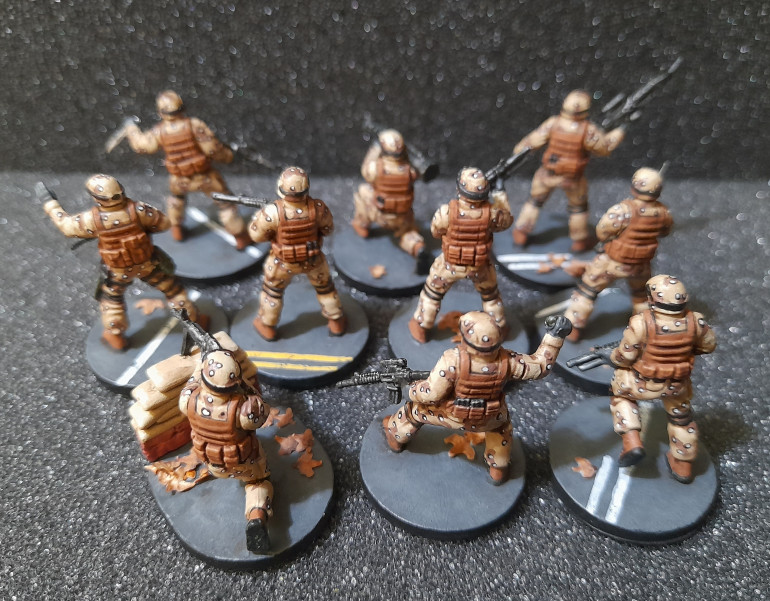
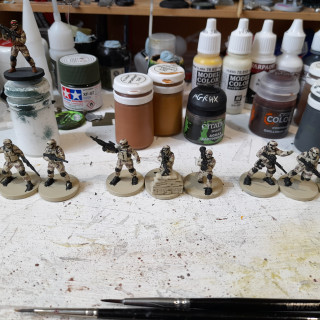
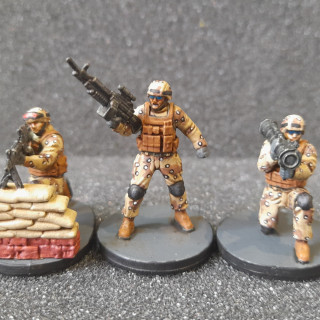
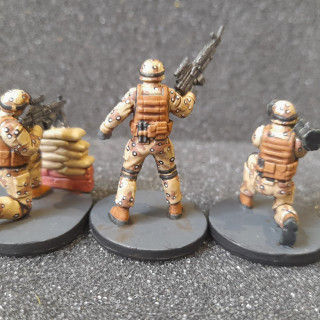
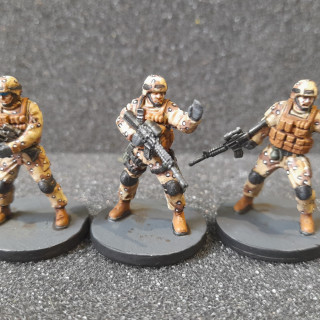
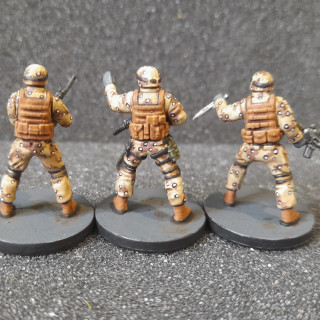
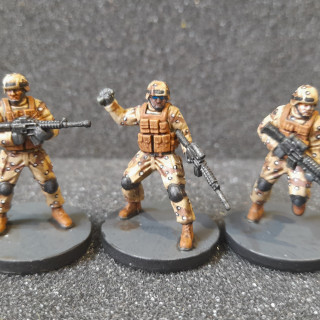
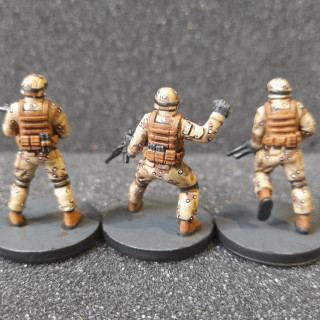
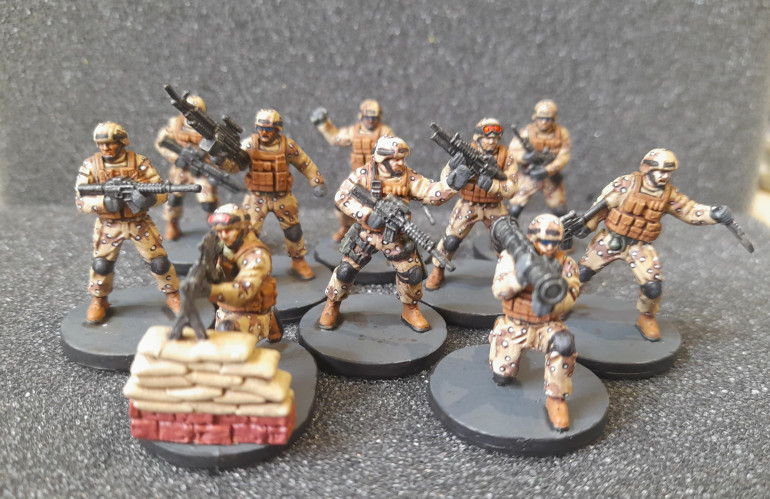
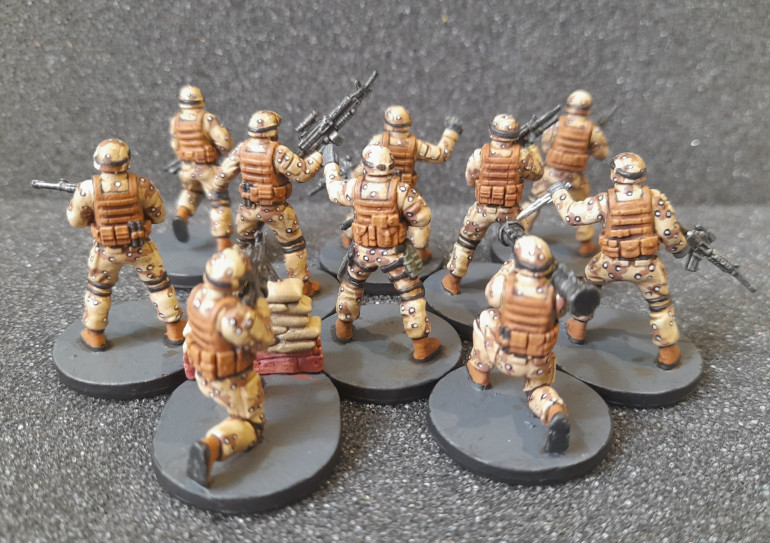
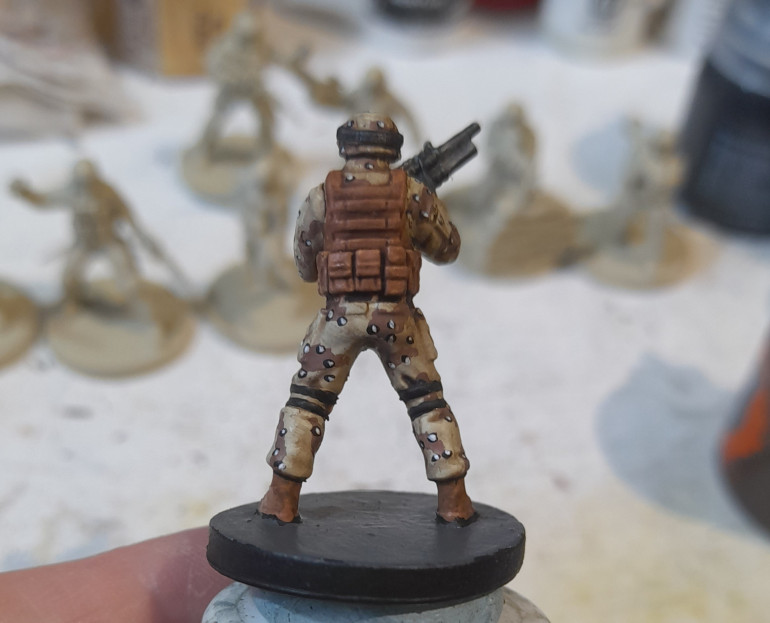
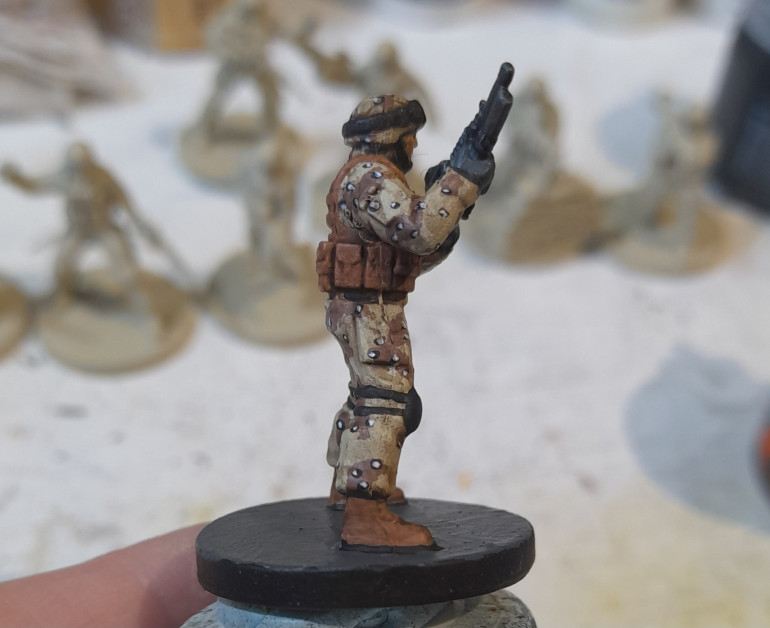
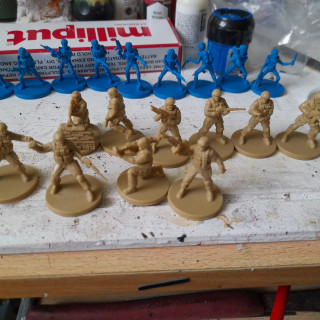
Having carried out the test camo scheme on one soldier It was then a case of rolling it out onto the rest of the squad.
Seems to take a lot longer when doing it across nine models rather than one ?
I did each stage across all the models to start with, then towards the end I worked on groups of three. For those with glasses on I picked those out in blue contrast over silver.
I still need to work on the bases, but plan to do these and the martians all at the same time. Not sure how much I will add – probably not as much as I have done on my Walking Dead minis recently.
And then adding in the test model, here is the whole squad.
Human Soldier test
25th June 2024
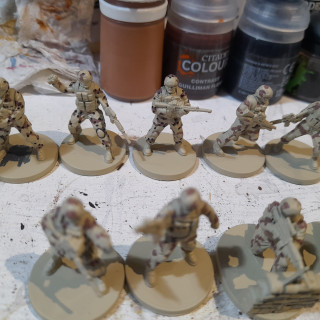
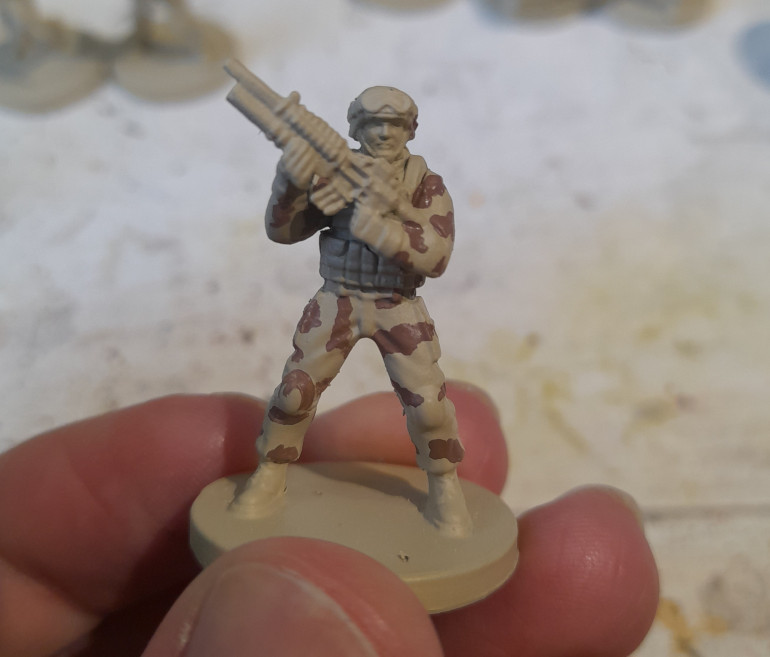
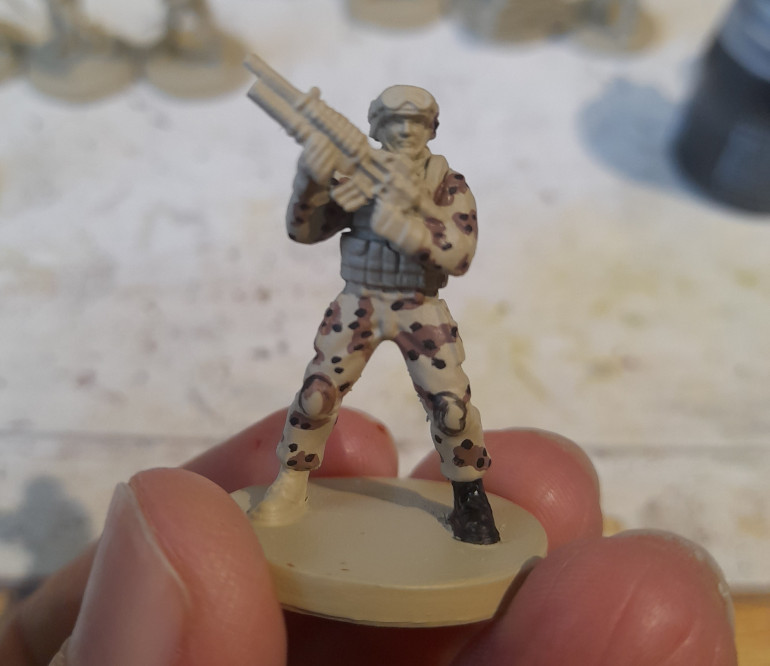
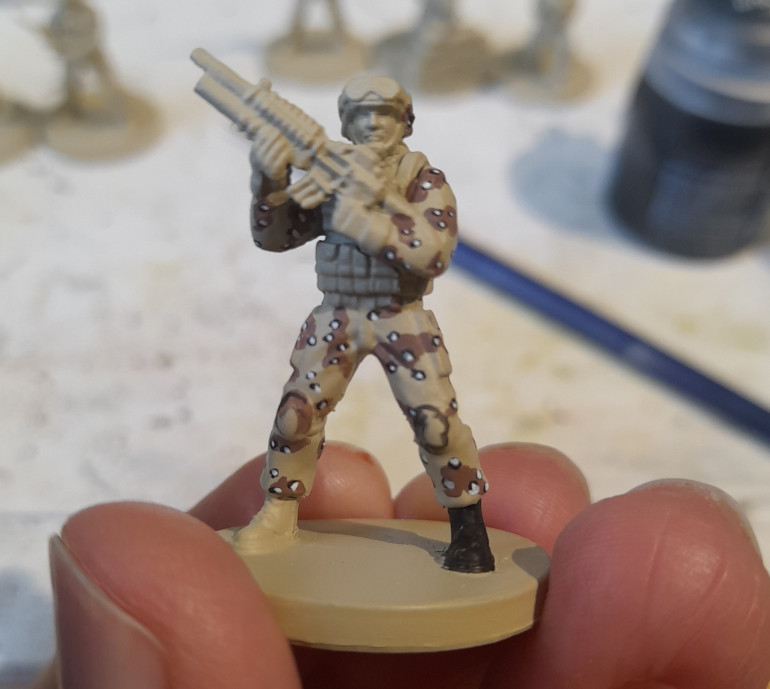
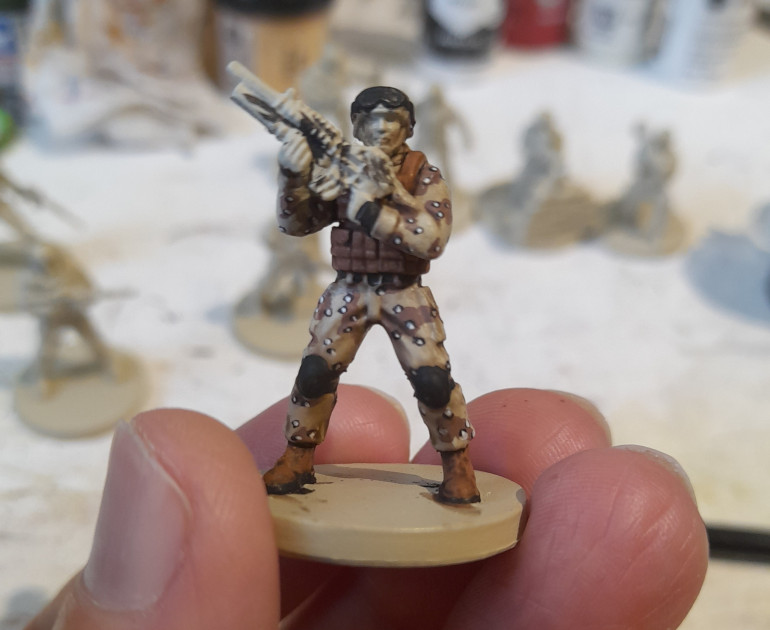
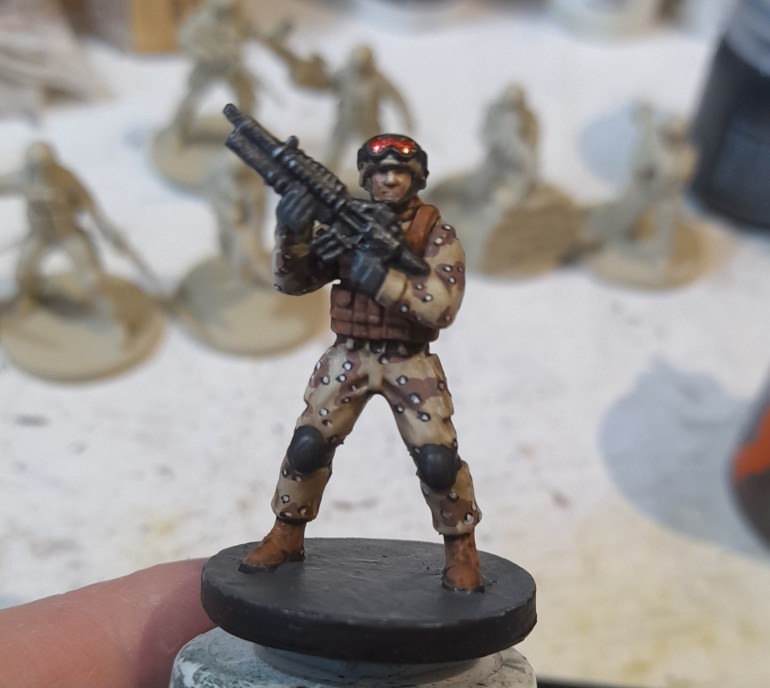
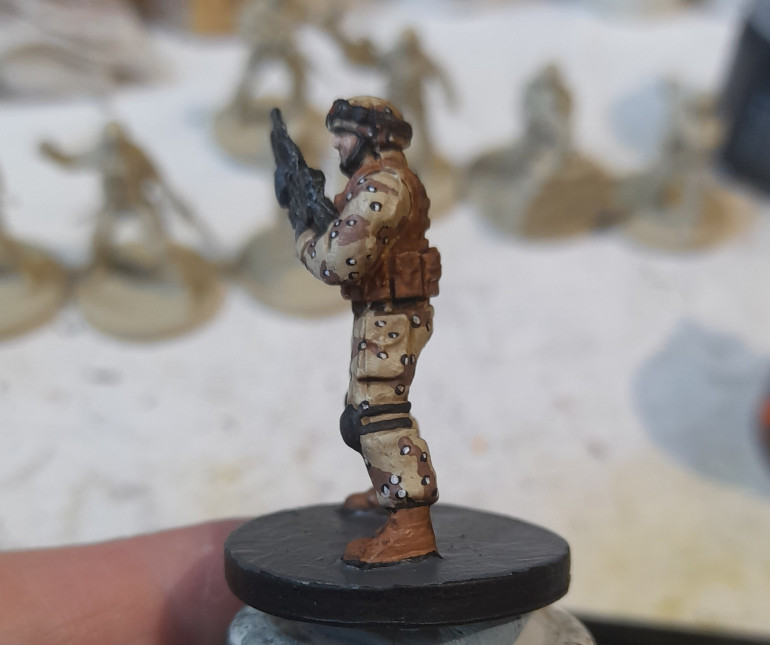
While waiting for my turquoise paint to arrive I thought I would try out a camo scheme on one of the human soldiers, as a test piece. I wasn’t happy with the zenithal spray, as I realised that it wasn’t suited to how I wanted to paint them. So I gave them all a touch up spray with the skeleton bone.
I had researched some camo schemes, and went for one that had brown splotches with black spots that had white overlaid.
Once the basics were done I added a brown body vest and pouches, black straps and belts, grey gloves, brown boots etc.
An Agrax Earthshade wash helped tie things together and give definition to the pouches etc.
Then finished it off by painting some skin on the face (not going to try to do the eyes currently…. Don’t think its needed), painting the gun, goggles and putting some grey on the base. The base will get more treatment when I do them all together.
Duplicate - ignore
Duplicate due to system crashing – please ignore
Clean and prep
24th June 2024
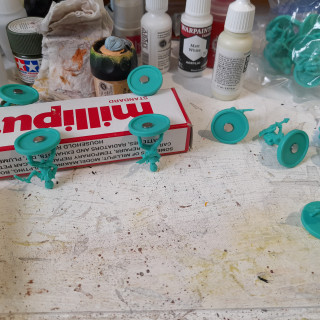
Like always, I am starting out by cleaning and prepping the minis. These are older Mantic minis, and although they do have some reasonable detail they are not up to the current quality. In places the details can be a little vague, and there are quite a few prominent mould lines.
I will remove what I can in a reasonable amount of time – but I know I will not get close to getting them all.
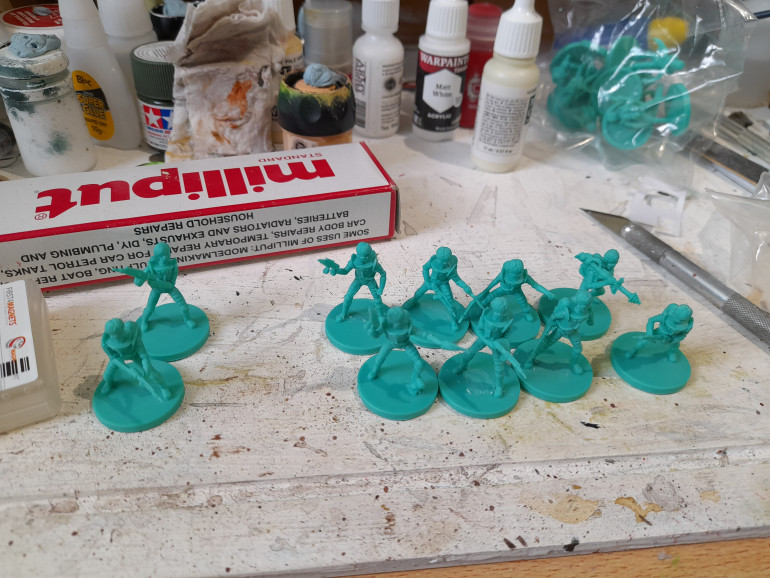
I also added magnets at the start….
Also, as I usually do, I dithered around colour. The images in the rulebook have the Martians in blue and the soldiers in desert camo. However, all the art and the film have the Martians in more of a teal or turquoise colour (and they come in a turquoise plastic to start). So, I checked around for what colours I had, and found a lack of turquoise.
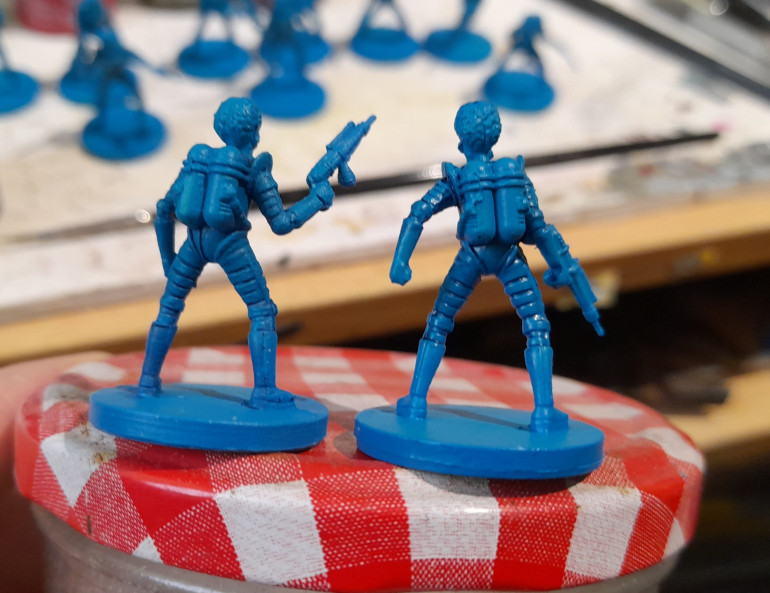
Ordered some up, and currently waiting on delivery. I did however have a blue spray, so I decided to prime the Martians with that first.
Sadly, I had an issue with this army painter spray clogging up after just about 20 seconds….. luckily, having had issues with Army Painter before, I did have some spare larger nozzles. I quickly swapped it over and was able to finish priming the Martian grunts.
Next was the US soldiers. I debated going for an urban camo scheme. After discussions with a friend though I have decided to go for a basic desert camo. In his paradoxical words ‘go for the camo that stands out on the table more’ ? But, it does make sense in a way.
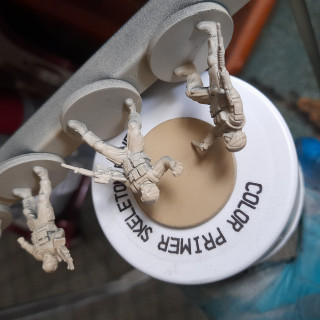
So, I am now at the point of cleaning up the US soldier minis and will then prime them black followed by a beige that I own (skeleton bone from Army painter – I have a spare nozzle at the ready too…)


![How To Paint Moonstone’s Nanny | Goblin King Games [7 Days Early Access]](https://images.beastsofwar.com/2024/12/3CU-Gobin-King-Games-Moonstone-Shades-Nanny-coverimage-225-127.jpg)


