


Infinity Beyond Icestorm – Assembly


Recommendations: 85
About the Project
After receiving some new goodies ordered from Green Stuff World, I thought I'd chronicle my work using some of the new kit :).
Related Game: Infinity
Related Company: Corvus Belli
Related Genre: Science Fiction
This Project is Active
Return After Long Hiatus :)
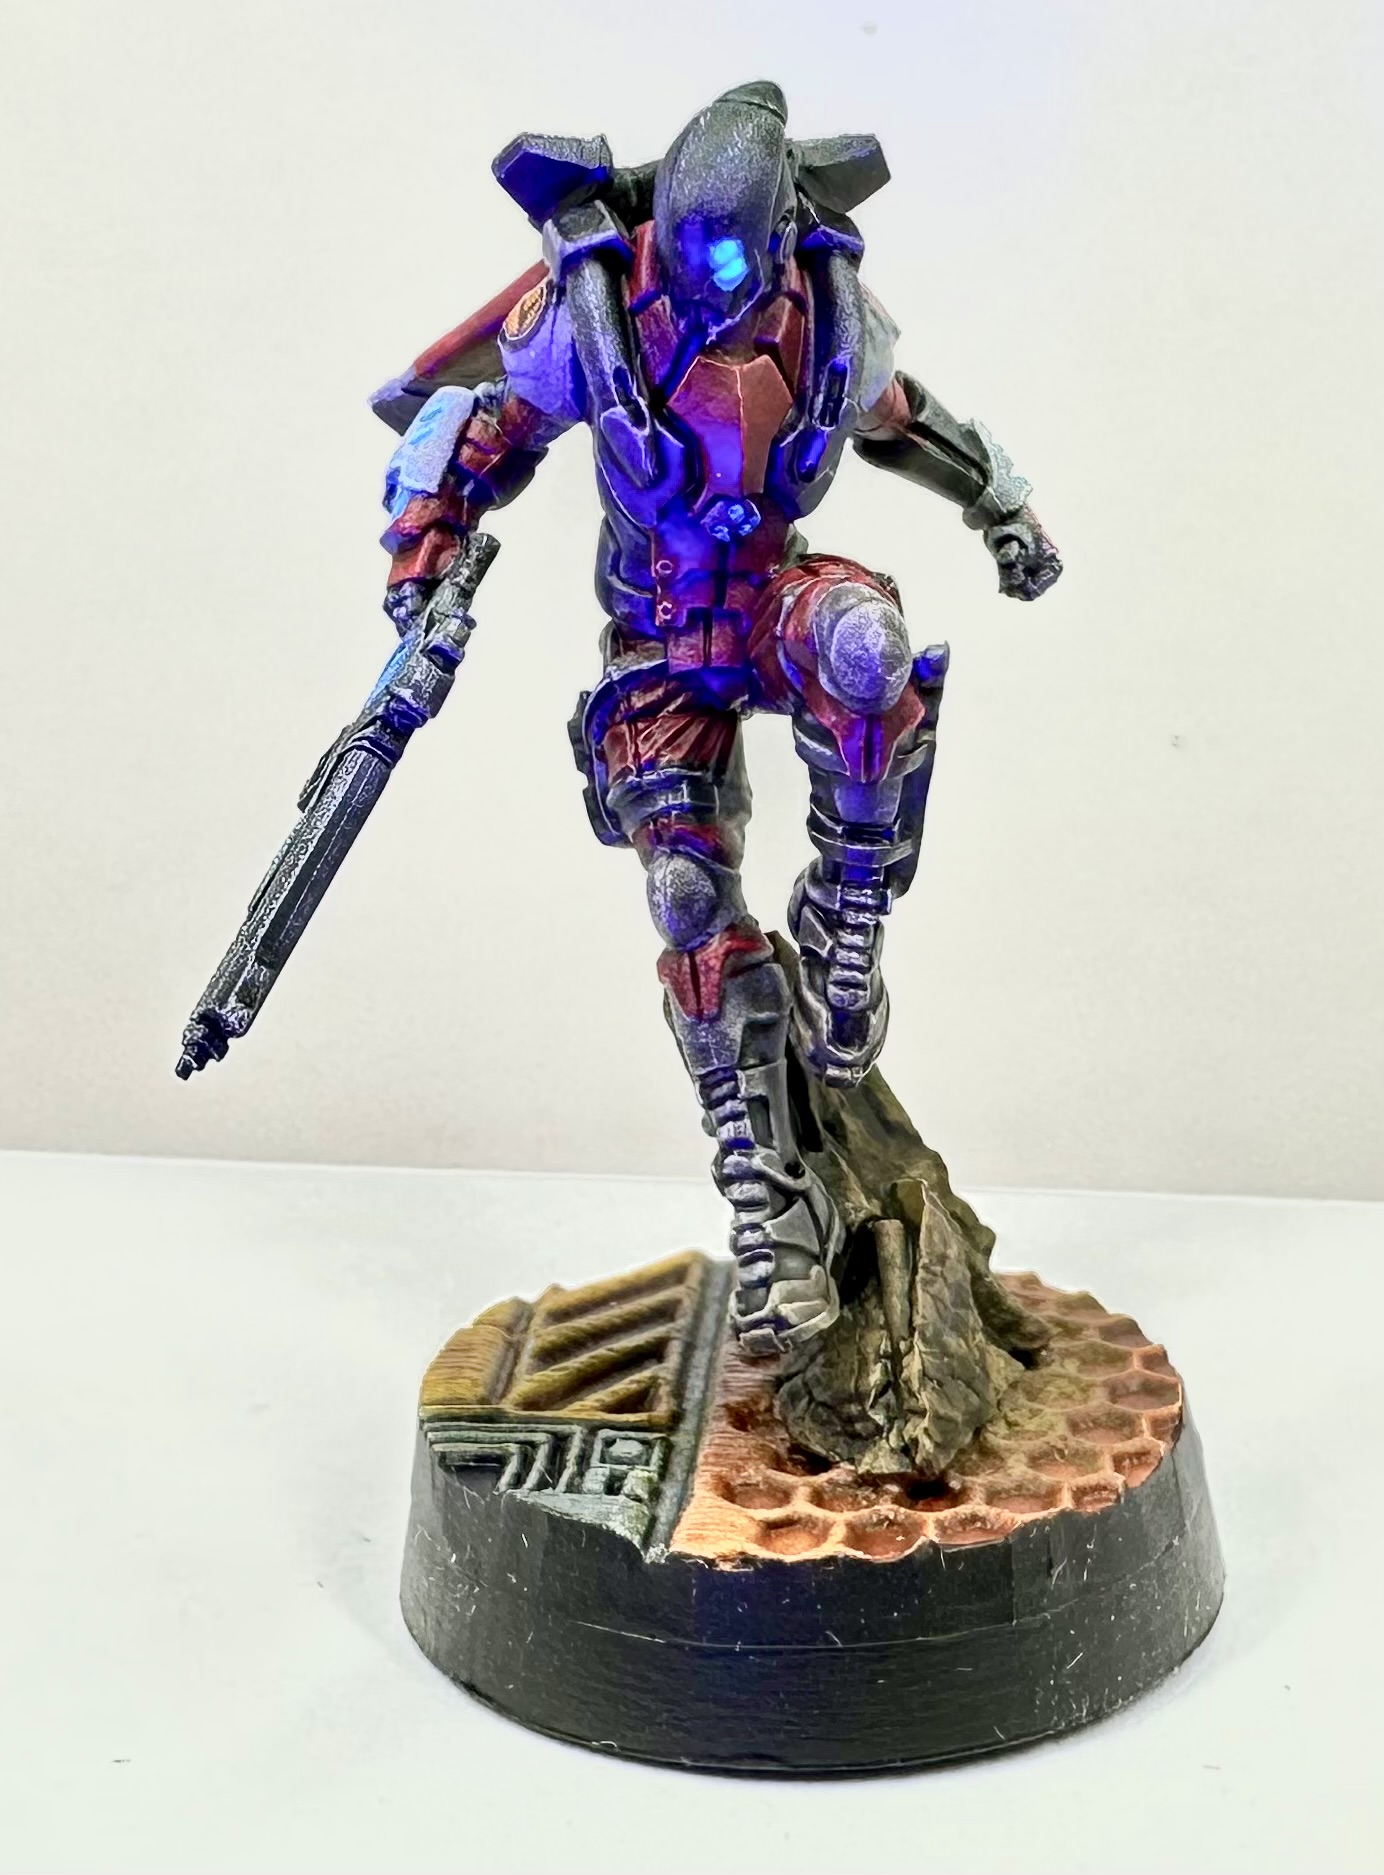
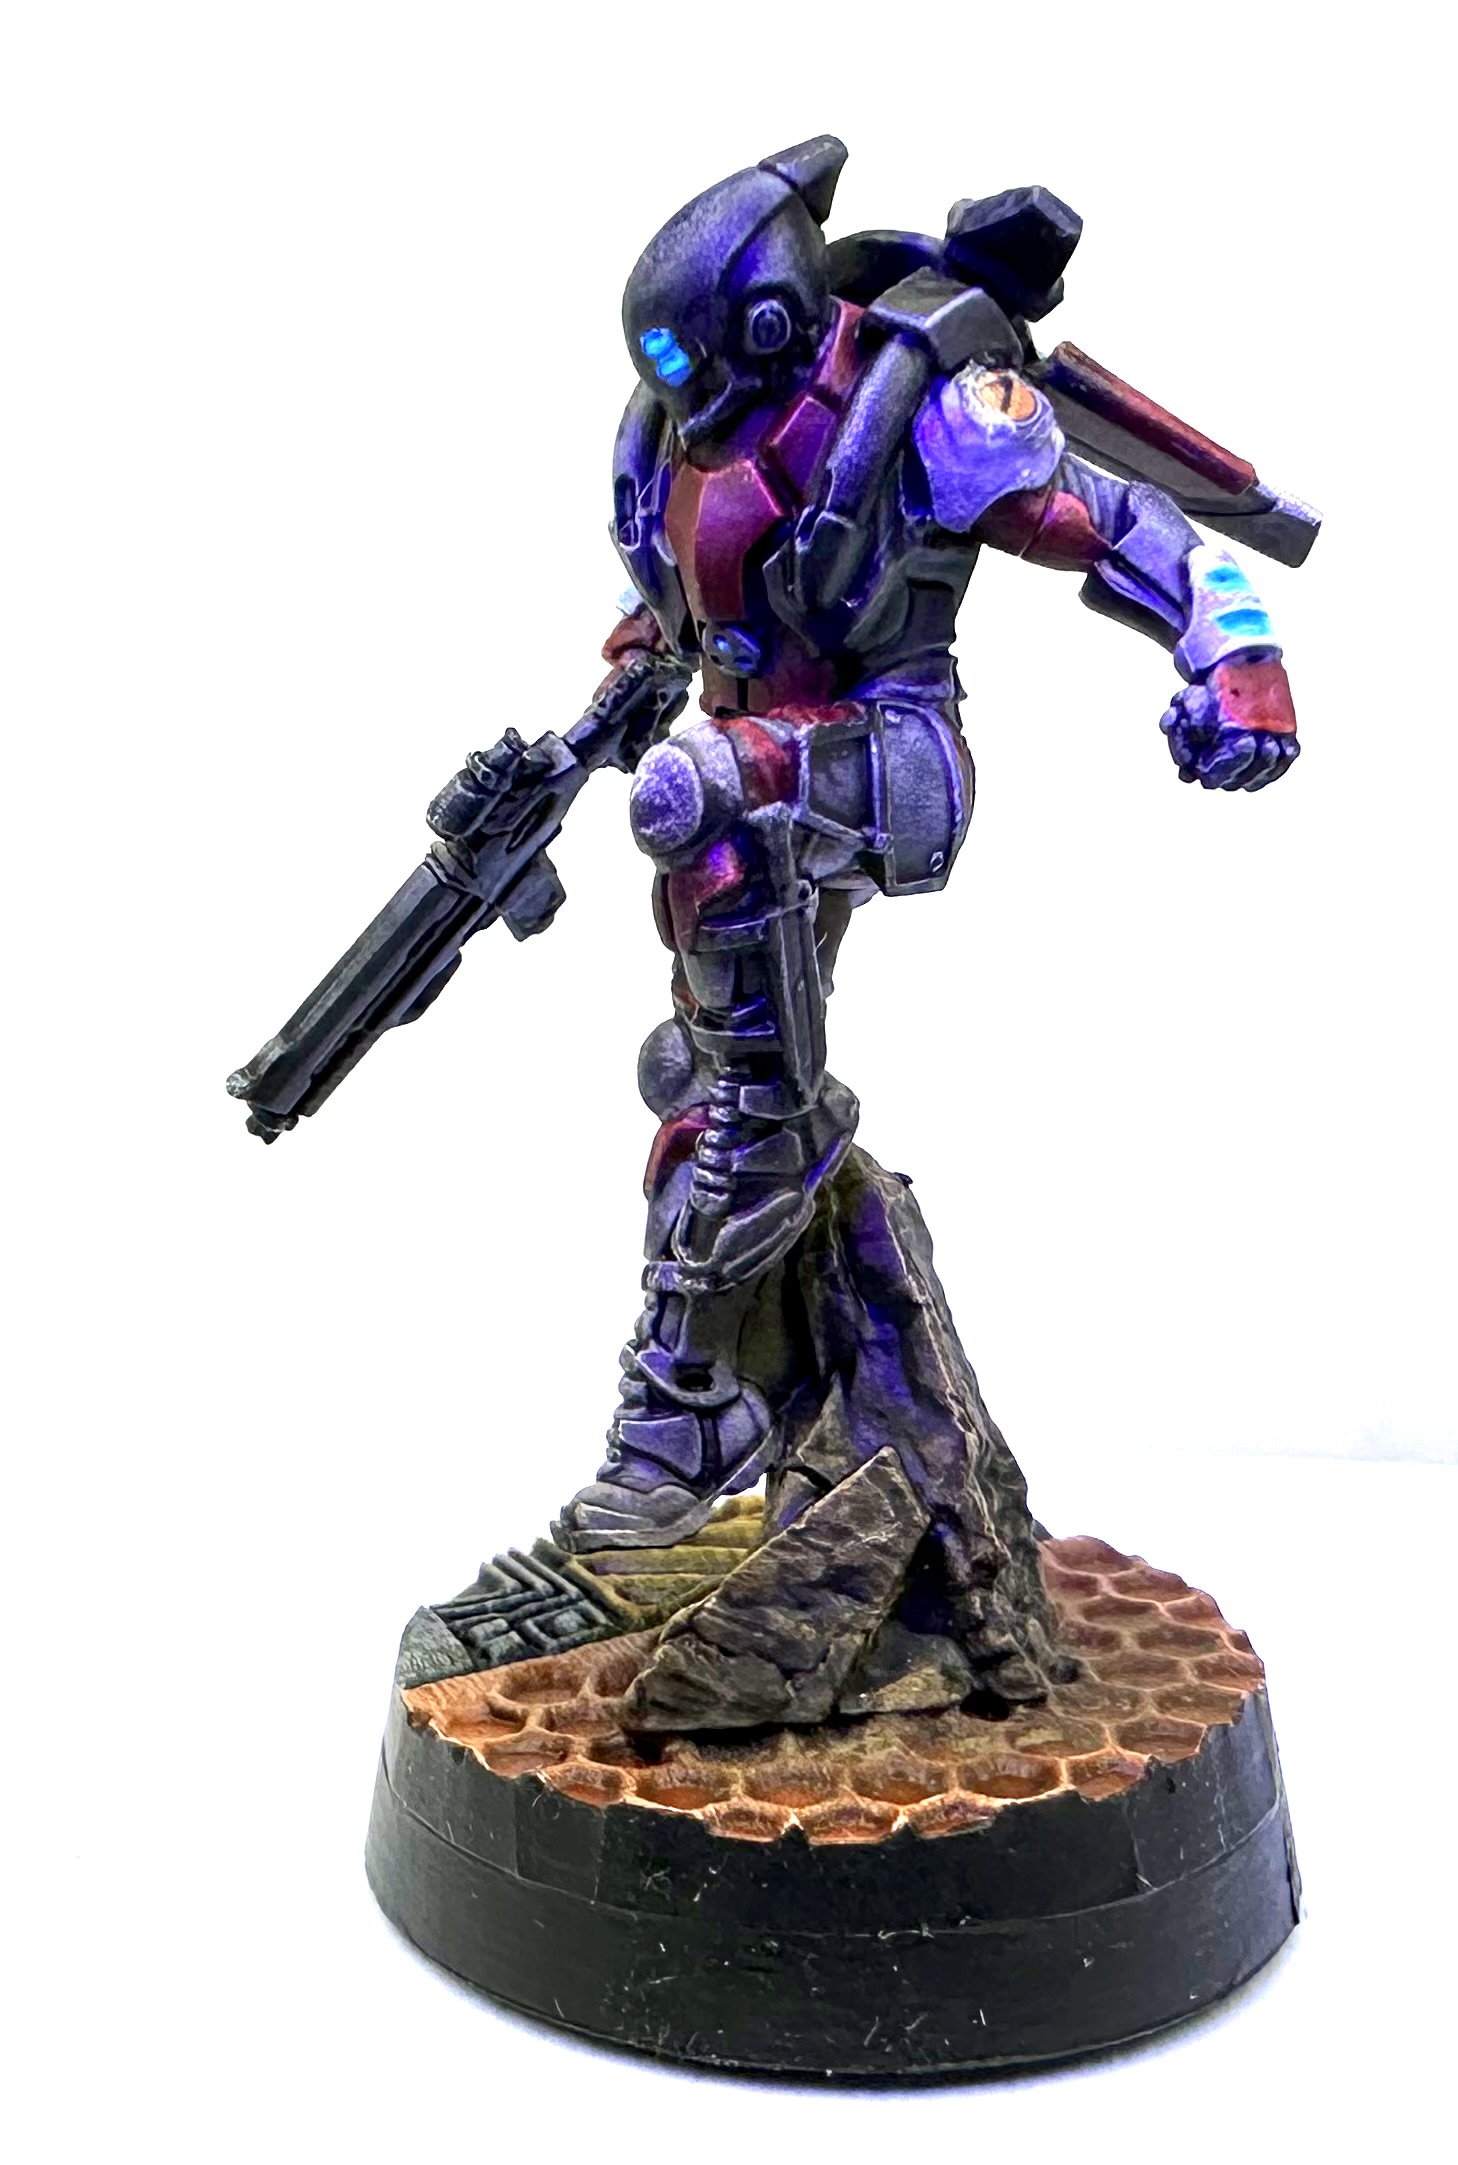
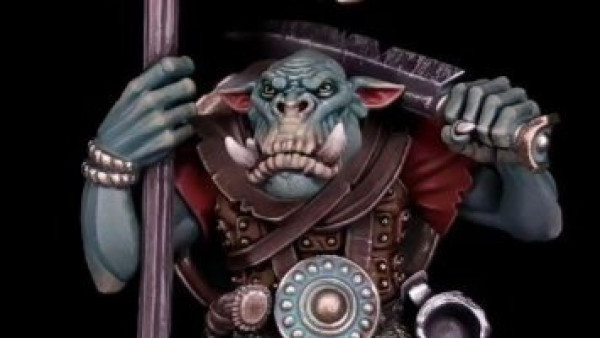
It’s been a long time but I’m returning to this project to hopefully continue in earnest and get this project completed. The above Nomads Hellcat used the base I detailed the creation of earlier. In addition, some new tools/products were used:
- Vallejo Surface Primers (airbrushed zenithal style, black then Grey)
- Monument Hobbies Bold Titanium White (dry-brushed with a make-up brush for the ‘slapchop’ highlight before applying…)
- Citadel Contrast paint
- AK Interactive Weathering Pencils (for edge highlighting)
- Ammo by Mig Pigments (for dust/dirt around the rock and boots)
- Army Painter Air Fluo Blue Flux fluorescent paint (lit with a Green Stuff World ultraviolet torch during photo capture)
- PlastCraft unit insignia decals for the shoulder pads
This was my first go with fluorescent paint, the pencils, and decals…I hope to improve. The next model I’ll document the process as well :).
I’m very interested to hear feedback as always.
All about that base...topper Part 3
Sorry for the lack of recent updates…’real’ life priorities (I’m sure many can relate 🙂 ).
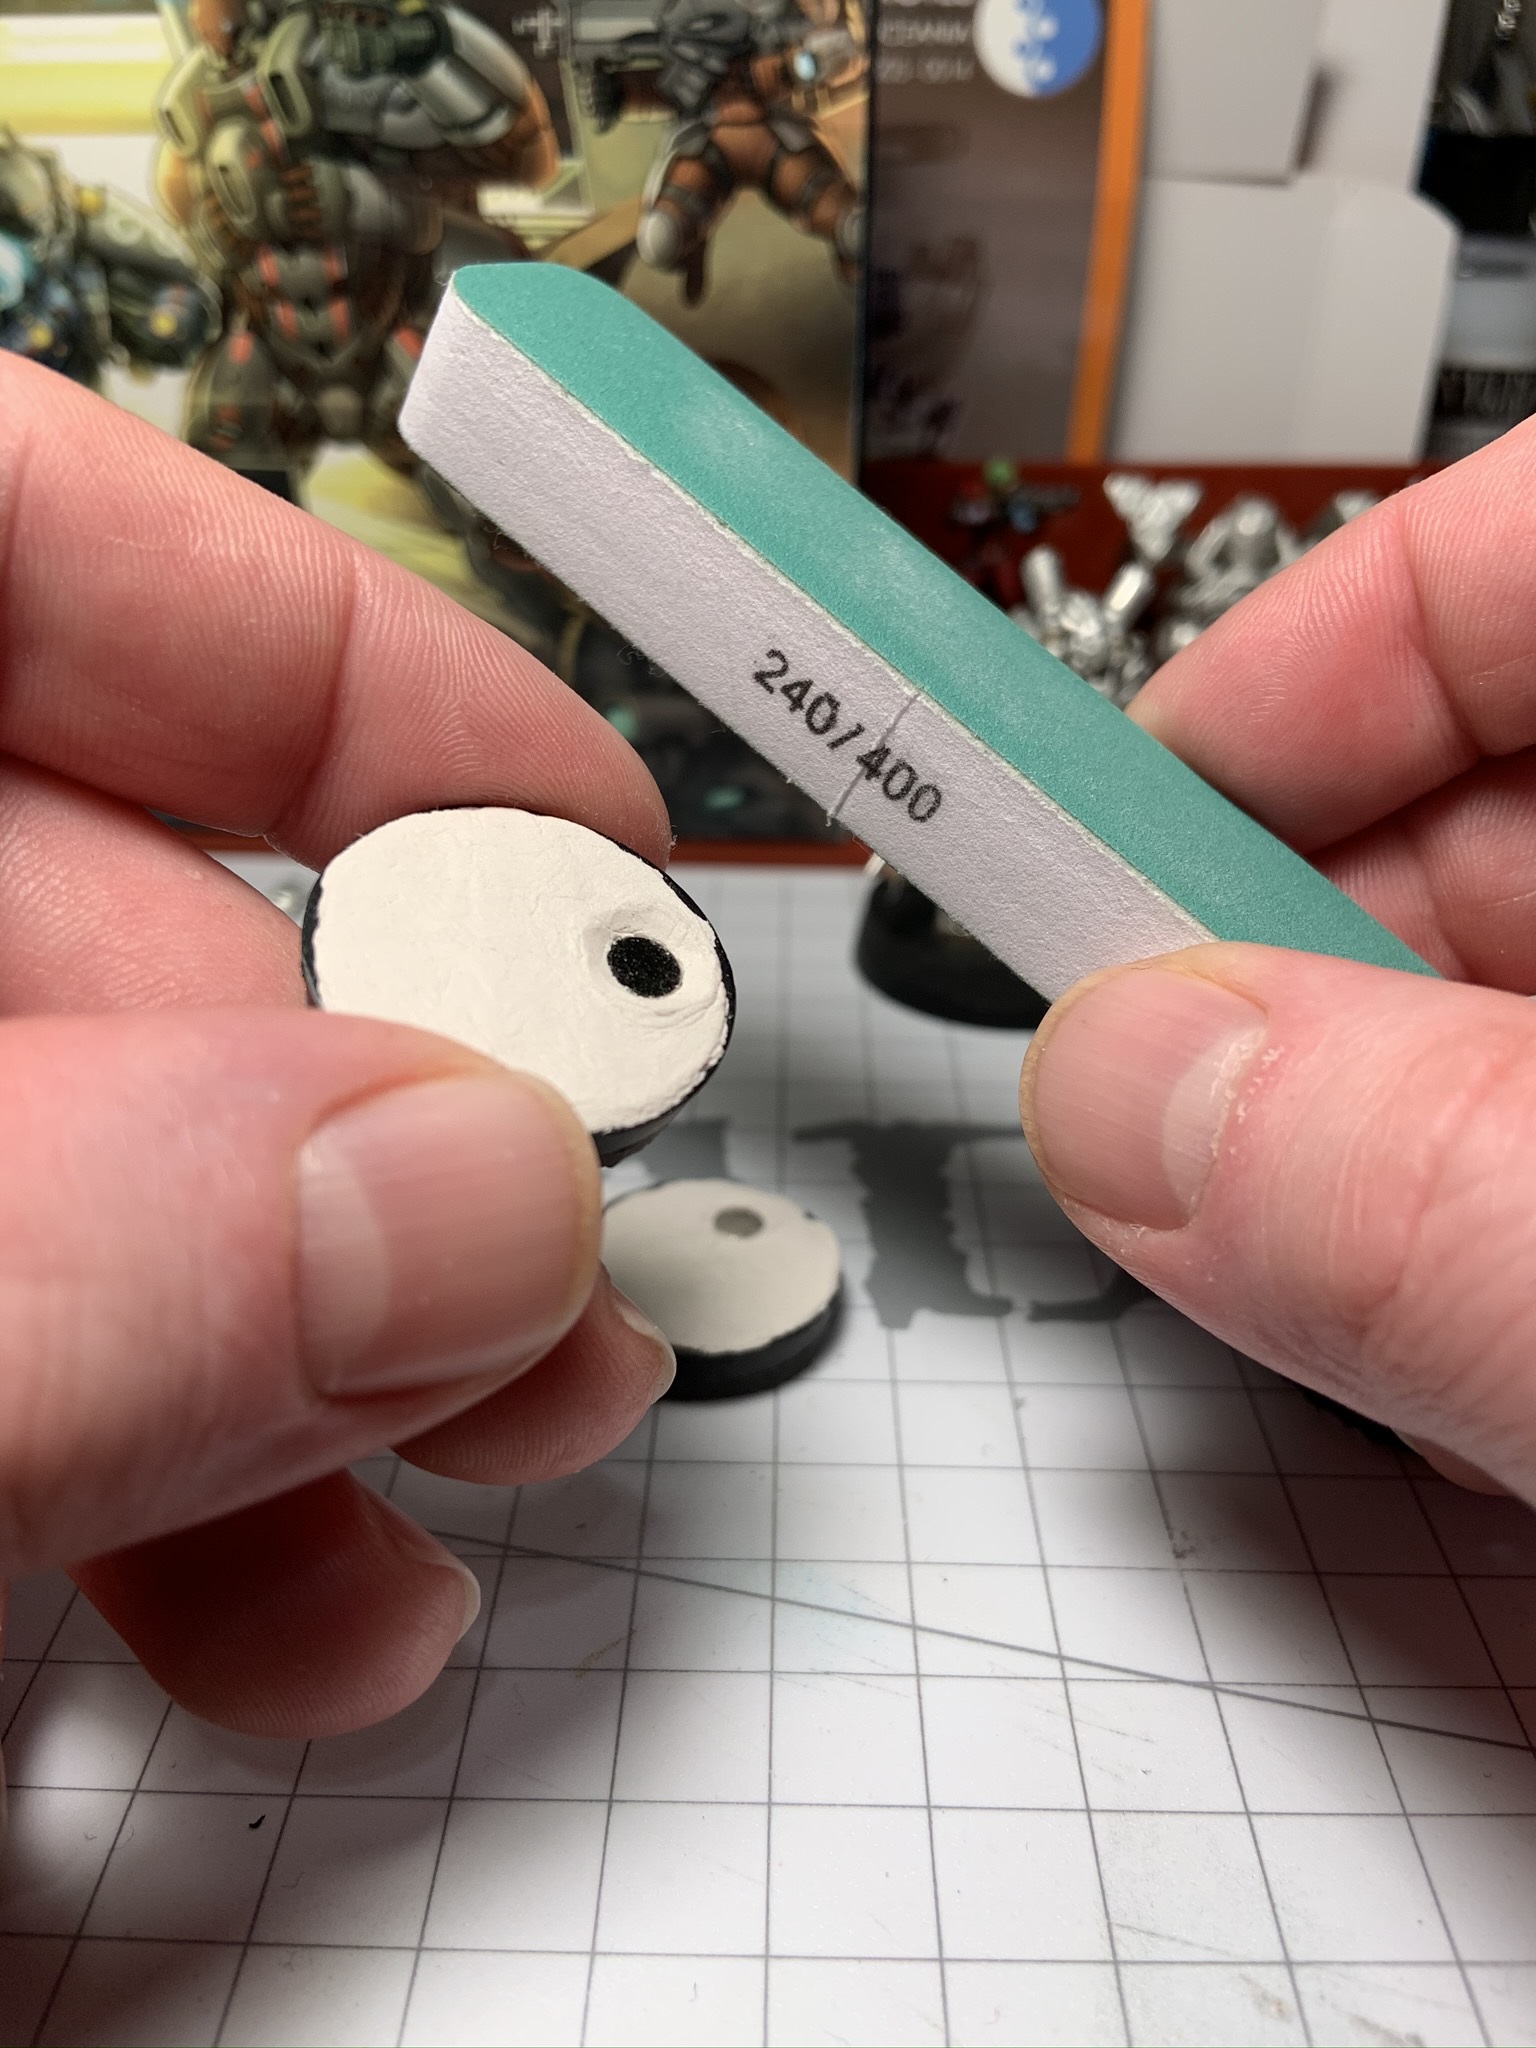
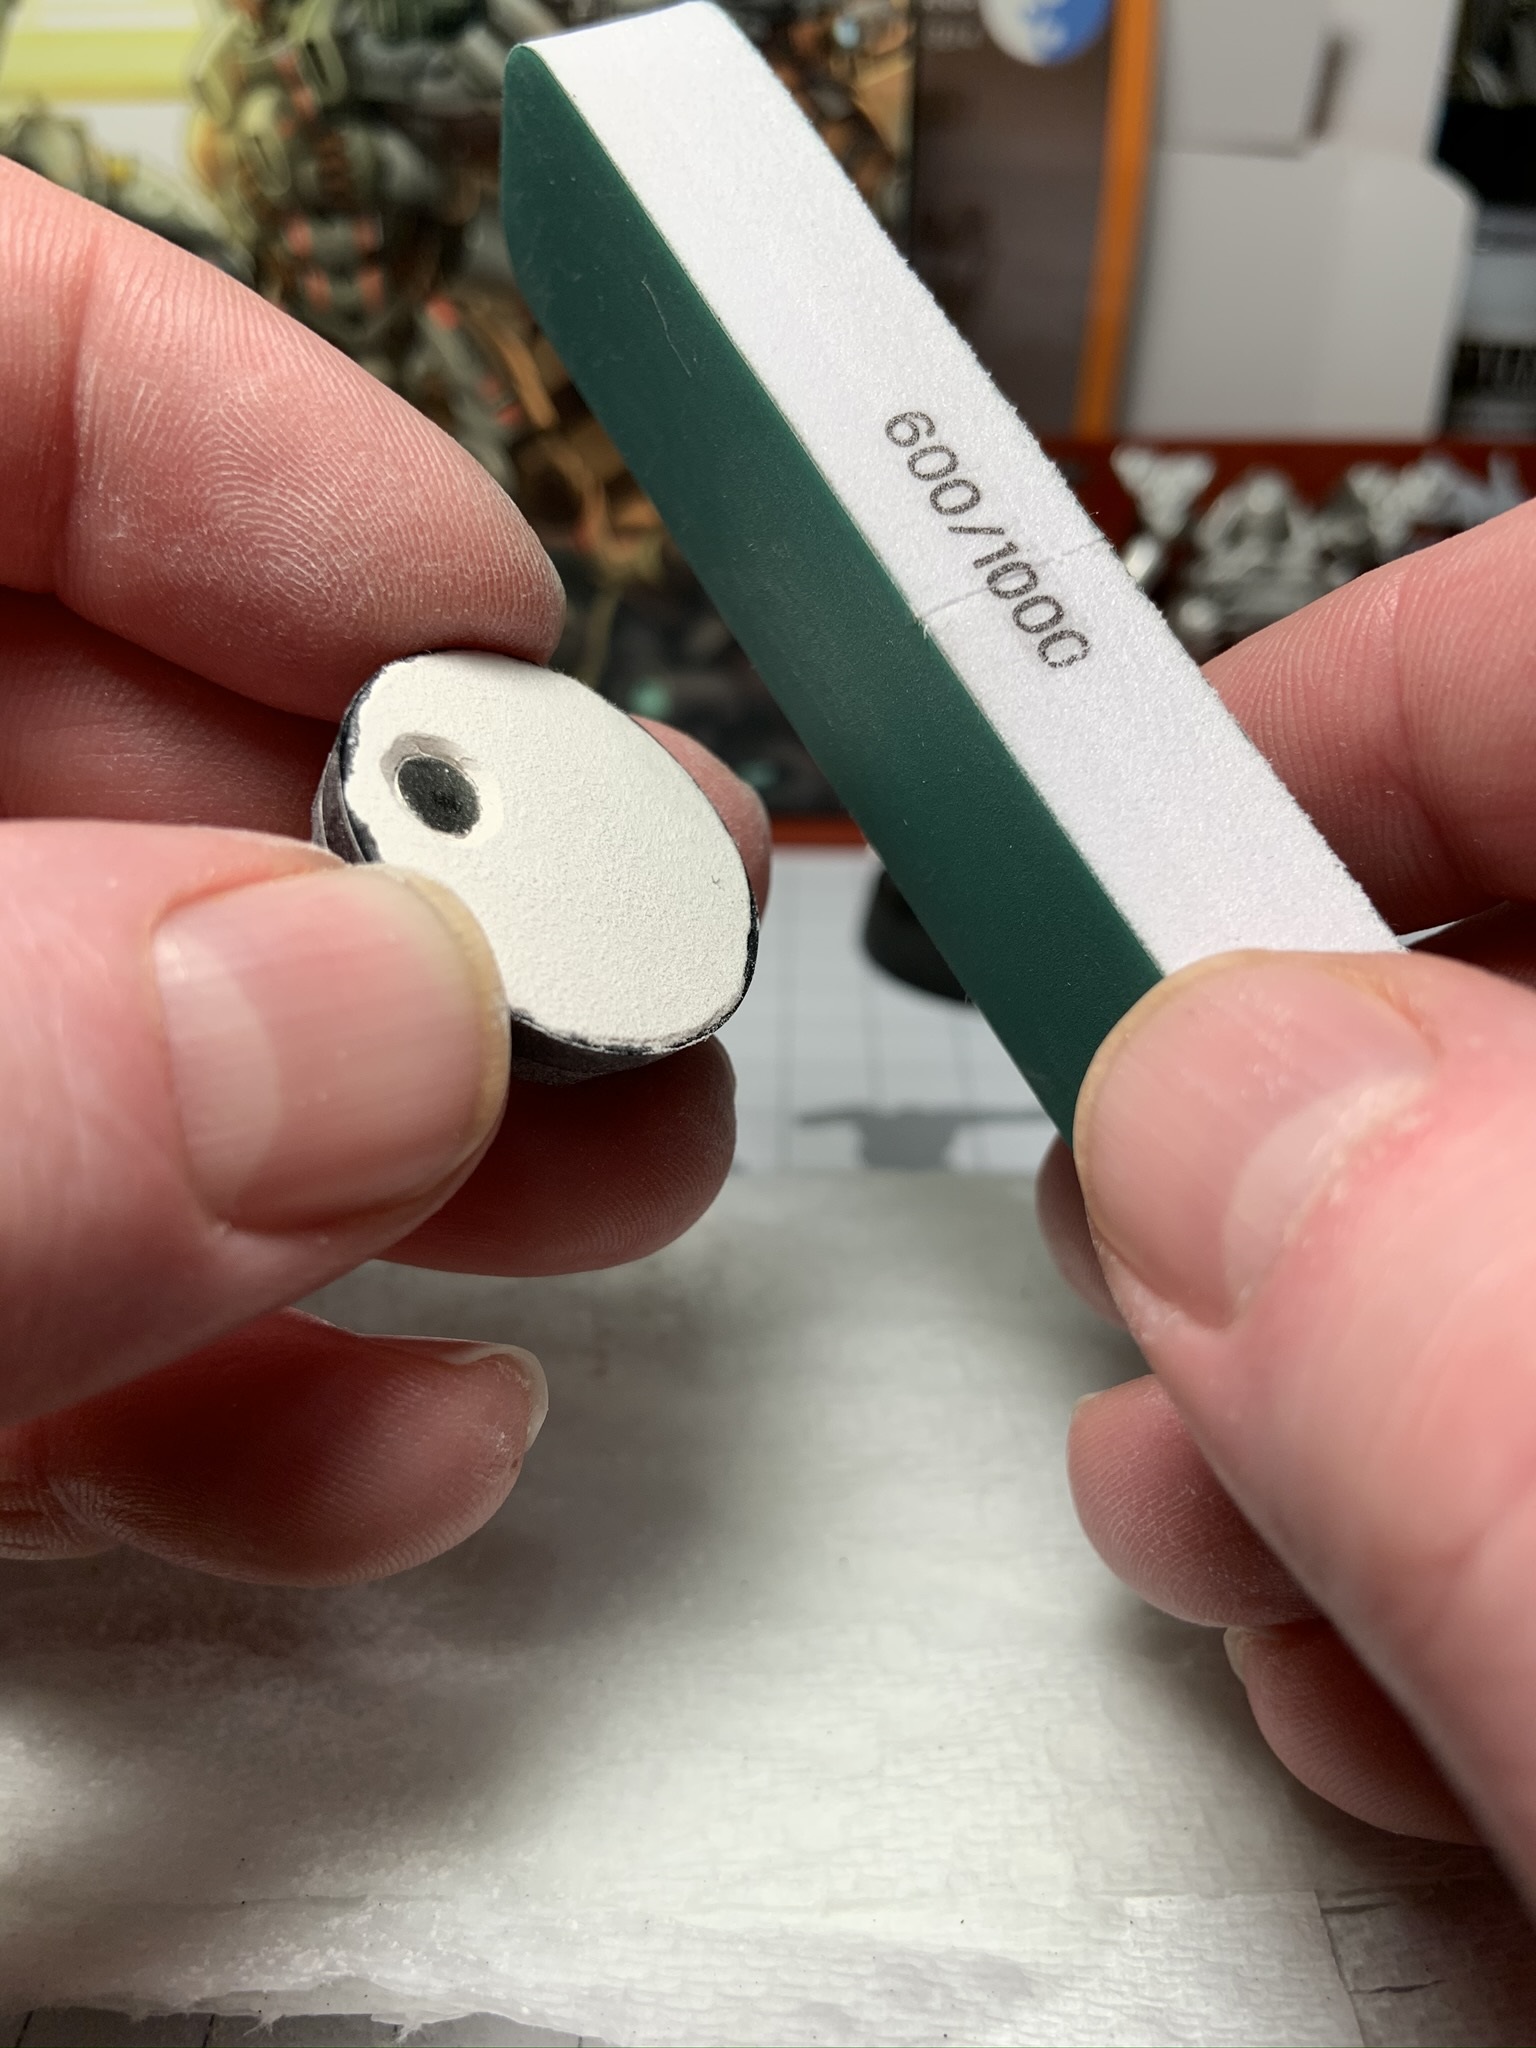
Picking up where I left off, the air-dry clay has dried and now there’s just a couple more steps to finish these off. First, I’m going to lightly sand the clay flush with the bottoms of the bases. For this I’m using some dual-grit Flexi Sanders from Vallejo ( 240 and 1000 sides).
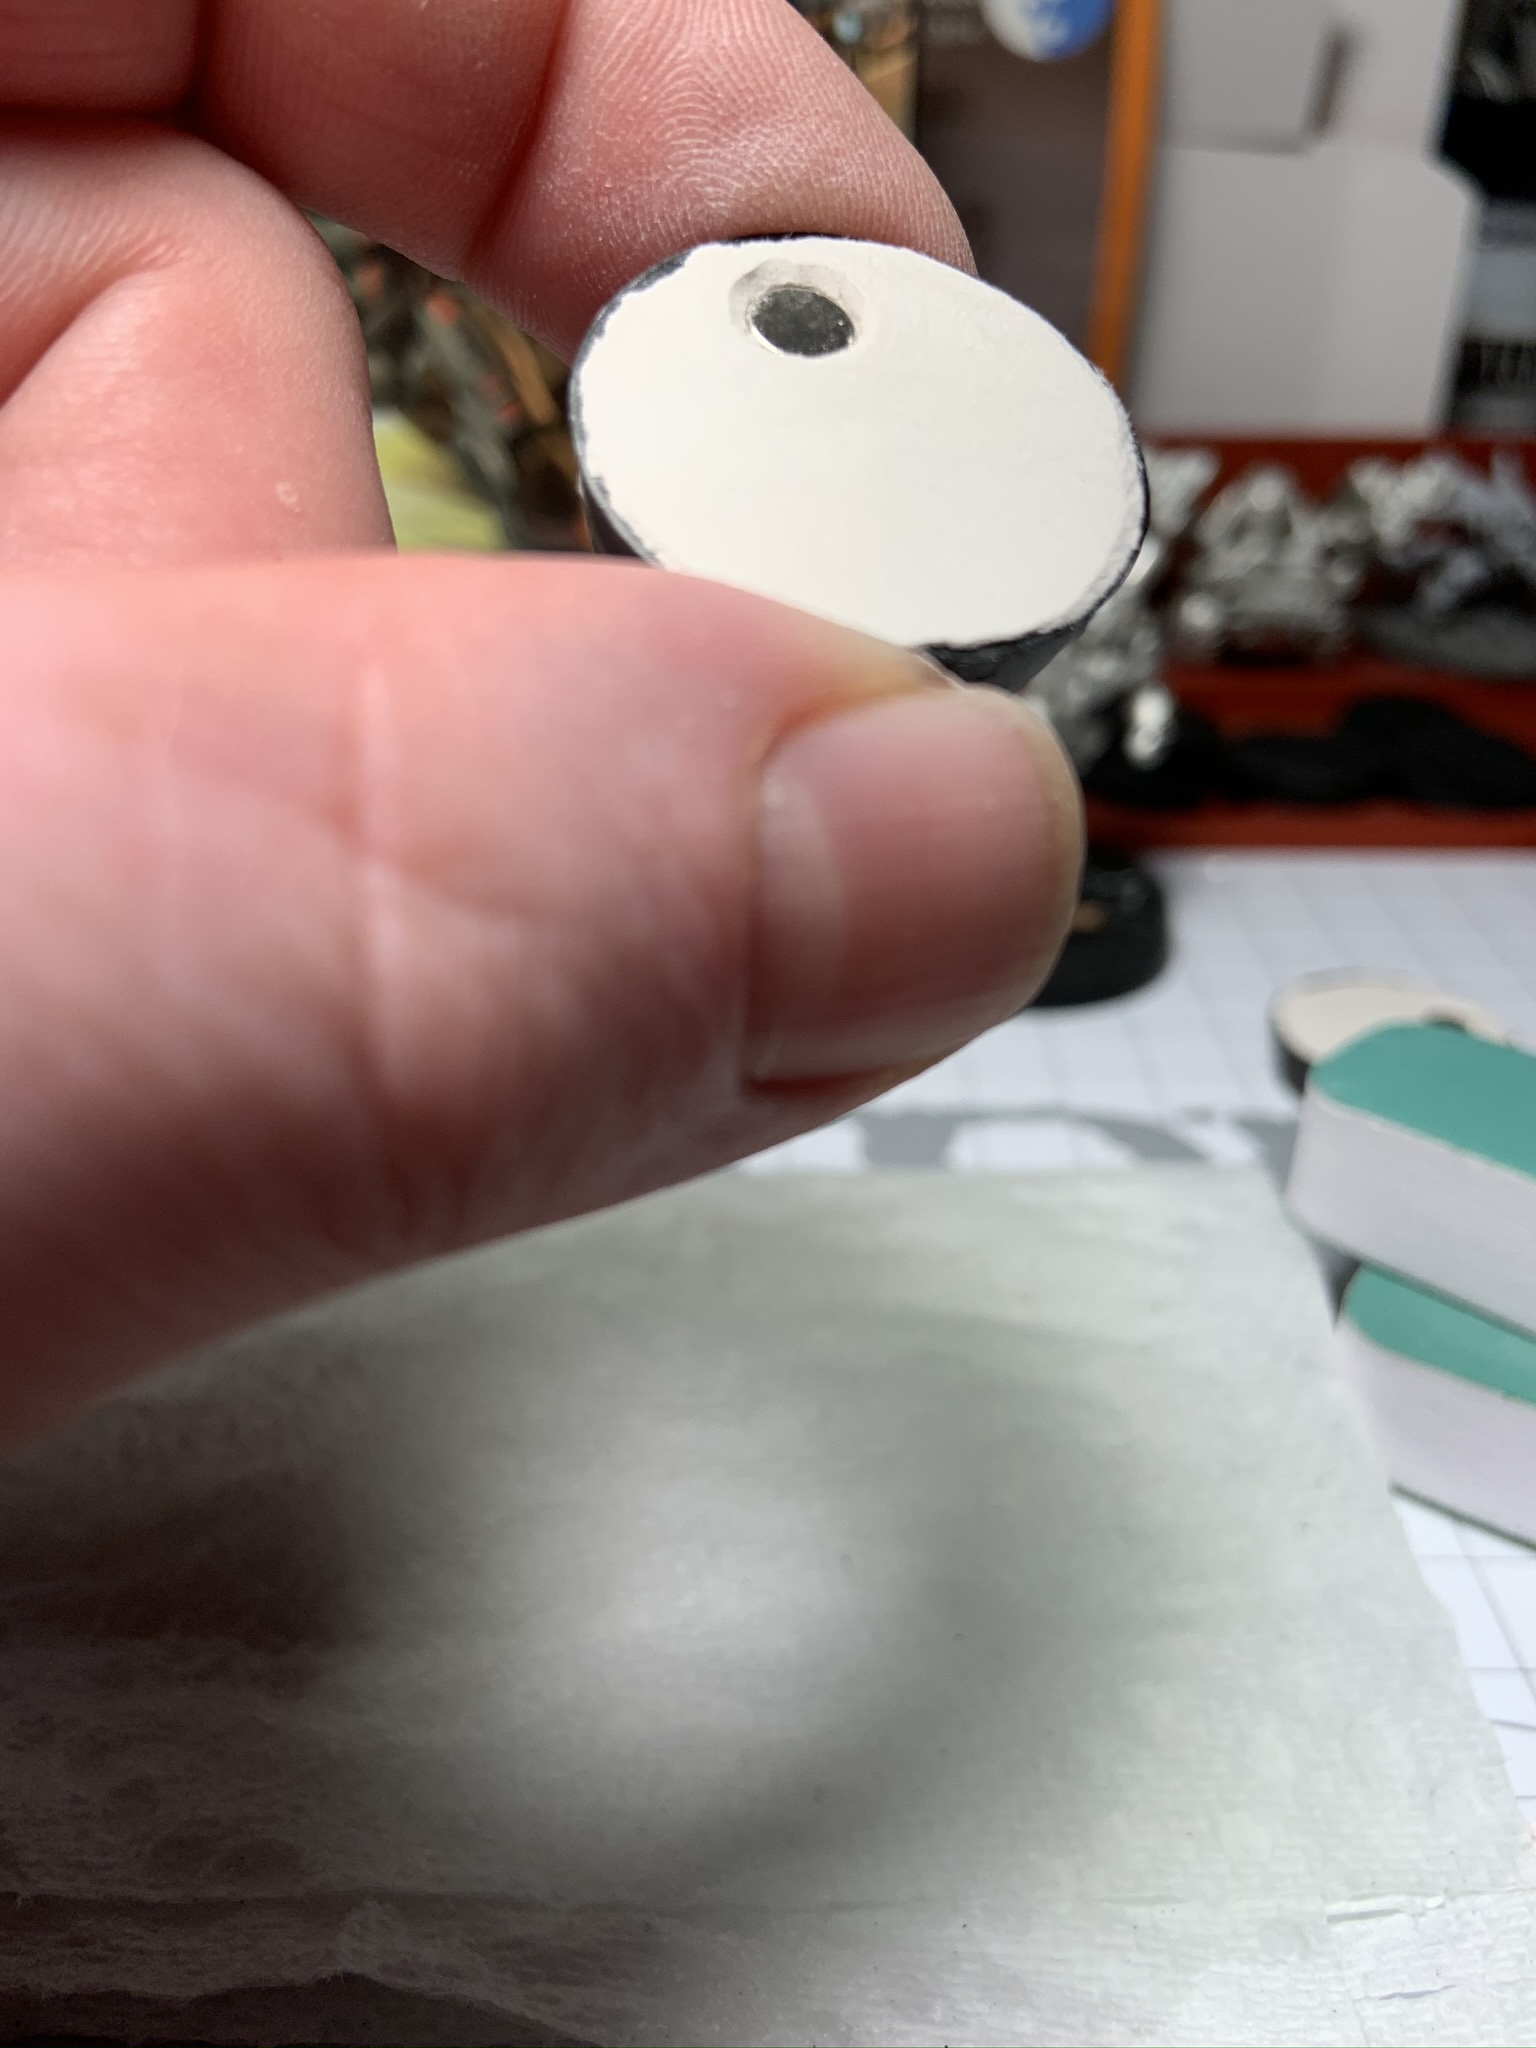
A damp paper towel helps catch the filings (otherwise they tend to blow about).
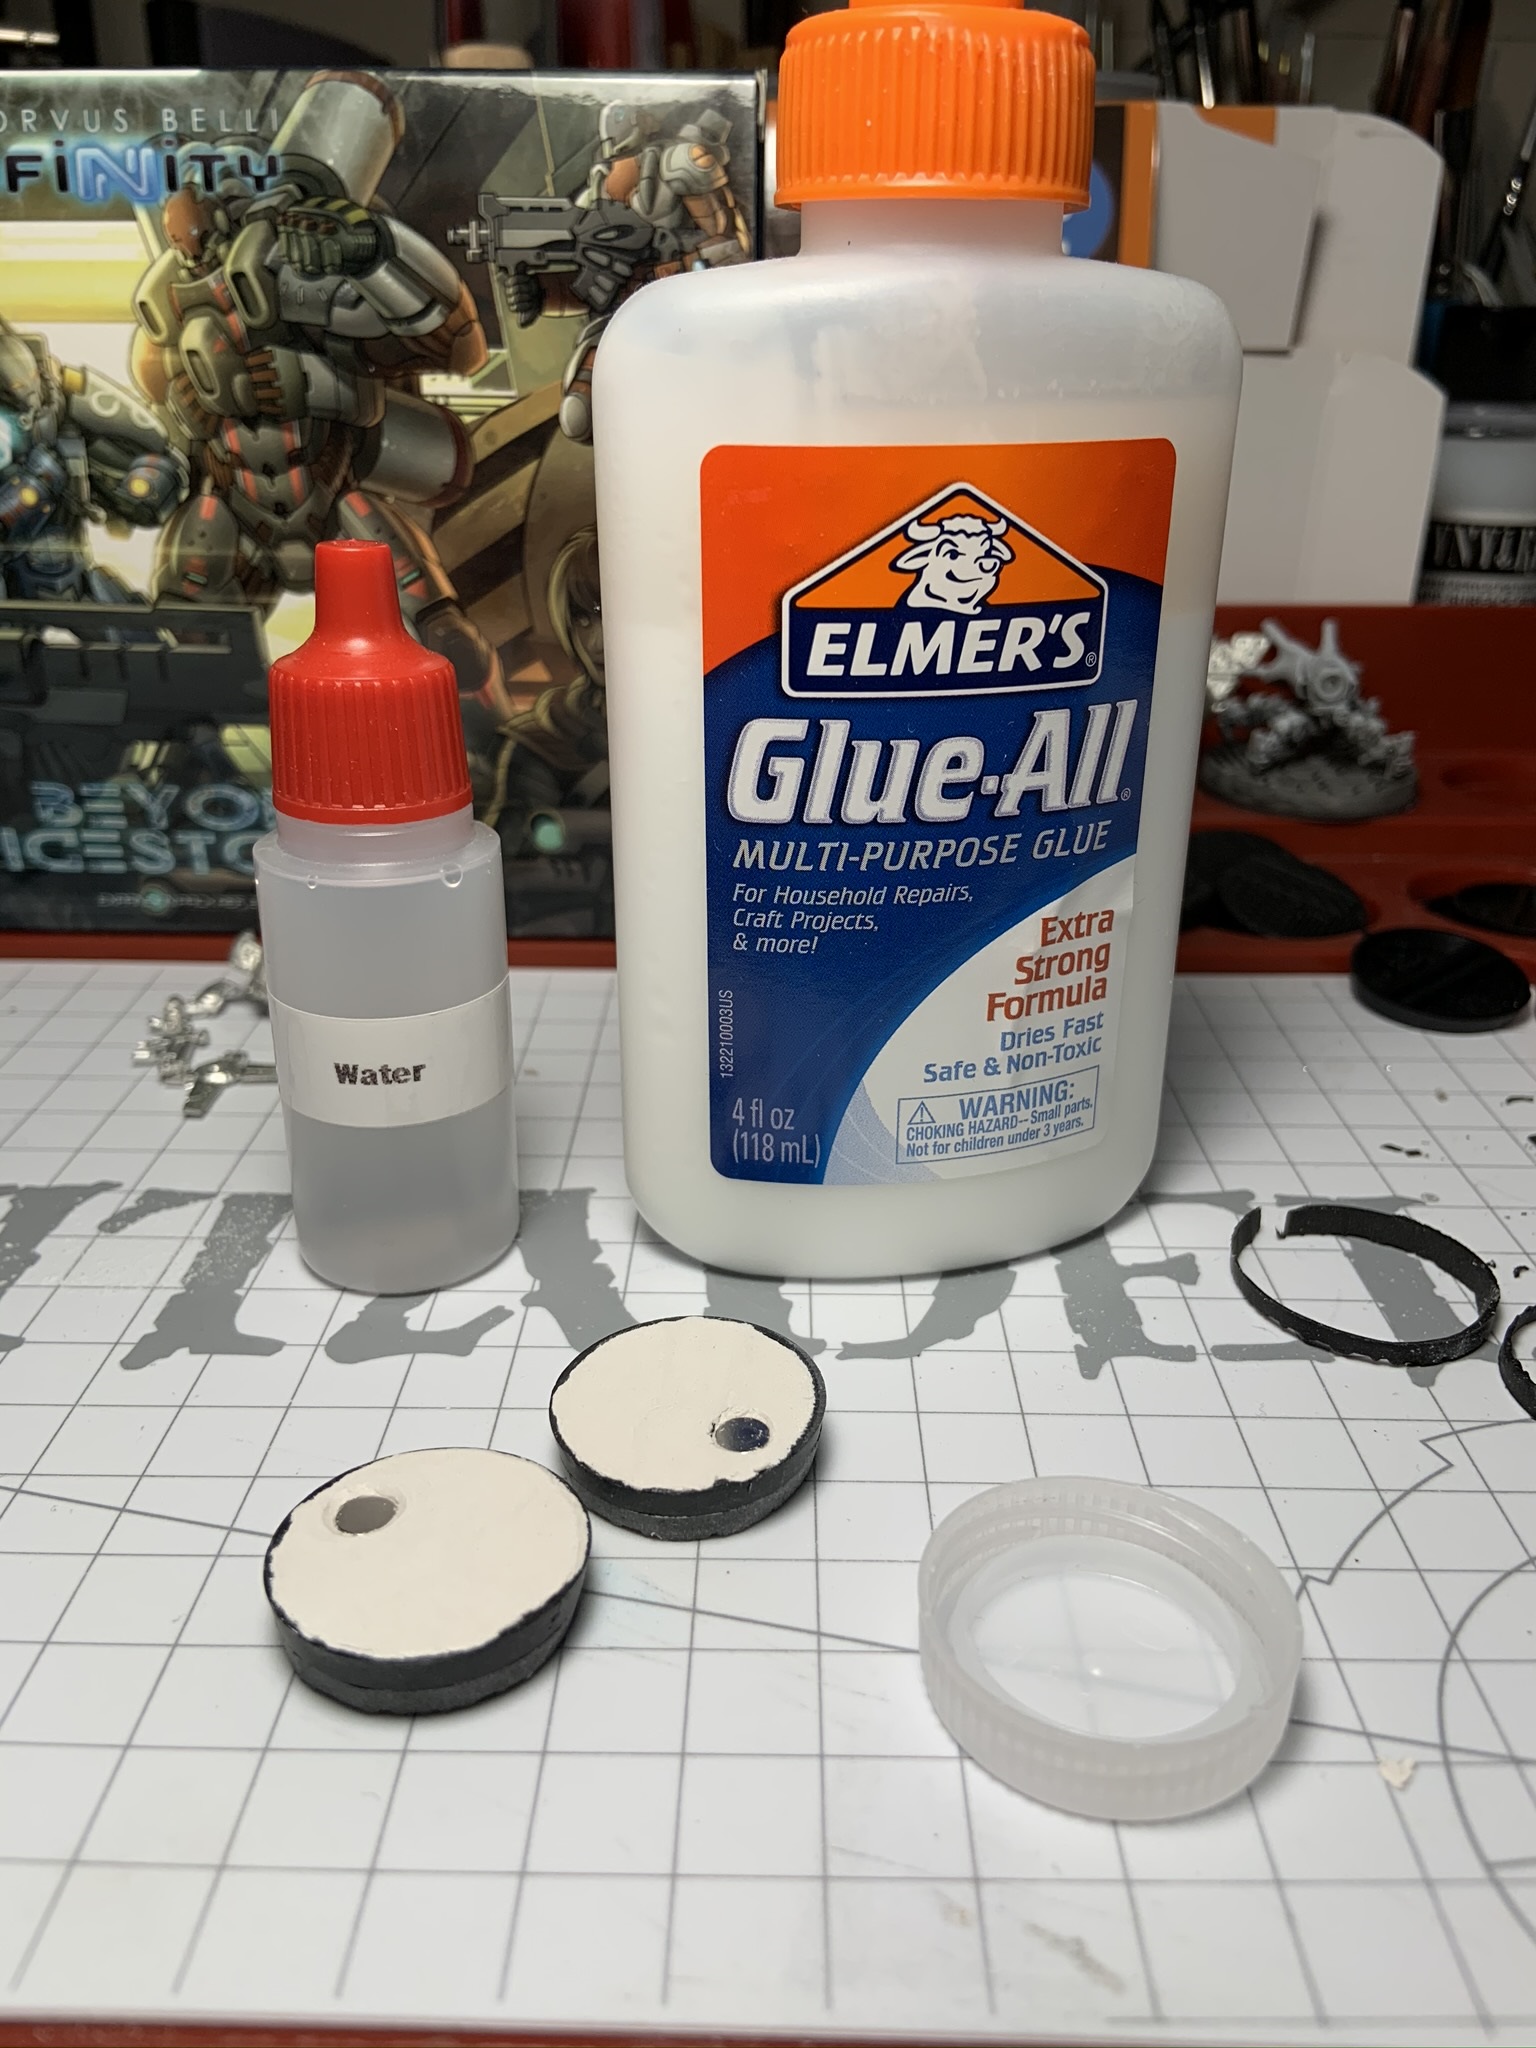
Next I’m going to seal the clay with a thinned coat of PVA. To ensure a smooth finish I’m going for a quite watery consistency.

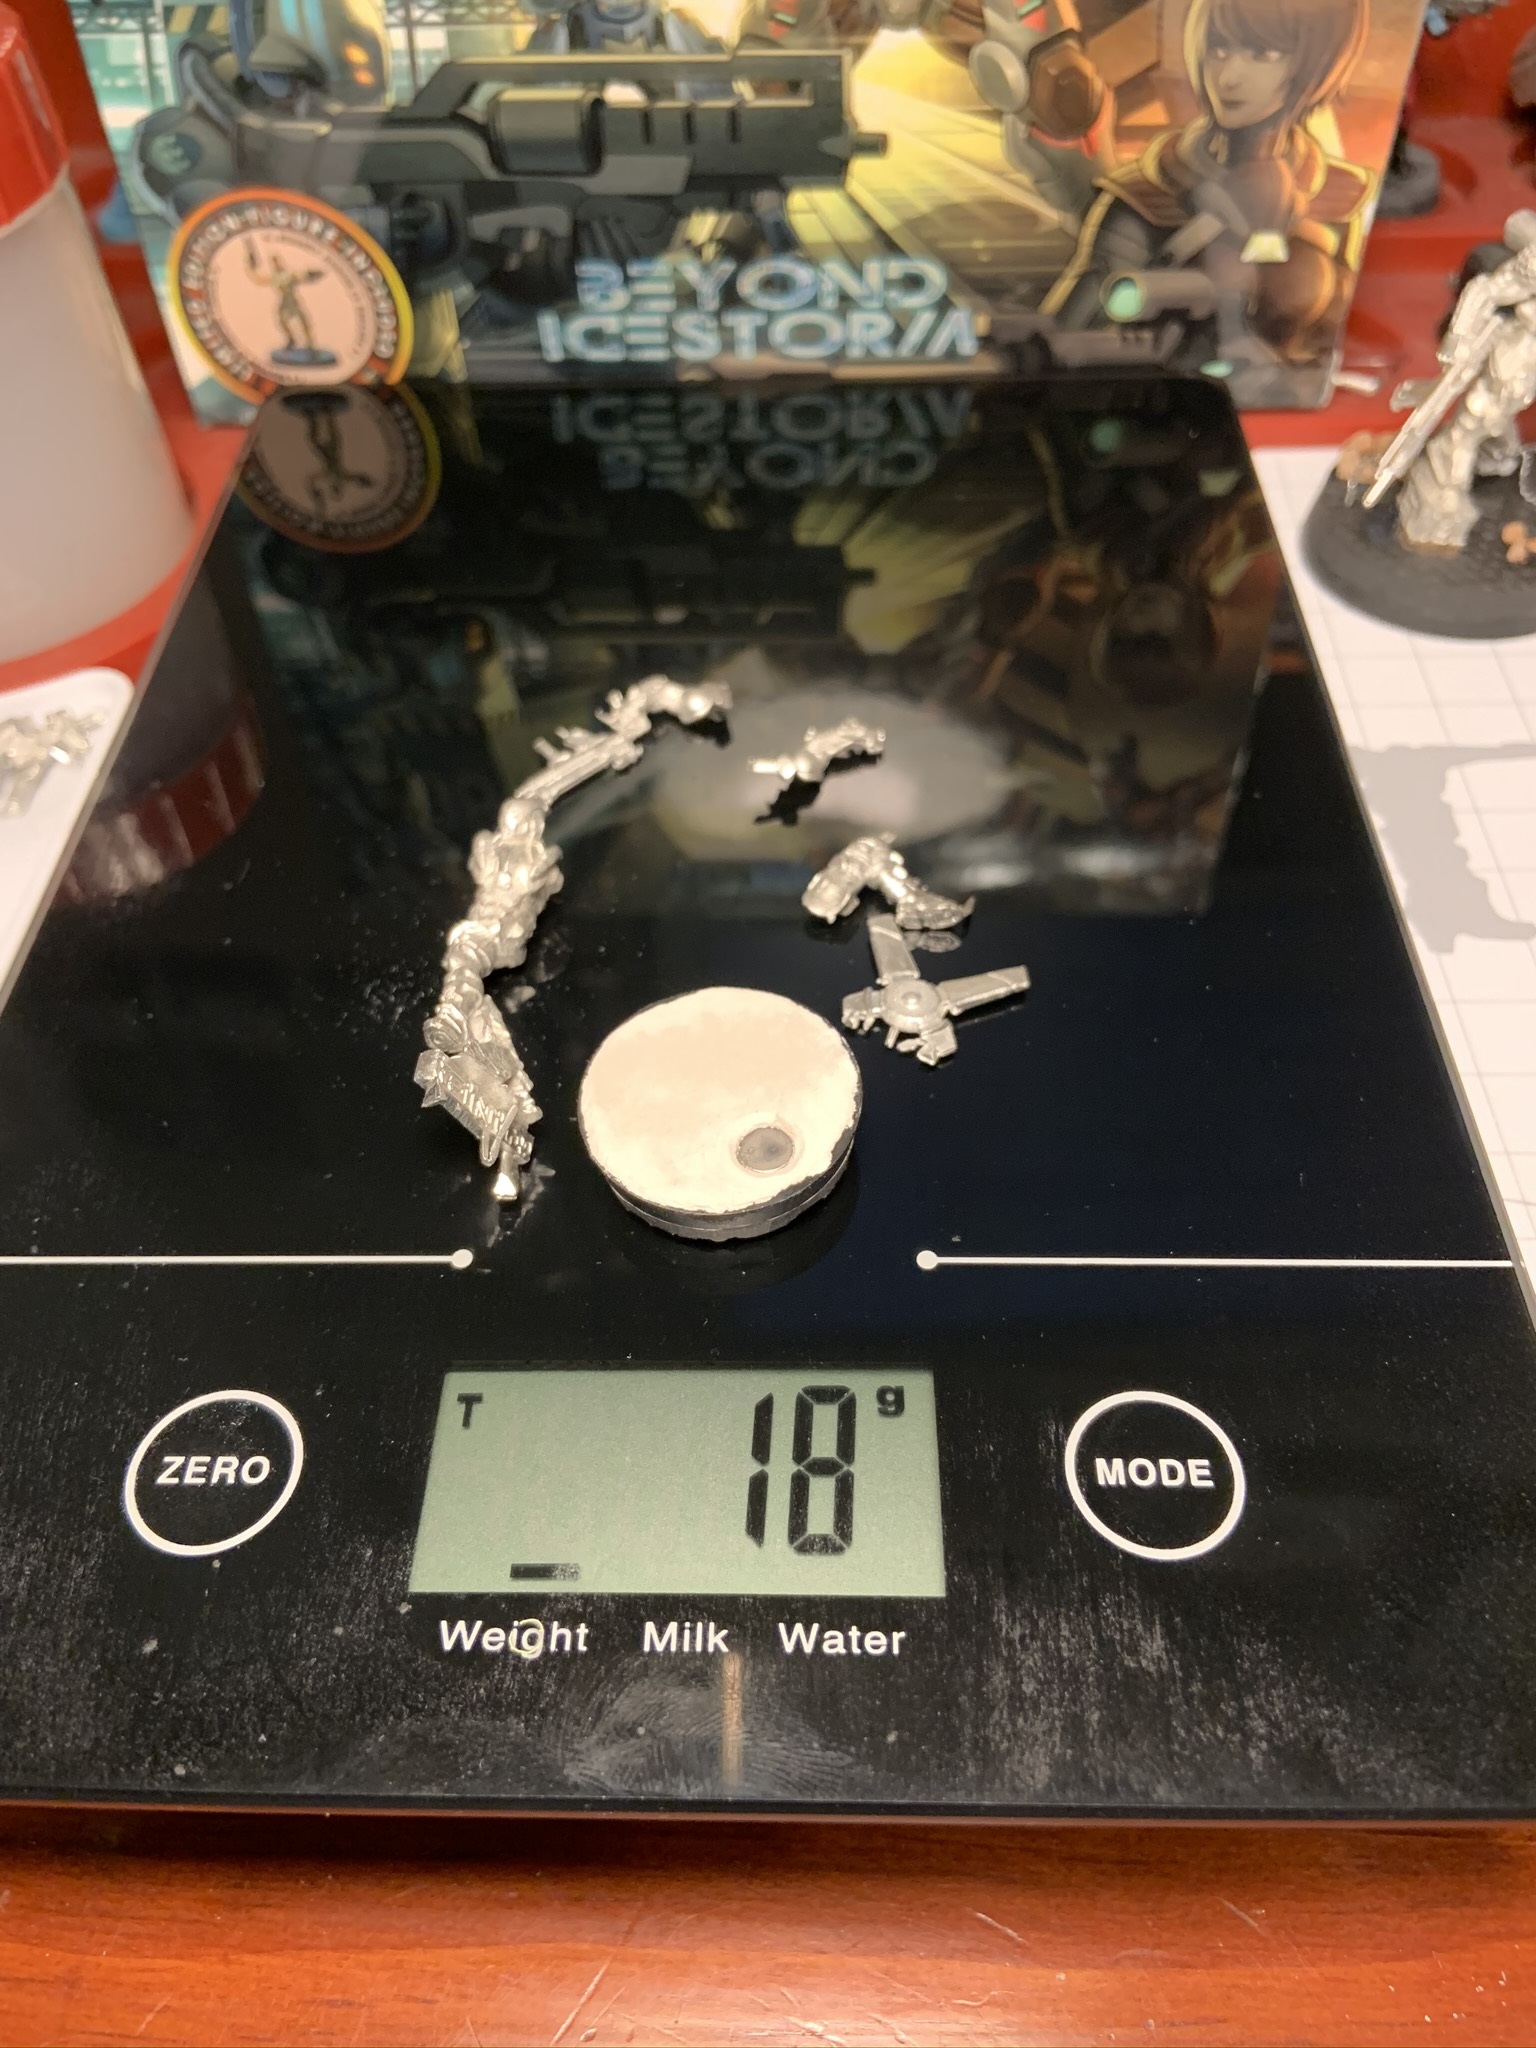
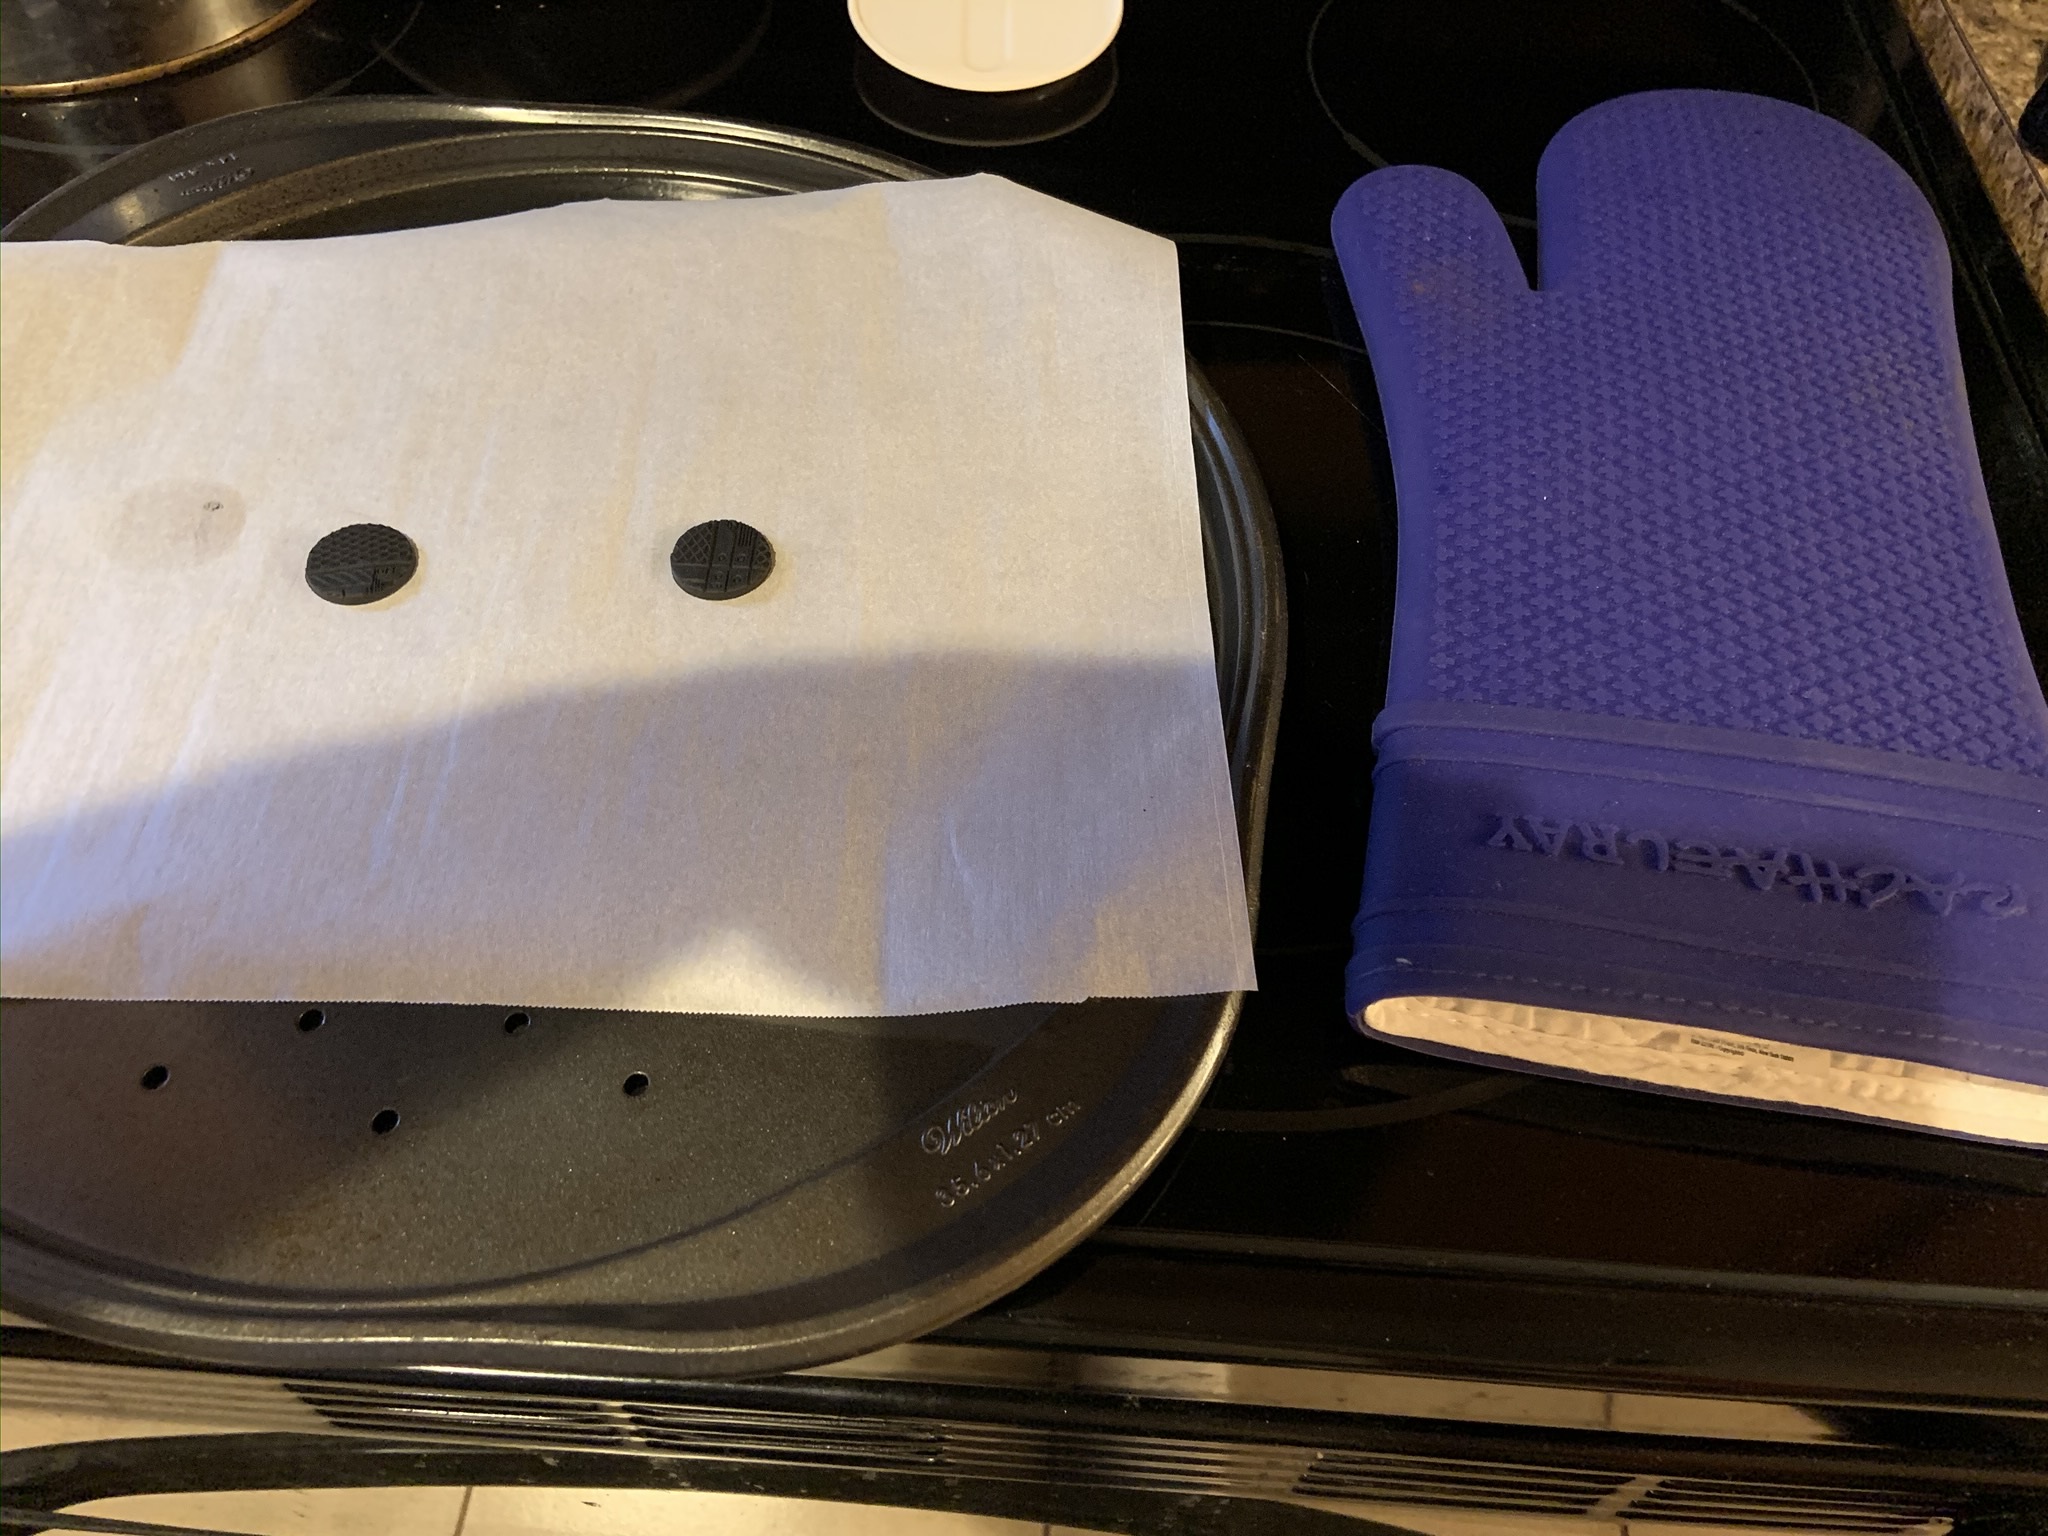
While these are drying, I thought I’d add a couple of photos that illustrate how much difference adding the base topper, magnets, and clay make for the overall weight of the model. To do this, I weighed the components for the Hellcat along with a stock base…and then I swapped that out with one of the modeled bases I’m working on. The difference is only 3 grams…but effectively that’s a 20% increase in weight 🙂 .

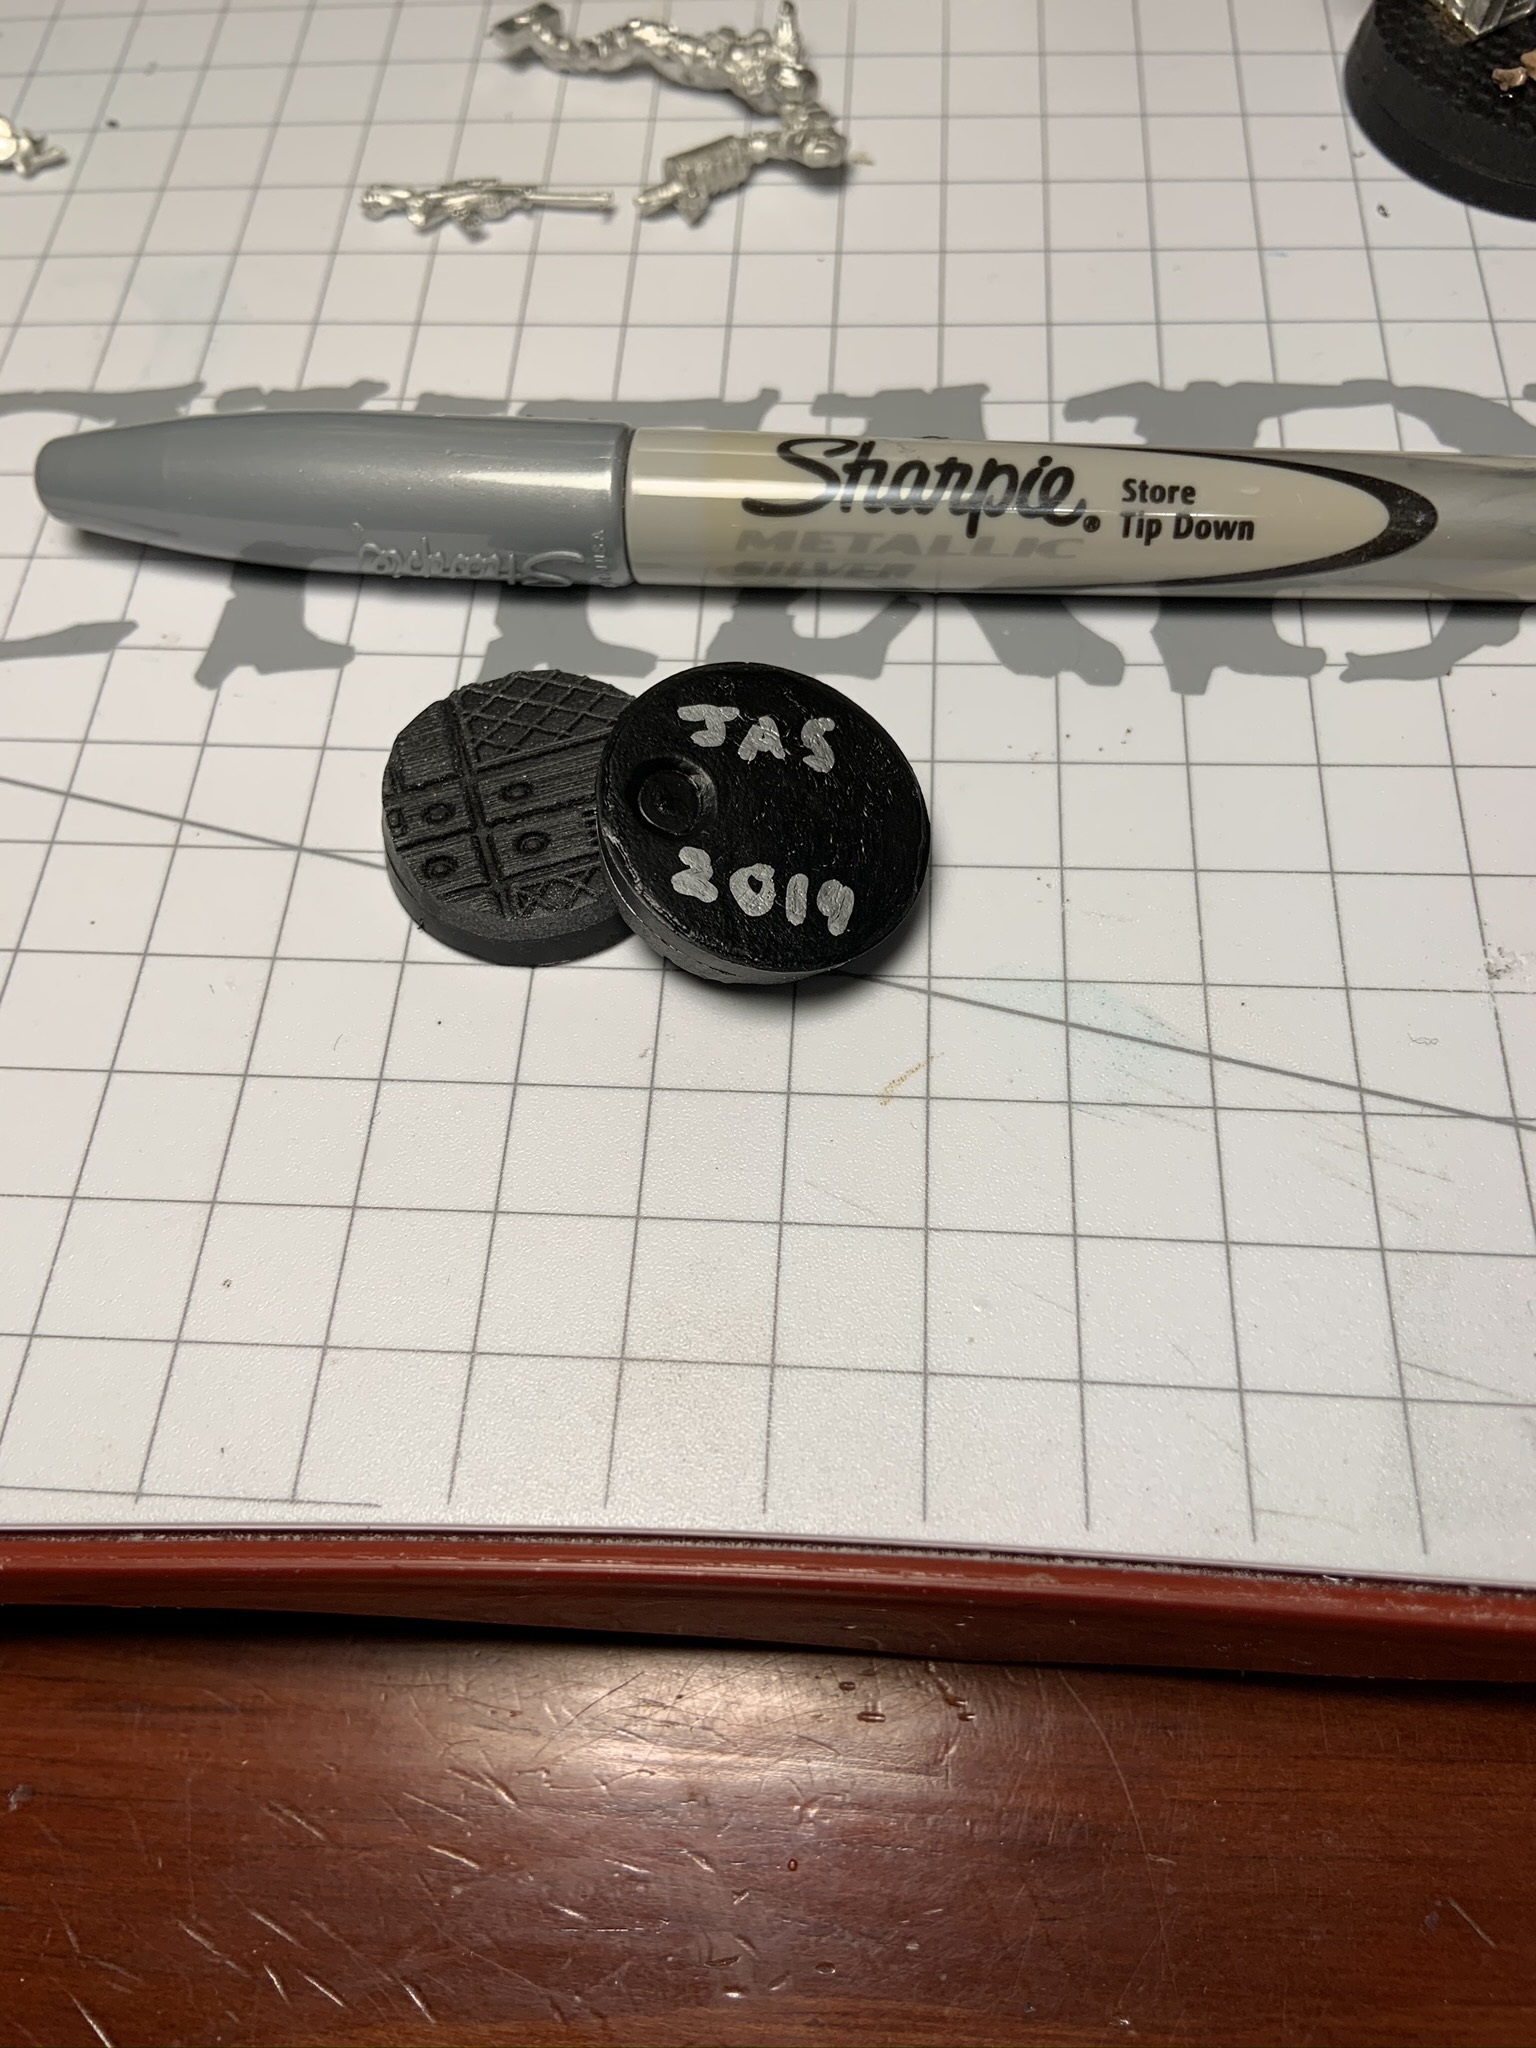
At this point, once the PVA has dried, you could be finished (after all, nobody will see the bottoms of these). For a more finished look though, I decided to add a thinned coat of Abaddon Black.
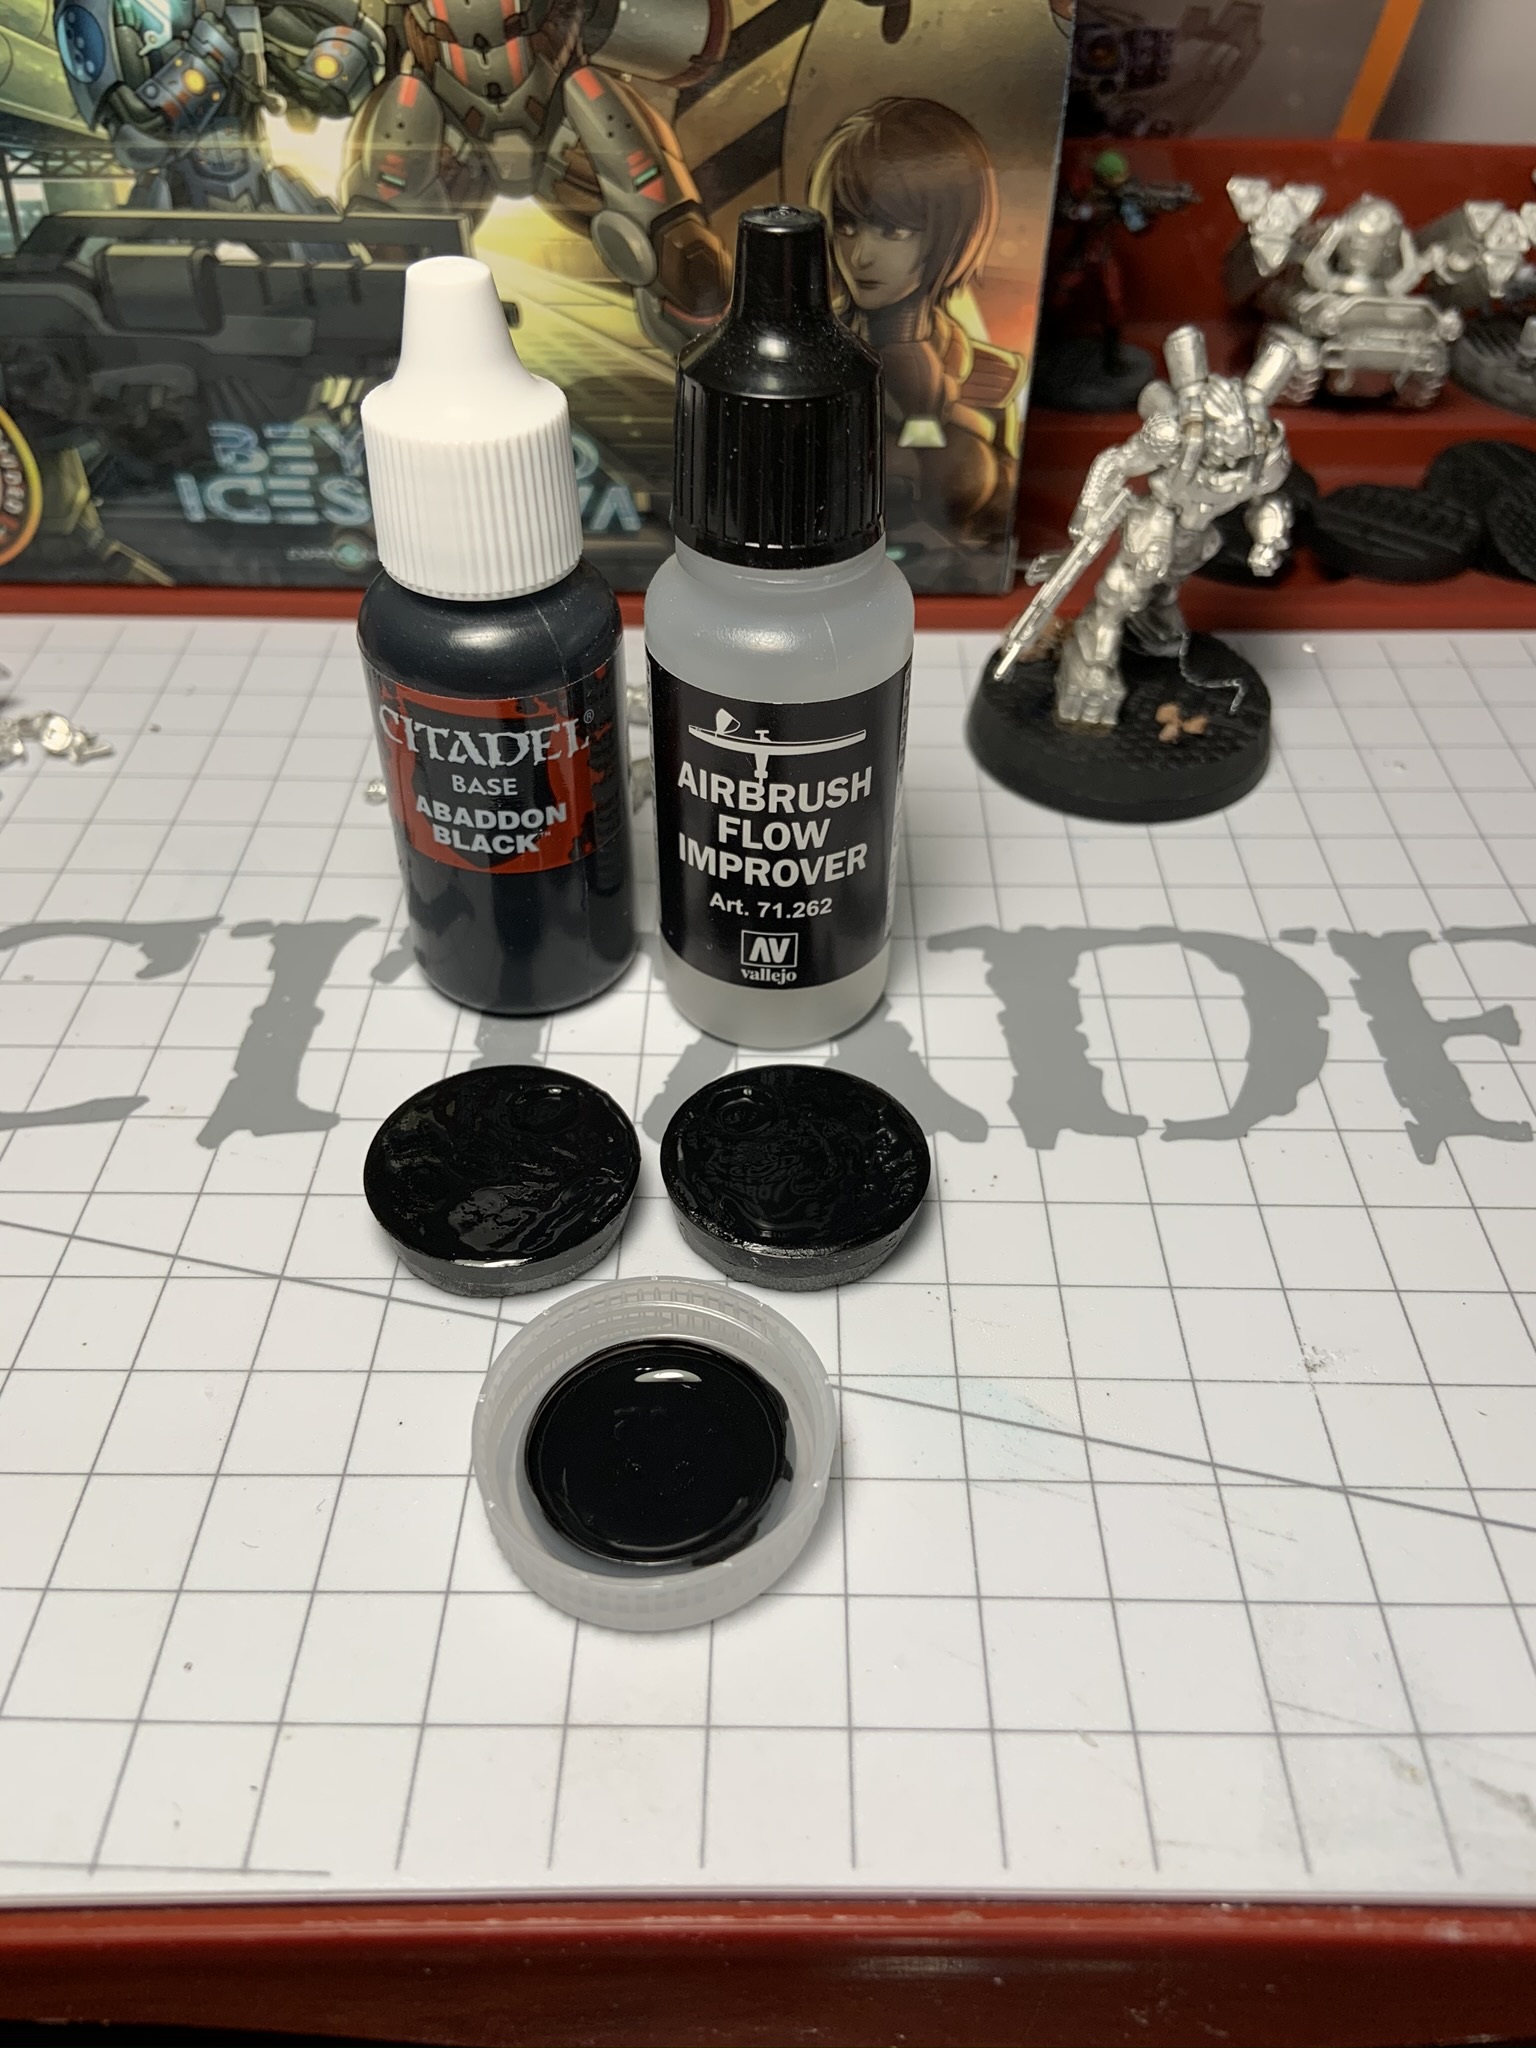
The small amount of paint on the magnet won’t really affect its performance, and as a bonus it gives you a bit of canvas space to sign/date your work…it’s always nice to see how our skills improve over the years :).
Well the bases are ready…next will be the assembly of these two Nomads models, followed by painting. Additional time spent so far…~20 minutes (not included drying time).
All about that base...topper Part 2
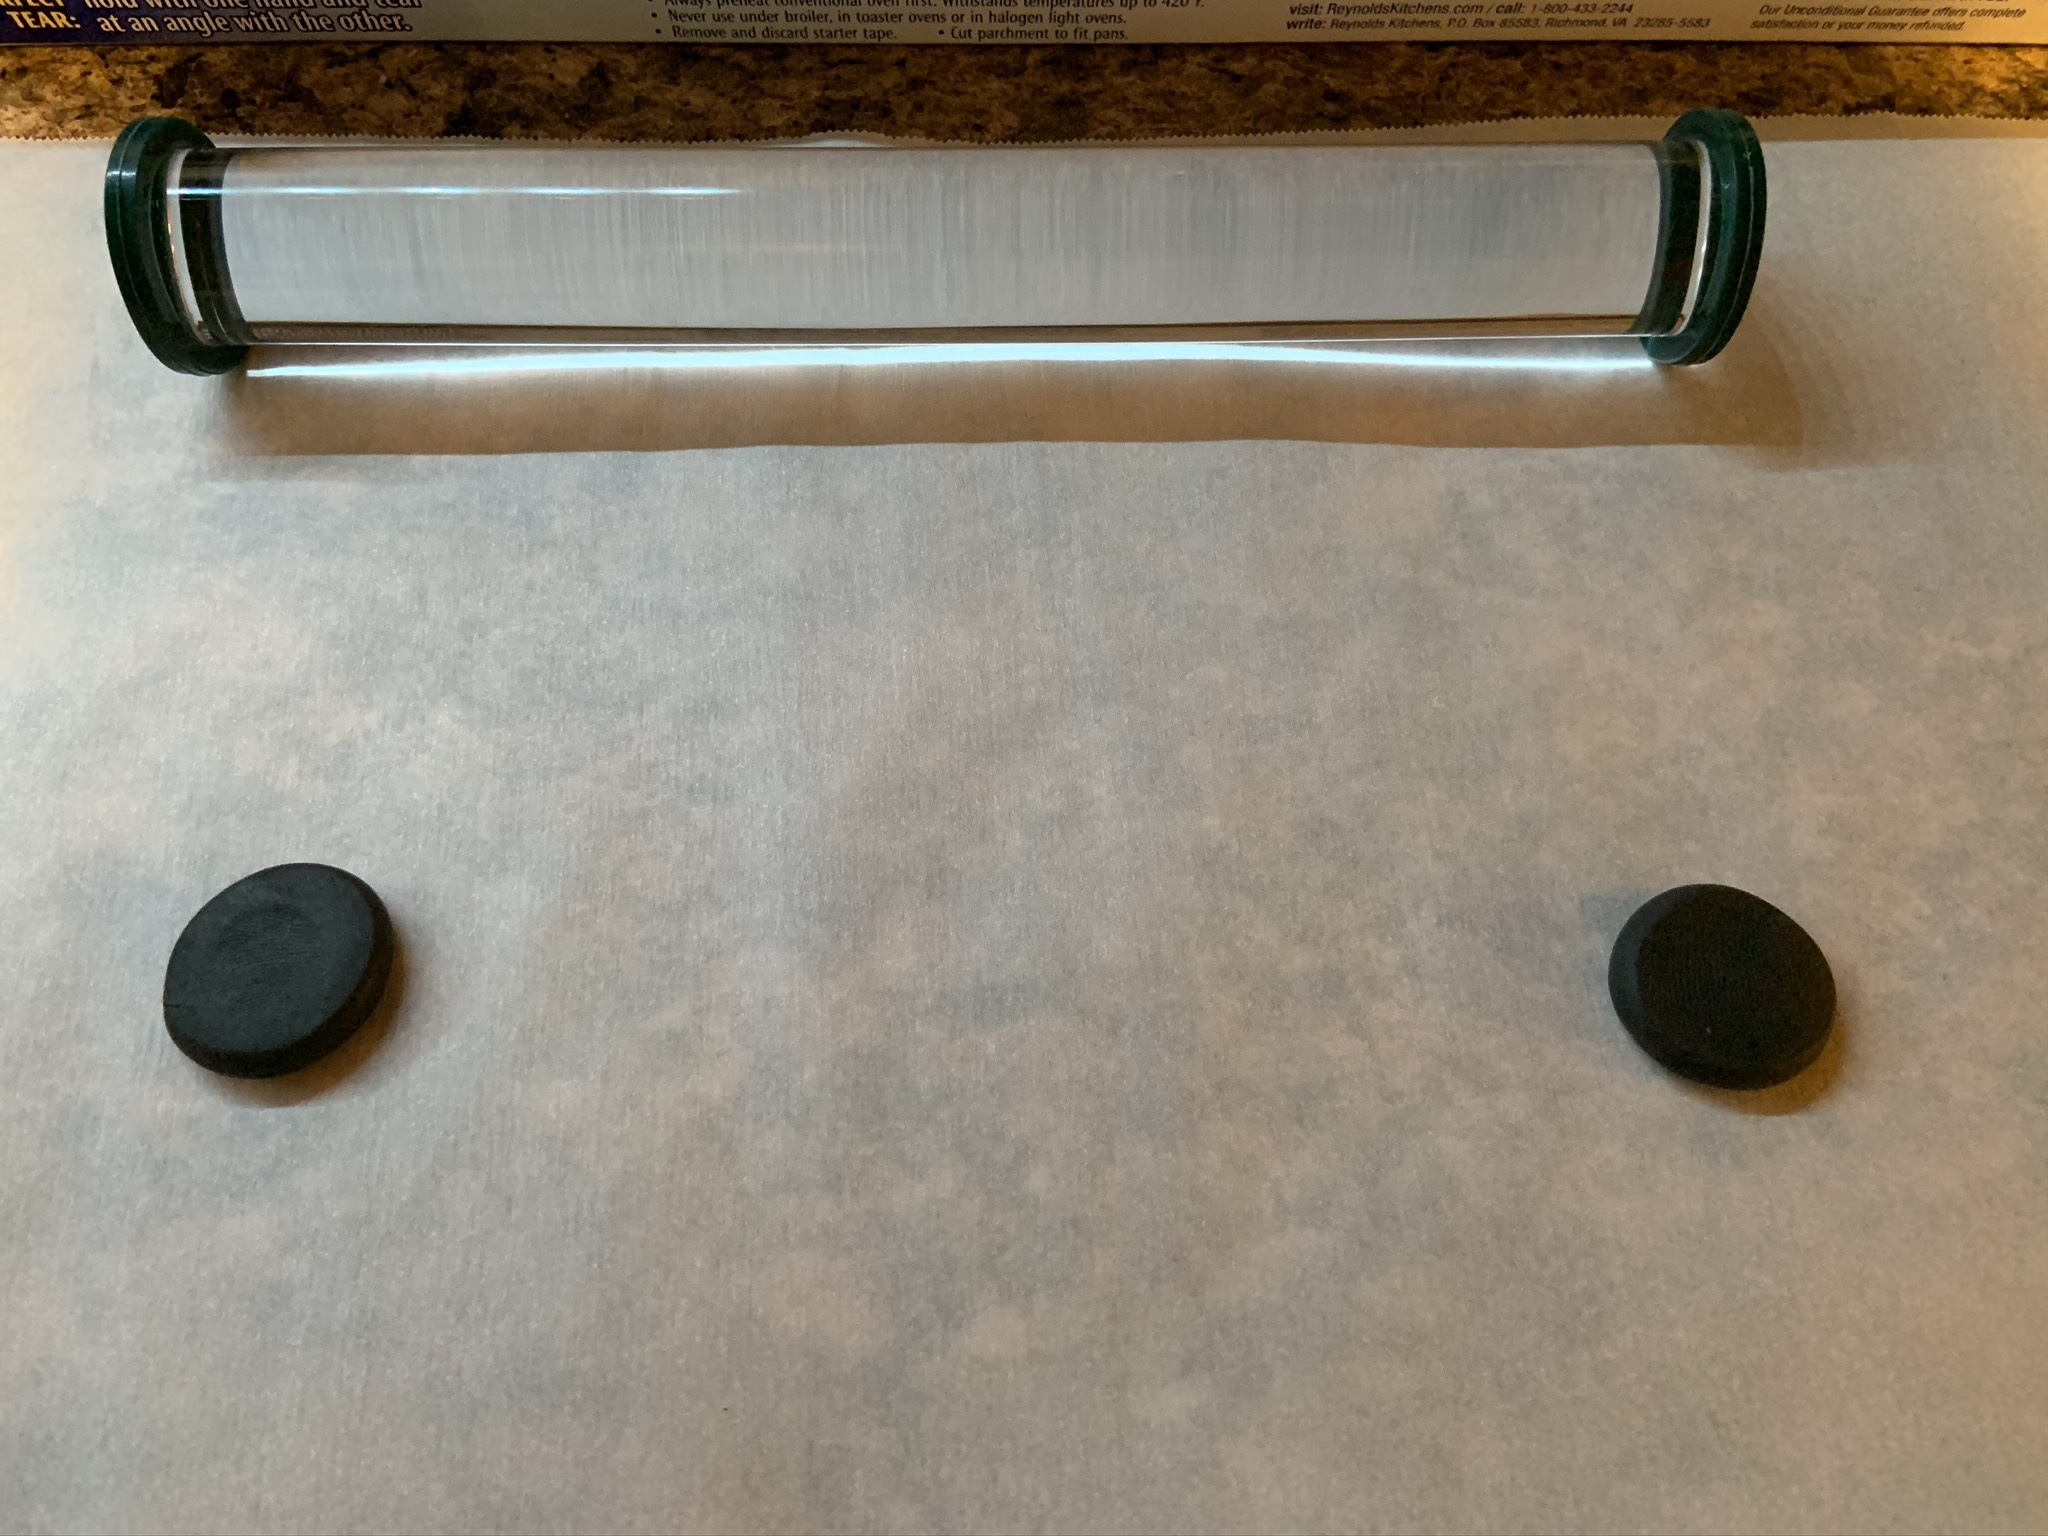
Next I’m going to roll the clay with the ‘Mesh’ roller in the opposite direction as I’ve done with the ‘flat’ one. This will help make the result more or less circular.

In the past I would have popped this in the oven at this phase. However, since I’ve picked up the Round Cutters, I can now trim most of the excess away. This has 2 advantages:
- Since we are working with oven-bake clay, the excess is still usable (unlike epoxy putties) since I haven’t baked it yet. In the end this saves waste and $$ 🙂
- Using the cutter allows me to line up exactly which portion of the rolled design I want to use
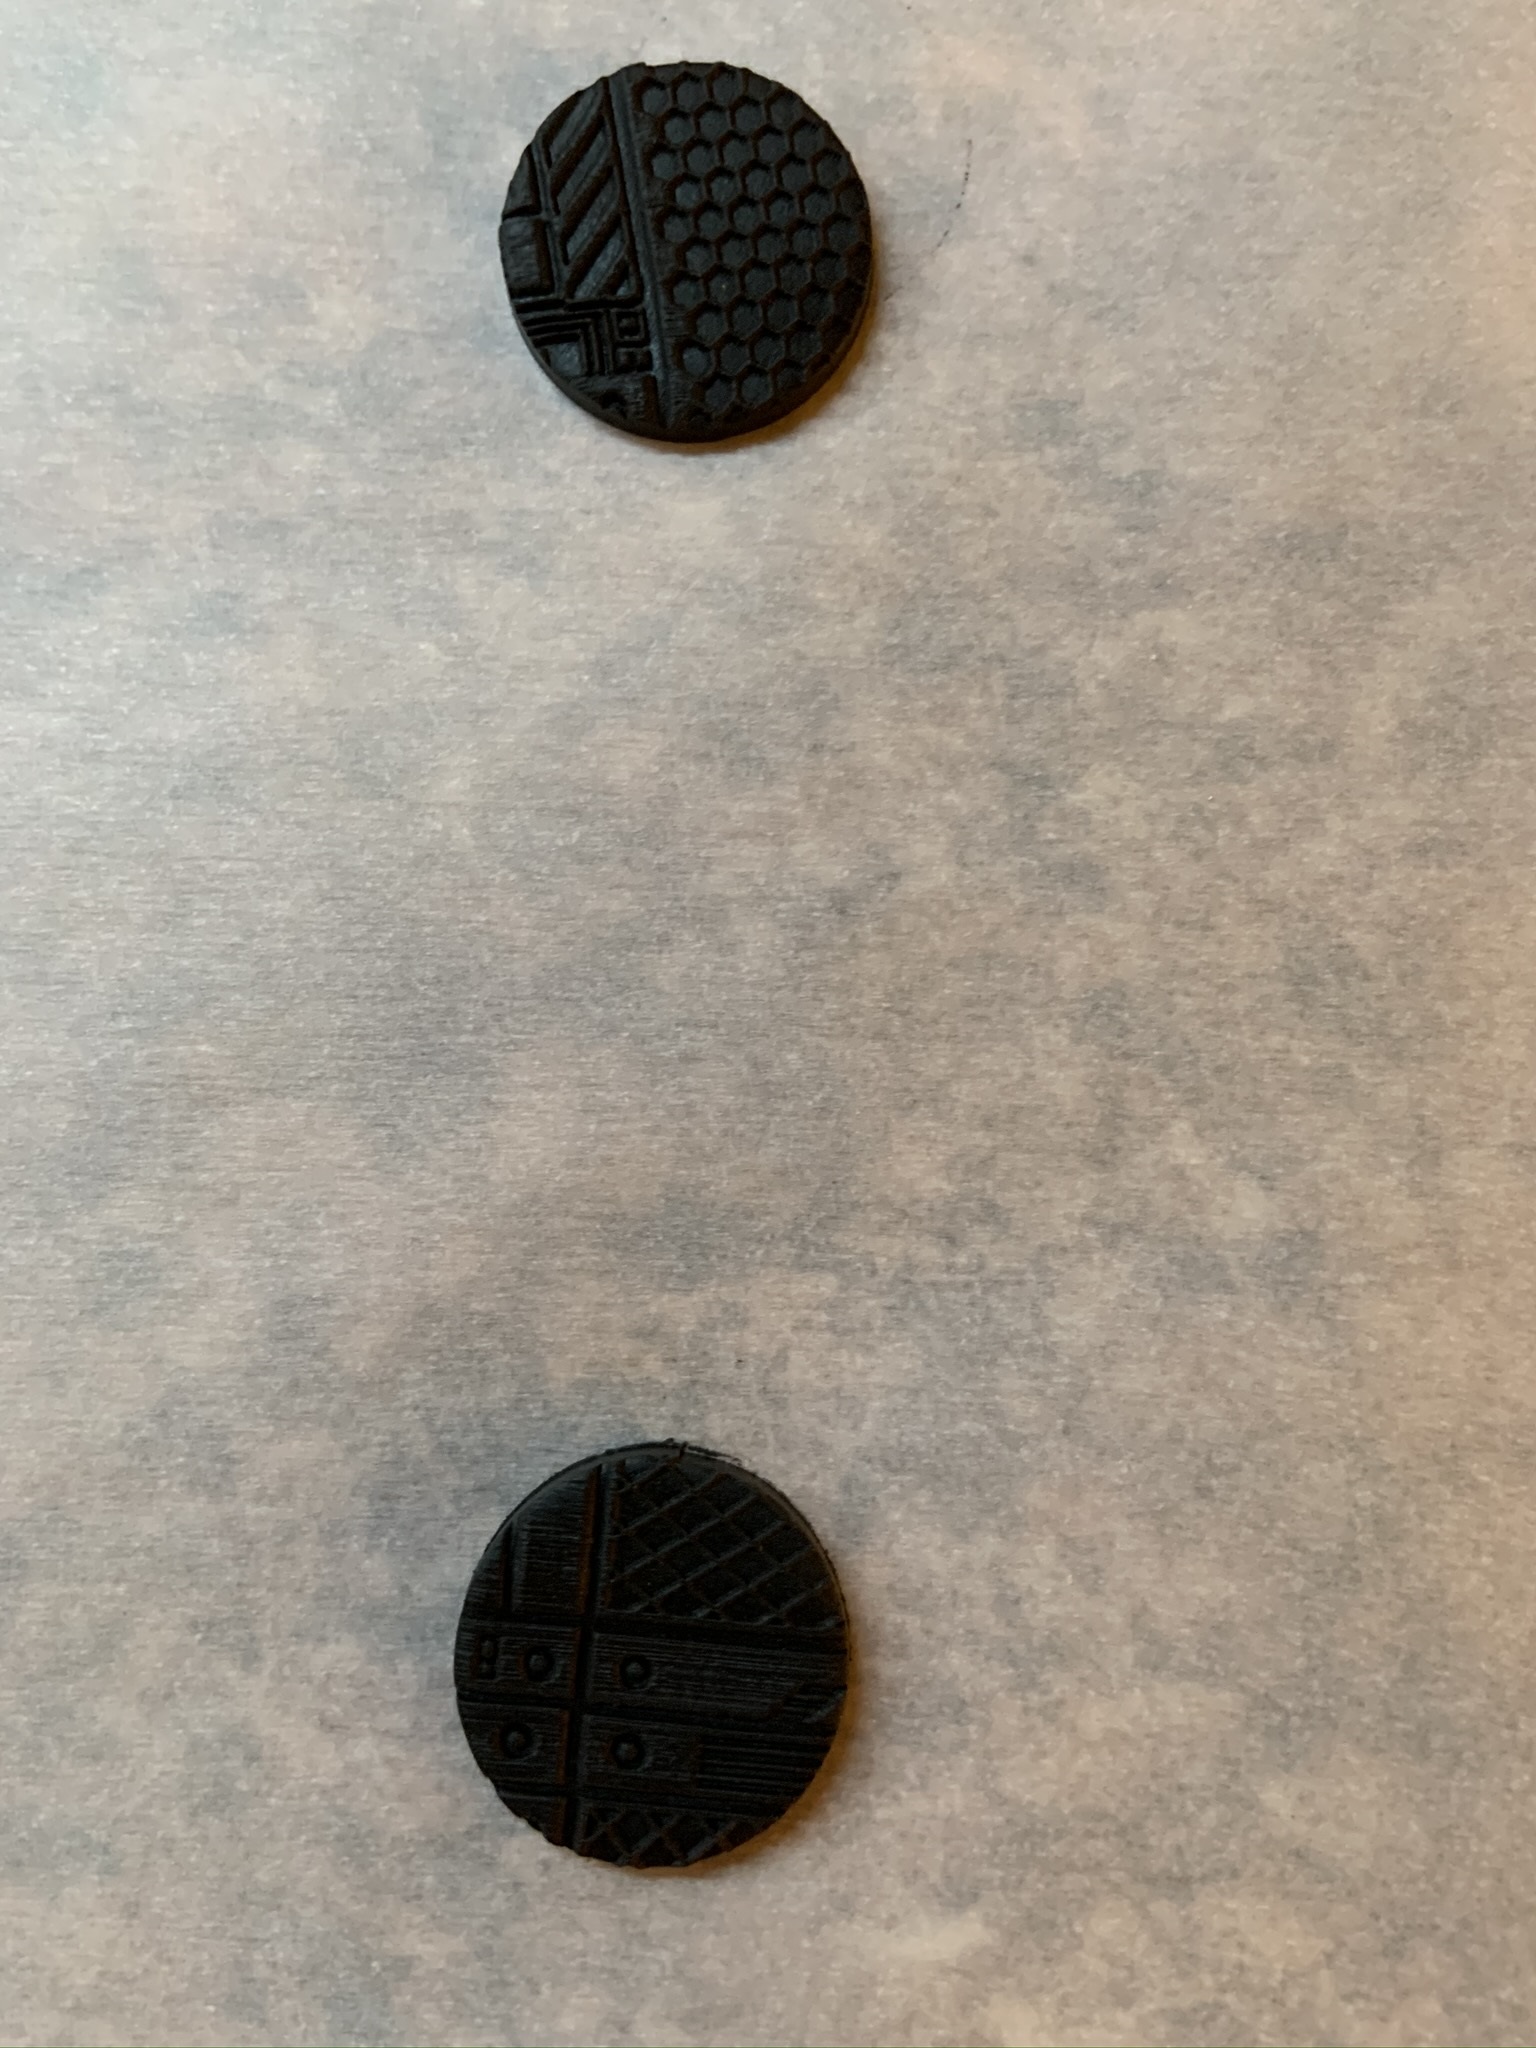
Here are the resulting two base toppers…ready for the oven. As you can see, the recommendation is 300 degrees F for 30 min per 6mm. Typically with base sizes of this thickness I’ve found that 15 minutes is plenty (faster than epoxy putty drying no?).
While these are baking, I’ve gone ahead and started the rest of the prepping of these two bases:
- I’ve trimmed away excess plastic flash
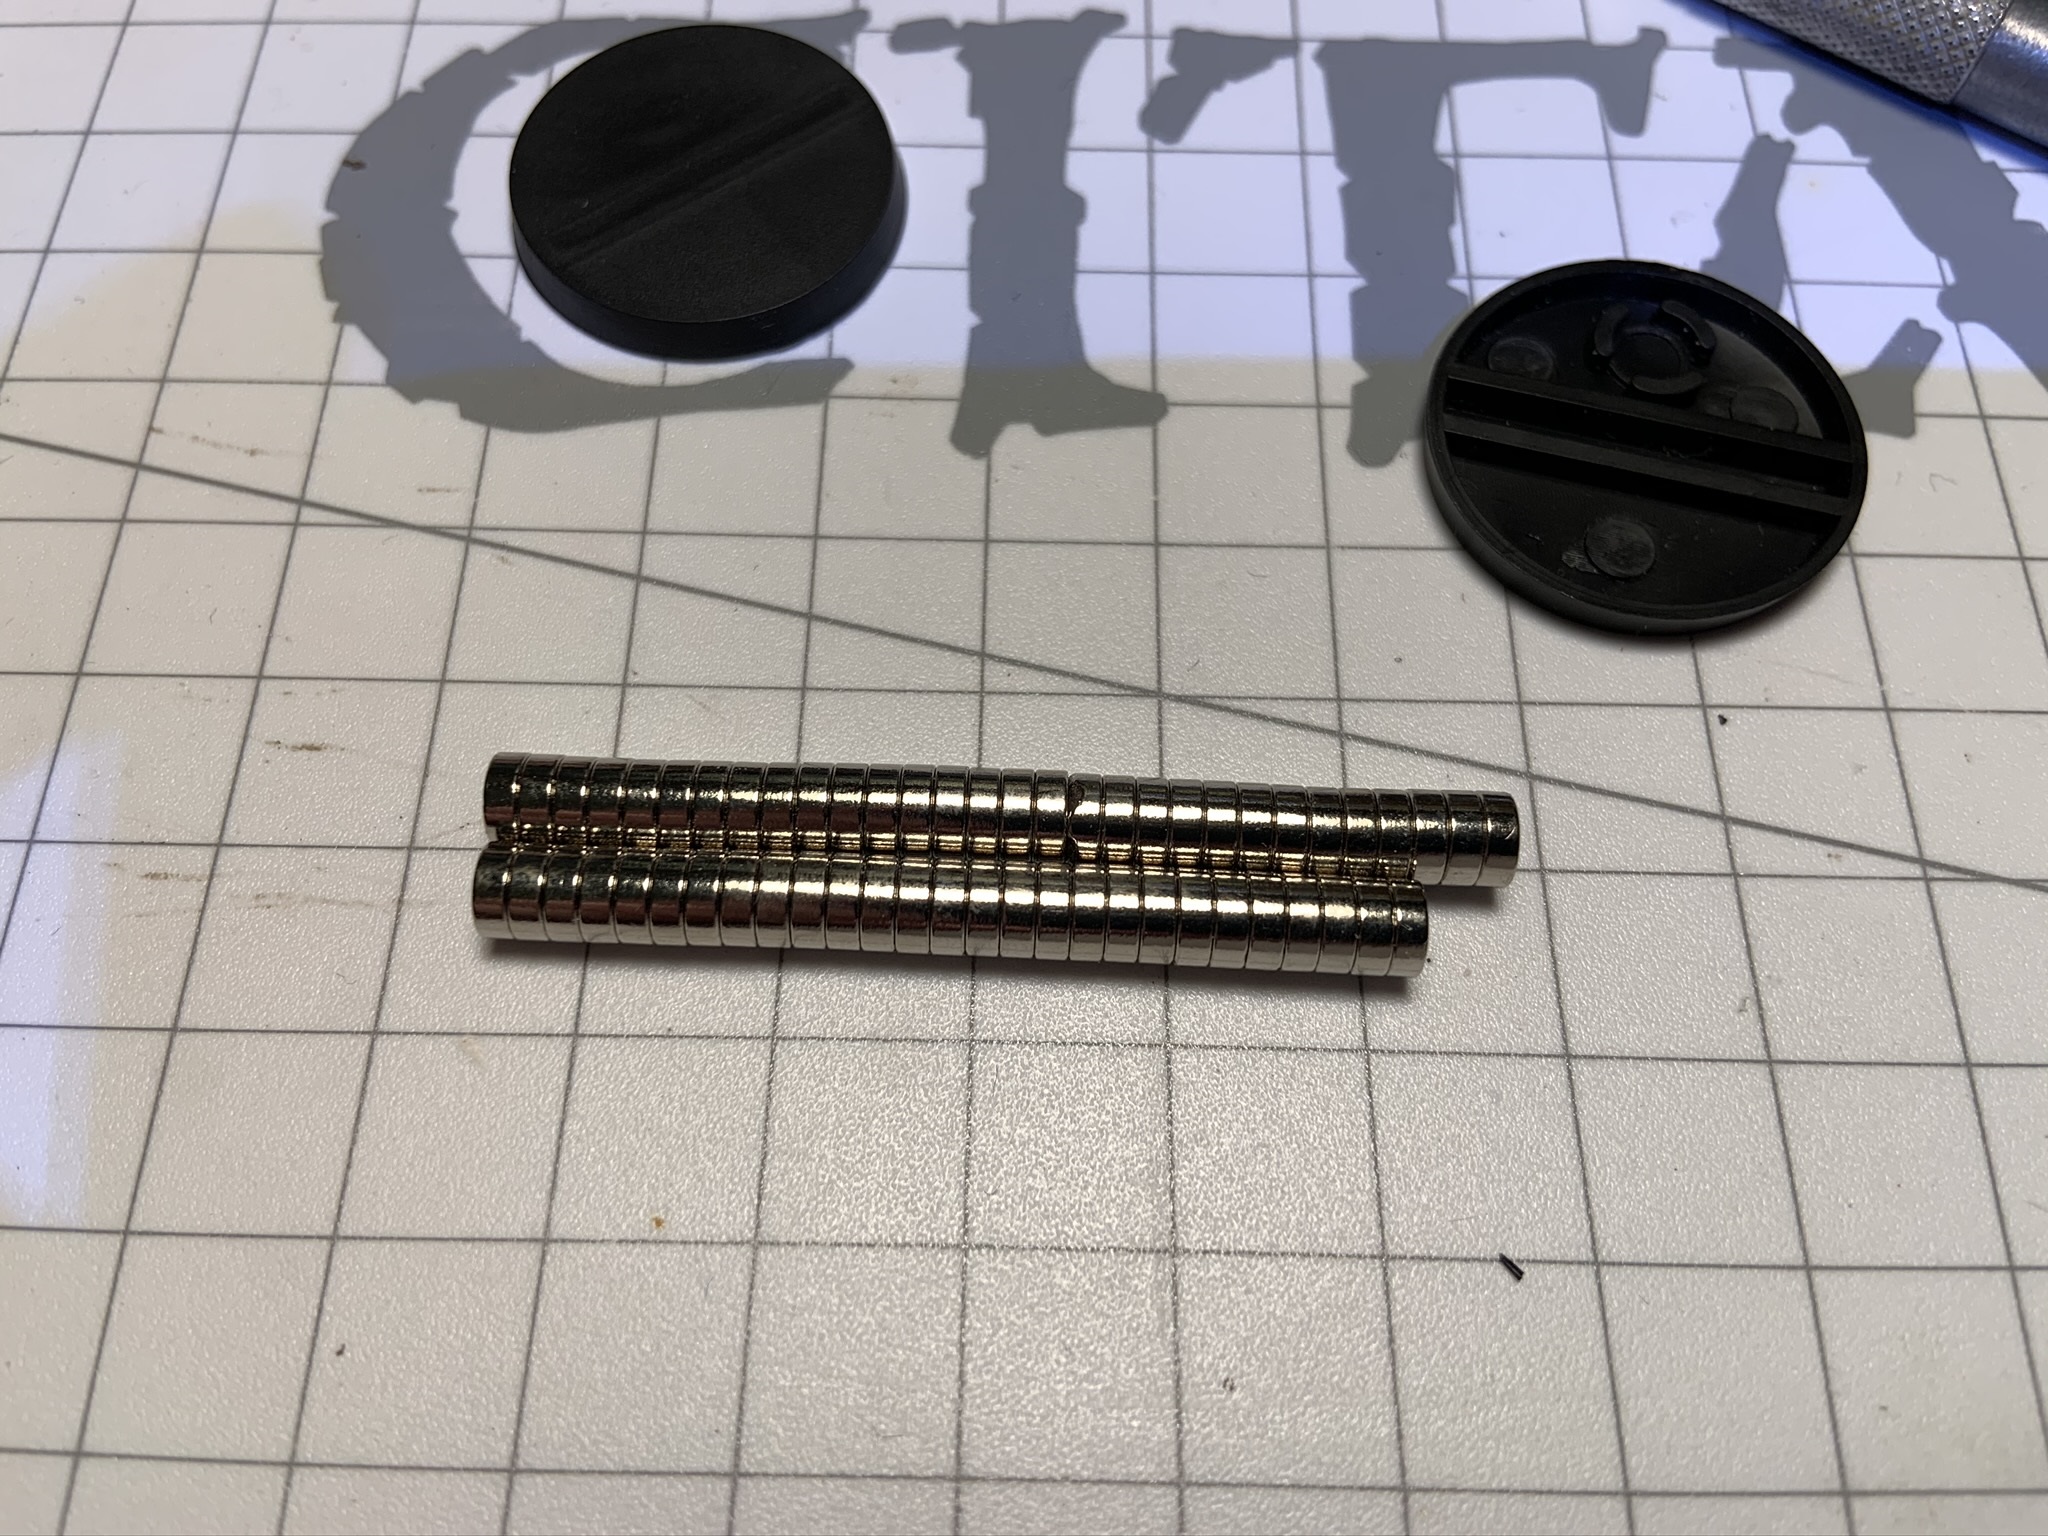
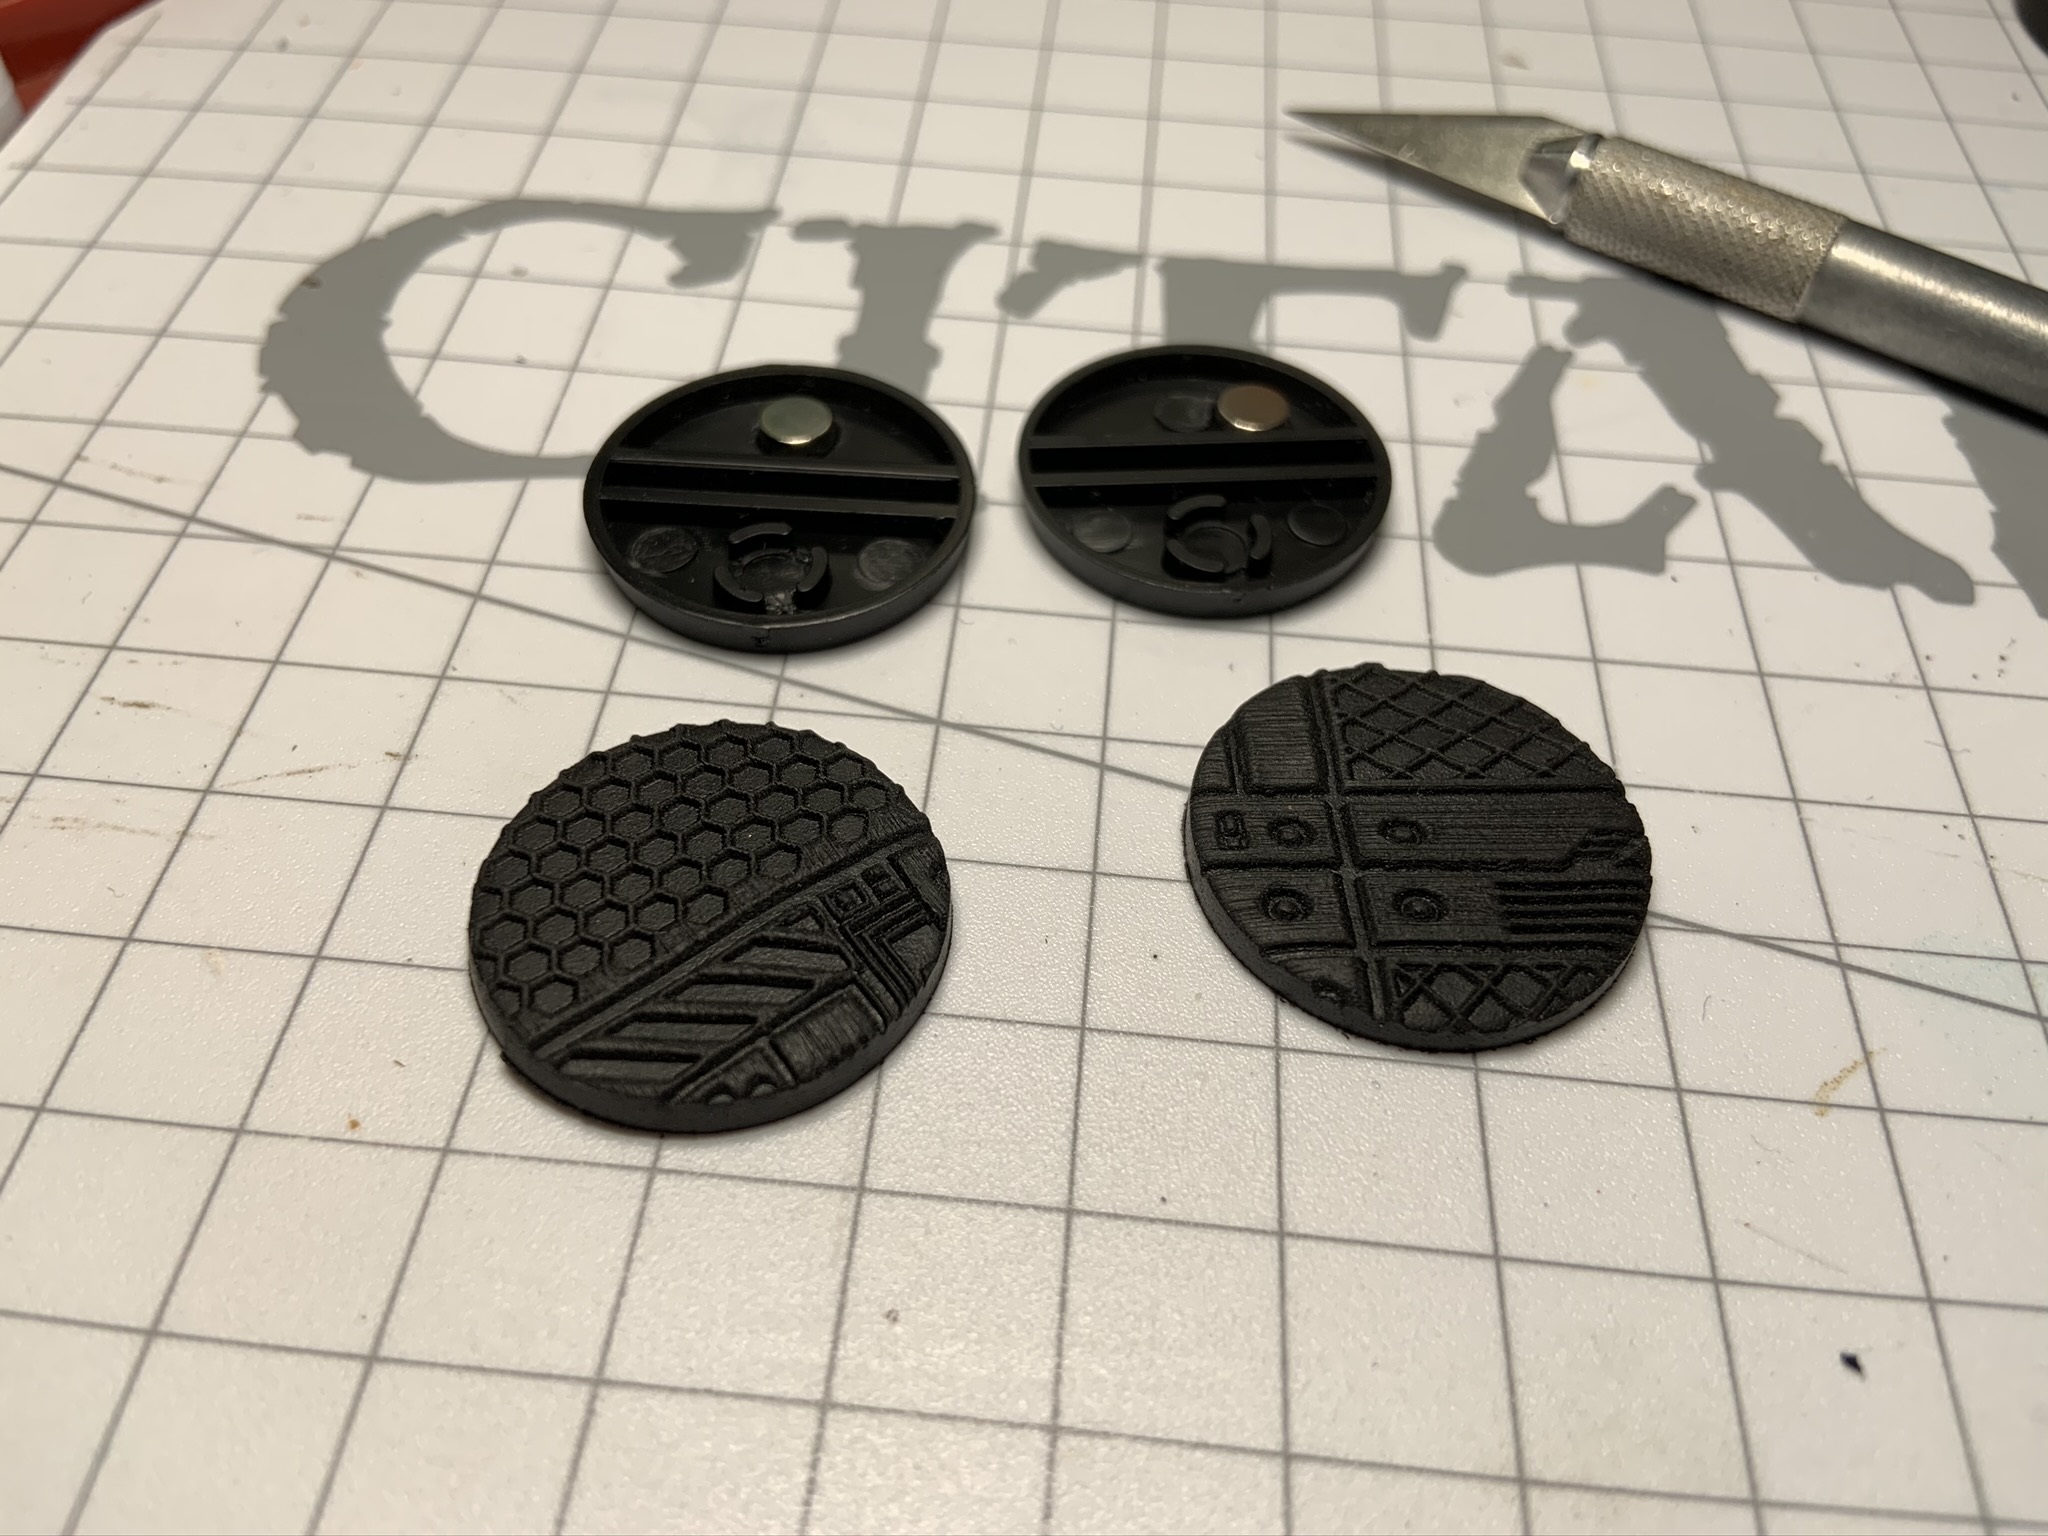
- I’m going to be adding 5mm x 2mm magnets to aid in transport and storage
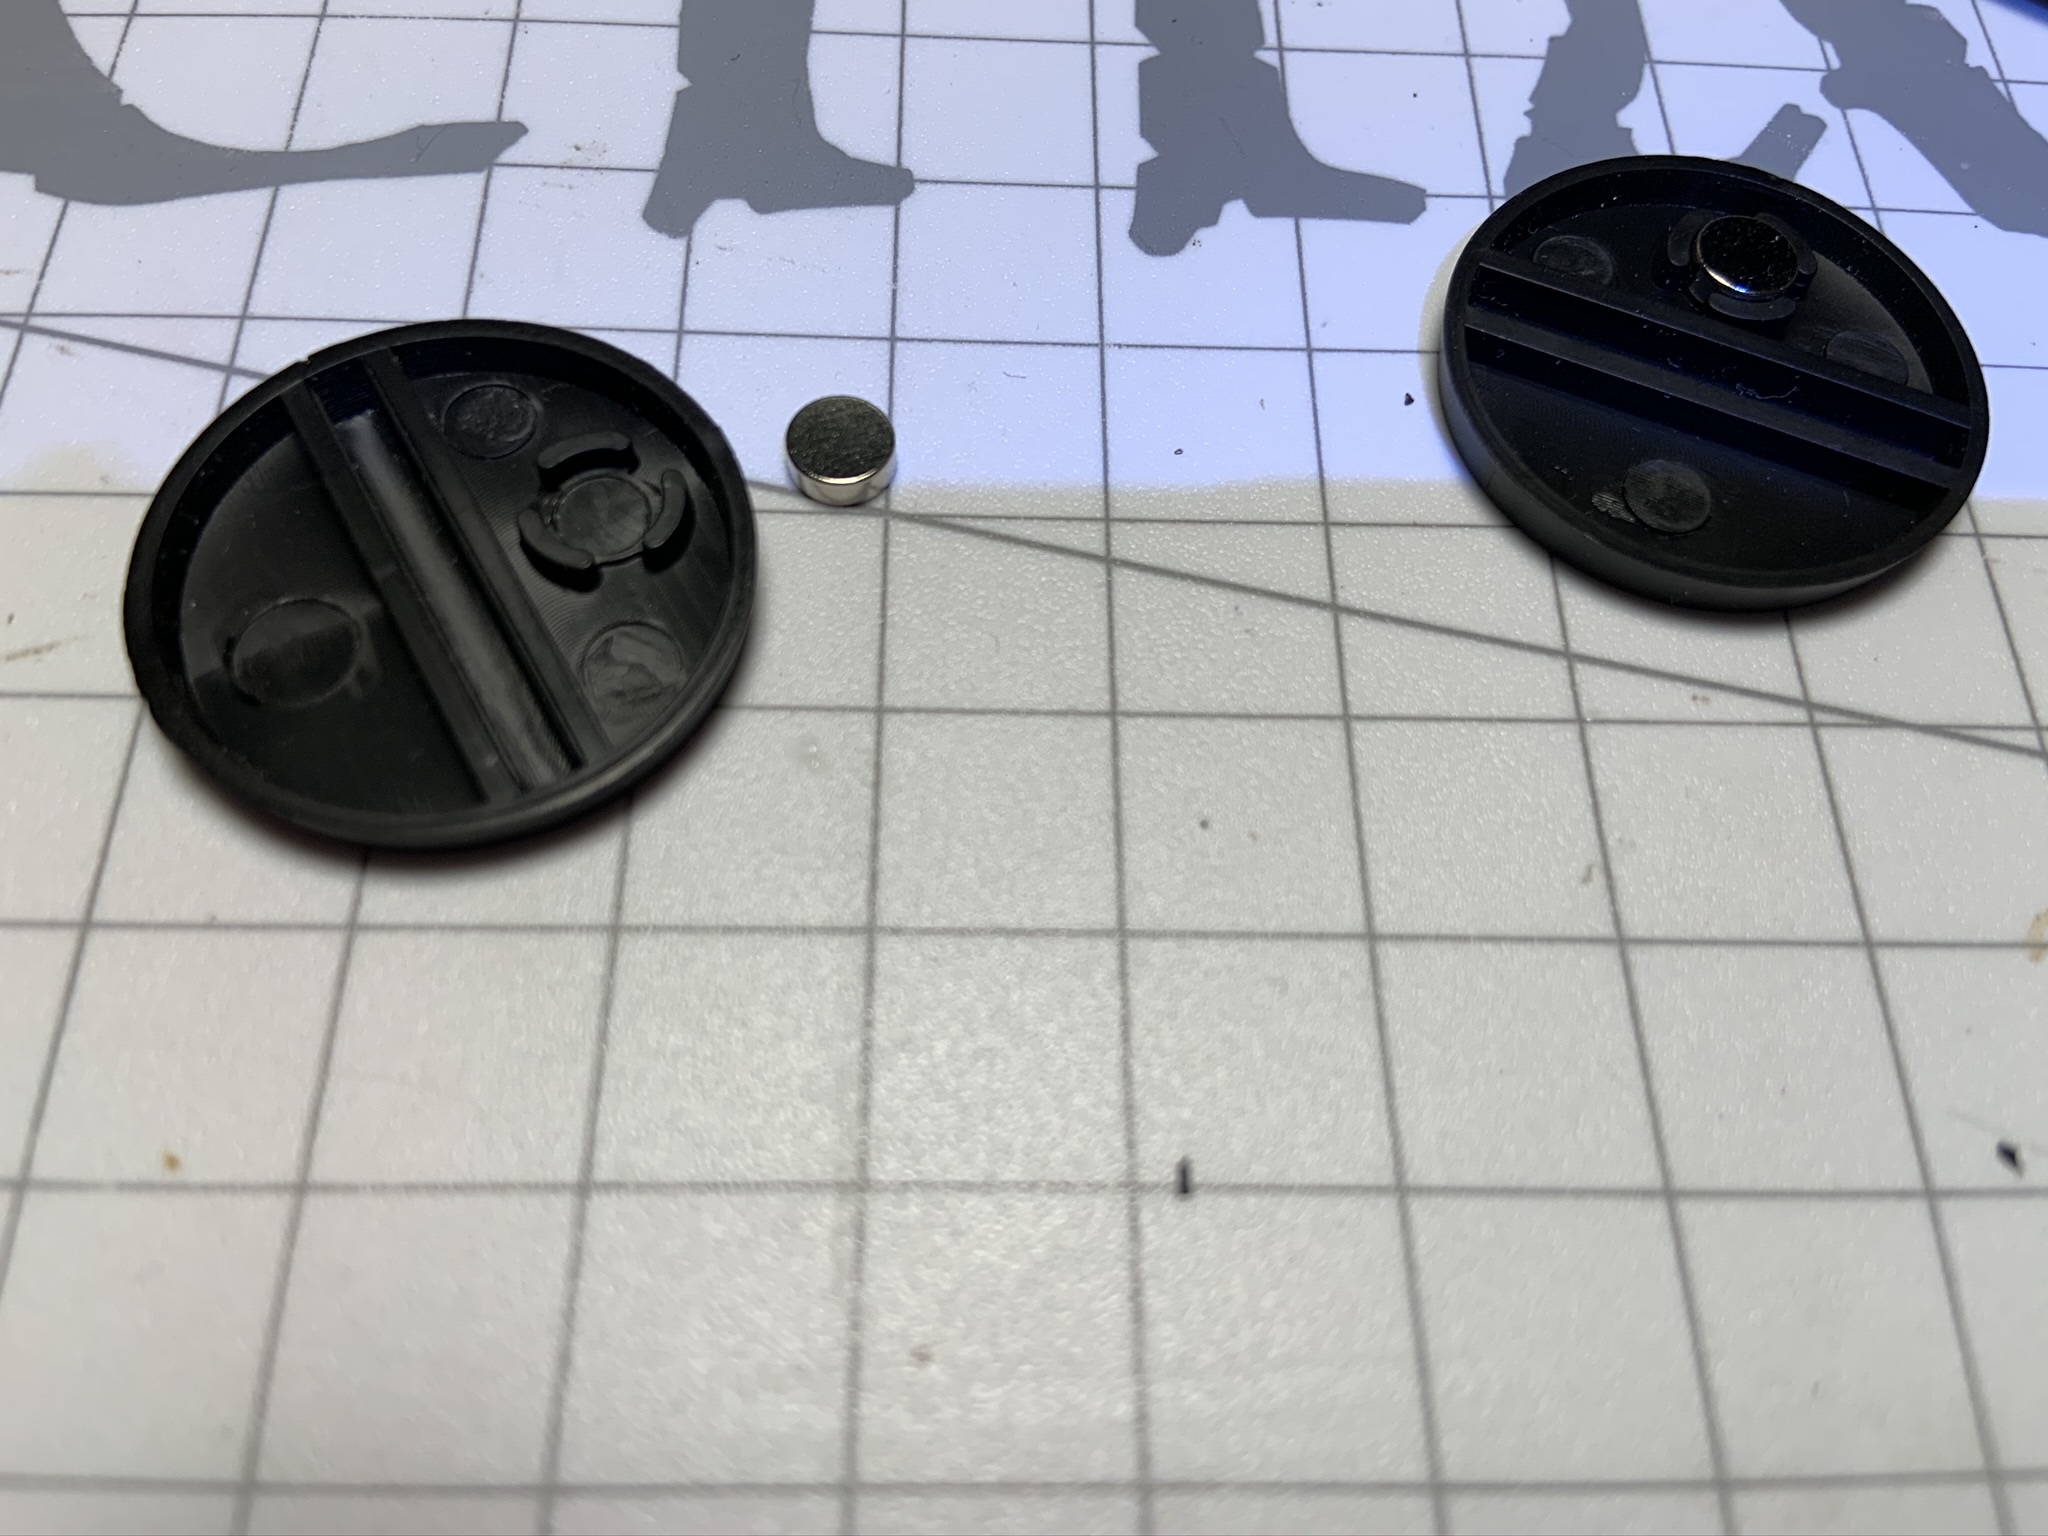
- As you can see in the photos, I’ve found that the molded areas designed to accept these aren’t the best location for them…there is a small amount of flash that is difficult to remove to get them to set flush. Instead I glue them with CA to a flat area away from any flash
- I’m also going to be adding DAS air-dry clay as a filler to the remaining area under the base for three reasons:
- The extra clay will add a small amount of weight (as will the topper) to the base, adding stability and that satisfying ‘heft’ of the miniature
- It will provide a better substrate for the inevitable pinning of the feet
- It makes a nice clean surface in the end that I can sign/date…to drift down memory lane, or see how my skills have improved with time 🙂
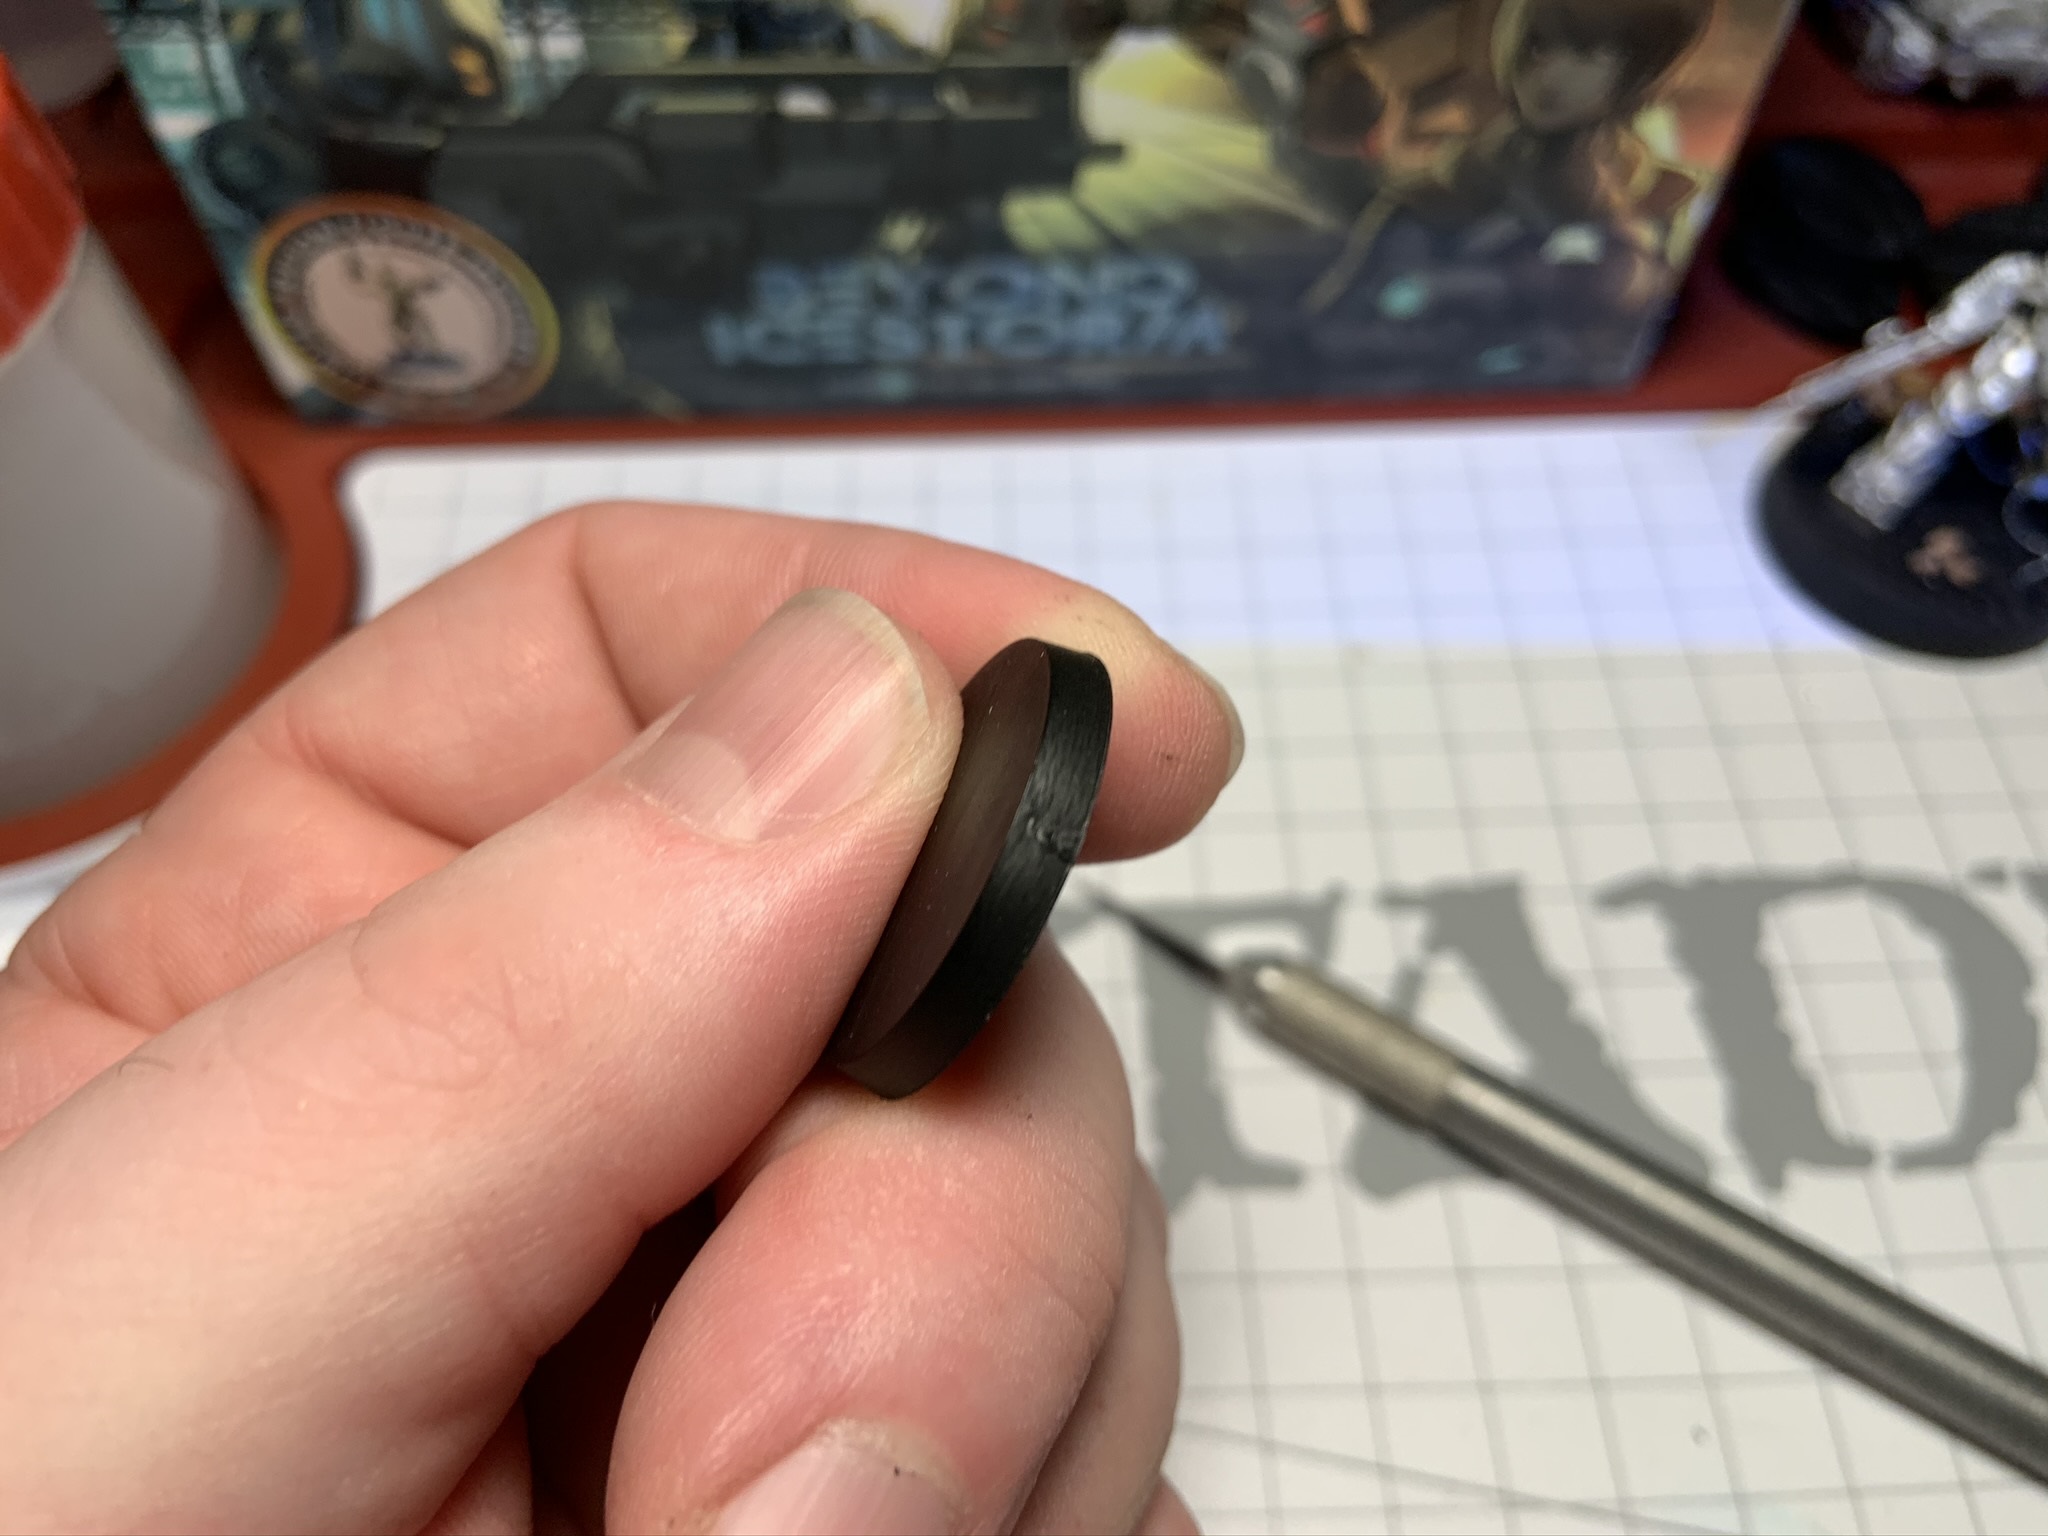

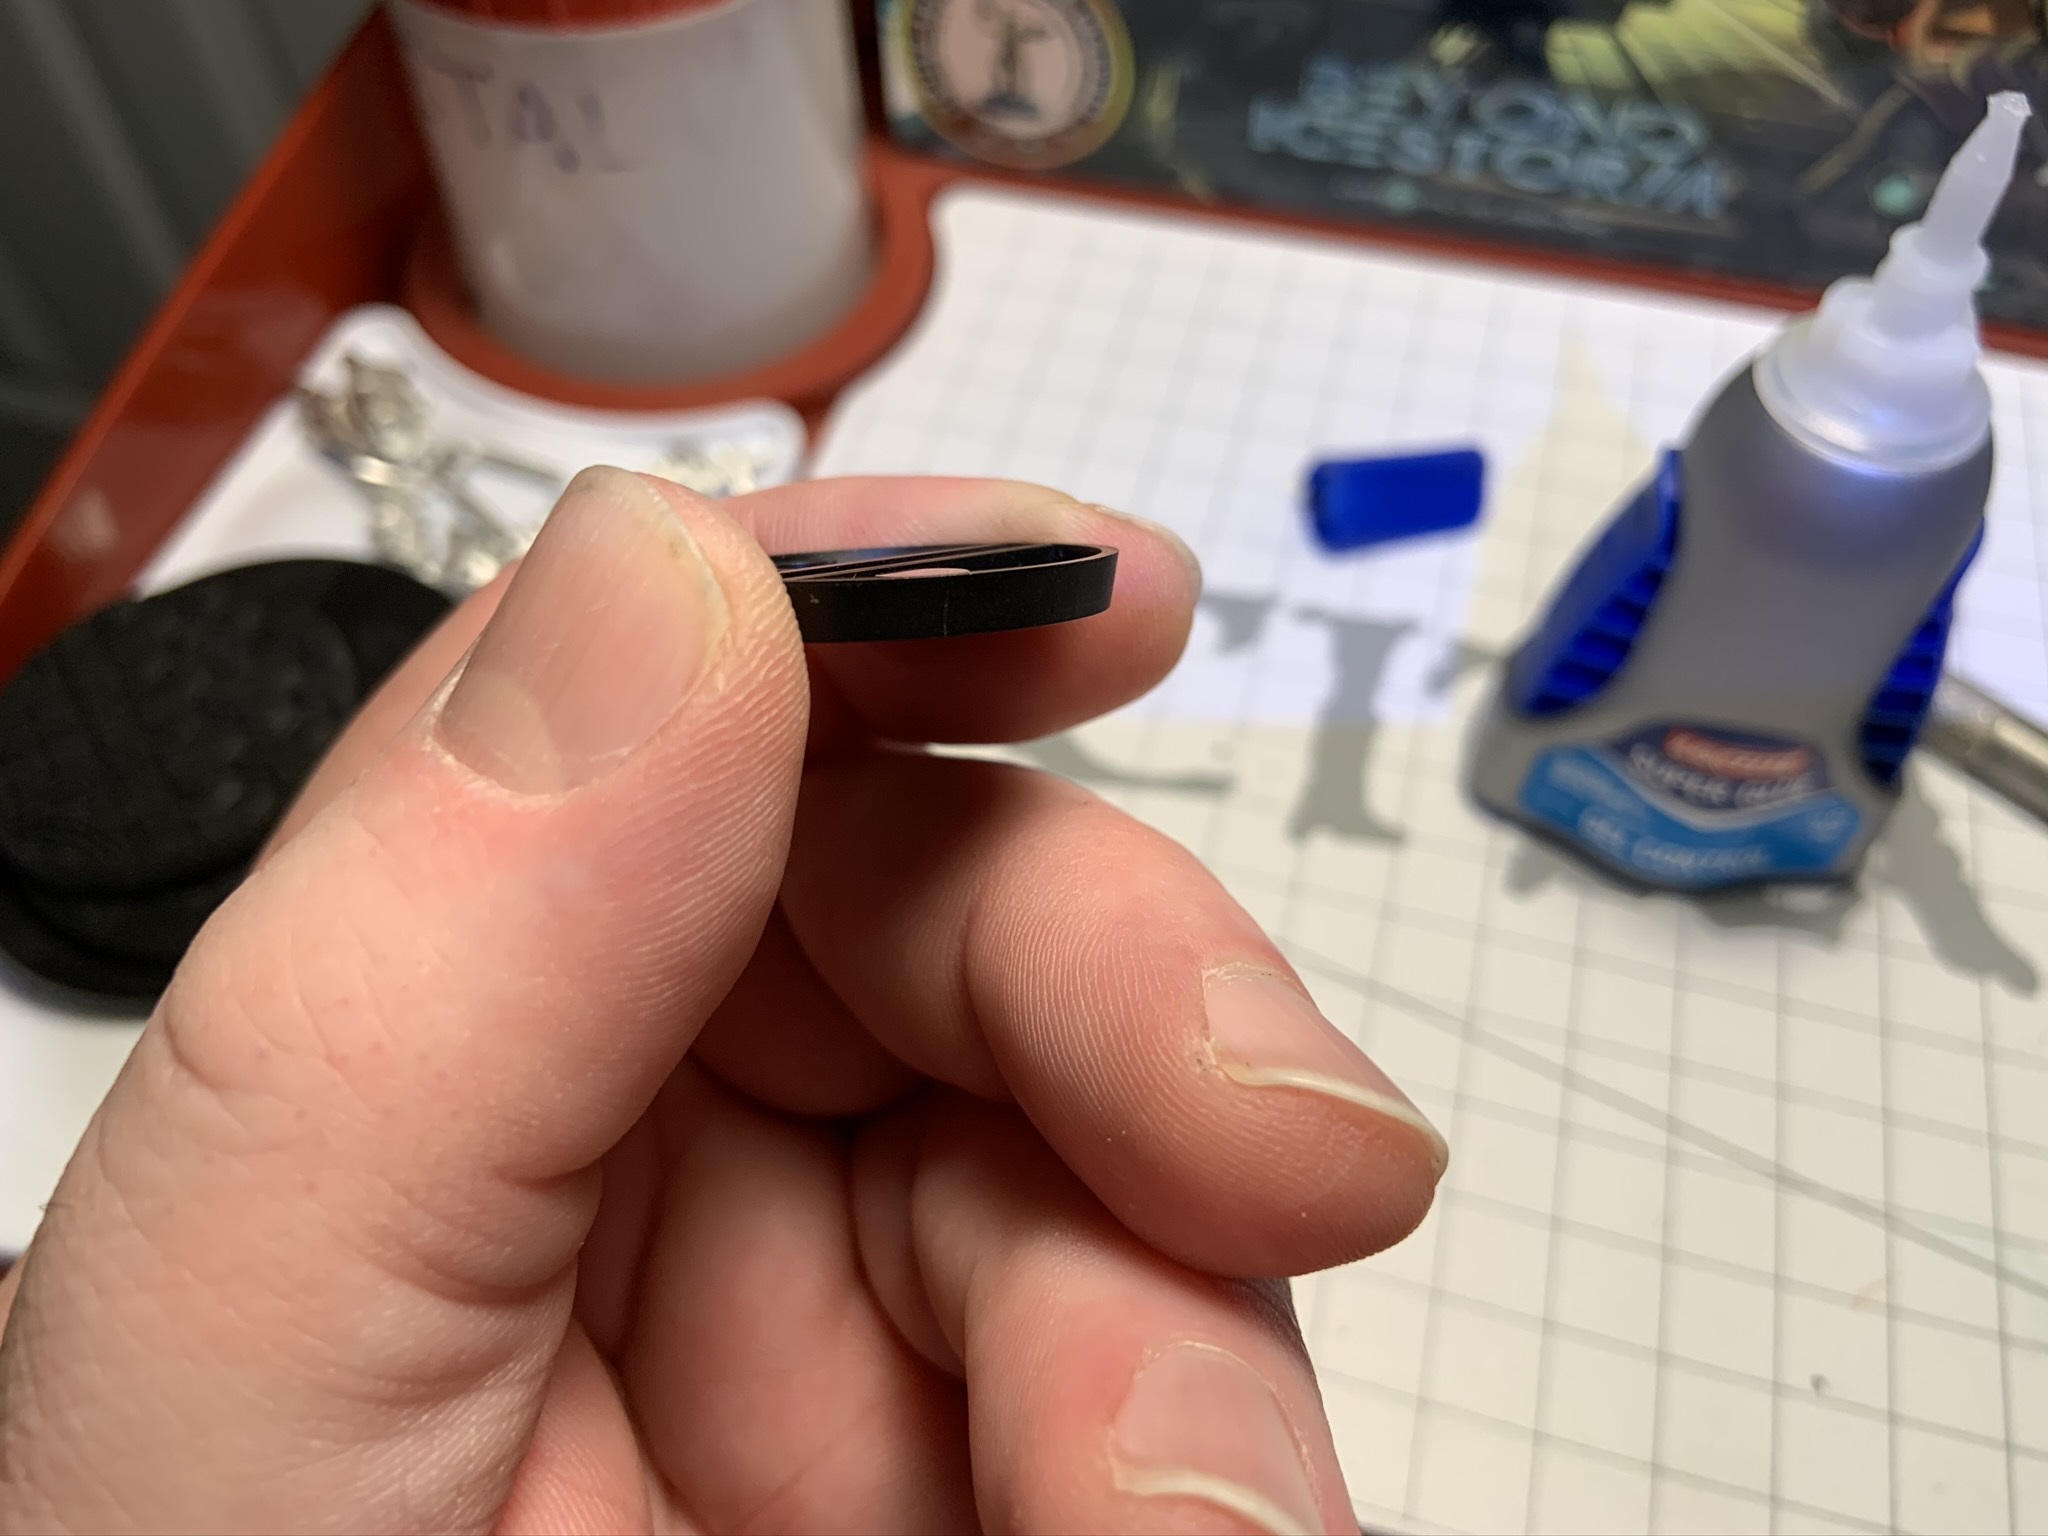
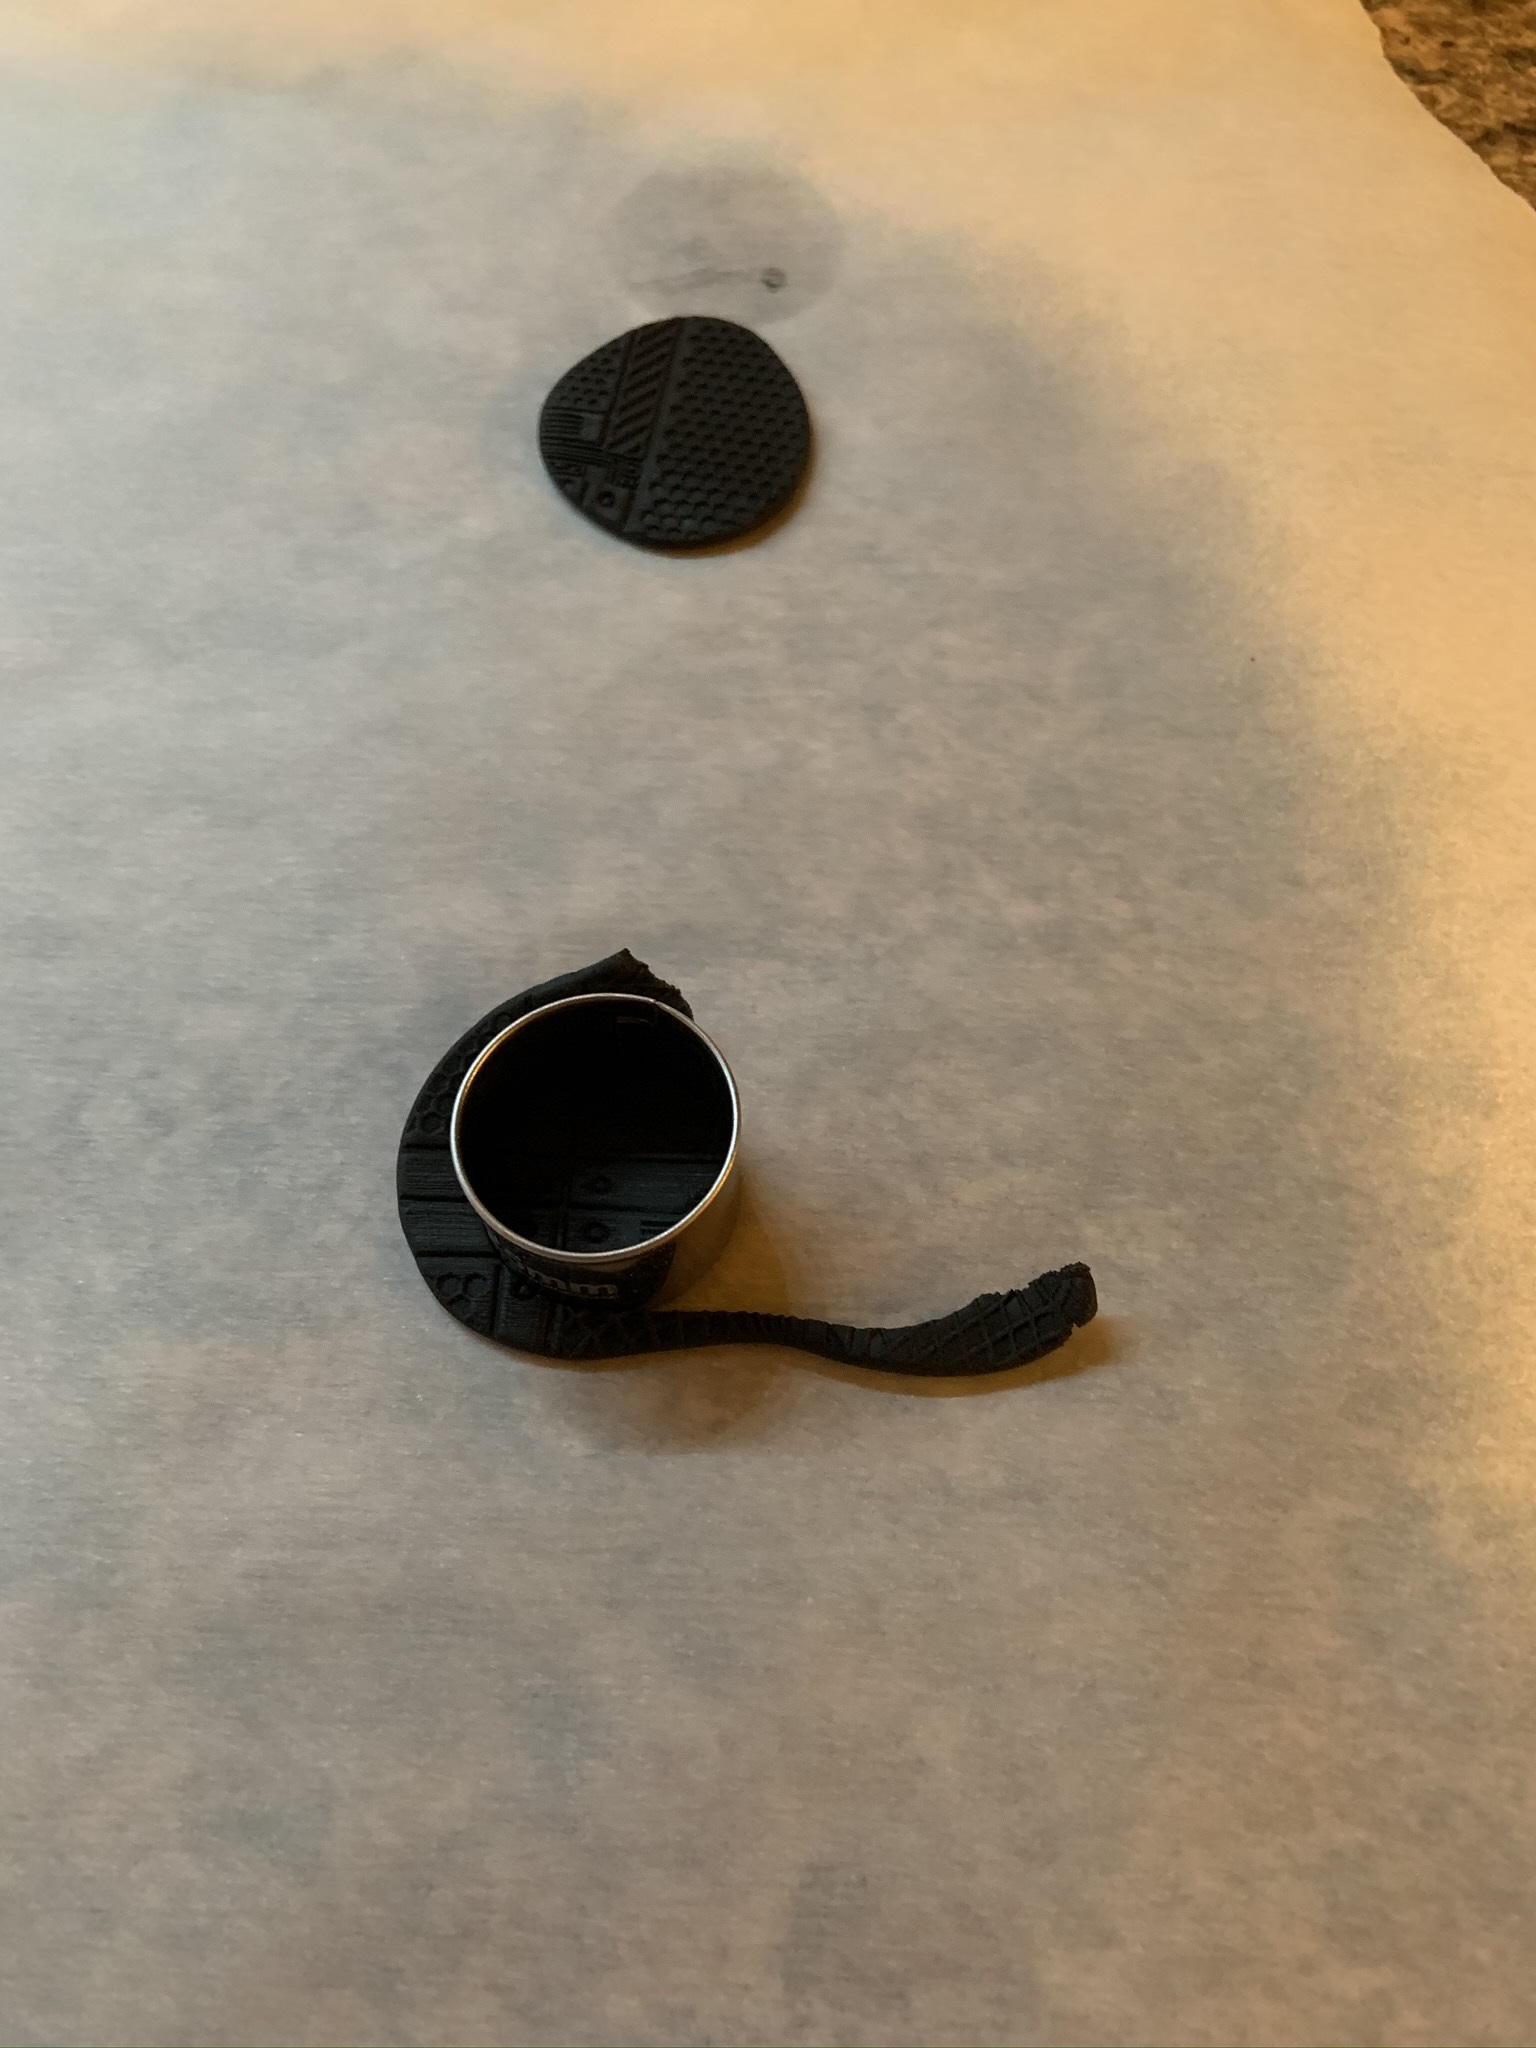
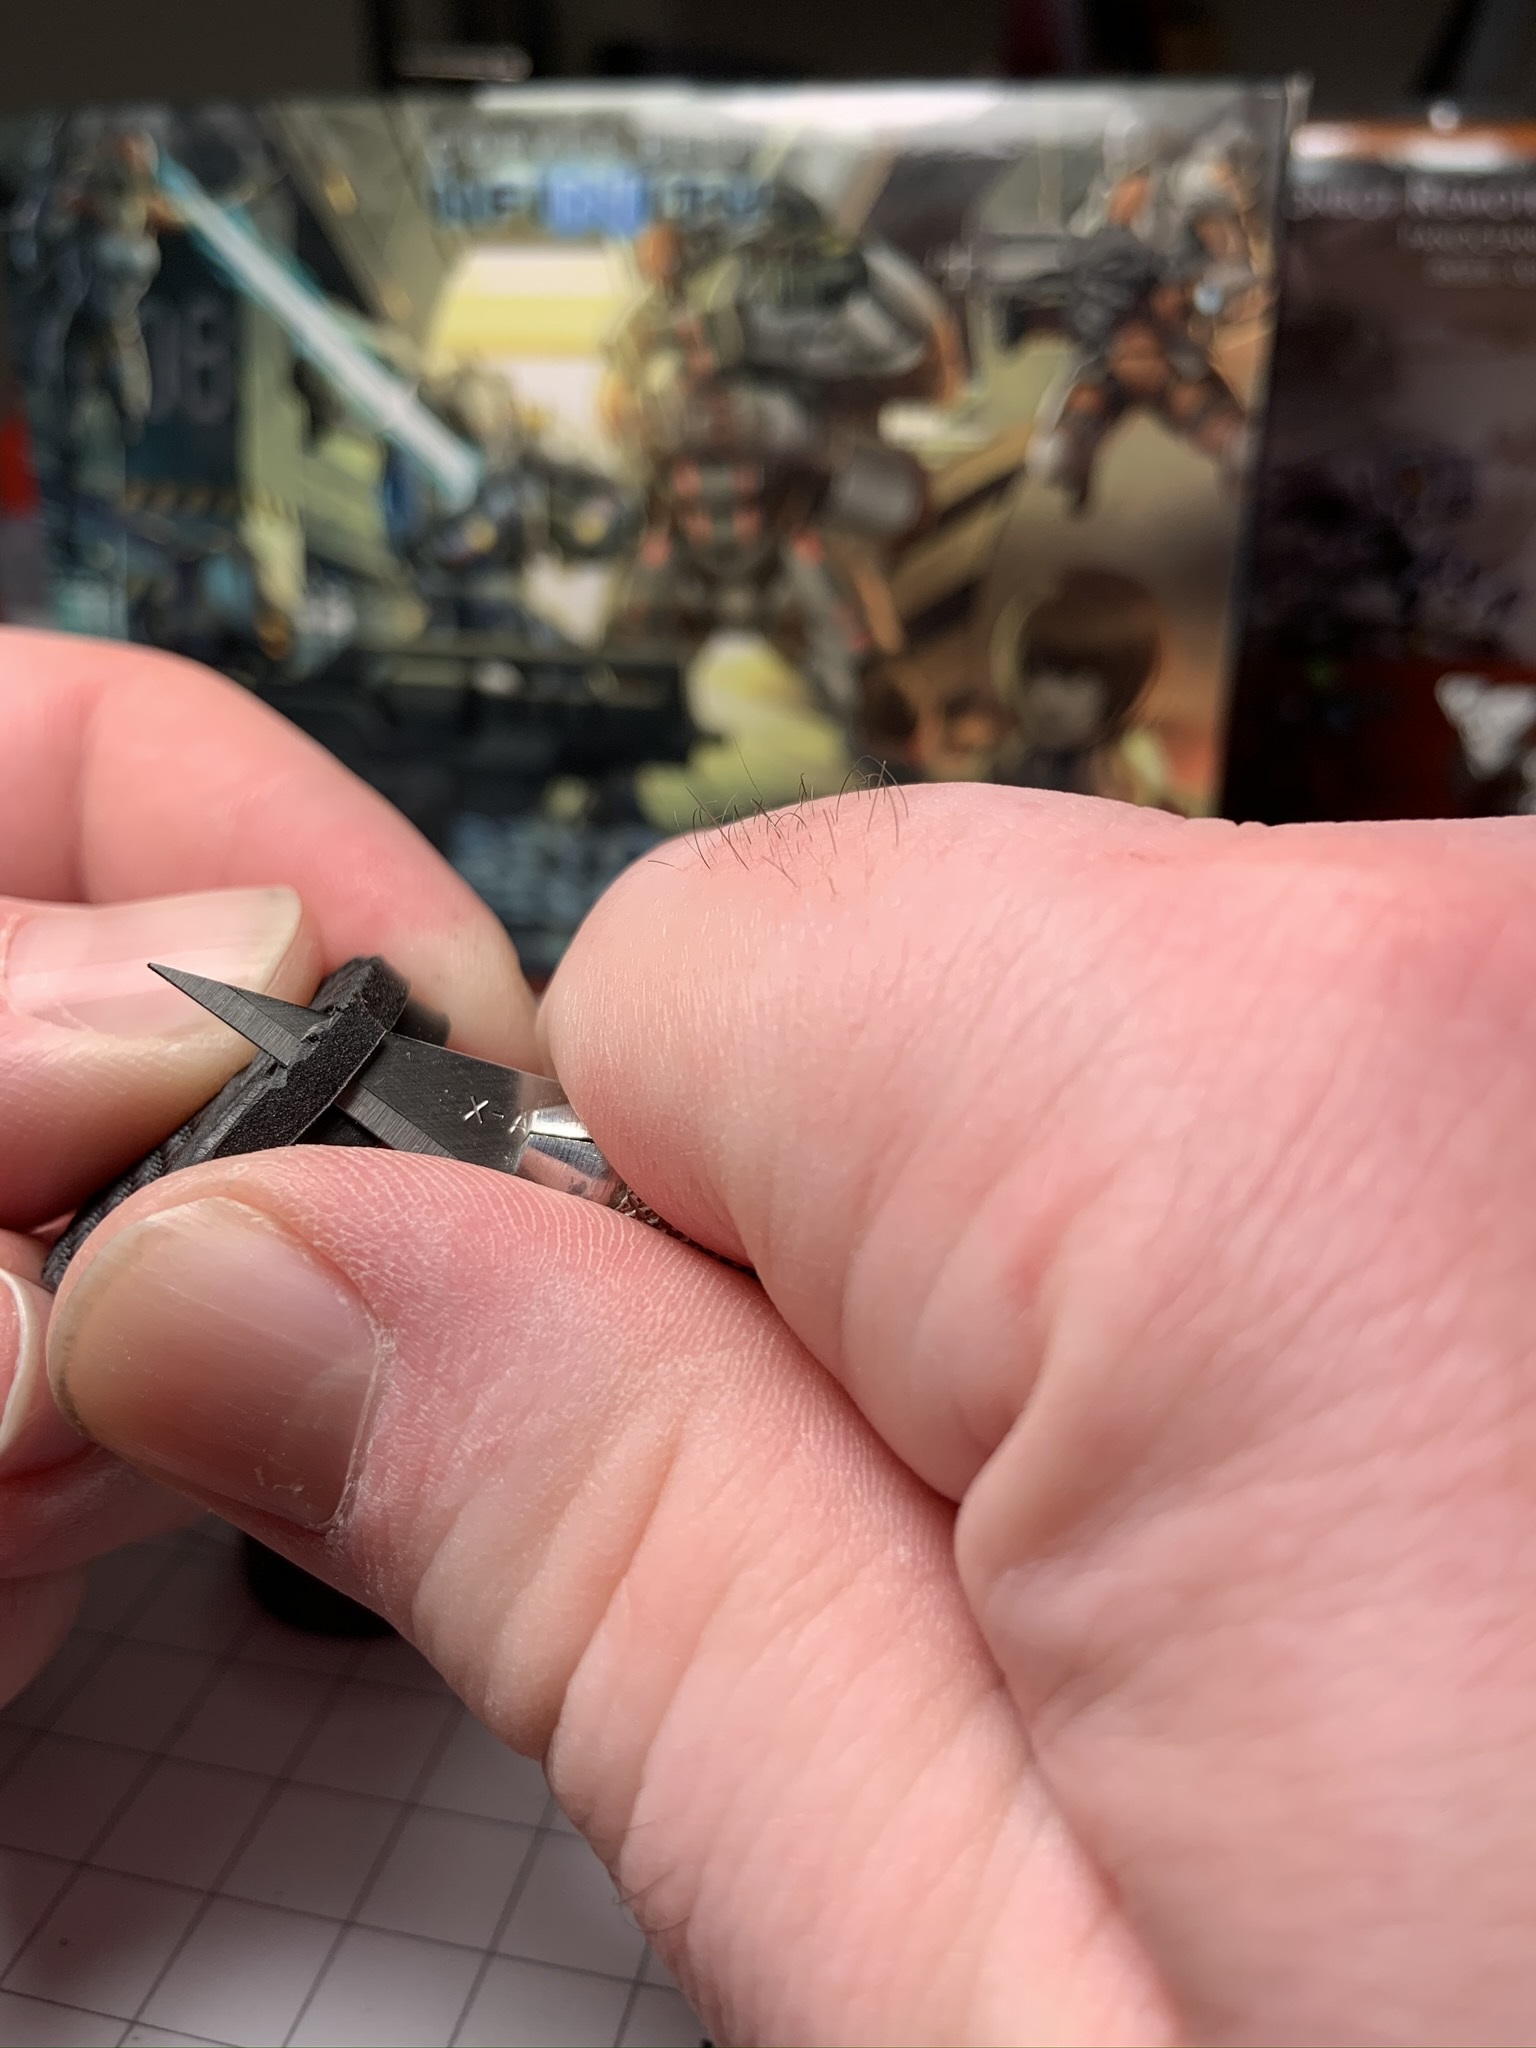
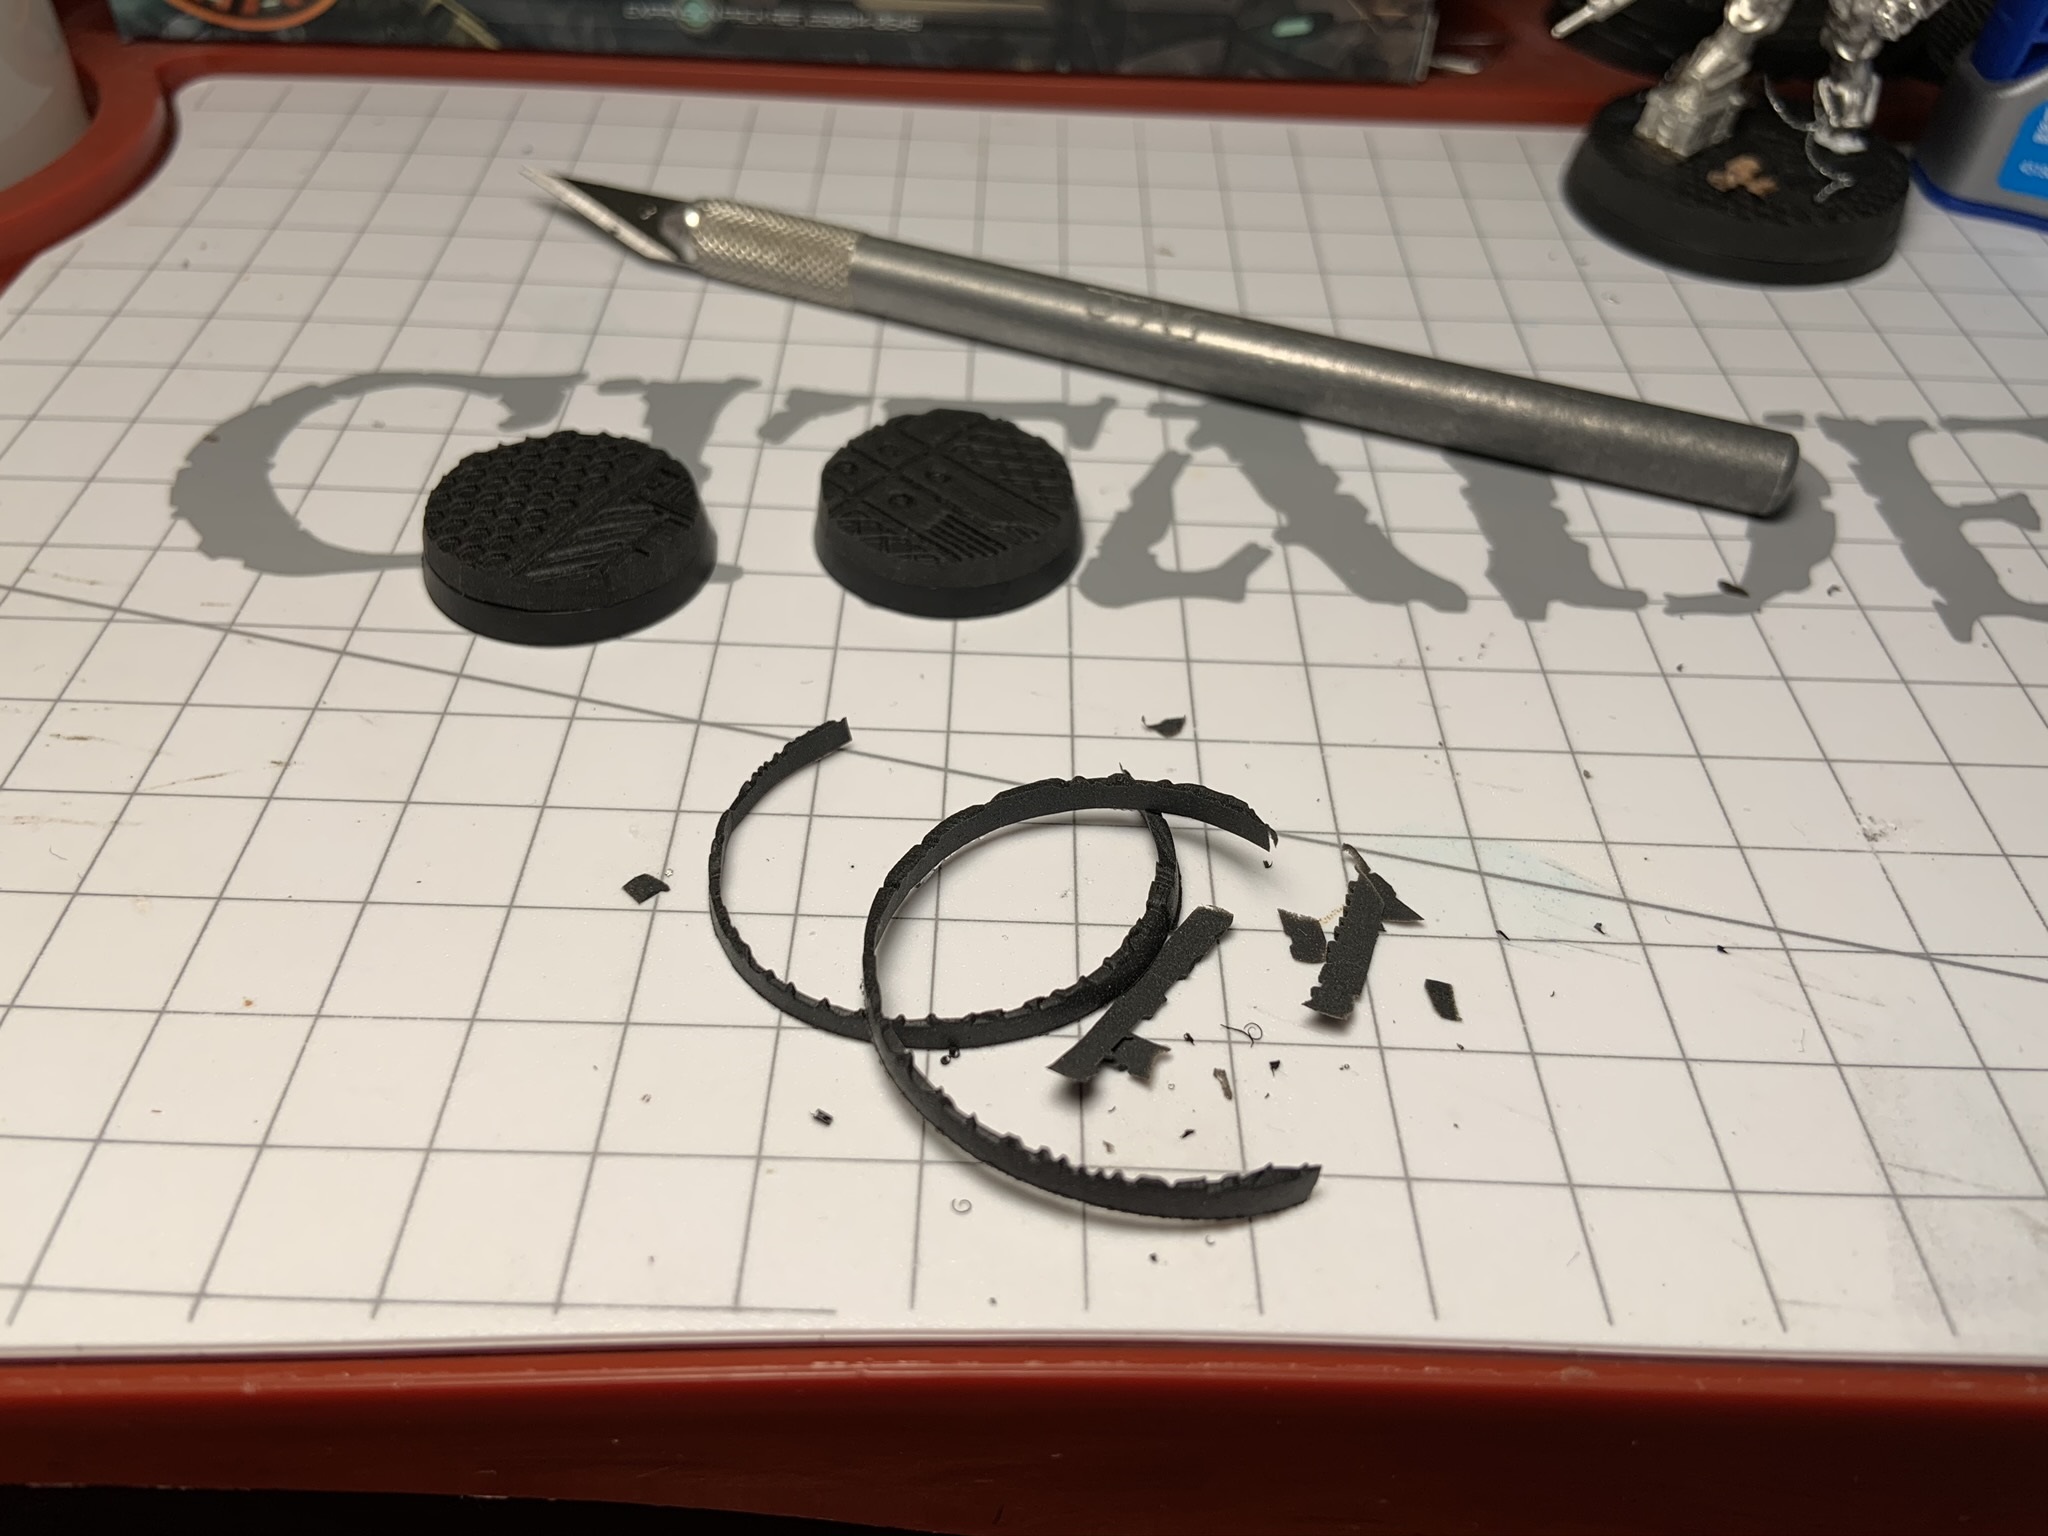
By now my toppers are finished baking. They need very little time to cool (couple of minutes)…after which I attach them to the bases with superglue. You can see at this point that they do overhang the beveled edge of the base a little. This is easy to correct by running around the rim with a hobby knife. The cured clay is very easy to carve. As you can see, there is very little waste in the end…something I felt like I always had an abundance of when working with greenstuff.


The last step for now is to fill the bottoms with the air-dry clay. I simply formed two small amounts of the clay and worked it into the crevices with my fingers. This material also has no tack…but it does leave behind a ‘dusty’ kind of residue on your fingers that comes off easily (this clay is essentially like ground paper with a binder). For this exercise, I used one of GSW’s silicone shapers to neatly scrap away the excess clay from the magnets.
At this point I’m going to pause for the night. It will take about 24 hours for the air-dry clay to harden. At that point it can be easily sanded flush to make a smooth finish, and then sealed with PVA or painted etc.


That concludes the base topper portion…altogether I spent about 1 hour working on these two, including the baking time 🙂
Next I’ll be finishing the sanding of these, followed by the assembly of the two models for them.
All about that base...topper
I’m going to initially focus on the other two Nomads models in this set, so for continuity I’m going to create two more base toppers using the GSW ‘Mesh’ textured rolling pin.
Here are the materials I used:

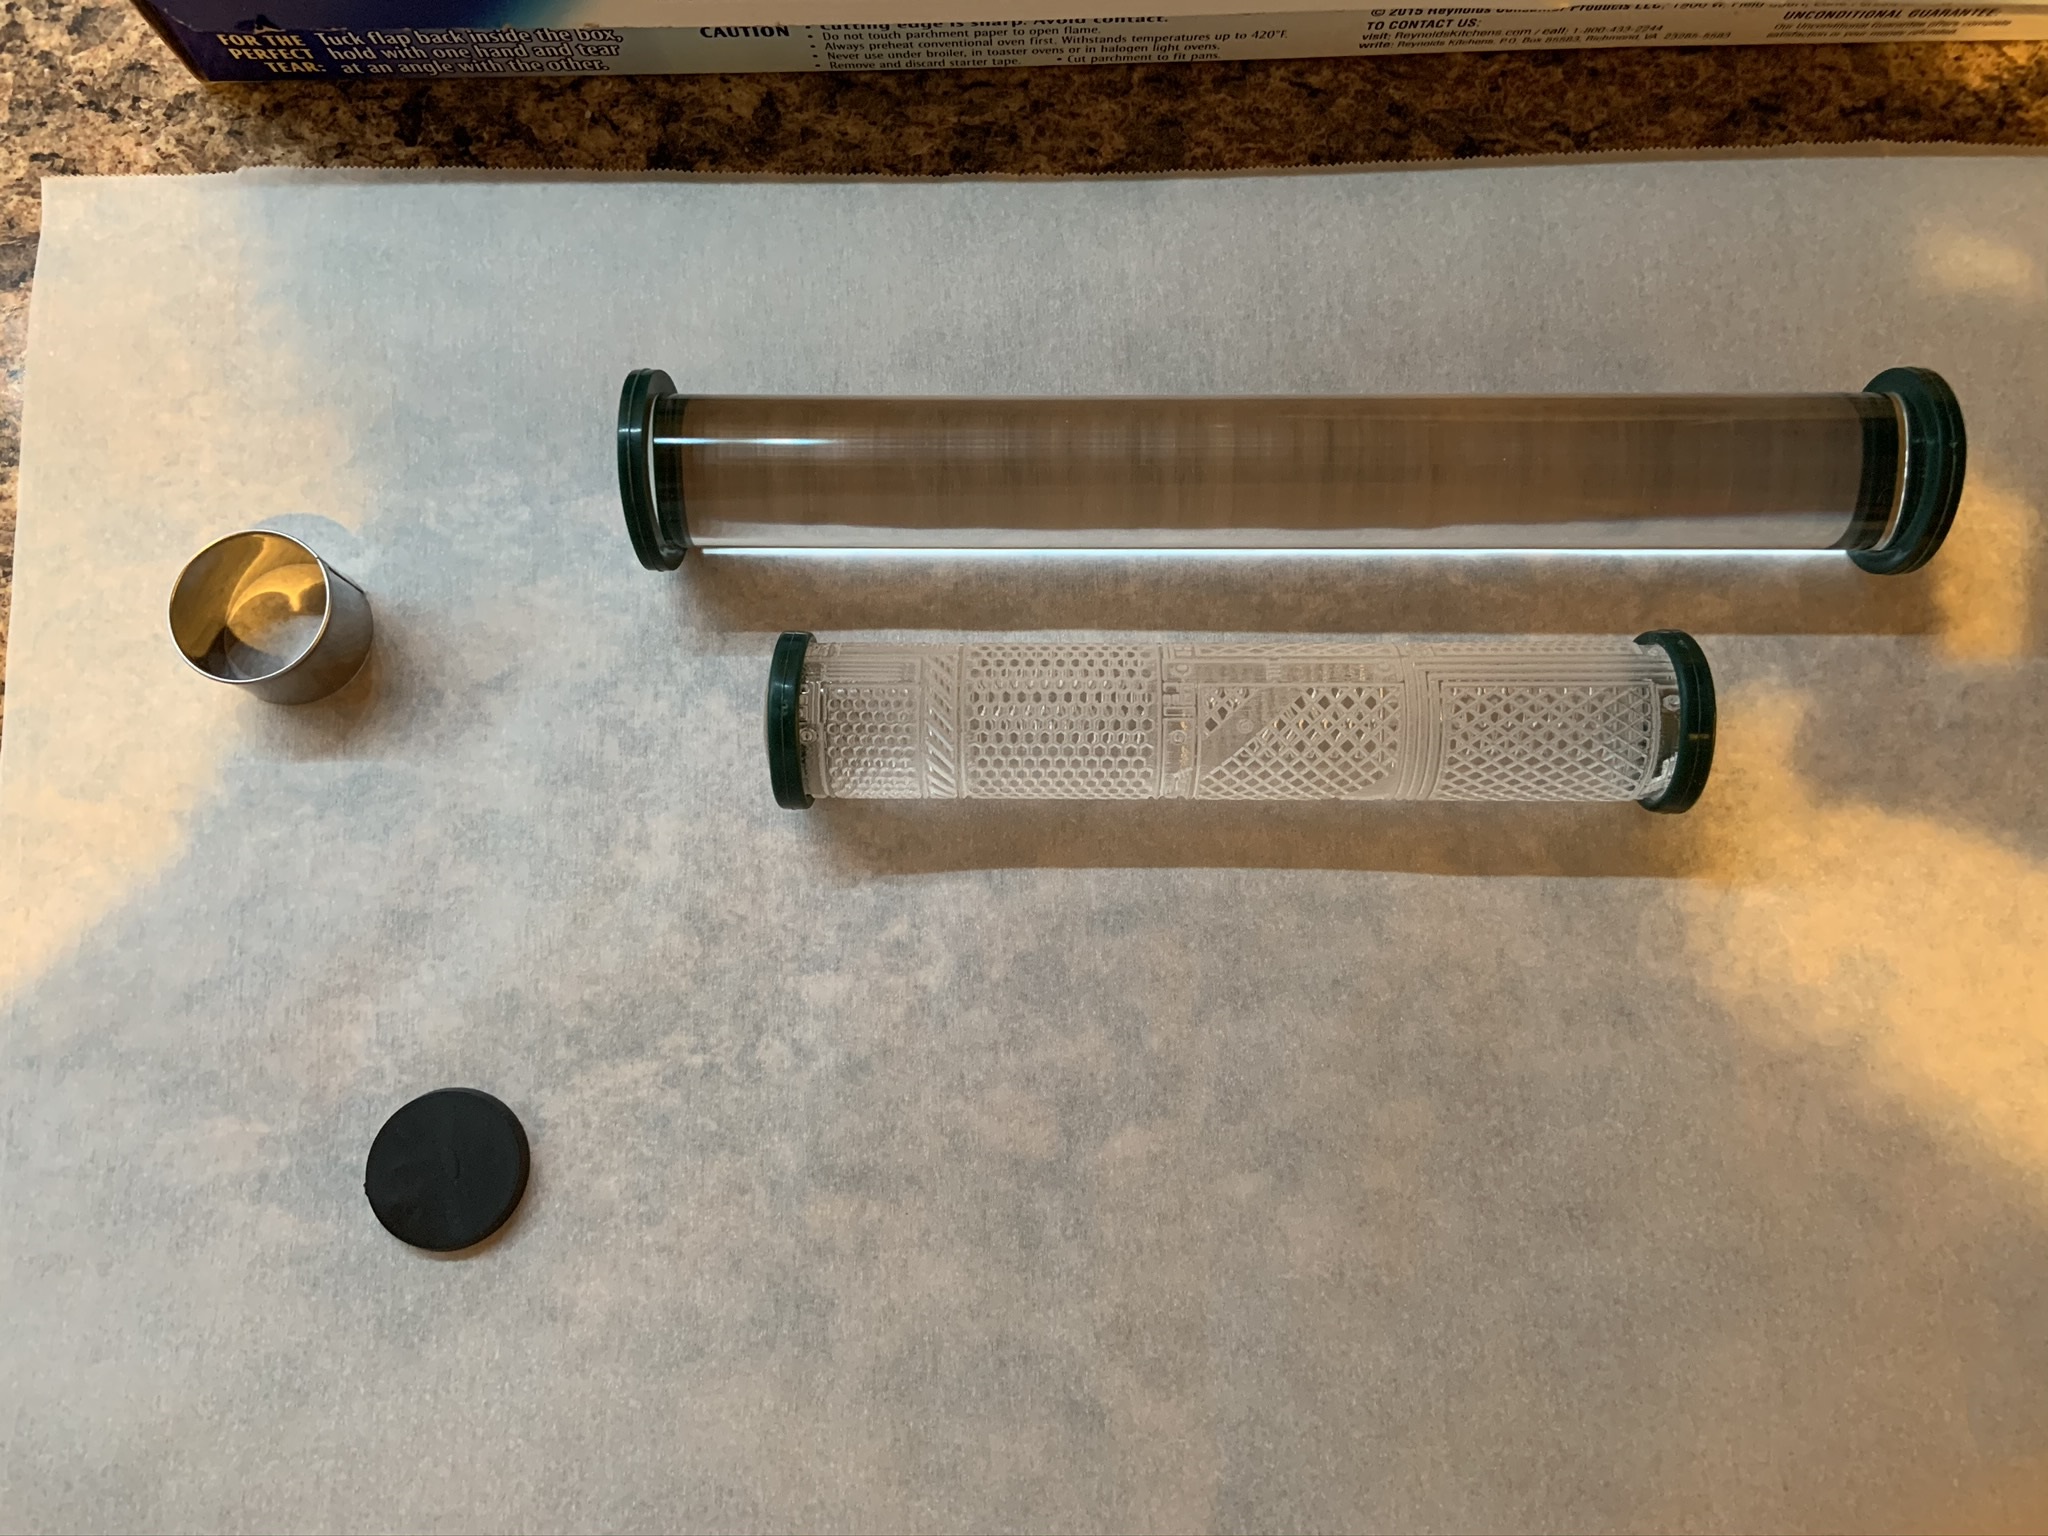
- Clear acrylic rolling pin I picked up in the cake baking section of Michael’s (US craft store chain) for a few dollars US
- Round Cutters, Silicone Rings, and Mesh Textured Rolling Pin are from GSW
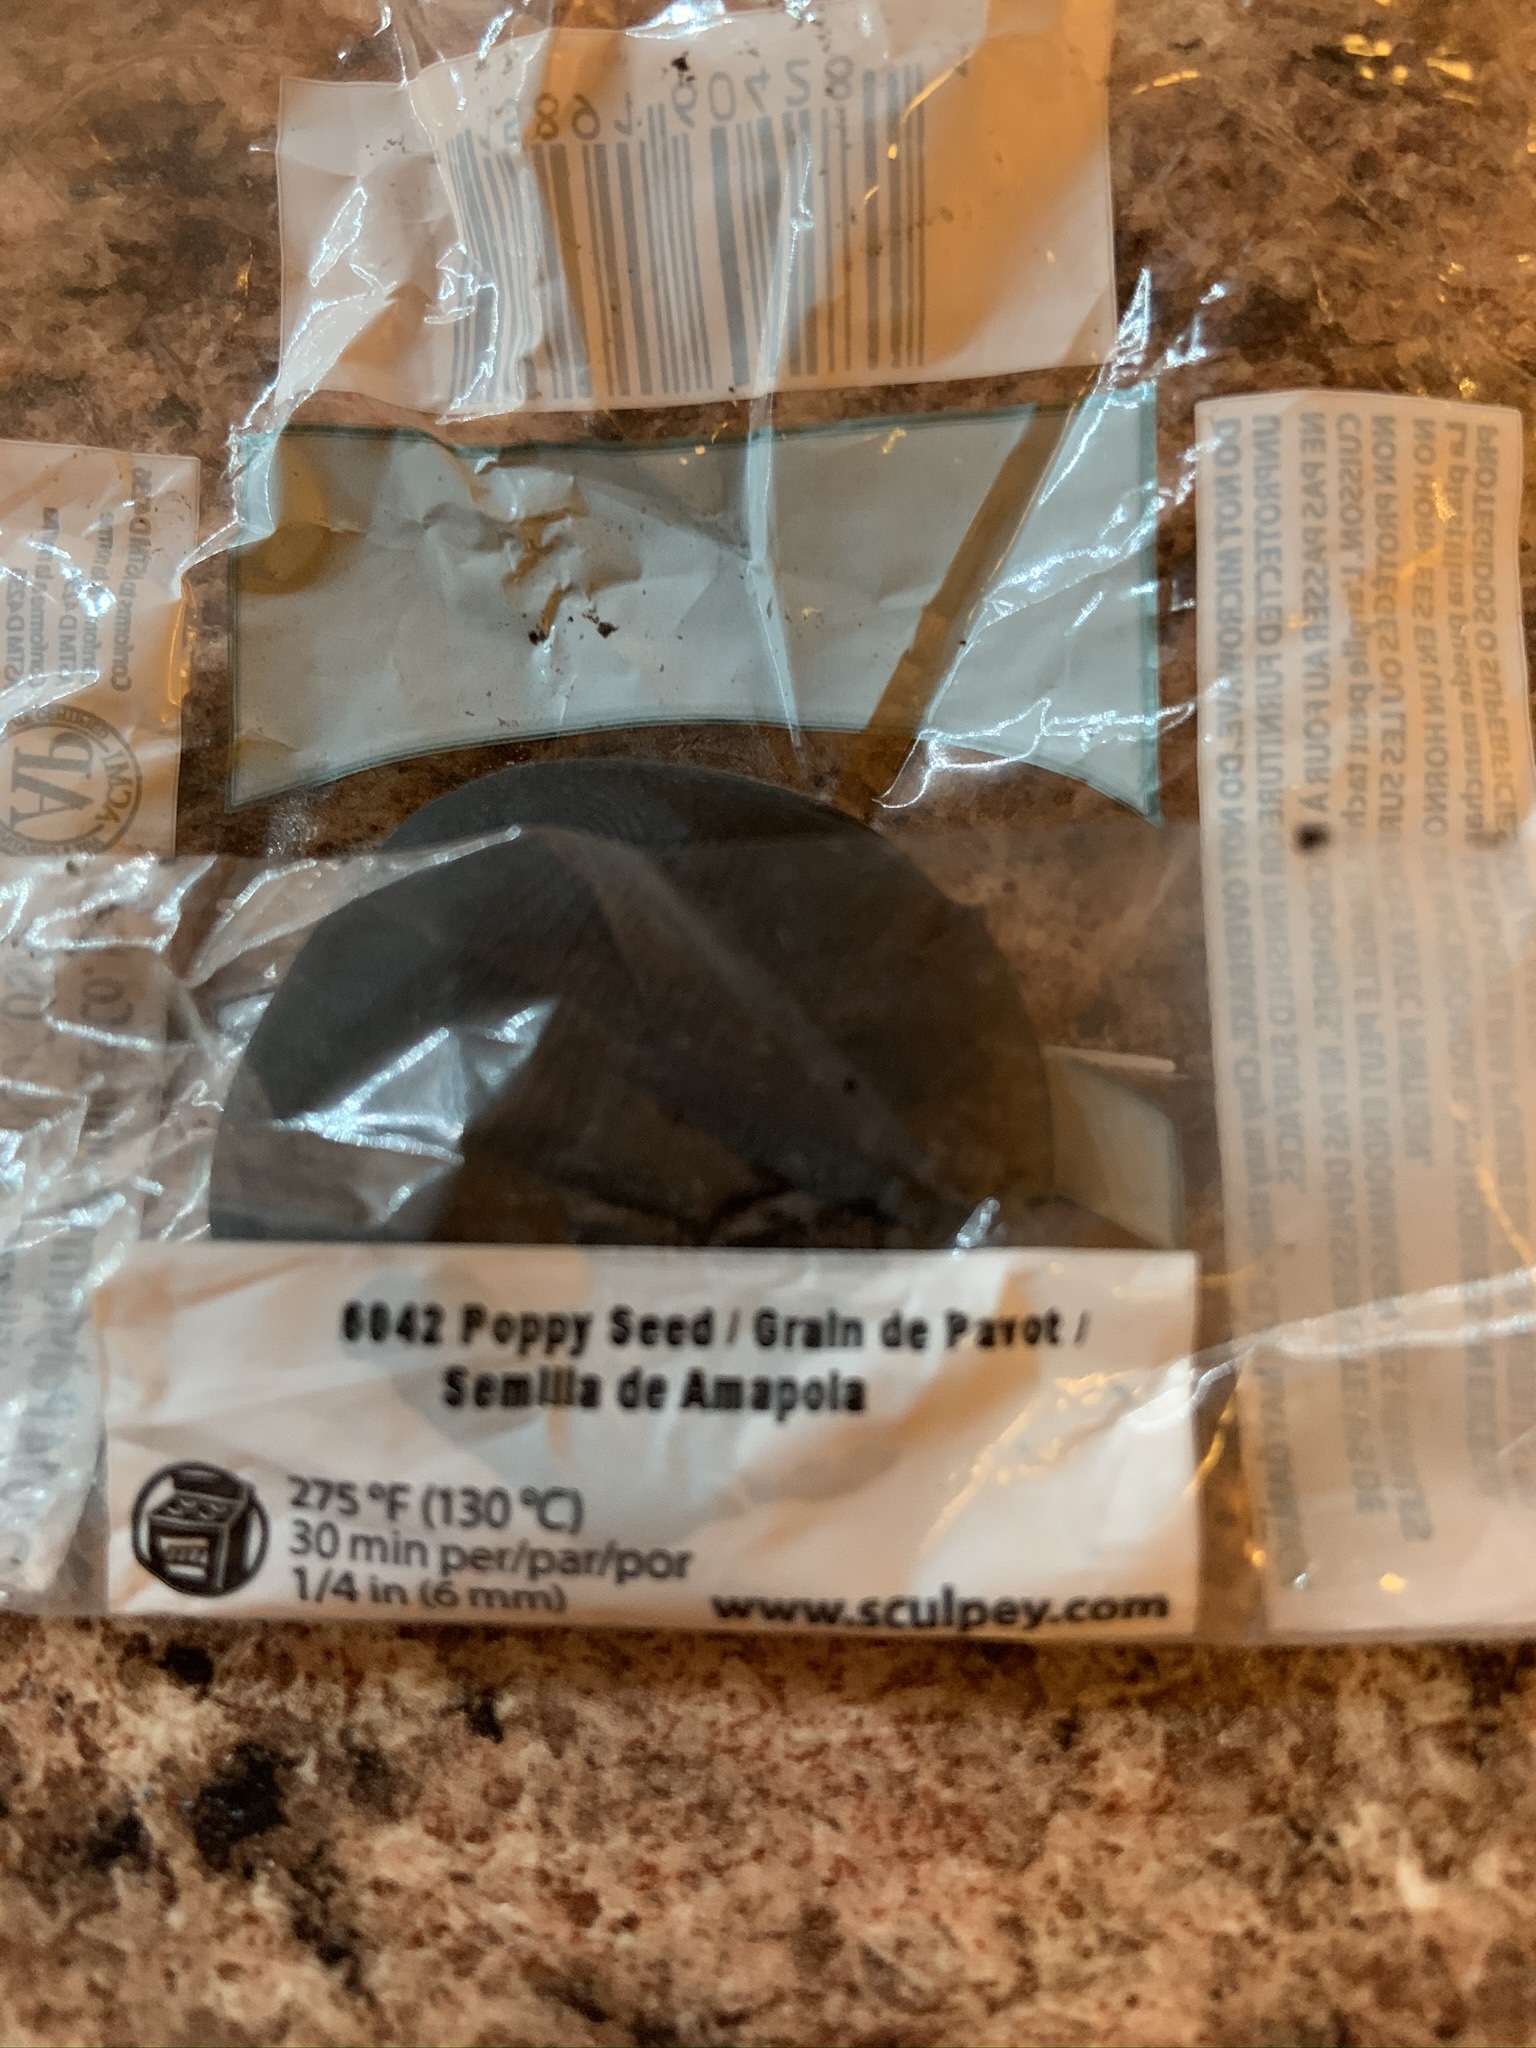
- Black Sculpy Souffle oven-bake clay
- Parchment paper for baking the base toppers
I had in the past used aluminum foil, but I find that the clay sticks a bit more to the parchment (which is what you want…as opposed to sticking to the rolling pins). I have a 25mm infinity base for scale also.
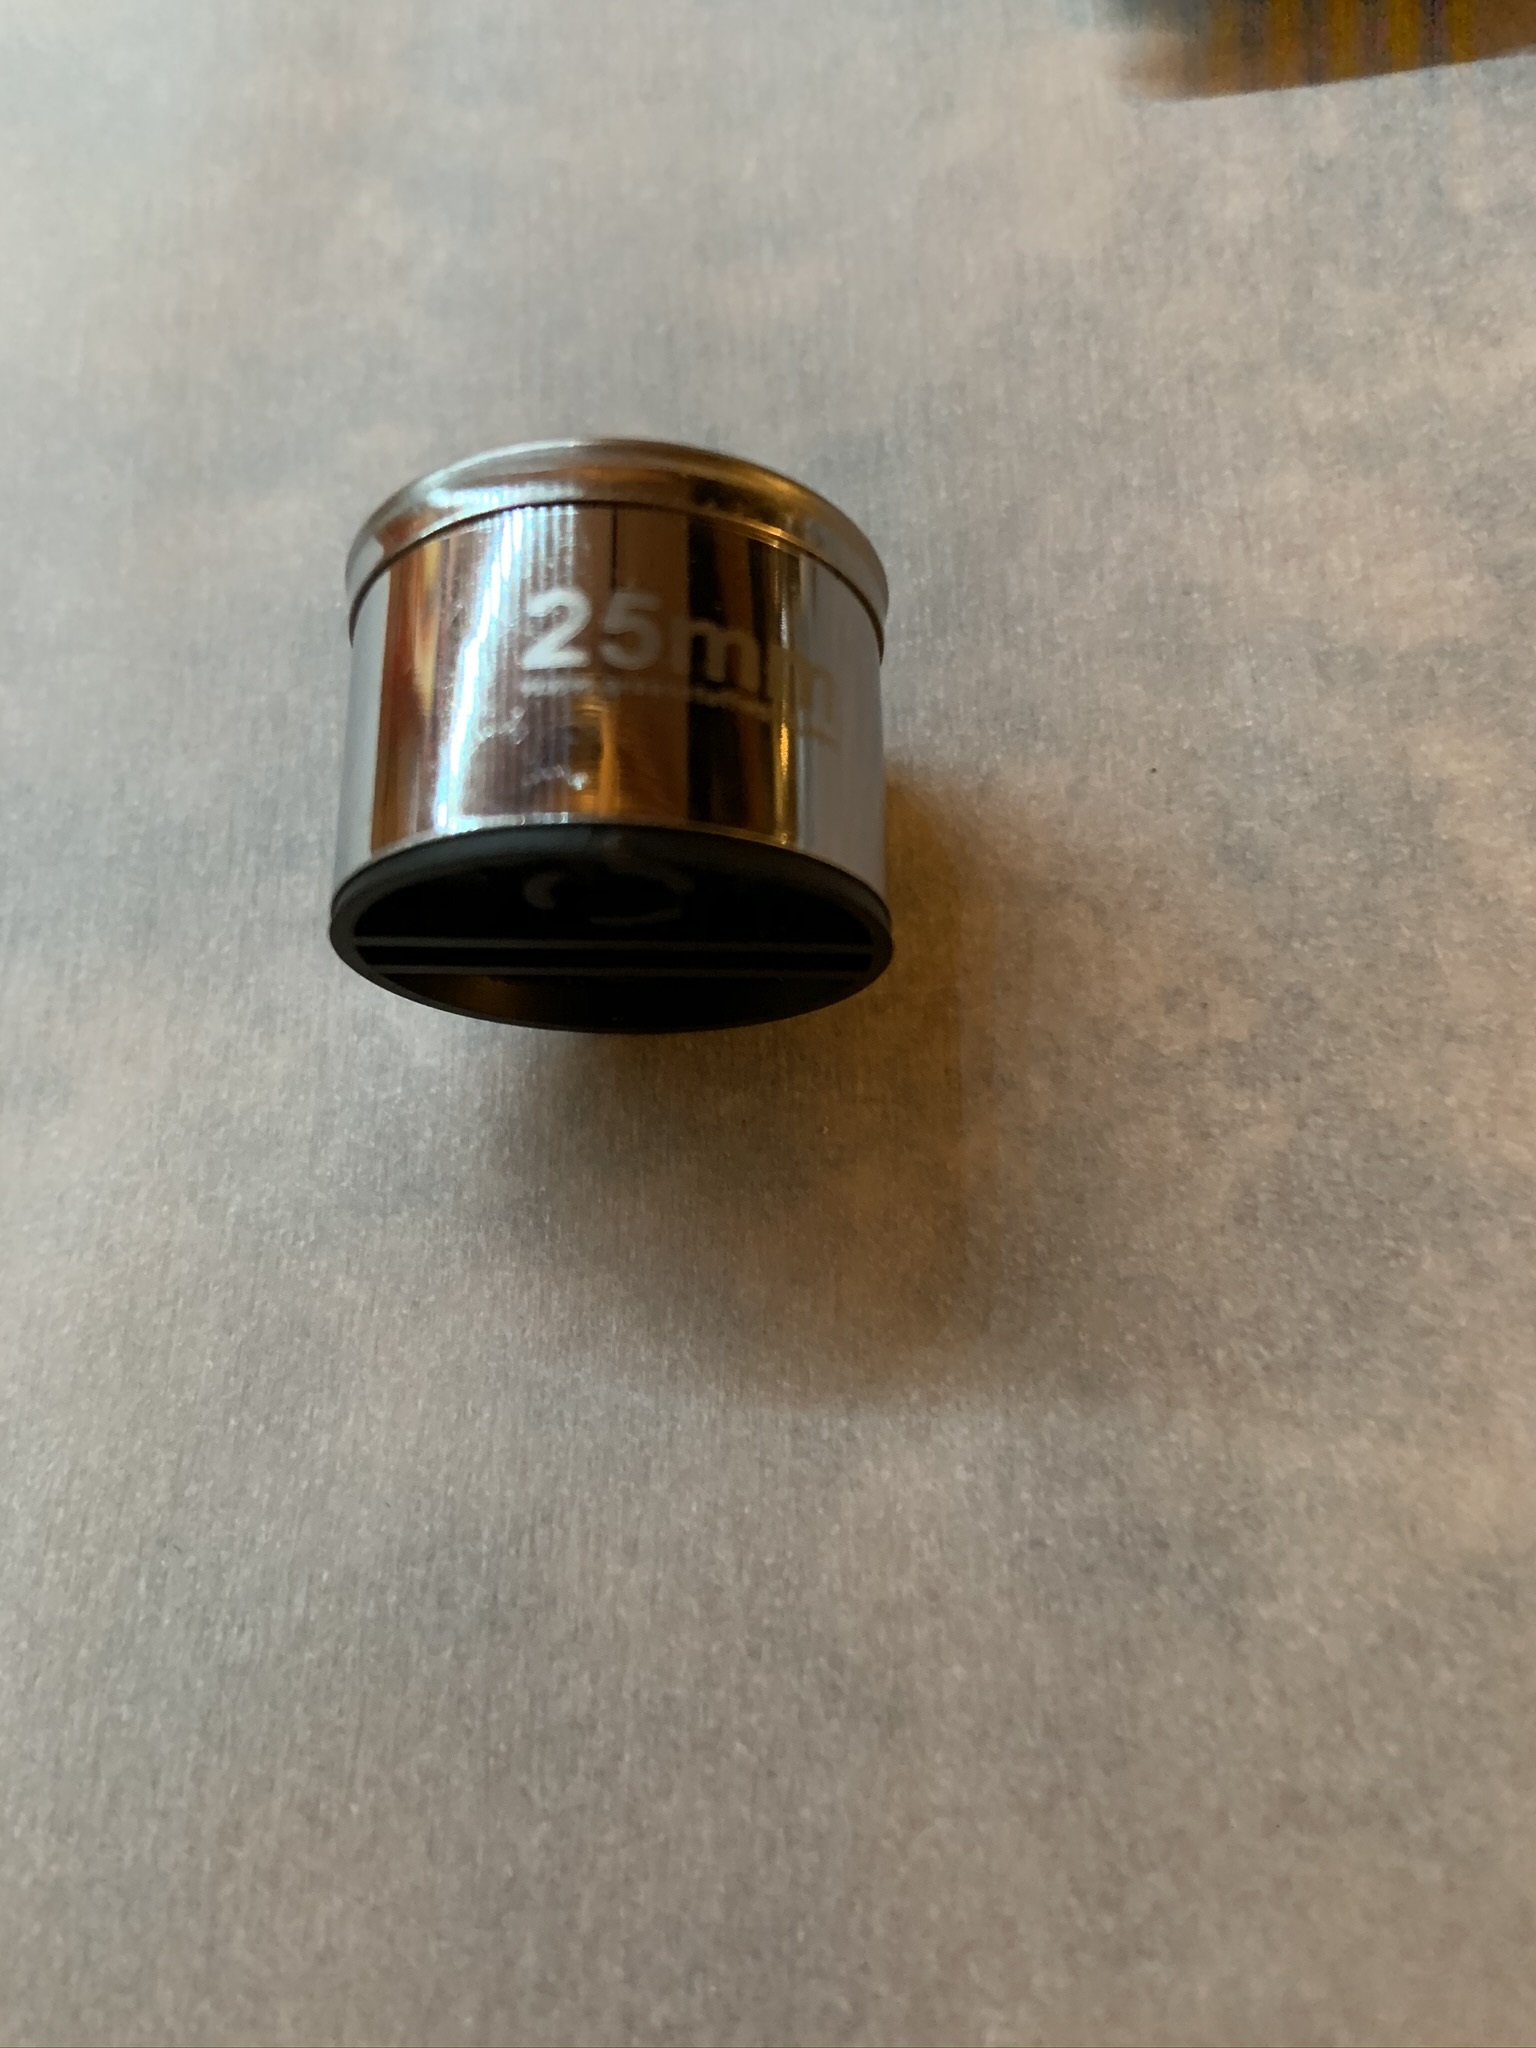
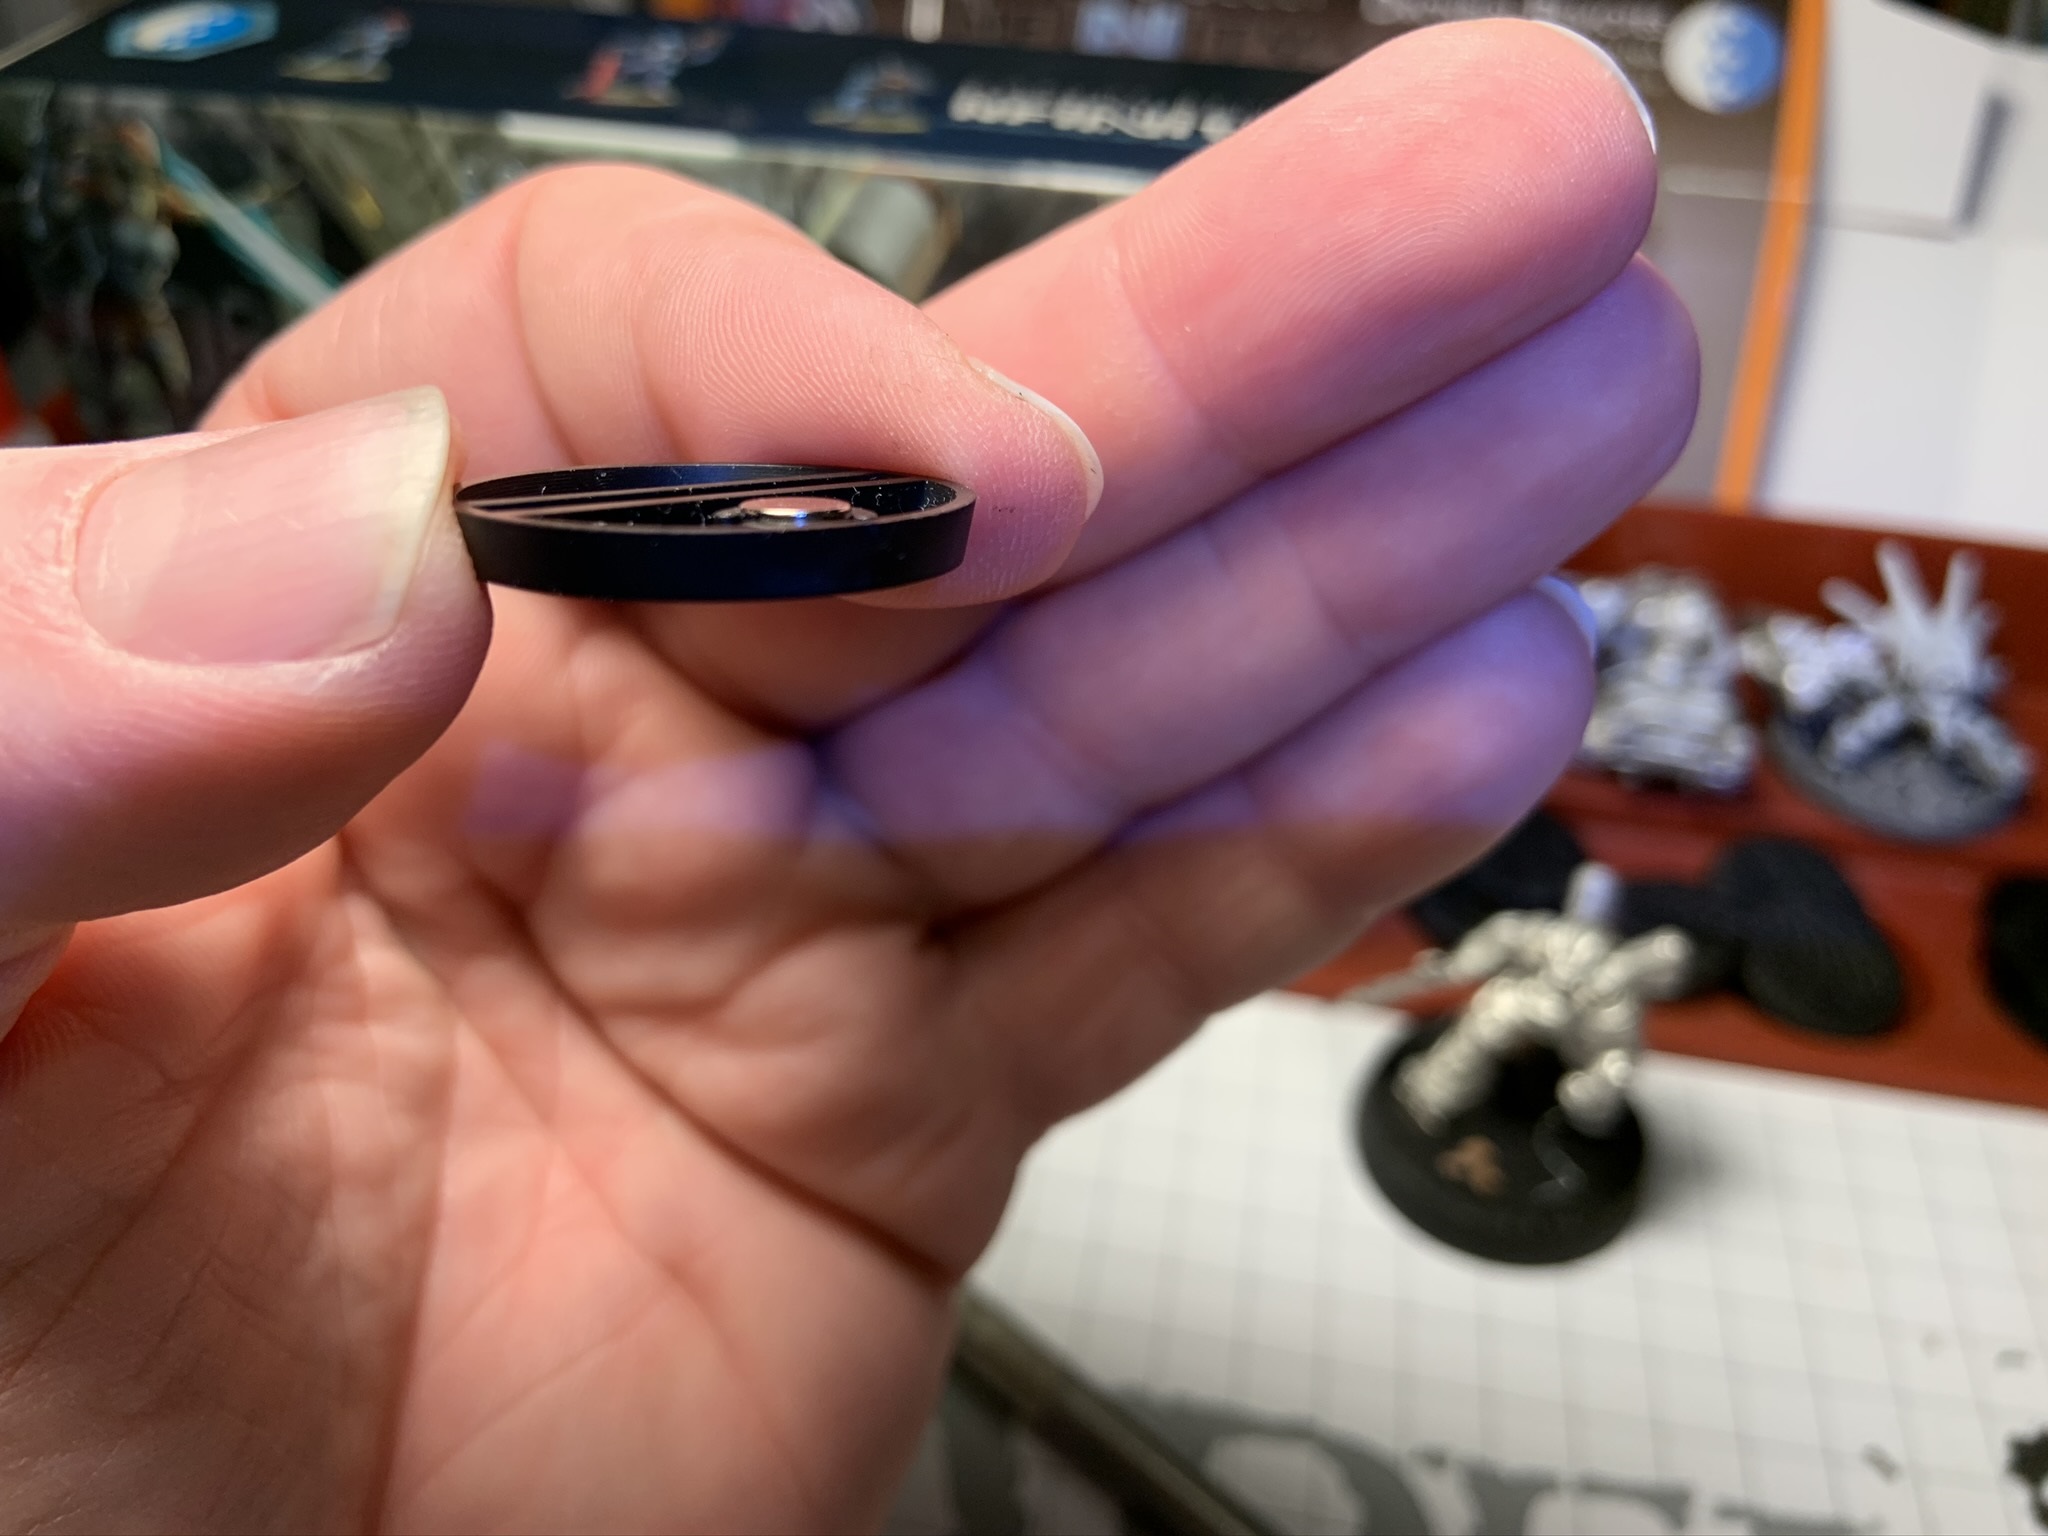
I’m using the 25mm cutter…which as you can see is a bit larger that the top of the beveled base. This is fine, since I’ll be trimming away the small amount of excess in a later step.
I’m using the medium-sized silicone rings on the ‘flat’ rolling pin, and the smaller ones on the ‘Mesh’ one. This will result in a base topper that is about ~2mm thick in the end.
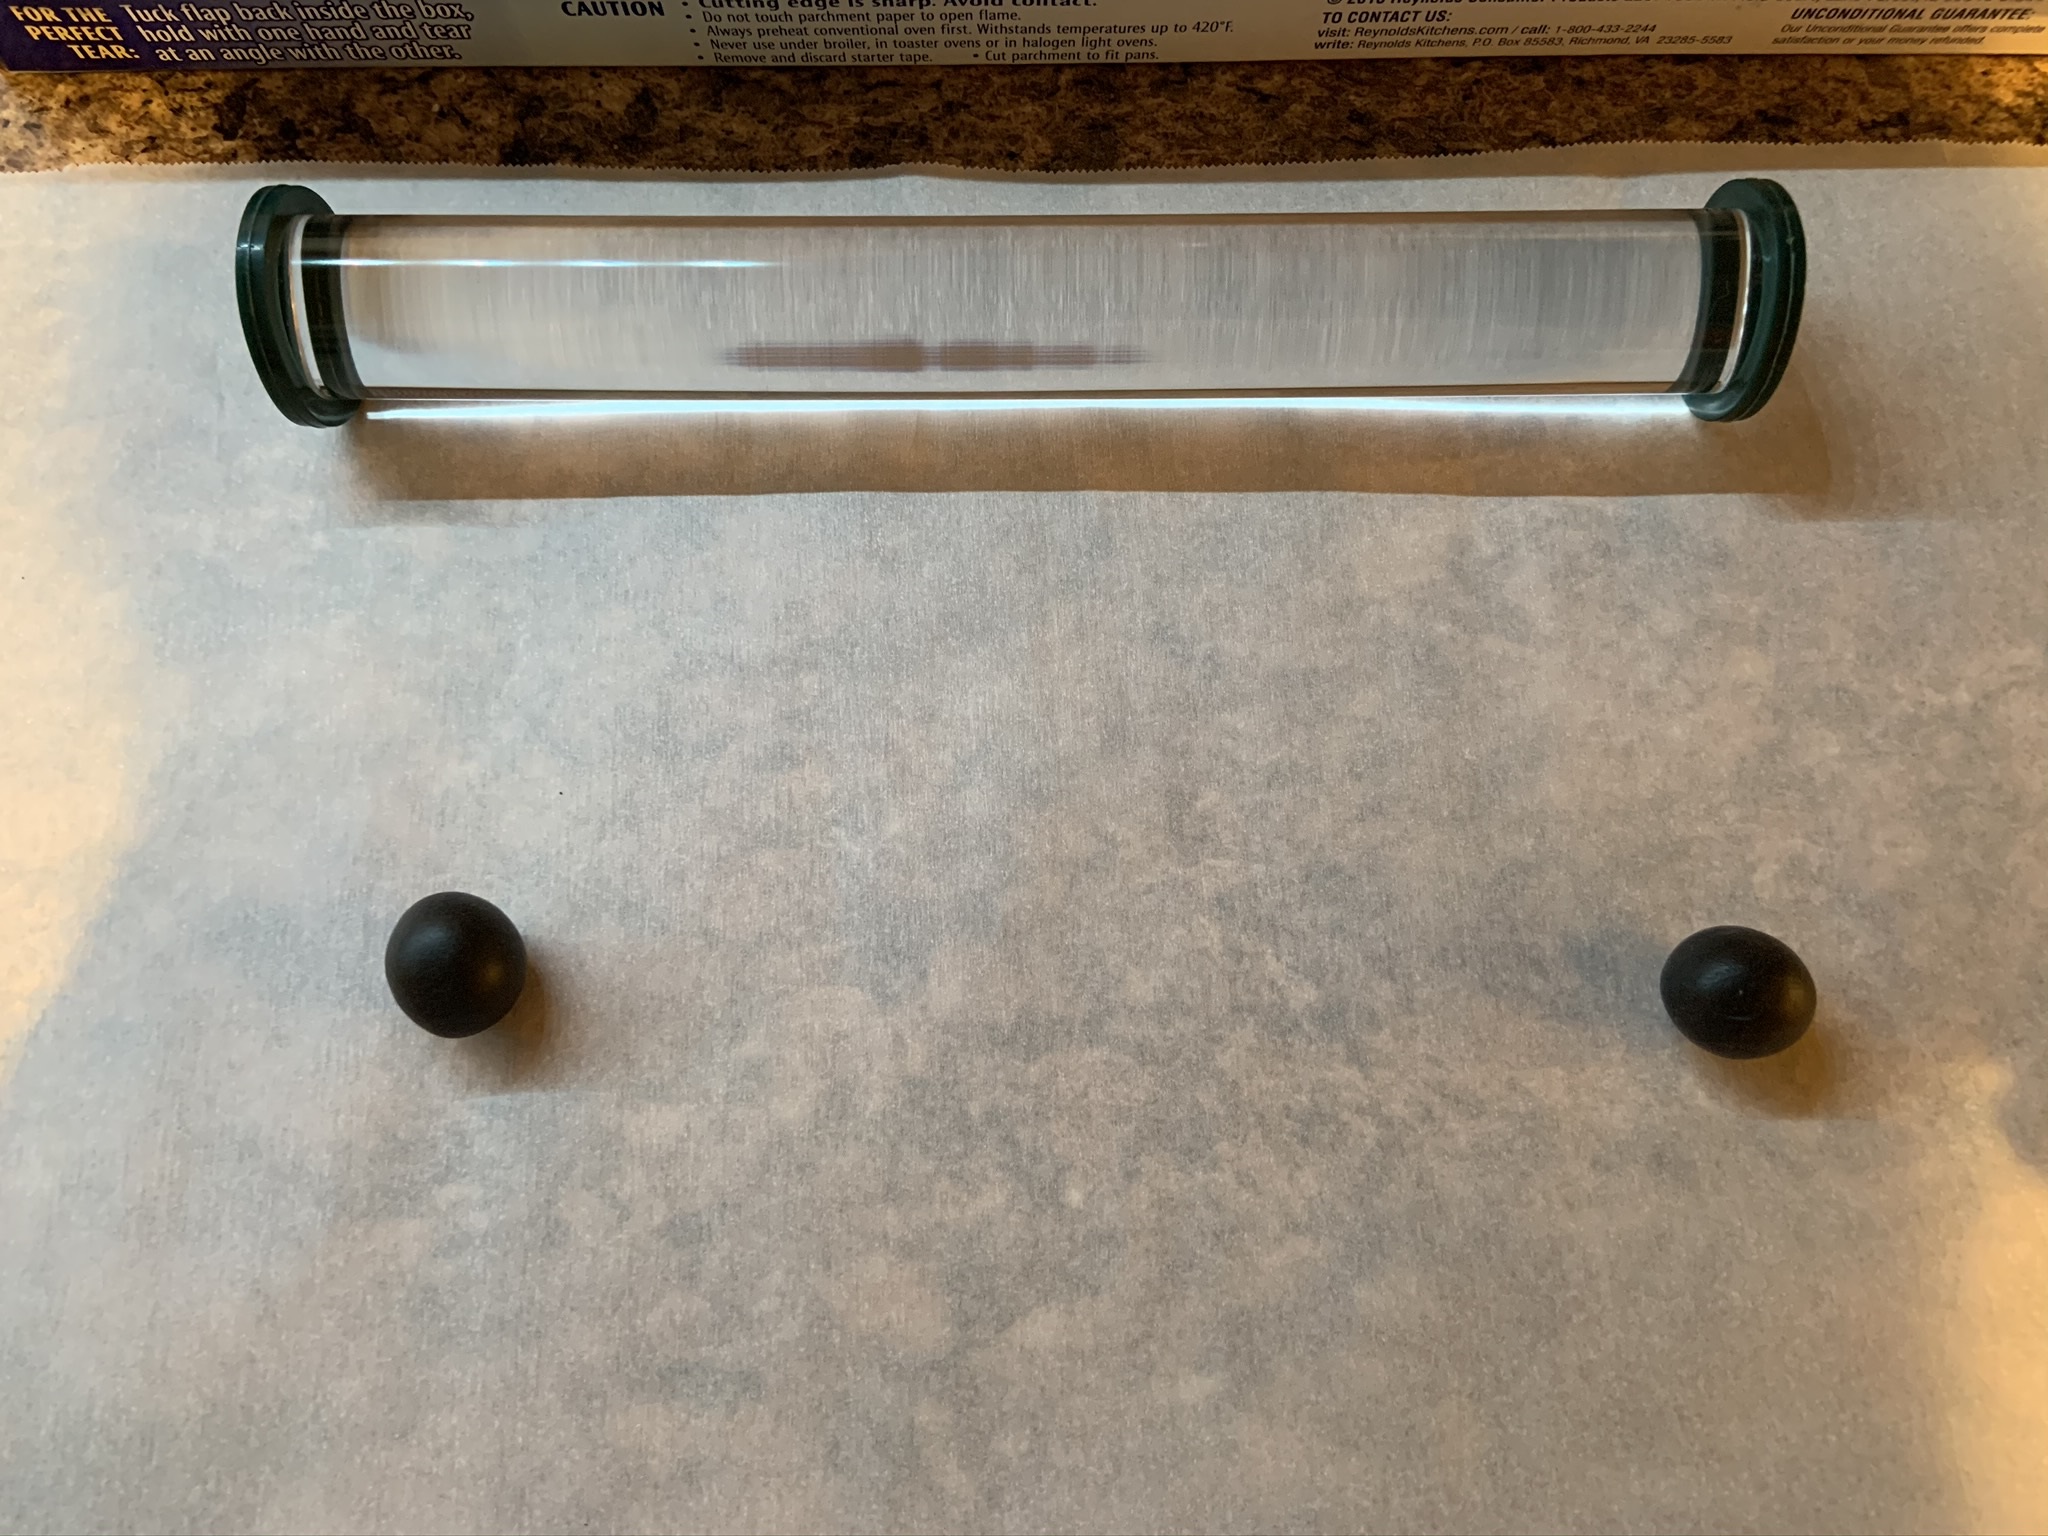
I’ve started out by forming two blueberry-sized balls of the clay…which I then flatten onto the parchment with my thumb. This helps the clay to stay in place when rolling it. Regardless of technique, you’ll find that these oven-bake clays have almost zero tack…either to tools or your fingers (they are much easier than epoxy putties to work with).
Next I’ve rolled the clay with the ‘flat’ roller. This helps make sure the toppers are uniform in height.

Introduction
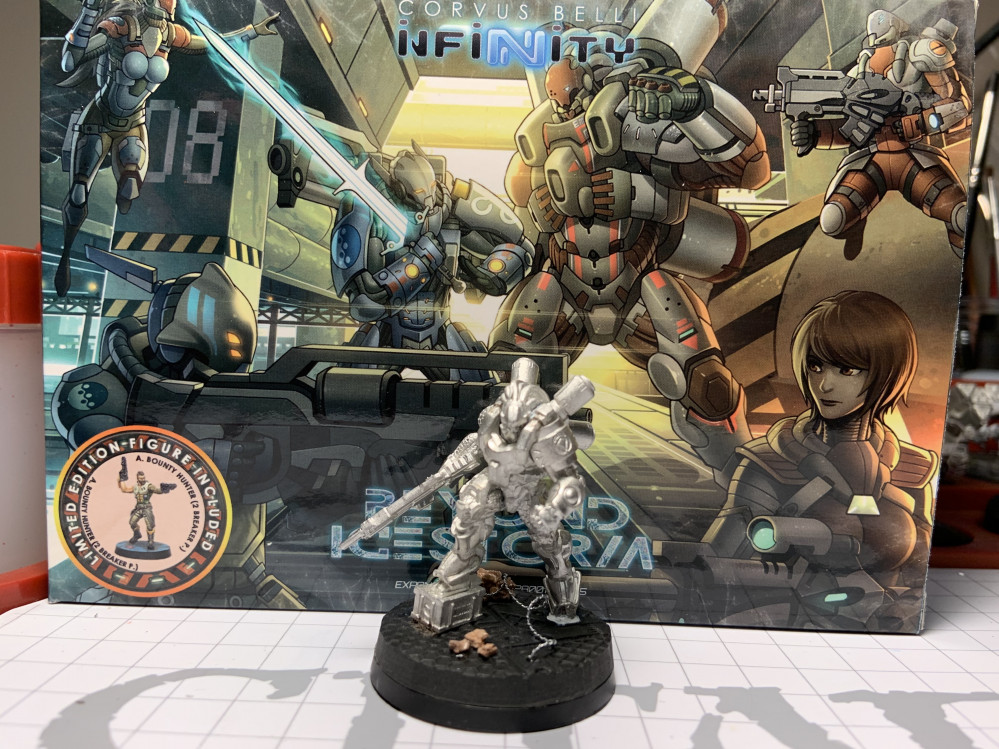
This first model is the Kriza Borac…and for the assembly I used:
- Sculpy Souffle oven-bake clay to make the custom textured base topper, using…
- A Green Stuff World (GSW) ‘Mesh’ textured rolling pin
- GSW Silicone Rings (5mm and 4mm) to make the rolling a bit easier
- GSW Round Cutters (40mm)…primarily to make centering the embossed design easier
- GSW Brown Stuff for gap filling
- Army Painter 3m Razor wire and Battlefield Rocks


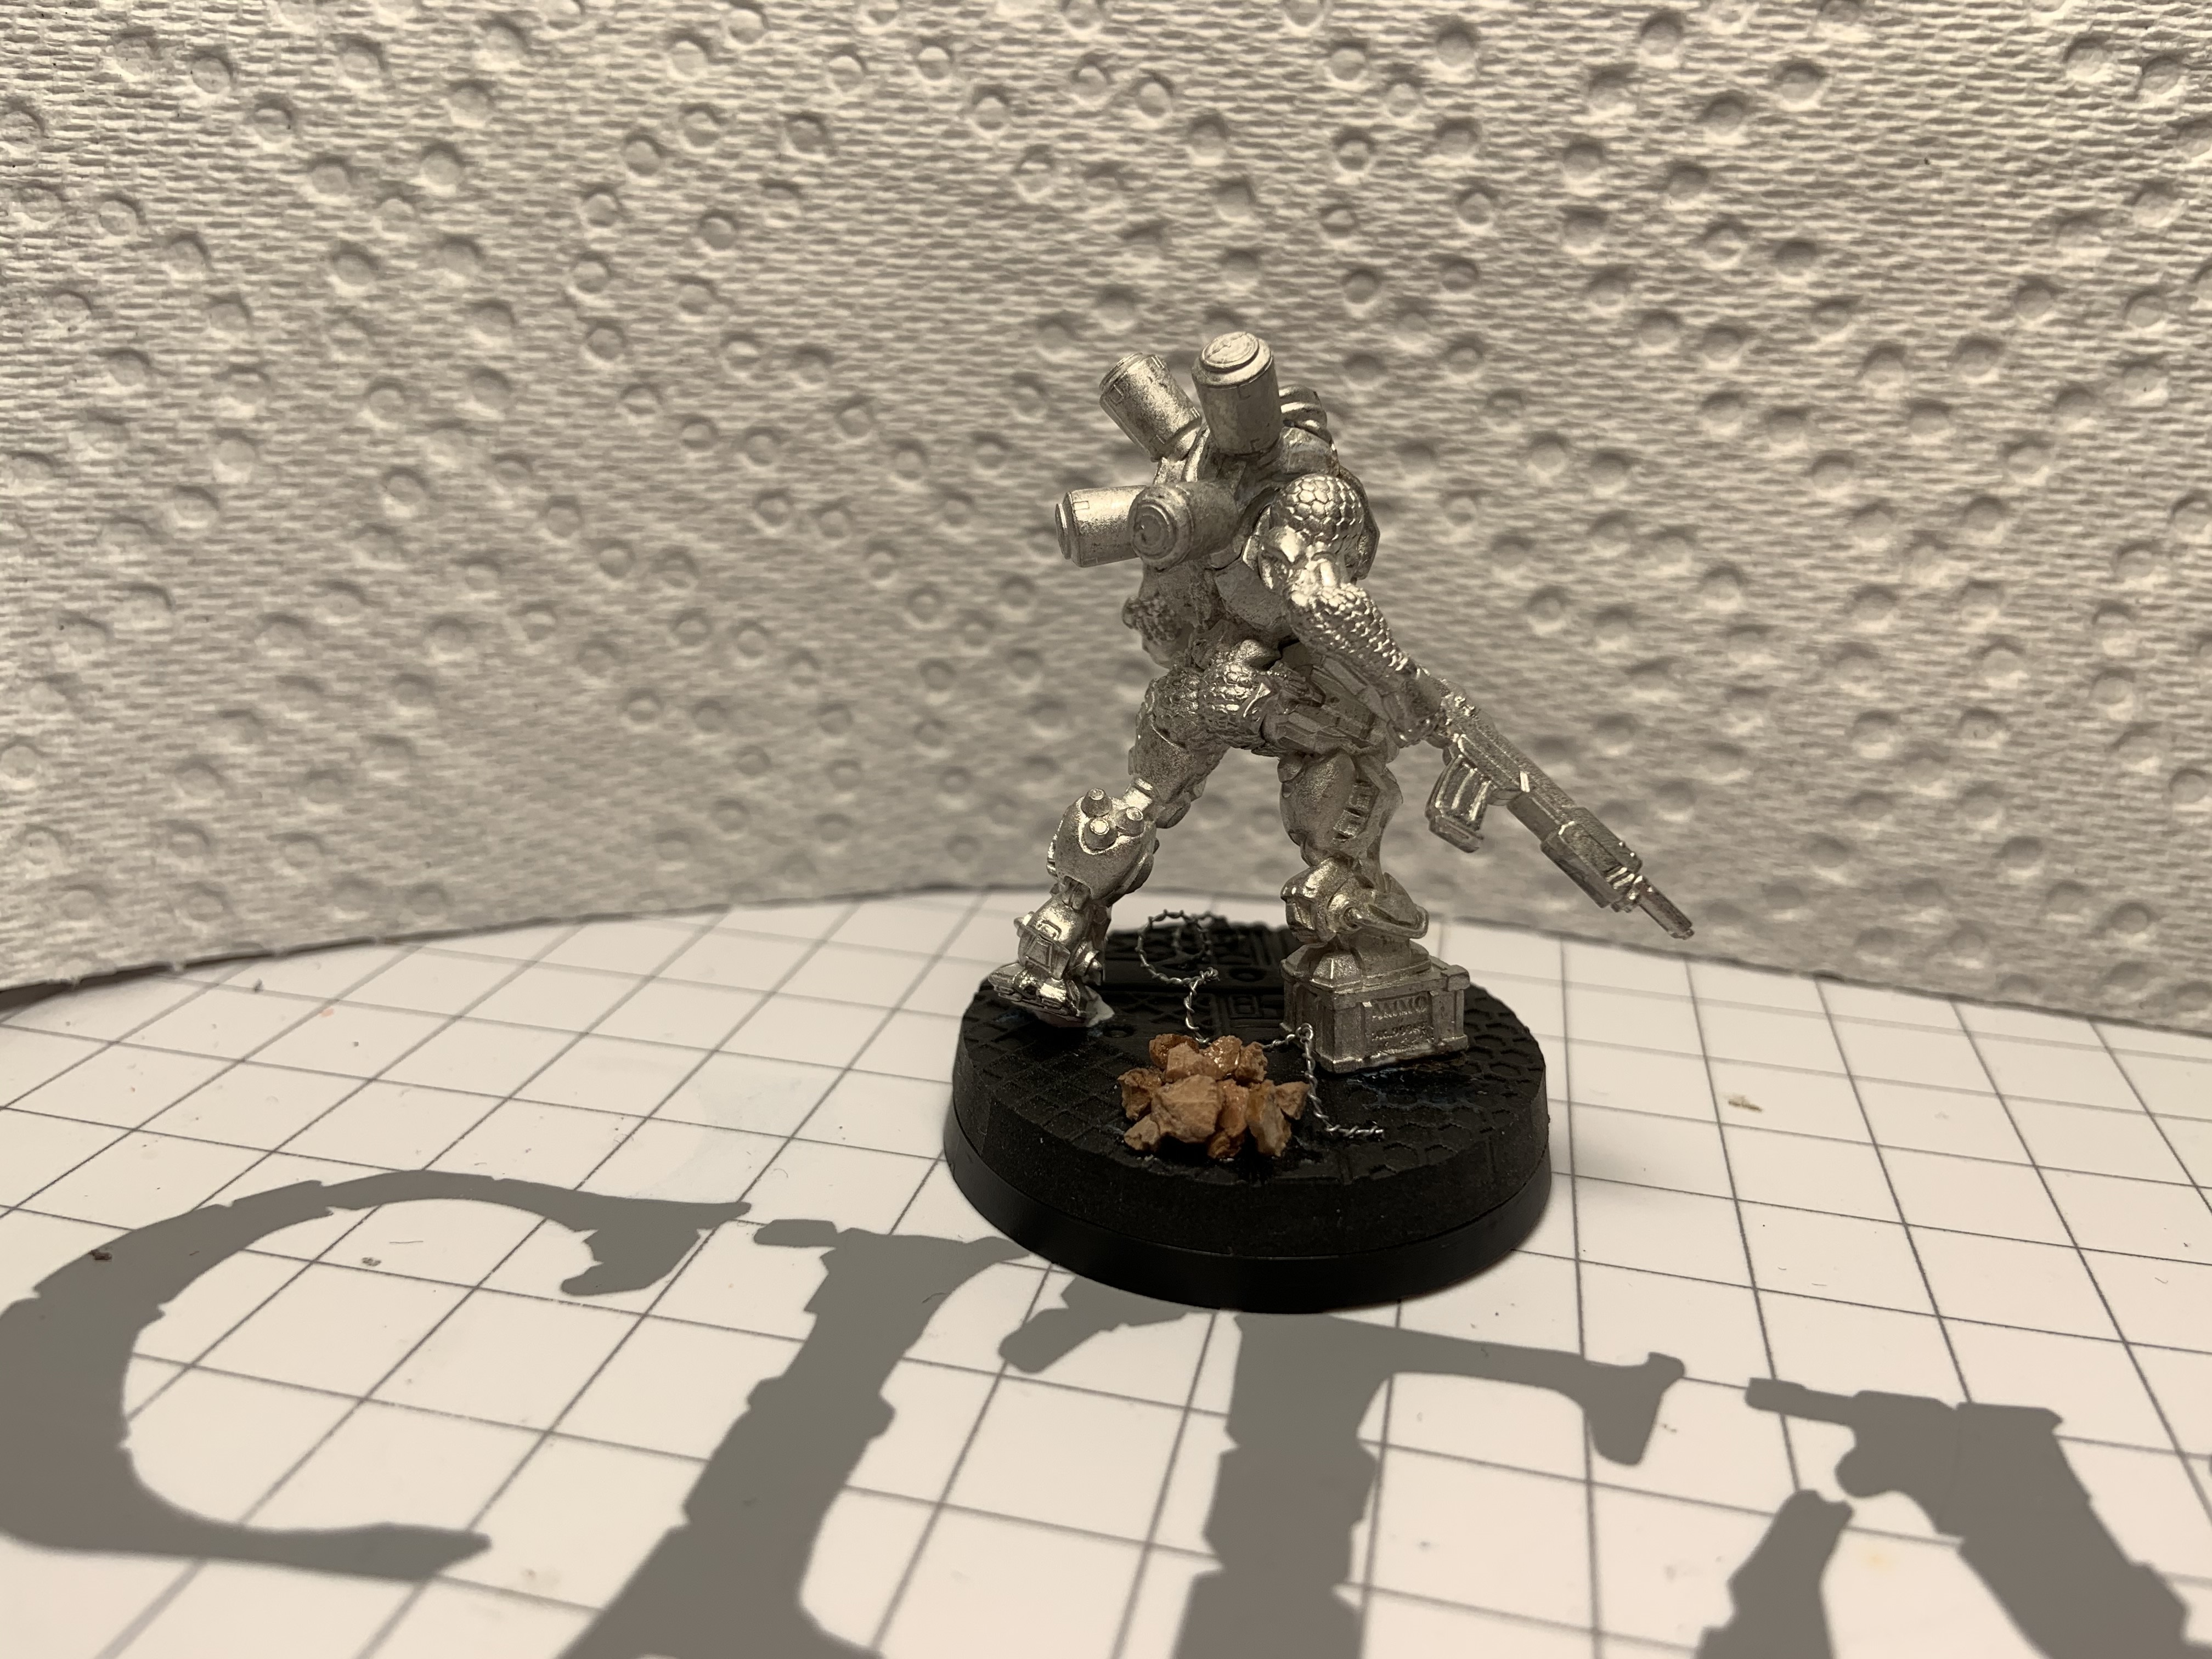
I’ve had good luck with using oven-bake clays with these rollers. The material is far less tacky than epoxy putties, and the Souffle product holds detail very well. Once baked, the material is very easy to carve with a hobby knife, and is microscopically porous, so adhesives bond well.
I’ll be detailing the entire process with the remaining miniatures in this set…followed by a separate project to chronicle the painting of them :).
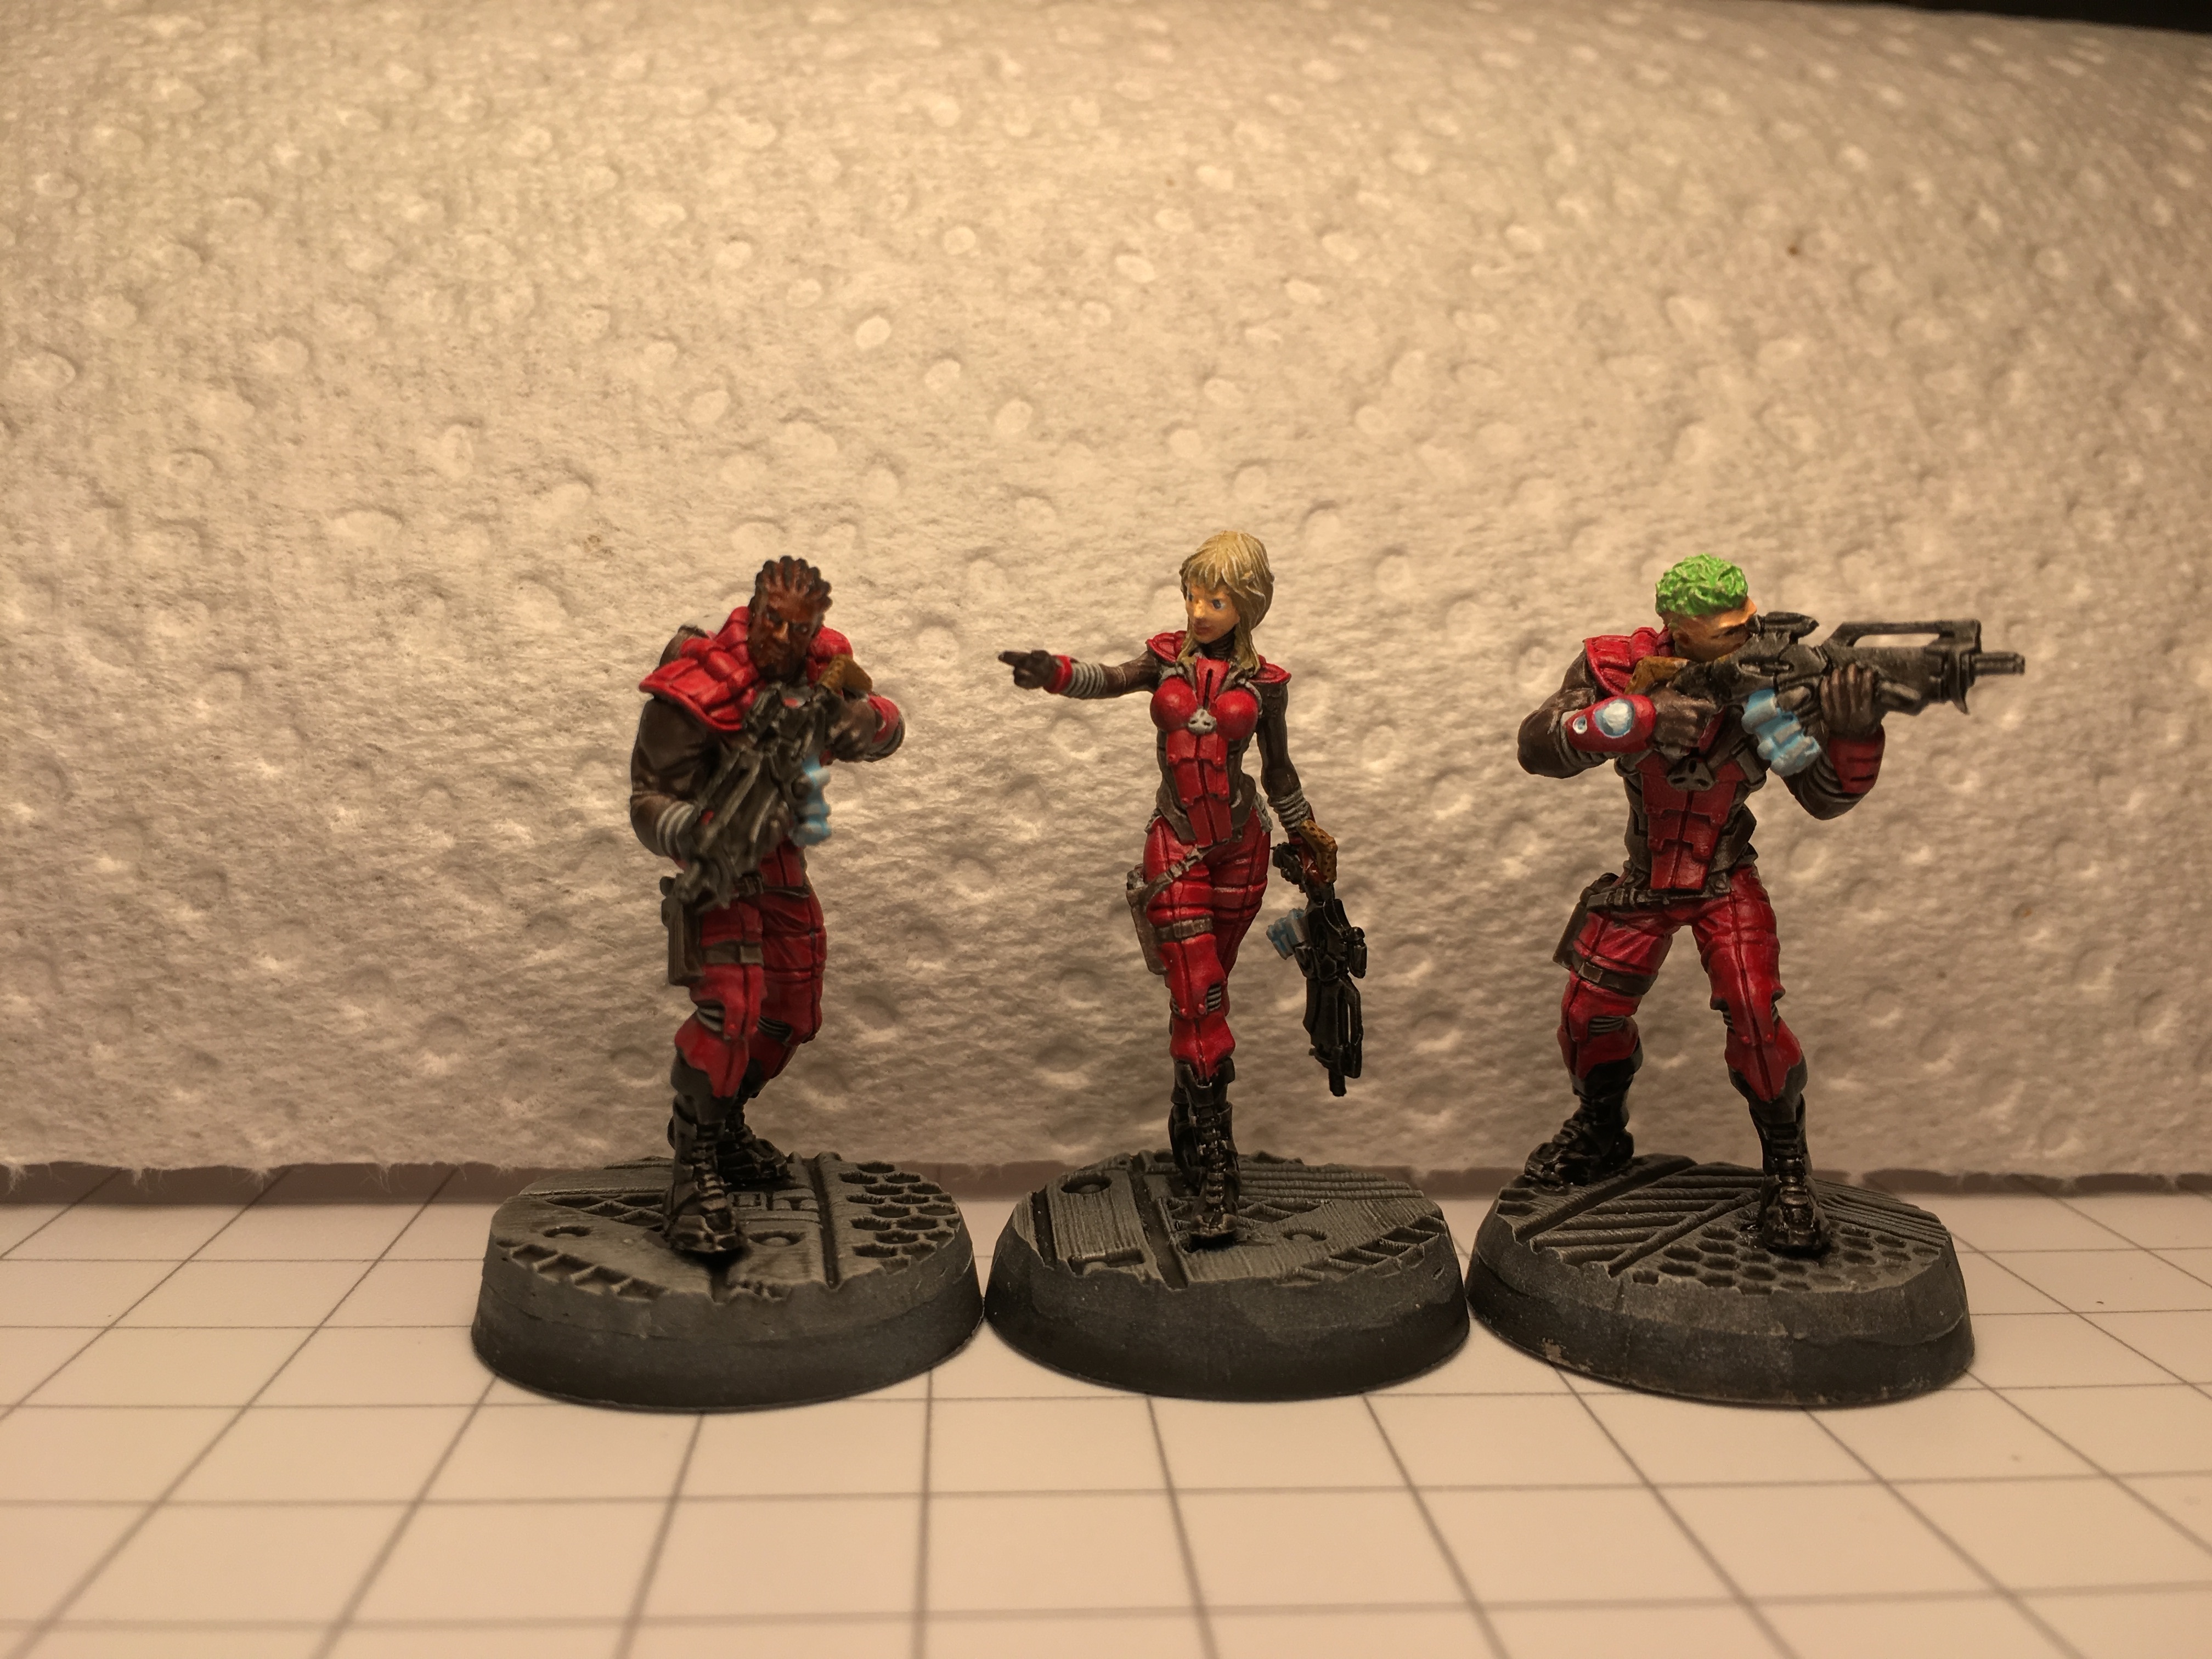
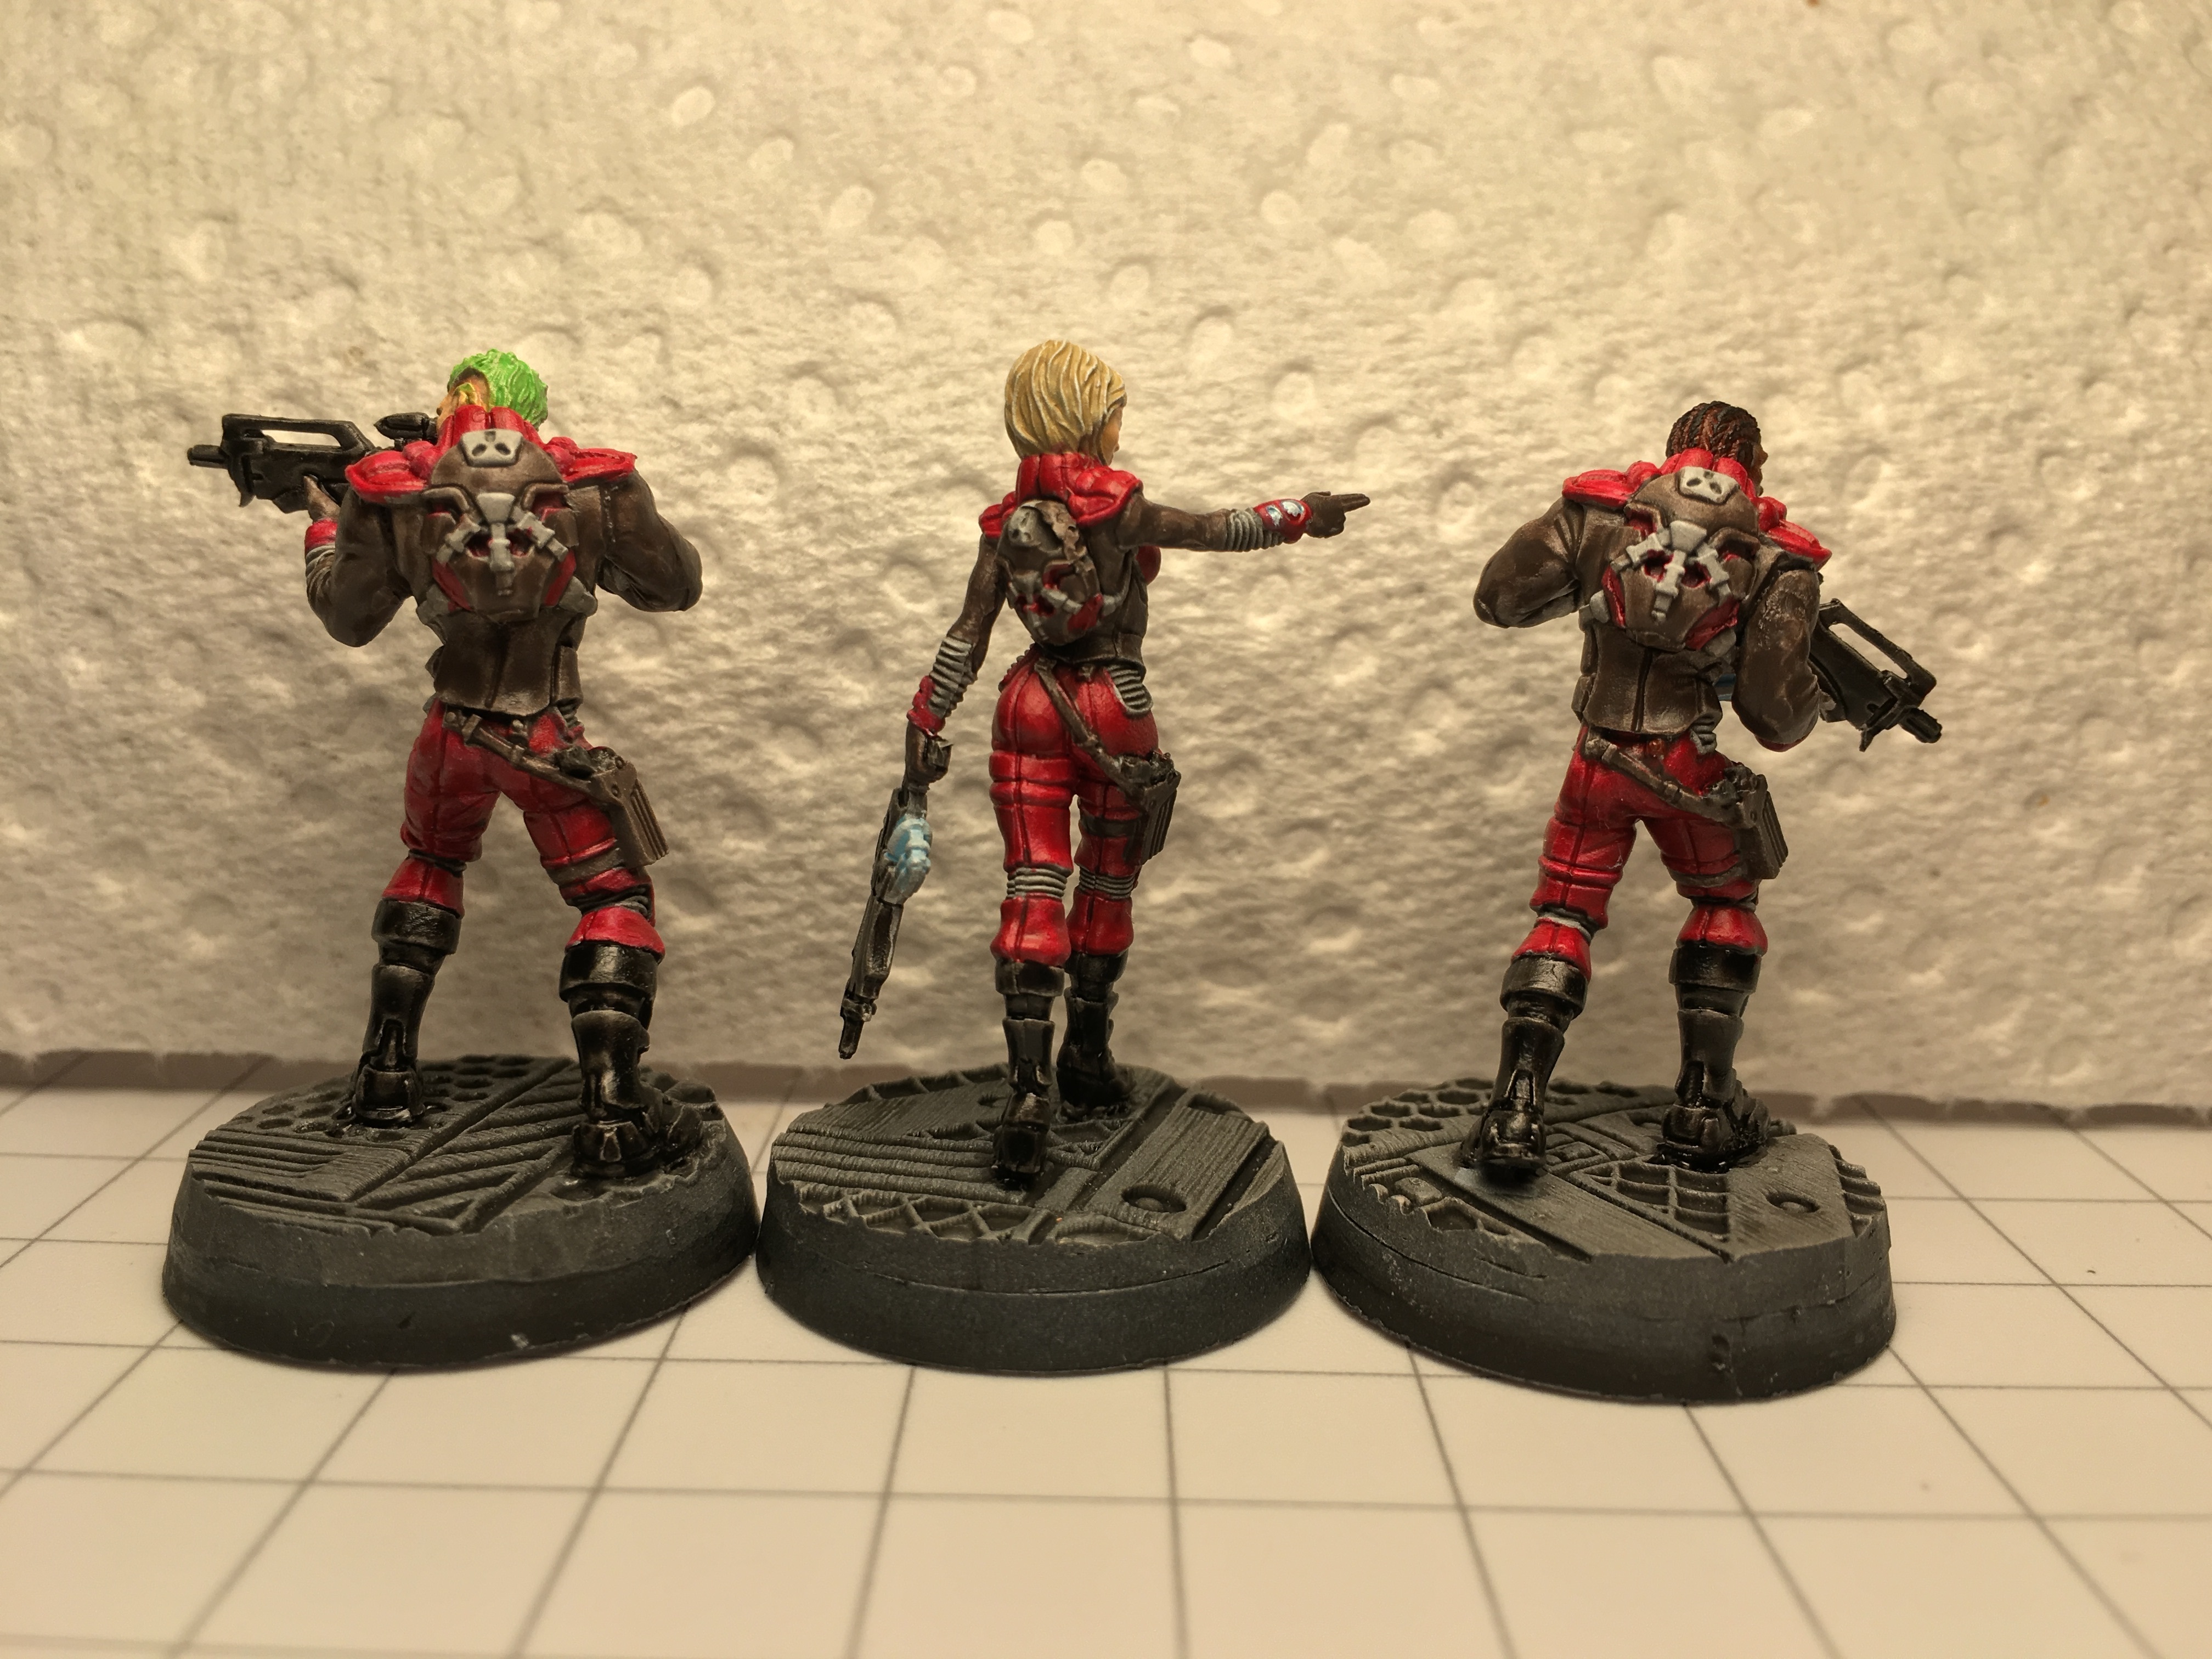
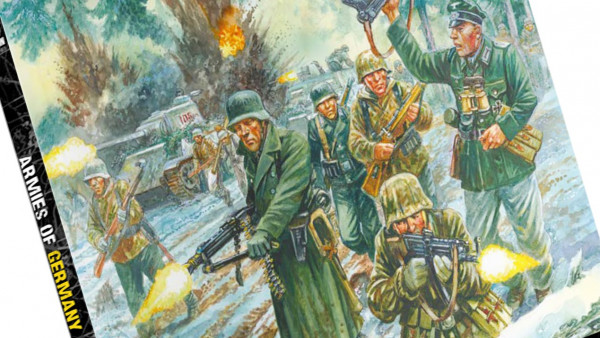
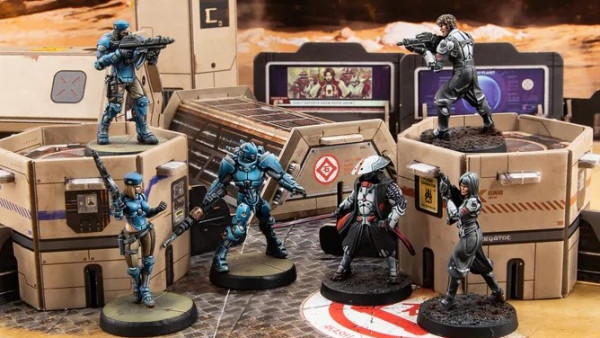
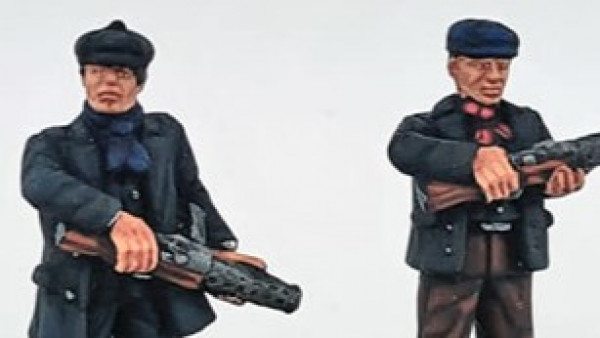
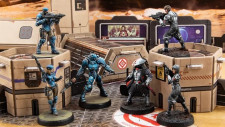
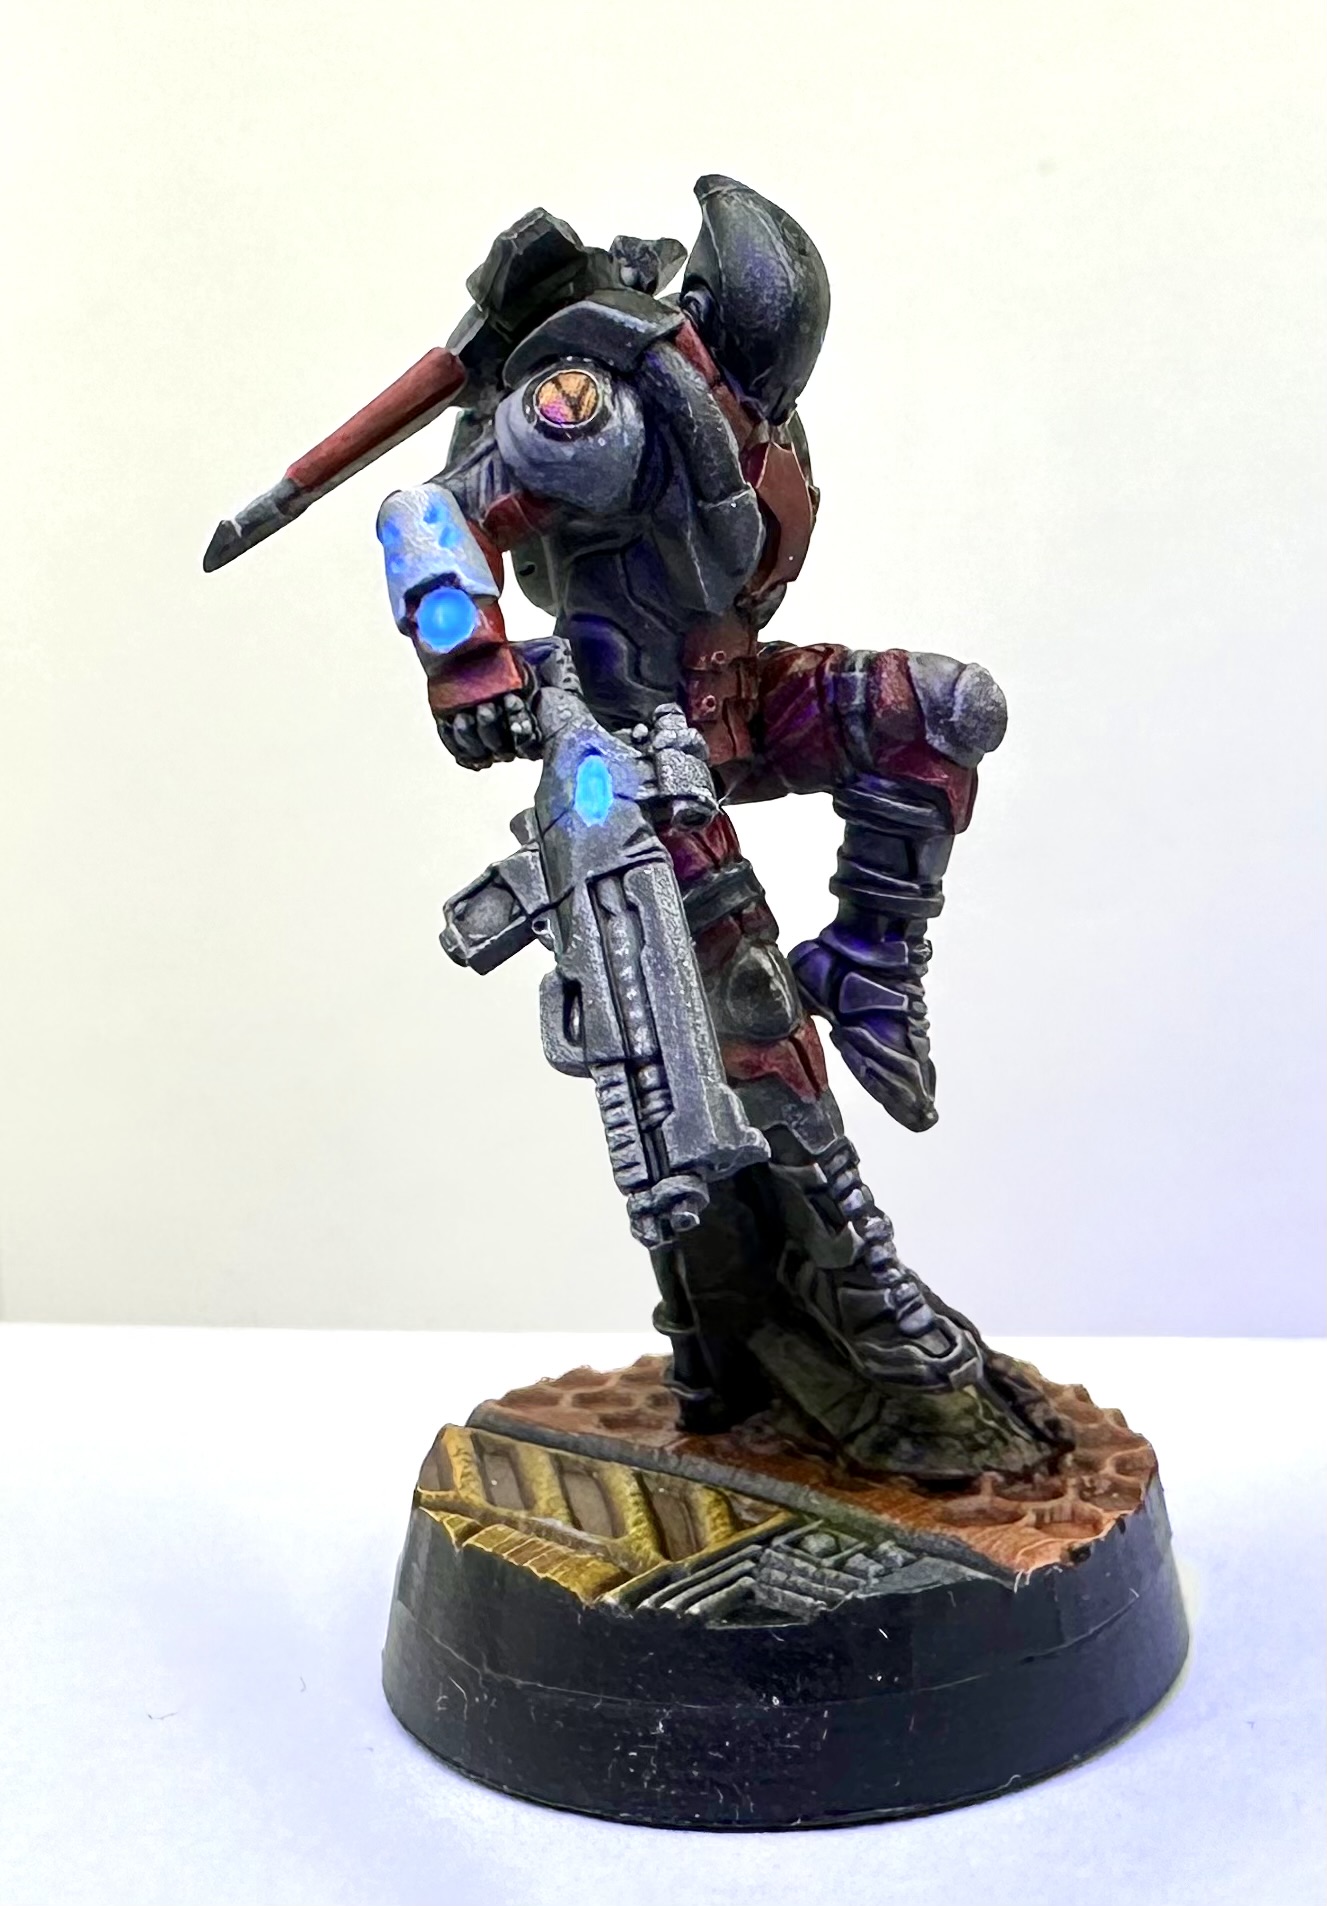
I hope to achieve an end result similar to the Alguaciles below, which were primed with a zenithal technique with an airbrush, pre-shaded, and then painted with a homemade ‘contrast-like’ process with a single coat for most areas (no shading or highlighting). In the end, I’m trying to develop a process to produce a good tabletop standard with minimal effort and expense :).