


The Thin Beige Line


Recommendations: 1018
About the Project
With a hoard of droids to paint, I need a process that is quick, repeatable and relatively painless!
Related Game: Star Wars: Legion
Related Company: Fantasy Flight Games
Related Genre: Science Fiction
This Project is Completed
Construction
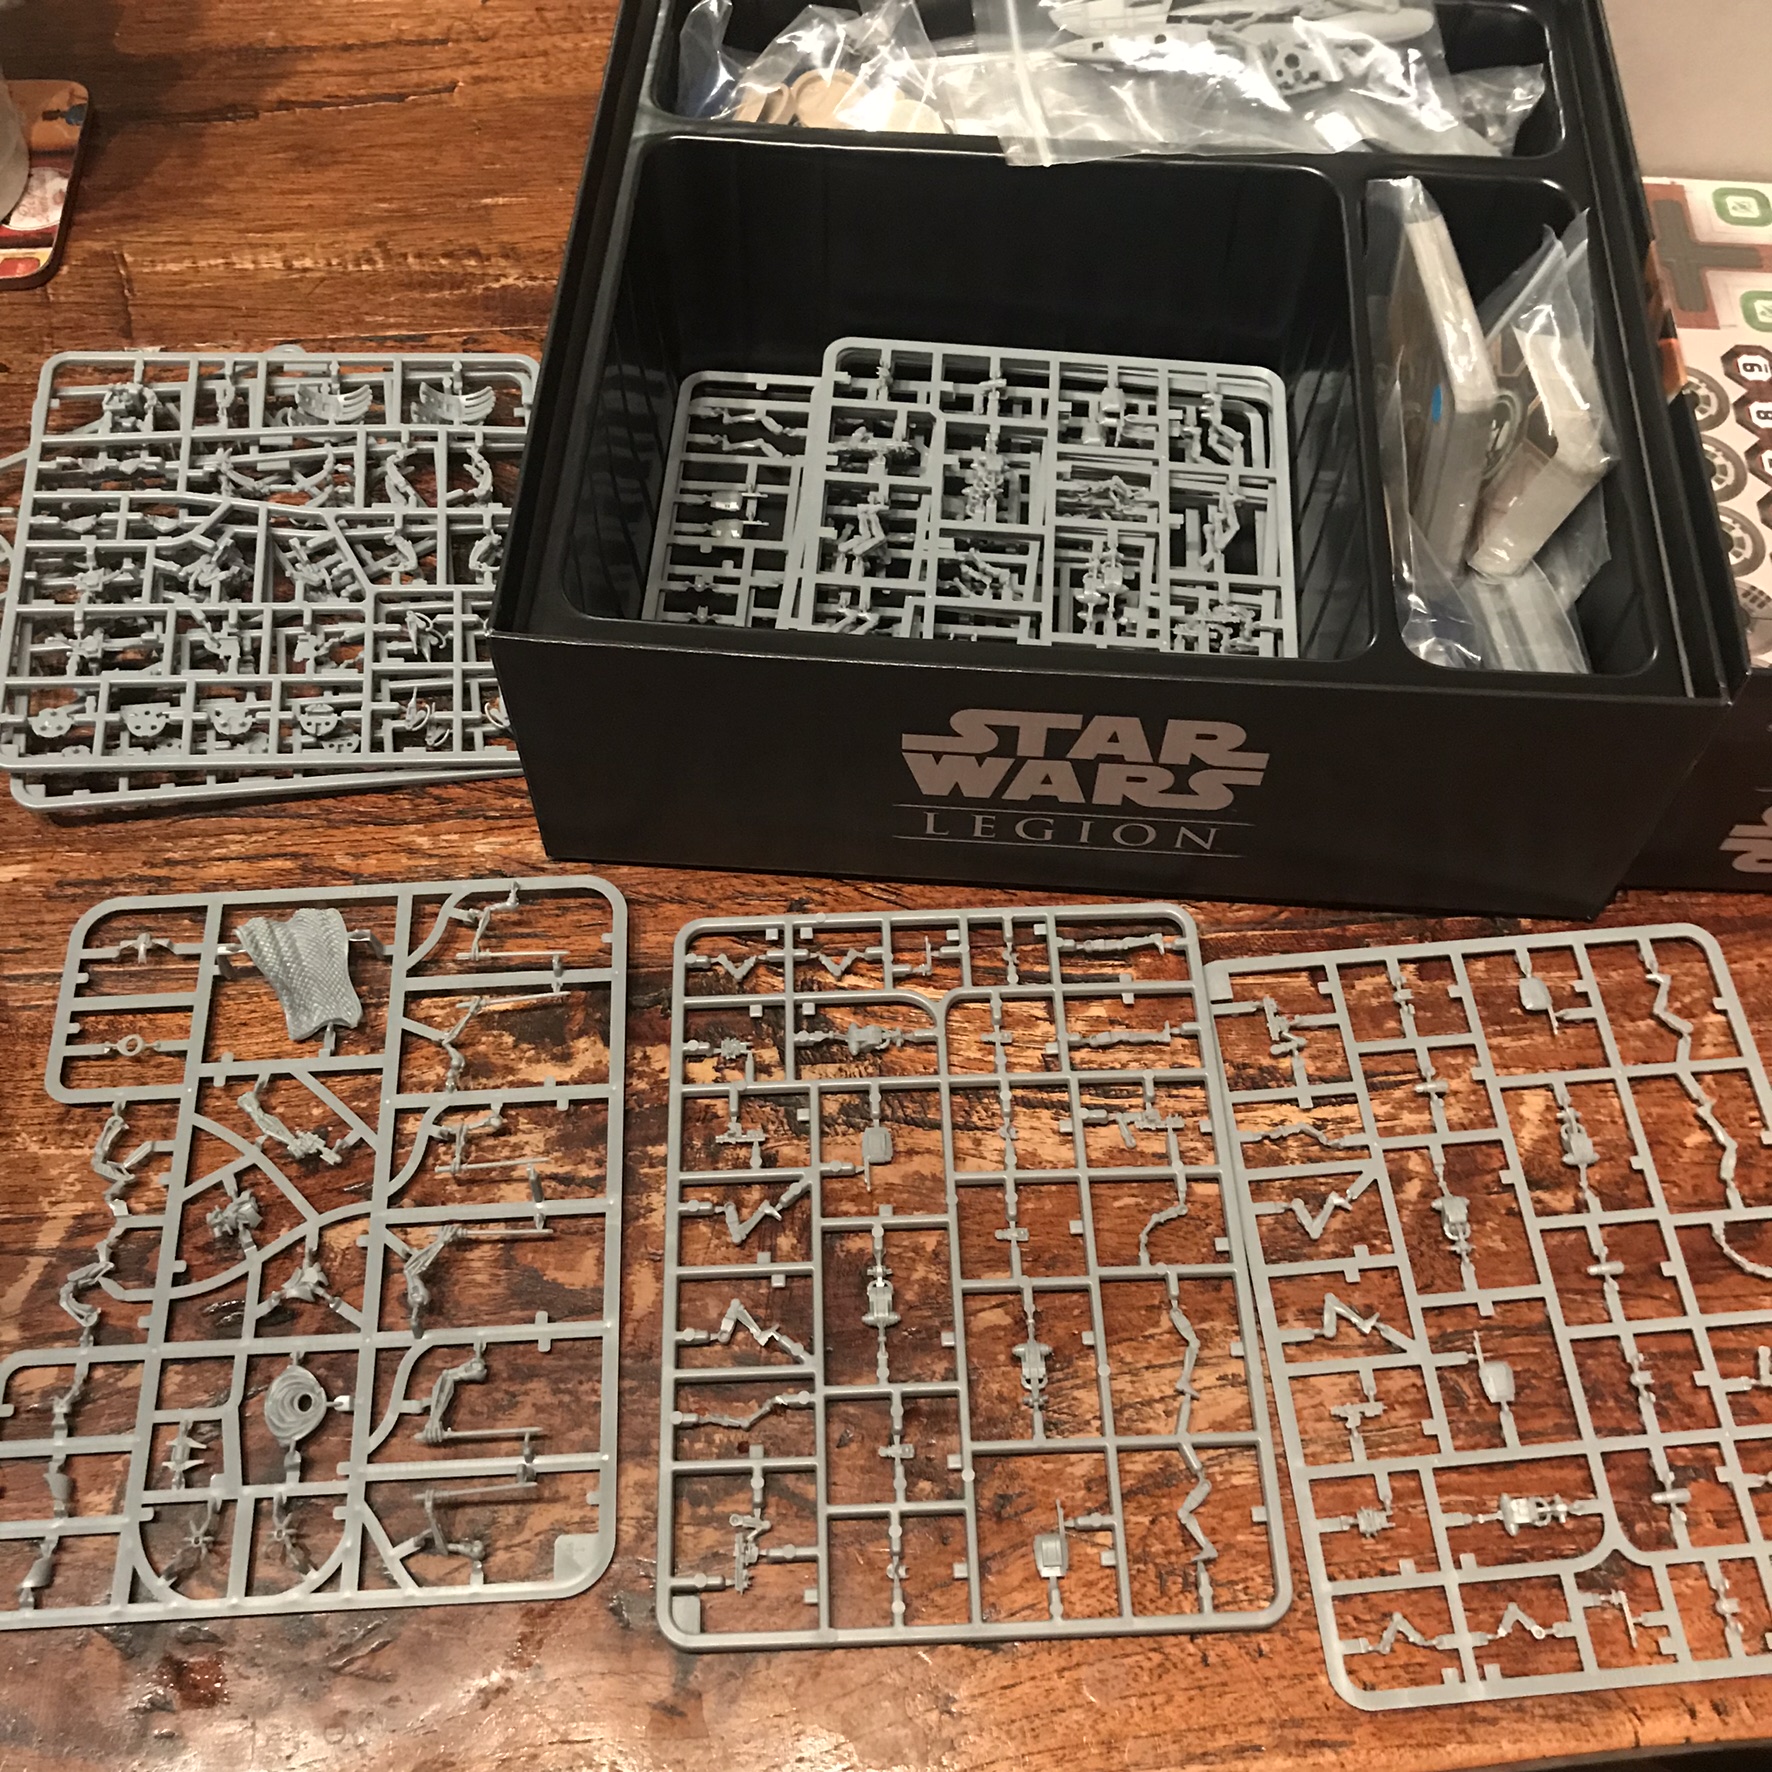
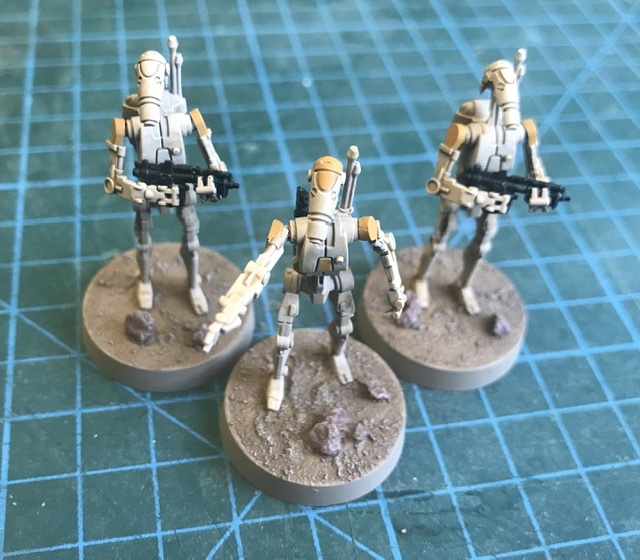
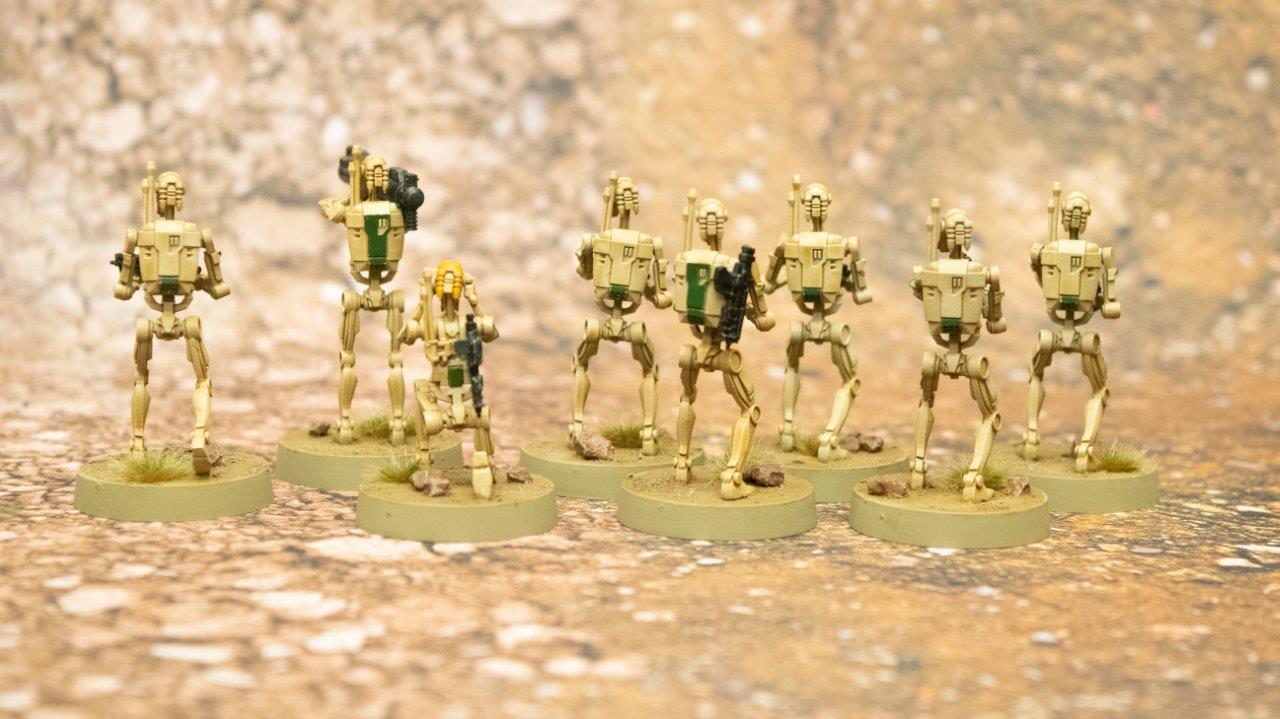
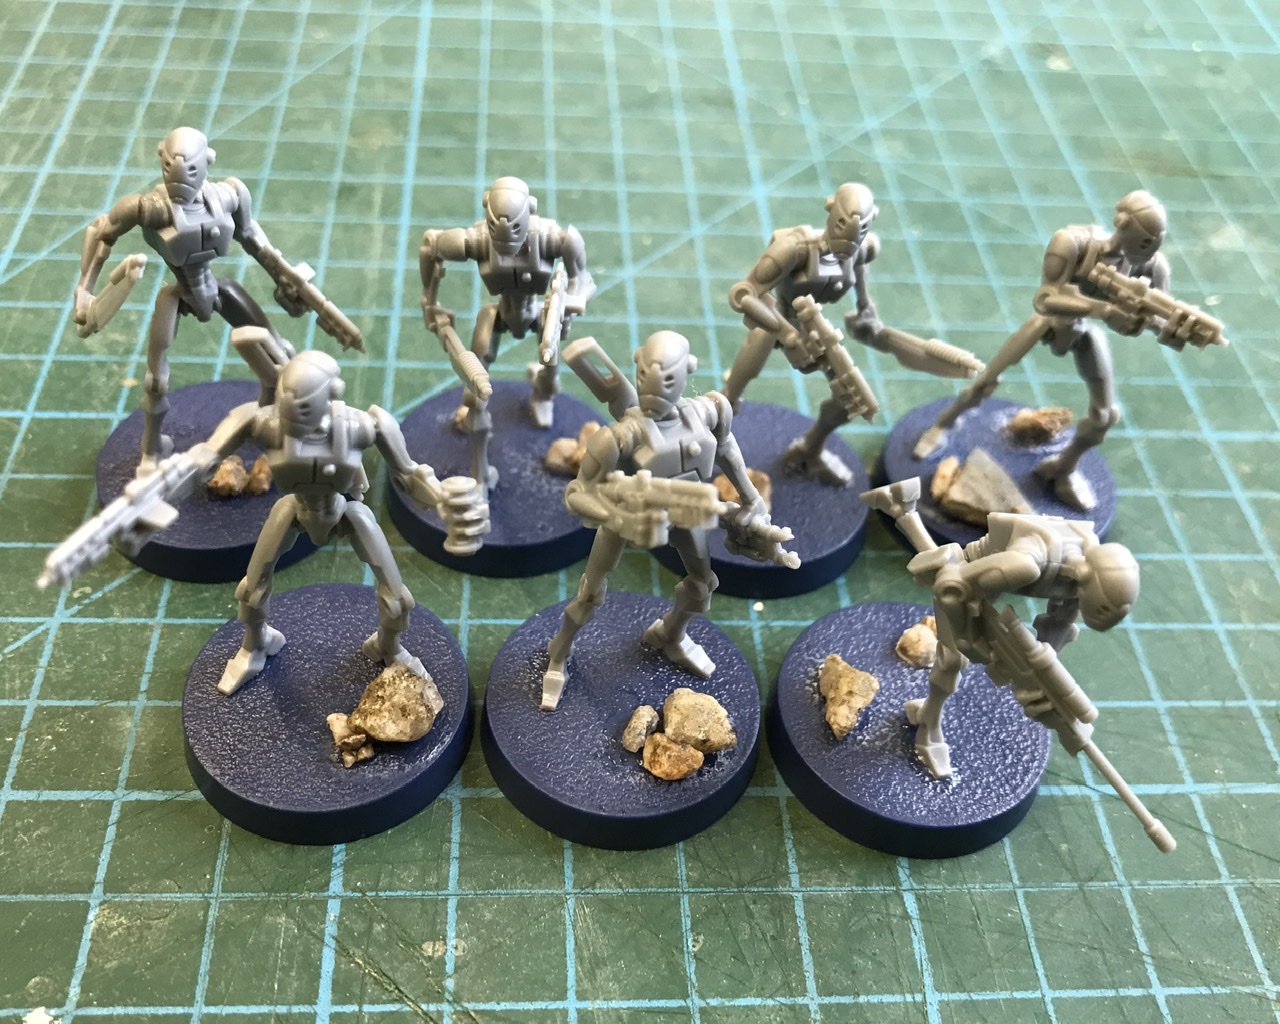
When I opened the Clone Wars core set for the first time I was surprised (and a little horrified), to be confronted with Sprues. It had been a while since I’d built a model from a sprue, much less multiple units! So it was with trepidation that I reached for my cutters and poly cement.
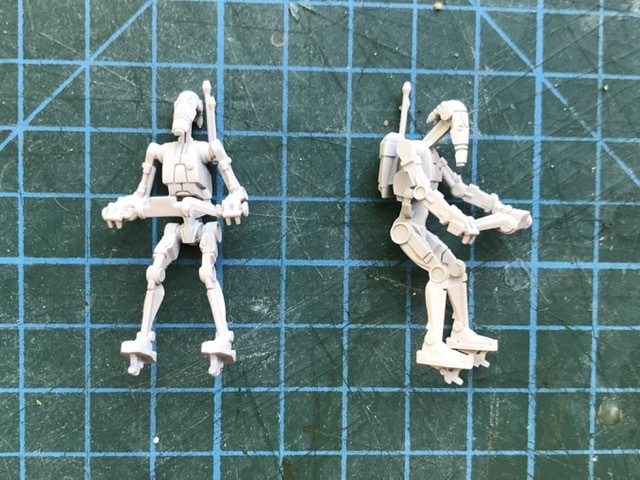
Taking a good look over the components before starting to clip things off, I found that the Droid head’s and torso’s were all identical, with legs and arms designed in pairs to fit any figure. This allowed me to assemble the legs, torso’s and bases before revisiting the models to pose the arms and heads. I have to say I really enjoyed putting the B1’s together (although the two part heads are infuriatingly fiddly).

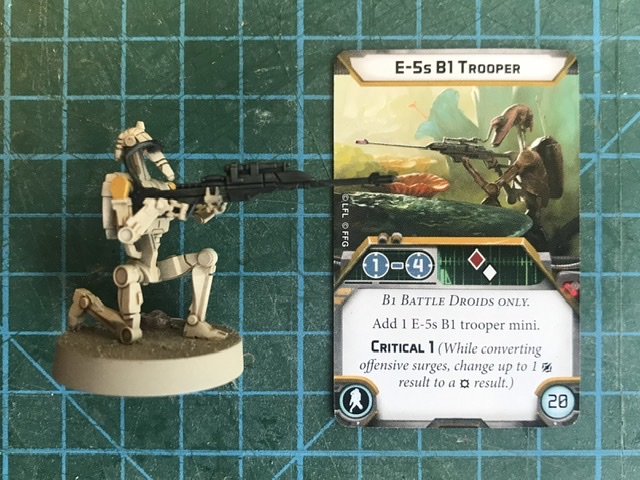
Something to look out for if you are ignoring the instructions (as I did). The backpacks for the heavy weapon droids appear the same as the others but have a small notch on the inside edge. This is for the loose E5 blaster rifle to connect to, allowing the heavy weapon droids to carry the standard rifle on their packs.
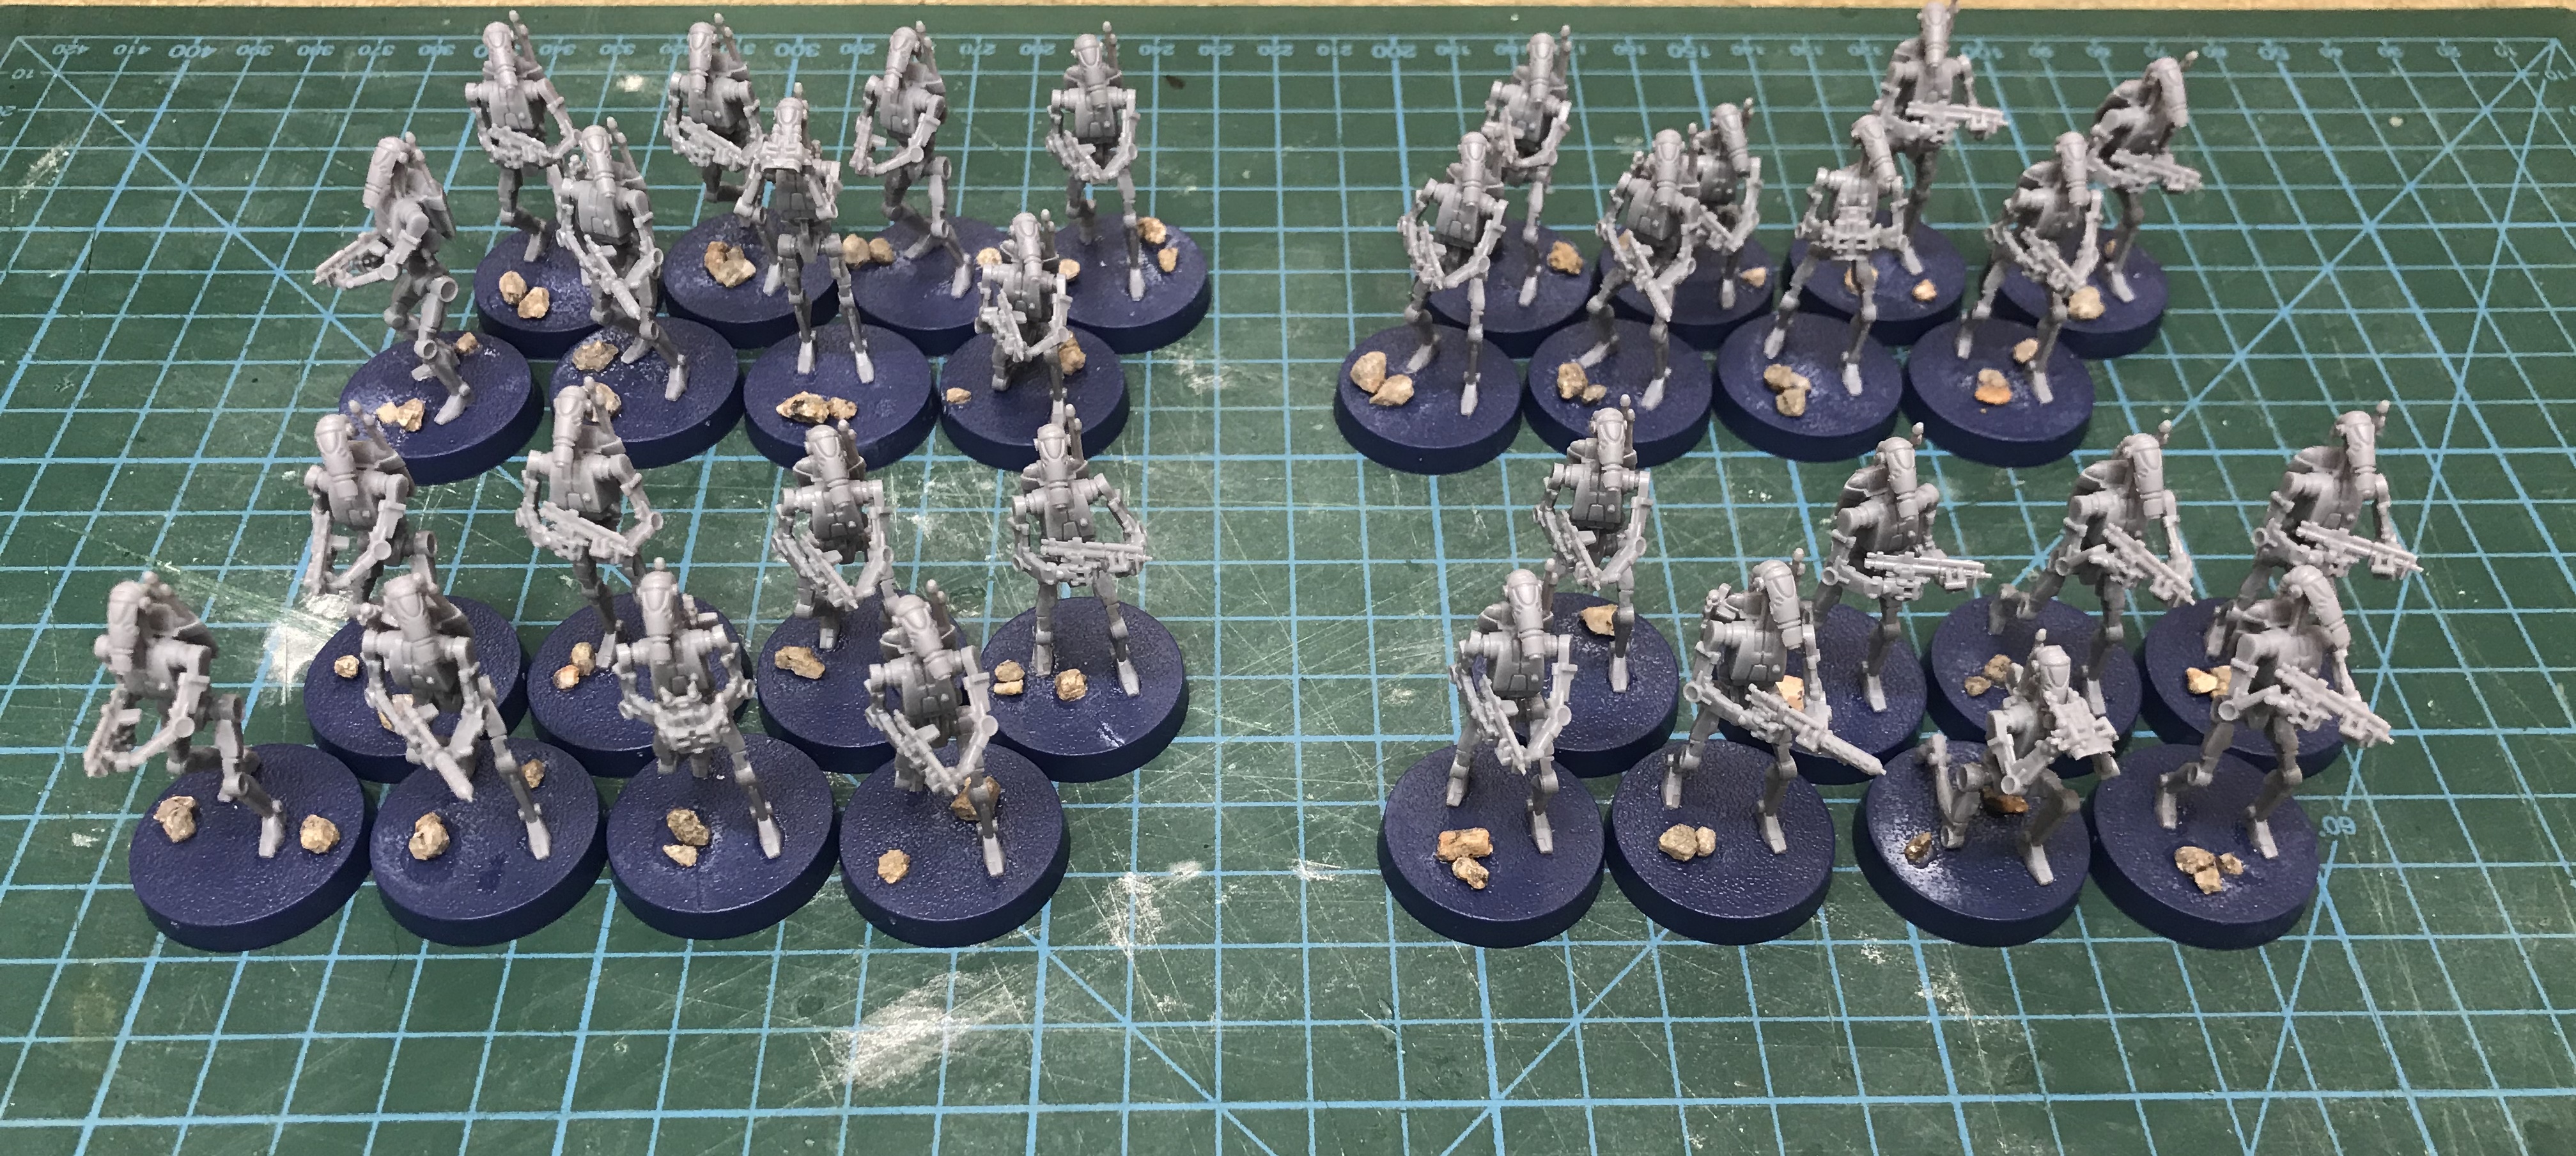
Having swapped the Clone half of my core set with a friend for his Separatist half, I had four units to build. By mixing which leg positions went with which arm and weapon options, I was able to add variety to my units.
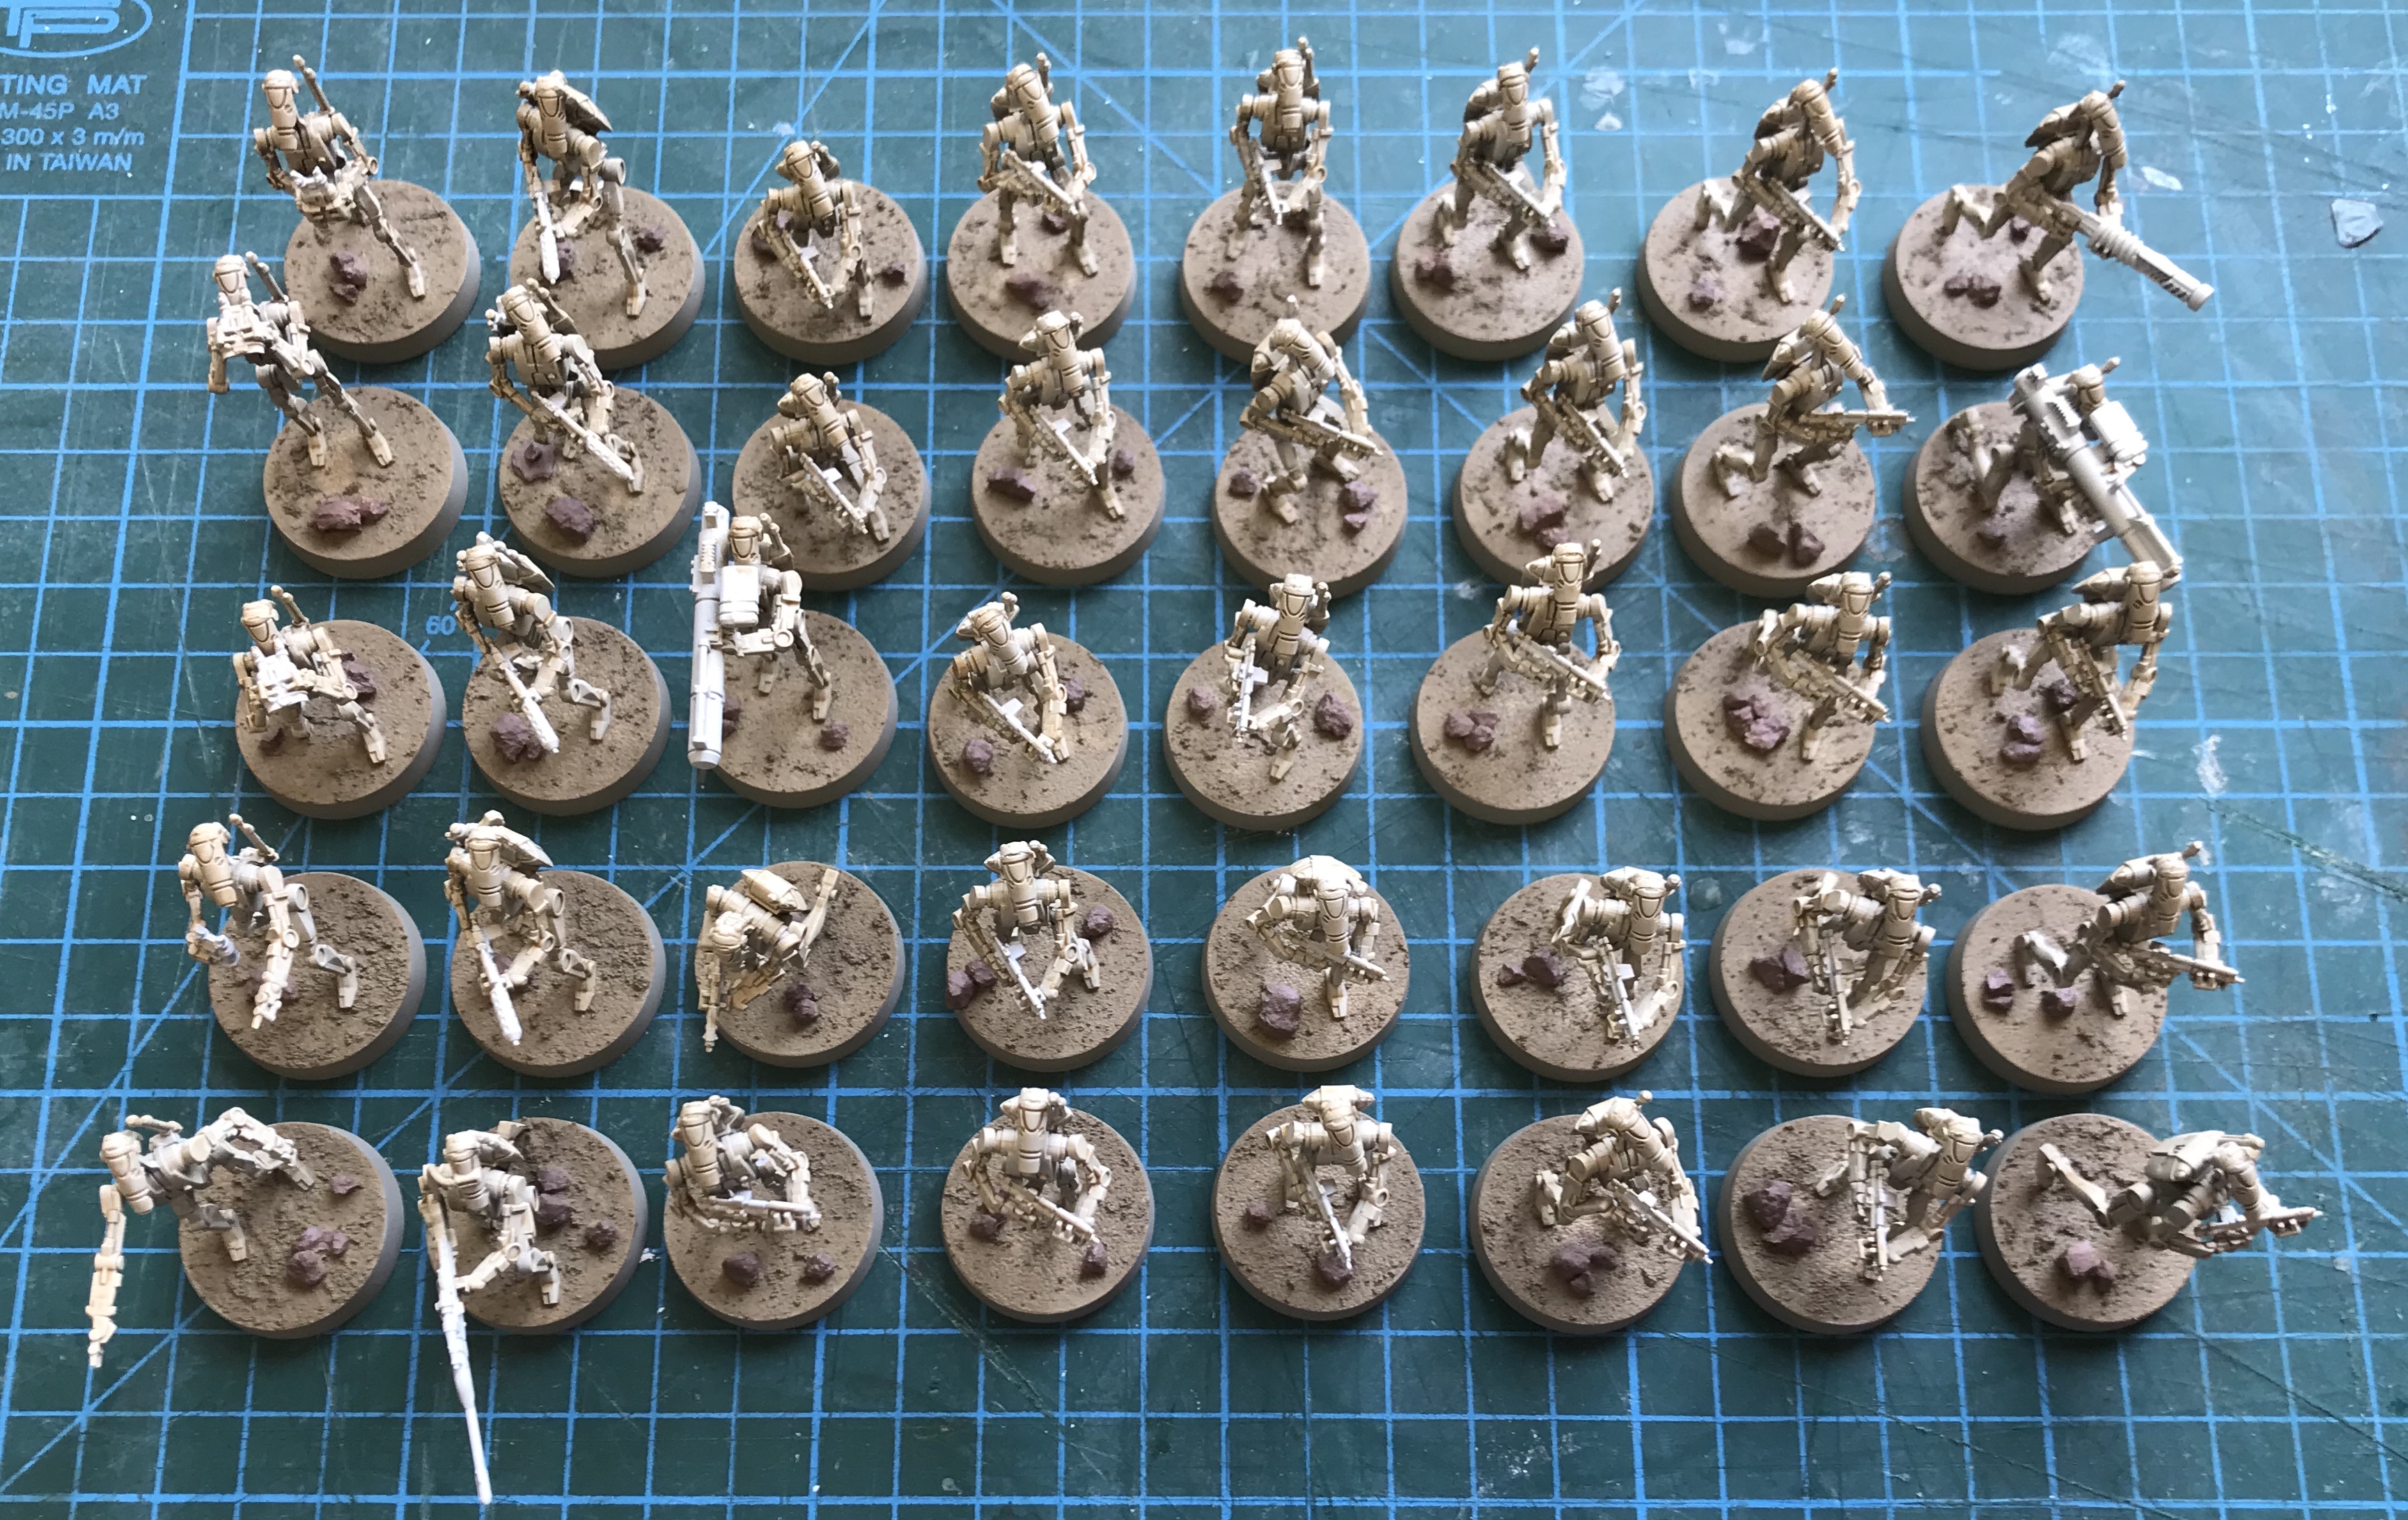
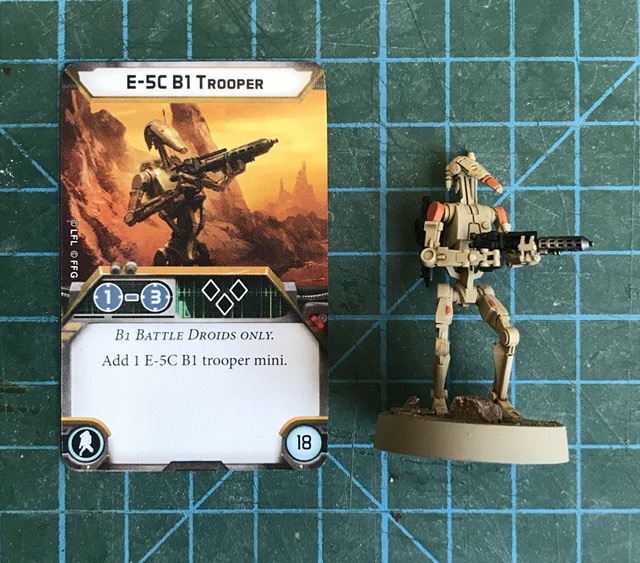
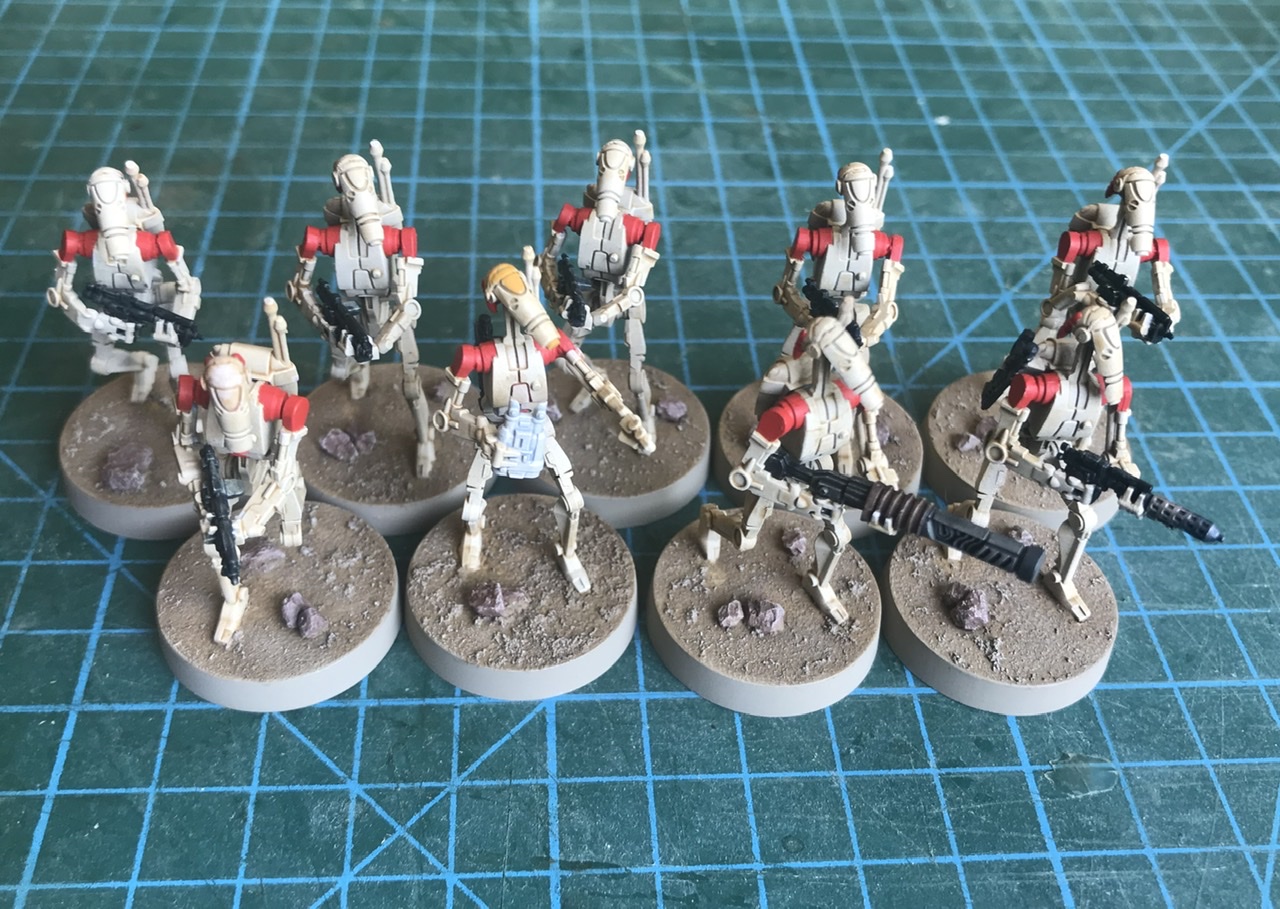
From the two core sets I built four units of B1’s with the E-5C heavy weapon upgrade. I only built two of the four battle droids with the E-60R anti tank gun as I had a plan for the other two.
Having picked up a B1 Upgrade Expansion, I had four additional droids. This included two additional heavy weapons (The Radiation Cannon and E5-Sniper), as well as two Personnel Upgrade’s in the form of the OOM-Series Droid and B1-Security Droid. The expansion also came with two spare E5 Blaster Rifle arm sets which I now used on the B1’s from my core sets, in place of the E-5C’s. This gave me a total of 40 Droids that could be fielded in five units.
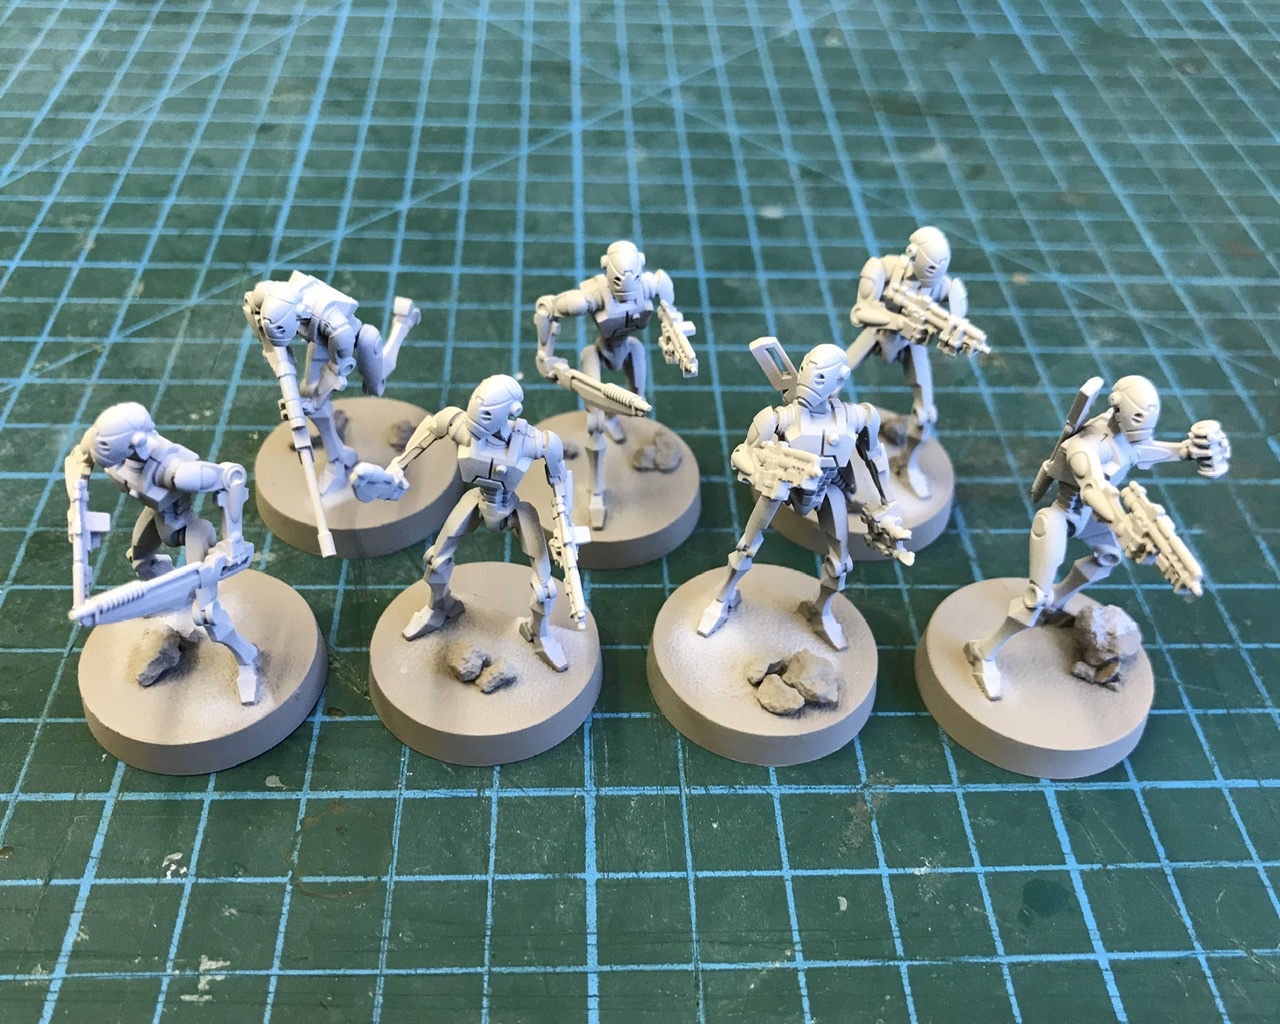
Two Stage Priming
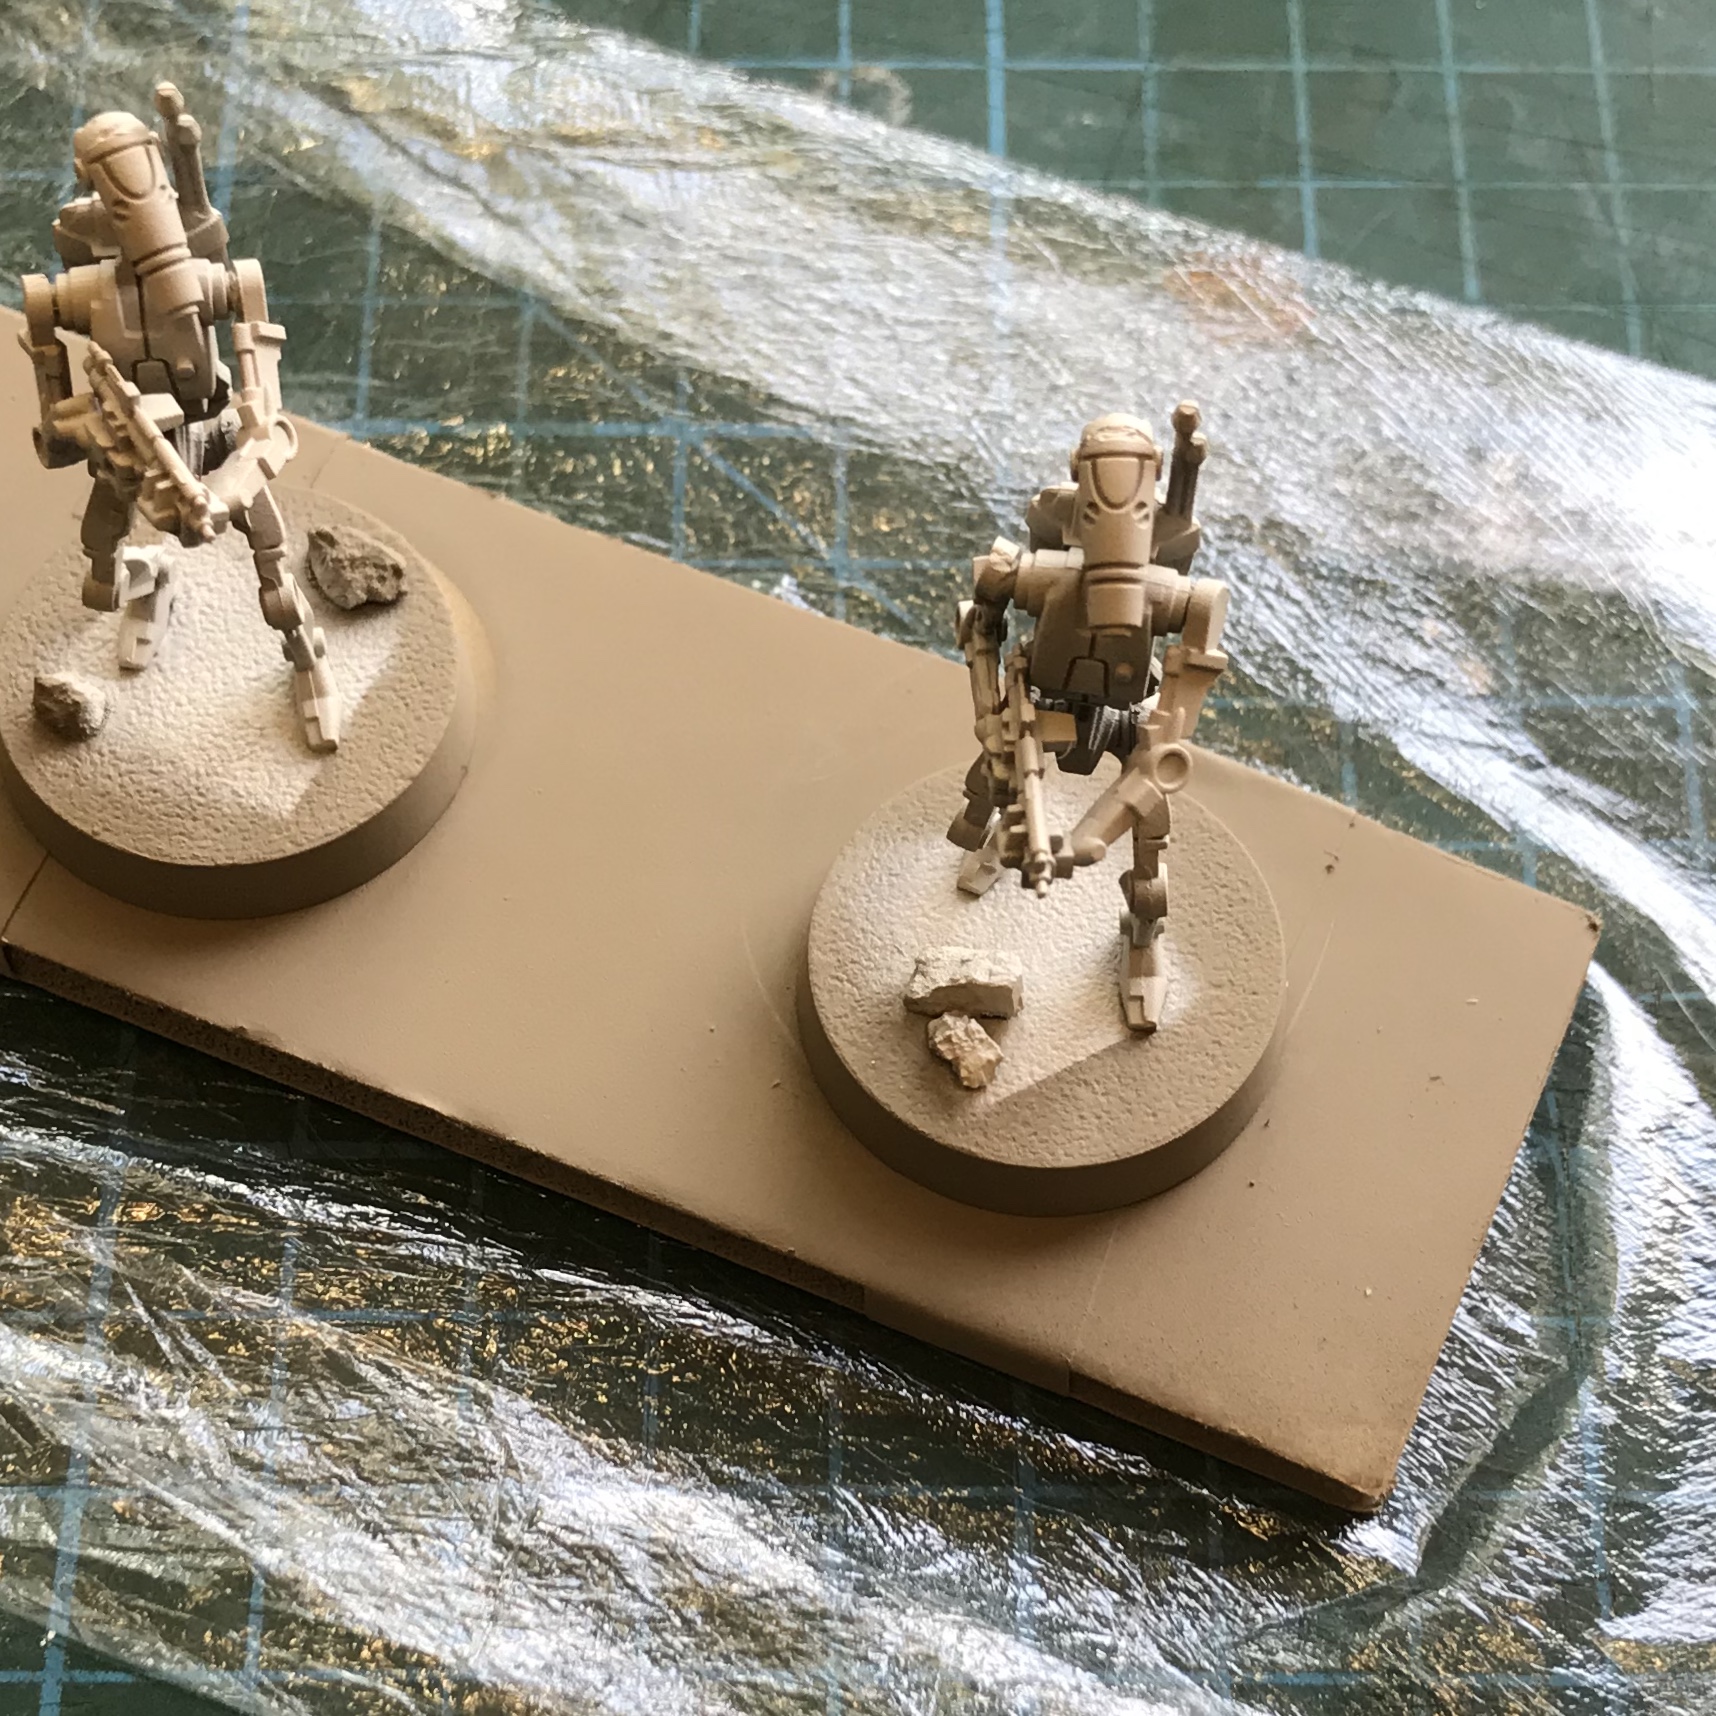
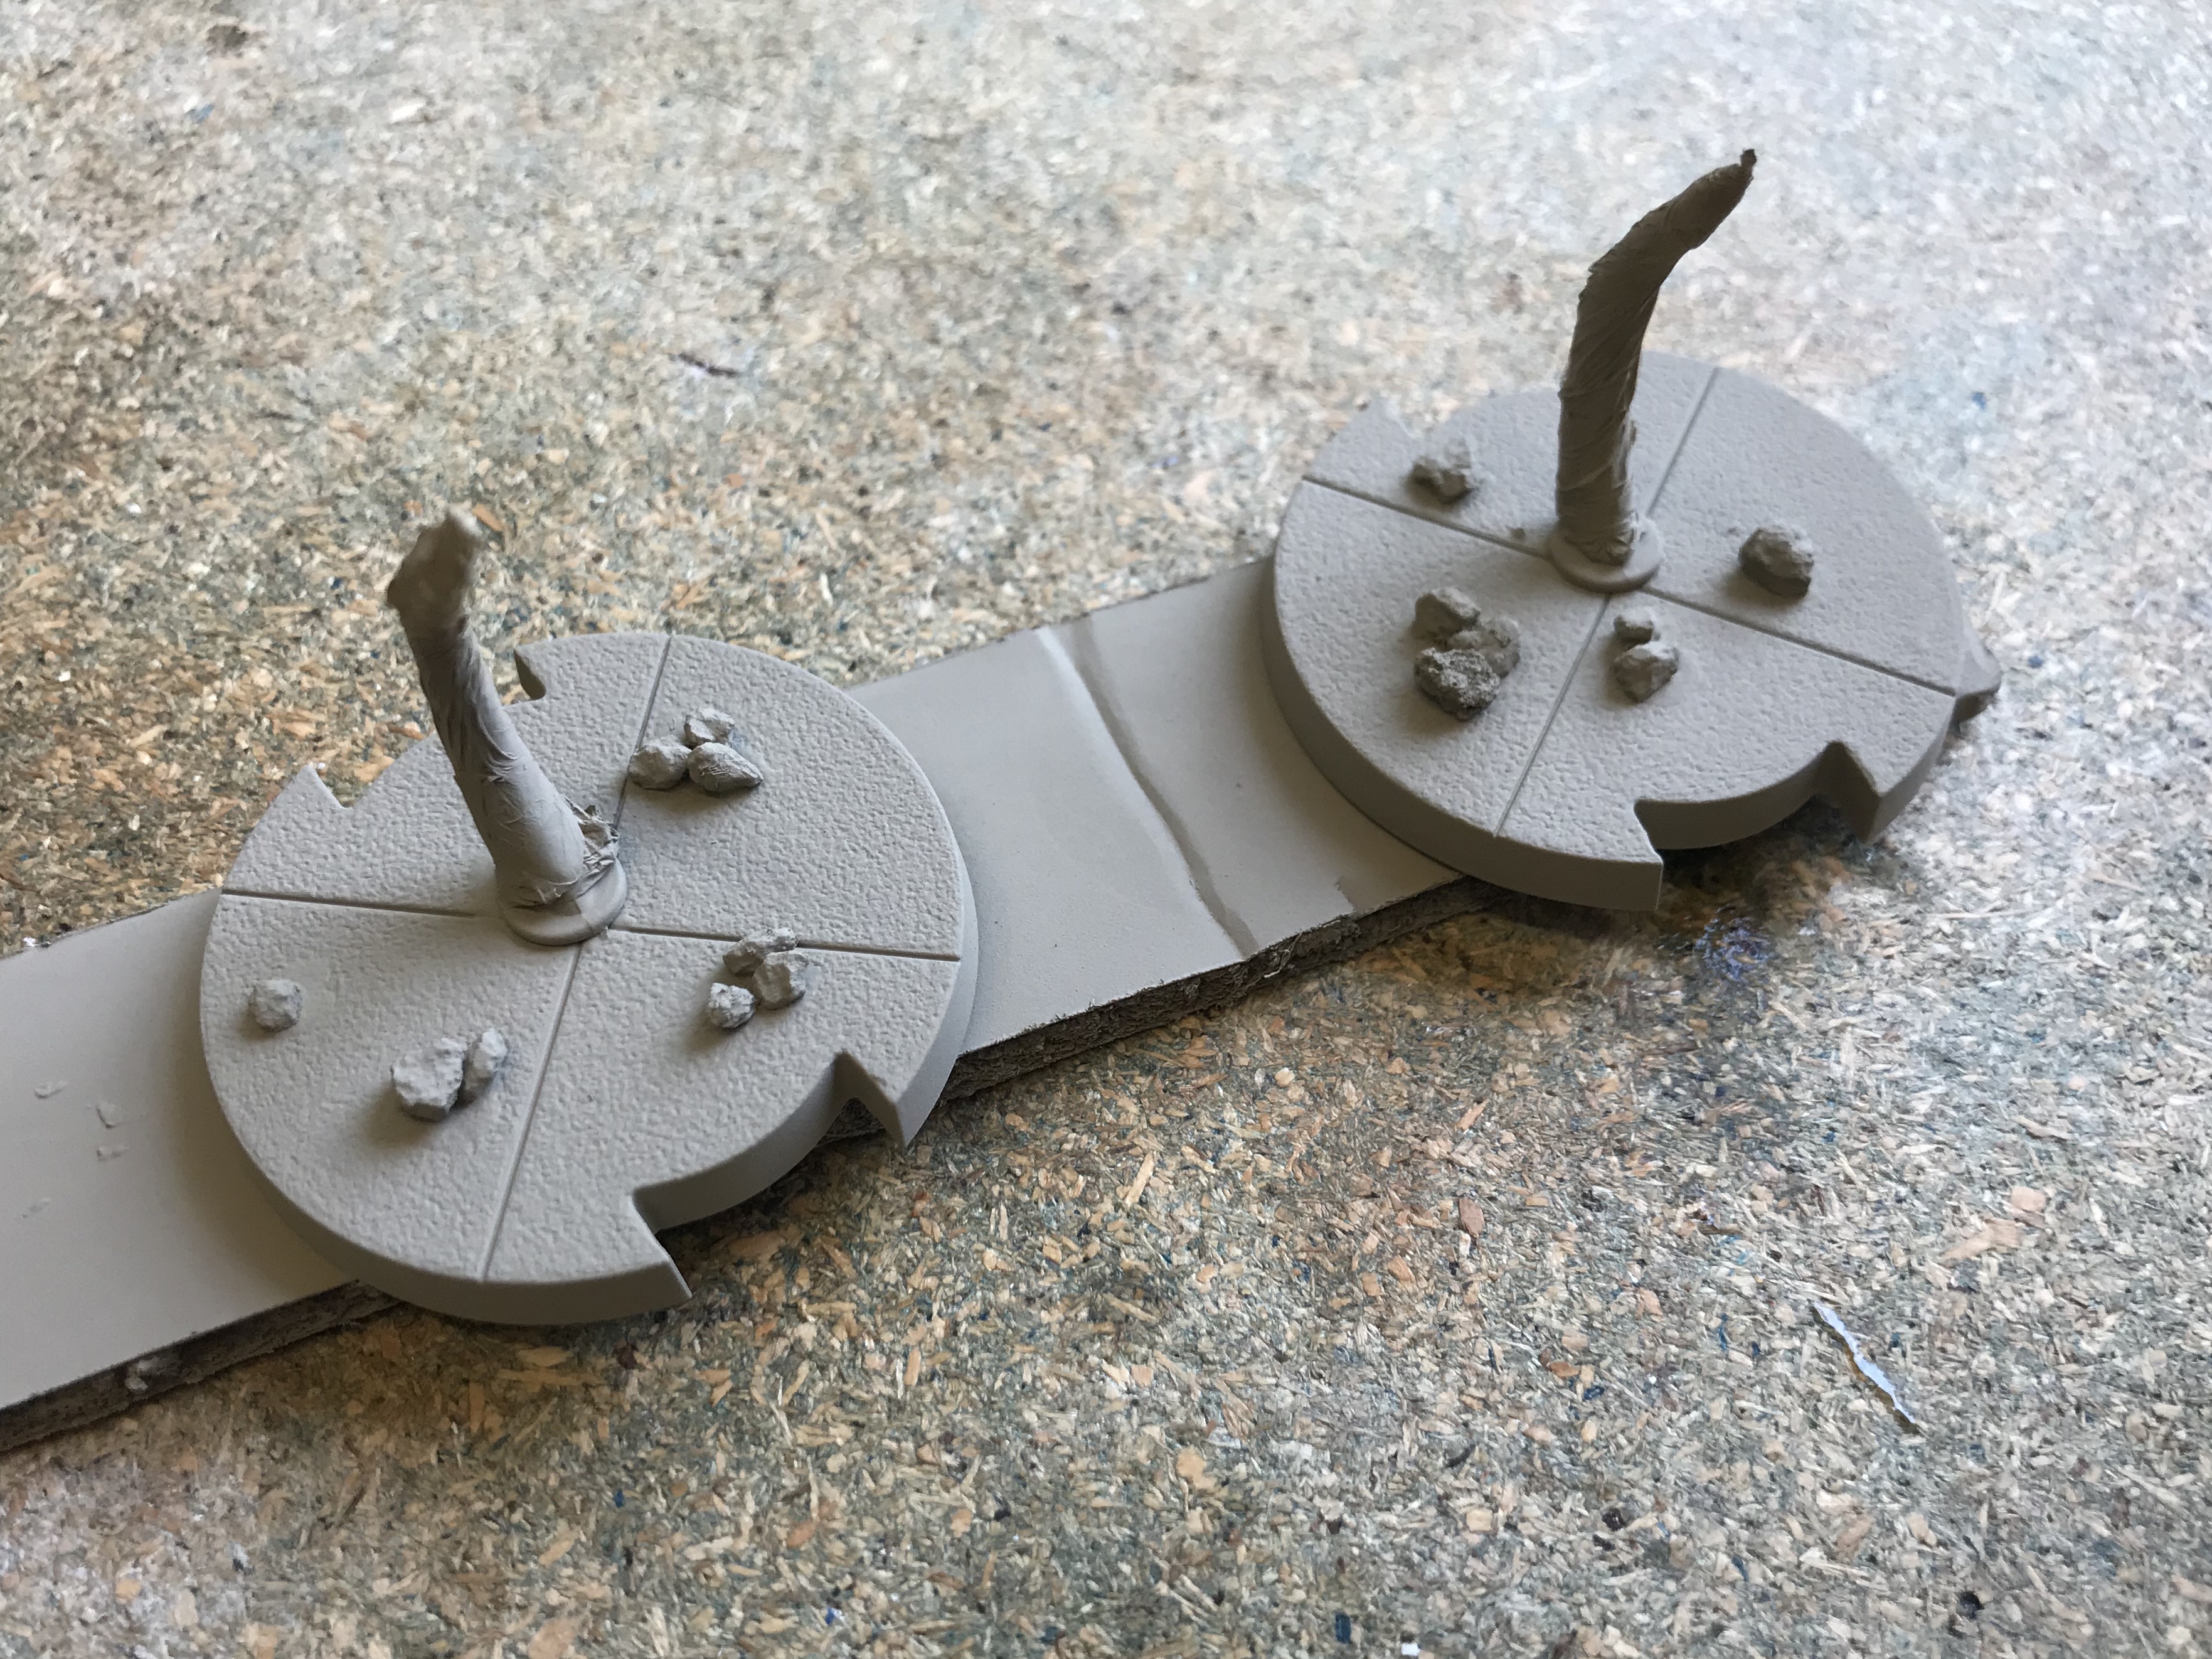
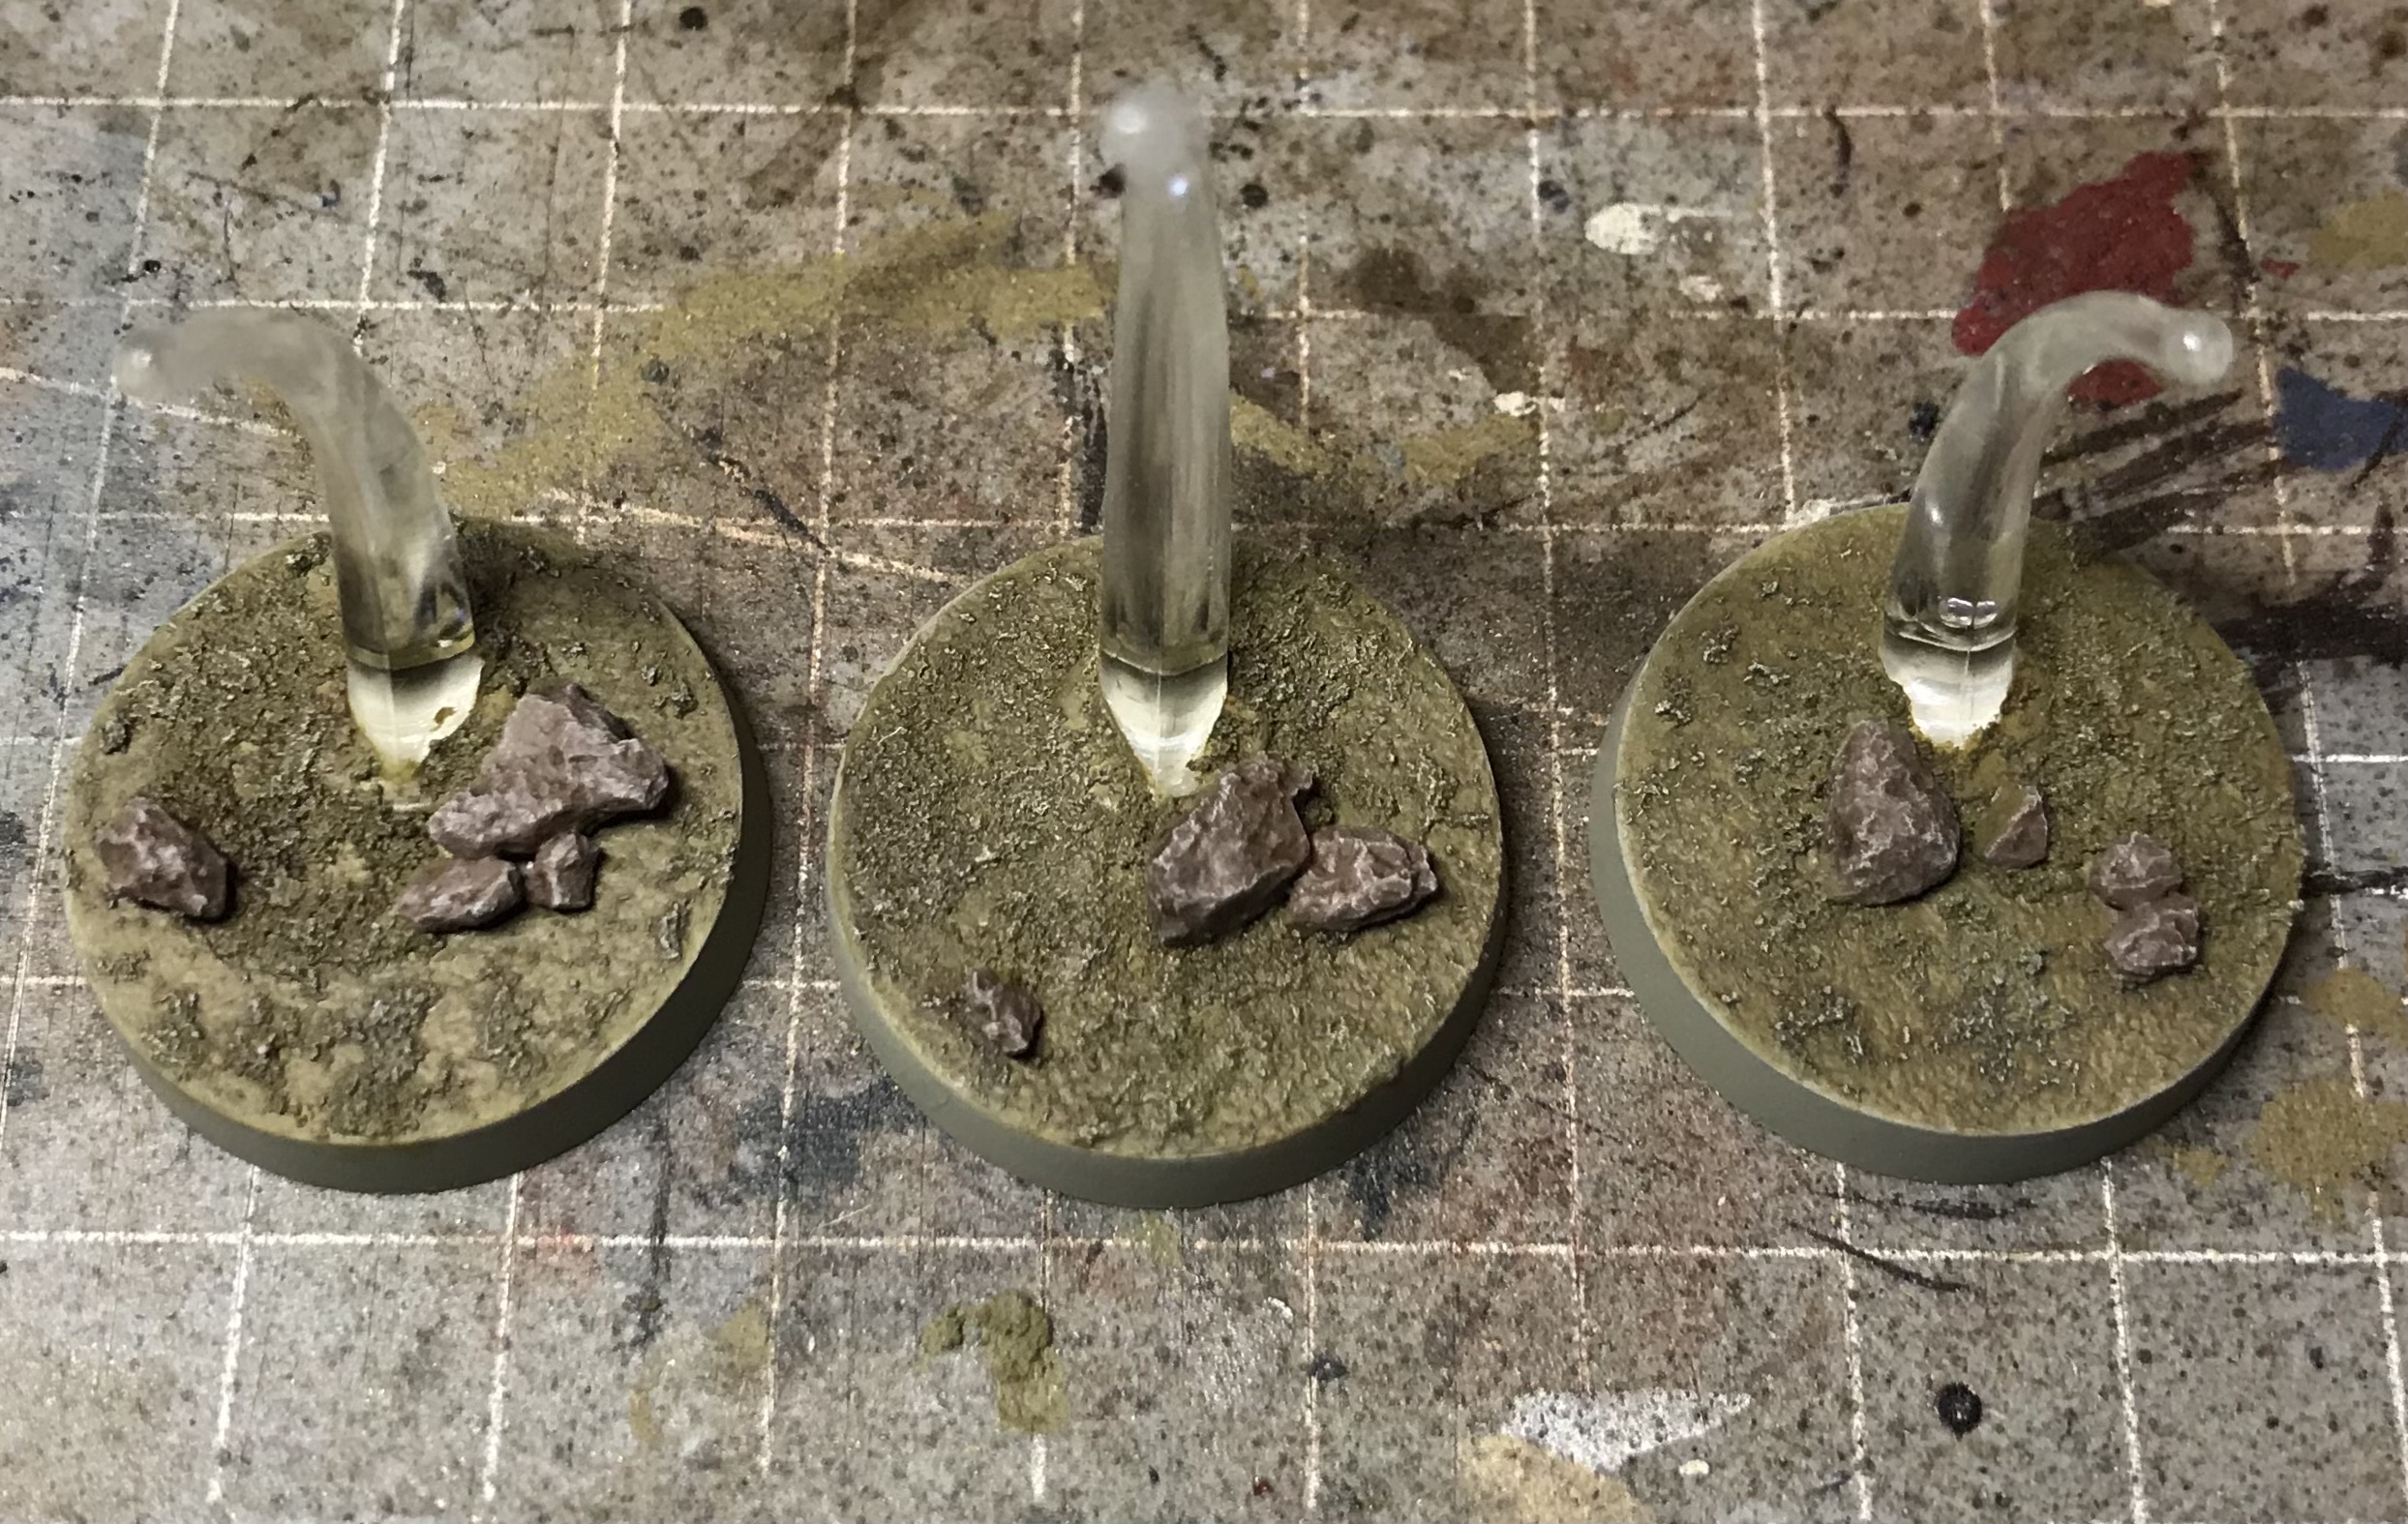
Before priming the models I took the time to glue two or three small stones to each of the bases. For this I used Superglue and a large set of tweezers. The benefit of doing this before the next stage is that the stones get a decent coat of primer, making them easier to colour later on.

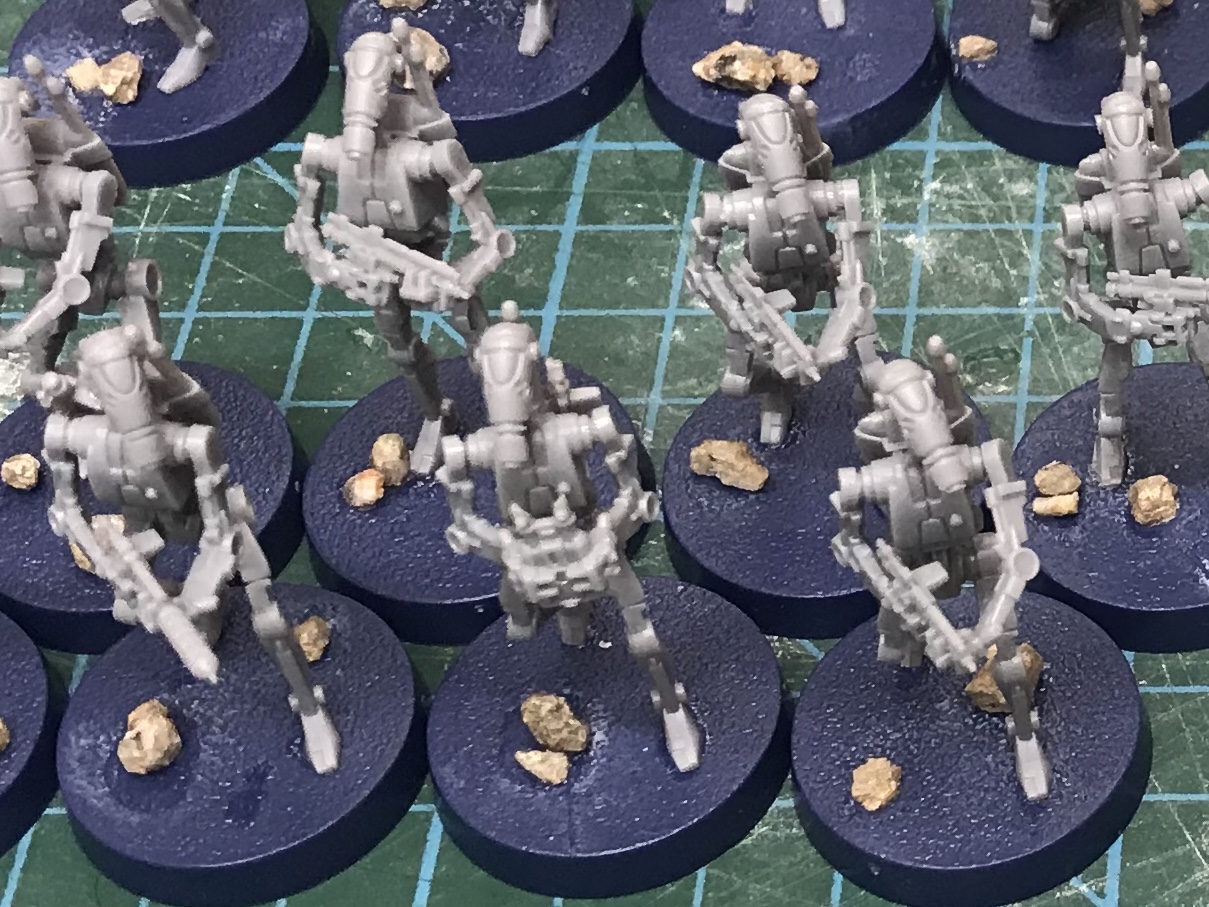
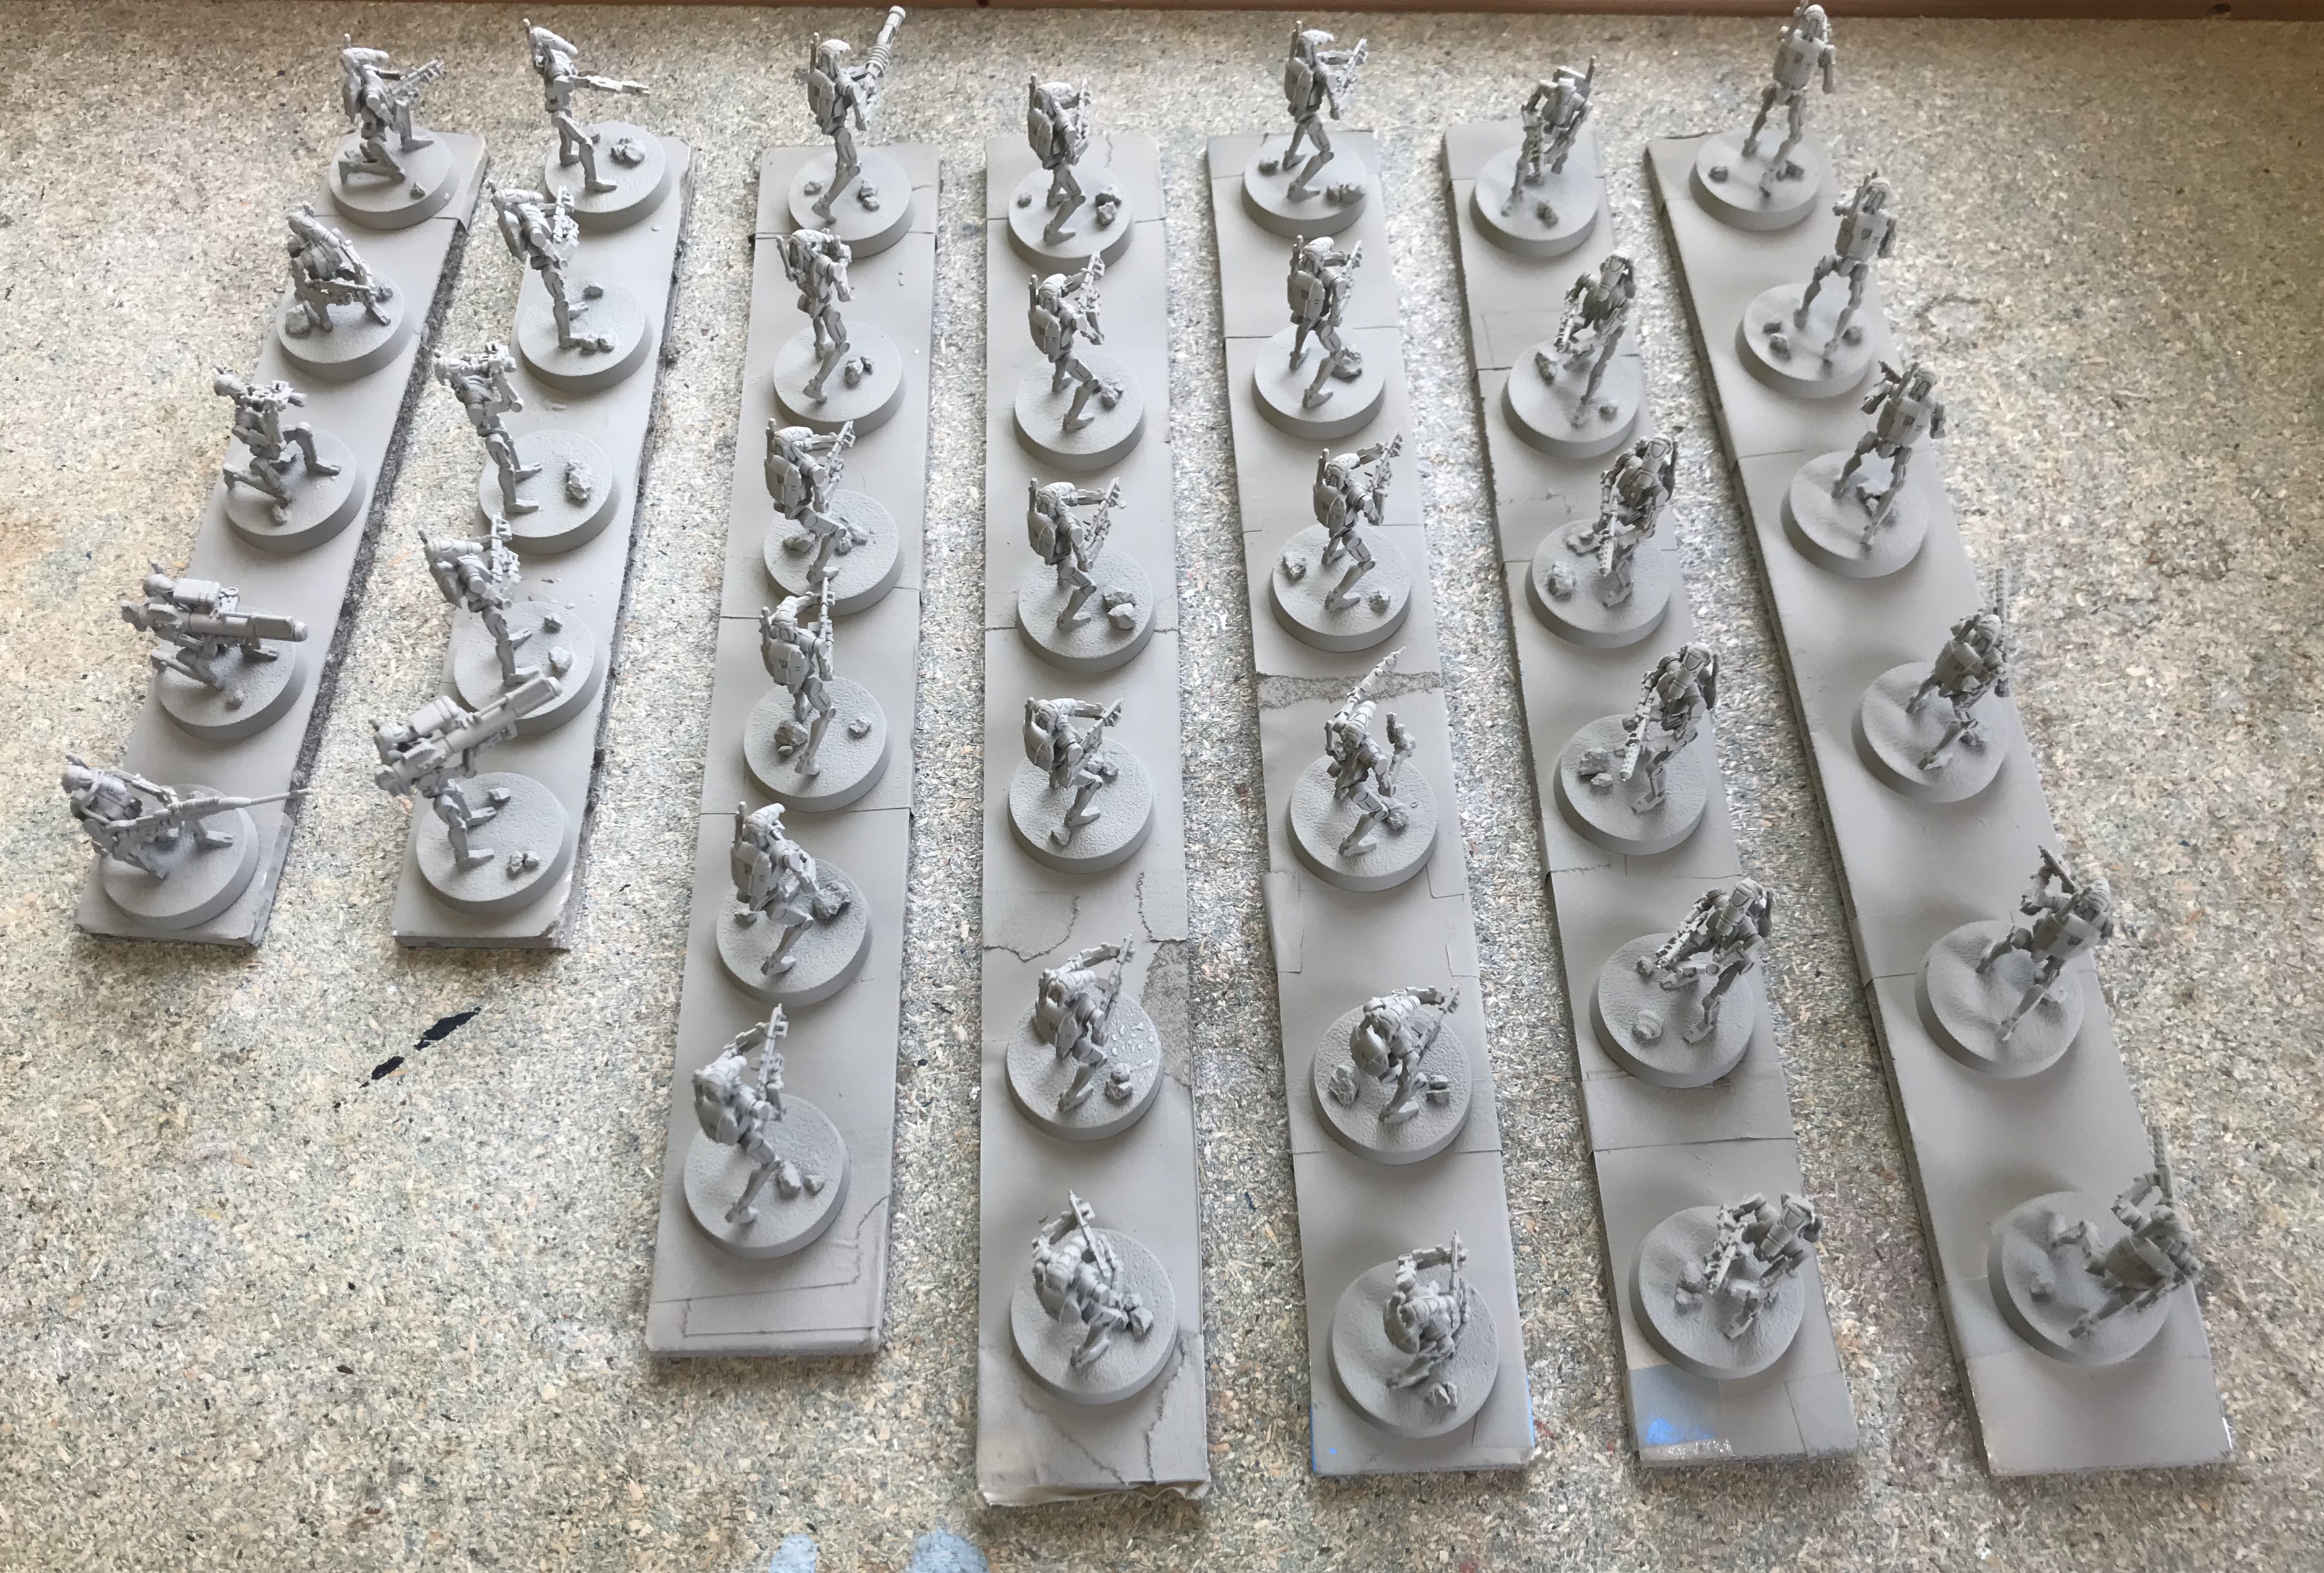
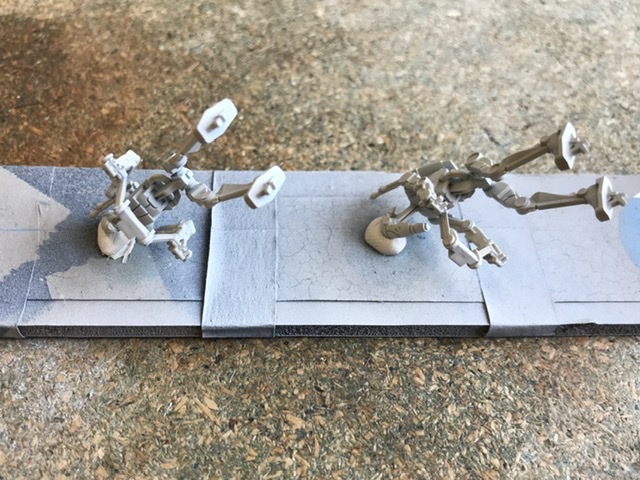
For ease of handeling I fixed the droids to poly board strips using blue tack. I then used my hobby favourite, Halfords Khaki Spray Paint, to prime the droids. Though not marketed as a primer, I find this paint covers well over plastic and gives a mat finish that is perfect for a first coat or base colour.

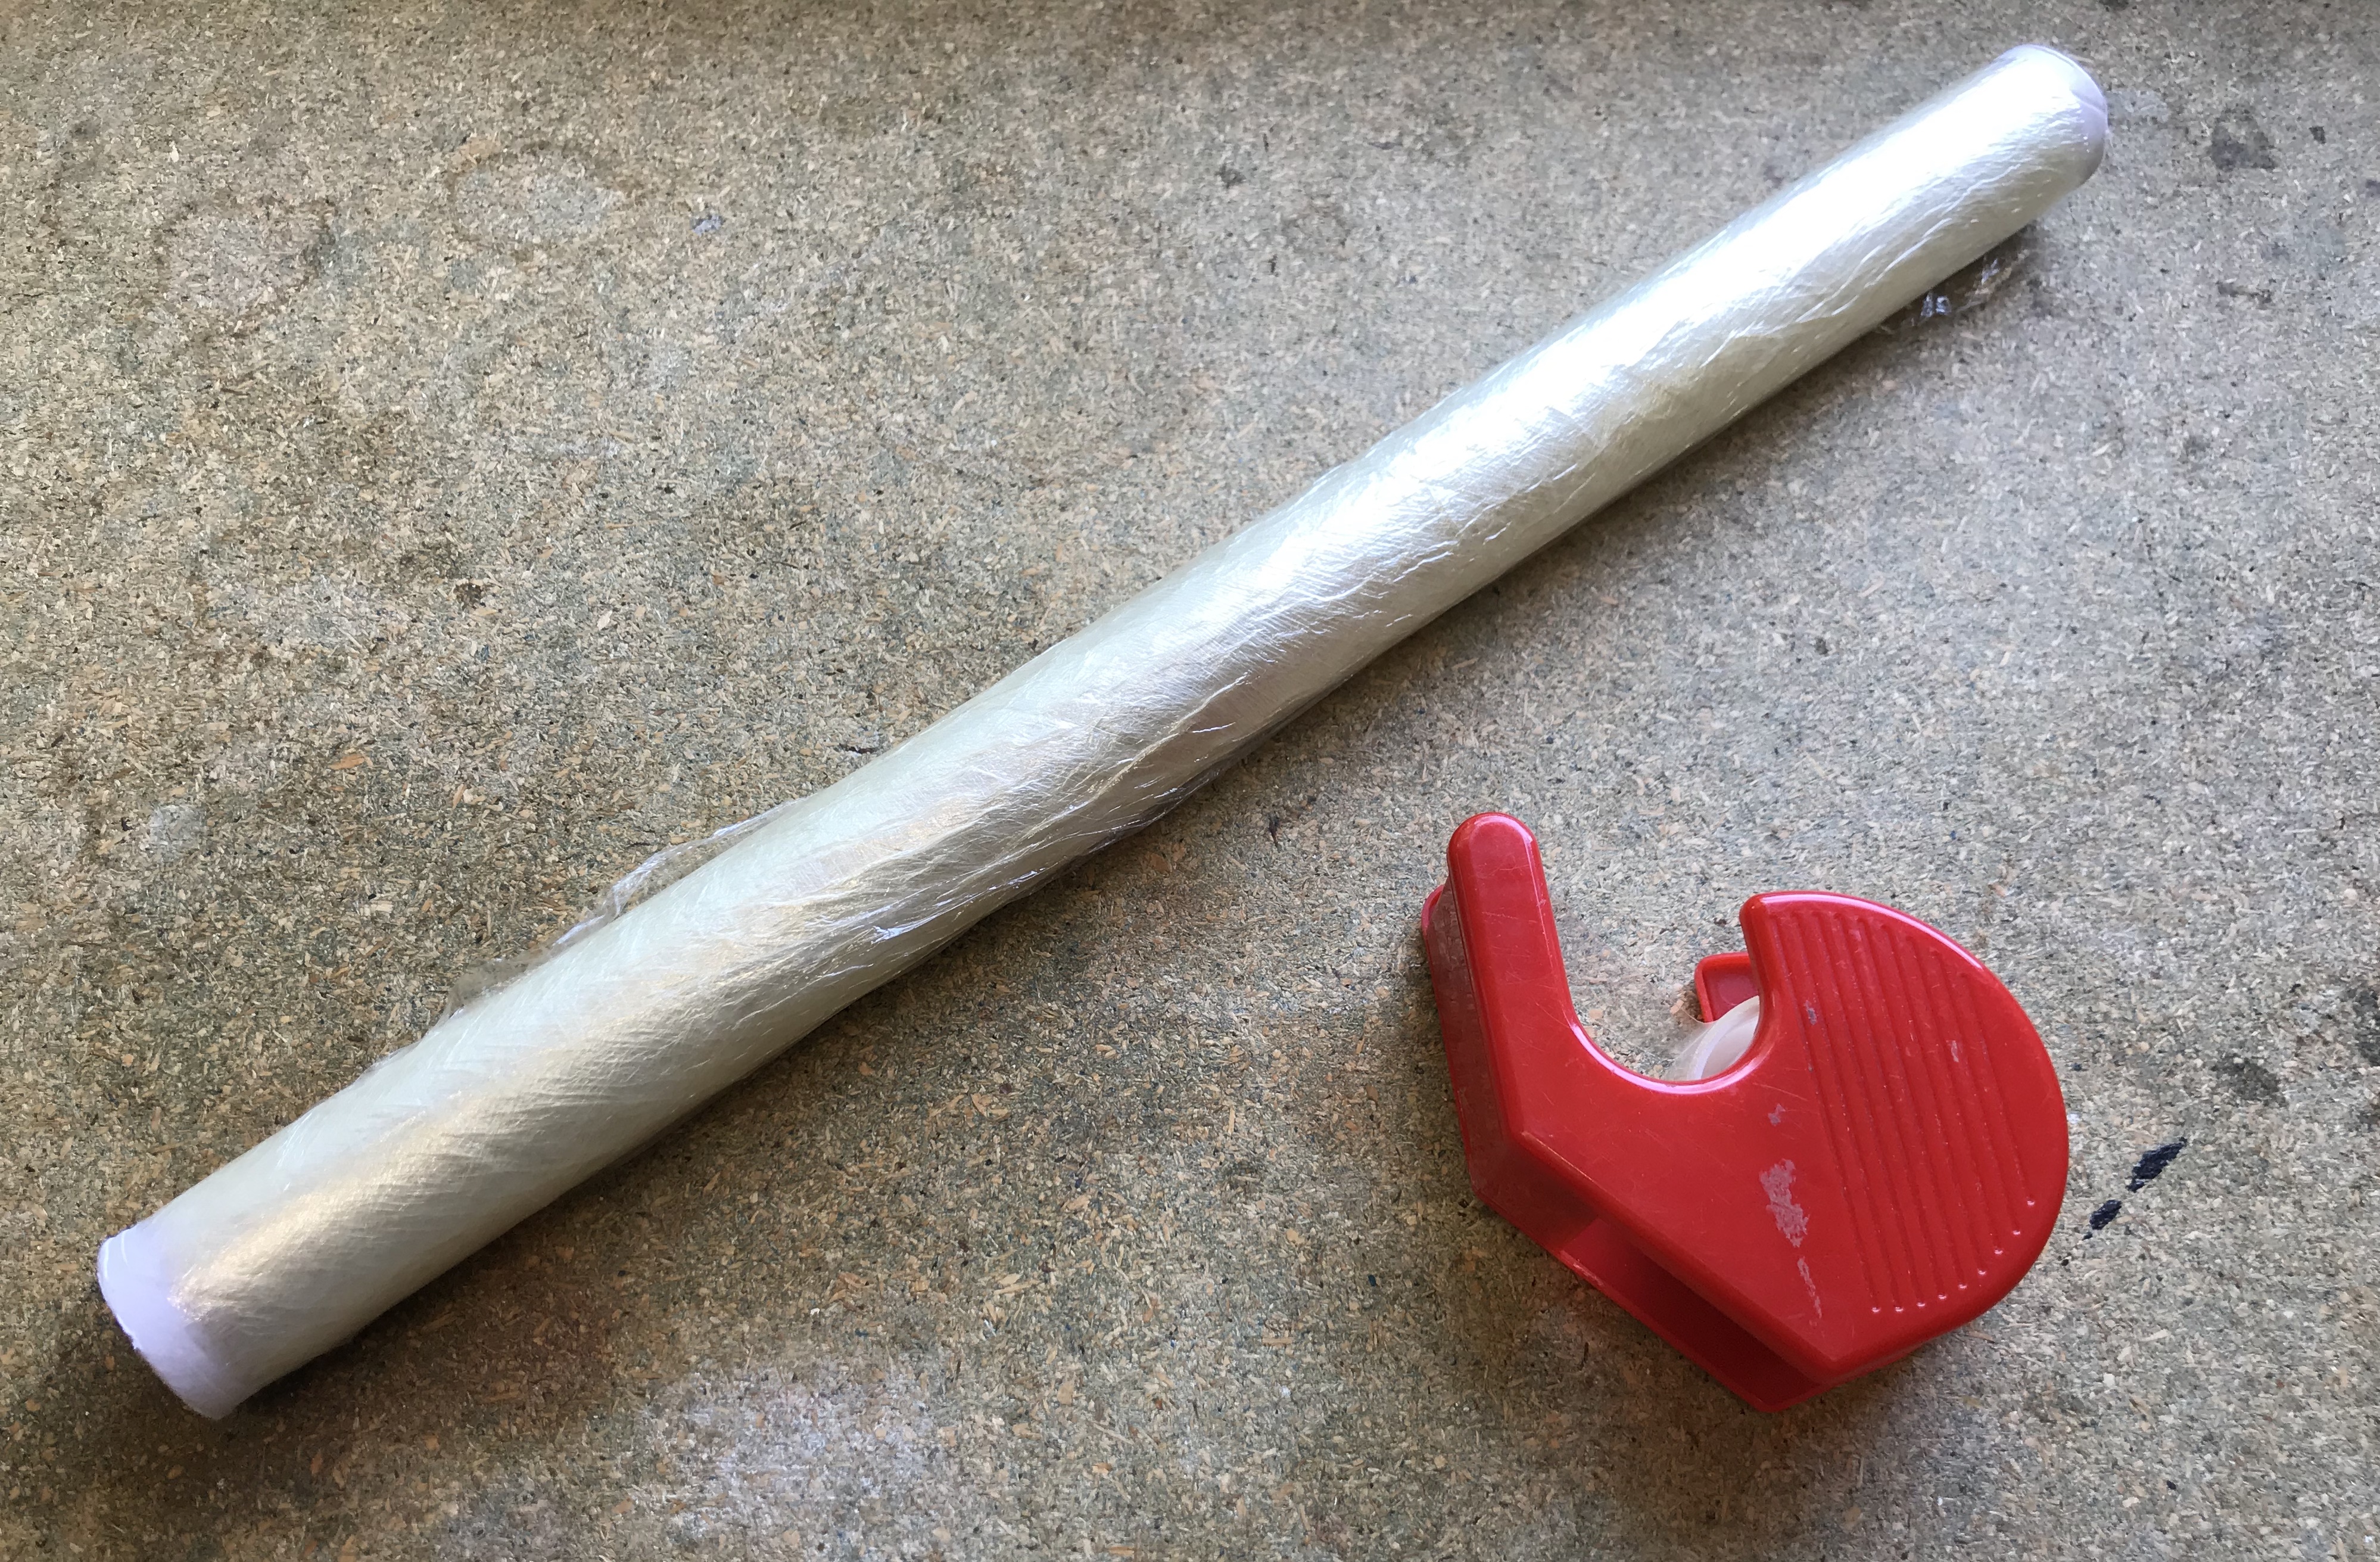
Once the Kaki had fully dried I used cling film and sellotape to wrap the Droid’s bases.
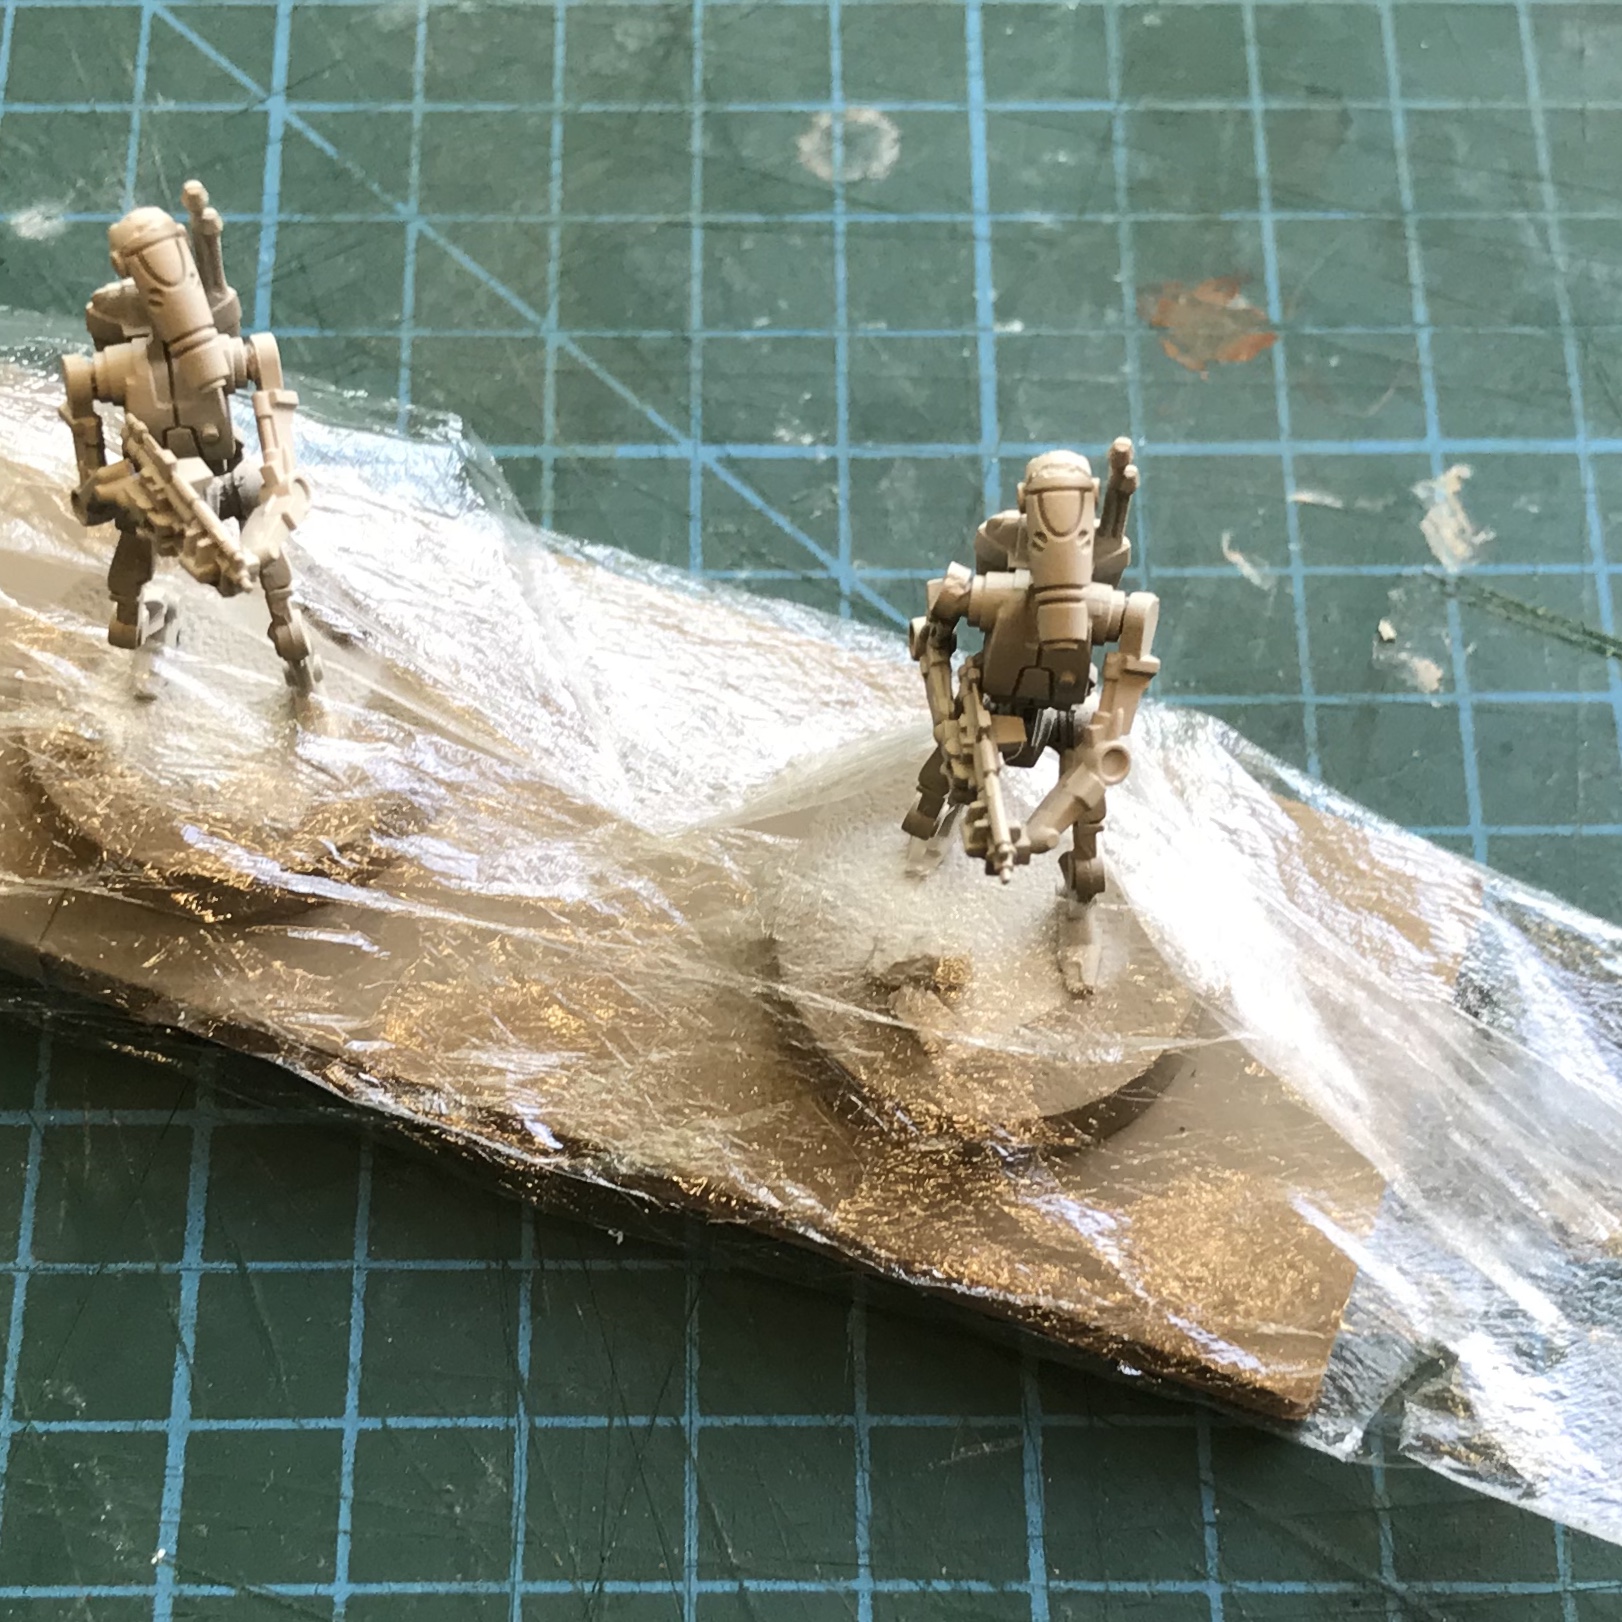
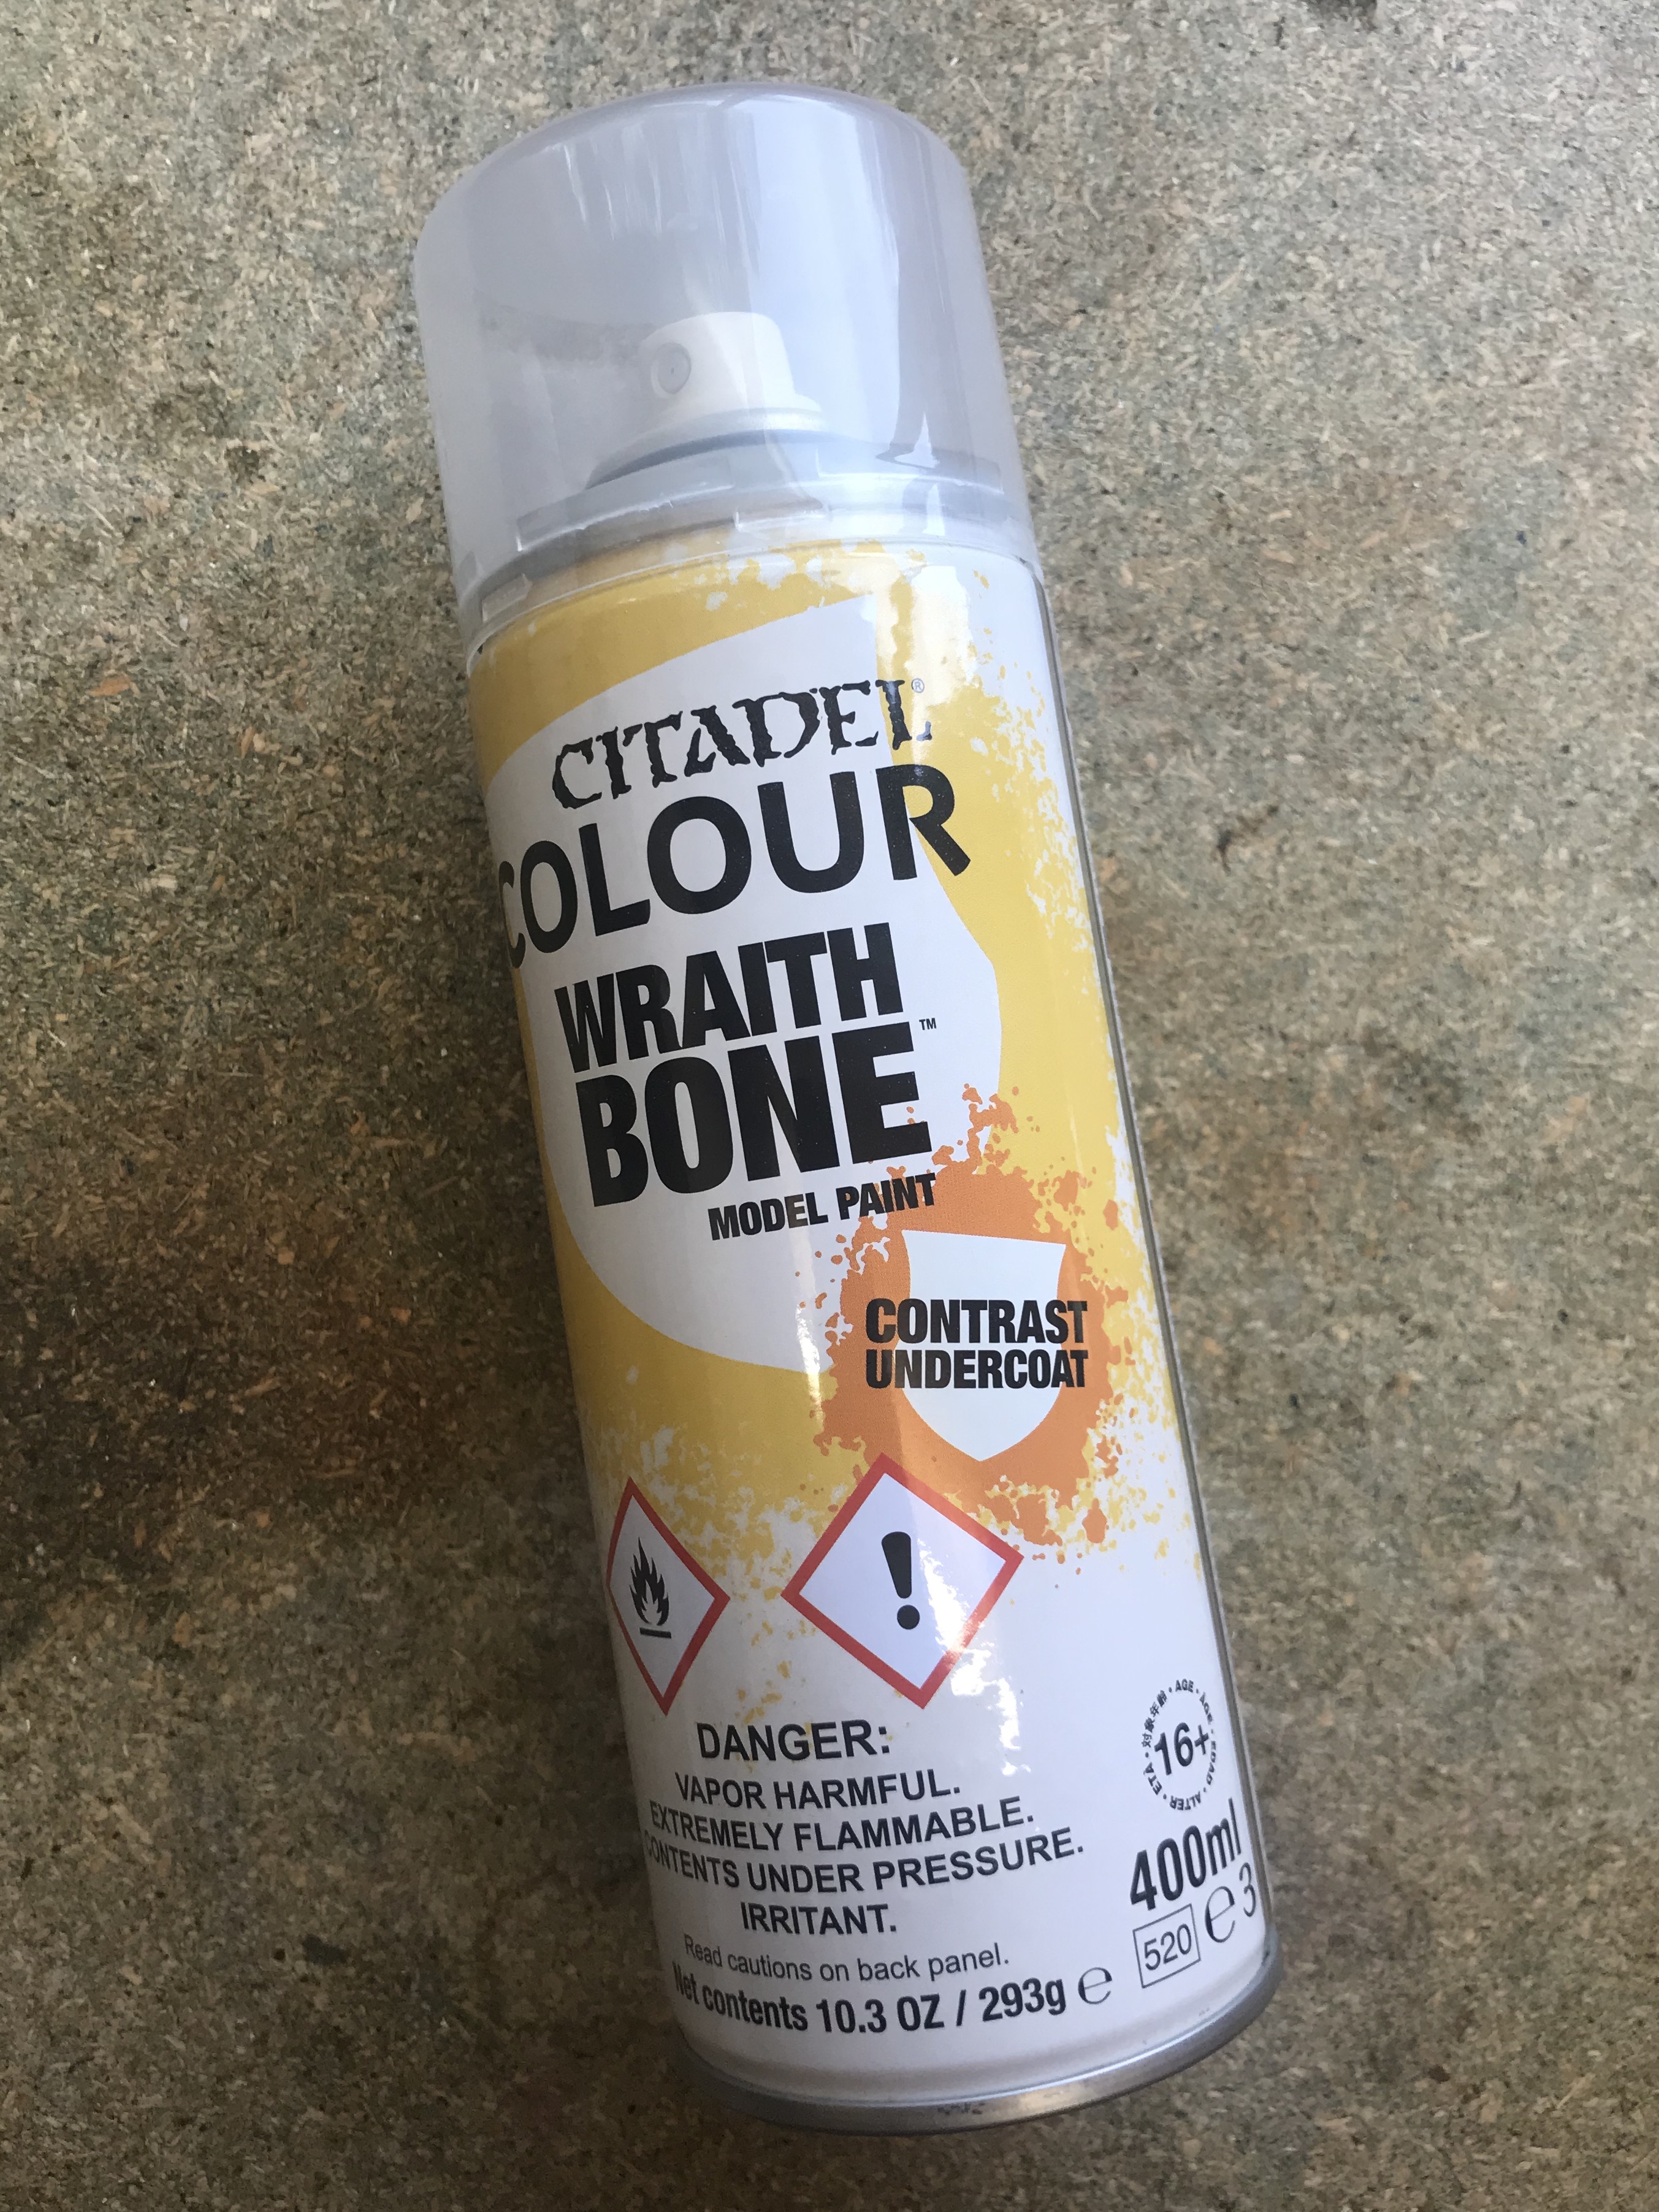
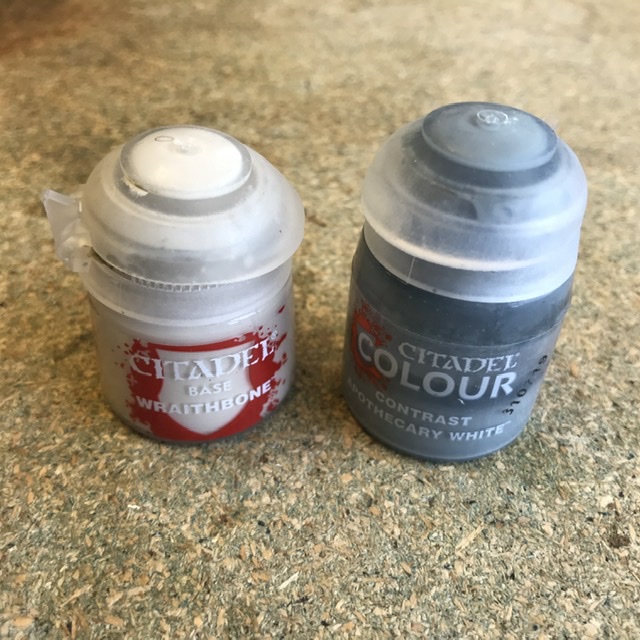
With the bases masked off I sprayed the droids again, this time with GW Wraithbone.
With the cling film mask removed, the bases are left Kaki (matching the rest of my Legion miniatures). The droids, now Wraithbone, we’re starting to look a lot more like their movie counterparts. I go through this process of masking with most of my legion miniatures as I find it preferable to painting bases (The keen eyed among you will spot an AAT Droid Commander and an Imperial Operative within the ranks of the B1’s).
Contrast
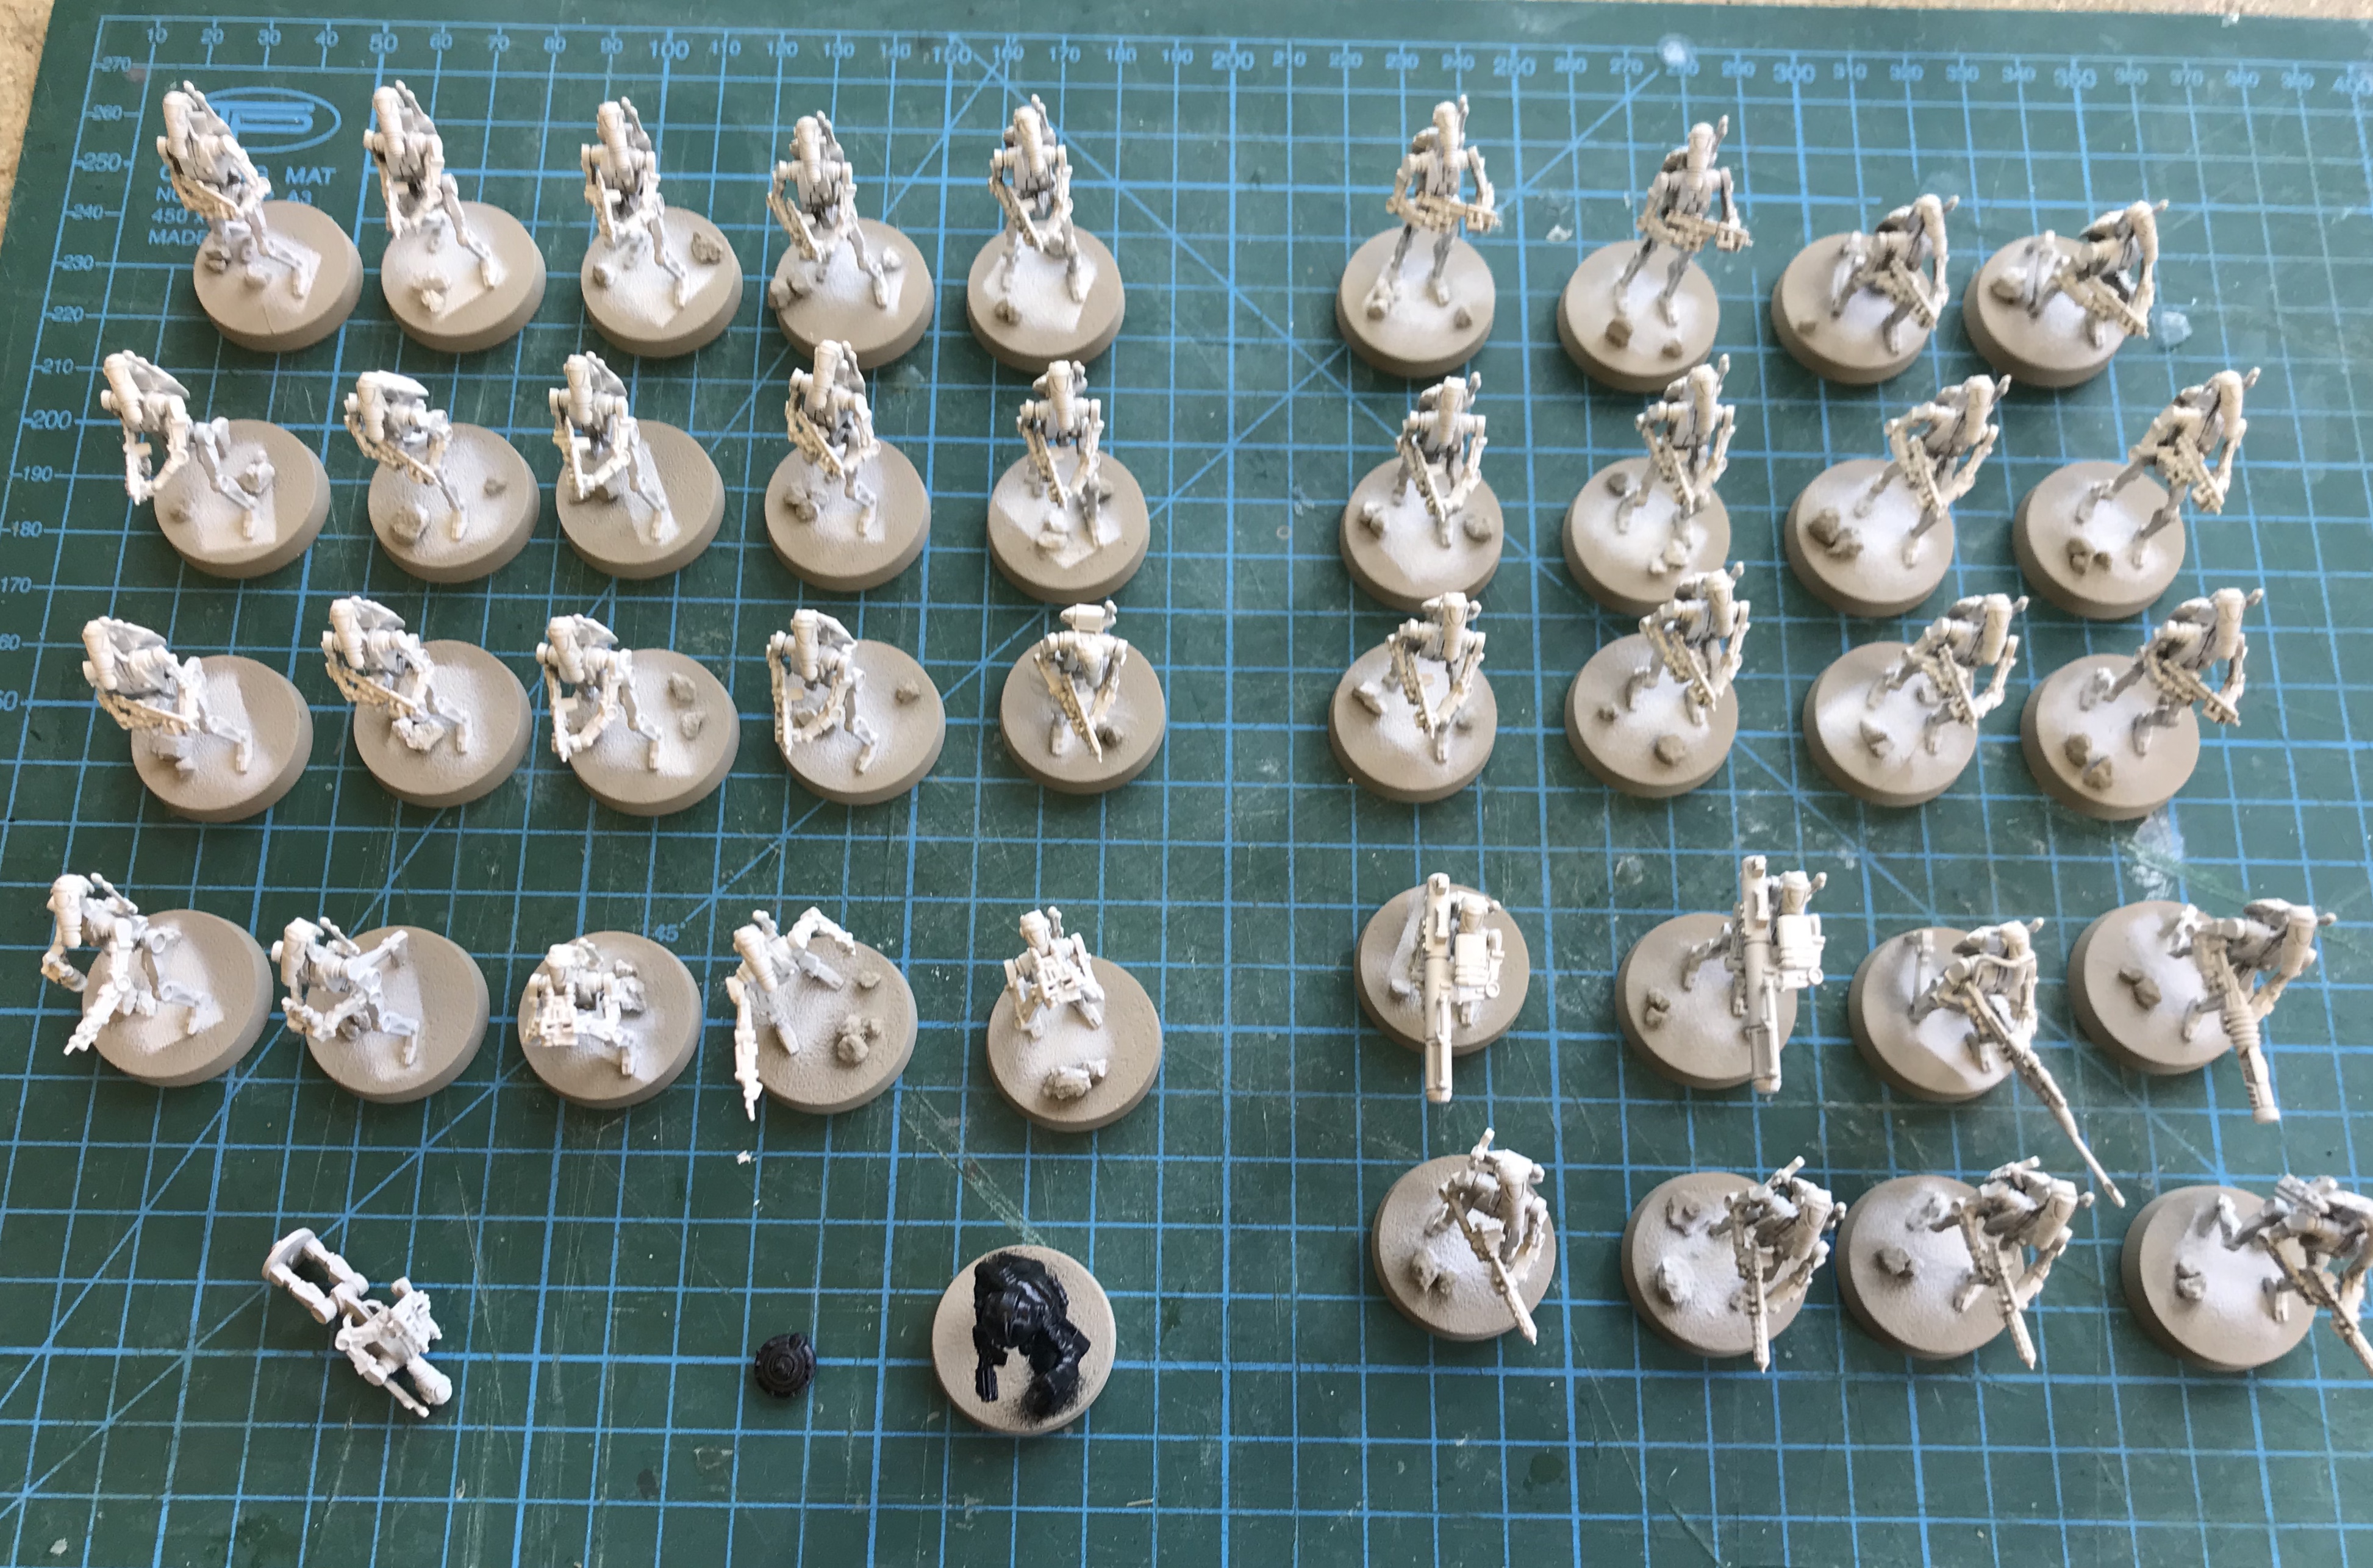
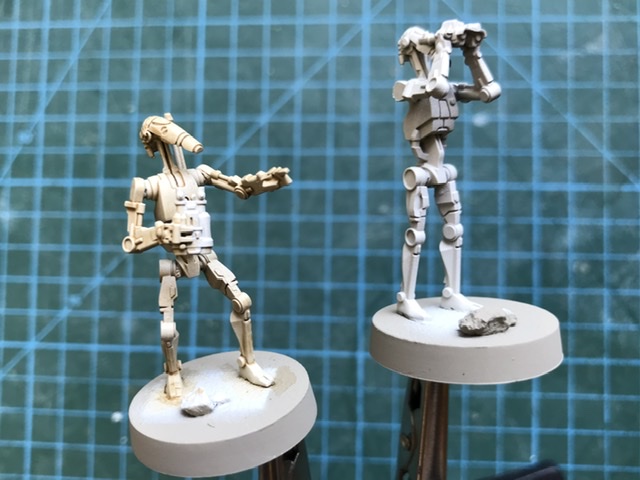
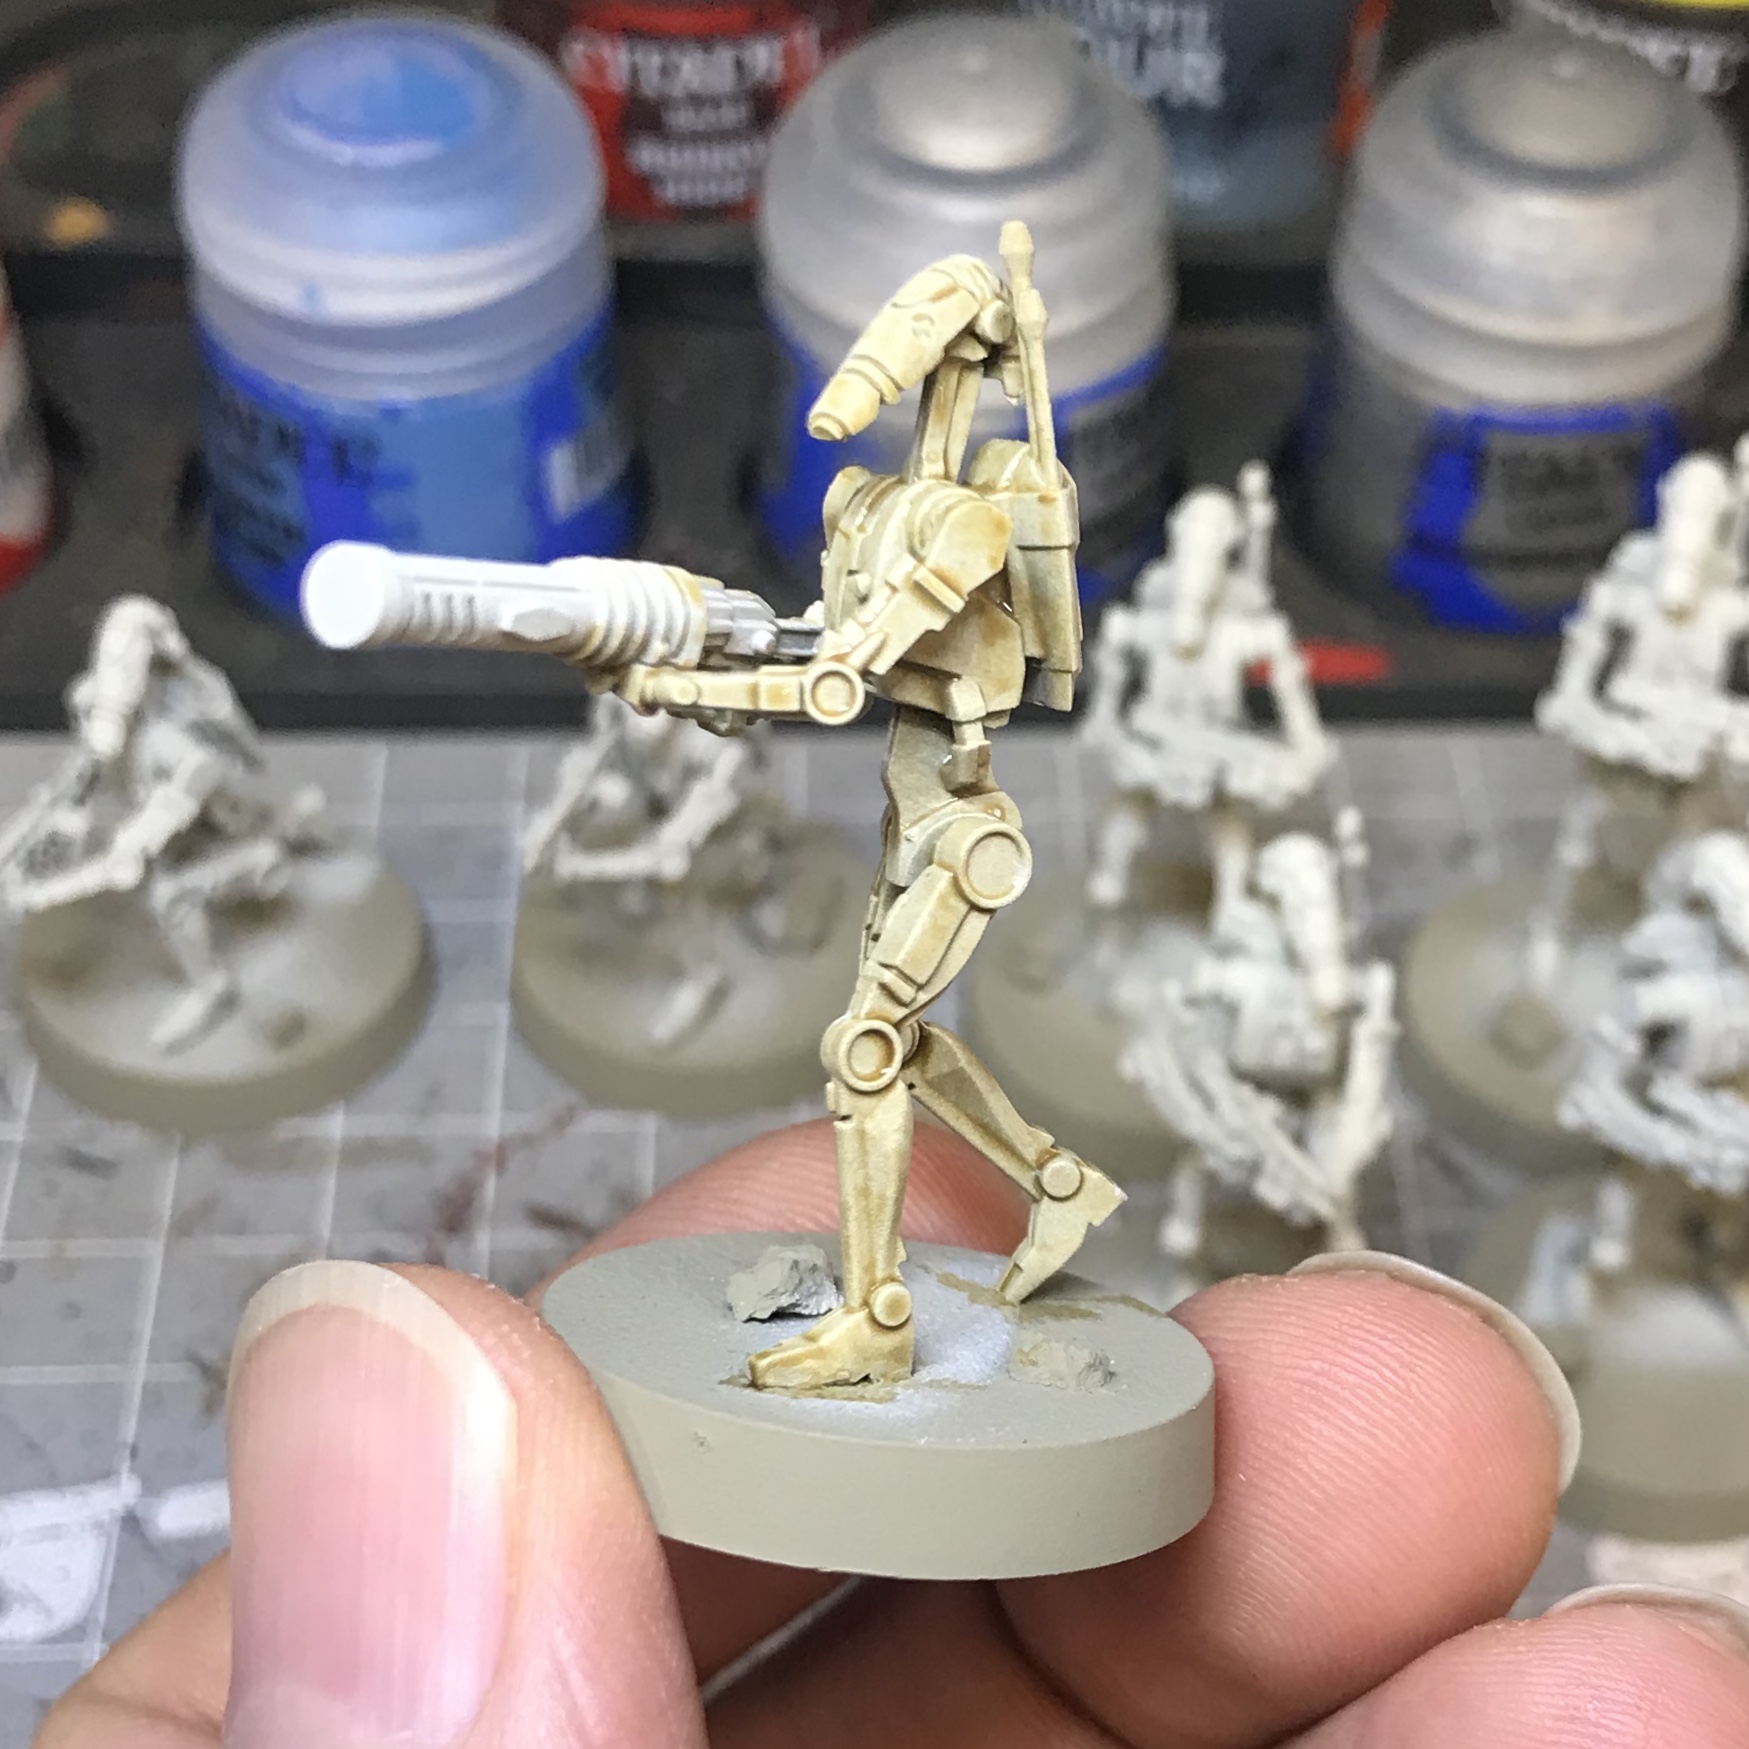
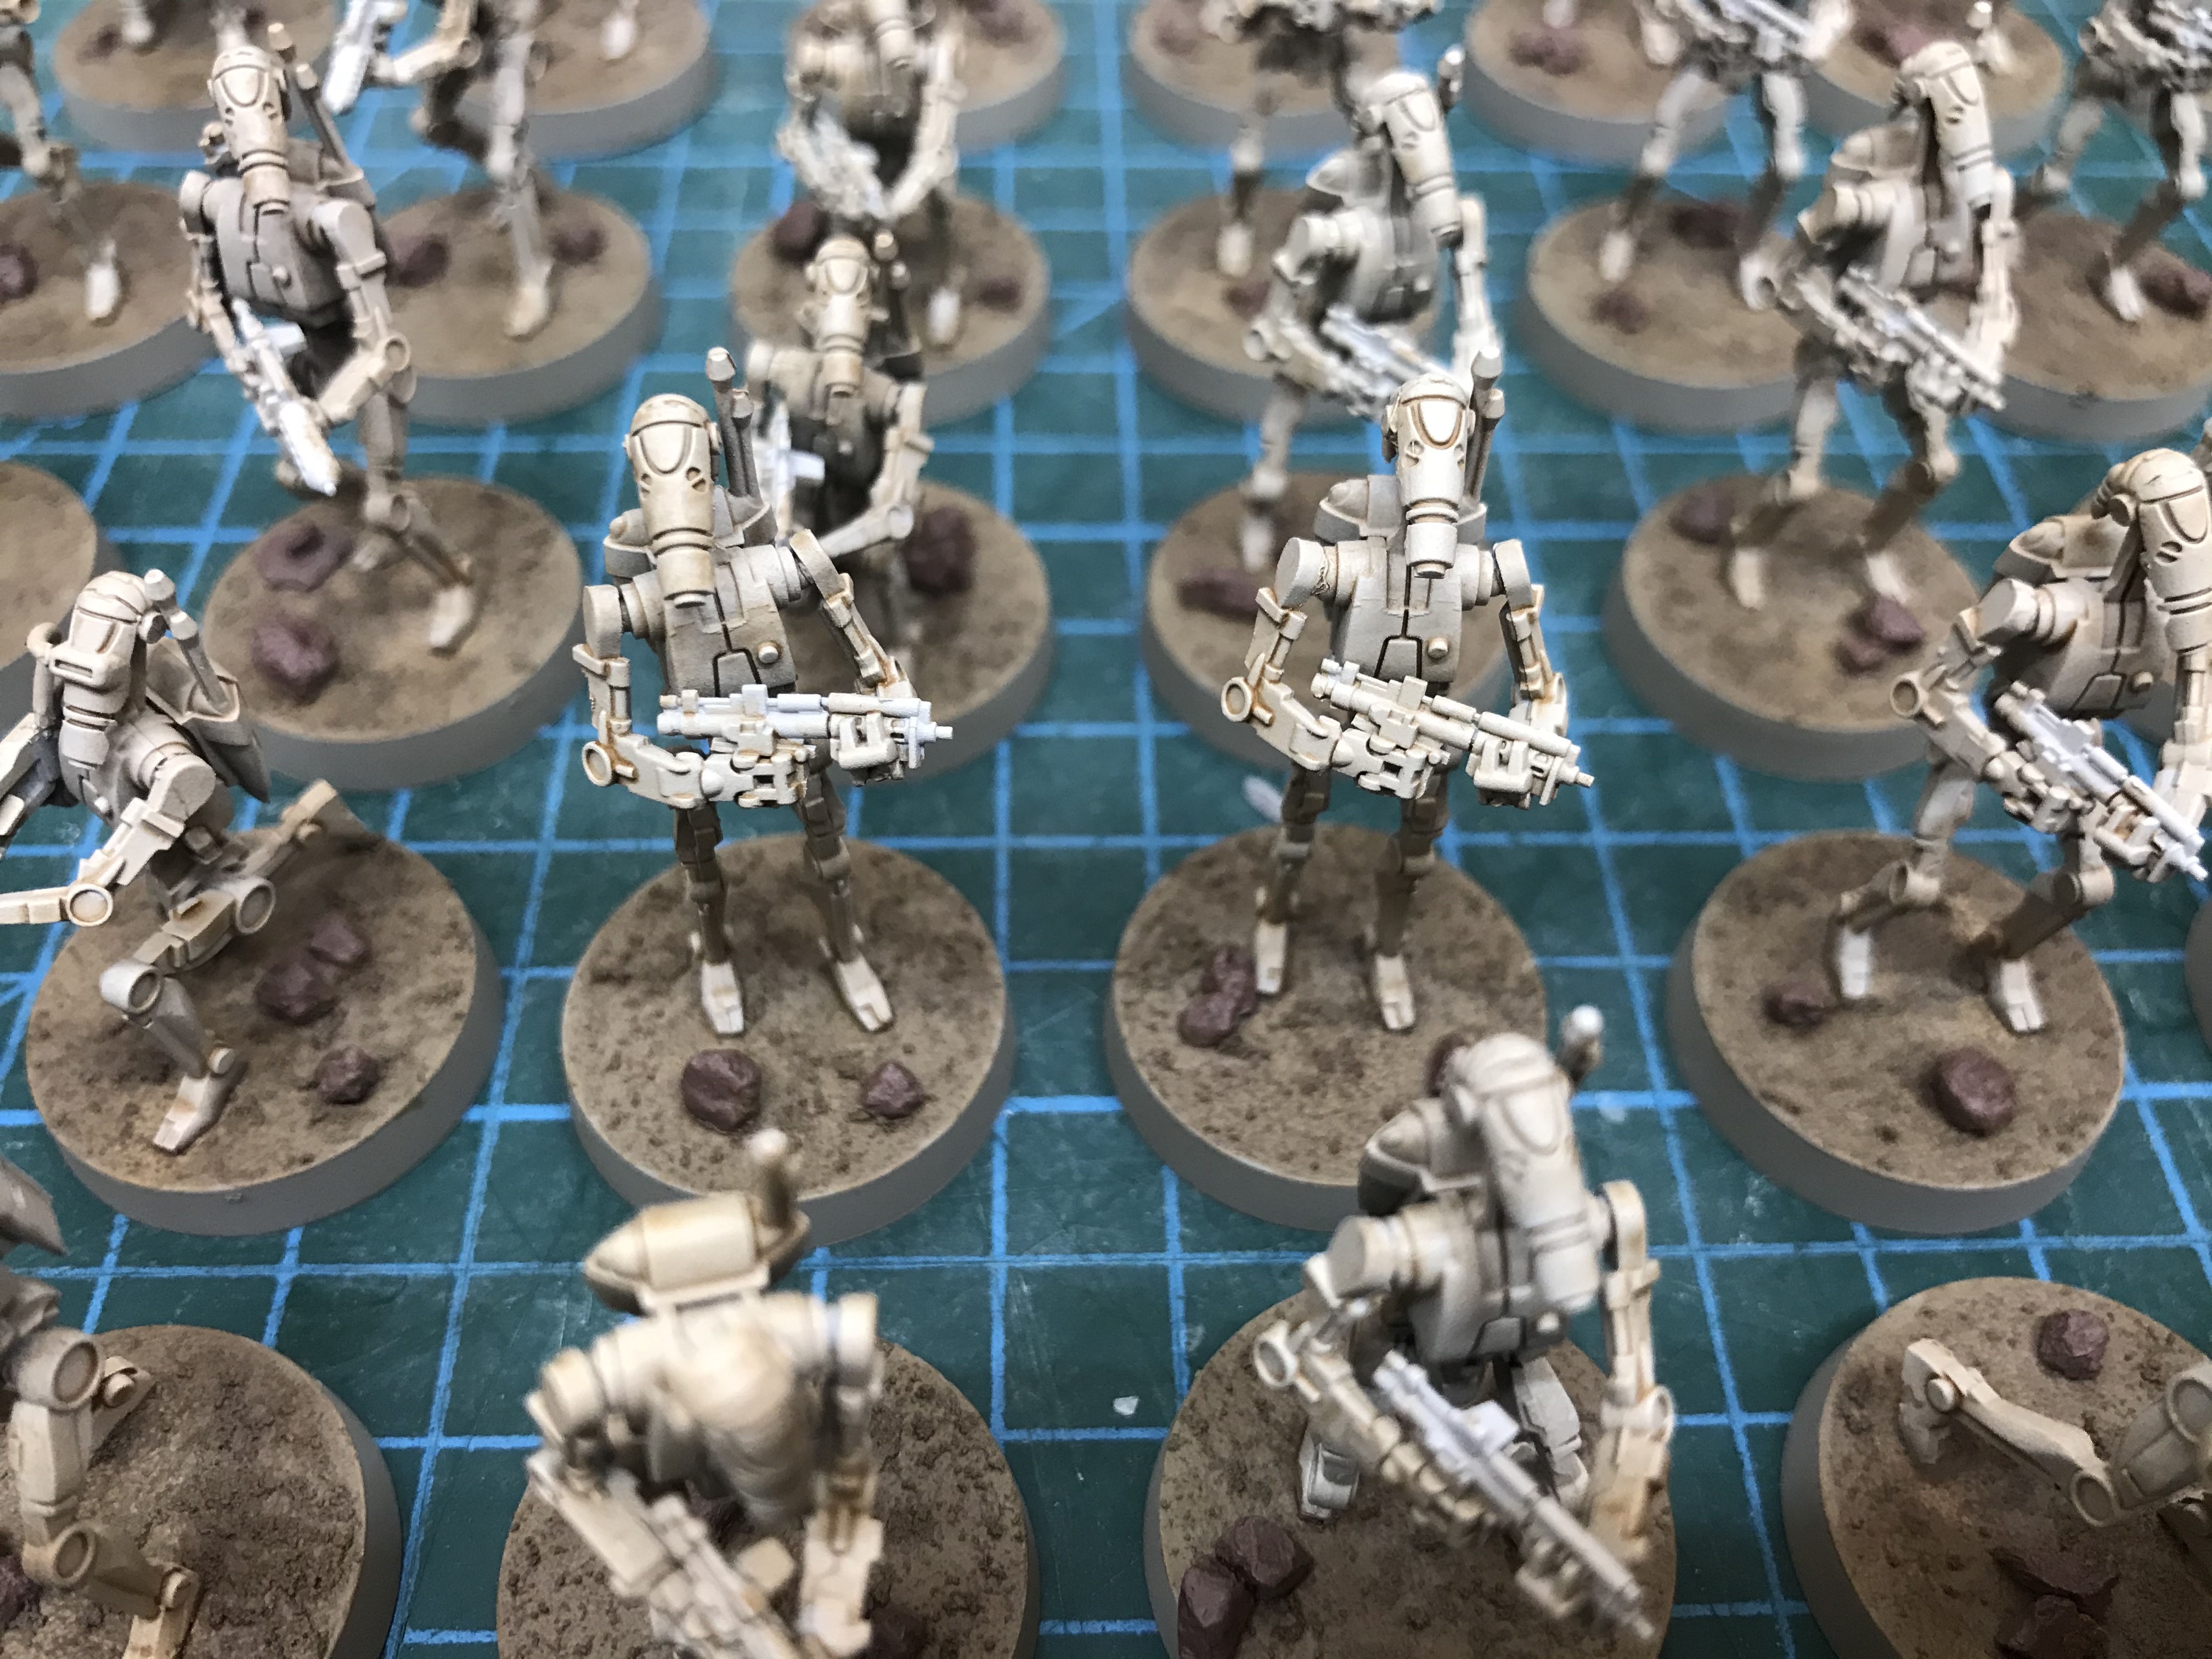
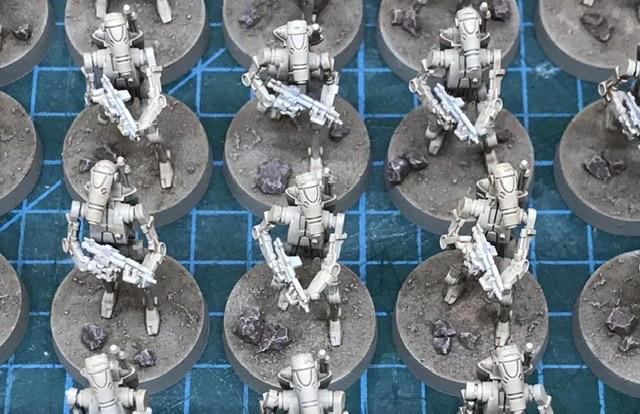
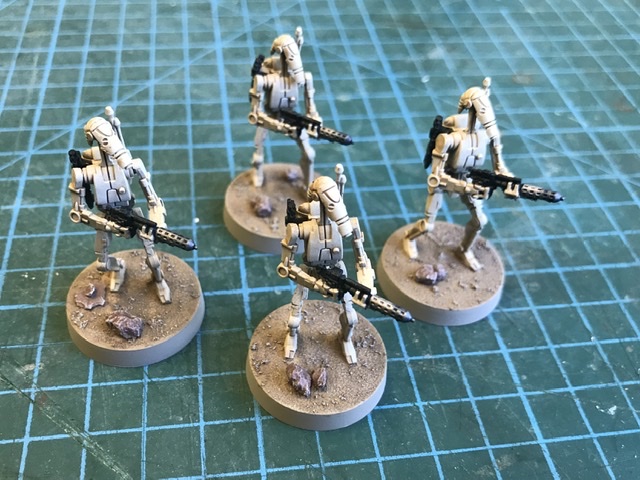
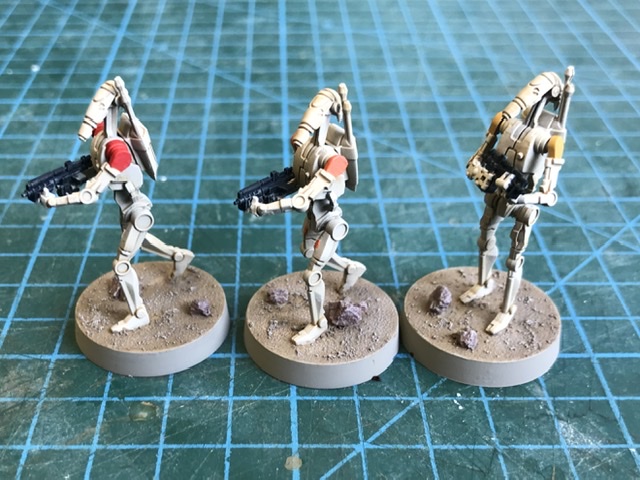
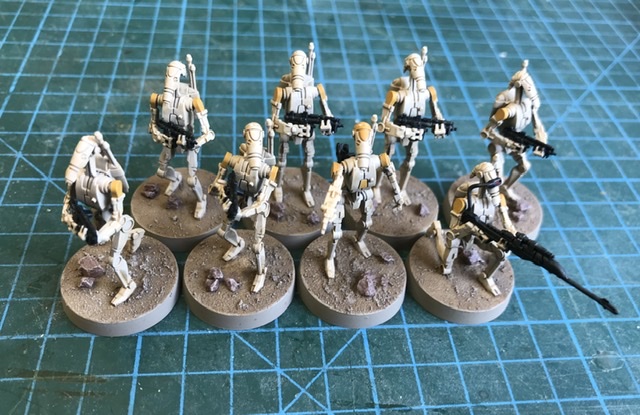
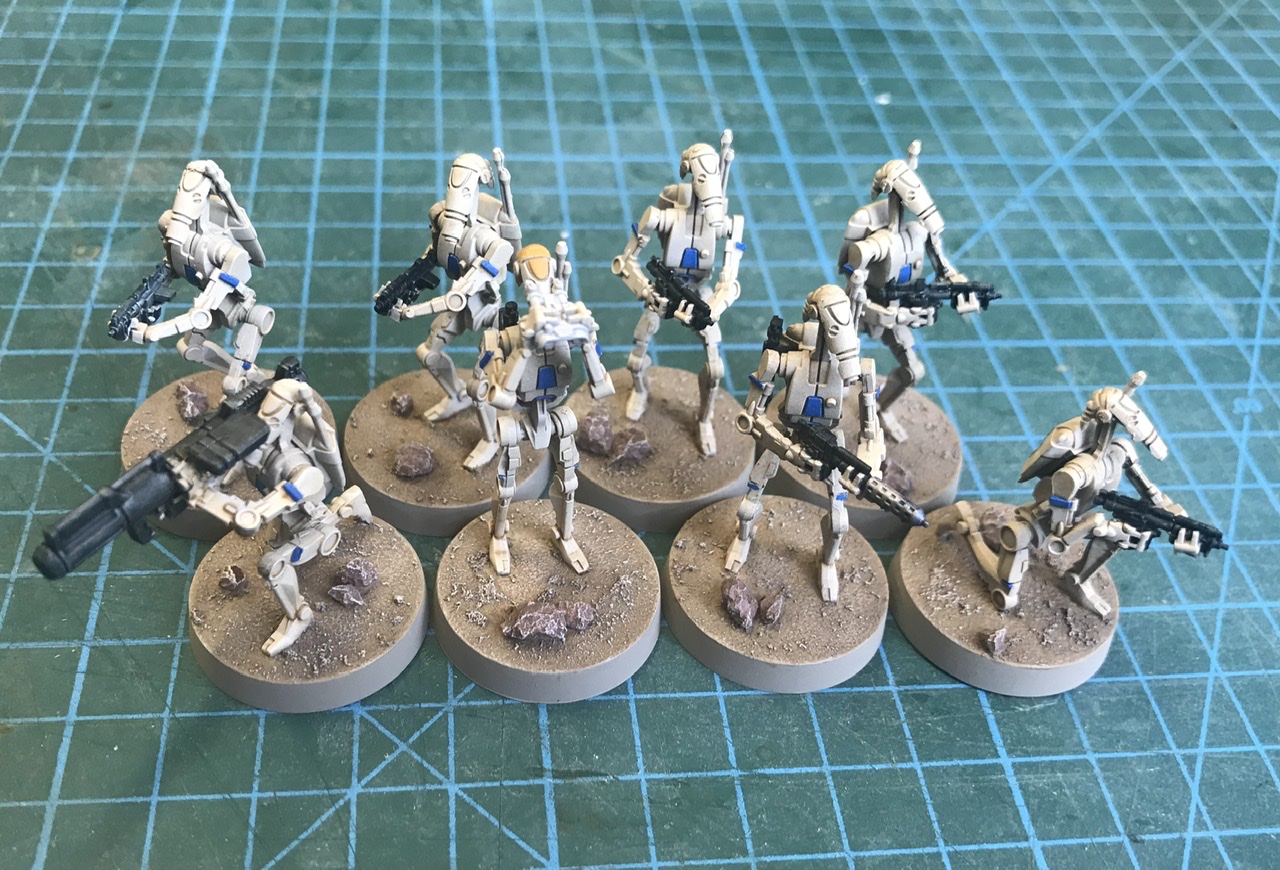
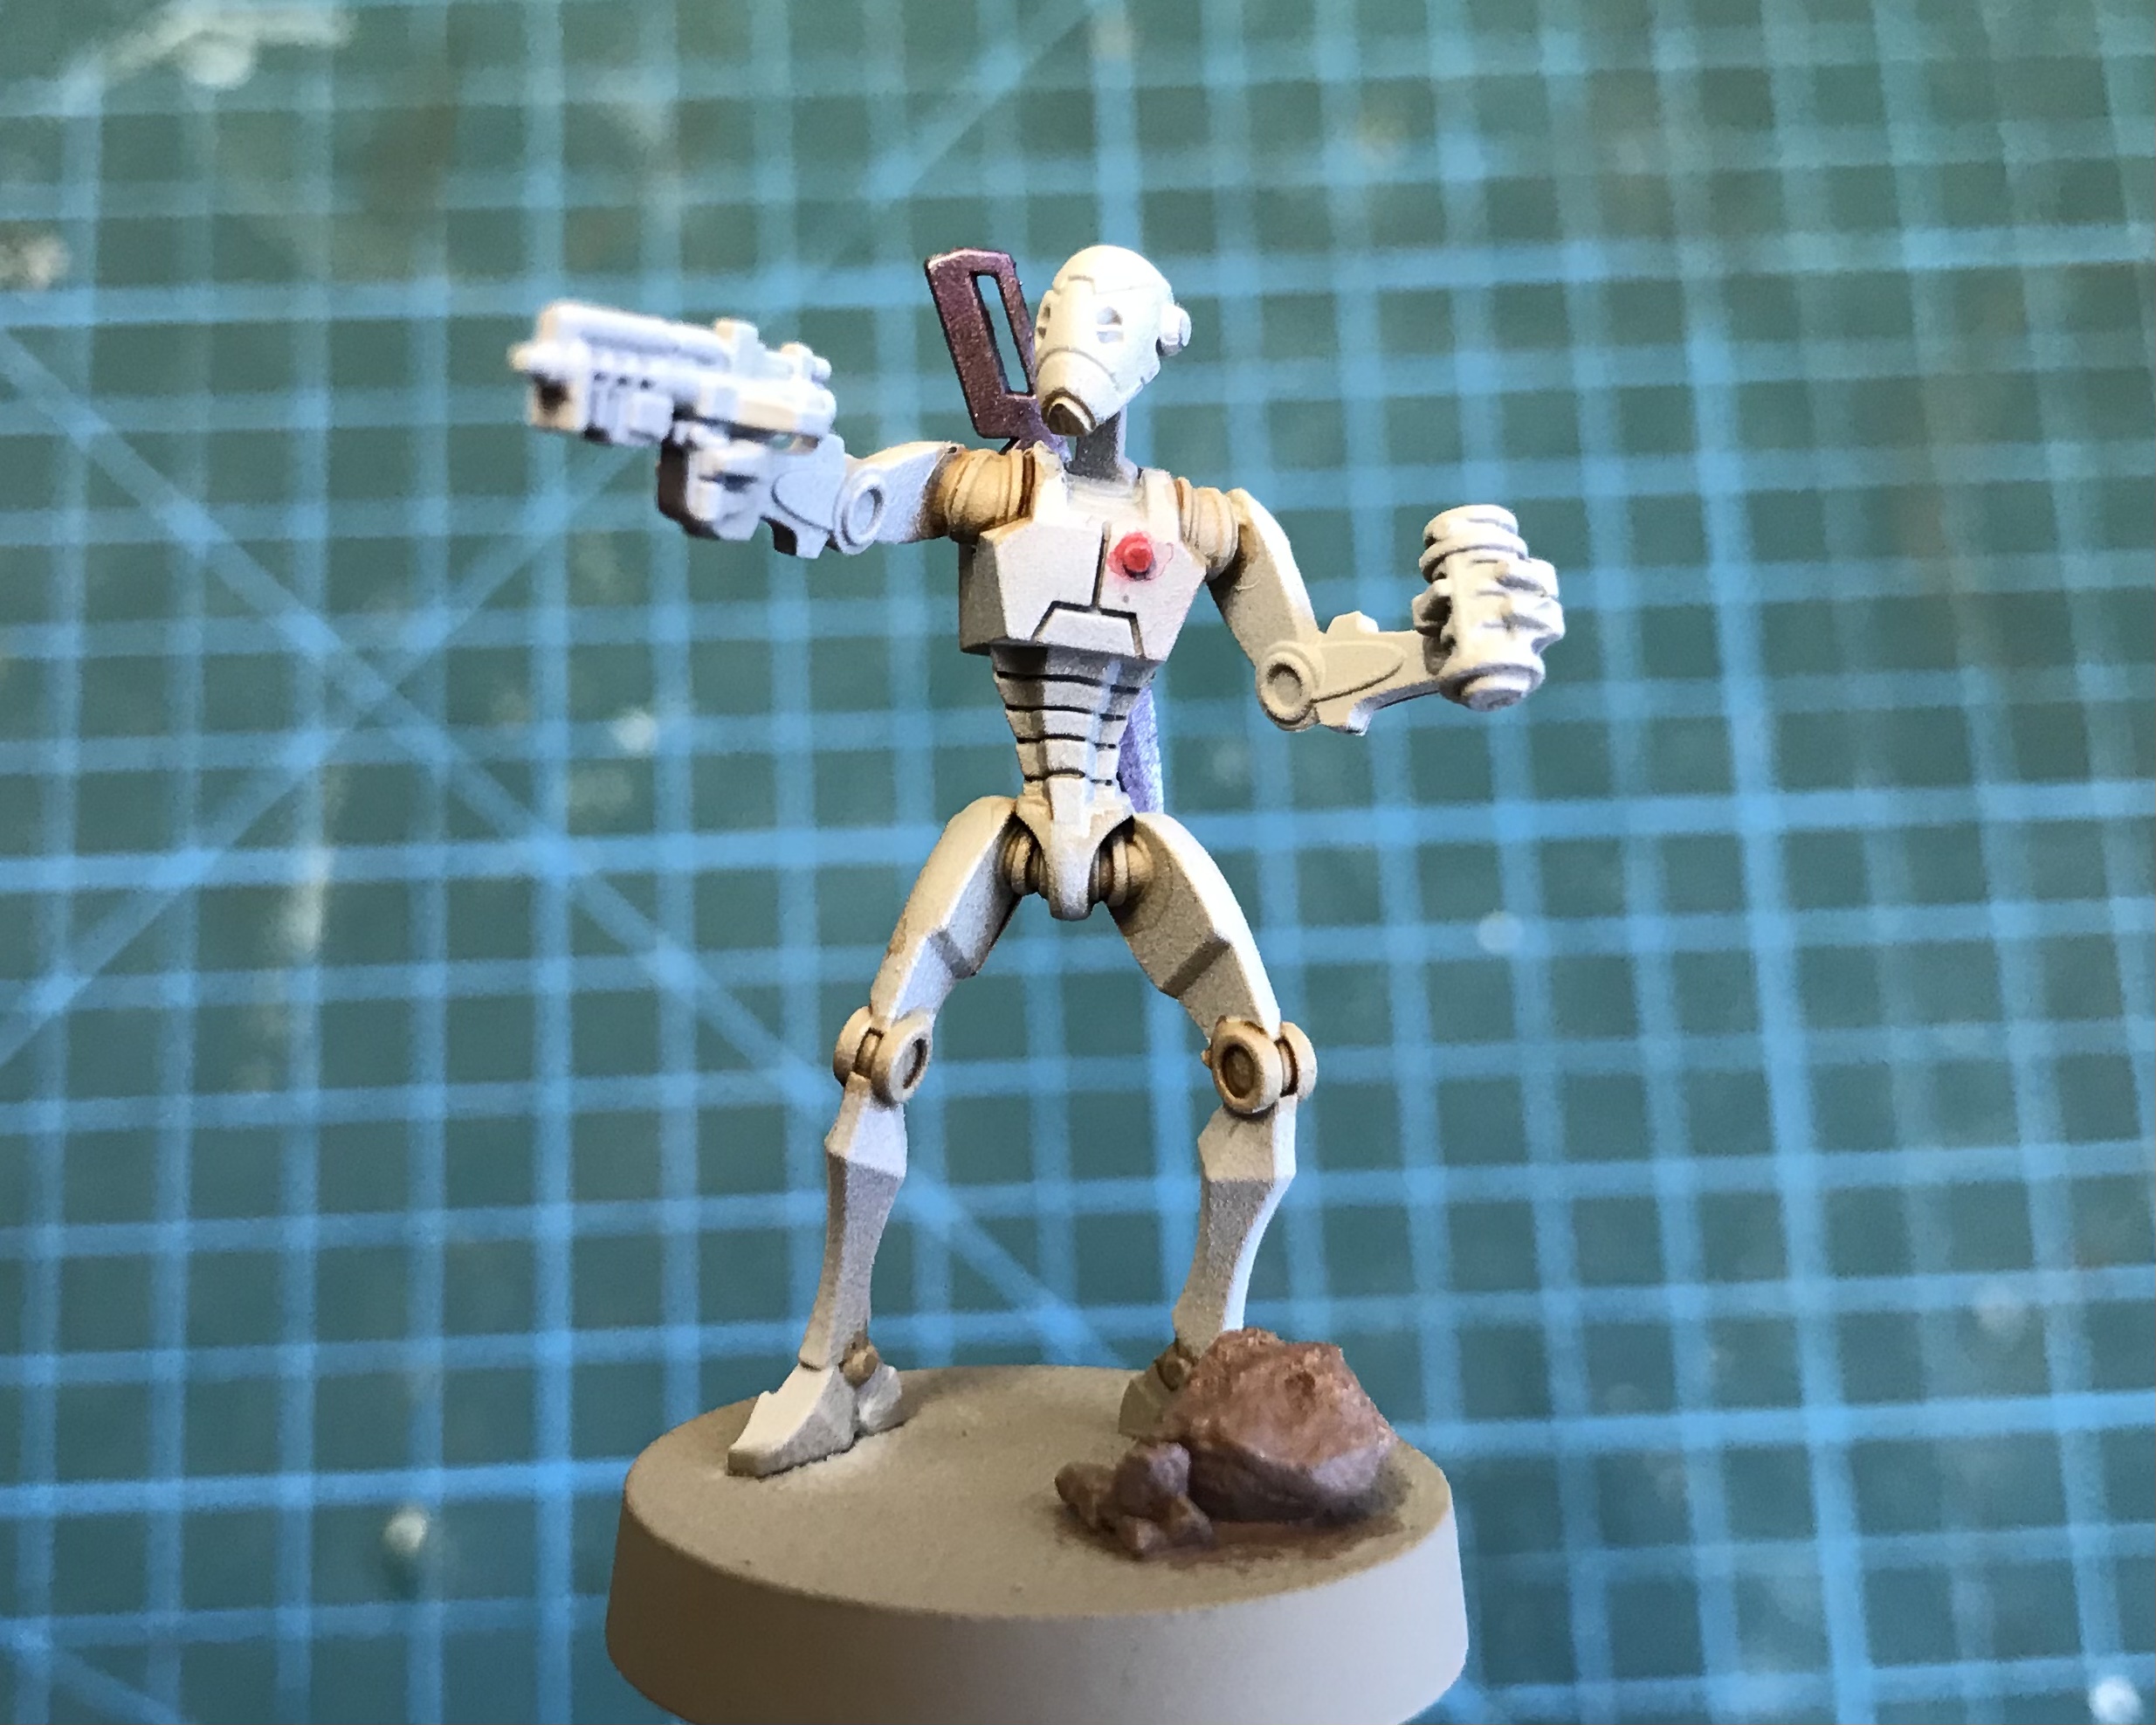
The first step was to work over the Wraithbone primer with Skeleton Hoard Contrast Paint. For this I selected a couple of older brushes. I found a larger, flat tipped brush was the quickest way to get the paint over the model. When necessary I used the smaller brush for the hard to reach places, mainly under and around the arms.
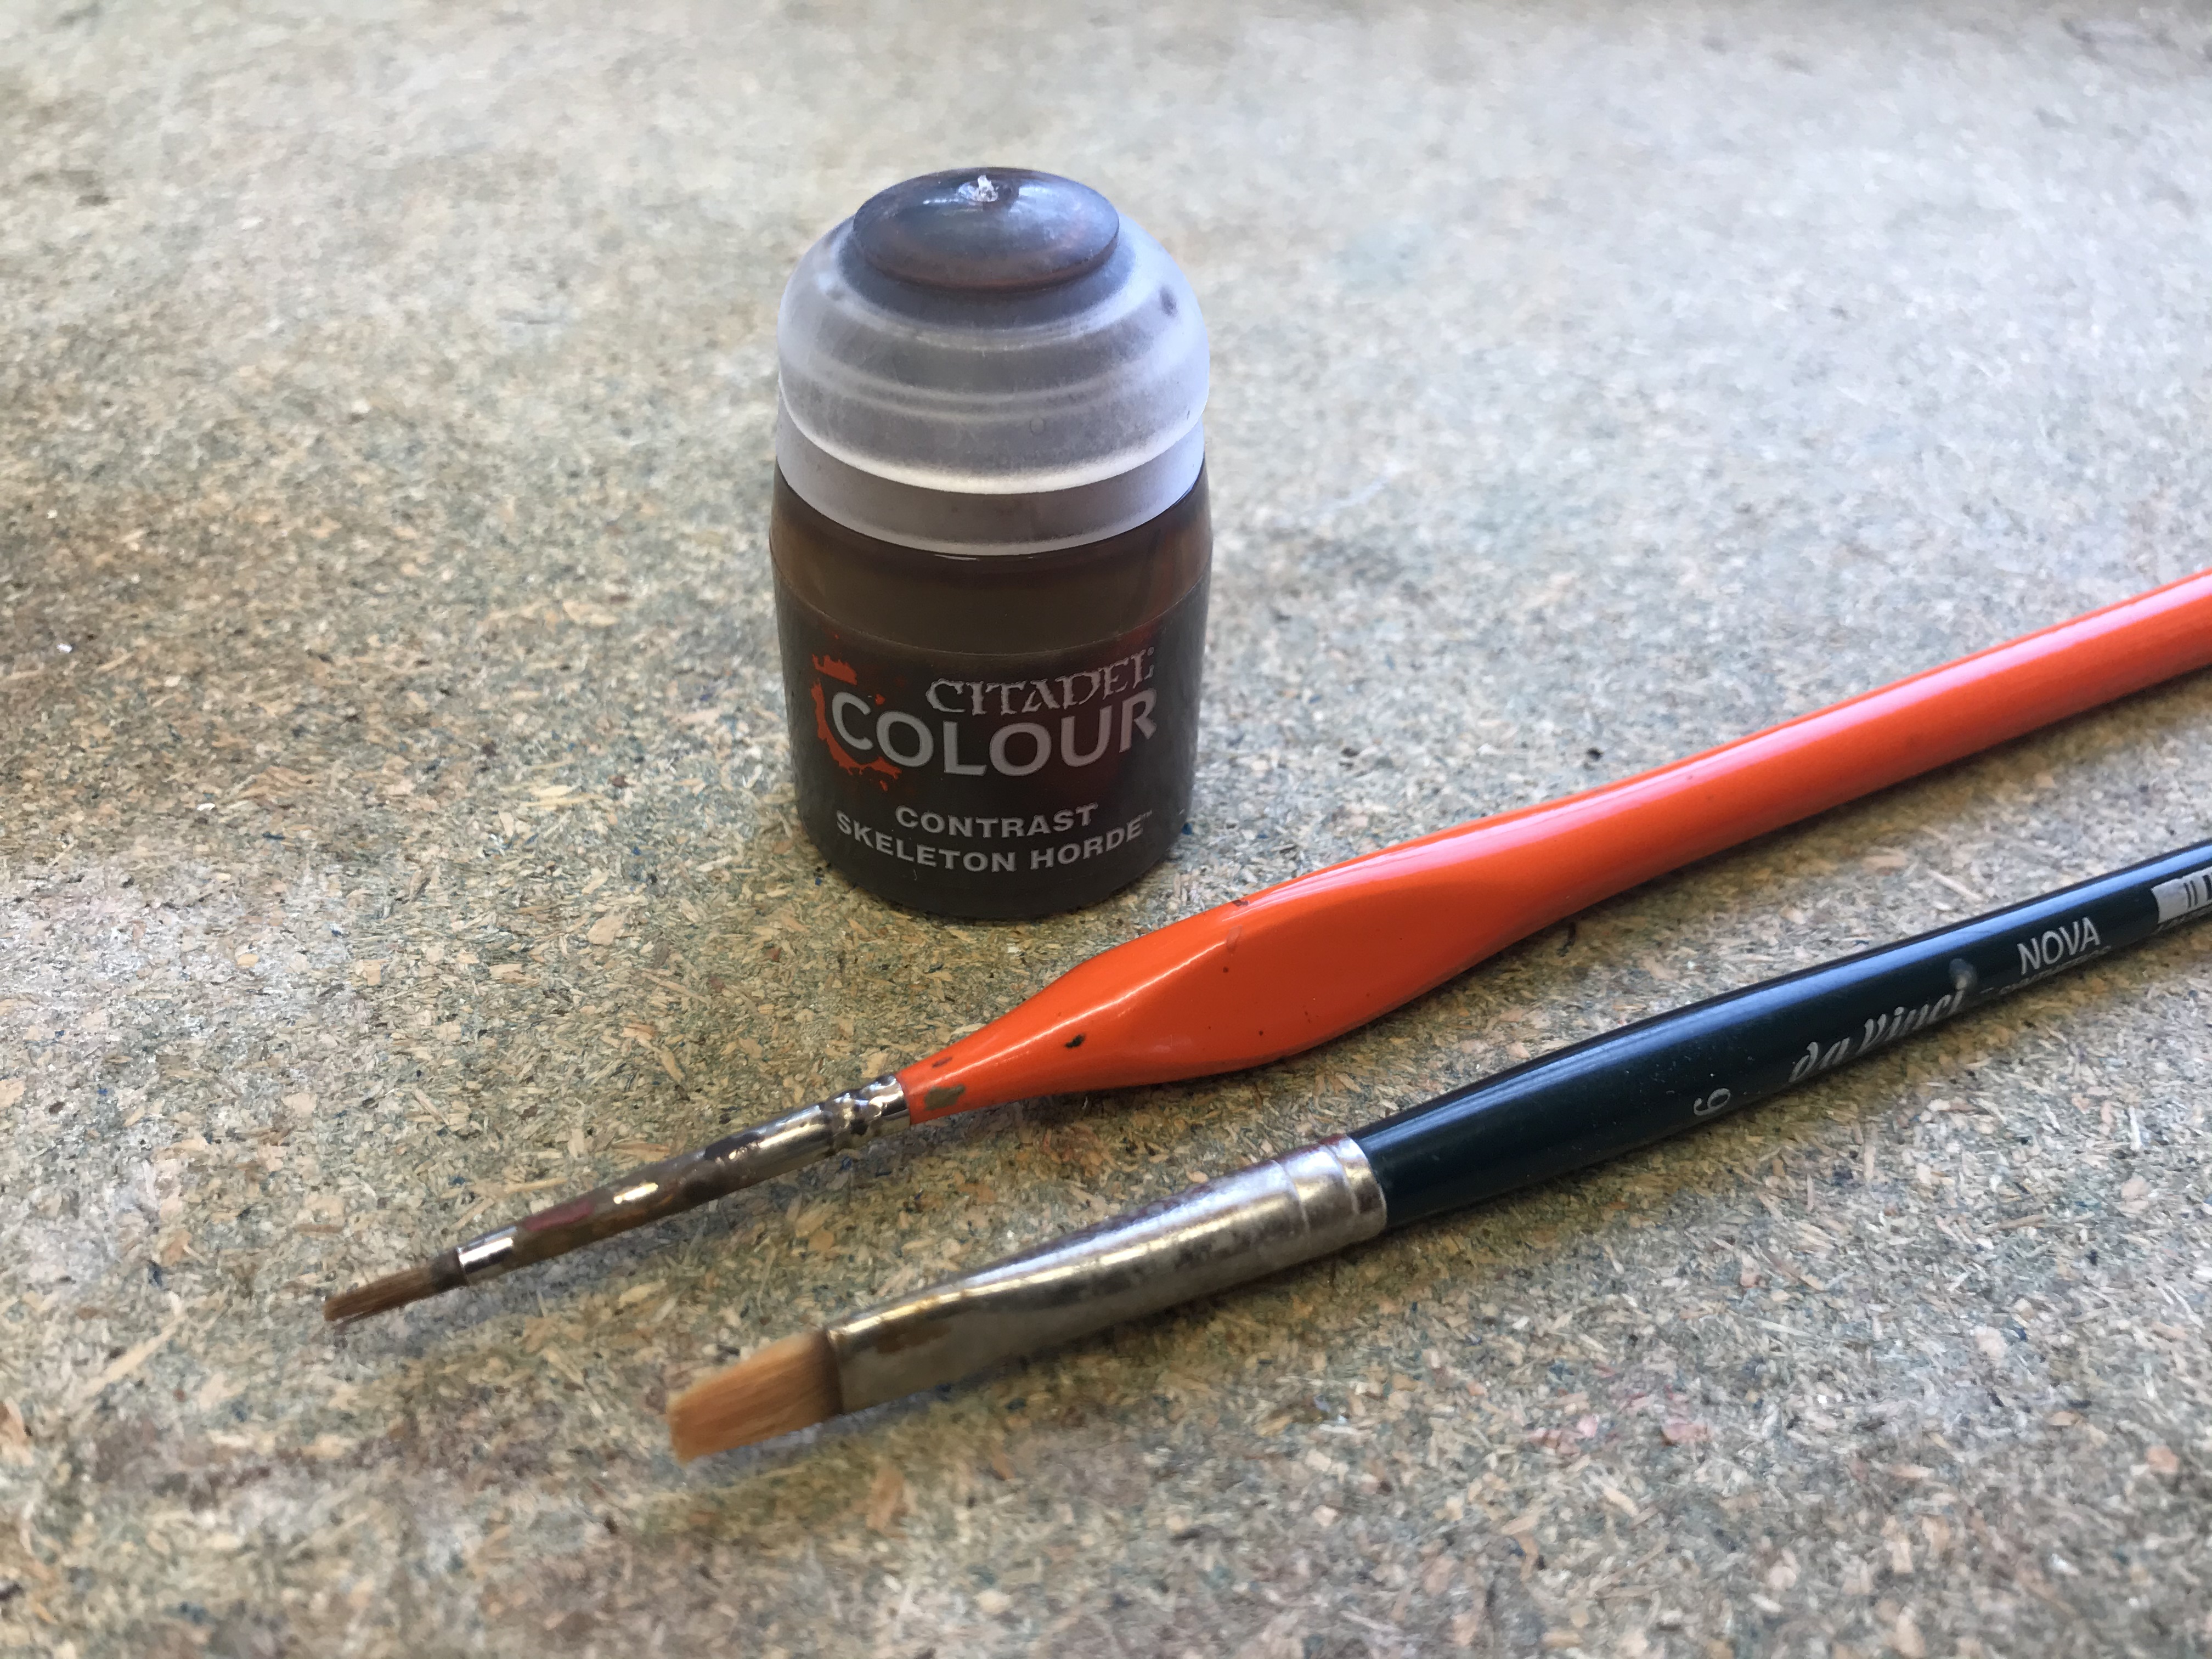
With this single step the droids became shaded and brought to something very close to their final colour. In this image you can see before and after the contrast.
I worked through the droids in batches of eight, taking 30-40 minutes per batch.
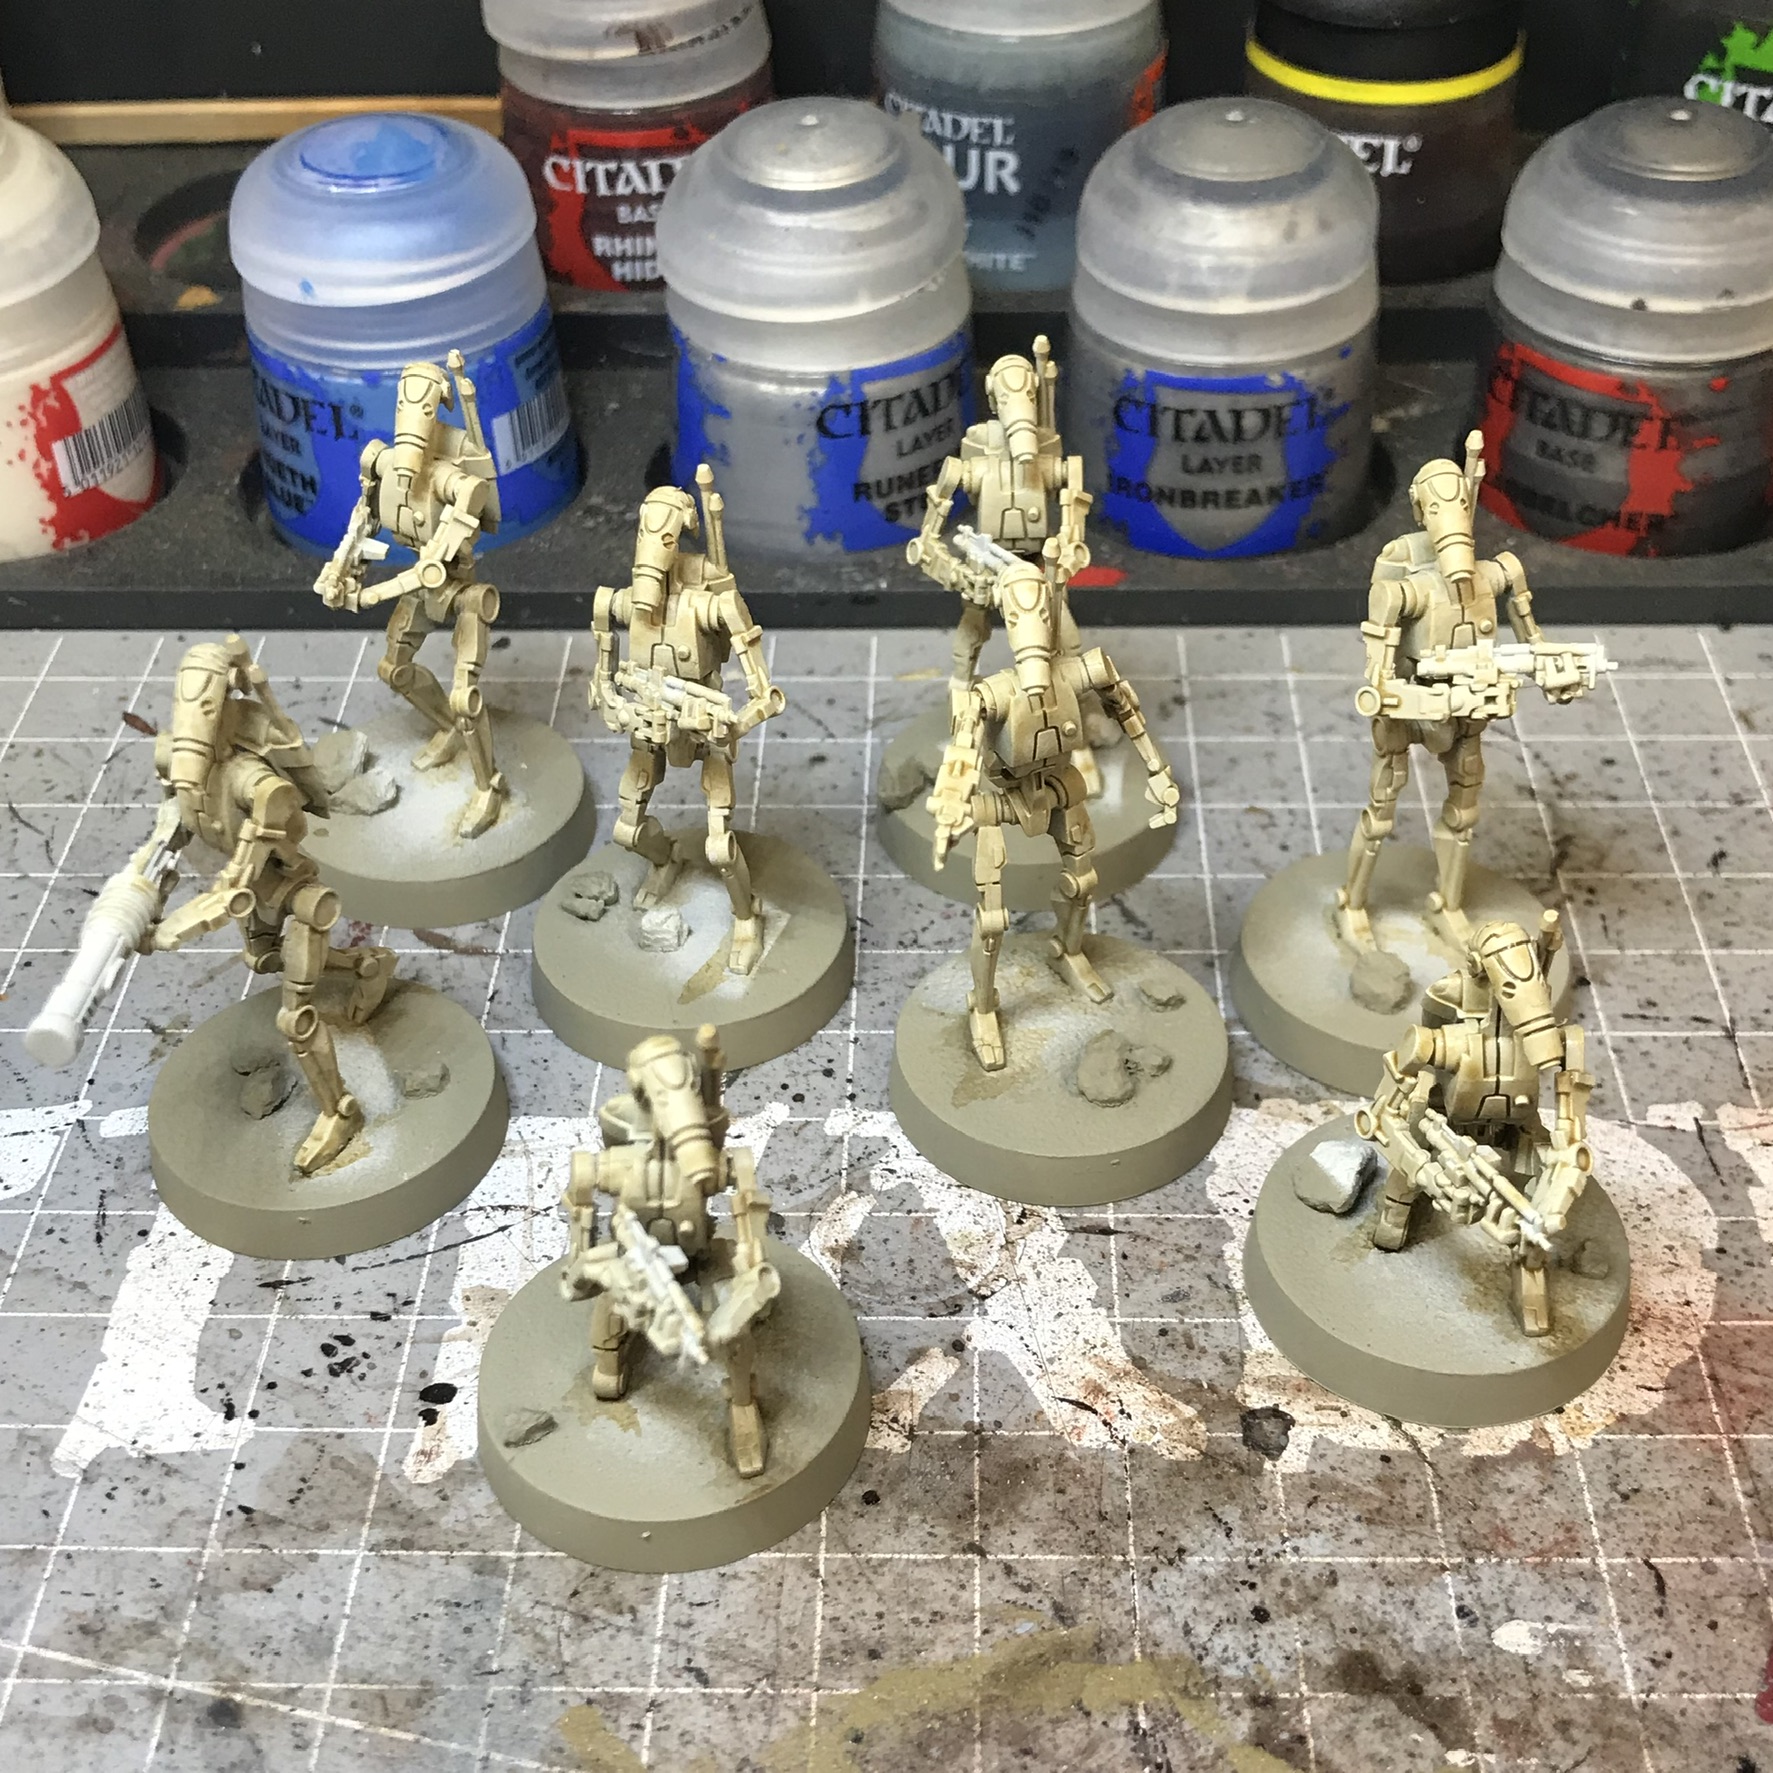
Bases - Sand and Stone
As I would be matching the bases of the B1’s to the rest of my Legion collection, I already new which paints to use. However as I have been using a sand/pale earth effect, I was a little concerned about how the B1’s tan colour scheme would work. For this reason I decided to tackle the bases next, in case it lead to my making changes to the colour scheme I had in mind.
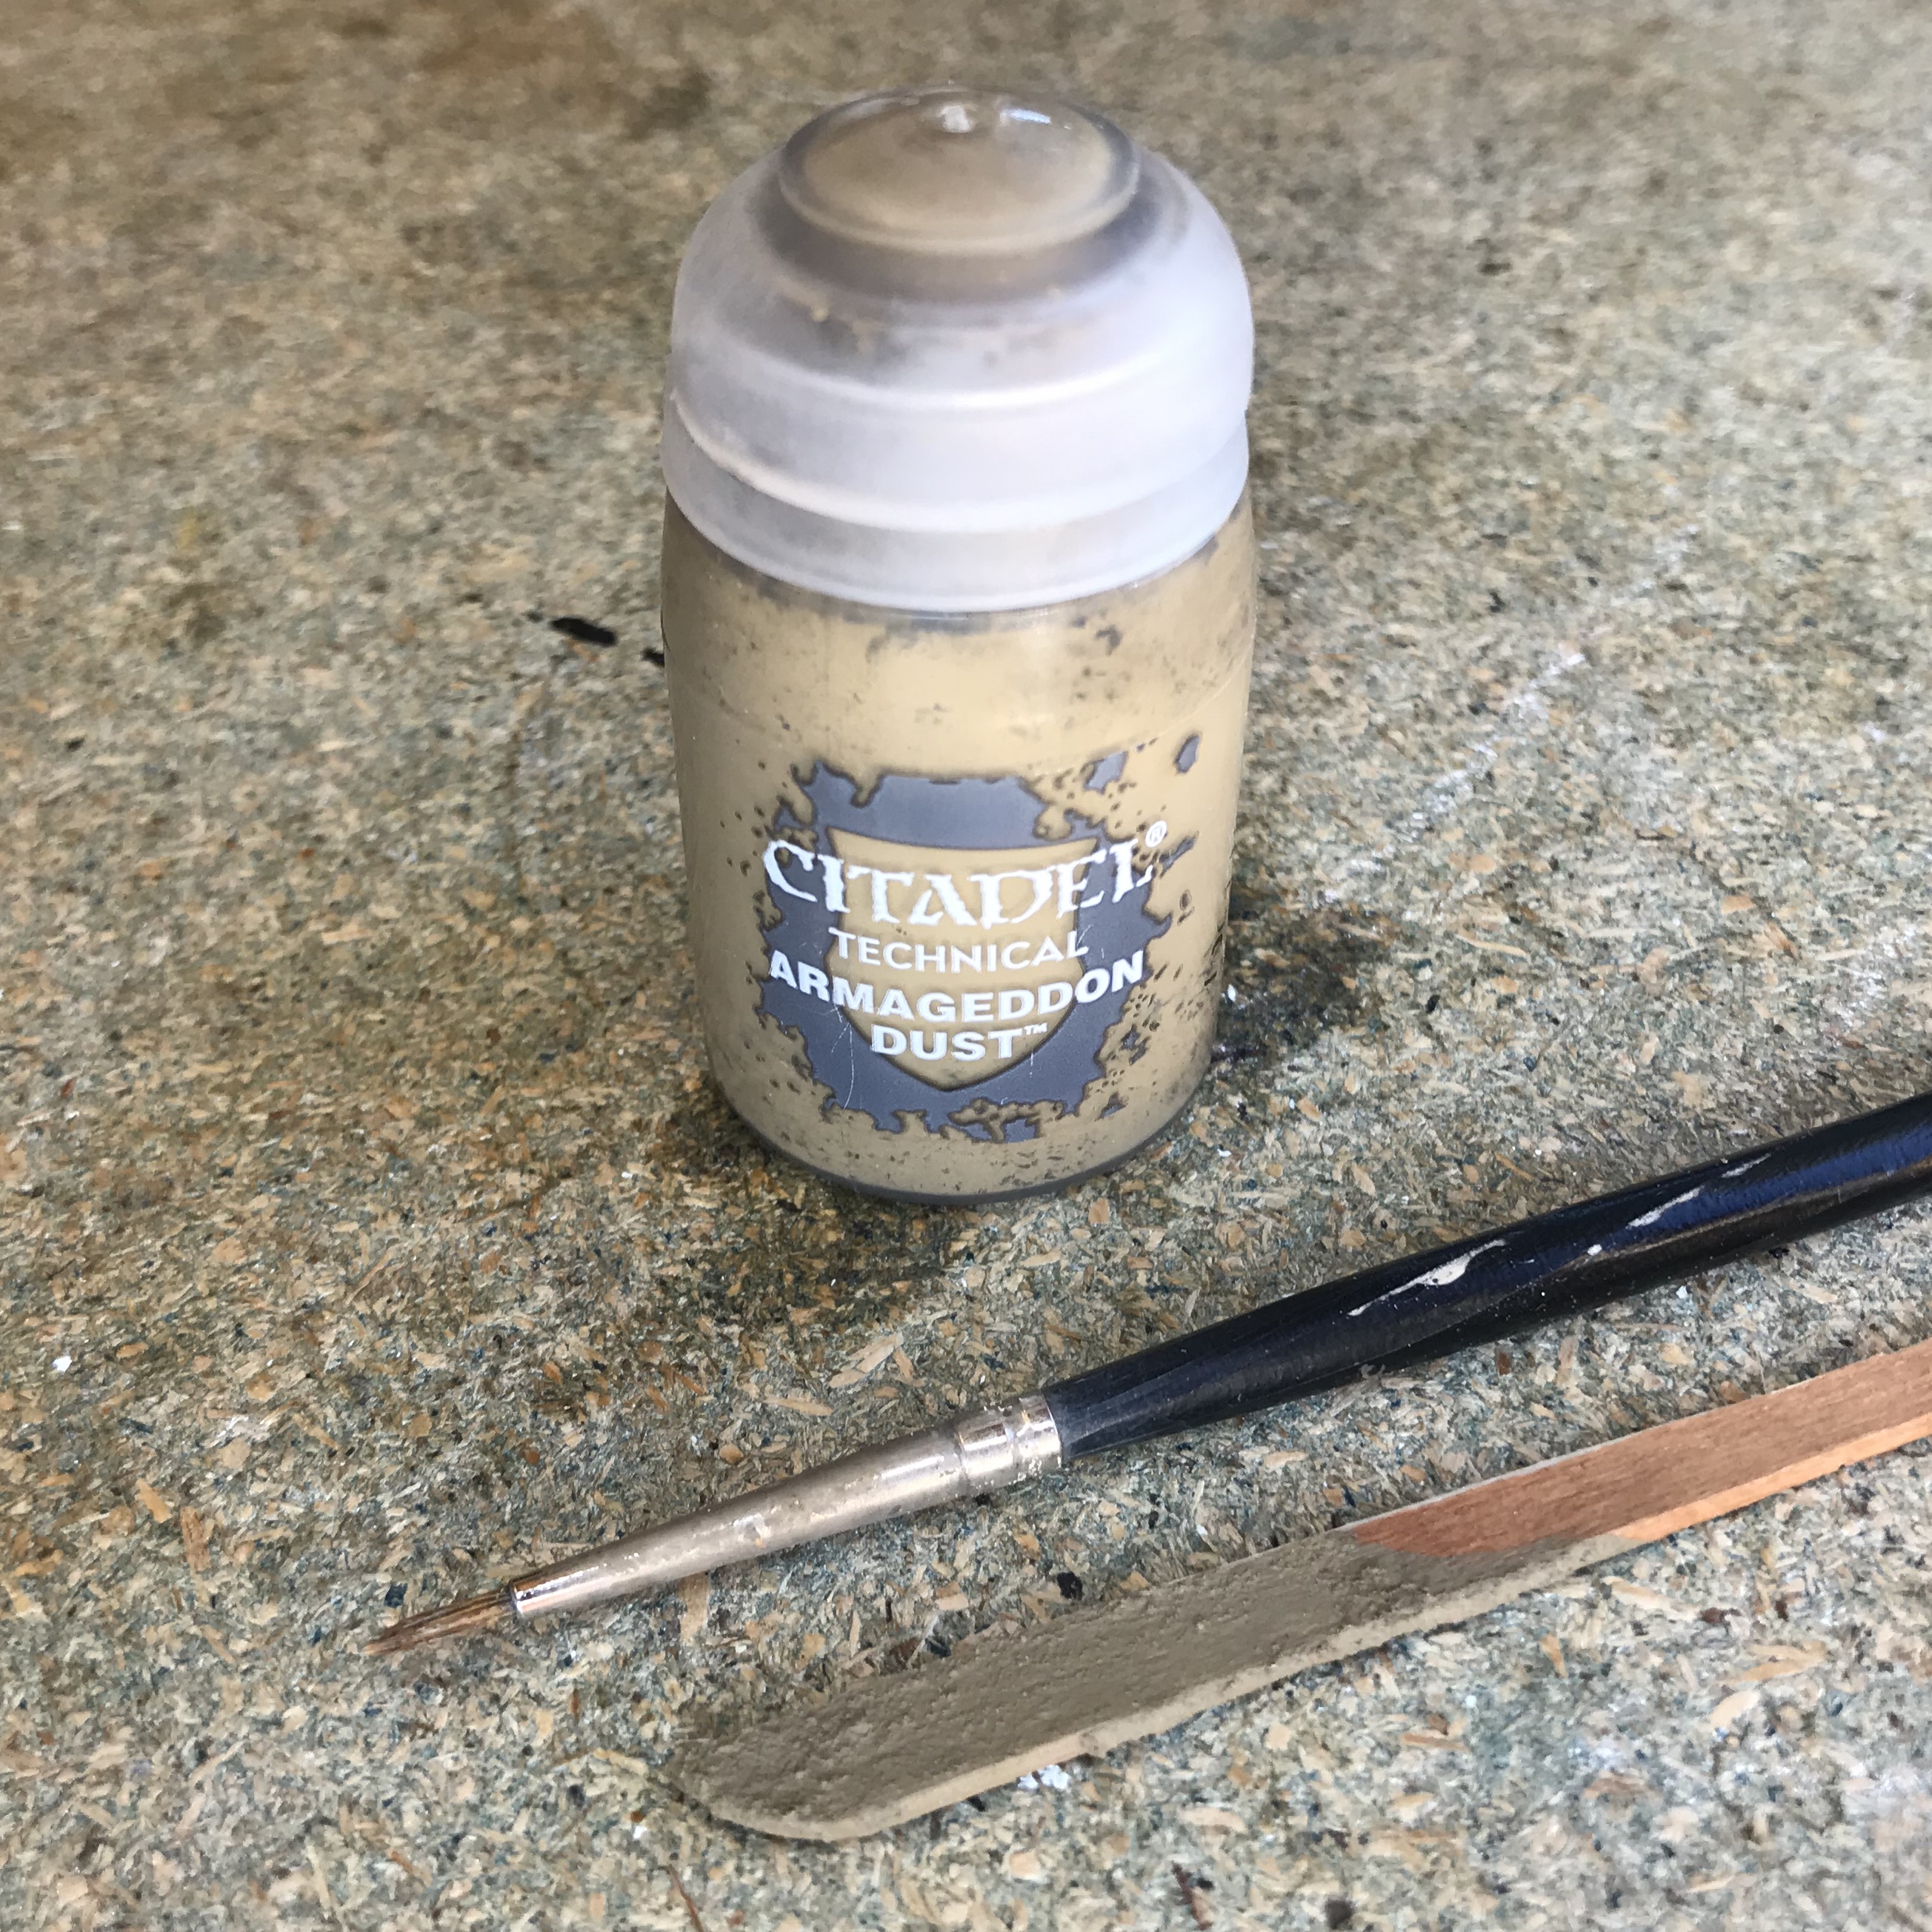
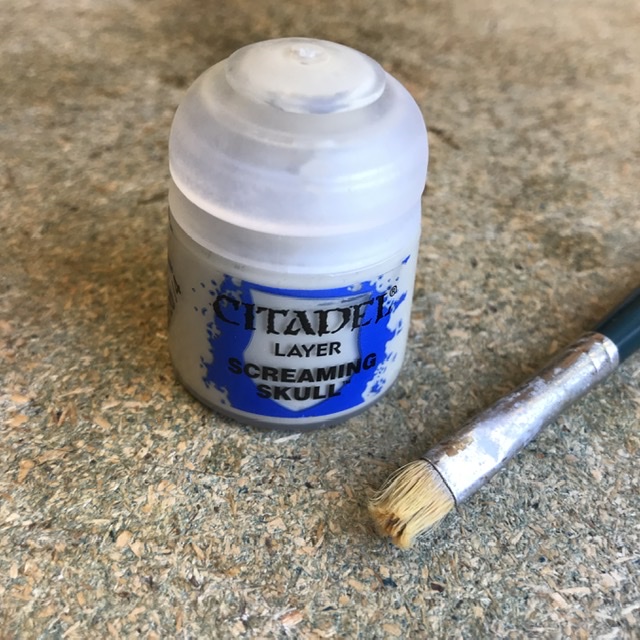
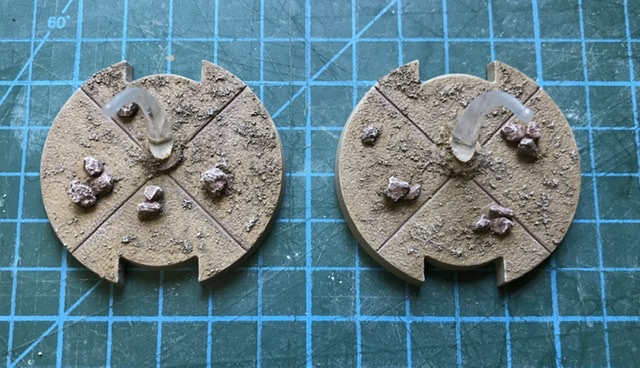
These are some examples of bases that I have already completed for this force. It is predominantly Armageddon Dust with an Agrax wash and a screaming skull dry brush. The first step is to colour the rocks. For that I use Vallejo German Camo Pale Brown and a decent sized old brush.

This was a very quick step and I had the rocks on all 40 bases painted in about half an hour.
Next up was the Armageddon Dust. This paint requires a good shake at the very least. I tend to use a coffee stirrer to give it a proper mix and ladle a decent sized blob onto my palette. I use an old brush for this as the bristles take a bit of abuse from the fine grains in the paint.
This is a slightly slower step as you need to avoid painting over the feet and rocks or the edges of the base. Once again I worked in batches of eight and found it took around 25-30 minutes to do eight bases. As the first set began to dry I felt relieved to see that the base colour wasn’t going to be too similar to the droid standing on it!

I spread this task over a couple of evenings. Once all 40 bases were done I left them to dry overnight.
Bases - Wash and Drybrush
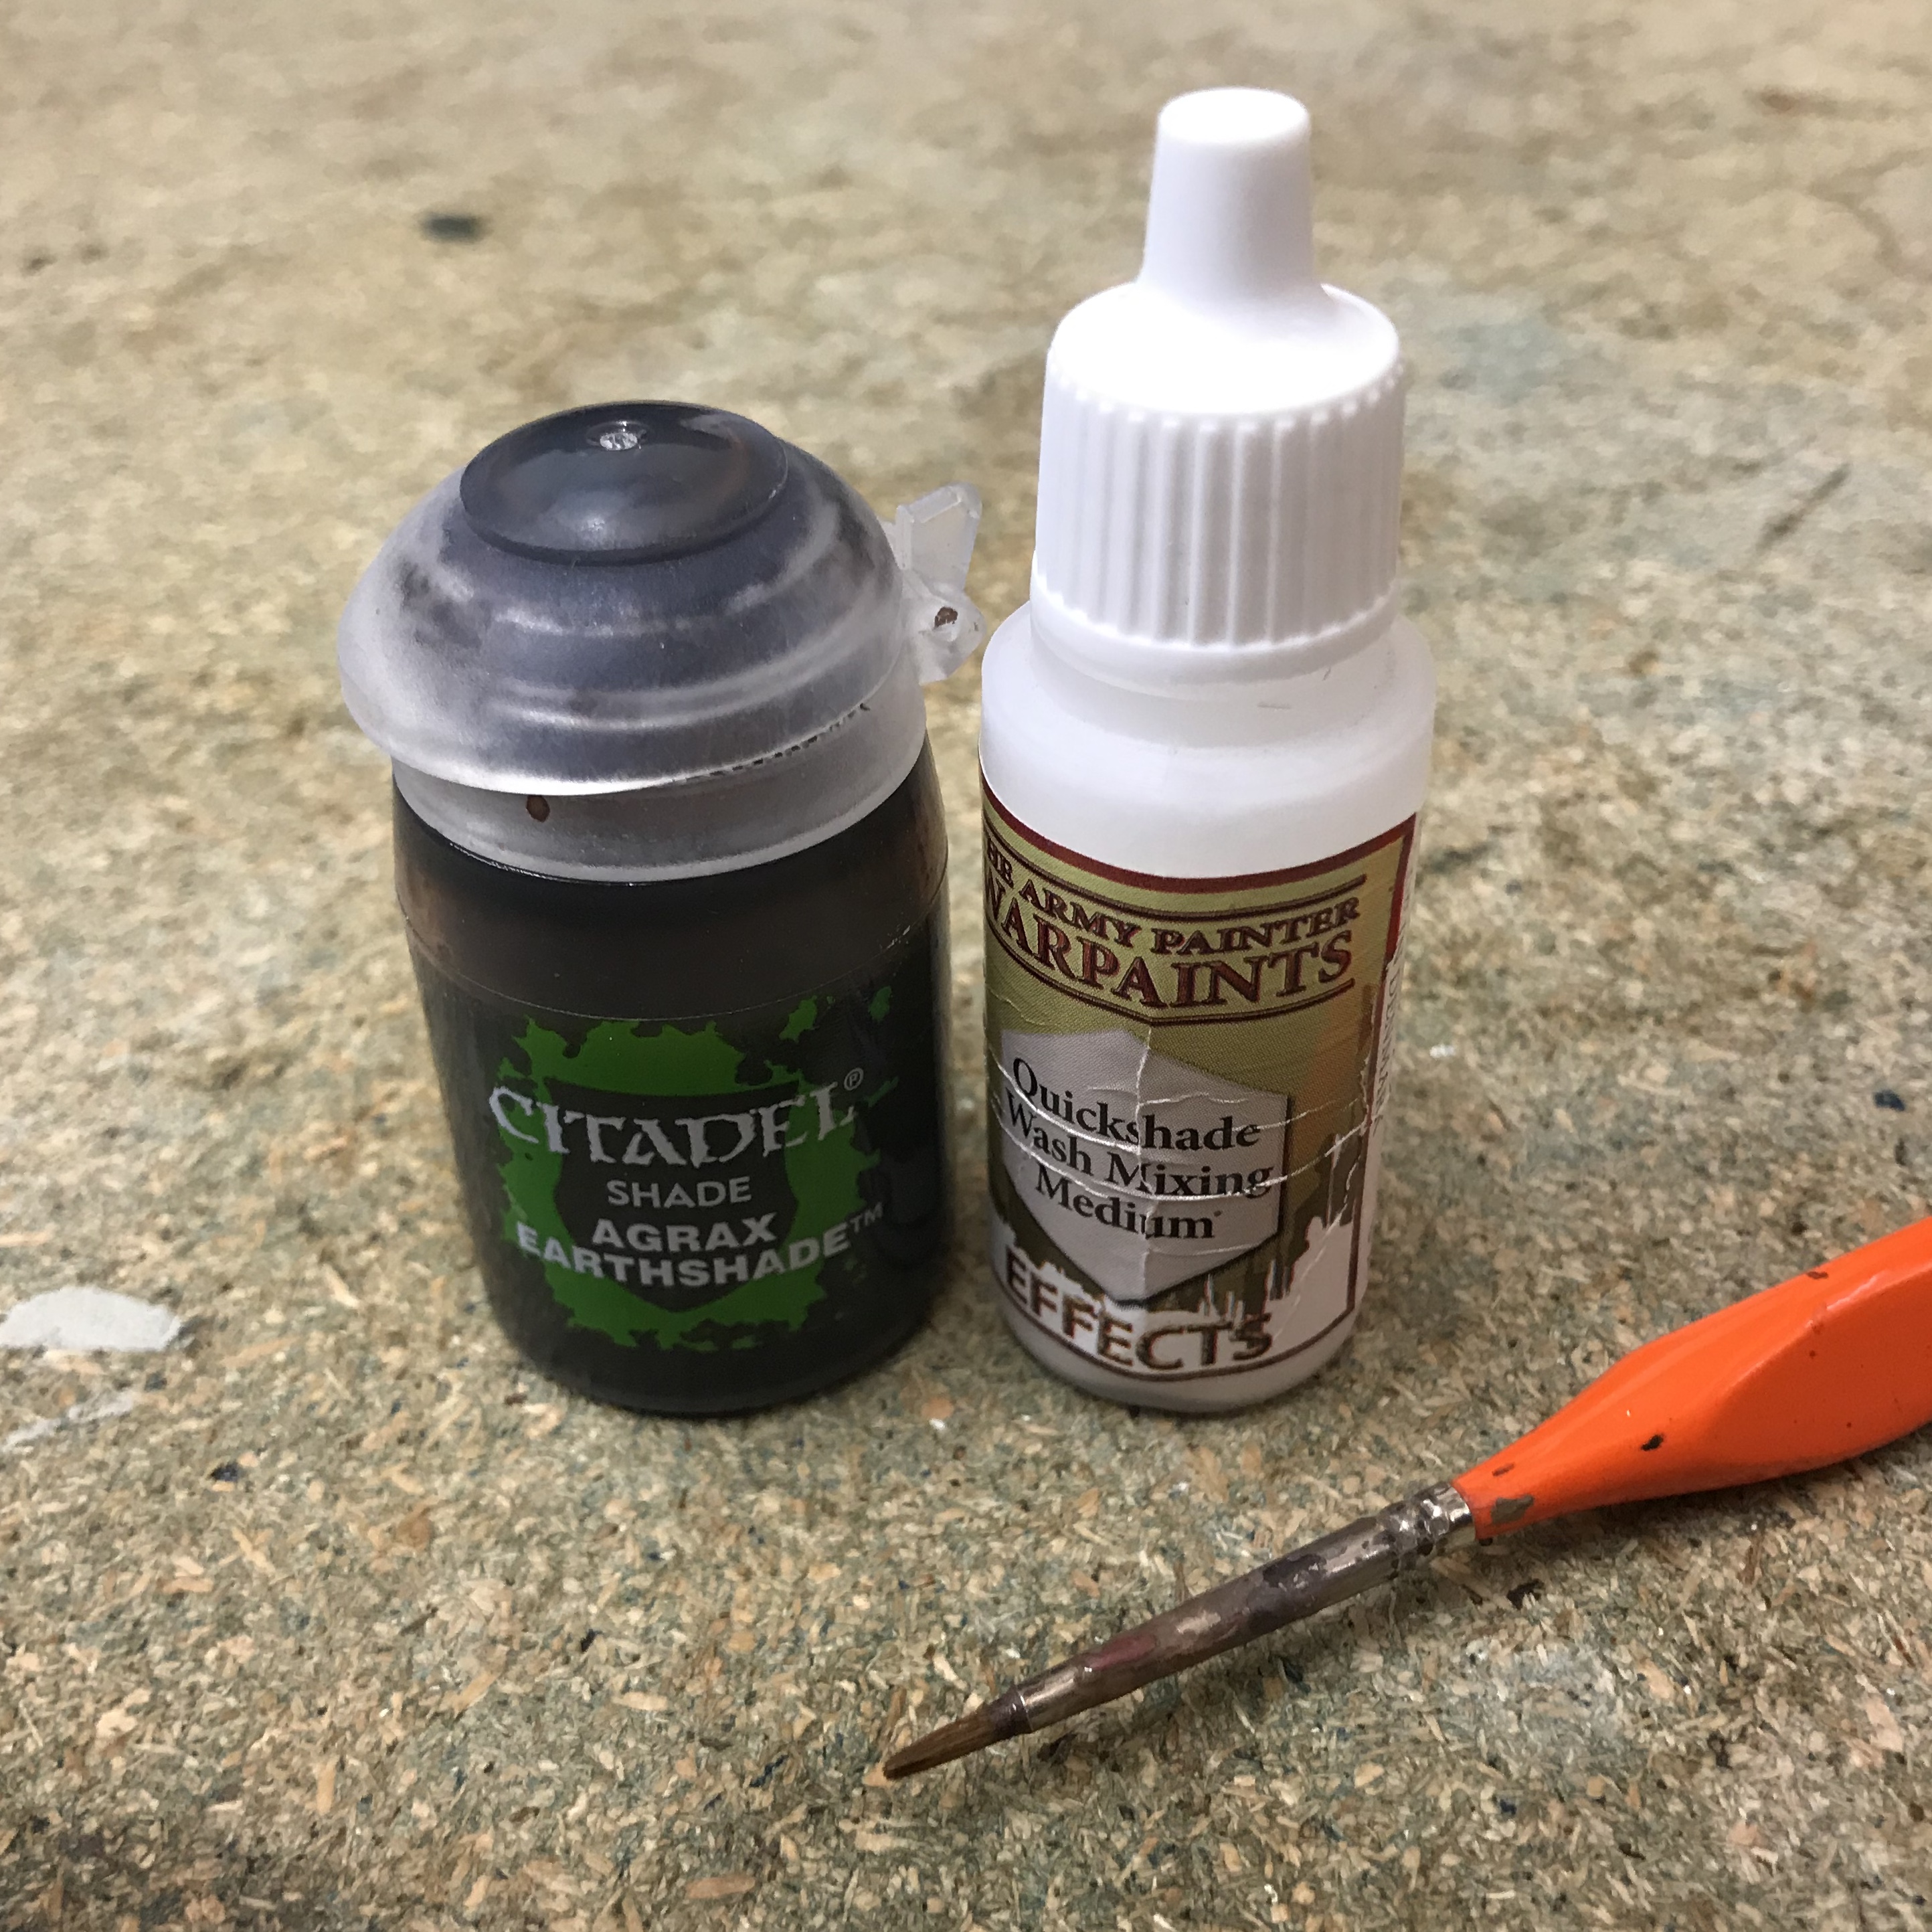
Once all the bases were dry I moved to the Agrax wash. For this stage I used some wash medium, mixing approx 2:1:1 wash, medium and water. This helps the wash flow, making it easier to apply and also reduces the amount of pigment. I didn’t want the sand to become too dark and muddy looking.
Using a slightly larger, but fairly old brush I covered the sand and rocks, being careful to avoid going over the edge of the base. I worked through all 40 bases in around 45 mins. This step took the colour of the sand even further from the beige of the droids, helping them stand out from the bases.
The final step of painting the bases was to apply a screaming skull dry brush. This brought back the texture and helped to create a dry, sandy/earthy look.
My approach to dry brushing has always been less is more. I prefer to use a light dry brush, going over an are two or three times if necessary. This is preferable to putting too much paint down on the first coat and creating a clumpy effect. I used a large flat brush to cover the bases as quickly and evenly as I could. All in all this step took me about an hour and a quarter to complete.
With the bases done I was feeling much happier with droids colour scheme. They were looking pretty near table ready but I still needed to tackle the weapons.

Rapid Reinforcements
At this point in the project I received a delivery in the post…

As I already had droids on my painting table it made sense to get the two B1 pilots painted along with their foot slogging counterparts. I built the STAP chassis first as I would need them to position the pilots.
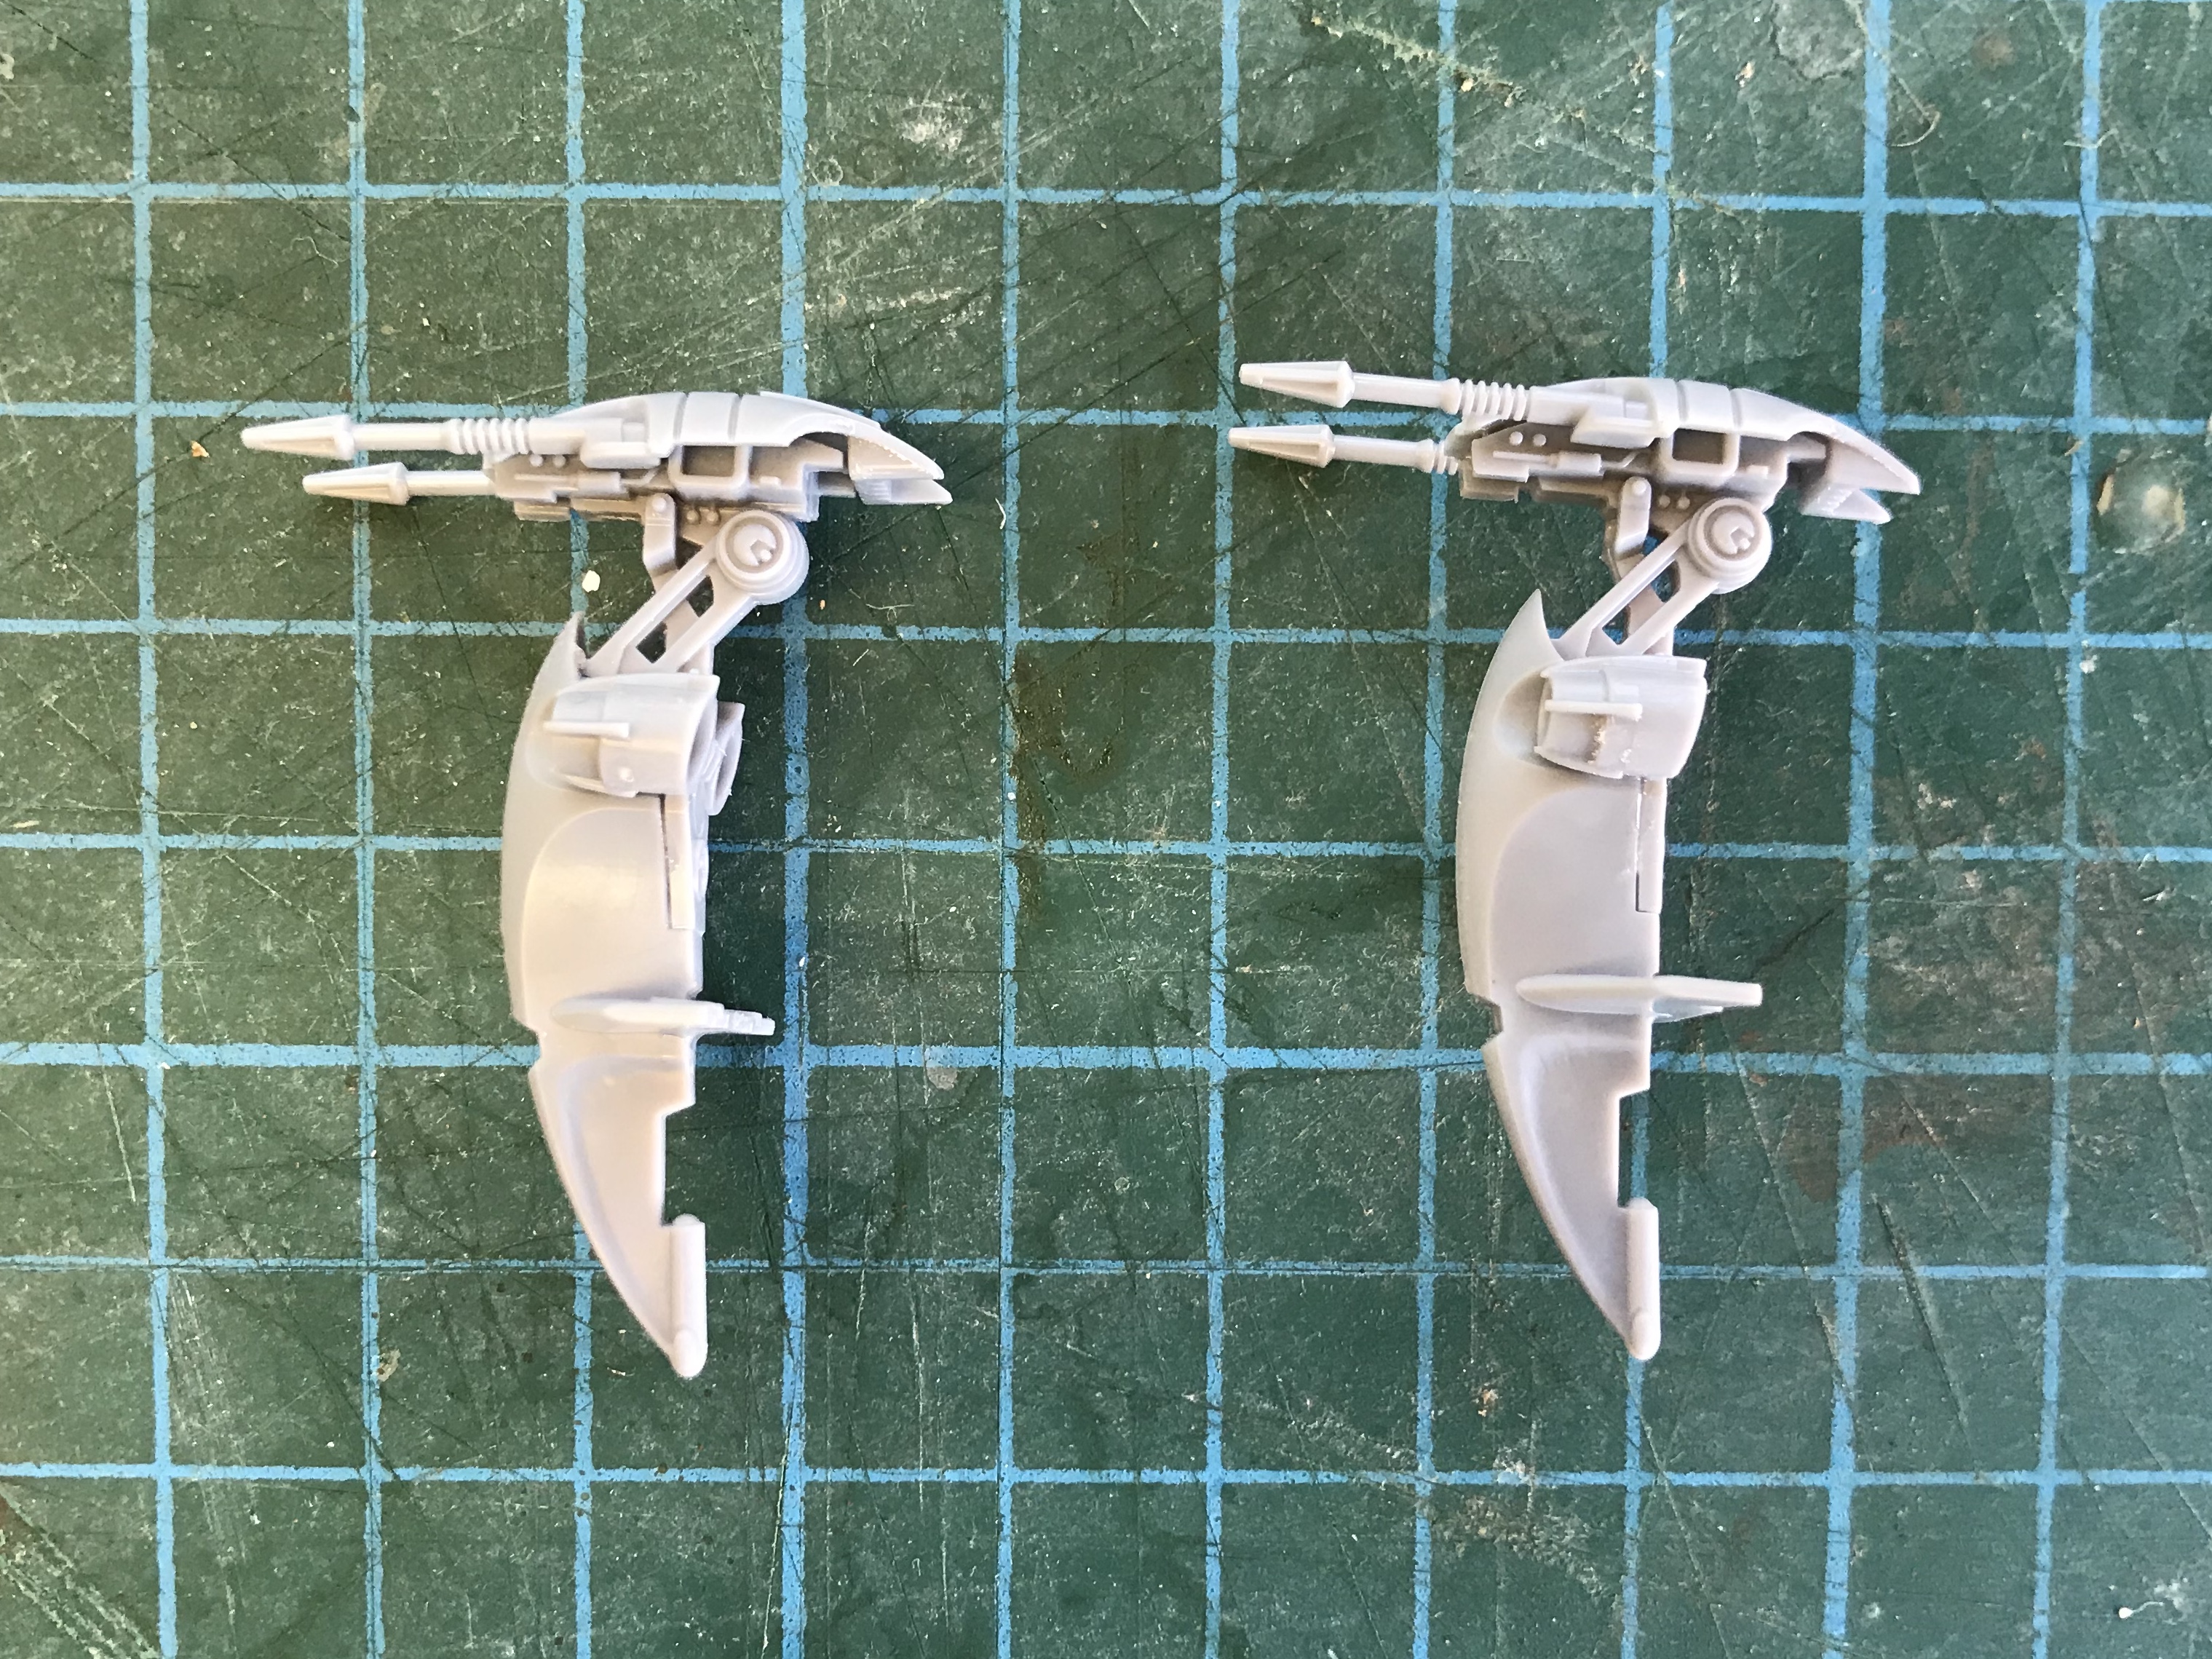
With no small amount of patience (not to mention a pair of tweezers and a blob of blue tack), I managed to assemble the droids in the desired position, without permanently attaching them to the chassis.
I also kept the bases separate. This made priming easy as I only had to cover the acrylic flight stand with some cling film.
With a coat of Wraithbone and a lick of Skeleton Hoard, the pilots were swiftly brought up to the level of the other B1’s. As I had gone to the trouble of priming the bases, I textured and painted them as well.

Edit: Don’t stick your flight stands to your bases before priming! As they are clear acrylic, you will end up seeing the uncoloured base where the stand touches down. I had to crack mine off, paint in the uncoloured section and re glue them! Total waste of time as I could’ve just sprayed them before glueing!
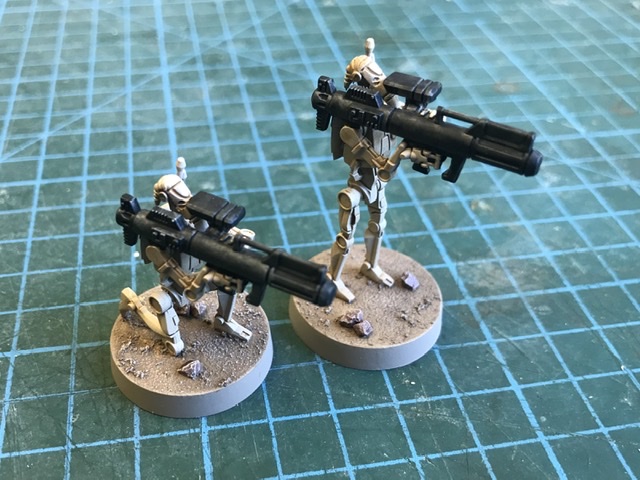
Blasters!
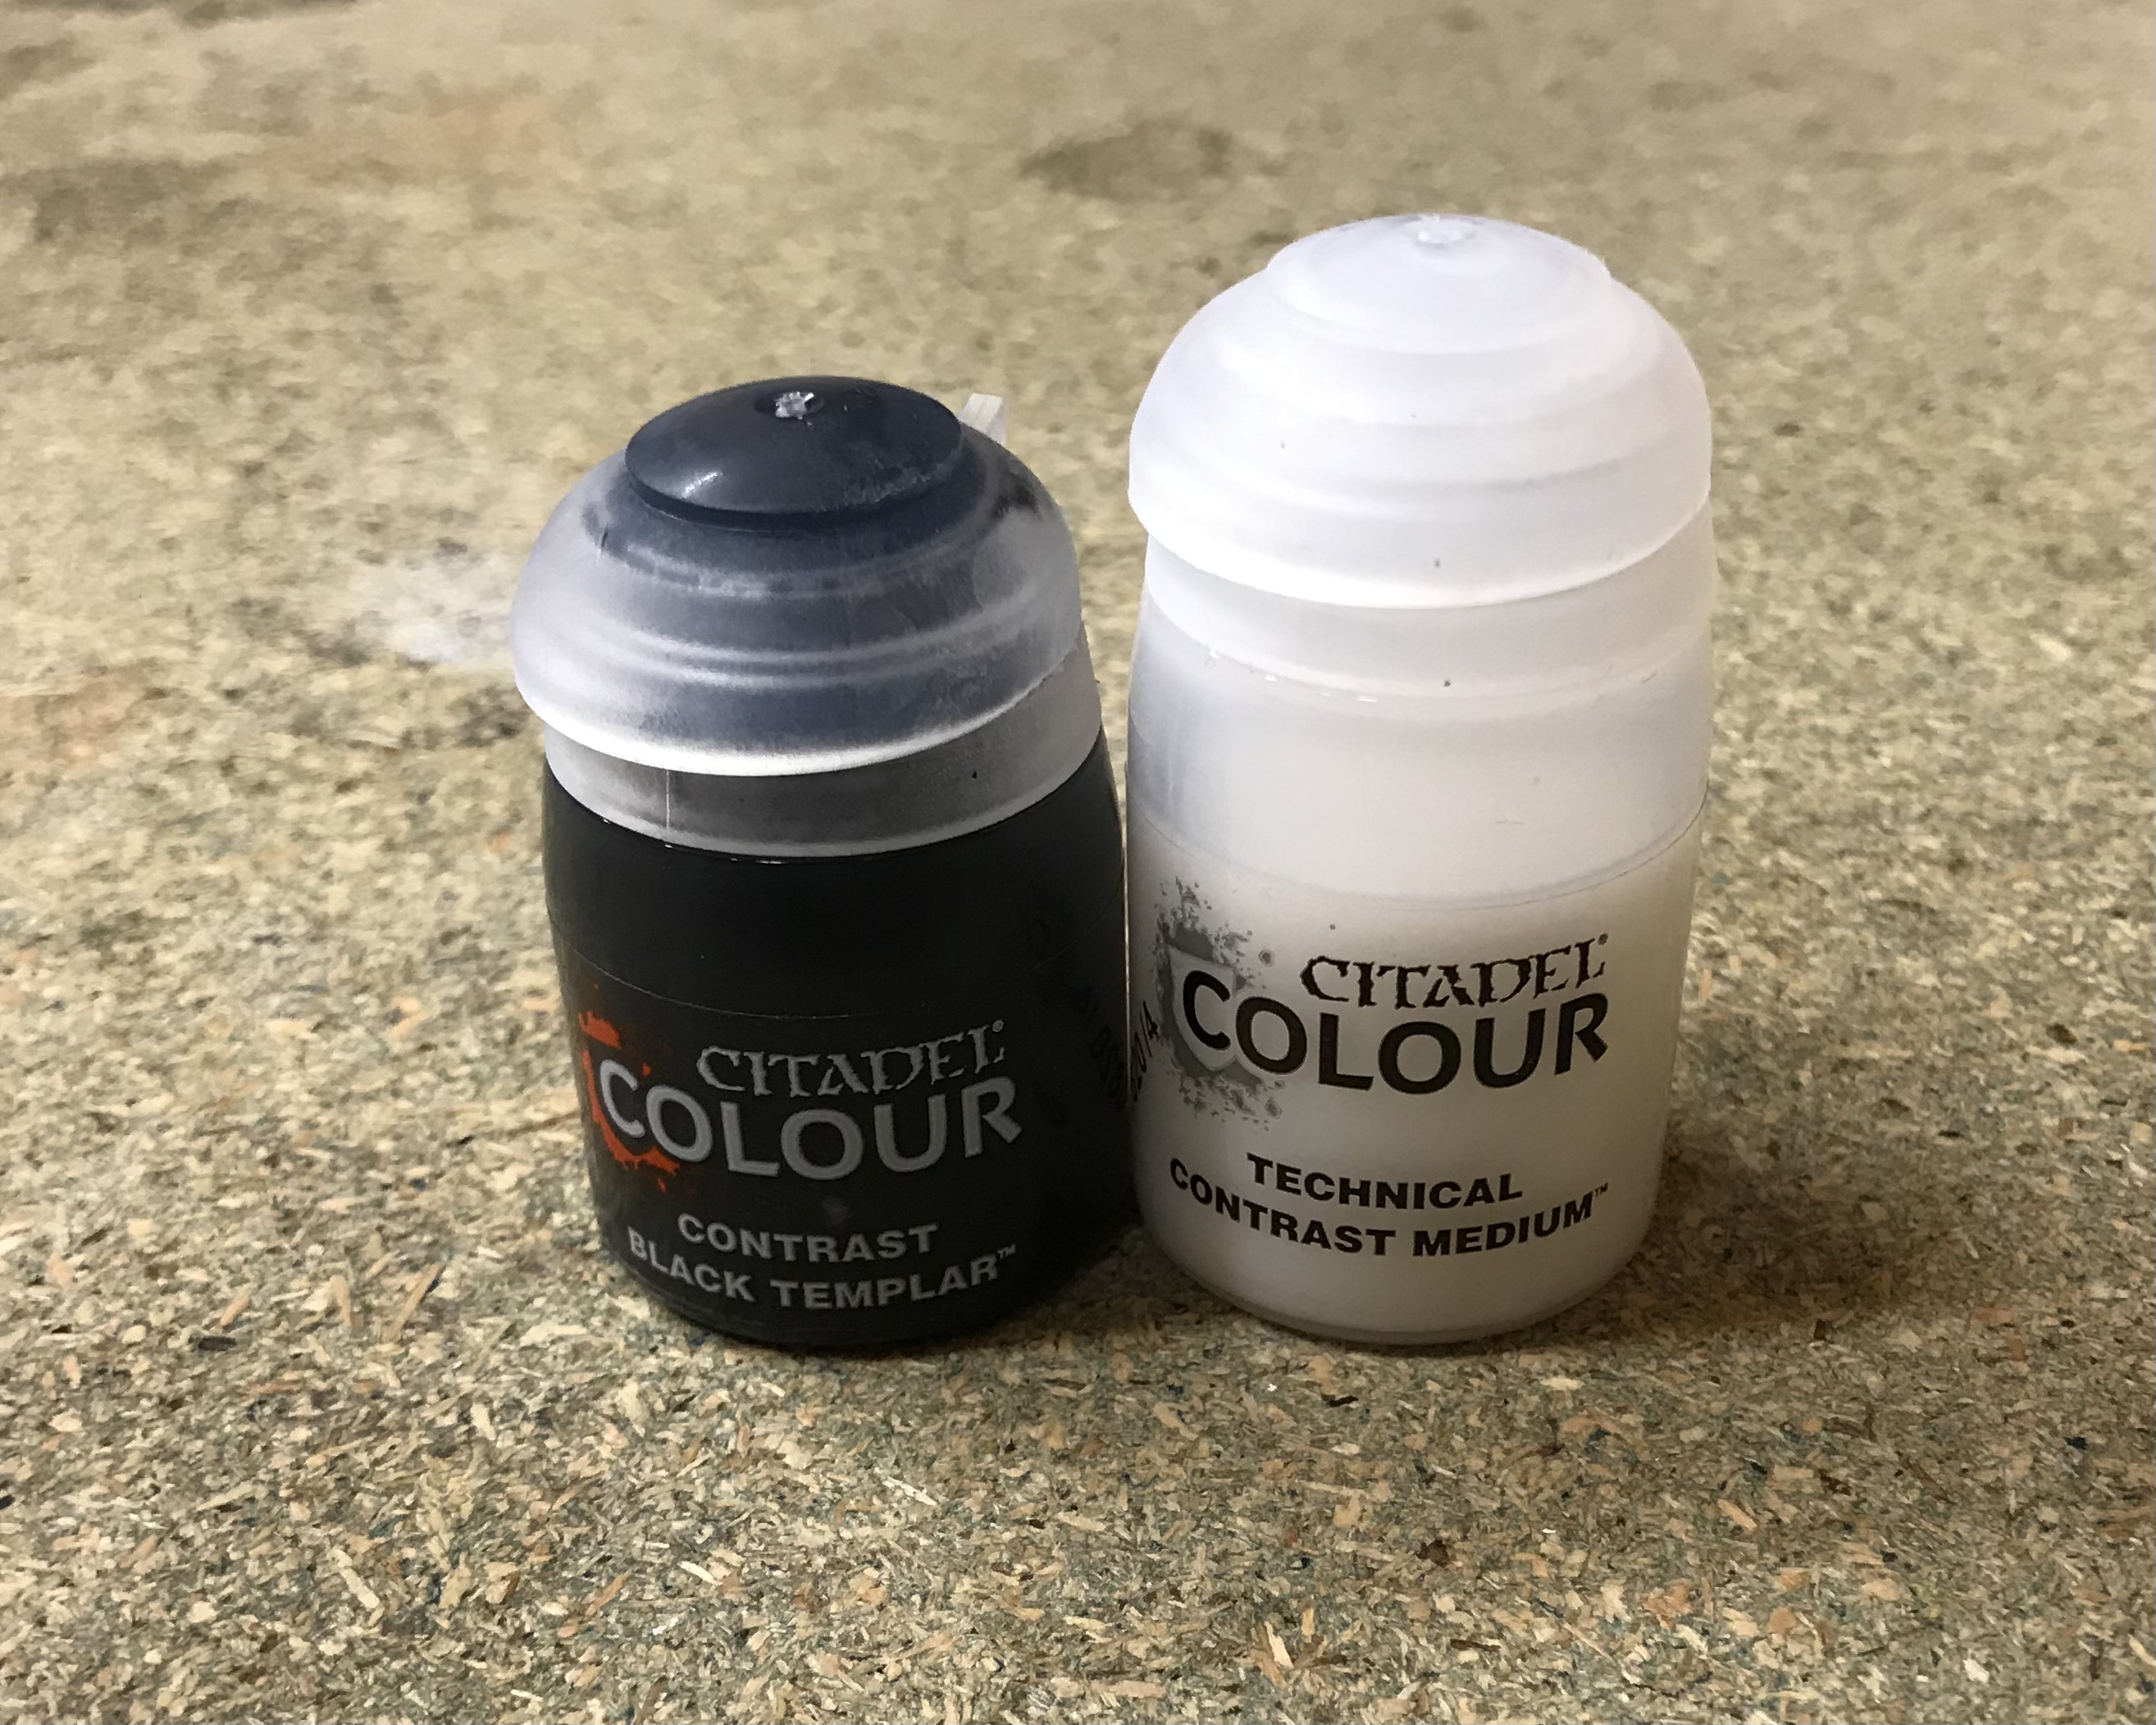
I had originally planned to paint the droid weapons in grey and give them a black ink wash. However, as I had started using contrast paints, I figured there may be an easier solution. I hadn’t tried the Contrast Black Templar before, but it seemed to be one of the more popular colours, so I figured it was worth a go.
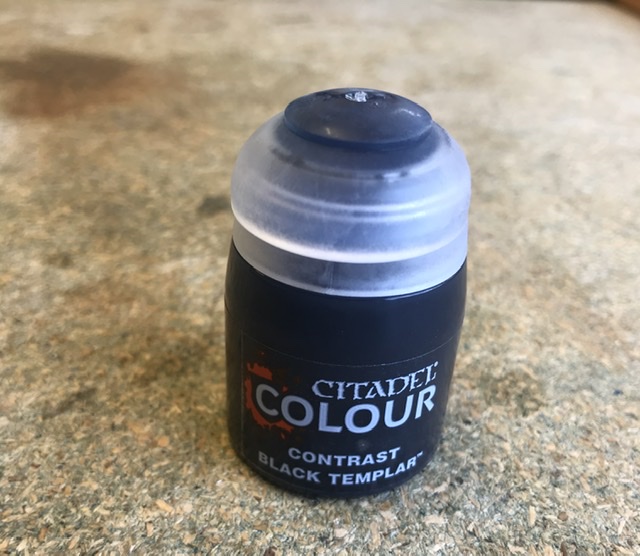

My initial thought was that I would need to go back over the droids guns with Wraithbone (from a pot), to touch in any areas that had been hit with the Skeleton Hoard. Instead I did a test on one of the B1’s and found the Black Templar went straight over the Primer and Skeleton Hoard no problem!
This would save me a lot of time as I now only needed to go over each of the blasters with a single colour.
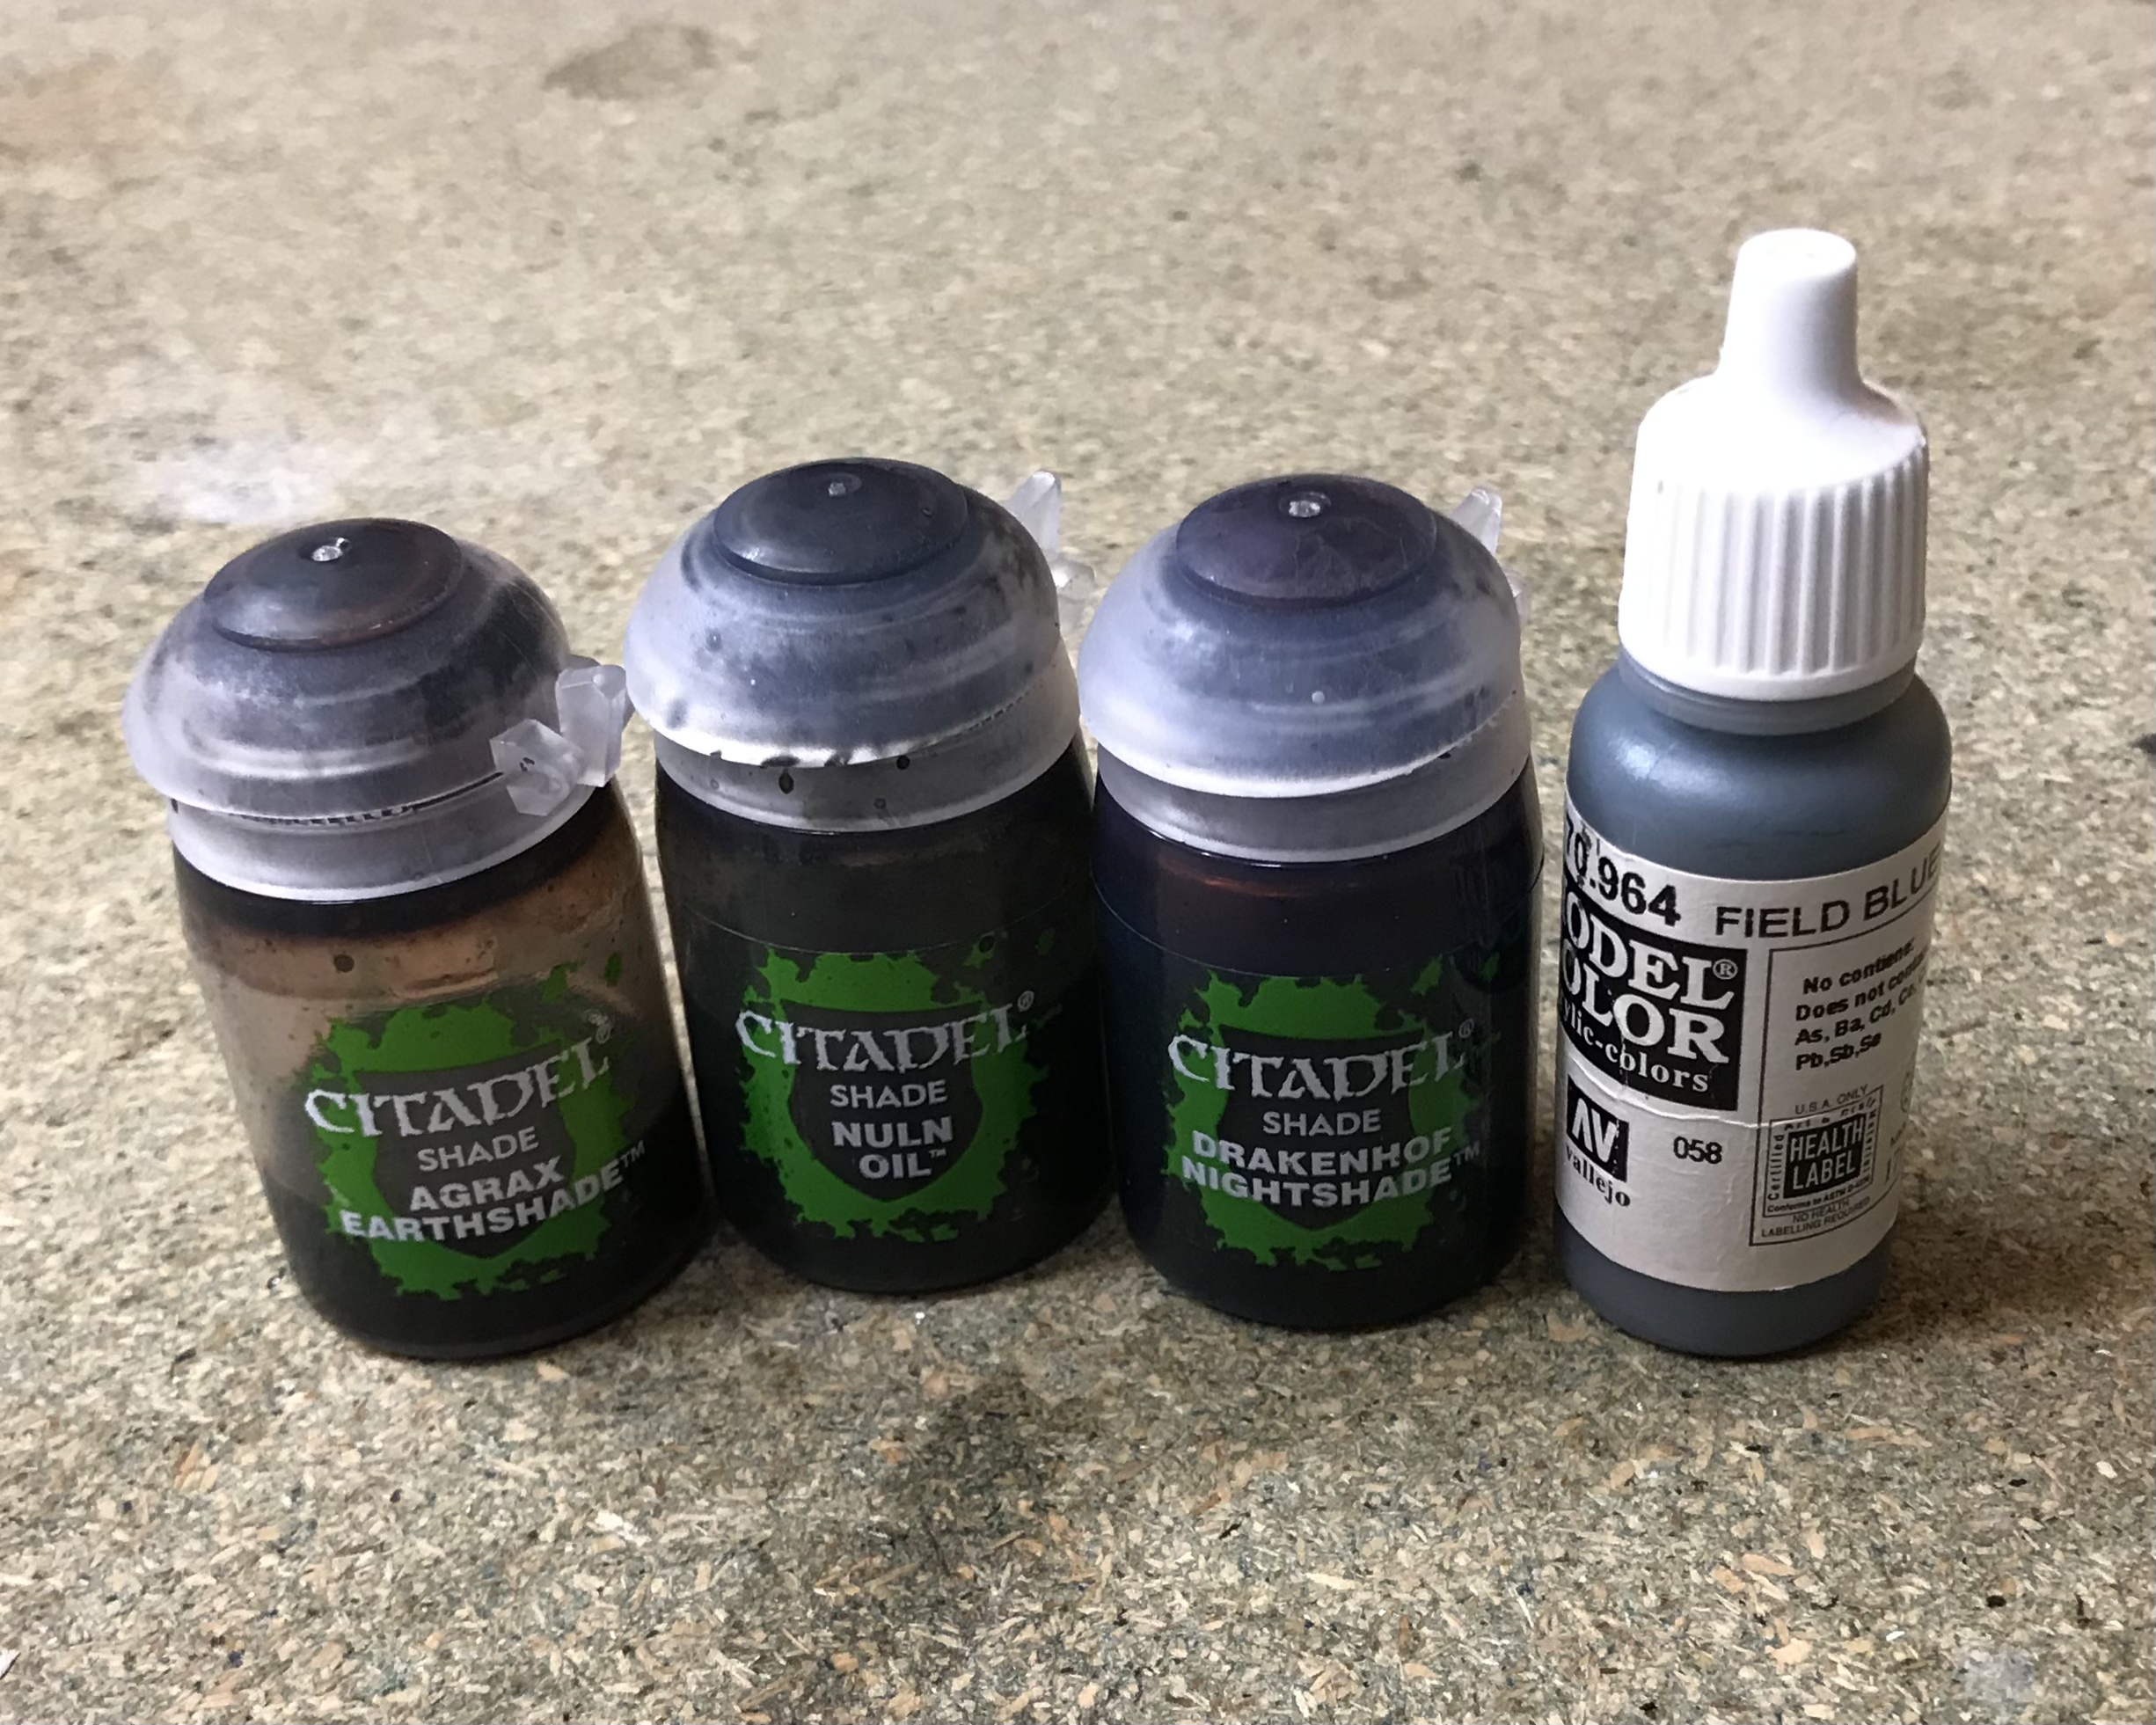
Once I had worked through the E-5’s I moved to the heavy weapons. I gave the E-5C’s silver barrels to help them stand out from the standard rifles. For this I used Iron Breaker washed with nuln oil and a little Drakenhorf Nightshade at the tip.
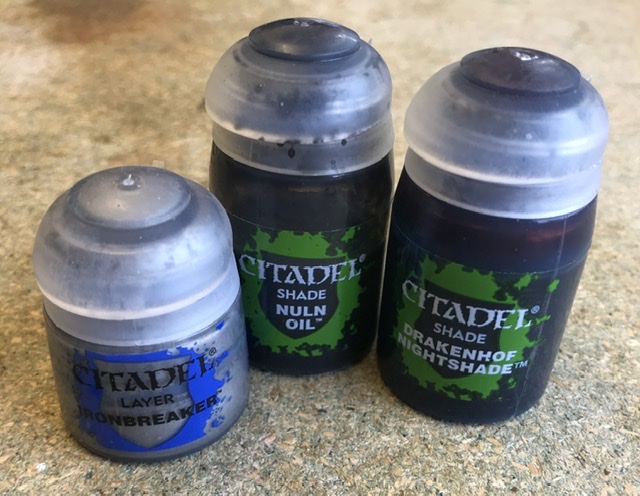
The E-60R’s were initially given a coat of Black Templar but as they are quite large and smooth, the effect wasn’t as dark as the other weapons. I decided to give them a Nuln Oil wash as well, to even them out.
After checking a few reference images I noted that the Binoculars carried by the unit leaders should be ivory or white. This would help the unit leaders stand out from the basic troops. Sticking with the contrasts method I had already employed, I used Apothecary White. As this is a much lighter contrast paint, I did take the time to tidy up the paintwork with Wraithbone to ensure a clean finish.

As I had anticipated, this was the longest stage of the process so far. I had definitely saved a lot of time by using the Contrast BlackTemplar, but working around the guns, particularly on the inside where they come close to the body, took a few hours. I spread this task over a weekend and spent a good 4-5 hours in total.
Now the guns were painted I had colour on every part of the model. Next I would add unit markings.

Squad Markings
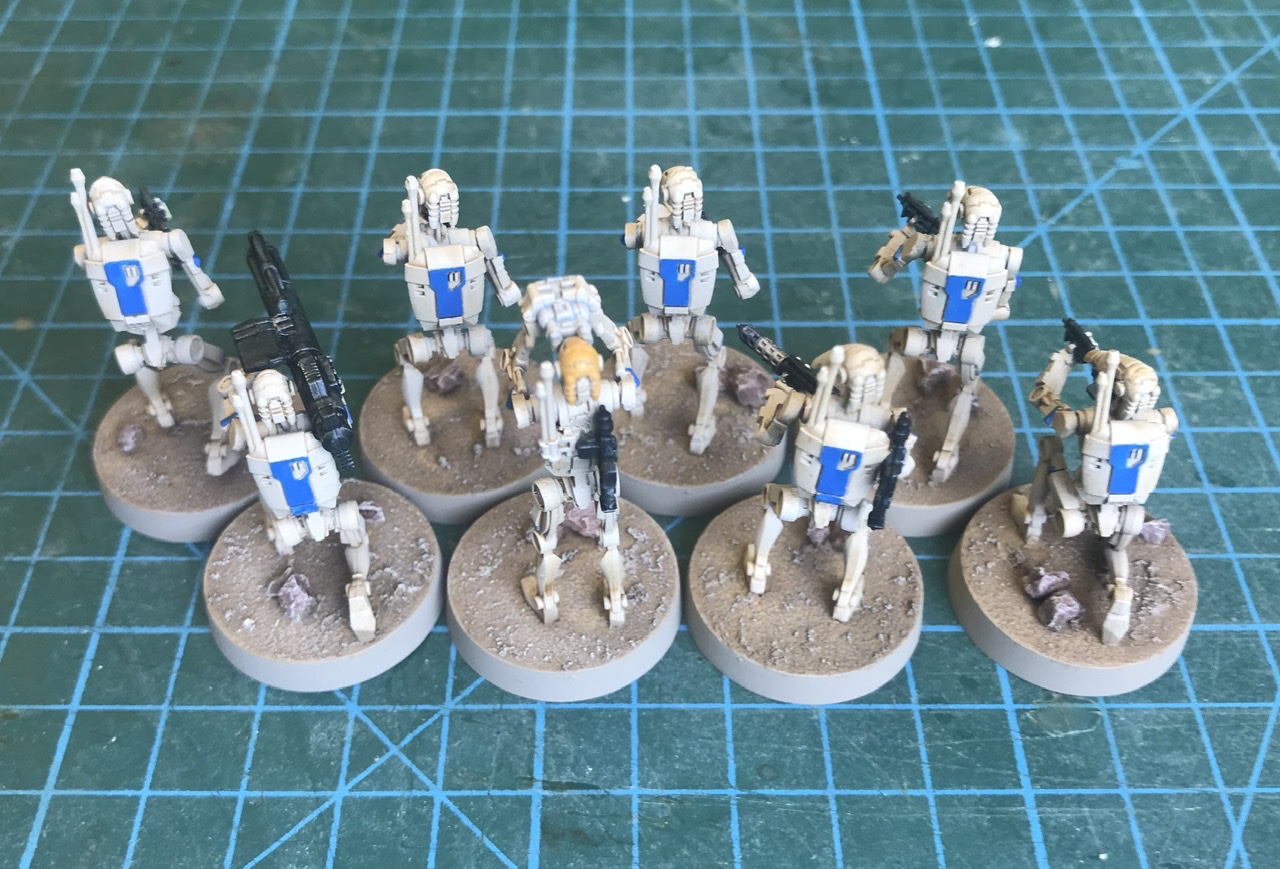
Now the bulk of the colouring was done I needed to add some squad markings to identify the different units on the battlefield.
My initial idea was to use a different colour for each unit. I didn’t want to spend too long painting freehand markings so decided to just use the shoulder sections of each droid.
I tried a few of the unit colours I had chosen on some of the droids but pretty quickly decided I wasn’t happy with the results. The round circles of primary colours made them look like a packet of smarties!

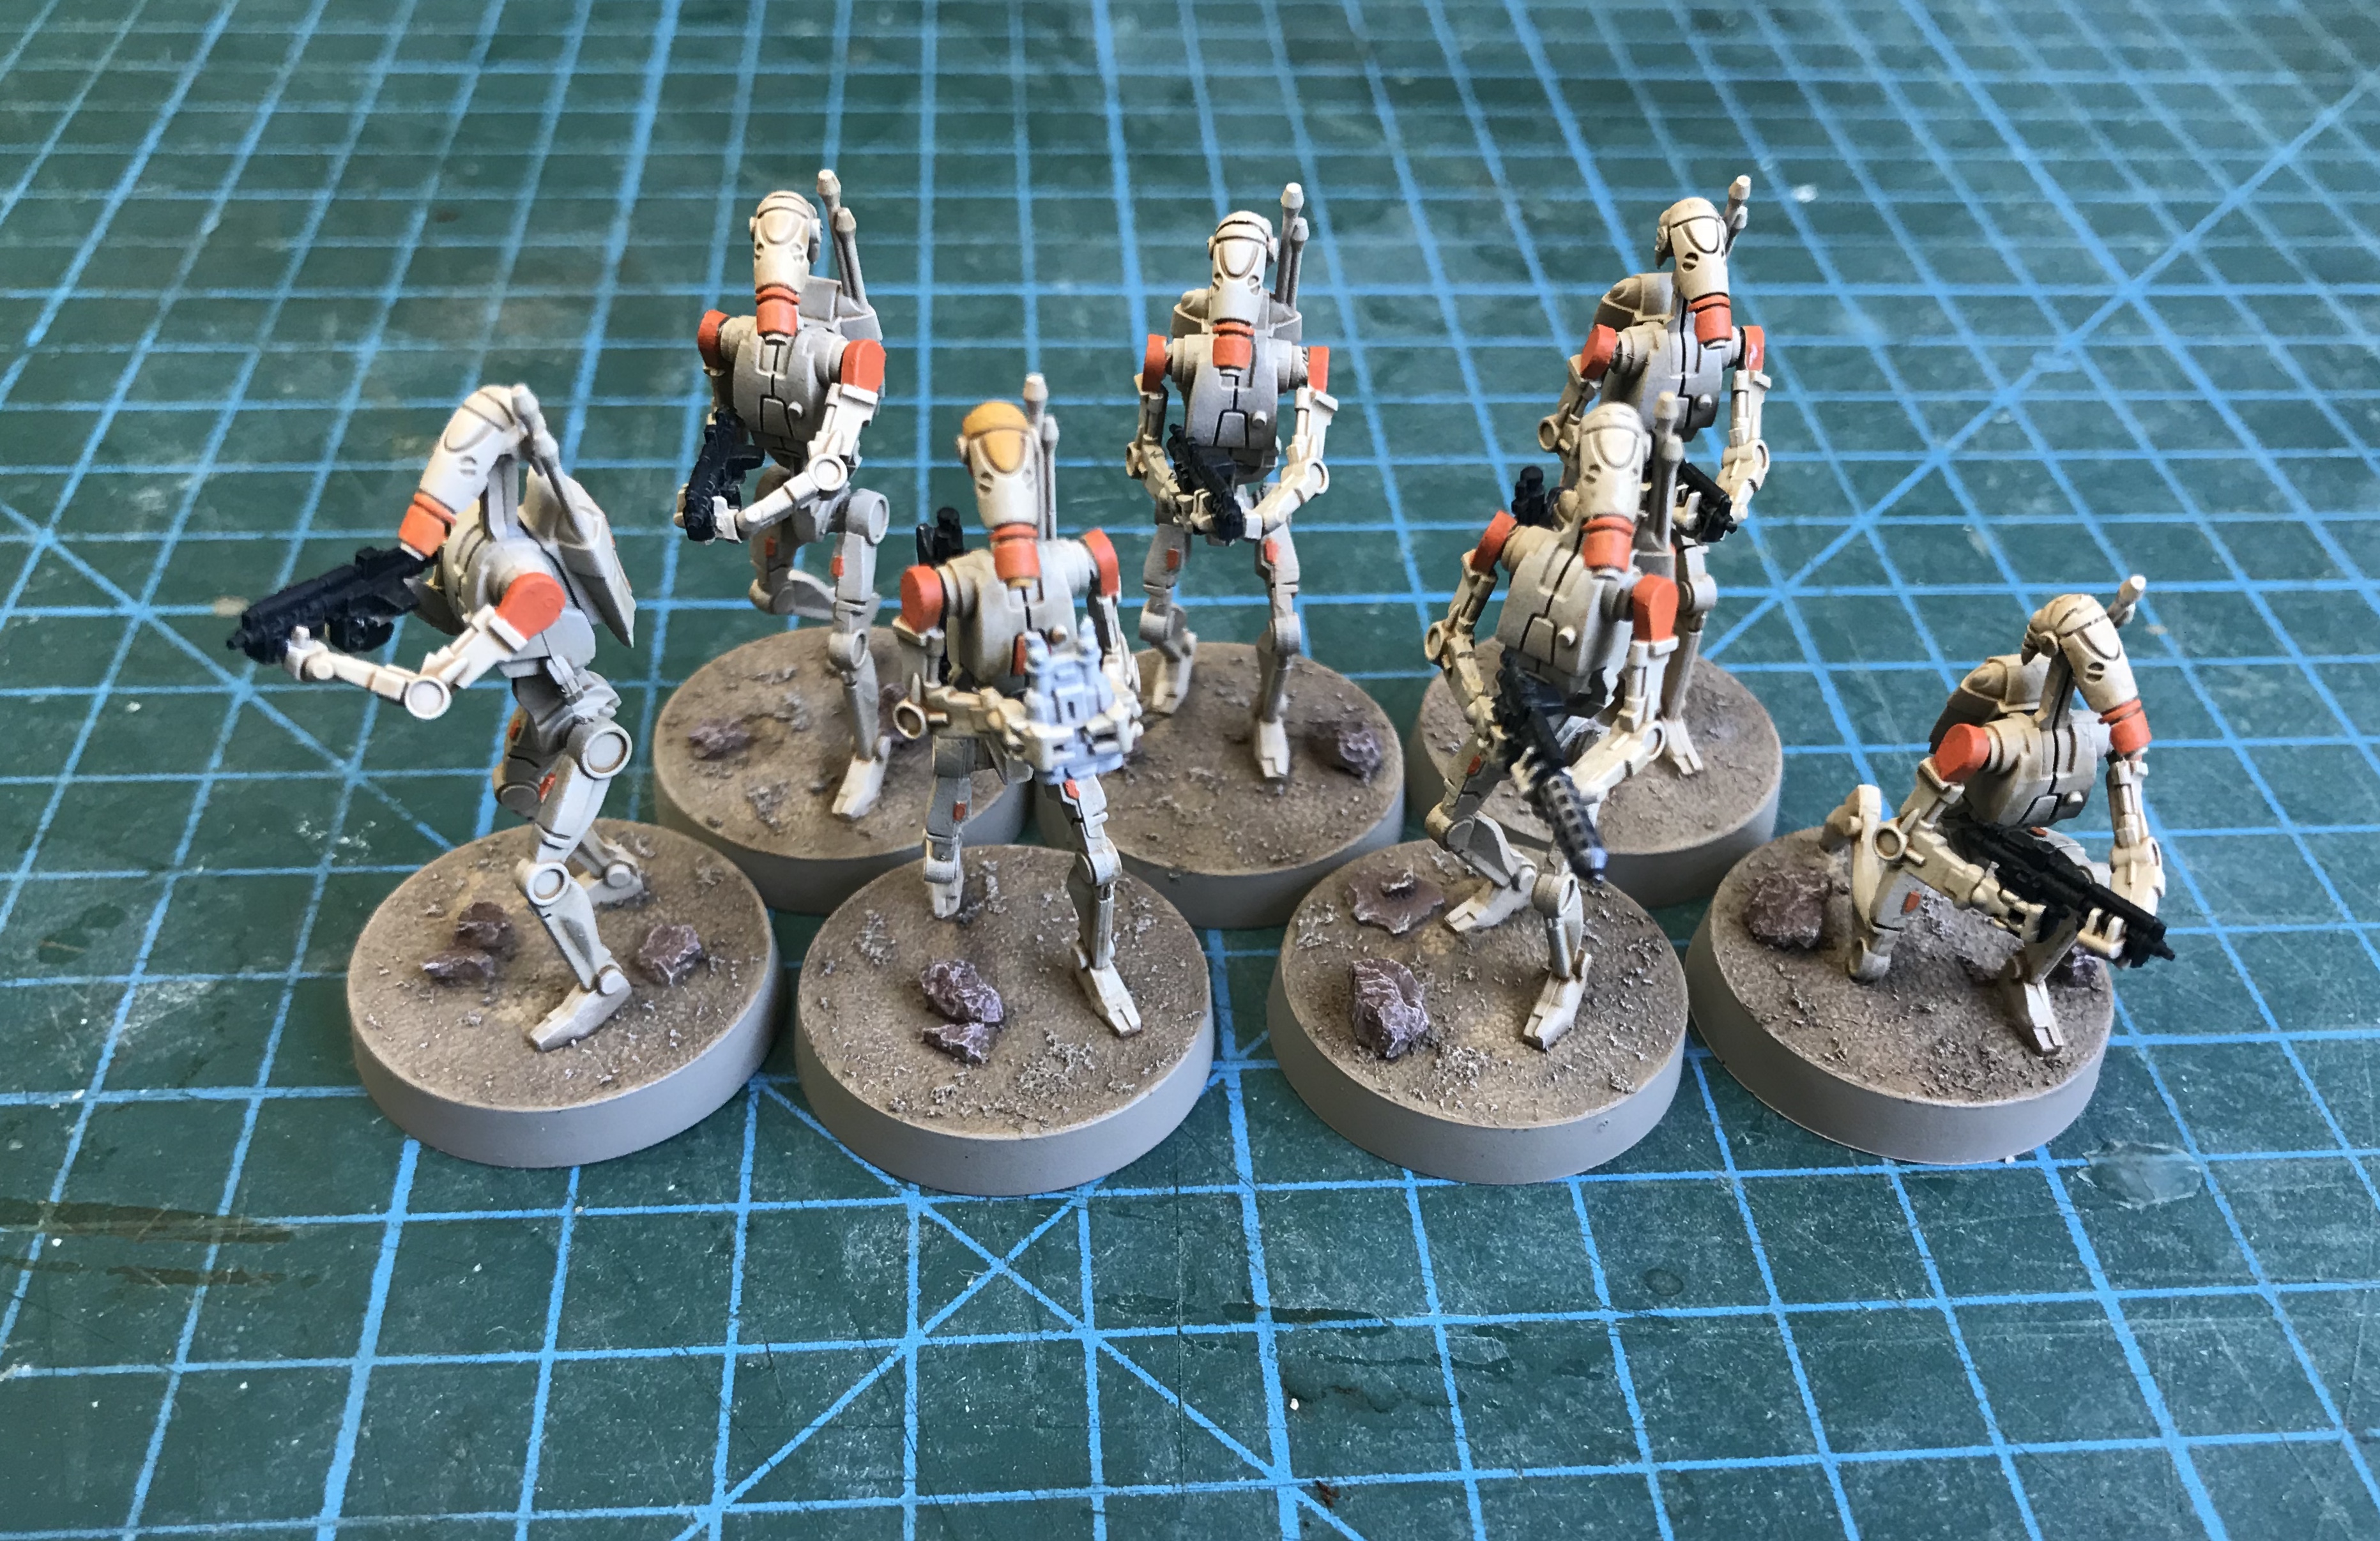
After looking back over some references I decided that each unit would retain its colour but would have its own unique markings. This would add some much needed variety and a bit more interest to the units. I had been grouping my B1’s into rough squads as I worked through them and was beginning to get an idea of each units role.
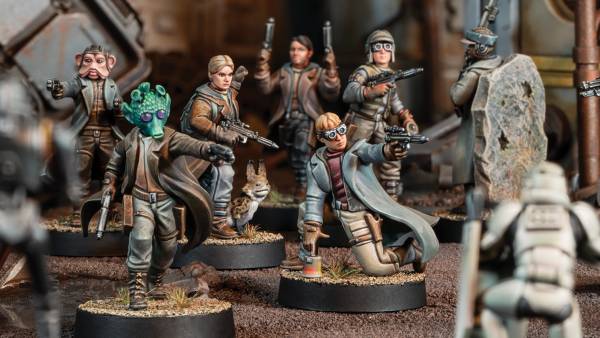
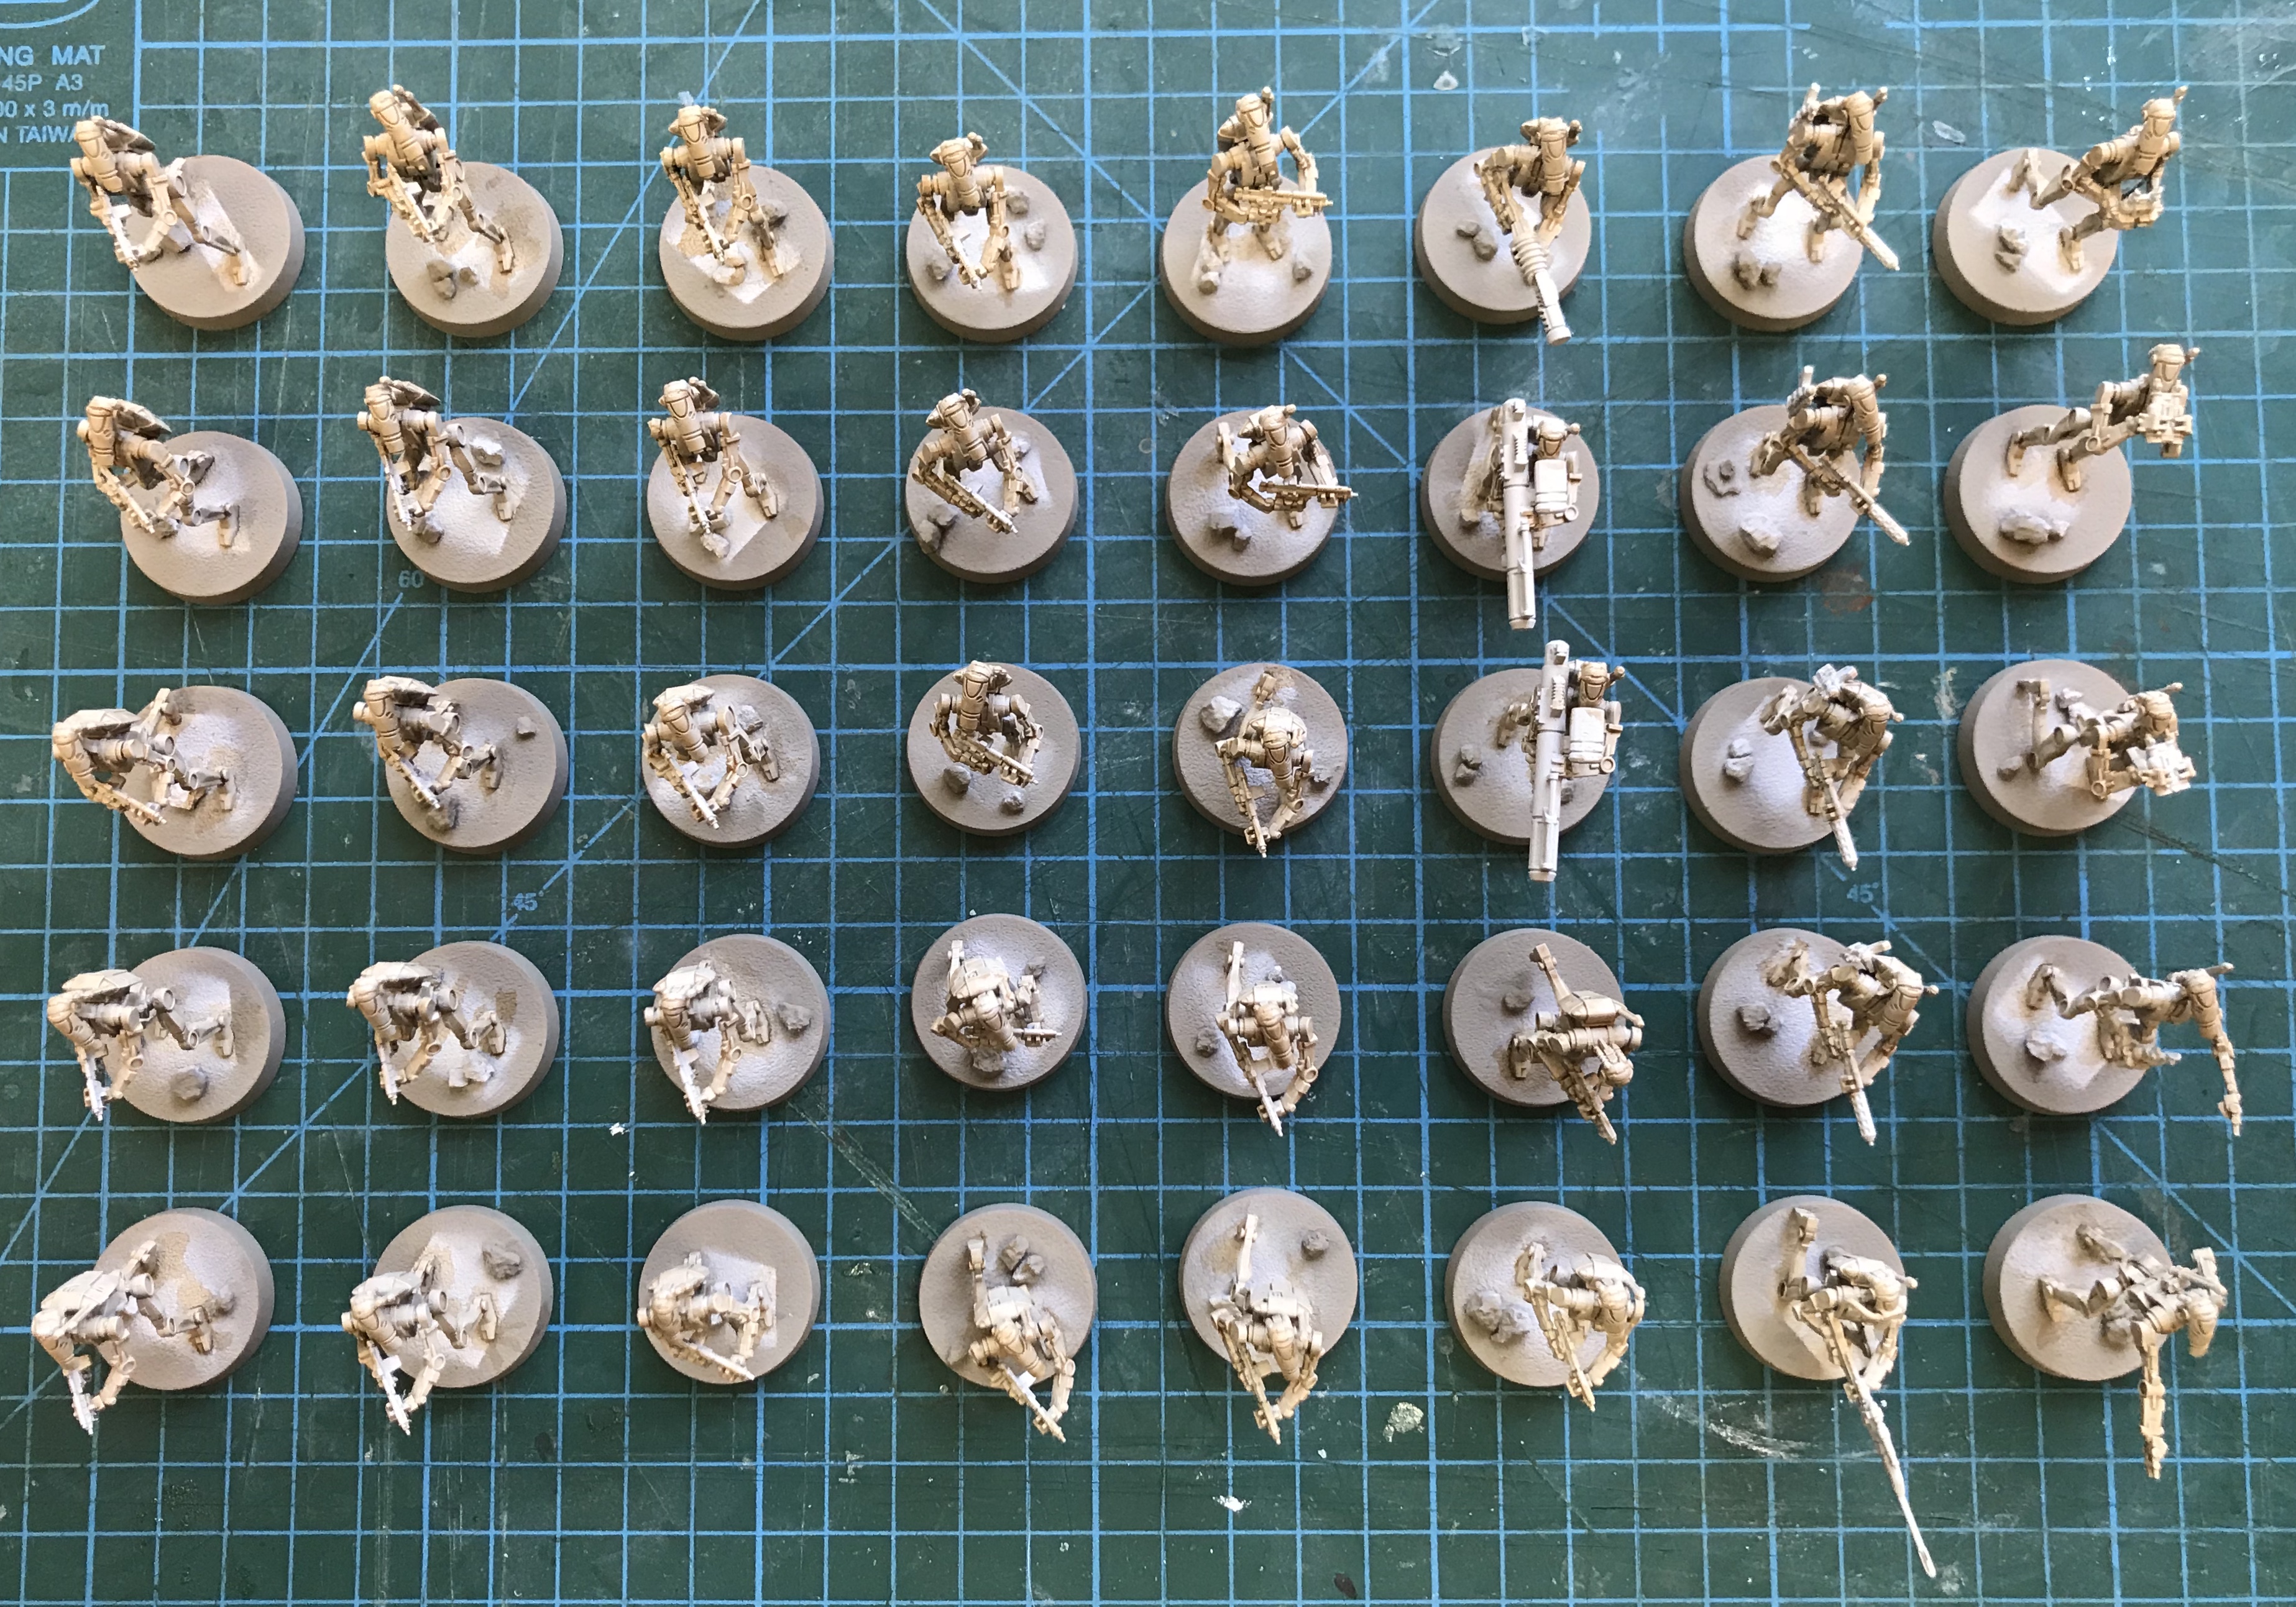
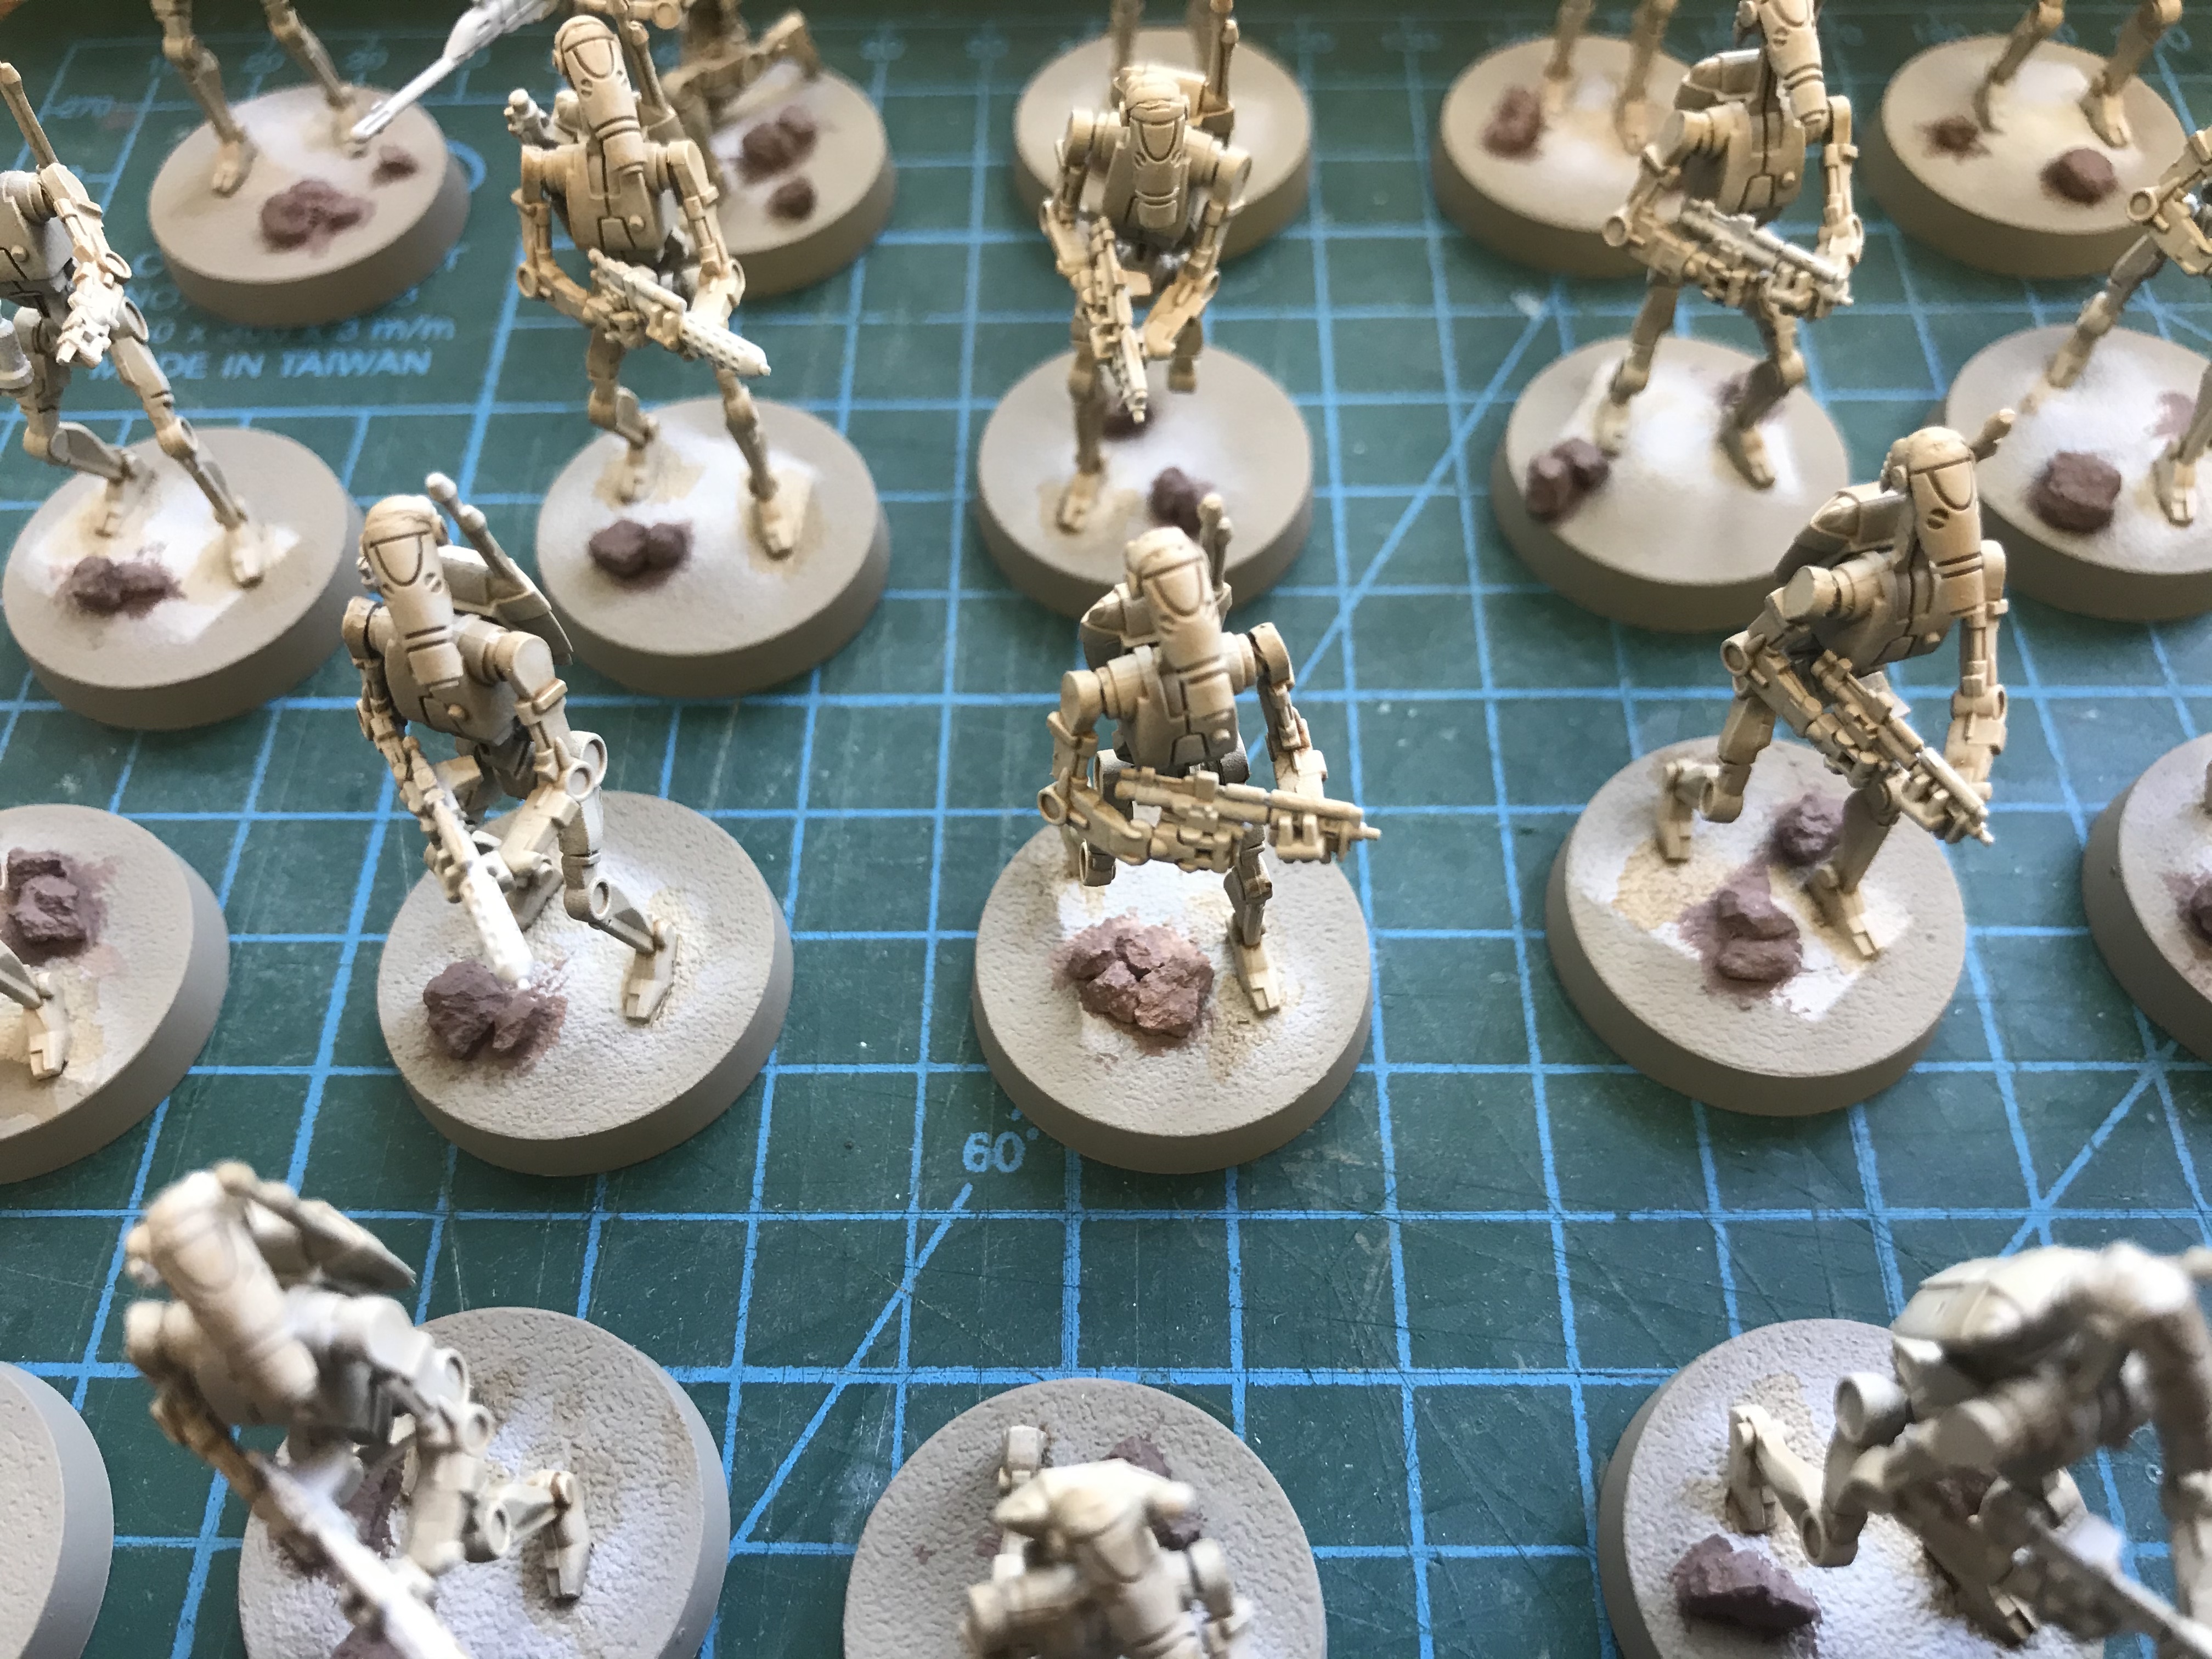
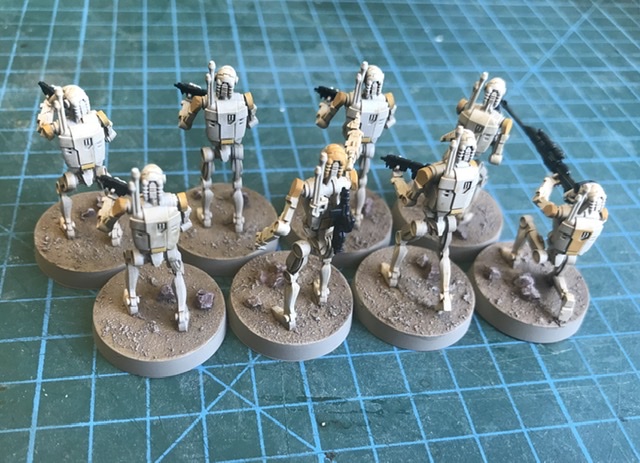
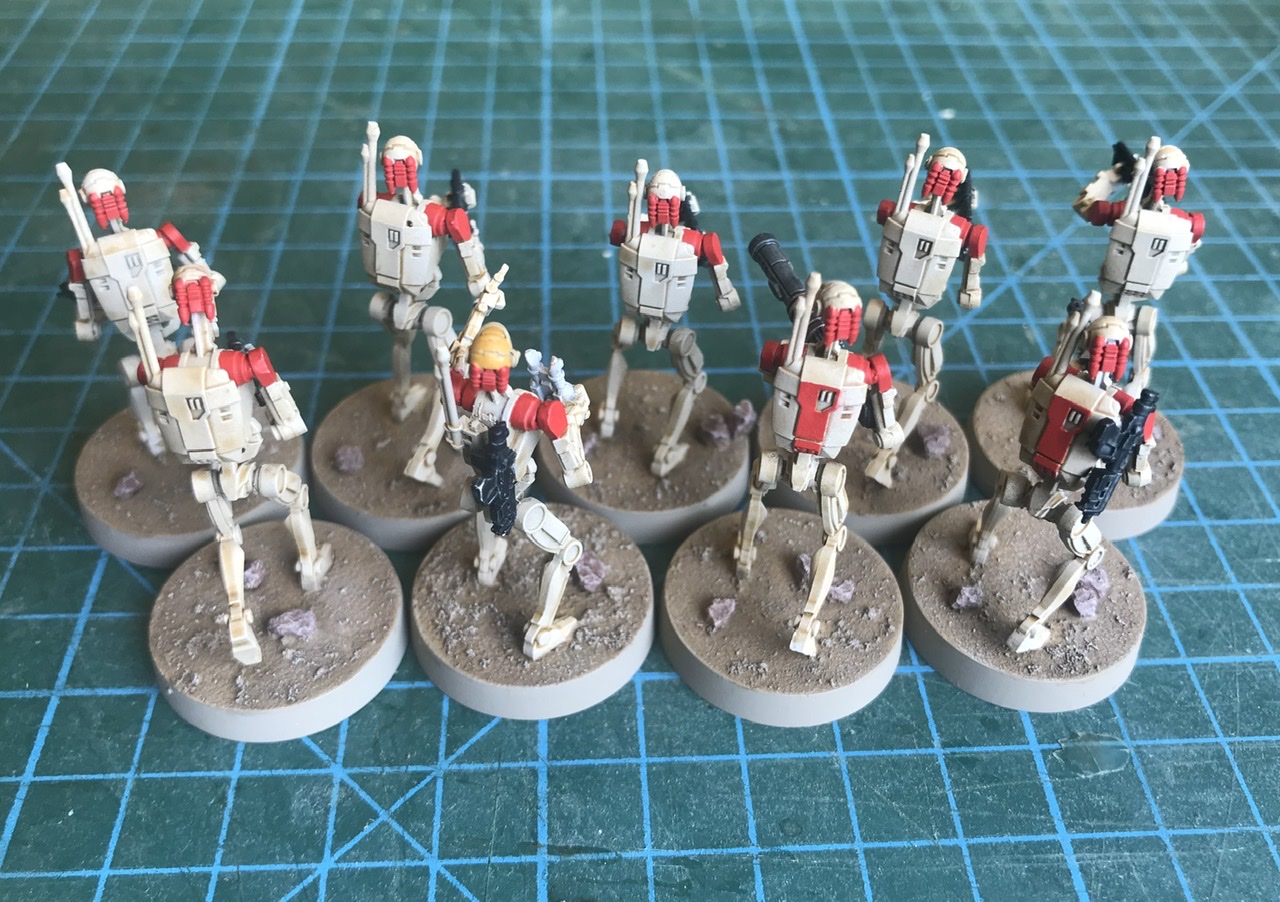
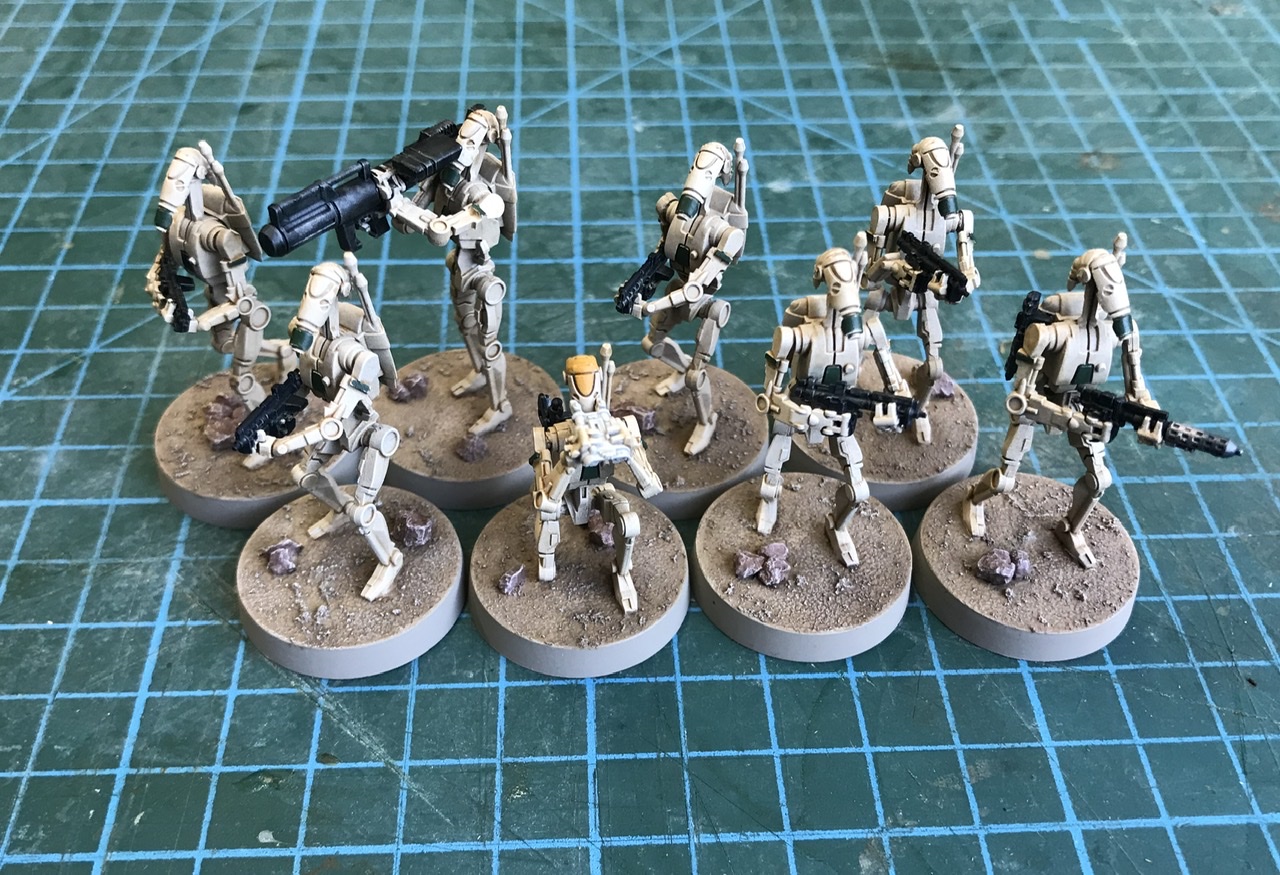
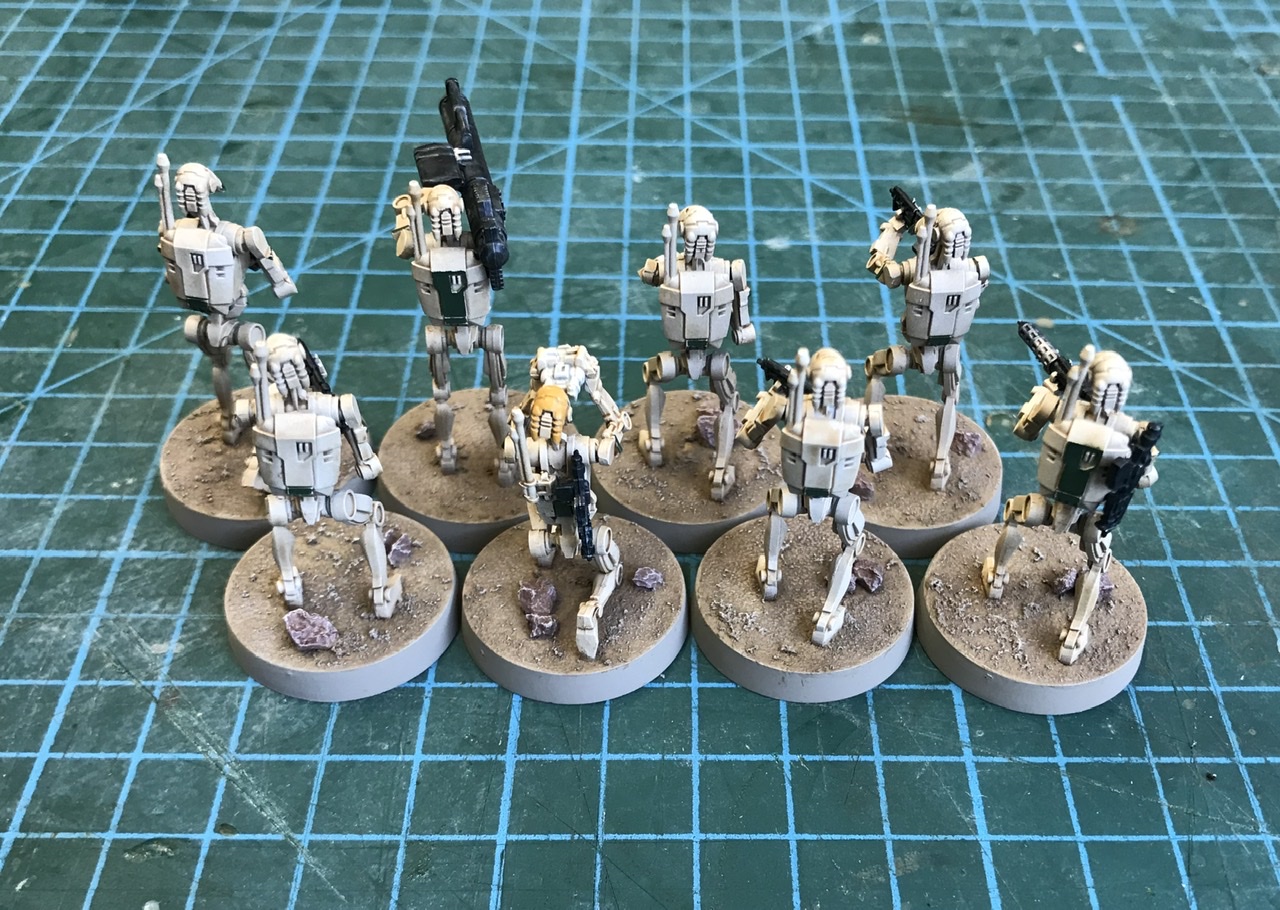
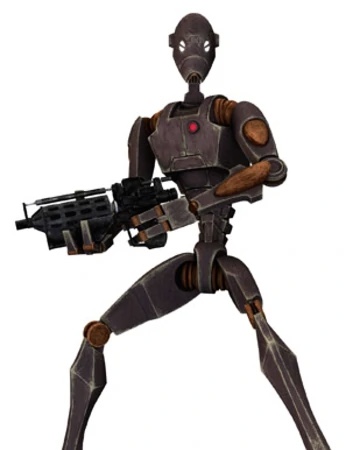
The first squad to be completed is what I consider to be the standard B1 unit build. They have no upgrades besides the E-5C Heavy Trooper. A very cost effective unit at 54 points, sporting seven wounds and putting out an impressive nine dice at a range of three.
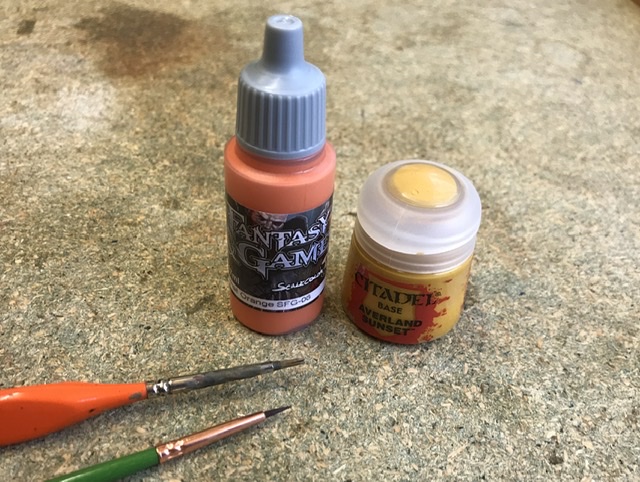
I’ve used Tiamat Orange by Scale 75 for this units markings. I’ve also decided to keep the movie convention of yellow markings on the unit leaders head, making him easily identifiable from his squad mates. For the yellow I have used GW Averland Sunset.
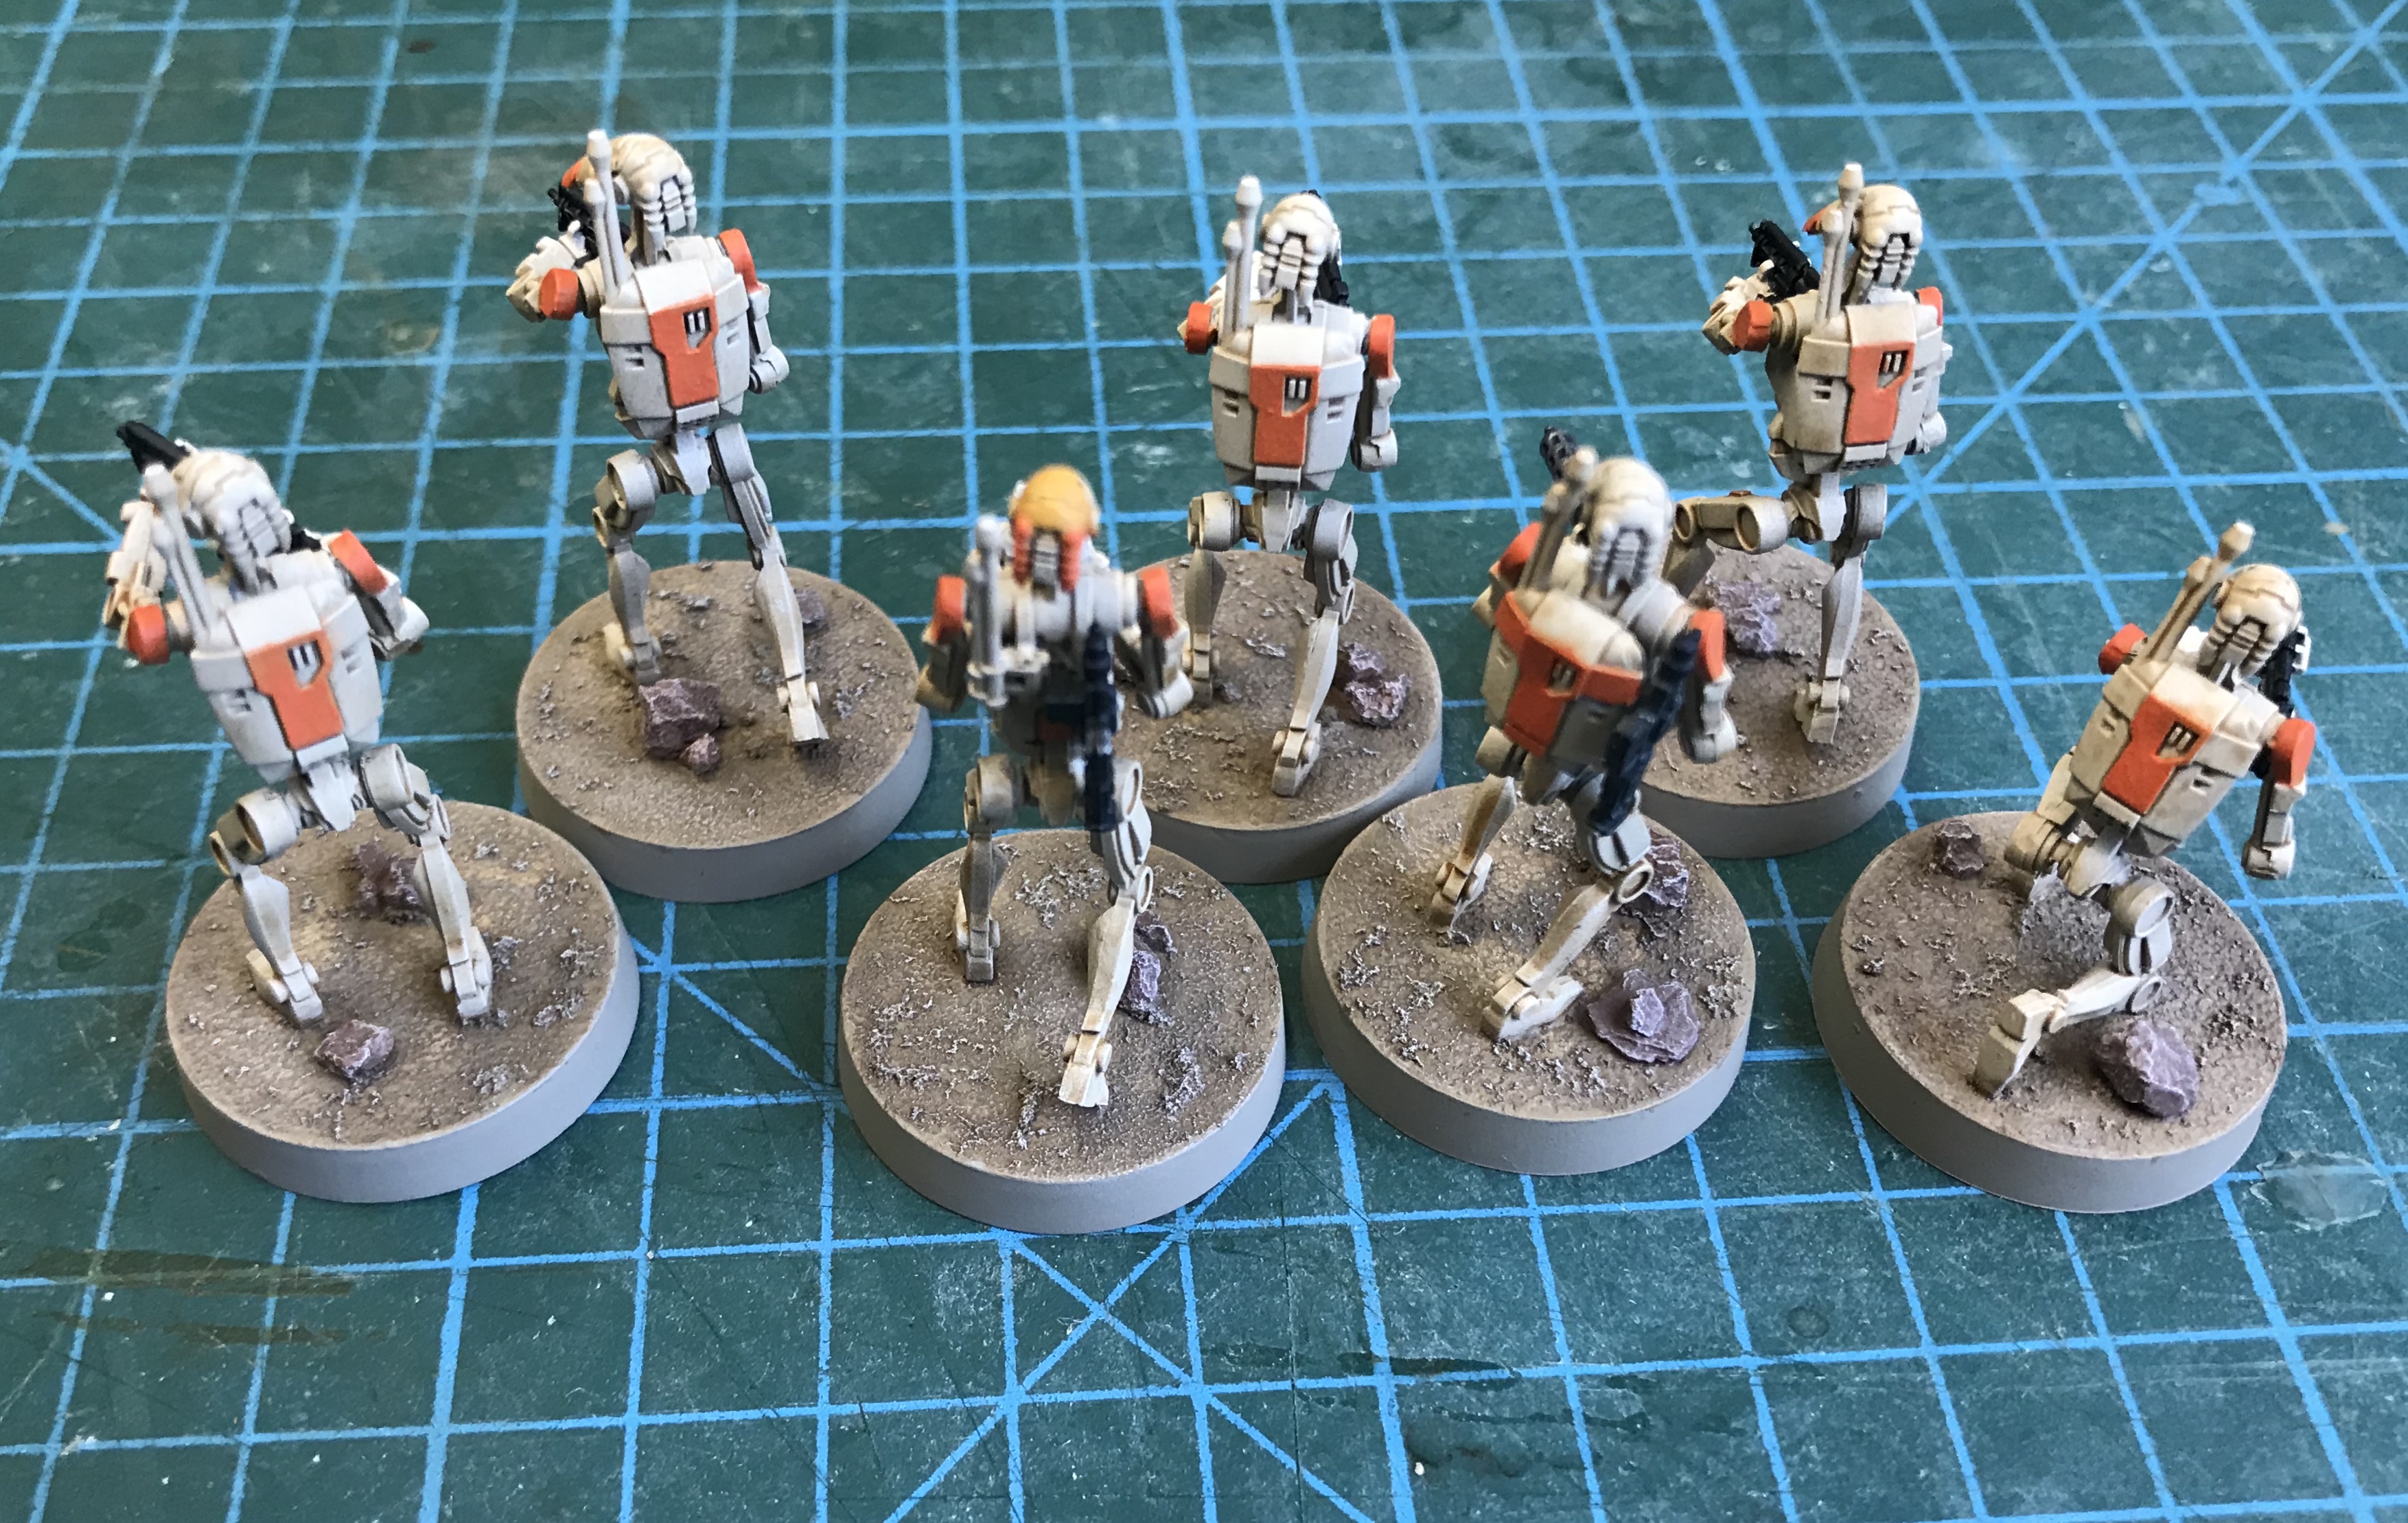
The E-5C is the default heavy weapon for Droids in my opinion. Not only is it the cheapest weapon upgrade available, it’s range of three also synchronises well with the units standard weaponry. This means that if the droids AI programming kicks in, the unit will be firing all of its weapons. The three black dice the E-5C adds to the dice pool is respectable and will generally account for most of the hits the unit lands.
I used a medium sized brush for the most part as the armoured plates of the droids made for easy painting. I also kept a detail brush close to hand for some of the smaller sections.
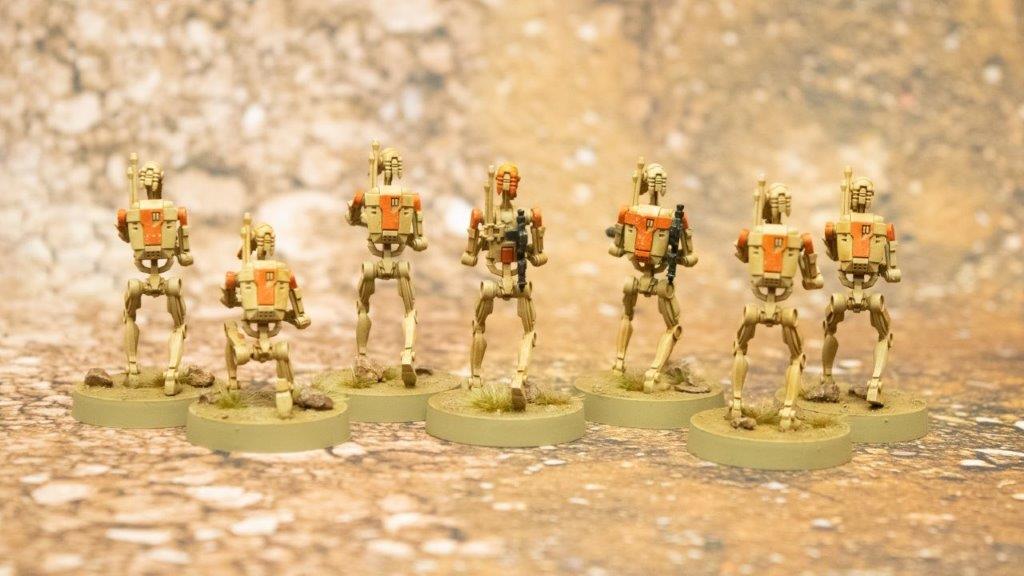
OOM ‘Command Squad’
The next squad I assembled includes the OOM series battle droid upgrade. This droid becomes the unit leader and boosts the range of the units ‘Coordinate’ ability.
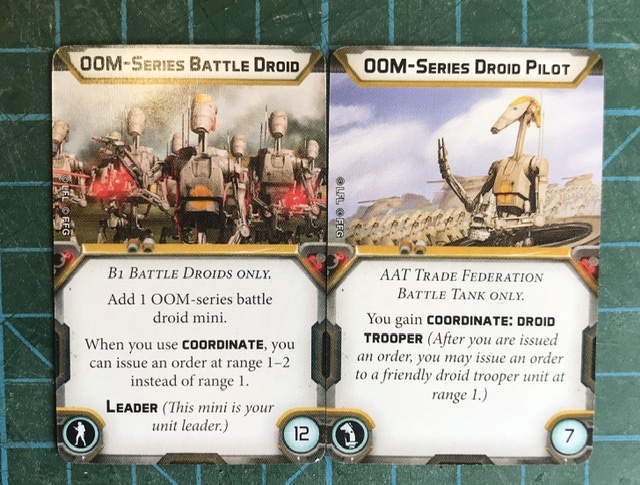
For this squad I intentionally chose more stationary poses in order to represent its commanding role in the army. I even included a couple of droids ‘standing to attention’ to flank the unit leader.
As the OOM series droids are distinguishable by their yellow markings, it made sense to use the Averland Sunset I had used as the unit leaders colour, for this squads spot colour.
This unit will fulfil a mid field role, where their extended coordinate range will allow them to pass orders backwards or forwards to otherwise out of reach units.
As they won’t always be where the action is, I’ve opted to equip Alpha Squad with the E5’s as their heavy weapon.
With a range of four, a red dice and the Critical rule, this is probably the most versatile weapon available to the B1’s and will ensure this unit can always contribute a couple of dice to the fight.
B1 ‘Security Squad’
The next squad to get their markings will include the B1 Security Droid upgrade. This droid allows the unit to which he is assigned, to override their AI programming, should the situation call for it.
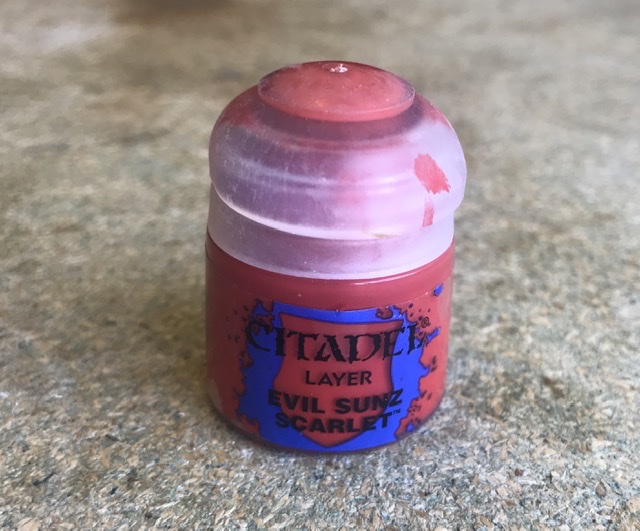
To reflect the security droids presence this units markings will be red, as is the Star Wars convention for security droids. I have used GW Evil Sunz Scarlet for the markings.

As the B1 security droid occupies the personnel slot, this unit will be fielded at full strength. This slightly larger unit size and the benefit the Security droid brings, means Delta are an obvious choice for front line work. I have tried to select poses that reflect their mobile deployment.
I have assigning this squad the standard E-5C but have also given them the option of fielding the Radiation Cannon.
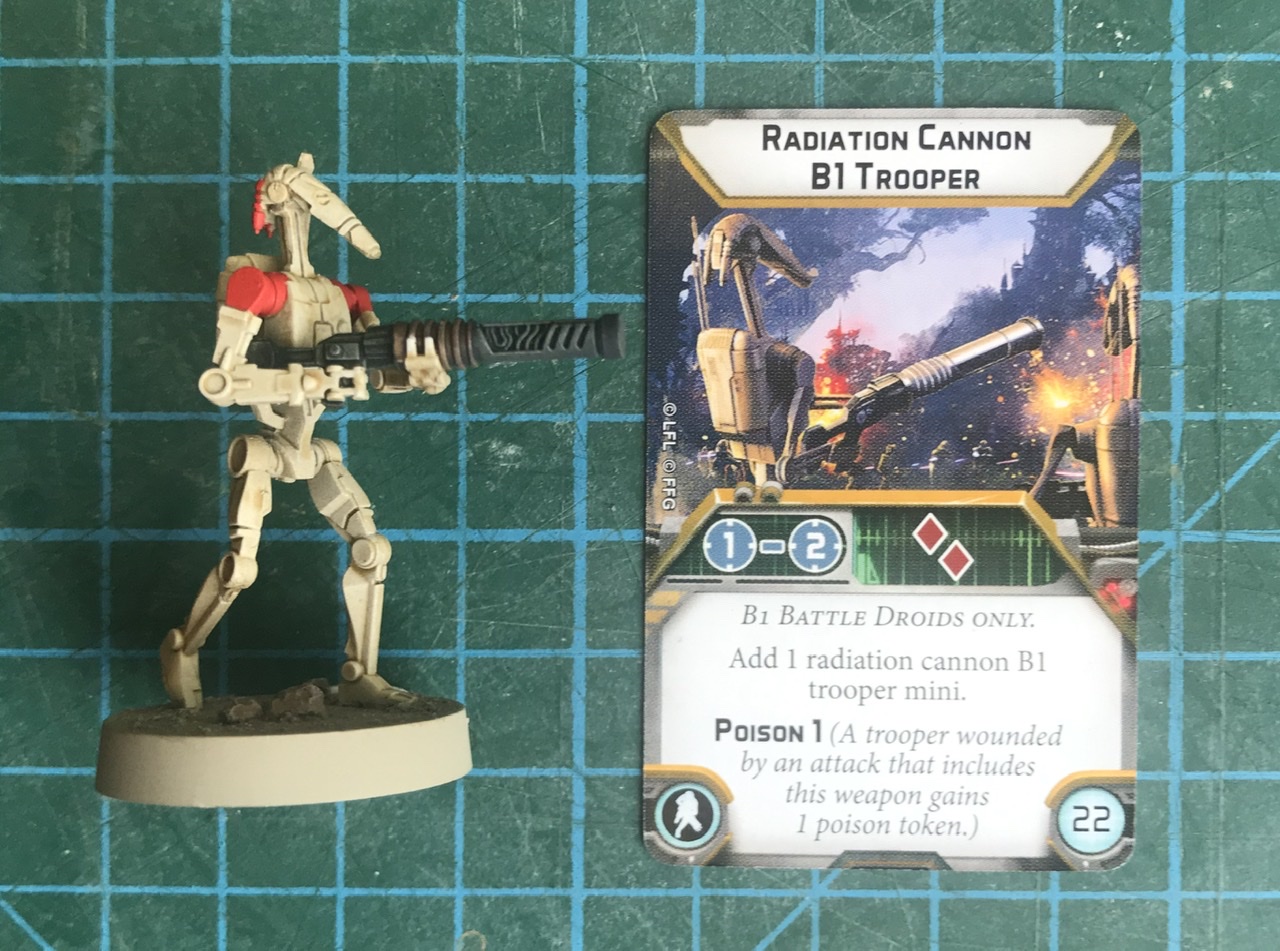
The Radiation Cannon is the most expensive weapon available to the B1’s, and also has the shortest range! The security droids presence offers me the best chance of deploying this weapon successfully. His ability will allow me to advance the unit into radiation cannon range, before the units AI programming kicks in and causes them to fire their standard weaponry.
B1 ‘Ecco Squad’
Within the ranks of the Droids, Blue is used to denote engineers and pilots. As this unit will have blue markings, I’ve decided I will field them in close proximity to my AAT Tank (more on this later), in order to relay orders to the OOM Tank commander.
Though it doesn’t contain any specialist unit upgrades at the moment, this will be the first of two units who have the option of fielding either the E-5C or the E-60R.

The E-60R is a pretty powerful weapon for the droids, sporting three black dice at range four and adding Impact 2 to the attack. It’s main drawback is that the card needs to be readied after use, making it challenging for the unit to aim or reposition itself as well as fire. It can also lead to problems if your AI programming kicks in and the weapon is waiting to be readied.
However the E-60R is the B1’s most powerful anti armour weapon and will serve as strong deterrent to enemy vehicles.
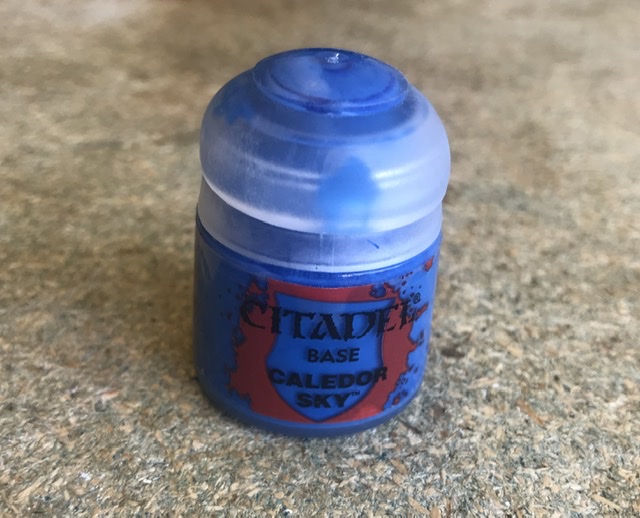
The markings for this unit were done with Caledor Sky from GW’s base range.
B1 ‘Gamma Squad’
The final unit to receive their markings has been dubbed ‘Gamma Squad’.
Gamma squad has been given the same load out as Ecco squad, having the option of fielding either of the standard B1 heavy weapons. This gives me some flexibility within these units, while the first three squads have more defined roles
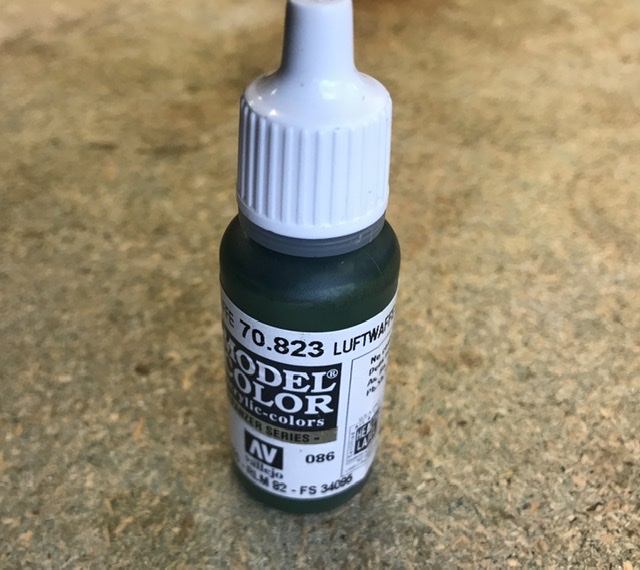
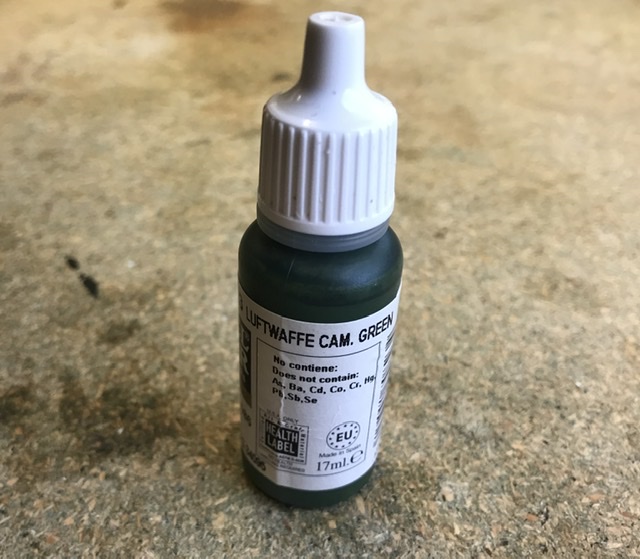
Gamma’s green markings were painted with Vallejo Luftwaffe Camo Green.
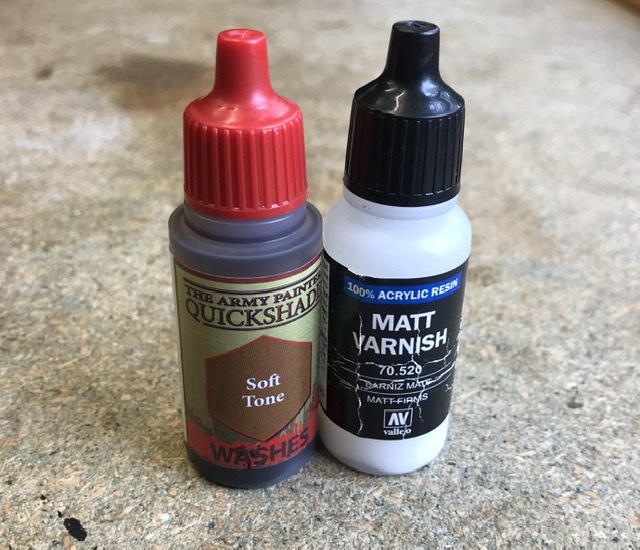
My B1’s were almost completed. I just needed to give each of the units a coat of Army Painter Soft Tone Wash, which would further bring out the detail and tone down the squad markings. As a matter of course I also give all of my gaming miniatures a coat of Vallejo Matt Varnish to even out the finish and protect the paint beneath.
B1’s Completed
Once the droids had been given their soft tone wash and Matt coat Varnish, I added red lenses to the binoculars with Contrast Blood Angels Red. This was knocked back with a Nuln oil wash. The final touch was to add a tuft or two of grass to each base.

 Alpha ‘command’ Squad
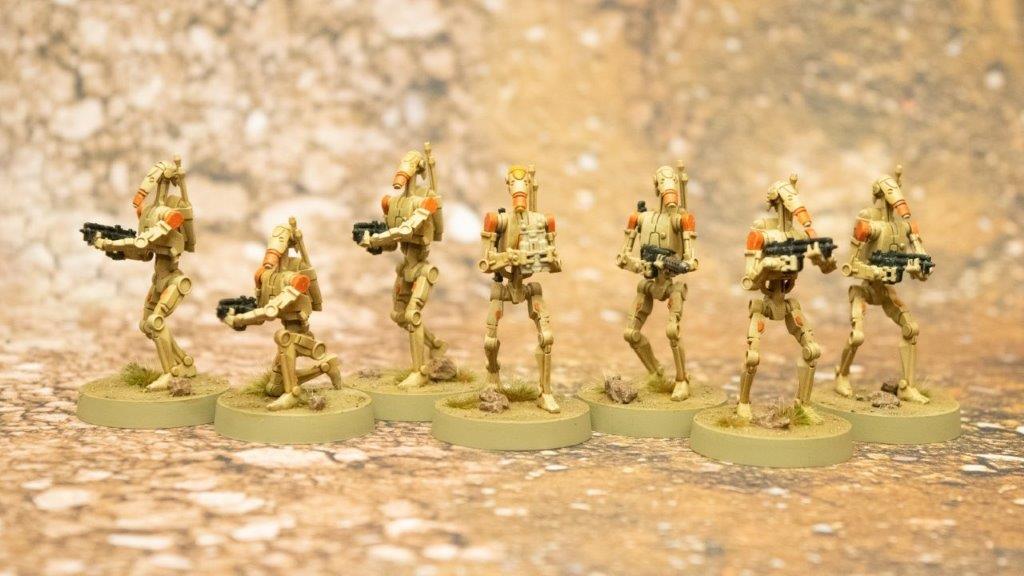
 Beta ‘Goose’ Squad
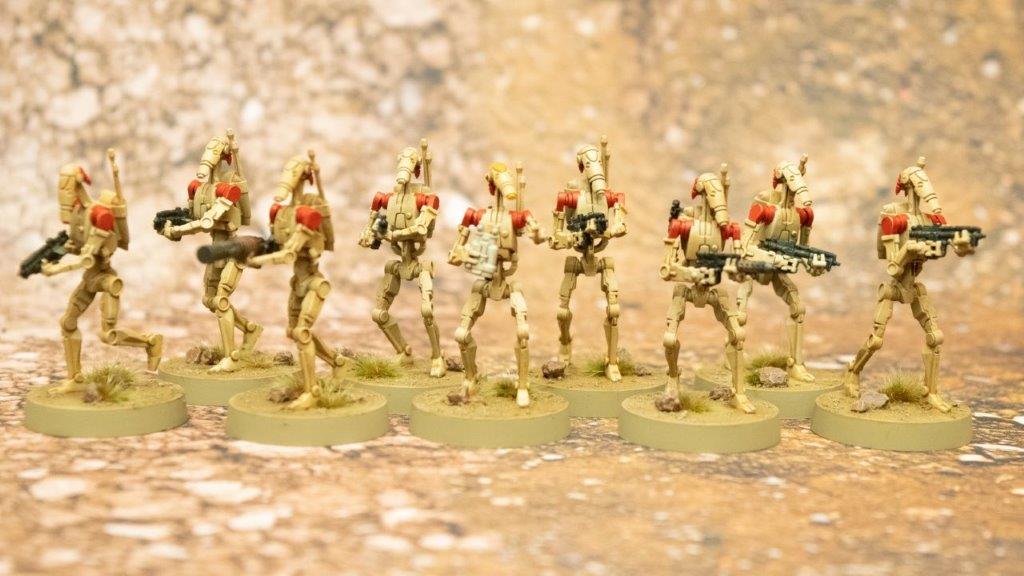
 Delta ‘Security’ Squad
 Ecco ‘Engineer’ Squad
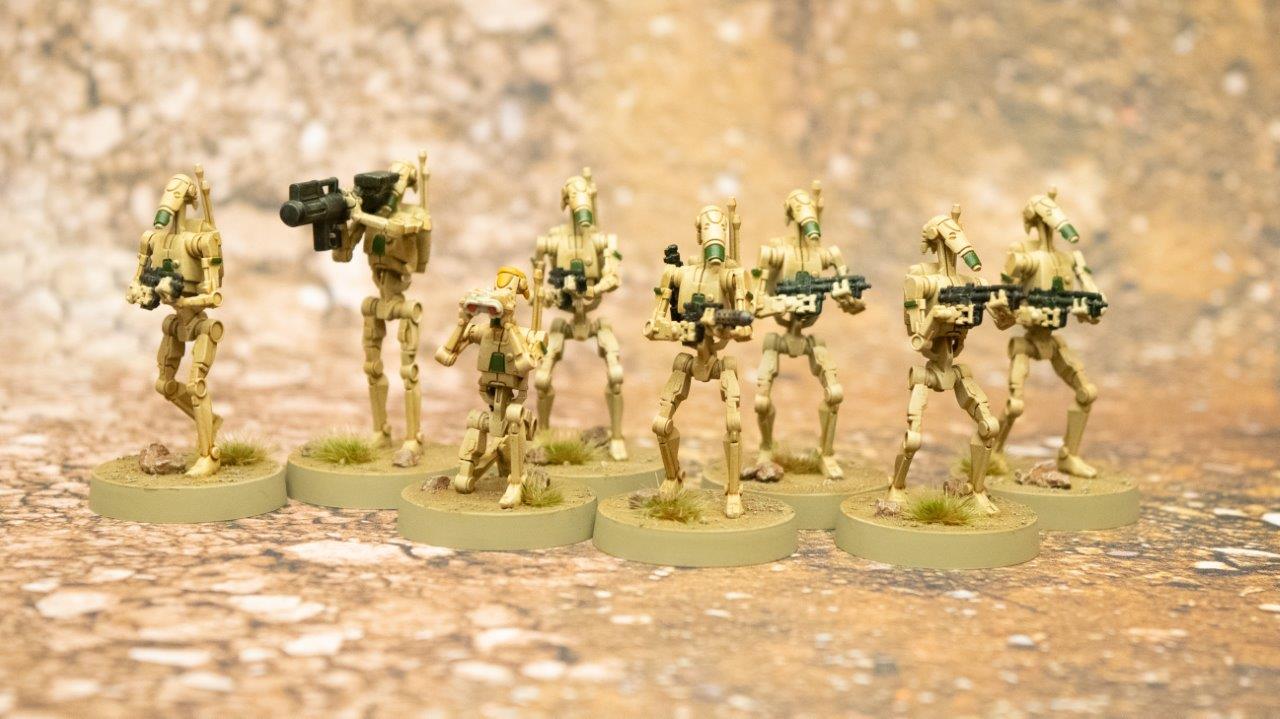
 Gamma ‘Fire Support’ Squad
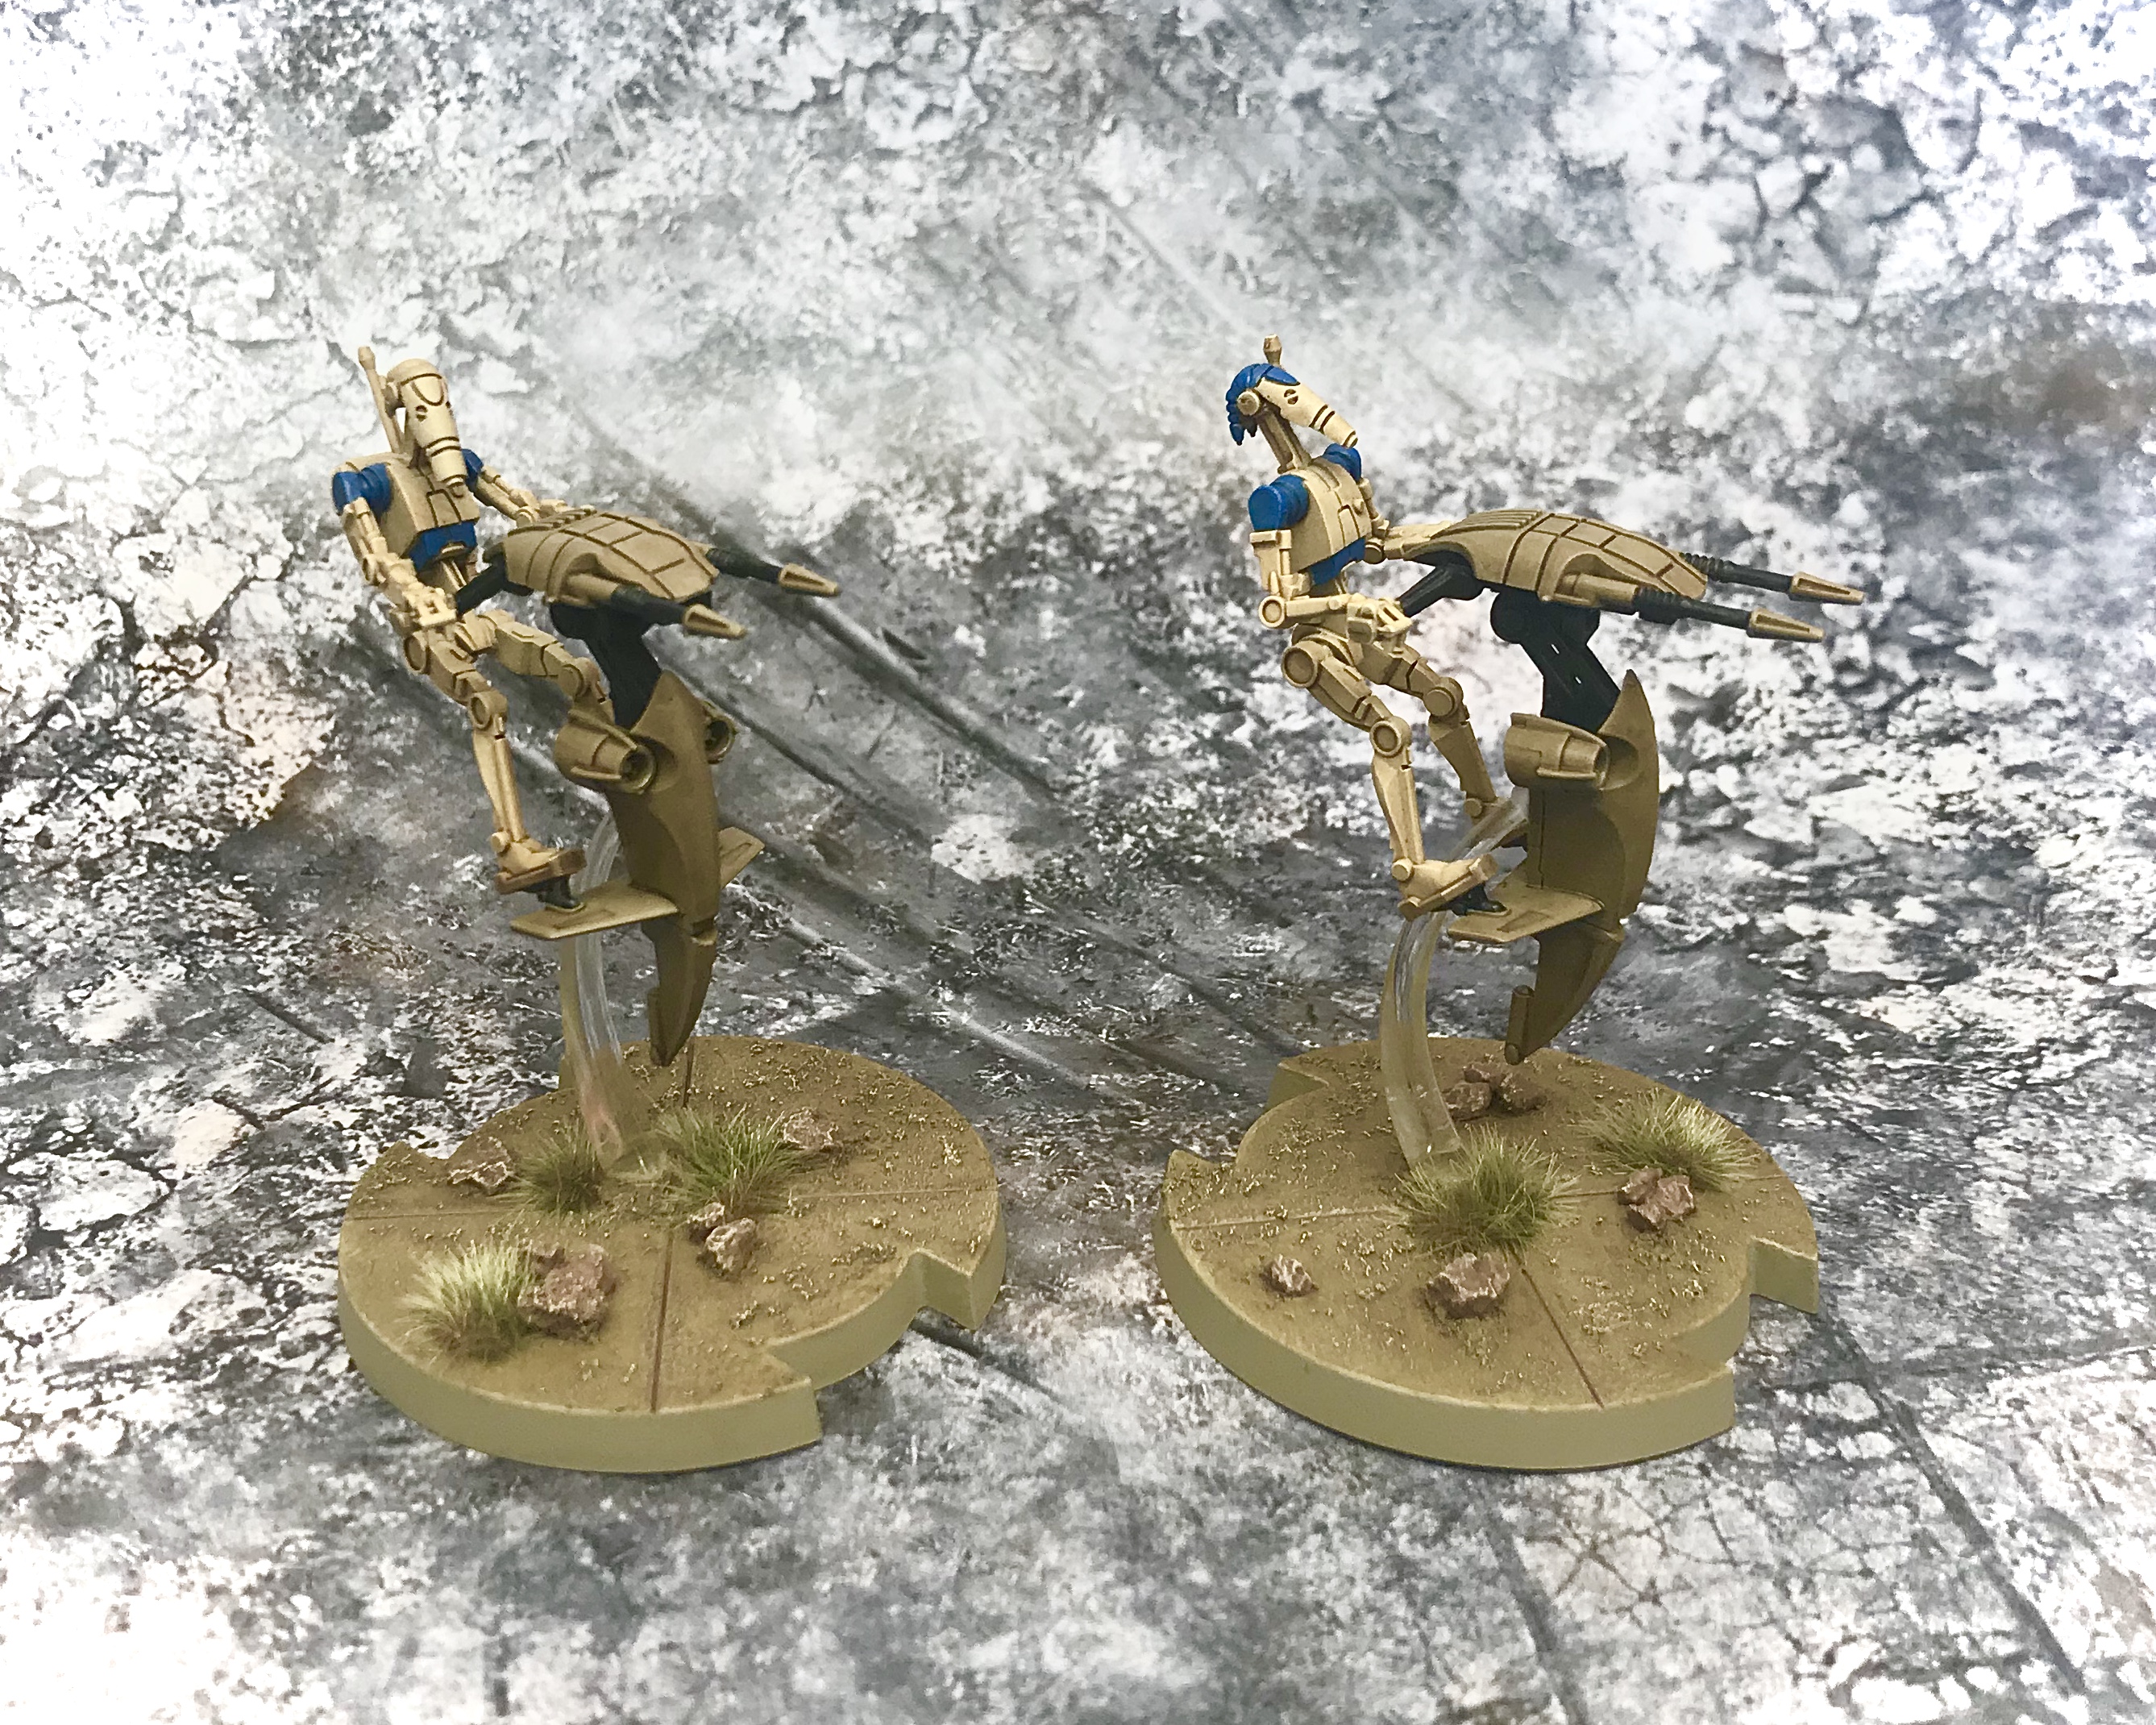
 STAP’s
With the B1 squads completed, I turned my attention back to the STAP’s.
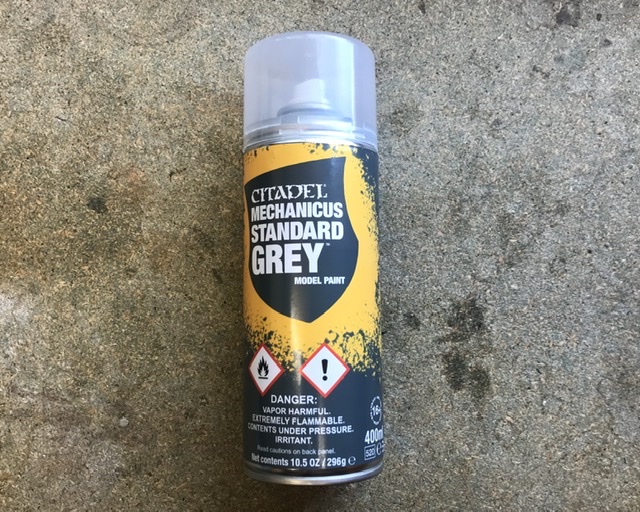
I lightly glued the STAP cassis to a couple of spare flight stands and used a can of Mechanicum Grey to prime them.
I had recently been given an airbrush by Hazyboy and figured this would be a quick way to achieve a decent paint scheme.
I had never tried pre shading before but had seen some great examples of this technique on the OTT site and wanted to have a go at it.

Flipping the STAP’s upside down I airbrushed Corvus Black on the rear and lower part of the chassis. I then turned the models back the right way up and applied Dawnstone for the mid tones. Finally I used a zenith of White Scar, this time working from the front and keeping the airbrush above the model.
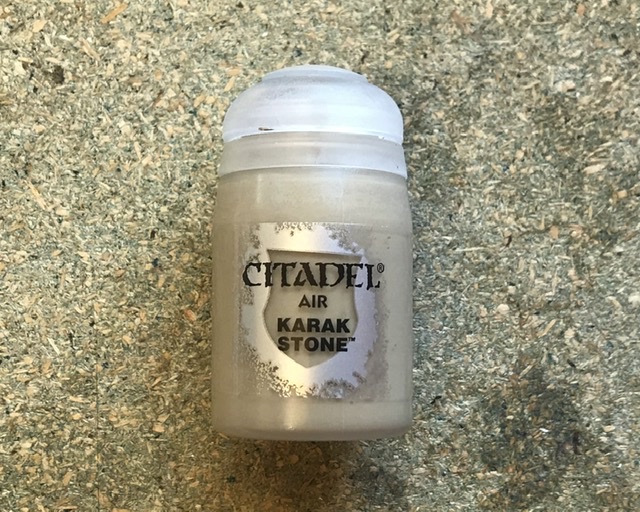
Once this had fully dried I gave the whole model a thin coat of Karak Stone. I aimed to cover the entire model but by working from above and horizontal to the model, I was able to leave some of the darker shadows on the underside and in the deepest recesses.

Sticking with the palette I had used for the B1’s where possible, I used Contrast Black Templar on the inner frame of the chassis and gun barrels.
STAP’s Completed
Returning to the pilots I painted the handlebars and foot rests with the ‘Airbrush Dawnstone’, this time applied with a brush.
I added blue markings to the pilots to maintain the theme of my other units. They were then given a coat of Soft Tone.

With the bulk of work done on both the pilots and STAP chassis, I carefully glued them together with liquid poly. The chassis were connected to the flight stands with superglue.
I checked over the models for areas that needed touching in after the assembly, mainly around the handlebars and foot rests. The models then had the obligatory coat of Matt Varnish and this unit was finished!

The Next Generation
The next unit to be added to my army are the BX Commando Droids. Anyone familiar with the Clone Wars TV series will know that these guys are a significant upgrade on their B1 forbearers.

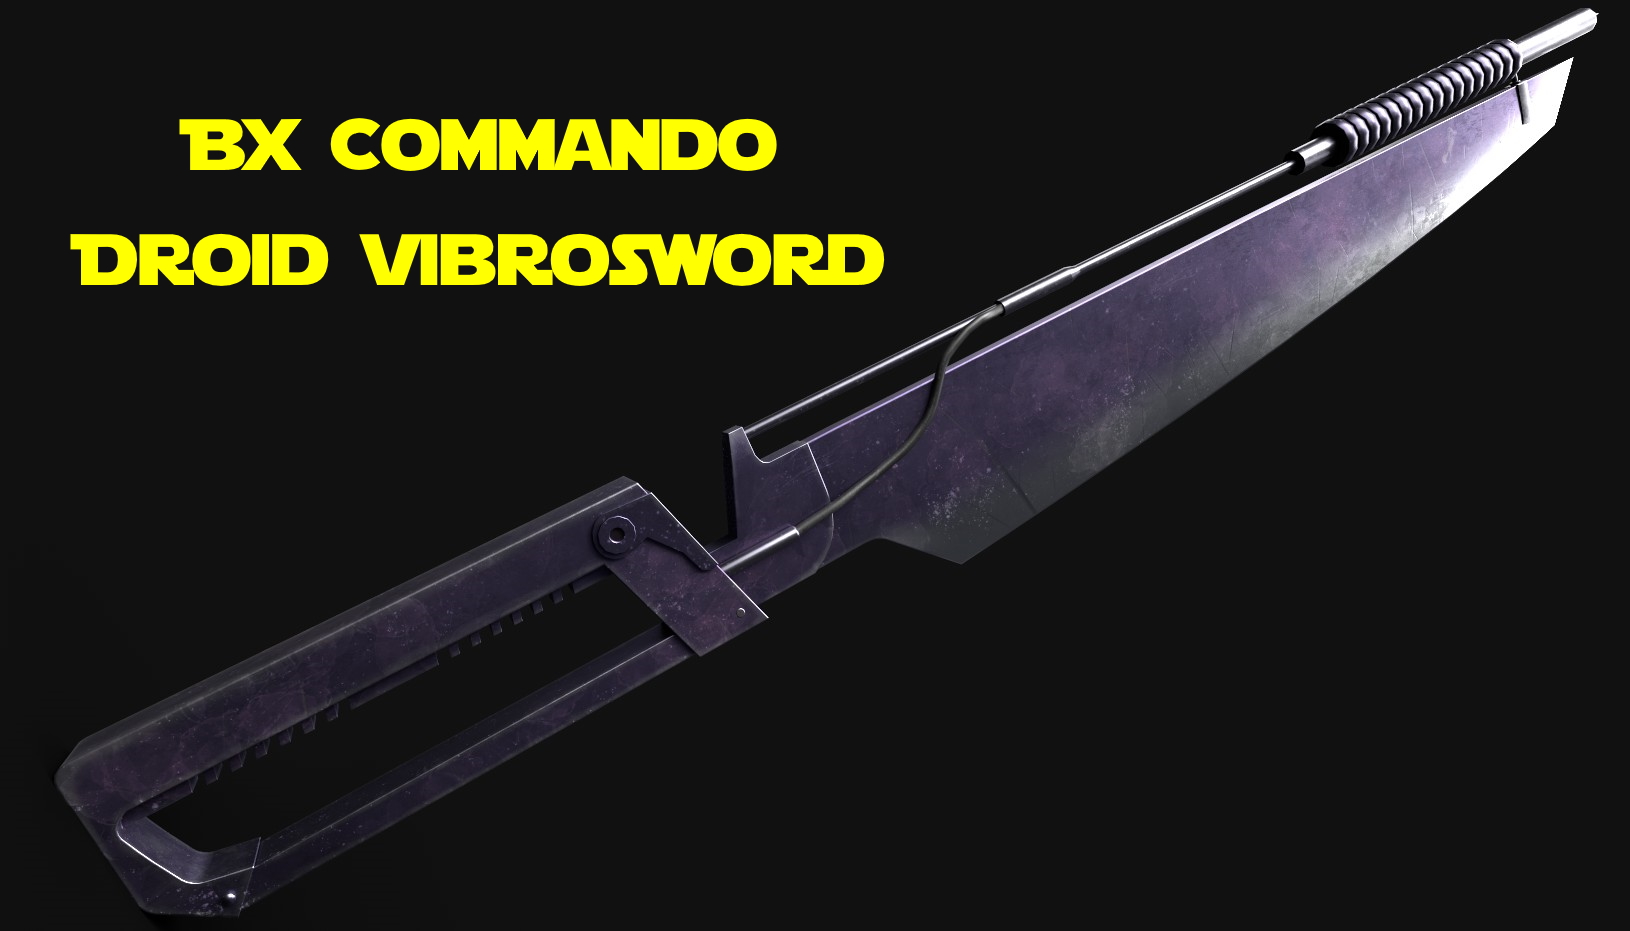
This was a really nice kit to assemble and included a few optional armaments. I went with the Vibroswords which look much cooler than the energy shields IMO! The swords also give the unit the ‘Charge’ ability, allowing them to engage the enemy more quickly.
These were primed Khaki followed by Wraithbone, in exactly the same manner as the B1’s.
As the contrasts had served me well until now, I decided I would stick with this method of working. For the moment I’m doing a couple of tests on some spare arms to figure out which colours will work best for the Commando Droids dark colour scheme.
Painting the Commandos
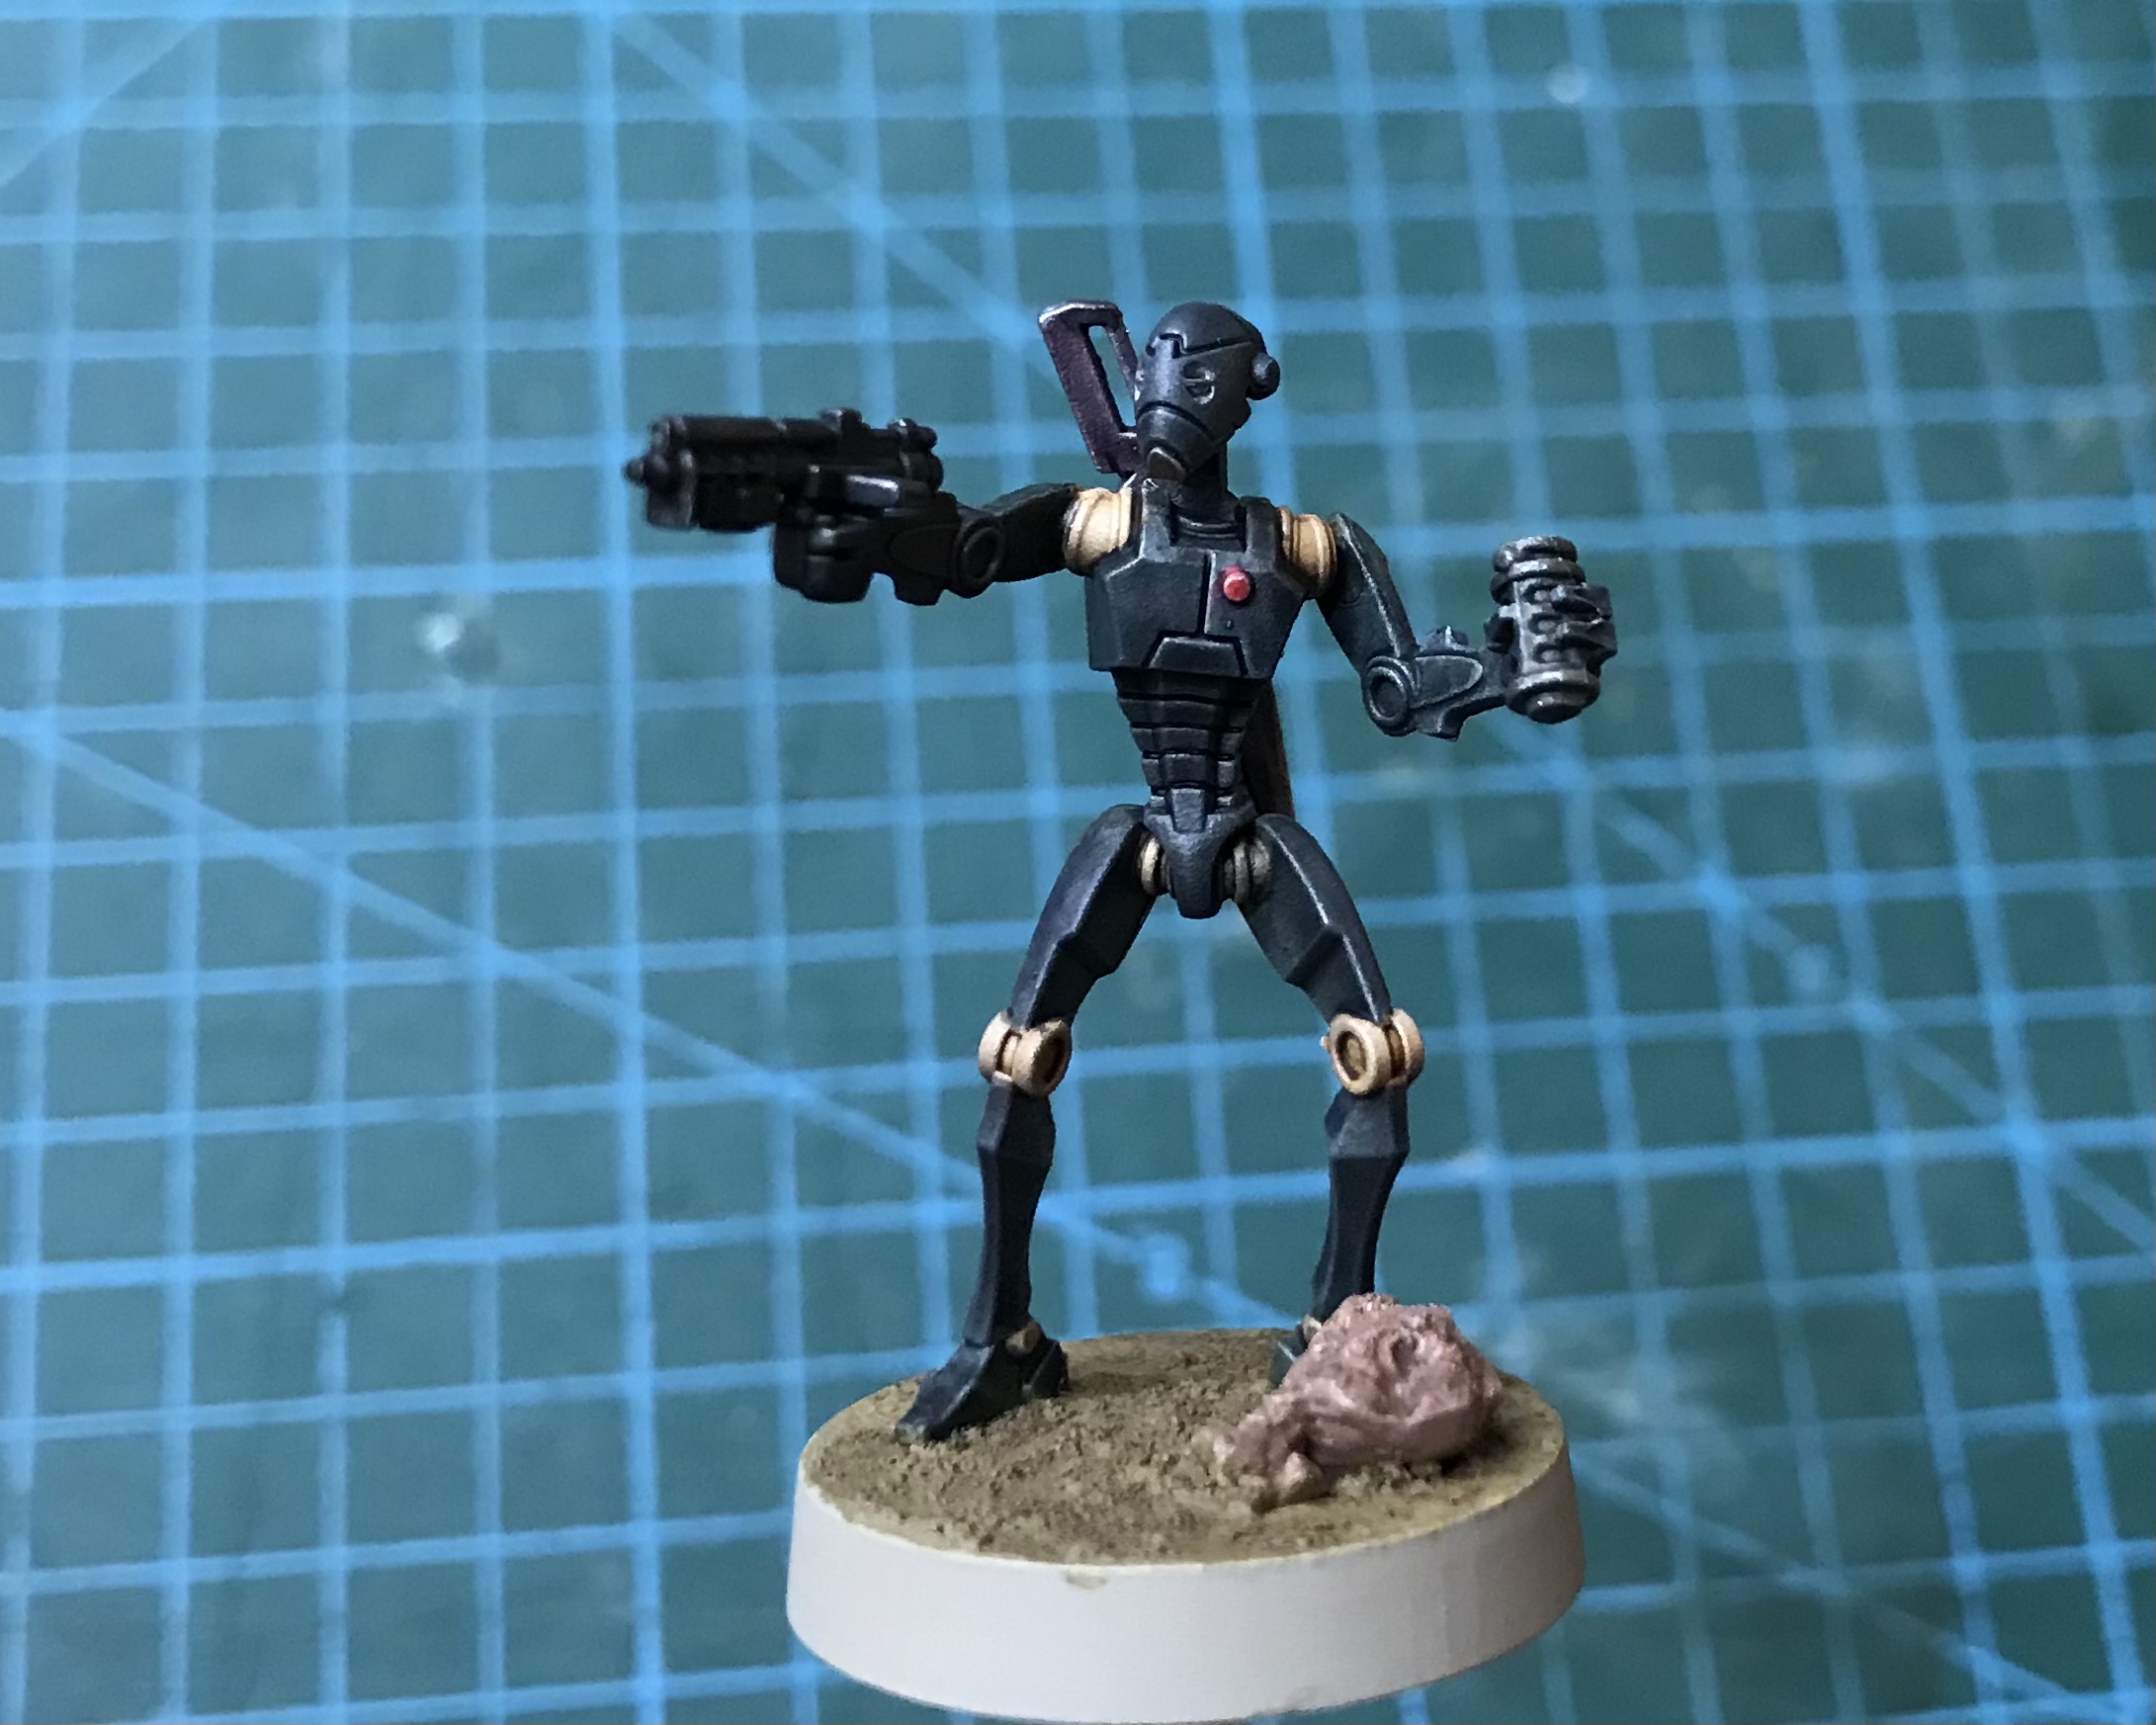
After a little research and my previous paint tests, I had my colour scheme figured out.

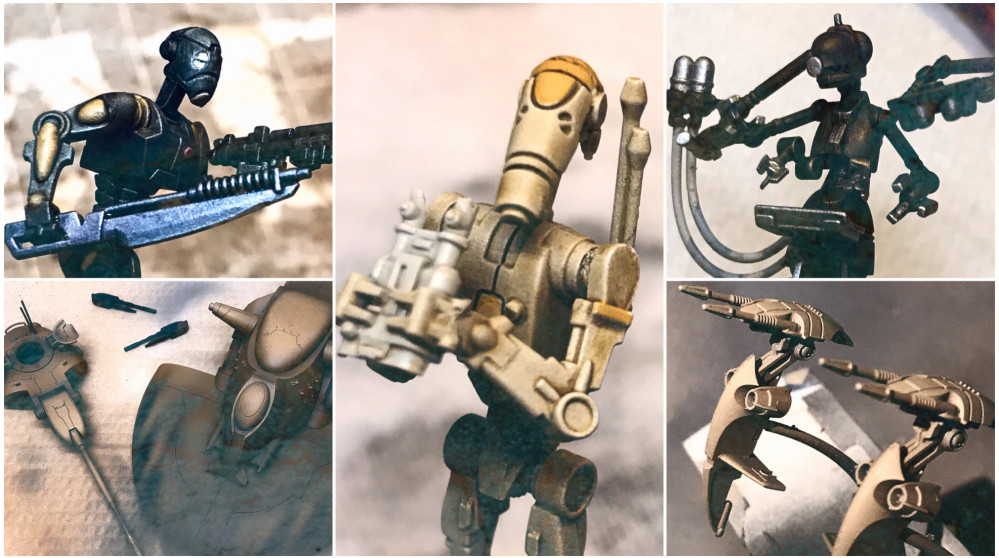
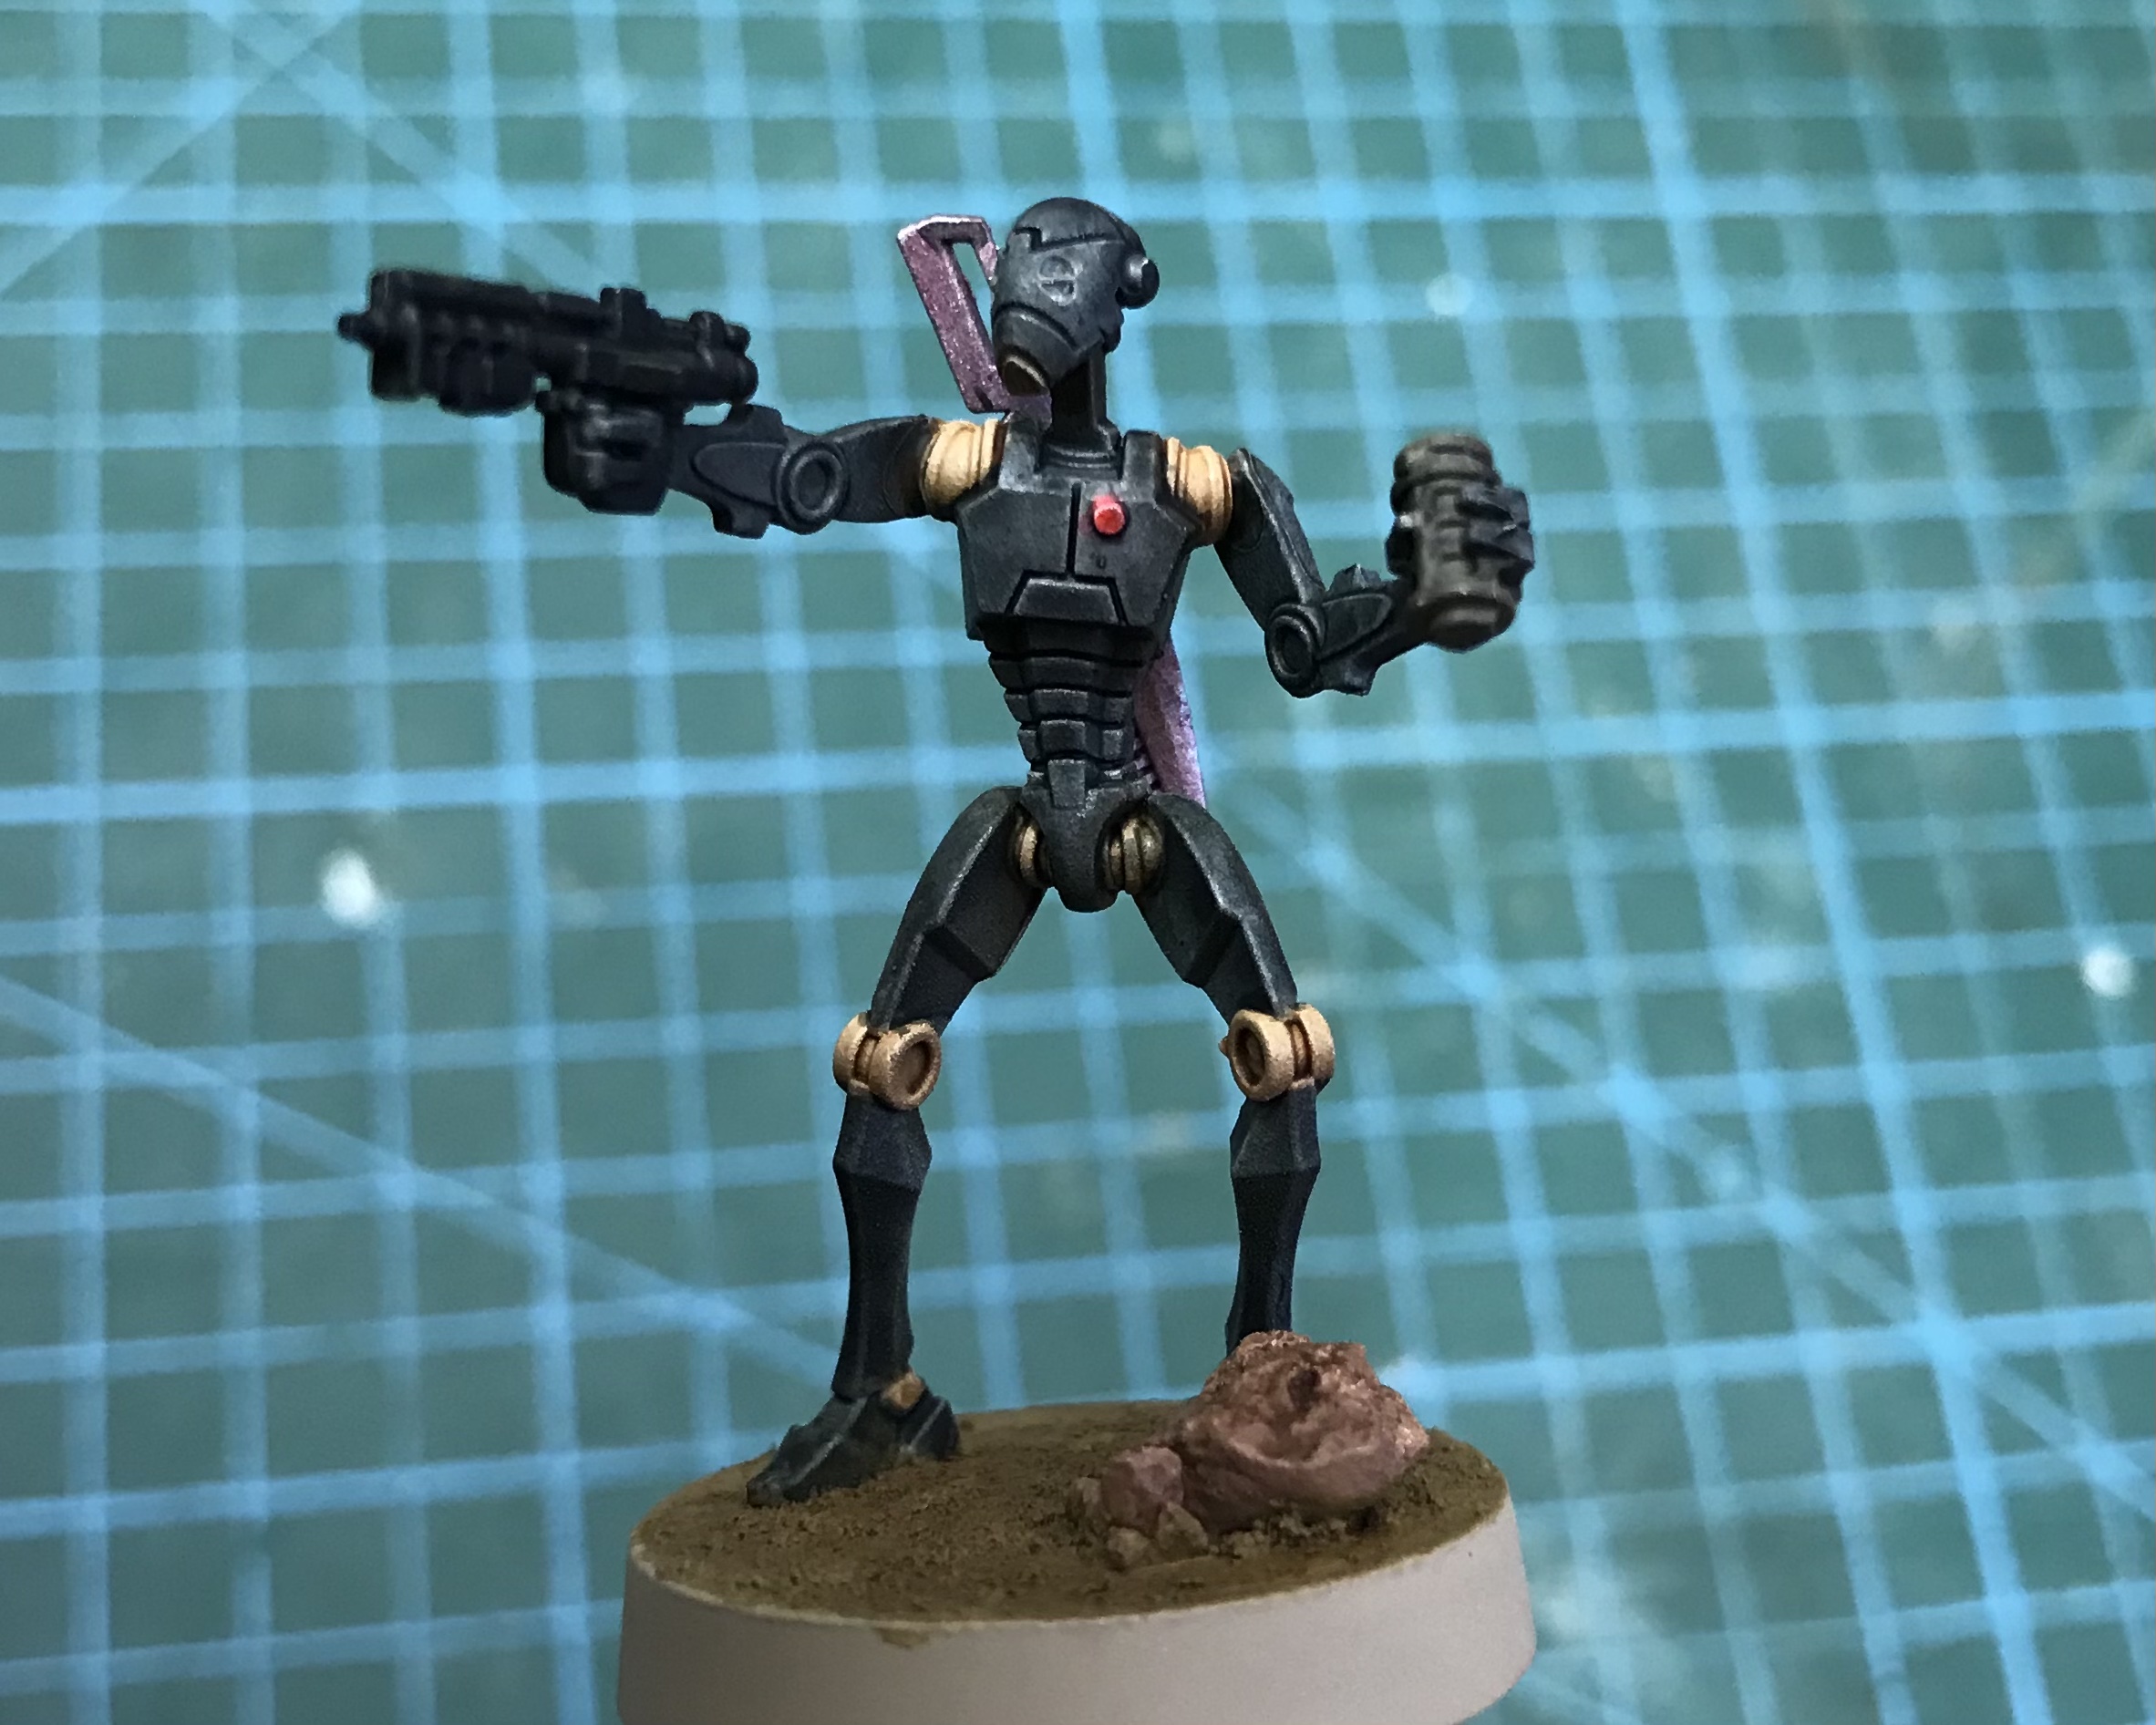
My first step was applying Skeleton Hoard to the joints and inset areas of armour. The vibroswords were painted with Iron breaker and the small light on the droids chests were painted with Contrast Blood Angels Red.
Once this was dry I used 2-1 mix of Black Templar and Contrast Medium for the droids chassis, being careful to leave the eyes in the original Wraithbone. Neat Black Templar was used for the guns.
My initial feeling about this stage was not good. Although contrasts are great on detailed areas they don’t sit so well on the flat areas, particularly the head in this instance.

Despite my initial trepidation I persevered and decided to give the chassis a second, thin coat of Templar and medium. This helped to even out the surface as well as take it a little darker. I then gave the black areas a wash of Drakenhorf Nightshade. I was careful to avoid the blaster and the brown sections, the latter of which were instead washed with Agrax Earthshade. The Vibrosword was given a purple wash made by mixing a spot of Blood Angels Contrast with a few drops of Darkenhorf Nightshade.
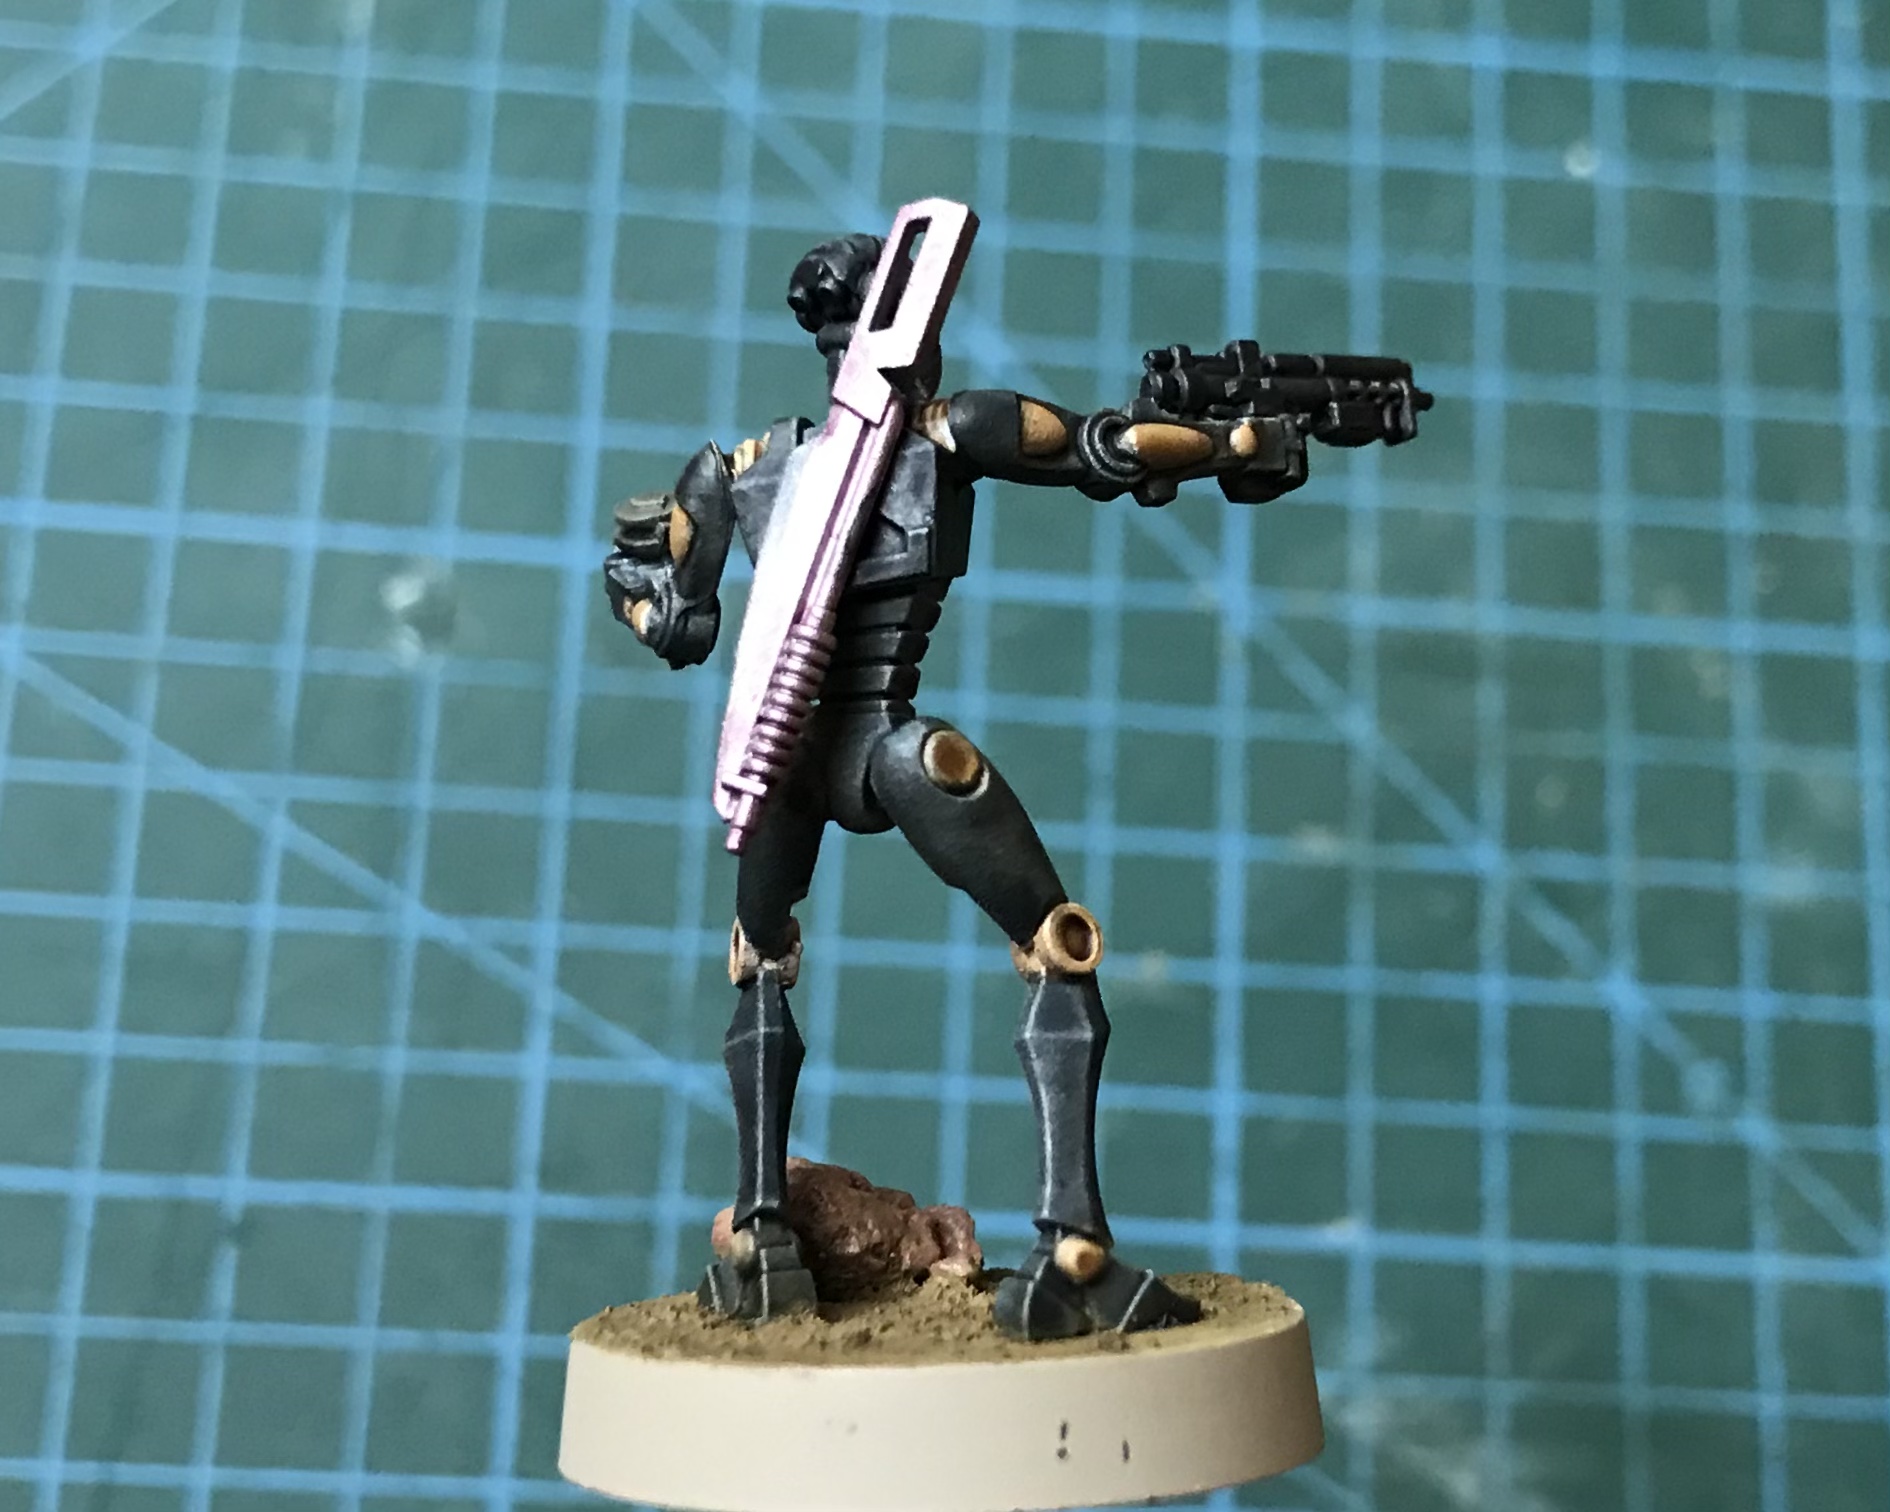
With the washes dried, I still wasn’t happy with the black areas of the droid. I decided to try a dry brush of Vallejo German Field Blue, to highlight the edges and bring the black towards the charcoal grey of the reference. The guns and Vibroswords were also dry brushed over with Iron Breaker at this stage, before all of the above were given a thin wash of Nuln Oil.
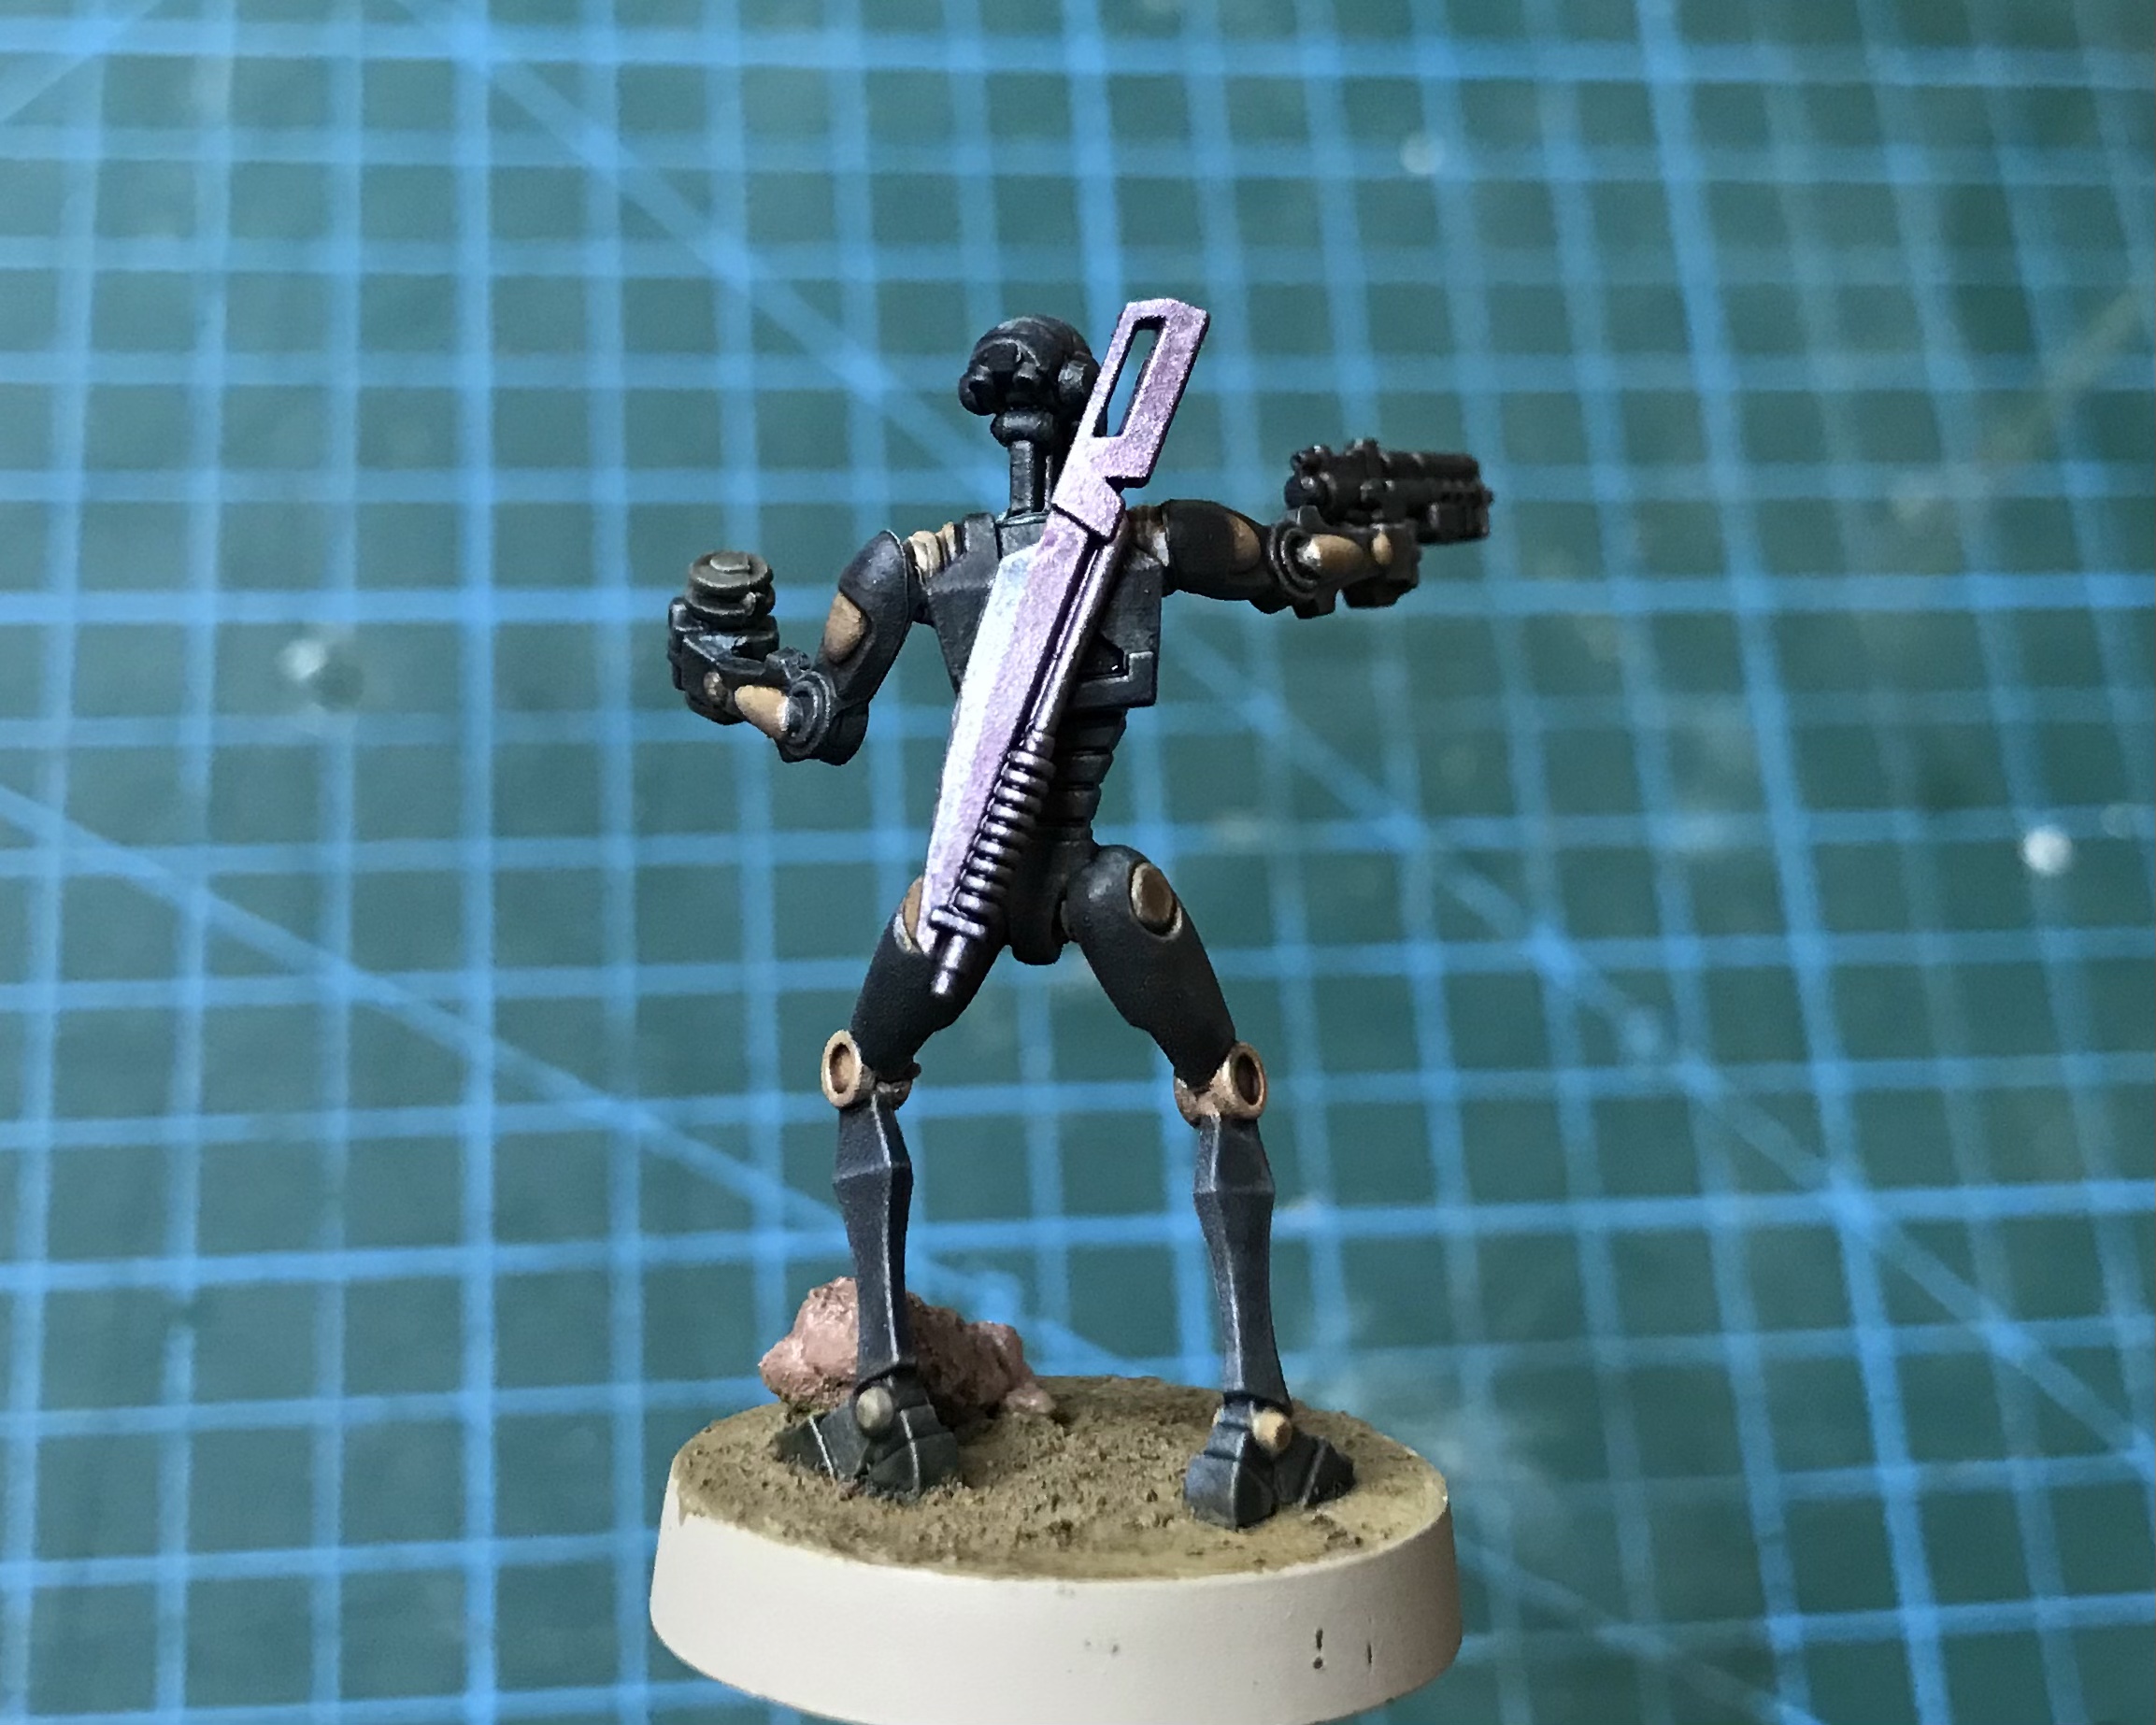
Often the simplest techniques are the best and the dry brush really lifted the detail and lightened the model. I was much happier with the overall look.
Finishing the Commandos
The BX Command Droid’s required a little more work than the B1’s. I touched their eyes back in with Wraithbone to make sure they stood out and added a second, light dry brush of German Field Blue over the black chassis. The bases were then completed as per my previous units.


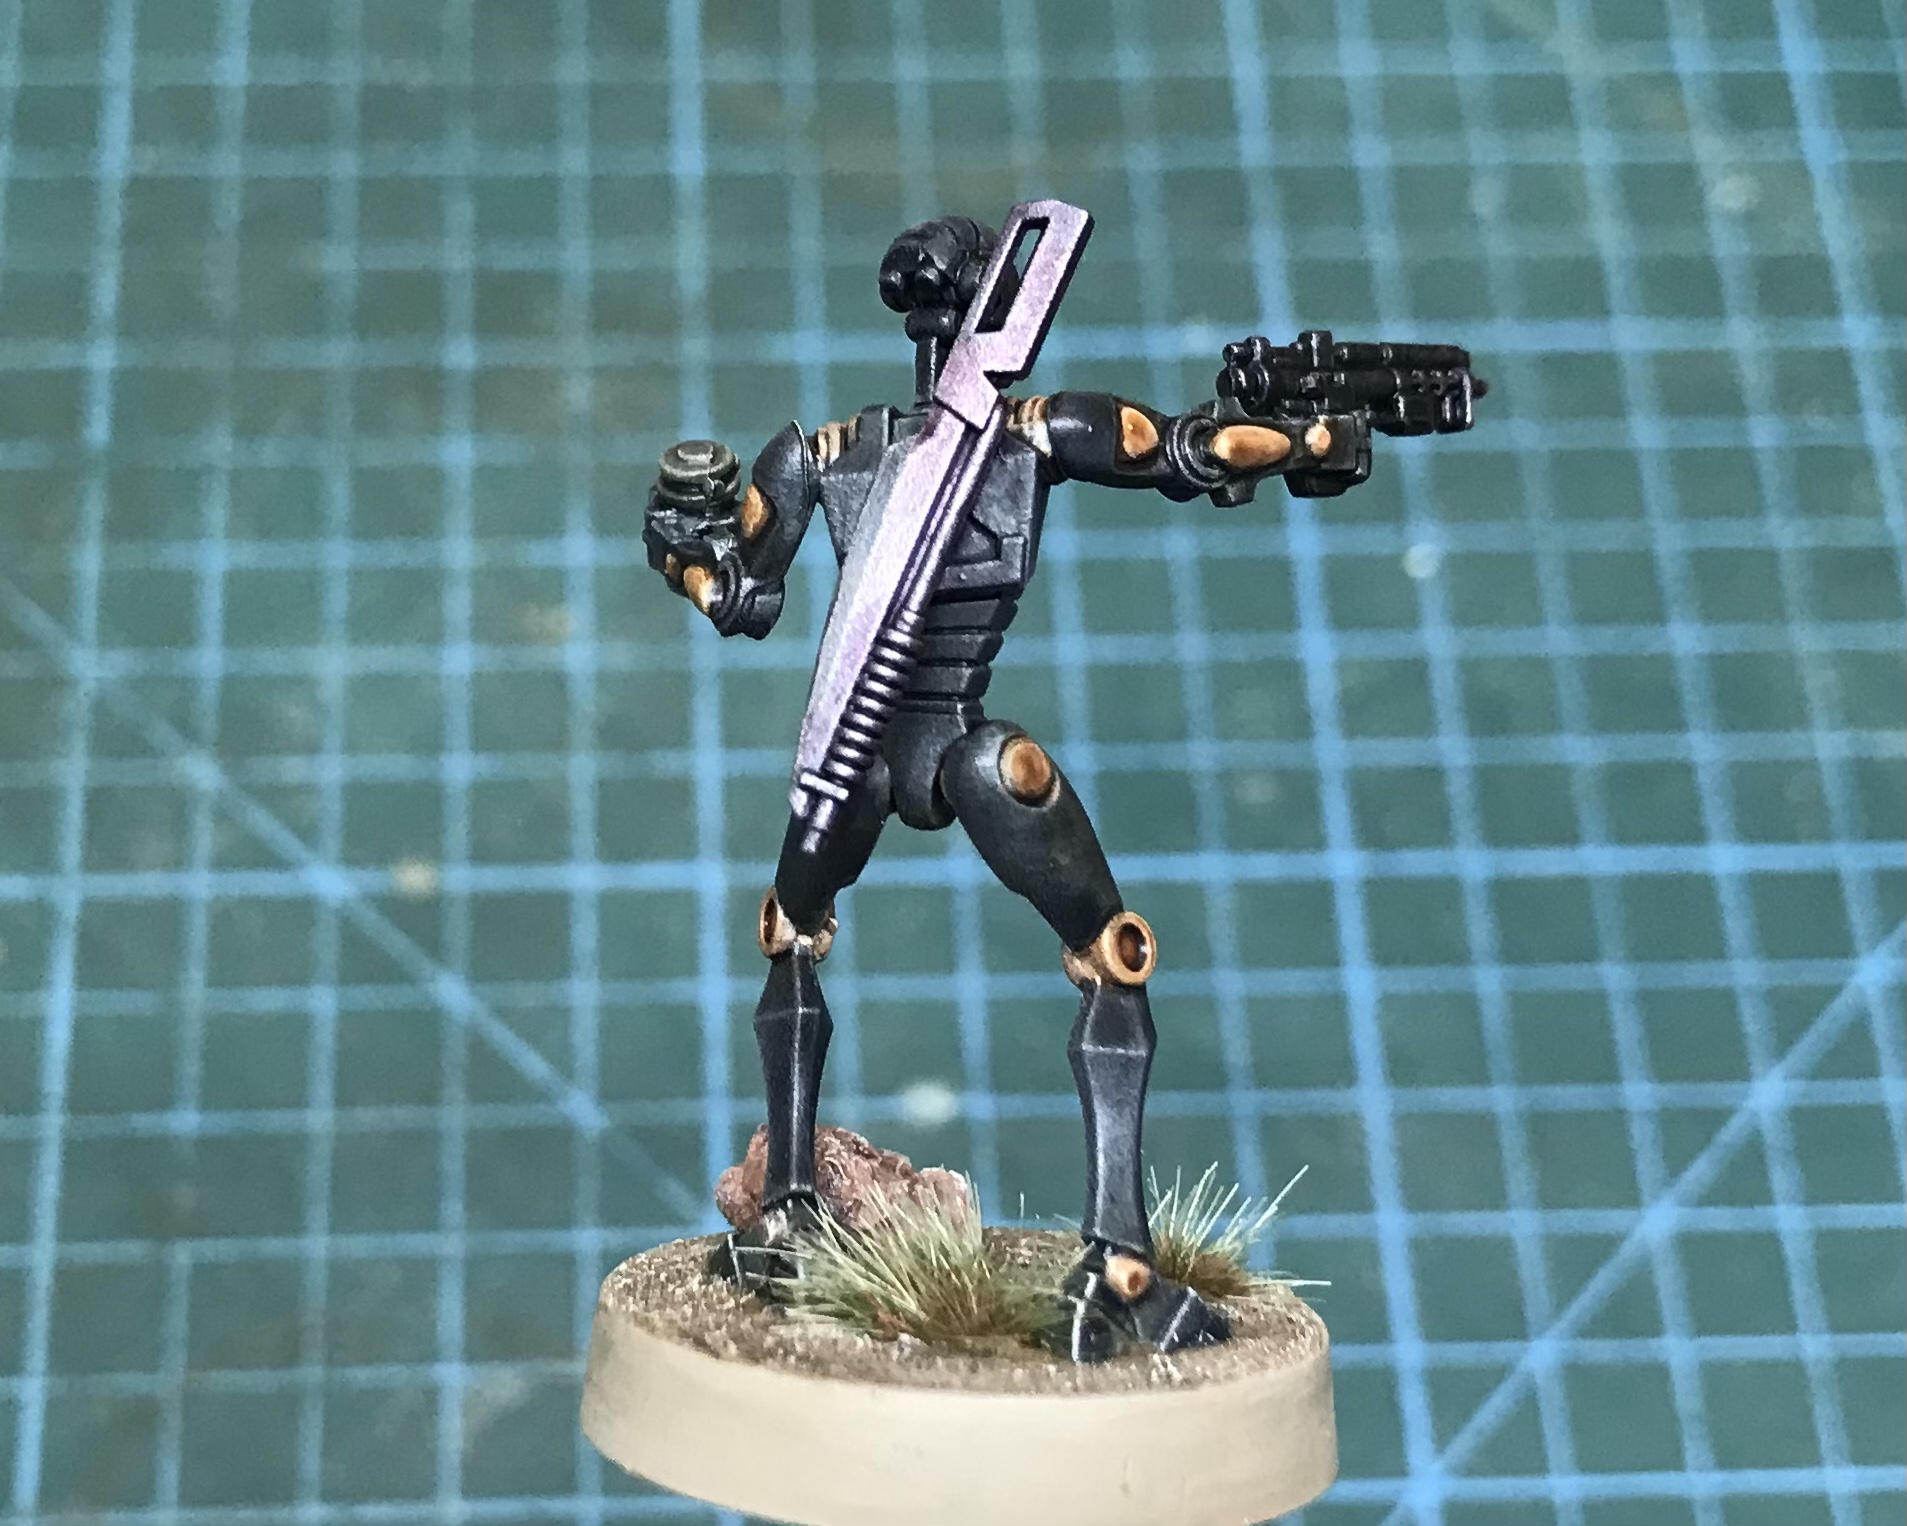
Checking back over my reference I noticed that the Vibrosword blades could benefit from another layer of Iron Breaker. I left the hilt and spine showing more purple, as depicted in the image.
Due to lock down restrictions the Commandos were yet to see the table top but my intention is to run them as follows;
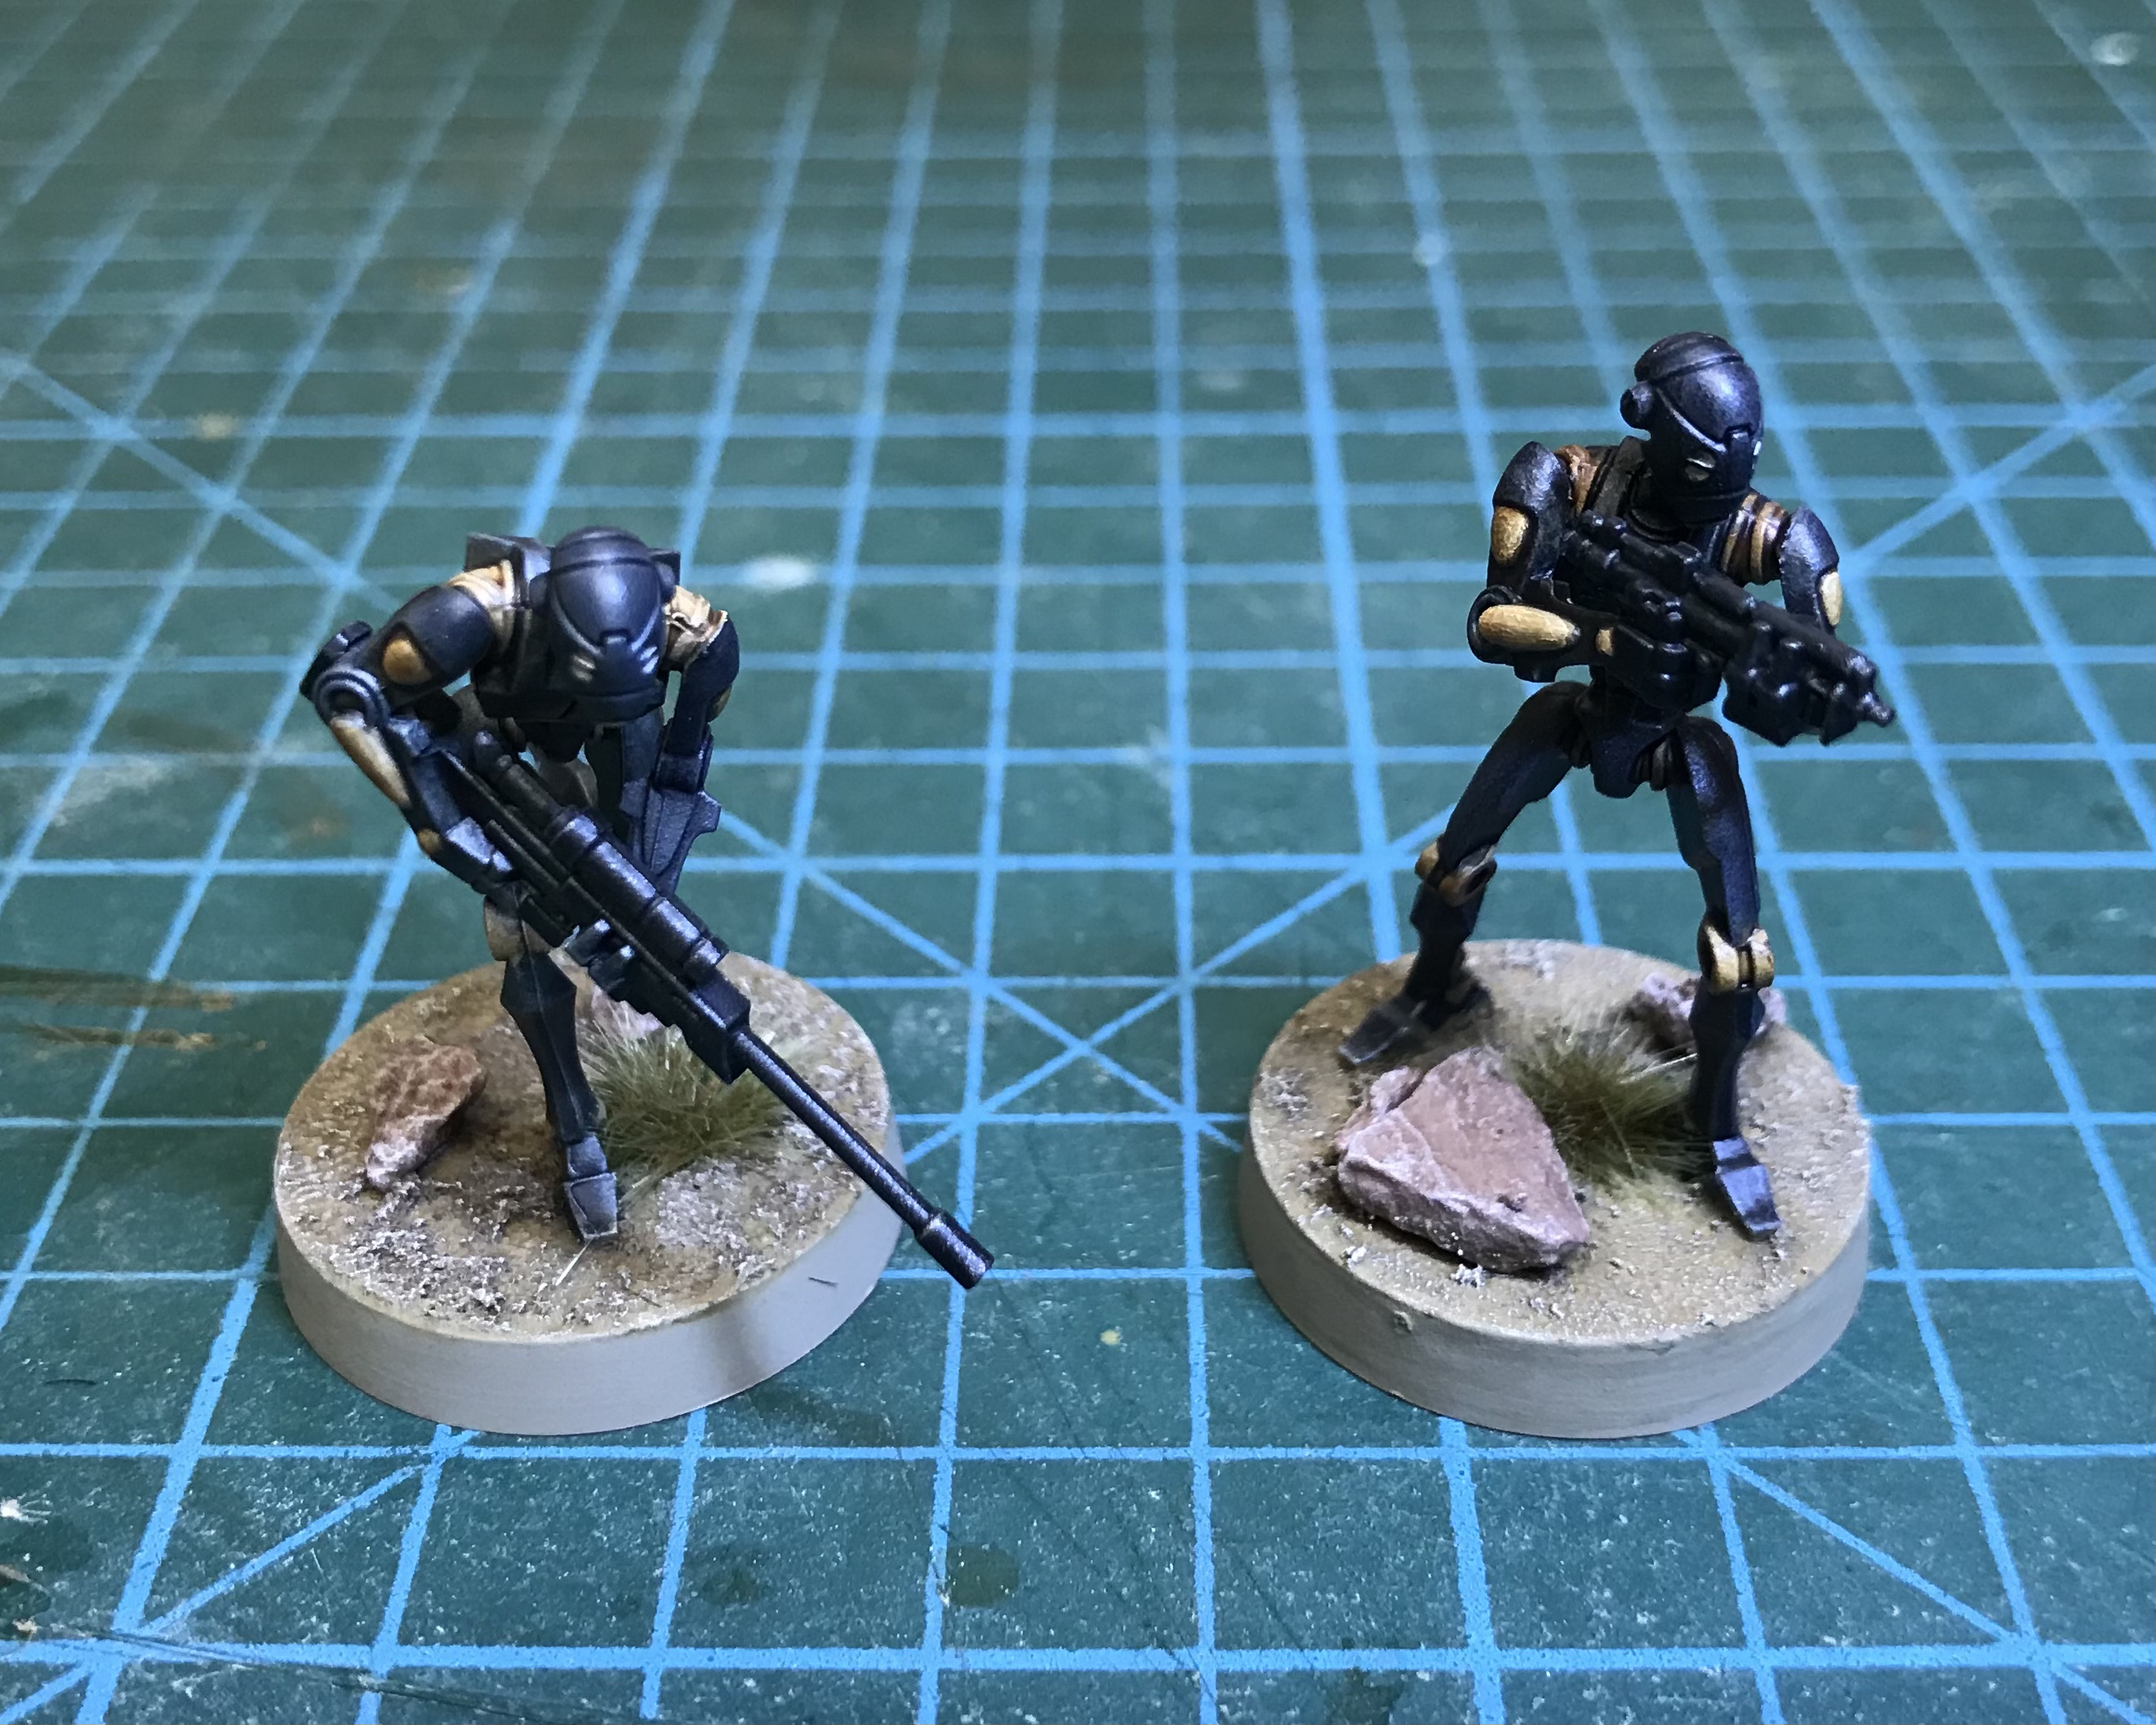
Firstly this two man sniper team who will be perfect for grabbing back field objectives and harassing critical enemy units from range. The commands have the most powerful sniper rifle to date, boasting two red dice and the Lethal key word. Combined with the Commandos Sharp Shooter ability this unit is all but guaranteed to cause at least one wound each time it fires.

The rest of the droids will form a unit equipped with Vibroswords and include the Dioxis Mine Saboteur. This unit will play a much more aggressive role, making the most of the scout and charge abilities in order to engage the enemy head on.

The Commanding Officers currently available to the Separatists are both close ranged fighters, so this 2nd BX squad is a welcome addition to my force. They are a highly mobile unit, ideal to keep pace with my commander and support an assault.
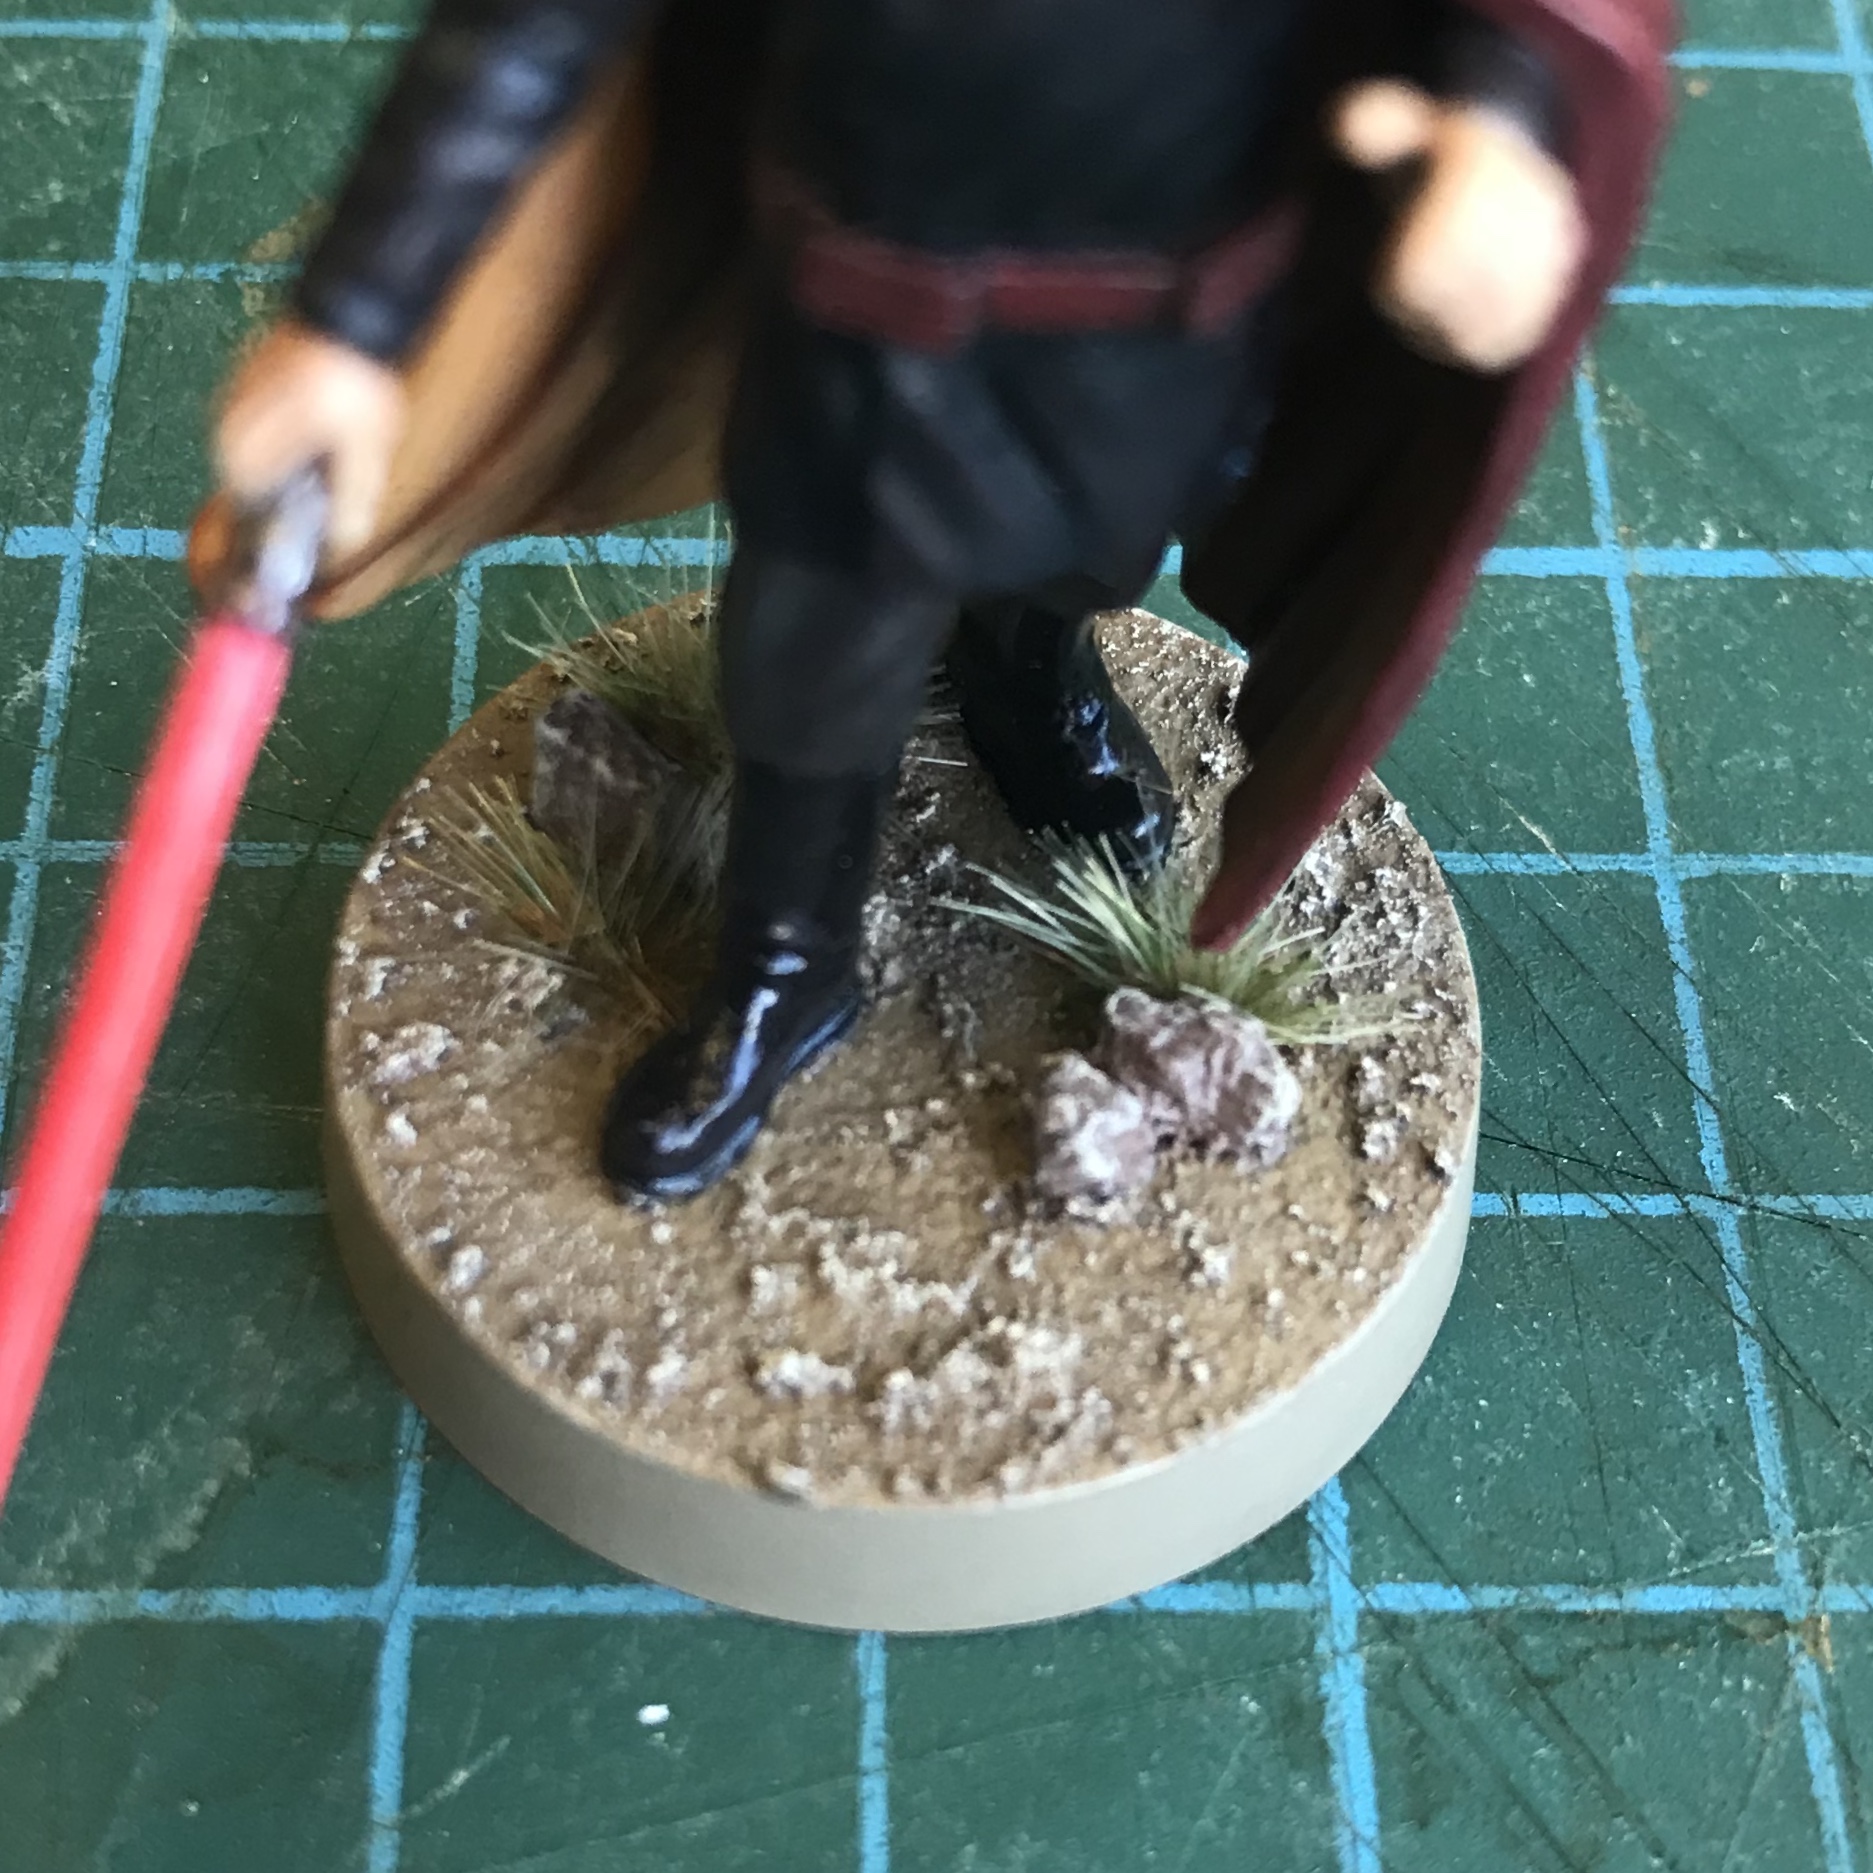
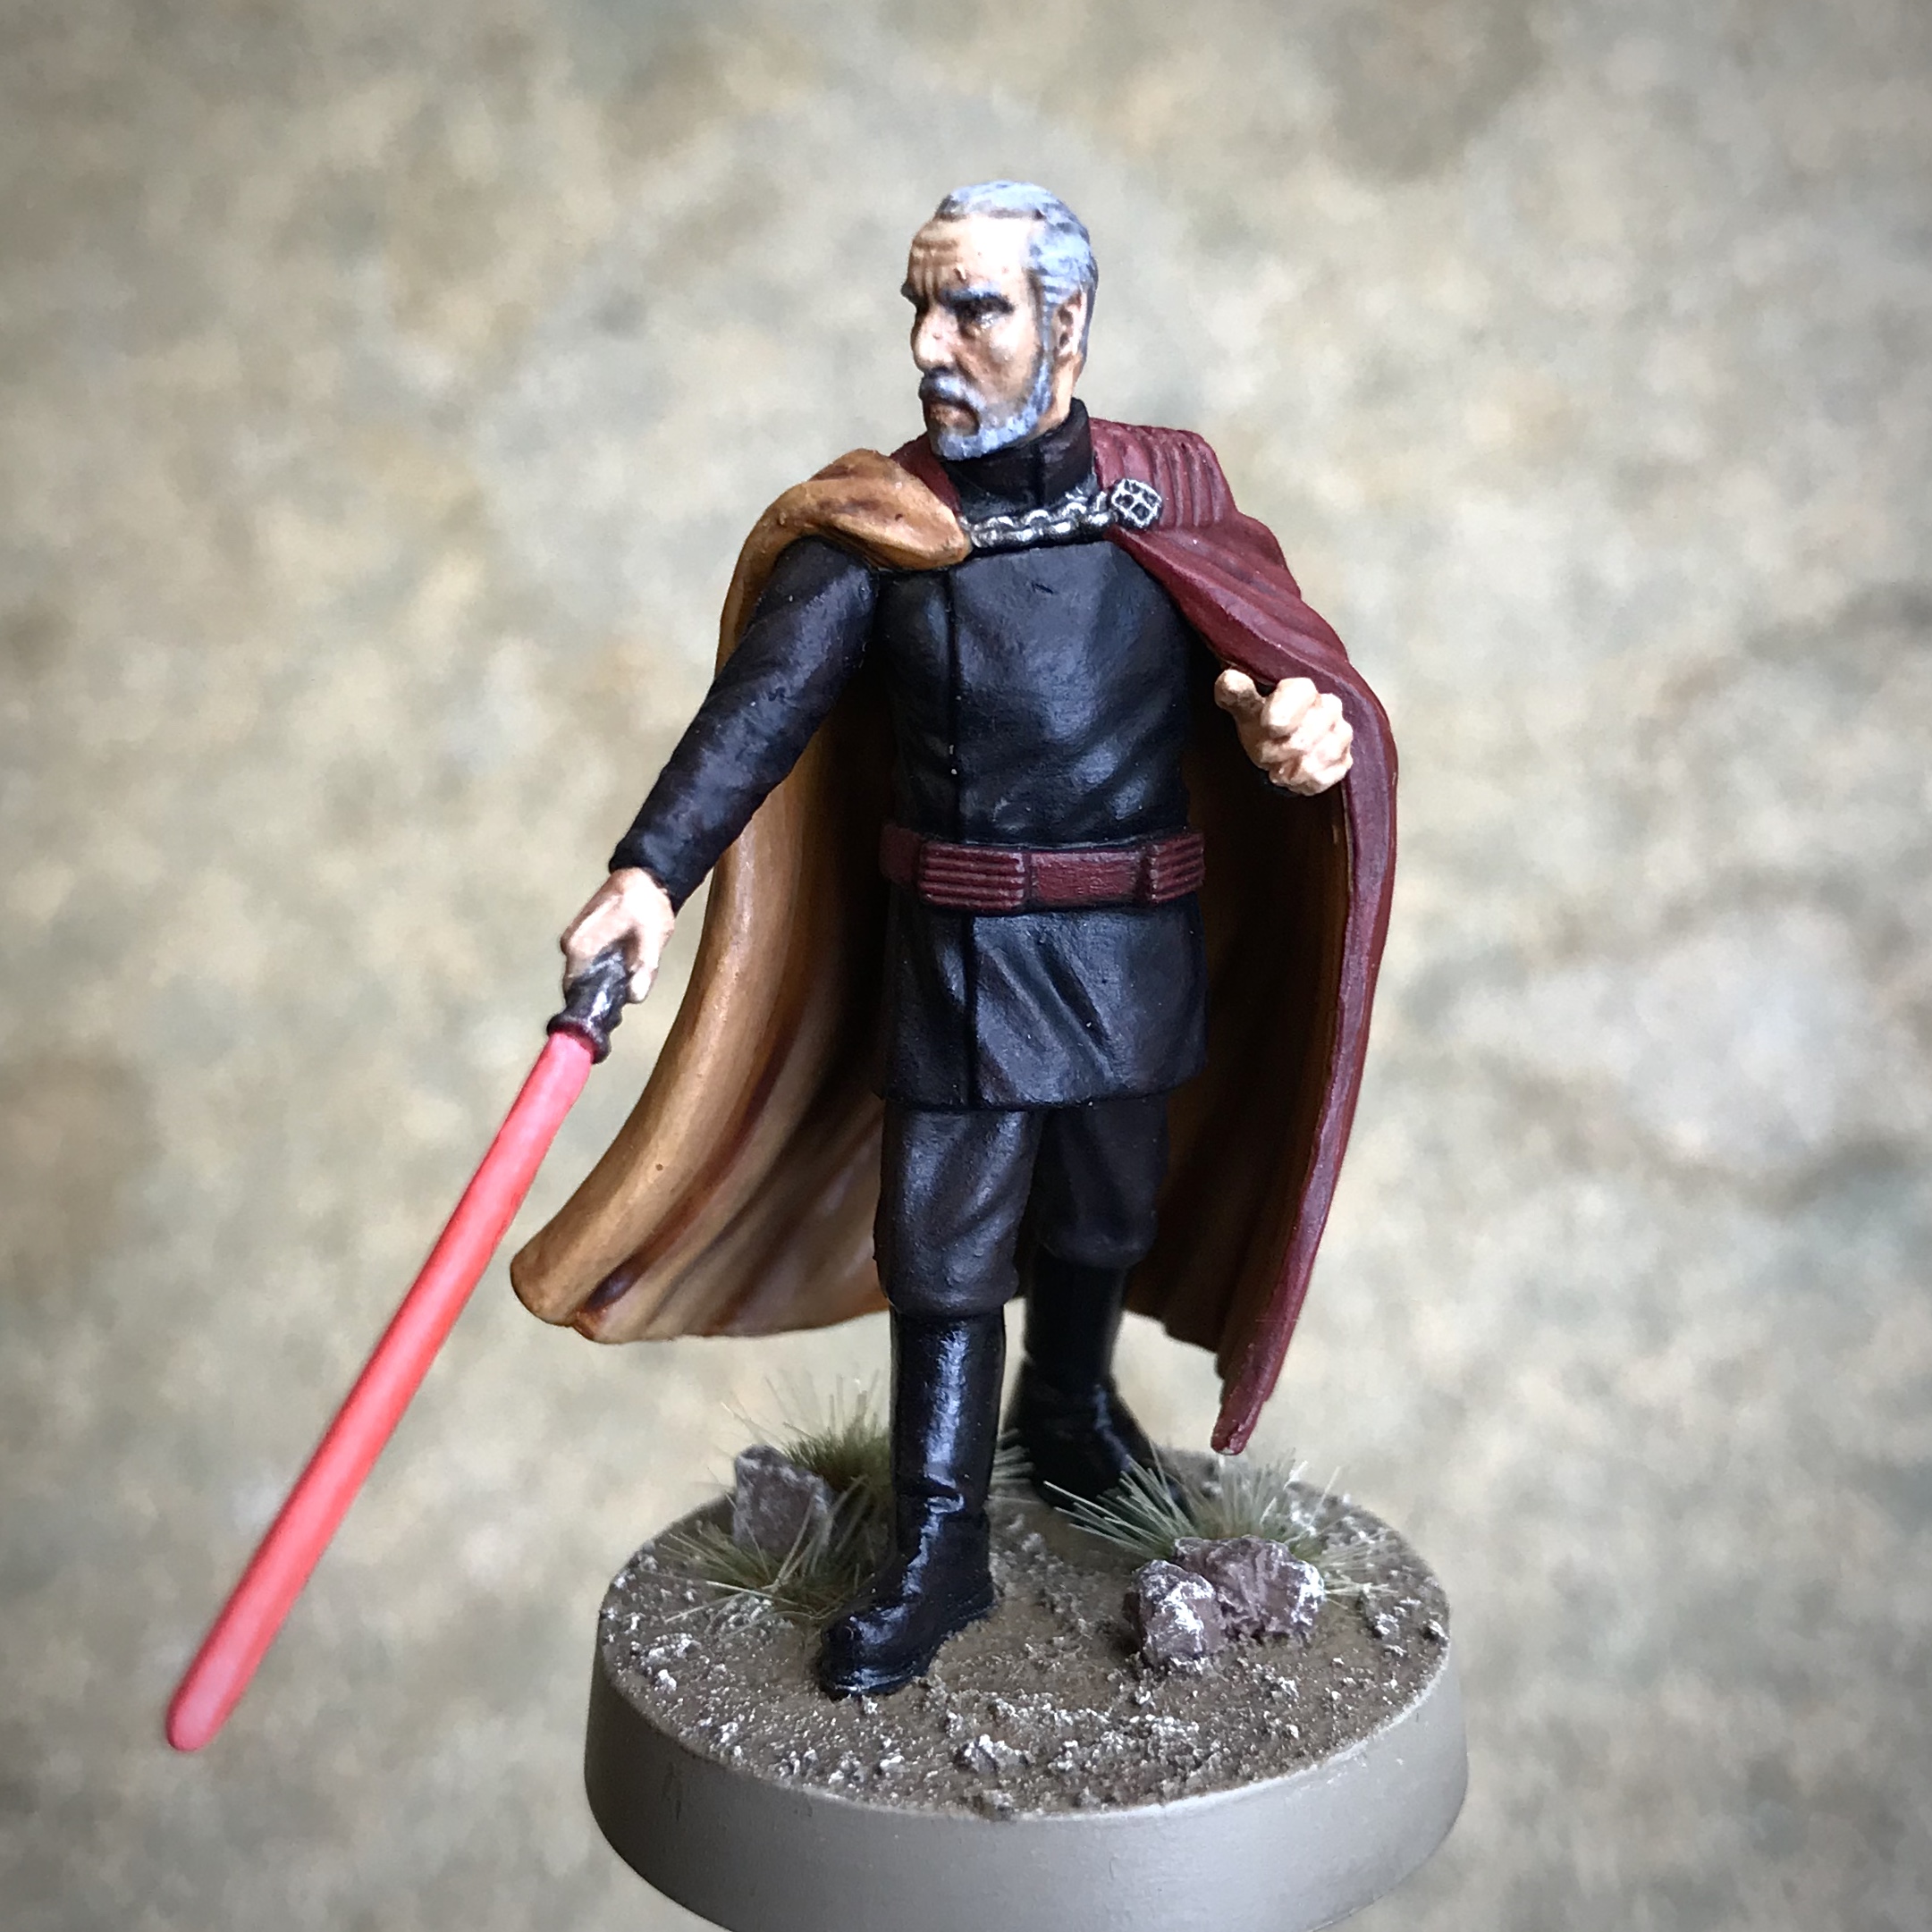
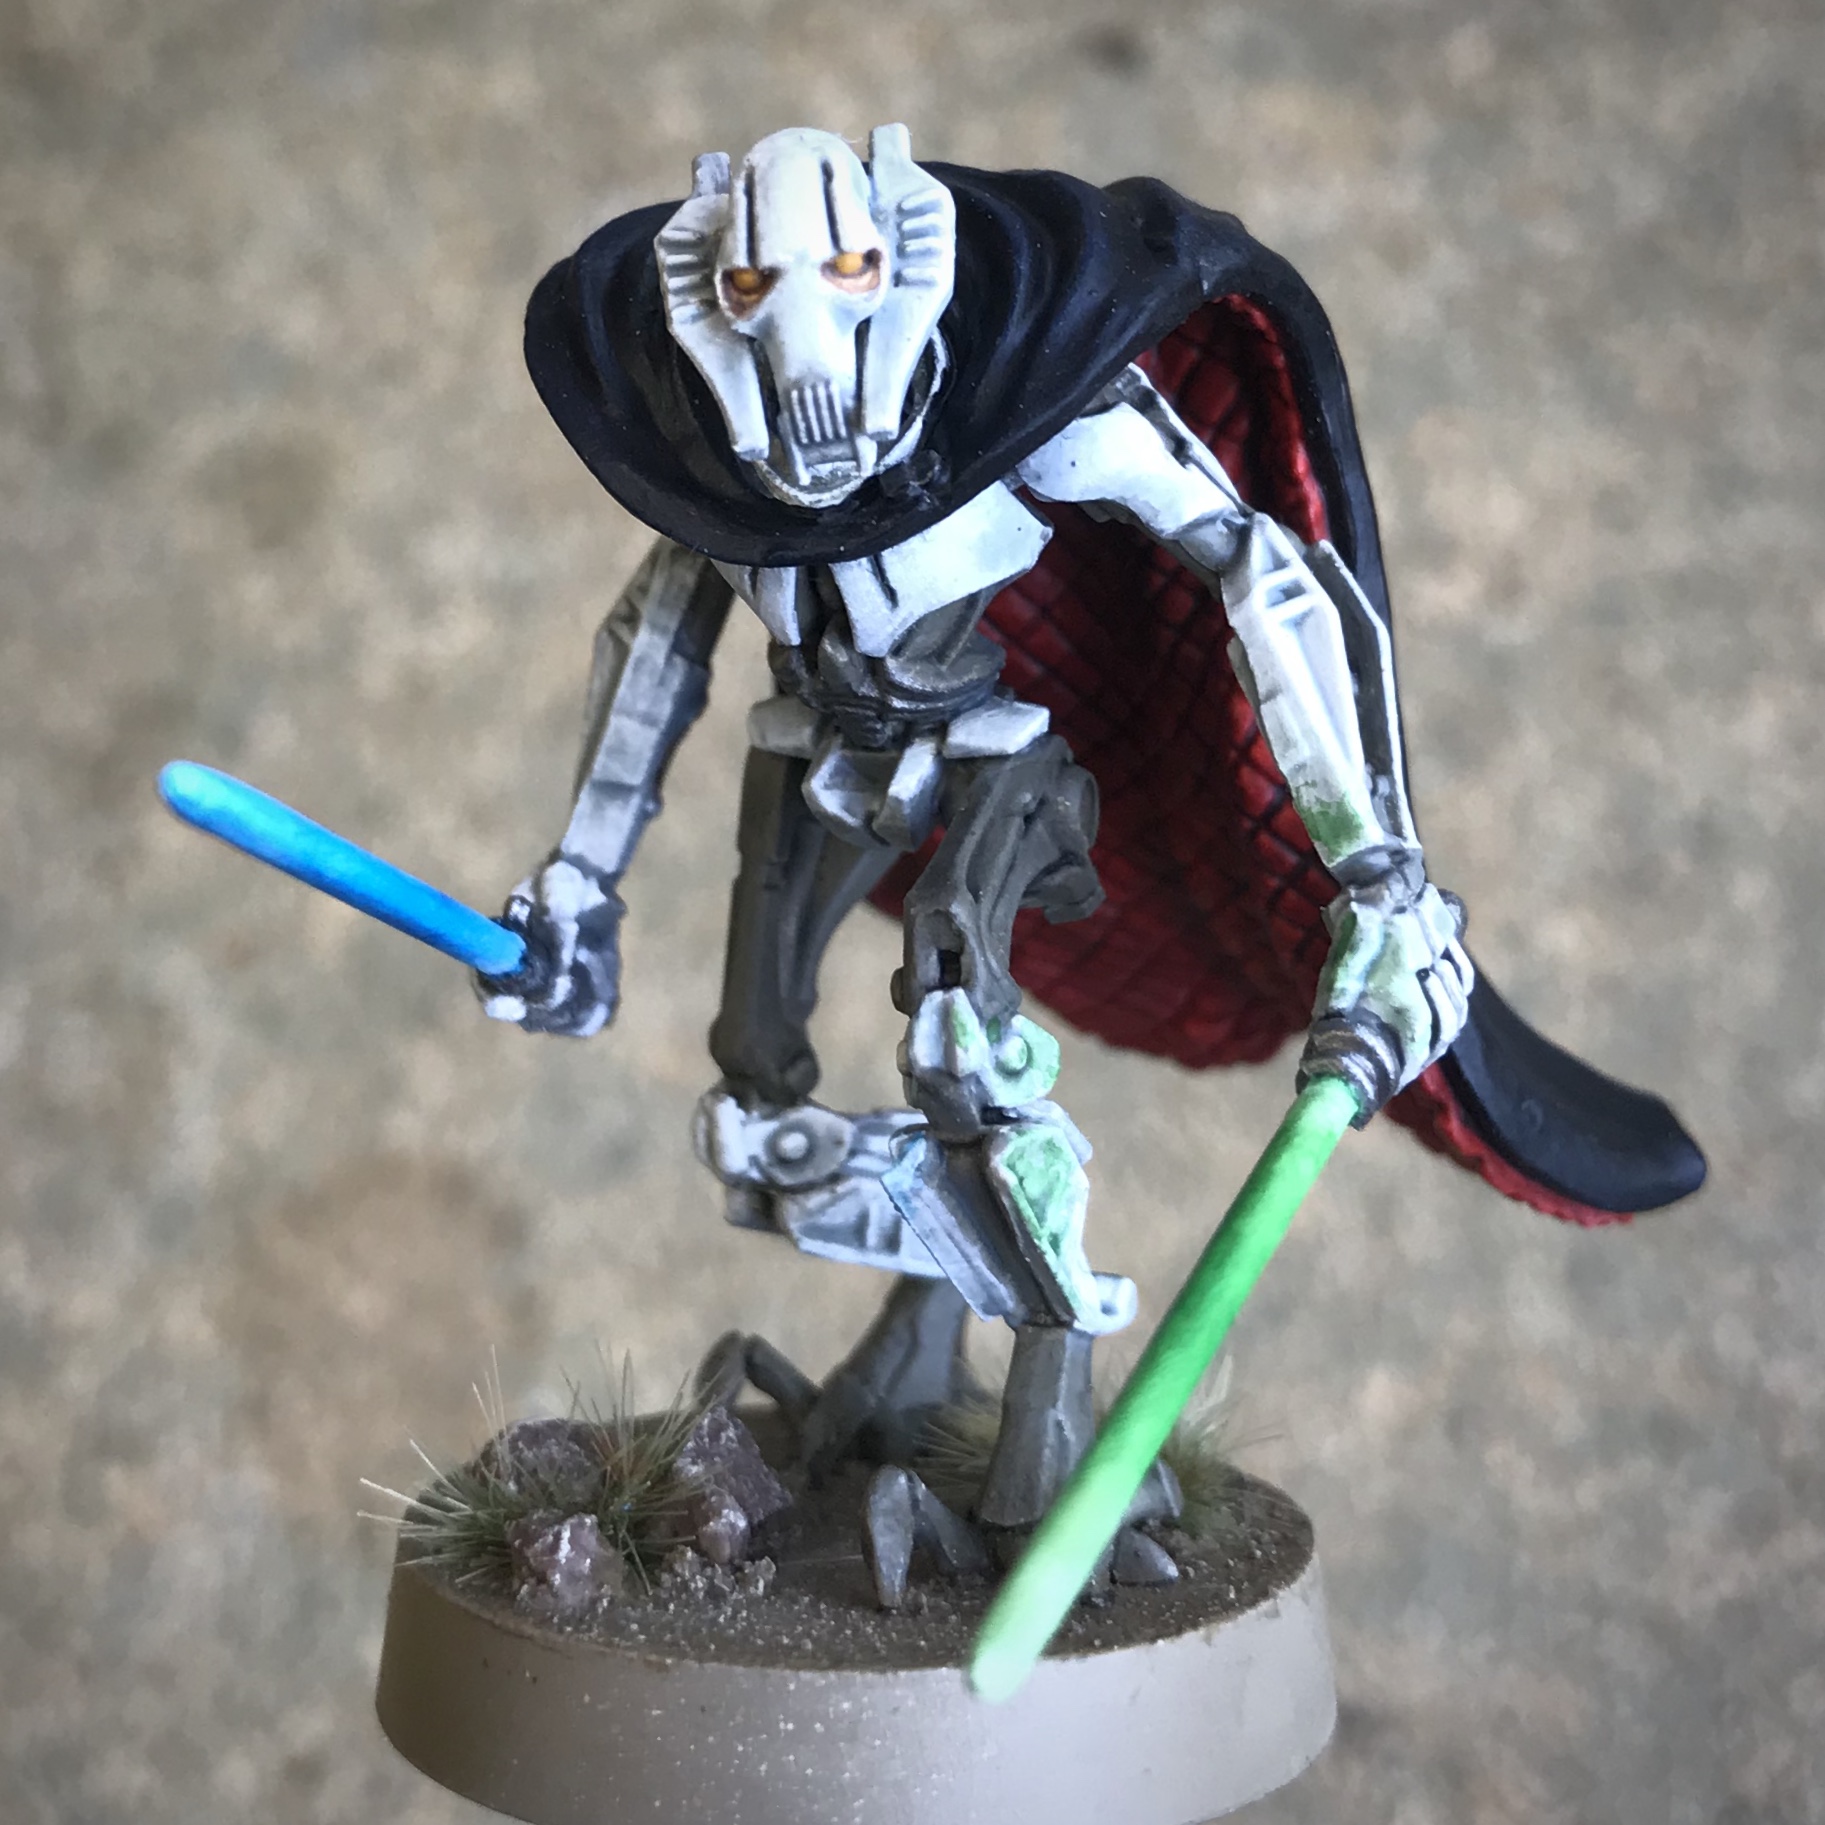
I have already tackled both Count Dooku and General Grievous in smaller projects which can be found here:
Dark Lords of the Sith – OnTableTop – Home of Beasts of War
Quick and Simple General Grievous – OnTableTop – Home of Beasts of War
Maul and Sith Probe Droid Expansion
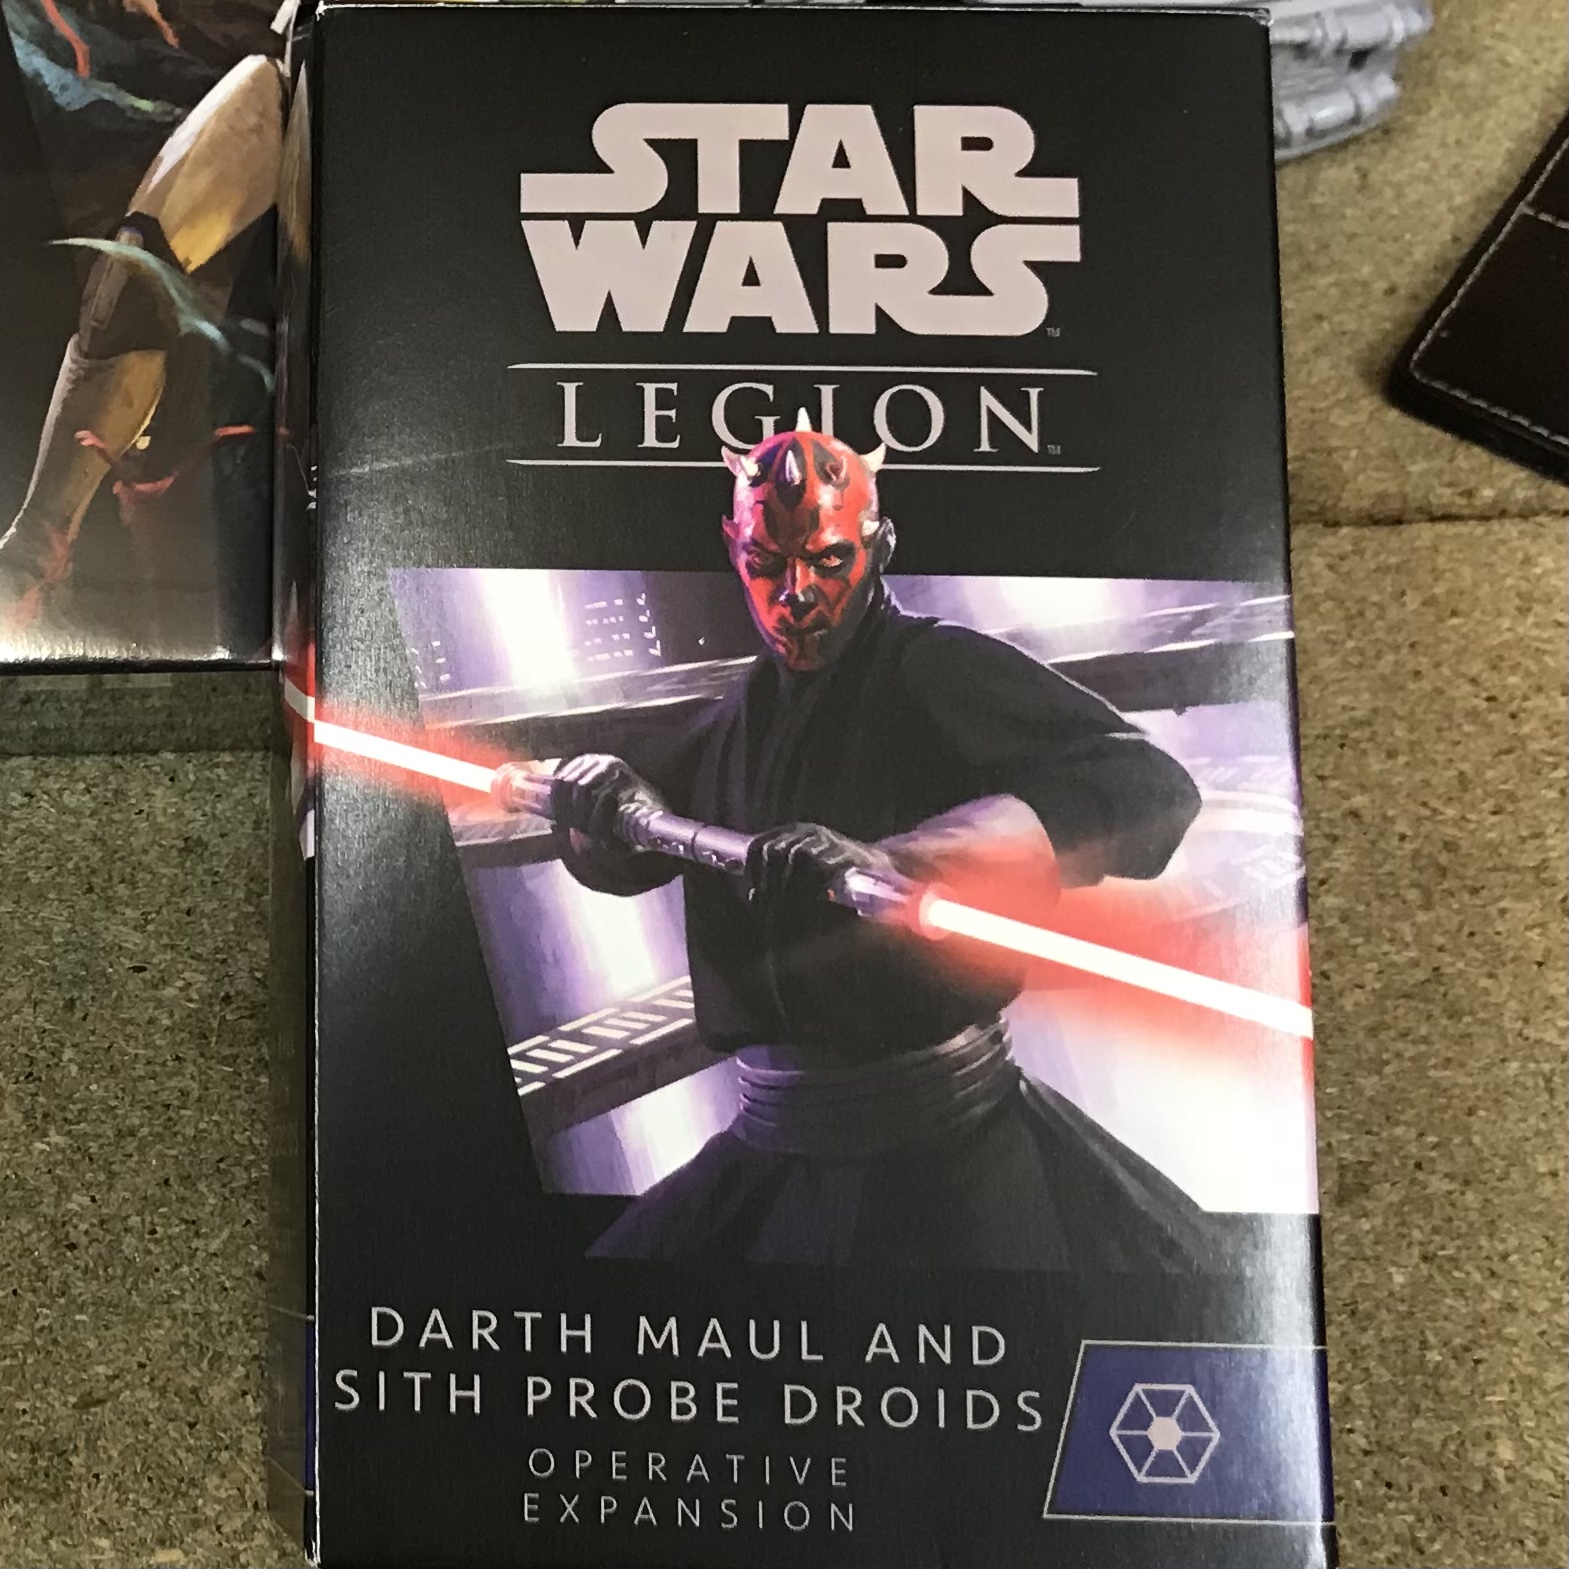
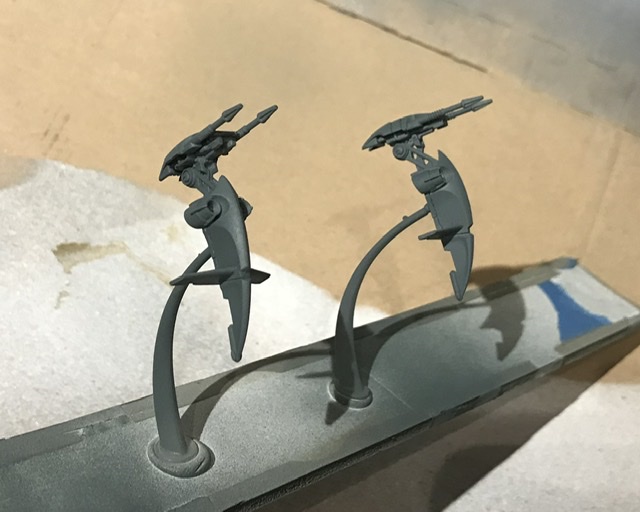
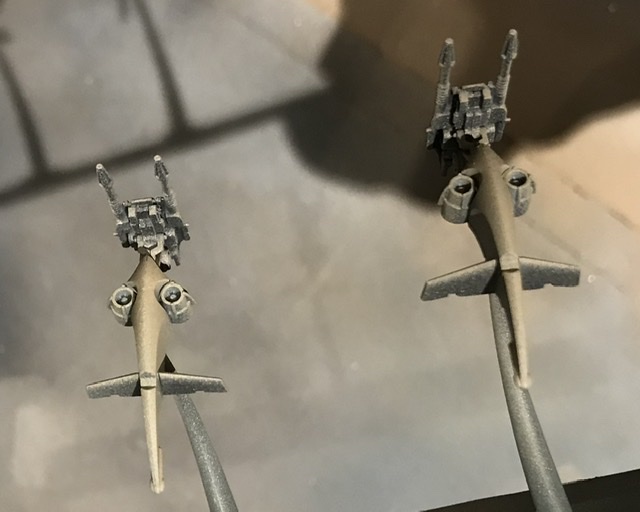
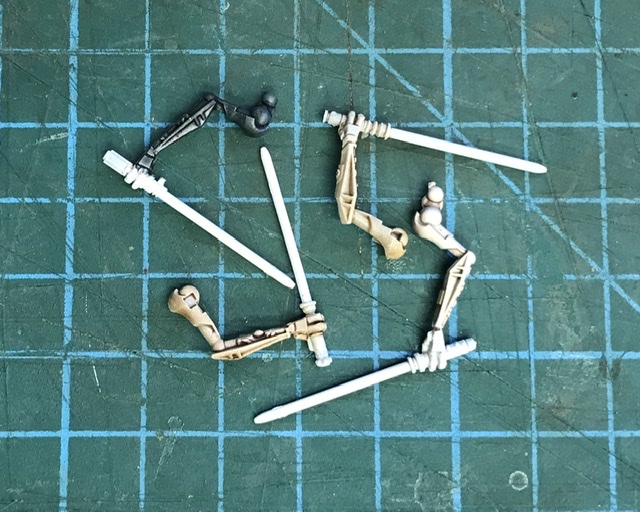
With the arrival of this latest Operative Expansion I have two new units for my Separatist forces. As they’re going to be pretty quick to get table ready, I decided to start by tackling the Probe Droids.
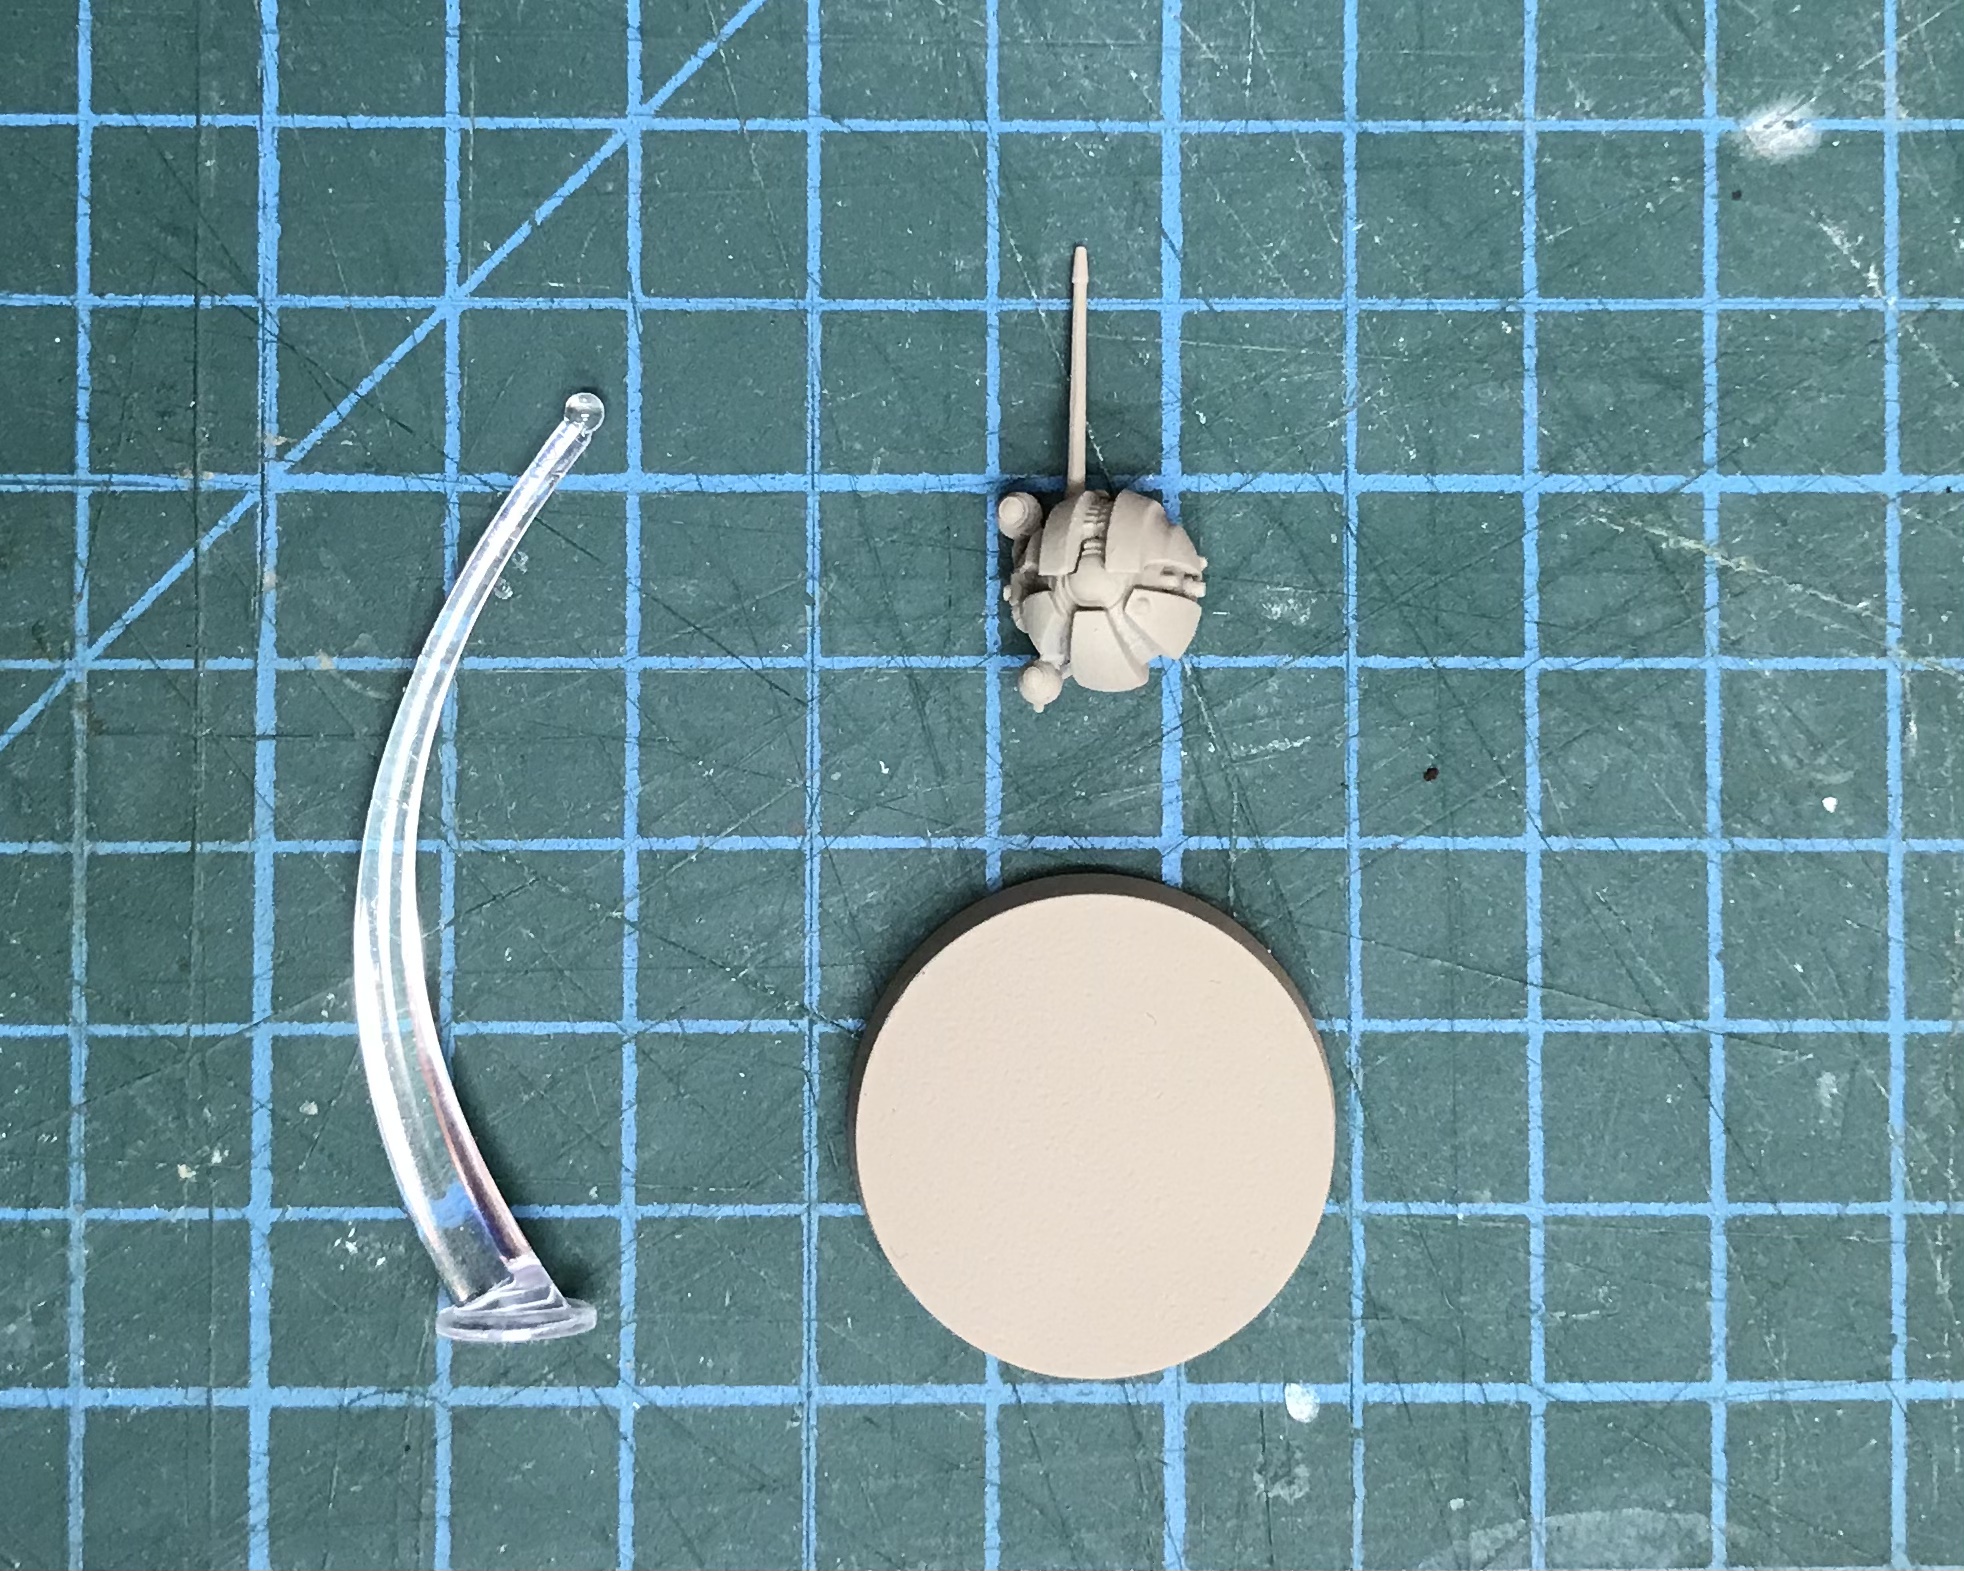
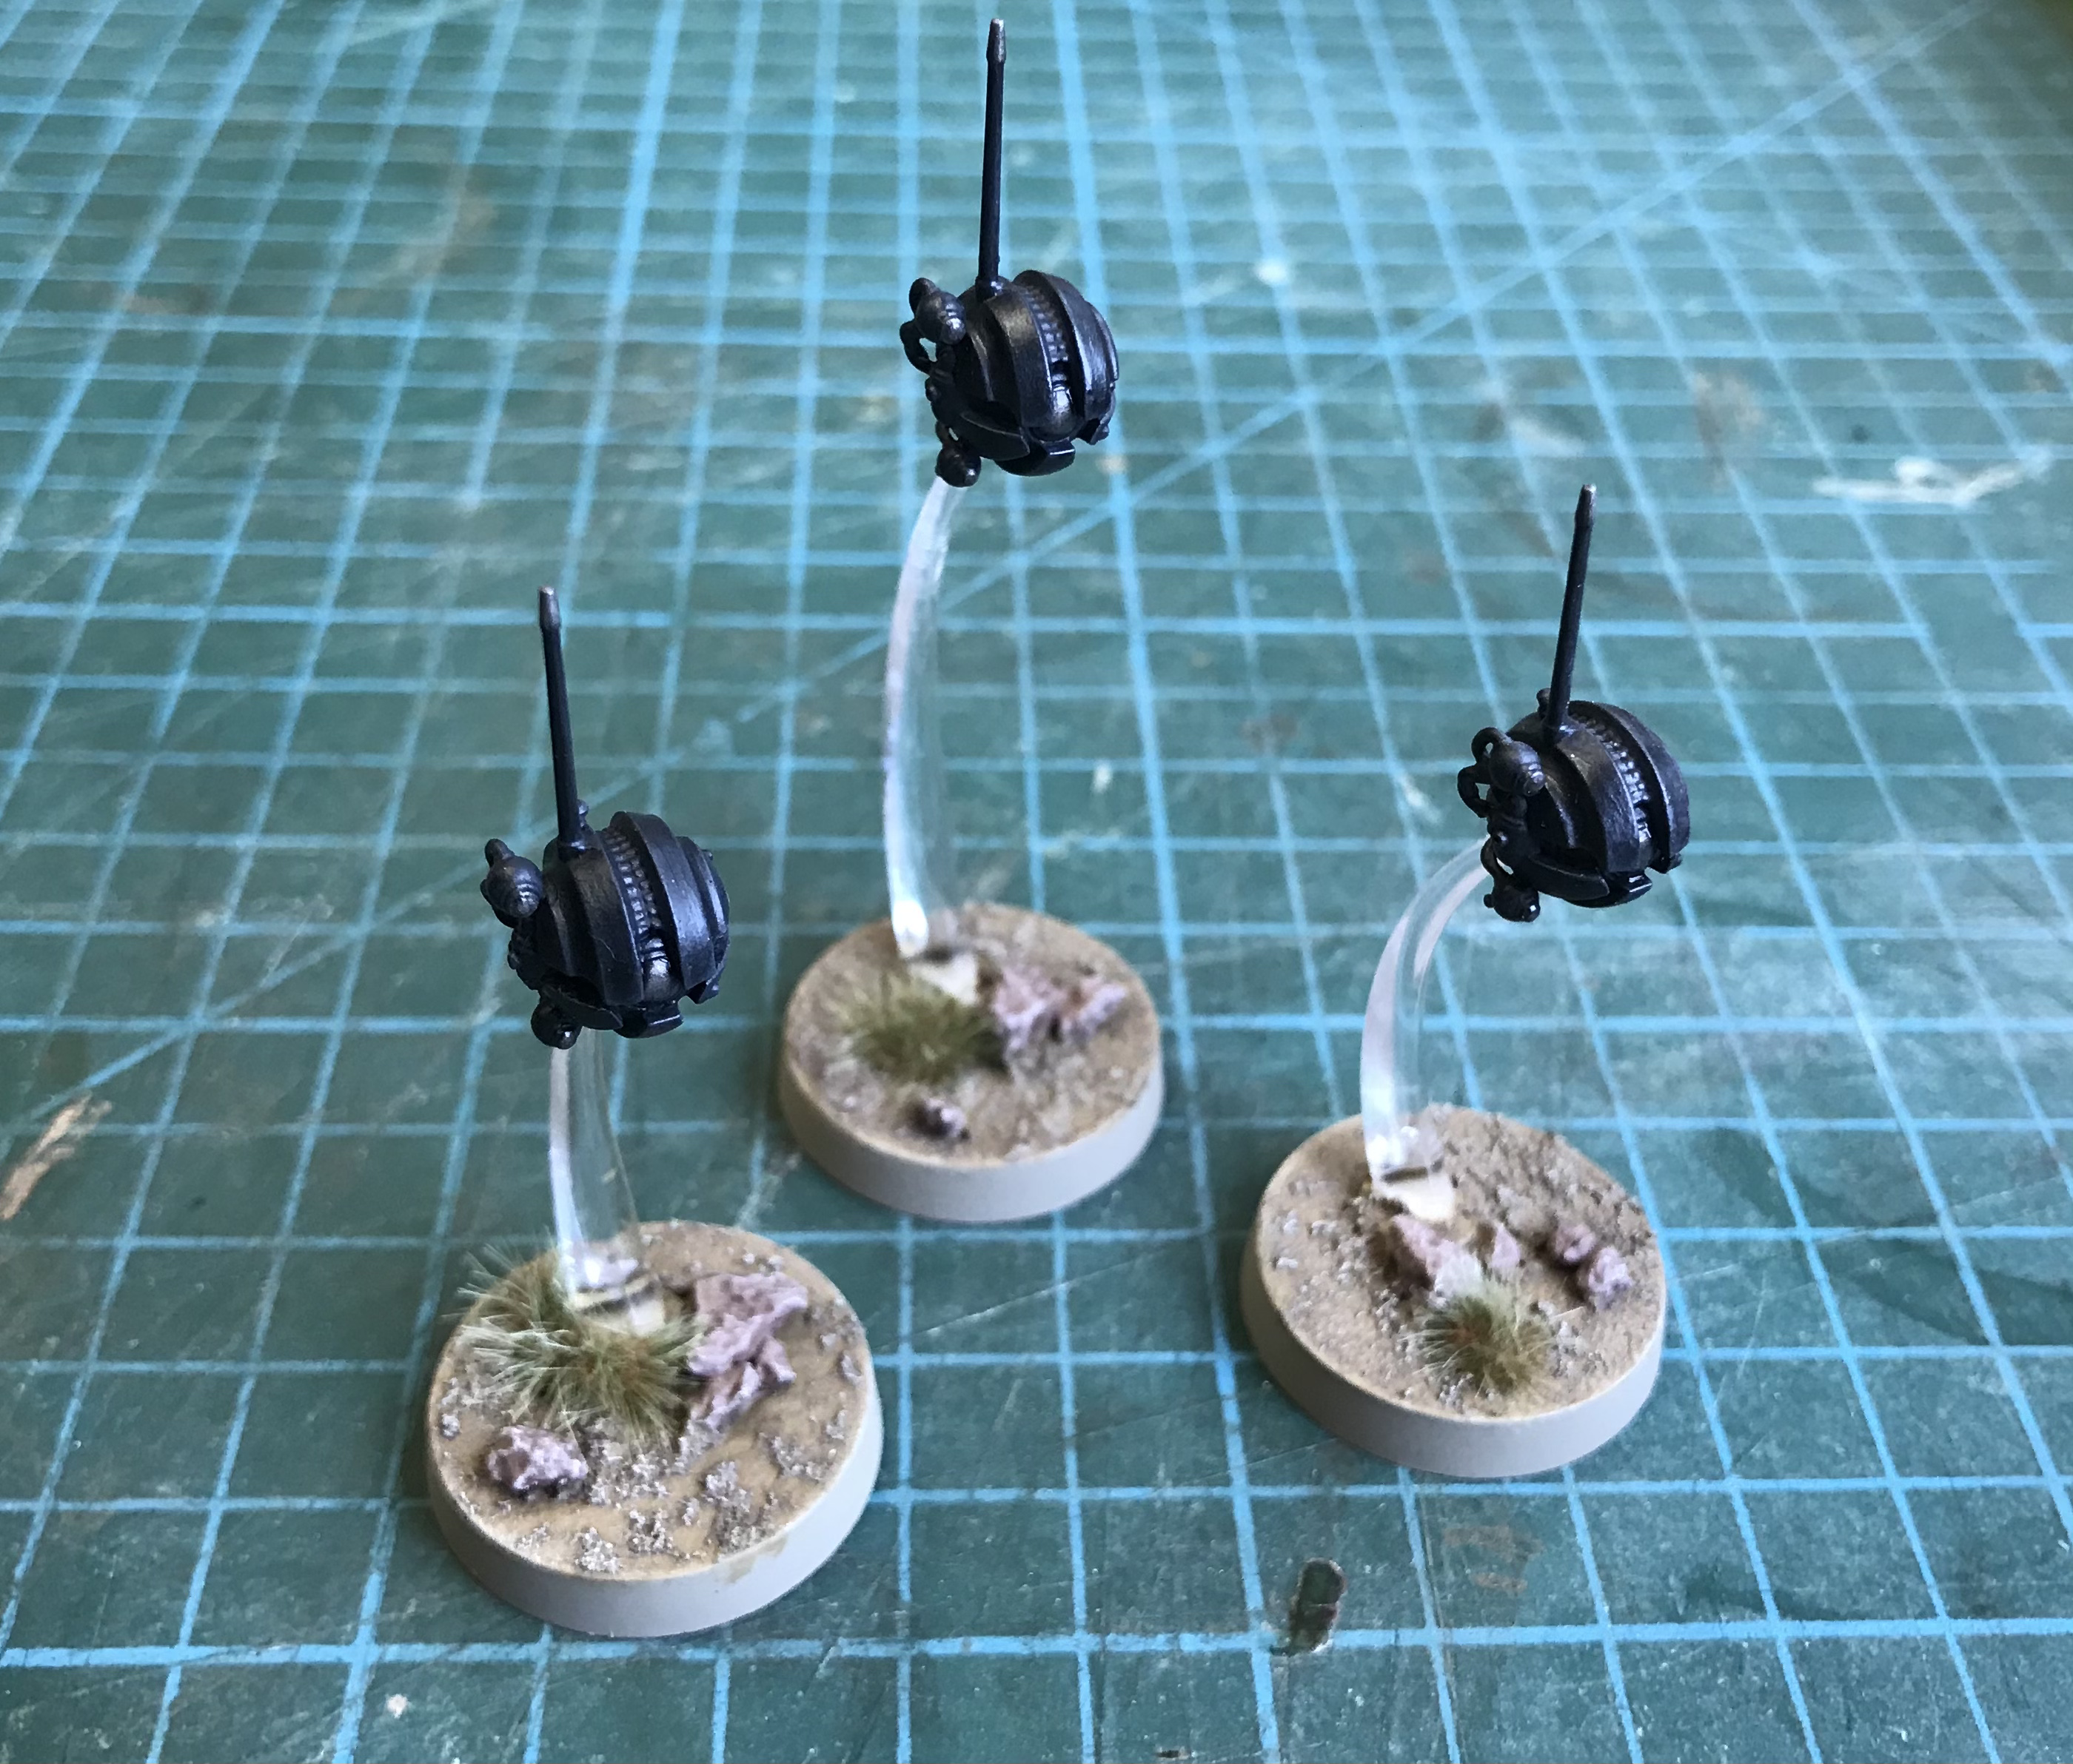
Learning from my previous mistakes I kept the models, flight stands and bases unassembled this time. For convenience I primed the droids the same colour as the bases (the Khaki primer I have used throughout).
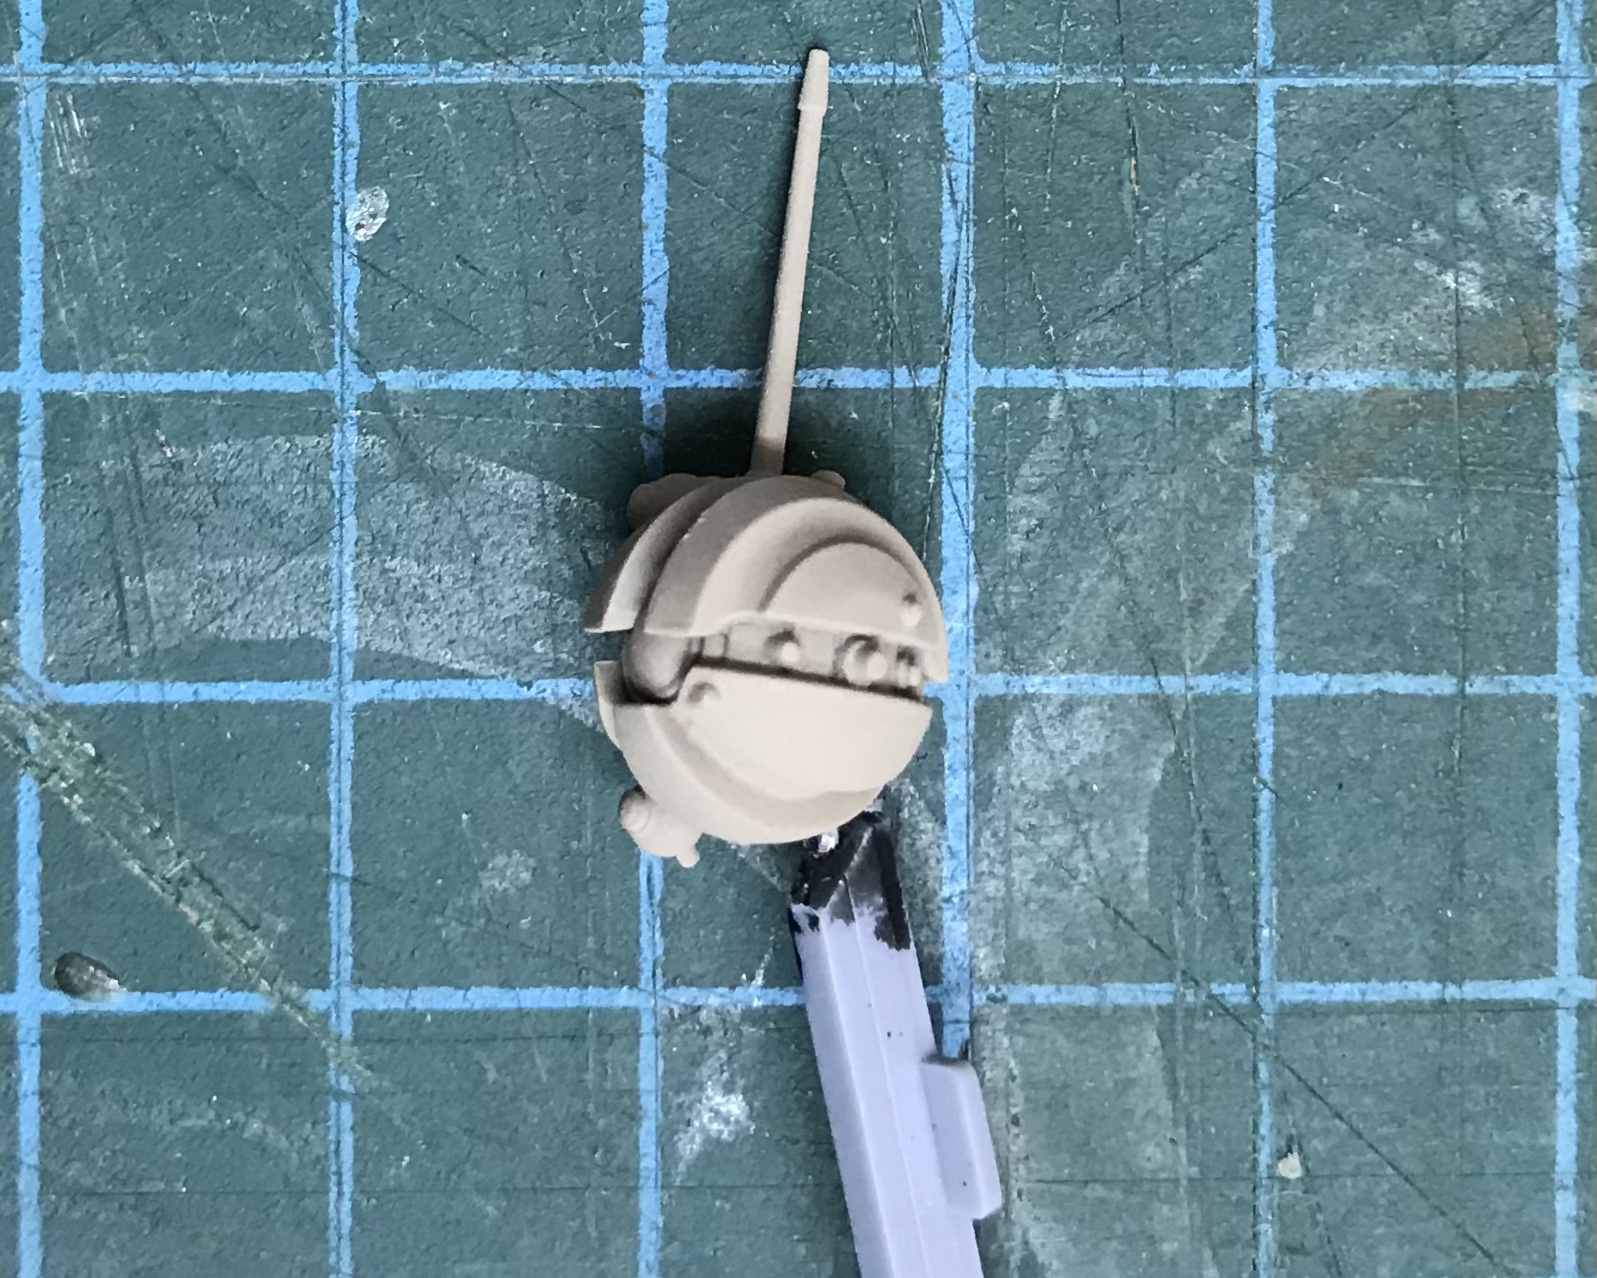
I fixed the probe droids to a piece of sprue for ease of handling. I used a tiny spot of superglue hoping they would pull off without too much paint lifting. This extra process seemed preferable to risking getting paint in the transparent flight stands.

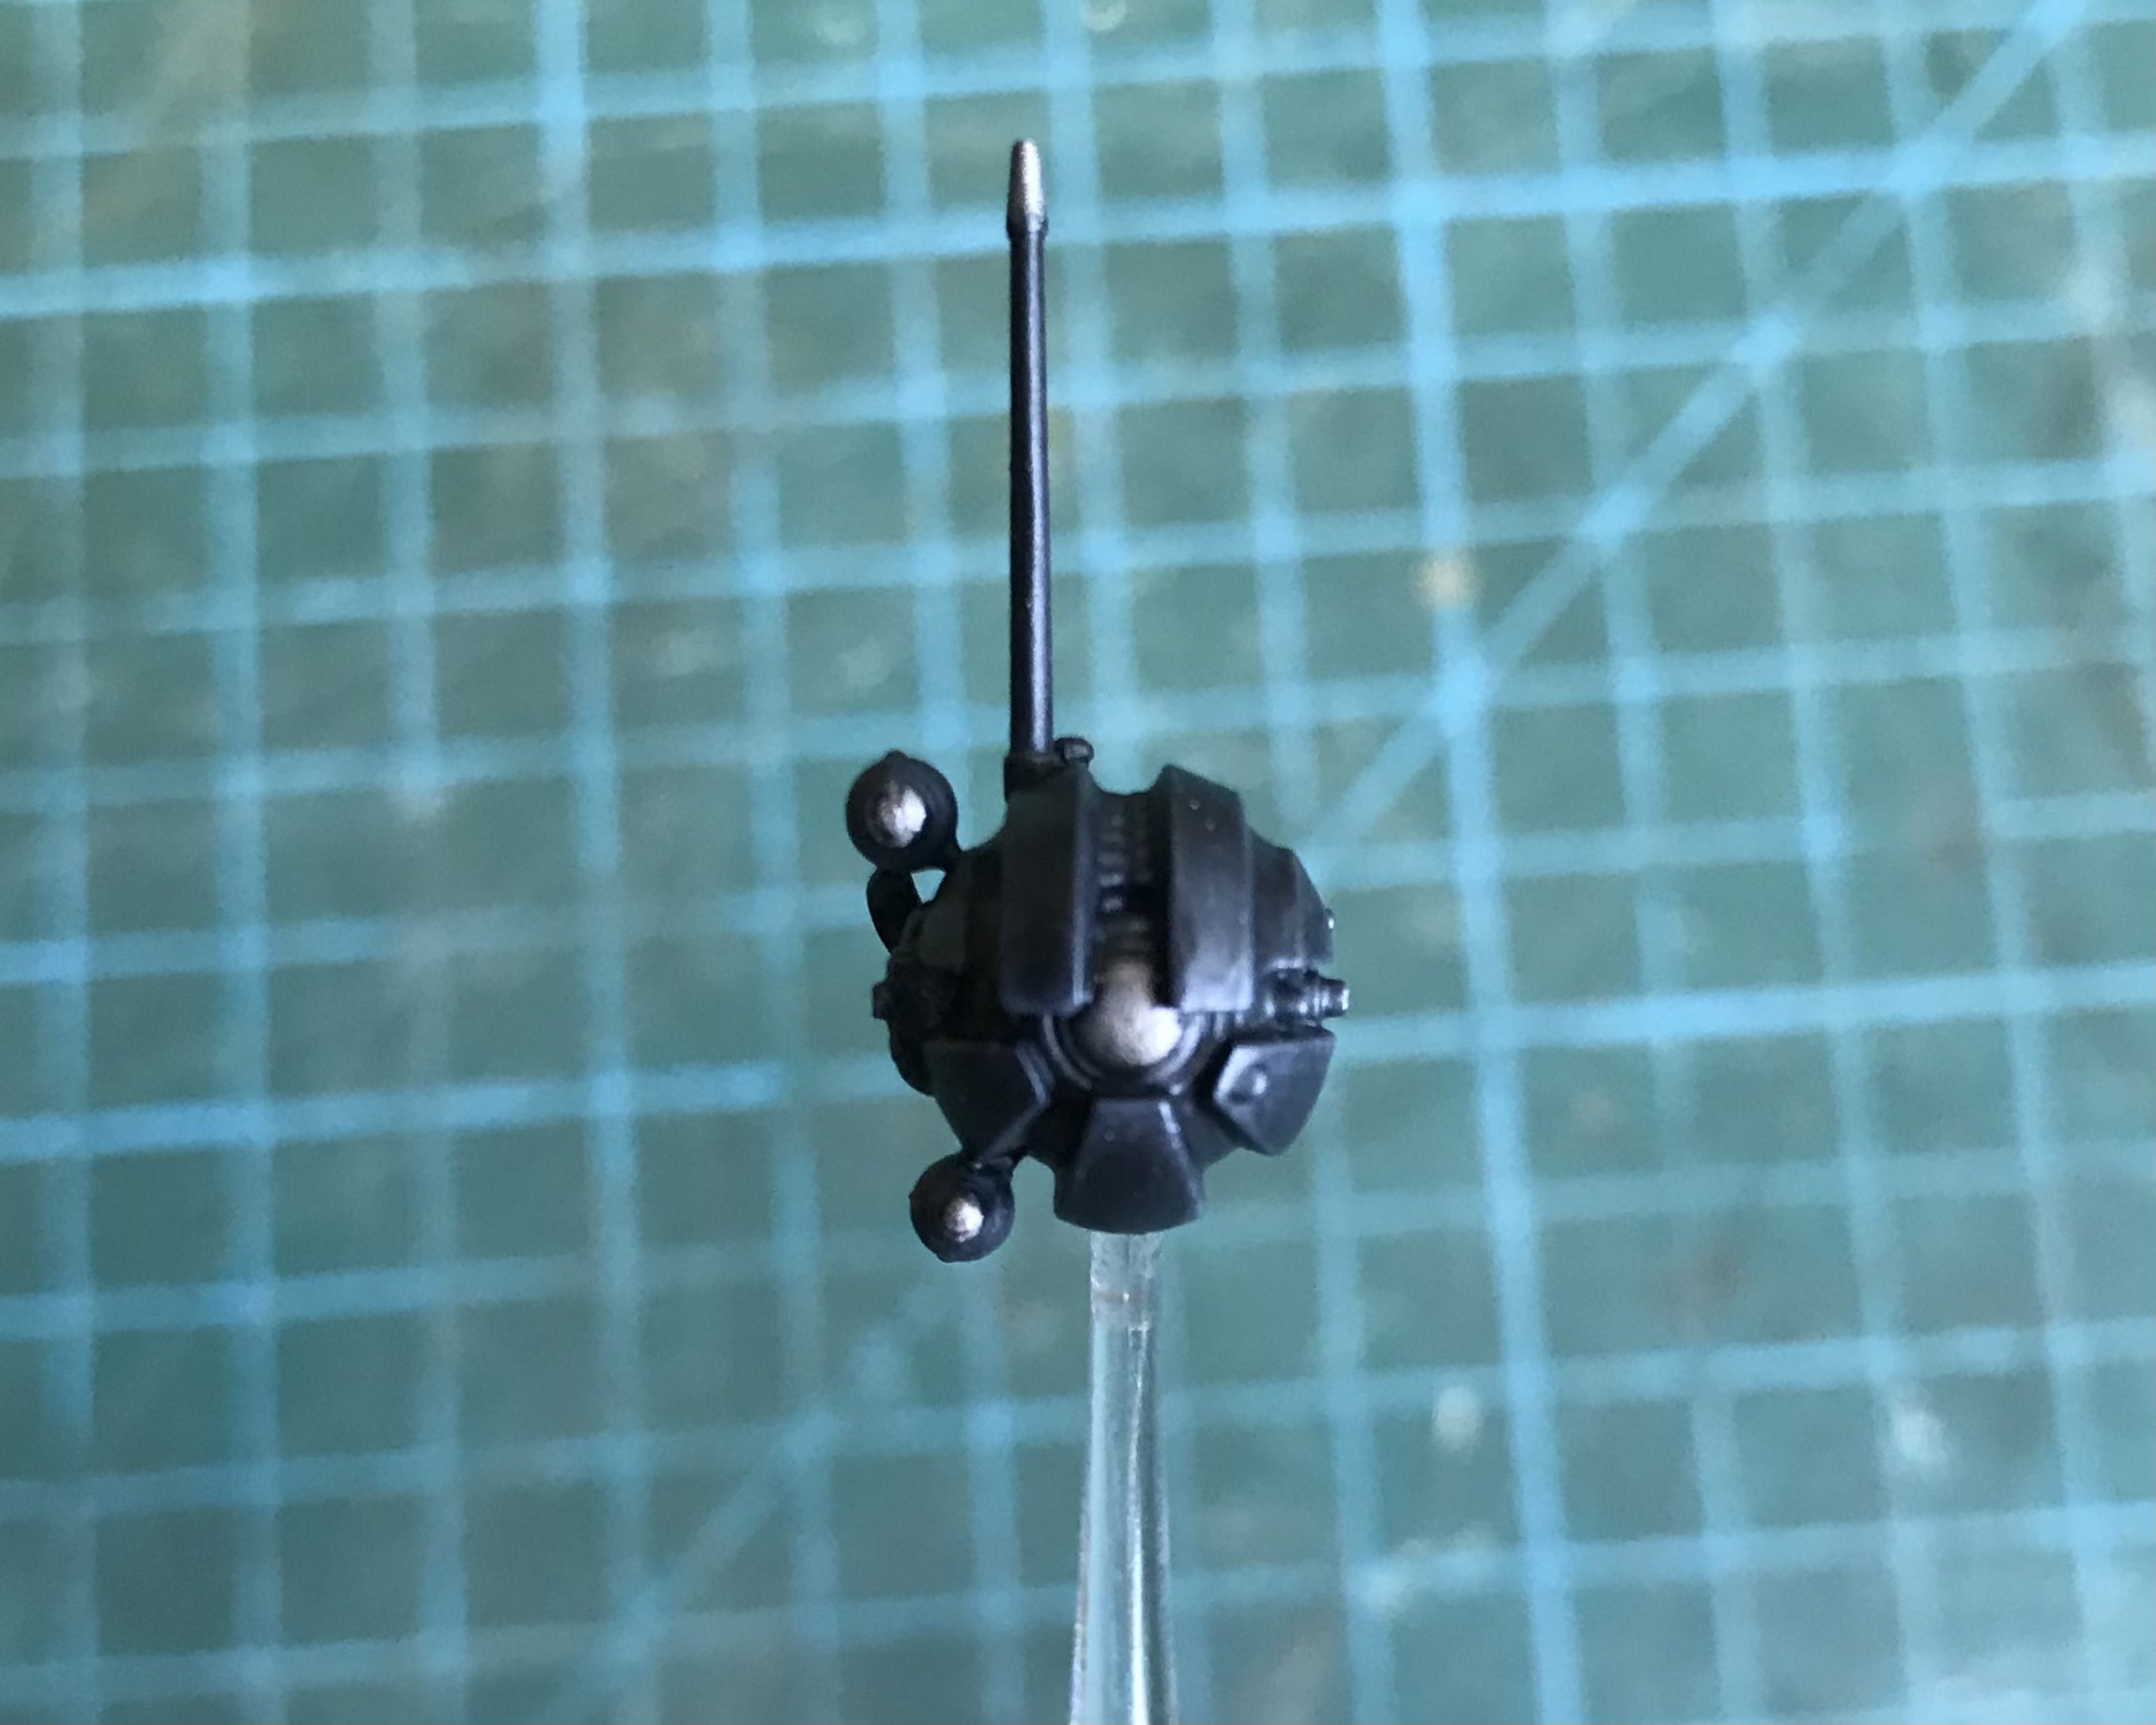
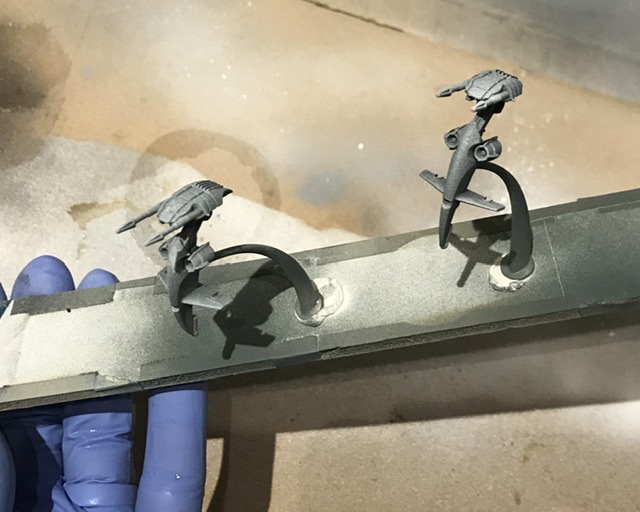
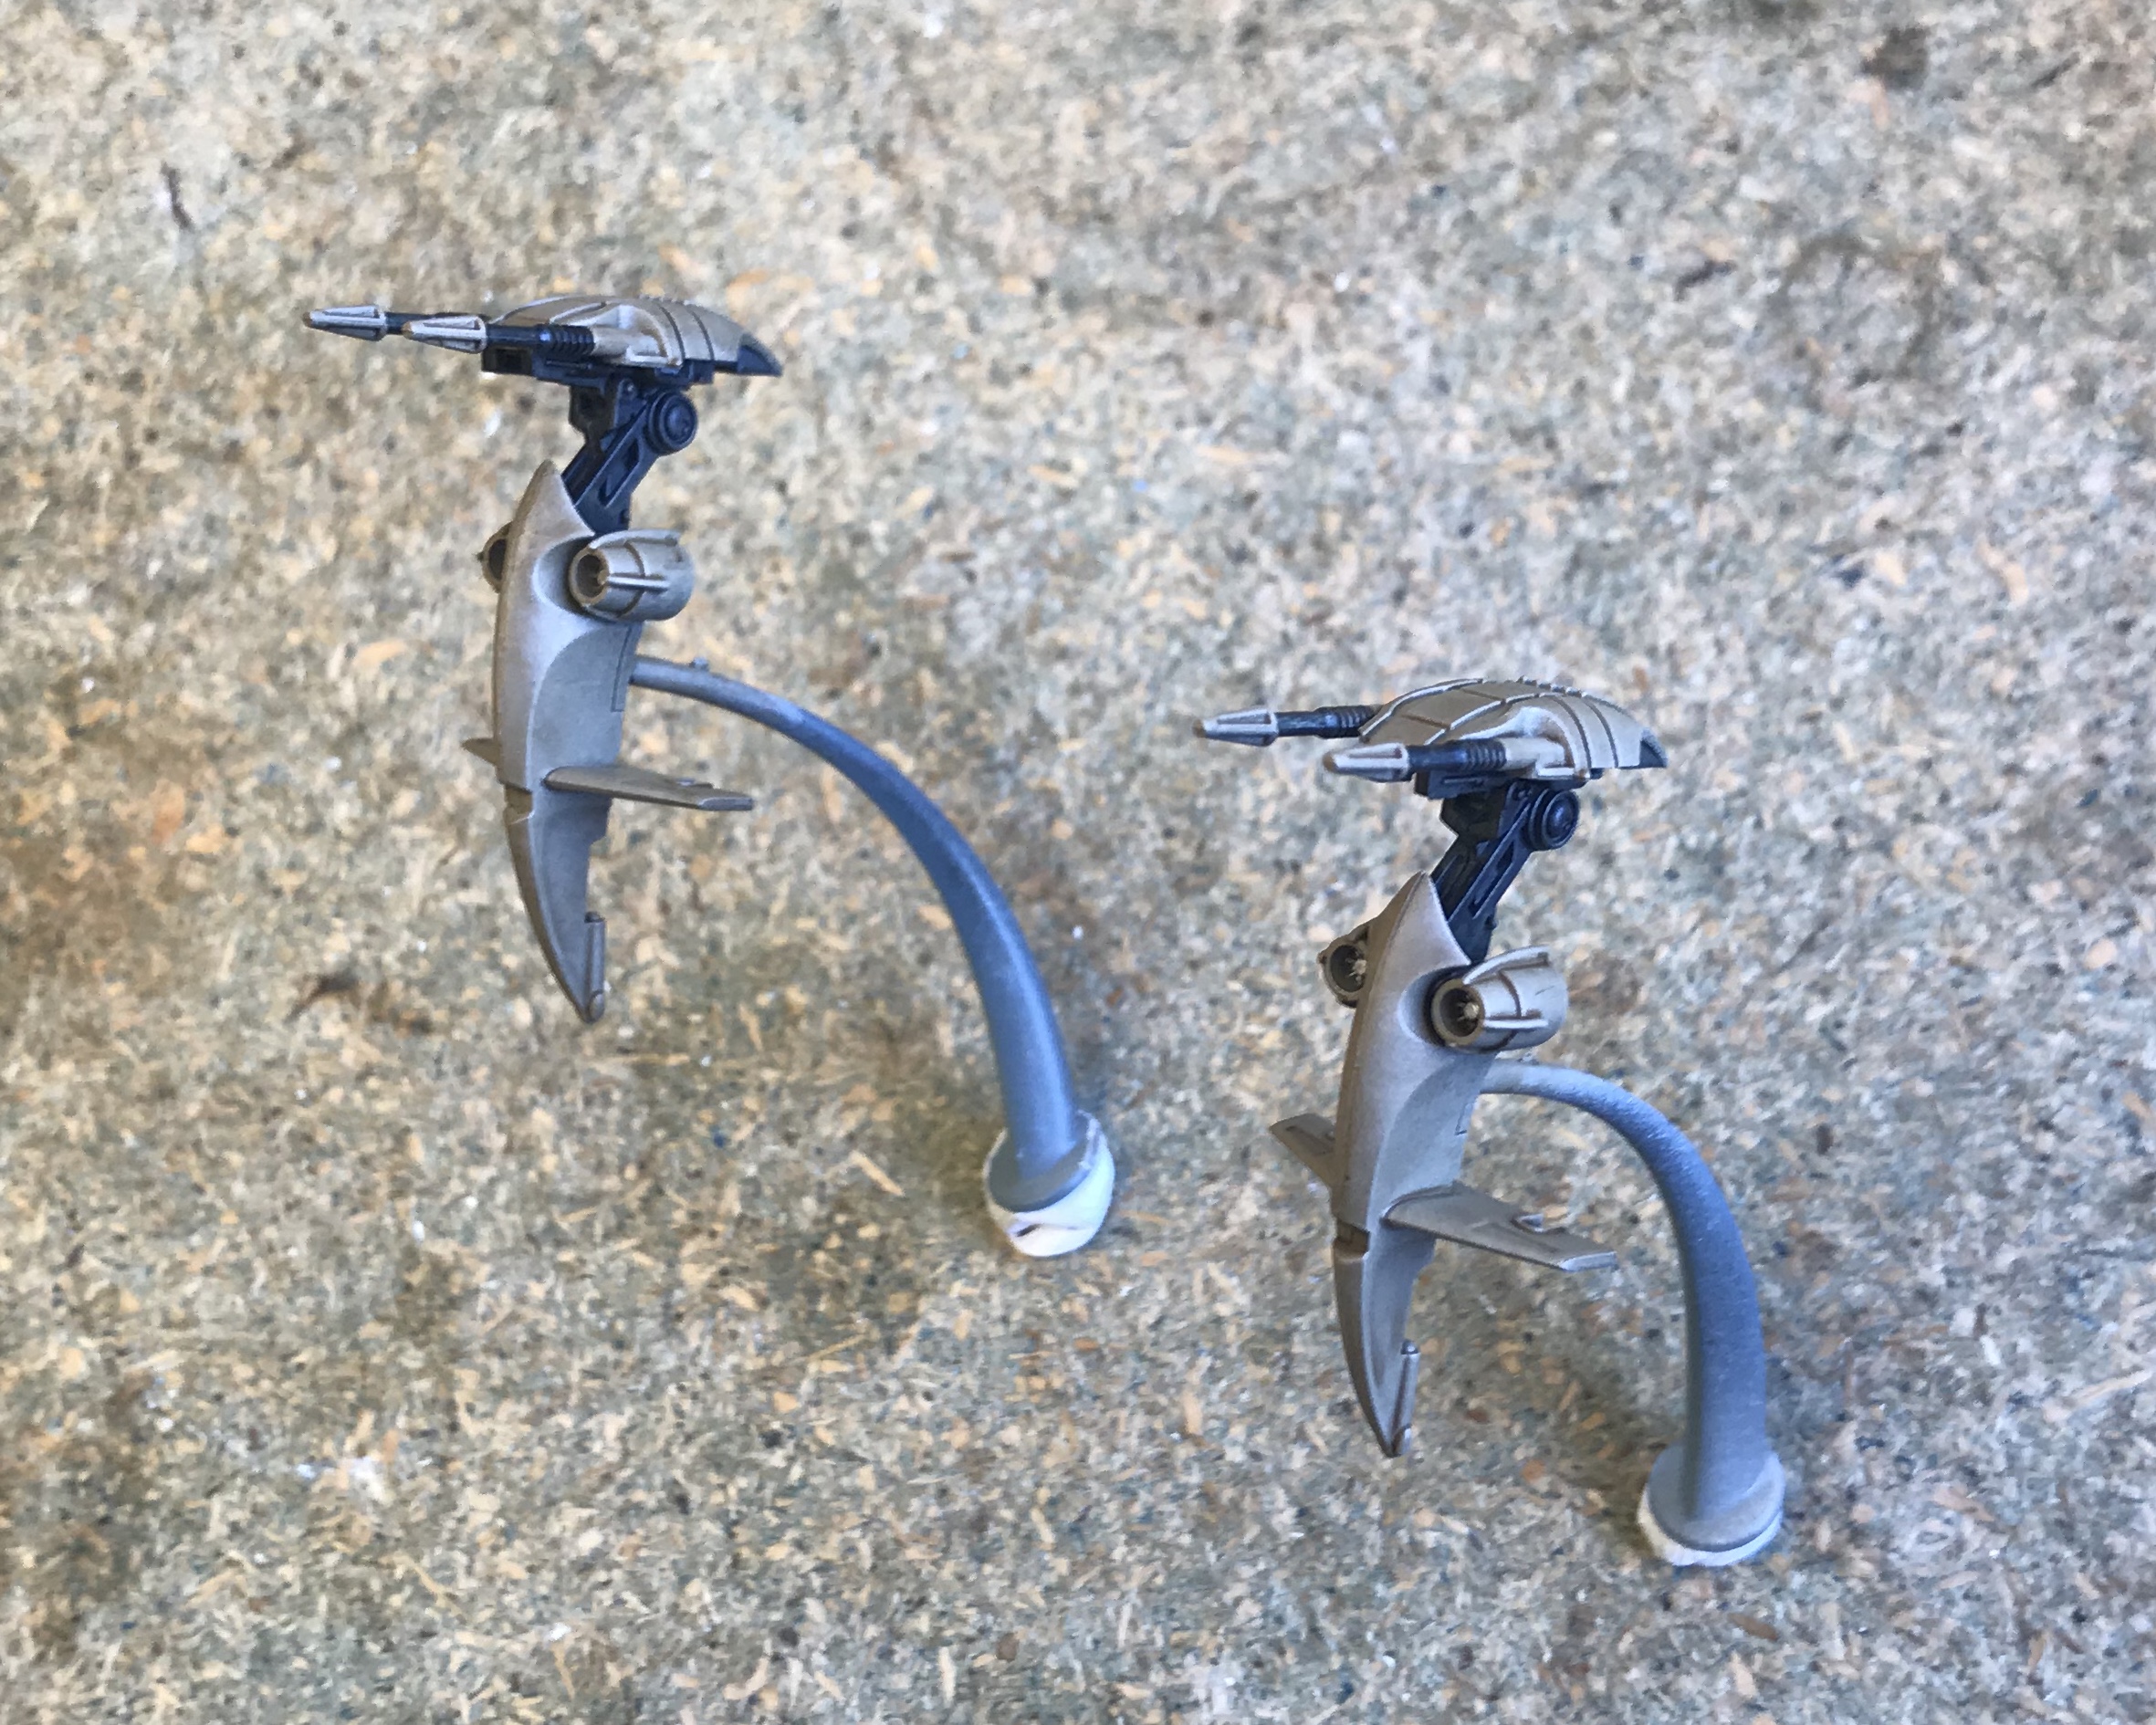
The droid chassis was painted in Vallejo Luftwaffe Uniform Blue and the optic lens and aerial tip were painted with GW Ironbreaker.

The next step was to give the entire chassis a coat of Contrast Black Templar. I thinned it roughly 2:1 with Contrast Medium to help the flow and reduce the pigment.

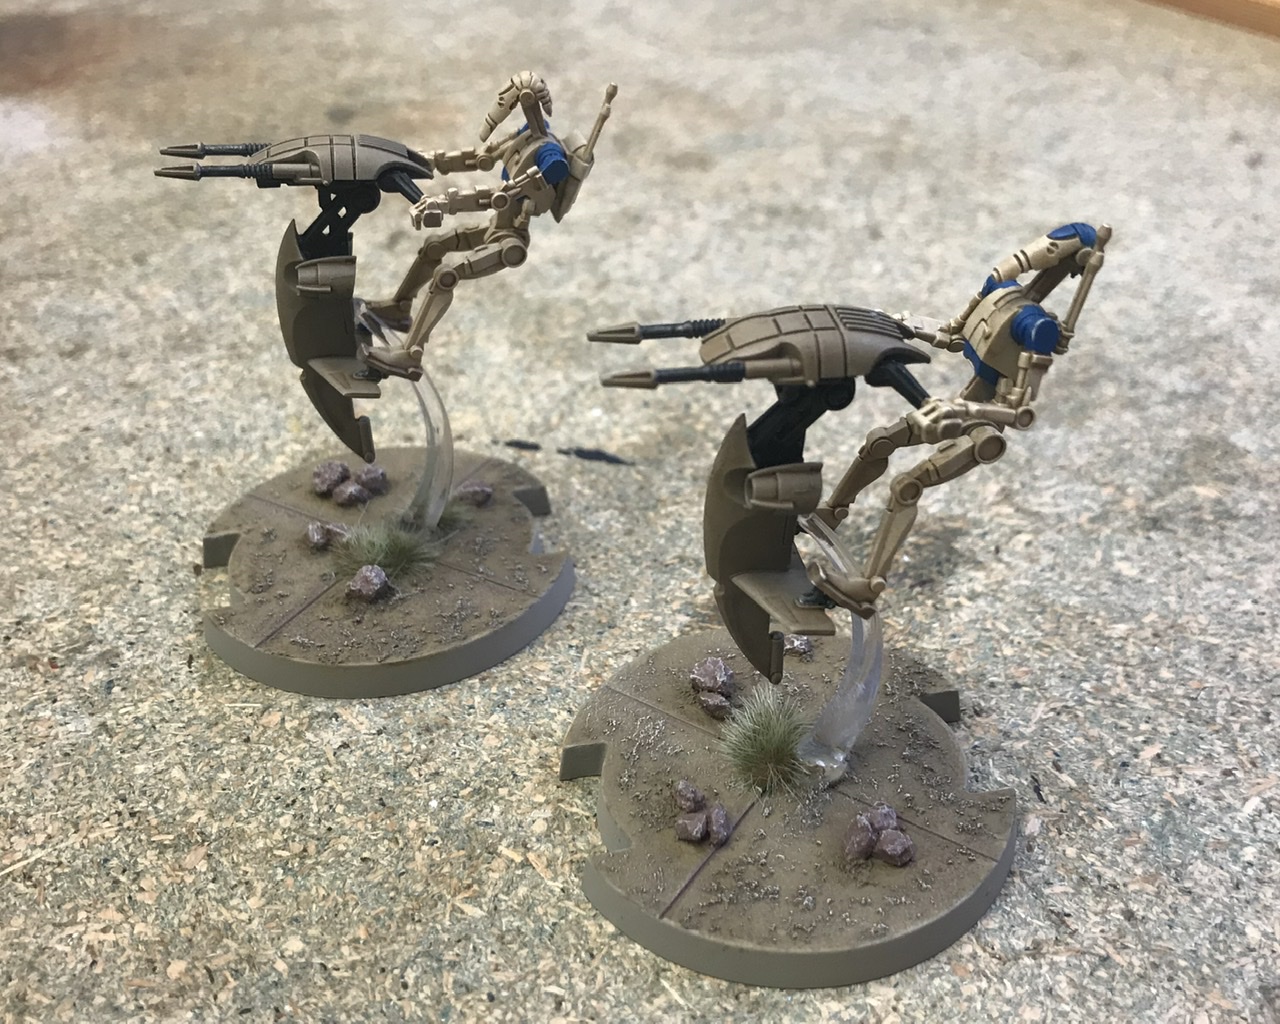
Sith Probe Droids Completed
Once the Contrast Black Templar had fully dried, I gave the droids a light dry brush with the Luftwaffe Uniform Blue that had served as the base. I then went back over the lenses and tip of the areal with the Iron Breaker.

The bases were completed as per my previous entries…
… before the seeker droids were attached with superglue. As a final touch I added a Nuln Oil Gloss wash to the lenses.