
![A Perfect Zombie Apocalypse Starter Set? Civilians & Survivors Review | Wargames Atlantic [7 Days Early Access]](https://images.beastsofwar.com/2026/01/unboxing-wargames-atlantic-civilians-_-survivors-1_2-coverimage-225-127.jpg)
![Wild Australia Wargaming? 28mm Ned Kelly Gang & Victorian Police Review [7 Days Early Access]](https://images.beastsofwar.com/2026/01/unboxing-traders-galaxy-australiana-ned-kelly-gang-_-victorian-police-coverimage-225-127.jpg)


Romano-British for Dux Britanniarum


Recommendations: 1546
About the Project
This was a project started during lockdown to build a Romano-British war band for Dux Britanniarum by Too Fat Lardies. It's stalled of late, so my hope is that by documenting progress on this project I'll be incentivised to finish it.
Related Company: Too Fat Lardies
Related Genre: Historical
This Project is Active
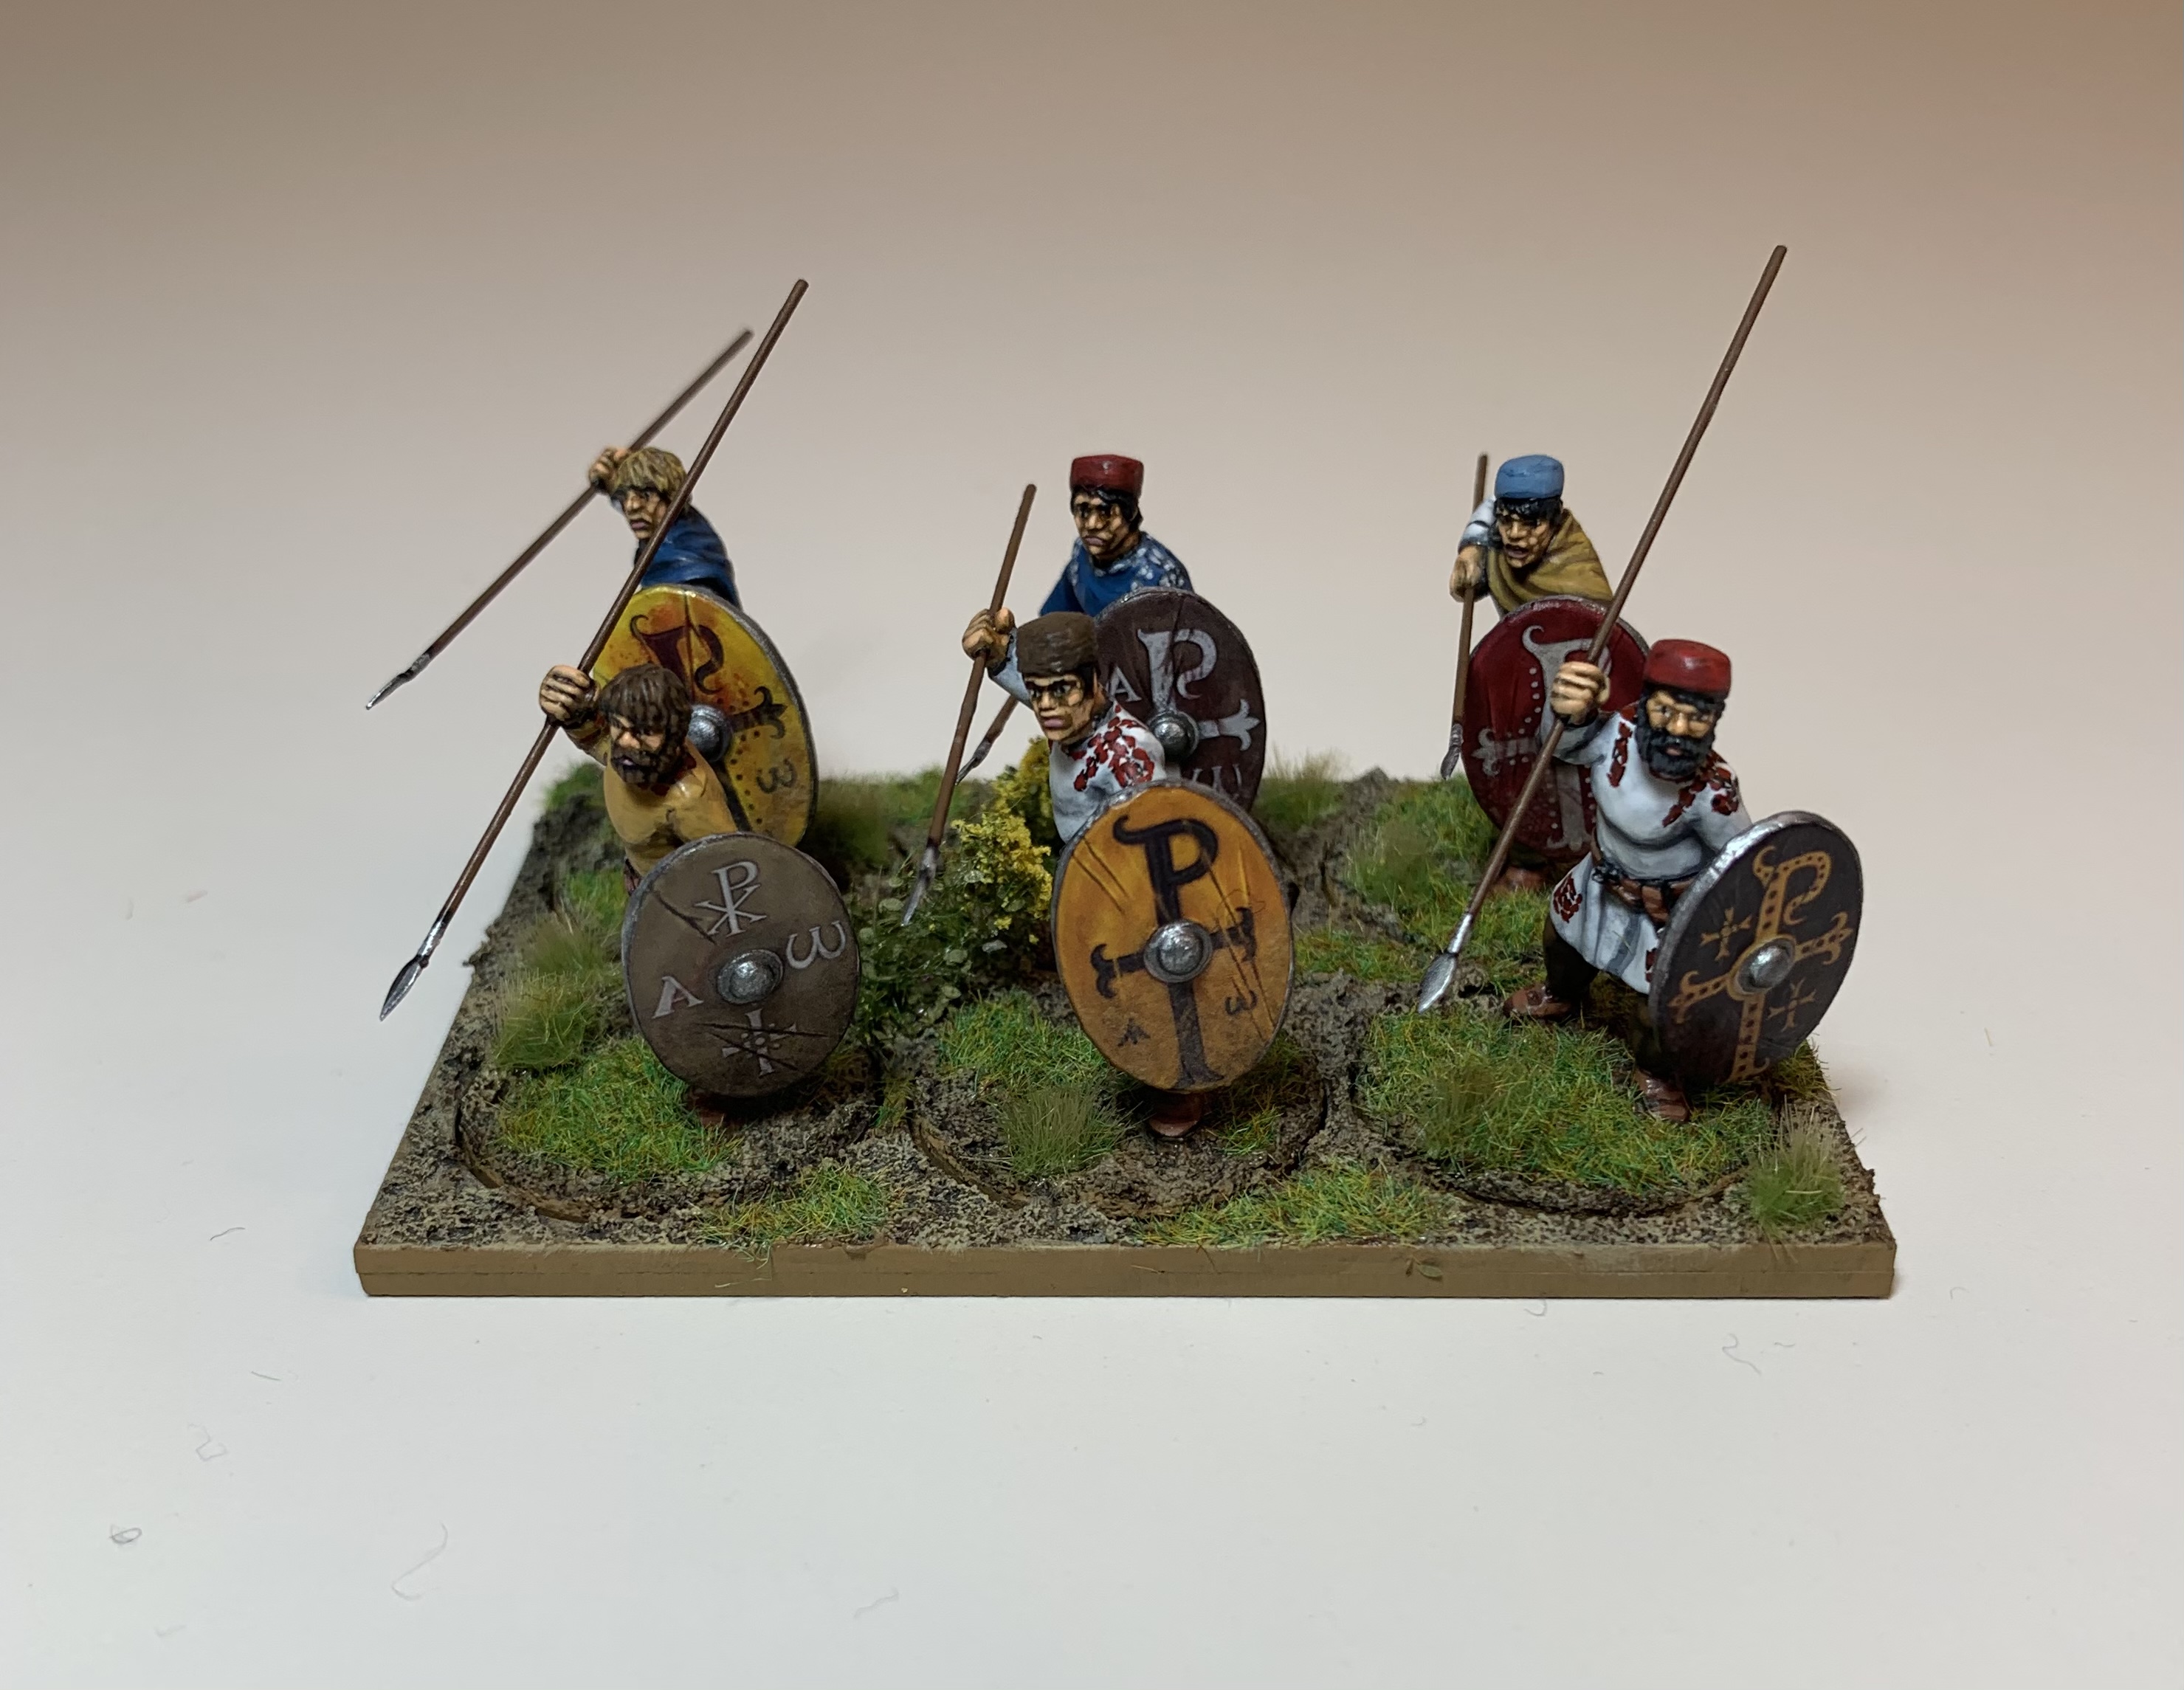
Numeri Group three - complete
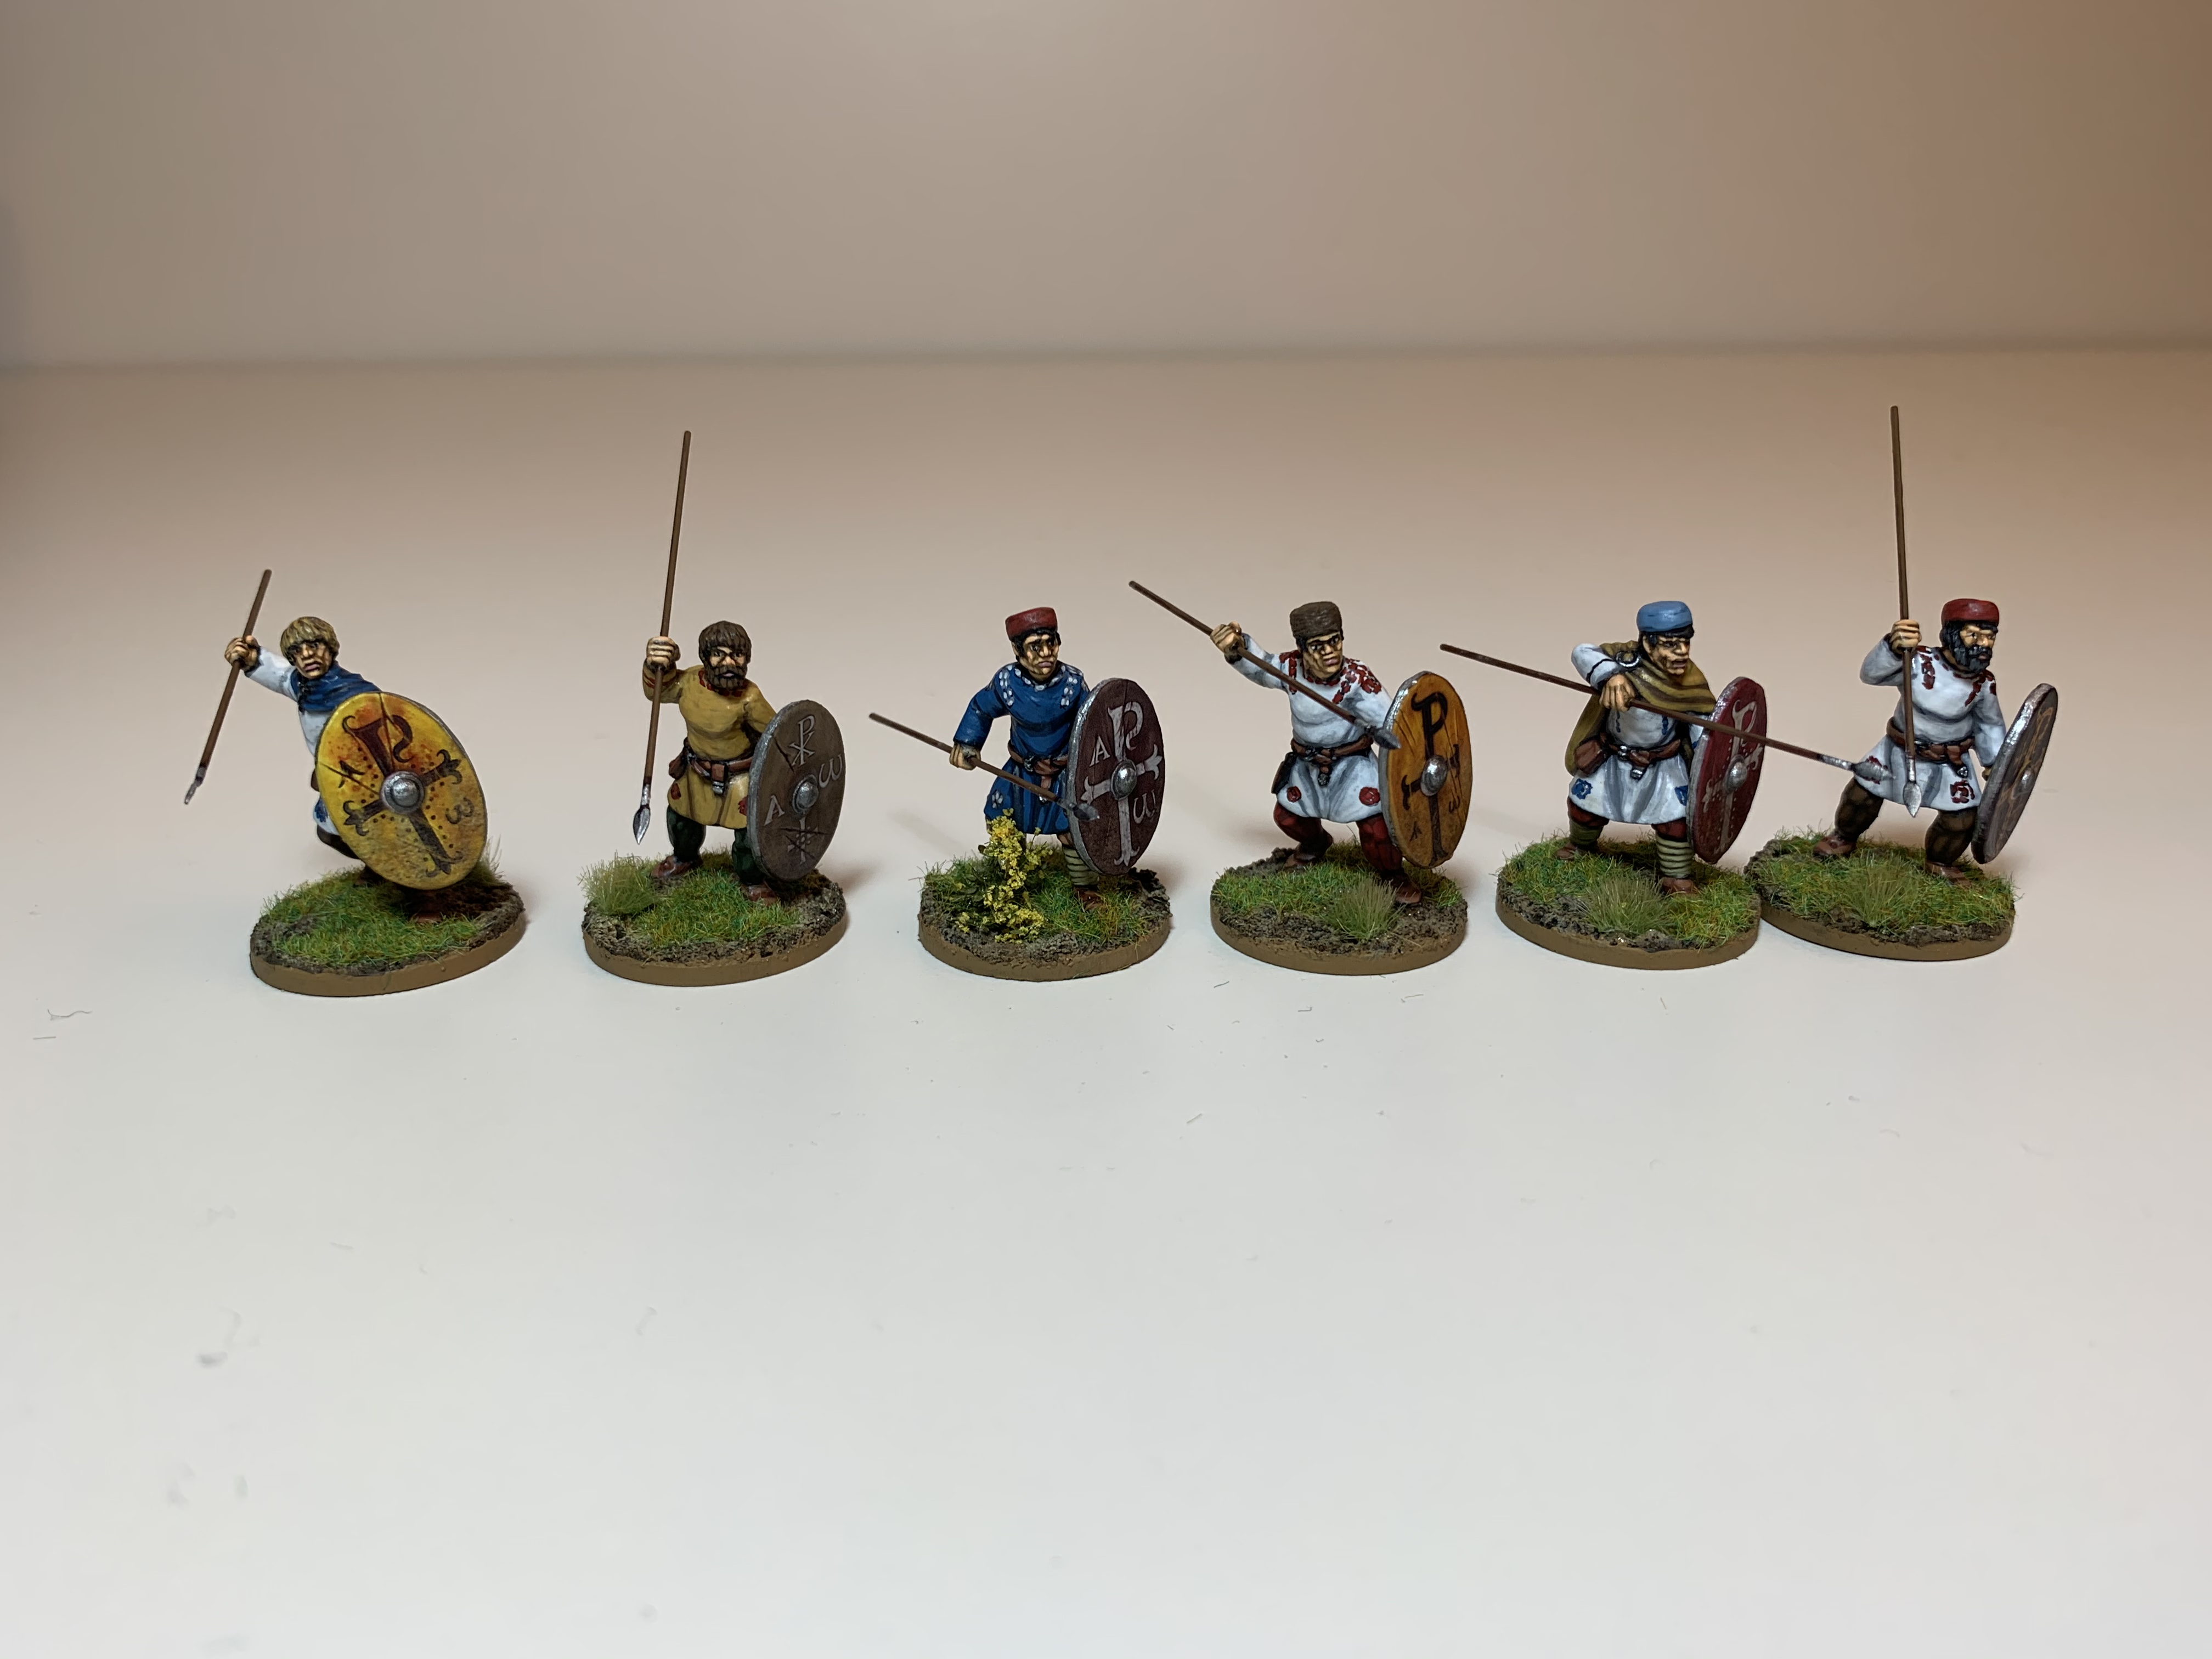 The completed group
Here is the completed third Group of Numeri, based and varnished with shields attached. Little Big Men Studios shield transfers with MiniNatur tufts and foliage on the bases.
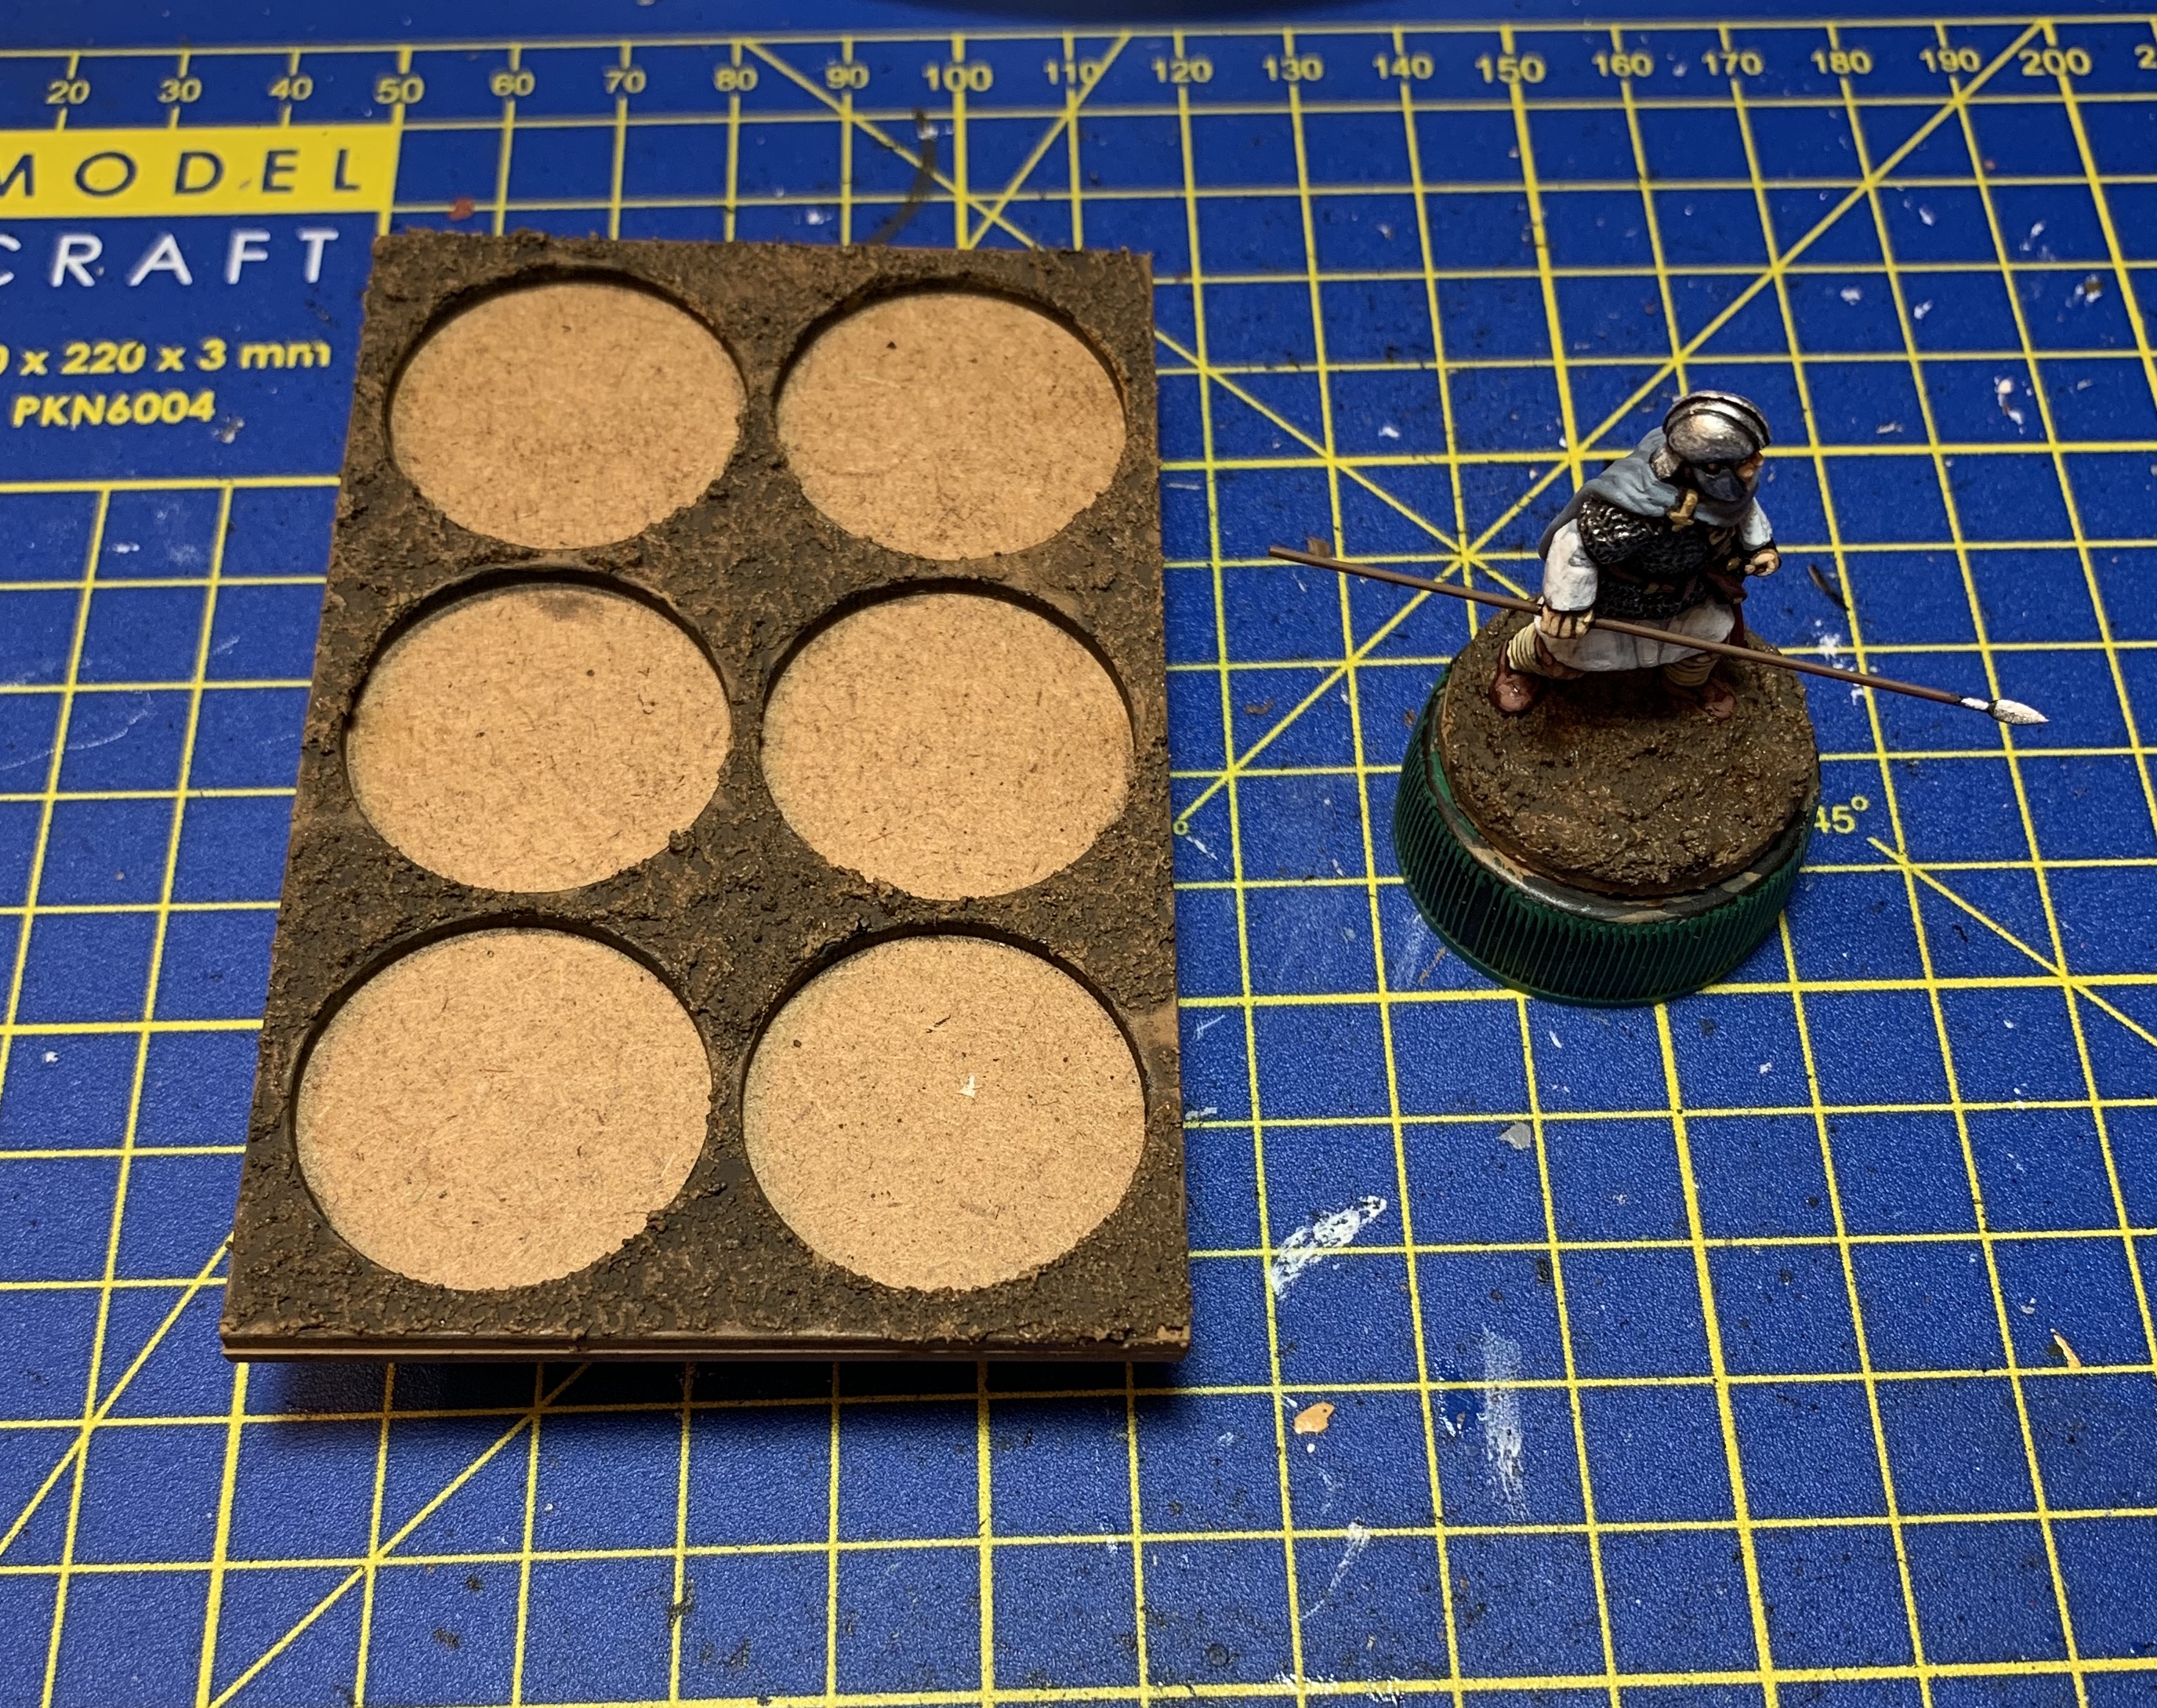
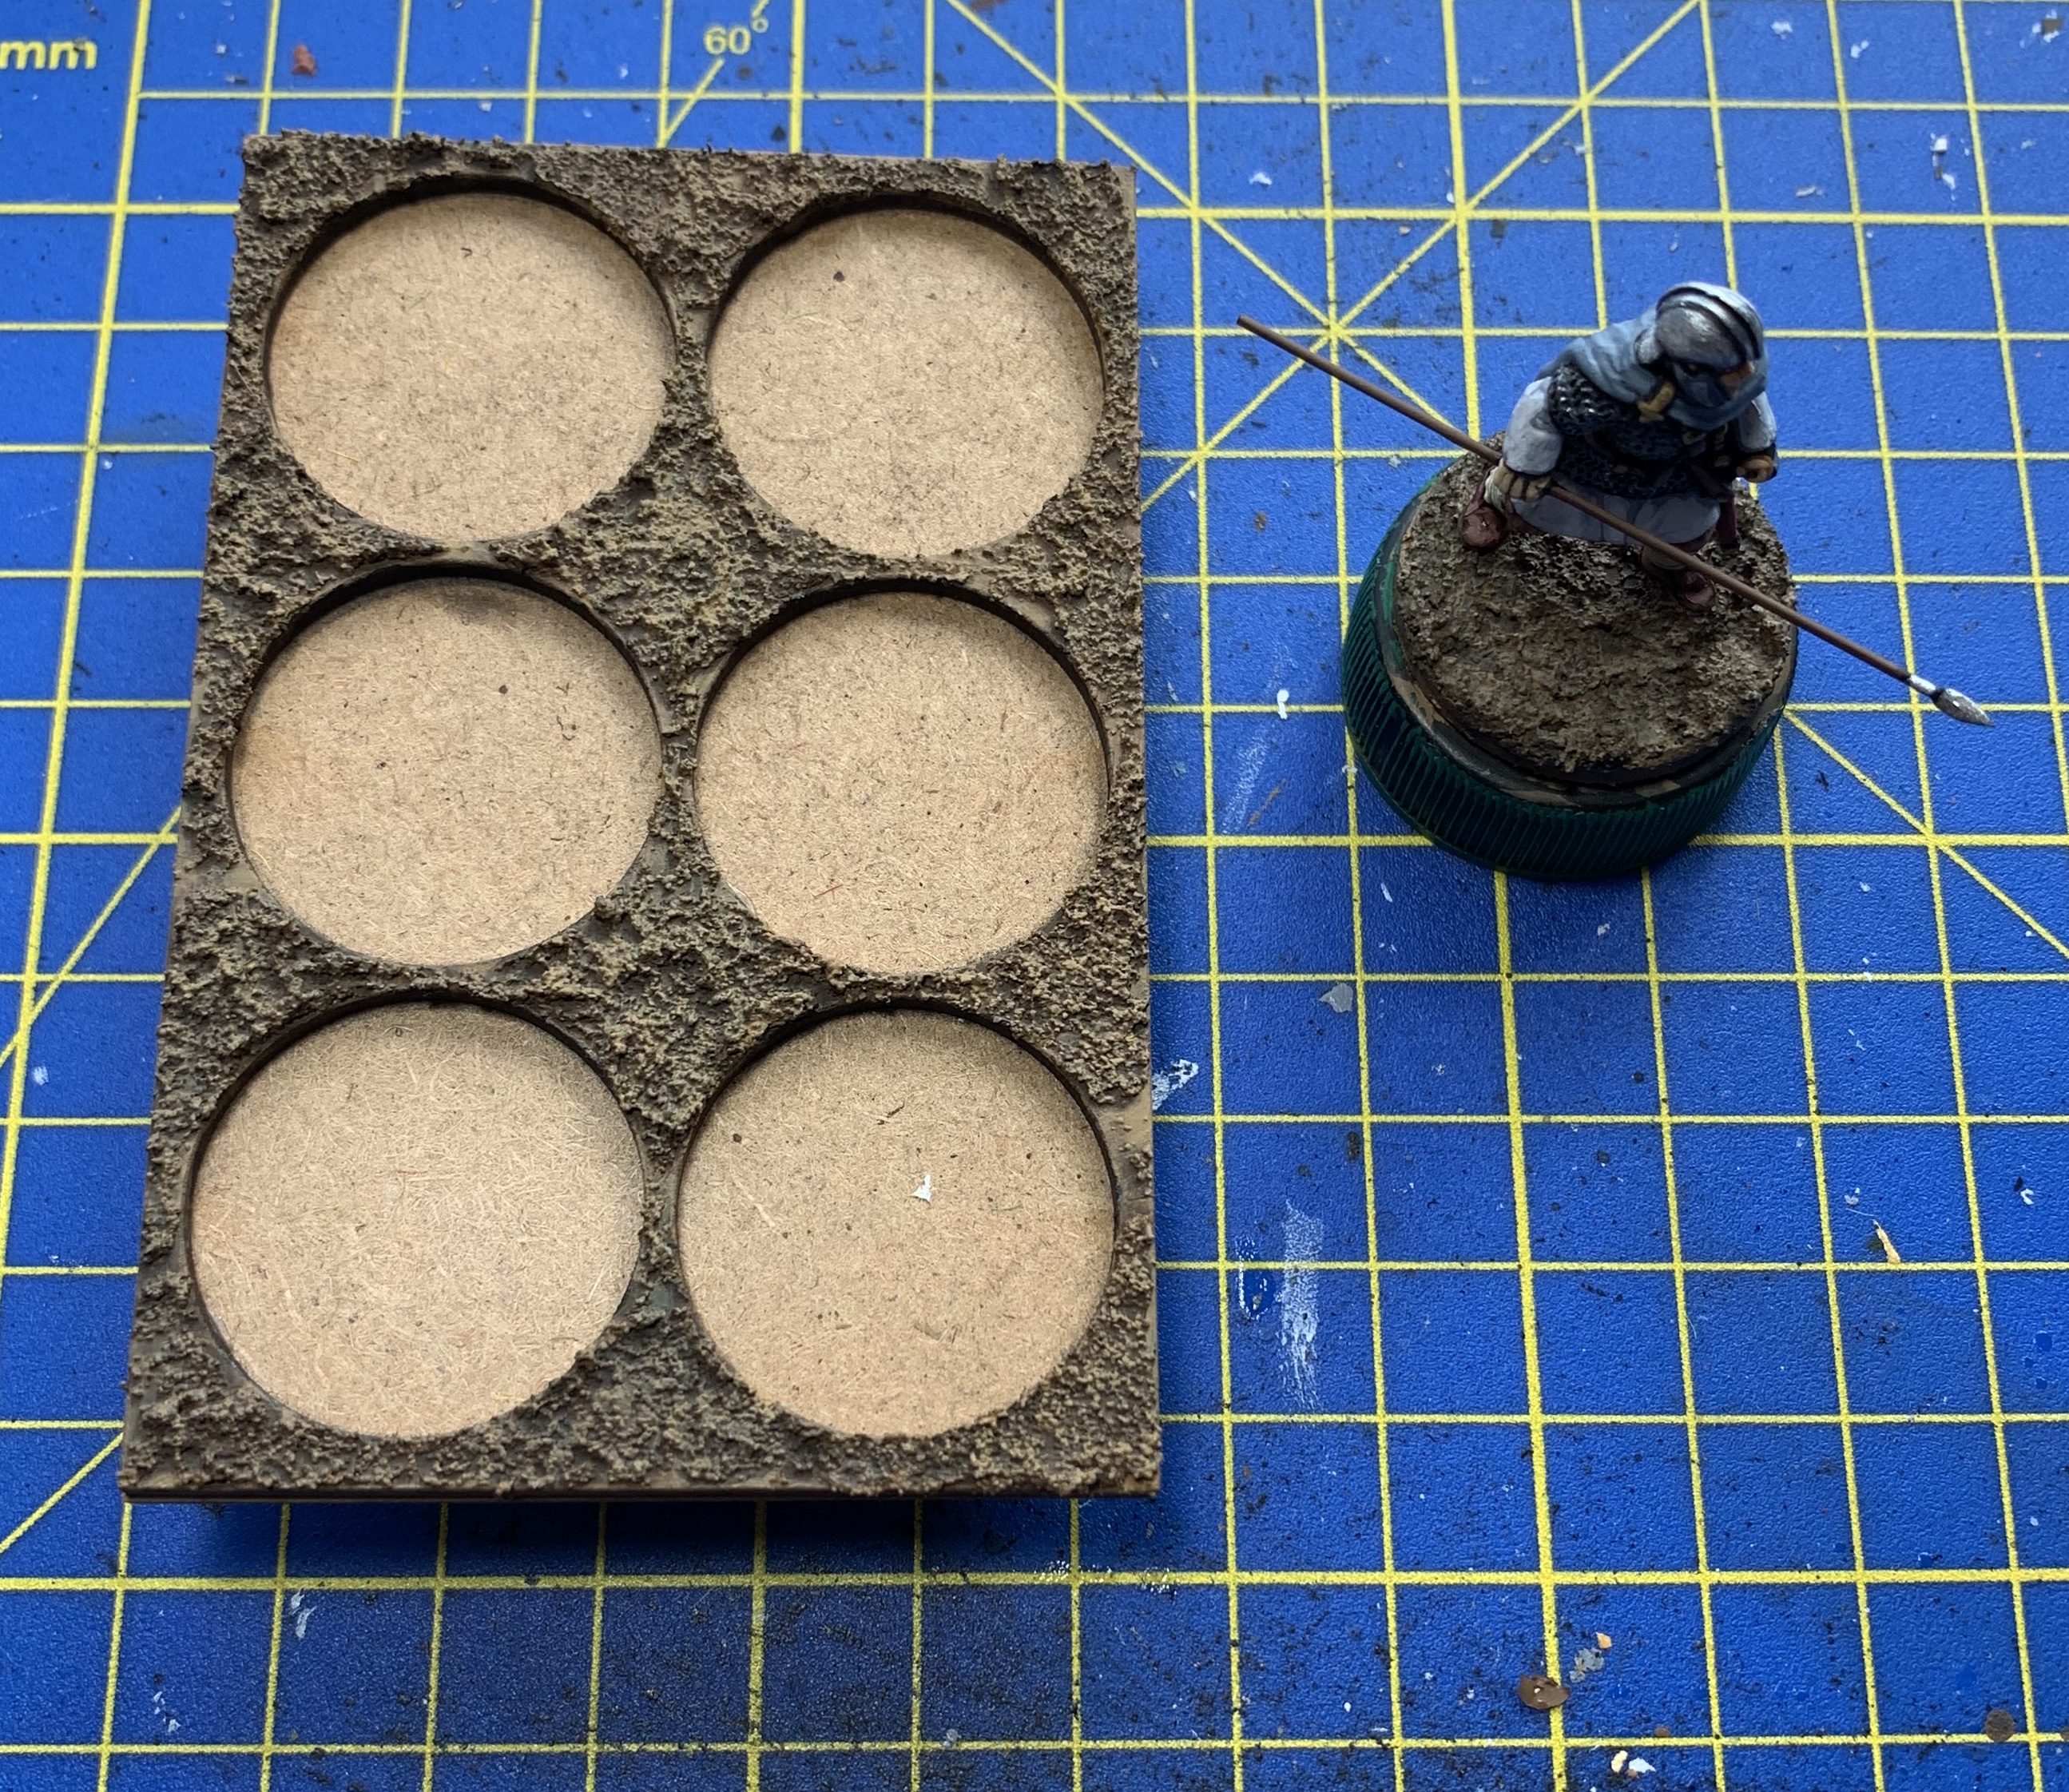
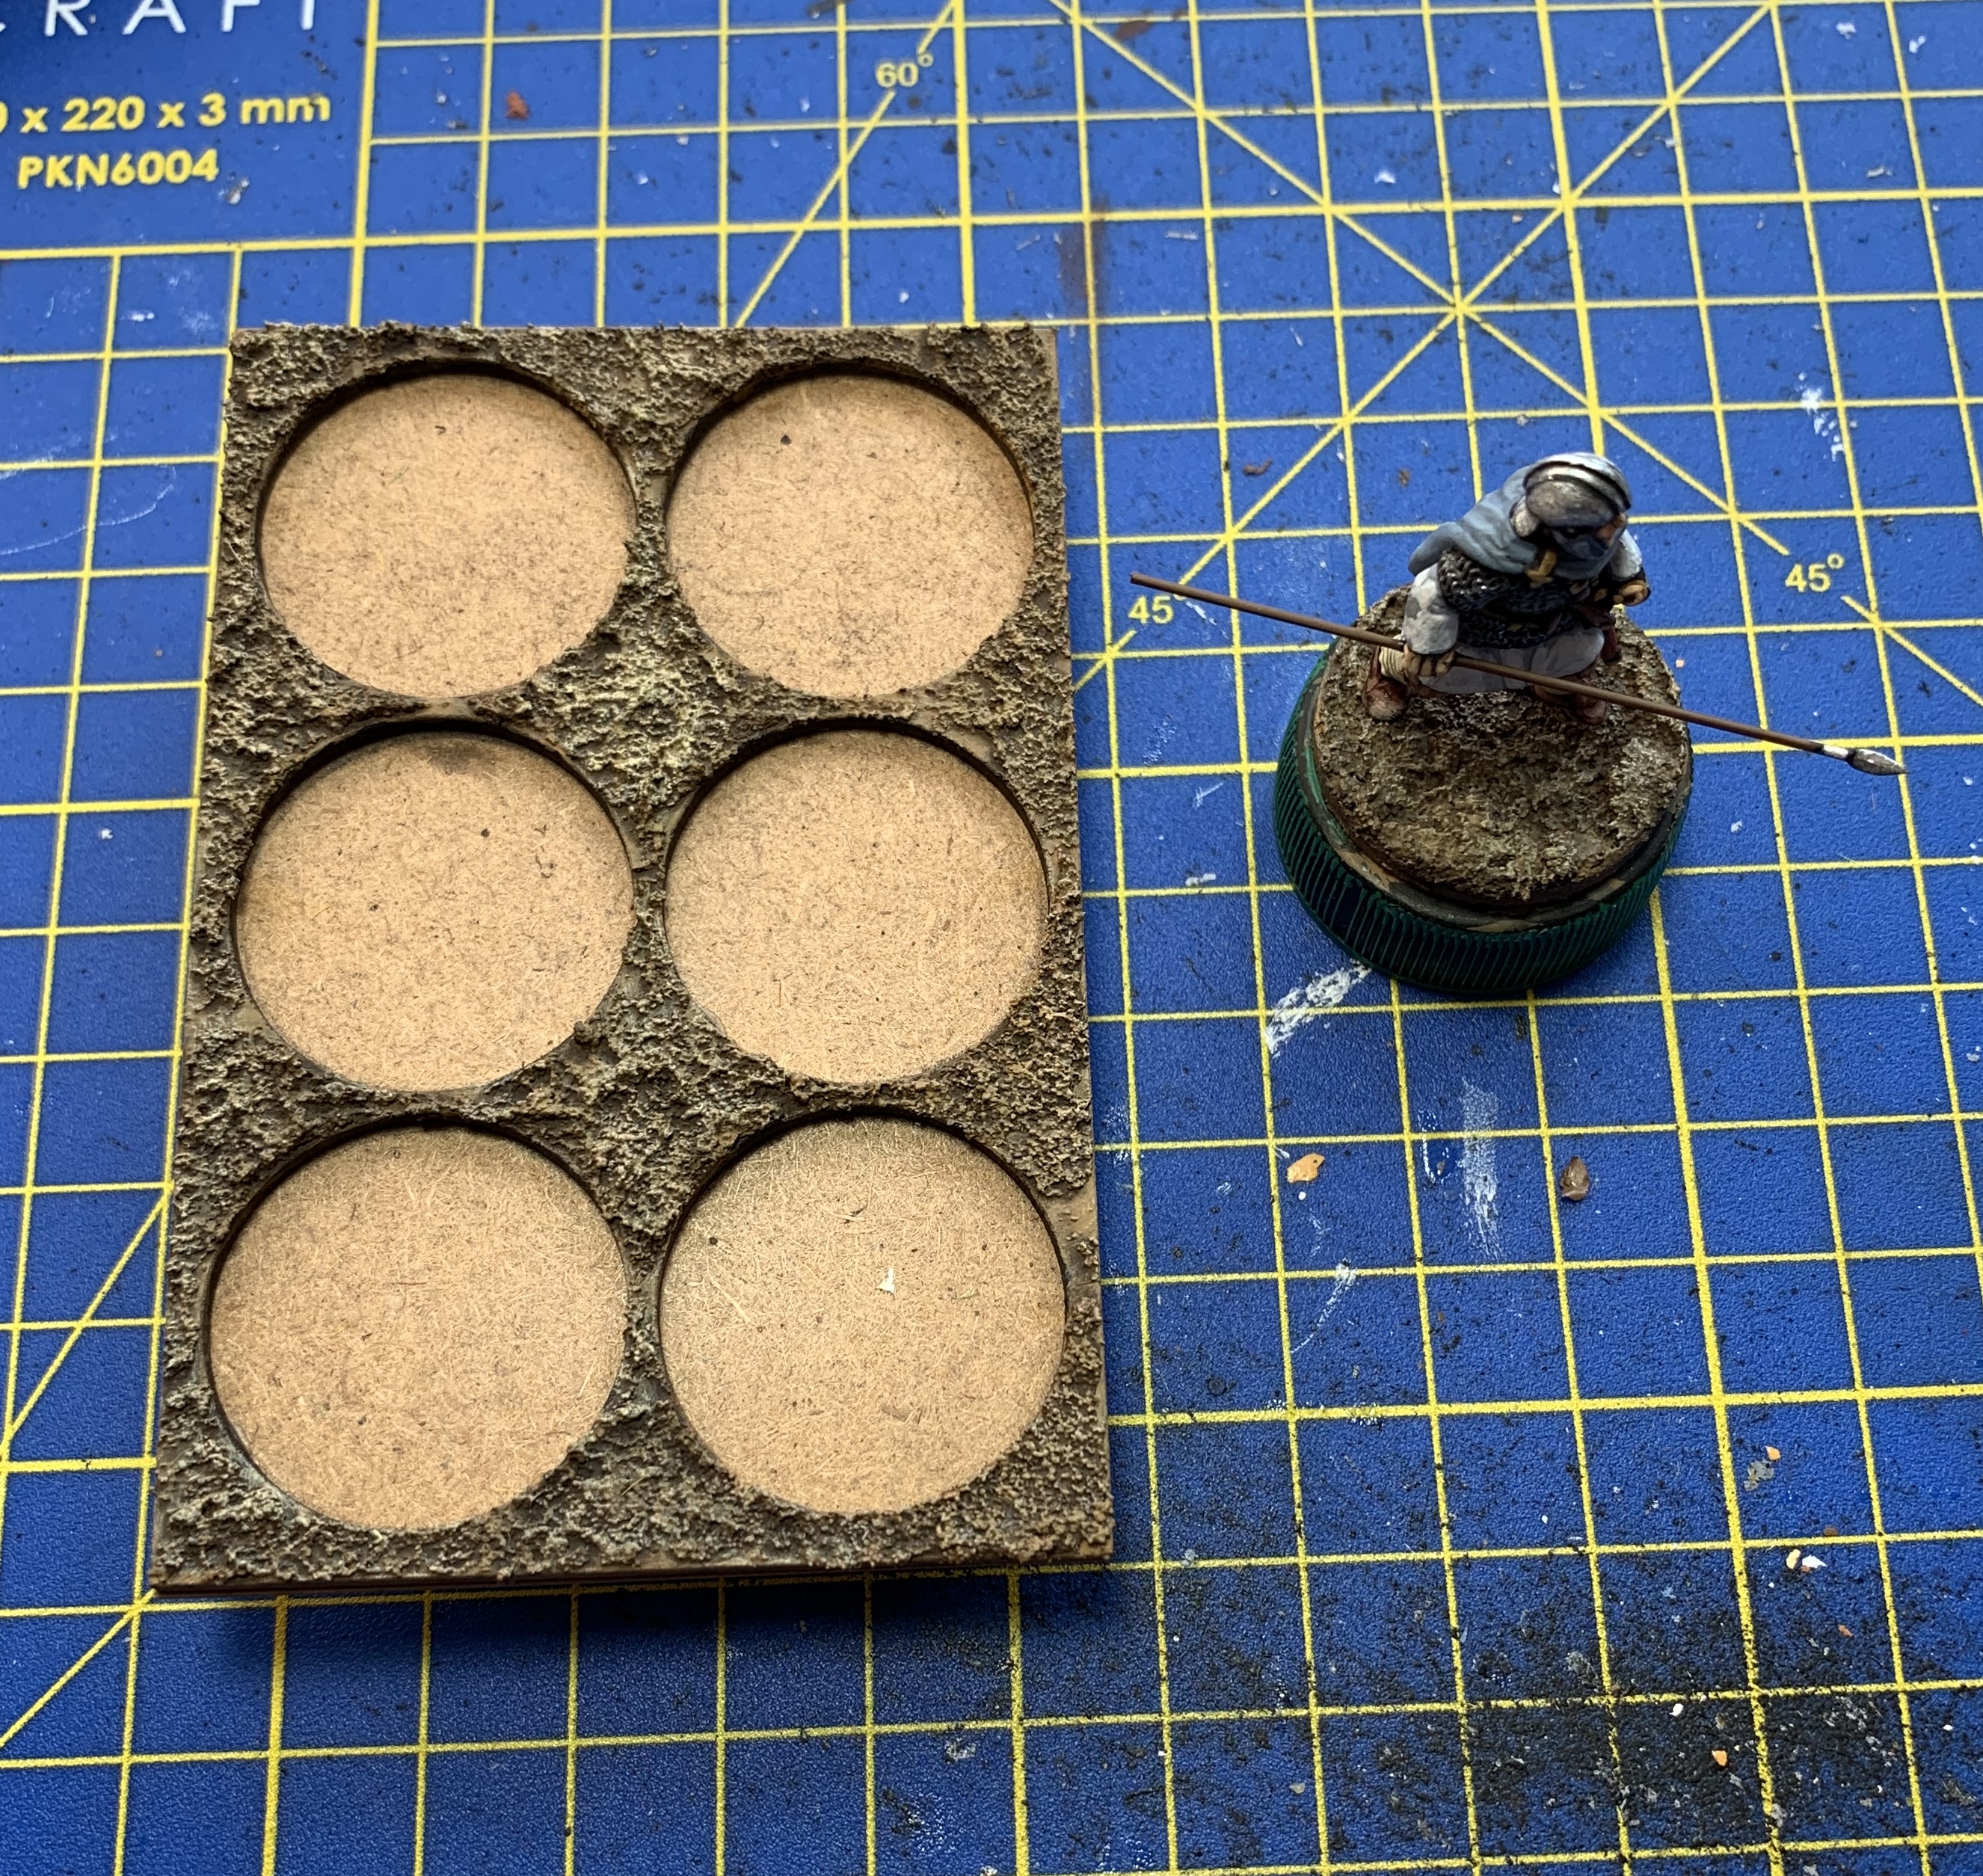
 Mounted on a sabot base
 Lloyd shot
However, I wanted to mix these townsfolk in with the farmers from Groups one and two so as to break up any uniformity and emphasise that these are not professional fighters. The images below show all three Groups of Numeri mixed in together, ready to defend their homes and livelihoods against the Saxon invader!
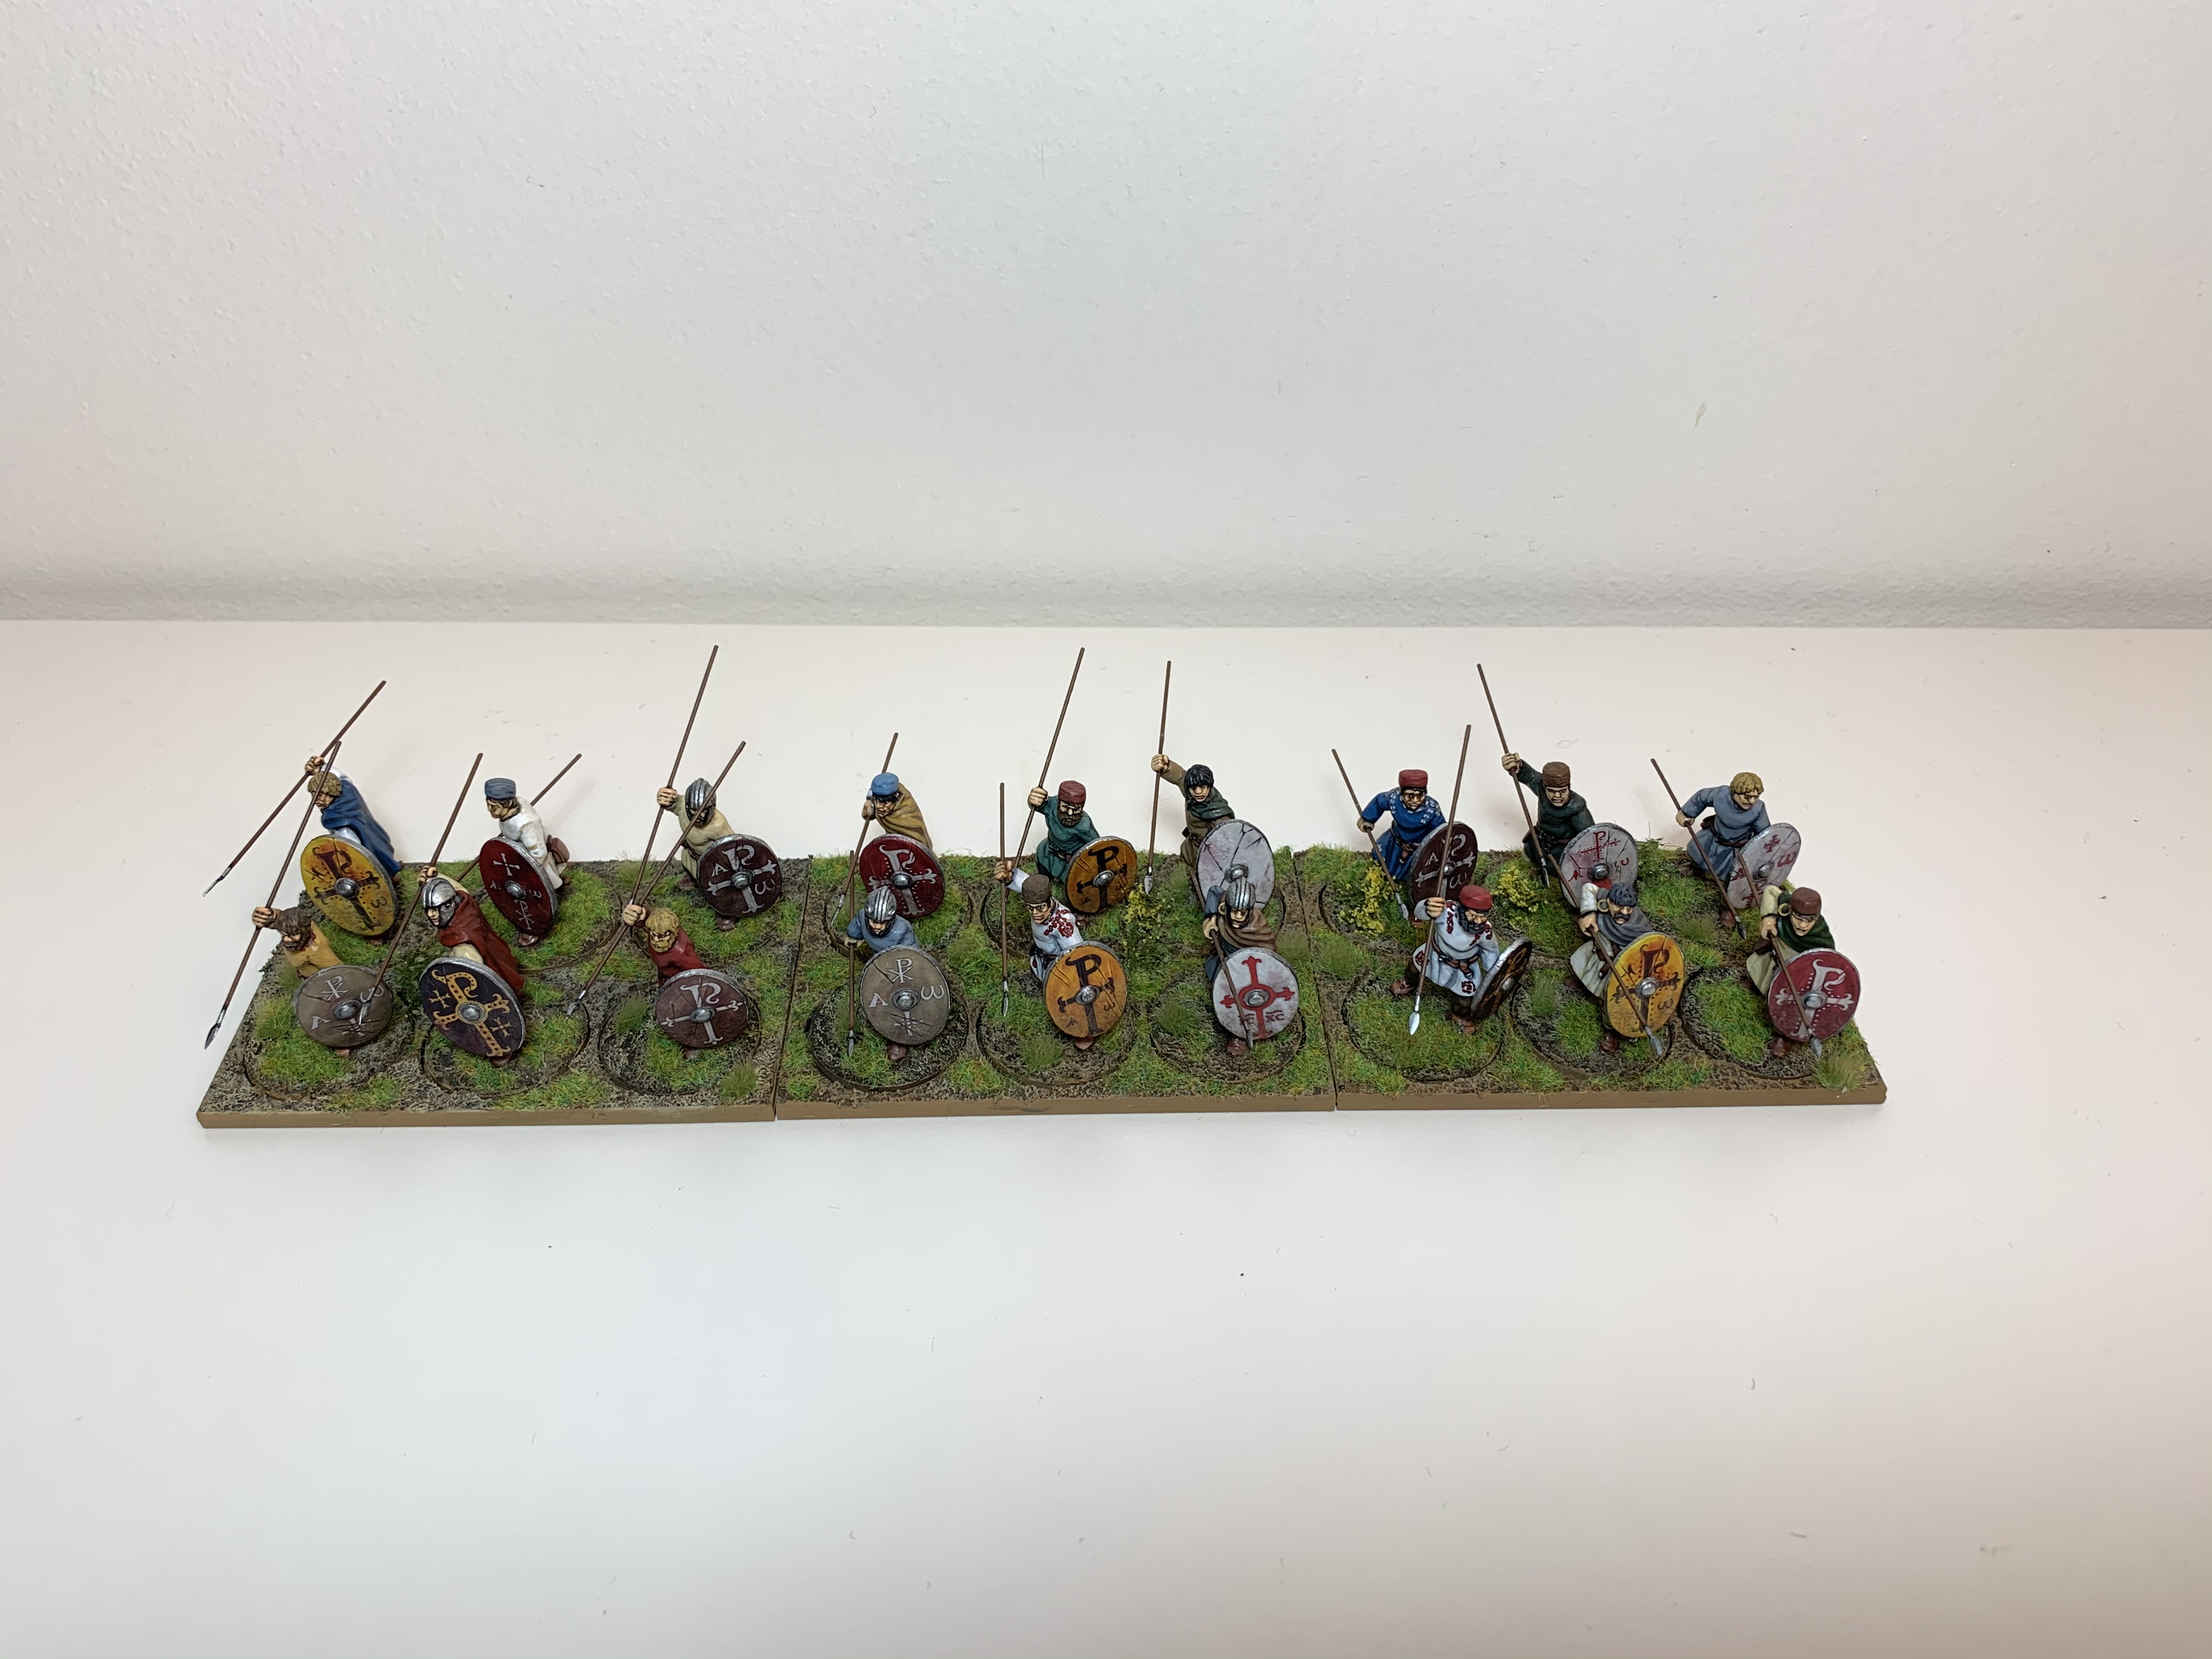 The Numeri stand ready!
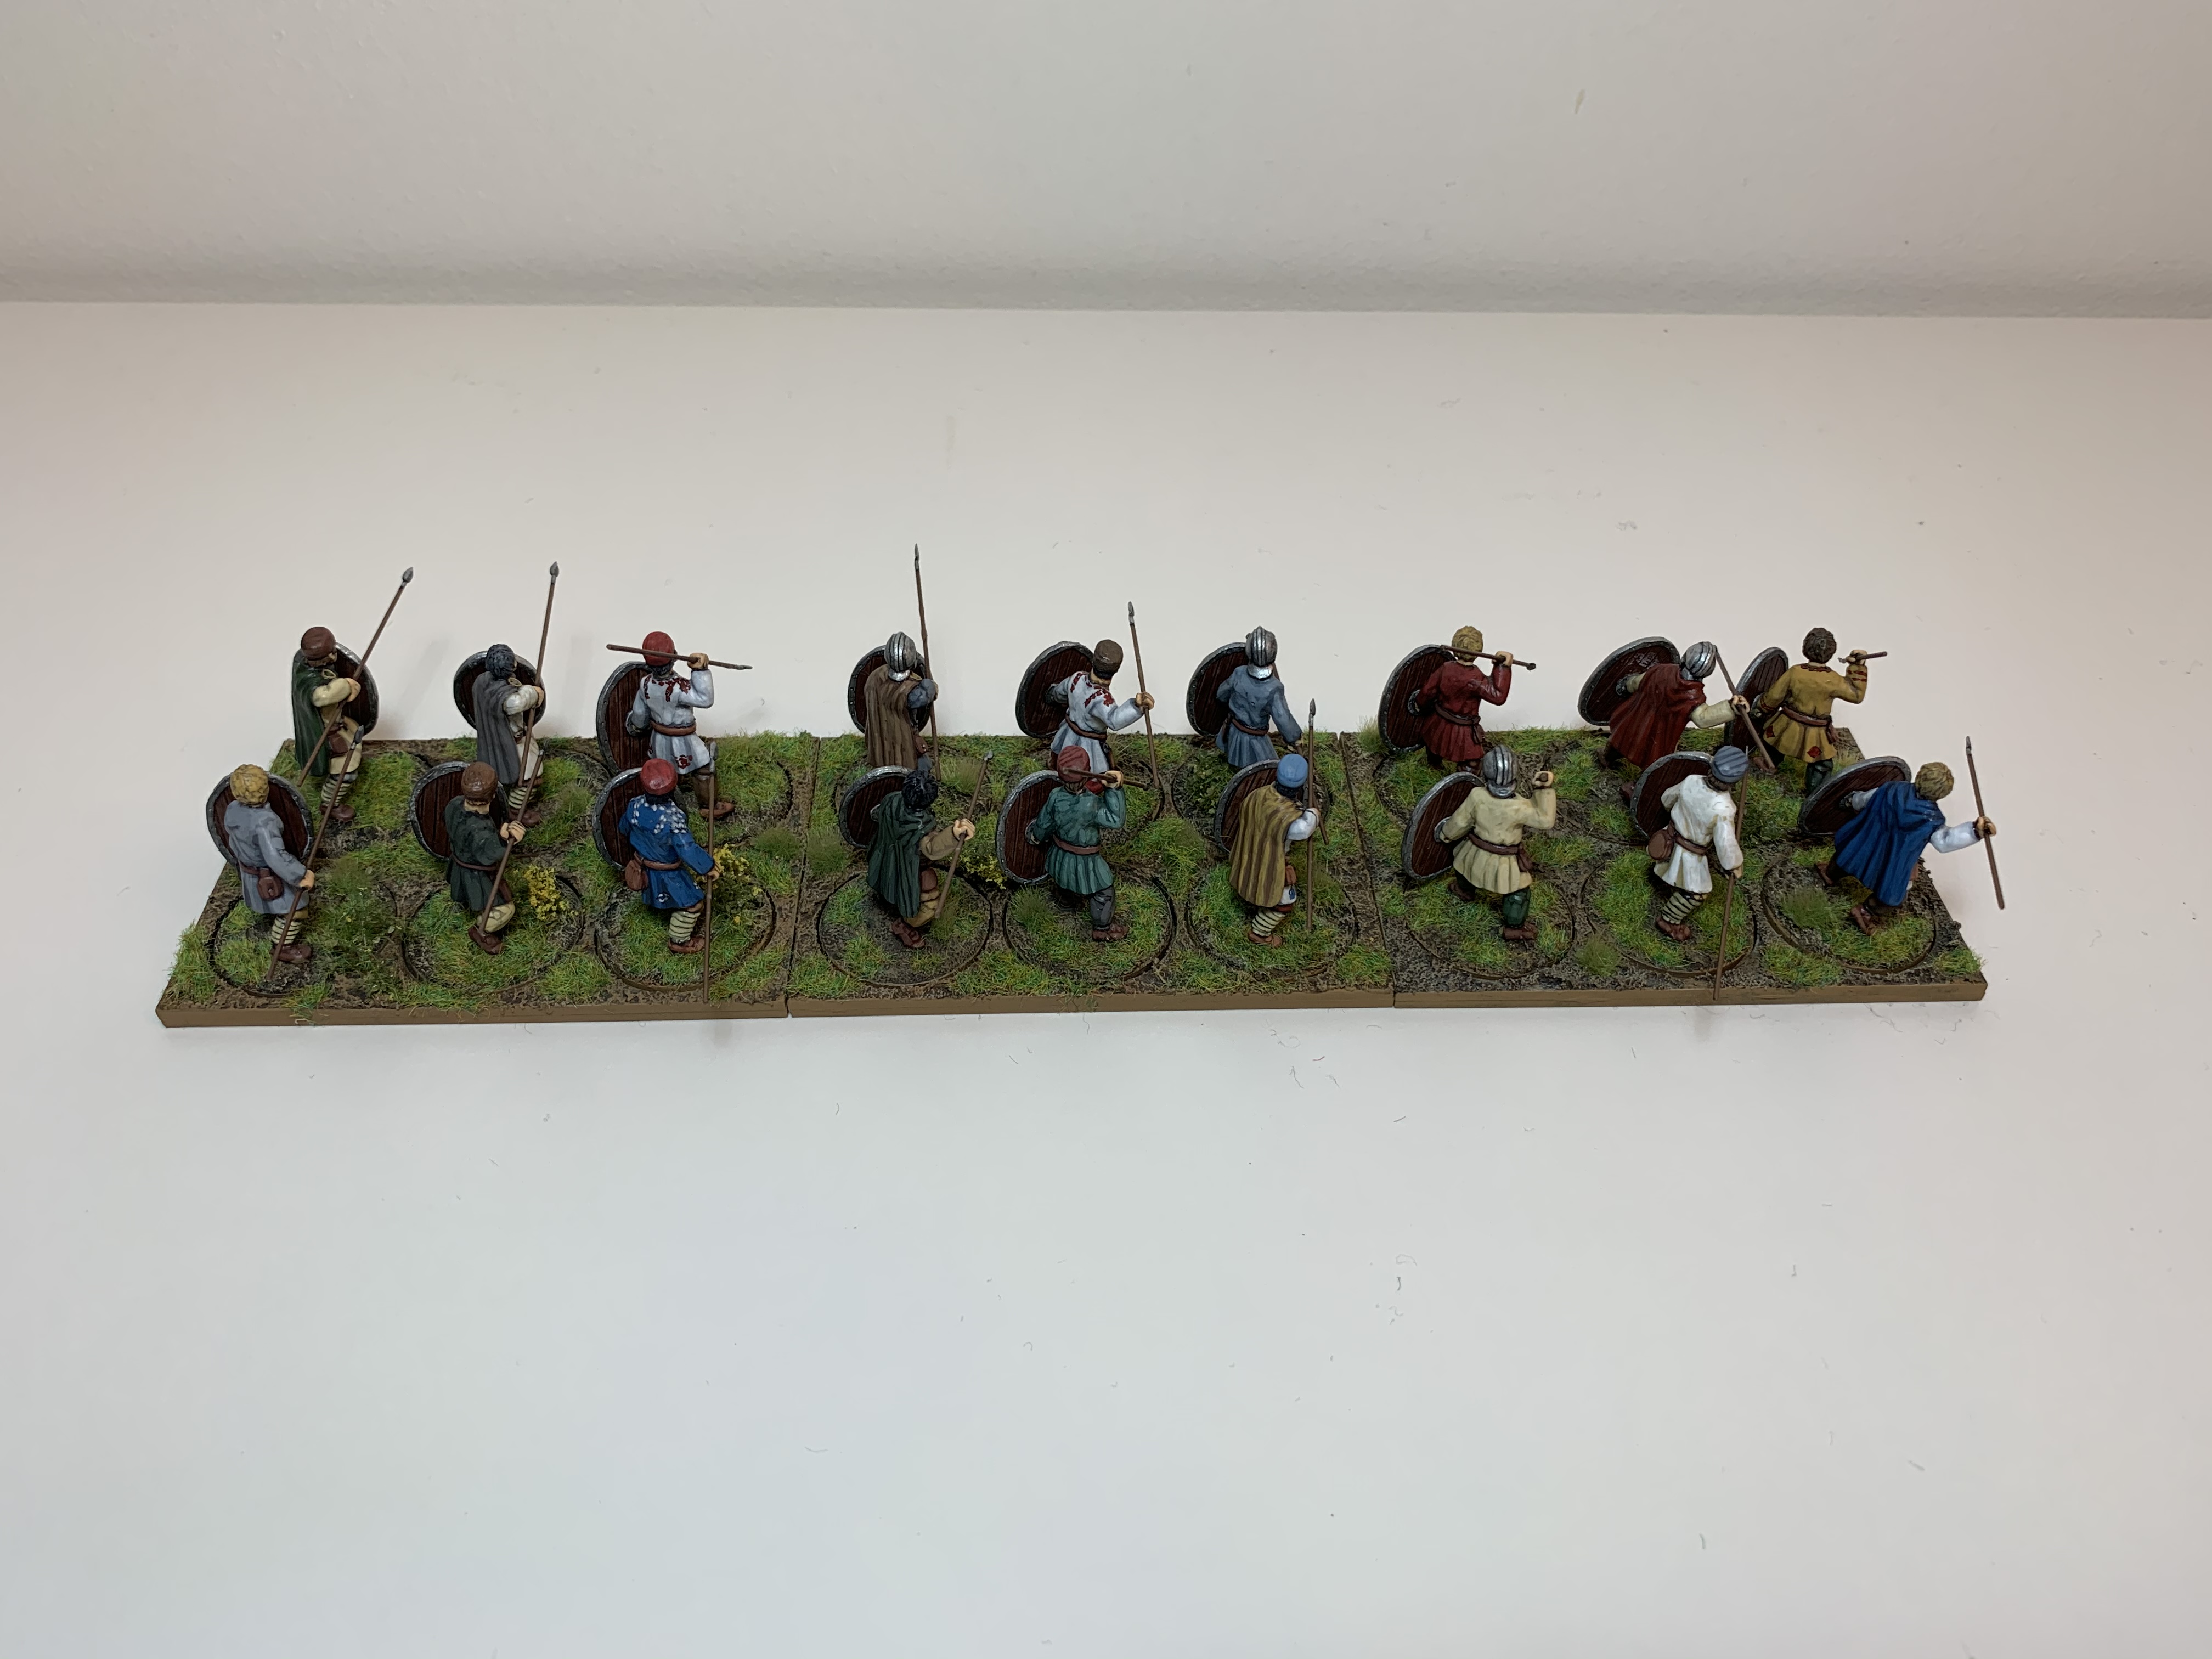 Lloyd shot
Next up is the final Group. The elite Comanipulares, the companion bodyguard troops of the Warlord, before finishing with the four character figures.
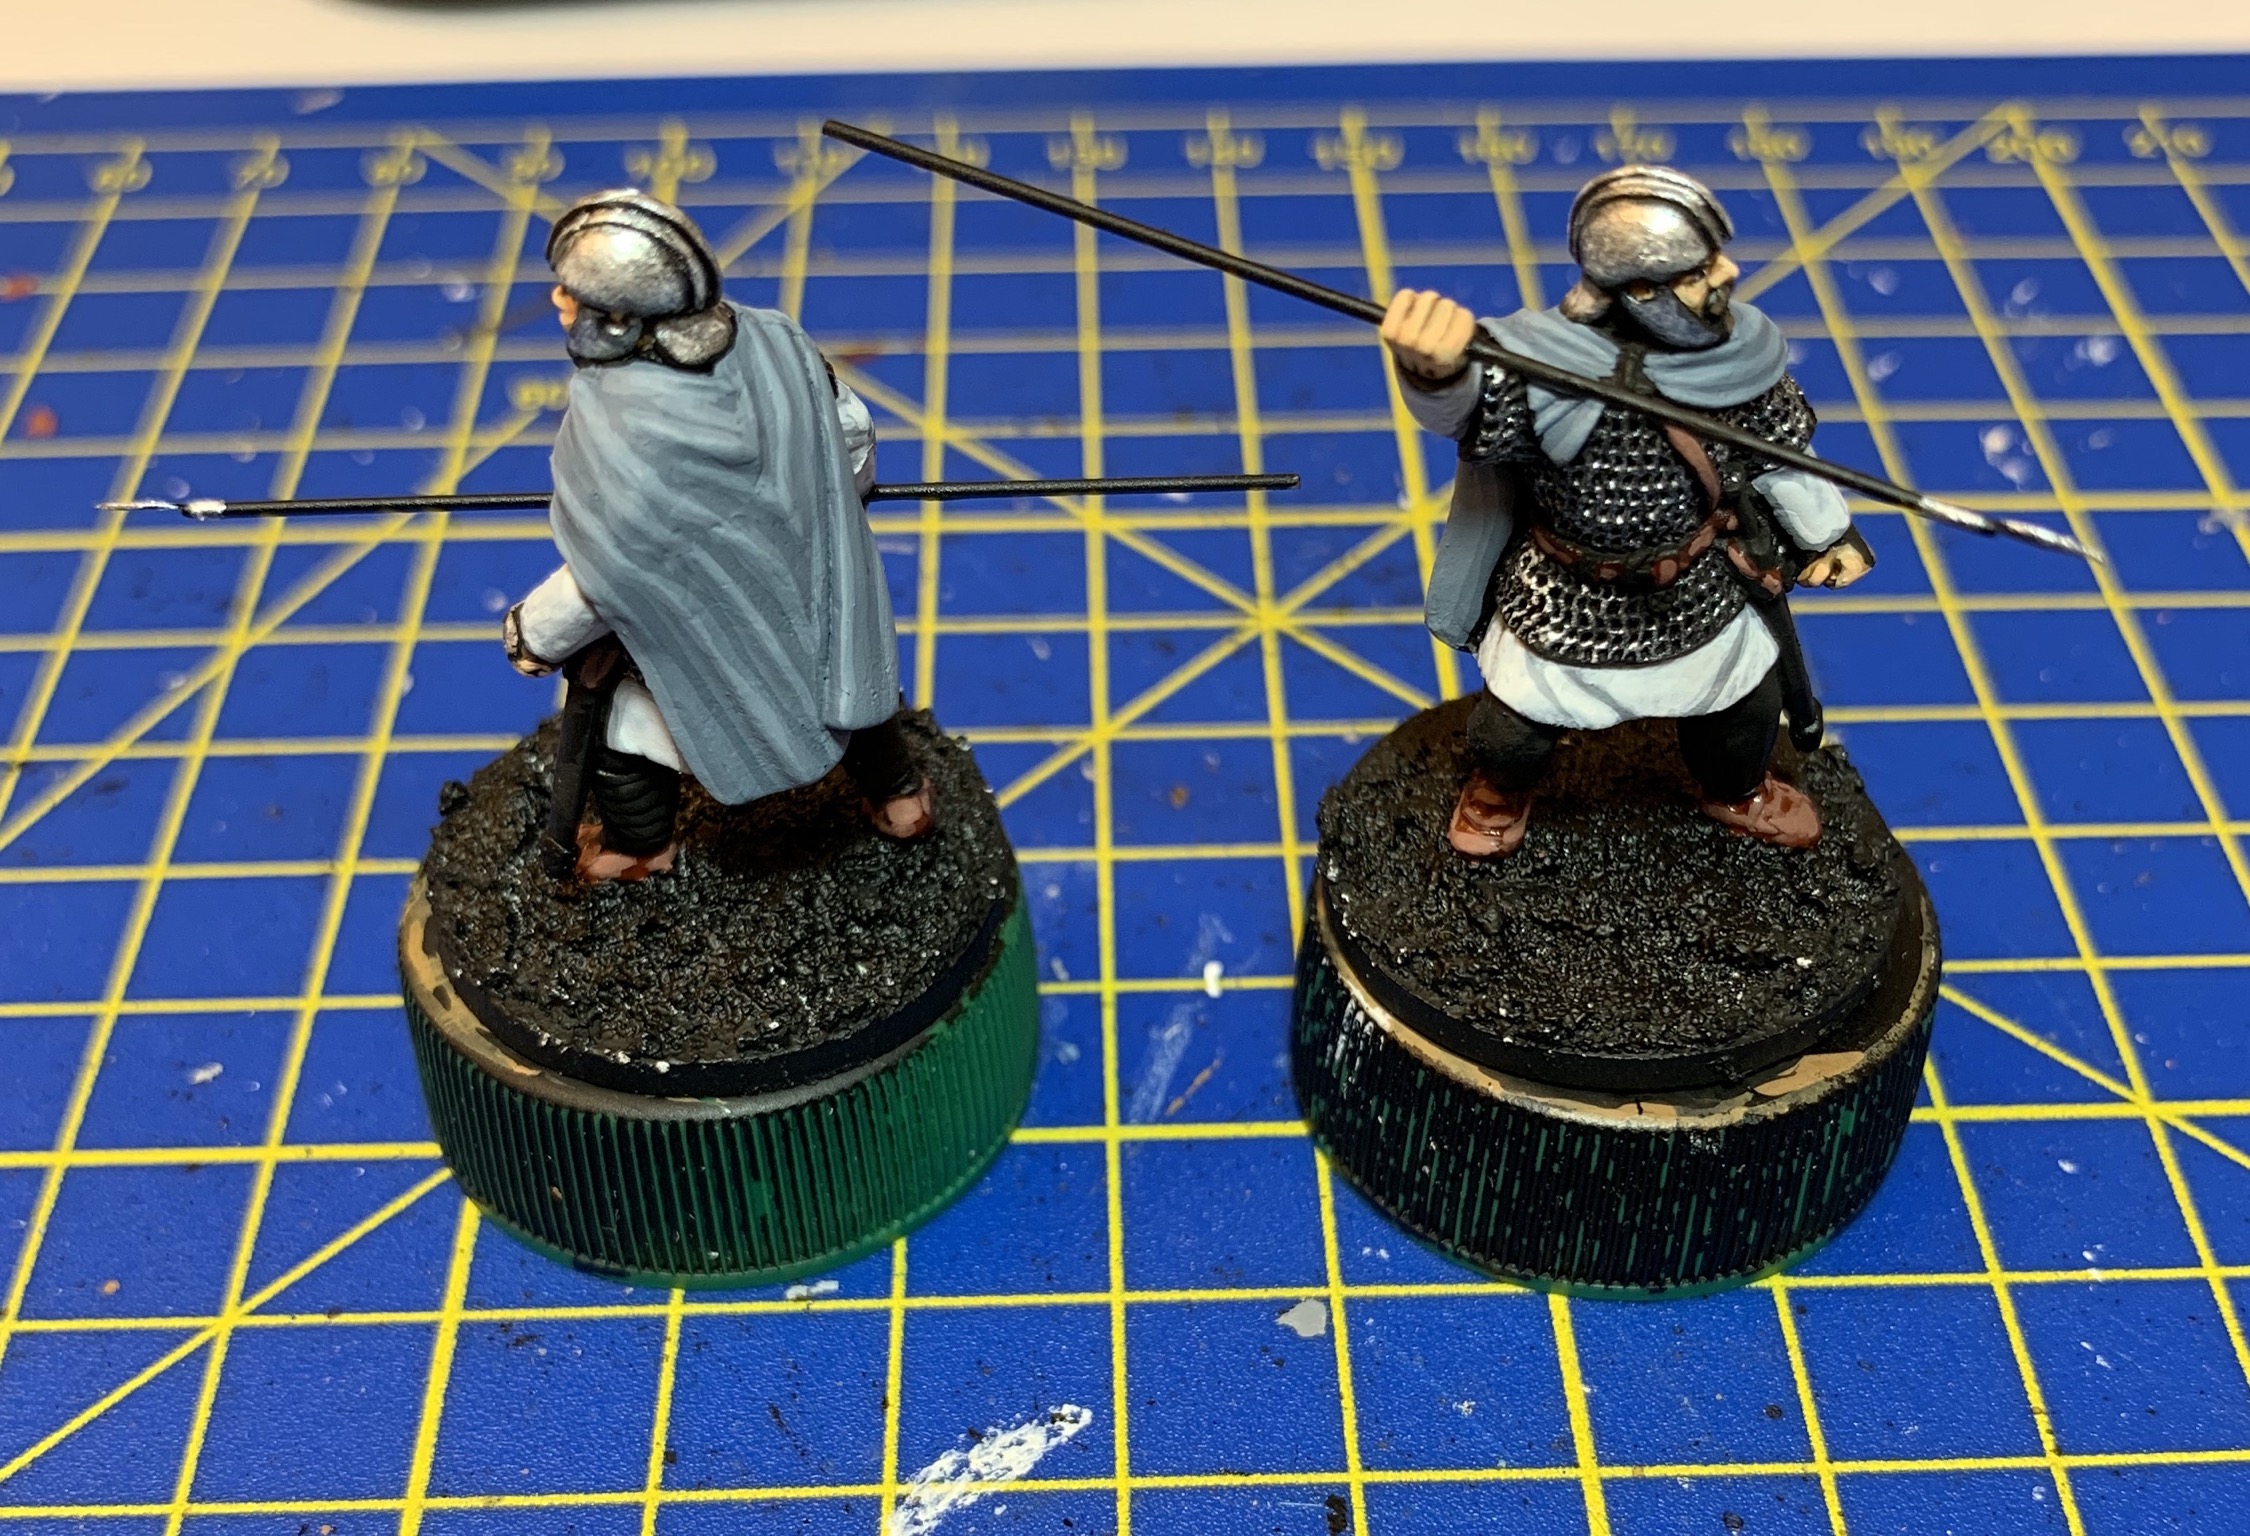
Numeri Group Three - clothing decorations
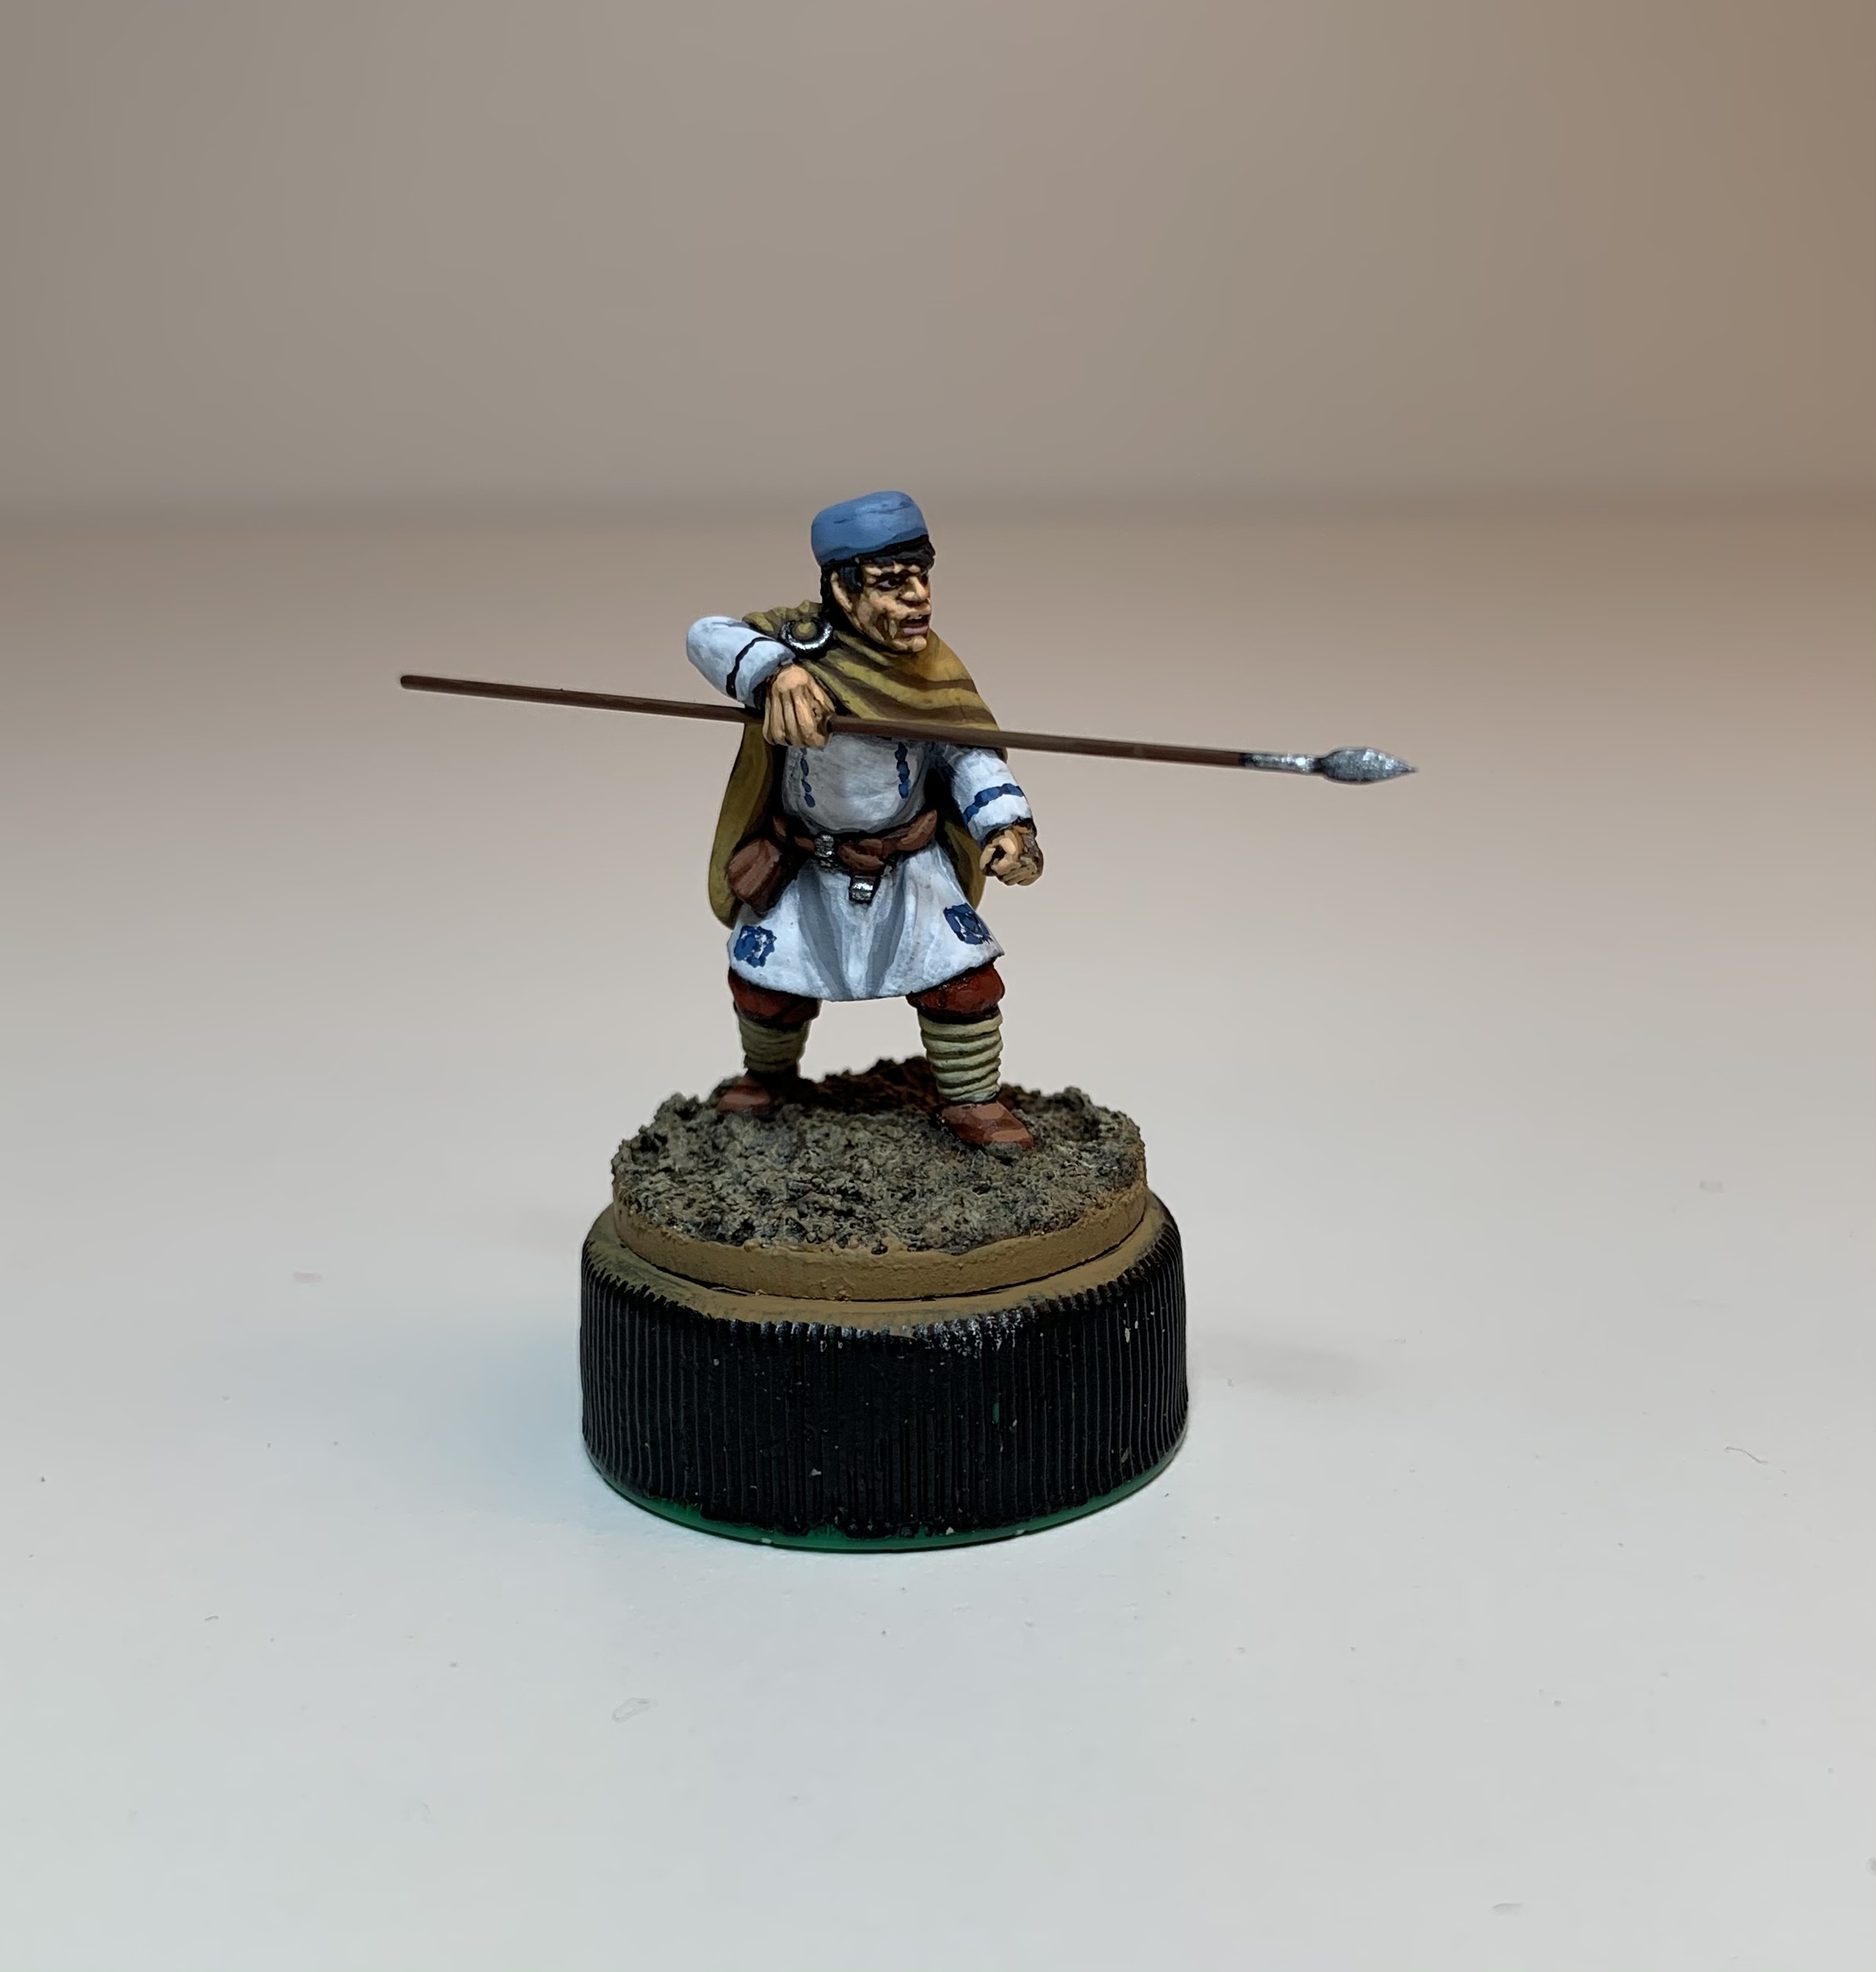
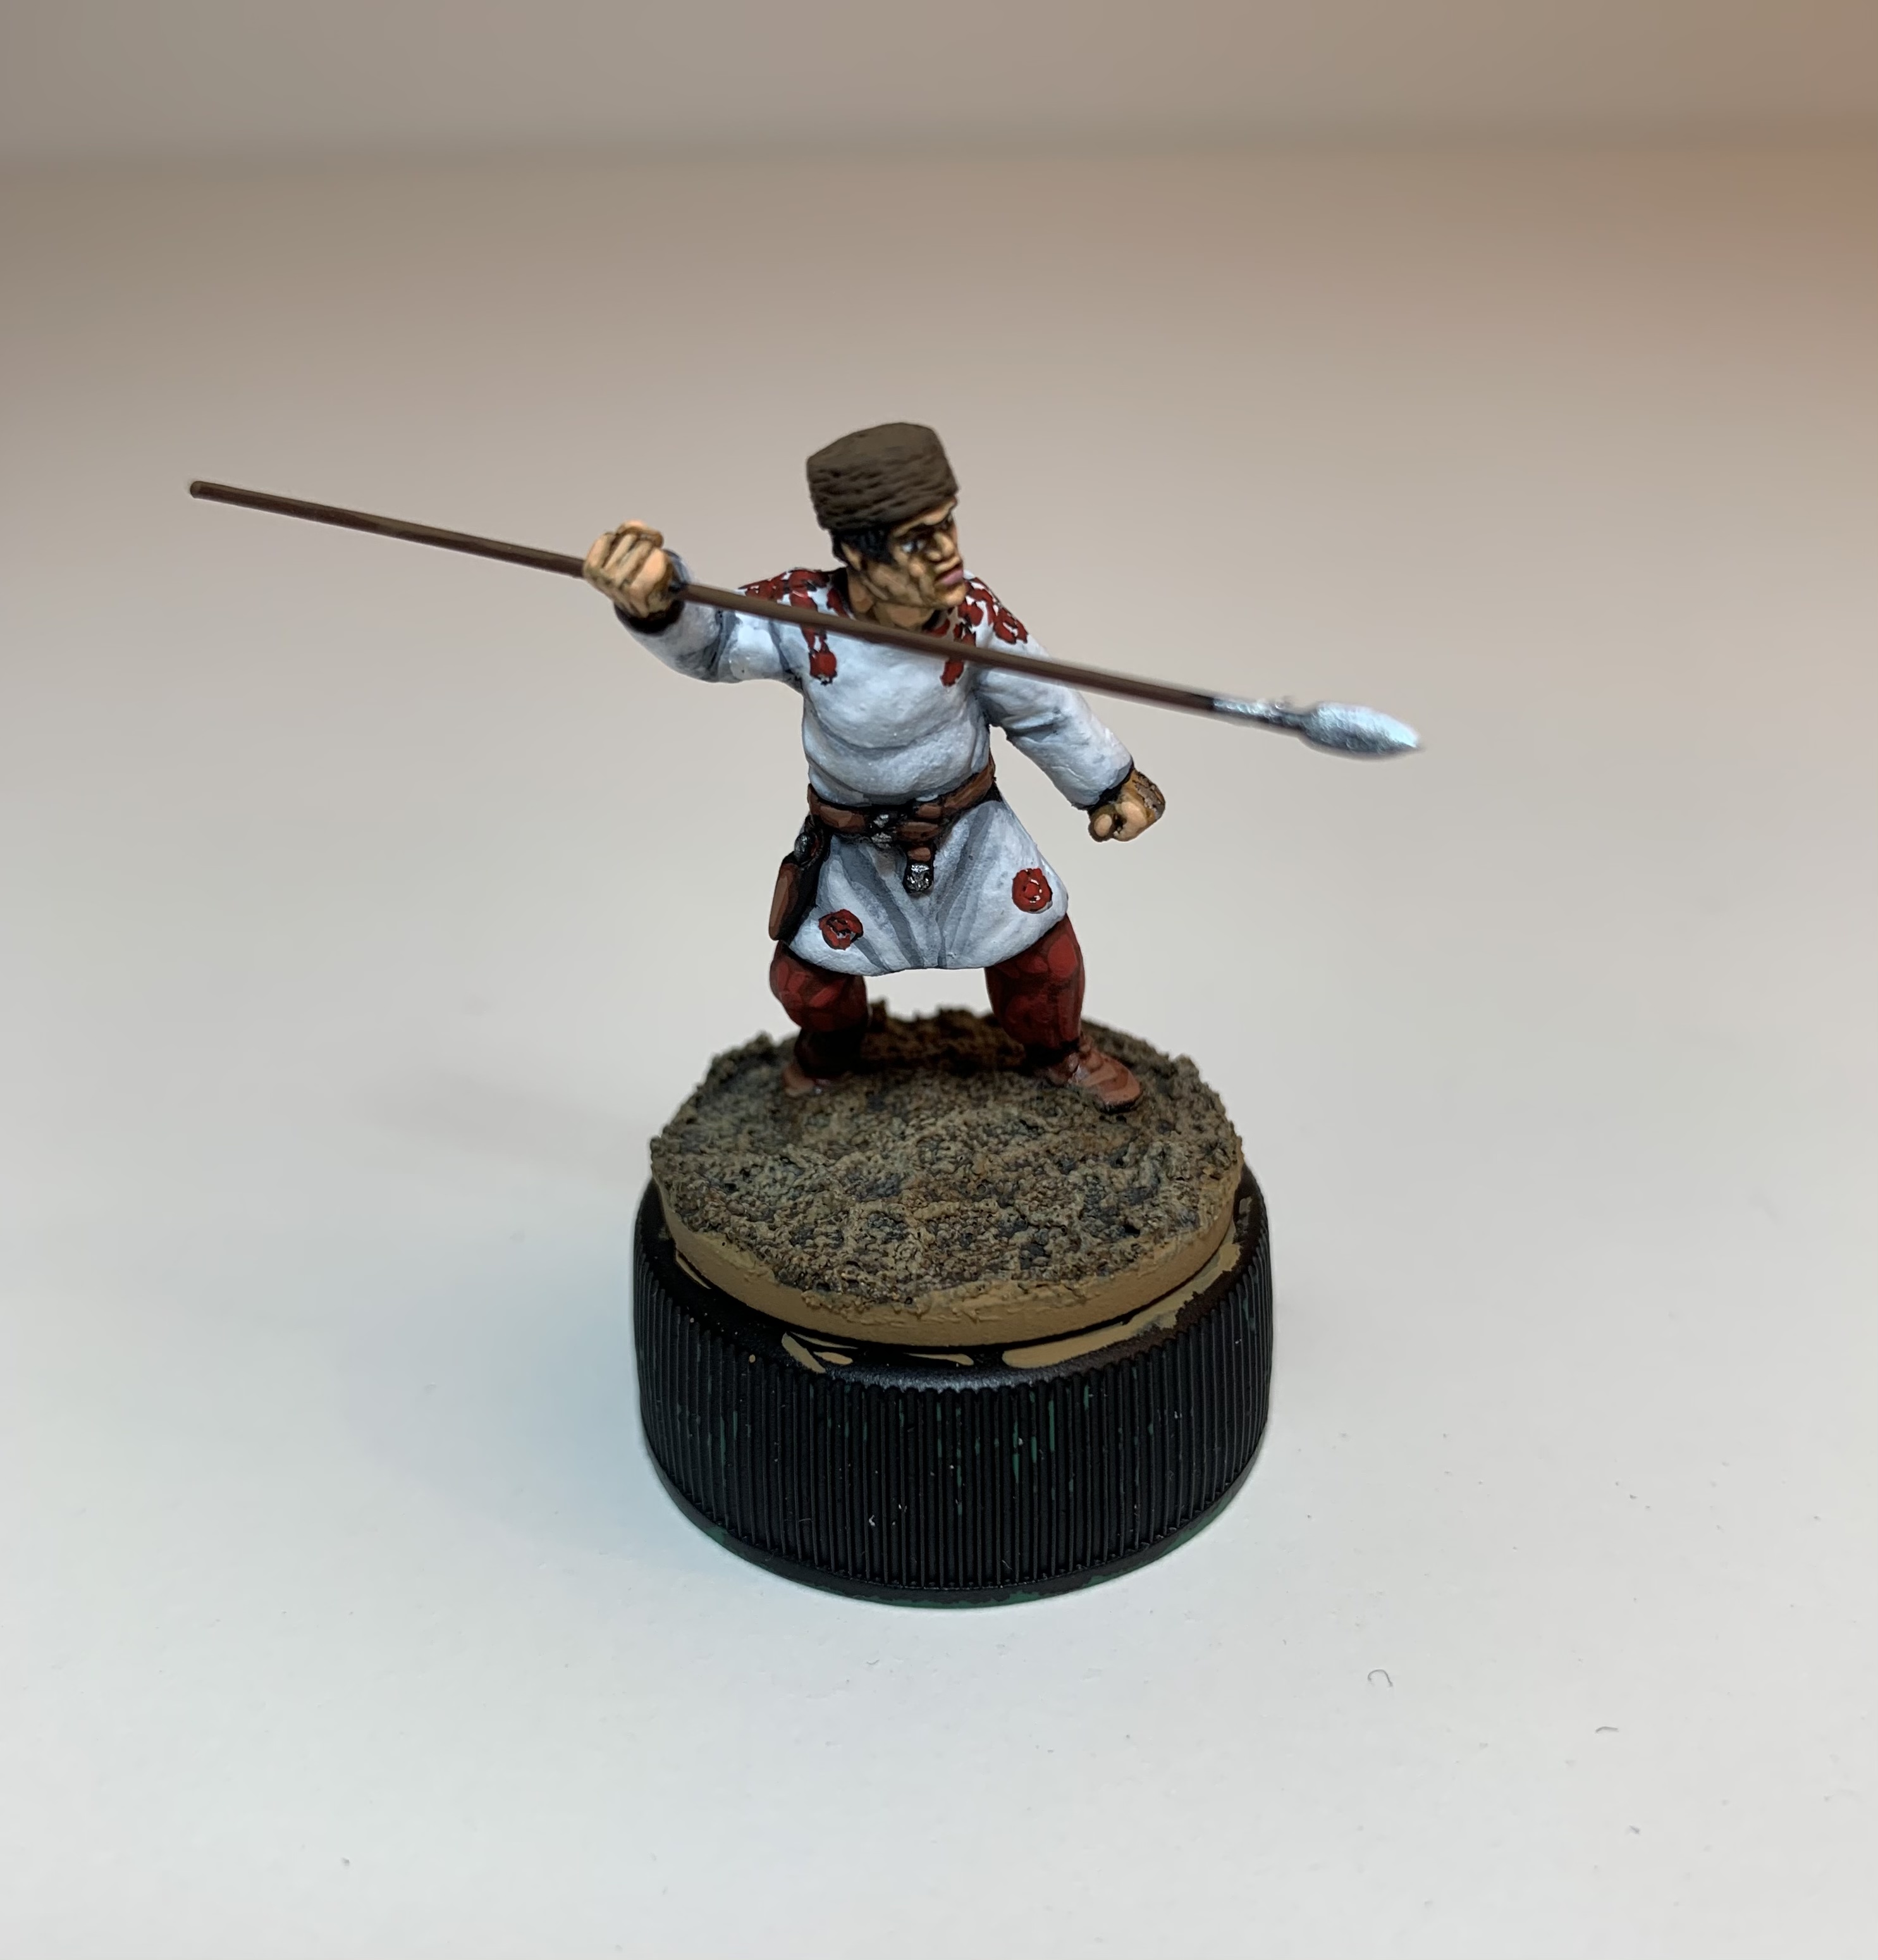
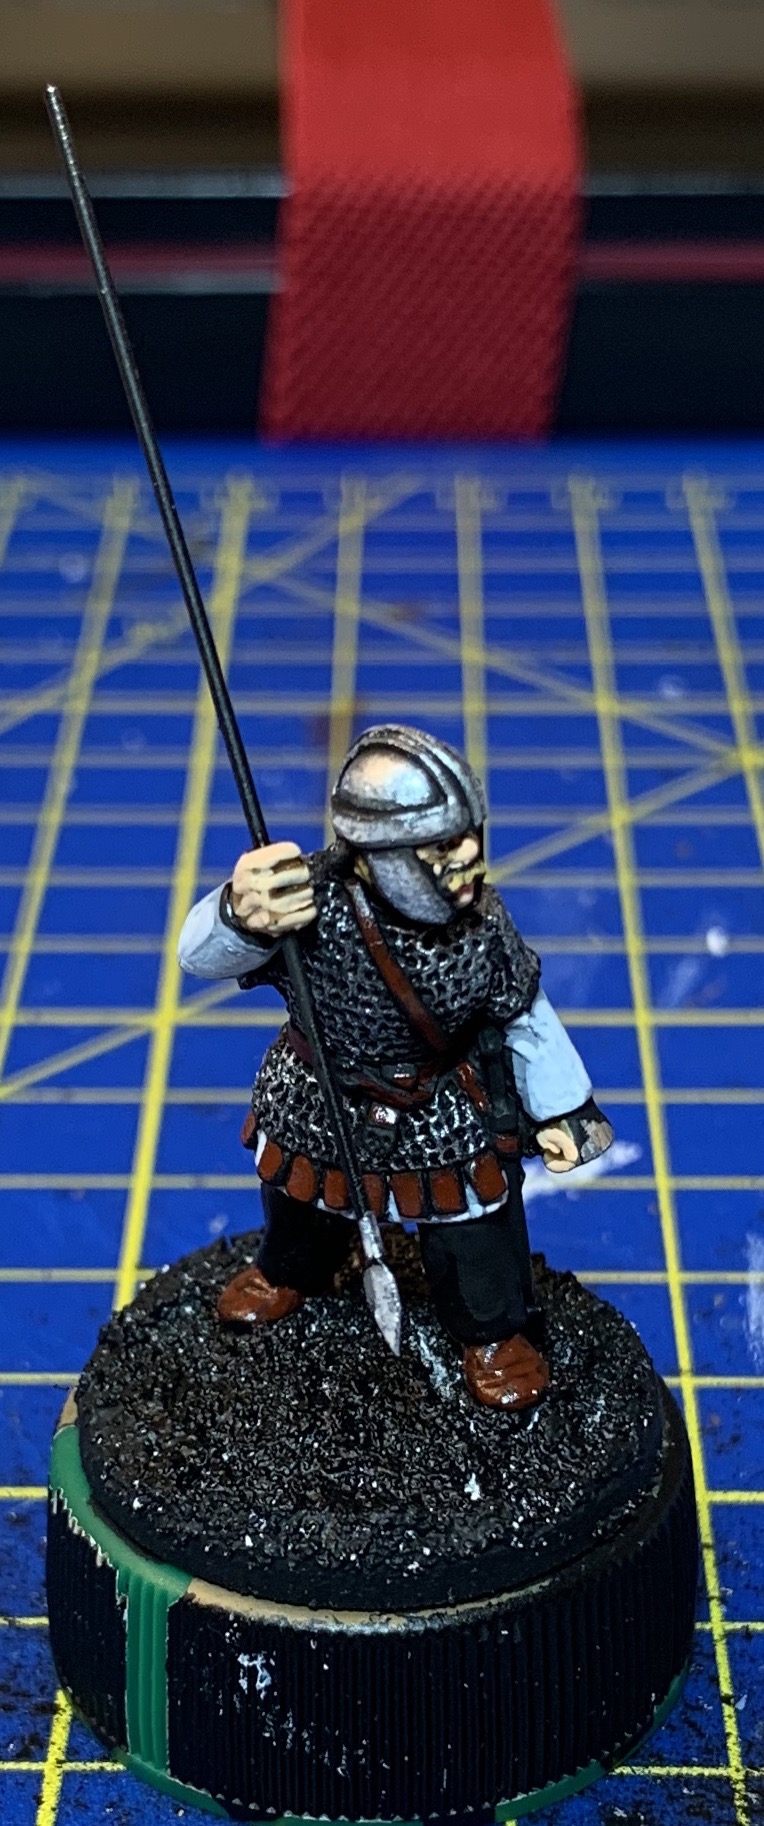
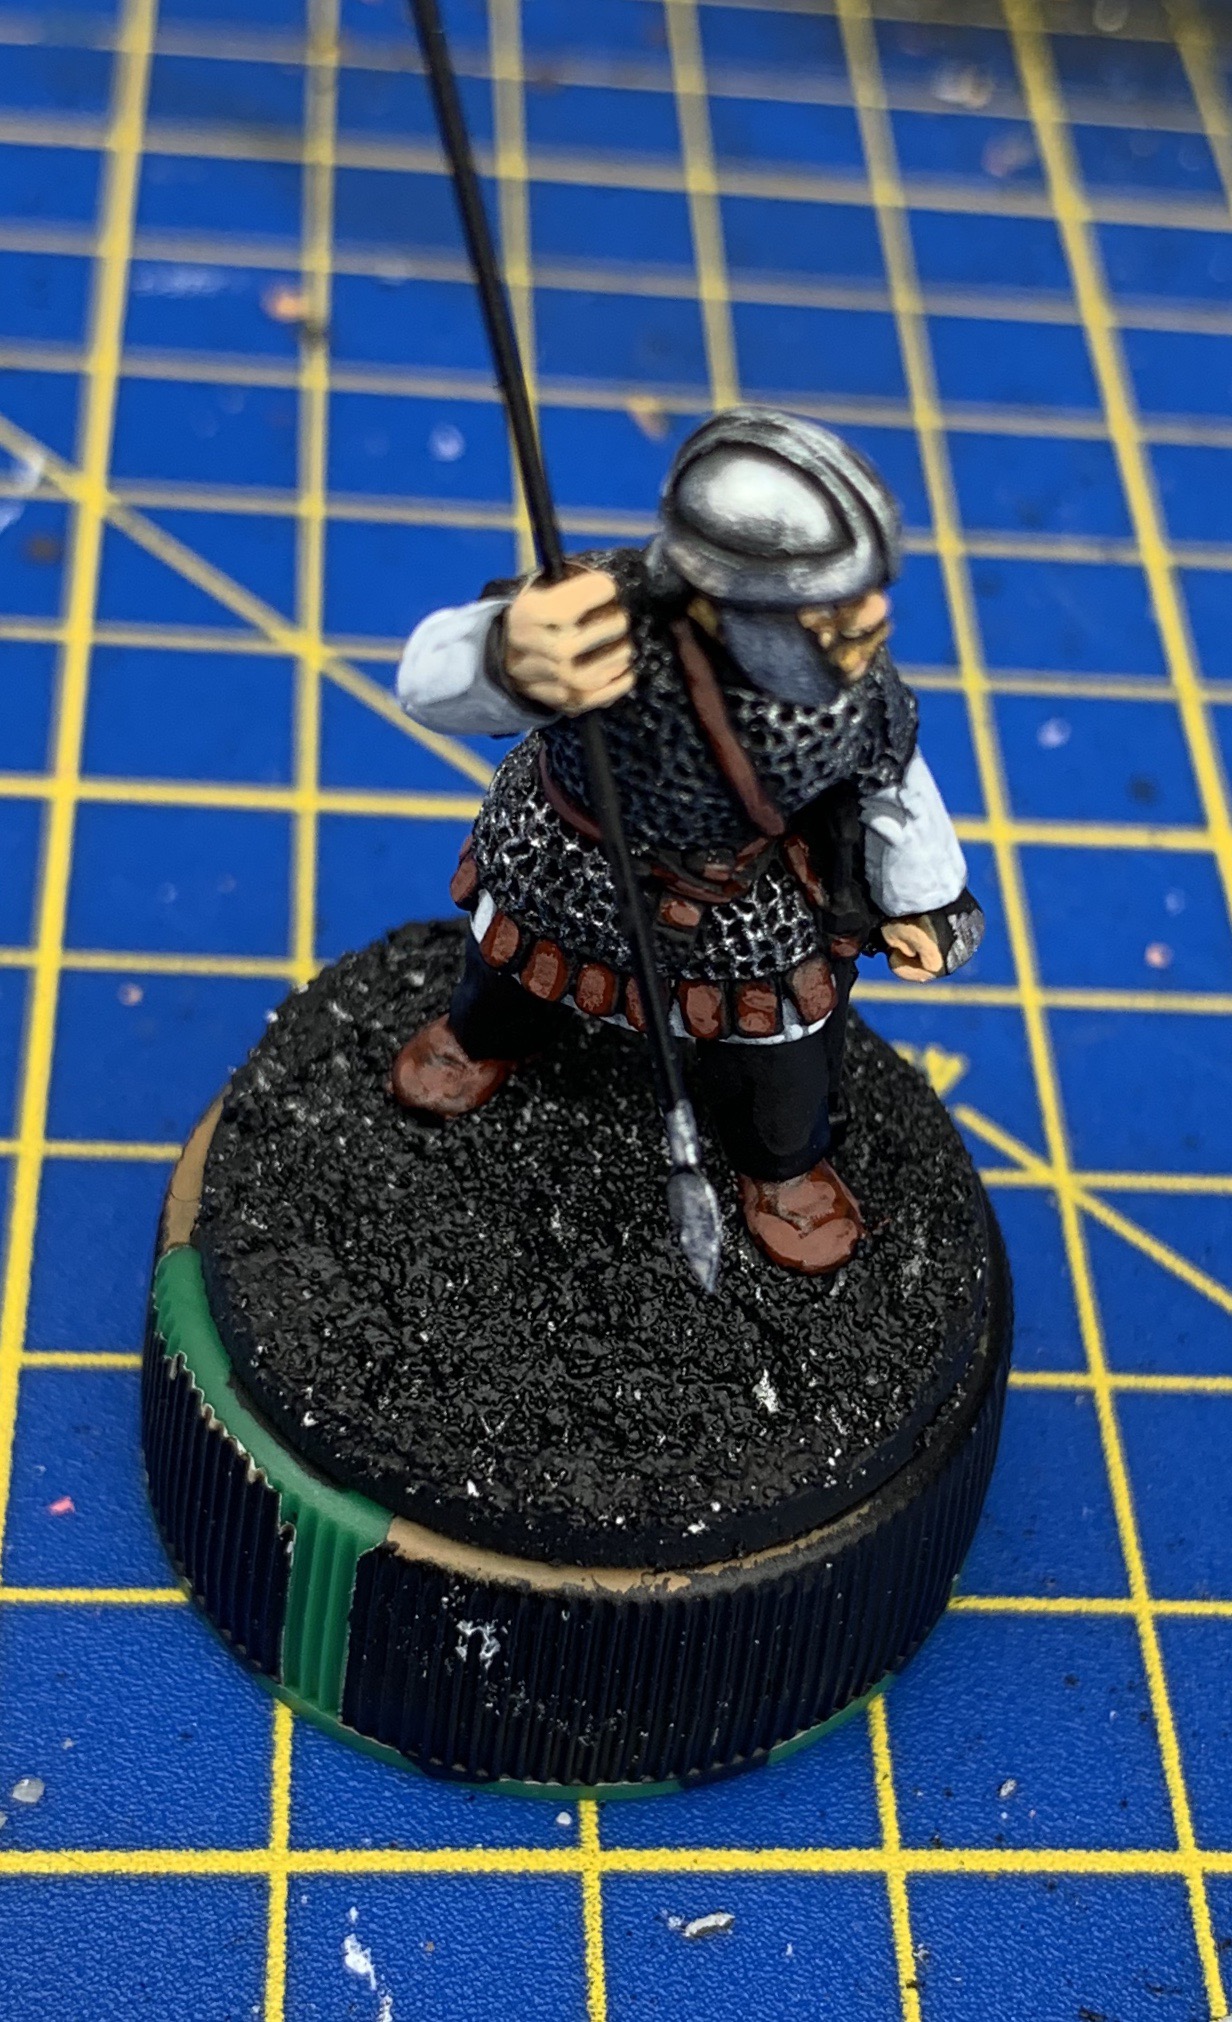
The third Group of Numeri is close to completion, just awaiting its shields. I mentioned in an earlier post that I wanted to try out some decorative elements on the clothing for these miniatures, to make it look like thy might be more well-to-do townsfolk or traders. A lot of the sources I’ve looked at depict embroidered rondels on the lower halves of tunics, combined with coloured strips running across the shoulders and down the front and back, so I thought I would give that a go. They are easier to see before the shields are attached, hence discussing them before they are finished.
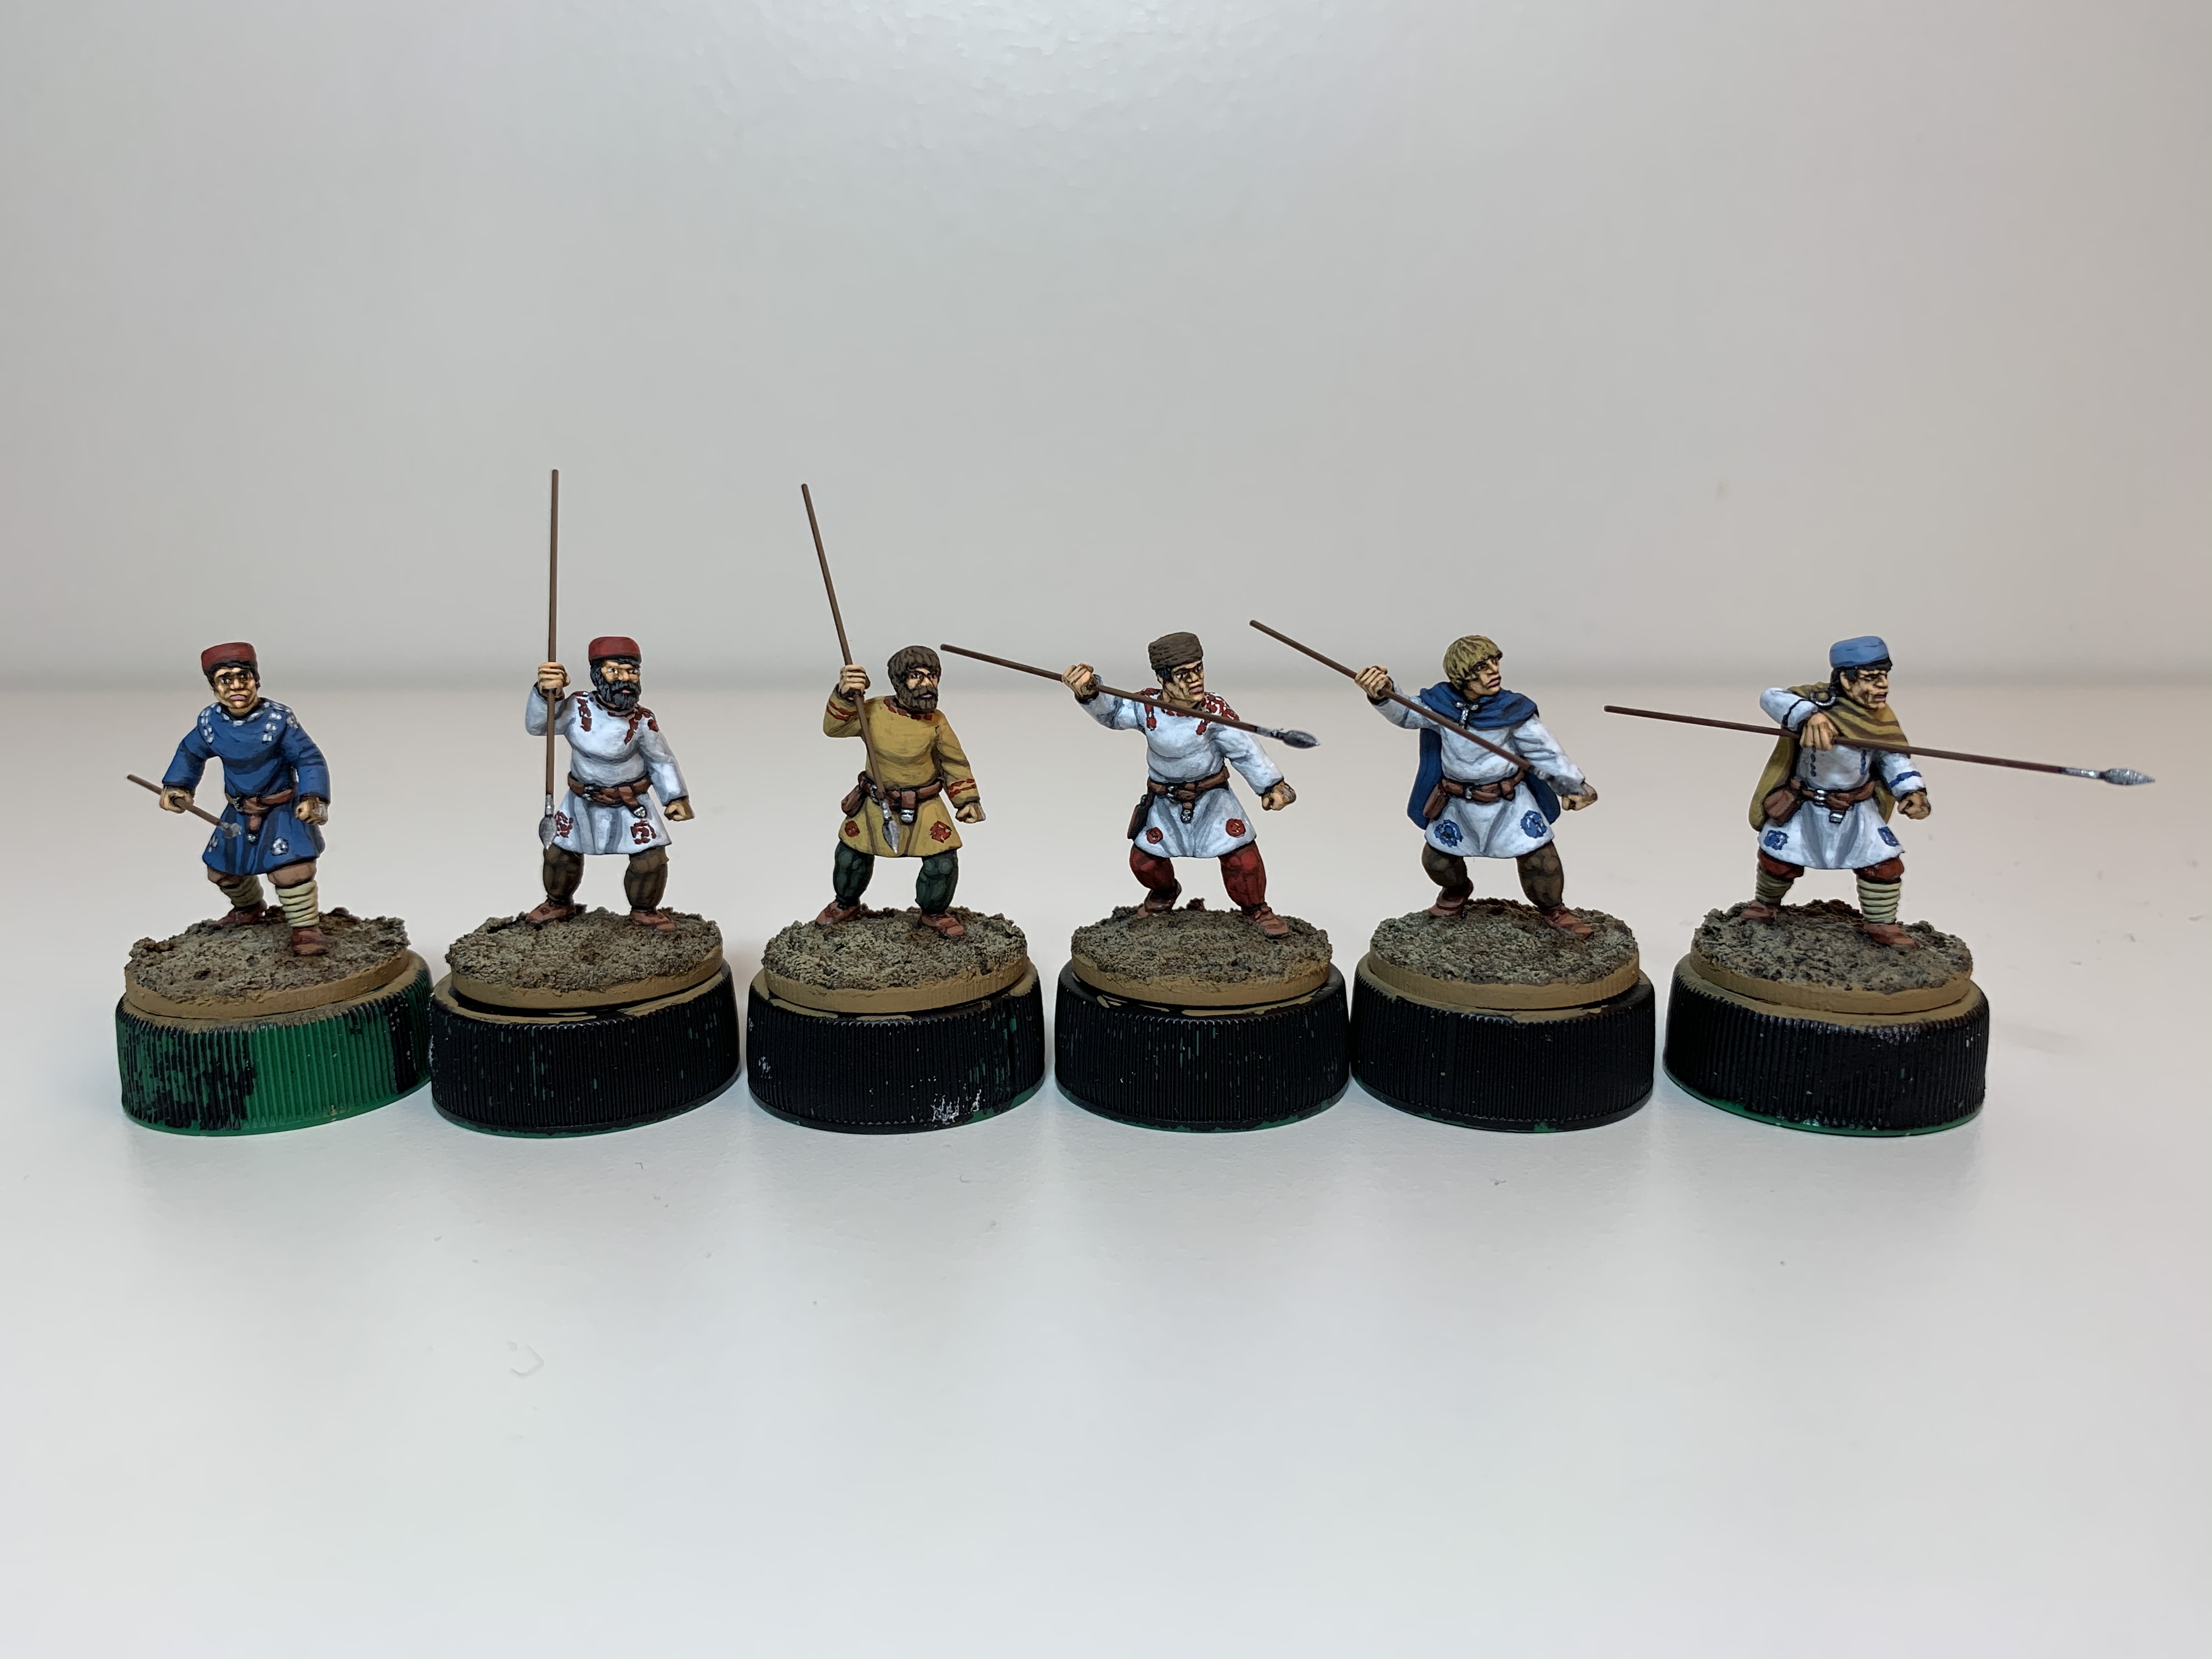 Numeri Group three awaiting their shields
The first mini has light blue decorations against a white background. They tend to fade away on him, probably because the blue isn’t strong enough to compete against the yellow ochre cloak and the light blue Pannonian cap.
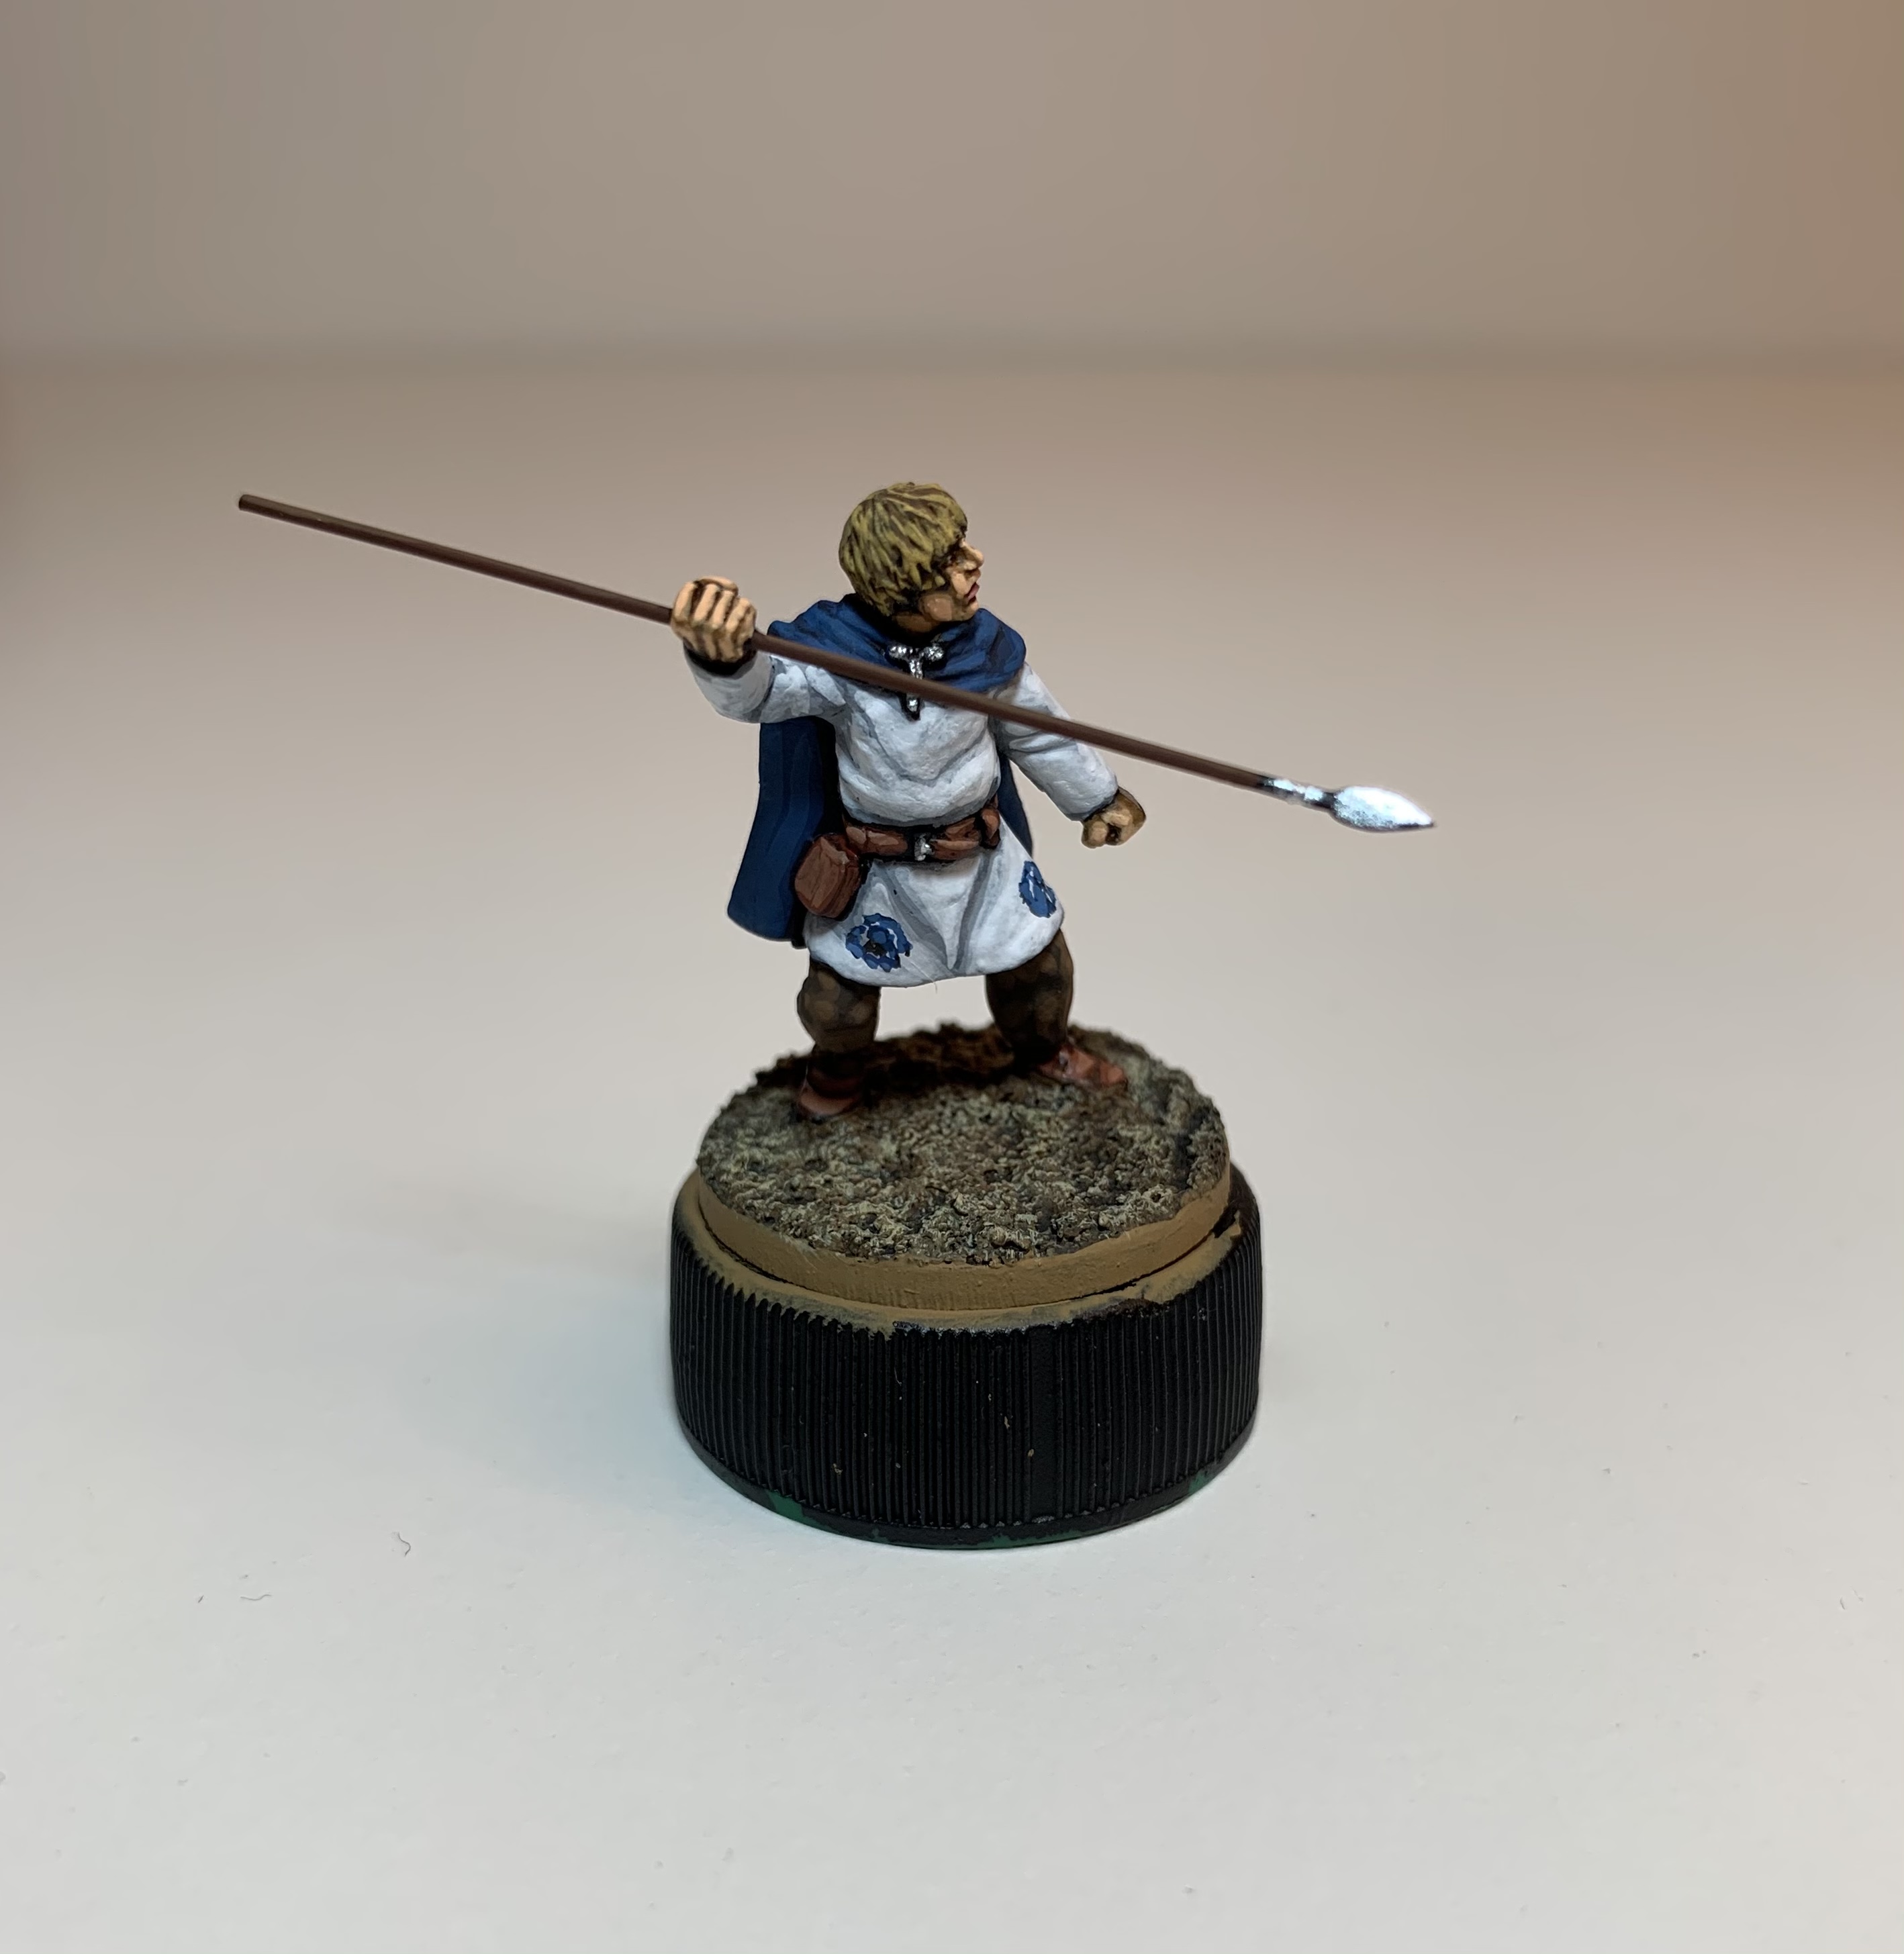
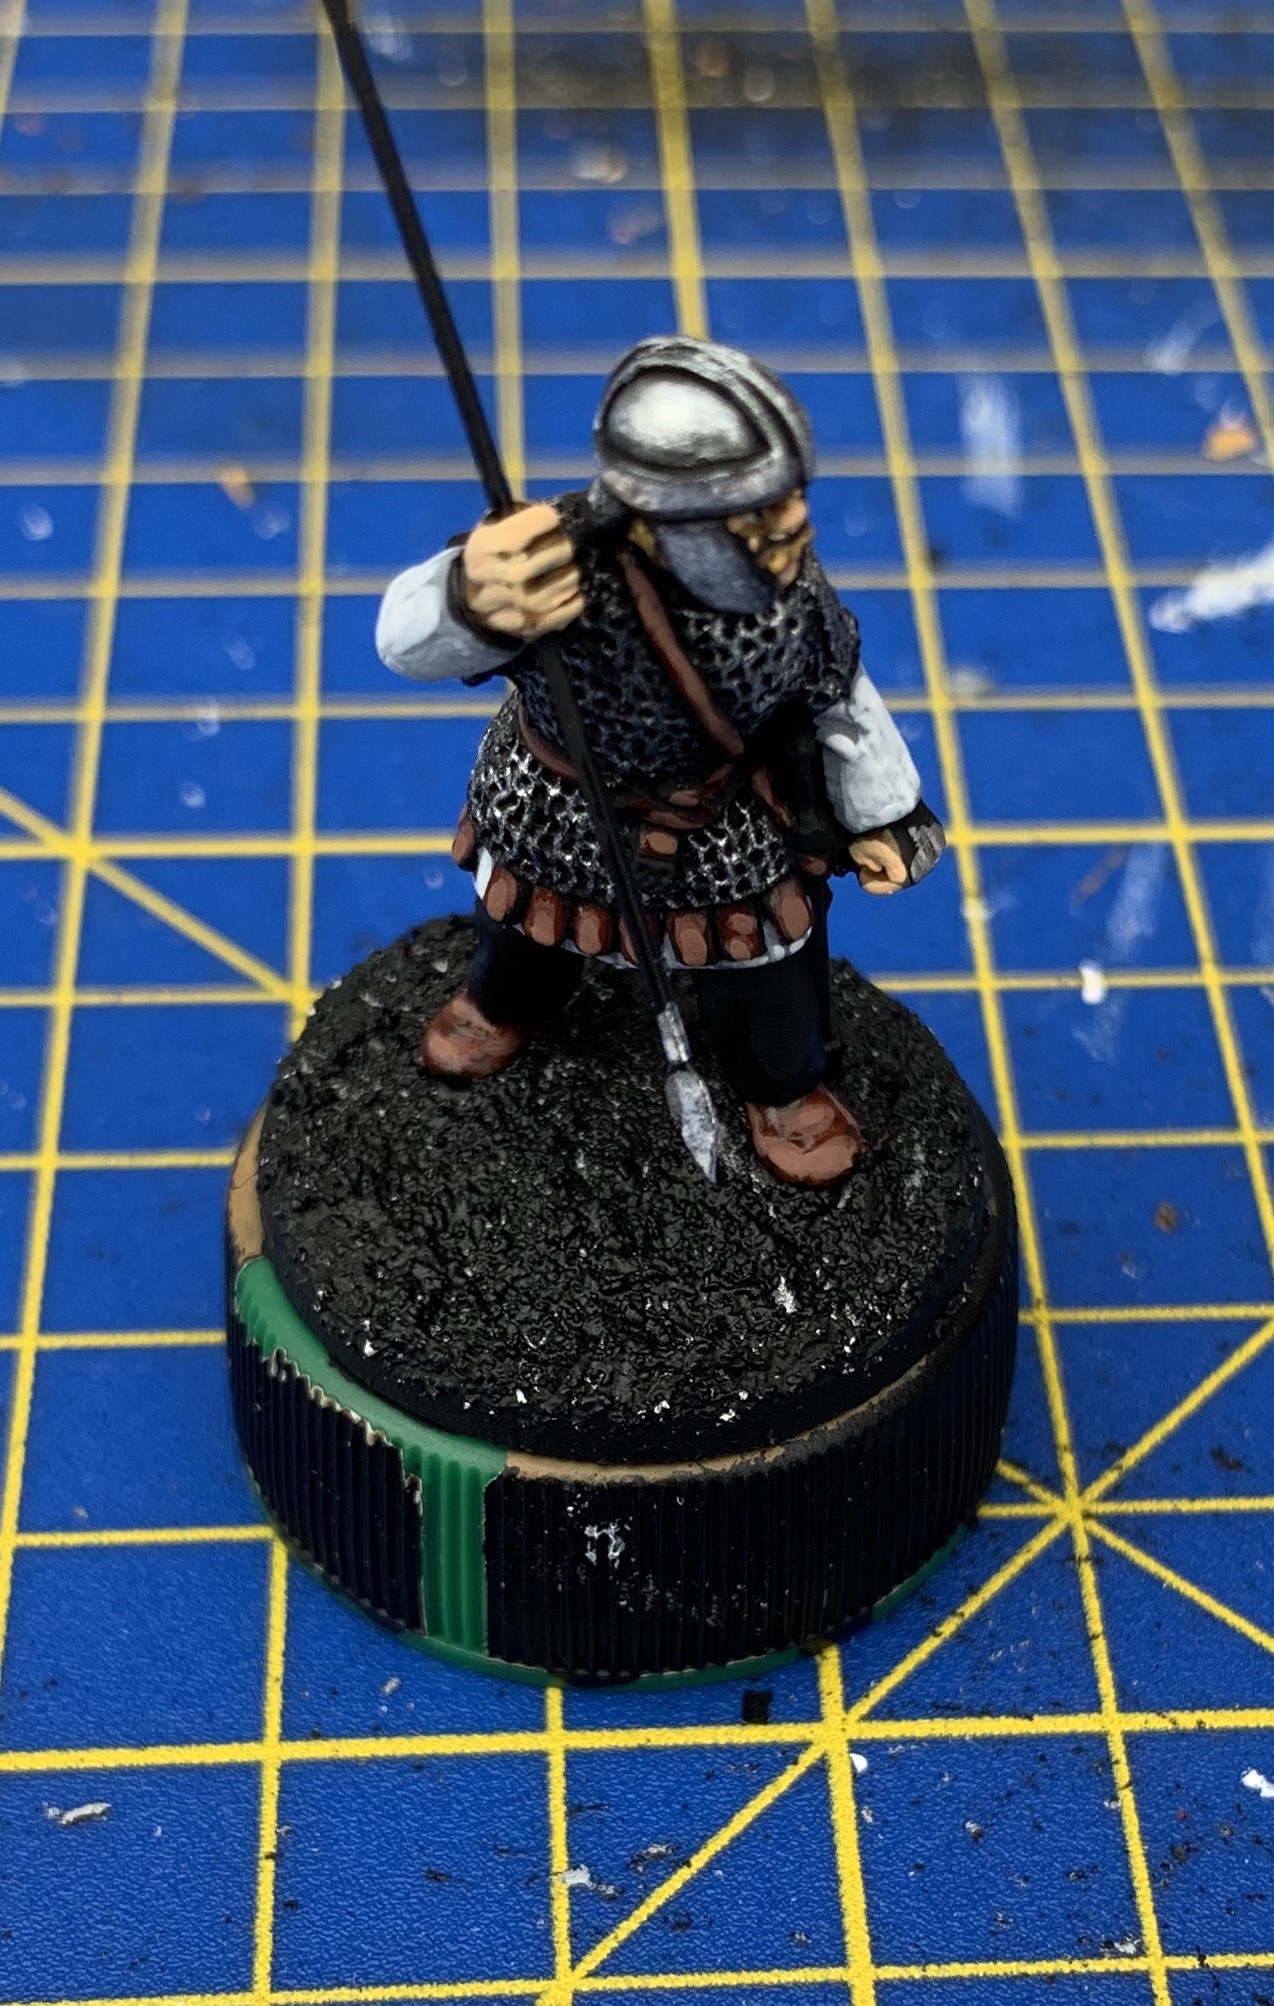
Interestingly, the same colour seems to stand out more when applied to his companion in a blue cloak, possible because they complement each other.
With both these figures I built up the colour in three layers, which in hindsight was completely unnecessary and didn’t improve the effect. As you’ll see later in this post, I think I got a better effect by applying a colour straight over a black outline.
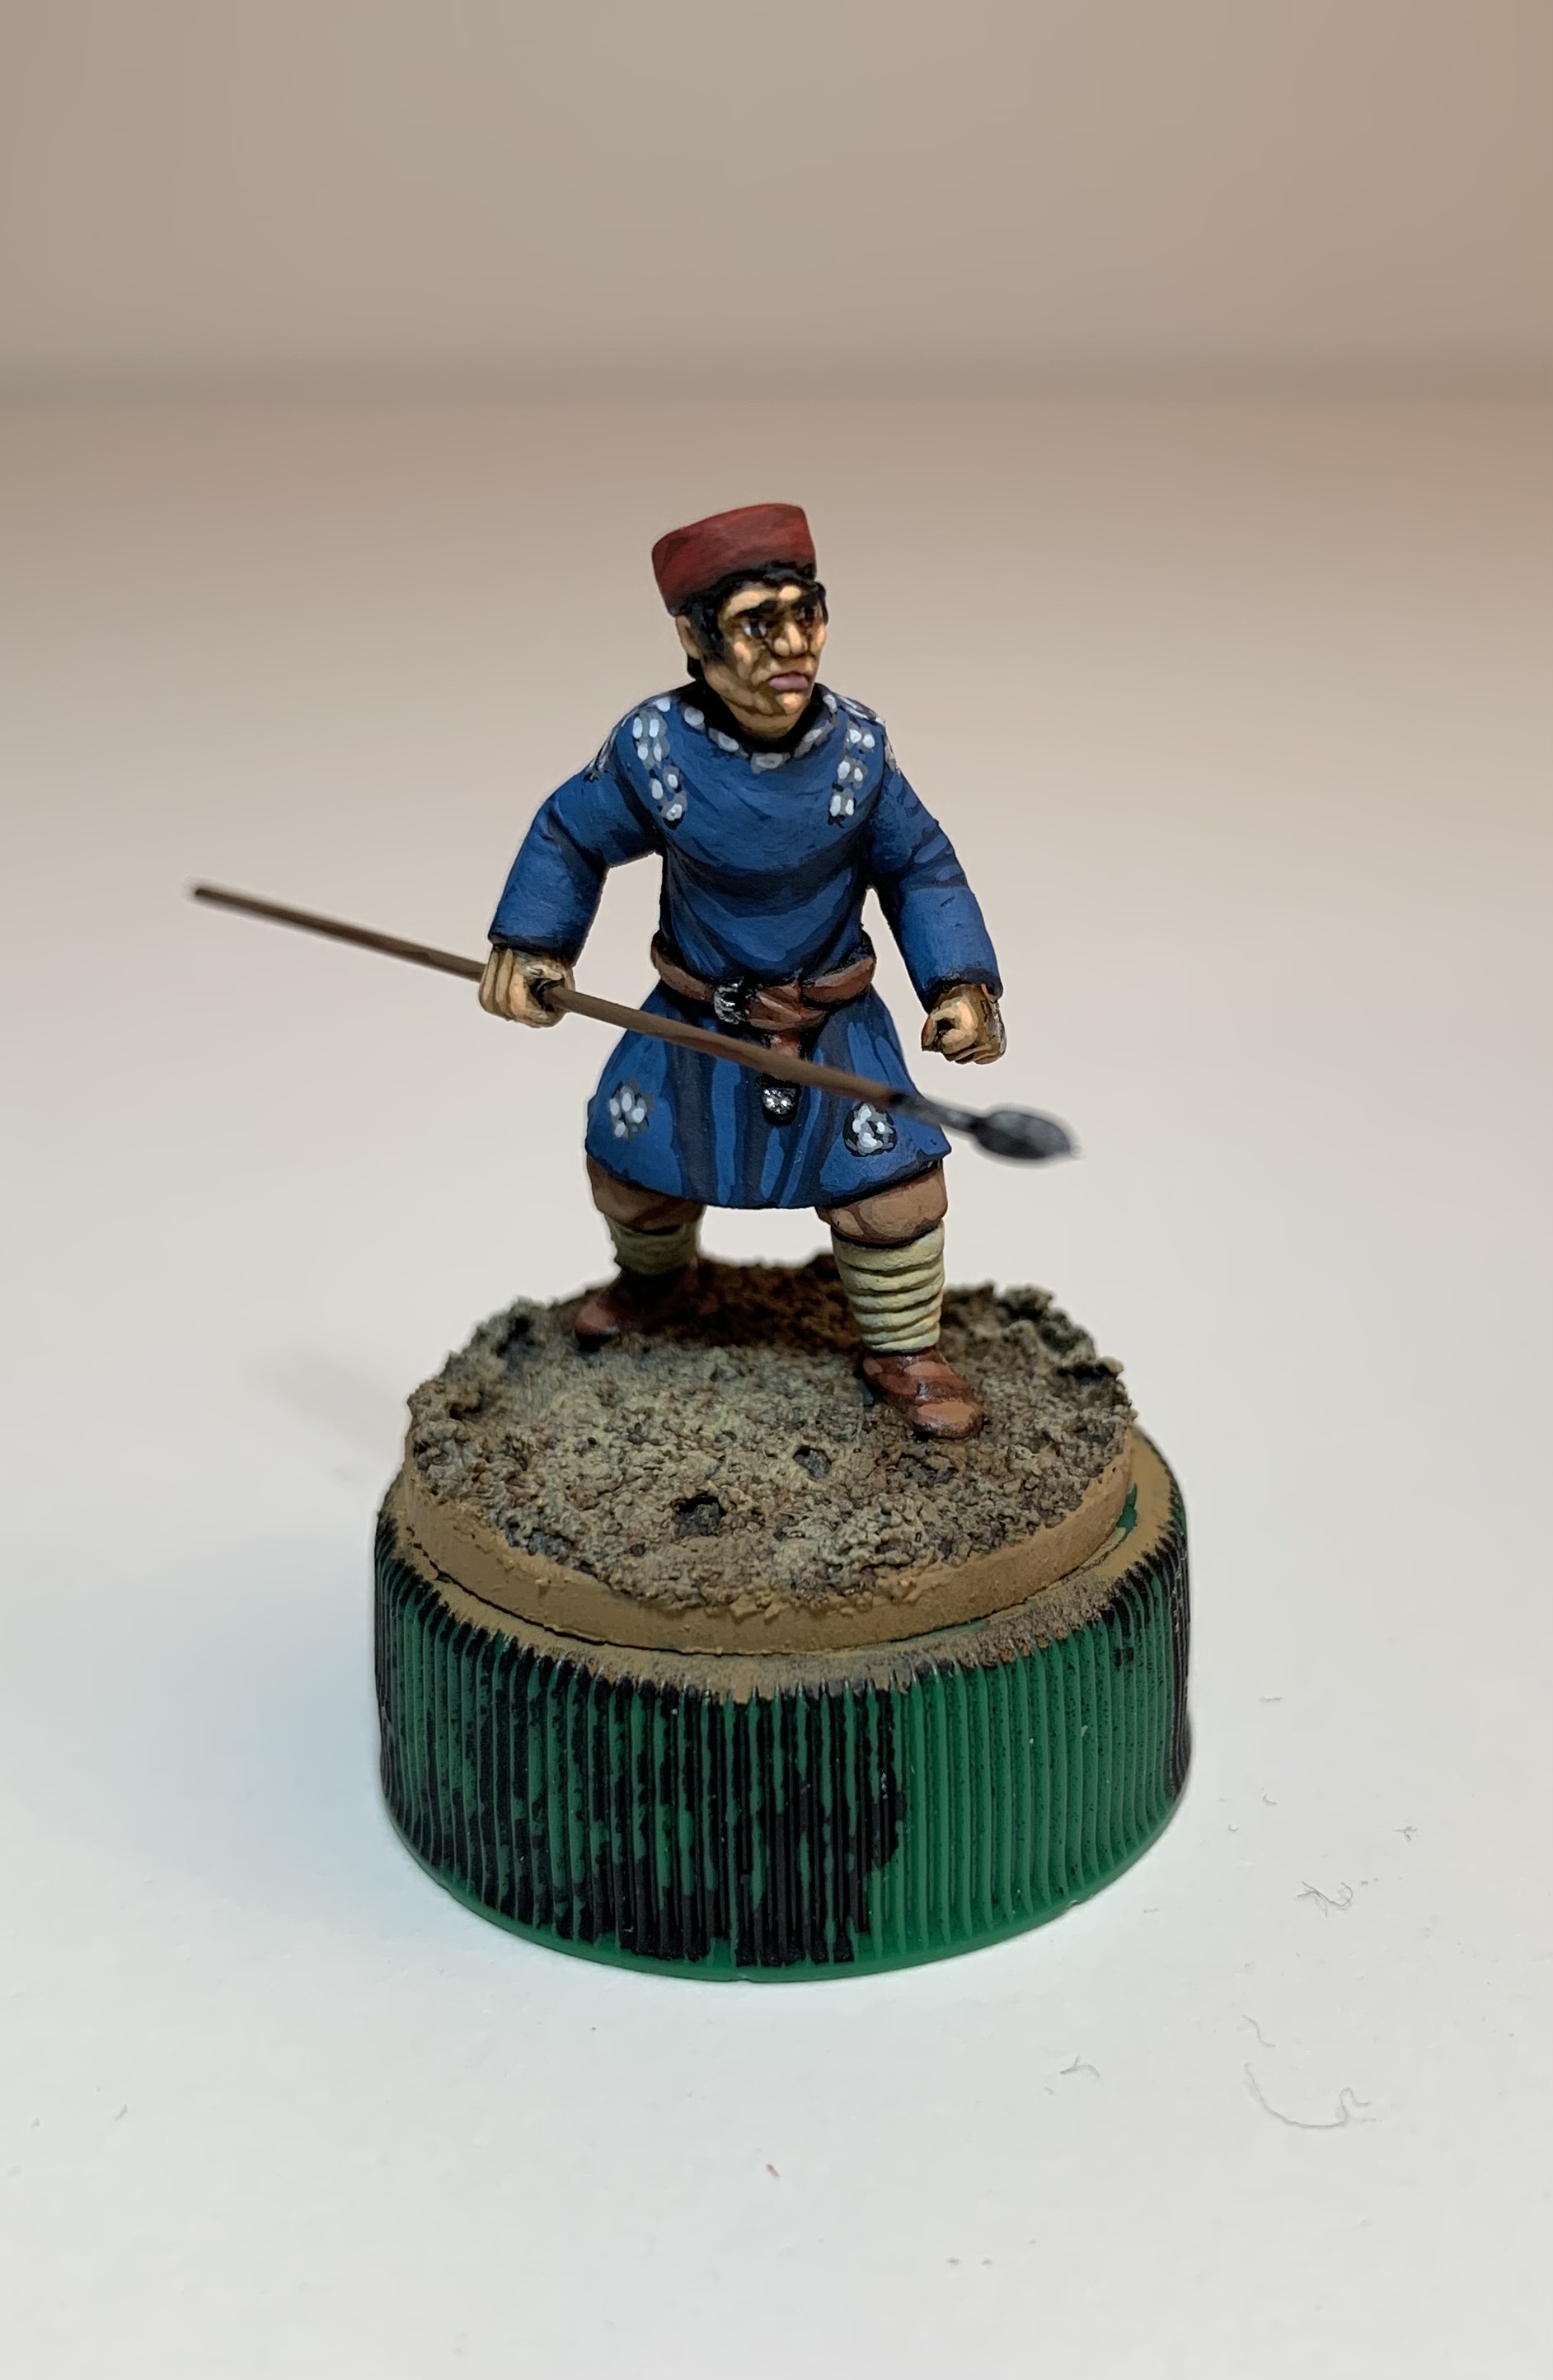
At first, I wasn’t sure about the figure in blue with white decorations. I originally thought I would do the decorations in Grey and leave it, but the effect was too subtle. The addition of White with a tiny hint of Grey brought it out a bit more.
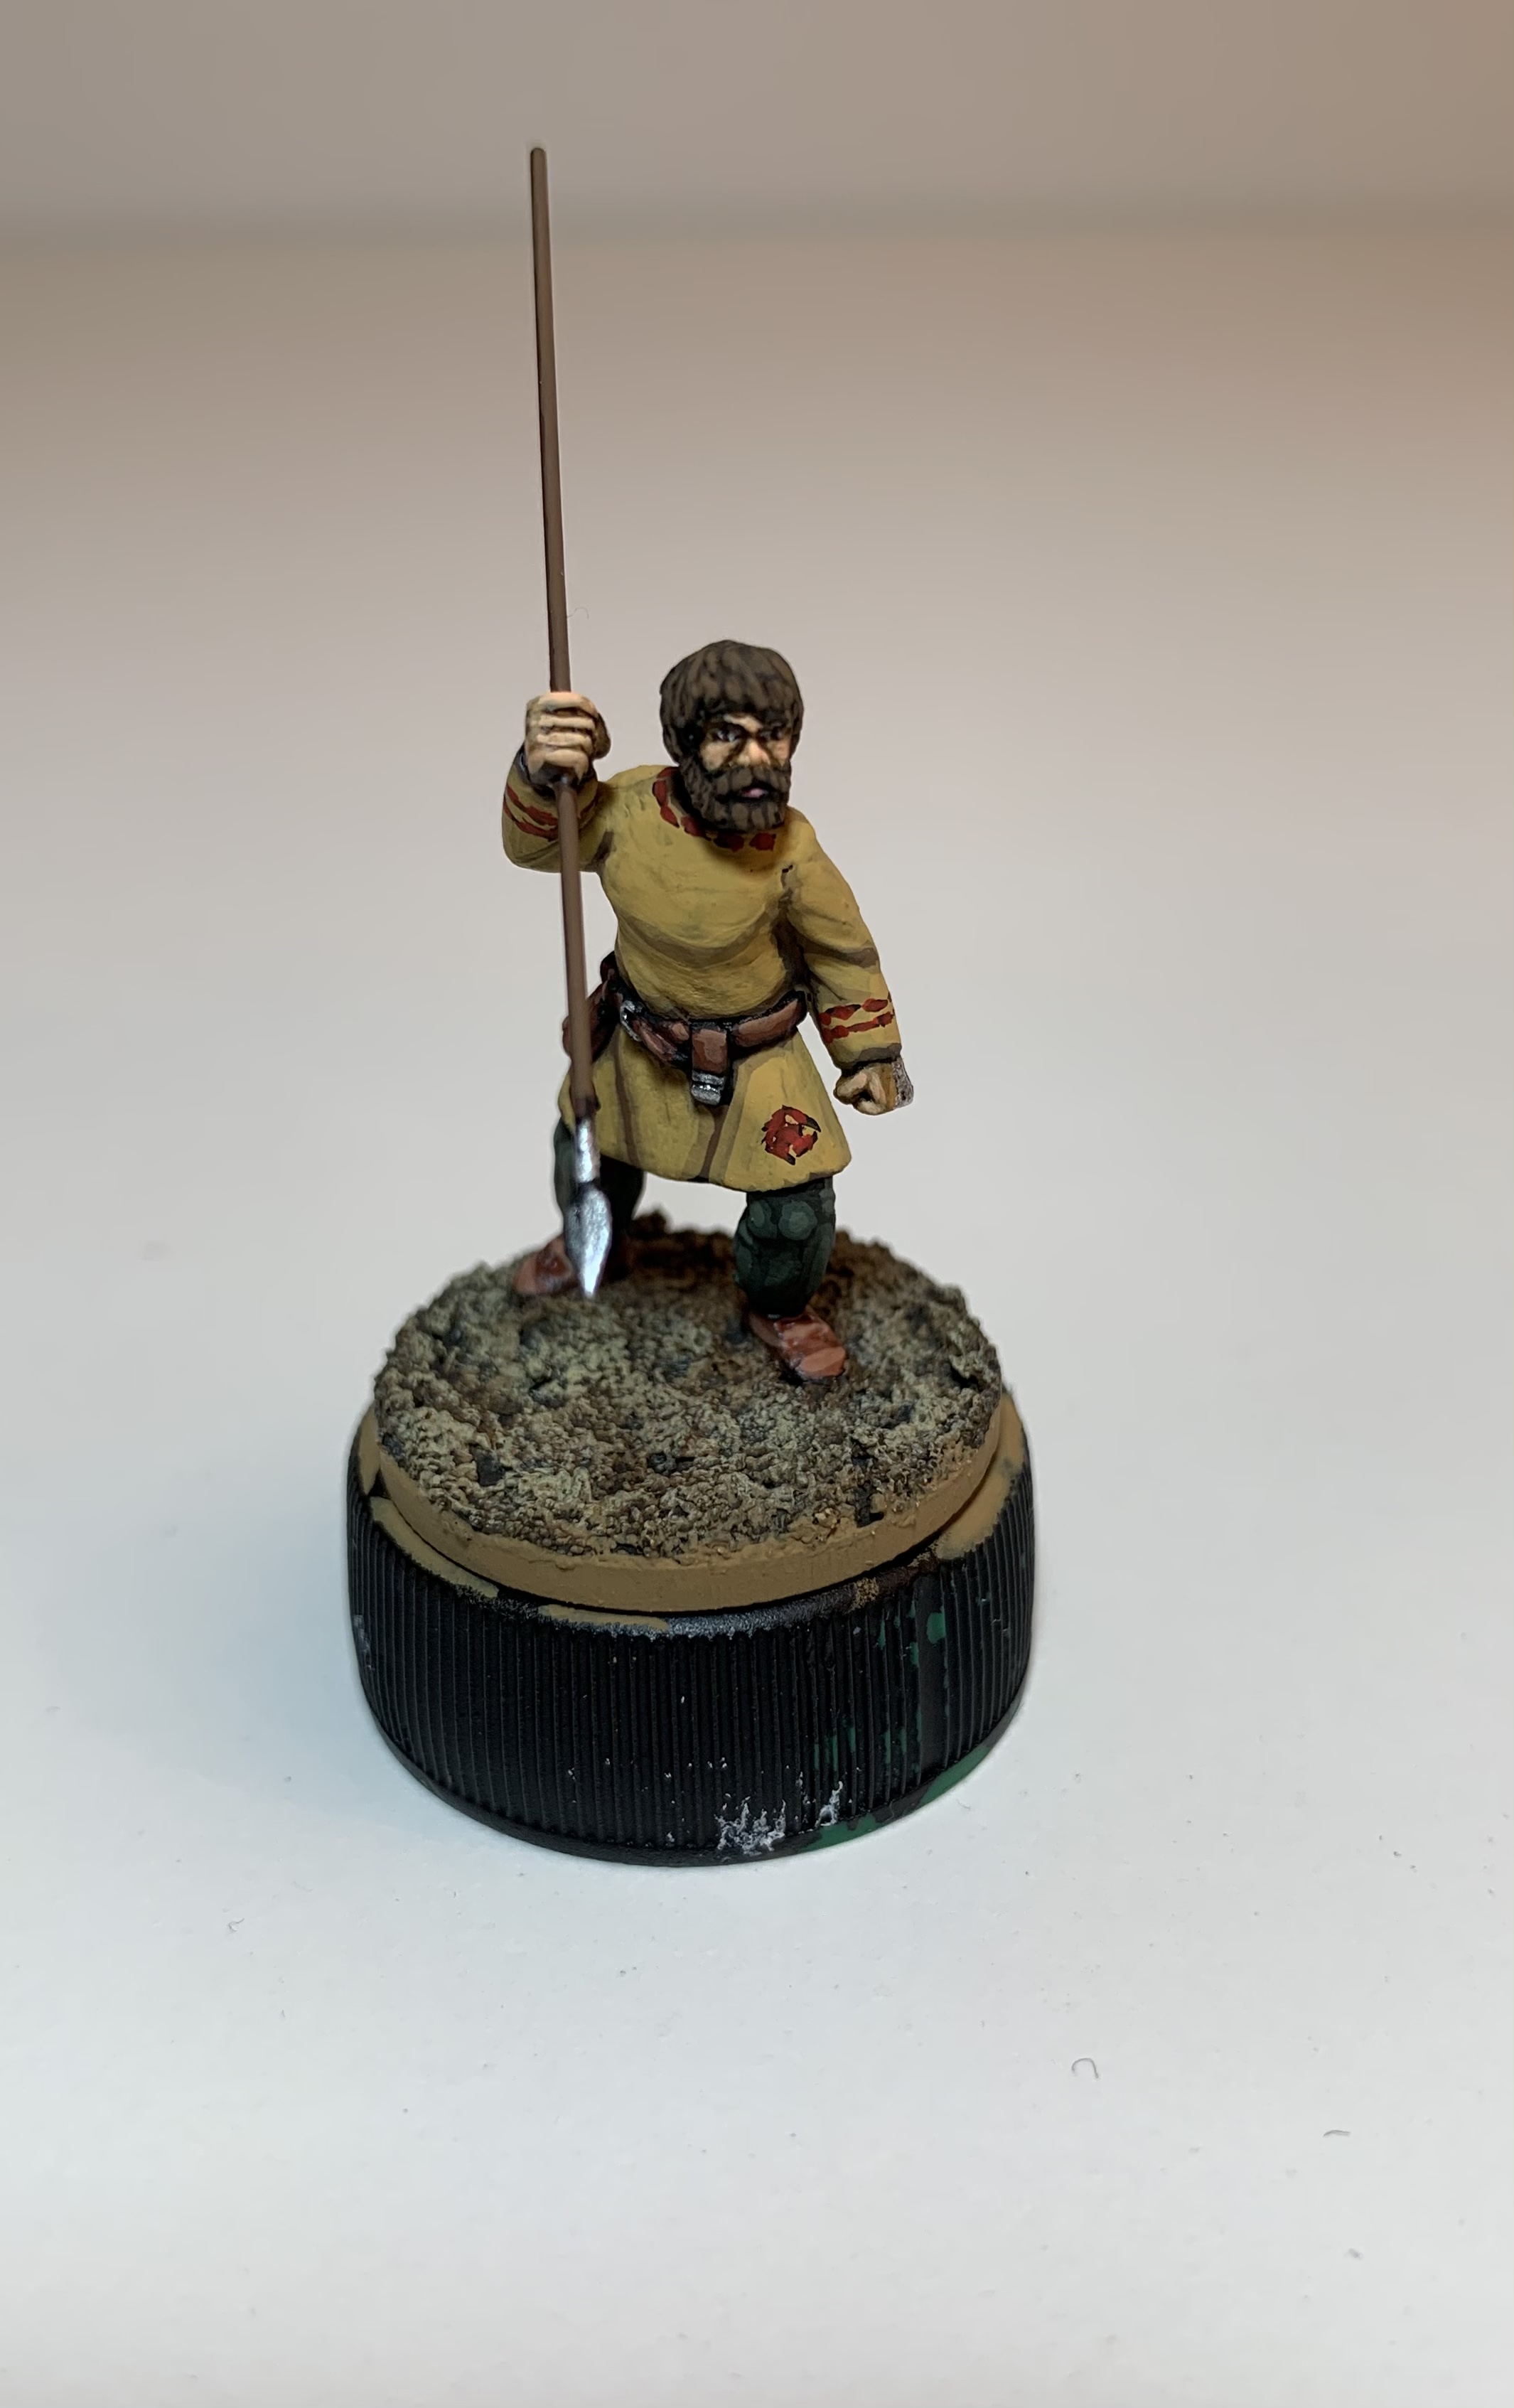
The figure in the Yellow Ochre tunic is quite pleasing, but I think the decorations would look better with a more obvious black undercoat to define them.
The final two figures are, I think, the most successful. I think it’s no coincidence that aside from the White tunic, the only other colours on these models are browns or reds, which either complement the decorations or at least do not actively compete with them for the eye’s attention.
In terms of technique, in the case of every figure, I outlined the pattern in Black very crudely. However, for these last two figures I only added either one or two layers of colour over the top, taking care not to completely obscure the black. This gives an impression of depth to the pattern.

I’m being hyper critical in this post and the reality is that I’m very happy with how they’ve turned out and will happily be fielding them as they are. However, one of the great benefits of the OTT project system is that you can record your thoughts immediately and revisit them to remind yourself of what worked well and what not so well.
A Scenic Interlude
Whilst working on the third Group of Numeri, I found time to build a pig sty.
 Ready for priming and painting
This is made from a 15cm x 15cm terrain base and a Dark Ages timber barn from Warbases. I coated the walls with polyfilla and built up the timbers with coffee stirrers.
The wattle fencing is from Renedra’s Generics range. Curiously, it’s not available on their website but can still be picked up at Perry Miniatures. The ground texture is Vallejo Rough White Pumice.
The thatch was made using a rather large amount of green stuff. It was rolled out in strips and then tapped with the blade of a modelling scalpel to simulate the straw.
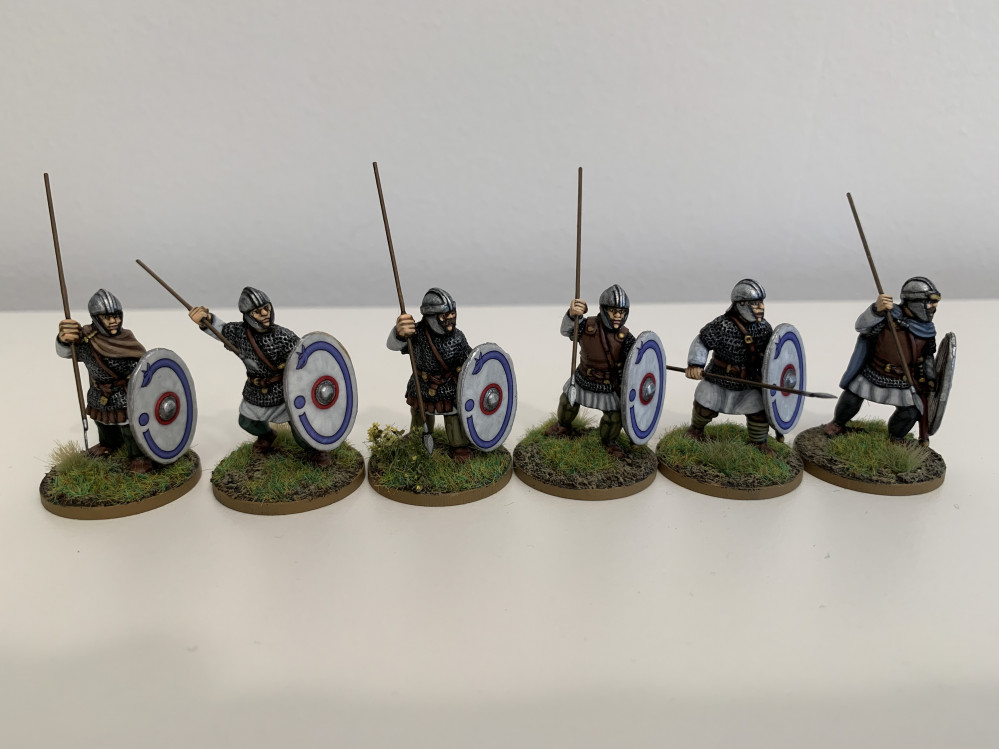
Milites Group Two - completed
The addition of some static grass and some MiniNatur tufts and flowers completes this Group. Here are some pictures of the finished article. Next up for this project is the third Group of Numeri.
 Completed Milites Group Two
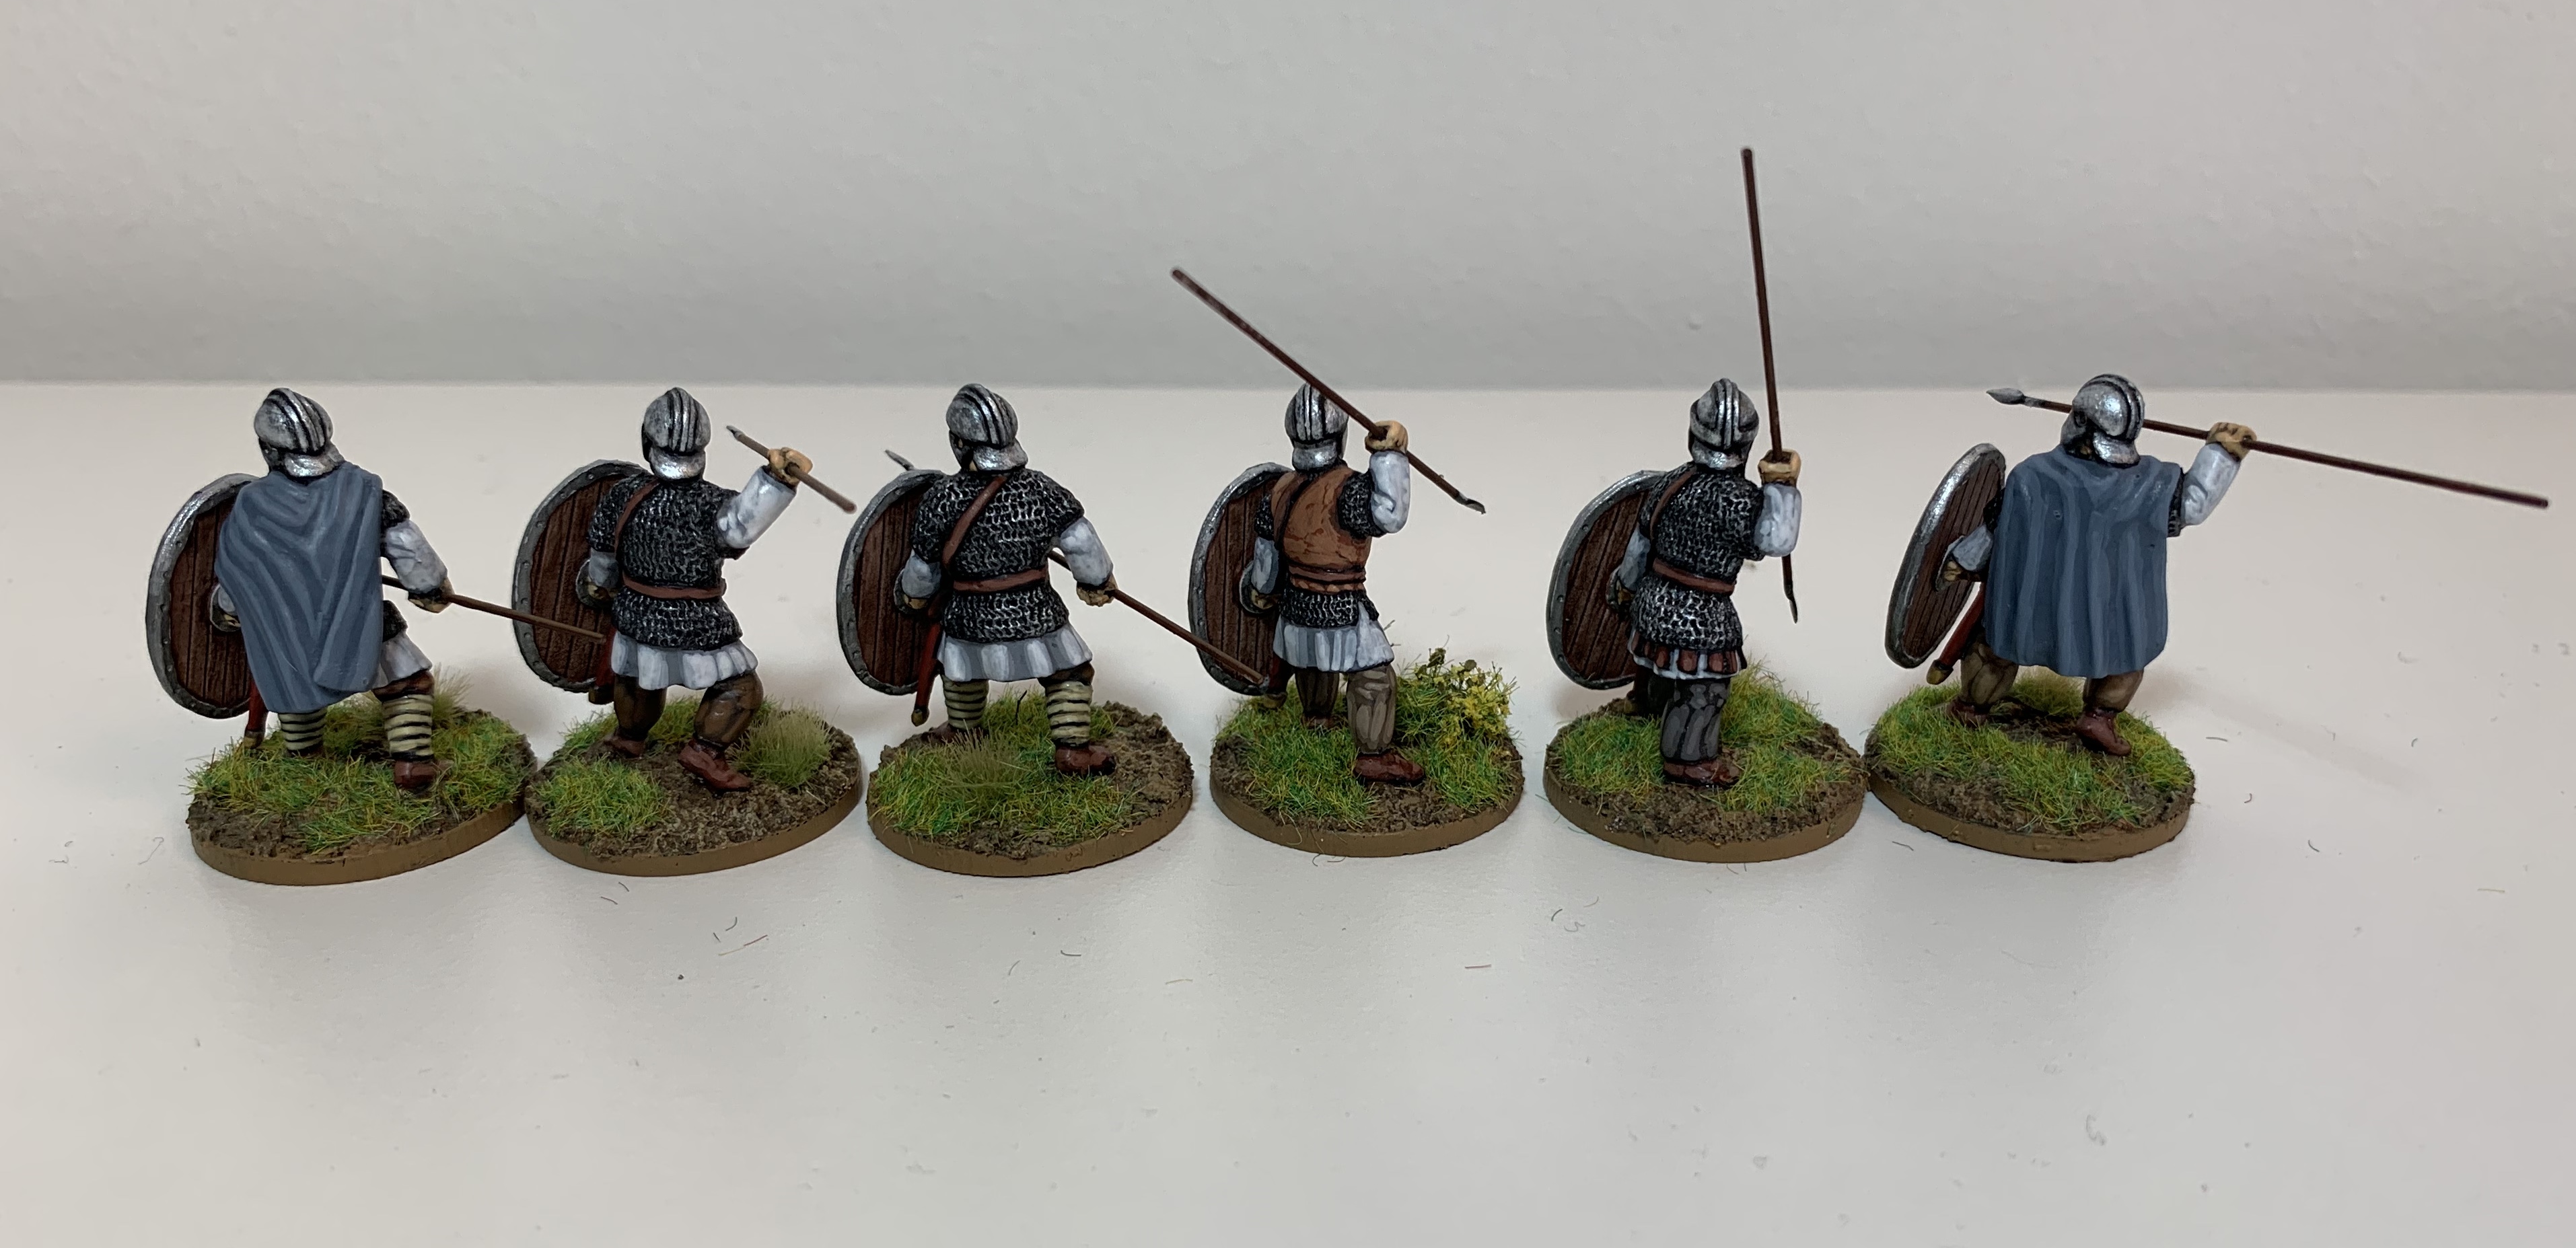 Lloyd shot
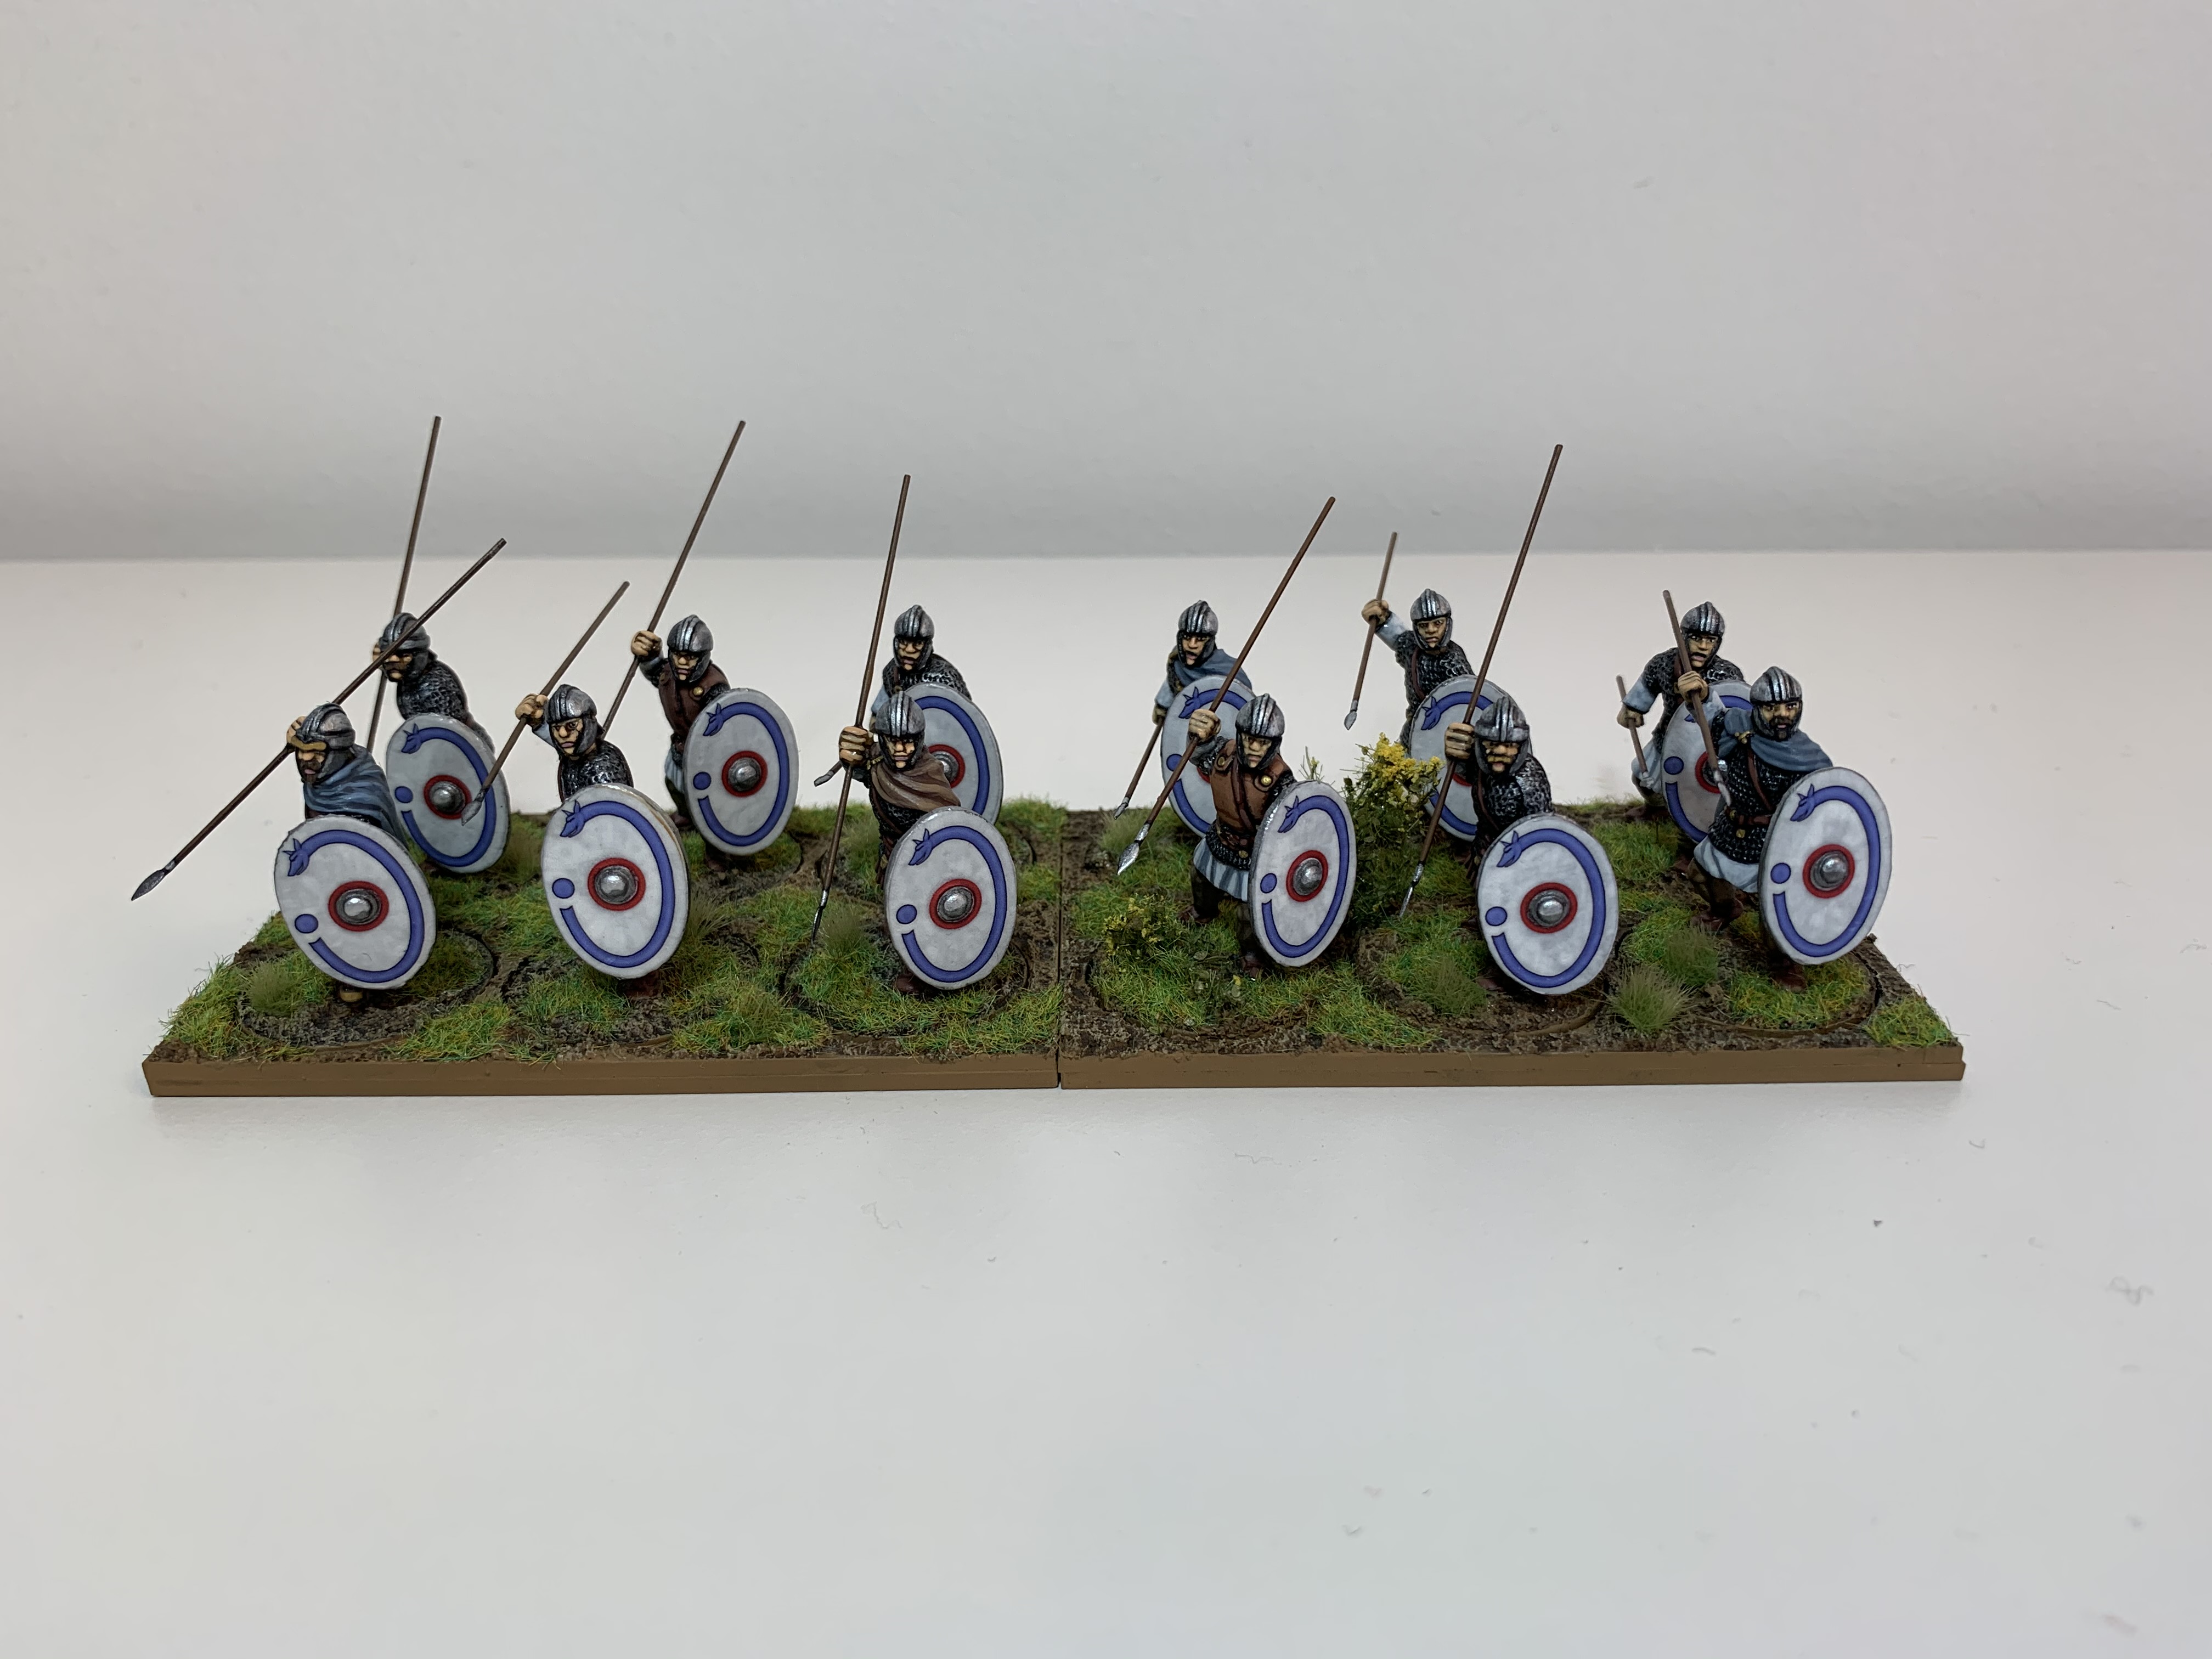 In company with their companions from Milites Group One
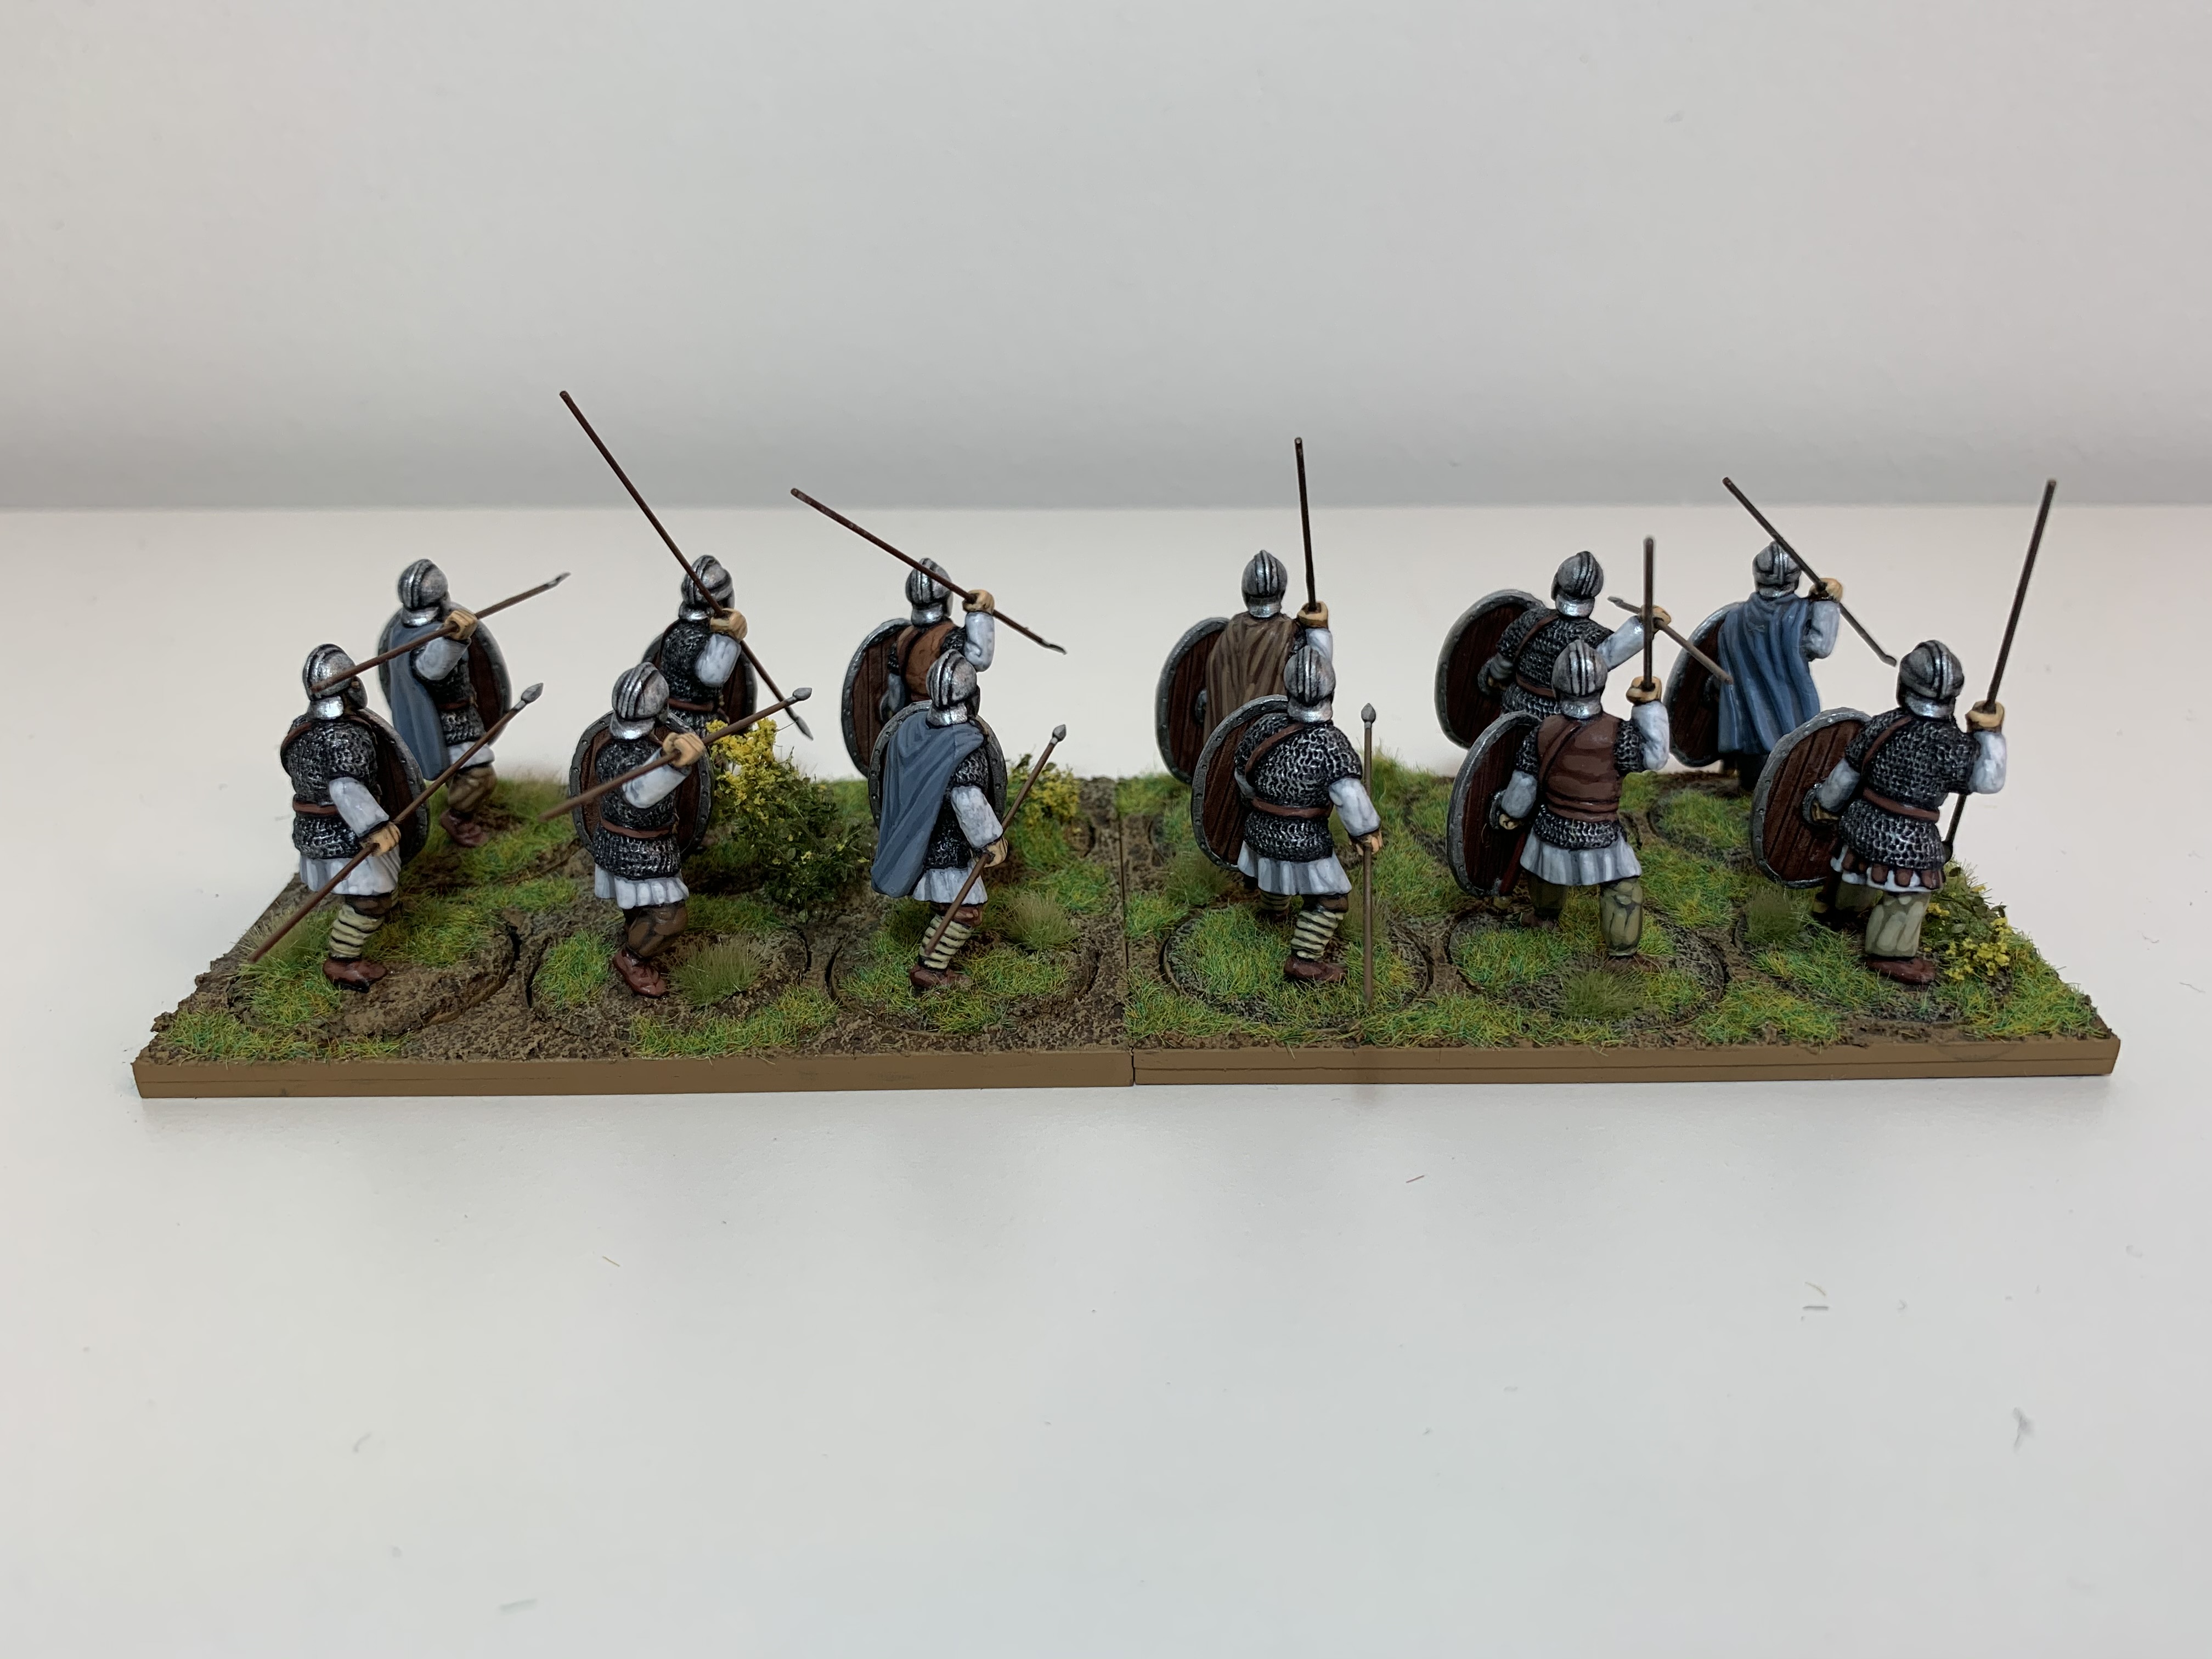 Lloyd shot of the two Groups together
Milites Group Two - Shields
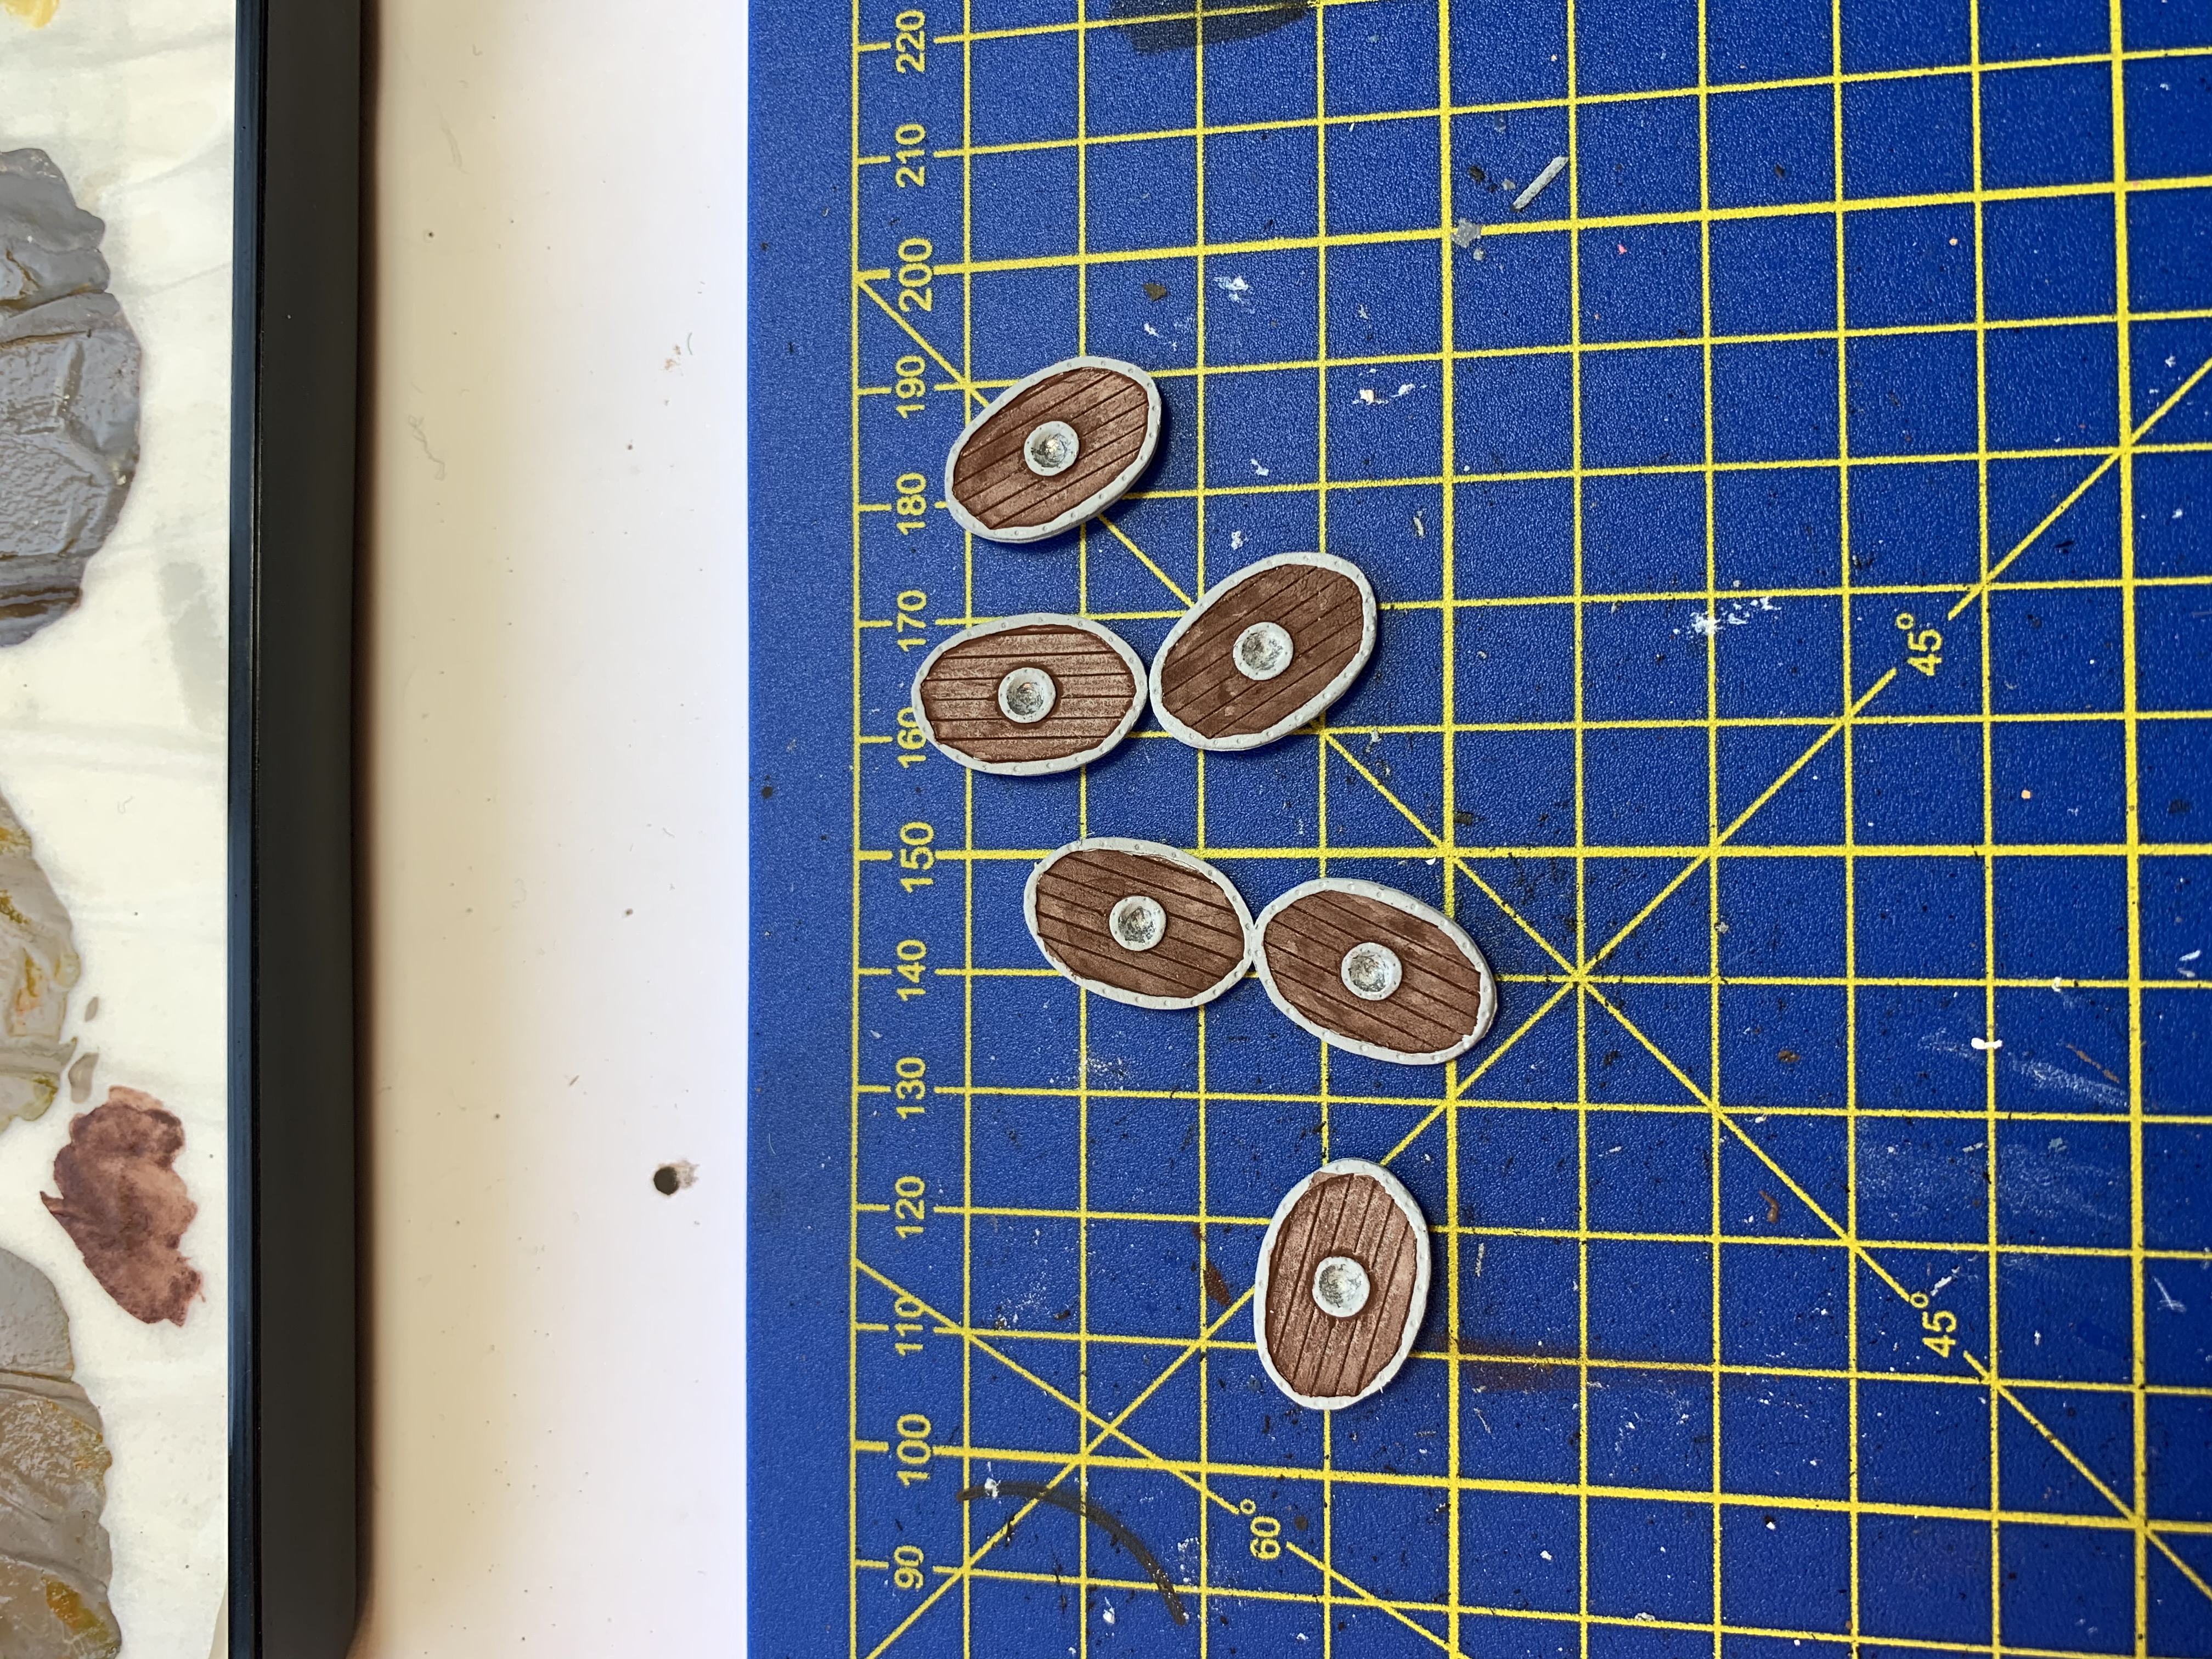
I prime the shields white and then paint the rear with Flat Brown (VMC 70. 984). This is then covered with a wash of Army Painter Strong Tone Ink. The detail of the wooden boards is moulded into the shields, and the ink brings this out nicely (although I suspect very few people outside the XLBS will be actually be looking at the backs of the shields!).
The front of the shield is painted in White (VMC 70.951) and the boss and shield rim in Gunmetal Grey (70.863).

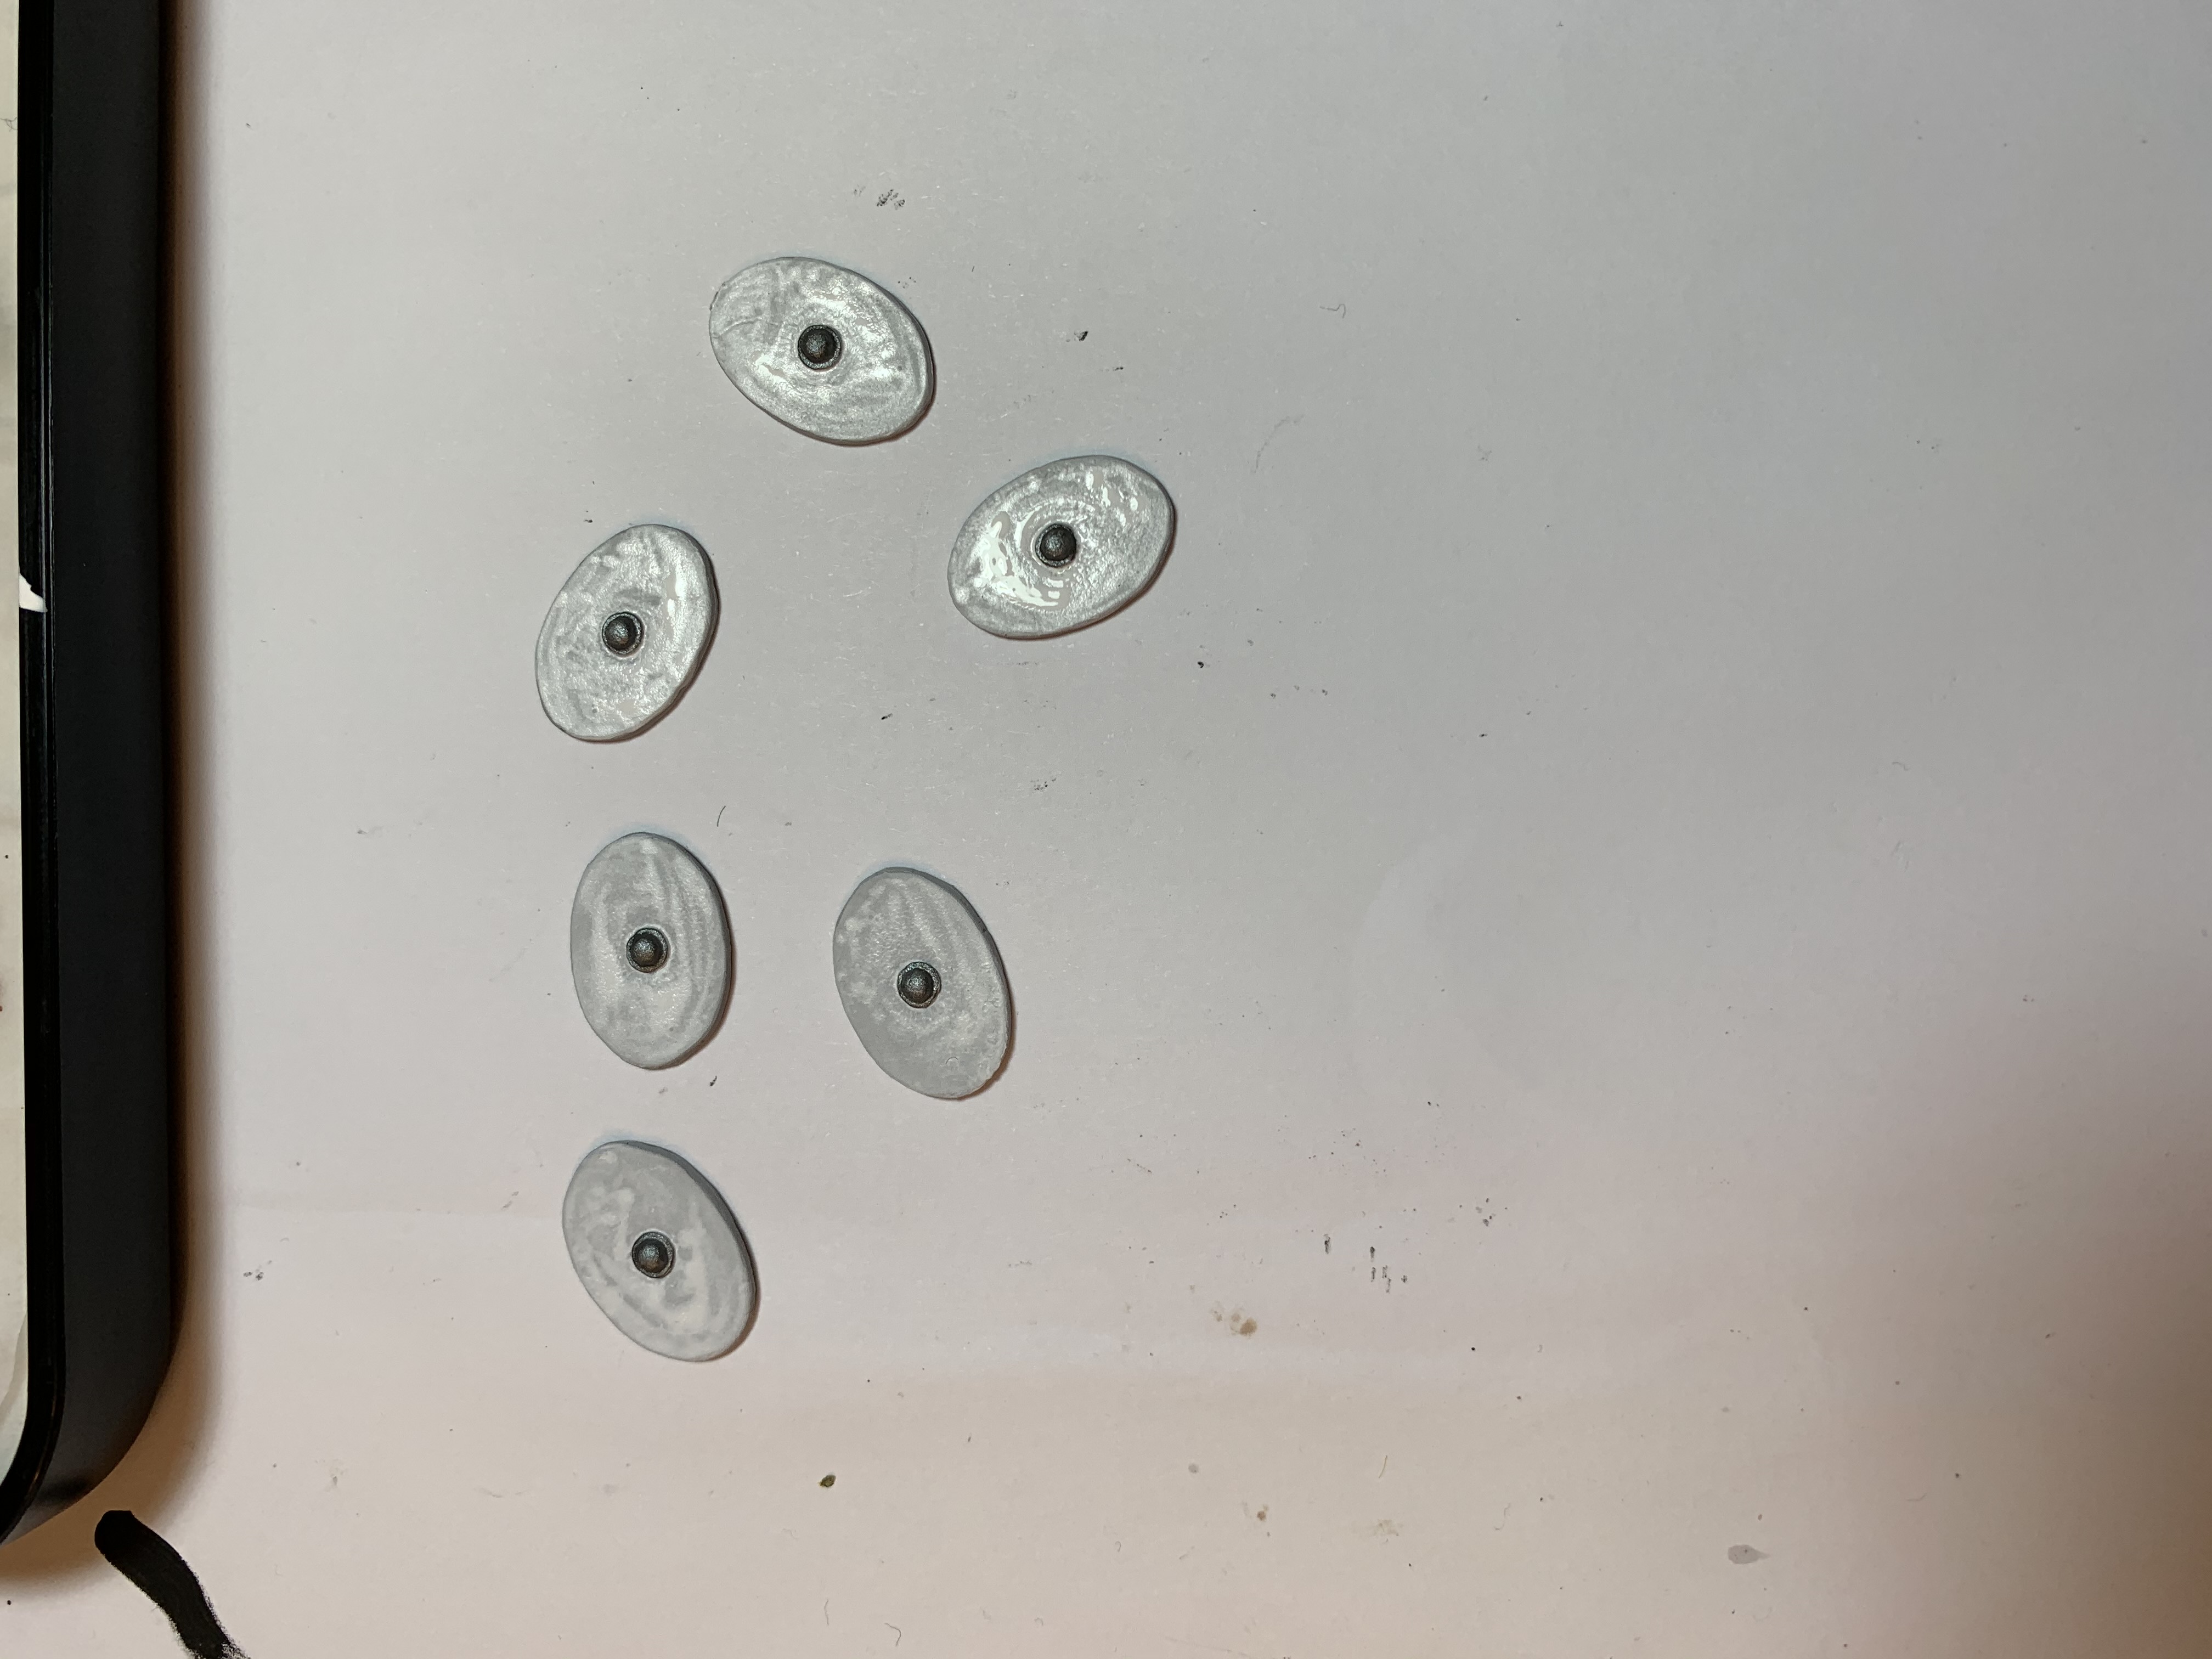
Once the paint is dry I apply the shield transfers from Little Big Men Studios (LBMS) according to the manufacturer’s instructions. I then did a quick highlight on the metal parts with Silver (VMC 70.997) before supergluing the shields on to the models. These were then left to dry for 24 hours.
Once the transfer was dry, I brushed on a coat of Vallejo Polyurethane Gloss Varnish. Once this was dry, I brushed on a second coat of Matt Acylic Varnish. I suspect this will strike many laborious and as probably not giving the best possible level of protection, but: i) I’ve never had any luck with spray-on varnish, always getting repeated frosting, so am reluctant to apply it to completed figures; and ii) use of oil based varnishes and the associated smell of white spirit in the house would most likely result in a rapid breakdown of domestic harmony!
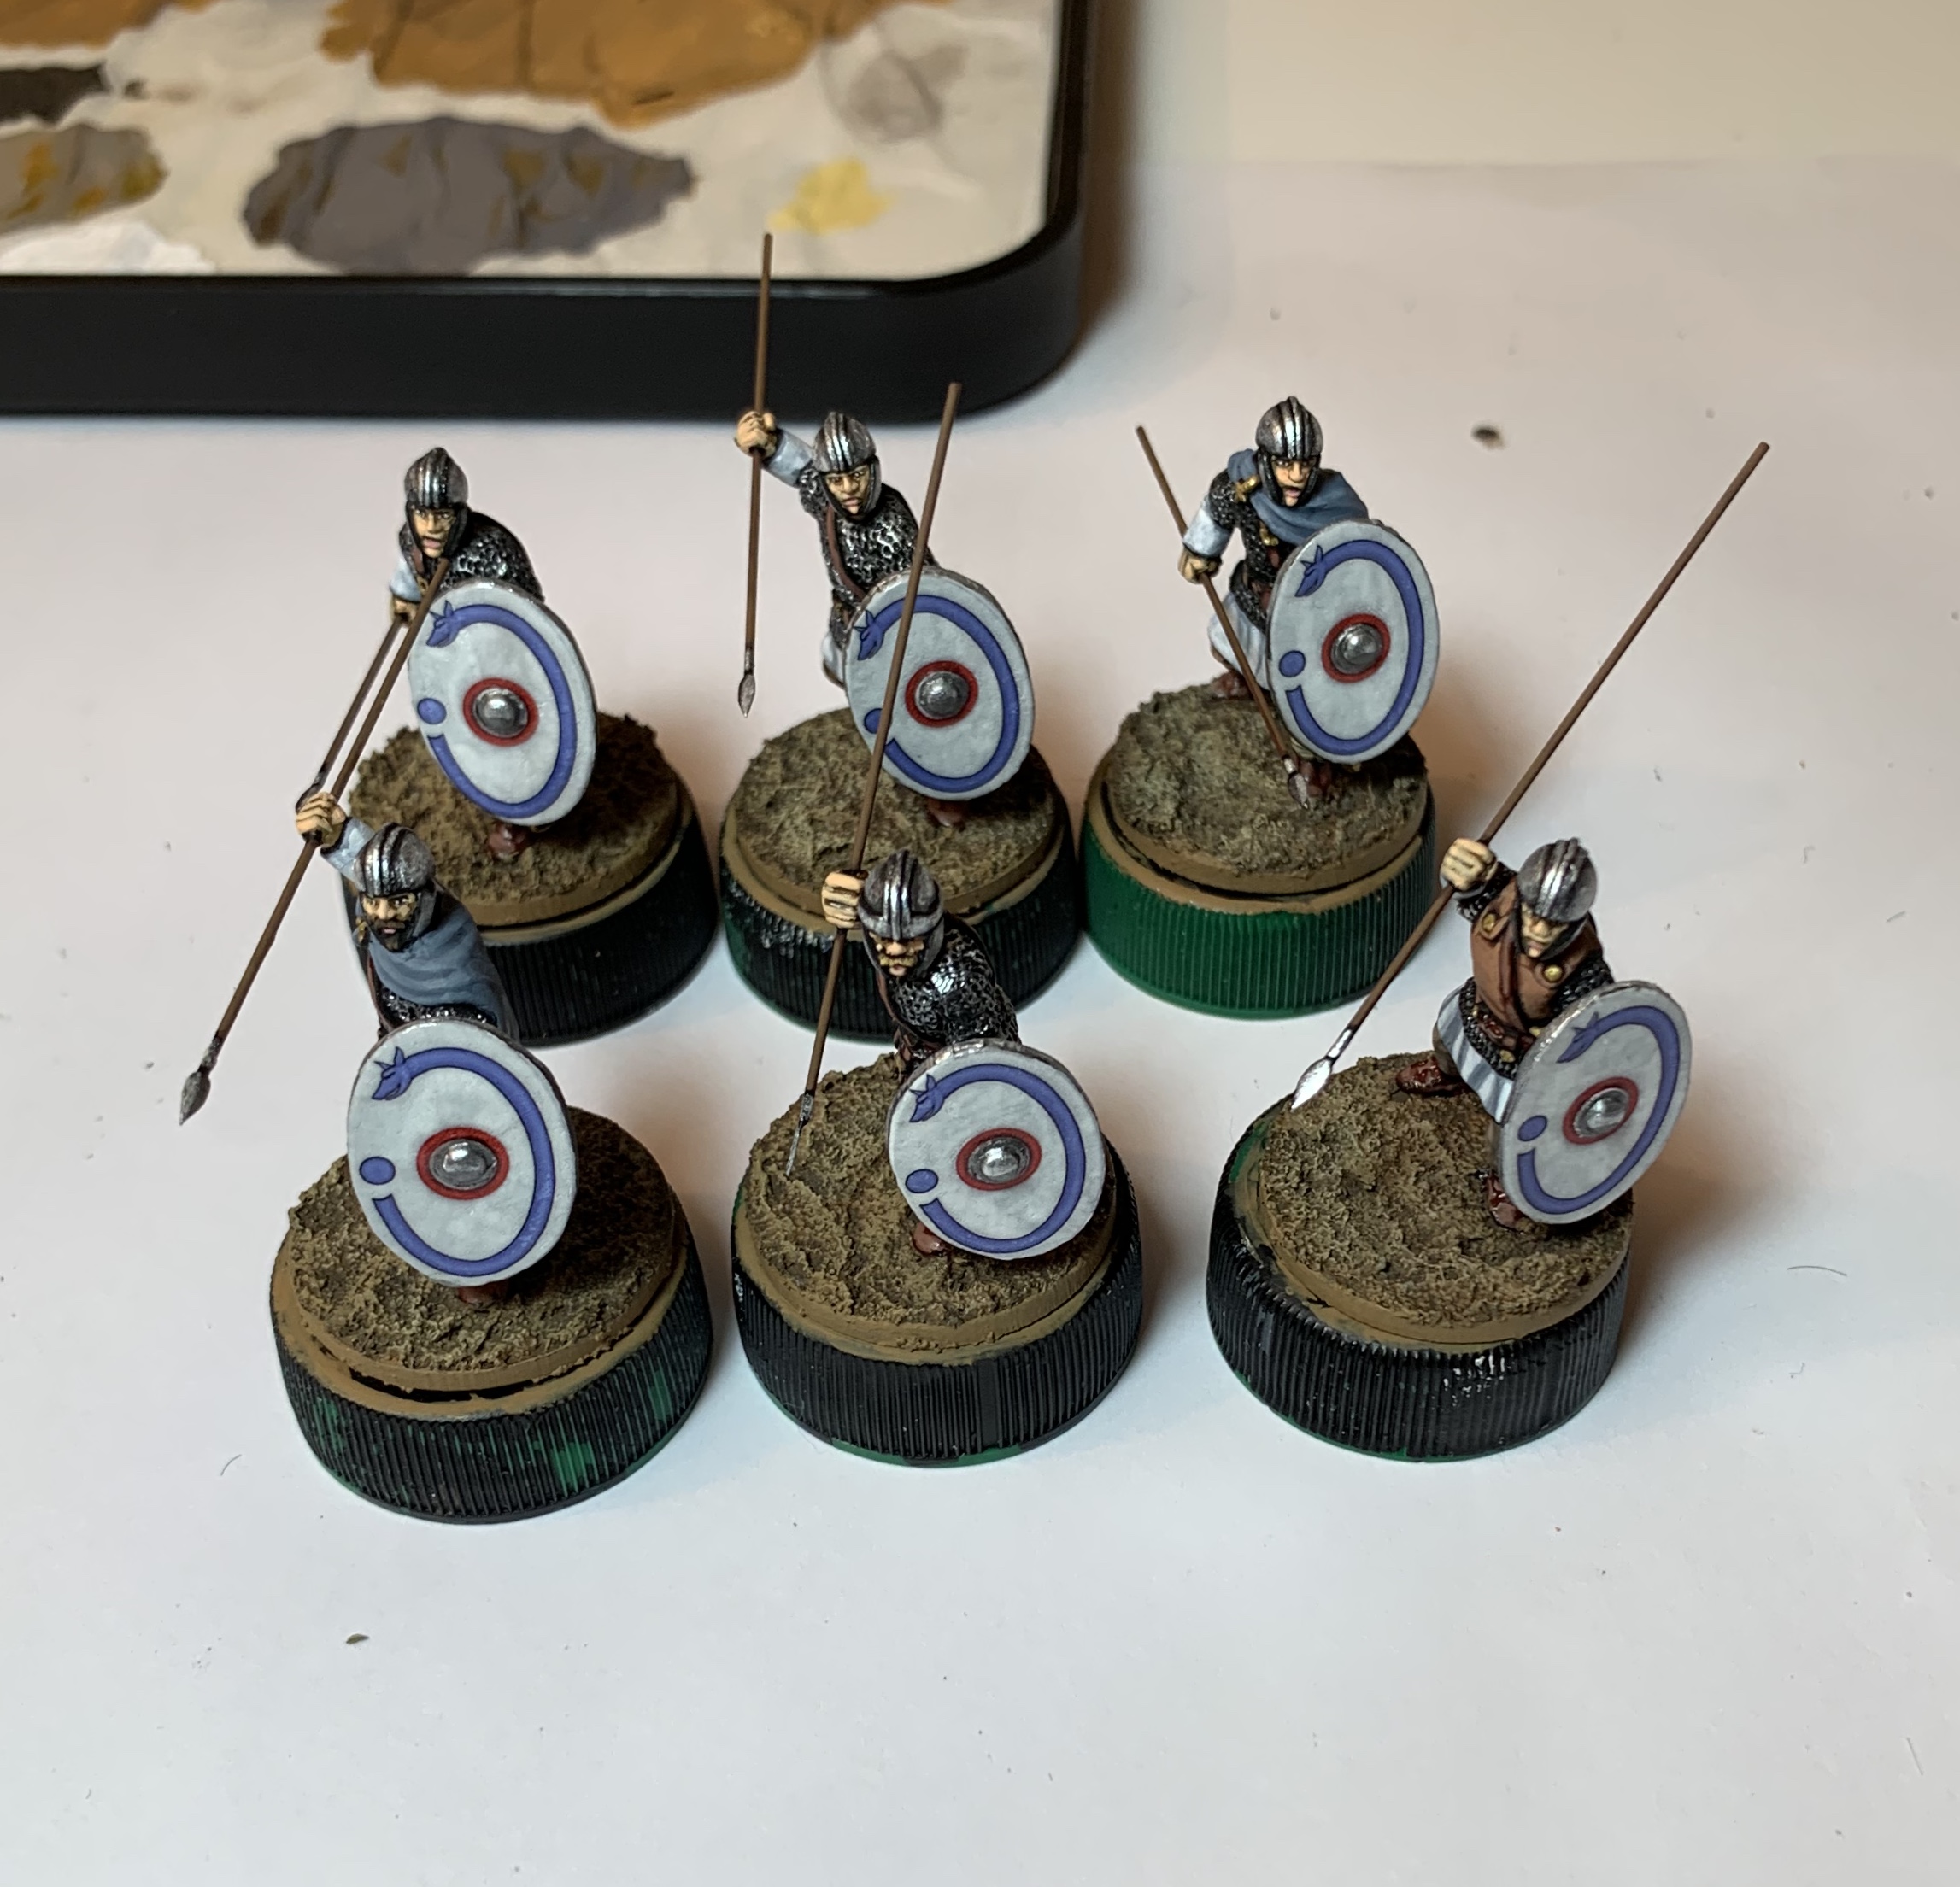 Milites Group Two sporting their new shields - just final basing to go!
Incidentally, I’m not entirely sure if the shields of the period had metal rims. The only source I could find was somewhat ambiguous, mentioning metal bosses with leather stretched over boards and pinned in place. It didn’t mention metal rims, but neither did it rule them out. The detail on the model showed something that could be a metal rim, but which could equally be where the aforementioned leather has been pinned in place. In any event, I decided to go with metal rims because I liked the look of them and it avoids the need to find a perfect match between the paint on the rim and the colour of the transfer. I promised myself when starting this project that I would not get hung up on the historical accuracy of details such as this!
Milites Group Two - painting the bases
I paint the bases before attaching the shields mainly to avoid getting any stray streaks of paint on to the transfers and making a mess of the design. My basing is very basic, consisting of the following steps:
- A base coat of 50% Beige Brown (VMC 70.875) and 50% Yellow Ochre (VMC 70.913).
- A mix of 90% Chocolate Brown (VMC70.872) mixed with 10% Black (VMC 70.950) that is then thinned to a wash of an almost water-like consistency. This is spread all over the base so that the dark wash melts into the crevices of the Vallejo Ground Texture. This will dry in a few hours, but I find it best left overnight.
- When the wash has dried, highlight with a dry brush of the same Beige Brown and Yellow Ochre mix used in step one.
- Finally, a very light dry brush of Buff (VMC 70.976)
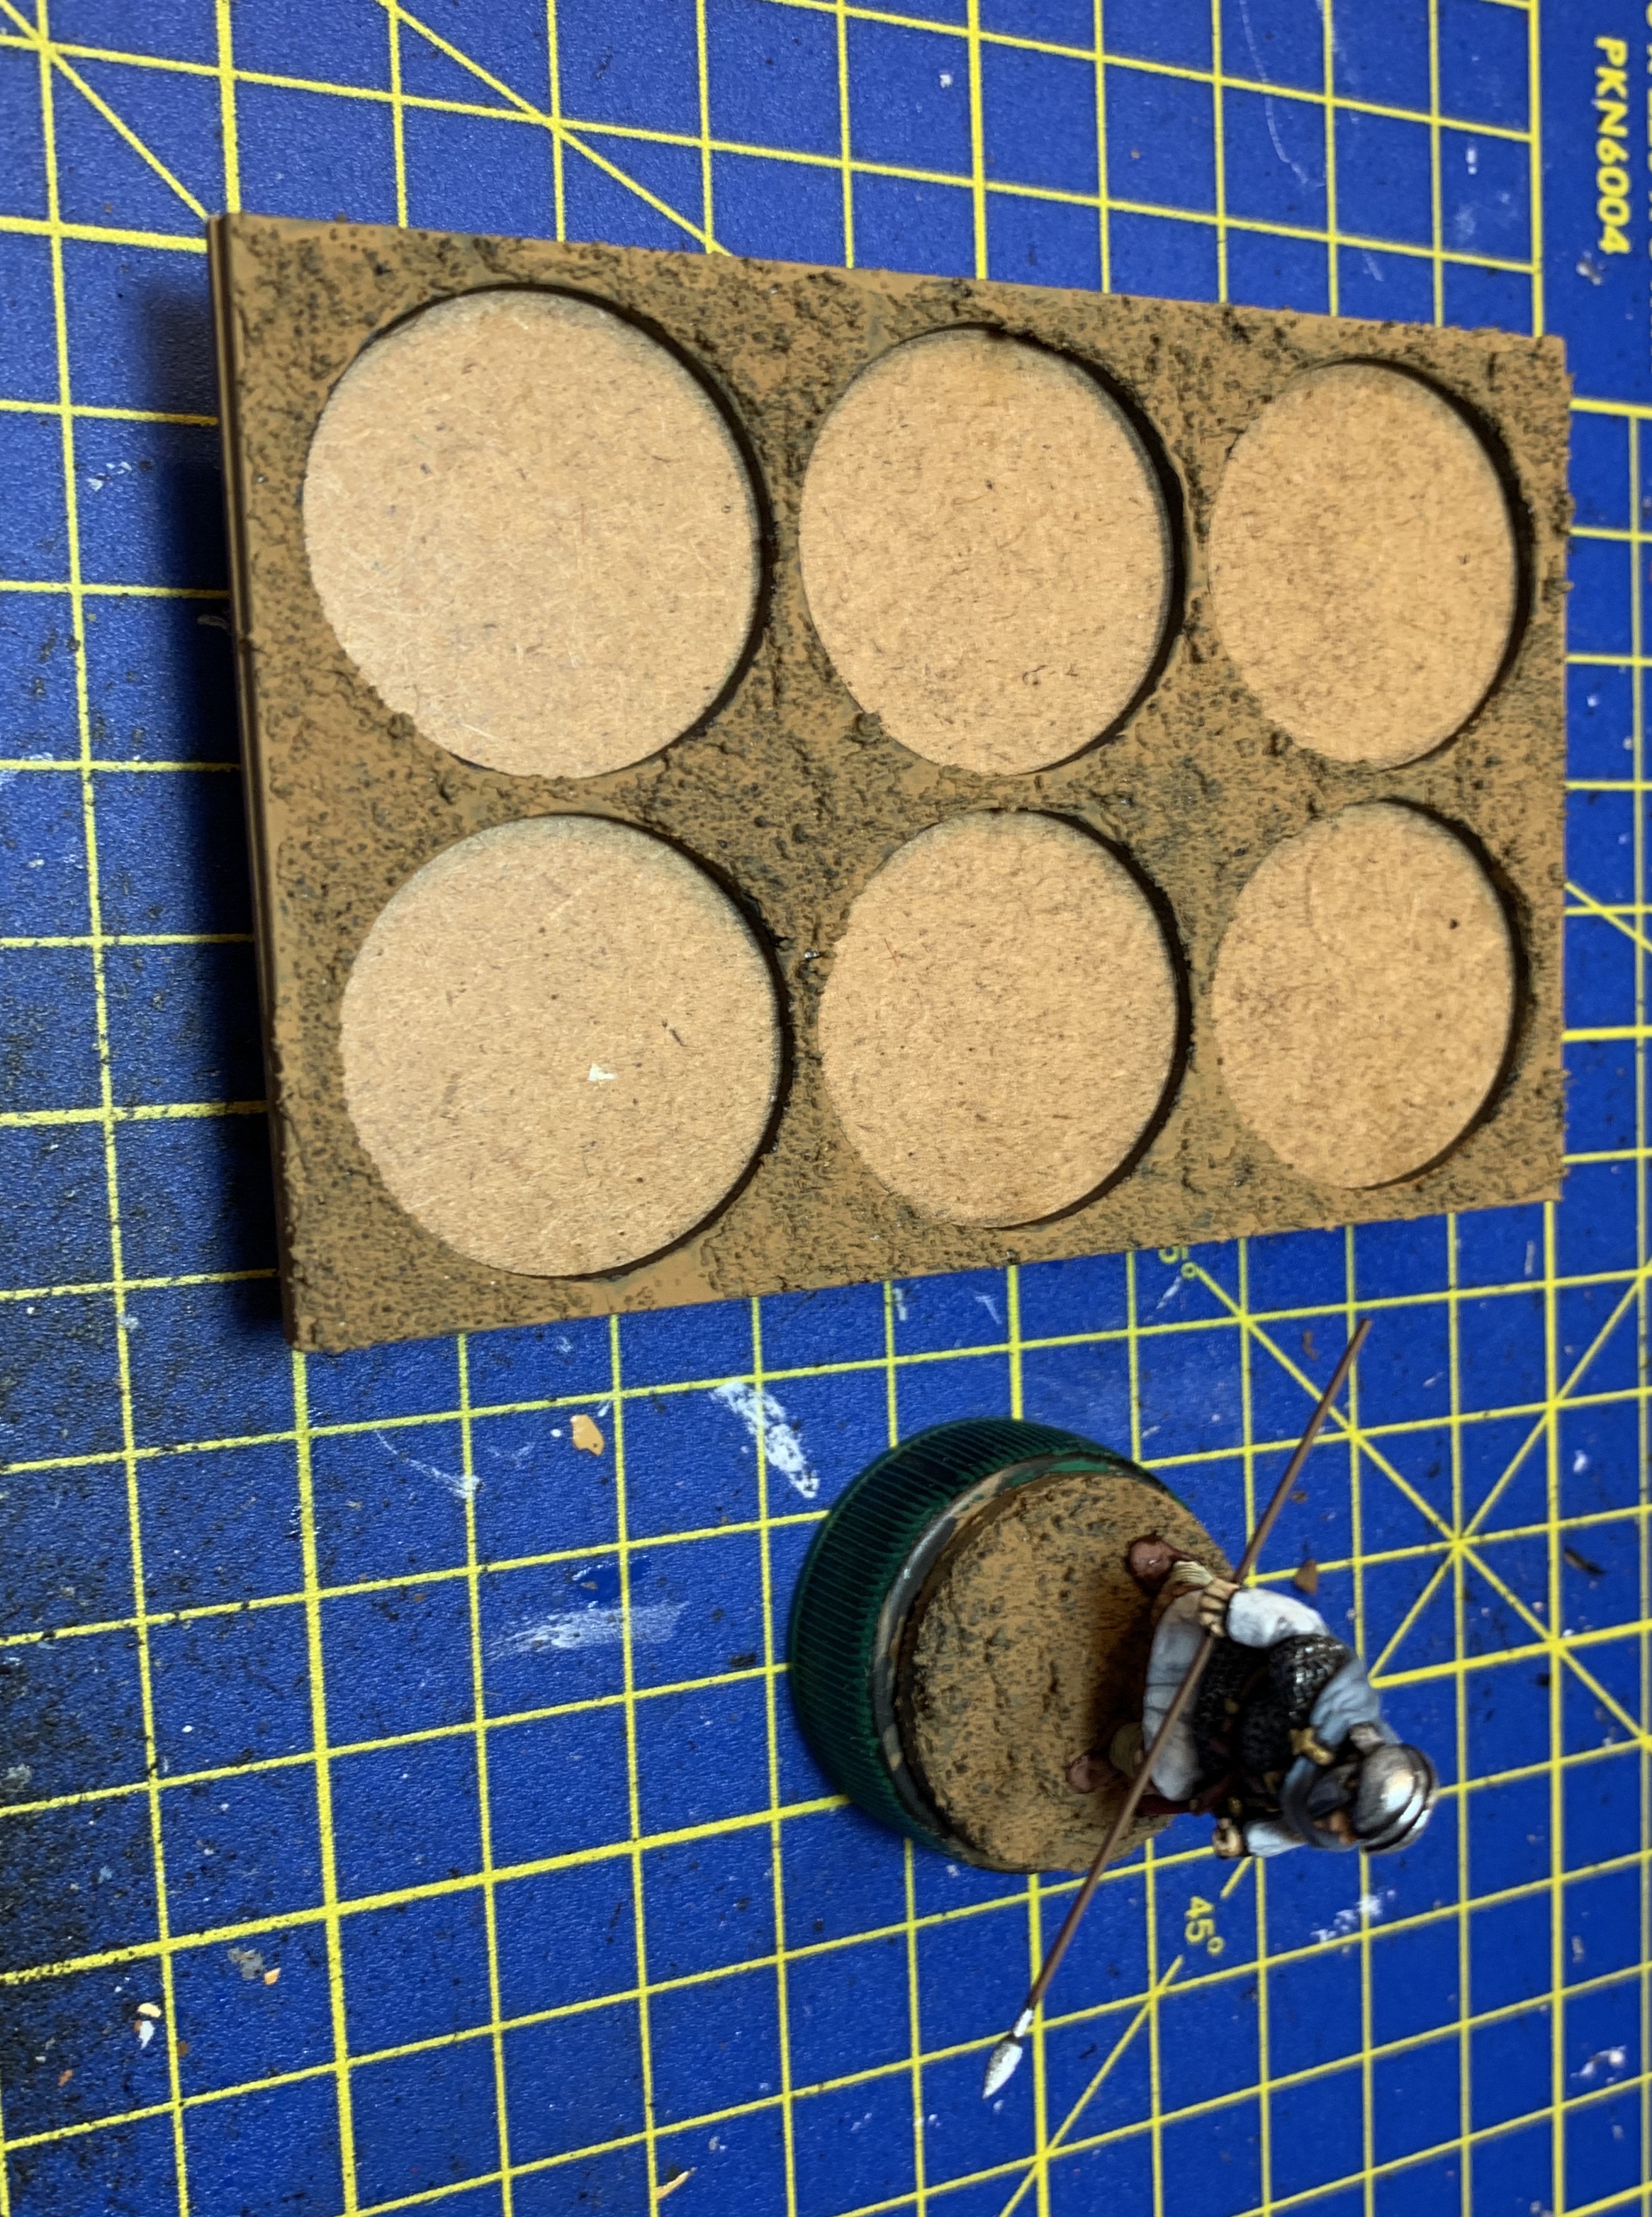
I’ve set out each of these steps in the image gallery below. The pictures show the basing on one of the models and on the sabot base on which they’ll stand. I’ll attach the shields next before completing the models with a vanish and then the addition of vegetation to the bases.
Milites Group Two - push for the finish
I completed the paint job on the models this week, covering all those fiddly extra bits that you’ll never really look at in detail, but which you’ll notice if you haven’t done it. This broadly consisted of:
Spear haft – base of Flat Brown (VMC 70.984) highlighted with Beige Brown (VMC 70.875).
Sword scabbard – base of Cavalry Brown (VMC 70.982) with a first highlight of 50% Cavalry Brown and 50% Dark Vermillion (VMC 70.947) followed by a second highlight of Dark Vermillion.
Belt buckles, brooches, sword hilts – base of Beige Brown, followed by a highlight of 50% Beige Brown and 50% Yellow Ochre (VMC 70.913), followed by a second highlight of Yellow Ochre and a final highlight of Old Gold (VMC 70.878)
The trousers were various combinations of brown and where models were wearing strapping round their legs, I used a base of Khaki (VMC 70.988), a highlight of 50% Khaki and 50% Beige (VMC 70.917) and a final highlight of Beige. This is the same combination with which I painted my Archers which are mentioned in an earlier post.
That completes the models themselves. The next step is to paint the bases and shields.
 The finished models awaiting their shields and basework
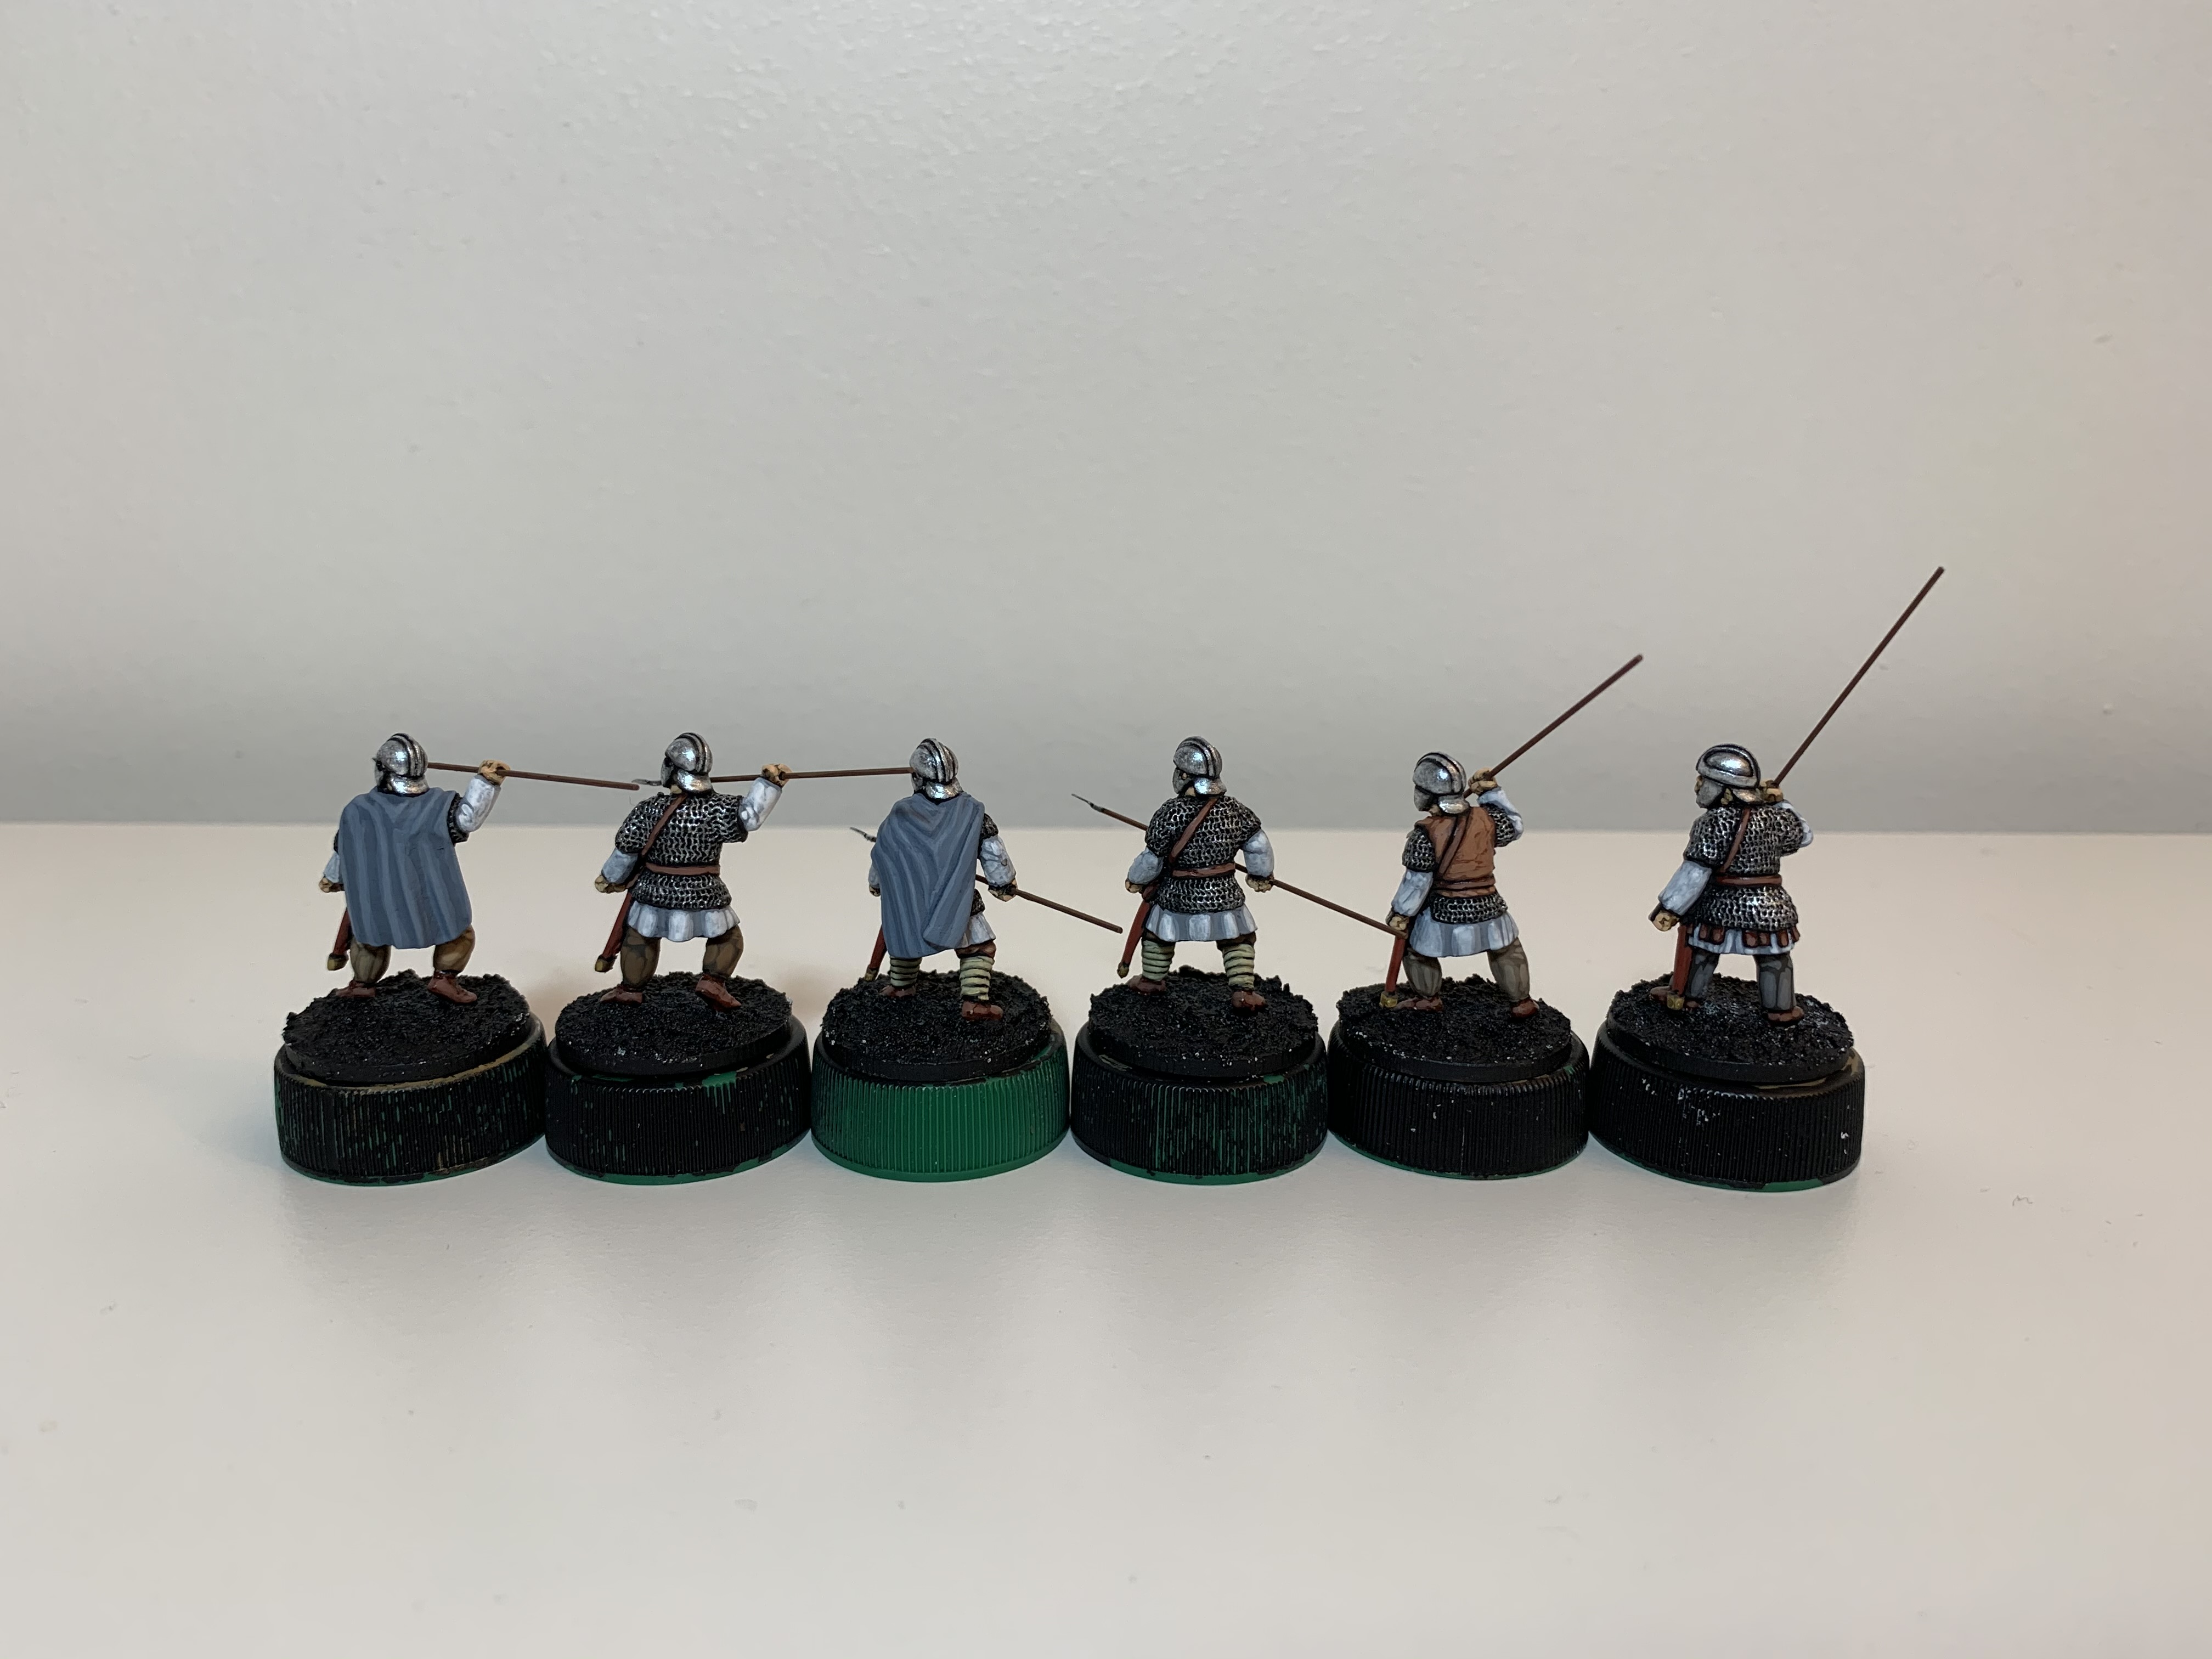 Lloyd shot
Milites Group Two - leather and cloaks
Worked on leather equipment and cloaks this weekend.
For the leather straps and shoes I did the following:
Base – Hull Red (VMC 70.985)
First highlight – Saddle Brown (VMC 70.940)
Second highlight – 70% Saddle Brown and 30% Tan Yellow (VMC 70.912)
I also did the leather cuirass that one of the Milites in this Group wears. This was done as a much warmer brown so stood out from the darker straps.
Base – 80% Hull Red (VMC 70.985) and 20% Red Leather (VMC 70.818)
First highlight – 50% Base and 50% Red Leather
Second highlight – 80% First highlight and 20% Tan Yellow (VMC 70.912)
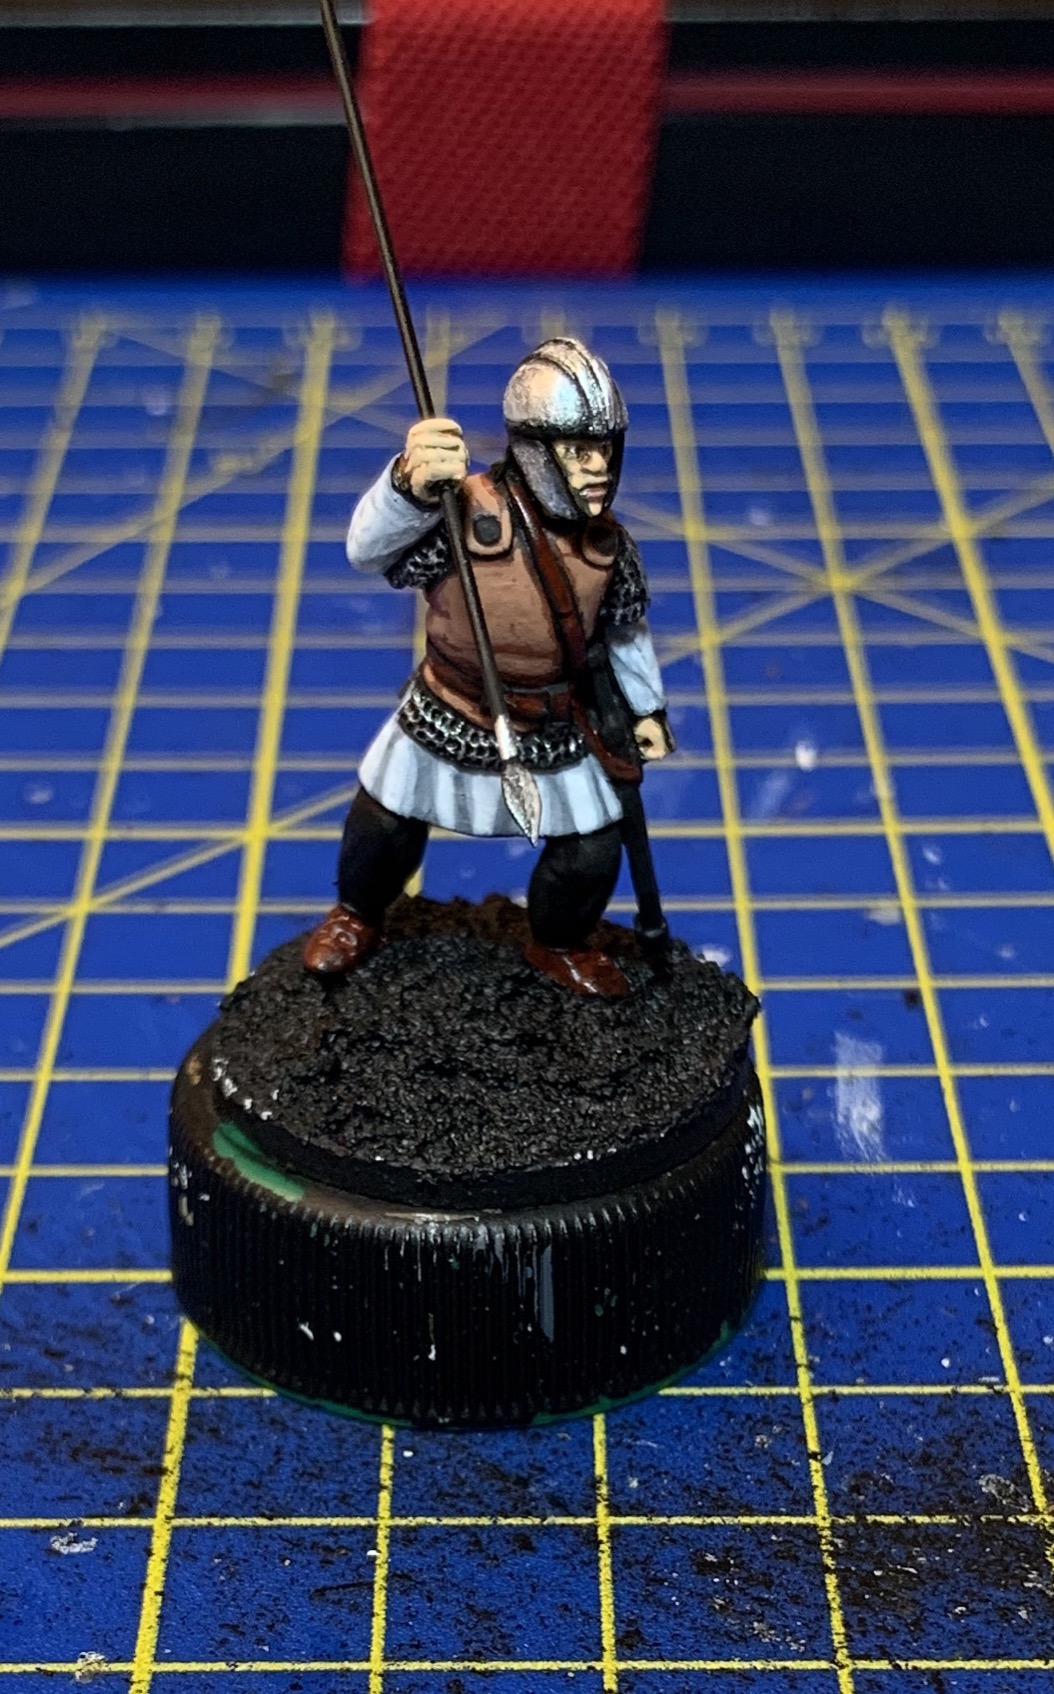 Slightly warmer brown for the cuirass
Two of the Milites are wearing cloaks in this Group. I tried to replicate the colours I used for one of the figures wearing cloaks in Group One, but the effect this time is less intense. I think I may have added to little black to the base coat and so the later highlight mixes were more pale. Still, it’s highly unlikely that the natural dyes used in the period would have remained uniform, so I’m quite happy for these cloaks to be different from the others on the basis that they have seen more wear.
Base – 90% Grey Blue (VMC 70.943) and 10% Black (VMC 90.950)
First highlight- 80% Base and 20% White (VMC 70.951)
Second highlight – 80% First highlight and 20% White