


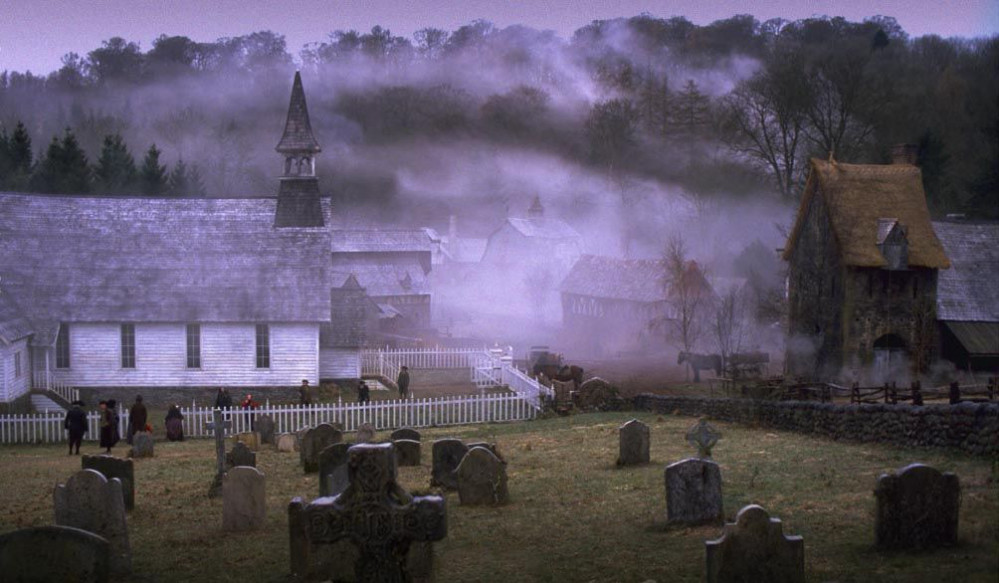
“Sleepy Hollow” or 18th Century terrain & Minis


Recommendations: 735
About the Project
Set in the 18th century Hudson Valley US, this project is part historical and horror. The terrain will be farmland, stone walls and buildings inspired by Dutch architecture of the time. The miniatures will be mostly Galloping Major and Wargames Foundry. I will be collecting and painting small minis for skirmish games with the intent to build up to larger games like Sharpe Practice taking place during the French & Indian War.
Related Company: Wargames Foundry
Related Genre: Historical
This Project is Active
Hear Ye, Hear Ye!

Lucash Baritone, town cryer. This is a good model to let you know that this project will take a hiatus till the Fall.
Cheers!

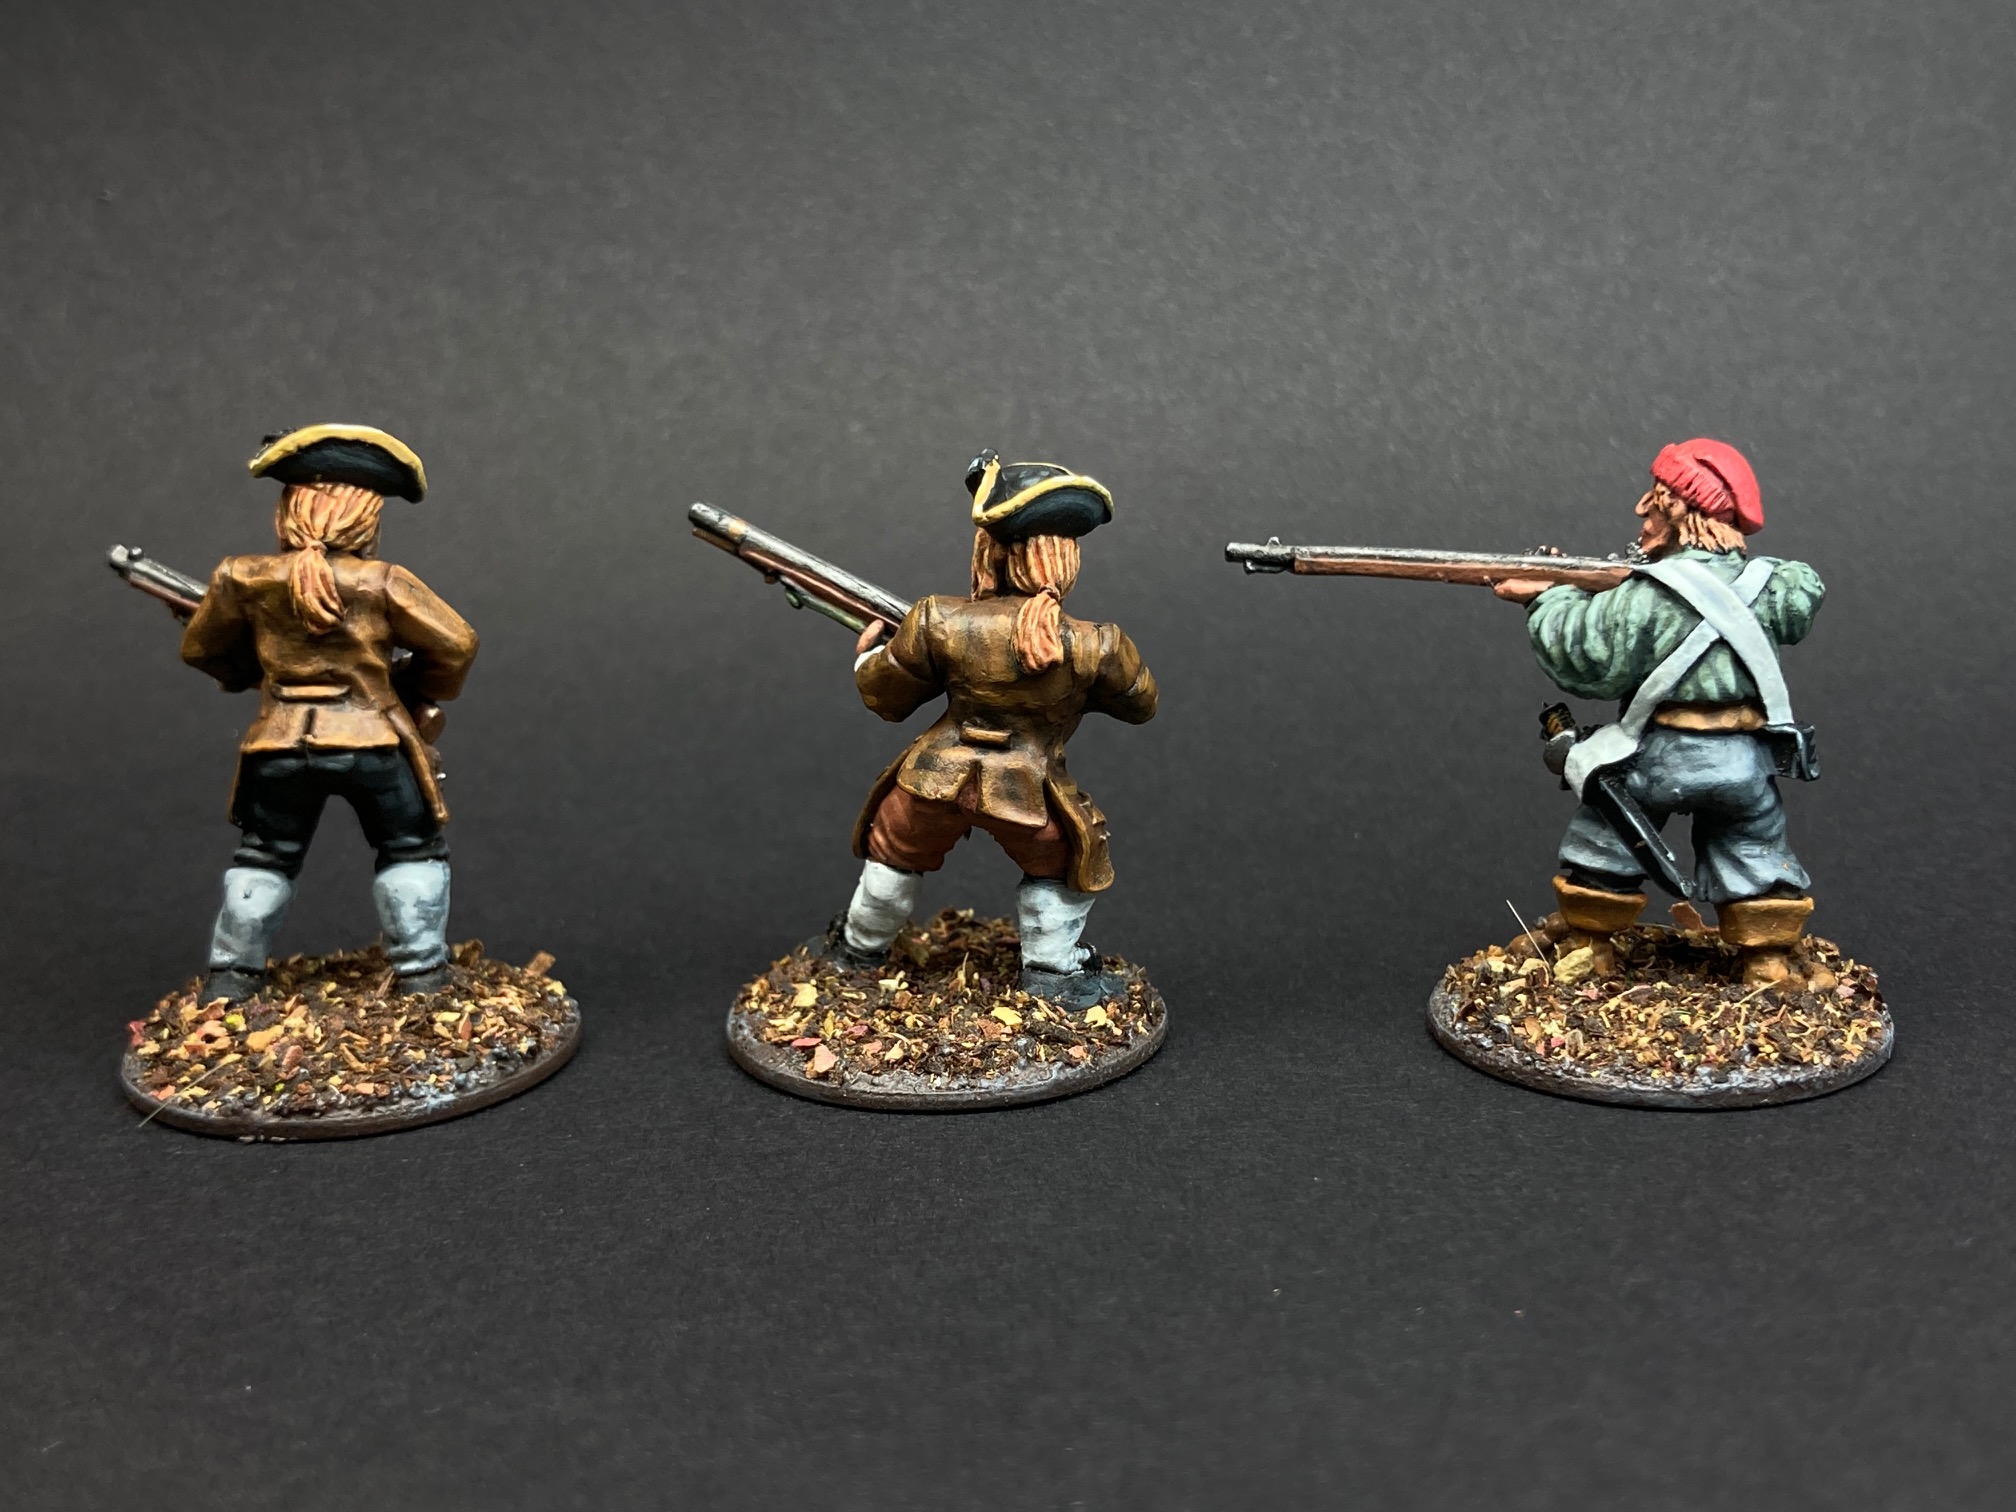

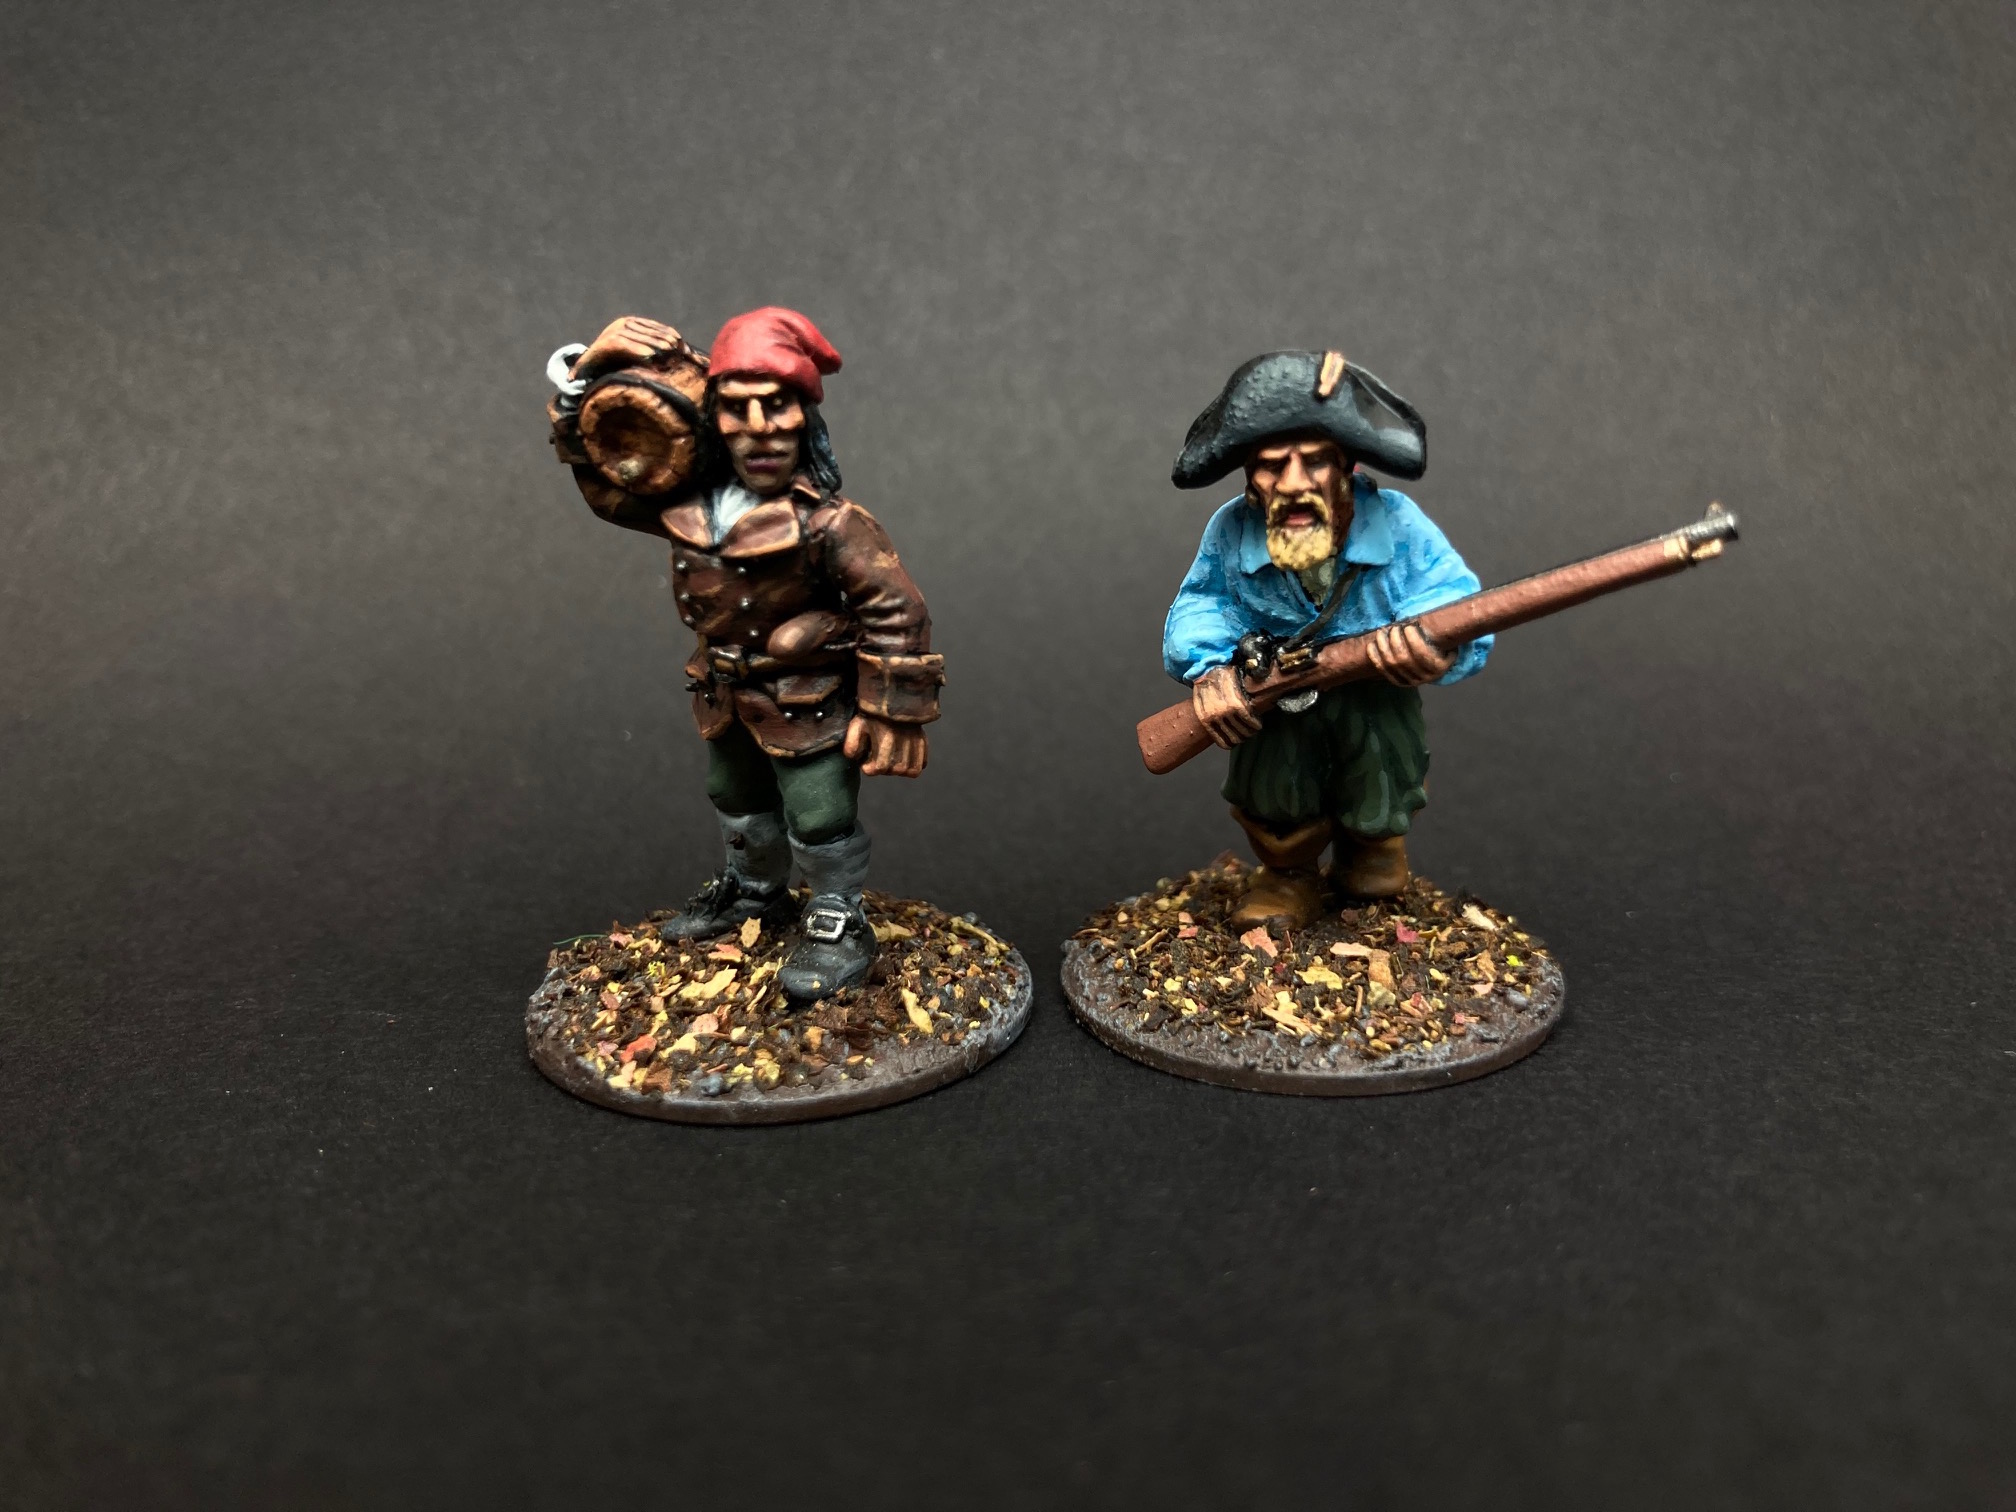
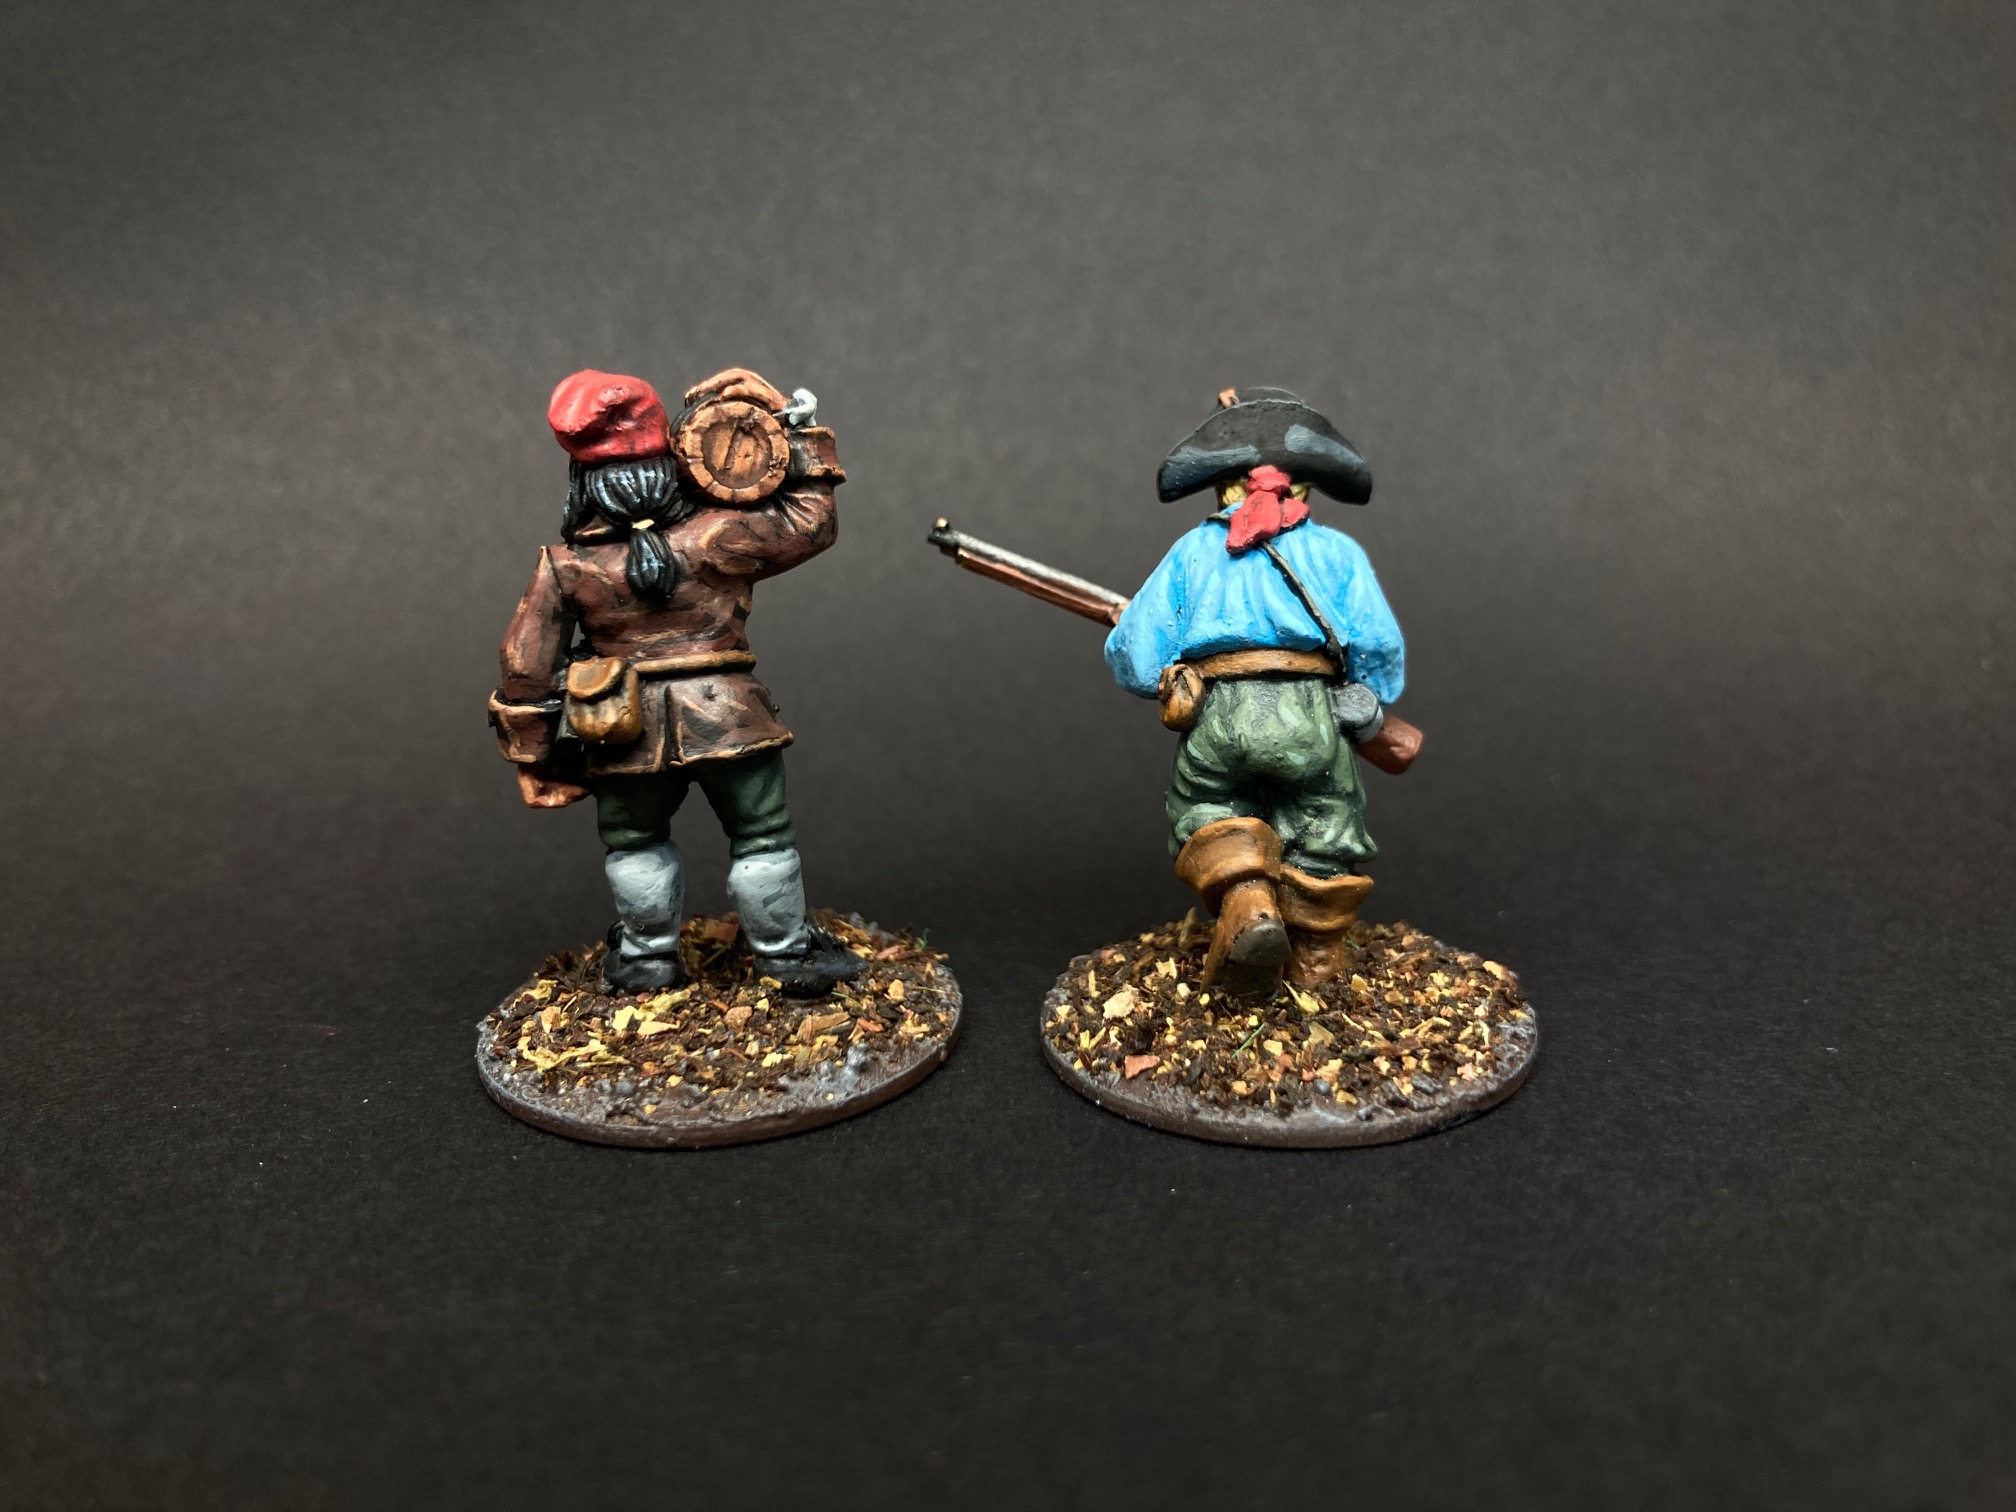
It's Not All Blood and Gore
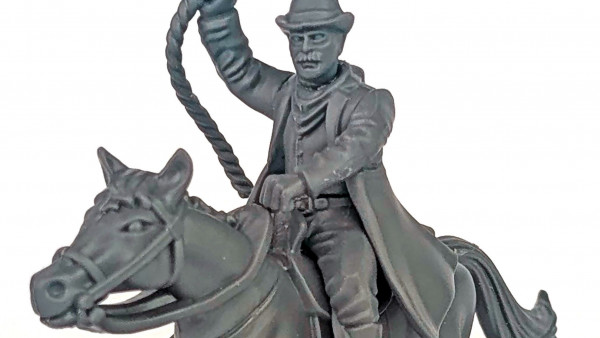
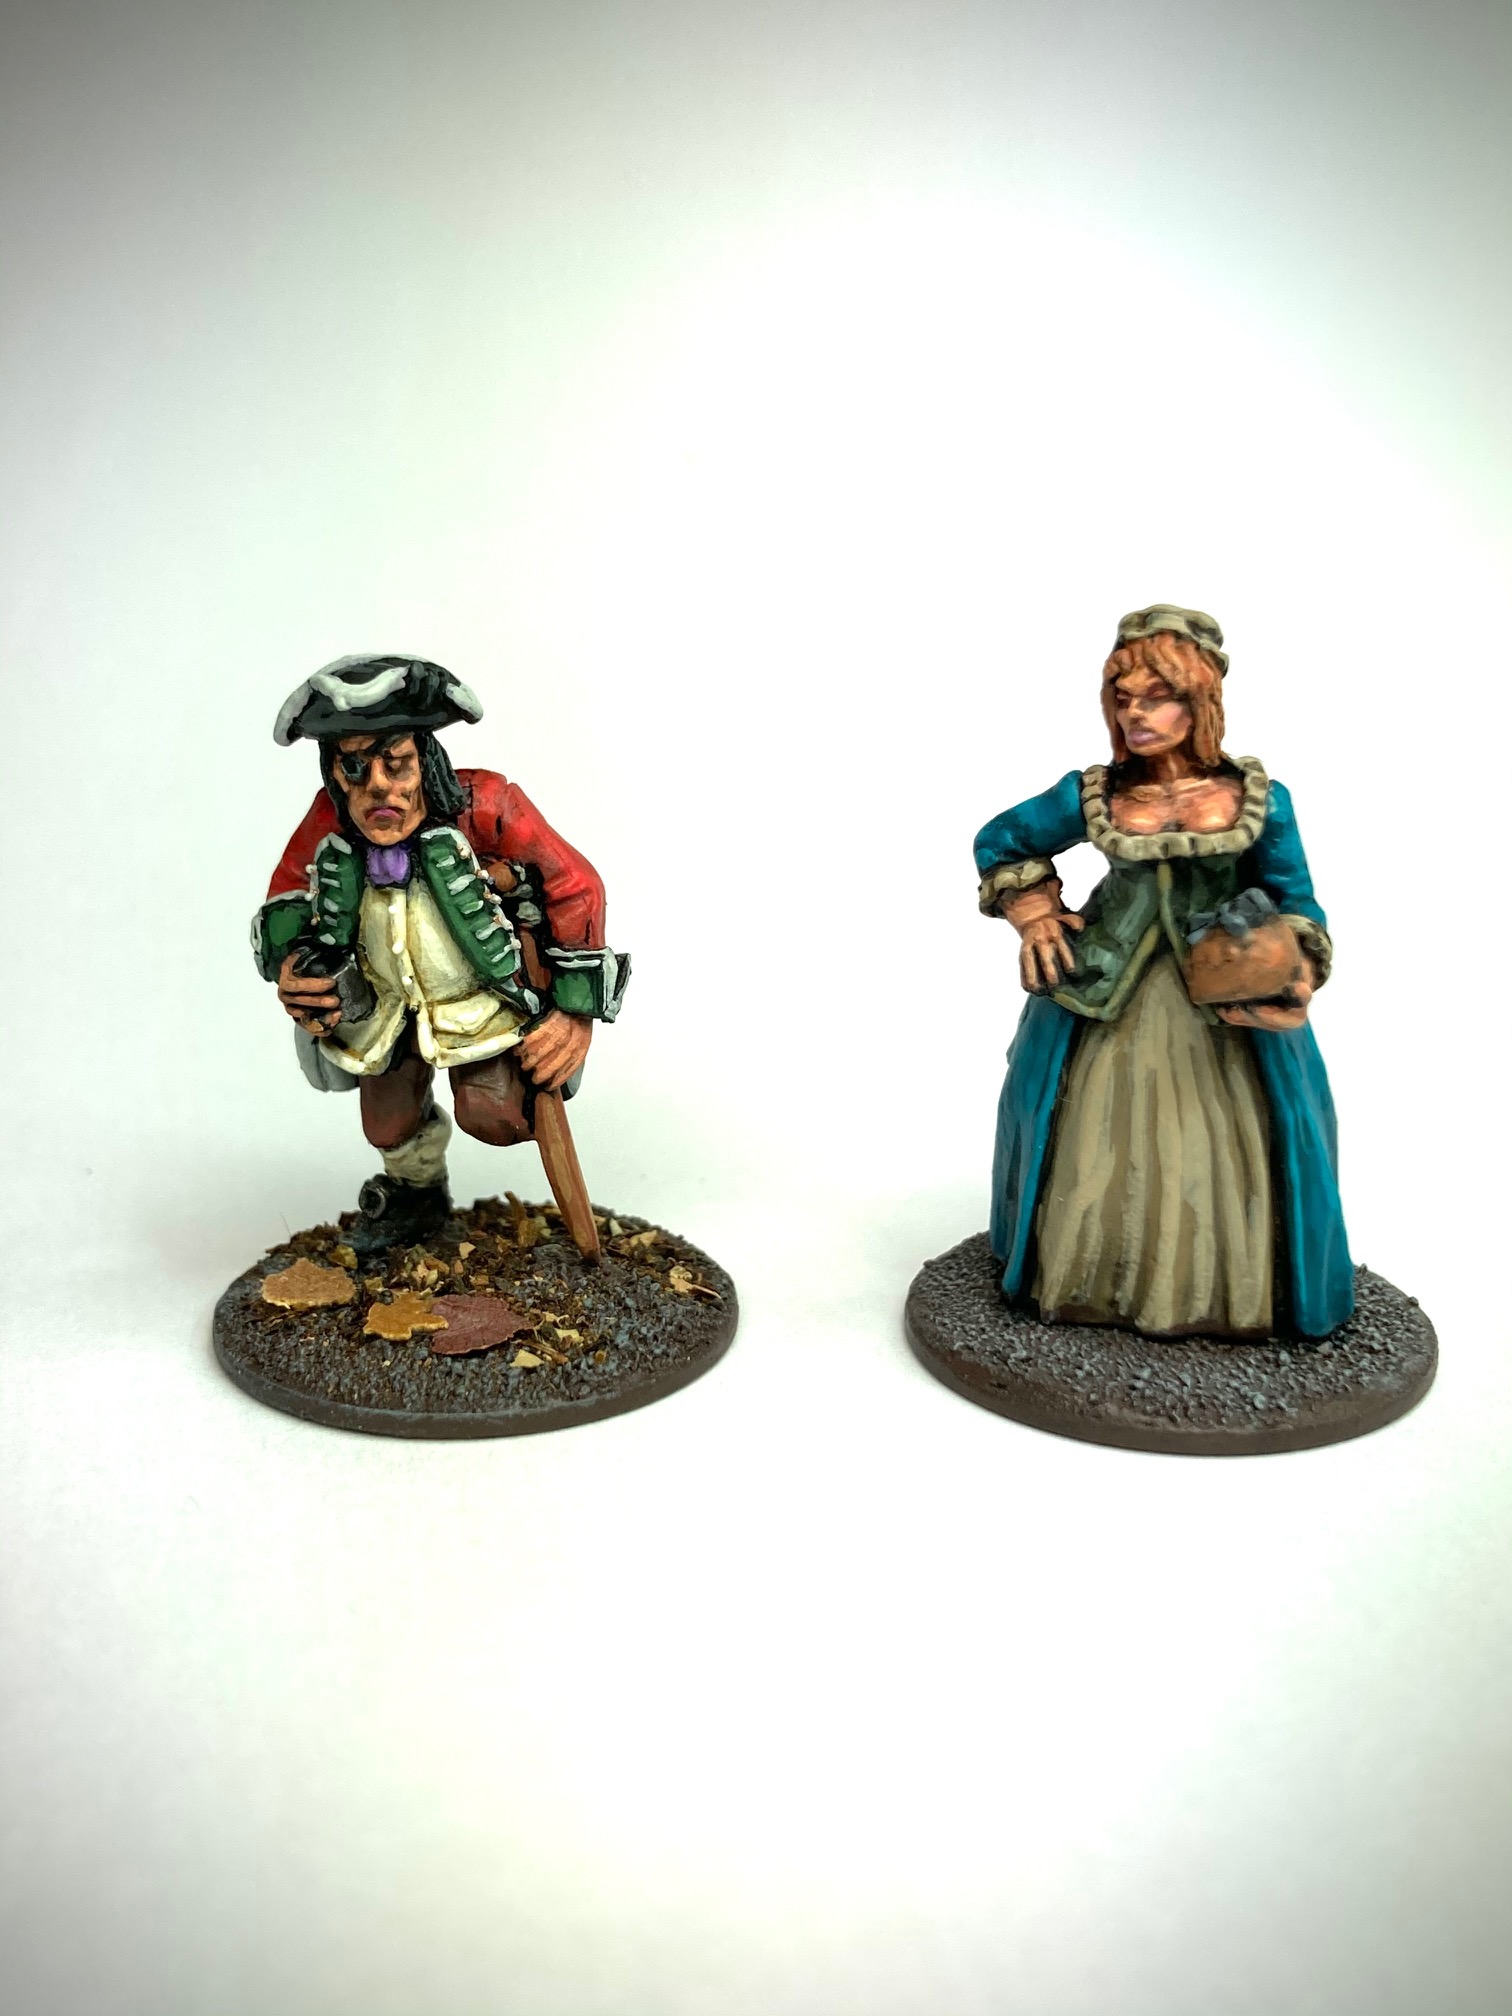
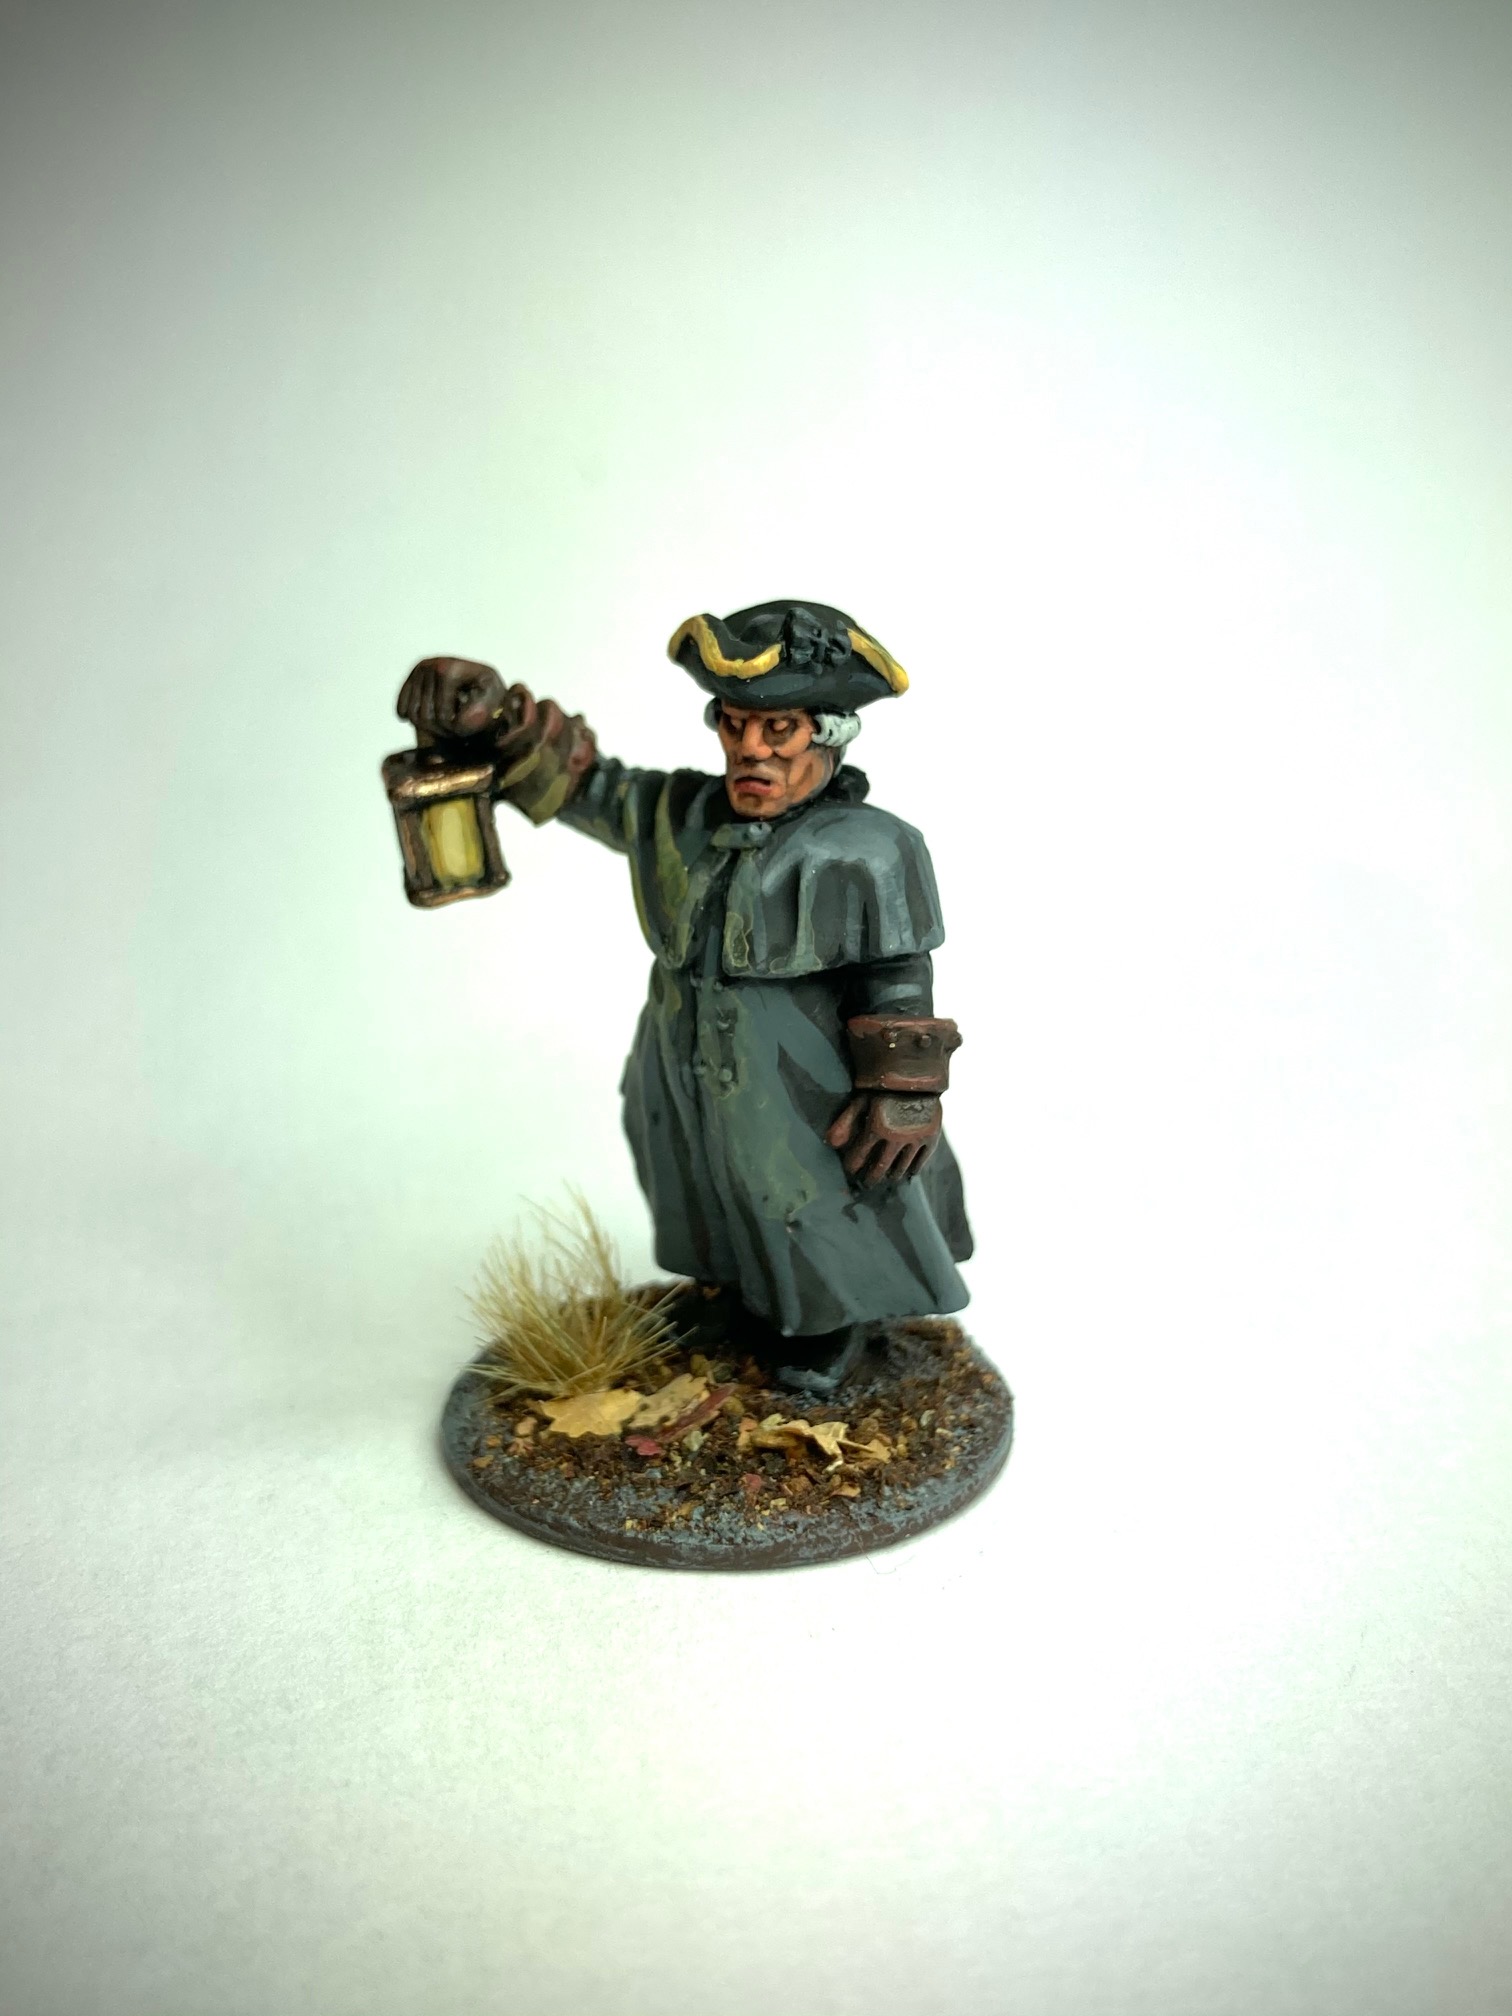 Smuggler Barnaby P. Joyless
Although the trade emerged in its mature form in the decade following the Iroquois Grand Settlement of 1701, it was during the long peace between the end of the War of the Spanish Succession in 1713 and the commencement of the War of the Austrian Succession in 1744 that smuggling truly throve in North America. King George’s War, 1744-1748, witnessed the height of smugglers’ importance on the Albany-Montreal corridor, particularly after the British capture of Louisbourg transformed the riverine highway into the main artery for goods, gifts, and information to French habitants and their Native allies. Following King George’s War smugglers lost their resilience to government pressure. For a time thereafter, Iroquois porters, intermediaries, and traders continued a lucrative trade between Montreal and Albany, but the market and the climate had shifted; Joyless, one of the more influential British traders, shifted from land speculation to contraband, exiled from New France by a governor-general acting on the information from his competitors, he relocated to Sleep Hollow and succeeded in other dimensions of the Atlantic trade. Britain’s decisive victory in the Seven Years’ War ended la traite illégale by integrating what had been New France into the British Empire. As the trade between Albany and Montreal, which had been crucial to the redevelopment of Iroquois power in the first half of the eighteenth century when it was illegal, became legitimate, the Six Nations lost influence.
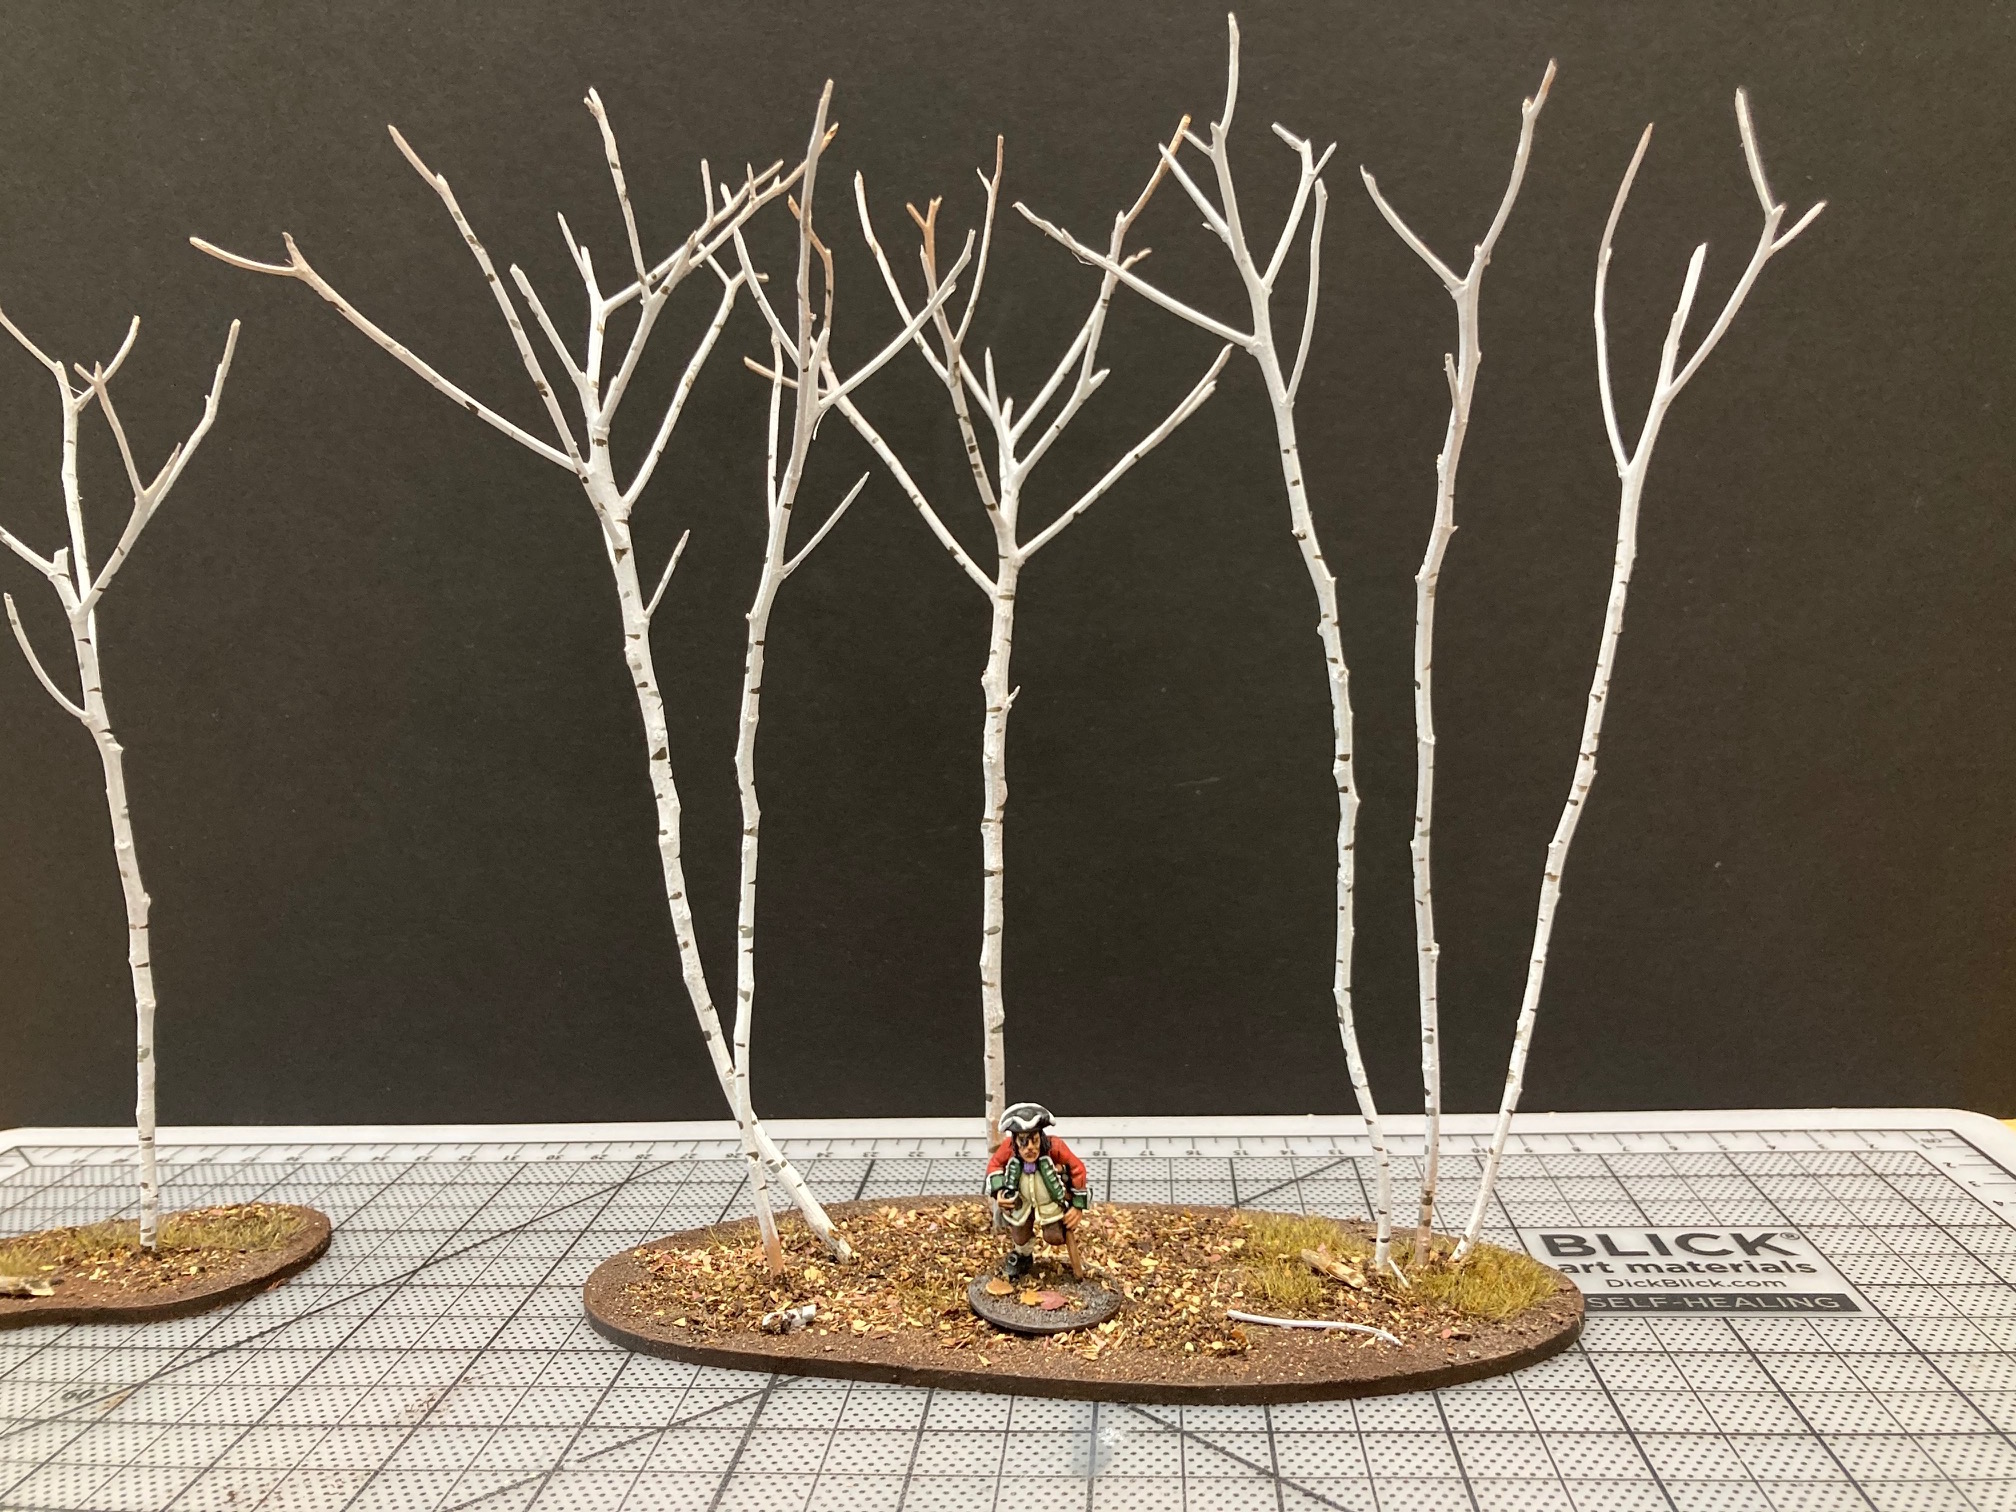
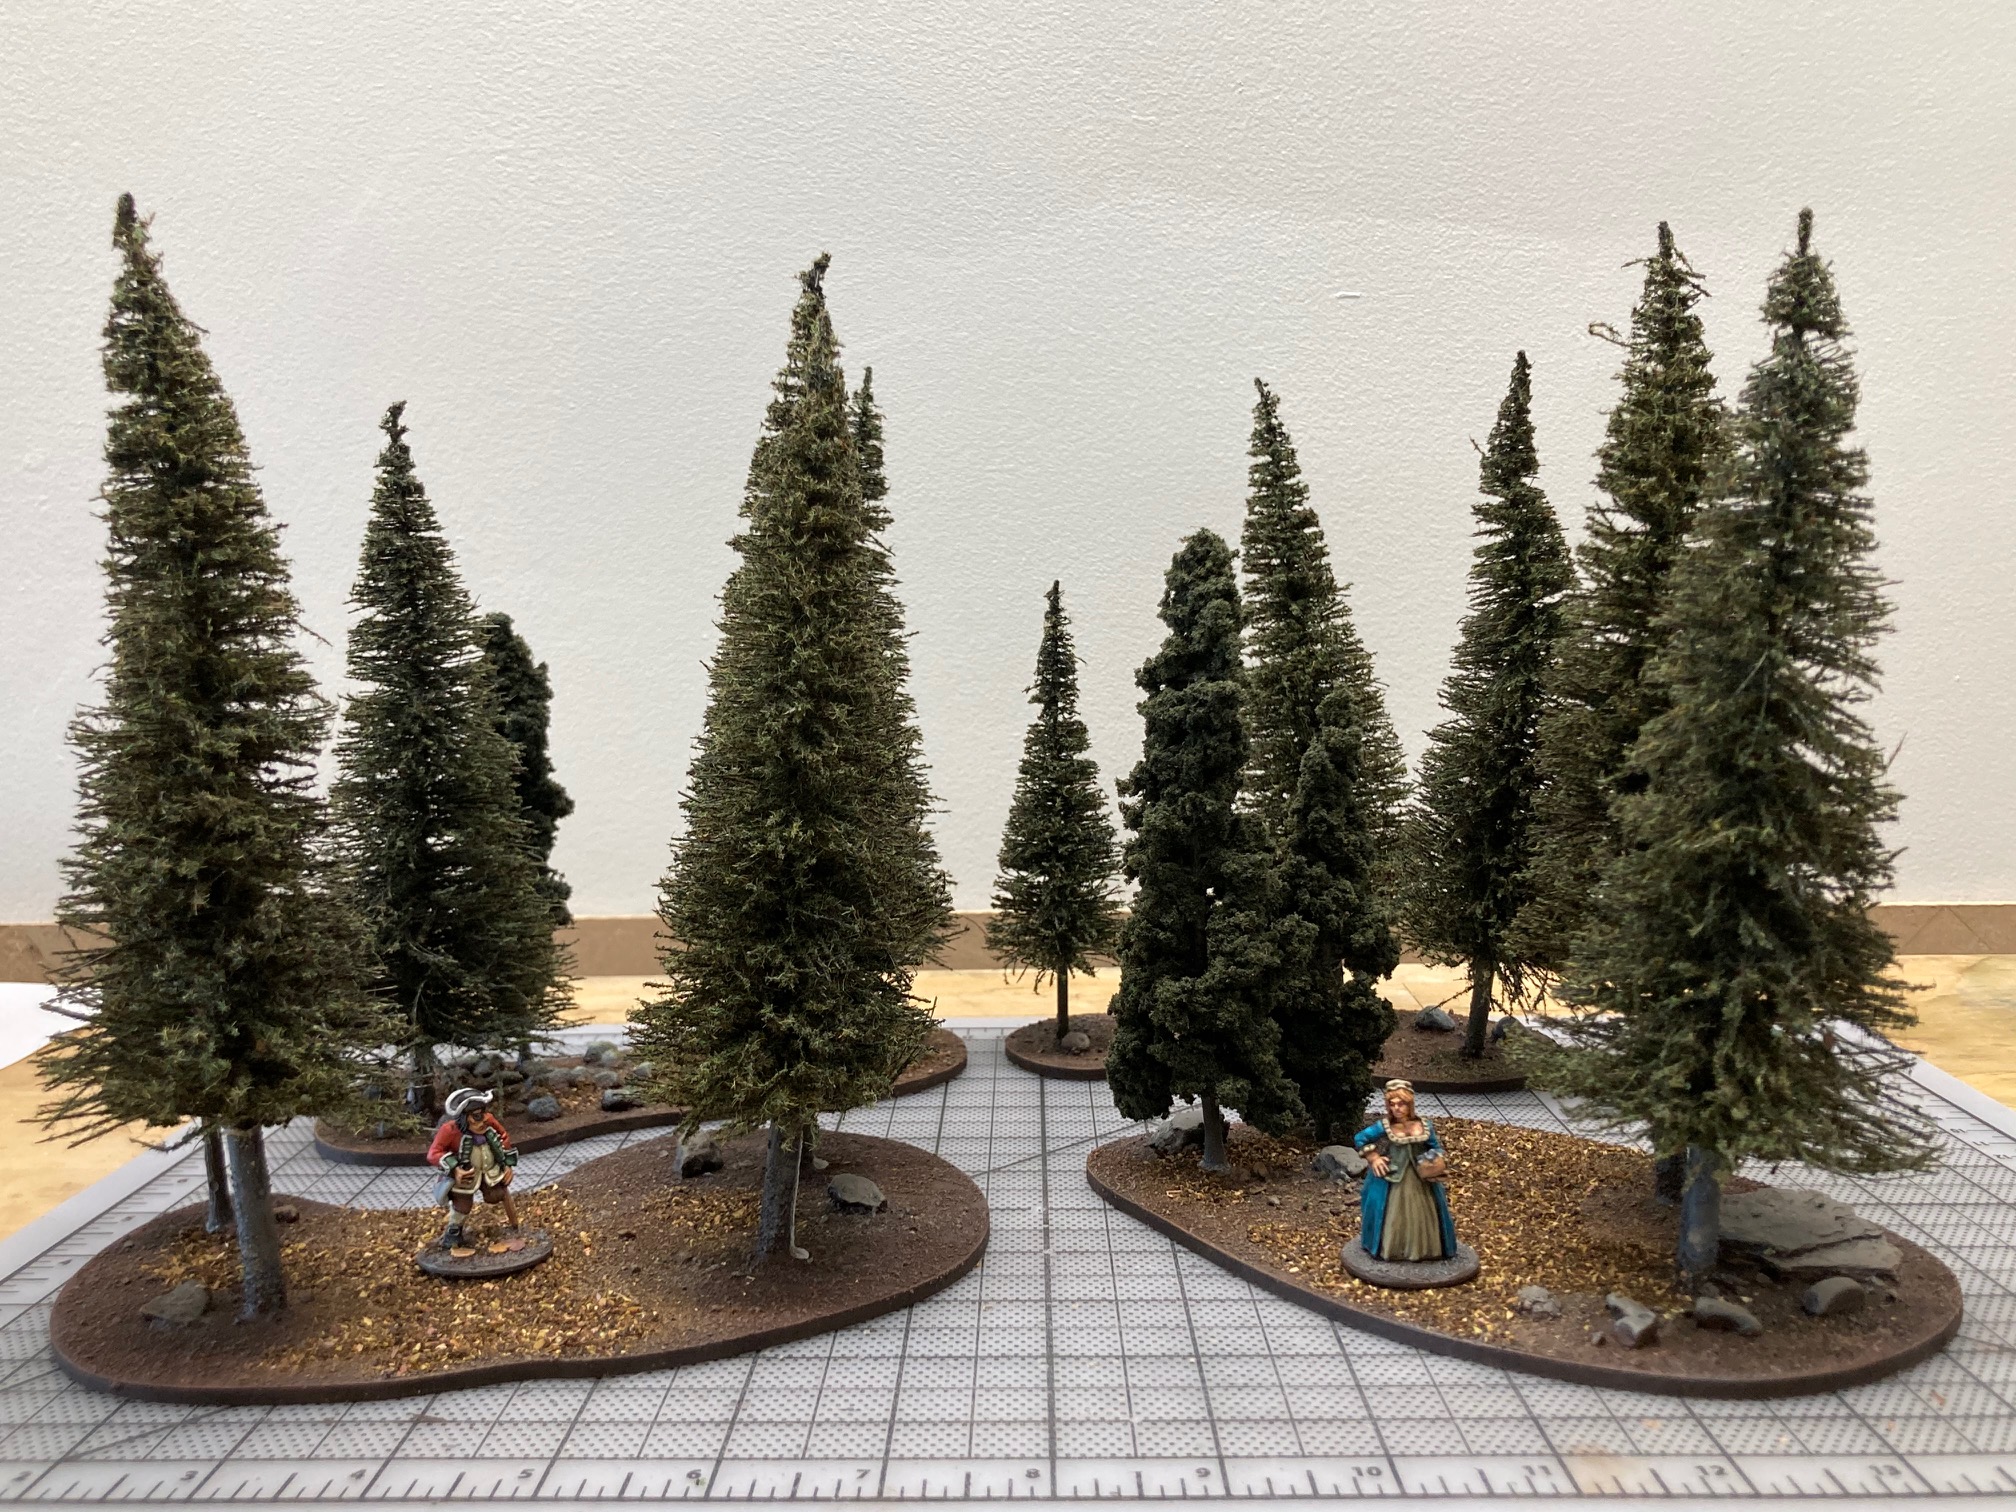
Basic Winter Birch Trees
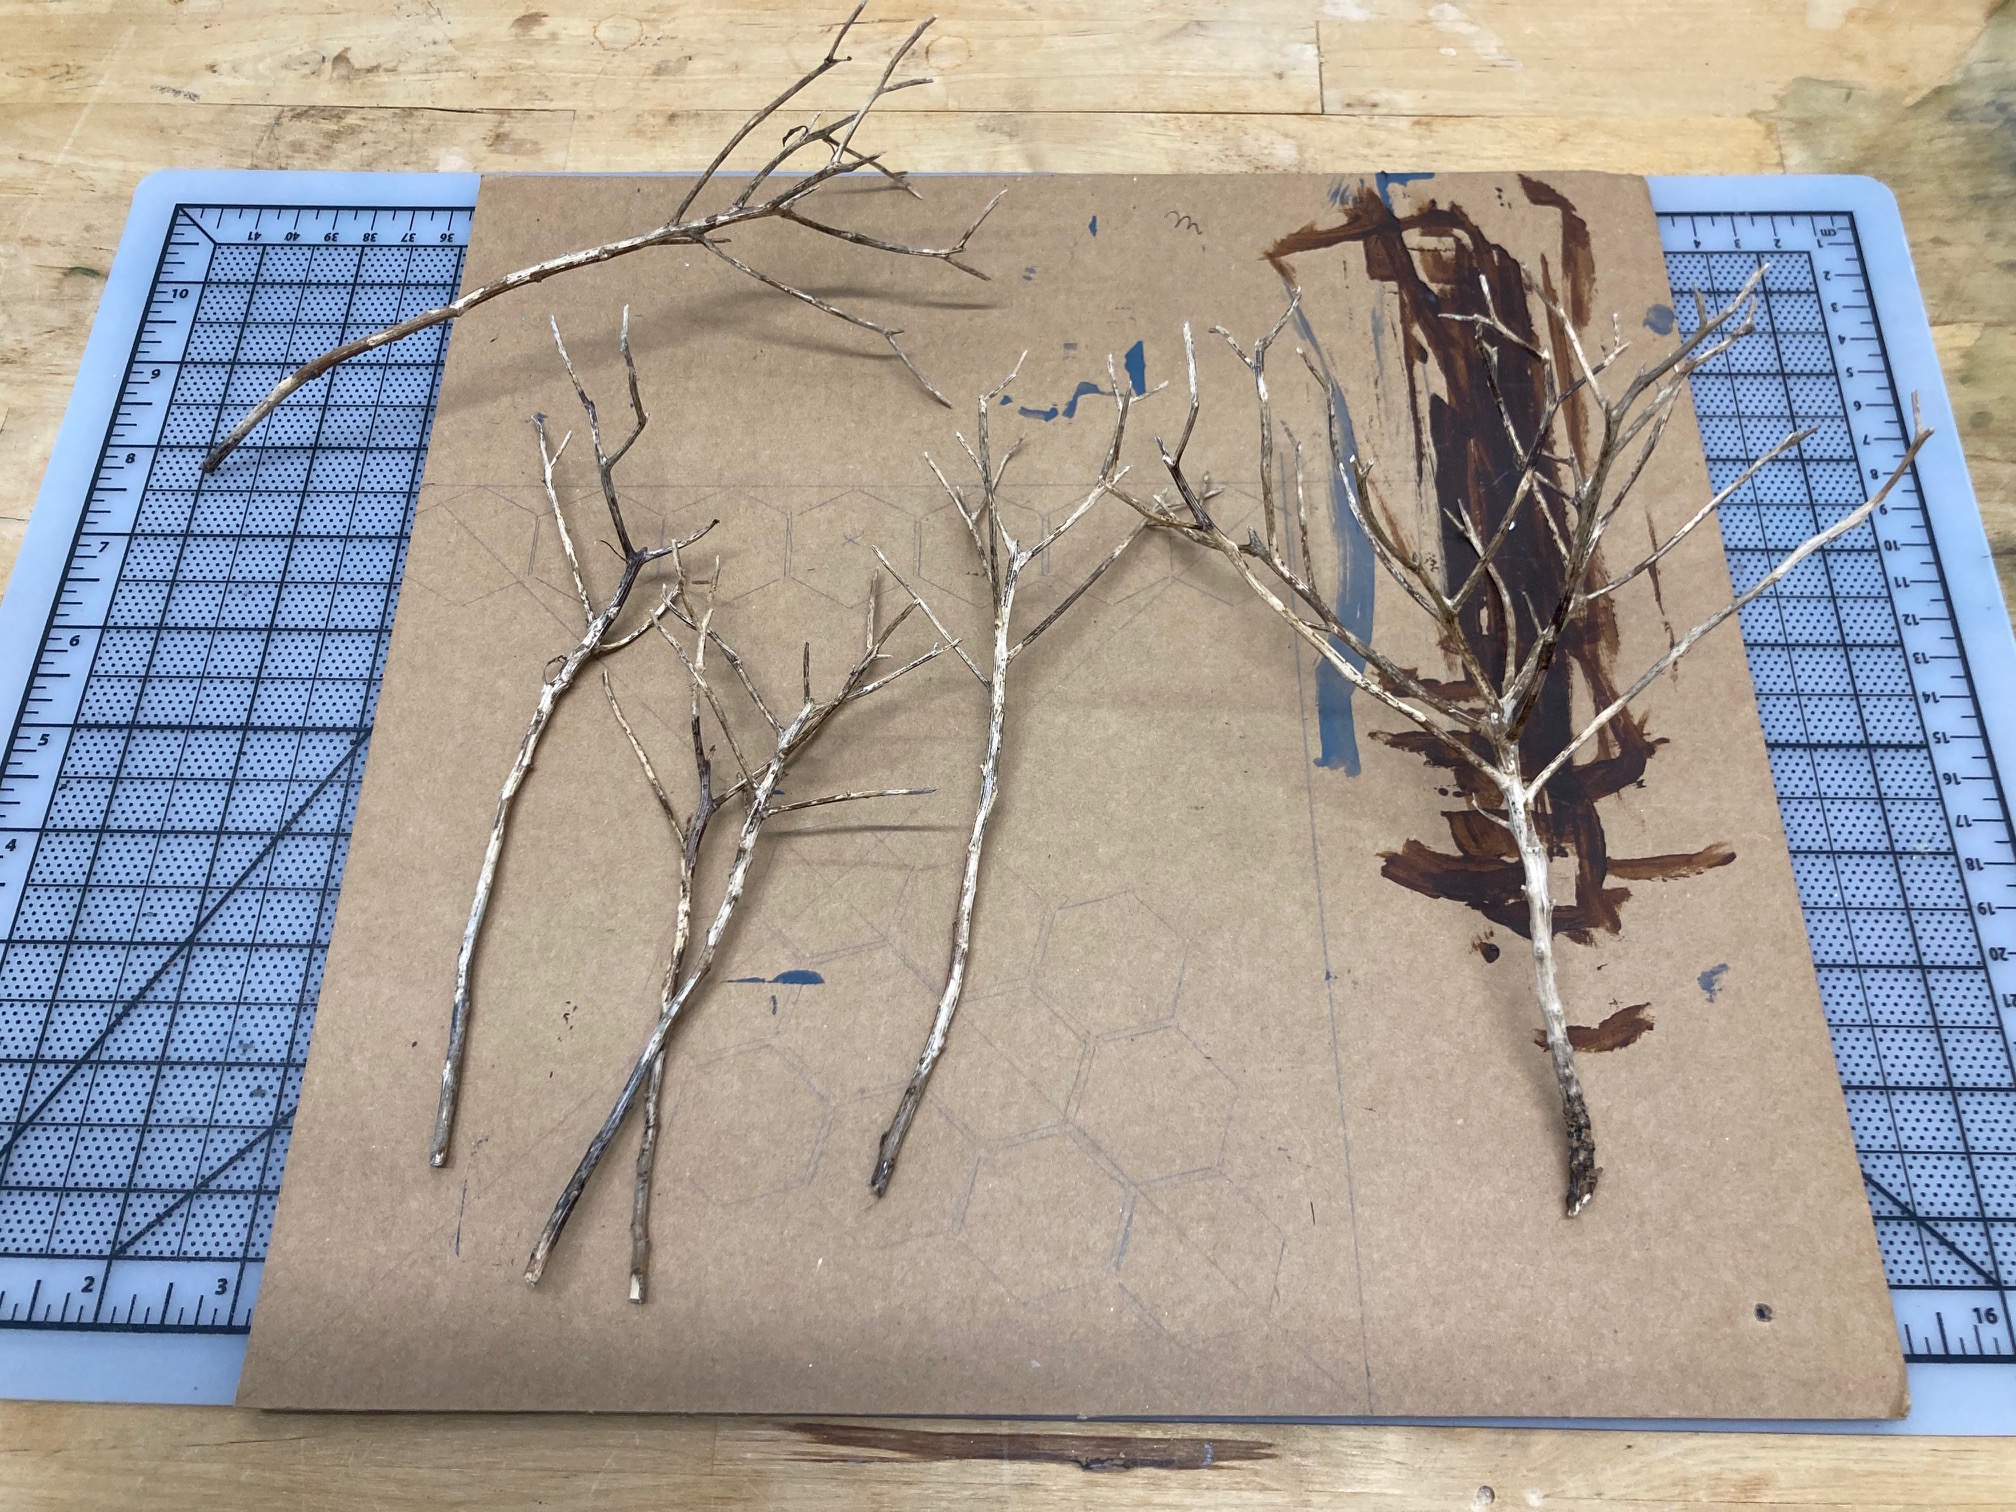
The idea is to make a line of Birch trees that are bare of leafs. Plenty of space on either side of them as well as through them to allow for playability. Not having leaves makes them quick and easy to make too.
I found these dried up branches in a pot in our garden in November. They look very mini tree like to me. I try to save dried roots and other bits from nature. You never know when they may come in handy for terrain.
STEP 1. Choose long thin pieces that branch out at the top. Find a suitable organic shaped base. Drill holes for the trees into the base. Remember to leave space for “playability”.
STEP 2. To the base add Mod Podge then sprinkle with sand for texture. Set aside to dry.
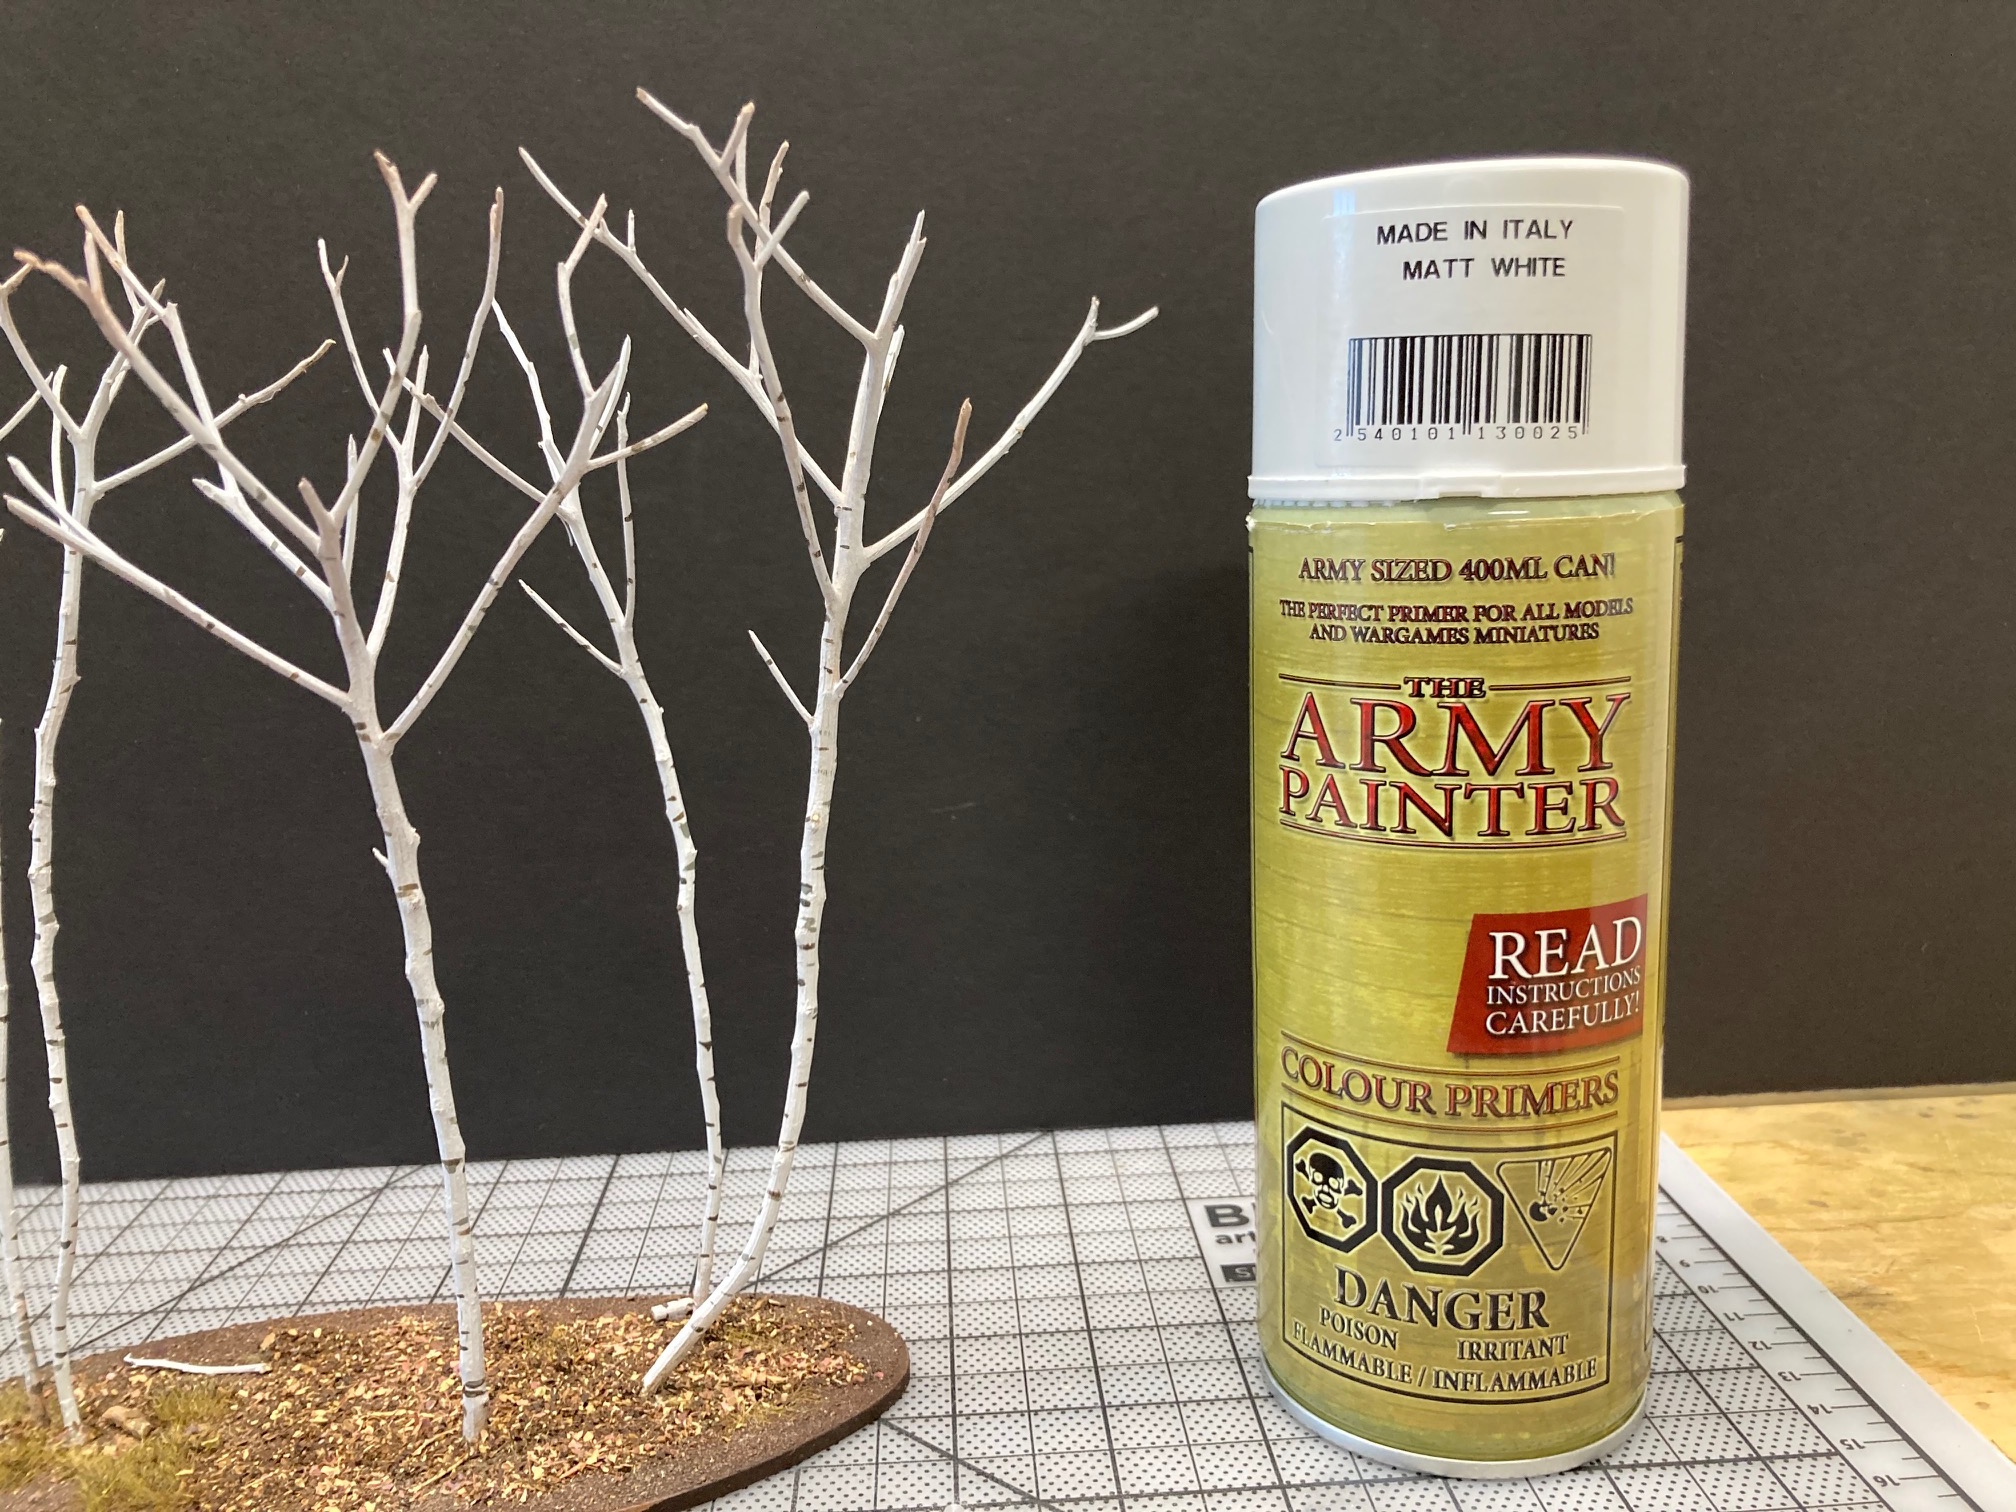
STEP 3. Spray paint the stems with a light cover of white primer.
STEP 4. To the base paint and add static grass and ground cover to your liking.

STEP 5. When base and stems are dry, CA glue the stems to the predrilled holes in the base.
STEP 6. Add thin grey horizontal lines to the stems to represent the lines on real birch trunks.
Nosferatu!
Even a man who is pure of heart,
and says his prayers by night,
may become a wolf,
when the wolfbane blooms,
and the Autumn moon is bright.

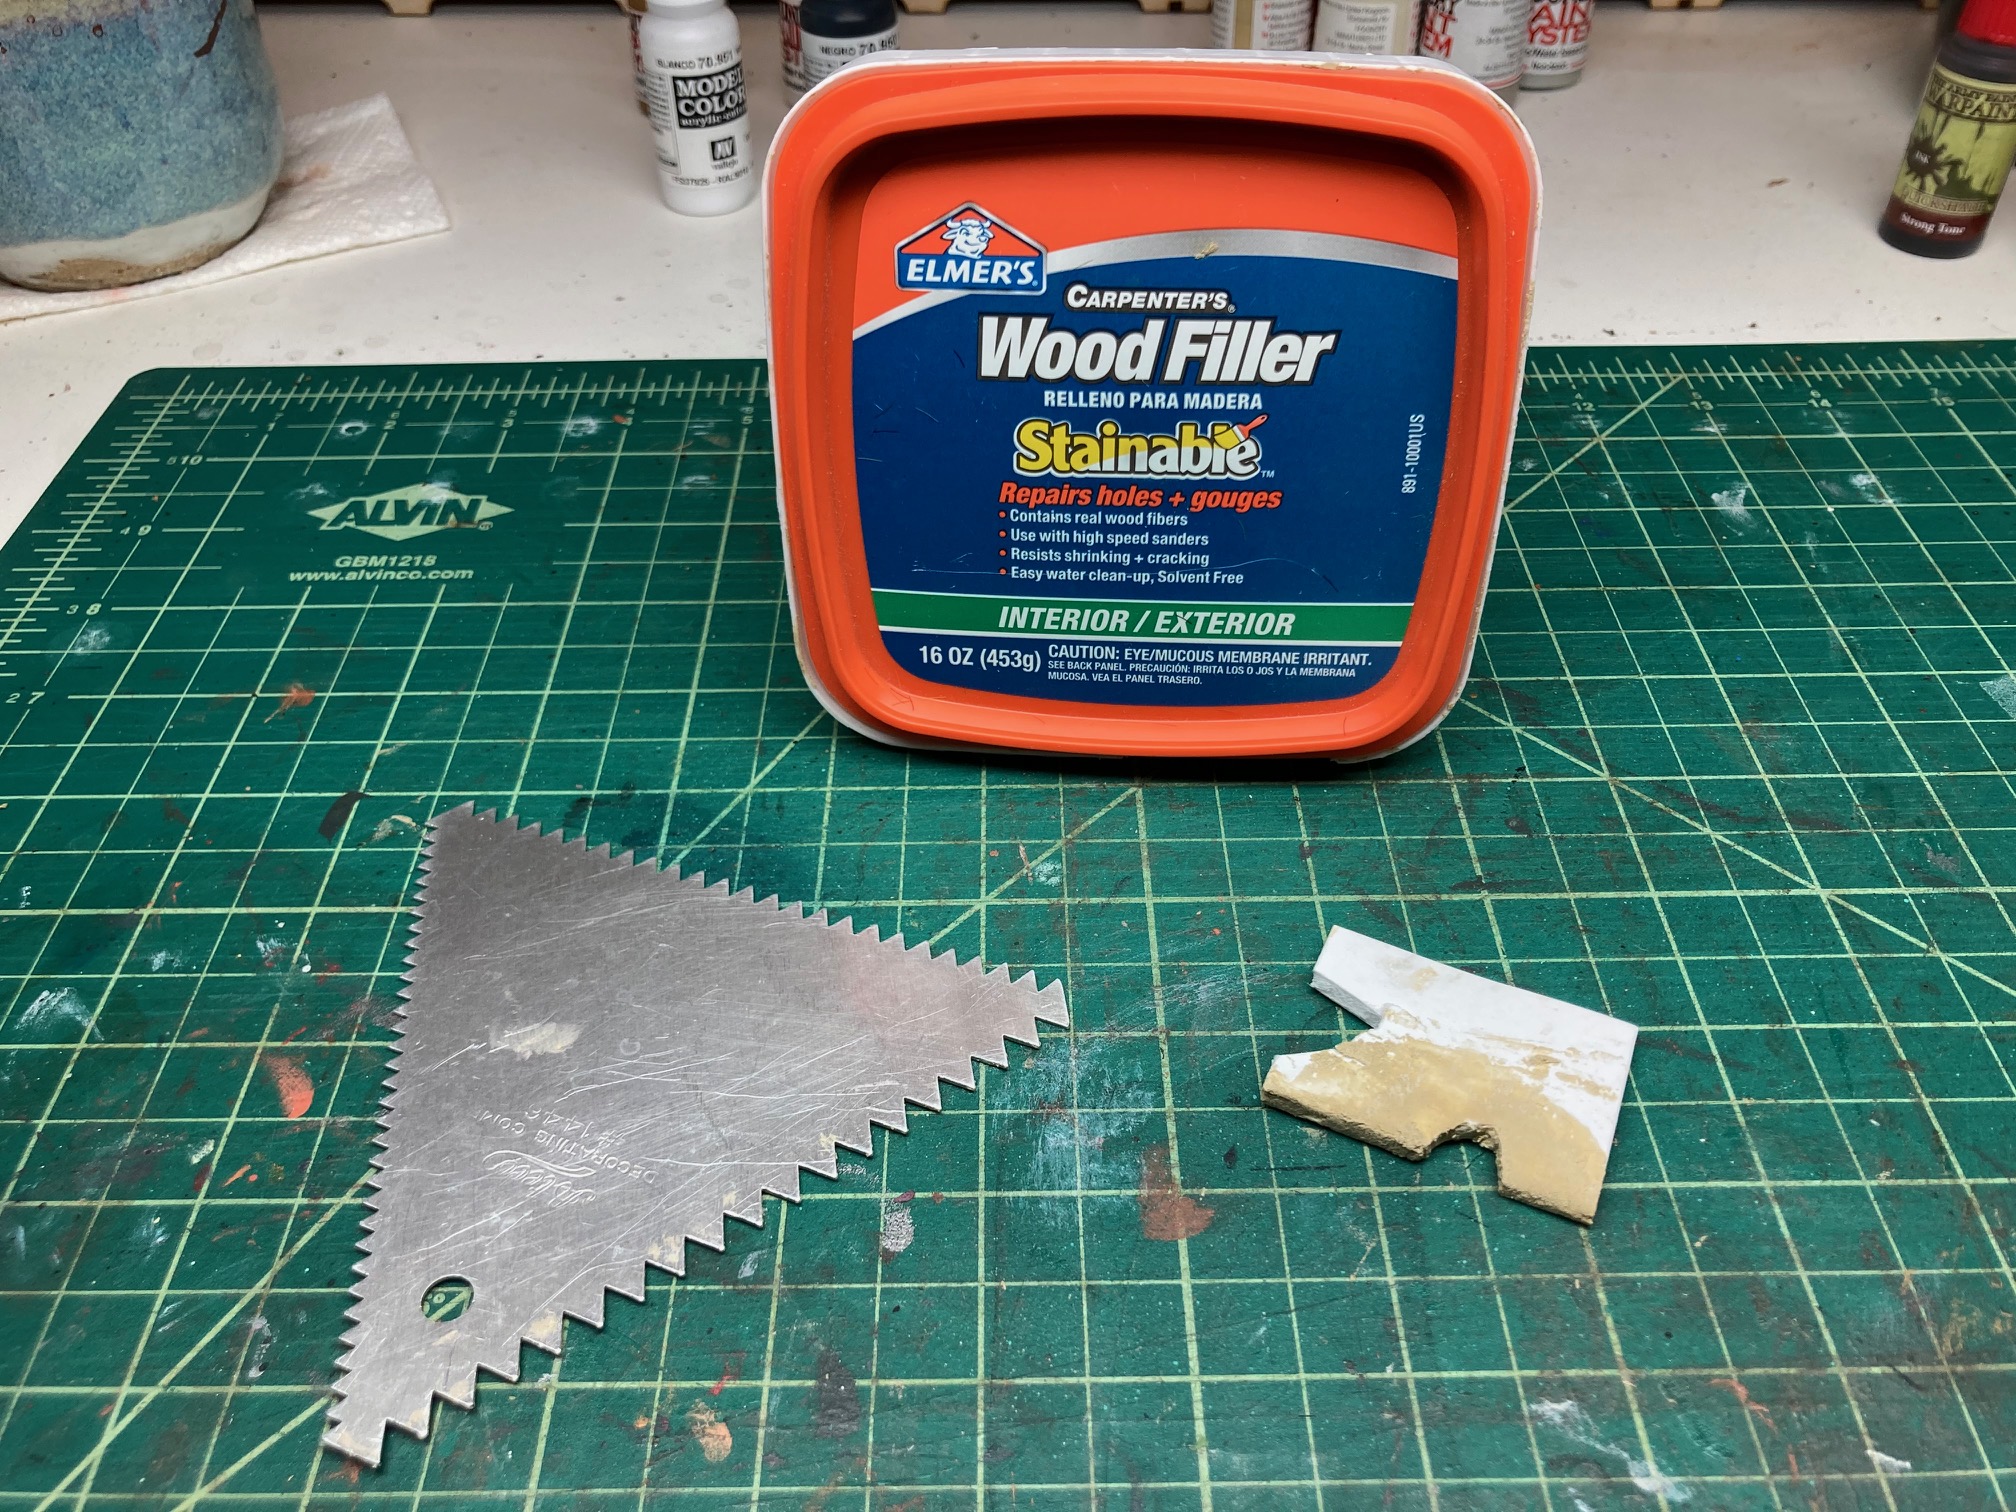
Pig Pen
Once again Render wattle fencing around the pen. Wood filer to represent muck. I pressed some dips here and there for texture. Brush on the main base color, in this case Burnt umber. Still looking for some pigs. I have four somewhere in the studio. I just hope I don’t get distracted with whatever else I find looking for them.
Still a WIP.
Cheers!
Conte Loup de Luna
 L. The Conte and his alter ego R.
 Deep Woods
Step 1: Drill holes for plastic straw to act as tree trunks. I like to leave a clear path through the base for playability.
Step 2: Cover the base with Mod Podge and brush glue up the straw as well. Sprinkle with sand on the base and straws for texture. Add some rock if you like.
Put aside to dry.

Step 3: Brush on a base color (I used Burnt Umber) to the whole thing, including the straw tree trunks.

Step 4: Dry brush a lighter tone of your base color. Let dry a minute and then dry brush another lighter color.
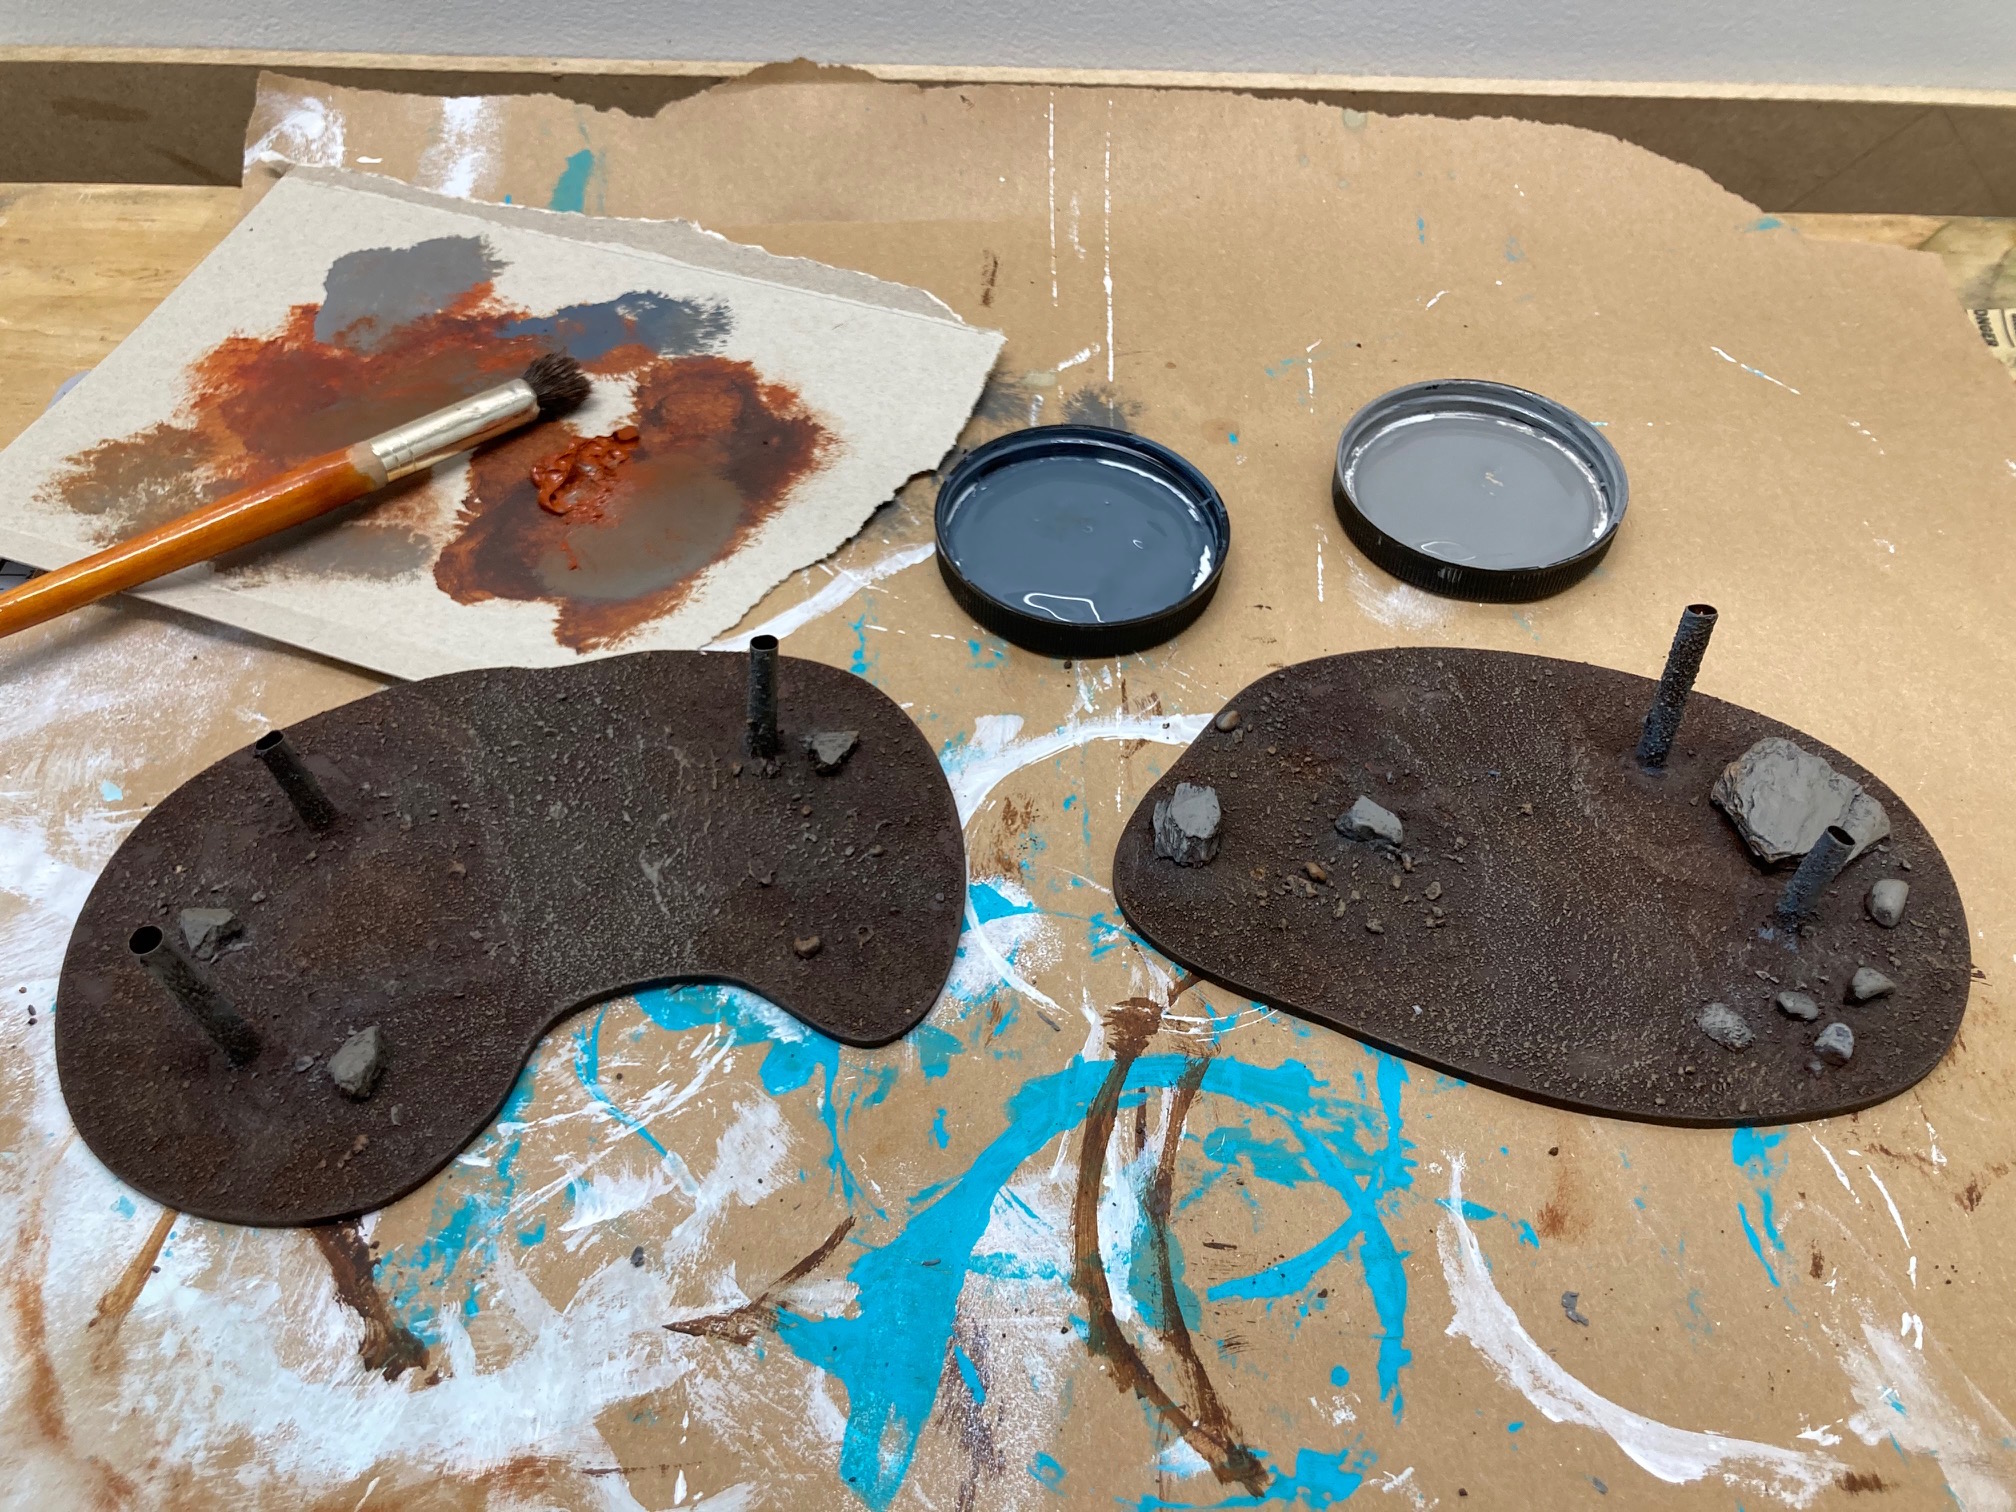
Step 5: Dry brush random patches of dark grey/brown mix to the base. Dry brush stones grey.
Step 6: Dry brush patches of light grey/brown mix to path and smaller random patches. Light grey dry brush rocks.
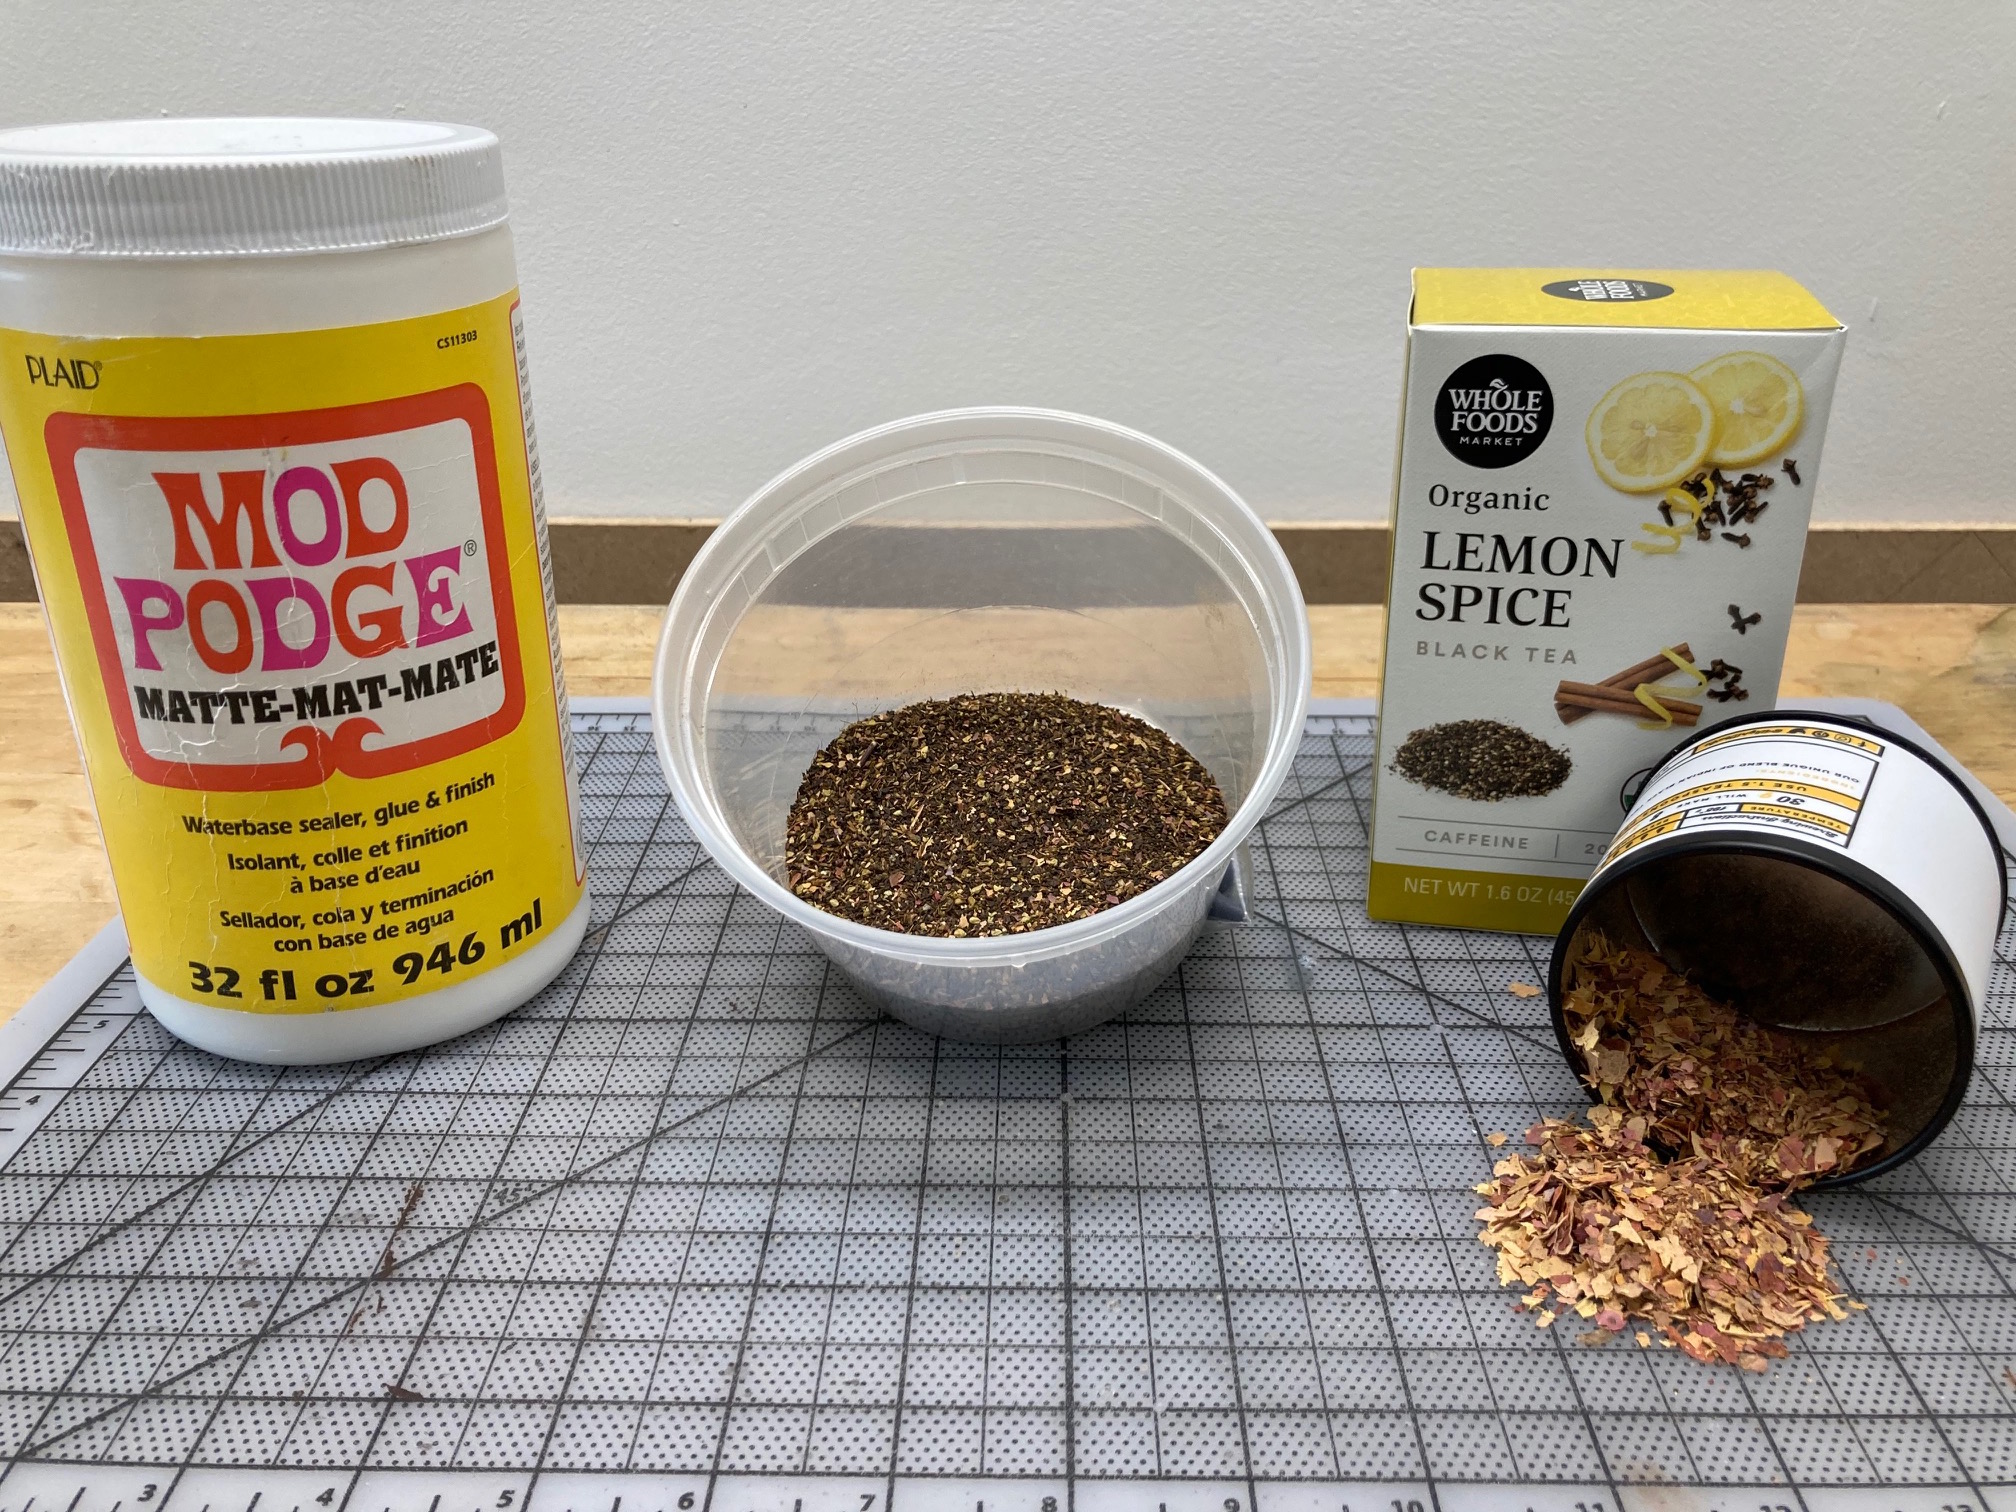
On all bases having to do with this project, I’m making my own mix. Mix black tea (use a loose tea with 1 – 2mm grains, so no PG tips) with crumbled up dry red & yellow fall leaves. Rub the leaves through a sieve if needed. You get a realistic ground cover that smells great too.
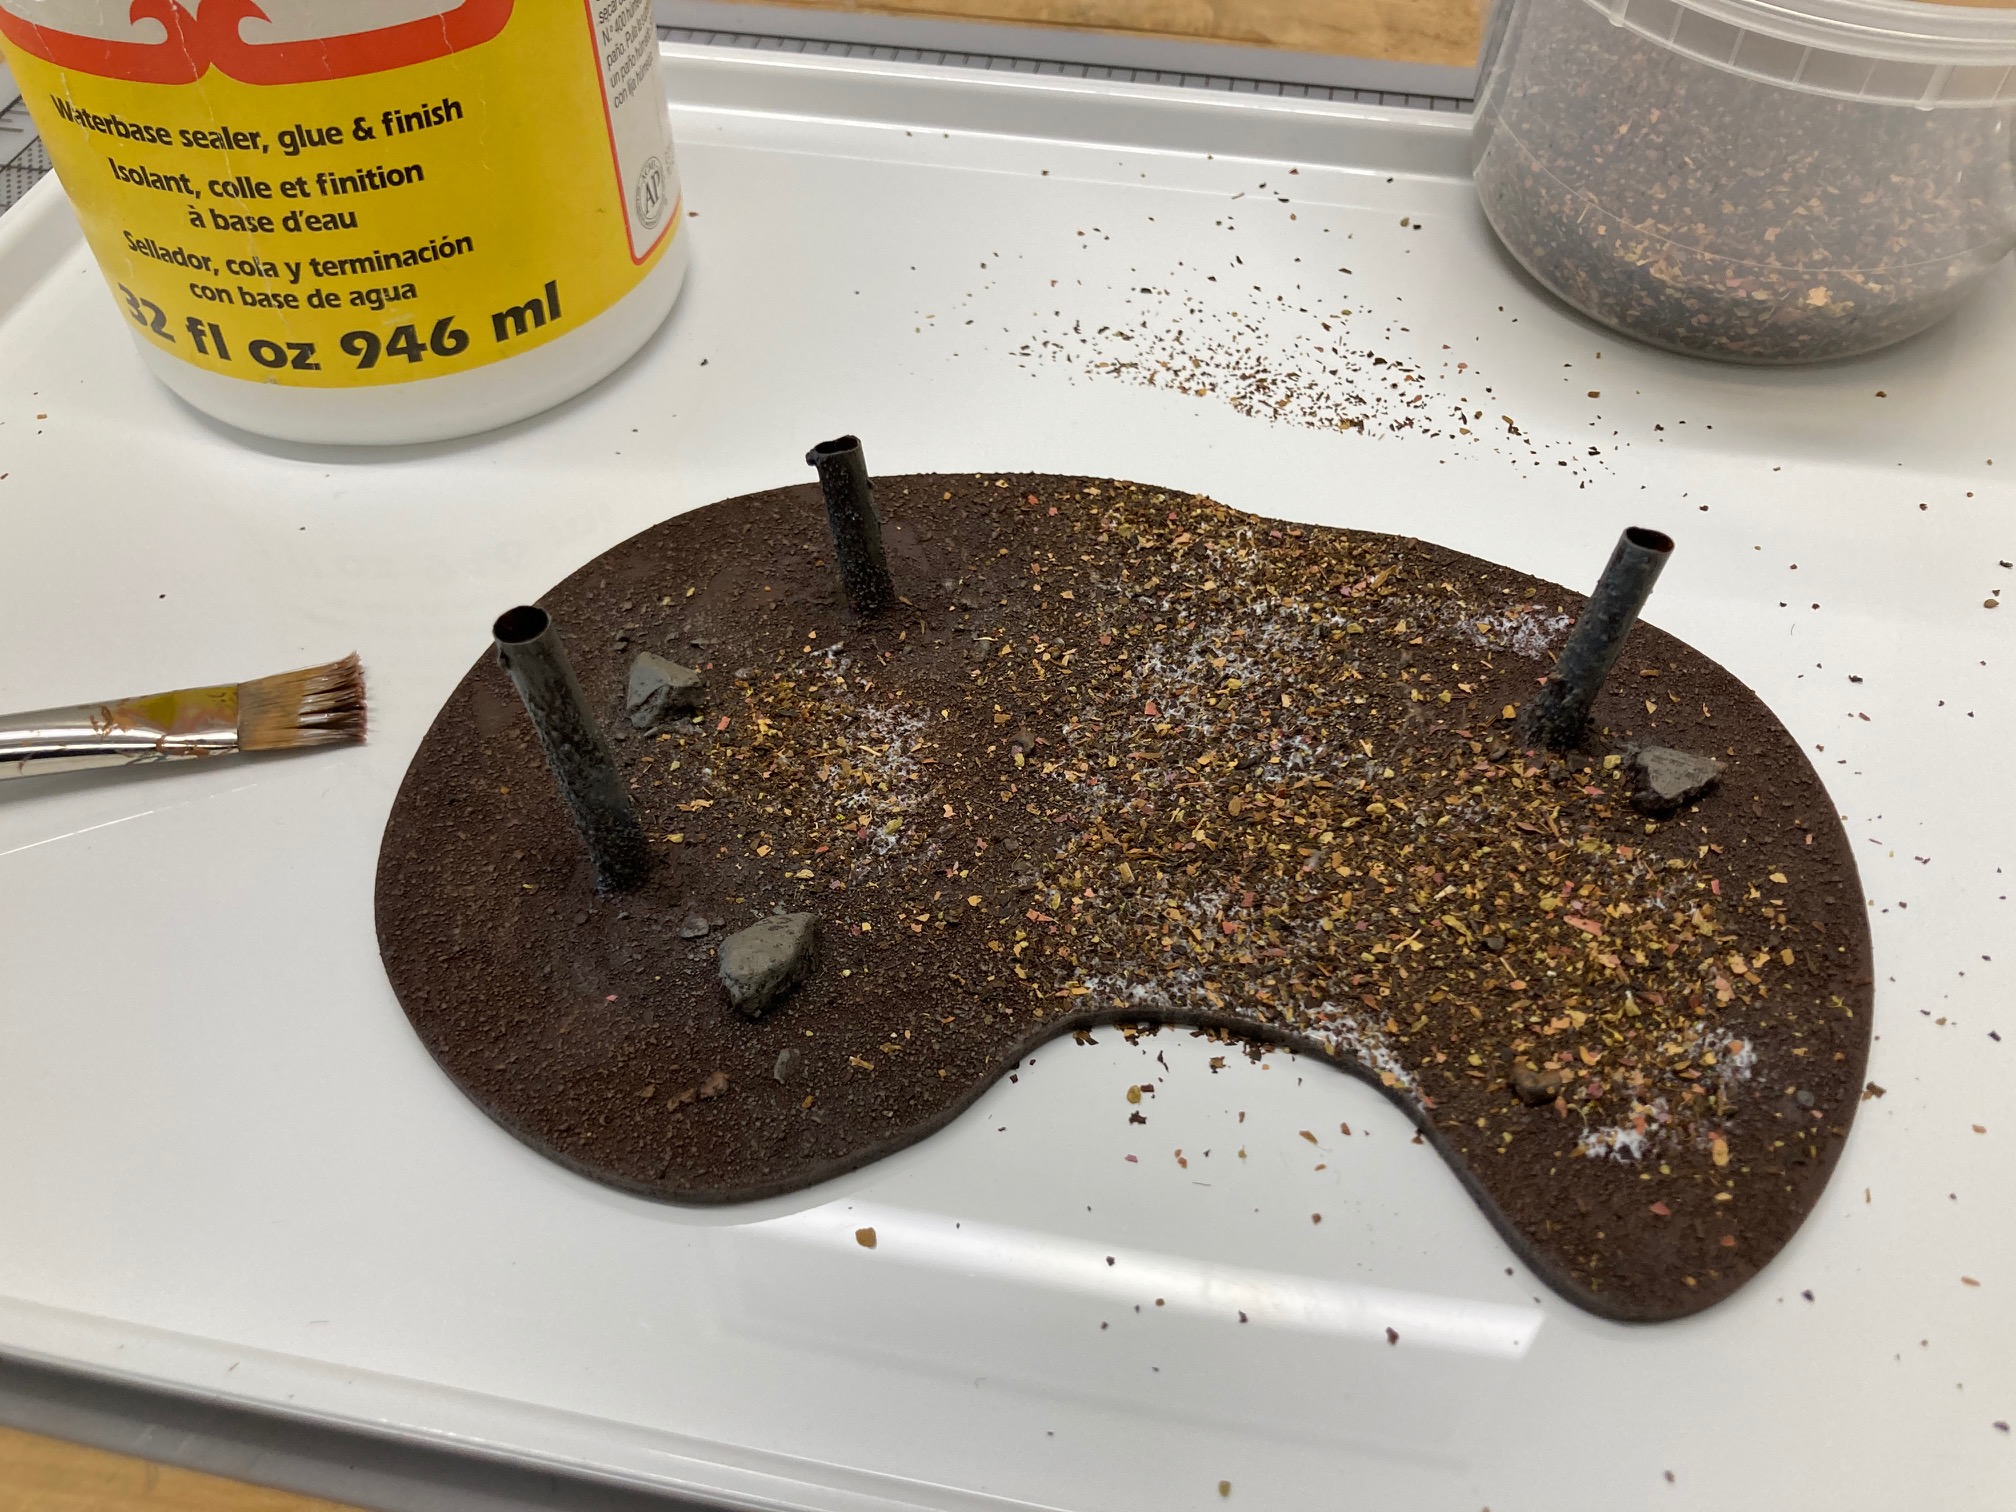
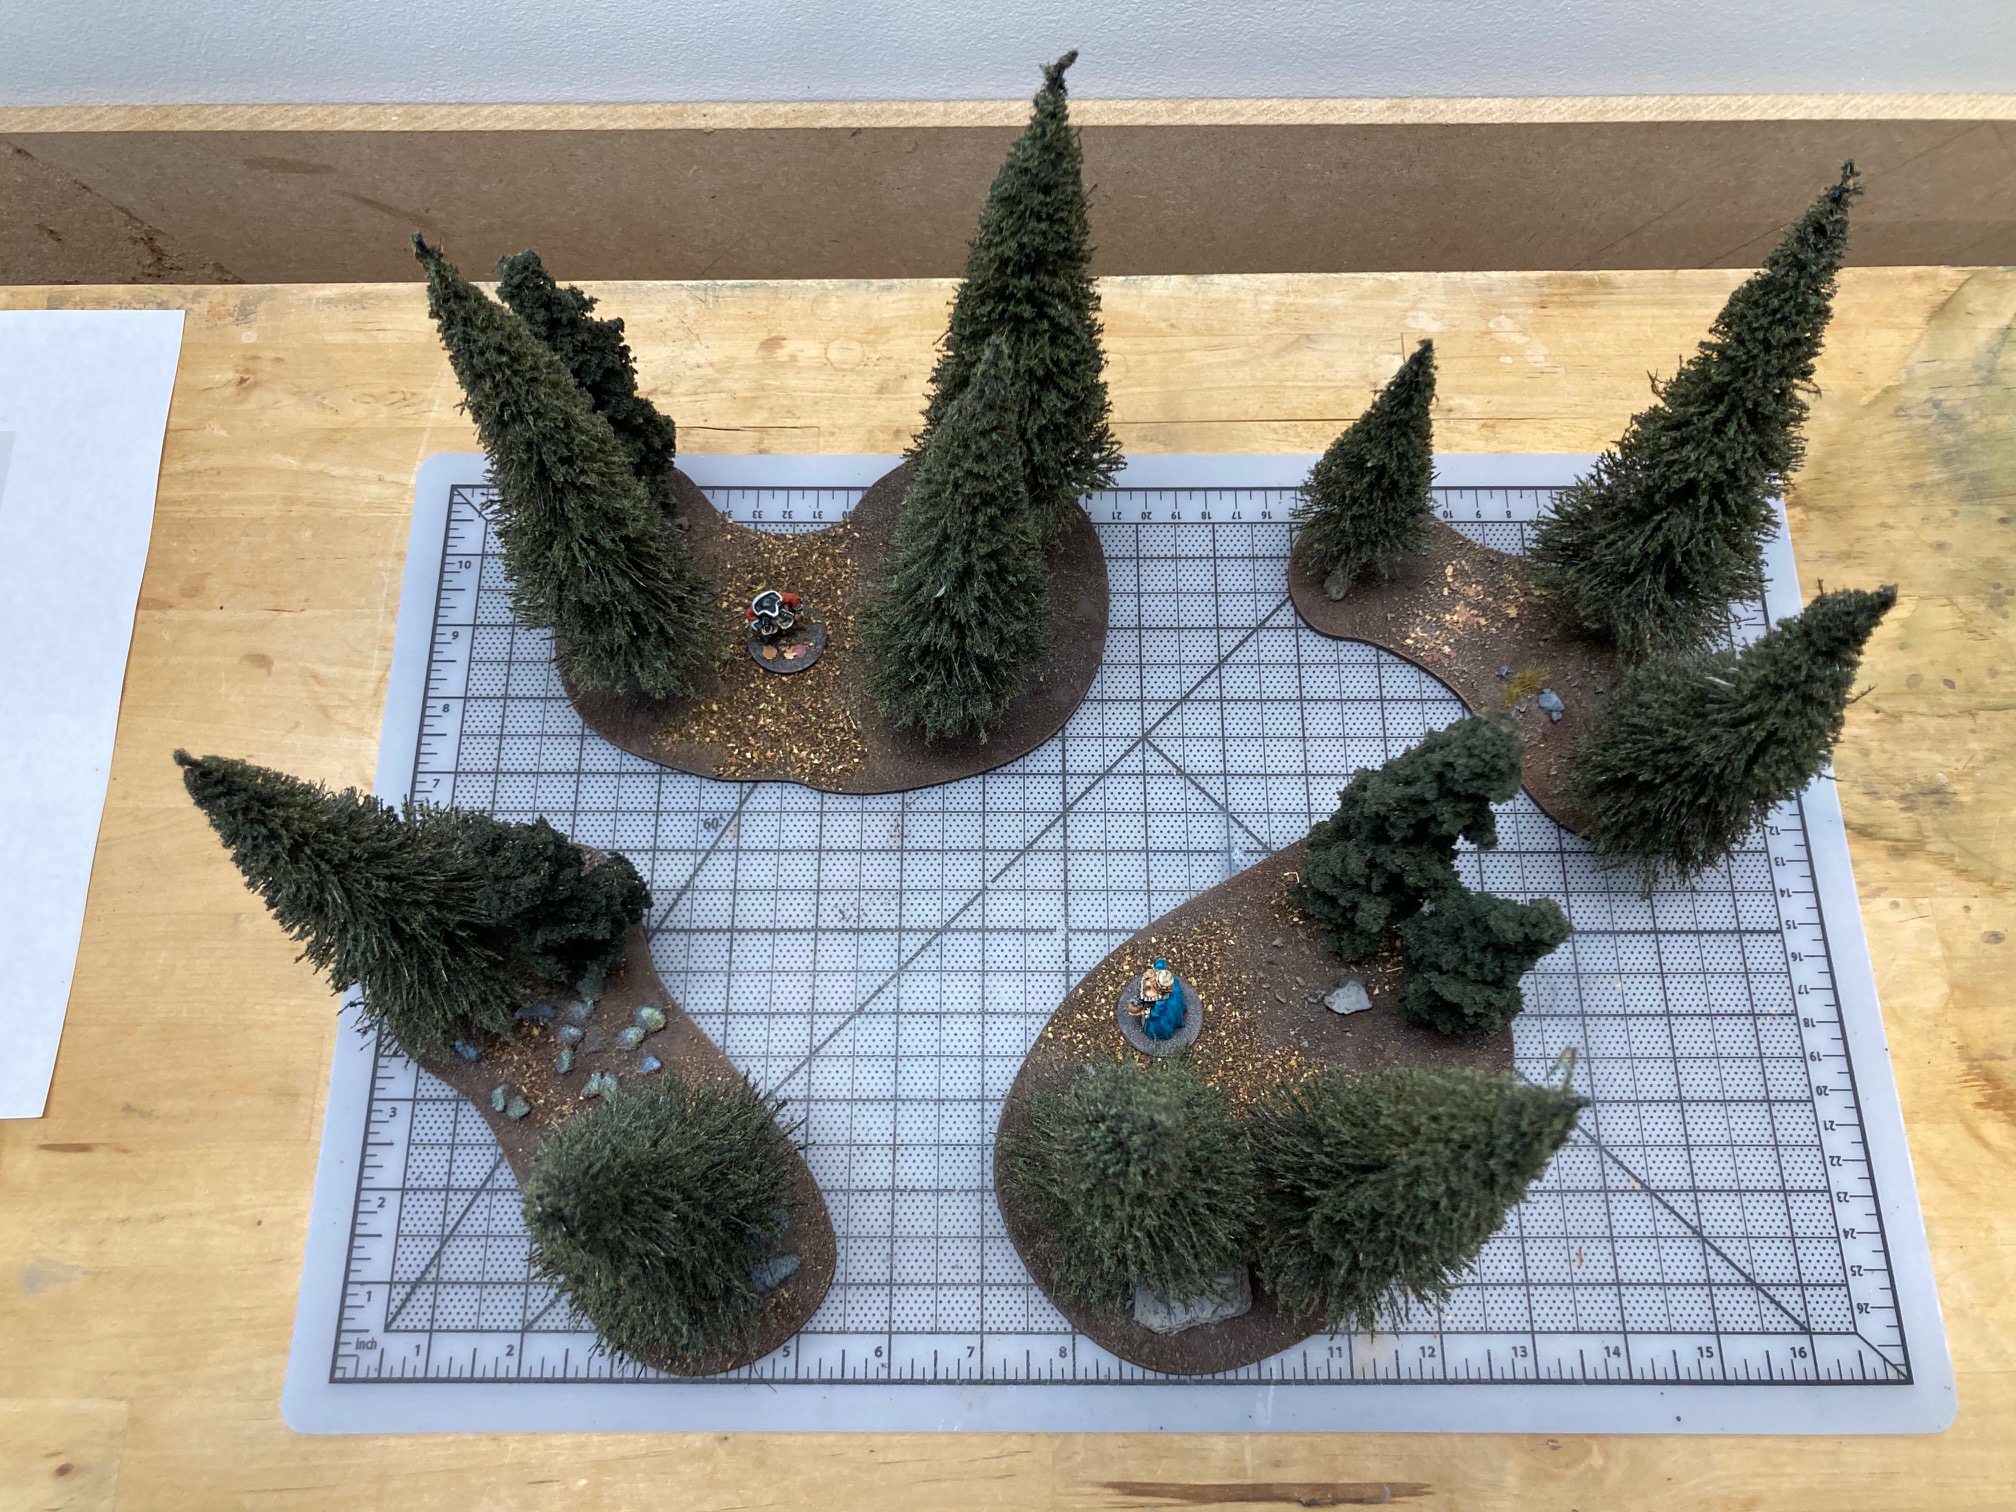
Step 7: Brush on Mod Podge wherever you would like and sprinkle on some of the ground cover.
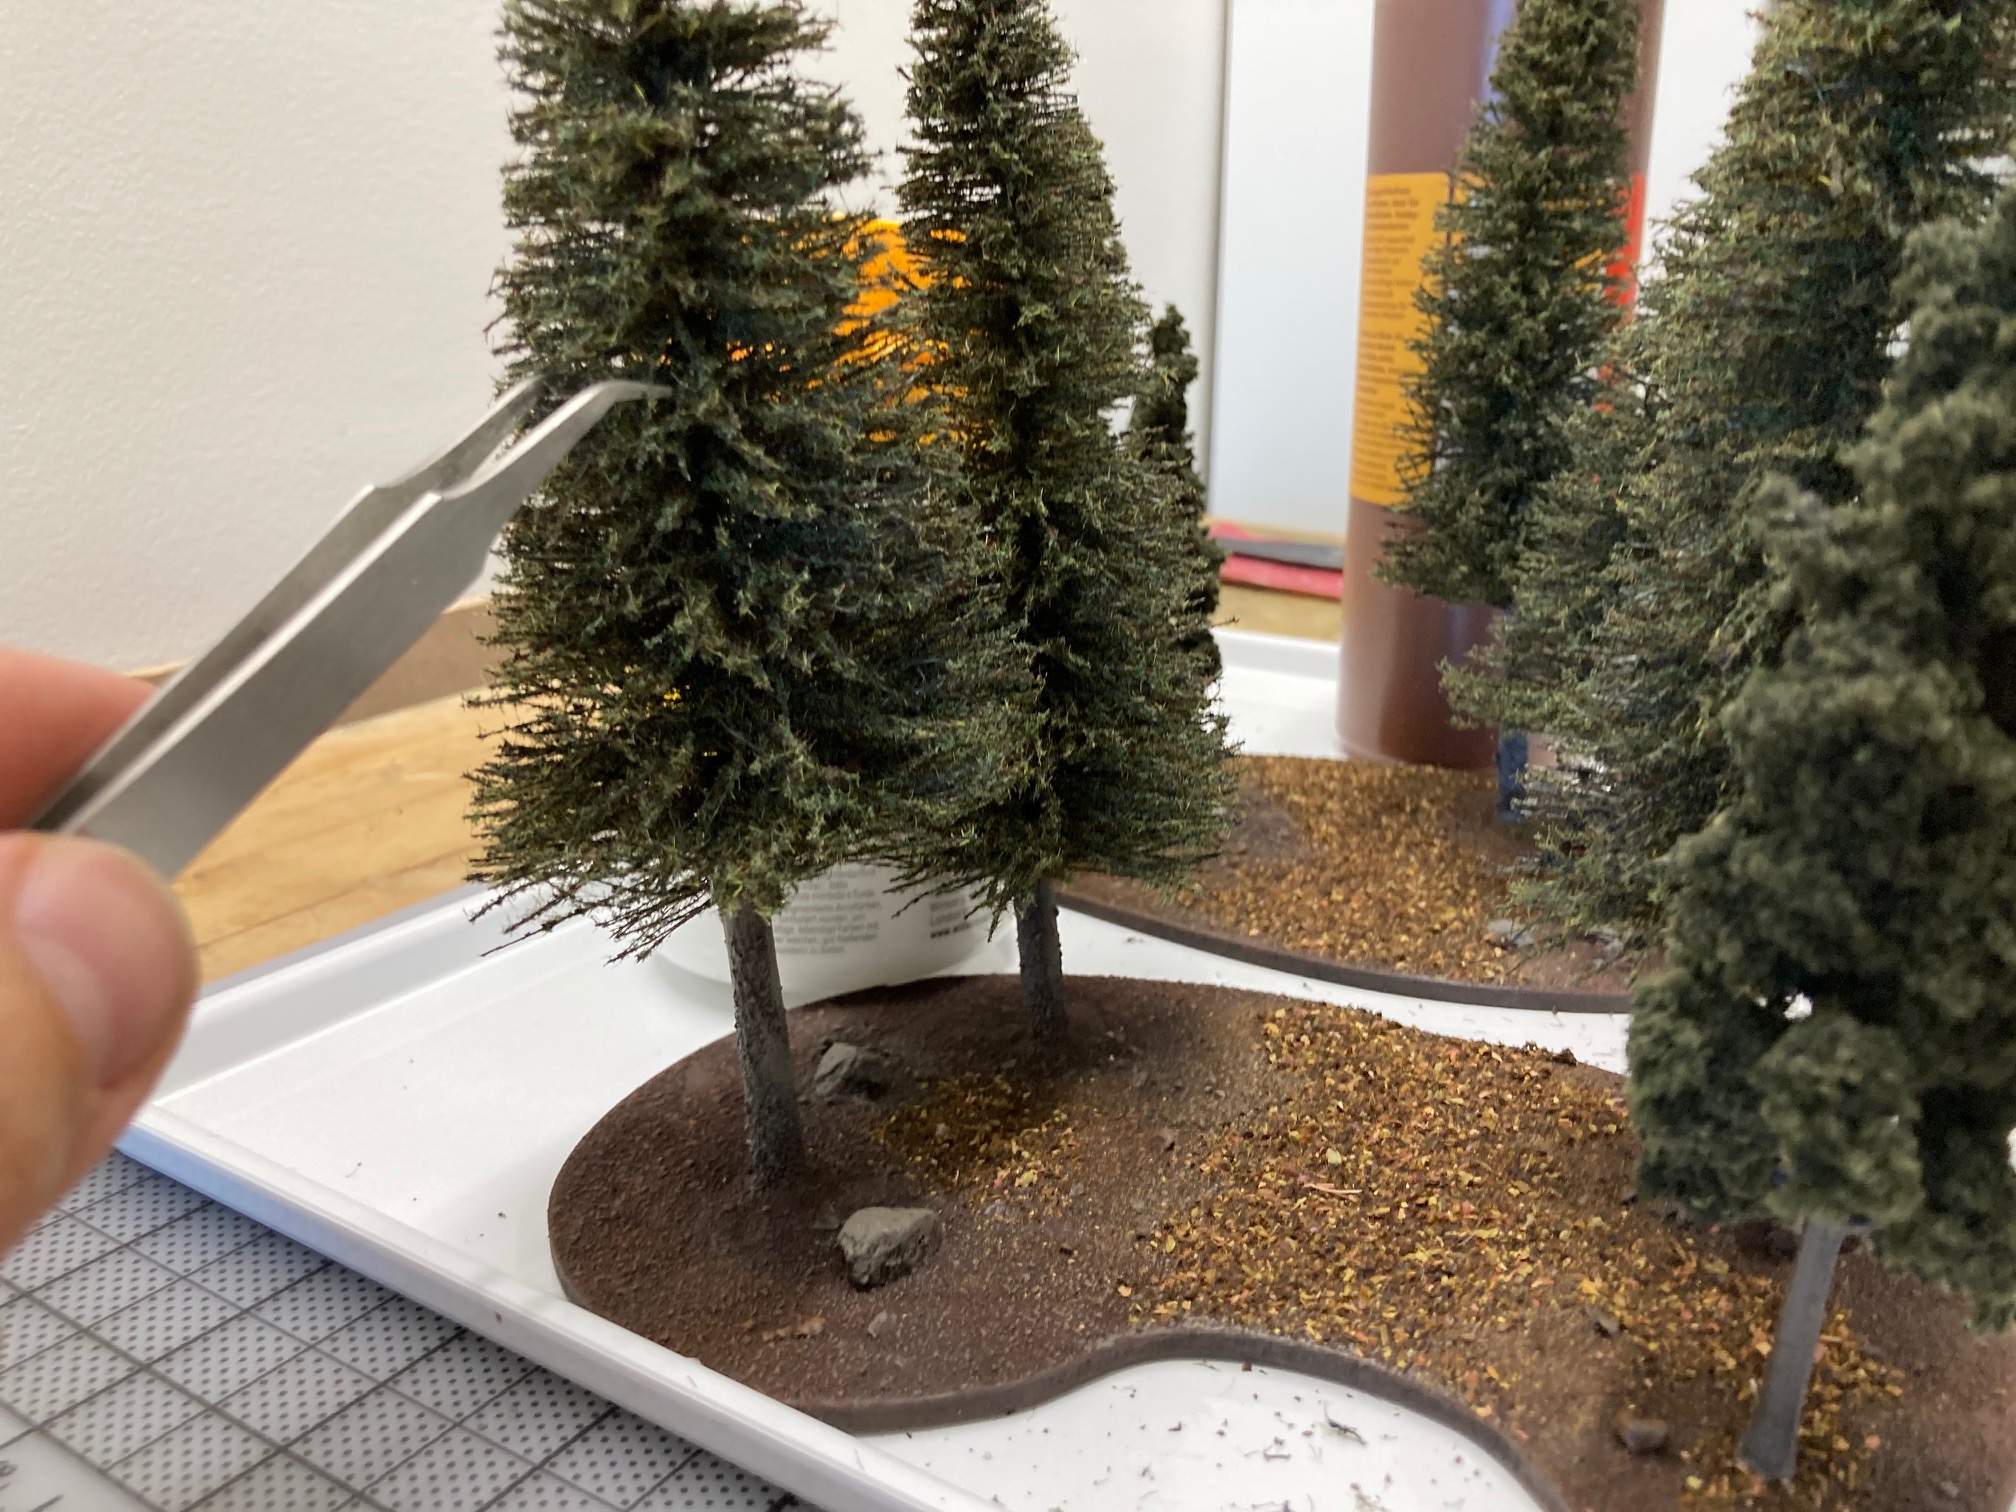
Step 8: Super glue O scale pine trees into straw slots. Put aside to dry.
Cheers!
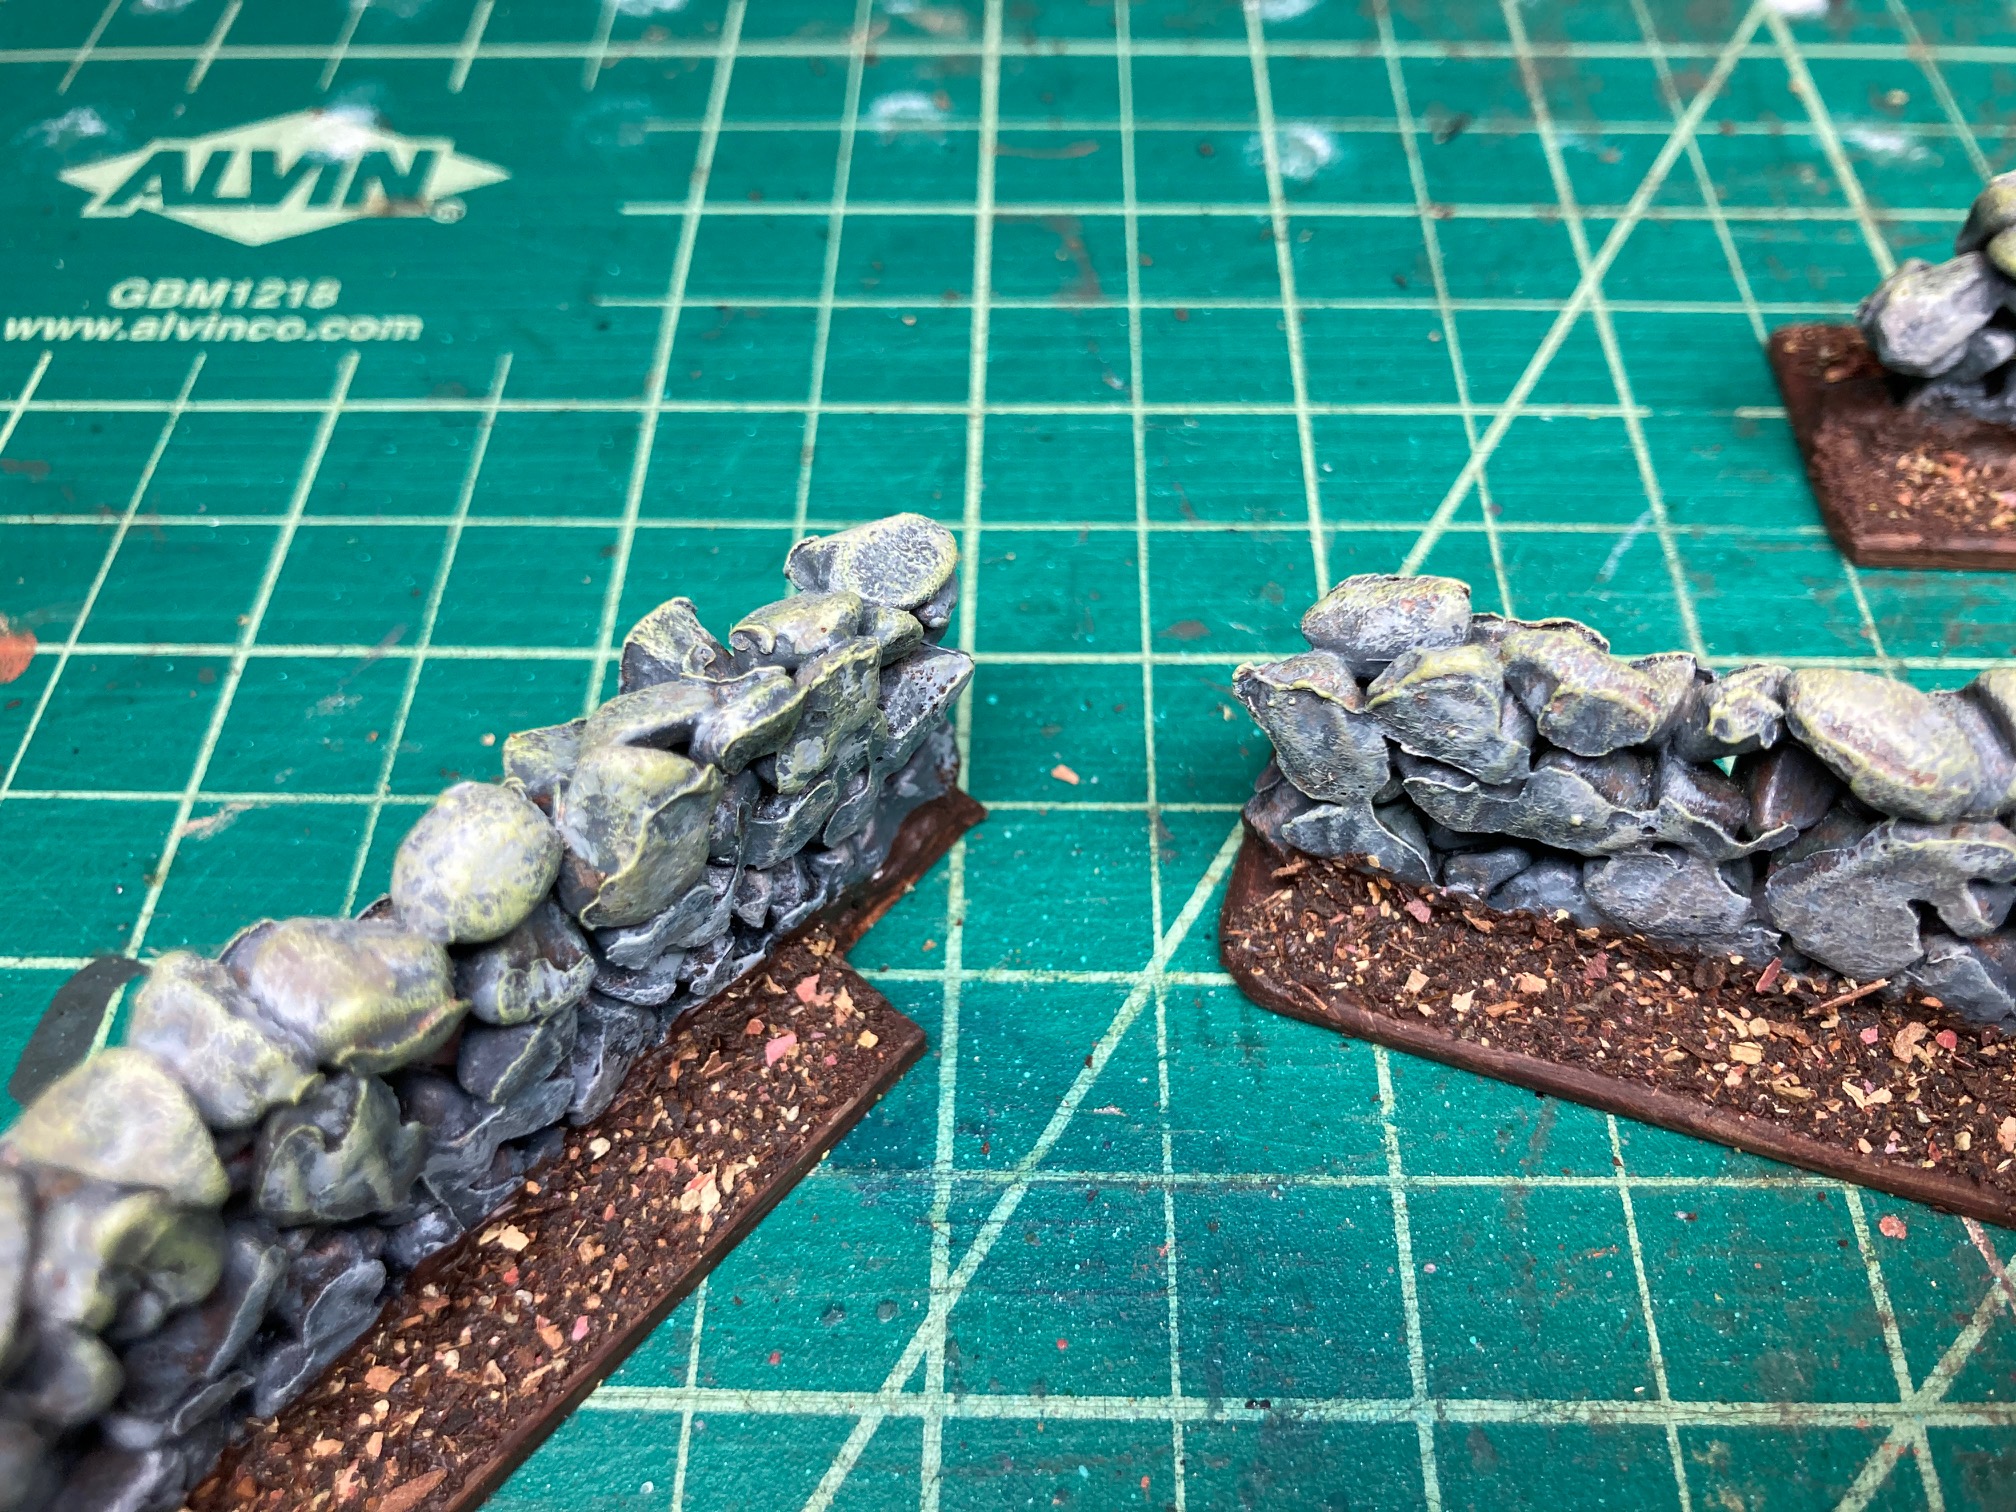
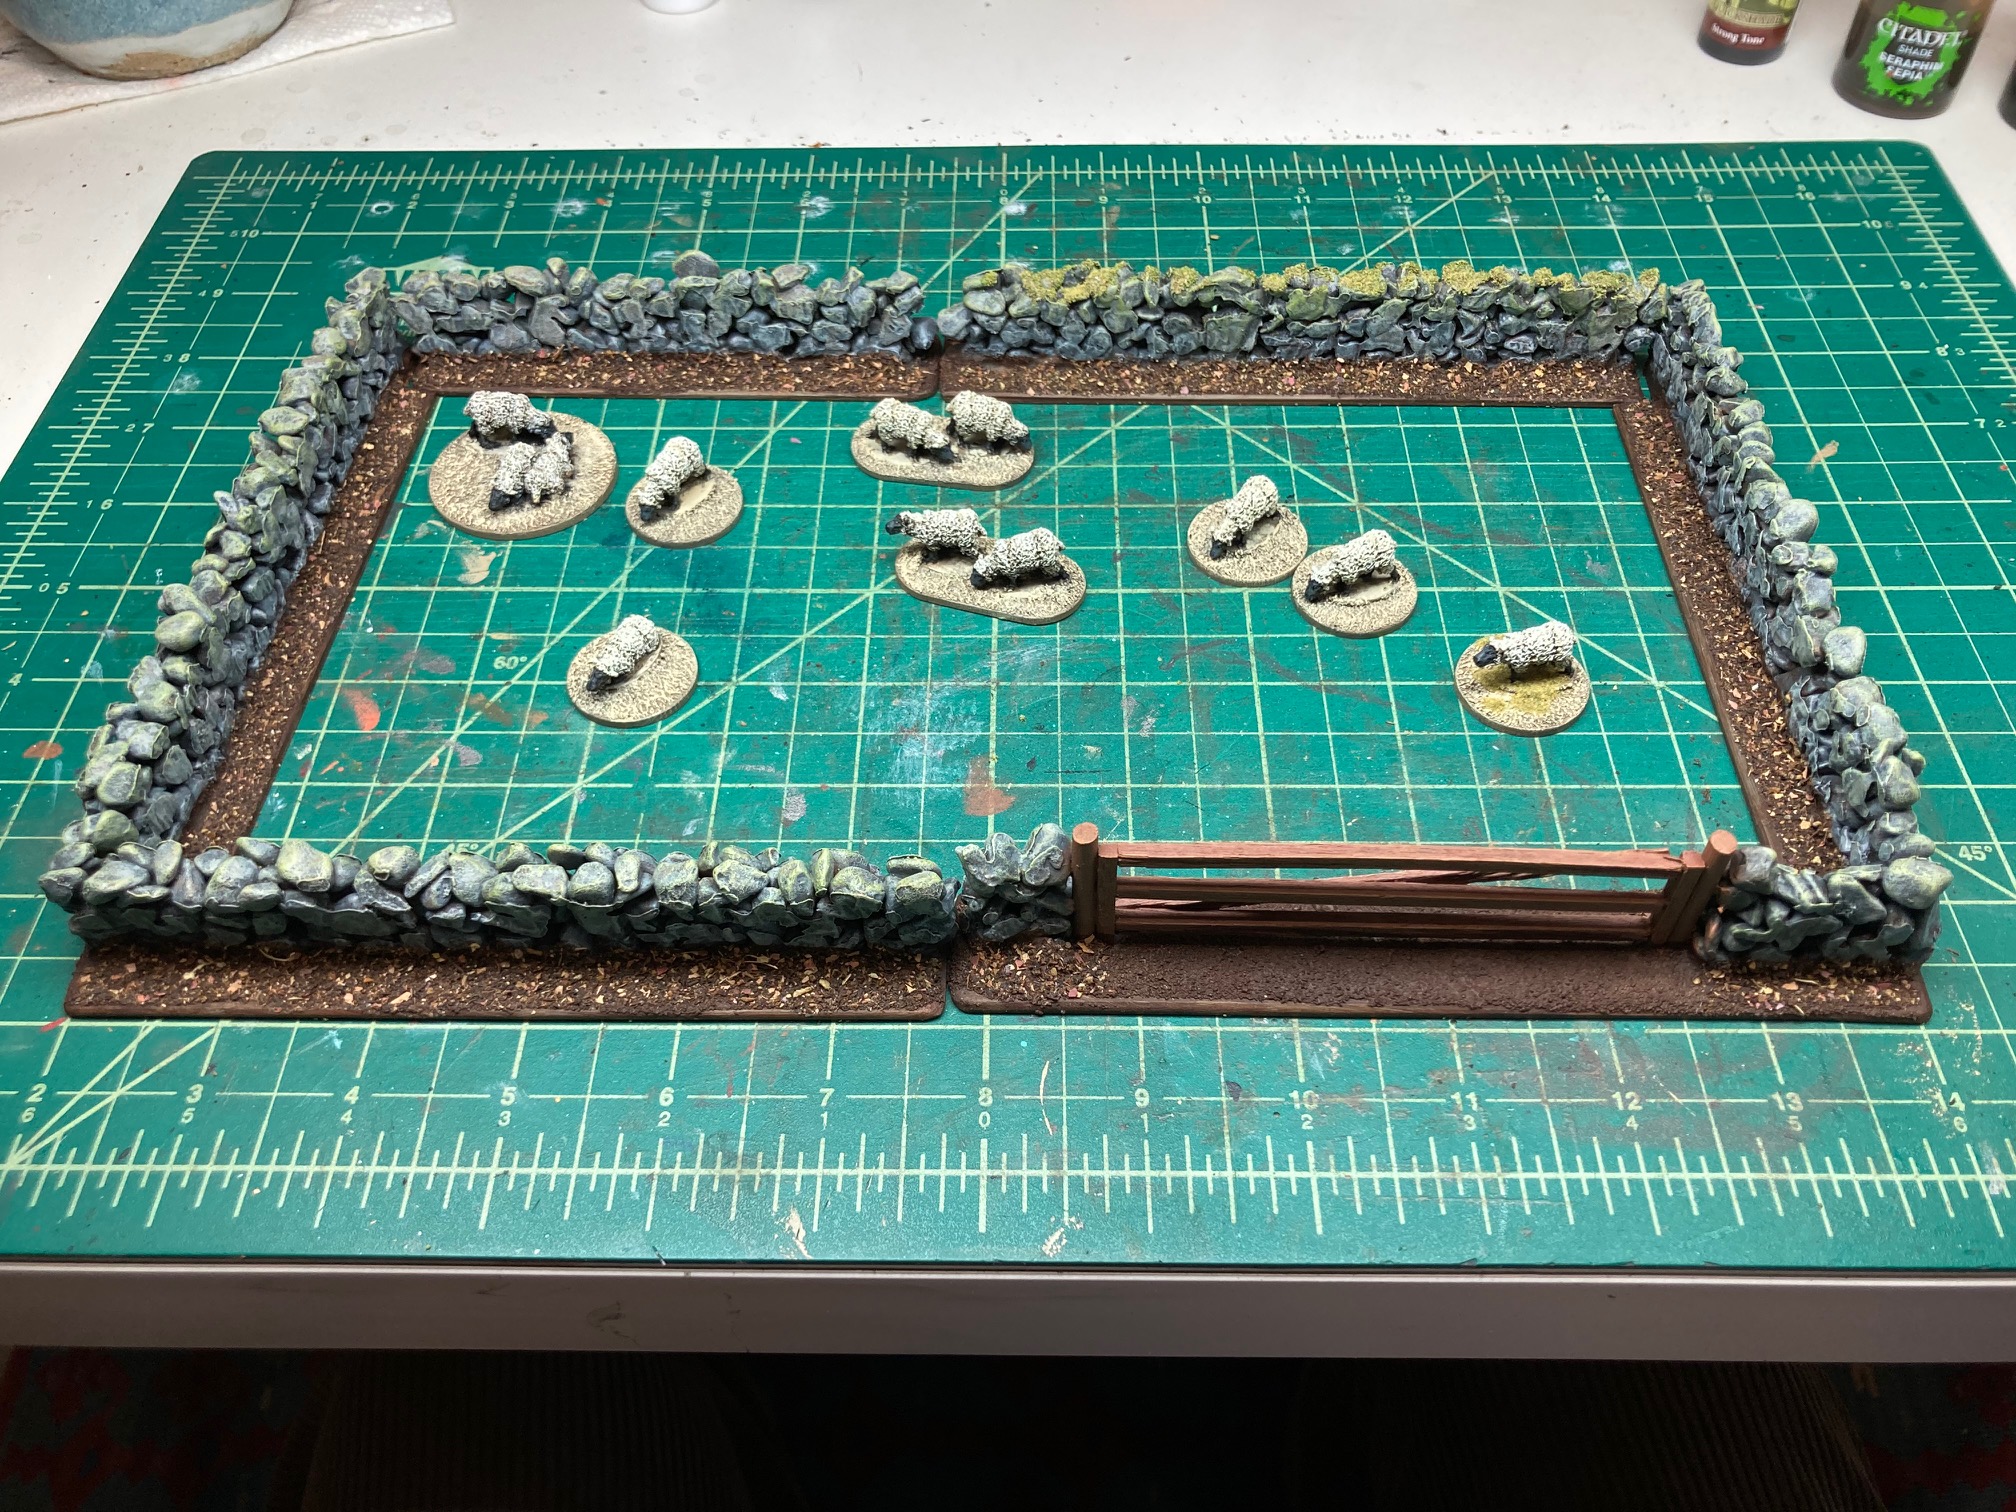
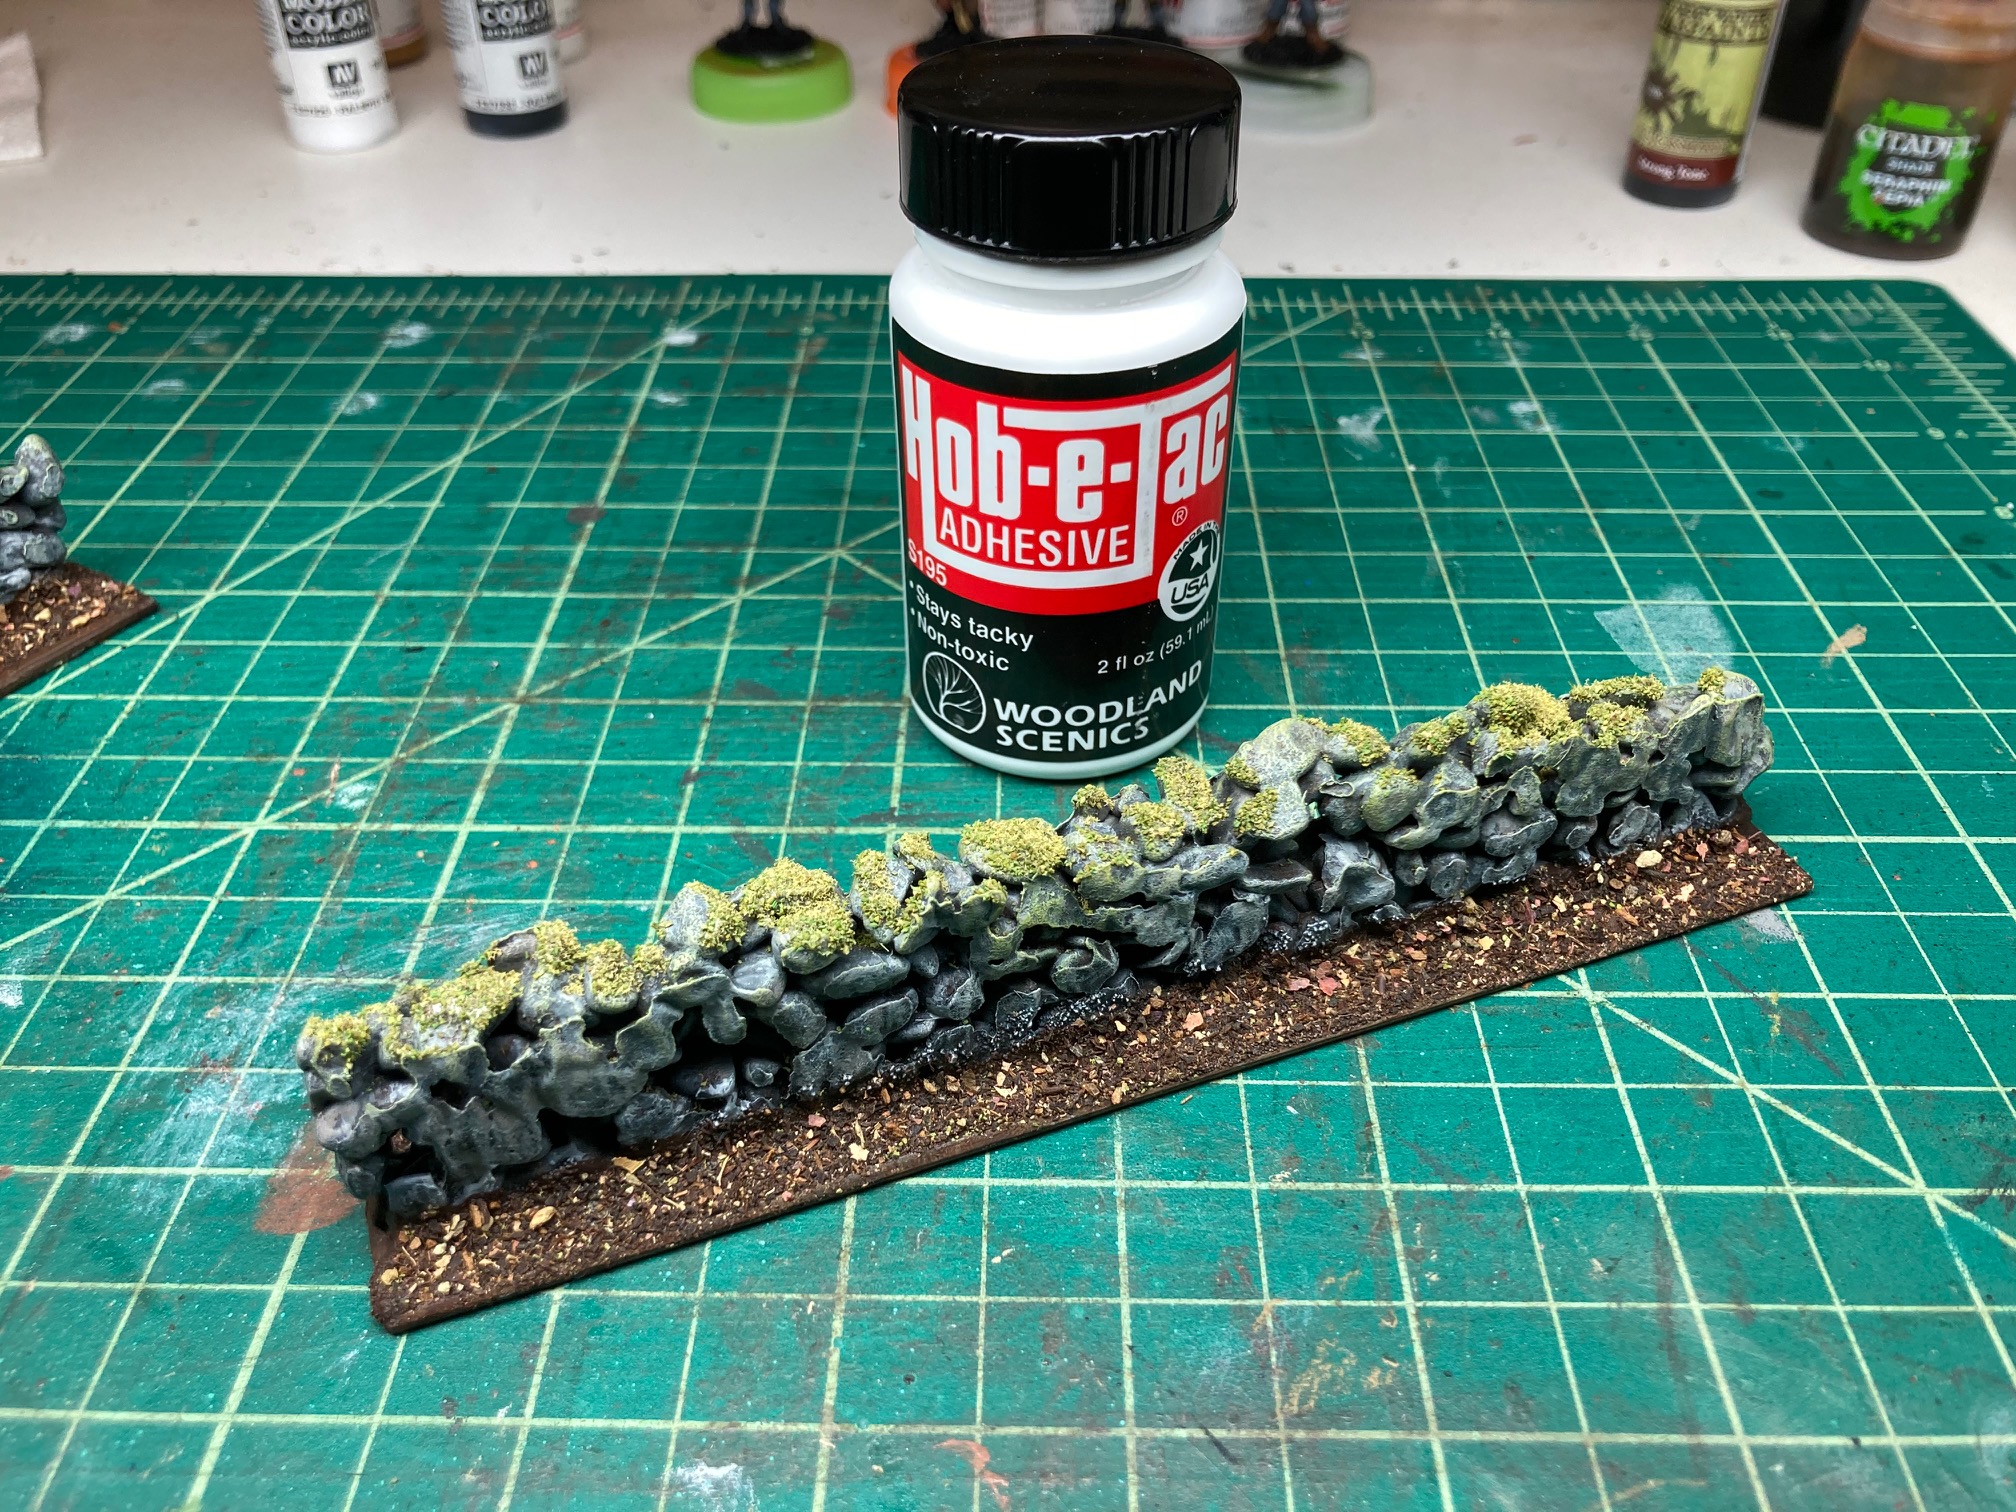
Quick and Easy Stone Walls - Get jigy with it!
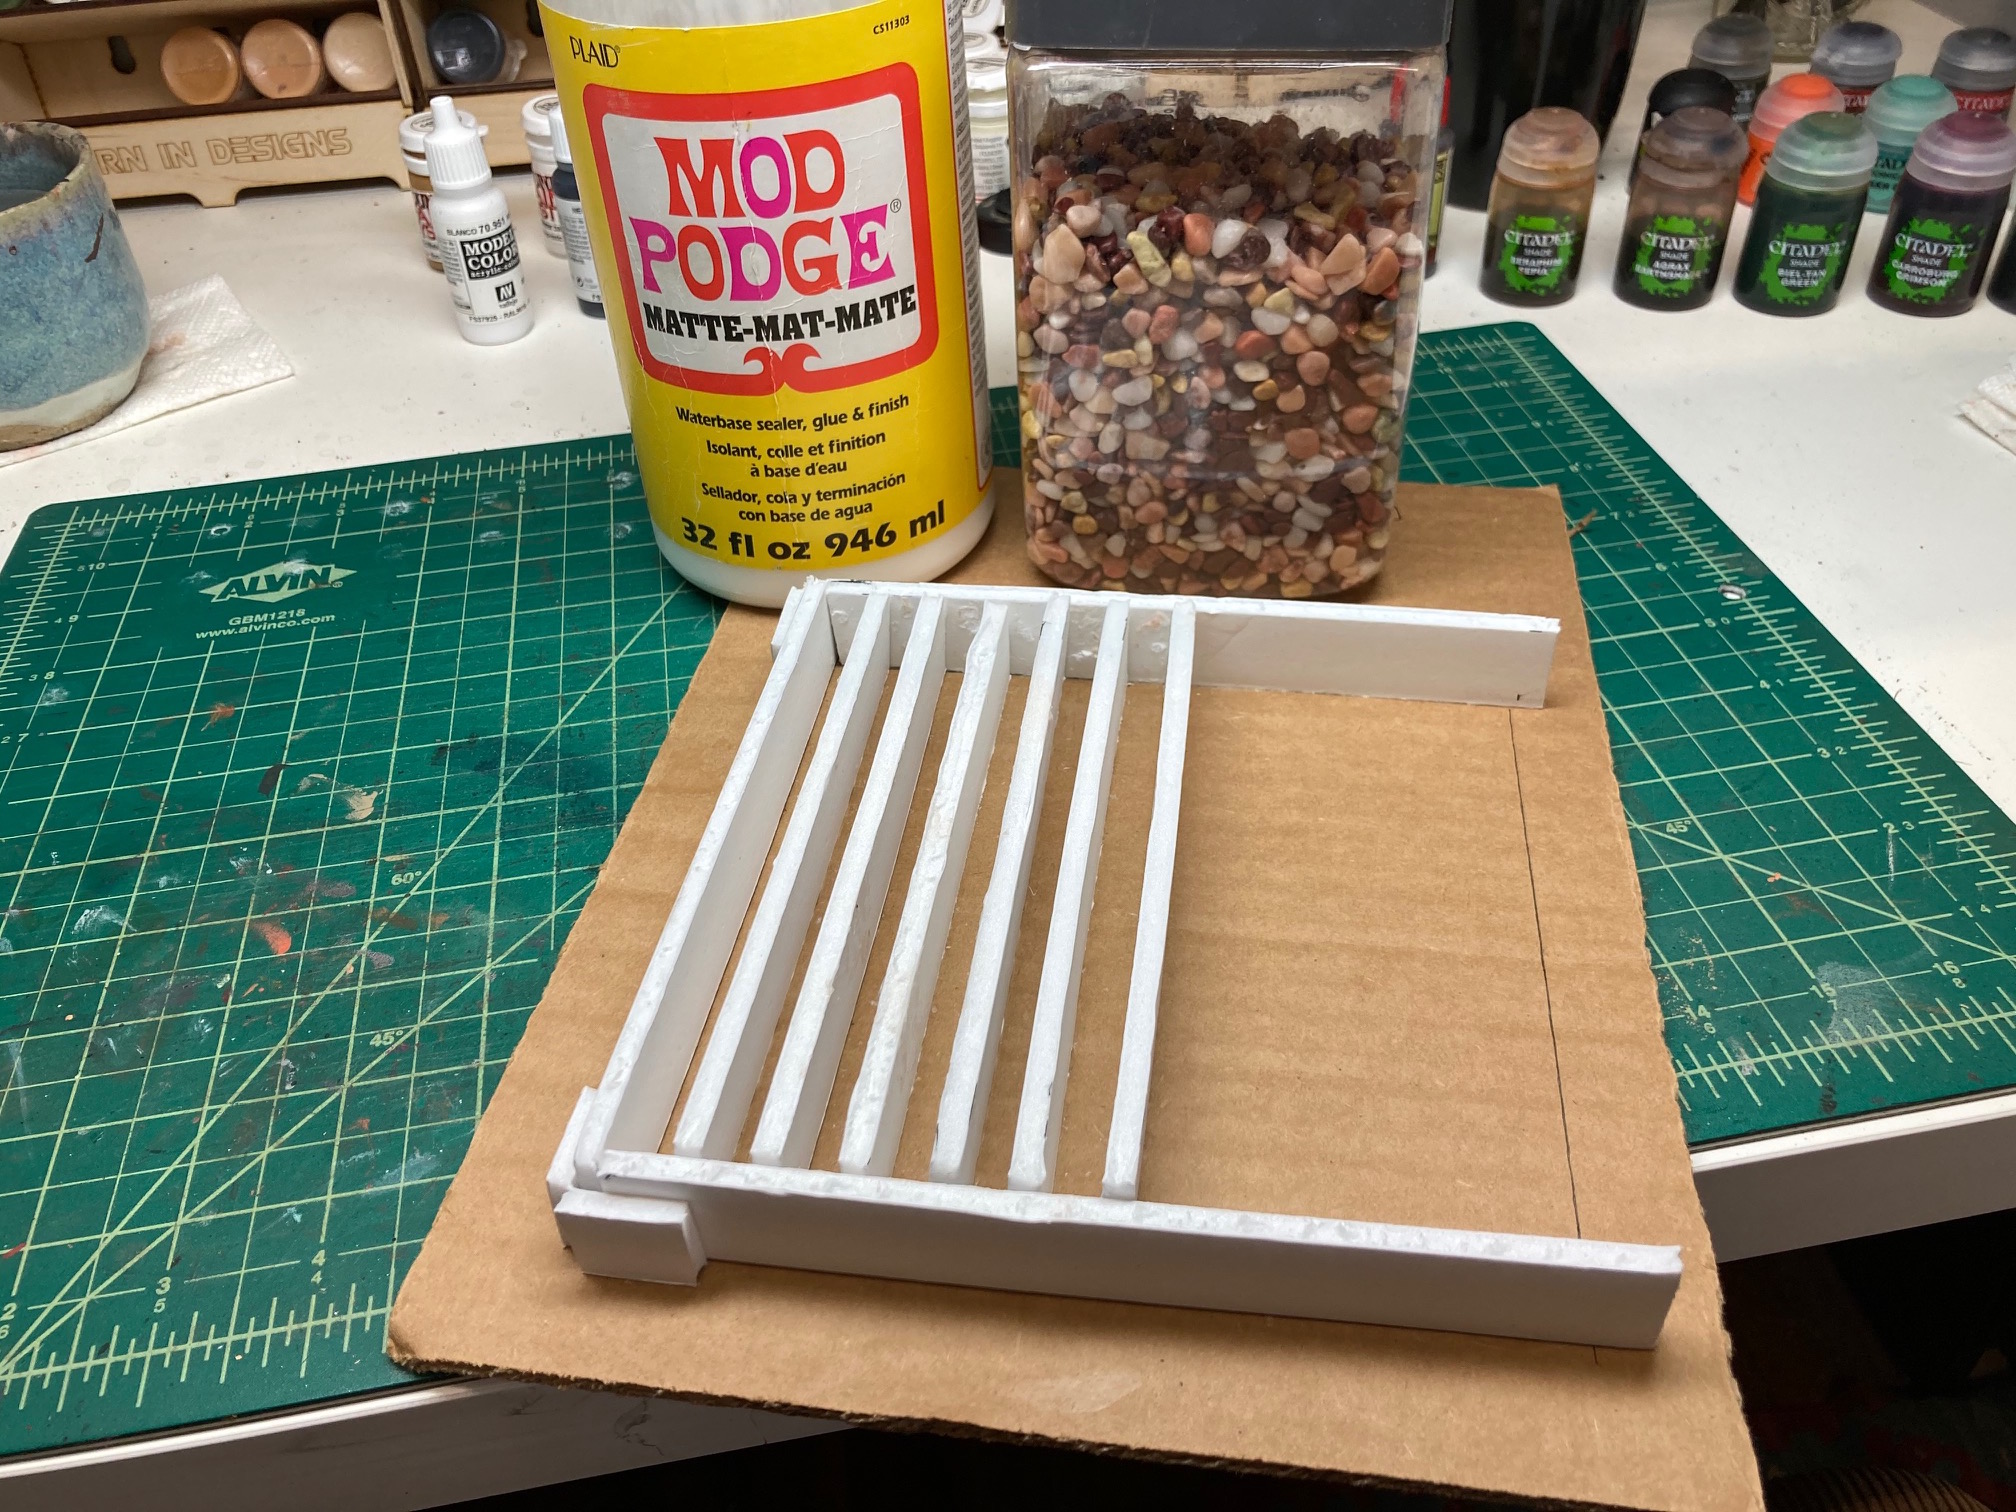
I’m going for an old and cinimatic look to my terrain for this project. Know that this may not make modern stone walls.
Step 1: I made a jig out of foam core using a lego spacer 8″ long 3/4″ tall and one brick in width. Jig done.
Now to be able to reuse this jig you HAVE to do the next step.
Step 2: Cut parchment paper strips as long and a bit wider to slip into each row.
Step 3: Mix up some Mod Podge 4/1 with water and add small stones. Using a small spoon scoop and place into each jig some of the Podge-stone mix. Make sure to press down into each corner and that you have an even distribution of stone mix from end to end. Once your finished filling, gently tap the jig onto your work surface a few times.
Step 4: Put the jig aside to dry for 24hours. Then carefully remove each one and again allow to dry. The more water you use the longer it will take. for me another 24 hours. Once the glue is dry simply peel the parchment paper off. You may need to fill small gaps or irregularities.
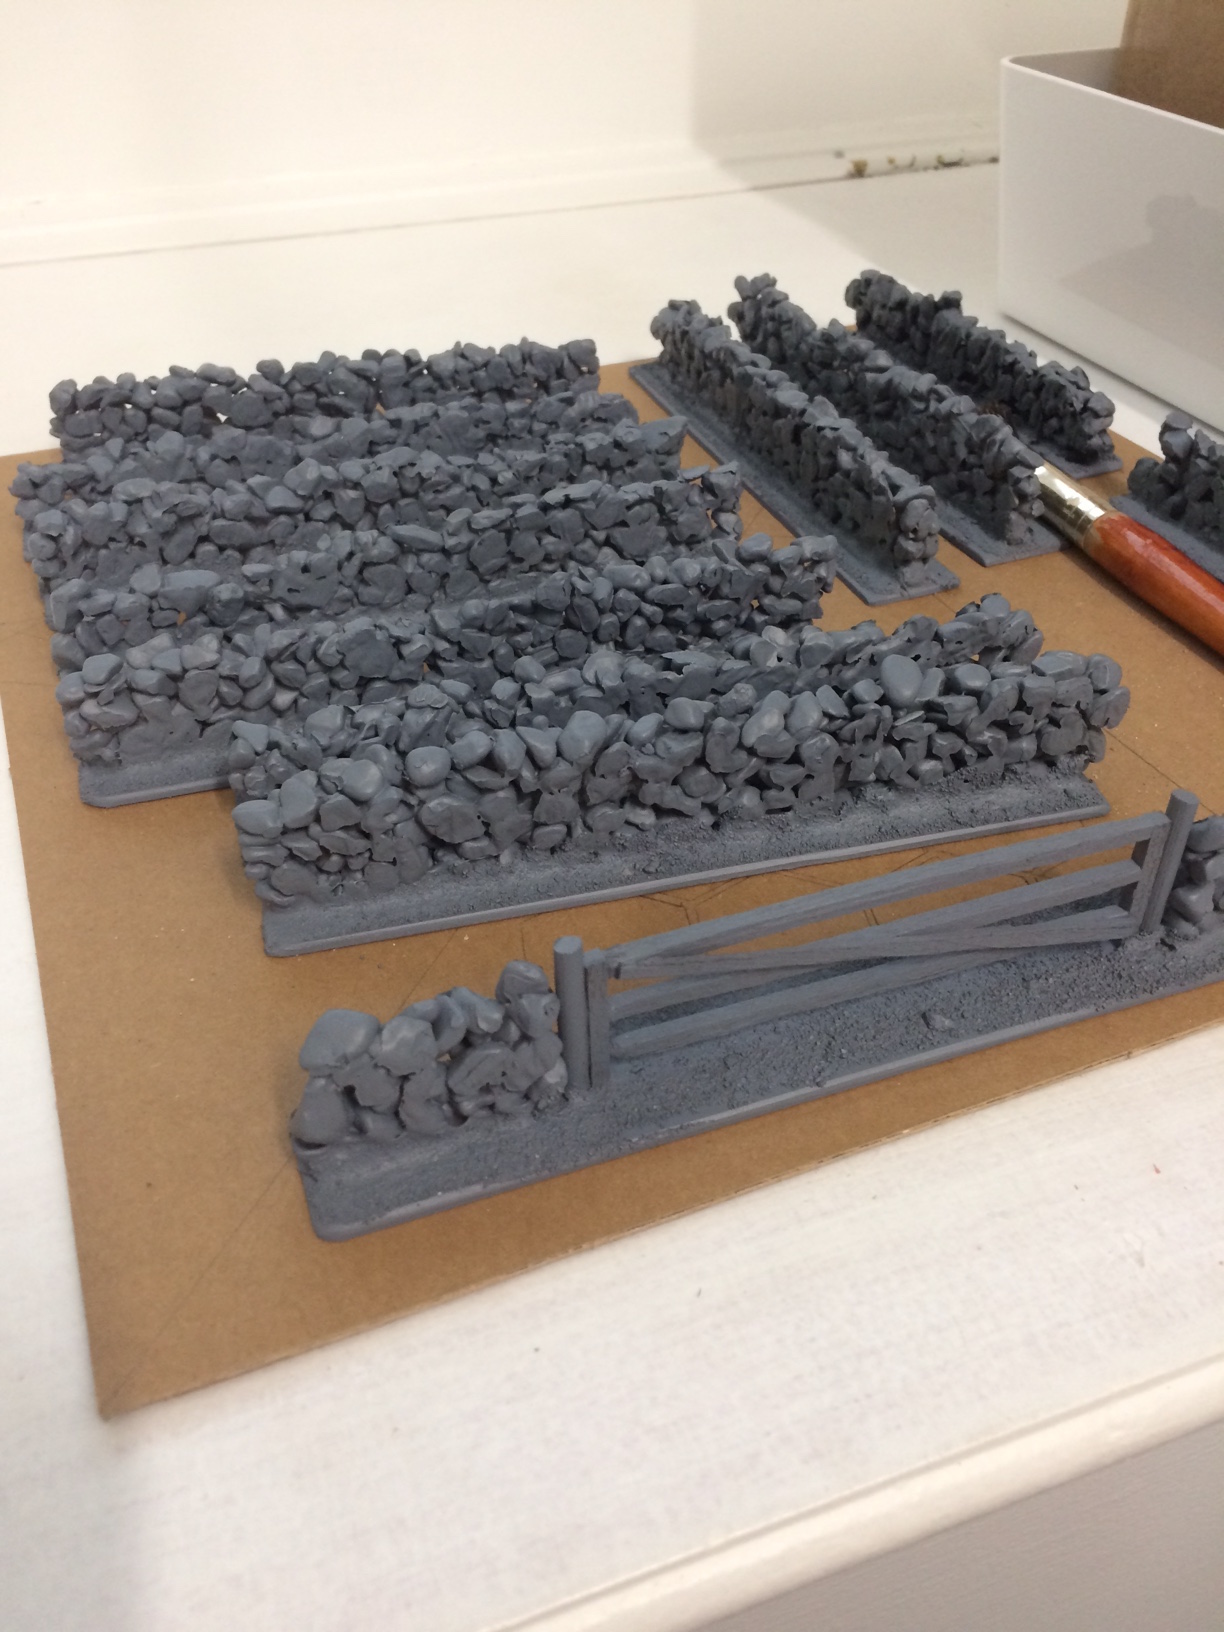
I then based the wall strips, spray primed and Dark tone washed them. You can notch your bases to create corner pieces.
A Cemetery
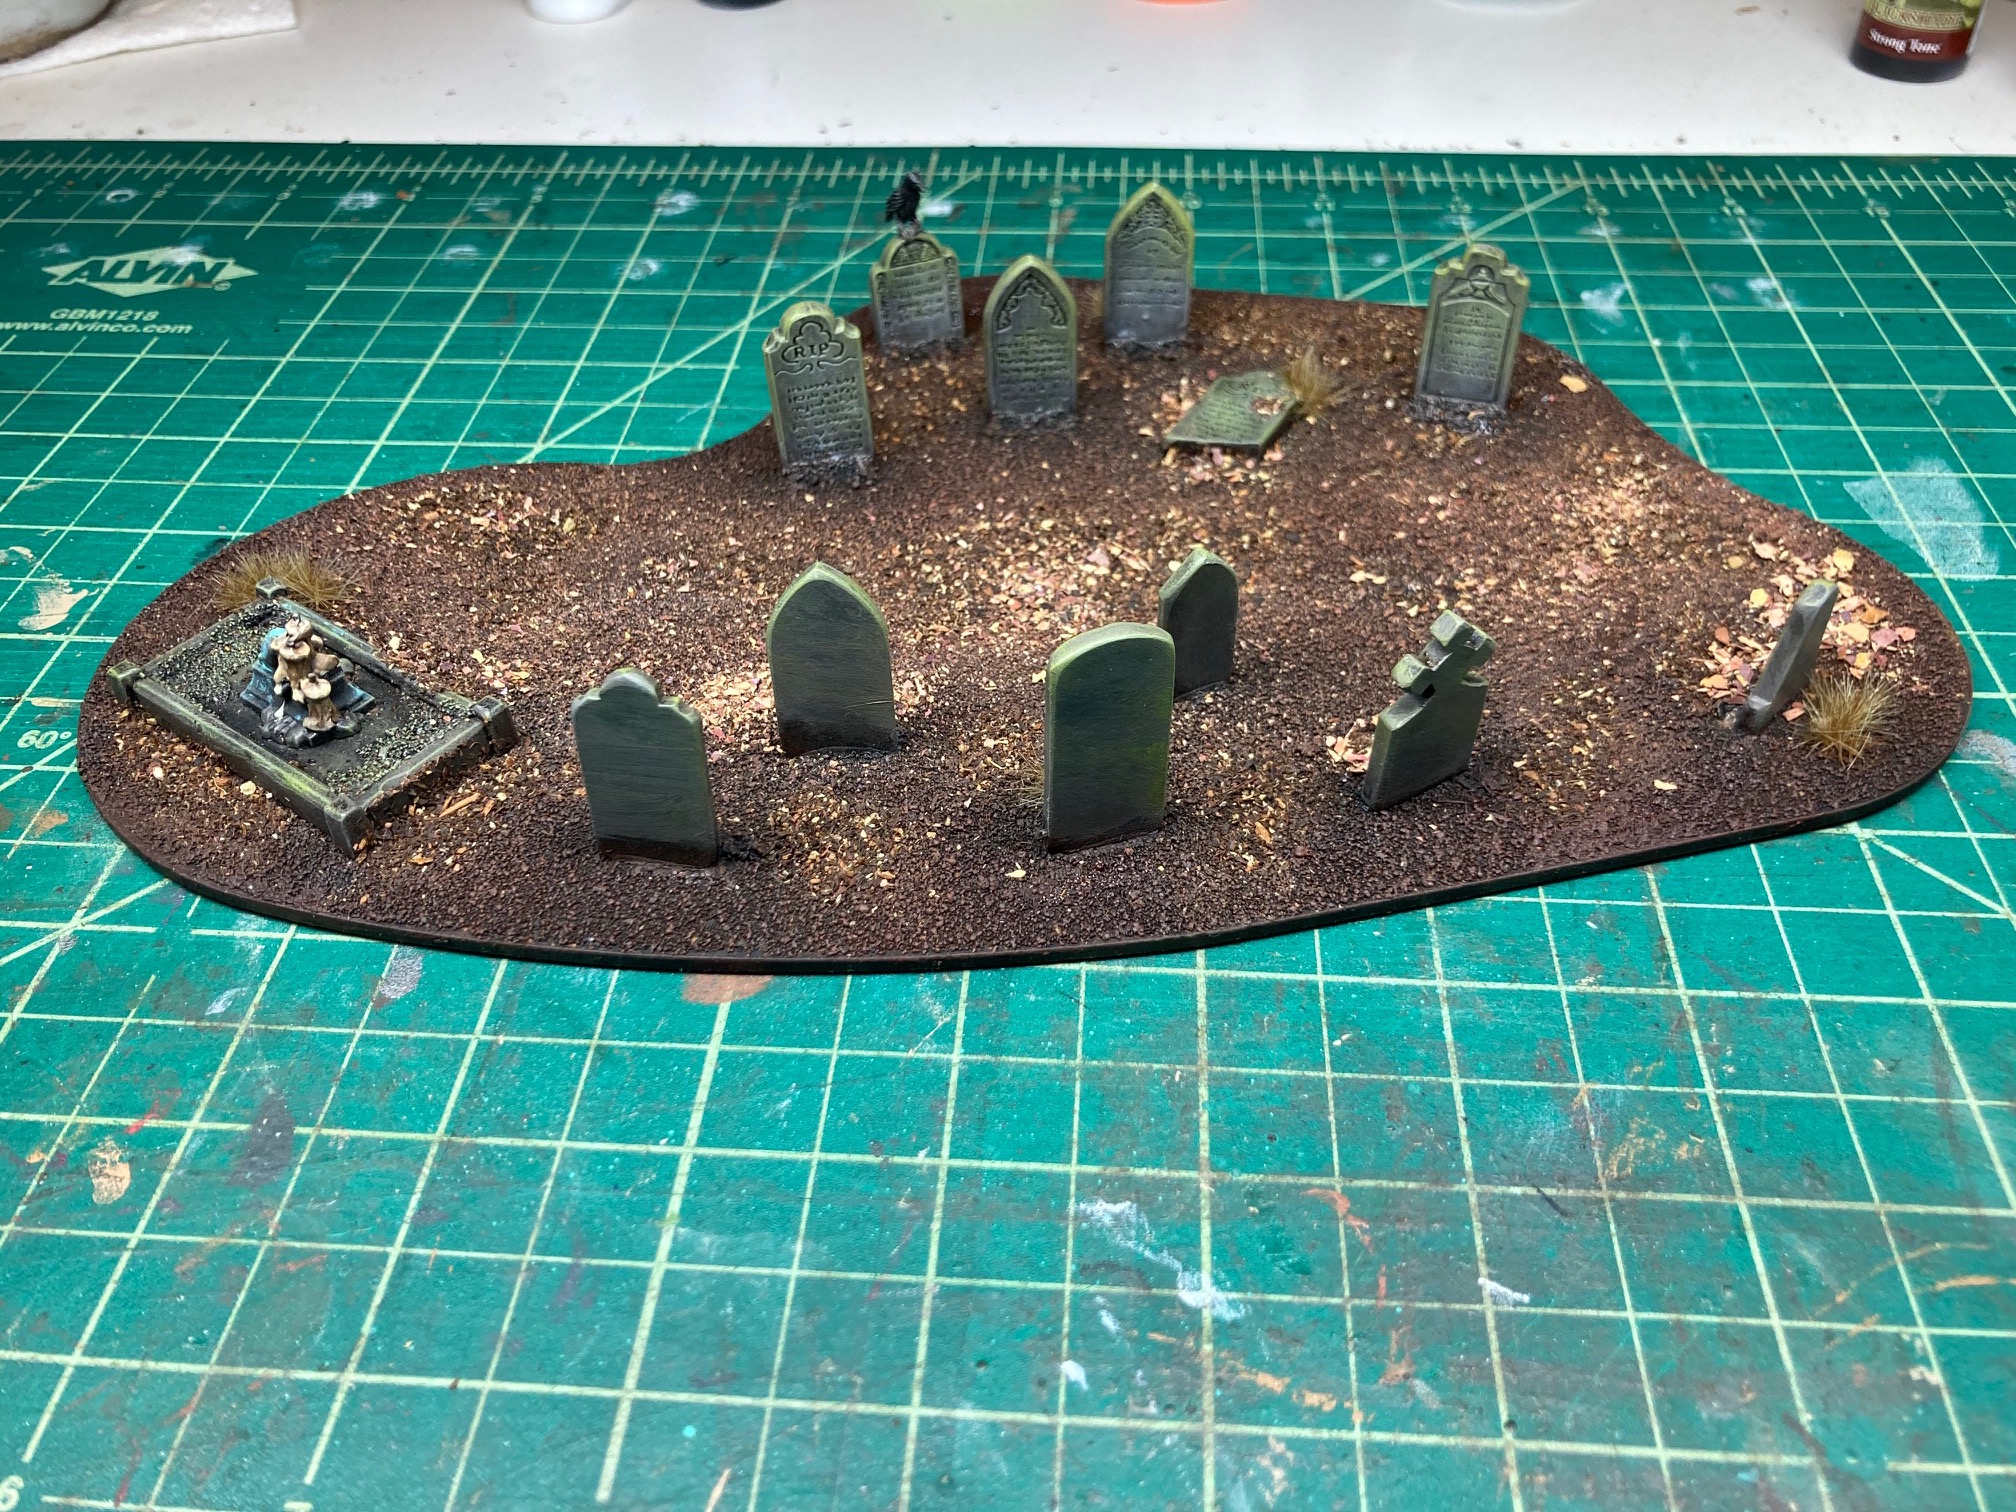
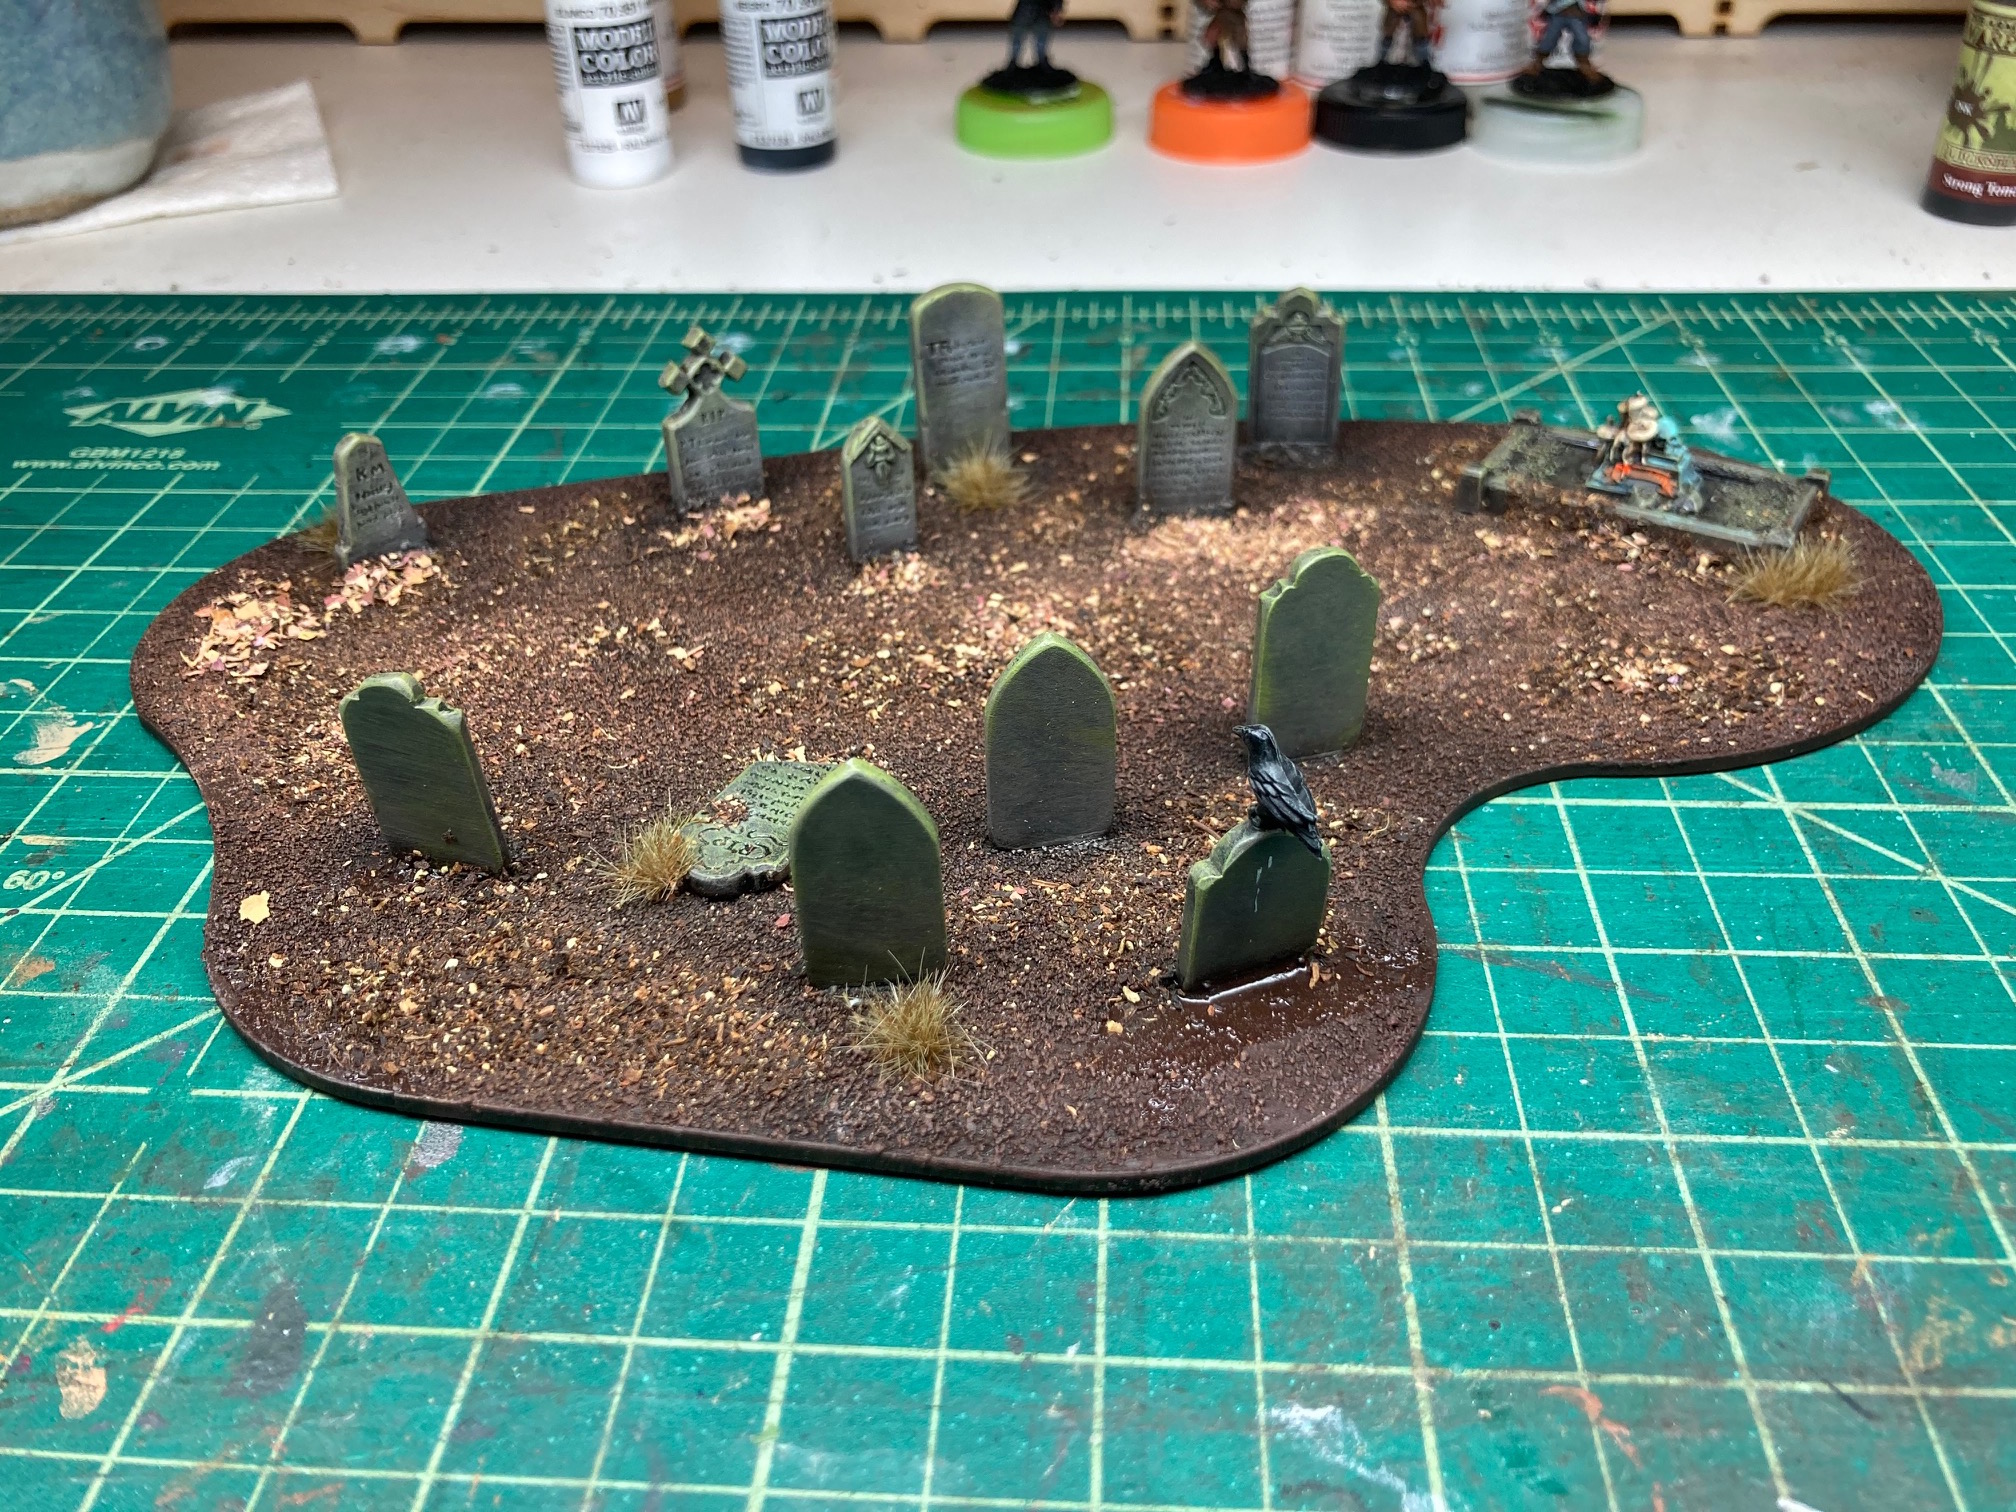
Apologies for not having WIP photo’s. The graves and crow are from Renedra. They make a fantasy grave stones set that I think is cracking for this.
Clear and Furrow

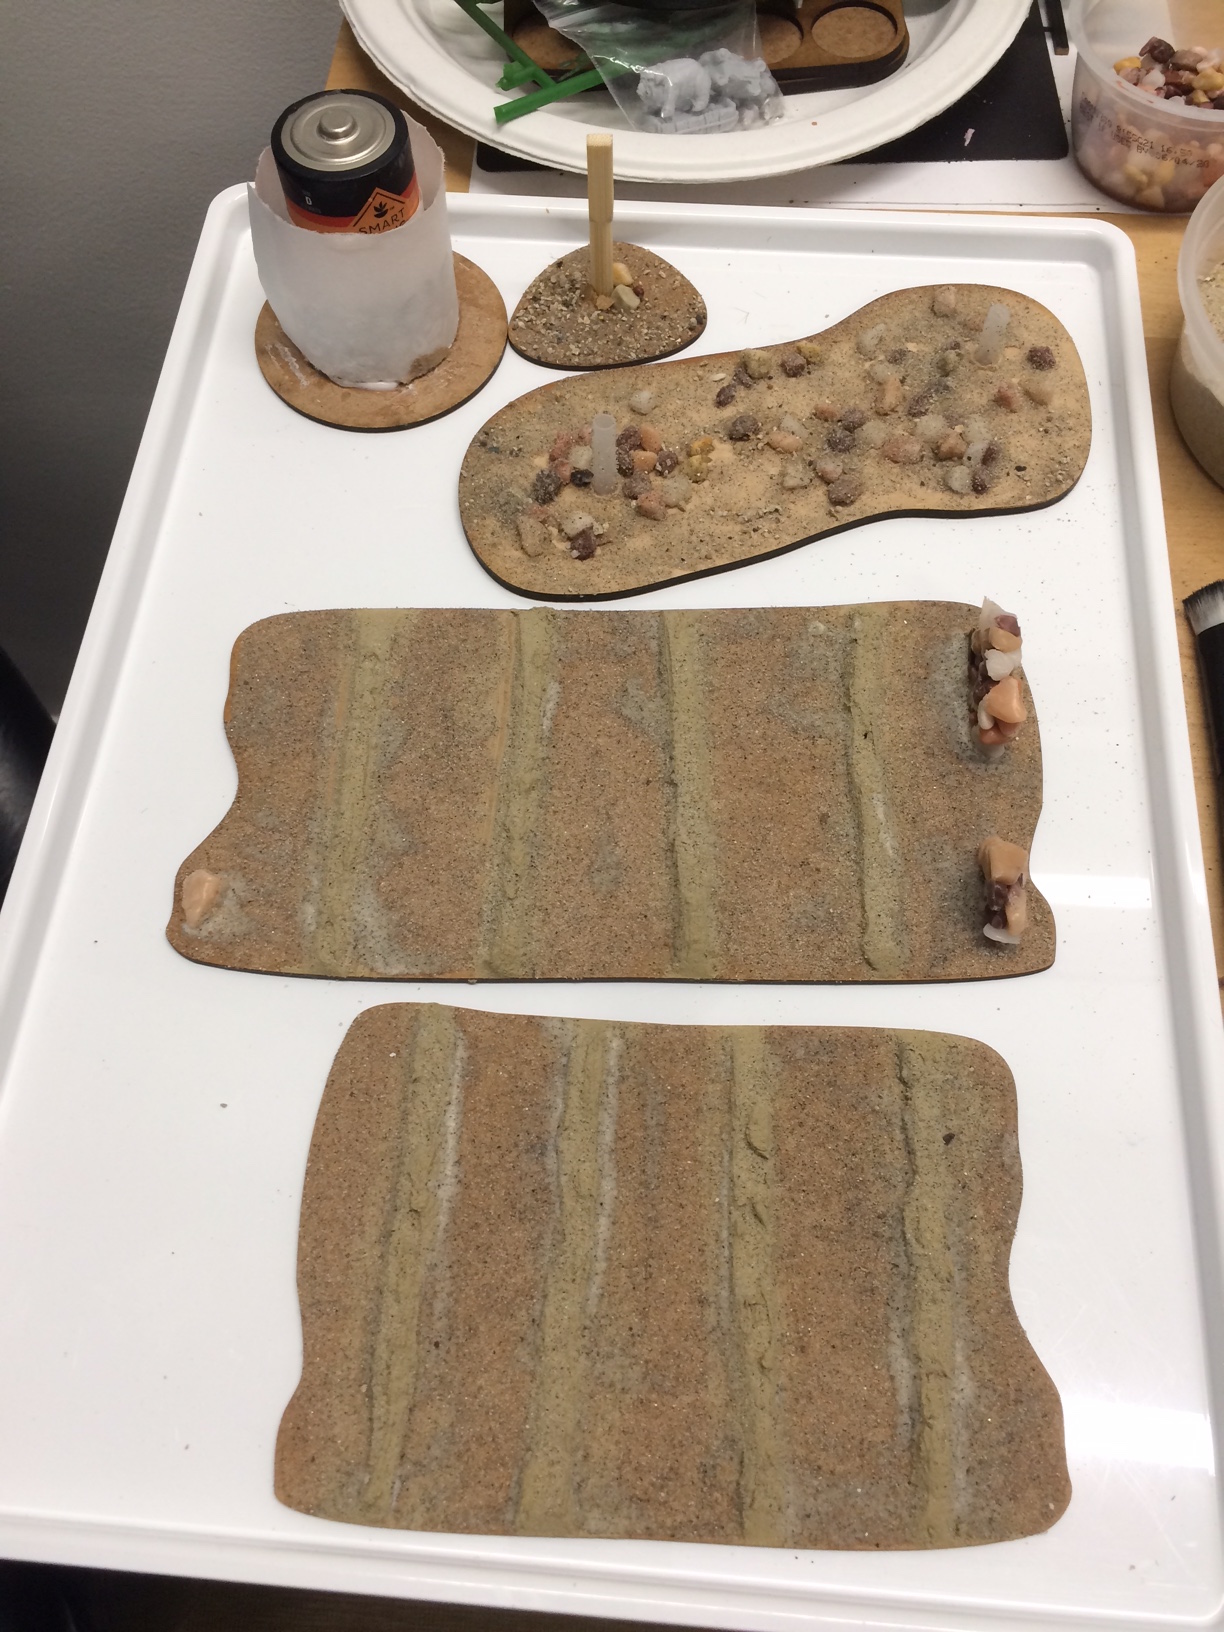
I spread wood filer in vertical rows about 30mm apart from each other, onto Warbases 2mm MDF terrain bases. I then put the jig (Right side in photo) at the top and pull carefully towards removing exes wood filer and smoothing out the furrow. Between furrows I brushed Mod Podge glue and sprinkled sand onto it.
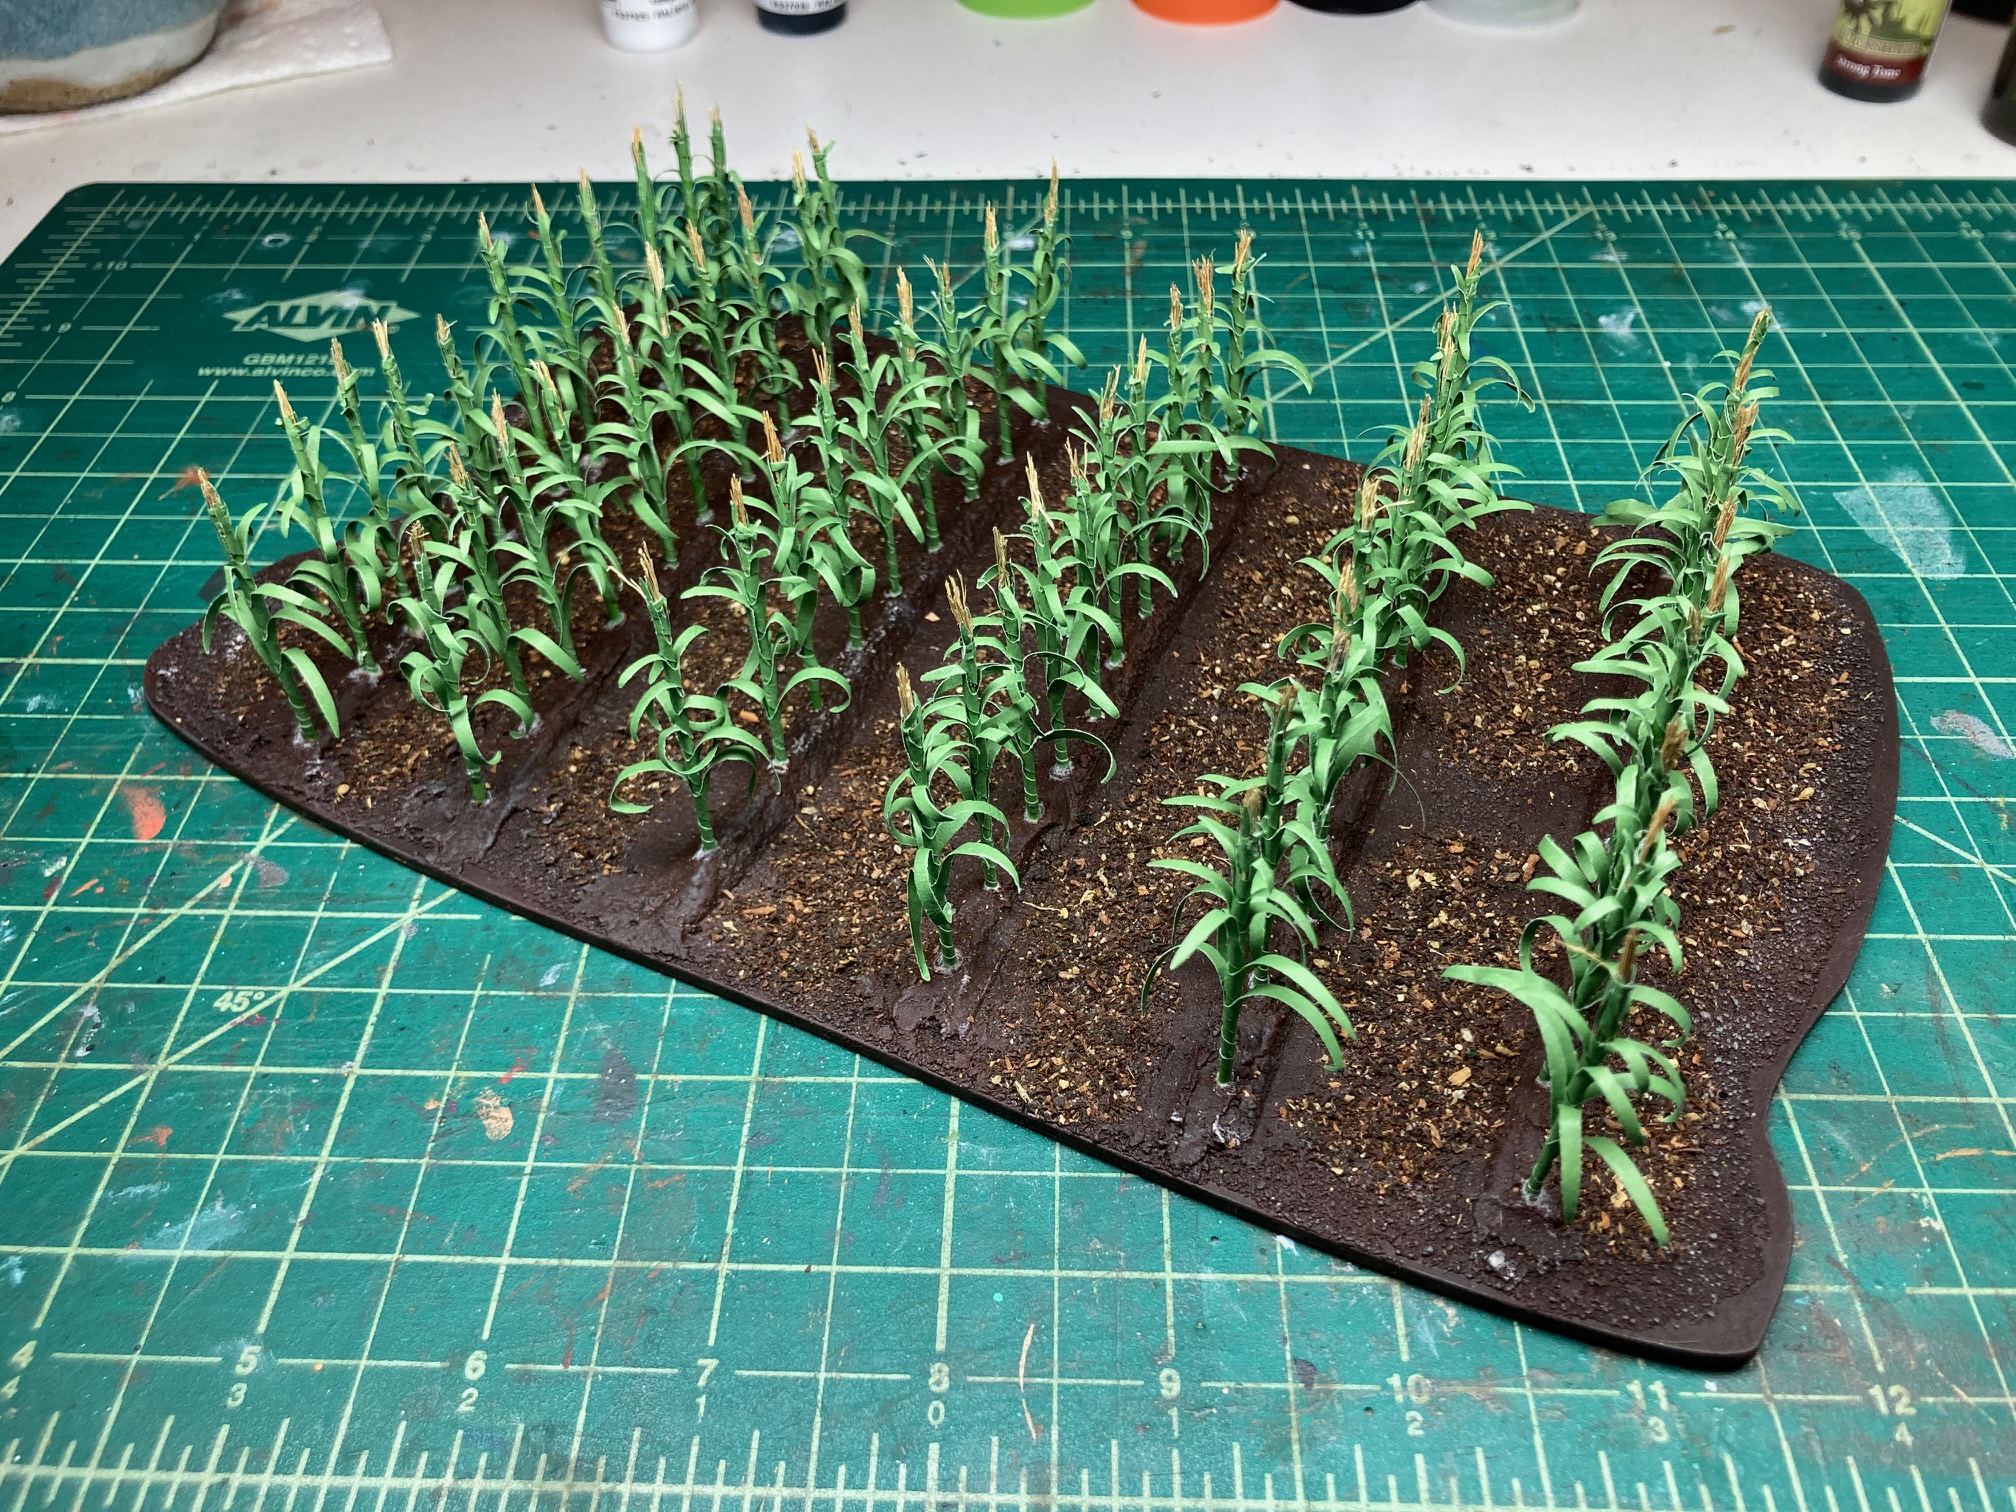
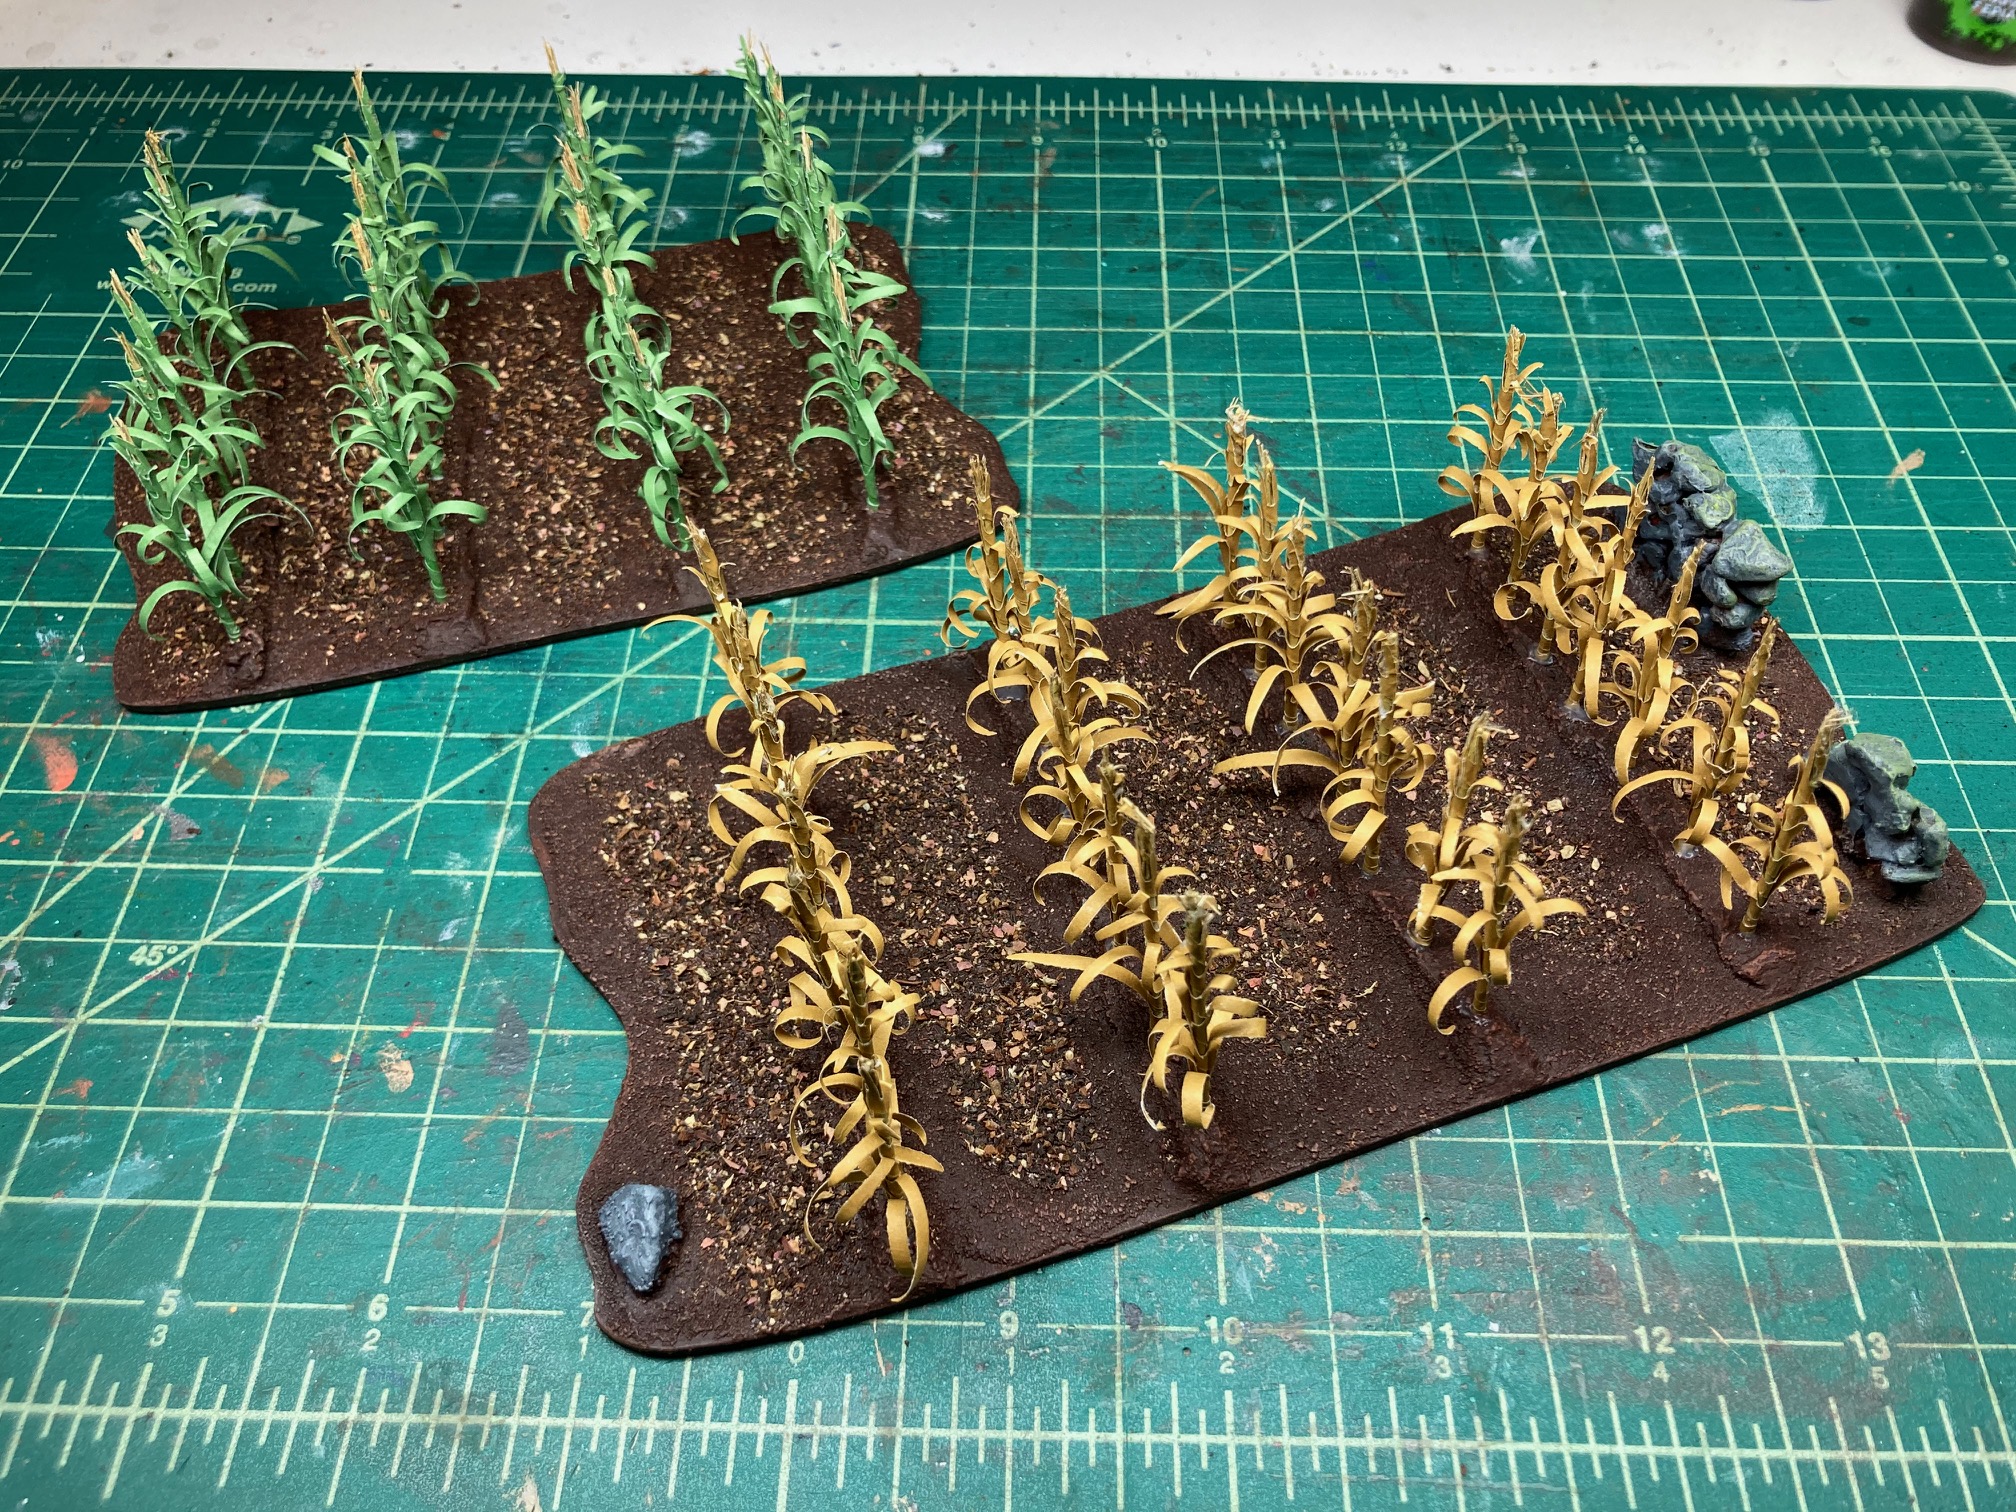
After 24 hours I placed a ruler horizontal to the vertical furrows and doted with a Sharpie were corn stocks would go. I then drilled every dot and glued in O gauge corn from JTT.
Pumpkin Patch
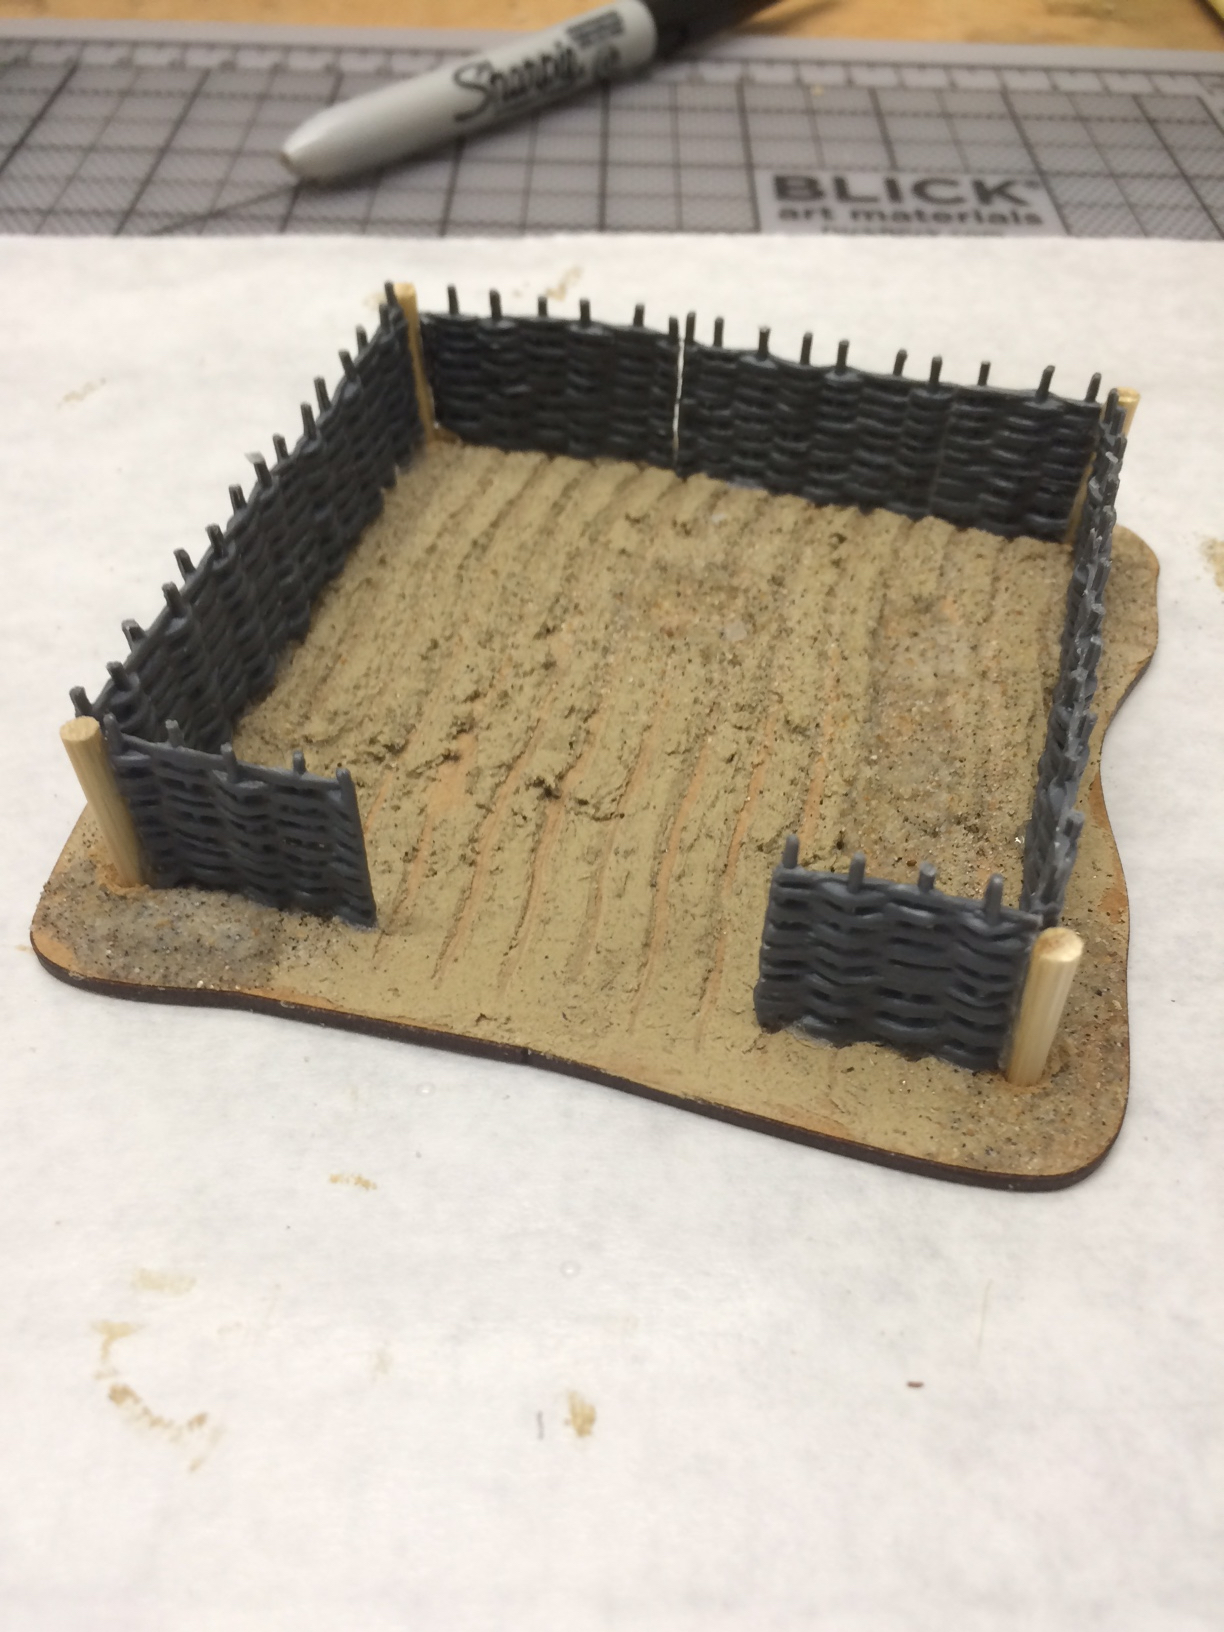
Using Wood Filler again, I spread a thin layer to most of the 2mm base. Then using a cake decorator (triangle on left of photo), I pulled thin furrows into the wood filler. Bamboo skewers make up the four corner posts and Renedra plastic wattle fencing wrap around.

O gauge plastic pumpkins from JTT were repainted and added to the patch.