![A Perfect Zombie Apocalypse Starter Set? Civilians & Survivors Review | Wargames Atlantic [7 Days Early Access]](https://images.beastsofwar.com/2026/01/unboxing-wargames-atlantic-civilians-_-survivors-1_2-coverimage-225-127.jpg)

![Wild Australia Wargaming? 28mm Ned Kelly Gang & Victorian Police Review [7 Days Early Access]](https://images.beastsofwar.com/2026/01/unboxing-traders-galaxy-australiana-ned-kelly-gang-_-victorian-police-coverimage-225-127.jpg)


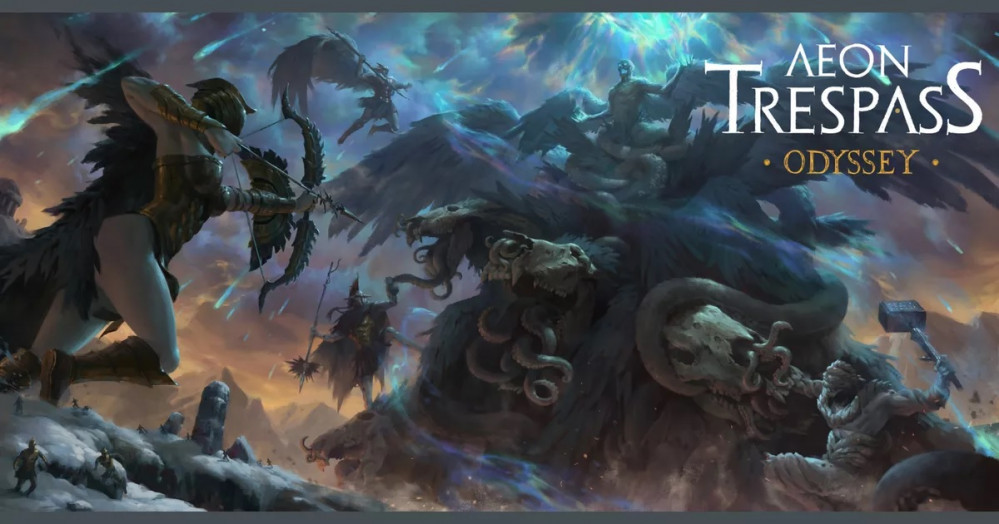
Aeon Trespass: Odyssey (ATO) by Lawnor


Recommendations: 557
About the Project
Aeon Trespass: Odyssey, by Into the Unknown. It's a Kingdom Death-esque board game with a world/map exploration phase. Stuff gets painted, and maybe even played with. KS link: https://www.kickstarter.com/projects/kingdomsforlorn/aeon-trespass-odyssey
Related Game: Aeon Trespass: Odyssey
Related Company: Into The Unknown
Related Genre: Fantasy
Related Contest: Spring Clean Hobby Challenge 2025
This Project is Active
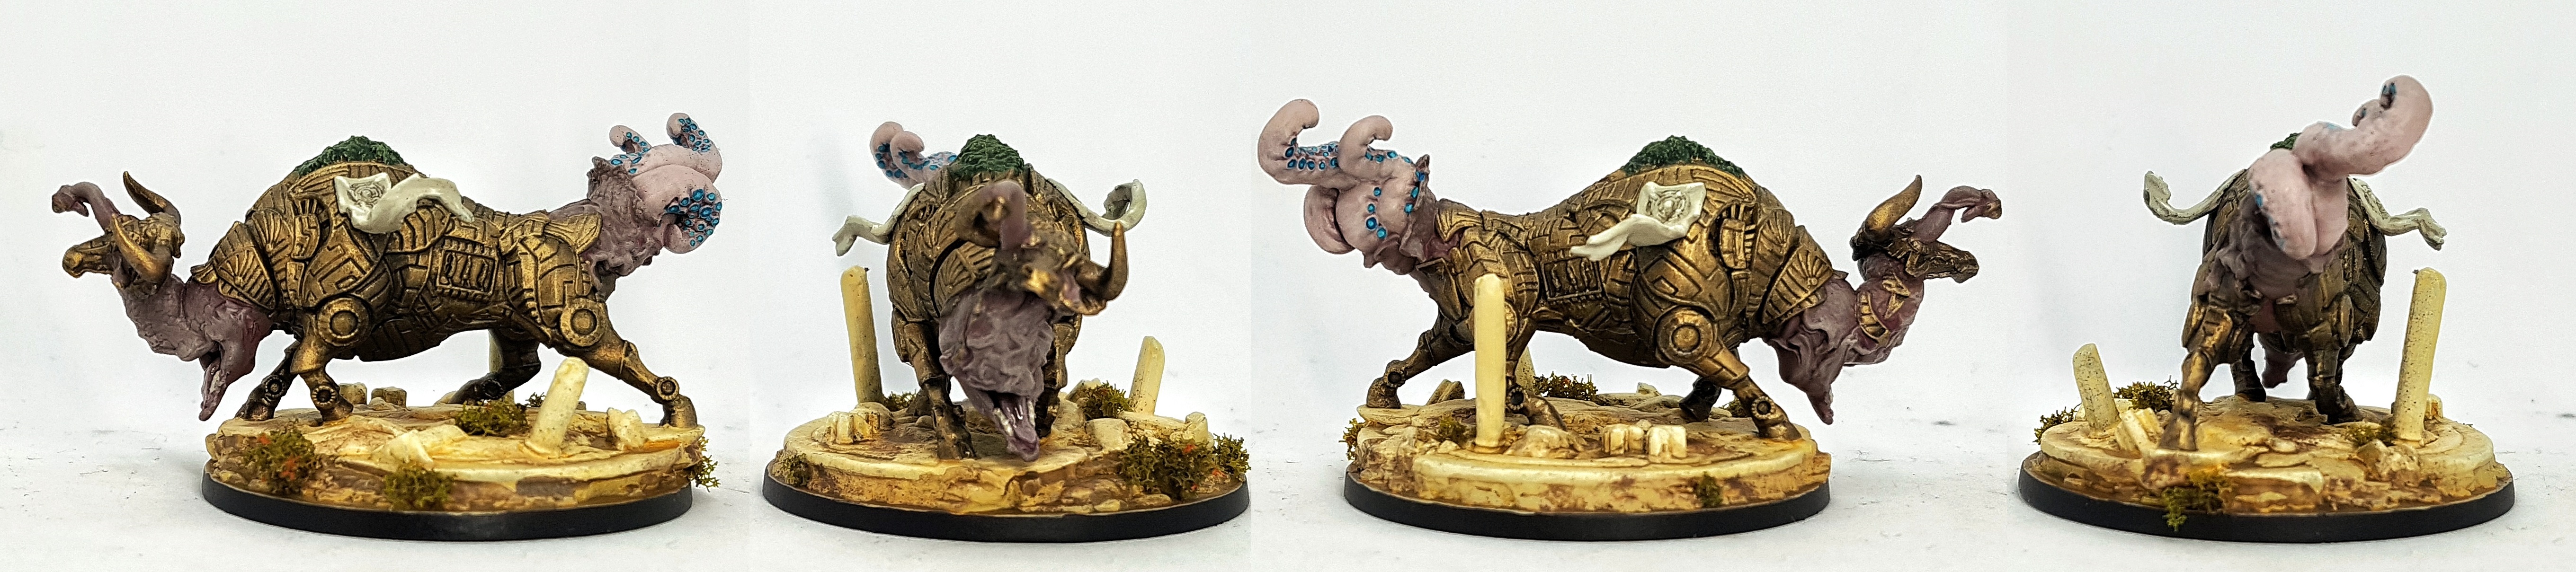
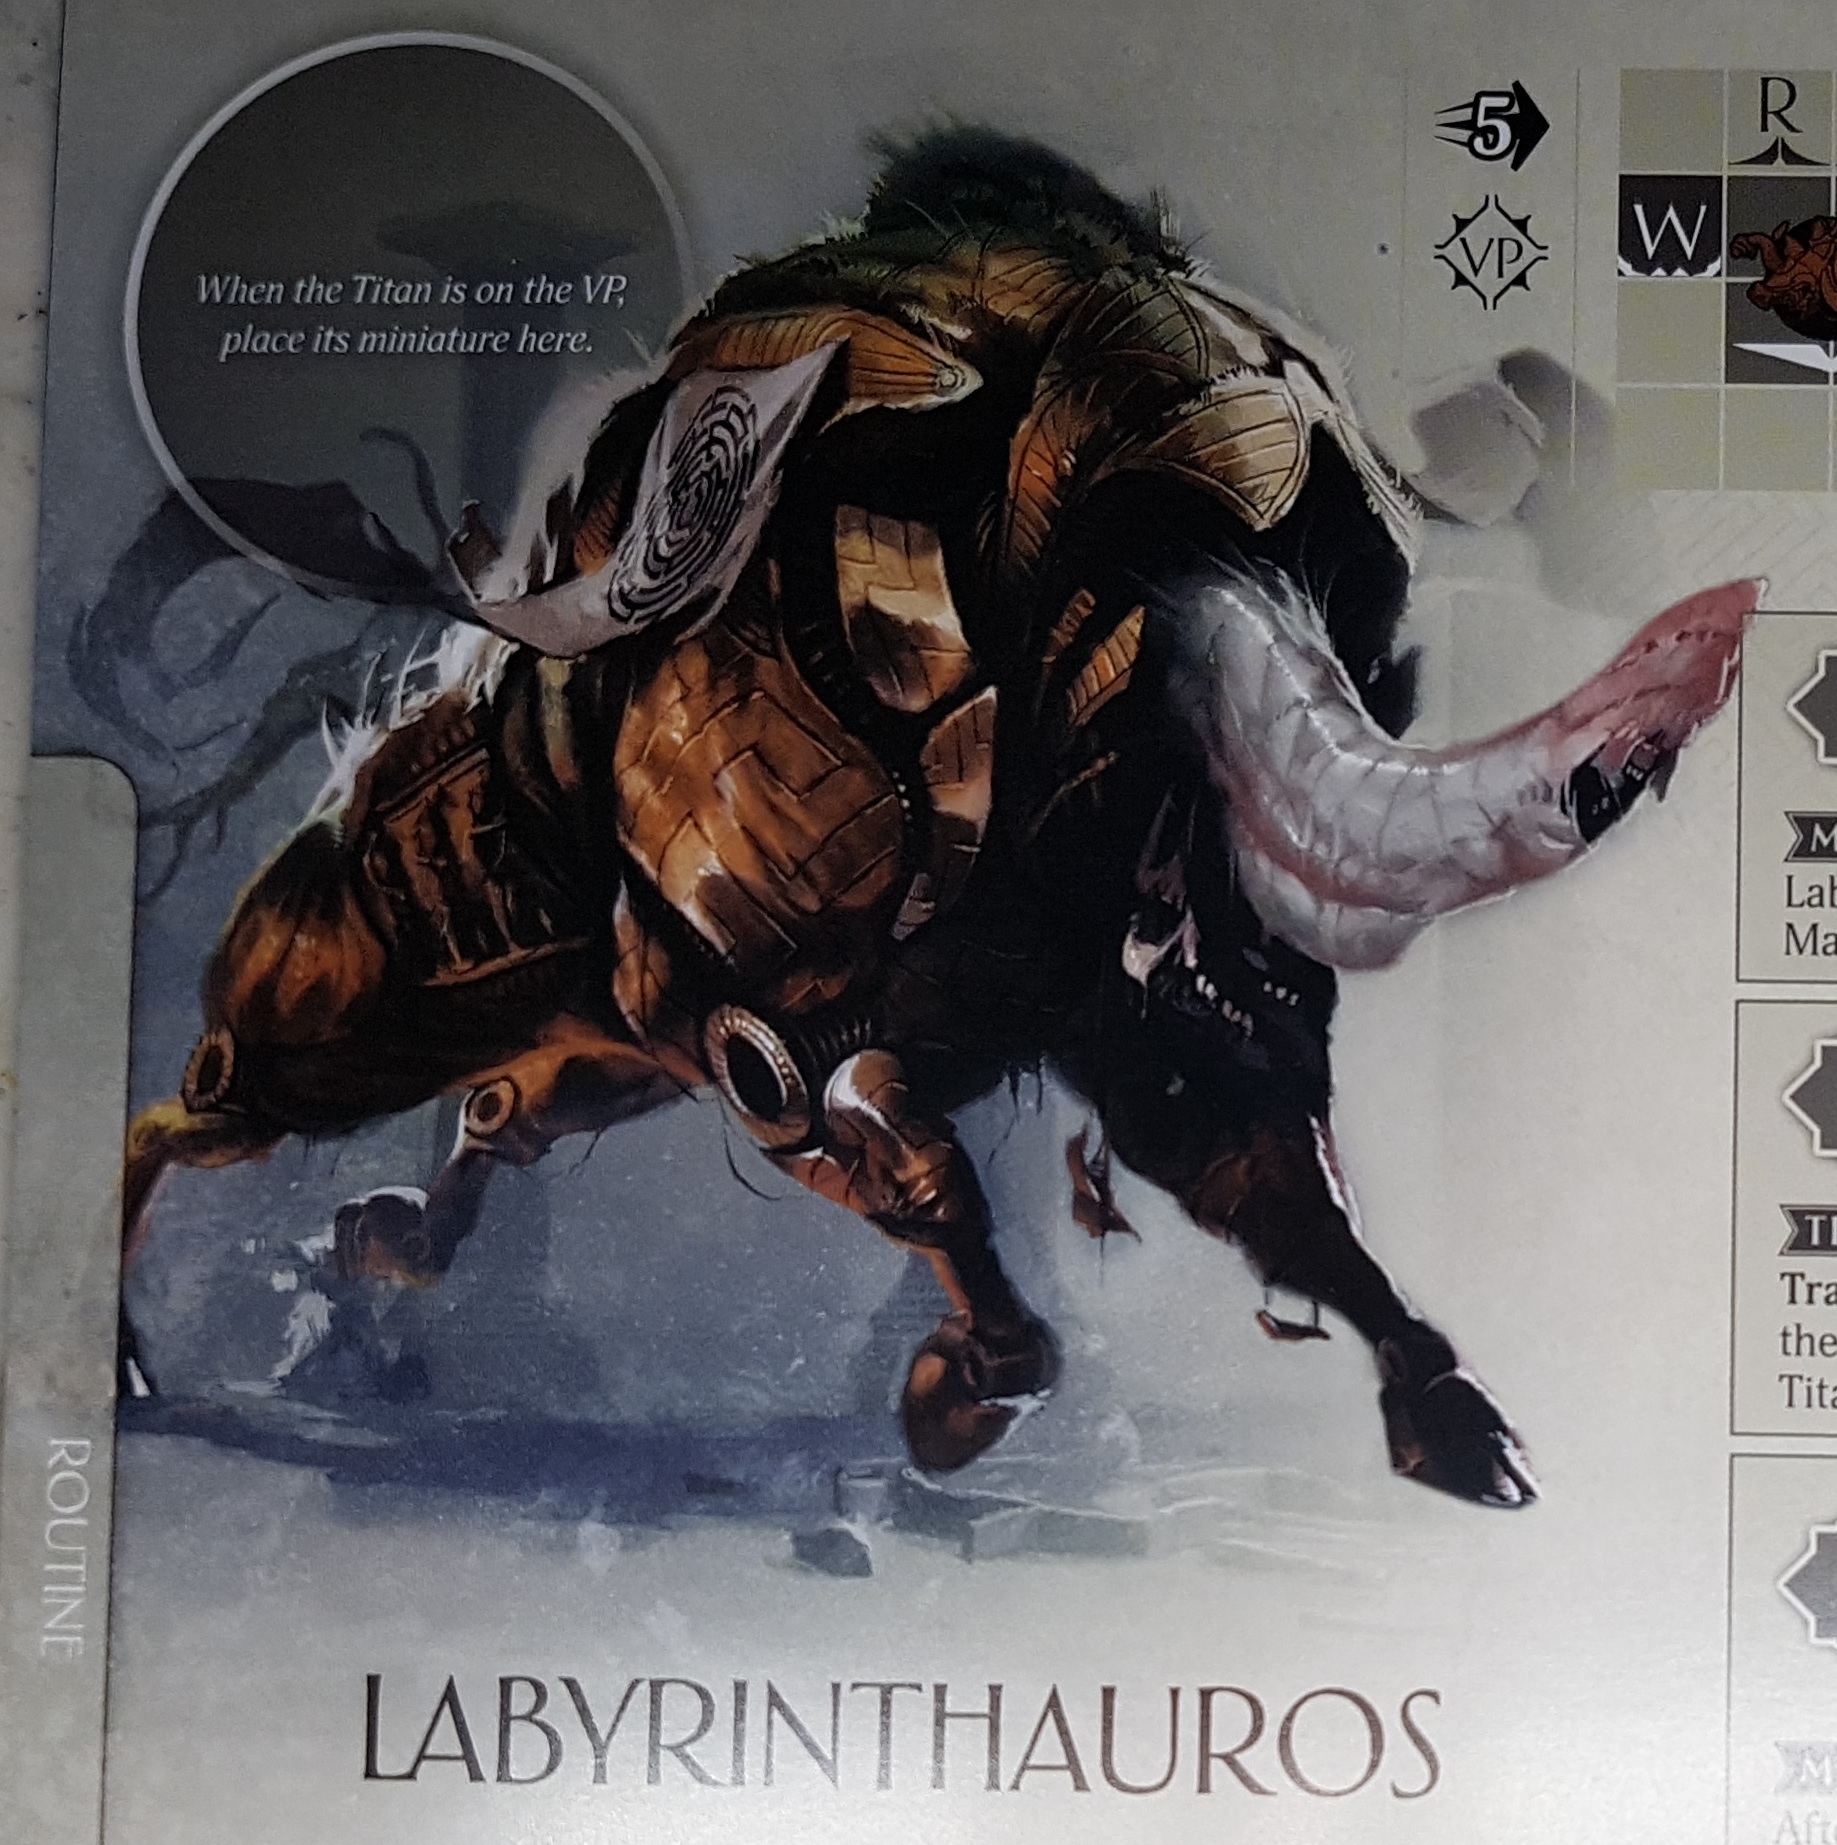
Prologue: Labyrinthauros
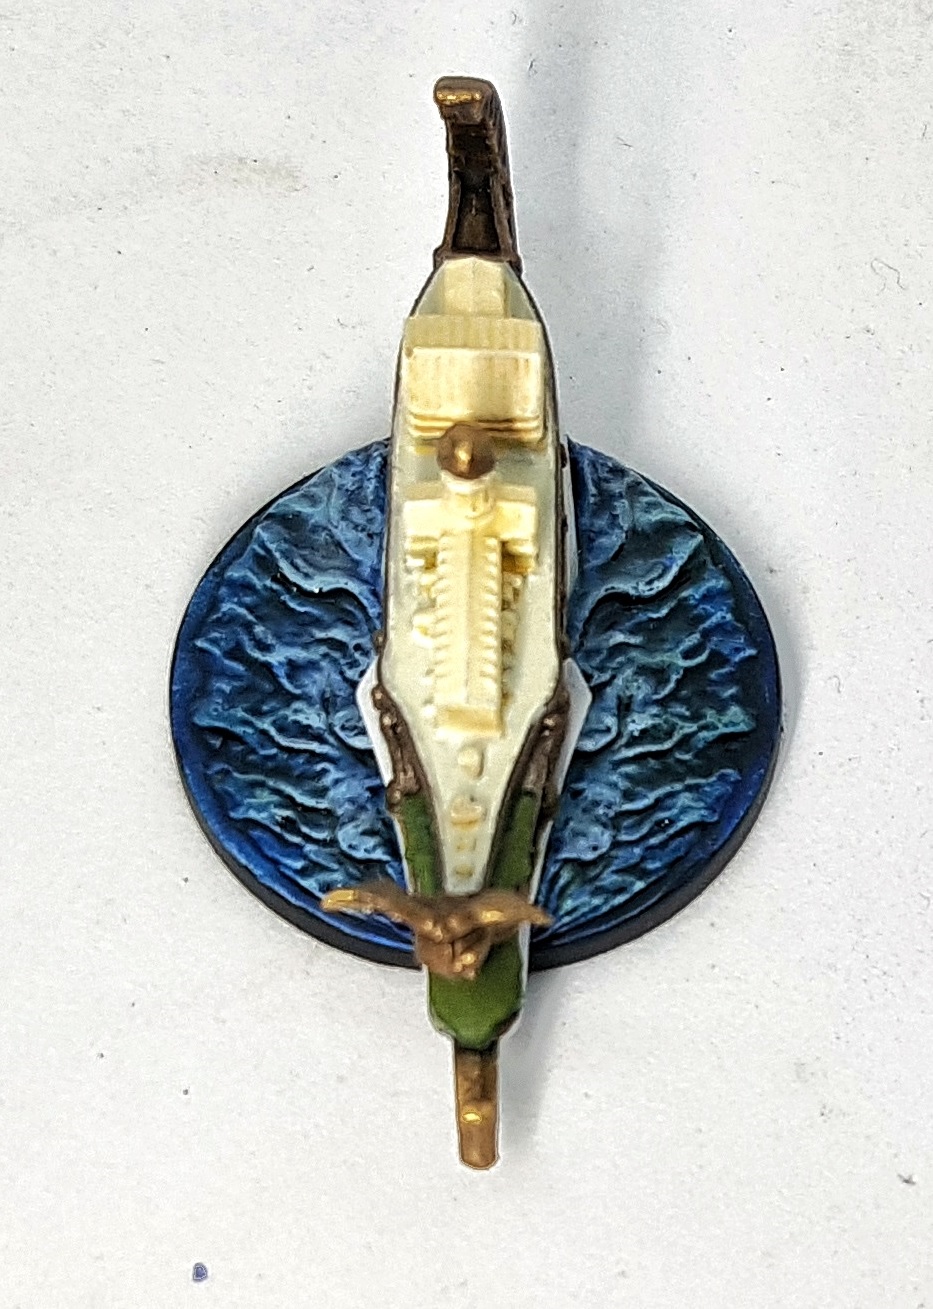
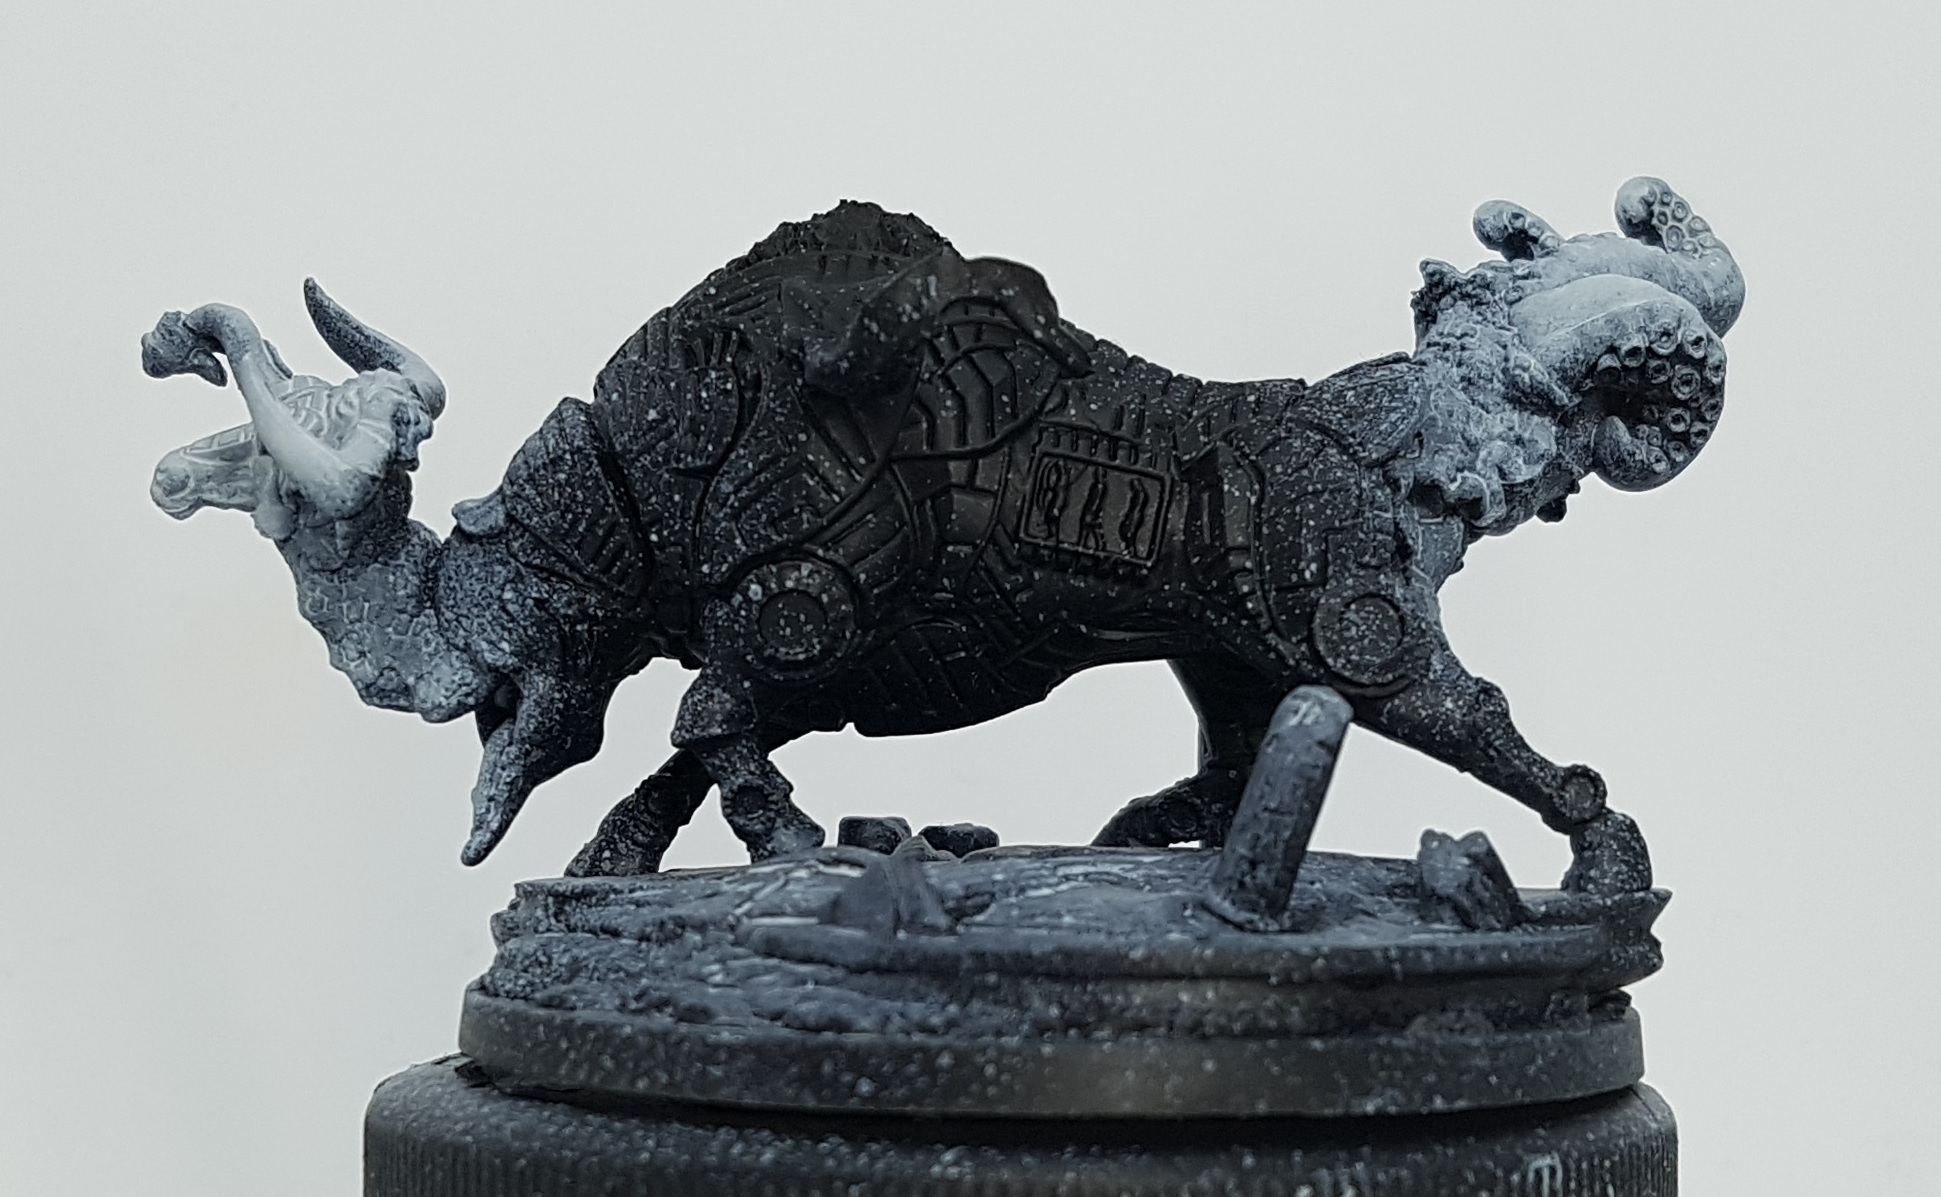
During the Kickstarter this model was pretty much just a metal bull, with a swappable part that I assume would have been organic. When I saw the renders I didn’t know what was going on, and was a little disappointed in the change. however, the more paint I got on this model, the more I loved it. It’s such a narrative piece. I’ve not read it’s lore, but you can tell what’s going on just by looking at it. Some sort of eldritch mollusc has climbed inside a giant hollow metallic bull and is wearing it like a hermit crabs shell.
 Labyrinthauros
Bronze:
Base: Darkstar Blackened Bronze
Drybrush: Darkstar Bronze
Wash all over: Secret Weapon Sewer Water
Drybrush: Darkstar Bronze
Drybrush: Darkstar Polished Copper
Drybrush: Darkstar Pale Gold
Targeted wash of Sewer Water to only the deepest regions.
Tentacle Flesh:
Base: P3 Troolblood Highlight, P3 Ryn Flesh & P3 Carnal Pink
Wash: Base +Traitor Green
Wash: Above+ Beaten Purple
Highlight: Ryn Flesh, Carnal Pink, and P3Menoth White Highlight
Blue Suckers:
Base: VMC 70.866 Turquoise
Highlight middle with VMC 70.808 Blue Green
Highlight middle by adding more and more Reaper 09150 Bloodless Skin or any other off-white to the Blue Green
Purple Flesh:
(All from Nocturna Malefic Flesh set)
Base: VMC 74.012 Maelific Flesh
Shade/Wash: VMC 74.011 Purple Shadow
Reclaim base
Highlight/Drybrush: VMC74.015 Pale Flesh
Highlight/Drybrus: VMC 74.016 White Flesh
Tongue and Teeth:
The tongue was already coated as a result of the Purple Flesh layer, so I just washed it with GW Carrouburg Crimson and the highlighted it with thinned Ryn Flesh. the Teeth where painted with P3 Menoth White Base and highlighted with P3 Menoth White Highlight.
Banner White:
Base: Andrea Color White 1 Base
Pinwash the runes with Jan’s Magimix (6-8 Parts GW Nuln Oil, 6-8 Parts GW Agrax Earthshade, 5-6 Parts Lahmium Medium, 2 parts Athonian Camoshade)
Shade: Andrea Color White 6, 2nd Shadow
Shade: Andrea Color White 6, 2nd Shadow mixed with White Base
Reclaim base colours where needed
Highlight: Andrea Color White 3, 2nd Light mixed with base
Highlight: Andrea Color White 3, 2nd Light
Highlight: Andrea Color White 3, 2nd Light mixed with P3 Morrow White
Tree Canopy:
Base: P3 Gnarls Green
Wash: AP Green Tone Wash
Drybrush P3 Bog Moss
Drybrush: P3 Wyrm Green
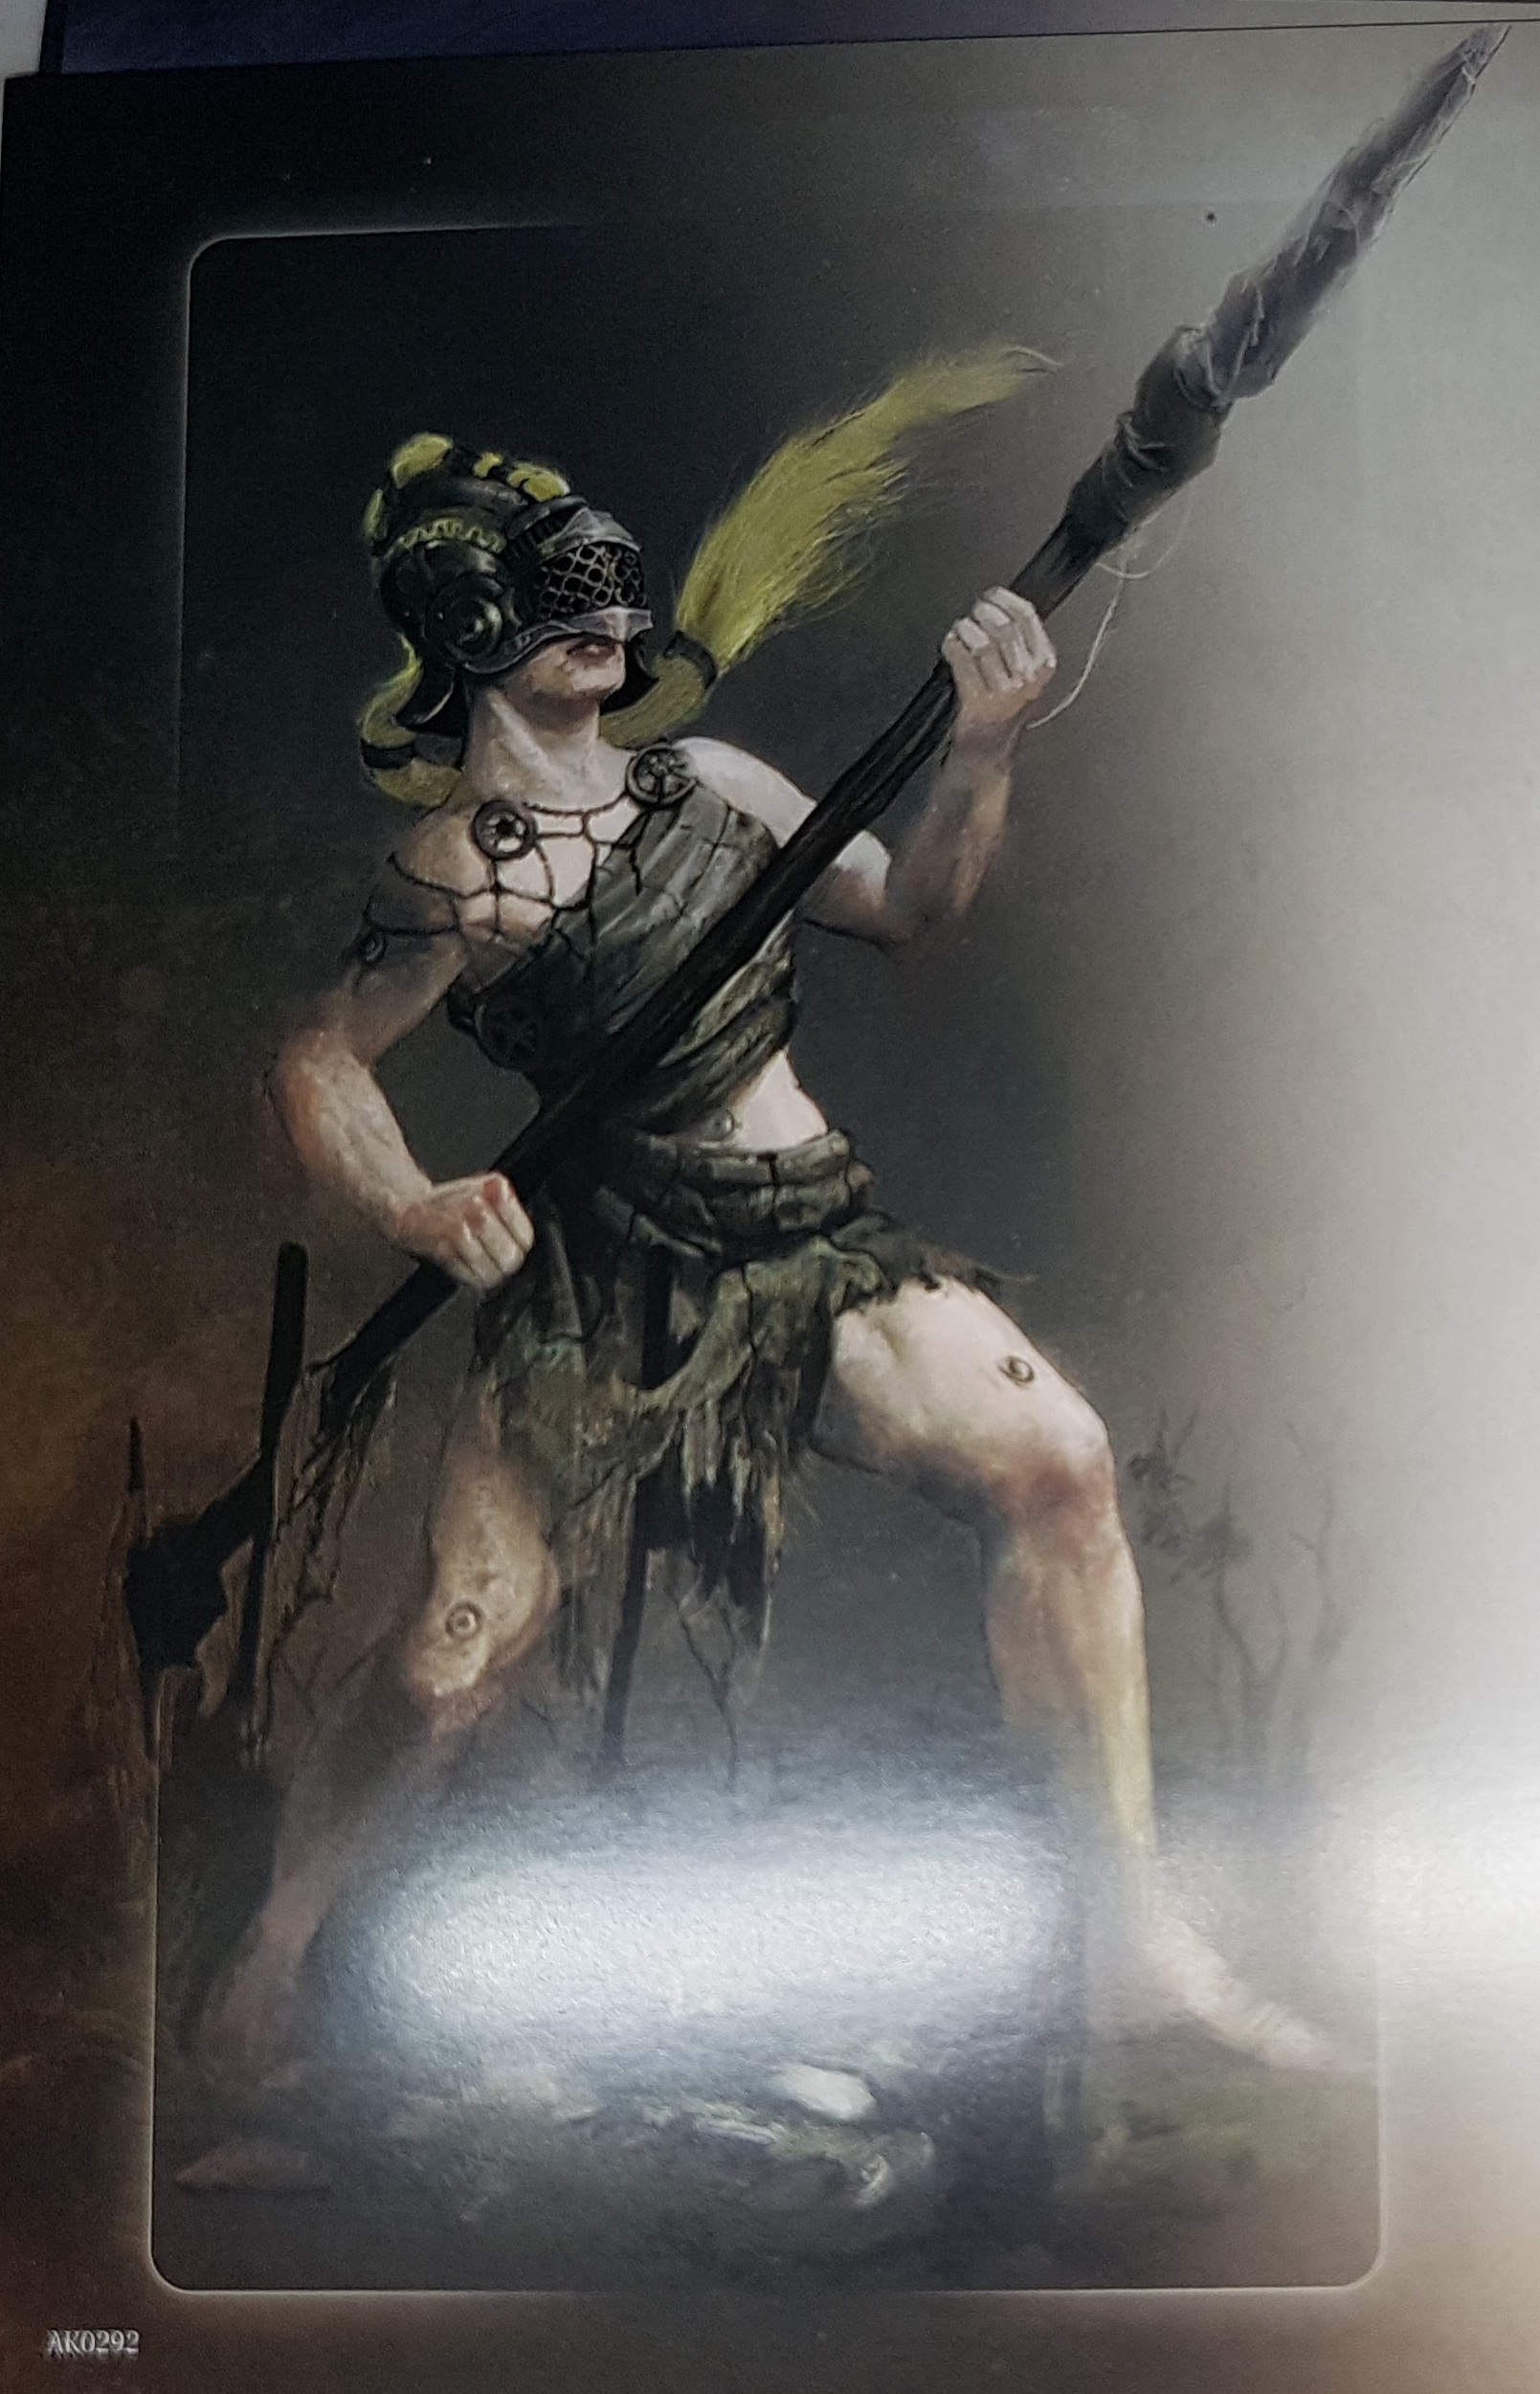
Prologue: Hekaton
Flesh Tones:
Undercoat with Reaper 29828 Woodland Brown for deep shade. Airbrushed into areas I’ll never get a brush in to
Base: Reaper 9044 Tanned Skin
Shade: Reaper 9043 Tanned Shadow
Highlight: Reaper 9045 Tanned Highlight
Stone Hands:
Base: VMC 70.869 Basalt Grey Airbrushed on for transition. Do after flesh base colour but before detail so you can fix unwanted overspray
Drybrush: P3 Jack Bone, maybe even P3 Menoth White Base
Wash: GW Nuln Oil
Revisit drybrushing if desired
Finger Nails:
Base: P3 Cryx Bane Base
Highlight with thin thinned lines of P3 Hammerfal Khaki and P3 Sickly Skin. Leave very little of the base showing through
Glaize over with some Tanned Highlight flesh colour
Eyes:
Undercoat white
Base: VMC 70.733 Orange Fluoro
Rim the inside walls of the eye sockets with thinned P3 Khador Red Base
Paint a white dot at the centre of each eye
Paint over the white dot and some surrounding area with a mix of White and Orange Fluoro
Brown Cows:
Base: P3 Idrian Flesh
Shade: P3 Battlefield Brown
Highlight: P3 Bloodstone
Highlight2: Bloodstone mixed with P3 Hammerfall Khaki
White Cows:
??? I could have sworn I kept good photographic records of every recipe I used, but I seem to have some blanks. I seem to have painted them around the same time as the banners on the bull, so here’s that recipe. It might be what I did.
Base: Andrea Color White 1 Base
Shade: Andrea Color White 6, 2nd Shadow
Shade: Andrea Color White 6, 2nd Shadow mixed with White Base
Reclaim base colours where needed
Highlight: Andrea Color White 3, 2nd Light mixed with base
Highlight: Andrea Color White 3, 2nd Light
Highlight: Andrea Color White 3, 2nd Light mixed with P3 Morrow White
Rope:
Base: P3 Rucksack Tan
Wash: GW Agrax Earthshade
High: Rucksack Tan
High: P3 Hammerfall Khaki
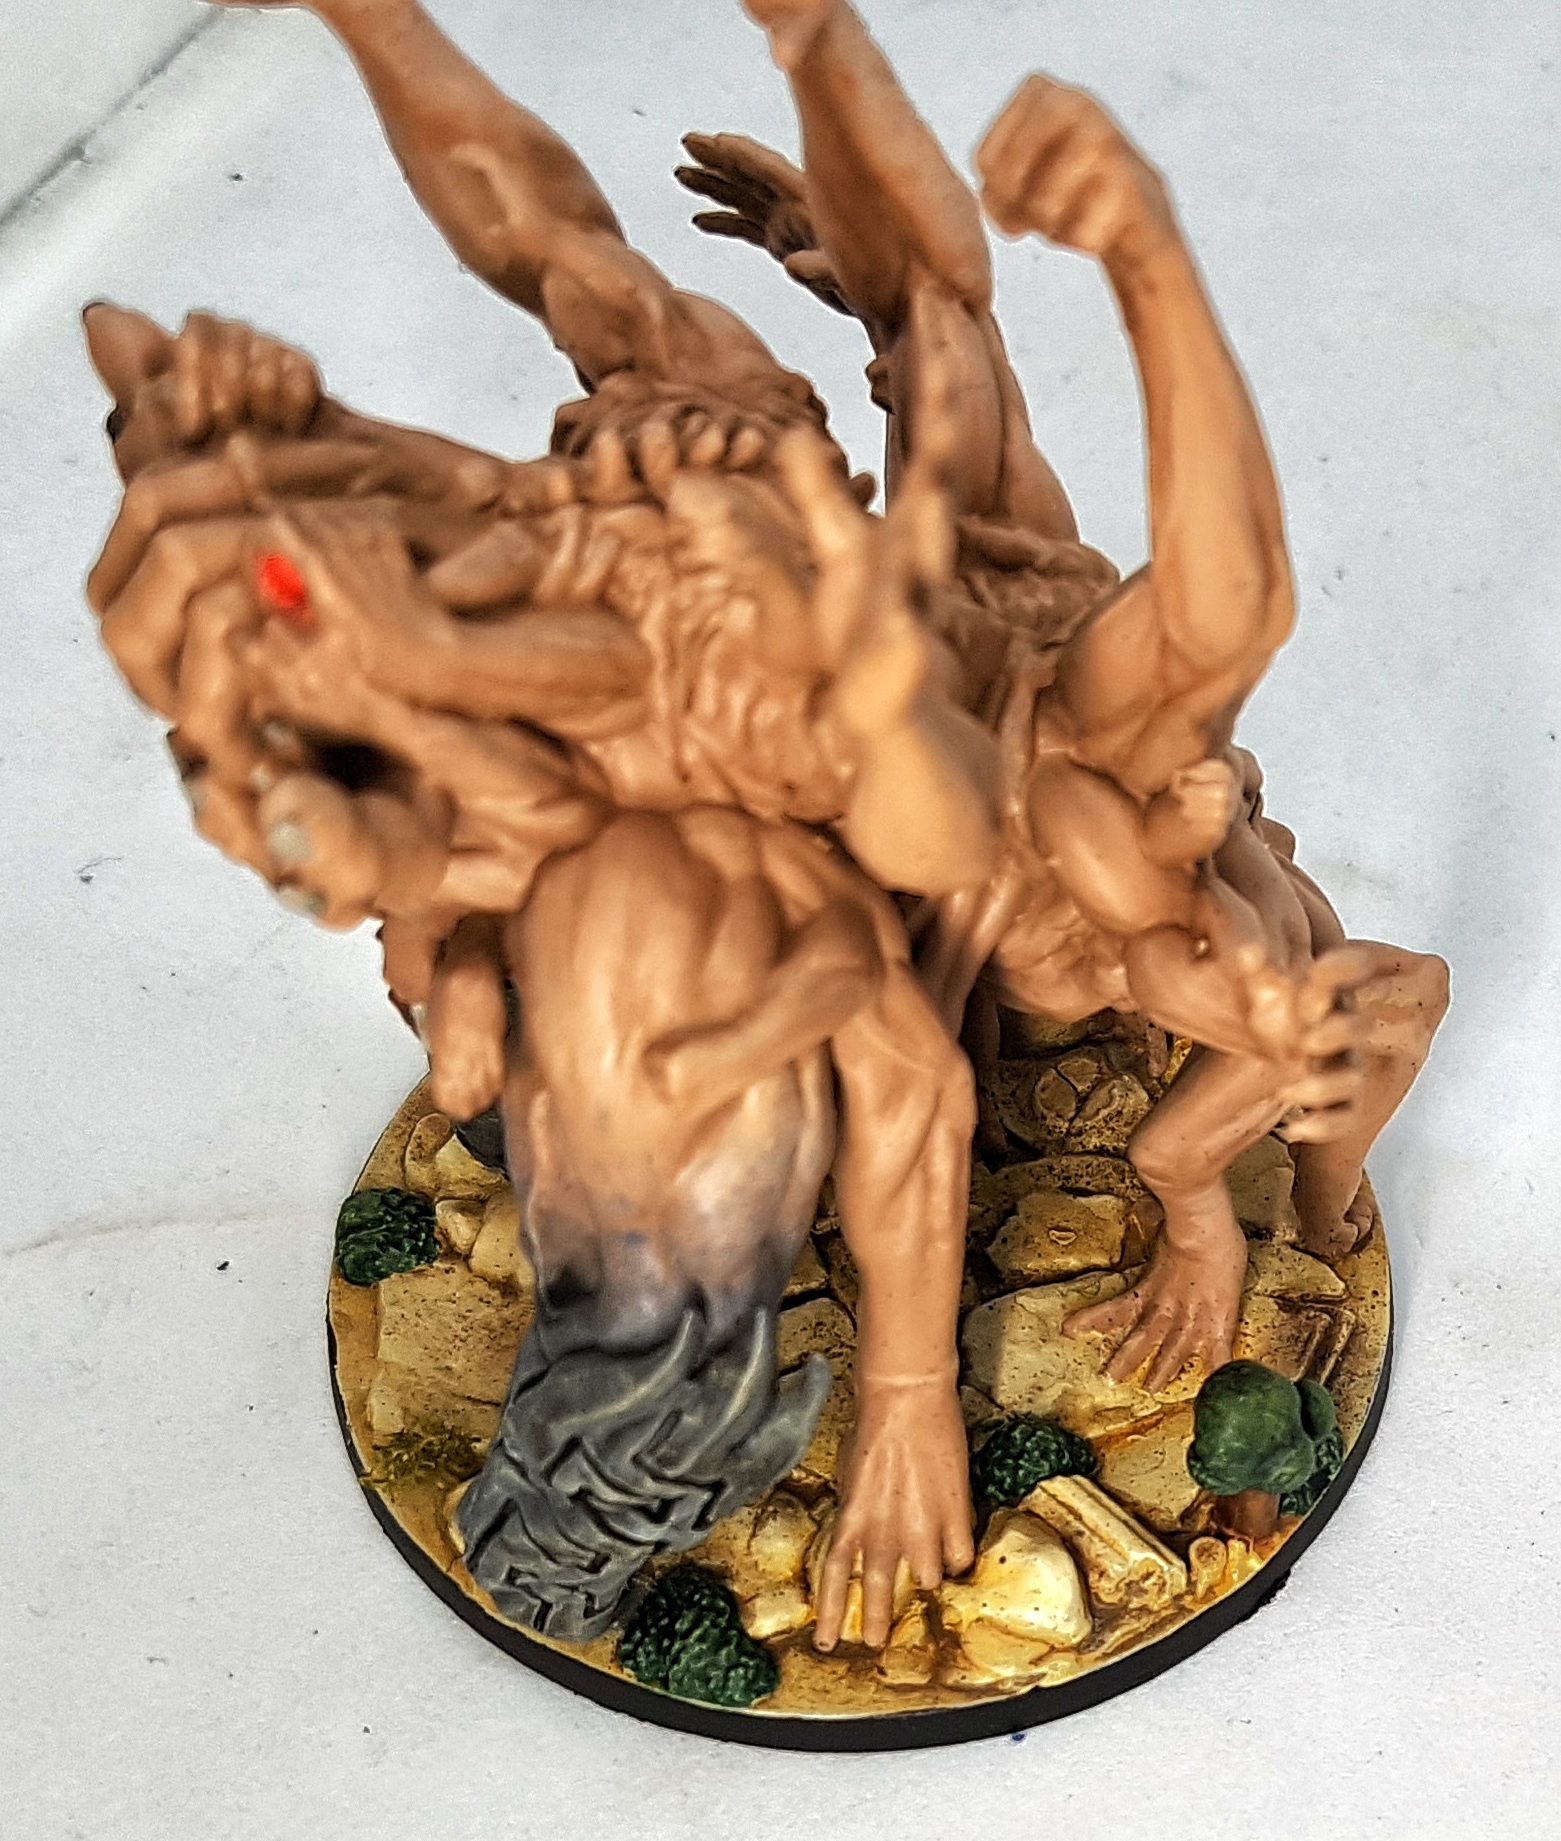
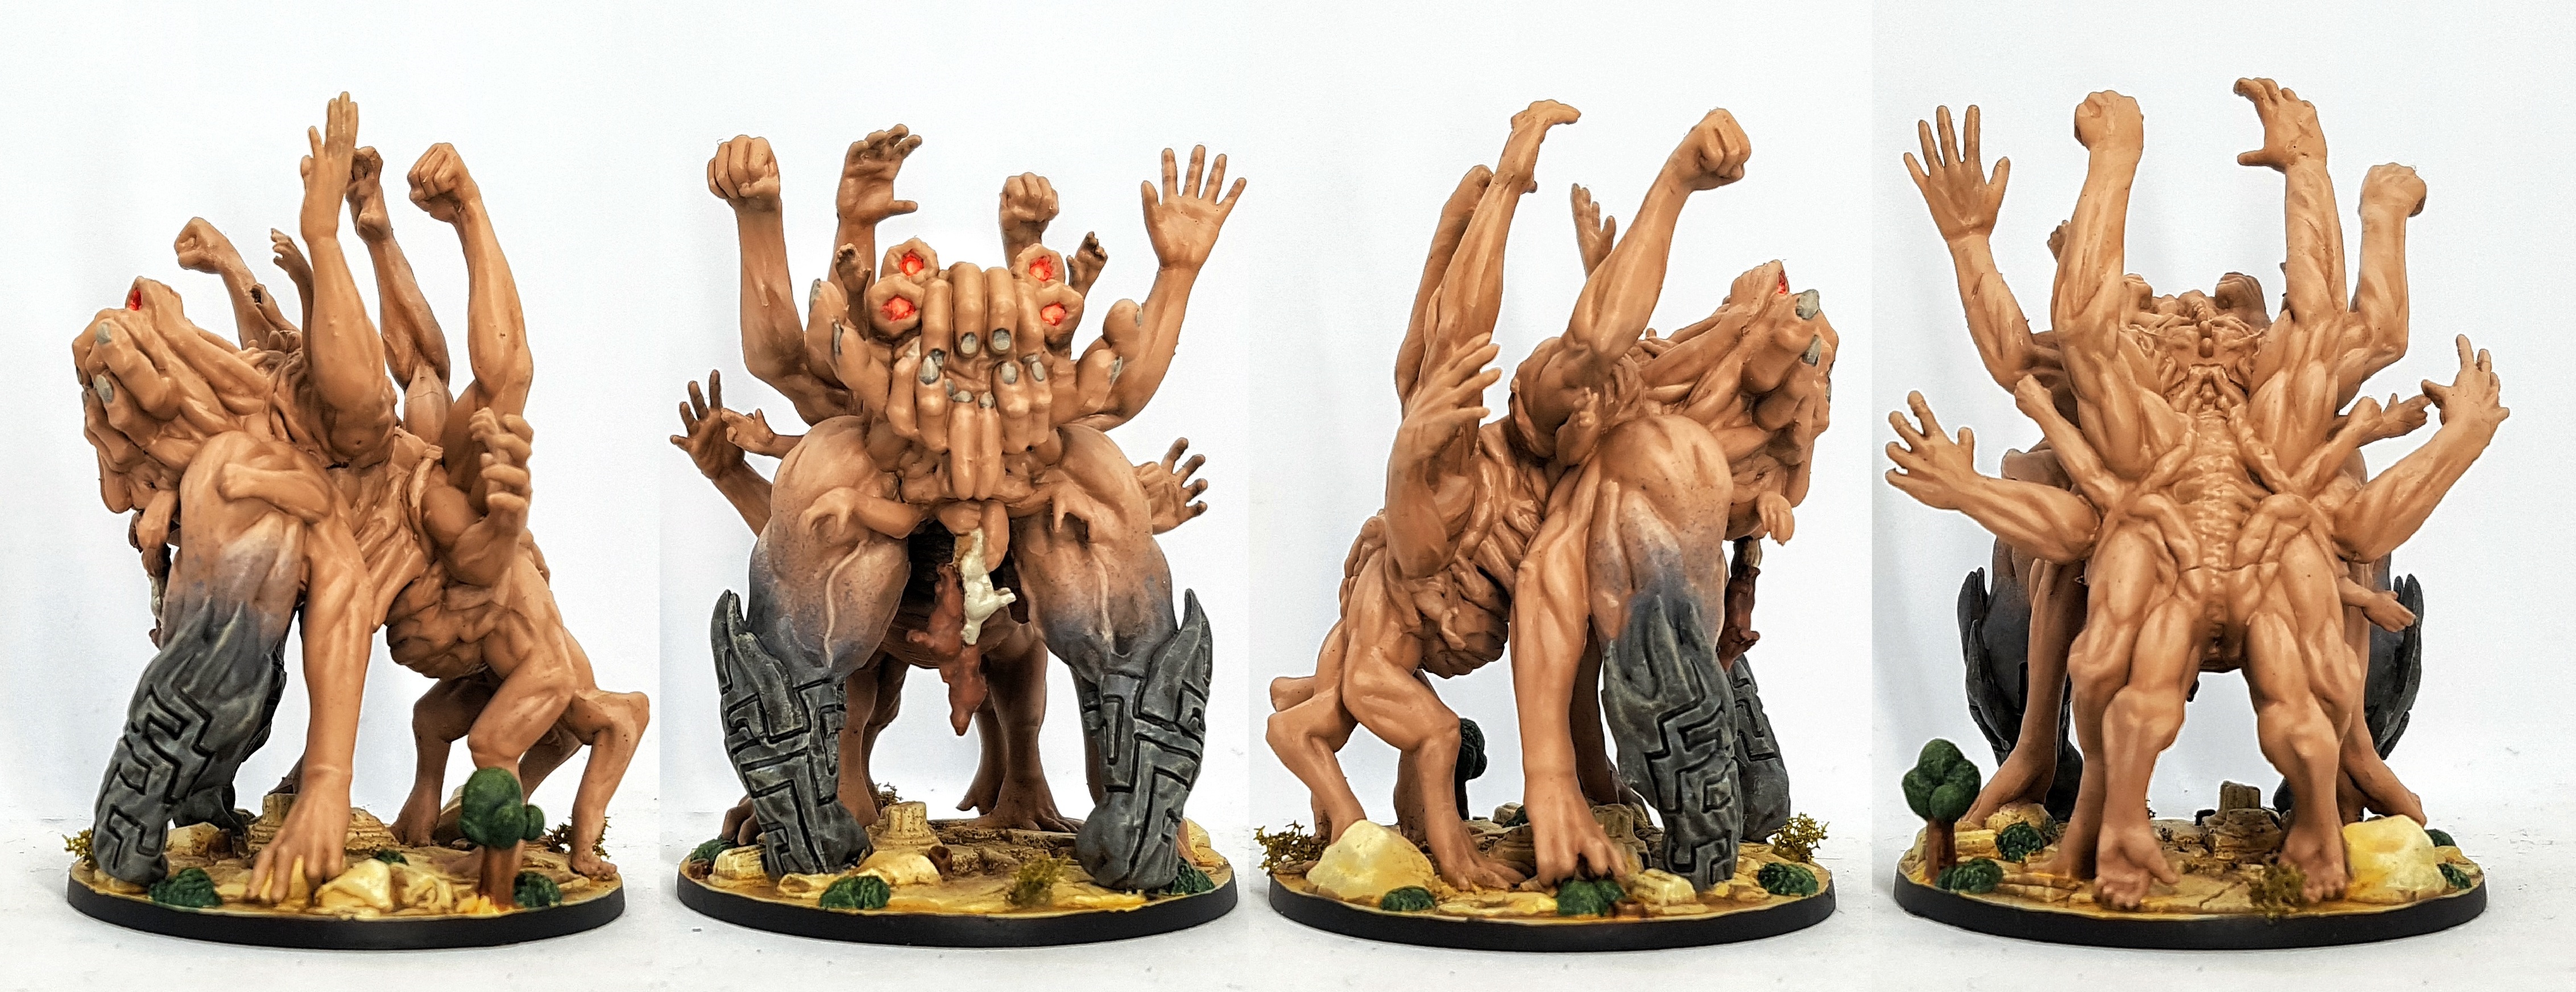 Hekaton
Basing
These models come preassembled. They’re already glued on their bases and sometimes they are moulded to their base so there’s no chance of safely removing them. As such, the basing scheme for the game needs to be simple and easy to apply as access is going to be frustratingly difficult at times (I’m looking at you, Hekaton!) I could have just repeated my Kingdom Death basing scheme, but I wanted to do something different. I want these to look different, and it’s an opportunity to try and learn something new. Add another tool to my toolbox.
So, yes. Two different basing schemes needed, at least for now. Mythical Greek era landscape, and sea. Let’s start with the sea. I didn’t know how to paint a sea scheme so I searched the project system for Dystopian Wars content hoping to find a guide. I found these examples by BritishLegion which intrigued me. He had no guide, but I followed his videos back to his Youtube channel and found this video. I didn’t have all the exact paints he did so I subbed out as follows:
Sea Base Guide:
Base: Vallejo Dark Prussian Blue
Drybrush: Ammo Dio Drybrush Medium Blue 0614 from the rear towards the front
Wash: Army Painter Green Tone Wash
Drybrush: P3 Morrow White from the rear towards the front
Finished with a coat of gloss varnish
There is directionally to the drybrushing so watch his video to understand it.
I was really impressed by how this came out, and it takes no effort at all. Thanks, @BritishLegion
On to the land bases. I like that they’re sculpted. It saves me having to decorate them and gives me details I’d never get myself. However, I hate hate HATE working with preassembled models and painted this bases is one of the reasons. It’s impossible for me to get a brush under the Hekaton with any degree of control so I can’t pick out any of the detail. I need to work with messy techniques and paint the base first, and trust the mess will do my work for me. So here’s what I did:
Land Base Guide:
Base: Army Painter Troll Claws Mixed With Army Painter Arid Earth
Drybrush: Arid Earth
Drybrush: White to pillars and manmade objects, and perhaps anything with sharp edges
Wash: Troll Claws to recesses only on manmade structures
Repeat drybrushes to taste
Once based, I then mixed up a solution of water, Lahmium medium, and Brokentoad’s Grimy Dirt pigment and applied it randomly around the base, avoiding the standing pillars.. I kept it watery and trusted the flow to do my work for me. I then returned with the previous drybrush step wherever I wanted it.
Tree Trunks:
Base: Scalecolour Brown Leather
Wash: Scalecolour Inktense Wash
Drybrush: Coat d’Arms Horse Tone Bay
The plants:
Base: P3 Gnarls Green
Wash: AP Green Tone Wash
Drybrush P3 Bog Moss
Drybrush: P3 Wyrm Green
I then painted the models. Before varnishing, I came back and attacked the bases with two dry pigment powders. I switched back and forth between rubbing them in with a drybrush, and just tapping the powers off the brush and letting it land where it falls. (Wear a mask to stop your breath moving it around!). I then sealed it in with airbrushed varnish, which will change how it sits and looks. Some sponge bushes were added for a final touch, and to break up the off-white stone.
Final Basing Pigment Rub/Tap
Vallejo 73.111 Green Earth
Vantage Modelling Solutions Spot On Pigments 02 EU Brown Earth, A
Spoge Bushes
Serious Play Old Dry Leafy Scrub Foliage
Brown Cows:
Base: P3 Idrian Flesh
Shade: P3 Battlefield Brown
Highlight: P3 Bloodstone
Highlight2: Bloodstone mixed with P3 Hammerfall Khaki
White Cows:
??? I could have sworn I kept good photographic records of every recipe I used, but I seem to have some blanks. I seem to have painted them around the same time as the banners on the bull, so here’s that recipe. It might be what I did.
Base: Andrea Color White 1 Base
Shade: Andrea Color White 6, 2nd Shadow
Shade: Andrea Color White 6, 2nd Shadow mixed with White Base
Reclaim base colours where needed
Highlight: Andrea Color White 3, 2nd Light mixed with base
Highlight: Andrea Color White 3, 2nd Light
Highlight: Andrea Color White 3, 2nd Light mixed with P3 Morrow White
Update 4/4/25
With the Babelian Lunacy here I’ve come up with a new stone recipe to make that tower stand out from it’s base. If I was to start C1-3 again, I’d consider using this recipe for any statues or buildings on any base or model.
Stone Tower
Base: VMC 70.981 Orange Brown
Airbrush Zenithal & Side on spray: VMC 70.819 Iraqui Sand
Drybrush: VMC 70.819 Iraqui Sand mixed with Italeri FS36622 Flat Gull Grey
Drybrush: Italeri FS36622 Flat Gull Grey
Drybrush: Italeri FS36622 Flat Gull Grey Mixed with White
Drybrush: White on just the sharpest edges
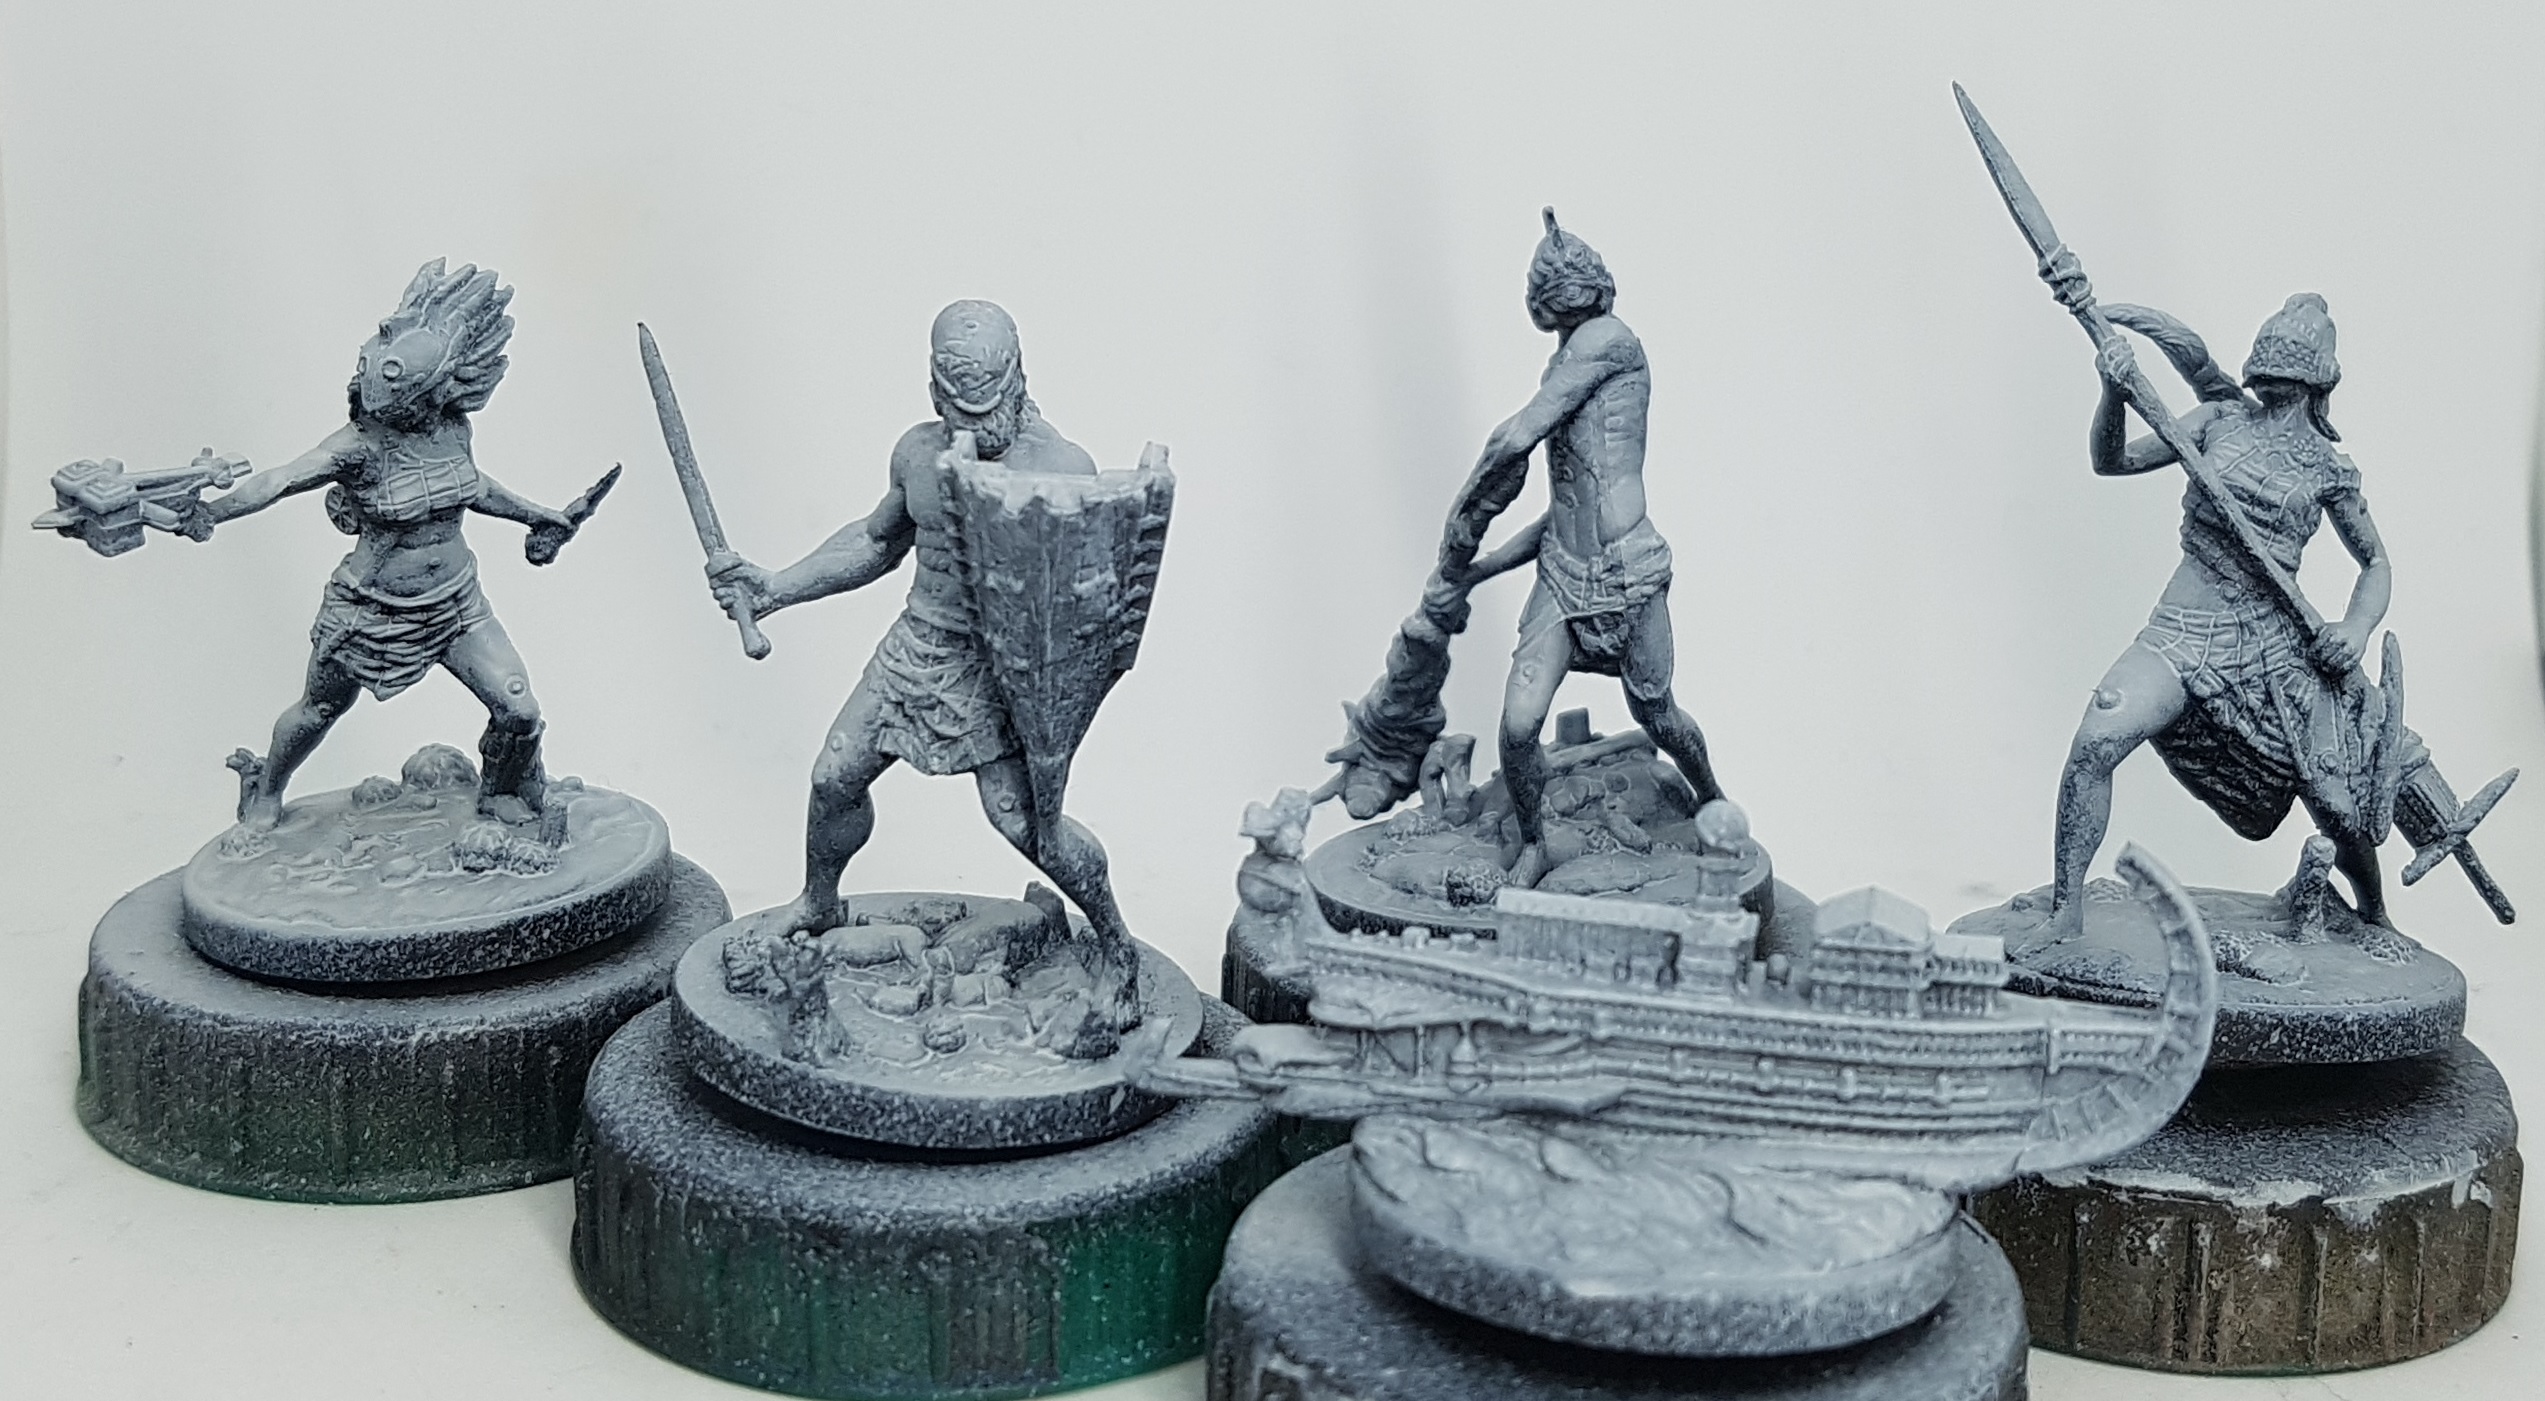
Prelude Prep
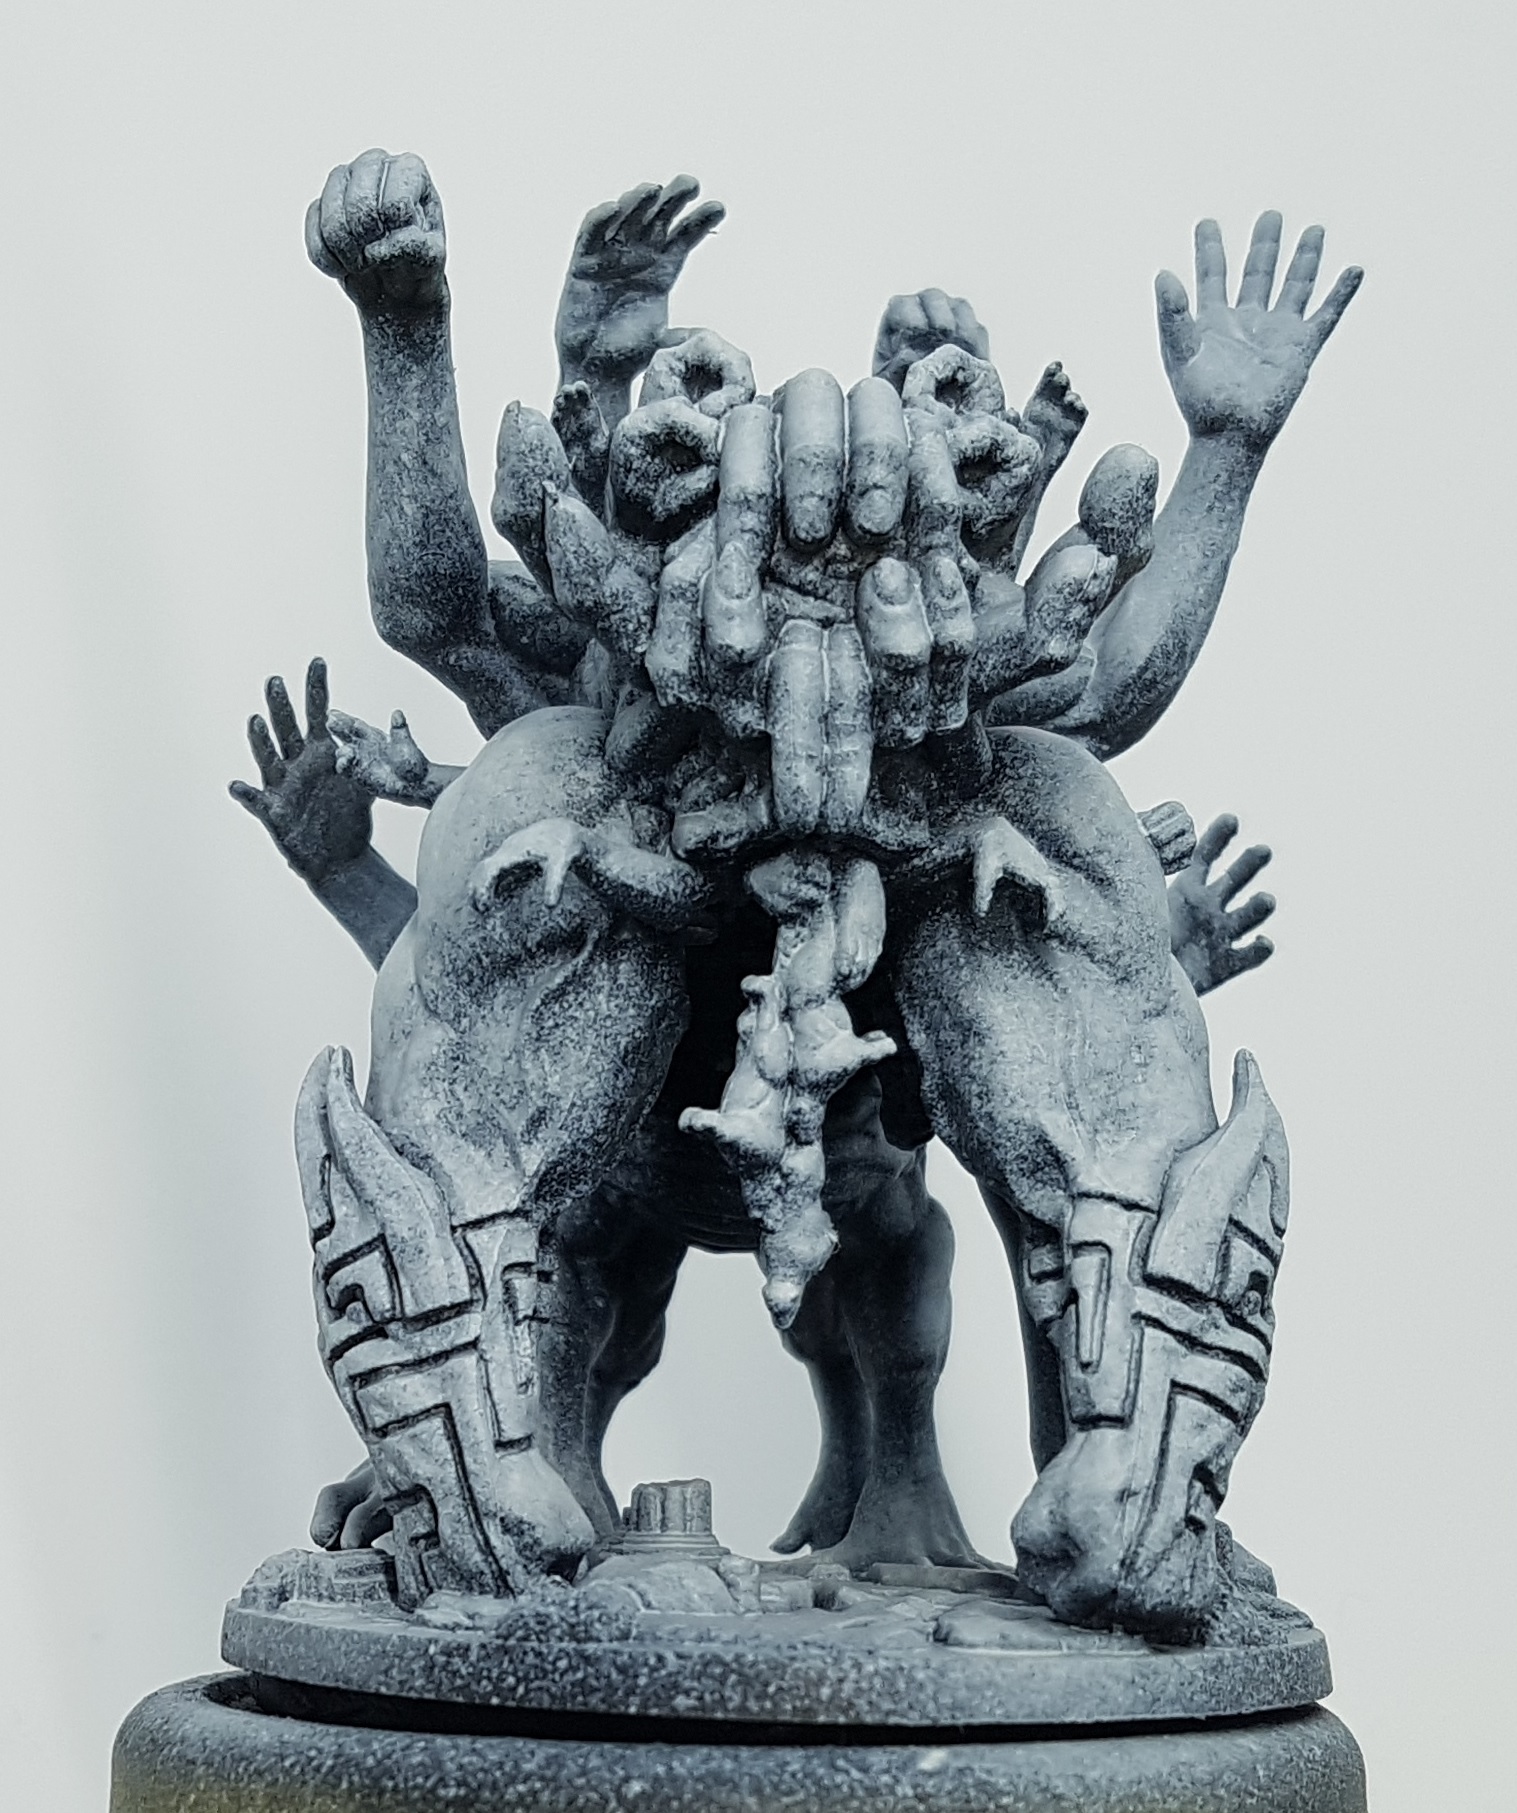
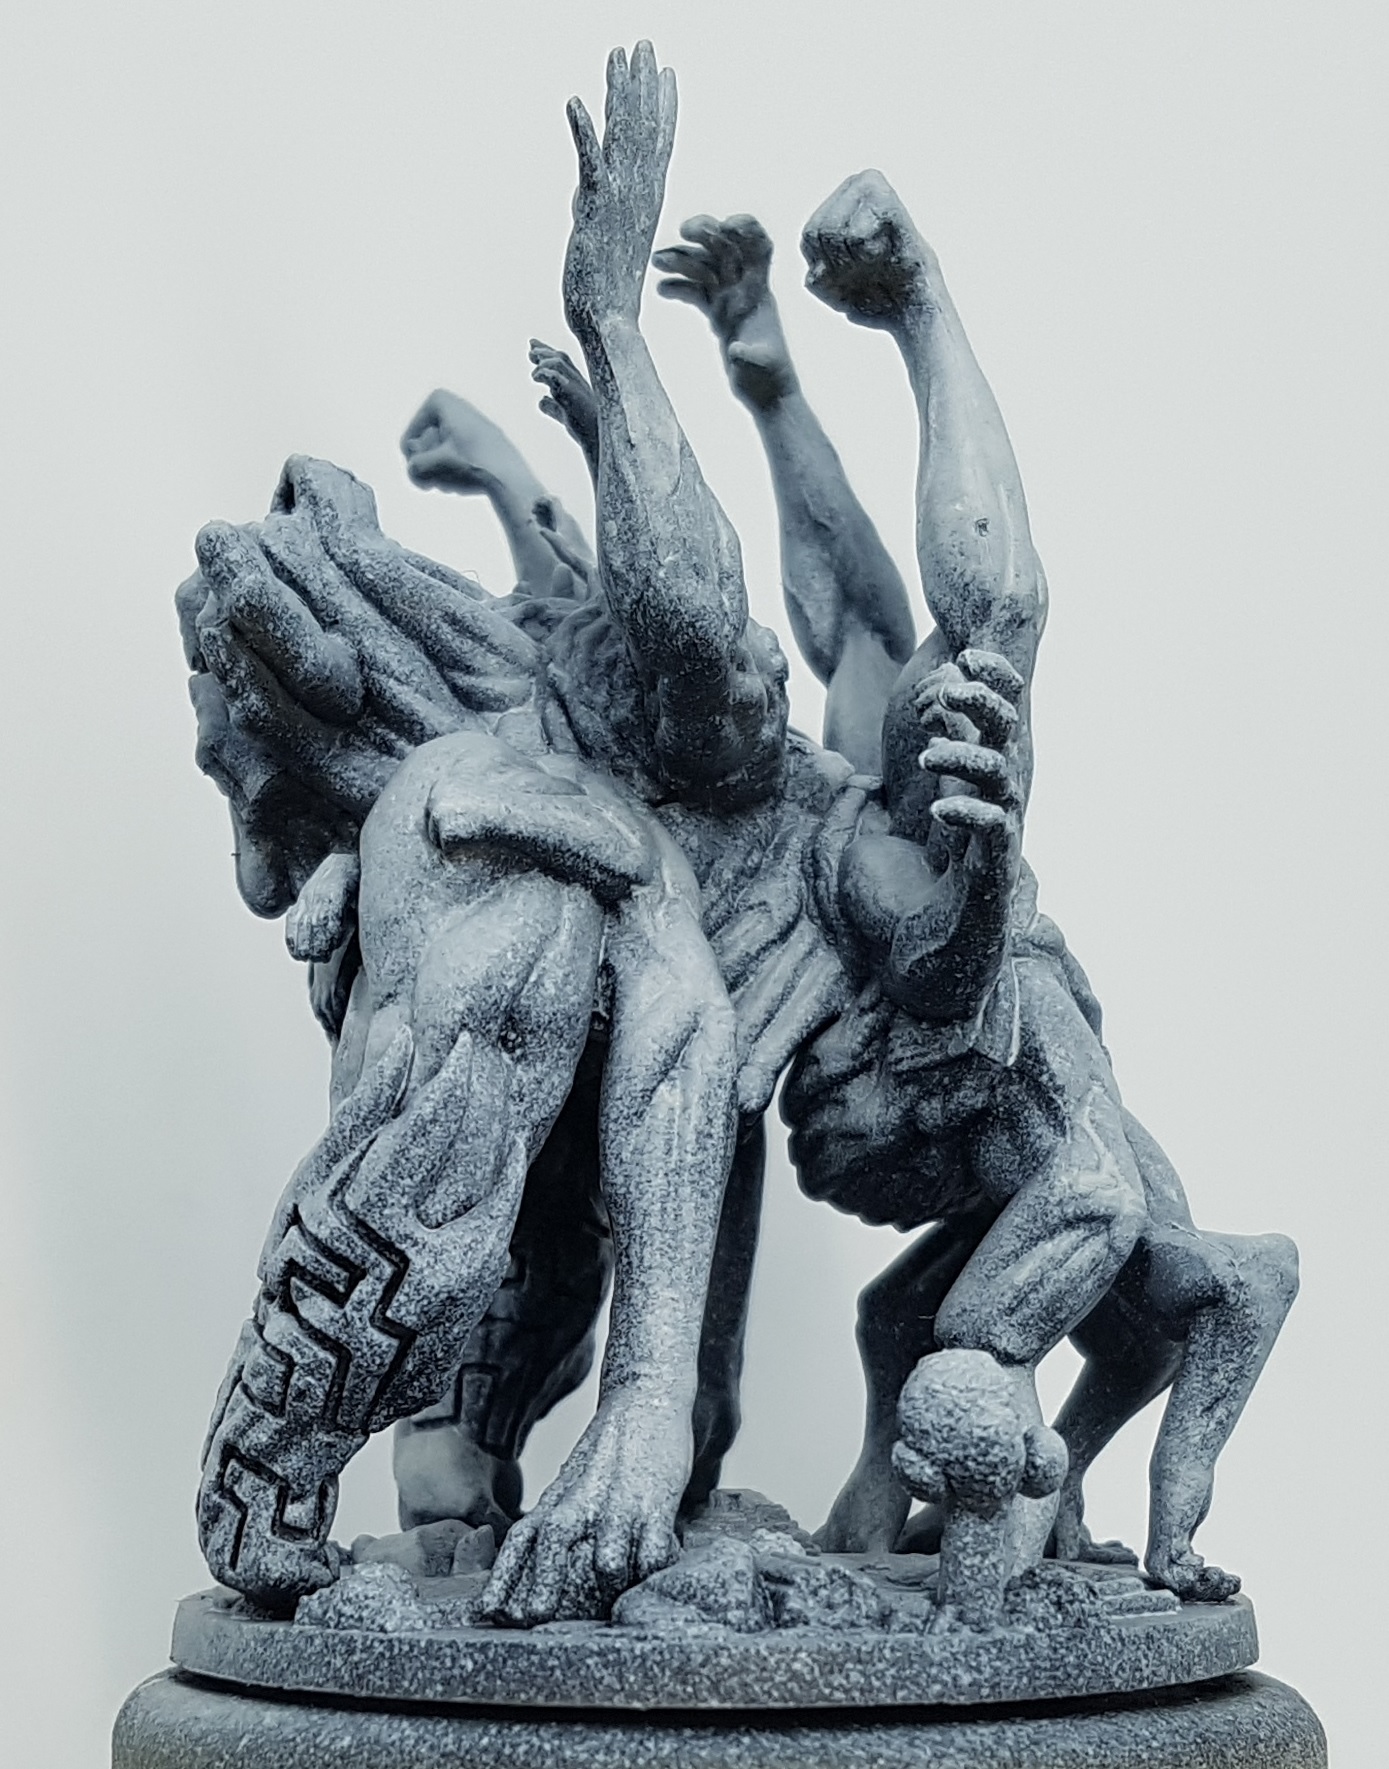
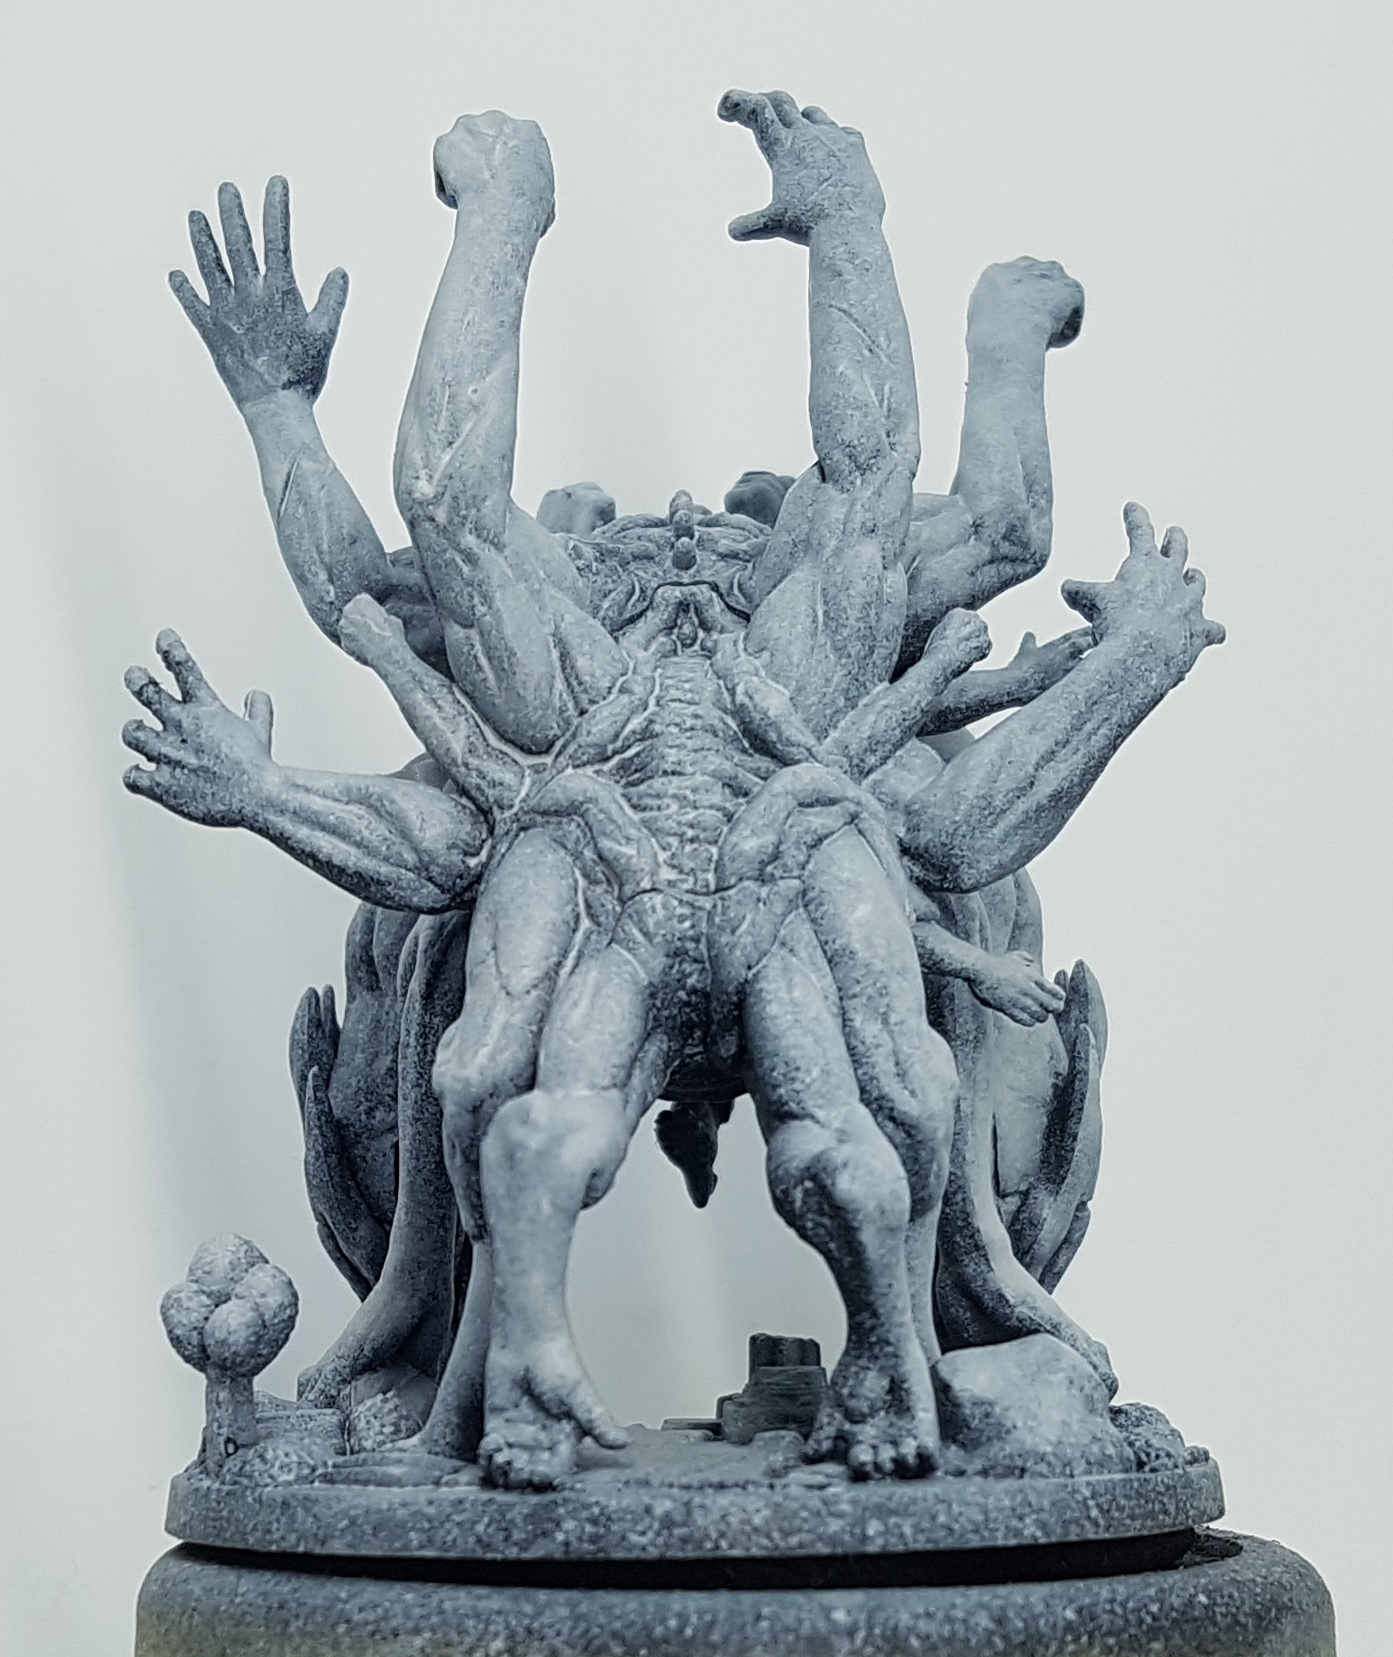
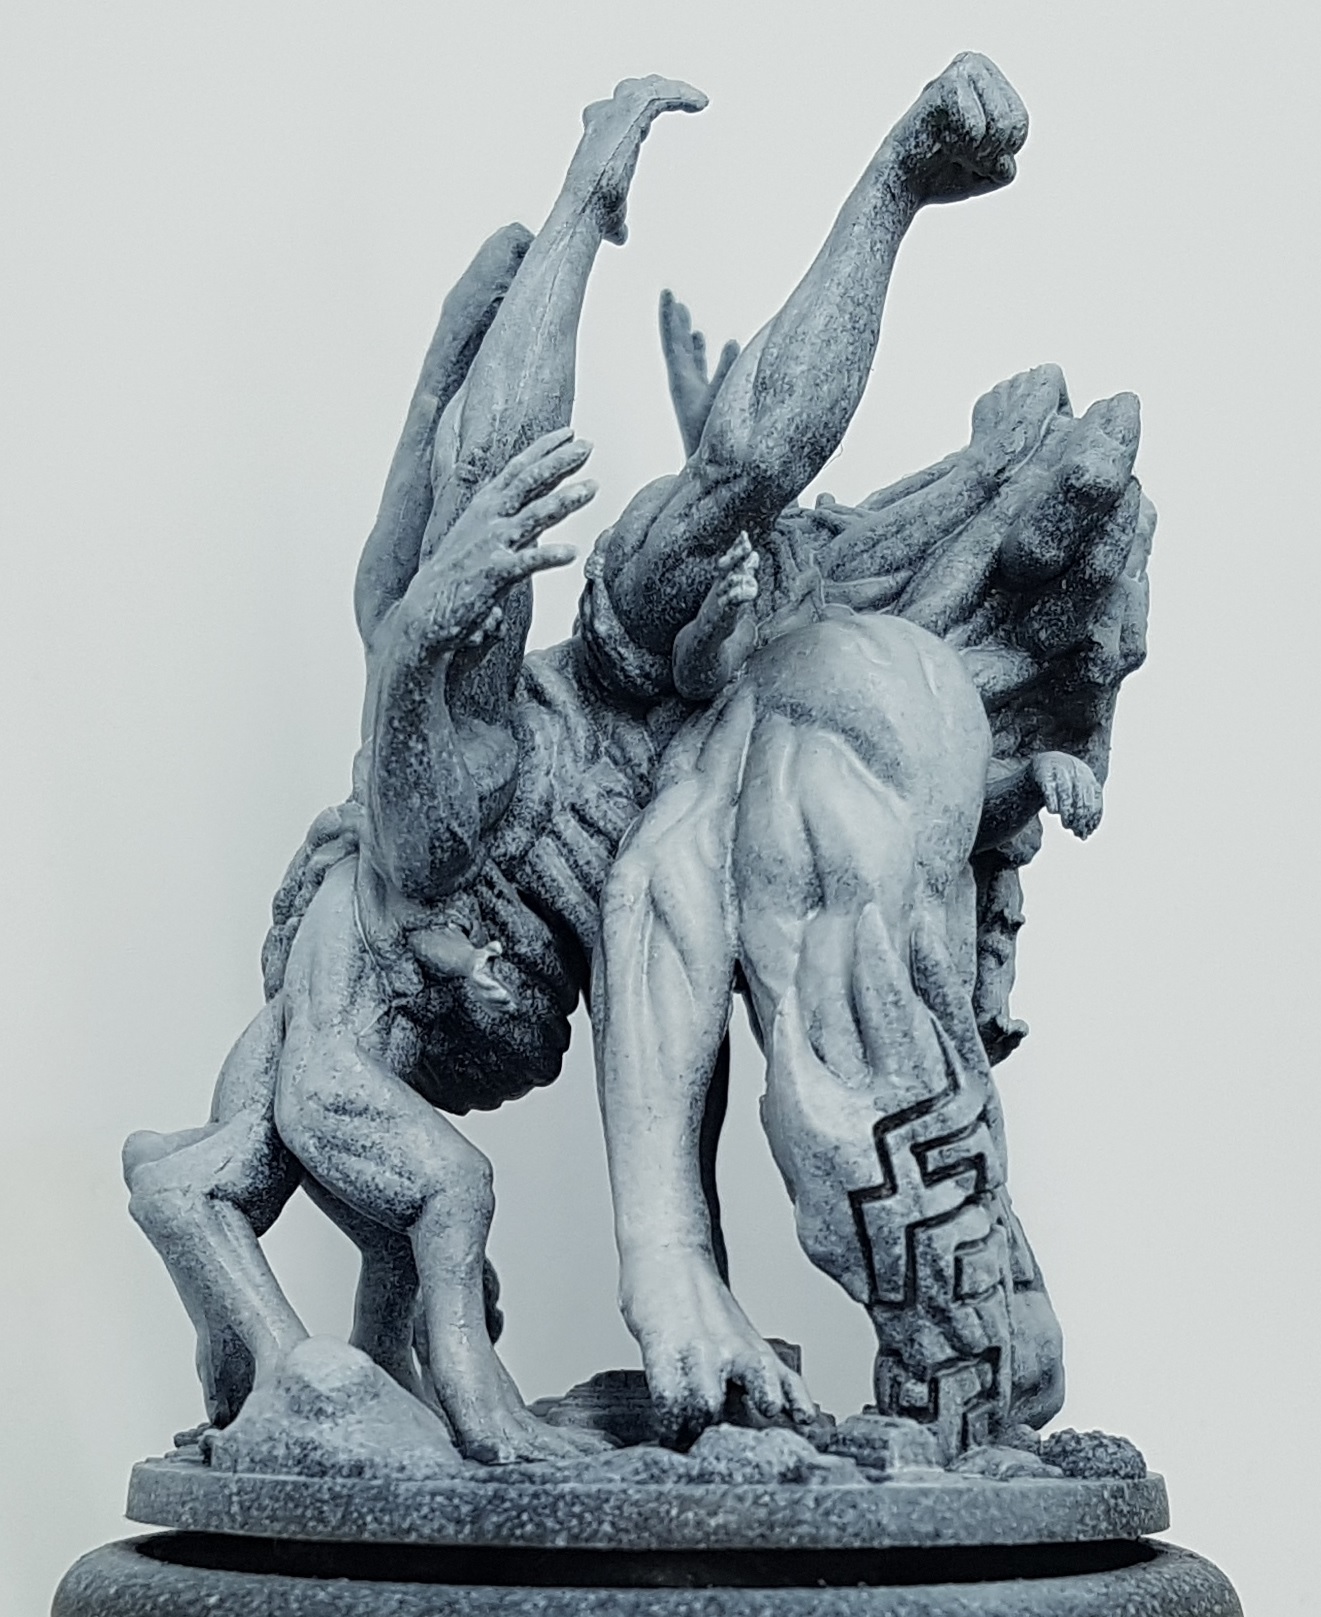
I found some time to clean up and prime the Prelude minis this weekend. I should still finish off the KDM minis on my desk first, but this buys them time for the primer to dry, and gets them ready for a base colour the next time the airbrush comes out. So far, I’d have to say I’m happy with the the mold lines. The exist and need cleaning off, but I’ve seen worse. There are times their placement is frustrating. For example, they run across the “face” of the Hekaton in an annoying way, and they run through some shallow but busy detail around the “neck” of the Labyrinthauros. The detail there is shallow enough I fear it might get lost in paint, but we will see. I forgot to give the joins a good look over, but the fact that none of them got my attention is promising.
EDIT: Yes, I see that mold line on the raised Hekaton arm. I’ll deal with it tonight.
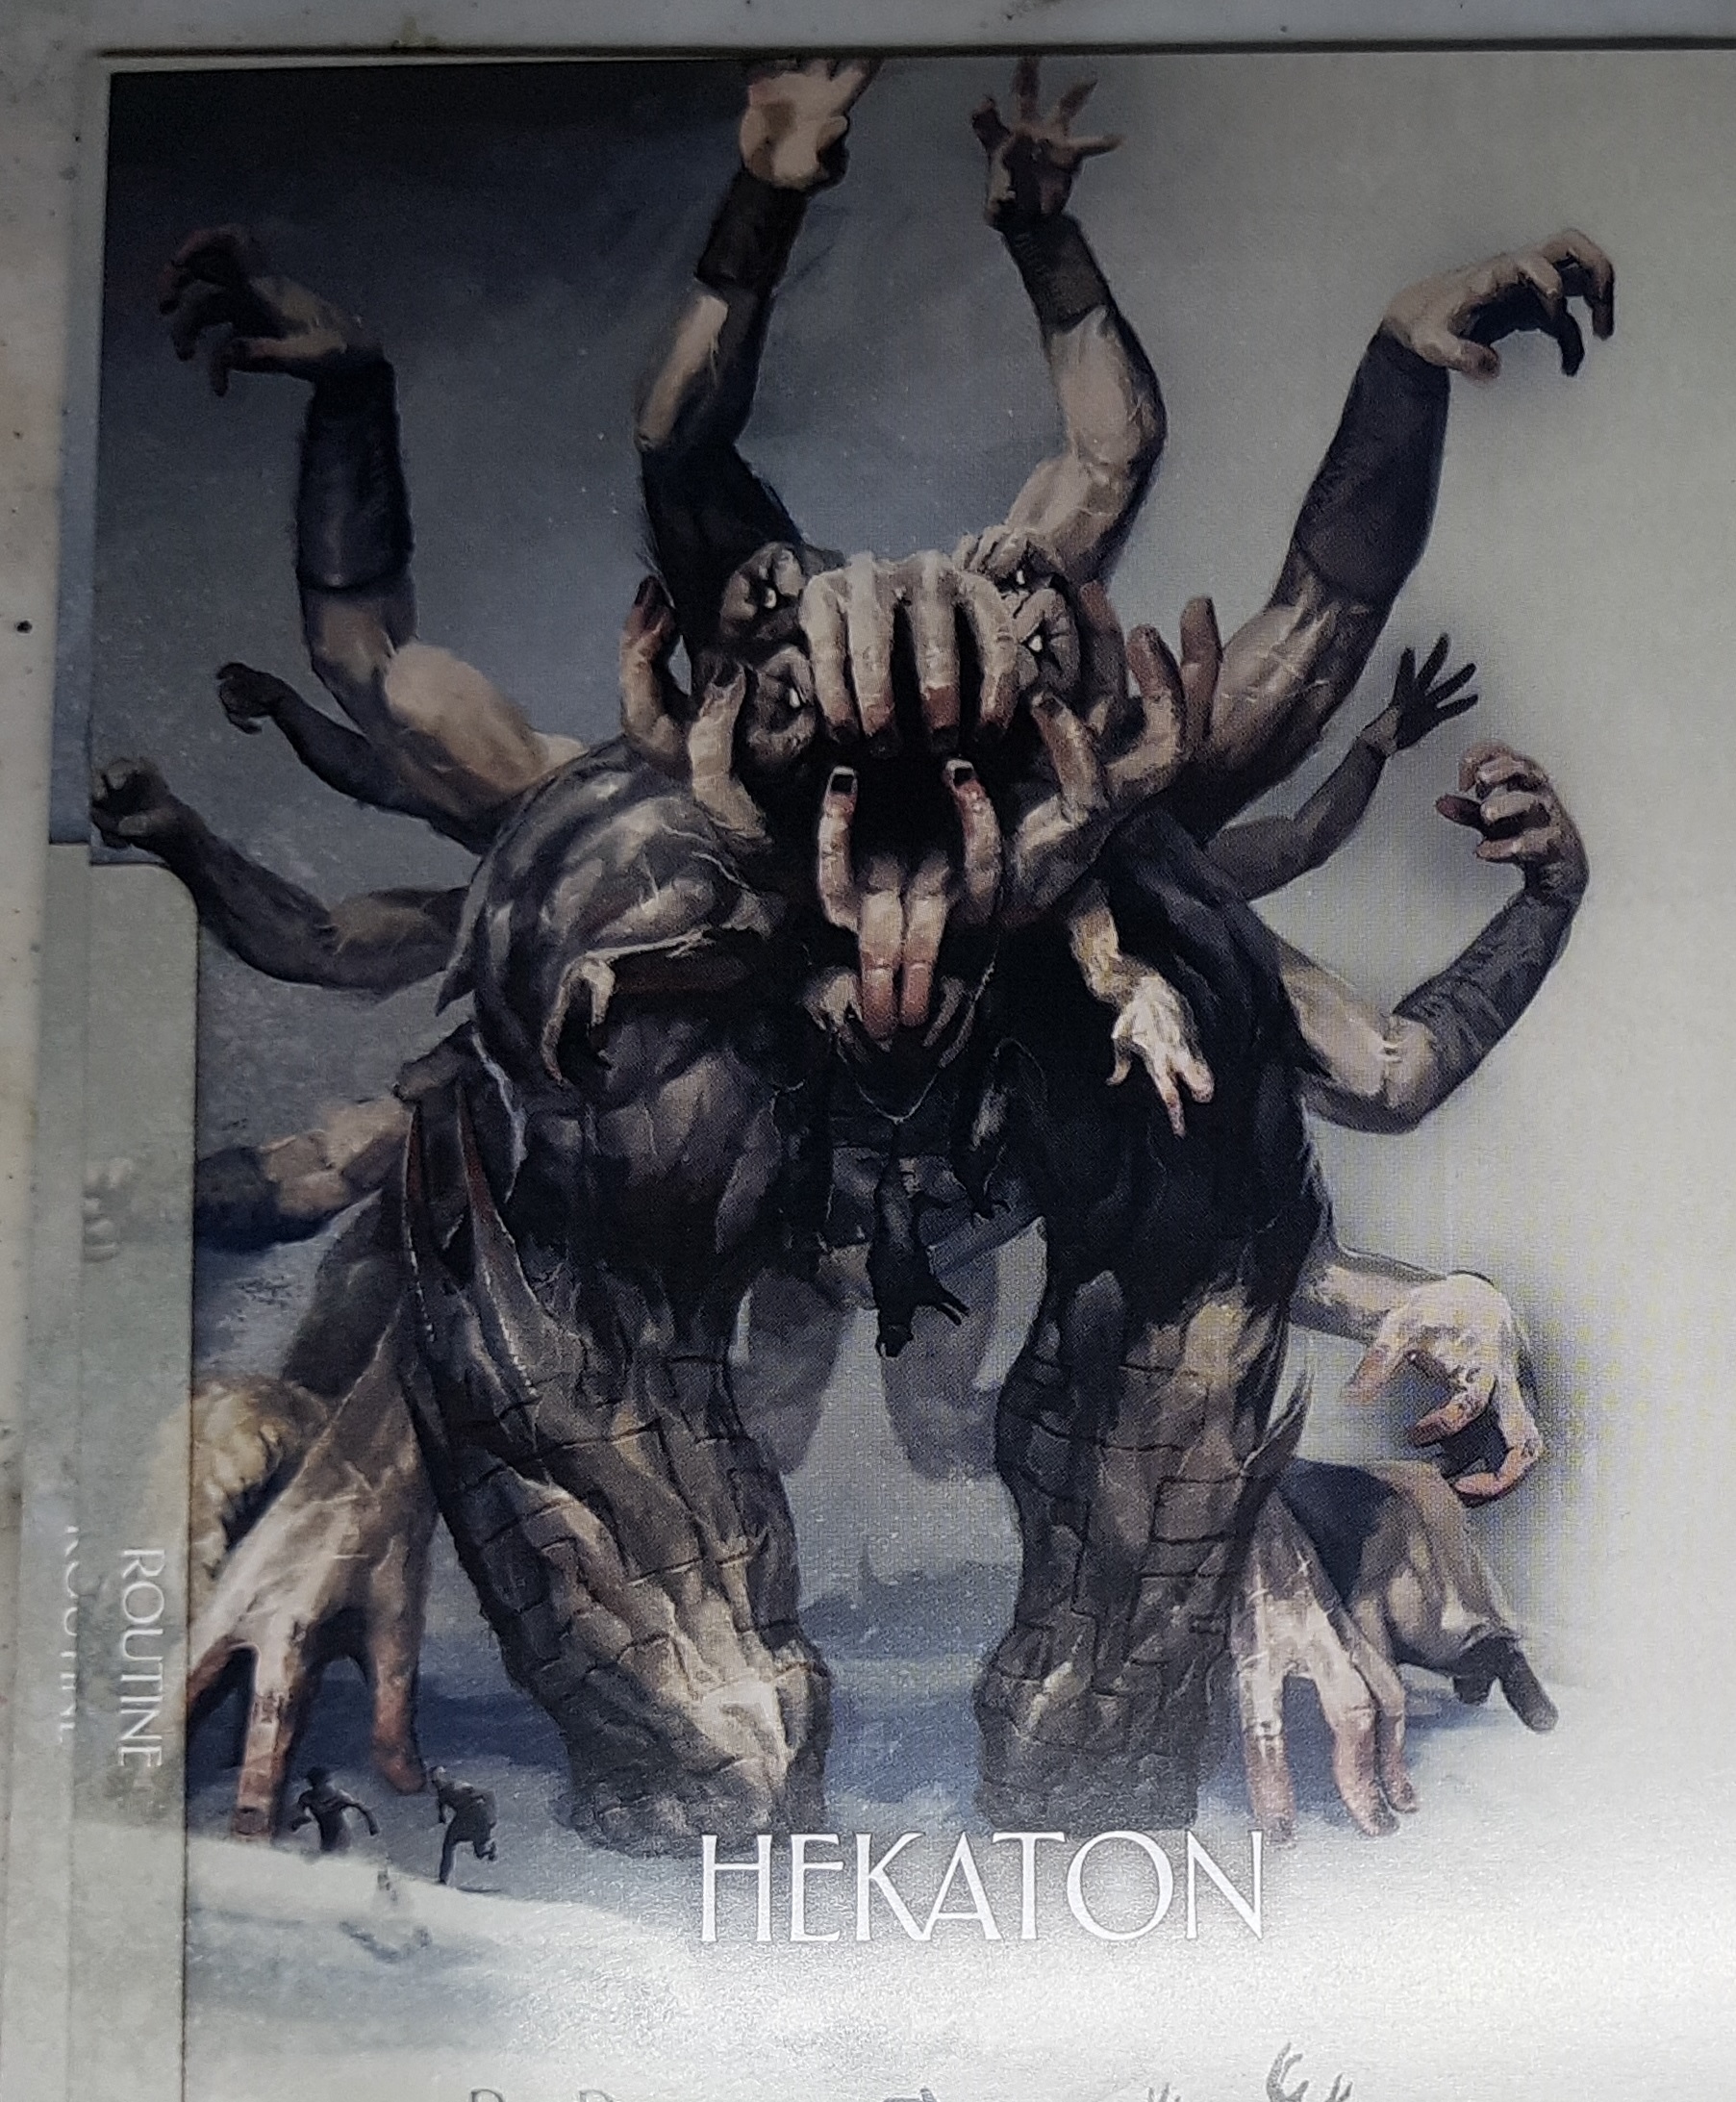
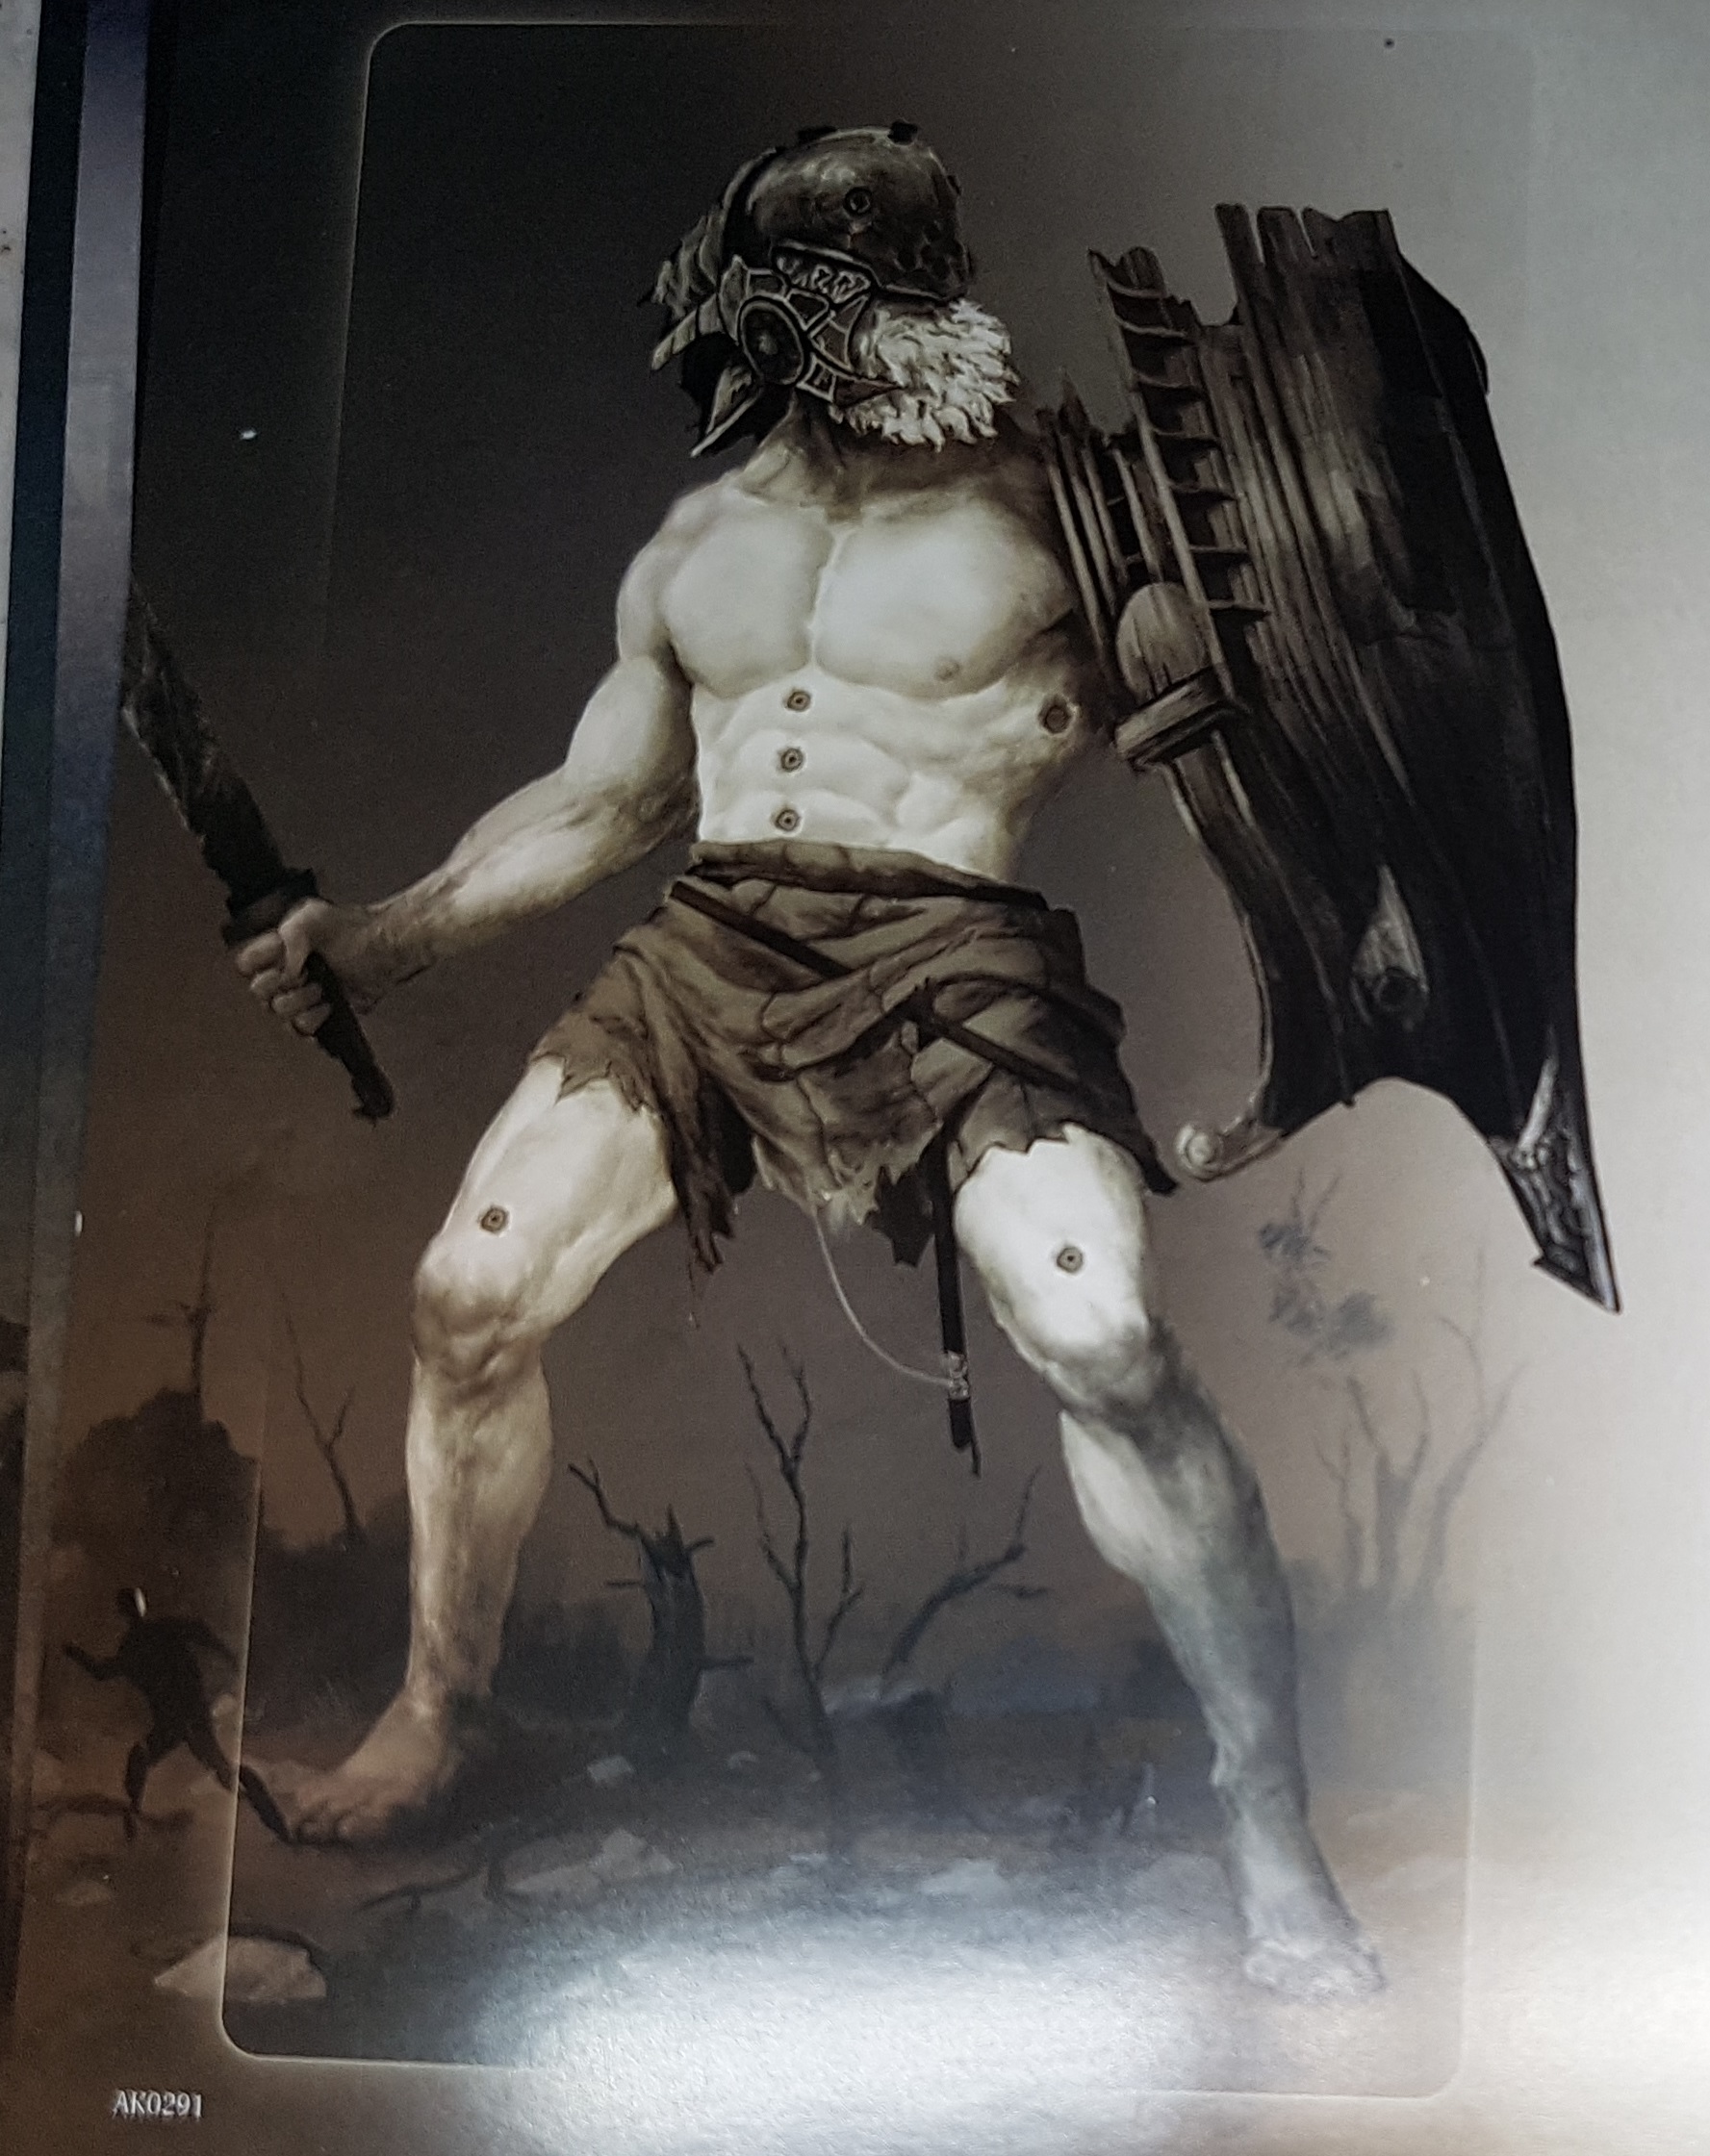
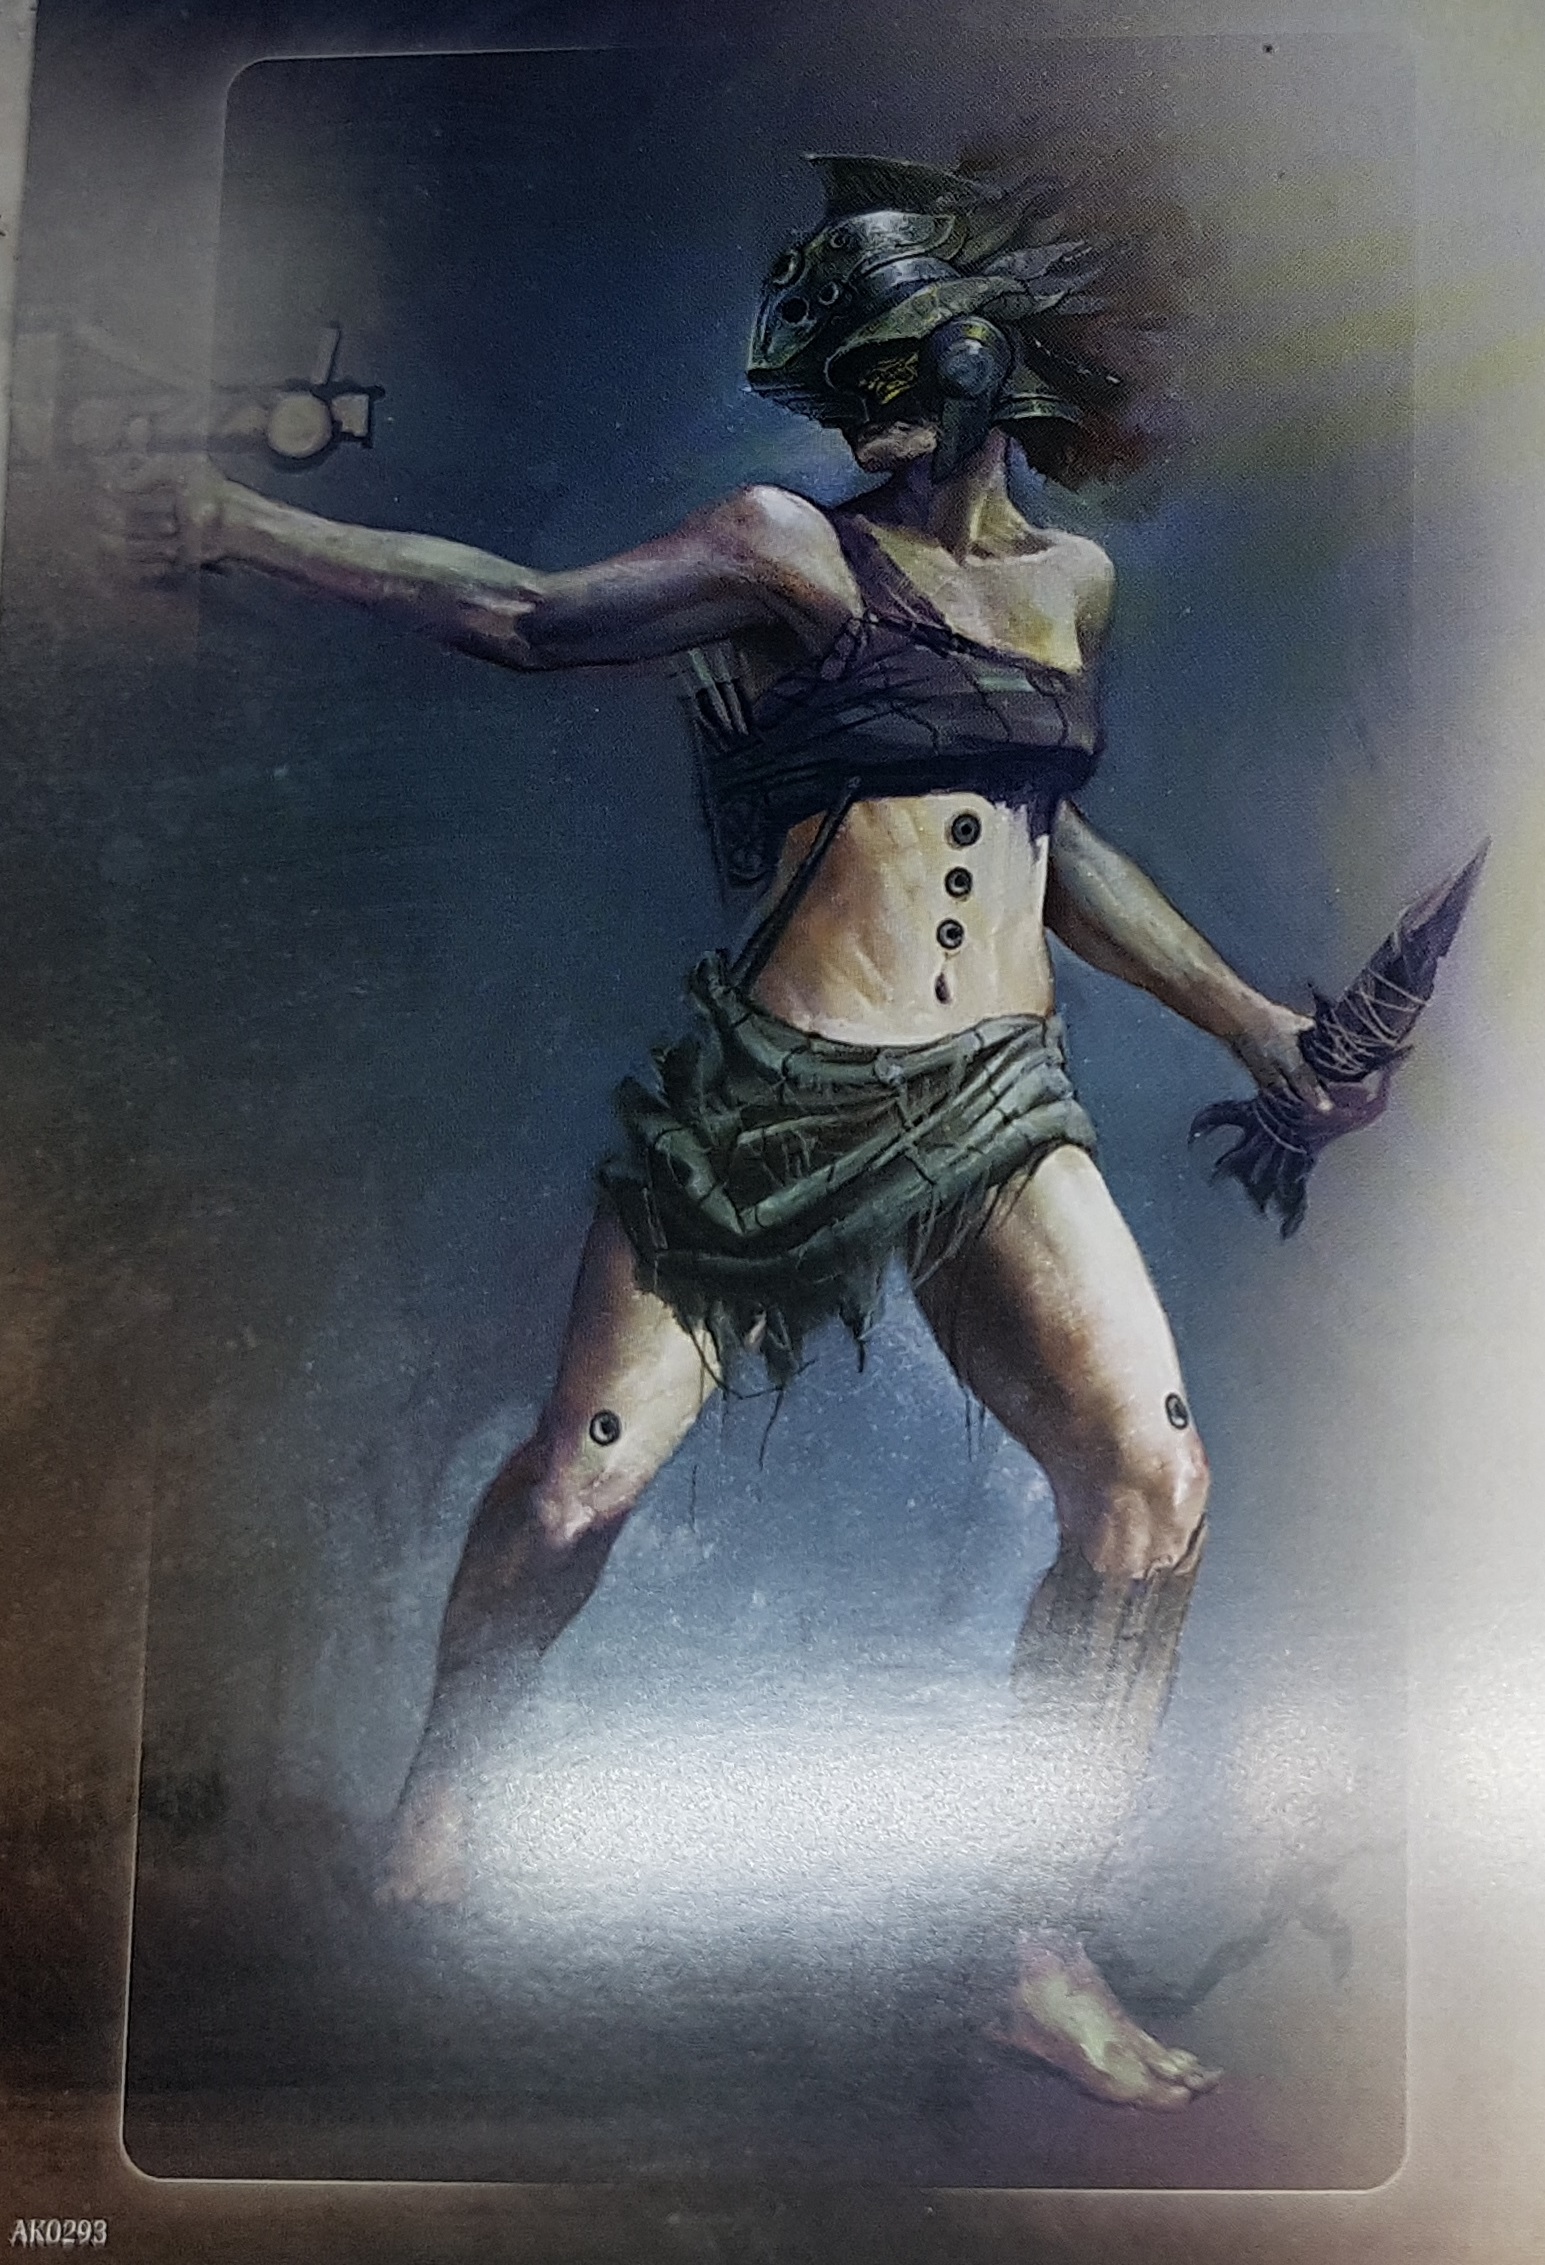
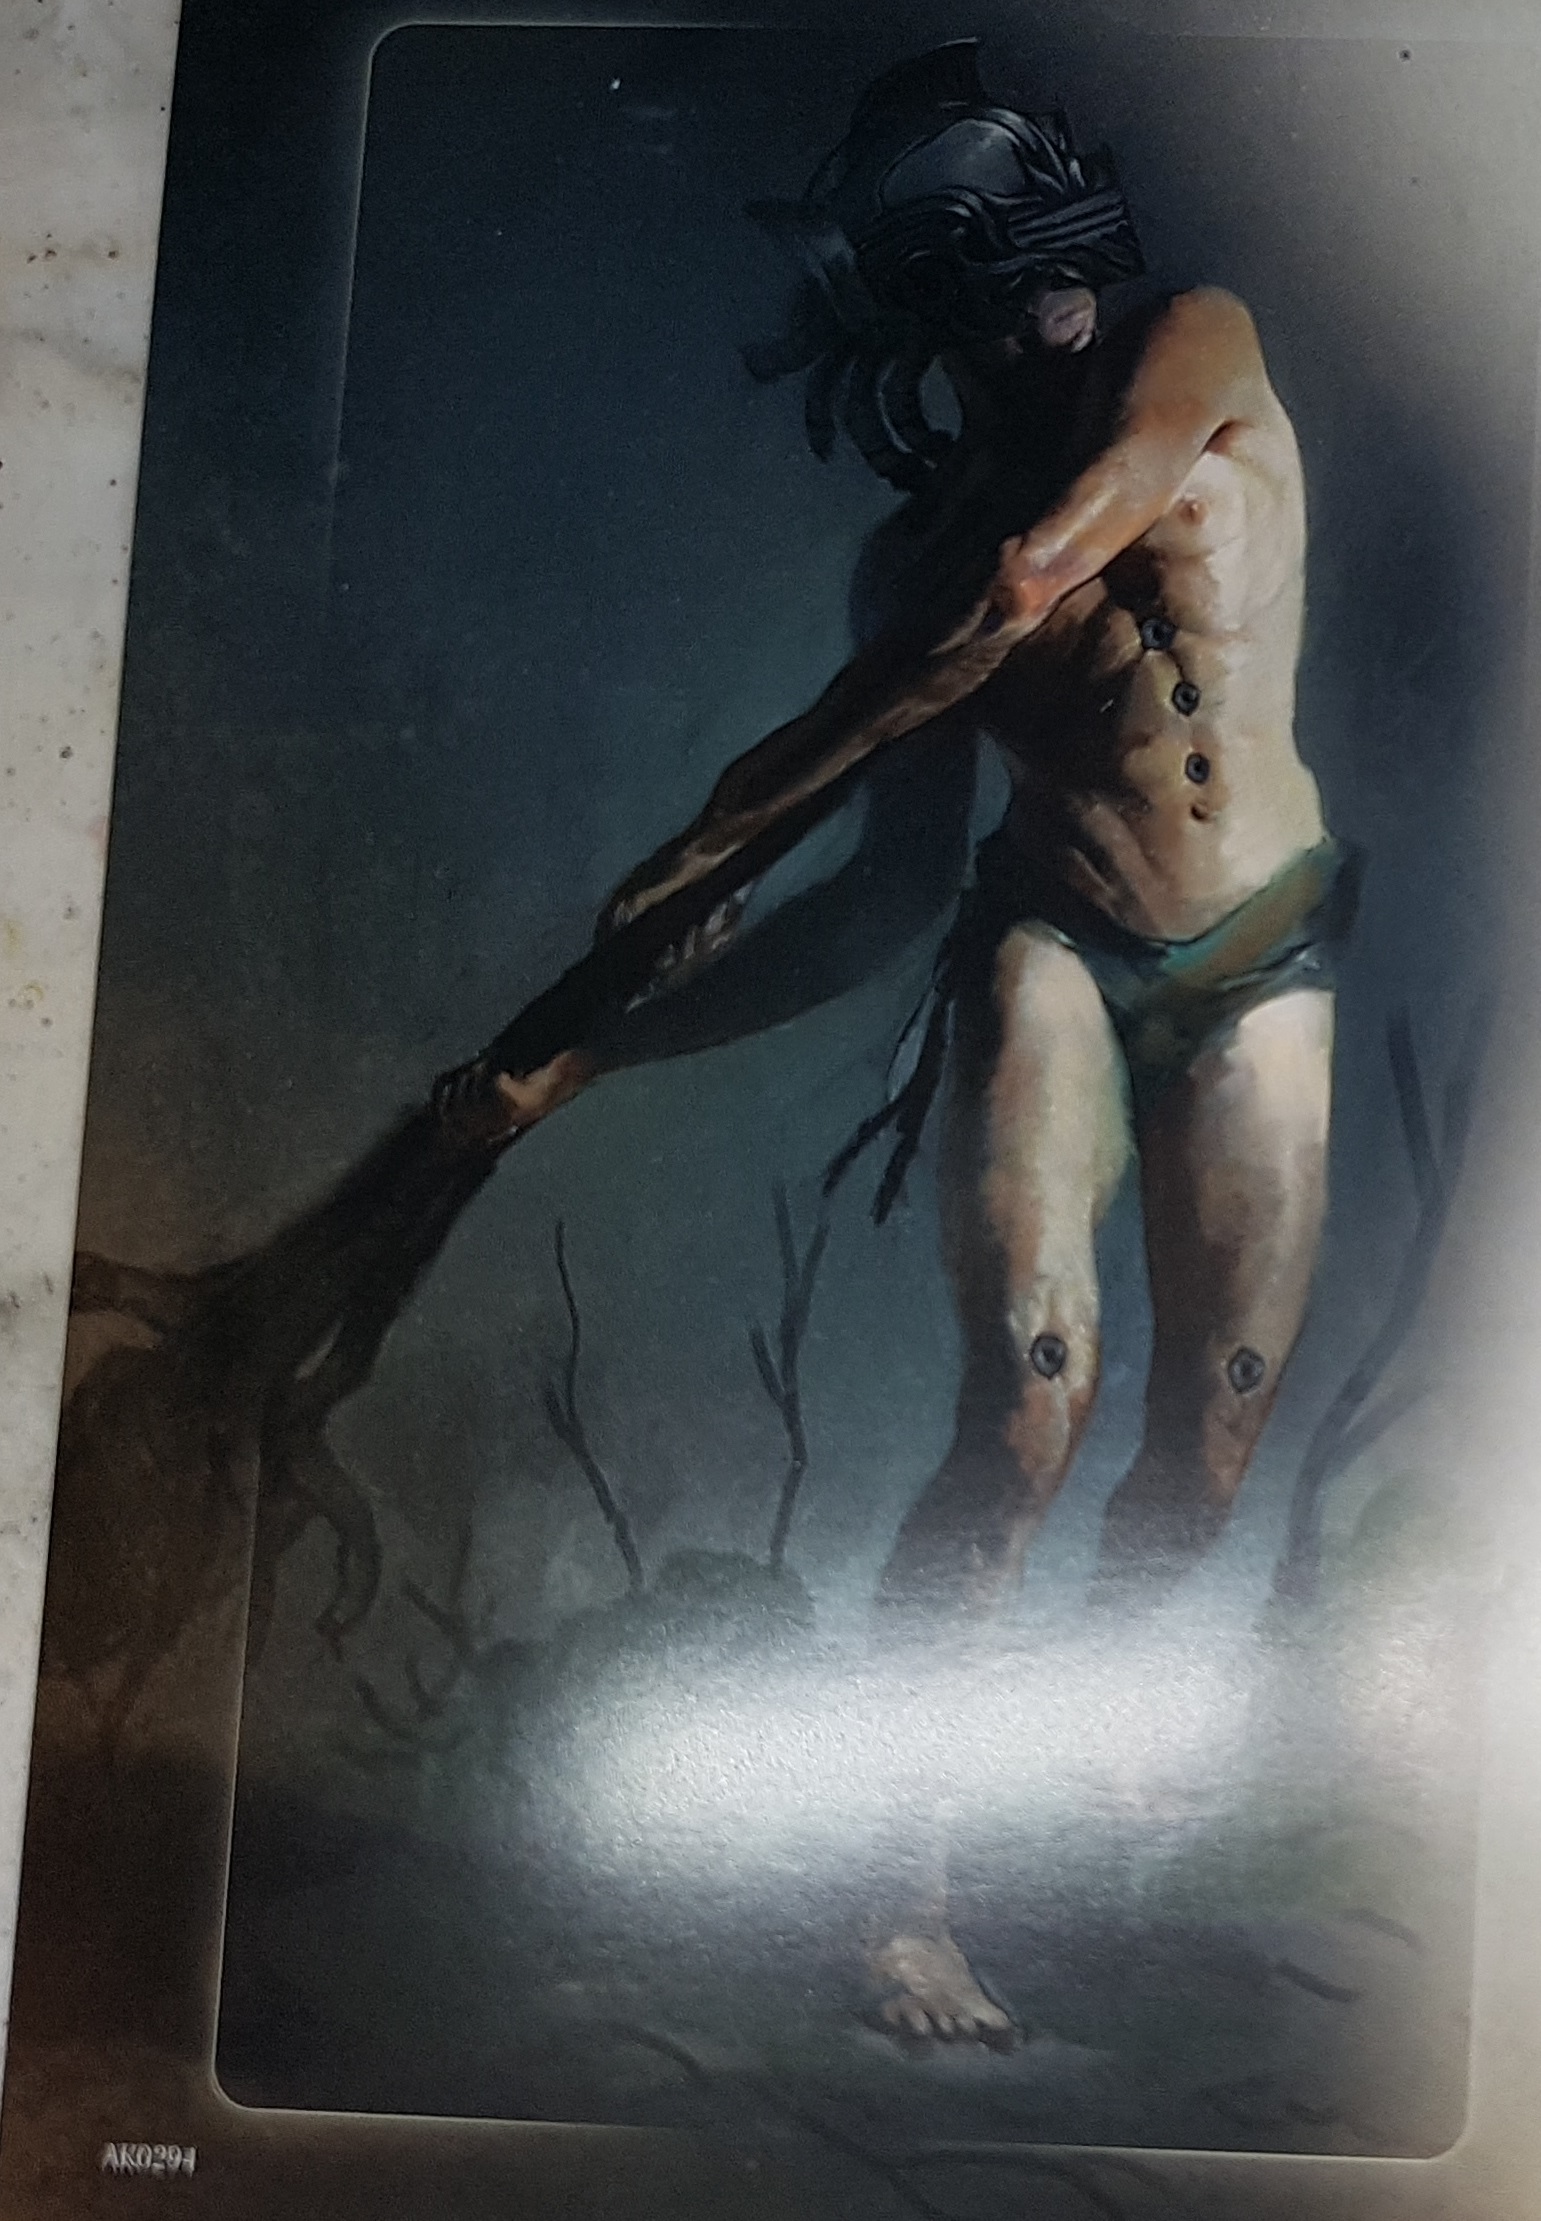
Here’s pics of my models primed, along with the art work from their stat cards. Keep an eye on their bases to get a sense of scale. Those small shapes are often huge trees or pillars. This is something like a 5-10mm scale game.
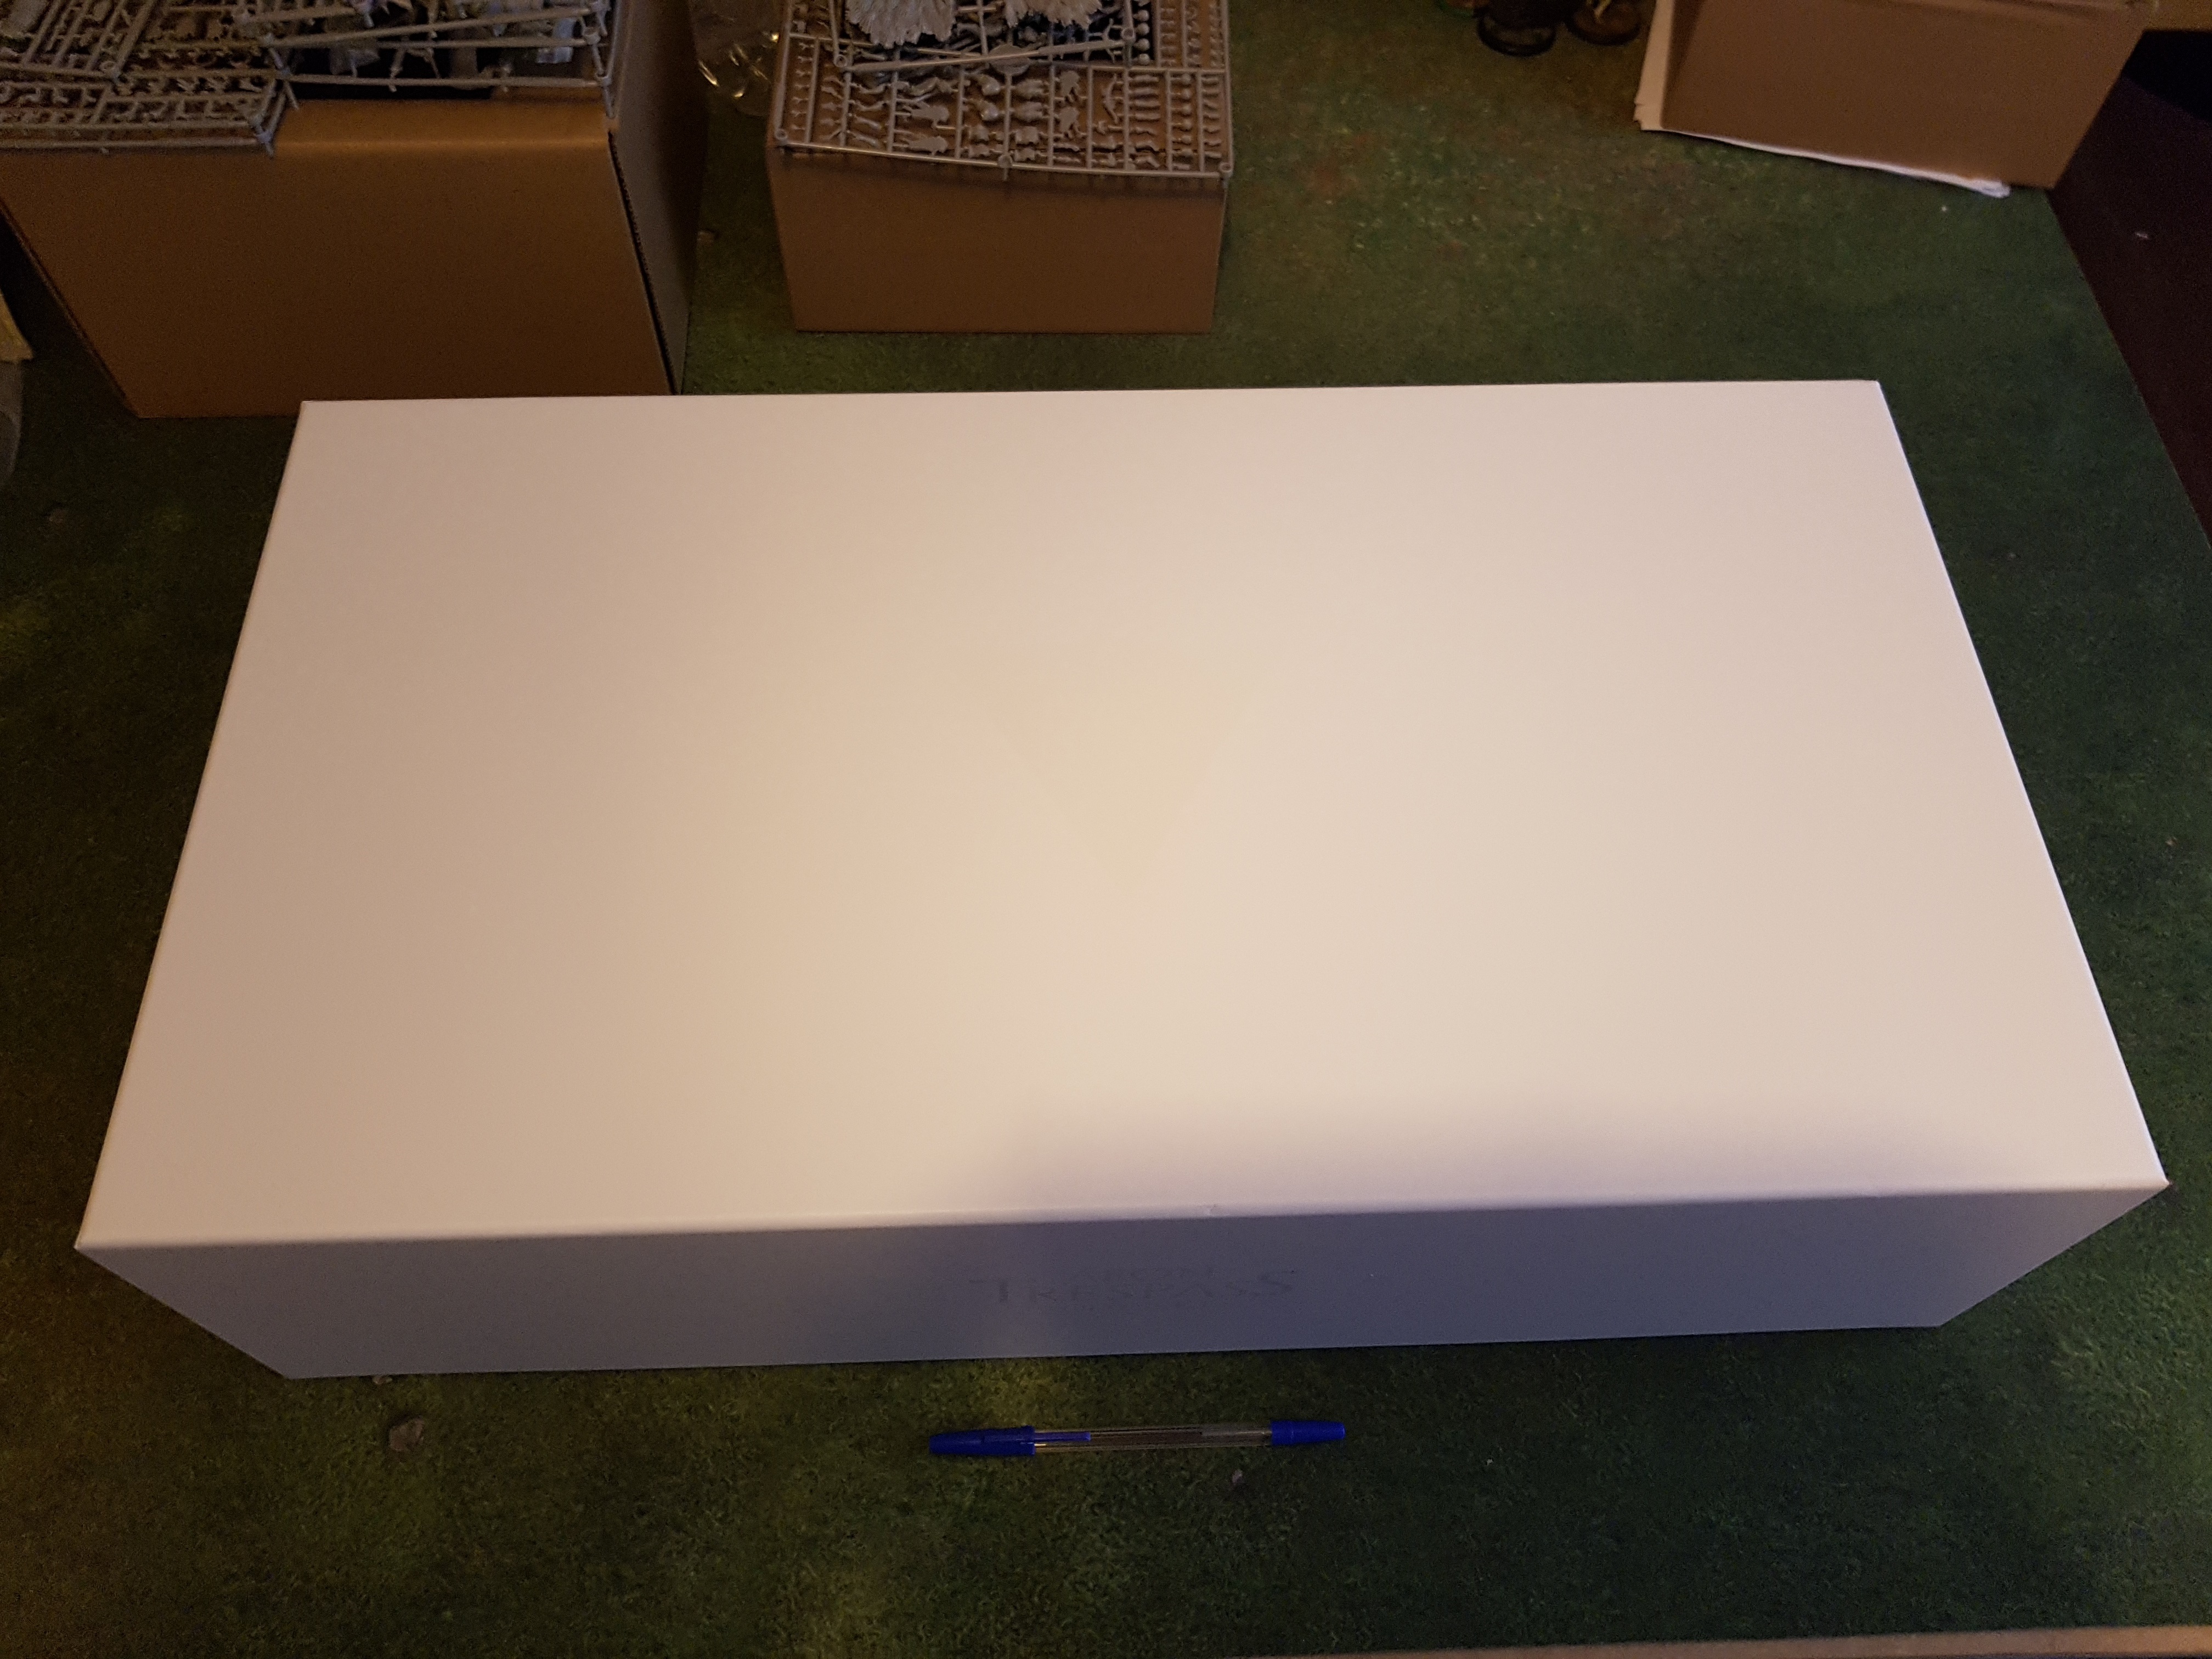
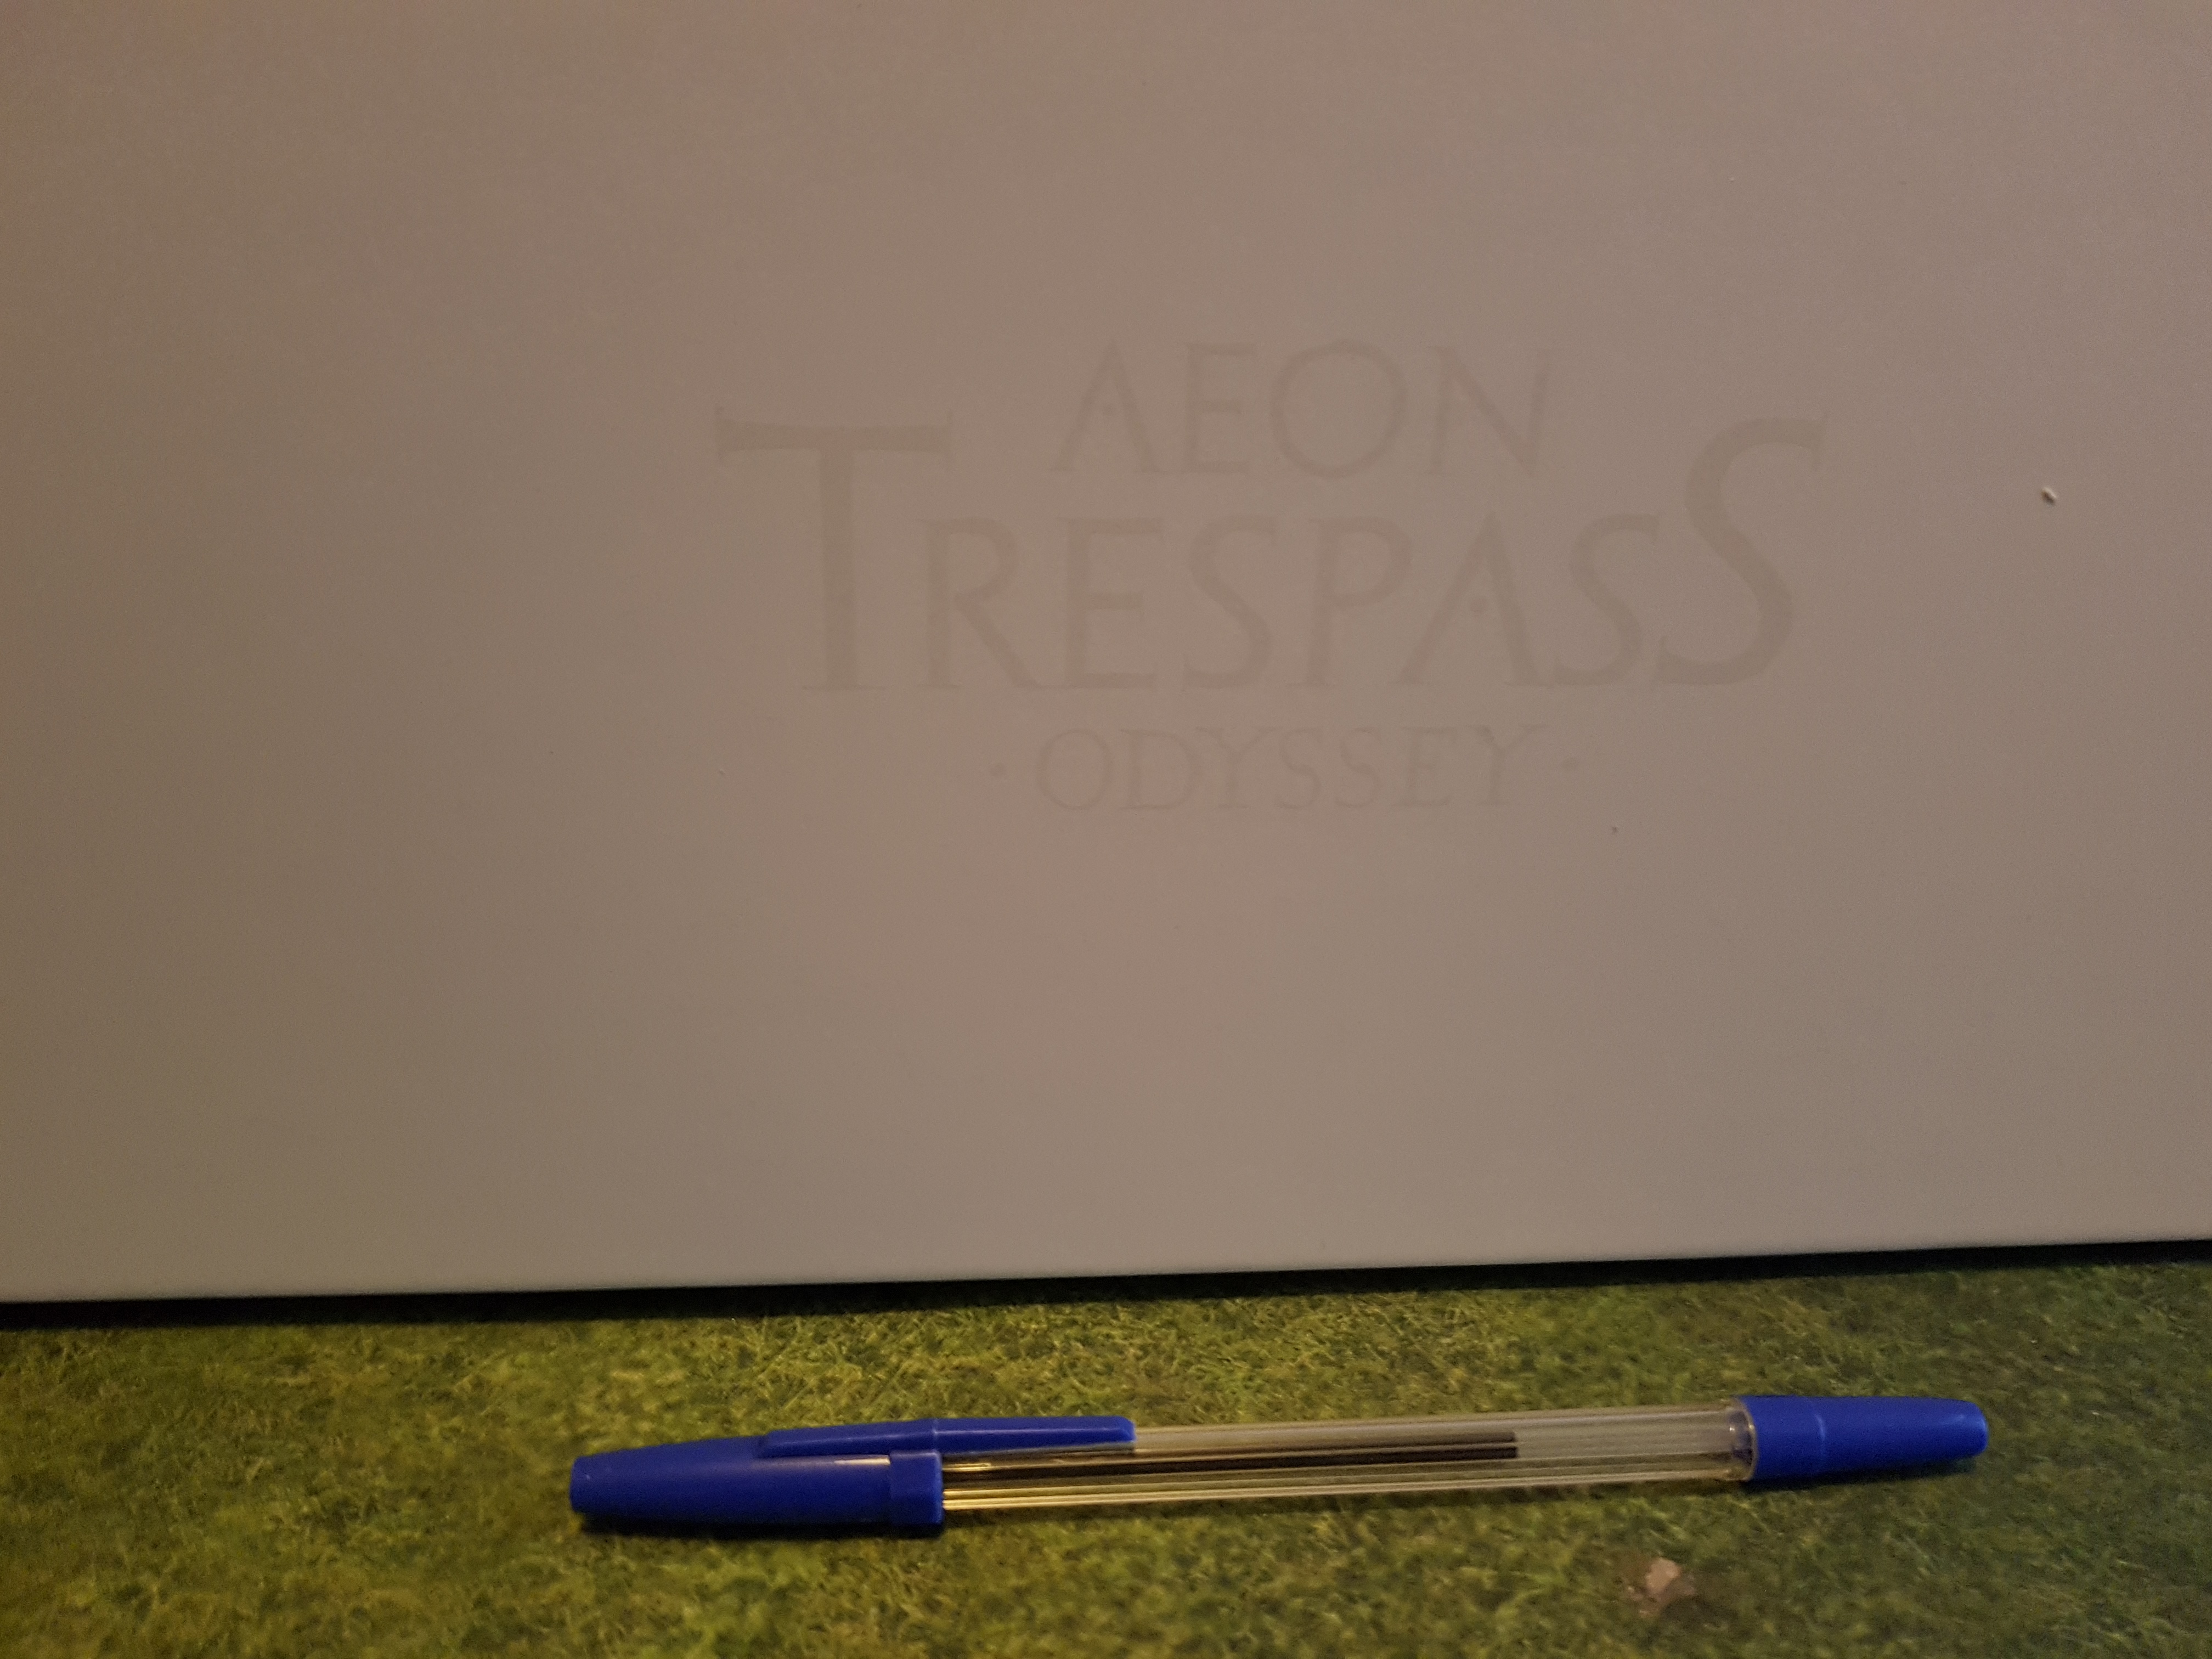
Aeon Trespass: Odyssey - Wave 1 Arrives
[Edit 20/3/23] I know I’m not starting this during the Spring Cleaning window, but I am still working on it and will be finishing the current wave of minis during that time so I’m tagging it for the competition. Disqualify me if you want. I more than understand. No harm done by putting my name in the hat.
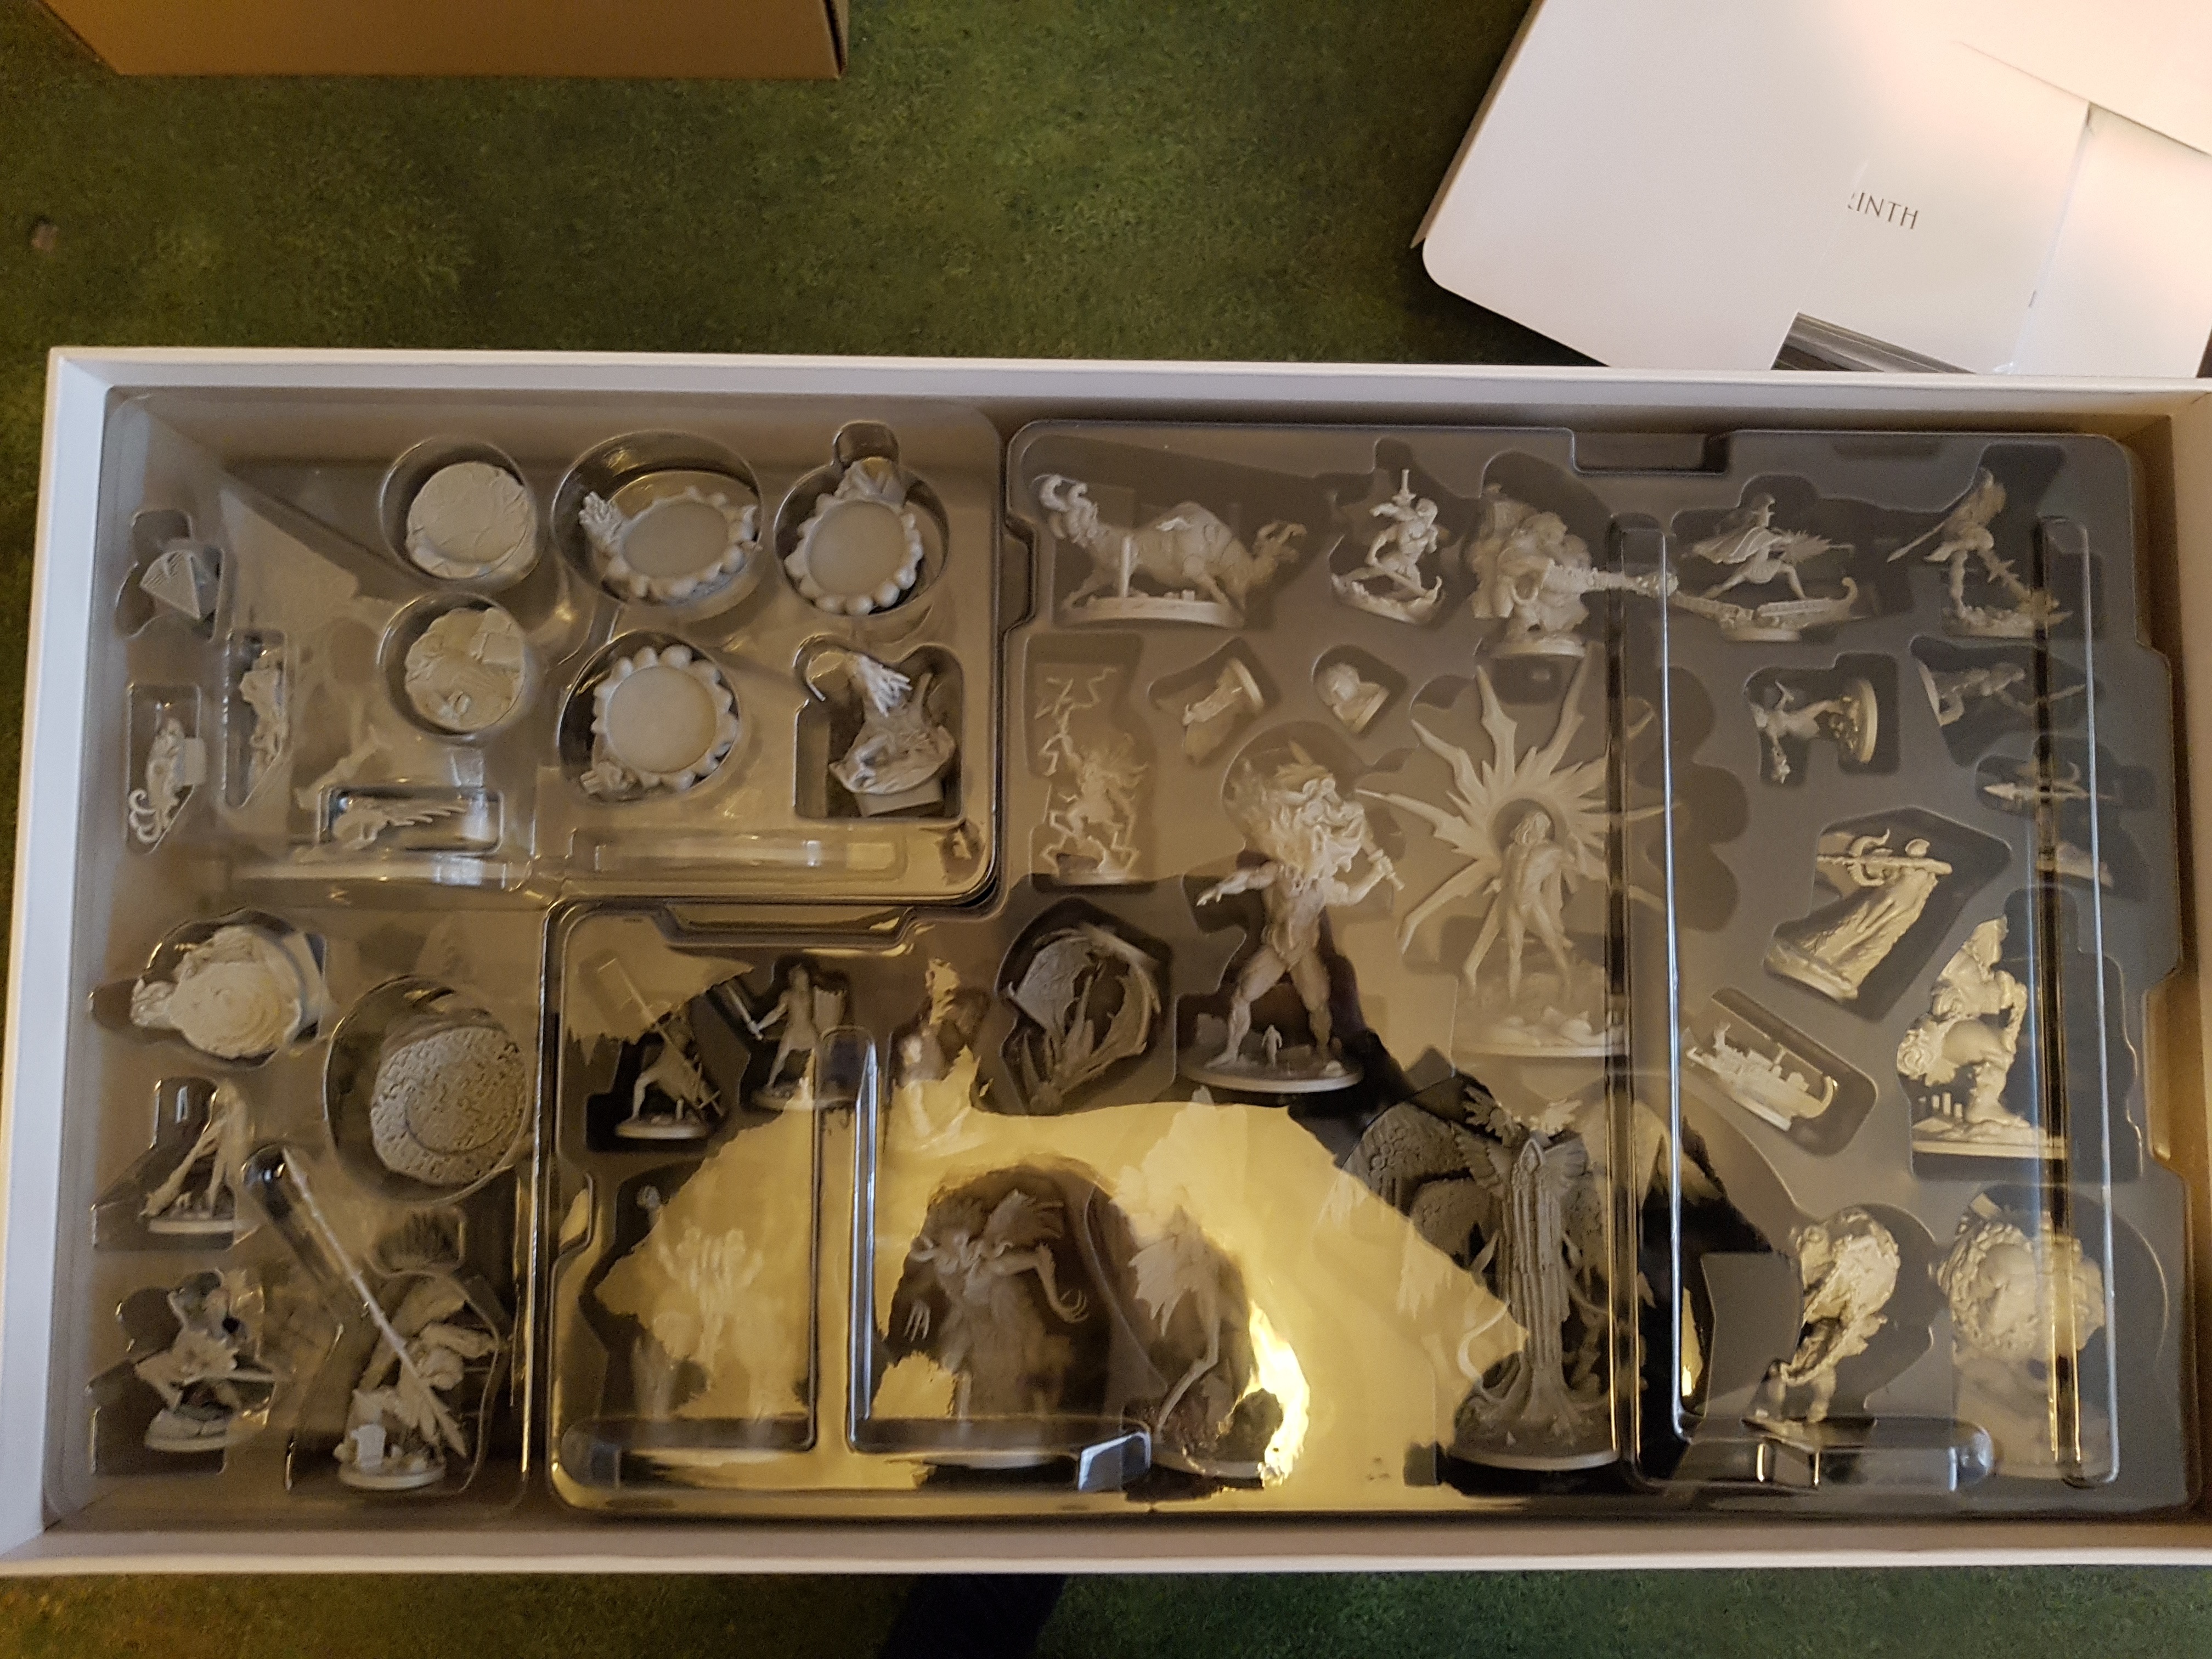
I backed this KS back in September 2019 and Wave one of two arrived recently. I count 32 models in the box, with 12 plug and play parts for 6 of them. You can climb some models in game so this lets you swap out a random tentacle or something and put a platform there instead so your Titan can actually stand on the monster.
What if the myths and legends of ancient Greece didn’t end the way they did? What if Gods and man worked together to bring about a world of cultural and technological wonder. What if this went on long enough that the gods believed themselves masters of all creations and they’d learned all there was to learn. They had one last secret of creation to learn and had an experiment that would give them the answer. However, that experiment went wrong, and in the blink of an eye all the gods were wiped out, civilization took a kicking, and a new wave of humongous horrors got unleashed on an unprepared world.
After ten years of these monsters plaguing mankind, the game begins with us playing as the crew of the Argo, a vast city sized ship of advanced technology, setting out to figure out what happened and bring the fight to these vast incomprehensible Kaiju. But what can a human do against a monster that towers over even the tallest building? They can inject their consciousness’s in to modified Titans and pilot them in to battle in a style the lawyers from Avatar wish to discuss.
Gameplay wise, it’s strongly Kingdom Death inspired, but instead of the monsters getting weaker as the fight goes on, they get stronger. The game has a much stronger narrative too, with half the game being world exploration, which I’m told is inspired by 7th Continent (I think?), but I don’t know anything about that game.
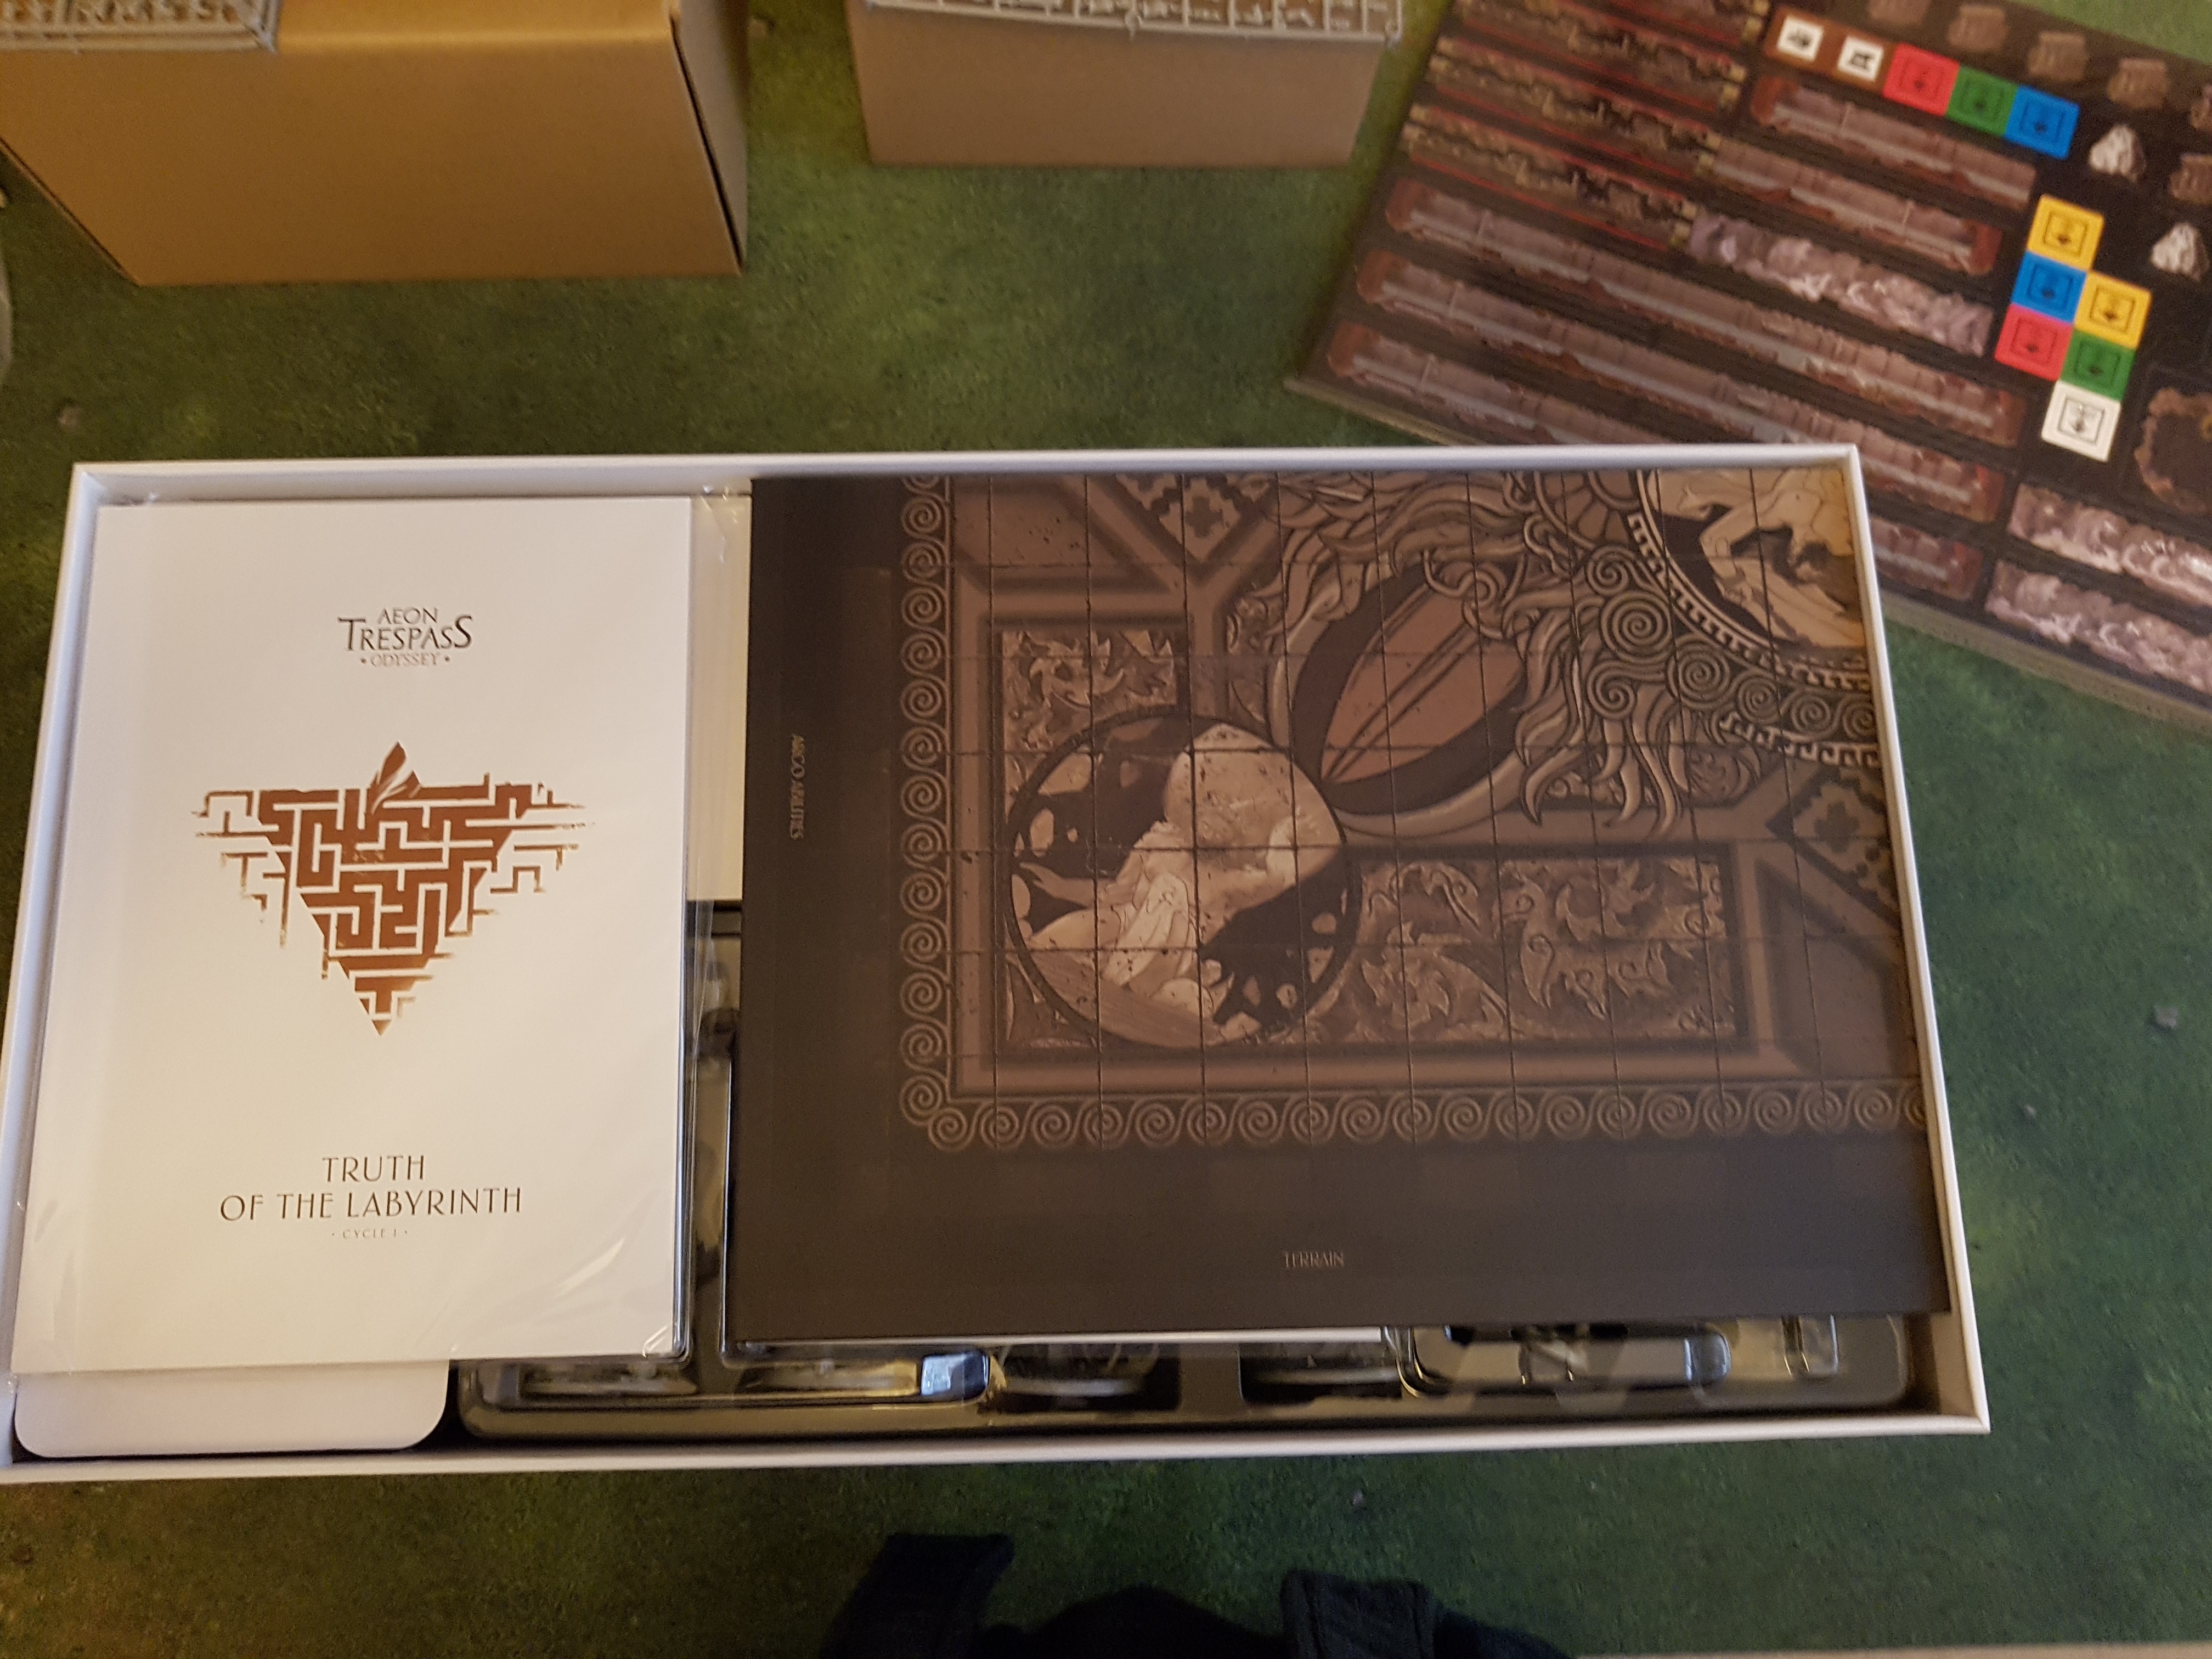
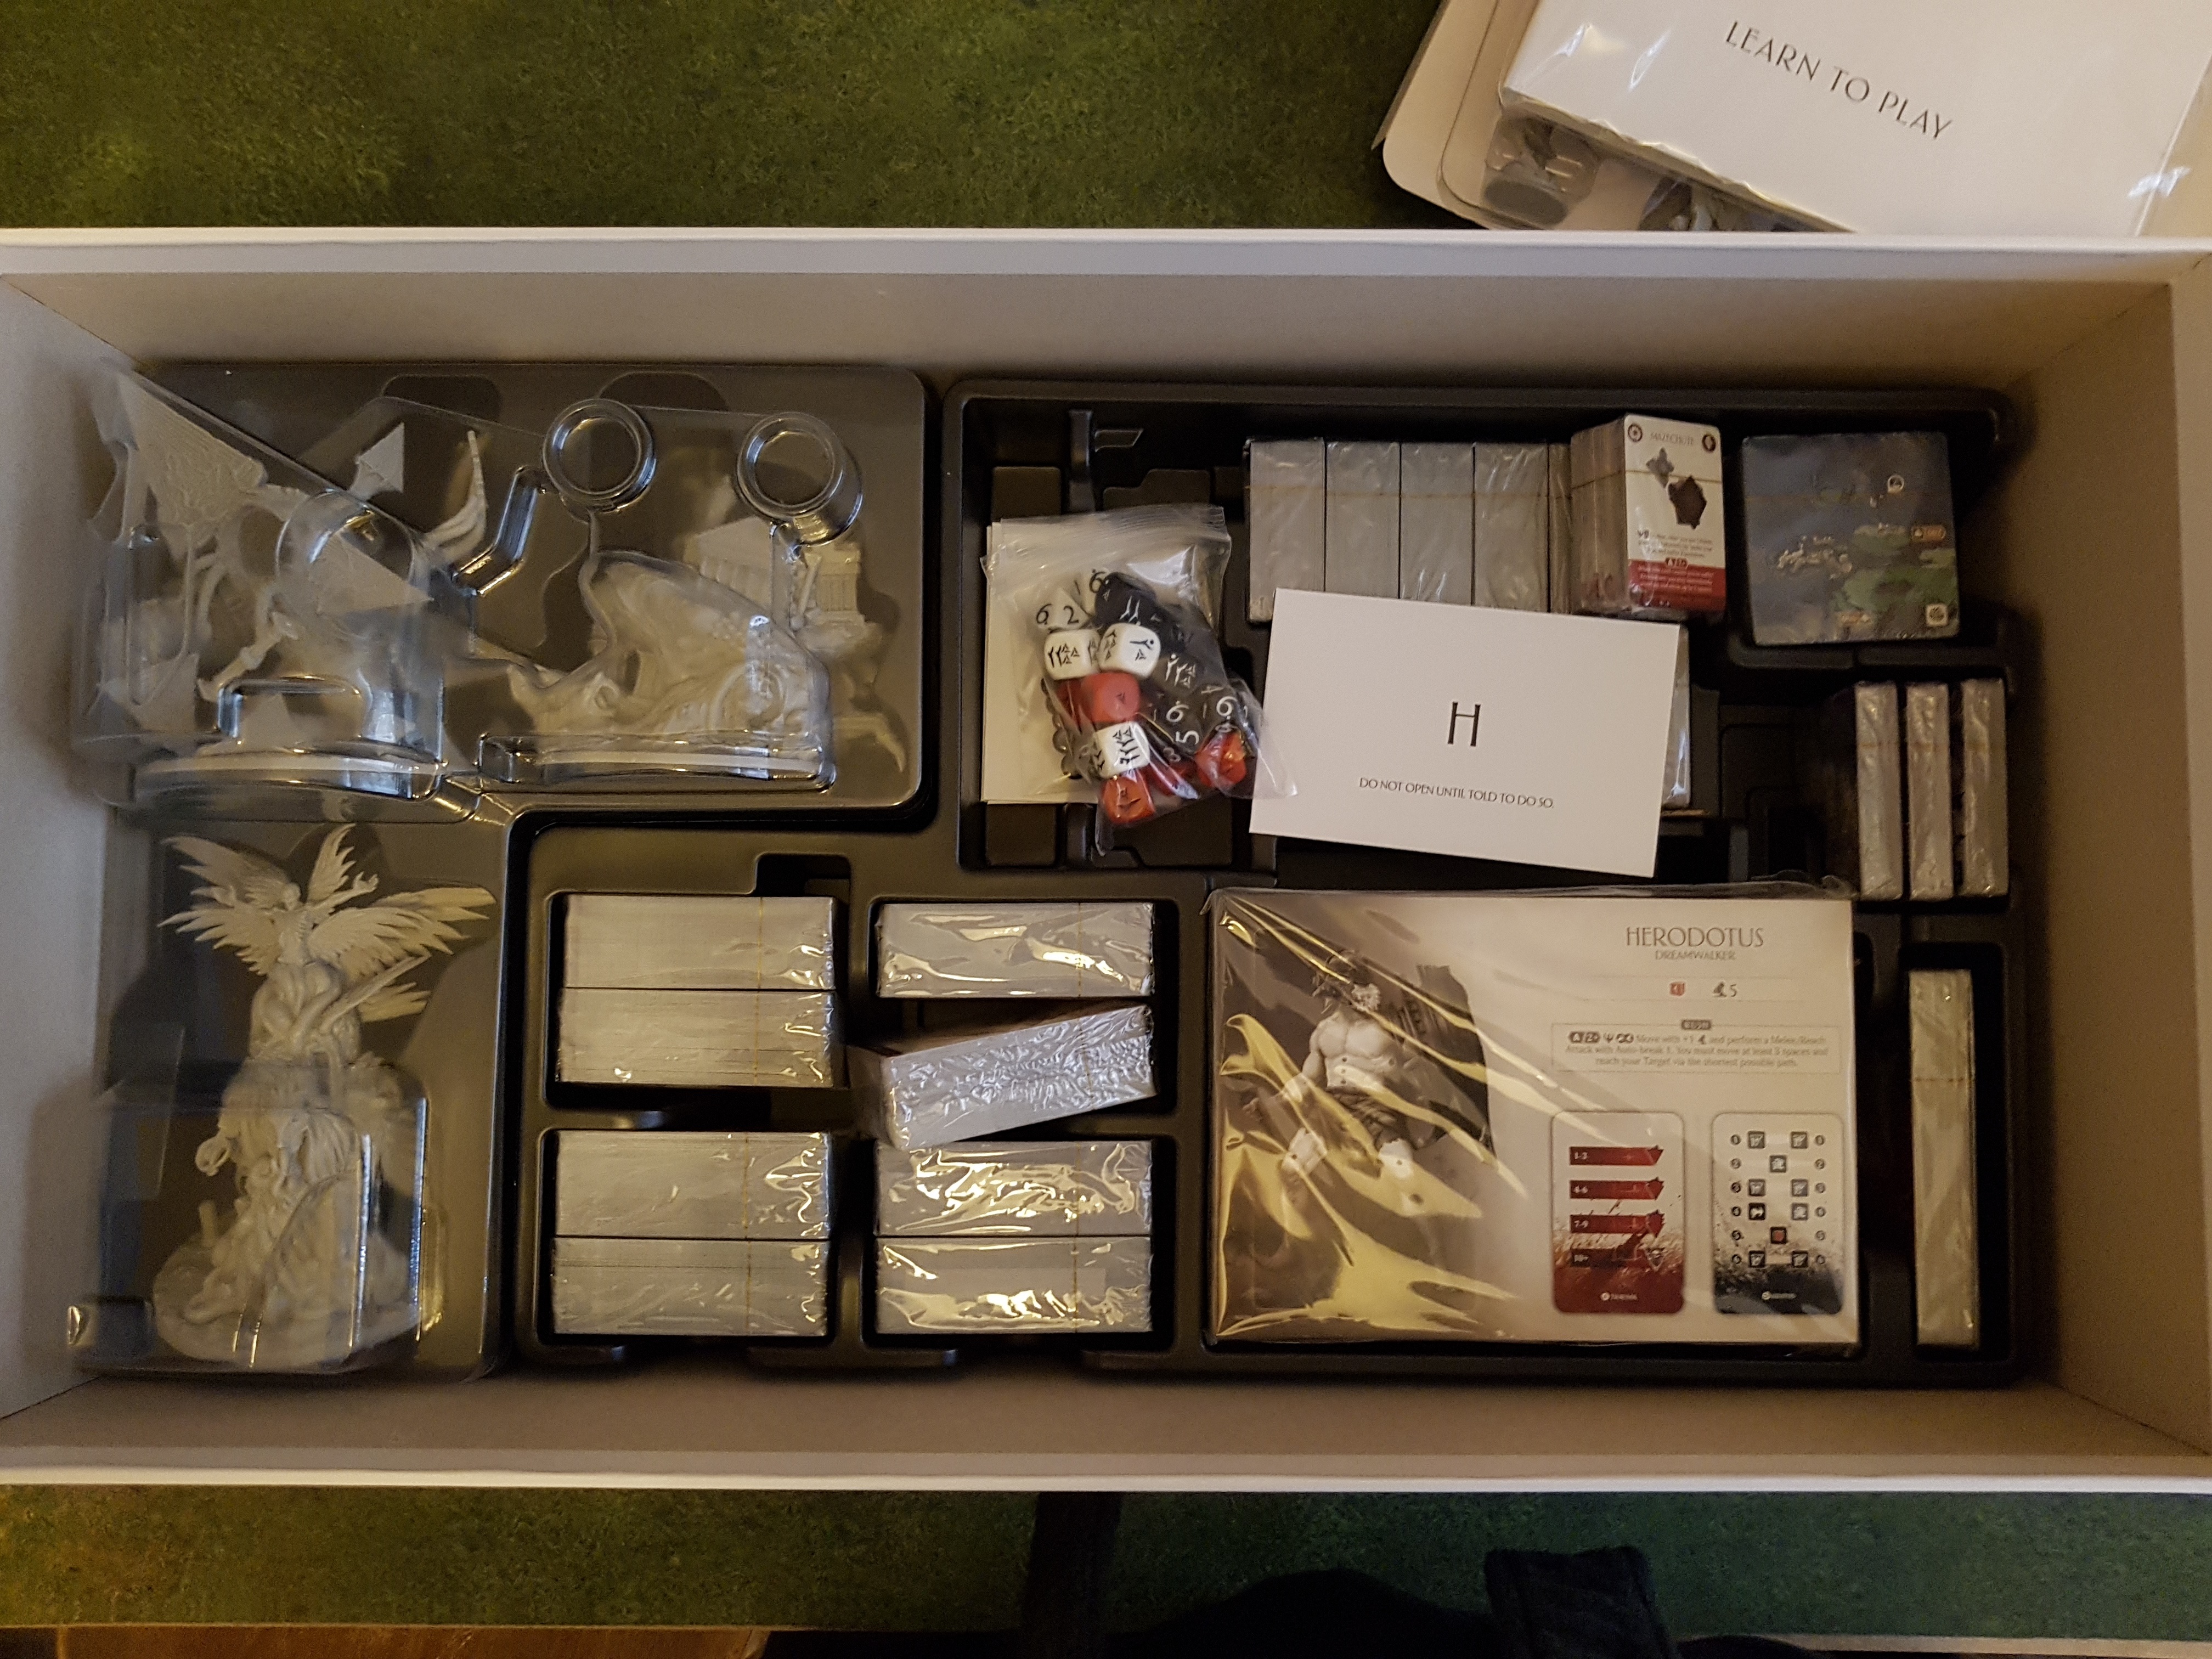
I’ll do a more detailed examination of things later as I start working with it, but for now, here’s pics of the boxes contents before I took it all out to wash. These pics are essential, otherwise I’ll never remember where it all goes later!
After only a quick inspection I’d have to say these models are probably better than any other prebuilt minis I’ve worked with (From Mythic, Steamforged, or Cephalofair games), but I reserve my final judgement until after I’ve actually put paint on stuff.
The intro / learn to play section called the Prelude only requires 7 models. My first goal will be to get them painted up before I start playing. After that, this box is split on to three story Cycles, with wave 2 containing two more Cycles, each supposedly bigger than Cycles 1-3 combined.
The box is slightly bigger than the KDM box, and noticeably heavier too. It’s white on white art style makes it very hard to take pictures of.

I’ve a few other models in my painting desk to finish up before I can start work on ATO, but I hope to start before the end of Christmas.