


3D Wolsung Terrain (spring cleaning challenge 2023)


Recommendations: 452
About the Project
Back around 2017, after watching BOW-OTT demoing Wolsung steampunk skirmish game i was hooked. I back their first Kick starter and started playing some game with what hero and henchmen i could get on Ebay. I always love the Wolsung terrain but it was hard to find here in the US. 2017 I also got my first 3D printer and try to create some terrain to match the MDF terrain from Micro arts studio was a disaster for the start. The PLA filament i used cause a lot of issue with the 3D model i made in tinker CAD. Clogging and under extrusion made my first prints weak and unusable. My plans to make the interior of an Airship were dashed :(. Fast forward to today i have desided give this project another go and see what i can do.
Related Game: Wolsung SSG
Related Genre: Steampunk
Related Contest: Spring Clean Hobby Challenge 2023
This Project is Active
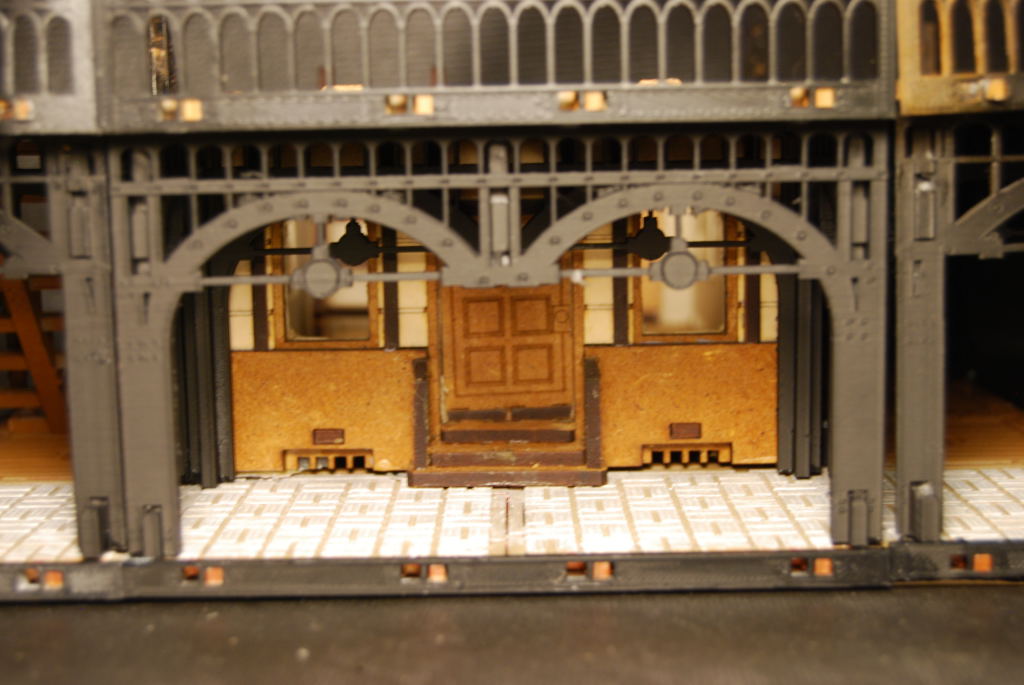
Working on a working door
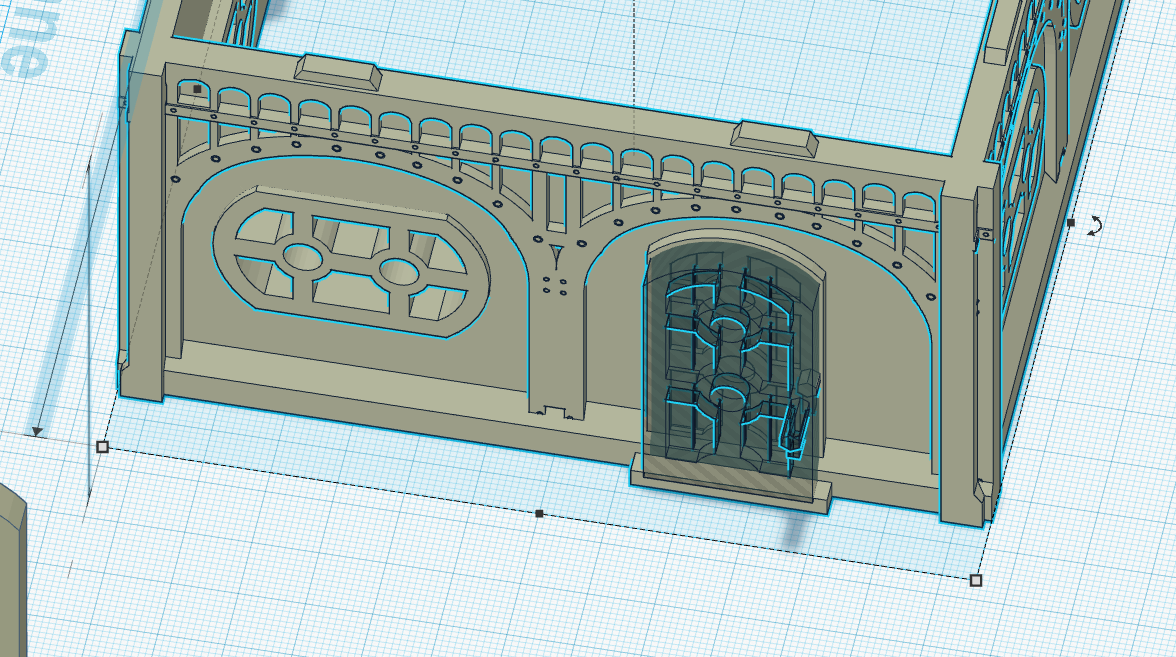
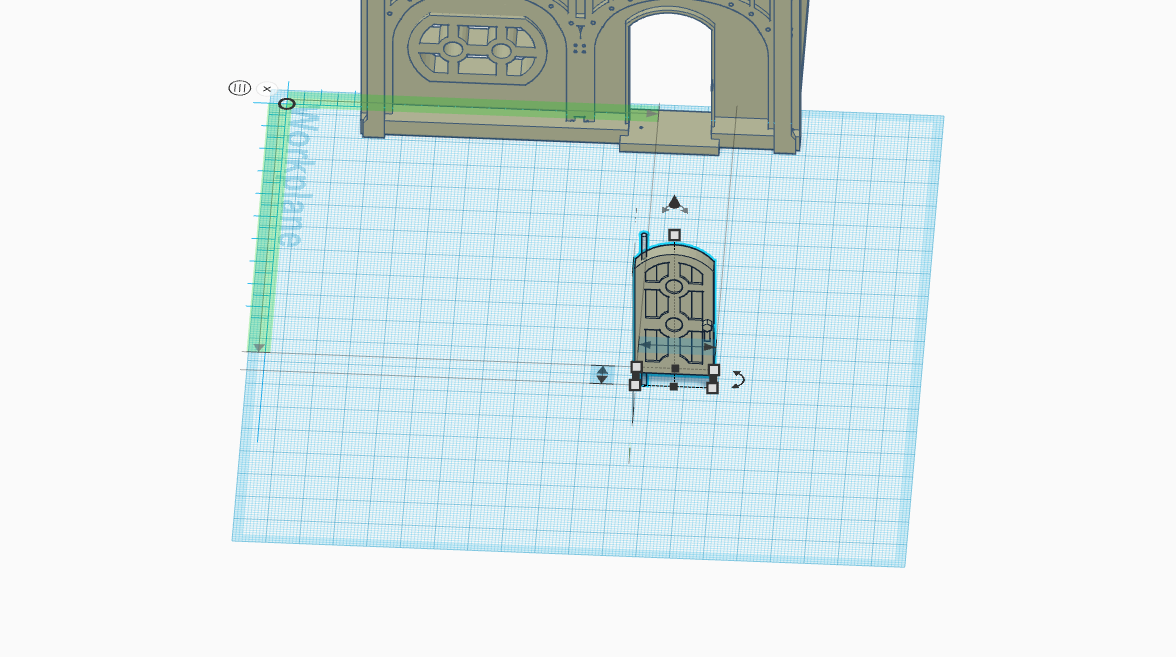
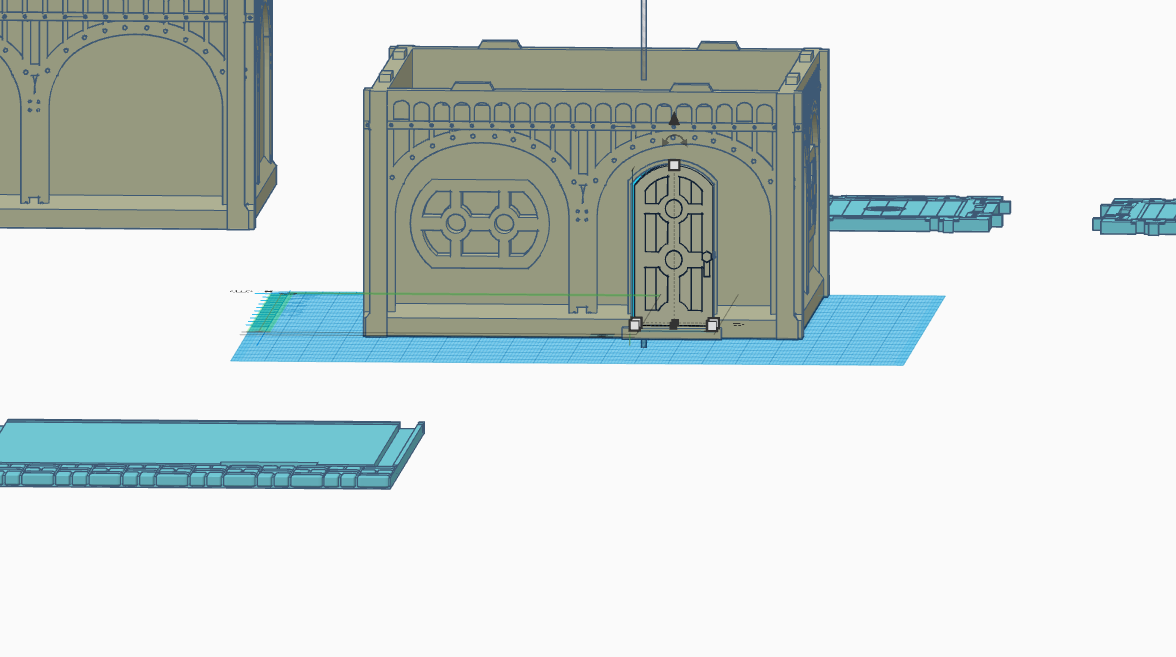
First thing you need to do is make a copy of any building you want to added a working door to. Next i remove the door by creating a negative in shape of that door (normally is a retangle in my case i use a copy of the door imported into tinker CAD. Next using the same door file i resize it to be smaller than the opening so it can open with out rubbing the walls. Finally i created negative cylinder to run a paper clip through too act as my hinge. (i try 3D print hinges but most fail over time.)
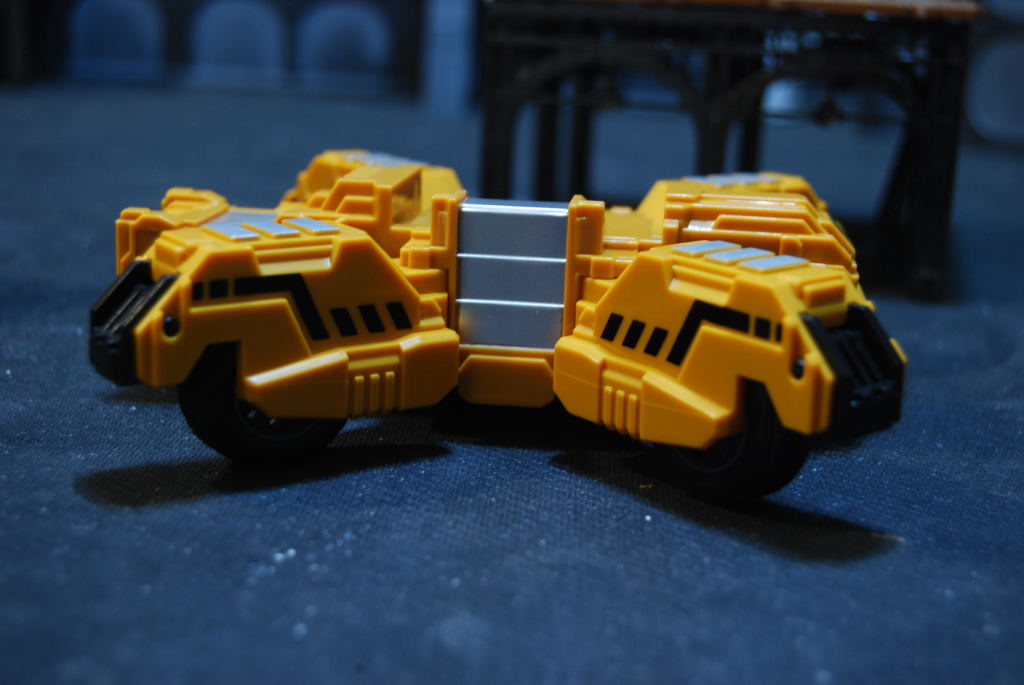
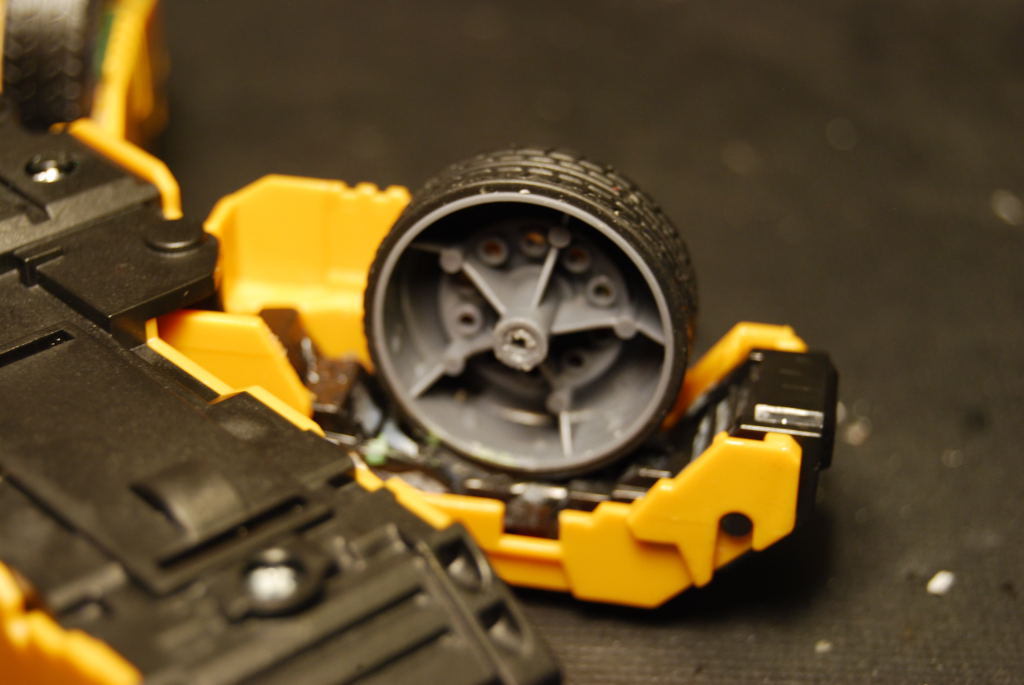
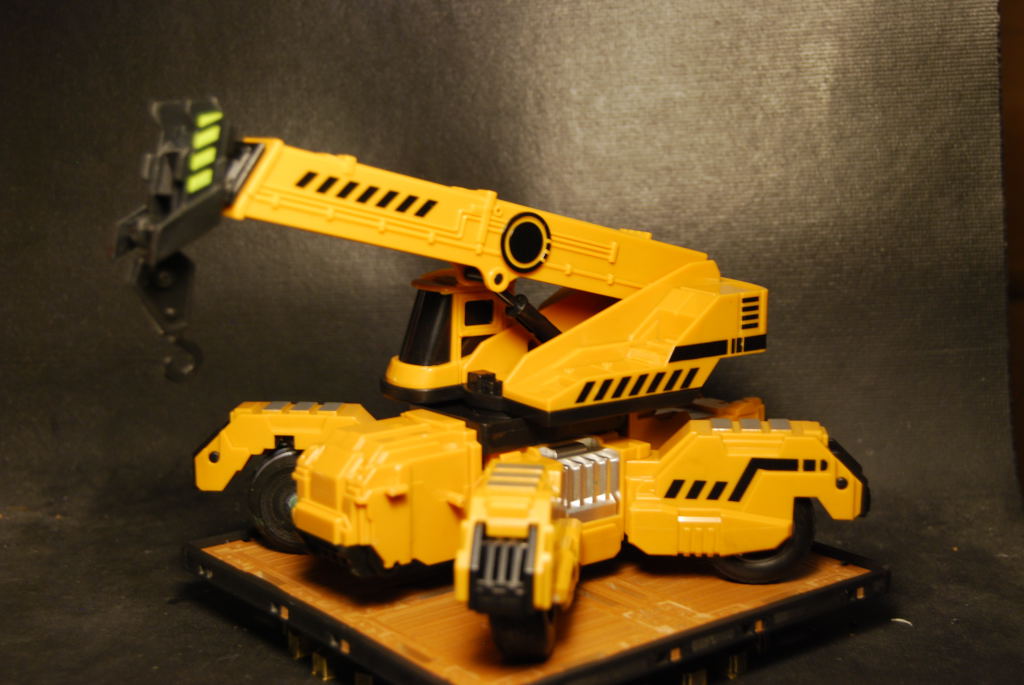
Toy crane
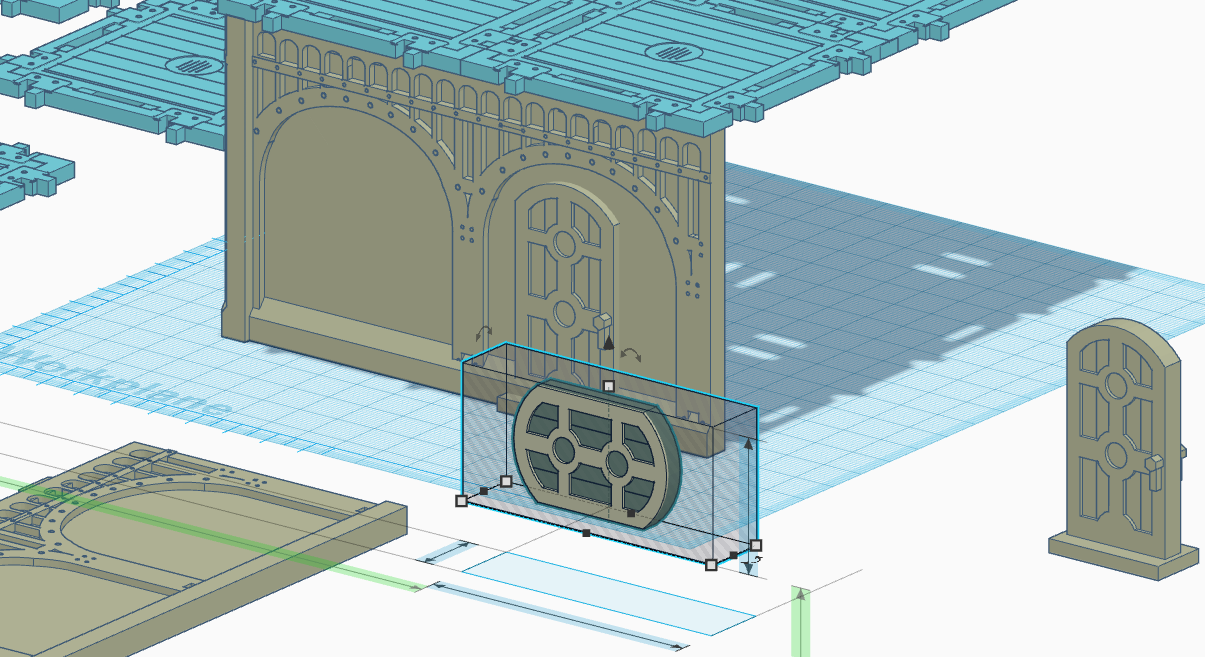
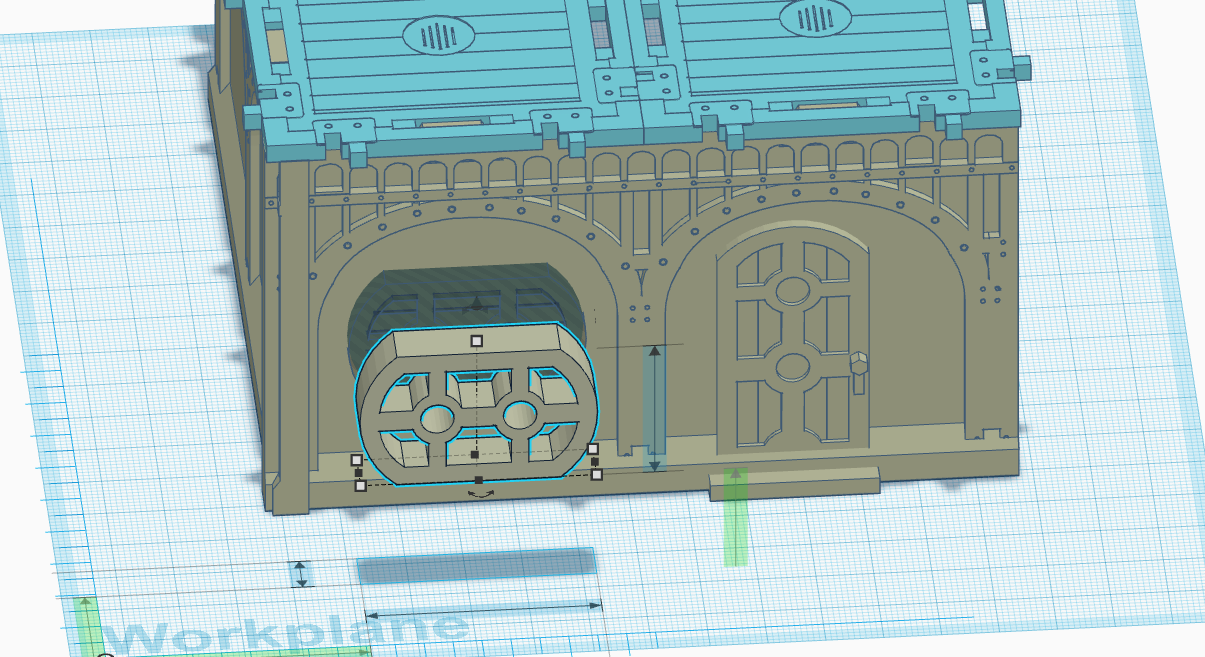
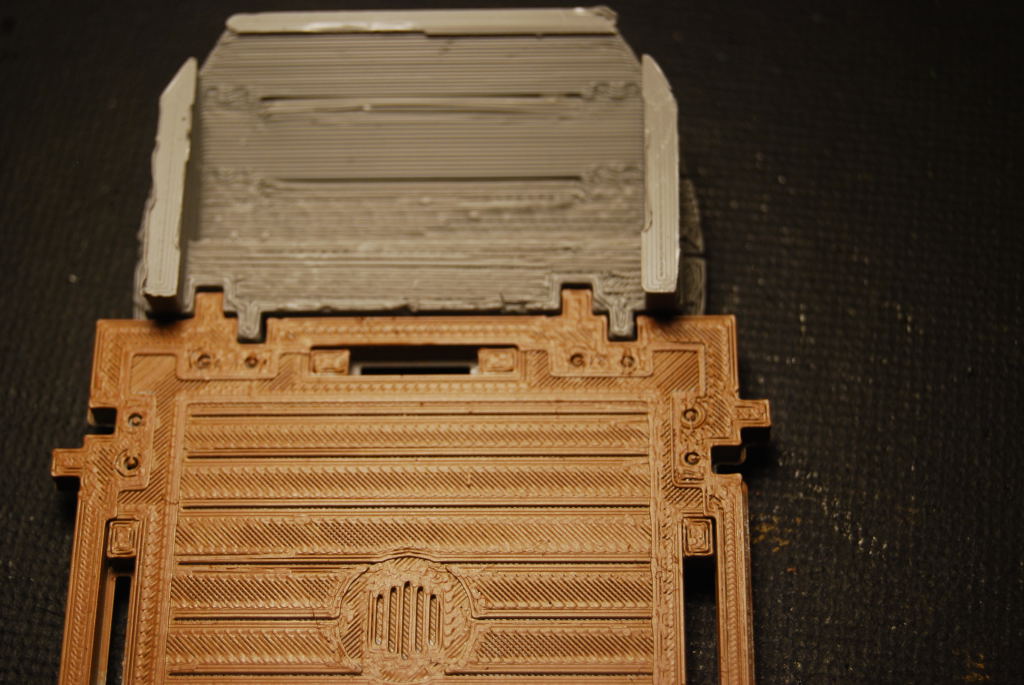
I found this toy crane on Ebay and wanted to use it on the tabletop. It has been setting in my bit box for more than 5 years. I started by taking it apart to see what kind of pieces i could use from it. I like the idea of adding the wheels to the the legs things so i glue them down. Ok now i need to 3D print some wheel cover to hide the hollow wheels. Then i made a base that rotate that themed for Wolsung.


Ongoing
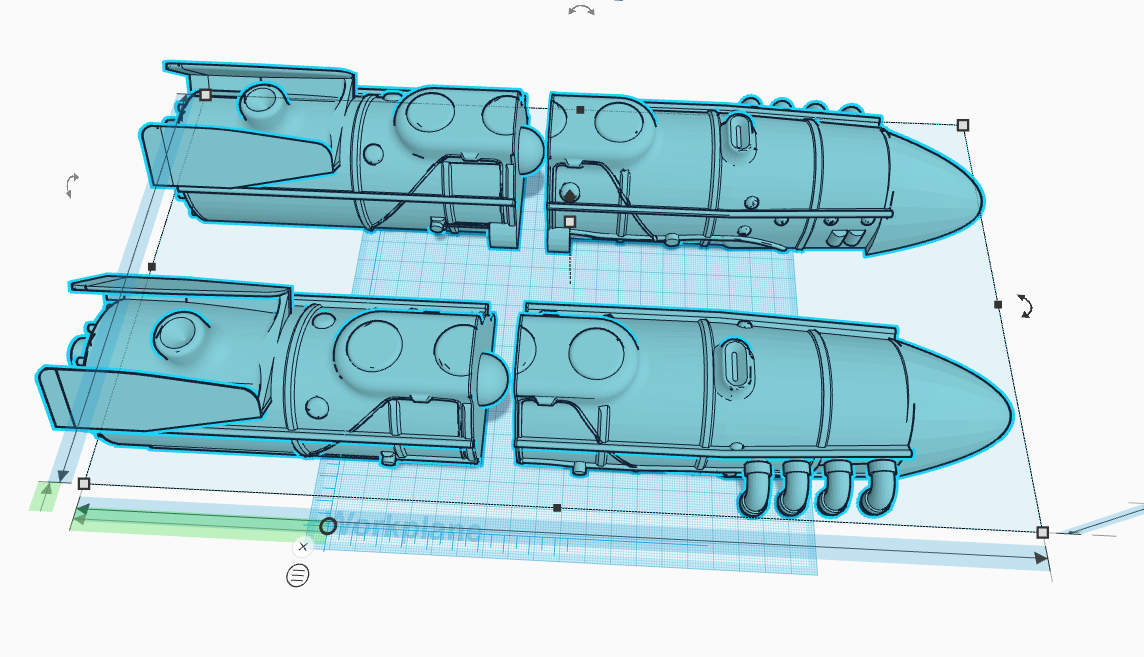 Ongoing project an engine for my airship.
  Basing for my Wolsung terrain.
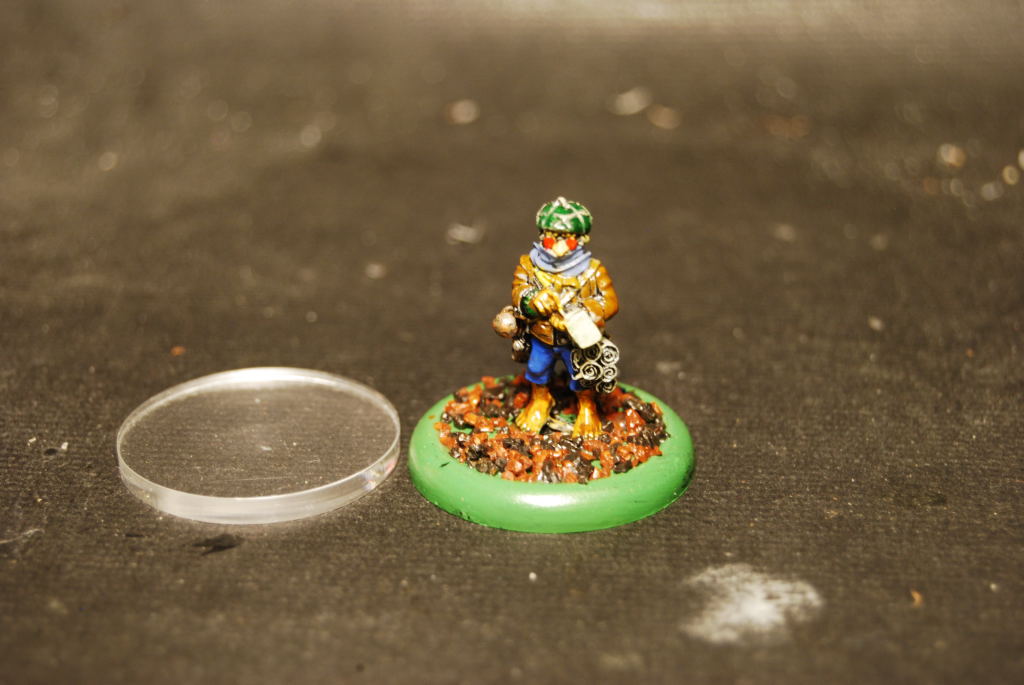 Adding clear base to my miniatures, I bought 40 (30mm base) and still need about 10 more plus some 50 mm ones
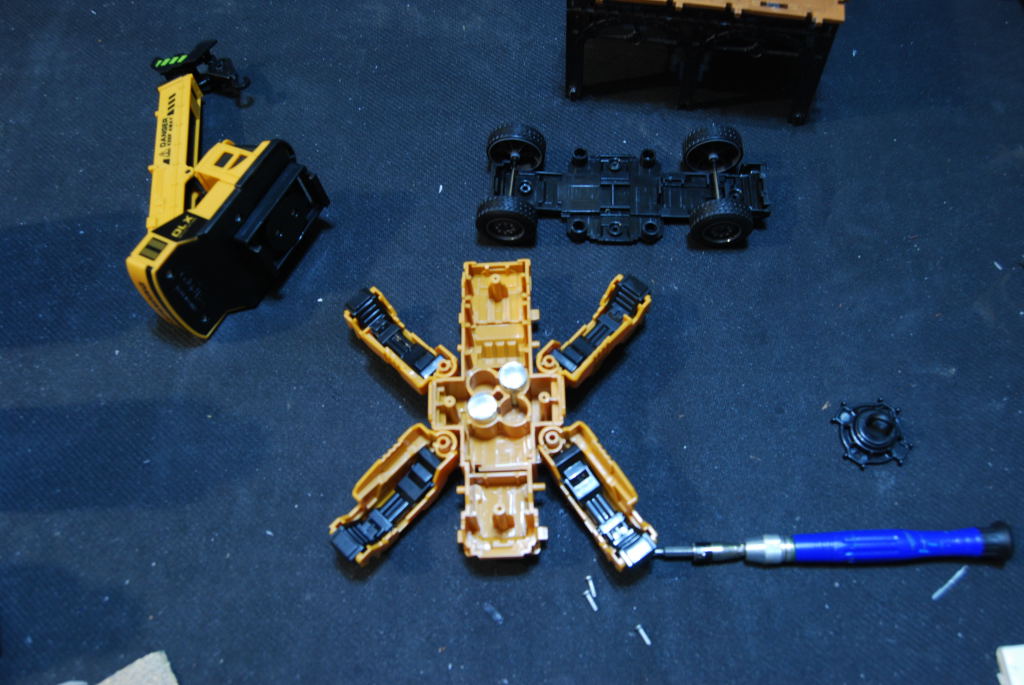 I want to make use of this toy crane.
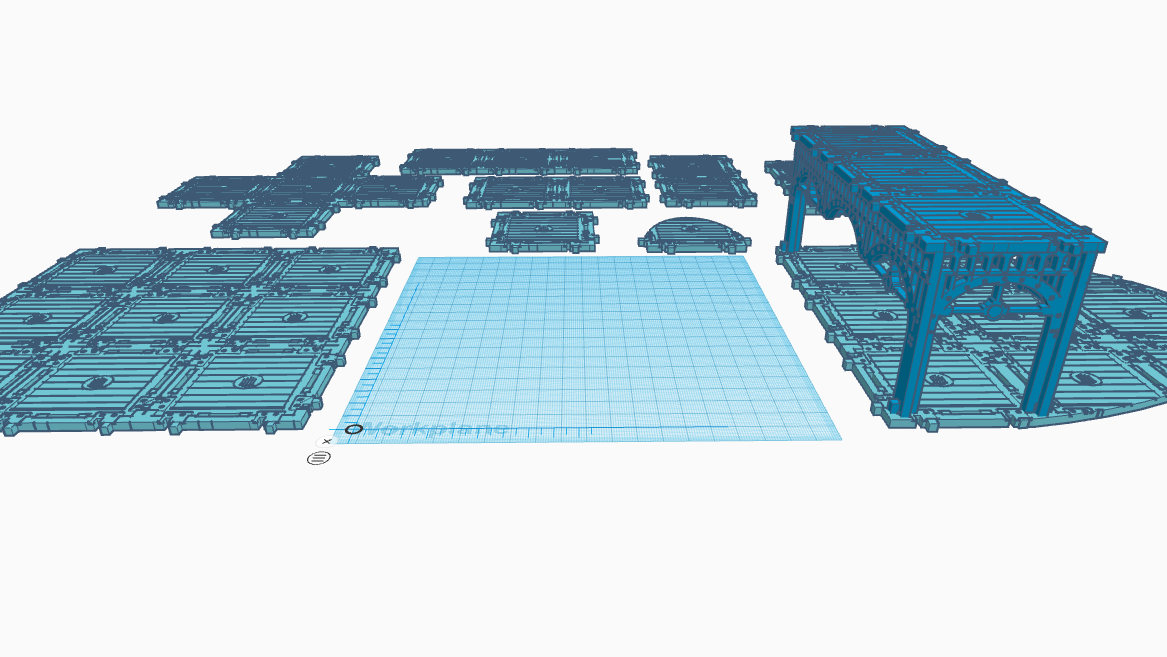 I want to make a space hulk like (2.5D dungeon crawl) version of an airship interior. Using the walkway decks as a modular floor plan. (maybe next spring clearing idea.)
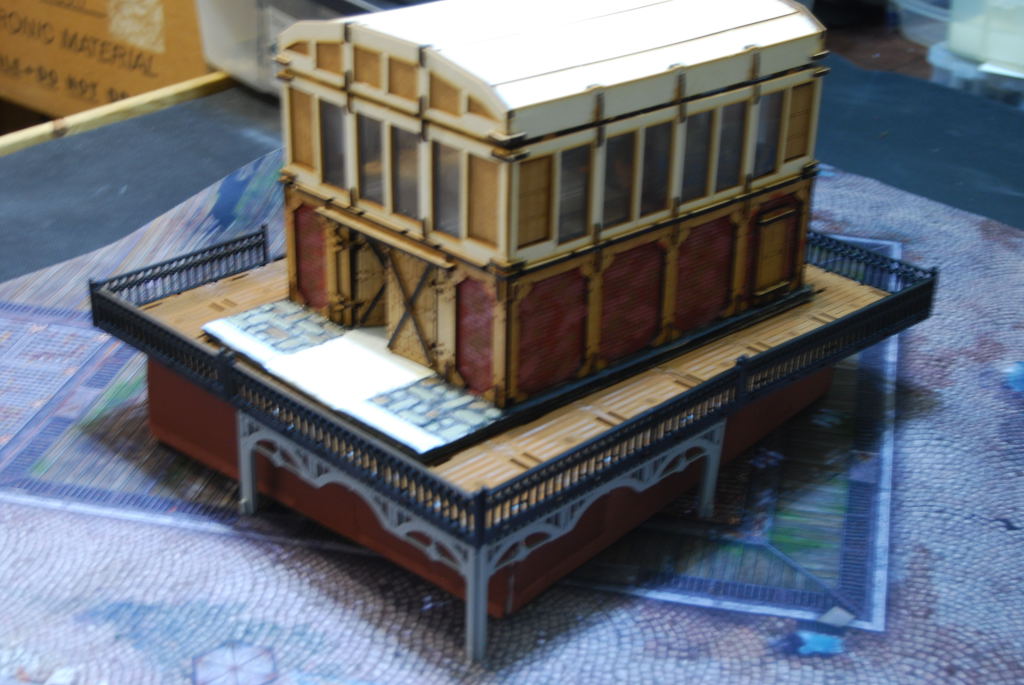
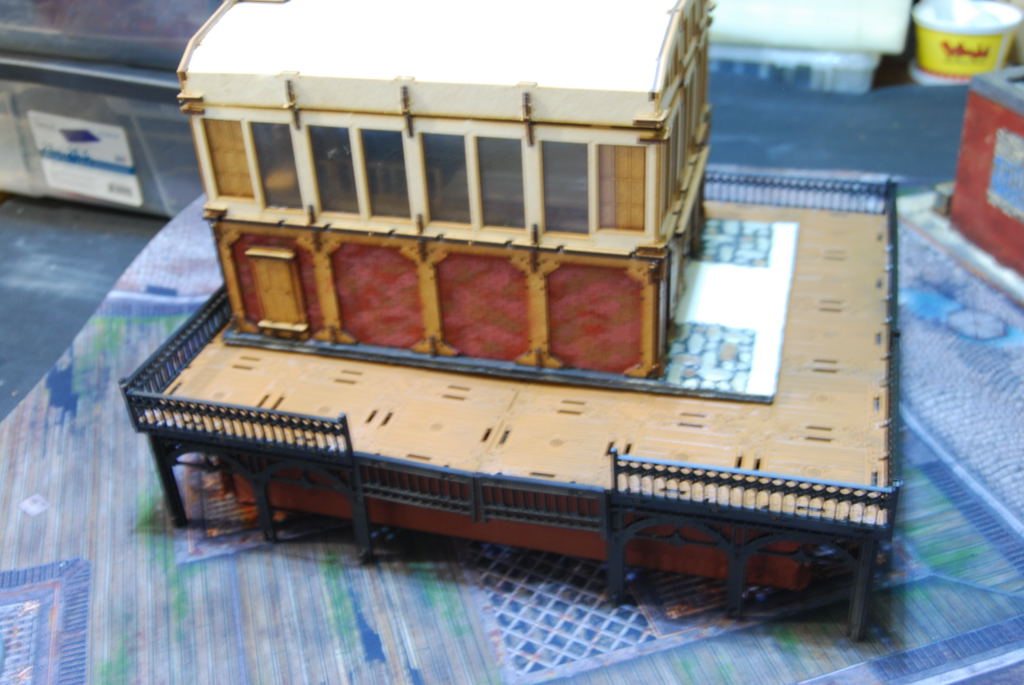
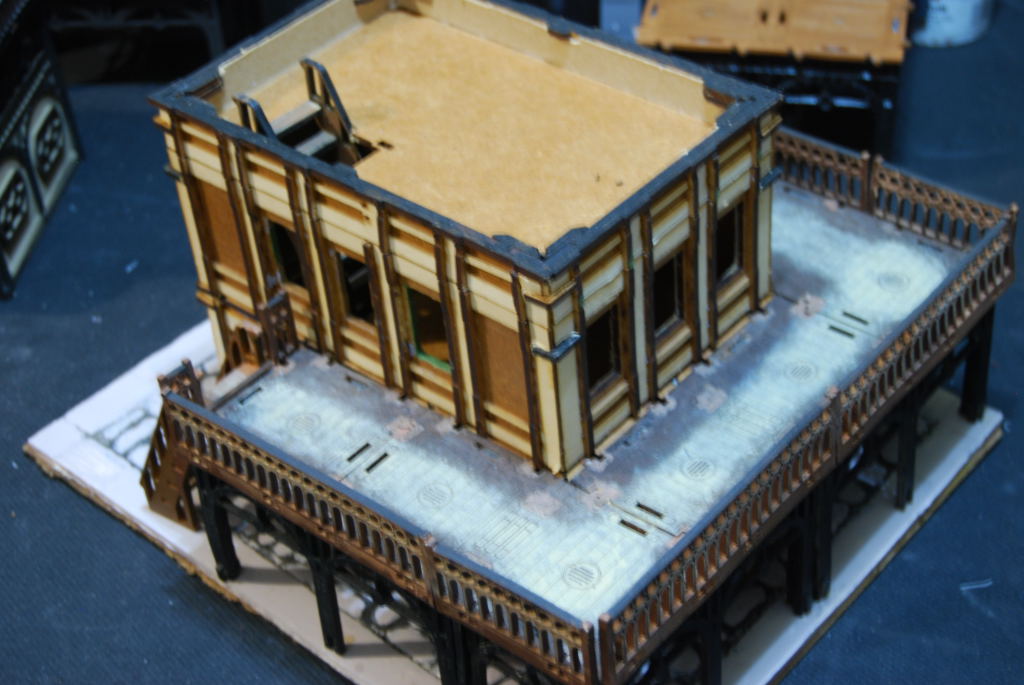
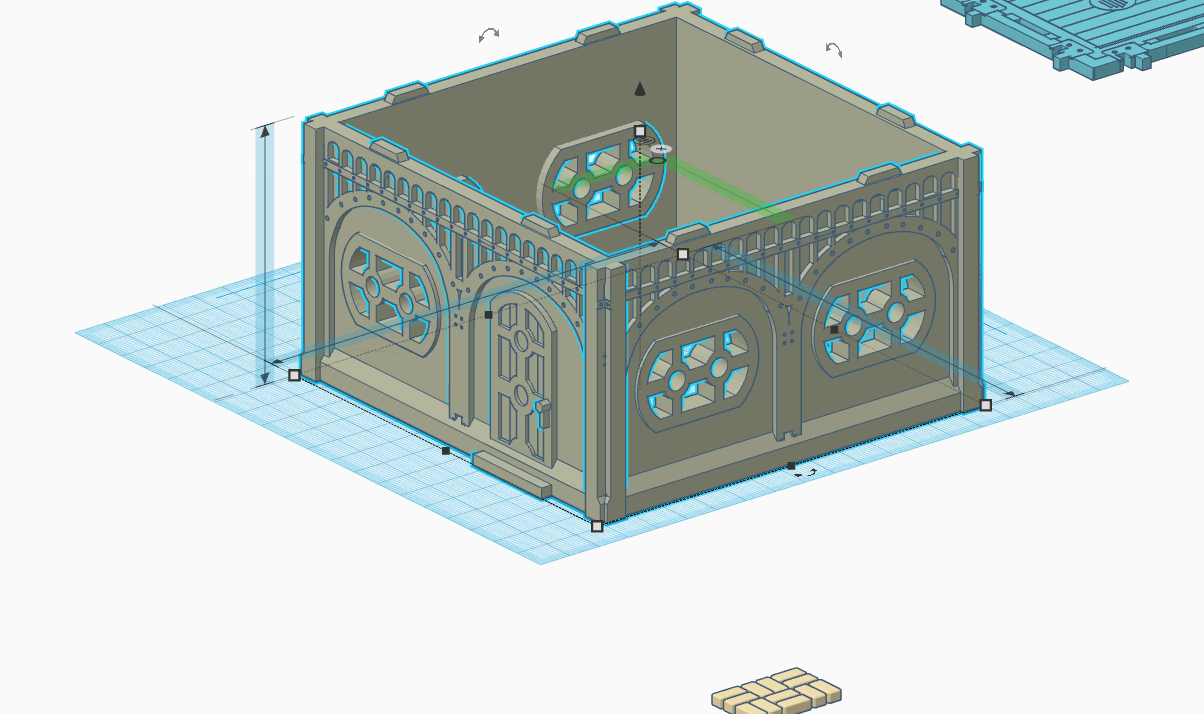
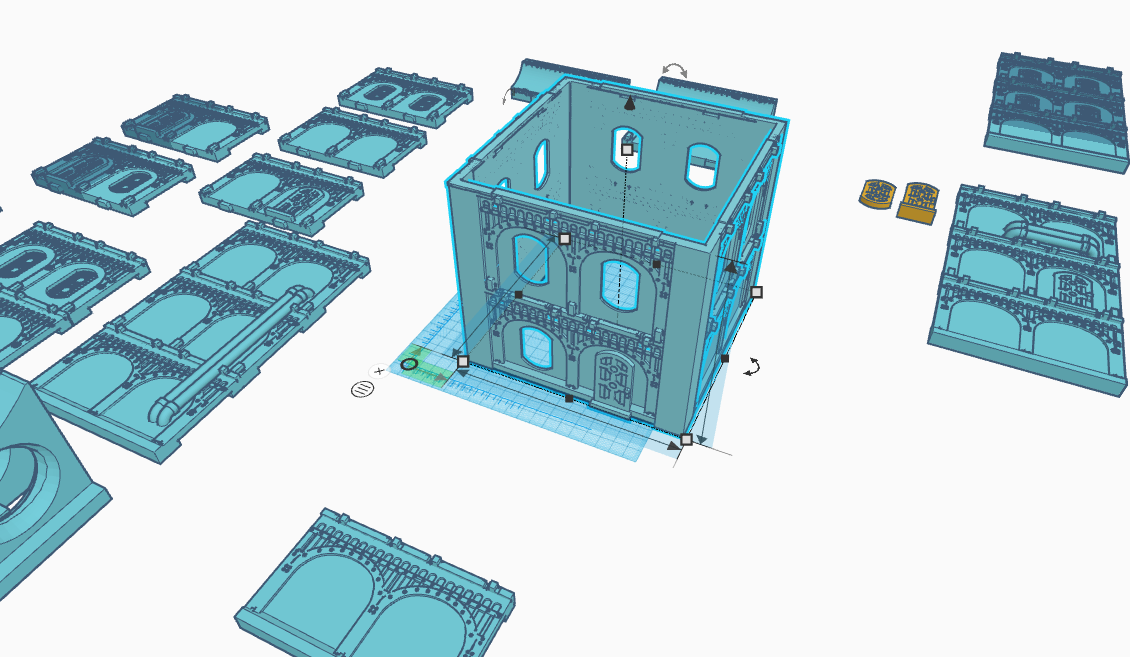 Two story test building (a 36 hour print)
 Working door for the small shop.
 Evolution of an idea
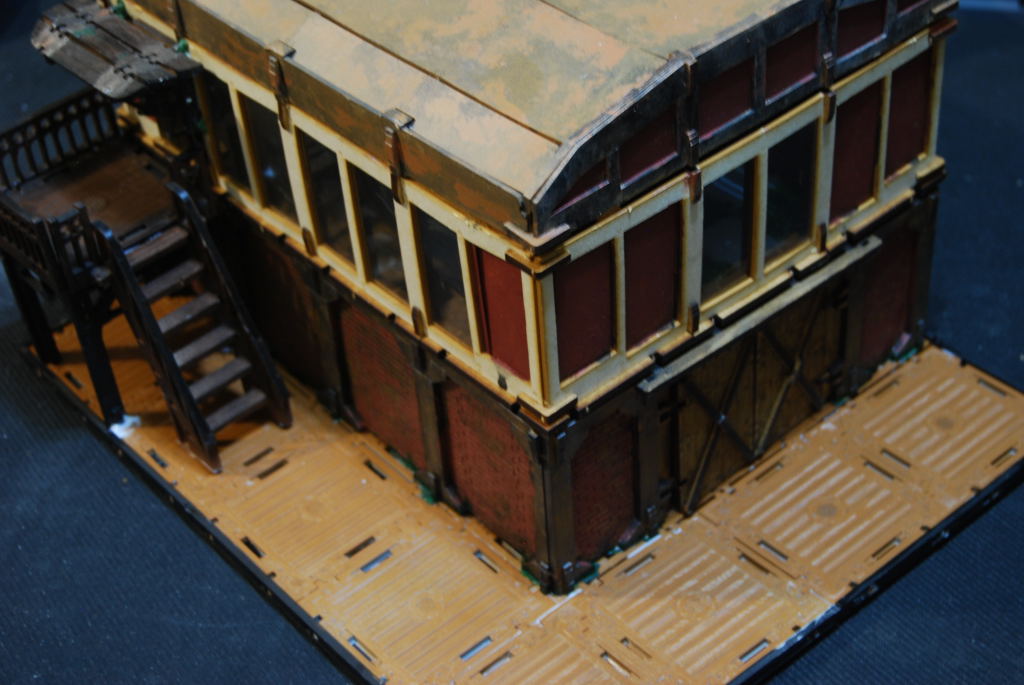
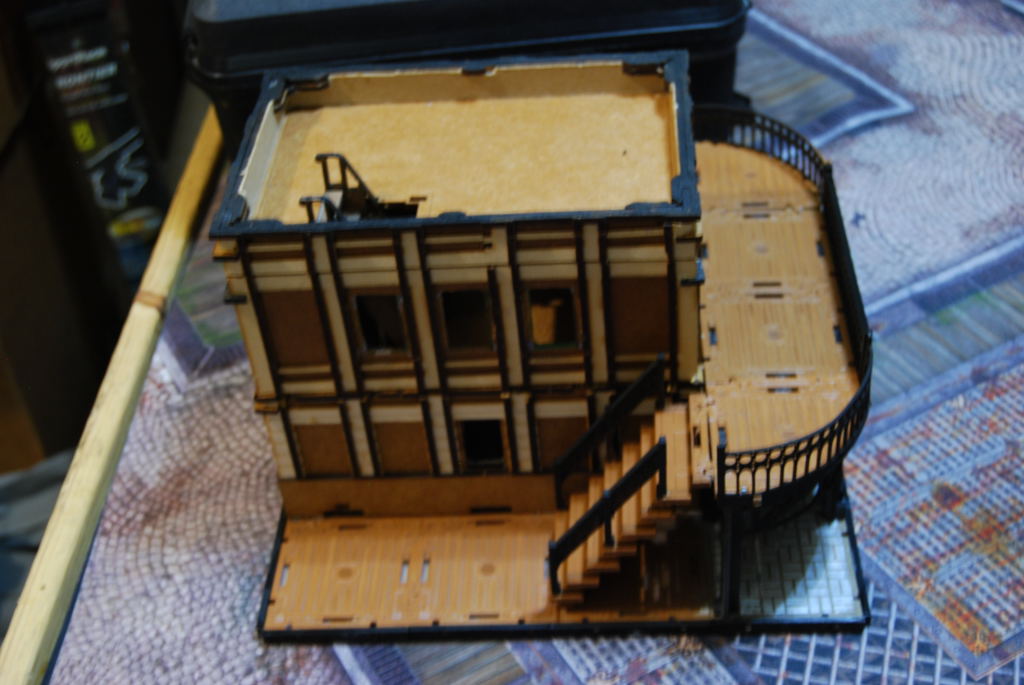
While in Tinker CAD i was playing around with an idea to incorporate the interior wall with the rest of my terrain. I started with a basic wall to add a stable foundation to build from. The idea was to create different level from which i could build upon. The next logical step was a corner. Then that evolved in adding a door and windows. Next thing i know it become a house then into a small shop.


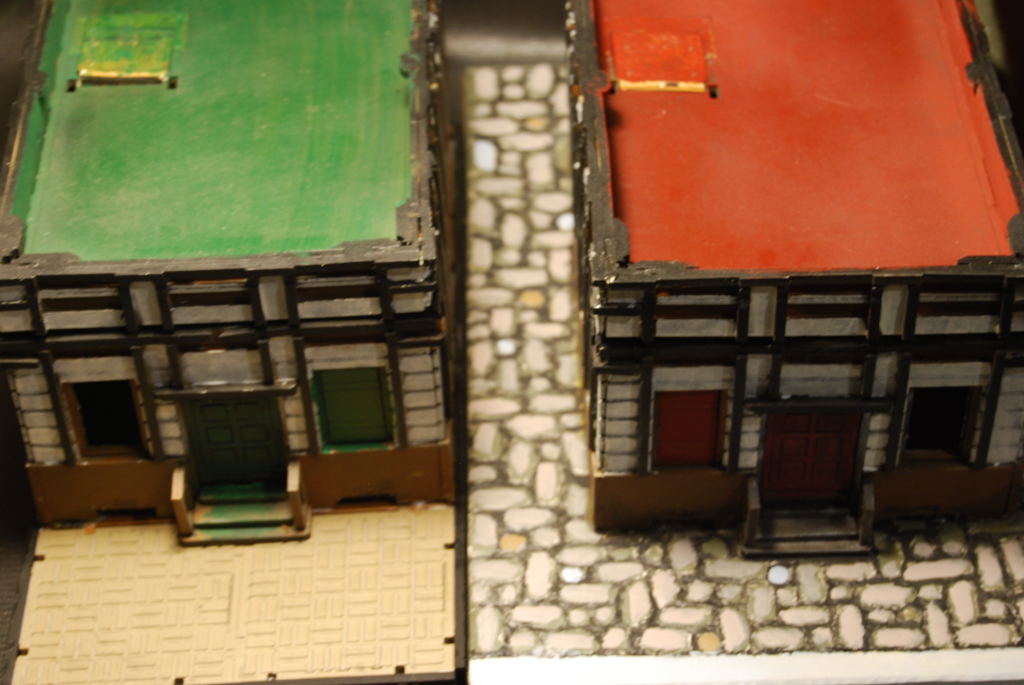
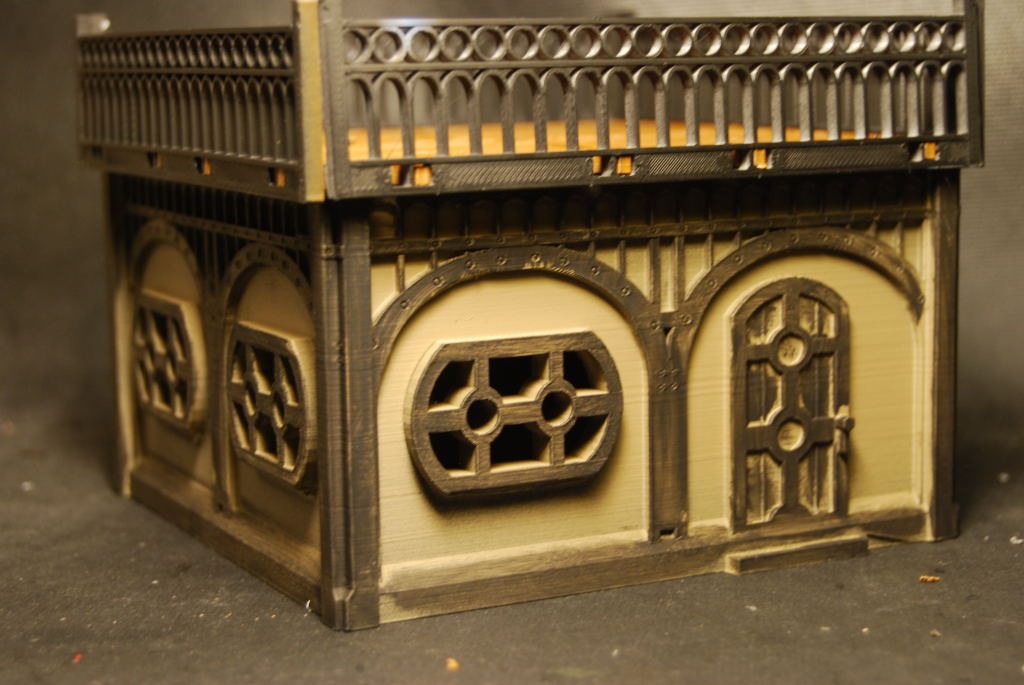 The small house took about 20 hours to complete. There are some issue with a gap around the windows and the walls are not symmetrical. Overall decent test print:)
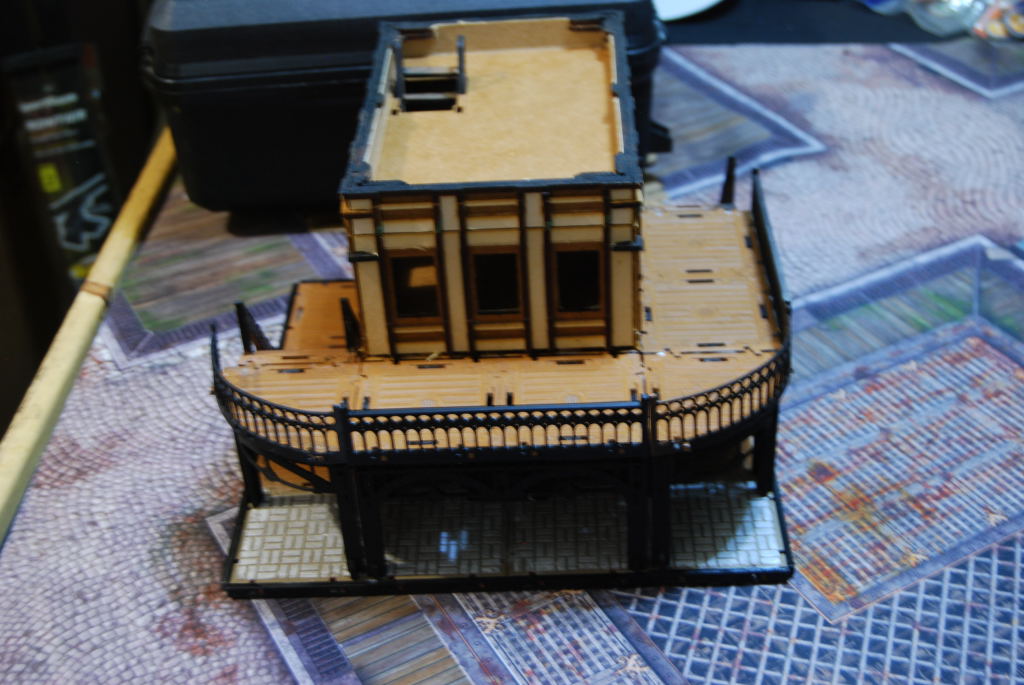
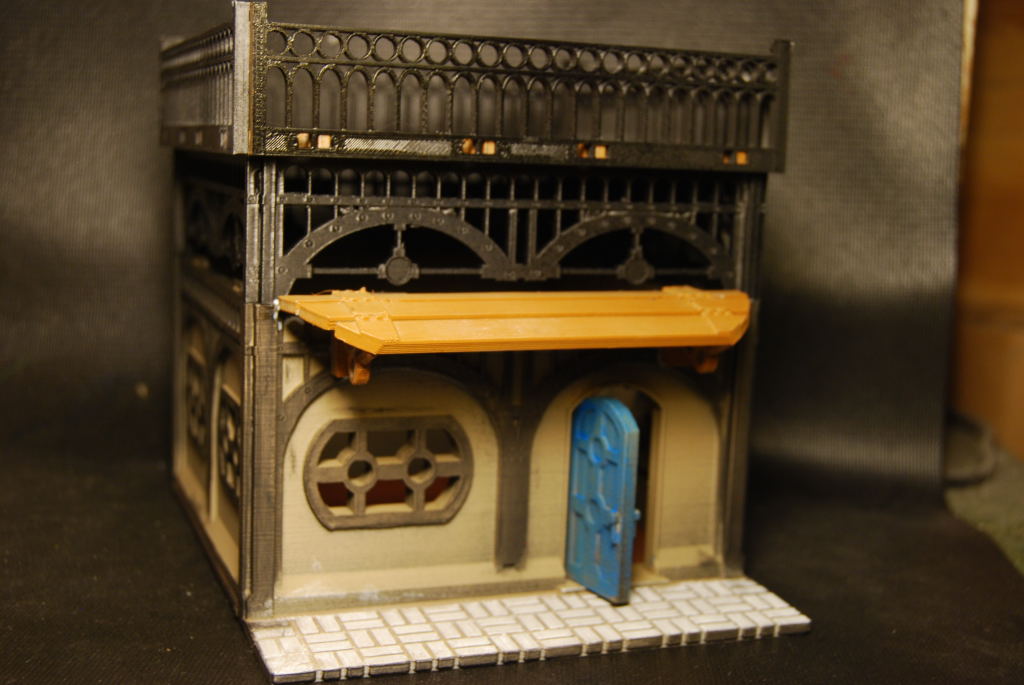
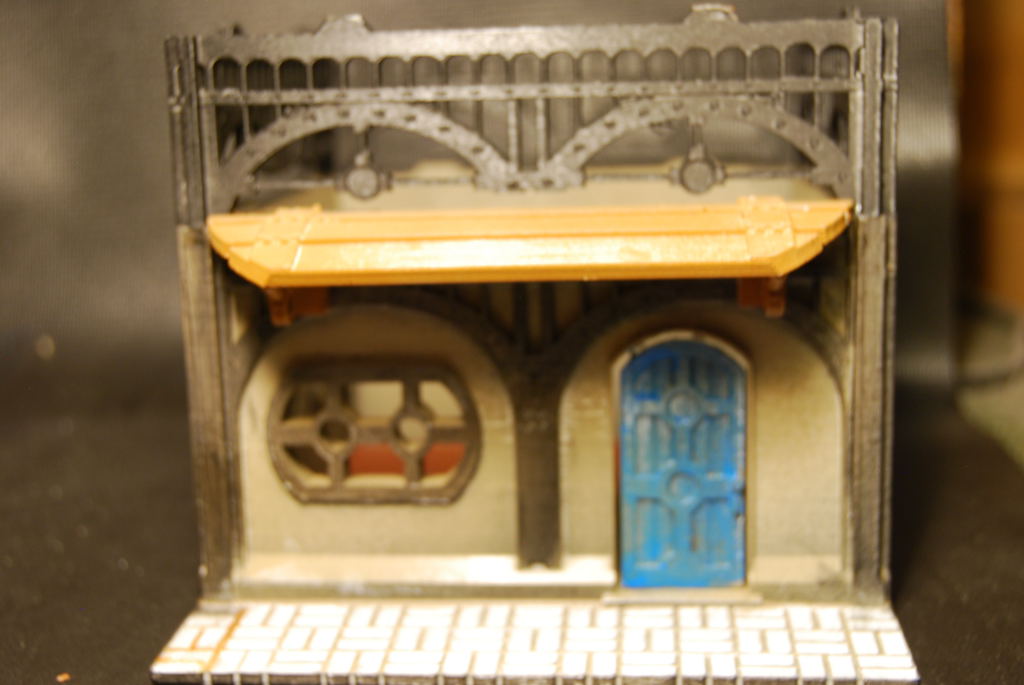
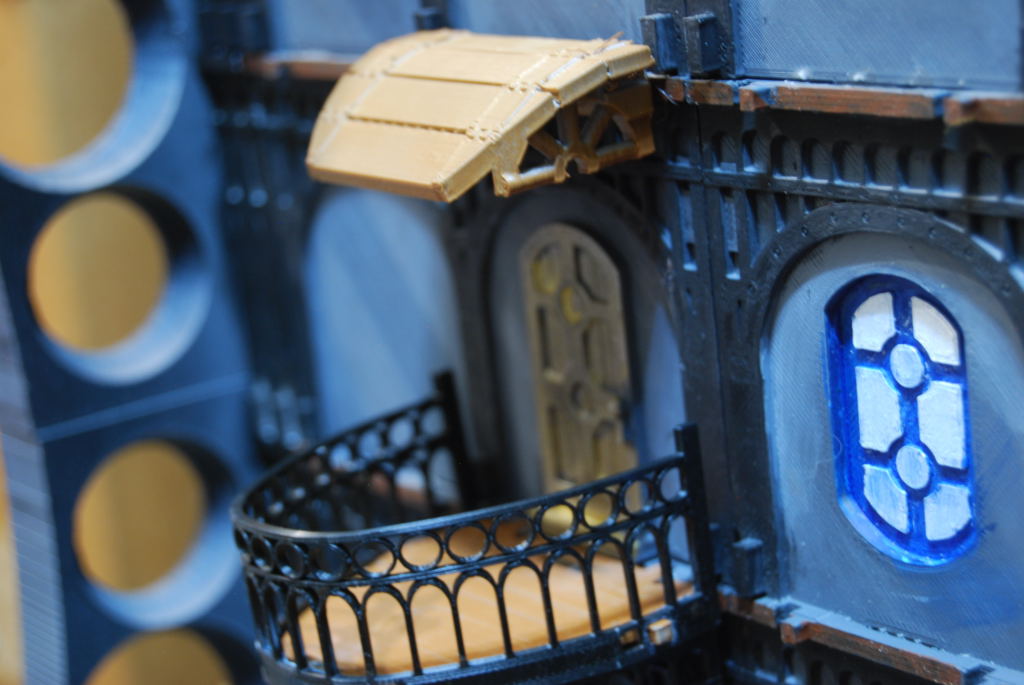
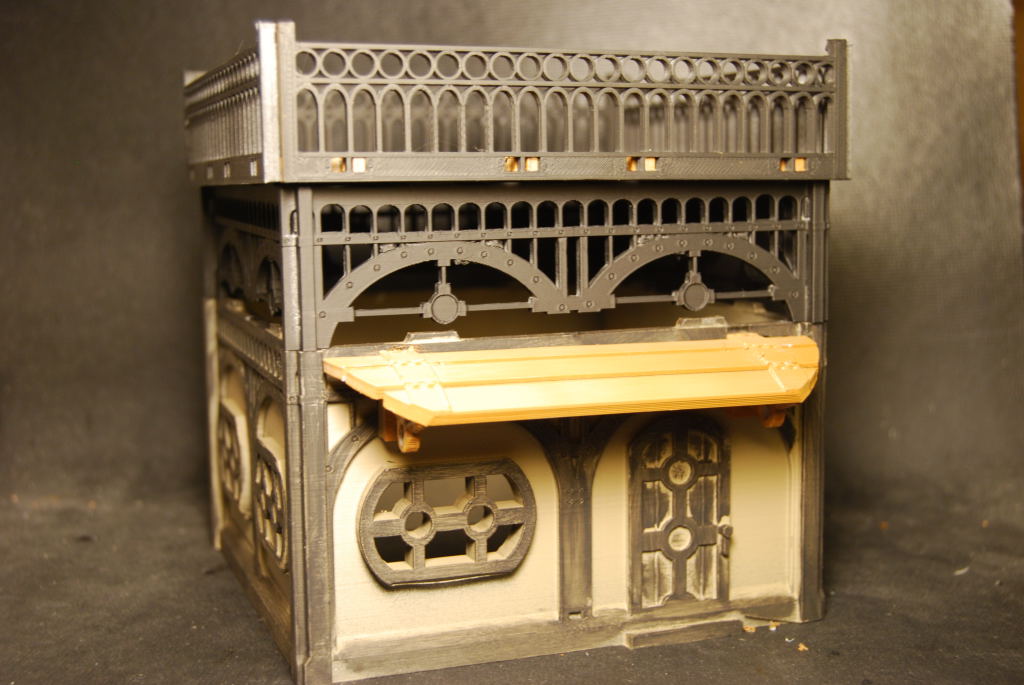 Next i added an awning and an arch. Now that cool :).
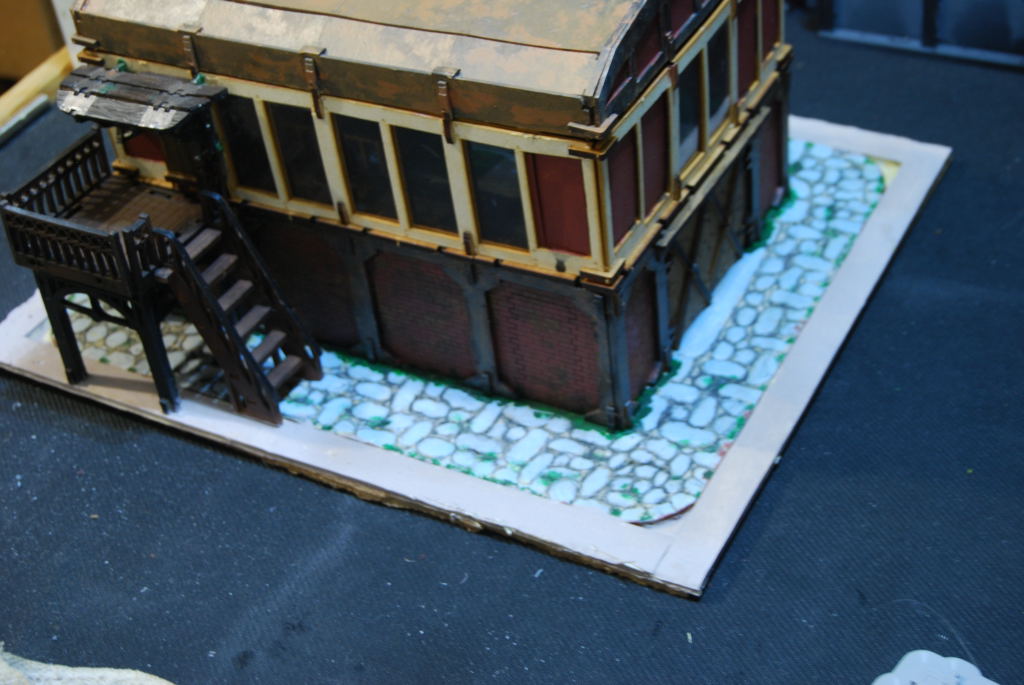
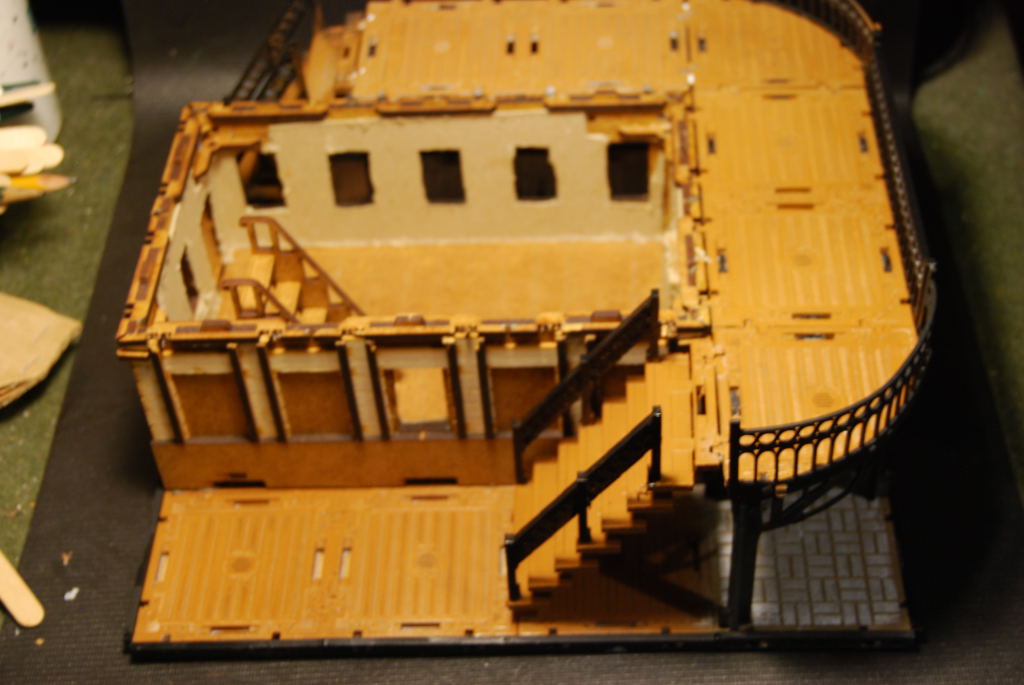
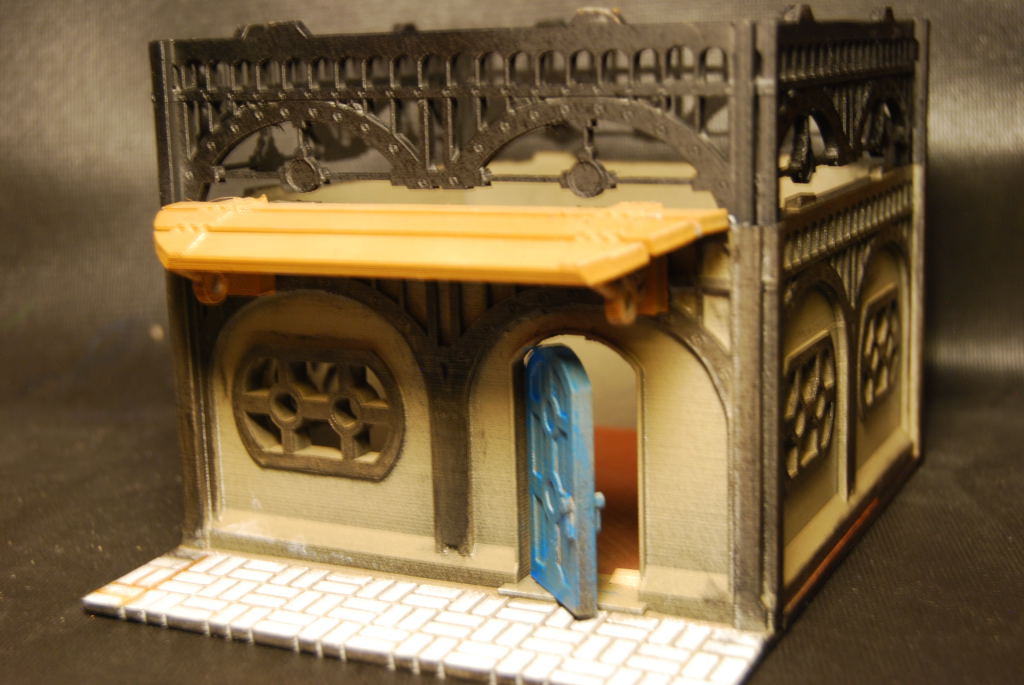
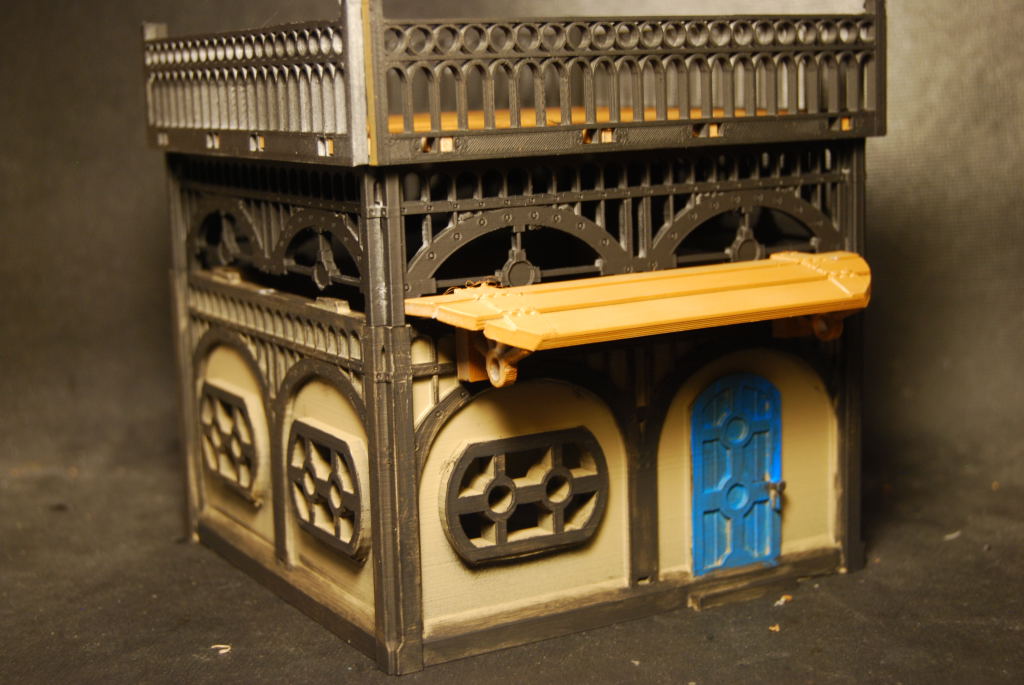 Finished painting some of the detail and she ready for the table.
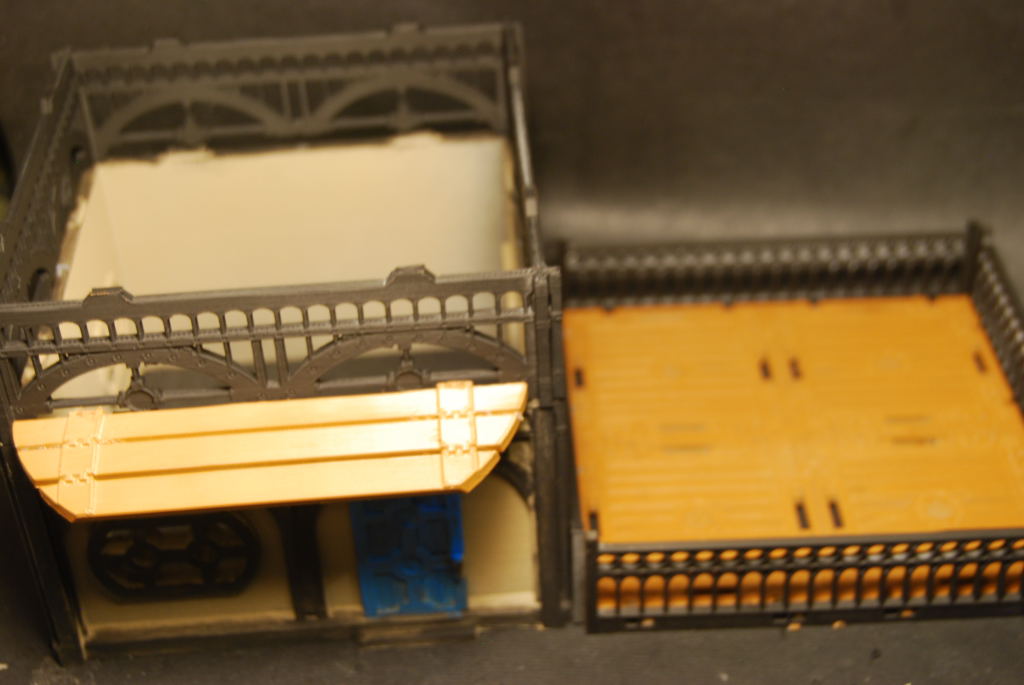 I made sure the roof was removable to allow access to the interior.
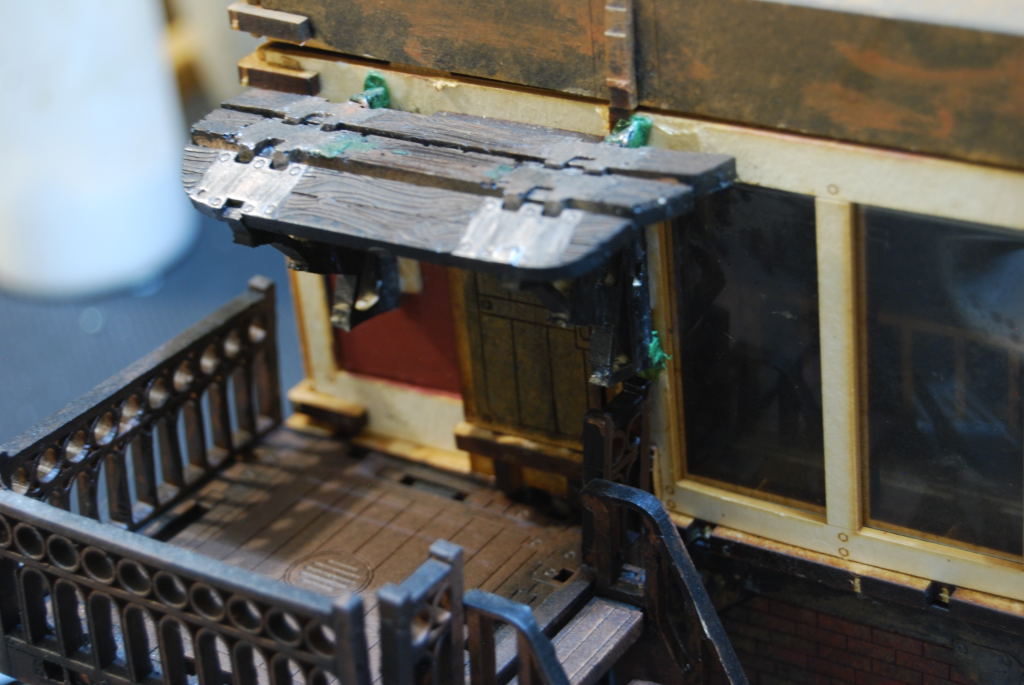
Awning
 I made this awning from one of the food stalls that Micro Arts Studio makes. I have decided to try to make one in Tinker CAD.
 My test print was backwards because file was rotated 90 degree to make it easier to work on. I just mirror the image and printed it again.
  Testing the fit before going back to Tinker CAD to added some flare.

 Much Better than before.
Awning
 I made this awning from one of the stall that Micro Arts Studio makes. I have decided to try to make one in Tinker CAD.
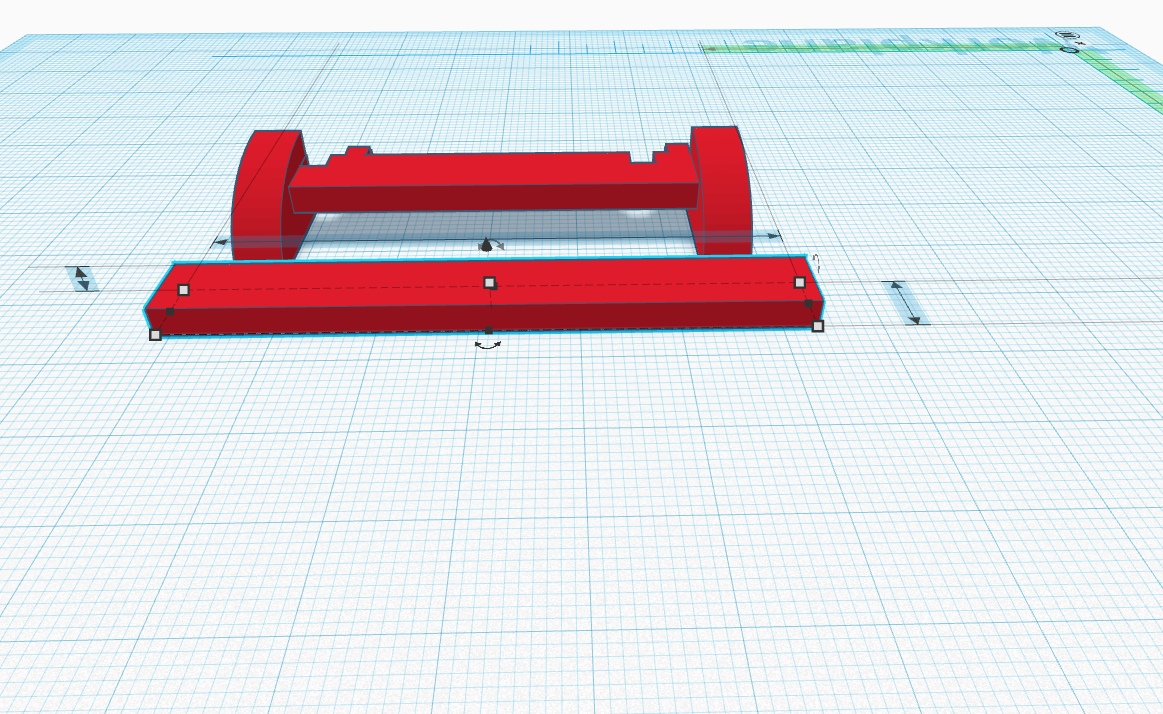


 My test print was backwards because file was rotated 90 degree to make it easier to work on. I just mirror the image and printed it again.
  Testing the fit before going back to Tinker CAD to added some flare.
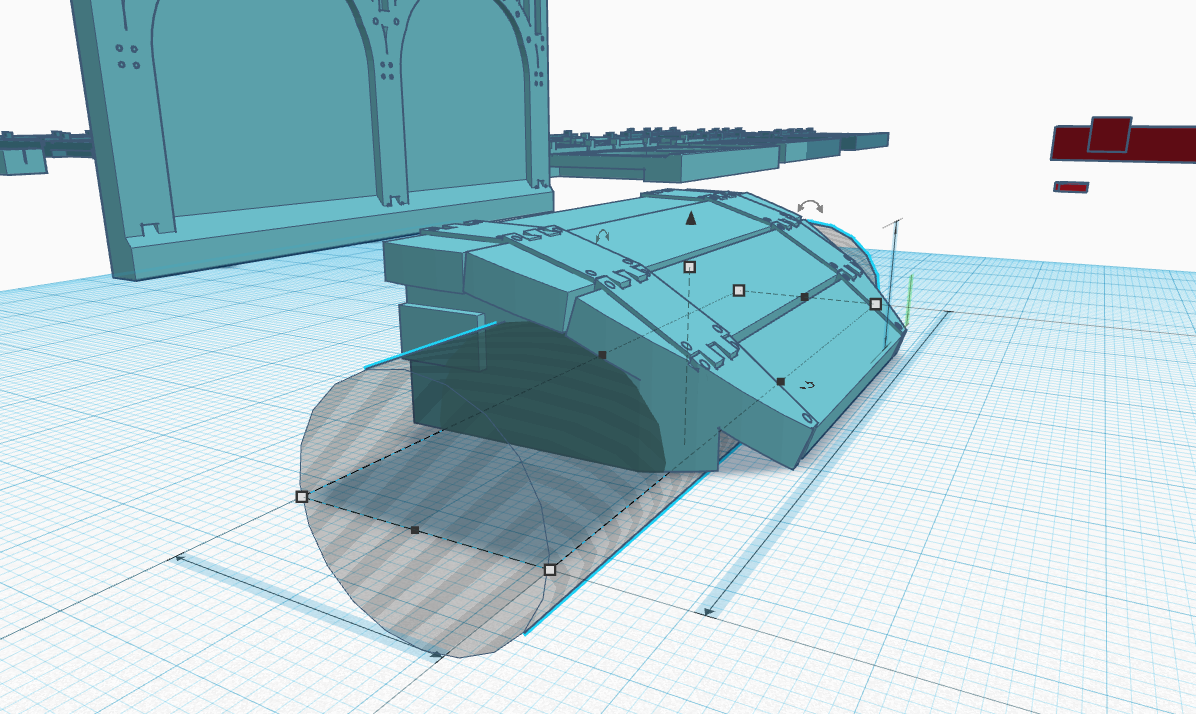

 Much Better than before.
adding some small details
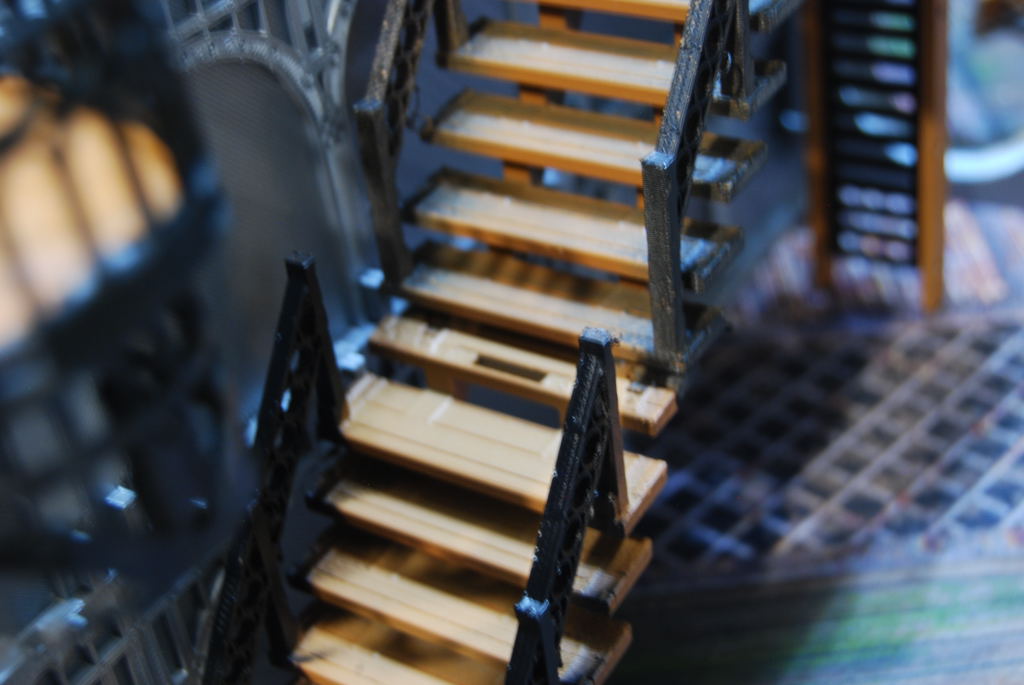
If you ever walked on an old wooden boardwalk, You would encounter a few broken boards along the way. I wanted to add that to Wolsung :).
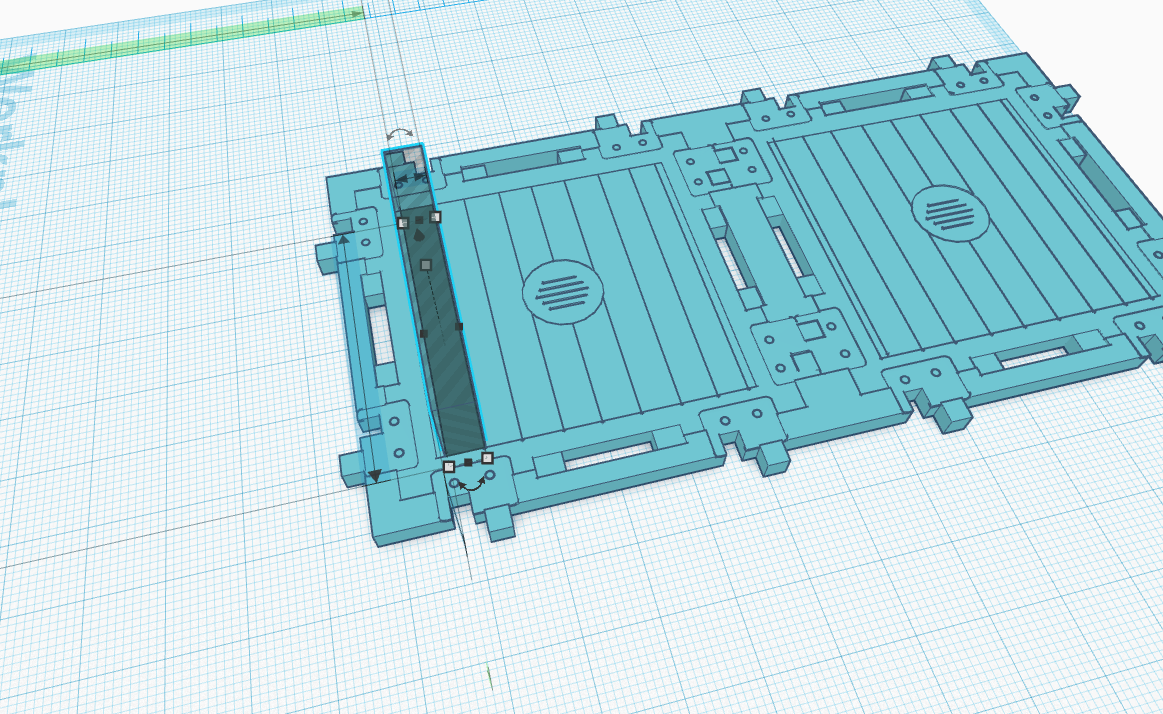
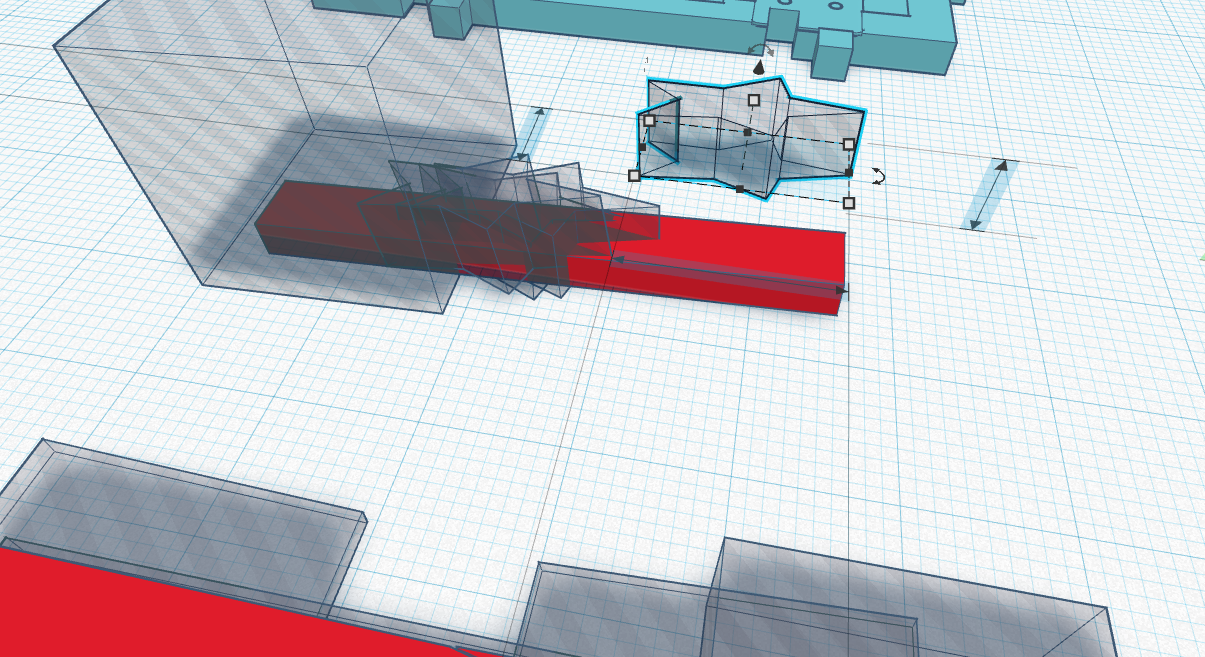

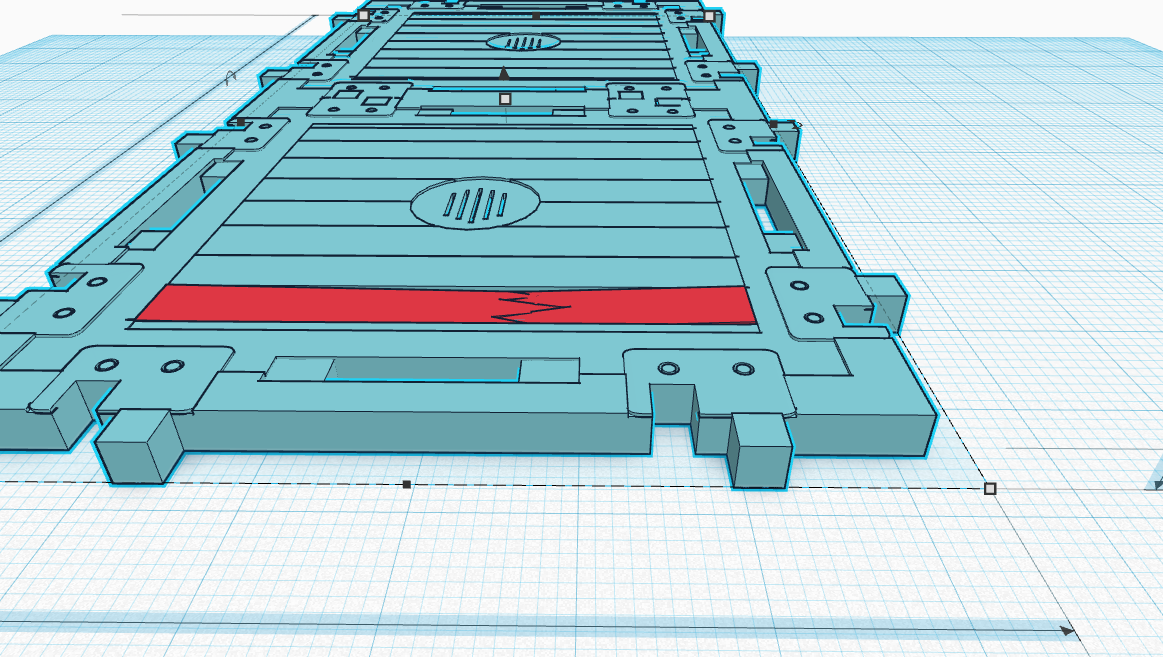
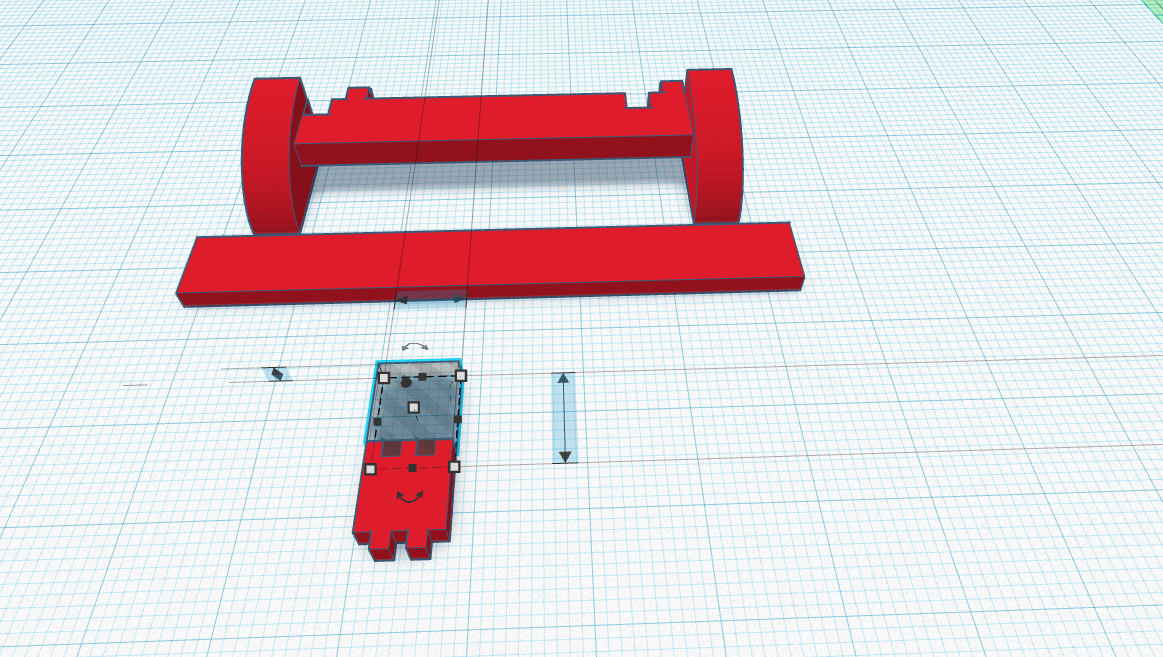
First i had to remove a board section. then i created a rectangle to match the board shape. i use a negative image of a star pattern to create the broken edges. Clean up both sides and fitted them back in the walkway.
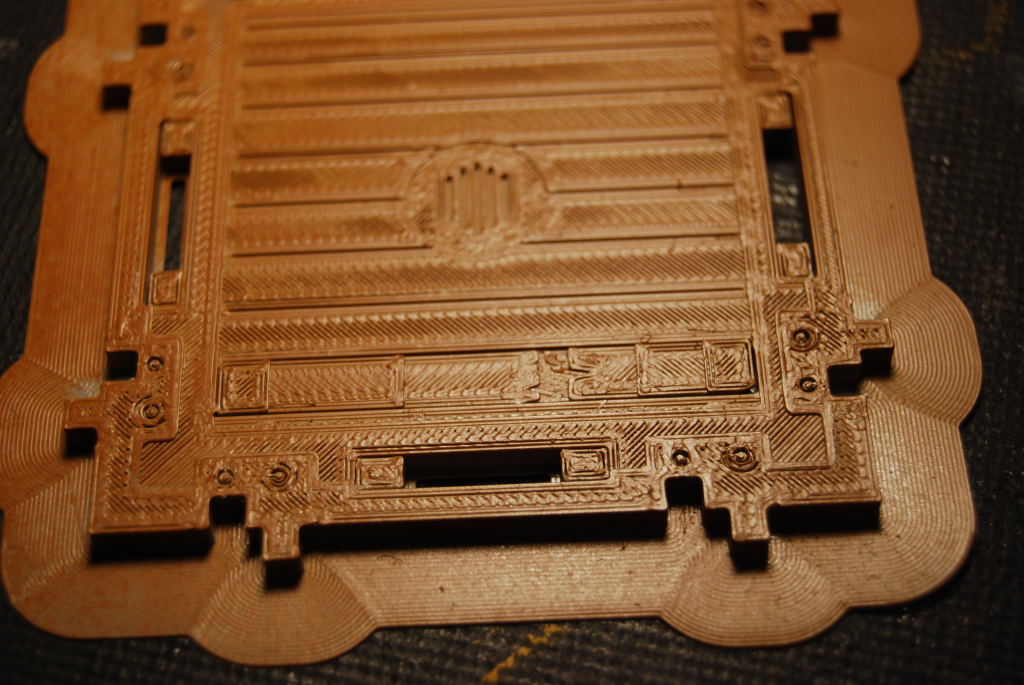 Not as detail as i would have liked back to Tinker CAD.
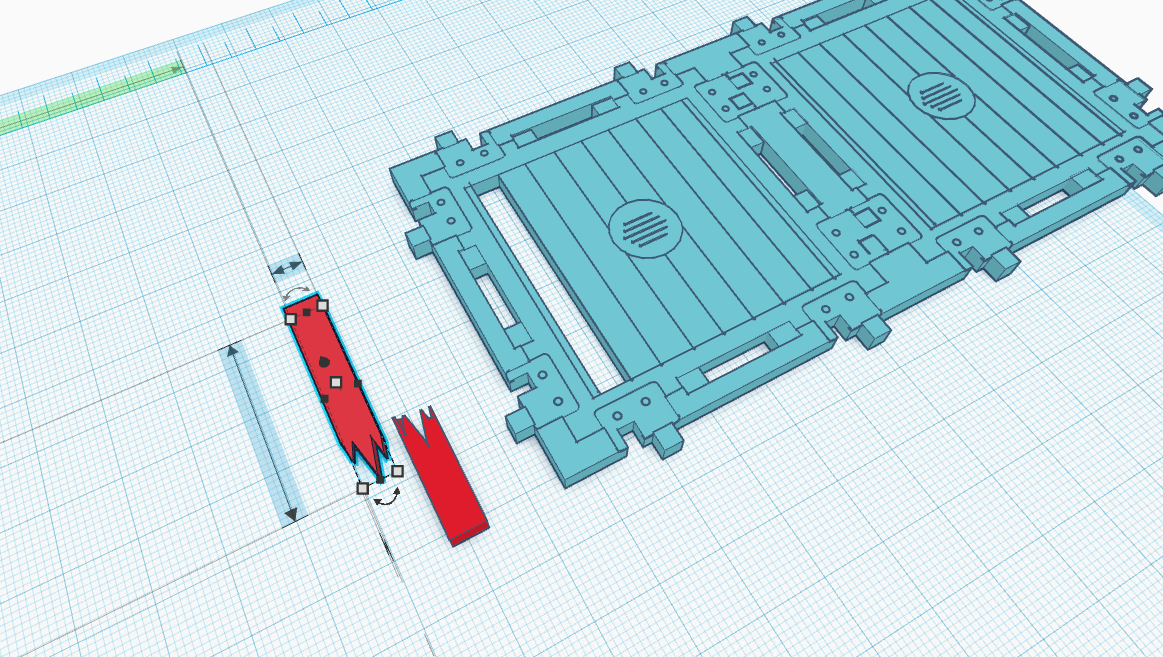
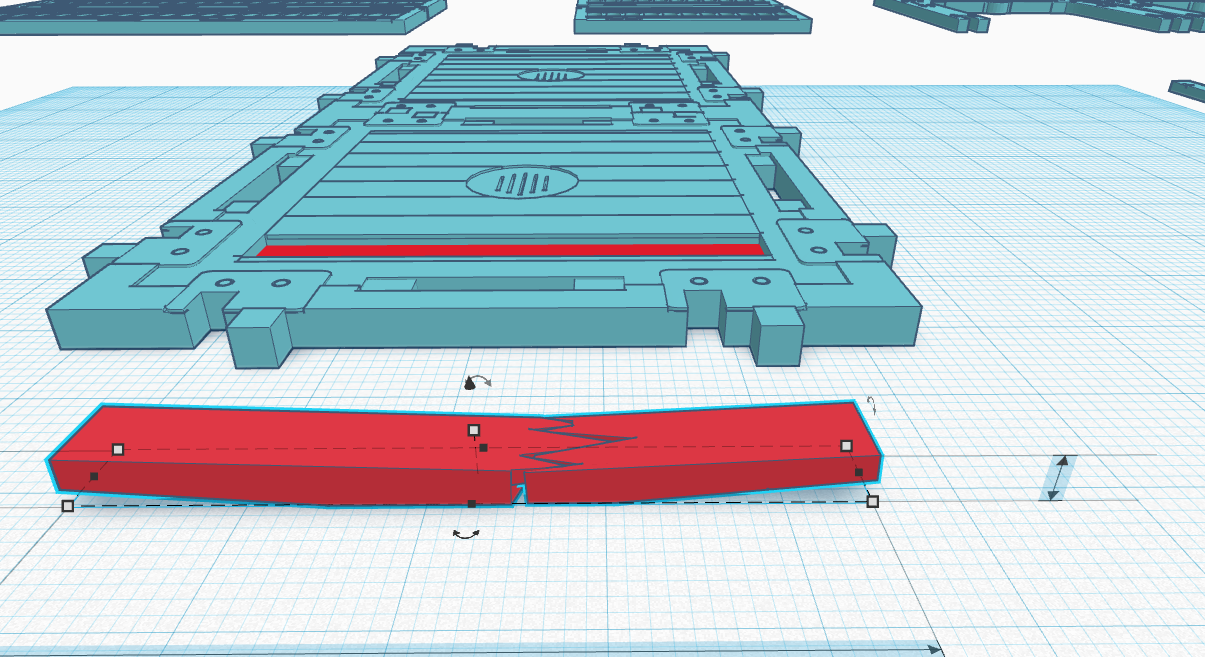 2nd try
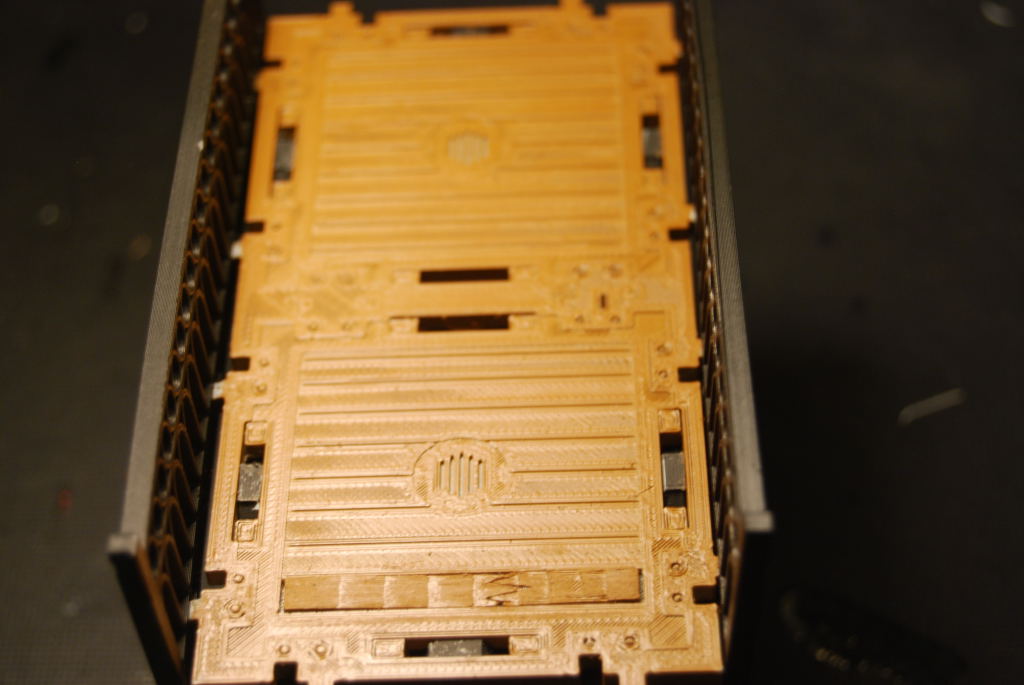 Done. i had to sand away some of the stepping cause by my course setting and i used a exacto blade to bring out some more detail.
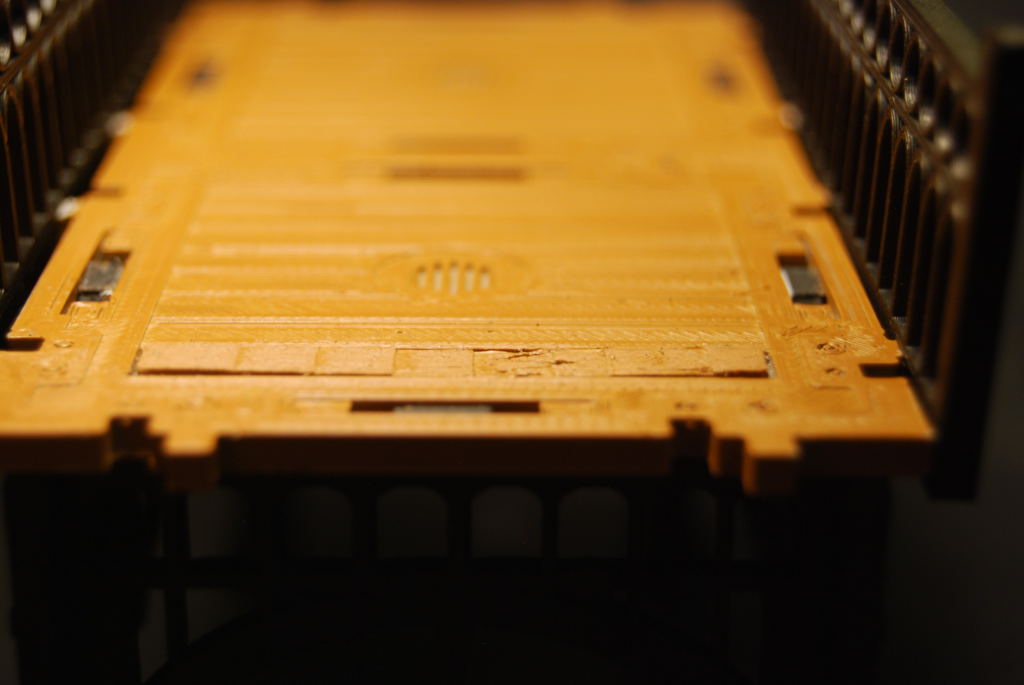 The ends were flare to make it stand out more.
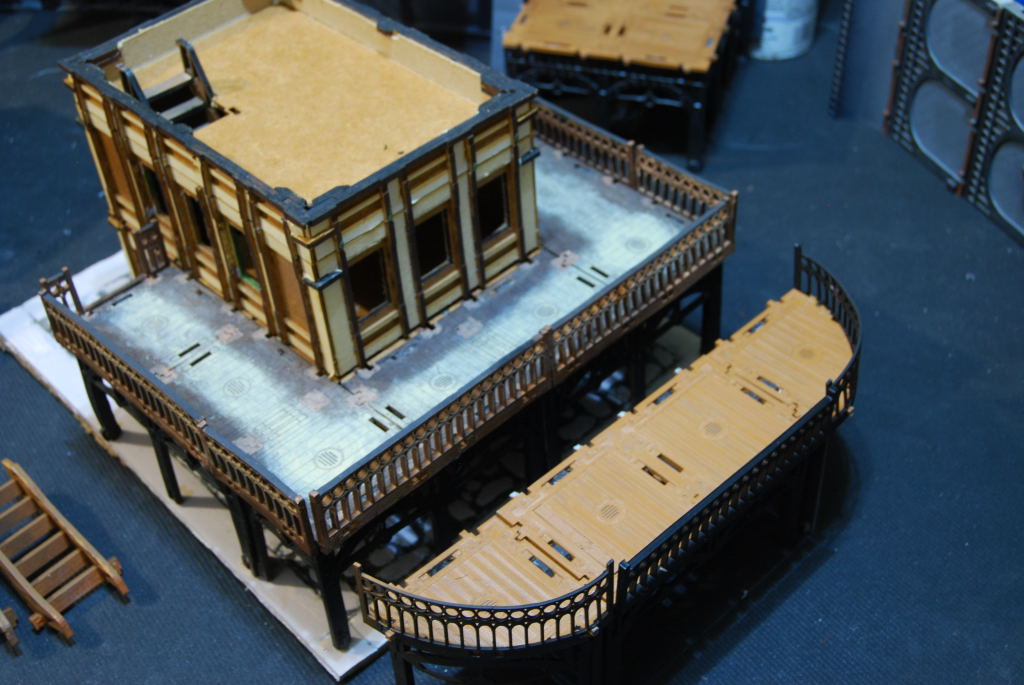
Rounded corner walkway
I started this idea about a month ago, because all the little issue i ran into it was put on hold. i was working on a lot of 10 to 20 hours prints so i would print a part weeks apart.
 This is the finished idea.
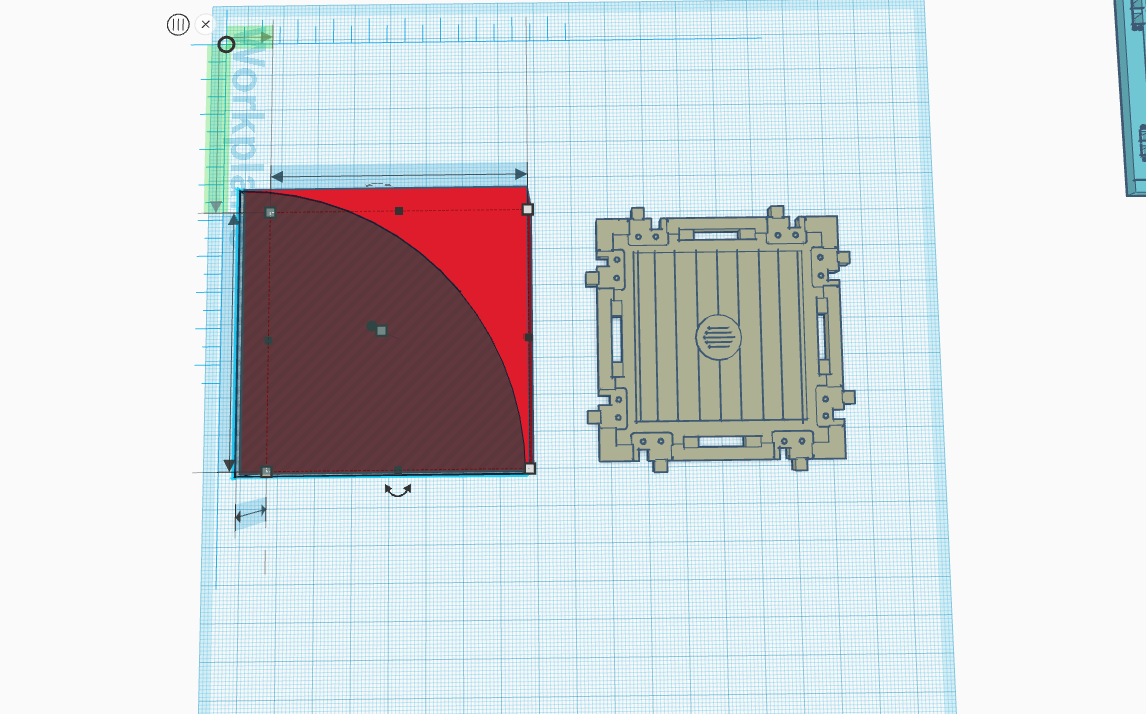

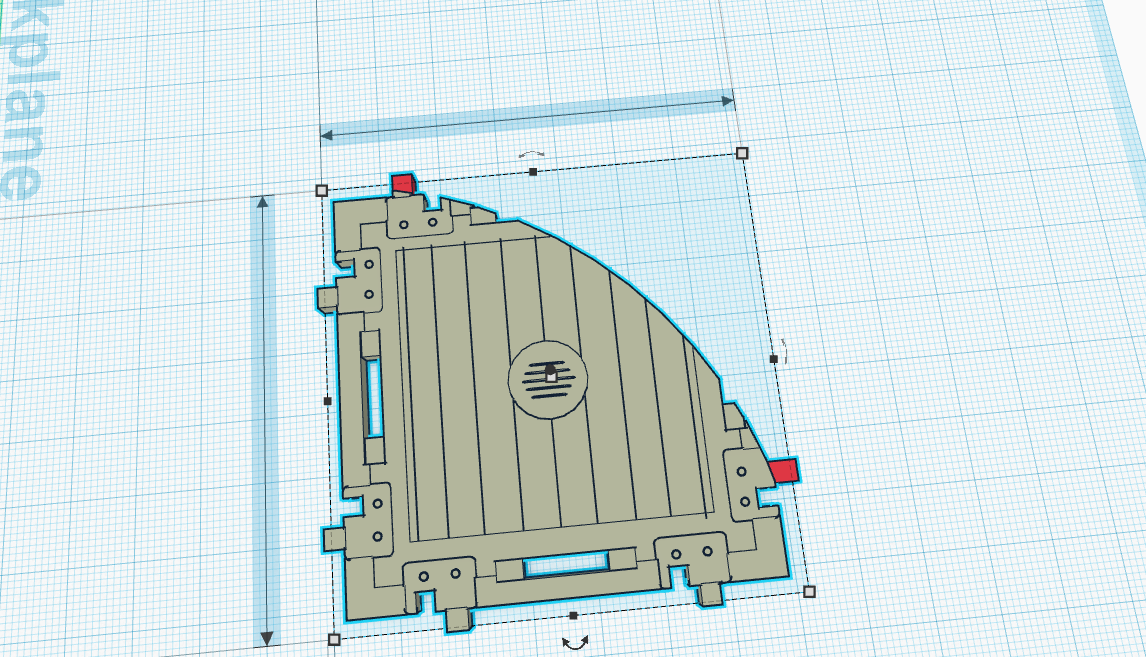
Basically i created a square box the size of the walkway then created an negative arc to remove most of that box. to get a shape i need to remove to get a nice curve. lastly i had to elongated the tabs to hold my rails. Off to the slicer and the printer.
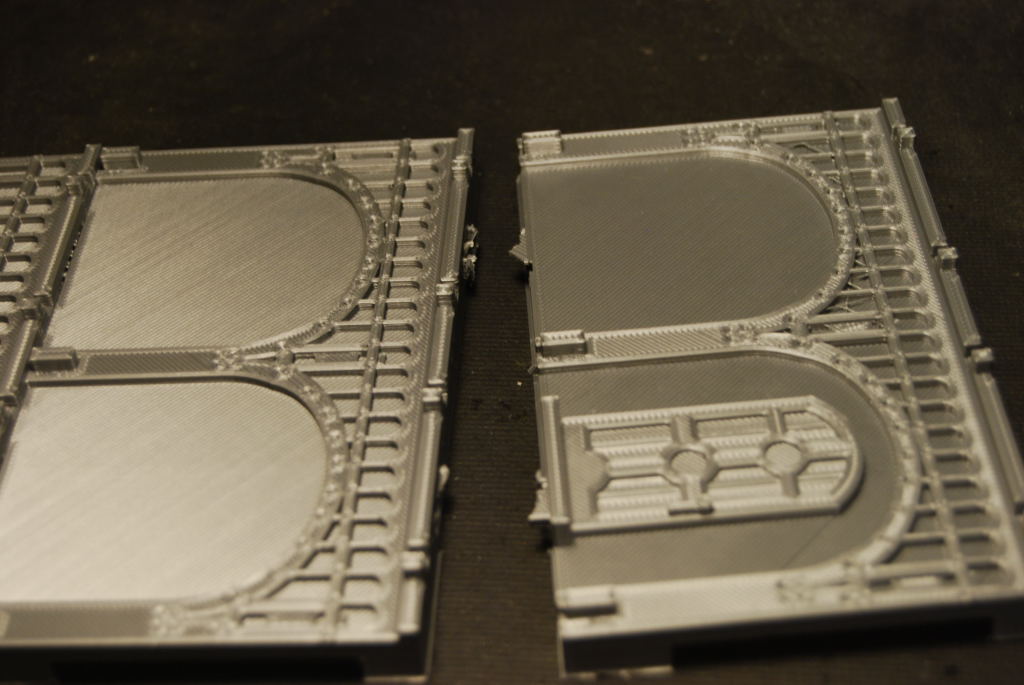
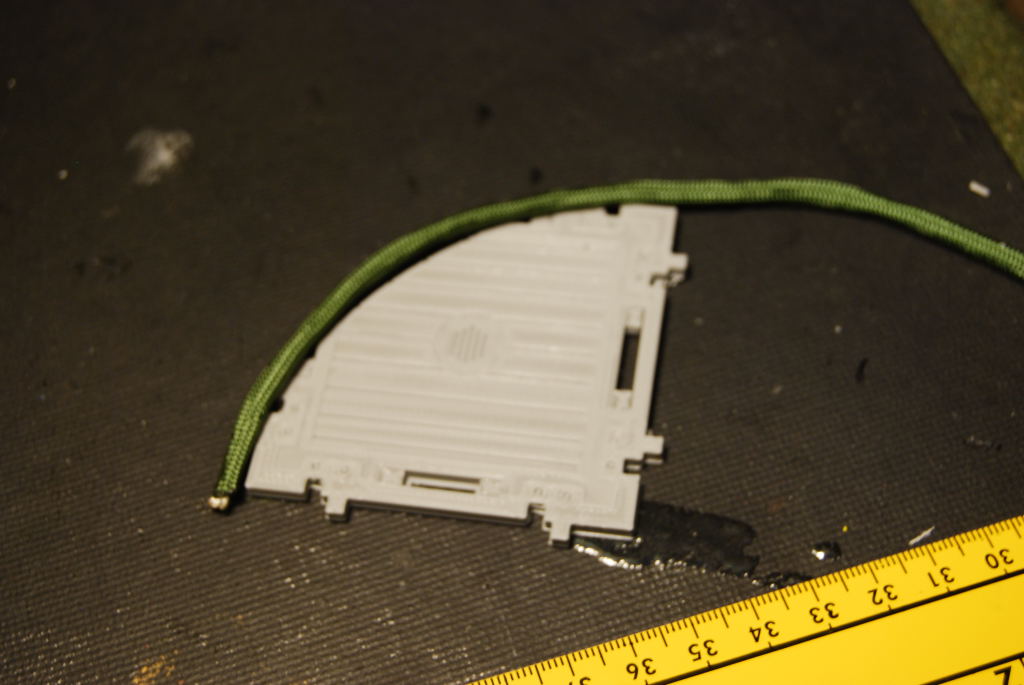 Test print.
 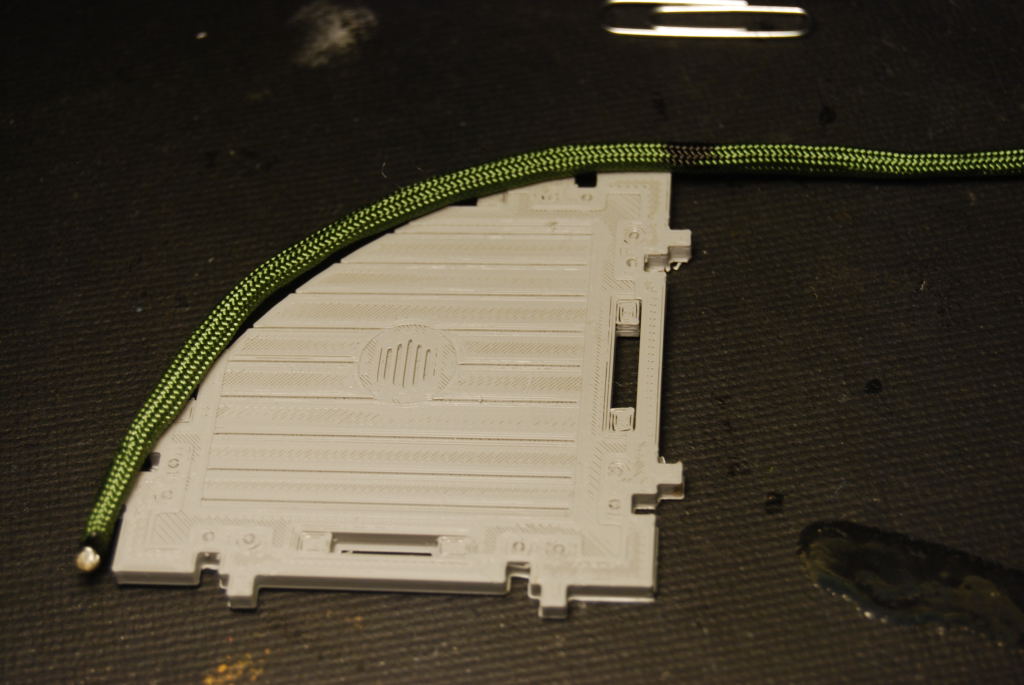 I use para cord to measure the curve. I guess there is some formula to calculate this, but this method work for me
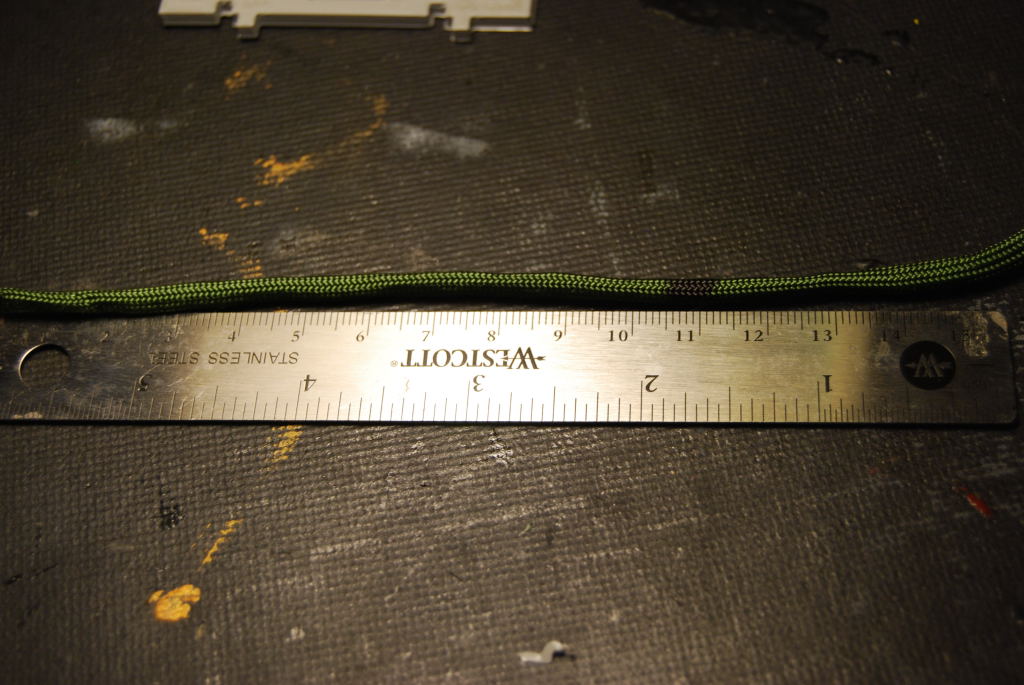 I measured about 105mm for curve
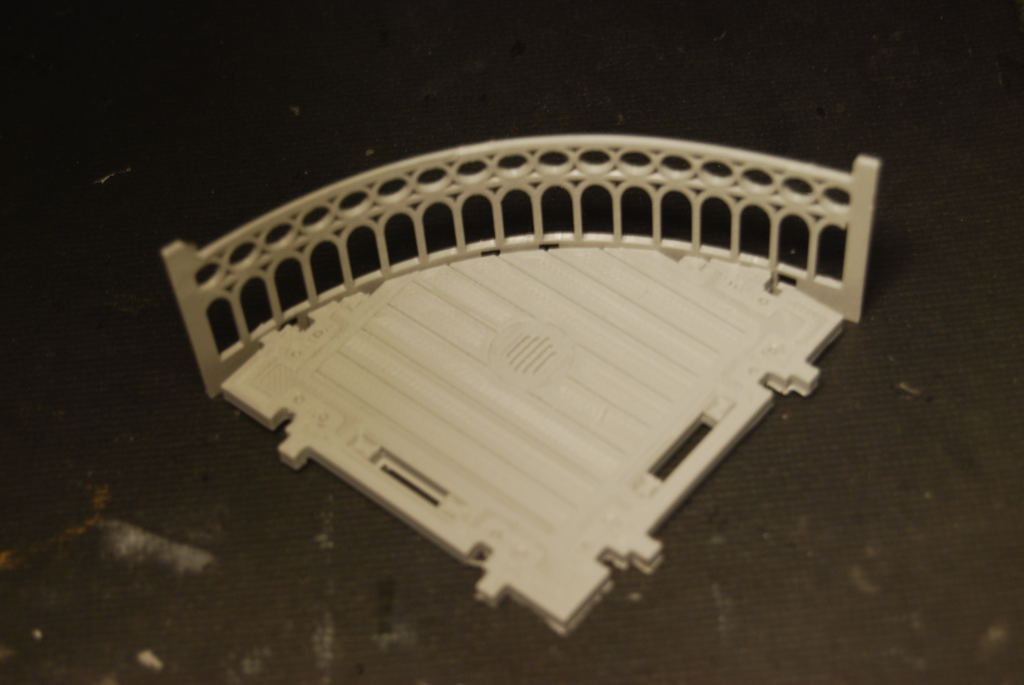 In Tinker CAD, i had to splice two rail images together and get 106mm length of rail that match and then i shrank it to 105mm.
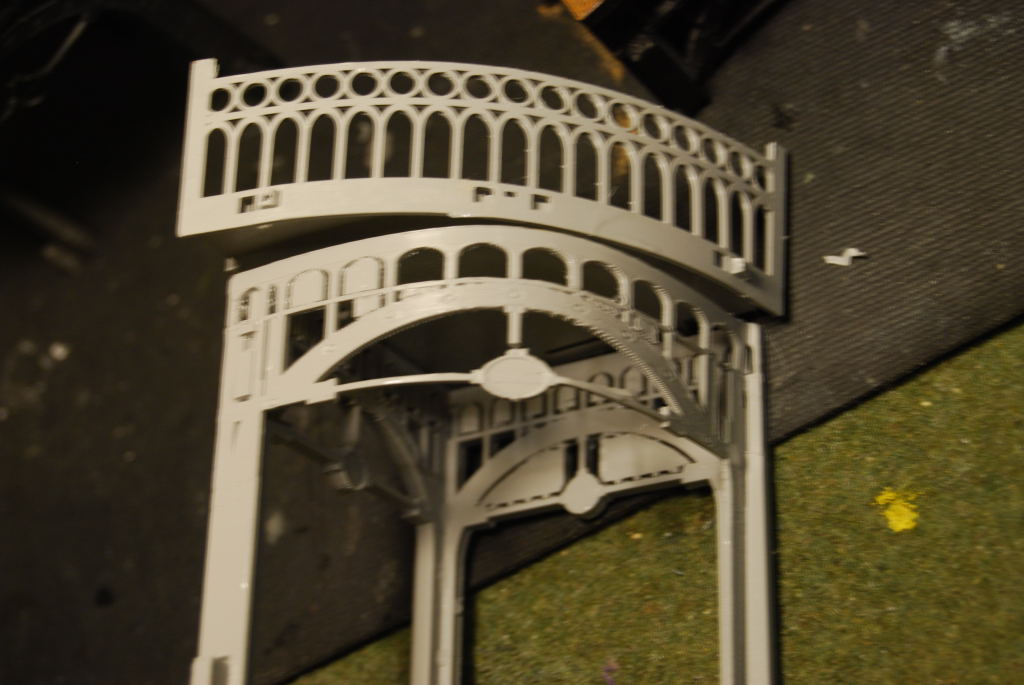 First mistake made the creating the arch 105mm in length and it bends pass the edge of the corner walkway. I would shrink this to 90mm.
 Something off, I forgot to create a mirror of arch, because time between prints. My slicer can do this easily .
 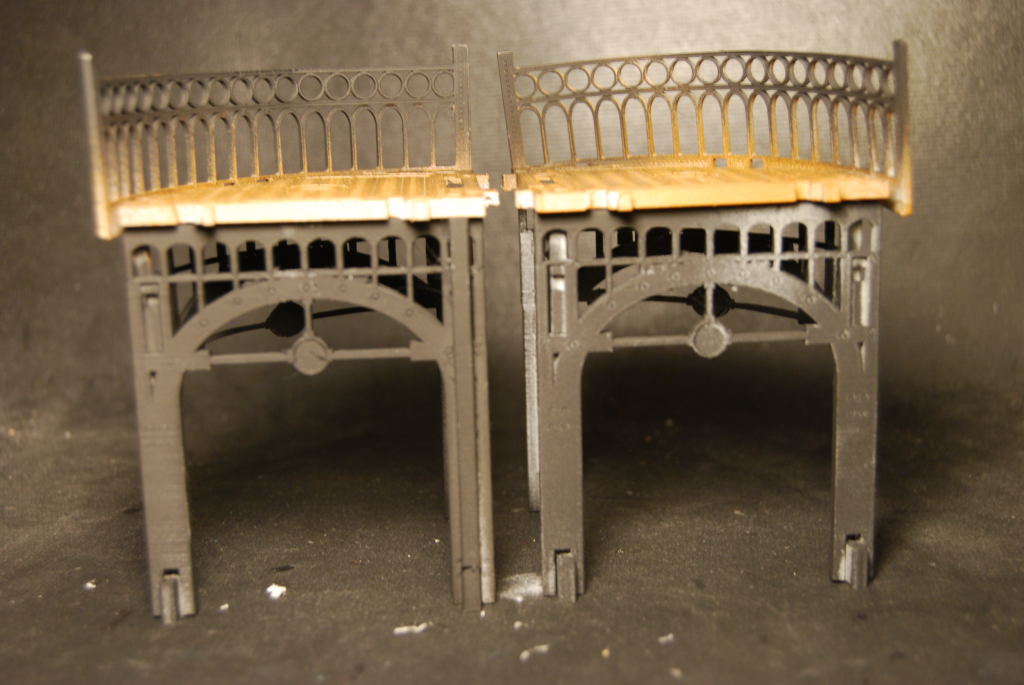 Finished corner are printed in pairs to make sure i have all the right parts assemble.
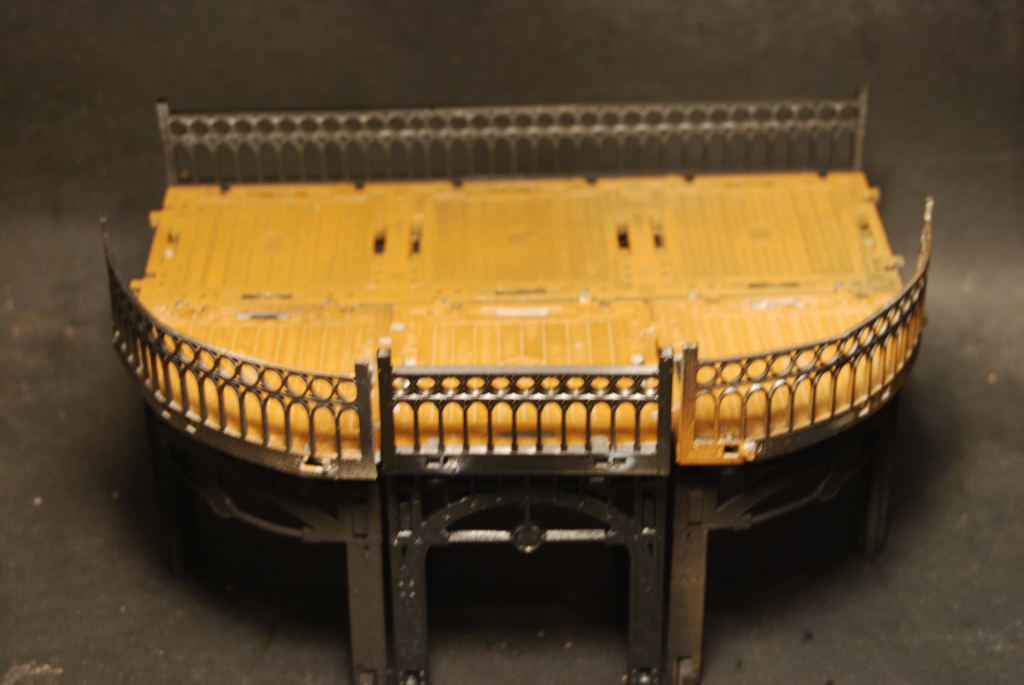 tight fit
Power outage
Time to time i have fail prints. This one was from a power outage during a thunder storm (Its very common this time of year). I do have a battery backup but it good for only 30 minutes. Most of the time i have to reprint the part, but in this case i can fix this fail print.
 Loss power during a thunder storm
  This is an easy fix
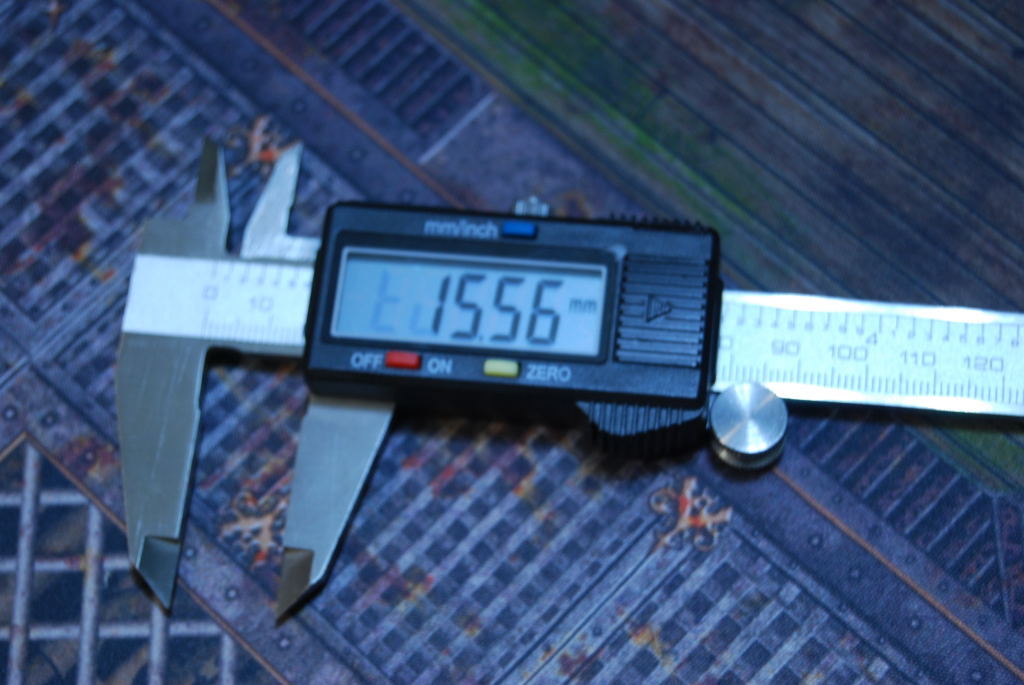 First i need to take some measurements of height of my failed print. I take an average and round down so i can sand the new part to fit.
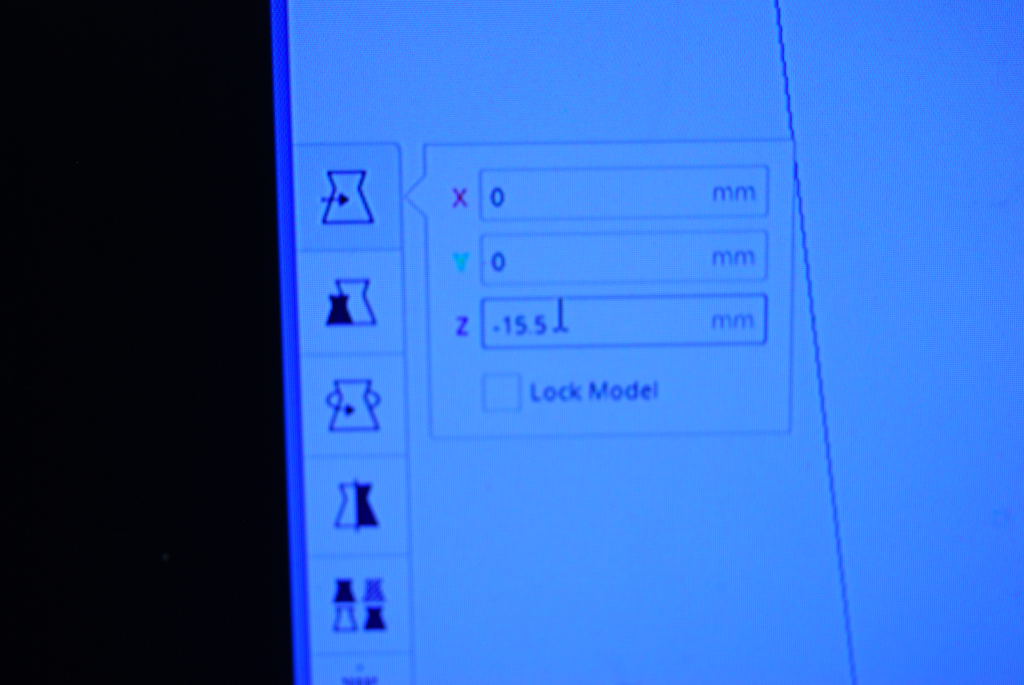 I adjust the Z height in my slicer(I am using Cura) to -15.5mm.
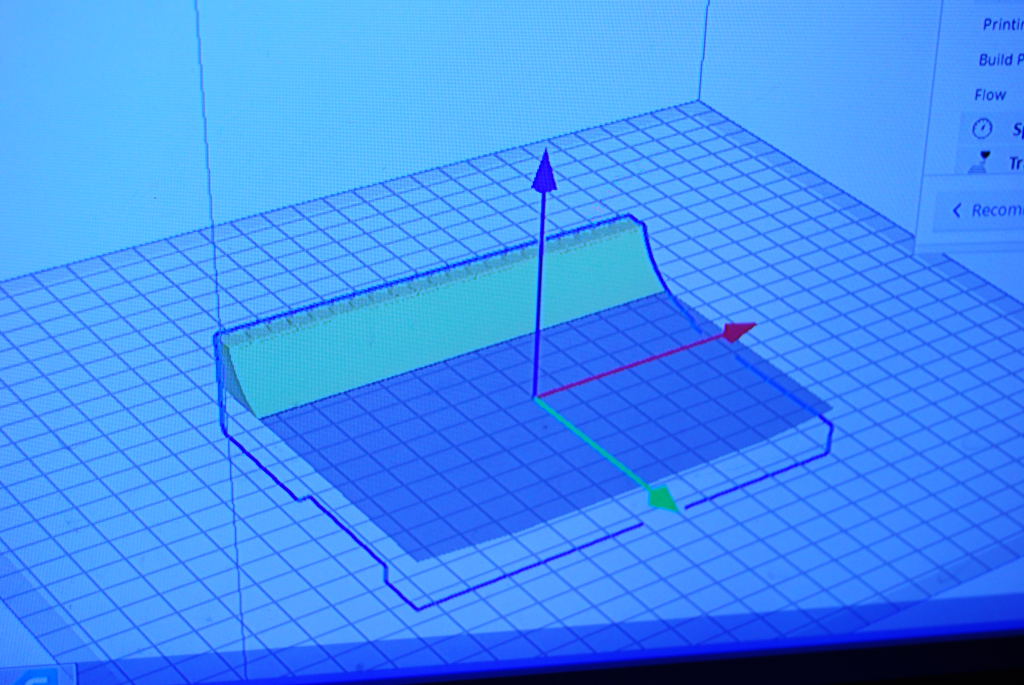 This is what i am left with out of a 10 hour print.
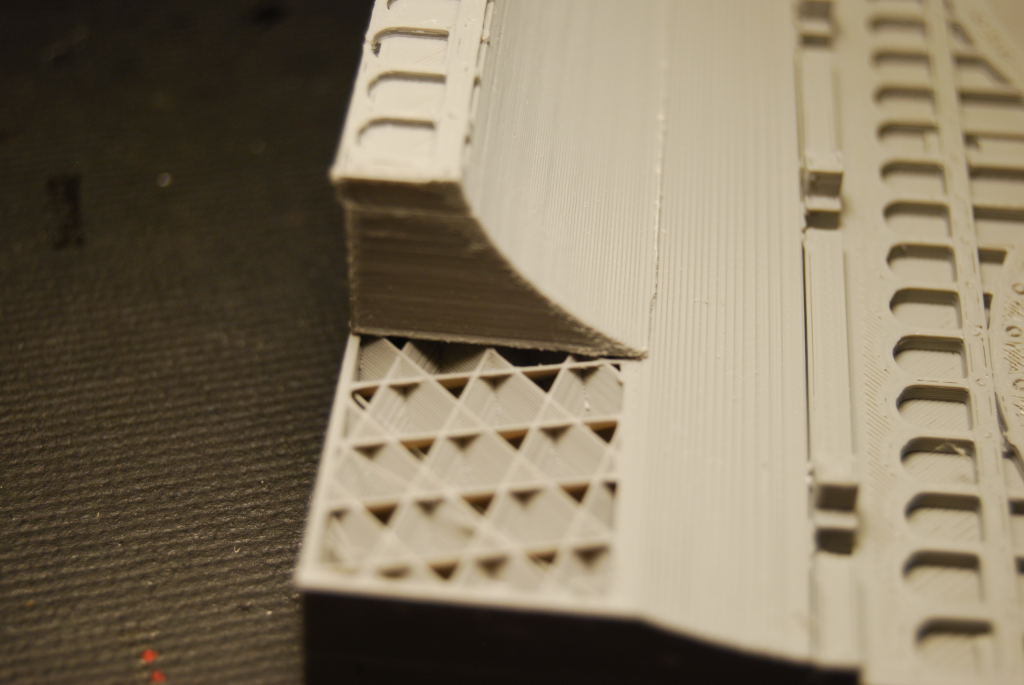 Printed in about 2 hours and the fit is good.
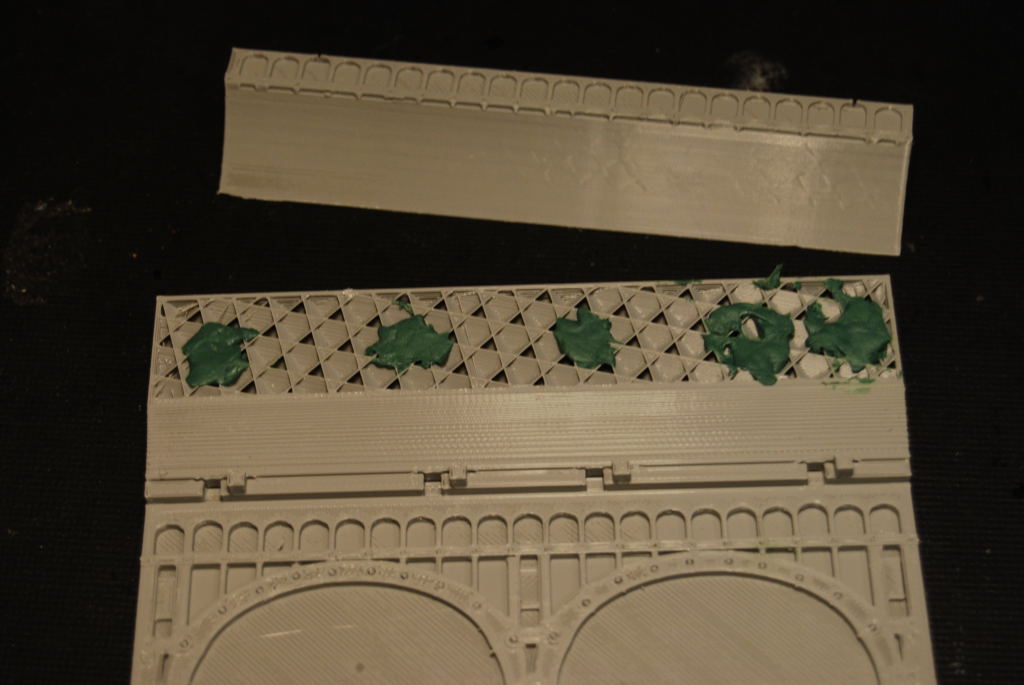 I use green stuff (kneadatite) to adhere the 2 halve and the seal the seam with PVA.
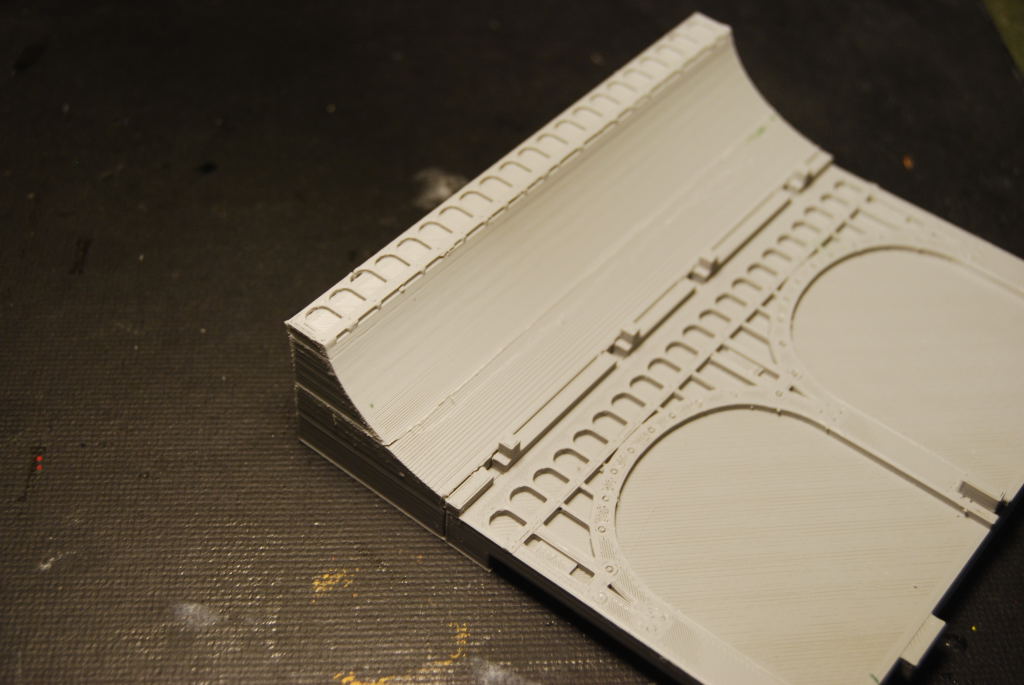 Done :). I have save quite a few prints this way and if it ever happen to you give it a try.
Accident happen
Last week i bump my gaming table a little to hard and topple my hanger wall and had one of them snap. I spent the rest of the week and weekend fixing the interior walls to be more stable. I decided to add some 1 cm magnets.
 This print snapped at the lugs that where printed together as one peace.
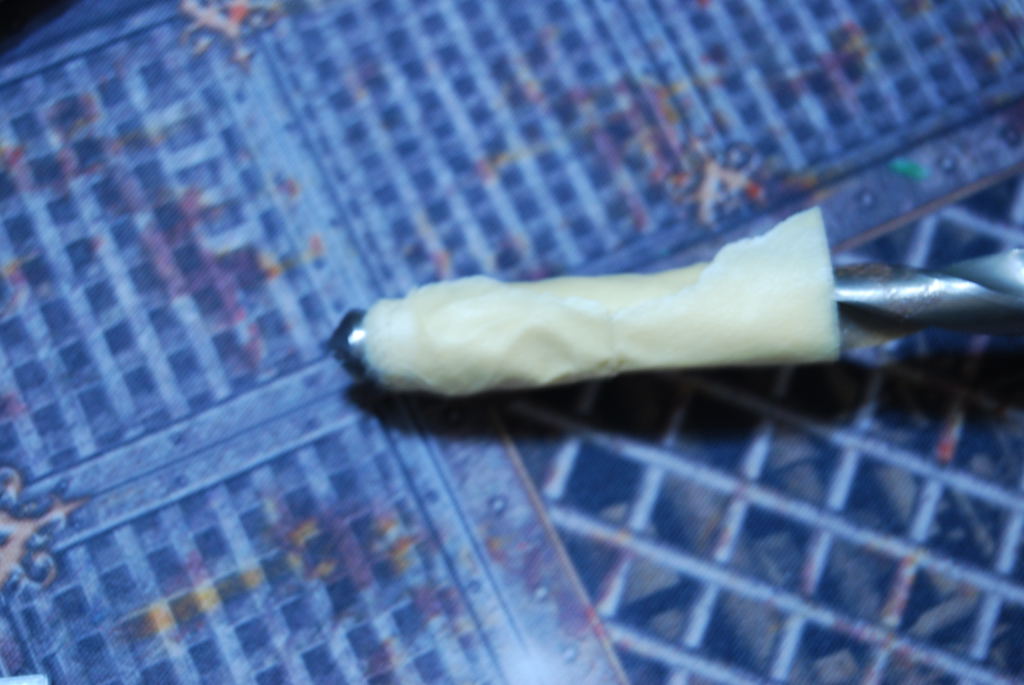
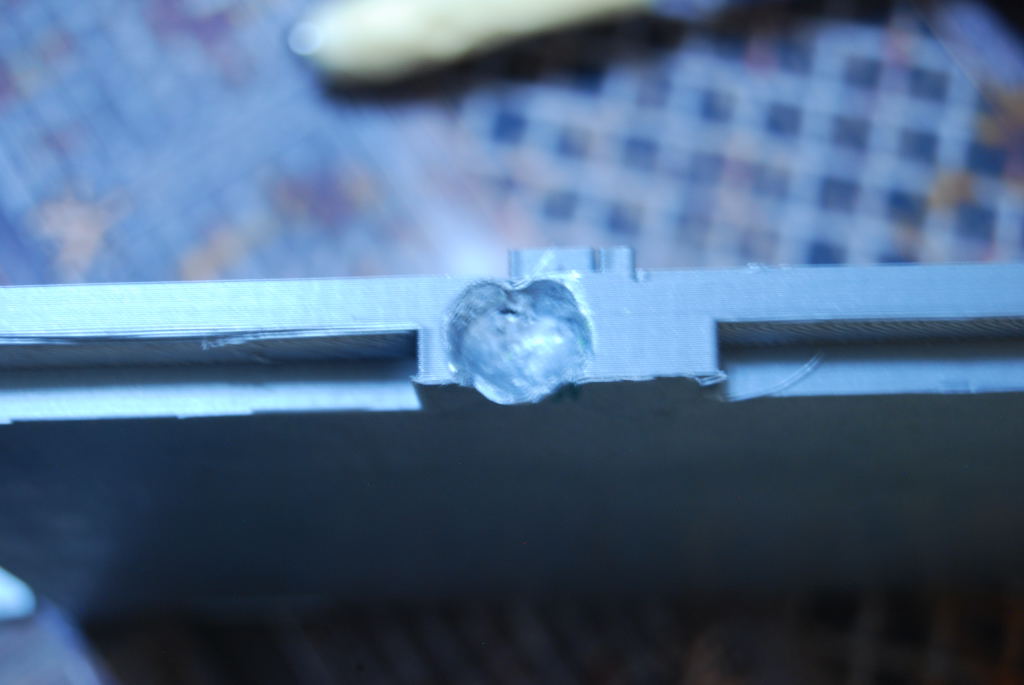
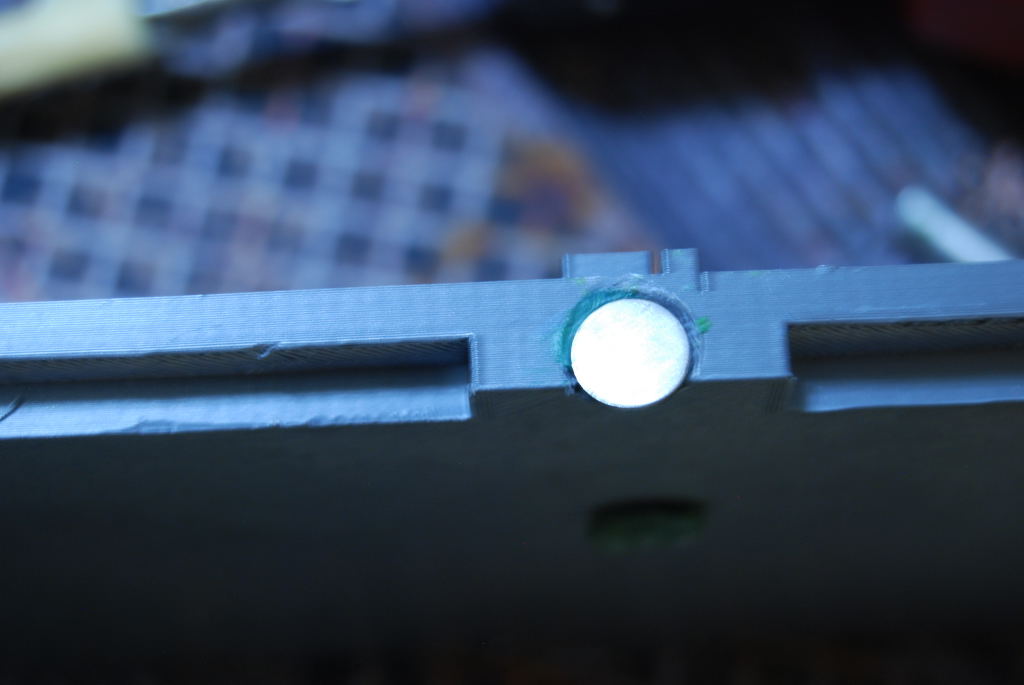
I found some 1 cm x 1 mm round magnets which match a 3/8 drill bit i had. I use the drill in reverse to melt the PLA plastic i used to print with. Then i added some green stuff to fill and keep the magnet flush.
 I created a test peace to keep all the magnet in a the right polarity. Then came the drilling, filling and testing.
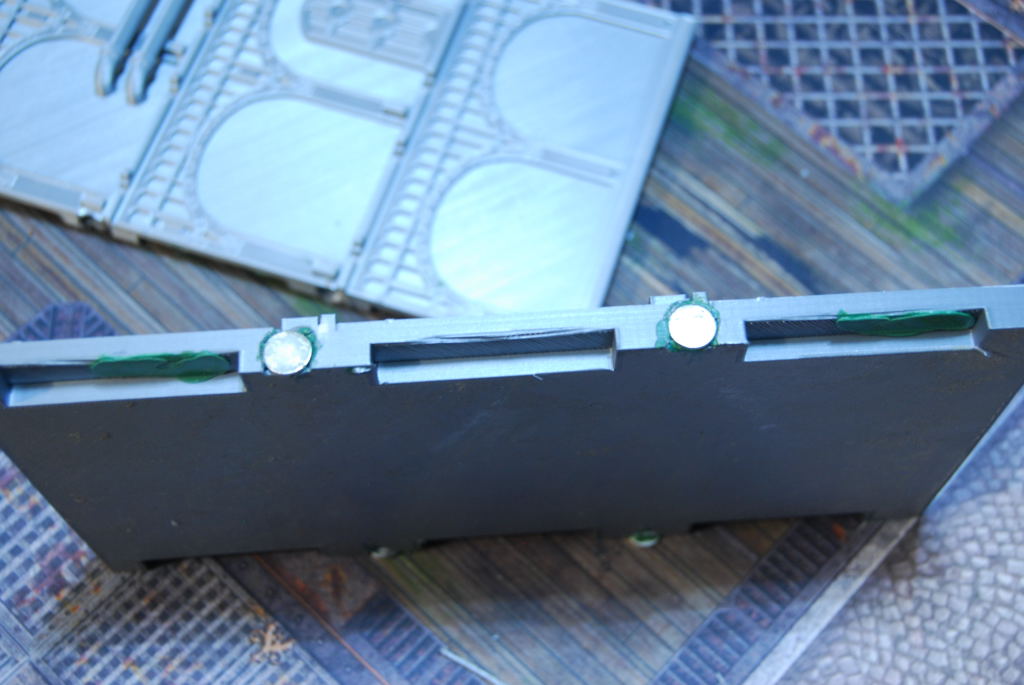
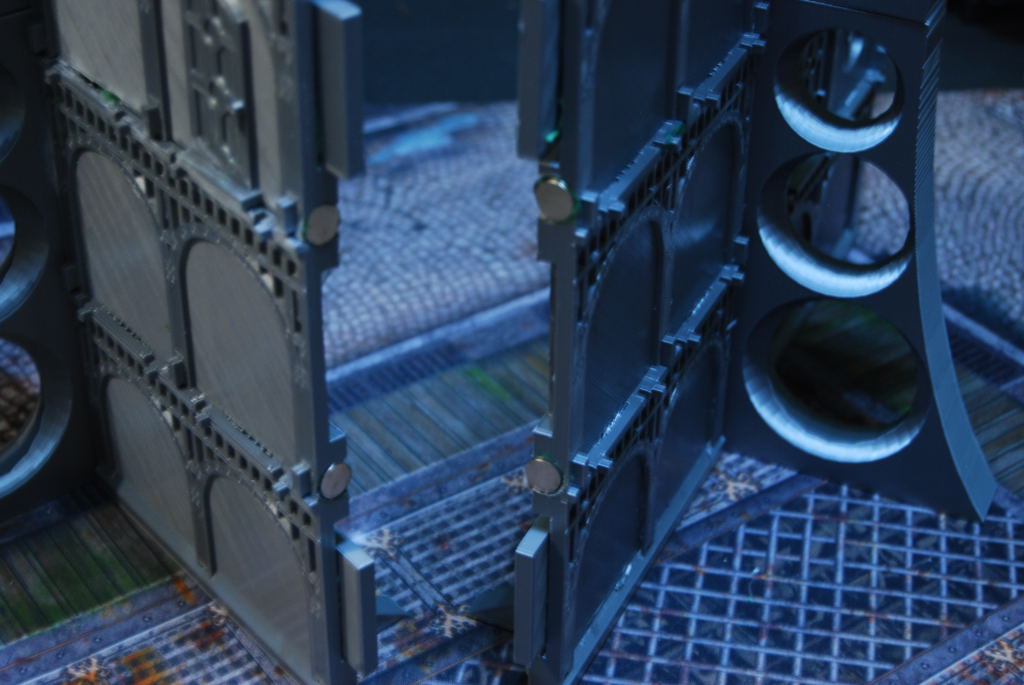

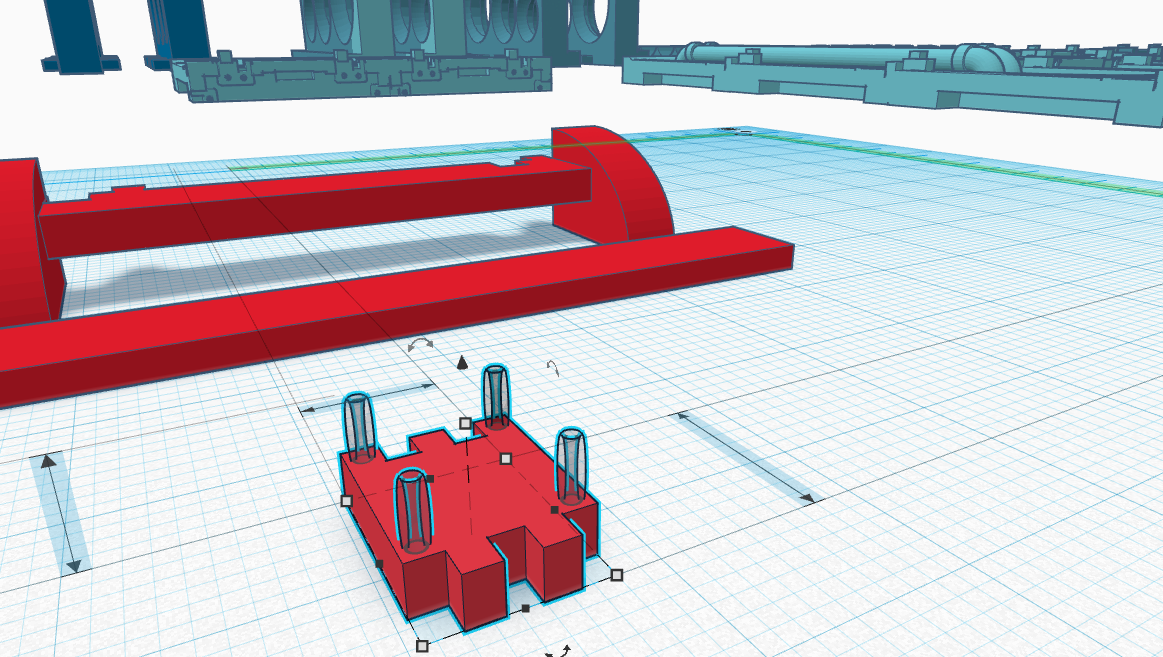
 Added these triangle feet to interior wall stable:).
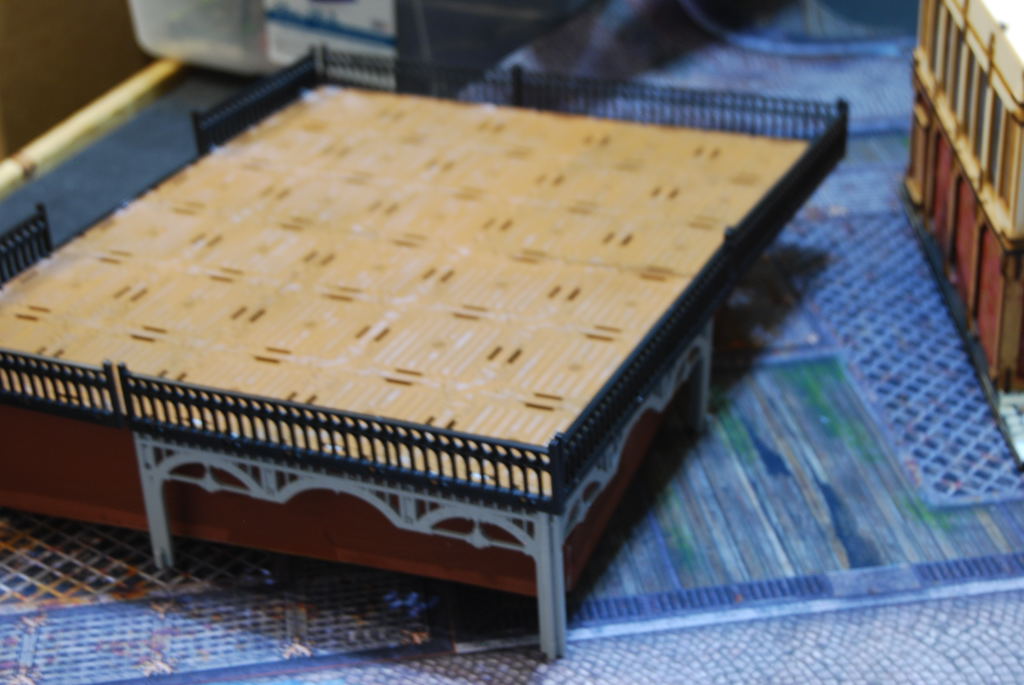
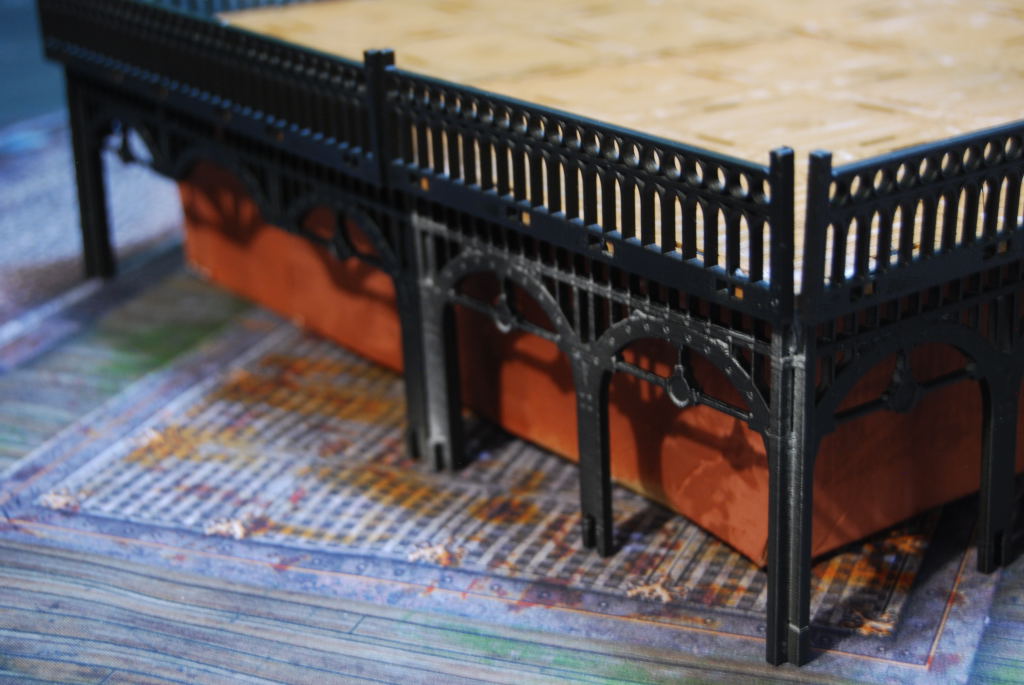
Steampunk Bridge
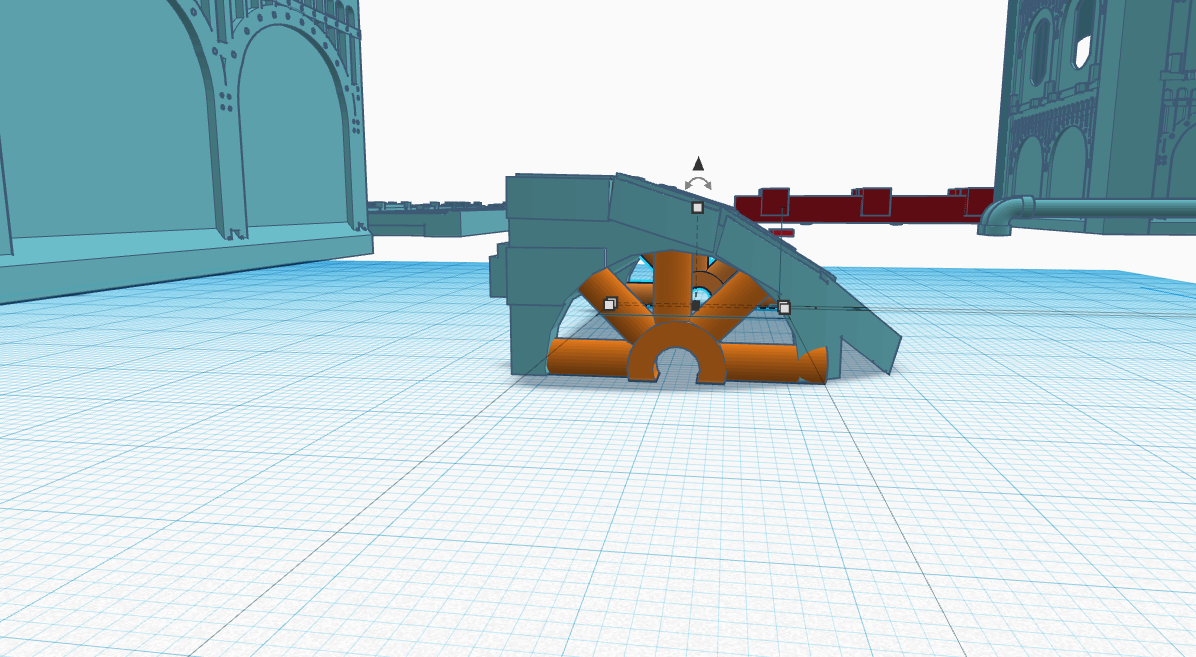
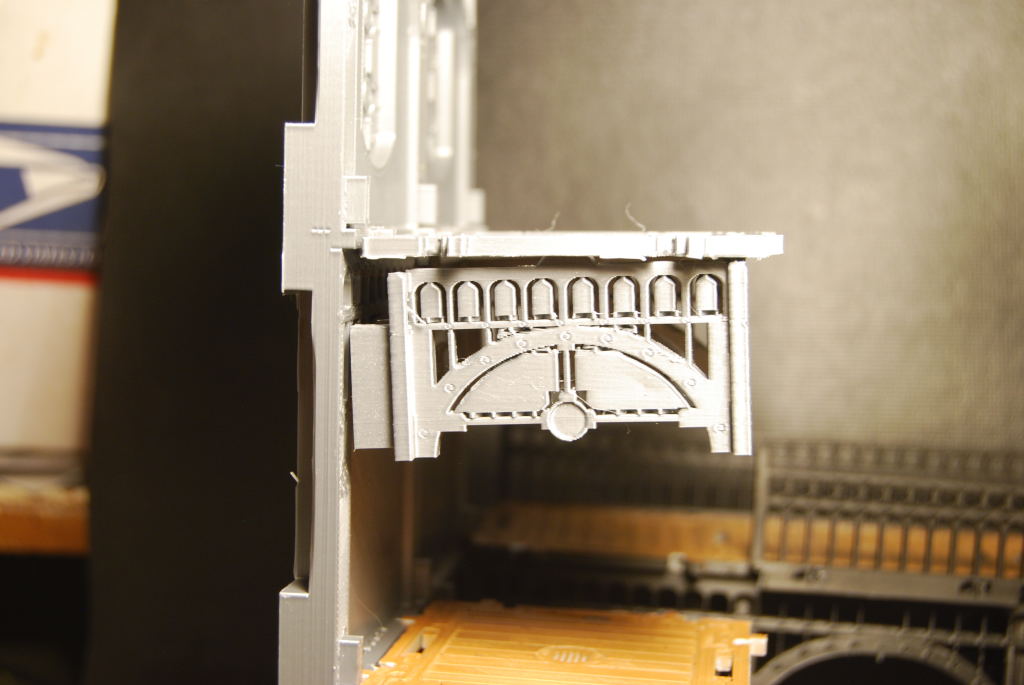
This is what i would image a steampunk bridge to look like :).
 i reconfigure my grand staircase to be a bridge of a steampunk airship.
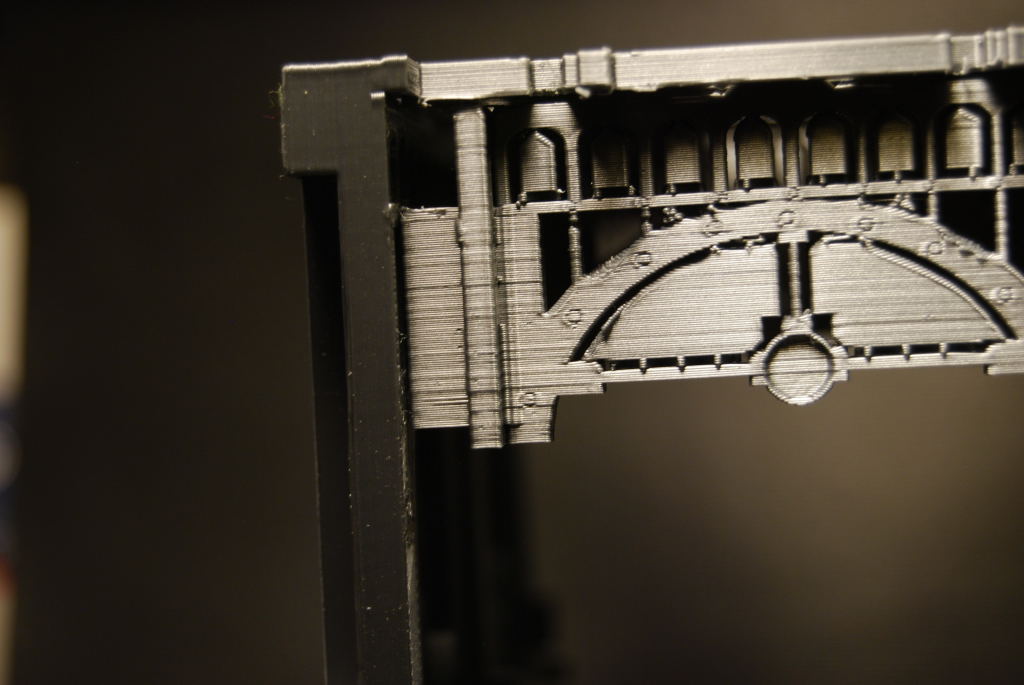
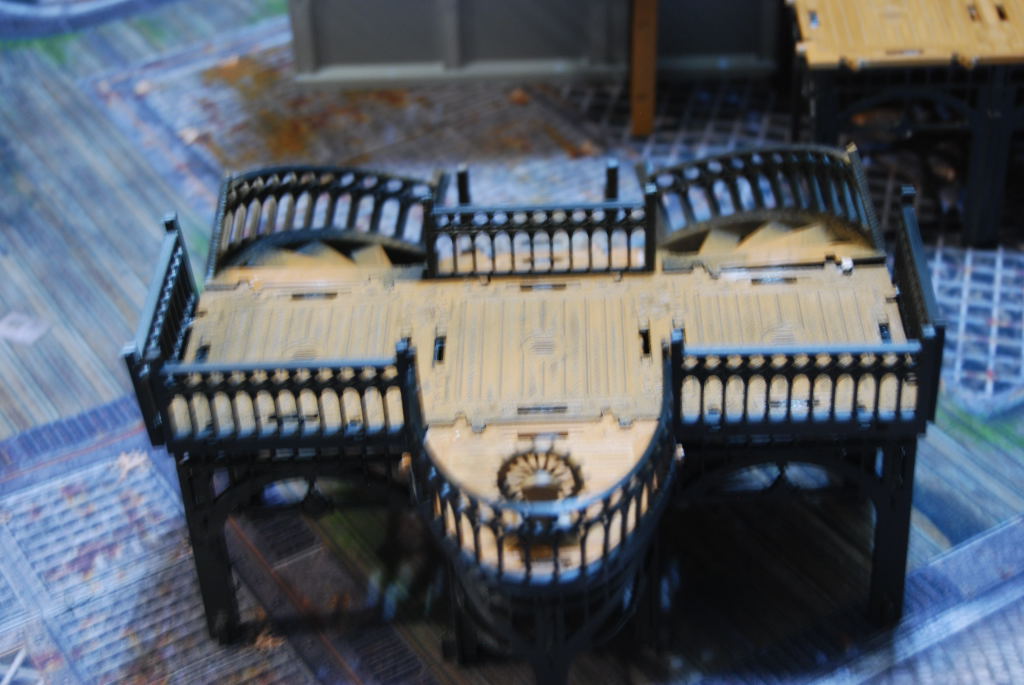 All primed up now in need is some kind of deck to mount it to.
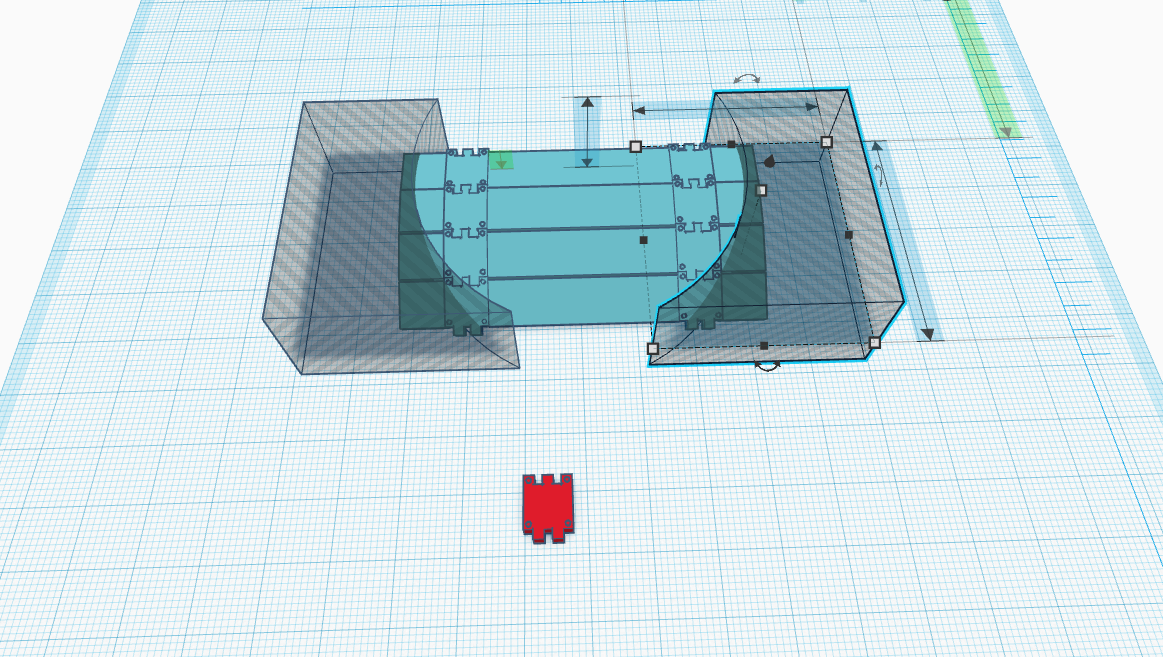
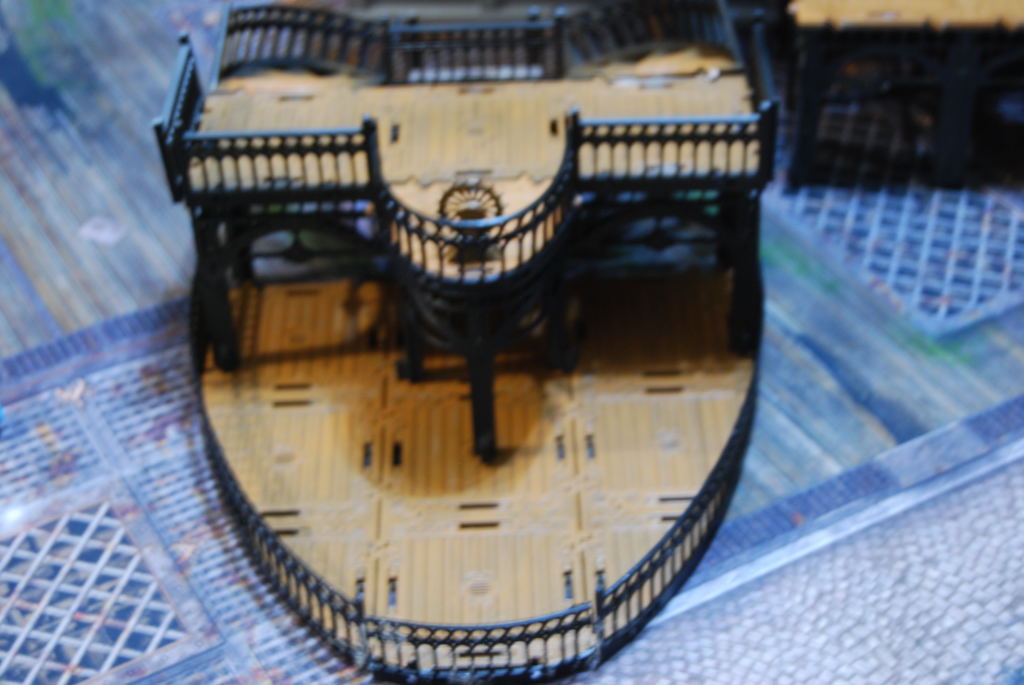
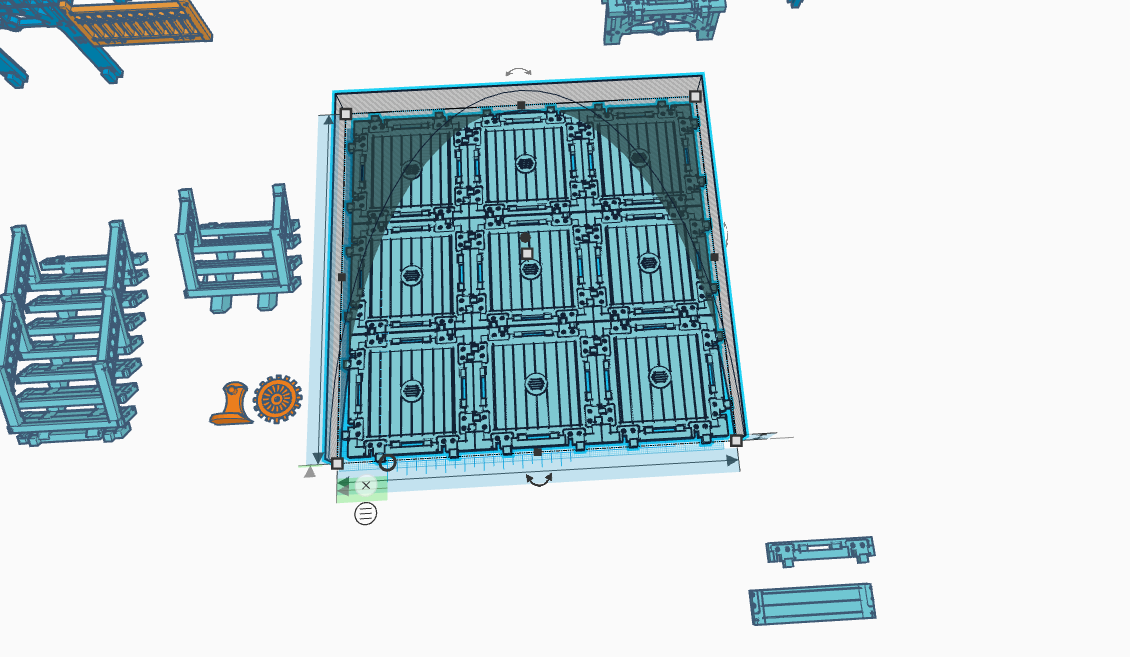 i made this cockpit shape deck and plan to bend some railing around the edge. It took a few tries to match the curve :).
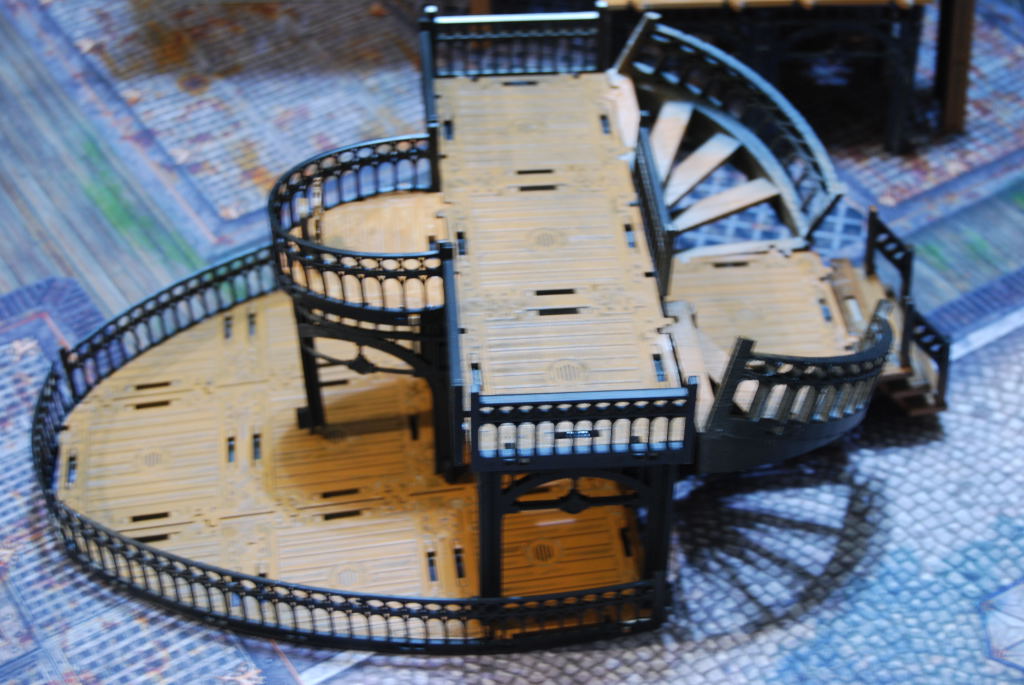
Steering wheel
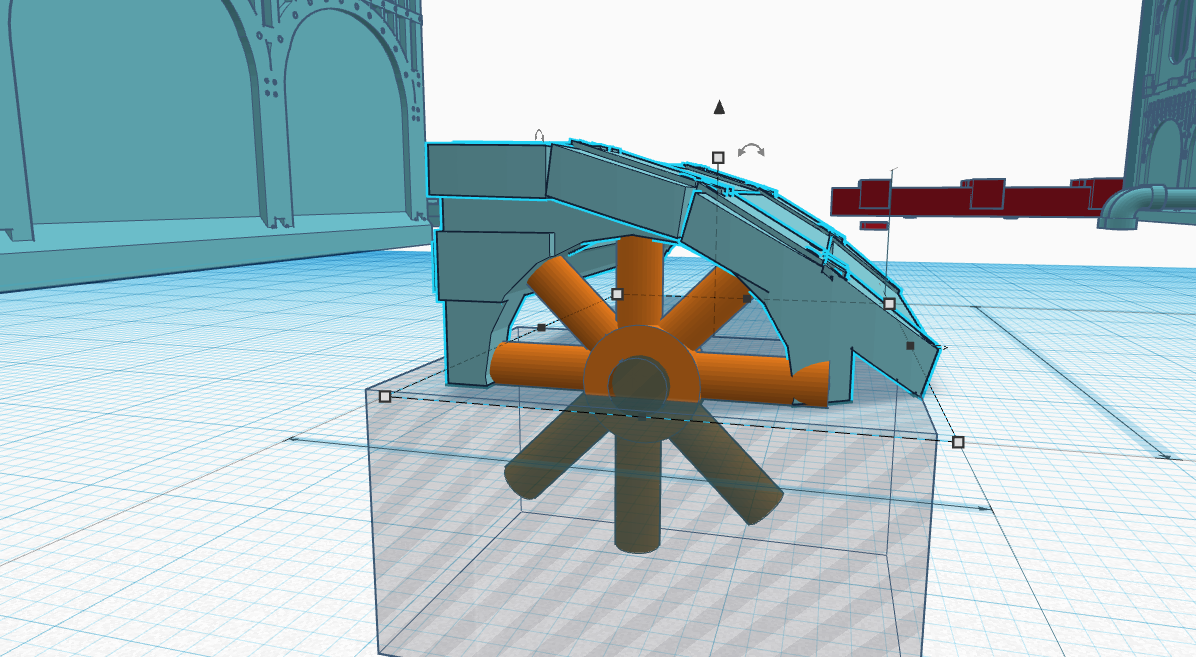
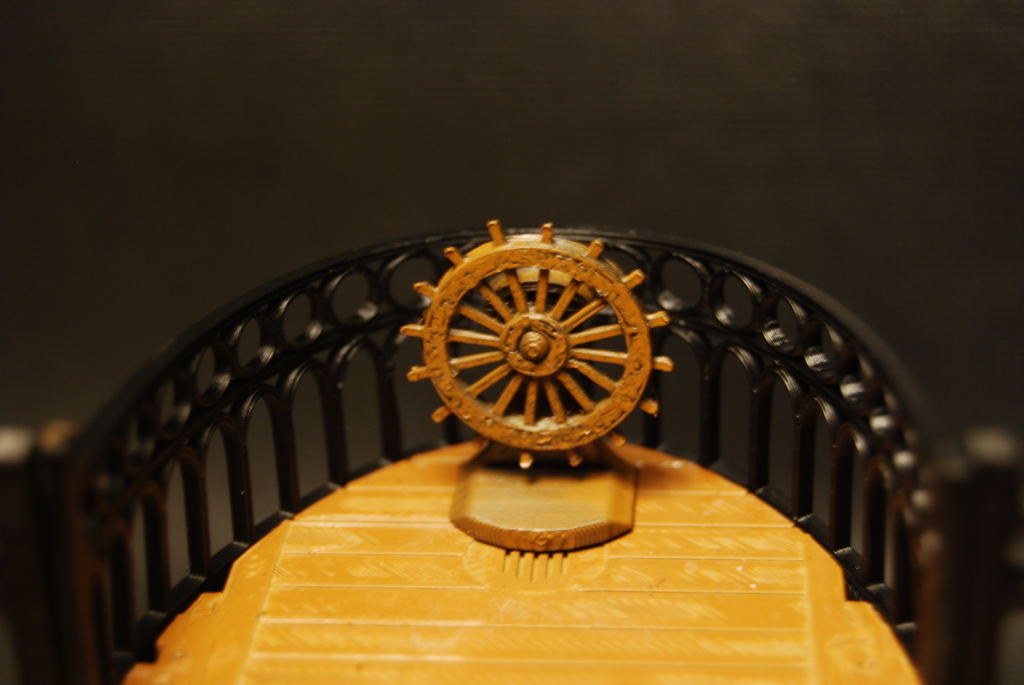 As i am waiting for a 16 hour print to finish, i created the steering wheel for my air ship.
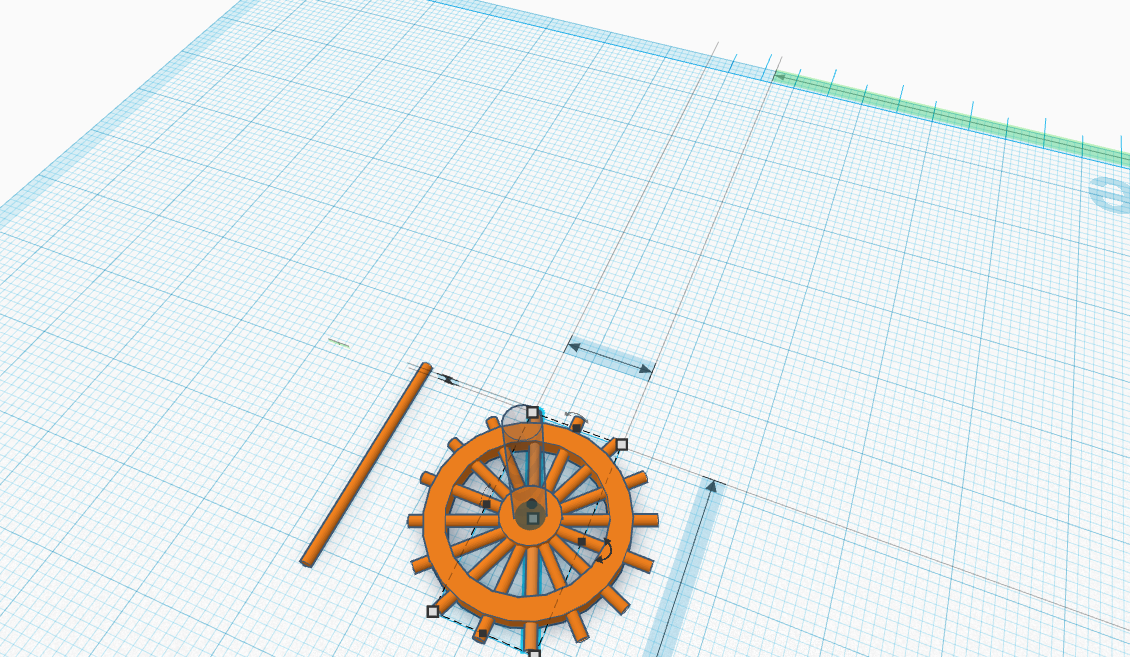
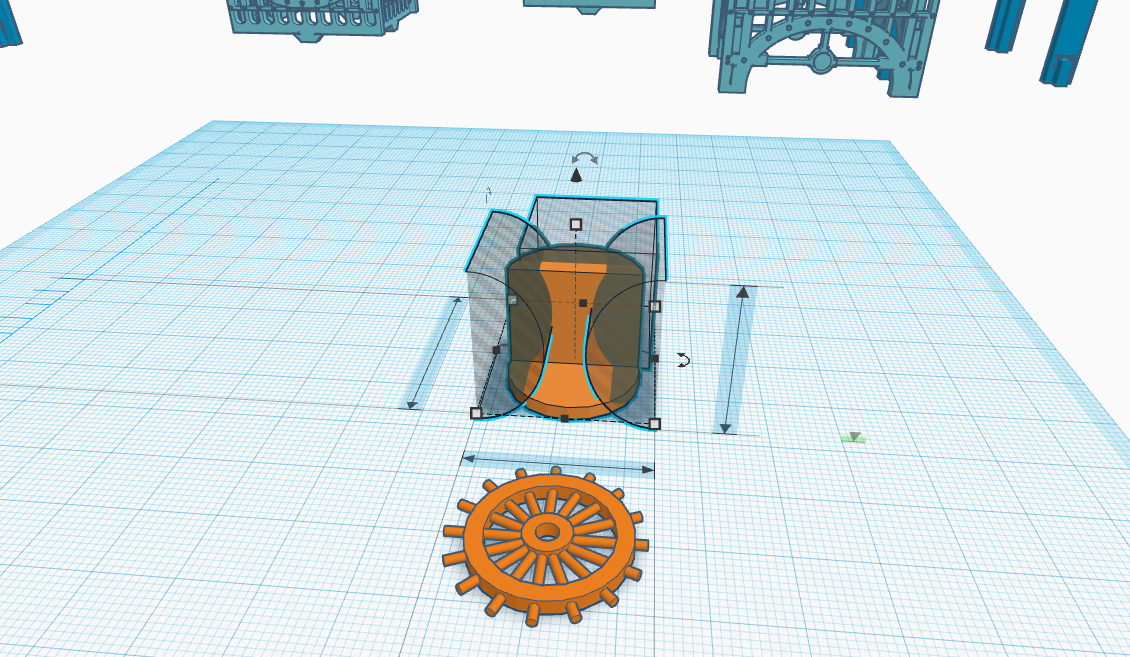
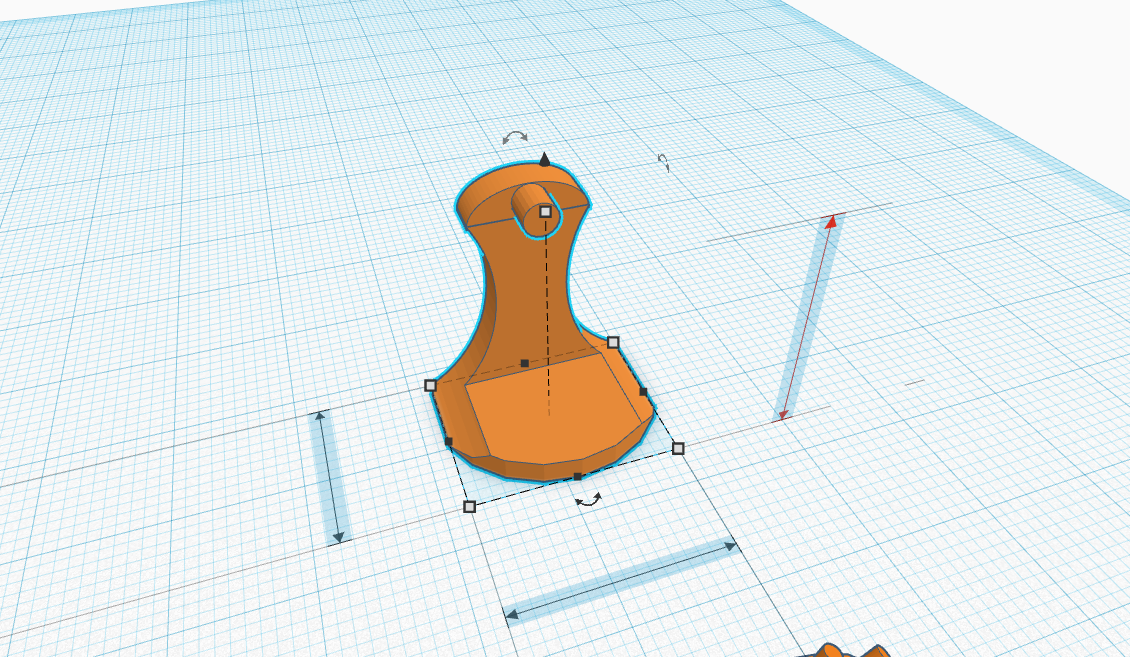
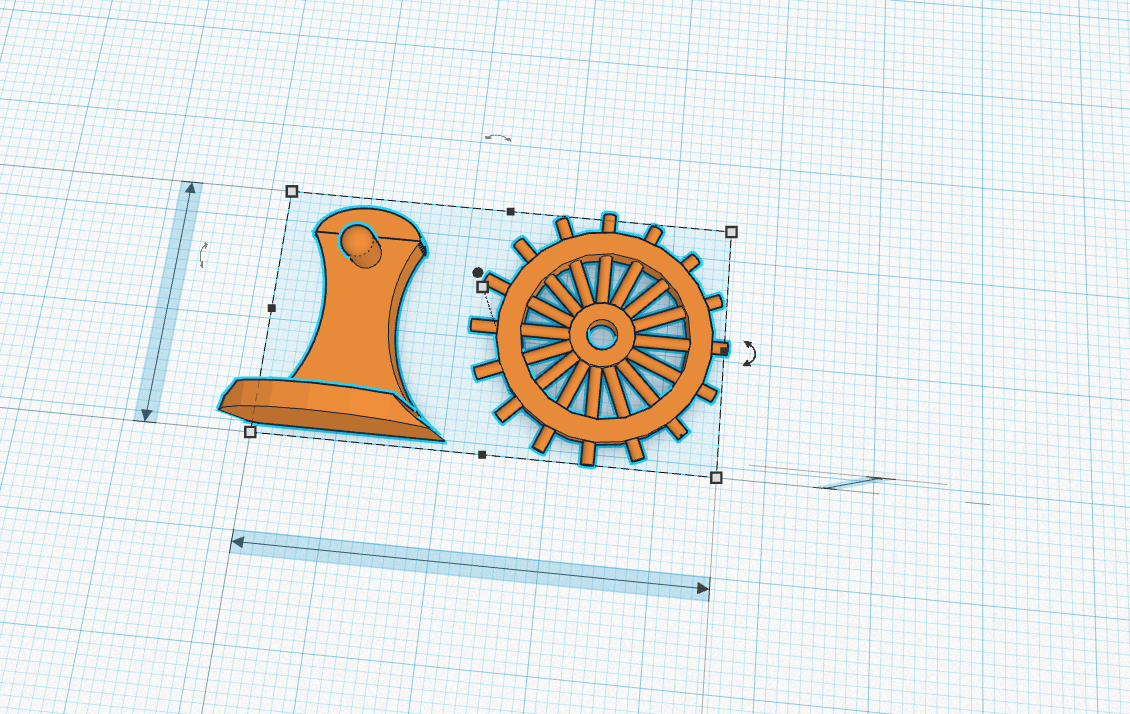
I basically created 2 cylinders one for the yoke and the other for the body. i rotated the 1mm x 1mm x 24 mm yoke 90 degrees and center it with the body as you will see i was not quite center top to bottom and as i copy the yoke and rotated it 22.5 degrees it was off center. The next step was to create the center point of my steering wheel. The wheel is done for now next i created the the podium using a cylinder base and proceed to remove various shapes to create a design i liked. Lastly i added the center axis and did a test print for size.
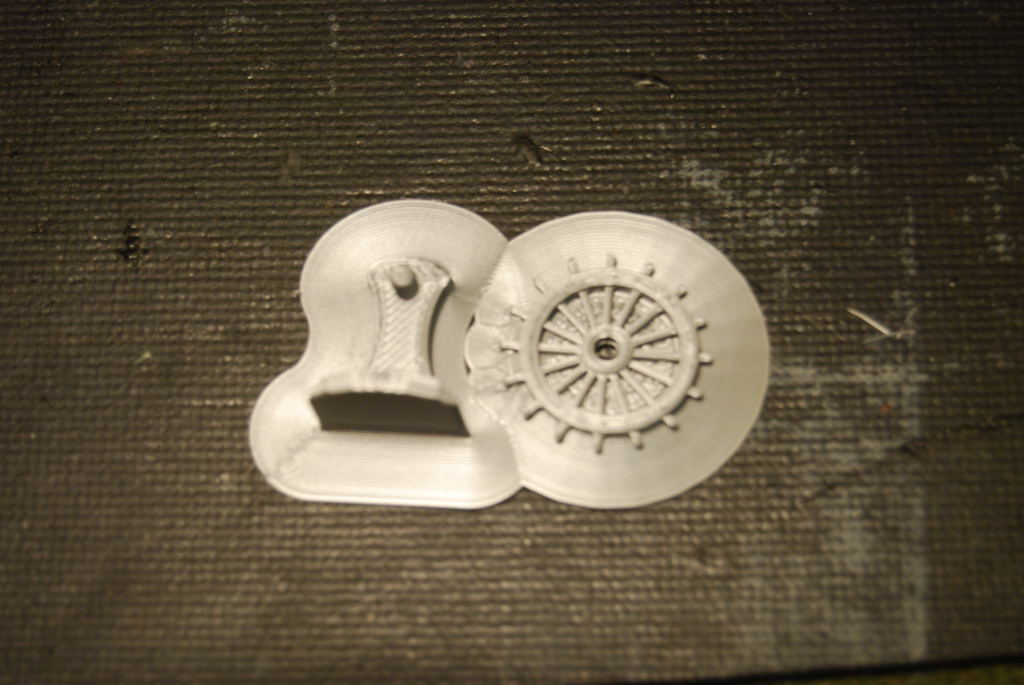
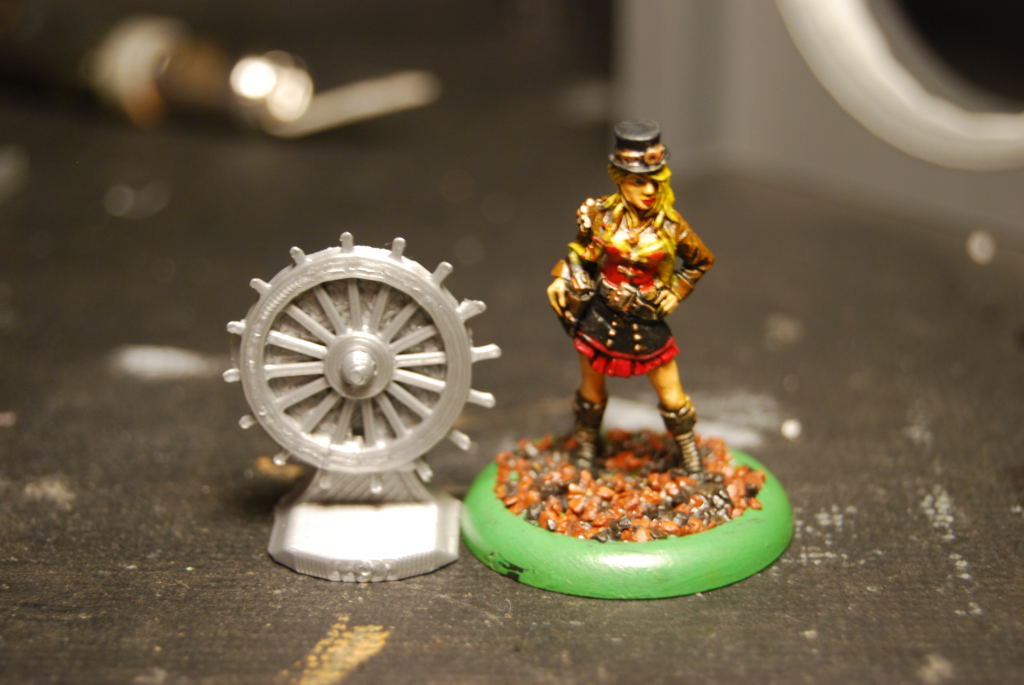
I am happy with the size and went back to correct my centering issue.
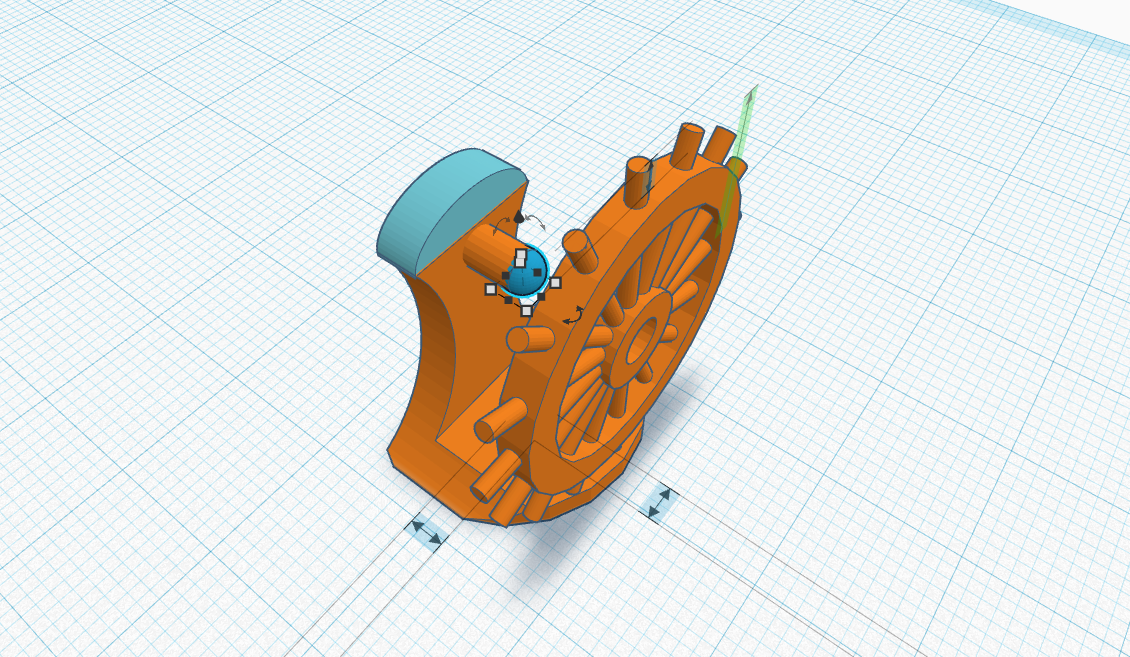
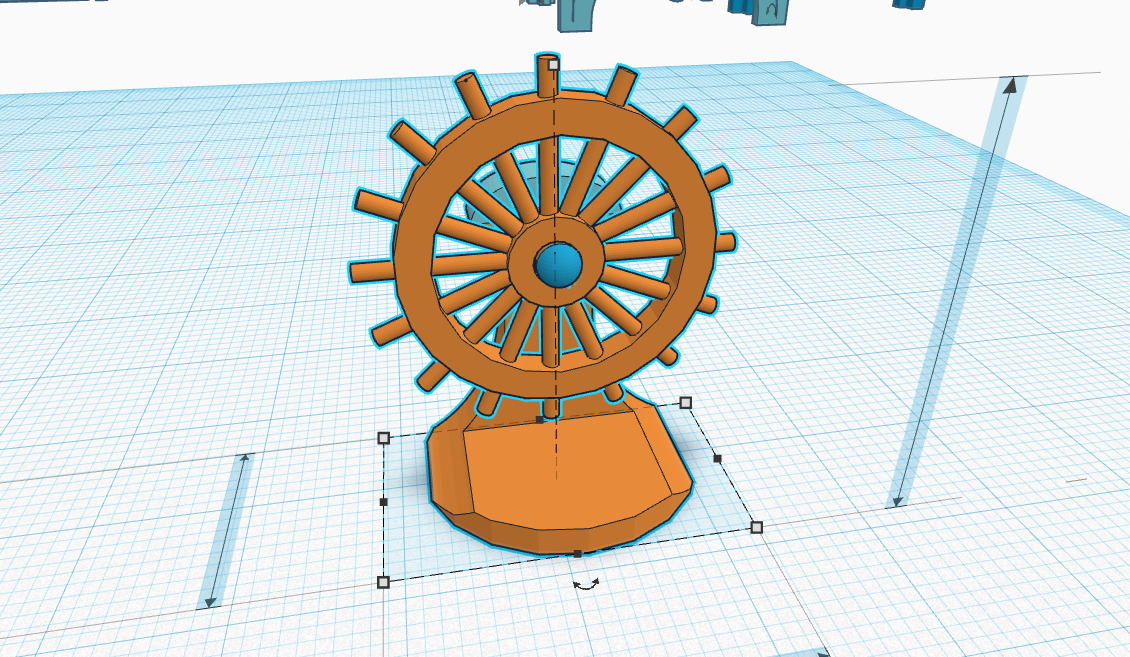
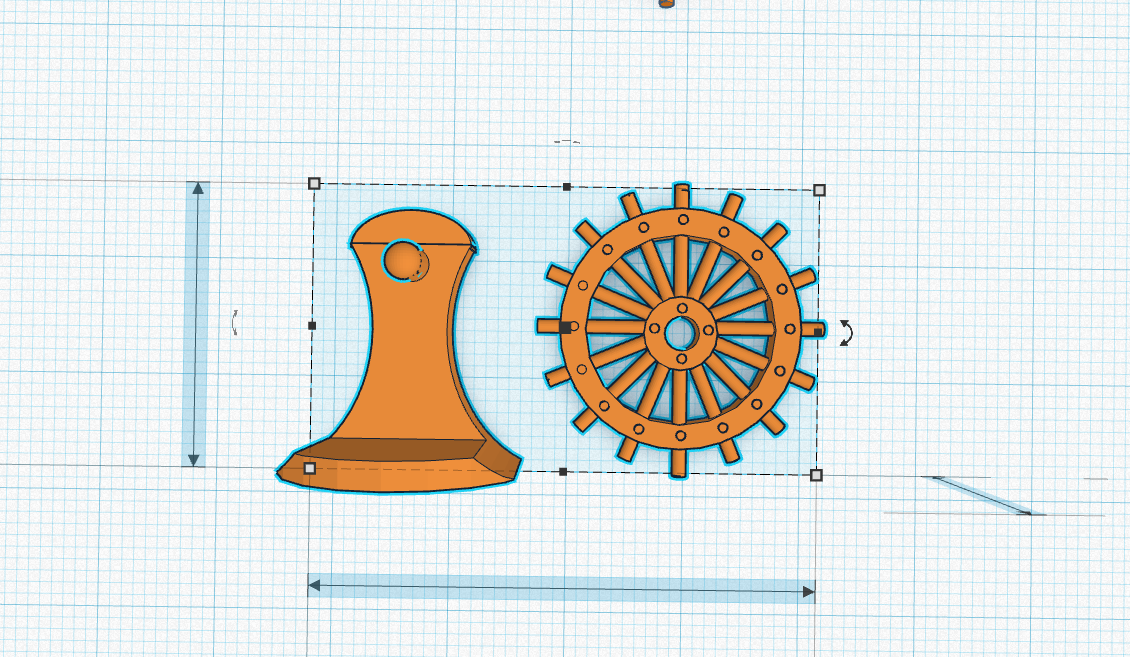 I also added some detail to my steering wheel. time for another print.
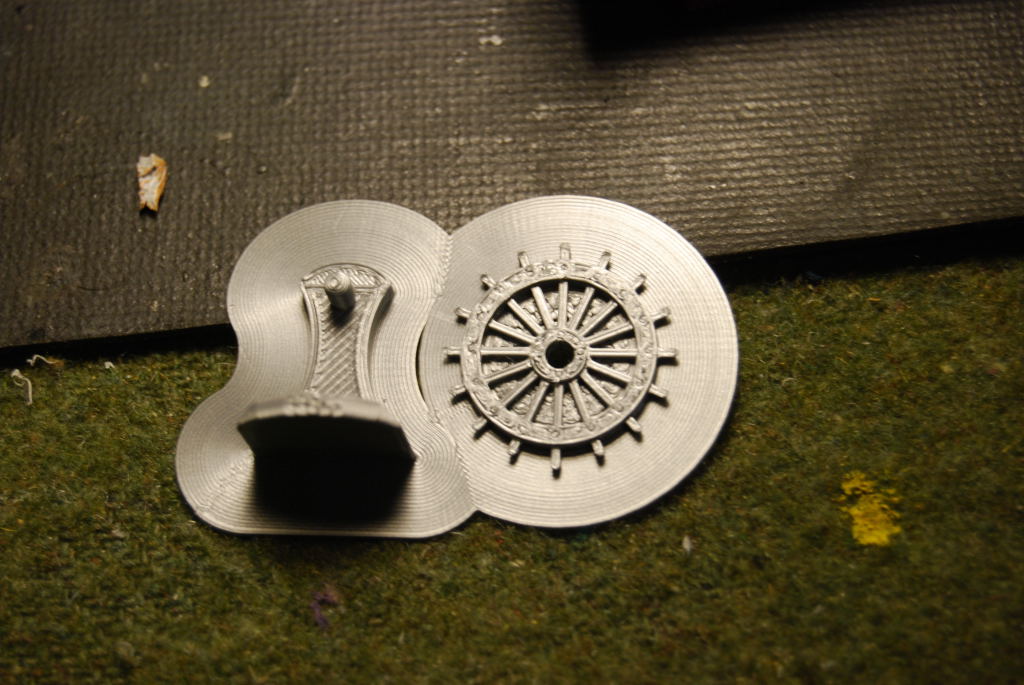 Nice :).
What i have done so far
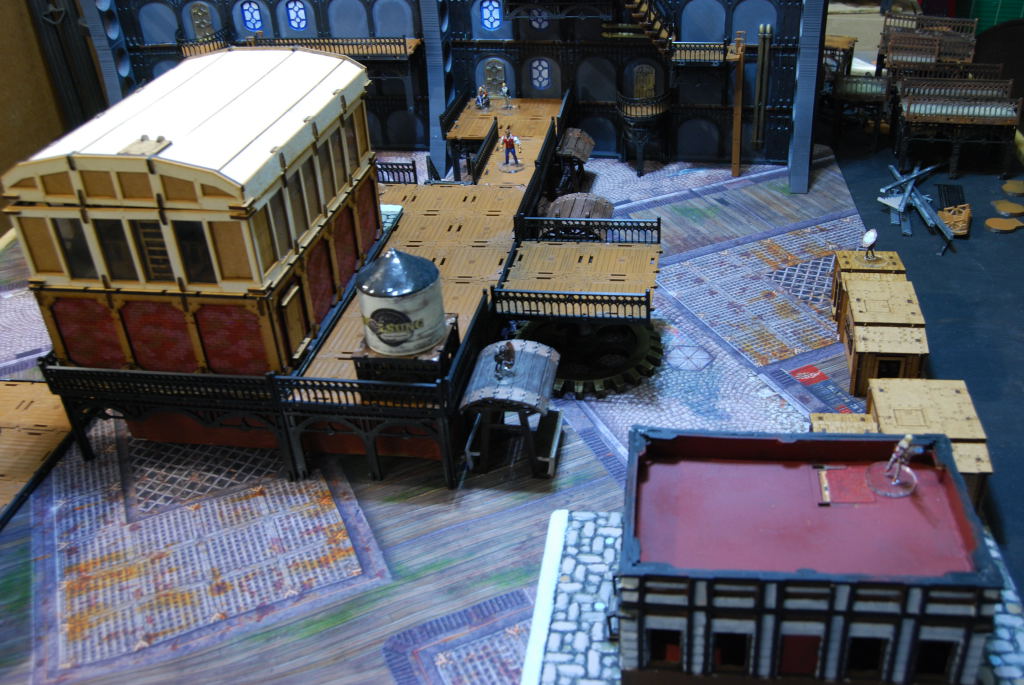
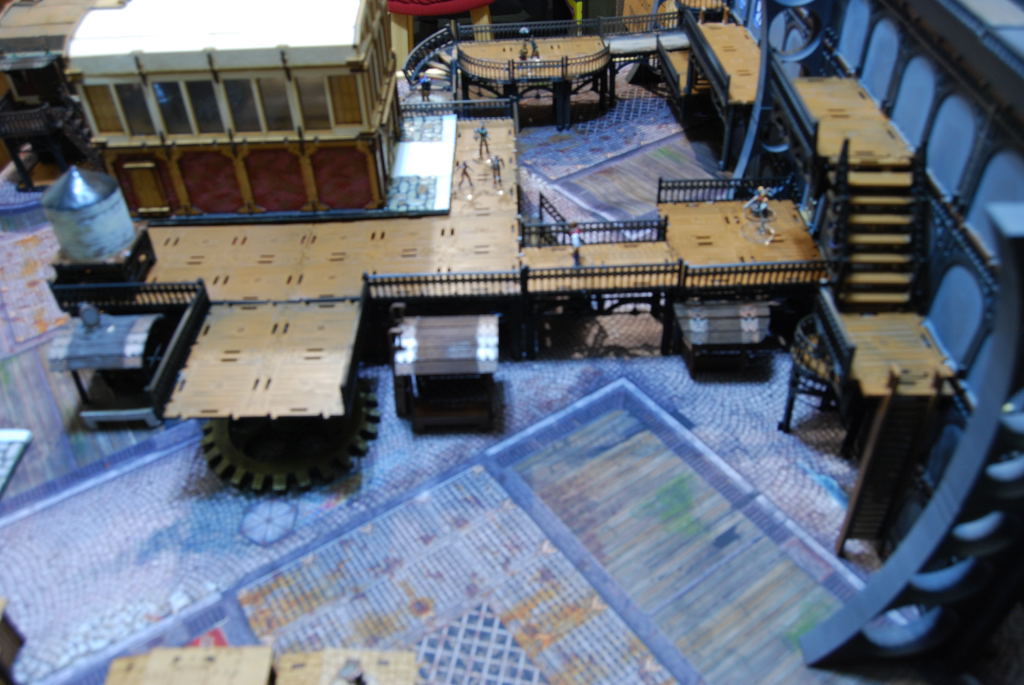
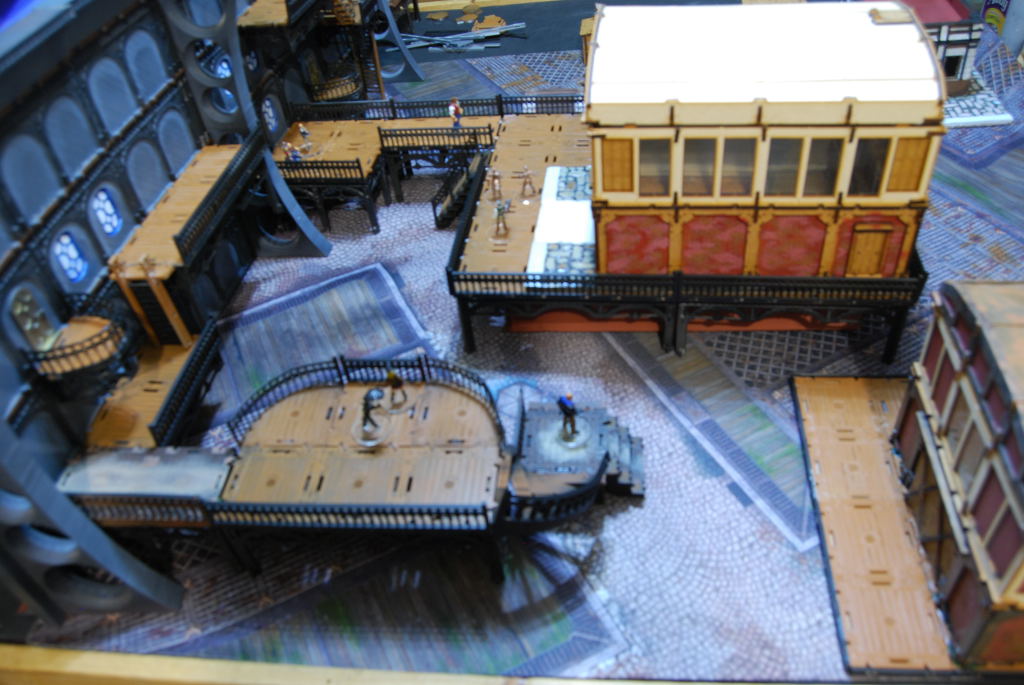
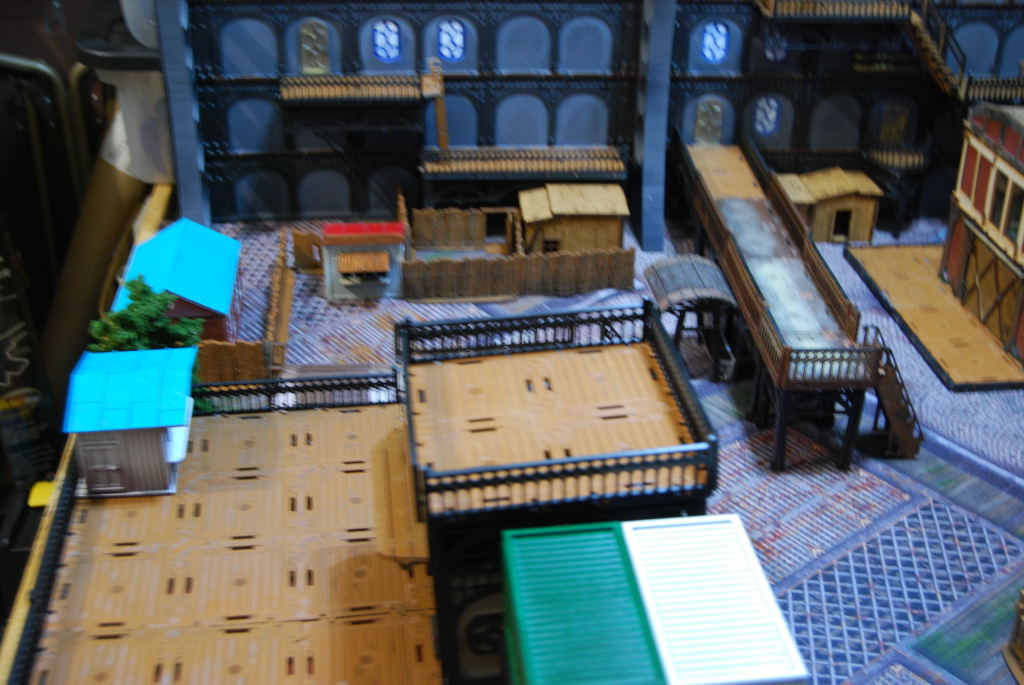
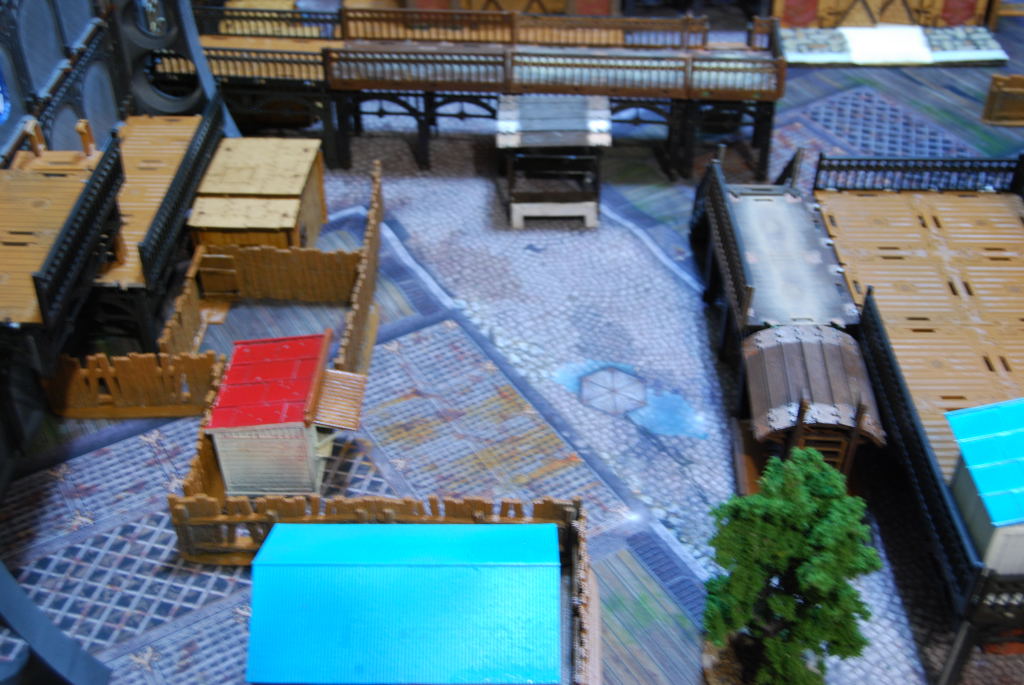
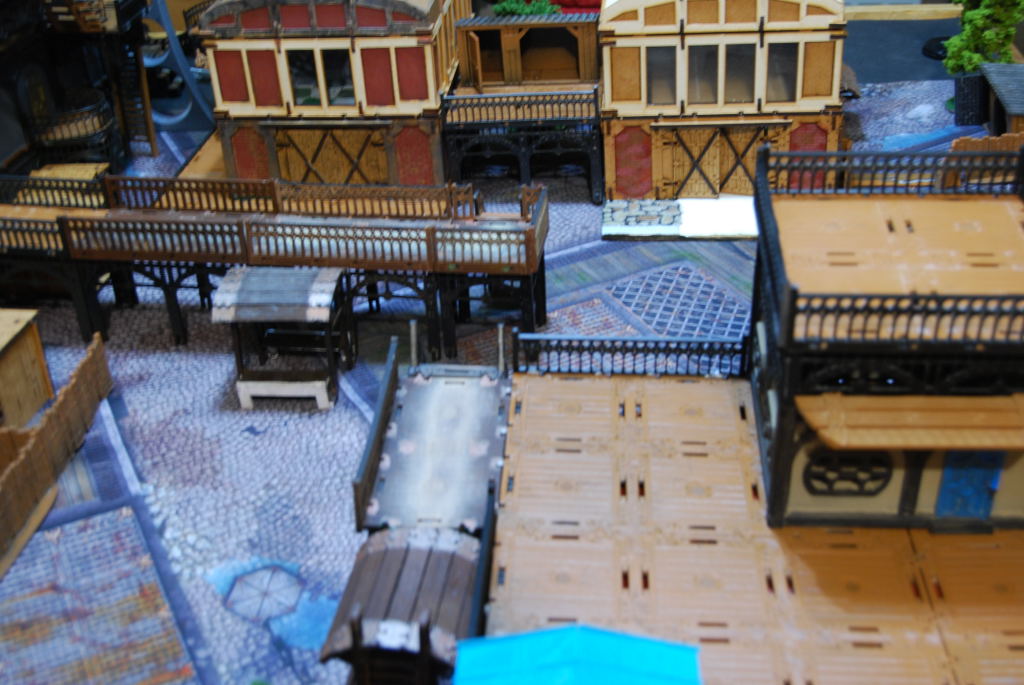
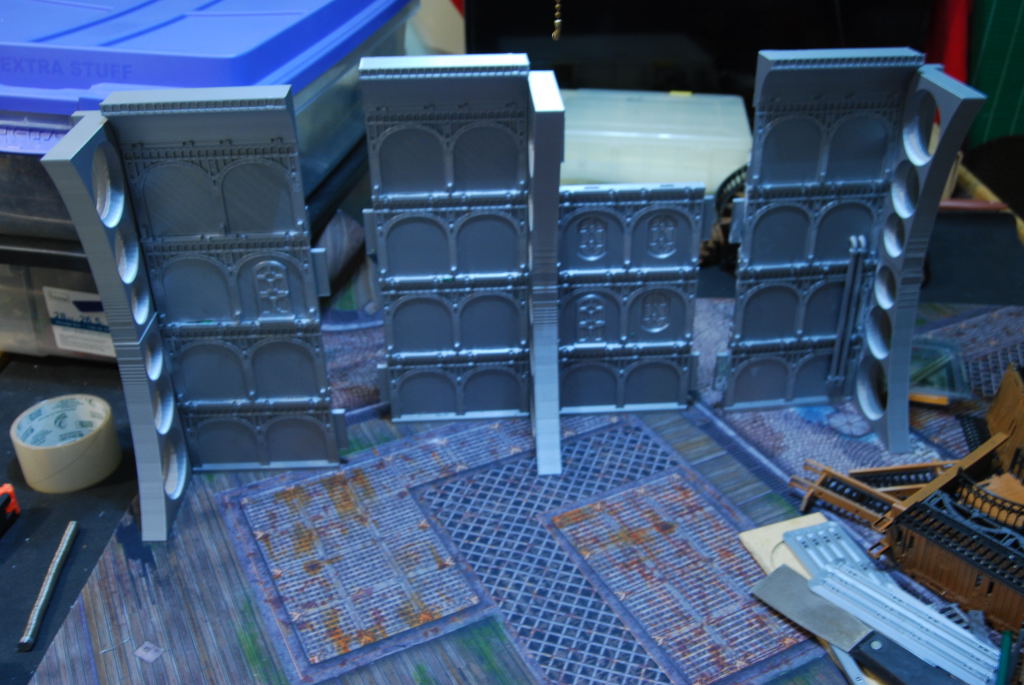
I am waiting for some filament to arrive. After i have complete a few test walls and I started playing with some possible layout.
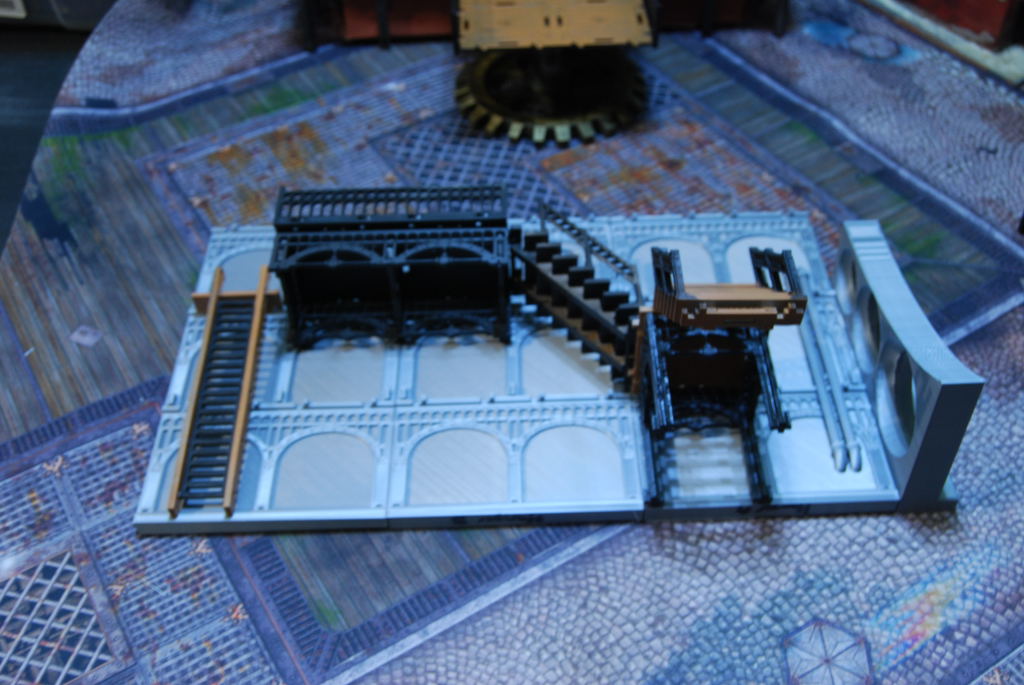
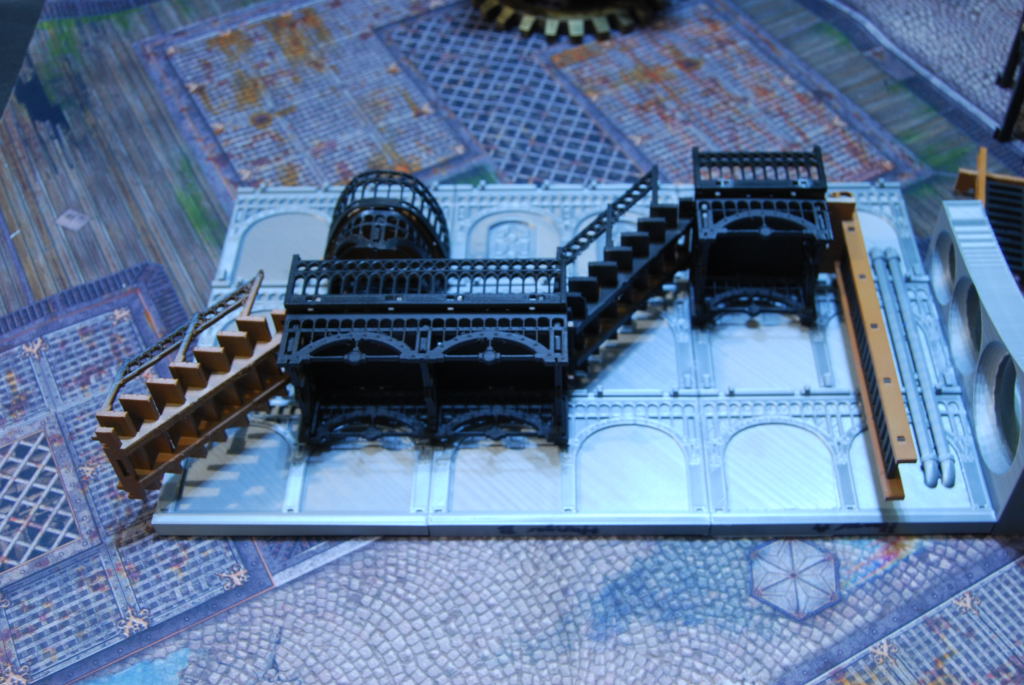
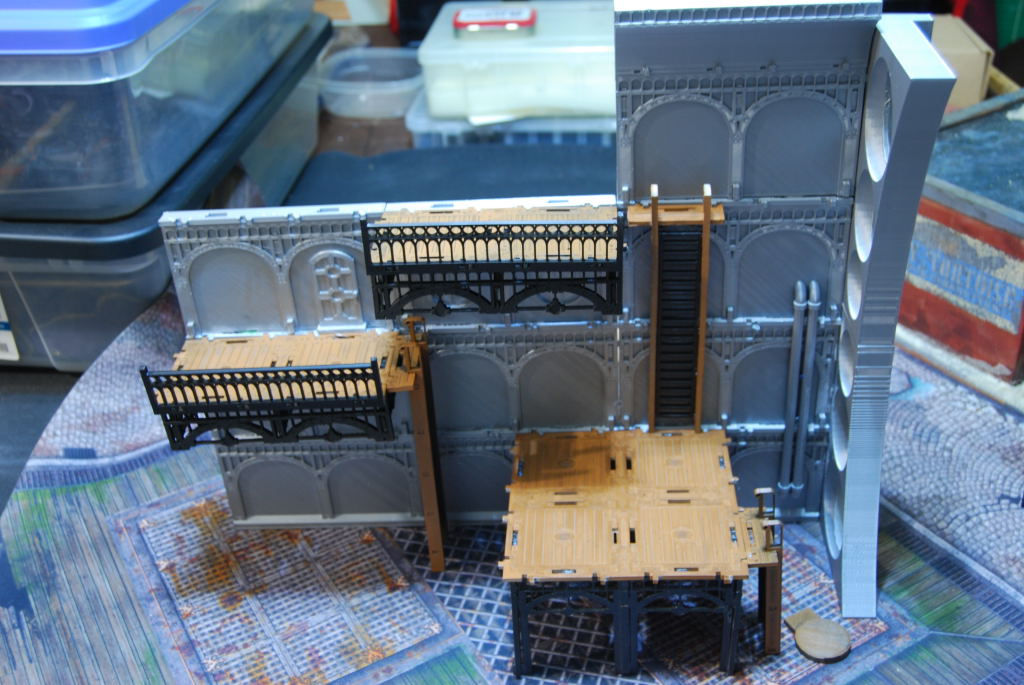 As you can see the possibility are endless :).
Internal Struts
 This week i created a struts design to hold up my interior walls. I think it came out pretty cool :).
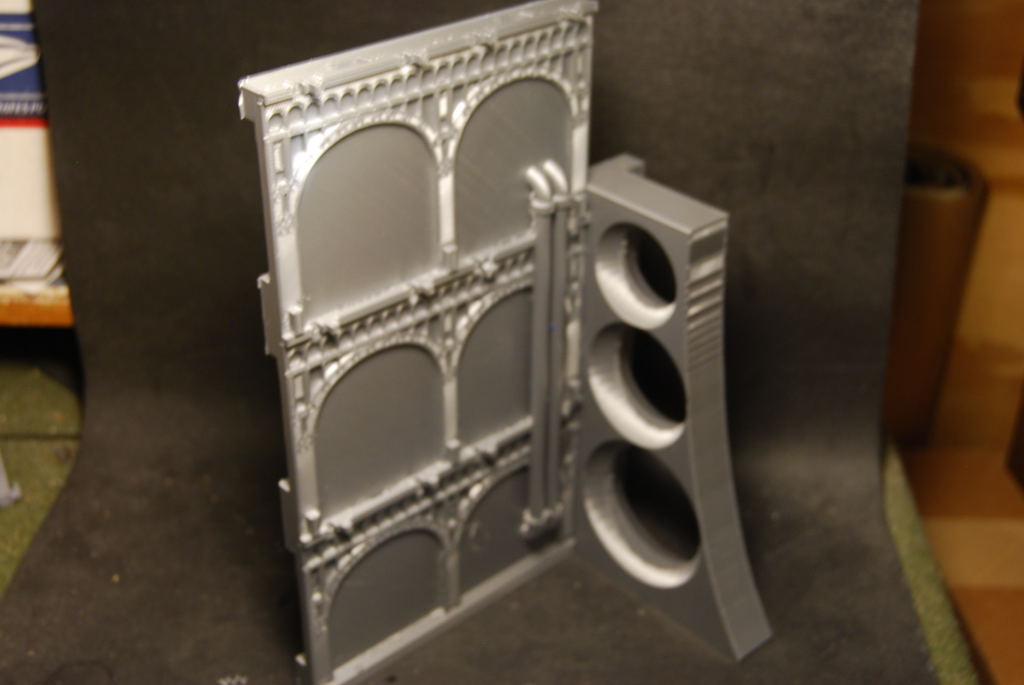 I printed part one and it fit well enough.
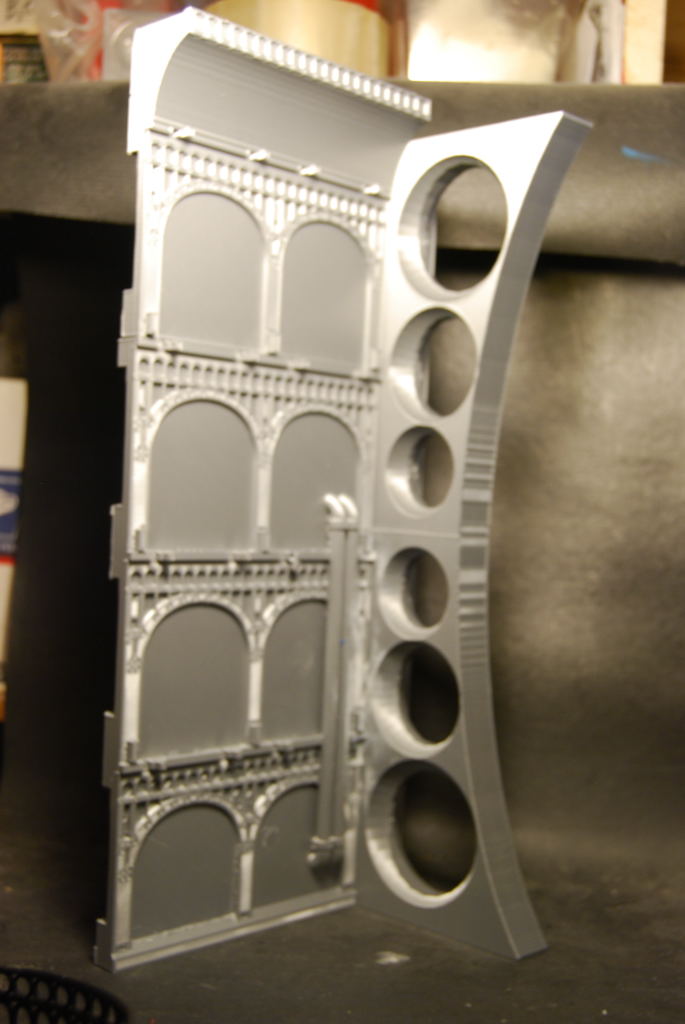 Awesome
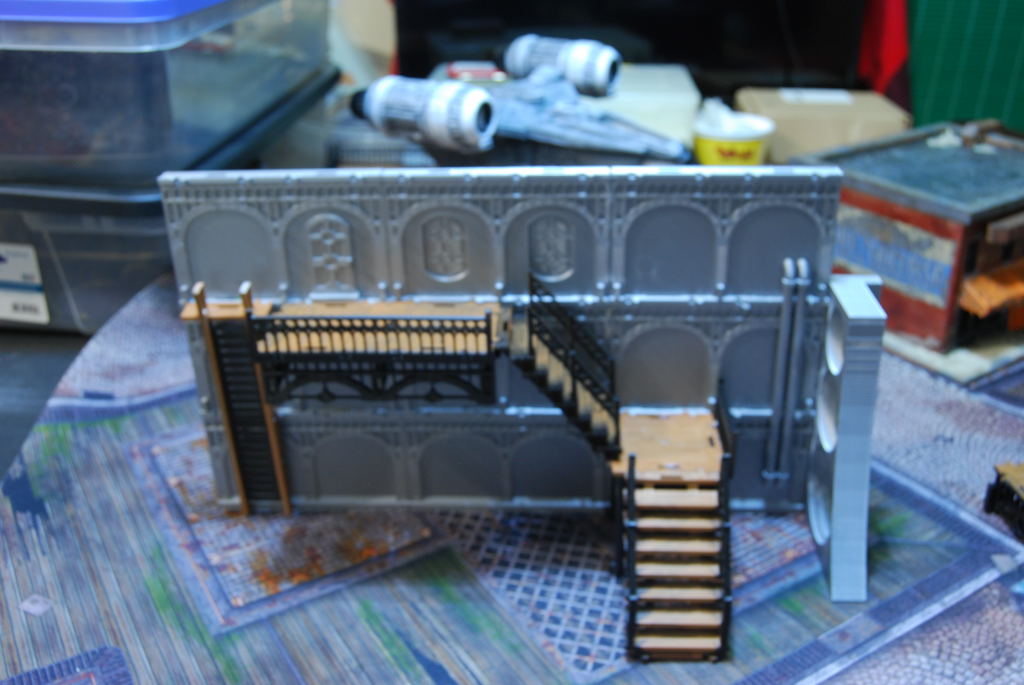
Testing interior walls
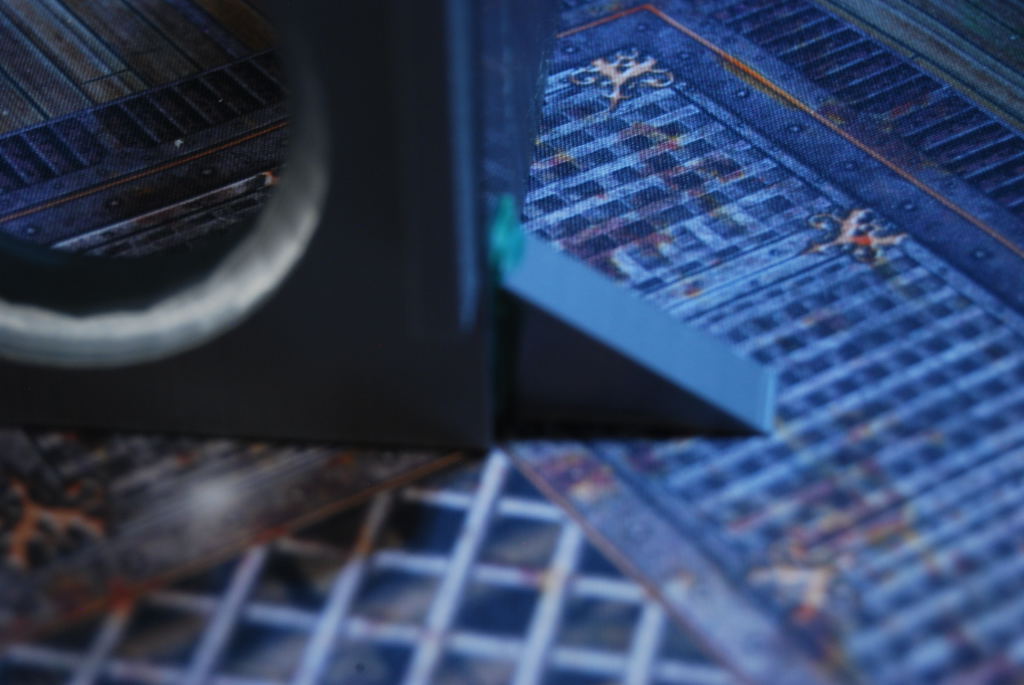
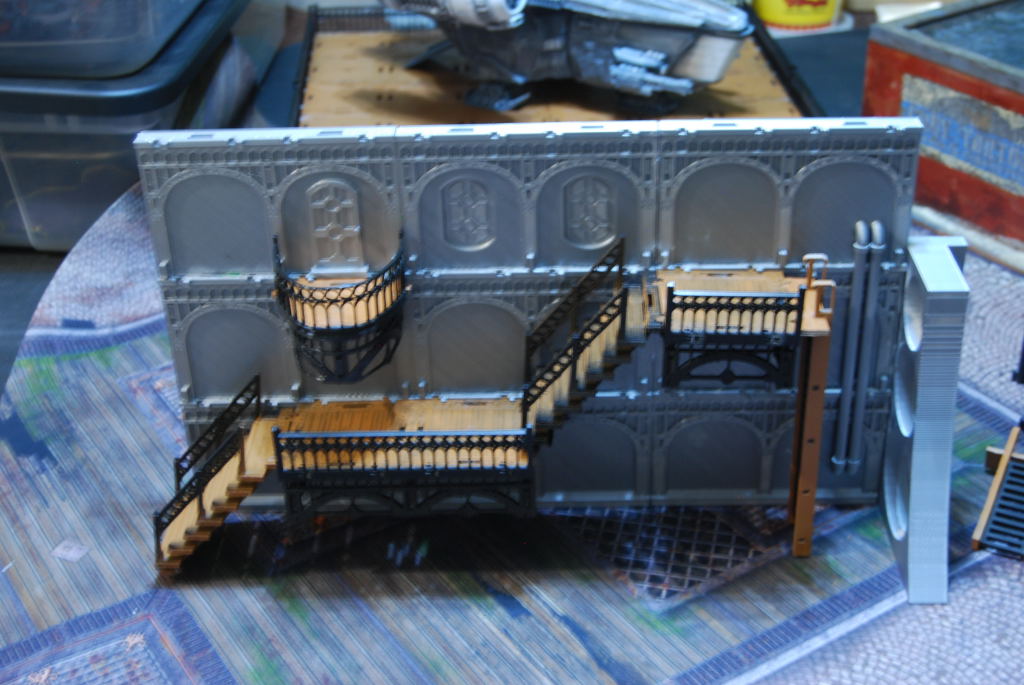
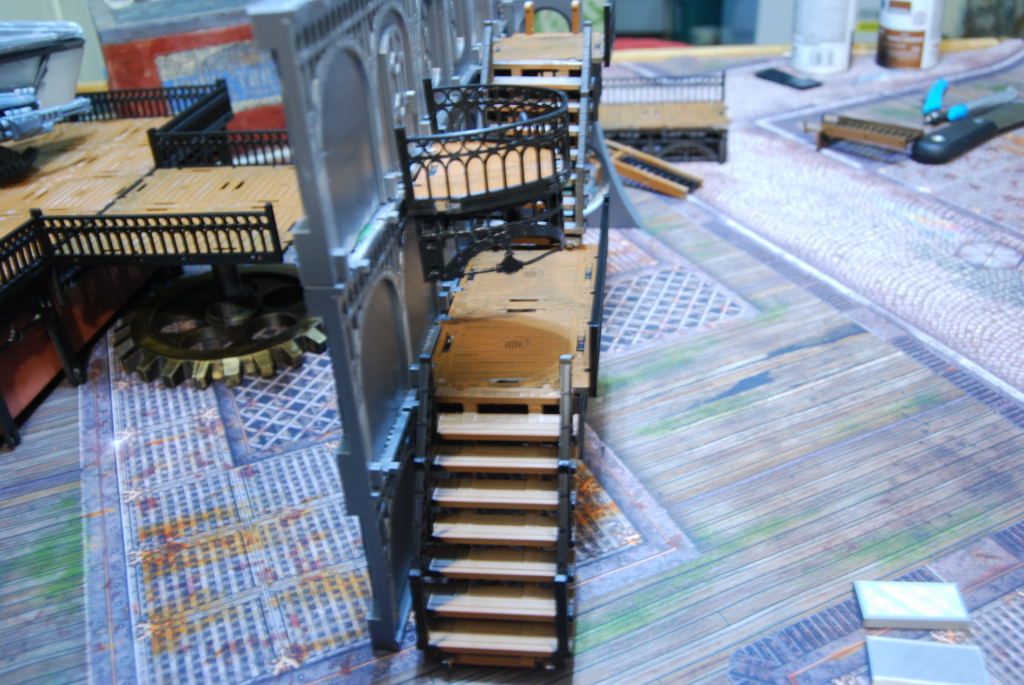
 After printing a test walls, i check the look and fit of the my design. First i notice a gap.
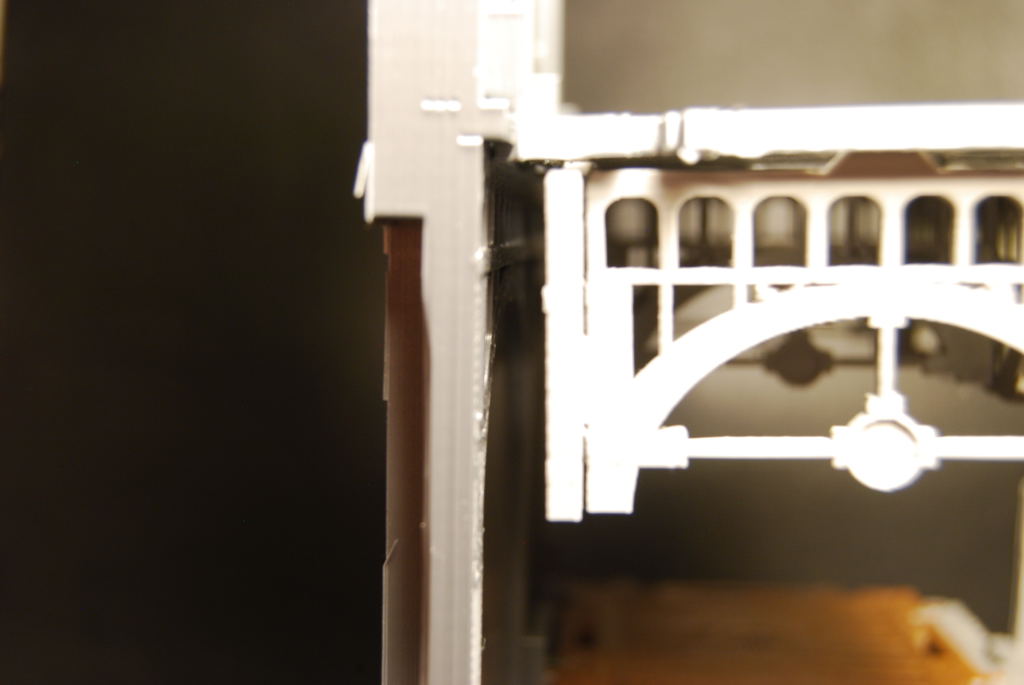 This gap is an easy fix back to TinkerCAD.
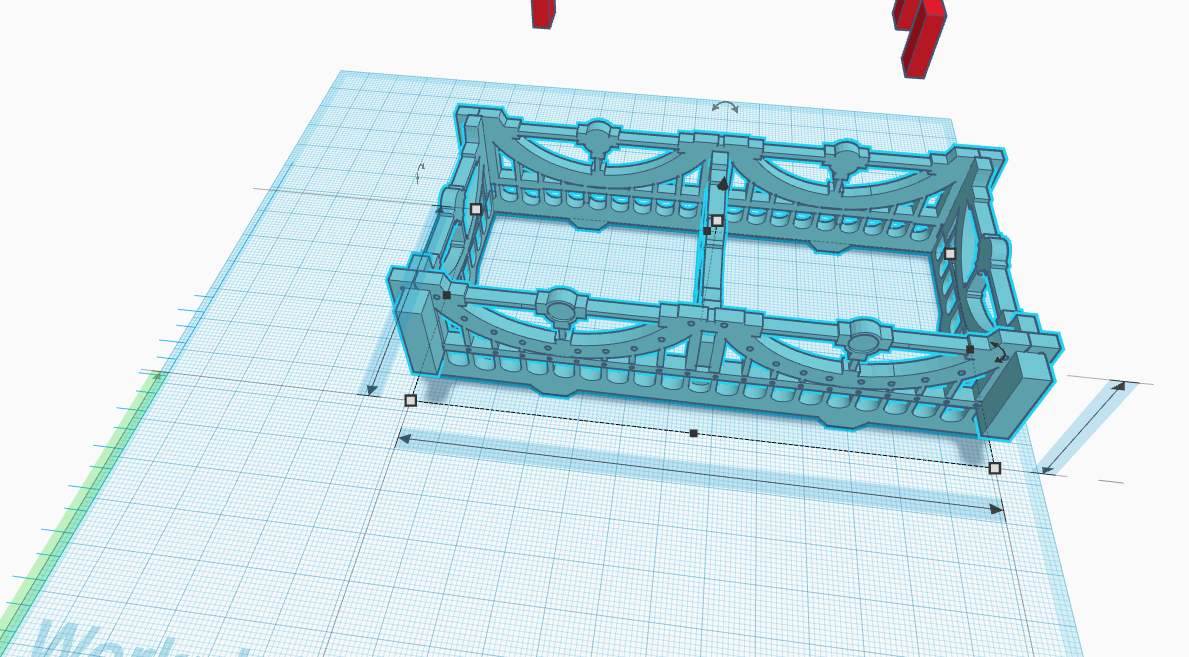
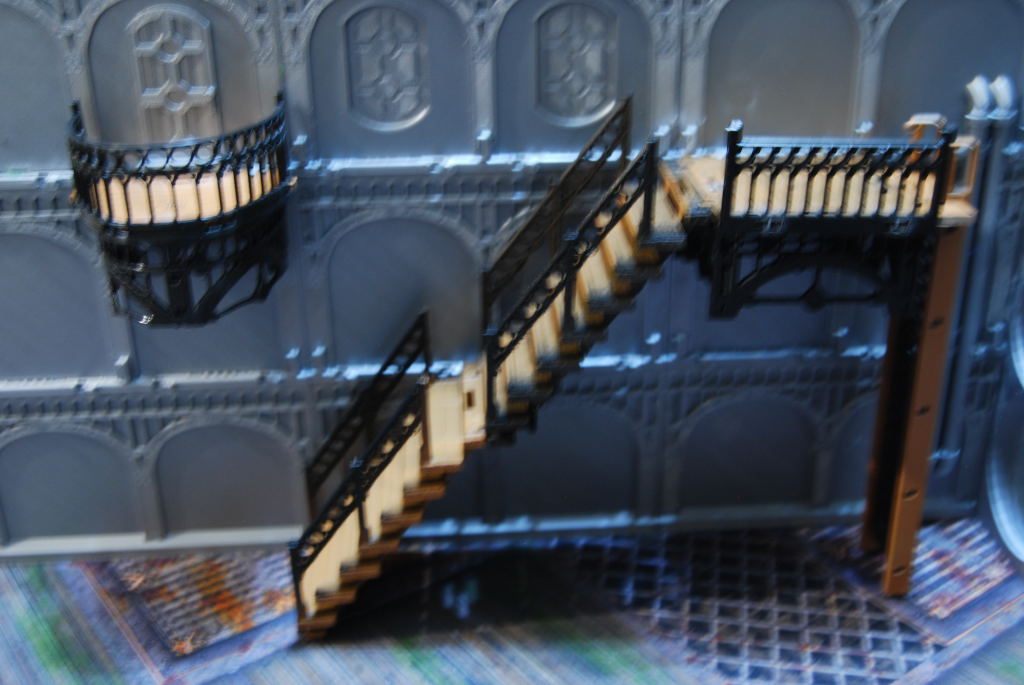
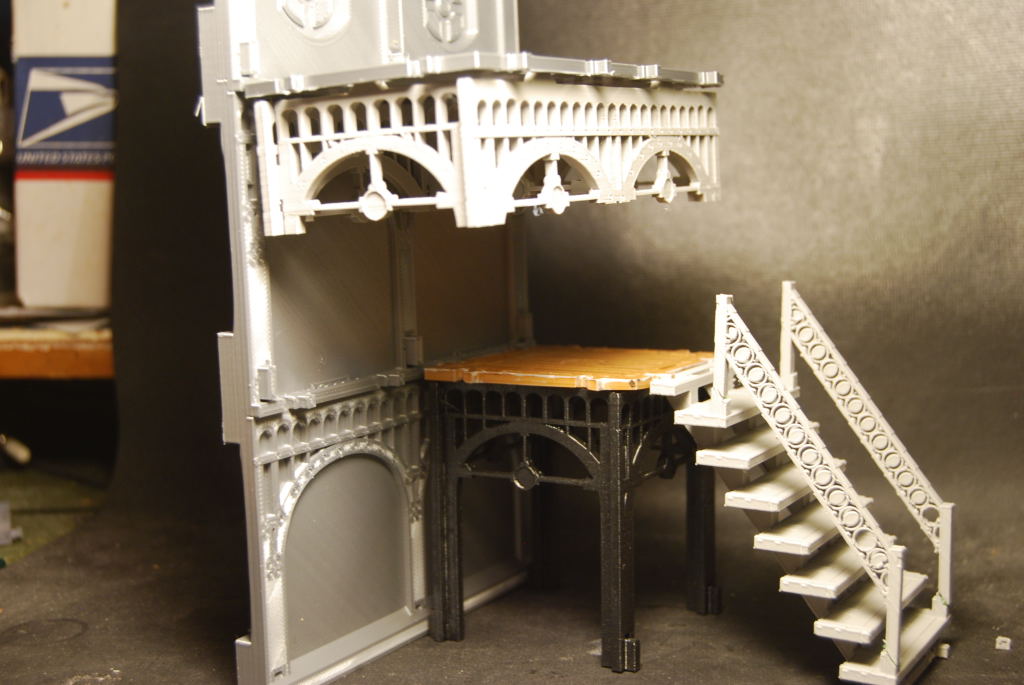
 After a few adjustment i got a fit i am happy with.
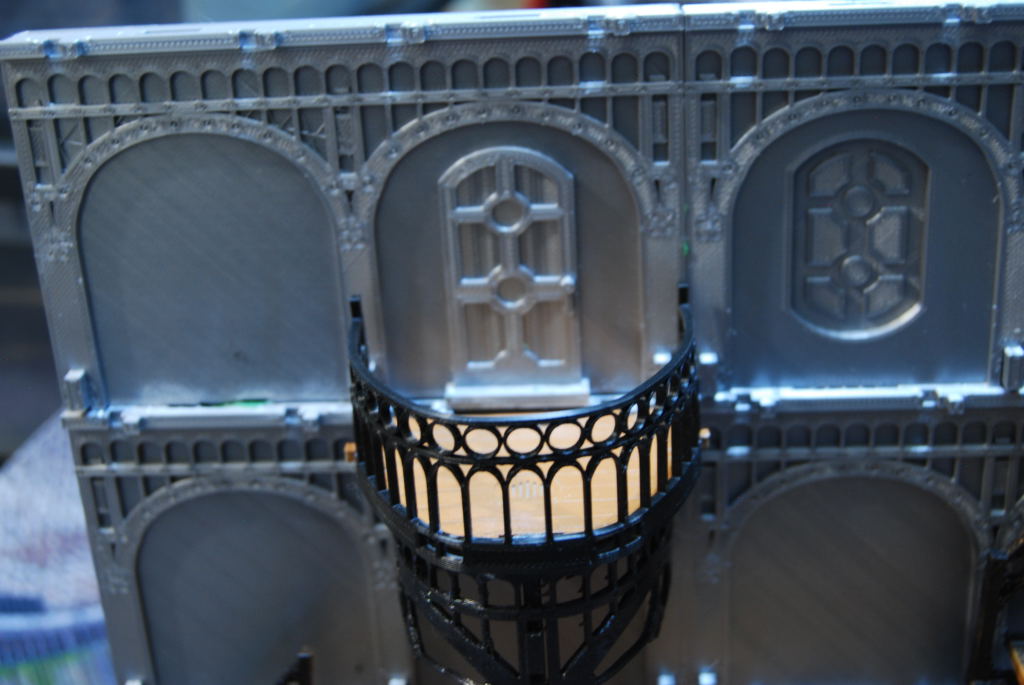
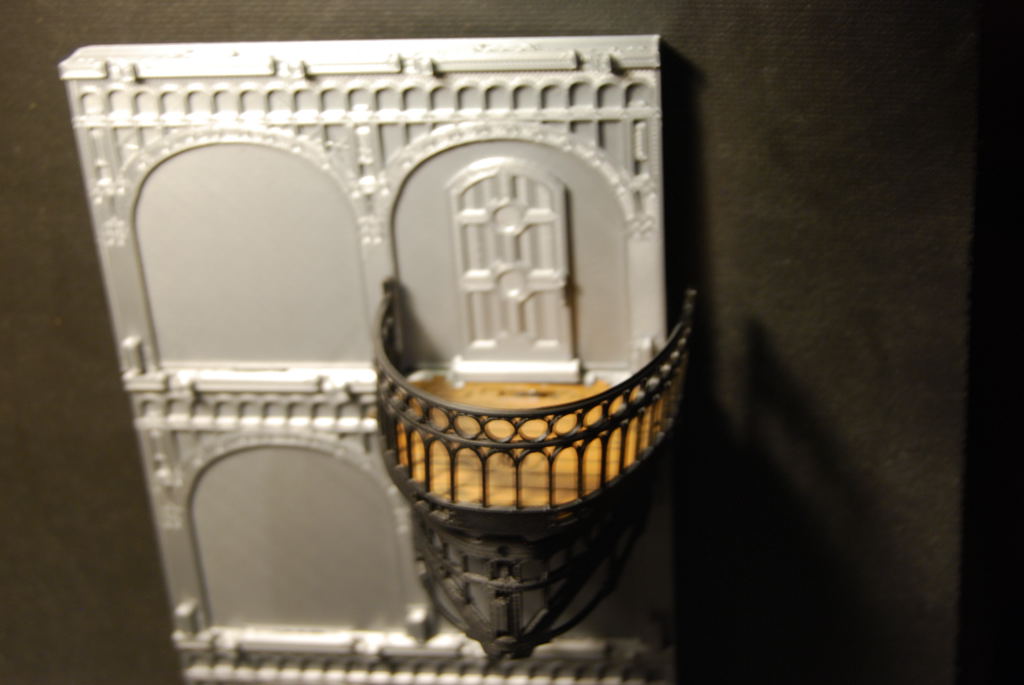 The curved balcony design was the only one i didn't need to change.
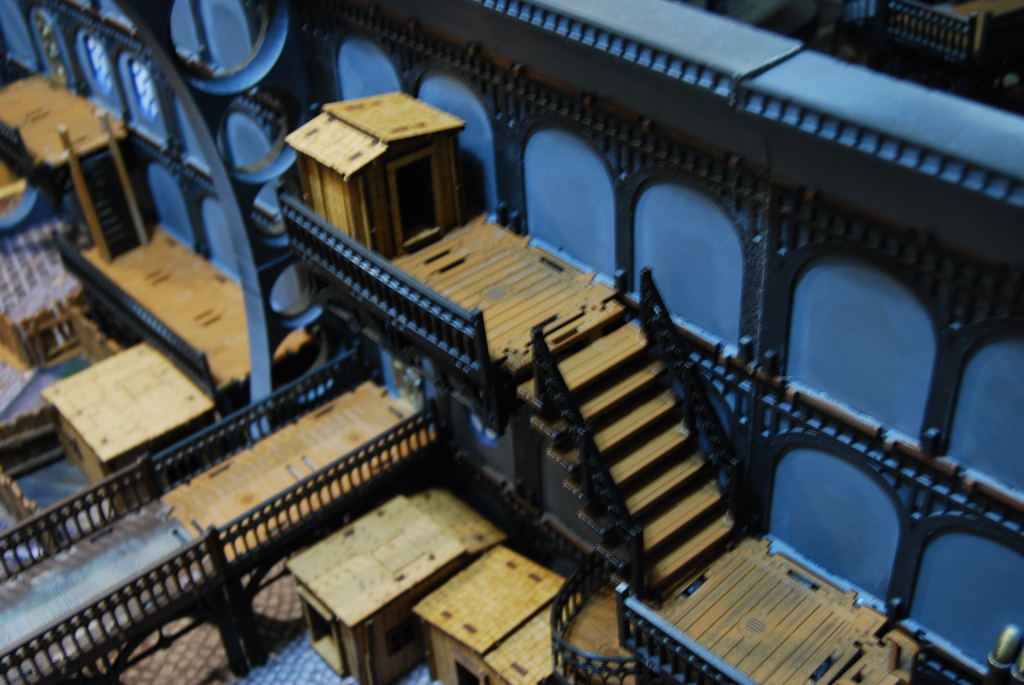
Airship interior
Ever since i watch the demo of Wolsung on Beast of War(On table top). I have an idea of rival clubs fighting for control of an airship or Dirigibles. On the inside, fighting through the hanger, cargo hull, engine room and finally the command center. I abandon that idea 6 years ago because i could not afford buy all the MDF kit i would need to see it to completion. The later that same year i got my first 3D printer and i stated to flesh out some idea in tinker CAD. The process was slow and yielded some poor result. Now armed with some experience in both Tinker CAD and 3D printing i can show you the start of what i want to do so long ago :).
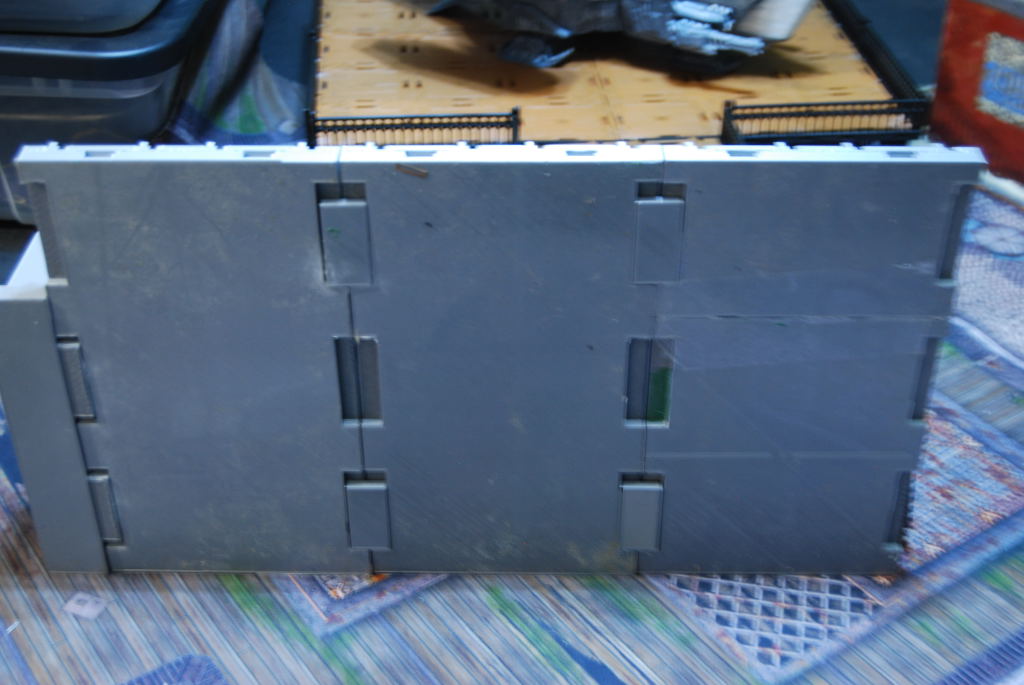
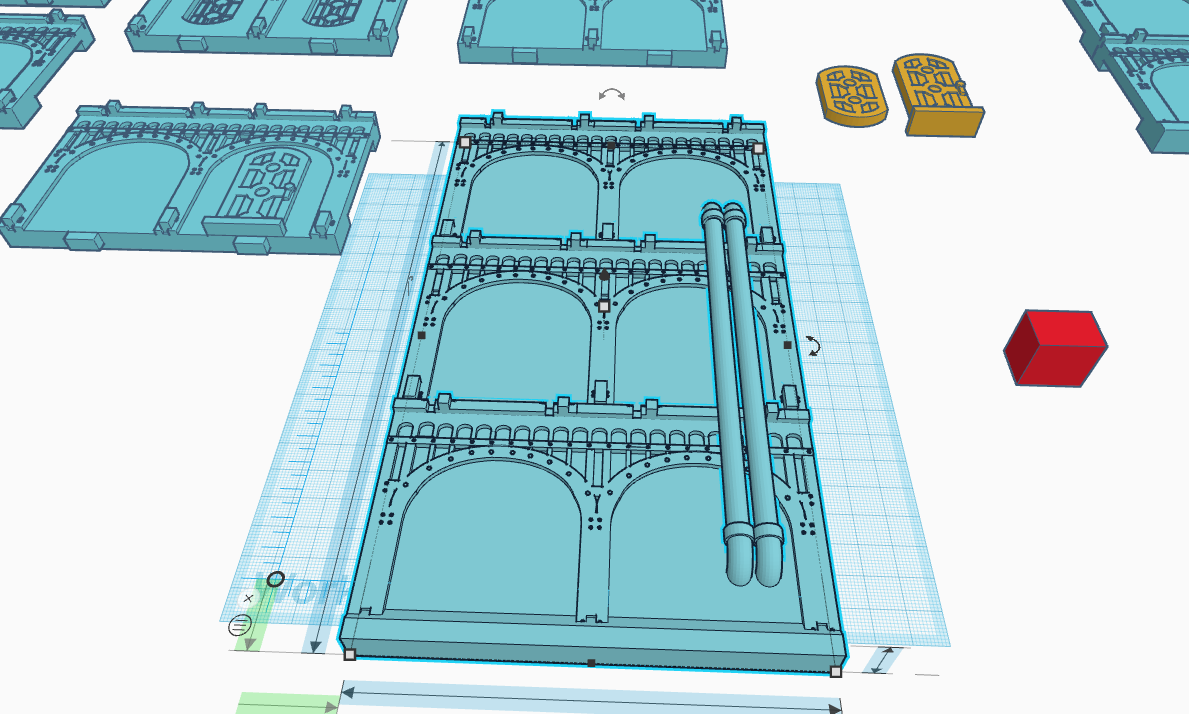 This is the basic interior wall i started on. (the pipes would be a problem so i remove them on future designs)
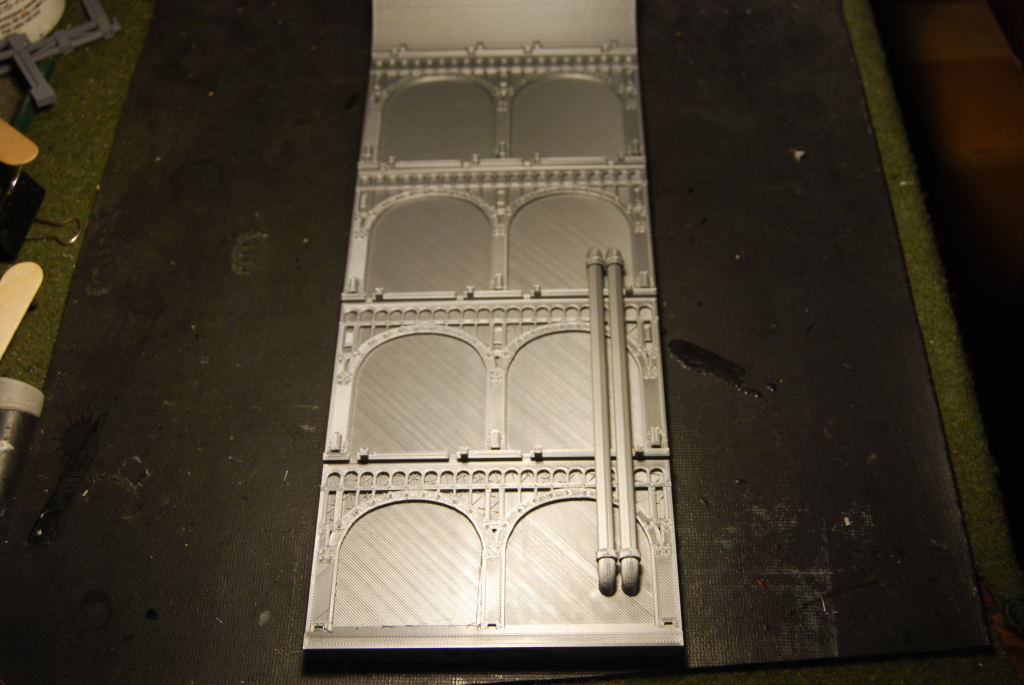 Soo Big, that stands about 13.5 inches (34.5cm) and took 26 hour to print
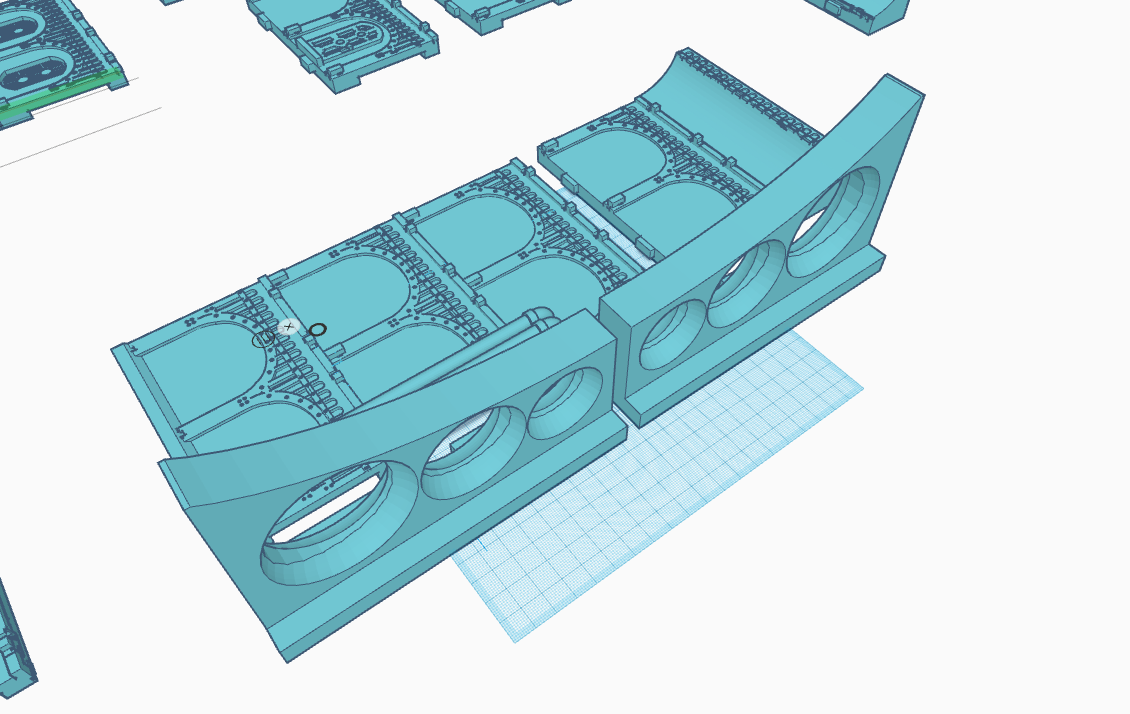
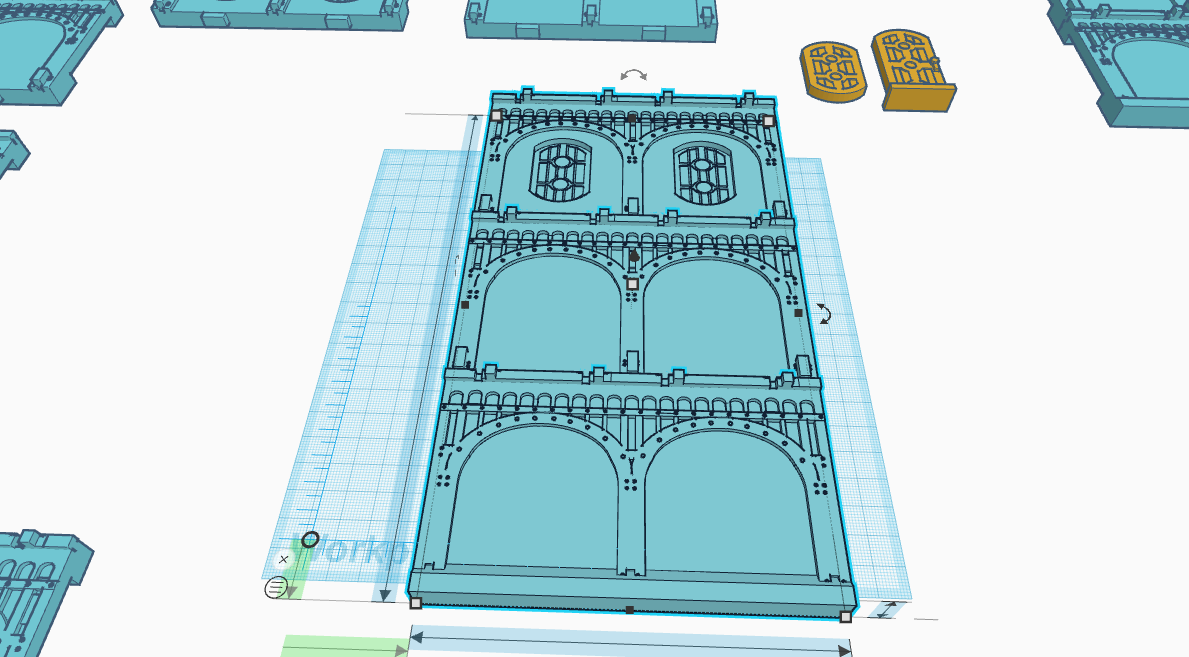 2nd design i remove the vertical pips and added some windows. (also i just printing the lower half to save time and filament. I use up more than 4kg for filament since i started this project).
Elevator
 Sometime i get inspiration from designer on Thingiverse. I found this thing by Jokerdesigns.
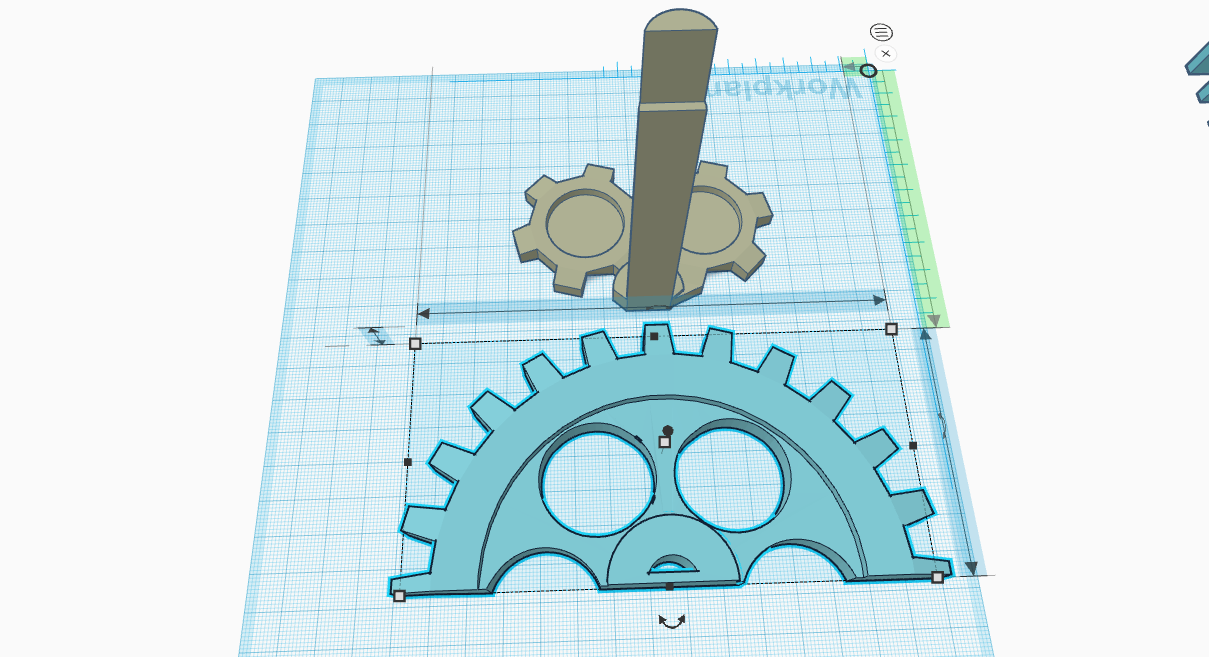 This is a tooth brush holder by Jokerdesigns.
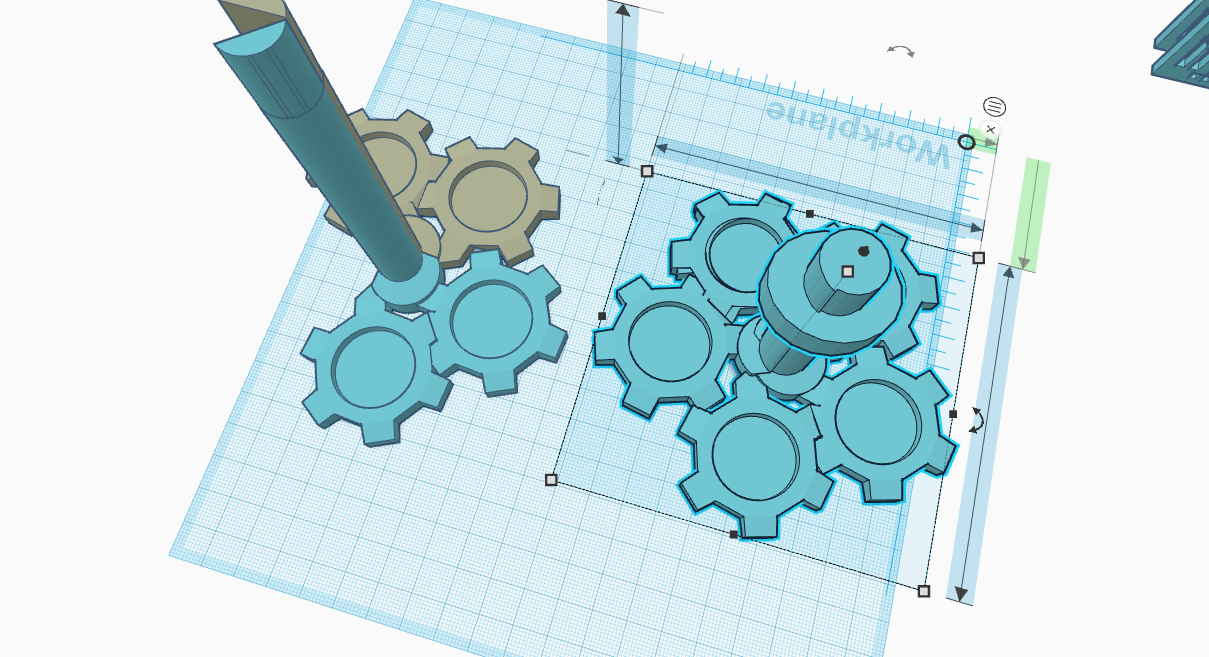 I imported these files into TinkerCAD to be copied and rotated to create a new image on the right.
 i did the same with the larger gear.
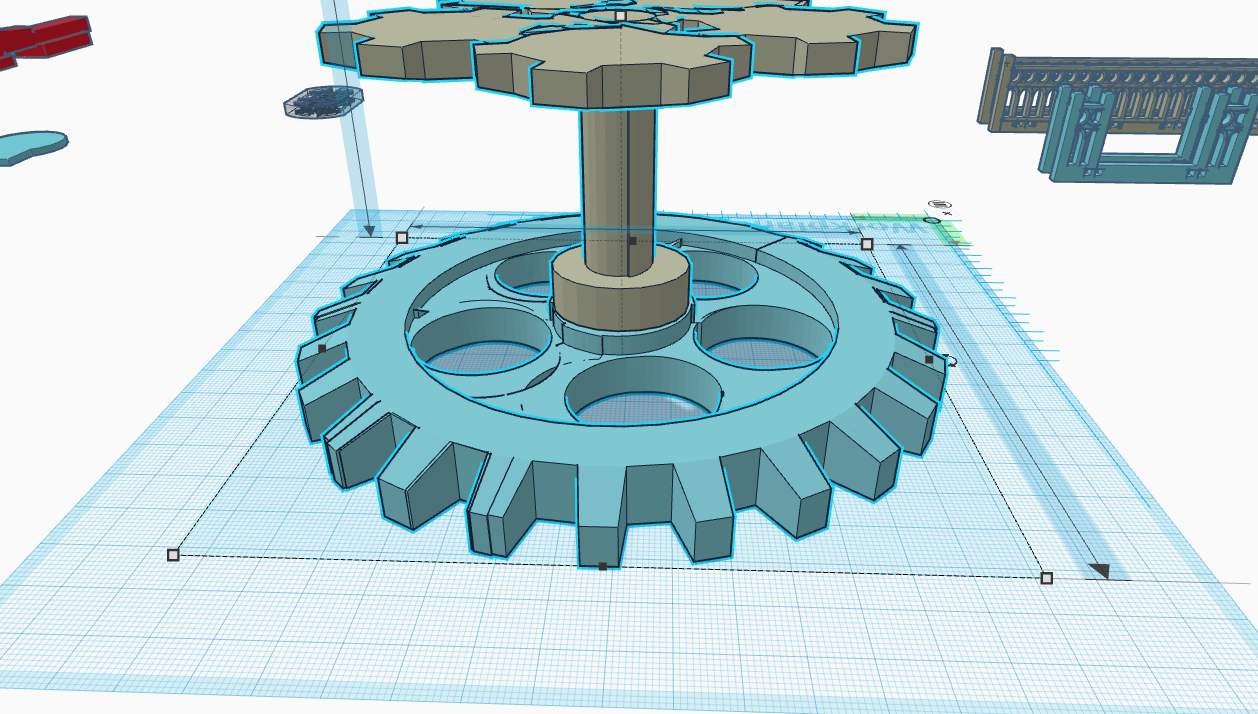 This is the final design i would be using. Off to the slicer for printing.
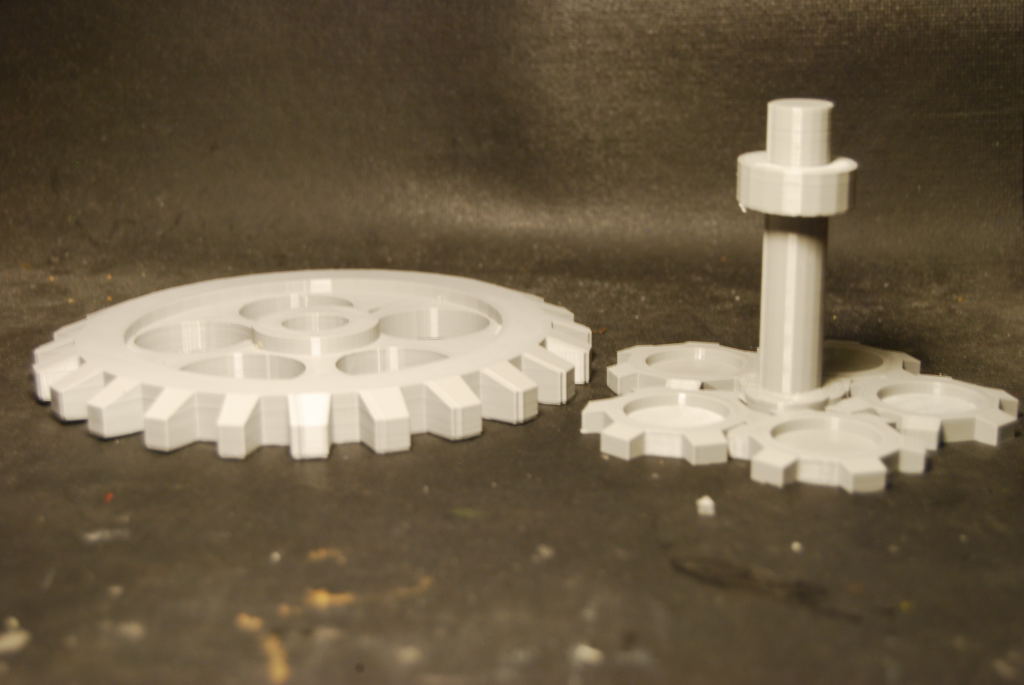

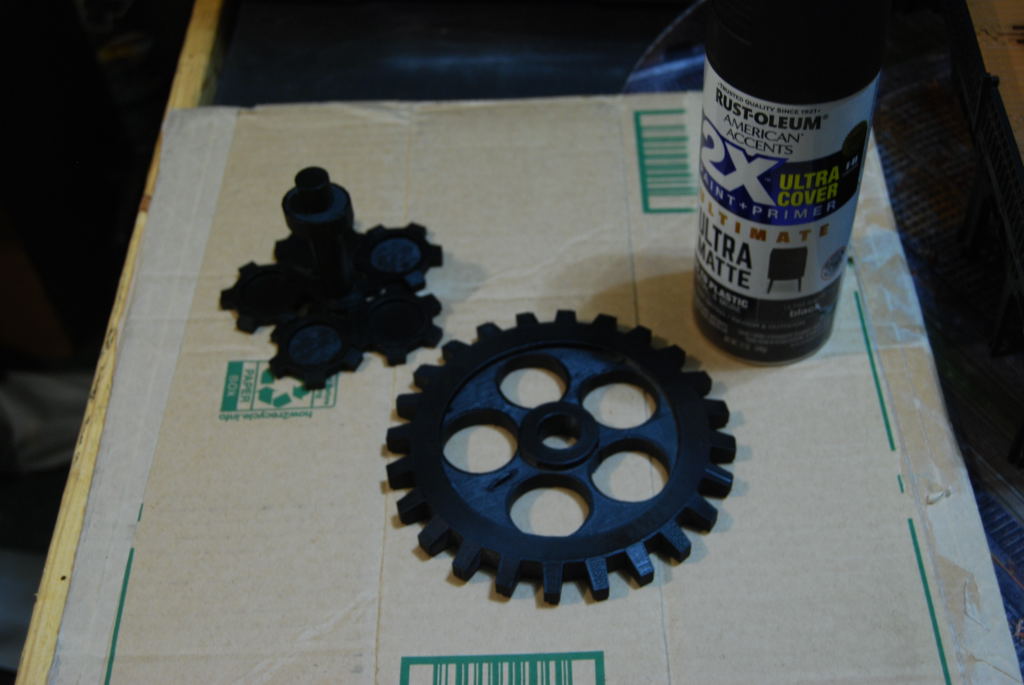
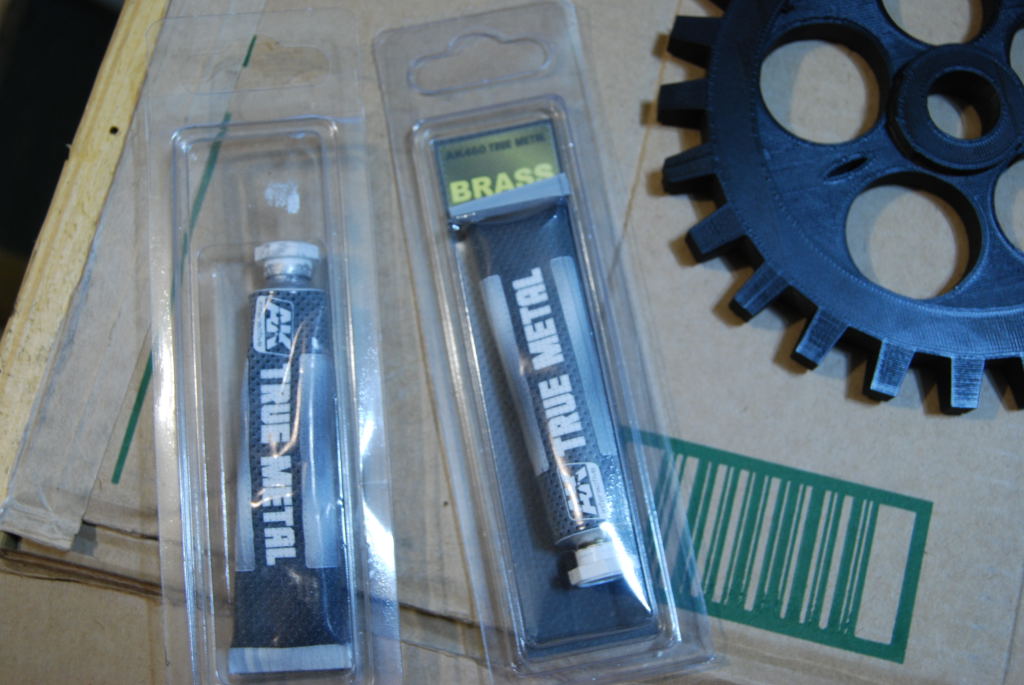 I decided to try some brass pigment. It is like a rub and buff product.
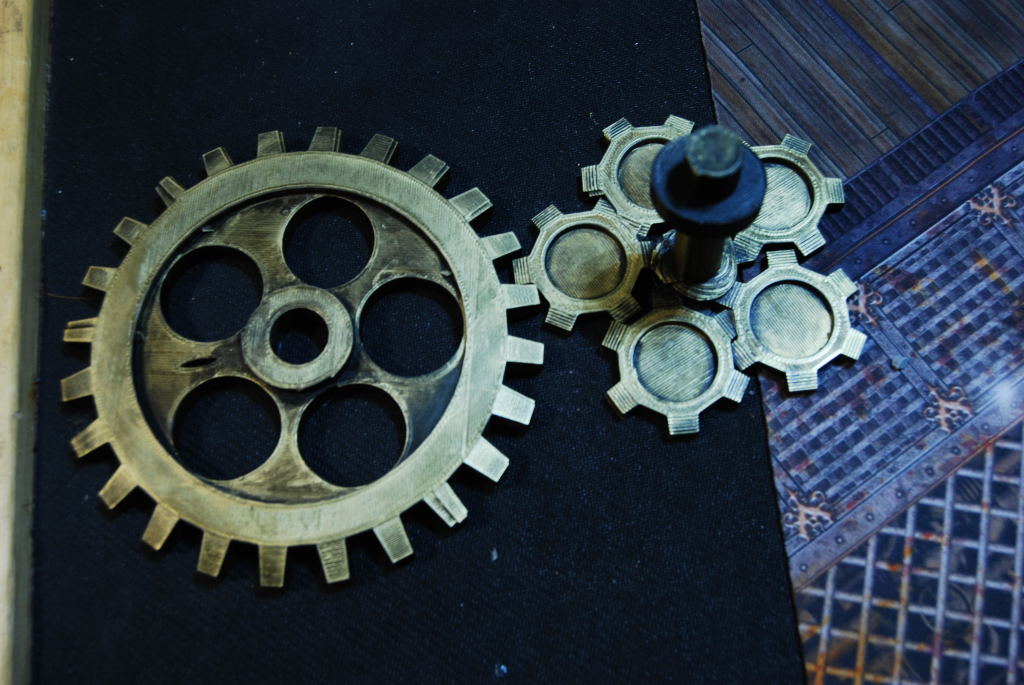
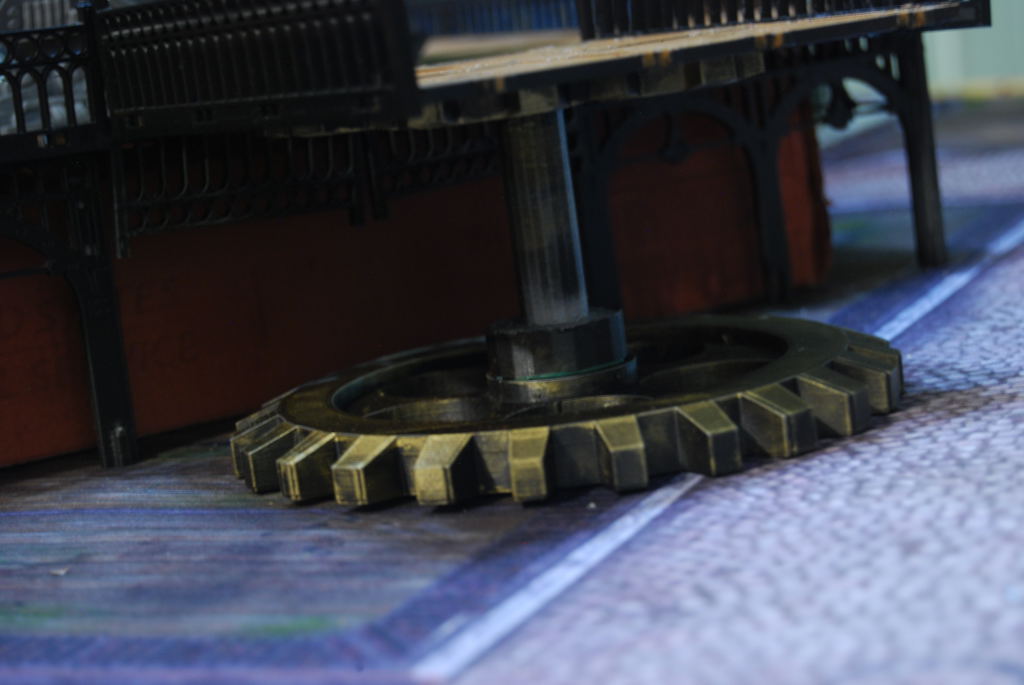
 I am satisfy the end results:).
Landing Pad
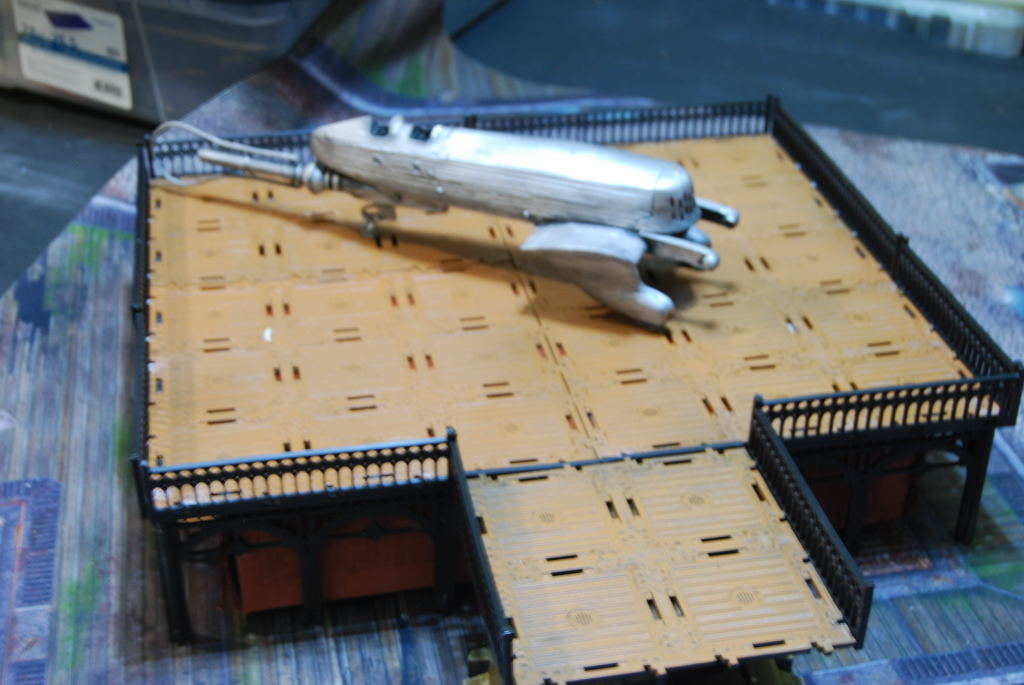
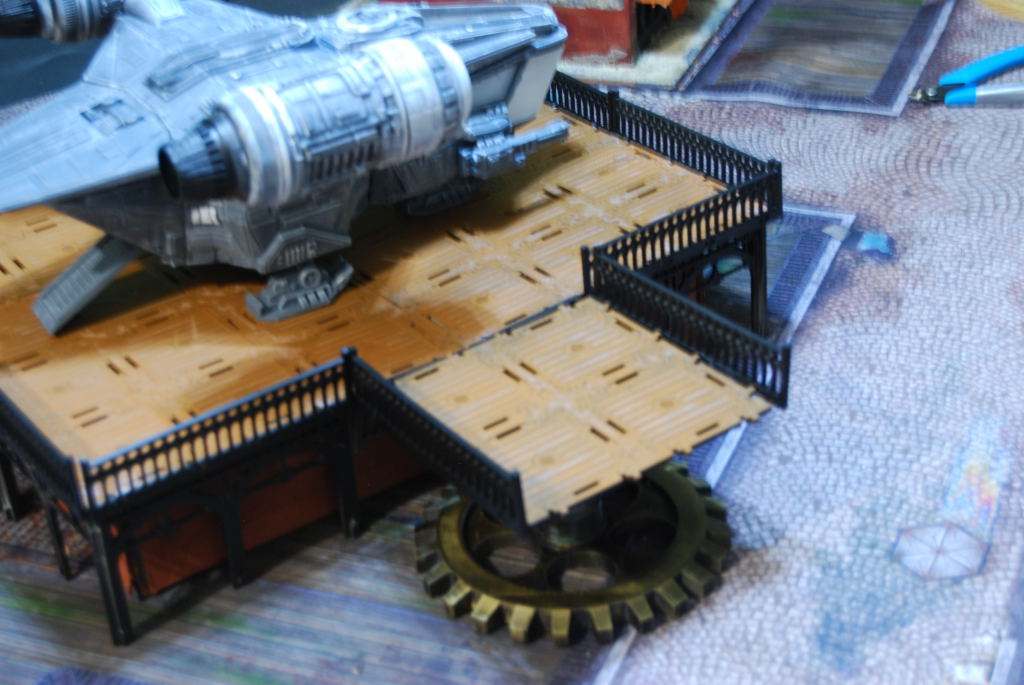
 I decided to create a landing pad for incoming aircraft. (It ended up measuring 33.5cm by 40cm) roughly 13.25in x 15.75 inches.
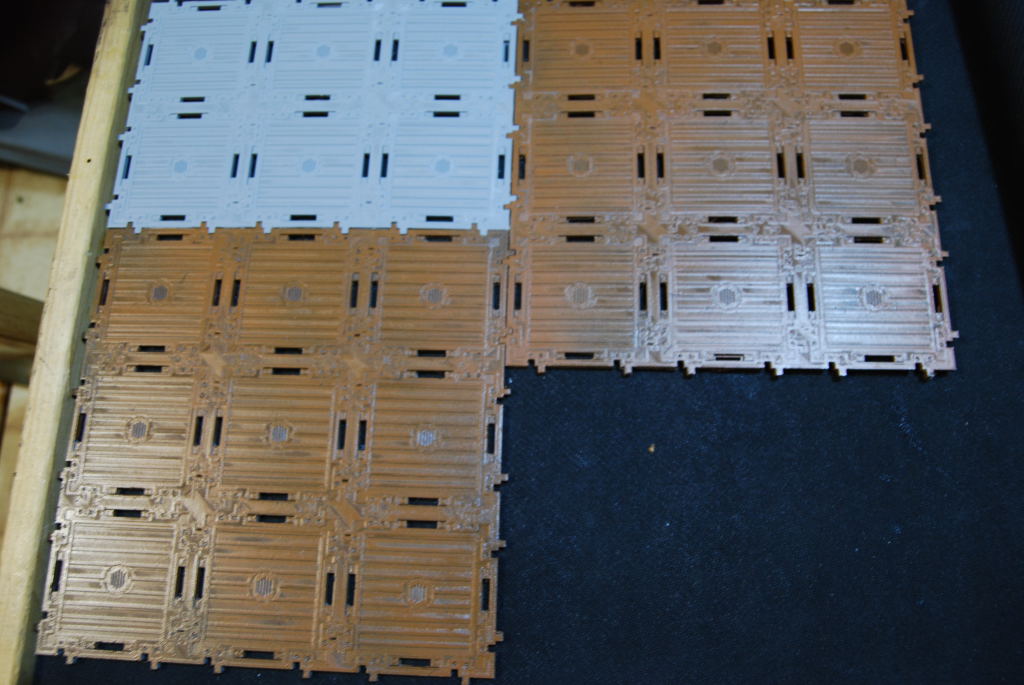 I started by printing 3x3 decks and combining them to make a larger platform.
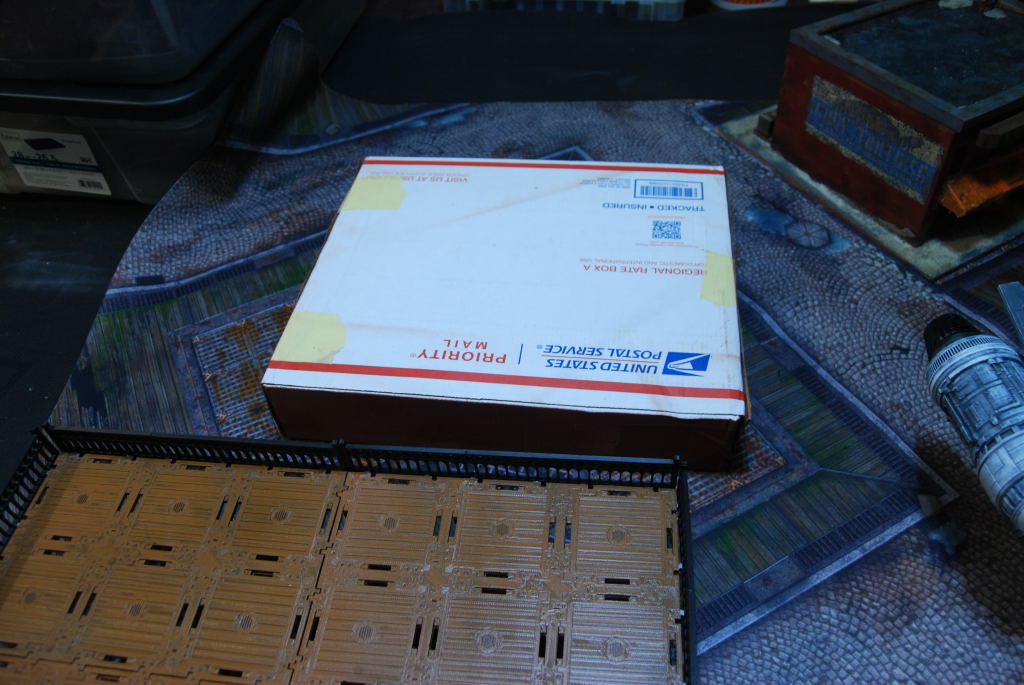 I sized my platform around a 11x13x2.5 in shipping box.
 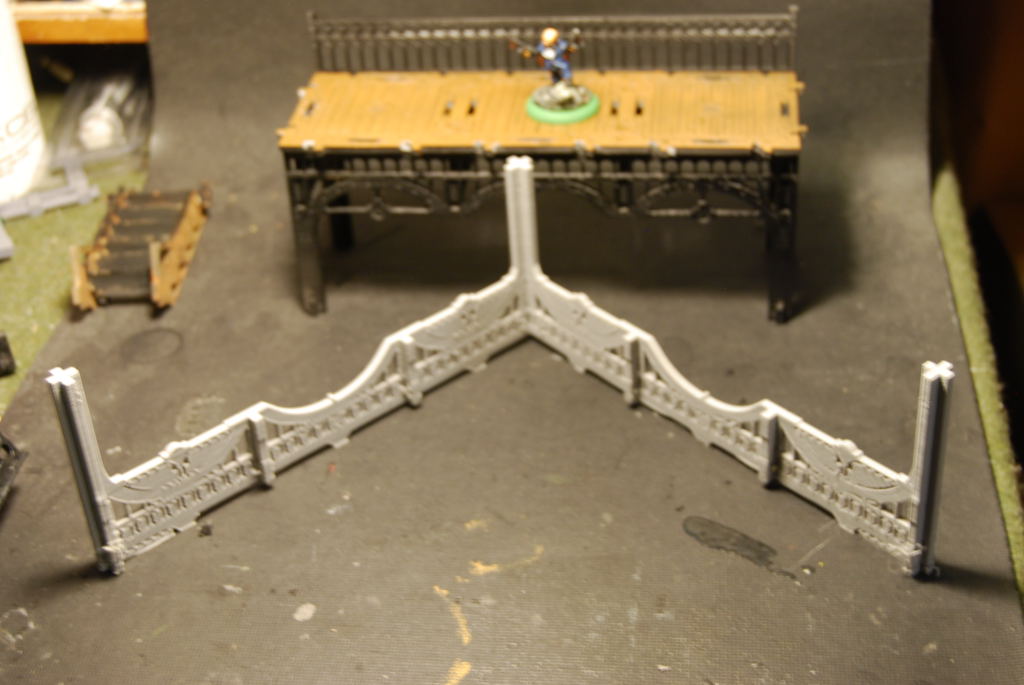 I added some decorative trim.