


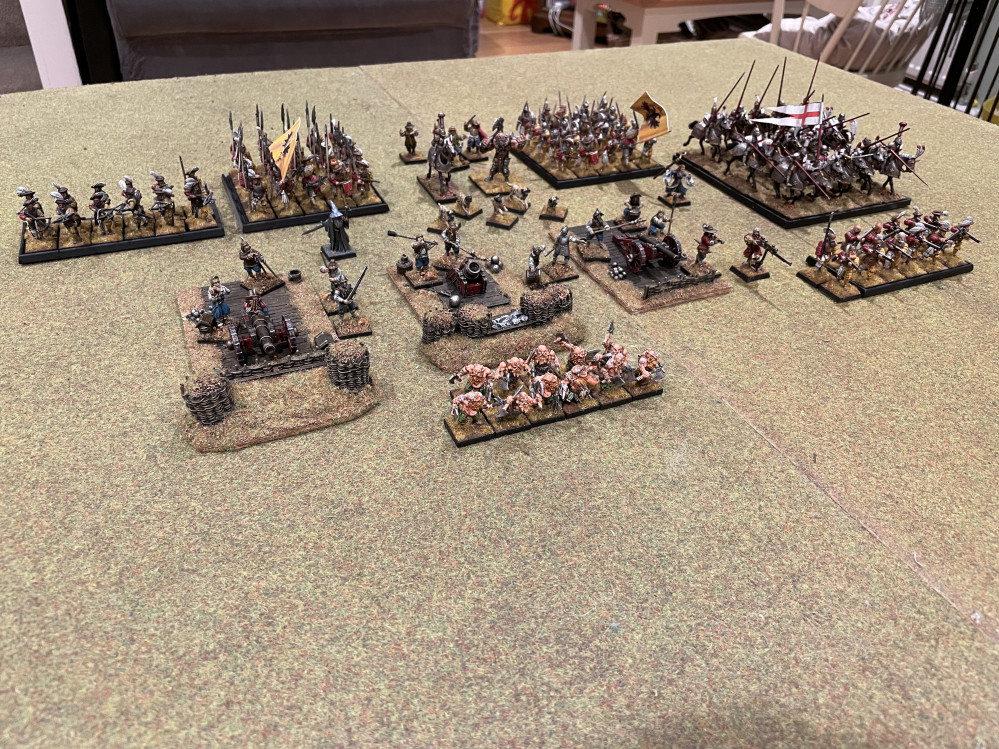
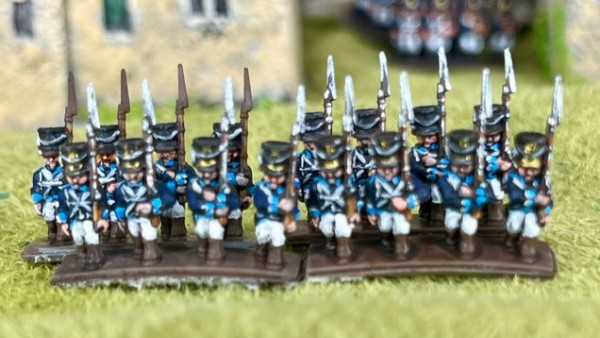
The Empire Responds to the invasion of the Uruk Hai

Converting using seperate feet.
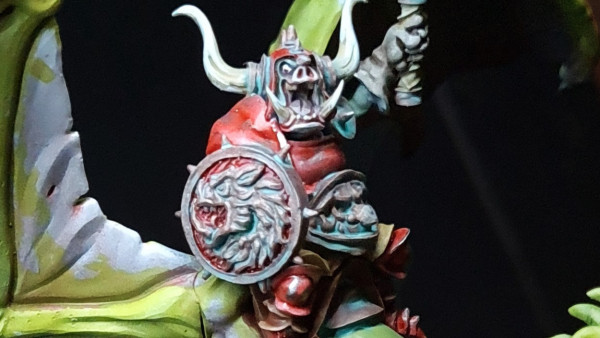
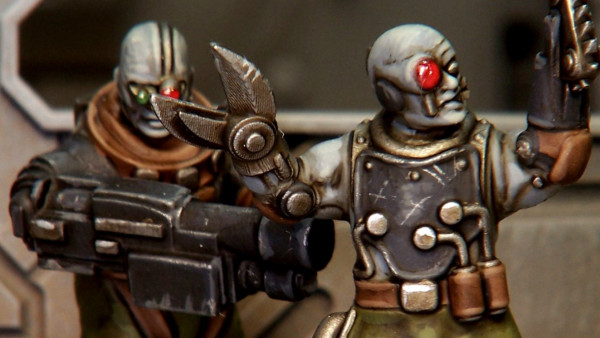
Converting, to the Undead.
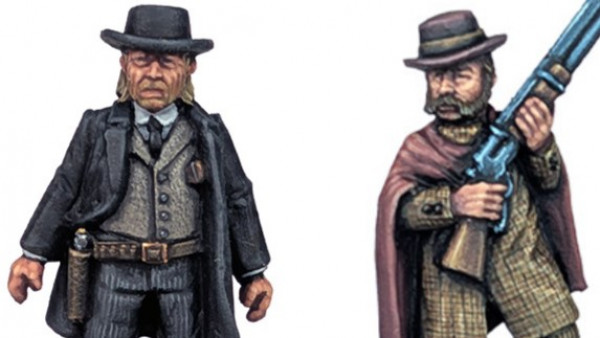
Put down the Prana-bindu training manual, discard the Zen-Sunni scriptures and throw out your Orange-Catholic Bible. It’s time to stop worrying about the impending Butlerian Jihad and concentrate on converting to something more sinister. Let’s adulterate a landsknecht or two and go down Dead avenue.
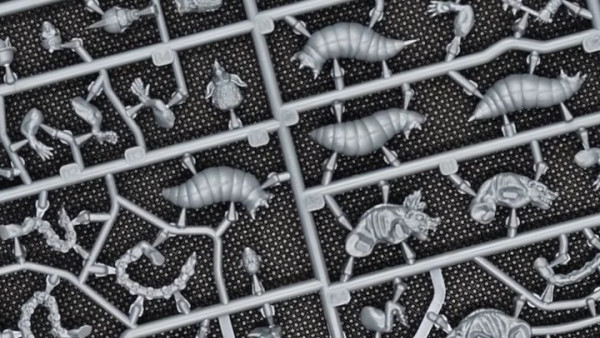
Bring out your Warlord games skeleton sprues, take a moment, meditate on their possibilities.
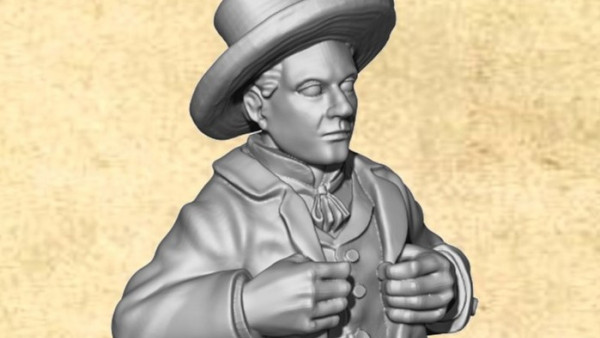
One voice says”Zweihander, get the hat on that skeleton head”
Another voice says”the skeletons right arm is perfect to insert in the baggy sleeve”
A third voice pipes up” Yeah! And shove a spare skeleton spear through sknechte’s chest, it’ll prove his deadedness!
A smaller 4th voice “we where asked to do the dishes, she said she’d like us t…..”
In Chorus “SHUT UP 4! No one asked you now bog off and get the glue!!”
Satisfied 4 is now in his place, Voices 1-3 put their snippers back to the skeleton sprue.
Being that most minis are now hard plastics, conversions have never been easier. Just taking harmoniously scaled bits and pieces , from disparate sprues, and applying poly liquid glue can do some marvellous work. Some gap filling coming along for free of course. This is so when you chemically bond these plastics, with said liquid glue. It makes the plastic go all gooey in a good way. It blends the pieces together somewhat.
So having made a plan from observing the two sprues that I wish to meld together. It’s time to gather my tools. Most important is the thin, flat sided snippers or clippers. The bevel cutting edge being on one side only and the reverse side being totally flat allows you to cut away portions of a model with great control. The rule is always cut away less than 50% of the waste side from the wanted piece. This ensures the wanted piece is supported by more plastic than the unwanted piece. Preventing it from buckling or sheering off from the force of the cutters. Sneaking up on the final cuts, with your flat side towards the keeper piece of the model, is definitely sanctioned by the Bene-Gesserit for optimum results.
Handy to have is a pin vice drill, OR BETTER YET! A powered micro drill (time to rub your upper thighs vigorously. Ohhhhh there is NOTHING, more medical proven, to safely raise one’s testosterone, than placing your hands on your tools.)
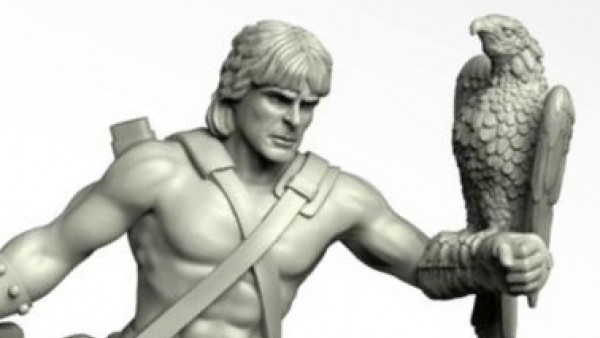
Jason’s ‘Argonaut top tip ?’, is to drill little holes in the Landsknechts limbs where you intend for skeleton limbs to protrude. You can then cut the Skeleton limbs 1 or 2mm longer than needed and liquid poly glue the heck out of the hole before inserting the stolen skellies bobs. Super strong joints is then achieved!
You’re also not waiting, FOR ALLLL ETERNITY, to fiddle a tiny bone into position waiting for the glue to go off. Your drilled socket allows positive location of the small component and the friction fit means you’re able to move on before the tempestuous launching of miniatures at walls.
?many of the men have become casualties under similar conditions. It’s safer for everyone to keep things running smoothly.
Another use for the drill is to hollow out hats to fit over Bobbies head. Sometimes the head needs a little trimming here and there (flat side of snips to the wanted part ?, yes I’m talking to you!).
A hobbyist can also use the edge of the drill
To do some simple scoop carving, take care here though! No real pressure is needed. If you do,it can jump up and bite. Drills bite very thoroughly. Or snap and bite! ‘Anglo Saxon dictionary with plasters on standby? SHIELDS TO MAXIMUM!.’
A better bet is to hold your component with a pair of pliers. Any ‘missed opportunities’ then leave their stamp on the pliers. Blood grass and mud stains on a sofa get you funny looks and many a raised eyebrow.
Finally, drilling holes through torsos, armour and heads can really convey some narrative to a piece. Especially if you don’t clean up the exit wound of the drill and insert a weapon to show how something died. Great fun to be had in Sadists imaginarium.
Finally you can add little flourishes by damaging the armour and clothes with drill tip, knife and snips to appropriately age or weather the undead fella.
If you’re particularly skilled (read: show off git, whose parentage I shall question quite readily) you can sculpt some details with green stuff and putty. Tatters to clothing, broken straps to armour, additional strapping etc etc.
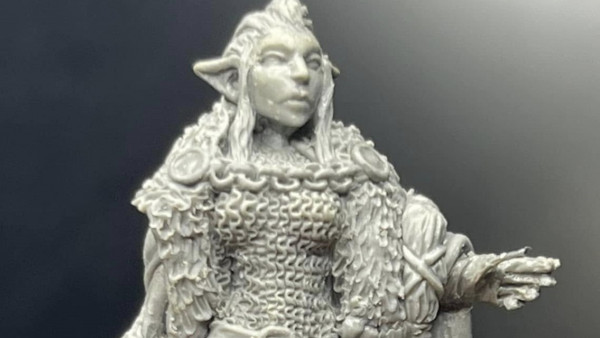
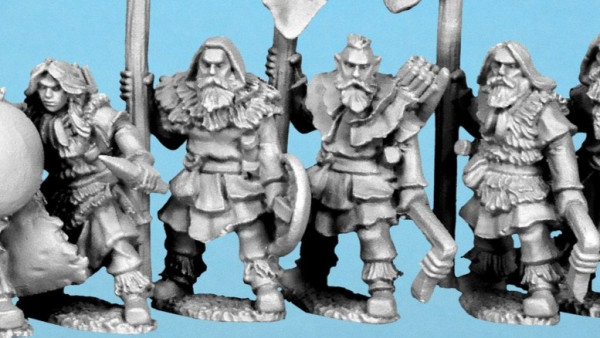
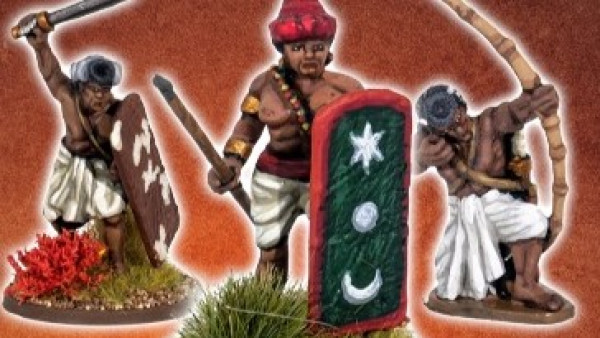
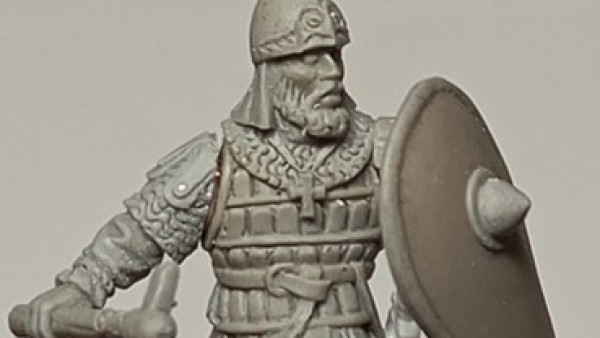
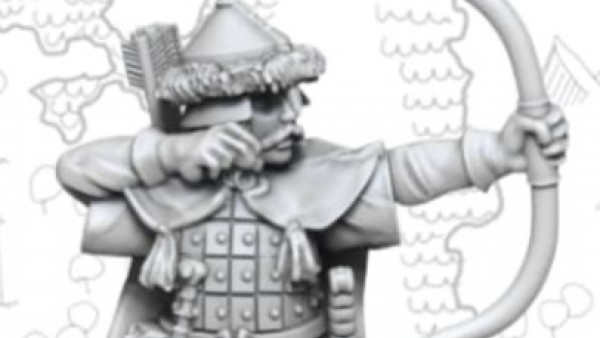
After a little practice, the world is your mollusc. Plenty of interesting units can be had using the skeleton components along with Warlords ranges online. The Perry knights make a great basis for characterful dead gents. The landsknechts, in any form, are better for skulls and dead man’s hands. Medieval plastics blend beautifully with the mark of death.
If you want to tackle metals then i would employ the same techniques but with more care and patience. Metals require a bit more delicacy and time, but turn up nice results. The habit which has taken me is to just do head/hands or feet on metals and the more flamboyant conversions on plastics. Just quicker that way.
I’m just lazy I guess.
Singing:
“190 skellies on a sprue, 190 SKELLLLIEEES, you take one out,
Snip it about,
189 Skellies to do!!”


Leave a Reply