


Wolf's Flames of war late war V4 update


Damn my previous entry had to be split in two!
Well for some reason the previous entry couldn’t hold all the tutorial. so I shall continue in this one. Sorry about the inconvenience.
Next grab another dry brush brush and Vallejo Luftwaffe Green 823. And do an over all drybrush, go easier than the previous one this time. at this point you’ll see the overall tank really pop to life. or at least for me.

Next, Vallejo German Grey 995 on the tracks, maching gun, the huge saw and other metalic tools if you do have any.
Also wood time, hit it with Vallejo Chocolate brown 872.
Then highlight it with Vallejo Flat Earth 983 (sorry no picture of that small step)

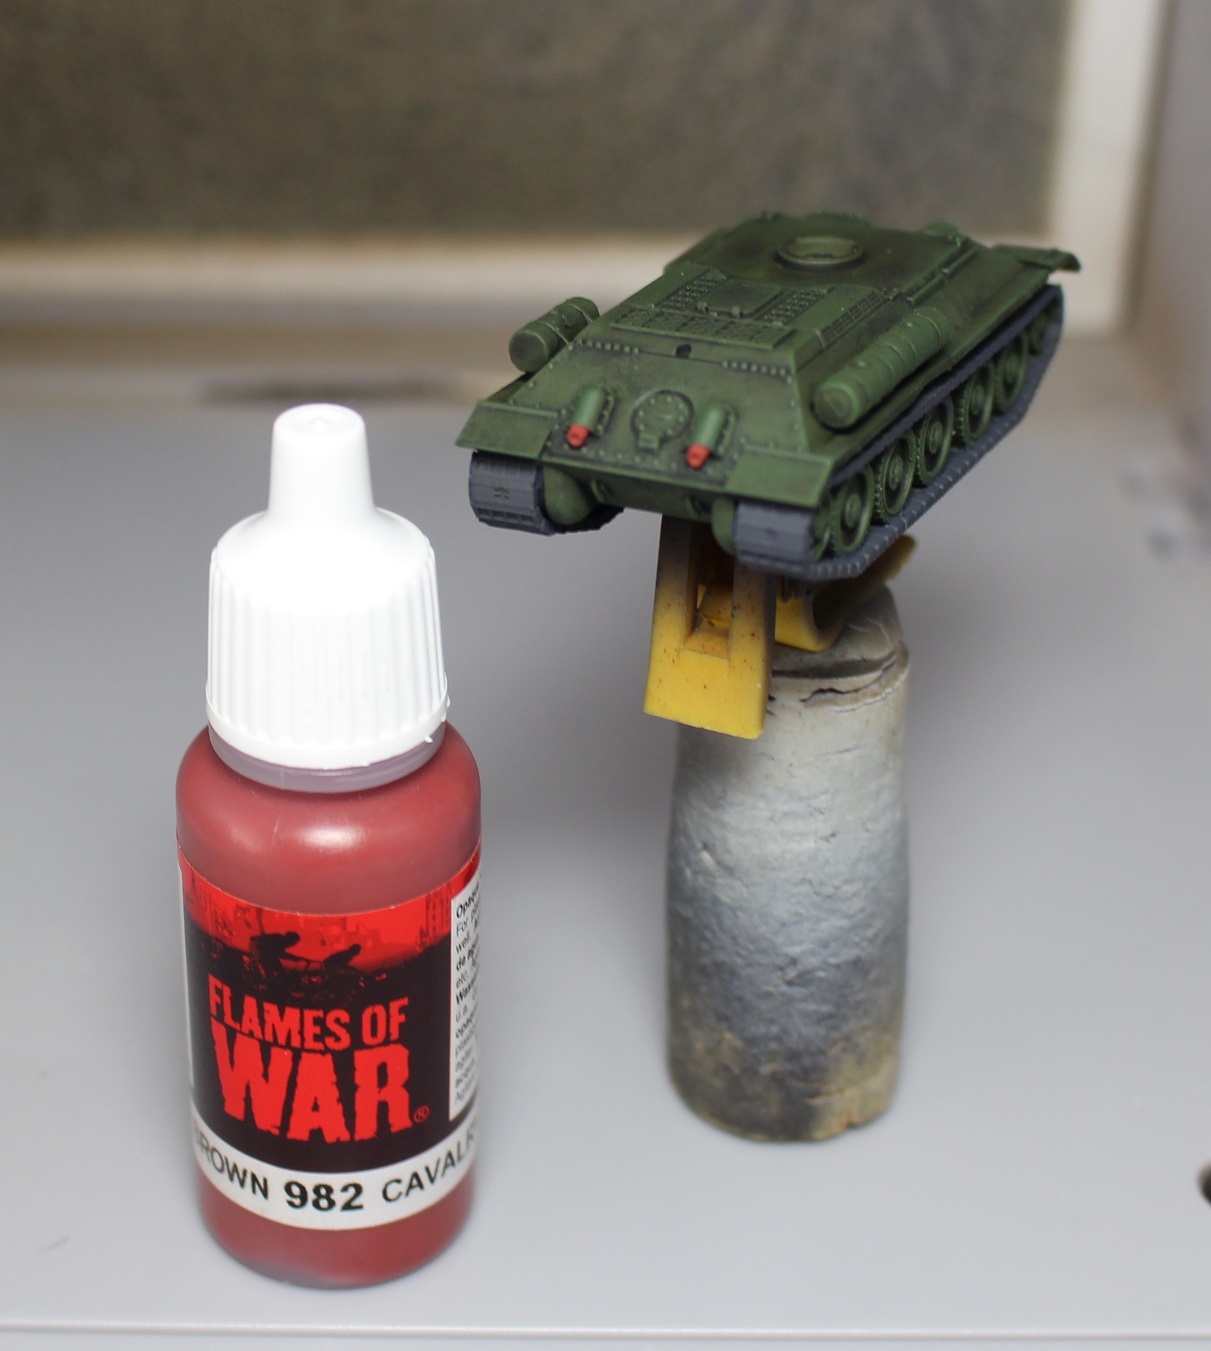
A quick Vallejo Cavalery brown 982 on the exhaust pipes, I know it looks quite harsh but don’t worry the spunging and the pigmens will tone it down and it’ll look ok.
Next! step that takes time as you do have to wait for varnish, decals and paint to dry.
Apply Vallejo Gloss varnish where the decals will go. Let it dry long enough, longer is better than not enough.
Apply the decals, use the microscale micro sol(red bottle) on it and wait that it dies, repeat the operation a few times (3-4-5 times depending of the surface). then once you gave it plenty of time to dry. gloss varnish over your decal.
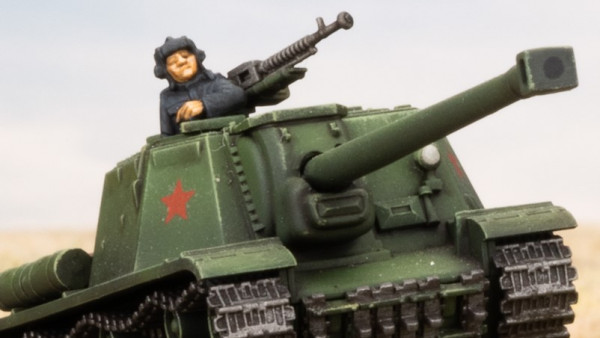
In this case my russian star was white… the rest of the battallion got red star and I wanted red stars. so I took my Vallejo Flat Red 957 and painted over the decals.
Once that is dry, Vallejo German Grey 995 a small bit of sponge. and sponge all over the tank, don’t go too crazy, remove the excess on a tissue and then on your hand then take your time (yes I know it’s tempting to go fast but risks are that you’ll bugger off all your hard work).
Once that is dry, grab an HB pencil and go over the metal bits to give it some definition. do on the tank itself to represent recent scratches, or give deepness to the marks left by the sponge.
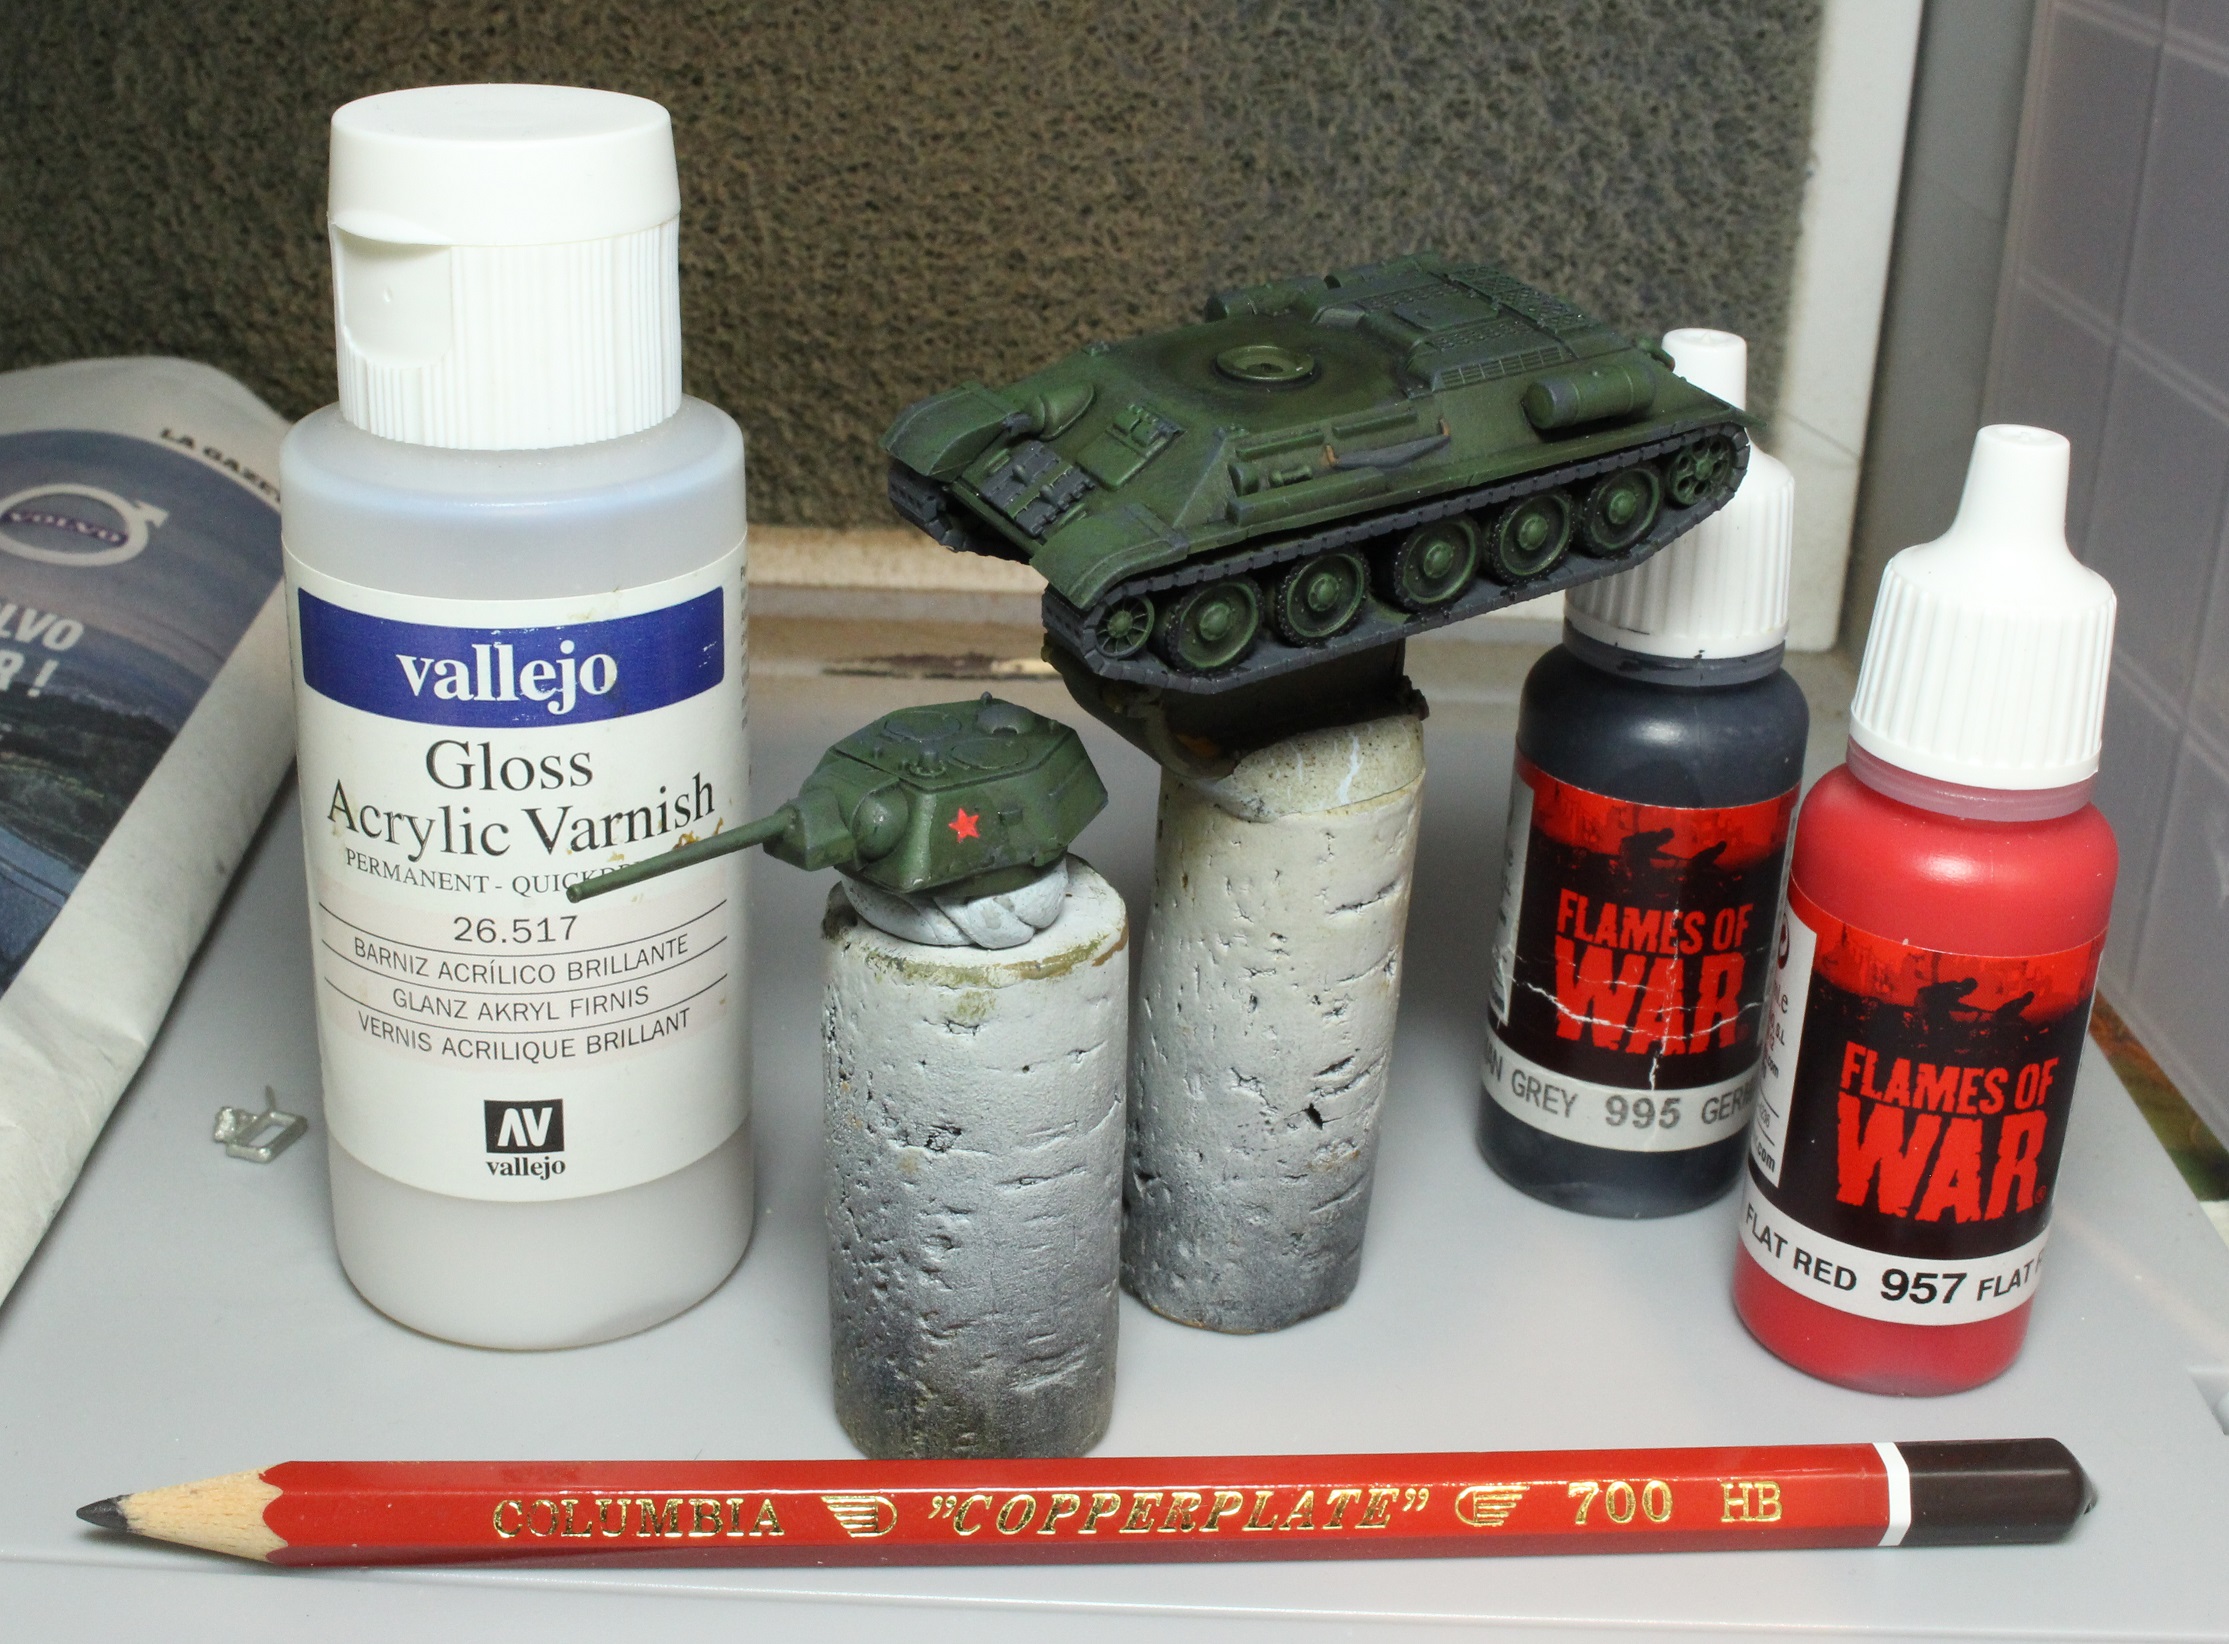
once that is done. you grab 2 dry brush brushes, a small one from GW to apply Mig Europe Dust pigment and an old brush small brush that you don’t care for anymore to do the gun and exhaust with MIG Black smoke pigment.
Once this is done, airbrush. Ammo Matt Lucky Varnish (or Ultra Matt lucky Varnish) 1 bar of pressure and spray it, I tend to do the first approche fairly far away from the model to avoid blowing everything away. then once it gets wet go closer. I also always tend to do two coats of varnish with the airbrush to avoid overdoing it and ruining all the previous work.
Sorry no picture of that.
There done!
So… After talking on the Discord server I was told “yeah sure you can upgrade your Project to a Spring cleaning challenge one” and I still got gear for FOW… so even though I finished those 40 odd tanks that I started at the end of last October, I will carry on and kill some of my pile of shame.
Scope to be defined in the next post! With a picture of the whole Russian army of course 😉


Lovely stuff and thanks for the great tutorial.