


Imperial Knights – Bringing chivalry back to 40k


Recommendations: 52
About the Project
So GW have done it again! As soon as I saw Titanicus I was sold on getting knights, now the codex has been released I've ended up ordering those as I can't wait. I've gone with House Griffith, little annoyed that a certain GW celeb has the same but I love the fluff behind them.
Related Game: Warhammer 40,000
Related Company: Games Workshop
Related Genre: Science Fiction
This Project is Completed
Basing...
The first step for me is always the base. Once I get this done I can decide on how I want the model posed, the downside of course is that I can’t play with them until they’re all finished, though this does get me painting quicker.
A few years back I painted up a Valhallan force, I dabbled slightly with snow bases then but never really went as far as I wanted. So snow was decided on.
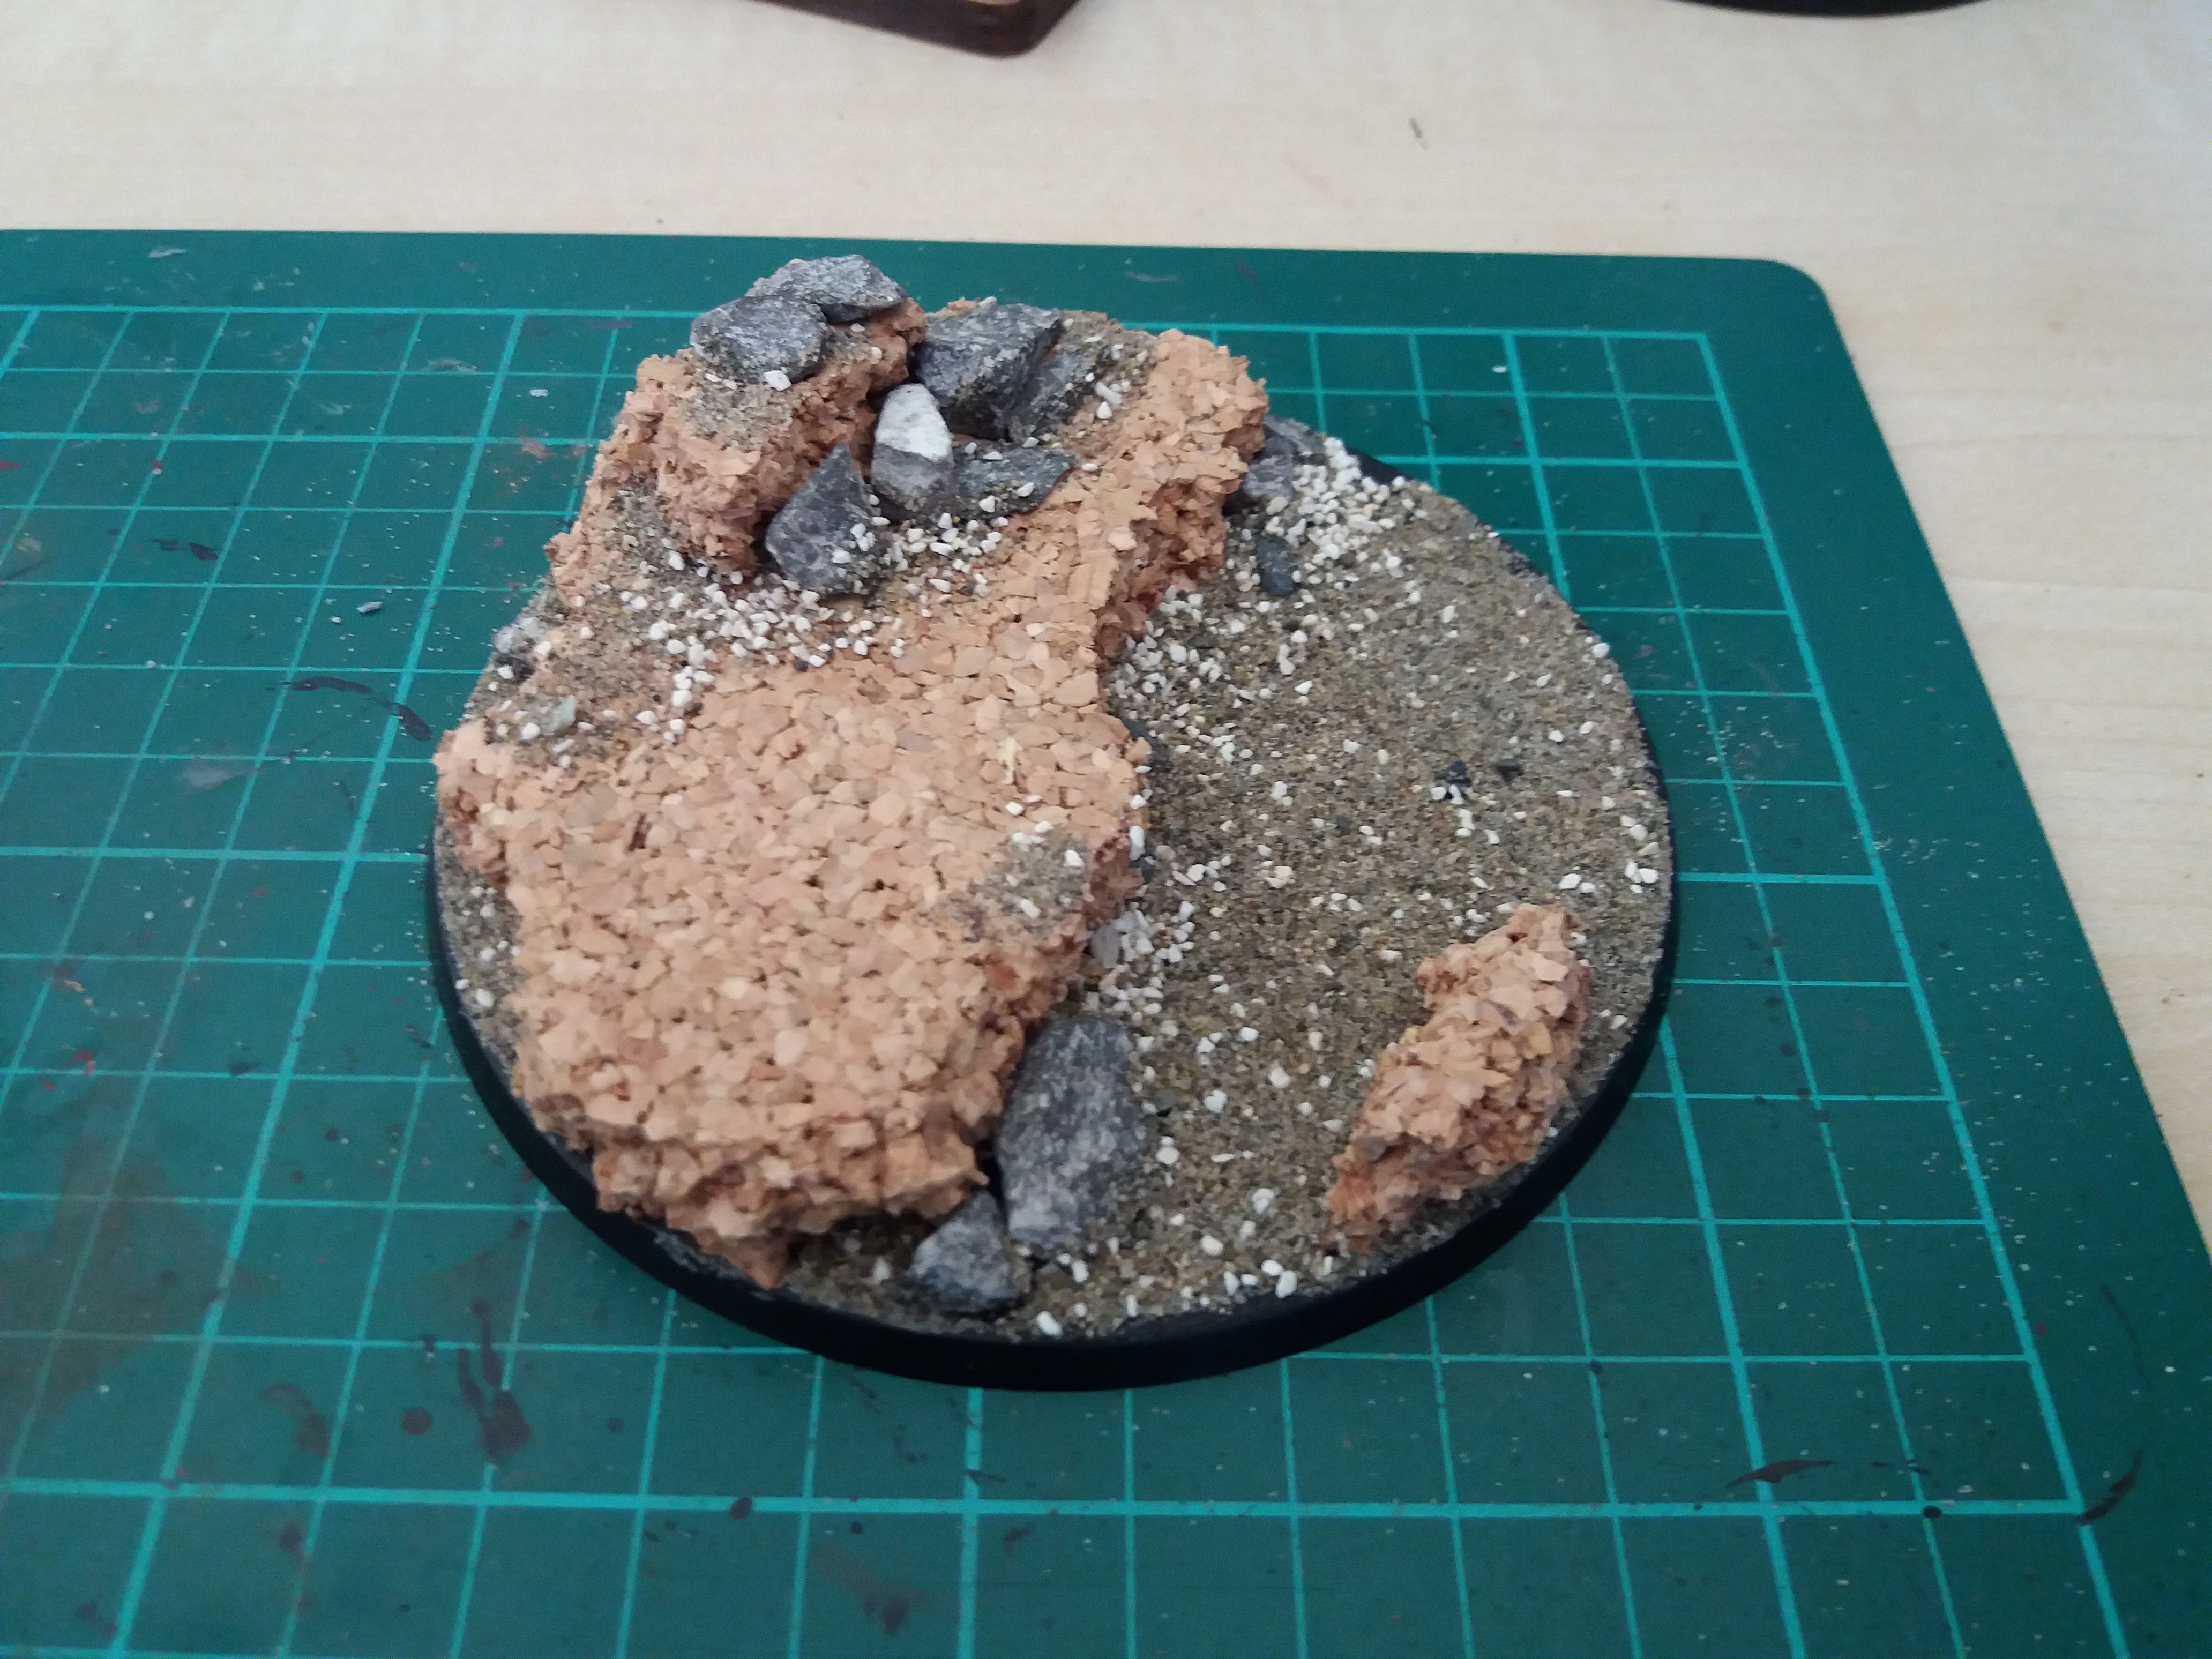 Step 1: I picked up a few bits of cork and arranged it so I could have him with one foot on a rock, I know this is the standard pose for a hero but with it being the first in the force I had to give it a go. I then added some small rocks and sand.
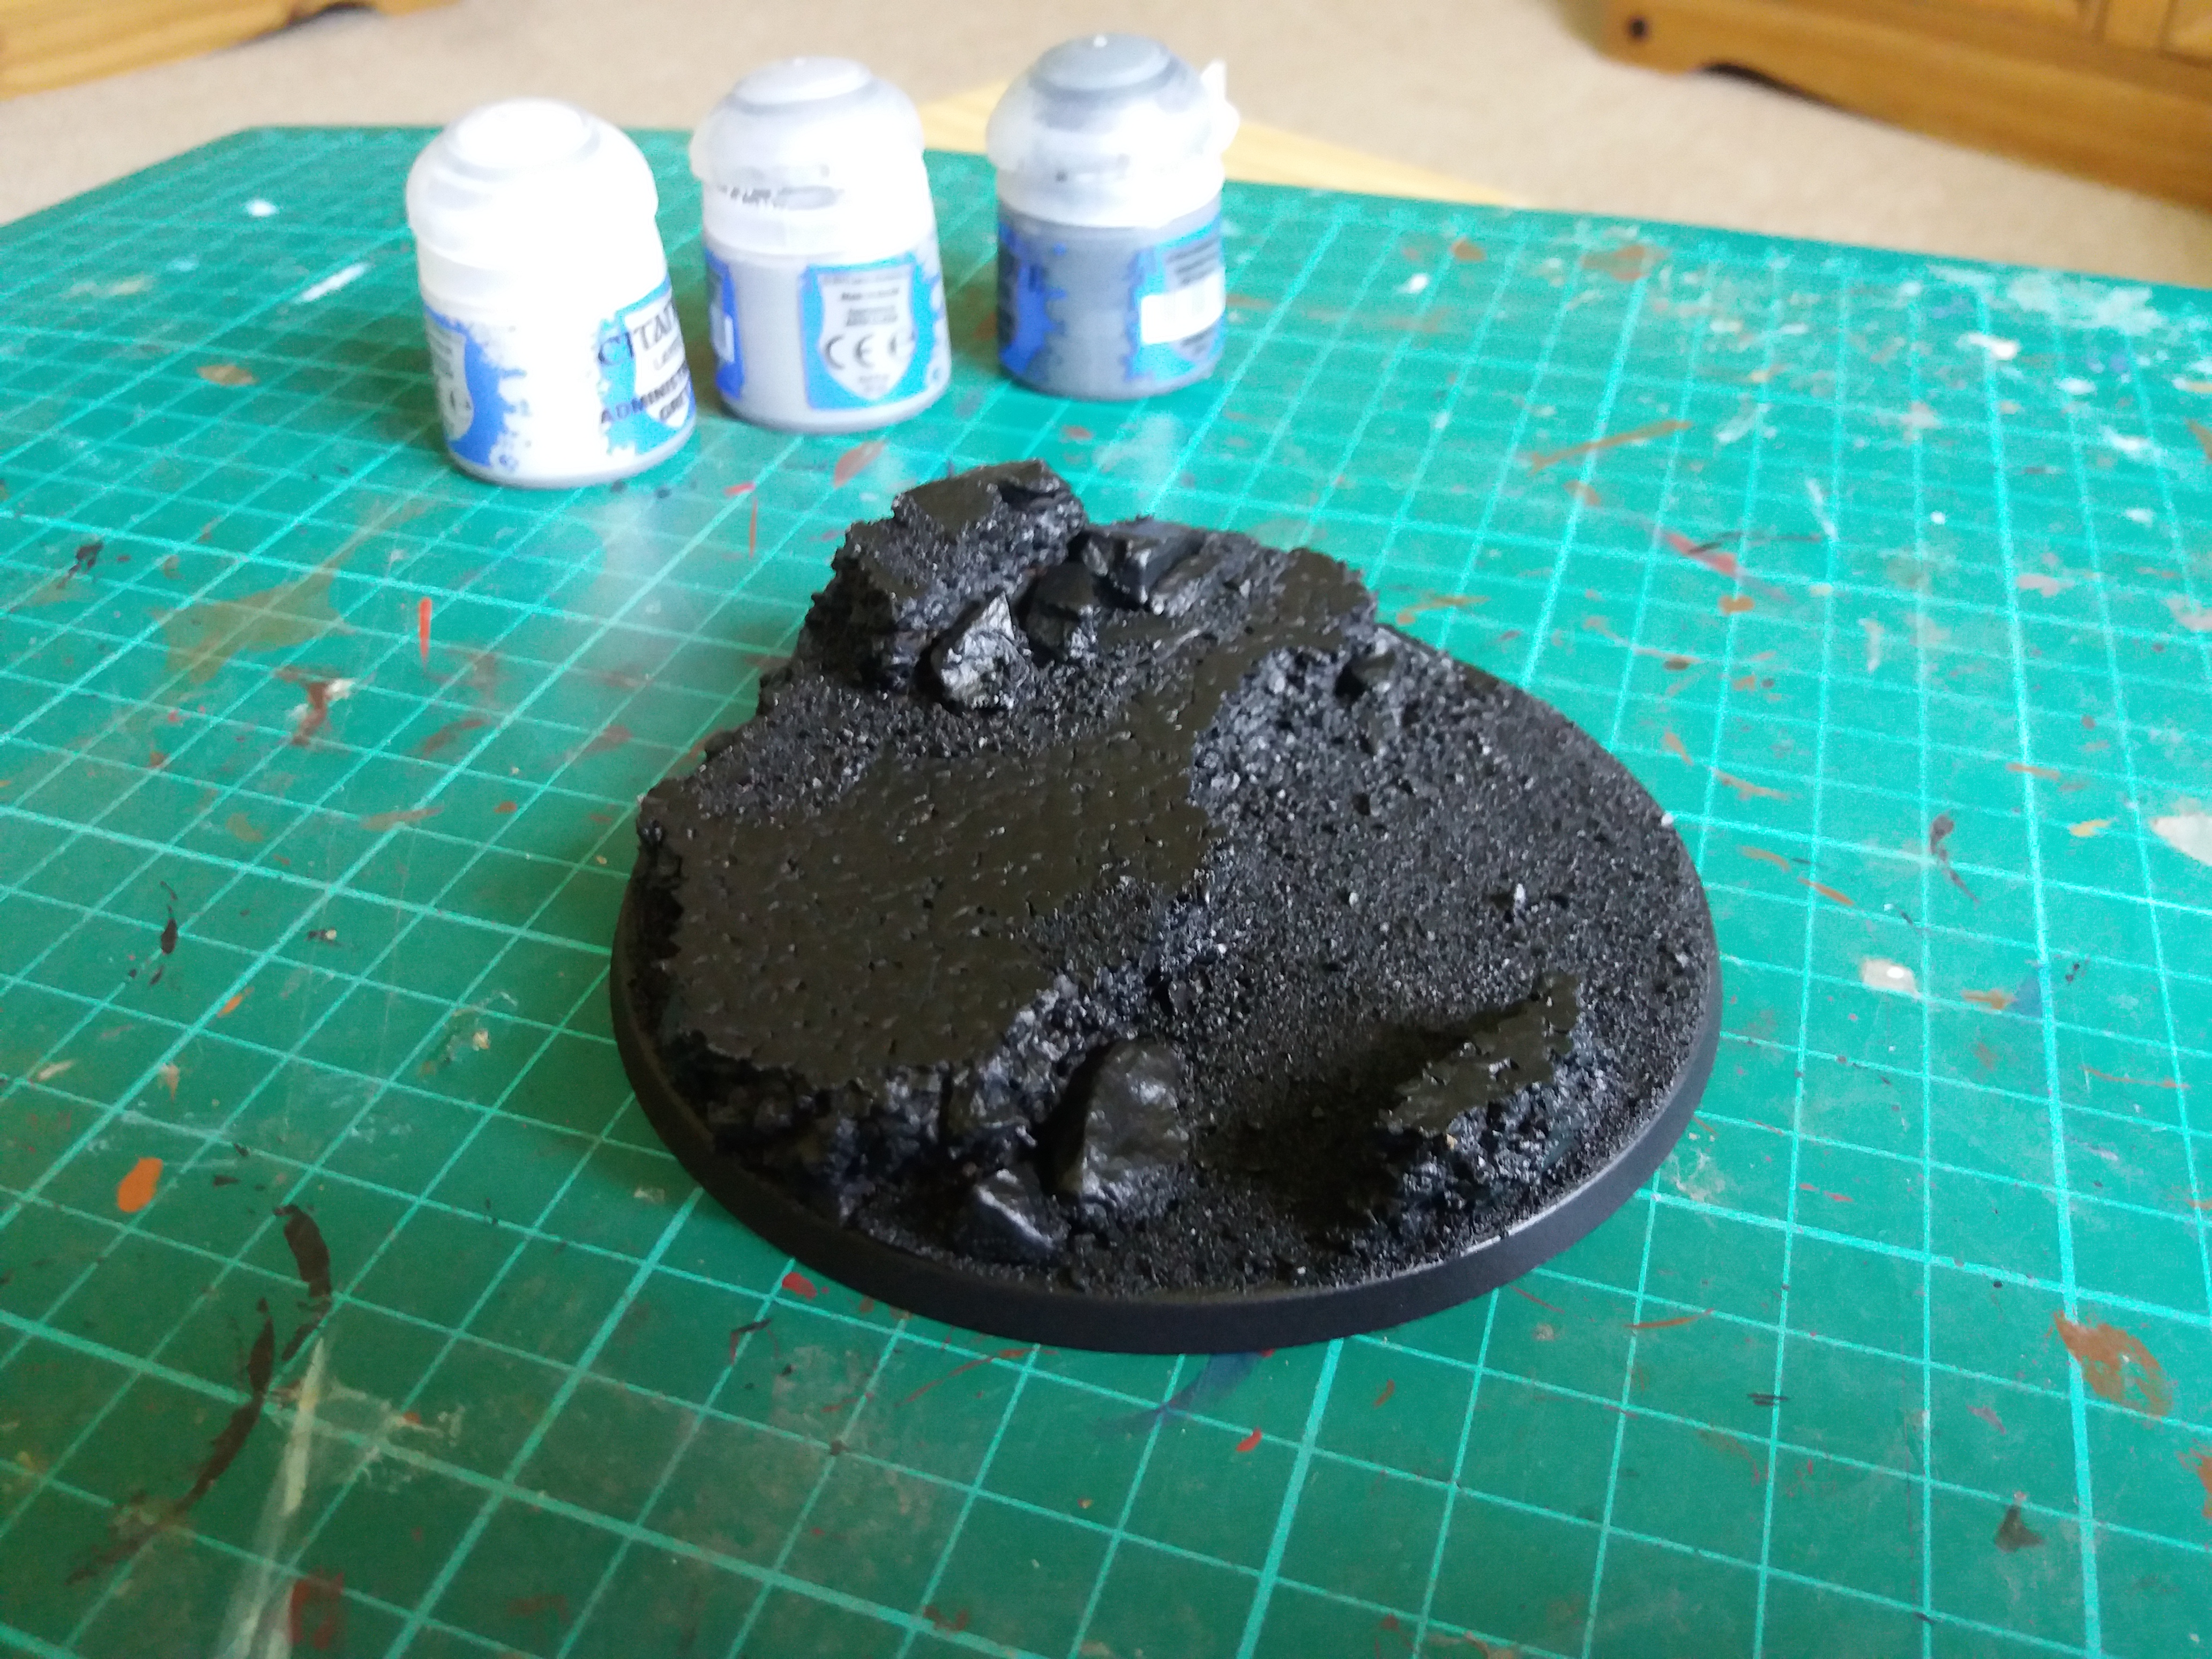 Step 2: Spray the base coat, in this instance I used the Army painter matt spray
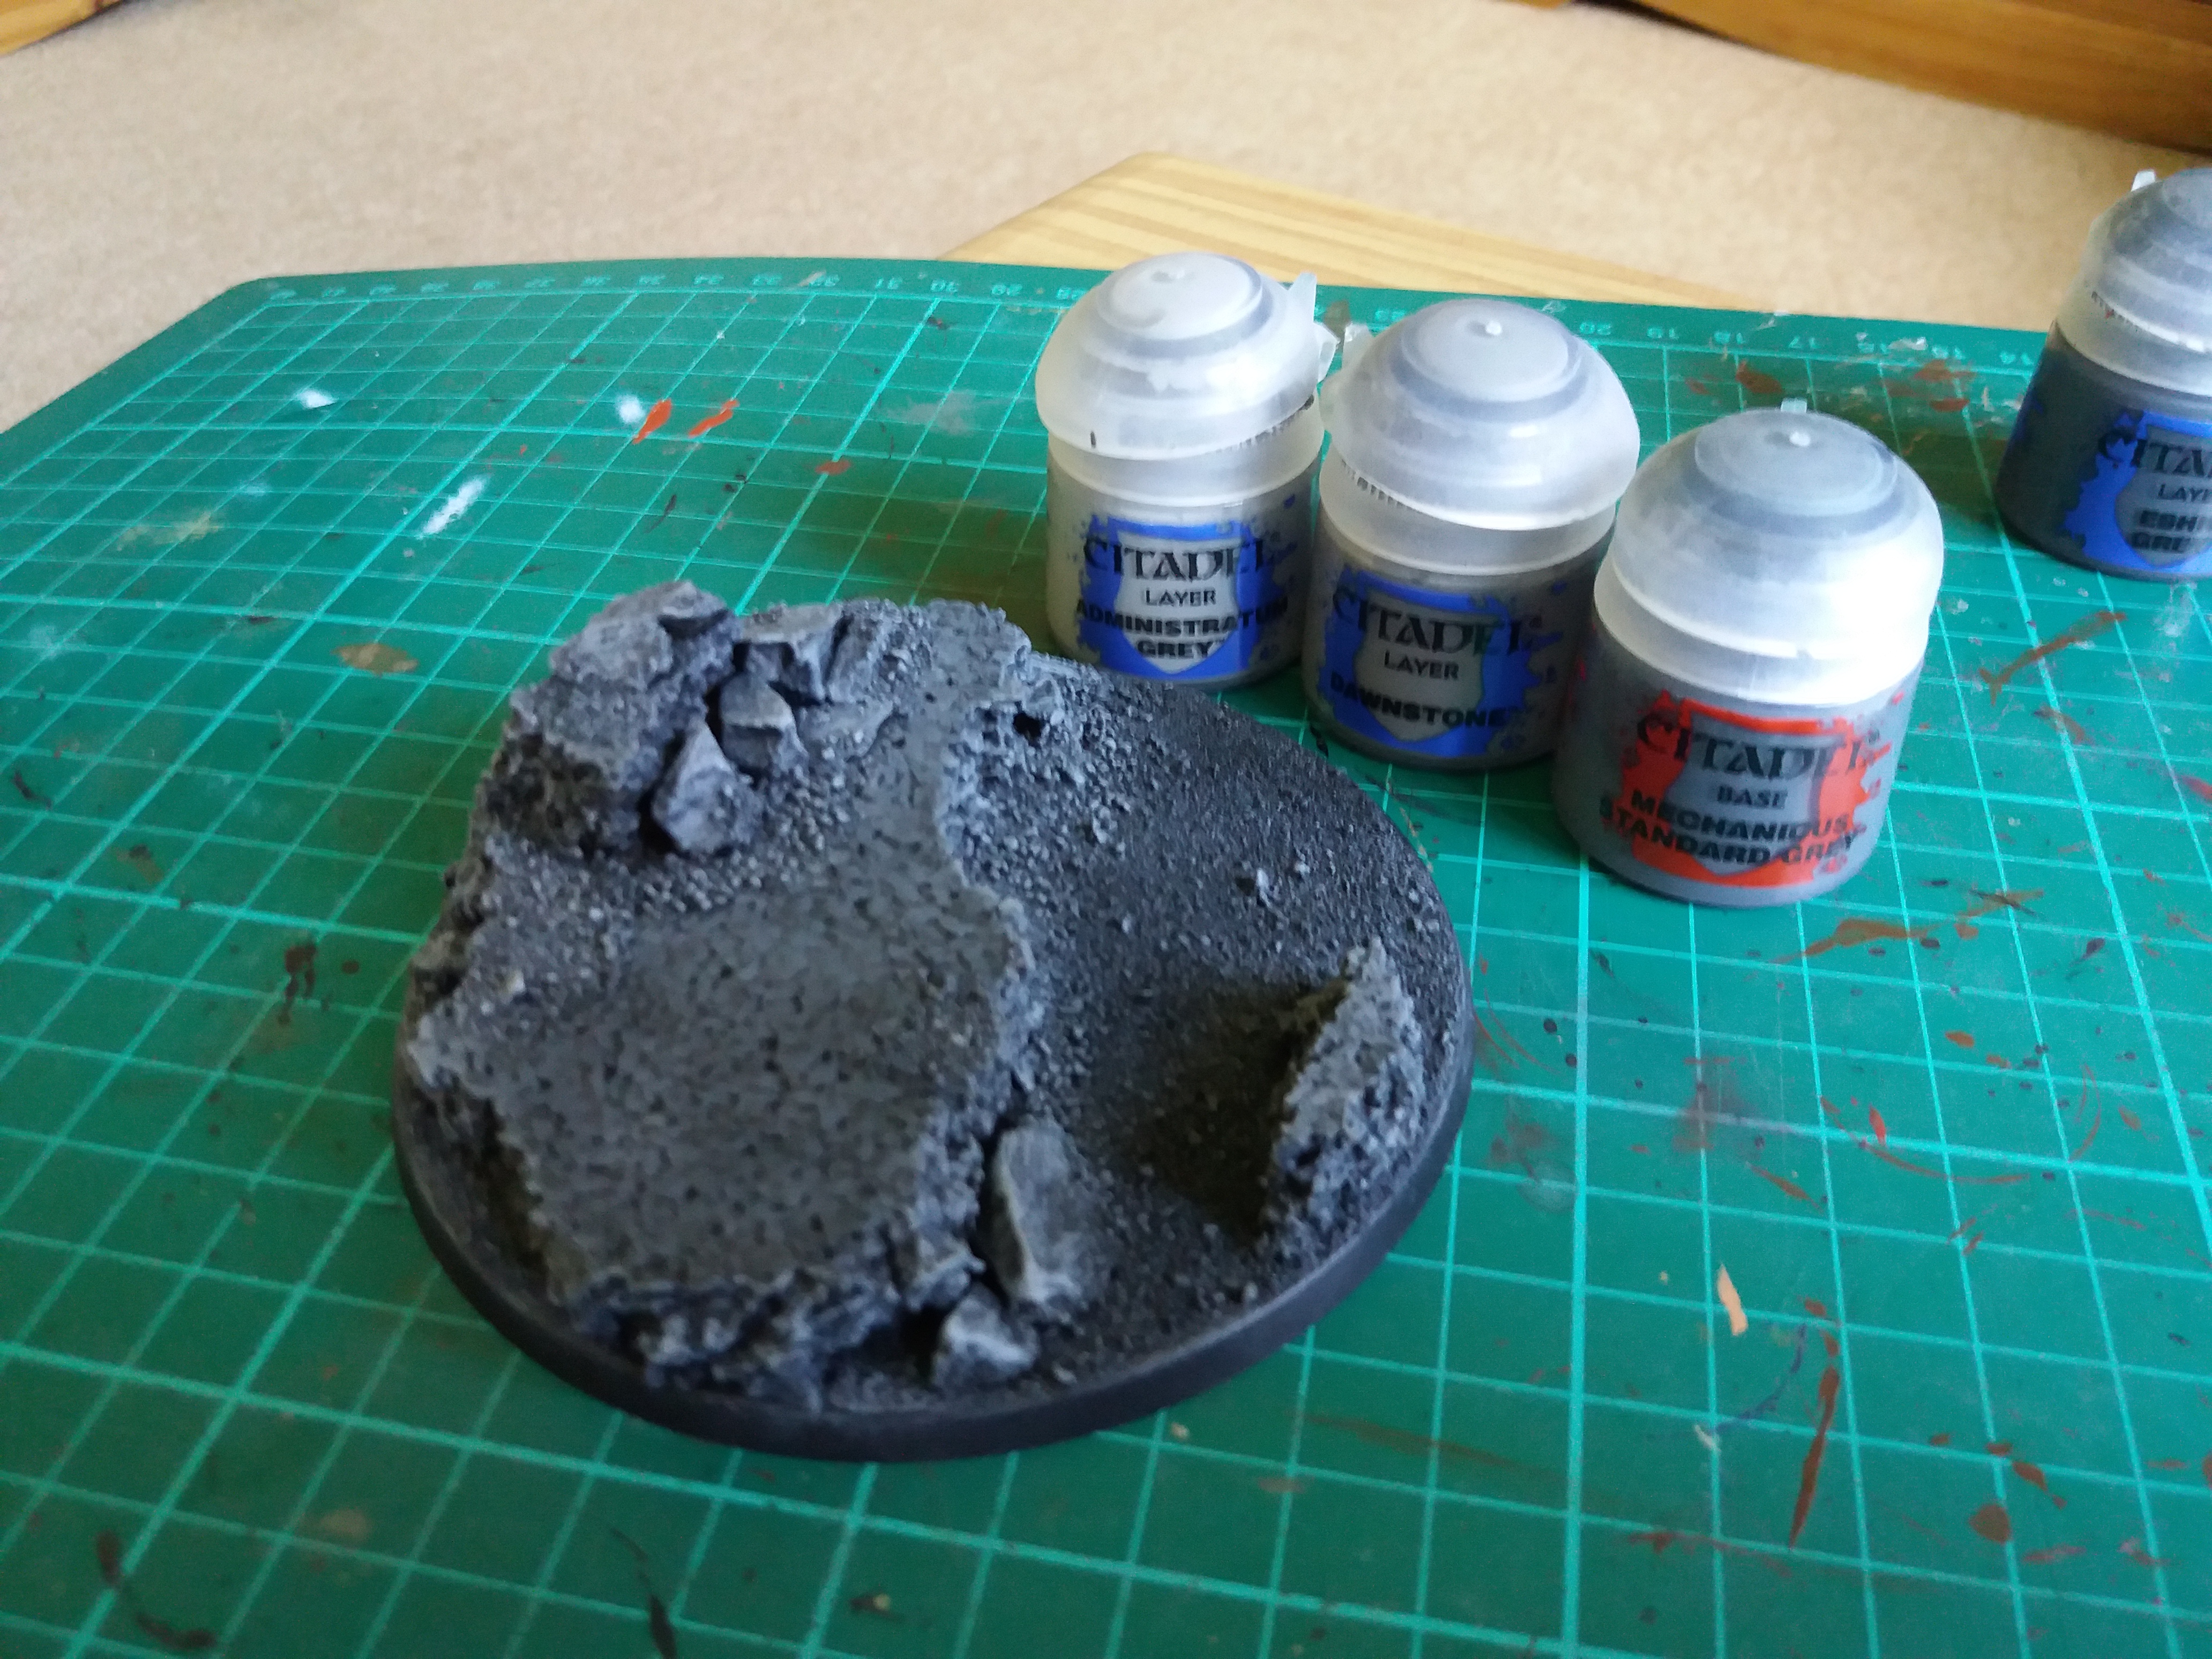 Step 3: Drybursh the rocks. Mech standard grey to begin, then dawnstone and a final drybrush of administratum grey, this was mainly concentrated around the smaller rocks to define the edges. better
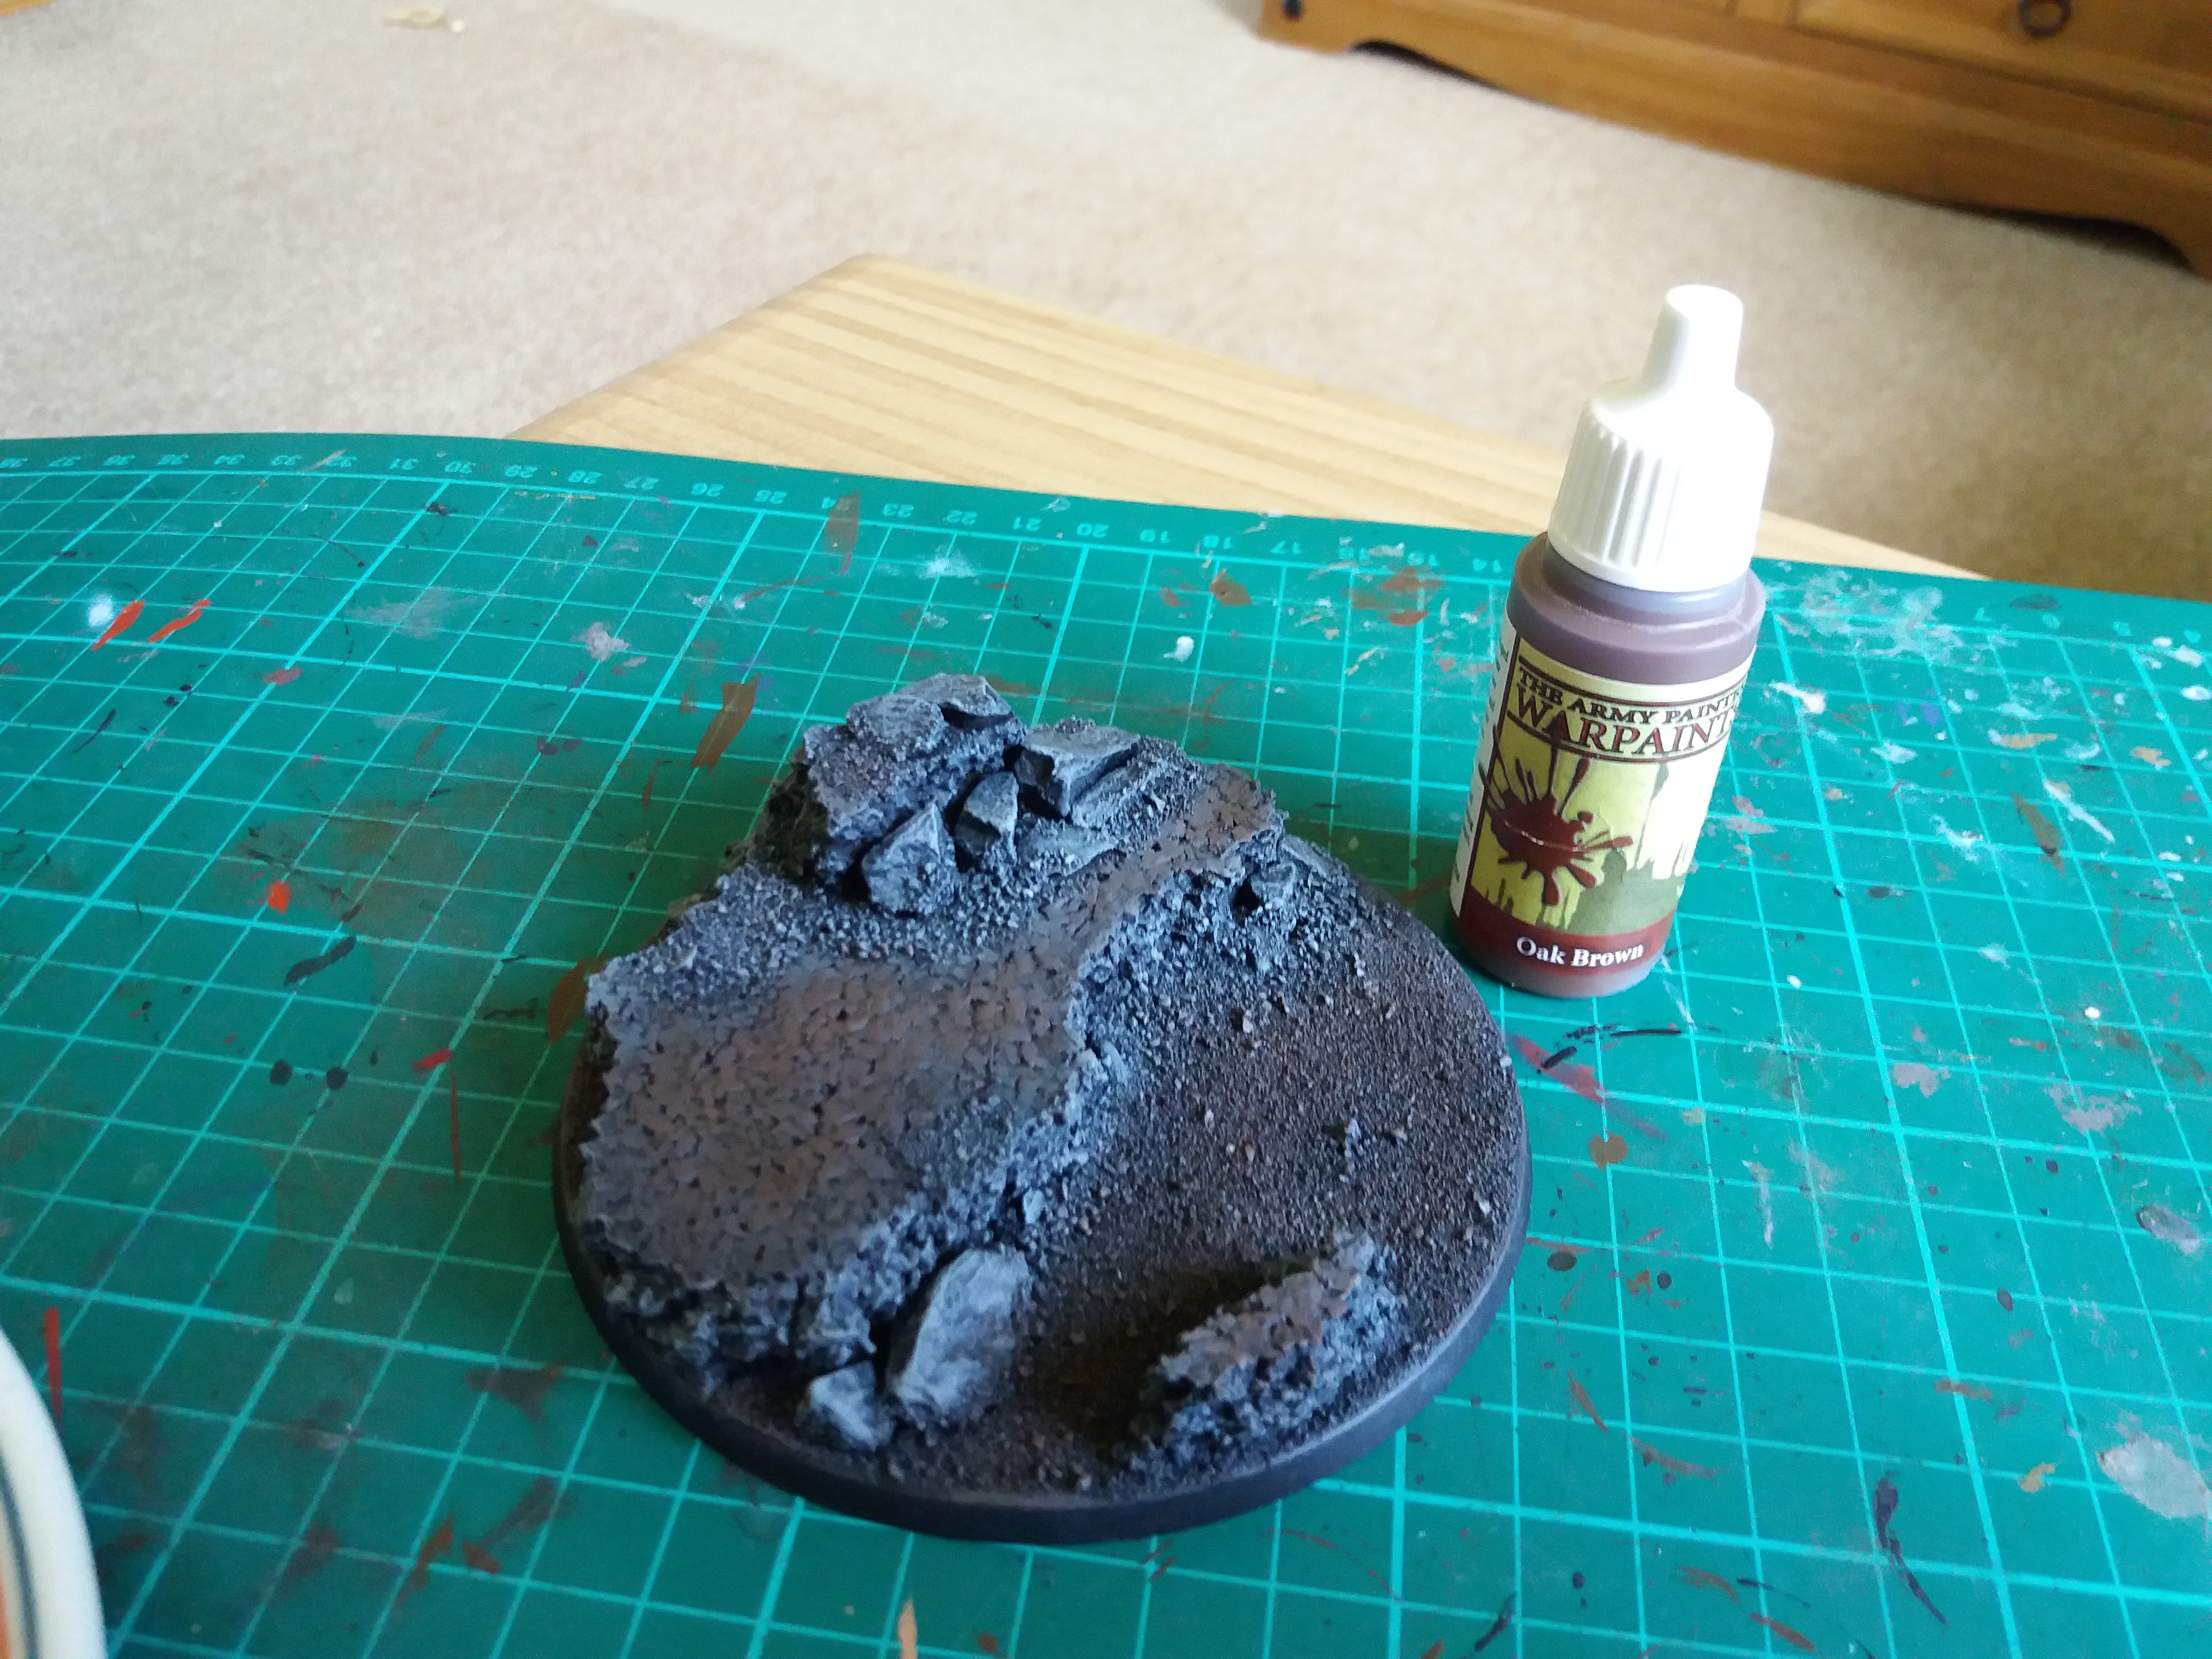 Step 4: Dirt, again I drybrushed this, this time though I concentrated on the flat areas. The drybush means that you don't get a block coverage and it looks more natural alongside the rocks.
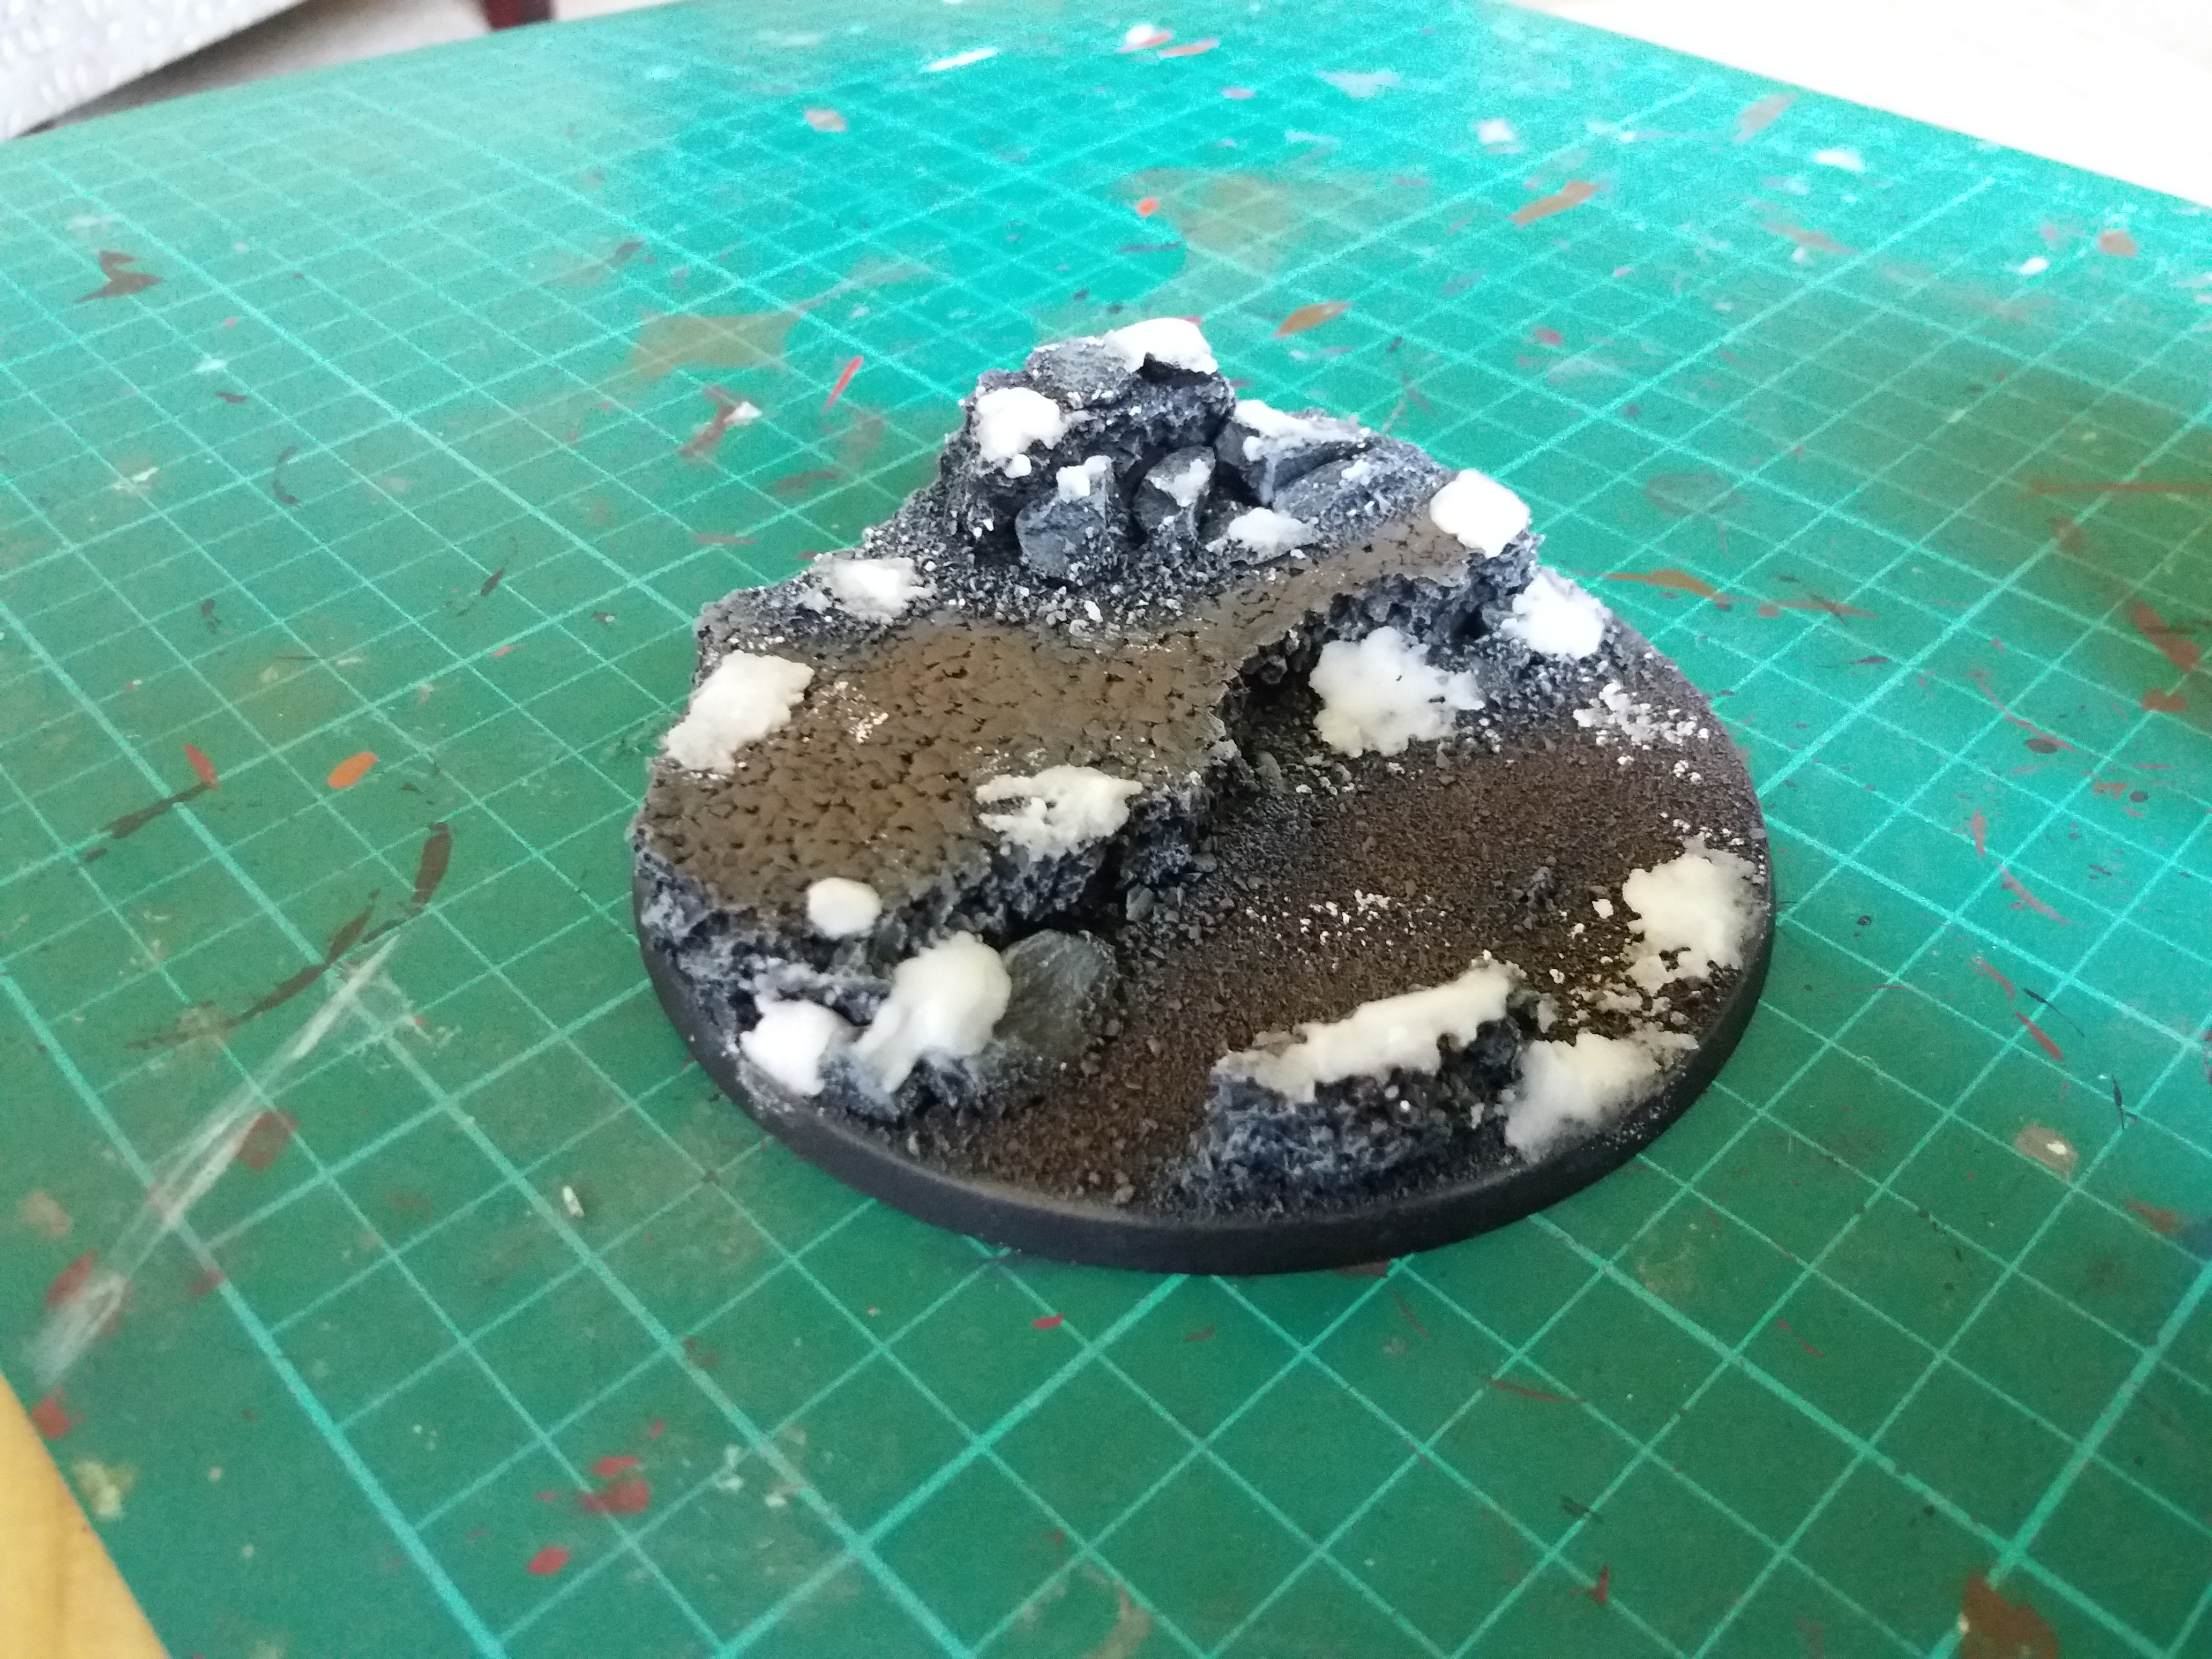 Step 5: Snow, For this I used Bicarbonate of Soda and PVA, I do this by mixing a little on a pallet and add each ingredient till it looks about right, there's no exact science with this. It will look like really think PVA but drys really nicely.
 Step 6: Frost, I used the modelmates snow spray for this. I will say you need to do it about 3ft away and outside to get an effect like this. Closer will mean a thicker coverage.
 Final Base stage, I added the some army painter frozen grass tufts to add a little life to the base.
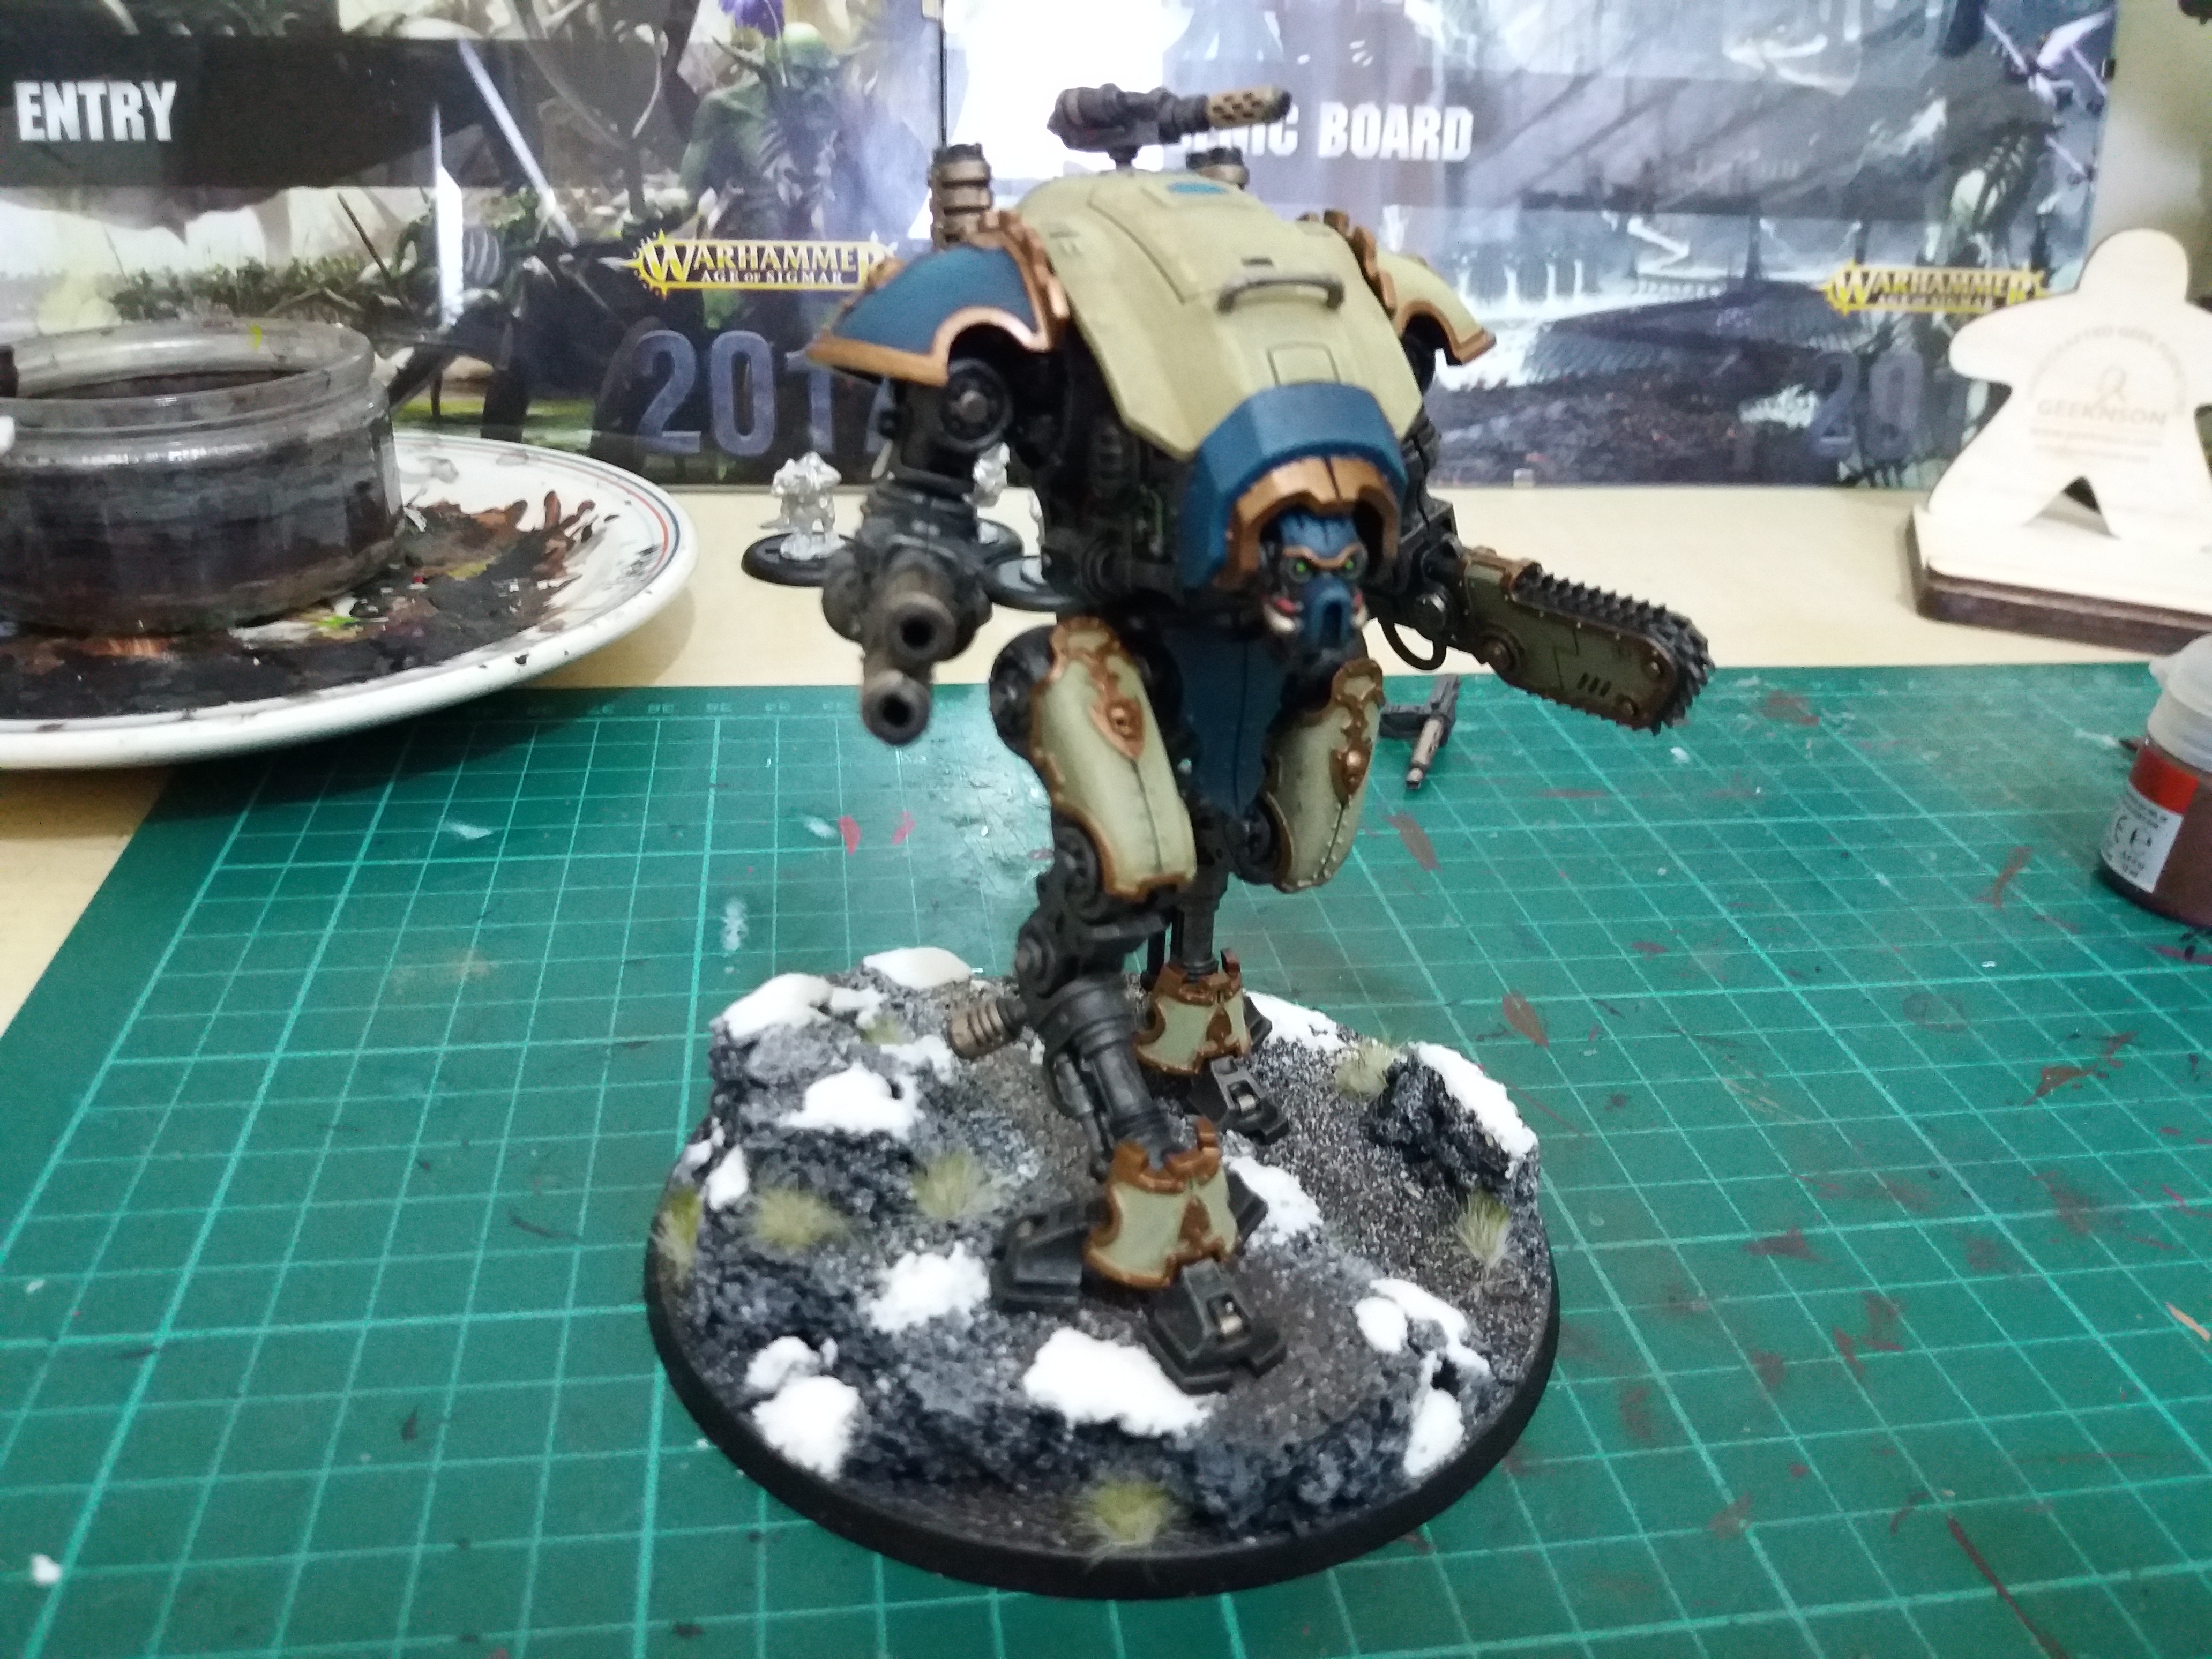
Painting...
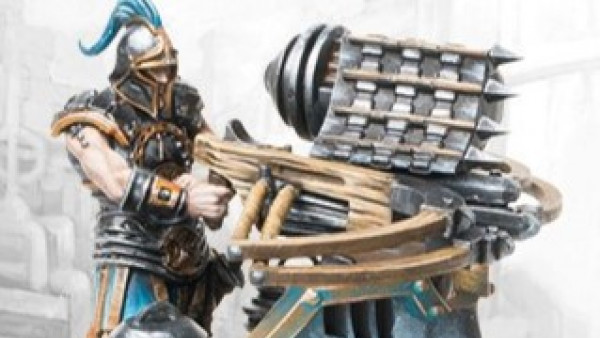
After completing the base I built the model to fit and it was onto painting. The ‘dragon hunter’ vibe I get from House Griffith made this the one for me. Plus this would give me plenty of chance to add some heraldry to the model (If I can ever find some Griffith transfers!).
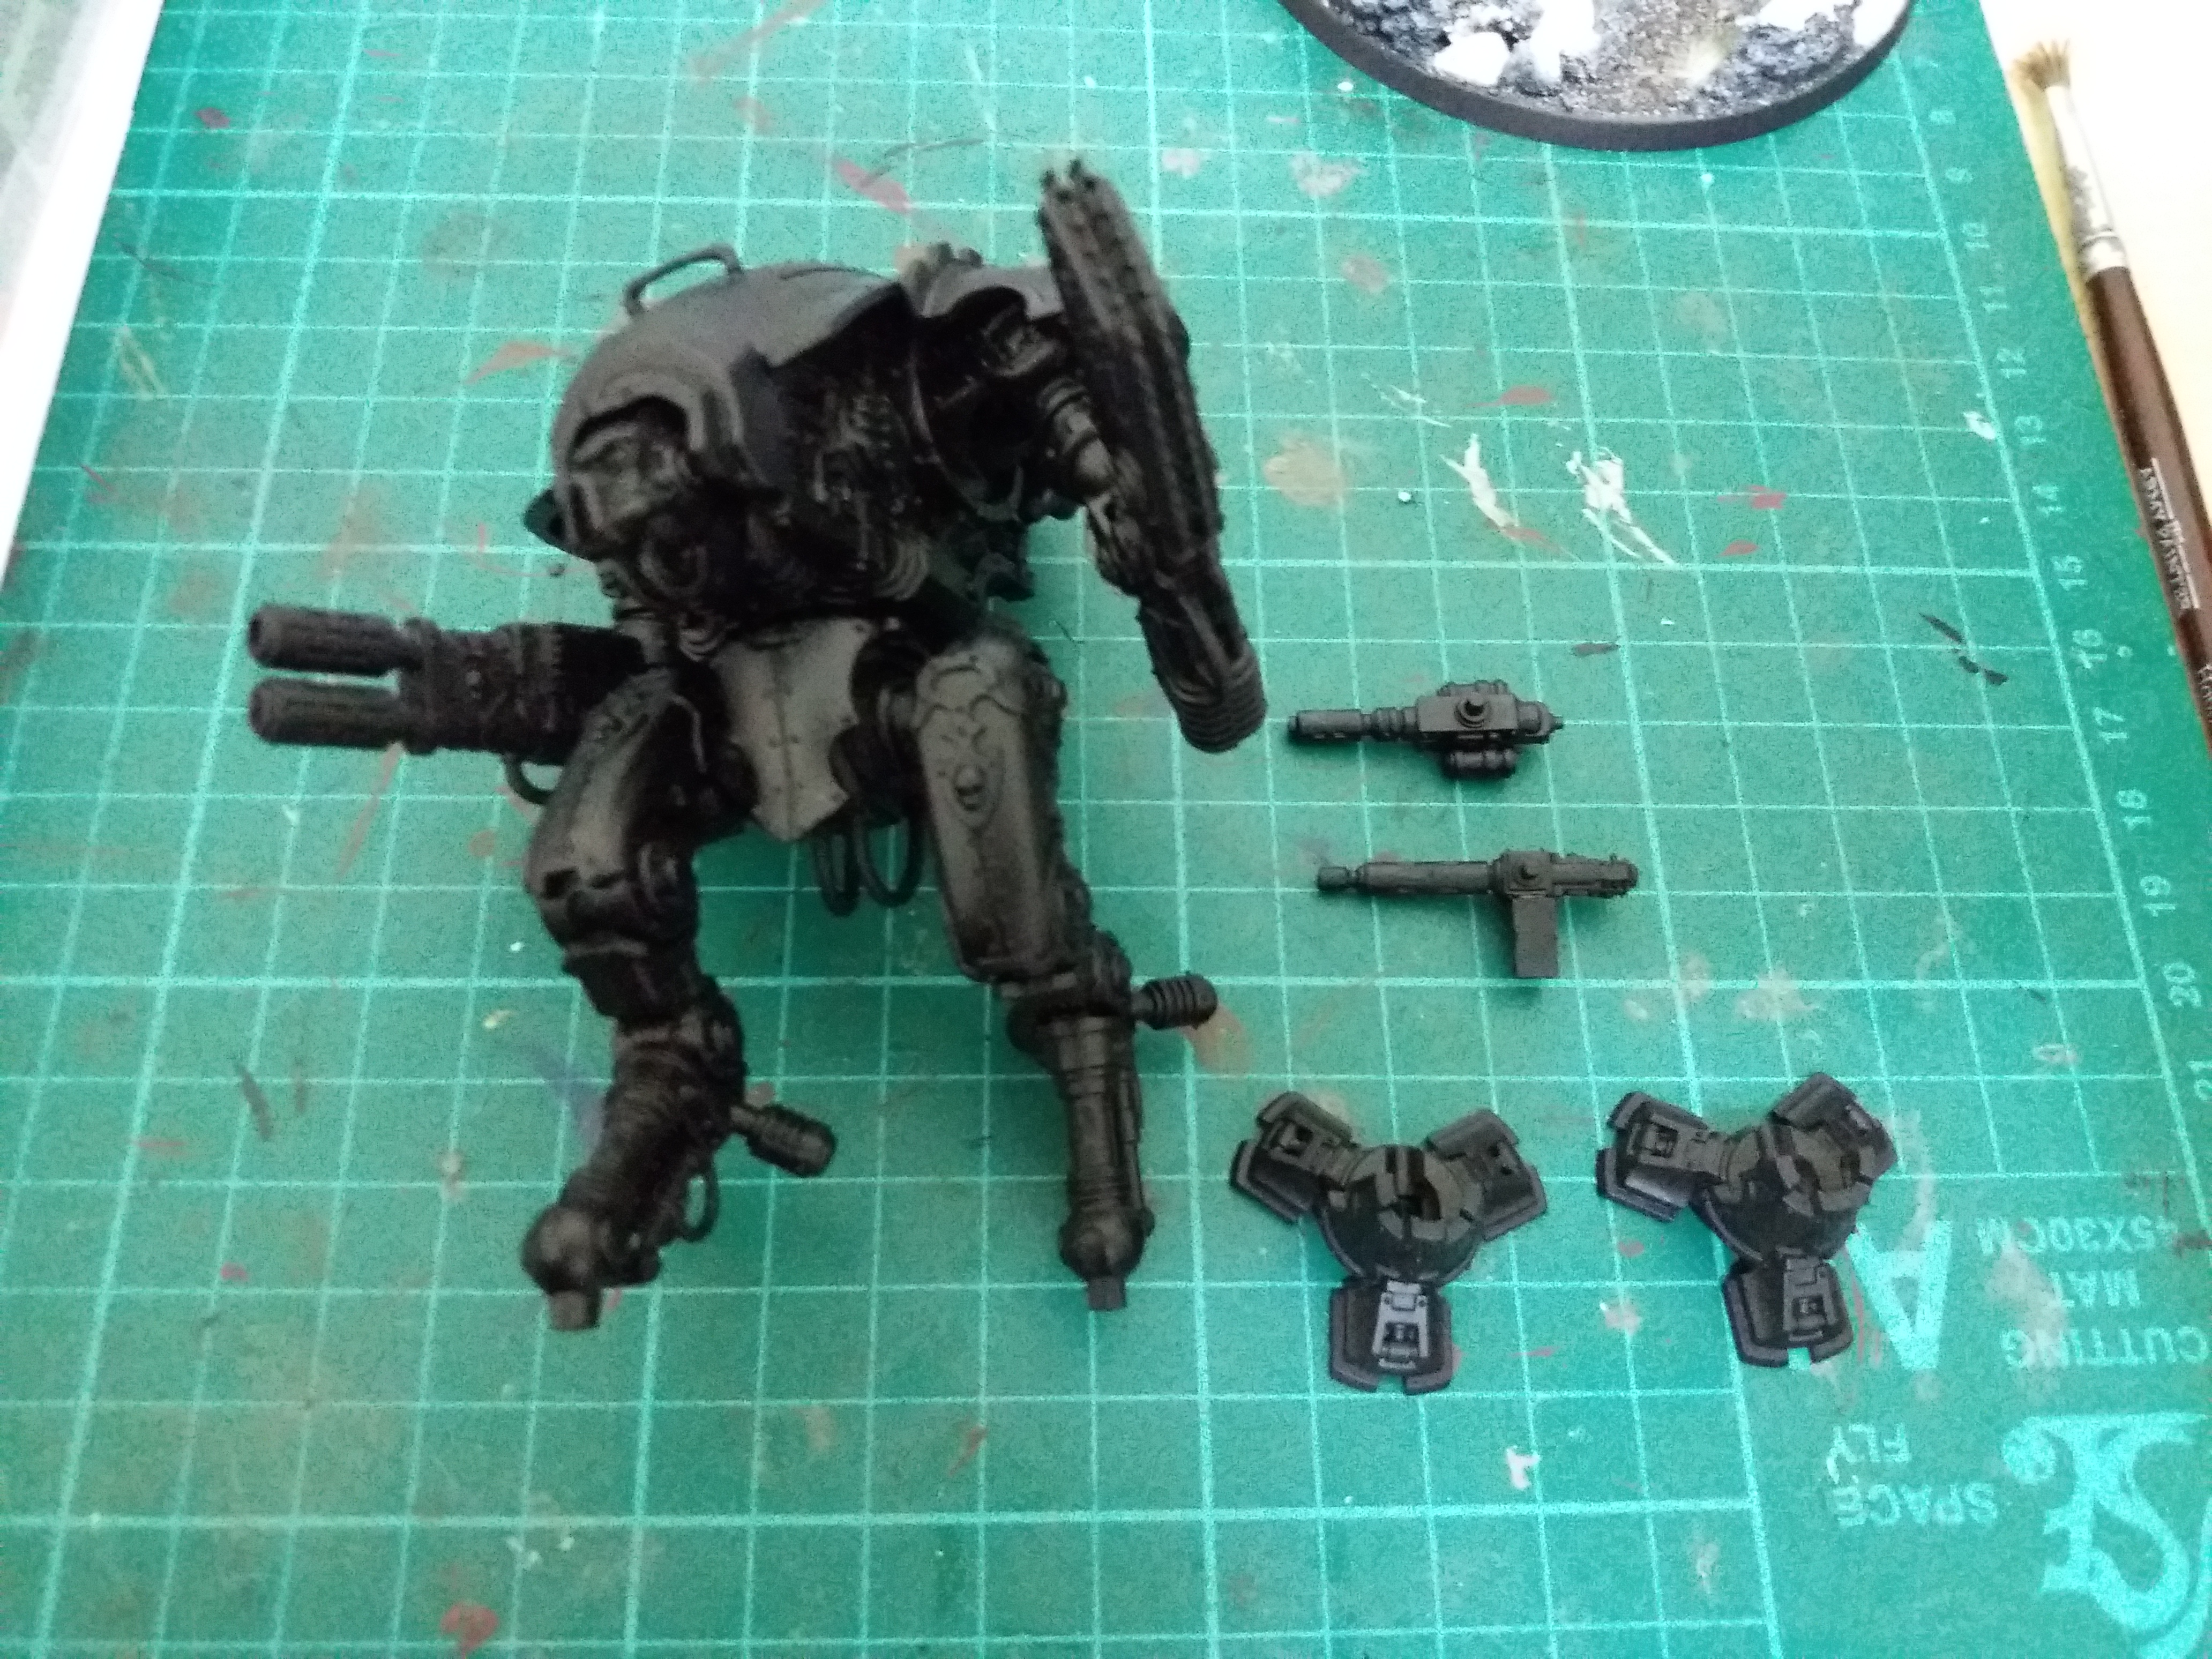 Step 1: Basecoat, Army Painter Matt Black Spray
 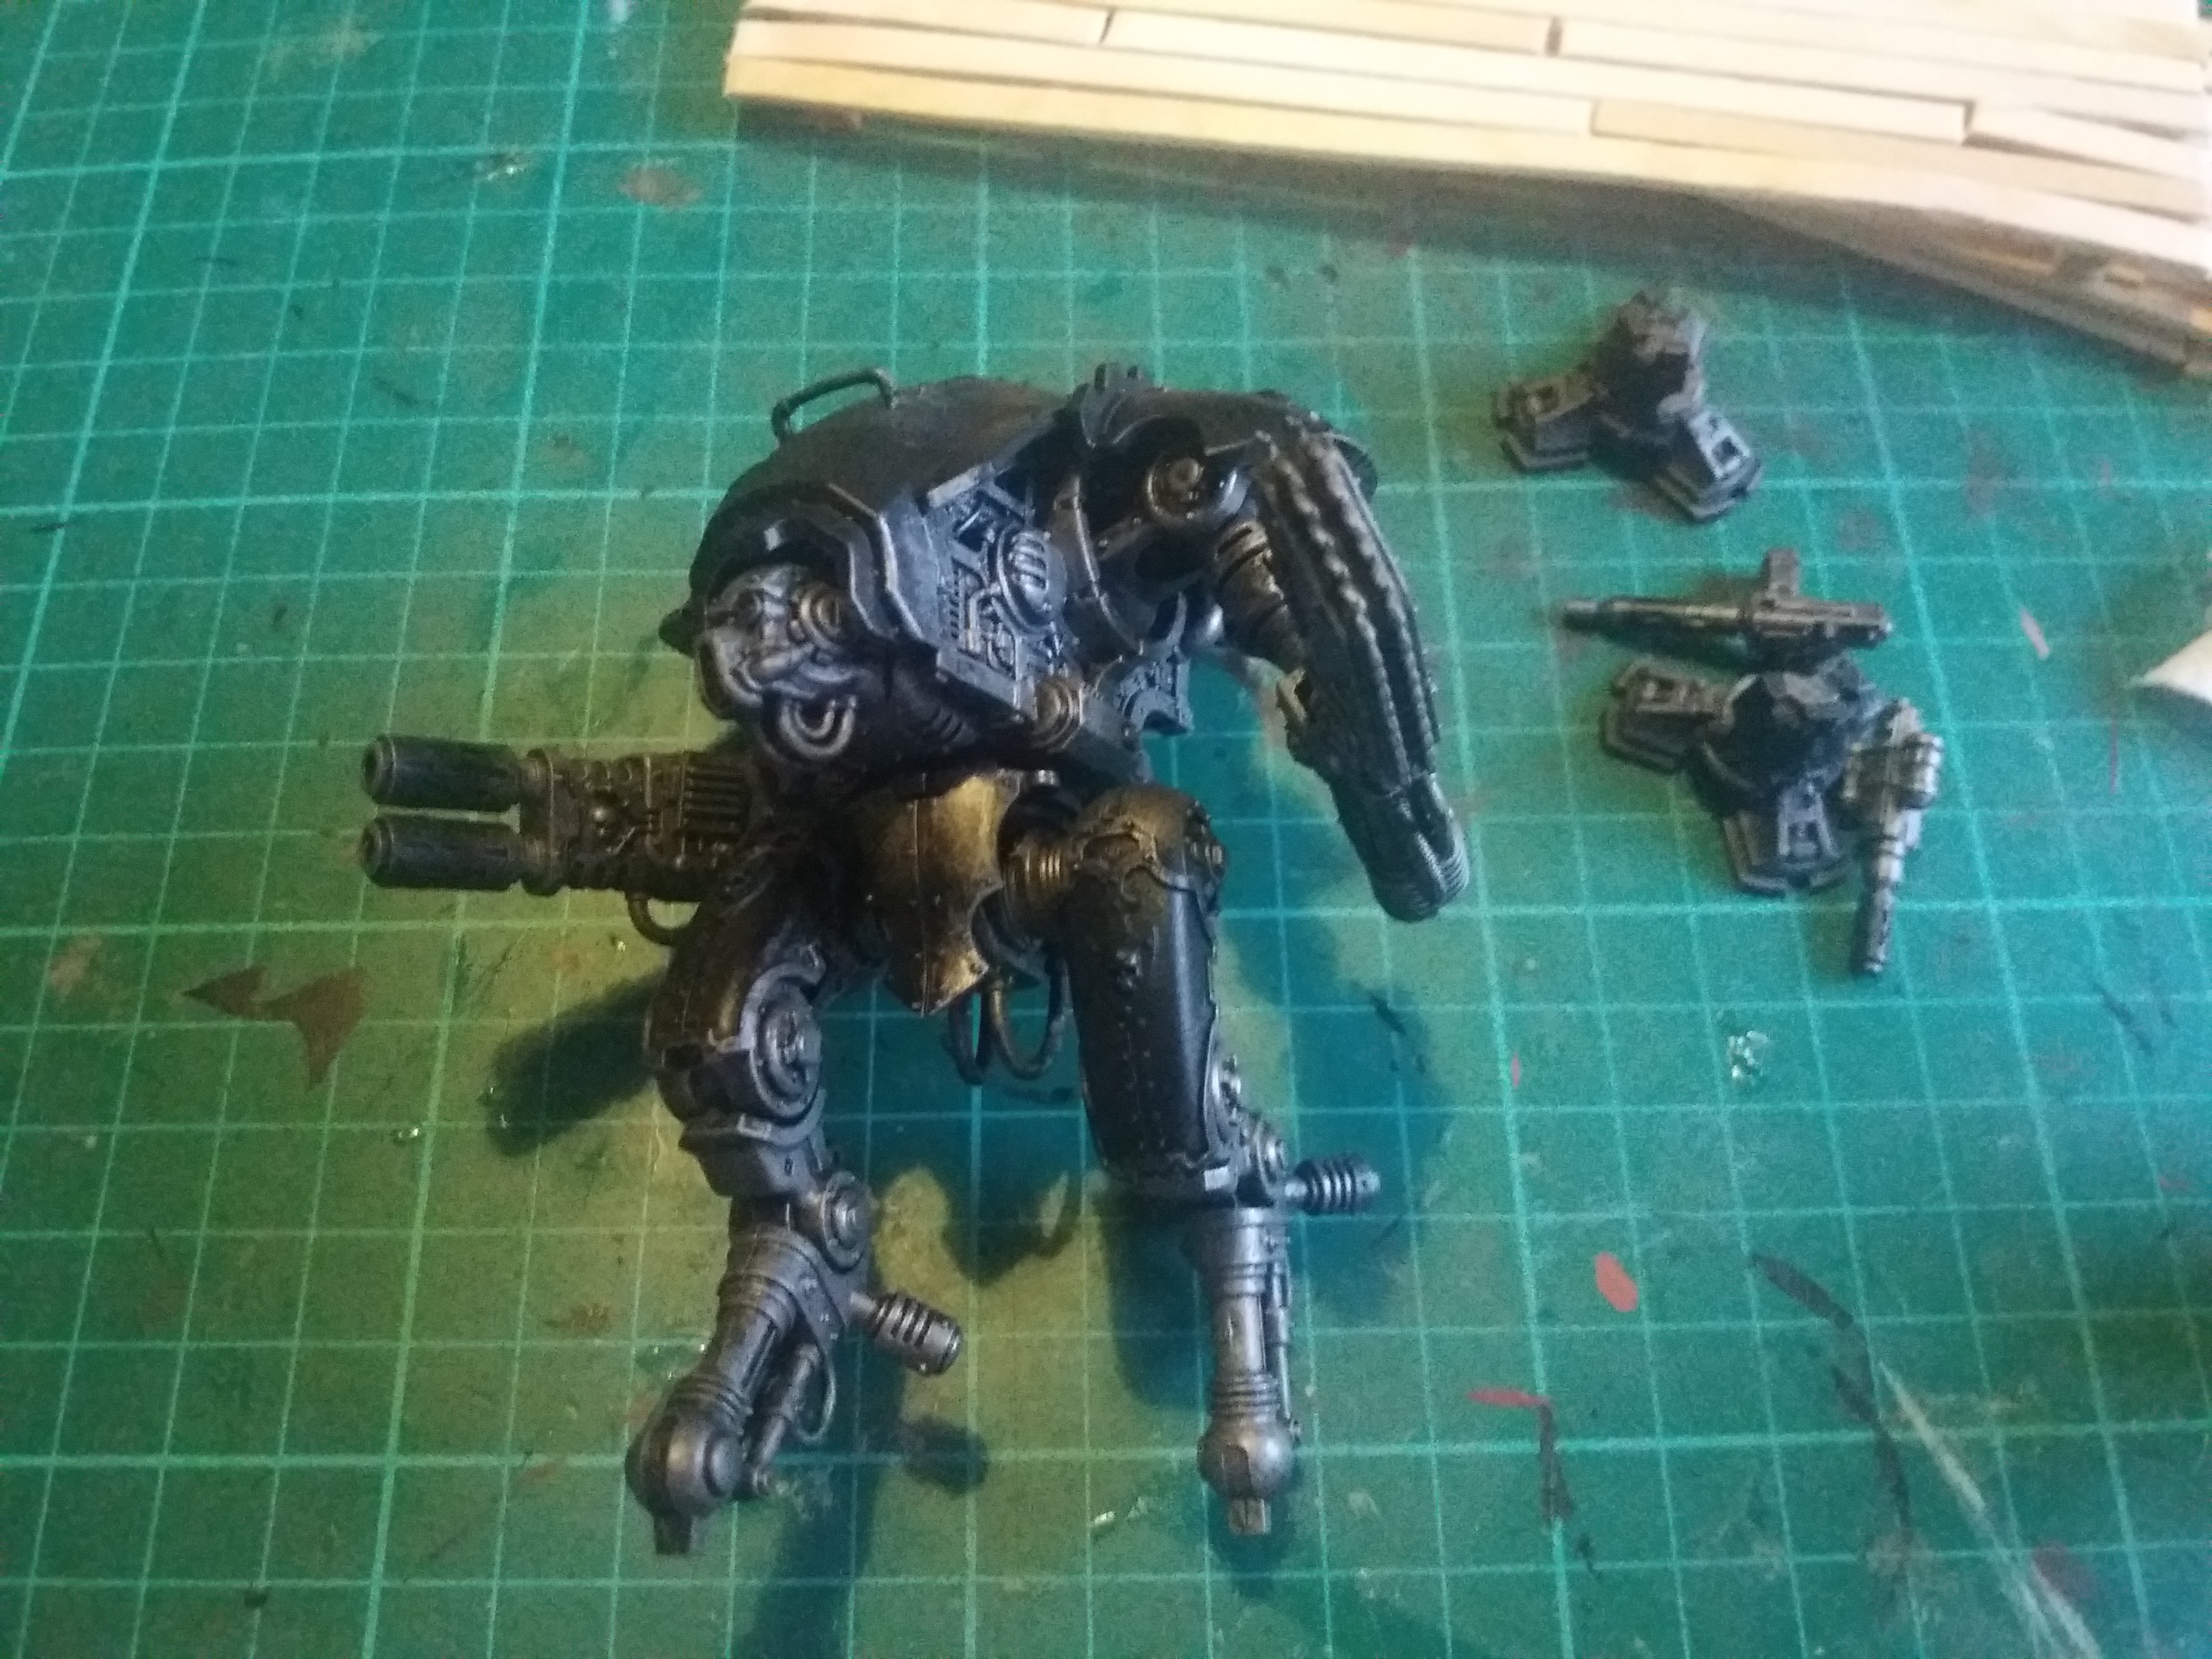 Step 2: Metalwork, I dry bushed pretty much the whole model, everywhere except the 'armour'
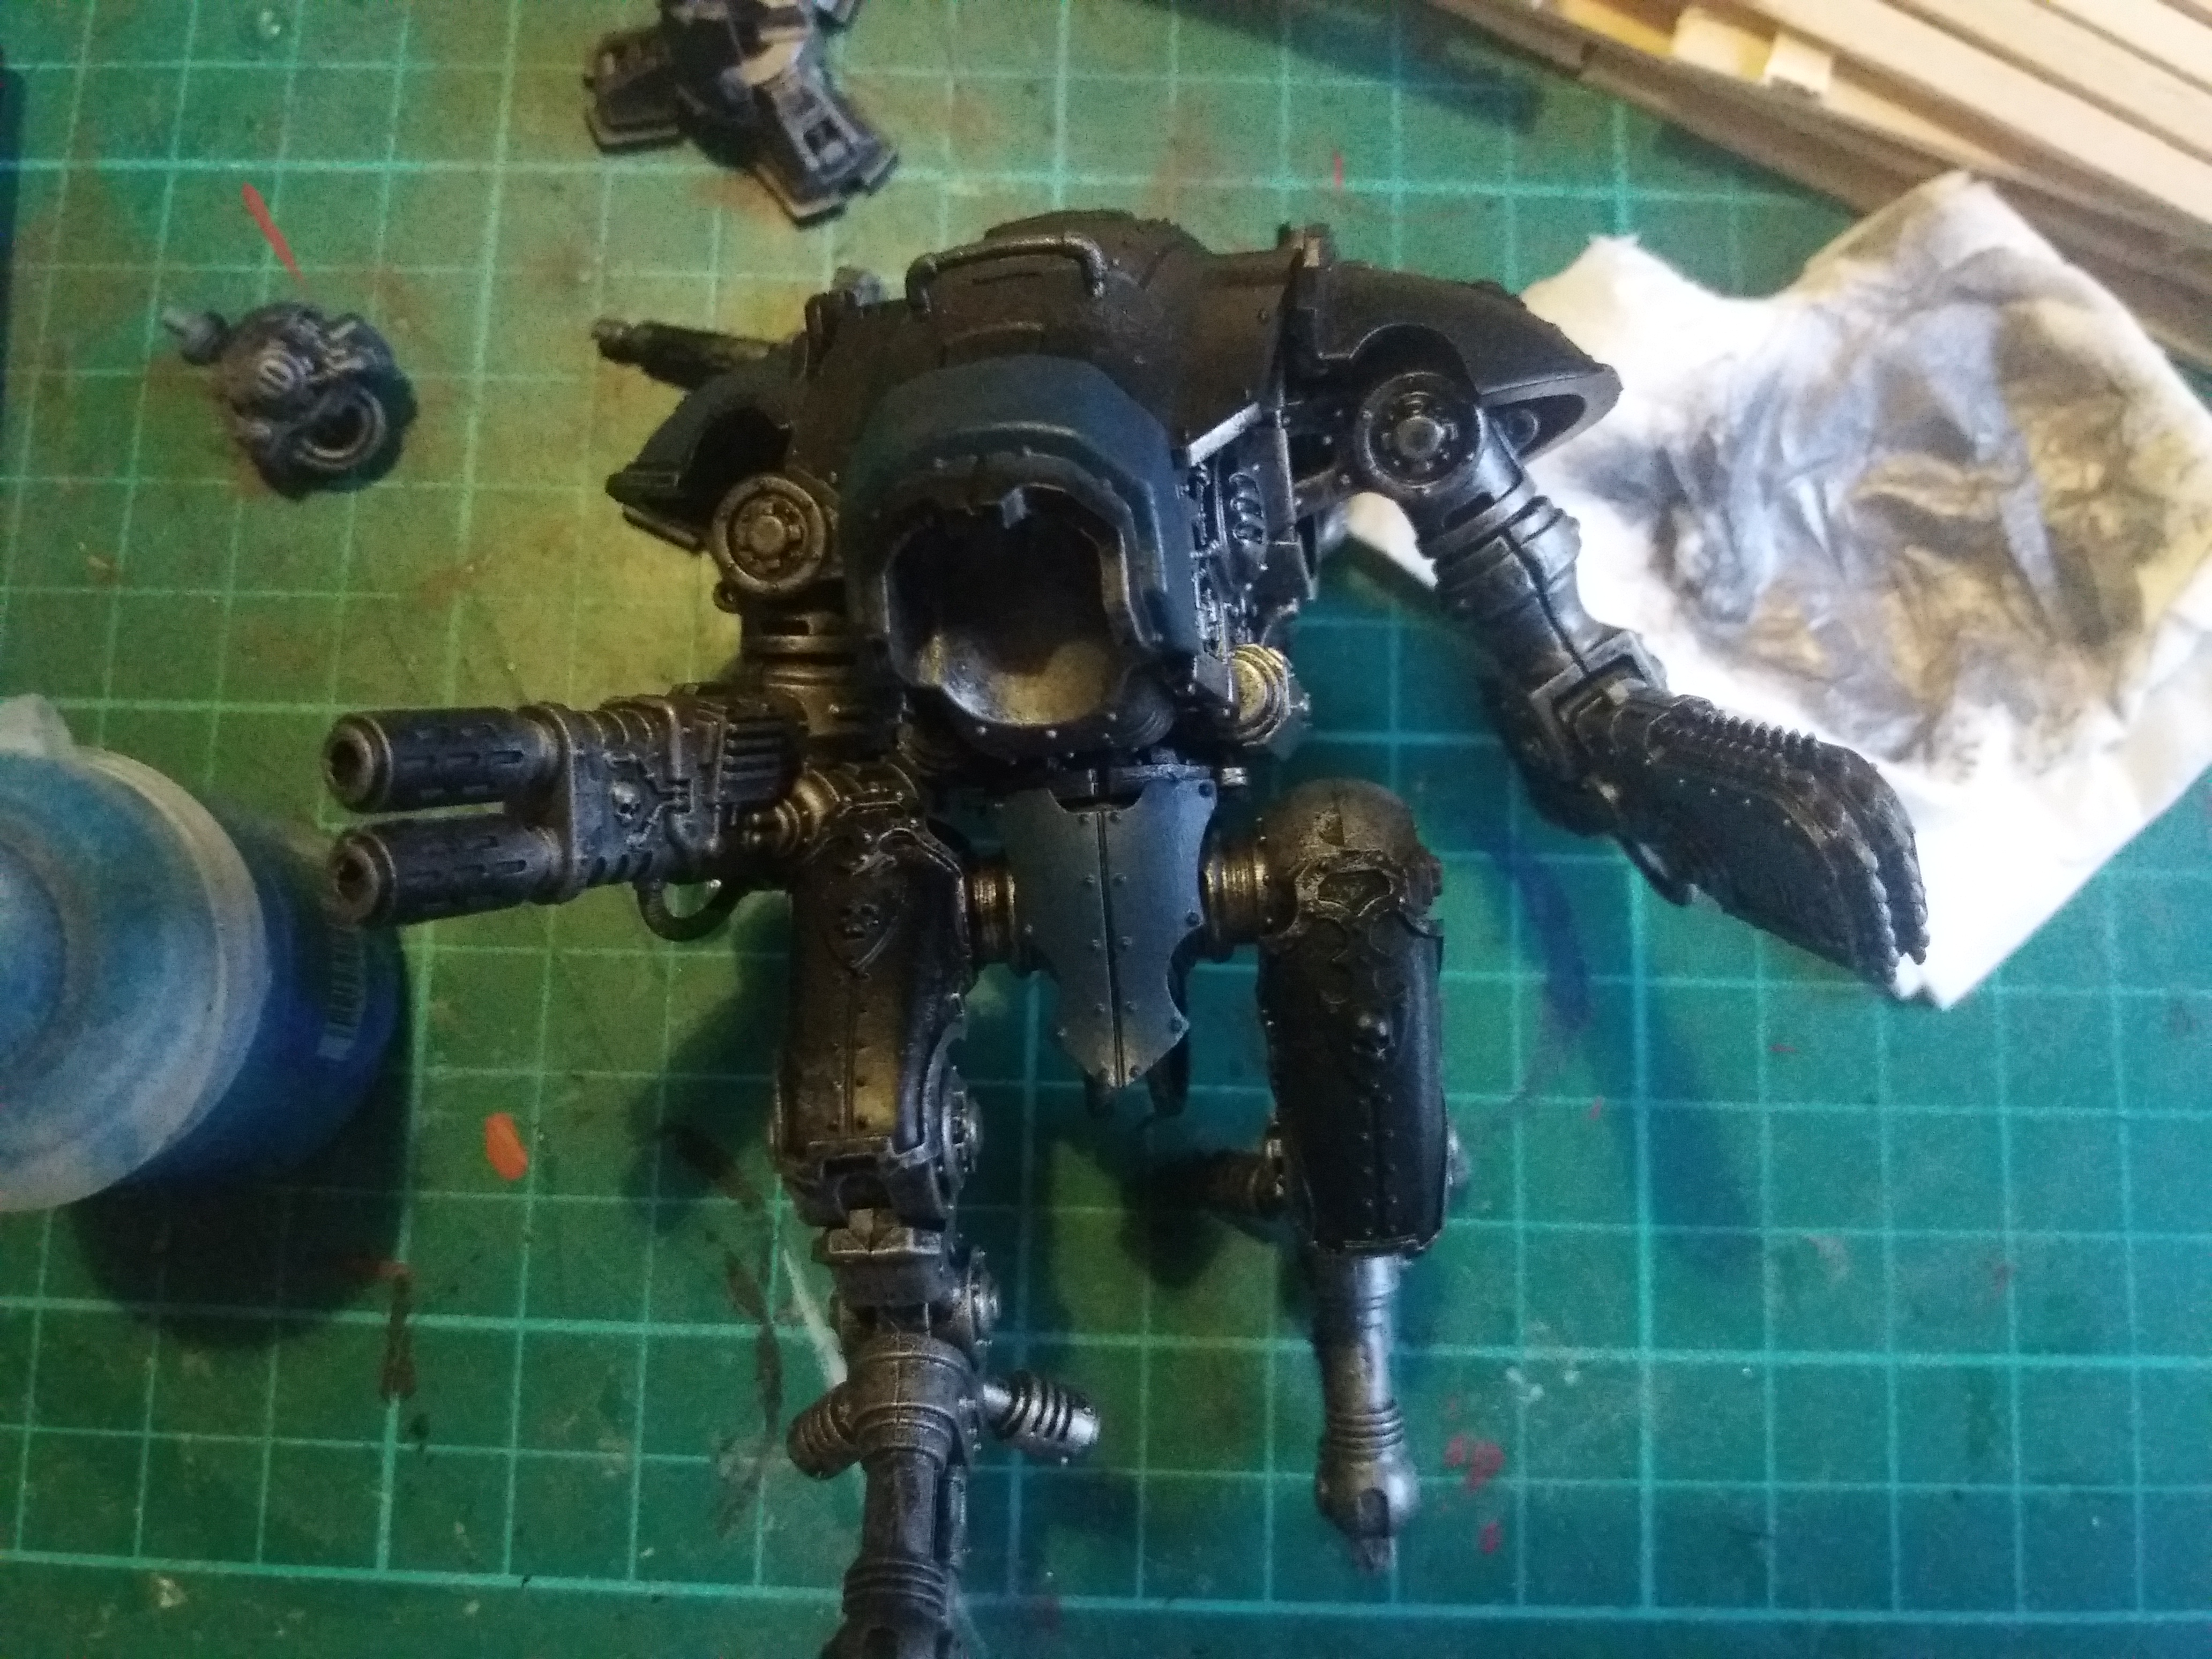 Step 3: Secondary colour basecoat, I used stegadon scale green for this
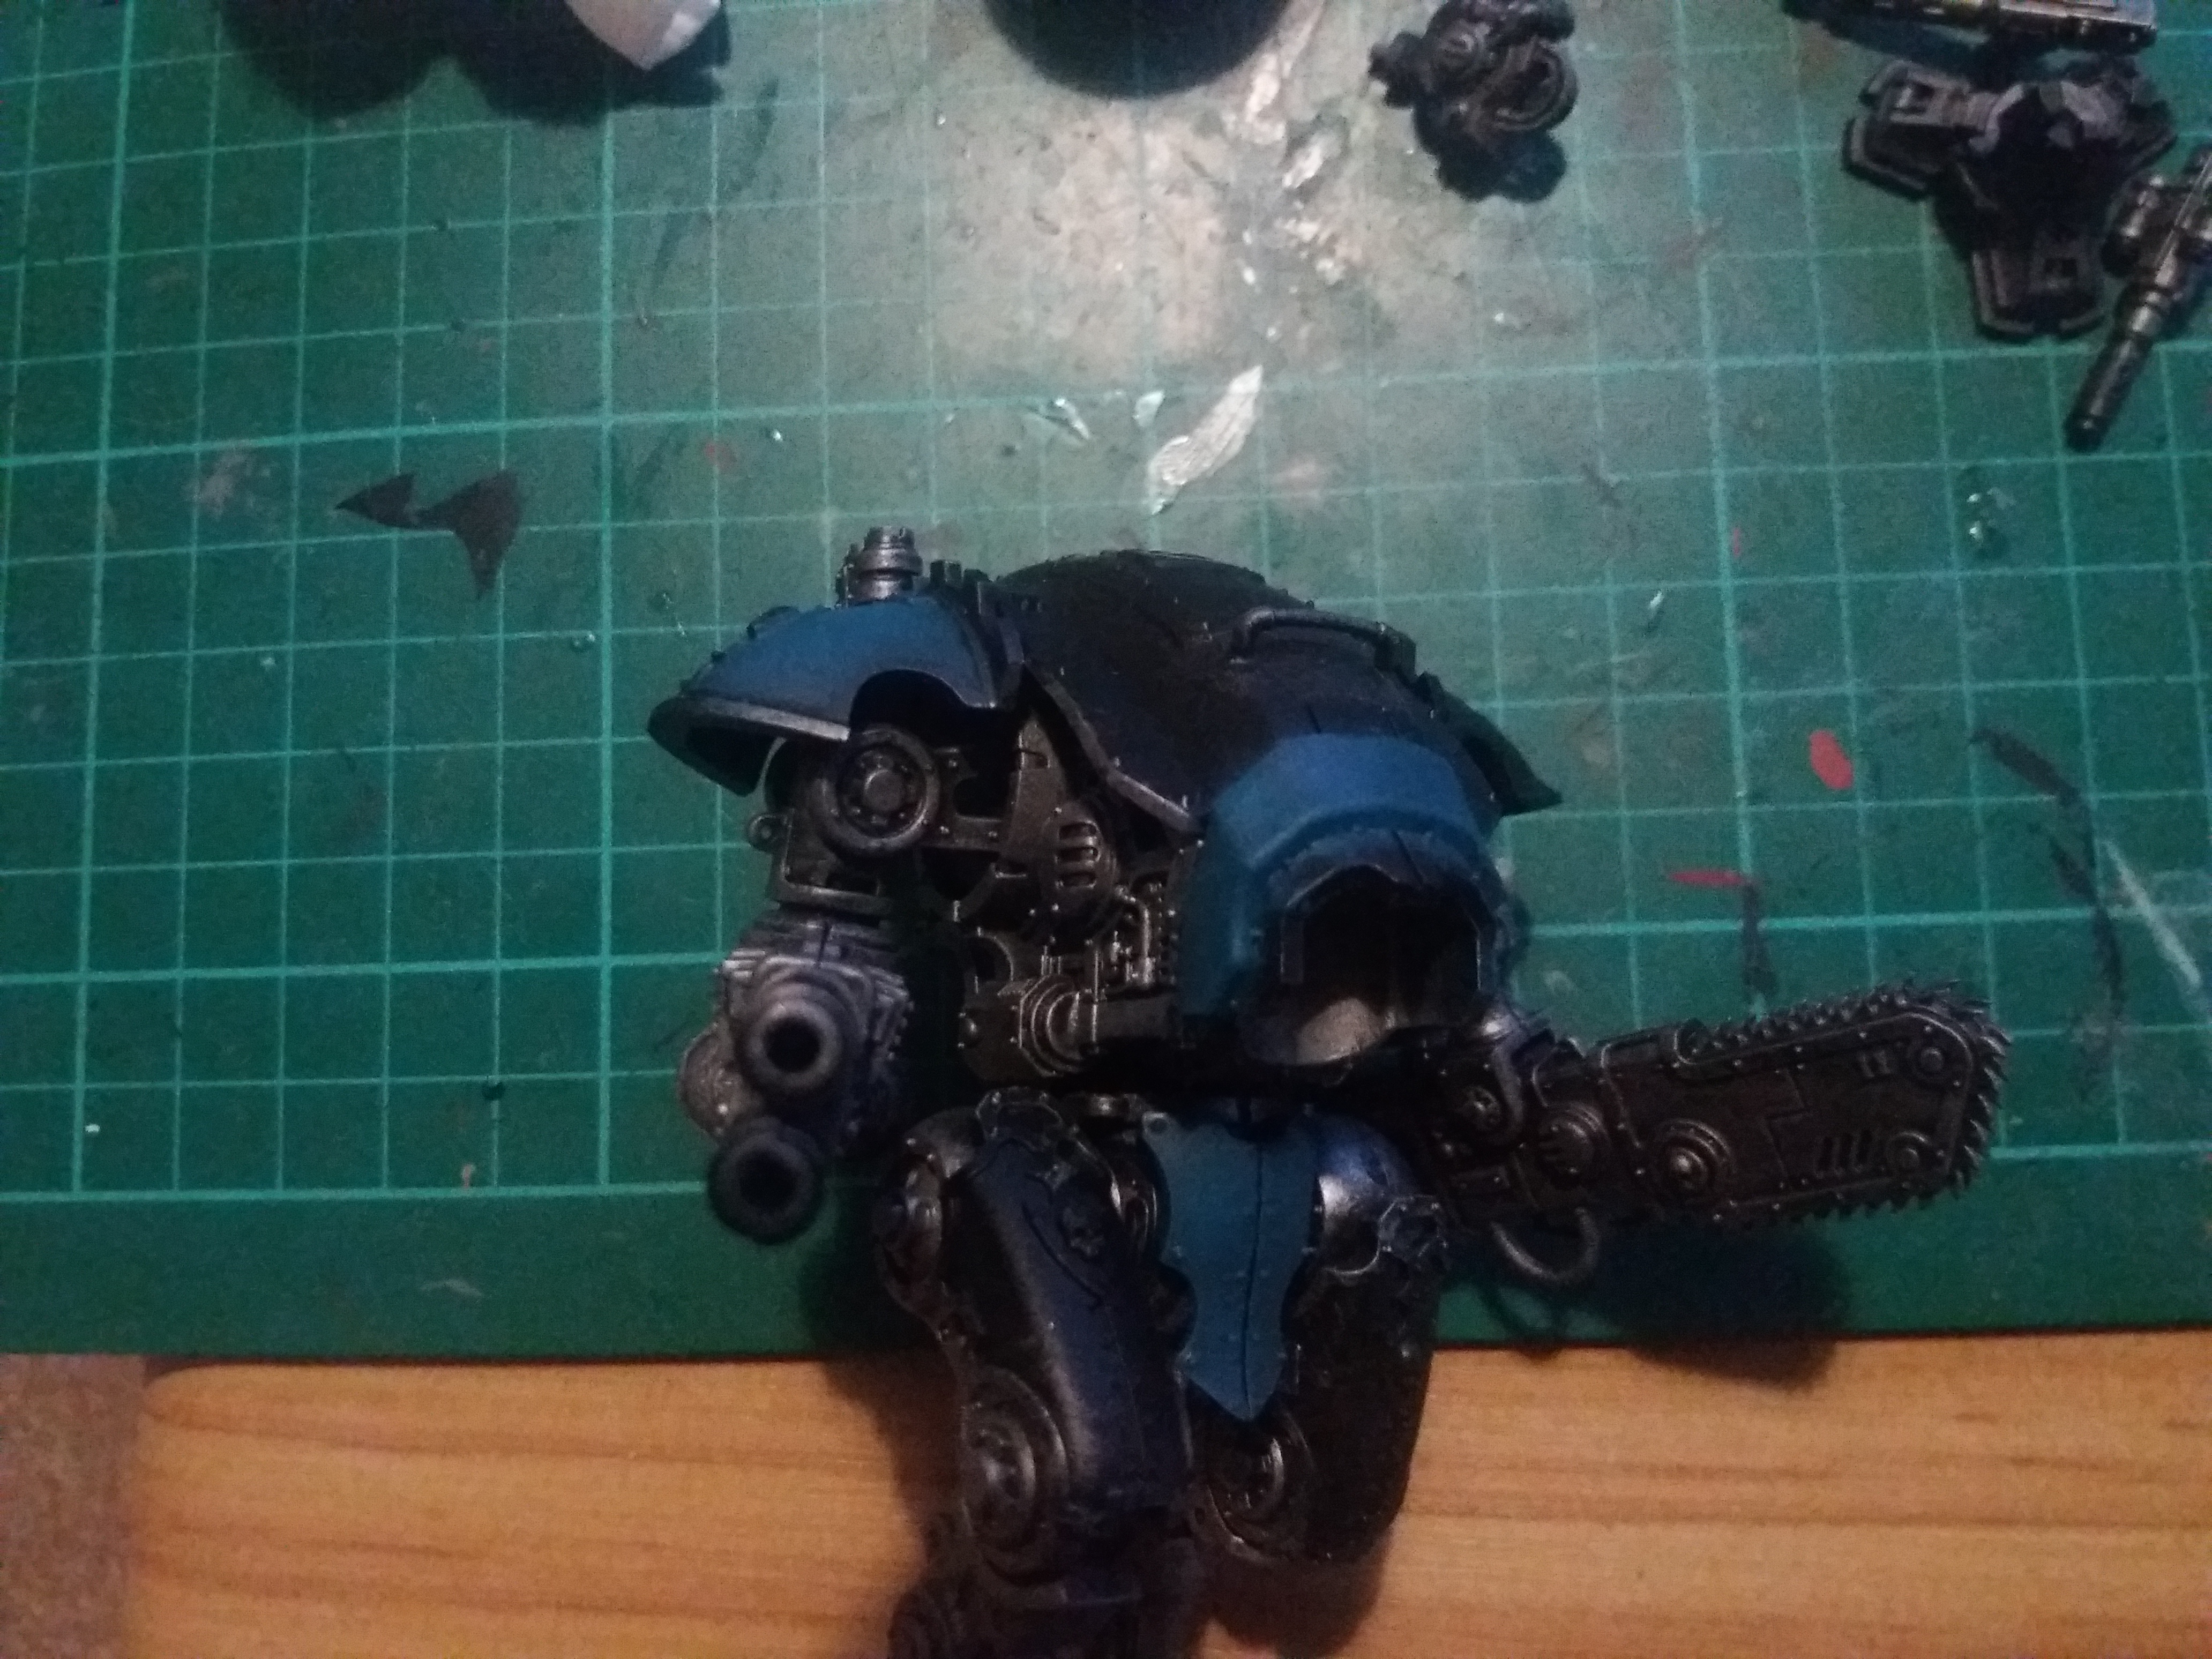 Step 4: Secondary colour highlight, I drybrushed sotek green onto the areas, concentrating on the raised areas and center of the panels.
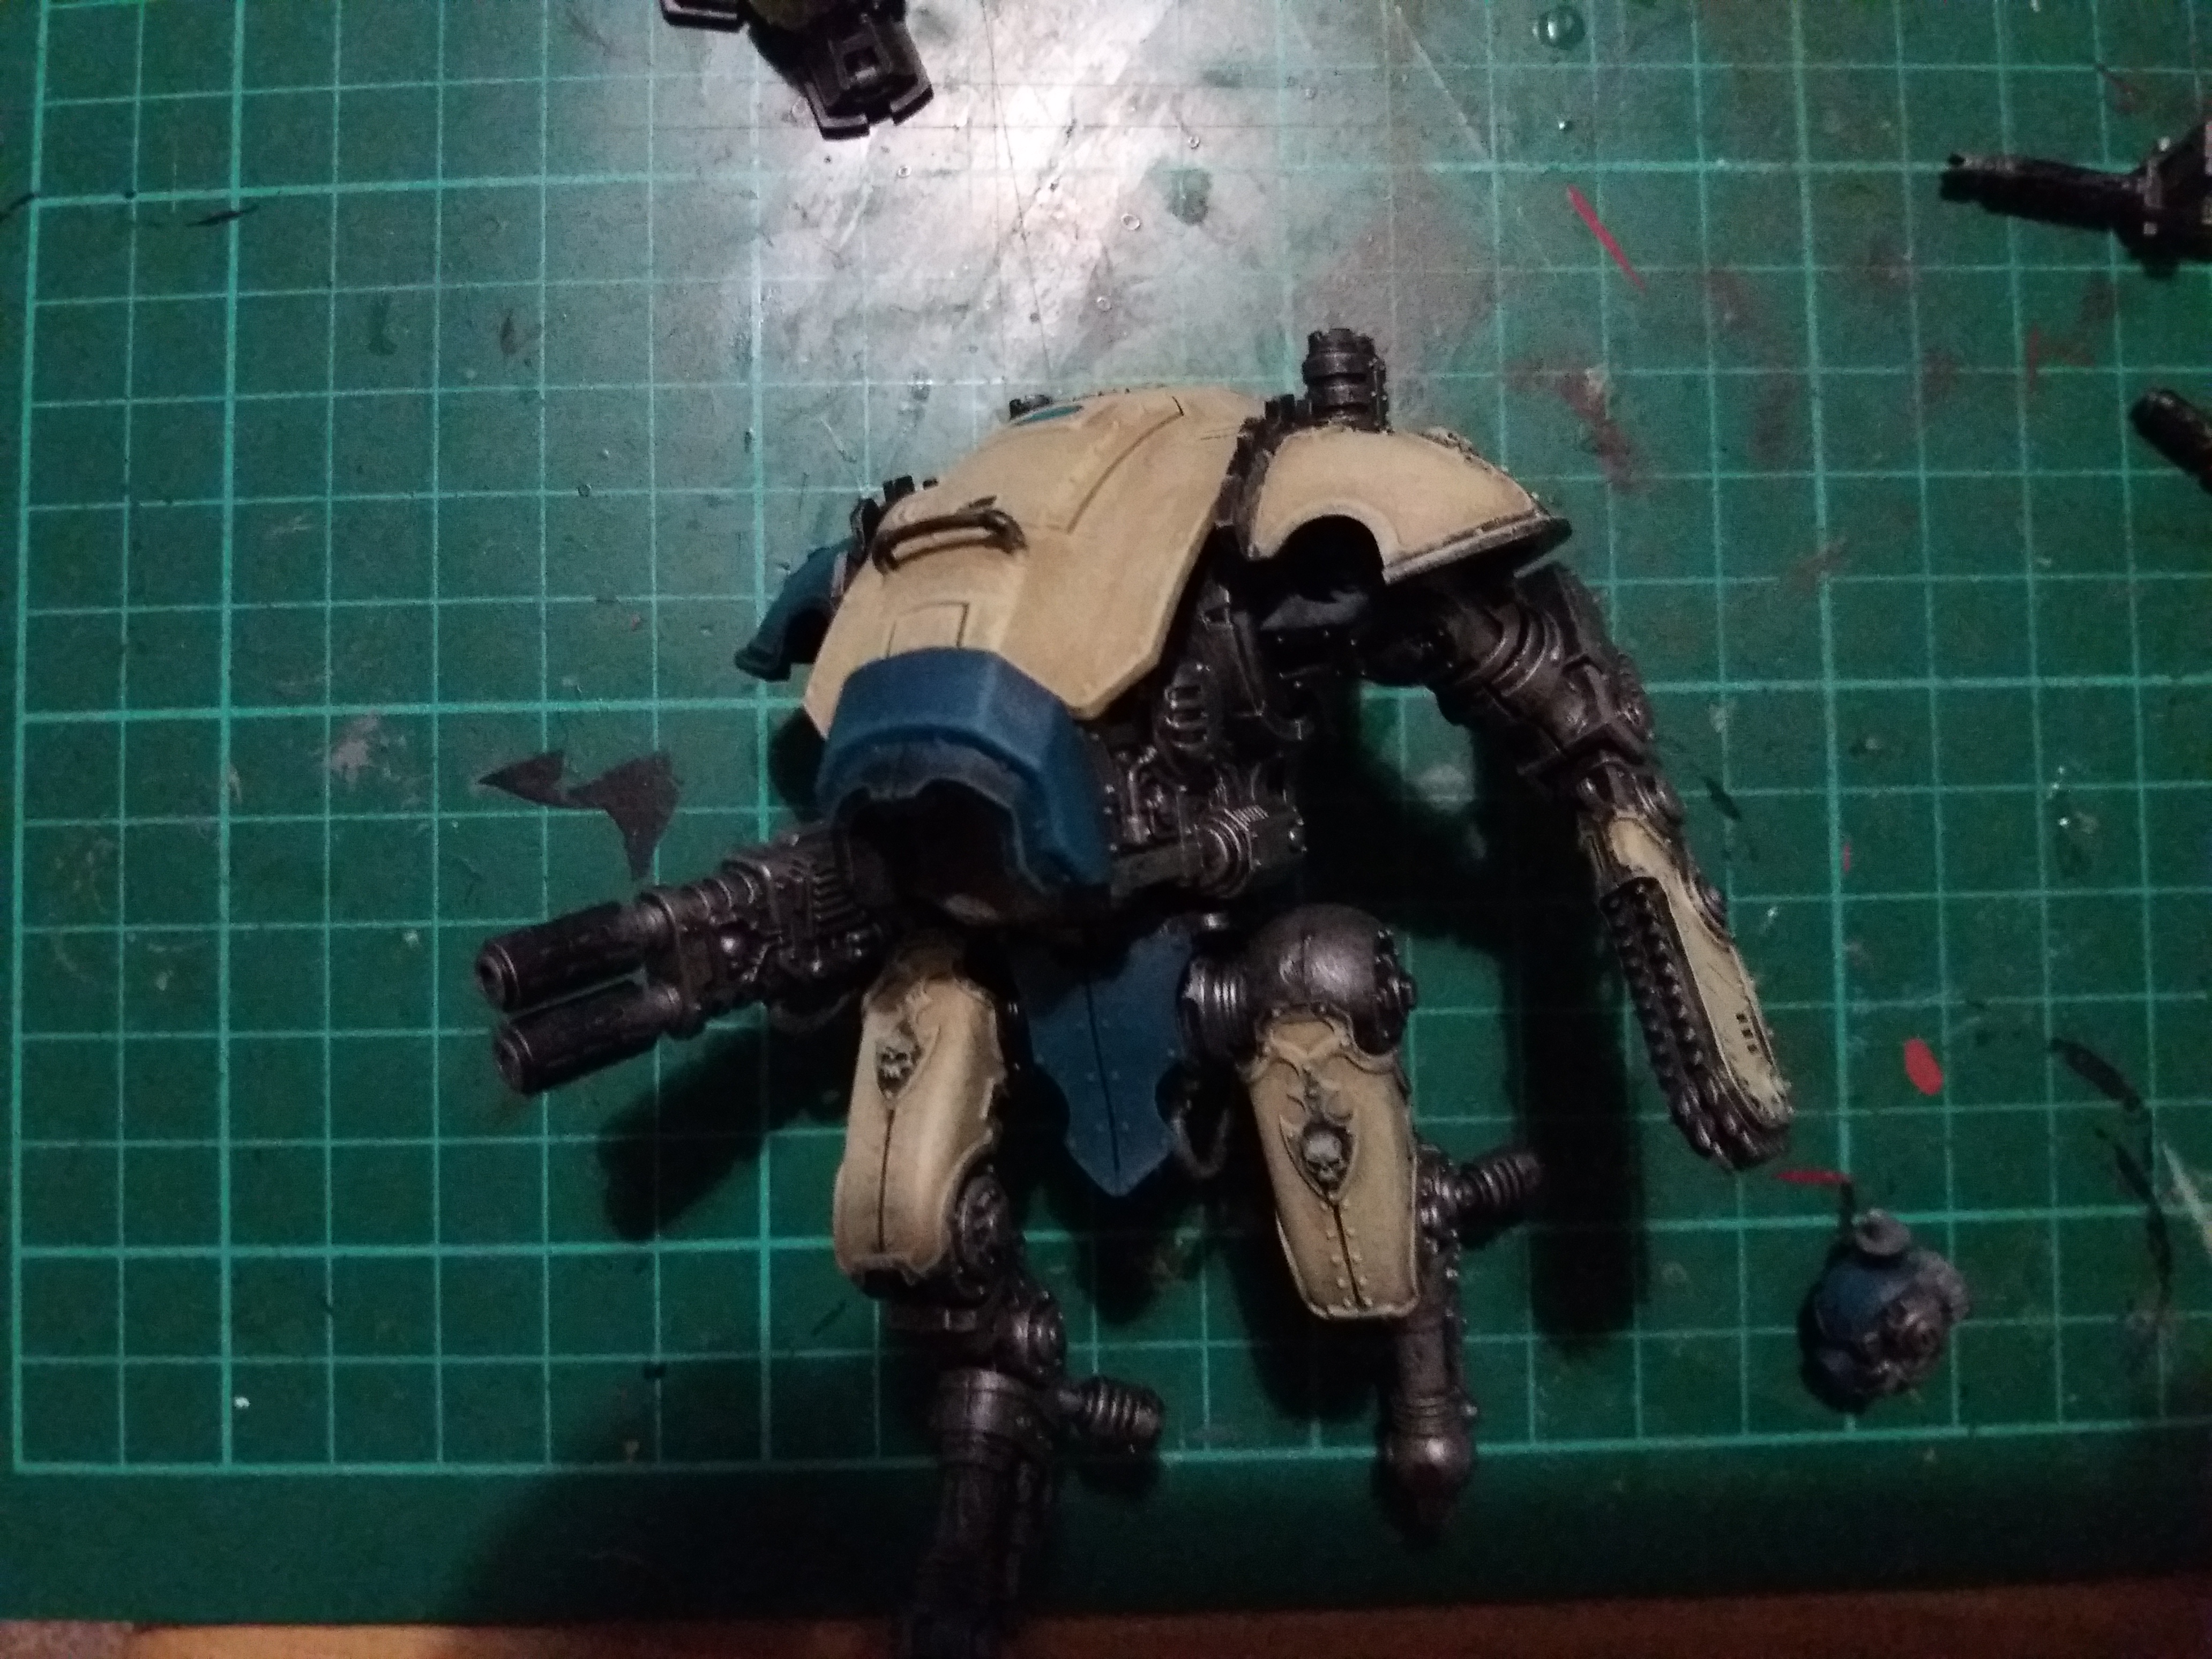 Step 5: Primary Colour, the base was done with Zandri Dust and then I highlighted in the same way as the secondary colour with Ushabti Bone
 Step 6: Brass, I painted all the weapons and picked out certain focal areas within the workings of the Warglaive with Sycorax Bronze, this gave a little variety to the metal areas
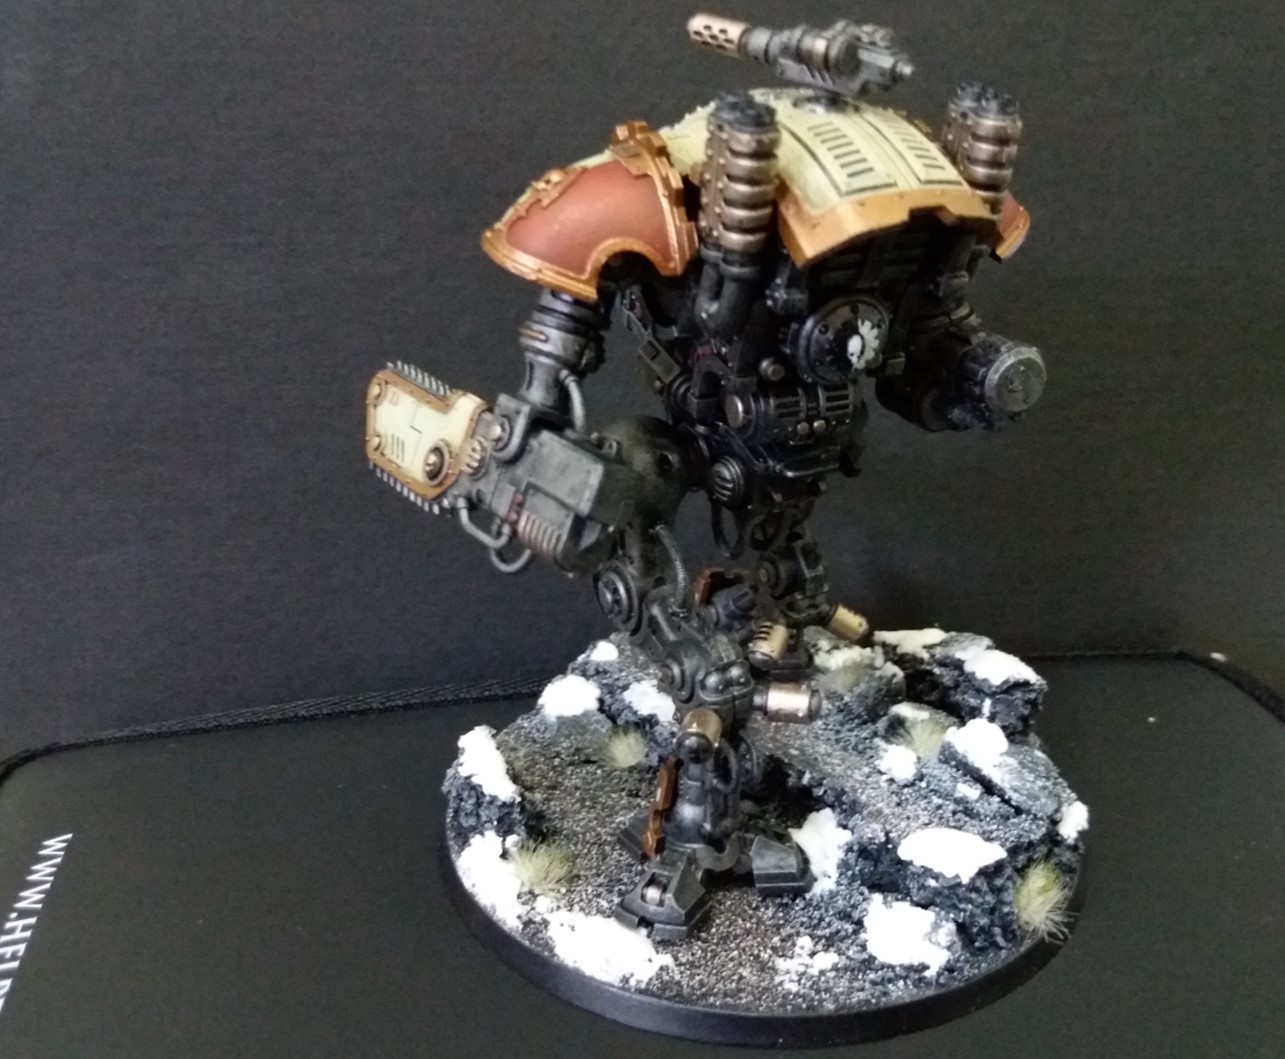
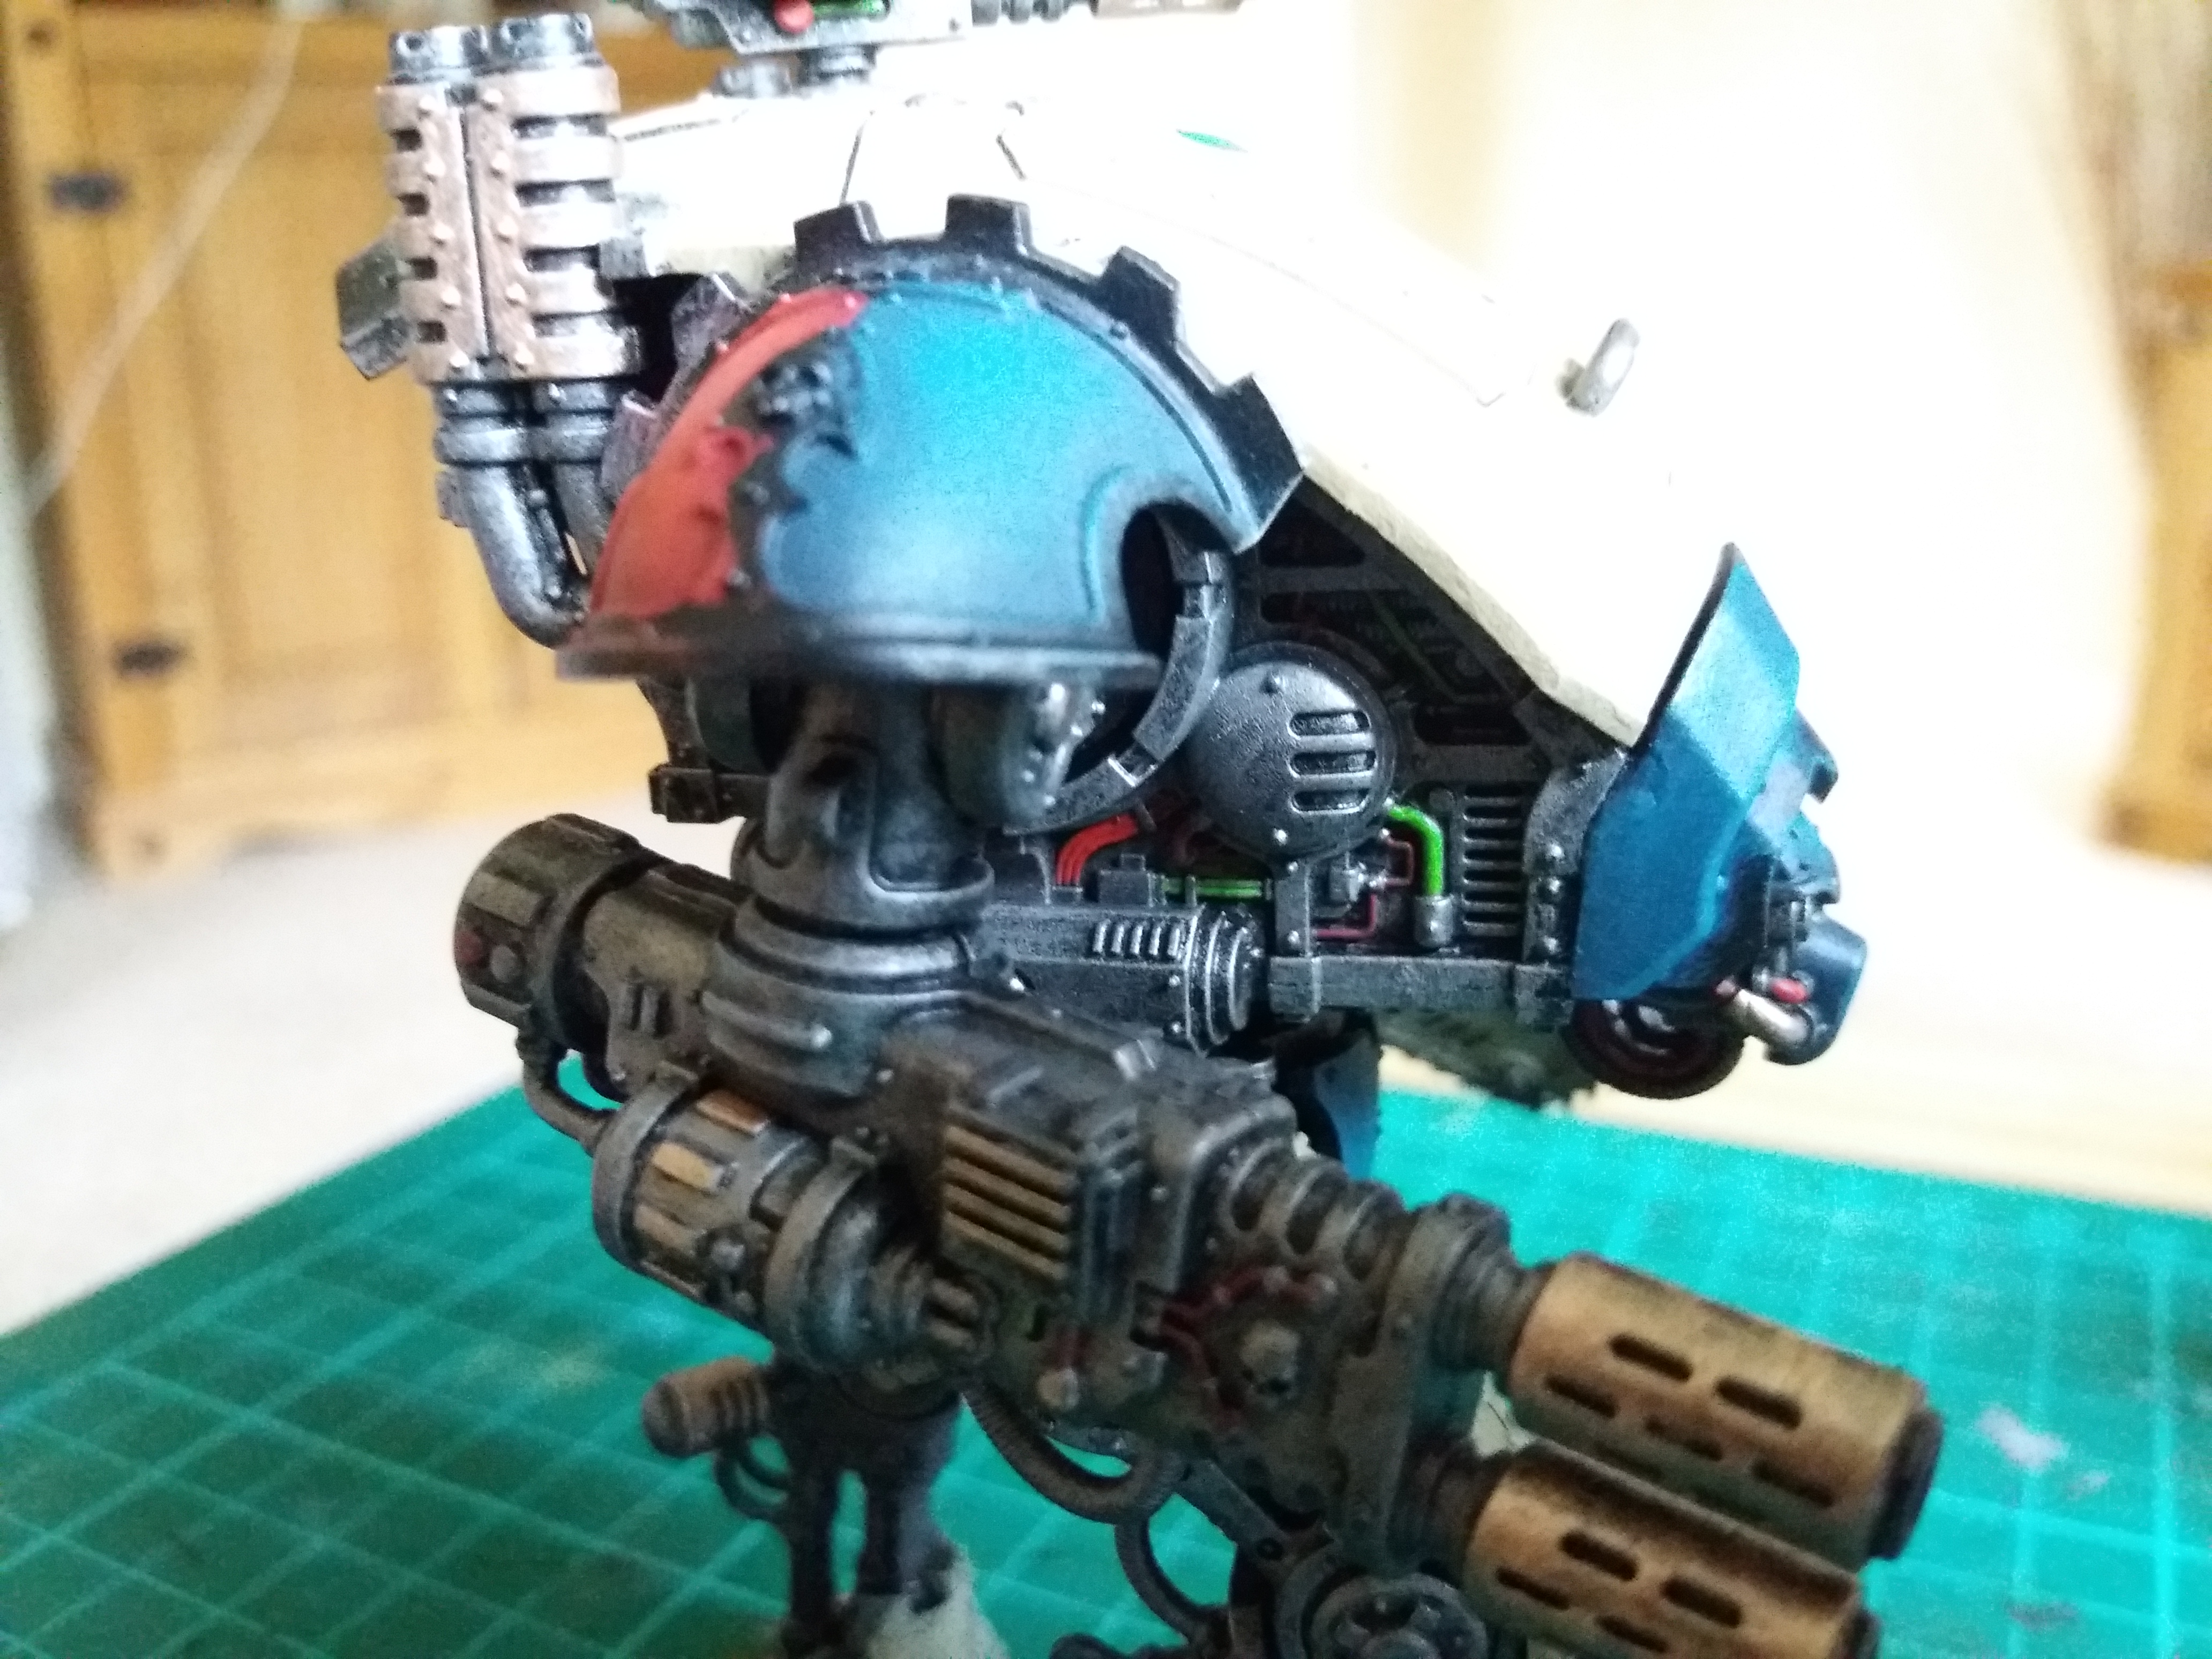 Step 7: Pauldron and Wires, the rear pauldrons were done with Mephiston Red and the drybrushed in the center with evil suns scarlet. I then used the same paints to pick out some of the wires within the workings of the Warglaive. I also used Moot green to don the same, this colour was also used on the lenses in the helmet.
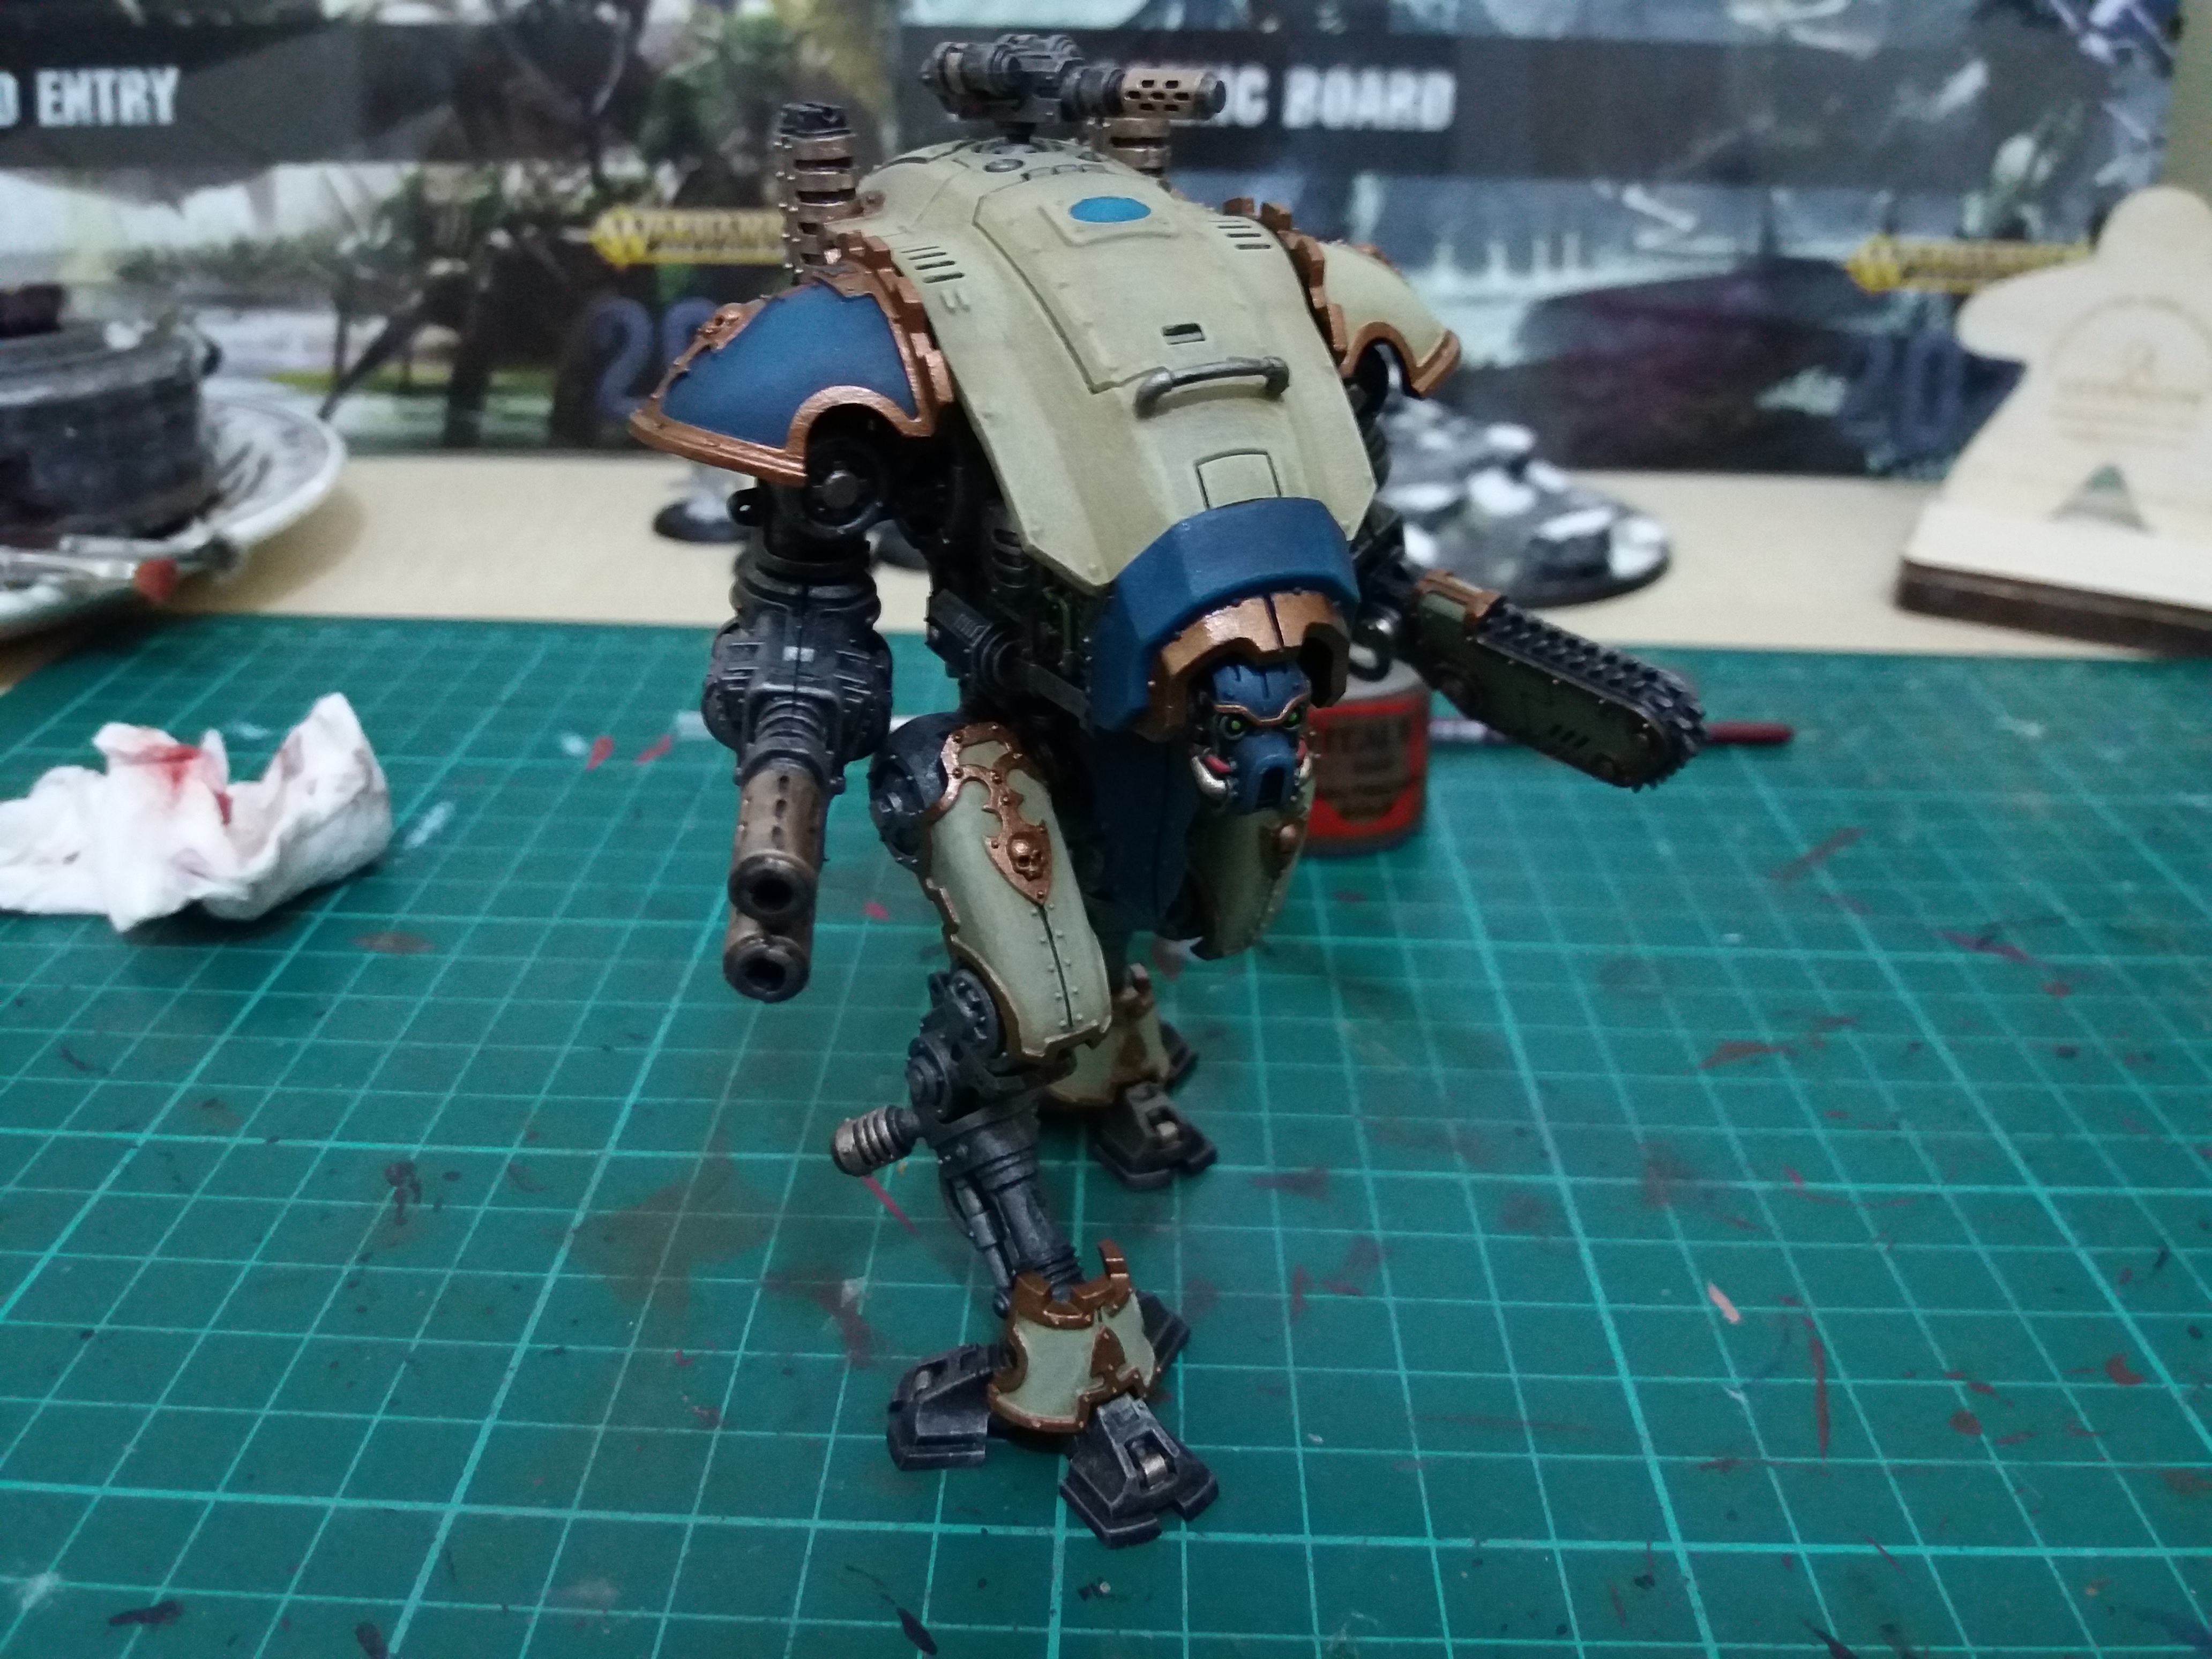 Step 8: Gold: I used Balthasar Gold to do all the trim on the Armour plus a little on the head.
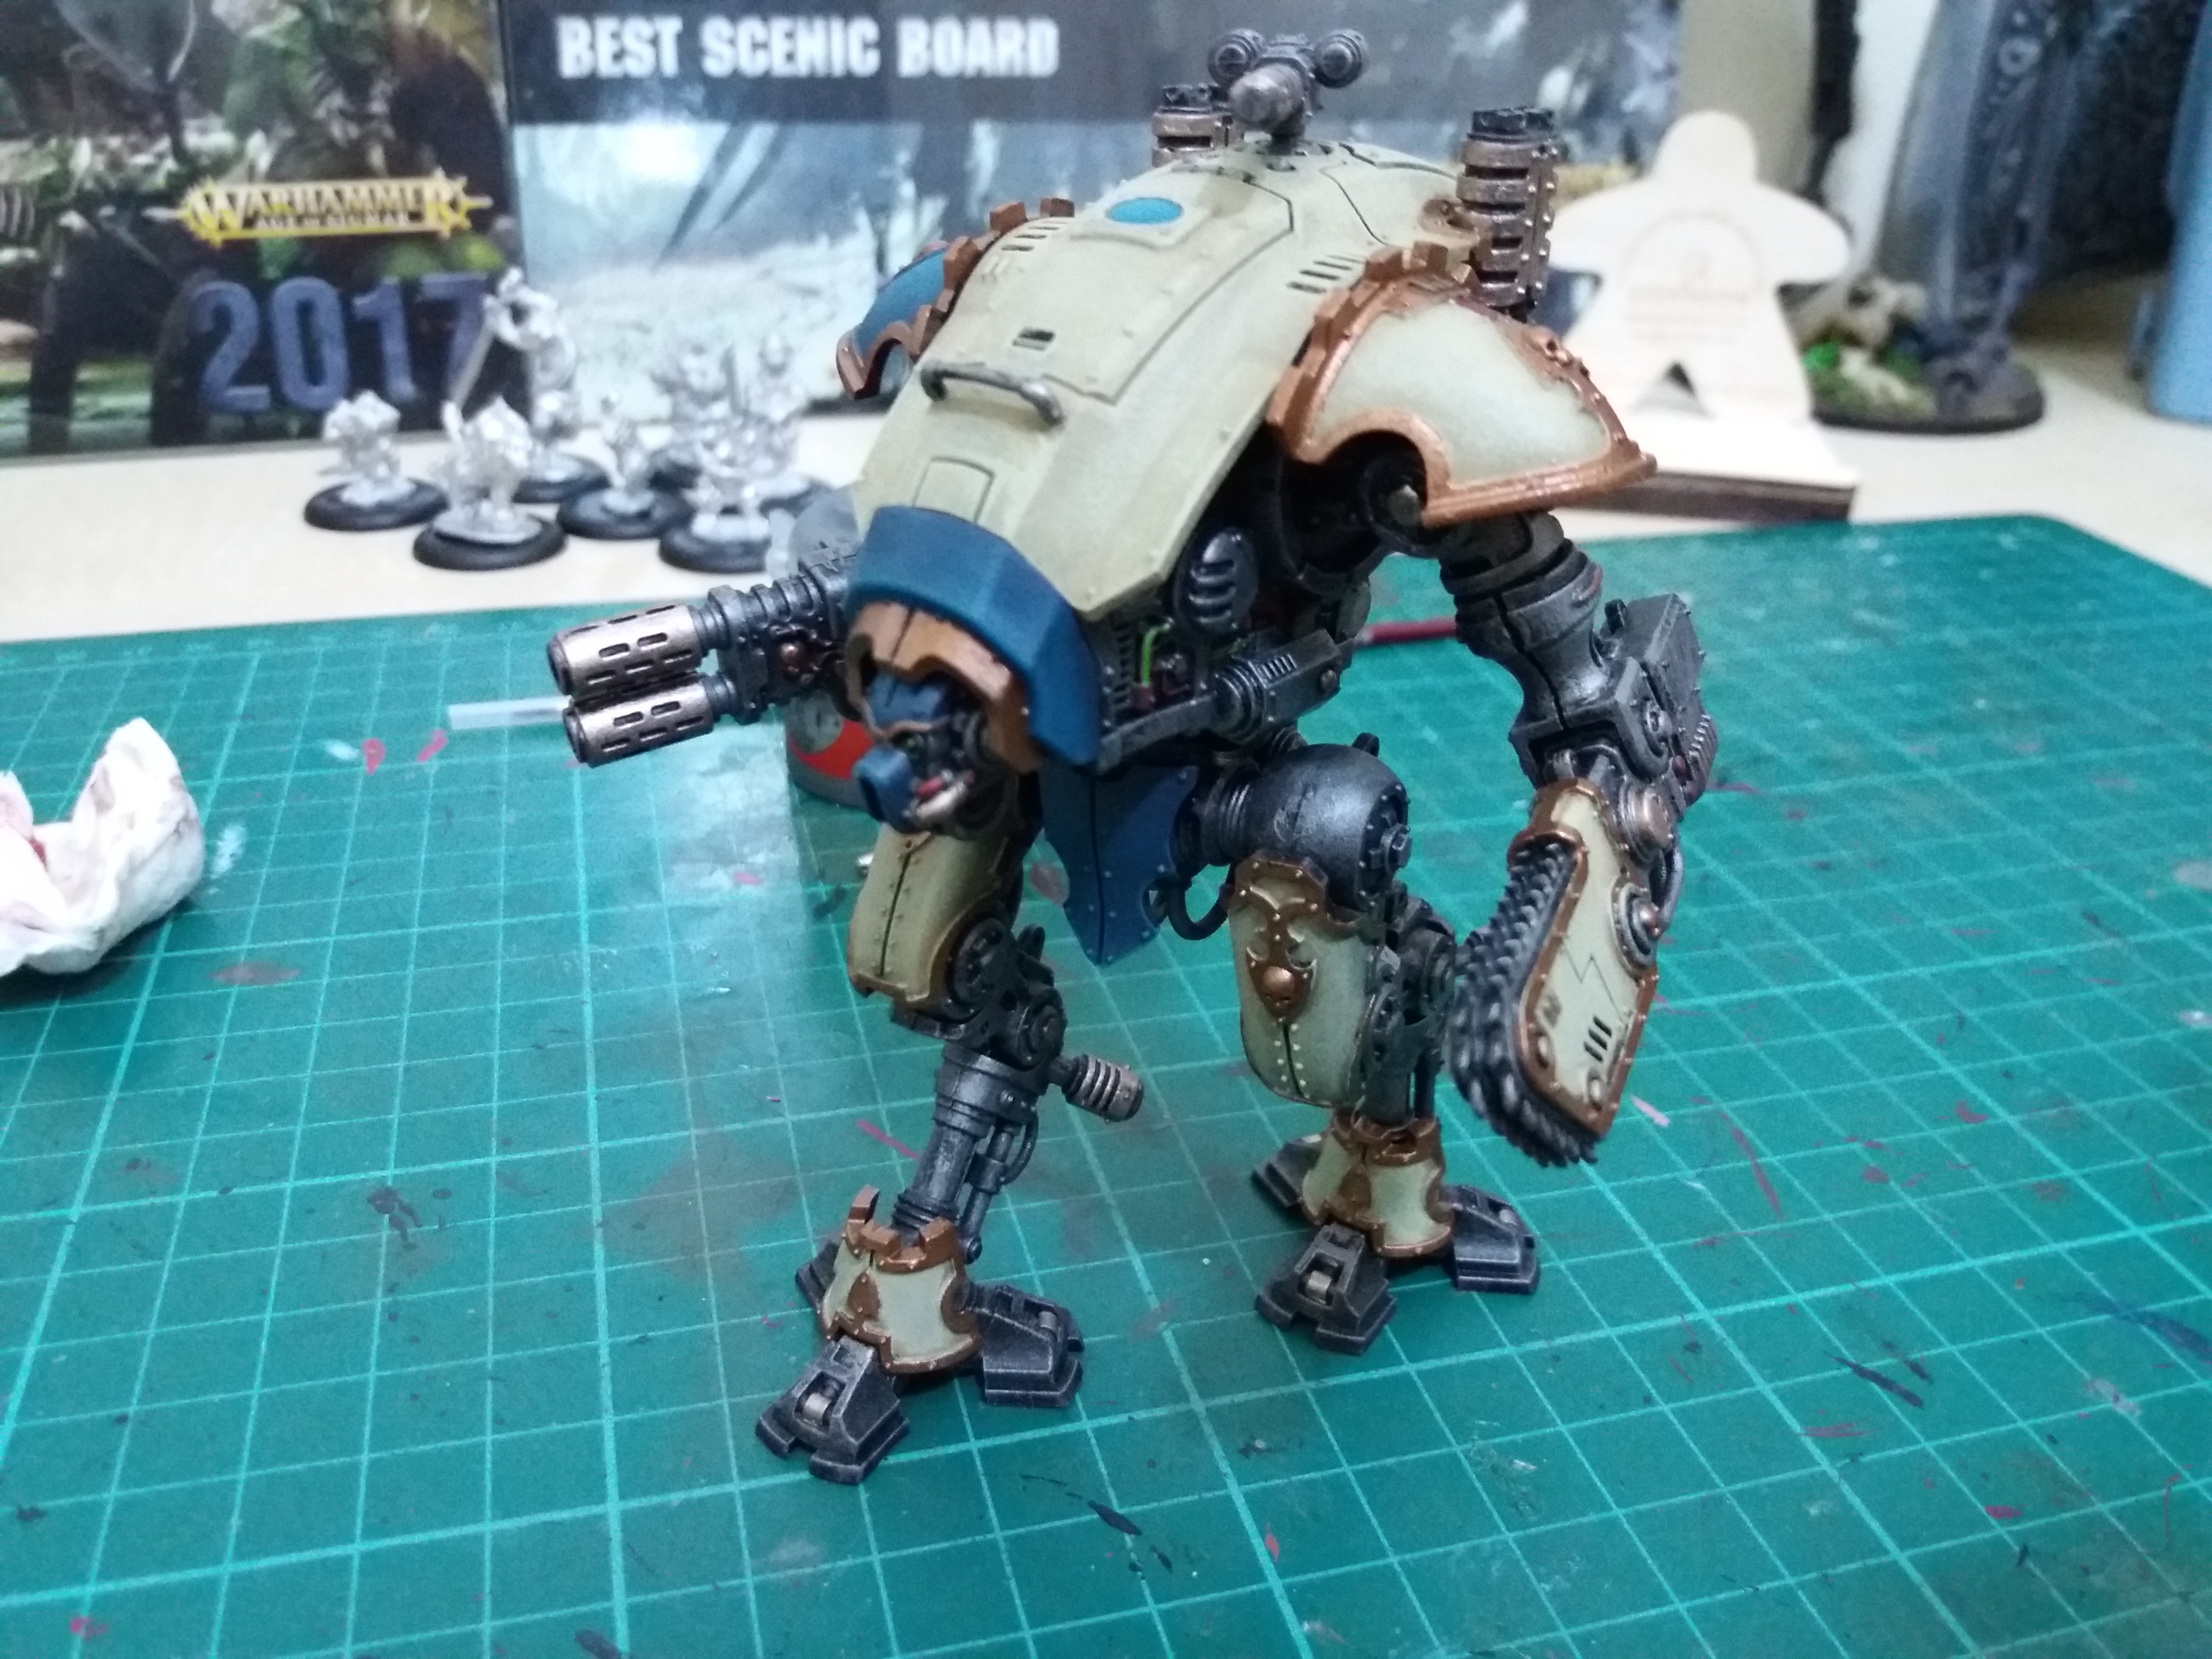
 Step 9: I coated all parts of the model, apart from the armour, in Army painter dark tone to sink into all the recesses and add the shading. The Armour didn't need doing as the drybrushing of a lighter shade worked well on it's own. That's it for painting, I now wanted to try something I've not done before and add some smoke bellowing out of the exhausts.
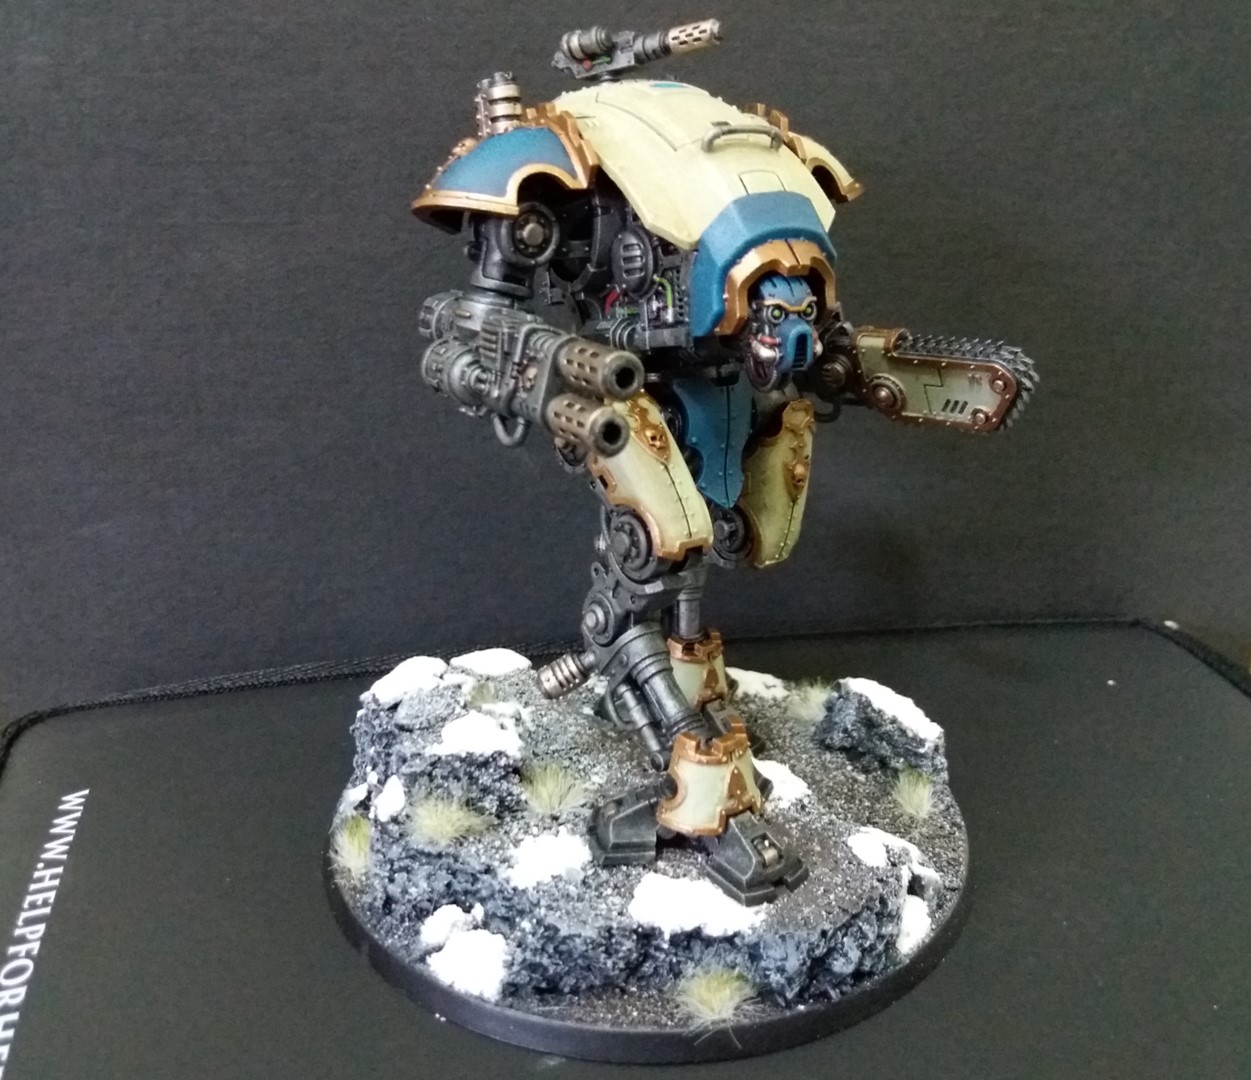
Smoke...
So, I’ve seen a few people use this technique before but never had a go myself. I’ve mainly seen it used for explosions but thought it would work quite well for this.
Essentially I want to have smoke billowing out of the Warglaives exhausts, this will also continue on with the other knights when I get to them.
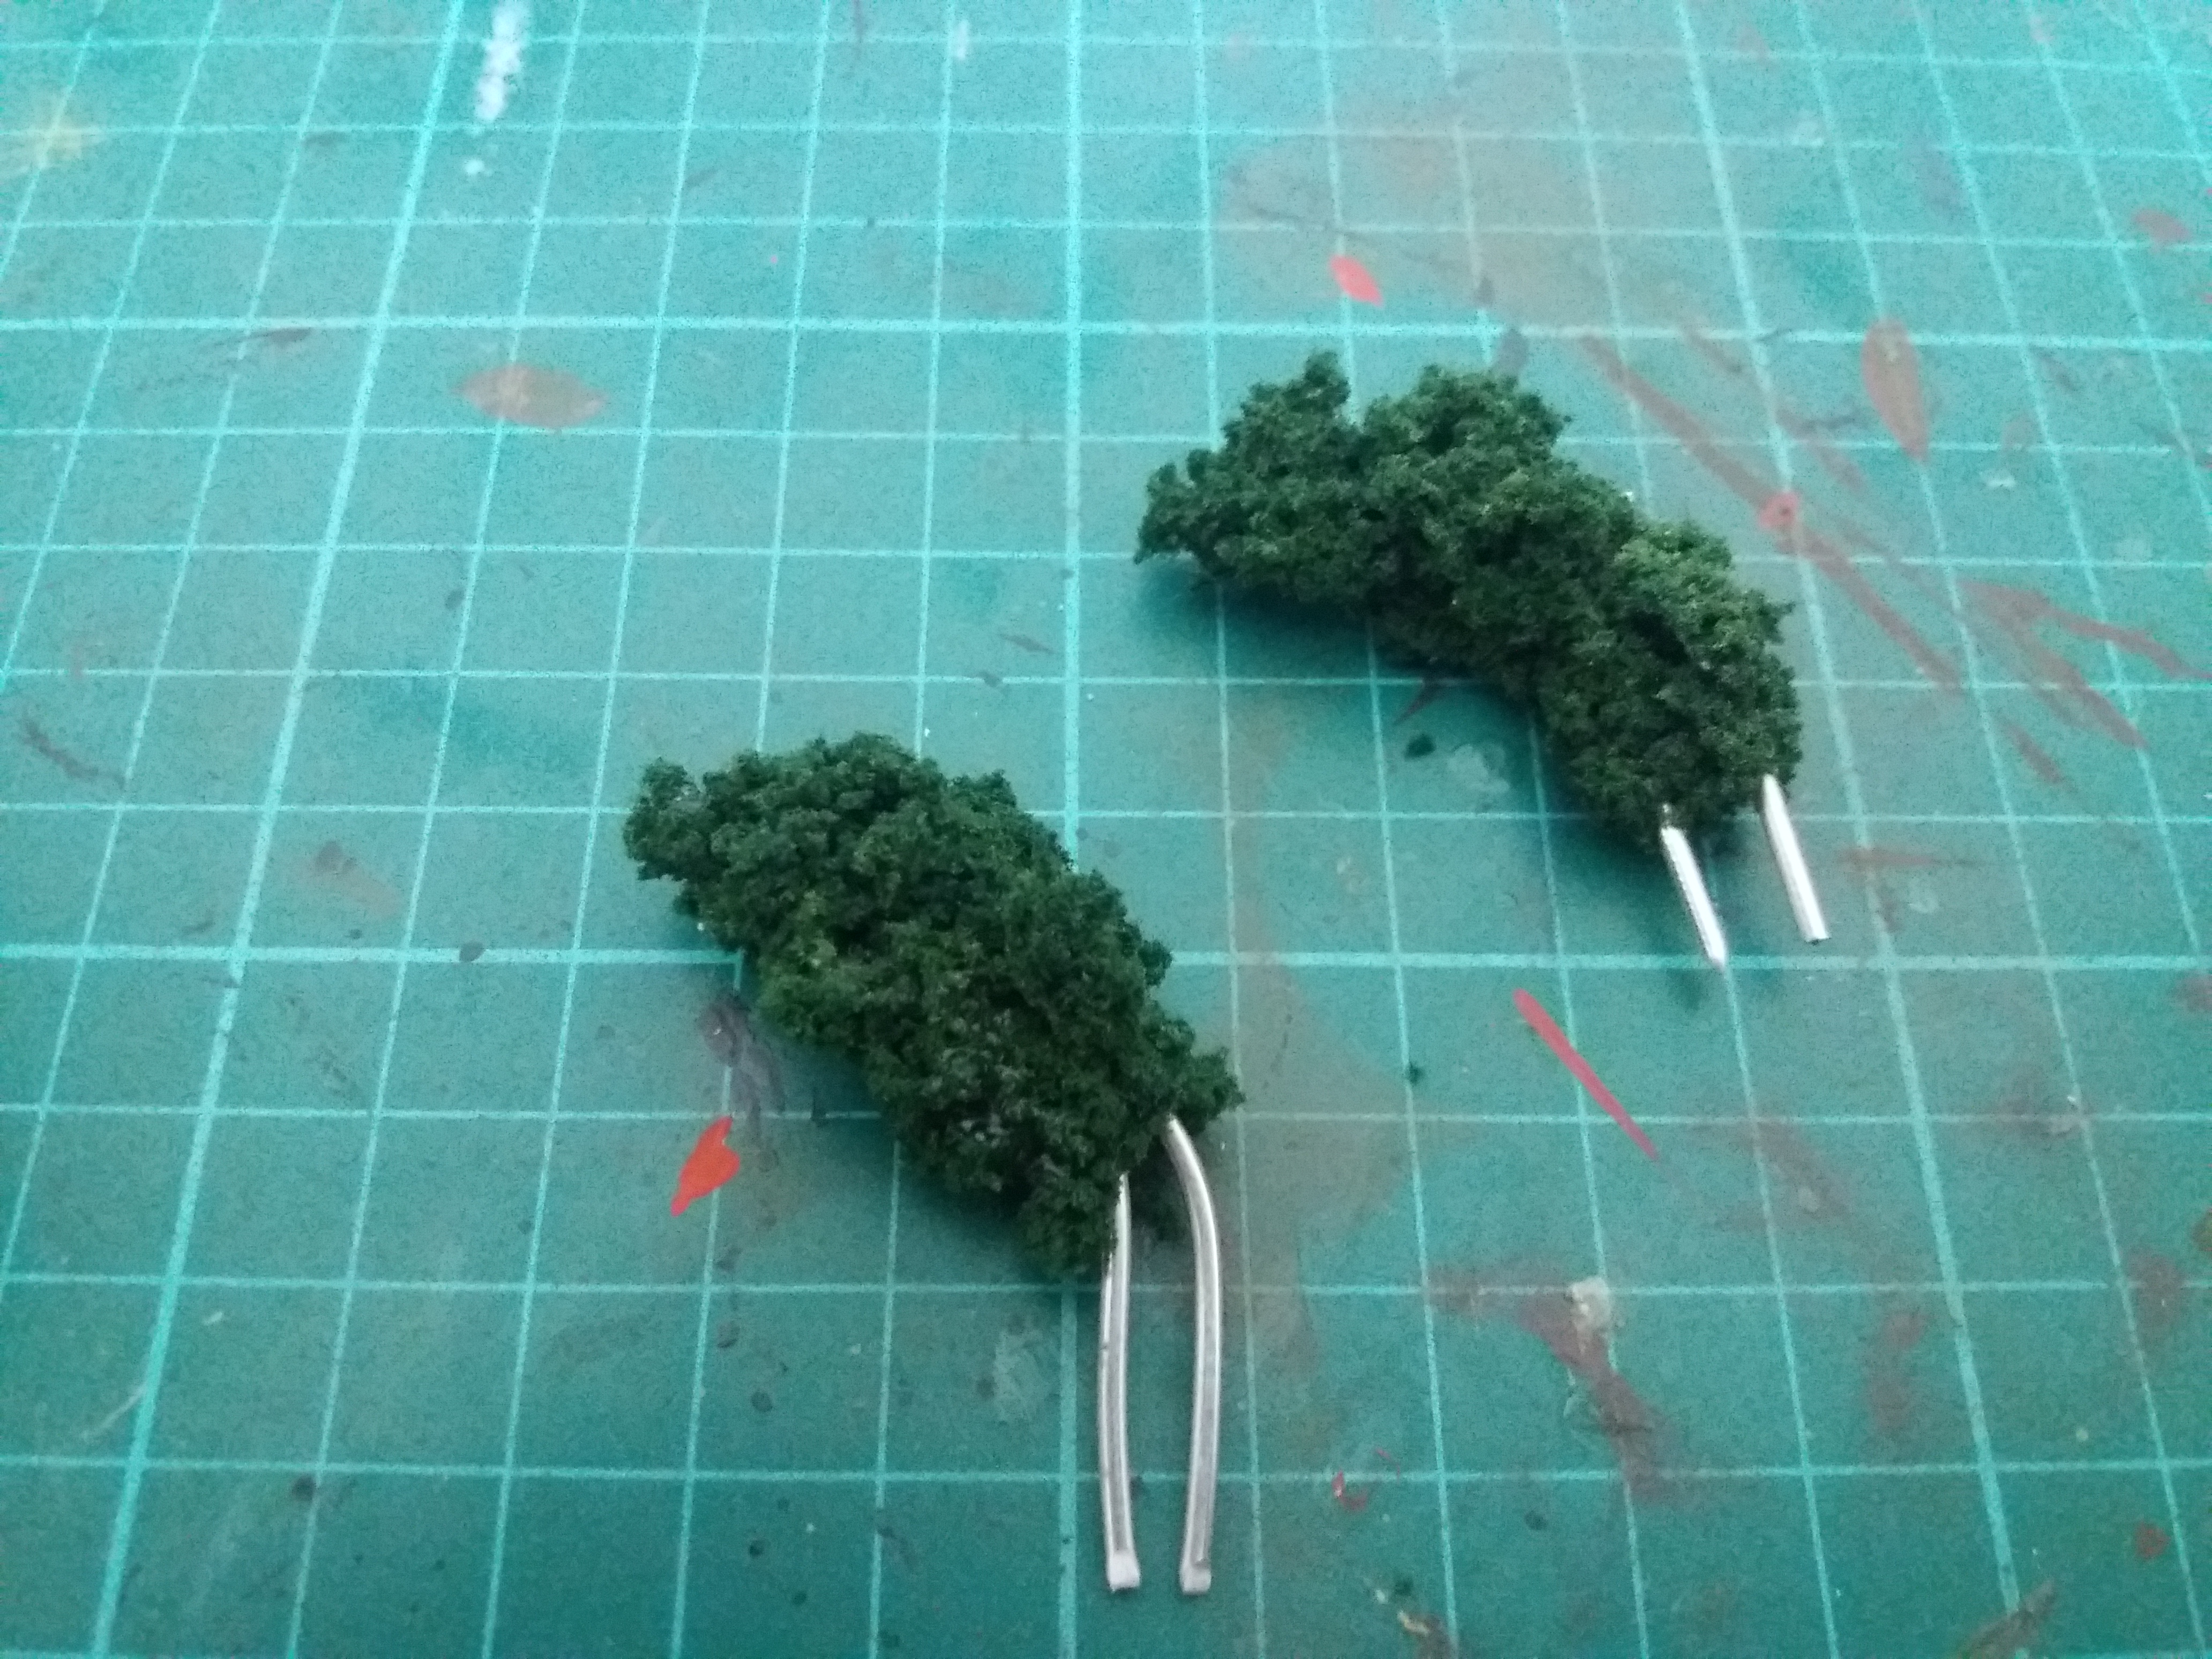 Step 1: To start you need to get two wires and bend them to shape, grab your clump foliage and your superglue. Now, I will warn you, expect to get this stuck everywhere, you need to try to be careful not to touch the foliage once you added superglue and it will stuck to your hand straight away. It does however harden really fast so you can nock these up quite quickly.
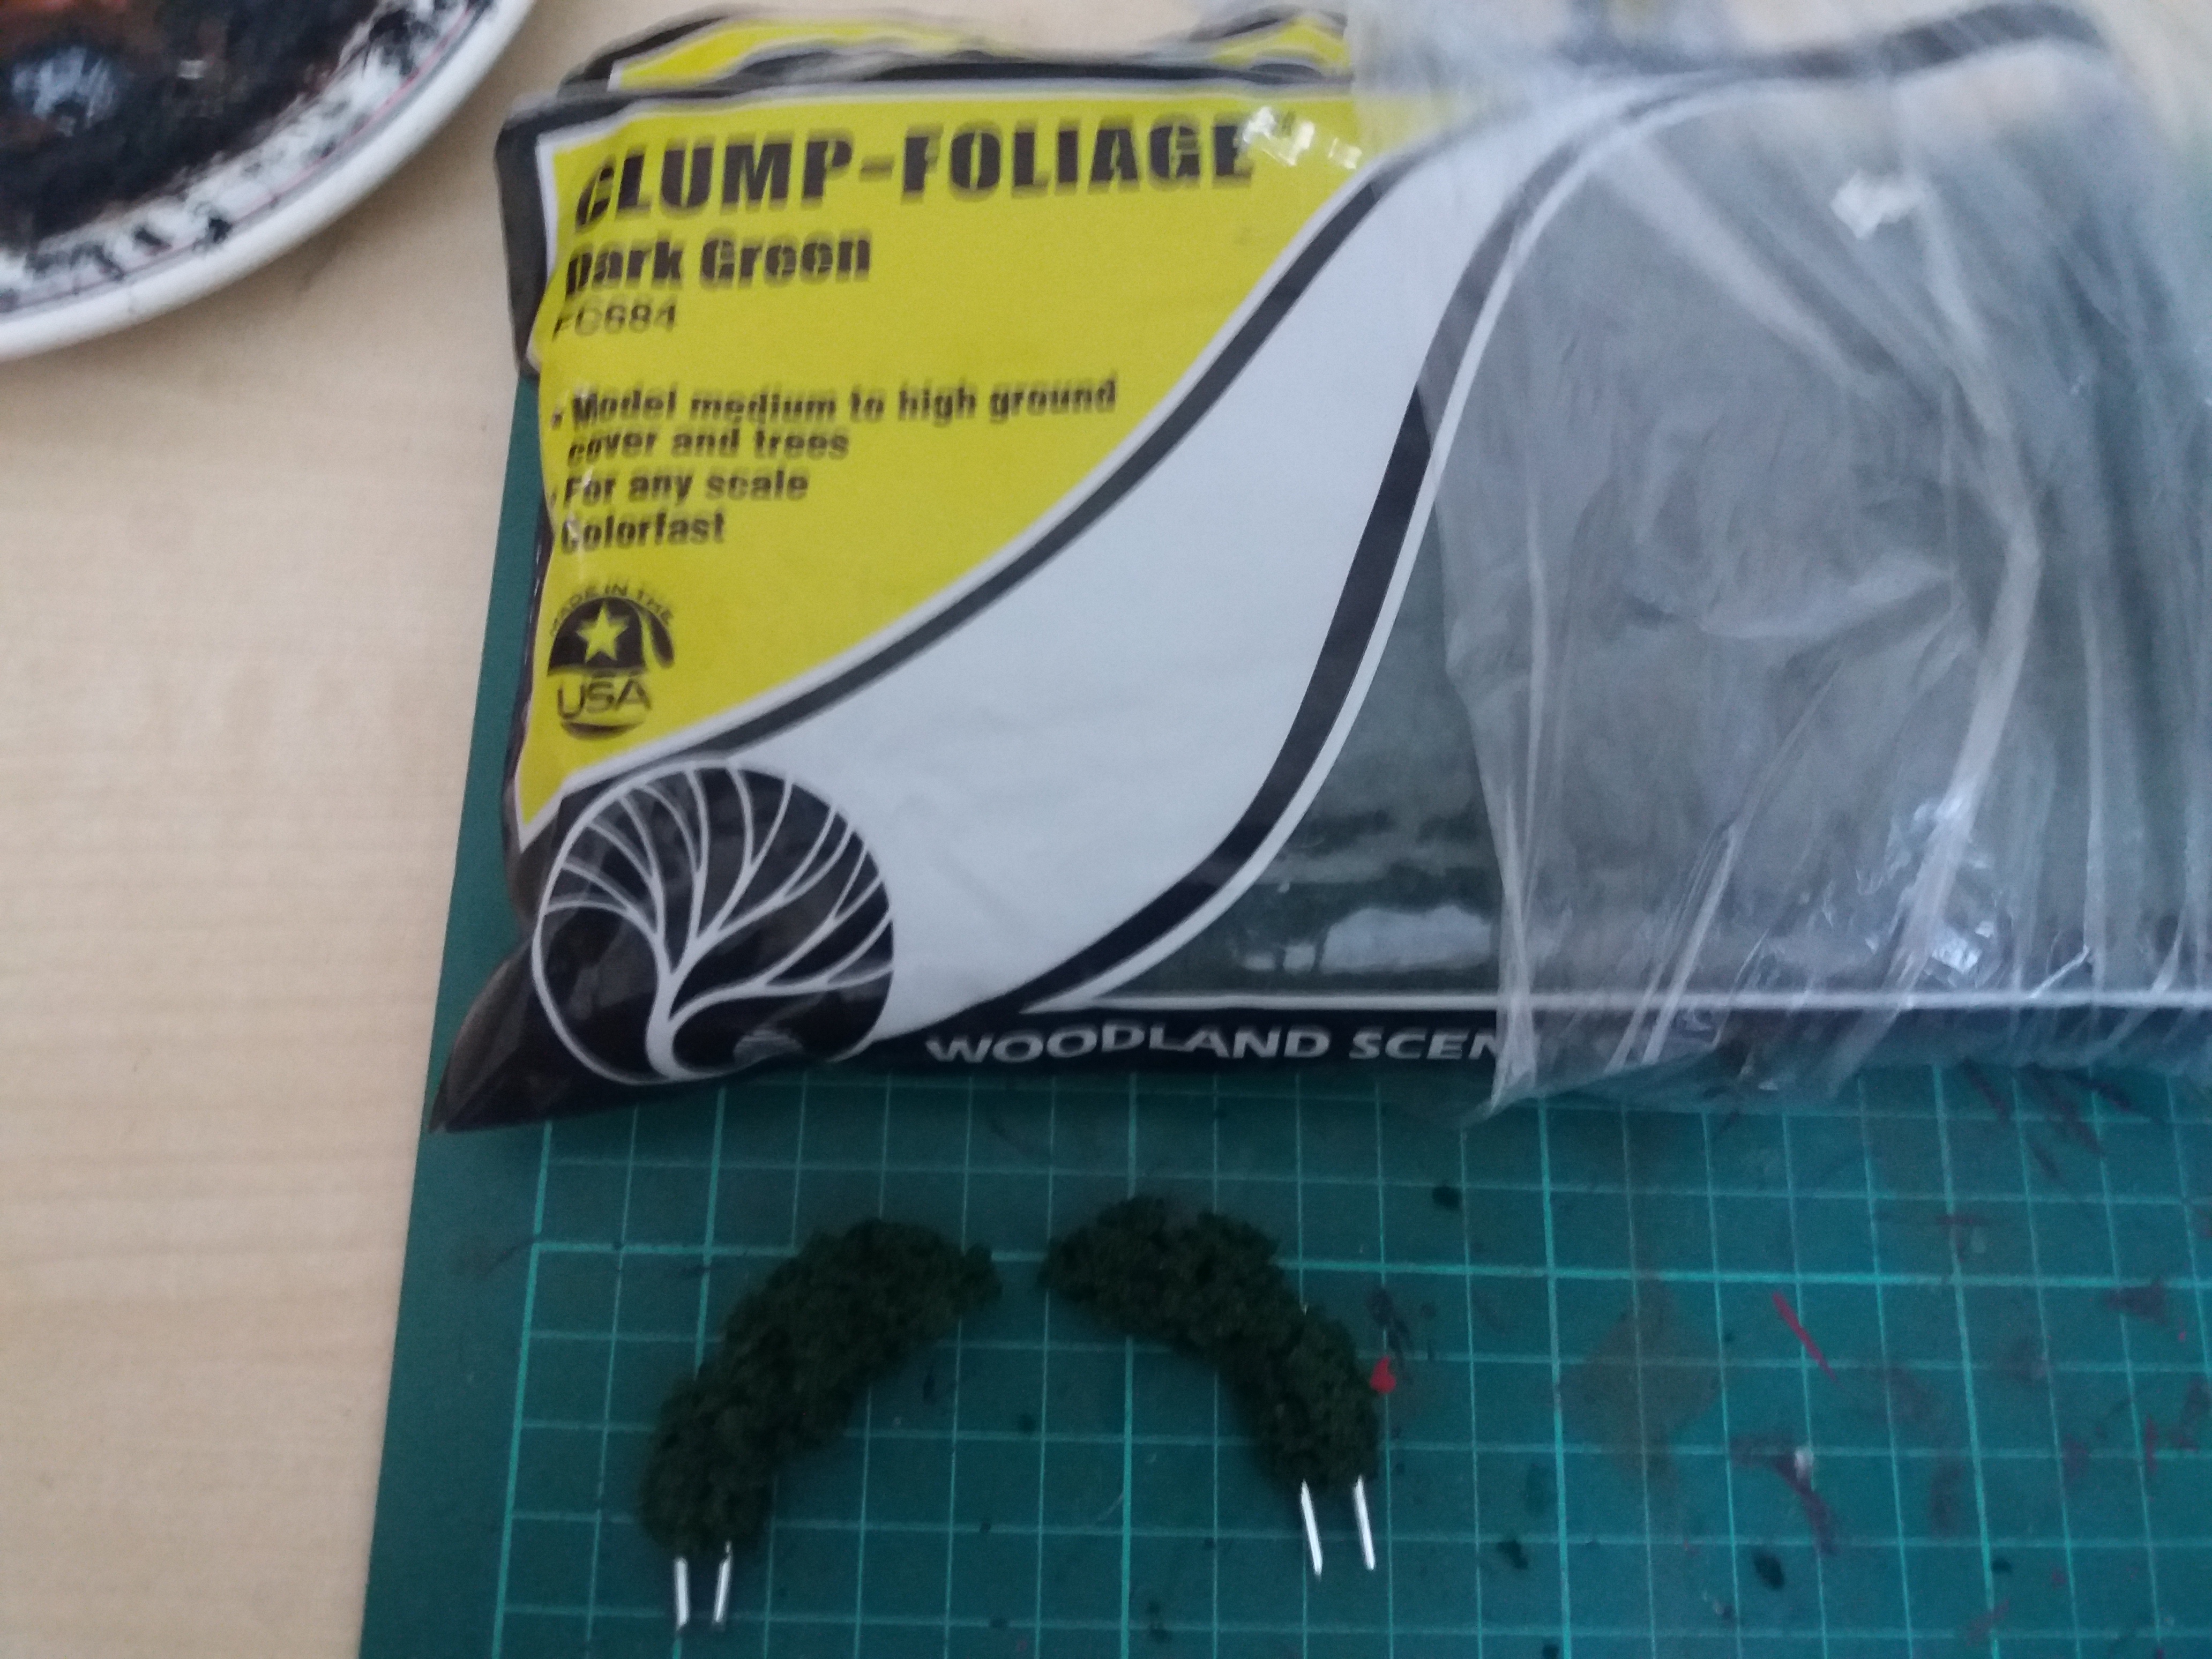 Step 2: Slowly build up the foliage until nearly the whole wire is covered, remember to leave a bit to go into the exhausts.
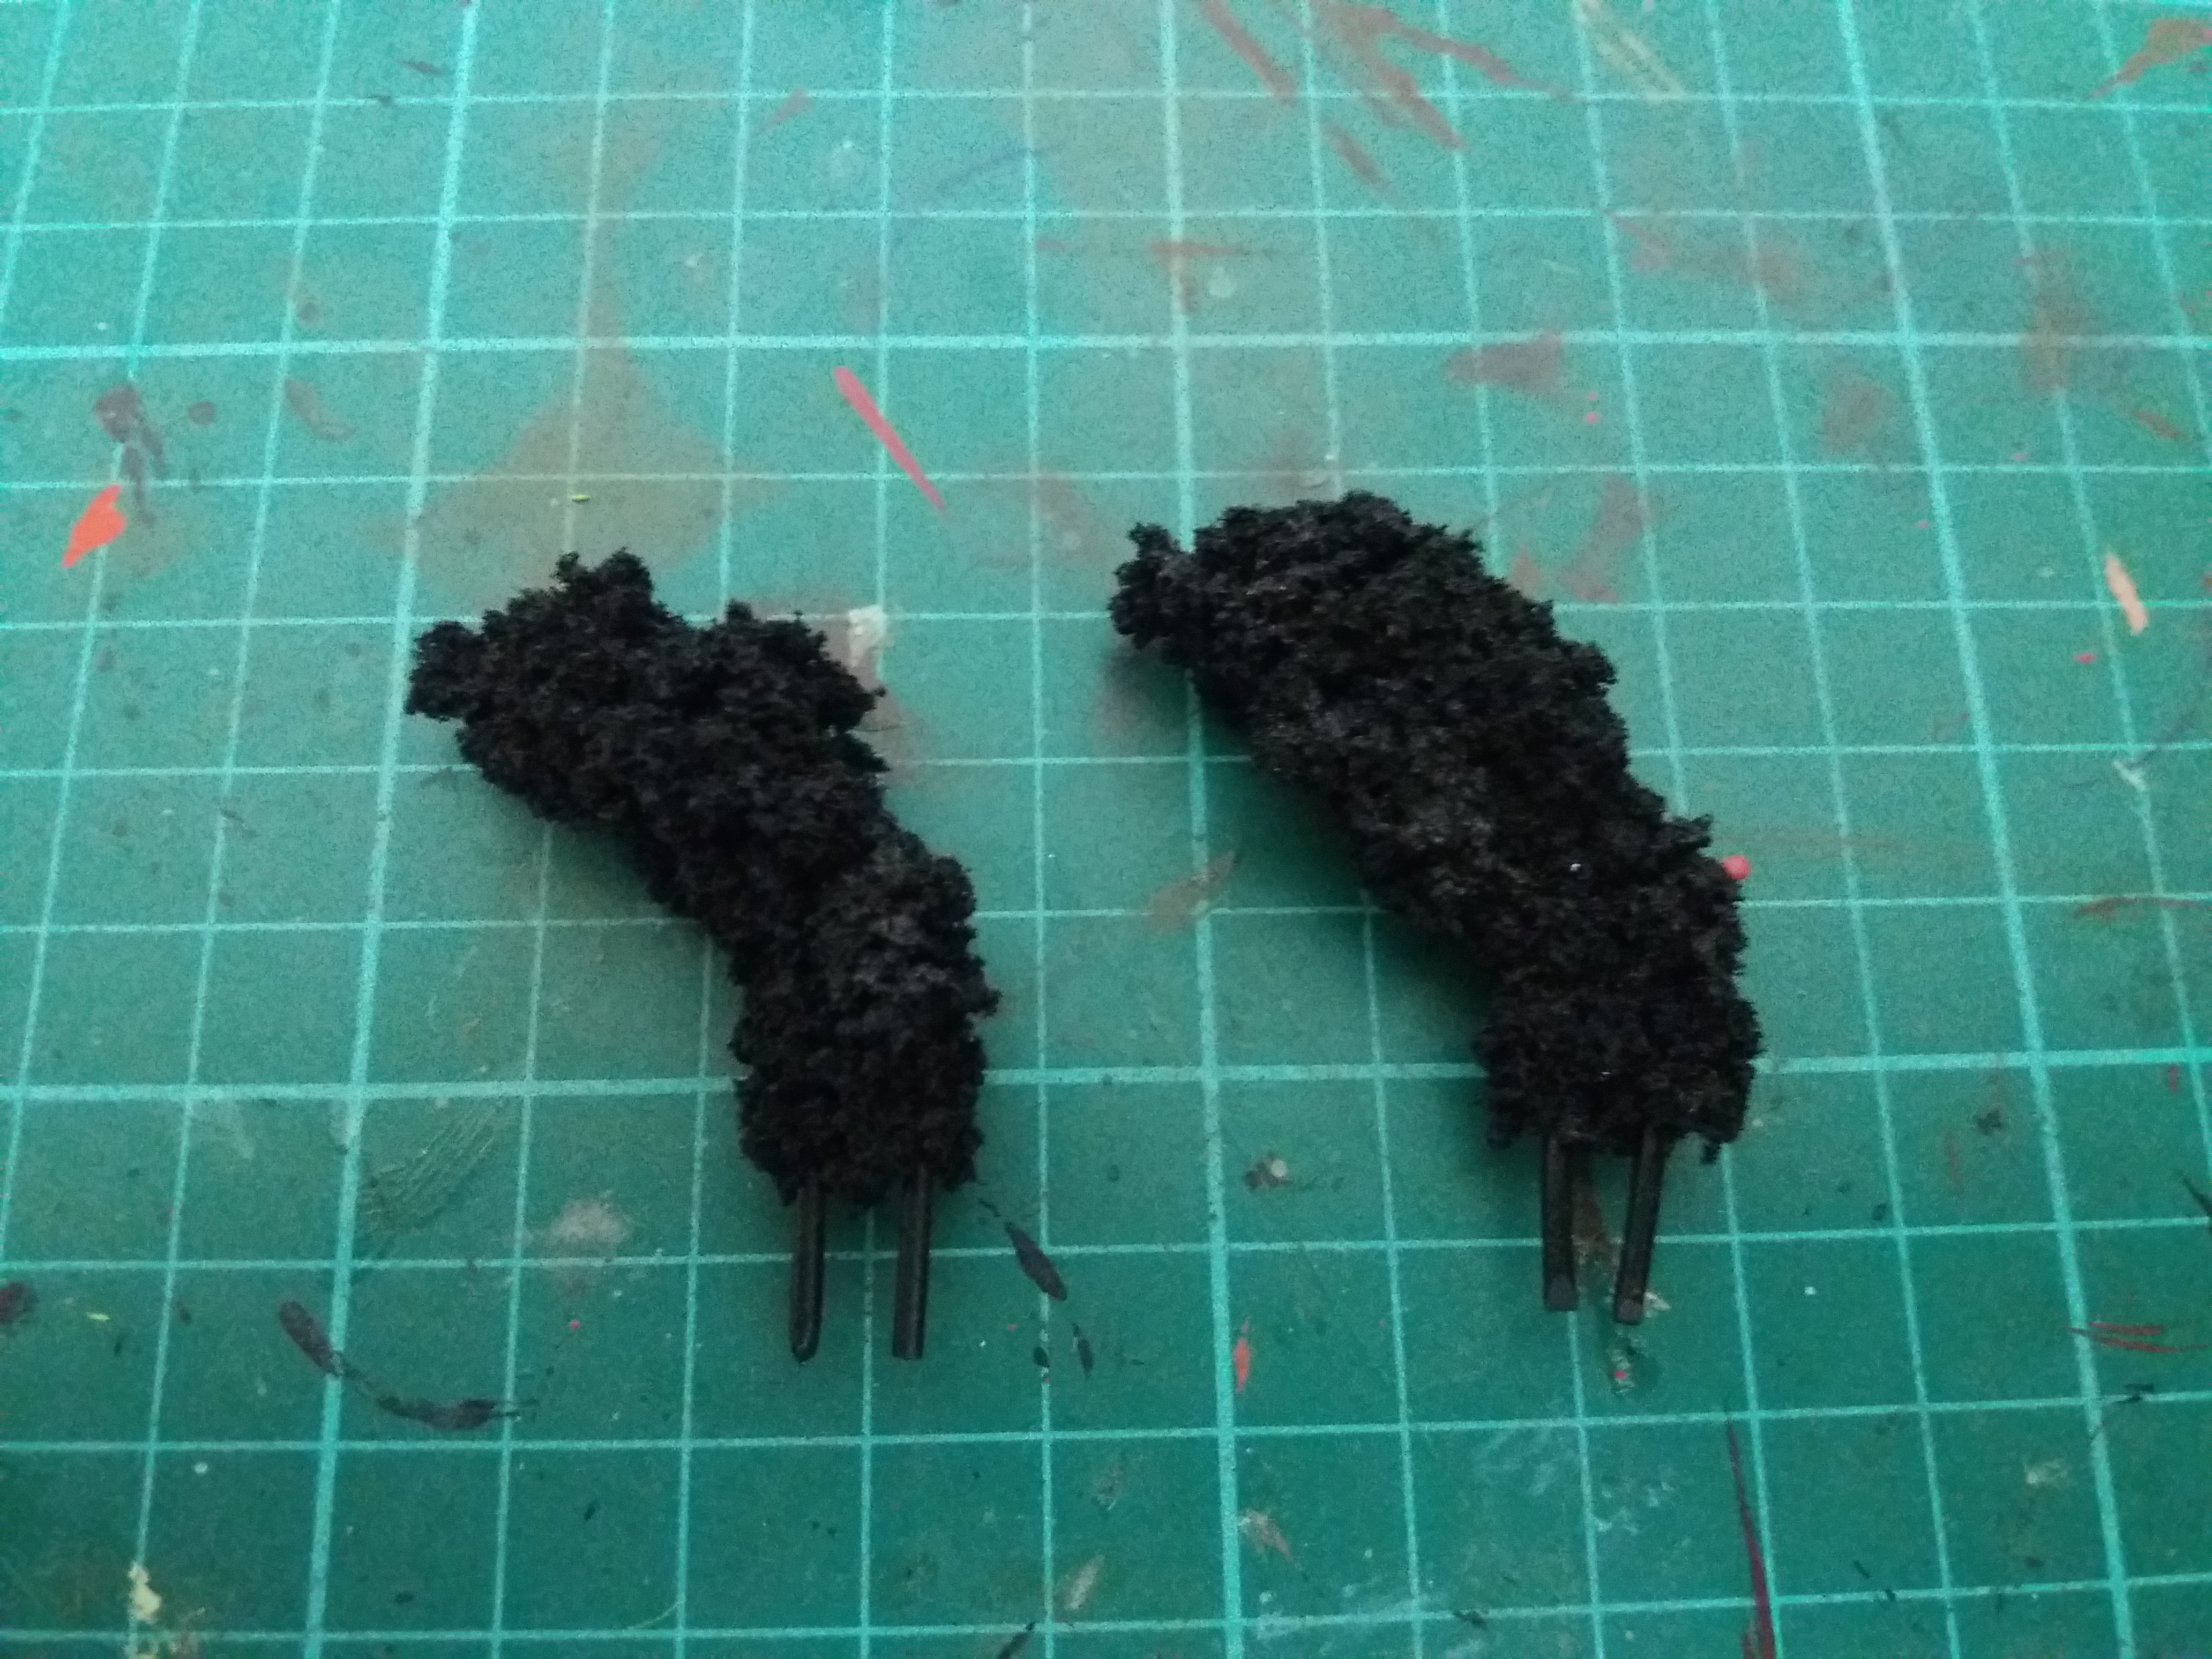 Step 3: Once you're happy with the coverage and it's nice and dry spray the whole thing with a black rattlecan.
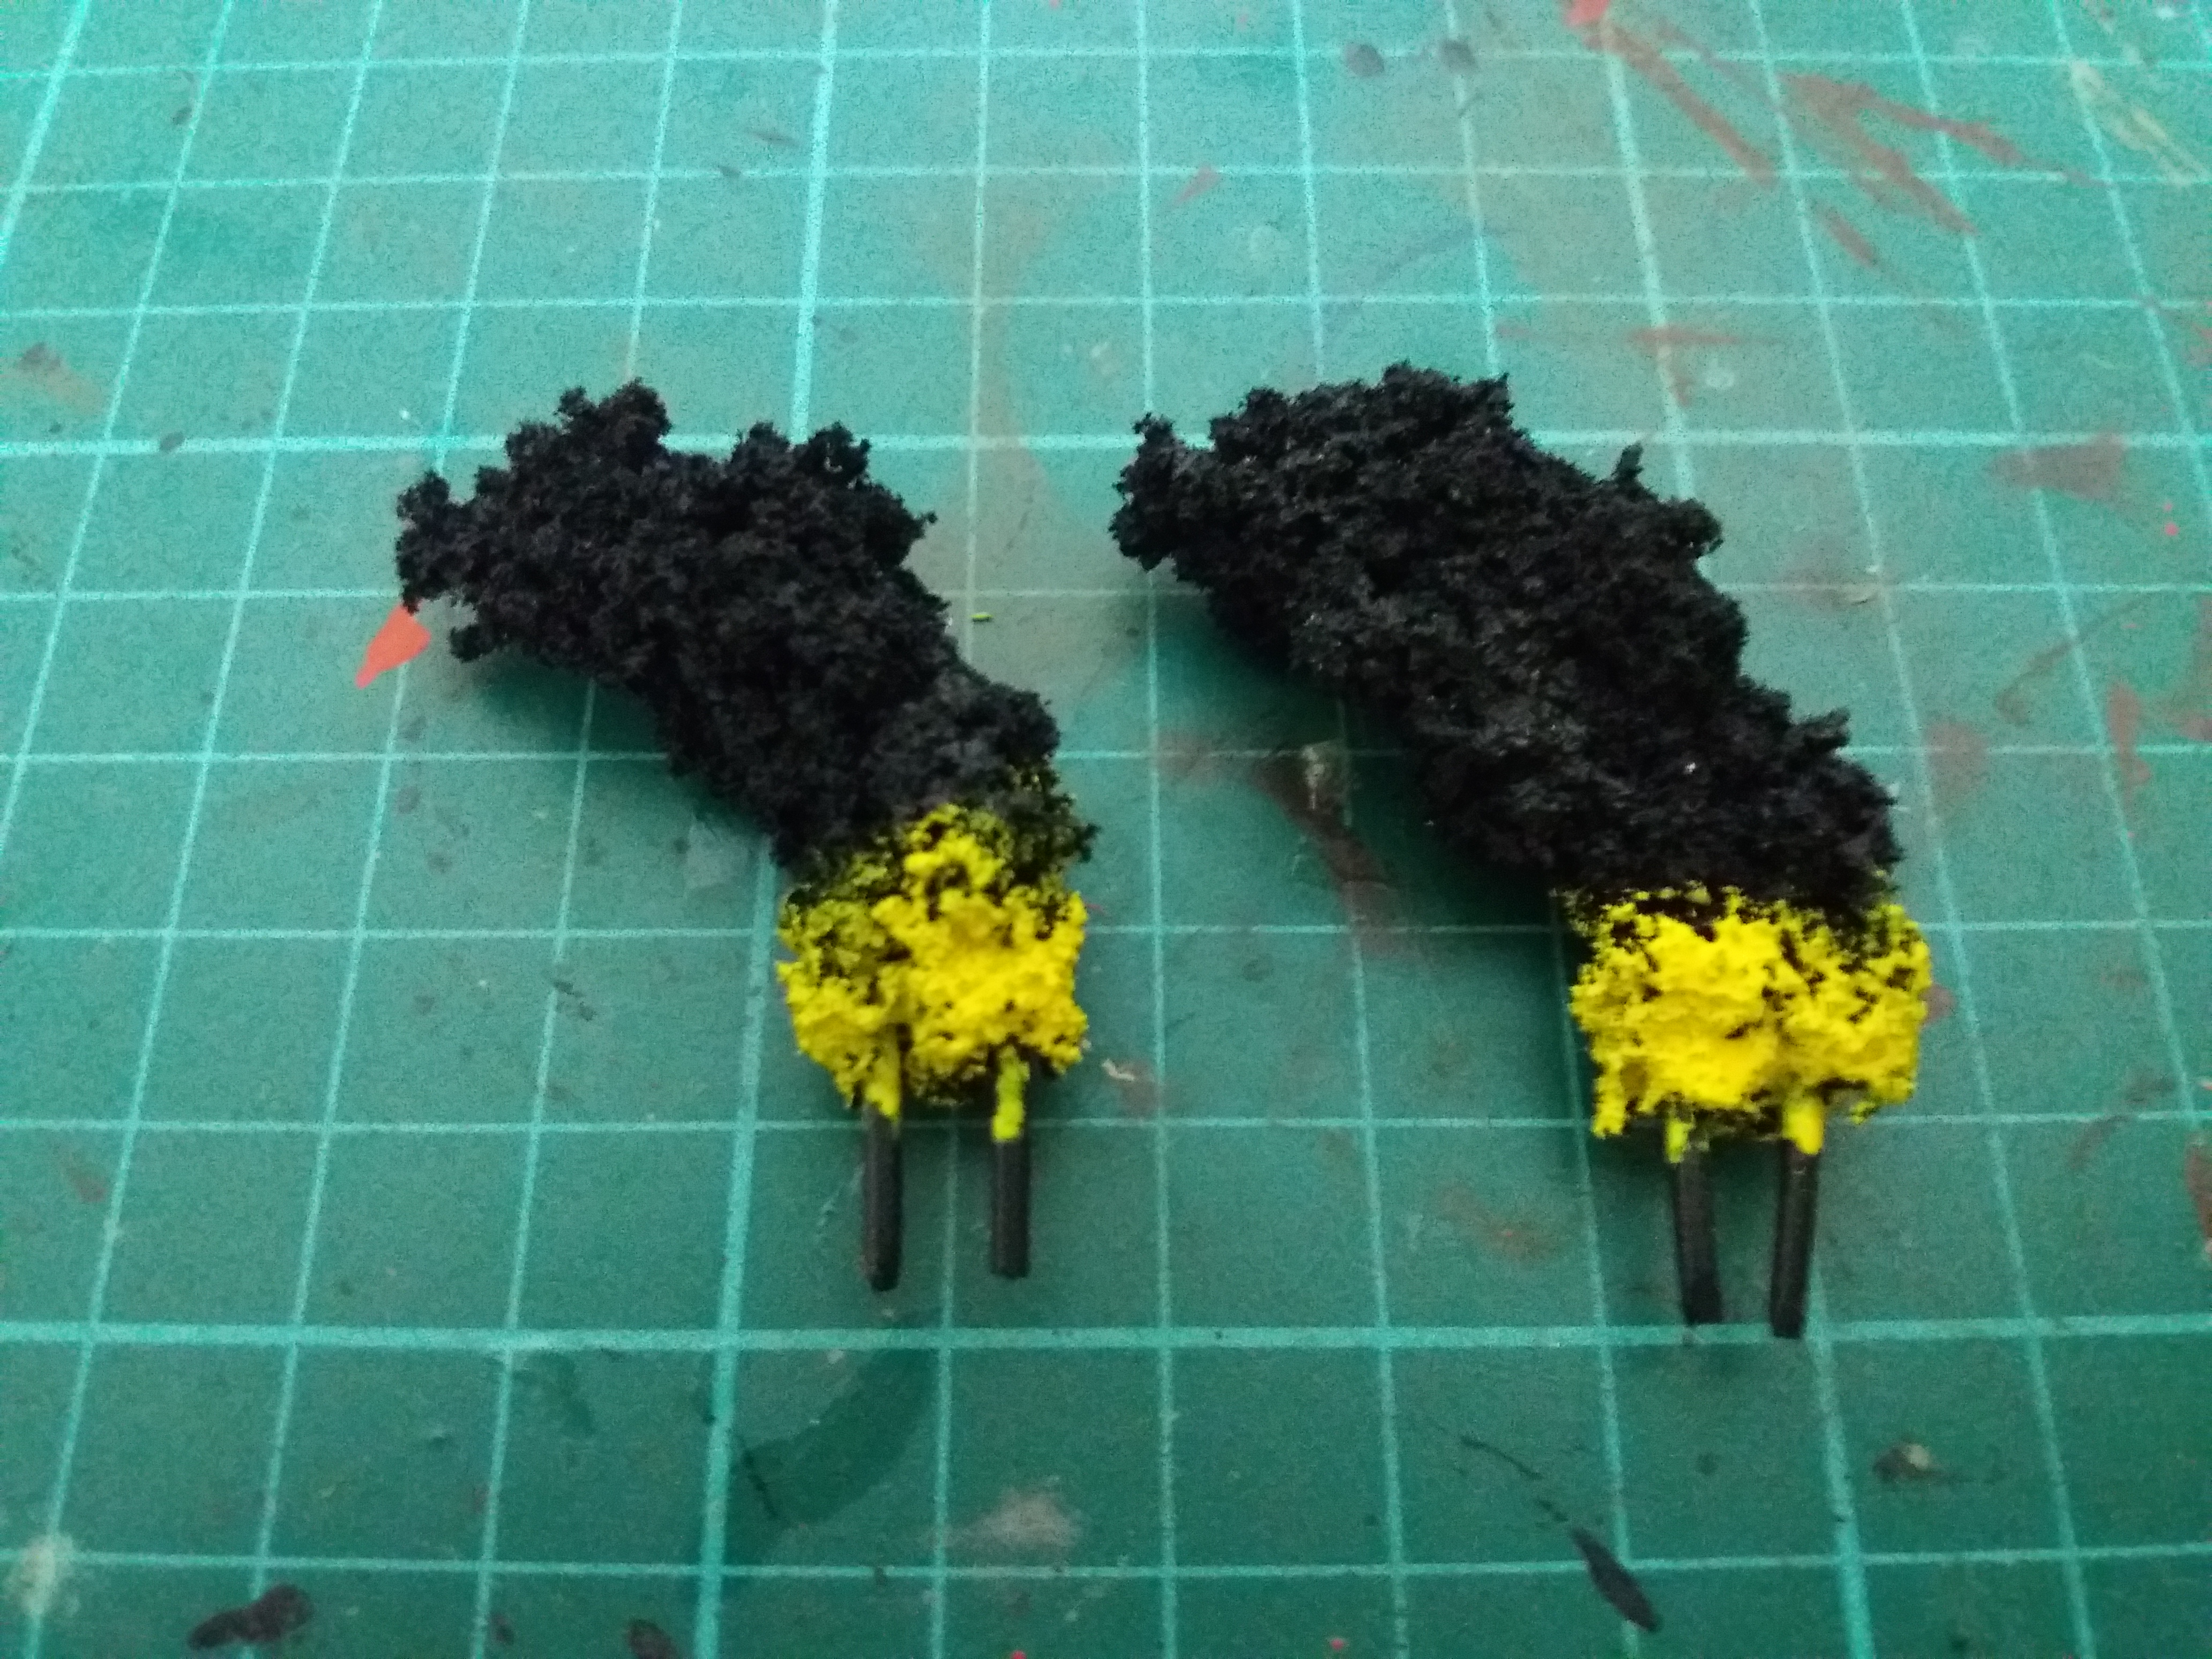 Step 4: Paint the base of the smoke with a bright yellow, I used Flash Gitz Yellow.
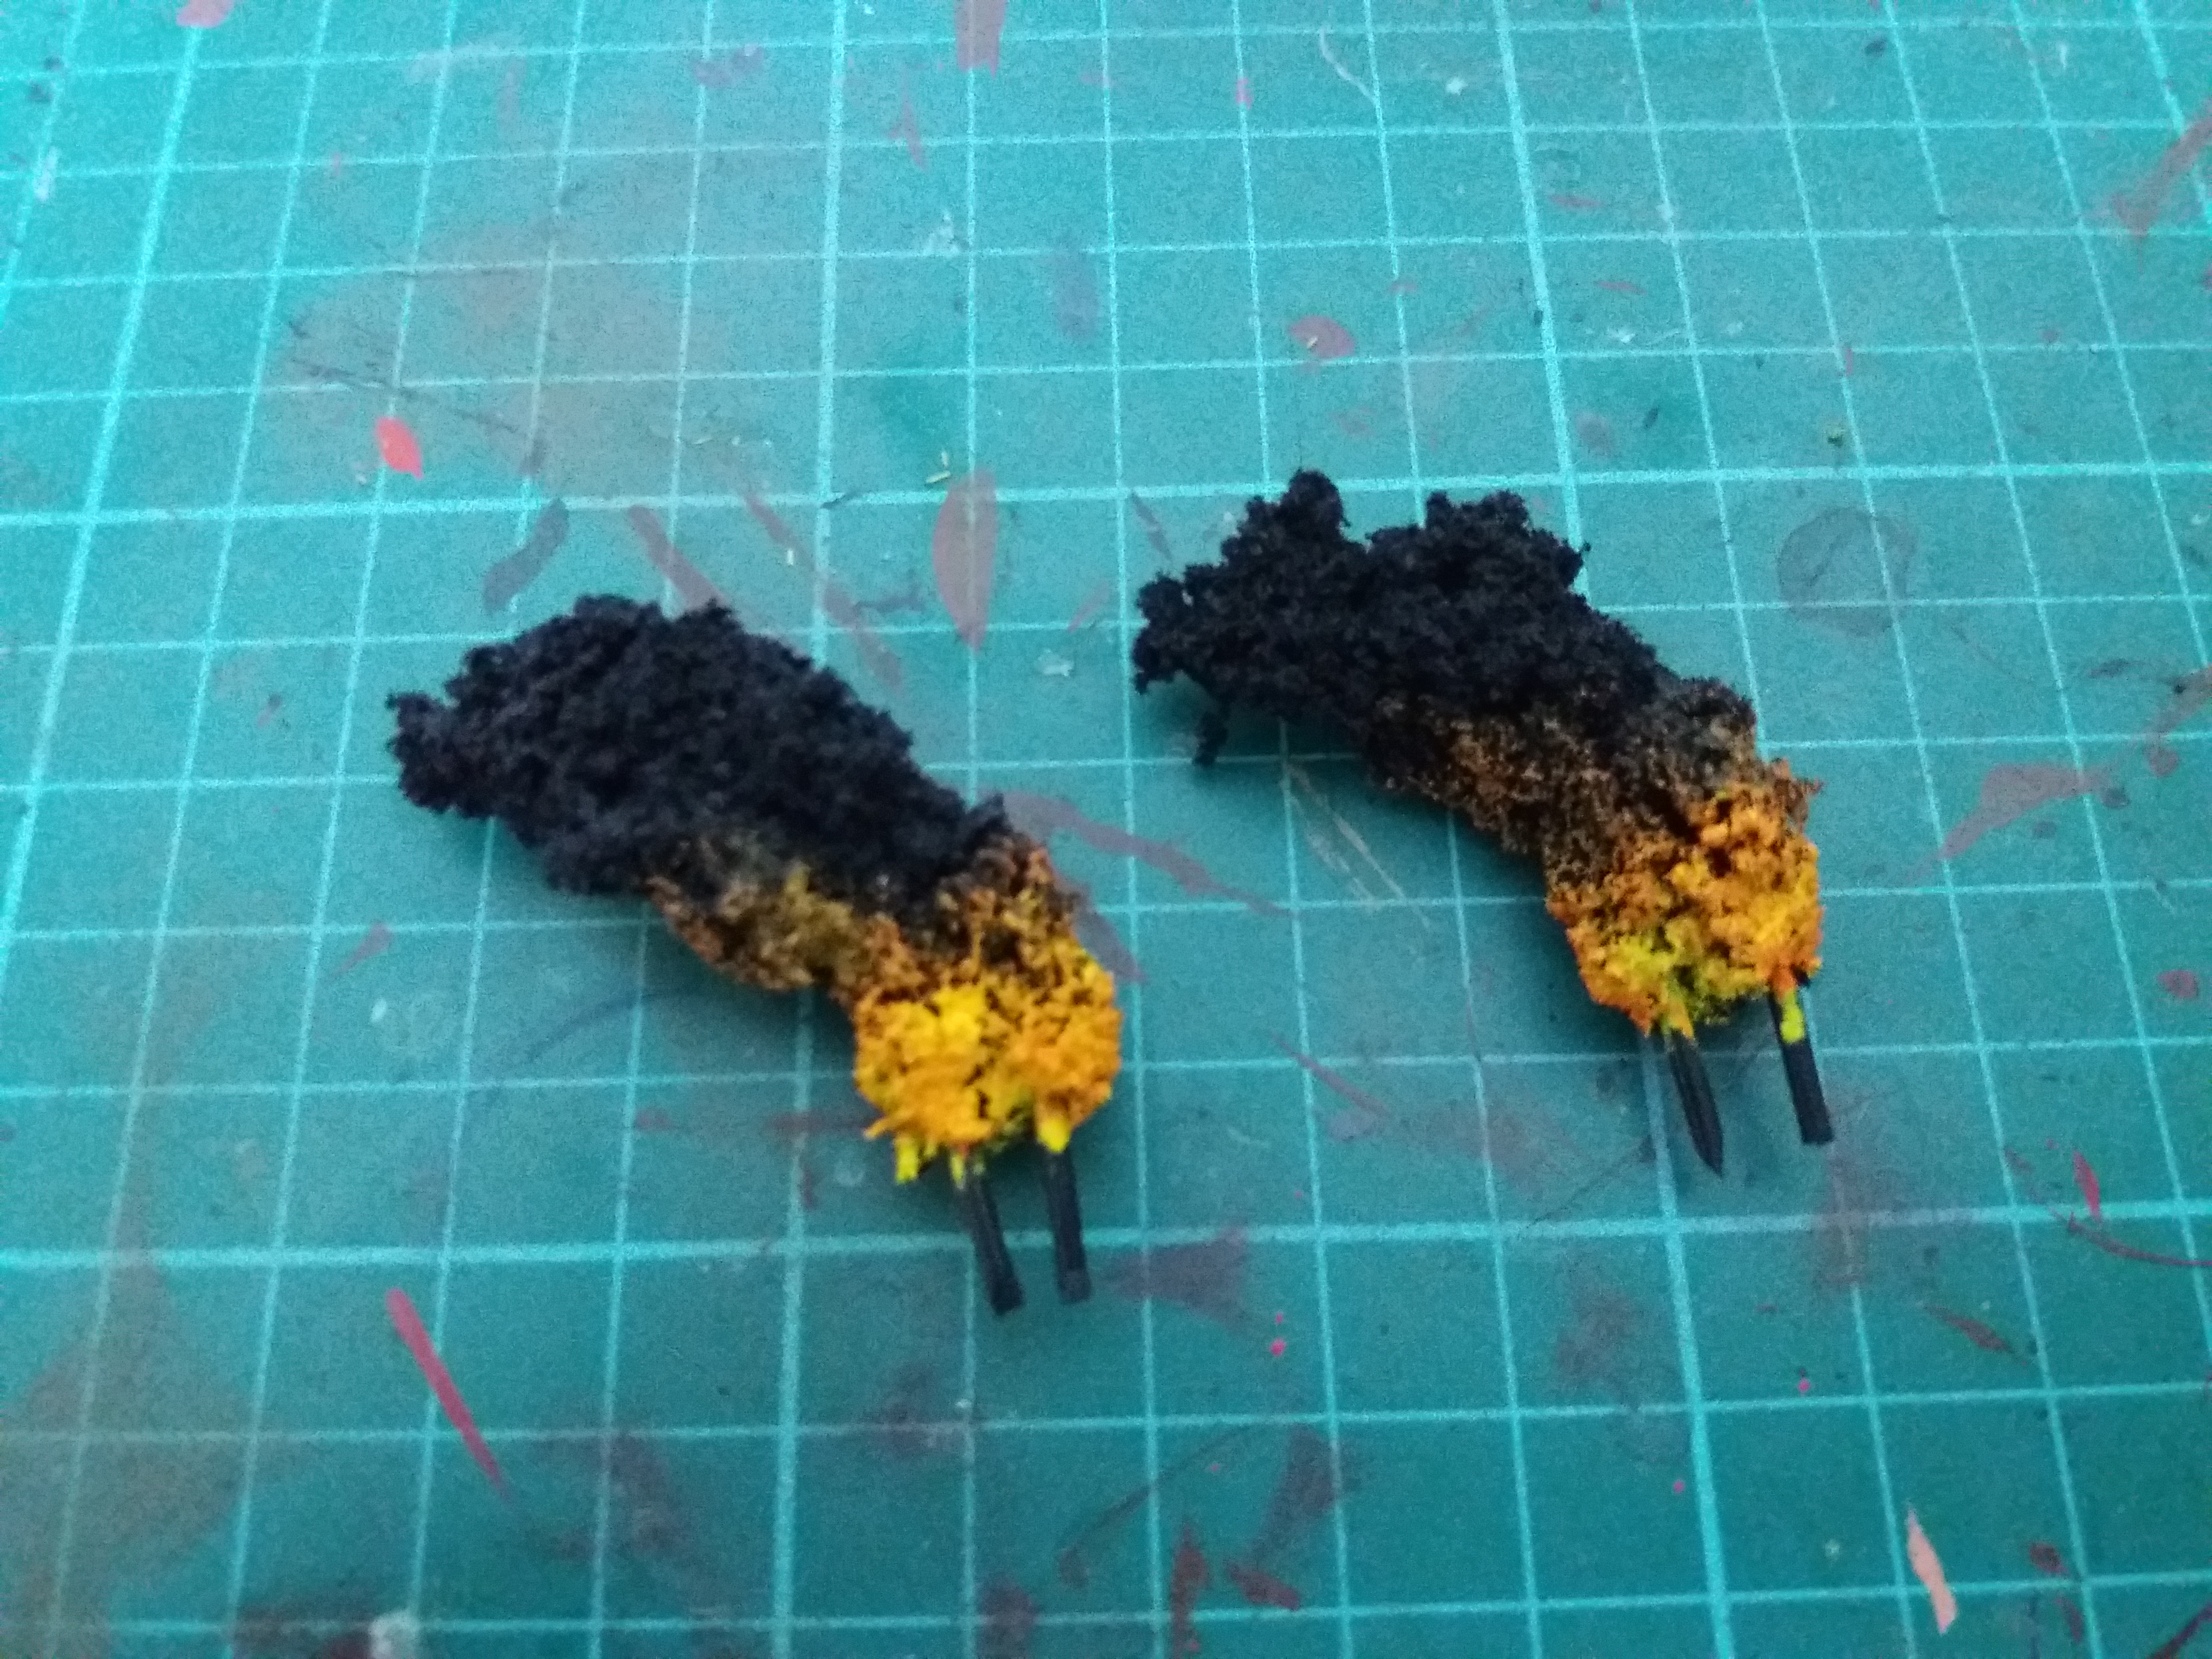 Step 5: Paint over the top of the yellow and also a little higher with an orange, I used Troll Slayer Orange for this.
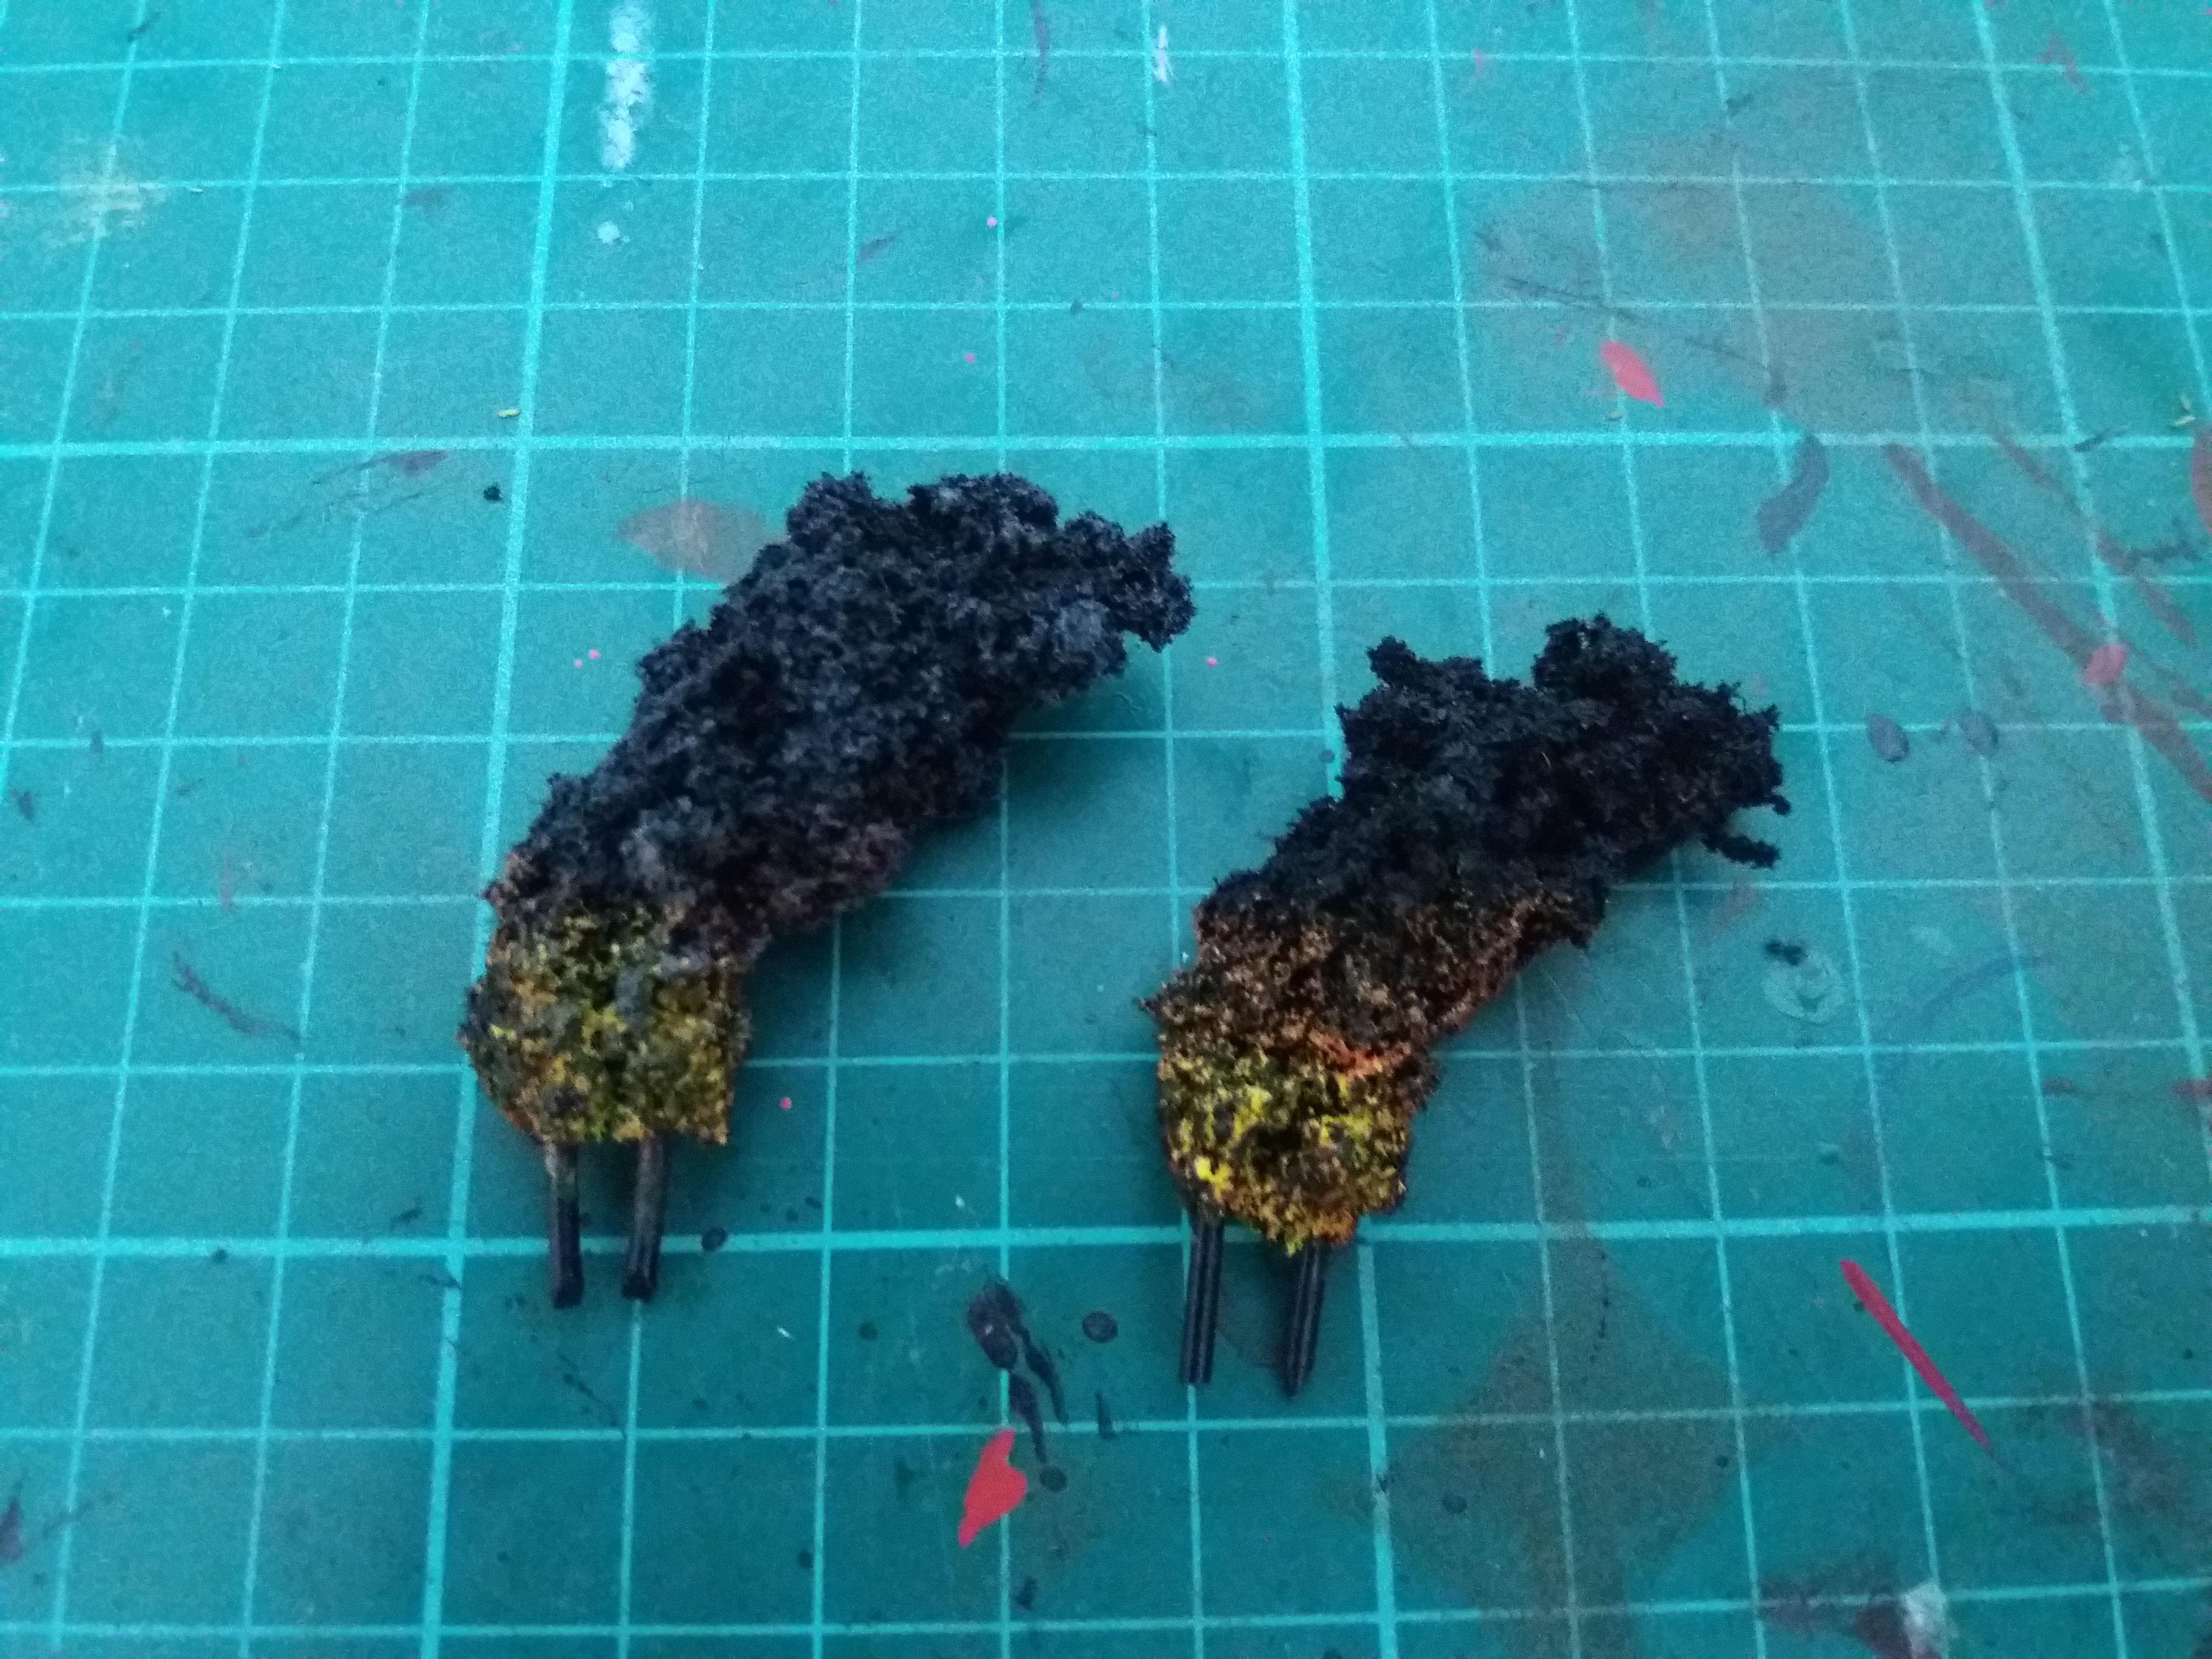 Step 6: Drybrush over the top of all the areas painted with a black, ideally the same colour you sprayed with so it matches. Try not to go to heavy with this as you don't want to cover up to much of the fire being kicked out by the millennia old engines.
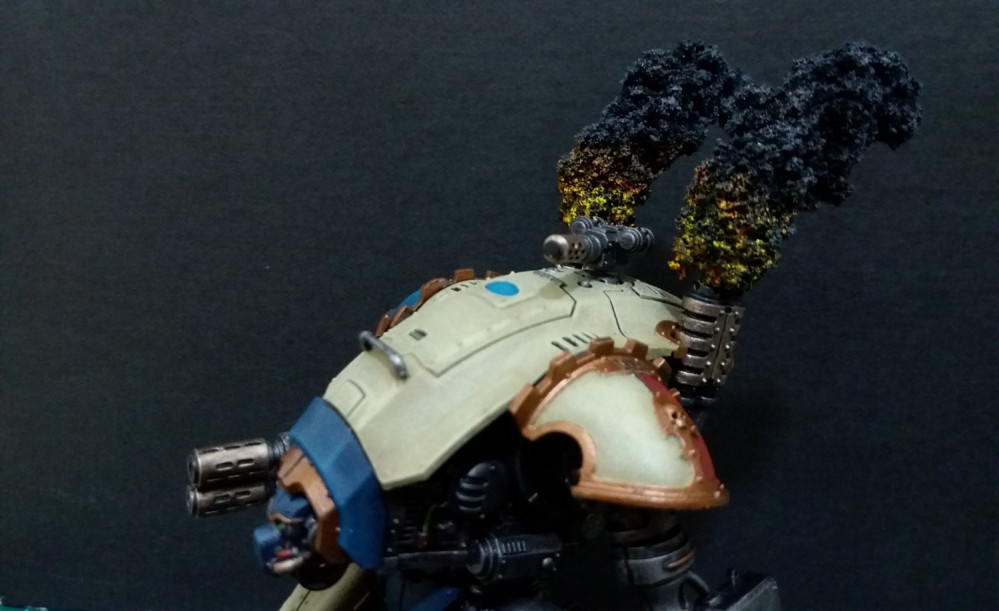
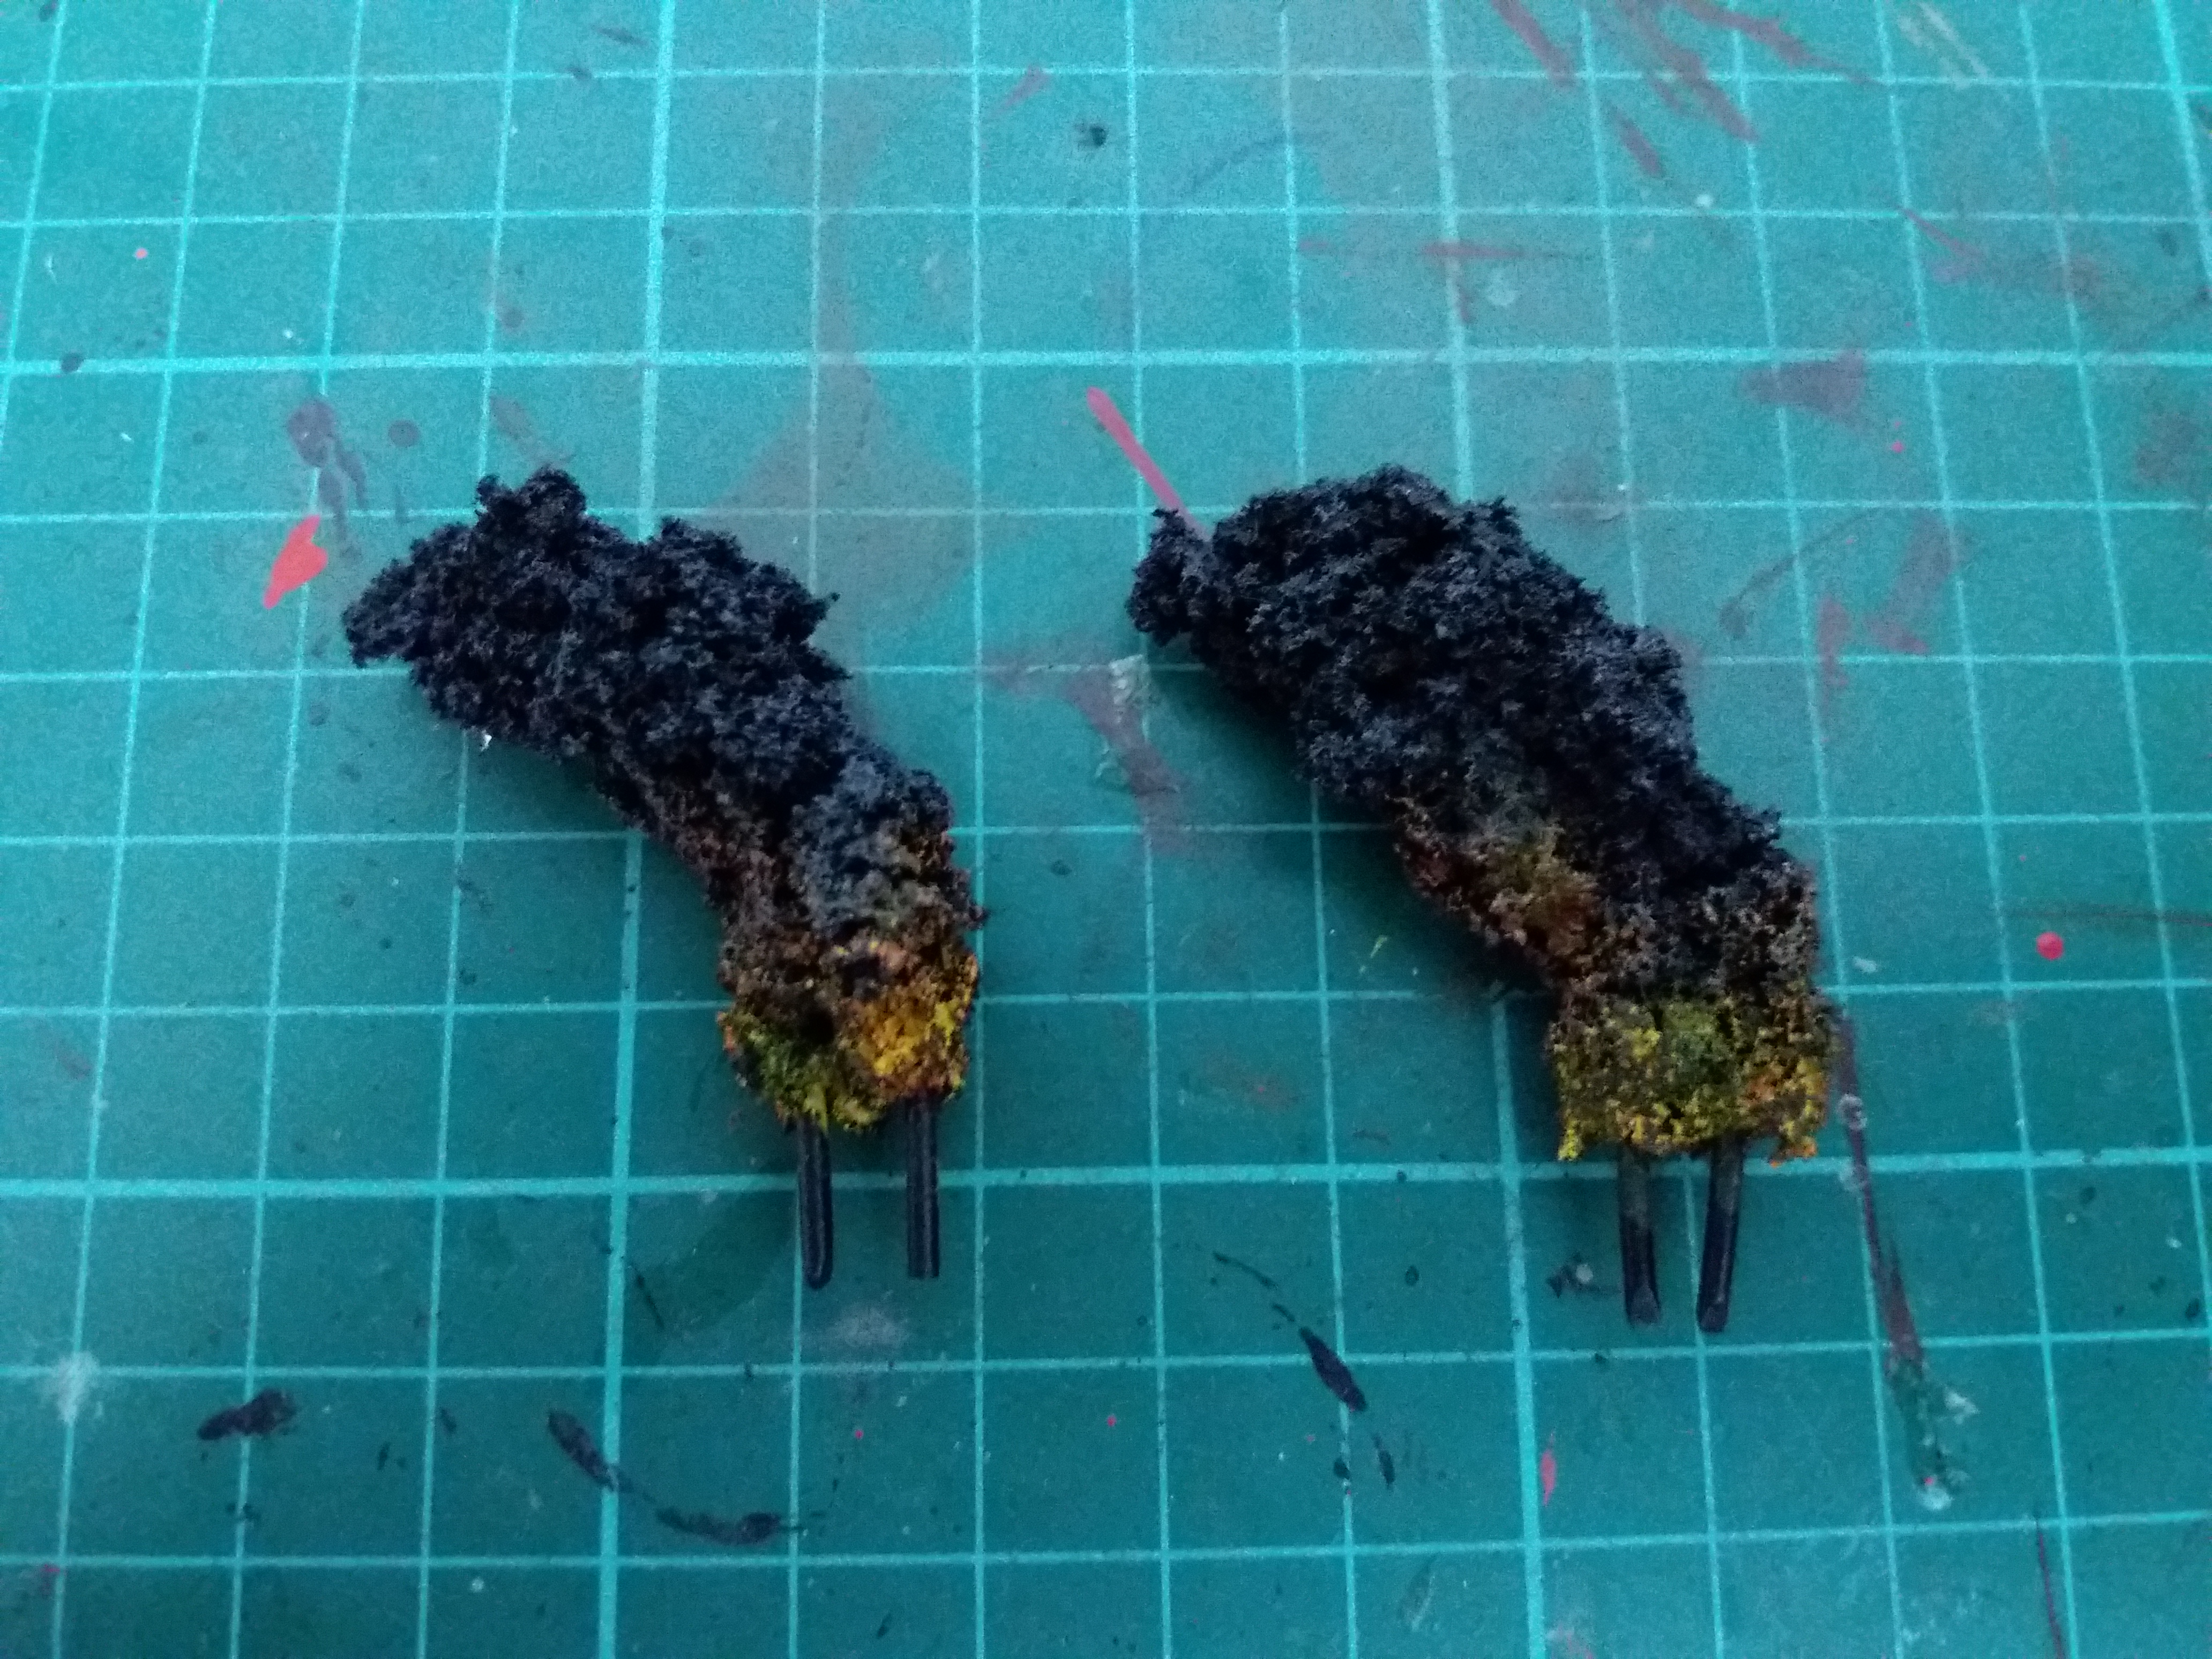 Step 7: Drybrush the whole smoke stack grey, I used Dawnstone, concentrate more toward the top of the stack
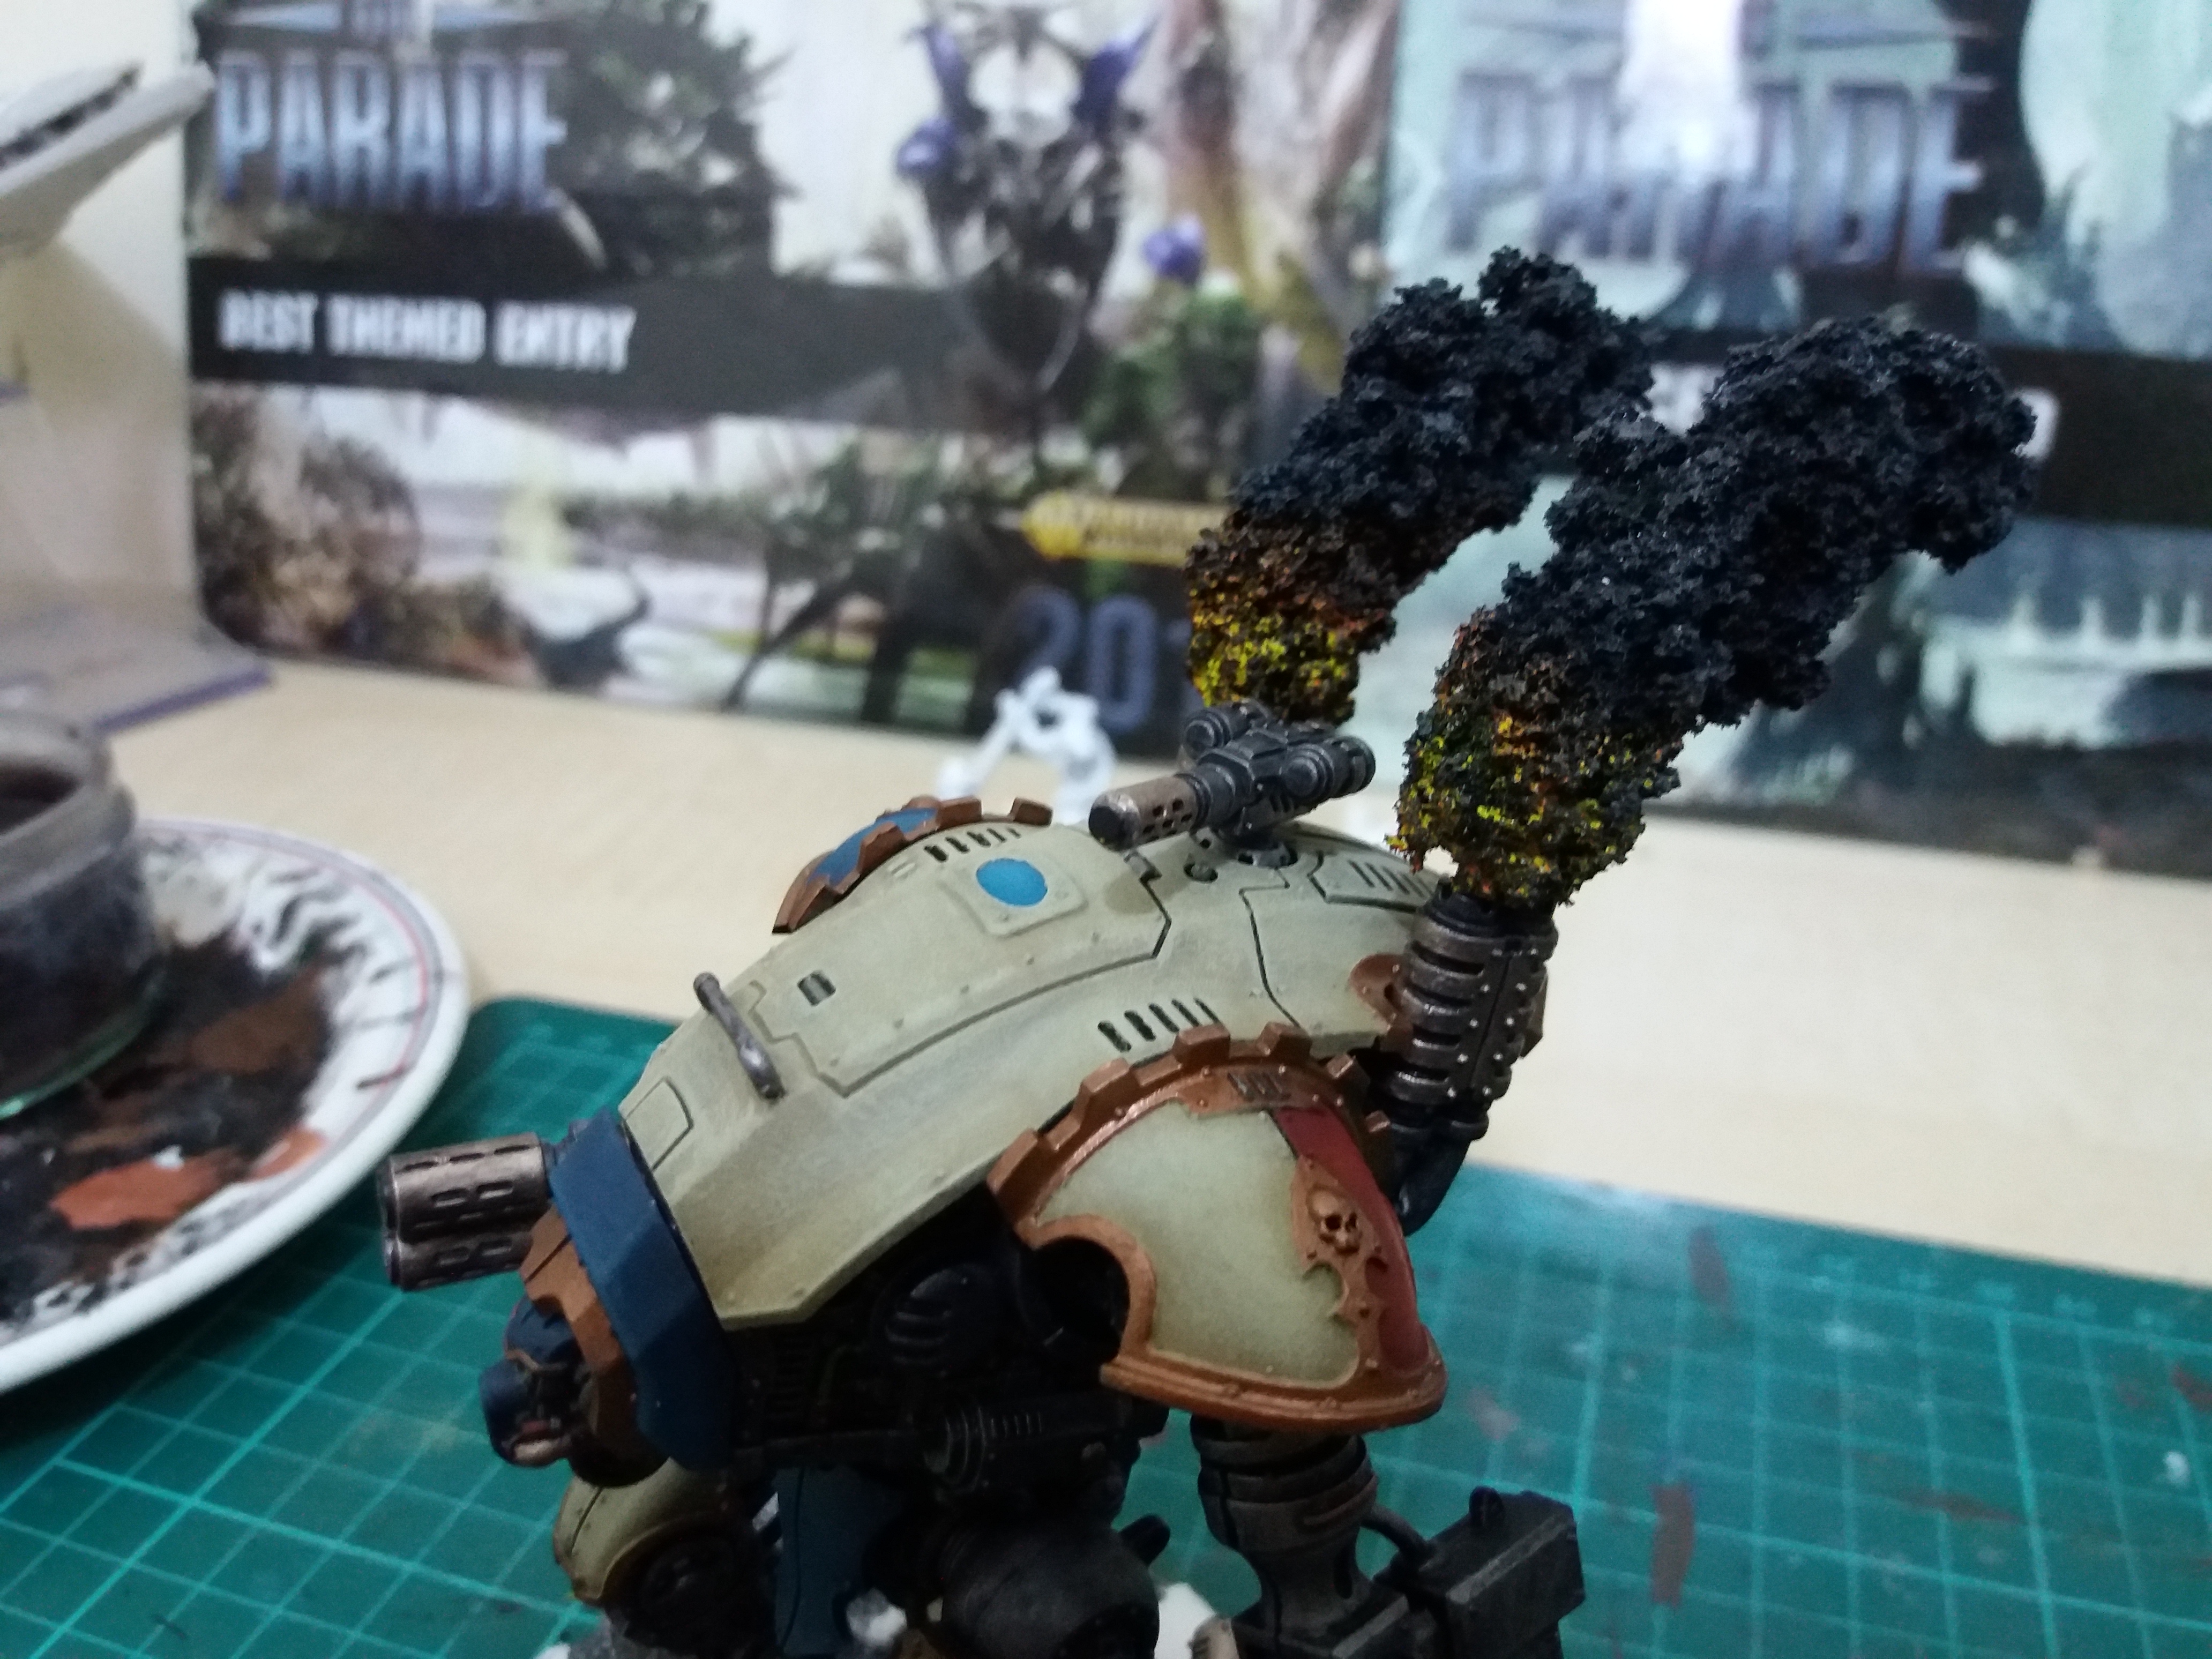 Step 8: Place into the top of the model, the metal wires should be enough to hold them in place, even in the most deadliest of battles, you can them remove them for transit.
 Finished! Very happy with how it's gone. Few lessons learnt, mainly take your time with the initial gluing and it doesn't need to be perfect, smoke never is. The next step is the transfers.