


![How To Paint Moonstone’s Nanny | Goblin King Games [7 Days Early Access]](https://images.beastsofwar.com/2024/12/3CU-Gobin-King-Games-Moonstone-Shades-Nanny-coverimage-225-127.jpg)


Knight Rider KITT diorama


Adding the Larson Scanner
Zwooo-wooo. Zwooo-woooo.
That’s the sound of a Larson Scanner. You know the thing. The swooshing light, with the menacing zwooo-wooo sound. It turns out that a one Glen A. Larson loved his “Cylon eye” effect so much, he couldn’t help but use it for Knight Rider too!
I already had a go at making tiny little Larson Scanners for my 32mm animated cylons project and with quite some success.
But this is a bigger build. Which means a bigger scanner! Three LEDs? Not enough. Four? Are you kidding – who would use an even number? Ok, five then? Well, ok…. sounding interesting….. Screw it, let’s go for seven!
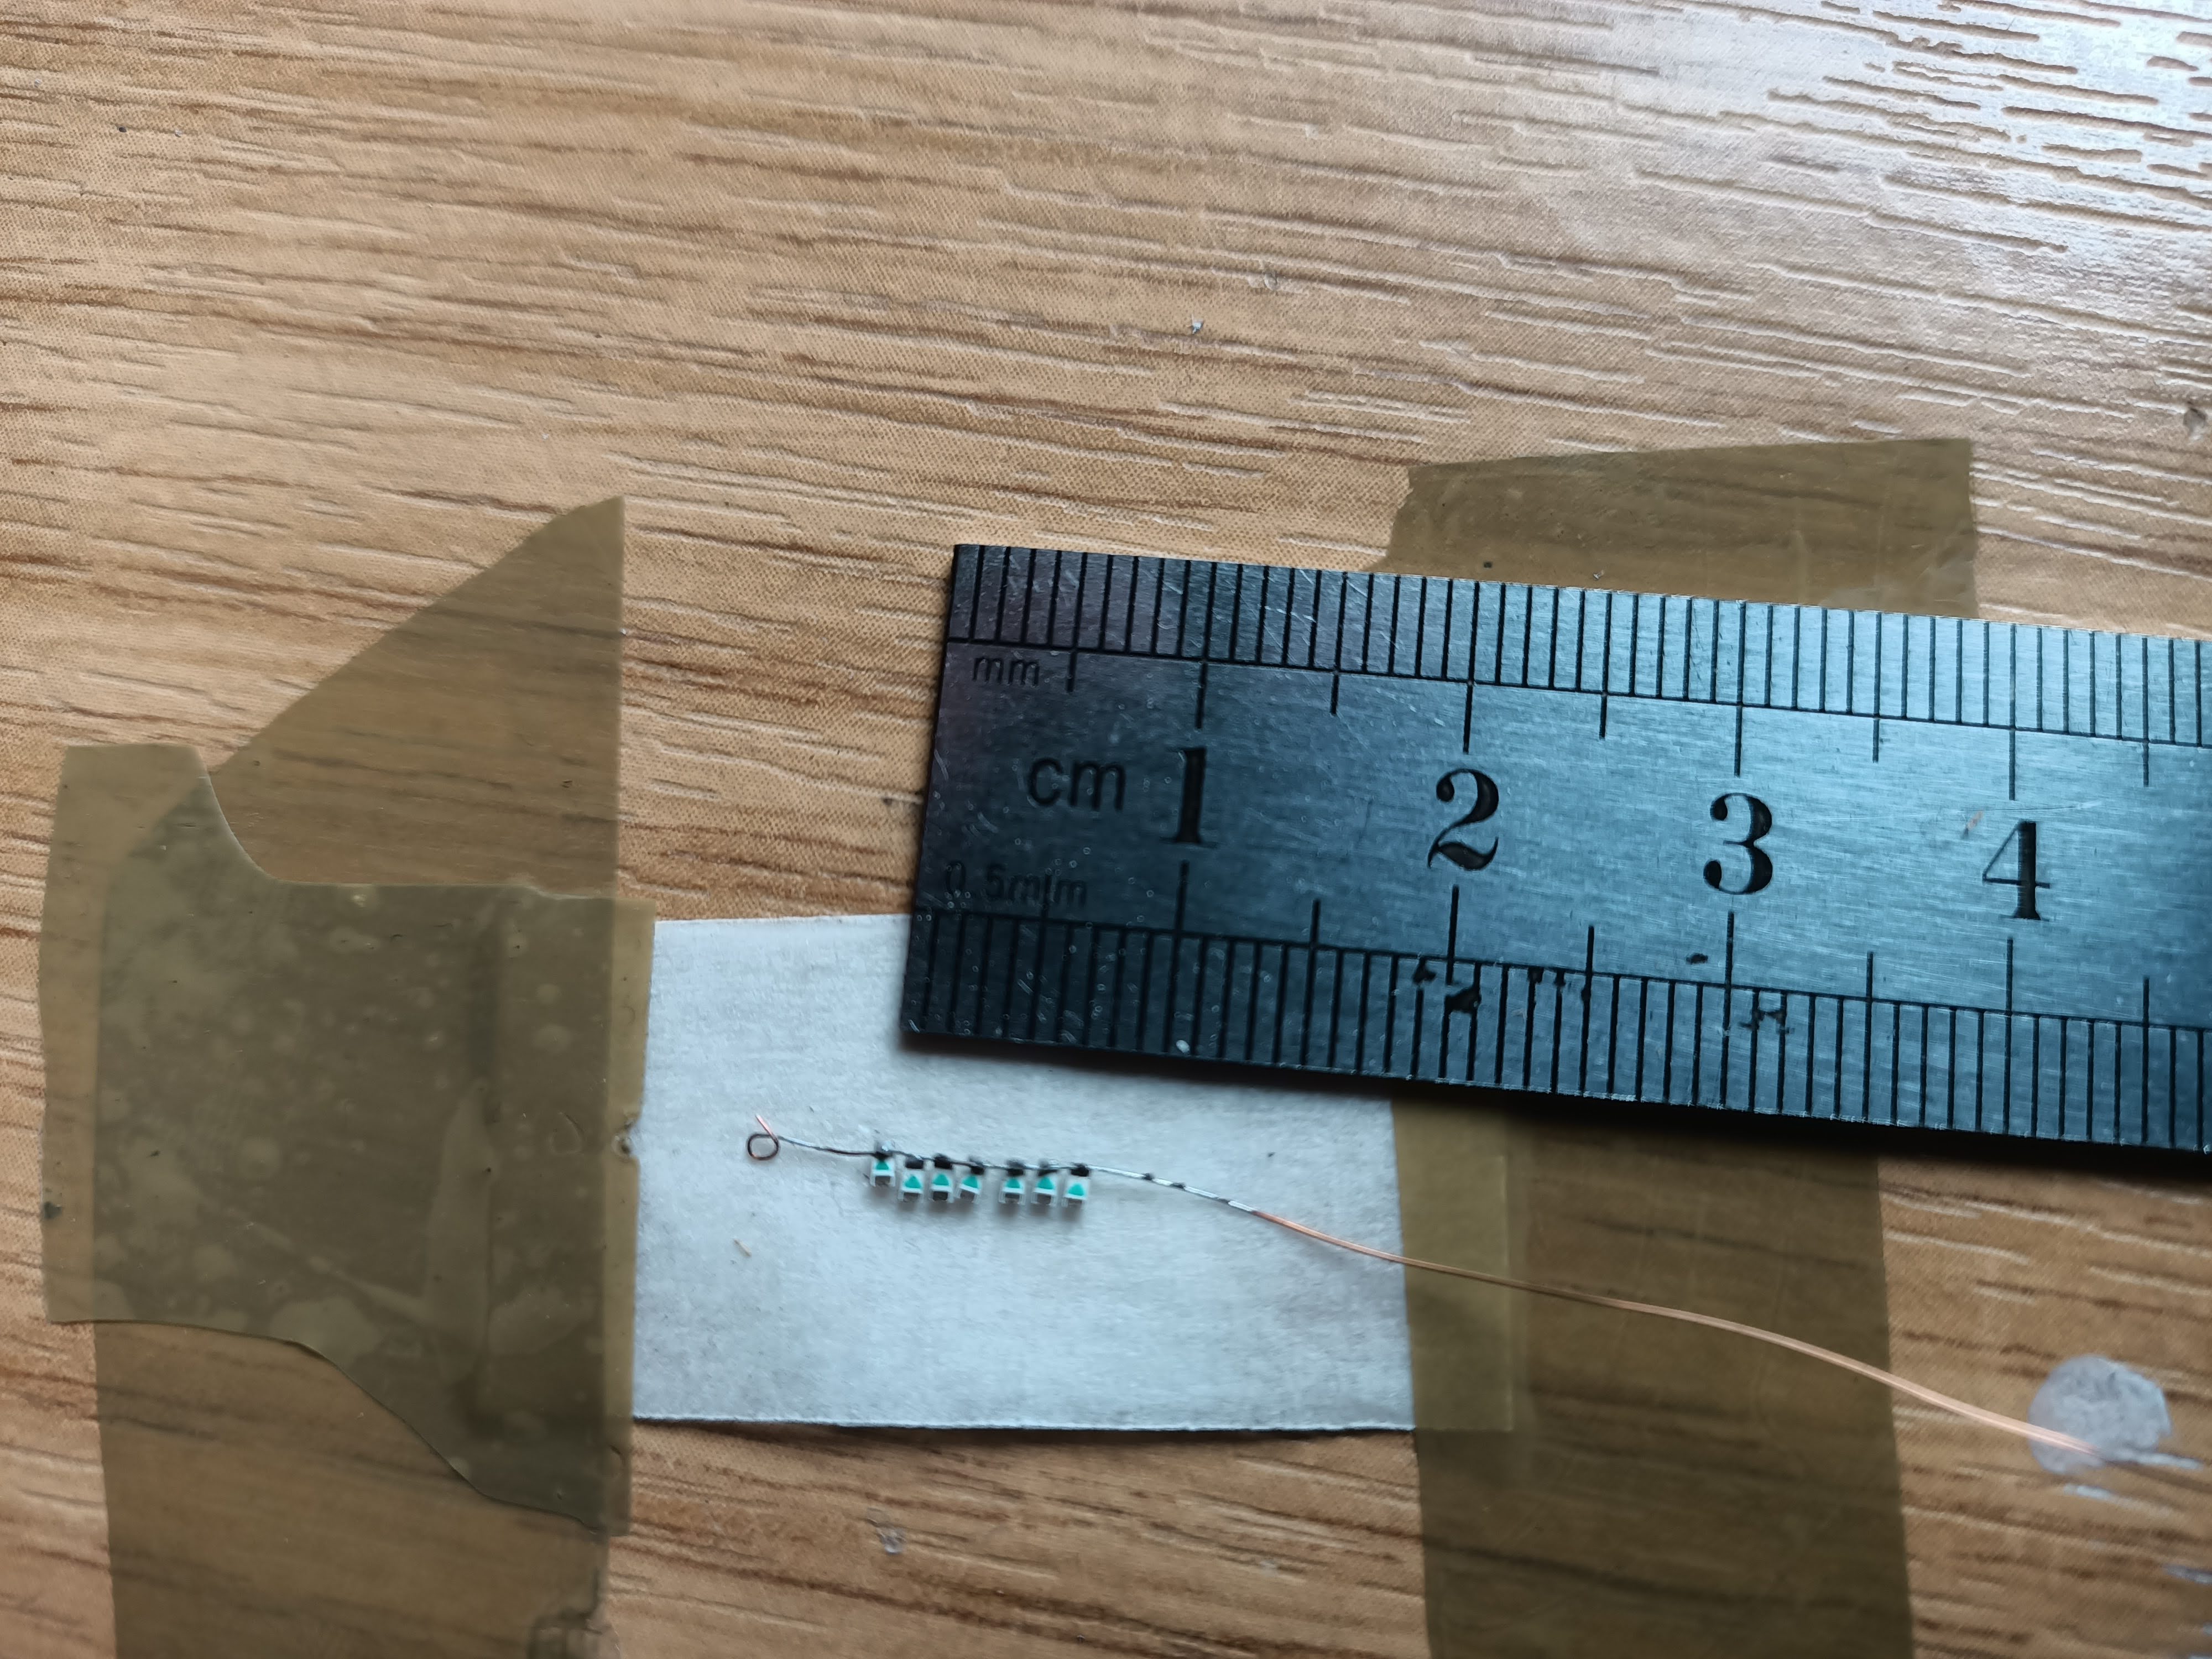
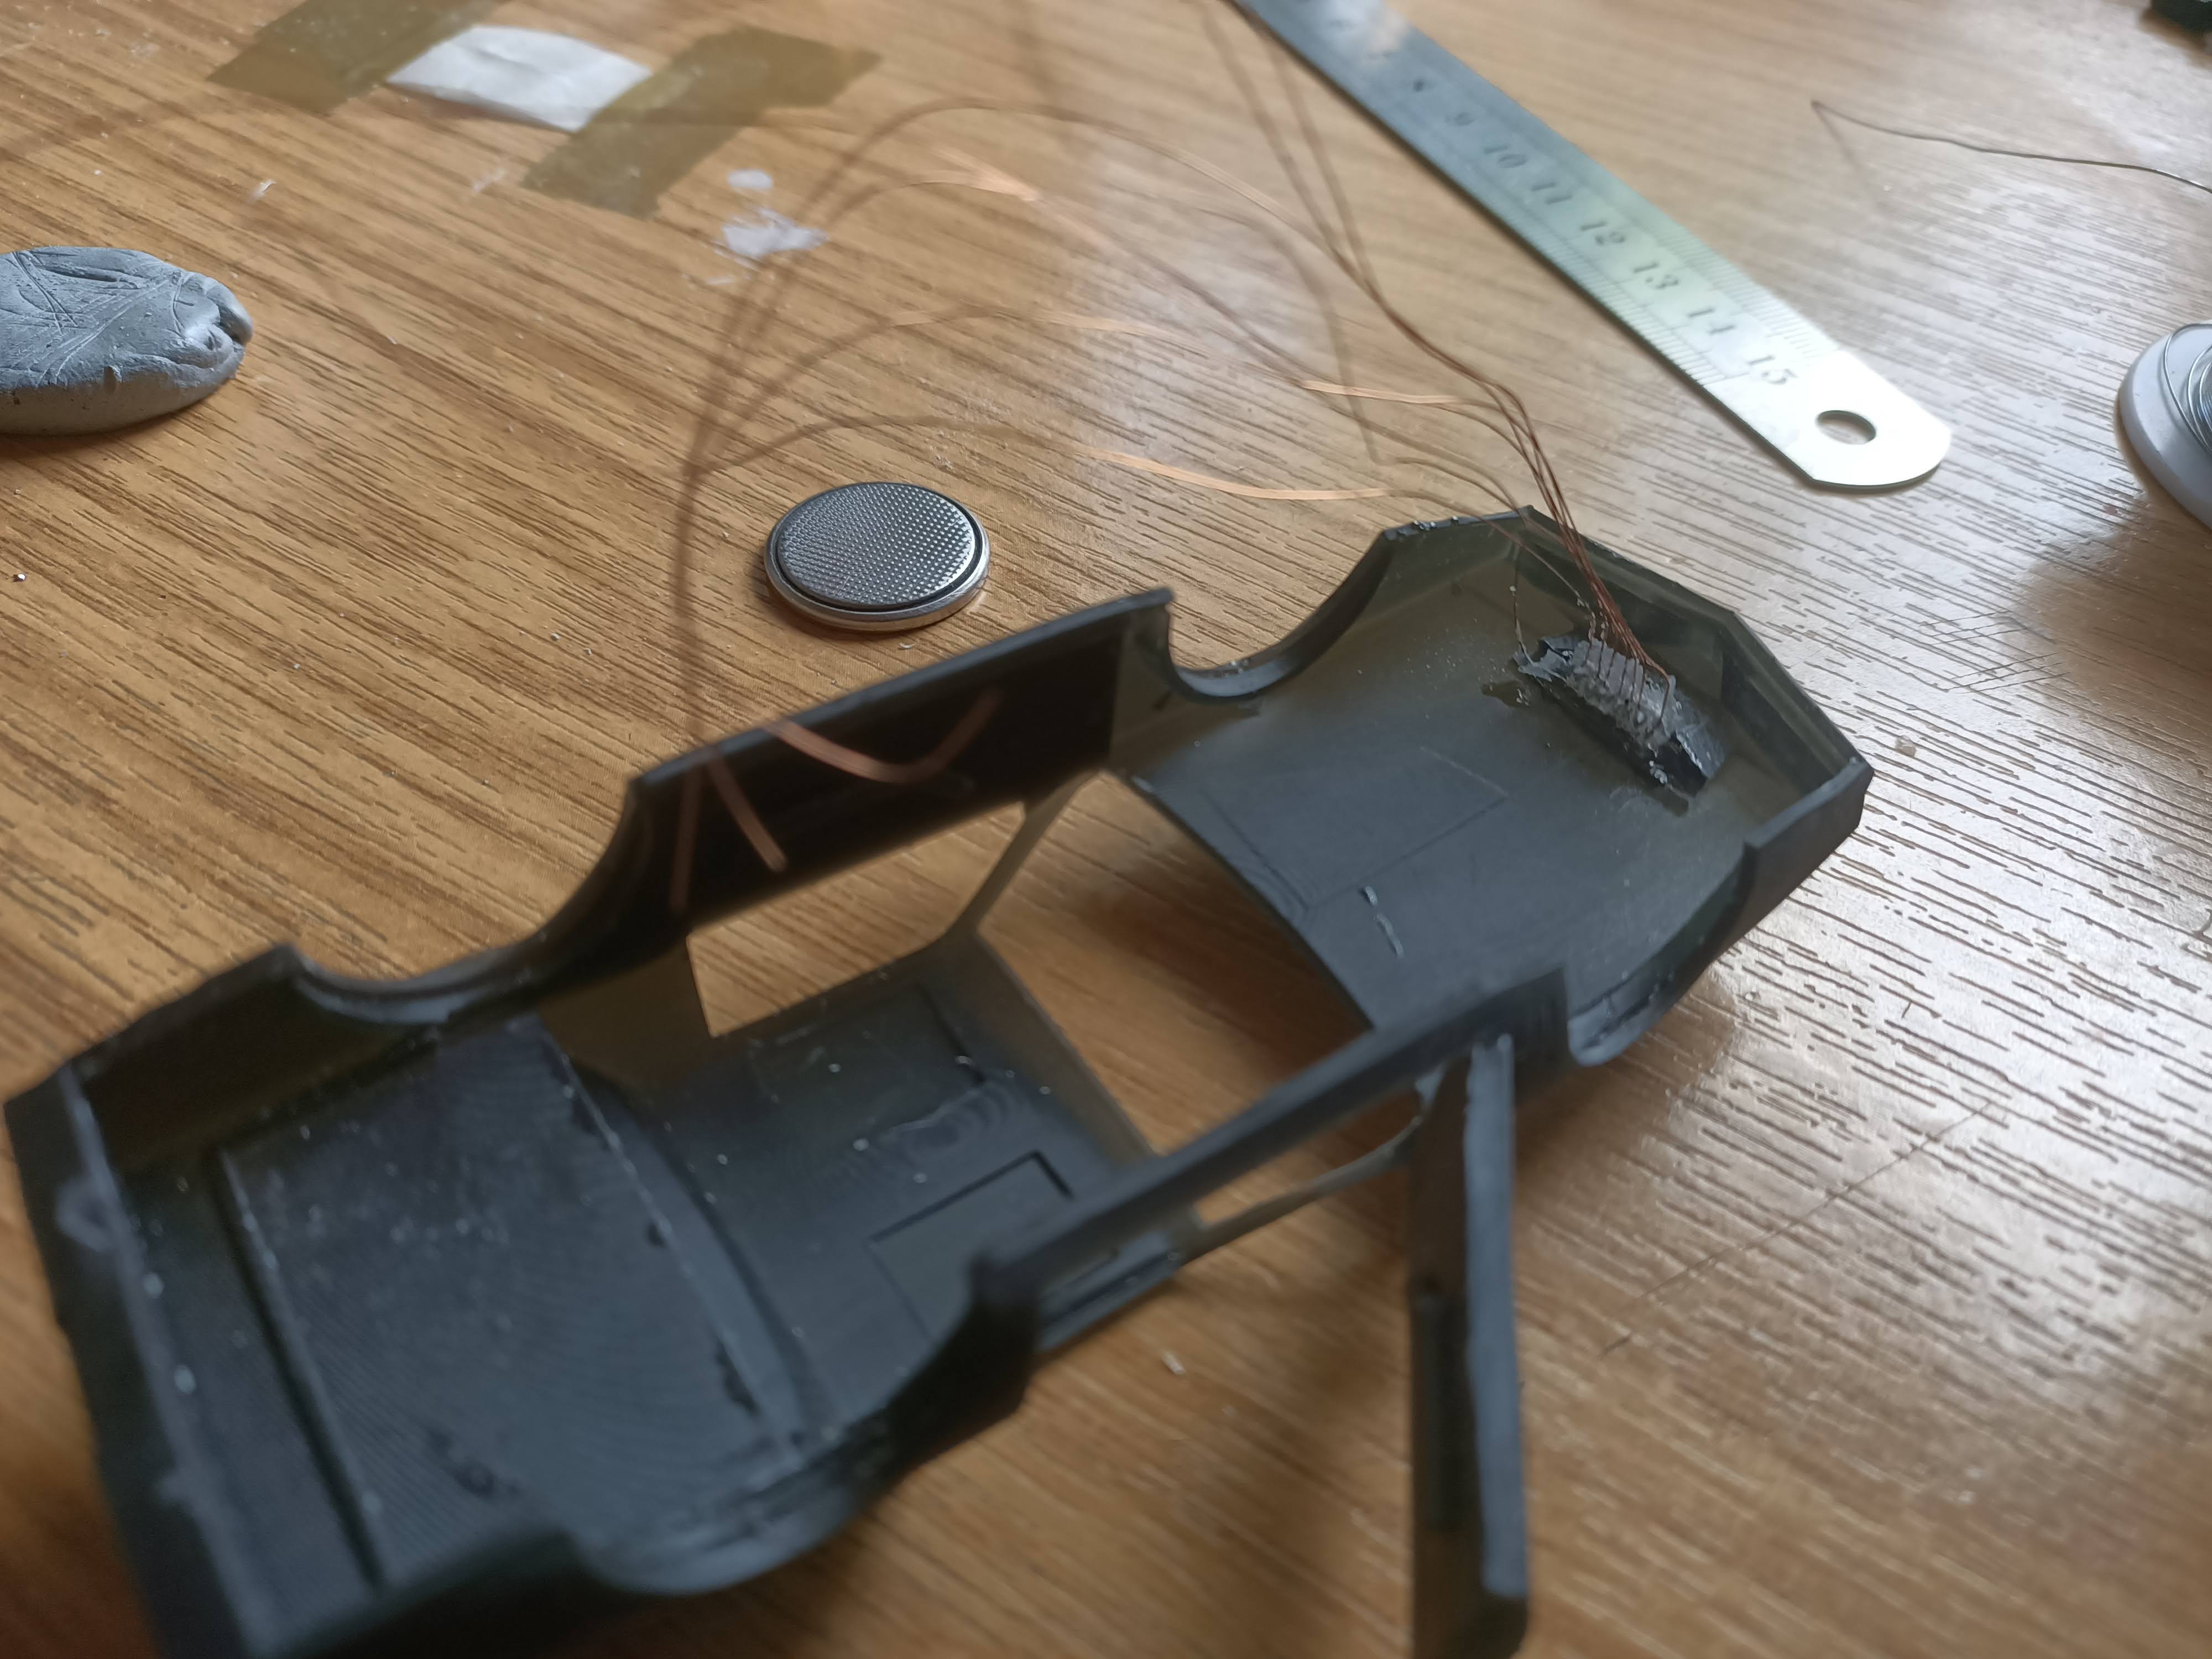
As with the Cylons, I stuck some tape (sticky side up) onto the table and pressed some tiny 0603 LEDs into it. Then soldered all the “ground” pins of the LEDs together using some stripped, enamelled copper wire
Then came the tedious task of soldering seven individual wires onto the anodes of each of the LEDs.
Actually, seven LEDs wasn’t really just a petulant accident. Trying to keep in mind the physical restrictions, I figured that I’d probably end up using a tiny PIC microcontroller – and given that it would be physically small, it’d only have a few i/o pins. Which means I’m likely to need to use a shift register to light the LEDs.
And the pin layout of any 575 shift register tends to have seven outputs on one side of the chip, and one, tucked away inbetween some of the other pins, on the other side.
So using just 7 LEDs makes more sense than eight (or more).
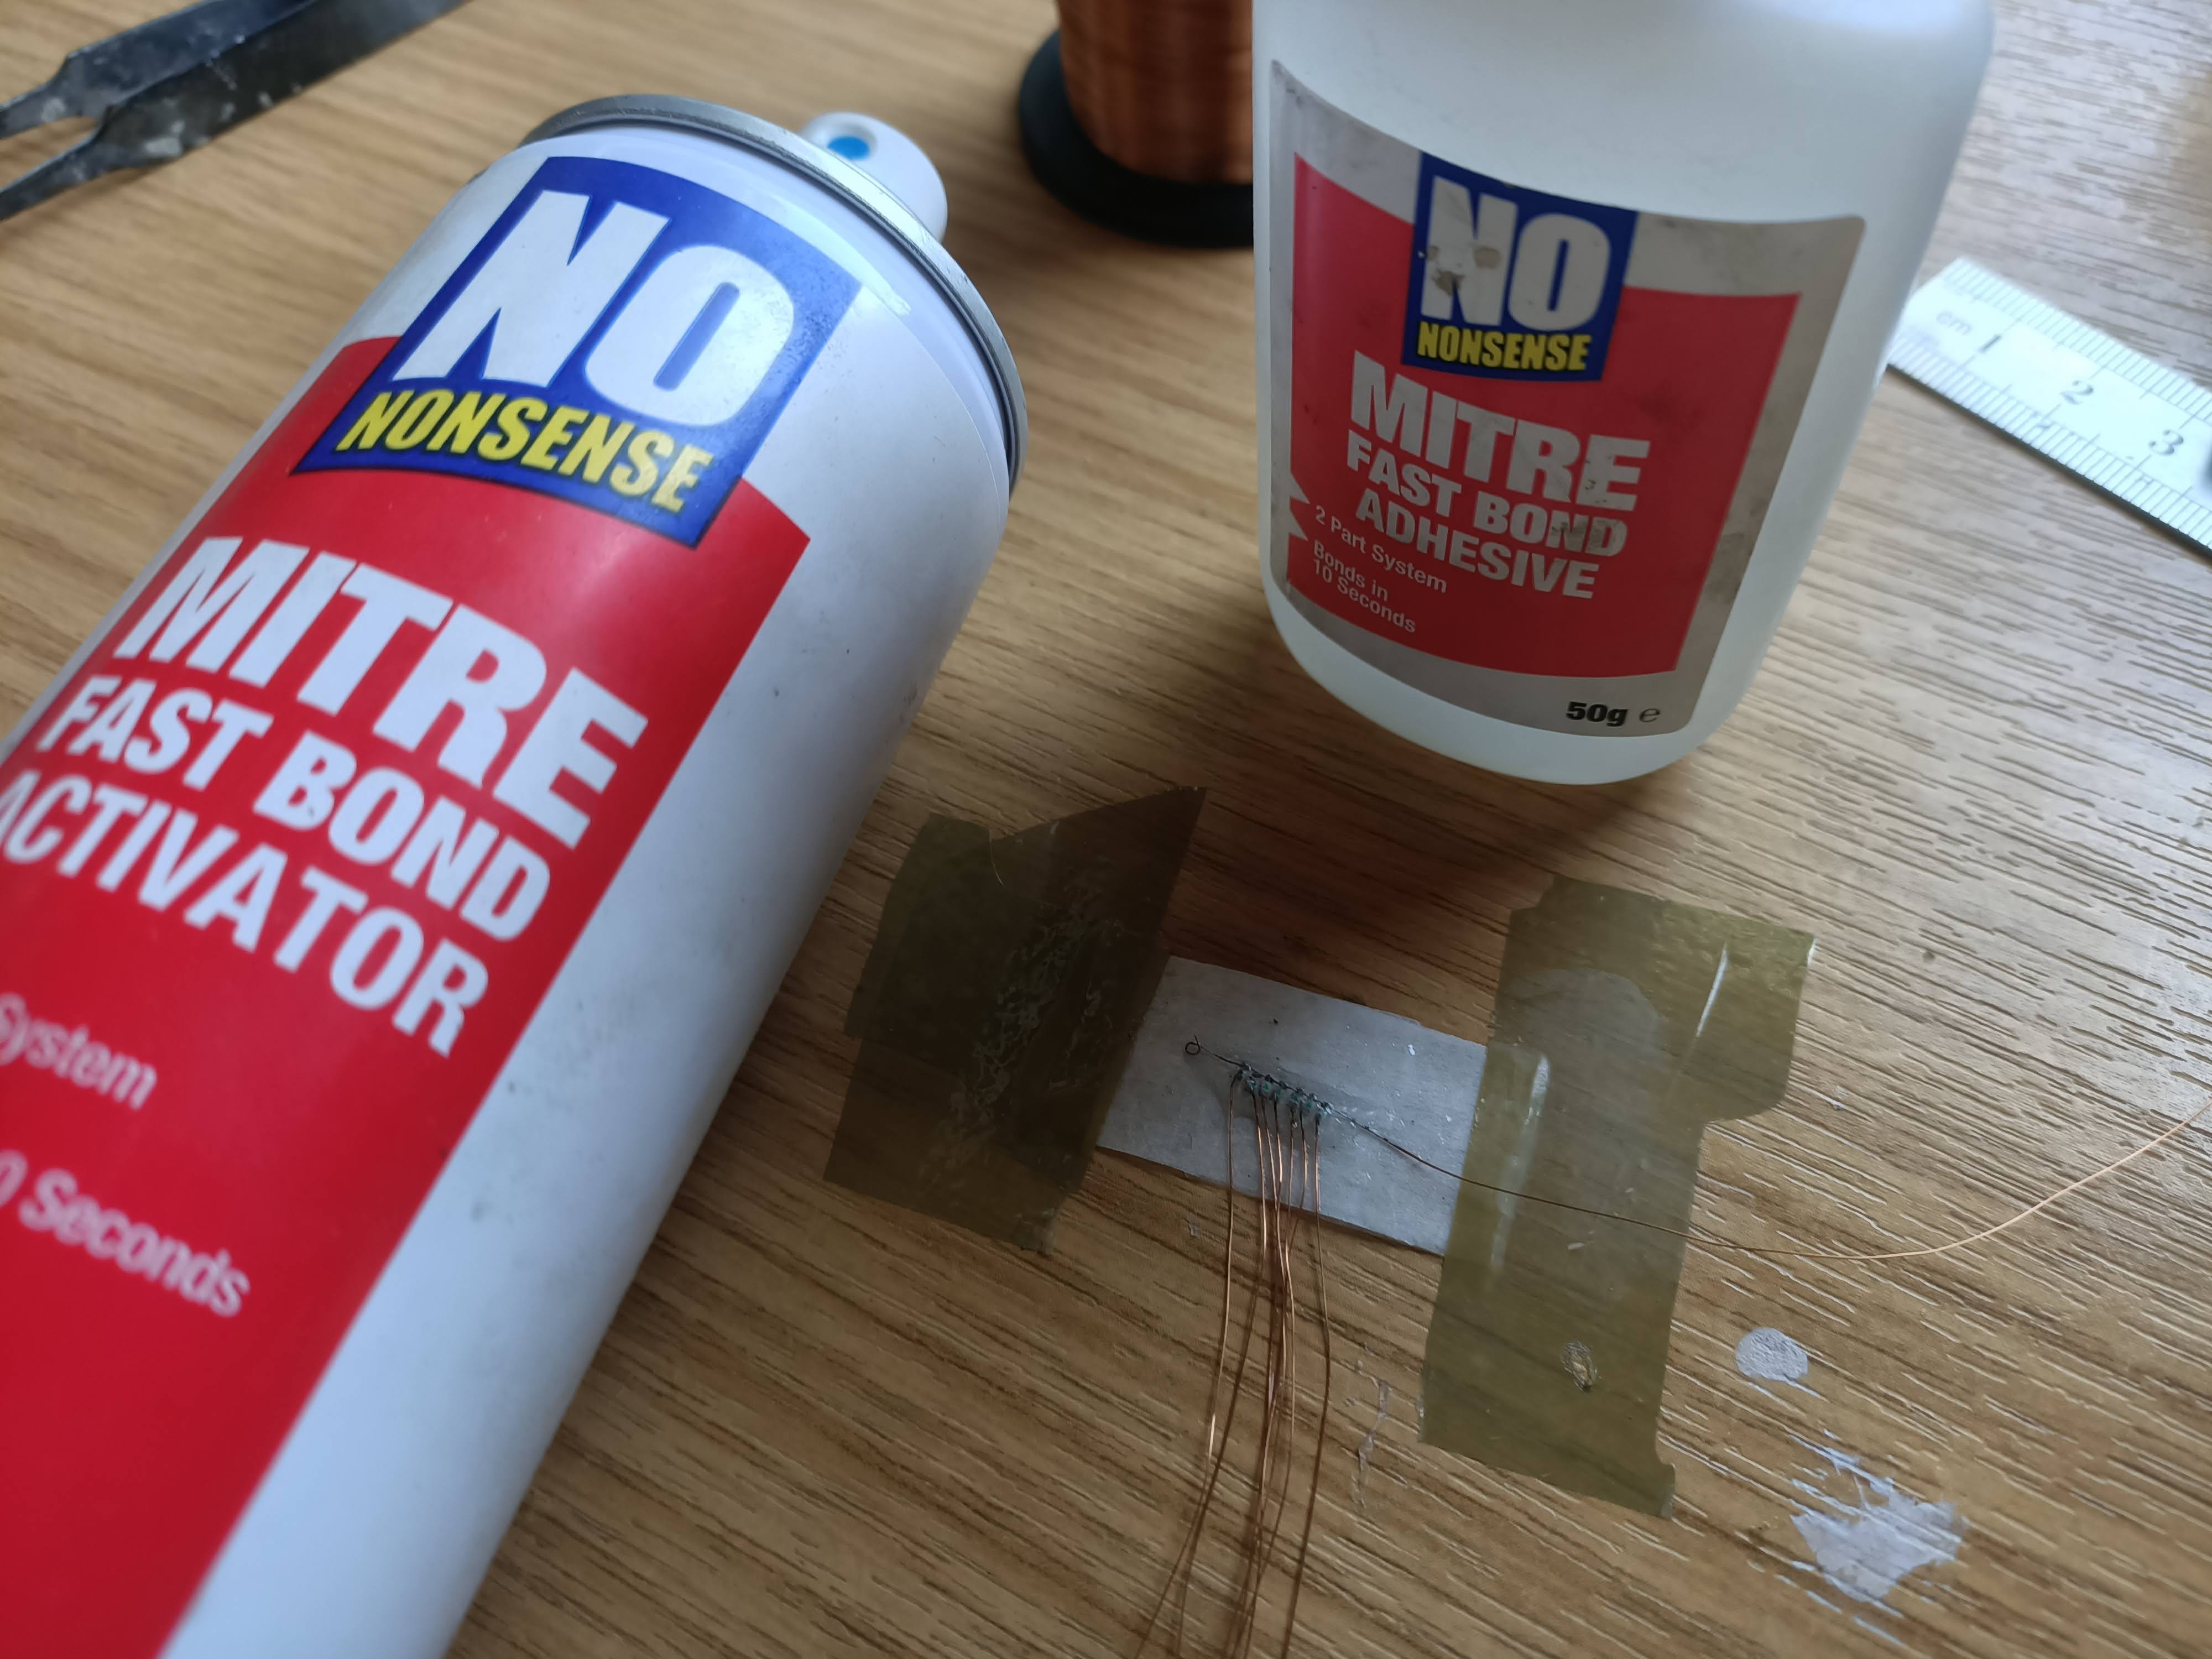
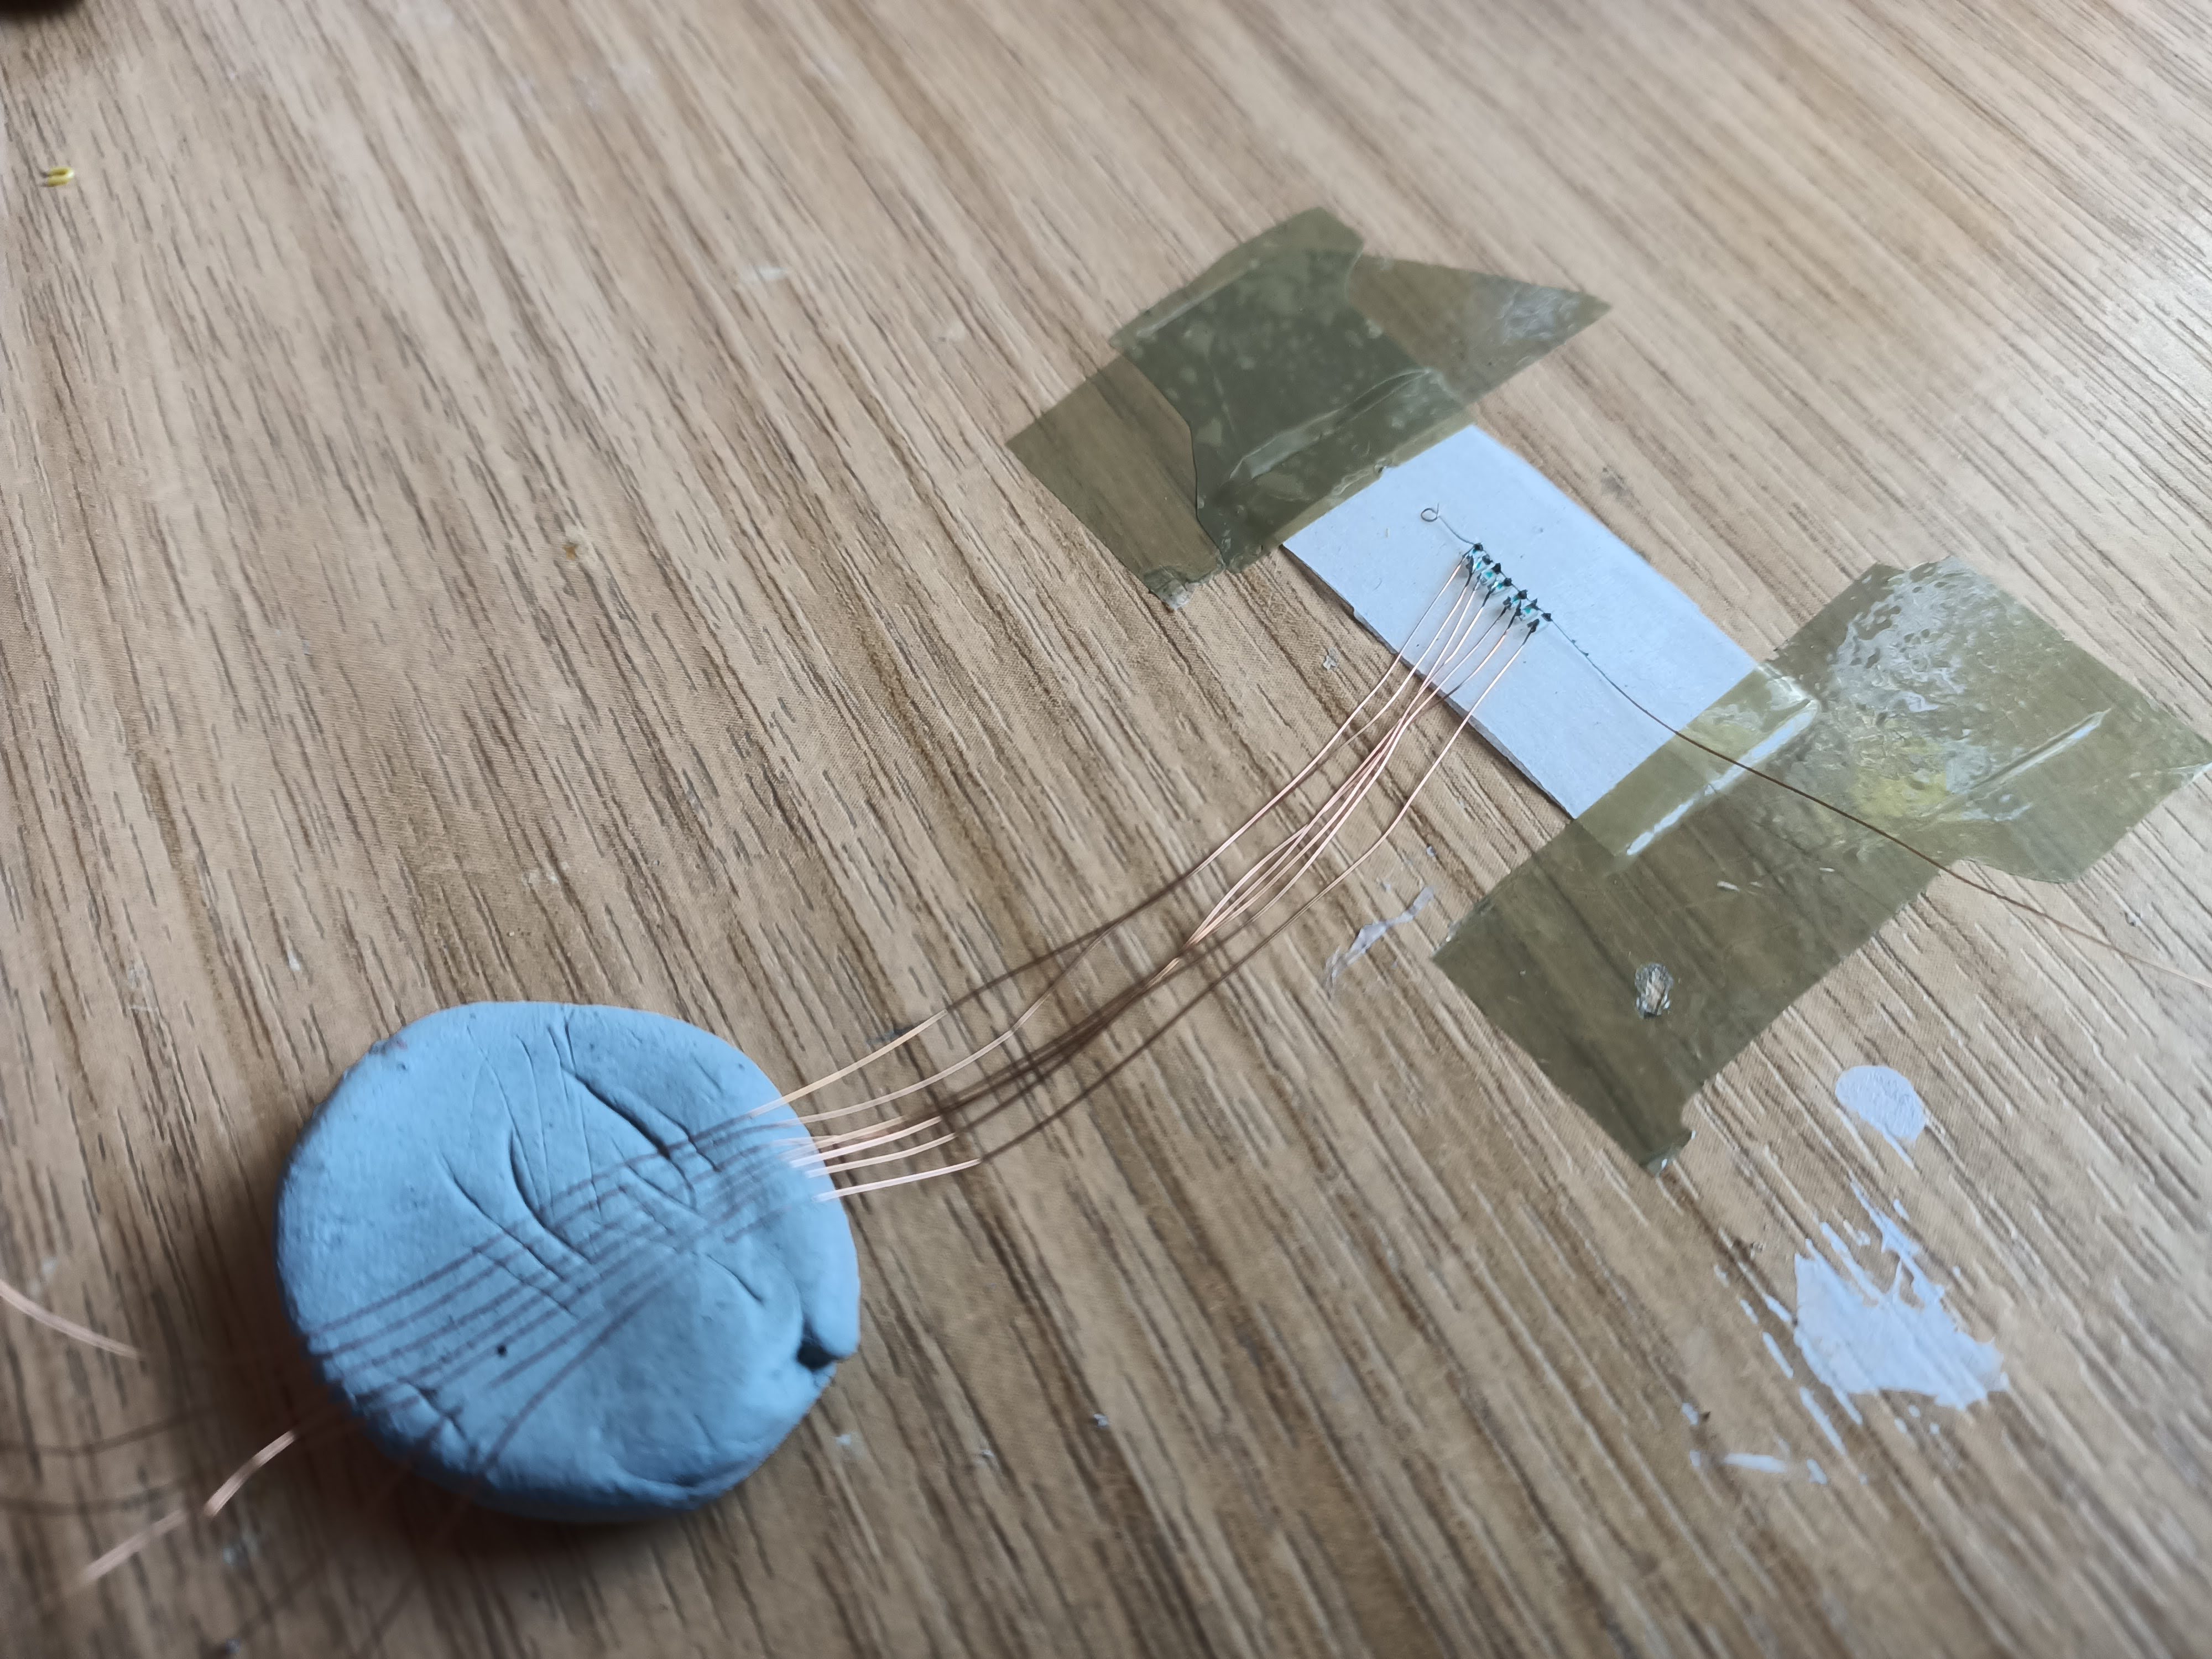
With all the wires tacked in place, I needed to secure them, since moving this thing around is likely to cause one (or more) wires to break off. The easiest way to do this was to simply cover the LEDs (and wires) with some super-glue gel, and hit the whole lot with some activator spray.
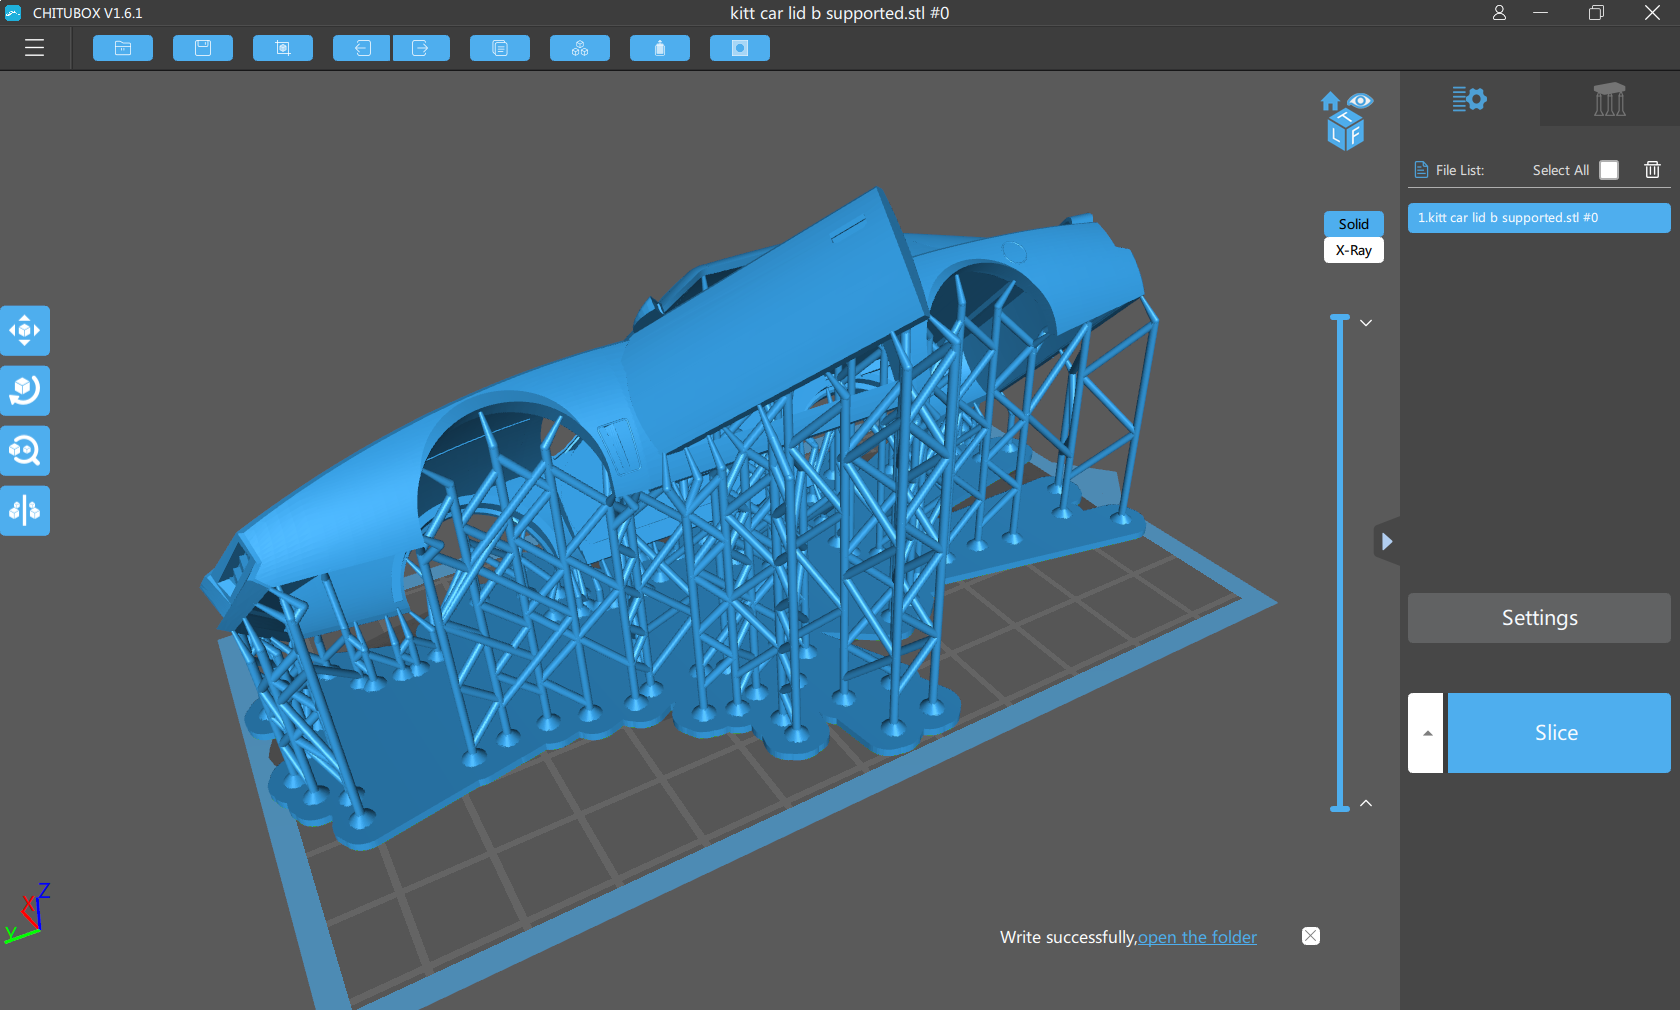
After printing a new roof for KITT (with plenty of supports, and making sure all the corner points were properly supported) I glued the LED strip to the underside of the bonnet.
Now it’s just a case of etching a PCB, attaching the microcontroller and shift register, connecting up all the wires, and keeping everything crossed that they all light up!


Leave a Reply