


![How To Paint Moonstone’s Nanny | Goblin King Games [7 Days Early Access]](https://images.beastsofwar.com/2024/12/3CU-Gobin-King-Games-Moonstone-Shades-Nanny-coverimage-225-127.jpg)


SAGA Challenge


The Battle! - Part 1
So we finally made it to the table. This is the first time I’ve done a battle report and I’m not sure how this will go, but I took a lot of pictures and so hopefully it will all make sense!
The scenario is a raid by a small Viking war band on an Anglo-Saxon village. The Vikings will approach from the sea and the villagers had time to get the local Lord to come with an attachment of his warriors to help repulse the heathens! It was a four-point game as recommended as a starter for new players.
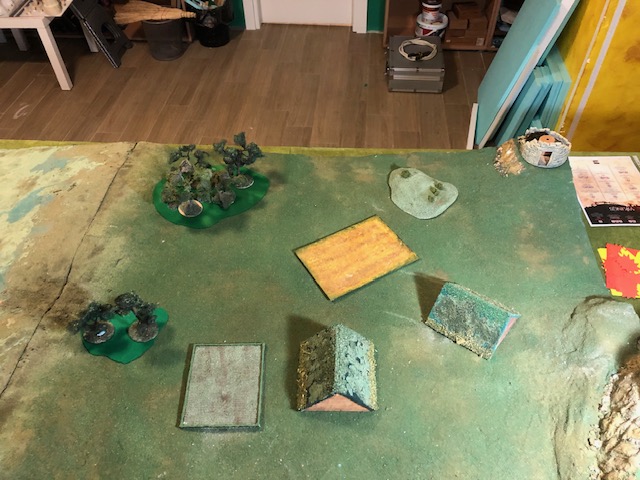
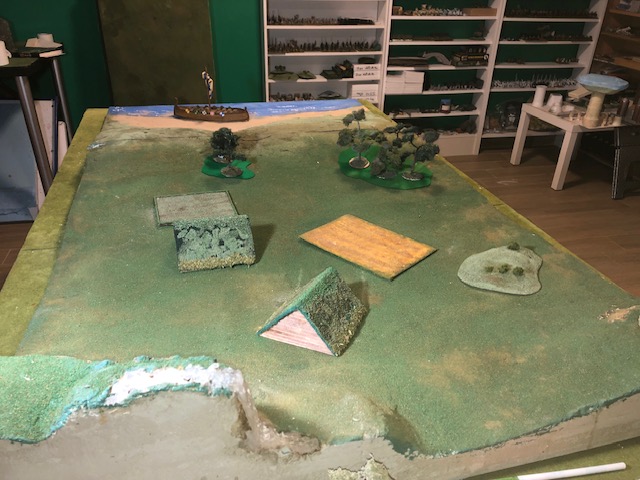
The set up was per the SAGA rules, we chose different terrain pieces alternatively, but decided to to overcrowd the space too much. So a couple of woods, some fields and the houses.
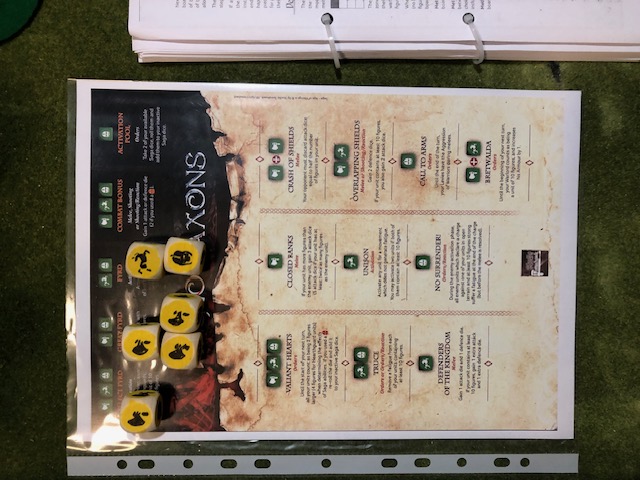
The Anglo-Saxons gathered around the village, and the Vikings at the top of the hills from the beach.
The Forces:
Anglo-Saxons – I selected 2 Levies, 1 Warrior and 1 Hearthguard units. The Levies I split into 3 x 8 figures to get an extra SAGA die, but this obviously made them weaker and was maybe a mistake.
Vikings – 1 Levies, 1 warrior, and 2 Hearthguard. They were left at their recruitment strength.
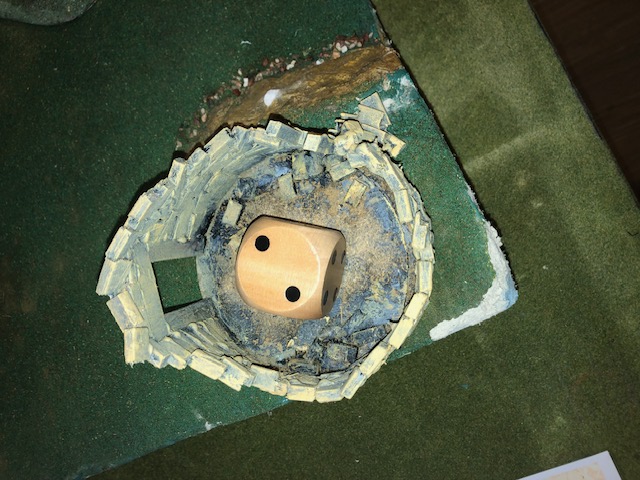
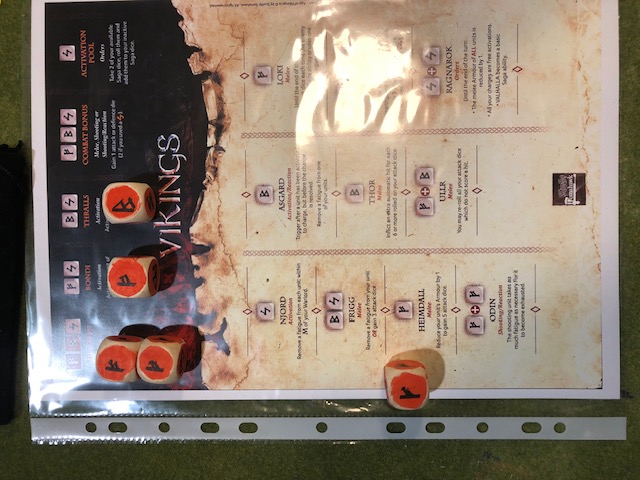
For people unfamiliar with SAGA one SAGA point cab recruit a unit of 12 Levies, 8 Warriors, or 4 Hearthguard. These total numbers can be split up r combined, but any unit must comprise between 4 -12 models. The game works with the additional skills/abilities determined by SAGA dice which have three different images. 3 x common, 2 x rare, and 1 x exceptional.
How these are assigned on a “Battle Board” (specific to each army) determined what extra abilities are available each turn. Units can provide dice, but ONLY if they are at a minimum strength. In the case of Warriors, this is 4 figures, and for Levies a minimum of 6 figures. So, reducing the units to 8 models might not be that clever. We shall see.
In the first turn the player going first can only use 2 SAGA dice. After that the dice are determined by the remaining units as described above.
In both our first urns, we just moved units into new positions.
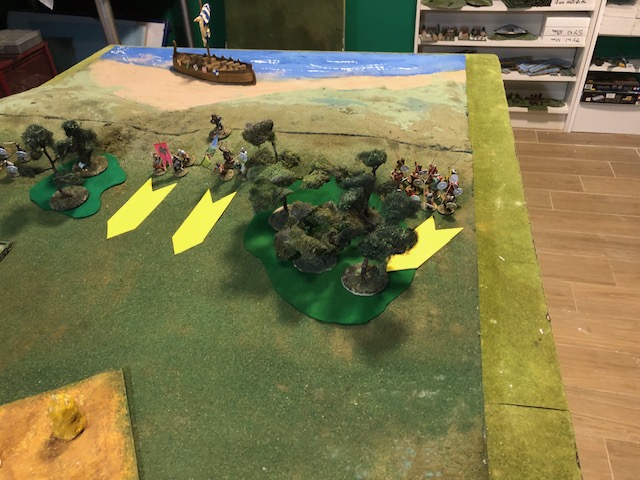
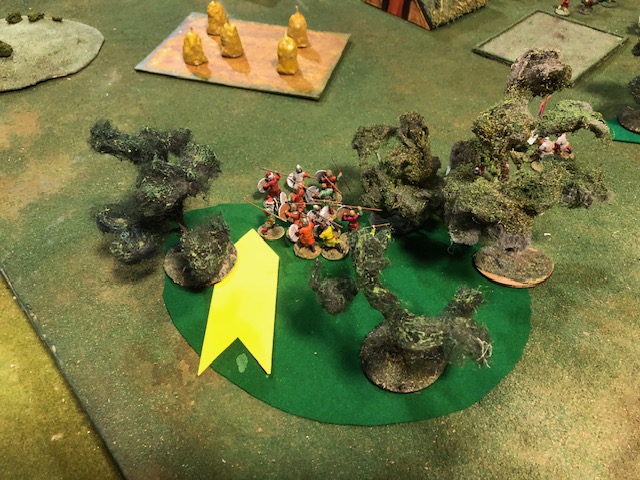
The Vikings went first and moved the Hearthguards and Levies onto the board. Moving through the woods reduced the Levies’ movement and it would take them two rounds to clear this.
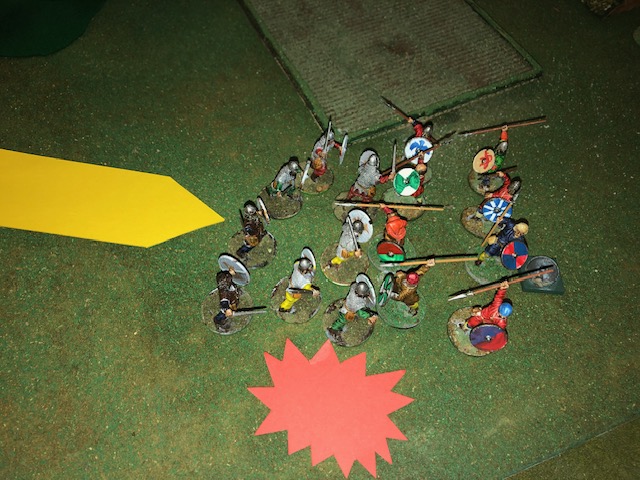
The Anglo-Saxons brought some levies and the Warriors into the game in a reckless movement up the left side of the village and straight towards a group of Viking warriors. This double move resulted in the getting “fatigued” which is an aspect of the game that allows your opponent to use this fatigue to weaken your unit further or to boost their own. It affects the likelihood of the unit receiving damage.

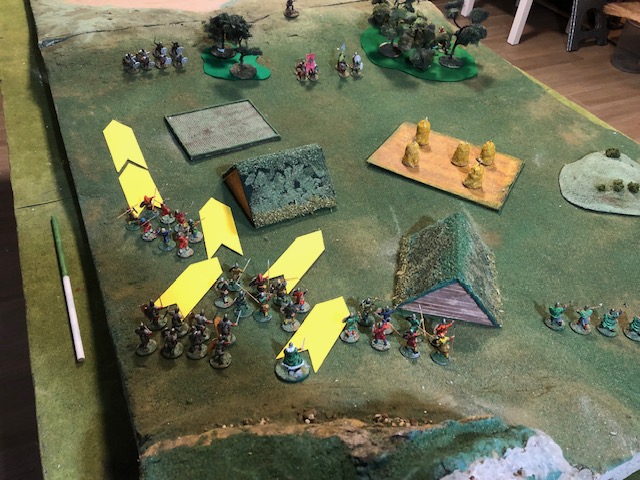
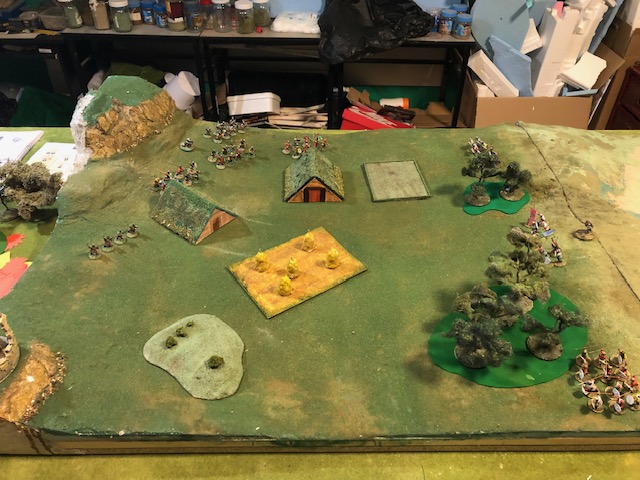
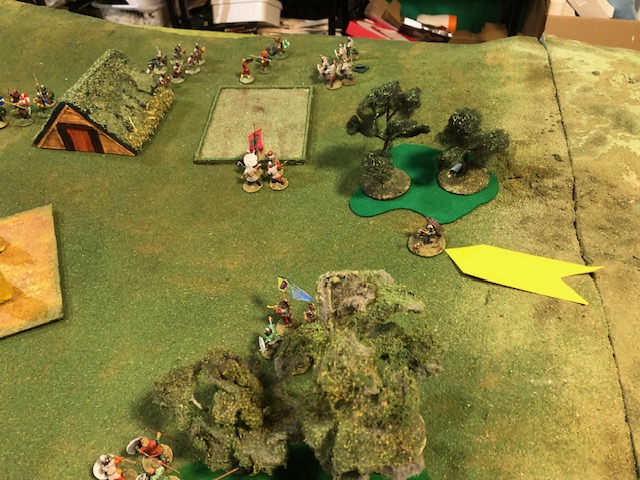
 State of play after the First turn
The second turn began with the Viking warriors gleefully attacking my rather too adventurous Levies on my left and a short, but bloody melee followed with both sides receiving casualties.
Attack dice are determined by the relative strength of the units and the figures remaining. In this case the Viking Warriors had 8 dice, one per model in the unit and the Levies 4 dice (1/2 per model).
As the Levies were fatigued the Warriors chose to use the fatigue to lower the Levies’ armor level from 4 to 3+, thus making them easier to hit. The fatigue marker is removed if it is used in this way.
But as luck would have it, it seems Loki was about to play tricks, and the dice rolls of the Anglo-Saxons managed to inflict a high number of hits of the Vikings, and they were not able to remove them. (However, the Vikings DID crush the Levies anyway reducing them to three models, and for the rest of the game, they lost their SAGA die – had I kept them at full strength, this would not have been the case).

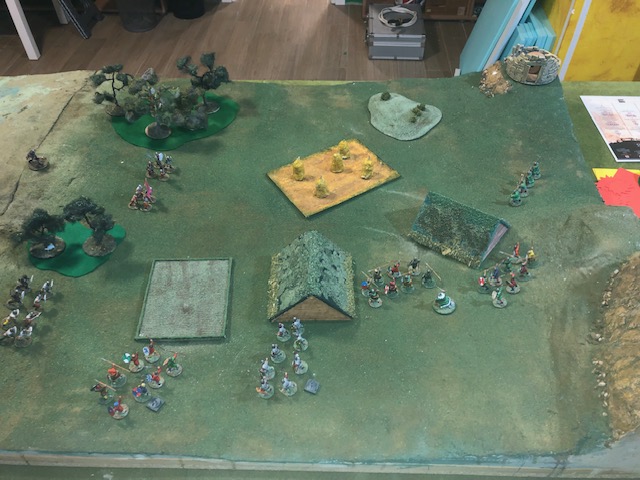
Elsewhere on the battlefield the Vikings moved up their Warlord and other units to put them into position to attack next turn.


Leave a Reply