


A Legion Rises


Recommendations: 126
About the Project
As most of my gaming buddies already play Conquest, and with the release of the Old Dominion, I decided to try my hand at First Blood.
Related Game: Conquest: The Last Argument Of Kings
Related Company: Para Bellum Wargames
Related Genre: Fantasy
This Project is Active
From Ireland with love
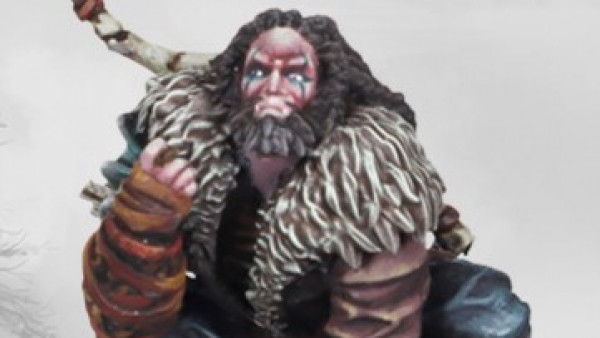
We have a little tradition in our gaming group that every time a birthday comes around we pitch in for a gaming or hobby gift. And so it was that my journey into undeath began on my birthday!
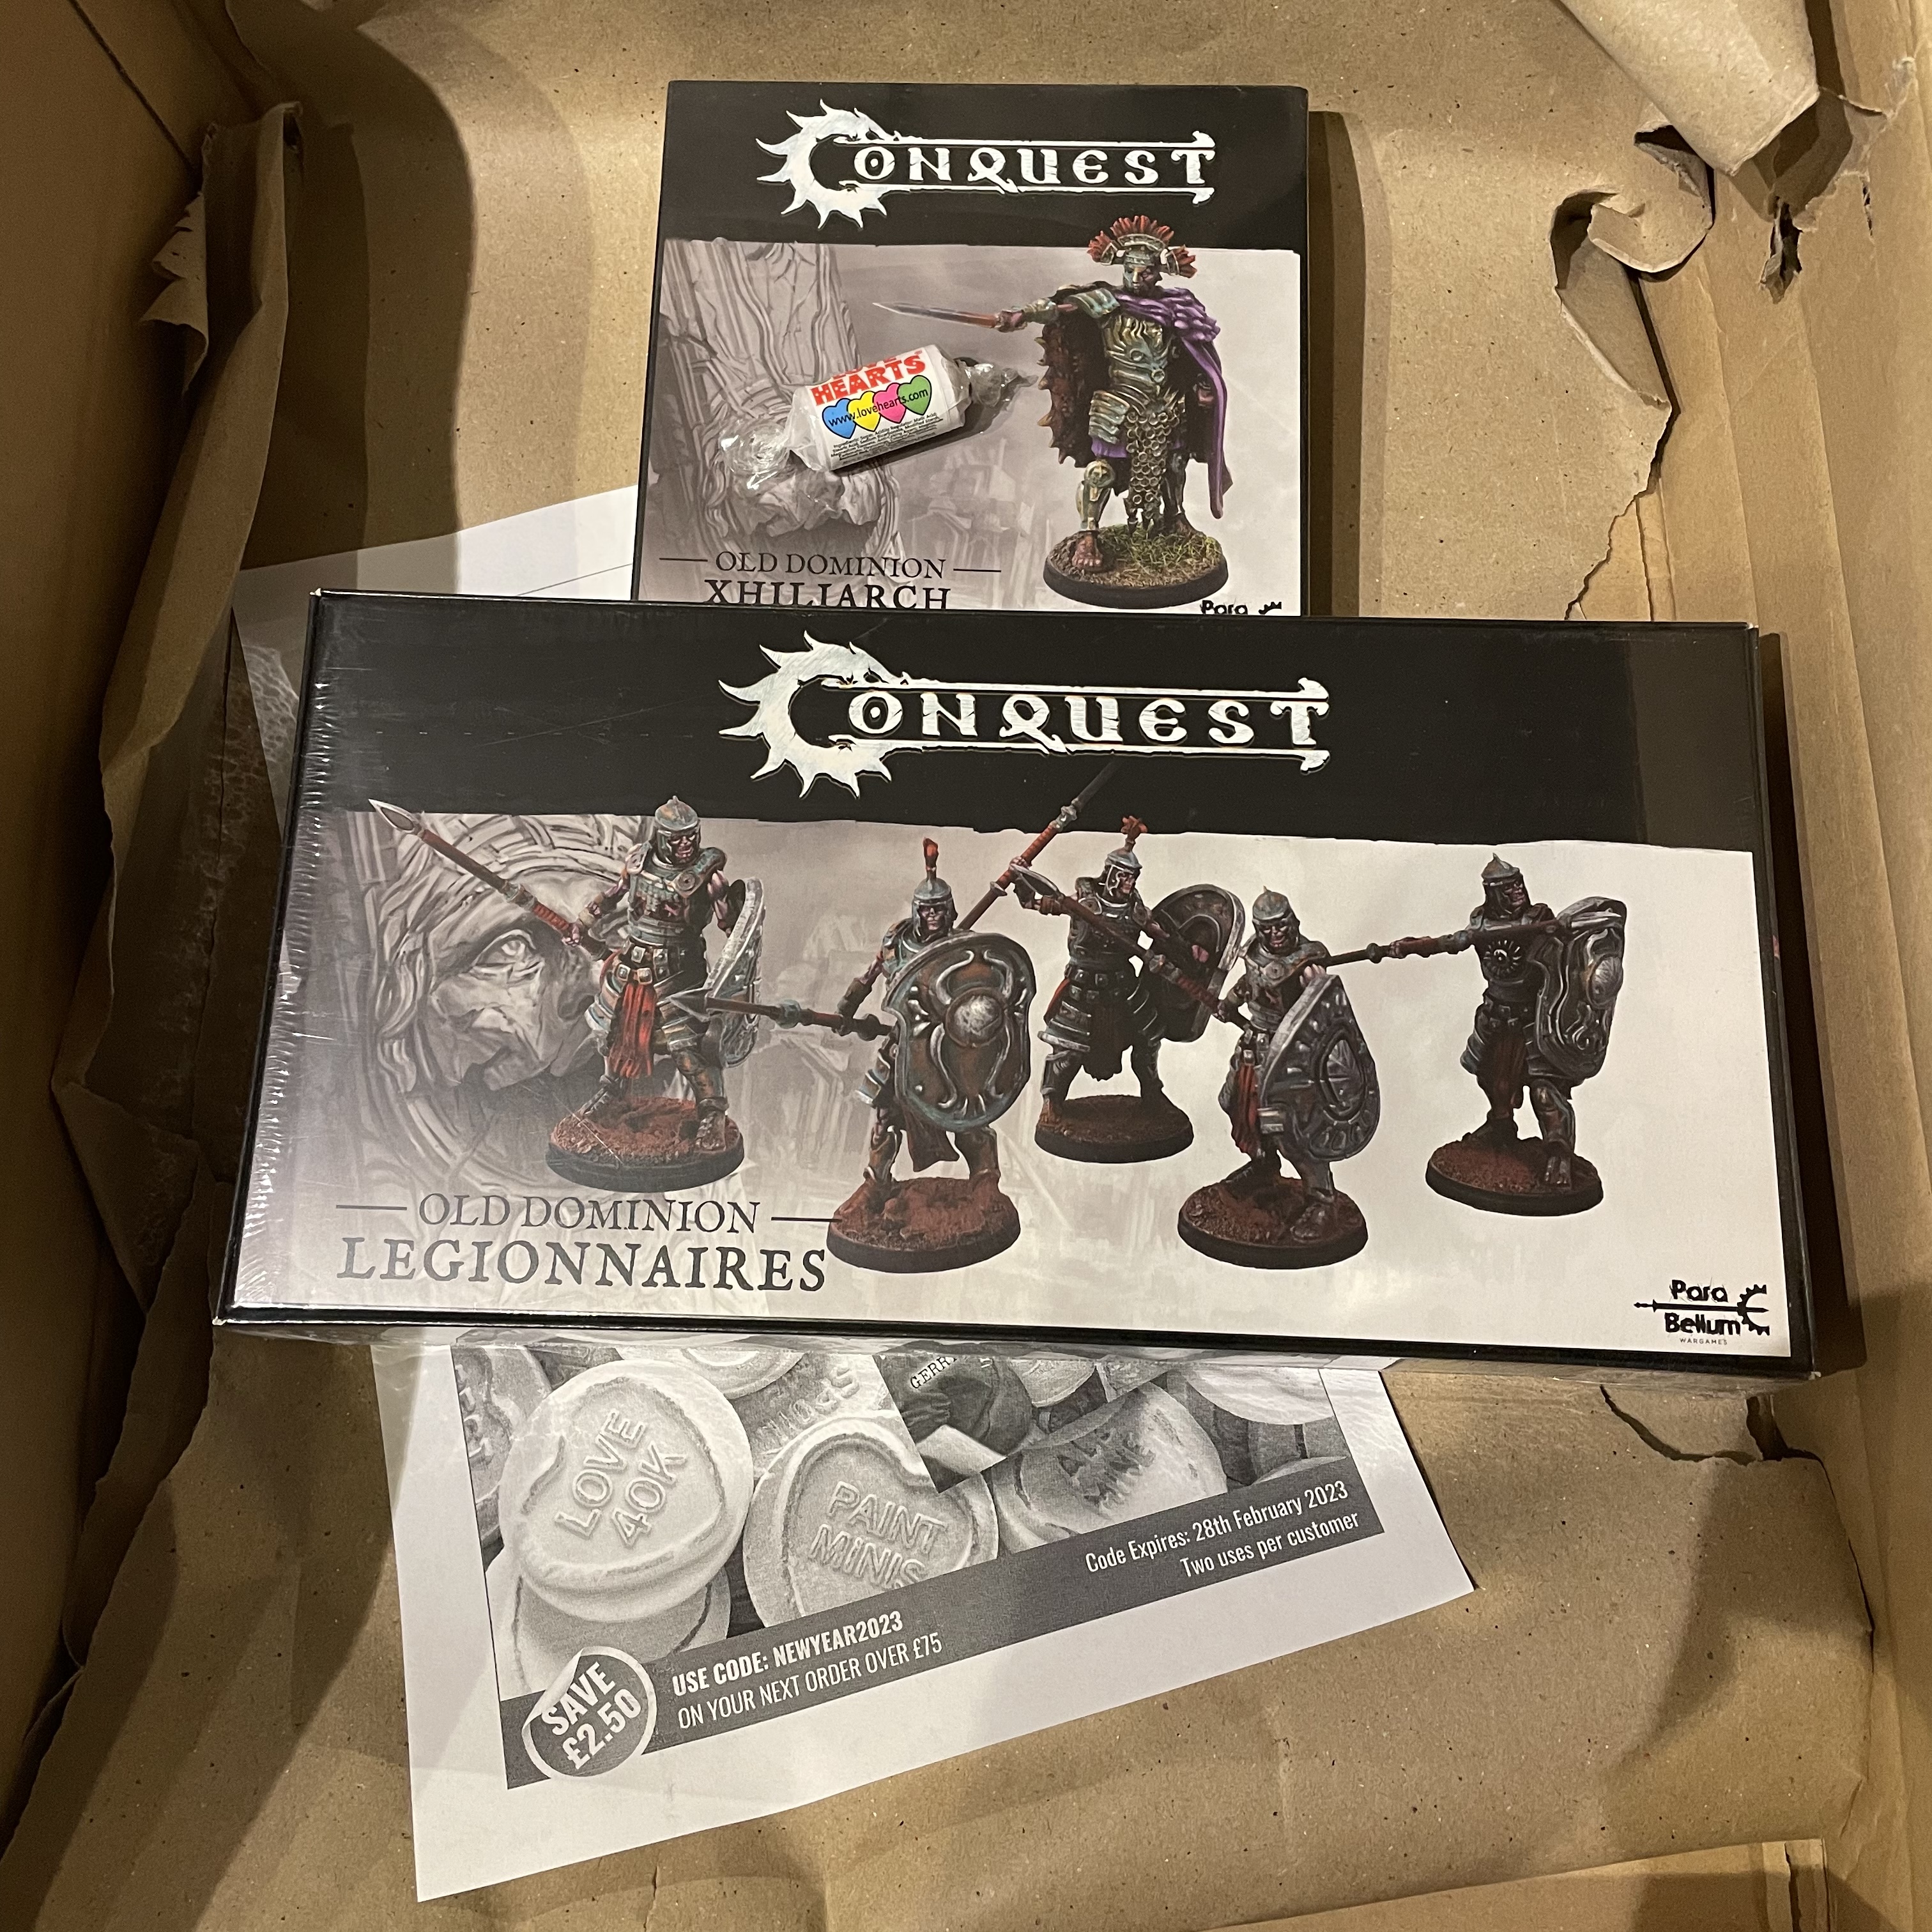
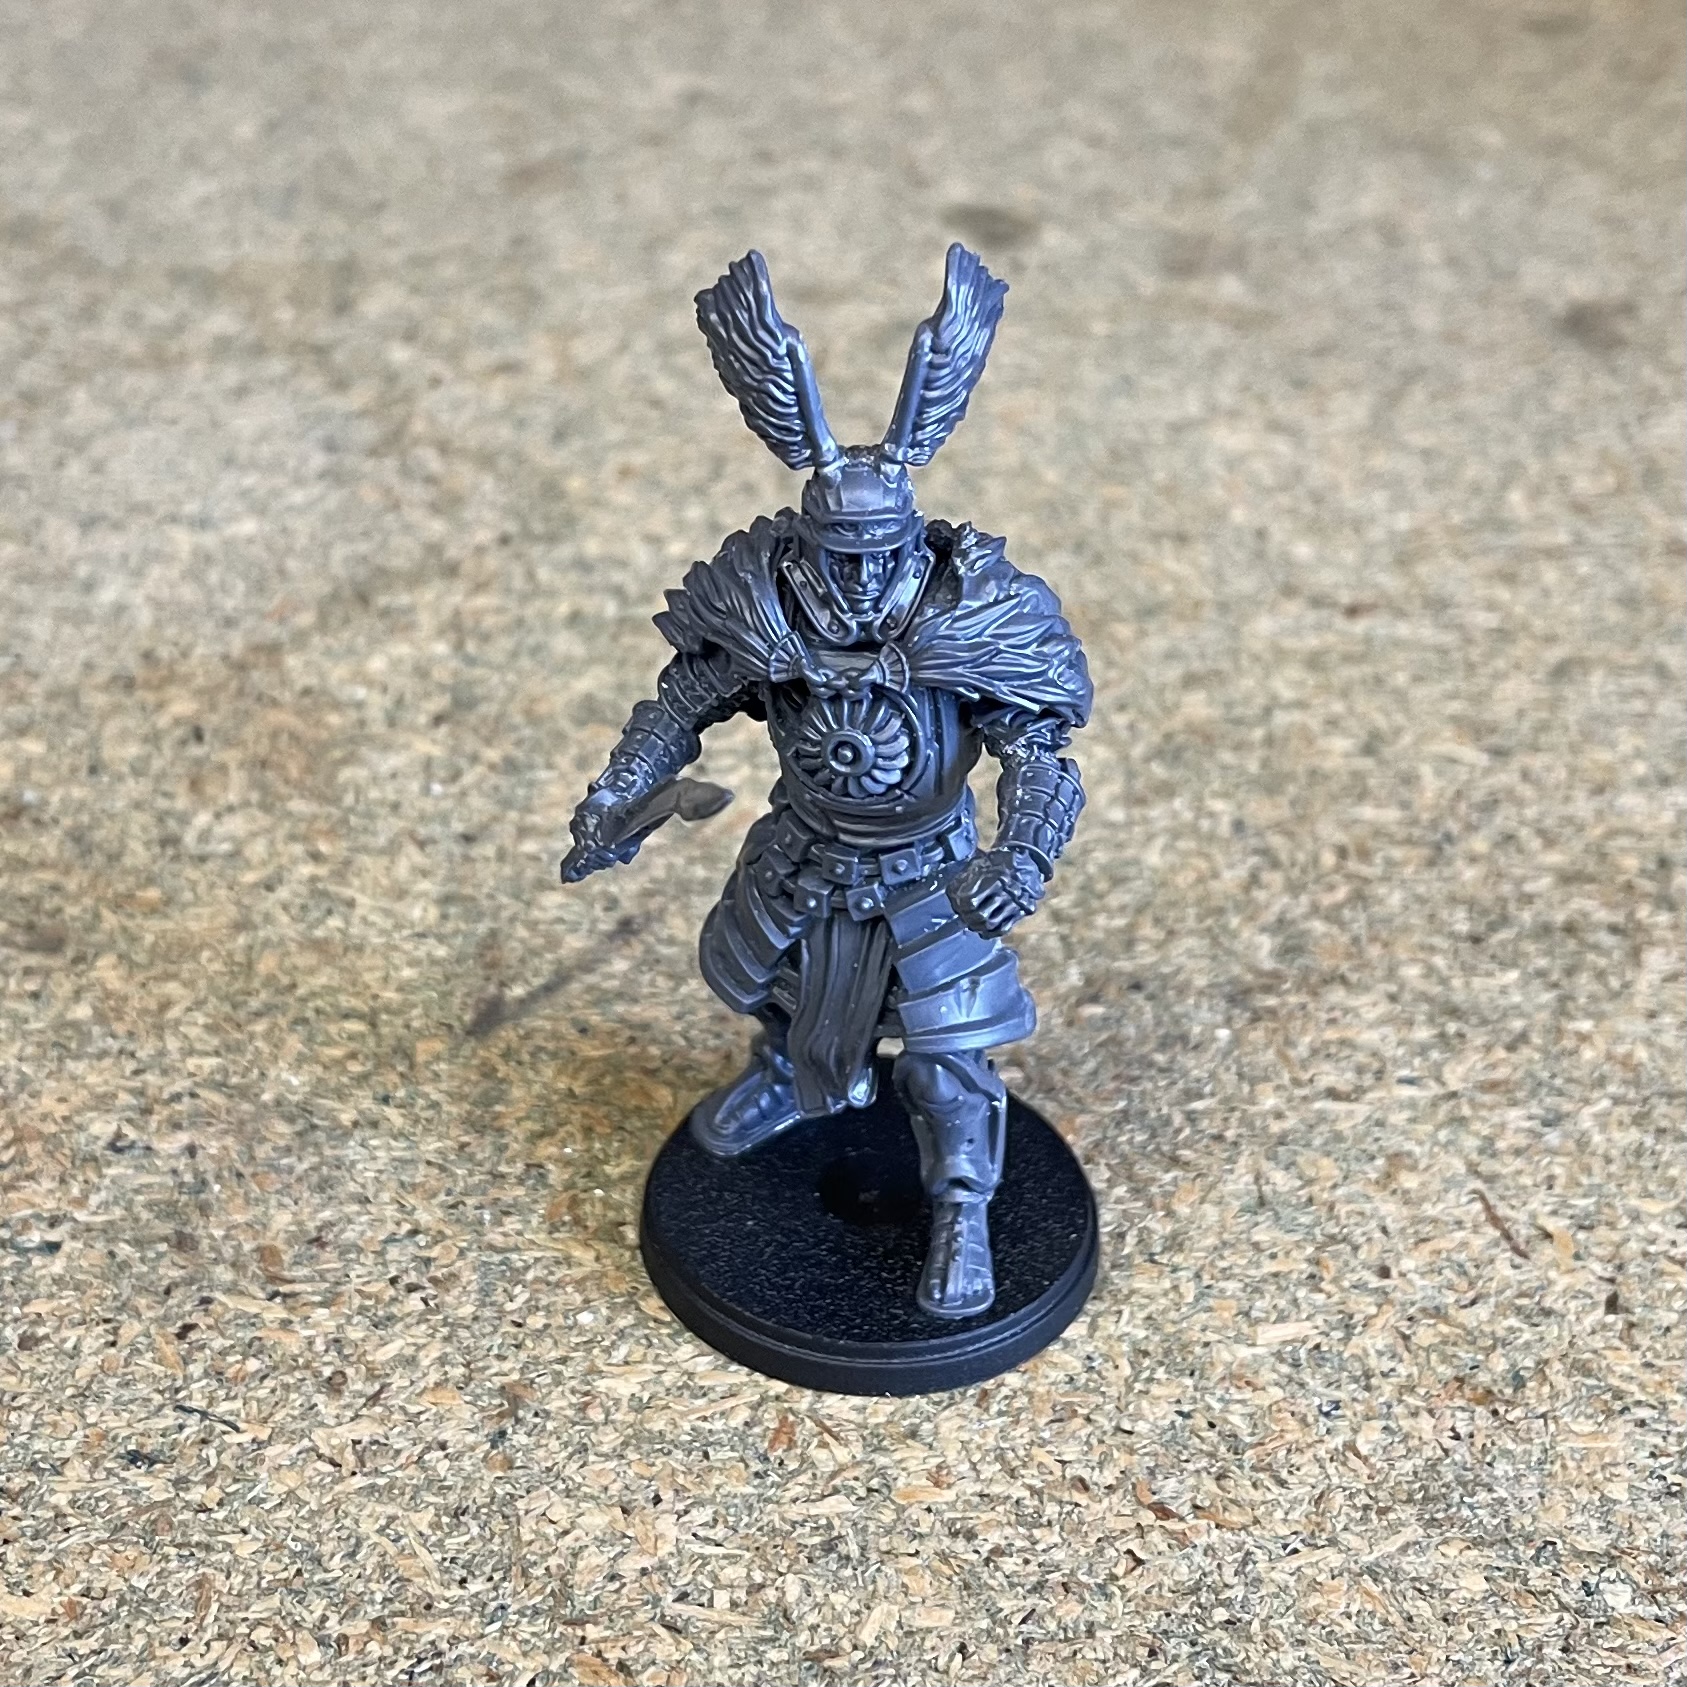
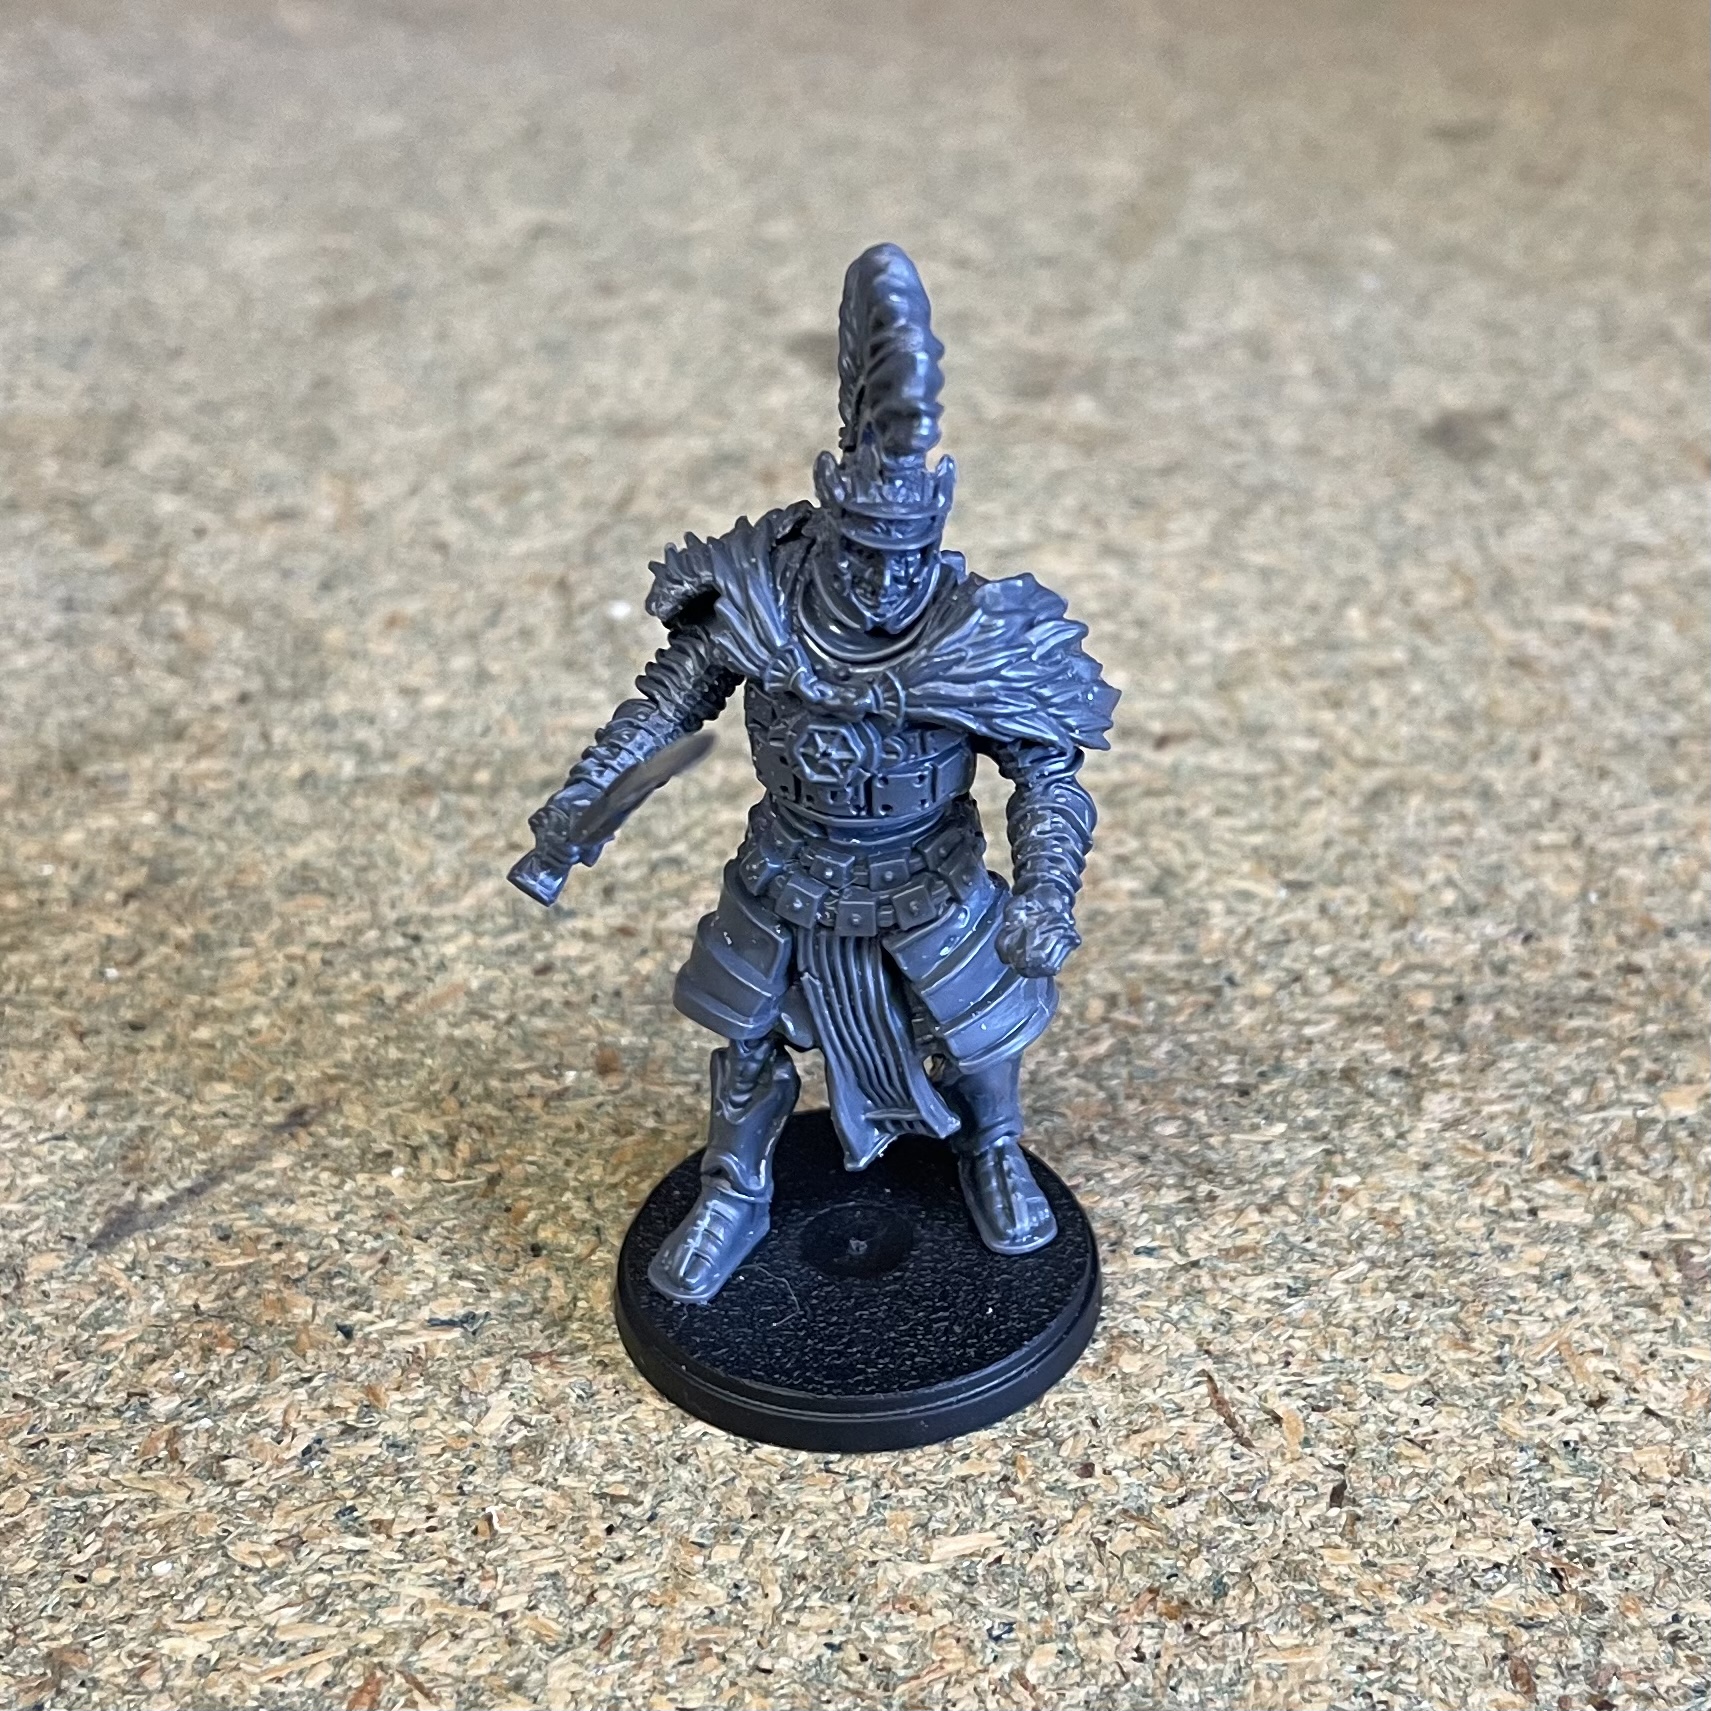
Sent directly to me from the OTT store, courtesy of my gaming buddies, I received the Xiliarch and a set of Legionnaires to get my first blood army underway. Not to mention a little token of love from the crew, thanks guys.
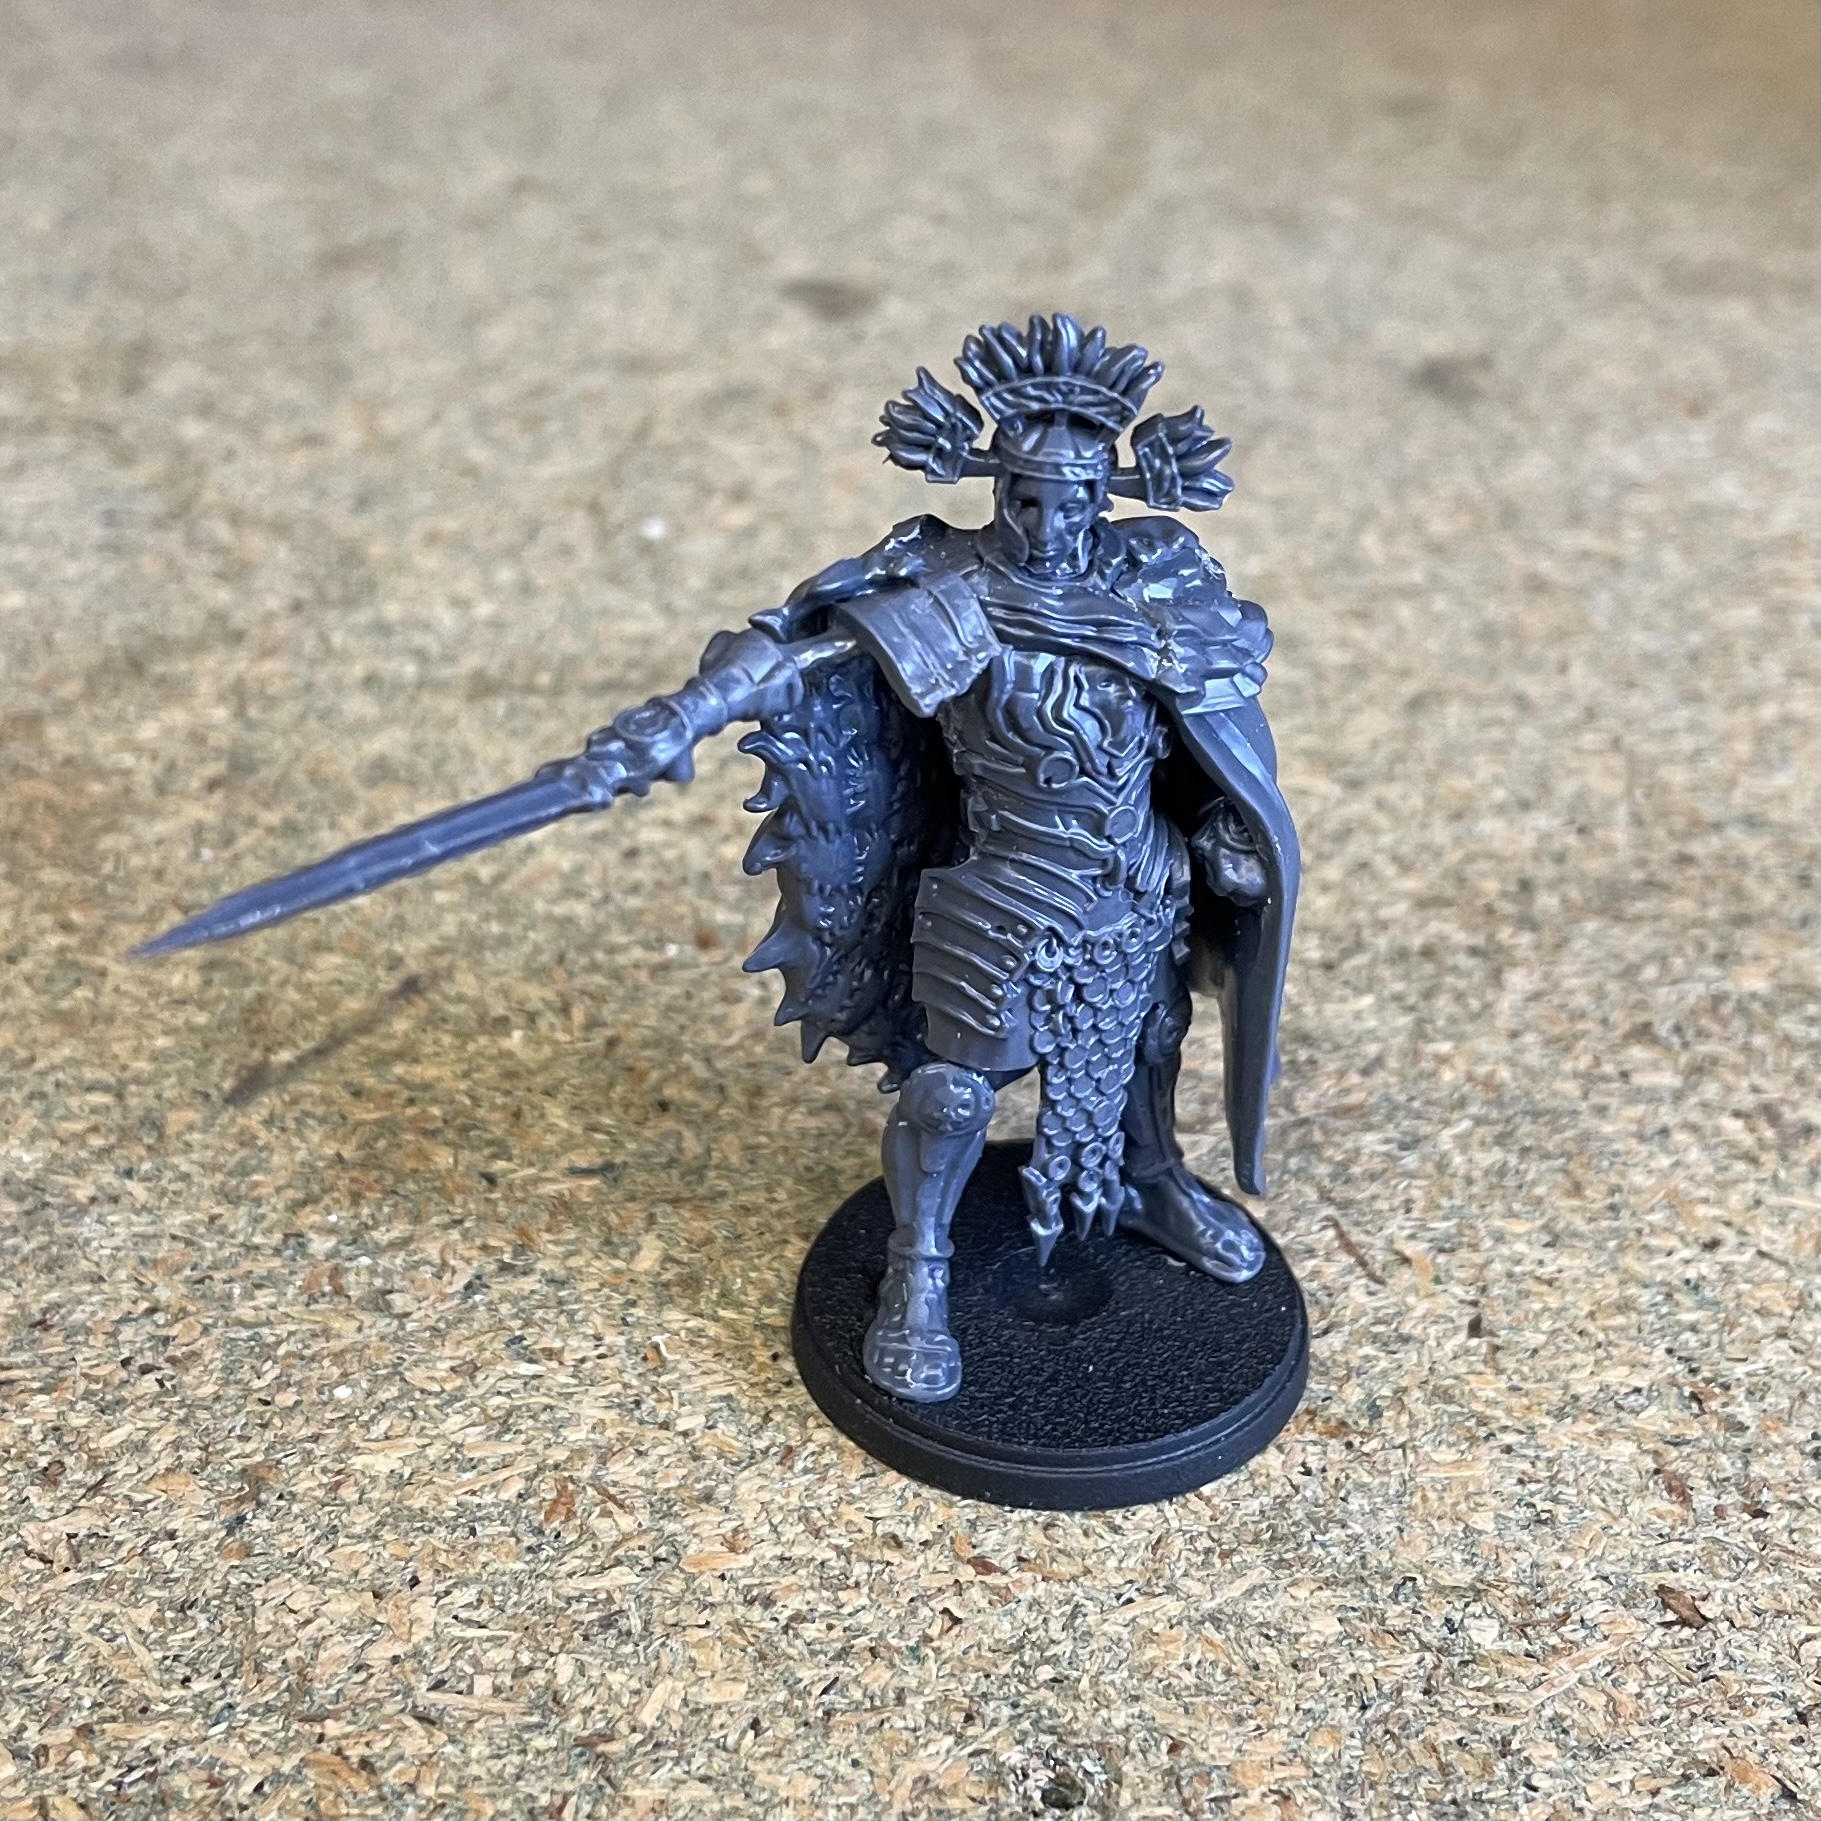
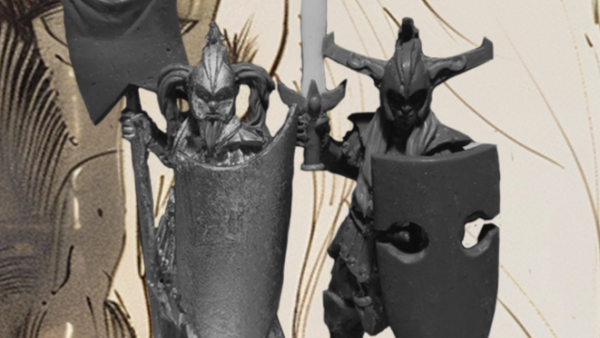
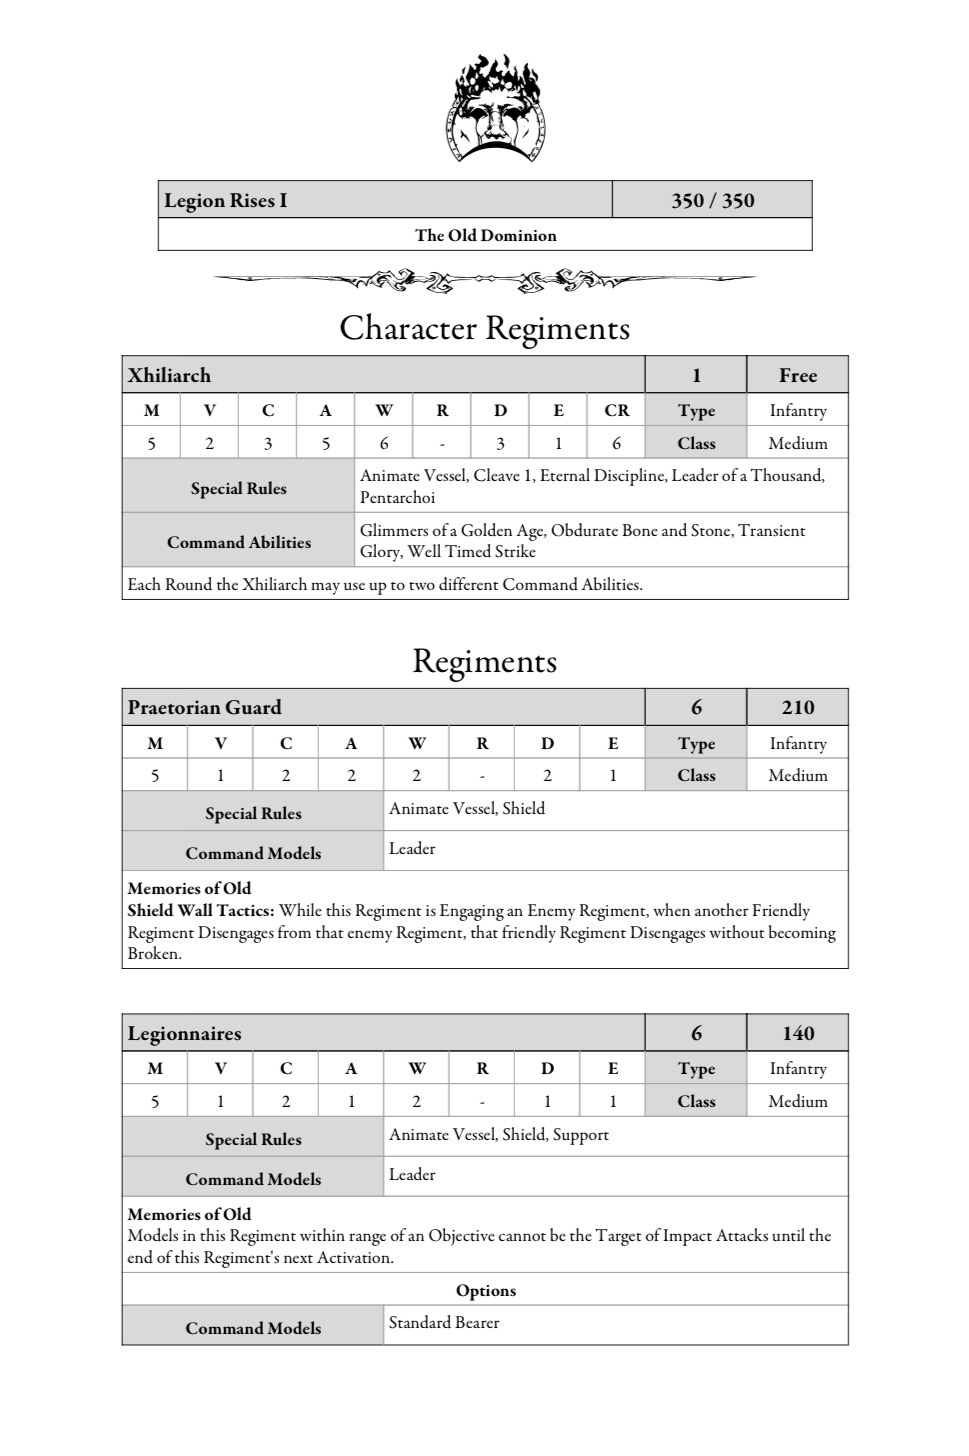
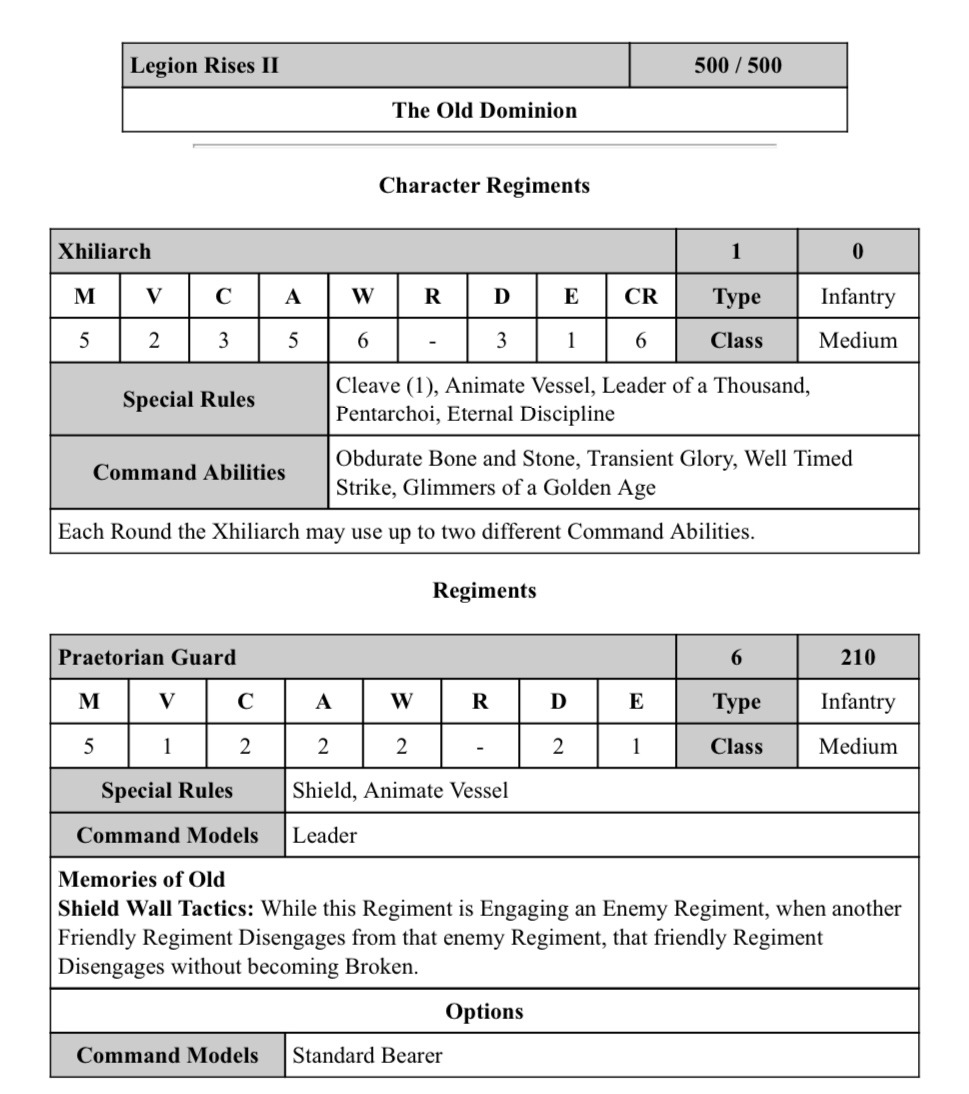
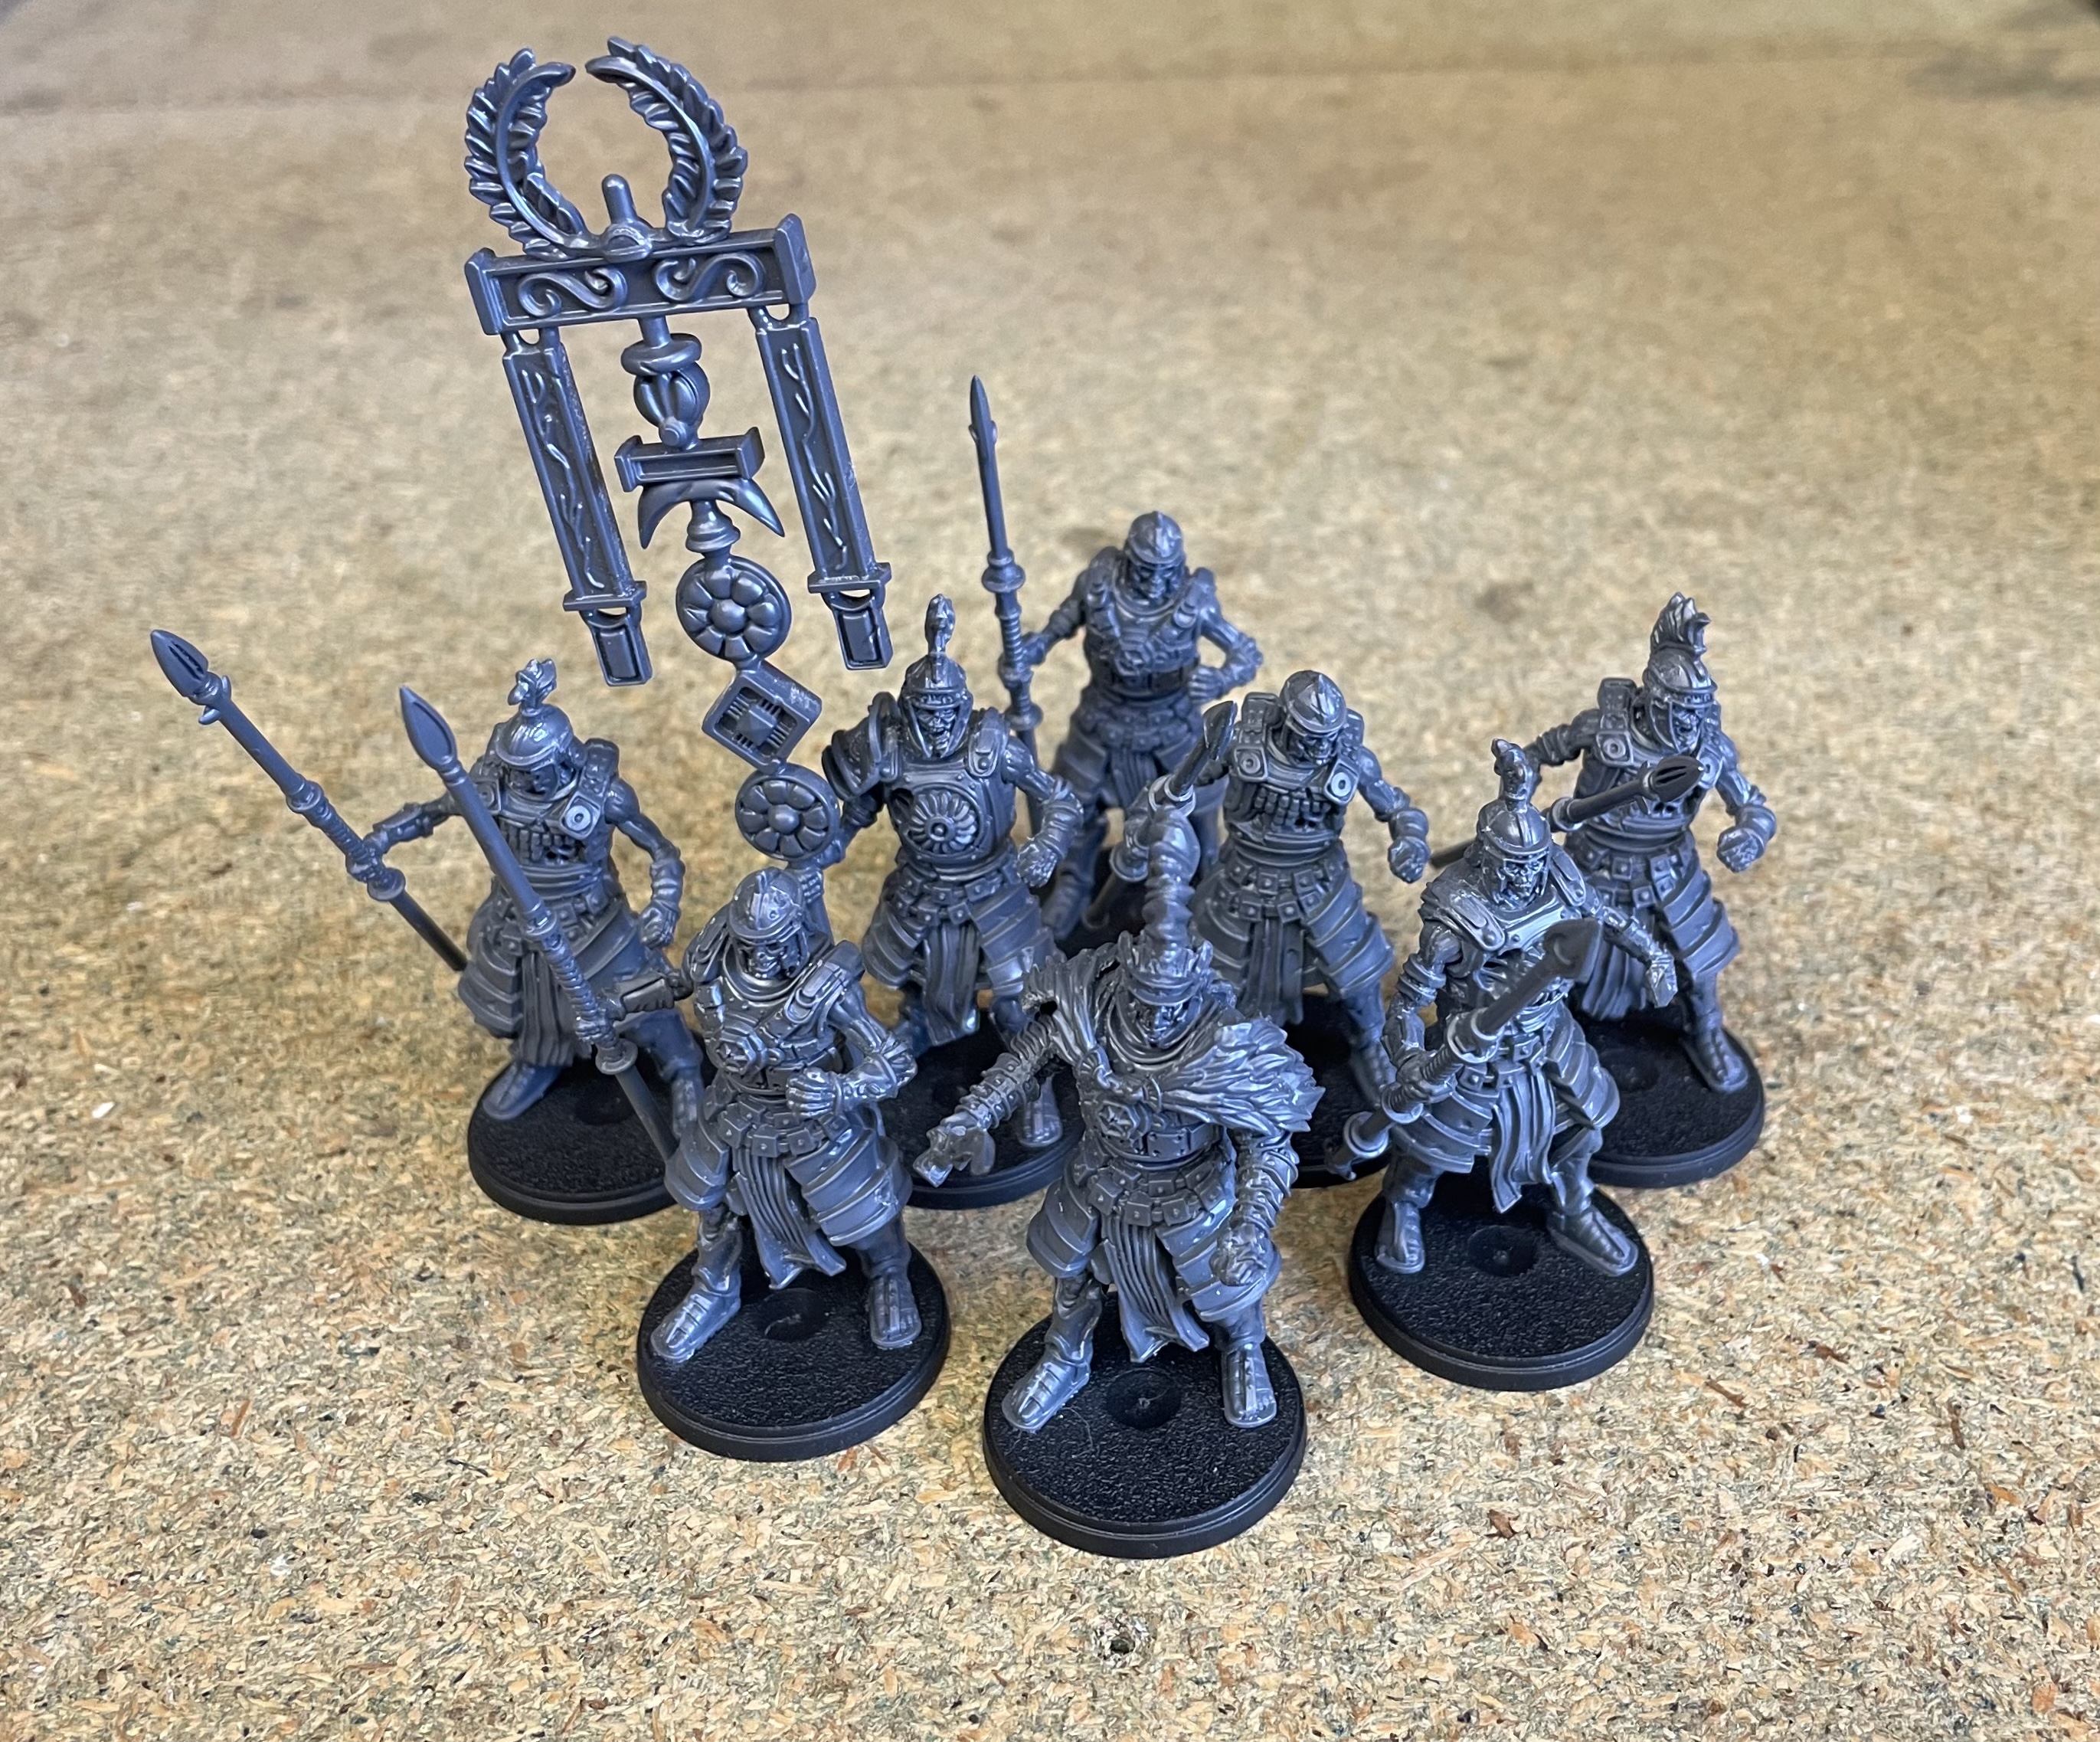
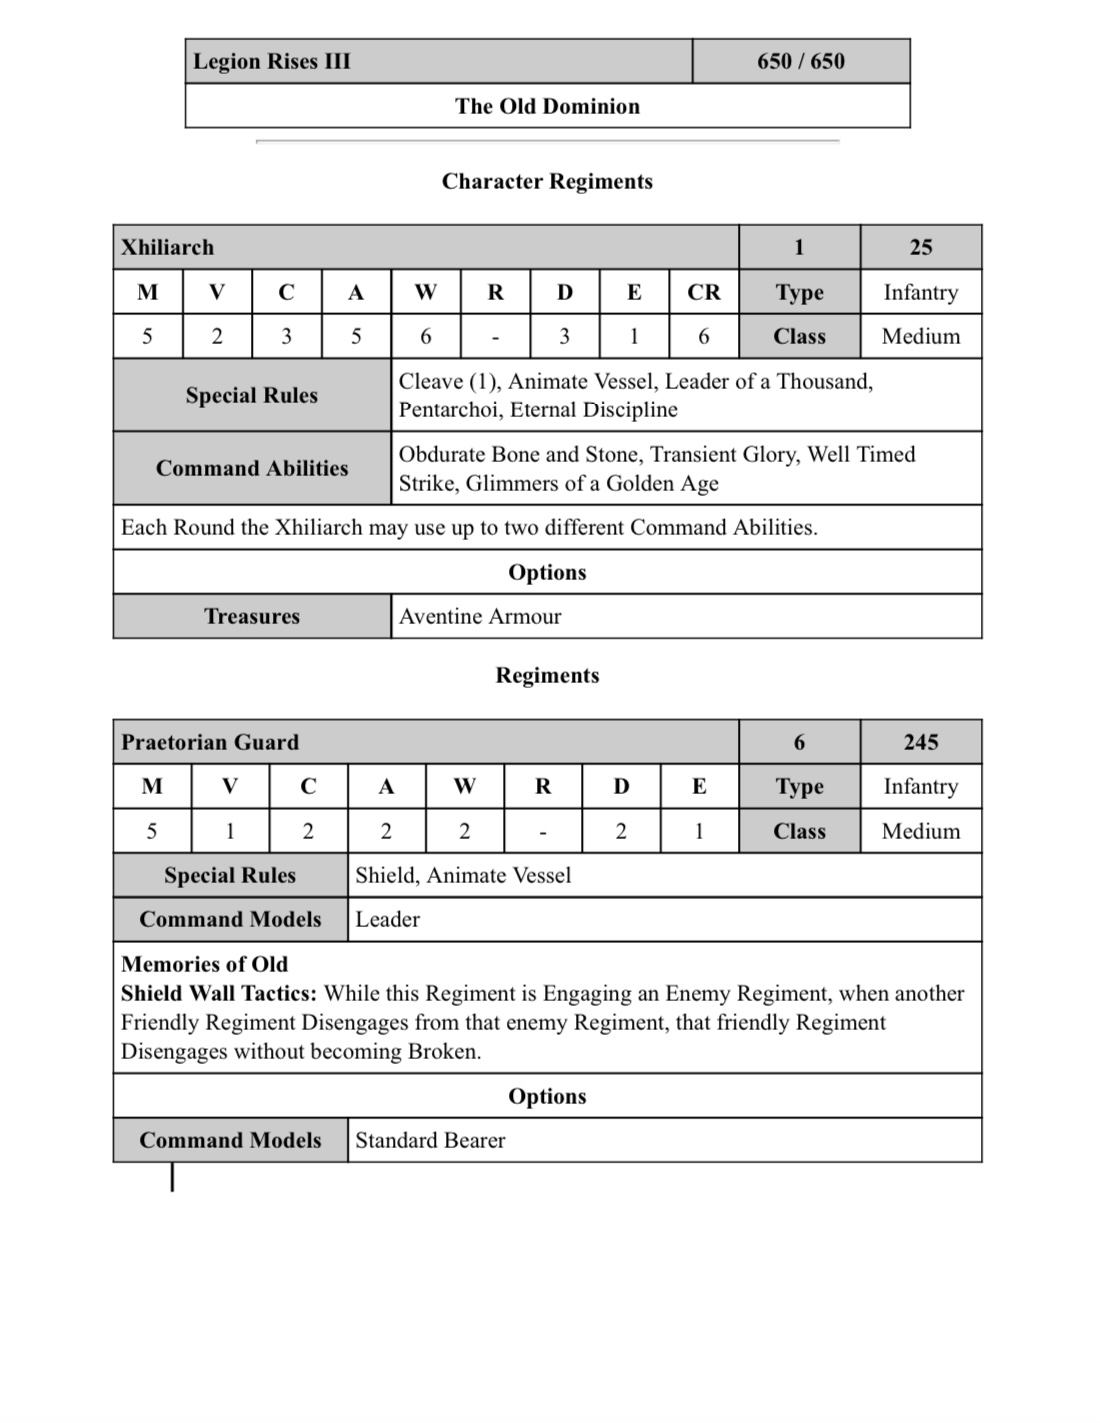
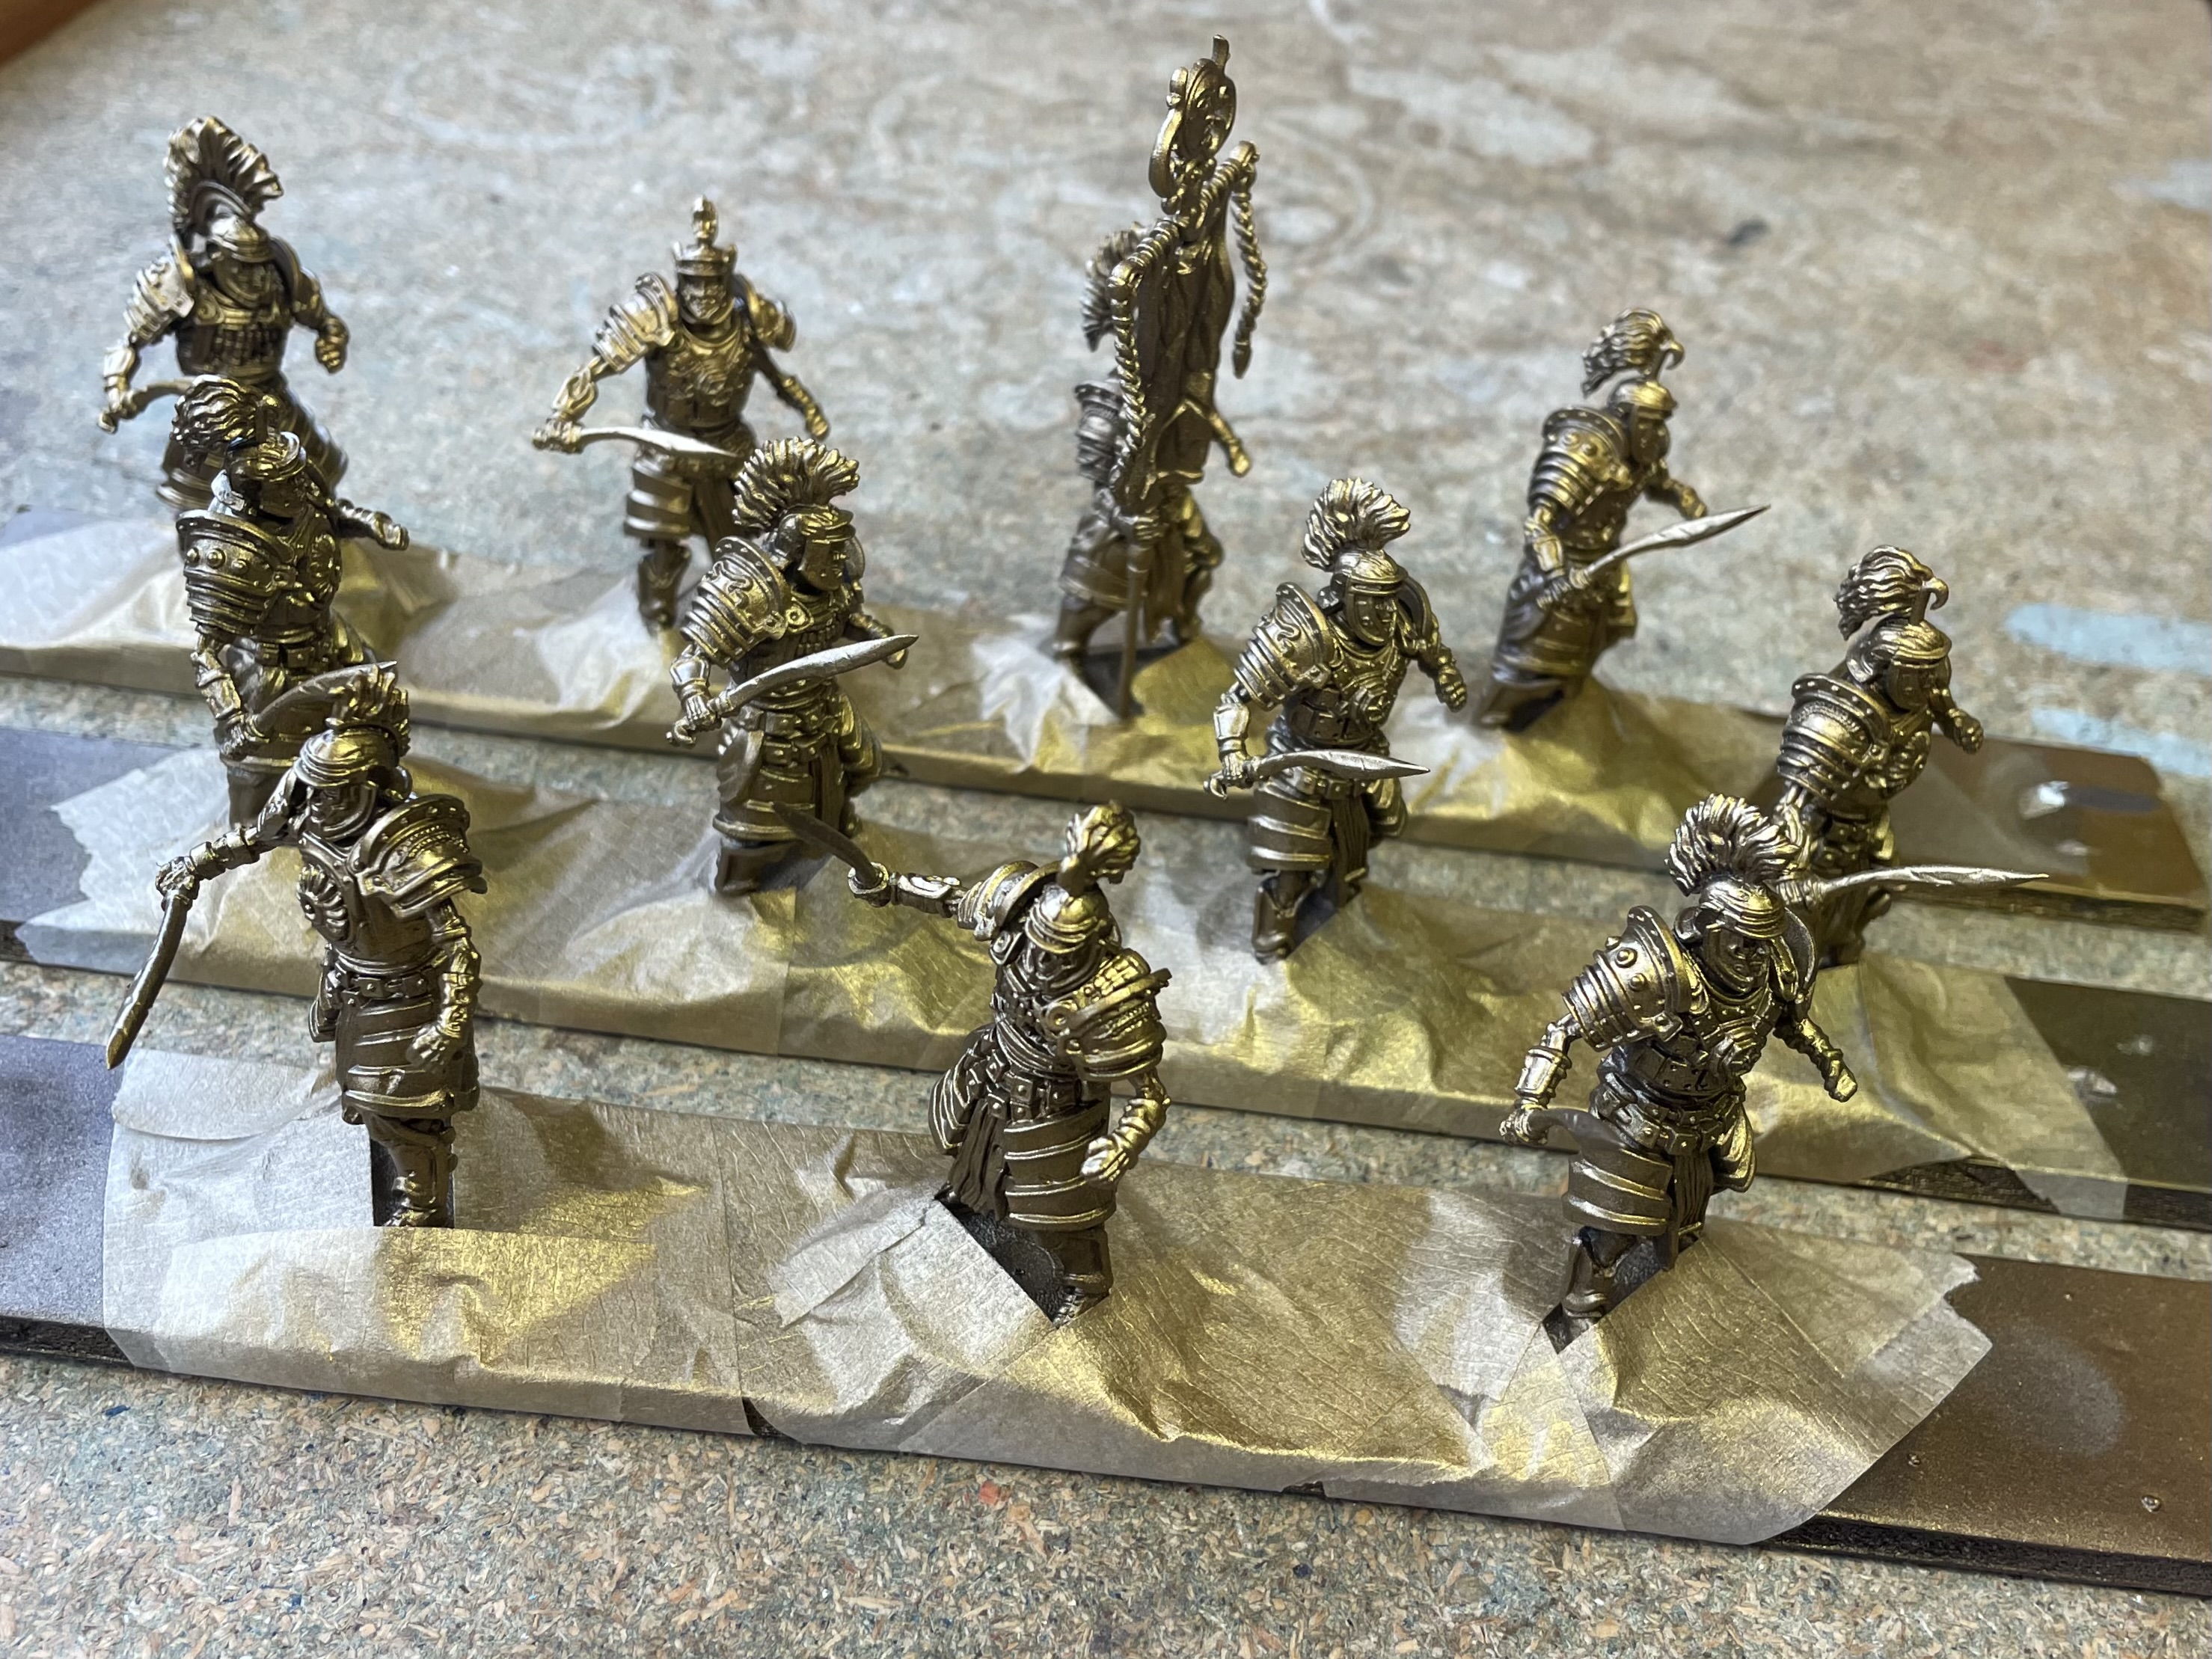
I had worked out that with just these two sets I could build a 350 point force. I started by building the Xiliarch, who would be my Commander. The Xiliarch’s ‘Pentarchoi’ rule entitles Legionnaire and Pretorian units under his command to include a Standard Bearer at six models (rather than the usual 12). With this in mind I built six Legionnaires, along with a regiment standard.
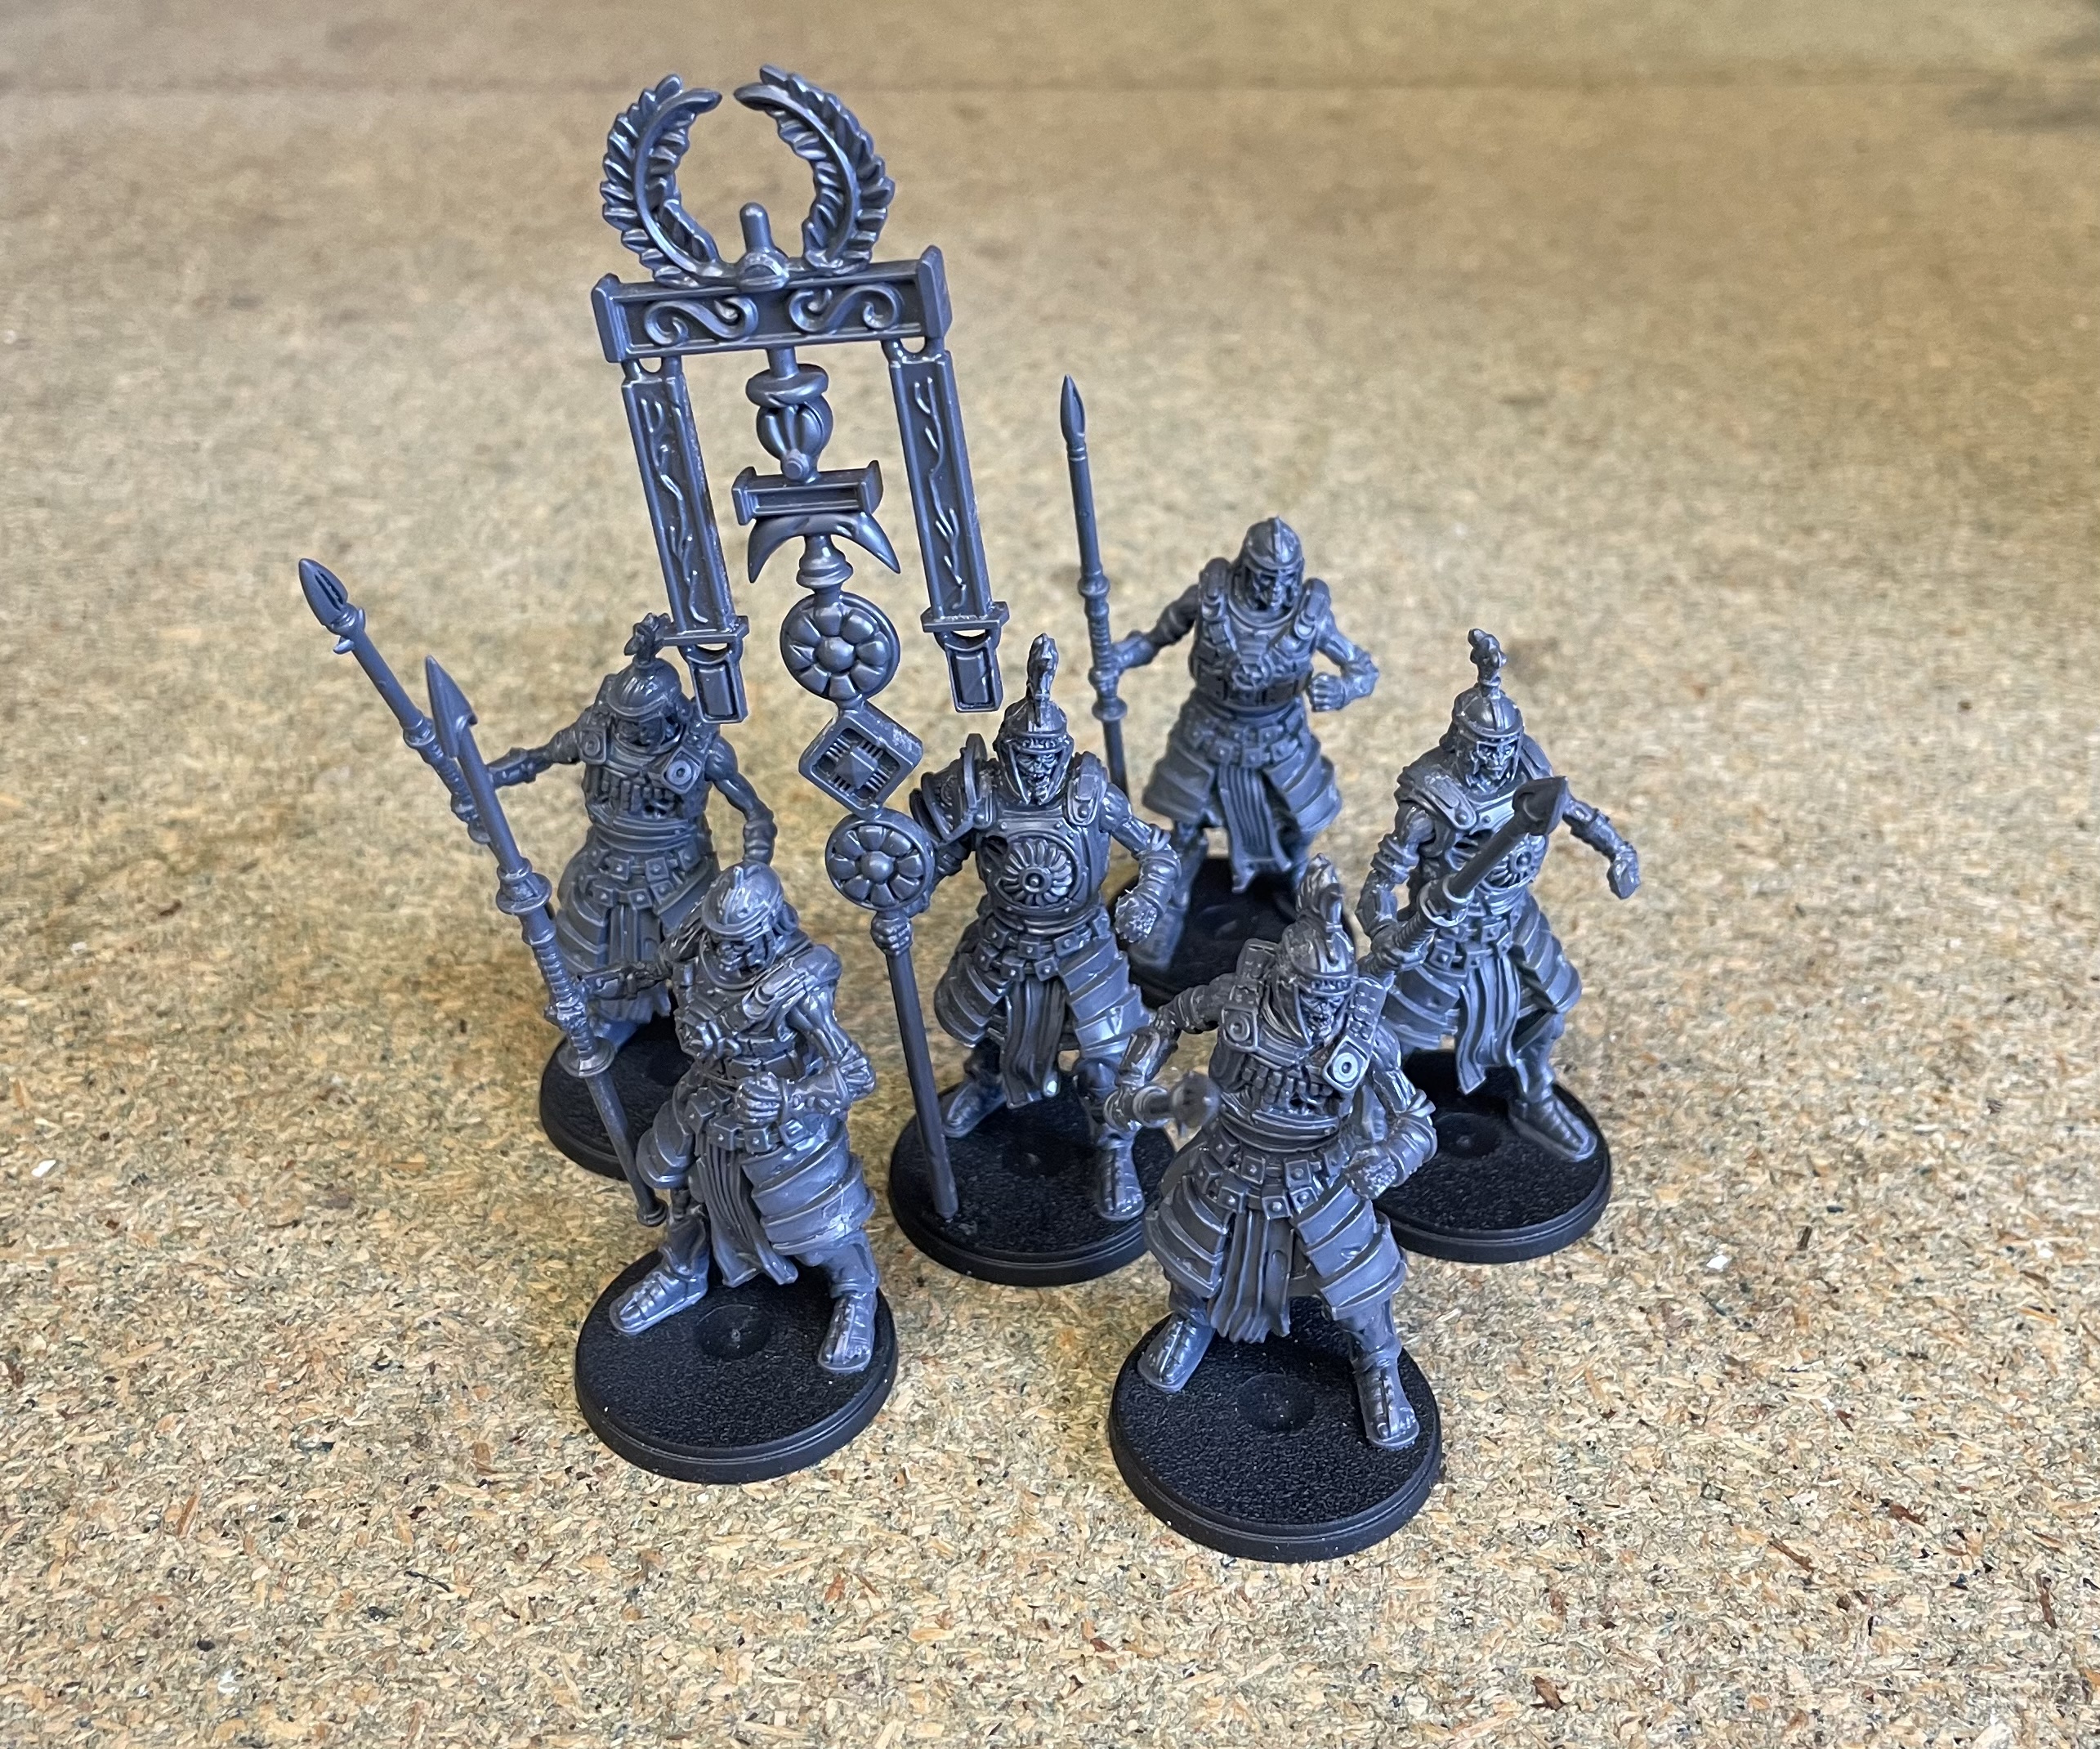
The remaining six models I built as Praetorians and although they too would be eligible for a standard, the set only came with one, so for now they would have to do without. I left the shields off the models for the moment, as this would make painting a lot easier.
I had plans to increase the size of both regiments in the near future but for the time being I would need to wait for reinforcements. At this stage I had a respectable 350 points and was well on my way to playing my first game.
Build to 500
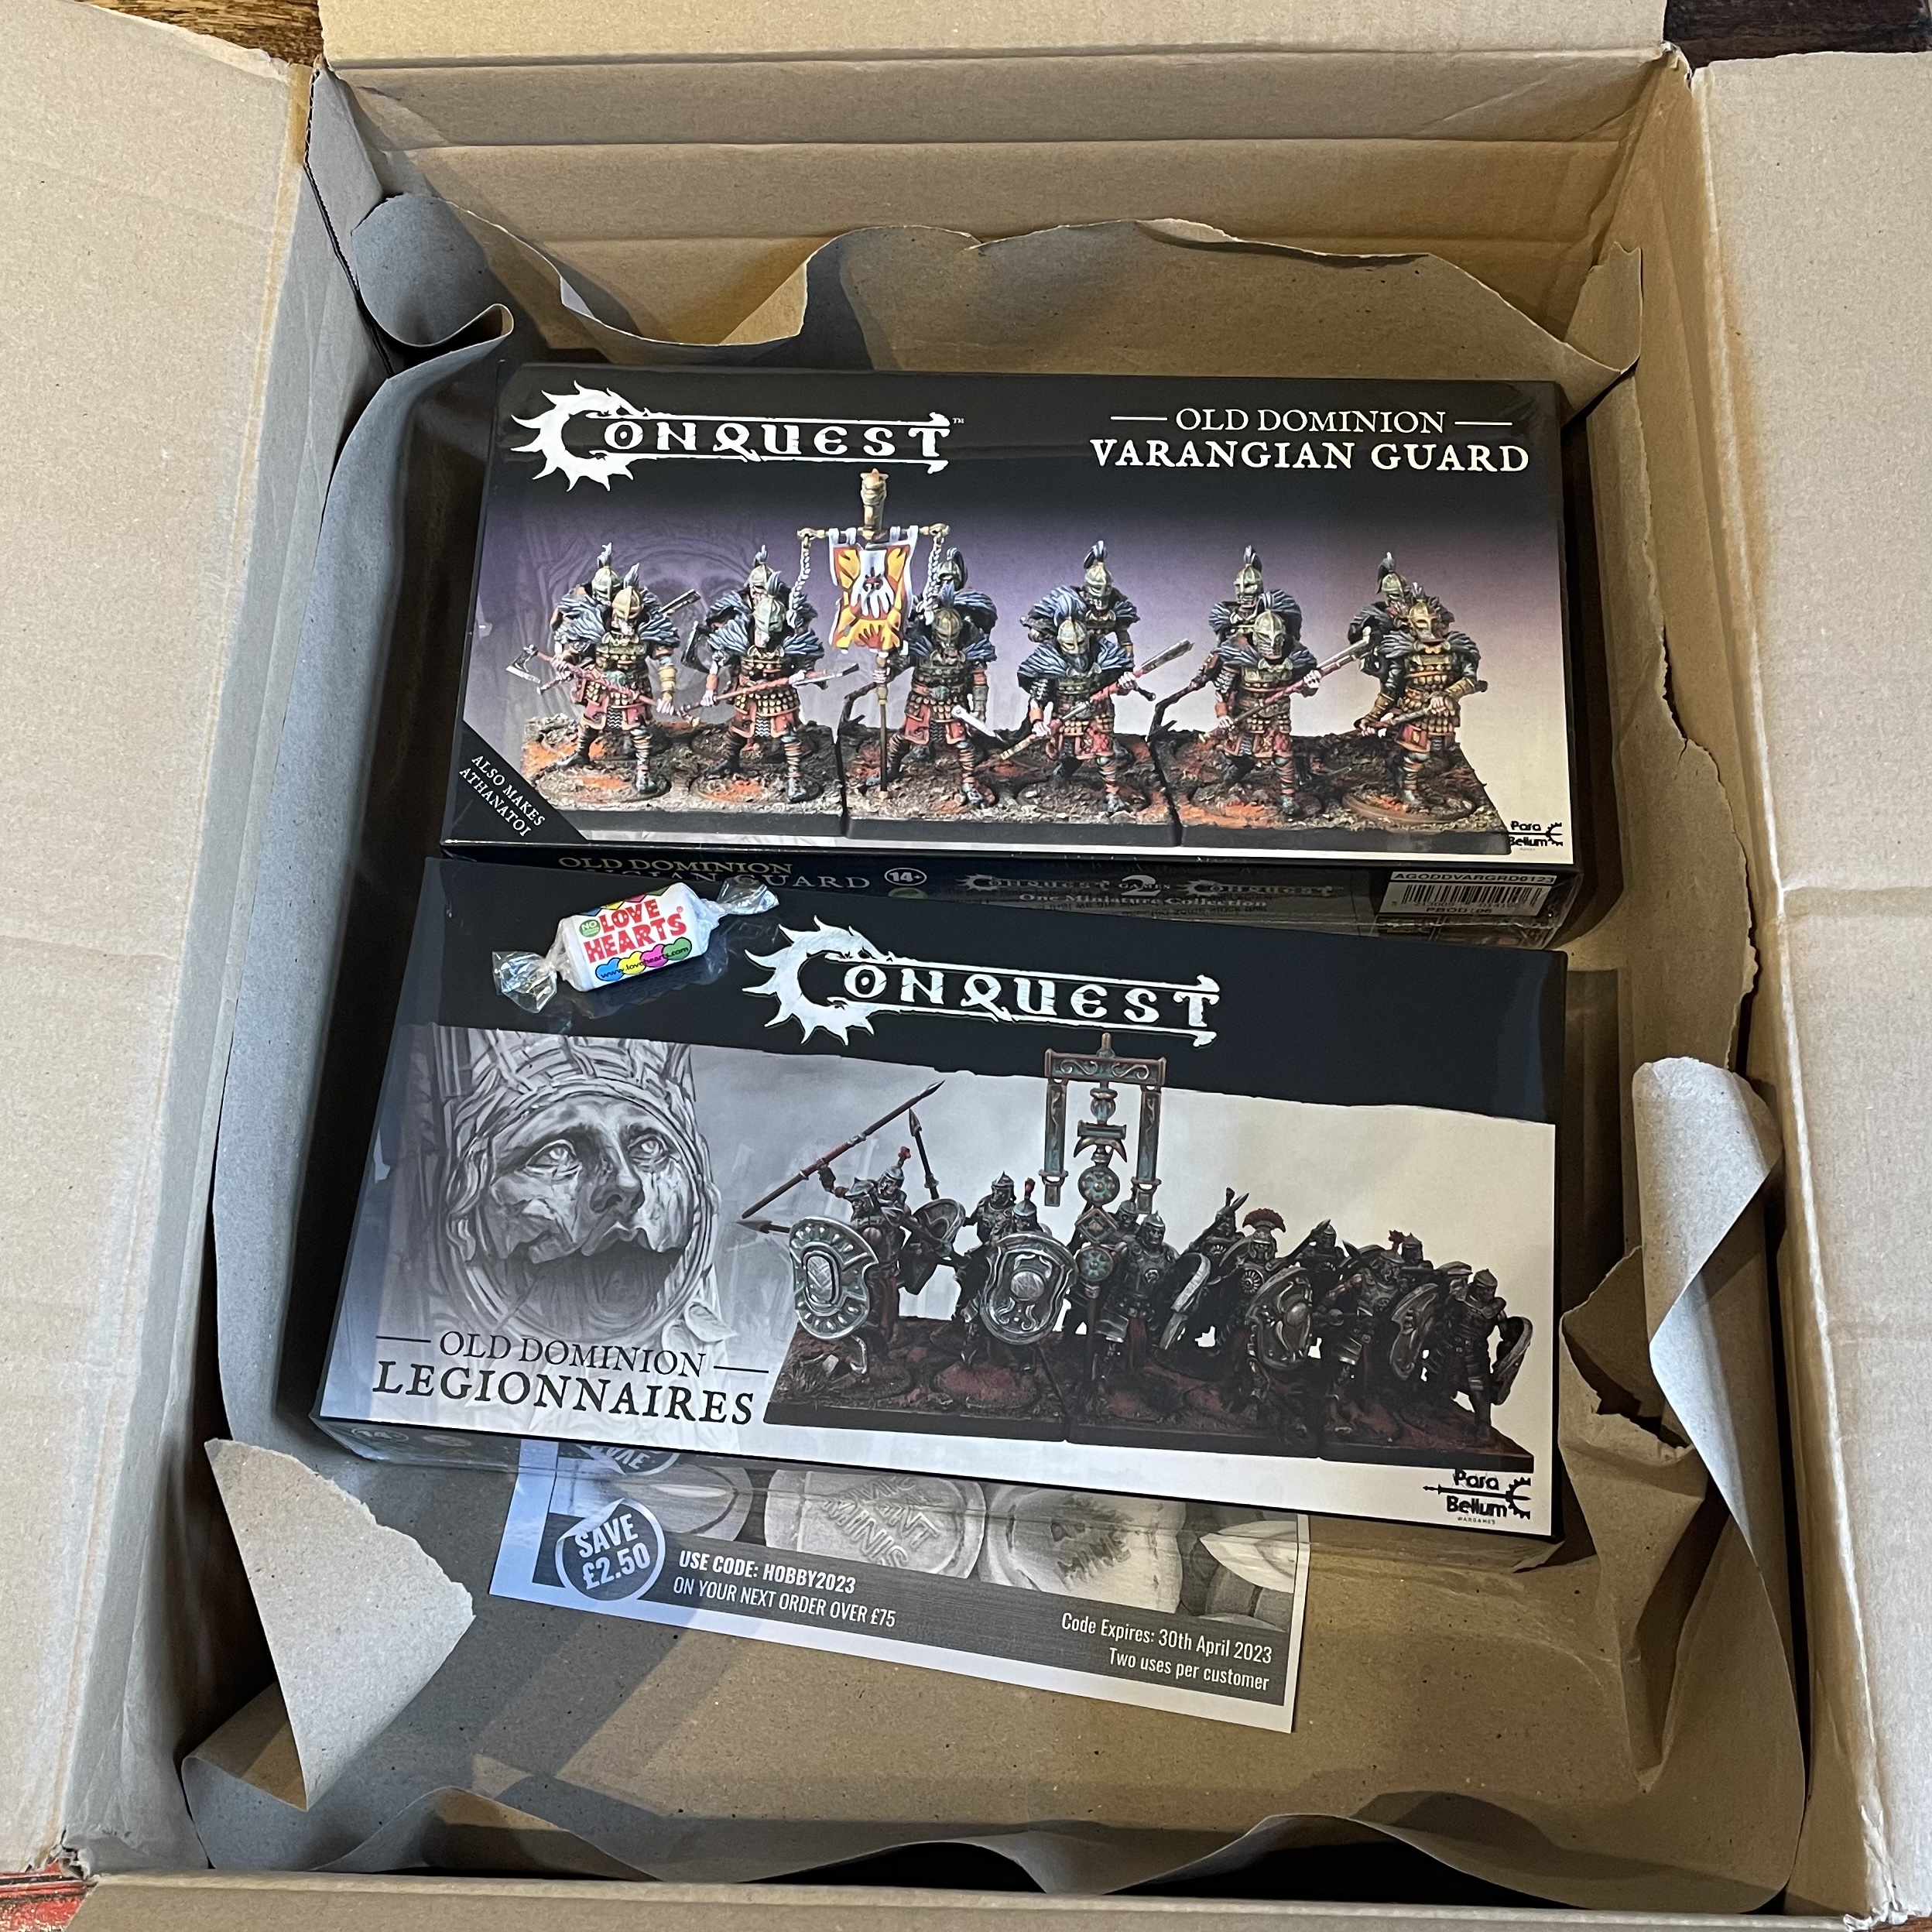
I was aiming to build my force up to 500 points in order to try a few games and get familiar with the rules. With this in mind I ordered another set of Legionnaires as well as the newly released Varangian set. With the arrival of fresh meat (rotten meat?), I had the bodies I needed to bulk up my force, as well as a new set of components to build a few unique characters.
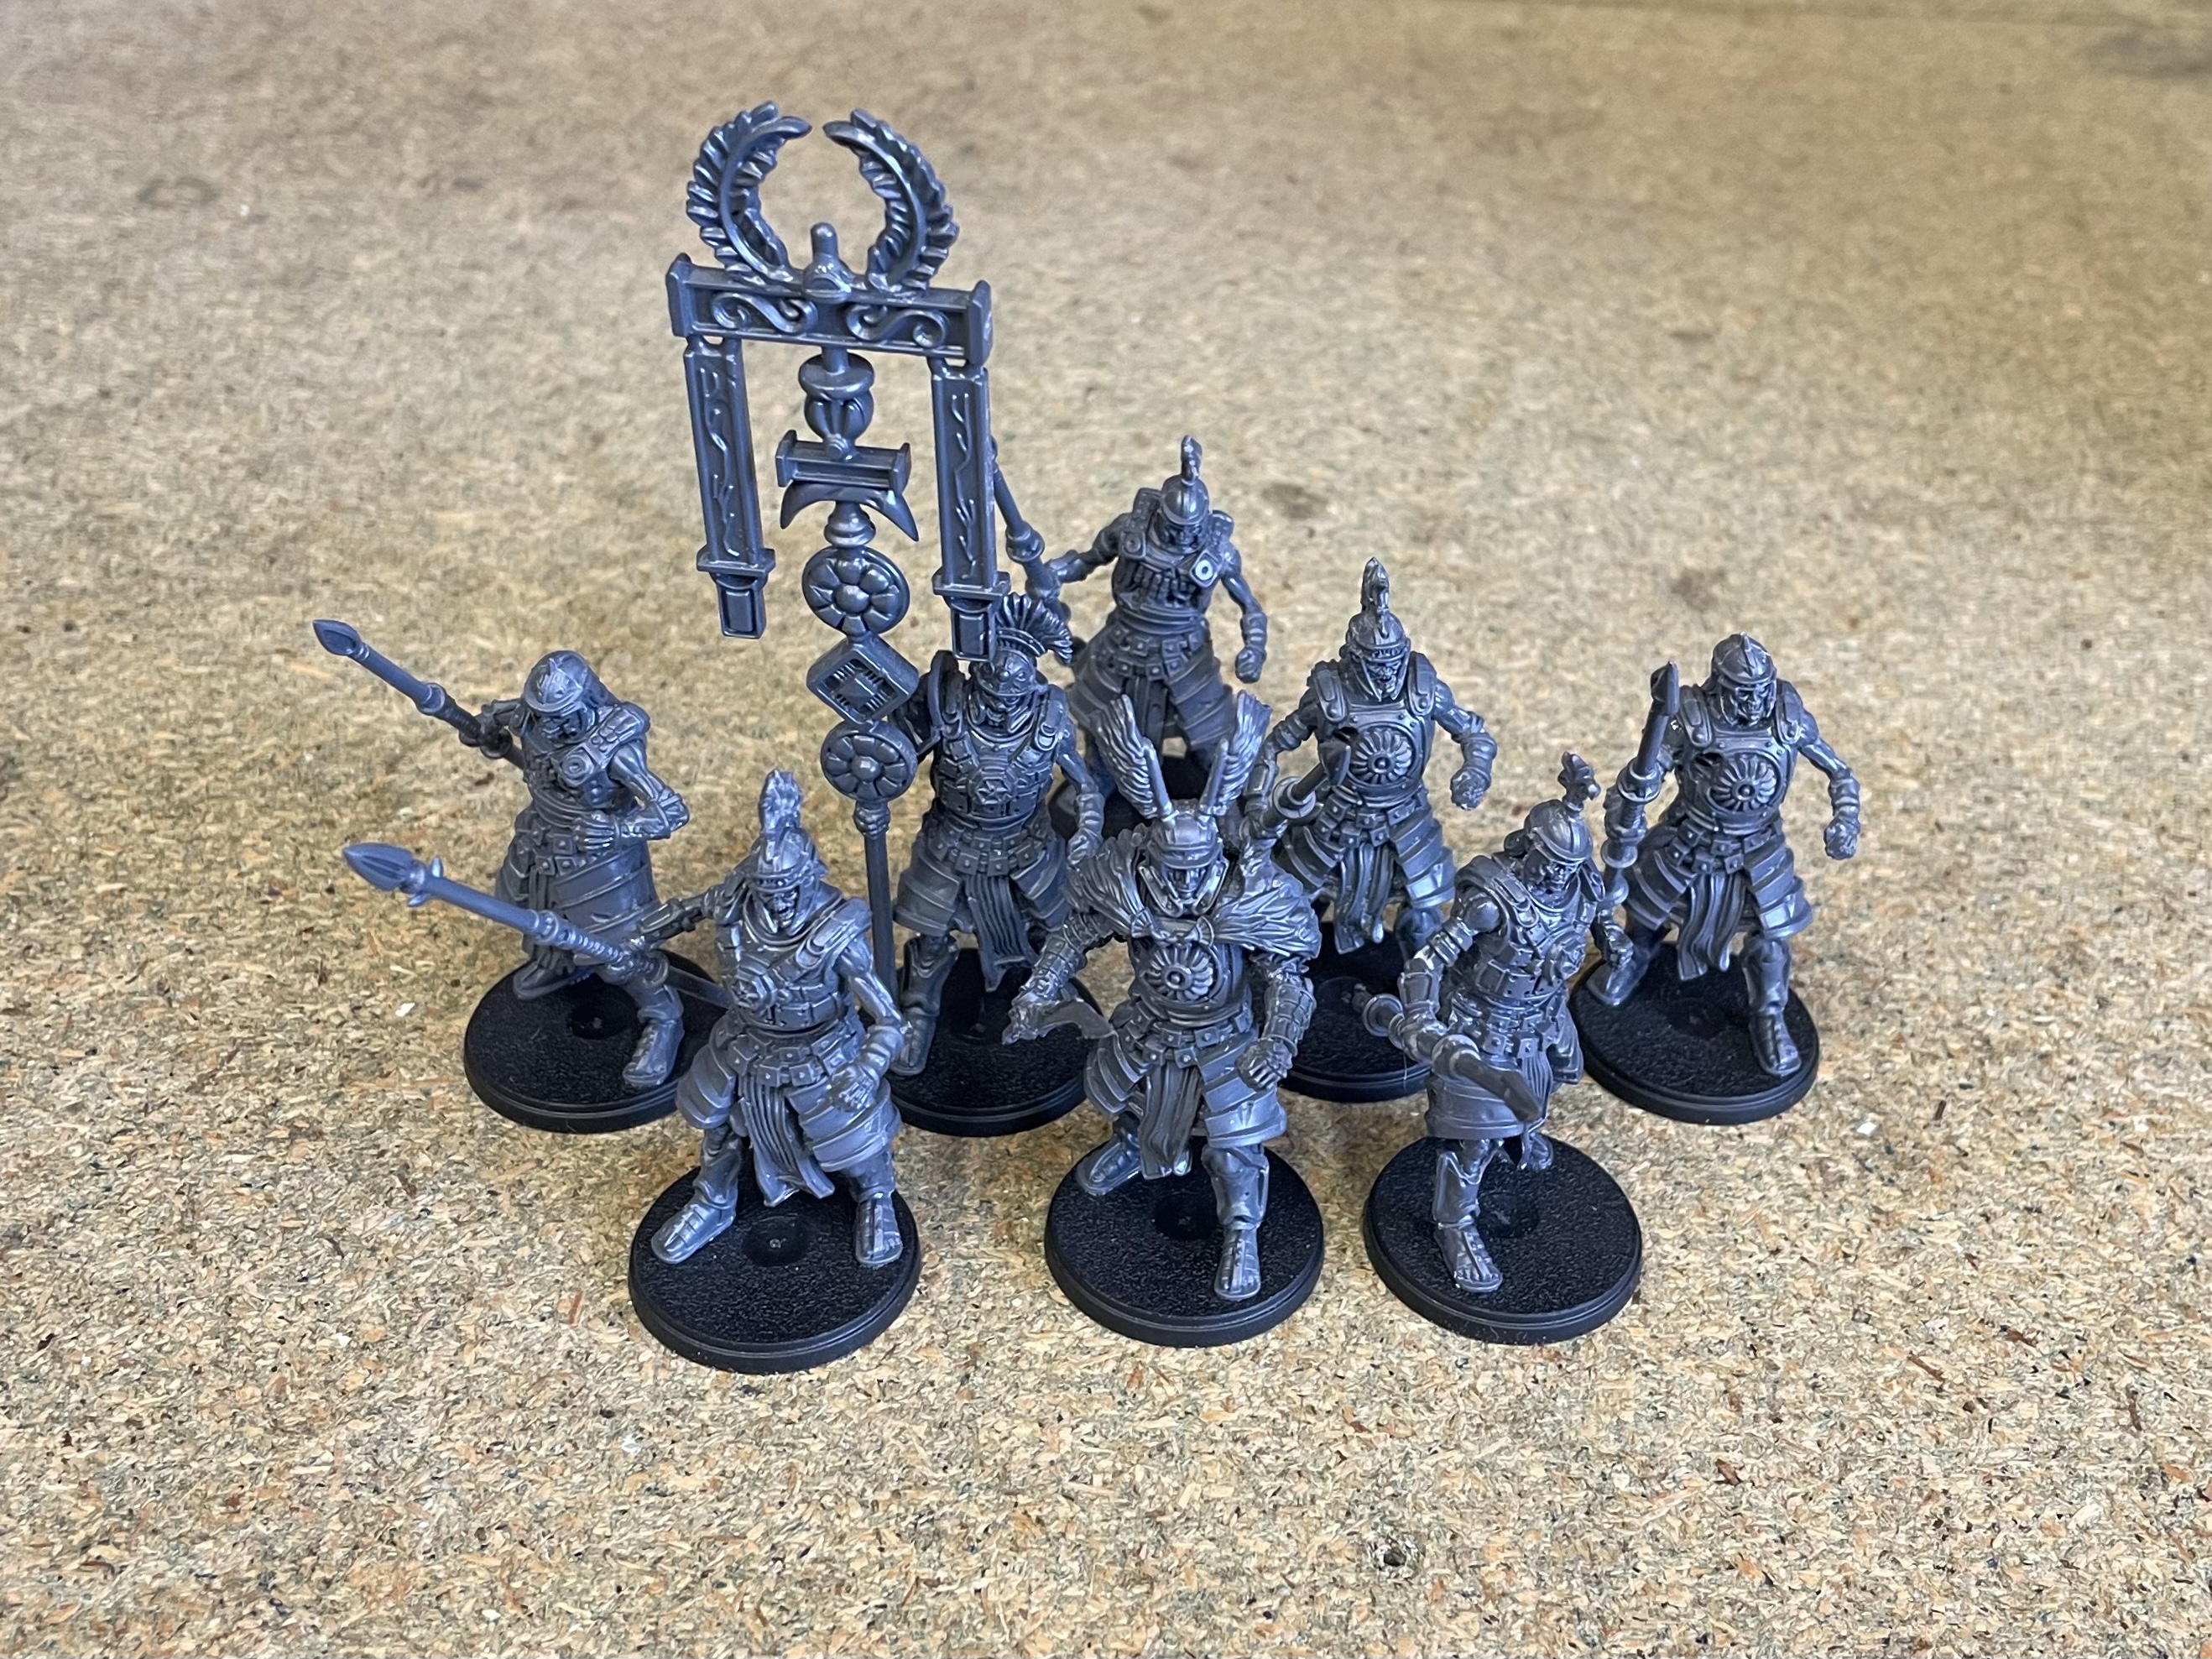
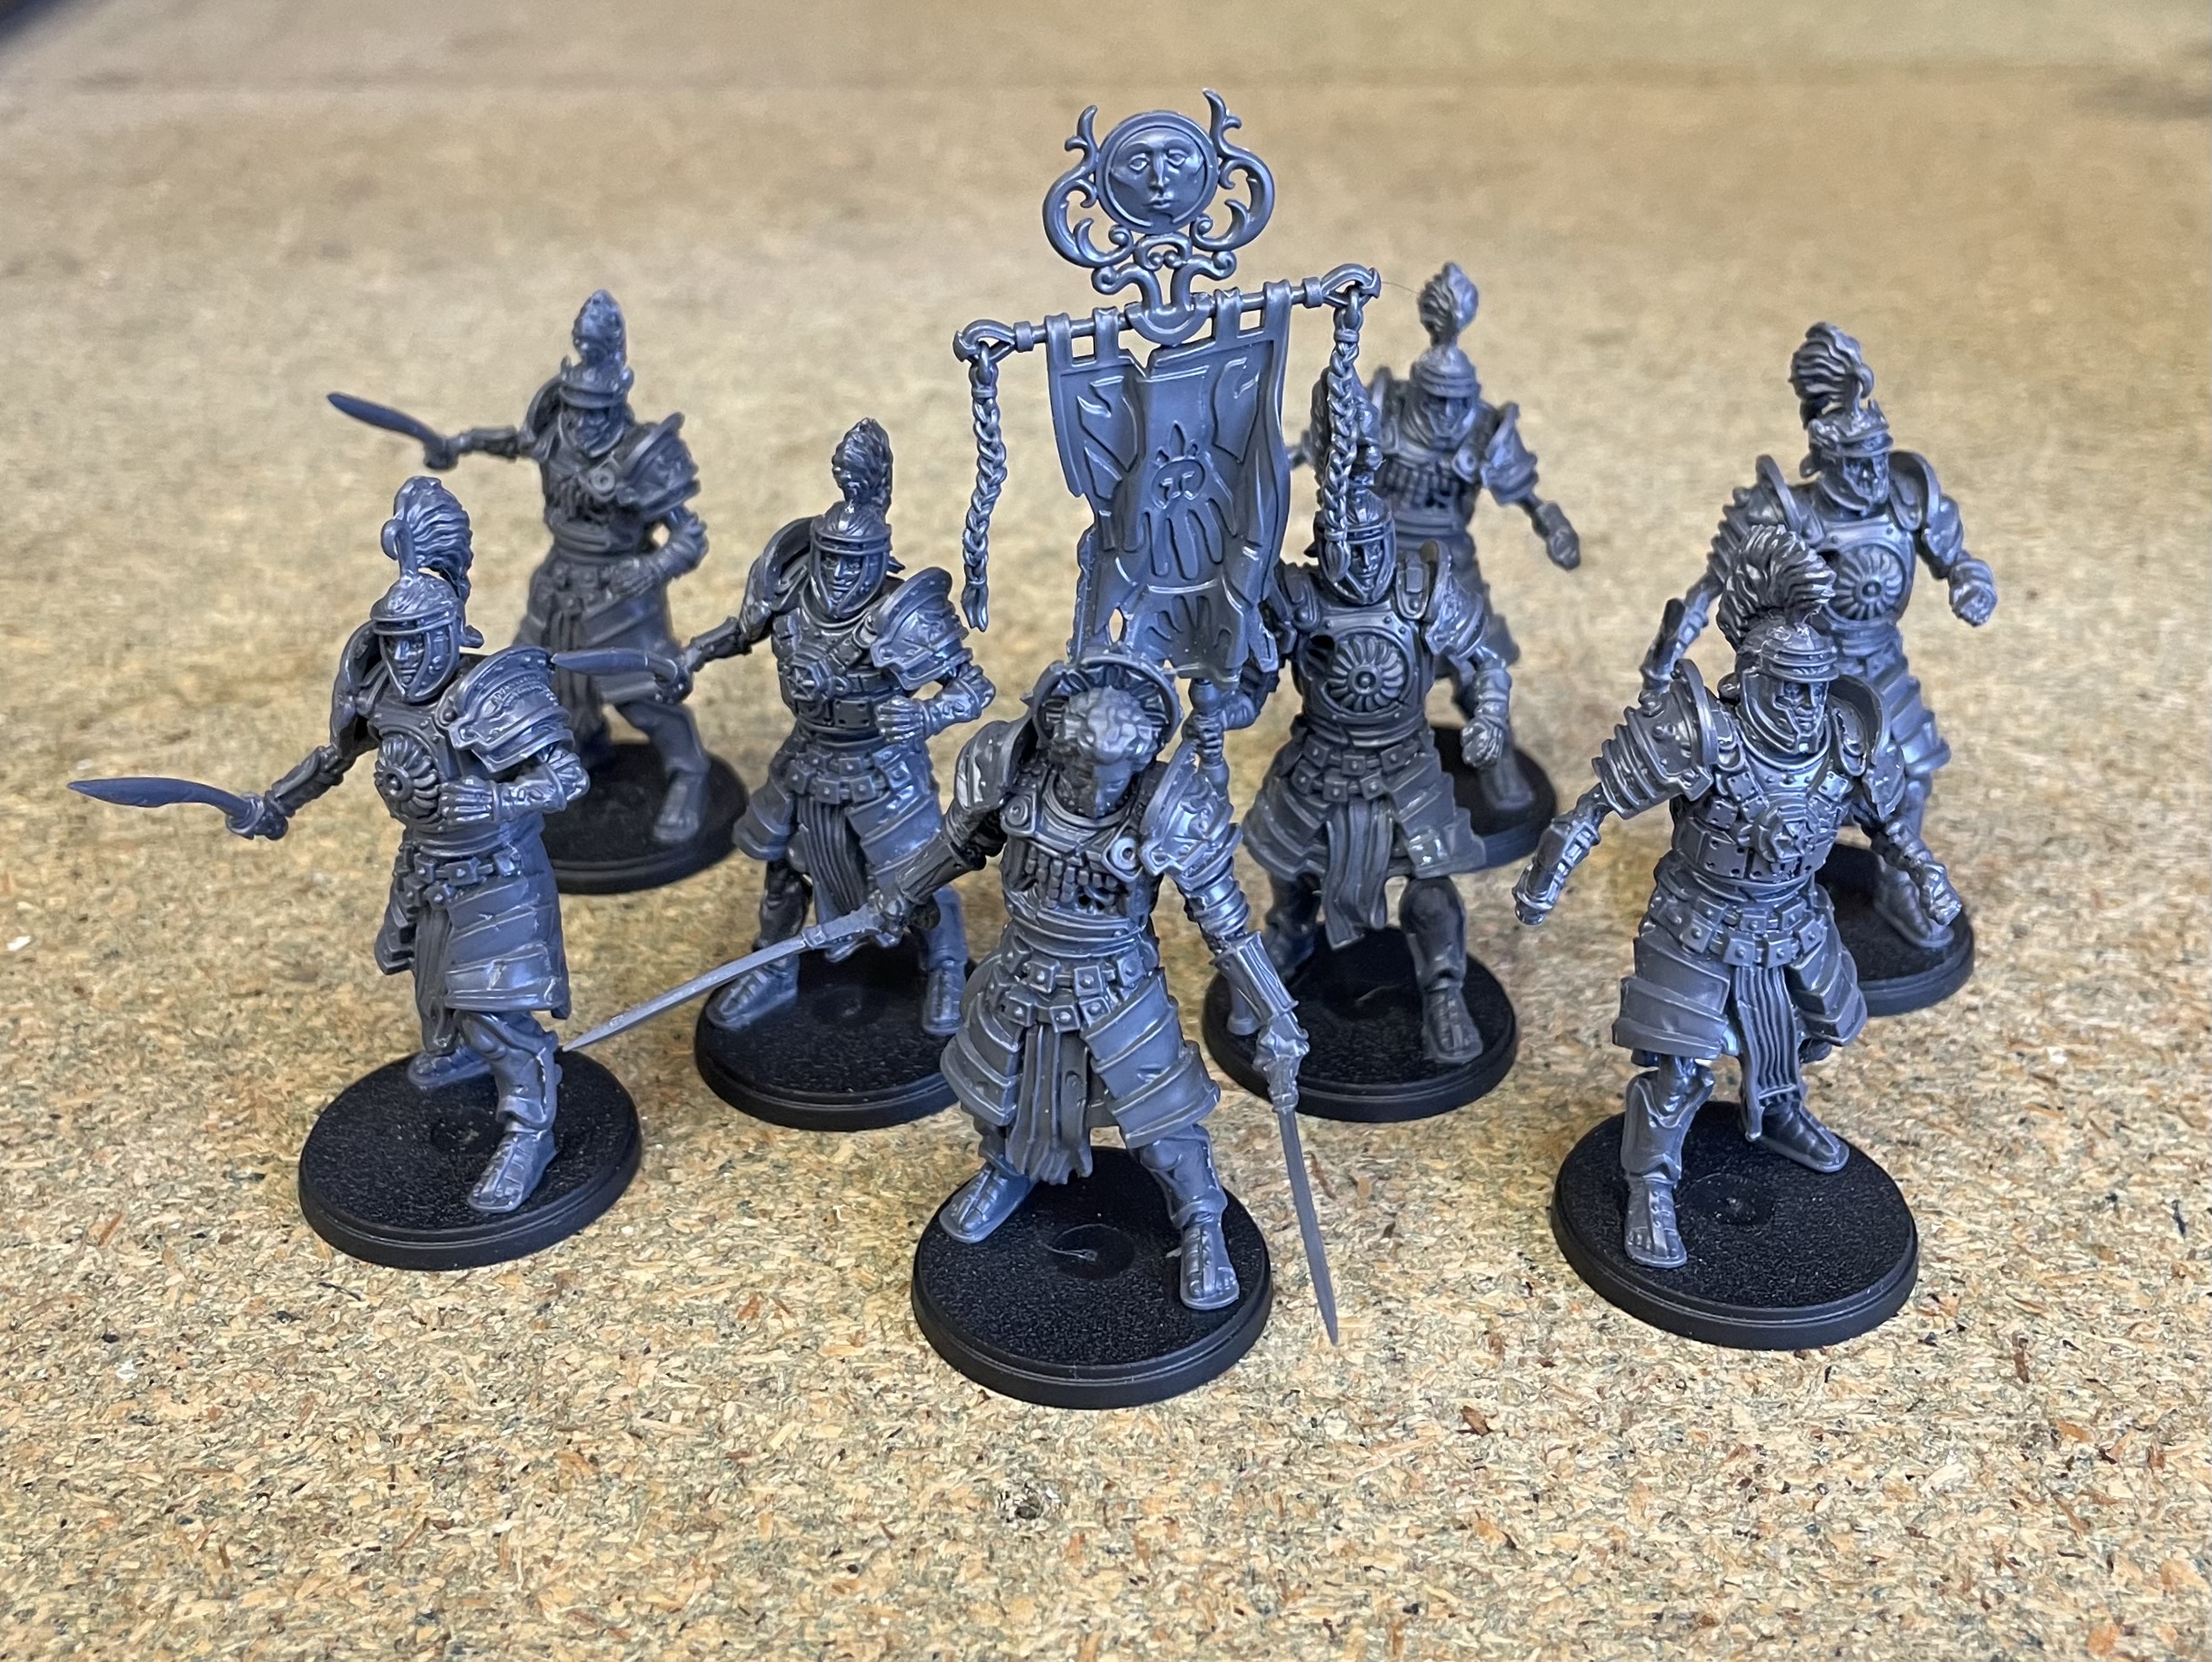
First up I built a second unit of Legionnaires, along with a Standard Bearer. This unit was comprised of five Legionaries and would be led by an Optio.

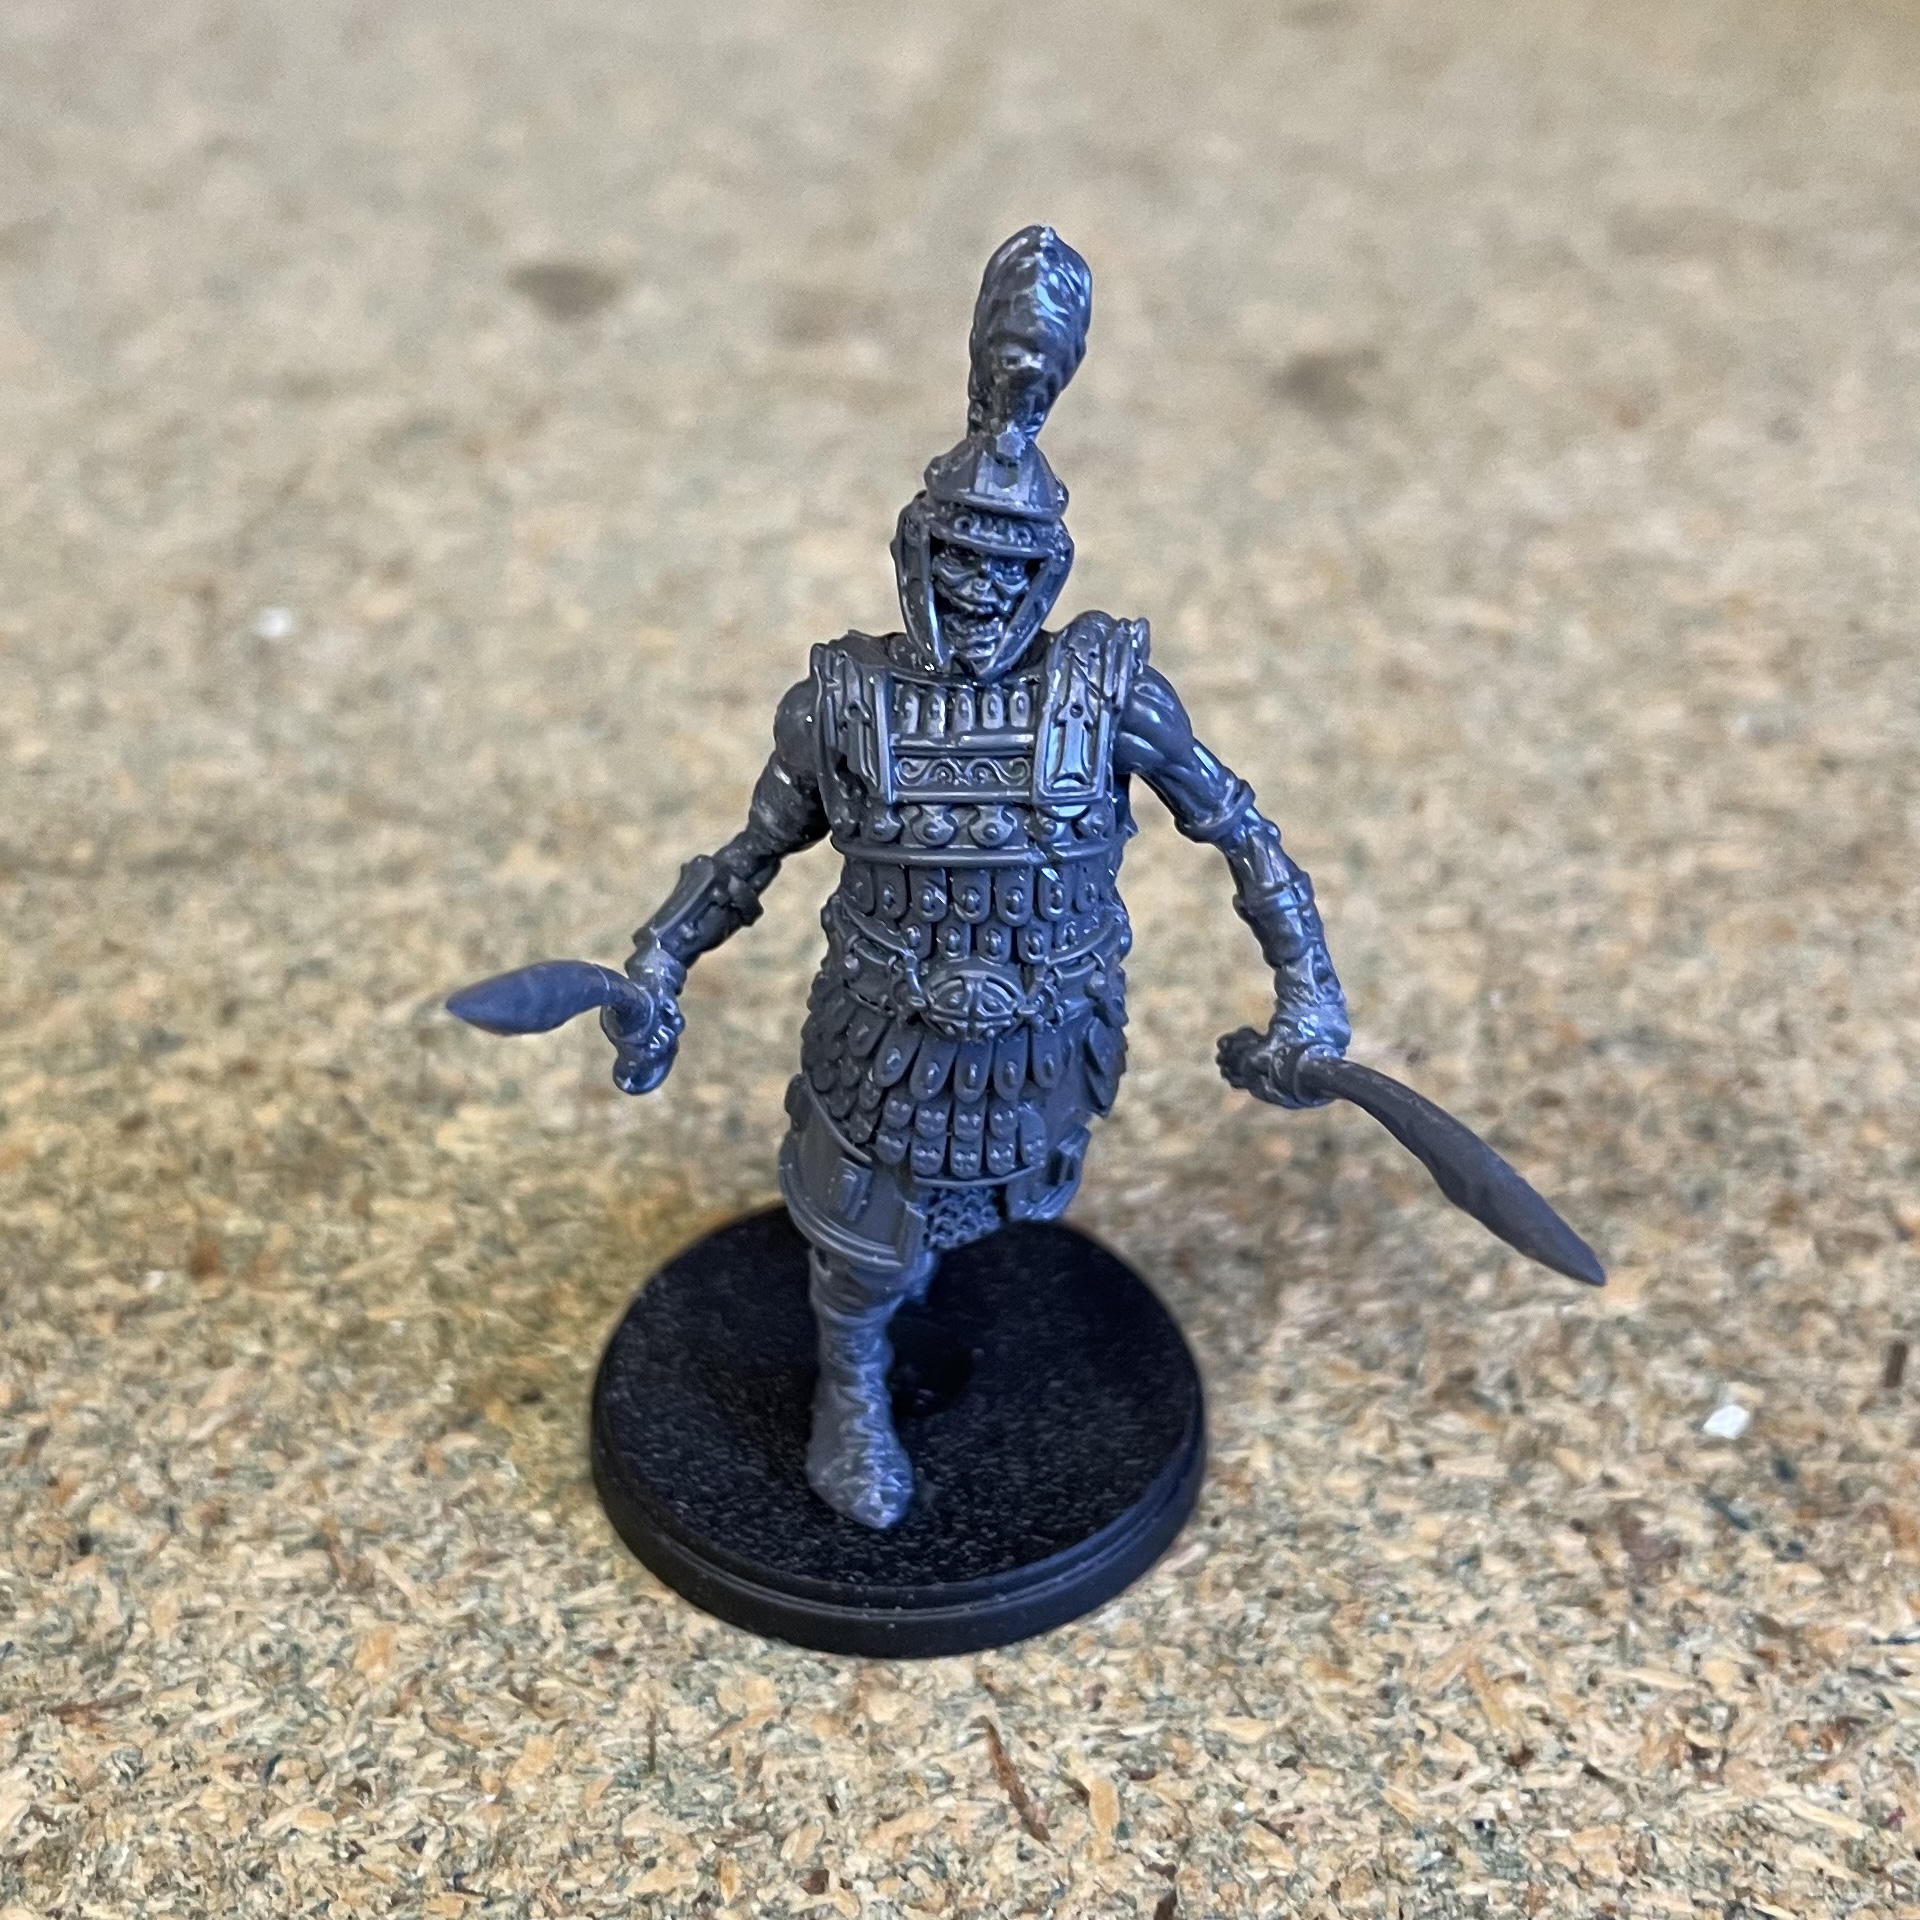
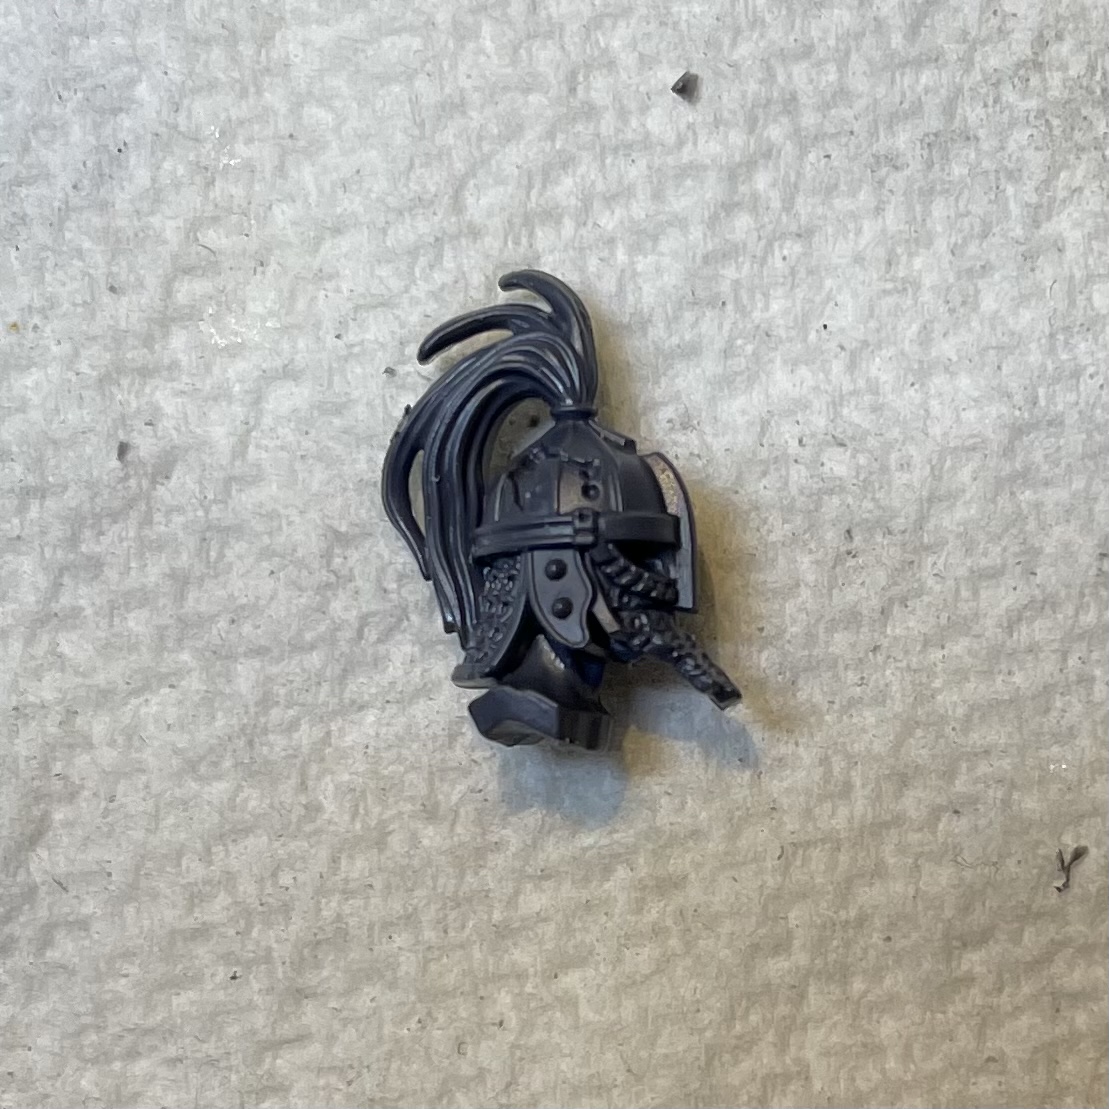
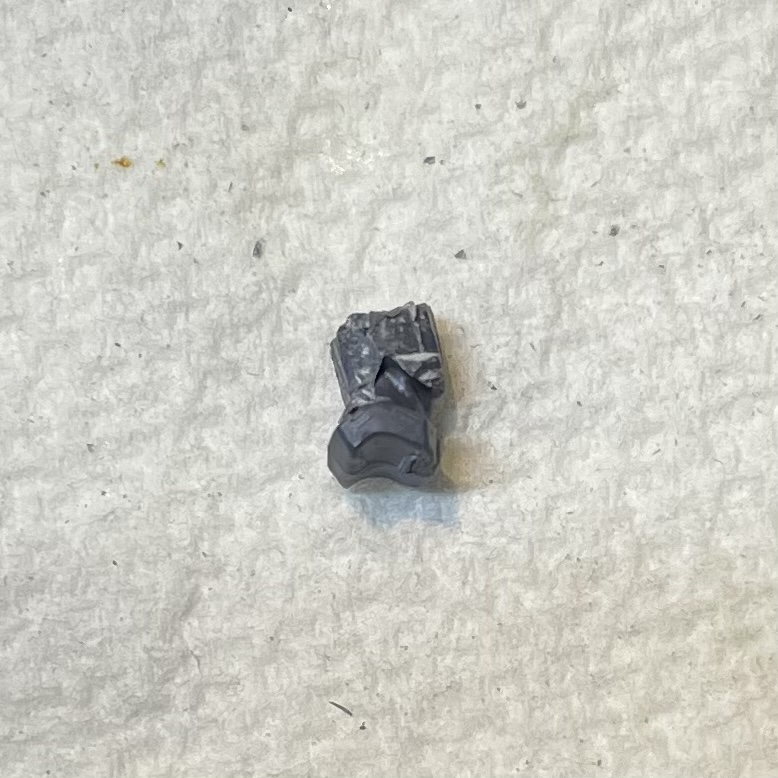
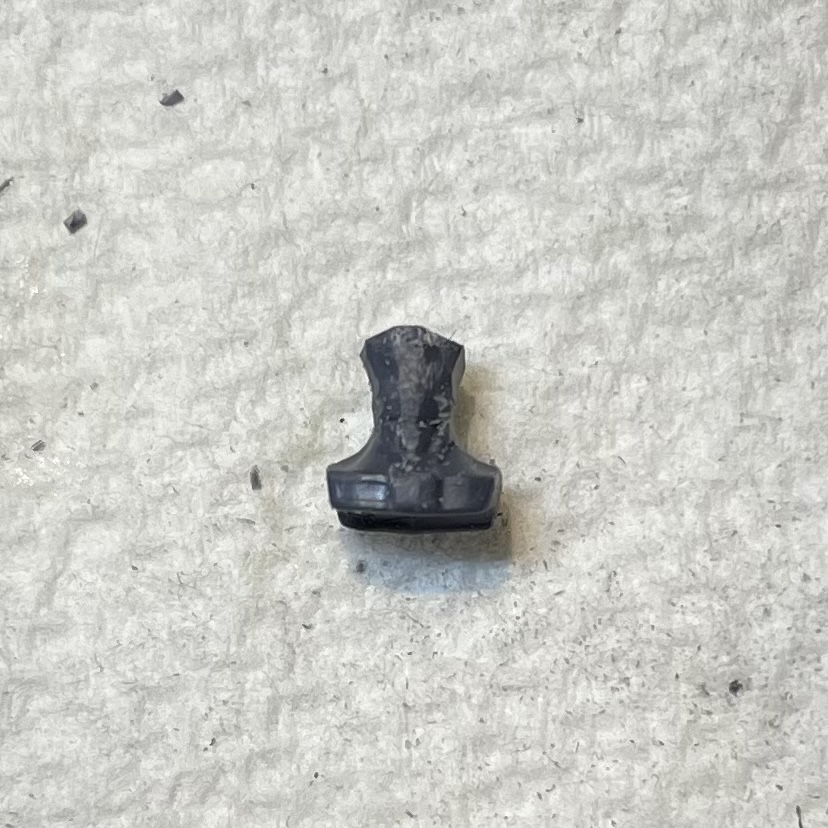
Although an Optio model is available, I wanted to add a bit of flavour to my force by kit bashing my own. I used one of the bodies from the Legionaries set and the arms from an Athanatoi (With the sword cut from the left hand as a Shield would go here). I also took the fur shoulders from a Varangian guard which fitted pretty snugly after a little trimming and a dip in boiling water! The figure was topped off with the Pretorian unit leader head.
The Praetorians themselves were in need of a Standard and as I had already used both of the Legion ones I had, I instead took the standard from the Athanatoi, giving a unique look to the regiment.

Along with the models I had previously built I now had three units of six, each with a Standard. I also had a single officer in the form of the Optio and my Xiliarch Commander. This brought the list to an even 500, giving me a pretty decent force for my first few games.

Build to 650
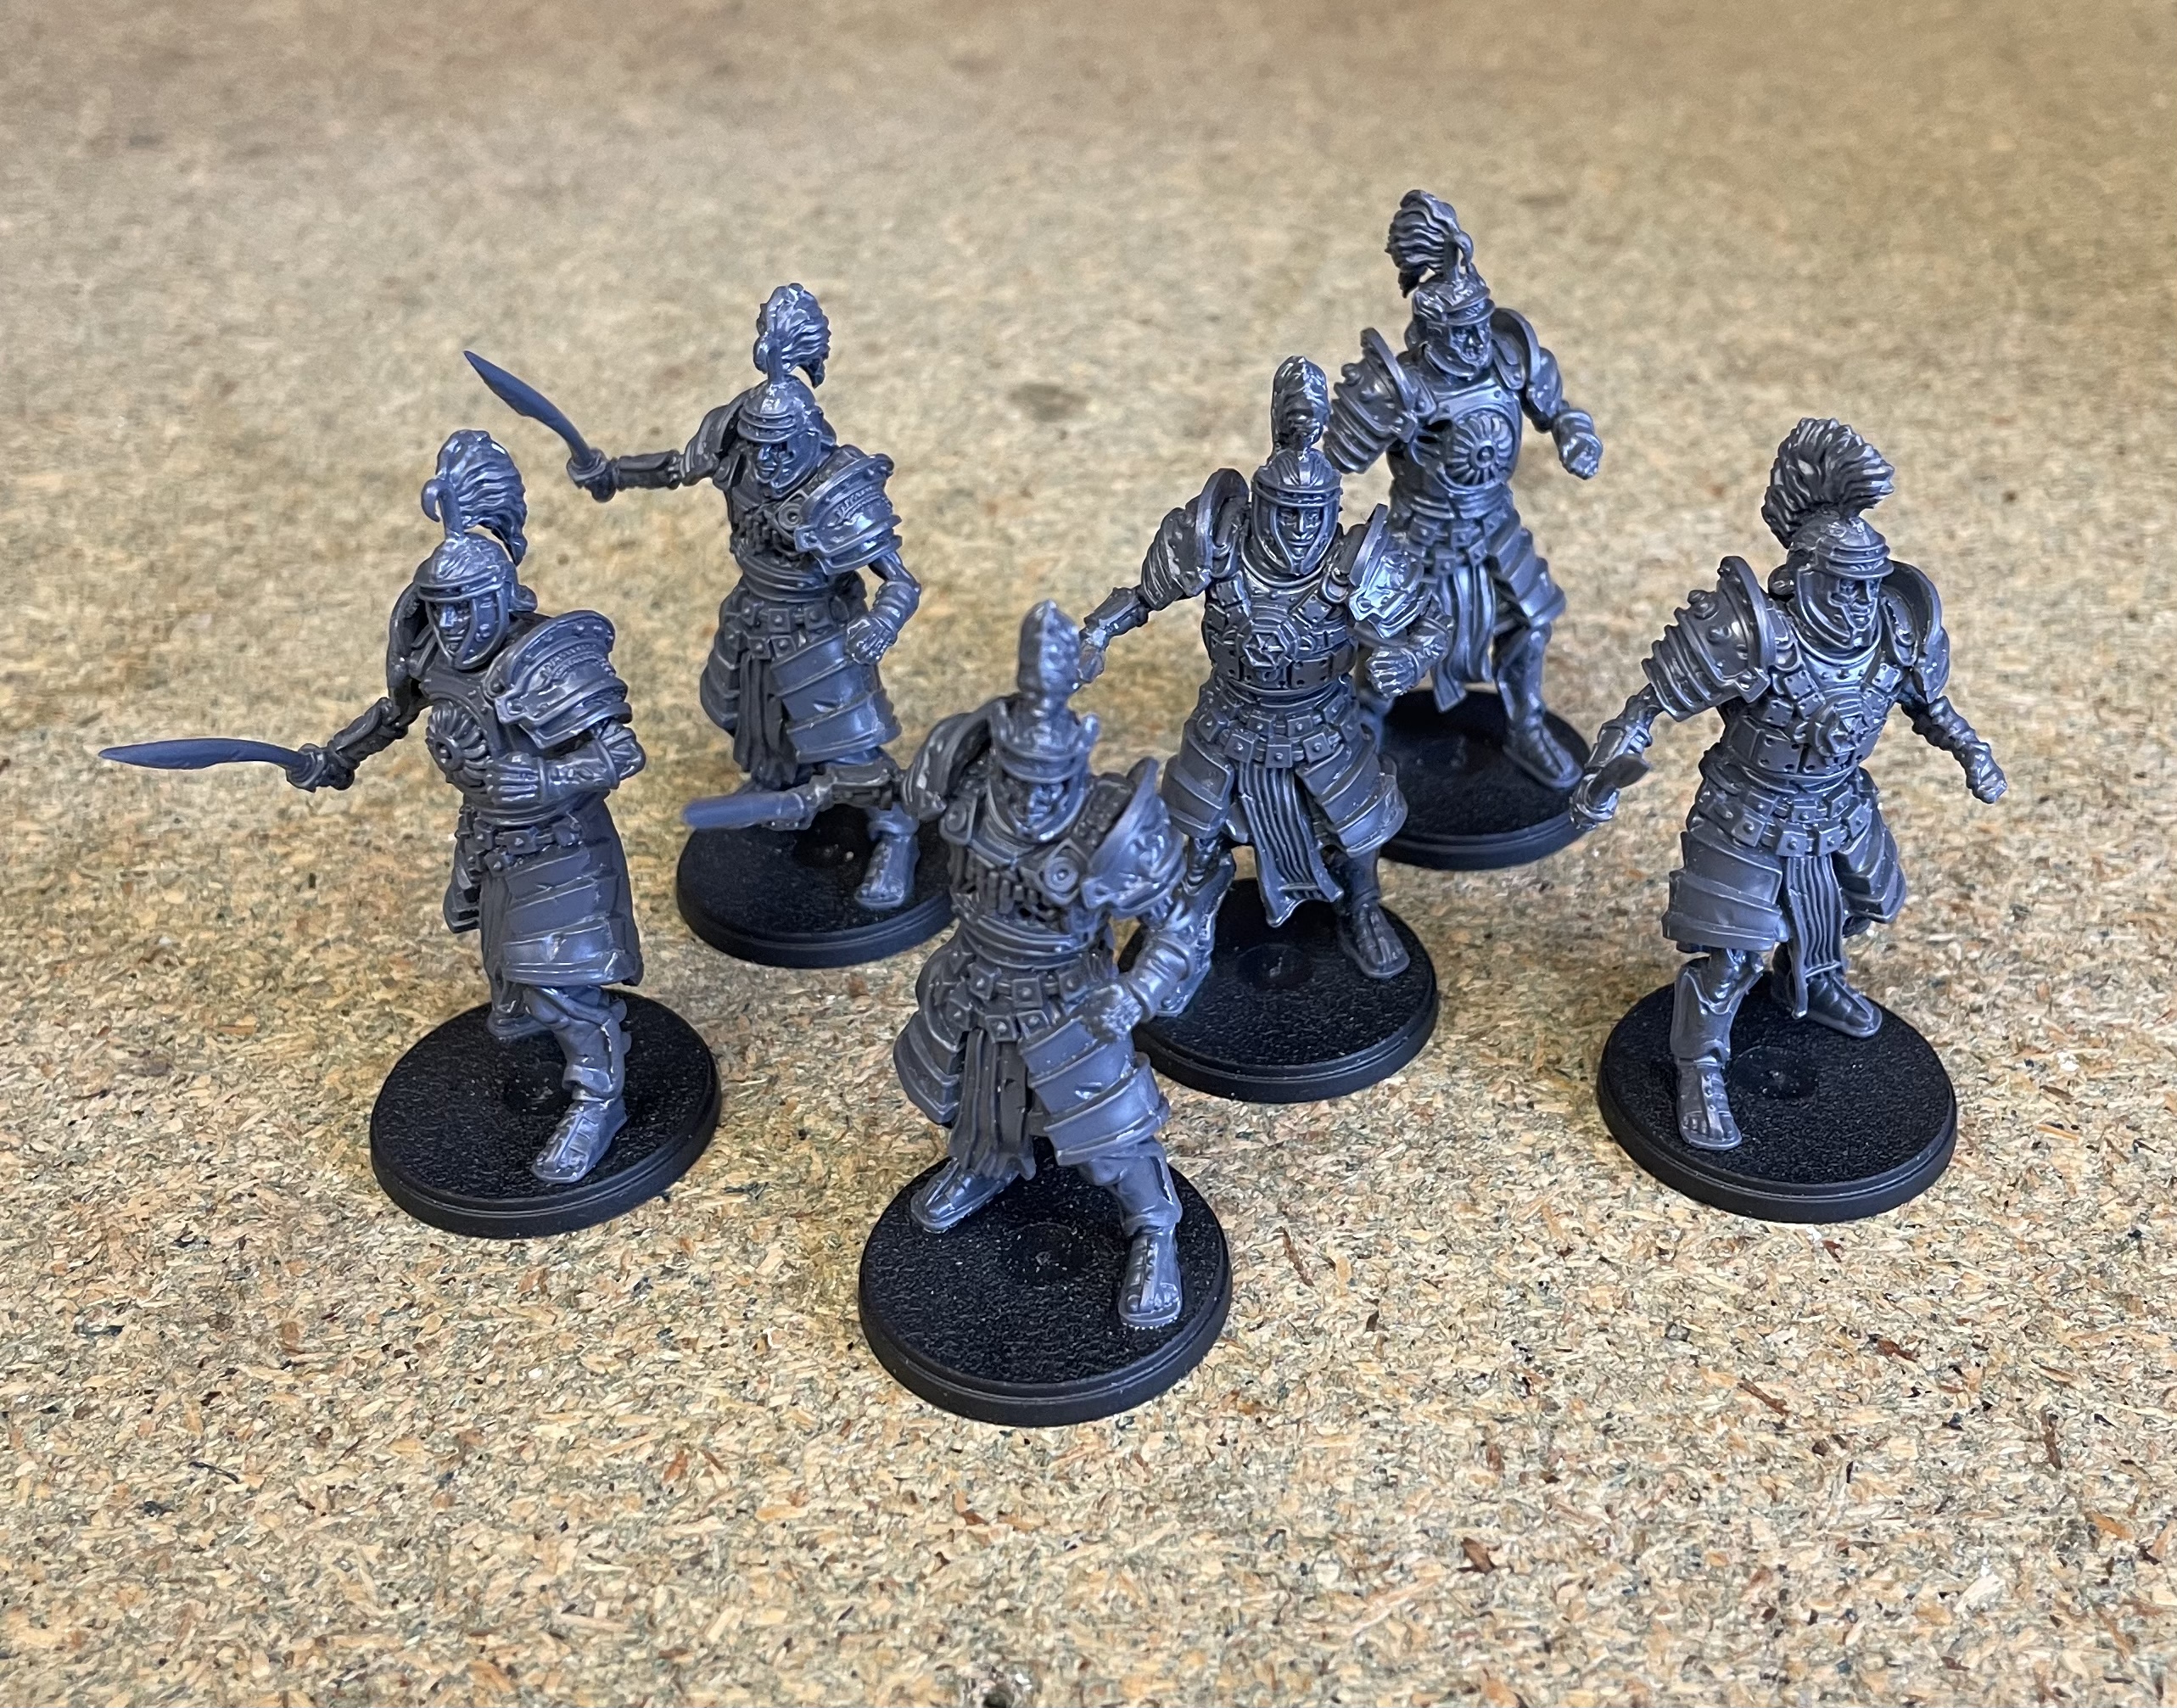
The next target I had set myself was to reach 650 points. I wanted to bulk up my regiments and add a bit more punch to each of them with the introduction of more officers. As the first Legionnaires Regiment already had an Optio, I simply added two more legionaries to this unit, bringing them to a total of eight.
The second Legionnaires Regiment gained an additional Legionary along with an Optio, making it identical to the first. This gave me two decent sized units, while the ‘Endless March’ command ability from each of the Optio’s would add manoeuvrability to the army overall. The second Optio was constructed in the same manner as the first, although this time using a standard Praetorian head sporting one of the larger helmet crests.
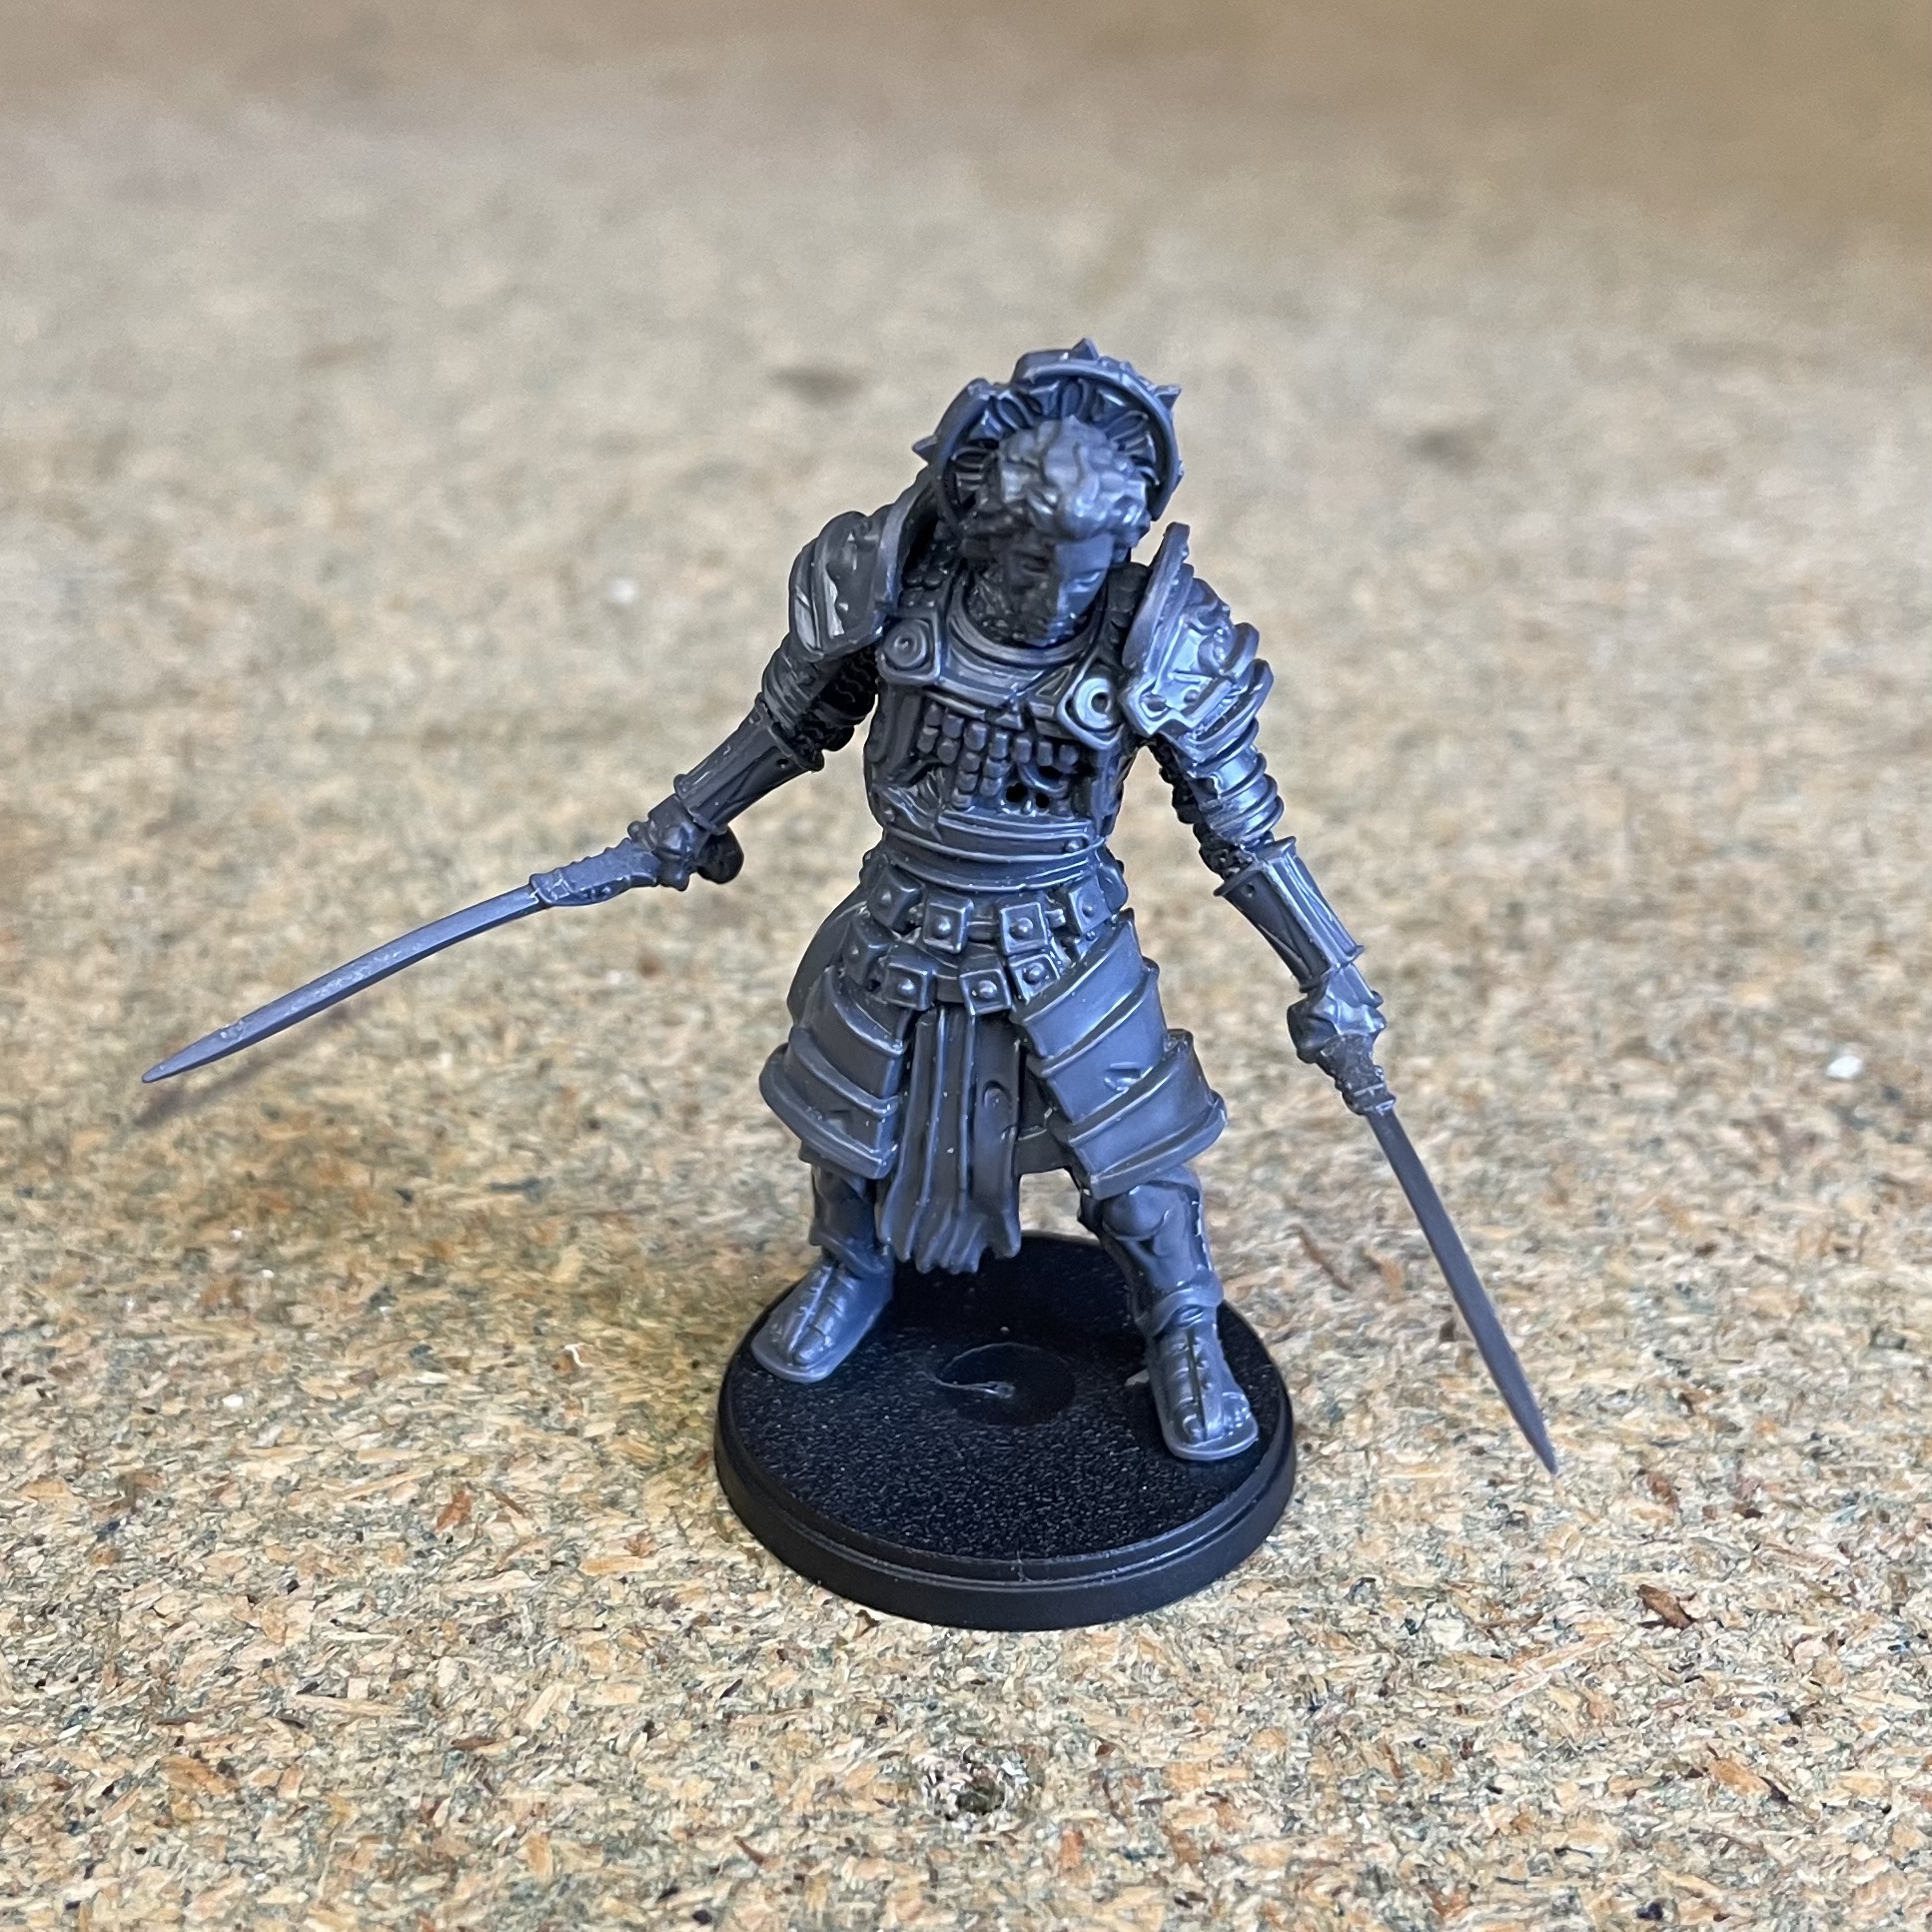
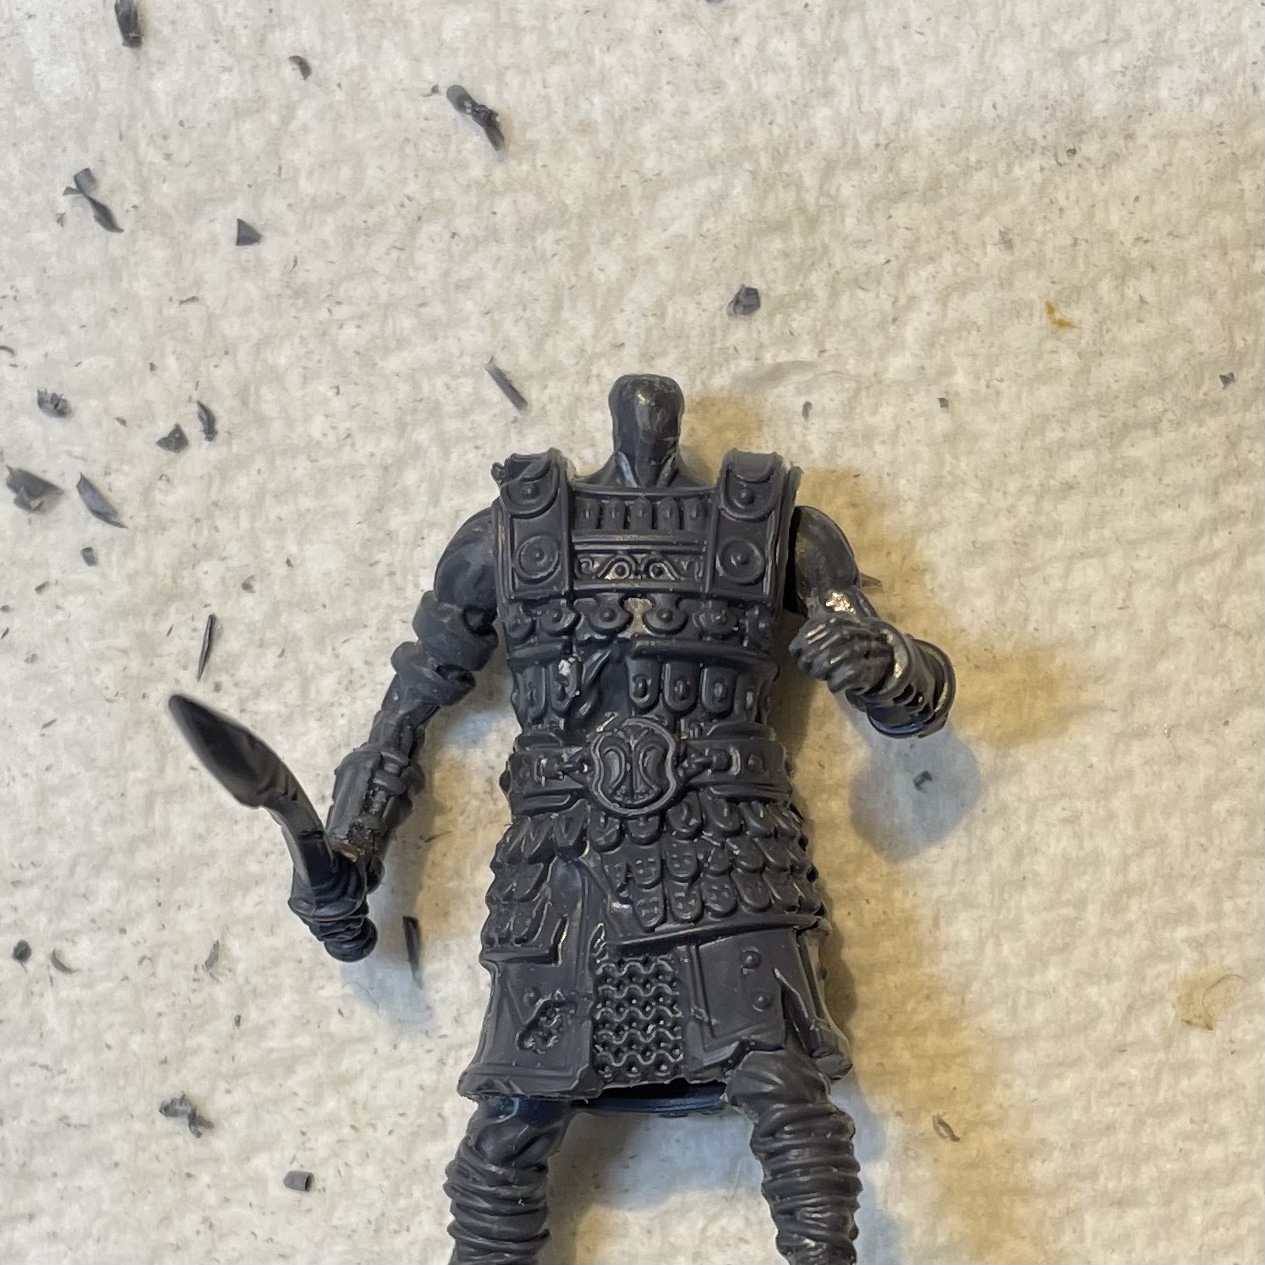
The Praetorian regiment would be joined by a Profane Reliquary. As with the Optio, a model is available but I was keen to build something unique and so created this hybrid between Athanatoi and Praetorian. I’m going with the idea that the mask and swords are the relics referred to in his title, and will need to paint them accordingly.
I now had an Officer for each of my units and with just 25 points left decided to add some extra protection to my Xiliarch. Aventine Armour seemed the obvious choice as it used up my remaining points and grants the wearer the Hardened special rule, reducing the effectiveness of incoming enemy attacks.
Build to 800
The final stage of army construction would bring my list to 800 points, the standard for a game of First Blood. I already had an additional Praetorian built from my first entry (he had been superseded by the Standard Bearer once I had the parts I’d needed to build one). Placing him in the Pretorian Regiment increased their number to eight models, bringing them in line with the legionaries units.
With 120 points remaining I looked to build a retinue for my Commander. After some deliberation I opted for one of each type from the Combat Retinue section. These weigh in at 30 points apiece and although my usual approach would be to go for a job specific combination (three bodyguards for example), I wanted to try out all three to see how each performed.
More on the retinue models in the next entry but with 30 points still to spend I figured that my Xiliarch could benefit from a weapon upgrade. It was a choice between Skofnung and Severian’s Dagger, either of which would use up my remaining points. I opted for the Dagger as it comes with the Flurry and Deadly Blades special rules. This seemed like a nice complement to the Cleave 1 the Xiliarch already possesses, plus the dagger also gives the bearer Parry, further improving their defensive capabilities.

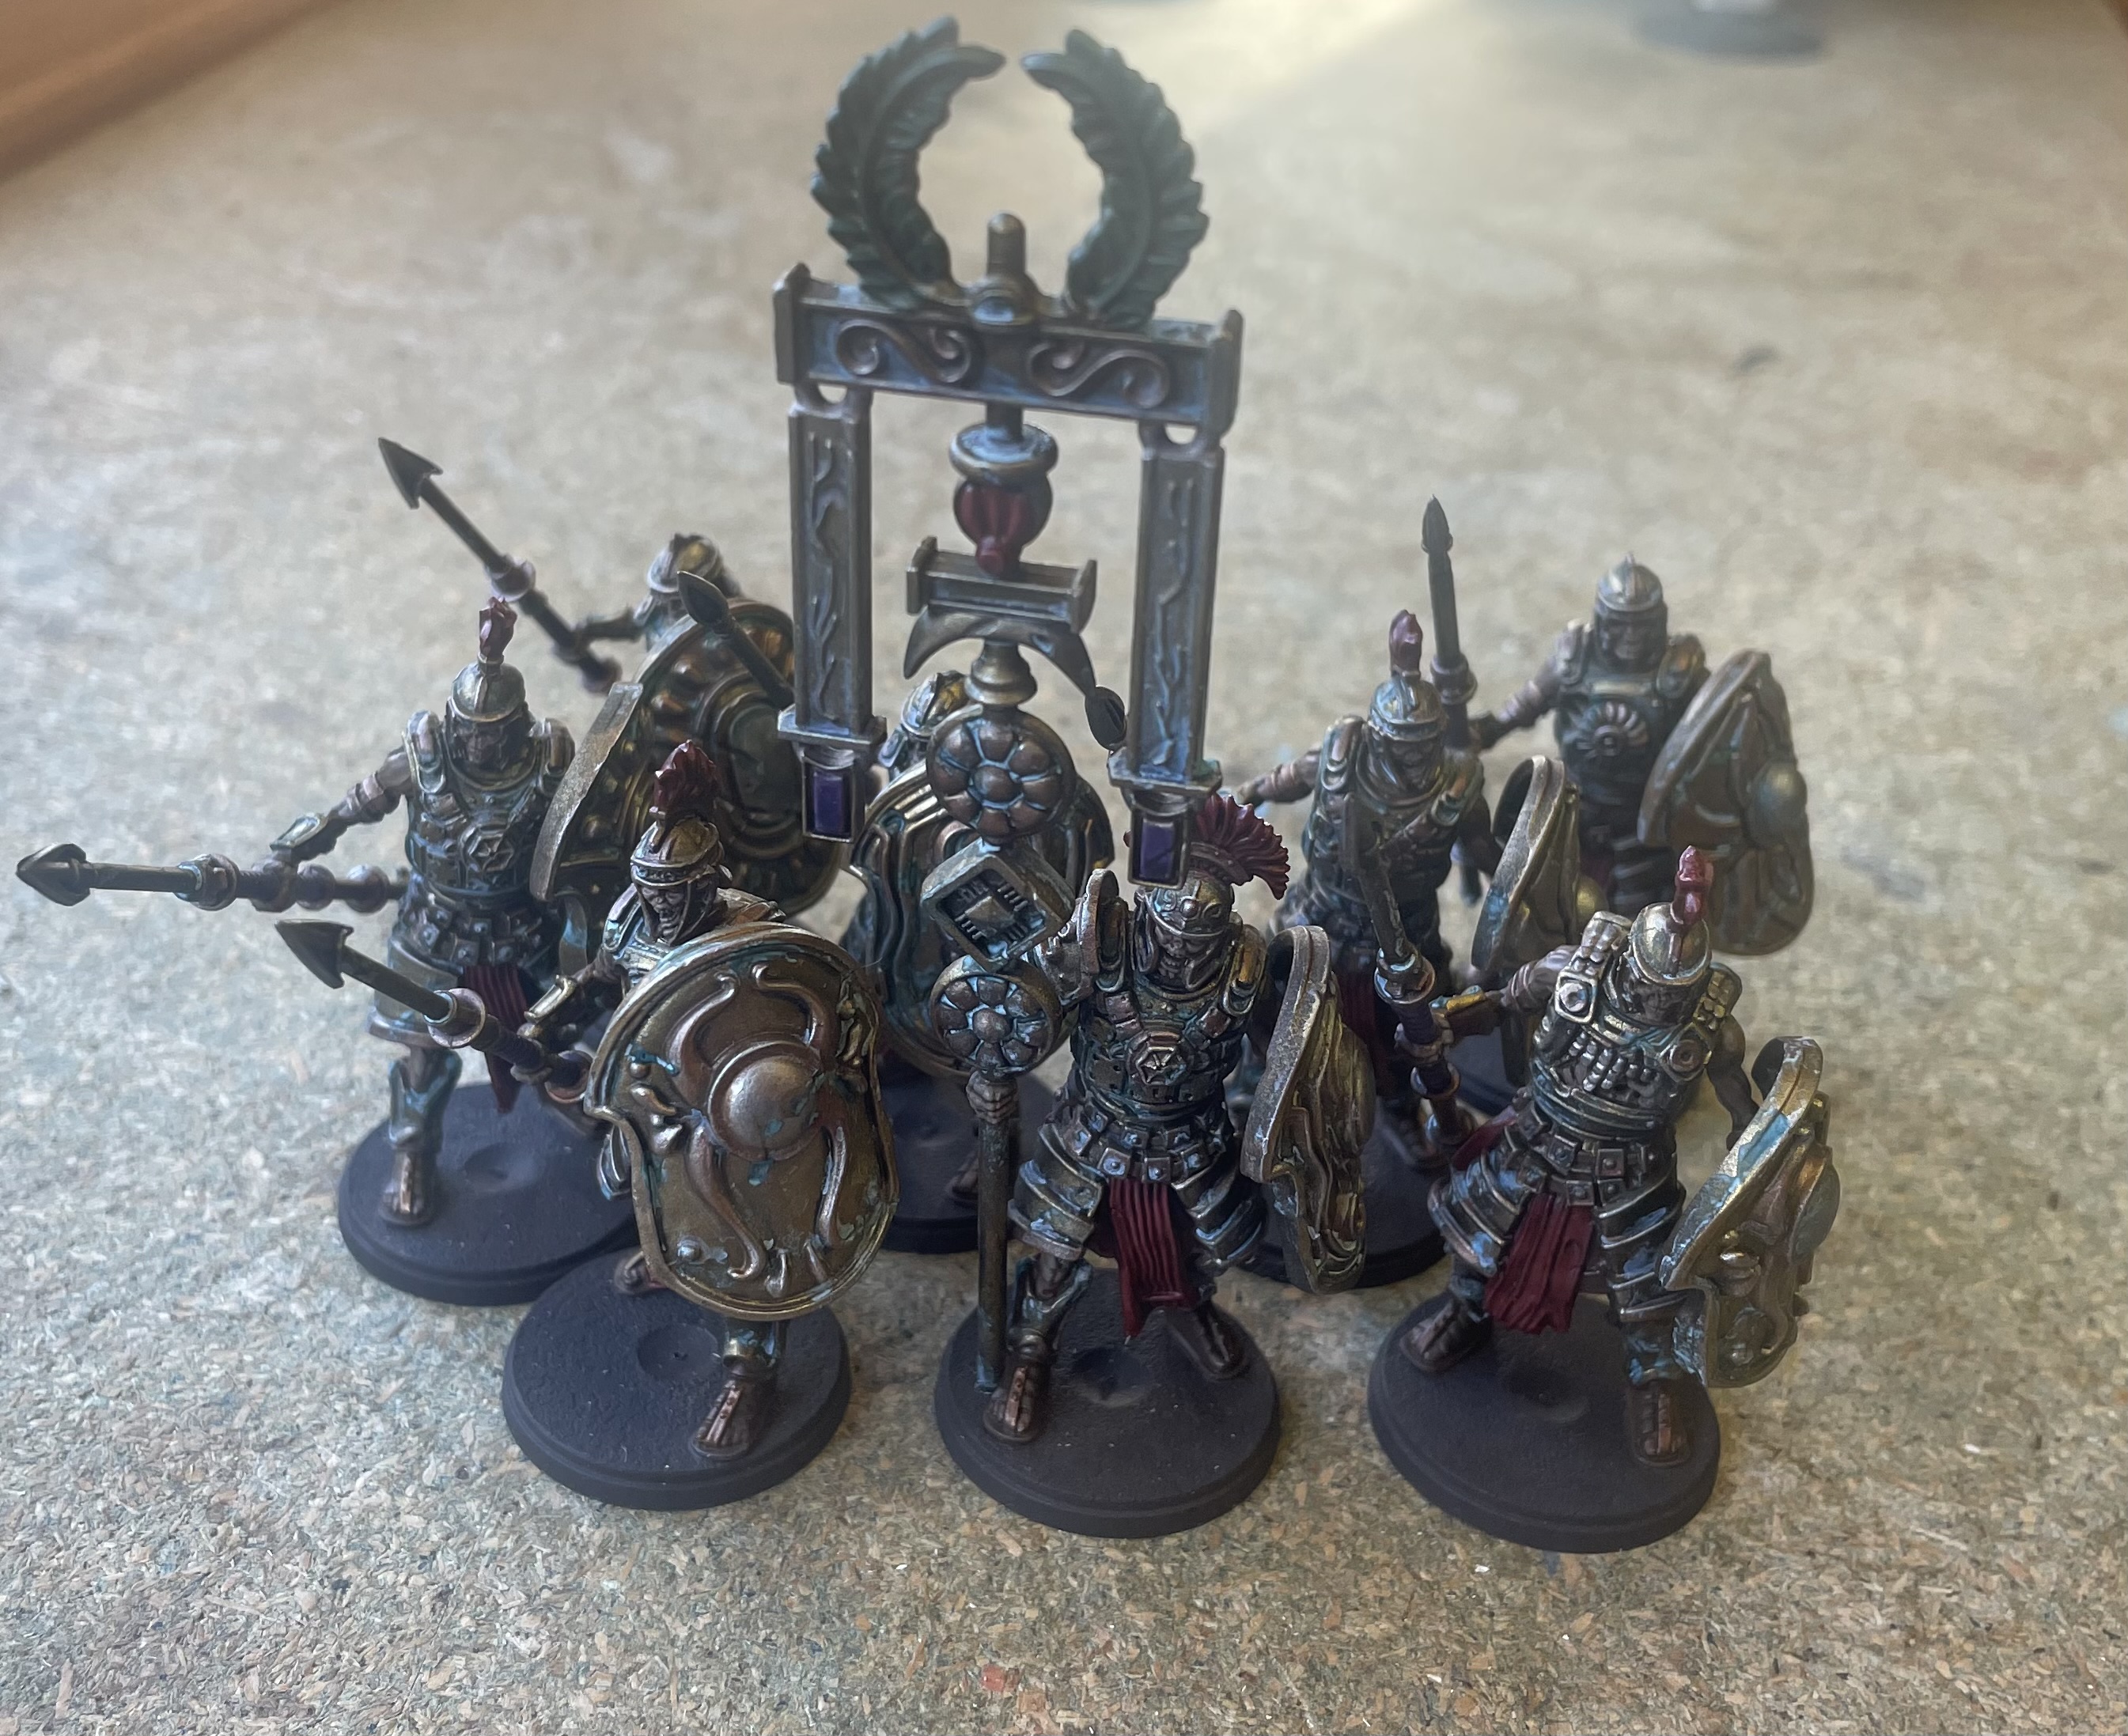
My force now comprised of three units of eight models, each with an Officer and Standard Bearer. Owing to the Xiliarch’s Pentrachoi special rule, at full strength these units would count as Ten models for the purpose of scoring objectives. They also count as being within his command range at all times, so long as the Standards are in play. I was hoping this would give me a force that was durable while retaining a strategic advantage due to the elongated command range and scoring bonuses. The Optio’s also bring a high degree of mobility to the list with their Endless March Command. As for the Commander himself, I was confident that his retinue and upgrades would allow him to hold his own against most opponents.
Retinue
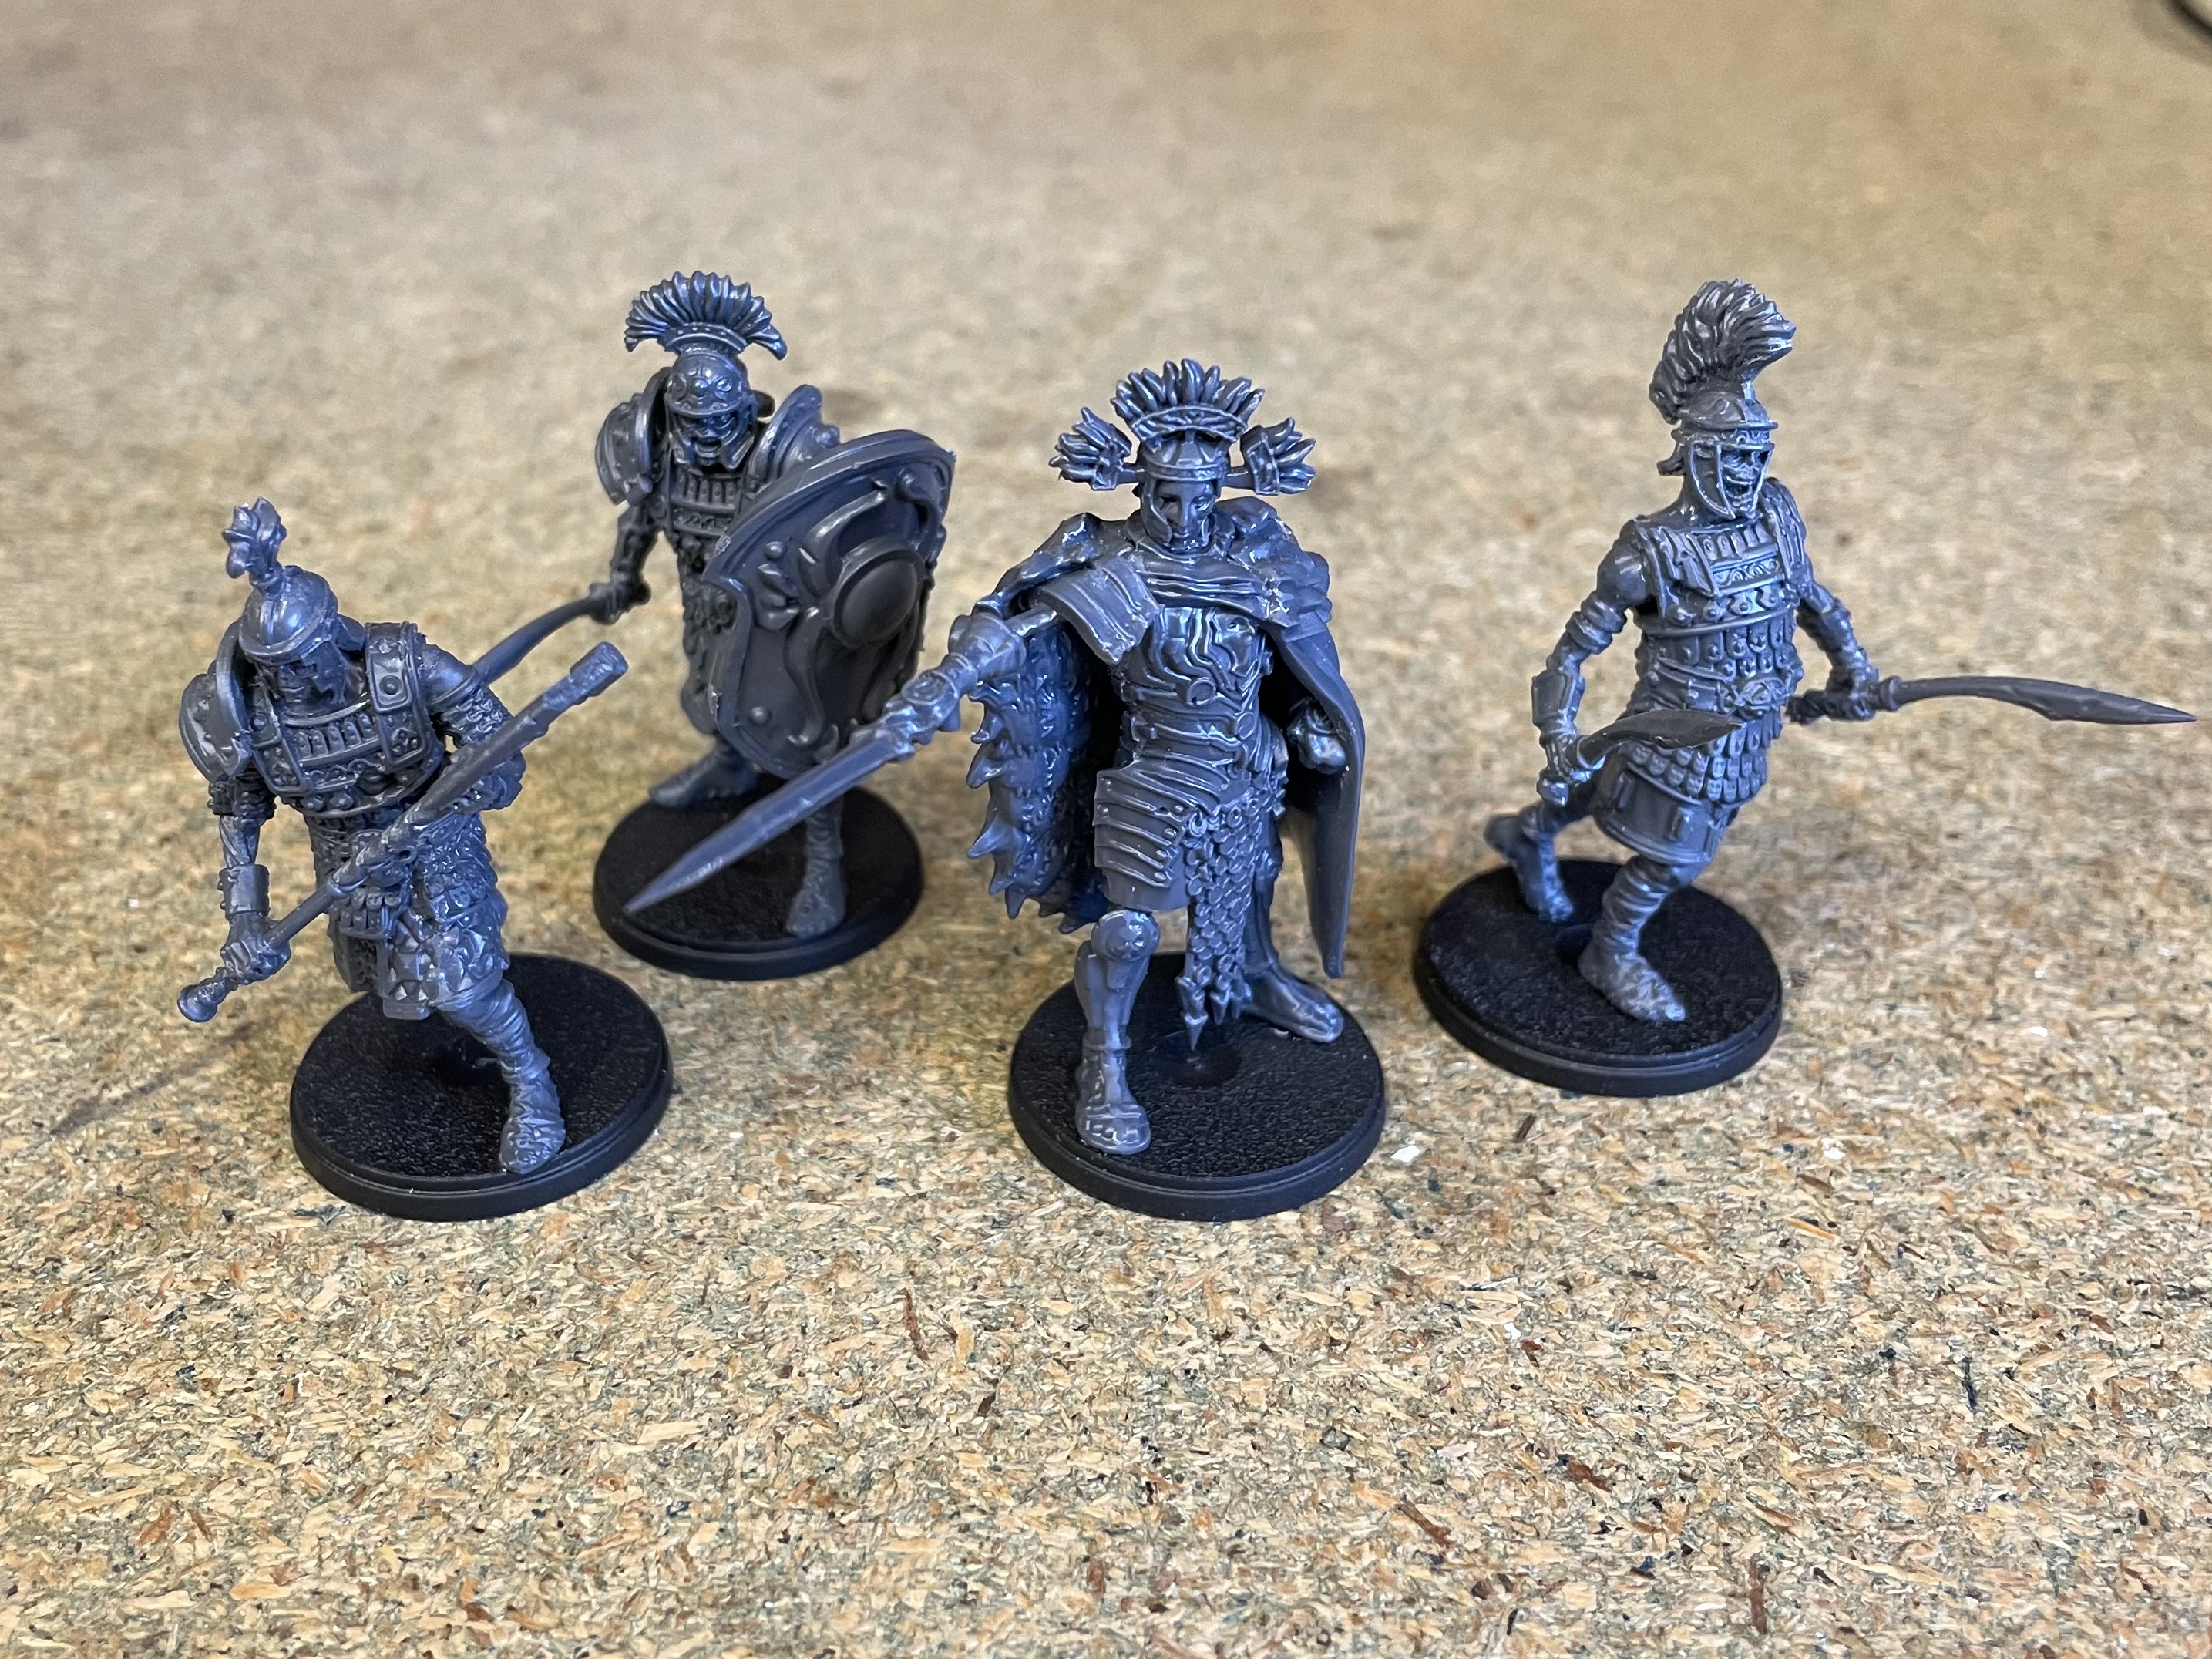
The three members of my command retinue are the most extensive kit bashes I built for this small force. Each member of the retinue is based on a body from the Anathanoi/Varangian kit.

As you would expect, the Bodyguard is the tank of the unit, with a shield improving his defensive abilities. He also has the Tenacious rule, which allows his regiment to ignore one failed defence roll each time it is attacked. This Bodyguard uses the arms from a Praetorian and the head of the Legionnaires unit leader. I also used a set of Praetorian shoulder pads with the right pad cut down, to add a little more armour to the model.
Next we have the Duelist, who is probably my favourite member of the retinue. I came very close to building two of these. With one more attack than the other members of the retinue, plus Flurry and Flawless Strike, I anticipate the Duelist will outperform the others in combat. He also has the Parry ability, giving him a degree of protection against incoming attacks. I had originally planned to use Athanatoi arms on this model (which would’ve been a lot easier!), but I liked the way the Praetorian arms gave a different look to the model, so I opted for a little conversion work. The head is taken from the legion kit and uses the plume from one of the Praetorian helmets.
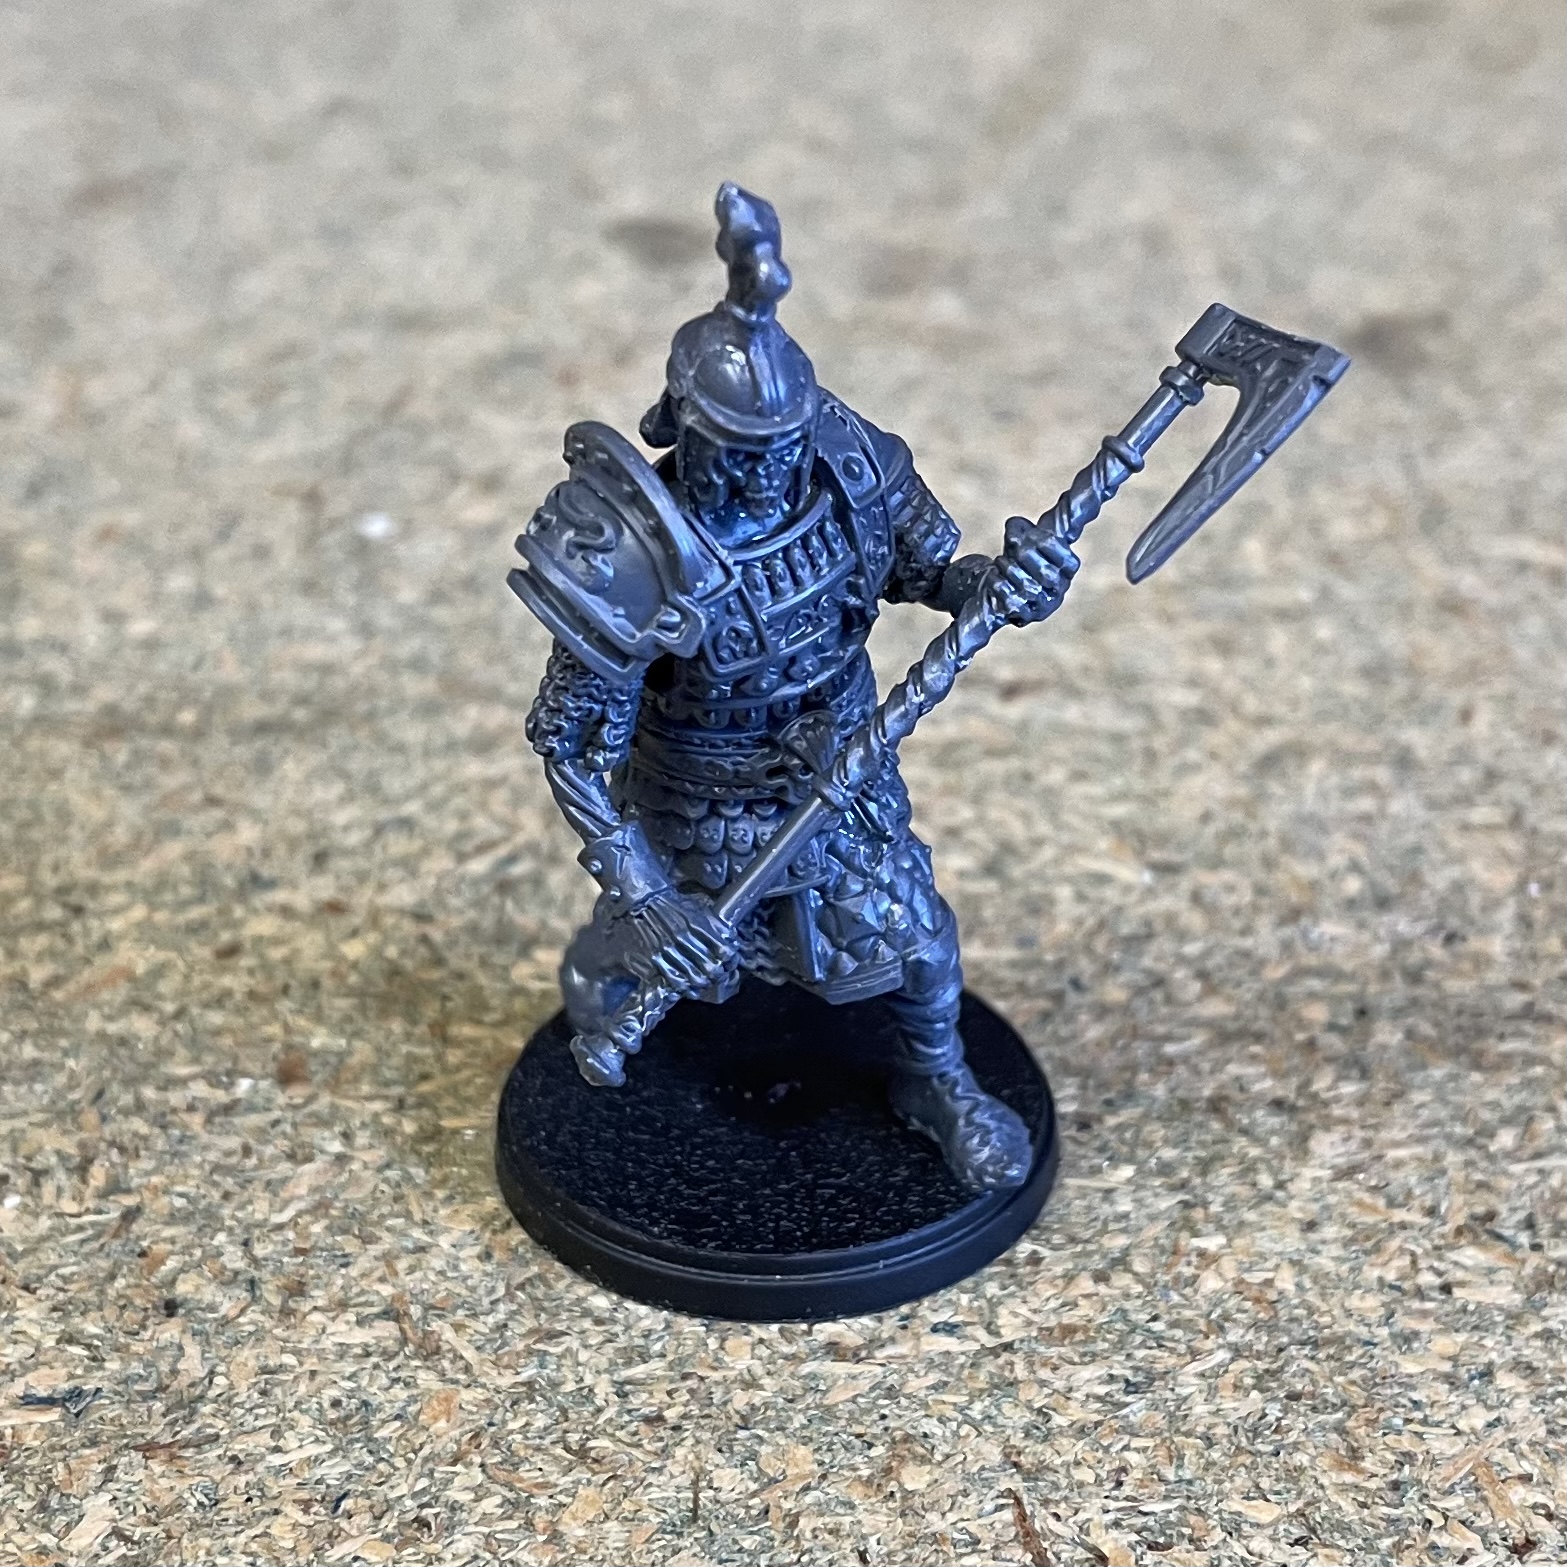
The final member of the retinue is the Warrior who is the hardest hitting of the trio. Although he won’t be landing as many blows at the Duelist, Cleave 2 ensures that when he hits he will punch through enemy defences. However with no other abilities I suspect the Warrior may prove the least versatile of the retinue options.
This model was built with the arms and axe of a Varangian but like the others has a head taken from the legionaries kit. A single Praetorian shoulder pad adds a little bulk and changes his silhouette from the standard Varangian model.
Unfortunately the Varangian and Legionnaires kits have very different head joins. This meant a bit more effort was required to do what could’ve been a simple head swap!
For anyone attempting this, as the Varangian heads and necks are cast as a single piece, It is necessary to trim the head away with clippers and a blade. I used a needle file to shape the cut edges roughly into a neck stump before gluing to the body. Once the glue has set you can work more easily on the neck to make it compatible with the legionaries socket joint.
Paint Test
I had a pretty good idea of the look I was aiming for and decided to do some paint test, partly to ensure I could achieve the look I wanted, but also to work out a process that would be straightforward and repeatable. As the majority of each model was armoured, my approach would be to tackle the armour first, before painting in the non armoured areas.
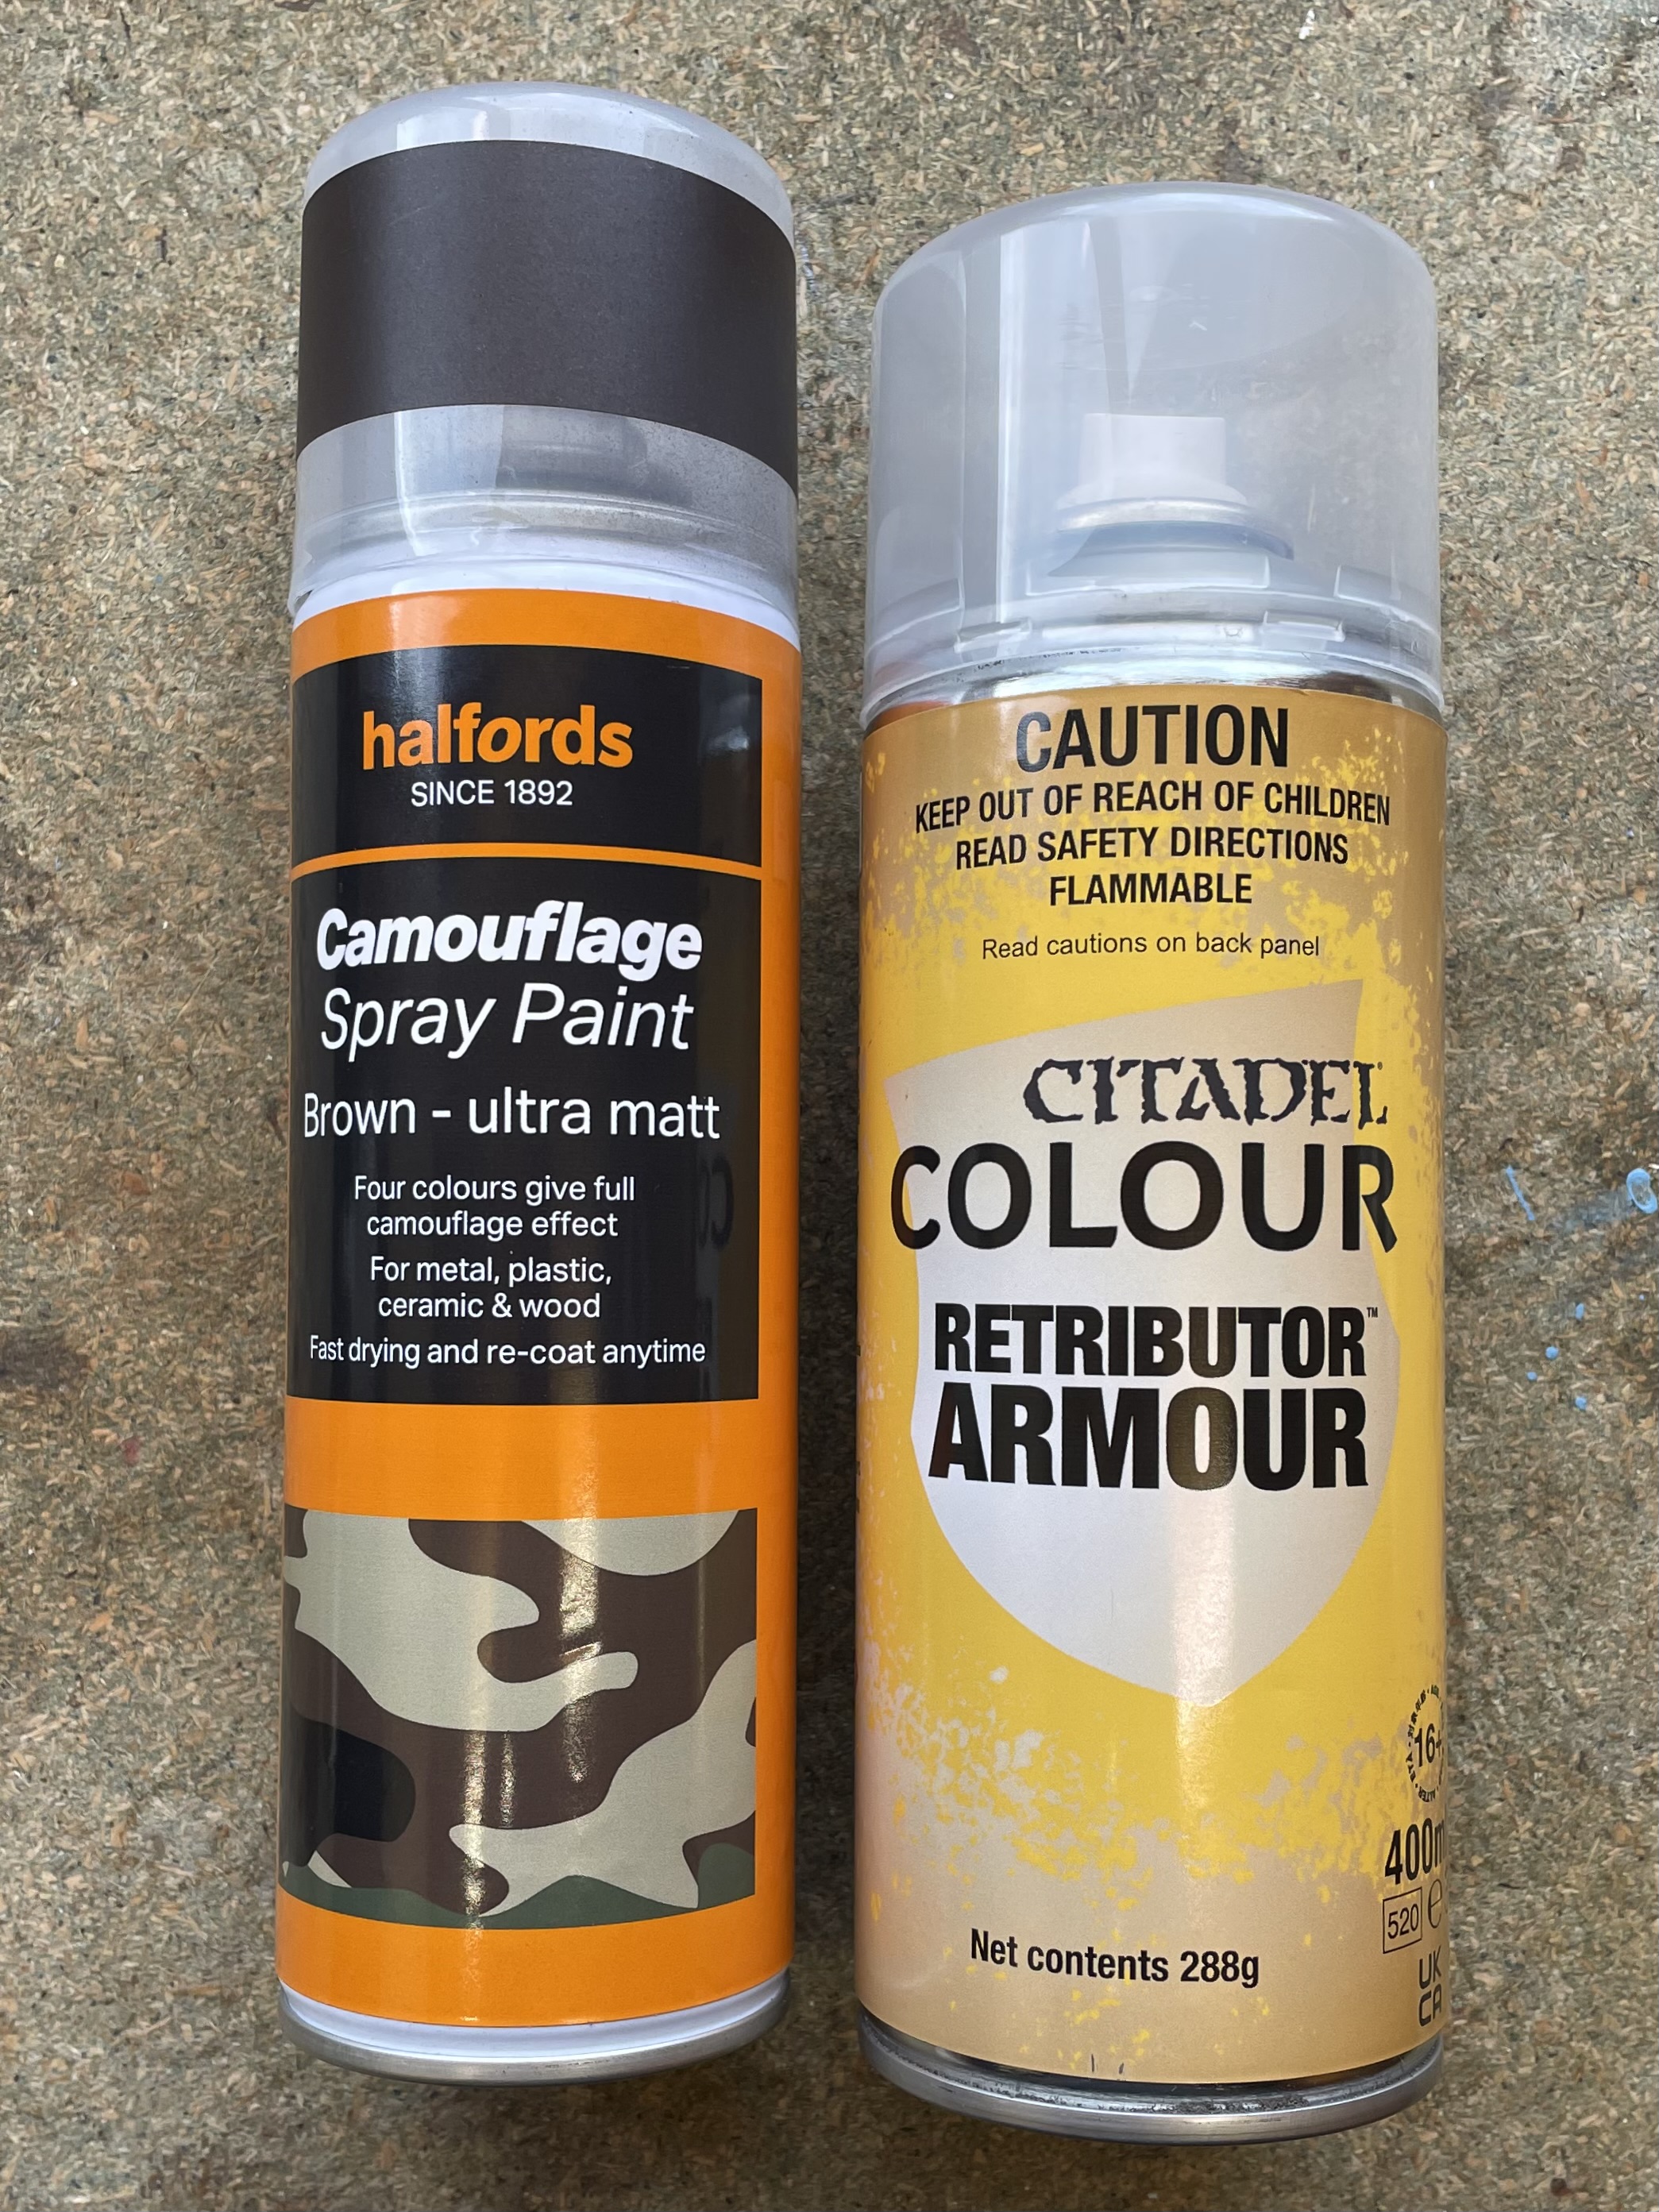
For this I used some spare shields that I primed with a can of GW’s Retributor Armour.
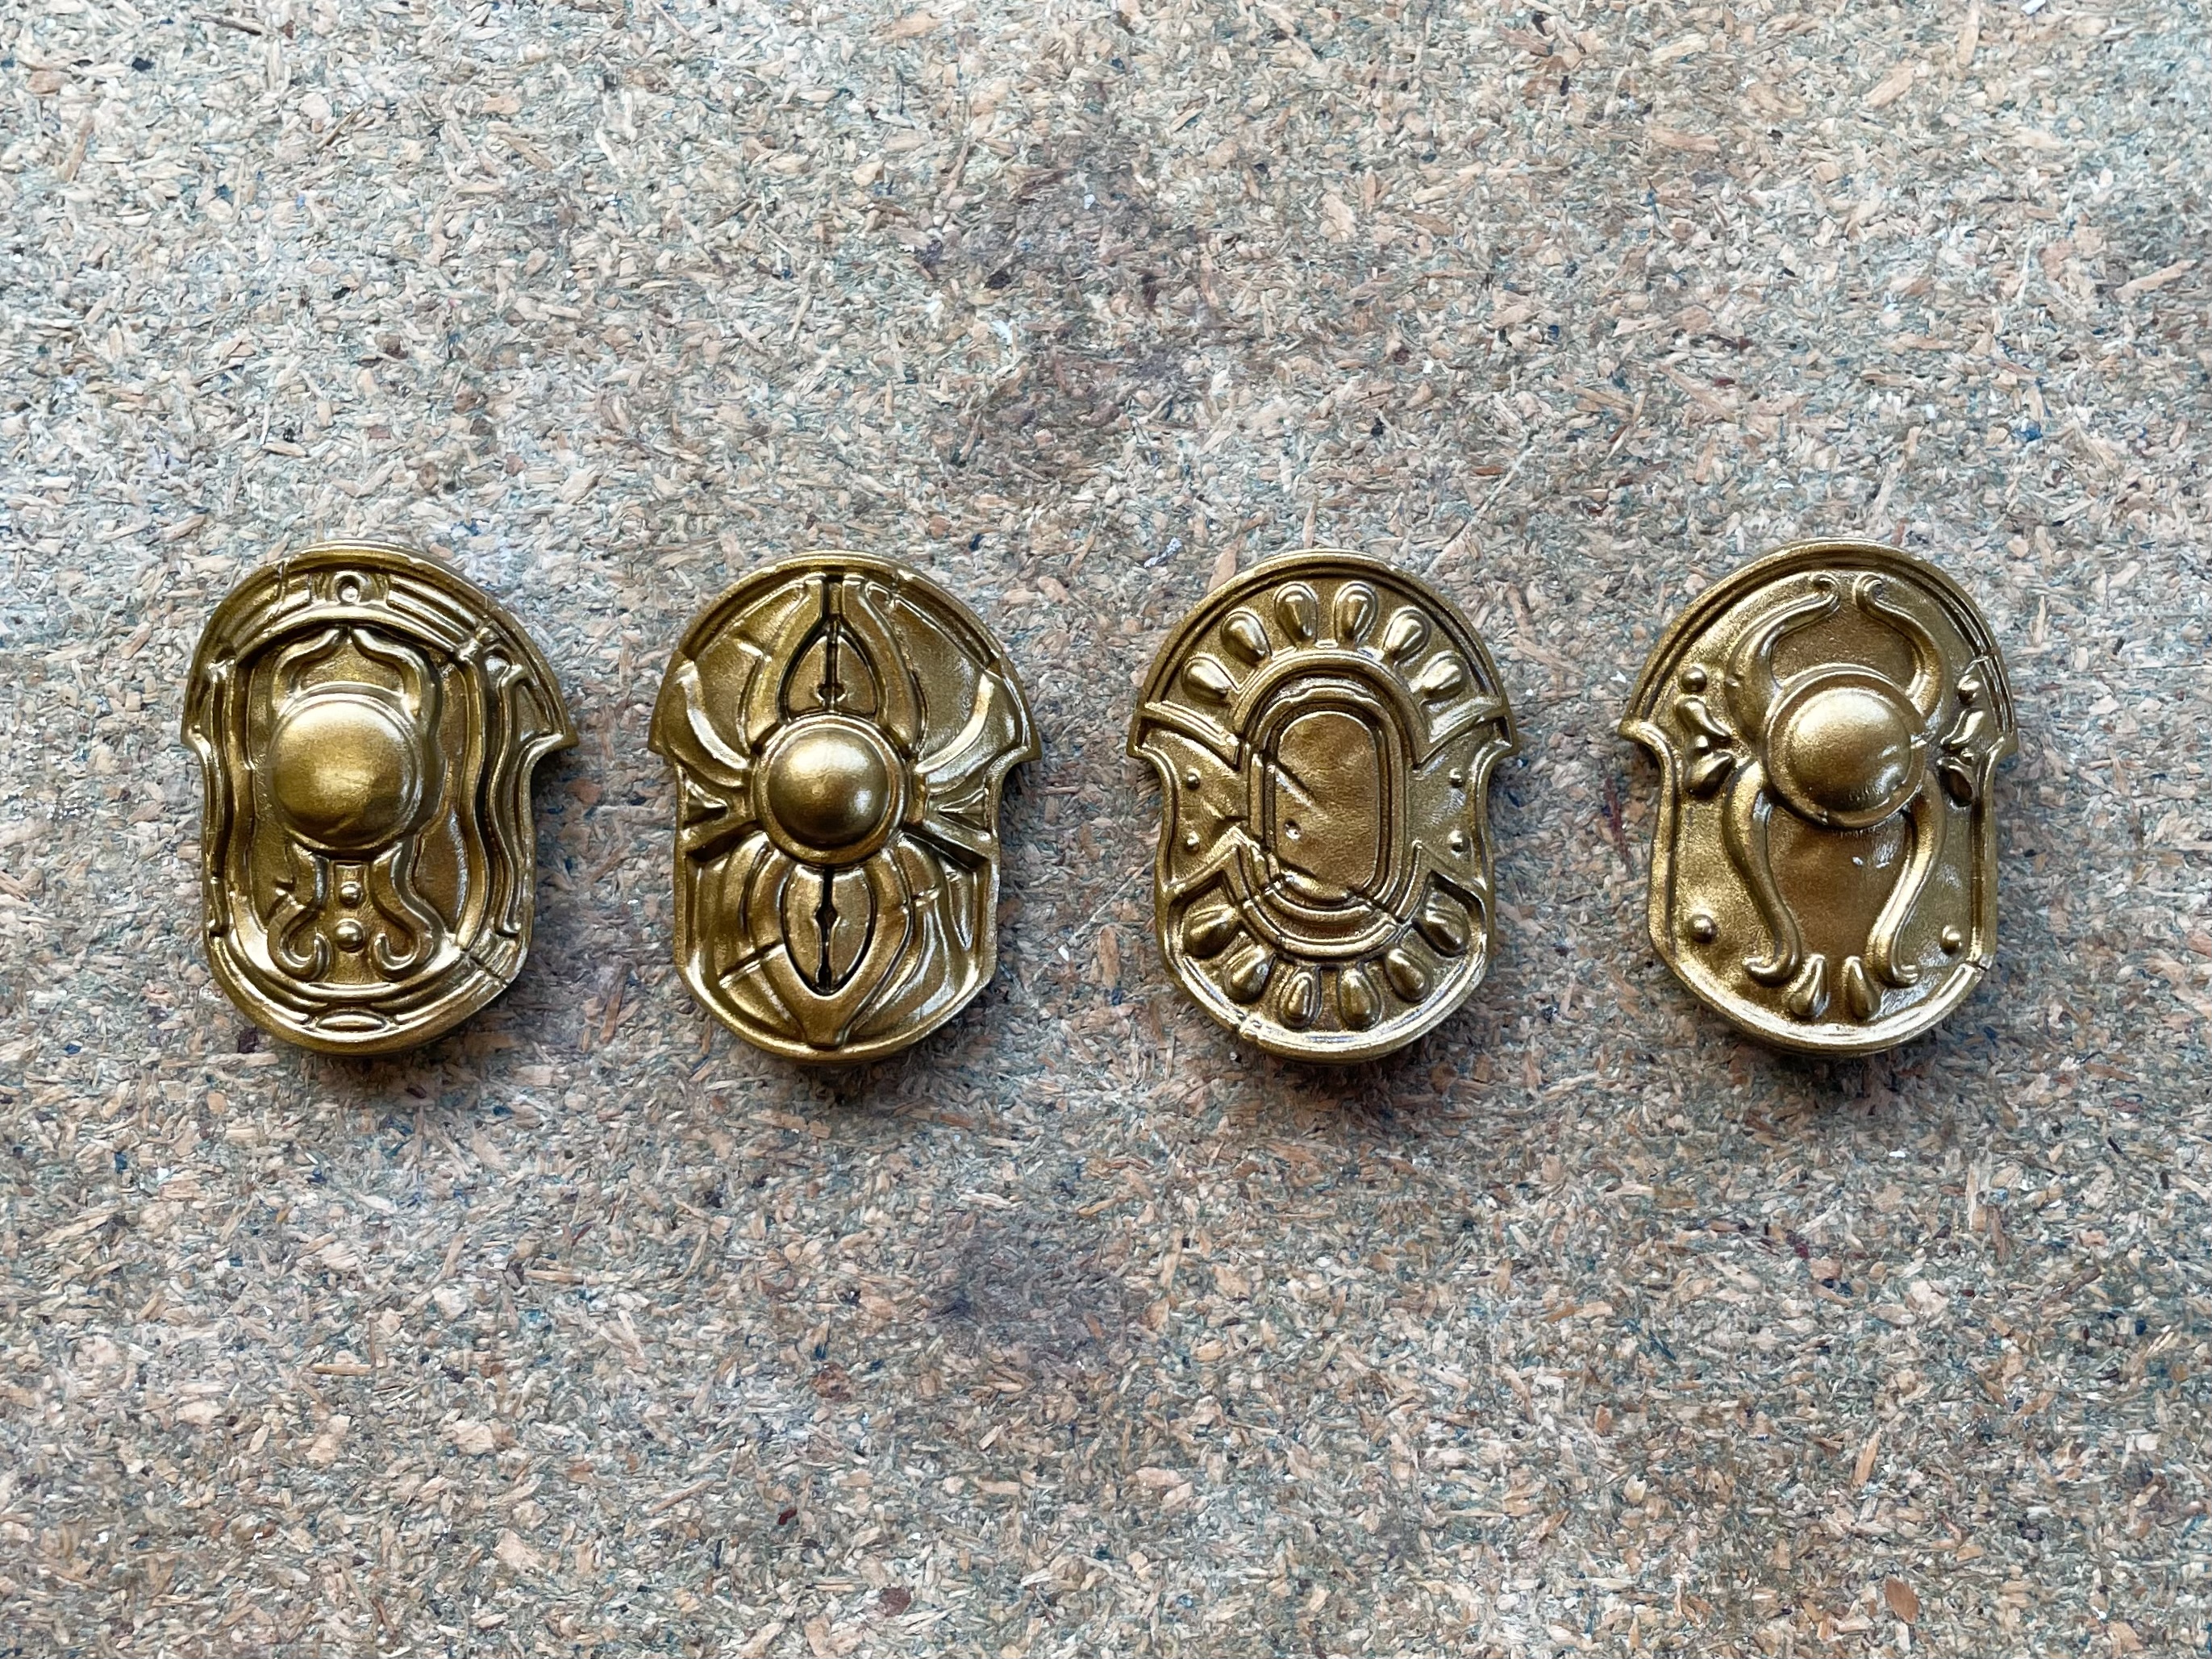 Primer
I wanted to break up the majority gold of the armoured areas with a bronze or copper colour and so used GW Balthasar Gold on the more decorative features. I would also be using a silver for the more functional aspects of the miniature and so applied GW Ironbreaker to each shield boss.
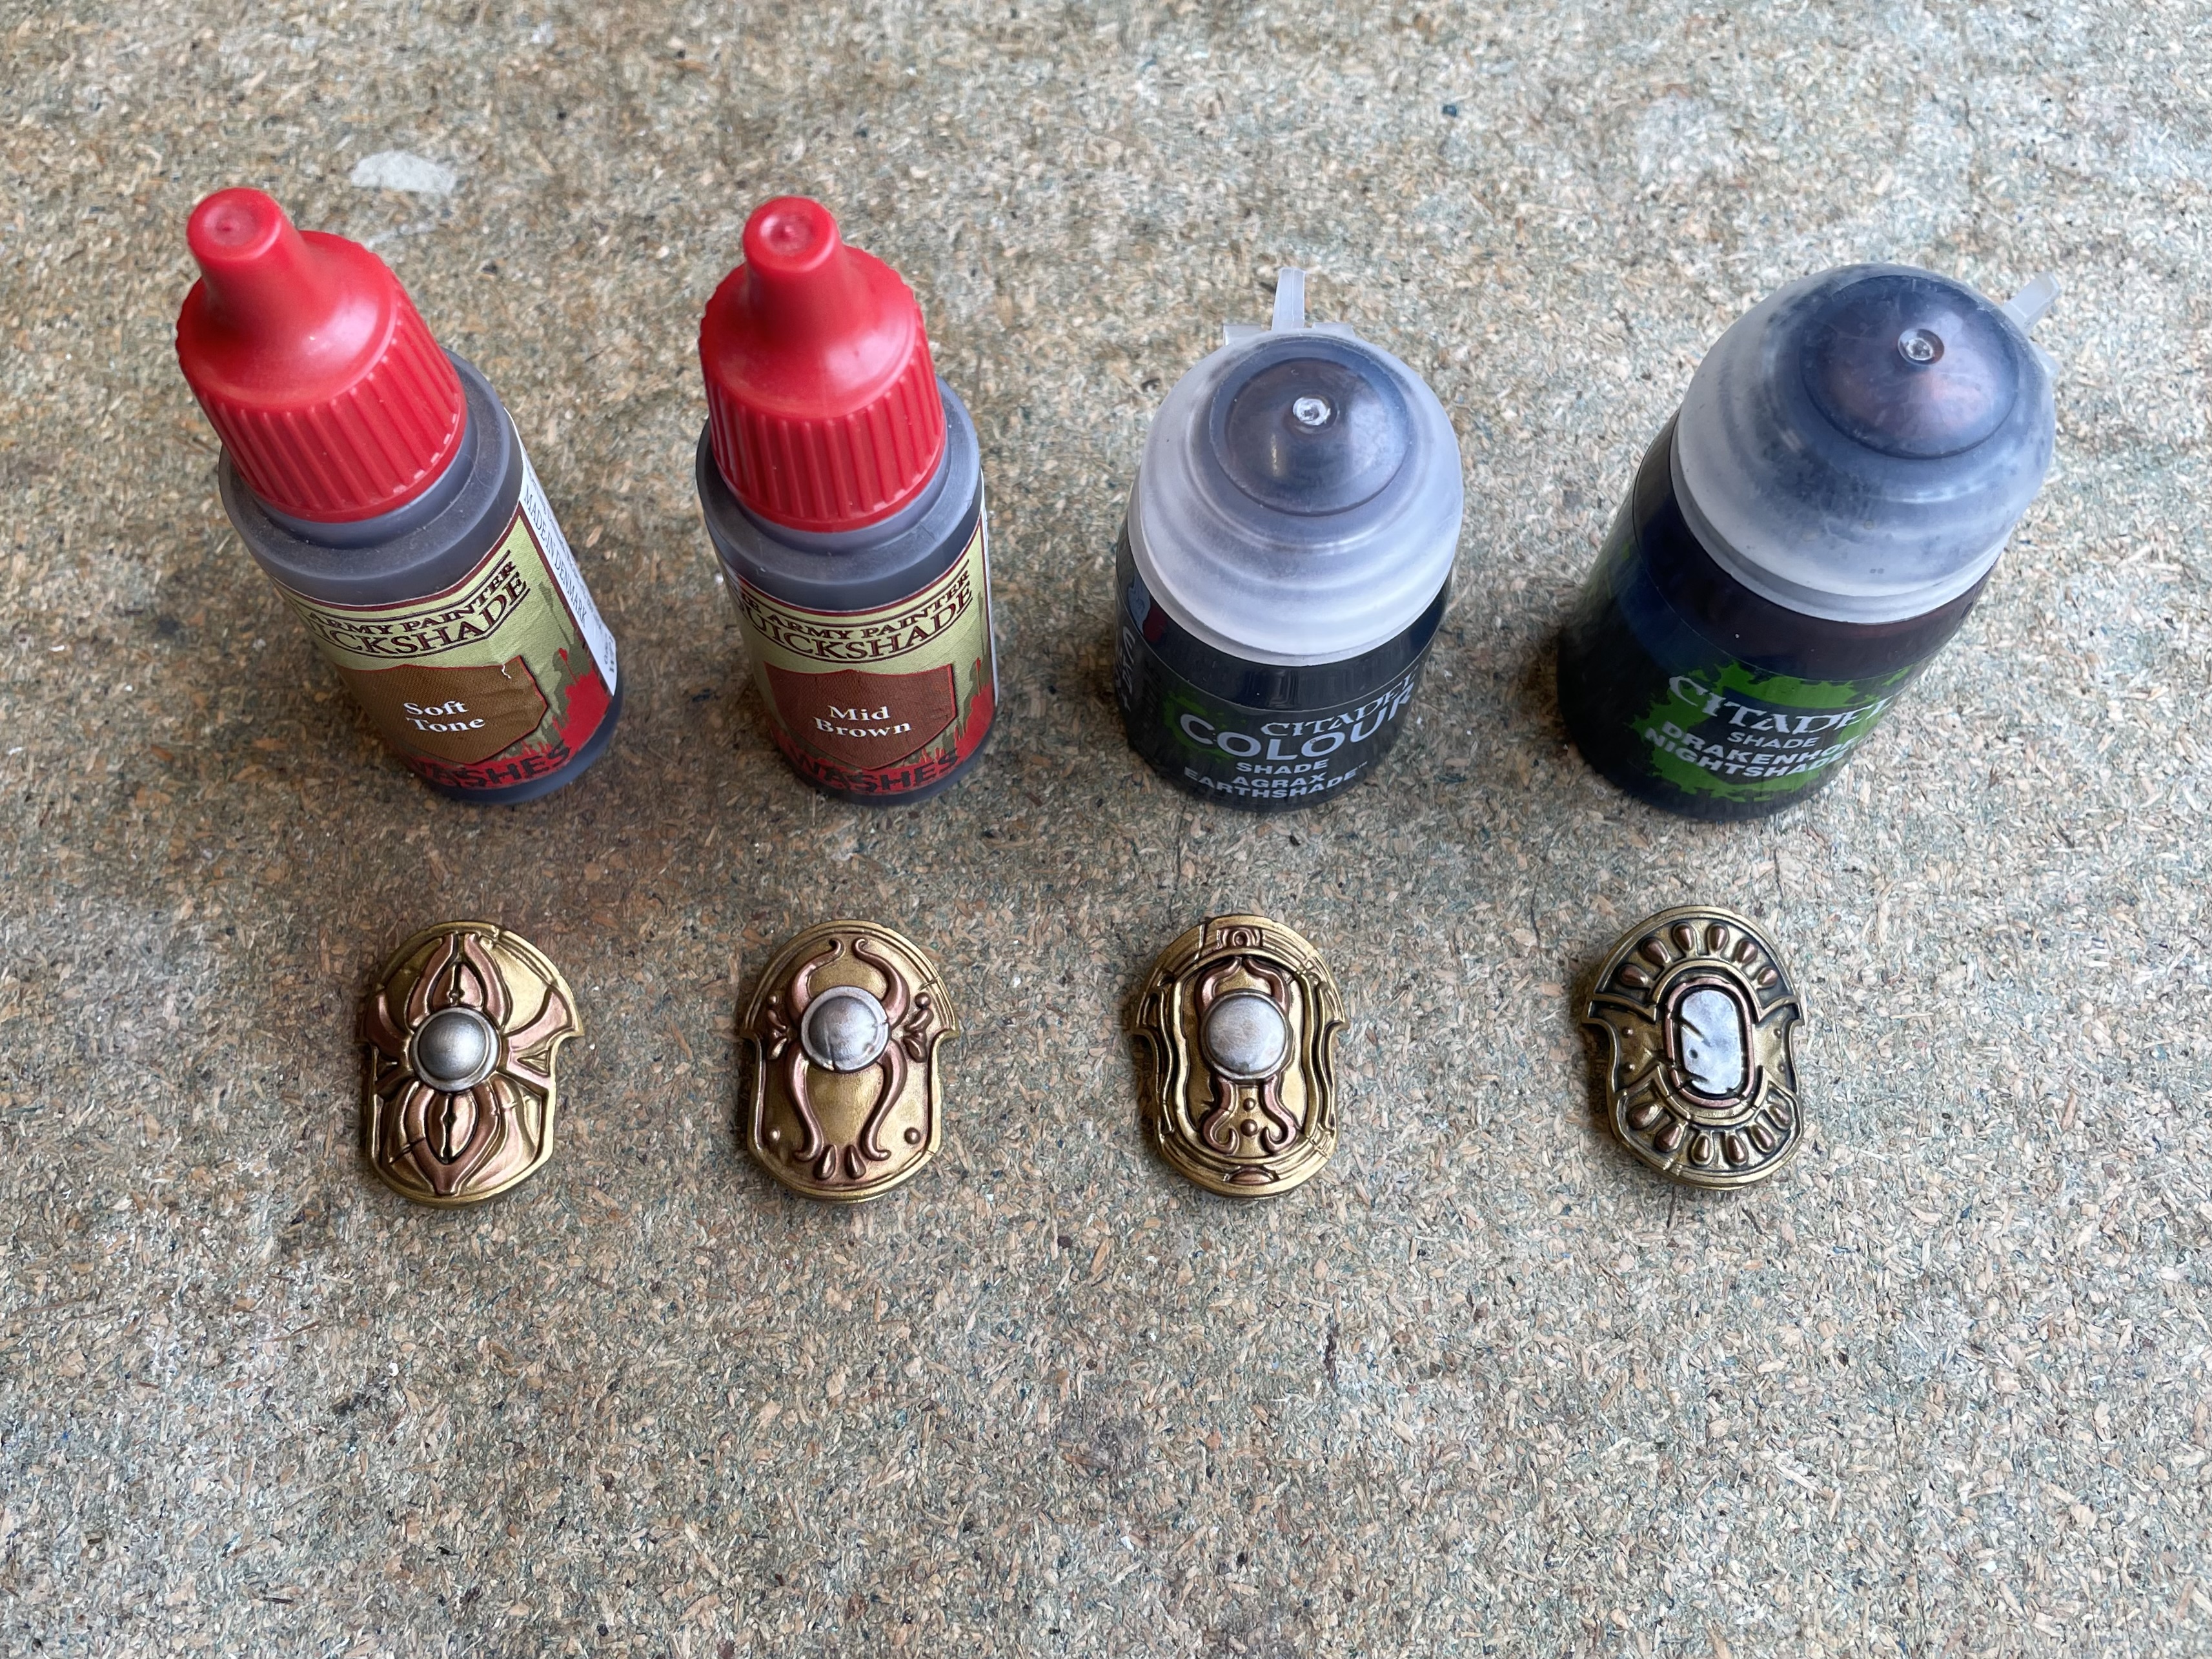 Washes
I had initially intended to try three different washes, Army Painter Soft and Mid tones, as well as GW Agrax Earthshade. However as I had four shields I decided to try Drakenhorf Nightshade as well. I’ve used this wash a lot to tarnish silver armour in the past but generally wouldn’t use it on gold.
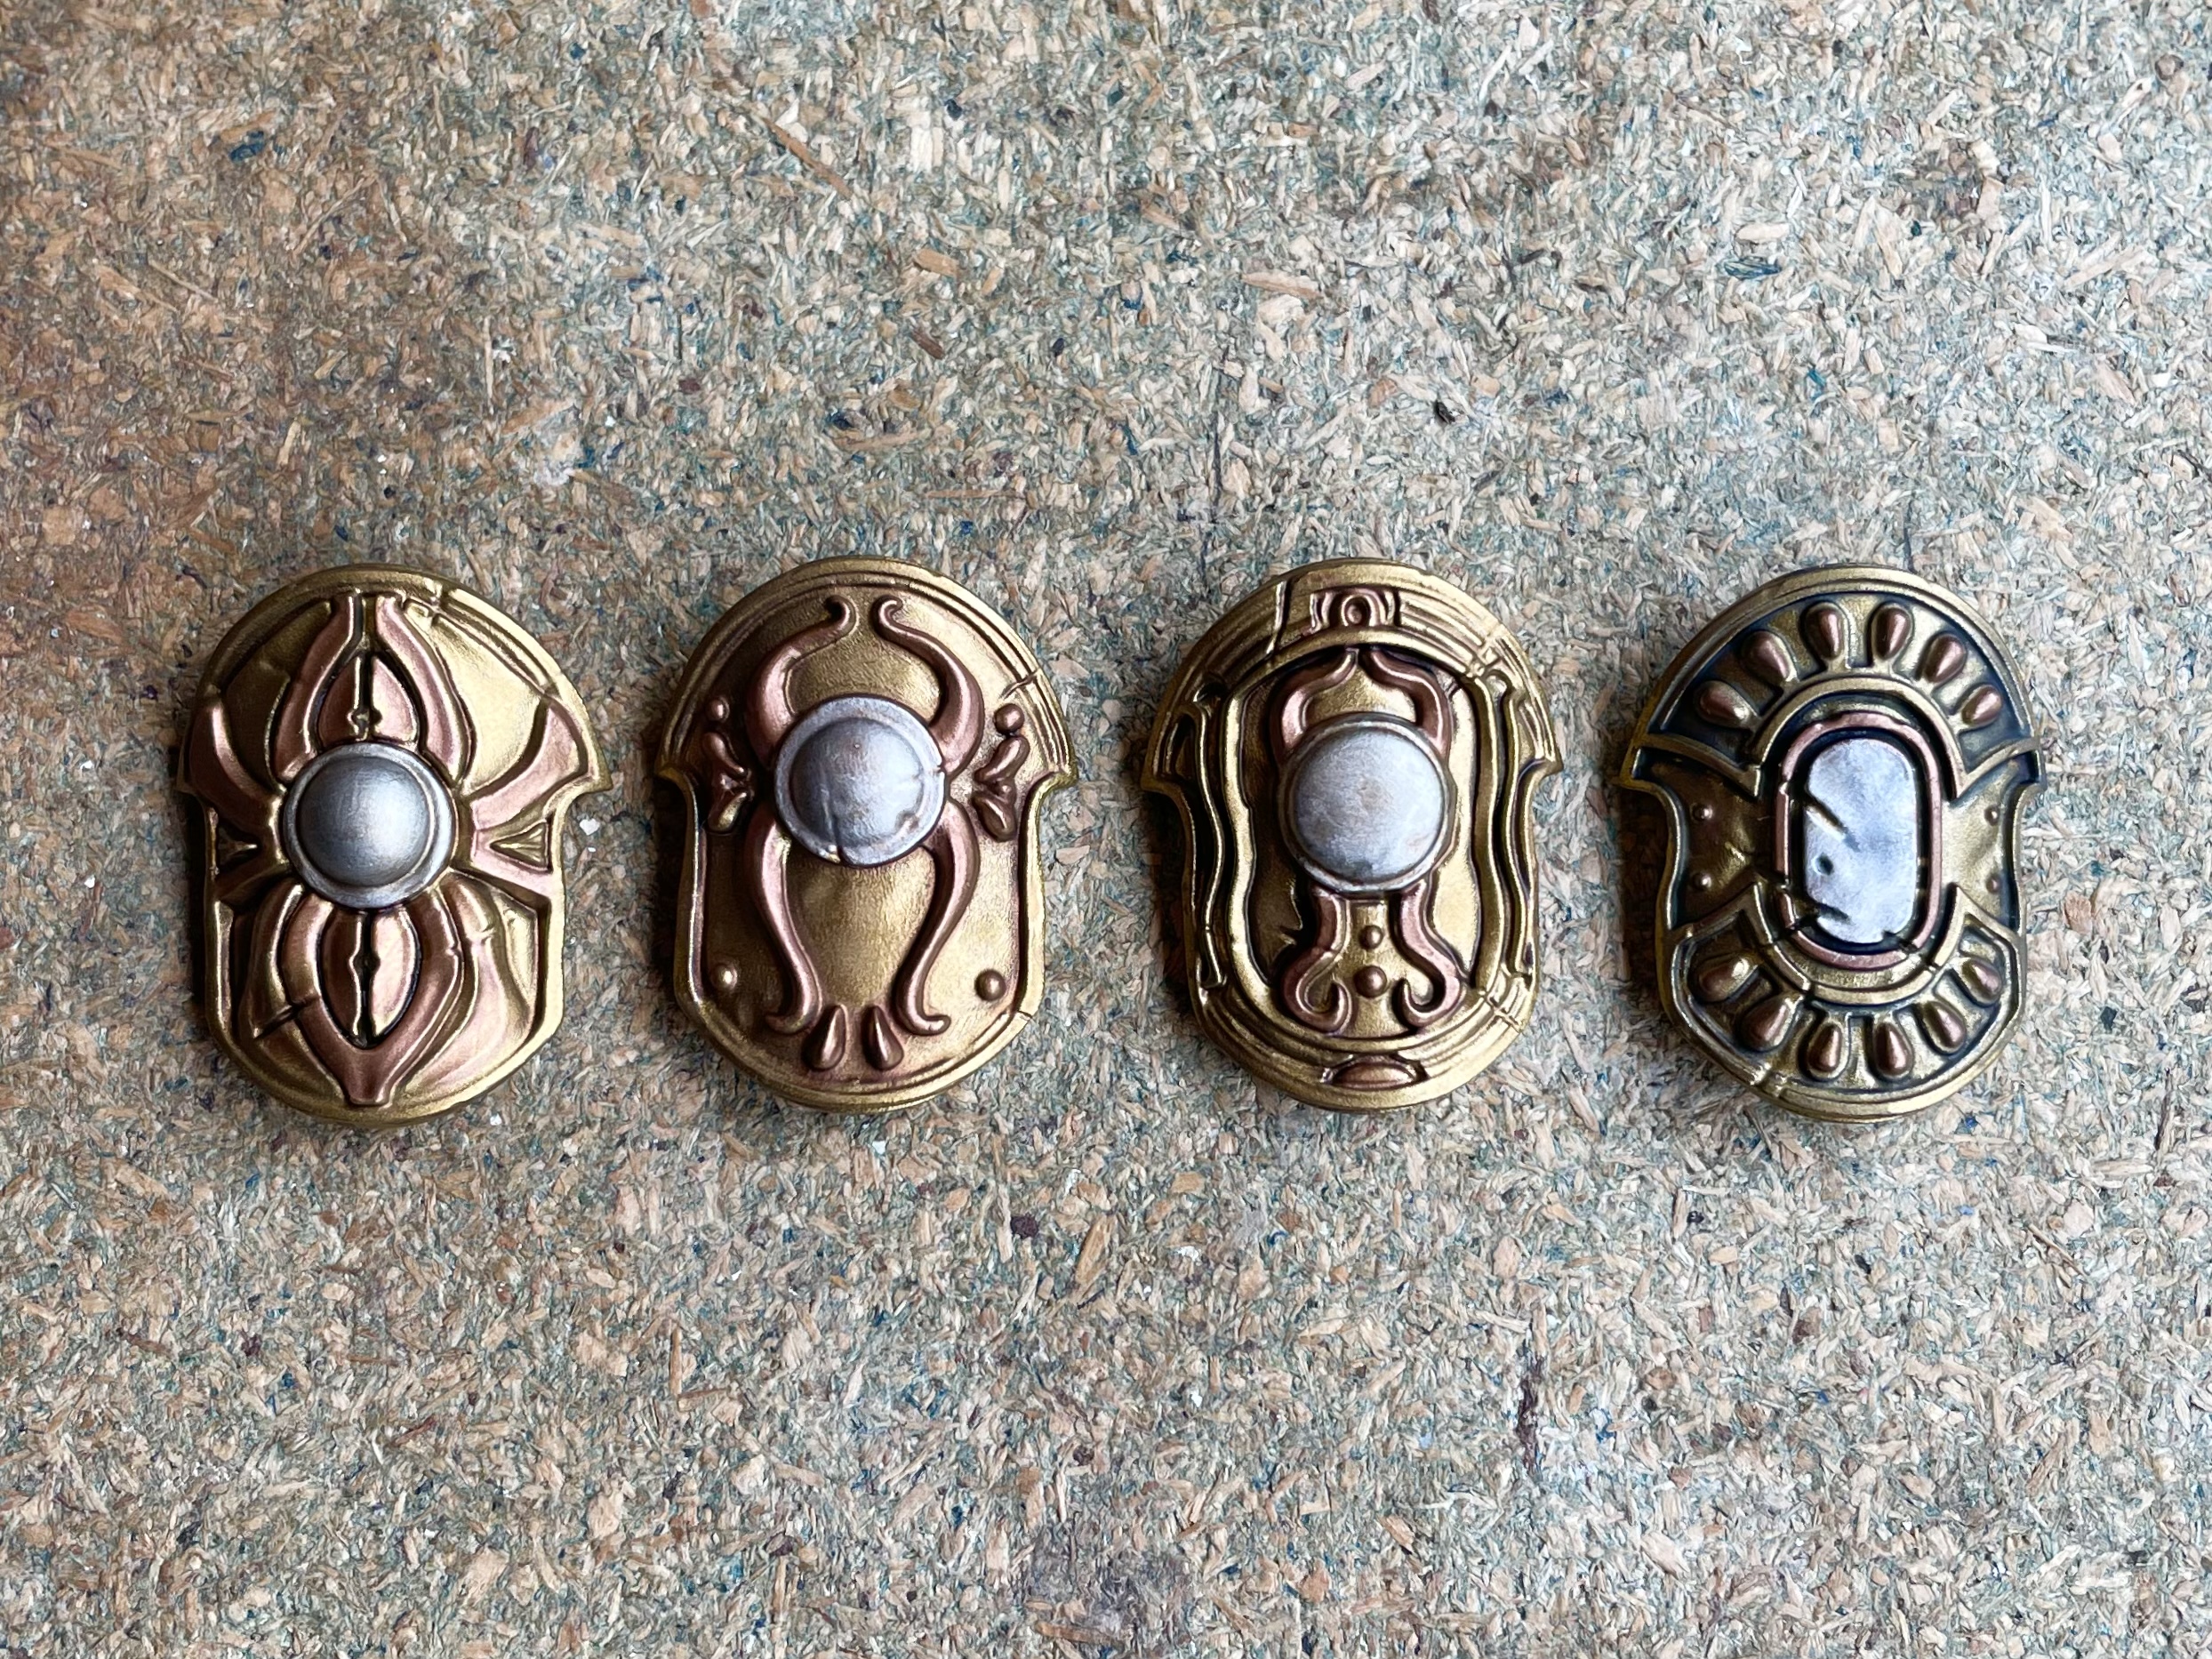 Washes Applied
I was glad I had tried the Drakenhorf as at this stage it was my preferred result out of the four. I hadn’t anticipated how much the blue would desaturate the gold, making it look more aged and less decorative than the other samples. The next stage was to bring the detail out with a little dry brushing. For this I used Gehenna’s Gold over the entire shield, avoiding the shield boss.
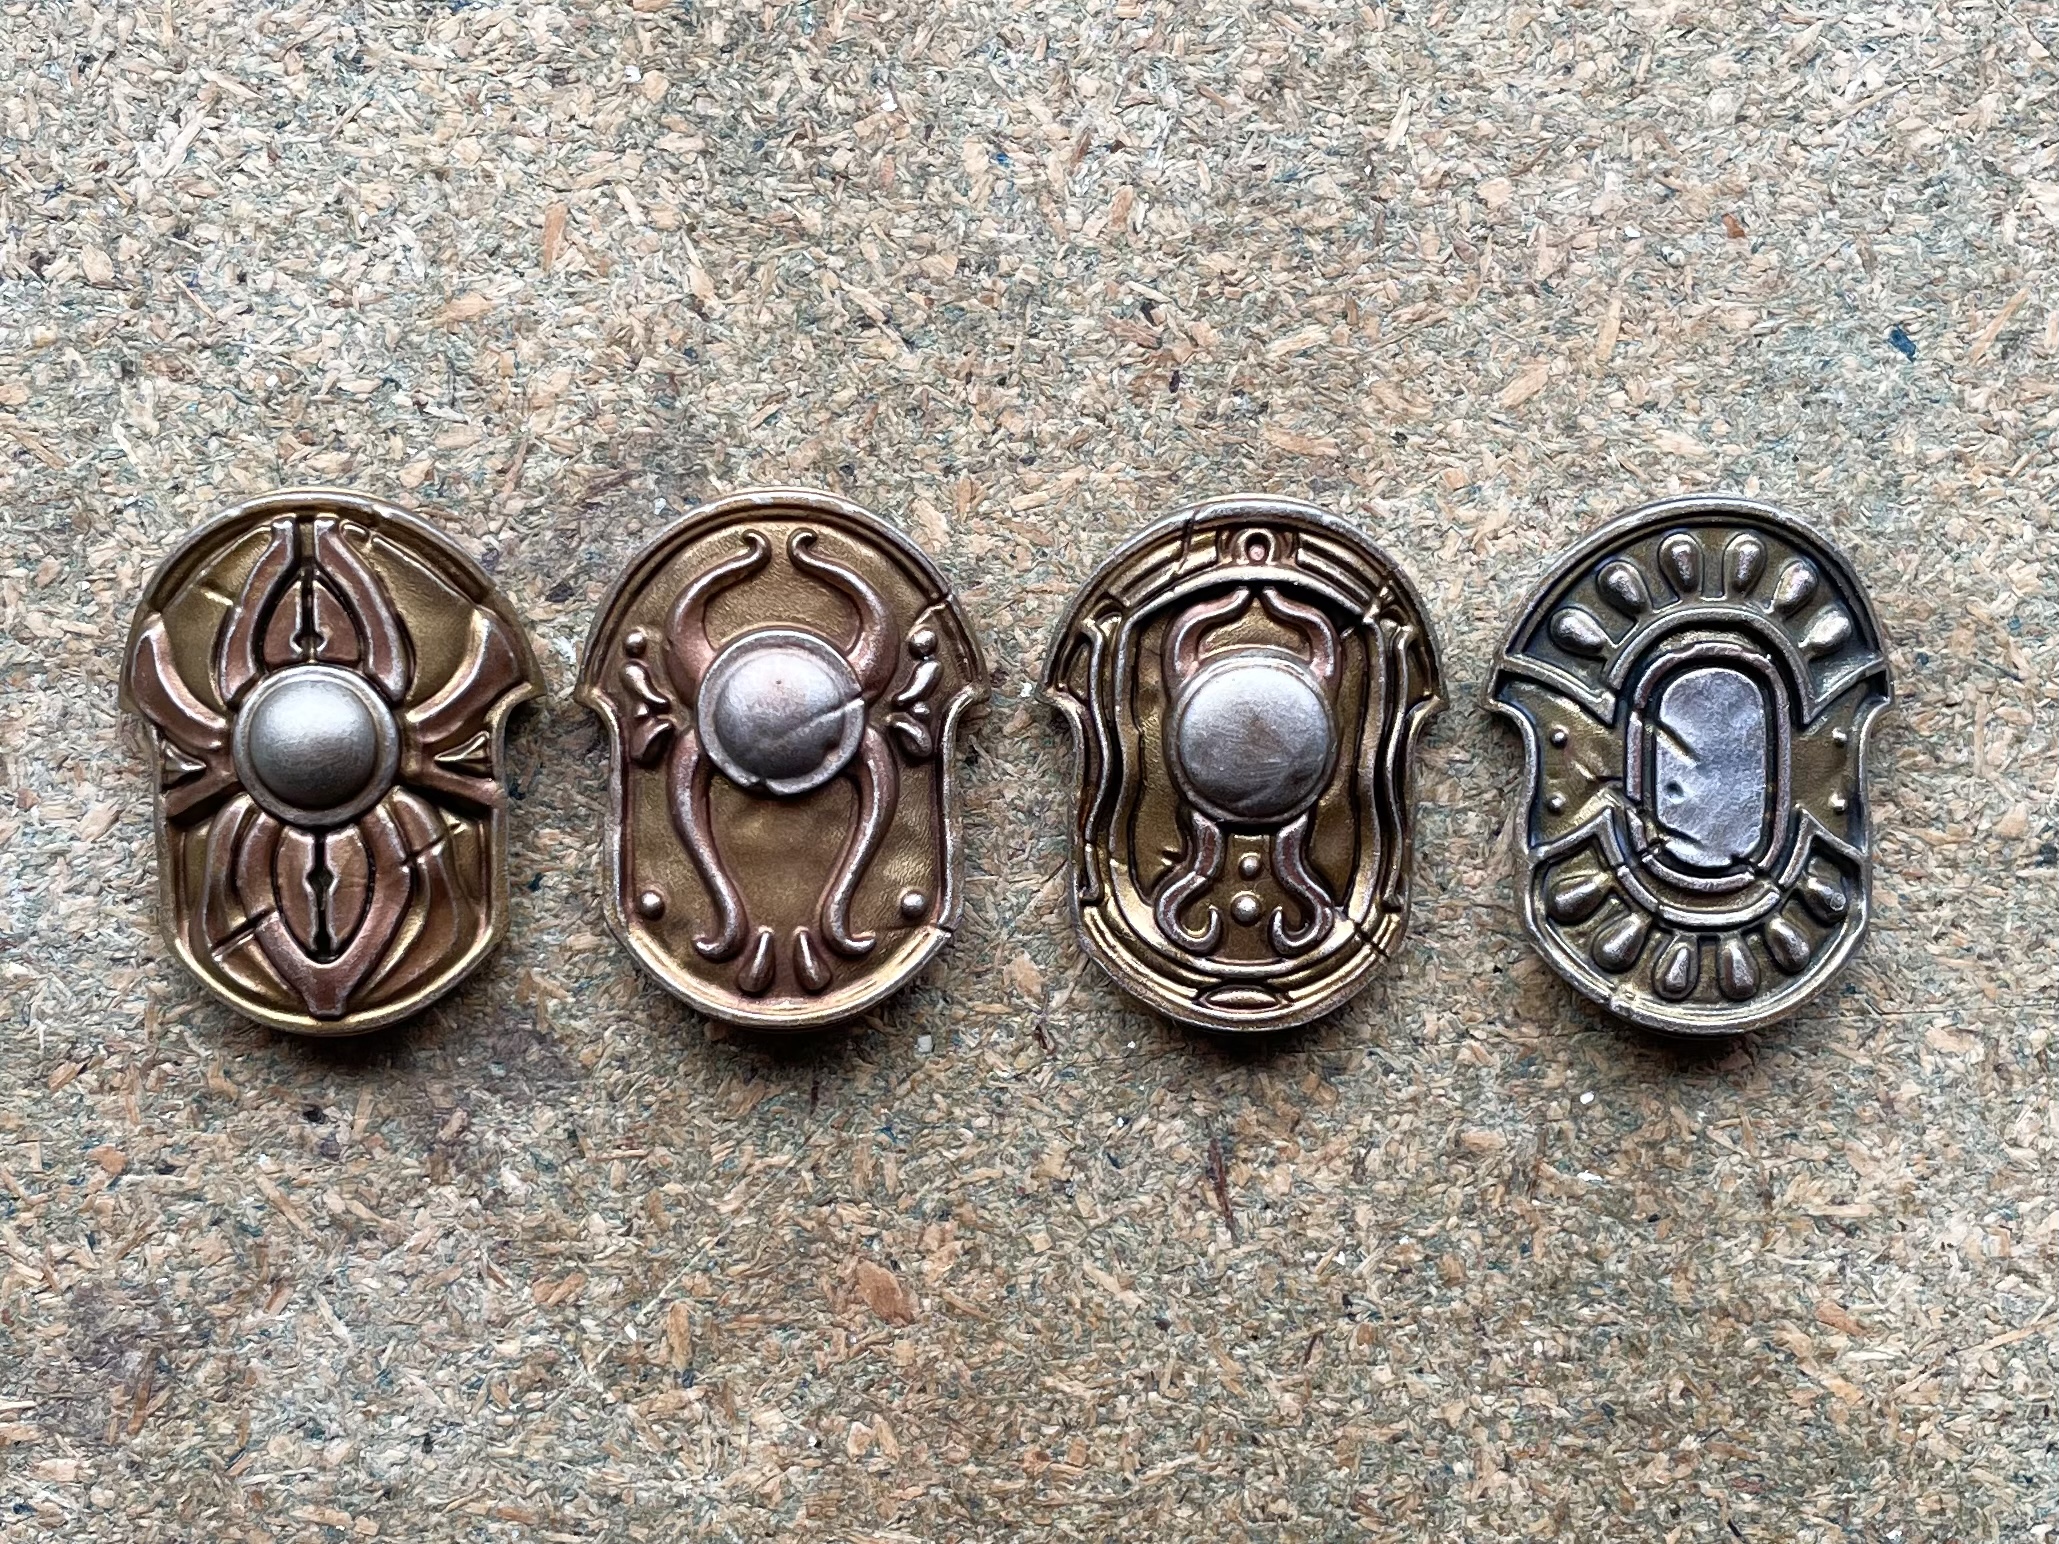 Dry Brush Gold and Silver
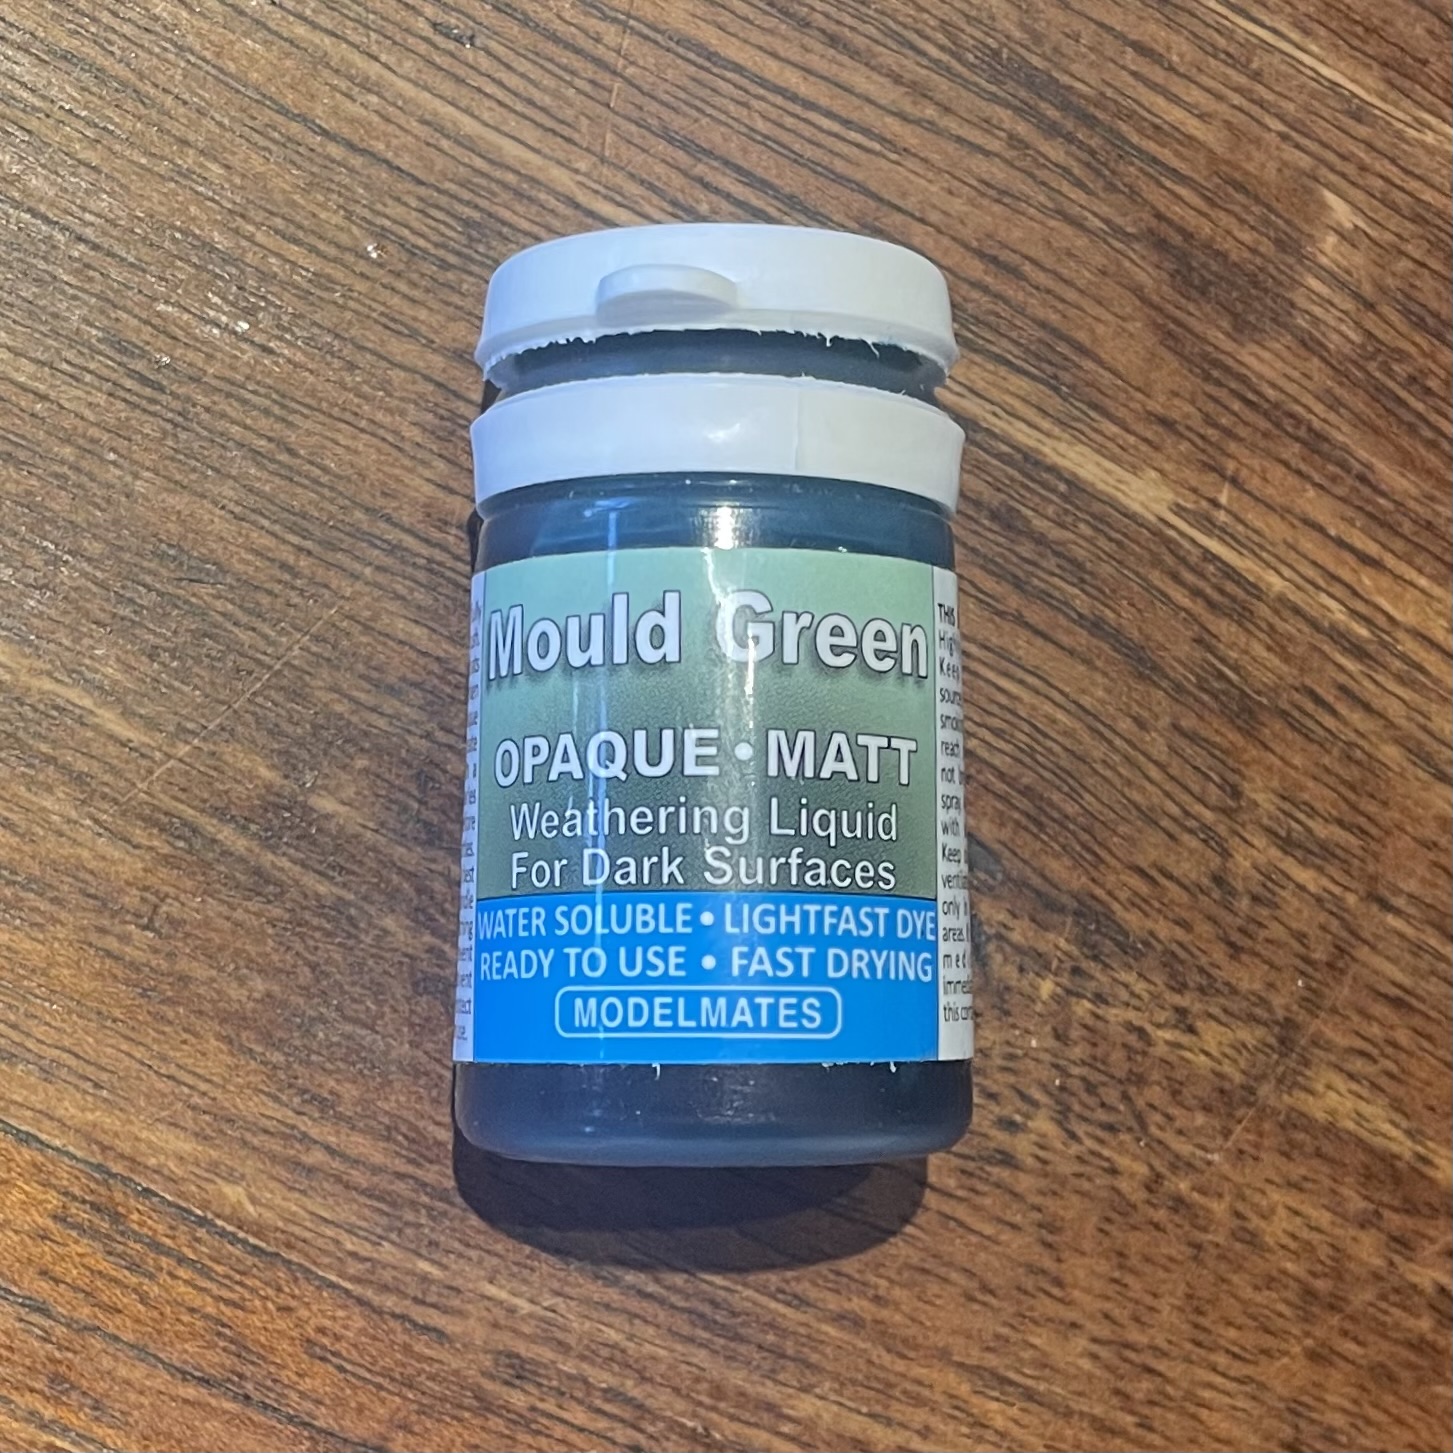
I then dry brushed Runefang Steel over the whole shield in order to add a tarnished appearance to the metal, while also adding a bright highlight. The final step was to add a verdigris effect by using Model Mates Mould weathering fluid.
 Verdigris
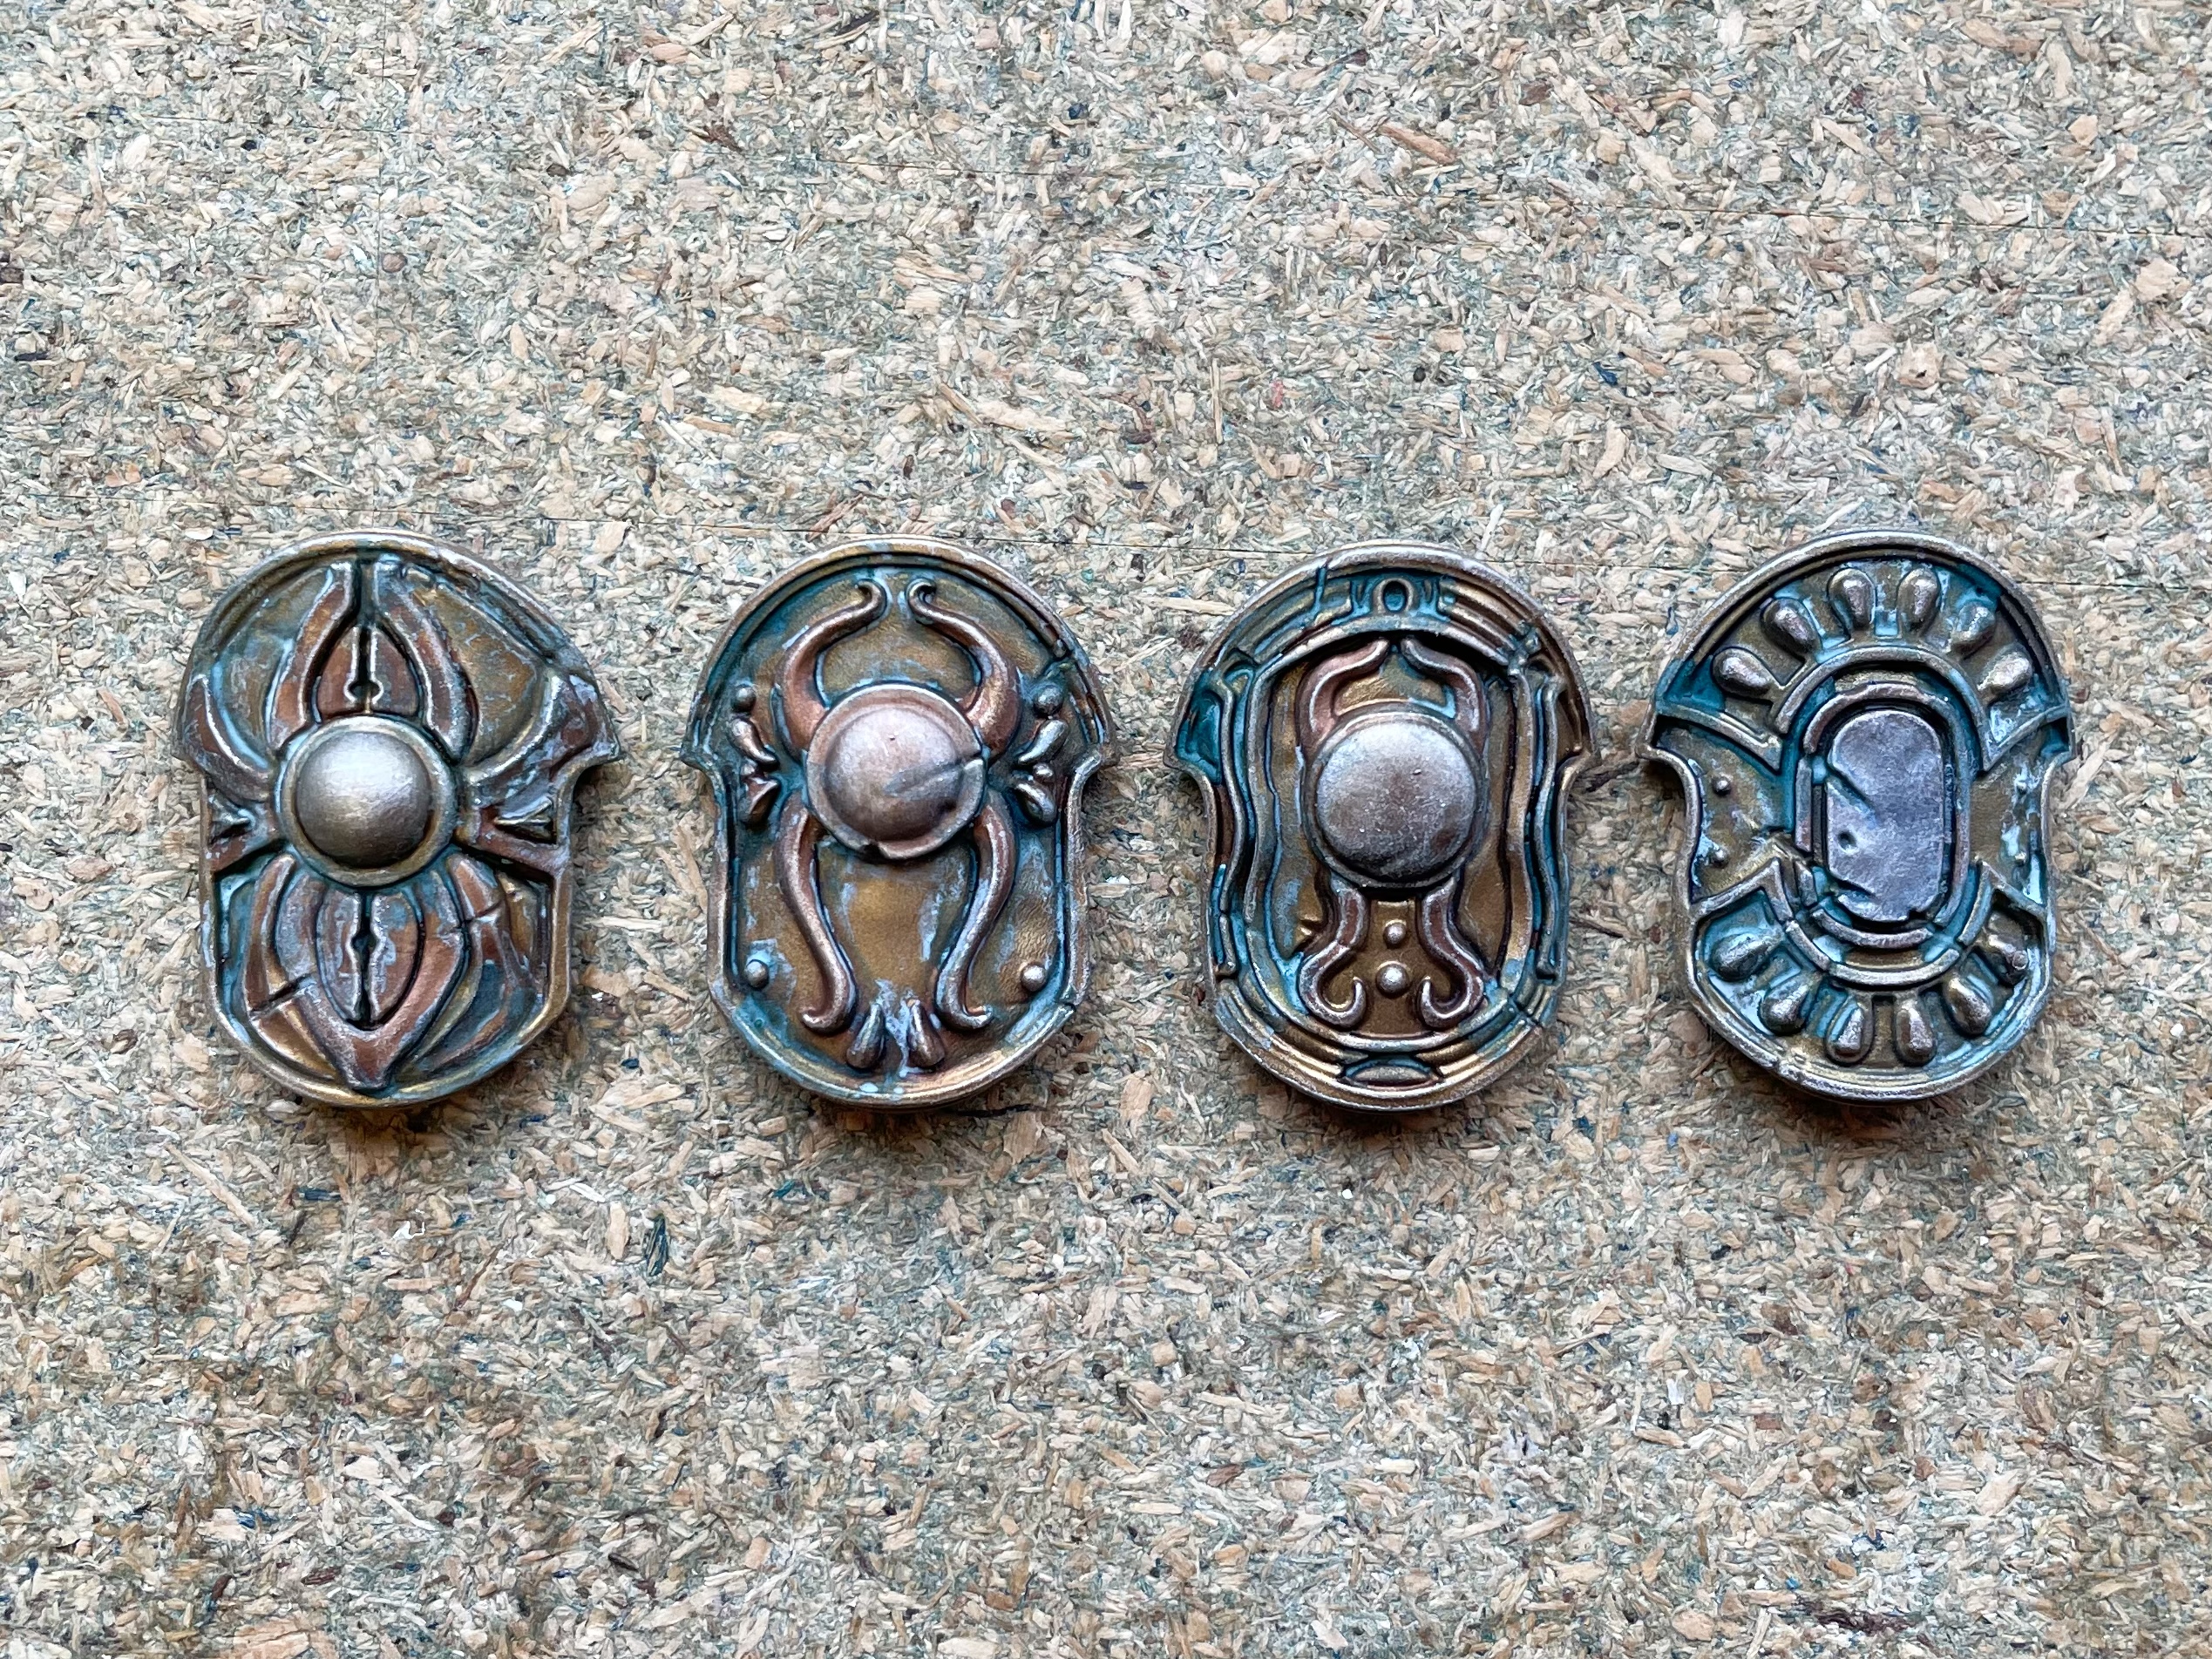
I applied the weathering liberally but used a fairly small brush as I wanted the Verdigris in some of the deeper recesses, as well as on the armoured surface. What’s lovely about these fluids is that they are water soluble, allowing you to adjust their placement if you aren’t happy with how they land on application. The result is an aged look to the metal with some nice contrast between the turquoise and gold. Hopefully the following image shows the variations between the shields more clearly, though it is fairly subtle!

Projectversary!
A year has passed since I started this project. How do I know that?… Because my birthday had come around again and my gaming buddies got me this!
Somewhat shamed by my lack of progress I resolved to leave the new set unbuilt (mostly…), until I had painted at least 500 points of my previous build. I REALLY wanted to build the mounted Strategos model and he would be my reward for getting the rank and file painted.
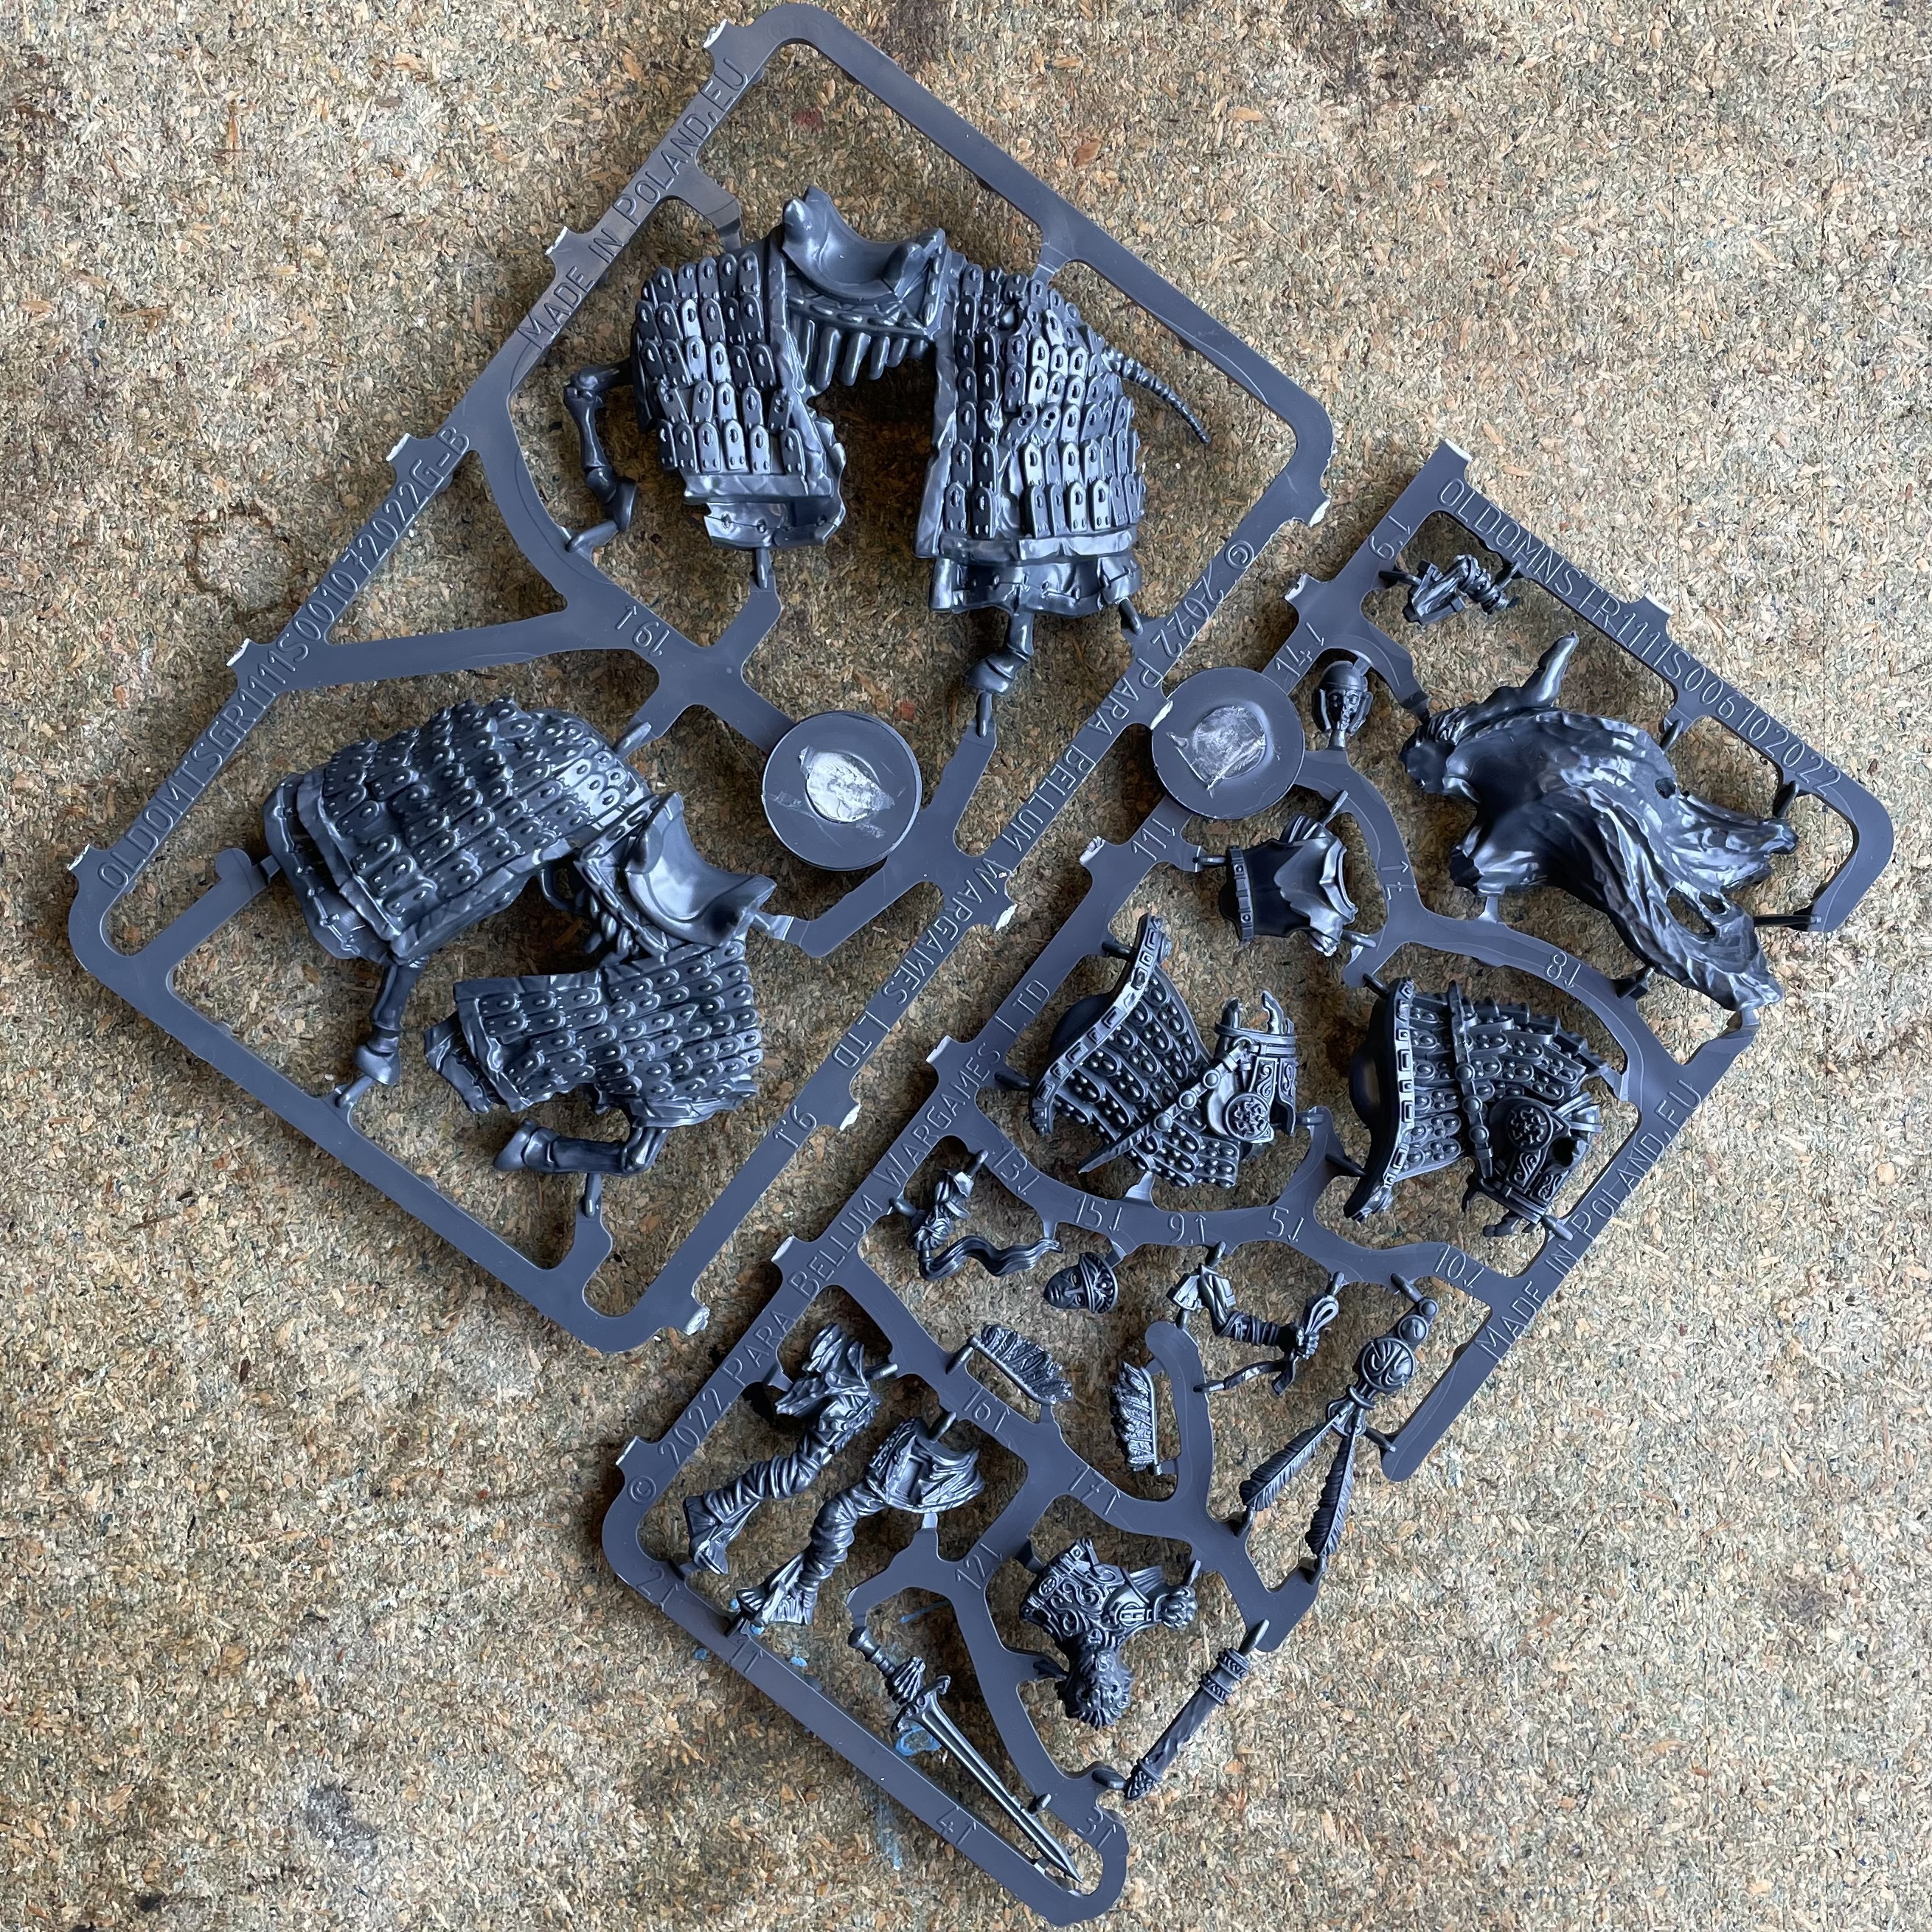
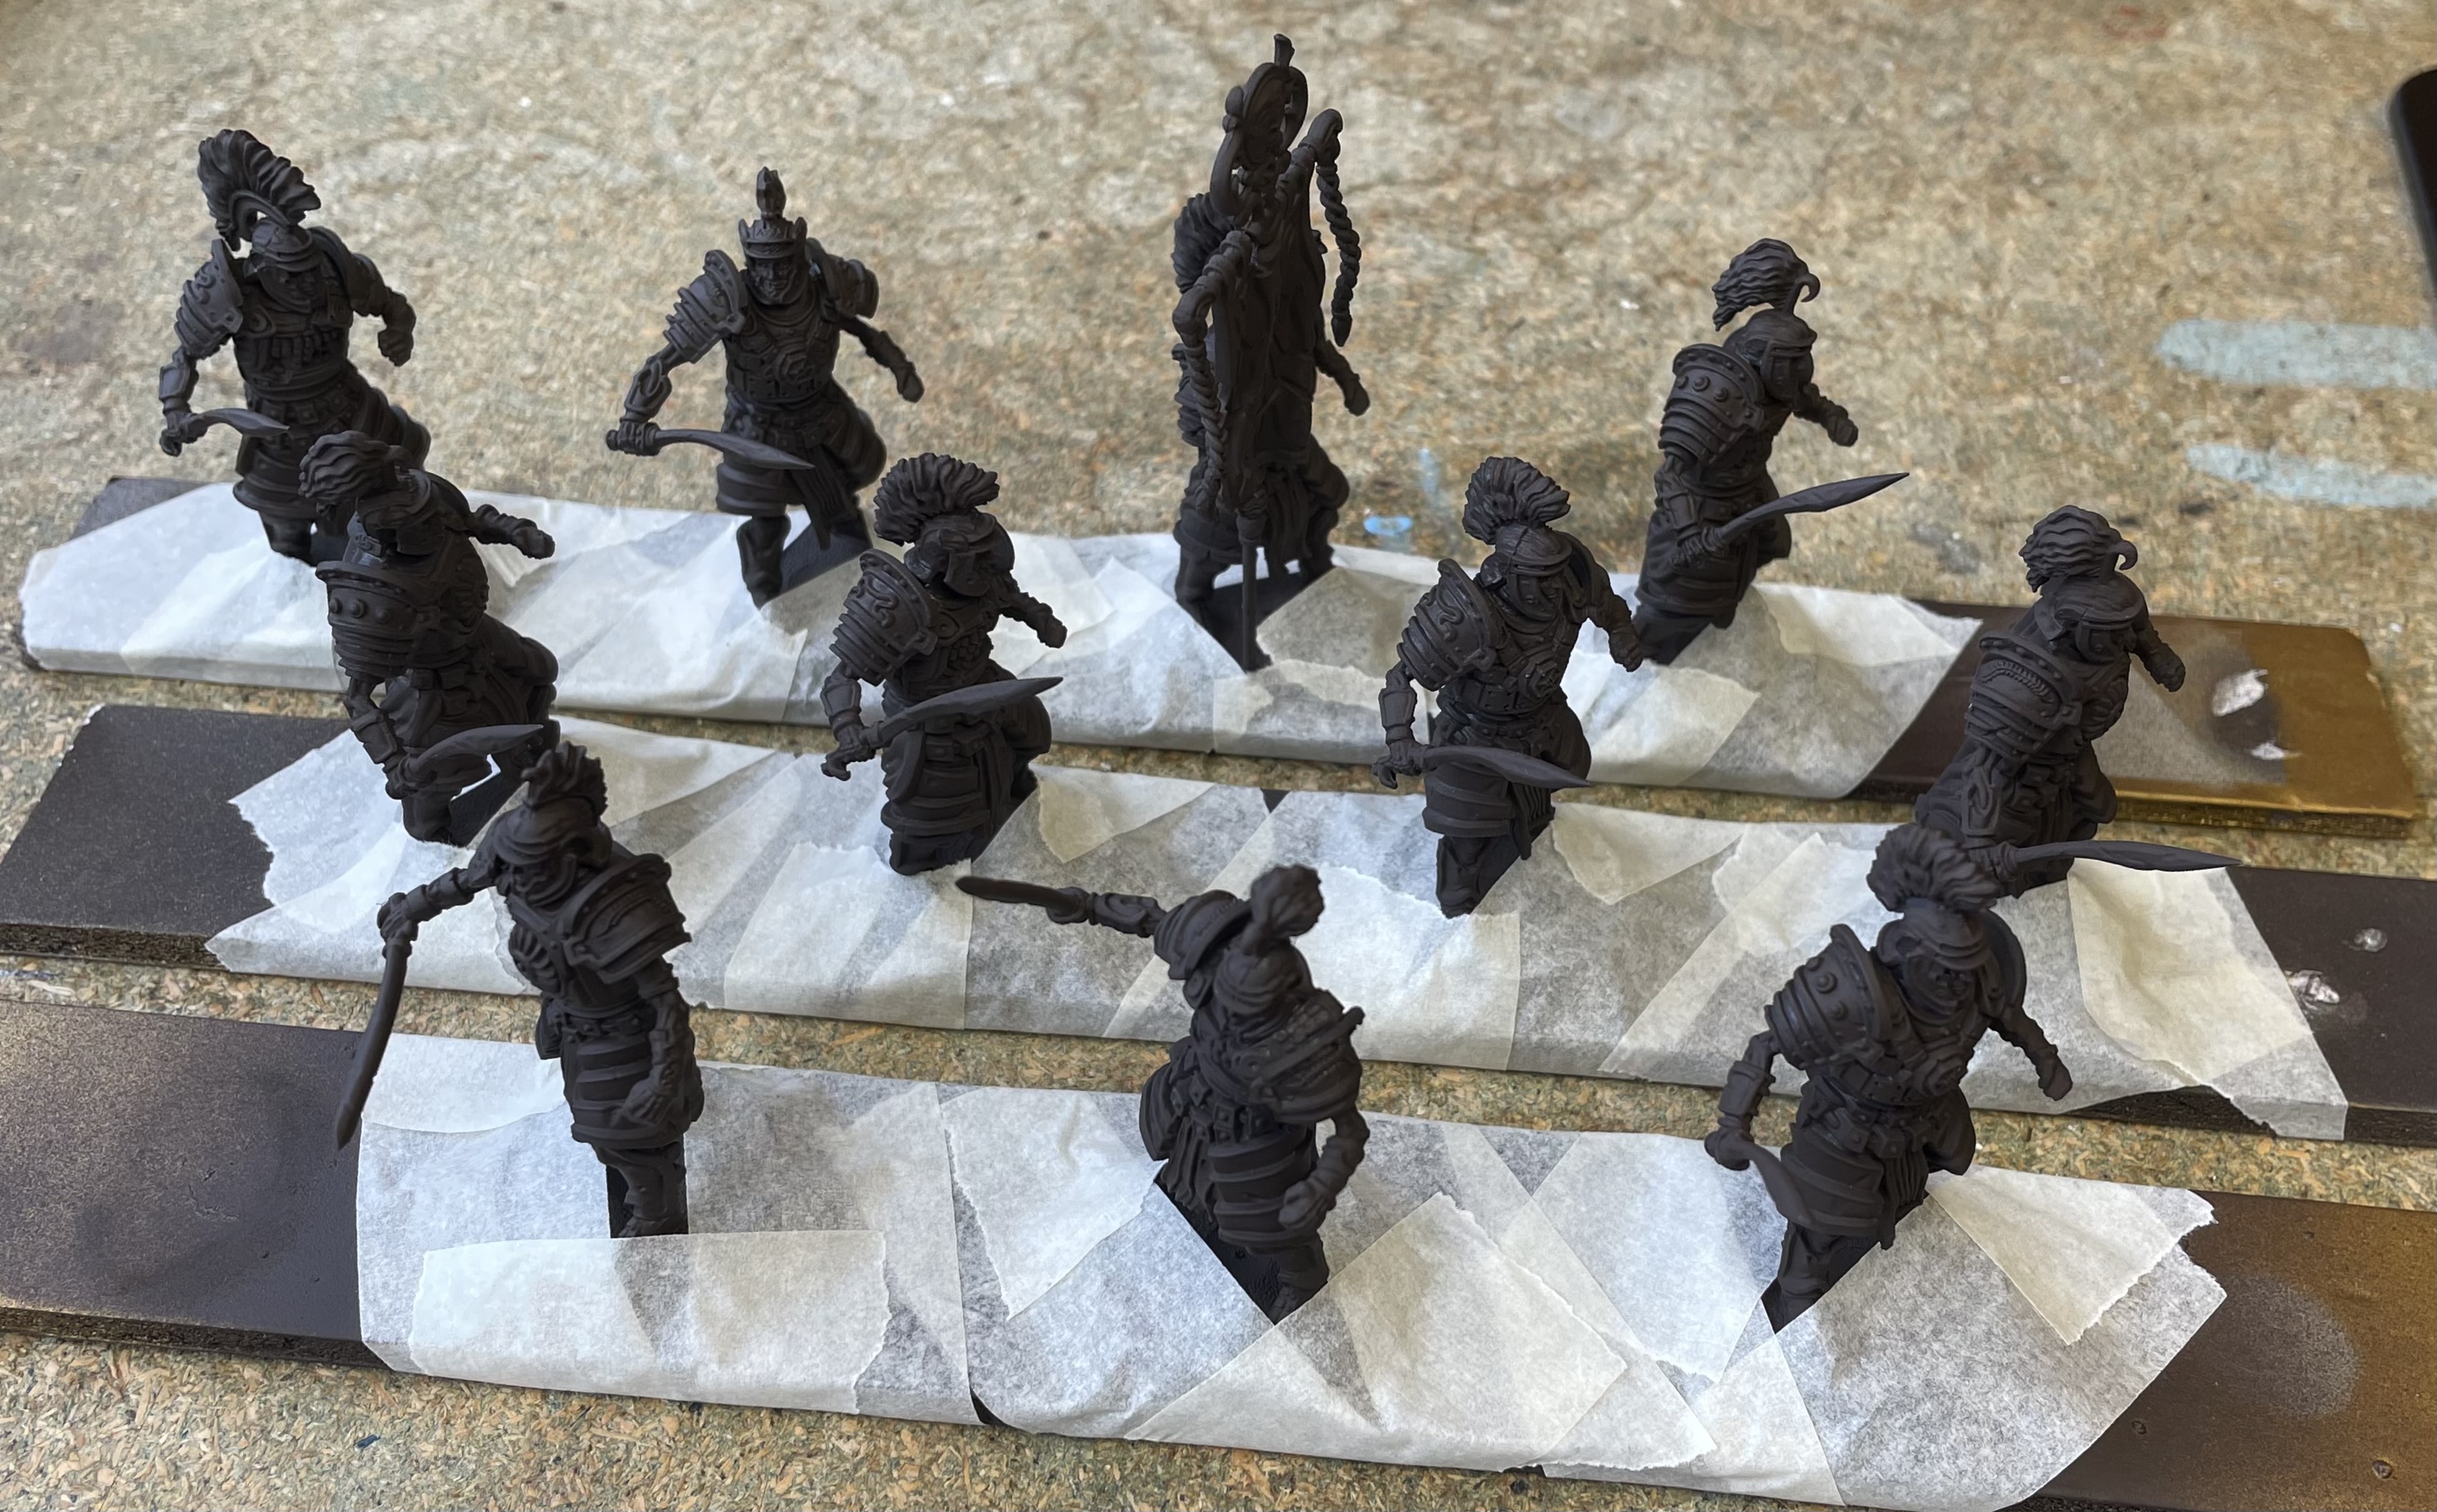
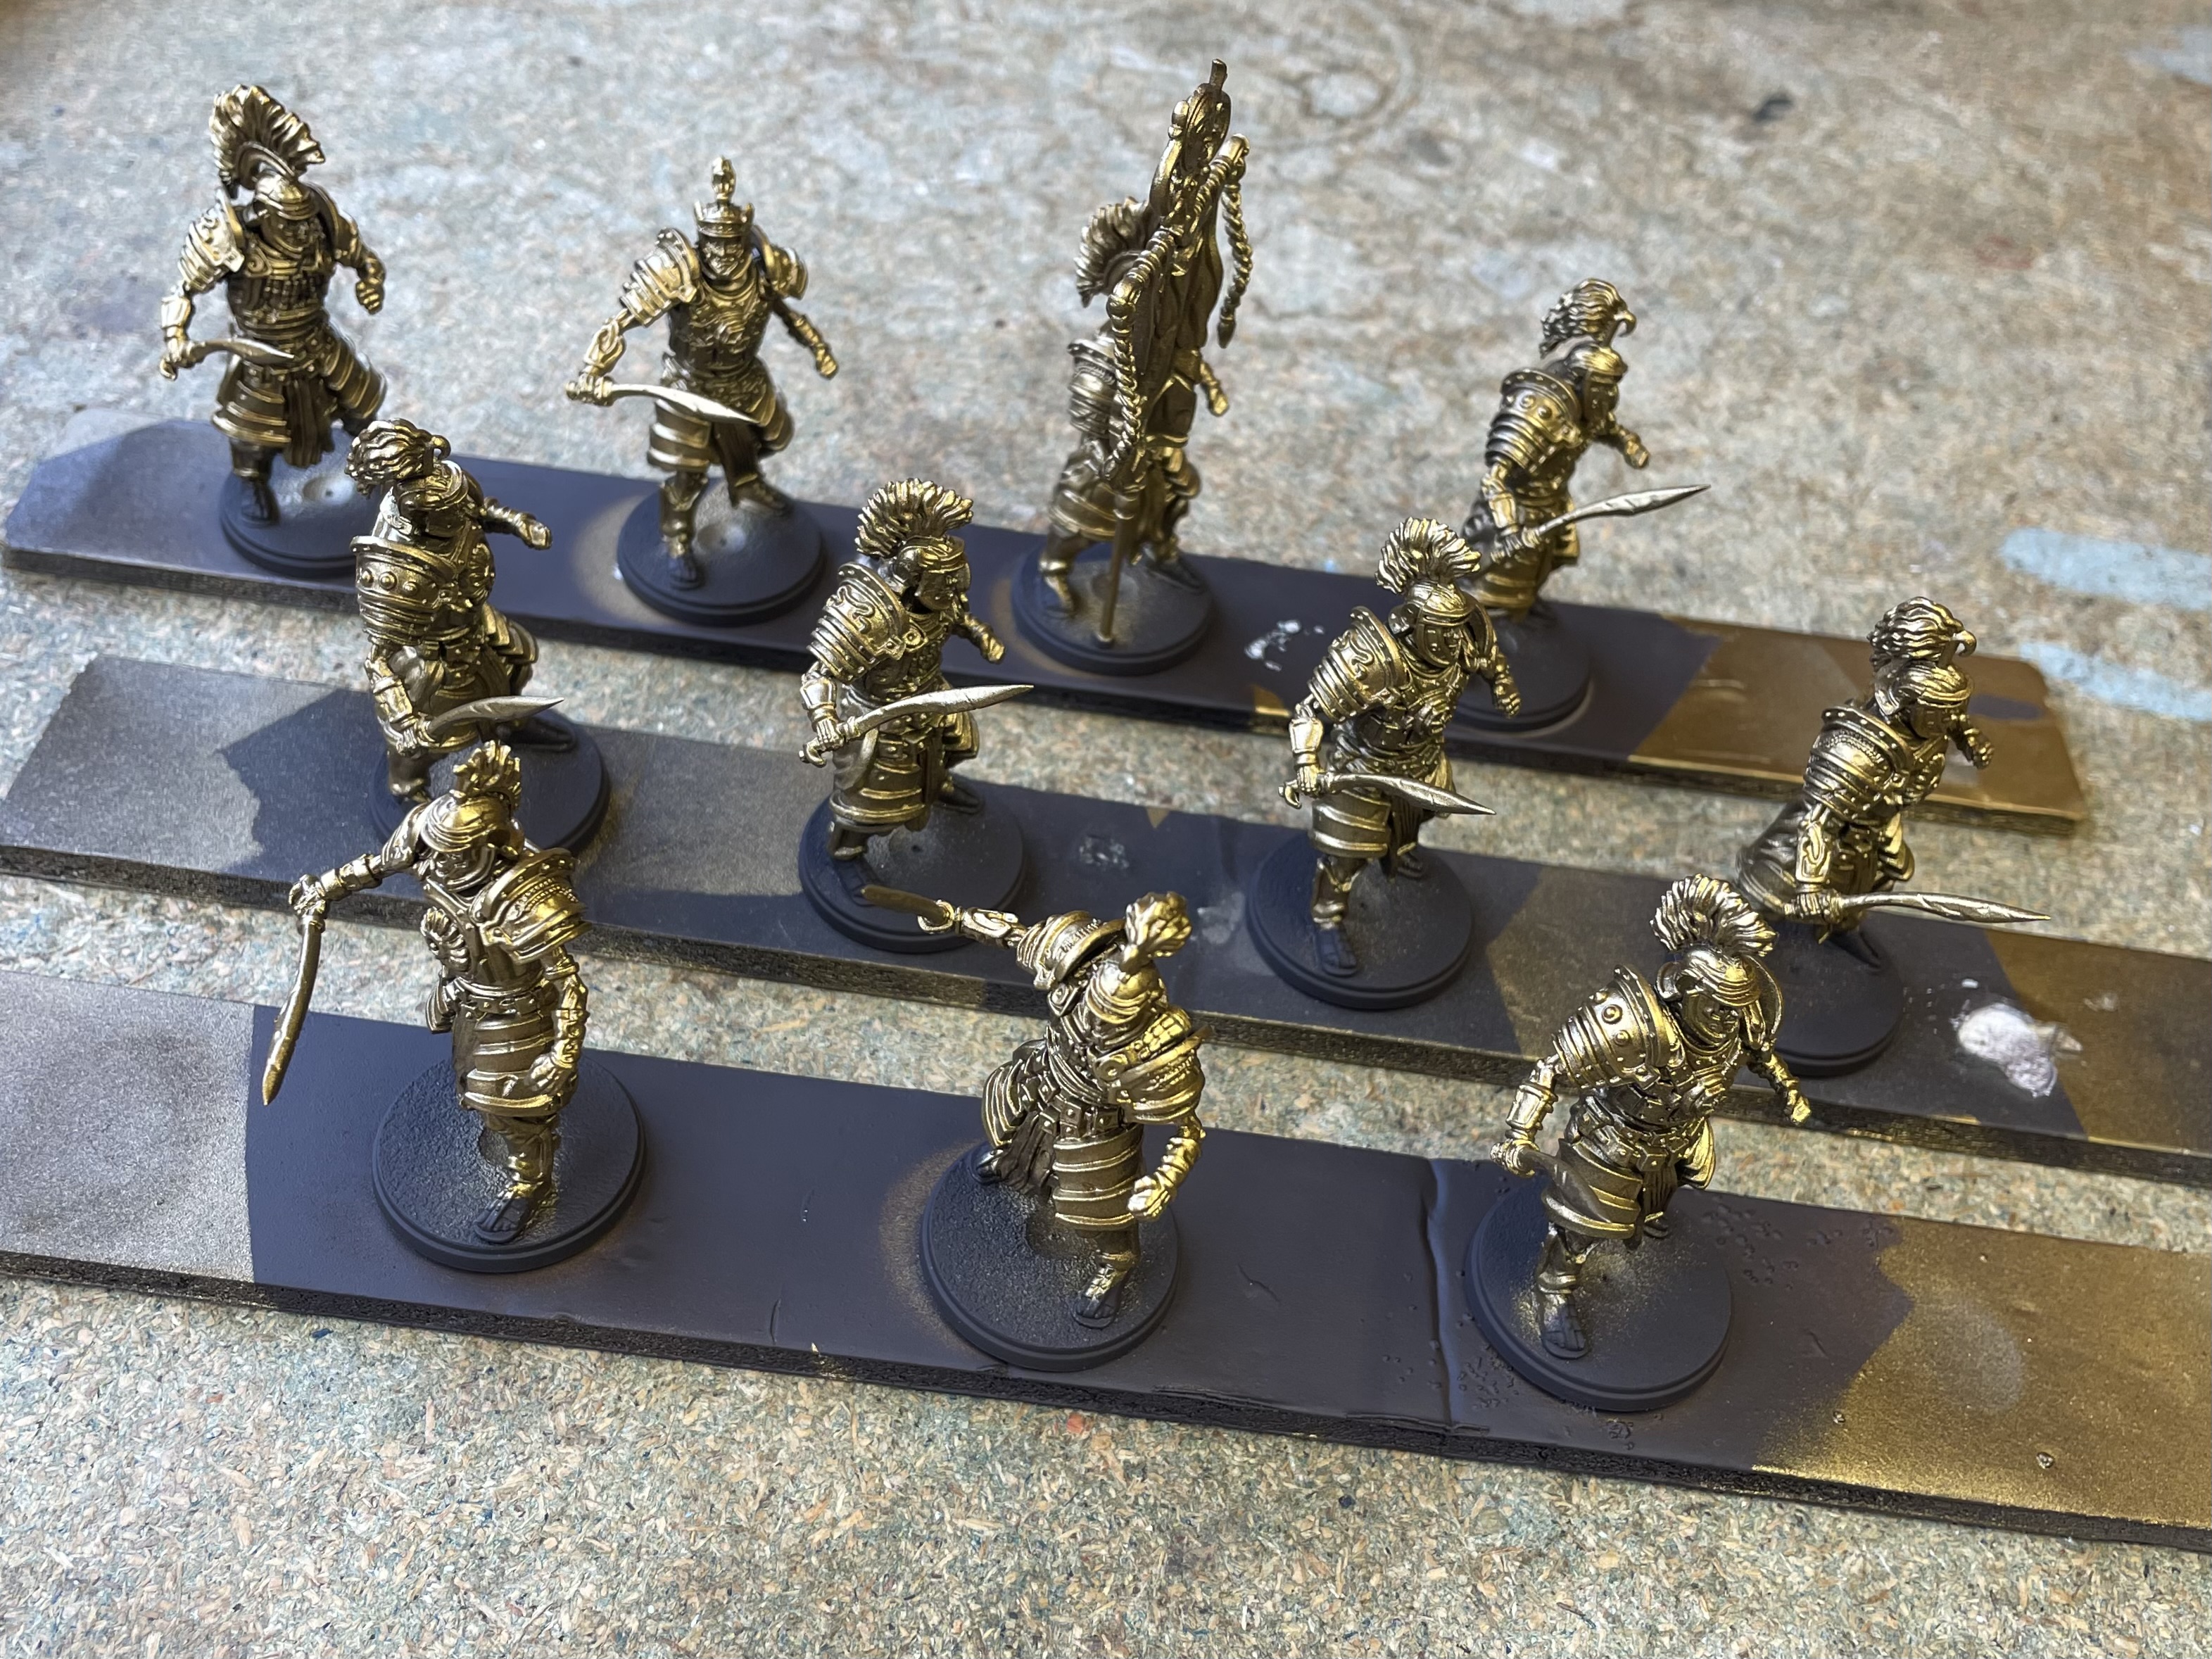
The First Blood starter set also came with two of the Legionnaire/Praetorian sprues, totalling six models.
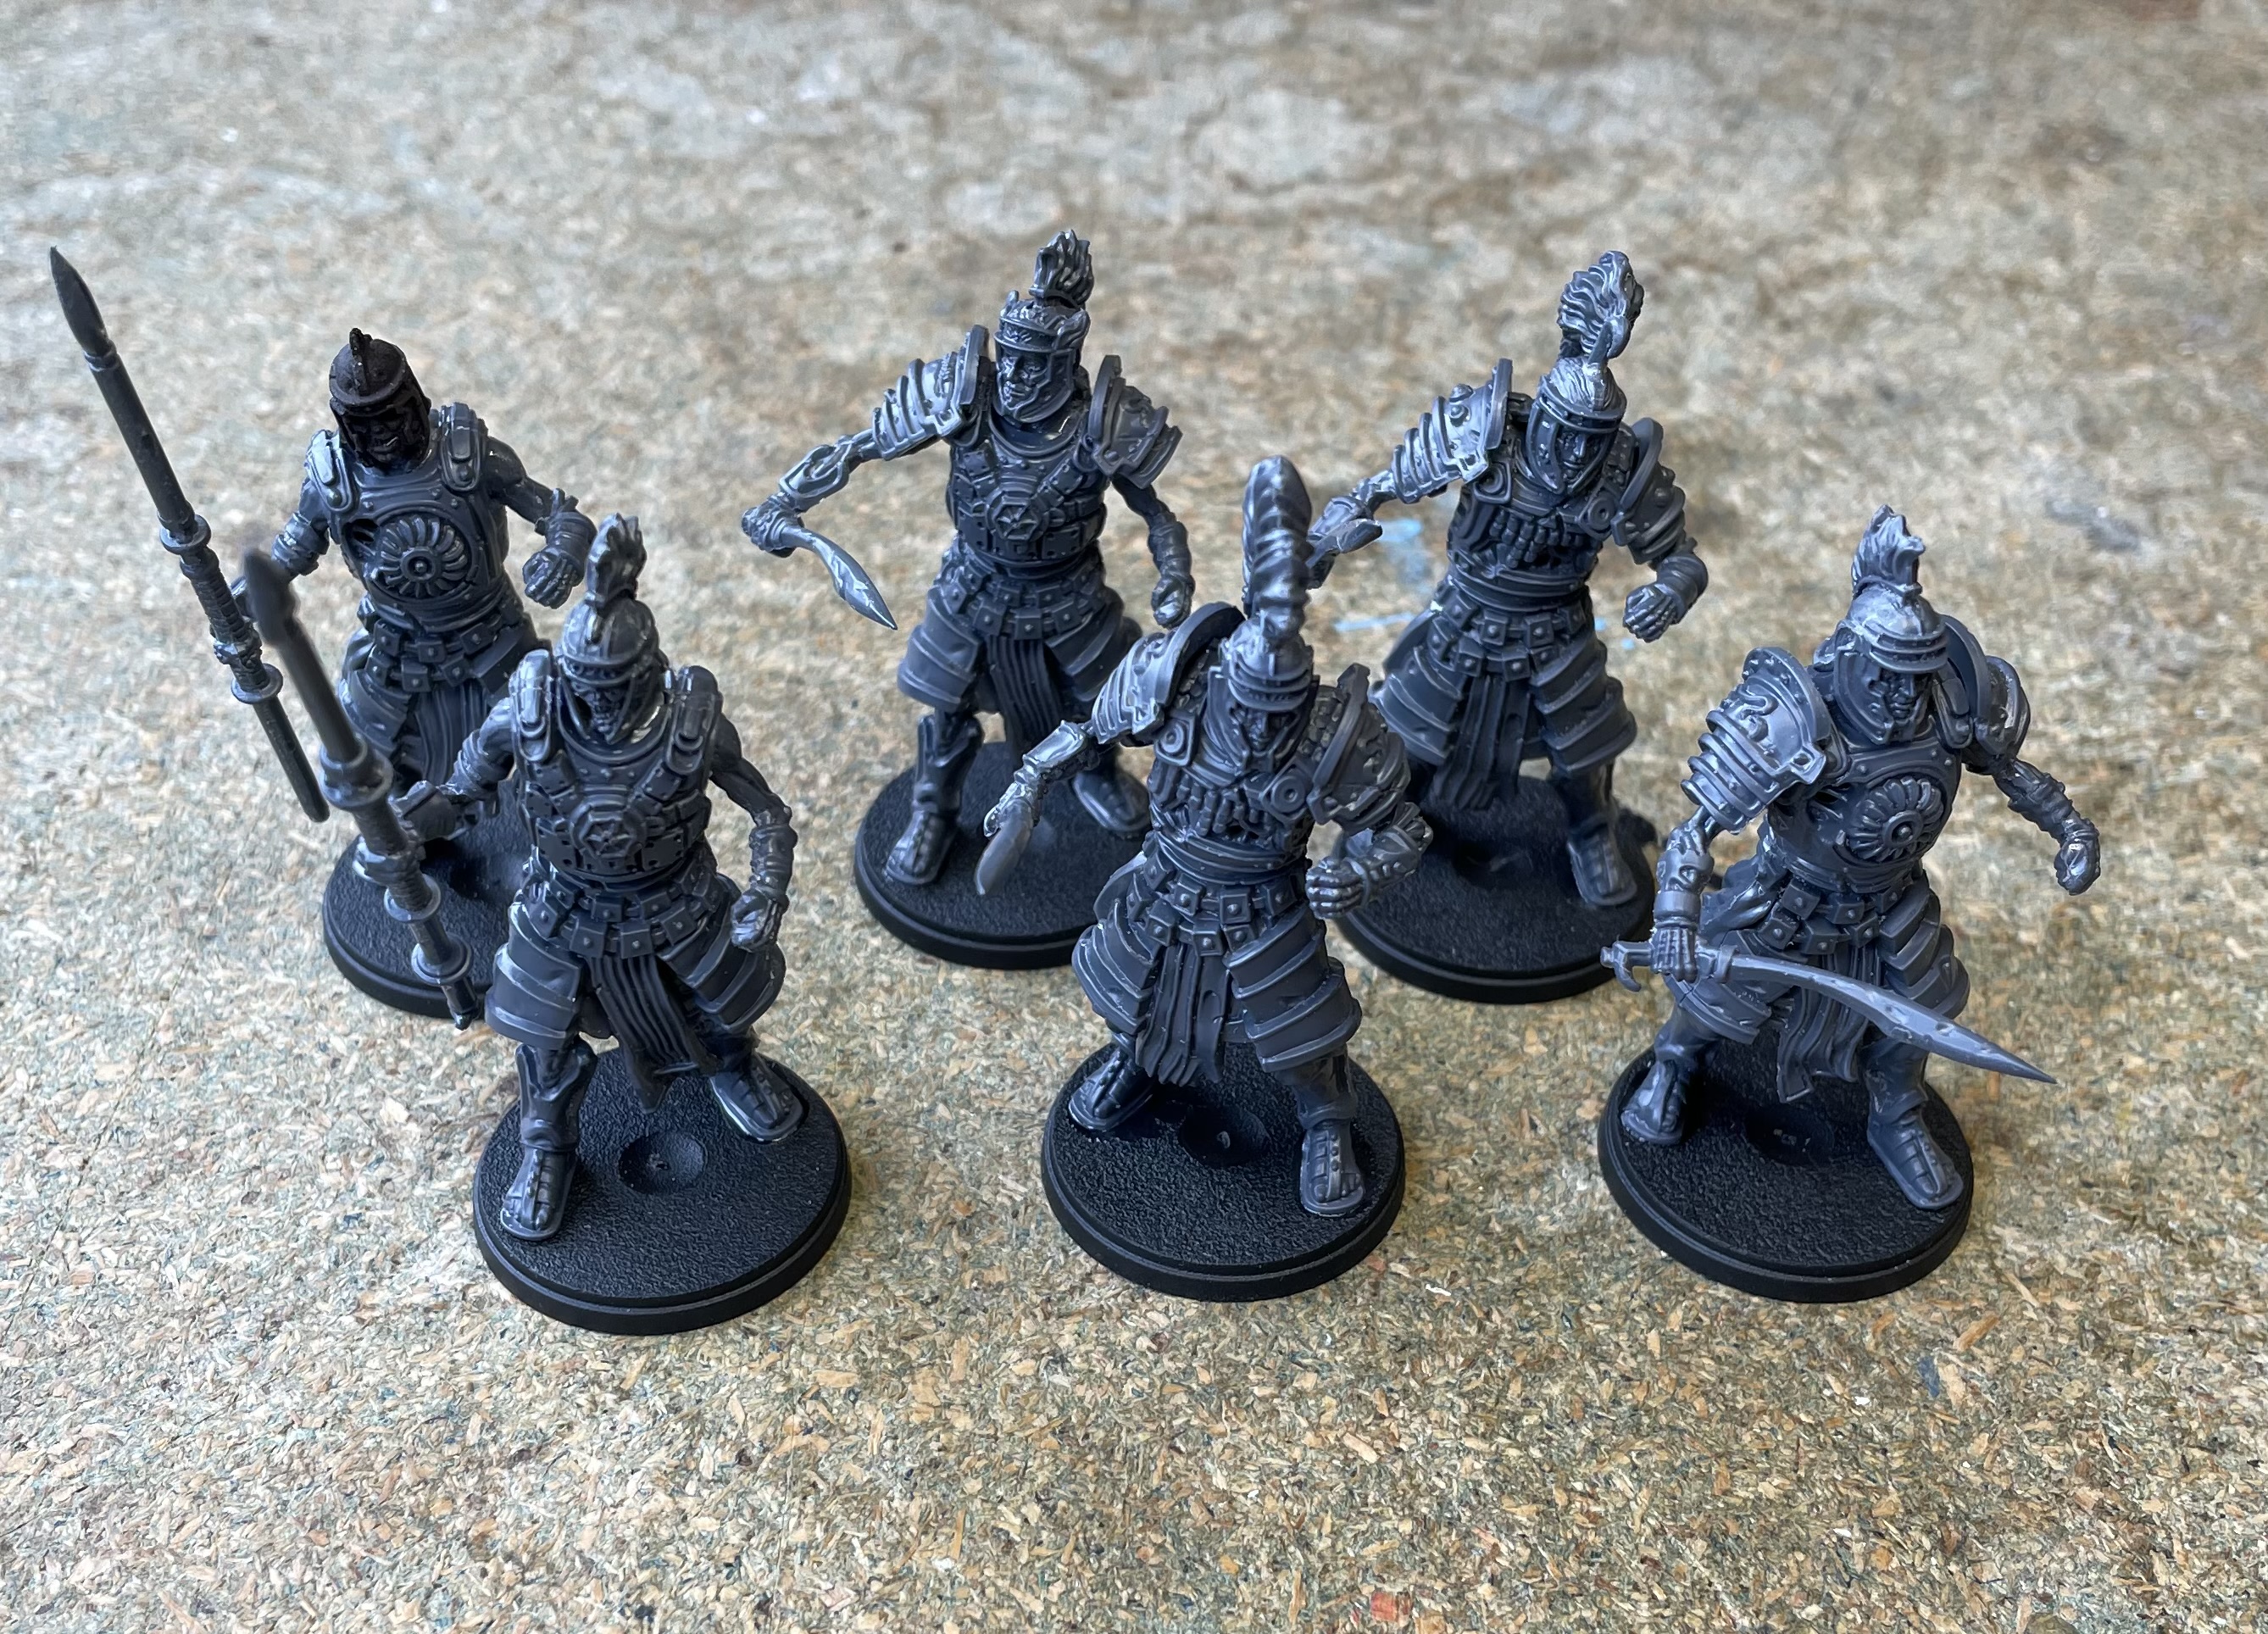
It made sense to build these now and use them to bulk out my existing units, rather than having a half dozen models to paint later. I built two as legionnaires and four more Pretorians. This will allow me to field variations of my original lists which is something I will be exploring in the future.
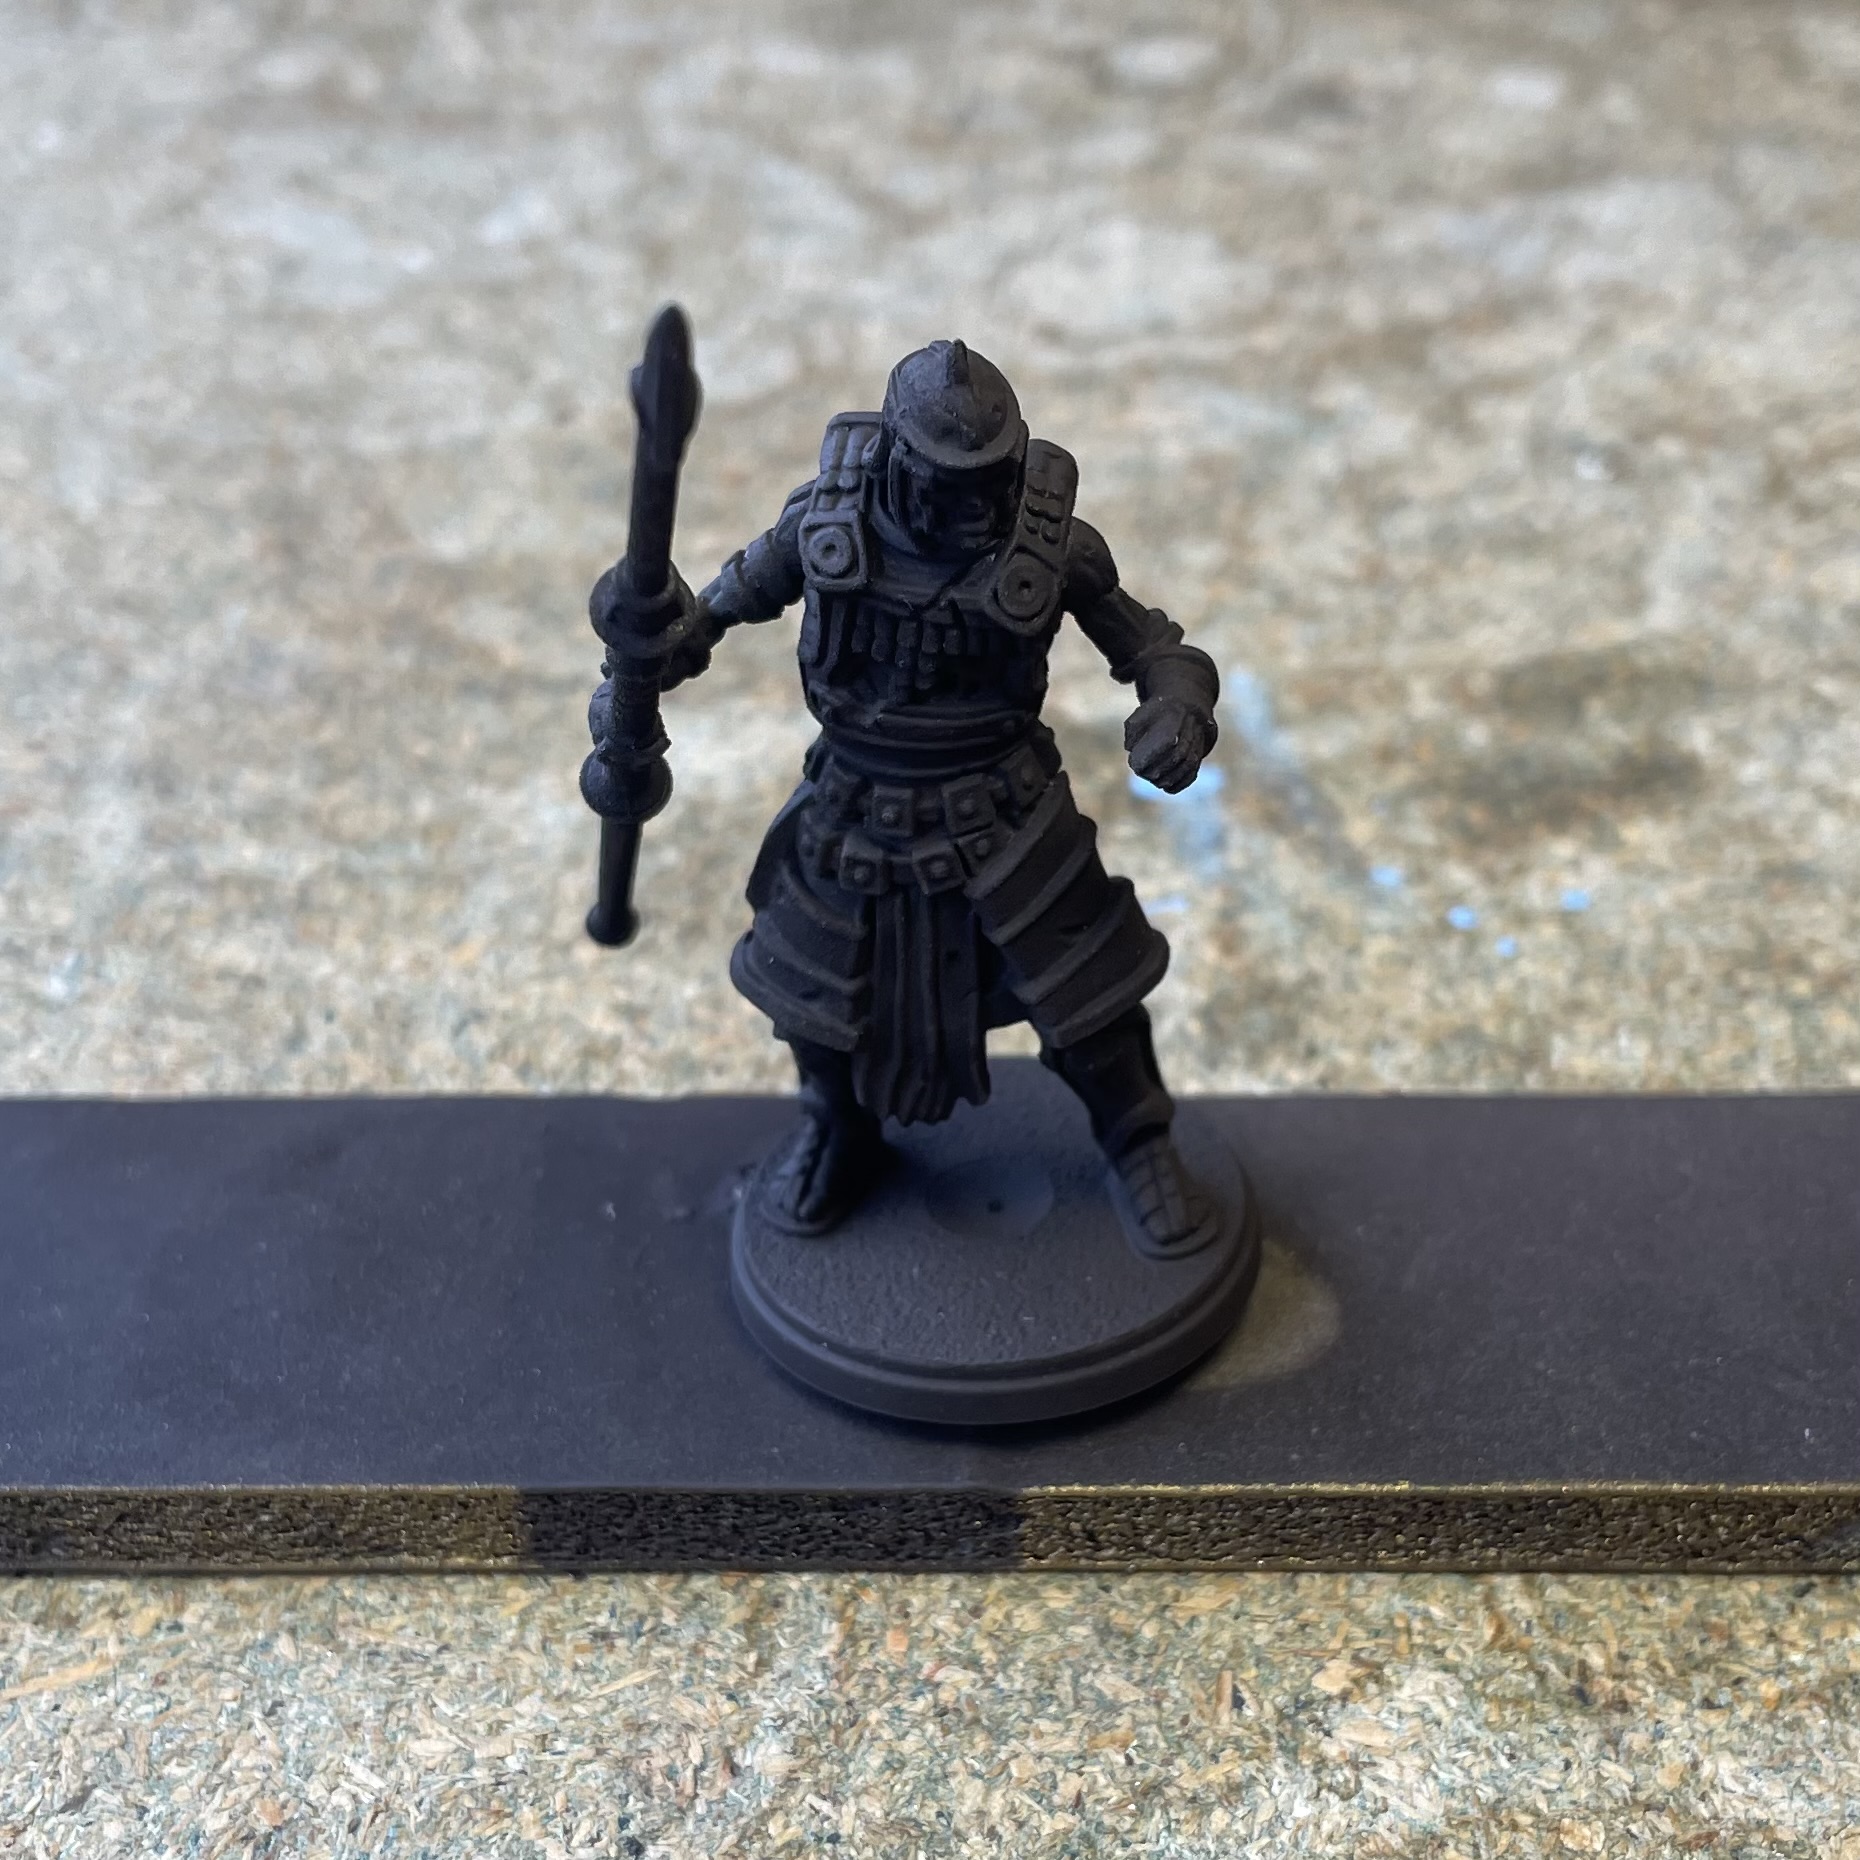
Ok, I promise that’s the last image of an unpainted model I’m going to post!
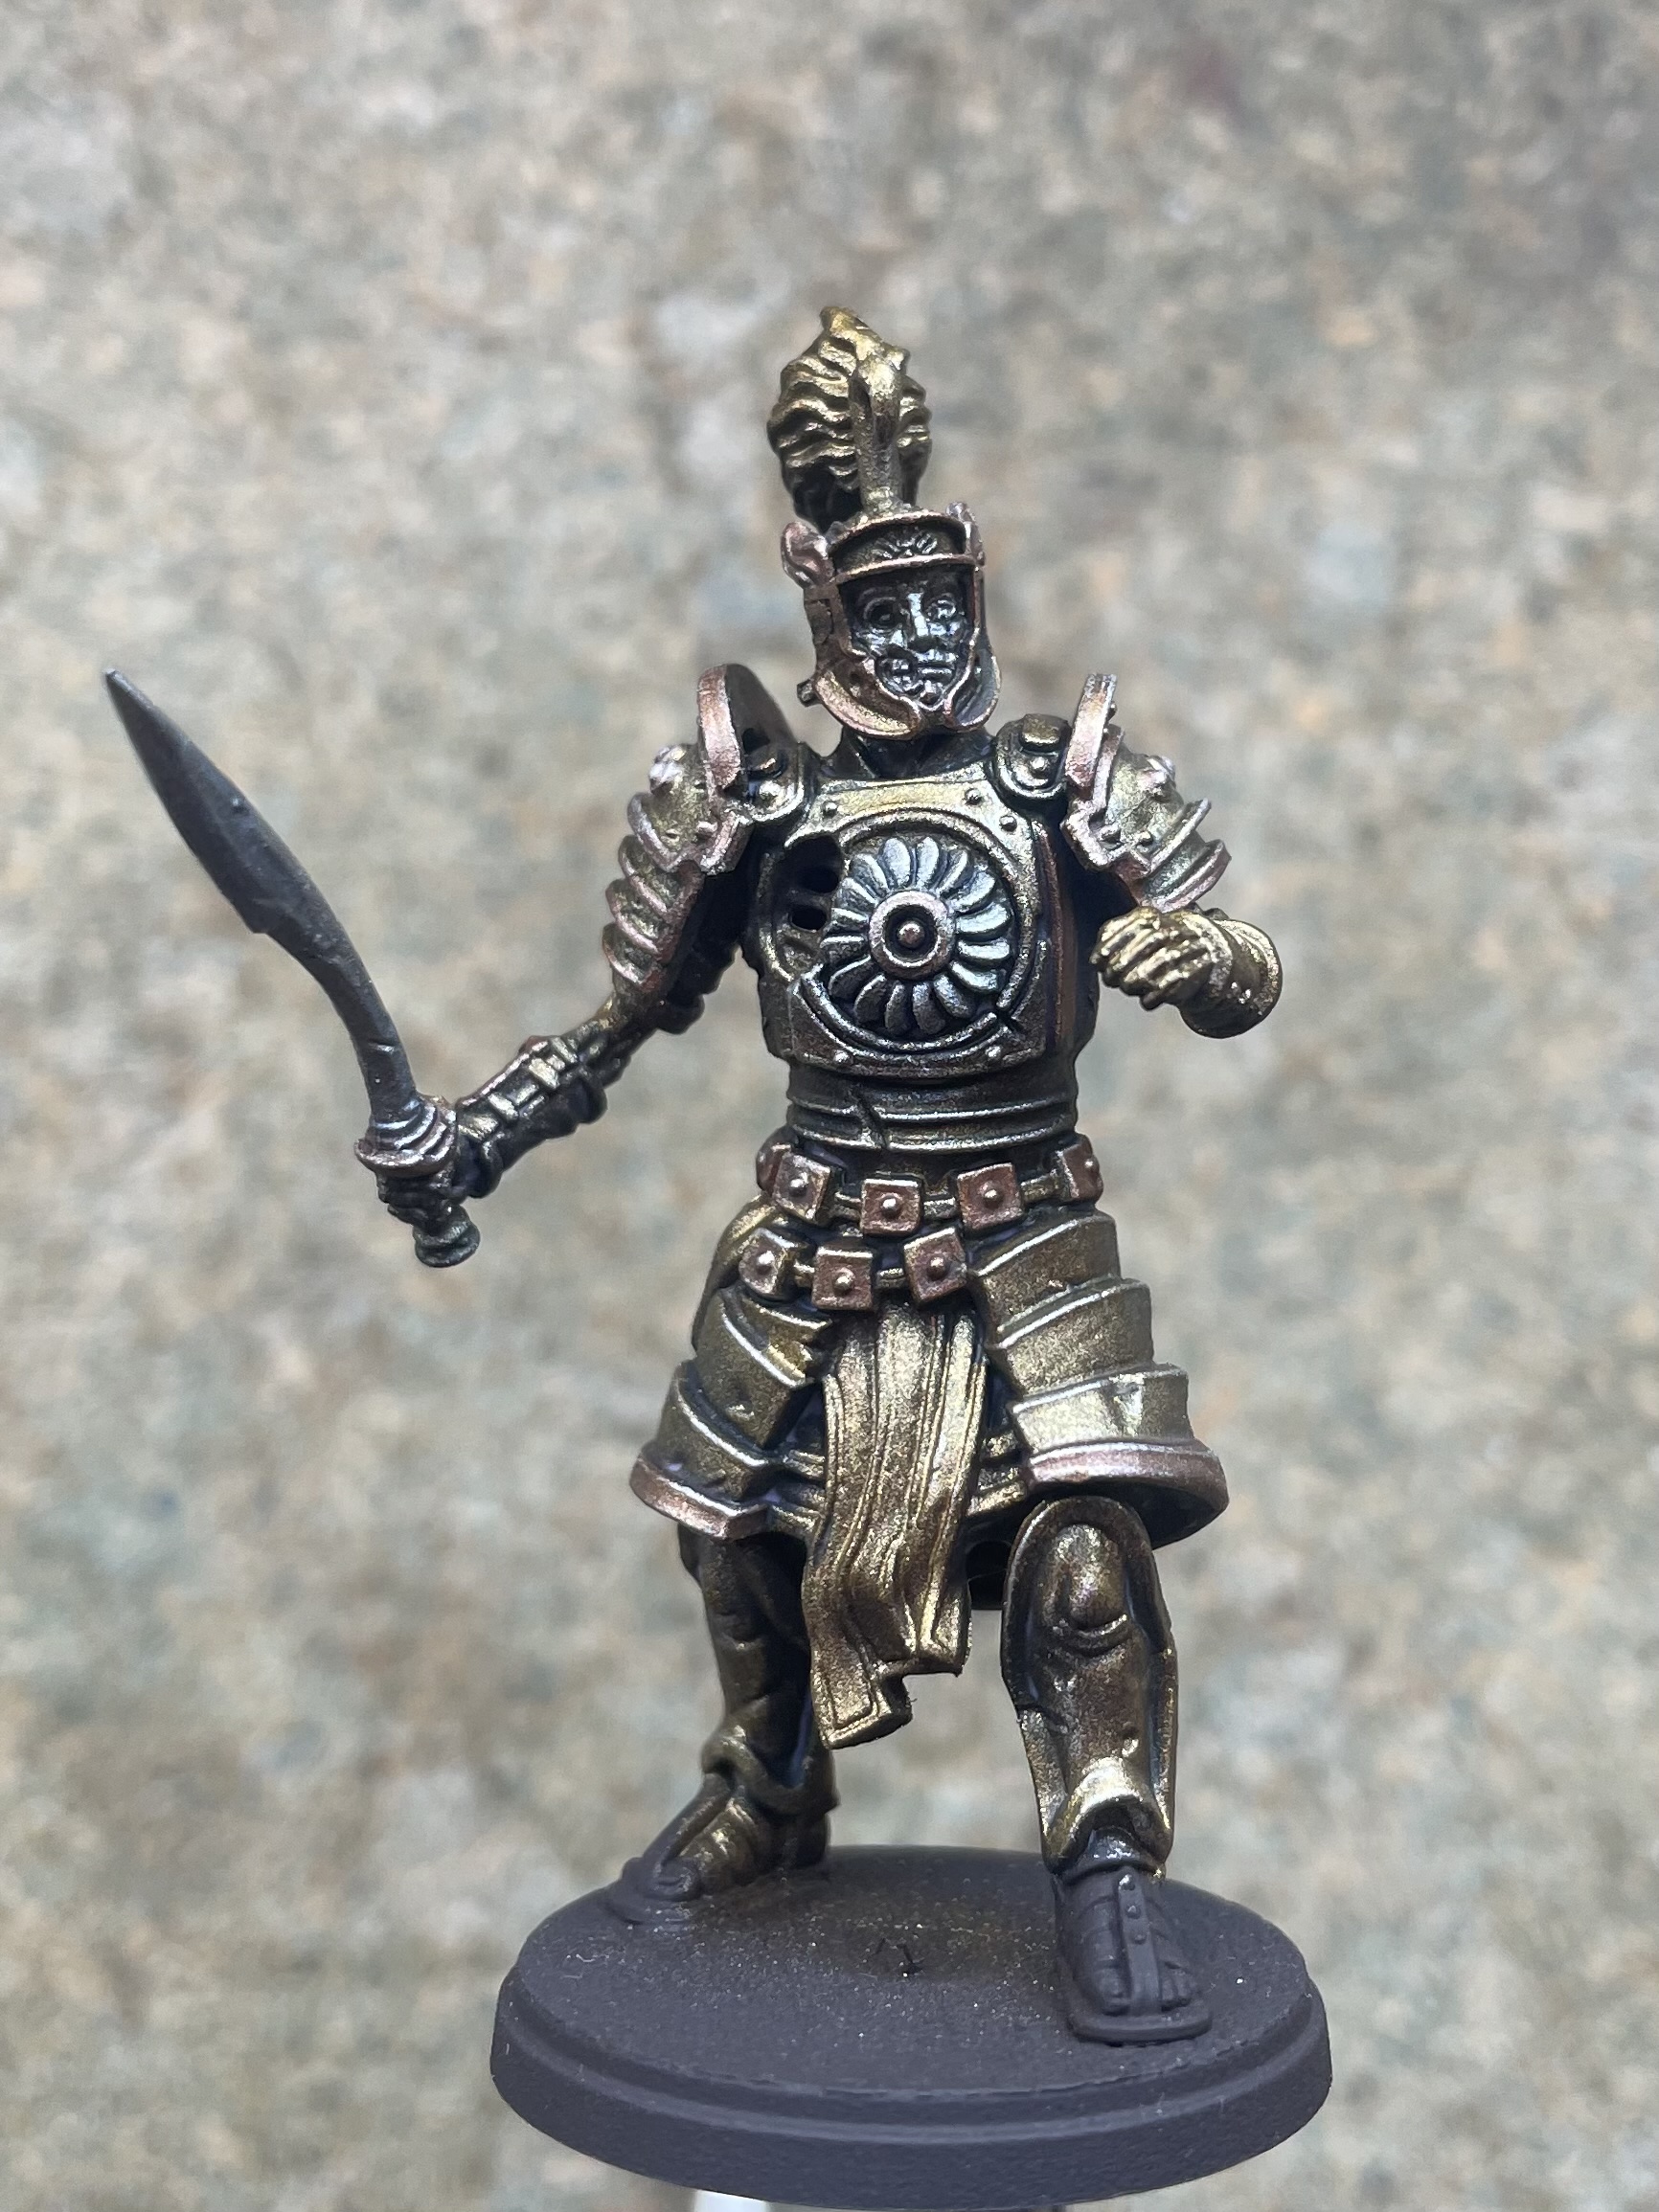
Painting the Legionnaires
With my project back on track I was ready to get some paint onto my regiments. My plan had always been to work up through the points brackets I had previously built. This would give some focus on what to paint first and break the force up into manageable chunks. It also meant I could practice on a couple of rank and file units before tackling any of the officers.
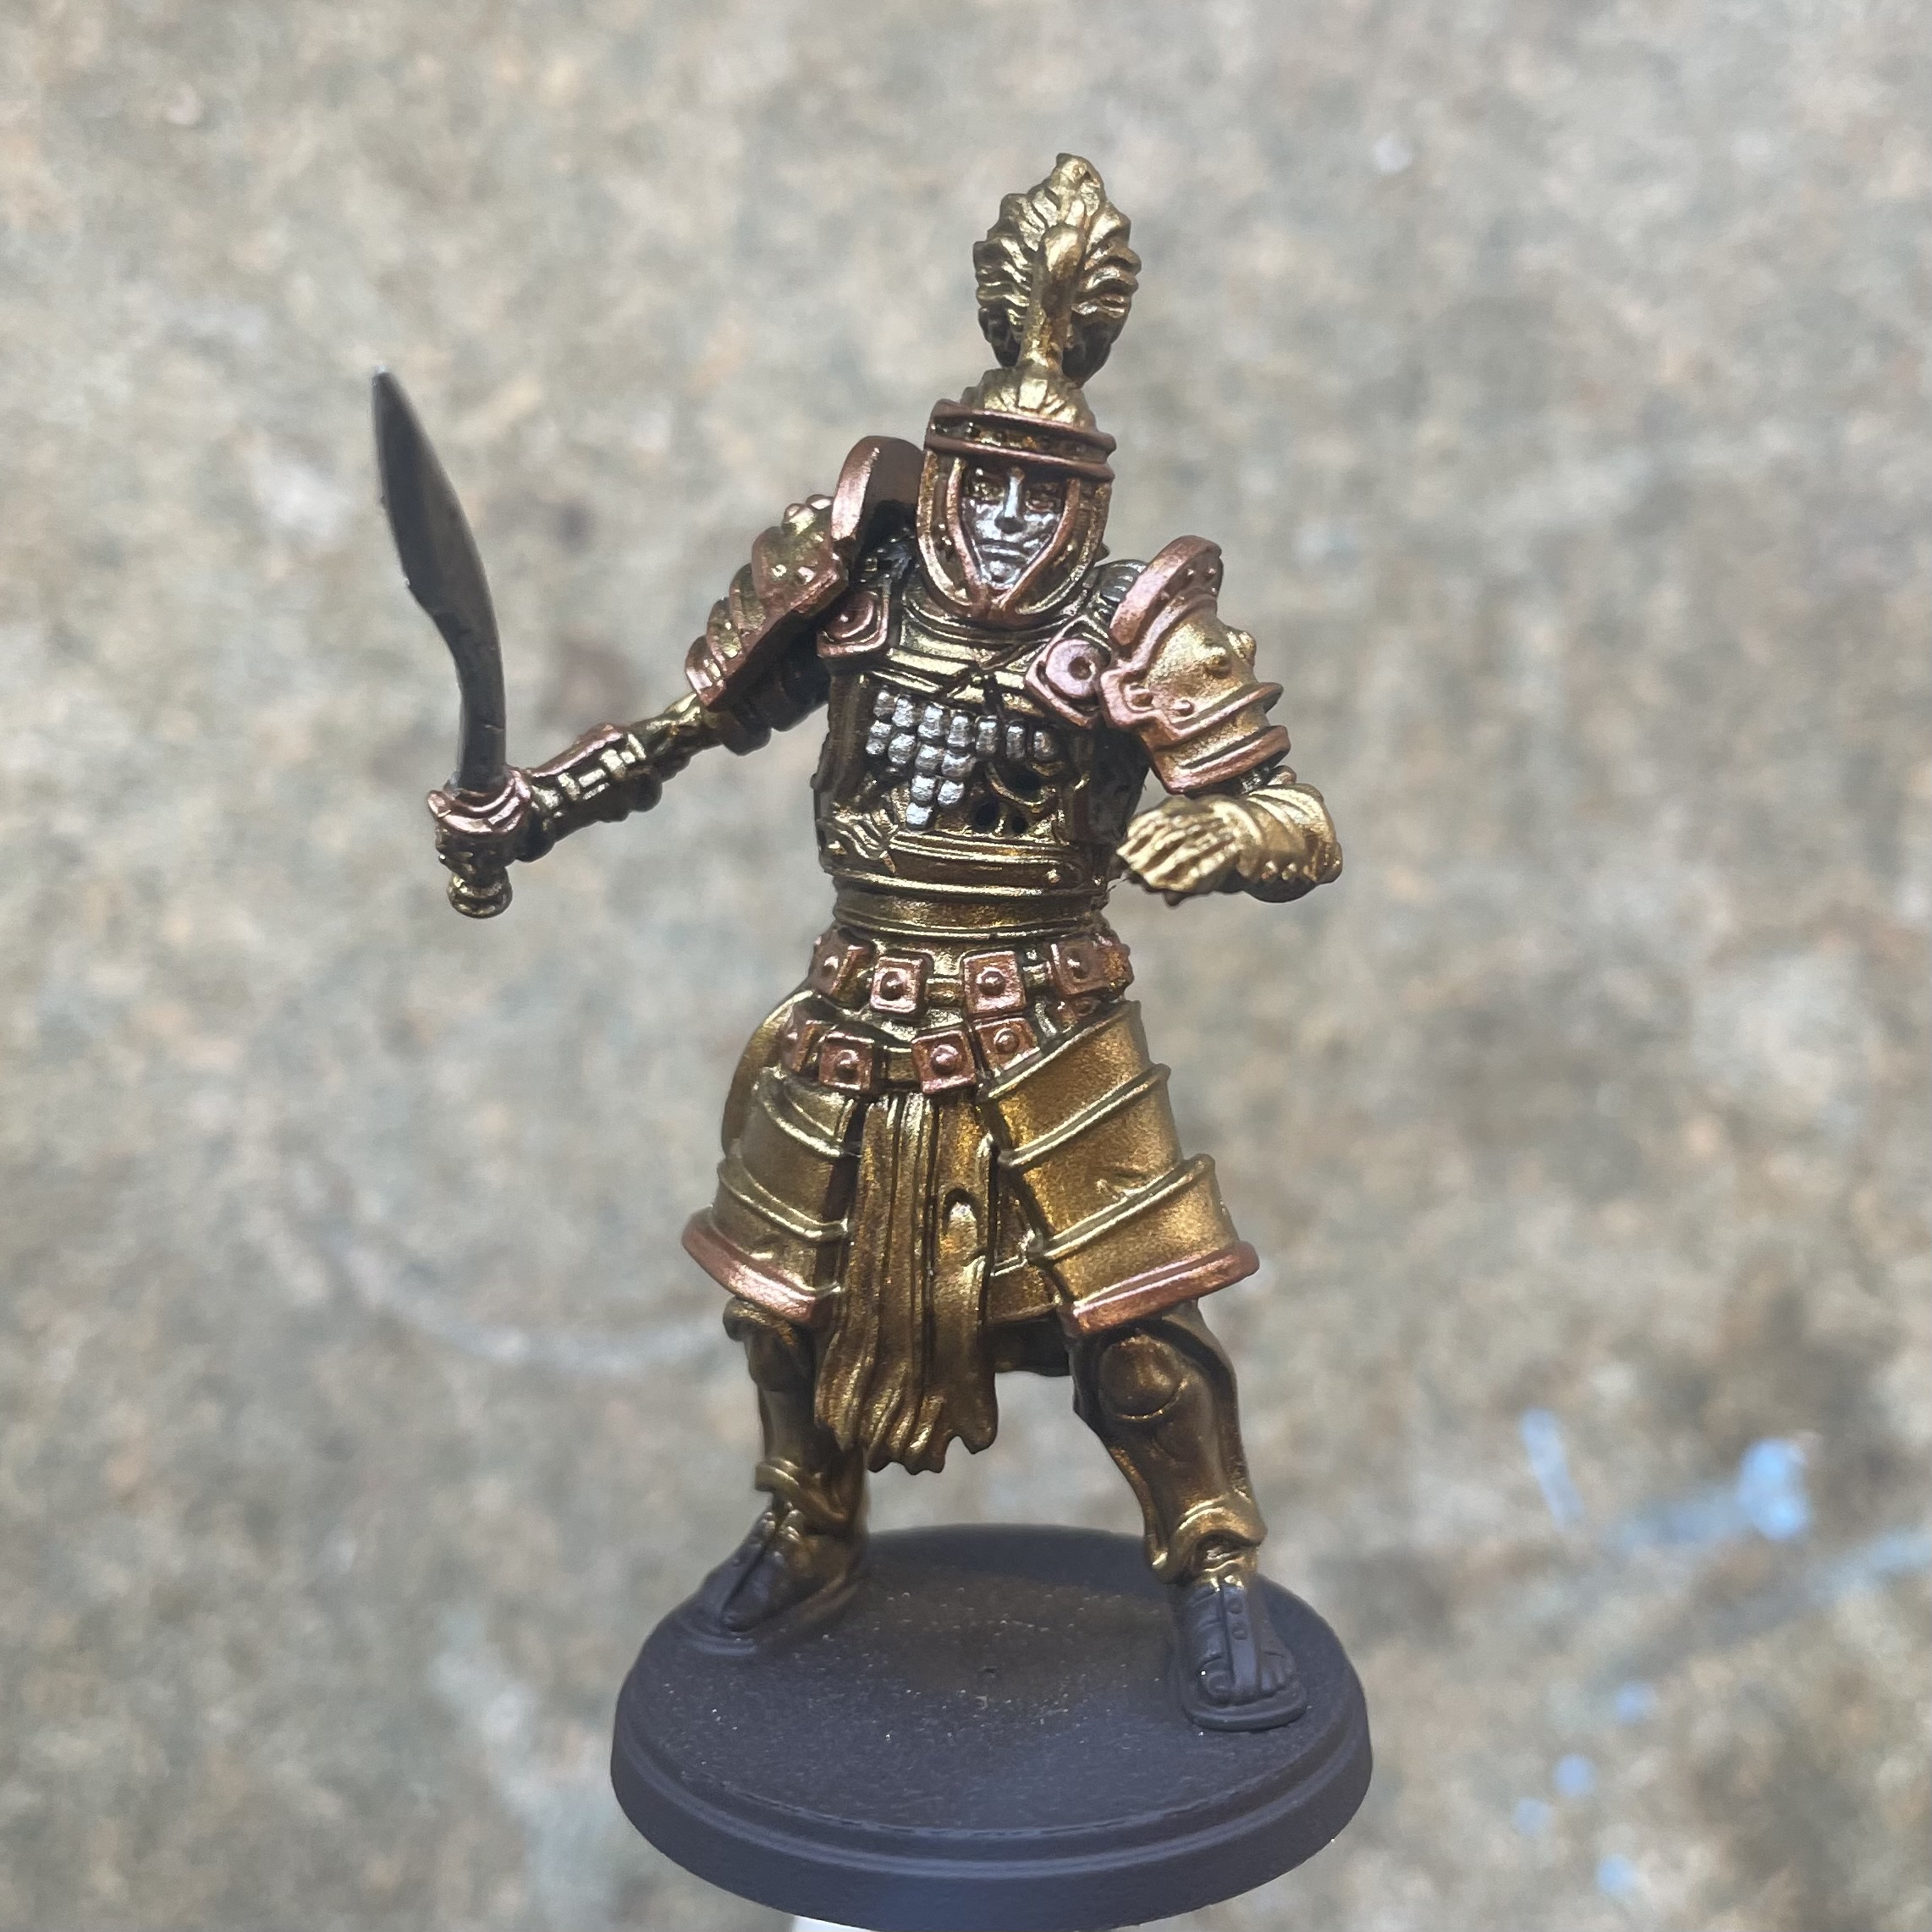
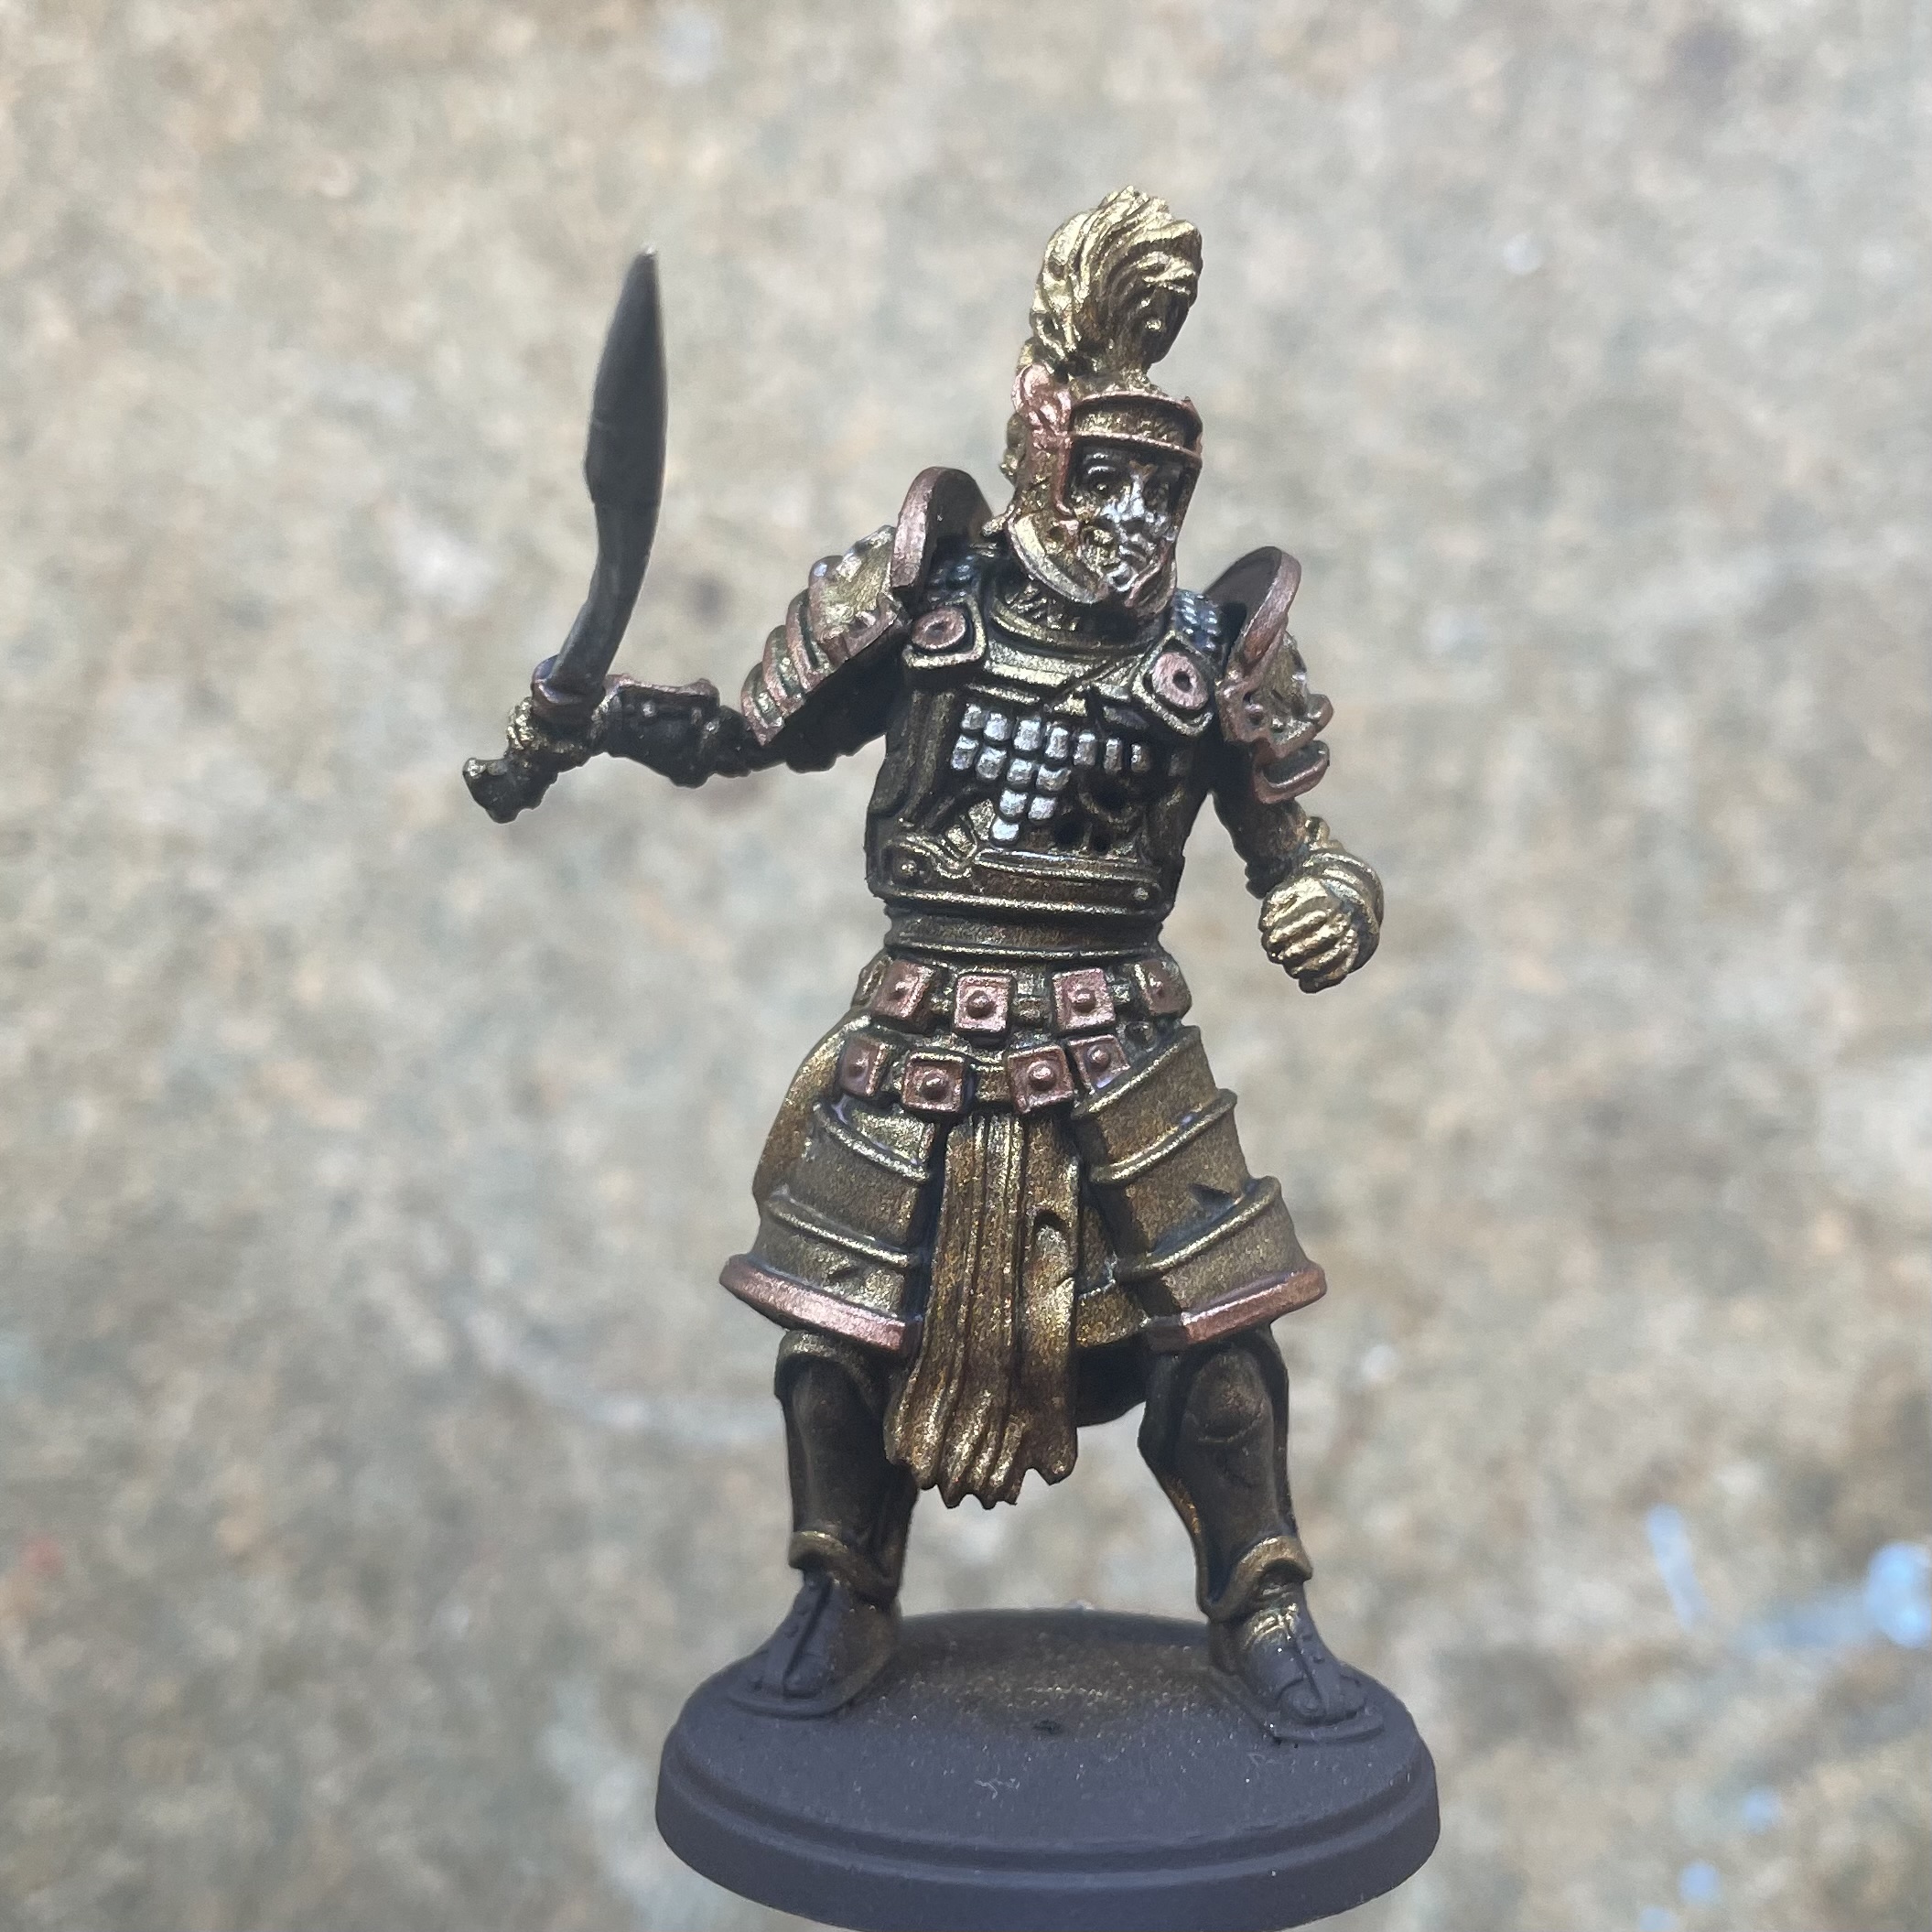
I chose one of the Legion Regiments to start with. Following my paint test this would mean priming with Retributor Gold. However, not wanting to paint the bases by hand, I first primed the models in Halfords Camo Brown. Once this was fully dried I masked the bases before applying the gold from above only, so as to leave the brown in the darker recesses and add a kind of pre shade.

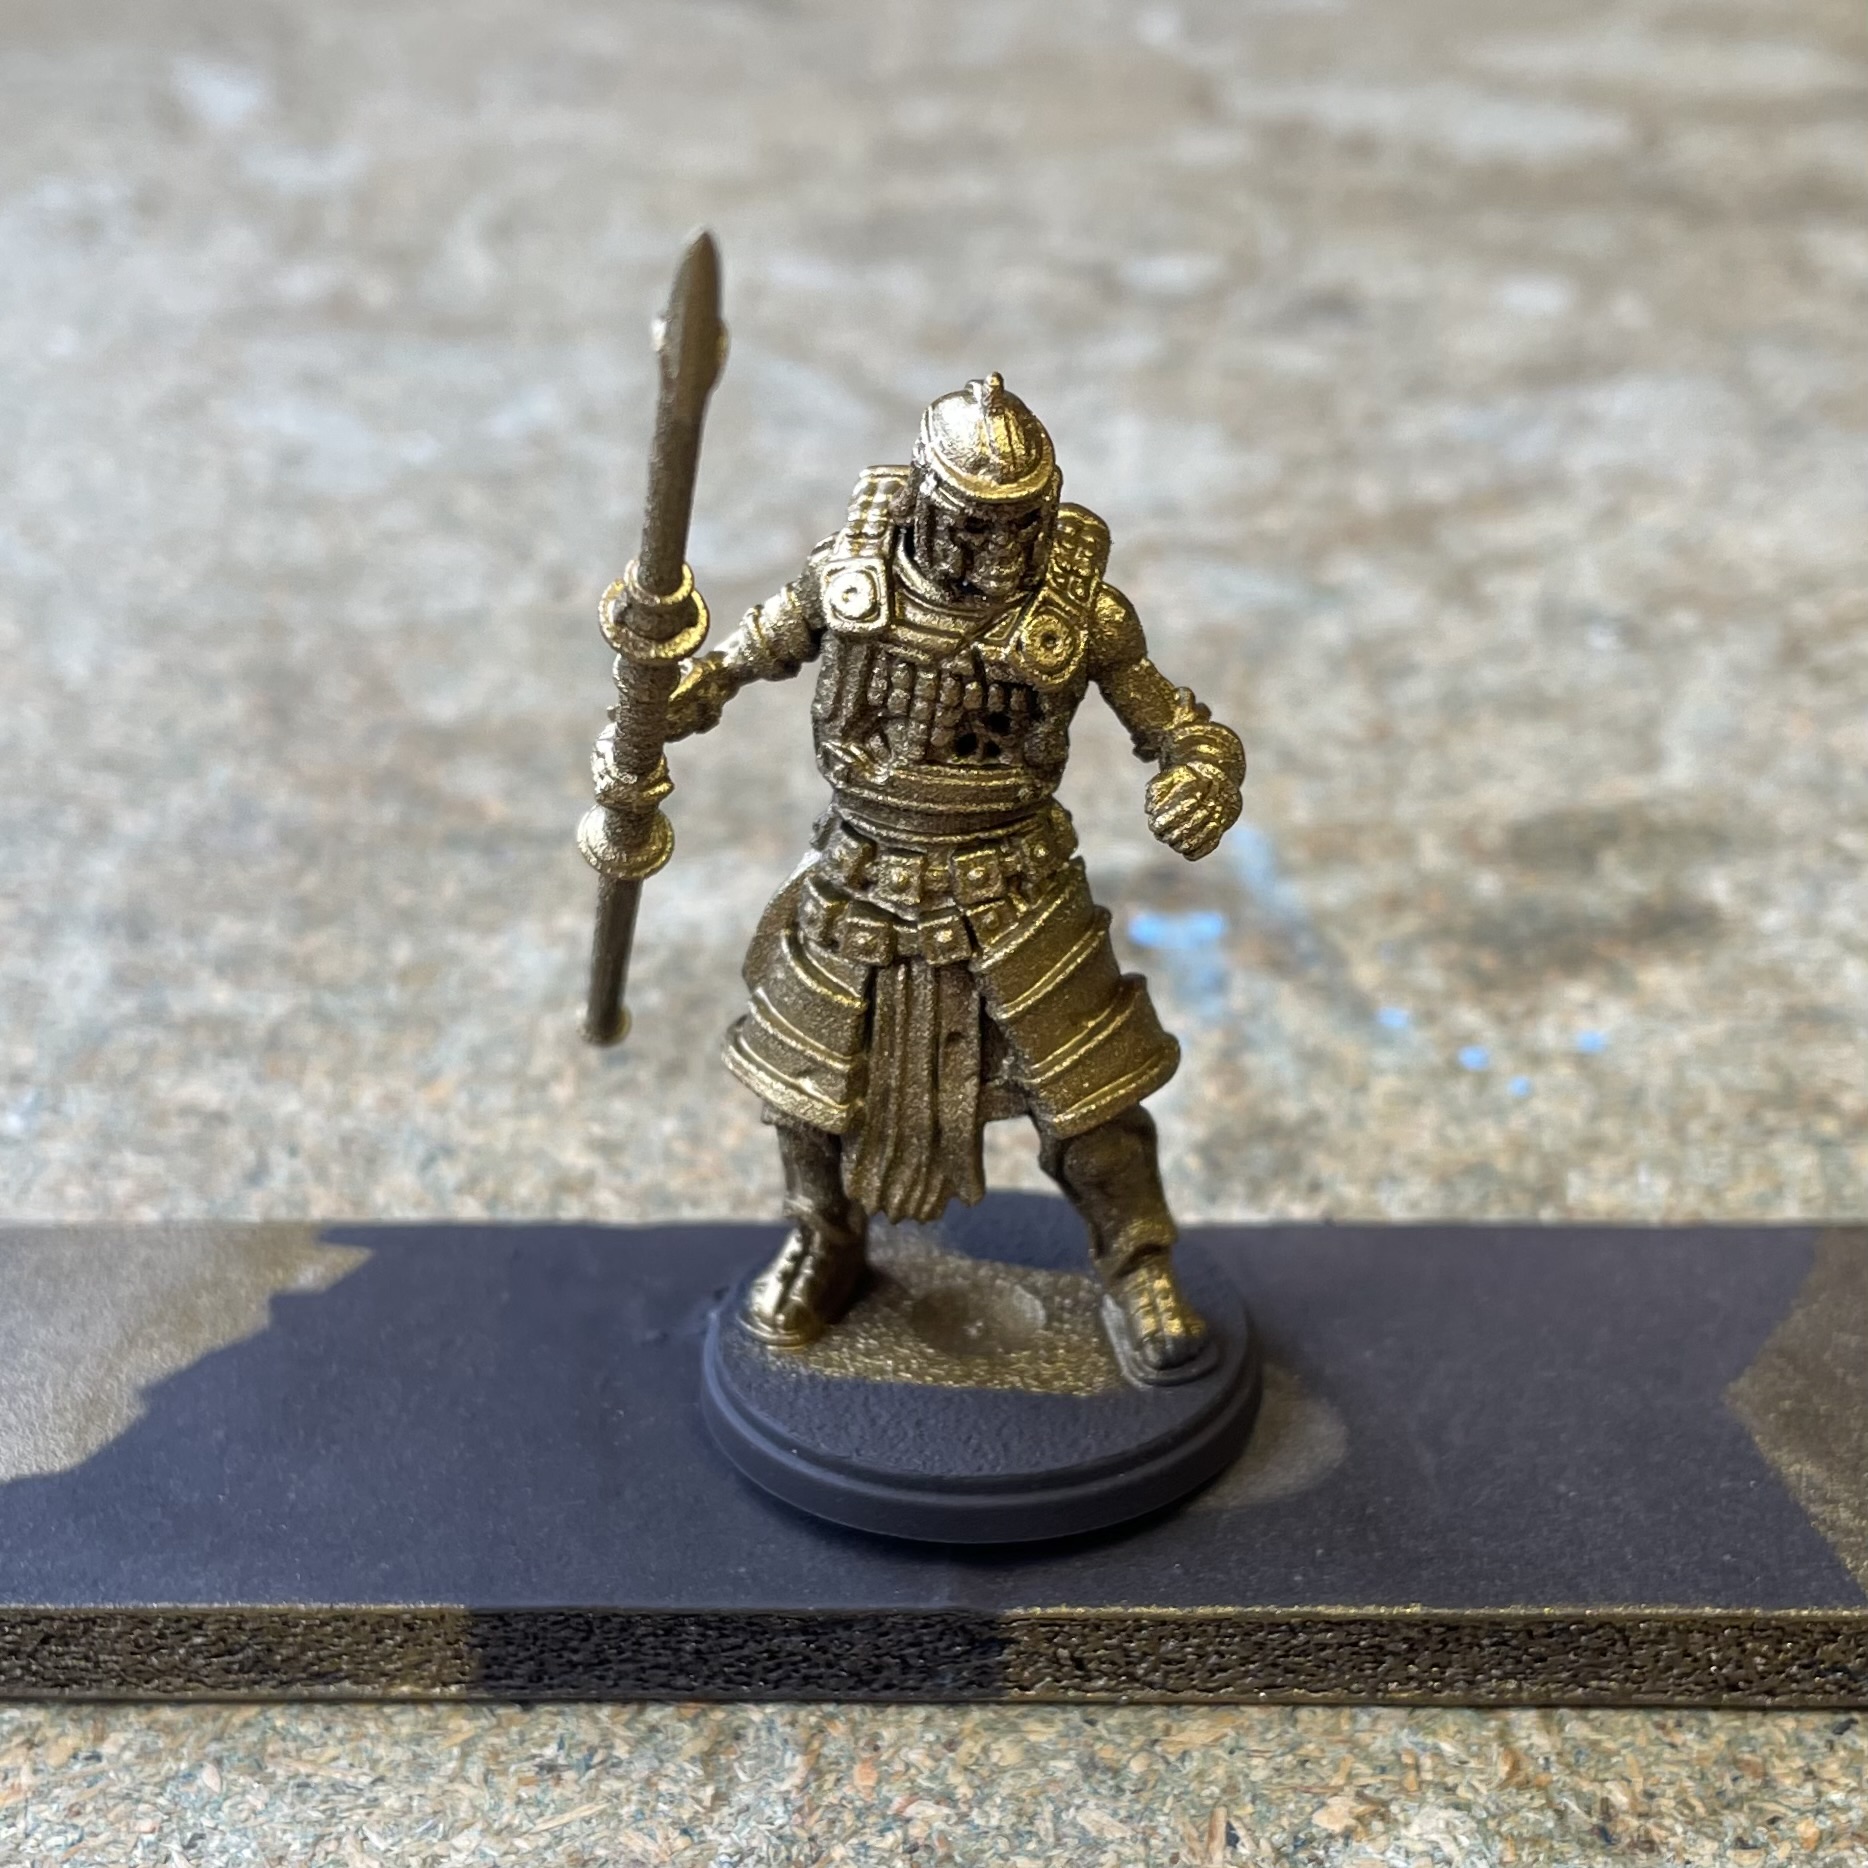
Now I had my legionaries primed, the next step was to pick out any decorative features on the models with Gehenna’s Gold, and the more ‘functional’ metallic areas (spear tips, shield boss’s and buckles), with Runefang Steel. The whole model was then washed with Drakenhorf Nightshade. I used army painter Mid brown as an additional wash on the silver areas to ensure an aged appearance.
Once the washes had fully dried I used a pot of Vallejo Brass as a dry brush over all of the armoured areas, avoiding the silver as much as possible. All the metallics were then lightly dry Brushed with Runefang Steel to add a tarnished appearance that would also act as a highlight.
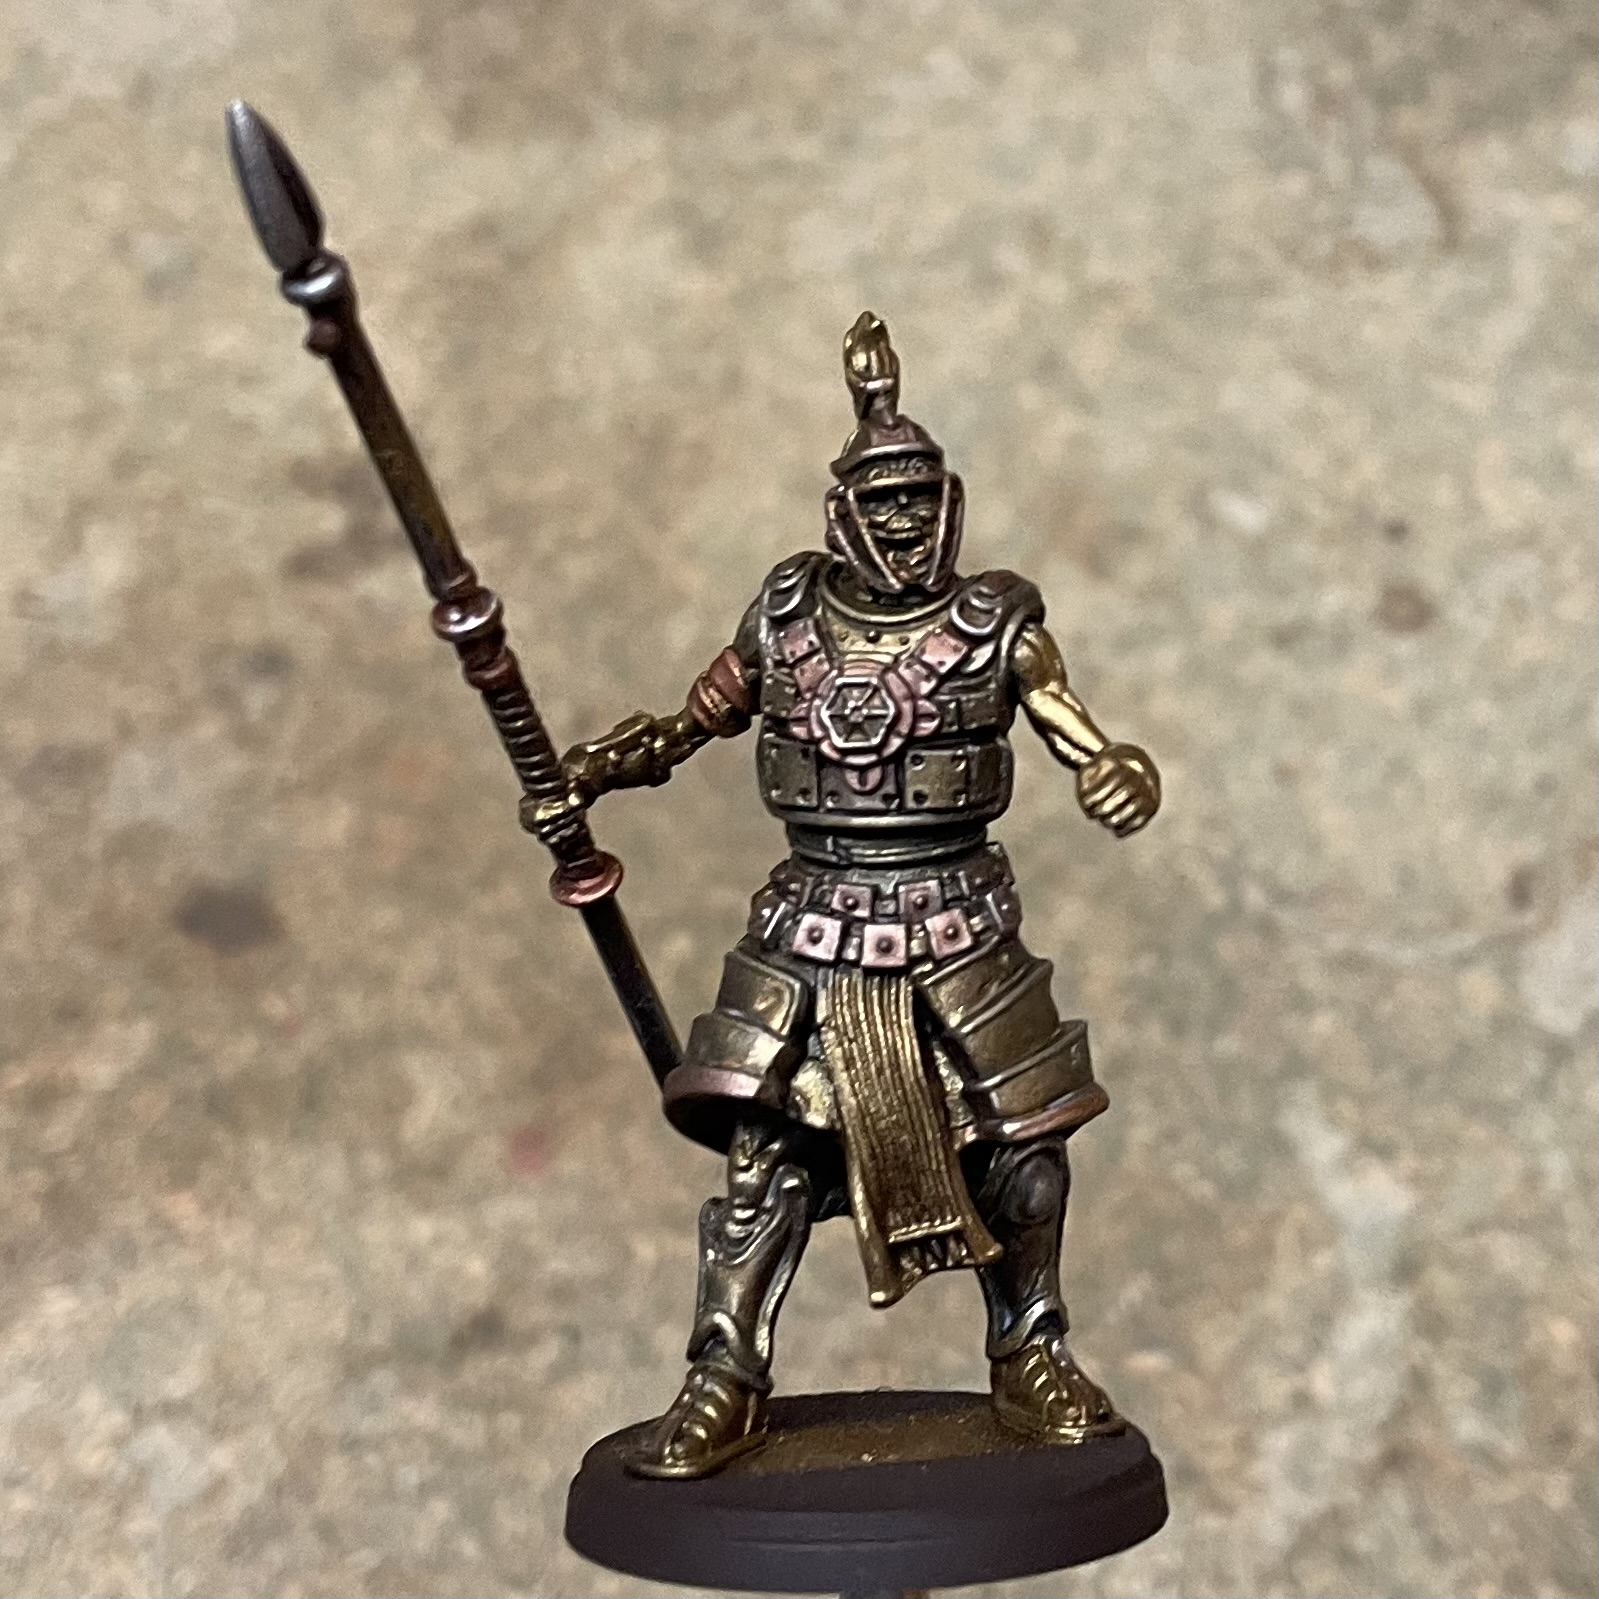
The Verdigris would need to wait until the rest of the painting was completed due to its ‘reactivating’ nature. Next I would tackle the non metal areas.
First Regiment - Continued
With the metallic areas finished, I used Vallejo German Camo Medium Brown as a base colour to block out all non metallic areas. This was probably the most time consuming step of this whole process as I needed to take care not to overpaint the armour.
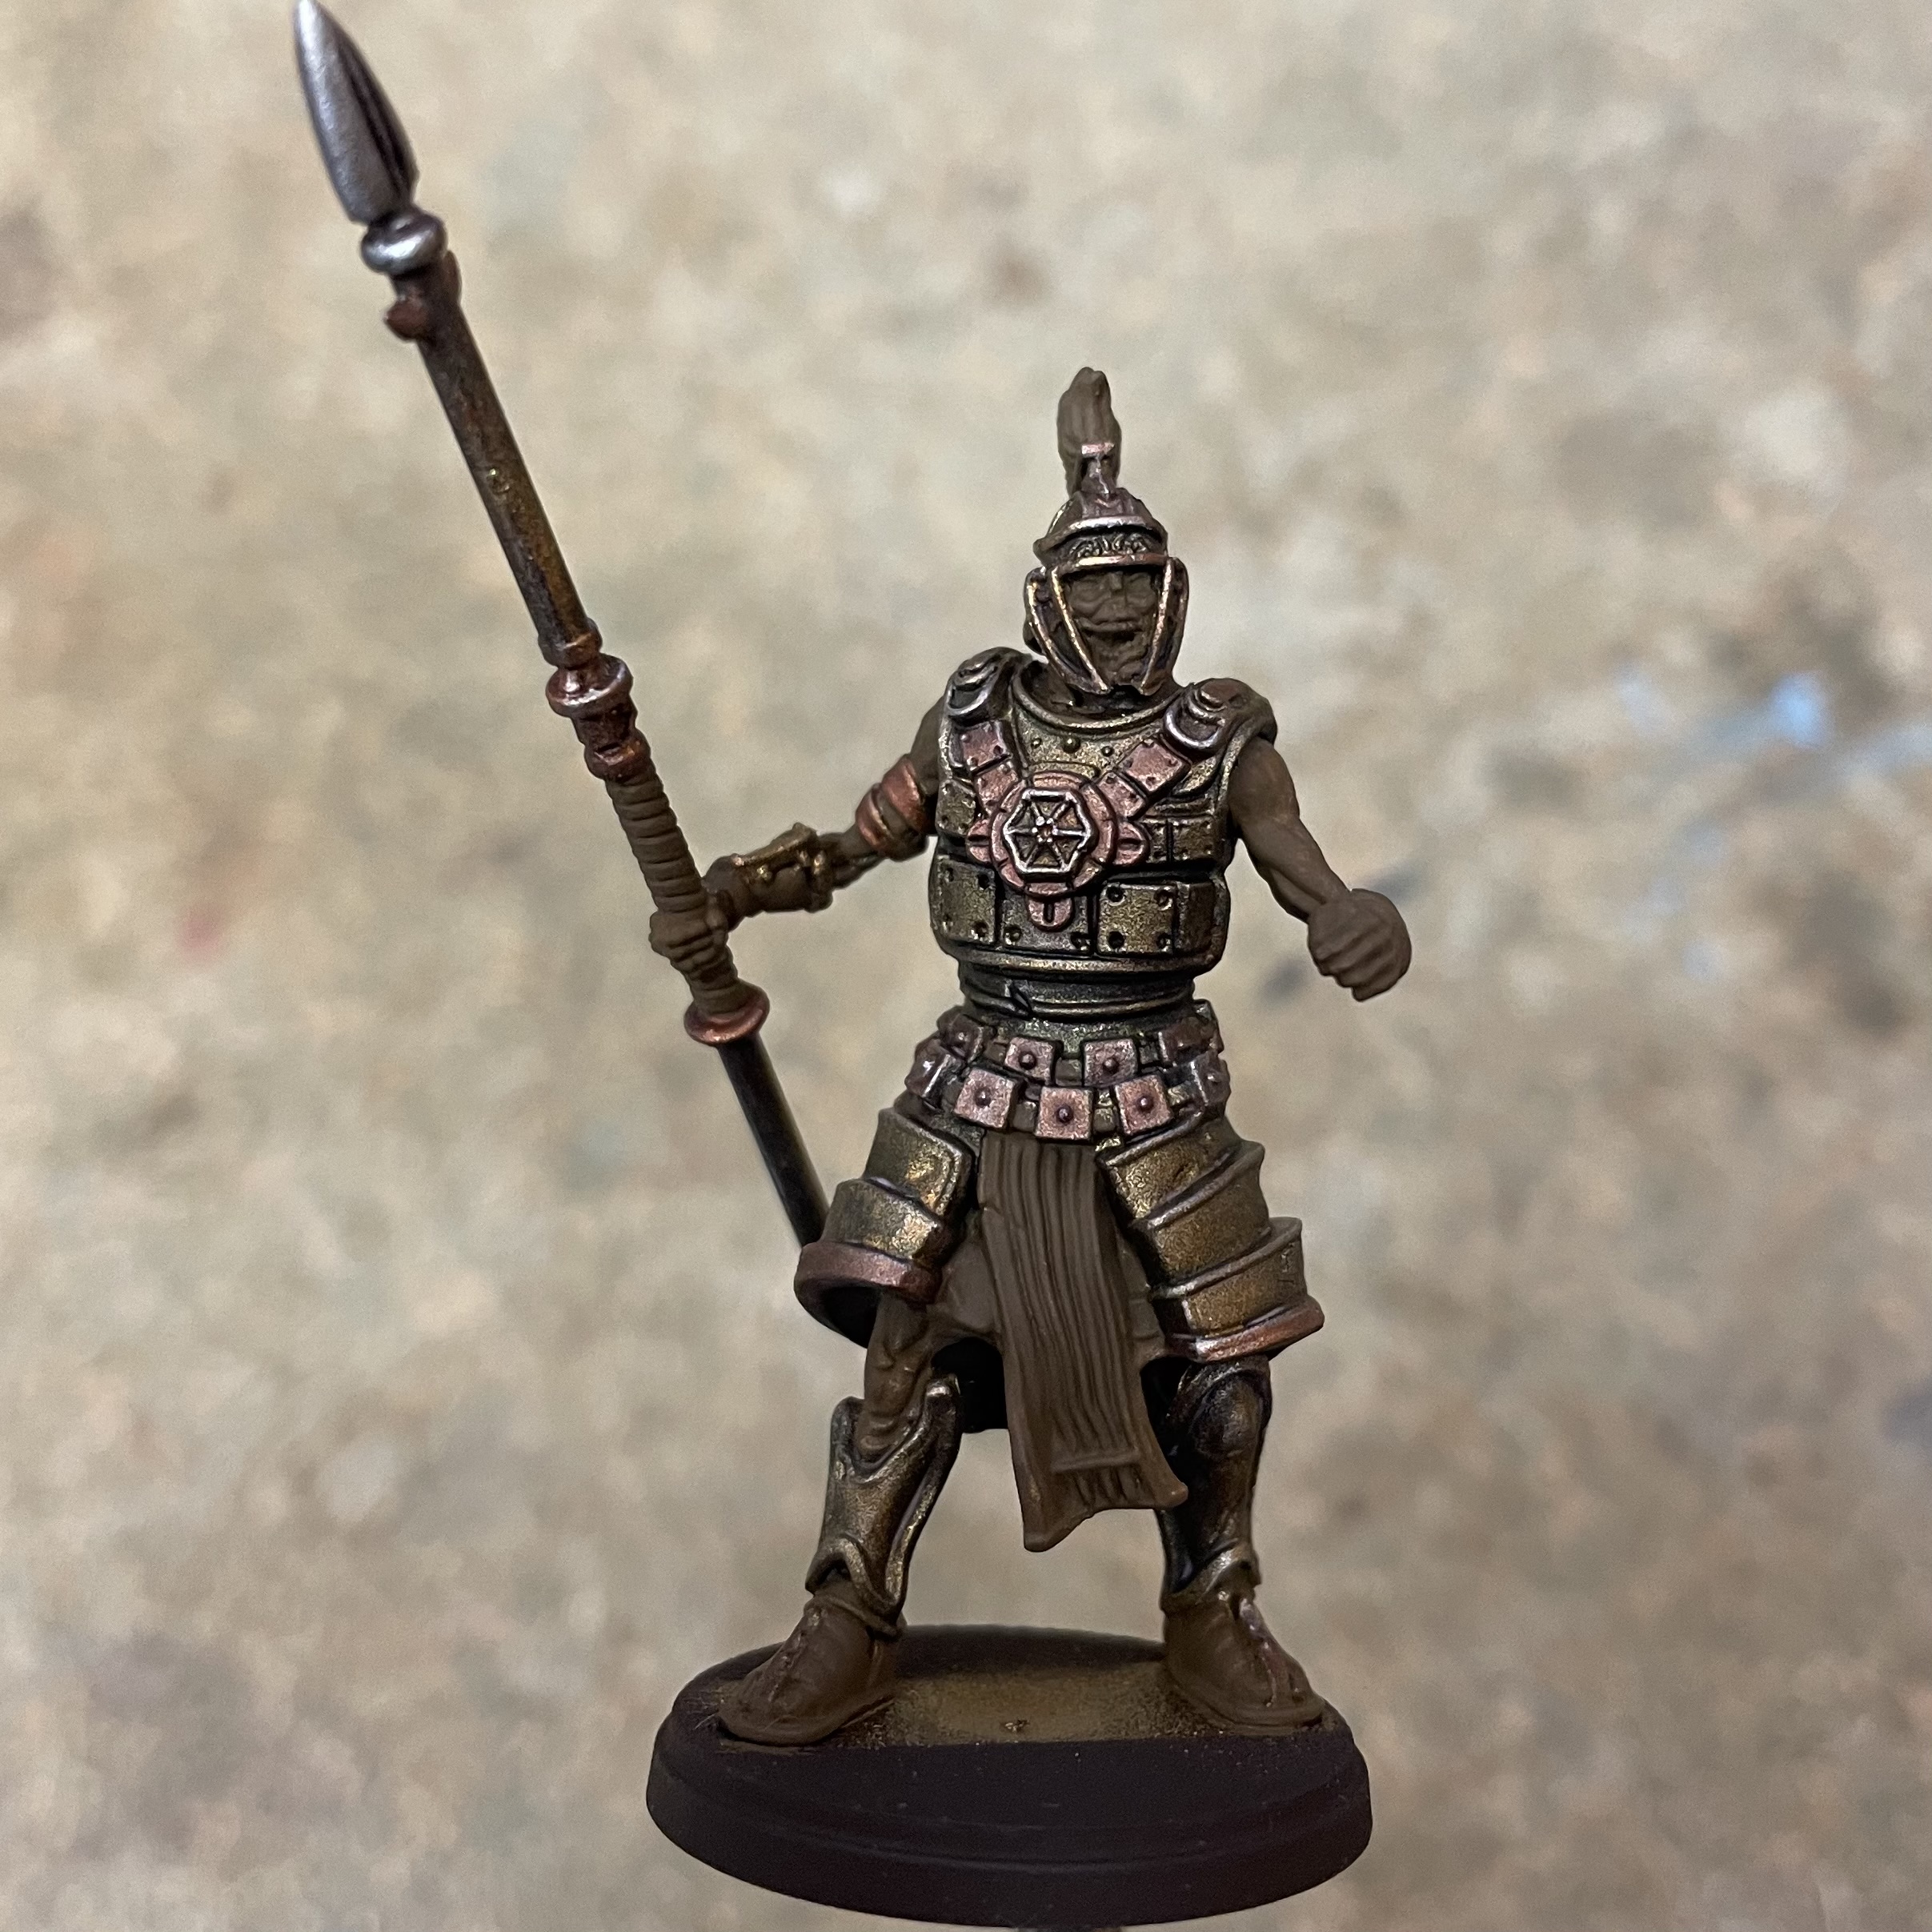
Vallejo Leather Brown was then used on the straps and sandals while Flat Brown (which has a red hew), was used for any fabric – mainly the trousers and visible areas of tunic. The sashes, spear hafts and helmet plumes were coloured Camo Beige in preparation of a brighter colour that would be next. I then used German Medium Camo Brown as a skin tone. This colour has a pinky browny hue that I felt was more reminiscent of dried out flesh than any skin colour I had in my collection.
The sashes and helmet plumes would be used to denote the different units in the army, and so I would need a different colour for each regiment. It was time for some more colour tests! With the majority of these miniatures coloured gold, and with the addition of a turquoise patina, the colour spectrum from yellow to blue was pretty much covered. In order to create a strong contrast with this I wanted to use warm colours, reds leaning towards either purple or orange.
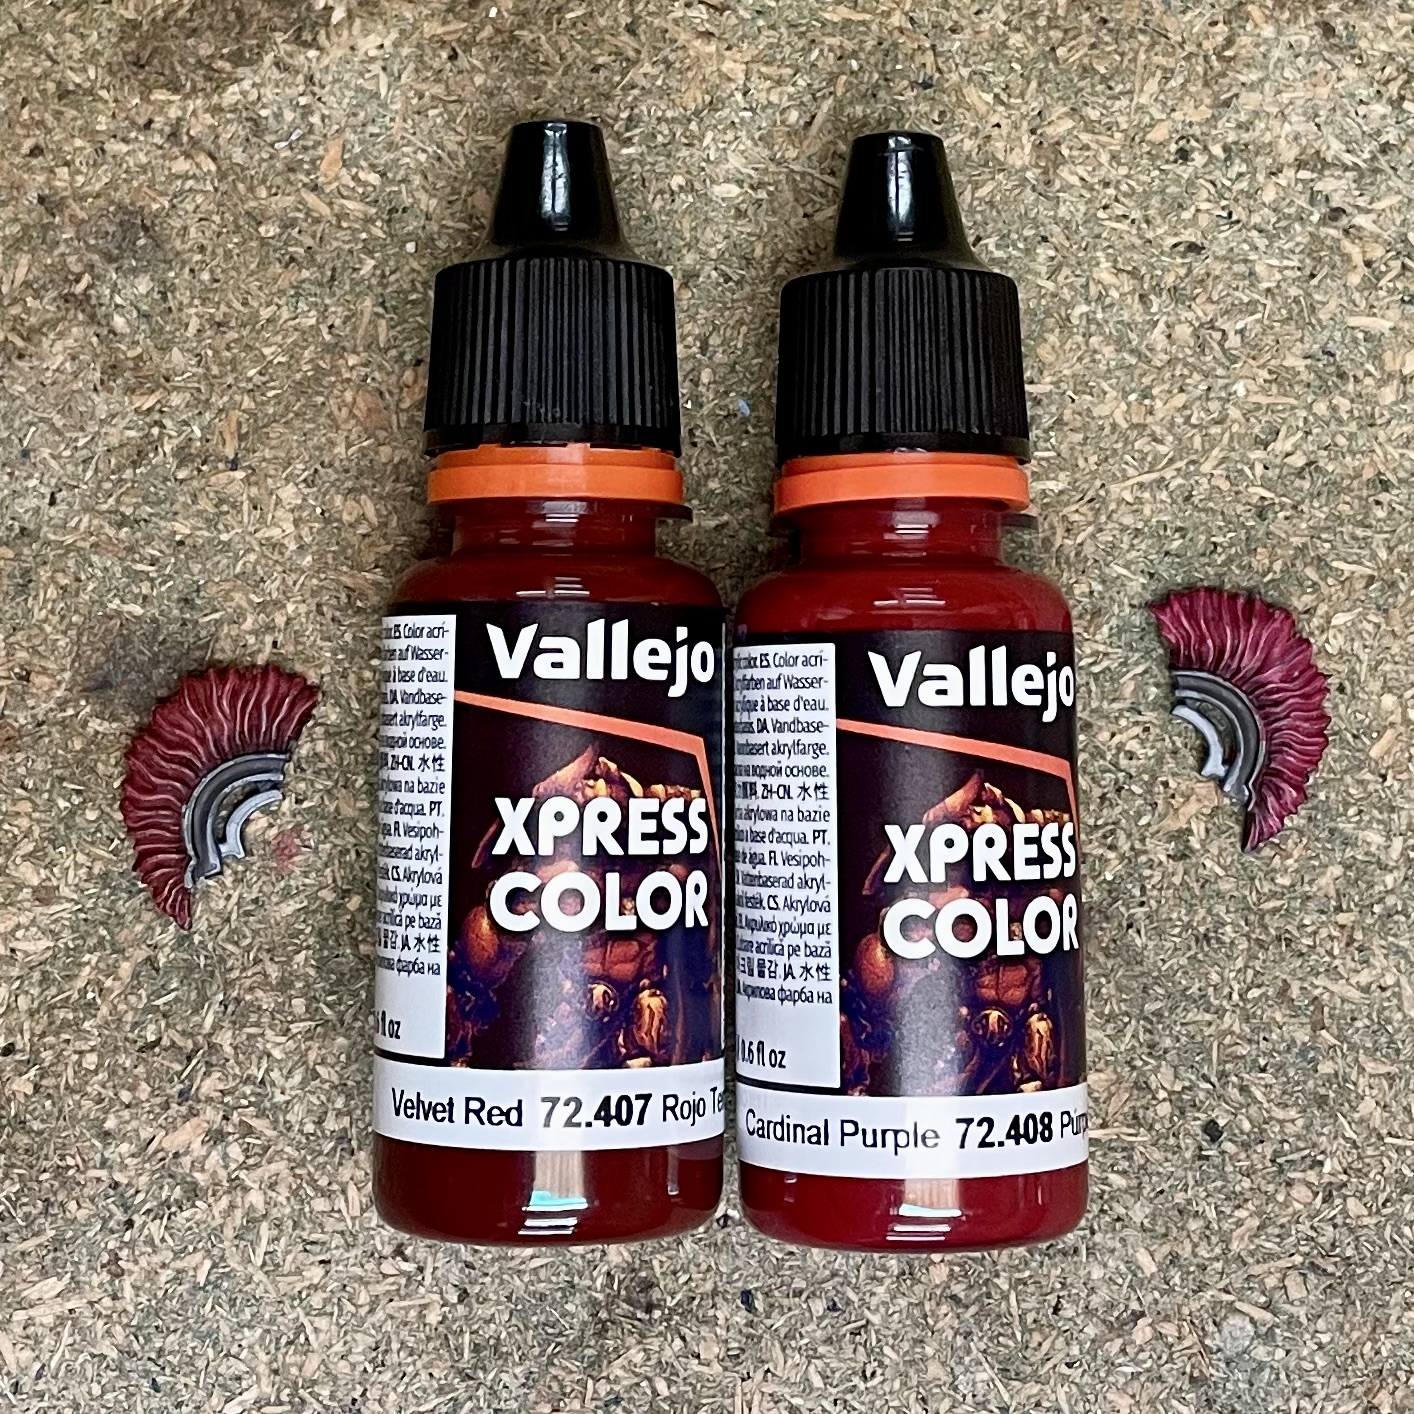
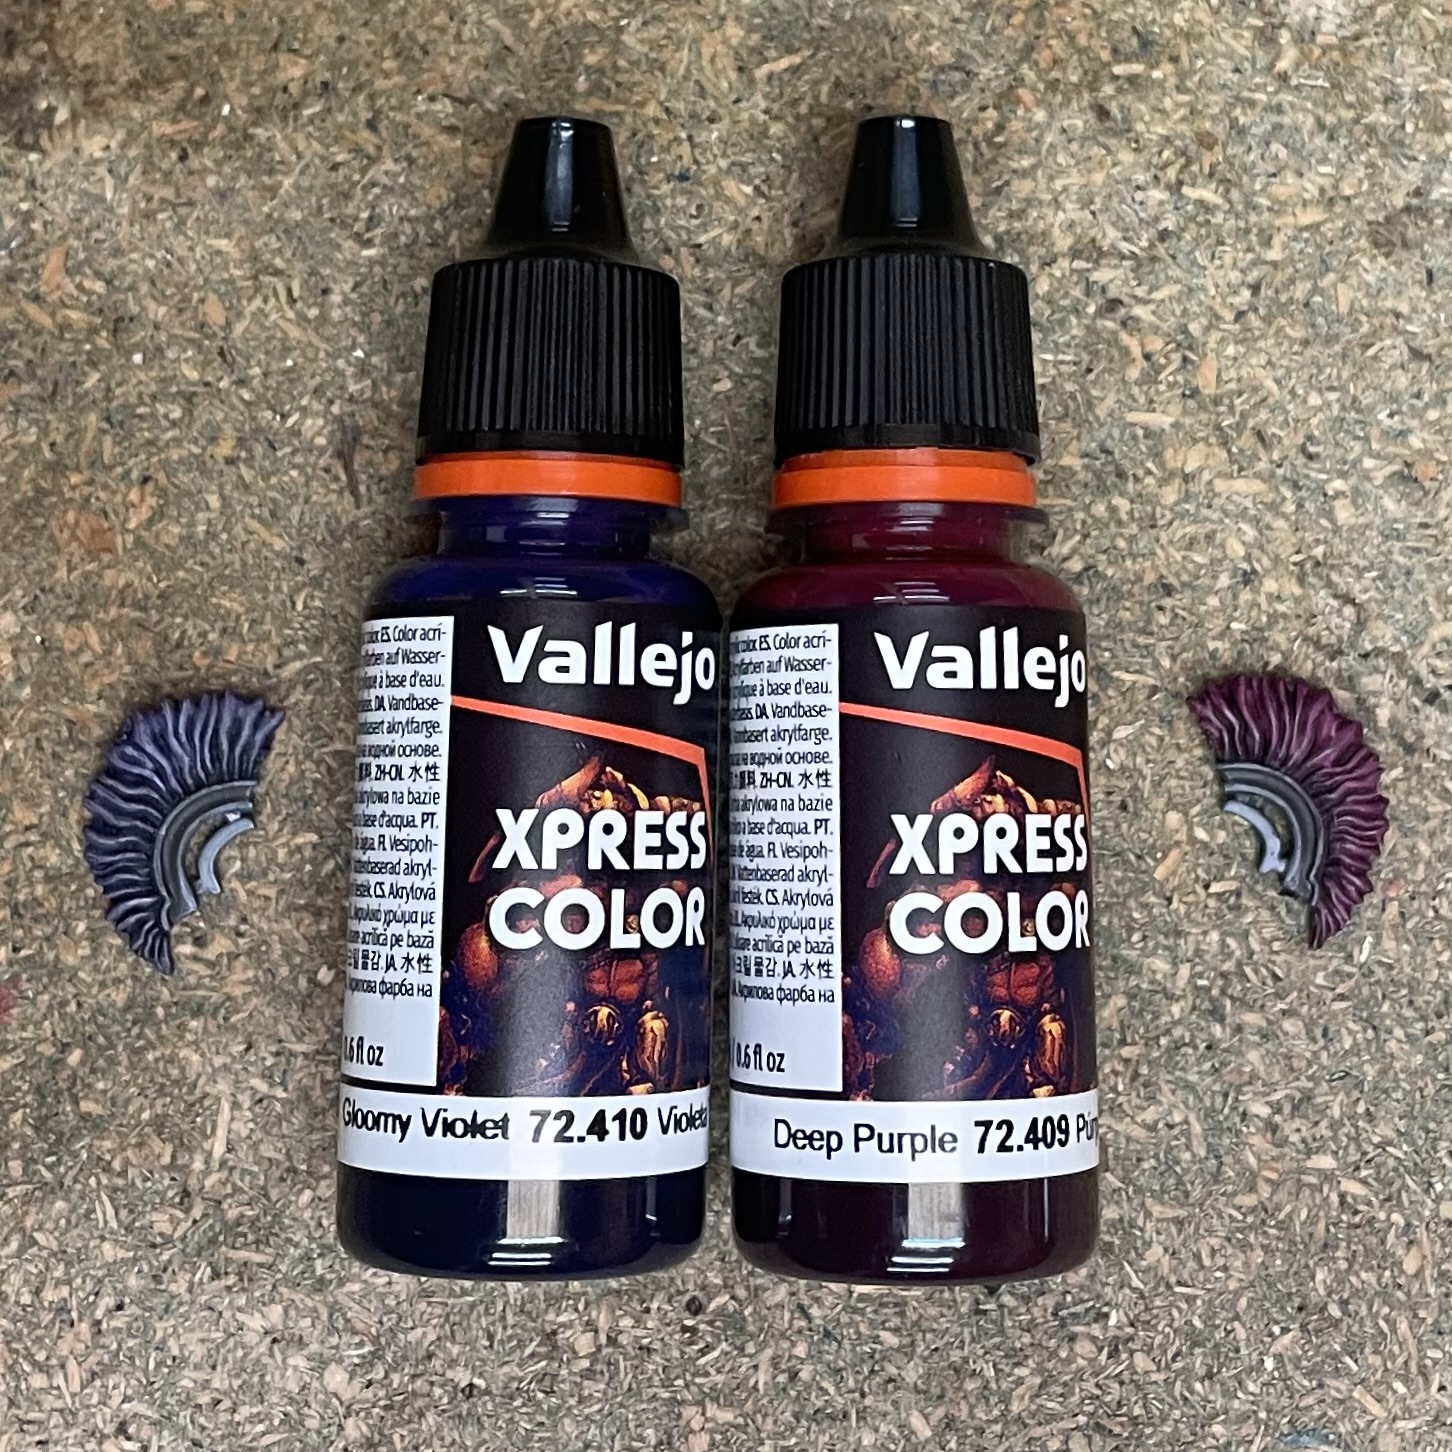
Vallejo had just released their own range of contrast style paints called Xpress Colour, and I was keen to try them out. I pick up four that I liked the look of and primed some spare helmet plumes to use for tests, prepping them with Camo Beige as I had done with the legionaries sashes.
After testing the colours I chose ‘Velvet Red’ for this regiments identifying colour. It was then a simple matter of painting over the camo beige base colour to complete the plumes and sashes. I had originally intended to paint the hafts of the spears in the same identifying colour as the sashes. However while testing the Xpress paints I struck upon the idea of adding another splash of colour as a theme across this warband. I used the ‘Gloomy Violet’ and would repeat this on subsequent units.
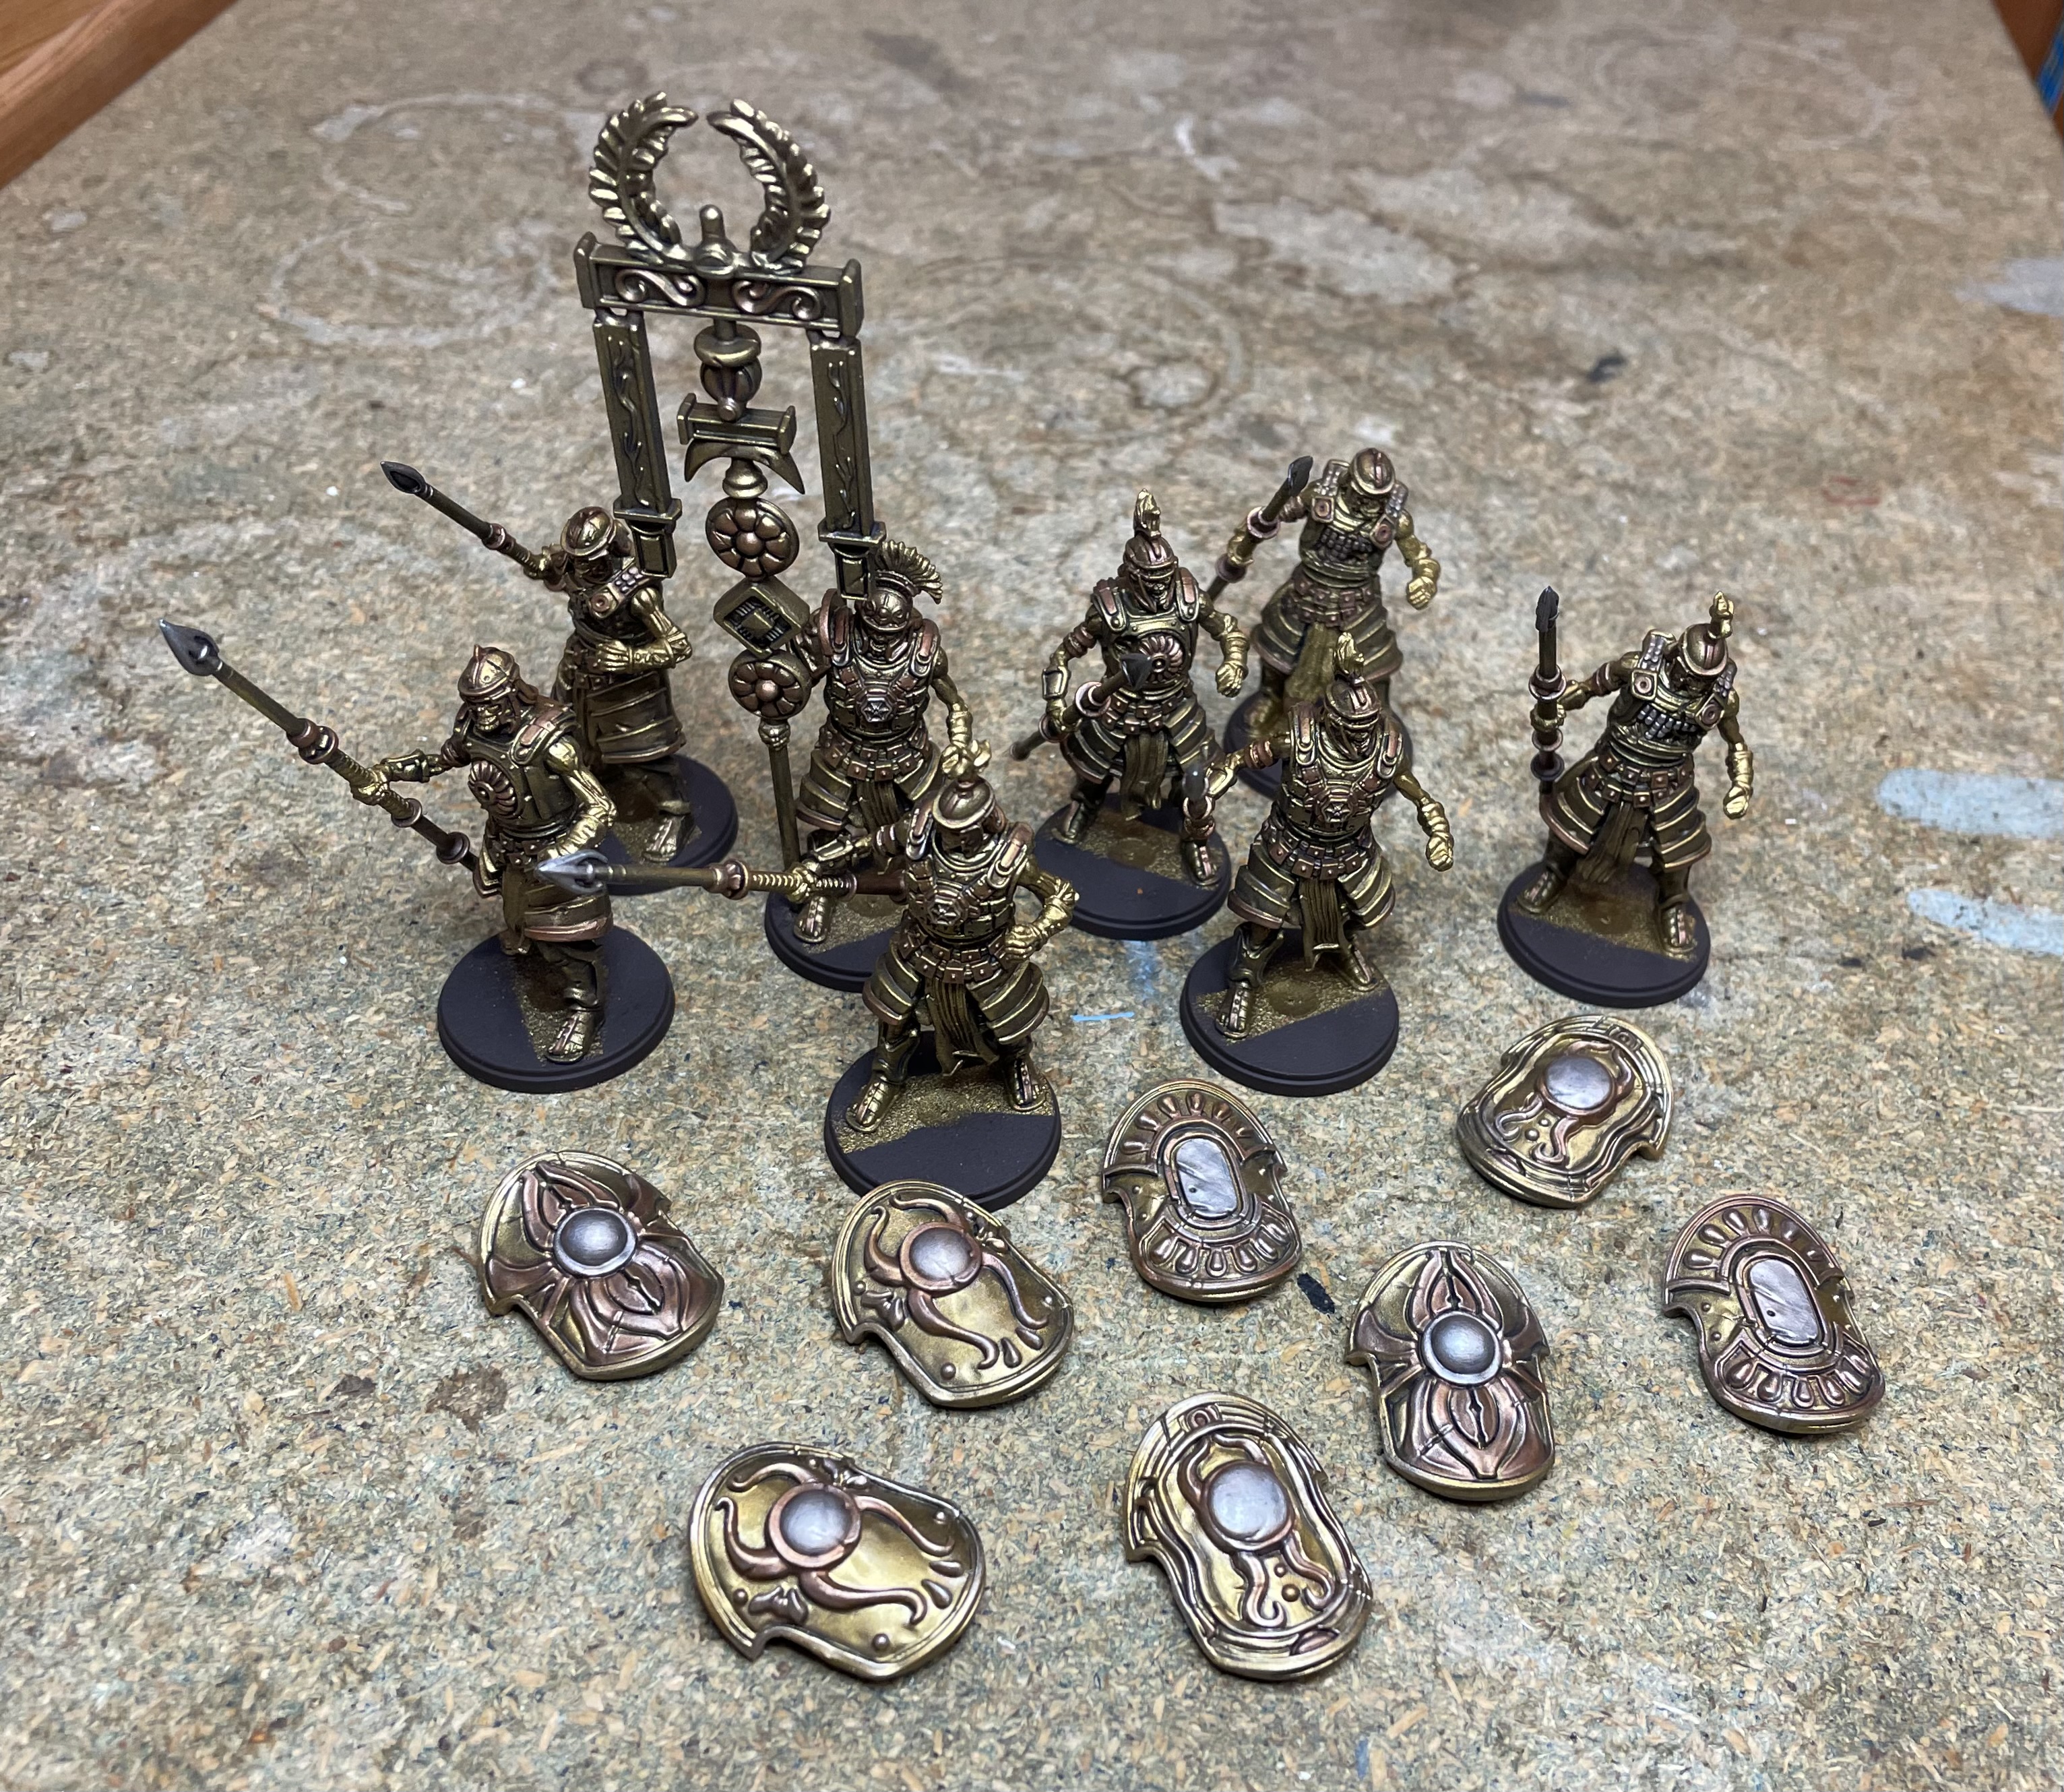
With the bulk of the painting finished it was time to glue the shields into place.
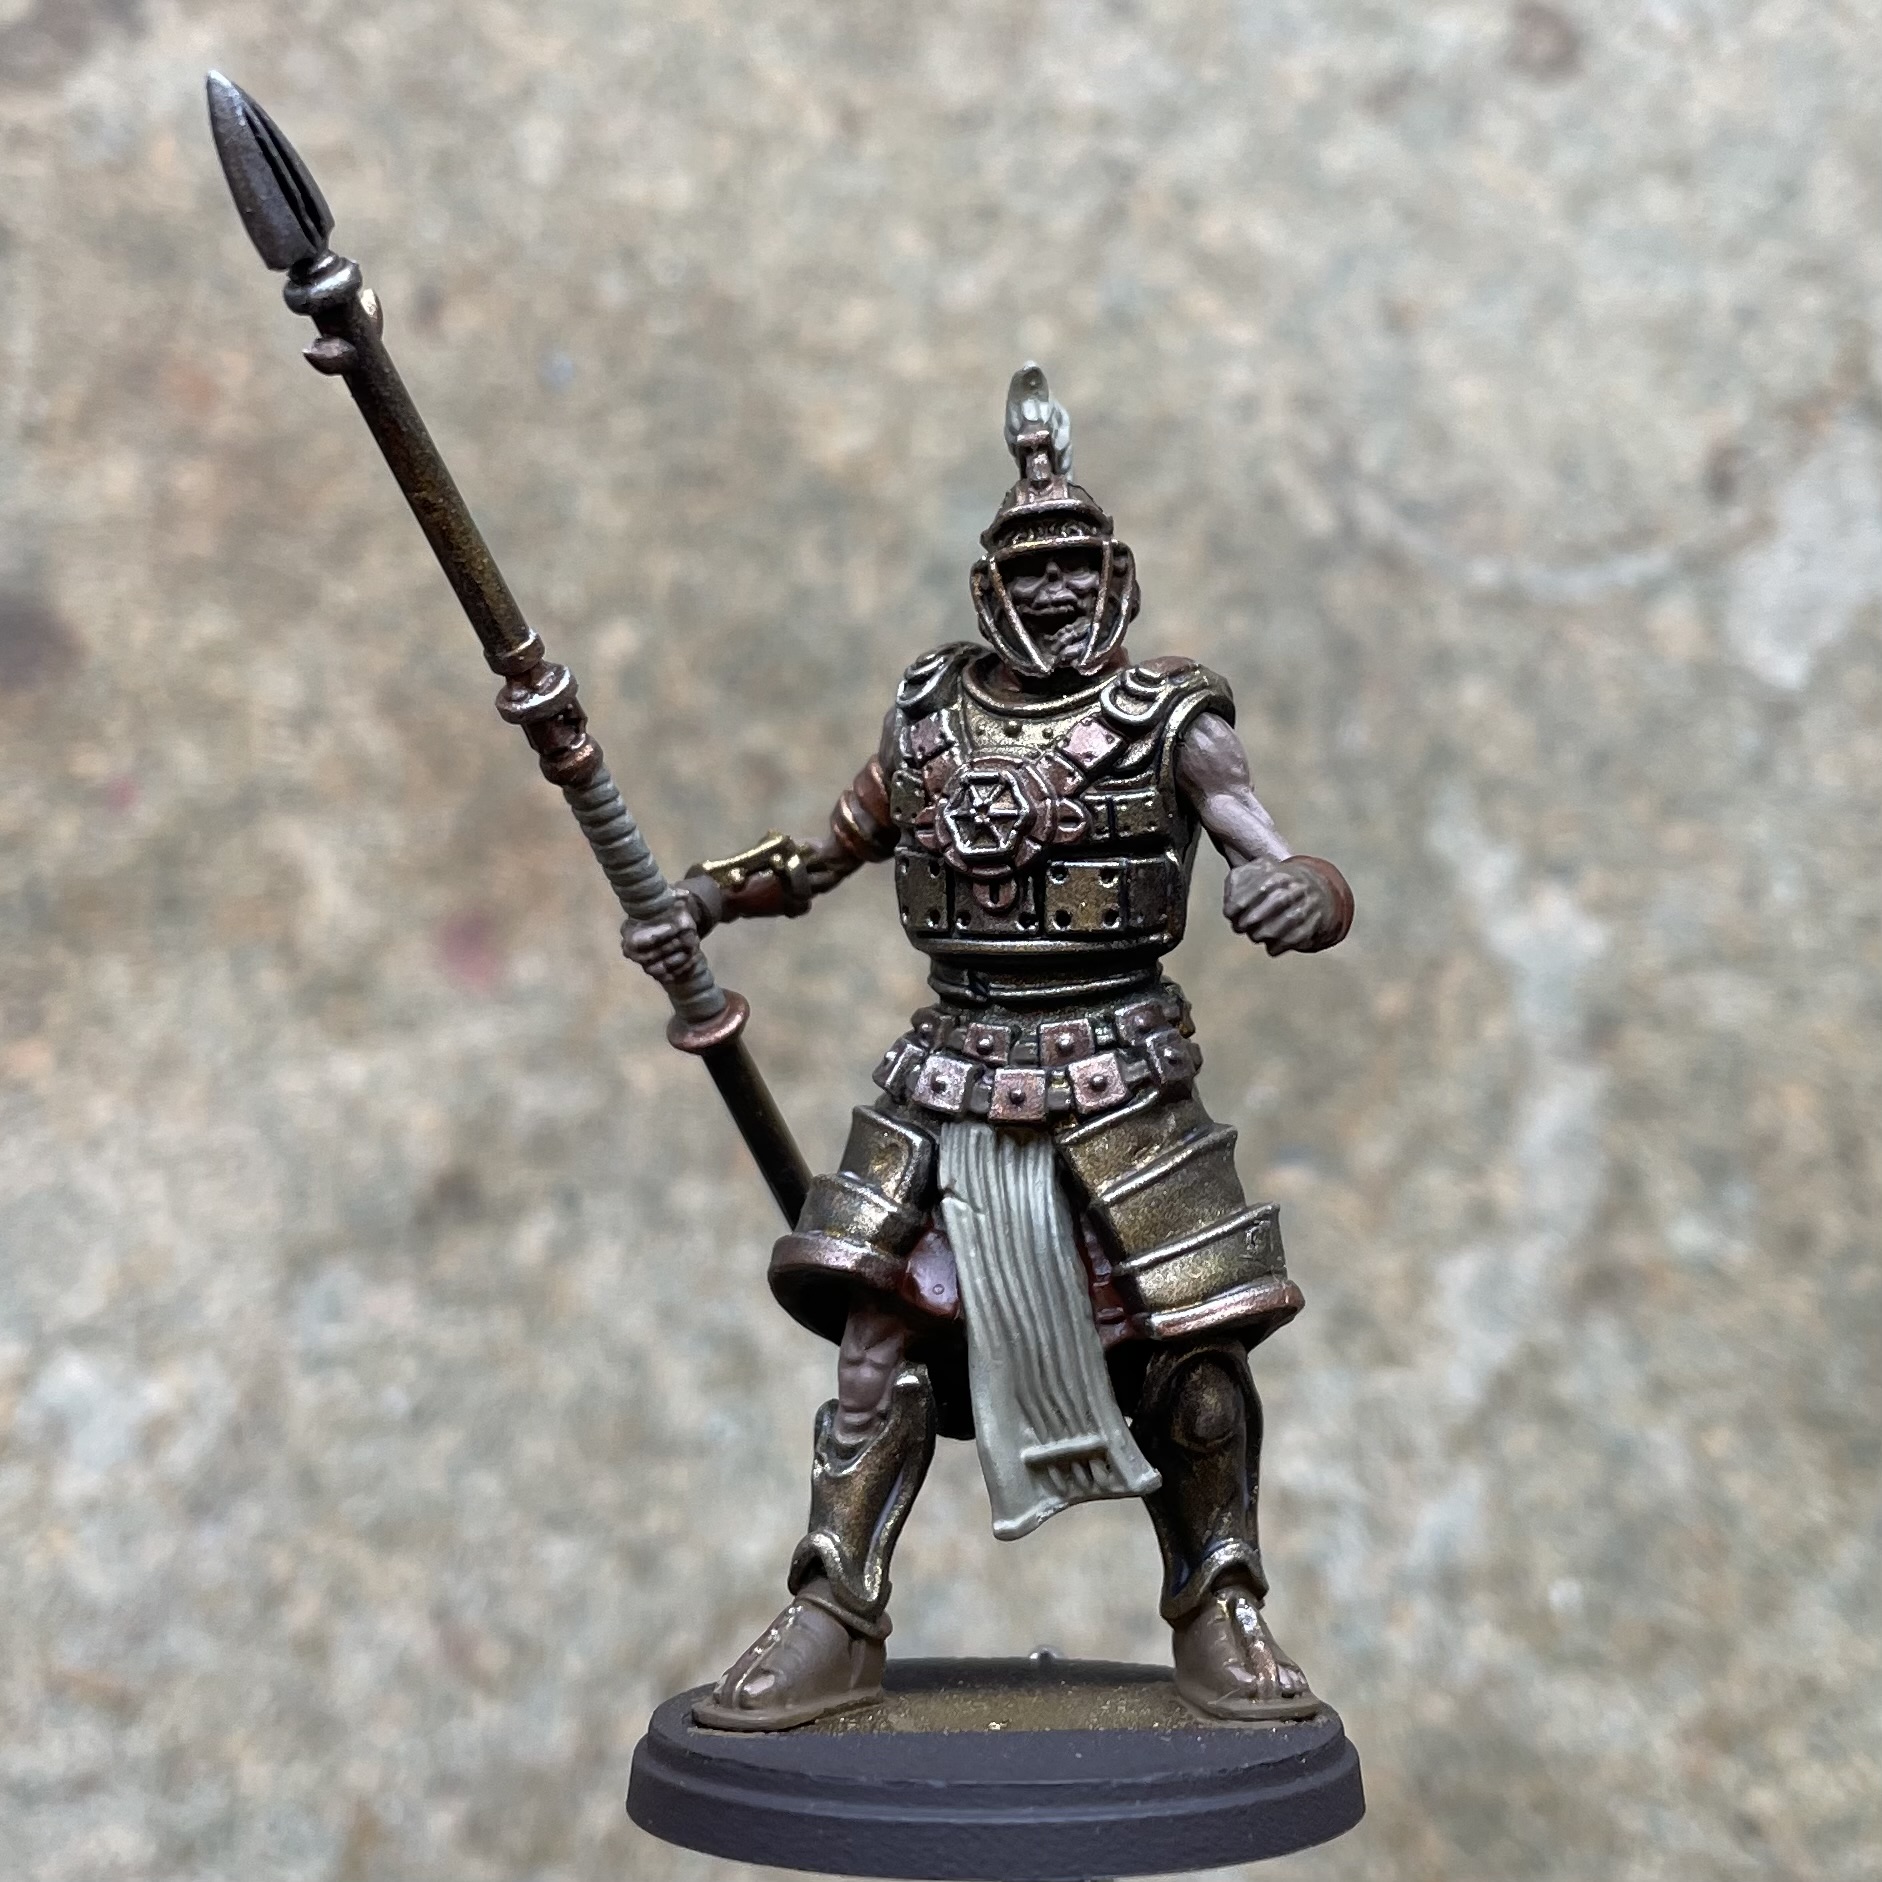
Because I can never leave anything alone, I then added a wash of Mid Brown to all the fabric areas. This including the sashes and spear hafts, toning them down and add a little more shading. I also picked out any exposed teeth or bone with Camo Beige before using a Soft Tone wash over the skin and bone areas. Finally a few highlights were added back to the faces with the Medium Camo Brown.
Finishing the Legionnaires
At last it was time for the stage I had been looking forward to since starting this regiment, the Verdigris!
For this I used Modelmates Moss effect. These weathering fluids don’t set in the manner of paint and the advantage of this is that they can be reactivated by applying water. This allows you to adjust their placement if you aren’t happy with the initial result.
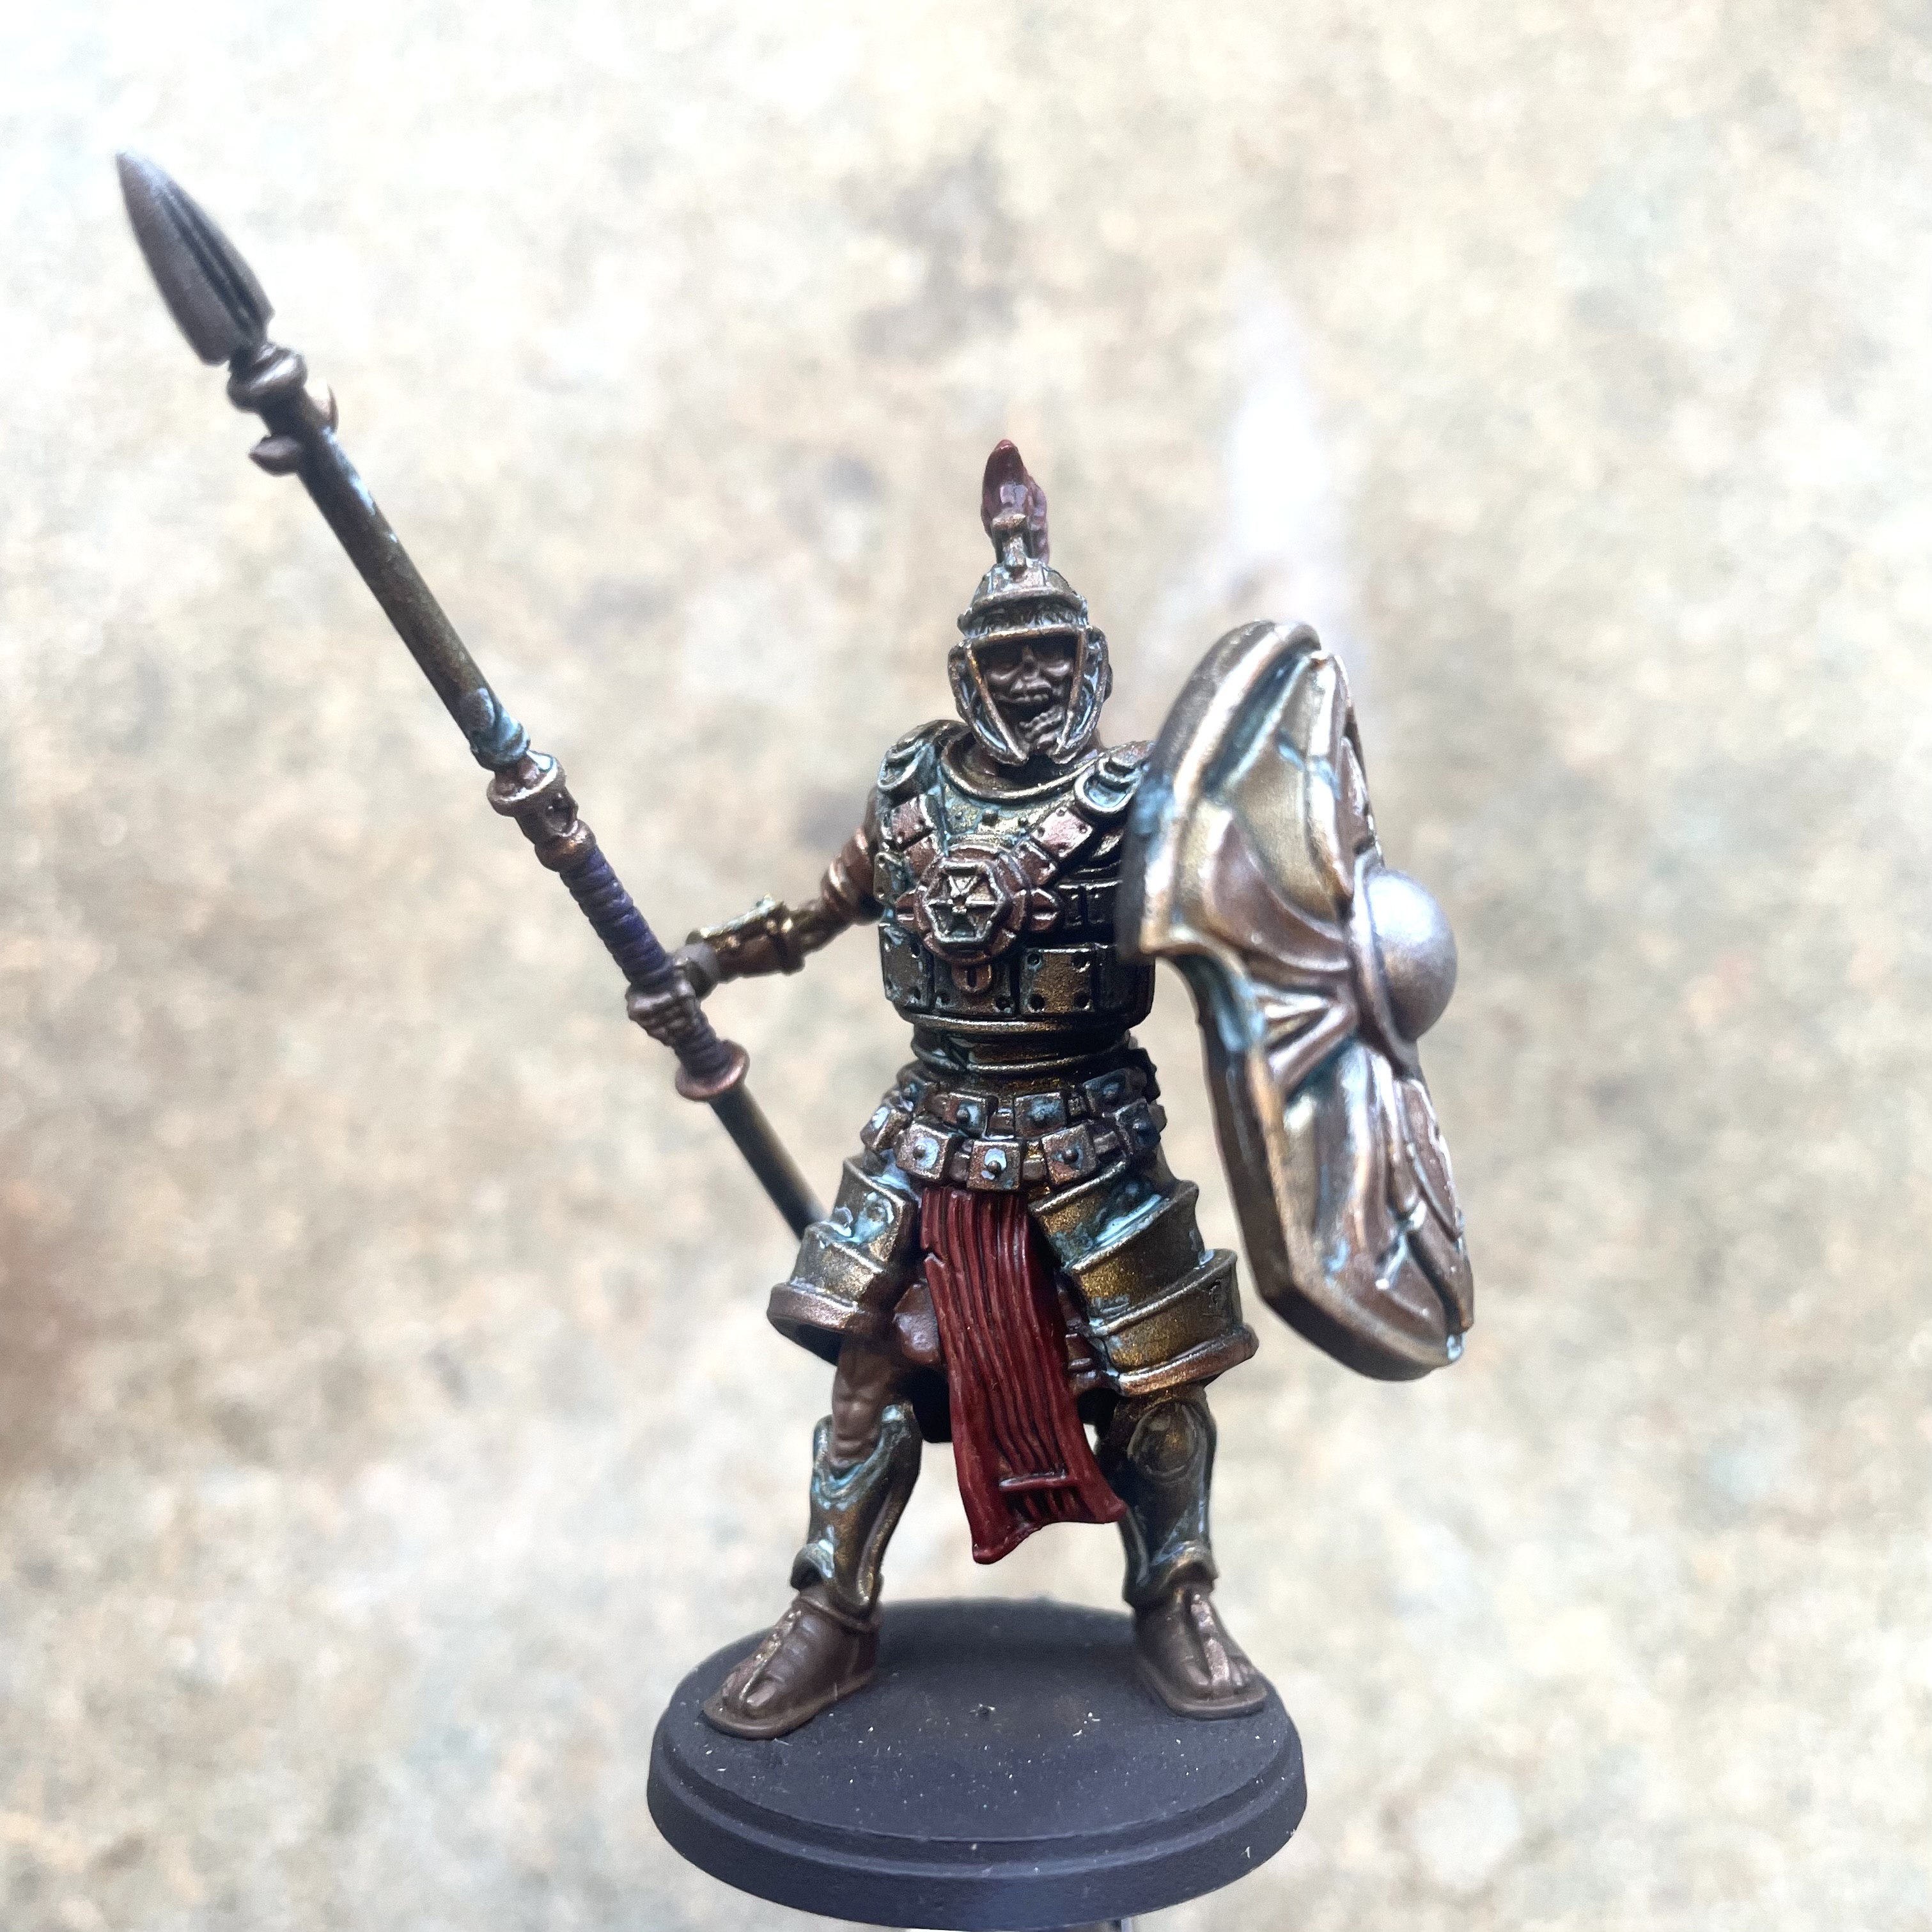
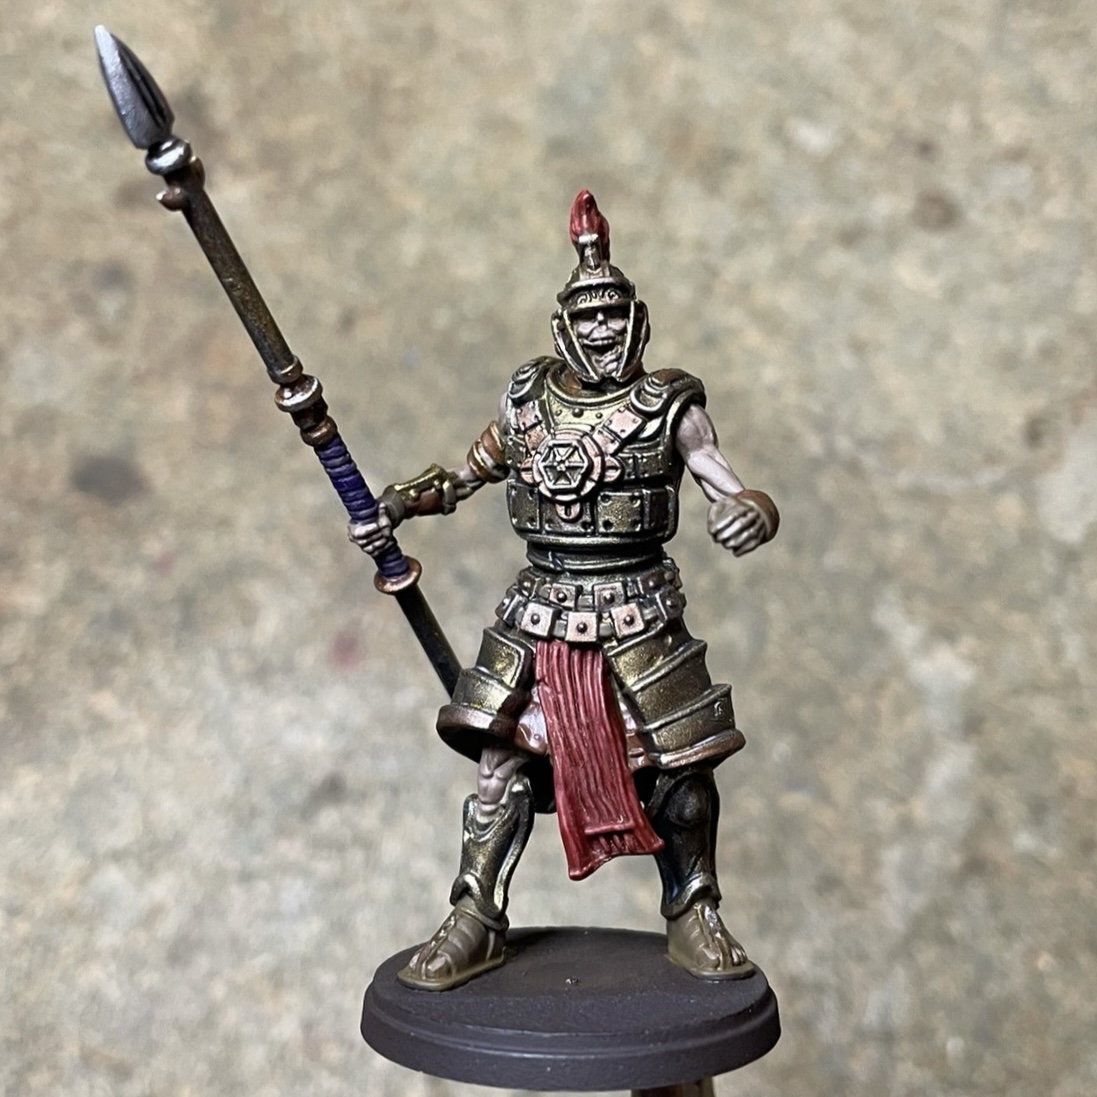
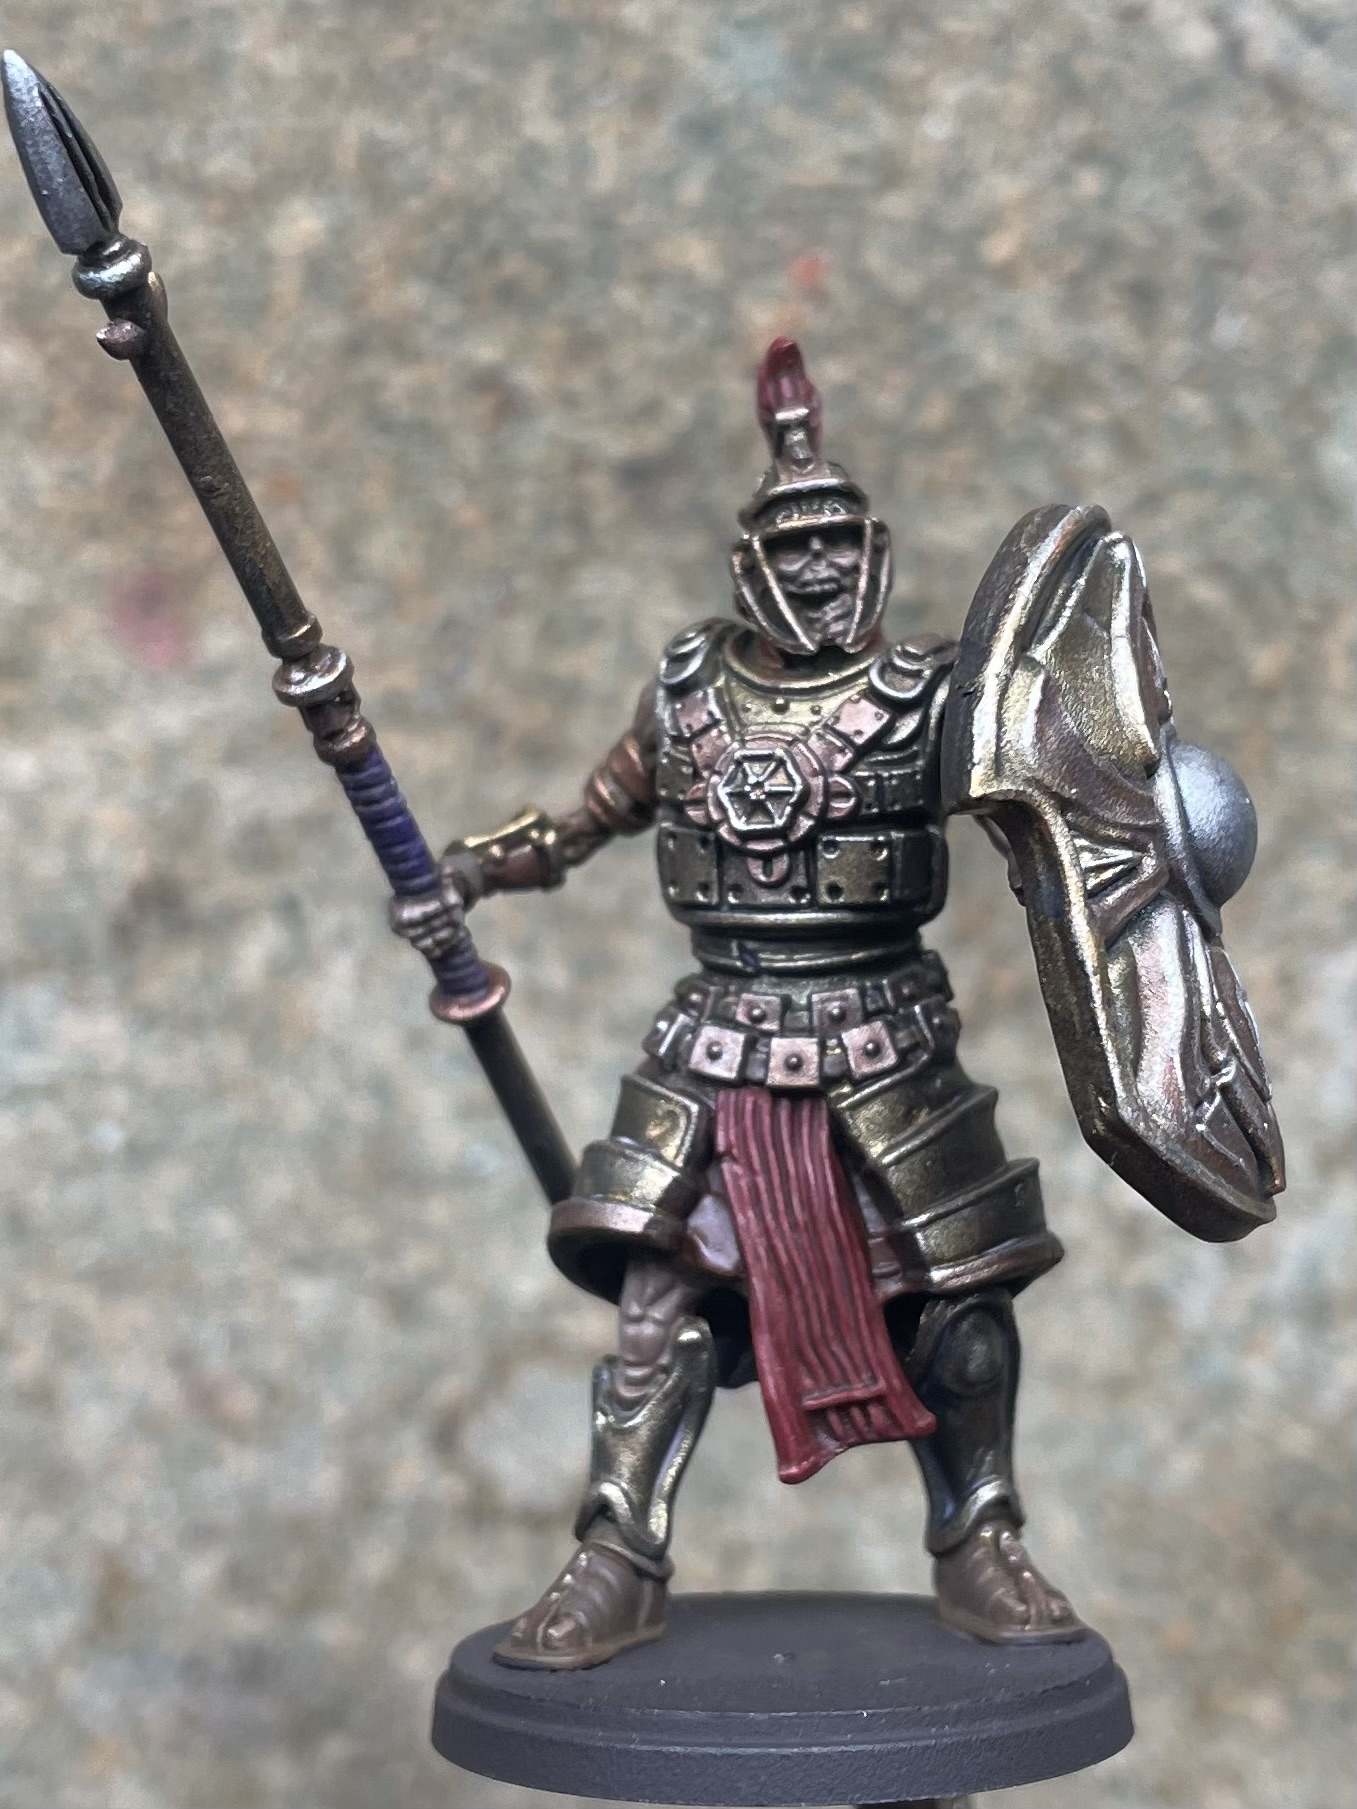
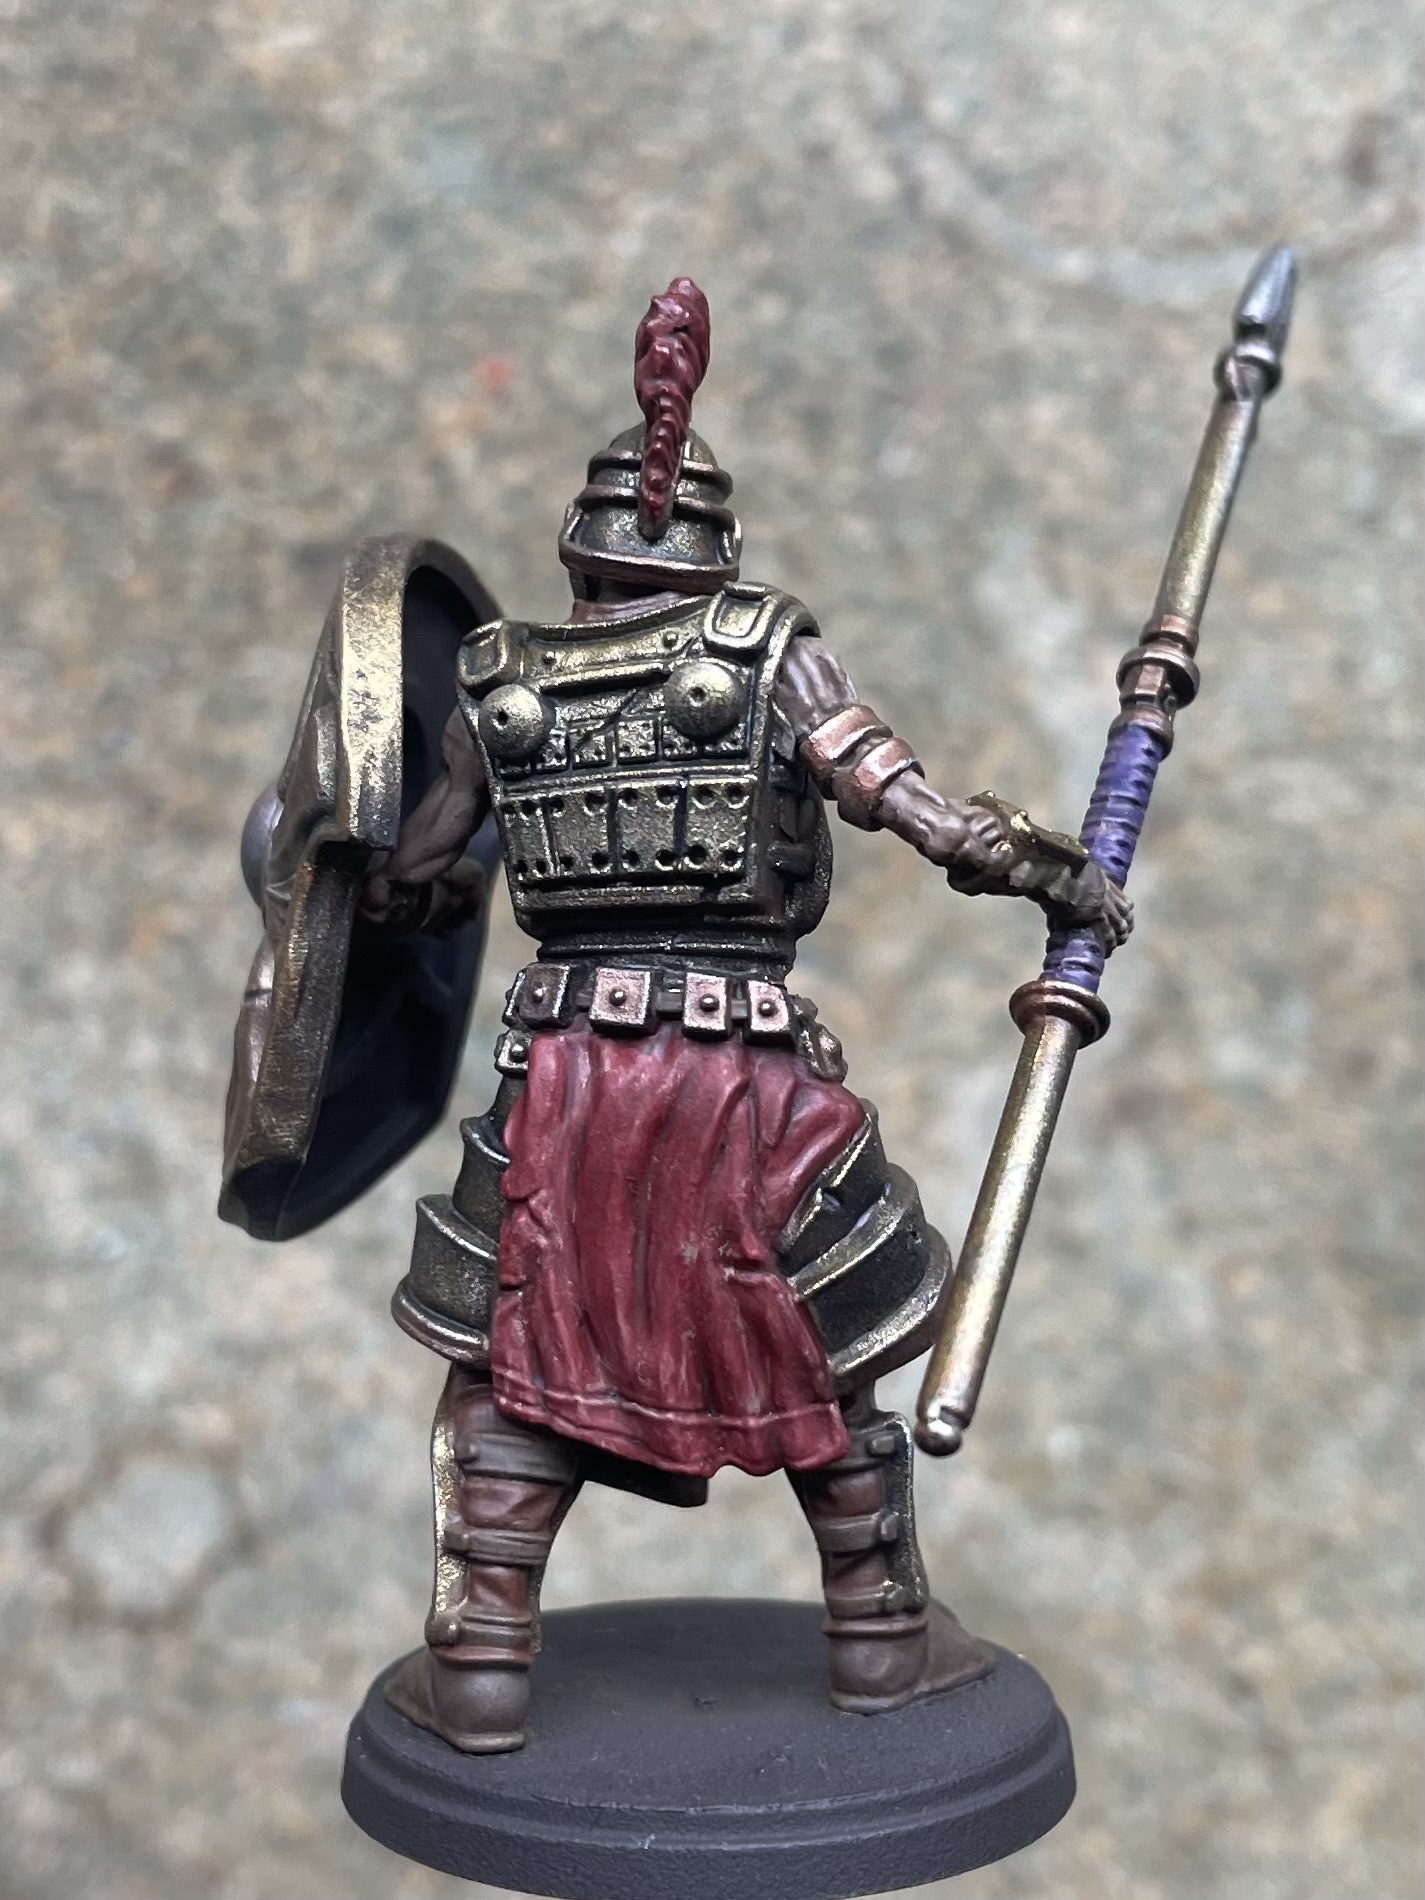
I soon realised that smaller areas of verdigris worked better as large patches didn’t fit the scale of the models. Once I had completed the patina, I gave the entire unit a coat of Vallejo Matt Varnish to fix the weathering fluid in place. For this I used an old airbrush, so as not to disturb the positioning of the Modelmates. With that done, my first regiment was finally completed! In fact this is the first fantasy regiment I have ever completed!
I hadn’t settled on a basing scheme yet. As these models would likely end up mounted in conquest movement trays in the future, I knew the basing scheme was an important decision. I could go with Desert, Mudflats or a Snowy Tundra. I was happy to put off until I had a few more regiments completed. For now I would content myself with brown bases!
Deadlines
Since revisiting this project a date dropped into my diary for our annual gaming weekend away. As First Blood would be top of my gaming list this year, I wanted to ensure I had my full 800 points completed in time. I find having set deadlines and goals to work towards really helps motivate my progress.
The date was in early July, and as we were already well into Feb I had just under five months. With this in mind I would split the army into fifths and aim to complete a chunk each month – more or less. With my plan to build towards playable point brackets, I put the following schedule together:
Feb – Legionnaires (x8)
March – Pretorians (x11)
April – Xiliarch (x1)
May – Legionnaires (x8)
June – Officers/Retinue (x3+3)
Unsurprisingly I was a week into March before completing the first Legionnaire Regiment but I had managed to get the Praetorians primed and ready to go, plus I had my process all figured out now!
I only needed a total of eight Pretorians for my full list, but as I had built 11 it made sense to tackle them all at once. This would be the biggest unit I would paint in one hit. However with more armour than the legionaries, meaning less flesh to work on, and swords in place of spears, I figured they would be a little more straight forward to paint.
These above images show before and after the Drakenhorf wash. You can really see how the blue desaturates the gold, making it feel older and more tarnished. Below is after the dry brush has been applied.
I worked through the exact same steps I had taken with the previous regiment. With enclosed helmets and shoulder pads there was more metallic work to do, but once this stage was completed this regiment was well on its way.